Category Archives: ALYOF

June has arrived

OK – while it doesn’t really seem possible, June is here. School is on its last legs and summer is around the corner. So crazy. Julia graduates from 8th grade (though this year the administration has quite vehmently changed the terminology from ‘graduation’ to ‘promotion’).  Whatever it is called, it is a big change and she will move on to high school in August!

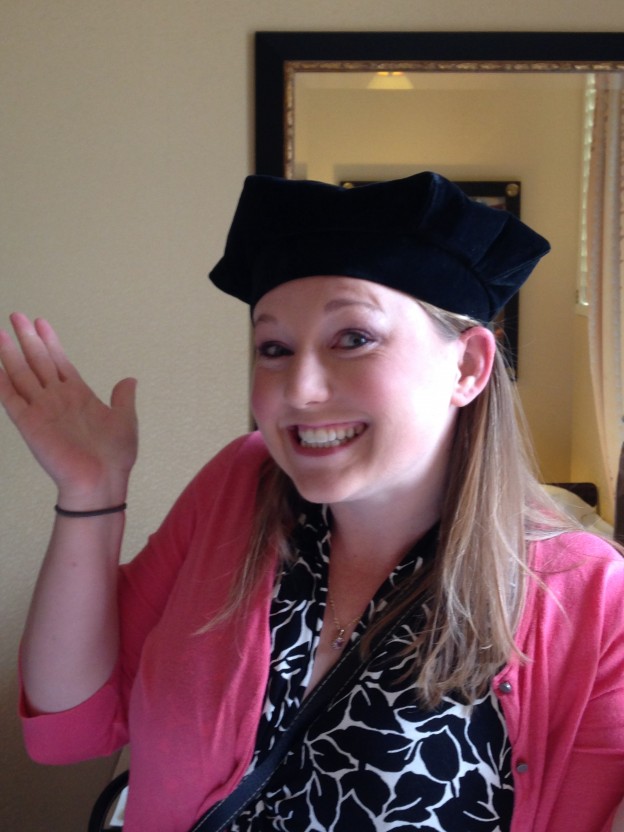
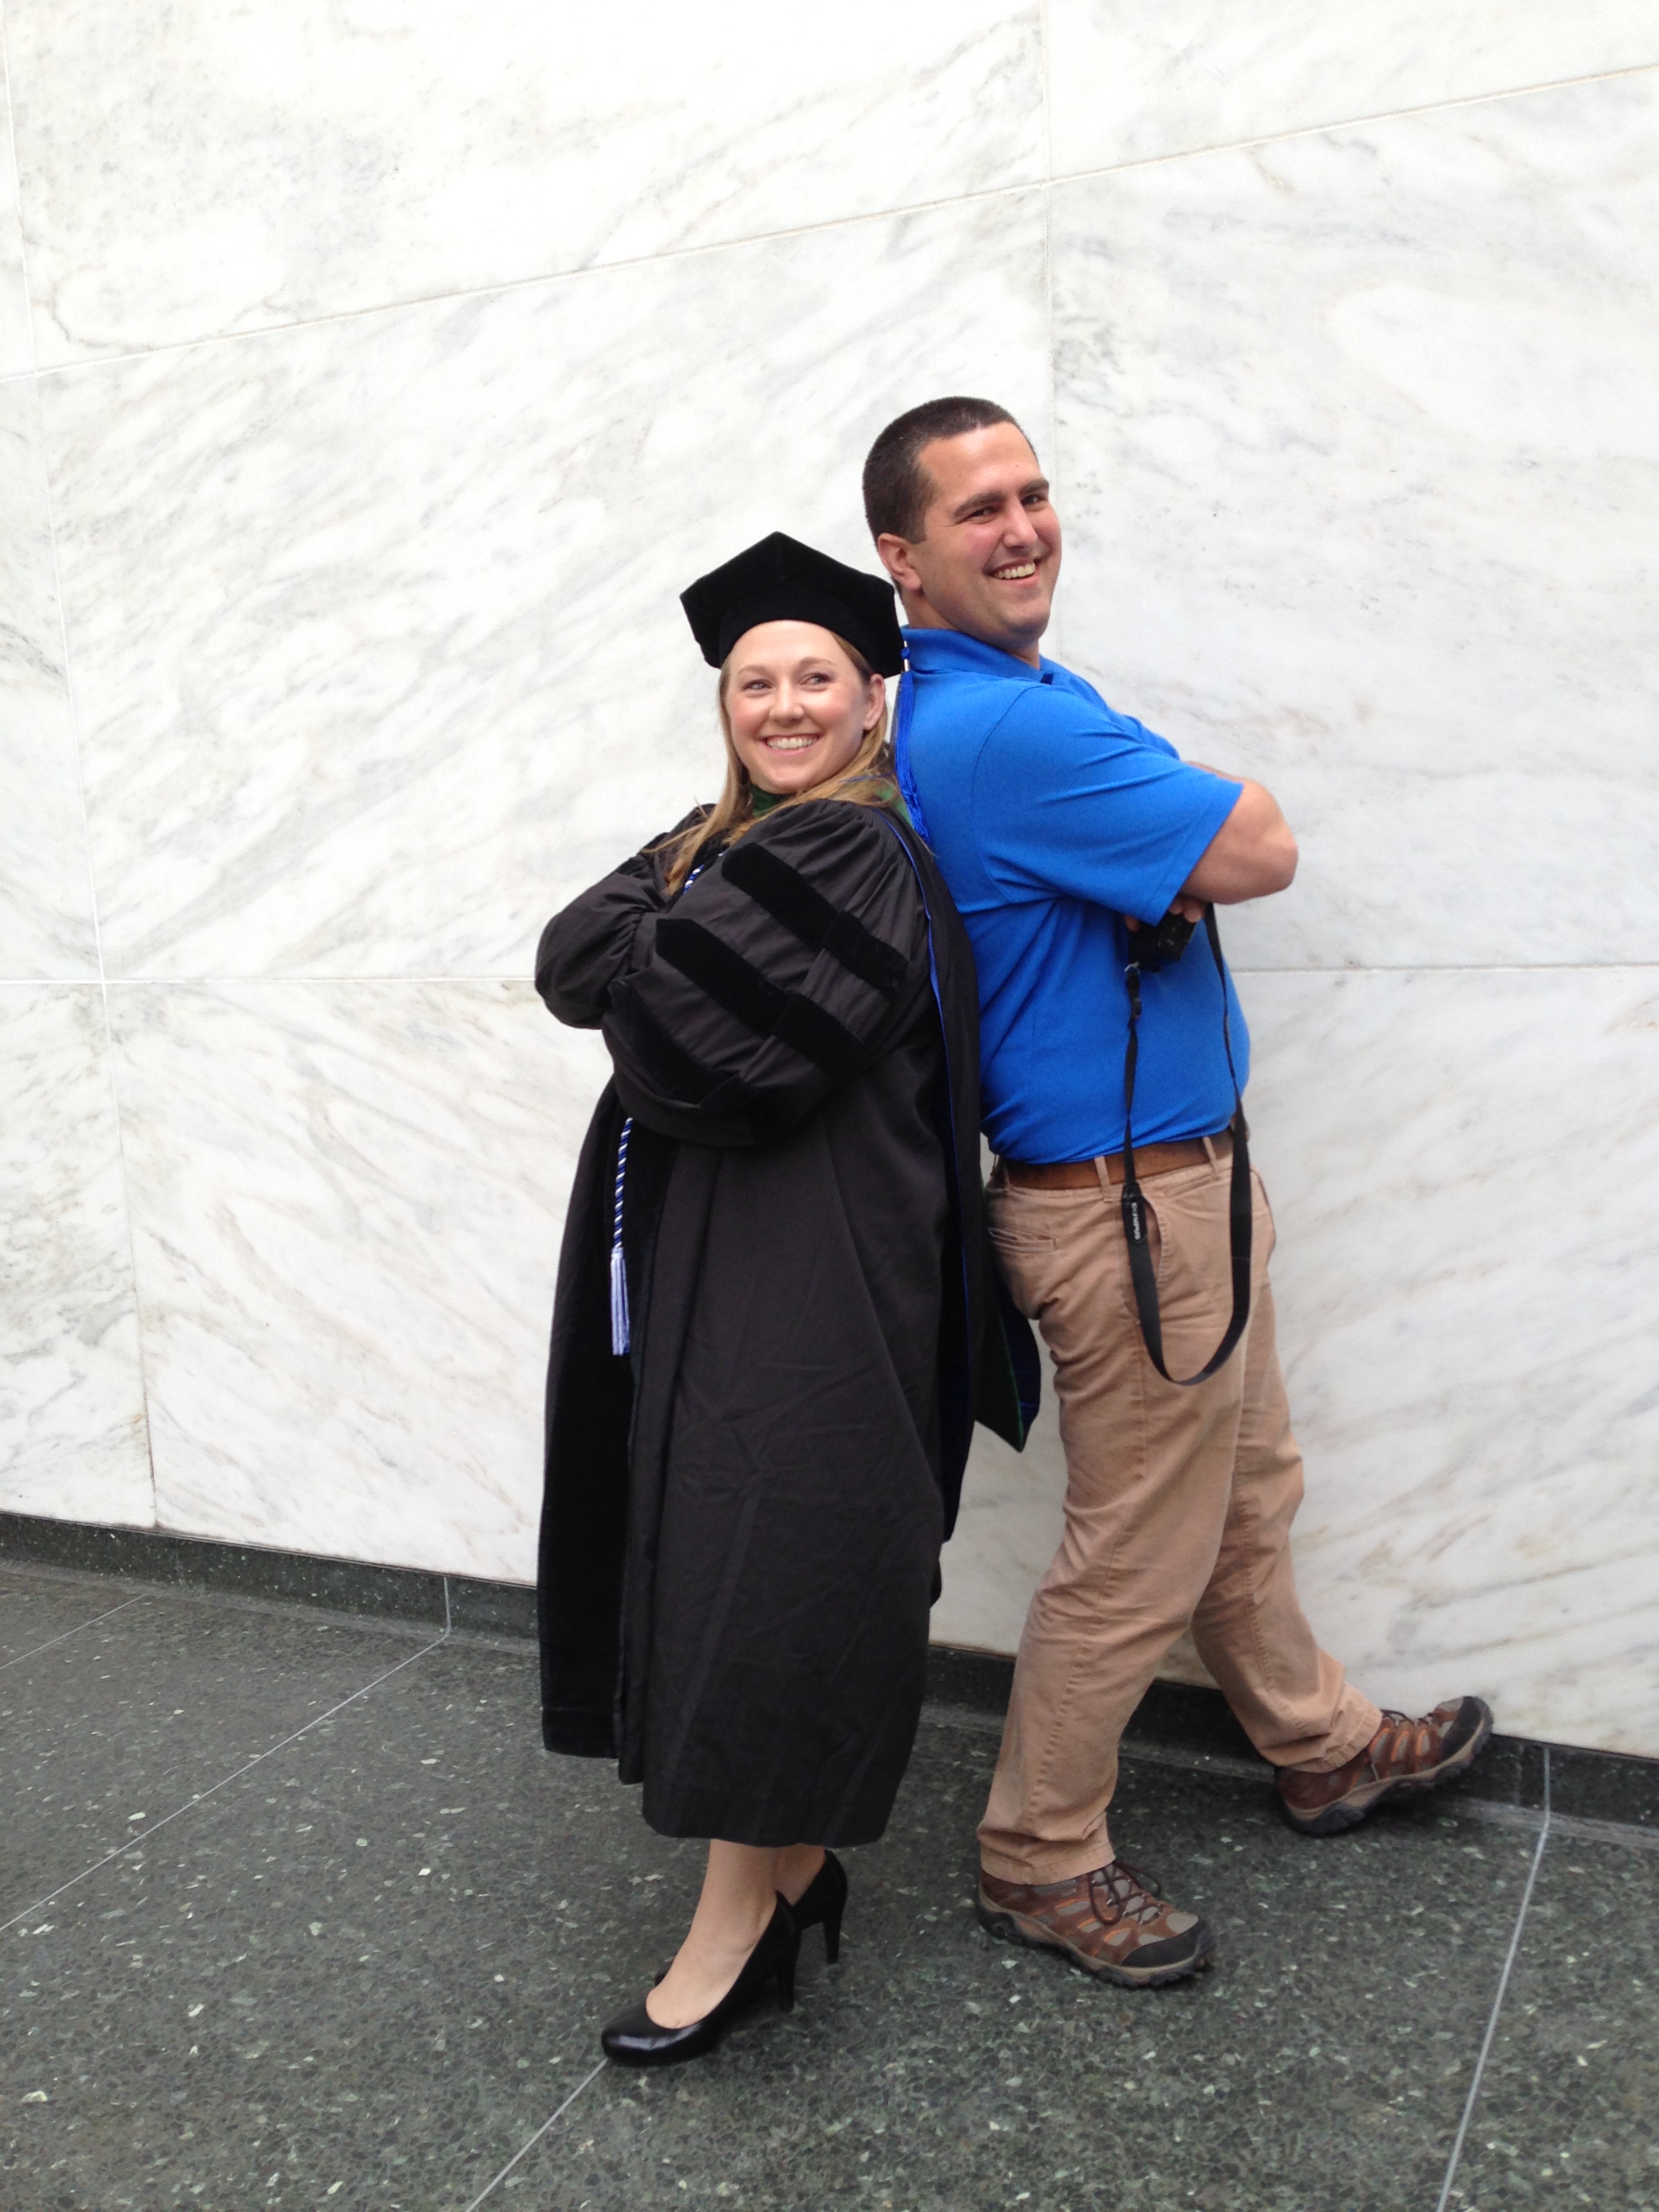
We spent Saturday and Sunday in San Francisco. Even though it is a quick 140 miles from home, we rarely go. This weekend was my daughter-in-law, Naomi’s, graduation from medical school. She is officially a doctor and we couldn’t possibly be more proud of her. She has worked so very hard over the past four years.

IMG_2225

The ceremony was touching and, with about 100+ graduates, small enough that we could reallyt enjoy and see everything. Naomi will be starting her residency in Diagnostic Radiology in a few weeks. This will take them to Burlington, Vermont for a good four or five years. I haven’t been to Vermont so this will be a good excuse to visit.

IMG_2224

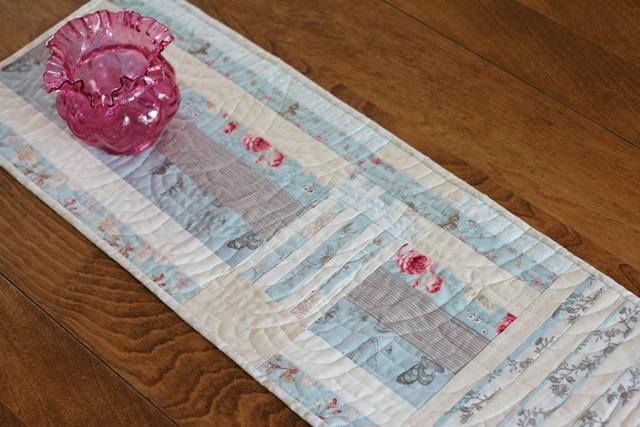
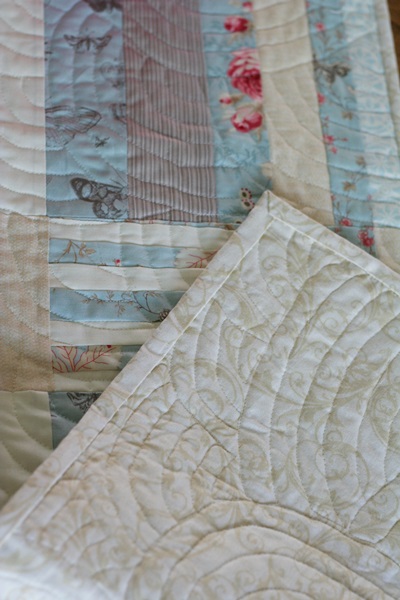
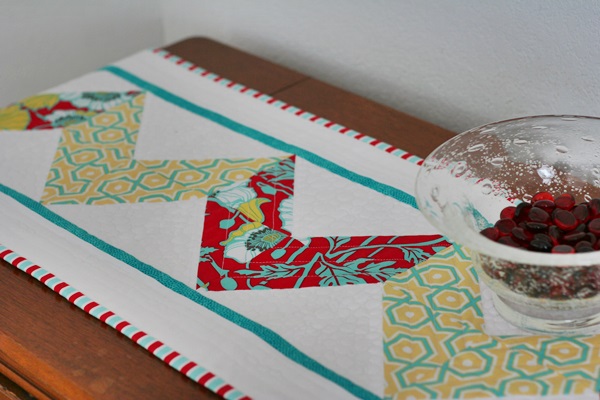
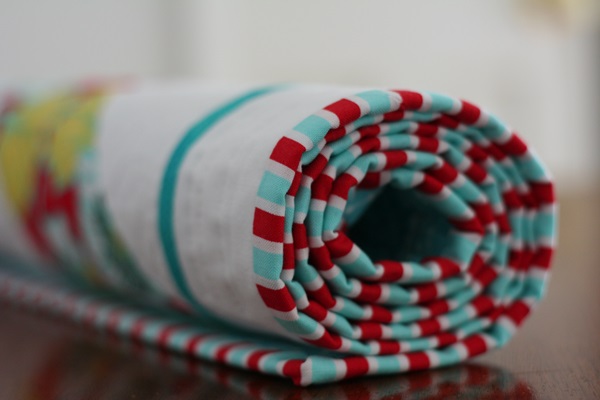
I didn’t accomplish a whole lot in the sewing room last week.  I made sure to do a bit of FMQ practice. I am trying hard to fit at least a little practice session in each week. This round was just a quick rectangle (7″x 8″) with a loopy figure eight running side to side. I used a tutorial by Rachel over at Stitched in Color.

IMG_20150601_3377
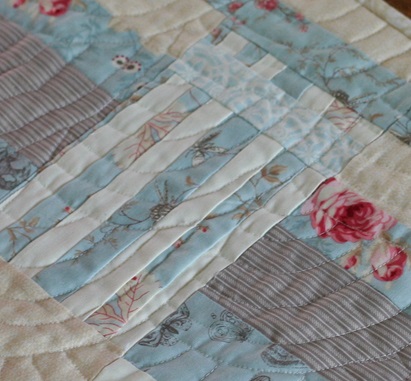
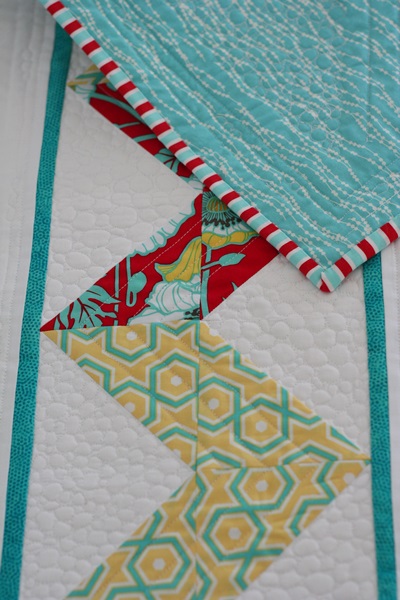
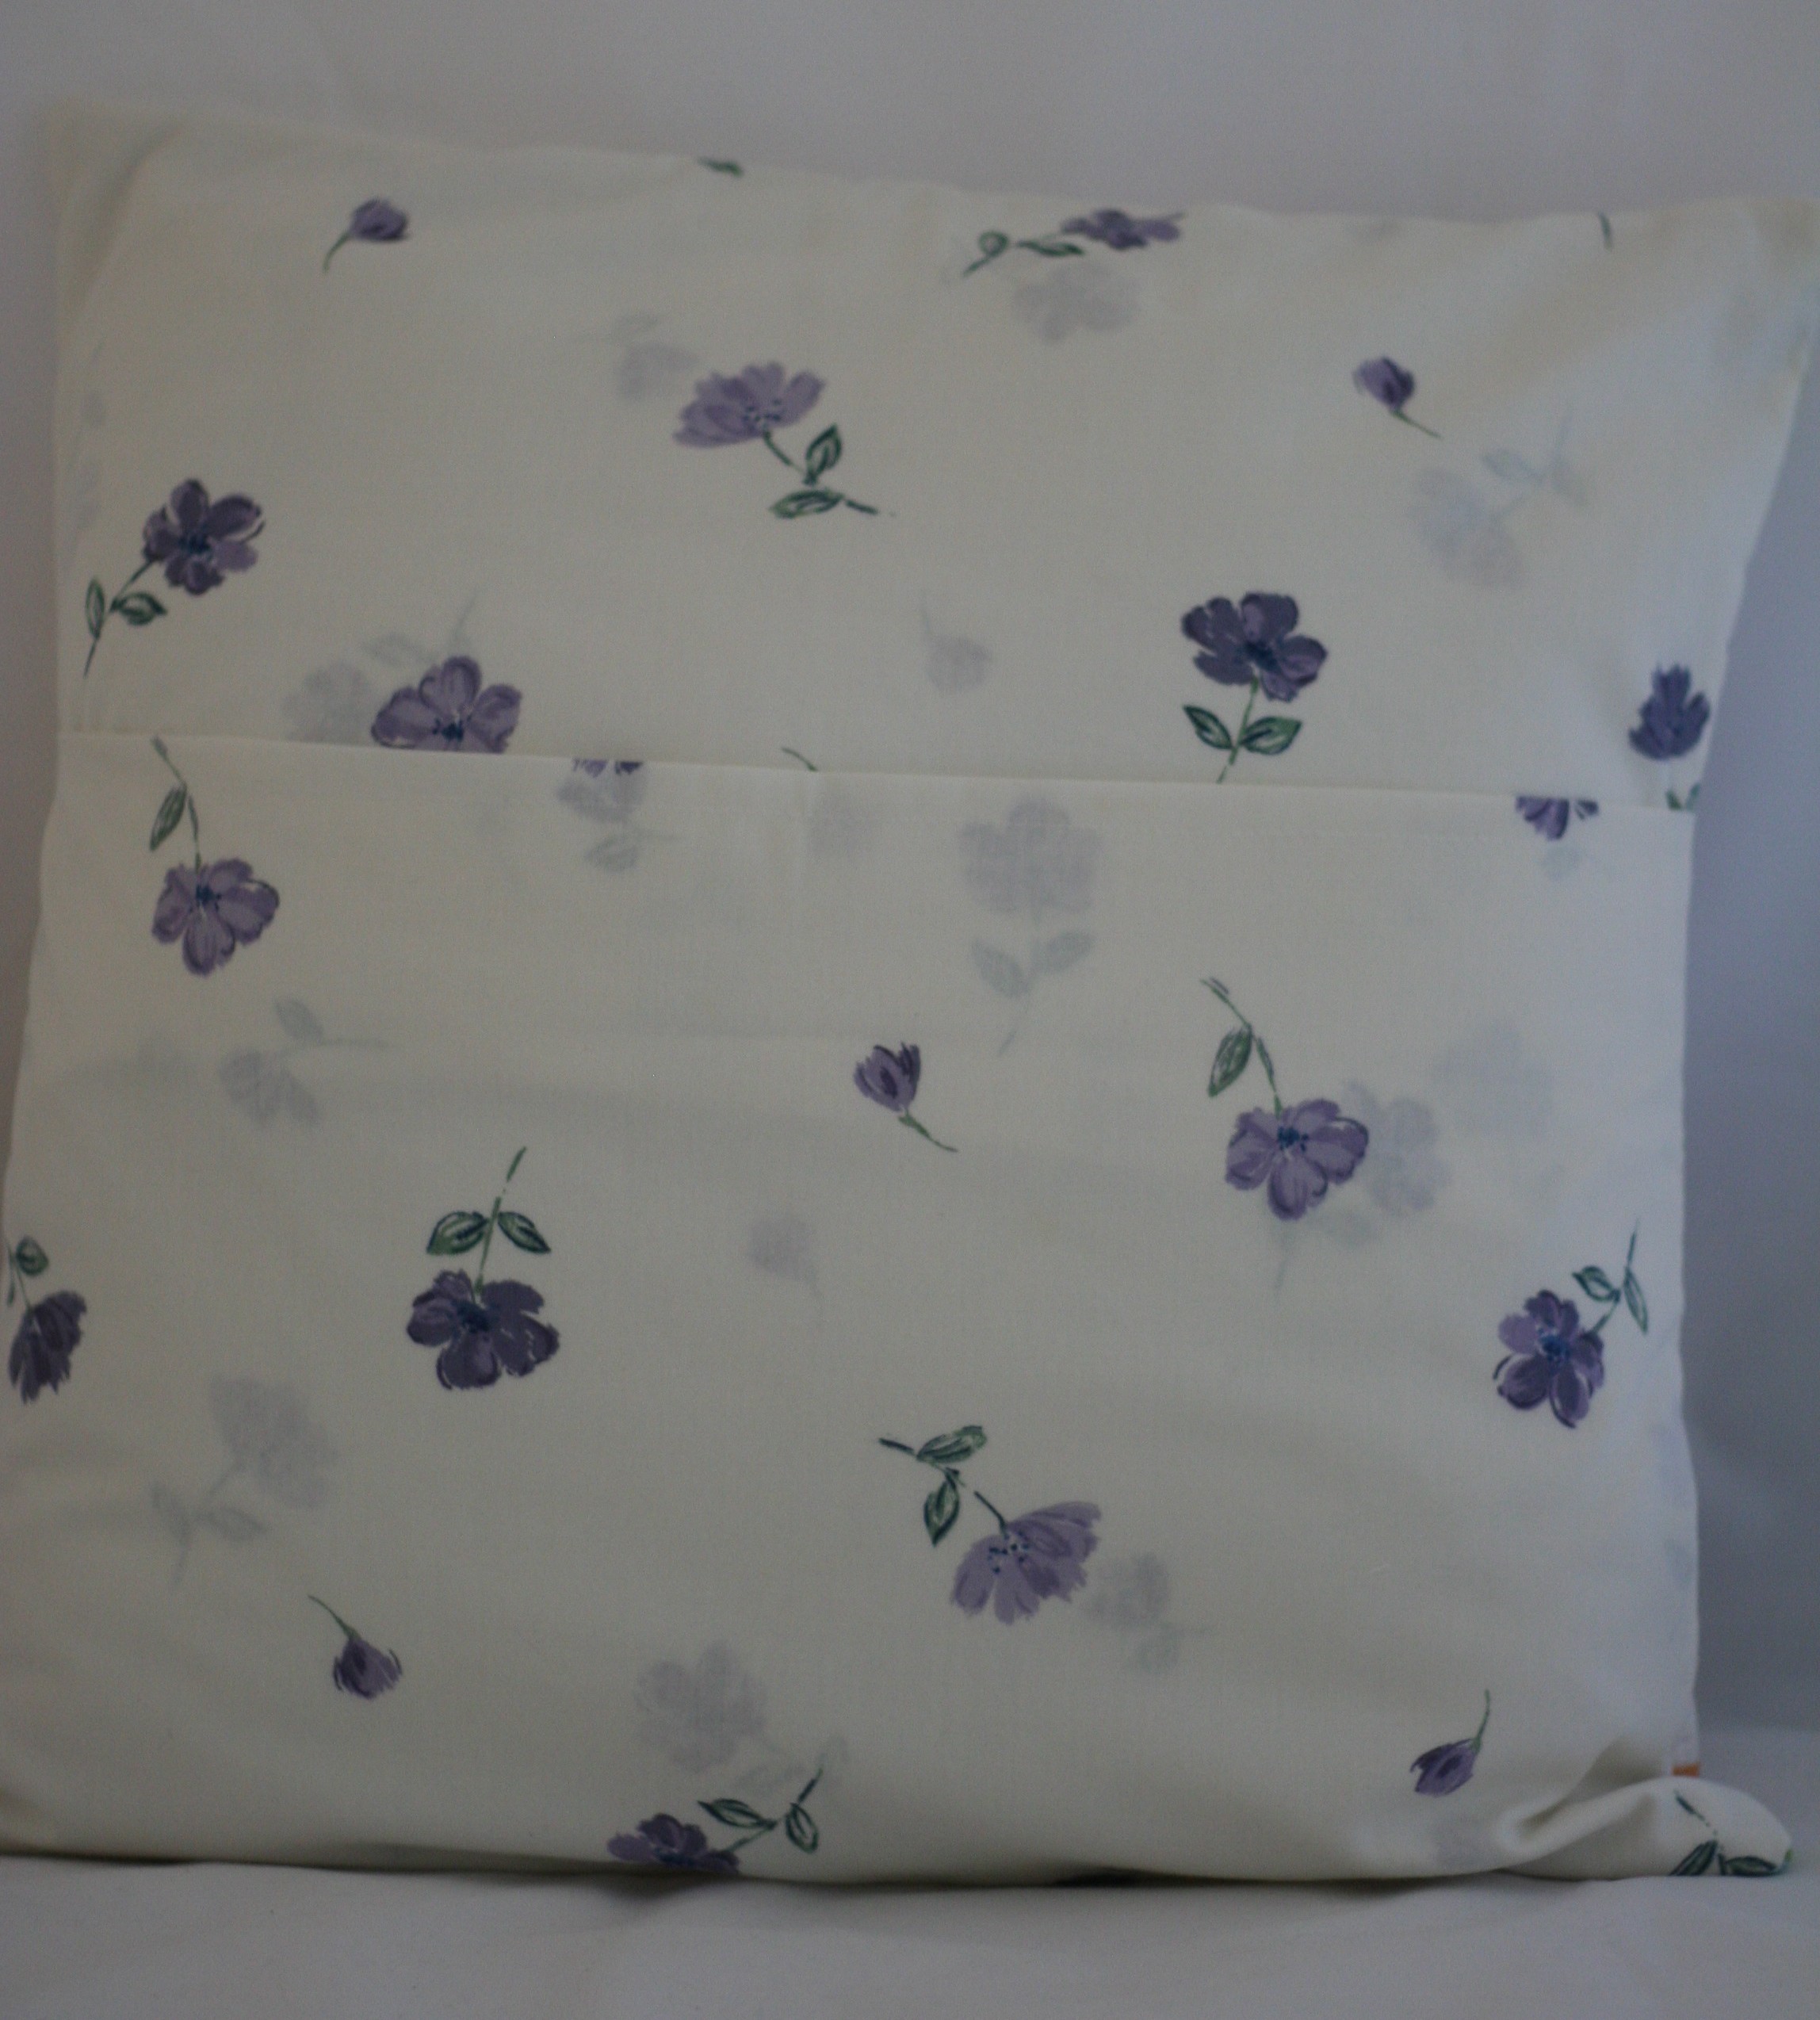
This side looks reasonable. I purposely quilted with a light gray thread against the blue so i could see my results clearly. A bit uneven but not too terrible.  The other side shows a bit of pulling or uneven speed, whatever it is that gives that “eyelash” effect on the curves. I put an Insul Bright scrap in the middle and bound it off to be used as a hot pad. I even machine stitched both sides of the binding, very quick.

IMG_20150601_3378


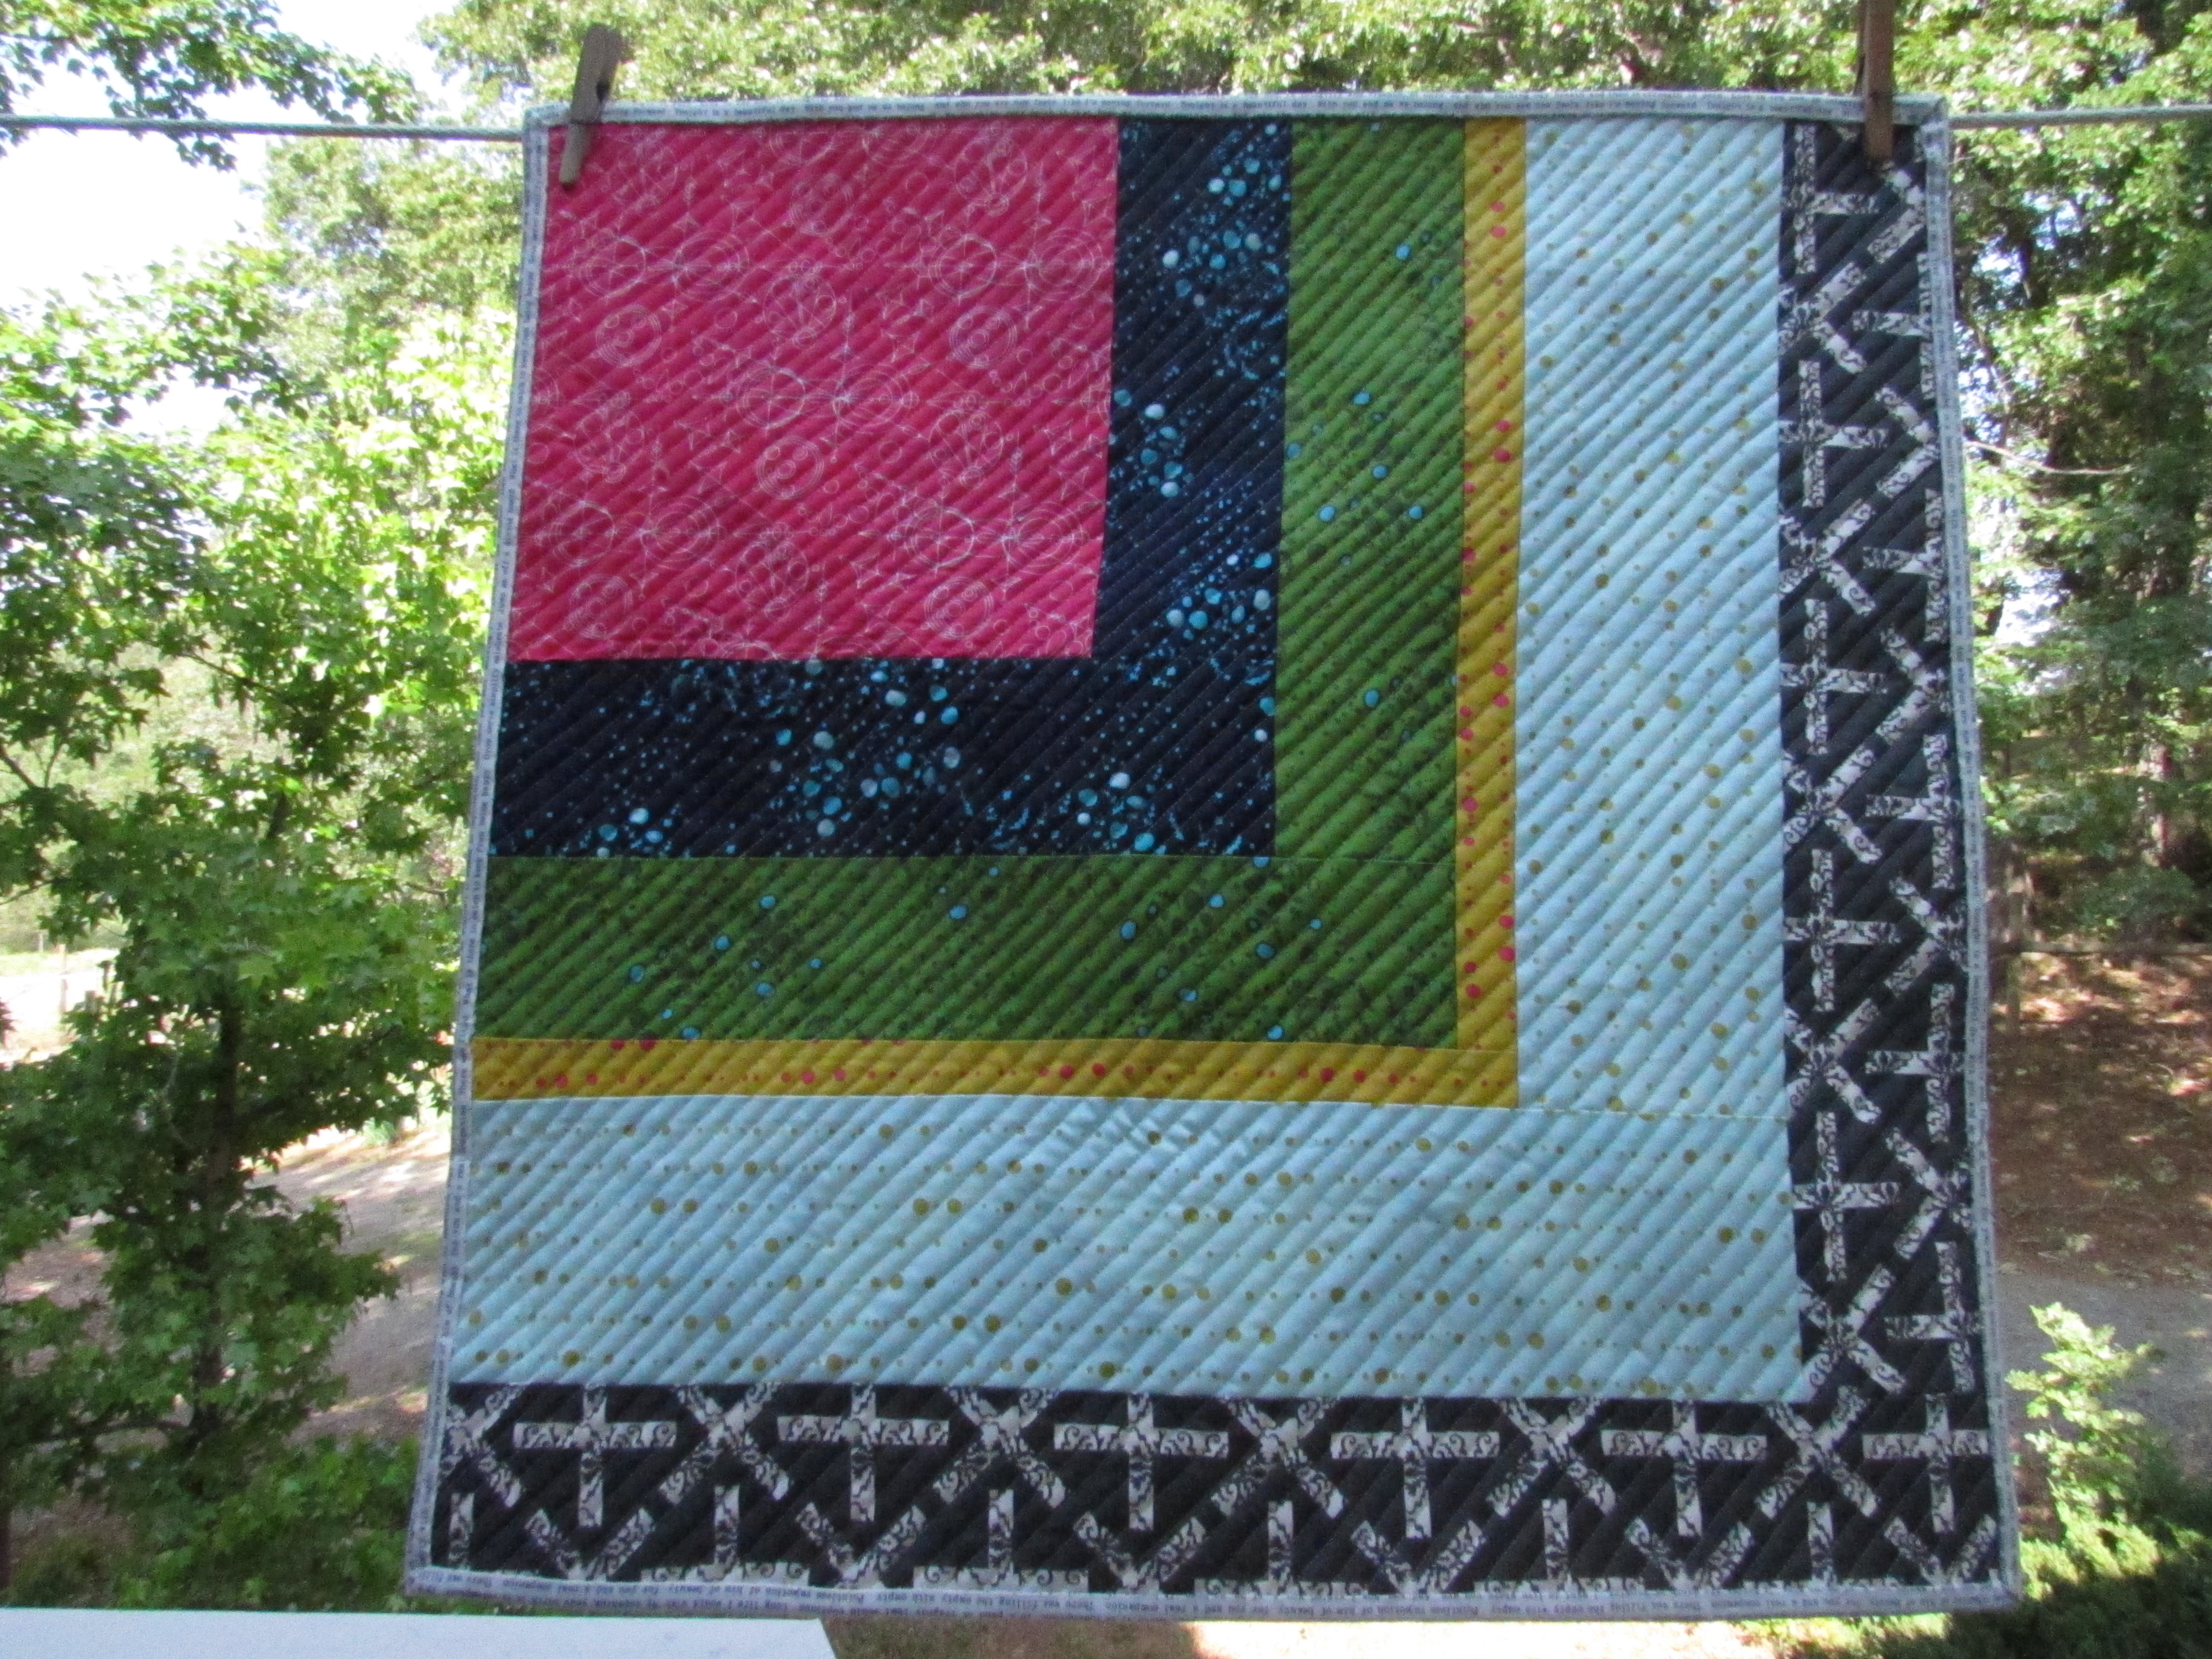
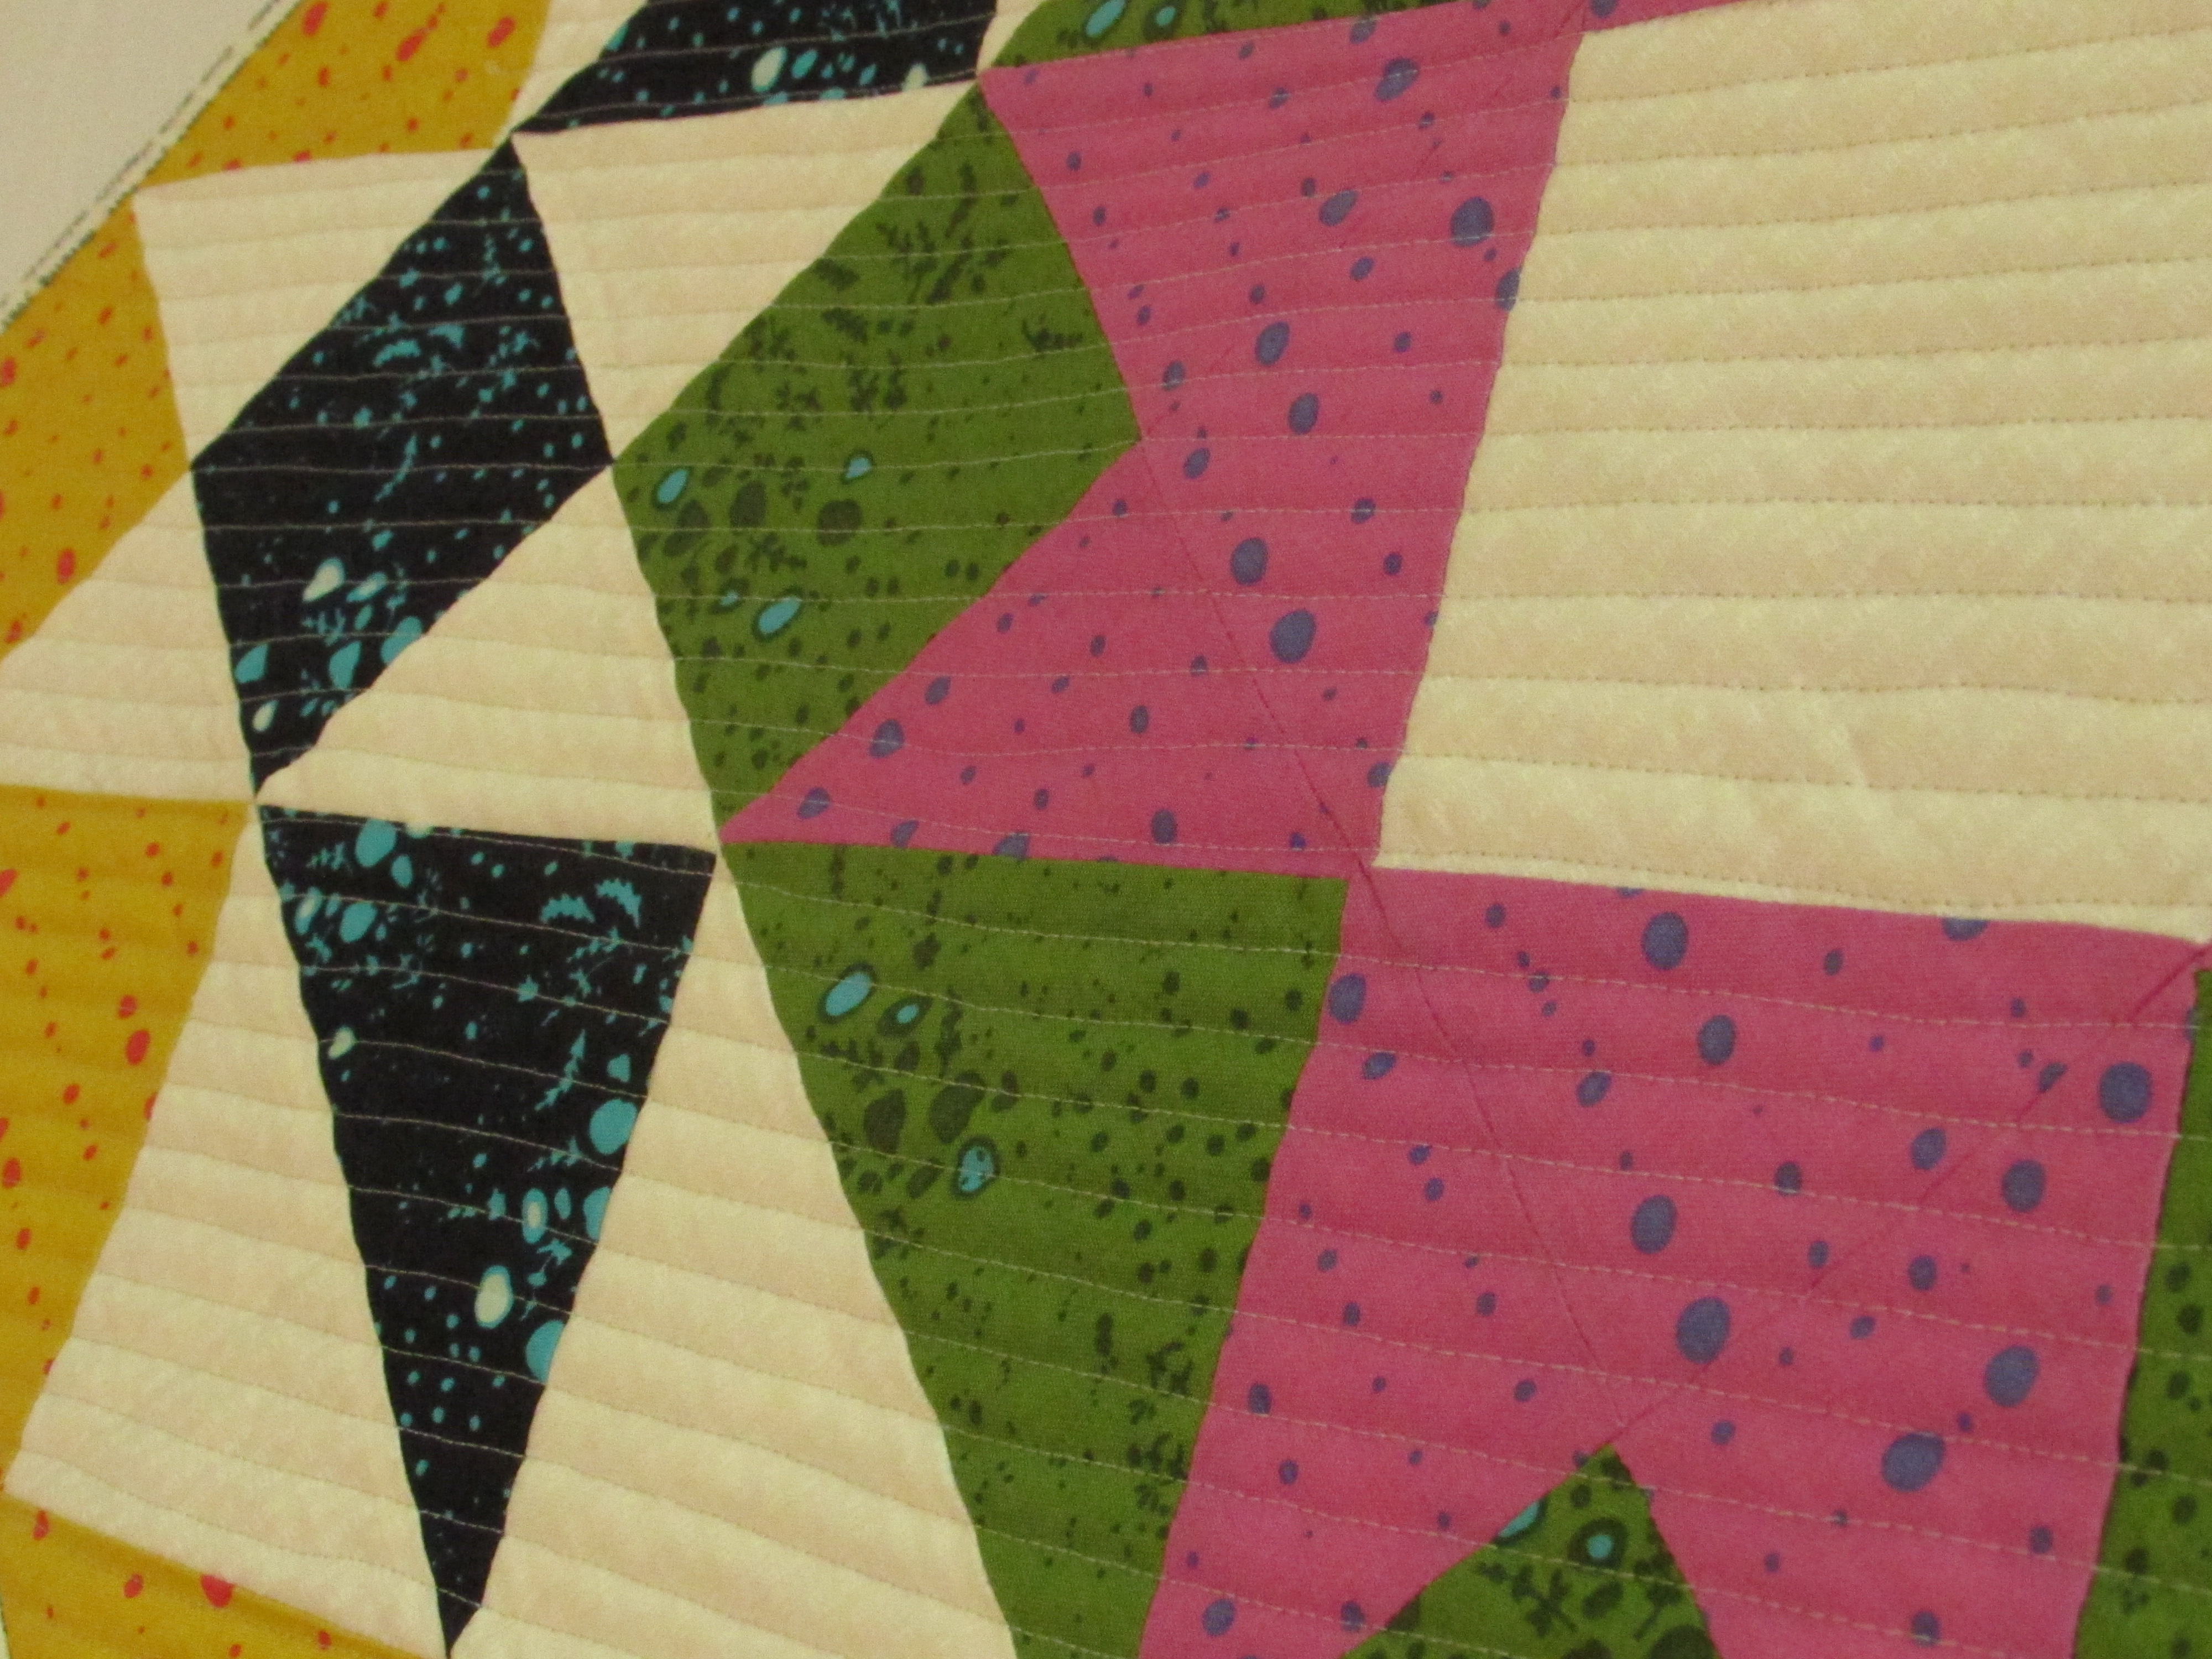
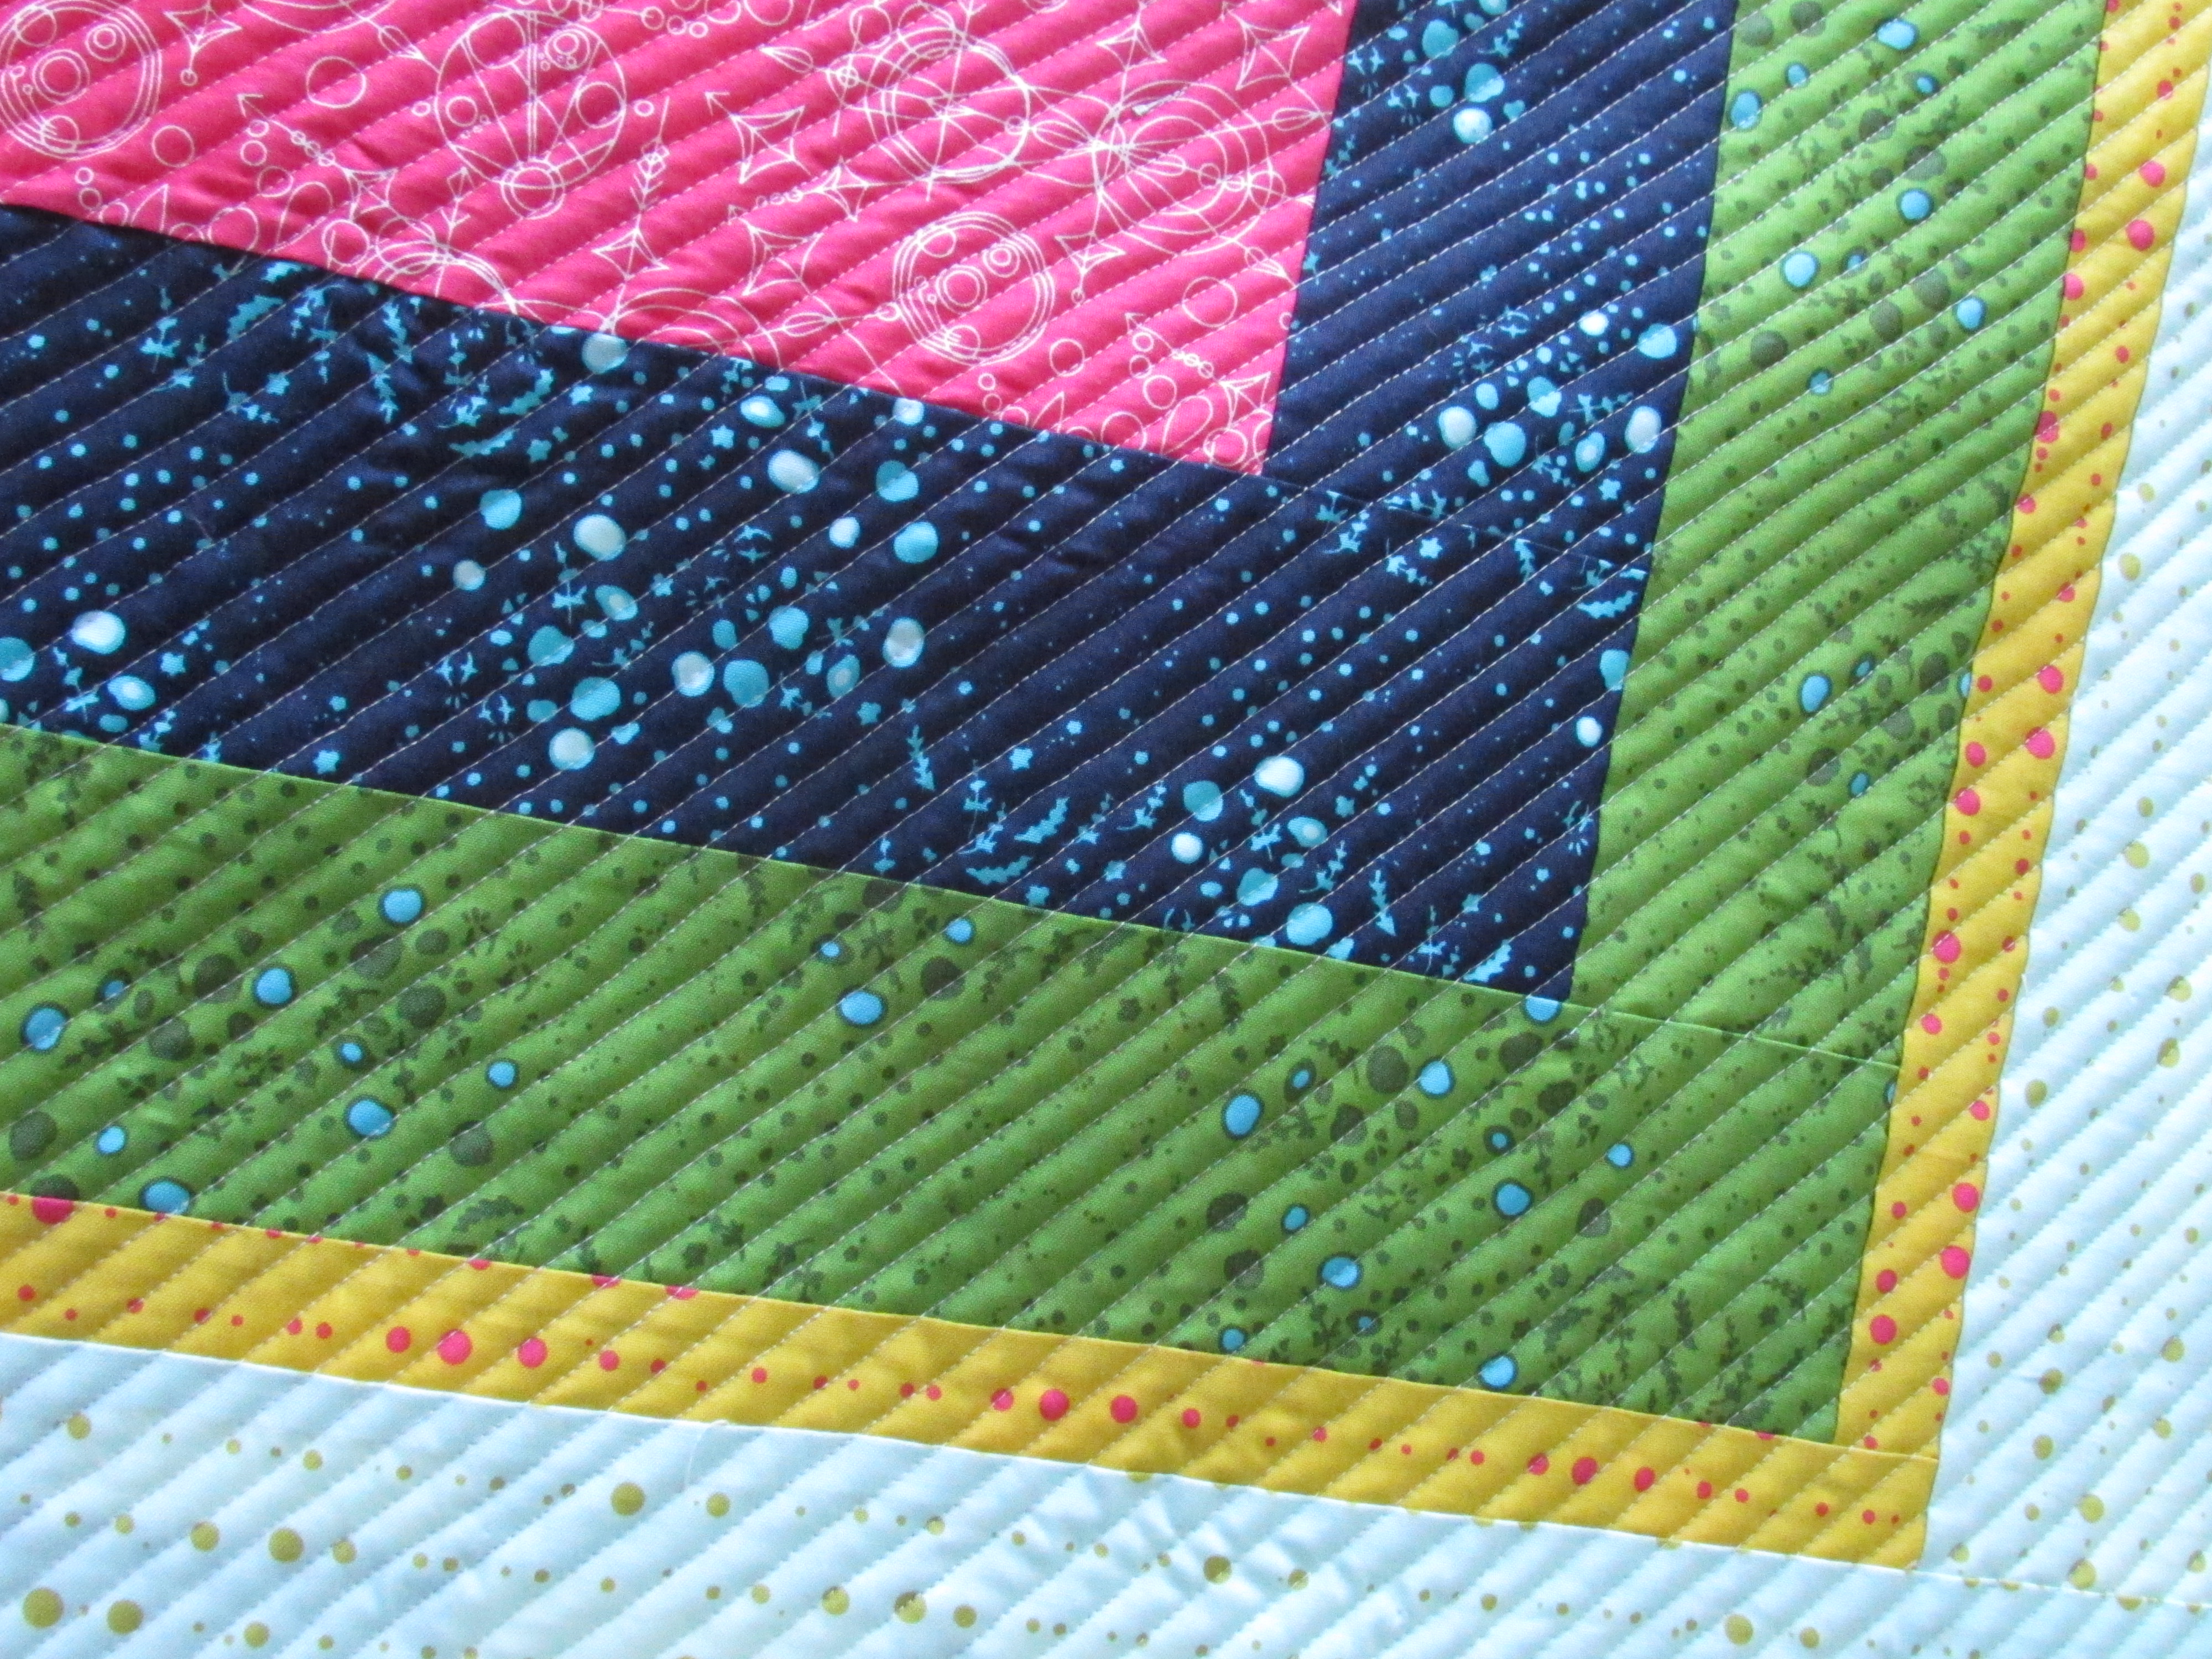
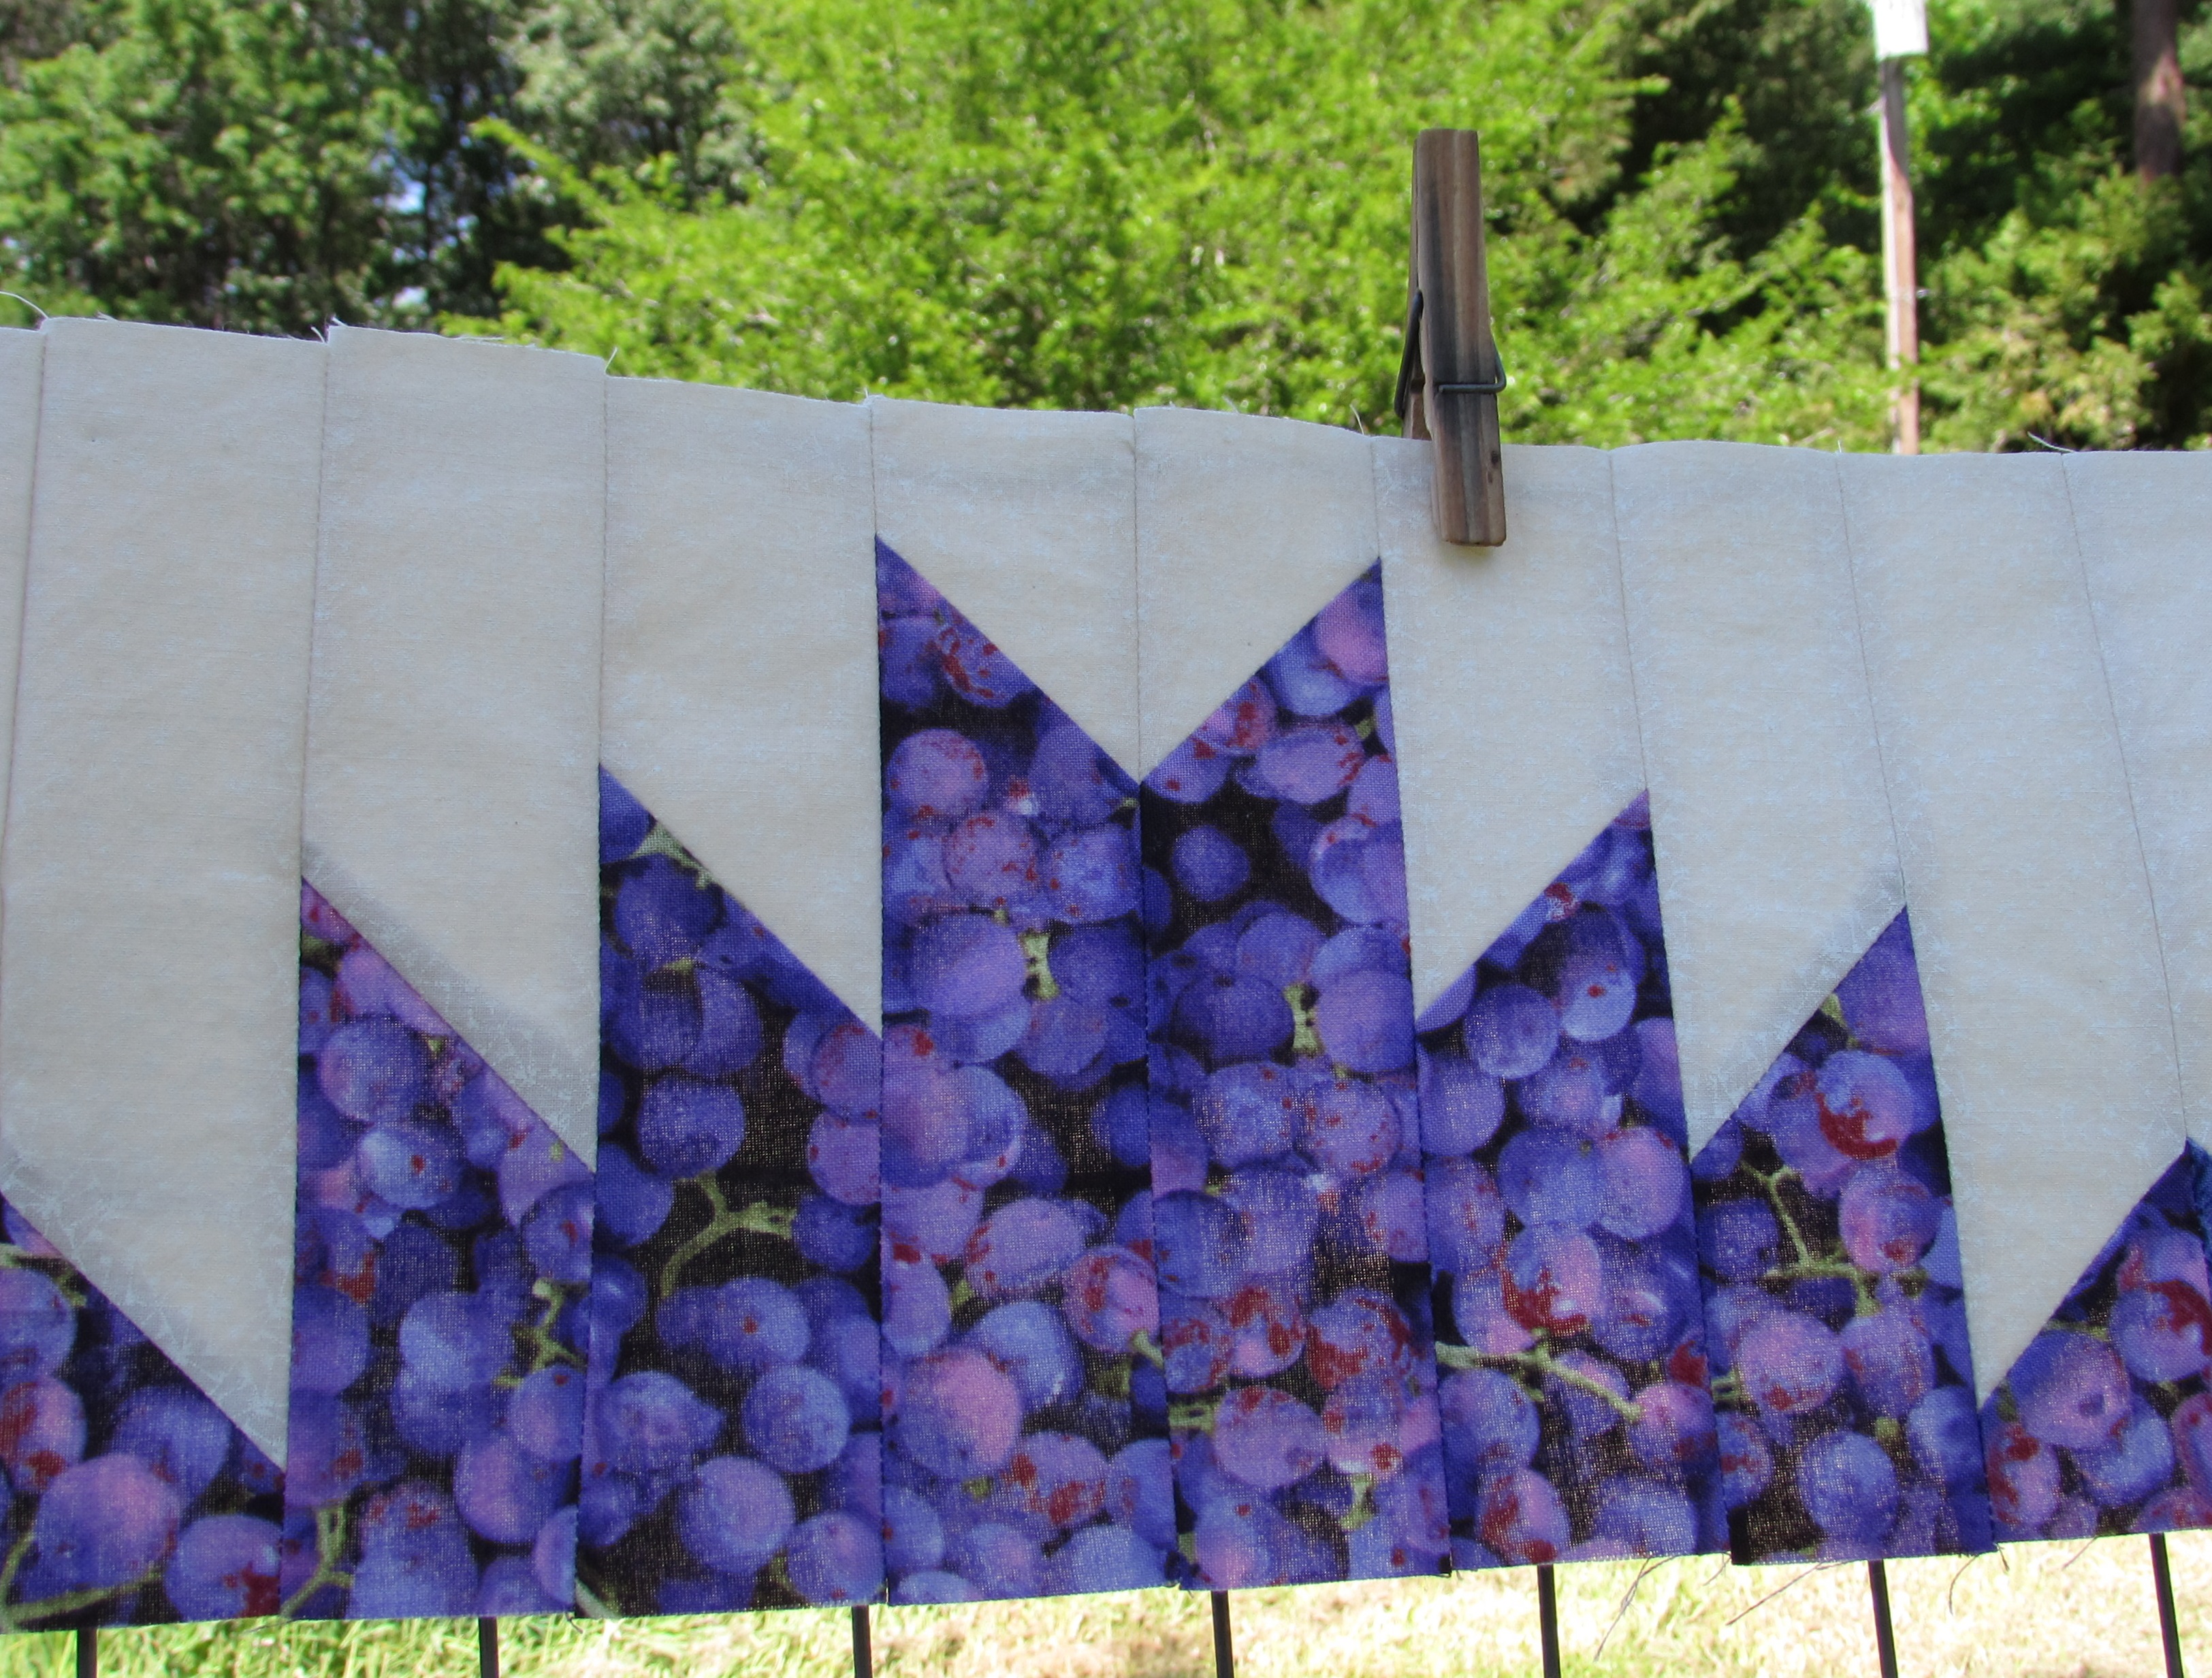
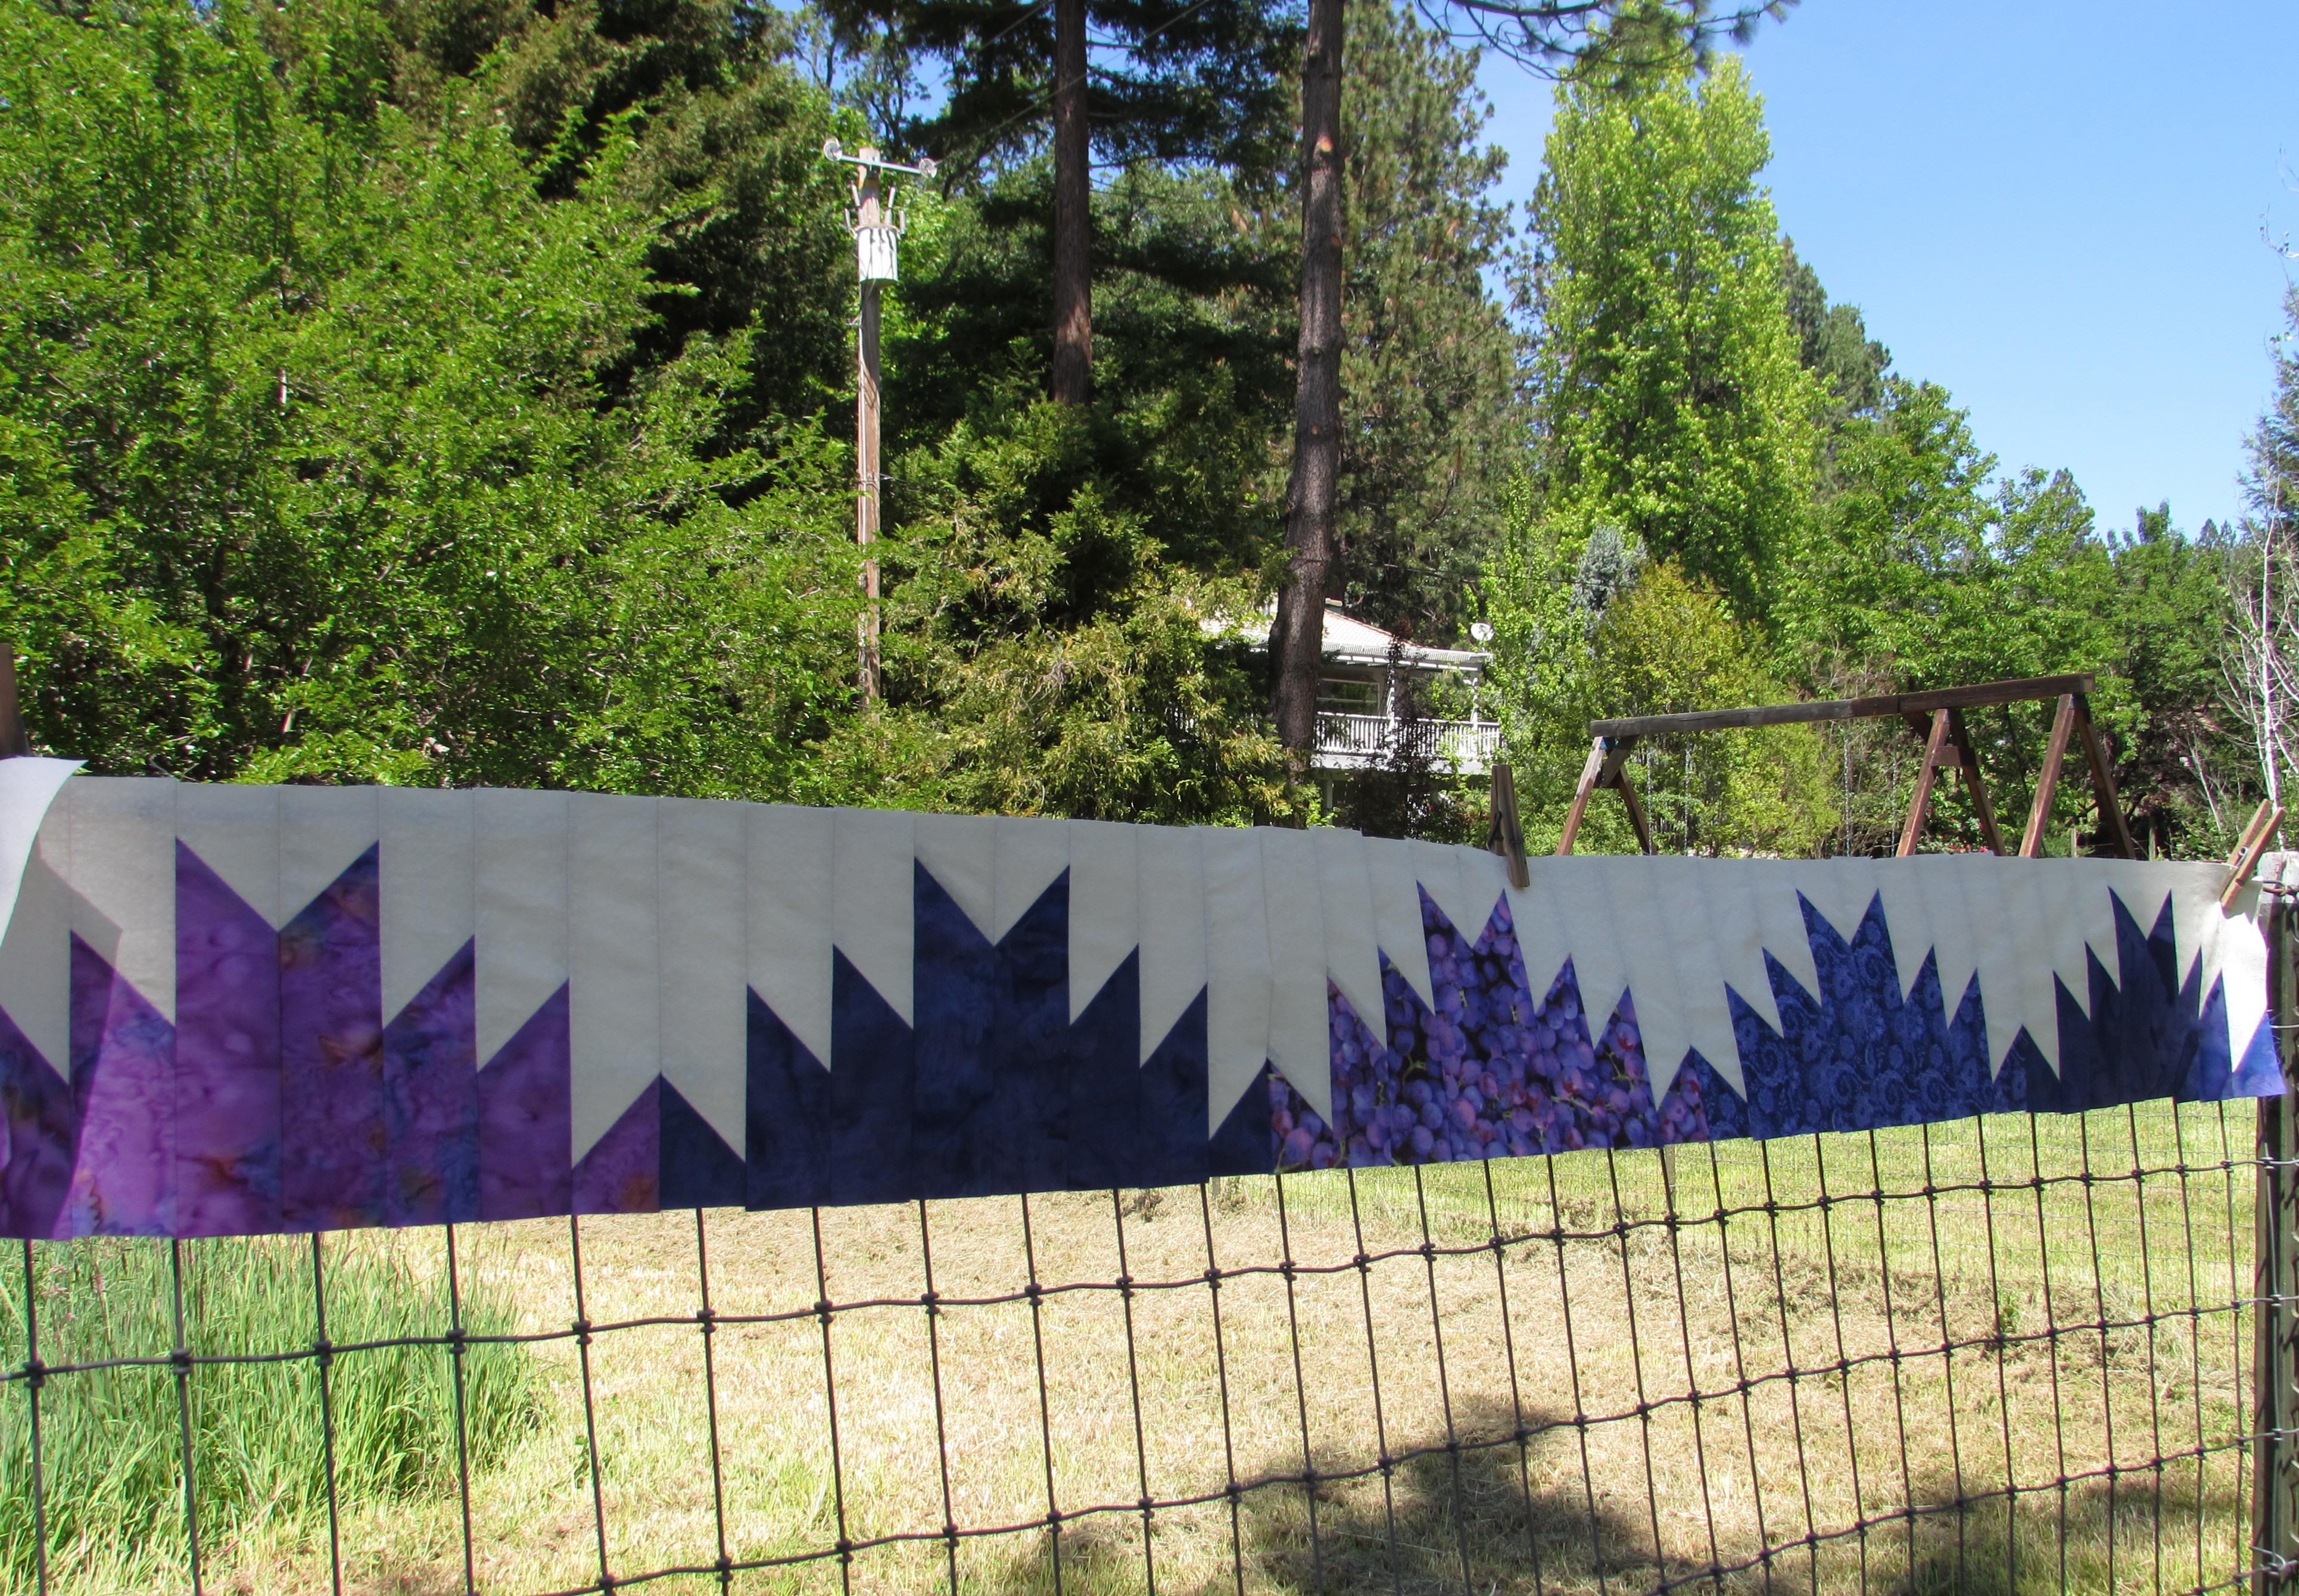
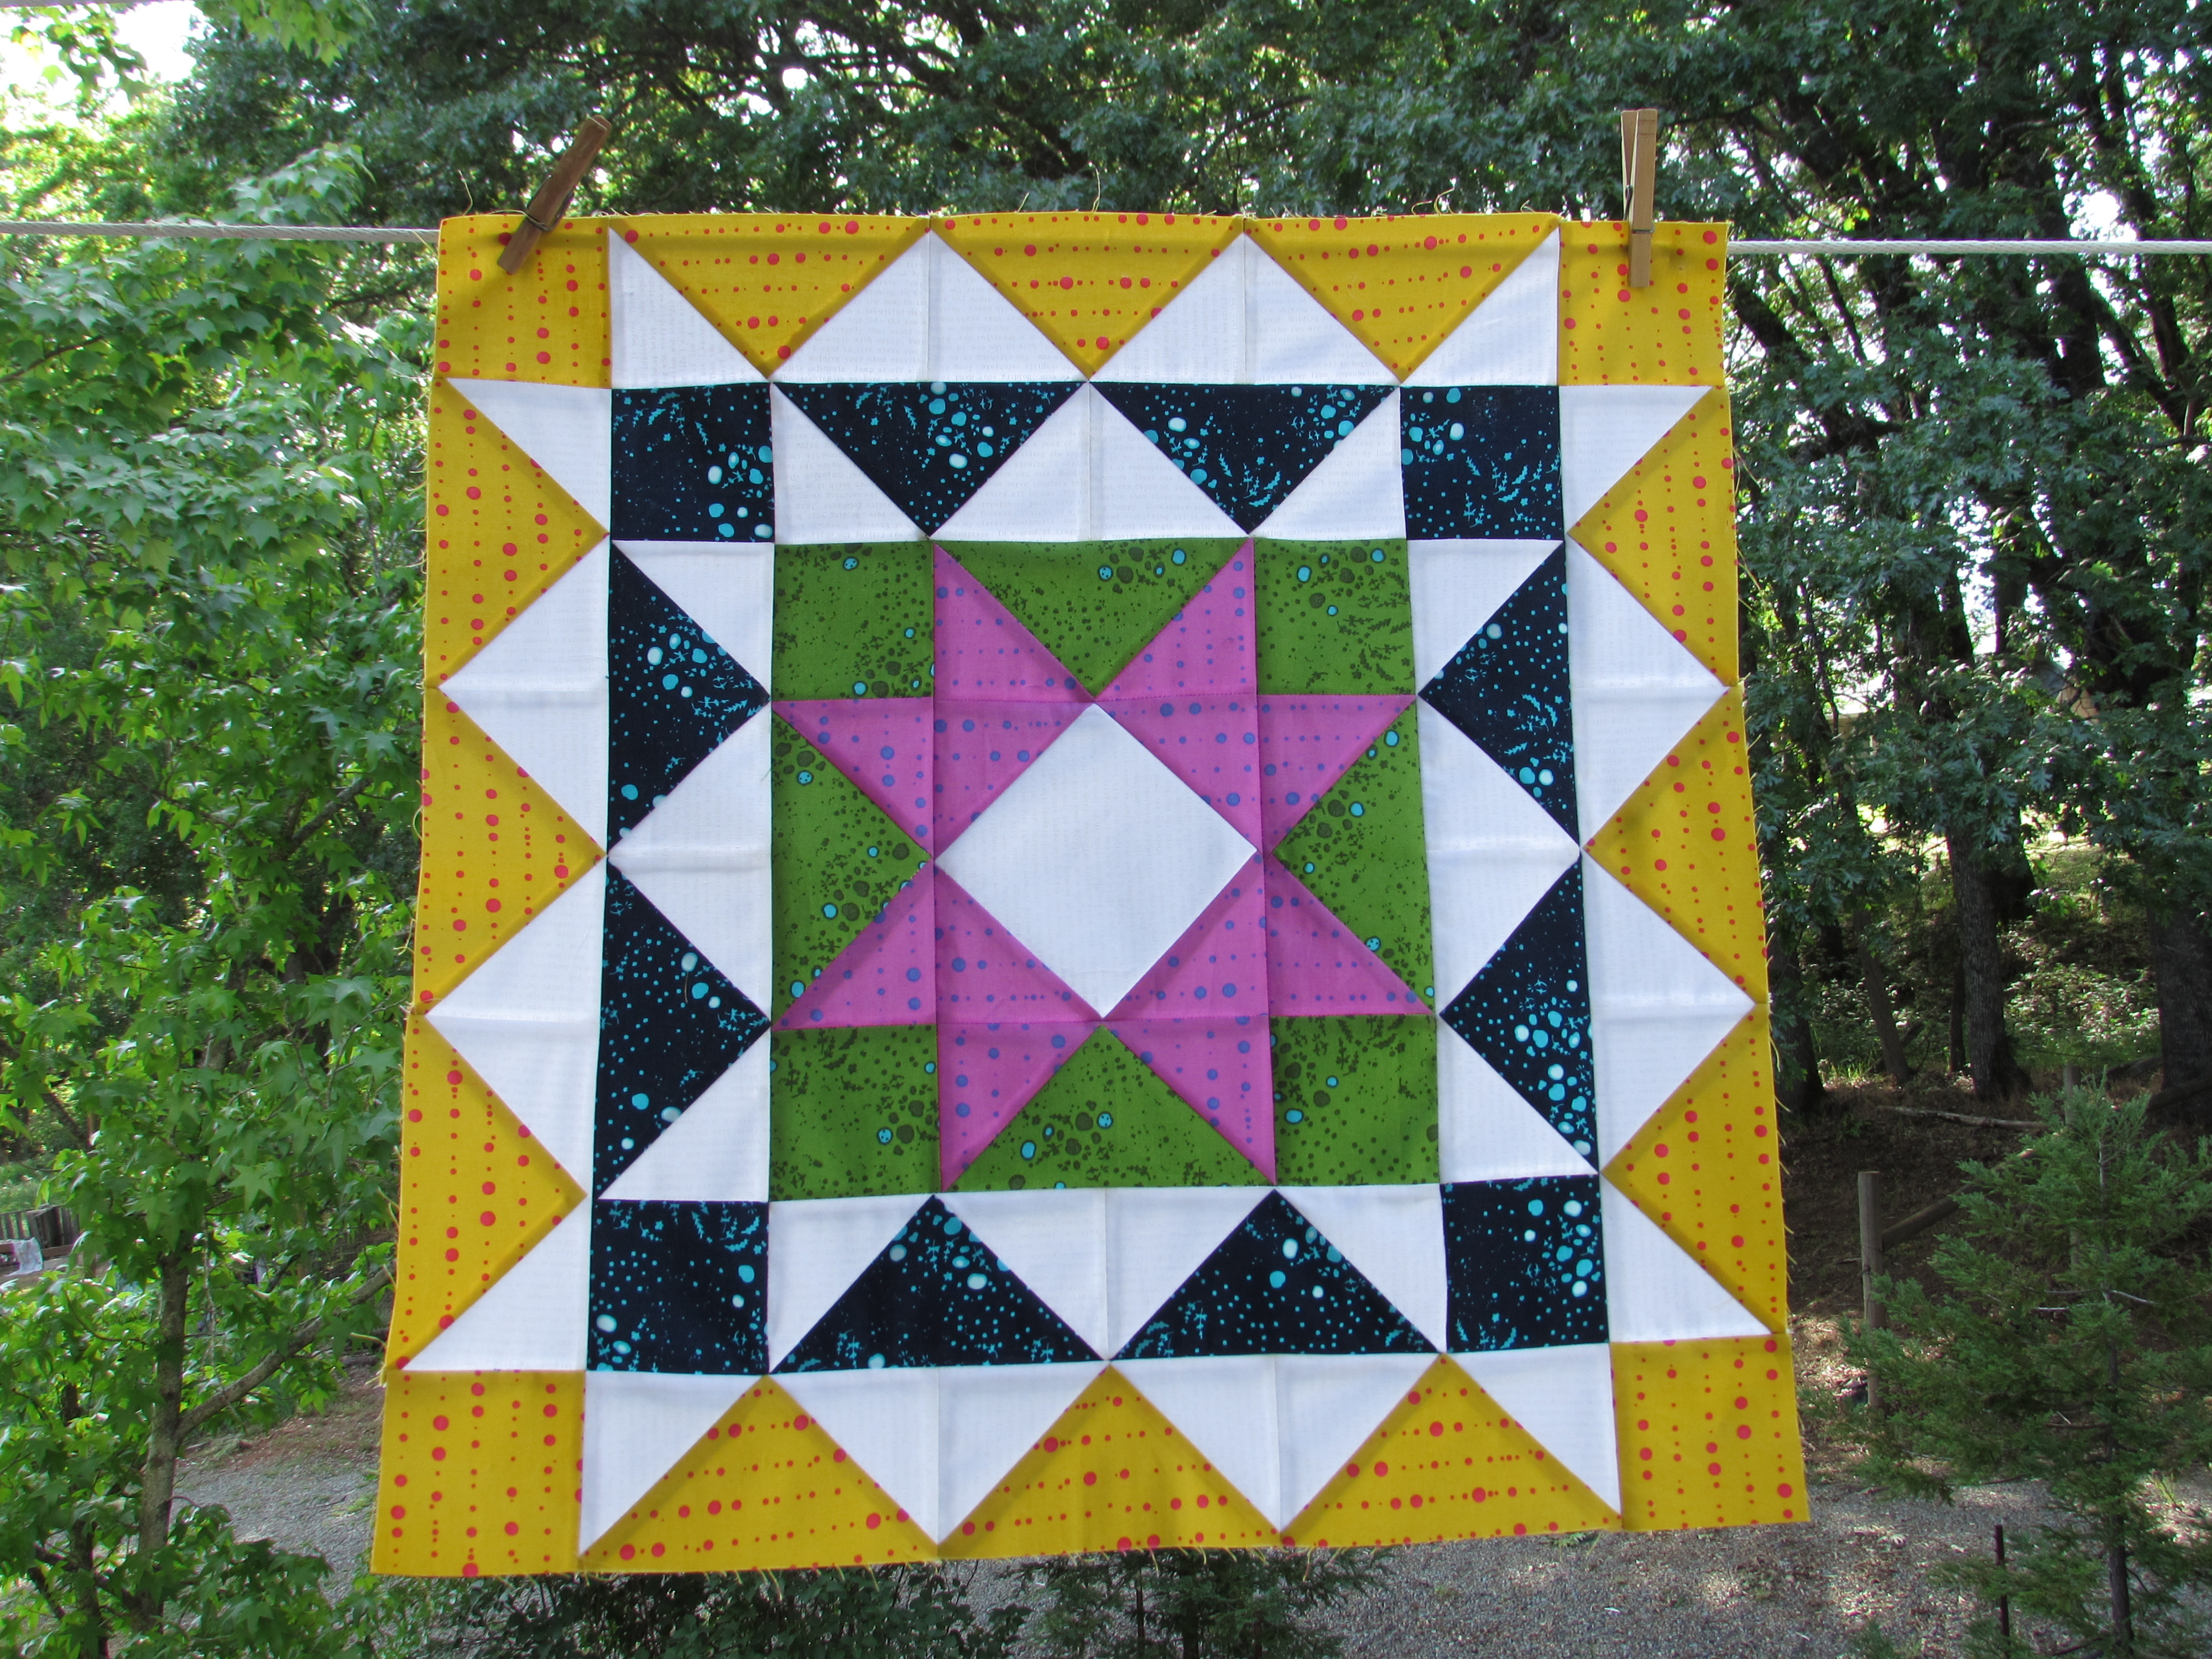
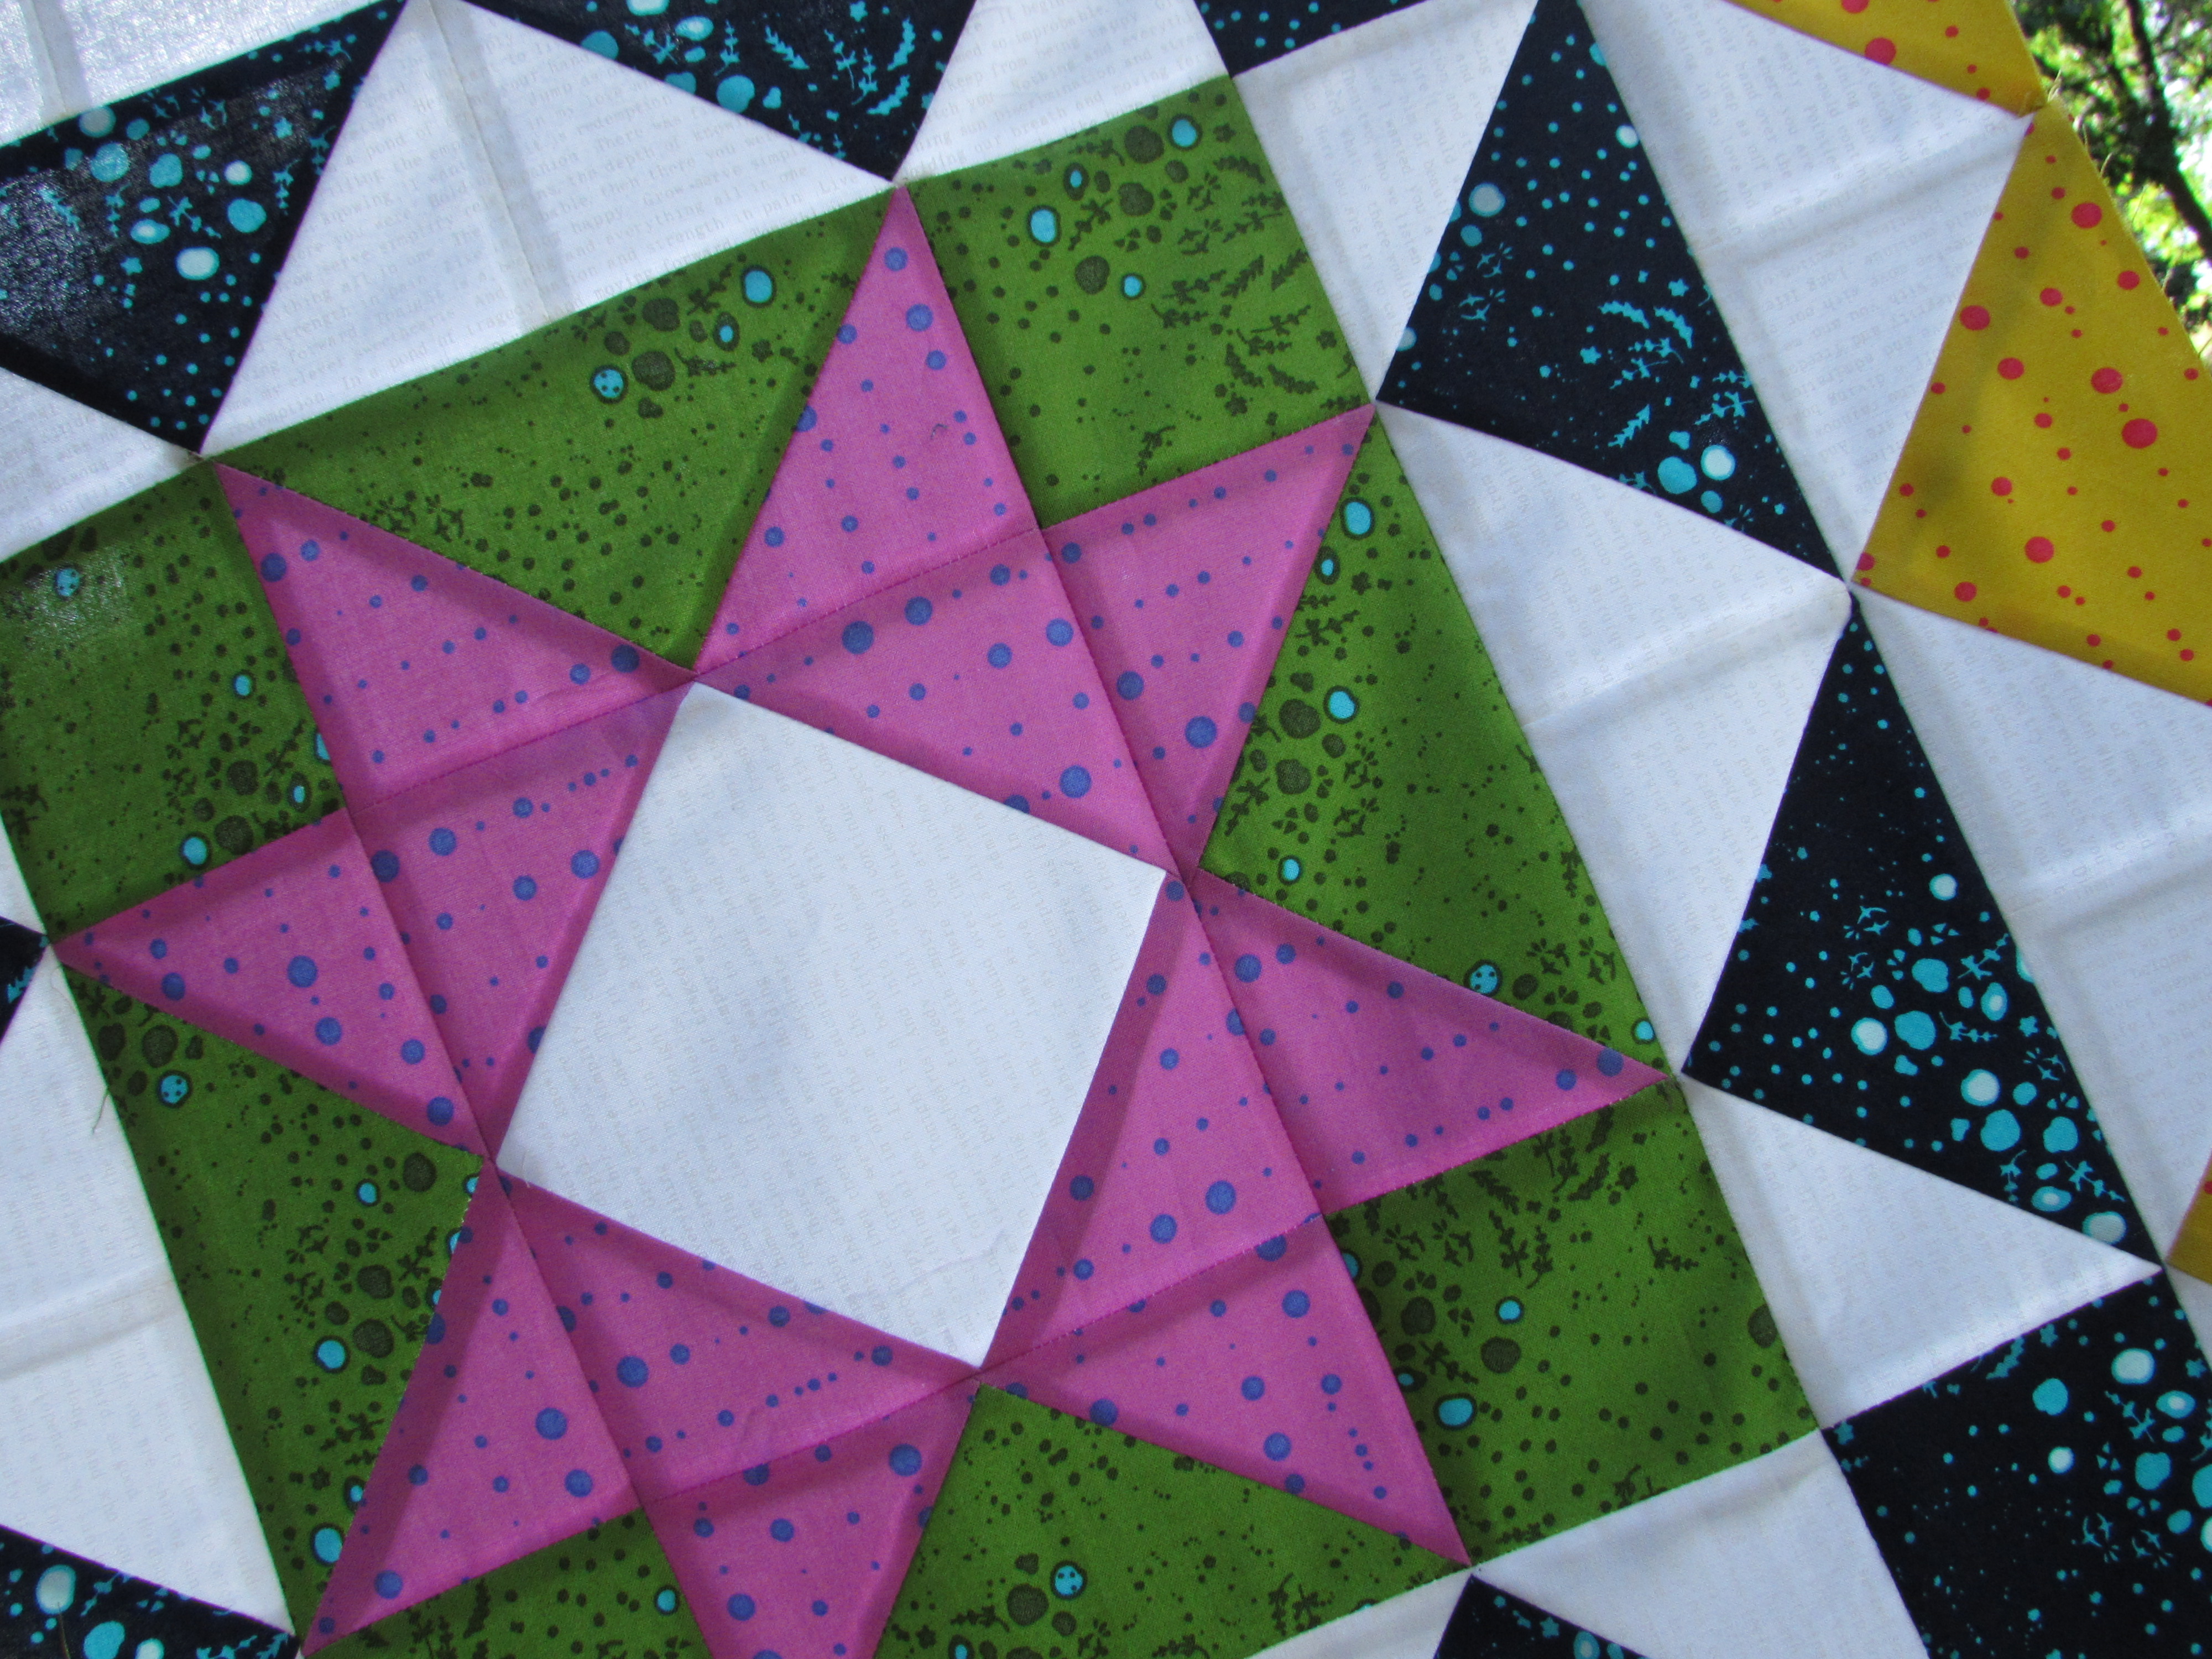
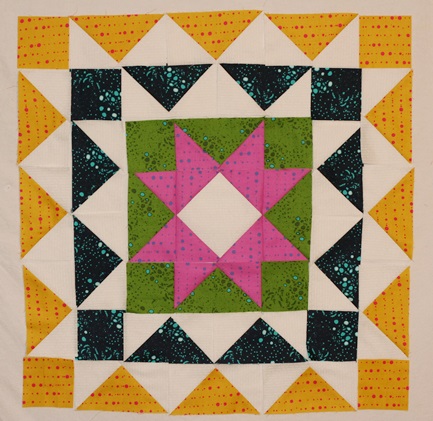
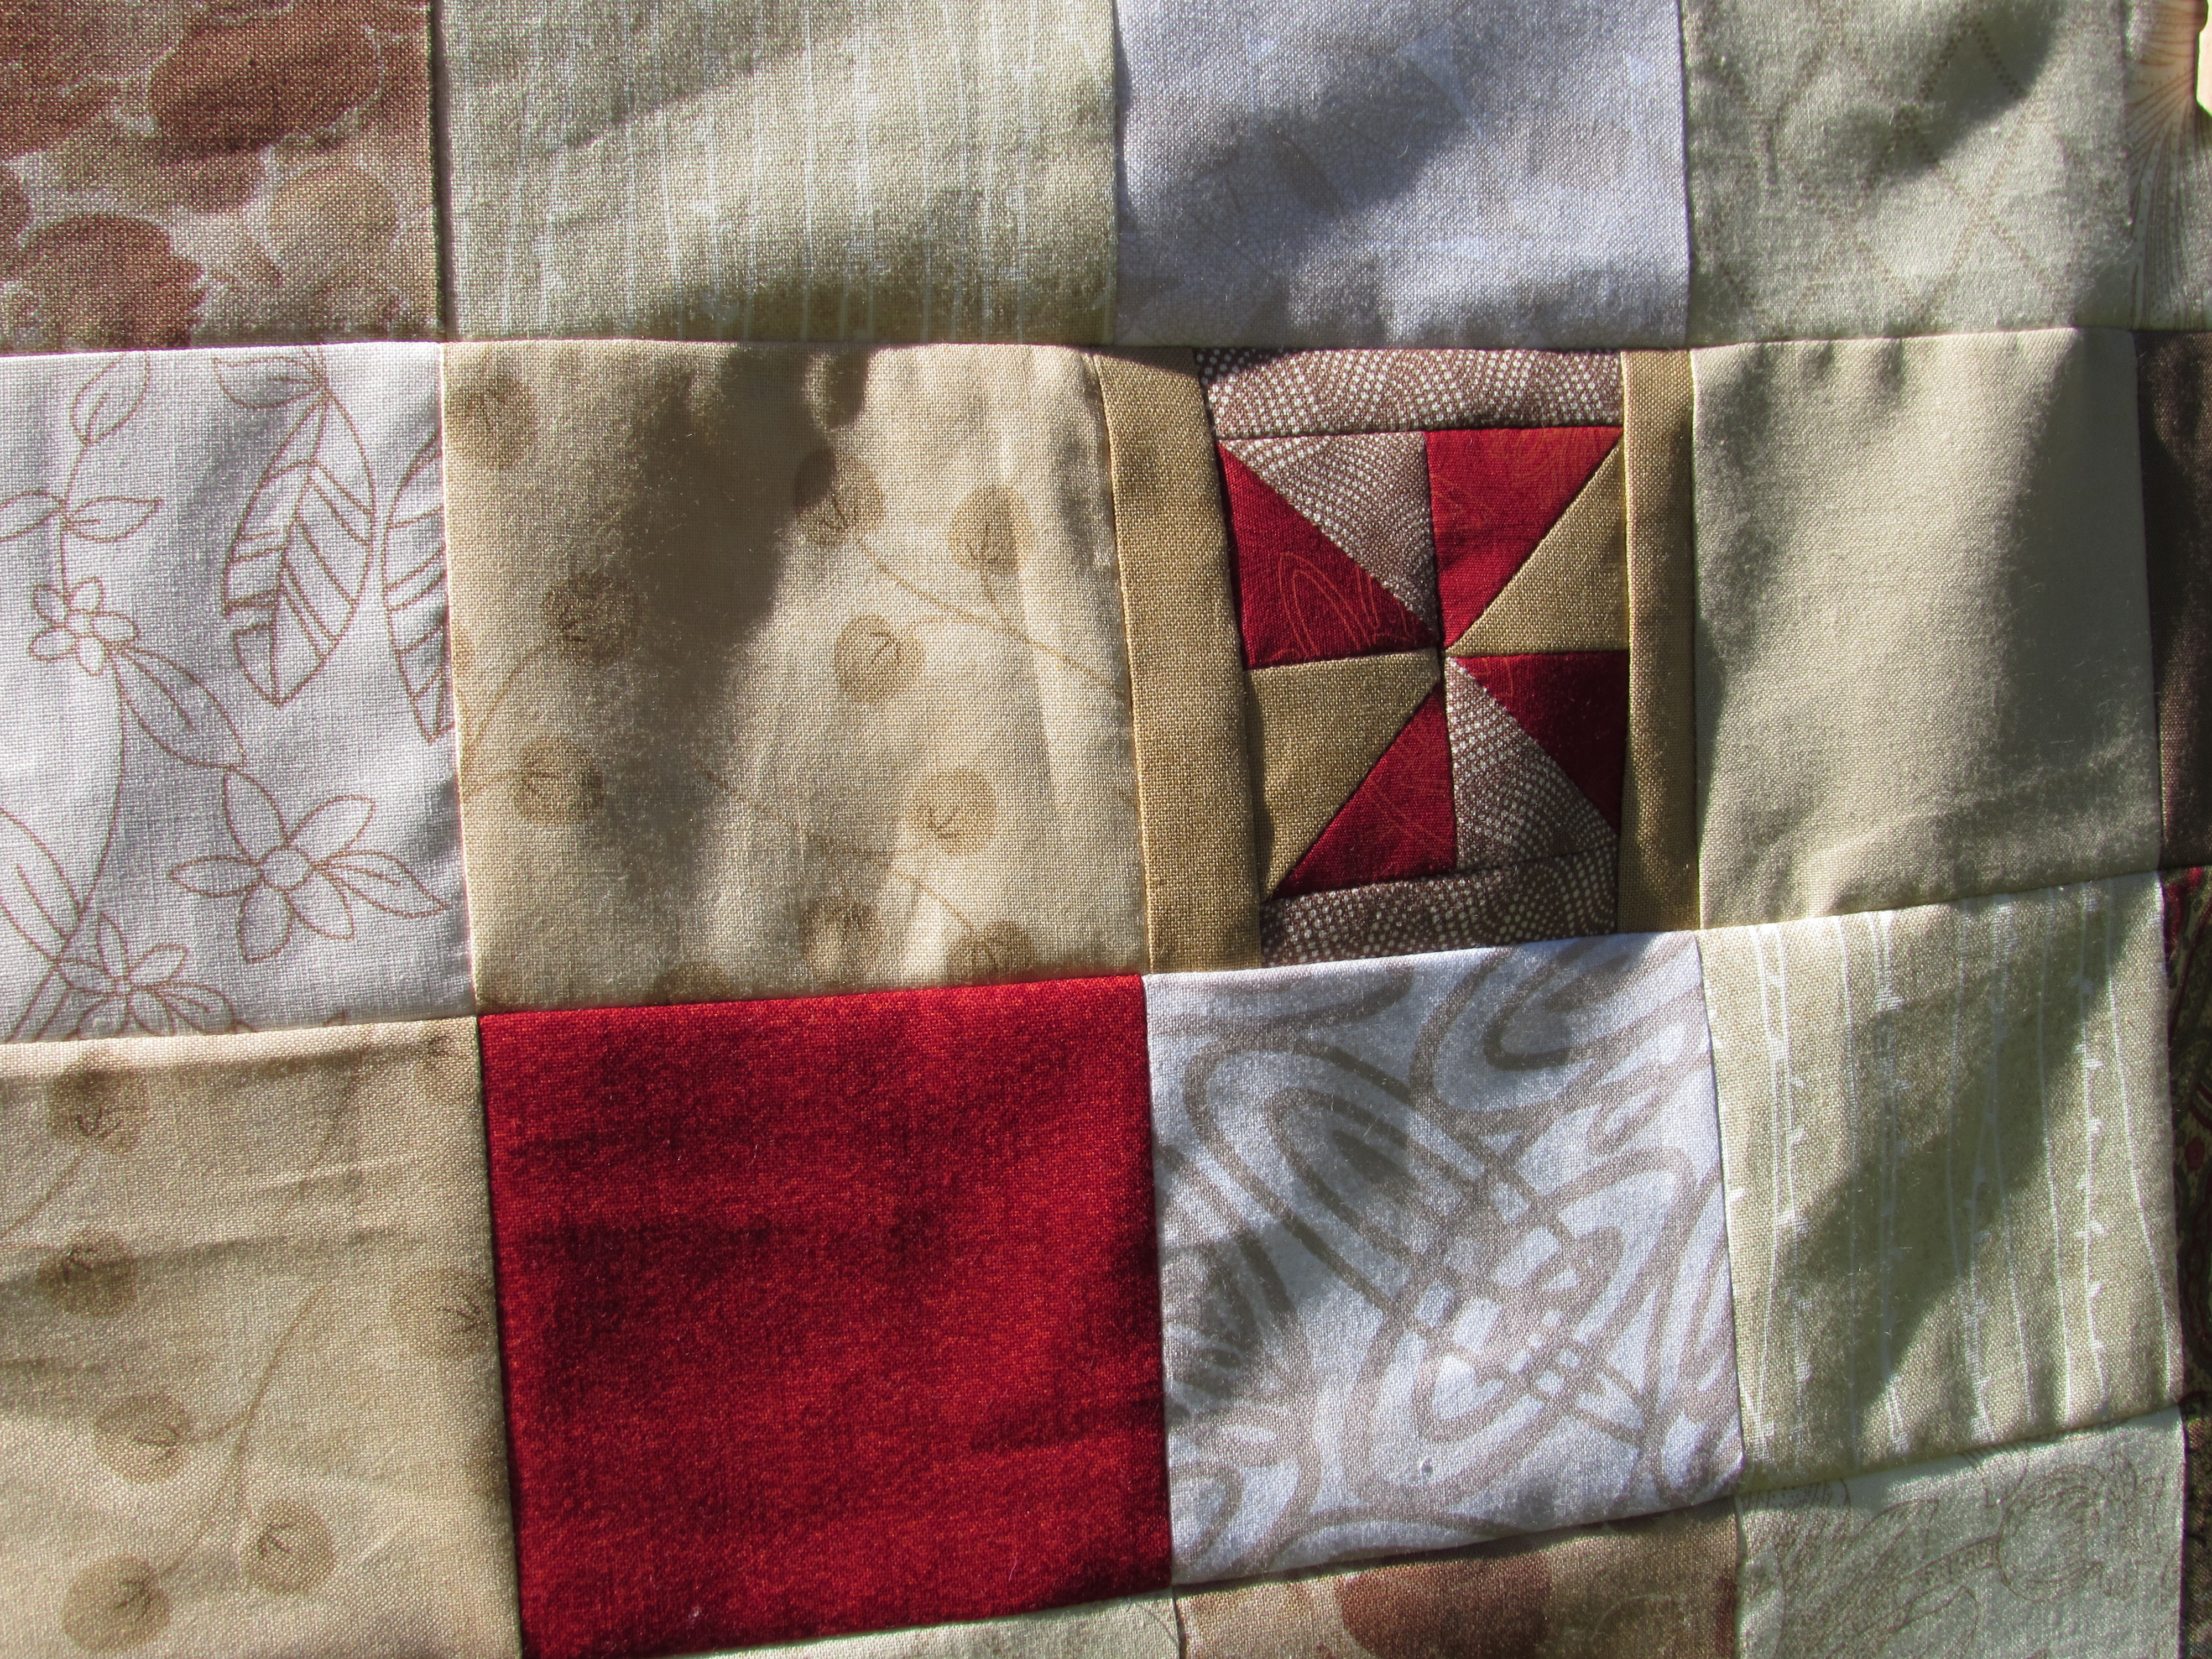
Being the first of June, it is time to link up to Sew Bittersweet Designs for ALYOF.  I have one last quilt top to finish up so that is the goal for the month. I made a batik nine patch back in August of last year. (Posted about it here.)  I love this top and was sort of waiting until my quilting abilities improved before I put it together. Enough waiting. I am going to finish it this month!!  The plan is to free motion it with some sort of all-over pattern.

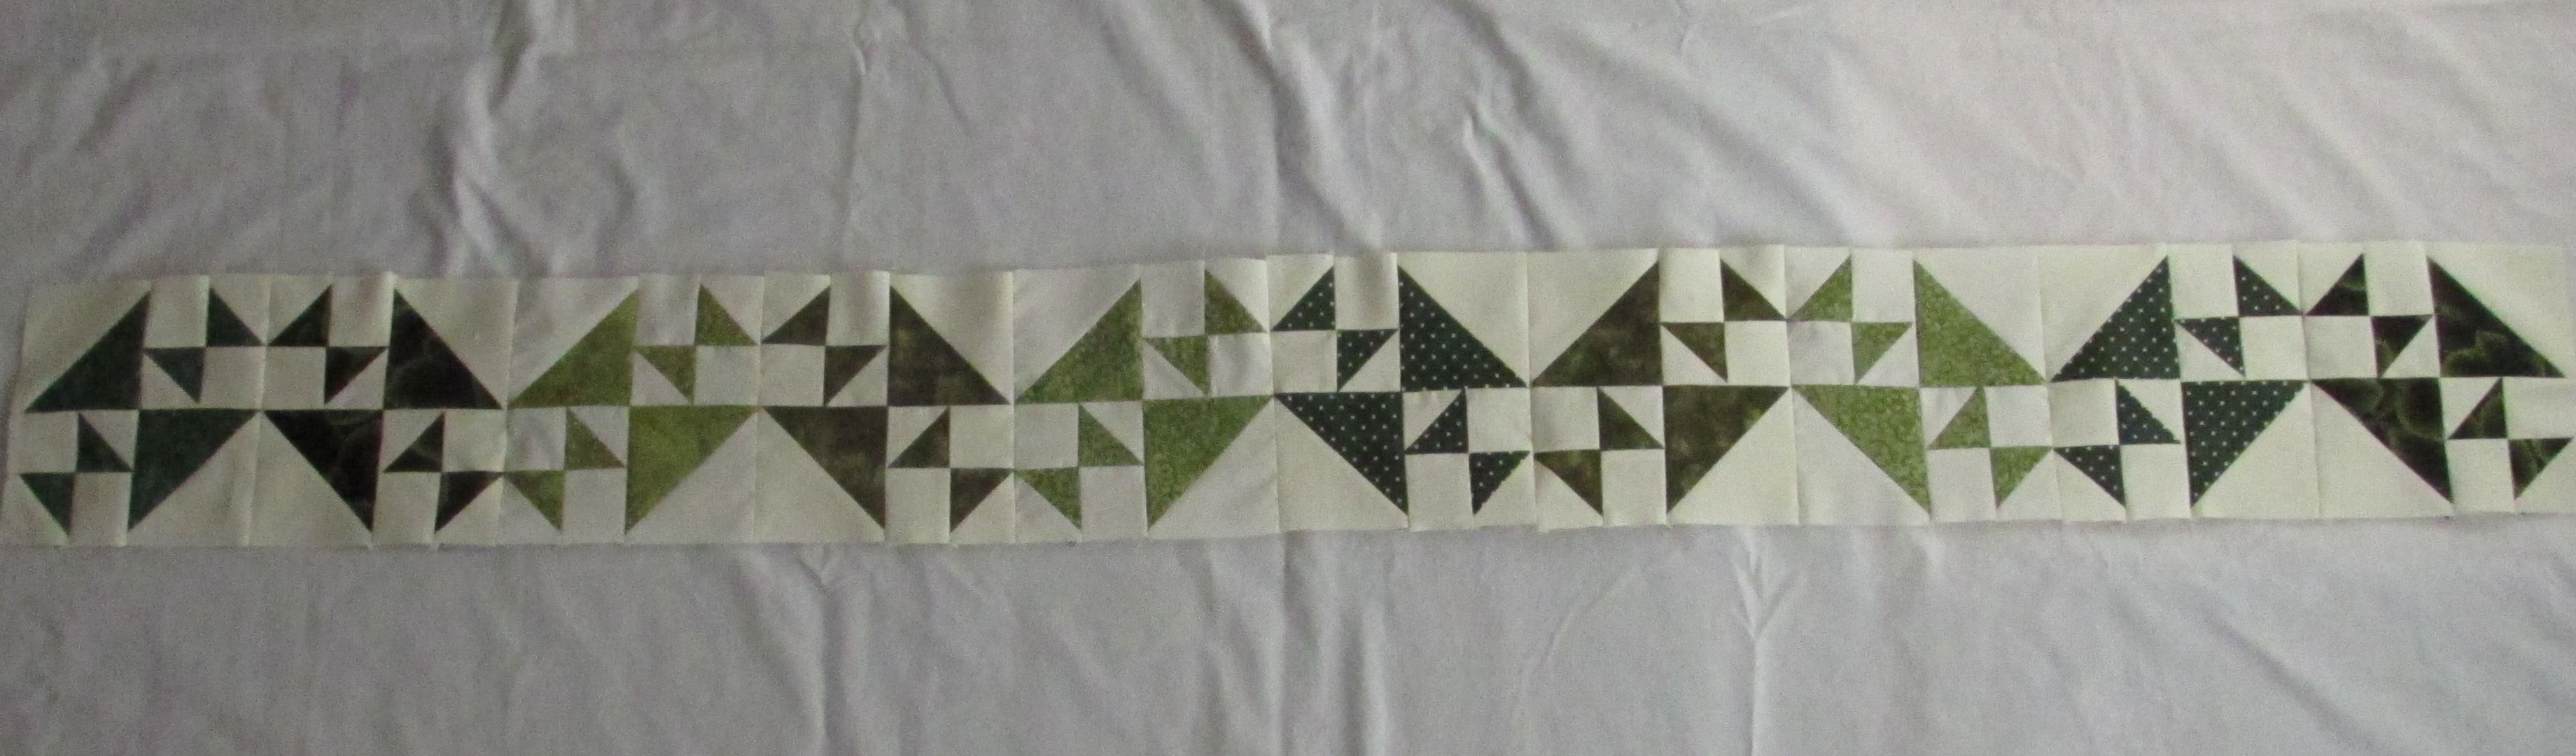
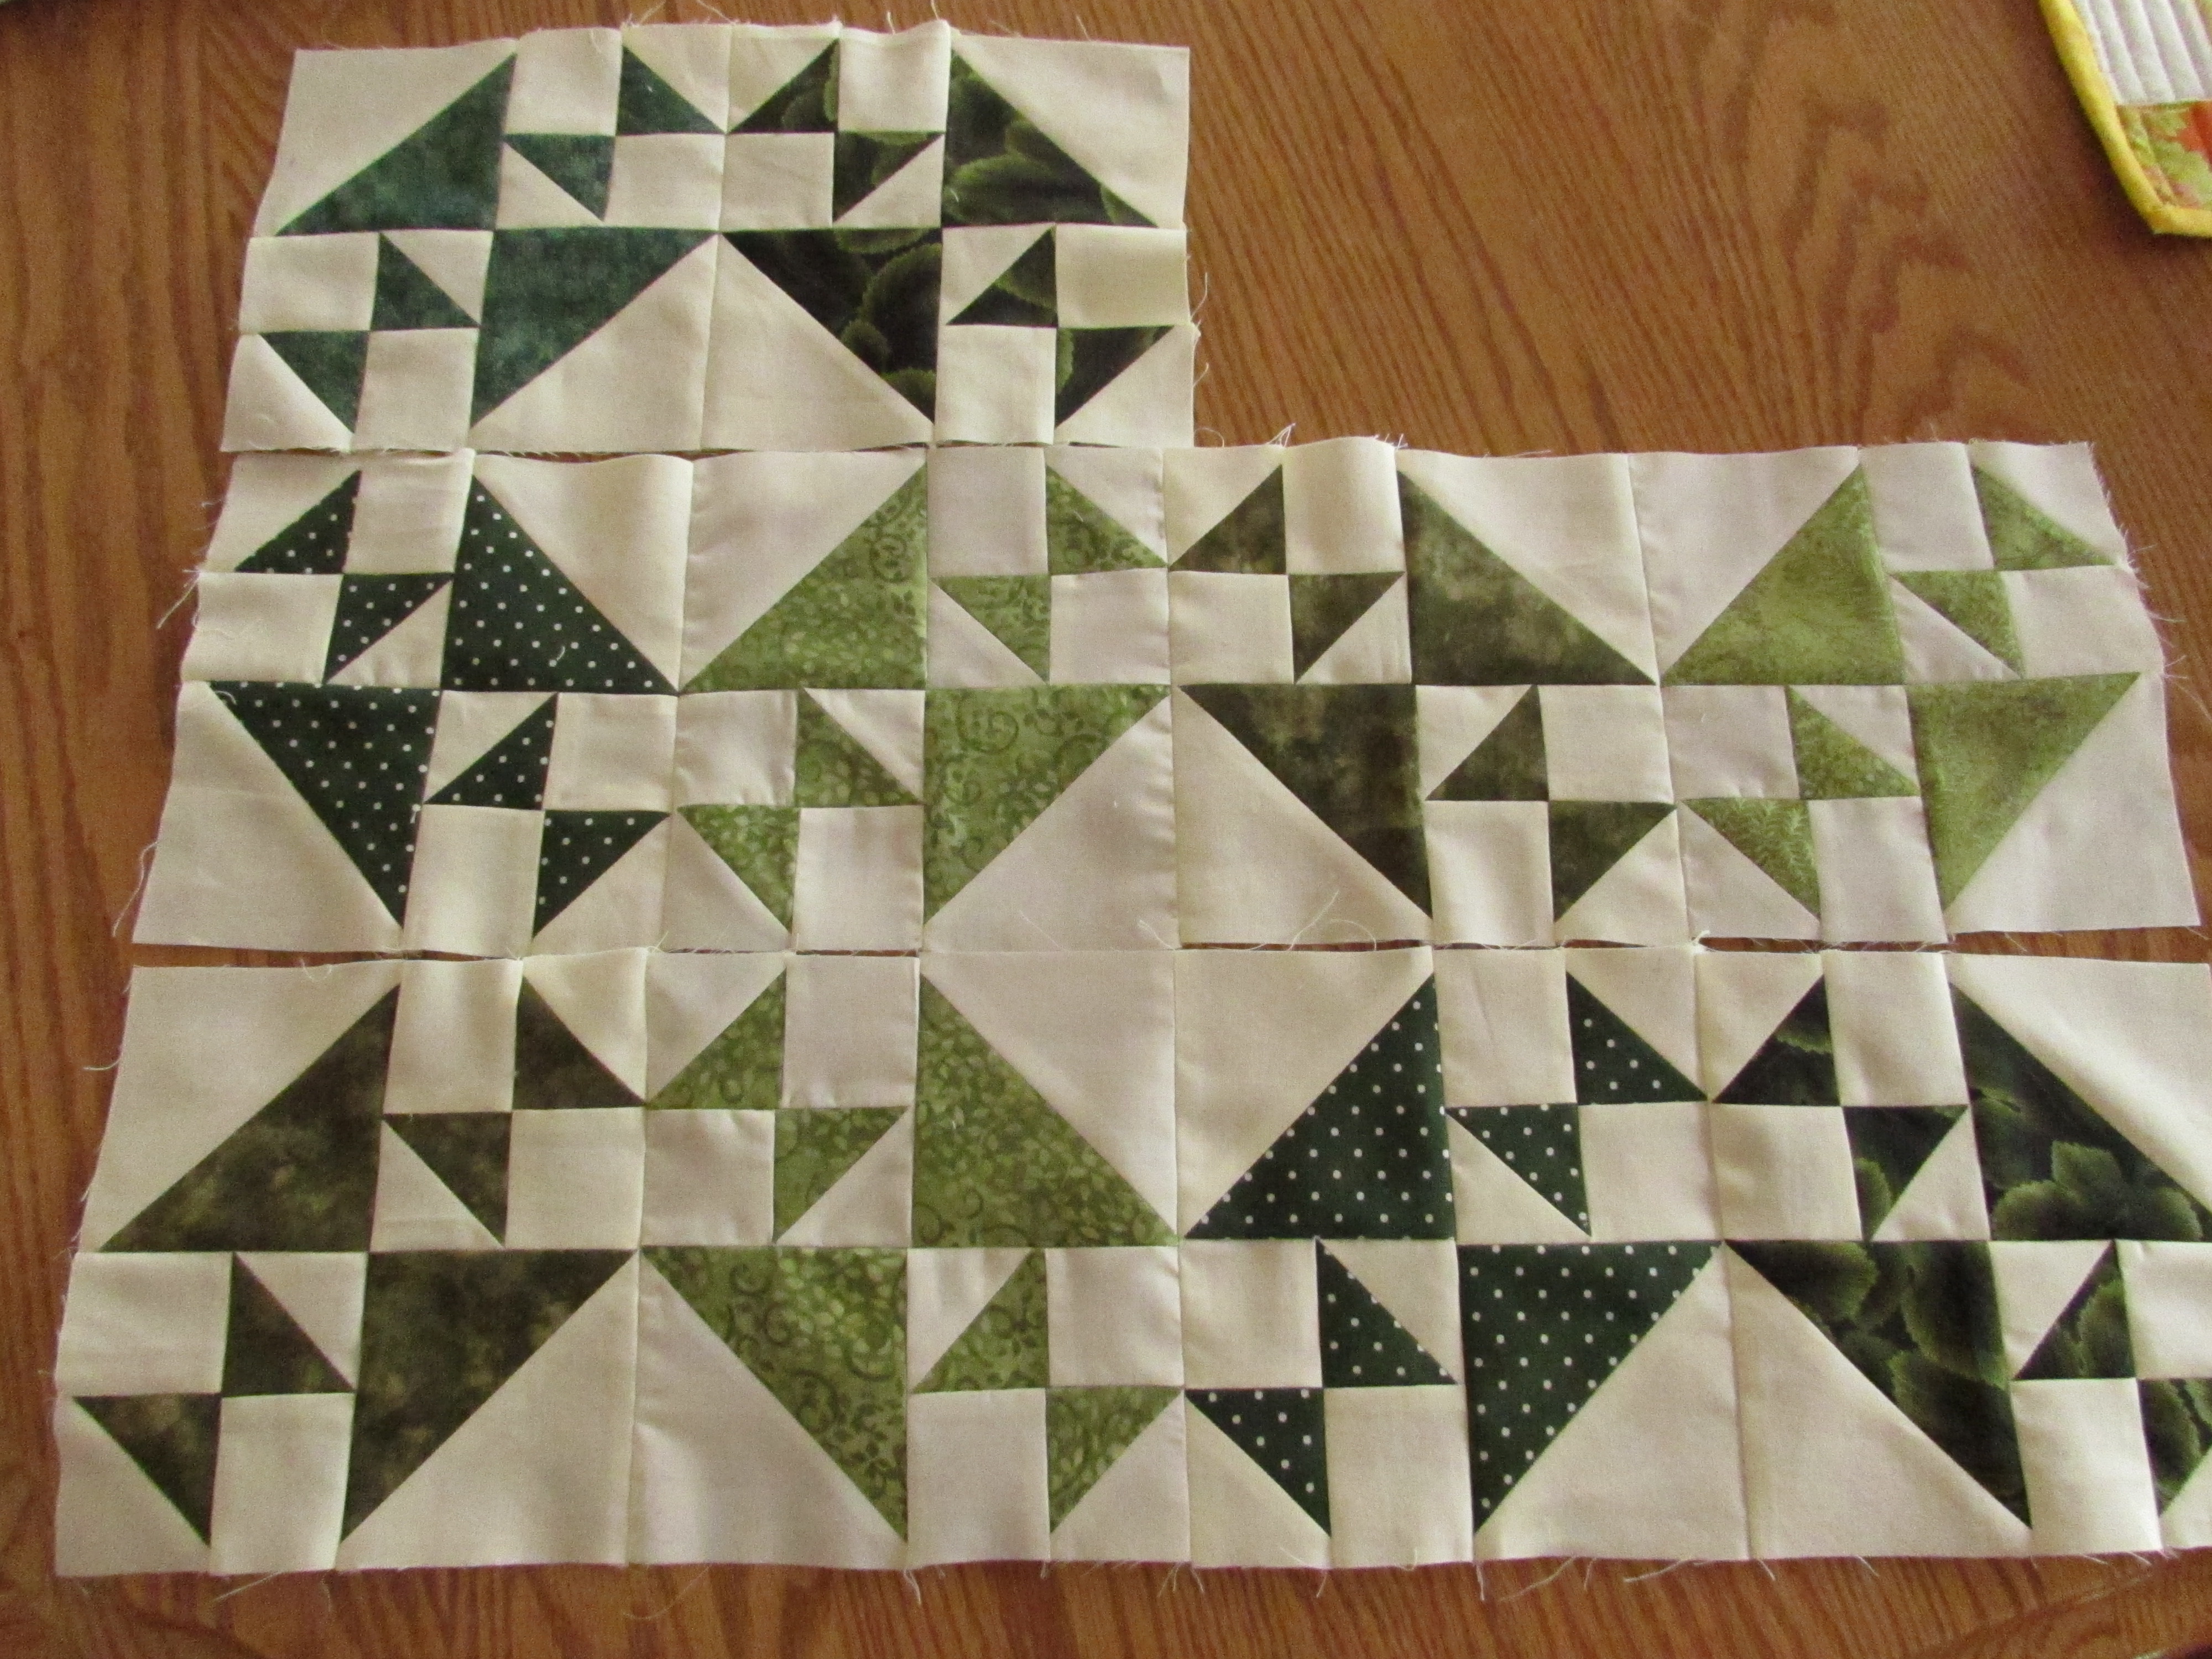
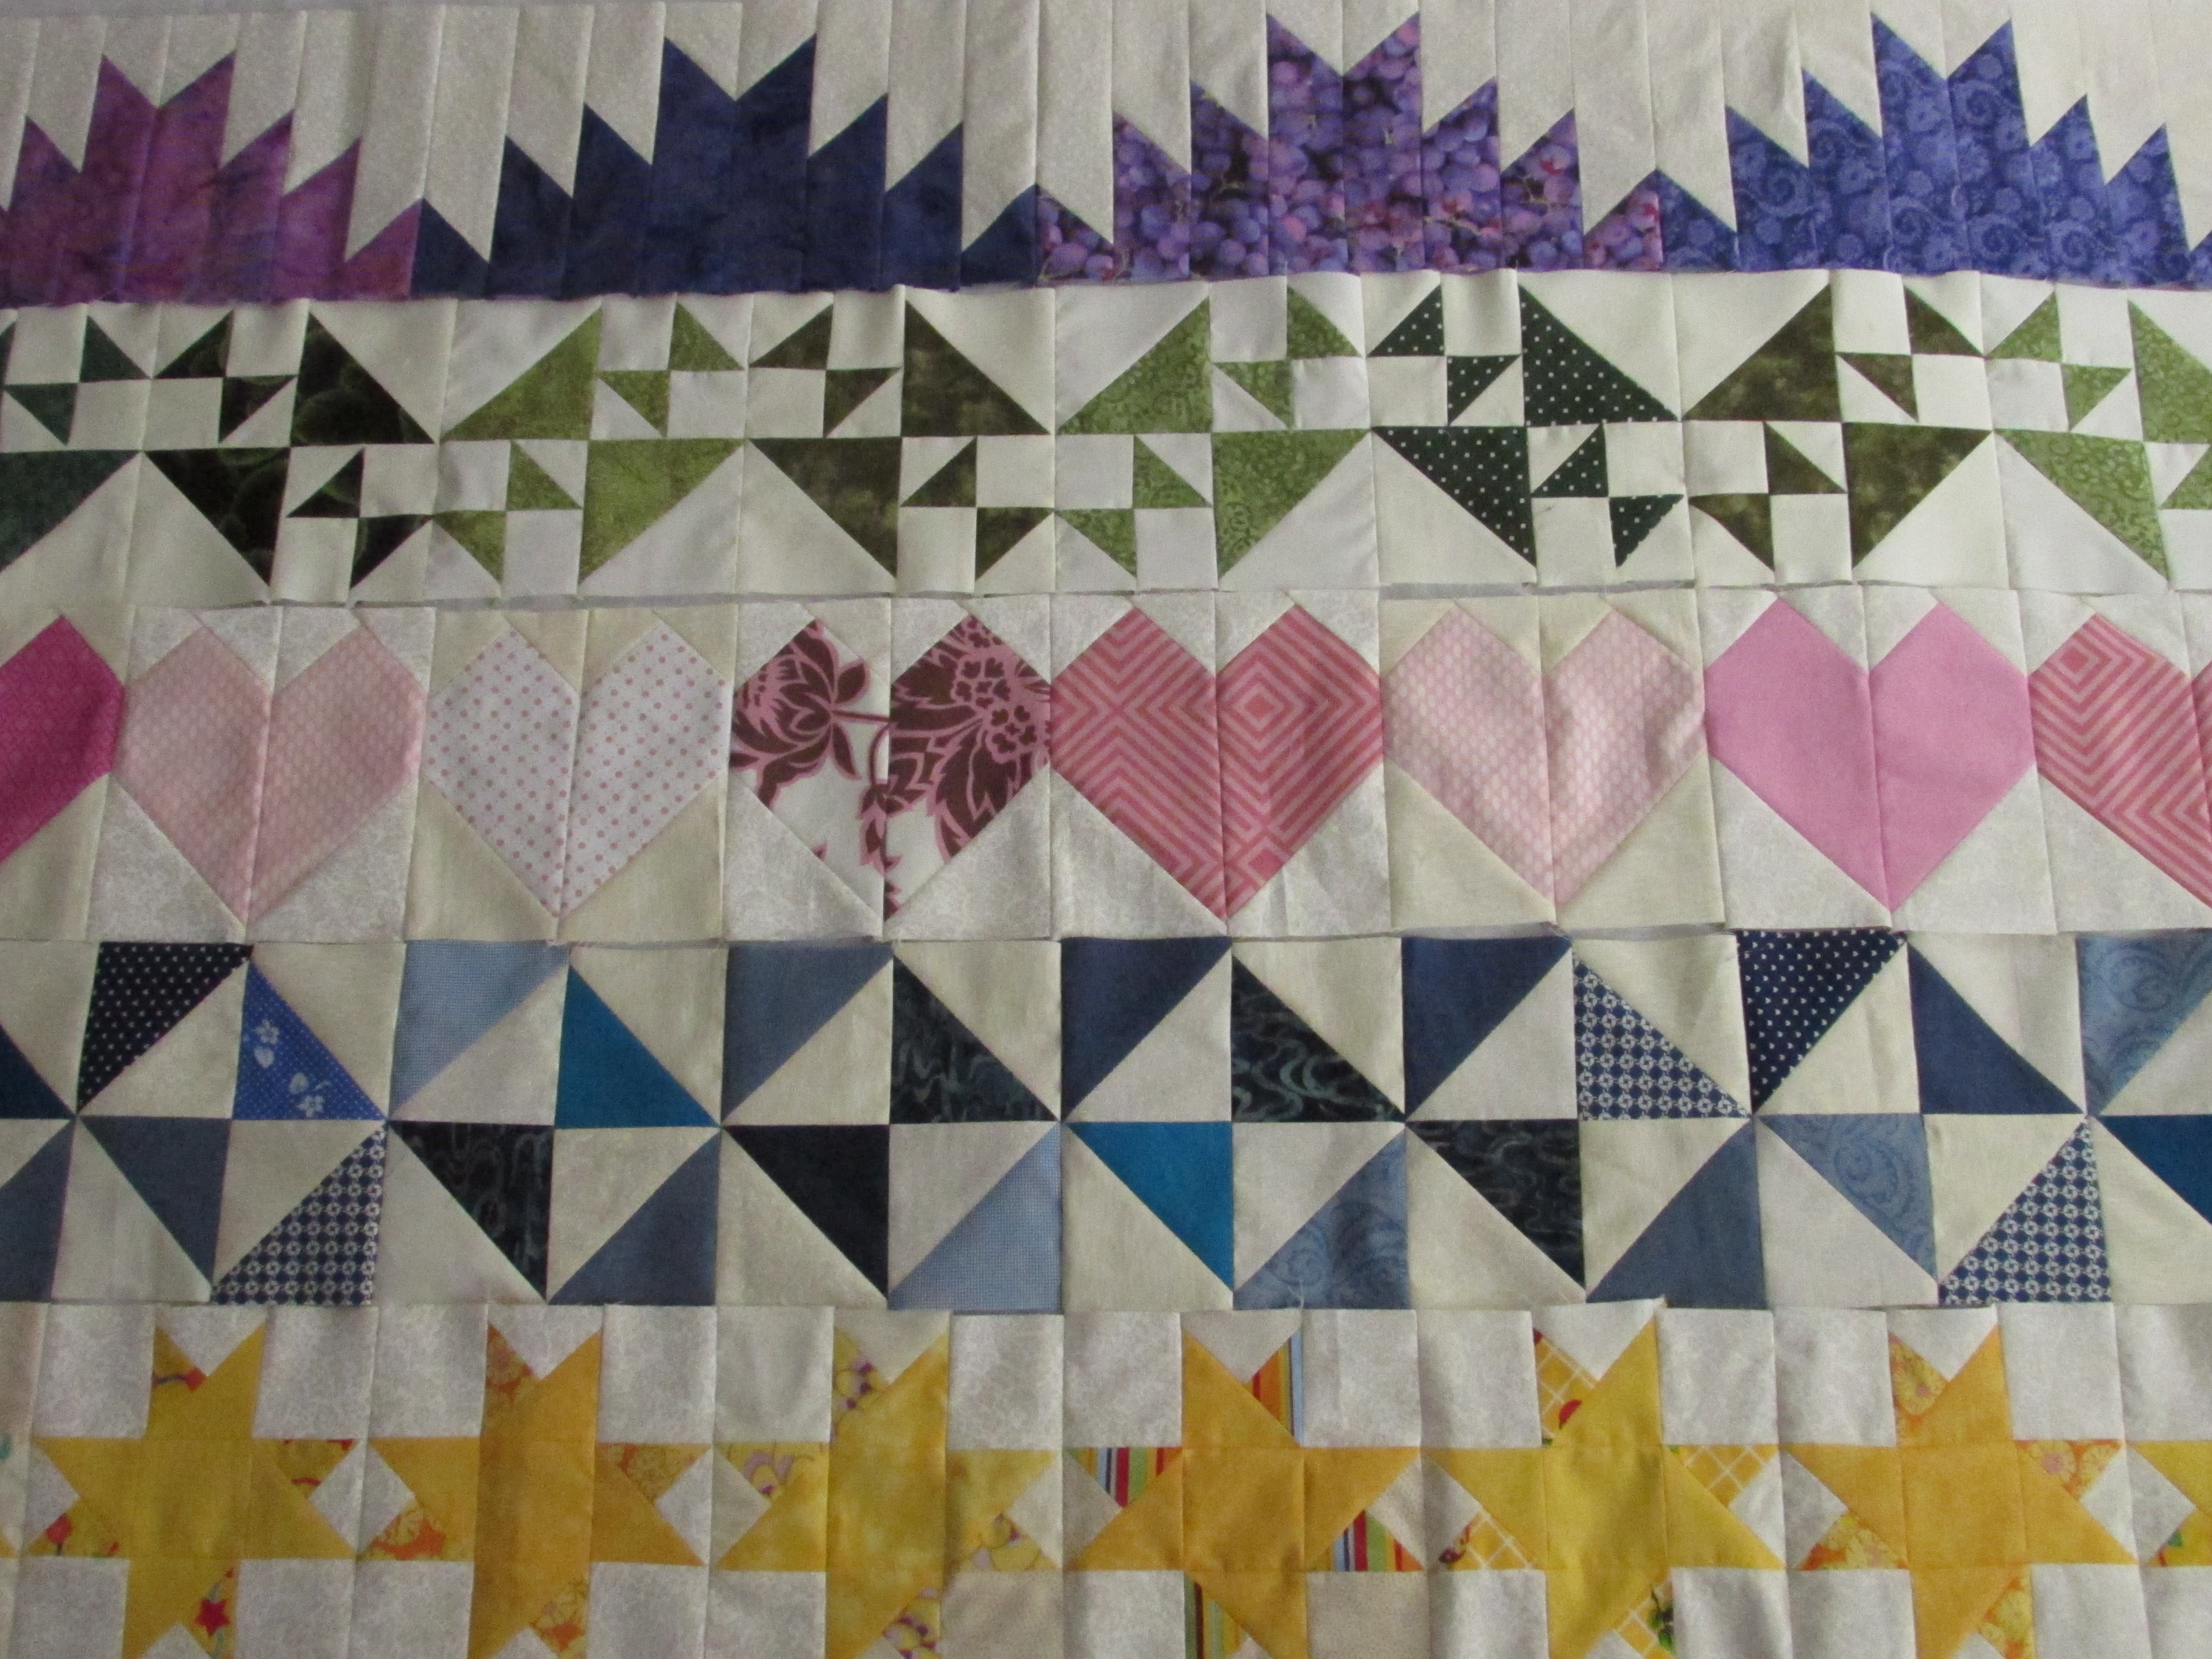
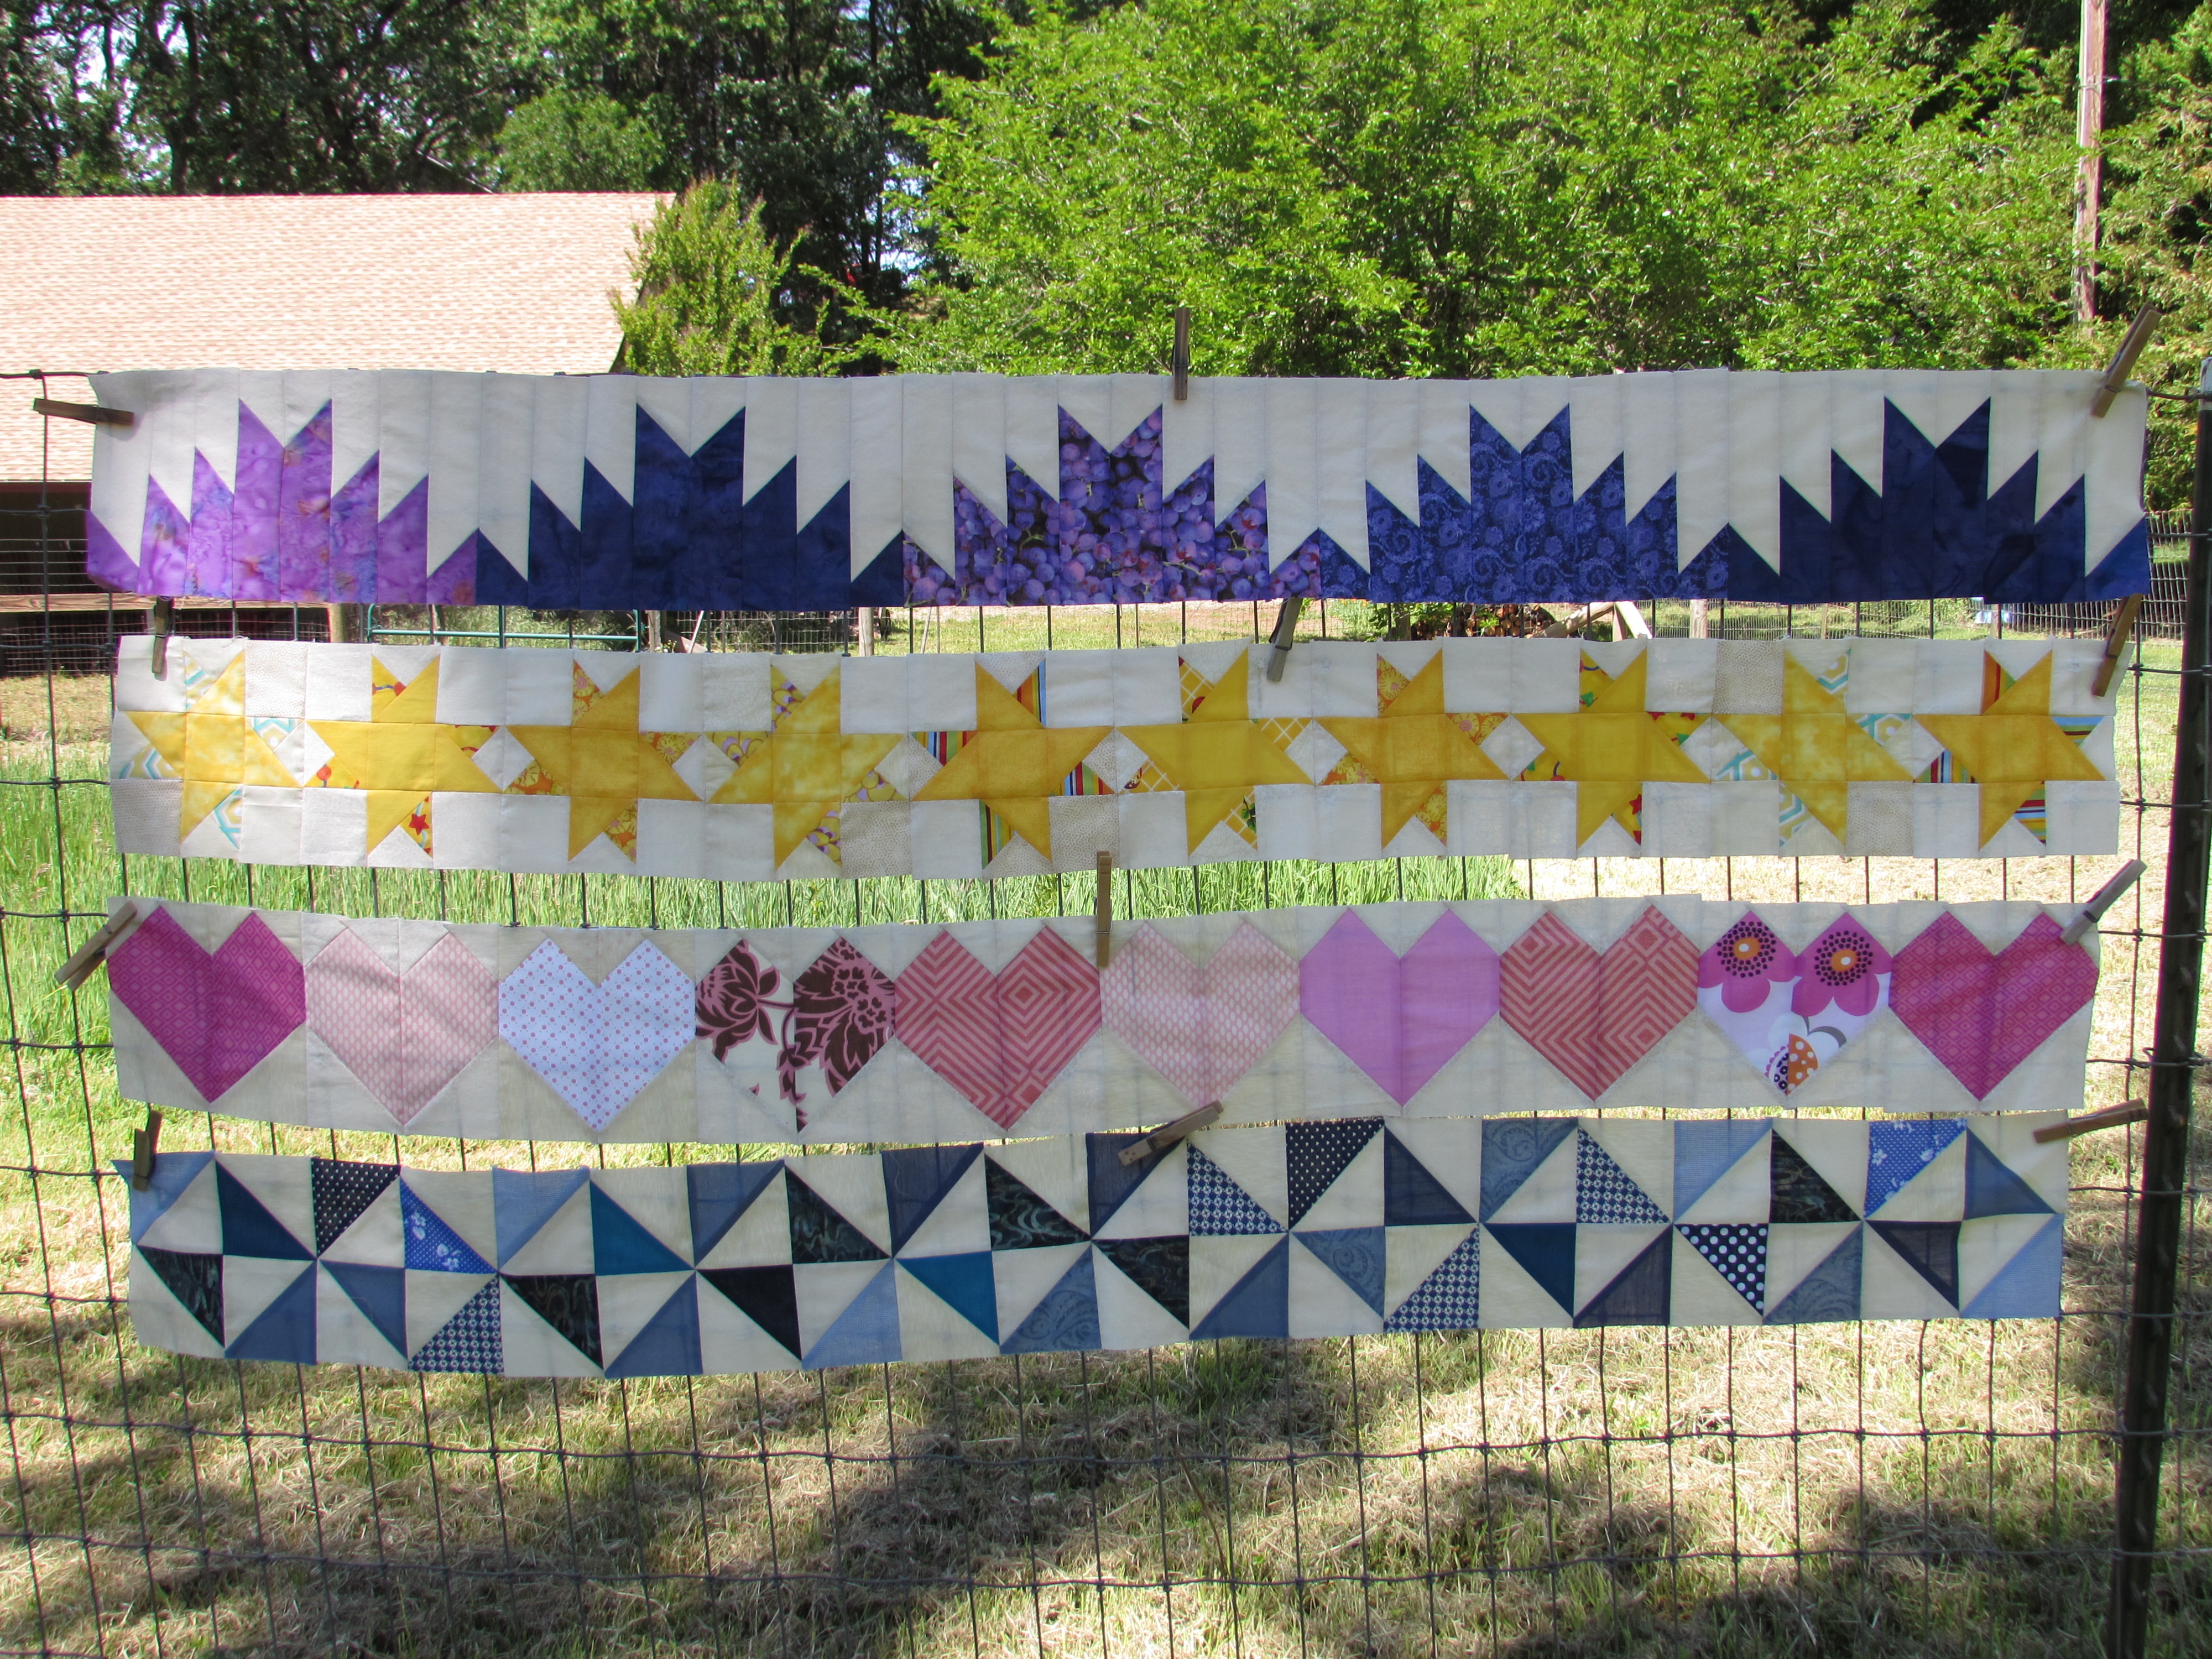
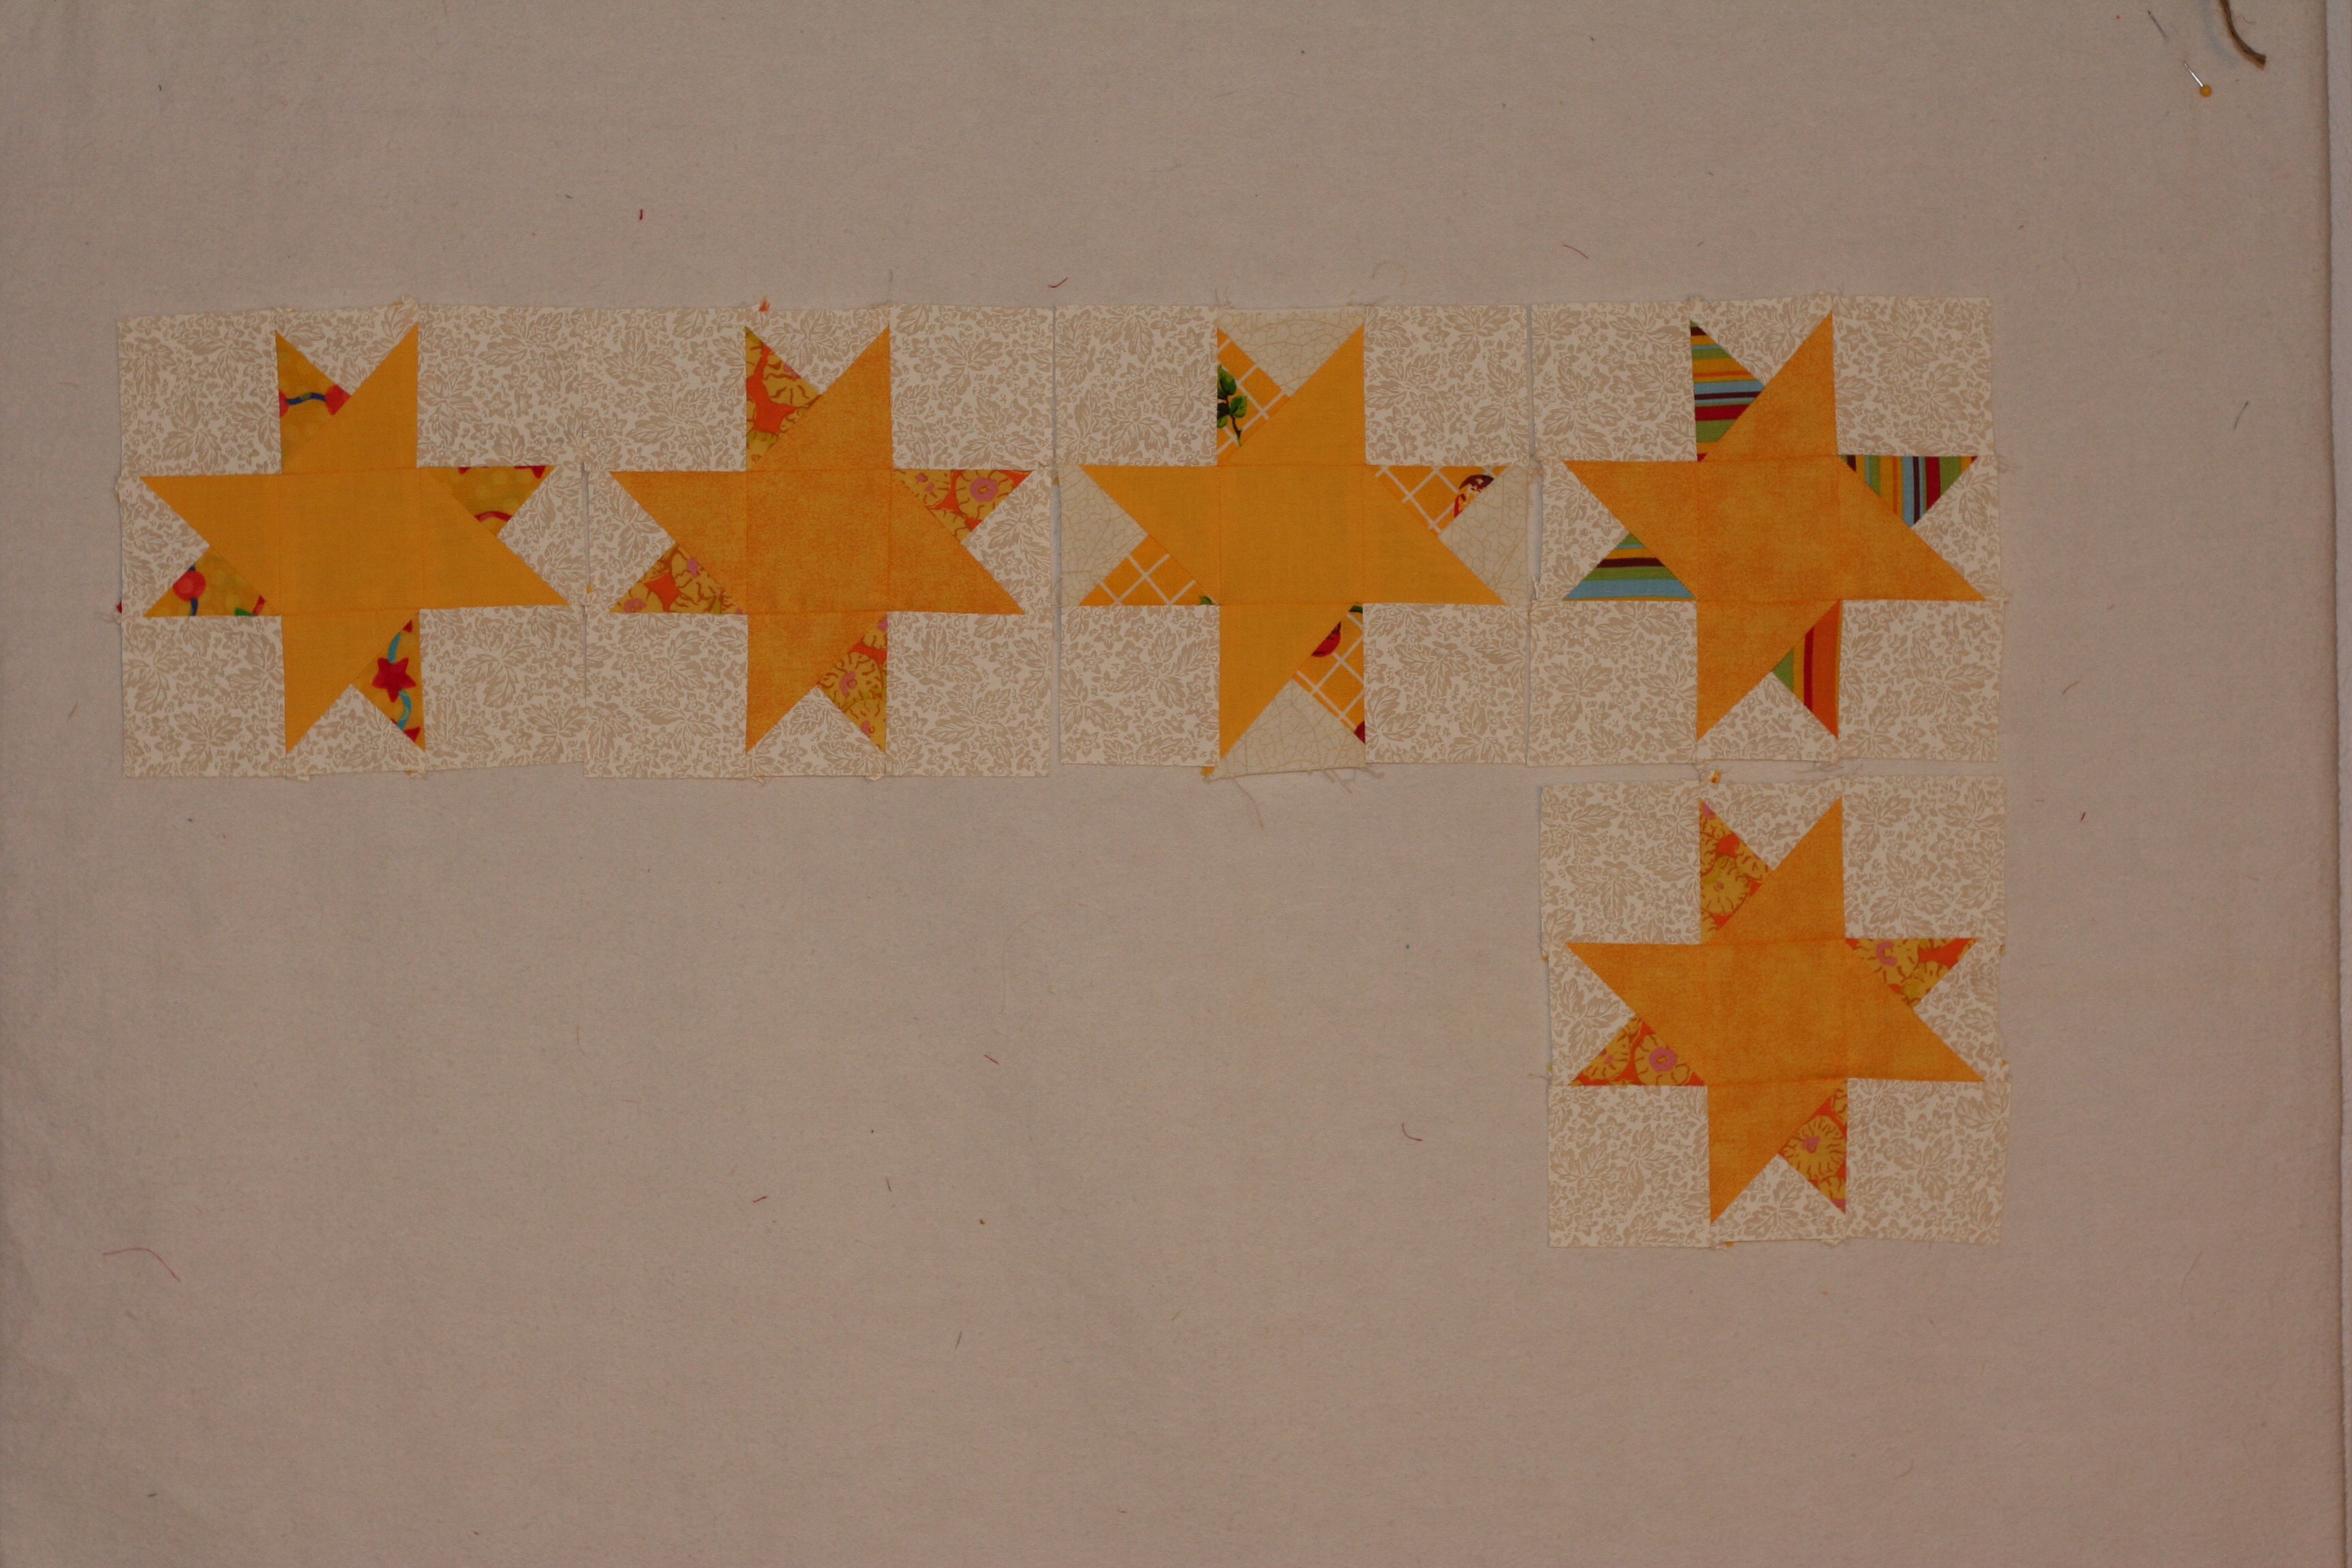
While that is the main goal, I have others. (Of course I do!) I will make the row for June for my Classic Stitches row quilt. The color is light to medium blue for RSC15 which should be fine. I have quite a lot of blue scrap. Hopefully, I can continue to do a bit of FMQ each week, though quilting the batik quilt will probably make up a few of my practice sessions. Finally, I have a quilt idea that will use some of the 1940’s vintage fabrics that I recently received. I want to use this as a donation quilt for an event in mid-October. At  minimum, I need to get the cutting done for that (hopefully I will get some of it pieced though.)

OK, that’s it for me – what’s on your list for June???

Linking to Freemotion Mavericks, ALYOF, Sew Cute Tuesday and Freemotion by the River.

May Goals

Setting goals on a monthly basis, as I have been doing this year, seems to make the time buzz by even faster. I am not sure this is a good thing.  My goals for this month were to finish my Alison Glass Mini Quilt for my first swap, make the row of green blocks for the RSC15 project that I am doing, and to finish two bunk bed bags (a custom order for a friend). Here we are with four days to spare and it is all completed!

It was kind of one of those silver lining deals. I finished the bunk bed bags first (posted about them here). After that I completed the mini quilt. I didn’t think I would get to the Classic Stitches Row Quilt (my RSC15 project) but things are always changing, right? I was supposed to go visit some family in Houston last week but I was knocked flat with a succession of migraines. I ended up not going at the last minute. This was a huge disappointment for me, but certainly wasn’t the first (and won’t be the last) time that I have had to cancel plans due to migraines. Once I was past the worst of it, I was left with a couple of unexpected days to sew (that is the silver lining!) I cut into a pile of green scrap and came up with a row of Losses and Crosses blocks which were the Classic Stitches BOM for May.

IMG_20150525_3352

I made the simpler version of the blocks that Mari offered up for this month. These blocks are a bit fussy and I decided I could only make so many 2″ HST’s without going crazy. I like the blocks though I think they are better suited to a larger layout so that the secondary patterns show up. You don’t get the full effect in one row of six inch blocks.  If they are clustered together, the effect is very nice.

IMG_20150525_3374

This row quilt is growing and growing. I am trying to decide if I want to keep making all of the rows with six inch blocks or if I should make some rows with larger blocks to add variation. I need to decide this soon since I am nearly half done.

IMG_20150525_3357

The mini quilt turned out great. Very glad to have this finished and also that I am able to link up with ALYOF since I missed that boat in April!  I just packed it up to ship it off to my partner in Michigan. Kind of hard to gIve it up so I really hope she love it!  I am excited to see what sort of mini I will receive.

IMG_20150521_3368

I have quite a bit of Alison Glass fabric so I made a pieced back for it.

IMG_20150521_3370

I love the dense quilting.

IMG_20150521_3373

My points match up well which I am quite proud of. I have been working on precision and it is finally improving.

IMG_20150521_3371

Looks like it is time to think about what to work on in June! I have several things in process so it will help to block it out and make a plan.

Linking up with Lorna at Let’s Bee Social and Amanda Jean at Finish It Up Friday, as well as ALYOF at Sew Bittersweet Designs and Angela at So Scrappy.


The Plan for May

OK, May is going to be busy. We have my daughter’s 14th birthday (yikes!). I have a family trip planned that lasts nearly one week and we have my daughter-in-law’s graduation from medical school (double yikes!!)  Lots of activity going on so I am trying to be reasonable.

My main goal for the month  (which will by my ALYOF goal for May) has to be the completion of my Allison Glass Mini Quilt. The swap has to be mailed out in the first part of June so this needs to be at the top of the list. It shouldn’t be a problem as the top of the mini is done. I need to make the back and quilt it up. I want to make the quilting shine and as I still consider myself a newbie, I need to spend some time with this. I also want to make an “extra” giftie to include with the mini using some of the Allison Glass scrap.  Here is what I have left to make the backing with as well as an extra. I should have plenty of fabric.

IMG_20150504_3260 Second to the Allison Glass Mini is a custom order I am doing for a friend. She frequently has her granddaughters for the night and they sleep in bunkbeds. She asked me to make two hanging bags so they can have books and stuffies up on the bunk with them. The bags will hang from the rails of the beds. These are already cut and 1/2 way done so I shouldn’t have any trouble finishing them up. Hoping to do that this week. I am using a polka dot twill by Riley Blake and lining the bags with the lovely “Wander Woods” print from Wee Wander.

Third on the list is to make this month’s row for my Classic Stitches Row Quilt that I am doing with Mari over at Academic Quilter as my RSC15 project.  Tomorrow she will post the block that is to be made for this month. Luckily May’s color is green – I love green and have a bundle of scraps for it.

That is it for goals. Anything that is accomplished beyond that is a bonus.

This weekend was our local quilt show. It was great fun and so inspiring. I want to share the quilt that won Best of Show. This local artist, Sandra Bruce, is amazing. I posted about a class that I took with her last spring to learn her process called “Material Matrix”. It is a great process that takes a photo and divides it into patchwork squares by overlaying a grid on it. Sandra is an excellent teacher and a brilliant artist. Her portrait of Clair is approximately 4′ x 5′. Really striking, it is a perfect portrait of this sweet girl. When I was oohing and ahhing over the portrait, Sandra pointed out Clair to me. I asked her to pose for a picture and, while she probably thinks I am some sort of stalker, she did it for me.

IMG_20150503_3257Below is a closer look at the quilt. Sandra’s ability to create the human expression with bits of fabric never ceases to amaze me. If I remember correctly, she used 2 1/2″ squares to create this. Click on the link above if you want to check out her gallery. She does travel and teach so you never know, maybe she’ll be in your area some time. If she is, it’s totally worth your time to work with her for a day or two!

IMG_20150503_3258Finally, have you seen the list for some of the instructors at 2016 Quilt Con??? This was in today’s issue of the Modern Quilt Guild  Newsletter. Absolutely. Amazing. I am so excited and am considering whether this might be my first time attending. It is in Southern CA in February of 2016 so it would be fairly easy for me to attend.

quilt con teachers

Big question is, how would a person even choose which one(s) to take a class with??? Most of my quilty heros are in this line up. It’s too good to be true!!  Are you going?  C’mon, you have a nearly a year to figure it out!

Linking to Sew Cute Tuesday, FreeMotion by the River and ALYOF at Sew Bittersweet Designs.


Purple Mountains Majesty

Well, I didn’t think I would get to these this month but I did!  For RSC15 (Rainbow Scrap Challenge), April’s color is purple. I have been following along with Mari’s Classic Stitches BOM over at Academic Quilter and the block for April is a simple one titled Delectable Mountains. Lucky thing she was doing a simple block because this has been a really busy month. I just managed to squeak these out in time. I didn’t want to fall behind. Skip a month, thinking you’ll come back to it, and somehow it gets shoved aside.

I love these blocks though.  Simple strips of the main color and the background, does it get much easier than that?

IMG_20150428_3224

A whole mountain range of majestic purples!

IMG_20150428_3223

The row quilt is growing!

IMG_20150428_3229

While I did manage to make my April row for the row quilt, I didn’t finish all three of my goals for April’s ALYOF. My hope was to make two table runners (which I did) and one mini quilt. I finished the top of the mini for the Allison Glass Mini Swap but felt like I would really be rushing things to sandwich, quilt and bind it before the end of the month. Since this is going to someone else, I really want a great finish on it. I am debating doing a circular quilting pattern on it and that will take some time. So, I won’t link up with the April finishes over at Sew Bittersweet Designs. Just couldn’t get it all done. Oh well. The top looks great though.

IMG_20150428_3233The colors are wonderful.

IMG_20150428_3234

Two out of three isn’t bad. Sorting and washing all of the vintage fabric that I have been posting about has been time consuming. Also I had a number of Etsy orders to deal with so April went by in a blink. I will have to really think when I plan what I can accomplish next month. May is going to be a crazy, busy time around here and I doubt I will have as much sewing time as usual.

Hope everyone had a wonderful week and got in at least a little bit of sewing time.

Linking to Crazy Mom Quilts and Confessions of a Fabric Addict as well as So Scrappy.


The Week’s Progress

This has been a good week for sewing. I made progress toward my April goals for ALYOF. Which is a good thing, considering April will be over before you know it. The speed with which time passes seems to increase frighteningly each month.  Anyway, it is April 23rd and I am over 3/4 of the way there. My goal was to make two table runners and either a wall hanging or runner. I wanted to complete three smaller projects this month. I finished the chevron table runner which I posted about last week.

This week I completed the second table runner. The process I used was new for me and was inspired by the way that Victoria Gertenbach at The Silly BooDilly works. I started reading her blog and looking at her style over the past couple of months. She is a modern quilter with a gorgeous sense of line and color. She quilts and does a lot of other work in fiber and paper art. I strongly suggest you take a look at her site as her work is lovely.  One of the tutorials she wrote was about pattern-less design.  She has developed a way of cutting a piece of fabric and then adding sections to it, thus creating her piece. I love the idea. While I didn’t actually follow her tutorial with this project (because it didn’t work with the fabric I had on-hand) I was surely inspired by her process .

About a year ago, I purchased a scrap bag from an on-line fabric shop. Sorry, I am not positive but I belive it was Alaska Quilting Adventures.  I ended up with loads of strips, probably end cuts from the bolts as she was creating bundles of precuts.  First I cleaned up the strips so they were (relatively) straight, though I did not cut them exactly the same width. Next, I sewed a set of them together to make a long rectangle of fabric. I cut that into three sections. I then played with more of the strips, creating blocks to add between the sections. Kind of hard to describe, but it was a very simple process. As I have mentioned before, I usually sew from a pattern or tend to copy other’s ideas for inspiration. This was very freeing. I want to try this again with a Kaffe Fassett jelly roll of shot cottons that I have. Here is the resulting table runner.

runnerThe colors are soft and soothing.  I had fun creating the block in the center which has a bit of extra detail in the piecing.

table runner detailWhen I was ready to quilt it I decided to use something with curved lines to offset the straight lines of the piecing. I chose the Baptist Fan pattern. I had not done this before so I drew it on newspaper with a sharpie until it was comfortable and then sewed a few fans on a practice piece. It is really a simple shape to FMQ. I didn’t trace it on the runner before quilting. If I had, I am sure my lines would have less wobble.

image3 (3)

It is backed and bound with the same fabric. Not sure what it was but it used up some of my stash which is always a good thing. Overall, I am happy with the result and it was a huge learning experience, both in piecing and quilting. Yay!

The third April project I worked on is for my first mini-swap. This swap features fabrics by Allison Glass. I was really getting nervous about this project, doubting my abilities till I was just about stuck. I decided to start cutting fabric last weekend and just dive in. I chose the Fireworks pattern by Canoe Ridge Creations. She does a lot of mini quilt pattern design and I have several of her patterns. They are easy to use and her instructions are great. I have the blocks done and need to stitch them together. It should finish out at 24″ x 24″. The swap isn’t due to be mailed out until early June so I am way ahead of schedule. May is going to be a busy month so I’m glad to check this one off. (By the way, for those of you who have done swaps, do you usually put anything on the back for hanging, or is that up to the recipient to do that?  Please leave a comment if you have experience here! I appreciate it. )

agmini

The colors aren’t showing correctly due to the poor lighting but I am happy with it. The blue in the third section out is much more vibrant than shows here. I really need better light in my sewing room. When this is finished I will take a picture outside. I am hoping to sew the blocks together later today and get it quilted next week. Of course, that leads to the perpetual questions, how do I want to quilt this? Most likely I will straight line quilt it with a narrow spacing.

First though I have a garden swap to go to this afternoon. I joined a gardening group and we are exchanging plants from our gardens. About six weeks ago, I potted starts from my Shasta Daisies, Oregano, and Chives.

IMG_20150423_3148

It will be fun to give these to the group and bring home something different. Hoping for plants that don’t require much in the way of water!

Linking to Let’s Bee Social, Needle and Thread Thursday and  Crazy Mom Quilts. Links to these wonderful sites are at the top of the page, under Link Ups.


Squeaked in a Finish

Crazy busy around here this week. We are definitely making progress on the house up in Downieville but it takes time and effort. Much more on Ray’s part than mine but still… On Wednesday I took a drive up to the house (it takes just over an hour’s time to get there) to let in a guy to finish the drywall. He textured the walls which took the better part of the afternoon. While he was working, I took advantage of some gorgeous weather and went for a hike. I was a little bit nervous about hiking alone. I don’t have cell reception and no one knew where I was going. I played it safe and didn’t go too far down the trail. I did find a new one though and the water was gorgeous. With the drought, the river is extremely low. Even so, it was breathtaking in spots.

image1 (5)

Spending the afternoon on my own up there was really nice. I haven’t honestly spent very much time alone. Four kids will do that to a person. When I got back to the house I was texting with  Ray and sending progress pictures of the work being done. We decided I should spend the night so I could: 1.) Continue this alone thing that was going so well – and – 2.) prime the bedroom once the texturing dried. The only issue was that I didn’t bring extra clothes as this was completely unplanned (spontaneity isn’t my strong suit either, so this was a good thing for me to do!)  My husband had extra clothes up there. He is a planner and is always well supplied with whatever he needs. I dug into his stuff and came up with a lovely pair of jeans and a tshirt of his to use for painting. Just as a point of reference, he is 8 inches taller than me and probably 80 pounds heavier. As long as no one came to the door, I was pleased with the look I was sporting.

image2 (7)

I know, it was an amazing look. I got the room primed and ready for paint. We will go up later this afternoon and finish up the painting. One step closer to having a bedroom. Wahoo!

While all of this was going on, I did manage a quick finish. I completed the chevron table runner.

image1 (4)

The quilting is inspired by an older quilt along on www.christaquilts.com. I reversed it though and pebbled the white sections and straight-lined the chevron. I didn’t want to pebble over the print fabric or it would have been too busy. The pebbling looks great on the white though. I combined the two stitches and ran some straight lines along the border with circles interspersed on those lines.

image2 (4)

You might remember that the chevron fabrics are from a Joel Dewberry line. The backing is  called Sphere, a part of Moda’s Zen Chic line. That was scored during a 50% off sale a while back.

image1 (3)

As usual, the binding is my favorite part. I used Daysail, by Bonnie and Camille. I love the stripes. I had originally planned to make a bias cut binding but decided I liked the standard cut better for this project. It is adorable; the blue and red stripe plays well with the Joel Dewberry prints. This is one of three table runners that I am making for my April goal for ALYOF.  The second one is nearly done as well, so I am making progress. This table runner is listed in my Etsy shop.

Saturday is my 17th wedding anniversary. Time has flown by. We are celebrating in high style, because that’s the kind of couple that we are. The plan is to paint the bedroom and hopefully finish up some electrical work in there. Jealous, aren’t you? Enjoy your weekend, whatever the plan!

Linking to Crazy Mom Quilts and Let’s Bee Social, my two favorite linky parties. You’ll find these links at the top of the page, under link ups.


A Vintage Pillow Finish

Last week I decided to cut into my collection of vintage sheets and play with them. I made two pillow tops. One of which I took up to Downieville last weekend to practice hand quilting. This was my first attempt at hand stitching. I didn’t get that one quite finished but it is looking pretty good so far. I did finish another one though. I plan to use them on the guest bed, which unfortunately is located in my sewing room and often cannot be found underneath all of the projects that lie on top of it.  Ha ha.

I used Corey Yoder’s Scattered Squares pattern which was published on the Mode Bakeshop website last summer. Corey designed the pattern to be made with a mini charm pack. I decided to adjust it a bit and use 3 & 1/2″ squares since I was cutting my squares anyway. Simple straight line quilting was used with a spacing of about 3/4″ or so. I didn’t measure or mark this, rather I used the edge of the walking foot as my guide.

image

I used a sheet to make an envelope backing. If you need a tutorial for this, there is a great one over at Crazy Mom Quilts. Super simple and takes no time at all.

image

This afternoon I decided to play with the Tula PInk City Sampler book that I wrote about in my last post. This is going to be a fun project. I made three blocks today and they came together easily. These are all from a section of the book that features various cross block patterns. I am liking the look of this already! Each block finishes at 6 1/2″. Three down and who knows how many to finish it.

IMG_20150403_3039Hope everyone has a wonderful weekend!

UPDATE: I forgot to include my April goal for ALYOF!! Yikes – I plan to make three gifts this month. I think each will be a tablerunner, though one may be a mini quilt wall hanging. Finishing these three gifts are my goal for April. Phew!!

Linking to Crazy Mom Quilts (yay – she is back after her month away from the blog!) and also Sew Bittersweet Designs for ALOYF!!


A Finish with a Flange

So pleased to show this week’s finish!!  I love this quilt for a variety of reasons. The colors are just what I wanted for one.  I have always loved a basic pallette using neutral colors. As I mentioned earlier, I then decided I wanted to put a pop of red it. The more I played with this, the more I liked that red. Thus the addition of the large red heart!

IMG_20150325_2982

The biggest reason though is that it is my own.  The design is simple but it came from me; I didn’t use anyone’s pattern and that is absolutely a first. I used straight line quilting going in several directions. The hearted was densely quilted with lines about 1/2″ apart. I used the edge of the walking foot as my guide for that. The body of the quilt has straight lines going through each square, both horizonally and vertically. I started out marking each line with my Hera Marker but after a while, I got used to the patterns in the fabric and used those to guide me along and just freehanded it. Much simpler and very freeing!

IMG_20150325_2986

I took my time with this and didn’t rush to finish it. I did get antsy when I was quilting it and again when I was burying the threads around the red heart. I reminded myself to relax and enjoy the process and it was so nice. I loved every bit of it – even the annoying tasks like cleaning up the myriad little threads all over the back before sandwiching it. Even (and especially) sewing the binding to the back. I do love the process. I think part of the issue is that I feel like I should crank something out so I have “something” to write a post about. This was in the back of my mind but really, even though this blog is something I truly enjoy, I don’t want to be cranking out finishes just so I have a post. That doesn’t make any sense to me.

IMG_20150325_2988

After I got the quilting finished up, I was looking at it trying to decide how I wanted to bind it. I had enough of the fabric from the backing to use as binding but I was torn between using that and using the red fabric from the heart. Finally I remembered a post I had read a long while back over at Persimon Dreams. She had placed a very narrow flange on the quilt before binding it to add a pop of color. Yay-it was the perfect solution. I commented on that particular post and Kim was so kind to send me a quick email explaining how she did it. (So, actually part of this quilt was inspired by another but that’s ok. I want to give credit where credit is due.) Adding the flange took very little time and I think the effect it provides is wonderful.

IMG_20150325_2996


If you haven’t ever done a flange, it is very easy. I cut strips that were one inch wide of the contrasting red fabric. Then I sewed them together, just as one would with a binding strip. Fold it in half and press so you are left with a 1/2″ wide folded strip. (Kim used a 3/4″ strip ending up with a 3/8″ folded piece but I wanted something a little bit wider.) Once you have the flange prepared, attach it to the quilt’s raw edge on the top side. Sew it to the quilt using a VERY scant 1/4″ seam. I used a longer stitch (my Janome was set to 3.5 stitch length) which made attaching it a breeze. Then attach your binding as usual. Be sure to hand stitch the binding to the back. If you machine stitch it, those stitches will show on the flange. Easy peasy!  If you have any questions, let me know in the comments.

IMG_20150325_2989

Yep, this was a great finish and I will be gifting it to someone soon. That is the best part – giving it away and giving someone the joy of a cozy quilt. Hope the recipient loves it.

Linking to Sew Bittersweet Designs as this is my March finish for ALYOF. Yahoo for setting a goal (I had better plan my projects for April soon.) Also linking to Freemotion by the River and Let’s Bee Social.

Not a lot of sewing going on

I haven’t spent a whole lot of time at the sewing machine this week. Lots of regular life going on and my neck was being sort of cranky. But that’s ok. I did get a few odds and ends done.

For RSC15 I am working on the March blocks from the Classic Stitches BOM over at Academic Quilter. I only finished five of the ten blocks but they are really fun.

image

For the kitchen in our Downieville house we decided to put in pleated shades. In keeping with the vintage look of the kitchen, I ordered a Waverly plaid that was printed in yellow, blue and green to make valances. We have green and yellow on the walls and I just put a 1950’s formica table in the eating area. It is gray with turquoise trim and the chairs have turquoise vinyl on the seats. I love pulling all of the colors together with these valances. I made a valance for each of the four kitchen windows. Hopefully we will be up there working on the house over spring break so I can hang these soon.

image

I’ve also worked a bit on the quilting for the neutrals quilt. I have a newfound appreciation with my Hera marker (which is made by Clover). I bought this (inexpensive) little tool months ago and each time I use it, I am so impressed by it. If you don’t have one, this tool is used to mark lines for quilting. No worry about removing ink or chalk after you sew. It is so cool. I have been marking the lines on the neutrals quilt with it.

image

The lines aren’t always easy to see. But the indentation left by the Hera marker is enough to guide me along. I don’t mark more than two lines at a time because the indentation doesn’t last very long. If you mark a line and don’t like what it looks like, a simple spritz of water (lightly sprayed) will remove the mark, as will smoothing the fabric with your hands. I don’t know that I would rely on this for intricate marking, but for straight lines it works great. If you want a quick tutorial on using a Hera marker here is a brief video – though it is so simple, not much instruction is needed.

image

I am quilting down the center of each three inch square and when I finish this direction, I will quilt down the center, going the other way.

image

For the heart I used lines that were much closer together. I didn’t mark these, just used the edge of the walking foot to judge the distance. It seems to solidify the heart, almost removing the lines of the patchwork. Looking good so far. Should make my (ALYOF) goal of completing this quit in March. Yahoo!

I was lucky enough to have one of my sisters here for a couple of days to visit this week. What a treat. Even better, her son was also here briefly. My nephew and his wife live in Japan which means I don’t see him very often. We used to live next door to each other when the kids were growing up and I miss having them around all the time. Family visits are the best. That’s the update for the past week or so. Hope everyone is doing well and spending some time with at the sewing machine and some time hanging with family. Best of both worlds!

Linking to Freemotion by the River and Let’s Bee Social. As always, links to these sites are available at the top of the page, under Link Ups. This post is also linked to Stephanie and Michelle at Late Night Quilter for Tips and Tutorials Tuesday.

Progress Report

This week has started out with a productive bang. Yesterday I completed my neutrals/red heart quilt top. Today I finished up our taxes (never a fun task). Wow. If I don’t do anything else this week, I’m ok with that!

I got on a roll with the neutrals quilt and it all came together so quickly.

IMG_20150309_2952The fence wasn’t quite tall enough to photograph the whole thing but this is most of it. Pretend I ironed it – the wrinkles are really showing in these pictures!

IMG_20150309_2954I pieced one little random block. When I was trimming the HST’s to be used in making the big heart, I had little bits and pieces leftover. I used a few of them to make this little guy.

IMG_20150309_2953Tomorrow I will get the backing assembled and pin baste the layers together. I haven’t quite  decided how to quilt it. I know I want to use straight line quilting but not positive of the pattern.  Also thinking about quilting the heart separately or different somehow so it stands out more.

Making good progress on my March goal! Also got started on the yellow scrappy blocks for RSC15 and they are going to be adorable. They are a double star block – finished the first of ten blocks today . At least all of the pieces are cut though so they will go together quickly.

Linking to Sew Cute Tuesday, Linky Tuesday and Let’s Bee Social. Links to all of these great sites are located at the top of this page under Link Ups.