Category Archives: Vintage

A Bit of Holiday Cheer

It is the fourth of December and I am starting to feel some Christmas Spirit! I love this time of year and in 2020 we need every reason to celebrate and impart joy. I have two small projects to share with you today.

The First Three Stockings

For my younger grand daughter, I had the fun task of making a Christmas stocking. Three years ago I made a set for my son, his wife and my oldest grand daughter. When I did this, I set aside fabric to make more stockings if/when his family grew.
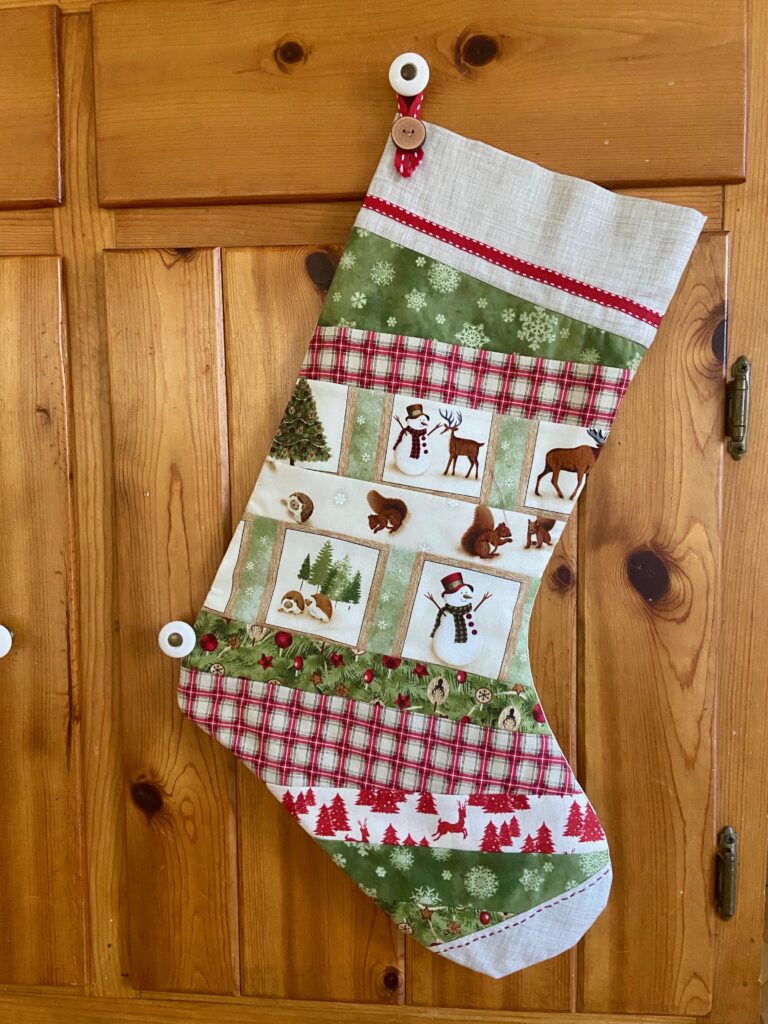
Scrappy Christmas Stocking

This stocking is number four for their family. I used the easy peasy quilt-as-you-go method for the strips. As with the other stockings, I put a ‘toe’ on the foot of the stocking and embroidered a red line of stitching across it. Fortunately I saved some of the twill tape and wooden buttons (made by my husband!) so the stocking is a perfect match for the first three. I think it is super cute – the line of fabric was so much fun when I had it in the shop. It is long gone now.

Next project? Well, remember how I have been ‘cleaning’ my sewing space? I sorted through some of my Christmas fabric. I have a large bag of vintage (1970’s-1980’s) holiday fabric and cut much of it into 3″ and 5″ squares with the AccuQuilt. Once I had that stack of squares sitting there, I couldn’t just put them away, right??
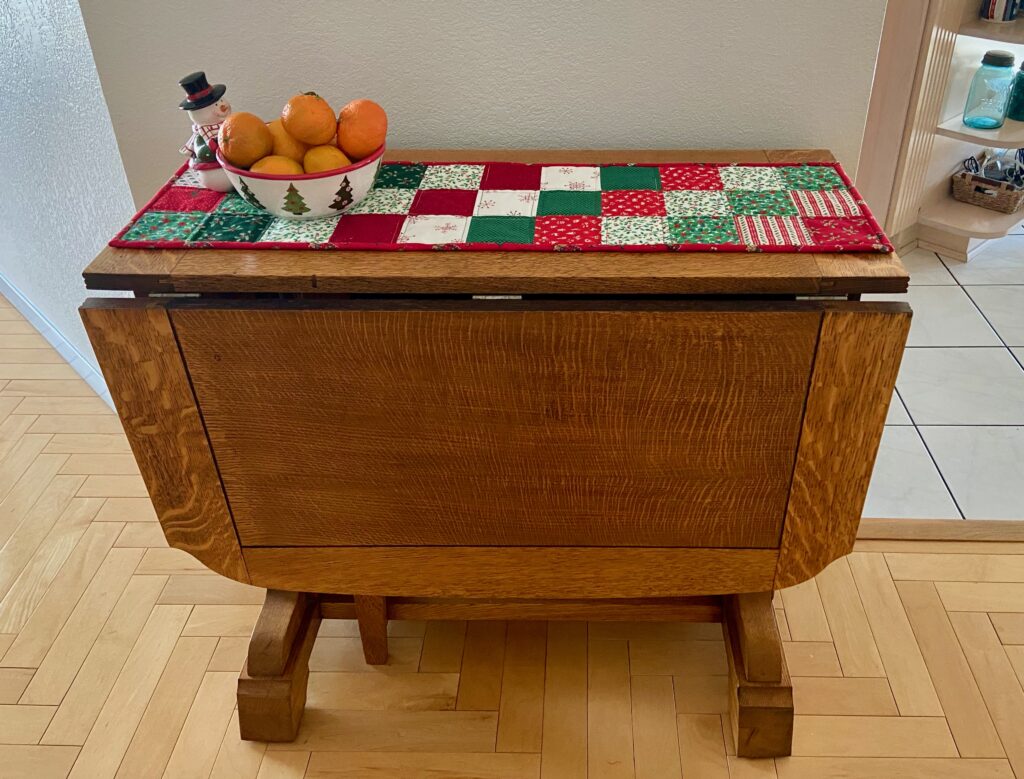
I decided to make a quick patchwork runner for the top of this drop leaf table. (My mom loaned this to me a long time ago for our Downieville house. We have since sold the house and I am hoping she doesn’t ask for it back…. I love the table!) I plan to put a set of photos here of my kids with Santa. I look forward to looking at those pictures each year. But I haven’t brought that box up yet. Julia and I plan to do some decorating this weekend and will put up the tree early next week.
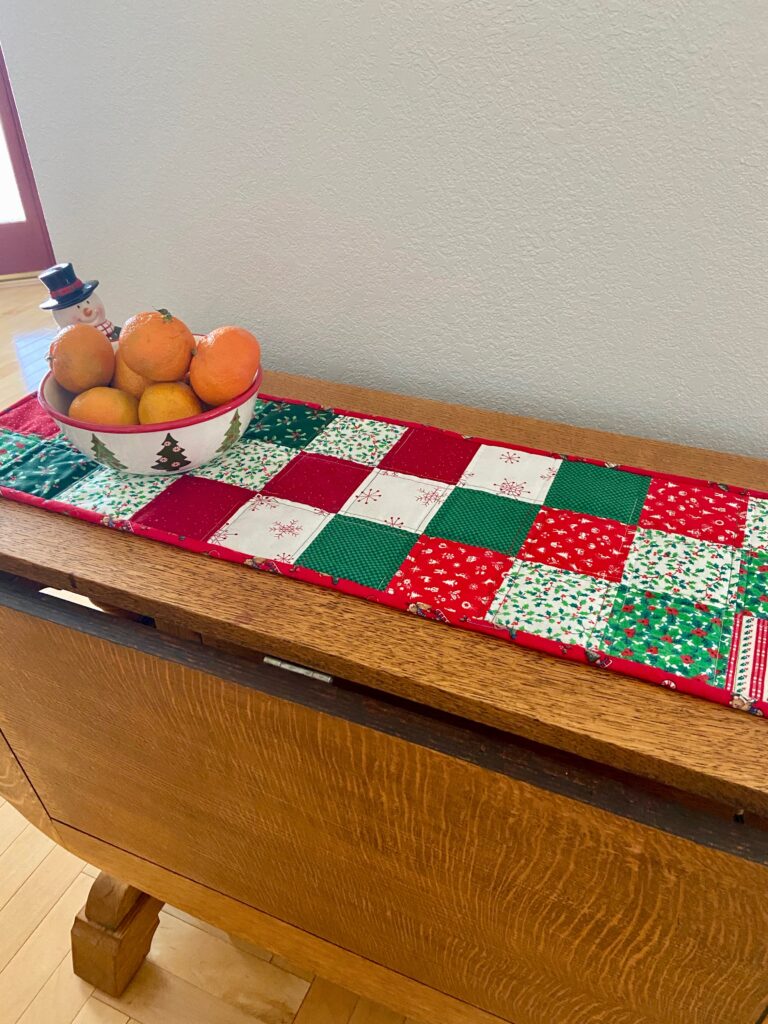
As I have said so many times before, simple patchwork is by far my favorite of any quilt. I am so nostalgic and love the look of this – what can I say? This would have been made even cuter with some hand quilting but I really wanted to use it now. So instead I used a variegated holiday thread I had from Mettler and did simple straight lines.
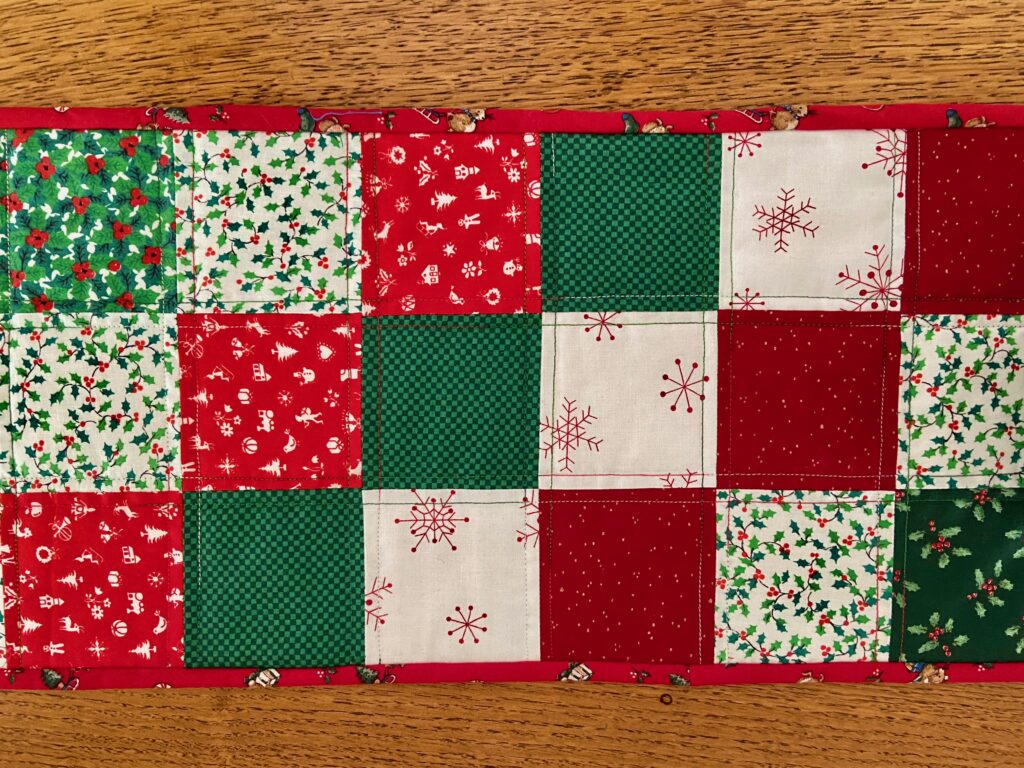
If you look at the fabrics, you will see the small print of white objects on red (next to the holly on white). This fabric is definitely from 1978. It is the same fabric my sister, Cathy, used to make wedding favors for her December, 1978 wedding. (Side note – if you want to read a fun post from several years ago, I wrote about all the weddings in our family and how most of us made our wedding gowns. Click here for the post)

OK – that is it for today. I do want to let you know I have a few fun things coming up on the blog! Next week I will be hosting a Guess Who game. I have childhood pictures from lots of quilter/bloggers. I want to see if you can match of the adorable faces to the right quilter. Look for that on Wednesday, December 9th. Then the following week, on Wednesday December 16th, I am hosting a Holiday Memories Bloghop. Lots of us will be posting about some of our favorite holiday traditions and memories or stories. I am so looking forward to reading these. Keeping spirits bright in 2020!!

Thrifting Fabric

About a week ago, our local guild sent out an email to members stating a seamstress in town was retiring and having a sale. She wanted to clear out her fabric and supplies as she planned to downsize to a smaller home. I am sure you knew I would be sure to go check it out. The woman was both a garment maker as well as a quilter. Her shop was large and there was tons and tons of fabric.

By the time I got there much of the quilt fabric had been sold. But I was not really interested in quilt fabric considering the shop I have downstairs! My interest was actually in garment fabric. I found a few gems. Instead of setting a price on each piece of fabric (which would have taken days and days) the woman had a stack of plastic laundry baskets. The deal was $10 for whatever fit in the basket. Oh my. Let me show you what I picked up.
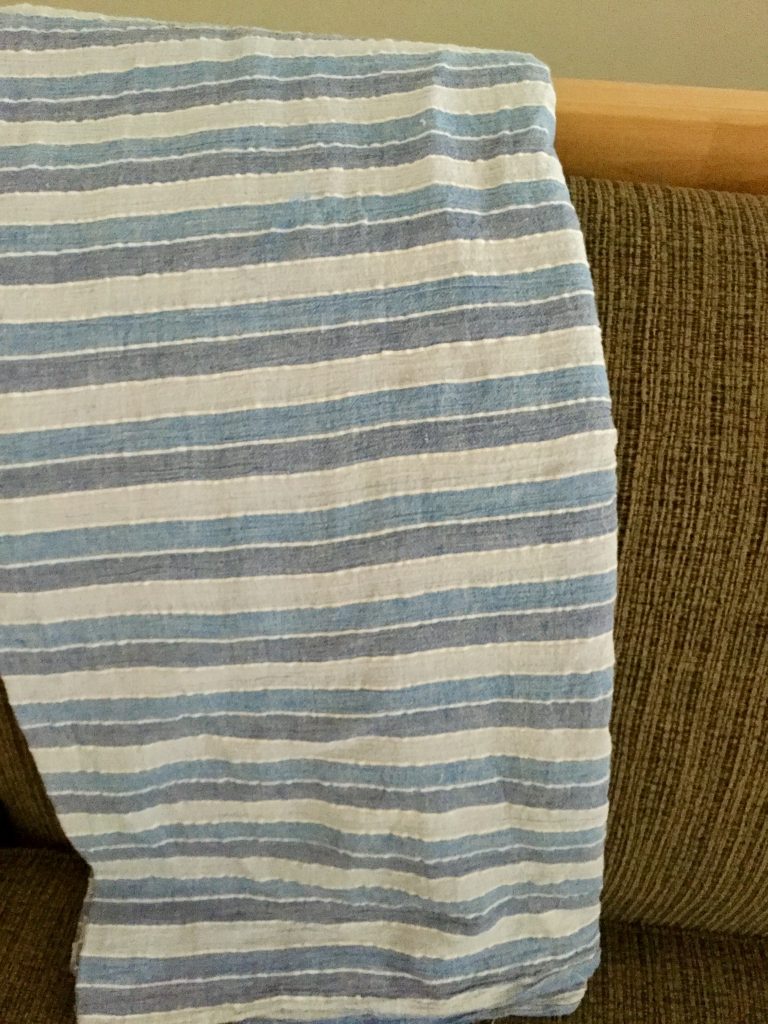
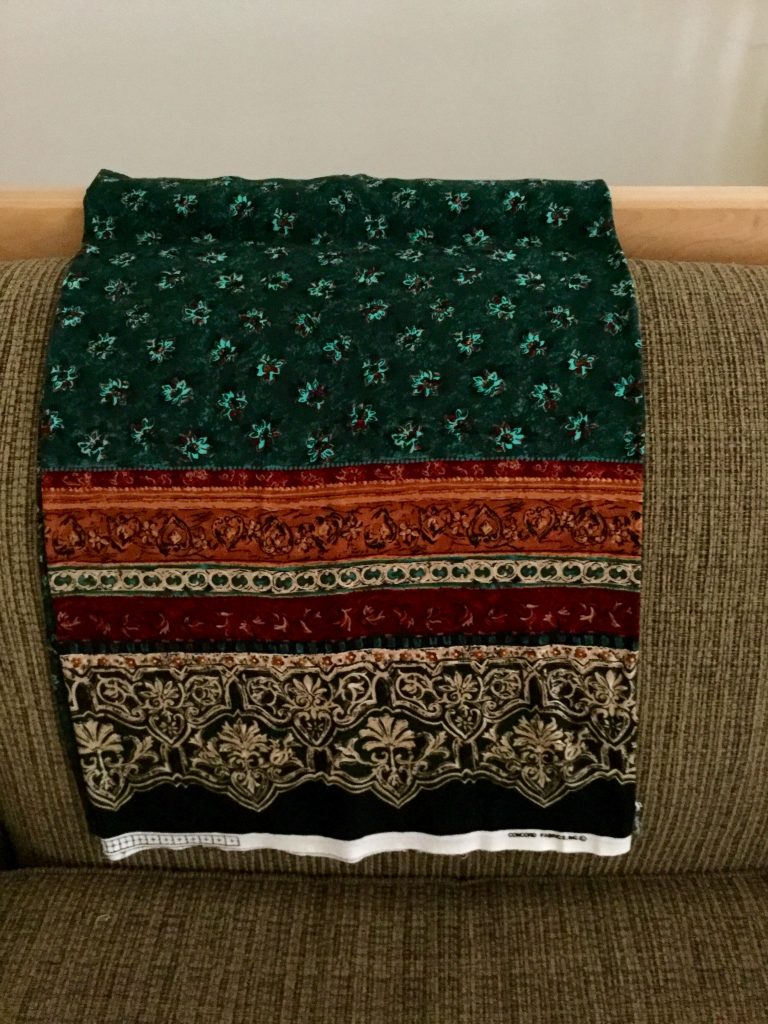
This is two yards (58″ wide) of a stunning border print. It is a cotton/rayon blend and has the nicest feel to it. I washed it and had no issues. I think Julia has claimed this piece for a pair of wide legged pants. That border will be so nice at the bottom of each leg. Sort of a boho look.

I picked up six yards of this fabric. Not a seersucker but it feels like one? I am not sure what it is but it washed well. Julia and I both want pants out of it and I am sure there will be leftover fabric.

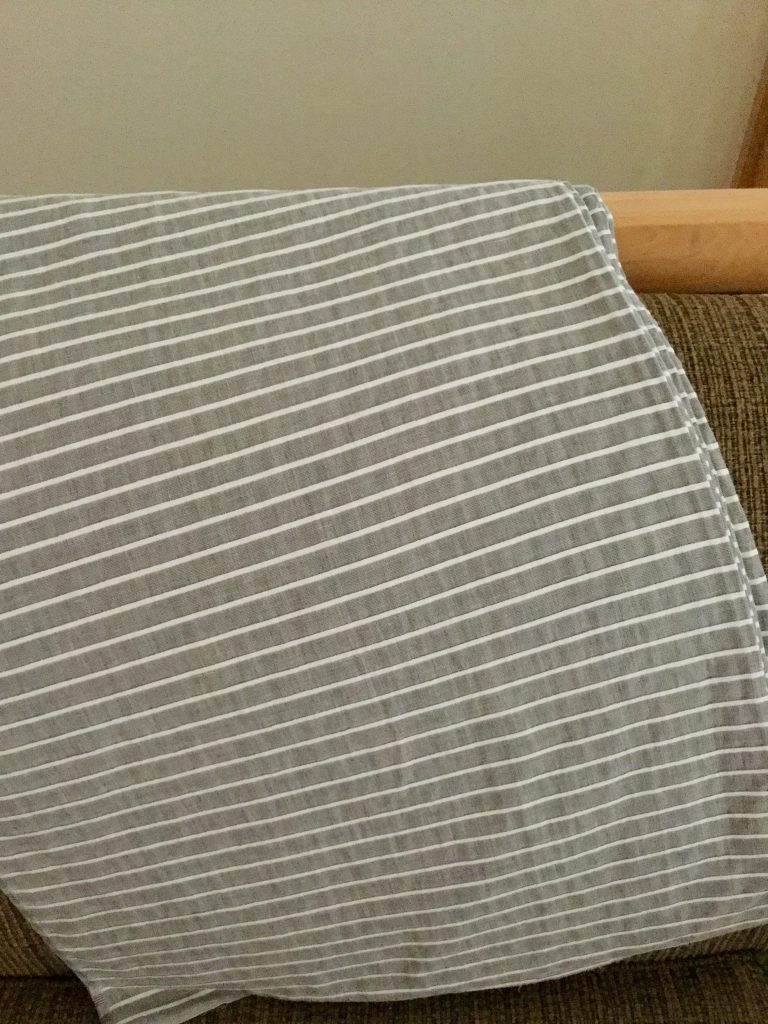
Four yards of this gray and white chambray. It is really pretty and a great quality fabric. I am not sure what I will make with it. It is heavy enough to back a quilt but I think I want to make some sort of wearable with it. Hmmm…. decisions, decisions.

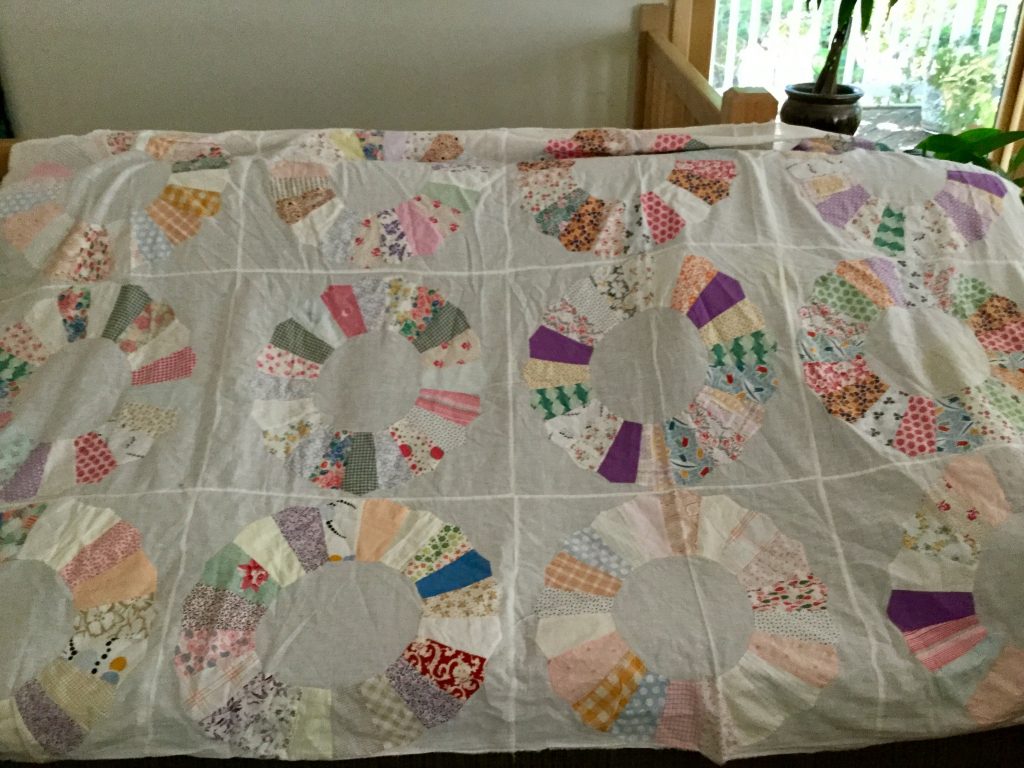
As I brought these up in the basket, along with a few oddball pieces, Carol (the seamstress) smiled and remarked my basket wasn’t yet full. I looked around and saw an antique unfinished Dresden quilt top stuffed into a corner. All hand stitched to a very thin muslin (as was often the case with this sort of quilt).

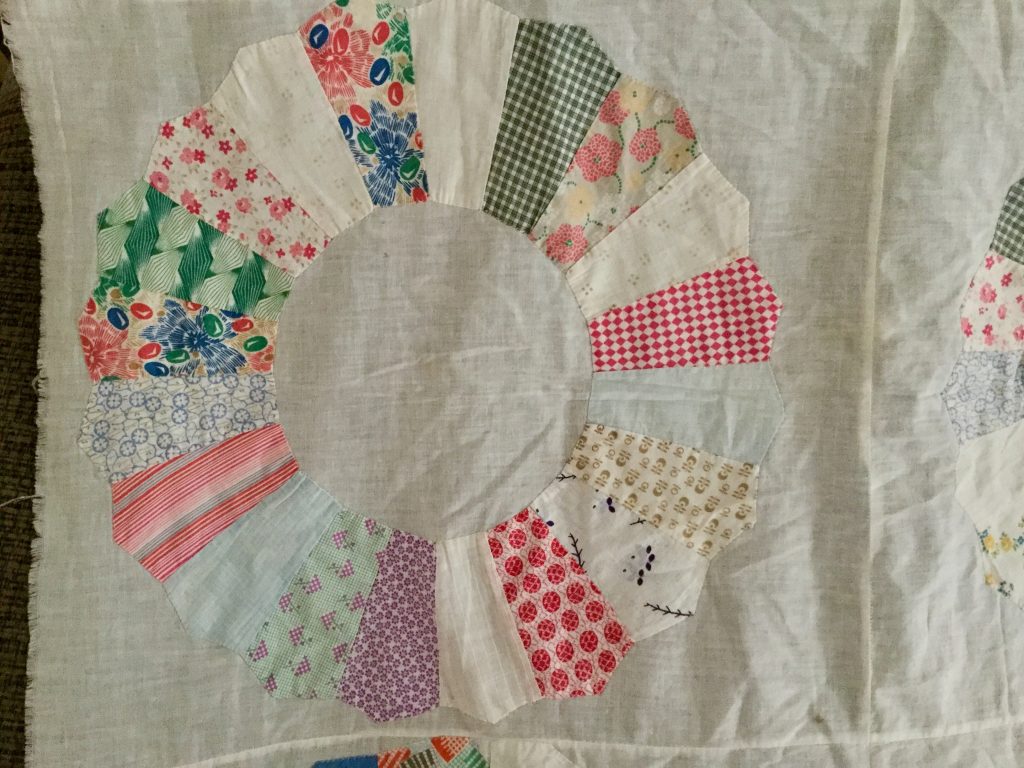
The blocks are huge at 18″ across. The fabrics look like the 1940’s – 1950’s. I picked it up and she said to add it to the basket. My plan is to pick the blocks apart – there are twelve blocks in good enough condition to use. Then I will fuse a very thin stabilizer to them since that muslin is so thin. Add some sashing from my vintage fabric collection and it will be a quilt top again. I am really looking forward to finishing this one and it shouldn’t be a huge project.

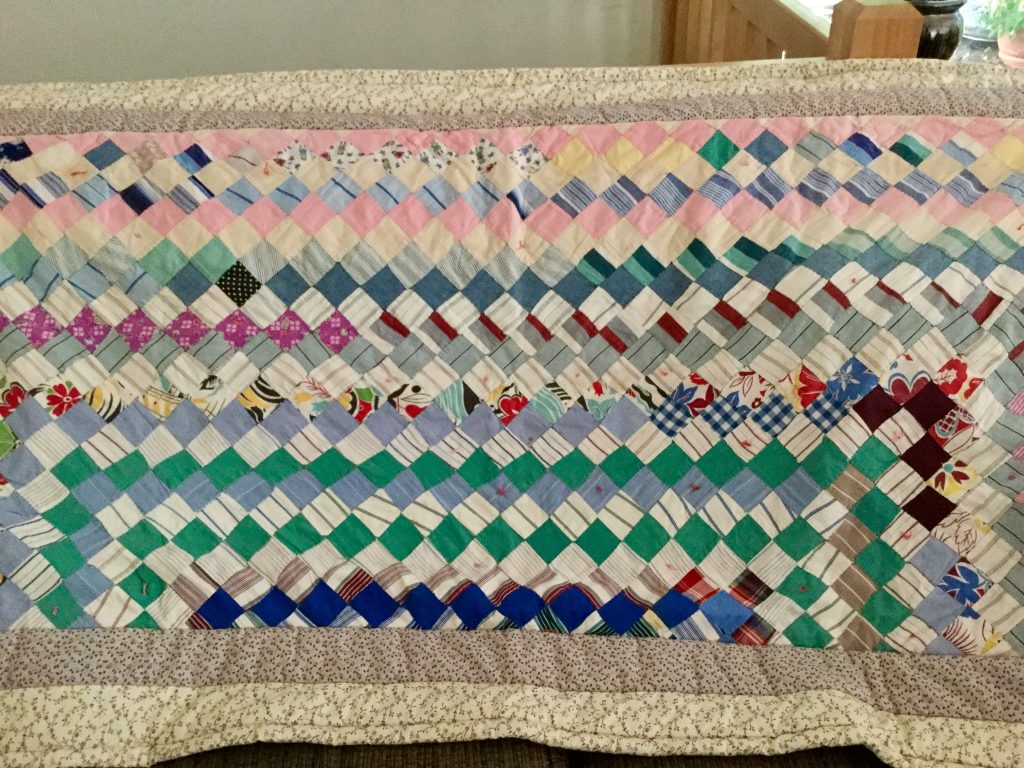
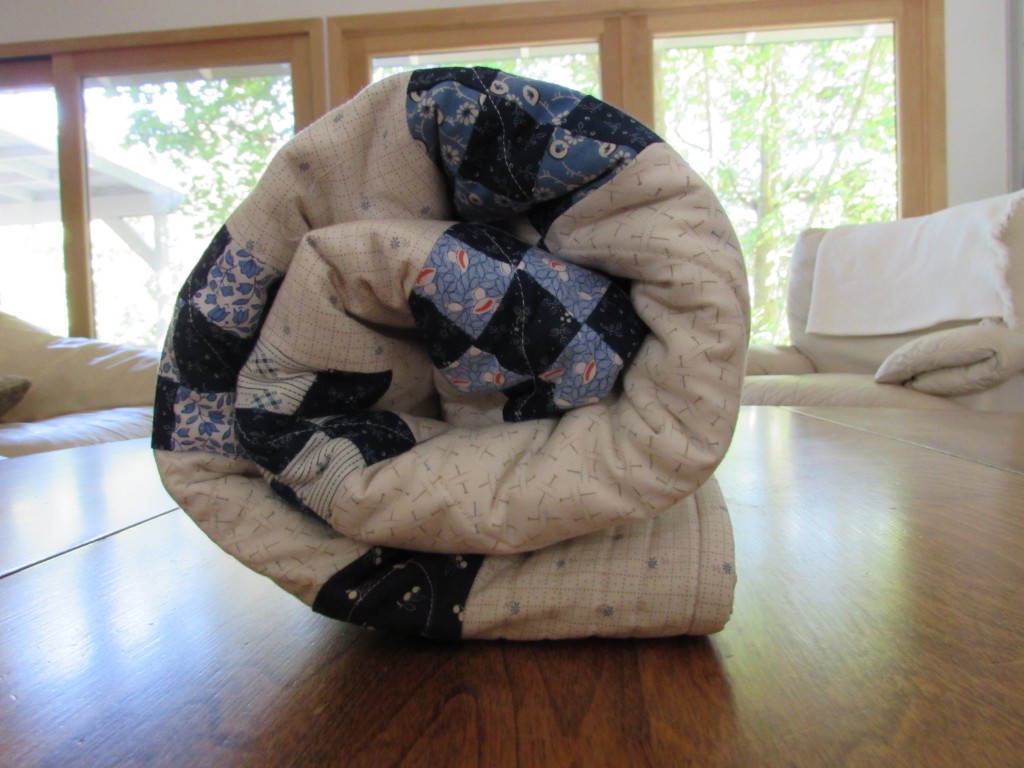
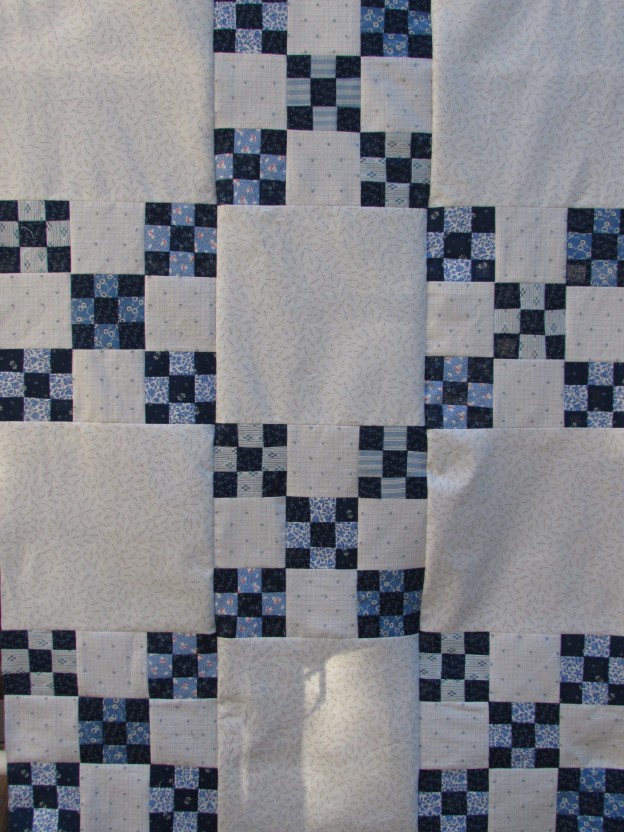
As I was waiting to pay, I saw this little quilt folded up on the counter. Apparently Carol had picked up the center patchwork piece and added borders to it. The little squares are 1 1/2″ and all hand stitched. It had been tied intermittently. I believe it looks like the remaining 1/2 of a quilt – if you look at the pattern, I think it continued into full square with that navy blue having been at the center. I am not terribly fond of the borders that were added. They are filled with puffy batting, probably a polyester. But it was calling to me. I could leave it as is and just give it a wash or I can consider taking those borders off and reworking it. Looking at the fabrics, the patchwork portion was also made in the 1940’s or so.

Julia will be busy this week with the county fair. Hard to believe her time with Leo has come to a close. Why is it that time goes by faster and faster?? Since we share a car, I will likely be home quite a bit which means lots of time to sew. I started a purse for myself a couple of days ago and want to finish that up. The quilting on my friend’s memory quilt is very close to being finished. Those two projects will be the focus for this week. How about you?

Projects with Vintage Sheets

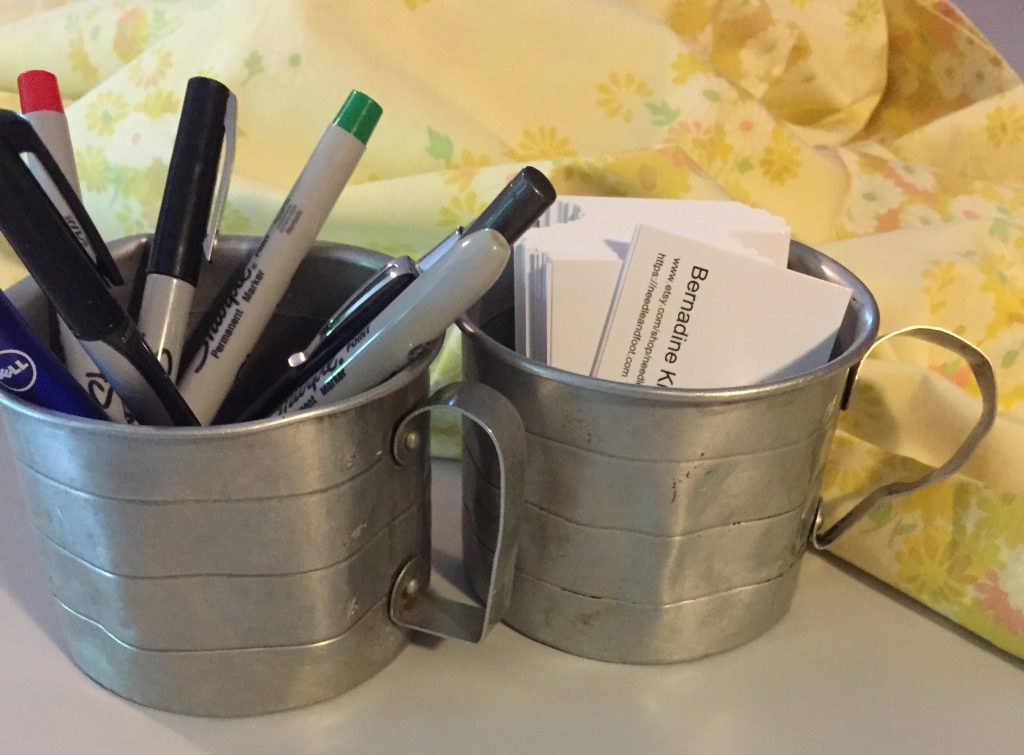
It is no secret that I have this crazy love of vintage everything.  I have posted many times about different thrifting trips where I have found little vintage treasures. It is fun to find uses for some of these little pieces. My sisters know of this passion of mine. Last month my youngest sister was cleaning out her in-laws house as they prepared to sell it.  She set these measuring cups aside for me, knowing I would want them. They are worn, bent and dented and I love them.

My collection of vintage sheets is quite large at this point. I often cut them into fat quarters and bundle them for sale in my shop. Last summer I made a queen size quilt and two throw pillows for the sewing room/guest room.

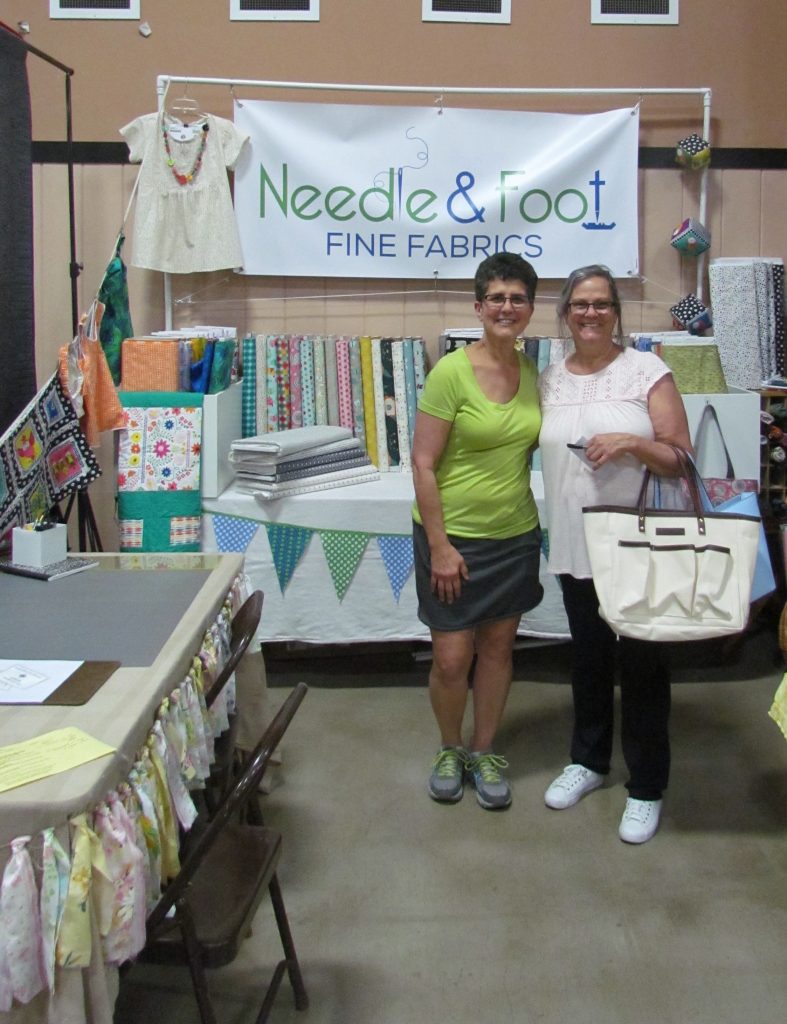
Two weeks ago I was cutting fat quarters and bundling them up for the shop when I realized I was amassing quite a stack of sheets. In an effort to use some of the scraps, I thought it would be fun to make a bunting with torn strips of the scraps I have from my sheets.  My plan was to hang it somewhere in the booth at the quilt show I worked earlier this month. I am not sure if you noticed it but I had it hanging around the table I used for cutting and transacting sales. Look at the table on the left in the picture below.

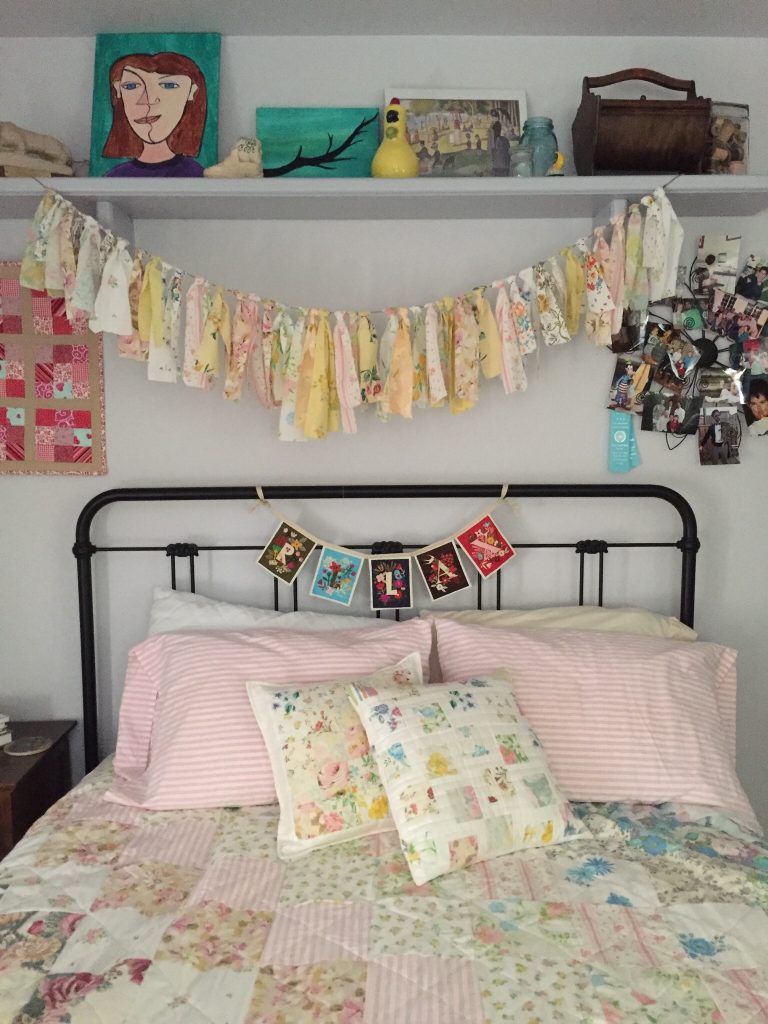
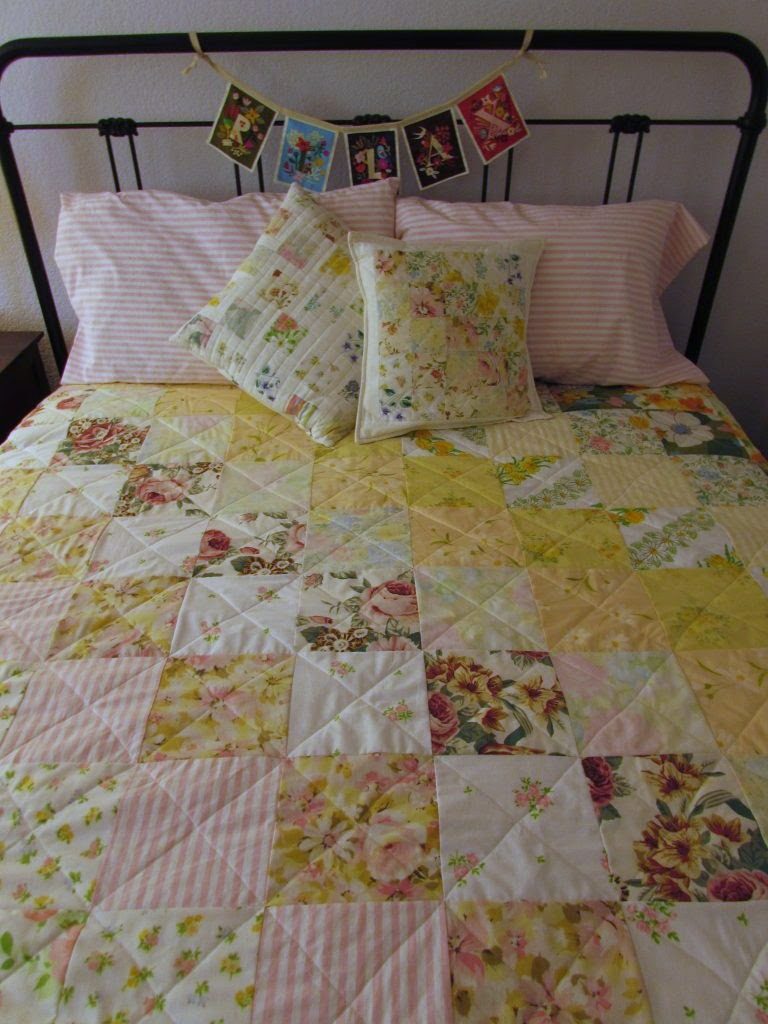
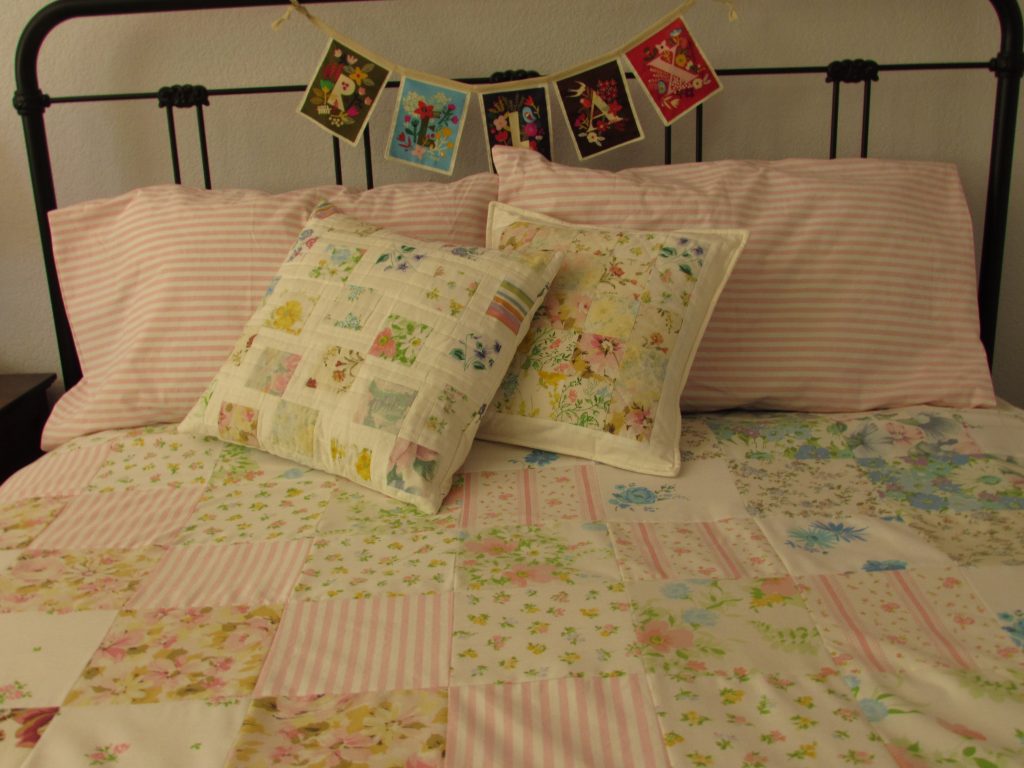
After cleaning up everything from the show I hung the bunting from a little shelf above the guest bed in my sewing room. Doesn’t it look cute with the quilt on the bed??

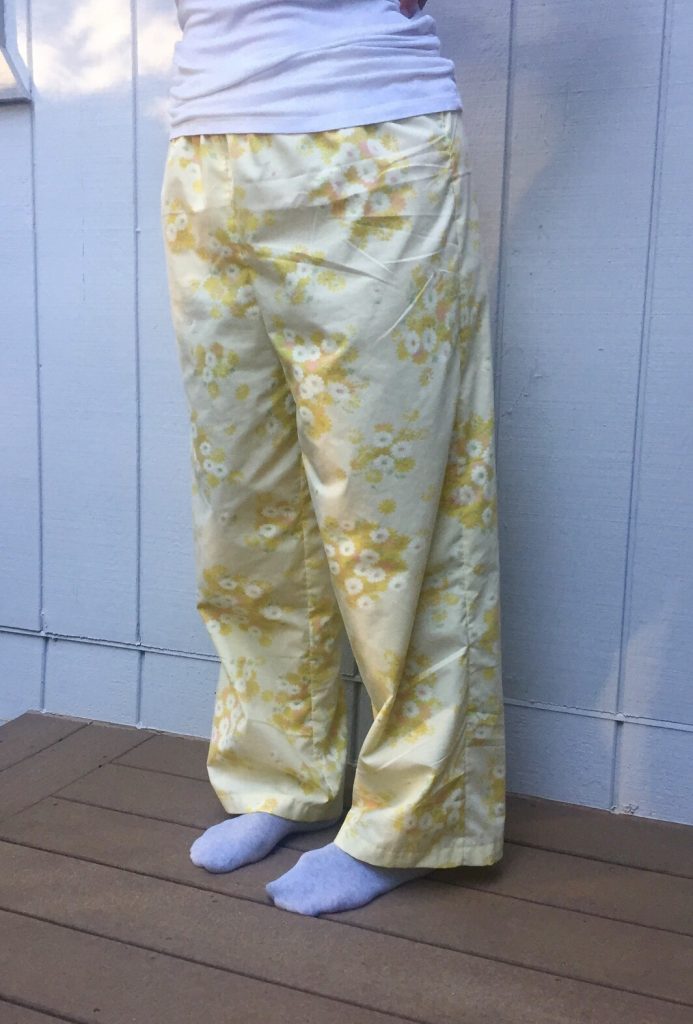
At about the same time, I decided to make a pair of pajama pants with one of the yellow sheets. The sheets are usually very soft as they have been used and laundered. I used a simple pattern, Simplicity 3935, to make them. It takes about as long to pin the pattern and cut the two pieces as it does to stitch them together. They are so, so comfortable. Here is the front – yes, they are a little wrinkled. I am not much for ironing my pj pants.  😉

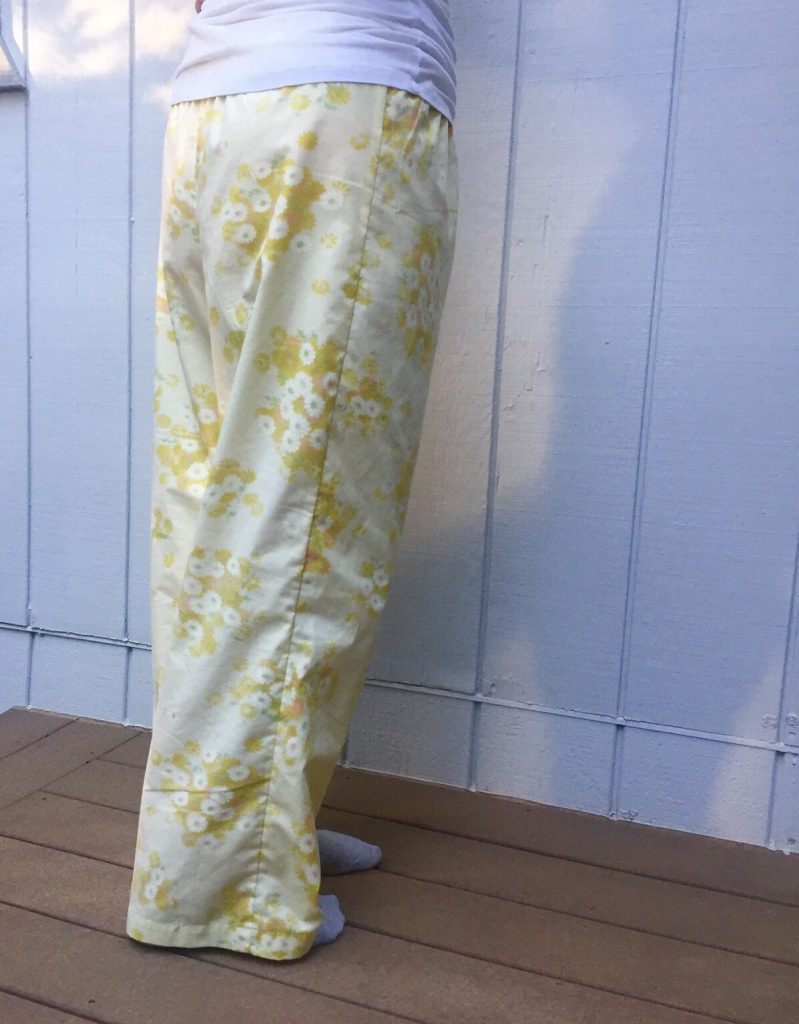
Now the back side – which looks much like the front!  I put a little label on the inside of the back waistband so I would know which was which.  Otherwise, you don’t know until you put them on backward and wonder why they don’t fit right. Ha!

Mostly I like to lay on the guest bed and marvel that my pj’s match the quilt. Not really though…

I do love the soft colors and patterns in these sheets. While I only list fat quarter bundles in my shop, I do sell whole sheets if someone wants one to back a quilt or make something like my really cool pajama pants.  If you are ever of a mind to do this, email me and I will send you pictures of what I have available.

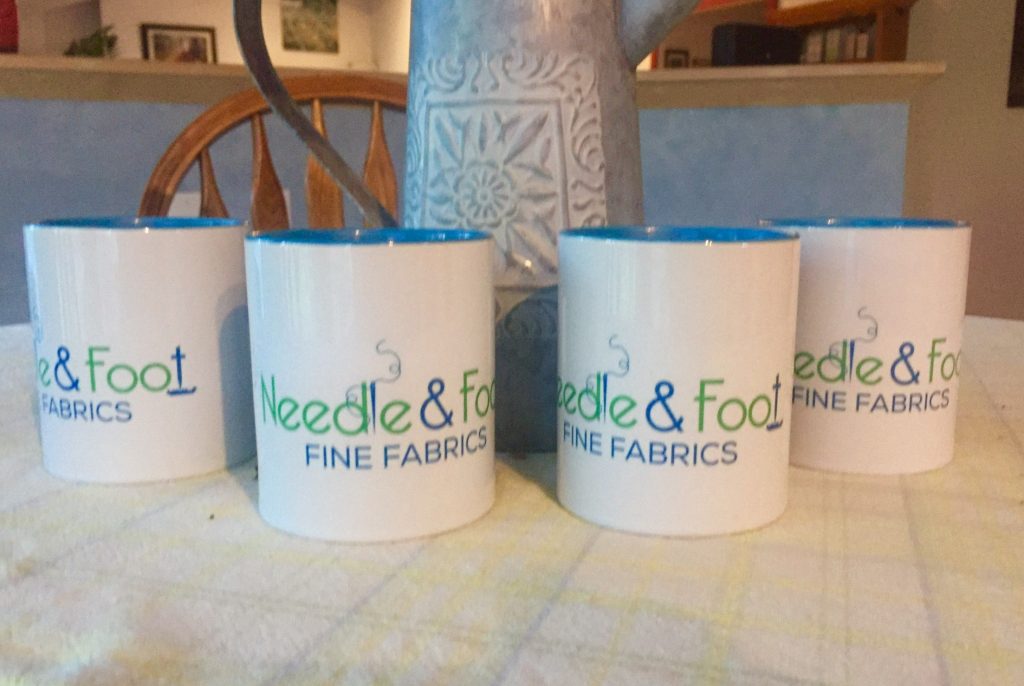
I want to show you a fun gift I received for Mother’s Day. My daughter somehow downloaded the logo to my business and had coffee mugs made for me. What a great surprise.

Aren’t these cute?? I just love them!

Just one more thing.  I have been following a series that my friend Mari is publishing over at Academic Quilter. She is on a tear organizing her sewing room, purging unused books, patterns and tools, and going through her stash and getting rid of fabrics she doesn’t want. She has been publishing these wonderfully inspiring posts with all kinds of suggestions for taking this project on. The posts are well written and divide the projects into manageable segments. I have to be honest and admit that to this point, I have only read the posts and wished I was doing the work. It has been so crazy lately and I haven’t spent the time to implement her ideas and suggestions. However, maybe you will have the time to take some of the ideas and put them to good use! Go check it out, if you haven’t already joined in.

Linking to some of my favorites – check out the list at the top of the page, under Link Ups!

Vintage Heaven

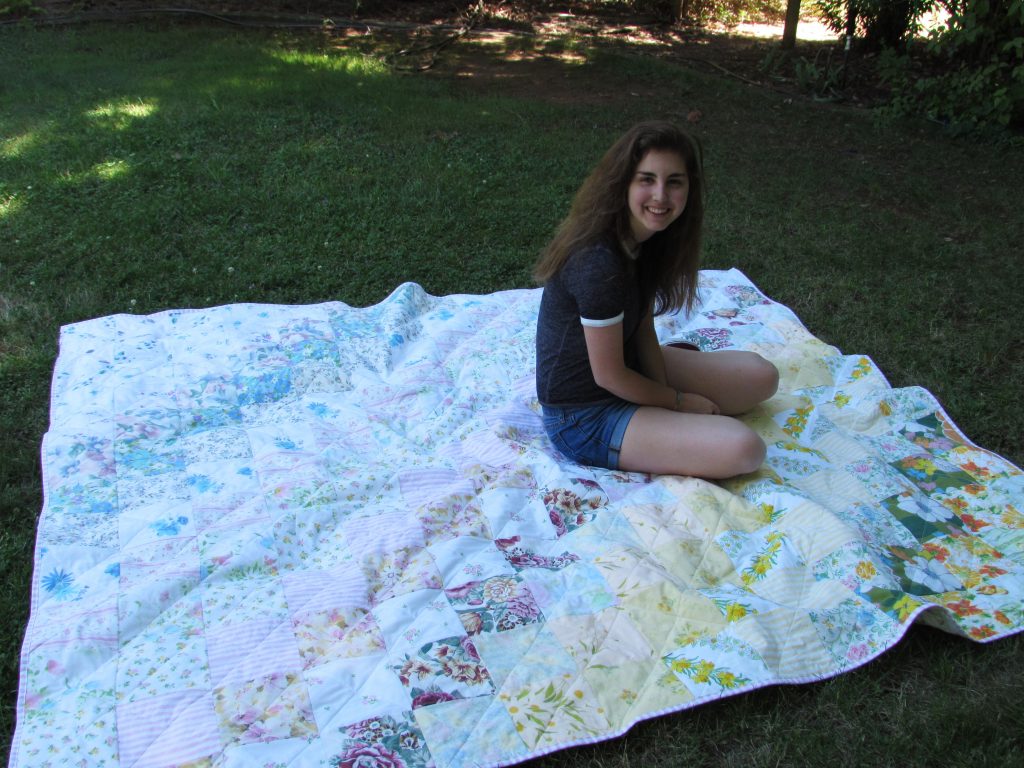
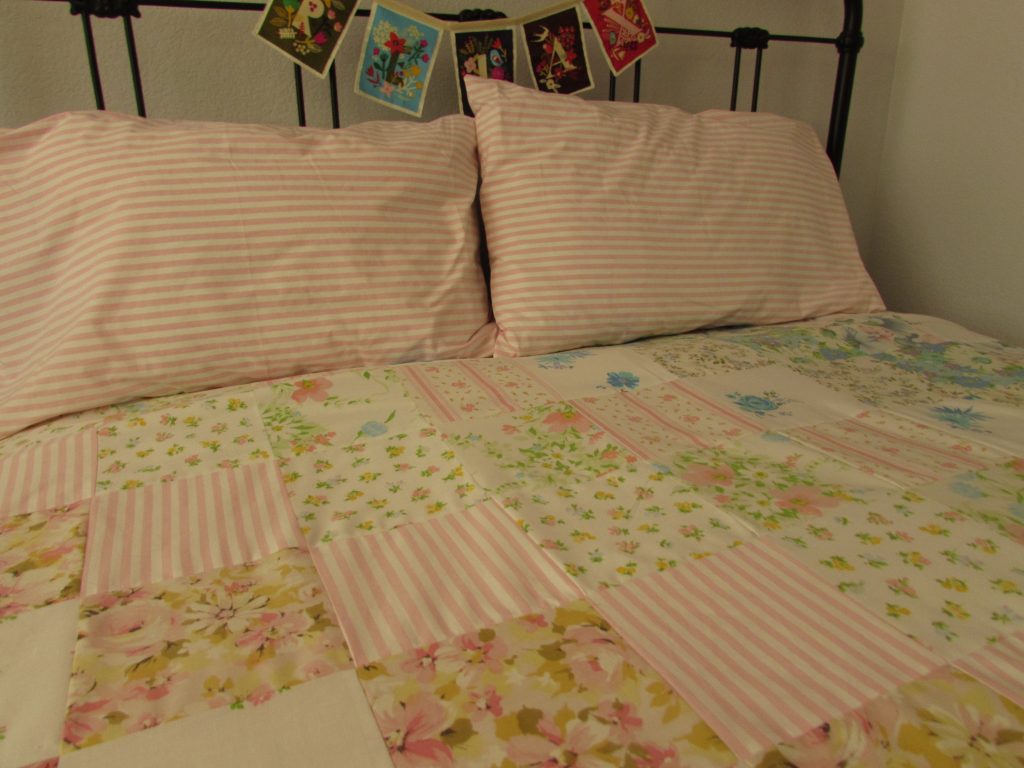
It’s finished! The bed in my sewing room is currently sporting a gorgeous quilt made of vintage sheets that I have collected, thrifted and received as gifts over the past two years. I love it and the springlike, feminine look it brings to the sewing room. I am calling this one “Romantical” which is how one loyal reader described it when I posted last week. What a cute word.

yellow picture edited

Quilting this  went so fast since I did straight line quilting on both diagonals of the quilt. Because I was stitching across seven inch squares, it was not a problem to just eyeball it. No marking made for very fast stitching. For a short time I considered quilting only one of the diagonals. But it was finished so fast and quickly became evident that it really wanted to be quilted in both directions.
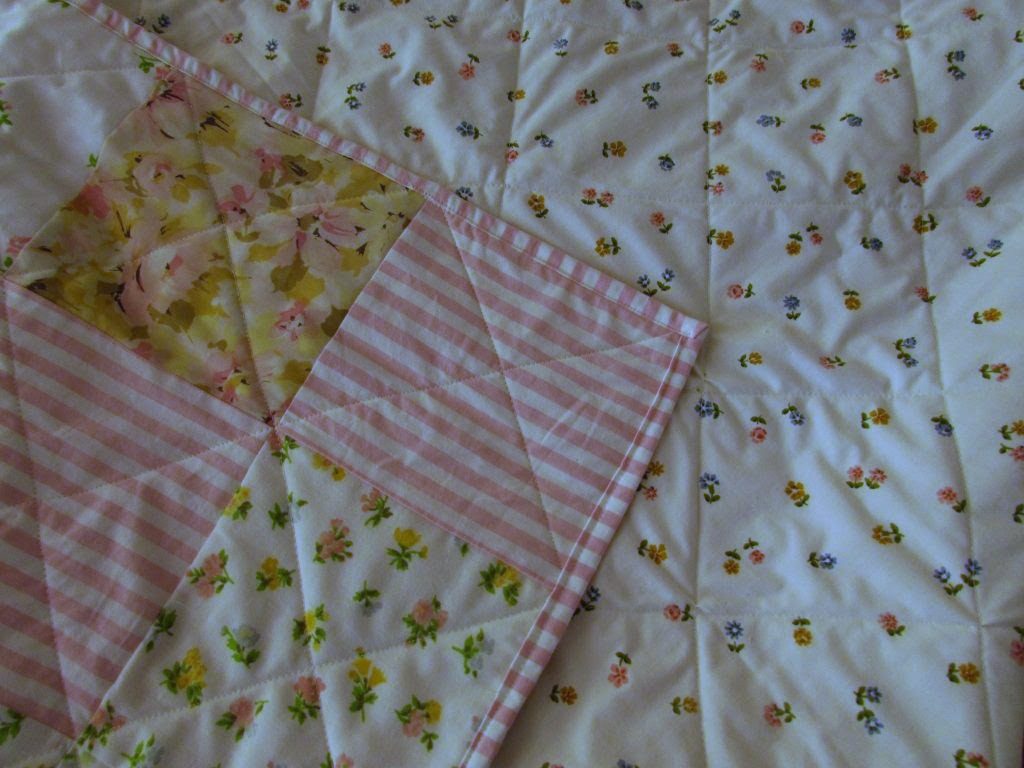
After receiving such helpful input on selecting the binding via comments on last week’s post, I went with the pink striped binding. I debated cutting the binding strips on the bias since I had enough fabric to do so. But that would have created some waste so I decided against it. Look at it though! It looks great, especially next to the squares of the same fabric. I had another one of those fortunate occurrences when the fabrics line up just so, as though I worked diligently to make it happen. But you and I both know me better than that. Happy coincidence!

yellow 2


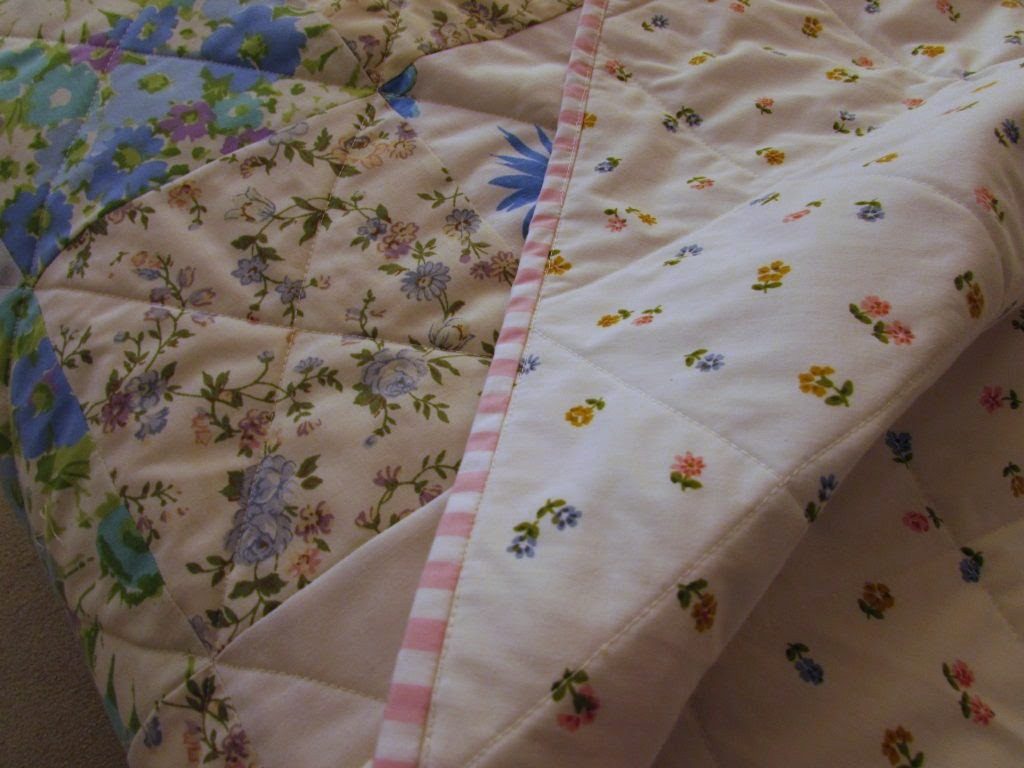
Do you see the sweet backing I used? It was a queen size flat sheet that was brand new. The little floral is so pretty and works well with the binding too.

yellow 3
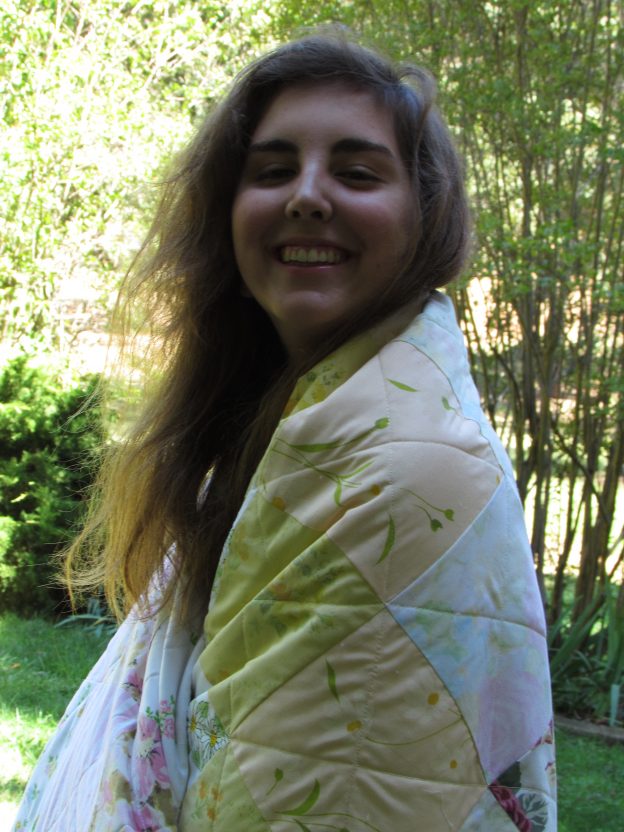
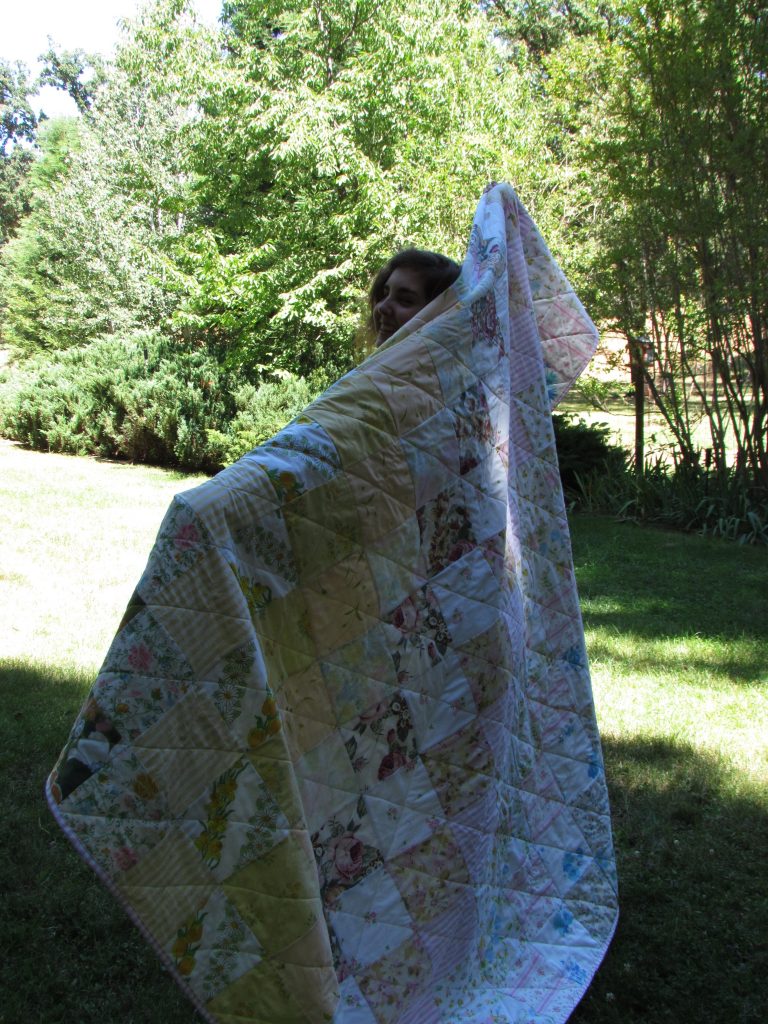
My quilt model and I went outside to take some photos. It was mid-afternoon and the sun was a bit too bright. The pictures are fun even though the colors of the quilt look a bit washed out.

IMG_6759

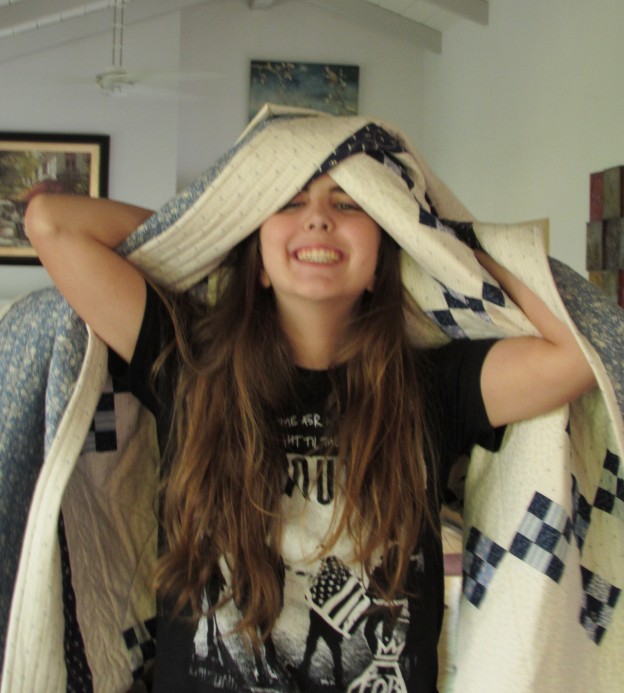
My model was in rare form so I took advantage.

IMG_6765

This was such a simple and satisfying project. Having a quick finish like this has left me in the mood to tackle something that takes a bit more thought. My nephew is getting married in September so I think a quilt is in order for him and his bride. I have a couple of months to work on it which is plenty of time. I have two stacks of fabric pulled and I keep deliberating between them. I’ll show you the pull once I make some decisions.

Thanks to all who left comments on yesterday’s post about social media. It made for good discussion. If you haven’t had a chance to read it, check it out and let me know your thoughts.

Linking today with my favorites, Amanda Jean over at Crazy Mom Quilts and Sarah at Confessions of a Fabric Addict. Links to both can be found at the top of the page, under Link Ups.

Vintage Patchwork Quilt

For the past several years I have kept my eye peeled, looking for vintage cotton/polyester blend sheets. They show up now and then in thrift stores. It takes some time to build up a collection because many of the pieces that are available are too worn to use. But if you are patient, it is possible to find pieces that are in new (still in the packaging) or like new condition.

IMG_6252

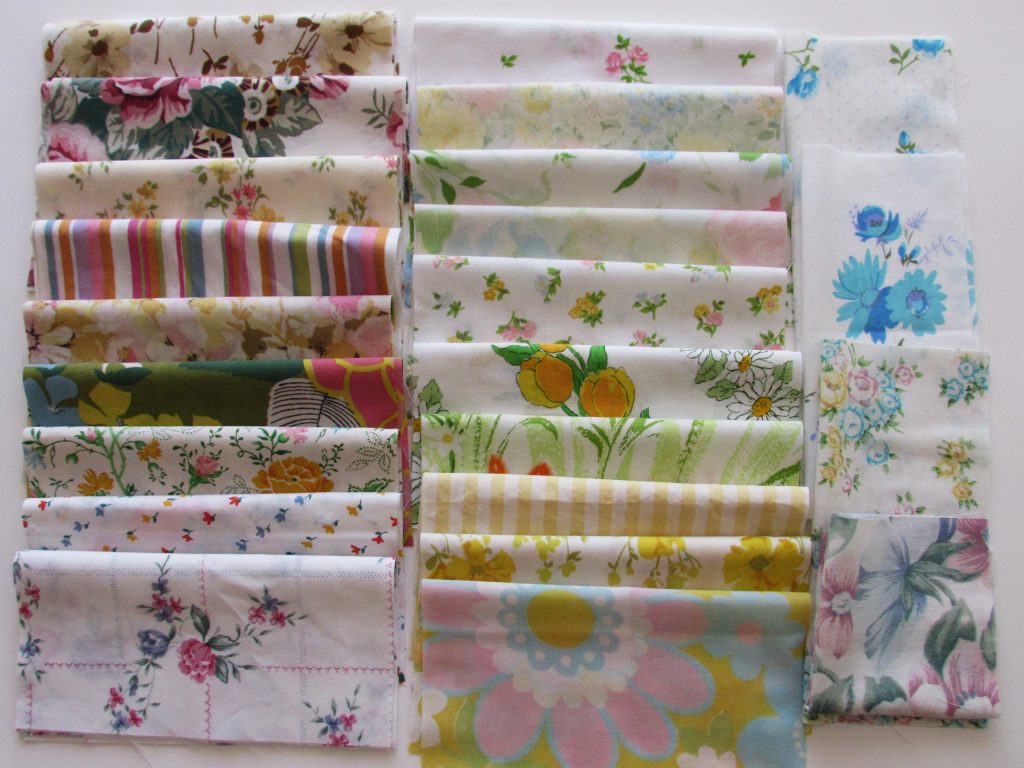
My collection has finally grown to the point where I had enough variety to make a large quilt with it.  The photo above shows the majority of my collection less just a few pieces that I bought after taking the picture. (By the way, if you are a lover of vintage sheets, I have many listed in my Etsy shop. Take a look.) I was a bit concerned that I didn’t have enough change in value with these pieces but it has worked out well.  The overall look is very soft and feminine.  I decided I would make a simple patchwork quilt, which is definitely my overall favorite quilt. I originally cut 9″ squares but they looked way too big so I trimmed them down to 7″ squares, a much better size. Created some waste but I am glad I cut them down. If you follow me on Instagram, you have probably seen some pictures of this project in process.

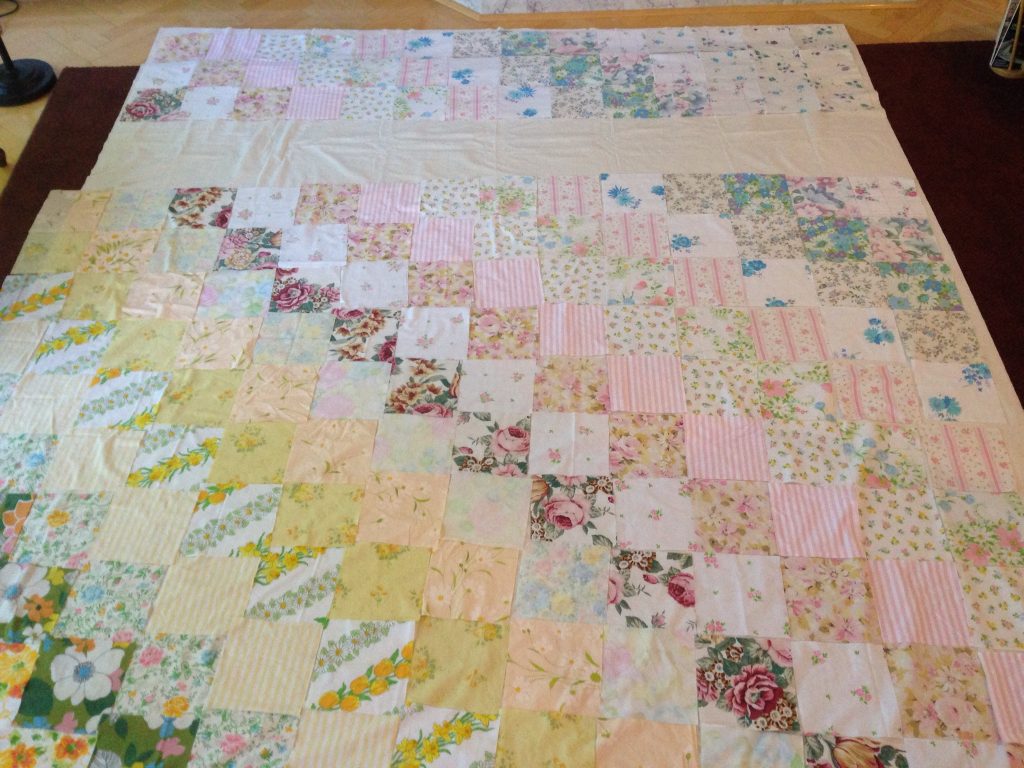
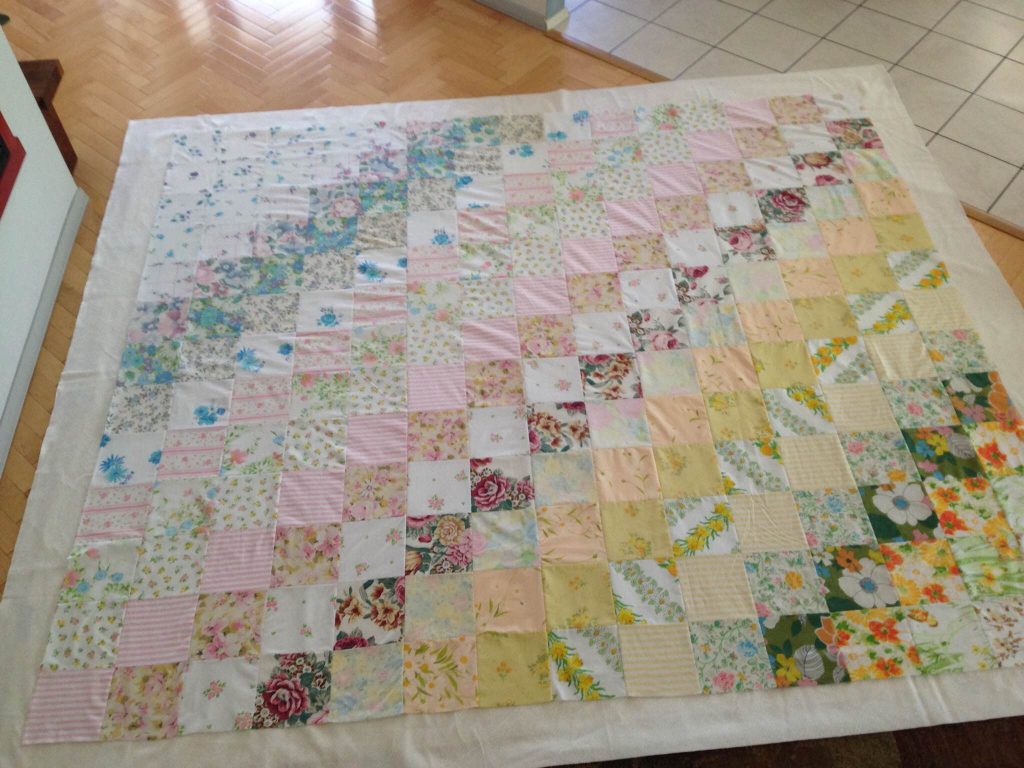
It was quite a feat to lay them out and get the balance that I wanted. At first I tried to just generally group the squares by colorway and make it flow. That didn’t work. The colors are not defined, or saturated, enough to get a good result. Picking up the squares and trying again, I organized them into diagonal rows with the same fabric in each row but still sorting by color. This was much more effective and it was the look I liked best.

image2

This picture was my guide so I could be sure I was sewing patches together in the correct order.

It really didn’t take very long to get the top assembled. Once I did, I decided I would also make matching pillow cases for the quilt. (I used a very simple pattern from the book Home Sewn that I reviewed last week.)

IMG_6741The bed is going to be so pretty when this is finished. Not sure if you remember but I also made a few throw pillows last summer and they use many of the same fabrics. What do you think?

IMG_6742This quilt is a bit of a monster. I’ve only ever quilted one other queen size quilt and it wasn’t easy. I think I will quilt this with my walking foot and do straight lines on the diagonal, running both directions. That should be a manageable approach.

Julia was so kind as to help me layer this on the floor. It was much easier than doing it alone. I had a brand new sheet that I saved to use as the backing making this an incredibly affordable quilt.

IMG_7096

At this point, I have a quilt top finished, basted and ready to go. Hopefully, I will get it done soon as I want to put it back on the bed! Want to throw in a vote for binding? I am thinking of using the pink stripe that I used for the pillow cases. What do you think?

Linking to my favorites this week. Check them out at the top of the page, under Link Ups.

A Vintage Finish

Looks like I made it, and with a few days to spare! My ALYOF goal for August was to quilt and bind my vintage double nine patch quilt. Yahoo for setting goals.

IMG_20150827_3699

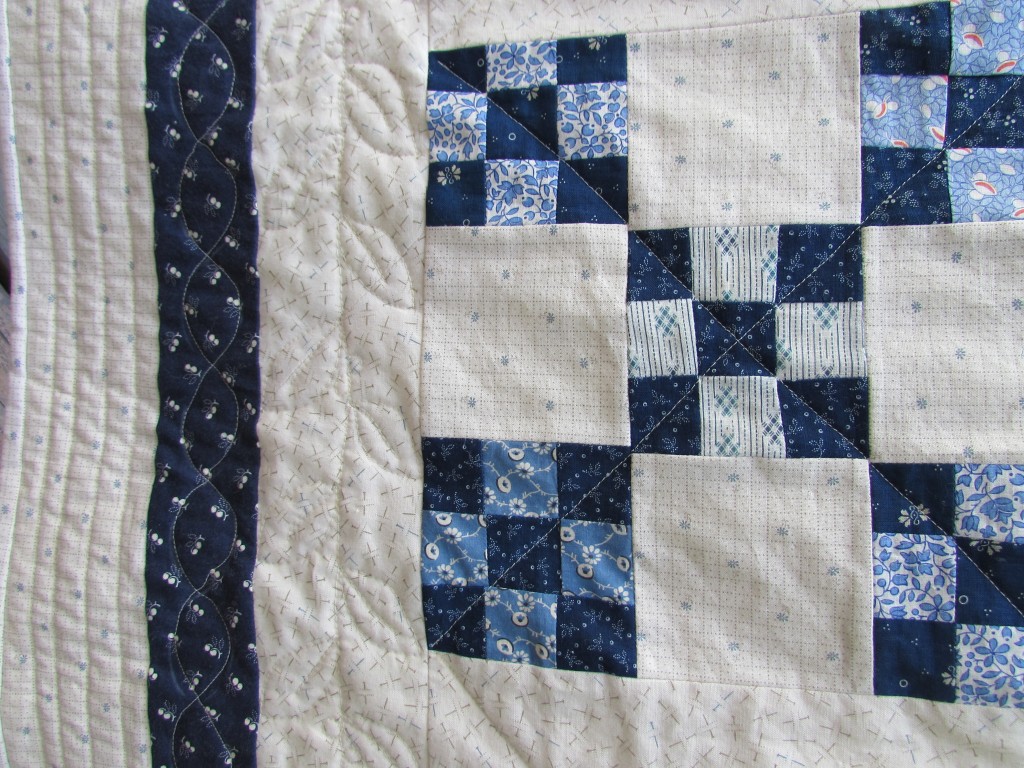
I had asked readers to suggest ideas for quilting the vintage quilt and was happy to receive tons of suggestions. Thanks so much for the ideas. I decided to quilt a basic cross-hatch over the main nine-patch blocks. Then I wanted to do something different with each of the three borders. My original thought was to do different cable patterns so I bought a couple of cable stencils.

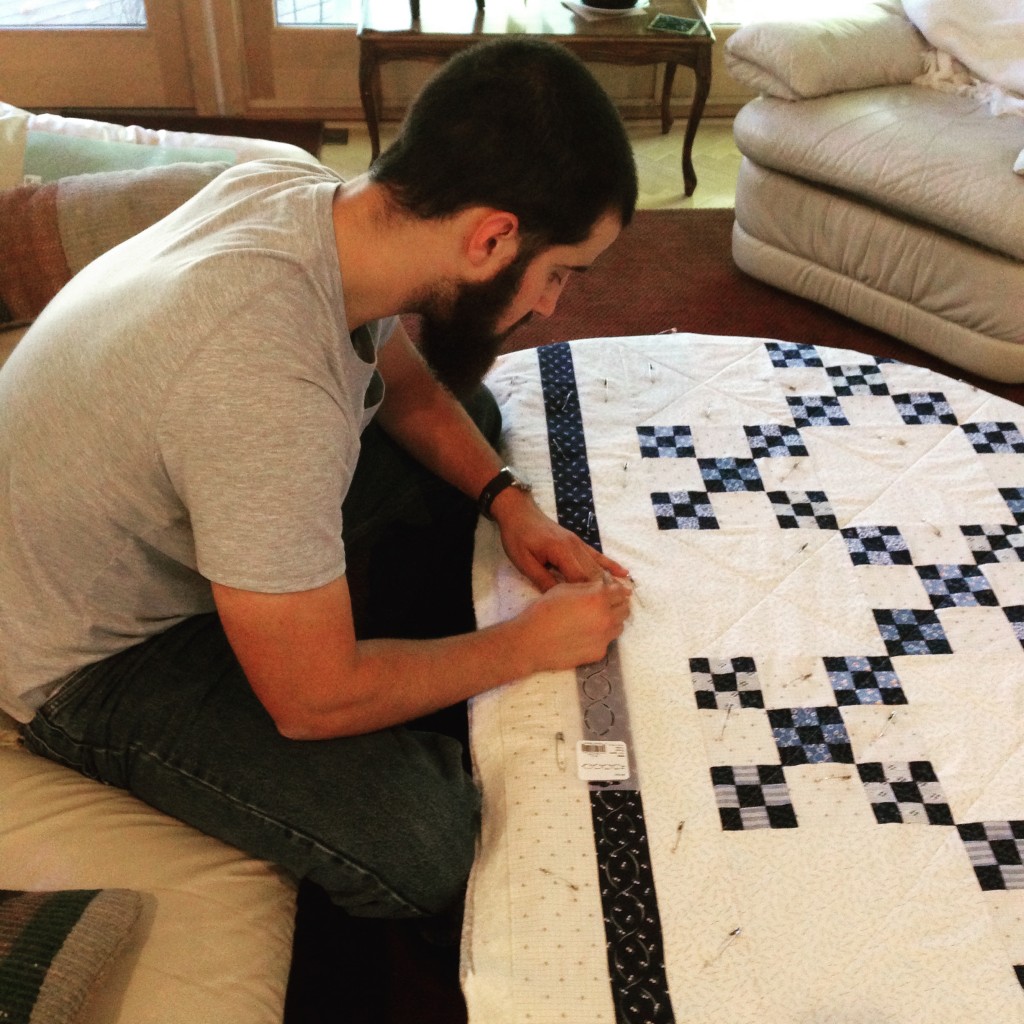
Alas, it wasn’t entirely successful. I started by doing a basic, single cable on the middle (narrowest) border. I had great help with tracing the stencil. Ian was home for the weekend and kindly traced for me.

IMG_2409

Try as I might, I couldn’t relax and just stitch. I wanted to use my walking foot, maybe that was the mistake? The stitching isn’t fluid and I am less than pleased with it. Hoping that a run through the wash (in my NEW washing machine) will make the jitters a bit less obvious.

IMG_20150827_3703

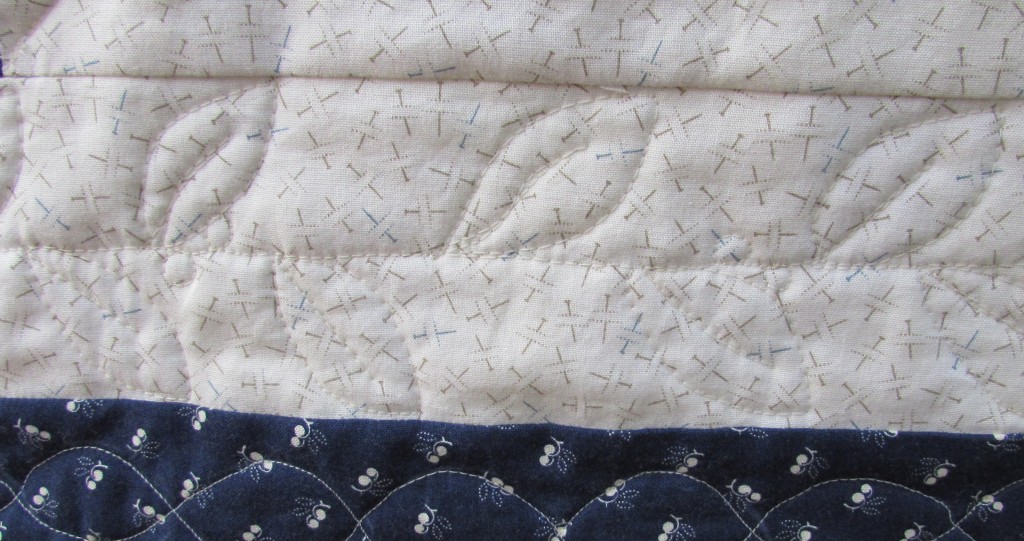
Because of the issues with the single cable, I lost interest in doing a more complex cable pattern so I put the stencils away in the deepest recesses of my desk drawer. I don’t plan on looking at them for quite some time. Instead, I played with some motifs that Lori Kennedy has posted over at The Inbox Jaunt. I chose her Modern Leaf pattern (which I posted about earlier this week.) Because I am susceptible to this sort of nonsense, I wondered if I should use a motif with the word “Modern” in it when I was really trying to go for a vintage look. Jeez… I need to get over myself already. It worked out fine and was very fun to quilt. Because I did the quilting with cream colored Mettler thread, it is hard to see in the pictures. But I am much happier with it than the single cable. (I love the fabric with those little pins. Really cute.)

IMG_20150827_3702

For the final, outside border I did basic straight-line quilting which I just eyeballed using the side of the walking foot. Simple and clean. I backed it with a blue print and as you can see, I used one of the cream background fabrics as the binding.

IMG_20150827_3704

One small concern that came to mind is that I have a six inch gap between stitching lines on the cross-hatch. The batting said I could space the quilting with as much as an eight inch gap. However this is likely the widest I have gone and it seems sketchy to me.  Any input on that? I could still add lines to the body of the quilt if need be. If I split the difference between the existing lines, I would have a three inch gap. Thanks for any ideas you might have.

IMG_20150827_3701

Overall, I am happy with the finish. This is a more traditional quilt than I normally make but I enjoyed it. My next project is more modern and uses Kaffe Fassett yardage and jelly roll. I am chomping at the bit to get started on it so stay tuned.

Linking to my favorites:  Let’s Bee Social, Finish it up Friday, and Sew Bittersweet Designs.  Take a peek at these sites – there is a lot of great work out there!

August, really?

August is here. That’s crazy. Summer is buzzing by and we are trying to cram as much as possible into these last few weeks.

With the new month, I am looking at what I want to create and complete for August. The list is long, maybe too long?

The main goal is to finish the vintage nine patch quilt. I have the quilt top and backing ready to go. I ordered batting on-line because I don’t feel like the 75 miles (round trip) to Jo-Anns. I won’t buy batting at the local store, it’s too expensive. Anyway, it should be here this week and then I can get the quilt pin basted and start quilting it. That is the goal I am submitting for August for ALYOF.

I also have a project that came my way via the New Quilt Bloggers Bloghop. Fabri-Quilt has sponsored an activity for the group. We are each to work with a set of solids and create a block that is of our own design.

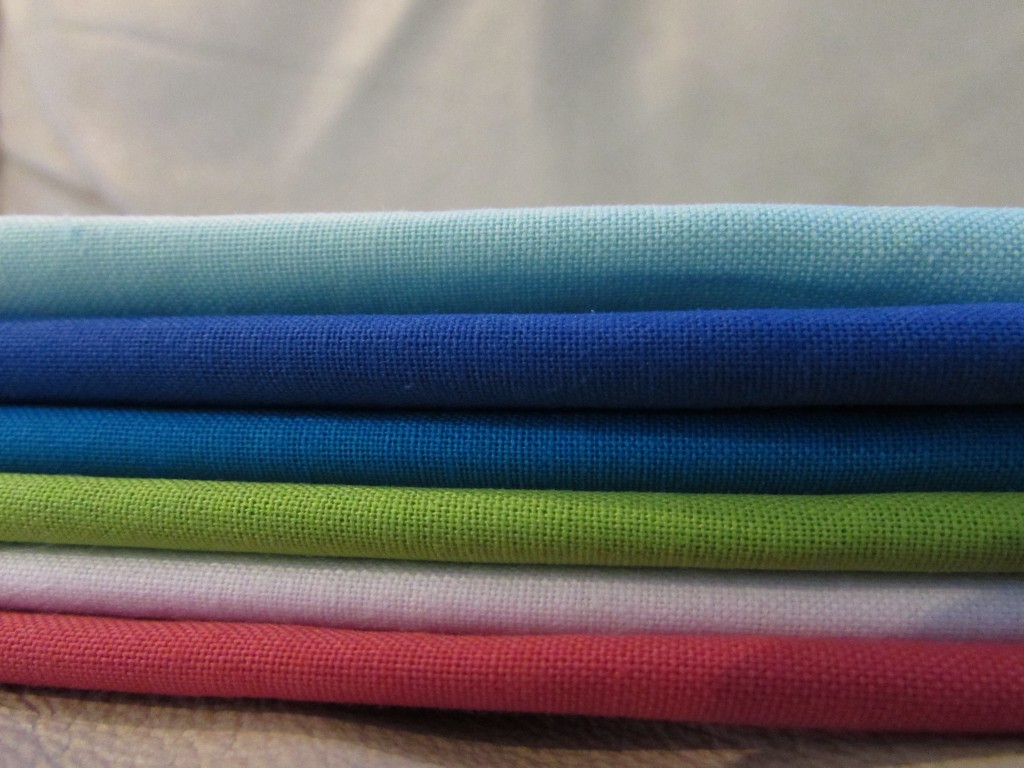
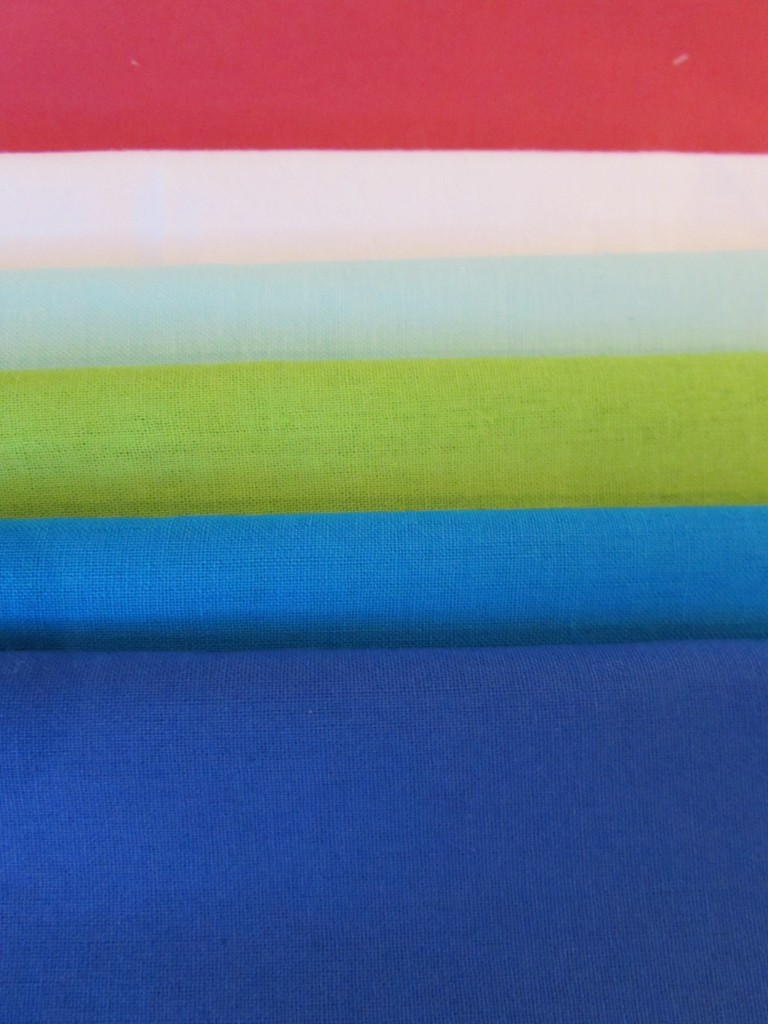
IMG_20150803_3649These are the fat eighths that I received this week. I have been cutting and sewing mock ups and so far don’t have exactly what I want. It needs to be original. What exactly does that mean? I can’t really think of a block that hasn’t been used in some way by someone else. Truly, there are only so many ways I can visualize HST’s, squares, triangles and rectangles. So, I am trying to take a regular block and put my own spin on it. That is about as original as my brain gets.  At any rate, this is certainly forcing me to work beyond my comfort zone. In addition to making the block, we will all be writing tutorials for the blocks. That part will be fun and I am really curious to see everyone’s block tutorials. Could be a fun project to make a selection of the blocks and come up with a sampler quilt or wall hanging. Stay tuned for more on this.

IMG_20150803_3646Next on the list, as always, is my RSC15 row quilt.  Last month I veered from the Classic Stitches block but this month I plan to go back to Mari’s monthly block. She wrote up an easy block for this month and the color is indigo, black or gray. I need to look at the quilt so far and choose either indigo or gray, either of which I have plenty of scraps to choose from.

Lastly, if I get around to it, I am going to start making two twin quilts for the beds up at Downieville.  Ray saw me looking at comforters on-line and raised those eyebrows of his – like, really? You are always looking for a reason to sew and you want to buy two comforters?  I shook my head and came back to reality. I painted the room a pale sage green. There are cute curtains (that I thrifted) with a floral pattern of green and violet on a tan background. (Sorry, I don’t have a picture for some reason.) I was at the store last week and they had  a deal where if you bought the end of the bolt, it was 40% off. The tan bolt (I think it was a Bella Solid) was perfect so I bought the remaining six yards. Then I bought a piece of violet and a print.

IMG_20150804_3653It is a good starting point. I don’t know exactly the design yet, but I do know I want it to be big, oversized blocks. I started a board on Pinterest for inspiration. I think with big chunky blocks, both quilts will come together reasonably fast. My hope for this month is to settle on a design and get the pieces cut.

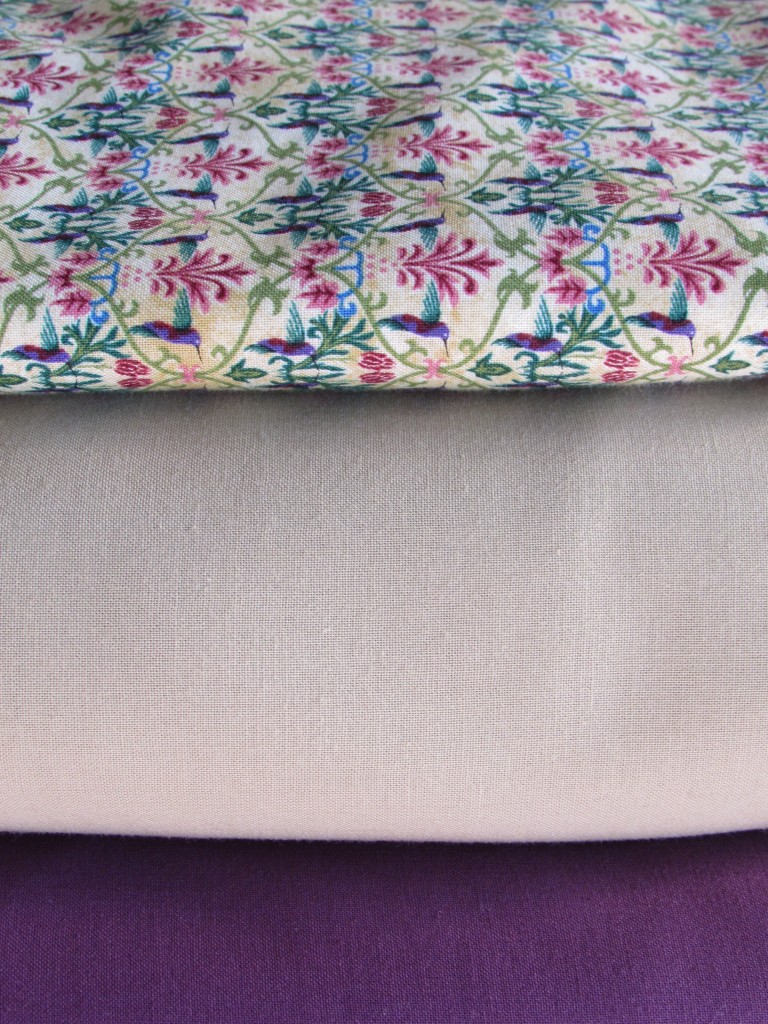
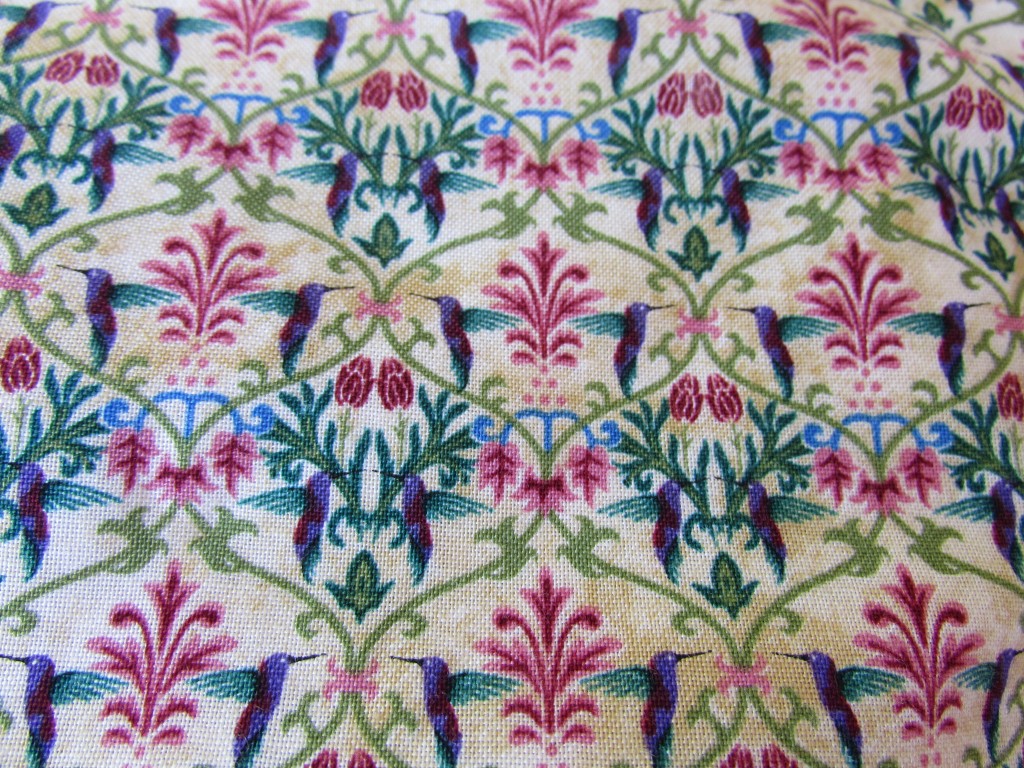
The bedroom will look much better with normal bedding. Right now there is a hodge-podge of linens that I had stashed away. Not exactly pretty. I really love this little hummingbird print. It is called “Windsor Woods”.

IMG_20150804_3654Somewhere in all of this, I need to start working on Etsy items. The holiday season will be here soon. I hope to have plenty of items posted by fall. Last year I was new to the game (actually, I still am!)  I didn’t have enough items listed and sold out quickly. Hope to boost the quantity this year.

Lots of the list. I better get to work!

Linking to Sew Cute Tuesday, Freemotion by the River and Let’s Bee Social. Links to all of these sites are available at the top of the page, under Link Ups.


Double Nine Patch Update

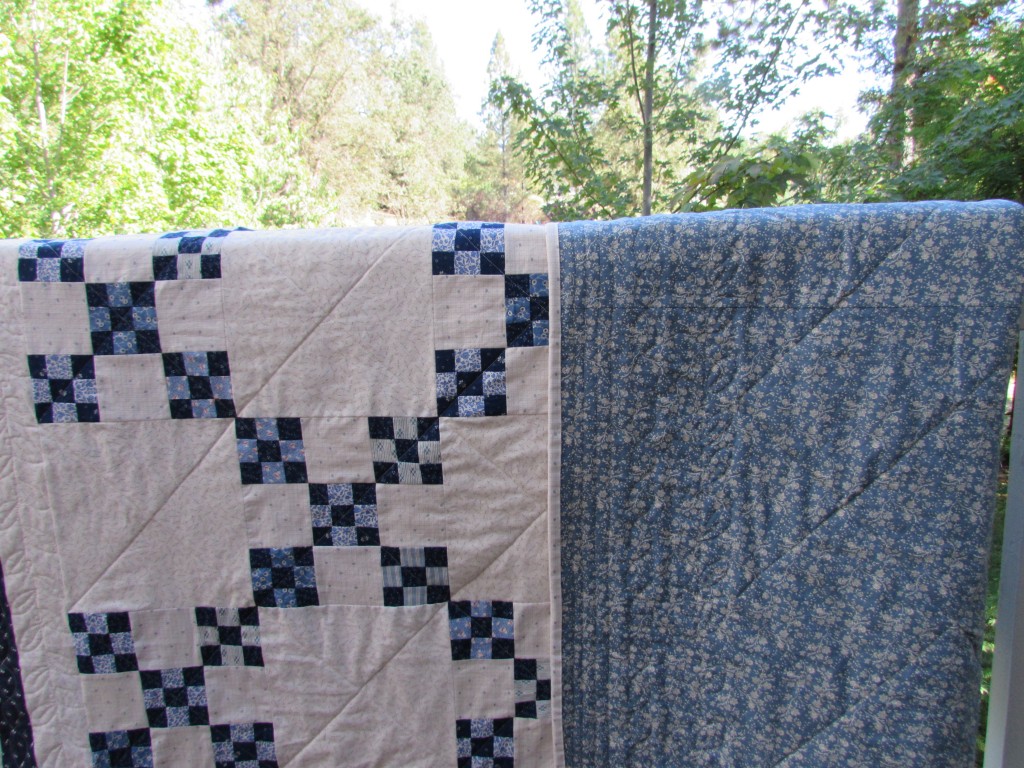
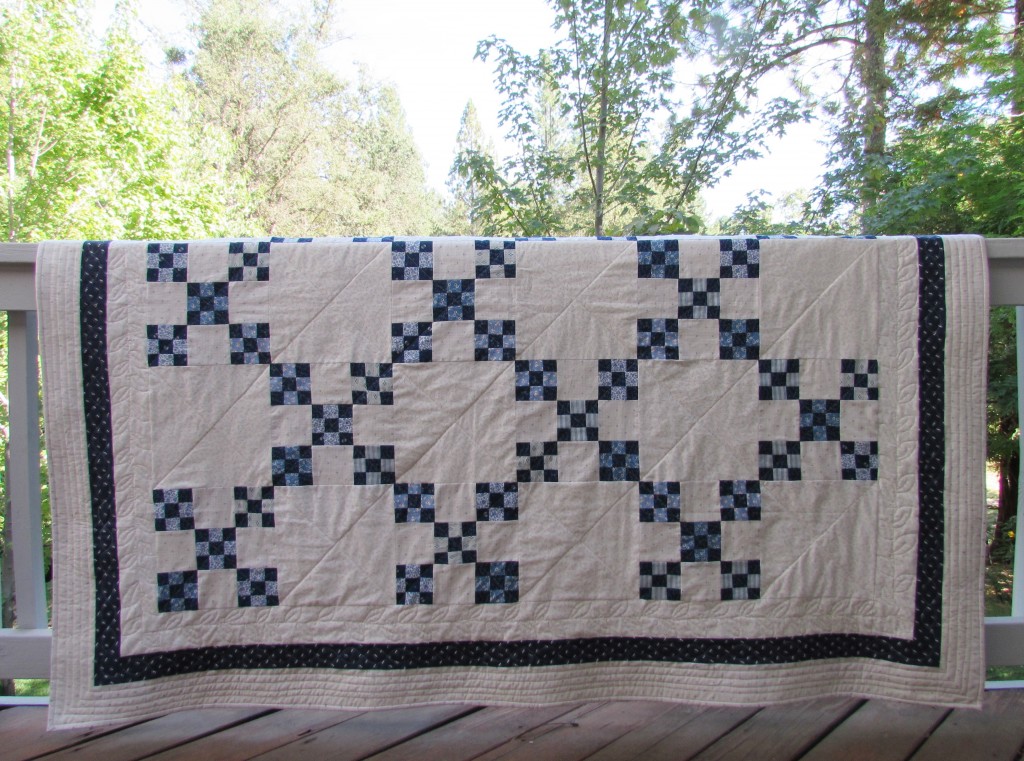
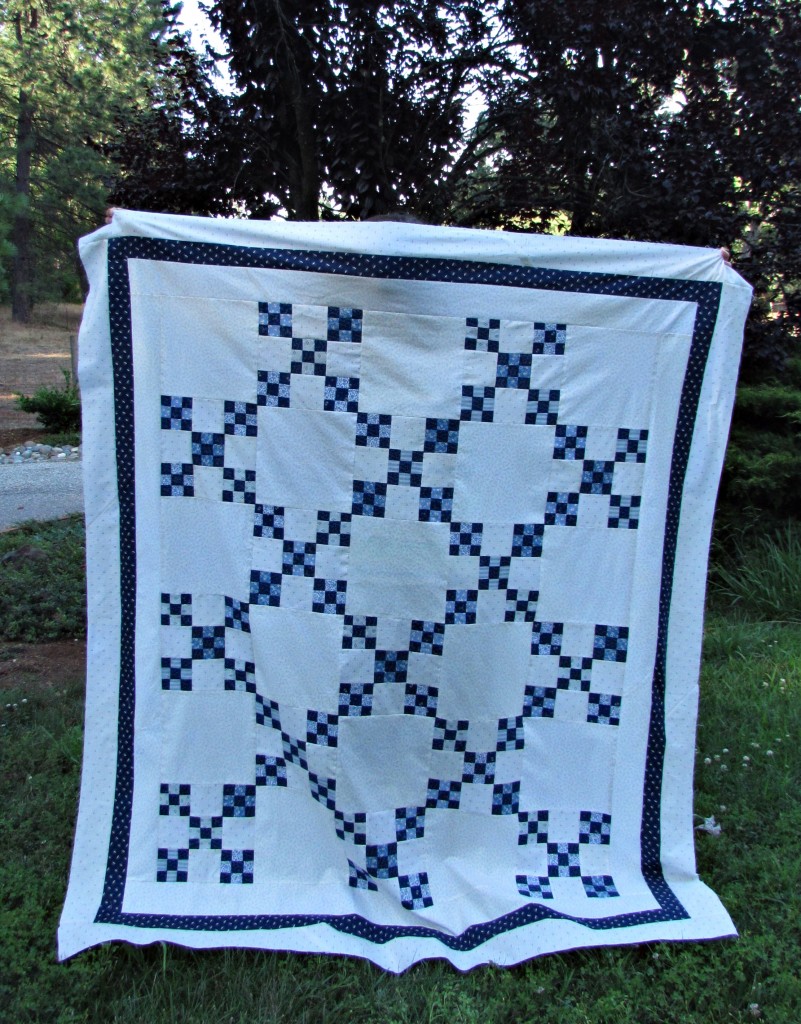
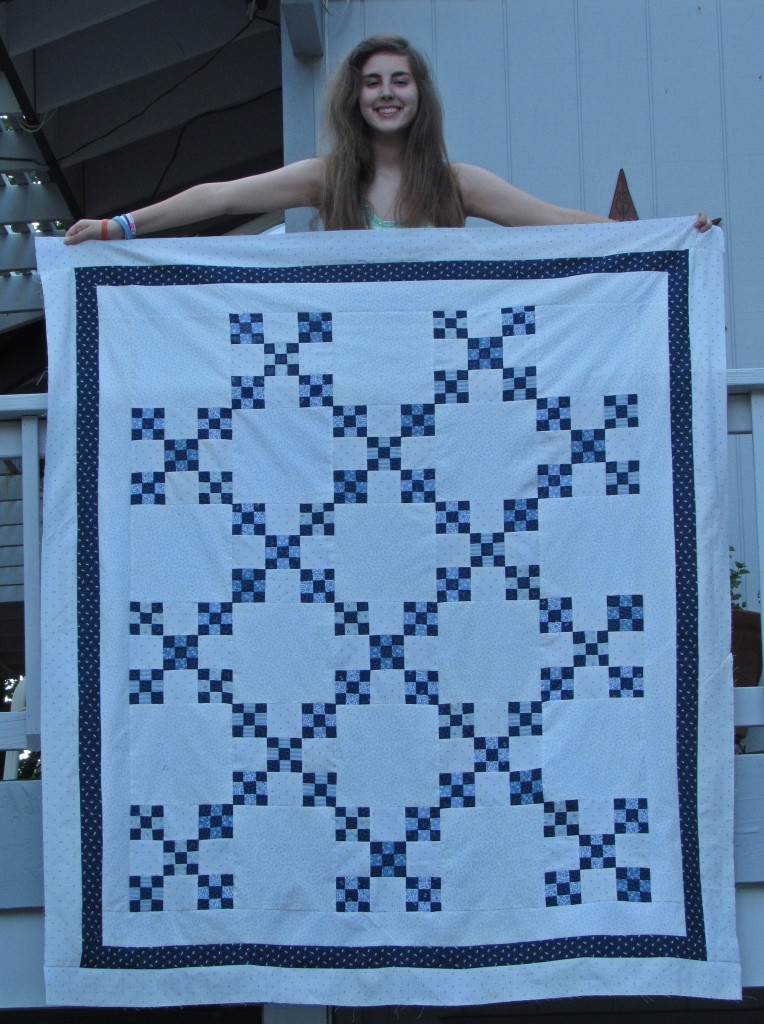
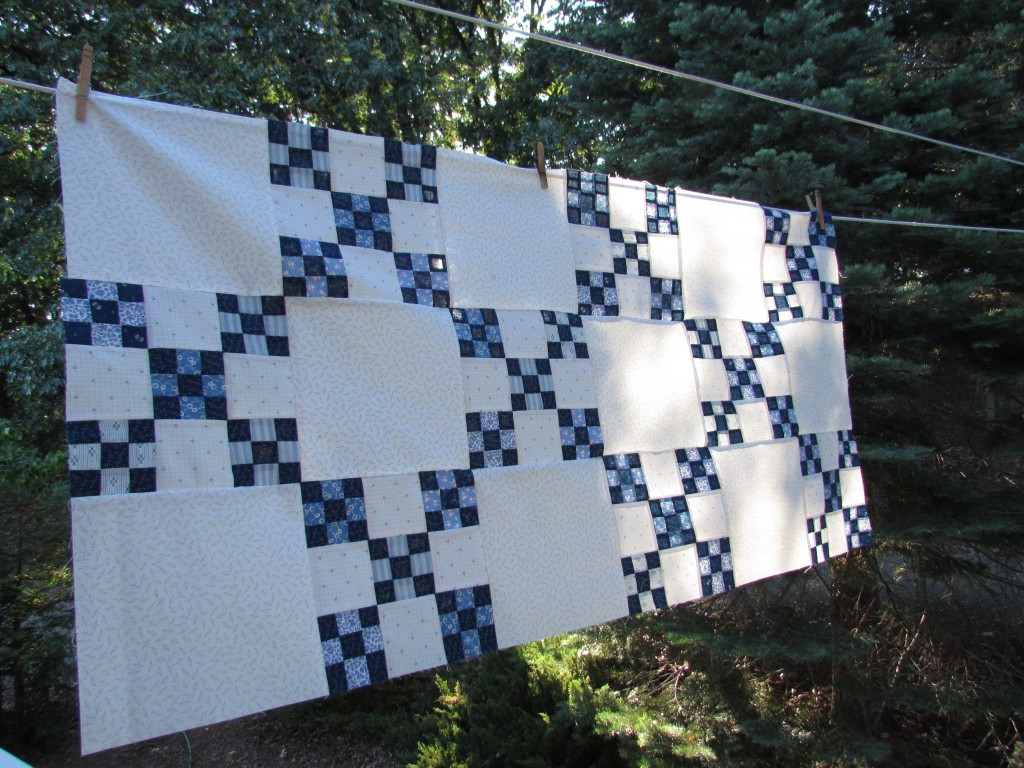
Hey everyone! I finished the vintage double nine patch quilt top. Yay for staying with it and getting it done. It is a good size for a lap quilt. Finished, it should measure out to about 60″ x 70″. I am really happy with it and look forward to getting it basted and ready to quilt.

IMG_20150716_3530The quilting decision is an important one due to all of the negative space that this quilt has. My FMQ skills are improving but aren’t stellar. What to do?? My thinking is that this sort of traditional quilt calls for FMQ over straight line quilting (I usually associate straight line quilting with a more modern project). Because this will be auctioned off at a 1940’s themed fundraiser in October, I feel like I need to do some decent quilting on it. I need a foolproof idea! Please help me out here and send ideas my way! Do I do an easy all over stipple? If so, do I stipple the main portion and do something different on the borders or just cruise right over the borders too? I have plenty of time to decide. I don’t have any batting just now (well, other than the piles and piles of batting scrap – I could probably stitch those scraps together and make a piece large enough for a king size quilt). I need to spend some time on Pinterest and hop over to a few sites (The Inbox Jaunt and The Freemotion Quilting Project come to mind) for inspiration.

IMG_20150716_3532

One more thing…. Totally off topic here, but yesterday my quilt model and I went to the movies and saw “Inside Out”. I had high expectations for this new Pixar film since the reviews are glowing. Yikes, I was disappointed. Both of us kind of shook our head on the way out, wondering what the hype is all about. I found it really preachy – sort of like they were forcing a lesson down my throat. Neither my daughter nor I could figure out what age group this was aimed at. The plot doesn’t seem suitable for early elementary school ages and it seemed very trite for older kiddos.  Did I miss something? Maybe I wasn’t in the mood for it? Just curious what others are thinking about this movie.

Linking up with Crazy Mom Quilts and Needle and Thread Thursday. Links to these sites are available at the top of the page, under link ups.

Double Nine Patch Progress Report

Well, I am happy to say It have made great progress on my vintage double nine patch quilt. I have all of the blocks done and have been sewing the rows together. It worried me to set this as my goal for June but it appears I’ll be able to finish it this week and we are only at the middle of July!  Just never know.

Here are a few rows – they are not yet pressed though.

IMG_20150715_3522This quilt has been fairly mindless to create. Lots of repetition in making the smaller nine patches and then sewing those into the 9″ blocks.  For the most part I have been happily listening to music and stitching away. I usually have either music or a podcast on when I am sewing, unless I really have to focus on the pattern. This week I indulged in lots of oldies. I had my playlist set to include music from the early 1970’s (which would have been junior high and high school for me). Carole King, Van Morrison, Cat Stevens and The Lovin Spoonfuls, to name just a few.

Music doesn’t seem to distract me when I am sewing but TV is not such a great idea. When I was cutting the smaller background squares for this quilt there was an episode of “The Office” playing. (Julia recently discovered this show.) It was so distracting – I think that show is so funny. I ended up cutting 3″ squares instead of 3 1/2″ squares. Dang it. I have tons of the fabric so that wasn’t a problem but now I have a pile of 3″ squares ready for another project and I had to spend the time to cut a new stack in the correct size. Clearly watching tv doesn’t work for me when I am sewing or cutting.

The quilt will have two borders of the cream fabric with a narrow border of navy blue in between them. If you remember, the small nine patch blocks are made with the vintage fabric that I received last spring. I need to look through the vintage stash to see if I have a big enough piece to make the navy border. I think I need about 1/2 yard and doubt I have a piece that big, especially since the vintage fabrics are 24-36″ wide. Looks like a trip to my LQS is on the agenda for tomorrow, darn it. I am really excited to sew the rows together and put the borders on.  Hoping to have a quilt top finish for you by end of the week.

So, what’s on your playlist when you are sewing??? Do tell.

Linking to Lorna at Let’s Bee Social and Connie at Freemotion by the River.  Links to both of these parties are at the top of the page, under Link Ups.


Not a Lot of Sewing Going On

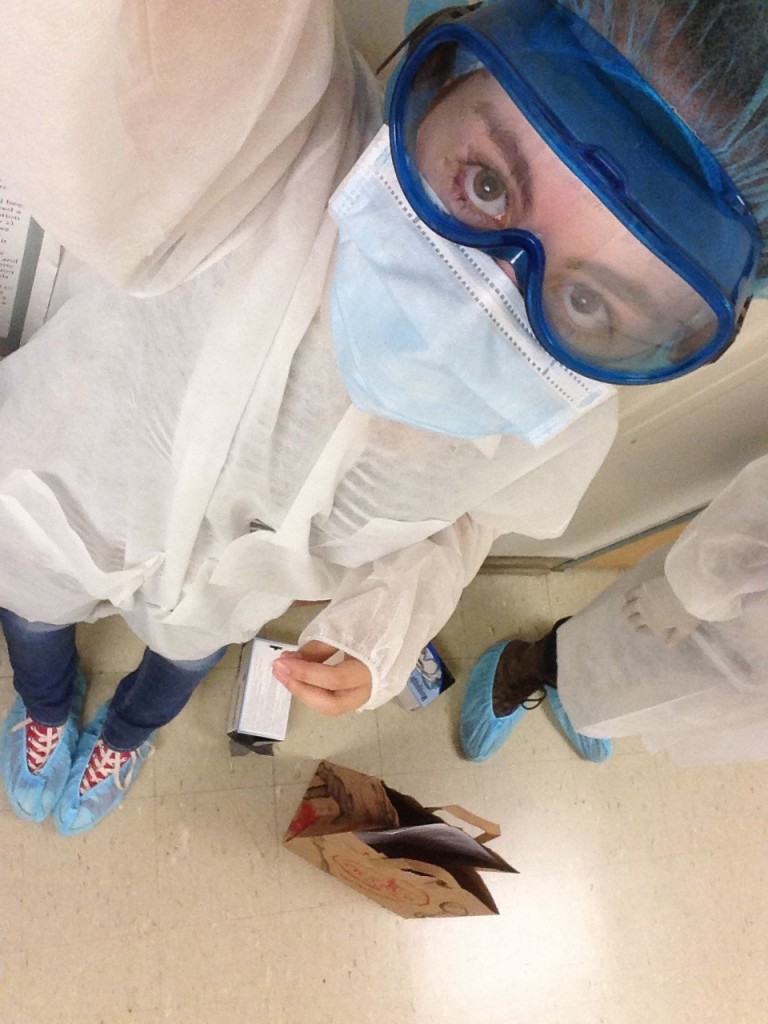
This has been a week spent in the car rather than my sewing room. Some months ago, I enrolled Julia in a class at our ‘local’ state university. They hold summer academy classes in a range of subjects for high school age kids. She wanted to take the Forensic Science class. This academy is very well done. She has a professor from the college and only 16 students are in each class. She has been working on extracting DNA from samples of blood and learning about how things are done at a crime scene. She loves the class. This girl loves her science.imageThe university is about 1 and 1/4 hours from our house. Her class lets out at 5:00 which is, naturally, prime traffic time so the commute home is long and tedious. It has been worth it though to hear the stories of what she is working on. Choosing to live in the rural area that we do means driving your kiddos all over kingdom come in order to expose them to all the experiences a child needs.

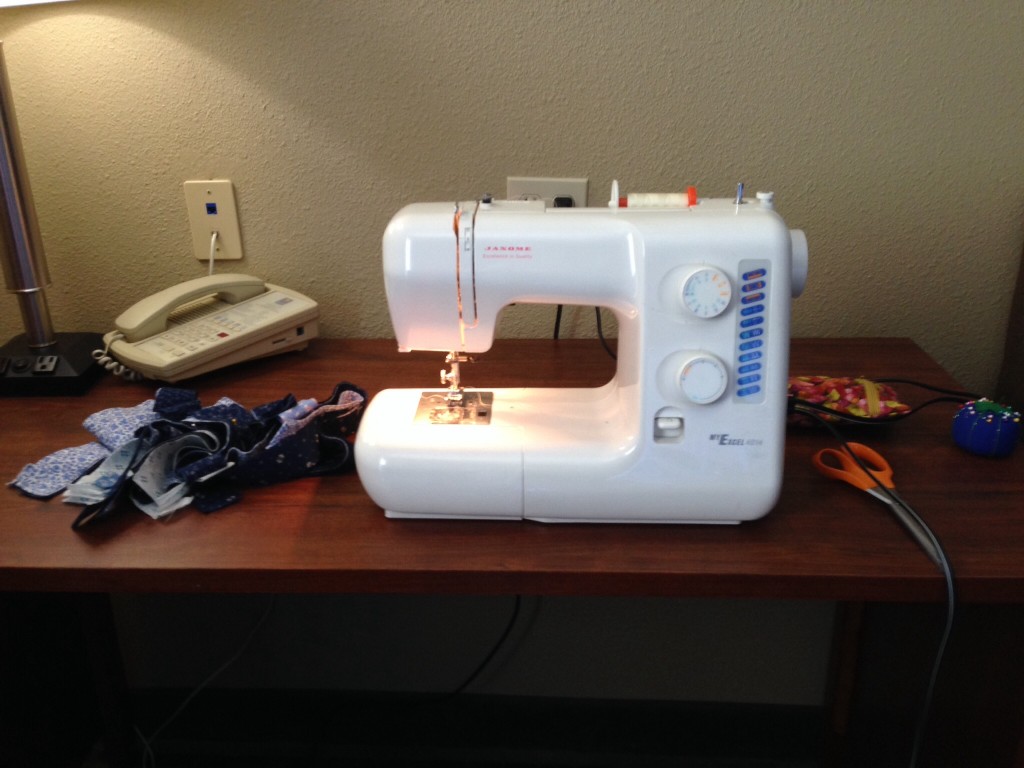
We spent one night in a hotel near the university to avoid a couple of the drives. I brought my small sewing machine and set up shop for a day and an evening.

image

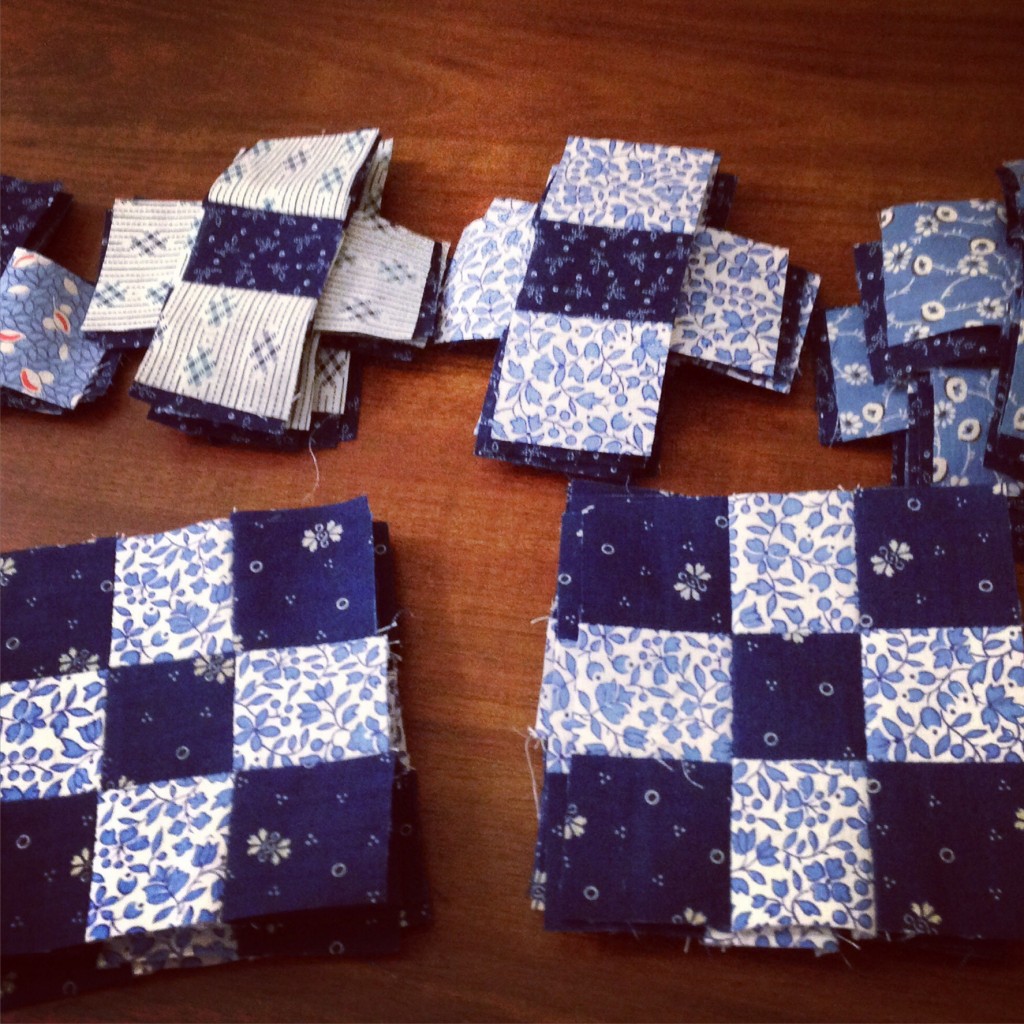
I made a bit of progress on a new project I am just starting. I am using some of the blue fabrics from the vintage collection that I posted about here.  I cut strips from the blue scraps and joined those in sets of three strips. Each stripset was then sub-cut into strips that are 1 and 3/4″ wide. Those strips were then joined to  make tiny 3″ nine patch blocks. The little nine patch blocks are the cutest. I will be combining those blocks with solid 3″ blocks into a larger, double nine patch to end up with a 9″ block. I have made about 25 of the baby blocks and need 100 so I am just getting started.

image

Hopefully I will get caught up this weekend. It is supposed to be fairly warm so I don’t see that I will be outside very much. Spending the week in Sacramento with my daughter really made me appreciate living in the Sierra Foothills. Sacramento is so darn hot – it was 107 degrees today! In addition, the traffic is lousy. We are so lucky to have nice cool nights and no traffic. I am thankful for our little town in the mountains.

Hope everyone has a wonderful weekend!

Linking to Yvonne at Quilting Jetgirl and Let’s Bee Social.