Category Archives: Straight Line Quilting

Friday Finish to Share

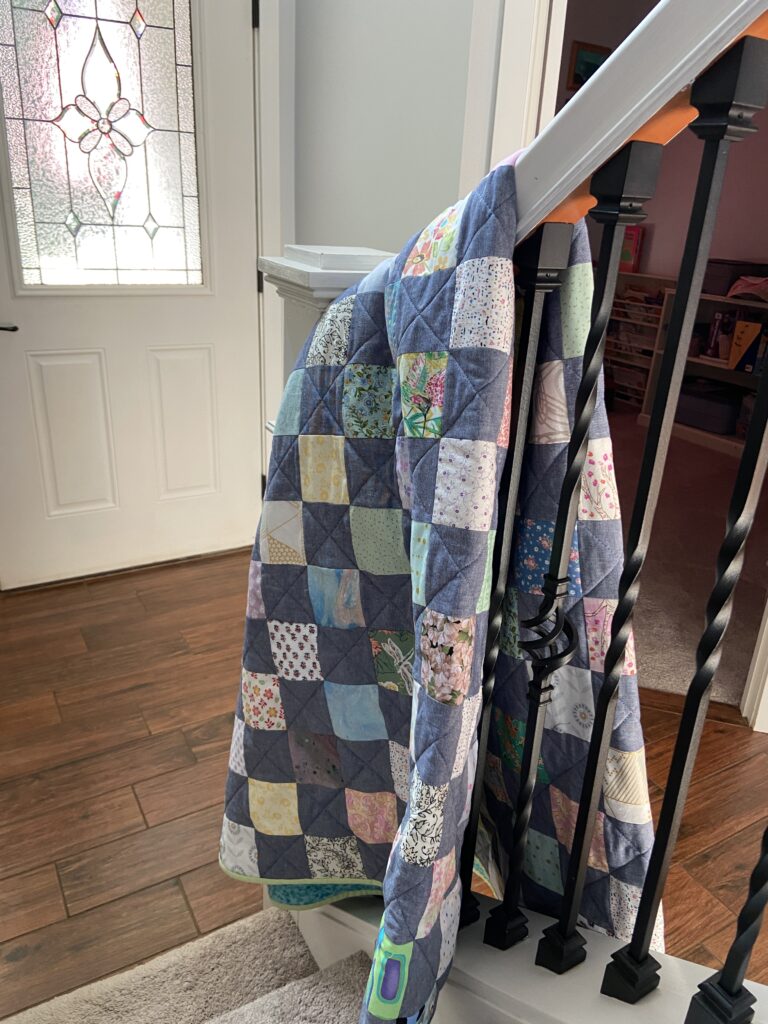
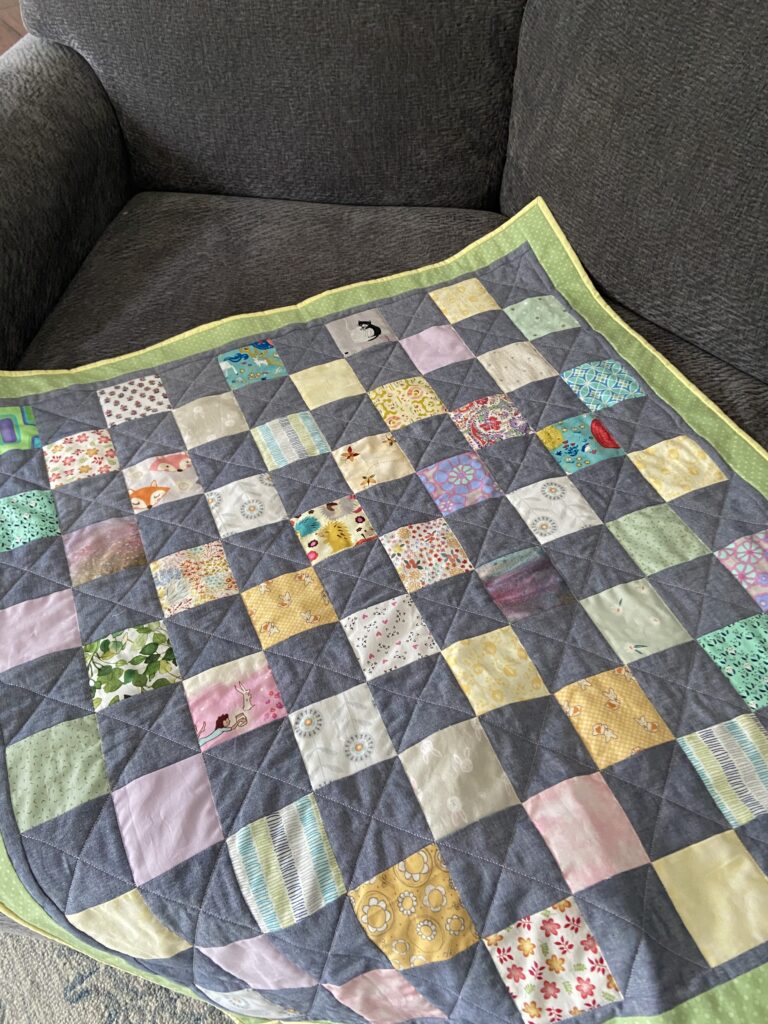
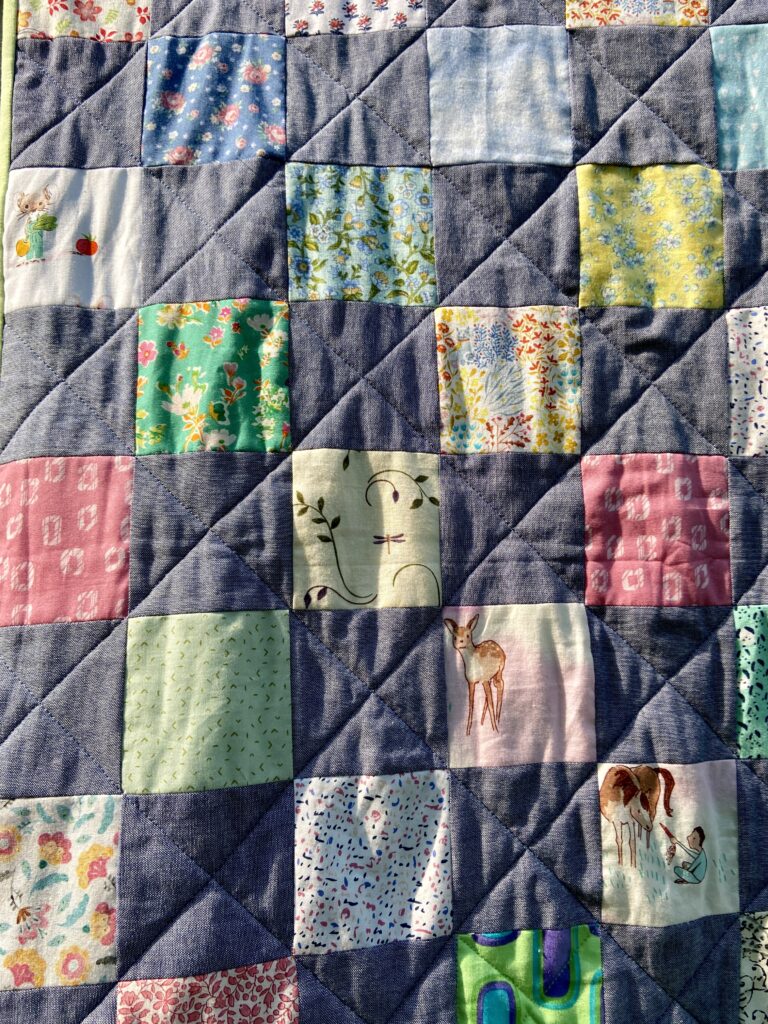
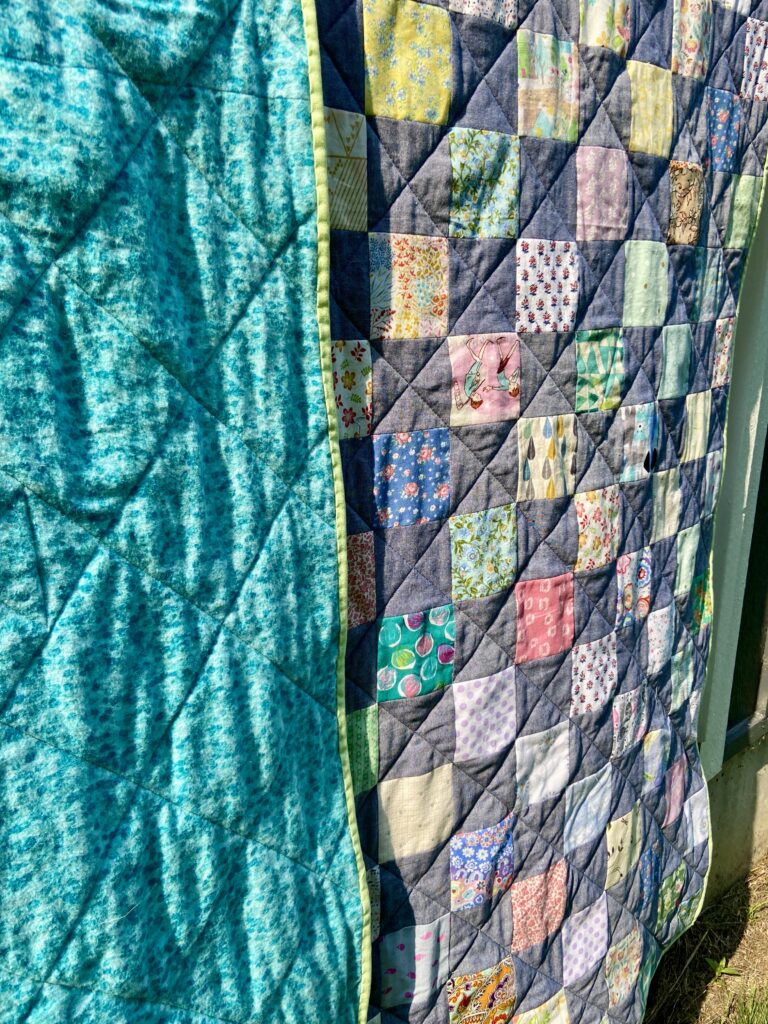
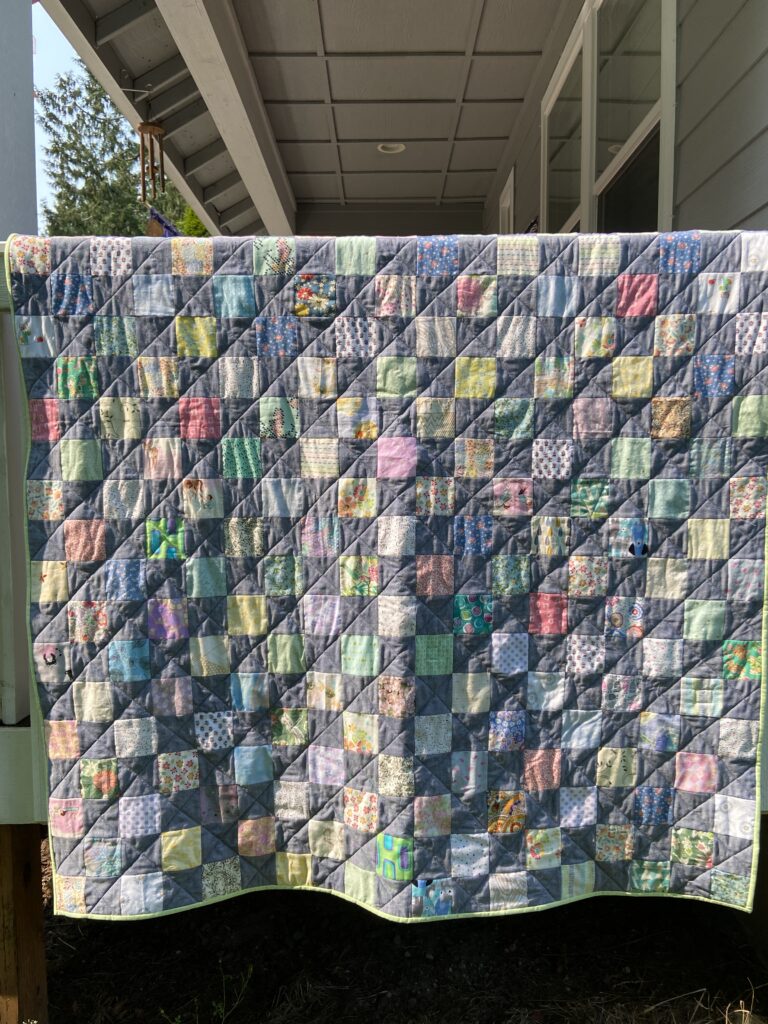
Just dropping in to share this cozy quilt! I finished it up last week which is fairly quick considering I started it just a couple of months ago. I posted that I was battling a ridiculously lengthy virus and, out of boredom, started stitching 3 1/2″ prints with alternate blue chambray squares. Then I got distracted with the leftover squares and made a matching baby quilt. Well, now I have a set!

The lap size version is so soft, drapes wonderfully and makes me happy! (Really, what more does one need)?

I quilted it just like the baby quilt with a straight line running through each chambray square.

The backing is a soft flannel I found at a thrift shop a month back. I think someone may have donated it because it somehow got a few spots of what looks like rust (?) on the fabric. Since it was close enough to the edges I was able to work around them nicely. Along with the flannel backing, I also used a light weight batting. This ended up giving the quilt just the right weight and drape.

This is the sort of quilt I love when I am watching tv or reading a good book.

After taking pictures the other day, I brought the quilt upstairs to the sewing room. I got an urge to free motion quilt a few designs in some of the print squares. I had pink Glide thread in the machine so I chose a variety of the pink squares and stitched a flower on them or a little swirl. I may do a few more today. I know I won’t quilt all of the print squares but it was satisfying to do a few here and there. It looks cute. Sorry, no pictures available. Maybe at some point?? This doesn’t change the overall look of the quilt anyway. It was just something I did for fun.

That is it for today. It is going to be a gorgeous day out. How about you? Are you enjoying some pretty spring weather?

Linking up with Alycia at Finished (or Not) Friday and Brag About Your Beauties.

Choose Any Direction

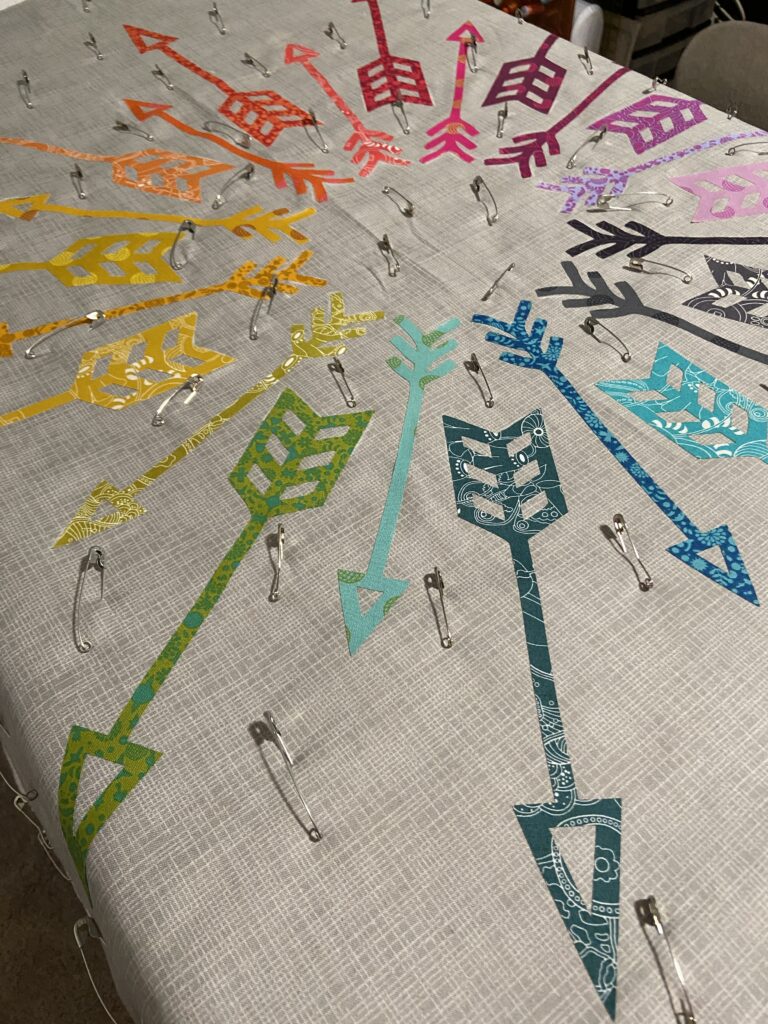
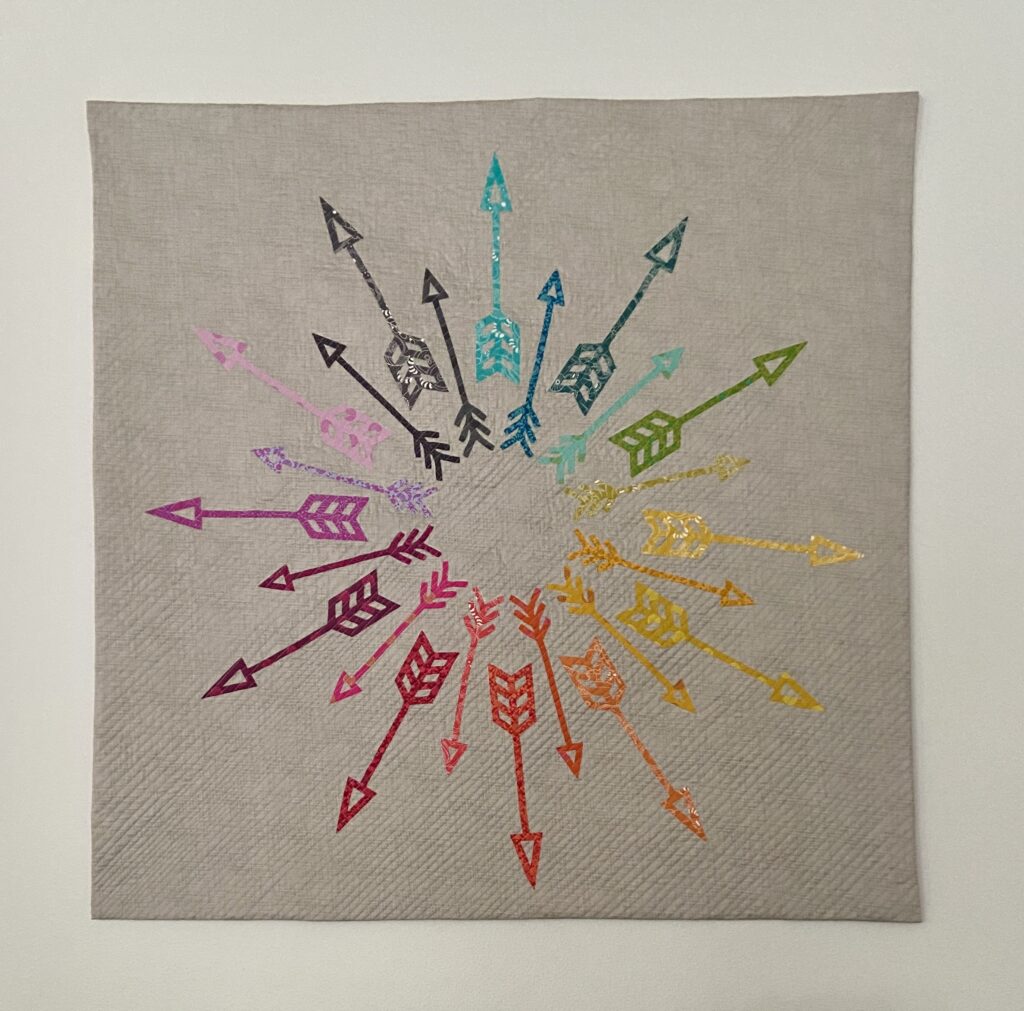
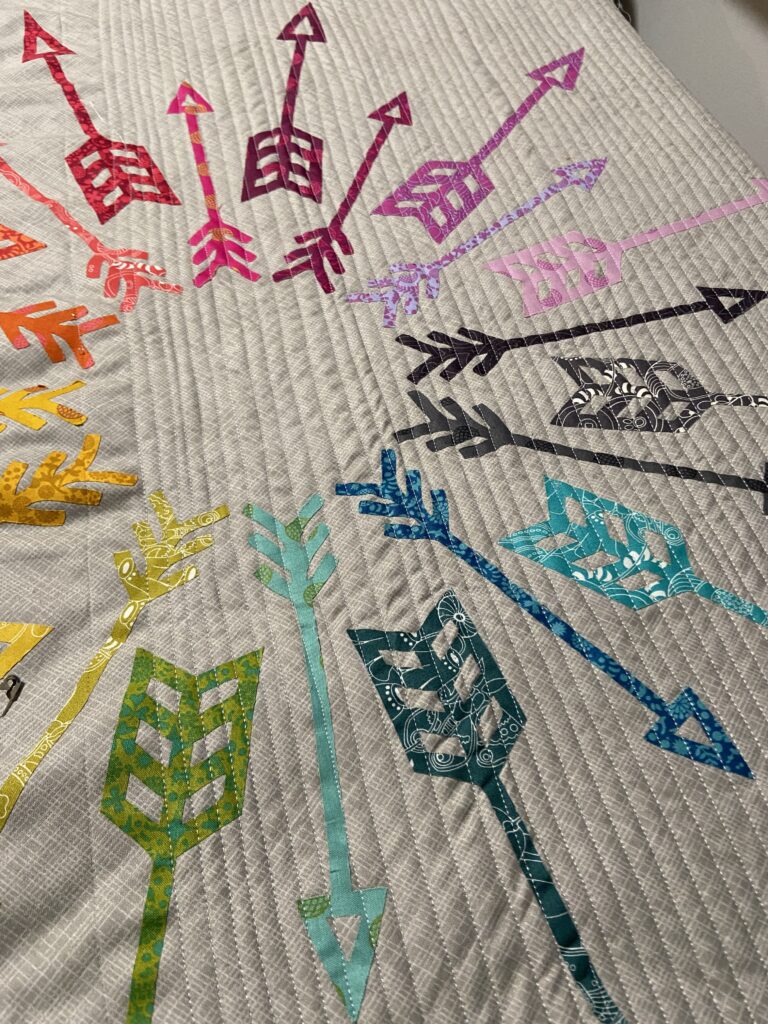
The quilt I am sharing today exemplifies our many choices and the potential with each one. All arrows point outward to a possible path taken. Many colors to choose from allows a person to pick what is right for them. This project is really different from anything I have made previously and thus presented a few hiccups along the way. But the result is great and I am happy to see it hanging in our family room.

I bought this as a kit at a quilt show last summer. The arrows are laser cut from Alison Glass 2016 Sunprint line. They had the fusible backing already applied to them. All of this is great because the arrows are very thin and delicate. It would have been a tedious process were I to have to apply the fusible myself. Anyway, I think I actually fused the arrows to the backing in November. With the holidays and myriad illnesses all winter long, I didn’t get it basted until some time in February.

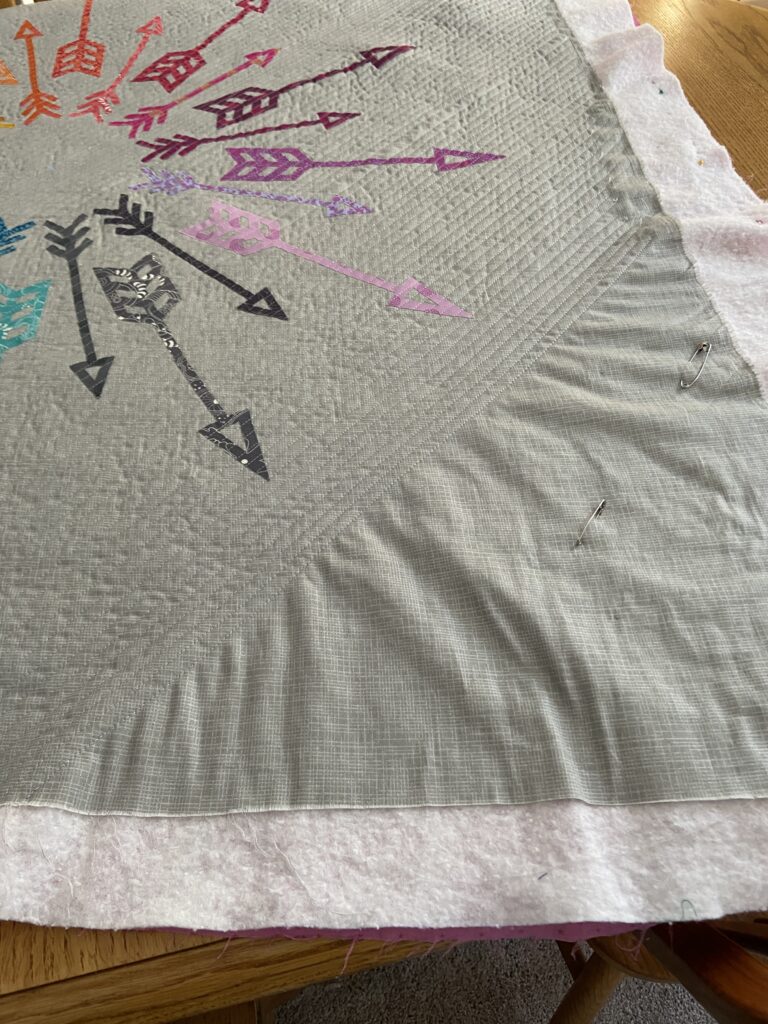
To really be sure the arrows stayed glued to the backing, I decided to use matchstick quilting. I started with wide-ish lines. Maybe spaced an inch apart? Then I filled it in, stitching between the lines. This is when I had the problems!

As I got to the corners the fabric just ruffled – it was a mess and I was really concerned. I posted on Instagram and Facebook asking for advice. Yvonne, Quilting Jetgirl, sent me a link to a tutorial she has for blocking a quilt. I decided to block it before I finished quilting it. I was somewhat skeptical because I had tried to block a quilt some years ago and wasn’t successful (and now I know I didn’t do it correctly)! But with her tutorial, I got to work on this piece.

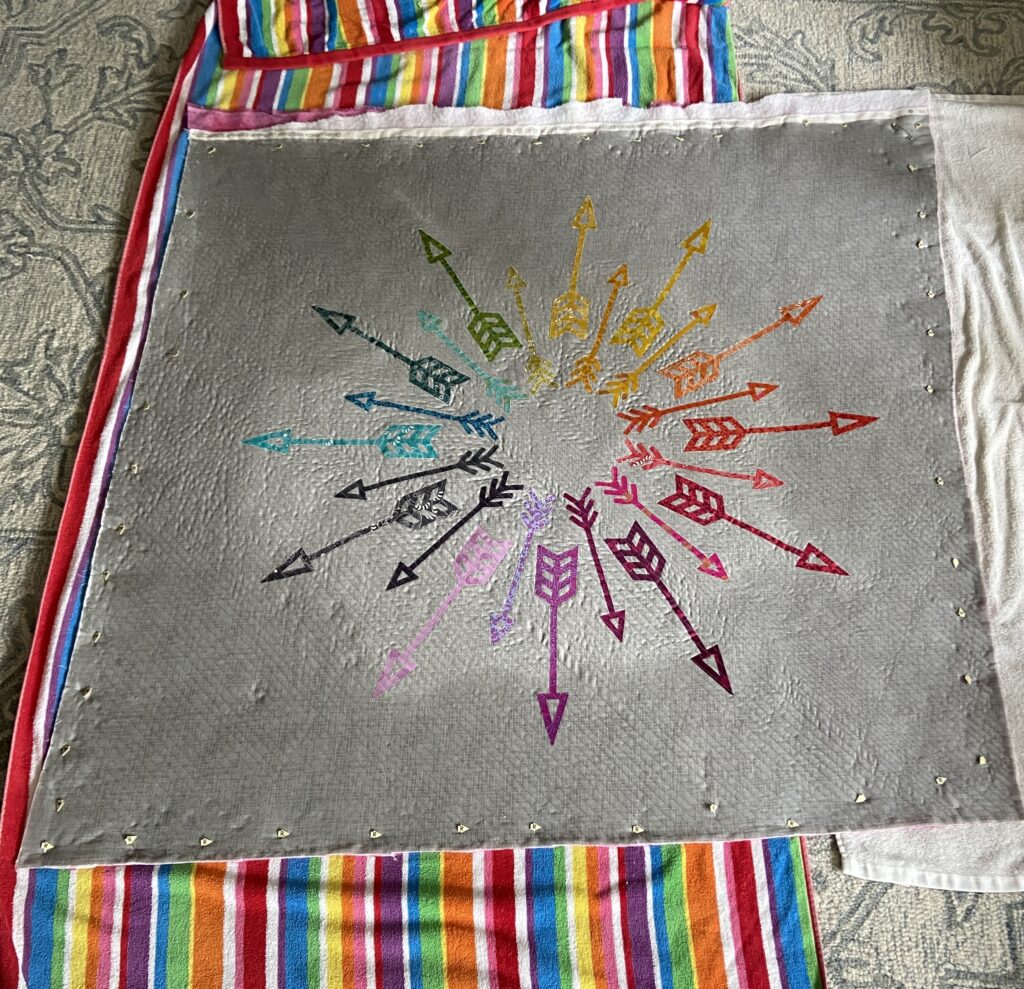
With beach towels under the quilt to protect the carpet, I sprayed water all around the permitter of the quilt. I didn’t want to soak the arrows if possible because I think it would have diluted the fusing. But I really wet the outer portion. Then I took long pins and pinned all the way around. As I was pinning, I was either stretching or patting inward to get the fabric back into shape. I left it pinned to the towels & carpet for several days to be sure it was truly dry. This worked beautifully.

After the quilt was flat and shaped nicely, I finished the quilting. With Yvonne’s advice playing in my head, I stitched very slowly and tried to be sure not to pull on the piece at all.

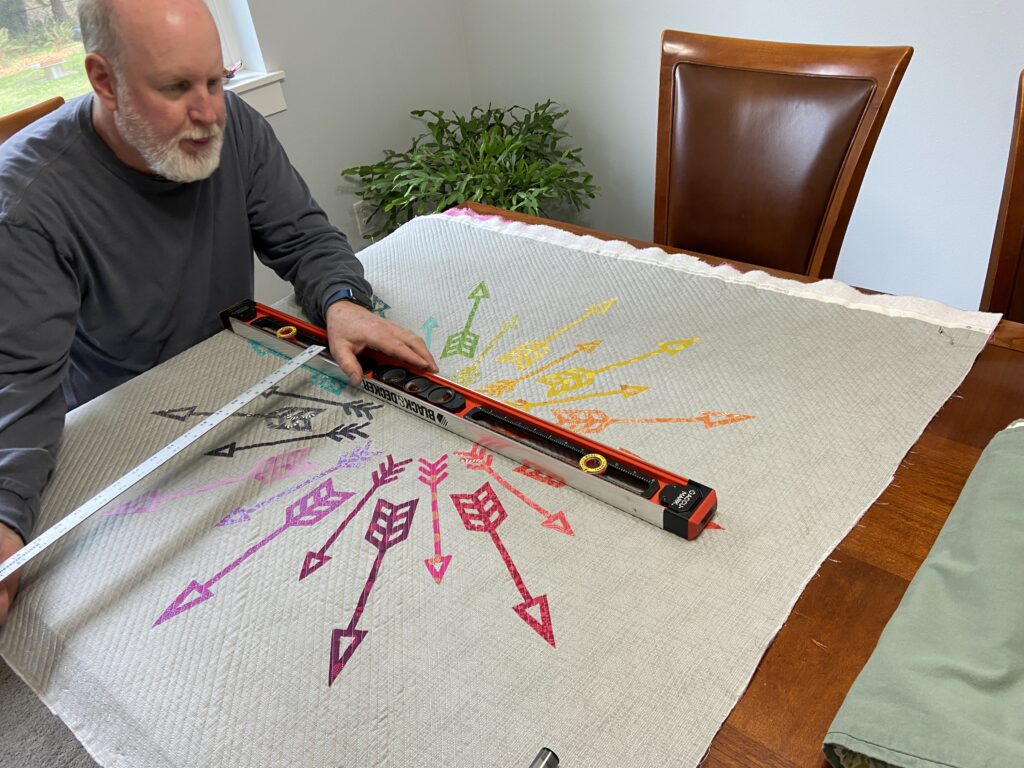
The next task was to square it up. Truth be told, I did a poor job of placing the arrows on the background. Because of this, I was having a heck of a time figuring out how to square this and have the arrows centered properly. Ray to the rescue. This is right up his alley and he got a border drawn for me to cut. After squaring the quilt, I did a facing instead of a binding. I wanted a clean edge for this piece.

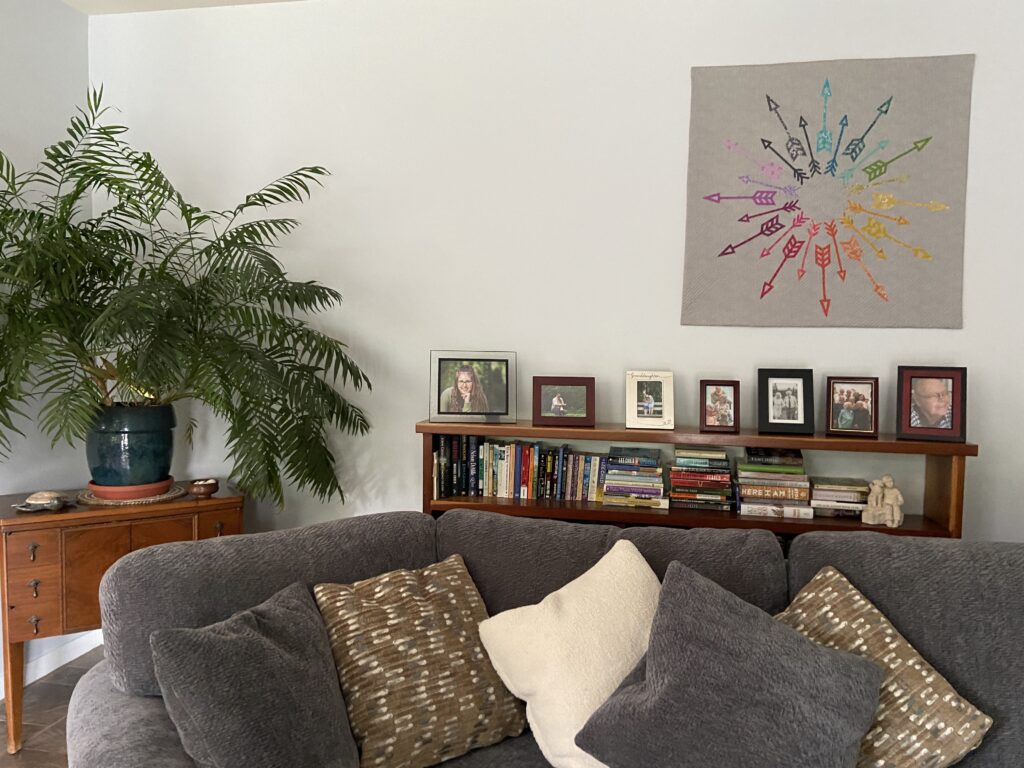
It is hanging above the couch and I love it. This project included quite a series of lessons for me! But this is a good thing – there is always more to learn.

Happy to call this finished and to check off one more unfinished project from my list.

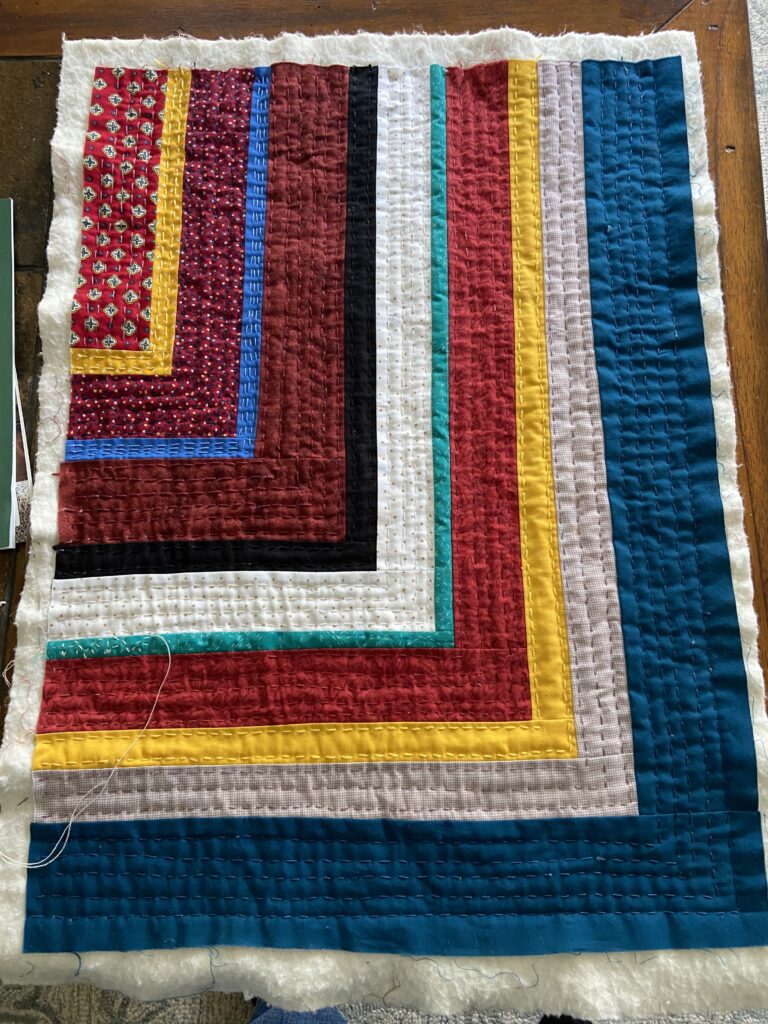
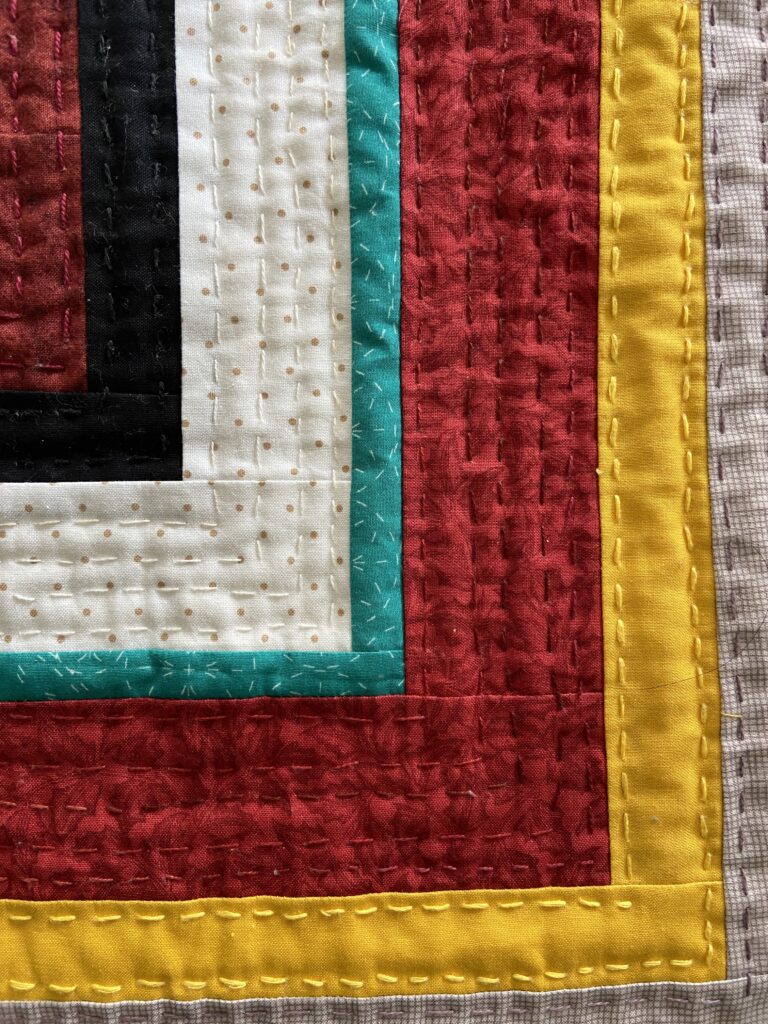
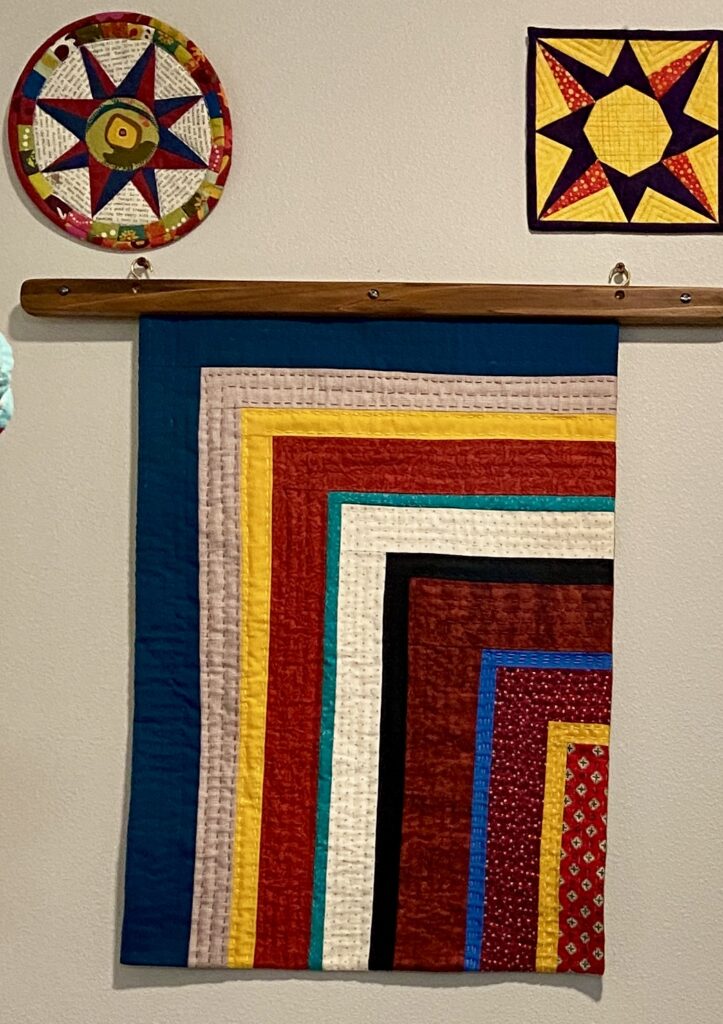
I have moved on to the next UFO. I am quilting the chambray patchwork this week. Hope to share it with you soon!

Flying Geese, Mountain of Mulch, Woodland Gardens and Baby Gifts

This has been a fun week. I like when there is a little of this and a little of that. Maybe I just have a short attention span. Actually, I don’t have a super long attention span so it is likely that is why these sort of weeks appeal to me.

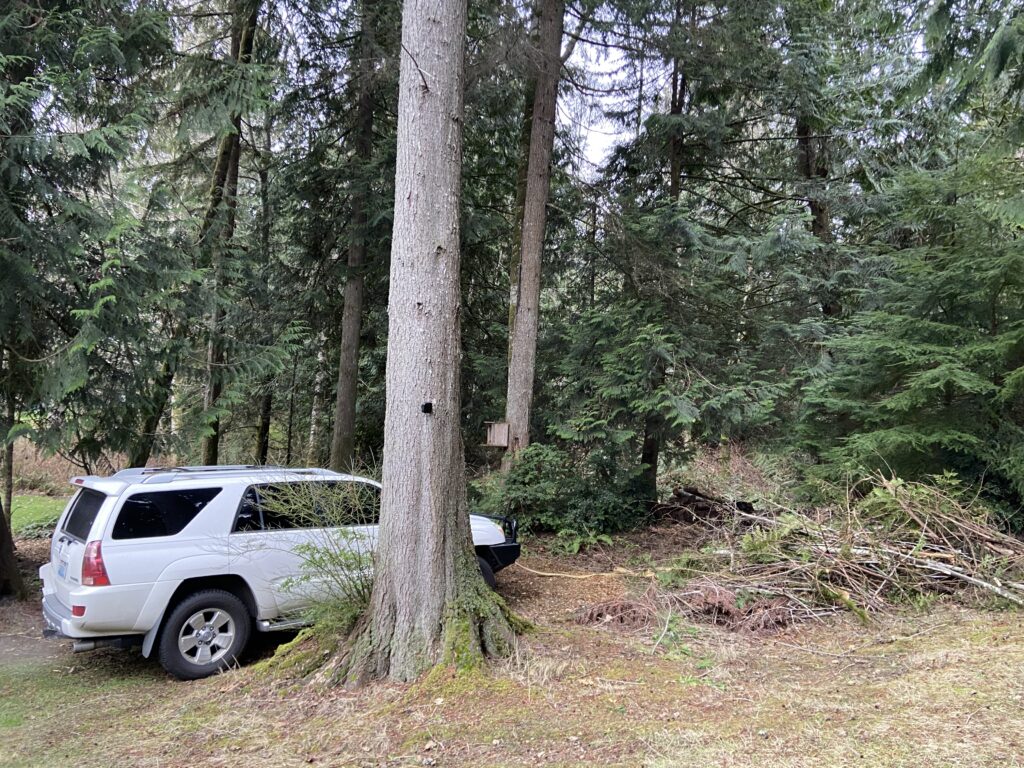
We had dry (but cold) weather this week so Ray and I did a lot of work outside. My muscles are feeling it but that is a good thing. The perimeter of our property is surrounded by wooded land. The previous owner went with the ‘au natural’ look which is fine to a certain extent. But we wanted to clean up the many, many trees that were down and left to rot. That way we could have some walking paths through the trees. To that end, Ray did loads of chain saw work and even pulled a dead tree down using his car. (That was a bit unnerving!)

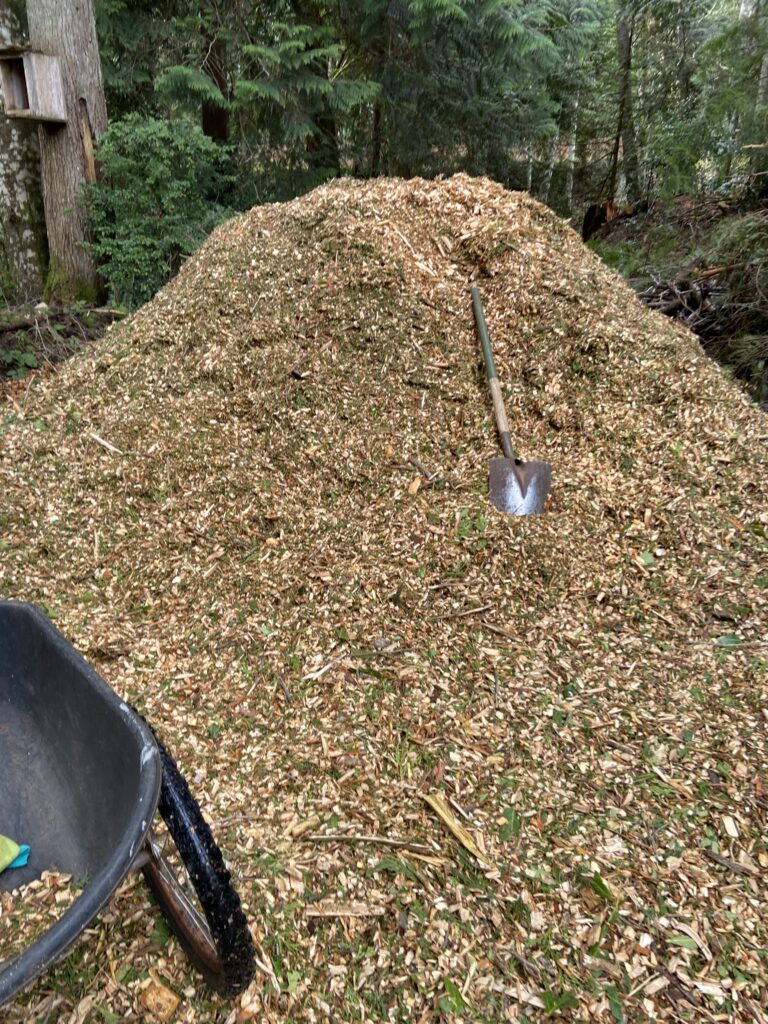
We have had an arborist out to take out some larger trees and to clean dead limbs off of others. He and Ray struck it off well and now we have a source of free mulch when we need it. This week the arborist dropped off another load for us. This is so useful when there is lots of property to be maintained.

This mountain of mulch won’t last too long around here!

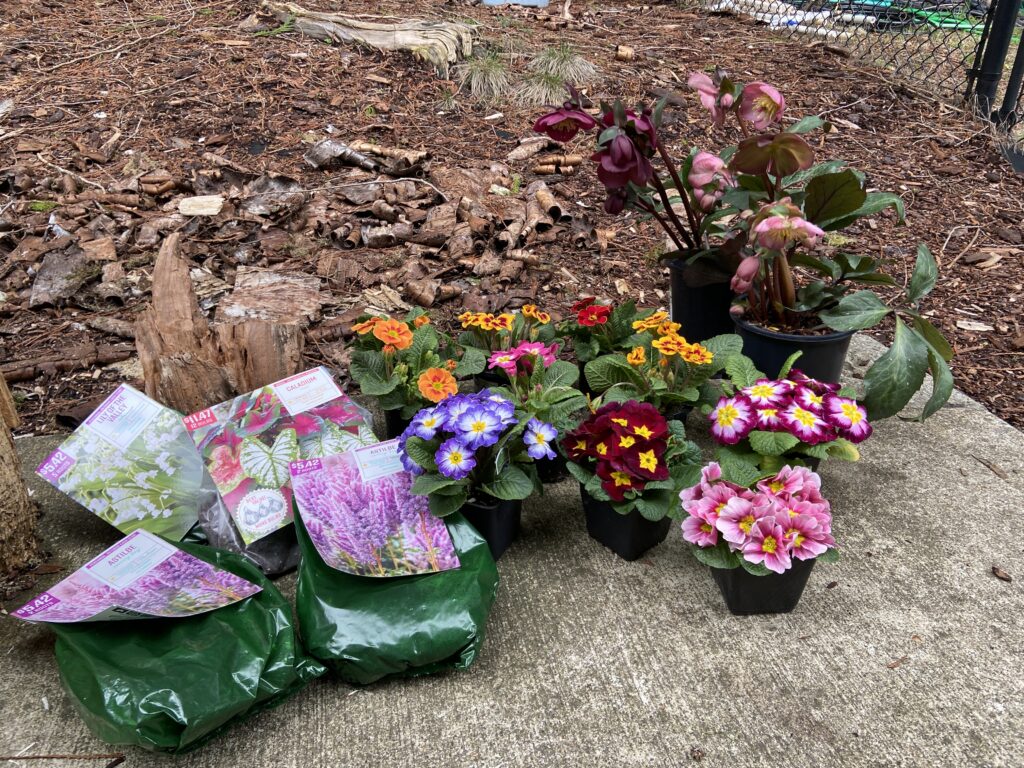
Lenten Rose, Primrose, Astilbe, Caladium and Snowdrops

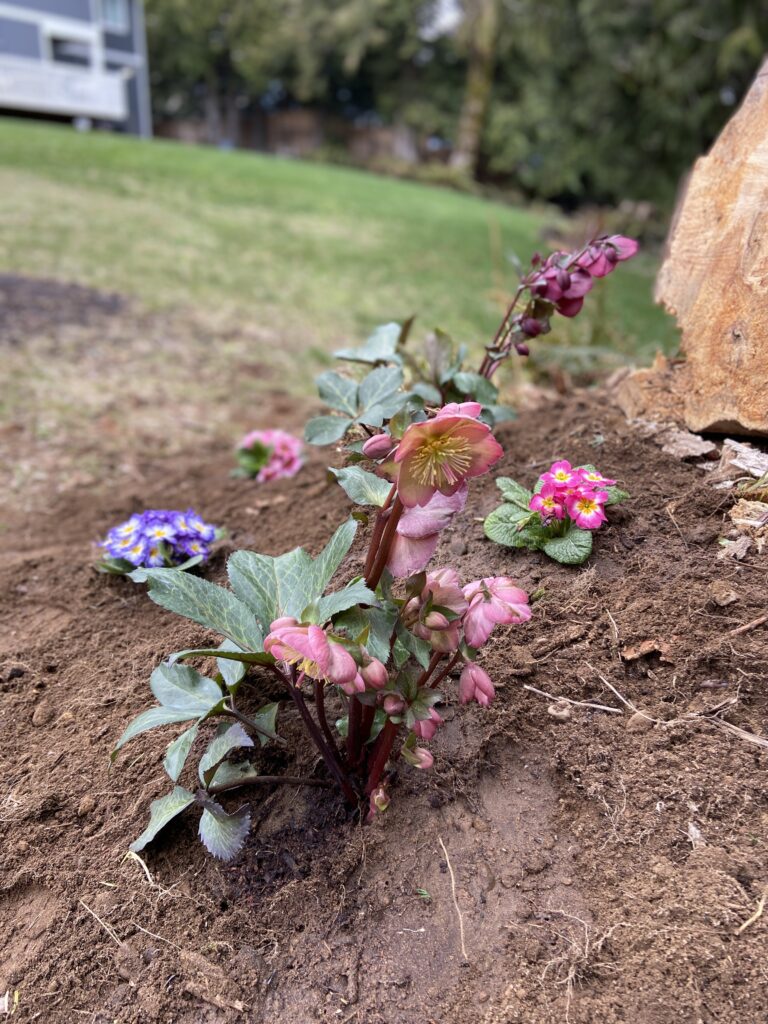
Here is the start of my woodland gardens! Not pictured are a bare root rose, two hydrangeas and a rhododendron. All of this was planted except the caladium which will be started in small pots and transplanted when the weather warms up. I am so excited to see some blooms come spring time.

For now, the primroses give me a little burst of color.

SAHRR 2023, round 4

This week’s round for the Round Robin event was decided by Anja (AnjaQuilts). She has declared it to be the week of flying geese blocks. I decided to get all fancy schmancy and try making the Stroked Flying Geese that I saw on a tutorial at Art Gallery Fabrics. They are super cute but the middle stripe is uneven which is a bit bothersome. So…… this is my plan. Today I will try making them again today and if I can get that stripe to be more even, great. If not, I will declare this was on purpose and these are improv geese. More on that as I make some progress. Either way, I am not going to sew this border on. Instead, I’ll wait to see what next week’s round is and decide if I want to combine the rounds.

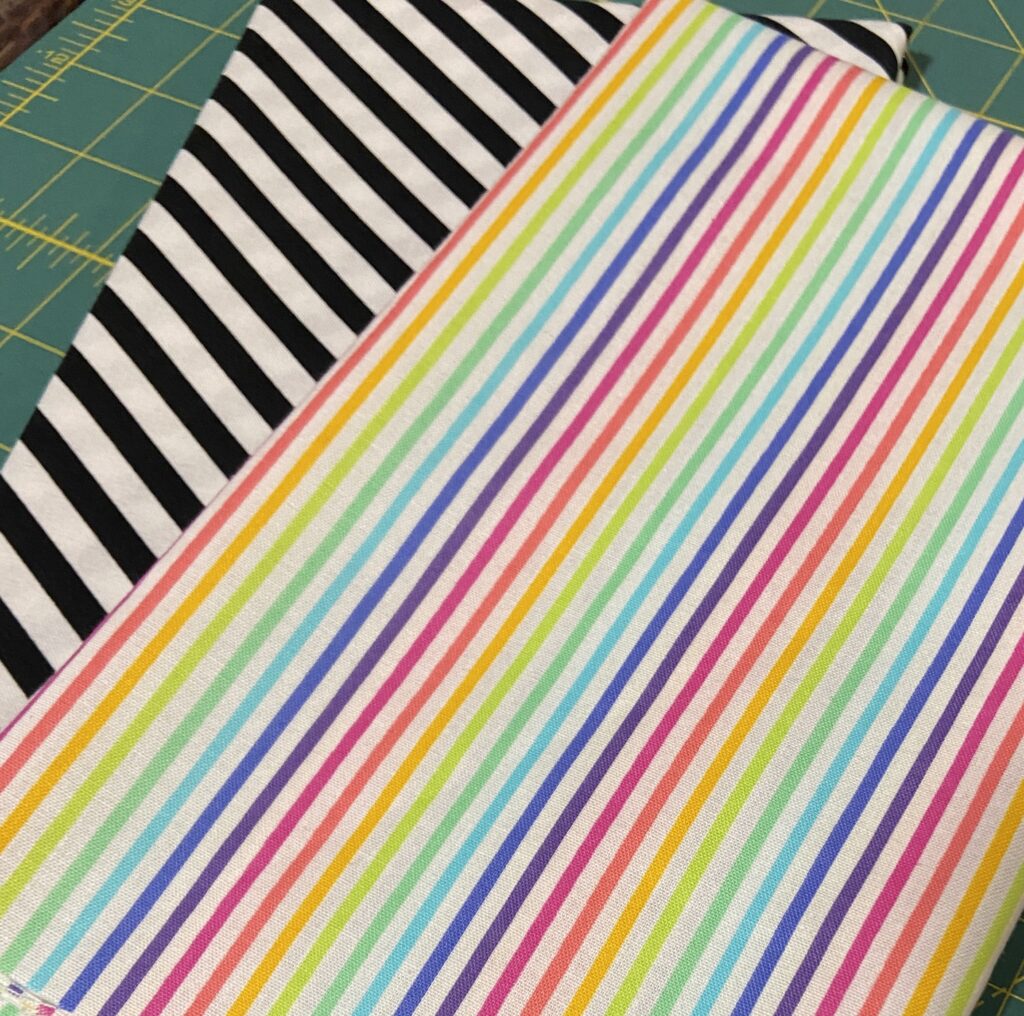
Who likes a striped binding??

I am sticking to my plan of sewing my stash but come on…. I am out of stripes and who doesn’t love a striped binding? I ordered a 1/2 yard of each of these and they are set aside for use as binding.

On a recent Instagram post I asked everyone if this wall quilt should be finished with a circular quilting design or matchstick quilting. Most people called for circular and I was going that way as well. However when I looked closely at the fused arrows, it seemed like the fuse was not super tight. Matchstick to the rescue. This quilting will reinforce the fused arrows and it looks cool too! The quilt won’t be handled or laundered so this should be great. (Not sure if you remember but I bought this Alison Glass kit of laser cut, fusible pieces at a quilt show last fall – for a buck!!)

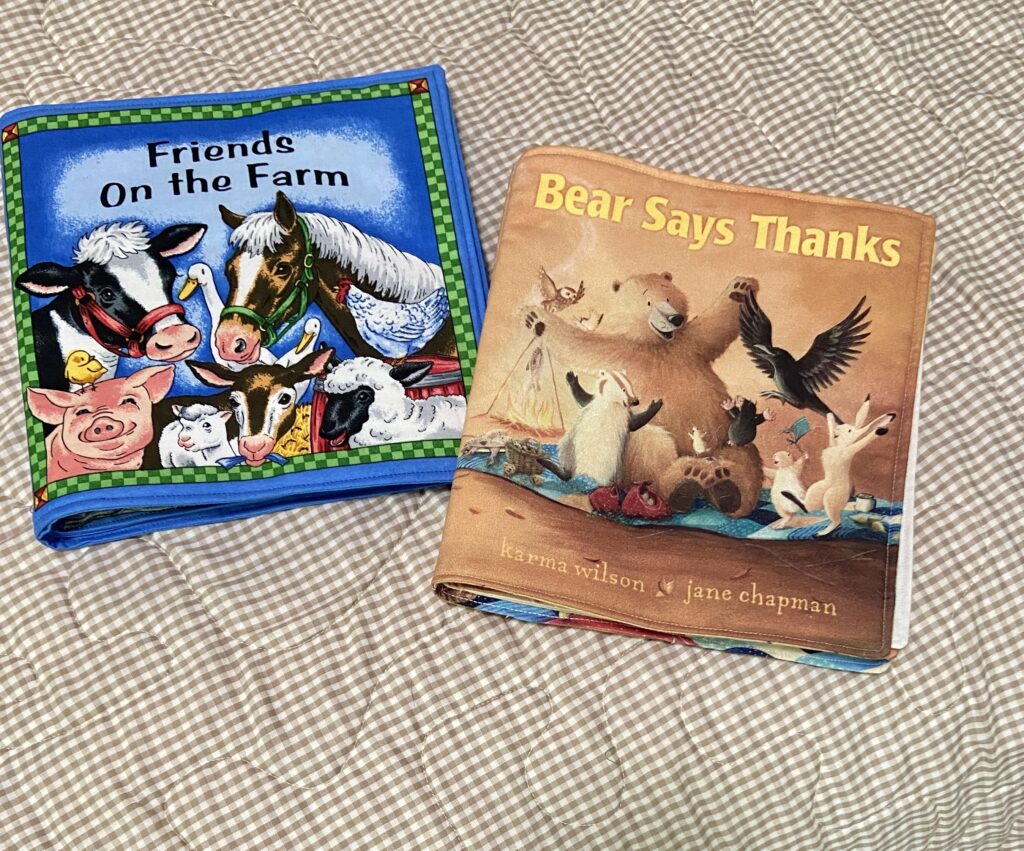
Another project that happened was stitching and assembling two cloth books. My niece is having her first baby this spring and I plan to send these off to her. I love these soft books for babies. The colors are bright, the pages won’t tear, and the story is simple. I had the pieces all cut out so this was super quick.

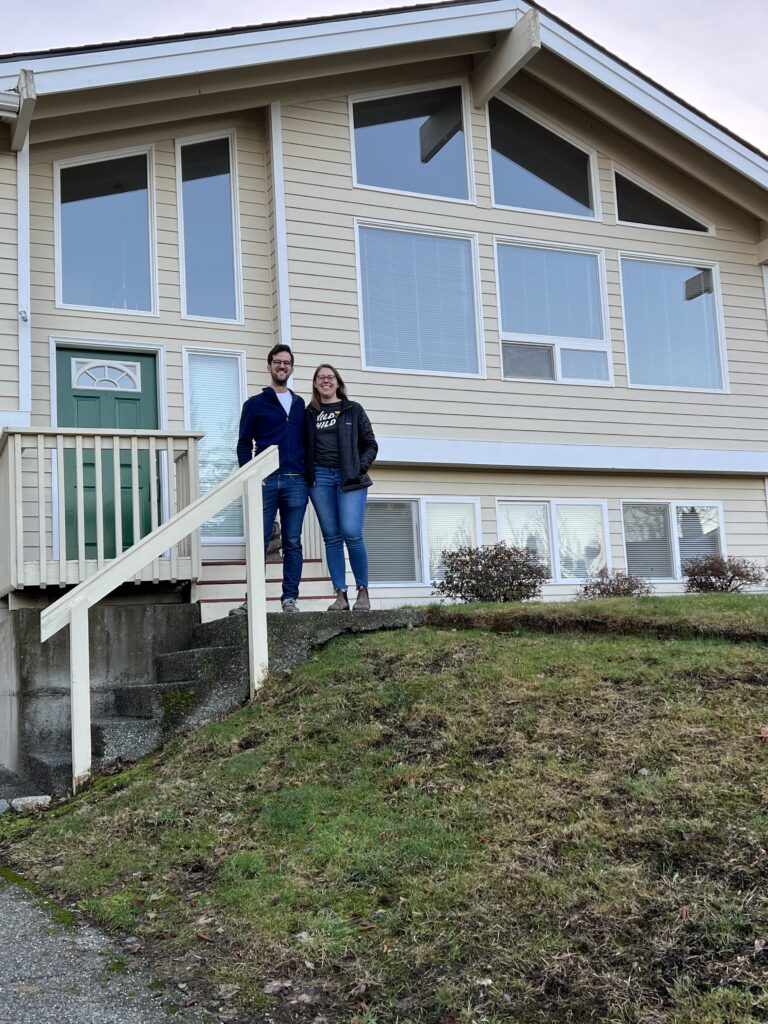
Well that was my week in a nutshell, or a blog post. This weekend my husband and I are heading north a bit to help my son and daughter in law move into their first house. I am so excited for them – home ownership is a huge step in life.

Have a great weekend everyone!!

Linking to my favs – check them out at the top of the page, under Link Ups.

Modern Wall Quilt

Isn’t that a boring title for a post? I don’t know what to call this quilt. Maybe after you look at the photos and read the post you’ll come up with a clever name for it.

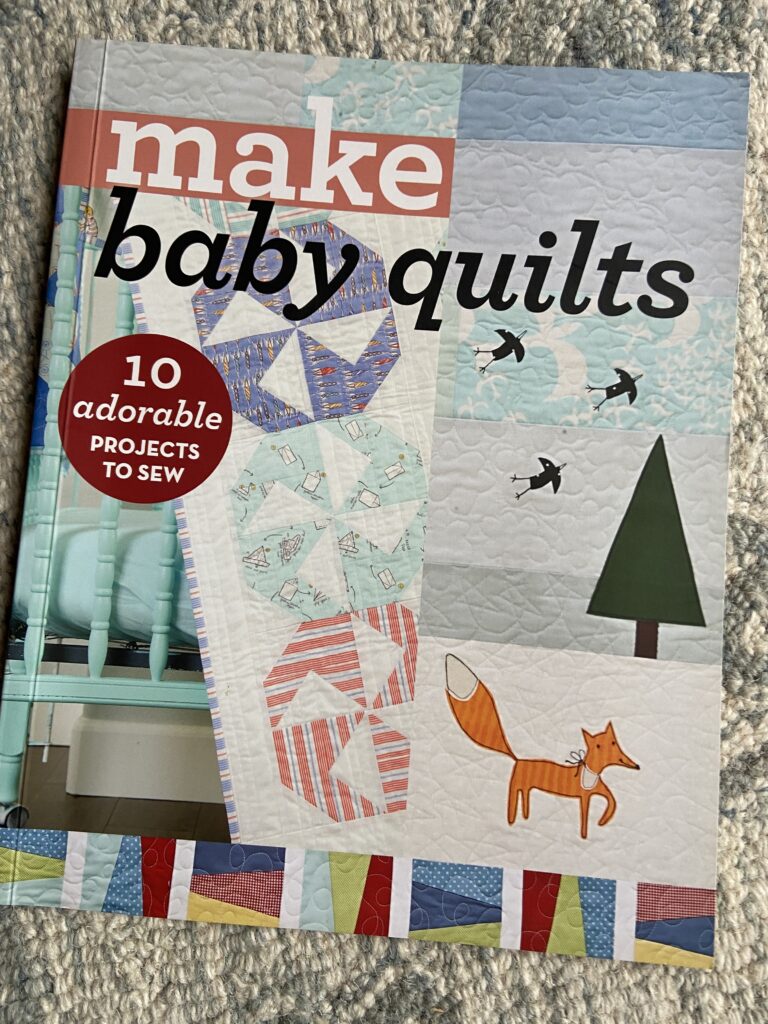
Love this quilt book!

I bought a book for making baby quilts a couple of years ago. There are a few quilts in it that I thought would be very fun to make. There are ten projects, each one by a different designer. C&T Pubs just happens to have the book on sale right now. Make Baby Quilts includes designs by Camille Roskelley, Allison Harris, and Latifah Saafir – among others.

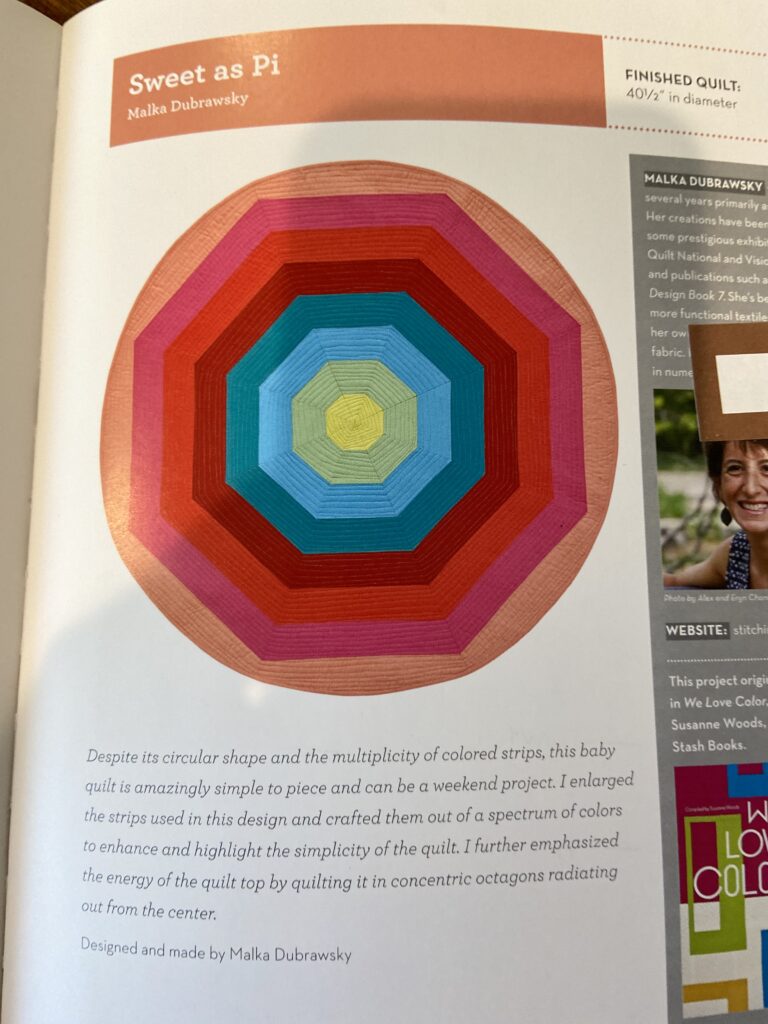
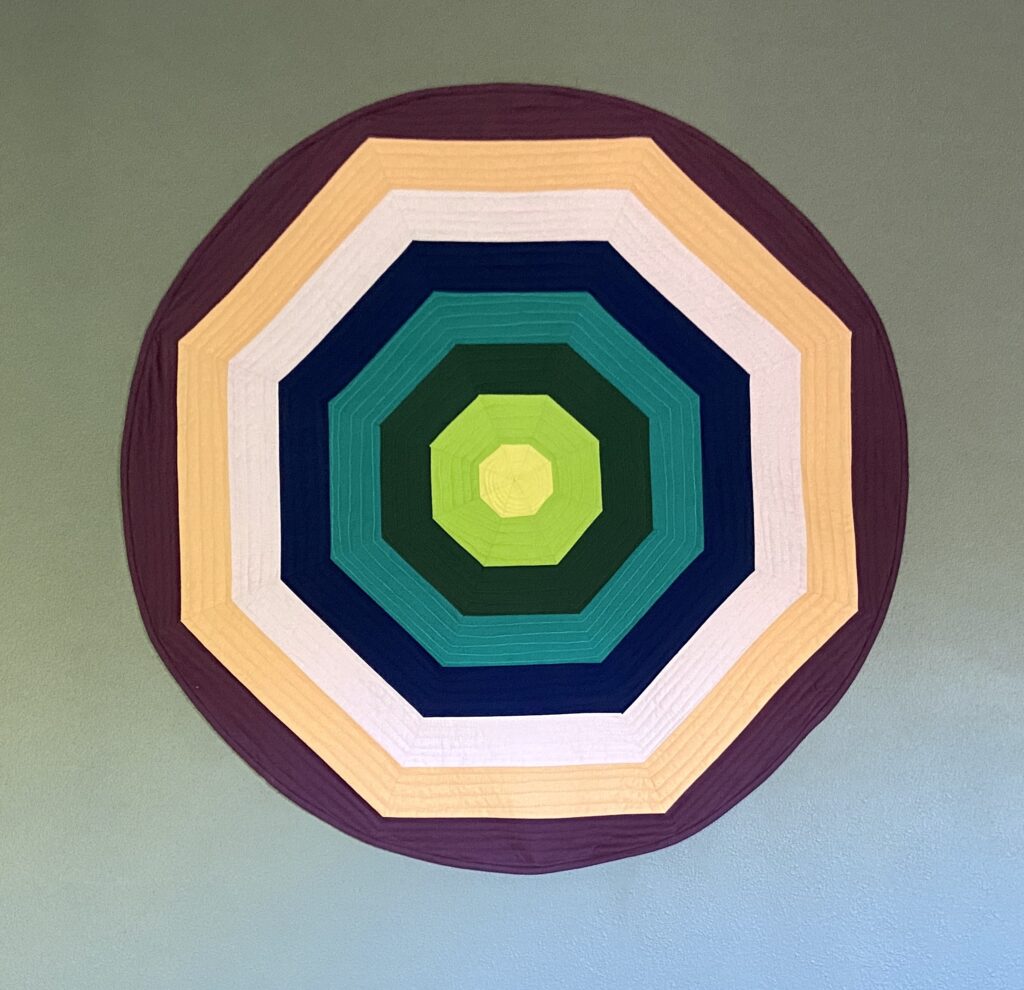
The Sweet as Pi pattern really drew me in though. Sure, it would be wonderful as a floor mat for a baby. Designed by Malka Dubrawsky, it is a strong graphic pattern and the colors could be changed as needed. But I decided to make it as a wall quilt.

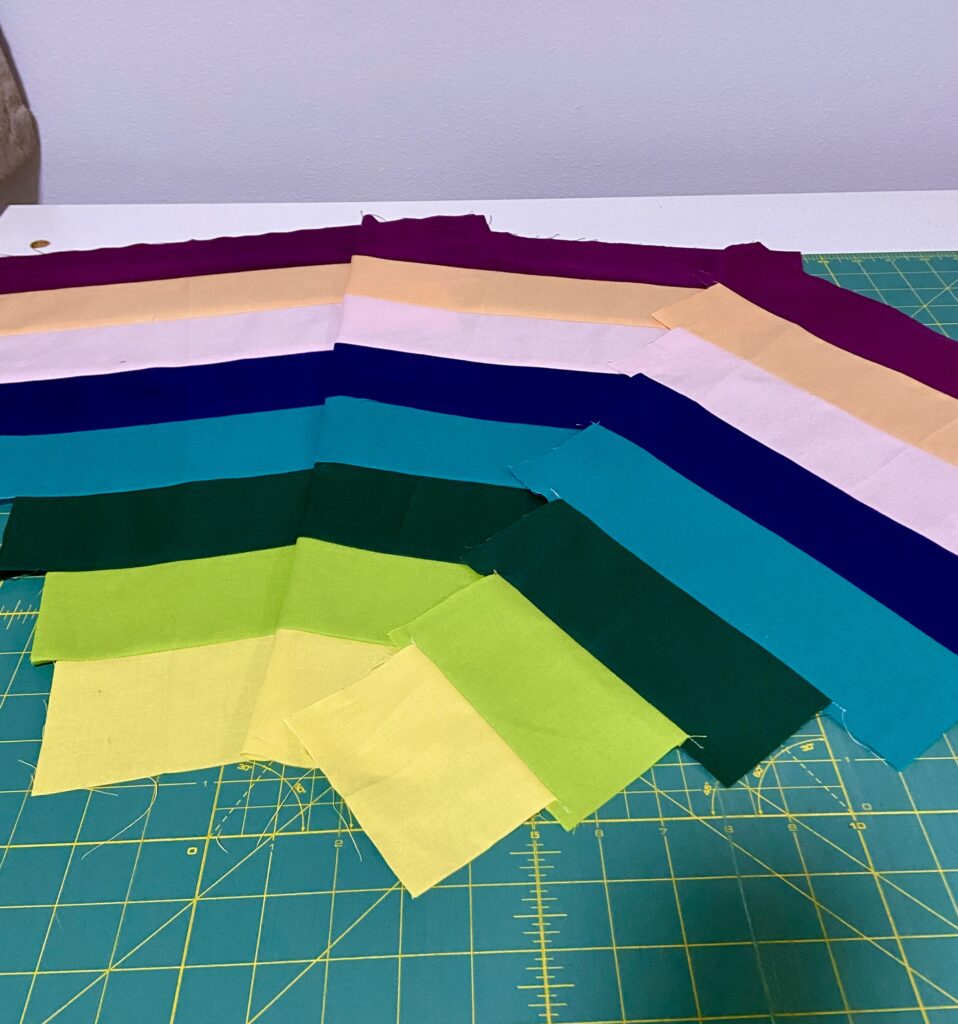
Cutting the strips was easy. Choosing the colors – not so easy! I knew I wanted the colors to be bold and to have a strong presence in the quilt I had just made for our bed. After some back and forth with a stack of solids, these are the fabrics I selected. Assembling the wedges was a breeze. This all happened in early fall. With the holidays and all those silly viruses we all had, it was shelved until recently.

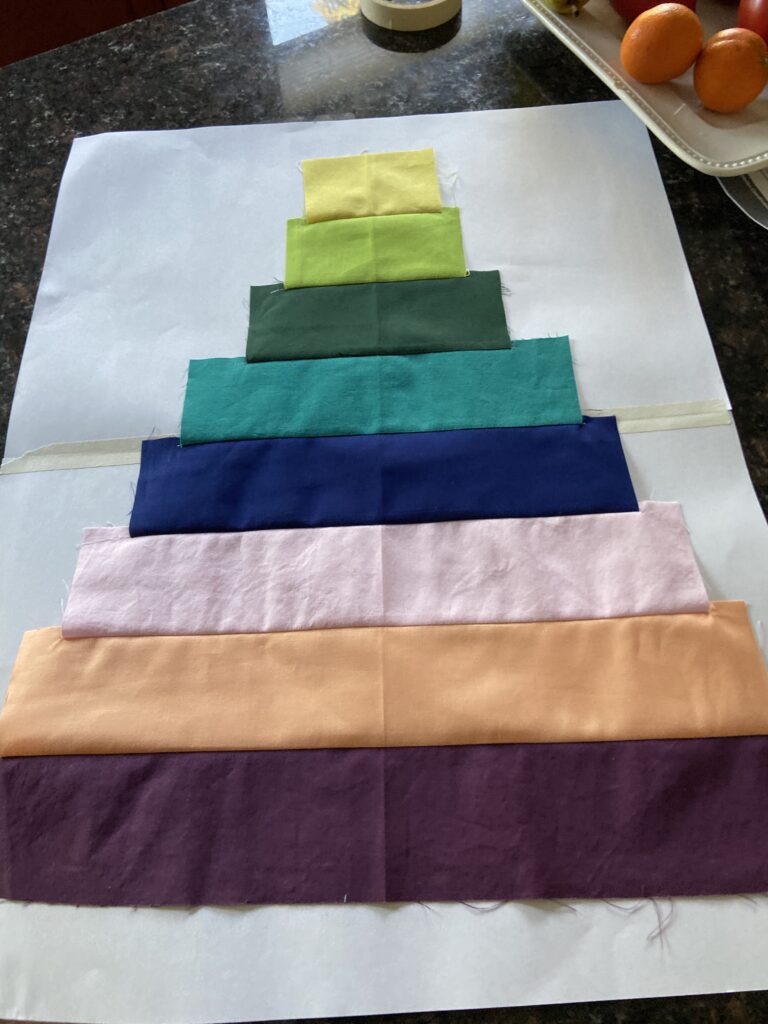
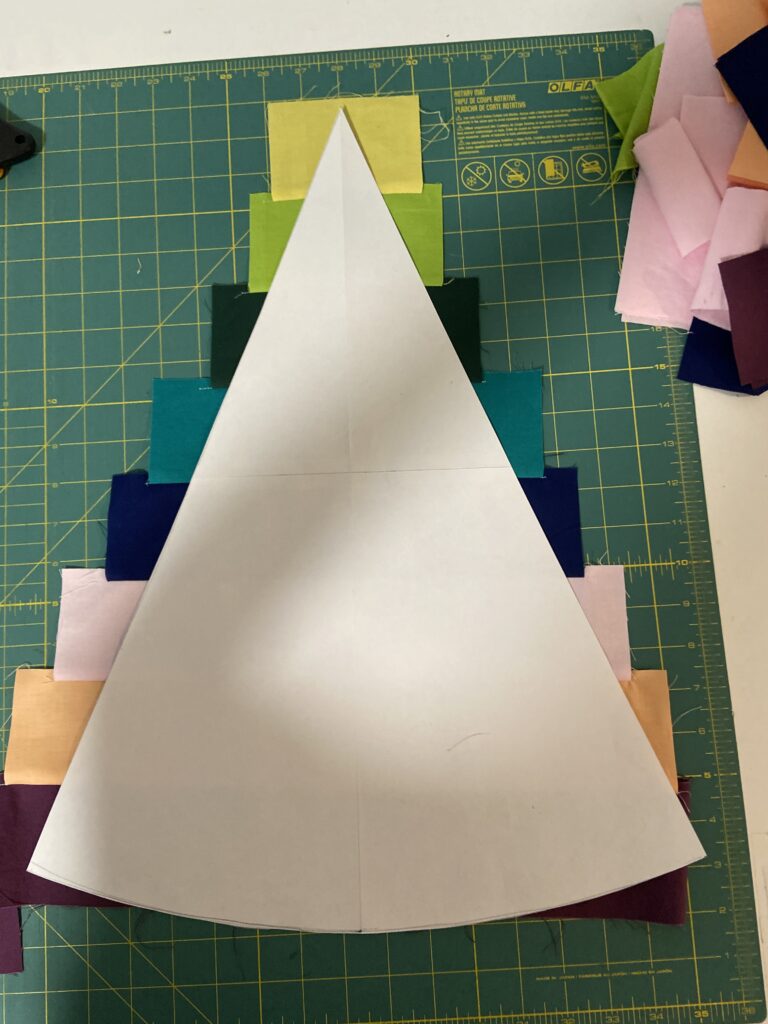
One wedge of the circle

Ignore the wrinkled appearance of this wedge! I was taking pictures to communicate my project to my son in Brooklyn NY. There are instructions for creating the template to cut the strip pieced wedges but I wasn’t getting it. Thank you FaceTime! Kyle was able to take a look and tell me what I needed to know!

Too long!

Somehow I made the template slightly longer than it should be. My sweet husband was able to trim it just a smidge and it was perfect.

Thread decisions

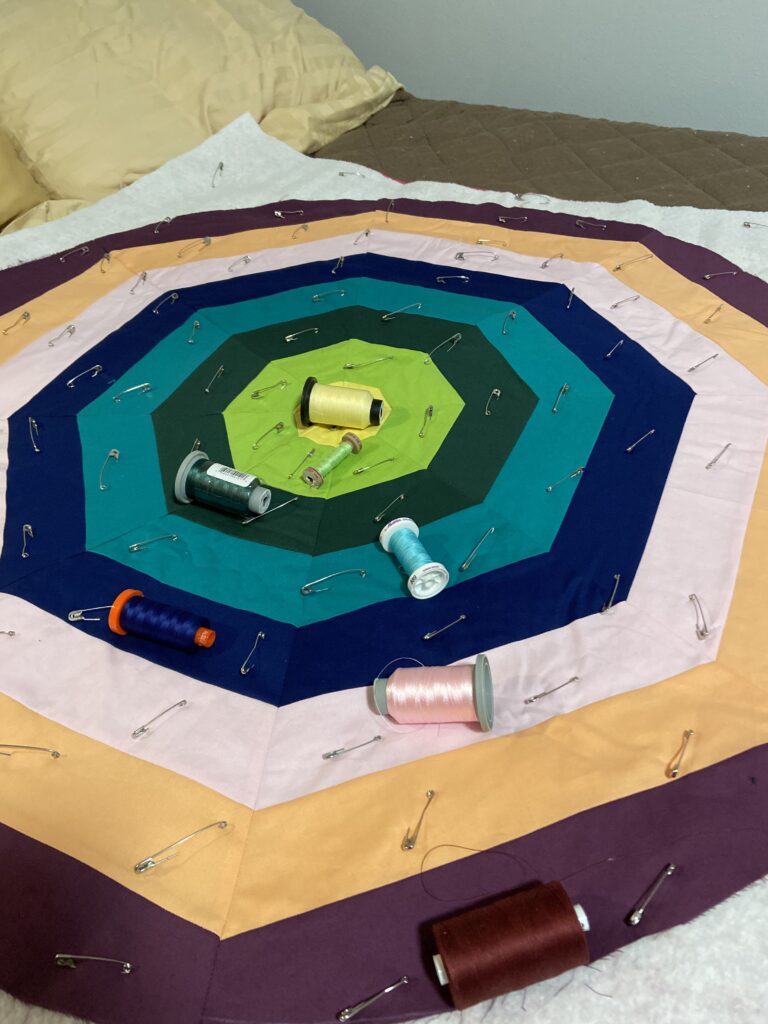
Once it was put together and basted, it was time to select threads. I normally quilt with a neutral thread and if this was to be a floor mat for a baby, that is what I would have done. However using gray or off white just didn’t cut it for these colors. Each stripe was quilted with a matching thread. I quilted a spiral in the yellow section (center). Then I switched to straight line quilting for the other stripes. No marking was done. It seemed if this was going to be on the wall, above the bed, no one would be face to face with it. (Unless the viewer chose to stand on the bed to get a closer look – haha). Viewing from a fair distance, the placement of the quilting lines wasn’t a huge deal. I basically set the width by using the outermost part of the walking foot as my guide.

It is done!!

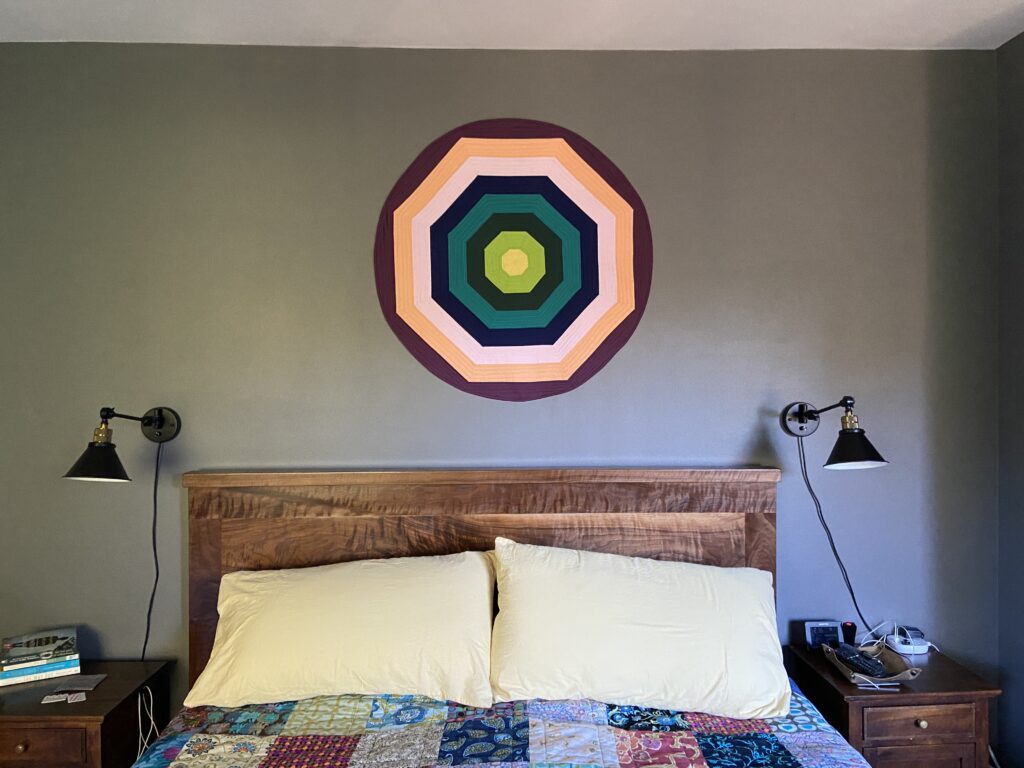
Total honesty here – all the while I was working on this quilt, I never once considered the how heck it would be hung on the wall. It is quite large (approx 40″ across) and with a hanging sleeve on the back, it wouldn’t have laid flat on the wall. I was at a loss for a while. Then I thought about making some sort of circular frame with wire. I had florist wire but it was fairly light weight. So I measured out four (very long) lengths and twisted them into one piece to give it more strength. Then I pinned it around the circumference of the quilt. I wish I had taken pictures of this but I totally forgot. I sewed the wire to the back – butting it up as close as possible to the binding, being careful not to go all the way through to the front of the quilt. This kept the quilt flat and held it’s shape perfectly.

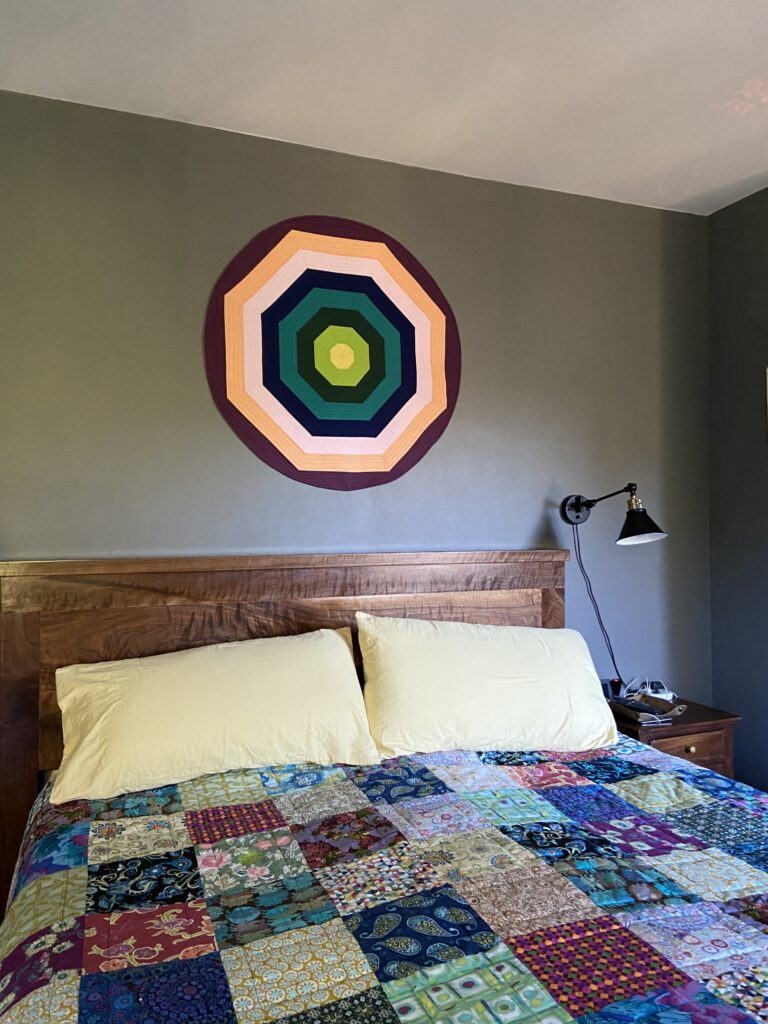
Hanging it was a bit of a chore. Ray was standing on the bed with level, screws and screw gun. He had to put screws all the way around because I really wanted it flat on the wall. Success!

I love it! The wall hanging contains many of the colors of the rather bohemian quilt I made for the bed so it just works.

I love looking at the quilt and the wall hanging together. Makes me happy!

It was my goal to finish this wall quilt in January and it is down! I checked it off the list of unfinished projects which is always a good feeling before moving on to the next thing! Now that you have seen it, what do I call it? Many of you are so clever at thinking of names for your finished quilts. This is not my strength. Help a girl out?

Linking to my favorites – check them out at the top of the page, under link ups!

(Note – this post contains affiliate links. Should you purchase something via the link, I will receive a small compensation at no cost to you.)

My Current Favorite

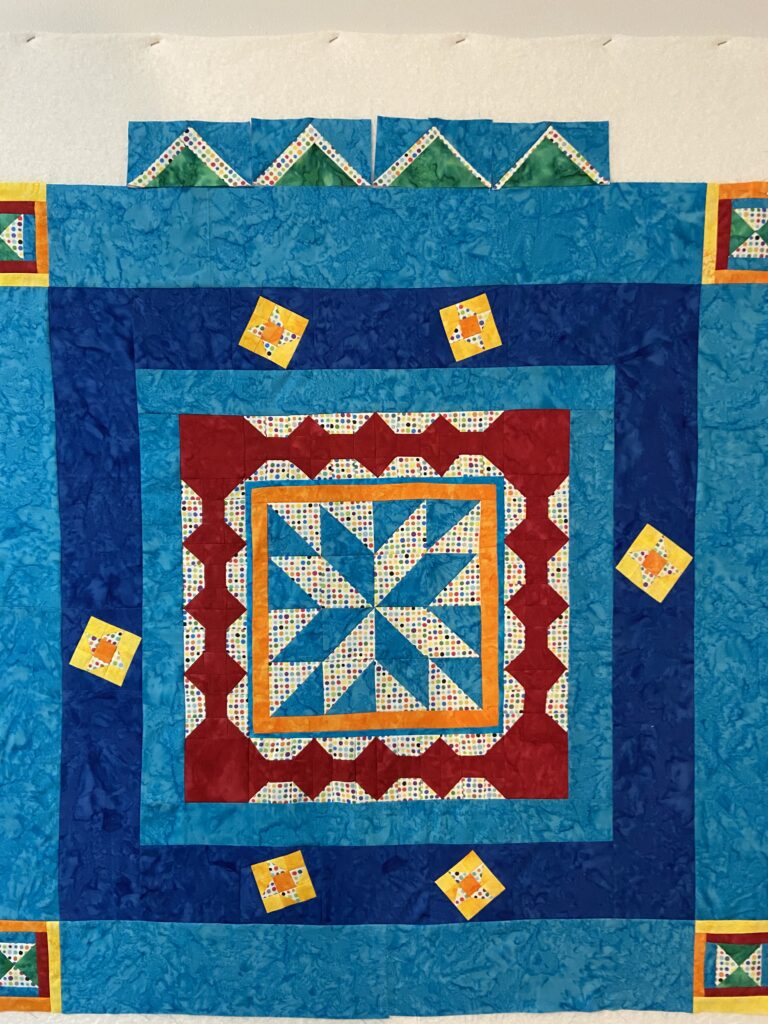
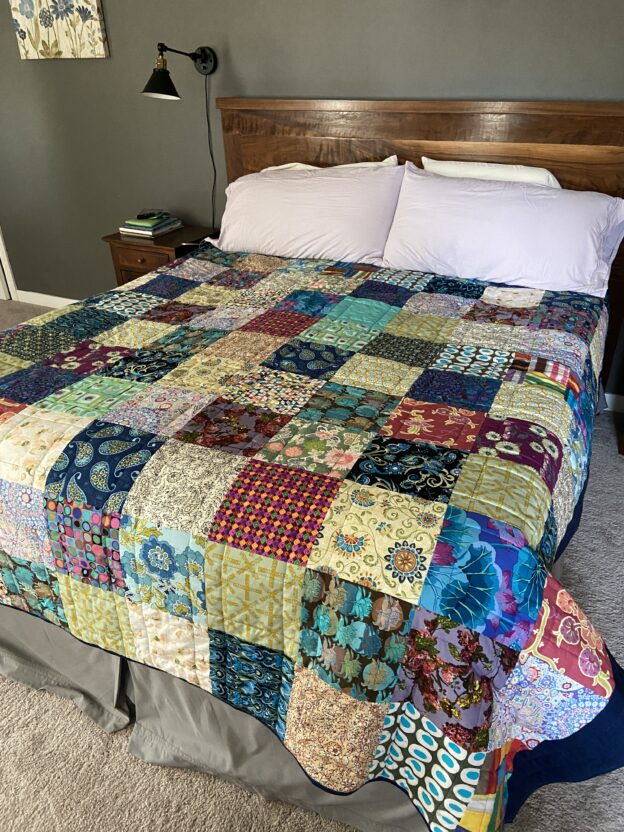
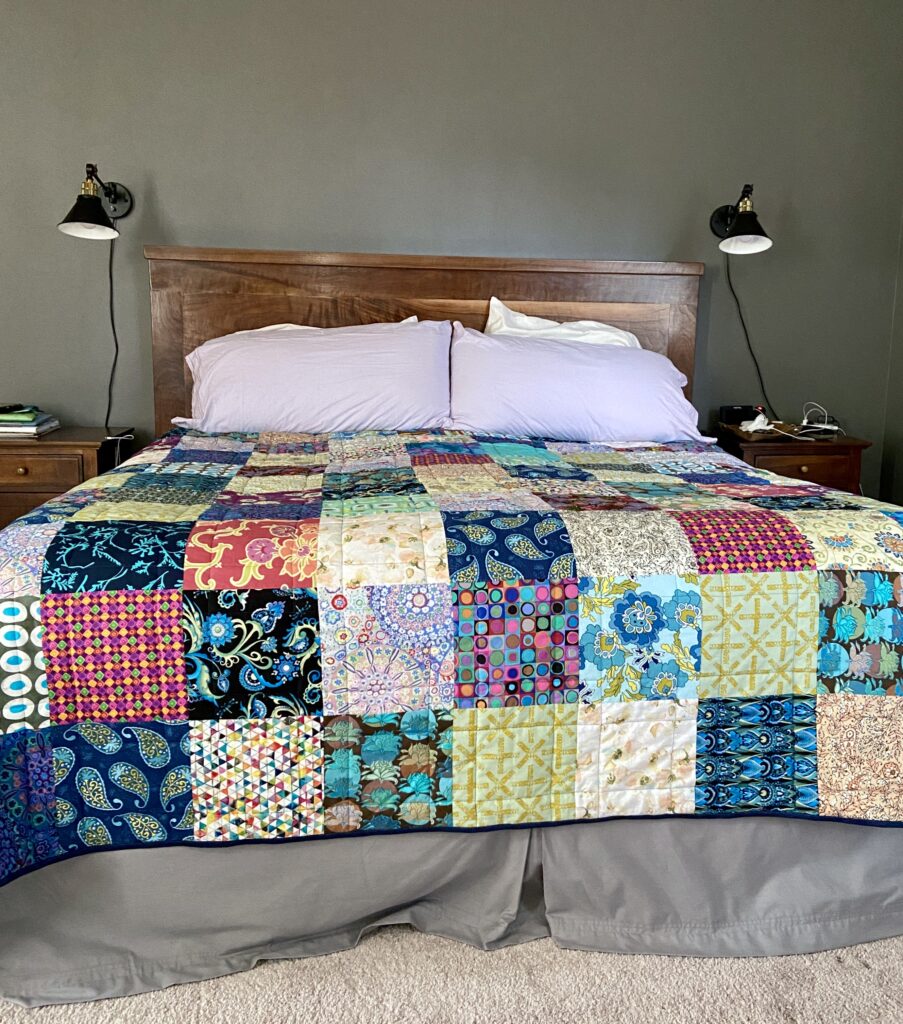
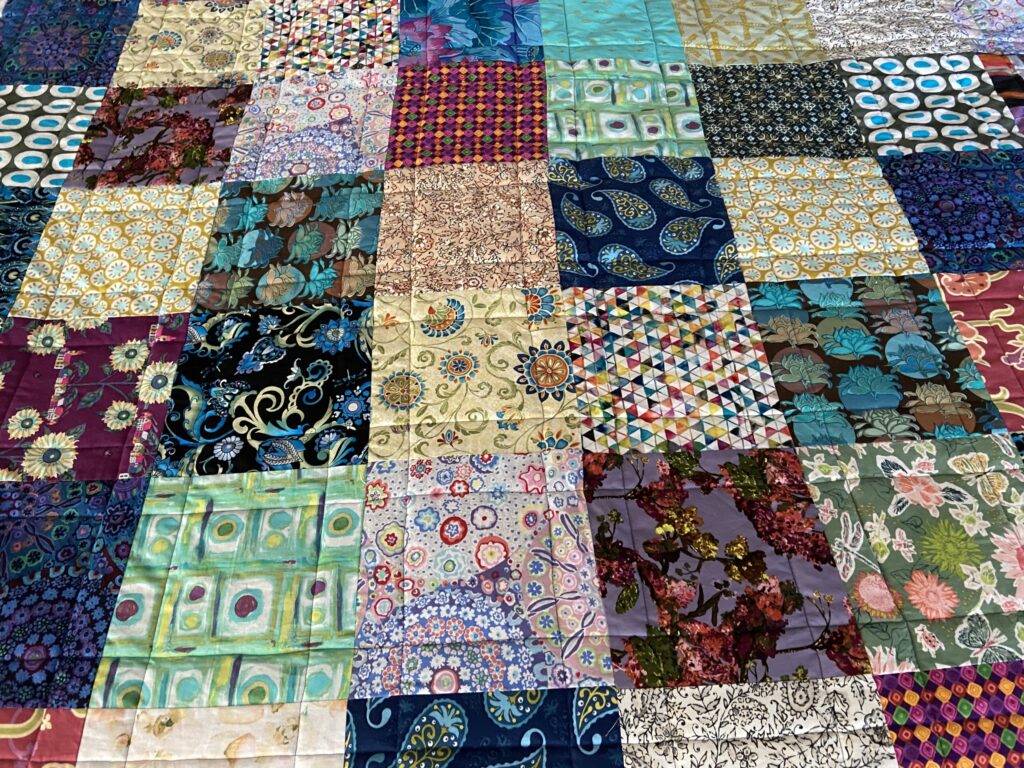
This quilt has been a long time in the works. It is ‘just a patchwork’, no complicated piecing, no fussy blocks, but oh I have wanted to make it for a really long time! There are a some really gorgeous quilts made with very bold colors which totally appeal to me. A while back, I started to collect pieces with powerful color and scale. When I had my shop, I would cut 1/3 yard of pieces that appealed to me and set them aside in a project bag. I got lucky at thrift stores and garage sales a number of times and picked up pieces that I knew would work in this quilt. Mixing the scale and the lights and darks to make sure there was a good variety was a lot of fun. Finally the project bag was full to bursting and I knew I had enough to work with.

Doing some very complicated math, I decided to cut 11″ blocks and end up with a quilt measuring about 100 x 110 inches. This is by far the biggest quilt I have made. The piecing was not a big deal. I laid the squares on the floor and moved them around for a bit trying to keep like fabrics from touching. Other than that, I didn’t worry too much about a particular layout.

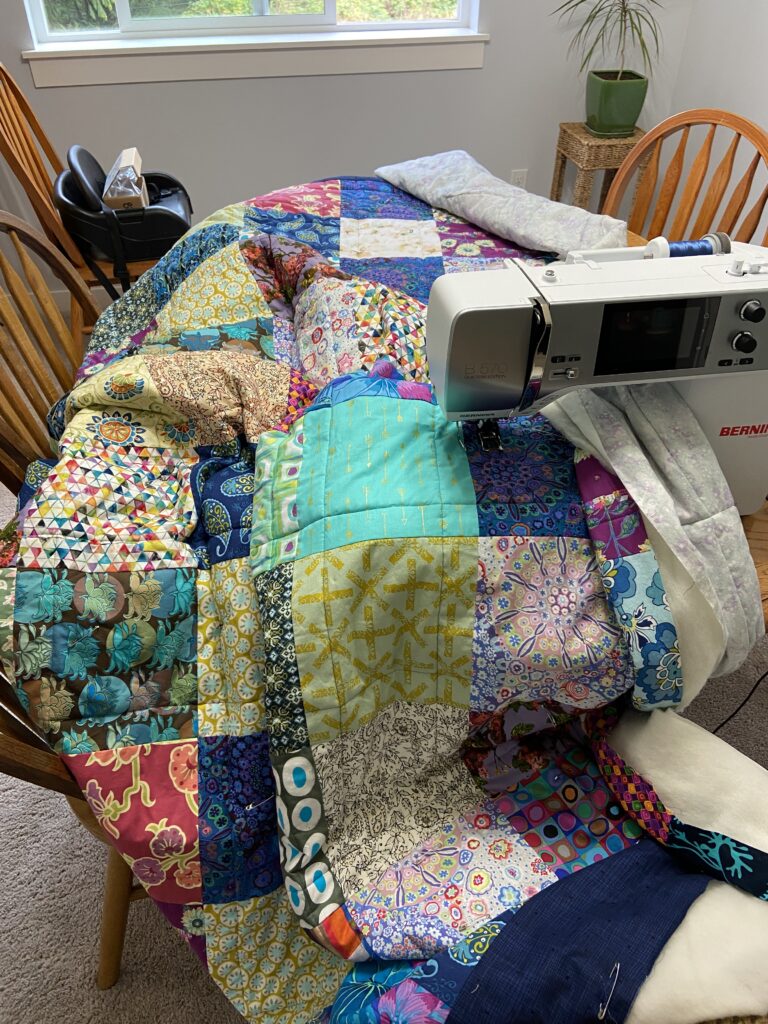
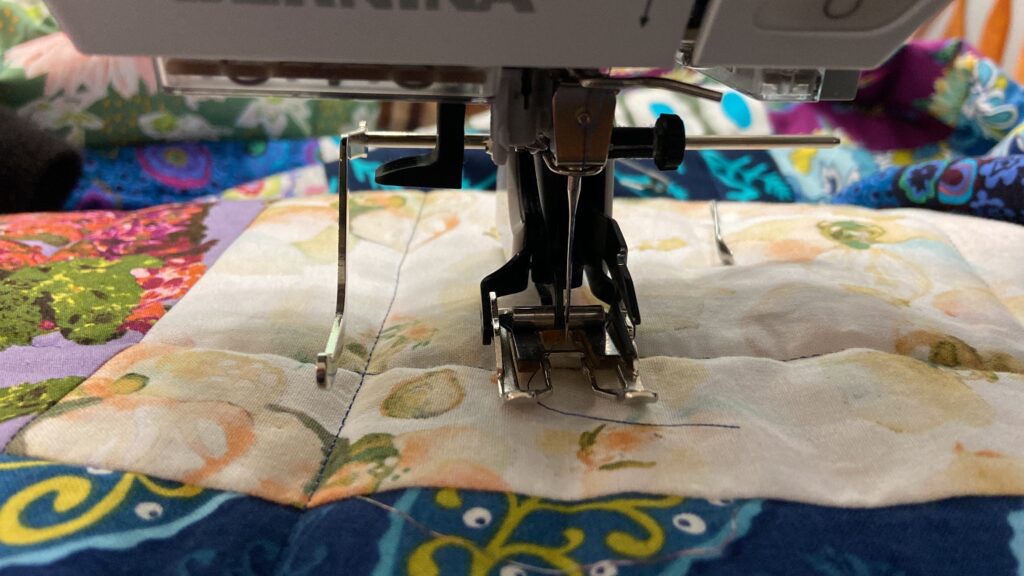
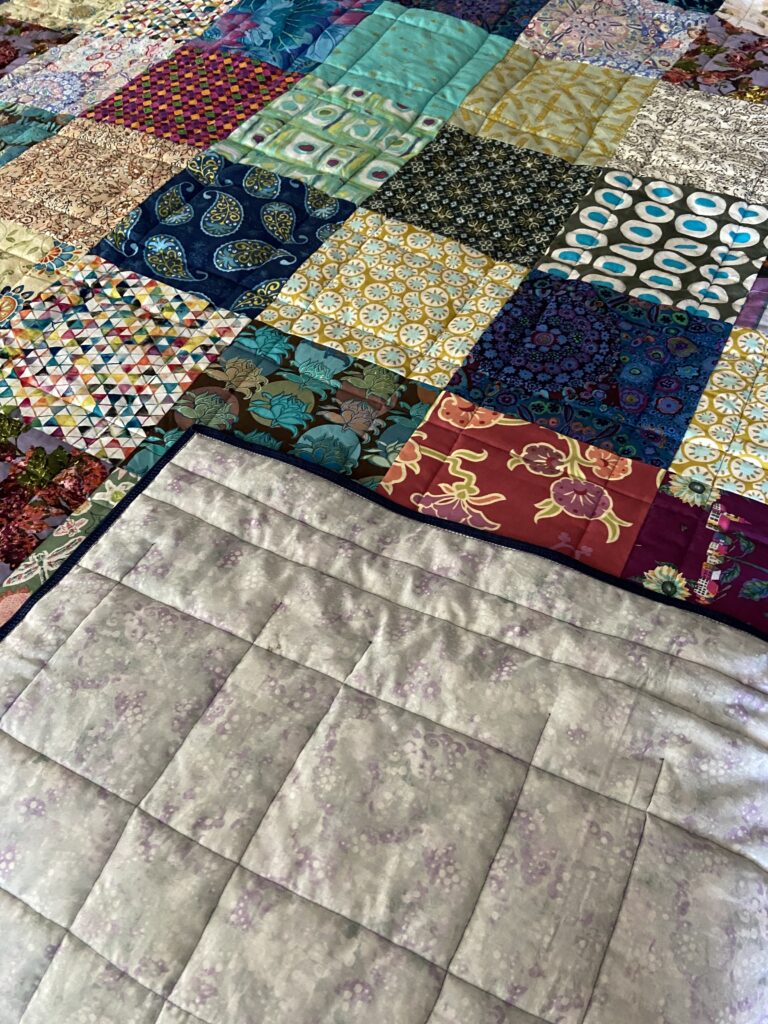
Once the top was assembled, I had to move furniture around to be able create enough floor space to baste it. Honestly, this is a monster size quilt (for me anyway)! The backing is a wide back I saved for this project when I closed the shop. I am fortunate to have a reasonably sized sewing table but it wasn’t going to work for this. So I commandeered the dining room for a couple of days to quilt this. I don’t know how I could have free motioned it – there is so much weight. Instead, I bought a walking foot (hurray!!) and stitched straight lines, two inches from each seam.

I do love this bar for projects like this. The walking foot came with one for the left and another for the right side. It really wasn’t too difficult except for when quilting the middle sections – there was a lot to stuff through the throat of the machine at that point. It all worked out though – save for a few puckers on the backing. I took a bit of time and ripped out some stitching to fix a few of the puckers. For the most part though, I left them as is. After all, it is the back side of a utility quilt. Who is going to see those puckers?

It doesn’t show in the photos but, on a whim, I decided to use the blanket stitch on my Bernina for the binding. I can’t give a reason for this – I just thought it would look cool. Which it does but, oh my gosh, it ended up taking fooorrevvver to bind this.

If you are admiring the walnut headboard on our bed, it was made by my talented husband.

This quilt is a bit like a quilter’s I Spy quilt. See if you can find fabrics by the following designers: Alison Glass, Sharon Holland, BariJ, Kaffe Fasset, Malta Dubrowsky, or Amy Butler – there is something from all of them. (Plus many where I cannot tell you who designed them)!

Another fun fact – this is the first time I filled a quilt with wool batting. It surprised me how different it was to work with. Much puffier (more loft) so the quilt is thicker. When I cut my usual 2 1/4″ strips of binding, I didn’t know there would be such a difference and it was a bit challenging to wrap that binding over the side. Next time I will definitely cut a 2 1/2″ binding. That should work better. I love the feel and heft of the quilt plus it feels warmer.

I have fabric set aside to make a couple of matching pillow shams. This is going to happen very soon. Shams will finish this off nicely!

Thanks for reading folks! Big quilt equals long post I suppose!

Beginning today, C&T Publishing is holding their warehouse sale! I love this event because they clear out some excellent books at great prices. Enjoy up to 70% off of loads of titles! Sale runs through Sunday, September 25, 2022. (Yep – this is an affiliate link!)

Linking with my usuals, found at the top of the page under Link Ups. Check out some of these sites to see what everyone is making!

What??? An Actual Finish?

Can it be? A quilt? Yes, I actually finished a quilt!! It was in December, 2021 that I last finished a quilt. Crazy times around our house the last six months!

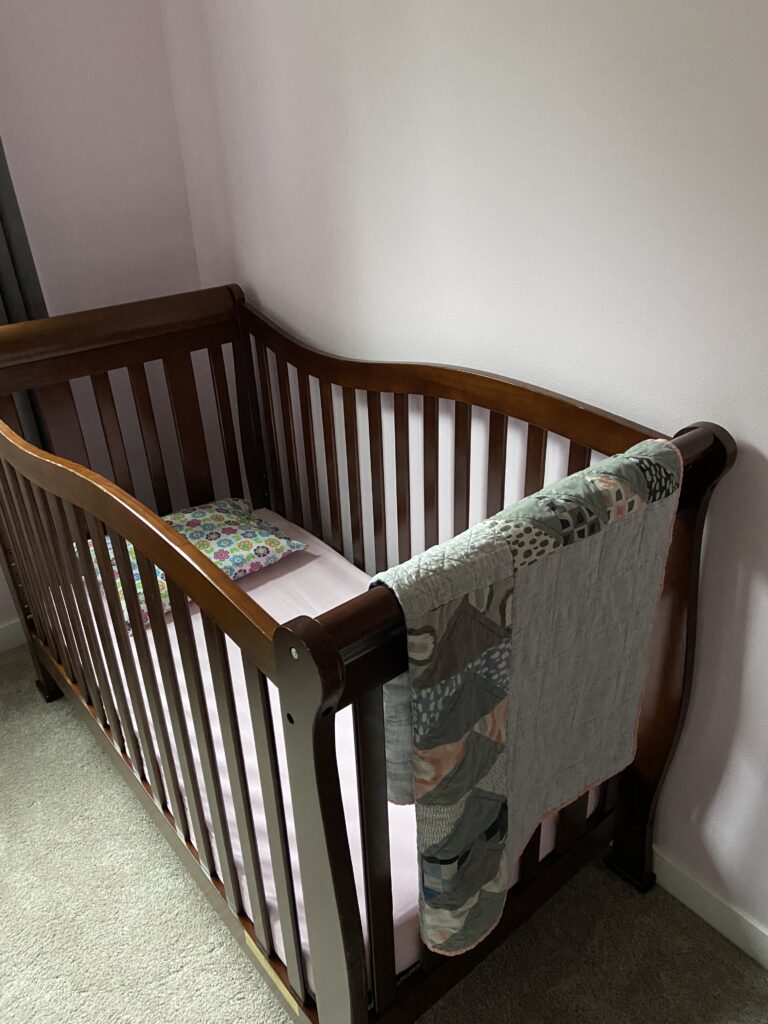
A couple of weeks ago I saw this crib on Facebook Marketplace for $50. It seemed like a good deal as it transitions to a toddler bed as well. My two year old grand daughter is still in a crib but I suspect she will soon be changing over to a toddler bed. This should work for sleepovers for quite sometime.

The room that the girls sleep in is pink, like Pepto Bismol pink. If I didn’t dislike painting so much I would repaint it. But the girls like the pink and I don’t like painting so it will stay this way for a bit. I had some pink solid from Art Gallery Fabric and quickly made a fitted sheet for the mattress. This was both a super easy and fun project that I made with this tutorial by See Kate Sew.

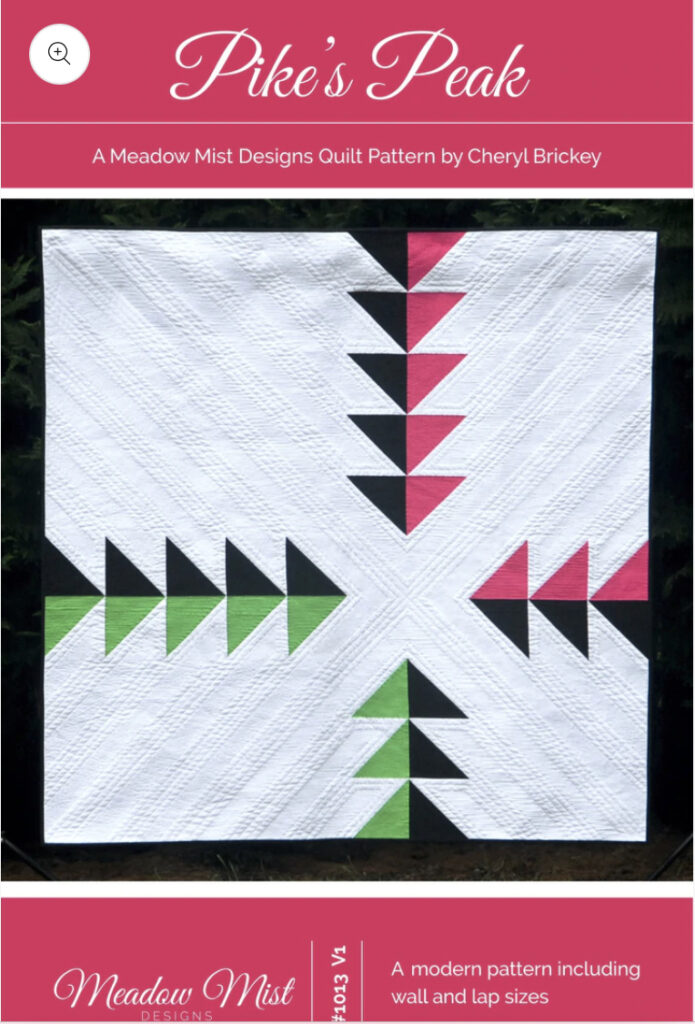
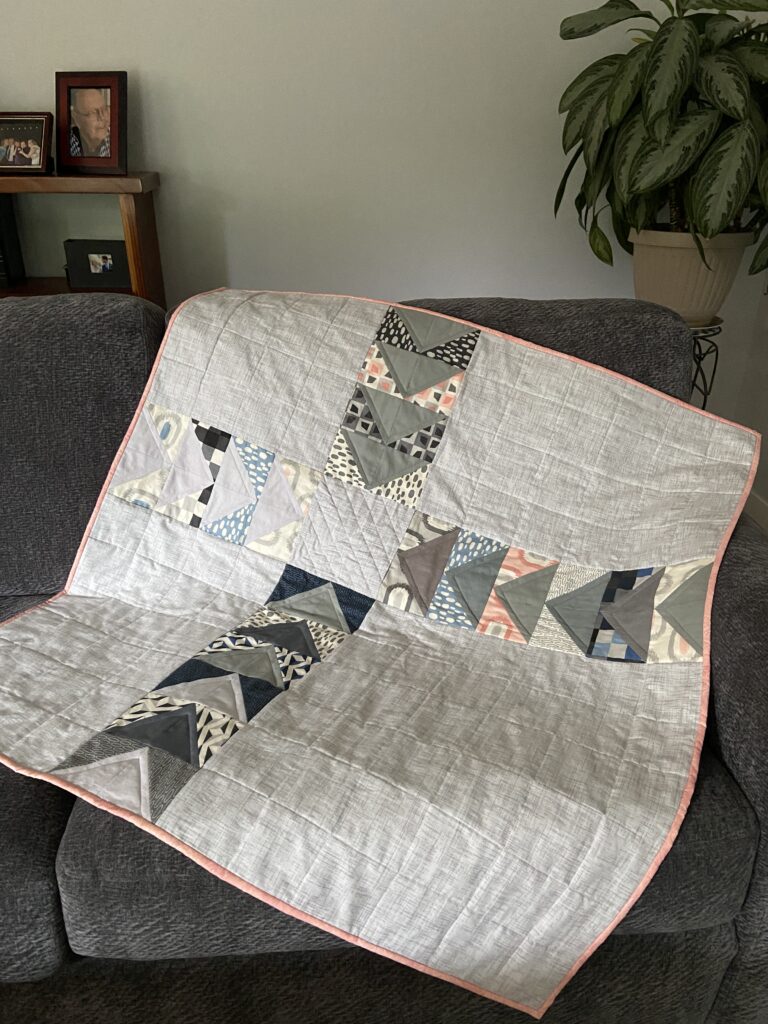
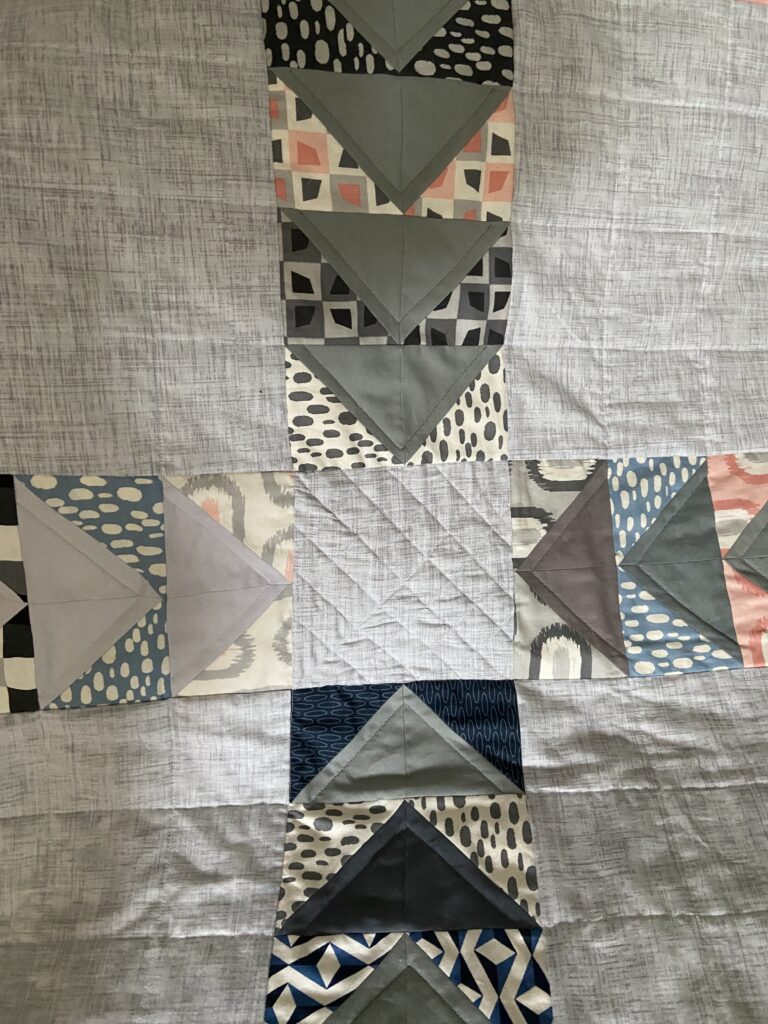
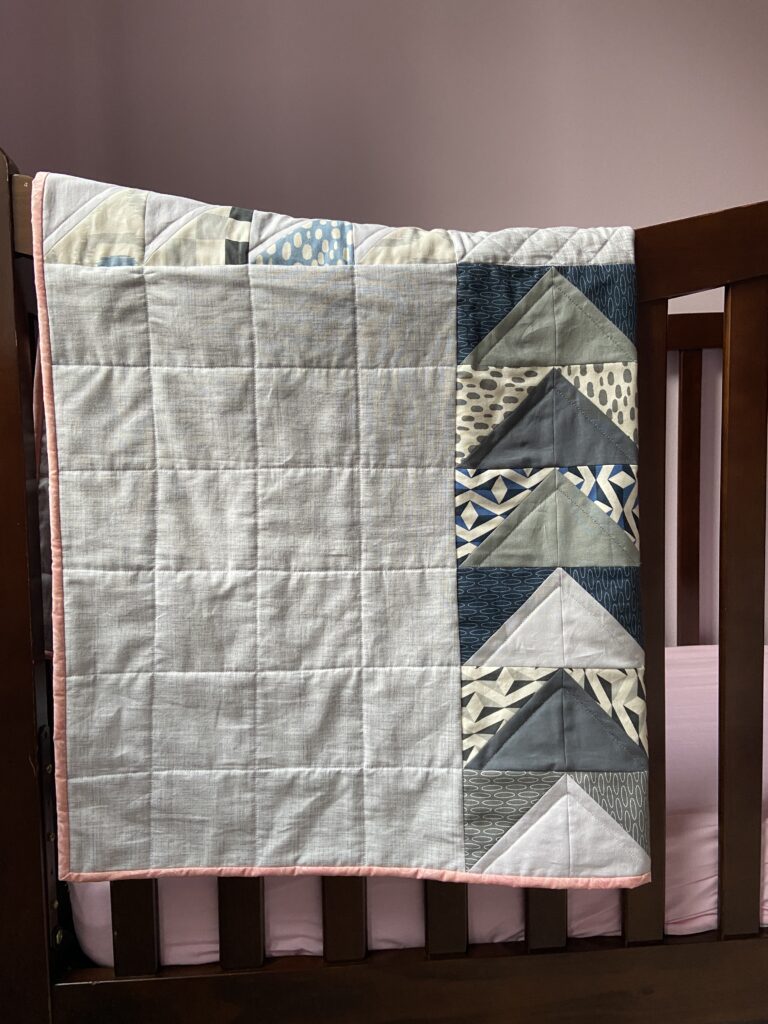
I also had a quilt top ready to go that I made wayyy back in May of 2020. I used a pattern by Meadow Mist Designs called Pike’s Peak.

My version looks very different from the example on the pattern cover. But that is the joy of each interpretation of a pattern. The fabric choices often make it completely unique.

The quilting is very simple. Small cross hatch done on the diagonal completes the center block. Then a straight line every two inches for the open gray spaces. These lines were marked with a Hera marker and took no time at all to stitch. Easy peasy. I figured if this was to be used by a toddler, nothing fancier then that was warranted.

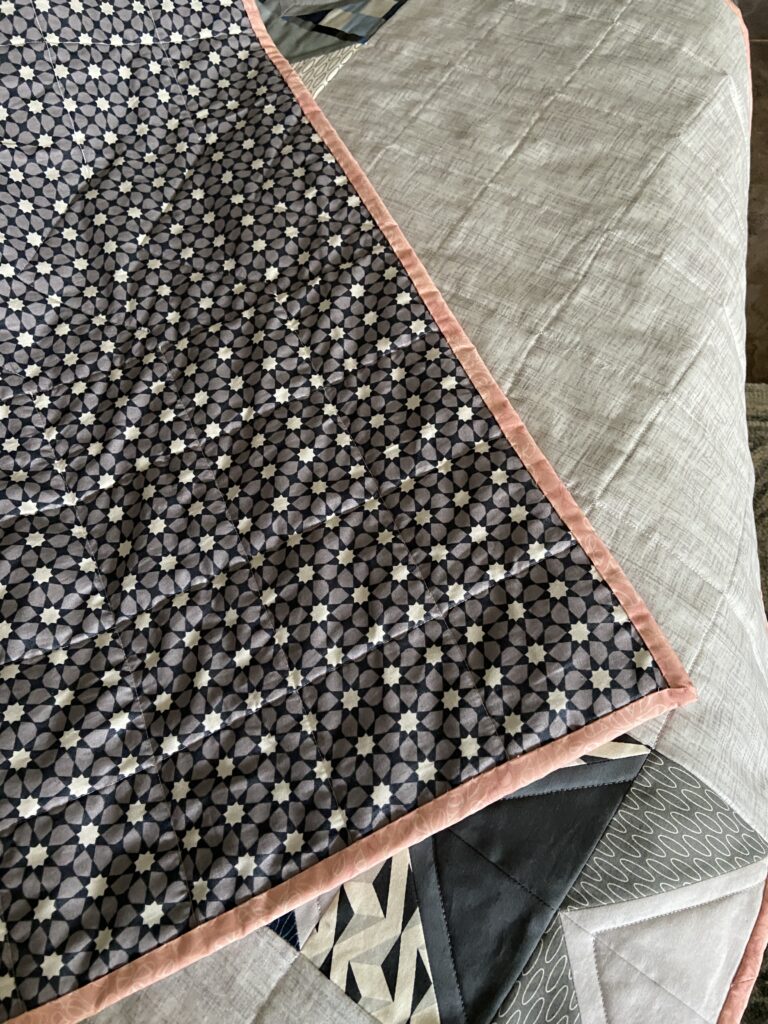
It is backed with a piece of Alison Glass fabric and bound with a tonal fabric from Art Gallery Fabric.

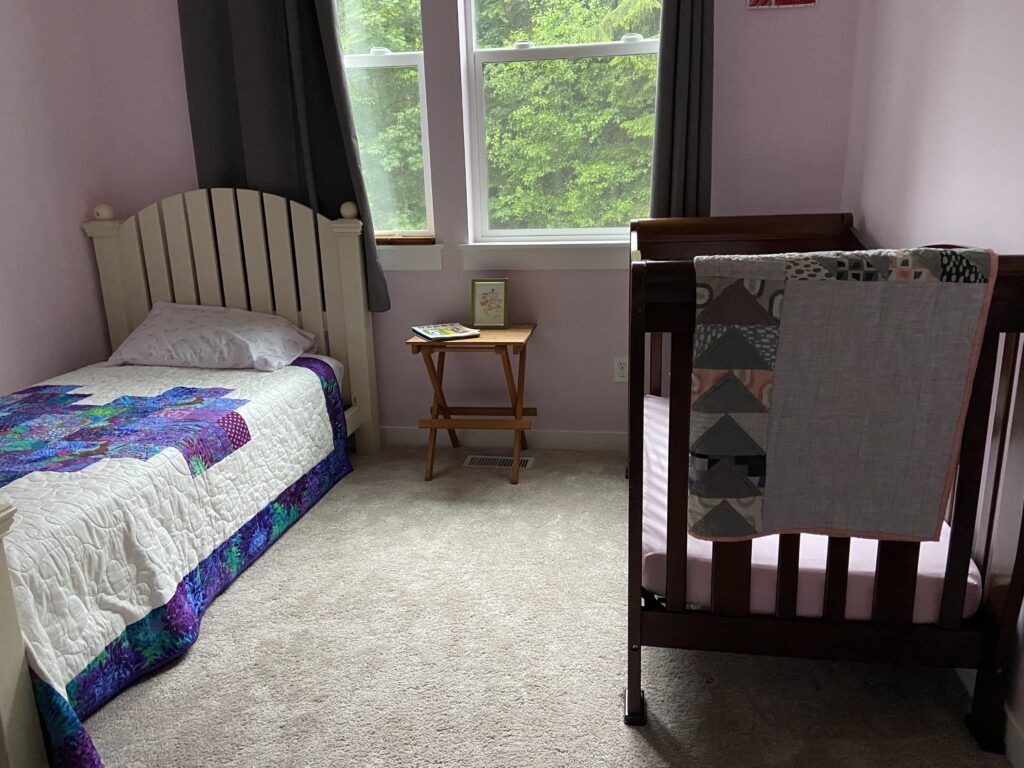
It looks great in the girls’ room. When I showed A her new bed at Grammy’s house she was quite happy and said “cozy, cozy bed”. She loves her bed at home and I think she will be happy in this one too.

We set up Julia’s old twin bed from years ago. My husband made the headboard and footboard so we stored it for the last 12 years or so. I am happy to have it set up for H now. She chose the quilt for her bed. (This quilt was gifted to me from a friend when we moved. It is a pretty quilt with all Kaffe Fassett fabrics and backed in soft minky.) When H saw it, she was taken with it and asked if it could be on her bed. So now we have beds set up for both girls!

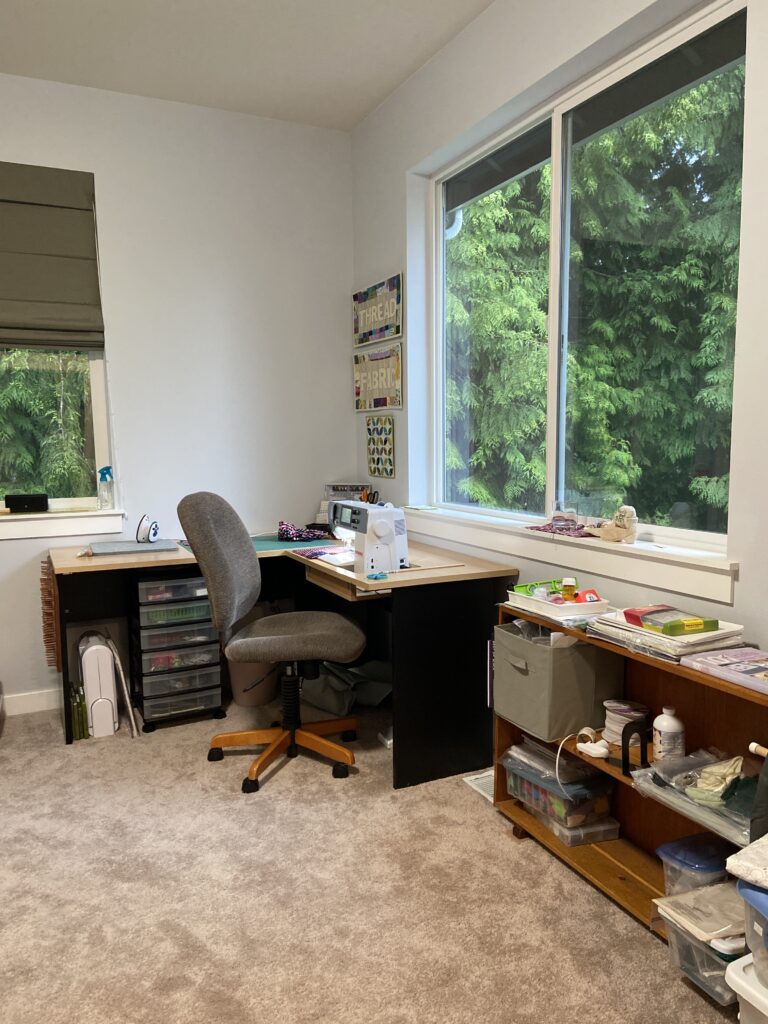
My sewing room continues to improve. Last week Ray spent a day helping me organize it. He got the sewing desk put together for me.

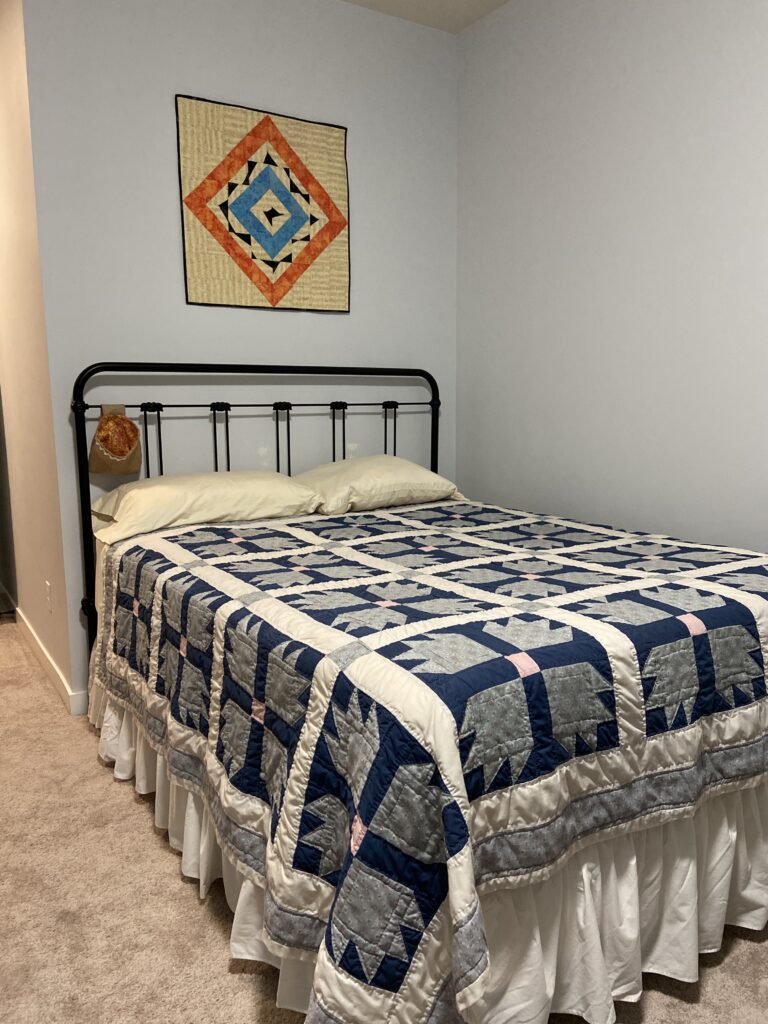
He also got a bed set up in the room for guests. Of course as soon as the bed was set up, I was laying projects on it and now it is covered 1/2 way with my projects. He laughed when he saw how fast that happened! But at least we have a queen bed for guests if needed.

I am working on binding another quilt today. Hard to believe but I have another finish and will share it soon. Back soon with pictures – this one is really looking nice.

Sharing to my favorite link ups. Please take a look at the top of the page for details!

A Patriotic Finish & Giveaway!!

Note: Giveaway now closed. I actually selected two winners because I found enough for two kits. Winners have been notified. Hope to hear from them soon so I can mail off their prize!

Good morning all! I intended to post this before Memorial Day. Somehow it didn’t happen so I am writing it this morning. No worries though. While patriotic projects are good at any time of year; May, June and July usually put people in the mood for red, white and blue with Memorial Day, Flag Day and Independence Day during these months.

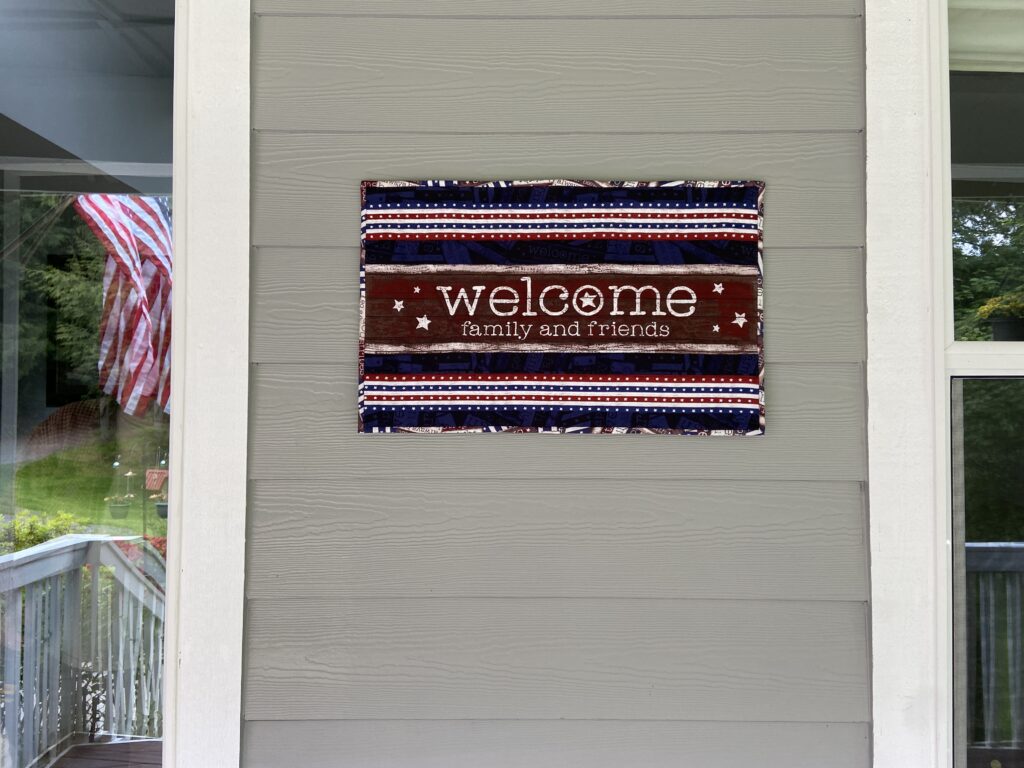
The front deck.

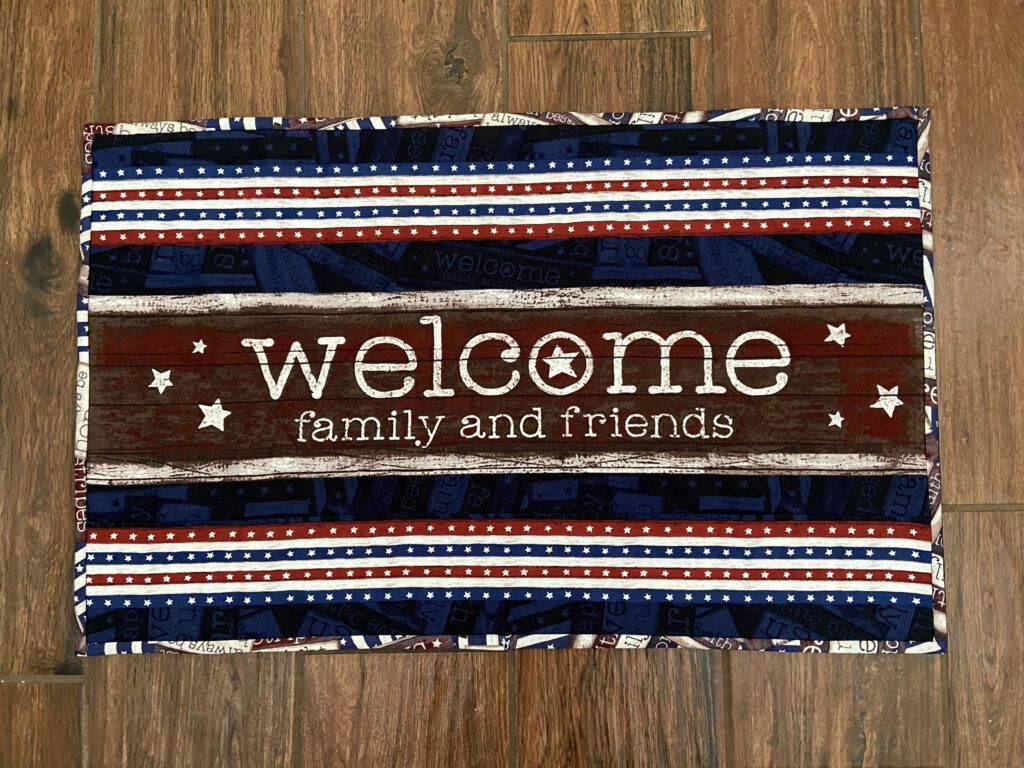
Doesn’t this look nice? Here is the backstory of this little wall hanging.

Feels great to be sewing again!

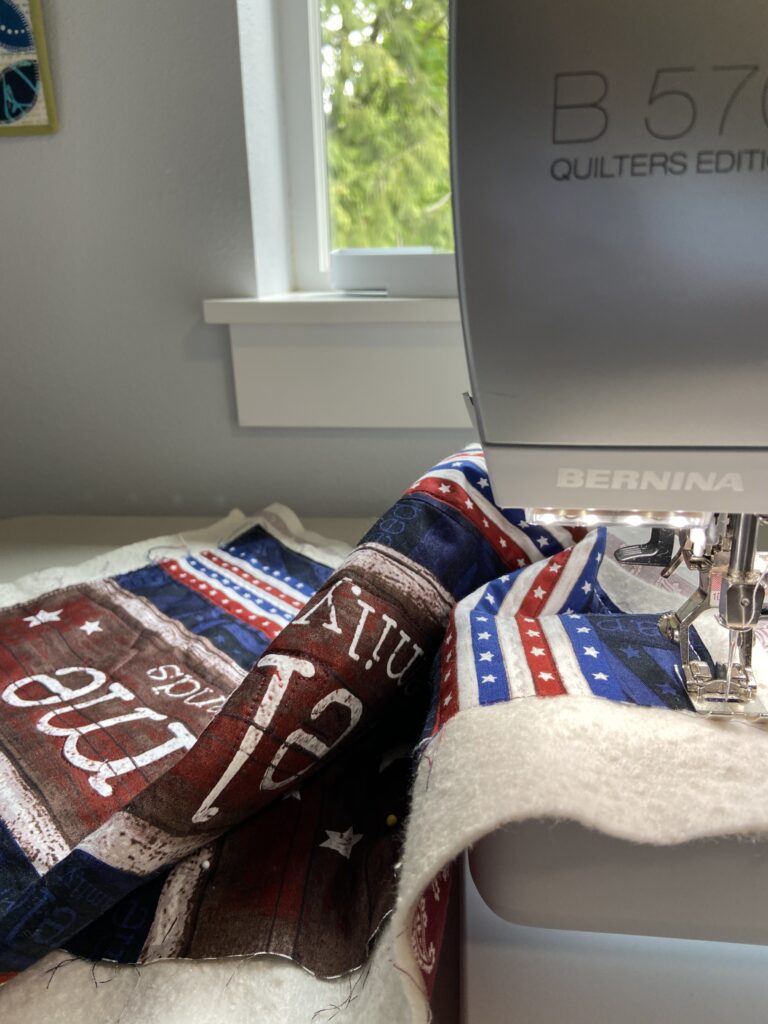
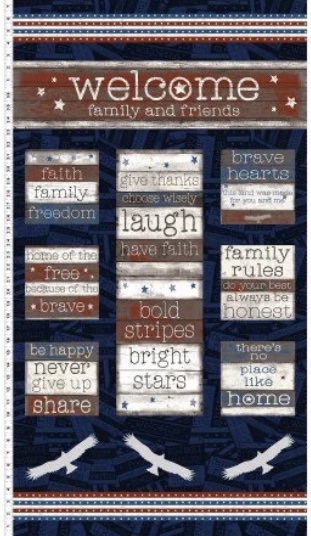
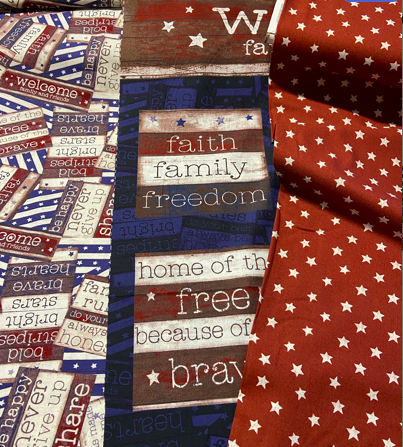
My sister recently sold (actually practically gave) me a Bernina sewing machine and a Juki serger. I have not sewn with a Bernina before so I have been watching YouTube and practicing on simple projects. Leftover from the shop, I have a couple of these panels and some of the coordinates from the Home Of the Free line that I had carried.

This shows most of the panel. It has the welcome portion and lots of little sayings as well. I took the stripe at the bottom and added it to the welcome portion to balance things out. Then I basted it together and did some basic quilting to hold everything together.

It measures 15″ x 24″. For the binding I used one of the coordinates. It is super simple but I think it makes a cute welcome sign.

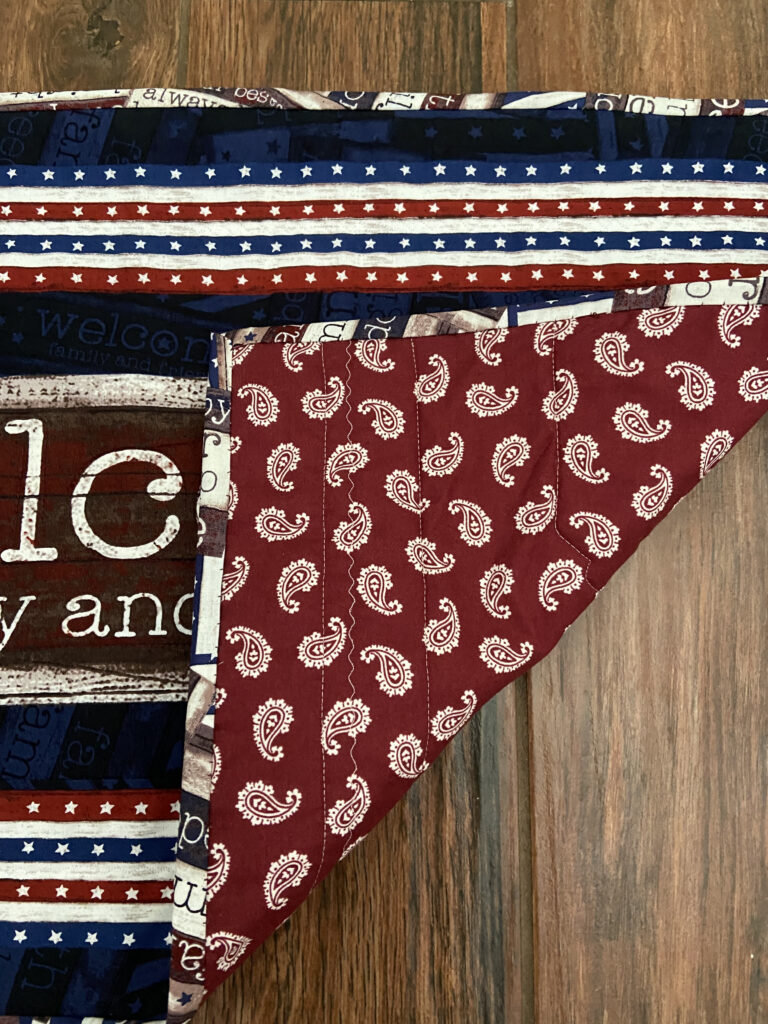
Cute paisley backing.

For the backing, I chose this paisley print. The reds are the same tone so it looks wonderful together. I love paisleys. Even if this is on the back side and no one will really see it., I know it is there!

Now I have a cute welcome sign on the front porch to takes us through summer months.

How about you? Would you like to make one? Or maybe a quilt with these fabrics? I still have enough fabric to gift a kit for your project! It includes a star print instead of the paisley but you’ll have enough to play with to make whatever you’d like. I would love to see what you do with this!

GIVEAWAY NOW CLOSED.

Please leave a comment for me if you are interested in this kit. No pattern included so you’ll have to be creative and work something out. Since this is a patriotic, American fabric, the giveaway is limited to US residents. I will choose a winner on Sunday afternoon. Good luck and have a great weekend!

Sharing at Finished or not Friday, Brag About Your Beauties and TGIFF over at Anja Quilts.

**************************************************************************

Reminder!! The Positivity 2022 QAL has begun. We are choosing fabrics and cutting pieces. At least that is where I am. Hoping to start putting blocks together soon though. Check out fabric and cutting instructions at Sew Preeti Quilts. Hope you will join us!

Masala Box is a Finish

I have finished very few quilts this year so I am excited to share this with everyone. It is a cheerful quilt and a fun pattern to make. As you likely remember, I tested this pattern for Sew Preeti Quilts. Preeti writes delightful patterns and has several listed in her Etsy Shop.

Masala Box Baby Quilt

I did make an internal compromise with this project. I really wanted to spend some time and quilt the center of each block with a picture of sorts. I had them all planned out. However, life is so crazy right now and I decided the free motion quilting would have to wait for another project. Instead I did a version of a zig zag/serpentine stitch going both vertically and horizontally which was a very quick way to finish this little quilt.

Difficult to photograph the white stitching on white!

The zig zag adds some fun texture and will probably be enhanced even more after being washed.

Polka dots for the backing.

I have quite a large piece of this polka dot fabric which made the backing choice a simple one. Binding was done with the same red fabric as used on the front.

The end of the fall leaves in our yard.

Our fall colors were extraordinary this year – most of the trees have dropped their leaves at this point.

Moving on to non-quilting topics, I have exciting news! Ray and I have decided to move from California up to Washington. I am sure you can guess the main reason. Yes, you got it. There are two sweet girls up there we are wanting to see more often. Between the pull of being near the grand children and the drawbacks to California life (mainly very hot summers and the dangerous fire seasons), we decided to go for it.

We have talked to a realtor and made a list of projects to do in order to have the house ready to list in early Spring. To that end, we both have been very busy. Ray bears the brunt of the really hard work but I have a fairly long list as well.

The sewing/guest room

Here is one project – you’ll surely relate to. I moved my sewing supplies downstair to the family room in order to create a guest room.

After the massive clean out

In the twelve years we have lived in this house, this room has never been so clean. After the holidays I will have all the carpets cleaned and the guest room will be staged for showing. For now, I am just reveling in its tidy state.

Julia’s room was in need of sprucing up as well. When she was about 10 years old, she asked if she could have a blue and lavender room. Time took its toll on this room so Ray and I painted it a very pale gray.

As with the guest room, I cannot believe how tidy Julia’s room is. This room will also be rearranged for showing but the hard part is done.

I can’t show you the new sewing space just yet – mainly because I haven’t taken a photo for you. (Let’s be honest, it is a hot mess!)

Another project is underway.

Finally, here is another project I am working on. I am a huge fan of photographs and have so many albums. But they do take up space. Rather than move them all, I decided to pull pictures out and organize them by year in photo boxes. One might think this is a quick and easy task, and it should be. But with each album I get pulled into the nostalgia and memories they contain. So while this is really enjoyable, it is not quick!! Evenings have been spent poring over the books and sharing pictures with my kids via text. It will get done all in good time. I have emptied about eight albums and they fit into two boxes which saves a lot of space.

That is enough for today. I need to get going to the grocery store for a few things. Julia comes home tomorrow for the whole Thanksgiving week. I am so excited! I haven’t seen her for eight weeks which is the longest ever! Have a wonderful day everyone.
Linking up to my favorites since I miraculously have a finish!! You can find them at the top of the page under Link Ups.

Another Project, Squirrel!

After finishing my last quilt, I made a plan to make a bunting with the name of my second grand daughter on it. Her father made mention (not so subtly) that I made one right away for the first grand daughter but have not made one for the second who is now six months old. (I am fairly certain the baby hasn’t yet noticed this injustice but still.) Well, it still hasn’t happened.

I had ordered some fall fabrics from Clothworks and they arrived last week. One of the bolts has a panel for making placemats and I really like the colors of the fabric. The line is called Autumn Air and was designed by Jim Ishikawa. They are just perfect for my dining room.

The panel includes four placemats as well as some extra floral print. I cut off the floral print and set it aside for a future project. After looking at the solids I had on hand, I decided to go with green. Adding some borders was quick and then I cut a tone on tone cream color fabric for the backing.

For quilting, I did diagonal lines, 1.5 inches apart on the floral section. I left the borders unquilted. With the borders, the mat finishes at 13″ x 17″. I think these are super and will be perfect to use each fall.

This quick make was quite satisfying. I am so over summertime and hot weather (it is 86 degrees and still smokey outside as I type this.) Using fall fabrics allowed me to pretend it was cool and crisp outside (as long as I didn’t look out the window anyway.)

My sweet girl and her new toys.

I will leave you with this to make you smile. My grand daughter’s little friend has a really cool older brother. You know how cool a six year old can be! He wanted some new Matchbox cars and his mother said he could sell some of his current toys at a garage sale to make money for what he wanted. My grand daughter went ‘shopping’ there and snagged these new toys. She was thrilled. Most of her things are still in storage until they move into their new house and I am sure she was bored of the same toys she has been playing with in the rental.

We are going to head up there soon to help watch the kids while they move to the new house. My husband is going to help out with a few electrical projects before they move in. Hurray for another visit with my favorite girls! (I know, I know…. I had better go work on that bunting. I don’t want the baby to learn to spell before her name is up on the wall.)

Could it be?? Another Finish?

Yep – it’s true. I have another finish to share. The very small, almost non-existent, silver lining to the fires and smoke we are experiencing is having to stay inside. The smoke is thick and the air very unhealthy so we have been indoors continuously for a long while. This means I can sew!

OK – I started this quilt ages ago. The fabric was leftover from the twin size quilt I made for Julia’s bed in our Downieville house (which we sold this summer.) I made that quilt back in early 2016.

Downieville Quilt

This was a huge quilt as I wanted it to hang over the edge of the bed by a ways. I had planned to make two matching quilts for that bedroom but the second one never happened. However I had already cut many squares intending to make the second one. I decided to use the leftover fabric to make a Mercyful quilt for the families at Mercy Hospital in Sacramento. I matched up a number of the squares, making sure each was partnered with the tan solid and made large (10″ finished) half square triangles with (some of) the leftovers.

Quilt Top Completed!
I made the quilt top in November 2018 and promptly stashed it away – for almost two years!! Why?!?
Basting the top – Finally!

In my last post, I shared I was basting the top and planning to finish it up.

Marking my lines with painter’s tape.

After some thought, I decided to go with simple straight lines for the quilting. Marking the quilt with wide painter’s tape, and starting from the center, I did a two lines of stitching with my walking foot. I used the width of the walking foot to mark off the separation for the second line in each set. This, naturally, went very quick.

My quilt holder, aka Julia, and I took some quick photos on the deck. Didn’t want to stay out long because it was too smokey! I am so pleased with the way this quilt looks.

For the off-centered diamond, I did some extra quilting on the diagonal. I didn’t measure this accurately and my center line is a bit funky. Such is life. I am not overly bothered by this.

The overall effect is good and as we know, I am not one for precision.

A peek at the backing.

For the backing, I used one of the vintage sheets I have stashed. I know many quilters dislike backing with sheets but I have not had a problem with it. They quilt up fine and I have washed the finished quilts (those I have kept) many times without issue. I love how the soft purple and greens complement the darker shades in the quilt top.

This quilt is headed to Mercy Hospital and I hope the family it is given to will take comfort from it.

Unfinished Quilt Tops

About two weeks ago, I made this collage of the unfinished quilt tops I have. I have finished two of them since then which makes me so happy. I haven’t decided which one I will tackle next. I think I need to decide on backings and see what I have available.

For my next project, I need to make a bunting (with the letters of her name) for my youngest grand daughter. When we were up in Seattle, my son reminded me I had made one for older sister before she was born yet this baby is nearly 6 months old and I haven’t made hers. Yikes. Better get on it!!

Take care everyone. If you are affected by the fires (and pretty much everyone in the west is) please take care and be safe. If you have extra rain, please send it to us. We are all in dire need.

Sharing at:

Brag About Your Beauties, Finished or Not Friday, UFO Busting, and Can I Get a Whoop Whoop