
Isn’t that a boring title for a post? I don’t know what to call this quilt. Maybe after you look at the photos and read the post you’ll come up with a clever name for it.
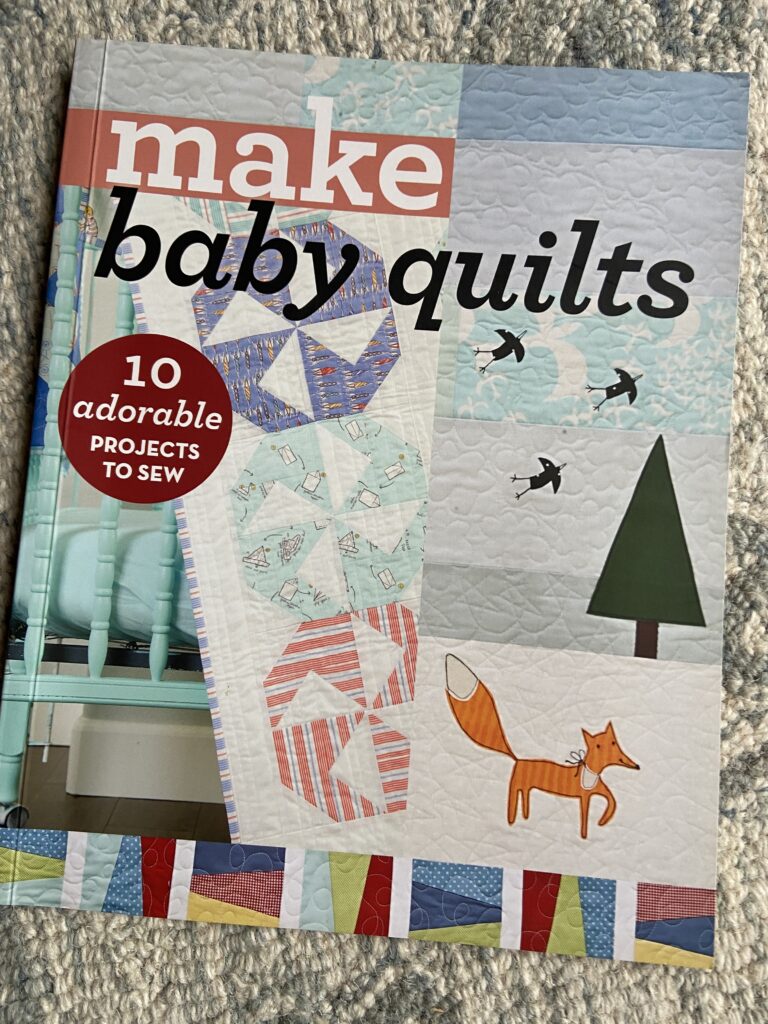
I bought a book for making baby quilts a couple of years ago. There are a few quilts in it that I thought would be very fun to make. There are ten projects, each one by a different designer. C&T Pubs just happens to have the book on sale right now. Make Baby Quilts includes designs by Camille Roskelley, Allison Harris, and Latifah Saafir – among others.

The Sweet as Pi pattern really drew me in though. Sure, it would be wonderful as a floor mat for a baby. Designed by Malka Dubrawsky, it is a strong graphic pattern and the colors could be changed as needed. But I decided to make it as a wall quilt.
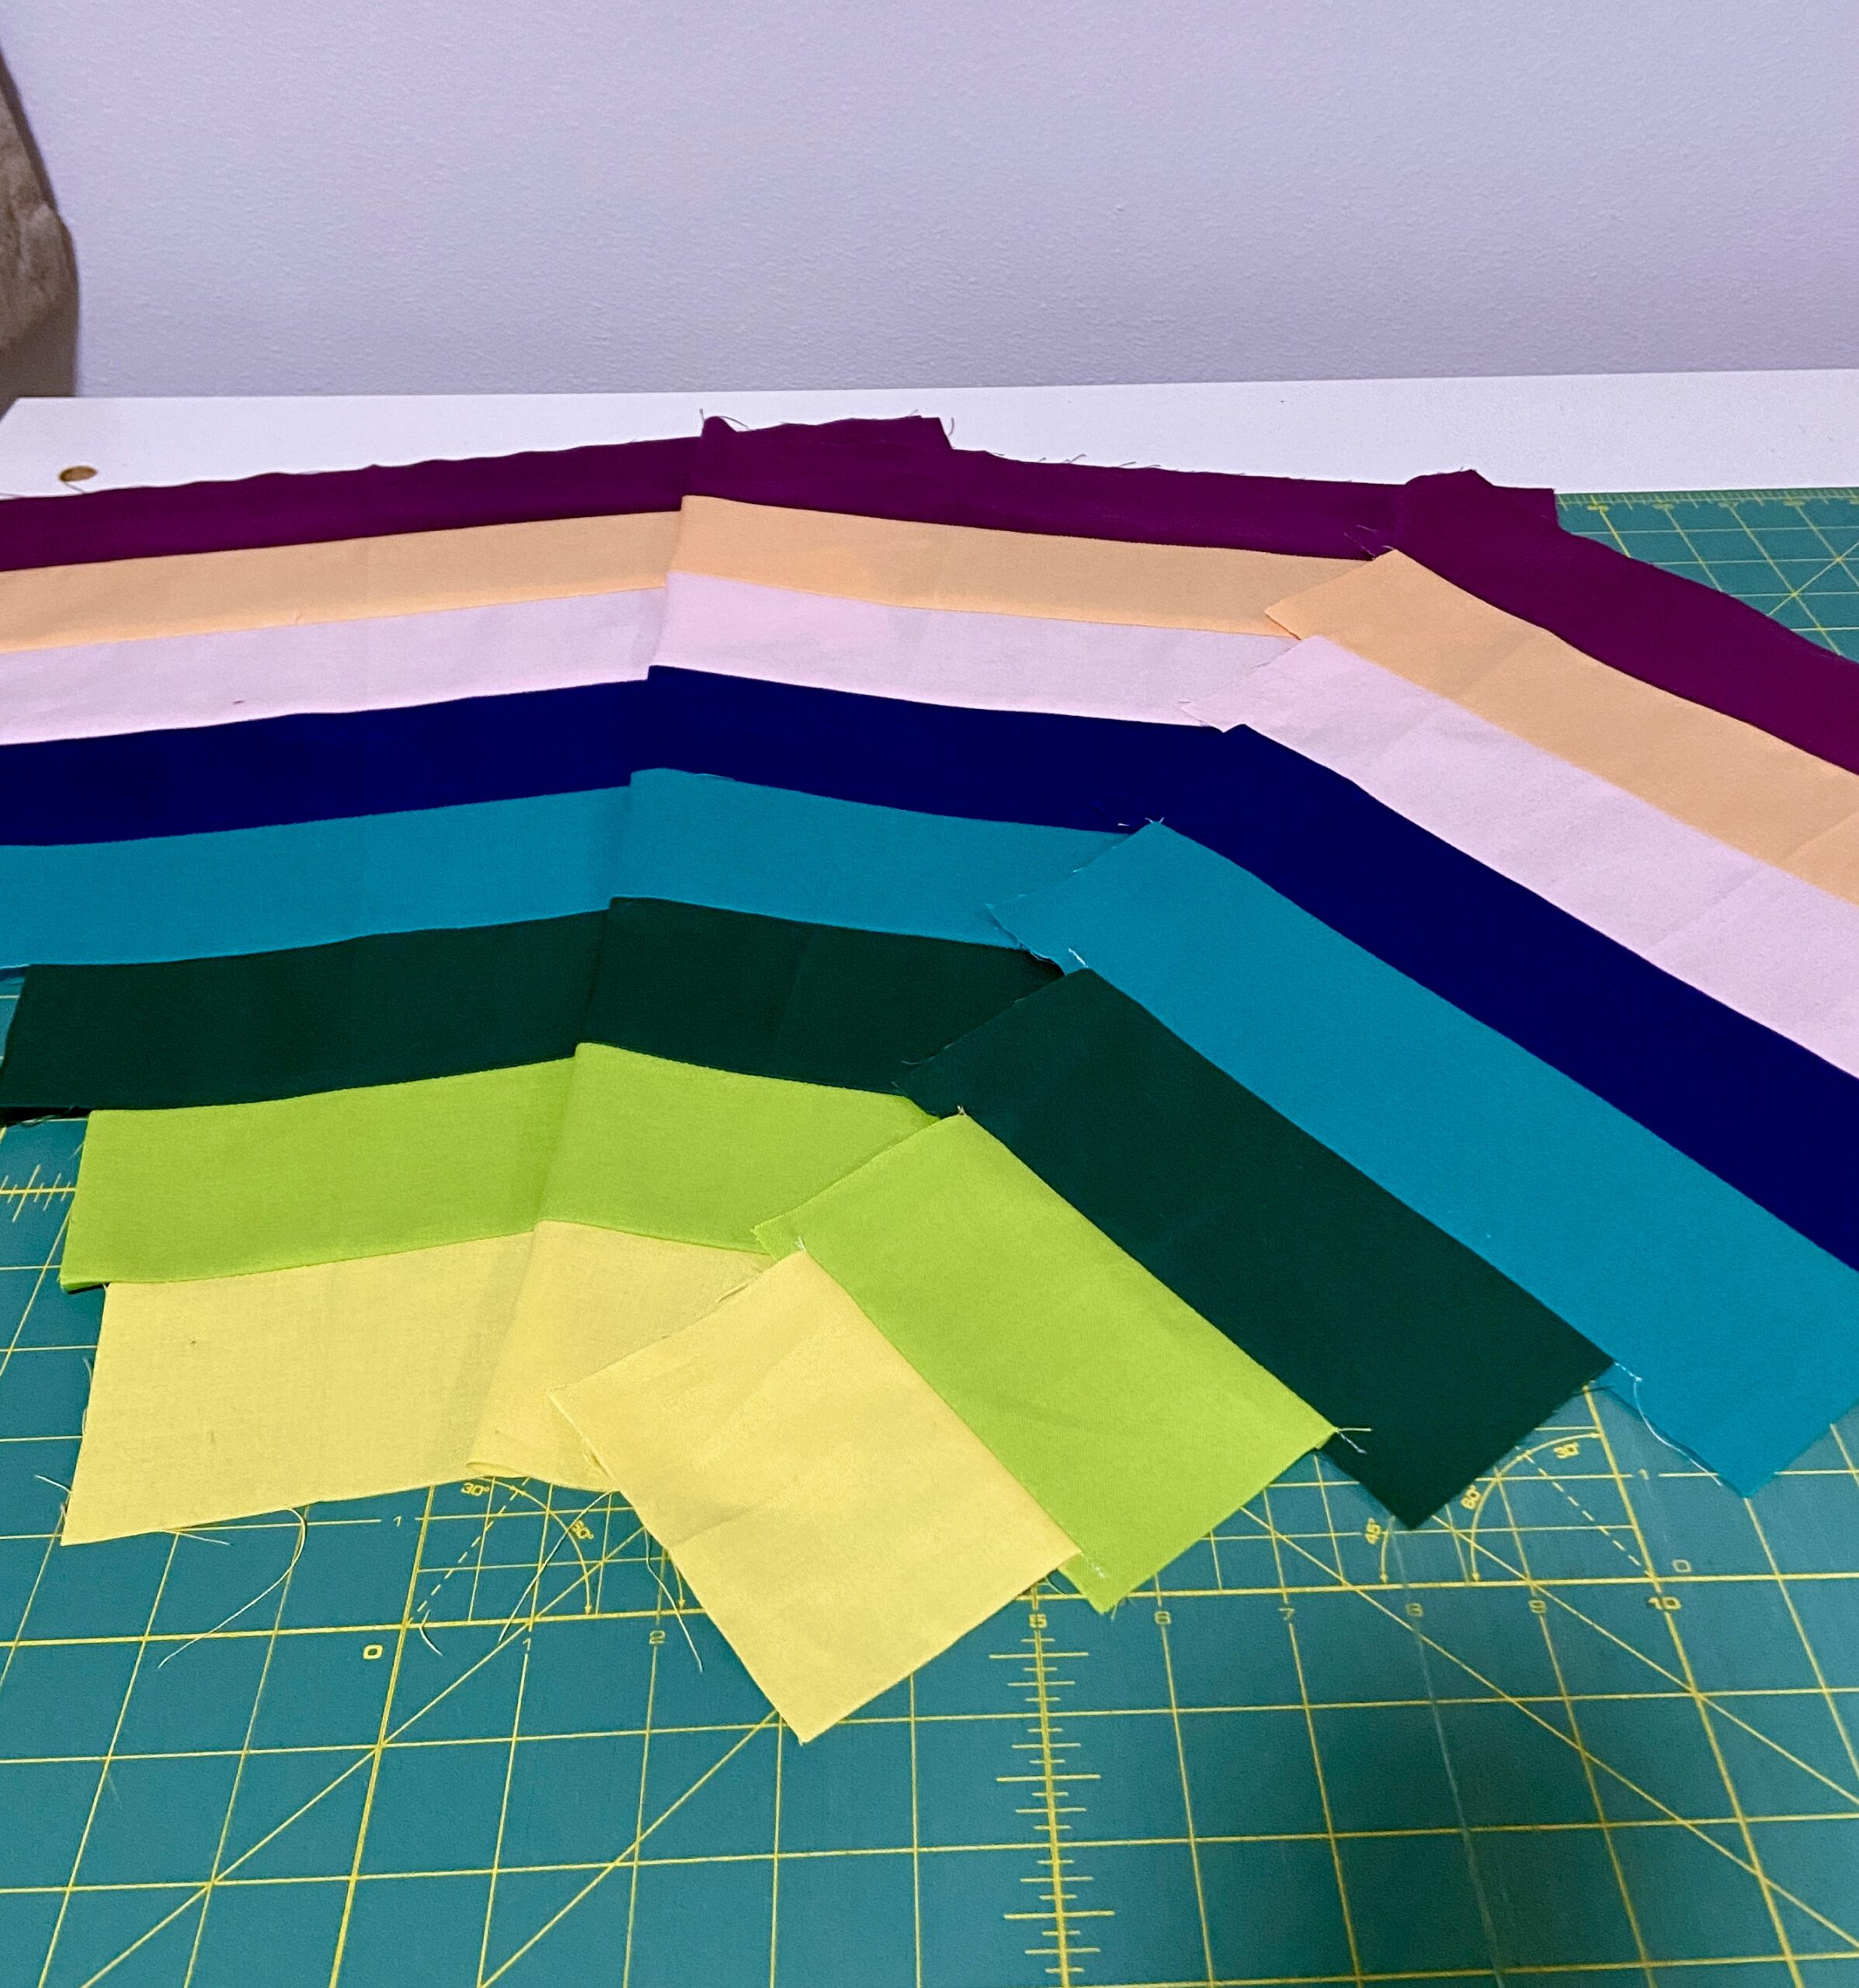
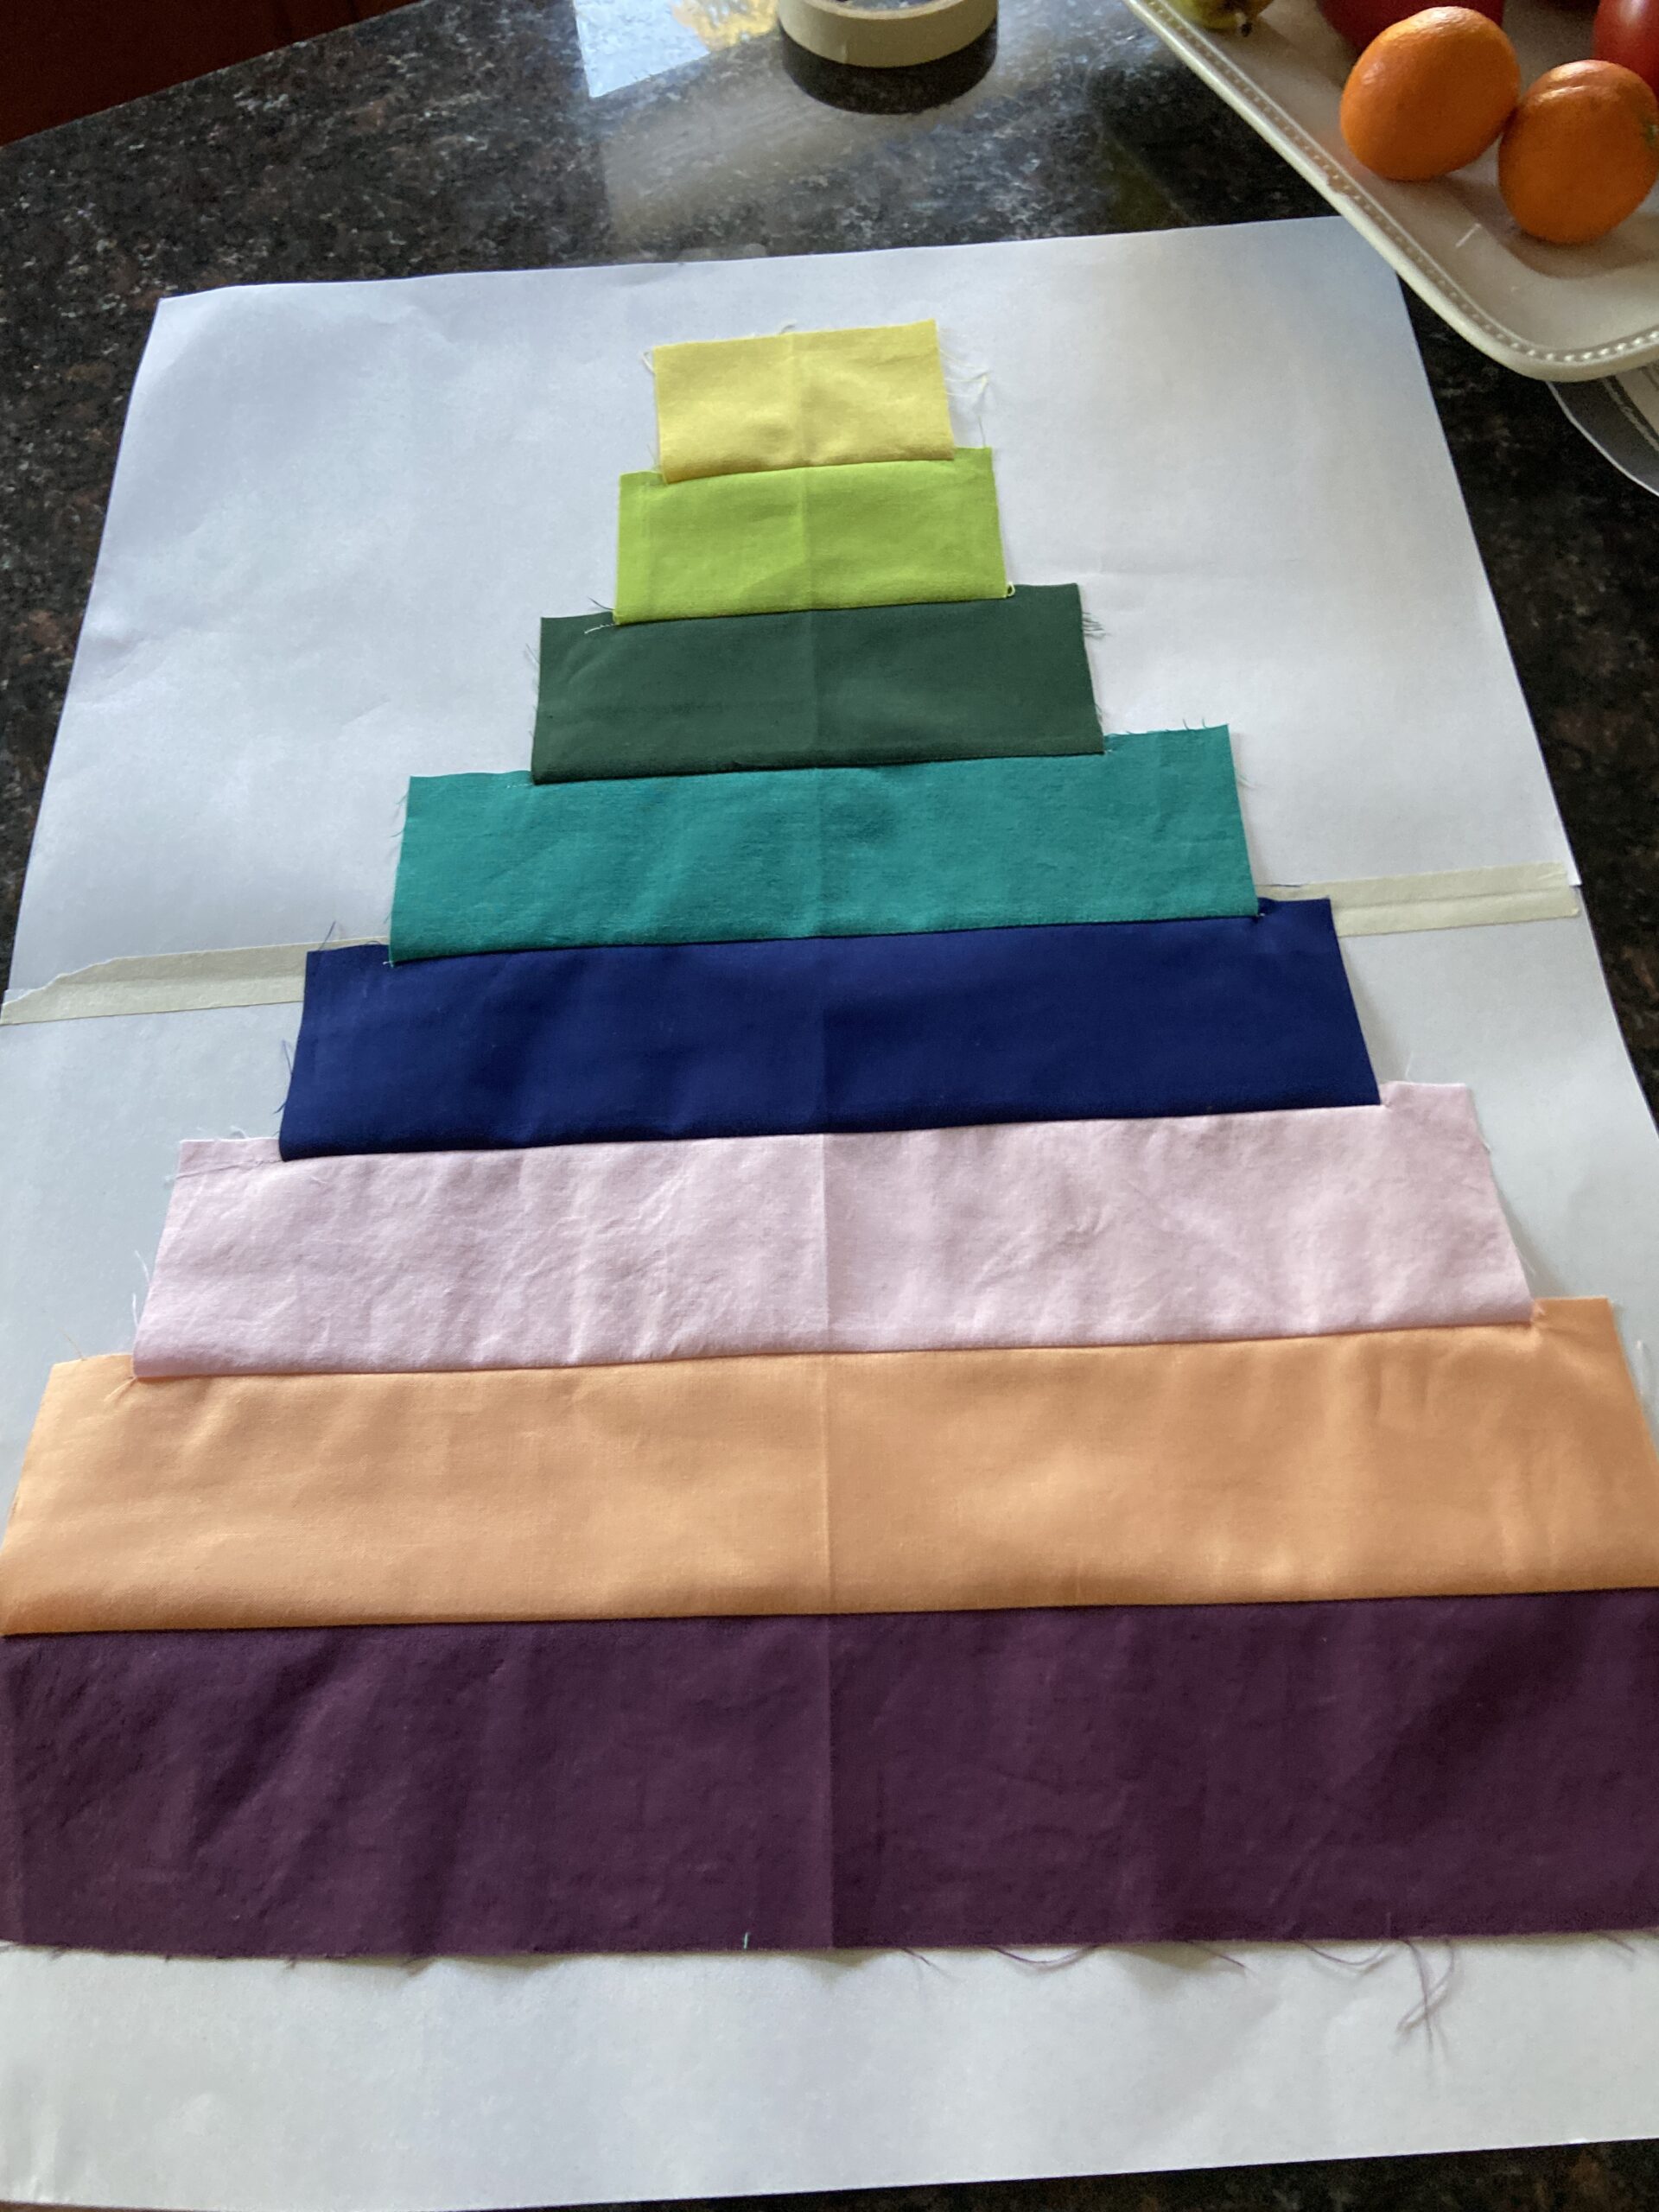
Cutting the strips was easy. Choosing the colors – not so easy! I knew I wanted the colors to be bold and to have a strong presence in the quilt I had just made for our bed. After some back and forth with a stack of solids, these are the fabrics I selected. Assembling the wedges was a breeze. This all happened in early fall. With the holidays and all those silly viruses we all had, it was shelved until recently.
Ignore the wrinkled appearance of this wedge! I was taking pictures to communicate my project to my son in Brooklyn NY. There are instructions for creating the template to cut the strip pieced wedges but I wasn’t getting it. Thank you FaceTime! Kyle was able to take a look and tell me what I needed to know!
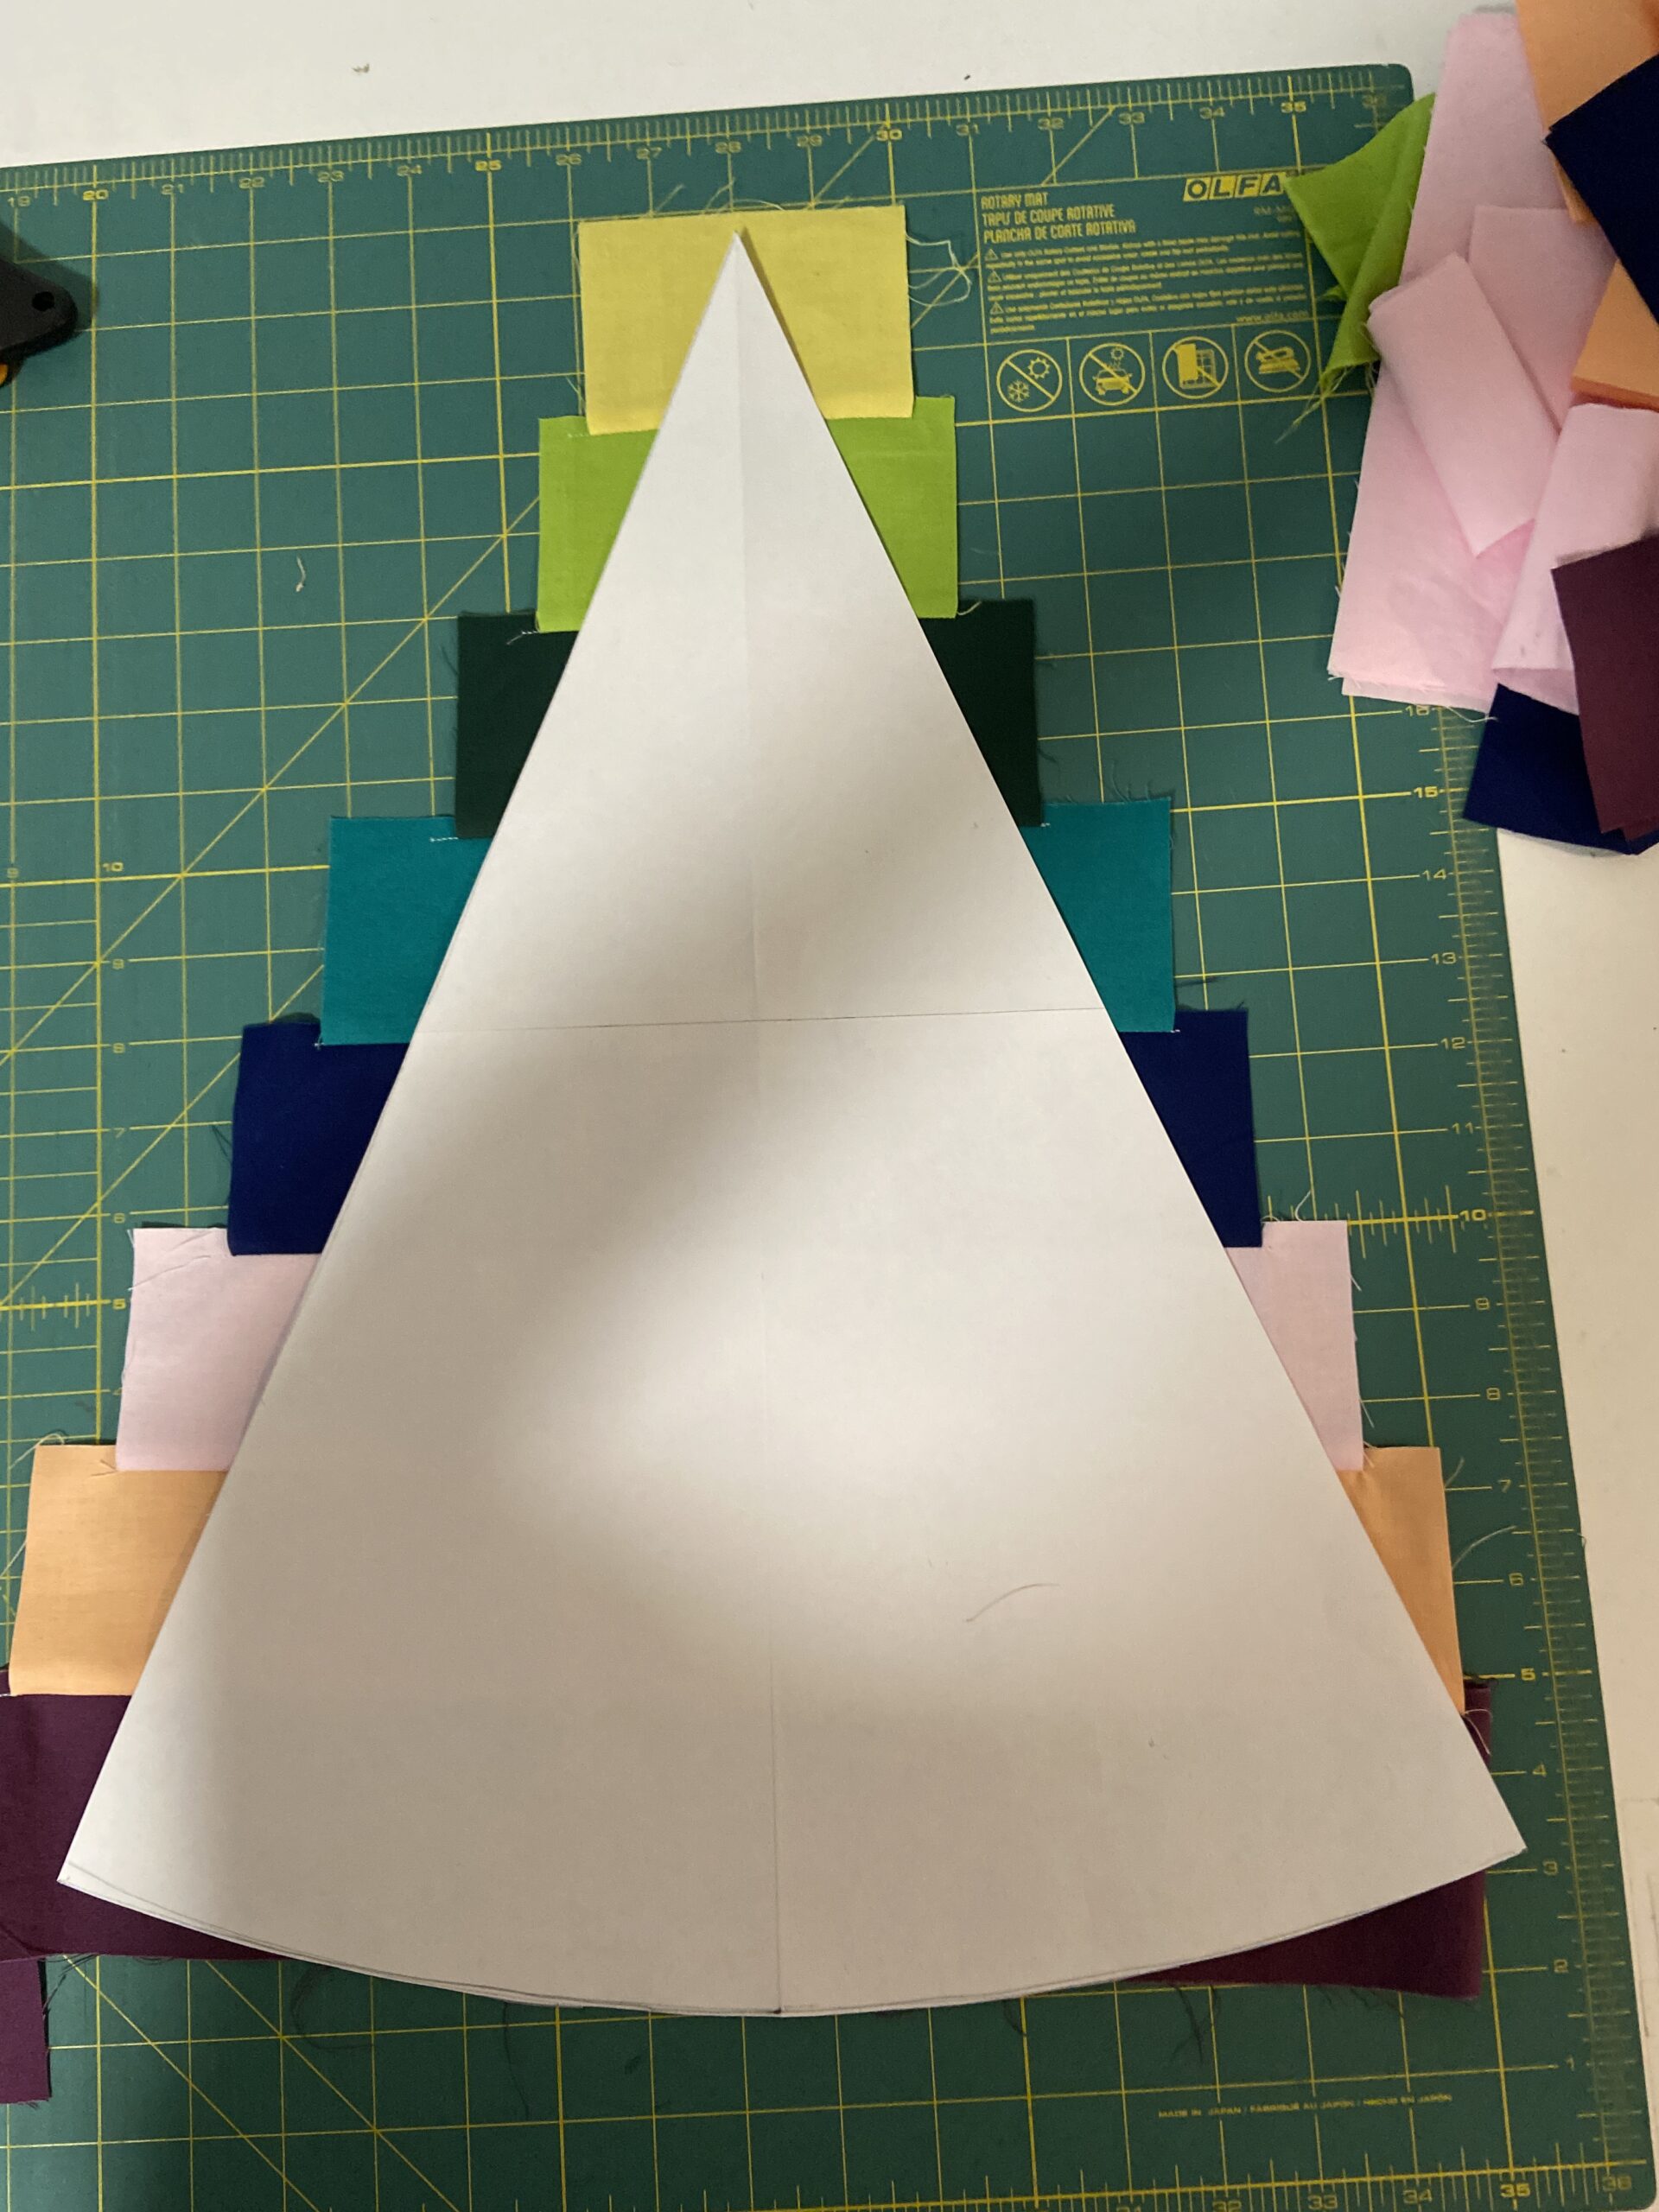
Somehow I made the template slightly longer than it should be. My sweet husband was able to trim it just a smidge and it was perfect.

Once it was put together and basted, it was time to select threads. I normally quilt with a neutral thread and if this was to be a floor mat for a baby, that is what I would have done. However using gray or off white just didn’t cut it for these colors. Each stripe was quilted with a matching thread. I quilted a spiral in the yellow section (center). Then I switched to straight line quilting for the other stripes. No marking was done. It seemed if this was going to be on the wall, above the bed, no one would be face to face with it. (Unless the viewer chose to stand on the bed to get a closer look – haha). Viewing from a fair distance, the placement of the quilting lines wasn’t a huge deal. I basically set the width by using the outermost part of the walking foot as my guide.

Total honesty here – all the while I was working on this quilt, I never once considered the how heck it would be hung on the wall. It is quite large (approx 40″ across) and with a hanging sleeve on the back, it wouldn’t have laid flat on the wall. I was at a loss for a while. Then I thought about making some sort of circular frame with wire. I had florist wire but it was fairly light weight. So I measured out four (very long) lengths and twisted them into one piece to give it more strength. Then I pinned it around the circumference of the quilt. I wish I had taken pictures of this but I totally forgot. I sewed the wire to the back – butting it up as close as possible to the binding, being careful not to go all the way through to the front of the quilt. This kept the quilt flat and held it’s shape perfectly.
Hanging it was a bit of a chore. Ray was standing on the bed with level, screws and screw gun. He had to put screws all the way around because I really wanted it flat on the wall. Success!
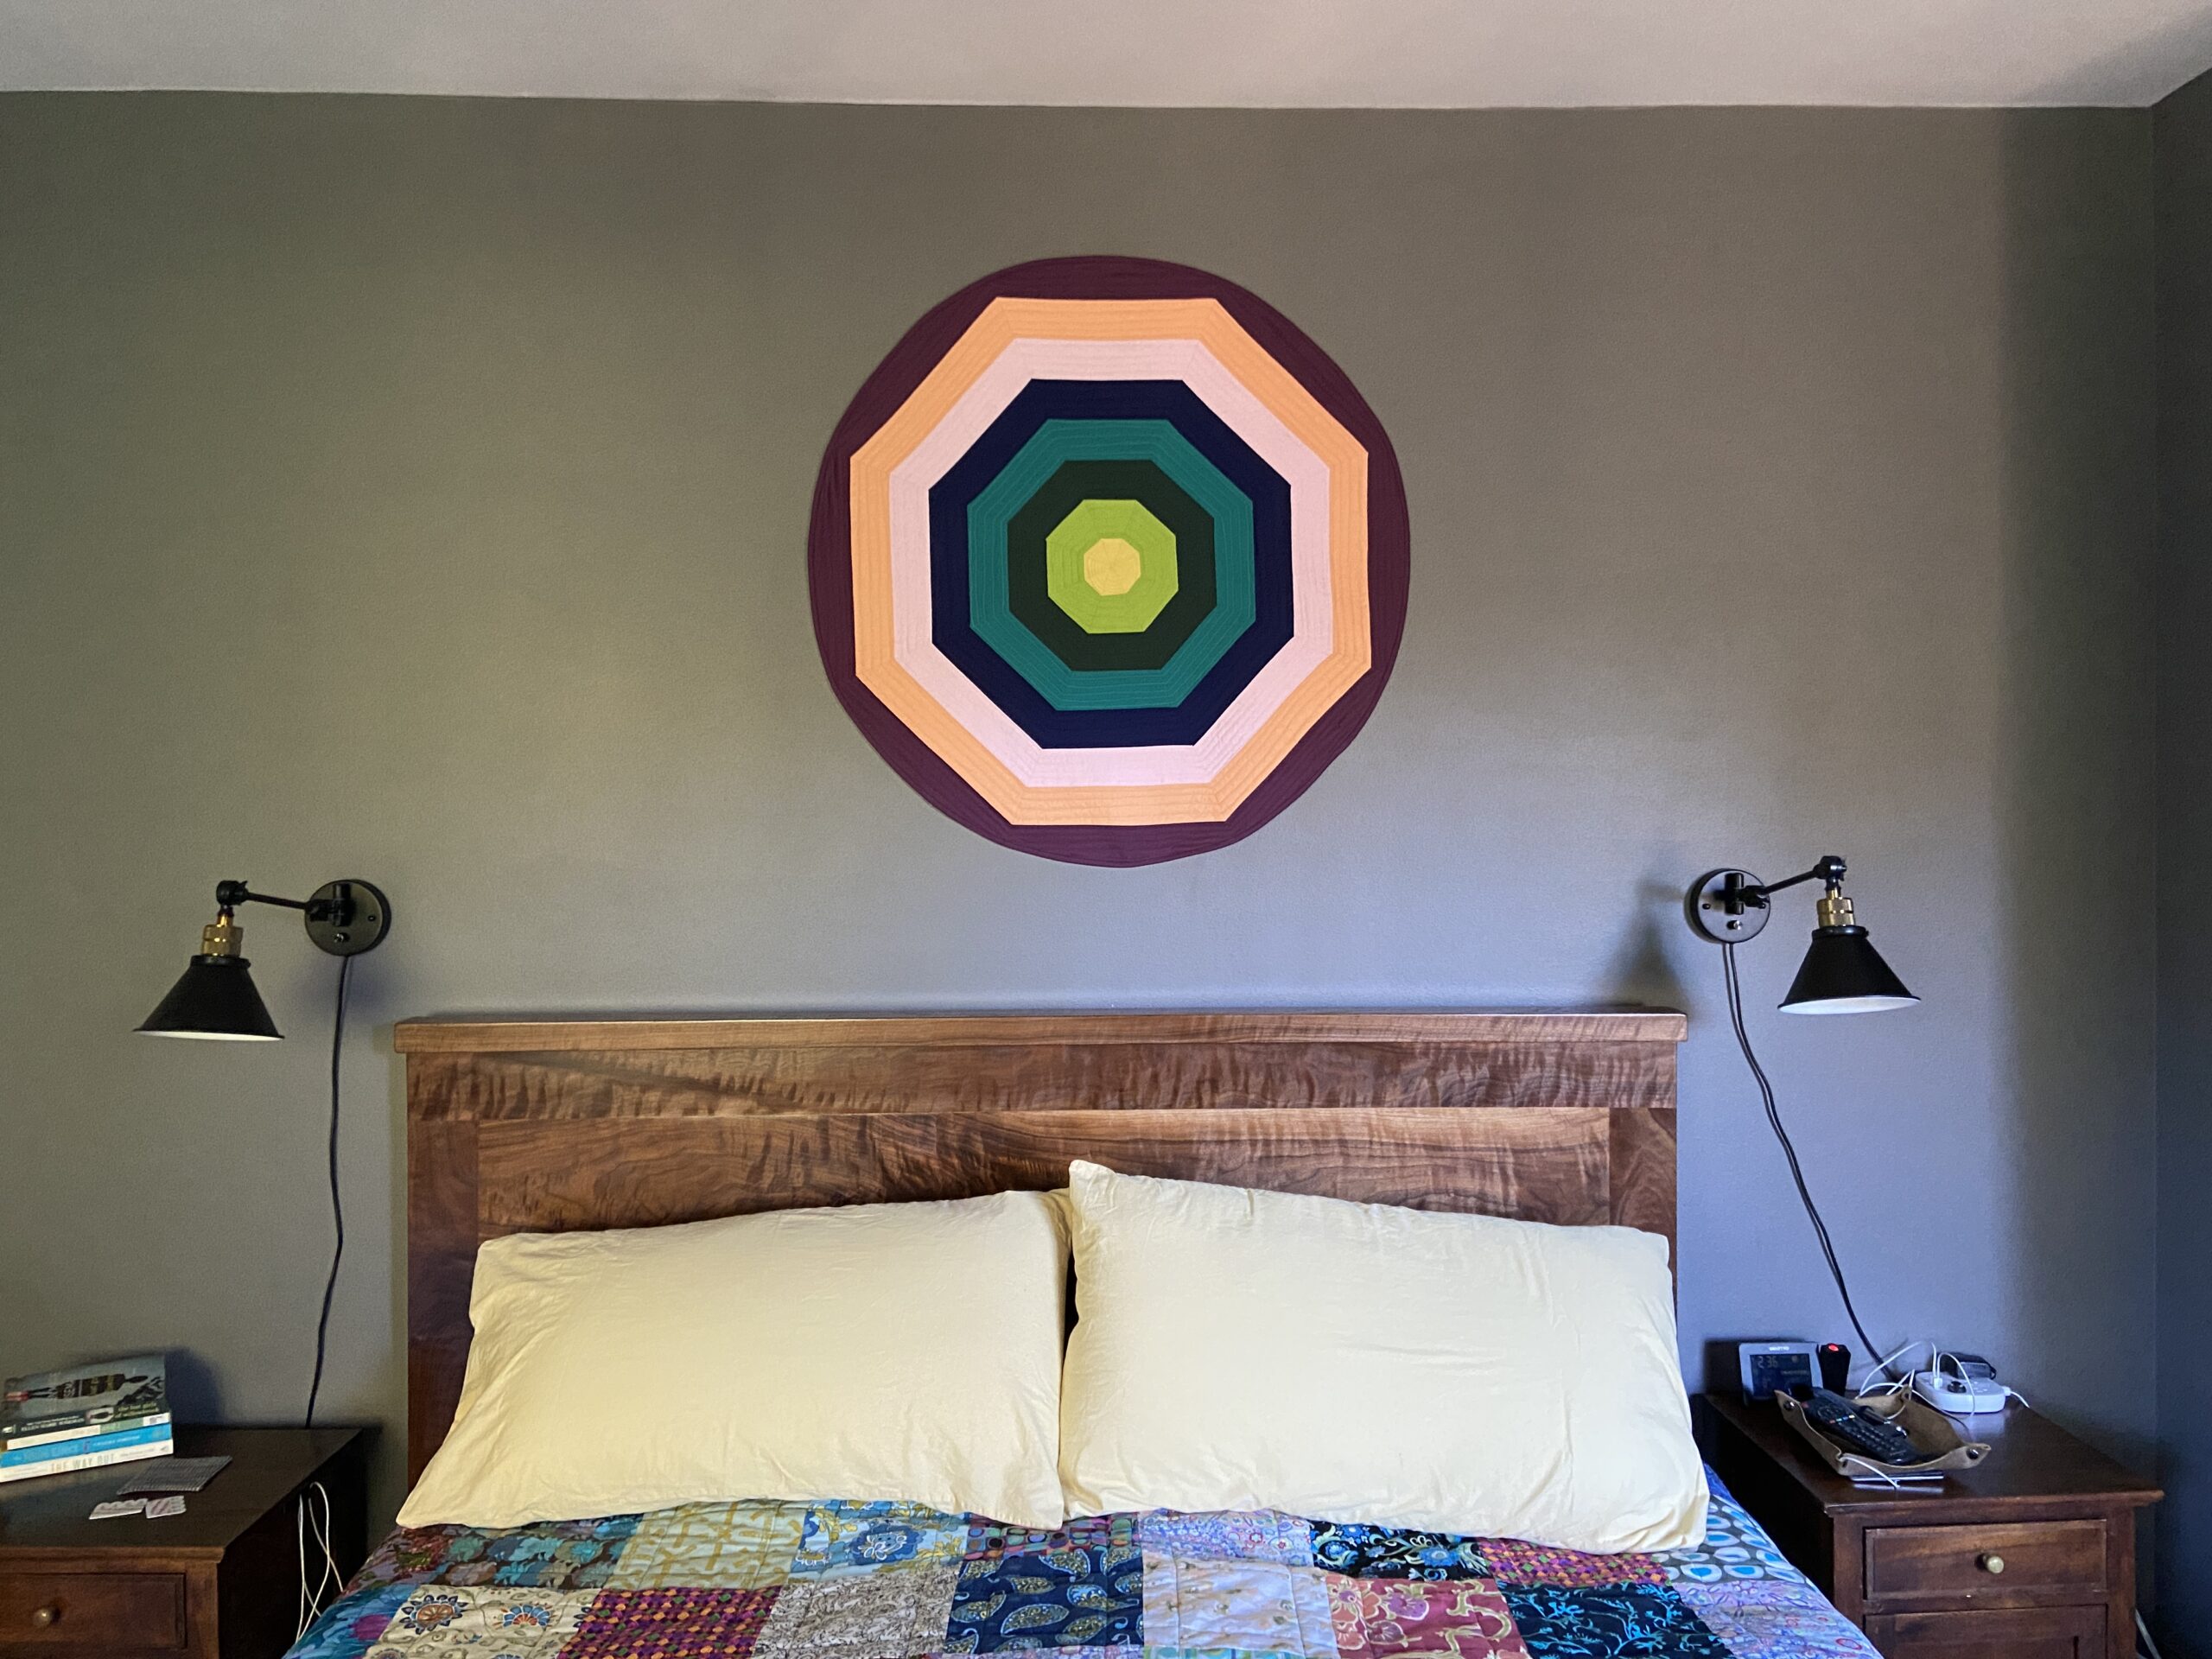
I love it! The wall hanging contains many of the colors of the rather bohemian quilt I made for the bed so it just works.

I love looking at the quilt and the wall hanging together. Makes me happy!
It was my goal to finish this wall quilt in January and it is down! I checked it off the list of unfinished projects which is always a good feeling before moving on to the next thing! Now that you have seen it, what do I call it? Many of you are so clever at thinking of names for your finished quilts. This is not my strength. Help a girl out?
Linking to my favorites – check them out at the top of the page, under link ups!
(Note – this post contains affiliate links. Should you purchase something via the link, I will receive a small compensation at no cost to you.)
Pi-Eyed
That is so pretty, Bernie! I love it! It does look great with the quilt and picks up the colors well!
Thanks Brenda! I agree – the colors and the whole arrangement with the quilt and headboard make me happy. It’s a win!
Seeing your quilt, I am so tempted to snag that book, because it would be fun to try this design. I like the colors you chose, and it looks great on your wall. You came up with a clever solution for hanging it – could you write up a tutorial (hehe). My first thought at a name – shutter. It makes me think of the shutter of a camera. Not sure that’s a great name, though. LOL
Thanks Wendy! You know if I were to do it again, I wonder if the wire could be hand stitched around the perimeter before finishing the binding? Like sew the binding on, then stitch the wire to the back and then envelope it when stitching the binding down? That would look a lot cleaner. You’ll notice I didn’t show pics of the back side of the quilt…… 😉
Bullseye
It looks wonderful hanging above your bed! I think I’d be tempted to name it Portal.
Thank you! I am really pleased with it and the way it works with the quilt and our headboard. The previous owners had painted the bedroom with a dark-ish gray and I wanted to brighten things up. I don’t mind the wall color but it definitely needed a bit of color! Take care and happy weekend Yvonne!
Bohemia
Bernie, lovely wall hanging and when you said it had the Bohemian feel of your bed quilt I thought why not call it Bohemia. Great fix for successfully hanging it flat to the wall…yet another new adventure. Interesting how our quilts become interesting stories of construction. Congratulations on another finish!
Dawn – sooo true. Hanging it was a bit of a challenge. But we got there and now I am super happy with the whole look. I am definitely using the word Bohemia somehow in the name of this one. Thanks a bunch!!
Awesome finish, Bernie! It looks great with the quilt on your bed. For a name I thought,: “Circle of Life”, but I like the earlier response of Bohemia better.
So, now that it is February, we’ll see what our region has in store for us, weather-wise! Bellingham is a little different from your spot on this earth. We’ll be in GigHarbor for a bit to babysit our grand later this week, ahhhhh!
Cheers!
Hi Kristin – you’ll be in my neck of the woods! Enjoy your grandchild – what a treat!! My son and DIL just bought a house in Lake Stevens – so up closer to you! They move in on Feb 18th. I can’t wait to see the house. Enjoy your weekend! 🙂
This name just came to me – “Bohemian Bullseye.” I LOVE the quilt with the wood and the wall hanging above it. It all just pulls together. Good for you for figuring out how to hang it — THAT in itself was a chore! Just beautiful!
So far this is my favorite name!! I love the wooden headboard too. My husband designed and made it about two years ago. It weighs about a million pounds but it is sooo pretty! Thanks Deb. 🙂
Fabulous quilt Bernie! Eee I want to make one! What a cool construction method. As for a name, I thought of ‘Centred’ for two reasons, obviously the circles effect drawing your eye into the centre but also because of Ray’s measuring to centre it on your wall.
Thank you Sandra. I do love the pattern. It was super easy to put together and a bit of a challenge to hang. Love the name suggestion too! Take care and have a great weekend!
Bernie, first of all … I am happy to subscribe in your blog. It is wonderful to see how projects beginn, grow and be finished. Our hubbys (hubbies.. which writing is correct?) are such big supporters. Quilt holder when we need them to make pictures, standing on the bed and holding level and screw gun… puh, wow.
Only to put a piece of fabric on the wall… bit they all know this silly piece of fabric means the world for us.
Happy wife – happy live…. And he wants to have a happy wife in this room. So, for sure the names male sense Bohemenia … but what is with a fun name… the happy wife quilt?
It looks great there! wonderfull work. How much must the visitors pay entrance fee for stepp on your bed and go with the nose to the quilting lines… ? Lol
Extra fee for „with shoes“… hope you like my humor? See you next at SAHRR…. i have to speed up!
Saludos
You are so right Eva! I am grateful my husband is willing to help me when needed. He definitely knows how happy my sewing and quilting make me. He is similar because he is a woodworker. He makes beautiful things out of wood. I love to look for the right fabric and he is always looking at wood and wondering what he might make with it.
I suppose I wouldn’t charge too much for someone to step on the bed to get nose to nose with the quilting lines but no shoes – I would draw the line there. Hahaha! Thank you for following my blog. I love reading your remarks.
That wall quilt is awesome 👏 , great job! Your granddaughters will each want one too 🥰
The wall hanging itself doesn’t suggest bohemian to me (sorry). I think your wall hanging is ‘Spot On’.
Hi Heather – you are correct – I don’t feel the wall hanging is bohemian – just the quilt on my bed. I do love Spot On though! …and you don’t need to apologize for your input! I asked for that, right? I like hearing your thoughts. 🙂
Your wall hanging is really beautiful Bernie. I enjoyed the story of it from start to finish, and it looks spectacular above your bed. How neat that your son and husband could help you with it!
We are lucky to have all these different minds to go to when we need help figuring things out. Kyle is my math wizard and honestly, he would have been a great teacher. He does do a lot of corporate training on network security in their IT department so that is a type of teaching. Anyway, I am lucky I had both of them to help!
Oooh, very cute! And perfect for your space, too. Matching the seams would have driven me crazy. Great idea with the floral wire. I really don’t know how else you would hang it. Magnets? And hurray for helpful hubbies! Take care, Bernie.
Thanks! I was thinking through all sorts of ideas – literally just pinning it to the wall, or using those Command Strips, or sticking velcro to the wall and the quilt. Then the wire idea happened. It was definitely a challenge being a round piece.
“Bedroom Bullseye” was my first thought.
Great job, it looks amazing.
Thanks Carole. I am having a lot of fun with this project. Especially the puzzle of using all these precut pieces up.
I love it! It is so great above you bed and coordinates perfectly with the quilt on your bed. You came up with the perfect solution for hanging it. i love the way our husband’s step up an help us make something work!
Me too! I am grateful for his abilities. He is quite good at figuring things out for me!
I love this Bernie – the colours and how well it goes with the room. And how you hung it on the wall is very clever – I’ll have to remember that one.
Thank you! I really love it. It makes me happy. 🙂
Bernie, this is an amazing quilt! I know I read your post earlier in the month, but must not have commented. Then today it came up on Facebook! Anyway, kudos to you for trying this neat design, and to Ray for figuring out how to hang it! It looks wonderful above your bed!
Hi Diann – what a sweet note. I am so happy with this wall quilt. It isn’t the sort of thing I usually make which made it a fun challenge.
It looks fabulous!
I’d always imagined hanging it by using velcro at points along the circumference on the back of the quilt. Obviously, the velcro on the back would have to be spaced to match up with its mate piece which is stuck to the wall.
Just a thought on hanging a circular piece.
Hi Malka: I actually considered the velcro or possibly Command strips. I just wasn’t sure if they would tolerate the weight of the quilt. But it all turned out fine. I just love seeing this hang on the wall in my room. It is a really fun design!