Monthly Archives: December 2016

Christmas Finishes

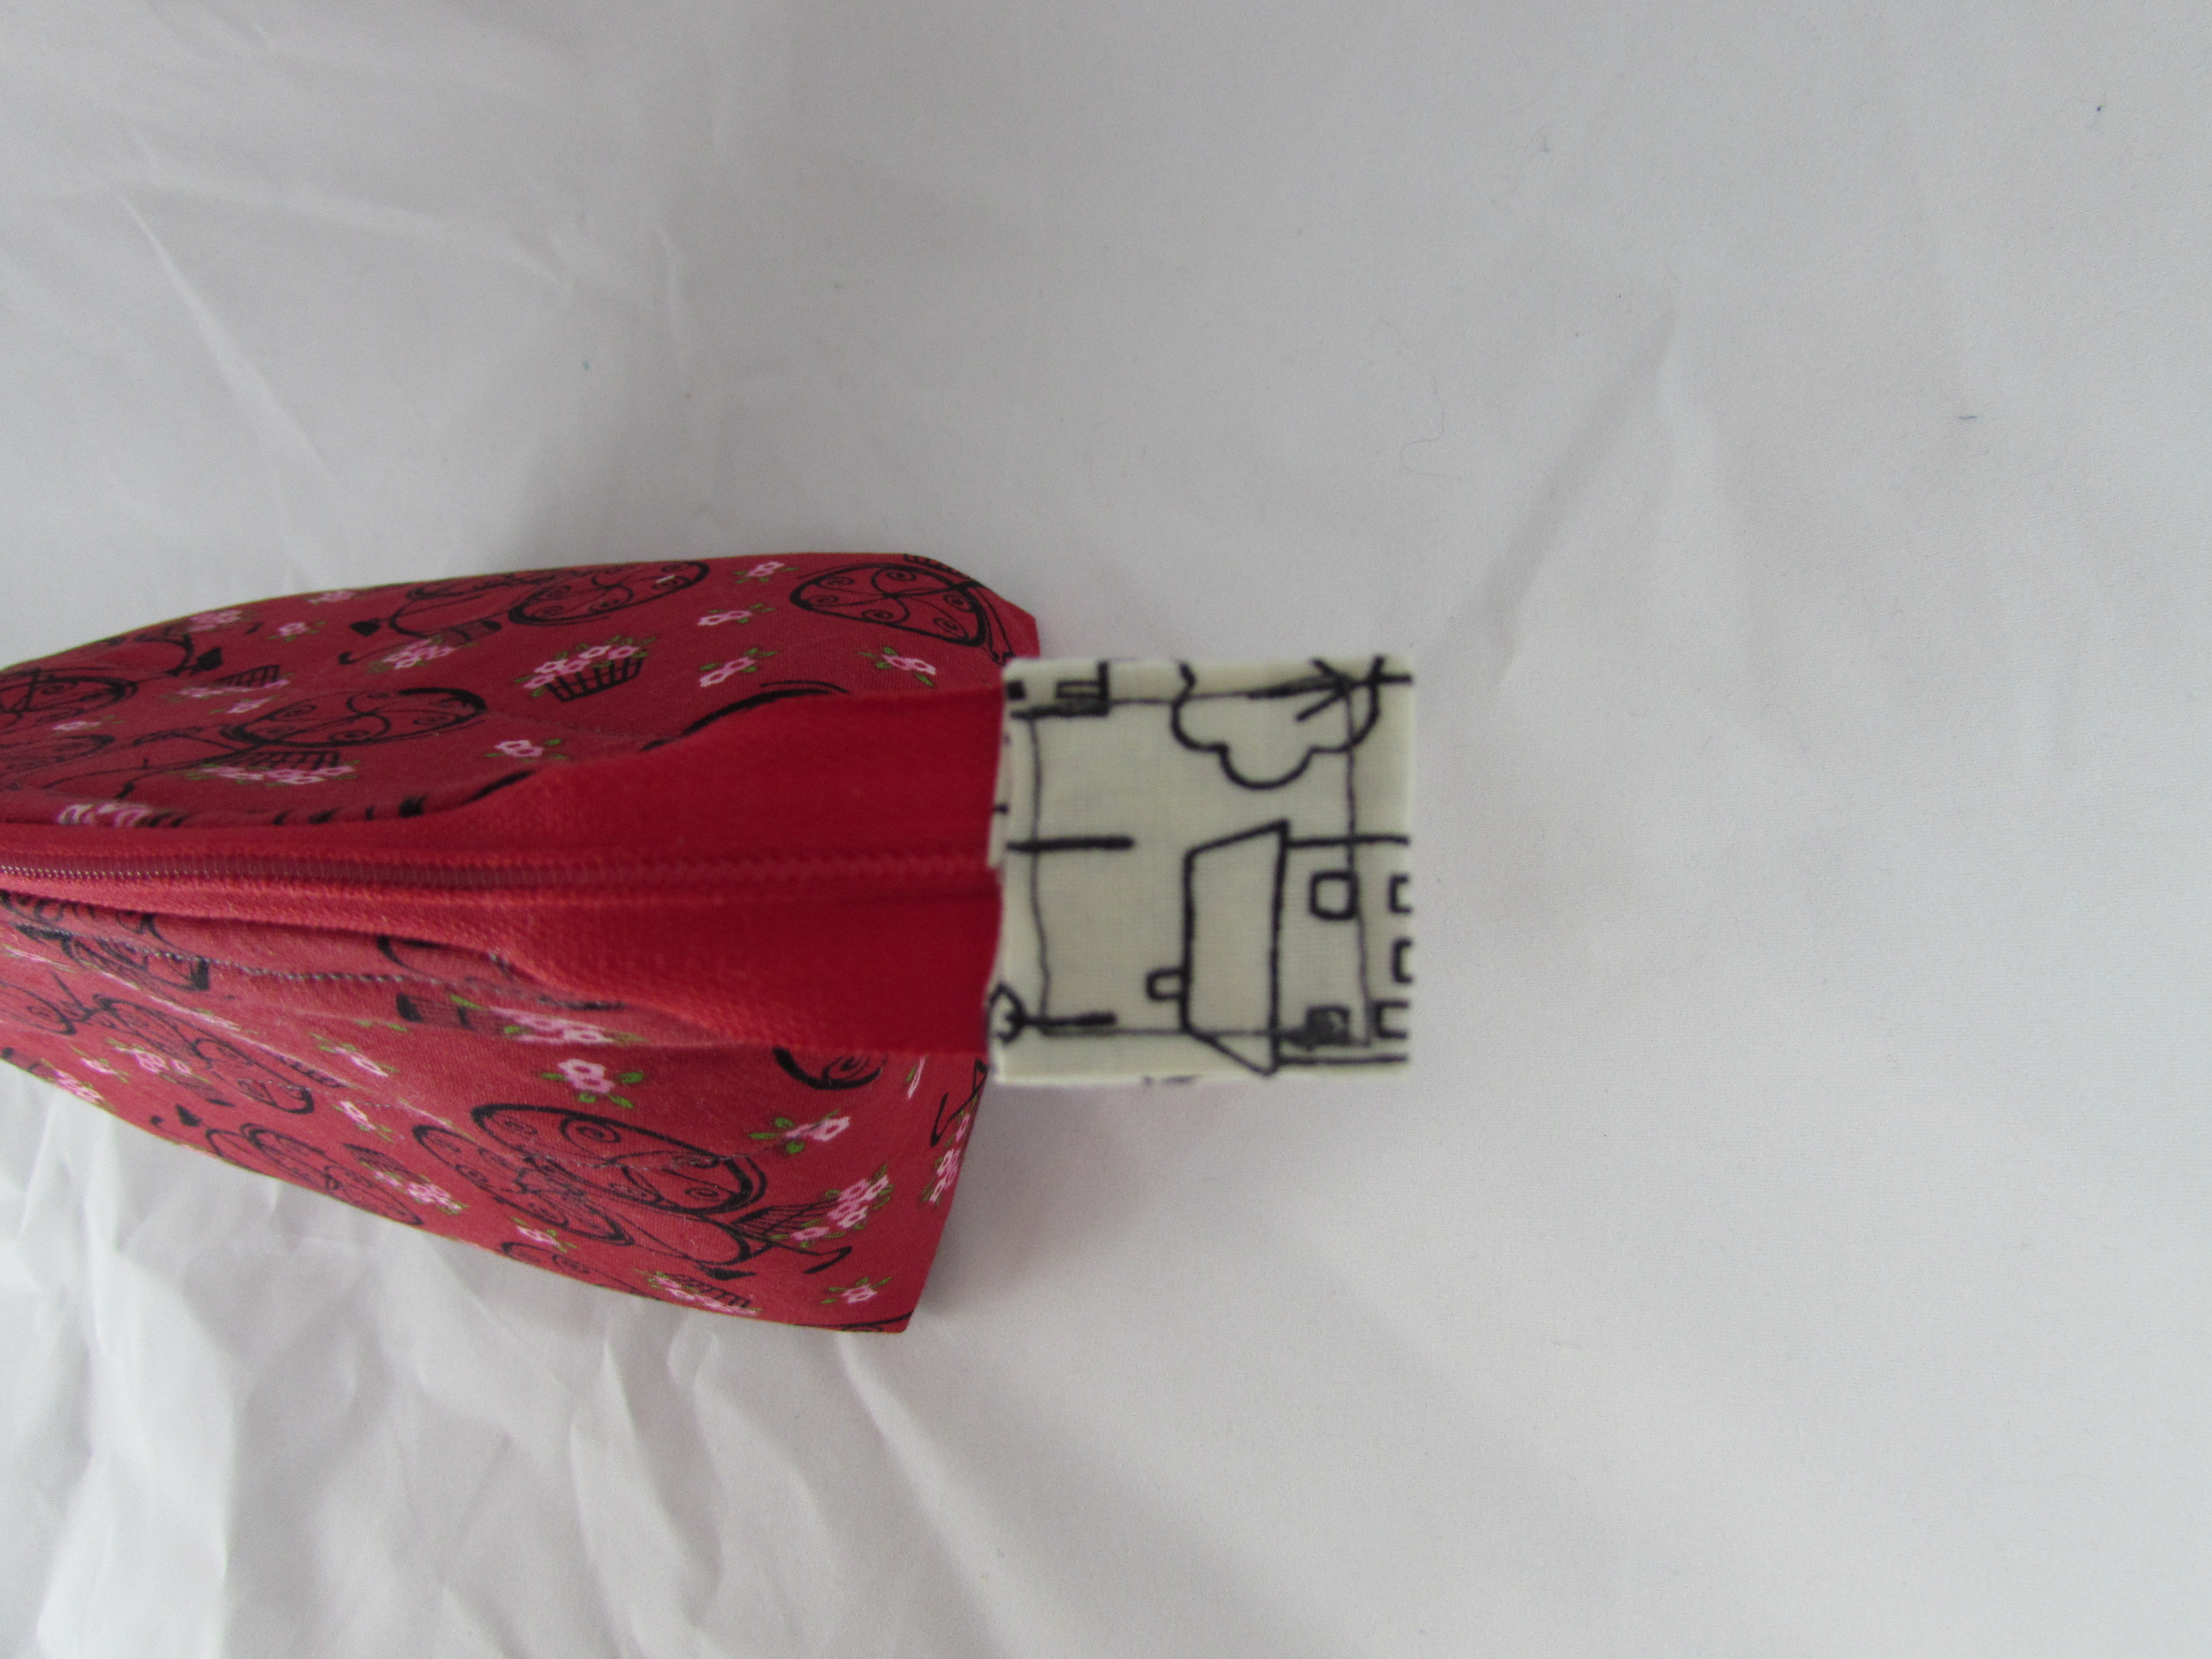
I have two little projects to share with you. These were both gifted at Christmas and I thought I would wait to post until after they had been given to their intended owners. First is a small, fabric book that I made for my soon-to-be-born grand daughter.

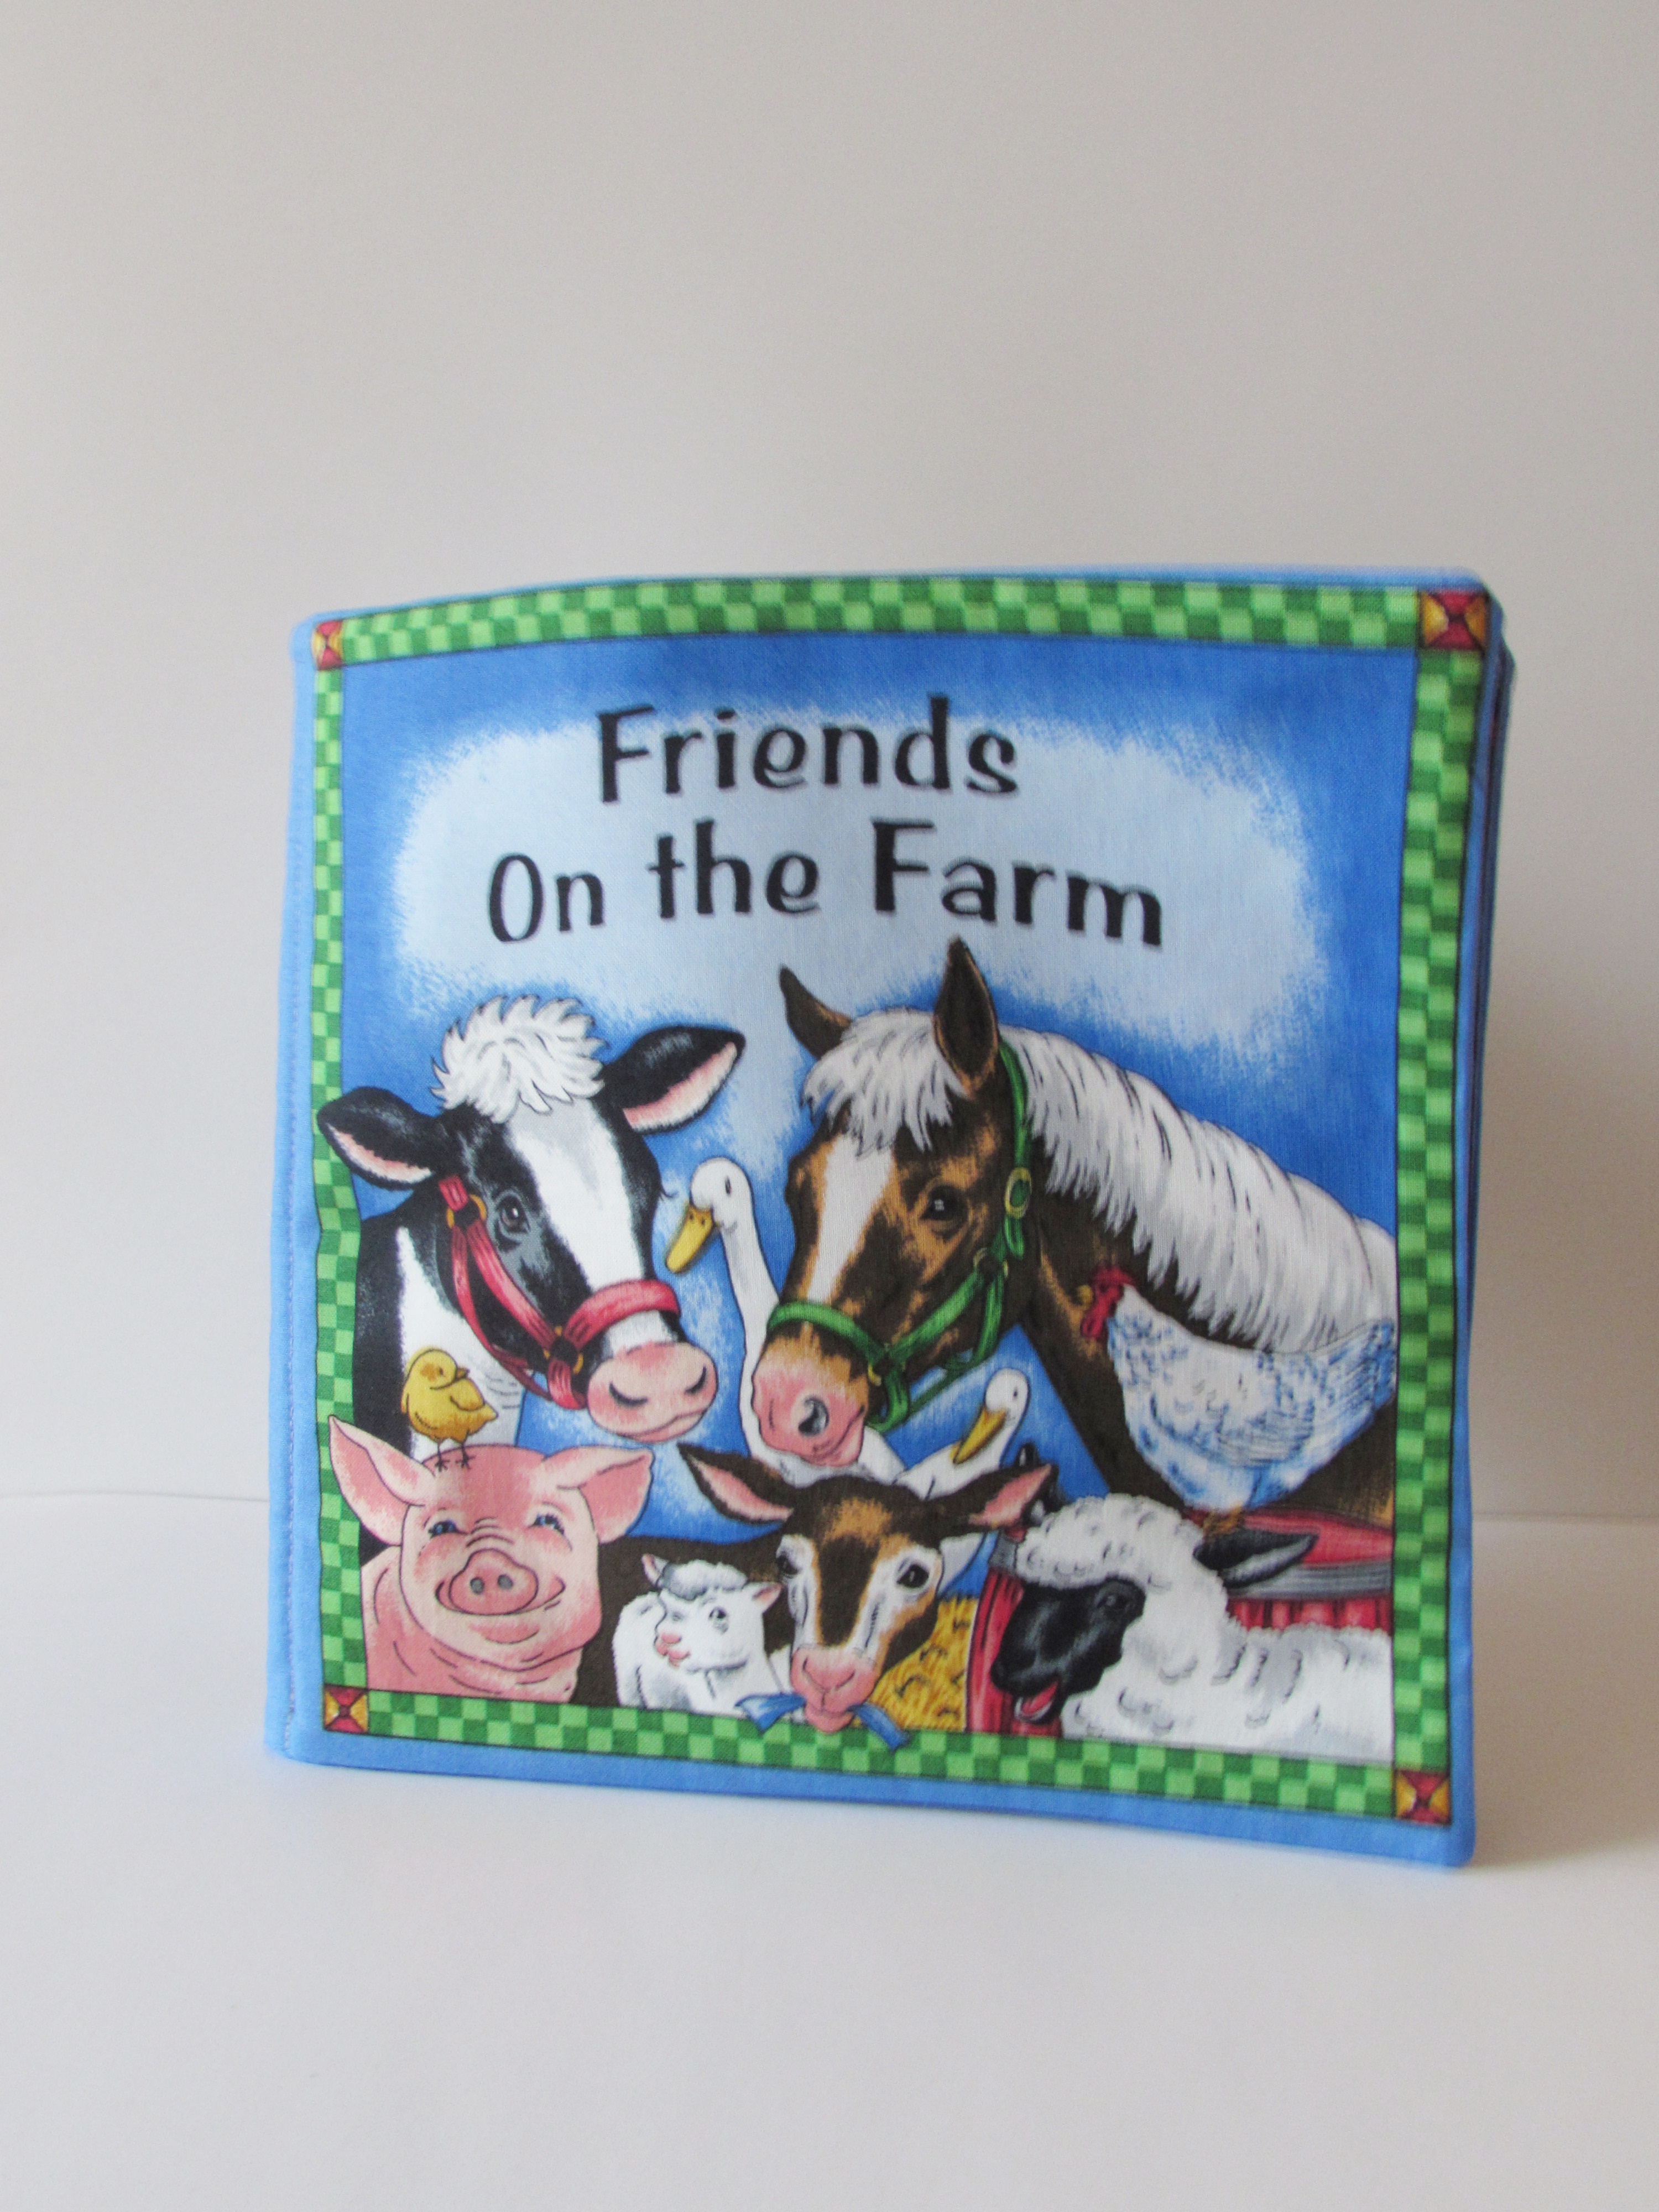
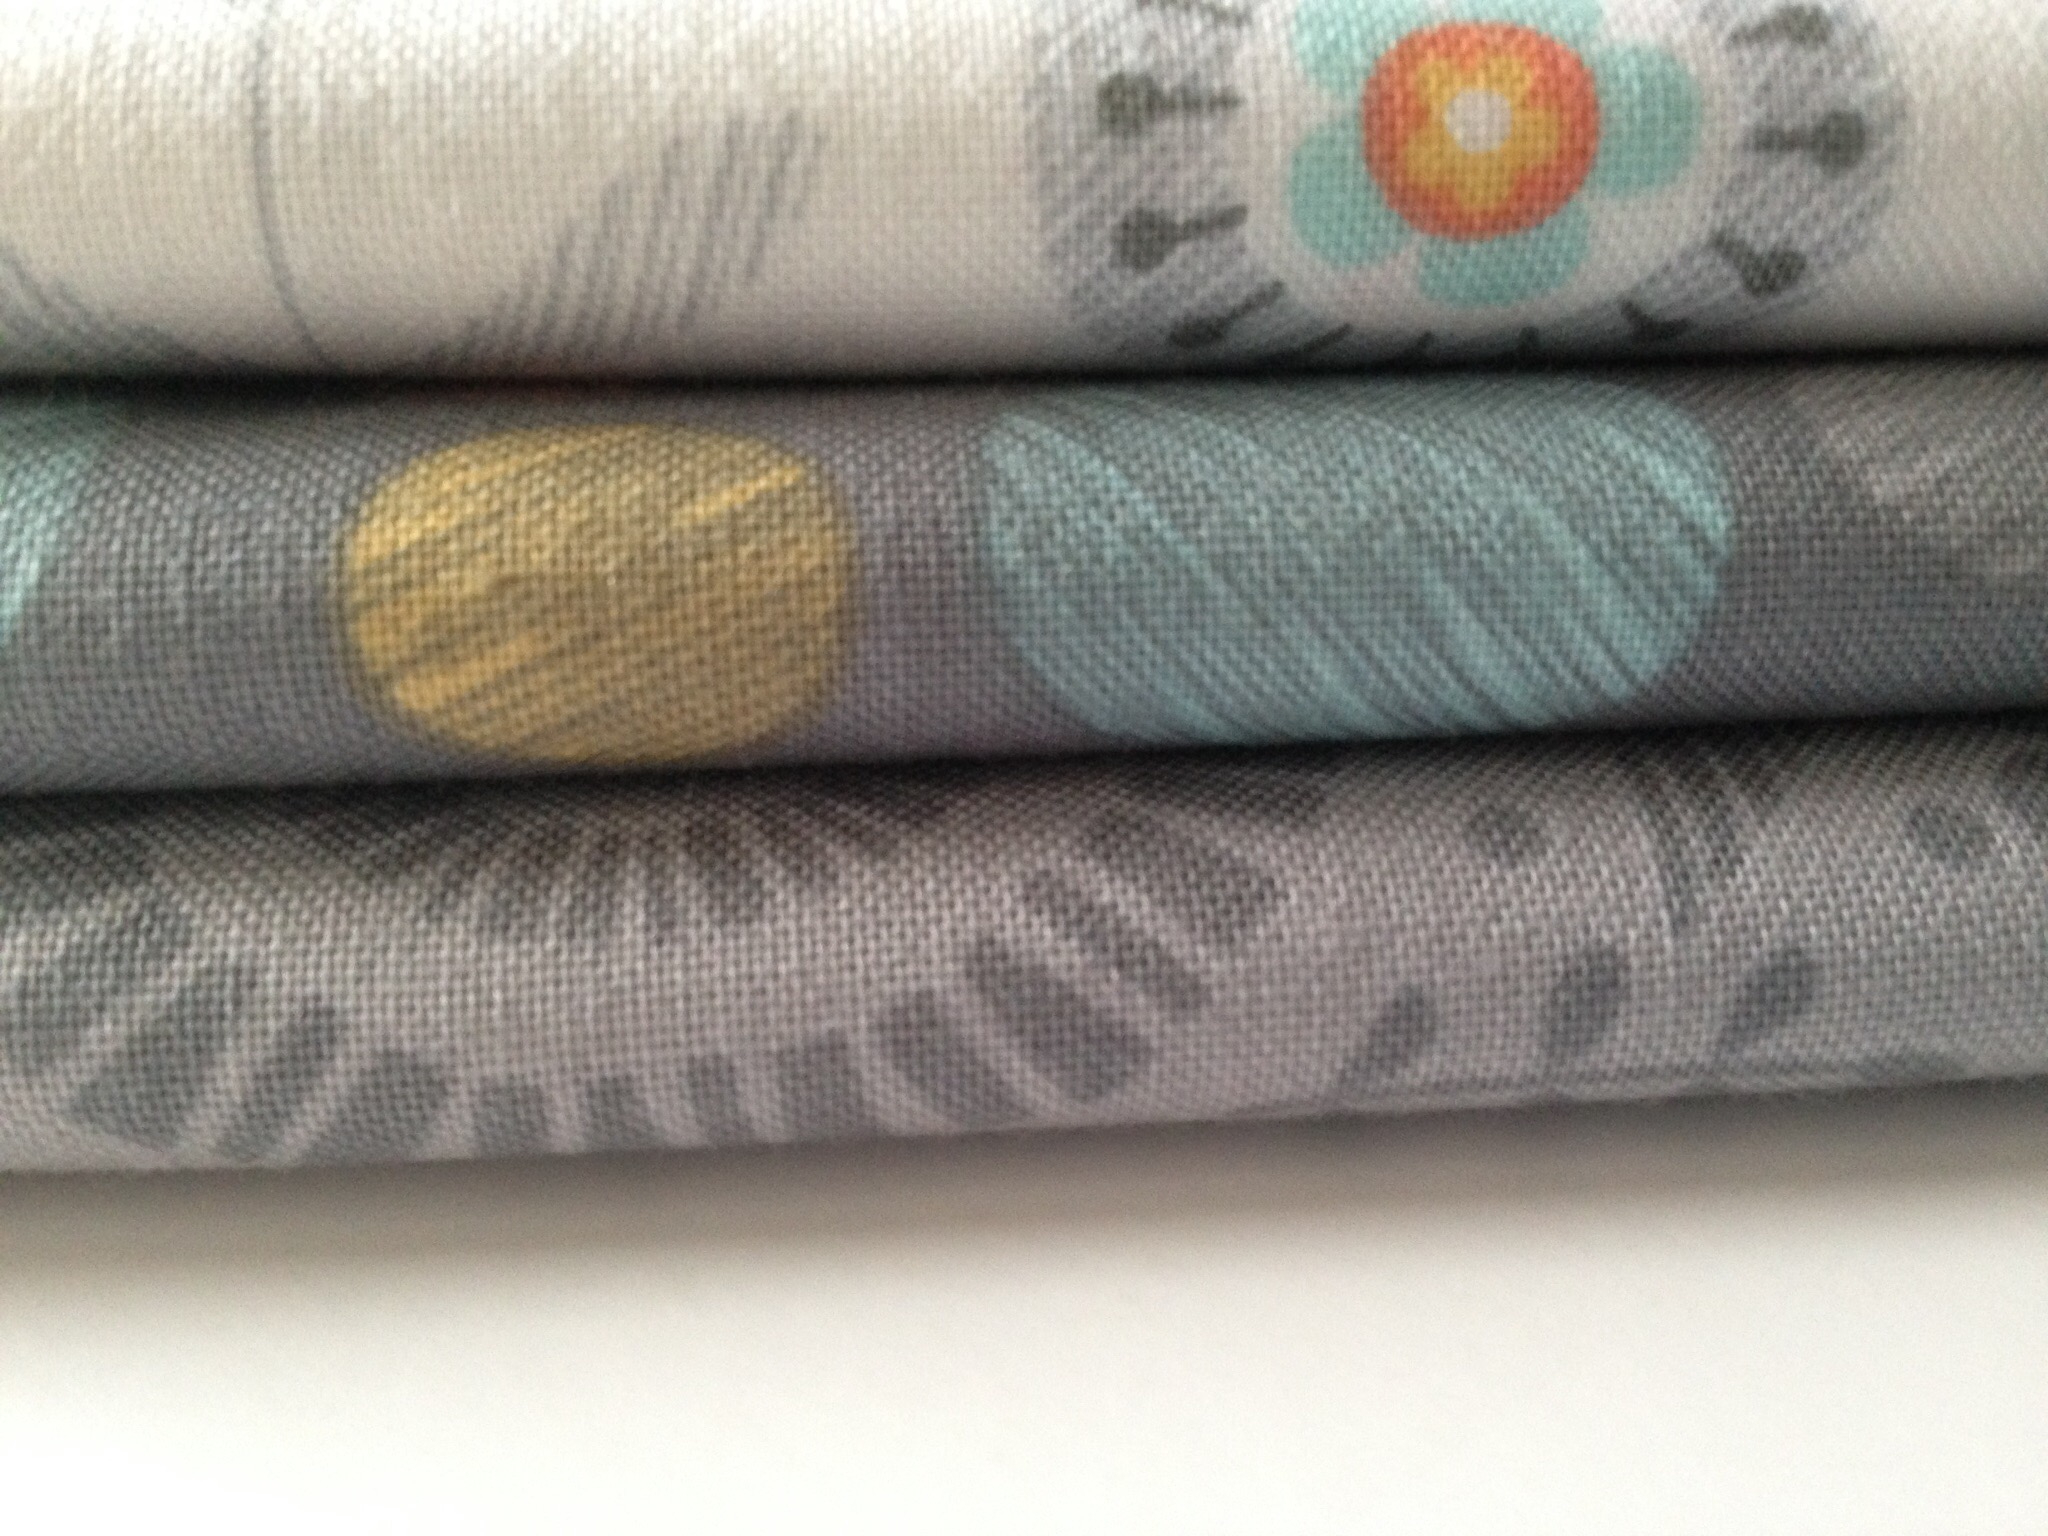
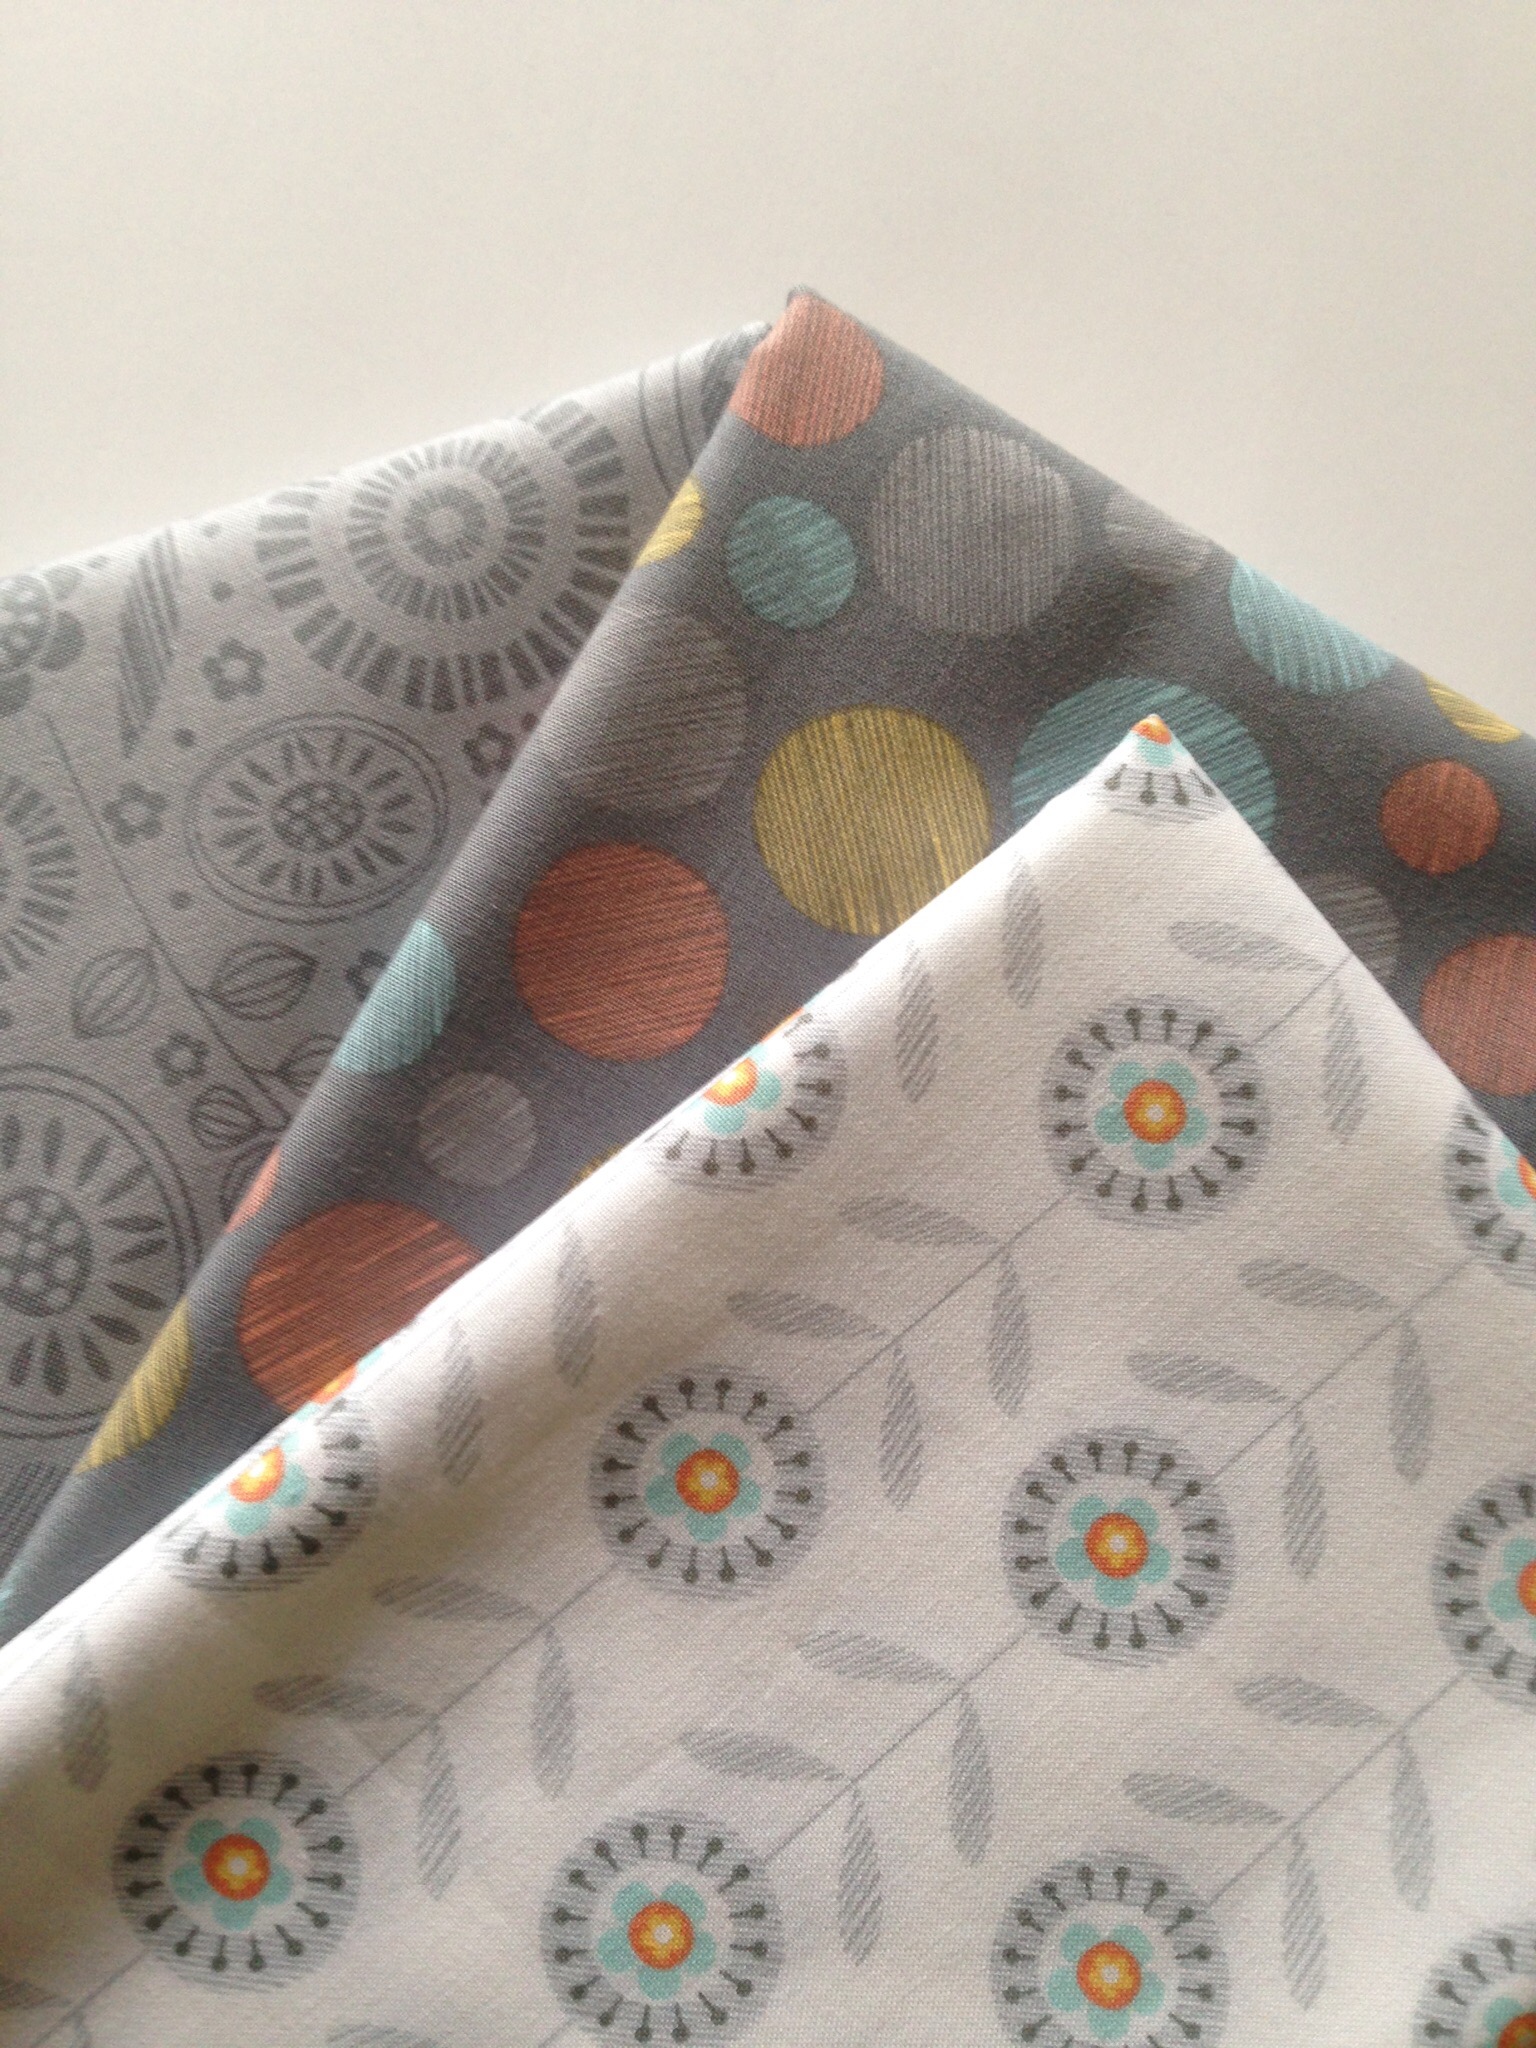
I have several of these panels, in two different flavors, that I purchased when a local fabric store was closing out, maybe four or five years ago? I thought it would be good to have them on hand as a fun gift to give. Then somehow I lost track of them or they went to the bottom of the pile in that closet of mine. After some digging, I found them.

I think it is a sweet way to introduce baby to books. The pages are thick and easily grasped, bright colors and not a whole lot in the way of a plot. Plus it is washable which might come in handy.  😉

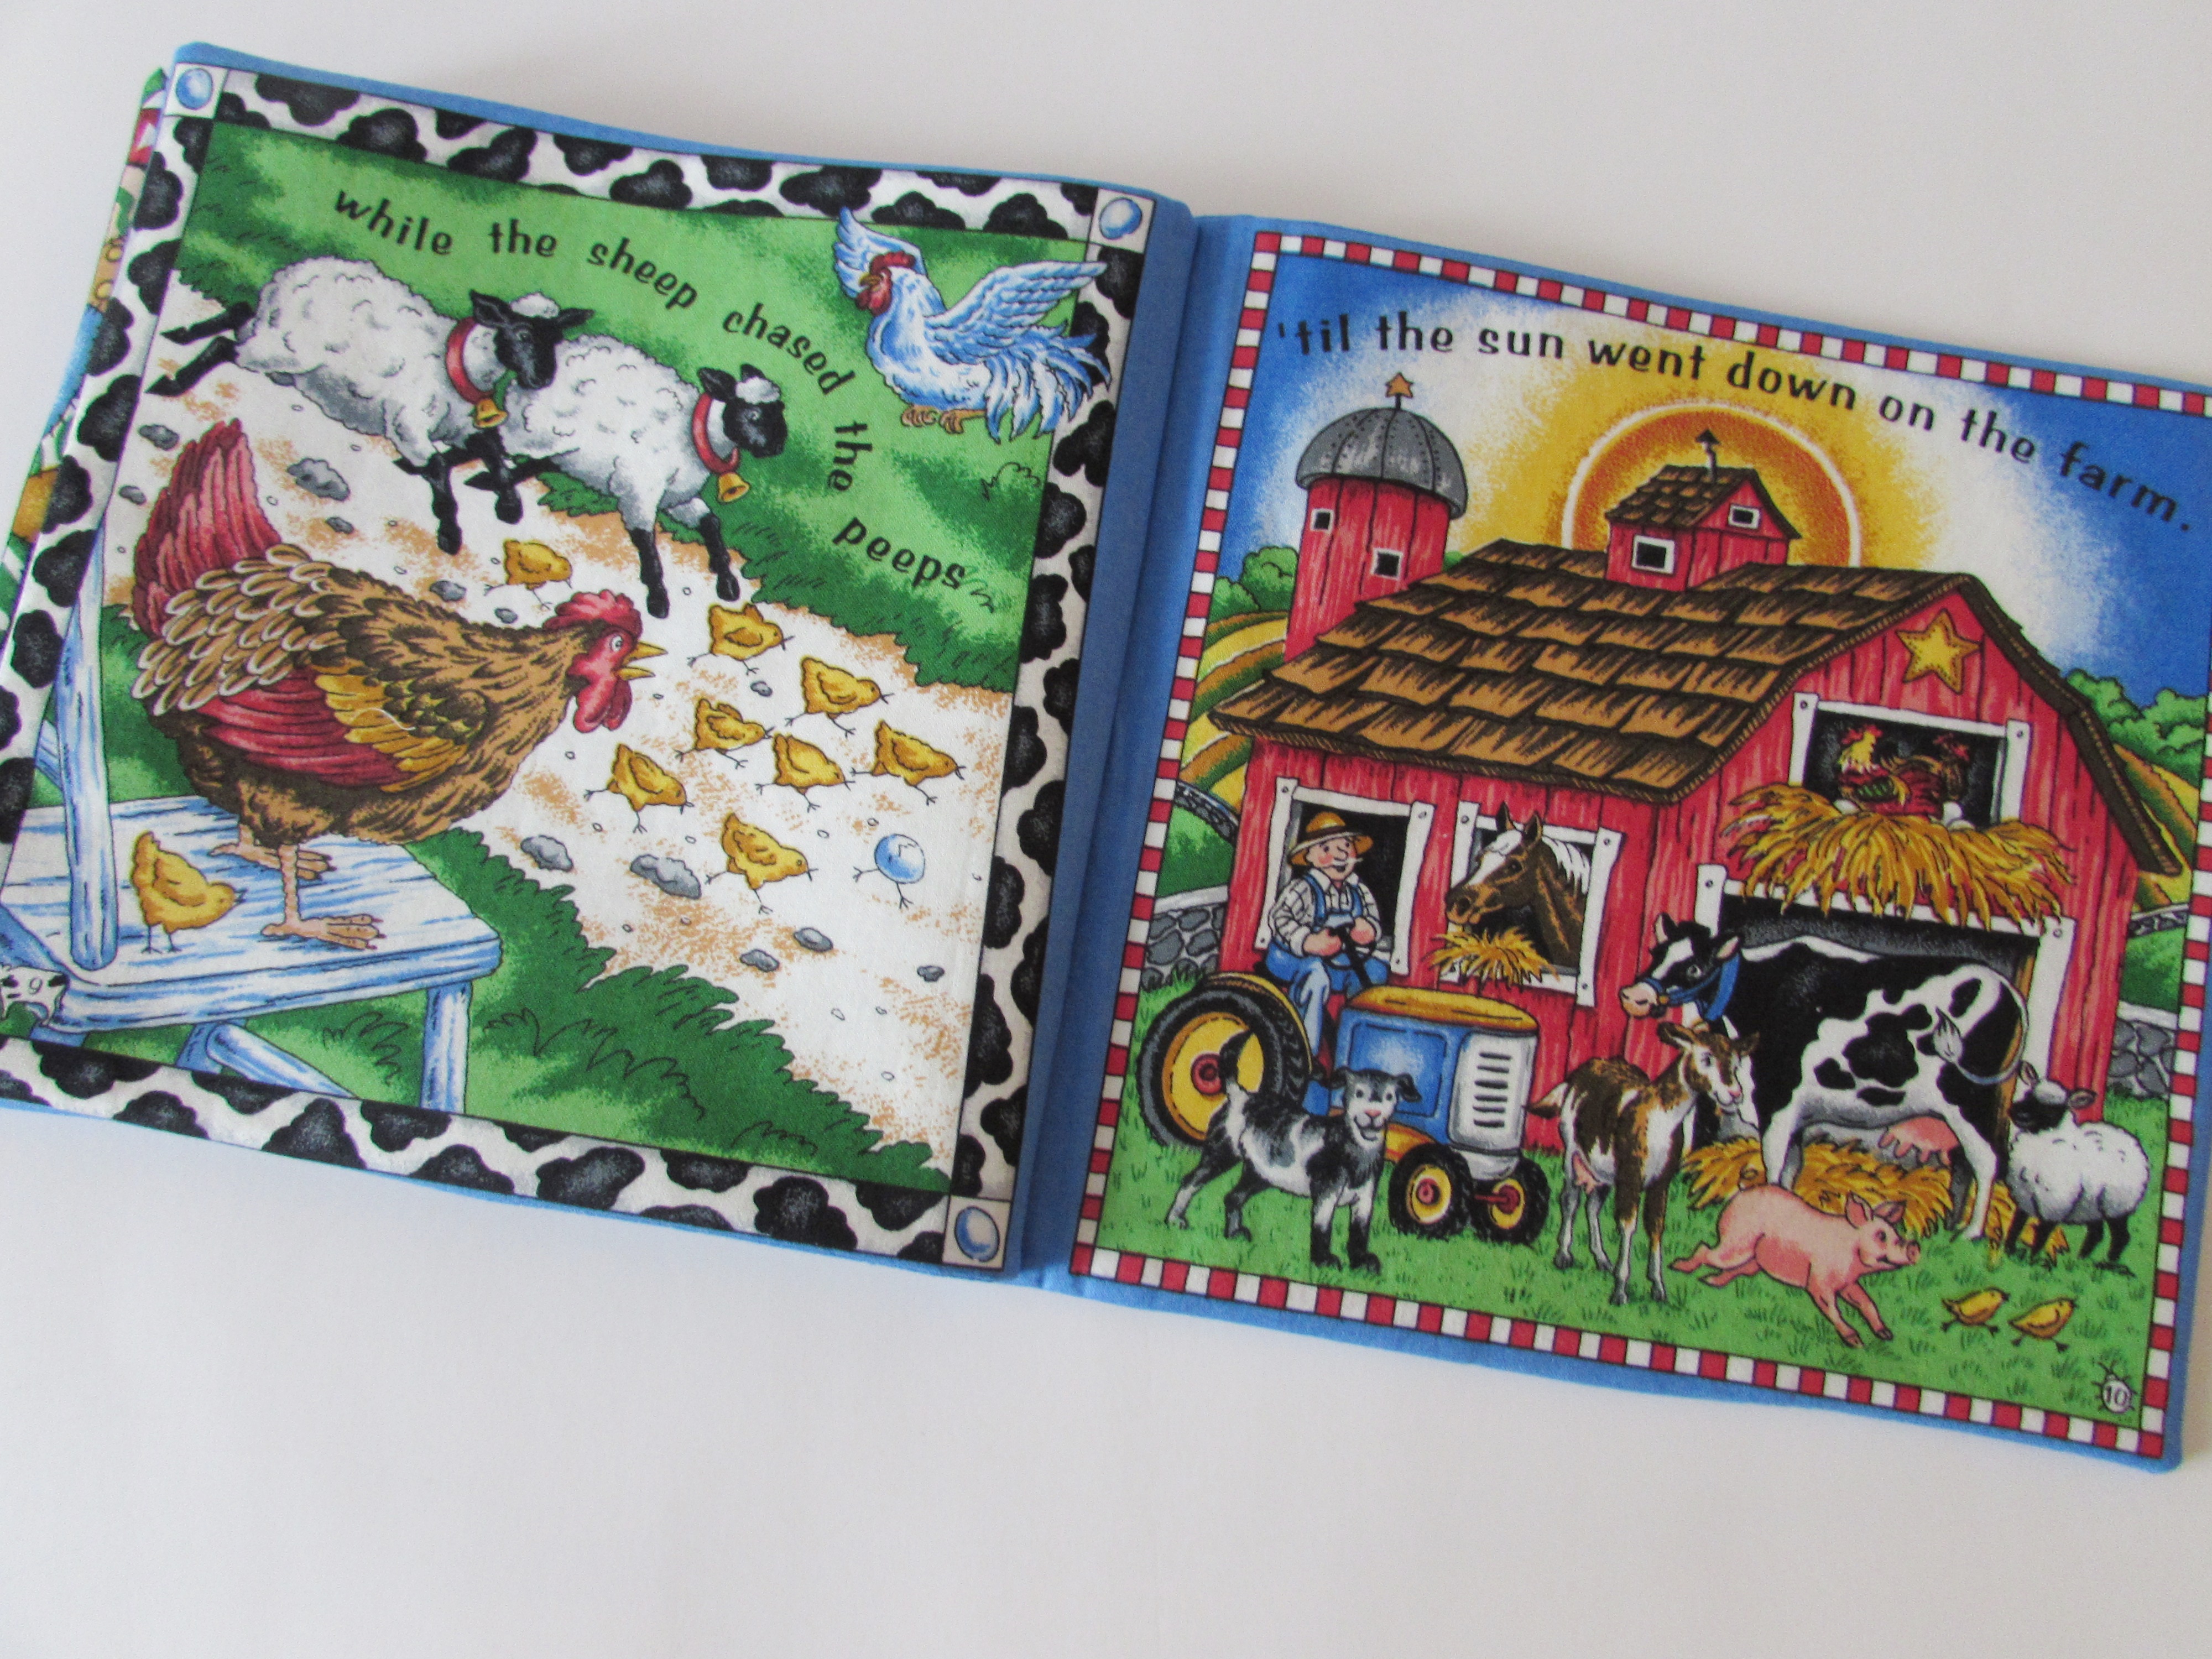
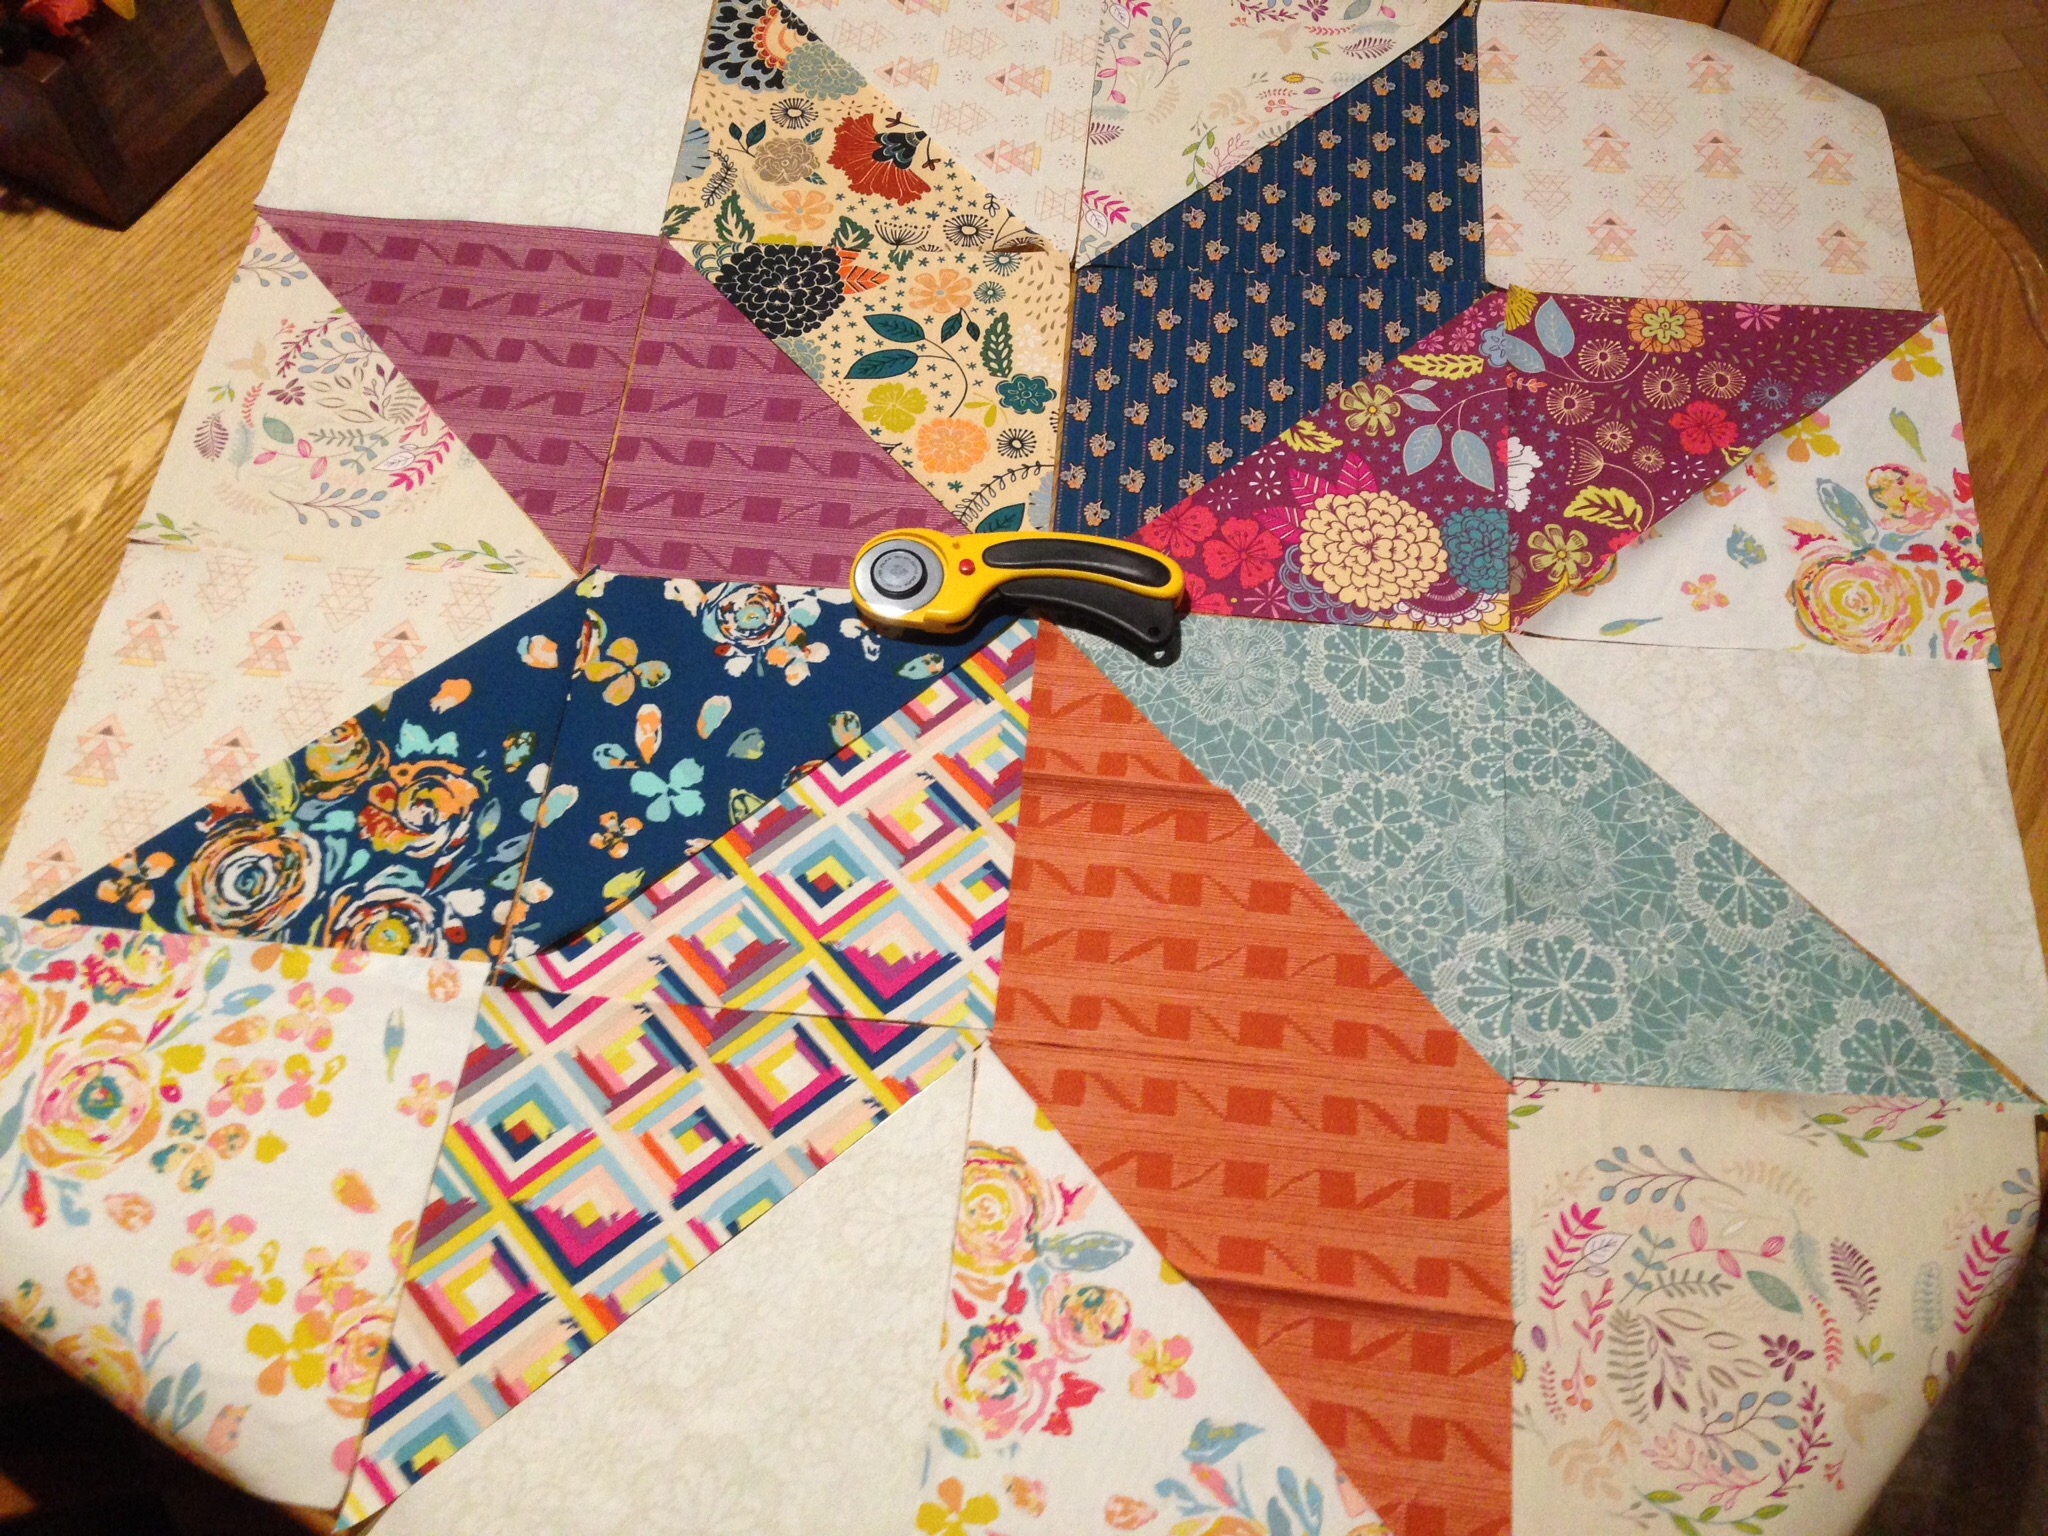
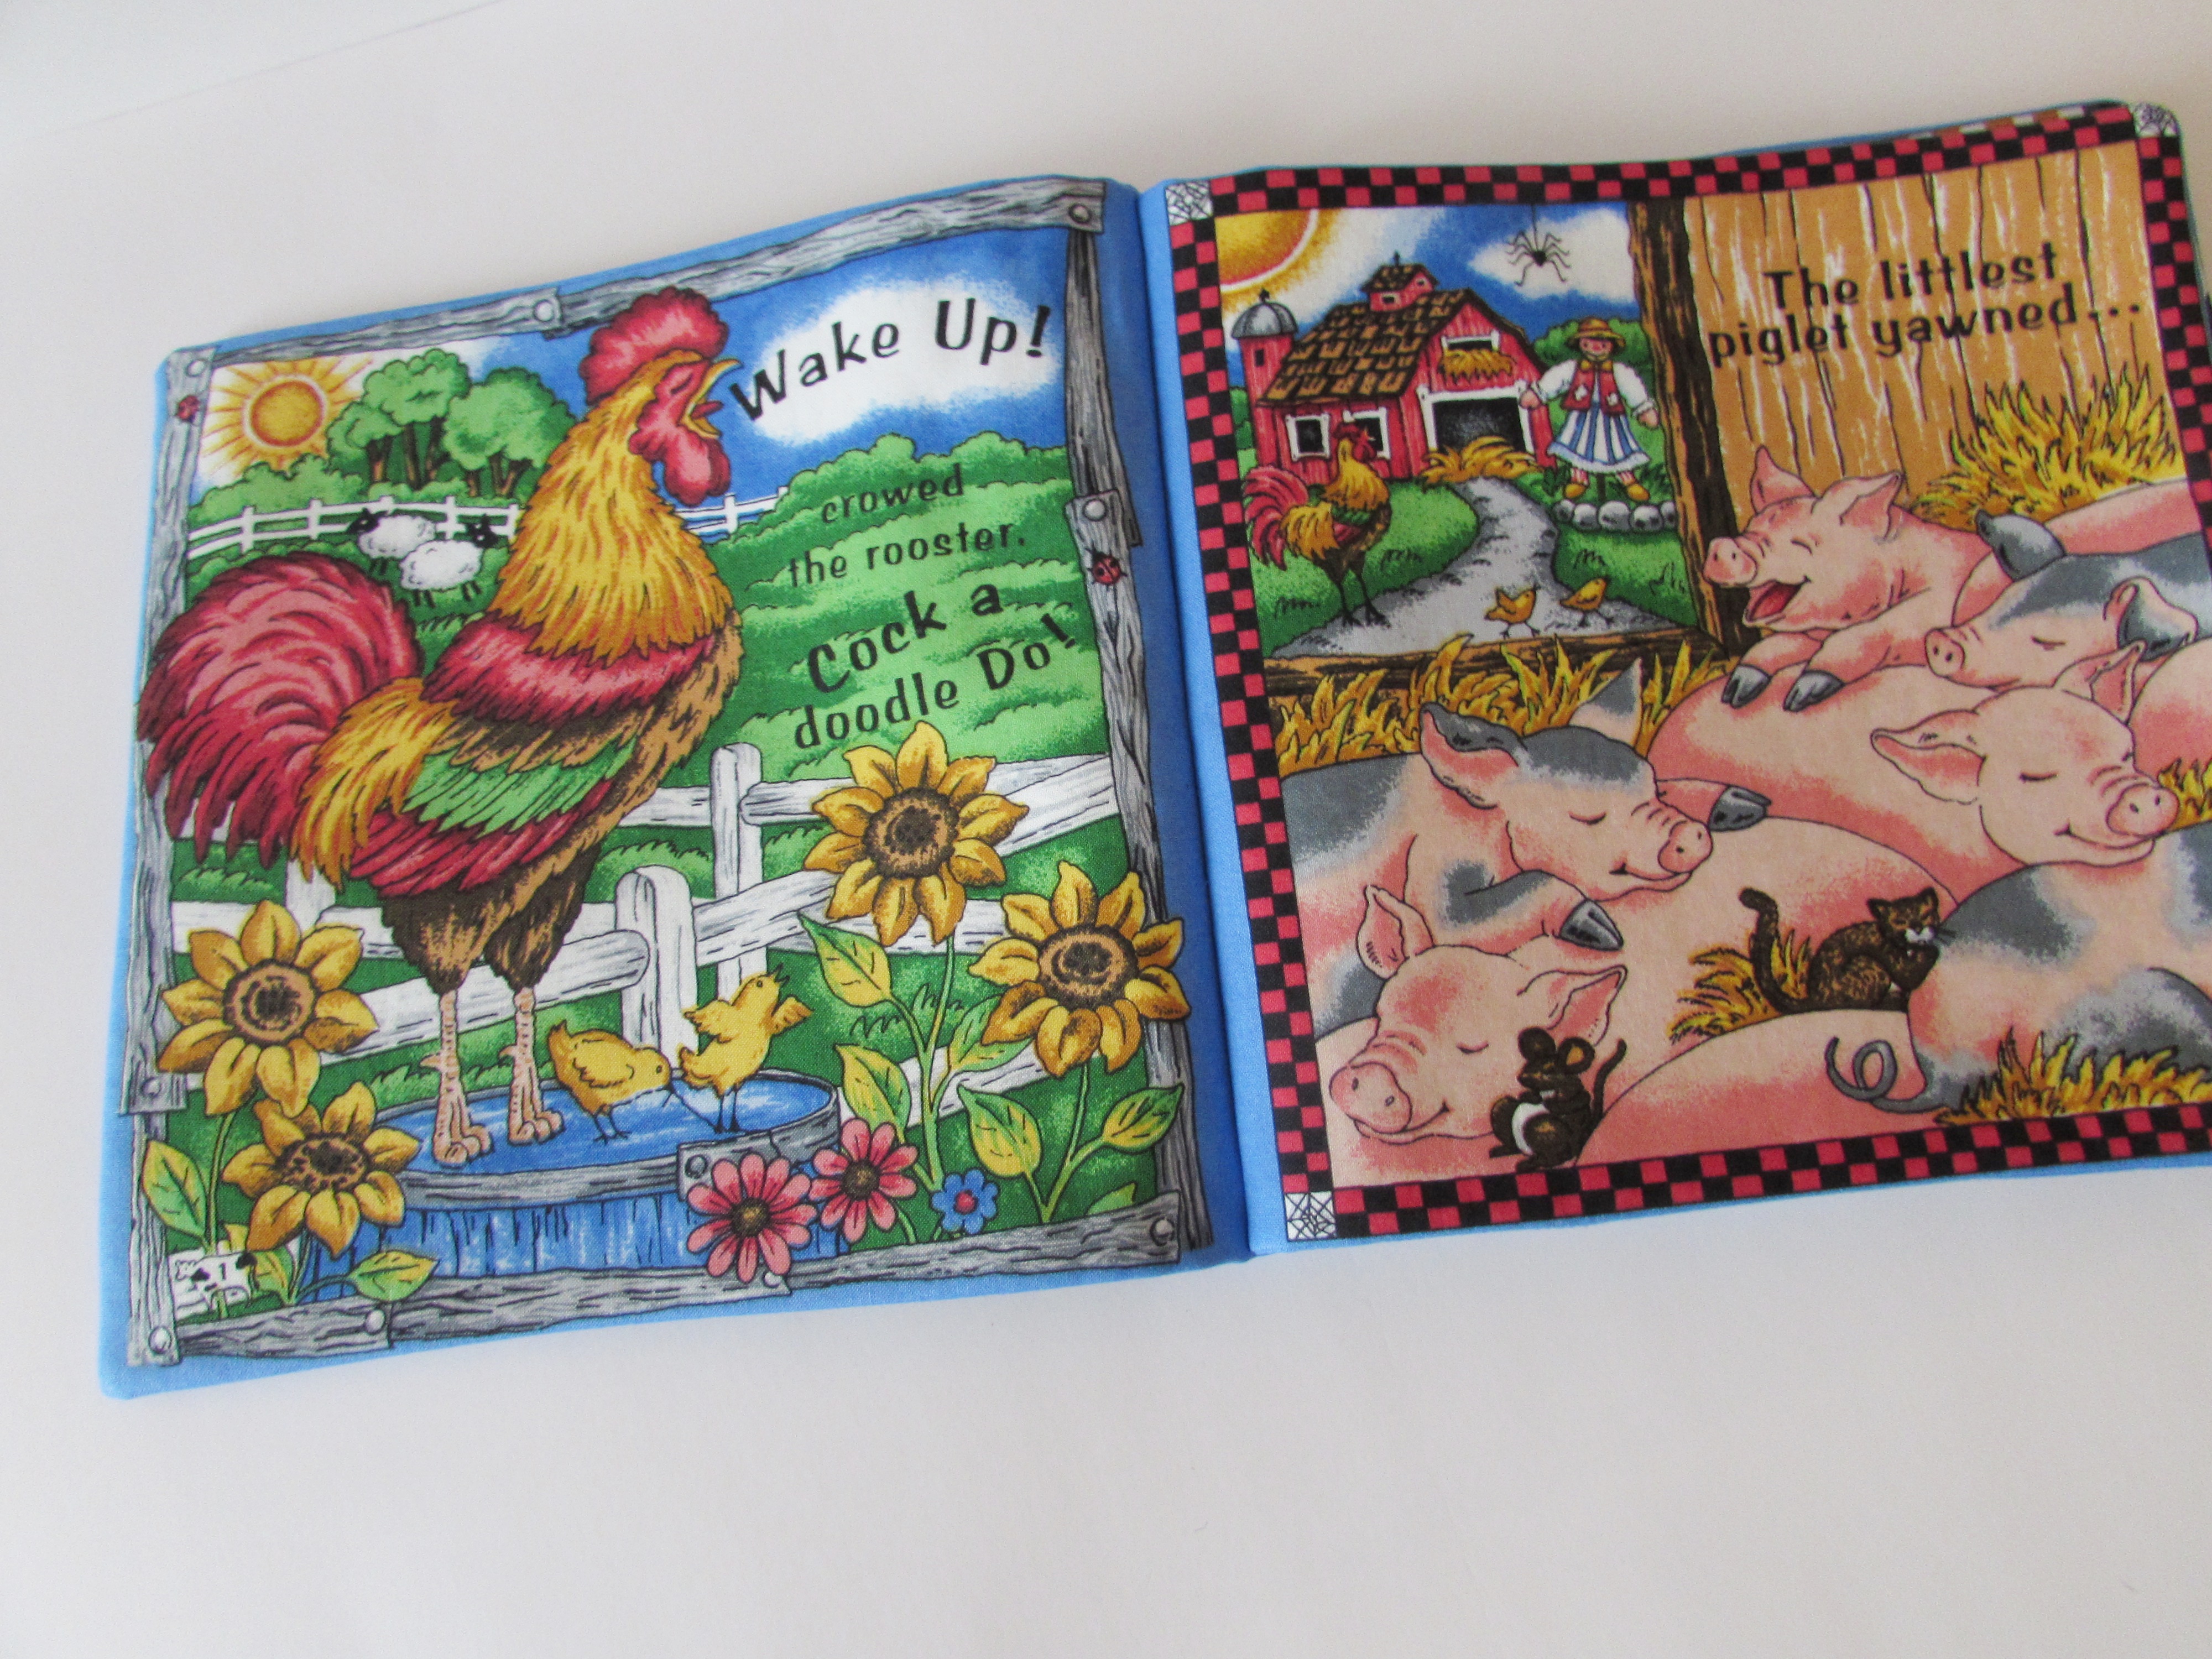
If you haven’t made one of these before, it is basically a panel of rectangles. Once you cut them out, the panels are paired up to be sewn in a certain order so the pages are in the correct order. (This is crucial when the plot is as deep as these are!) The instructions said to fuse a mid-weight interfacing to one page of each pair. I chose to use fusible batting instead. It makes the book a bit softer. Each pair of pages is sewn, right sides together and then turned right side out. Press and sew up the little opening that was left to turn the book right sides out. Stack the pages and sew down the center to hold them together. Ta da! Your book is complete.

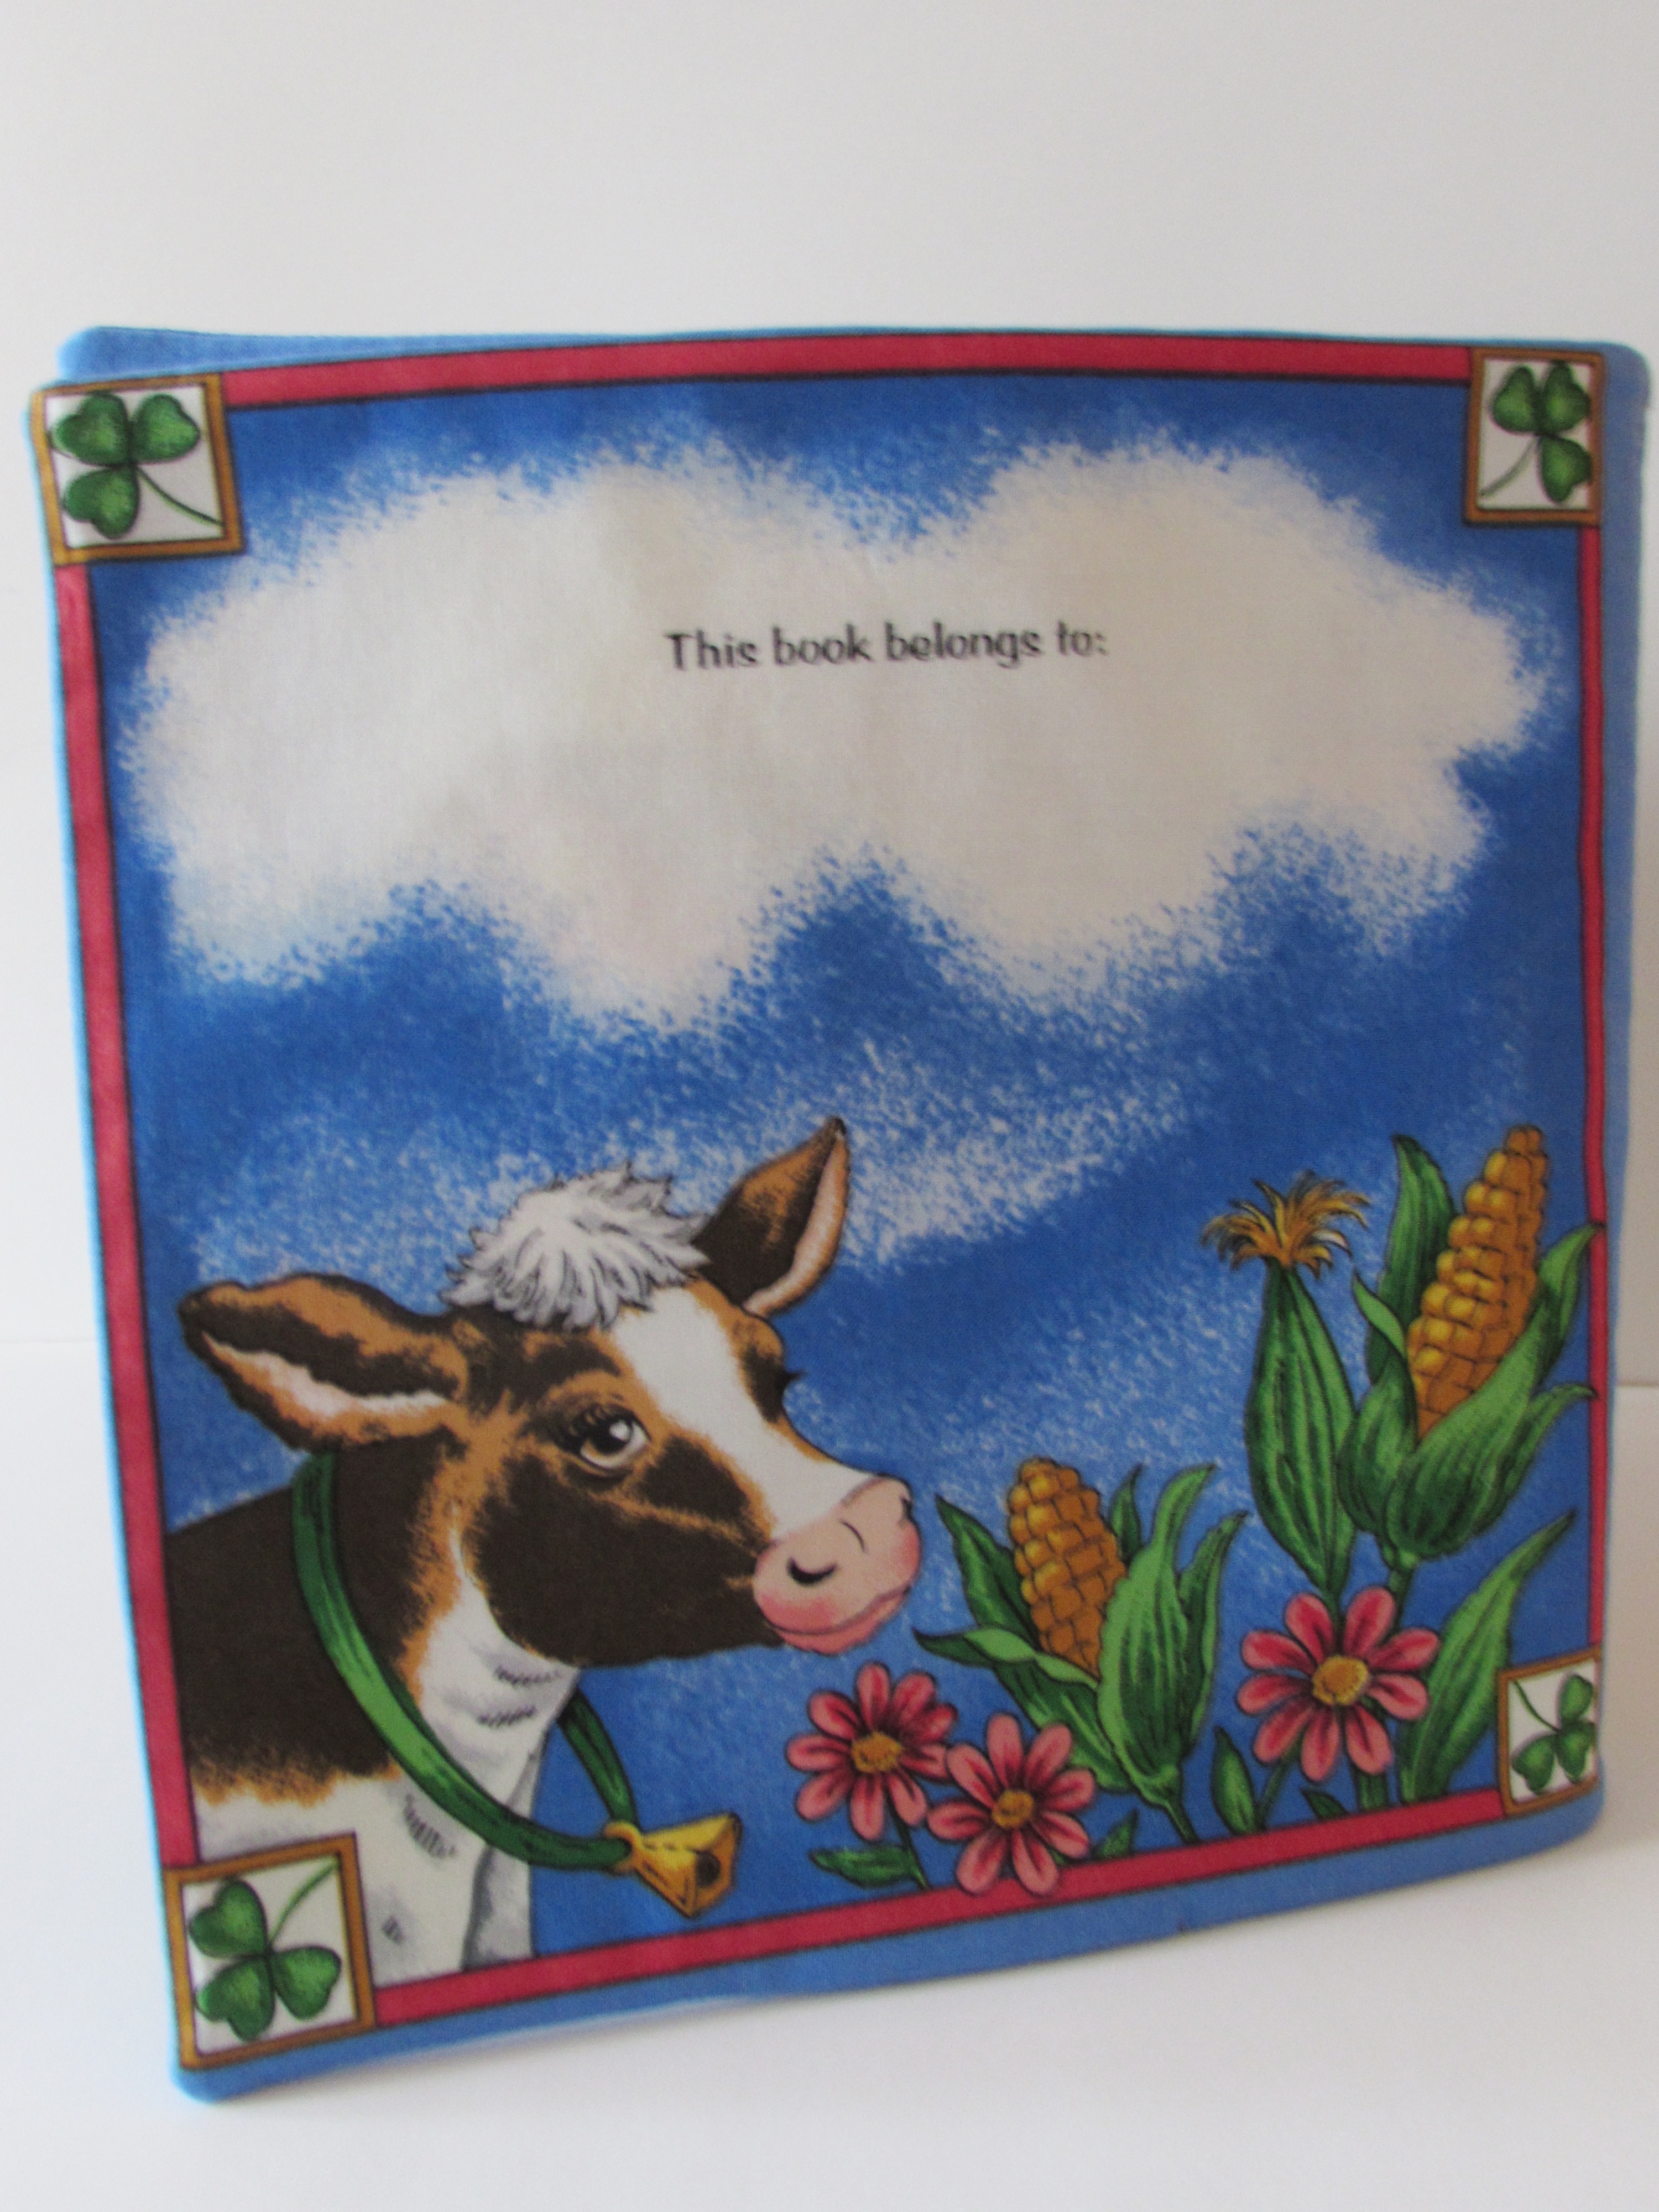
I didn’t put her name on the book because it hasn’t been shared yet. (Actually, I am not certain they have truly decided on one yet.)

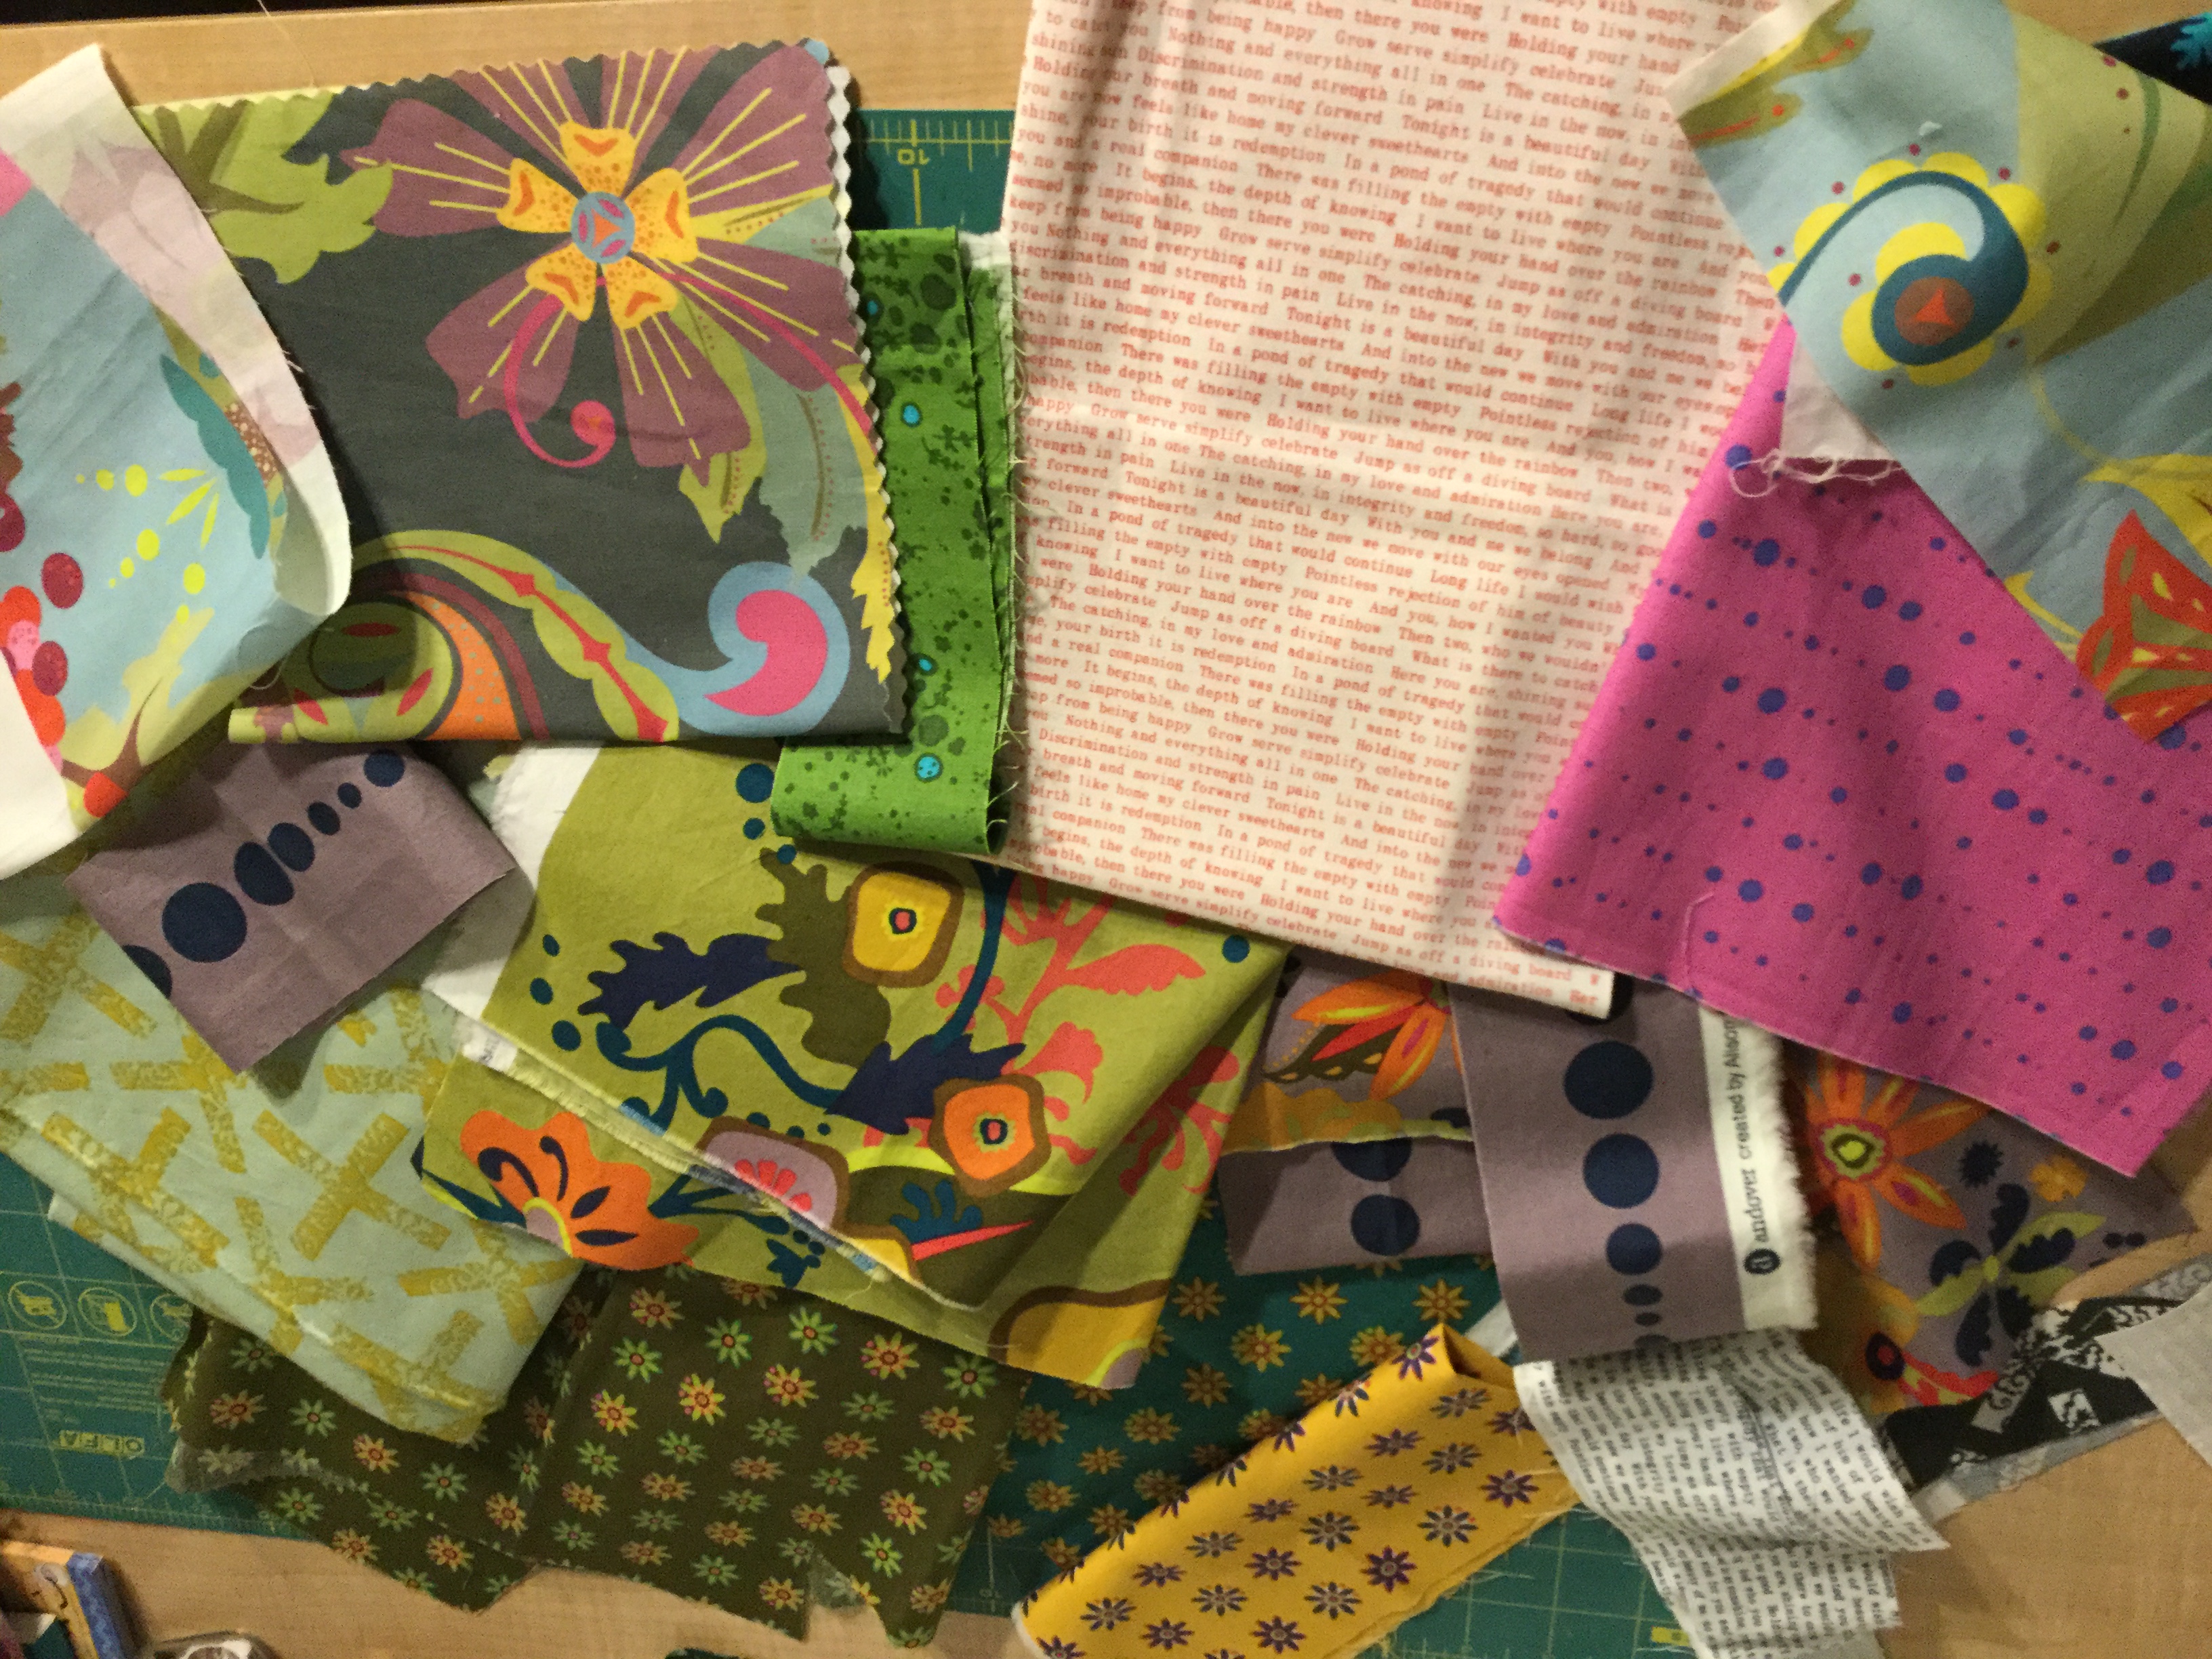
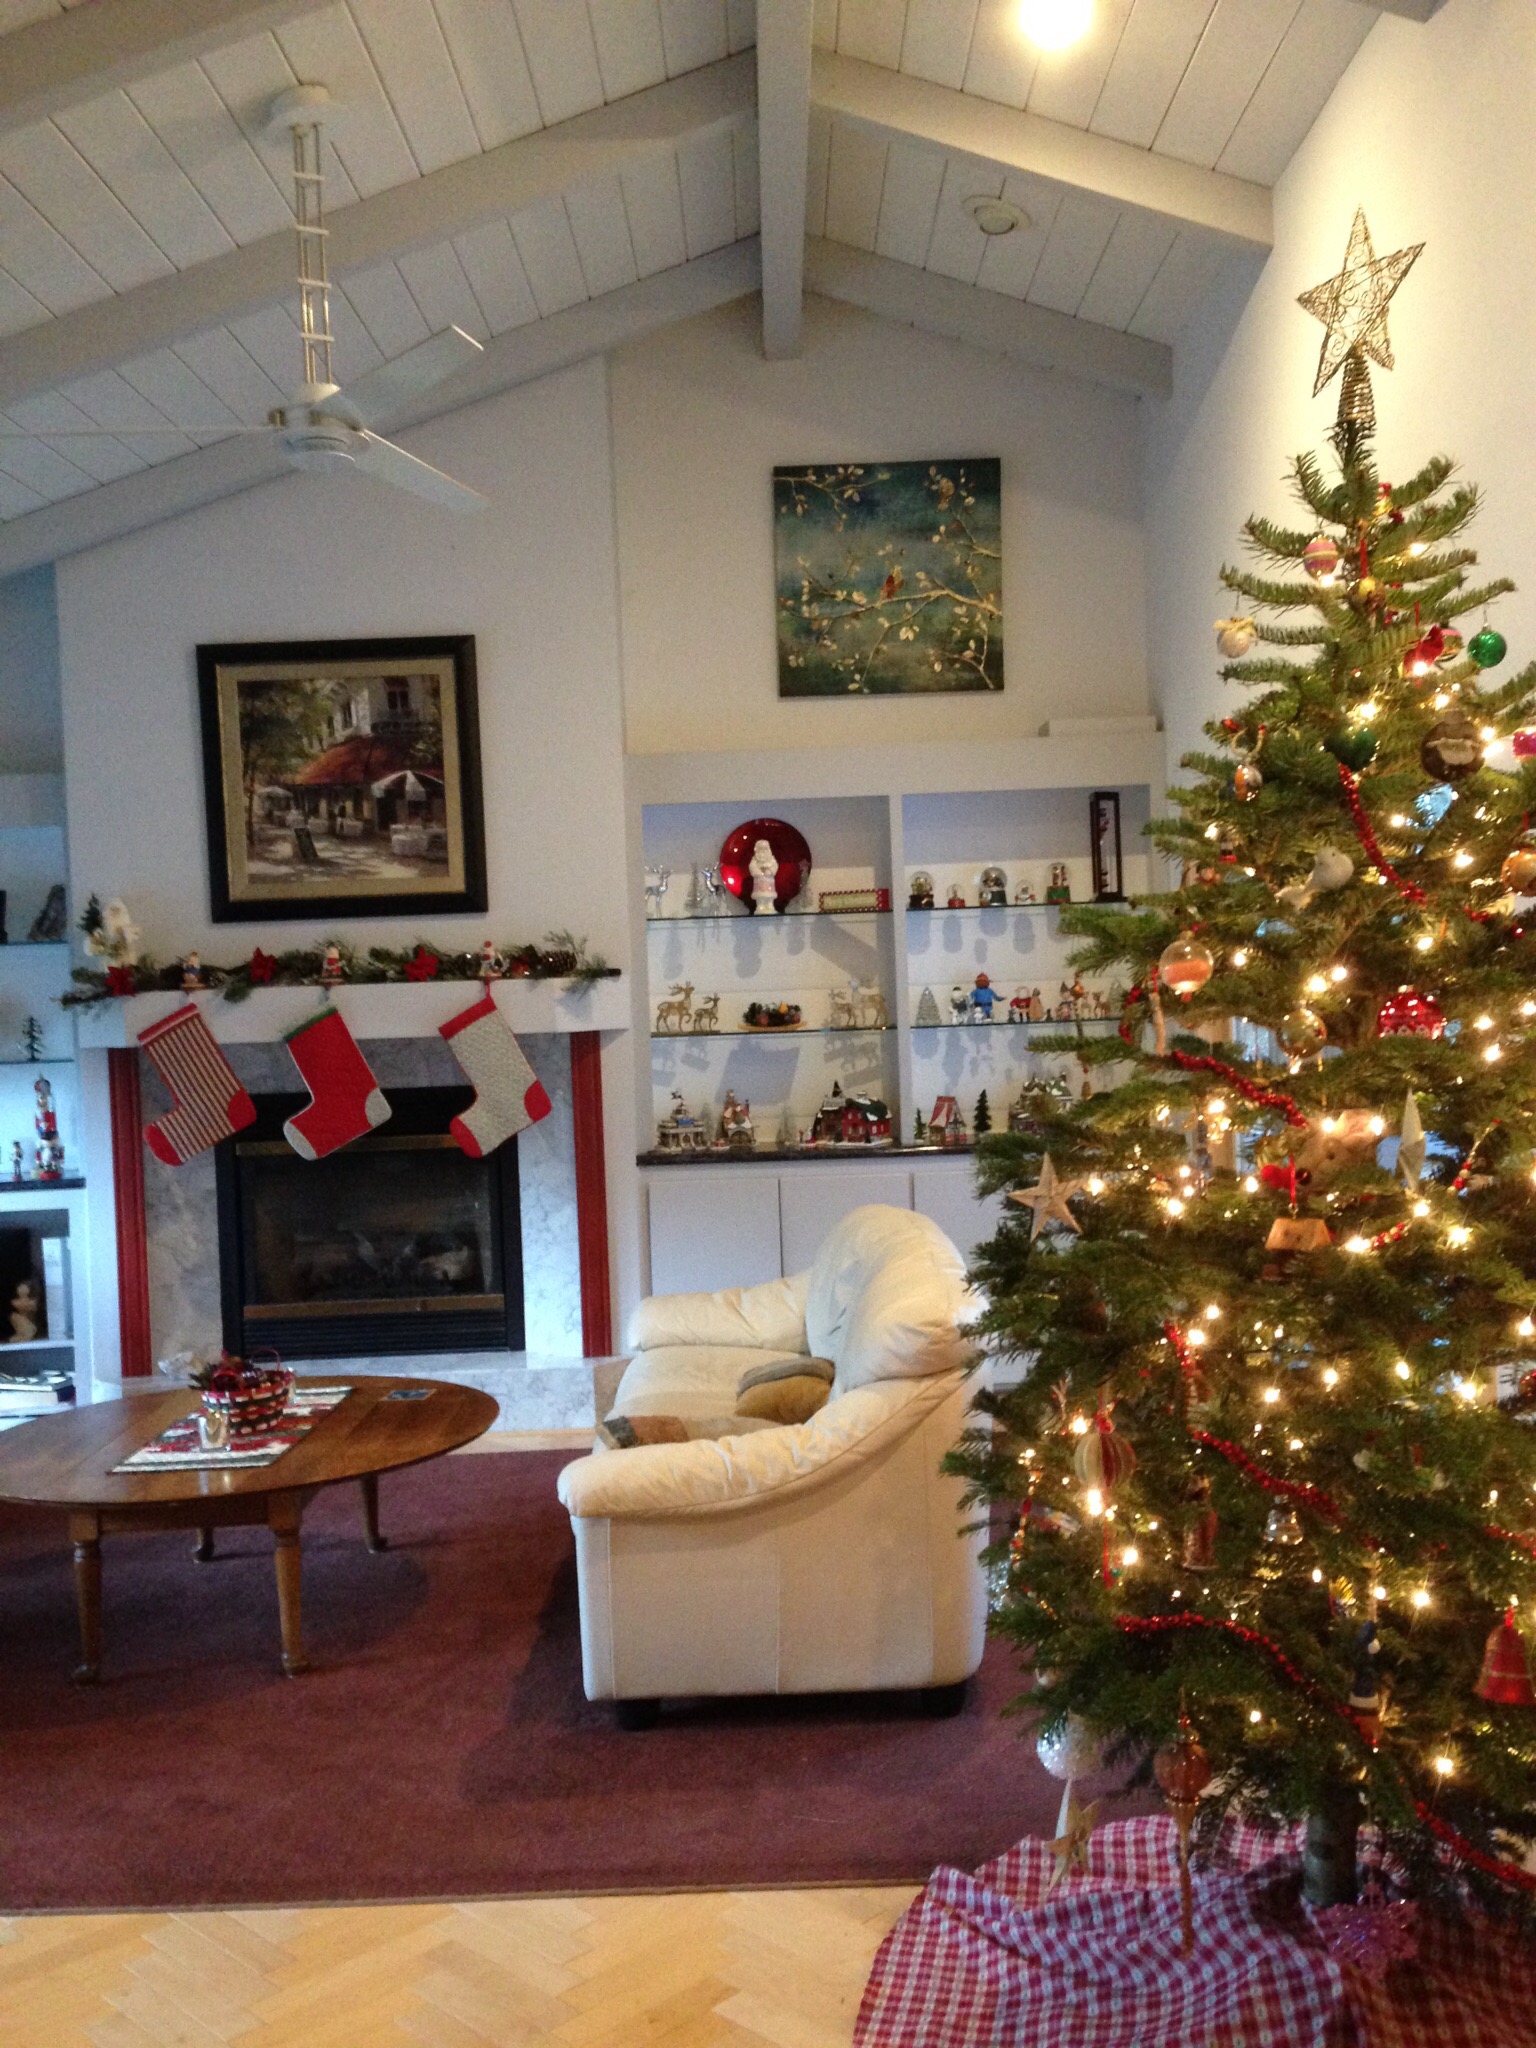
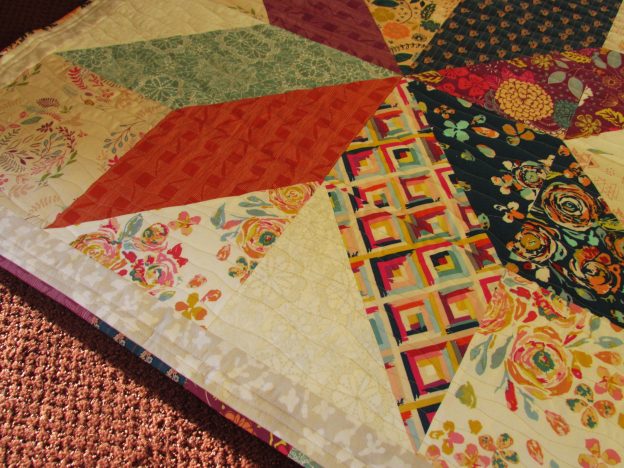
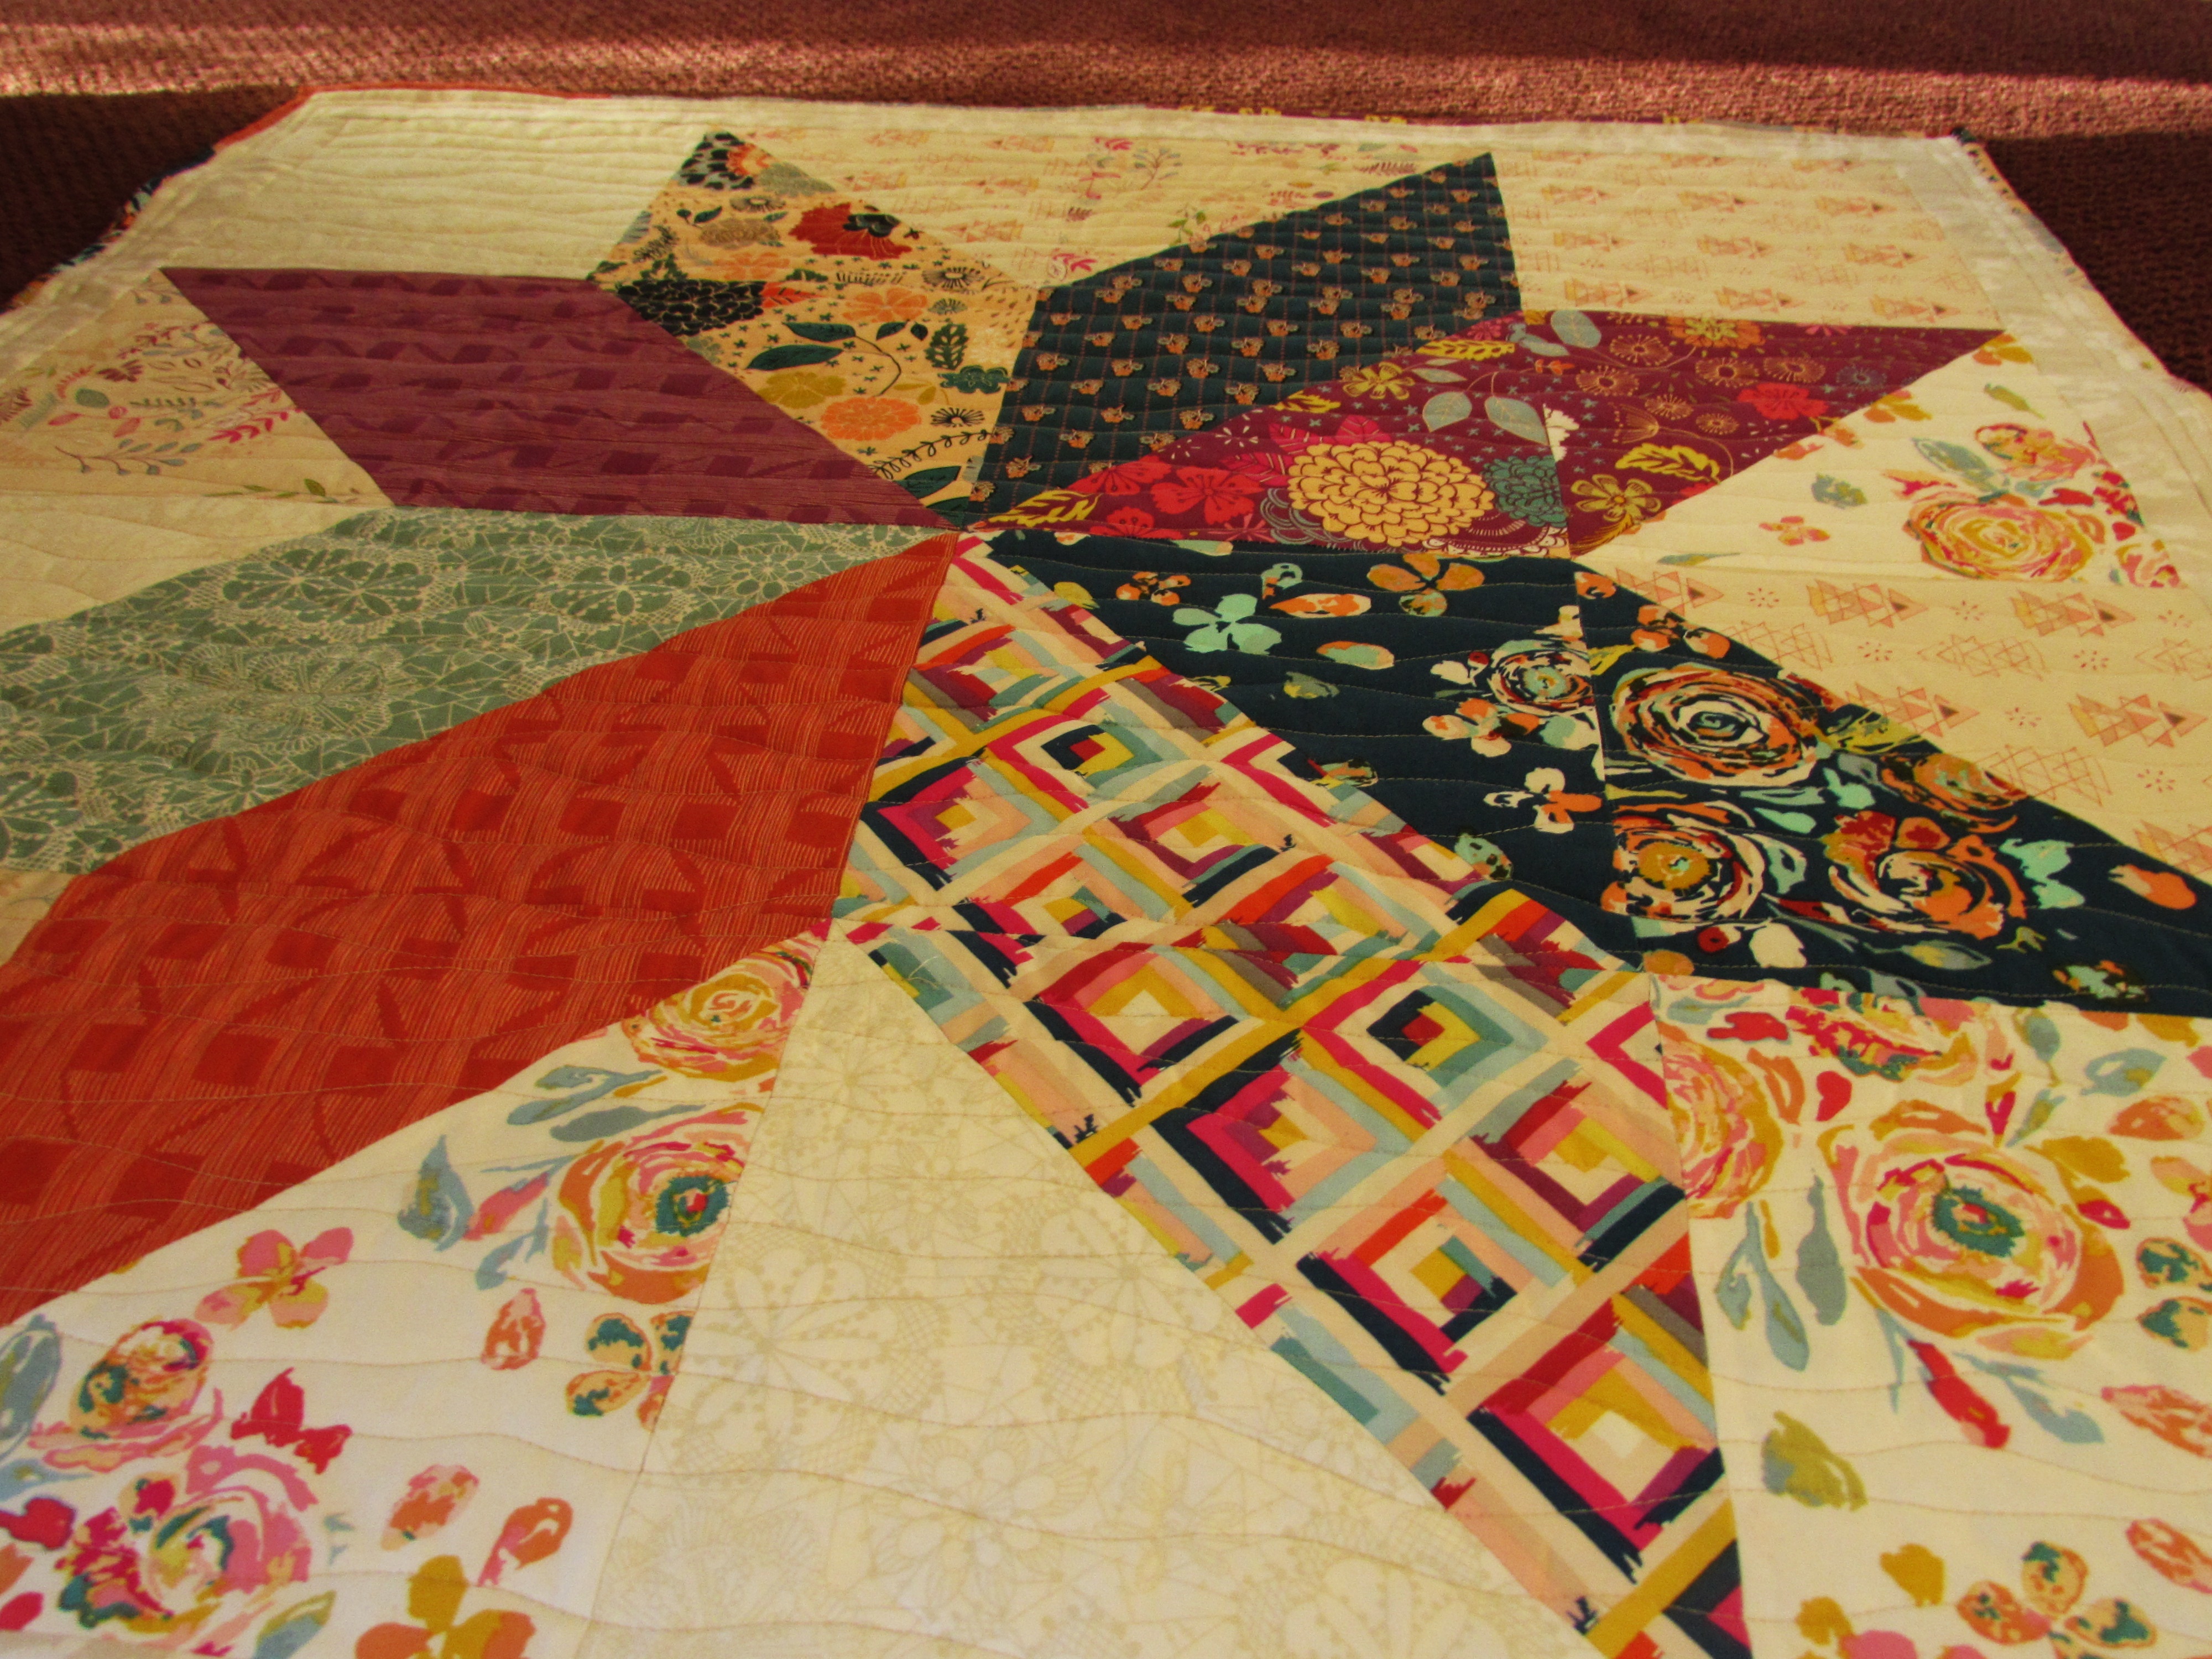
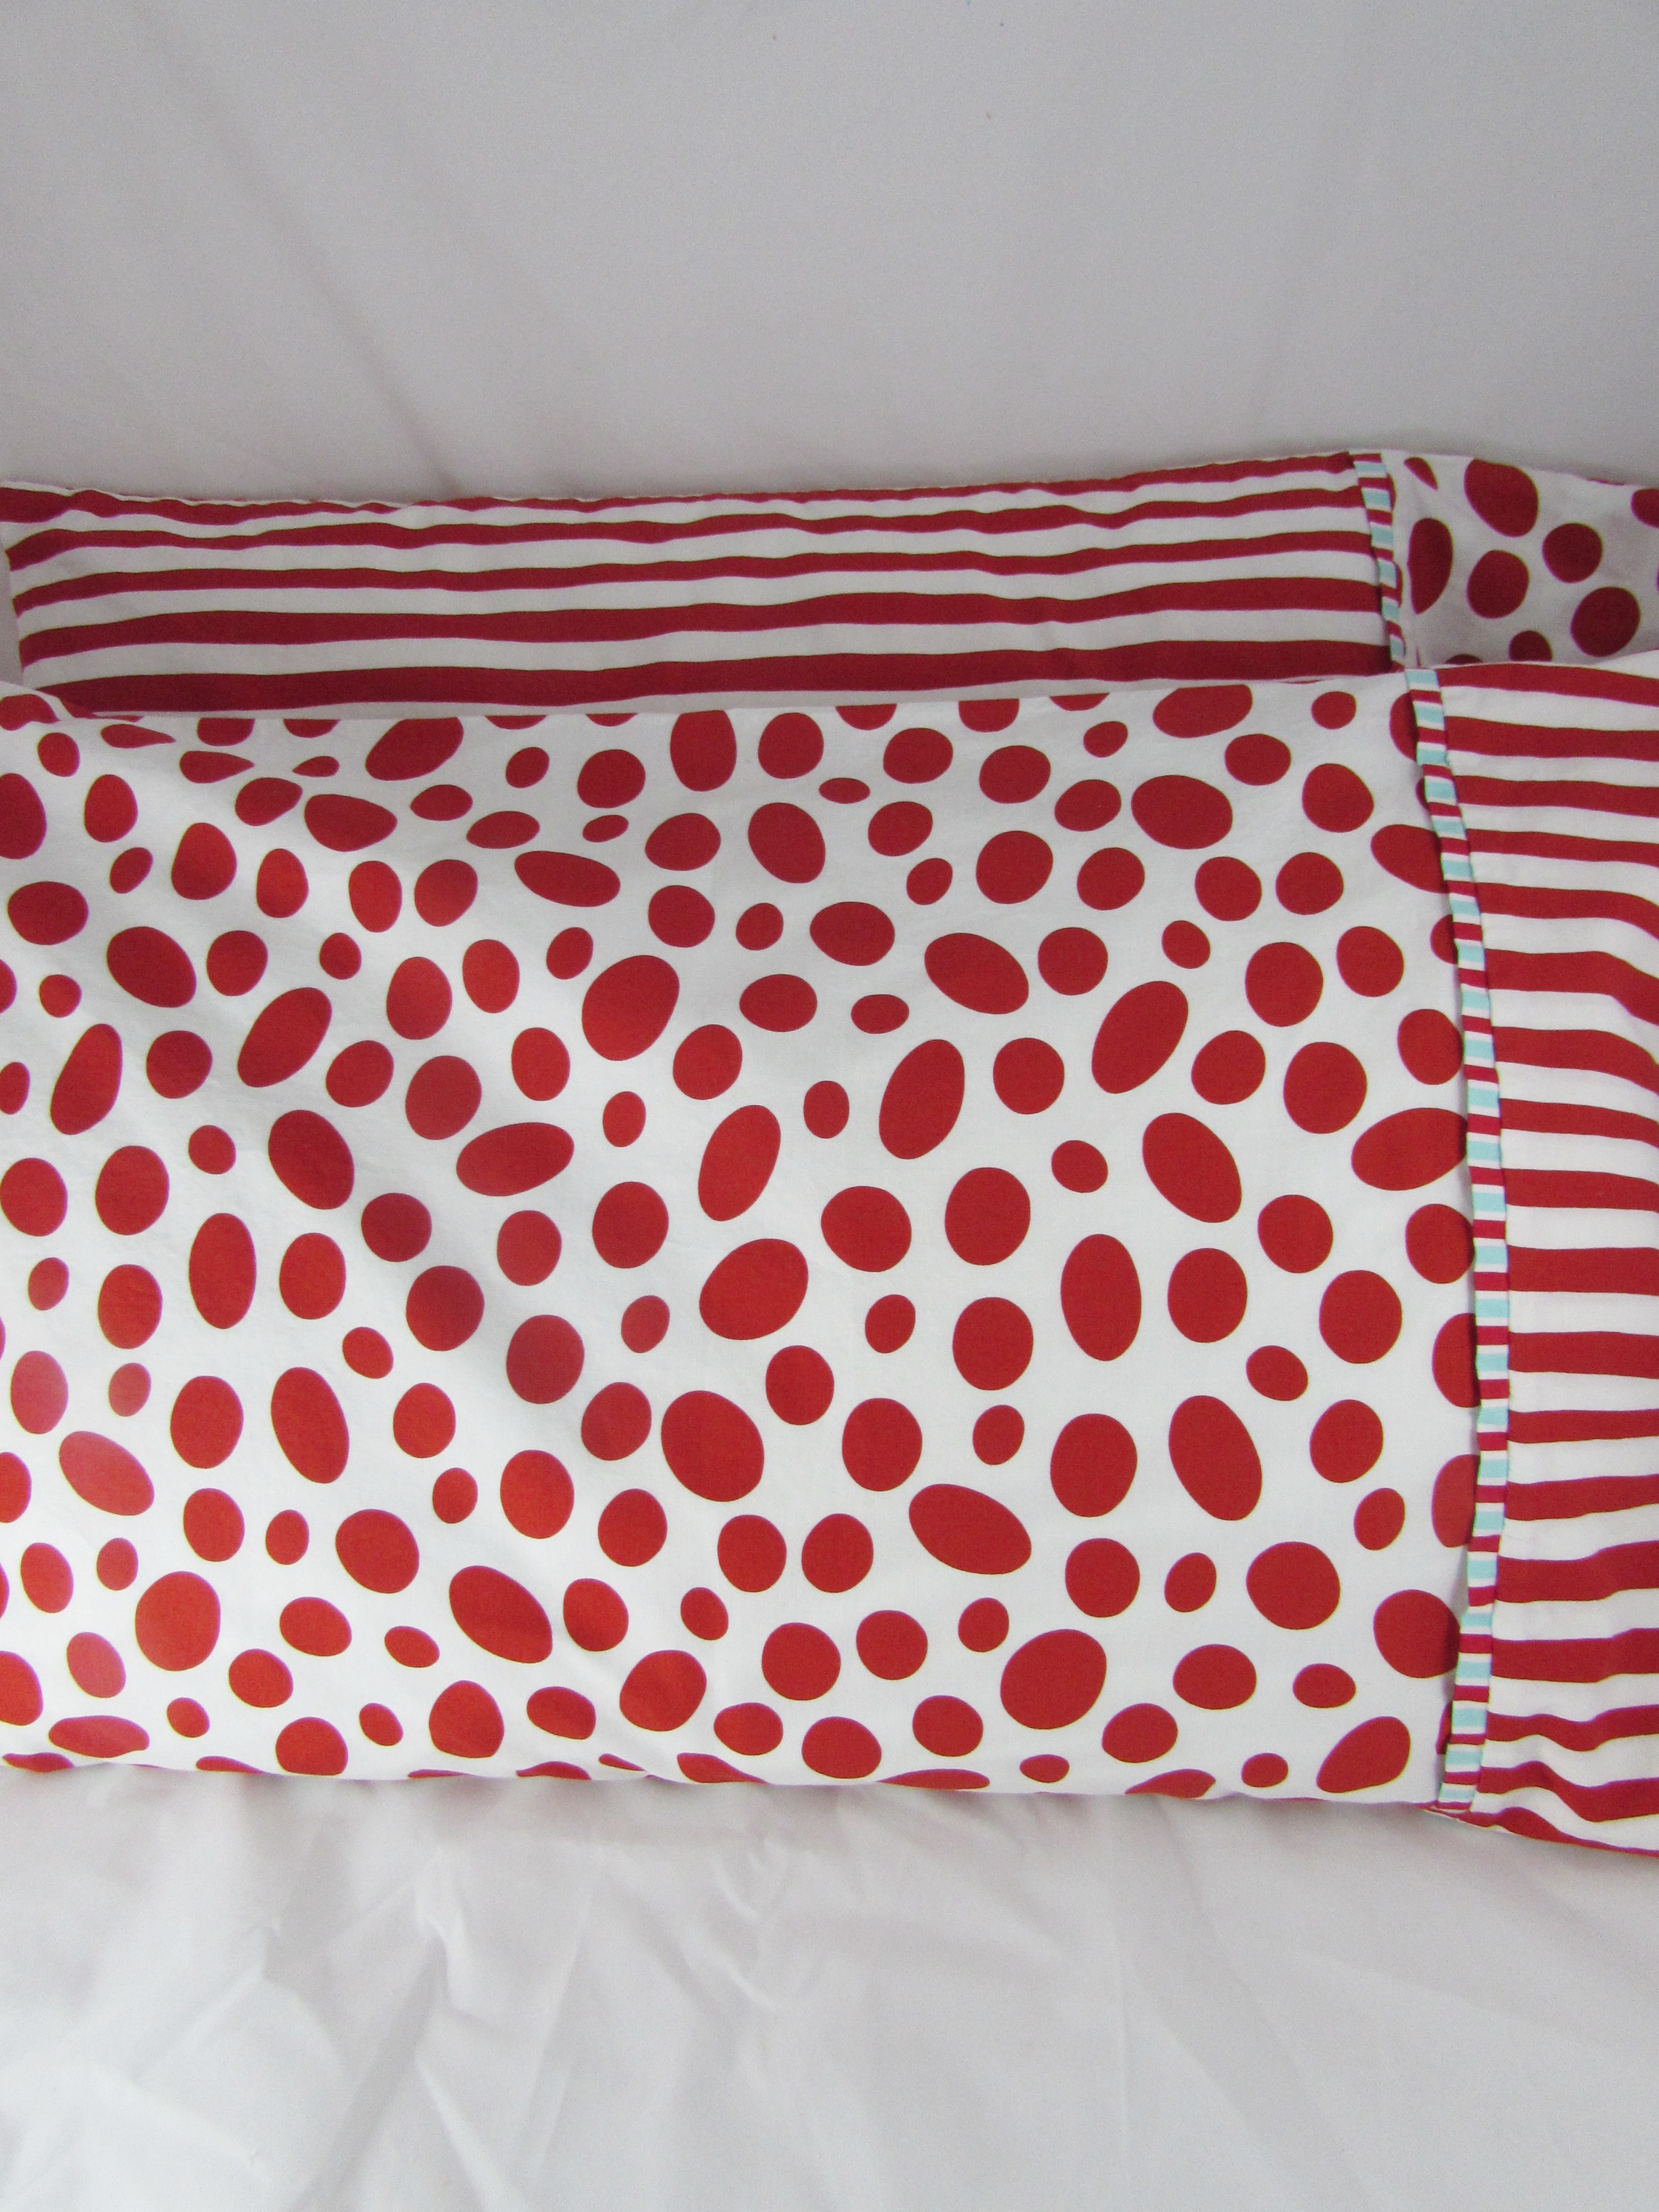
The other gift I made is a scrappy Christmas pillow. I had cut lots of rectangles from a bag of Christmas scraps and decided to use a few of them. I stitched the rows and then when I sewed the rows together I offset the seams. It makes things a little bit more interesting. I love some of the vintage Christmas scraps in this pillow (especially the candy cane fabric).

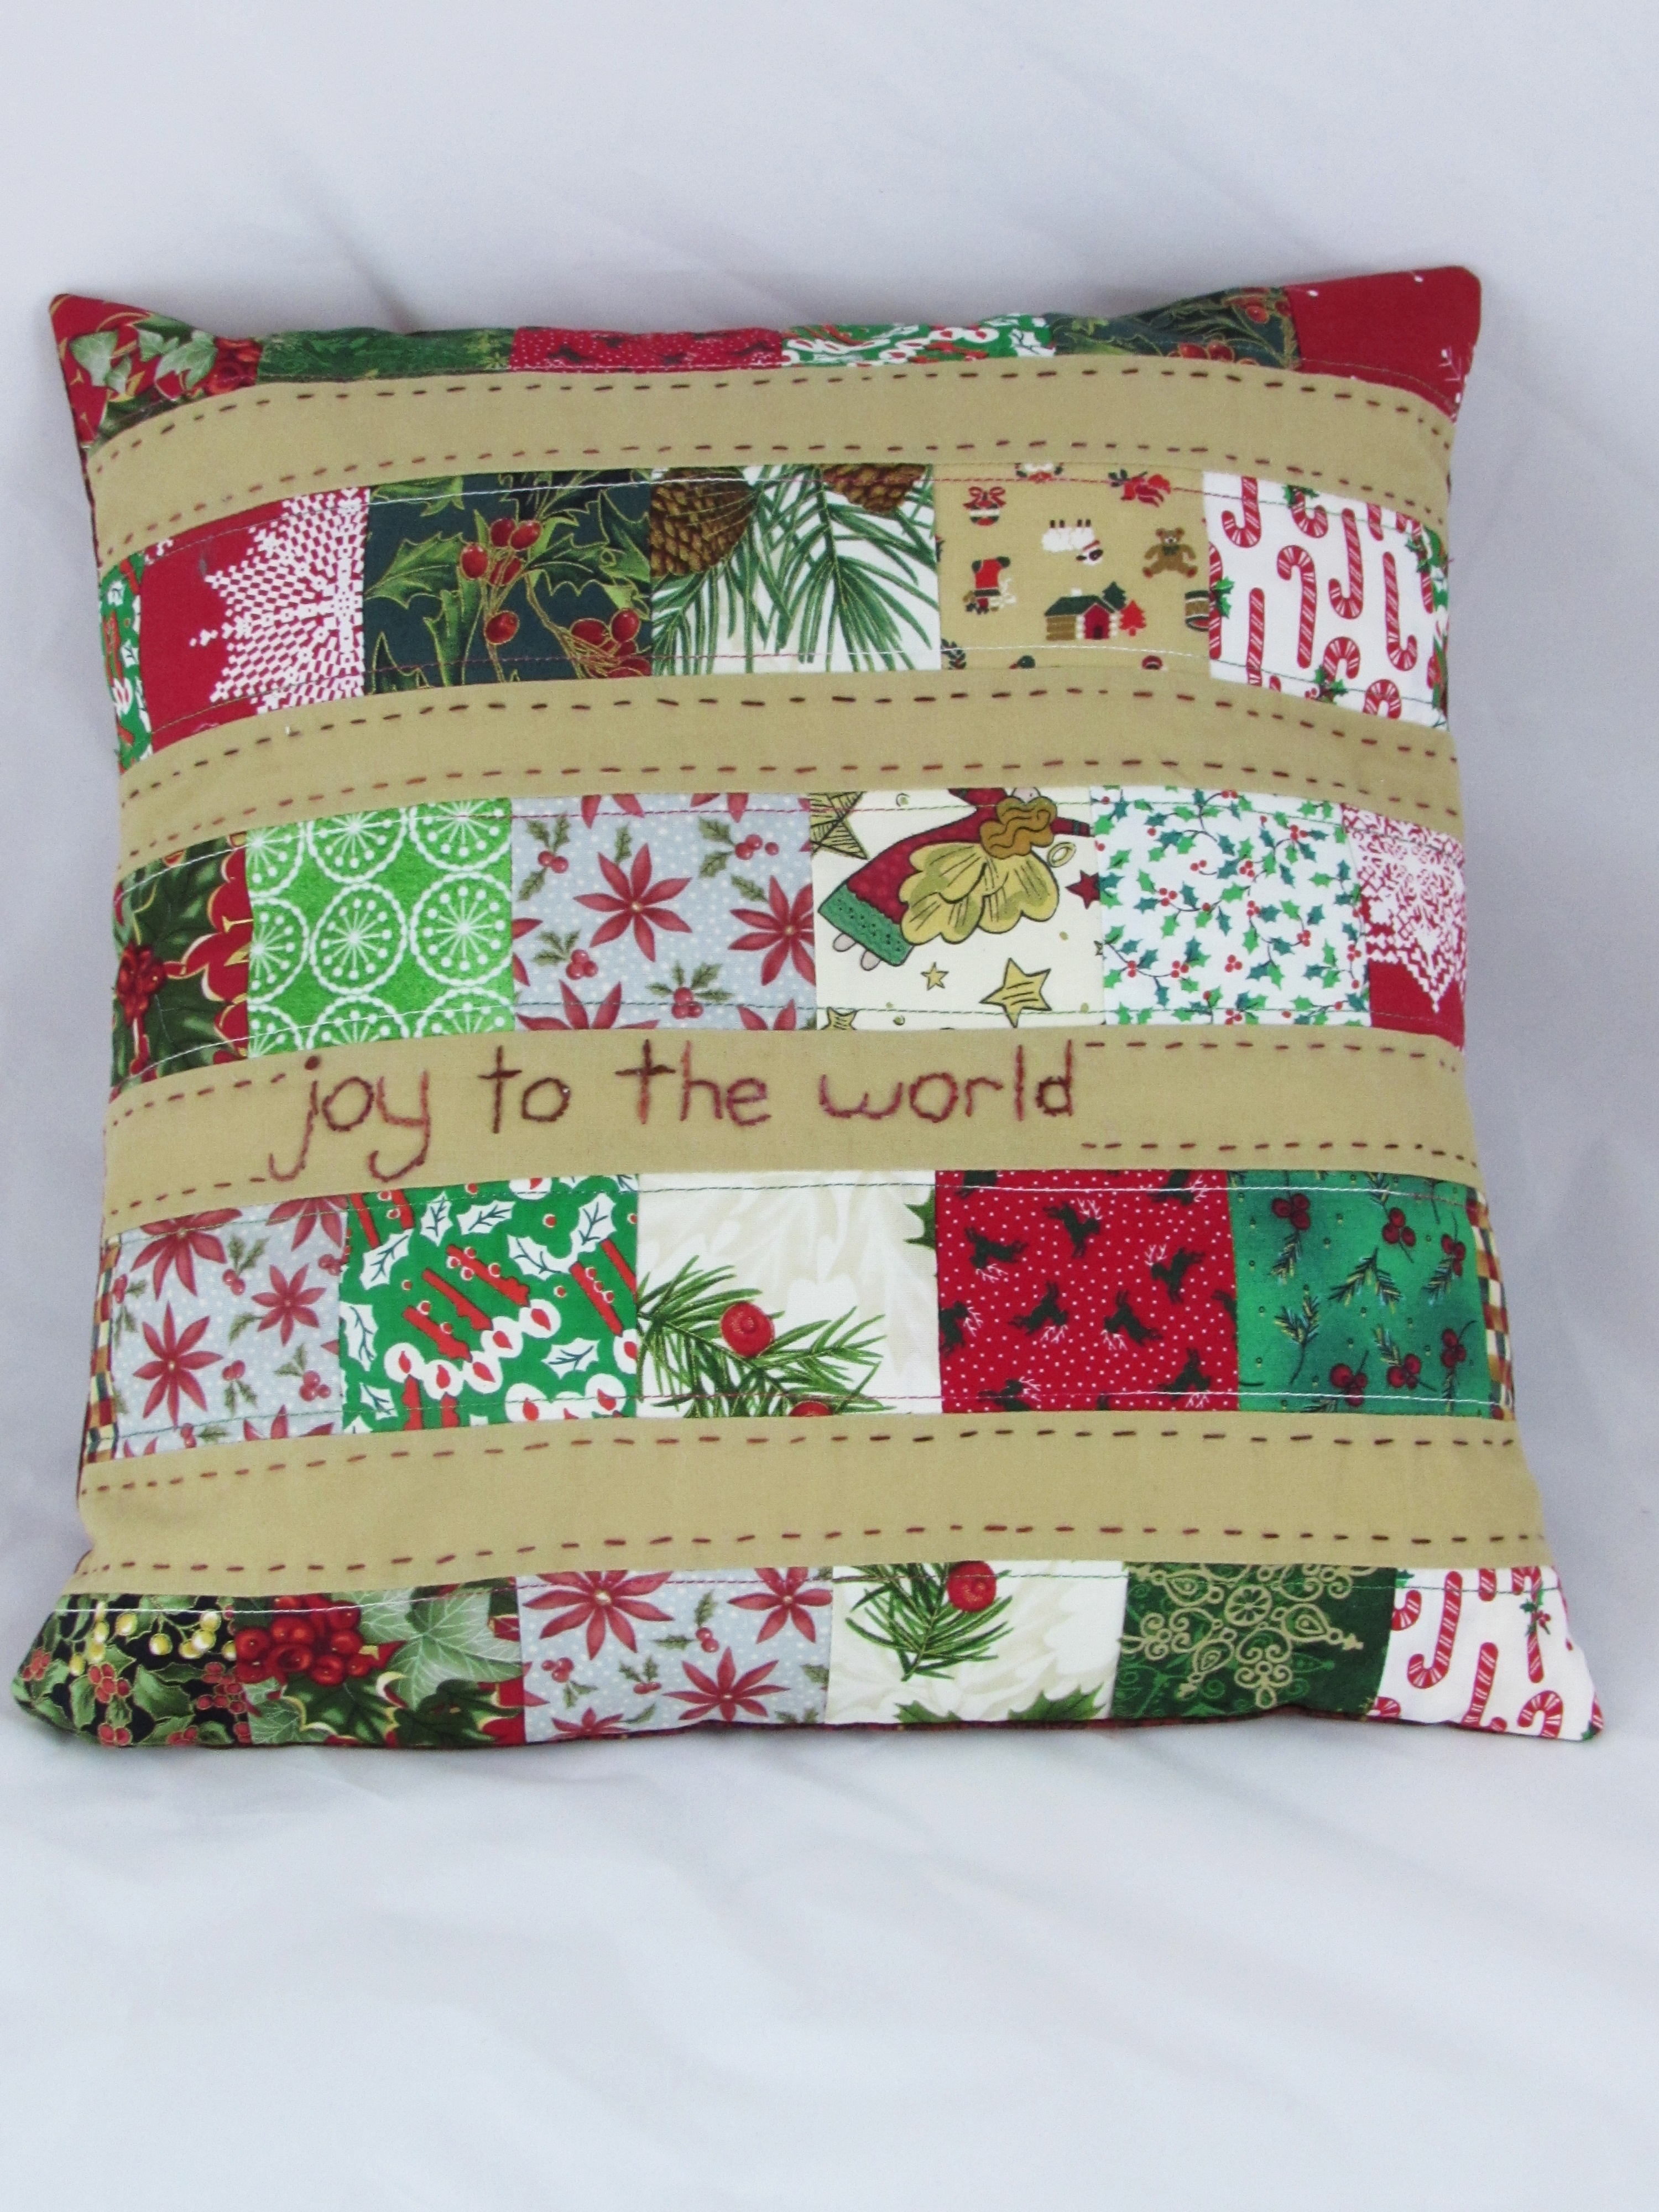
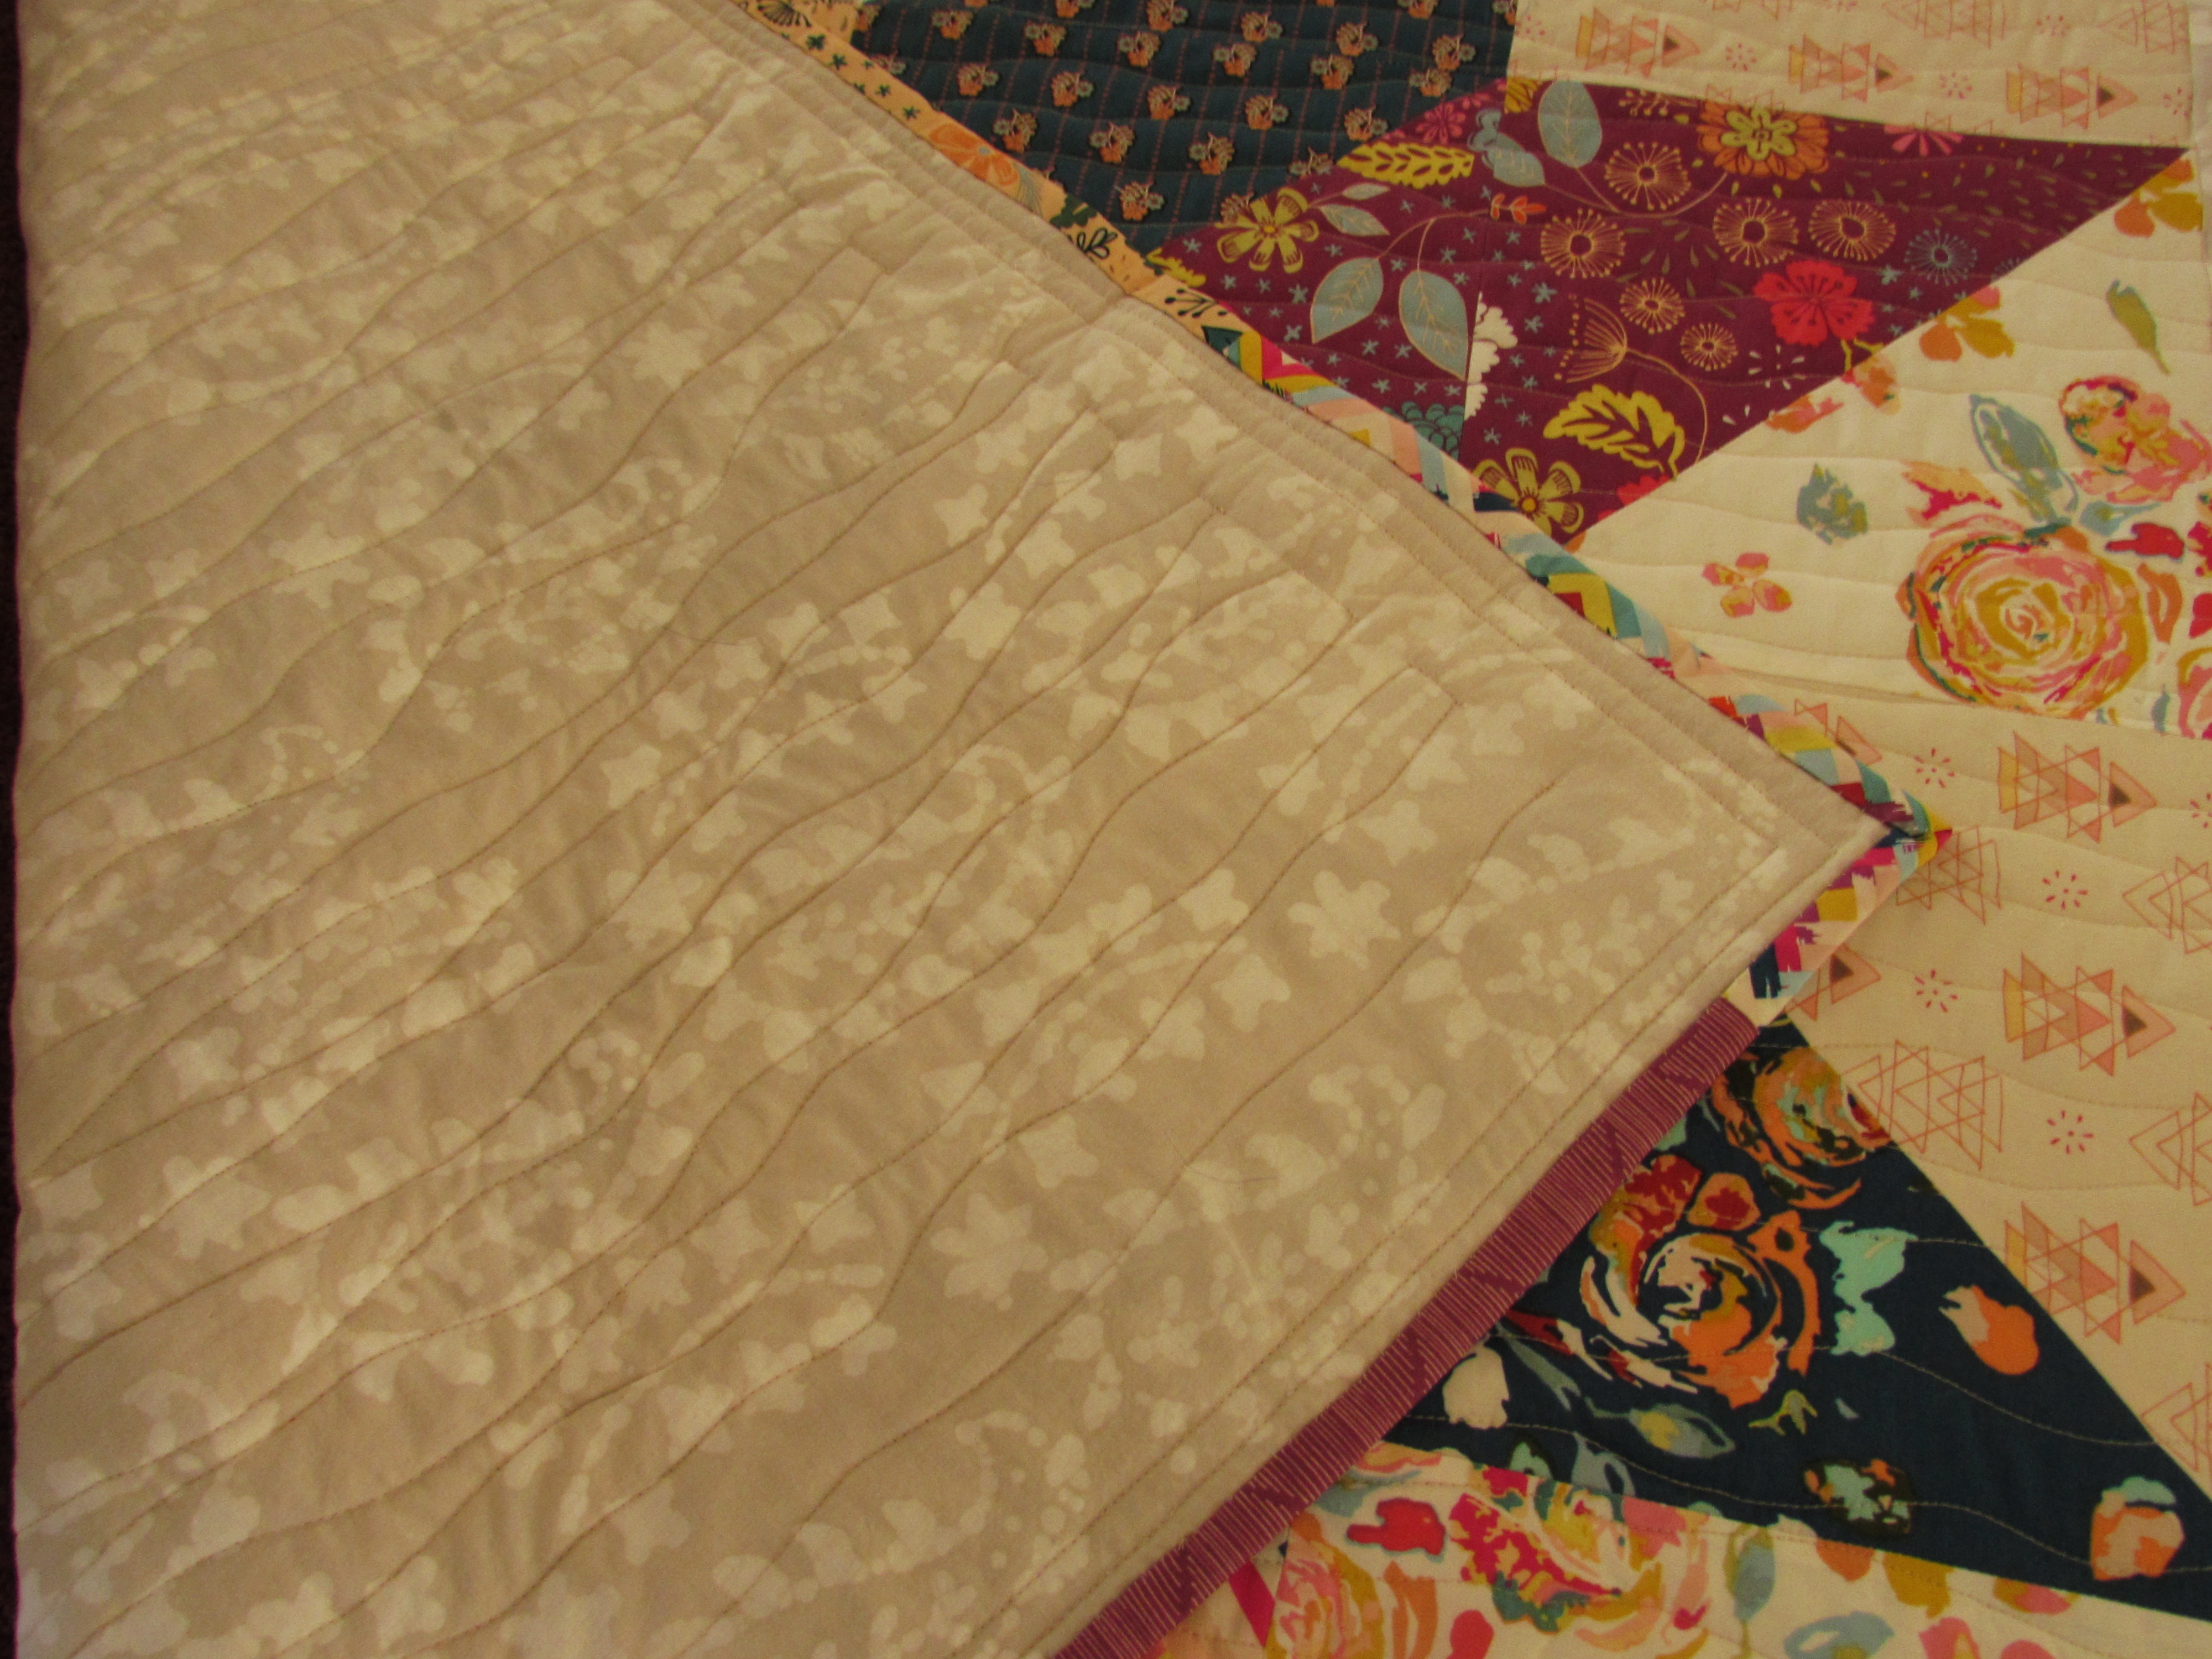
It looked too busy with the patchwork rows right next to each other so I took a solid khaki color scrap and cut some strips that were 1.5″ finished. At first I quilted the scrappy rows with my walking foot and a variegated Mettler thread in Christmas colors of red and green. That looked boring. I added the big stitch quilting on the solid rows and liked the way that was looking. (You may have seen some of this on Instagram – I shared a few pictures there along the way.

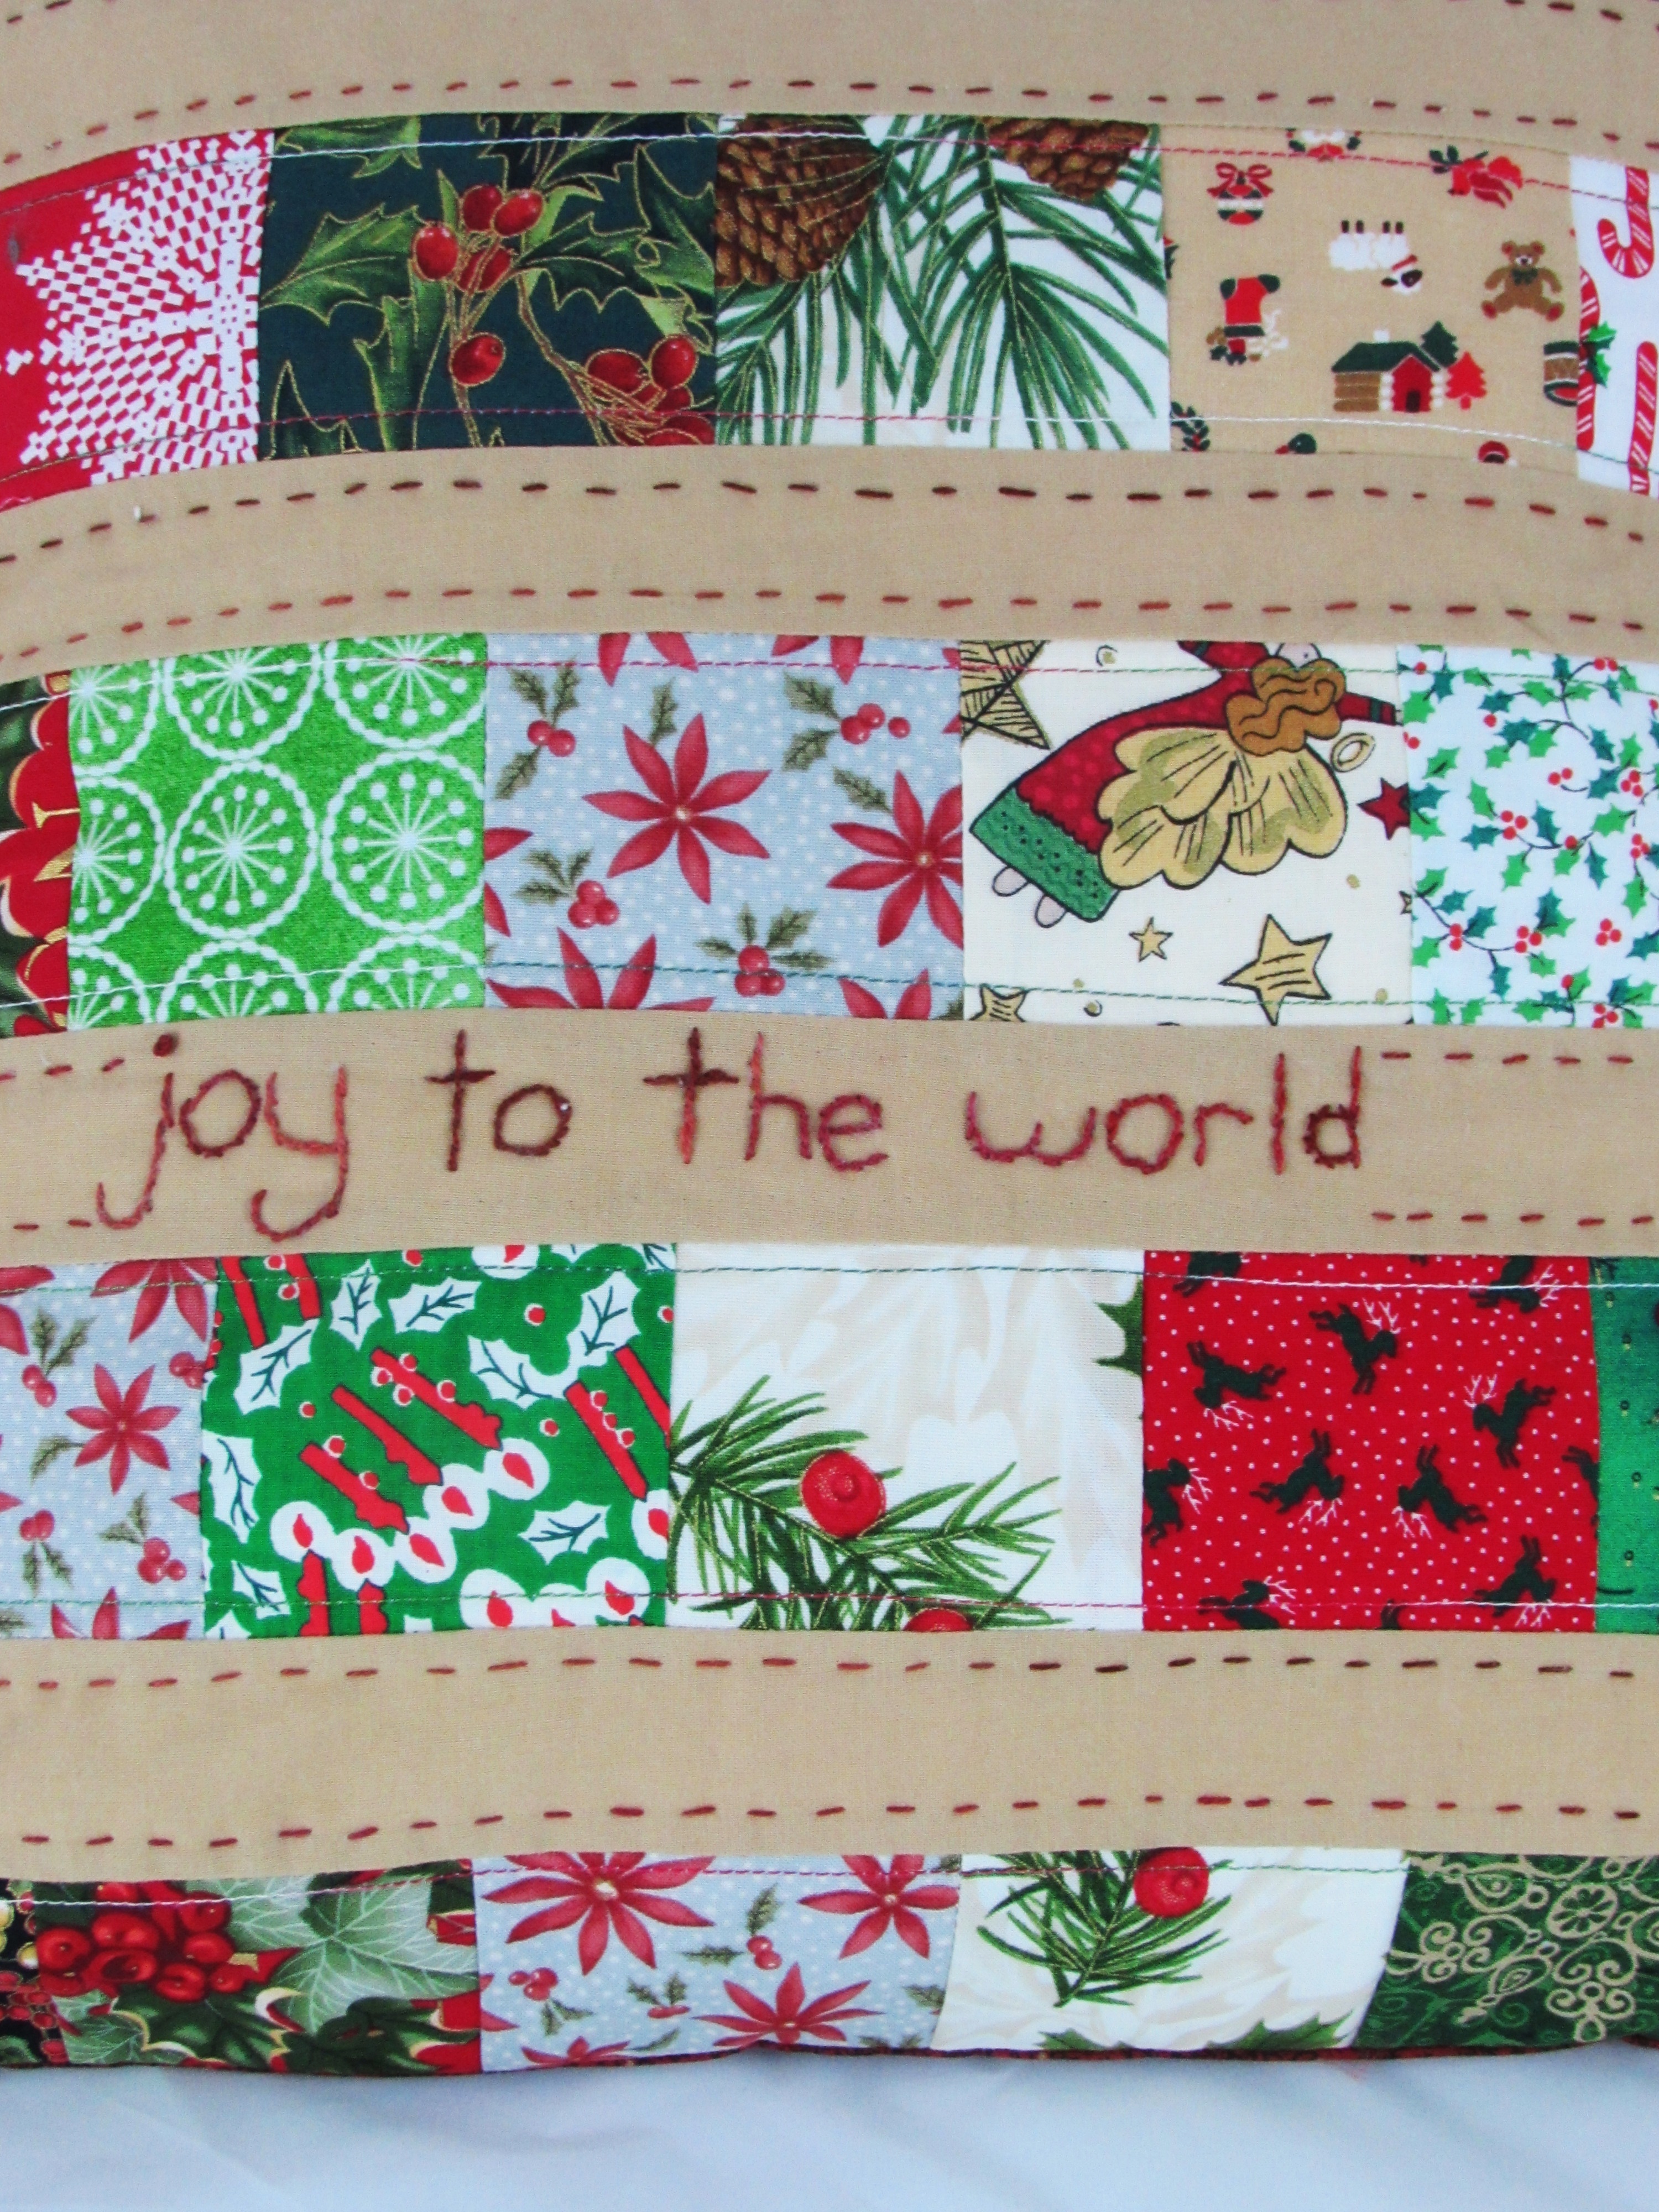
After doing the straight lines of big stitches (using Perle cotton thread) I added the phrasing. I think that finished it off nicely. A simple envelope backing and it was complete.

I didn’t give as many handmade gifts as I sometimes do. Time doesn’t always allow for these things! But these were very simple and fun to make.

I have been reading lots of great posts about everyone’s plans for the new year. I am hoping to get to that soon. I didn’t get it done ahead of time and now we are in the middle of lots of family time. Maybe next week when things settle down again. I do have some fun ideas for 2017 and am excited to share them. Stay tuned!

Happy New Year everyone! Wishing you all the best in 2017.


Linking to my usuals – find the links at the top of the page, under Link Ups. Additionally, I linked to Frontier Dream’s linky party, Keep Calm and Craft On.


2016 — What a Great Year

I have to tell you — I had a whole lot of fun blogging this year. I met quite a few new friends – some bloggers, some readers, and all so very kind. Let’s take a quick look at what went on here over the past year.

I feel like it was a year of growth. Not just with my quilting and sewing skills but also with regards to my blog. For the first time, I held several events here. It was a fun learning experience, between approaching companies to sponsor the events with giveaways, to creating the theme of the event and then publicizing it; it was all new for me. I think it was both successful and rewarding. I have more up my sleeve for 2017 so stay tuned. Both of the book shares were great fun. The next one is coming soon. I will post the new book during the first week of January. If you want to join in, watch for that as it is first come, first served.

While working on expanding the blog, I was also trying to improve my quilting skills. To this end, I worked on my free motion skills quite a bit. I am loving creating pictures, or motifs, with my quilting. Also, I learned to relief quilt and did several projects using this technique. Finally, I took a long-arm class (I believe that was the only class I took all year!) and it was so much fun! Since the class, I have quilted two more quilts and have one ready to go. I am sure I will continue to practice both my FMQ and long-arm skills throughout 2017.

One of the goals I set for myself at the beginning of 2016 was to write more tutorials.  They are one way to give back to this community. I have certainly used my share of the amazing tutorials that are floating around this community and it is only fair to create some for others to use. In addition to those that are shown in the pictures; French Press Cozy, Reusable Sandwich Bags, and THREAD Relief Quilting tutorials, I also posted a tutorial on Sew Mama Sew.  These are only a few of the tutorials I posted on the blog. If you would  like to see more, click on the Tutorials link at the top of this page. I have very much enjoyed sharing these with you and plan to create more in the coming year.

While I do love to quilt, I have also been enjoying making things like bags, zip pouches, and even two dresses! Sometimes these projects are just what I need to give as a gift or to satisfy my need of a quick finish. They don’t take nearly the time that a quilt does! I will say that if I make any bags in 2017, I will explore a new pattern. I have used my Noodlehead 241 Tote pattern three times already. Time to move on!

However, this Washi dress pattern may be used another time or two. It is so comfortable!! I have seen people make it as a tunic and it looks really cute. Possibilities, so many possibilities!

I hope that 2016 was a good year for you as well. The new year is just weeks away. I have some really exciting plans to tell you about but let’s save that for another post. For now, I am grateful for all that I learned this year and for all of the friendships that have occurred via this blog. I look forward to another fun year with each of you.

Linking with Meadow Mist Designs Best of 2016 event!

Pillowcases for Kids

I found myself with a bit of time to sew over the weekend. One of the people I follow on Instagram, Caroline or @stitchesbrew, is involved with foster children who are aging out of the system.  She has been collecting handmade items (mainly quilts and pillowcases) to give to these 18 year olds who are trying to make a go of it on their own. I think this is a very worthwhile effort and I am happy to support it. Eighteen years old is so young to be completely on your own and while pillowcases and quilts won’t make it easy, it will let the kids know that someone cares about them.

In an afternoon, I was able to put together three pillowcases for the kids. I used some sweet fabric that my sister gave me a few months ago. (You might remember reading about this but if not, here is the post.) Making these three cases hardly made a dent in the yardage she gave to me. I know she is happy that some of the fabric was used for such a good cause.

The large scale of the fabrics lends well to something like these pillowcases. I added a tiny stripe of Daysail by Bonnie and Camille to add a pop of color.

These pillowcases go together so quickly. I used the ‘burrito tutorial’ that was posted by Leslie of The Seasoned Homemaker. If you haven’t tried this method before, give it a try. It is foolproof and the results are very polished.

These are packaged up and ready to be mailed to Michigan. Hopefully they will bring a smile to the recipients.

Linking to my usuals. Please take a look at the top of the page under Link Ups.

Third Time is a Charm

You know I had to do it, right? This morning I made a third Open Wide pouch. I wanted to test out the ideas I laid out in yesterday’s post. Guess what? The worked out quite well (if I do say so myself).  For this pouch, I made the medium size again, with the pouch finishing at 6.5 x 6 inches.

The first change I made was to finish the end of the zipper prior to stitching it to the fabric. So much easier! Sewing this little 2×3 inch rectangle of fabric was much simpler without having the little pouch dragging around while I manipulated the zipper under the presser foot of the machine. Score!

The second change was to leave the lining open, or unstitched, while I boxed the corners of the outer fabric.  Again, much easier.

I had everything pinned together as normal and started on one side, by the zipper. I continued up the edge, across the width of the bag and down the other side until I was back at the lining fabric.  Then I was able to box the corners and could peek inside to see that the seams were lined up properly.

Once I had the two outer corners boxed, I finished sewing the lining together. I left the usual opening at the bottom of the lining and then boxed those two corners. Bingo. It worked just fine.

I forget what this fabric is even from, but isn’t it sweet. I love these little houses. I wish I had another piece, but I don’t…. such is life. 🙂 
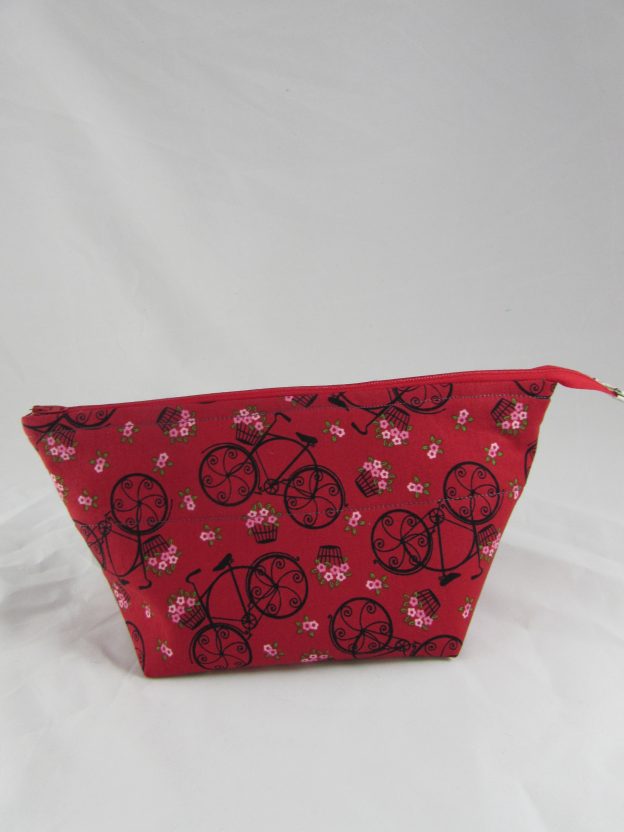
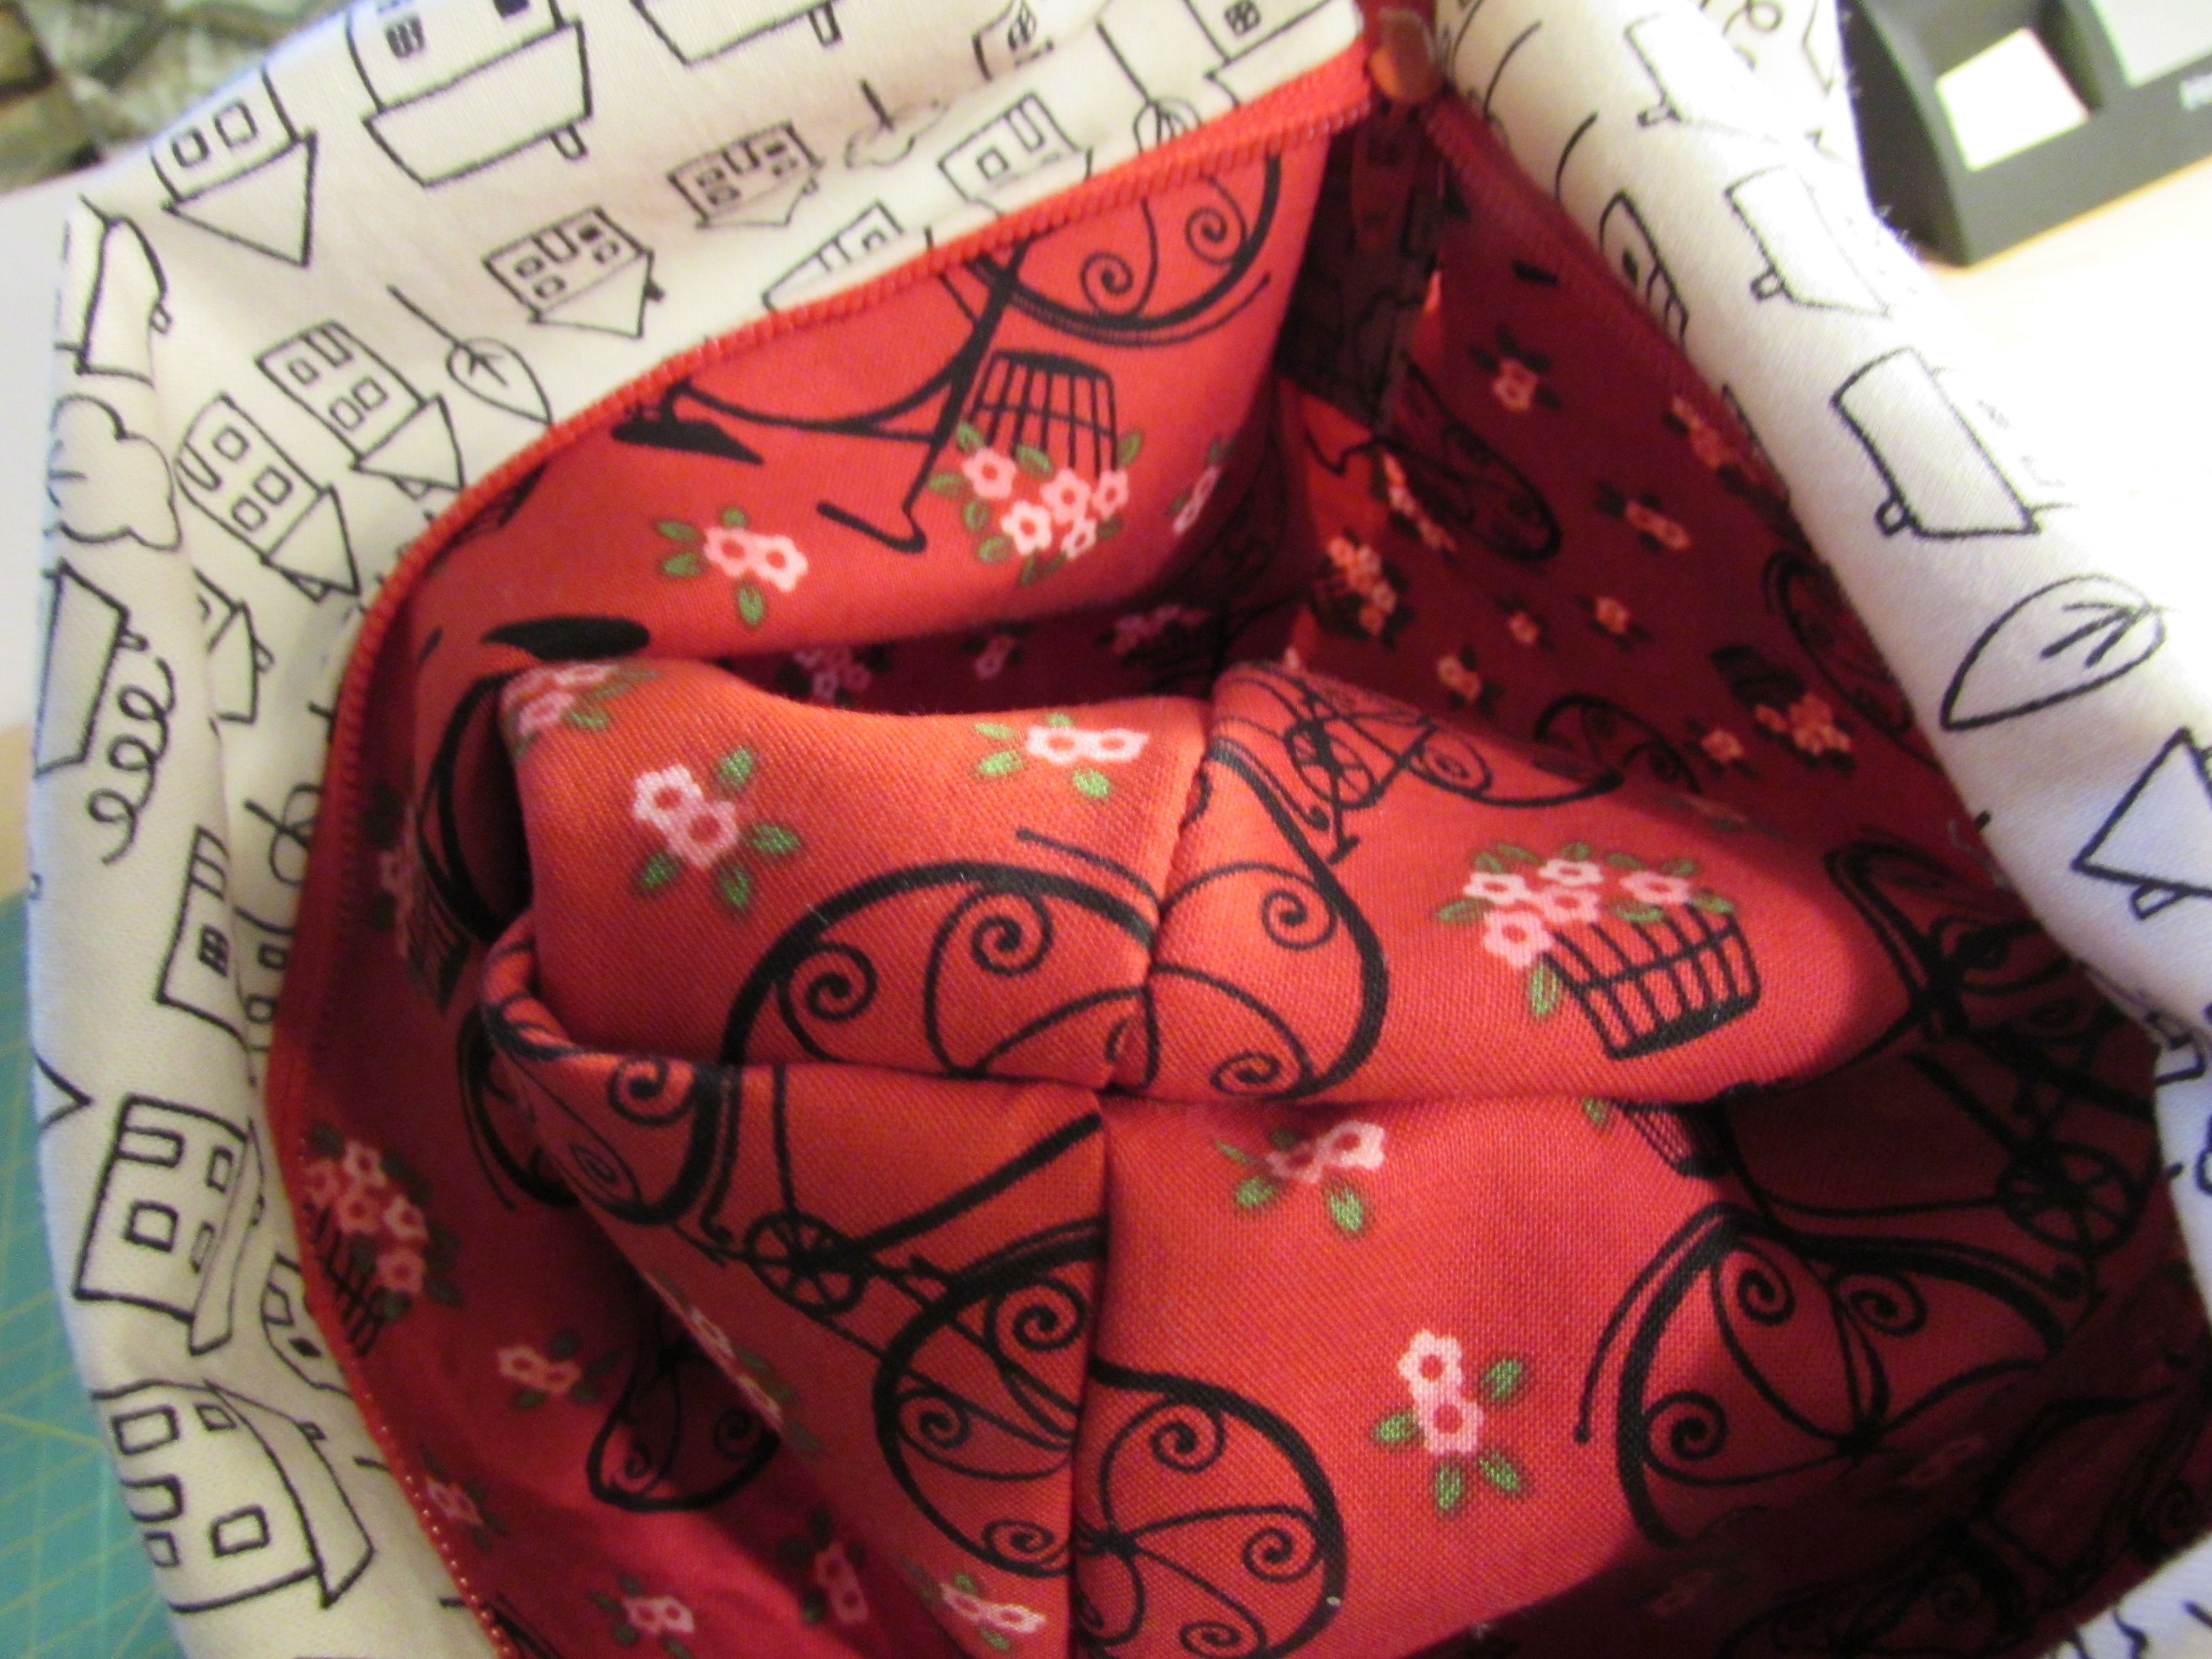
I think it is adorable with the sweet bicycles on the outer fabric.

Here is the finished tab once the bag was assembled.

While it isn’t perfect, it is much better than the first two attempts. Yep, practice certainly makes better. I think three pouches is enough. I need to move on to something else now.

But I want to share two more things before I finish up.  First is this silly picture of Julia. I love this picture. I think is is reminiscent of a grumpy Mrs. Claus the way she is peering at me above her glasses and the Santa hat is pulled down so low.  I think I took this when we were decorating the house for the holidays a couple of years ago. It makes me smile every time.

The next thing is the little wool Christmas ornament I made. I bought the kit when I was in Maine over the summer. It is really adorable. Nothing terribly difficult about it but I enjoyed making it. I like the little beads that were included with the kit. They are just the perfect amount of bling. 🙂

Ok, that’s enough for now! I have a pile of gifts to be wrapped so I had better get busy with them. Oh wait… I have one more thing.  Yesterday the power went out and it was a pain.  I had cookies in the oven baking, raw cookies on the counter waiting for their turn.  Julia ended up studying for her Chemistry final by candlelight and the flashlight on her phone.  It was only 4:30 in the afternoon but it was so gloomy out that the house was dark (and we have huge windows in this part of the house!)  Luckily it was only out for a couple of hours.

Julia finished her finals today (I am going to brag and tell you she got a 94% on that Chemistry final.) It is officially Christmas break. I am not sure if I will post much over the holidays but please know that I wish everyone a wonderful Holiday season, whichever way you and your family celebrates.

Linking to Crazy Mom Quilts.

Open Wide Pouch and Alison Glass Combo

Today was one of those days where I had plenty of things I should be doing but I sewed instead. I couldn’t get in the mood for anything on the neverending ‘to-do’ list. I just felt like sewing. Which is fine. I thoroughly enjoyed the afternoon. It is pouring rain outside; so dark and cloudy it looked like evening by 2:00 in the afternoon.

Last night, I decided to pull out my dwindling collection of Alison Glass scraps. You know I love her fabric – I have used it to make a mini for an Alison Glass swap as well as two purses. Yvonne, over at Quilting Jetgirl, has been playing with, sewing with, collecting and posting about Alison Glass lately and it got me in the mood. She is hosting a little Alison Glass celebration in January and there just might be a prize of a huge set of fat eighth’s to be won.  All of this set off a bit of an Alison Glass frenzy in my sewing room. 🙂

Thinking about what I wanted to make, I ruled out any sort of mini quilt or table runner. Rather, I wanted to make a tote or a zip pouch. I poked around on my Pinterest boards and found the tutorial for the Open Wide zip pouch from Noodlehead.com.  Anna Graham is the blogger and pattern designer behind Noodlehead. You might remember that I made her 241 Totebag three times over the past year. Her patterns and tutorials are wonderful. I really like the look of the Open Wide pouch.

I made two of them this afternoon. They are that simple!  The first one was the middle size pouch that measures about 6″ x 6 1/2″. I decided to have a different fabric for the base of the bag. The second pouch was made with the smallest measurements, finishing at 4.5″ x 5″. I really like the method Anna uses for these pouches. She boxes the corners quite deep which creates a very wide bottom of the pouch, in relation to the length at the top. Because of this, the pouches open wide.  This little variation is such a simple way to get this result.

I found two challenges with this pattern. The biggest of which (for me) was boxing the corners of both the outer fabric and lining fabric without being able to peek in and see if the seams were all lined up correctly. Anna’s instructions call for sewing the lining and outer fabric together, leaving an opening in the bottom of the lining to turn it right side out.  Prior to turning it right side out, you box all four corners. It worked, but I would like it better if I could see what I was doing. I think it might be possible to stitch the outer fabric and stop. Then box the corners while still being able to look inside and see that it is all lined up. After that, one would continue to sew the perimeter and finish the lining.  Boxing the corners of the lining doesn’t matter as much since they don’t show.  Of course, I didn’t think of this until after I completed two pouches.  😉

The second challenge is not a huge deal. Anna has the tail end of the zipper extend beyond the end of the zip pouch. It adds a nice touch to the finished bag. But I had a hard time getting a decent result. It was sort of fiddly and I ended up unpicking the stitches on each of them and trying to get a better finish.  They still don’t look great. I think I would play with this next time and try to come up with a different way to finish off the end of the zipper. It doesn’t look like it should be so hard but it was difficult for me to keep the little folds in place and move the zipper around, dragging the pouch along with it. I wonder if I could have finished the end of the zipper before I even began sewing the pouch together. Questions, questions…. I think I need to make a third pouch and test out these ideas.

Anna lists fusible interfacing as optional for the pouches. I used a fusible batting. I like the bit of heft it gives the bag. When I made the second one, I decided to quilt two horizontal lines on each of the pieces of outer fabric. It looks cute and will make sure the batting stays nice and flat against the outer fabric. Overall, the pattern is great and it was a fun project for this afternoon. I love the look of the floral fabric (from the Field Day line) and the deep blue fabric together. I got my Alison Glass fix and now I can move on to the next project!

If you are a fan of her fabric, you might want to join in with the Link Up that will be happening over at Quilting Jetgirl.  I think it is good that I made my project early. Yvonne will be hosting the event for the last two weeks of January which is going to be a busy month for me. My son is getting married on January 14th so we will have all sorts of fun happening in January and, most likely, my sewing time will be a bit limited.

Linking up with Crazy Mom Quilts and Confessions of a Fabric Addict this week. Links are available at the top of the page, under Link Ups. Also linking to the Bag It link party at Elm Street Quilts.

Here’s What’s Going On

Another Monday! The weeks just keep flying by. We are enjoying a sunny day today after an incredibly rainy weekend.  It was looking like we all might float away on Saturday. I think we got over five inches of rain which, for us, is a huge amount in a day’s time. Our basement took on some water but luckily Ray is good about keeping things that matter up off the ground. No damage to anything, just a mess.

We hunkered down on Saturday and enjoyed the rain. Then on Sunday we picked out our tree. Julia and I decorated it between her study sessions for this week’s final exams. Look – we are all Christmasy now!

Sunday was also the day that my kitchen sink decided to clog up. Not a whole lot of draining going on in there. That’s why we have plumbers. I have a call in and they are supposed to come late this afternoon. Kind of yukky but not a huge deal (as long as he can come today.)

This morning I had Julia pick a number between one and 262 for the winner of my Sew Mama Sew giveaway. Lucky Amanda is the winner of the bundle of three half-yard cuts. After a quick run to the post office, the package is already on its way to her in Texas! Thanks, everyone, for participating in this event.

Speaking of packages, look at the bundle of beauty I received last week!  This is my second installment of a gift subscription to Pink Castle’s Color Inspirations club. It is just as gorgeous as last month.

I think the blue piece in the center sets this grouping over the top. It will add a beautiful bit of depth to the project. Makes me really excited to use it.

The only sewing I have going on today is a few sets of burp cloths for my shop. I had a these sweet pieces of flannel from Connecting Threads that were calling to me. I couldn’t ignore that, right? The colors are wonderful. I made sure to prewash so I could check for any color bleeding issues. But all three were fine.

I think I will spend an hour wrapping gifts before Julia needs to be picked up. May this Monday allow you at least a few minutes in the sewing room and a kitchen sink with a clear flowing drain!

I will be sure to link up with a few bloggers – check them out at the top of the page, under Link Ups.

The Busiest Time of the Year

Tis the season  to be busy, right? This week has been packed with a variety of things. Much of my time has been centered around my Etsy shop. I have had a nice number of sales so that means packaging and shipping items. I greatly enjoy this, so it’s all good.  I decided to start including a little freebie with my orders this year. I made a bundle of little book marks with cute buttons, large paperclips and a bit of hot glue. What do you think?

I get a kick out of getting the shipments ready. For one thing, check out the cute dispenser for the twine that I use to wrap orders. 🙂 I love it – I received it as a birthday gift from my father-in-law a couple of years ago. Secondly, I love helping my customers.  This week I did a custom Chemex cozy for a customer who wanted rooster fabric. Love the colors in this piece of material.

Besides Etsy work, I have done about 75% of our Christmas shopping.  I am feeling pretty good about my progress up to this point.  I have a strong hatred for shopping malls and have thus far avoided stepping foot in one. It remains to be seen if I can finish without hitting the mall but so far, it’s looking good! I also found a dress to wear to my son’s wedding in January. The wedding is in Toronto, Ontario so we will be trekking to Toronto in a few weeks.  As always, when they announced their engagement a year ago, it seemed like it would be such a long wait for the wedding. Then, suddenly, we are a few weeks out. Crazy the way time buzzes by.

Truly, I have spent very little time in the sewing room this week. I did make a little fabric bucket for a gift.  I think I have mentioned that Julia joined 4-H this year. She wanted to learn about raising market hogs to show and sell at the county fair. It has been quite a project for her. She is committed though and has made time for the meetings and is learning all a girl needs to know about market swine!  Ray is reinforcing an existing pen on our property and Julia is helping. They have been setting posts and running wire fence.

I have been very impressed by her 4-H leader for the swine group.  Tracy puts in a lot of time with these kids and it will be even more once their piglets are born. (Julia should bring her piglets home in late March or very early April.) I wanted to give her a little gift for the holidays. I searched for Christmasy pig fabric and wouldn’t you know… there is such a thing! I wasn’t terribly surprised. I think there is fabric out there for everyone and every possible theme!

Aren’t these guys the silliest thing ever?  It cracks me up. I lined it with a vintage holiday print I had in my stash.

I made the bucket with two 11″ squares of fabric for both lining and outer fabric. I fused a thick fusible interfacing to the outer fabric before sewing this up.  Once I fused the interfacing, I sewed the perimeter of the two outer fabric squares, leaving one long side open.  Next I boxed the corners. Then I repeated the process with the lining. However with the lining, I left an opening of three inches on the bottom seam so I could turn it right side out when I sewed it together.  Nest the outer box inside the lining box, with fabric right sides together and stitch around the top. Turn right sides out and press. Hand or machine sew the opening in the lining.  Fold the top over to the outside and you’re done!  If you want pictures or more detail, this tutorial from Dear Handmade Life is quite good.  The size of the bucket in the tutorial is much bigger though.  Mine finished at 5 1/2″ square – so basically at 5 1/2″ wide, tall and deep. Perfect size to fill with a few treats. Perfect gift for any pig lover.  🙂

I have also been making blocks for the Sew Fresh Quilt Bee, hosted by Lorna of Sew Fresh Quilts. I have two finished but haven’t taken any photos yet. I’ll show them to you soon. They are very cute, improv log cabin blocks.

Ok, that is it for now.  I have to pick up Julia soon. She is in the midst of finals and has been studying like crazy.  She has a few more next week so she will likely have her nose in her Chemistry book all weekend.  Ray and I will drag her away to pick out a Christmas tree but other than that, I doubt very much that she will be doing much besides studying.  Have a wonderful weekend everyone.  Remember that my giveaway for Sew Mama Sew’s Giveaway day is open through Sunday evening, December 12th.  Pop over and enter.  Be sure and head over to Sew Mama Sew as well. There are so many fun bloggers participating in this and tons of great giveaways!

Finally, C&T Publishing is having another $5.00 blowout sale this weekend. Of note, they are offering adult coloring books for $5.00 – buy one get one free.  So, two gifts for $5.00 plus shipping???

My favorite of the books is one by Valori Wells. She designed the amazing elephant fabric that I made a whole cloth quilt from recently.  If you were as smitten with that fabric as I was, this might be fun for you! There are several nice books listed on sale this weekend.

(Note:  I am an affilliate of C&T publishing and will receive a stipend if you click through my site and order from them.)

Sew Mama Sew Giveaway 2017

sms-giveaway


Happy Holidays everyone! Today is a fun day in the crafting and sewing blogger world. Giveaway Day has been hosted for several years at Sew Mama Sew. Last year they did not host it in December and I really missed it. It is great to have another opportunity to provide a fun giveaway for my readers and to enter to win at lots of other sites!

If this is your first visit to Needle and Foot, welcome! I have been blogging for about 2 and 1/2 years and love it. The community I have come to know via this blog is just wonderful. The majority of my posts are about quilting and fabric. Sometimes I throw in little bits and pieces about my family life and many times I will talk about thrifting and upcycling; something that is near and dear to my heart. Because I love to read, I host a book sharing event every few months. If you are a book lover too, you can read about those here and here. The next event will begin in the beginning of January. To learn more about me, click here.  If you would like to read some of my favorite posts, you will see some suggested links on my About Me page.

Quilting and sewing are a constant work in process. I have been sewing for 45 years now and quilting non-stop for the last five years. Sewing is both my creative outlet and a calming influence in my day to day life. I have an Etsy shop where I sell handmade items as well as fabric (vintage and current) and sewing patterns. My customers are so important to me – I love to help them get just what they are looking for (whether it be something I made or a certain pattern they need.)

img_1562

Let’s move on to the giveaway! I have three 1/2 yard cuts to offer as a gift to a lucky reader. These three pieces are from the line called Lily, designed by Alice Kennedy for Timeless Treasures. I love the muted tones in this line.

img_1561With three cuts at 1/2 yard each, you will be well on your way to a sweet quilt.  To win this bundle, please leave me a comment. Tell me how much of your holiday shopping is done at this point in time. As for me, I have done So. Very. Little!  Yikes, I really need to get going. Usually, I am an early shopper as I am not a fan of crowds. So to reach the 7th of the month and have only a few gifts purchased does not bode well for me!  If you are a follower of Needle and Foot, whether it be on Facebook, the blog, or Instagram, leave a second comment telling me how you follow. That will count as a second entry. This giveaway will be open through Sunday, December 11th.  I will announce the winner on Monday morning, December 12th! Due to the cost of postage, this giveaway is open to residents of the US only. GIVEAWAY IS NOW CLOSED.

Finally, I want to say that with regular posts (not giveaway days) I try diligently to respond to all comments because I truly enjoy that interaction.  But with giveways I can’t do that due to the quantity of comments. I hope you will understand! I do read ALL of them though – good luck and enjoy this event!

Most of all, thank you for stopping by for a visit. I hope you have a wonderful holiday, in whatever way you choose to celebrate.

Giveaway Winner and a Smile

Good morning!  First order of business – I used our friend, Random Number Generator, to pick a winner for the 2017 Quilter’s Planner. The winner is………. Patricia!  Her tip on organization was:

I try to group items by use. I have one drawer for hand sewing notions,one for sewing machine items. The cutting table top drawer has rotary cutters and blades etc. I have a travel bag with duplicate tools for workshops that stays packed.

I like the idea of having a separate bag of tools for traveling to workshops. That would be really handy rather than packing up each time you take a class. Congratulations Patricia. I have sent an email to you. If you have a minute, take a look at some of the comments on the Giveaway post. There were many great tips submitted for staying on top of things in the sewing room (as well as life in general.)

Next up for today is something to make you smile. My niece, Lil, teaches preschool at a Catholic preschool in the Bay Area.  You might remember Lil from my post about a tshirt quilt I made for her a couple of years ago. Every now and then, Lil will send her mom (my sister) texts or pictures of things that happen while she is working. My sister then sends them out to the rest of us (my sisters & my parents) and we just love it.

Yesterday, Lil sent a great one so I want to share it with you.  Being Christmas time, she is working on a basic unit about the Christmas story. Below is the sample project that she had the children making.img_4094

As it should be, Lill’s students make their own artwork. Each one is working to his or her current ability. Here are the resulting projects.

img_4093

I think this bulletin board is filled with all kinds of adorable!!  Poor baby Jesus –  it would appear he is having a bit of trouble with his manger. I looked at this a number of times yesterday and smiled over and over. I thought you might enjoy it as well. The project in the bottom, lower right corner is so cute. Baby Jesus appears to be underneath the manger. 🙂 I love the preschool ages, when children are so uninhibited and sweet. I have more than one box of projects from my four children. It is so hard to toss them. I think it would be great to scan them and save them digitally so I could get rid of the boxes. Maybe someday…

Ok, that is it for today. I am off to finish binding my Fleet & Flourish project!! Have a great day.

Fleet & Flourish- A finish

Fleet and Flourish is a gorgeous line of Art Gallery Fabrics designed by Maureen Cracknell. I was lucky enough to receive a set of fat eighths of this line from my kids for my 2015 birthday. It was one of the monthly shipments of the fat eighth club at Pink Castle Fabrics. (Pink Castle never disappoints!!) I love this set and really had a tough time cutting into it. But that is so silly. What good does gorgeous fabric do for me if it is sitting up on a shelf in the closet?

img_1549

I decided to use it to create a mid-size quilt; either to be used as a baby quilt or a wall quilt. It has been a long while that I have looked at the large star quilts that float around Pinterest. I have several pinned and decided to pick one and make it. (If ever you are in need of ideas, you are welcome to check out the bazillion pins I have collected over time.) This was not the first star quilt I have made. Back in the early 1980’s I made a large star quilt for a queen size bed for my parents. unfortunately, I don’t have pictures of it but I remember it was navy, maroon, and cream colors. (It also faded terribly because of the large windows they had in their bedroom at the time.) I decided it was time for another one – though on the smaller side.

img_1550

I used the tutorial at Diary of a Quilter to look at dimensions. Her blocks were a bit bigger than mine. Having the bundle of fat eighths (which measure 9″x18″ each) set a limit to what size I could use. I cut 9 inch blocks and then sub-cut them into triangles. The four corner blocks were made with 8 1/2″ squares. After playing with the colors, I stitched the triangles together and squared them into 8 1/2″ squares.

This very simple project is a perfect use of this fabric as many of the prints have a bold scale such that leaving the pieces rather large shows it off well. Aren’t the colors just gorgeous? I am a huge fan of Maureen Cracknell and there isn’t a line of hers that I don’t love! As an added bonus, I still have a number of pieces left from the bundle. More Fleet and Flourish to play with!

img_8232

Once the star was built, I put a simple 2 1/2 inch border around it to make it just a bit bigger. I used my walking foot to quilt the star with soft, wavy lines. Then I stitched a couple of straight lines through the border. I think I may add one more line on the inside of the border.

img_8233

The border worked to enclose the star and to show off this scrappy binding.

img_8239

Doesn’t the binding just tie everything together?  For the backing, I used the same neutral fabric as the border. It is actually a batik fabric but doesn’t really look like one to me.

img_8236

At 36″ x 36″, this is a lovely baby quilt or would be pretty hanging on a wall. I have listed it in my Etsy shop and hope someone will snap it up soon.


Linking to my favorite places, all of which are listed at the top of the page, under Link Ups.