Monthly Archives: April 2016

Stepping Stones Quilt

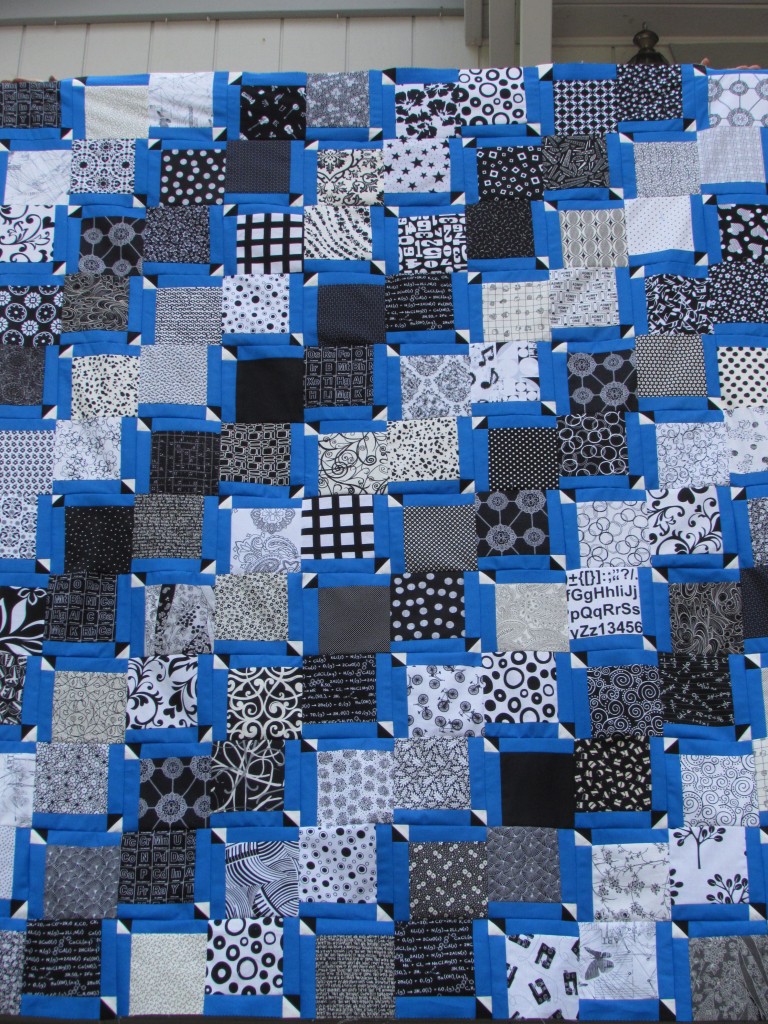
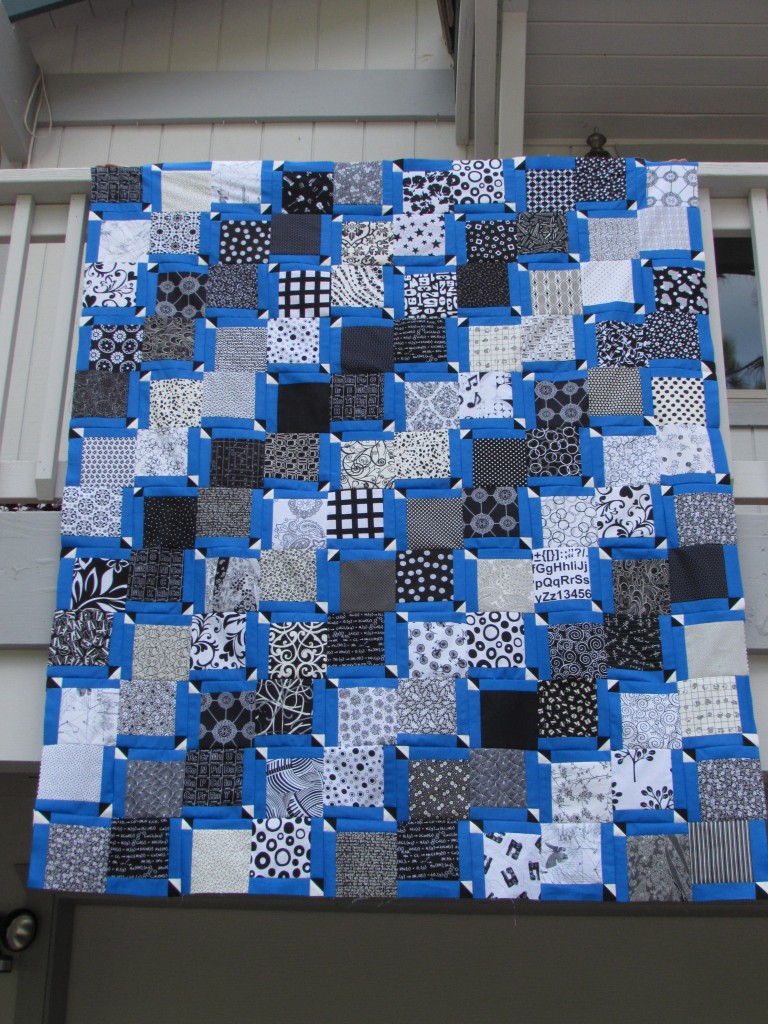
I am so excited about the progress made on my Stepping Stones quilt. I have been following along with Jennifer’s quilt along over at The Inquiring Quilter.  Jennifer did an excellent job with all of the explanations which made this a very fun project. The Stepping Stones pattern is simple which made the piecing quite easy. It was the number of blocks and tiny HST’s that took a while! Remember I chose to use a collection of black and white charm squares that I collected over the past couple of years. I chose a cobalt blue to trim the blocks with. It came together just as I had hoped!

img_20160424_4937

I made 143 blocks but only used 132 of them. Once I started playing with the layout, I decided that I didn’t want it quite as big as I had thought. I am sure I will be able to use the extra blocks for something fun. Laying out the blocks was a challenge. I wanted to be sure that the stepping stone effect was dramatic so I divided my blocks into light and dark values. There were many that were in between, in the medium value pile so to speak. It would have been good to have a few more in the darker shades. At any rate, playing with this number of blocks was a little crazy making.

image

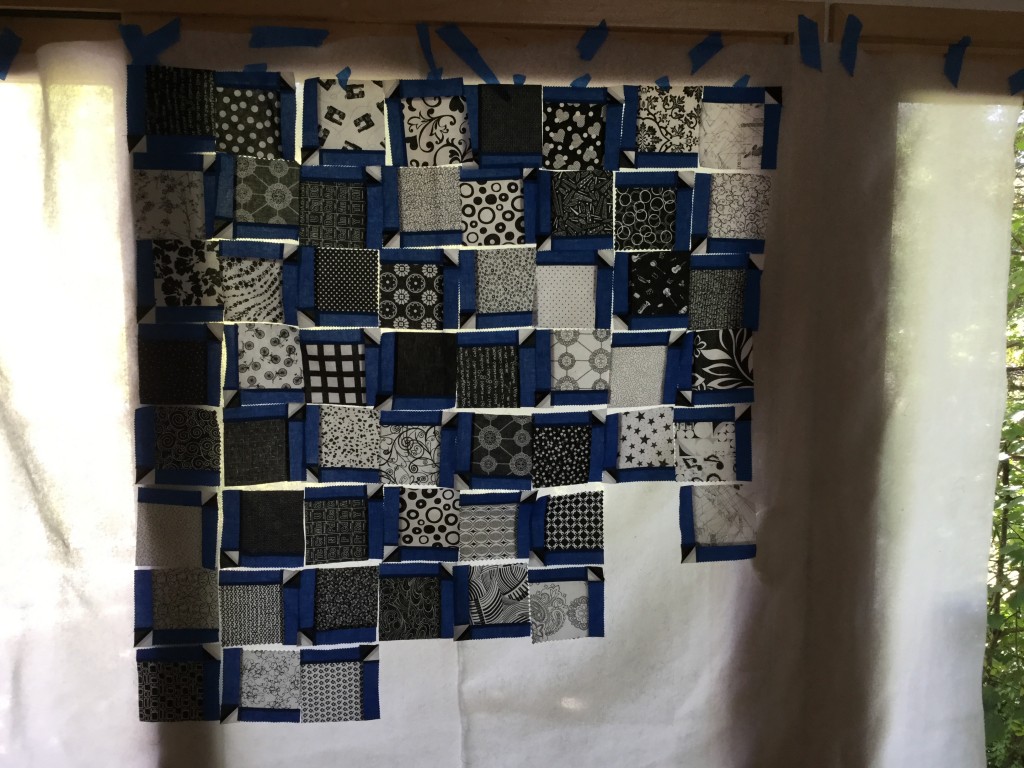
My design wall is small so it was of no help here. Because I really wanted to lay this out so I could look at it straight ahead, I decided to take a huge piece of polyester batting that I had and tape it to a wall for use as a design board. Hmmm… this was problematic in that I don’t have a lot of empty wall space. We have lots and lots of windows in our house. Hoping for the best, I taped the batting up over a window and began to play with the blocks.

image

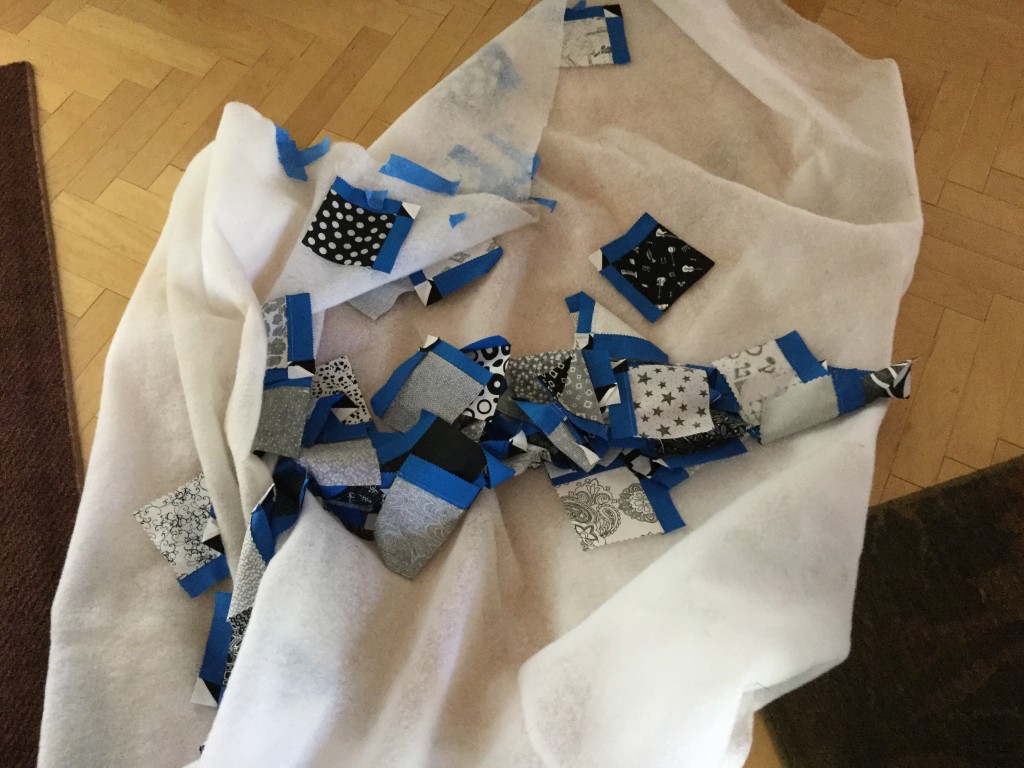
Let’s just say, things didn’t go well. Not at all! I had taped the batting to the moulding around the windows which left too much space between the batting and the window. When I put a square up, the motion of gently pressing it to the batting invariably caused one (or many) of the other blocks to flutter off.  Also, using poly batting was a mistake. It doesn’t stick as well as normal batting (like Warm and Natural).  Jeez! It was no time before this happened.

image

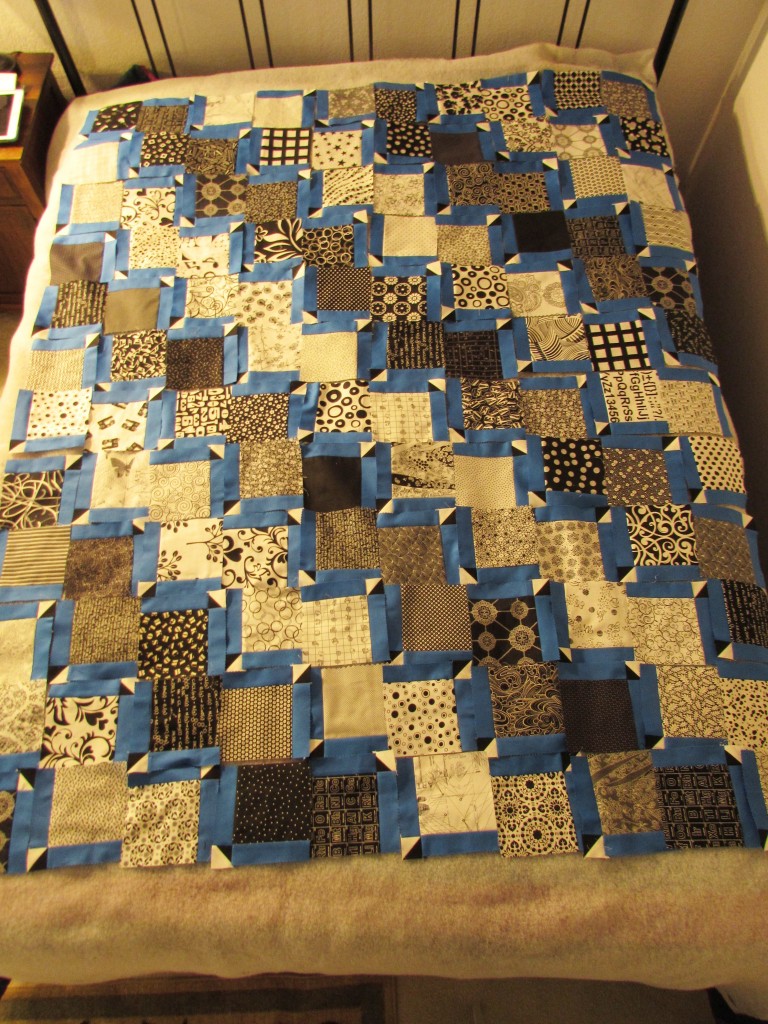
Everything came tumbling down. I gave in and went to lay it out on the guest bed. I have mentioned before that my spatial perception is hugely challenged. For the most part, I am unable visualize how something will turn out. I need to lay it down and keep playing until it works.  This was the next challenge in the process.  I used some cool text prints in this quilt and I wanted them to be placed in the same direction so all of the text read properly (e.g. not sideways or upside down). Seems like this should have been easy…. not so much. Can you see the text prints that are all going sideways here?

img_20160420_4878

I laid it out numerous times with the steps angling in one direction but each time, the text prints were sideways. Finally it made sense to me that all of the blocks had to angle in the opposite direction for the text prints to place correctly. So I picked up the blocks and reversed the placement which set the text blocks in the correct direction. It took a total of four attempts before I got the layout to work. A lesson in patience, for sure. At one point I was groaning and grumbling while working on this. Ray passed by and muttered something like, “how nice that you have such a satisfying hobby”.  😉

img_20160424_4936

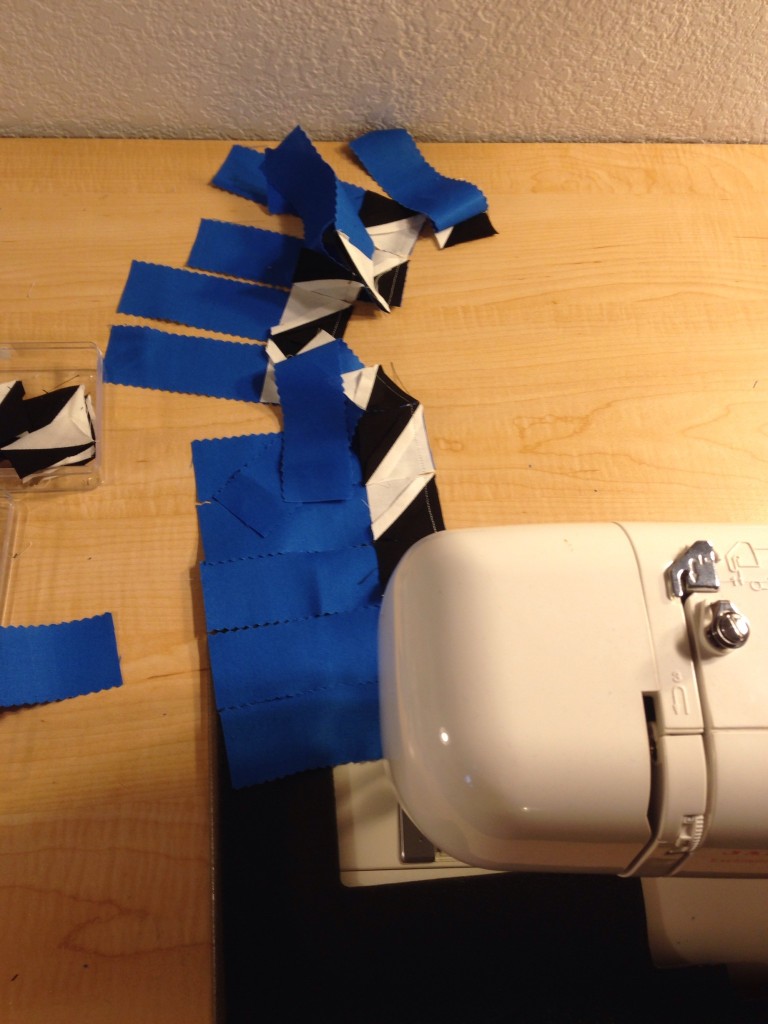
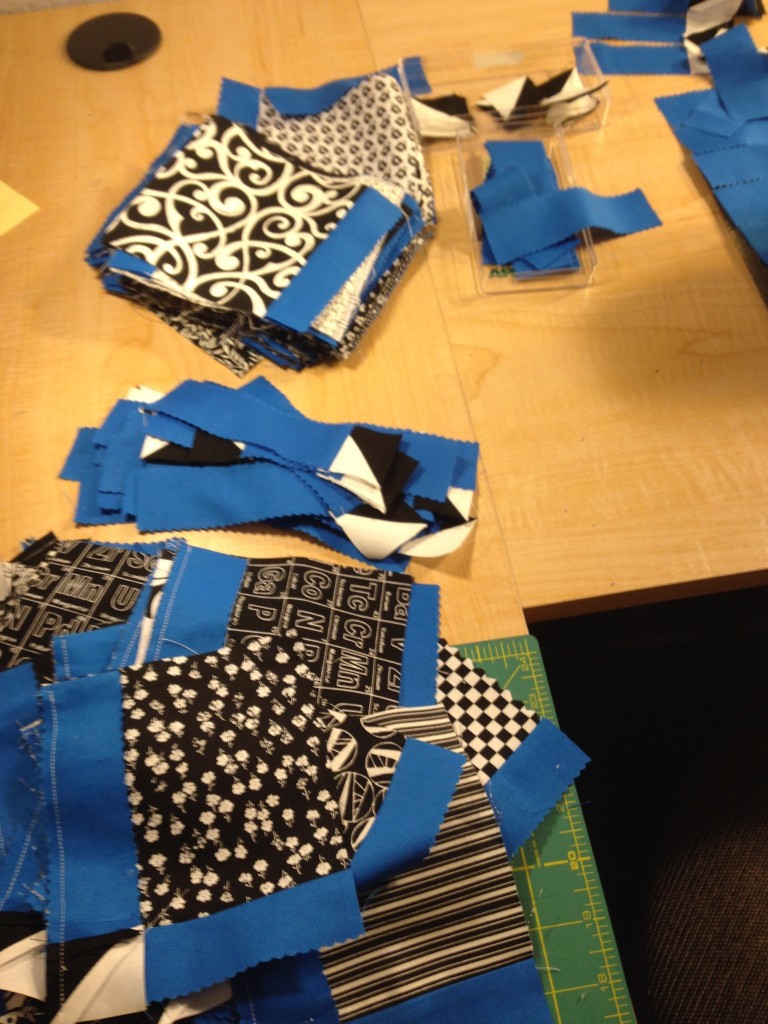
I loved making this quilt top. As is usually the case, I learned from it. The HST’s are solid black and white and finished at 1 1/2 inches – fairly small if you ask me! At first I thought I would try to orient them so that they all pointed in the same direction. This was even more crazy making than the text prints. Not long into the process of piecing the strips with the HST’s I gave up on that idea. It wasn’t worth the strain on my spatially challenged brain and I just sewed them in whichever direction they landed on the strips.

image

Chain piecing came in handy here. It made things flow much faster, especially since I wasn’t worrying about the direction of the points.

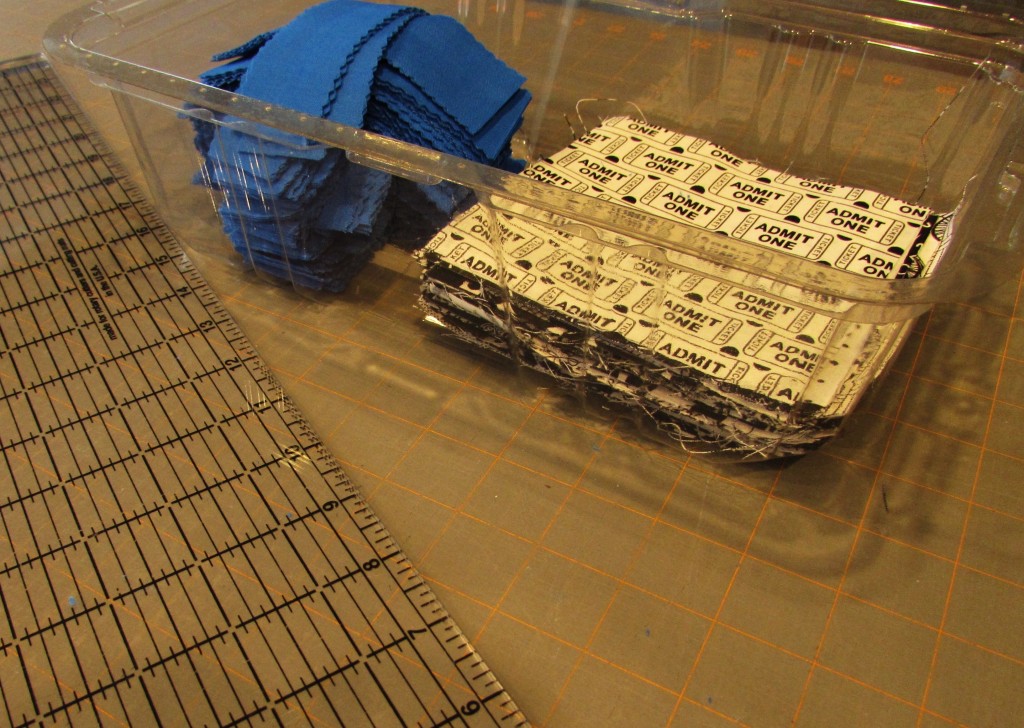
Here is one last tip that came about while making this quilt top. I had loads of pieces to keep together during the process.  I found one of those plastic bins that spinach and salad greens come in. It was a great container to keep everything together. It even has a lid that I could set on top when I wasn’t actively working on this.  Very handy and it is reusing something rather than throwing it in the trash. Win-Win.

step stones begins

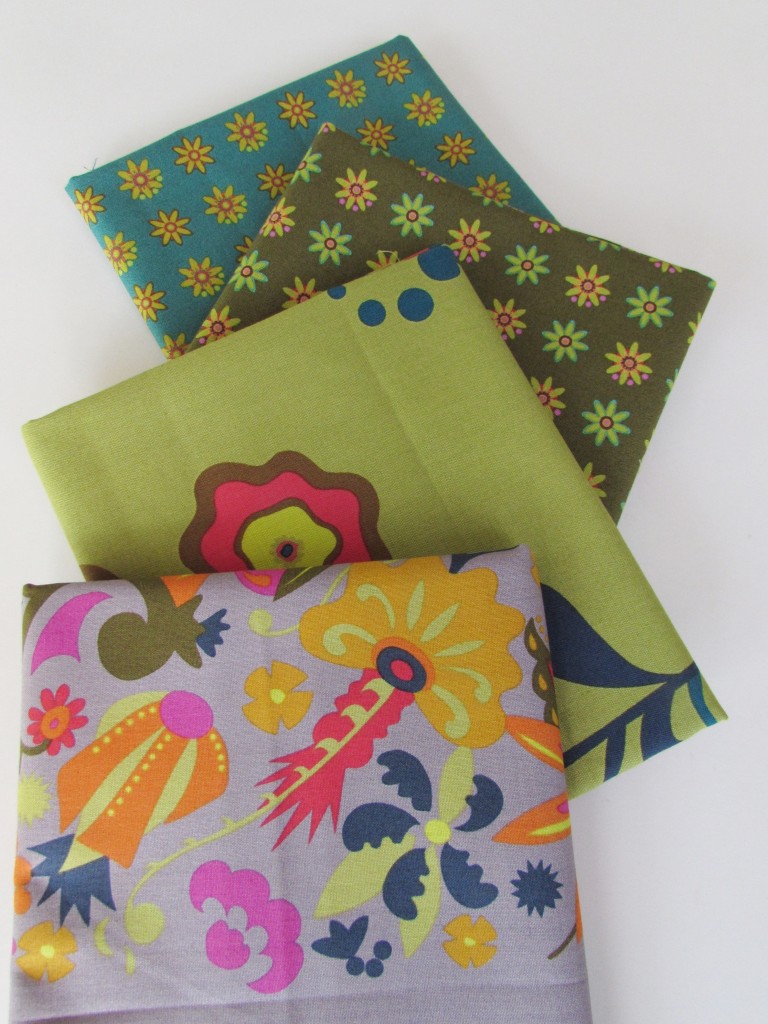
The next step is to prepare my backing. I am pretty excited about this part too! (Really amazing how little it takes to make me happy!!) I ordered the backing from Connecting Threads and chose a piece from the Good Neighbors line by Amanda Jean Nyberg. I love the colors, the price was so reasonable, and it works quite well with the black, white and cobalt blue of the top.

image

This fabric feels just wonderful. I am such a tactile person but I love when the fabric has that solid yet silky hand to it.  Off to prewash the backing and stitch it up. Then on to my least favorite task of quilting, basting the quilt sandwich!

Hope you are all finding time to sew a bit.

If you are finding the time and are in need of supplies, check out the sale this weekend at Craftsy.  Lots of deals to be had!

craftsy sale 4_29

(I am an affiliate of Craftsy, meaning if you click through a link on my page and purchase, I do receive a small payment.)

Linking to all of my favorites this week. Links are found at the top of the page, under Link Ups.

Oops!

oops (1)

Hi Everyone –

This morning a post that I had written earlier was accidentally published. It was a tutorial for reusable lunch bags. I wrote the post and then did some research and found out that the cloth I used for the bags was NOT food safe. So I unscheduled the post because I was working to find a different fabric to use. I planned to update the post with new photos and the new information but somehow it published early this morning. I am not sure how that happened but to my surprise, there it was first thing this morning!  Darn it. 🙁

At any rate, do not use oil cloth for this type of project. It is NOT food safe. I am on the hunt for fabric that will work but it is a challenge. I know it exists but I don’t know that it is available for retail sale. If anyone know of any, I would hugely appreciate it if you left a comment with the information.

Thanks for your understanding. I apologize for the accidental post!


If You Give a Quilter a Bargain…

On Tuesday I was running a few errands. Among other things, I ran in to Ben Franklin’s for a strip of velcro. I came home with this. (Plus the strip of velcro.)

image

Really, it was not intended! I was supposed to be picking Julia up from school so I was there not even ten minutes. As she cut the velcro strip, the clerk (who knows me well) suggested I might want to take a quick look at the flat fold table because there were lots of new pieces out. Ben Franklin’s always has a table with stacks of fabric folded (taken off the bolt). Frequently there are treasures on that table but you have to spend a bit of time searching. The majority of the fabric found here is traditional or novelty pieces.  Anything on the table is $5.99 per yard, a very good price.

img_20160421_4872

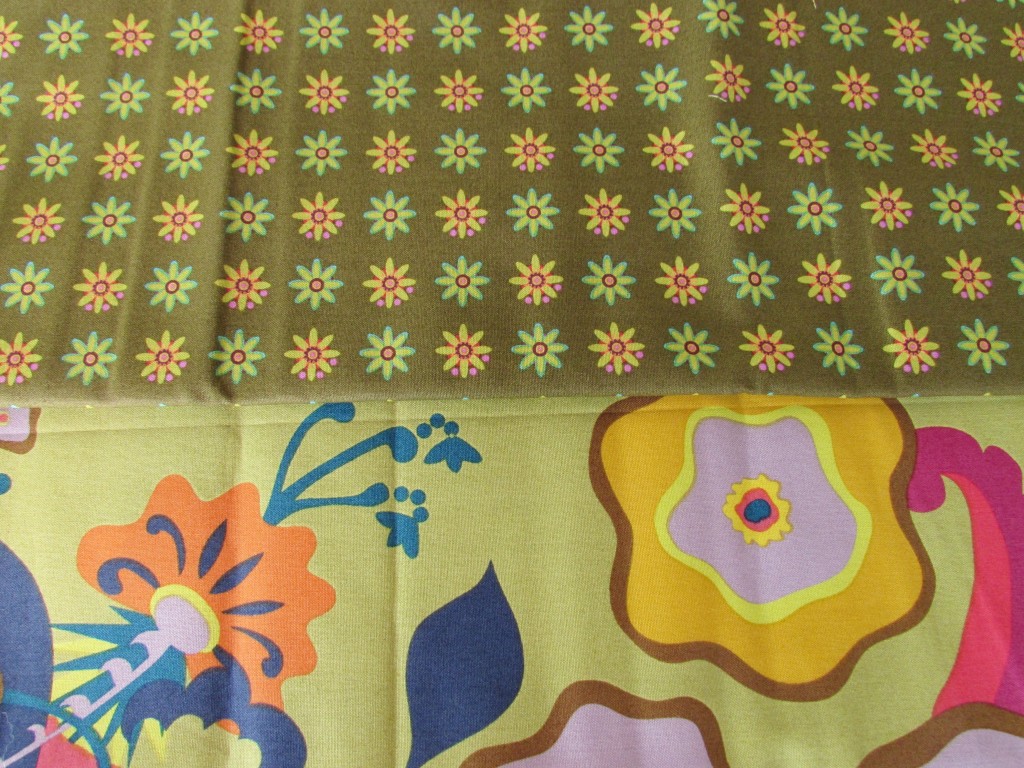
I immediately spotted a large selection of fabric from the Field Day line by Allison Glass. This is my favorite of all of her lines. It is an older one (2013) and for the most part isn’t readily available. Actually, Allison Glass isn’t available in Grass Valley at all.  When I did the Allison Glass swap last year, I had to drive to the San Jose area to get the fabric (300 miles round trip). I could have ordered it on-line but I really wanted to see the colors together. She covers such a huge span of the rainbow and I wasn’t sure which colors I was going to work with. It was a huge find to see these sitting on the flat fold table!

img_20160421_4873

I am using these two to make a 241 tote from Anna at Noodlehead. There are a few occasions coming up that I need gifts for. This will be perfect for one of them.

img_20160421_4877

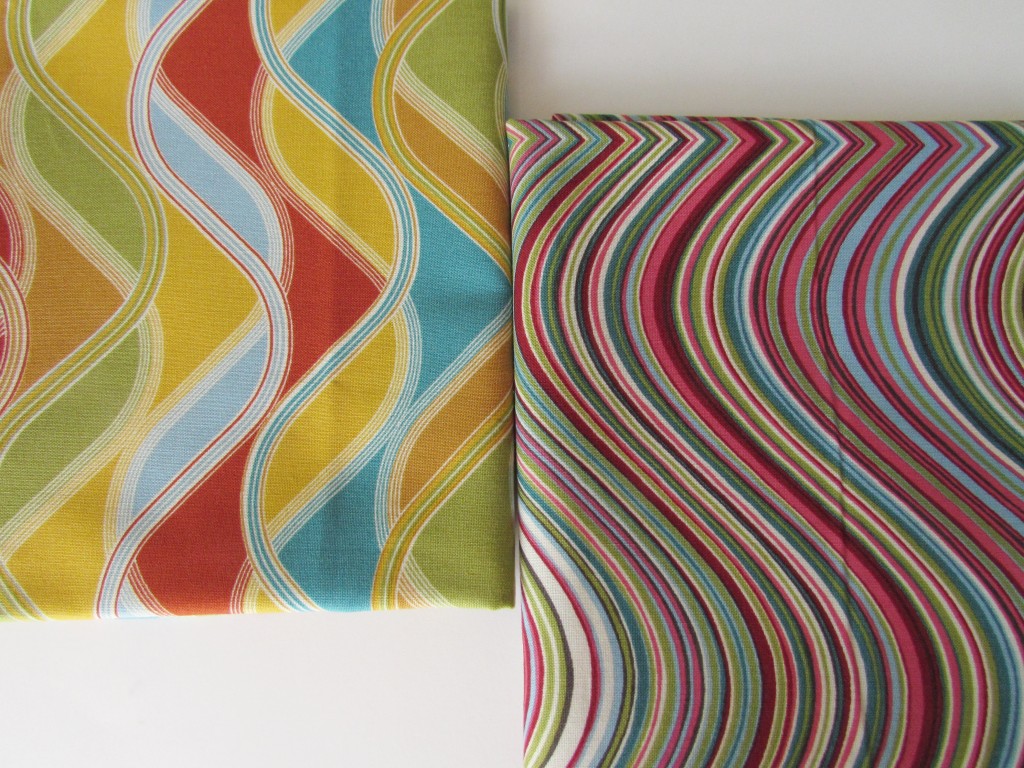
These two pieces are from the Vantage Point line by Robert Kaufman. Wavy Stripe Retro and Picton Patchwork will both be used for Chemex Cozies that I sell in my Etsy shop. I love both of them. Remember when you were little and got to make those Spin Art paintings? I always imagined that mine would look like the fabric on the right. Never got even close but those were fun to make. Julia still has one of those – maybe I should give it another try.

img_20160421_4876

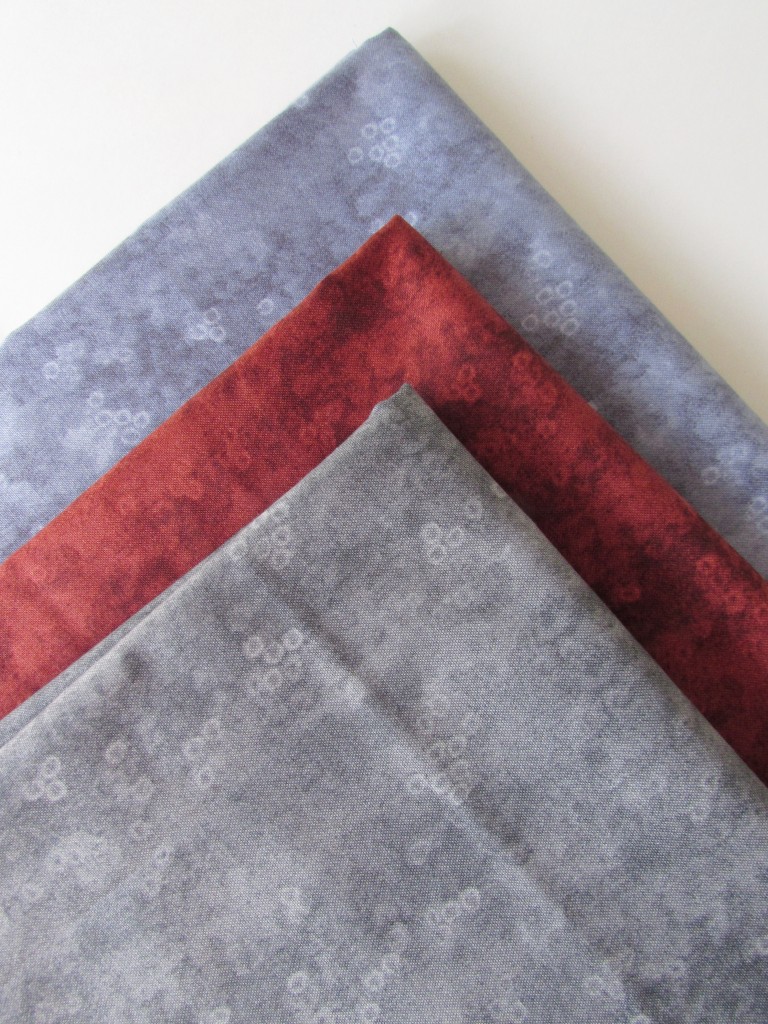
Look at the rich colors in this stack. Who doesn’t need a few new blenders in her stash? At $5.99/yard, this was an easy decision.

Here is the hard part. Oh, if only the story ended here. But it doesn’t. You know me, I am nothing but honest.

I bought the yardage from the Field Day collection and purchased the 241 Tote pattern over at Noodlehead the following day. Looking at the requirements, I found I was short one piece of fabric for the tote. Yes, I could probably have found something in my stash that would work, but I knew that stack of Allison Glass treasure was just sitting there at Ben Franklin’s. How could I not return? It was just one more yard…. (I know, I know.)

img_20160423_4915

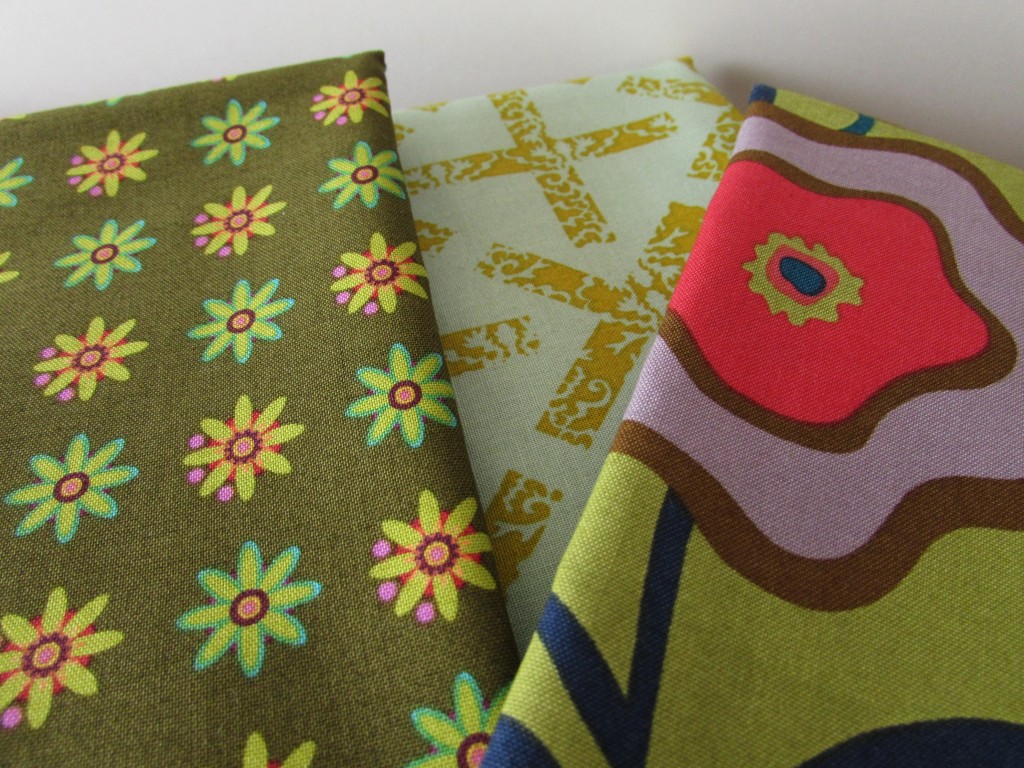
So I bought the piece in the center. Perfect. Now I had enough to make the tote.

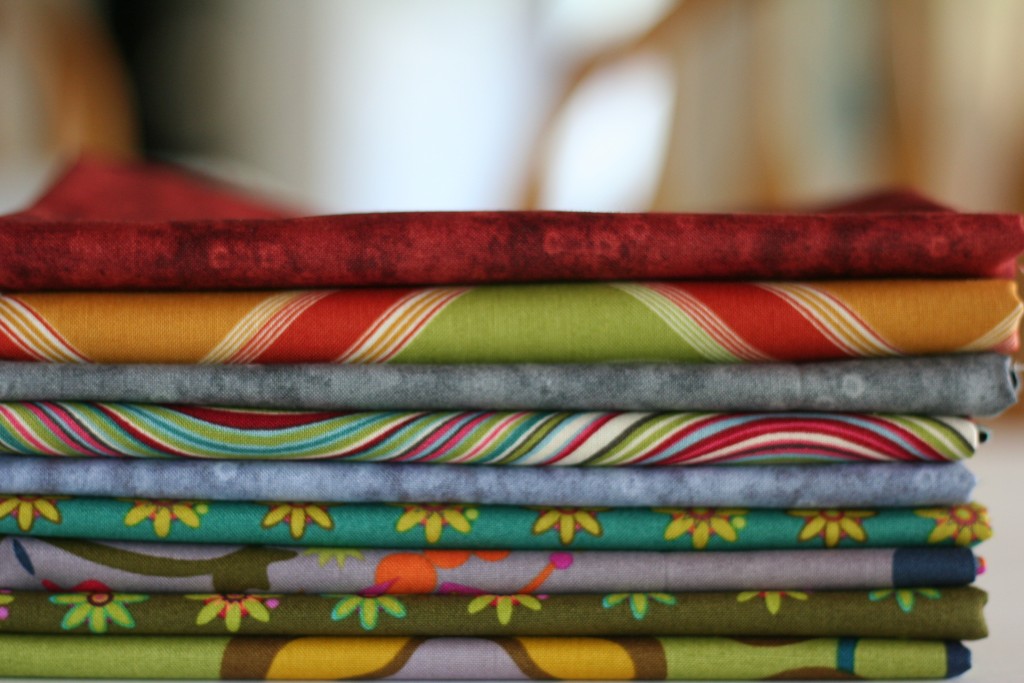
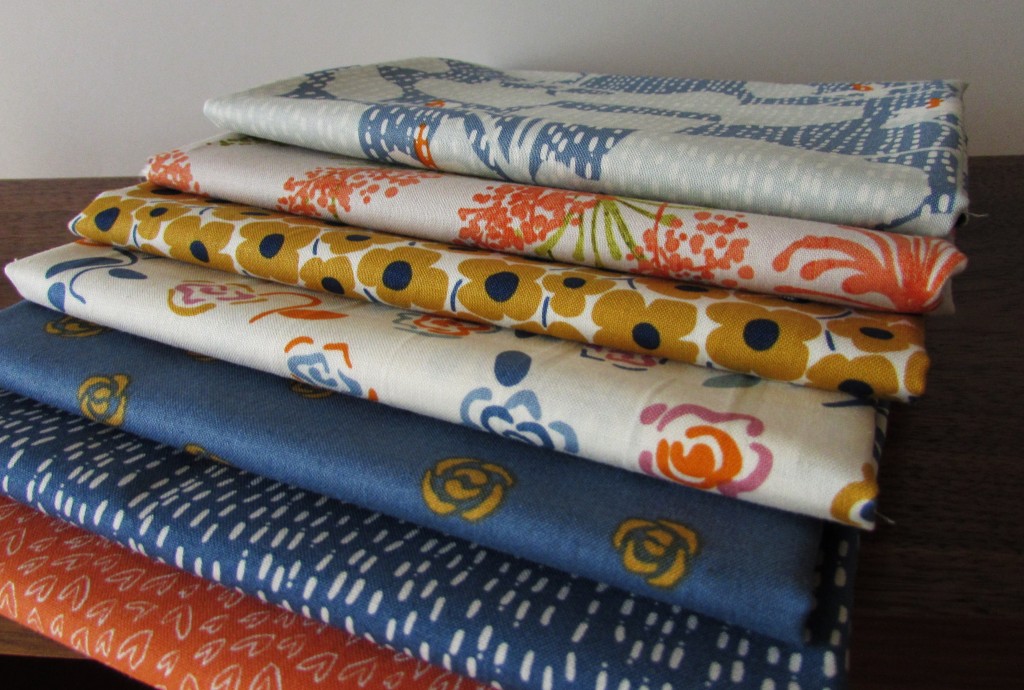
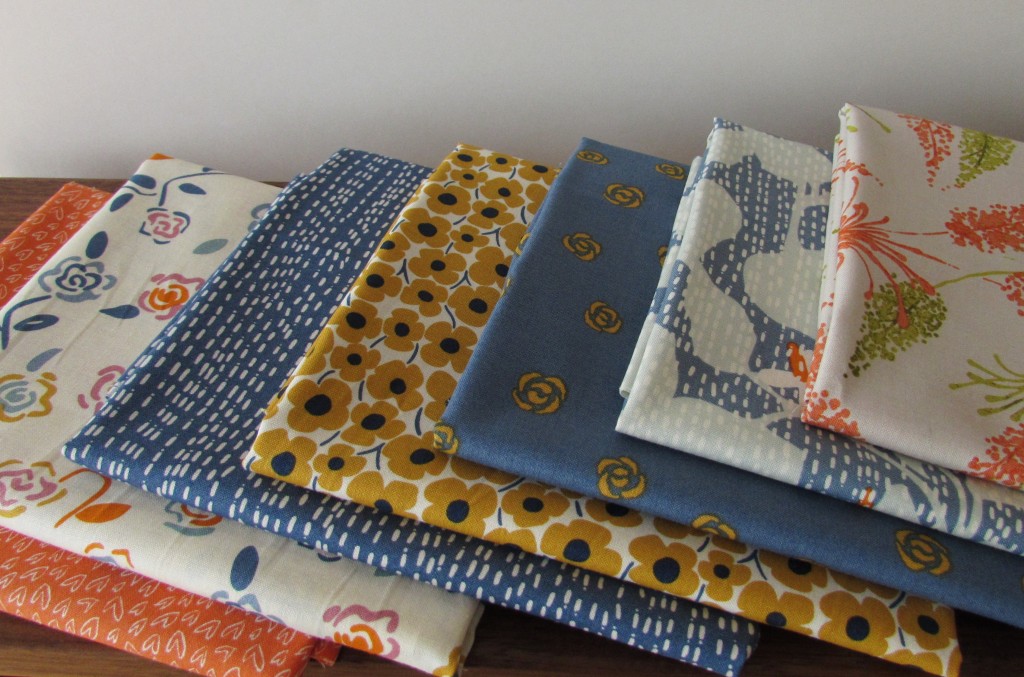
Guess what? When I pulled that piece out of the stacks of flat folds, you won’t believe what happened. There, in plain sight, was the nearly complete line of Asuka by Dear Stella. Which is just crazy – this line was only released last summer. What a treasure.

img_20160423_4912

It was amazing – a stack of Dear Stella just sitting there, waiting for me and for only $5.99 per yard!  I love this line – the colors are exquisite. Showing only minimal restraint, I limited myself to the seven pieces you see here.

img_20160423_4913


The piece on the top is not from the Asuka line. I am not sure which it belongs to, but I like the fact that it adds a pop of green to the palette.  Such a thrilling experience. 😉

I now have a total of three yards of Dear Stella to play with and spent $18.00. (I know, let’s not talk about the total cost of all of my treasures. I am minimizing the impact here.)

Remember the book, If You Give a Mouse a Cookie?  That pretty much covers this whole experience. Velcro, led to the Vantage Point pieces, then to Allison Glass, which took me to Noodlehead, which then looped me back over to Allison Glass and finally took me right on over to Dear Stella. Oh dear, dear, Dear Stella.

Linking to Sunday Stash over at Molli Sparkles and also at Main Crush Monday.


Lone Pine

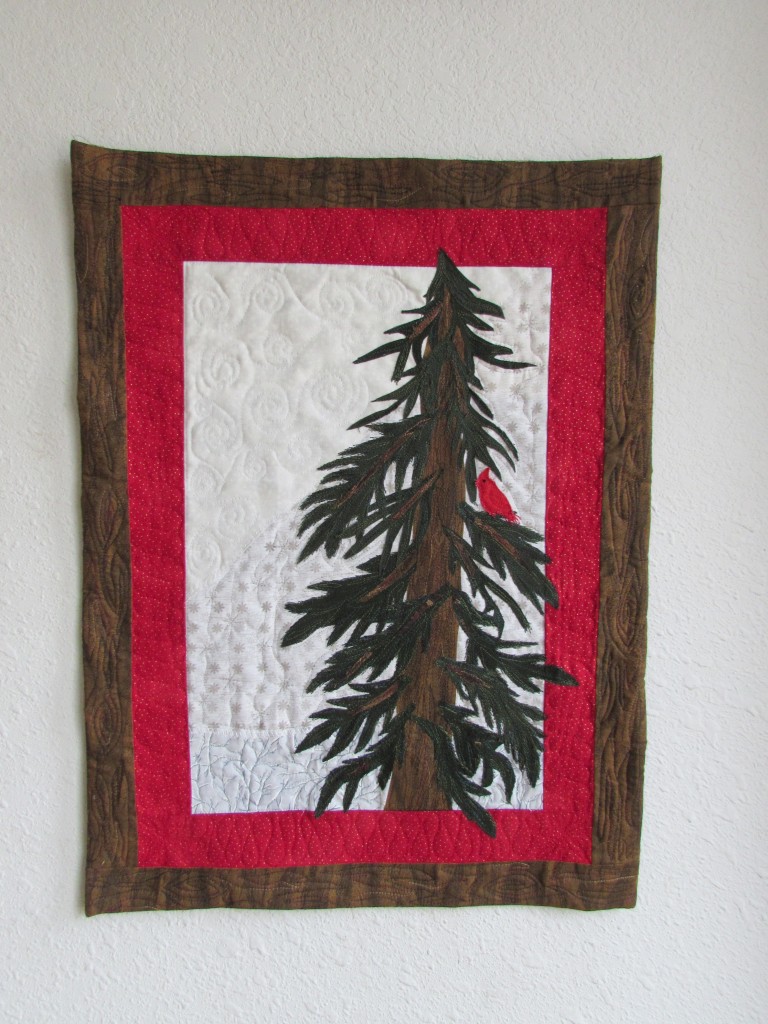
Last night I finished my Lone Pine art quilt. I am so glad I resurrected this UFO and finished it. Two years ago I pinned a lovely art quilt that is listed in an Etsy shop, Prairie Fiber Arts. I just loved it and I based my project on hers. Overall, I am very happy with the finish.

img_20160421_4886

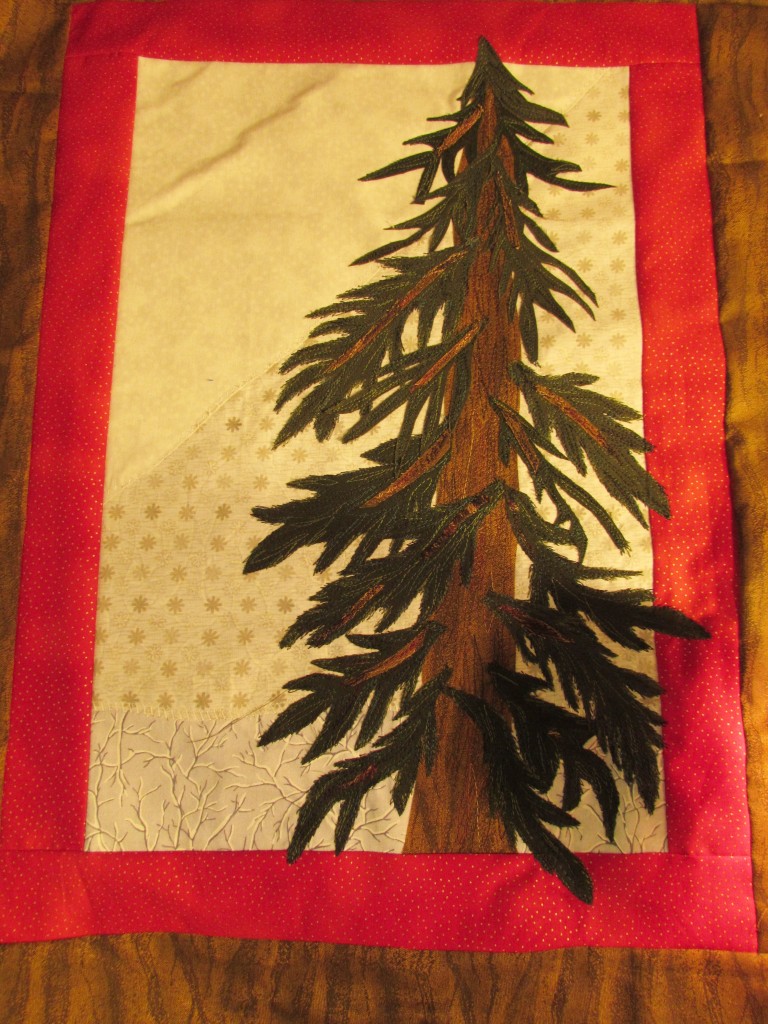
The background is pieced with three different low volume fabrics that exude winter. Once the background was pieced I added both the red and brown borders. I wanted to be able to let the boughs from the tree extend into the border. I fused some stabilizer to the back before I started any applique. Because I wasn’t exactly sure where I would be fusing the applique, I applied the stabilizer to the entire back side. You can see on the below picture that somehow I bubbled part of the background. Once I removed the stabilizer it all smoothed out.

img_20160415_4846

The stabilizer was problematic. It took quite a bit of time to remove it. I finally compromised and left a fair amount of it behind the tree. With the thread sketching, it was close to impossible to get all of the paper off.

Once the tree and my little cardinal were complete, I sandwiched top, batting and backing and planned my quilting. For whatever reason, I quilted the red border first and then worked the inside. I ended up with a pesky fold on the backing. It must not have been pin basted tightly enough.

img_20160421_4891

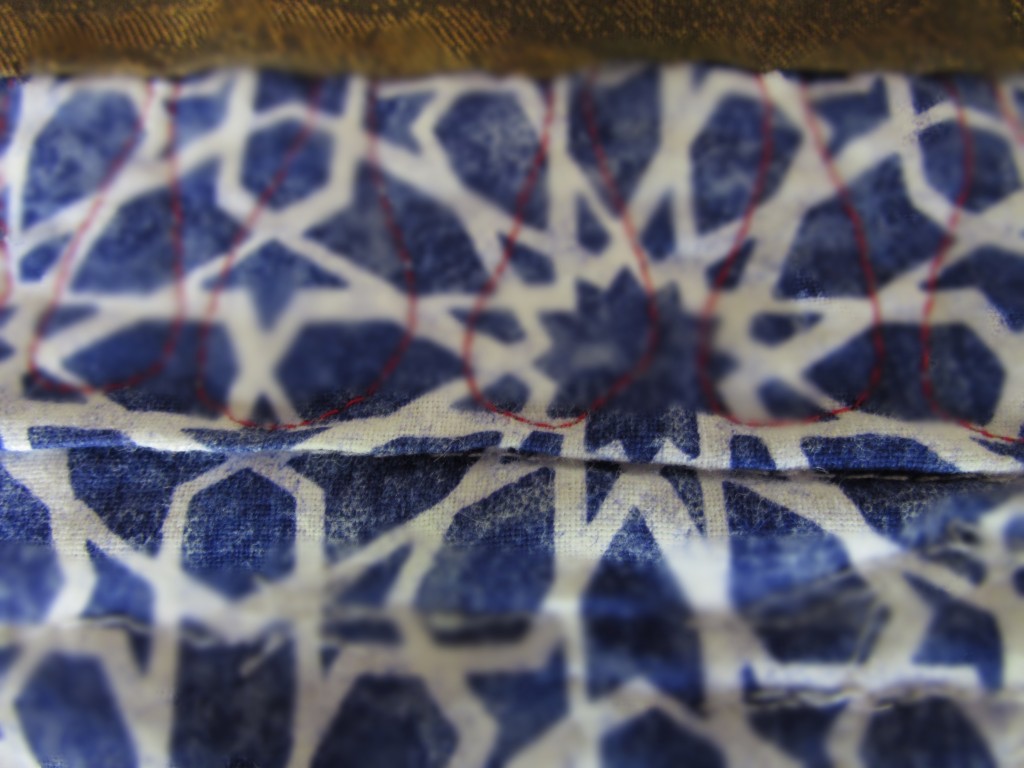
By the way, what was I thinking when I used this blue and white fabric for the backing. I know it doesn’t really matter, but every time I see the backing I wonder at my choice. Honestly, I think it was that I was so excited to quilt it that I didn’t even stop and think about the back. Yikes!

I am not going to list the negatives here.  Rather, I will celebrate what I love most about this piece.

img_20160421_4884 - Copy

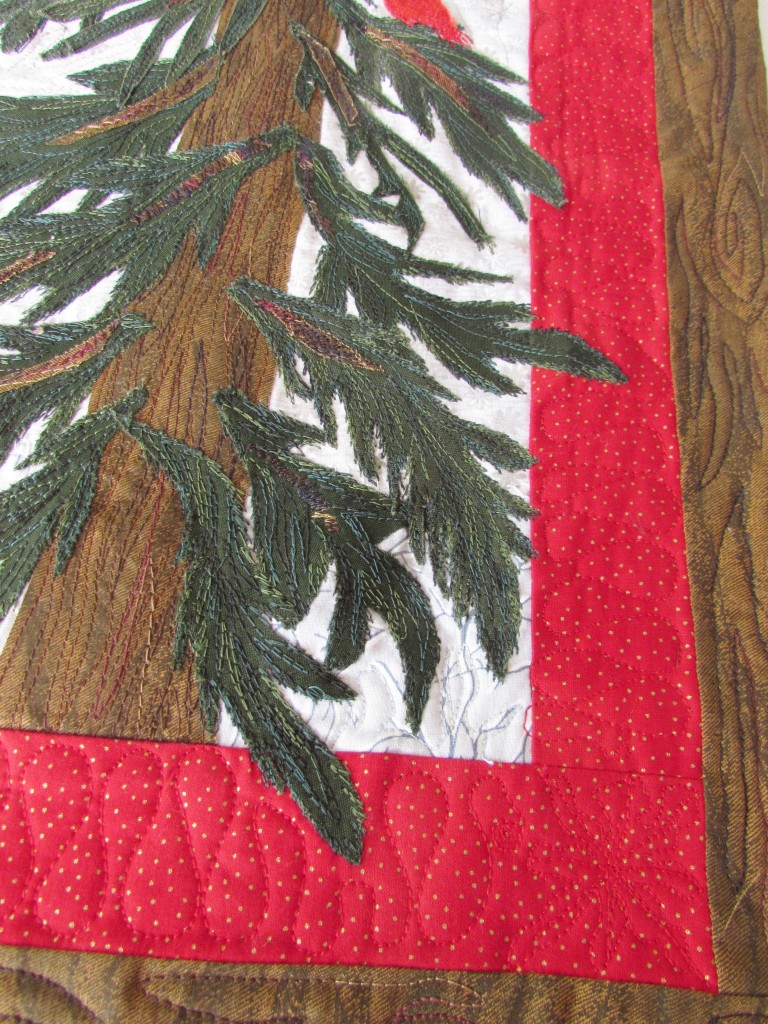
I love, love, love the thread sketching on the pine boughs. To give texture and color to the tree,  I used a variegated green YLI thread.  For the branch that makes up the core of the bough, I fused teeny tiny strips of bark and then thread sketched over it tightly. Again, I used a variegated brown YLI thread. I love the texture obtained with YLI threads. I also ran stitches up and down the main trunk of the tree. (I did most of that stitching prior to adding the boughs.I am also happy with the boughs that extend over into the red. I wasn’t exactly sure how to handle this when I was quilting the ribbons on the red. I made shorter waves where I had to. Rather than turn the corner with the ribbons on the red border, I stopped and made a little snowflake in each corner and then moved back into the ribbon motif. Hard to see with the red thread but I am pleased.

img_20160421_4882

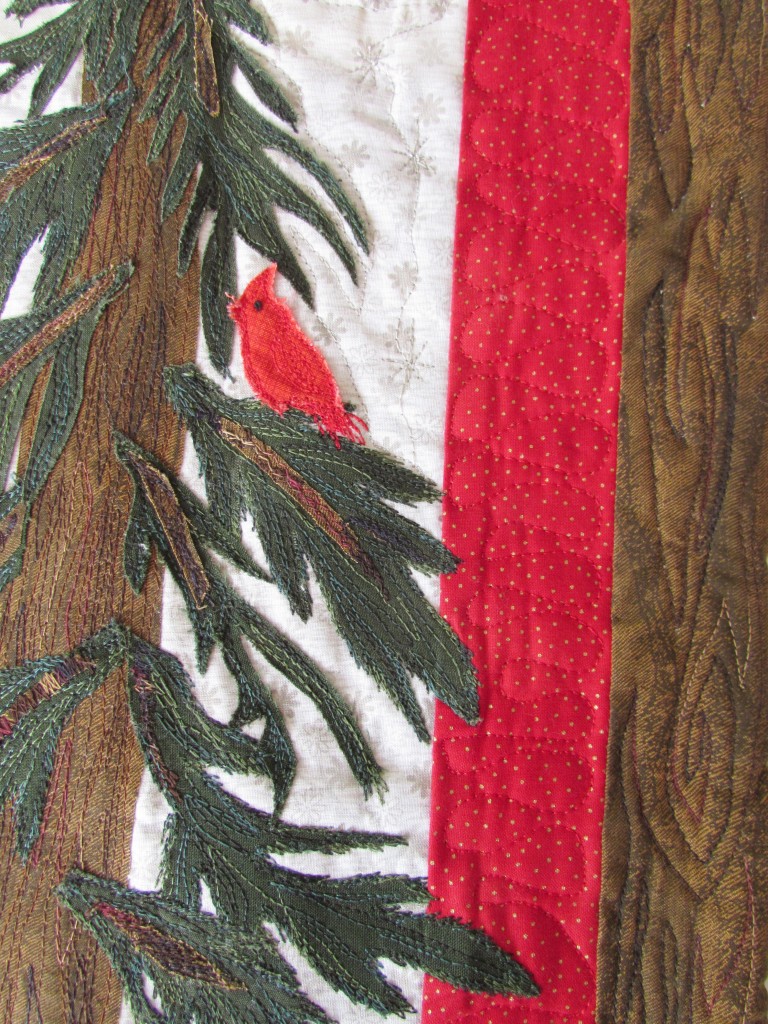
I love cardinals and we don’t get them at my house.  When we lived in State College, PA, we had many that would visit the feeder in the winter. They are such a pretty suprise. My little bird would look like any sort of bird and only by making her red did she become a cardinal. (Drawing isn’t my forte!)  On the outer border, I quilted wavy lines and did some pointy spirals to imitate the knots in a piece of wood. (Tutorial is available here from The Inbox Jaunt.)

It was an easy call to use a facing rather than a traditional binding on this project.  For those who haven’t faced a quilt yet, here is an excellent tutorial by Terry Aske. If you have not had the opportunity to look at Terry’s art quilts, please do. She is very talented!

This was so much fun. It makes me look forward to another small and satisfying project like this. The weekend is nearly here. We are supposed to have cooler days and maybe a bit of rain. Hope you all have a wonderful weekend.

Linking to Free Motion Mavericks, Finish it Up Friday, Off the Wall Friday, and Can I Get a Whoop-Whoop. All links are listed at the top of the page under link ups.


Using Incognito Mode

I learned something new this weekend and wanted to share it with you. When I am writing a blog post and using various links, I test them before I publish the post. In an effort to publish a usable bit of information for the reader, it seems best that the links work as intended, right?

When I was working on my review of Lori Kennedy’s “From Doodle to Design” class on Craftsy the other day, I was trying to test my links to her class on the Craftsy website. As an affiliate of Craftsy, I receive a small payment if anyone purchases something through my blog. Naturally, I wanted the links to work properly. 😉  The problem was that when I clicked through the link, it took me to my personal Craftsy account, not the main page that I intended to link to. This was because my Chrome browser was keeping track (as it is designed to) of my browser history and taking me to the last Craftsy place I had been.

I asked Ian (my youngest son) to test the link from his laptop. He was sitting at the table with me editing photos on his laptop while I was fussing with this. He suggested I open an “incognito” window and test it myself. I never knew this was even a “thing”.  Using Chrome, if you press Ctrl-Shift-N (all at the same time) it will open a new tab on your browser. This tab will be working privately, meaning it will not see your history, or cookies, that are generally available.  When I tested my link while “incognito”, it worked exactly as intended because I was testing from a clean slate, so to speak. Another way to use incognito browsing on a Windows computer is to click on the 3 thin lines at the top of the screen, in the upper right corner. The drop down menu will offer ‘New Incognito Window’ as a choice. That will take you to the same thing. Again, this window will not access your history so you have the clean slate I was talking about. Browsing the web using an incognito window also means that your history isn’t saved when working with this screen.

After learning about this ability to browse Incognito, I took advantage of it and tried to search for my Facebook page. I have the privacy on my Facebook page locked down fairly tightly. I wasn’t able to access it at all. That was good to see.

Could be that this is old news to you and I am late to the party here, but I am happy to add this to my process when I am proofing a post before hitting the publish button. Hopefully it will help you too if you hadn’t already heard of this.  If you have questions, leave them in the comments and I will find an answer (probably by calling Ian but still….)  🙂

Linking up with Stephanie today over at Late Night Quilter. Come take a look at her Tips & Tutorials Tuesday. There is always something to learn each week at this link up!

Weekend Staycation

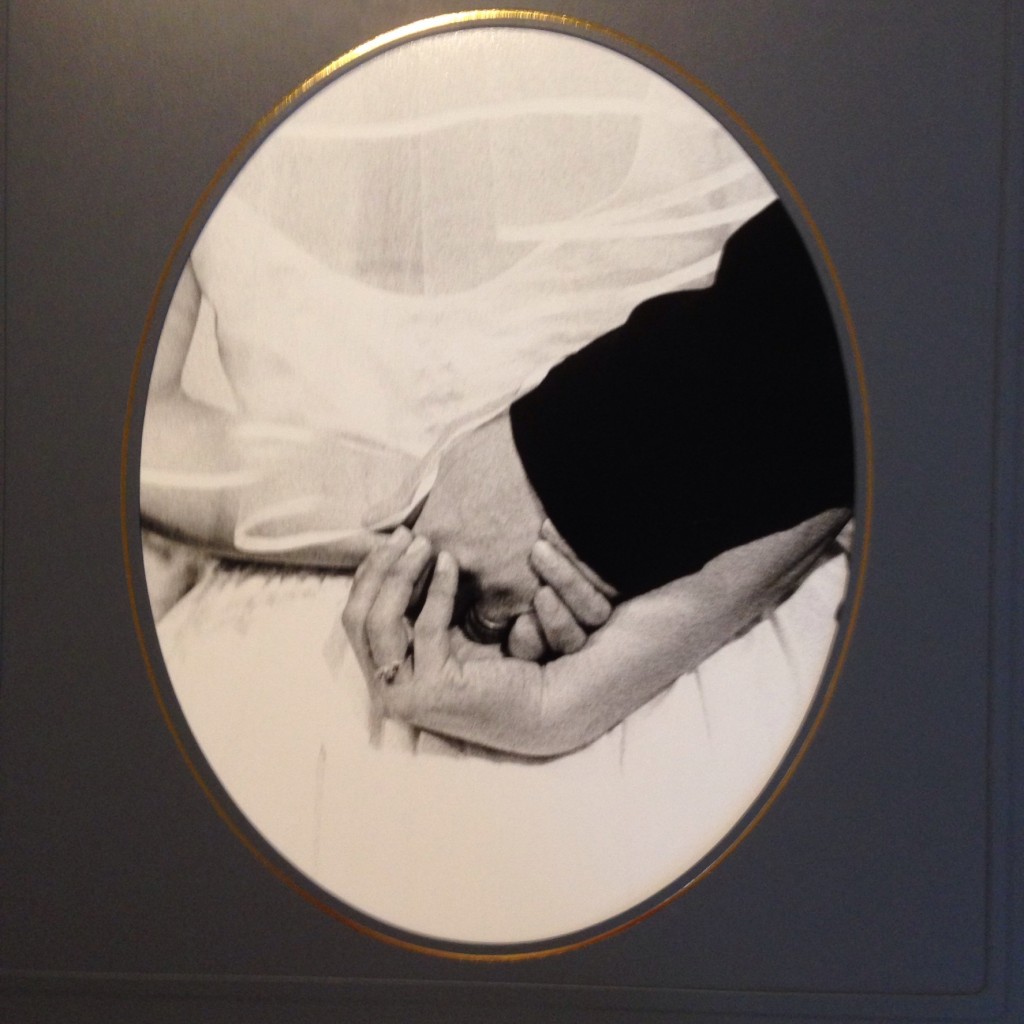
Today Ray and I celebrate our 18th wedding anniversary. Eighteen years on the 18th of April. I like when numbers line up like that. 🙂 This is one of my favorite shots from our wedding.

image

We decided to have a night away to celebrate over the weekend. Ian was available to come hang out with Julia which was just perfect. We stayed at the same hotel that we had our wedding reception at in town, The Holbrooke.  Like many things in this area, it dates back to the Gold Rush and is really adorable. The best part was we didn’t have to spend any time driving so we had time to play in the garden, visit with Ian AND spend a bit of time away. Isn’t it funny how we take what is all around us for granted? We live in such a pretty little town but we leave to relax.

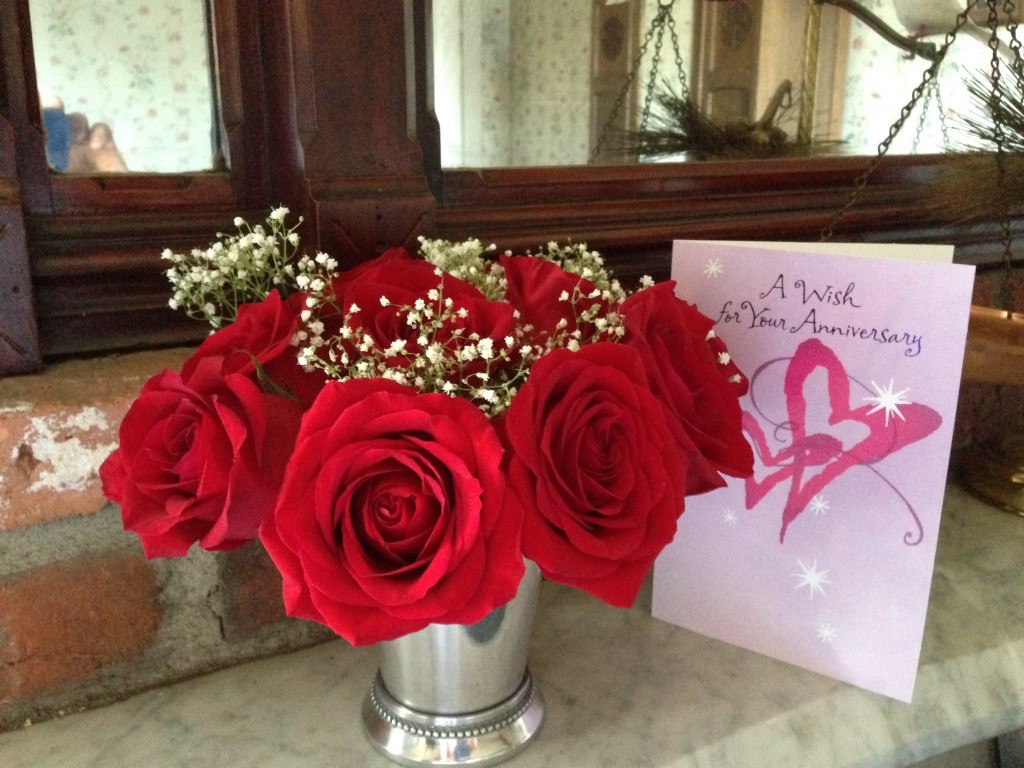
Mom and Dad knew we were staying there so they stopped by with flowers and a card and asked the girl at the desk to put them in our room. When Mom explained why we were staying there, she upgraded us to the Bridal Suite. We felt very special!

image

Needless to say, no time was spent in my sewing room. I have so many projects going right now so I want to be diligent this week to make some progress on each. I have been successfully using my Quilter’s Planner to keep my to-do list organized each week.  This is the list for this week:

  1. Complete the block assembly for Stepping Stones QAL. (I have about 1/2 of the 143 blocks complete.
  2. Make two items for my Etsy Shop. I need to build up inventory and if I don’t do a little at a time, it just doesn’t get done.
  3. Finish quilting the art quilt I mentioned in my post the other day. I have just one border left to quilt and I want to make it look like wood grain. Lori has an excellent variation here that I plan to use. Last night I practiced it on paper and it is a simple motif. Should go together with ease.
  4. If time allows, I will face or bind the art quilt.

OK – my list is now public and hopefully I can achieve each of these goals.  What is the plan for your week? Does listing your goals help you keep things straight?

Just for your enjoyment – spring is here!  A few pictures of what is happening in my garden this week.

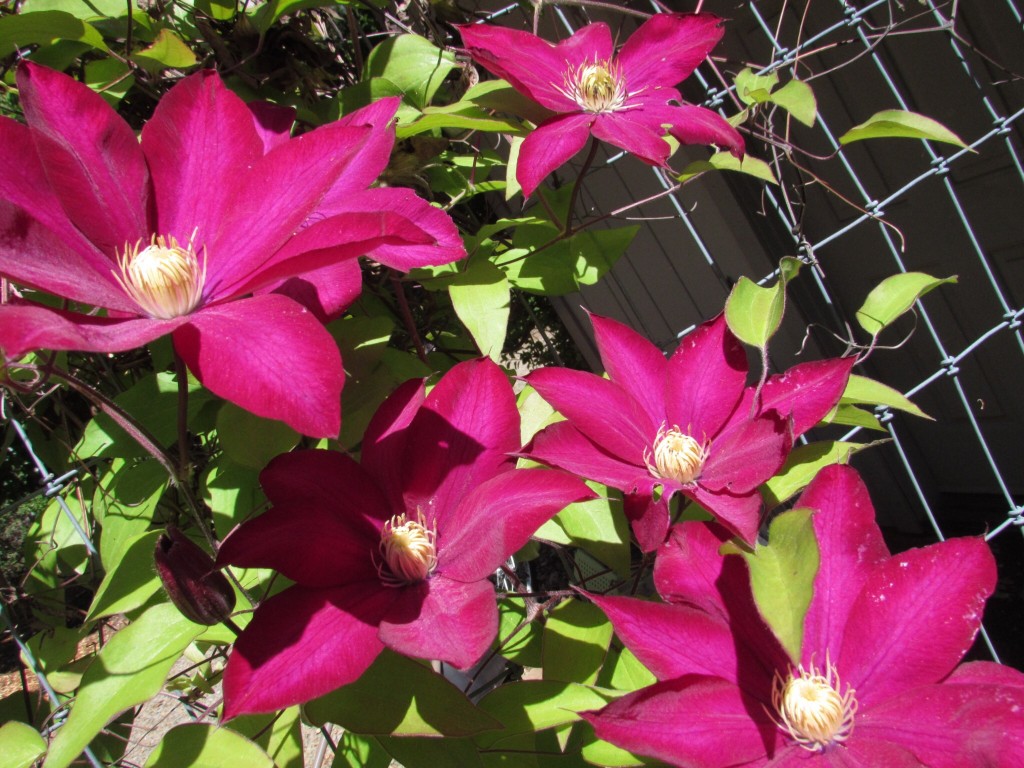
The clematis are fully blooming.

image

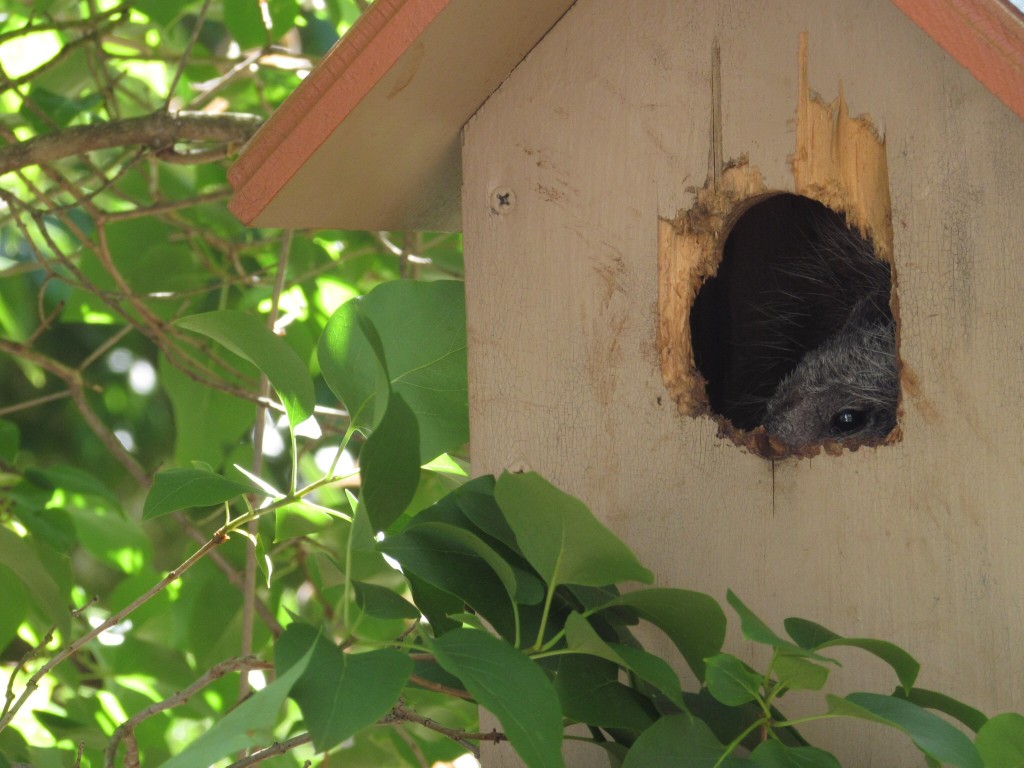
This squirrel decided to hide out in a birdhouse. Last year some sort of critter chewed the opening to enlarge it on two of our birdhouses. I actually made (with help!) this birdhouse one afternoon in Ray’s shop. He was giving me a woodworking lesson which was a lot of fun.

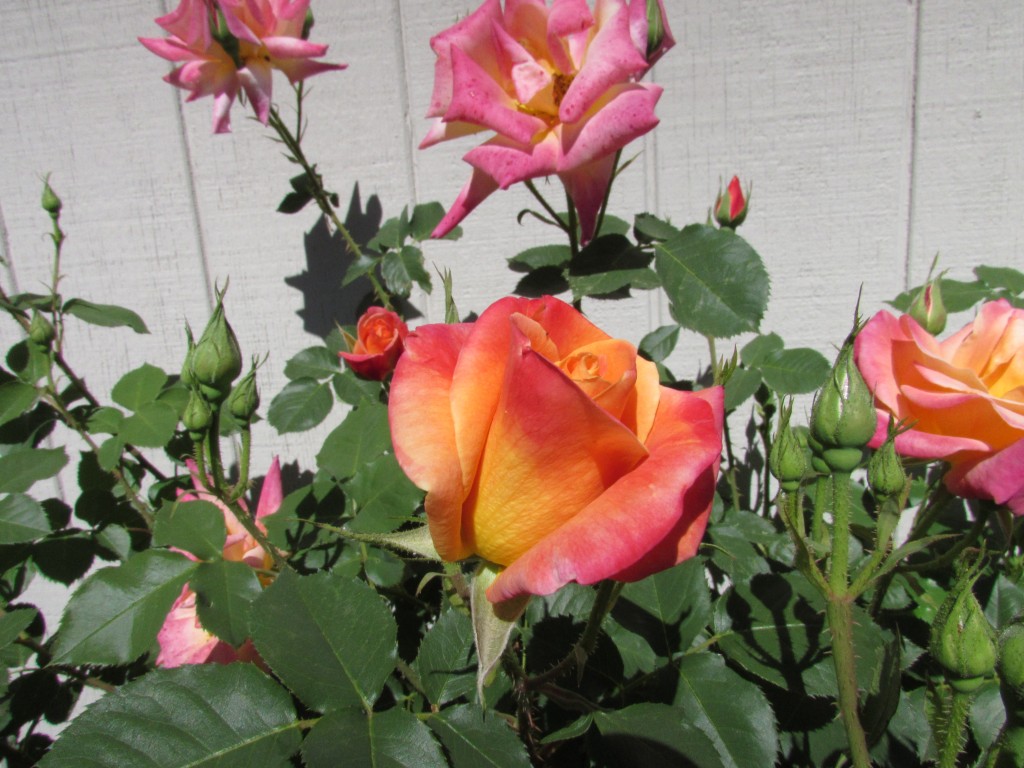
imageRoses are all starting to bloom.  They will be spectacular in a week or so.

img_20160415_4861

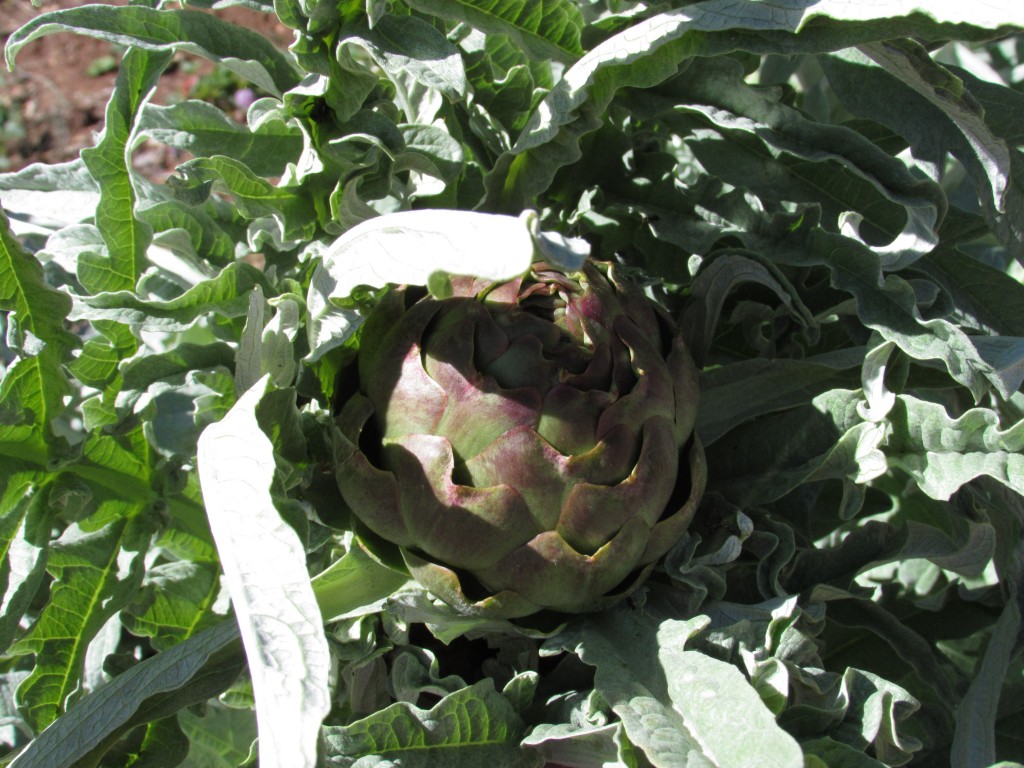
Artichokes are growing! This plant is fairly prolific. We will probably yield a dozen artichokes from it.  Ray has all sorts of lettuce growing and we should be picking some by the weekend.

img_20160415_4856

Hope all of you get a nice mix of outside time (weather permitting in your area) and sewing time!

Linking up (for the first time) with To Do Tuesday at Stitch All the Things.


Review of From Doodles to Design Class by Lori Kennedy

I was fortunate to spend hours over the past week with Lori Kenedy!  She is the blogger at The Inbox Jaunt and I have mentioned her many times in various posts about practicing and learning to FMQ. She is a rock start when it comes to quilting! She has two classes available on Craftsy and I took one of them this week. 🙂 It was awesome!

I recently signed up with Craftsy to become an affiliate. (Note – this is an affiliate post and if you purchase products through the links in this post, I will be paid.  A very, very small amount, but yes, paid.)  When I finished the process of signing on, Craftsy asked whether I would be interested in reviewing a class. Knowing that Lori’s class “Creative Free Motion Techniques: From Doodle to Design” was recently released, I happily agreed!

Purchasing a class at Craftsy means that you will forever have access to the class on your Craftsy account. It means you can watch it whenever and whereever you would like. For me, living in a rural area without access to a wide variety of courses, this is perfect. I have purchased a few classes so far at Craftsy. I have the Machine Quilting: Small Changes, Big Variety class taught by Angela Walters. Additionally, I have the class, Machine Quilting Wholecloth Quilts, by Cindy Needham. (Cindy’s class is good but the quilting is too advanced for me at this point. Something to strive for though!) And now, I have Lori’s newest class.

Of the three classes I have taken thus far, Lori’s Doodles to Design is by far my favorite. If you have worked with Lori’s tutorials, you already know that she is a huge proponent of doodling, or drawing, your design over and over to build the muscle memory up before stitching it. Doodling it also helps me to spot the paths I will need to take to move around with the design. I tend to get stuck in corners, or on edges, with no way to move out of them. In this class, Lori shows each motif, or design, by doodling it on paper and then she shows how to stitch it. At the end of each “chapter” Lori does a quick trunk show and displays quilting with that actual design. For me, each of these steps reinforces the lesson. By combining visual and auditory tips into each lesson, I was able to pick up my pen and follow along easily. Converting that to stitching was the obvious next step and it came naturally. In full disclosure, I will say that the designs she teaches in this class are available as tutorials on her blog. However, I am not a visual learner. I read blogs continually and love the tutorials and free patterns that are readily available. But it takes me quite a while to read about doing something and then take that knowledge and implement it. Listening to the instructions is how I learn. I need the auditory input. Taking Lori’s class and listening to her describe what she is doing helped me to advance considerably. Everyone has different ways of absorbing information and this was perfect for me. Watching the video and listening to her instructions = personal success.

Watching a Craftsy class gives the student the option to use a 30 second repeat button. I LOVE this feature. I was drawing along with Lori while watching the class. I had large sheets of newspaper laid out on the table and was trying to doodle her designs with a sharpie. If I couldn’t get a section, I would click on the 30 Second Repeat and, as you would think, that clip just plays over and over (much to the annoyance of my daughter when she is in the room.) It is really helpful though. Another cool feature is the ability to post notes to myself, or questions to Lori, at certain sections of the video. When she answers the question, her reply shows up on the side of the screen during that section of the lesson. Other student’s questions and the reply to the question also show at the relevant point in the class. It is nice to see what people are asking and discussing.  Each class comes with a downloadable class materials file. Some classes have templates, required materials lists, or patterns. There is huge value and very high quality in Craftsy’s class offerings.

I did a fair amount of practicing yesterday afternoon on scrappy quilt sandwiches.

Practice Quilting with Lori Kennedy's From Doodle to Design Class on Craftsy

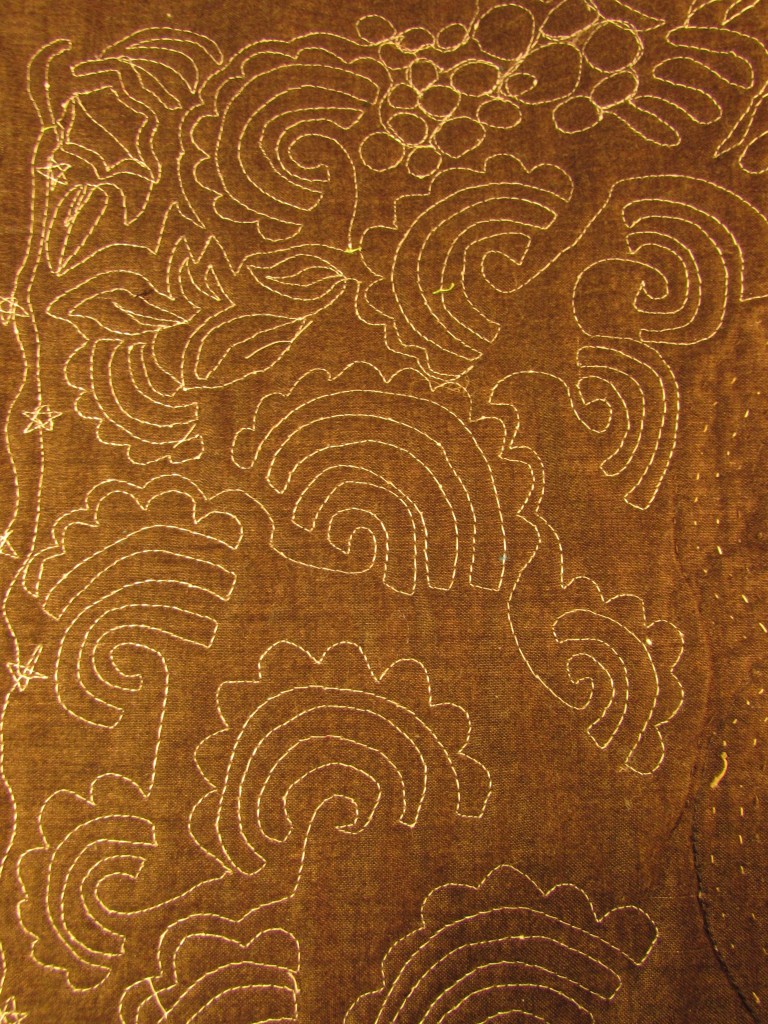
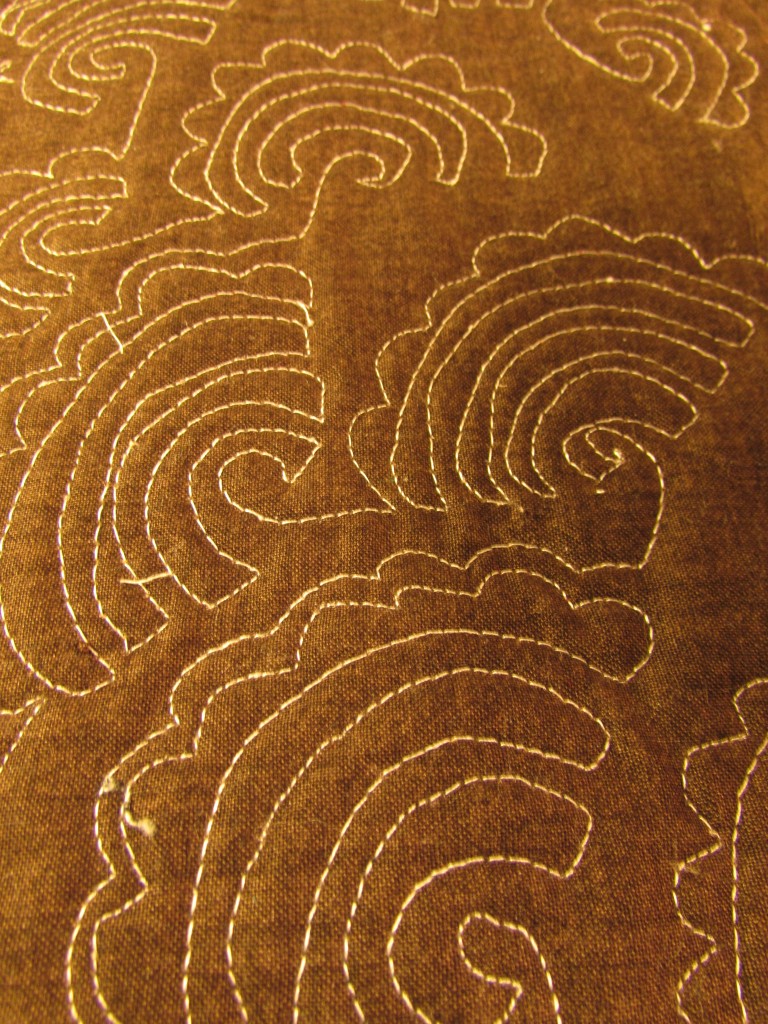
I was enjoying playing with the little rainbows. They remind me of miniature Baptist Fans. But you can see that moving around with the motif is a trick. I need to go back to paper and pen and draw more of them.

img_20160415_4844

I am pleased to see that my stitch length is becoming more consistent. Also, the tension on my machine is so much better. This is in part because I am evening out the speed of my foot in relation to the speed with which I move the fabric. When I take these pictures taken at such a close range, I do cringe a bit at the herky jerky stitching. But I share them anyway.  I am almost certain that Lori or Angela had to stitch like this to become the quilters that they are now. The other day I came across a great quote on Creations by Nina.

“Everything worth doing is worth doing badly. If you ever want to do anything well, you need to be willing to do it over and over again. Badly at first. You need to be willing to weather that through.”  I found the quote on Nina Marie’s blog but she gave credit to Ellen Anne Eddy.  This is perfect, right? With free motion quilting (as with most things) the quilter has to be willing to put in the time to gain skill.

After taking the Doodle to Design class and practicing on scraps, I pulled out a long forgotten UFO and worked on it. I started this art quilt almost two years ago. For whatever reason, I put it in the closet and there it sat. On the far corner of my sewing table, I have had the fabric I was using, the stabilizer and fusible webbing all together in a neat little stack, waiting for me.

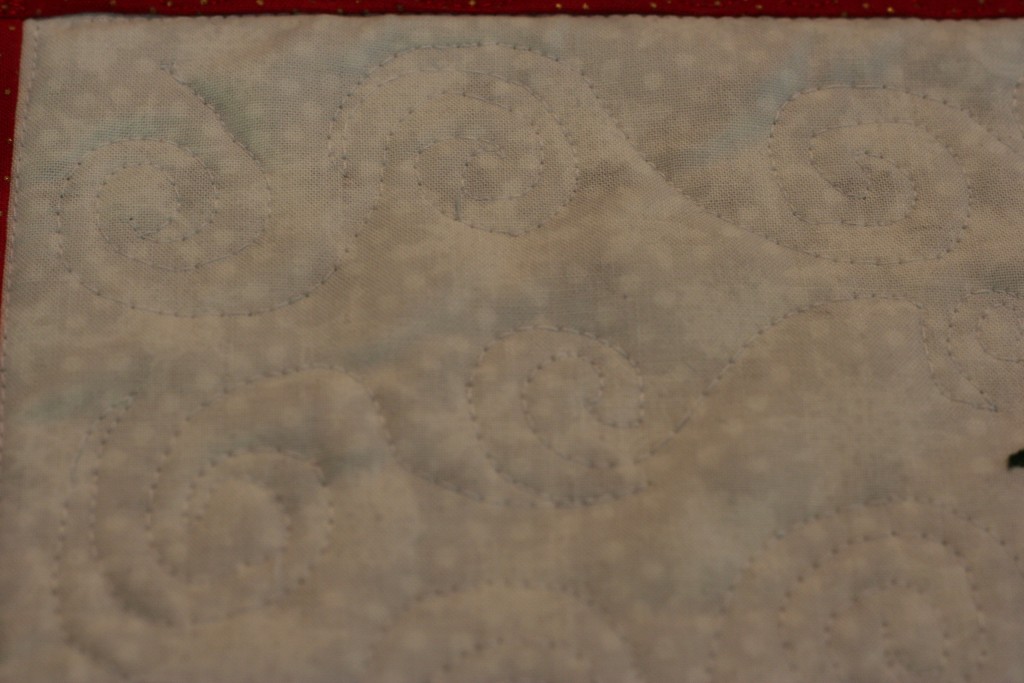
This provided a great project to practice quilting. Here are a few shots of various parts of the project. These swirls are (hopefully) going to represent wind, or swirling clouds.

image

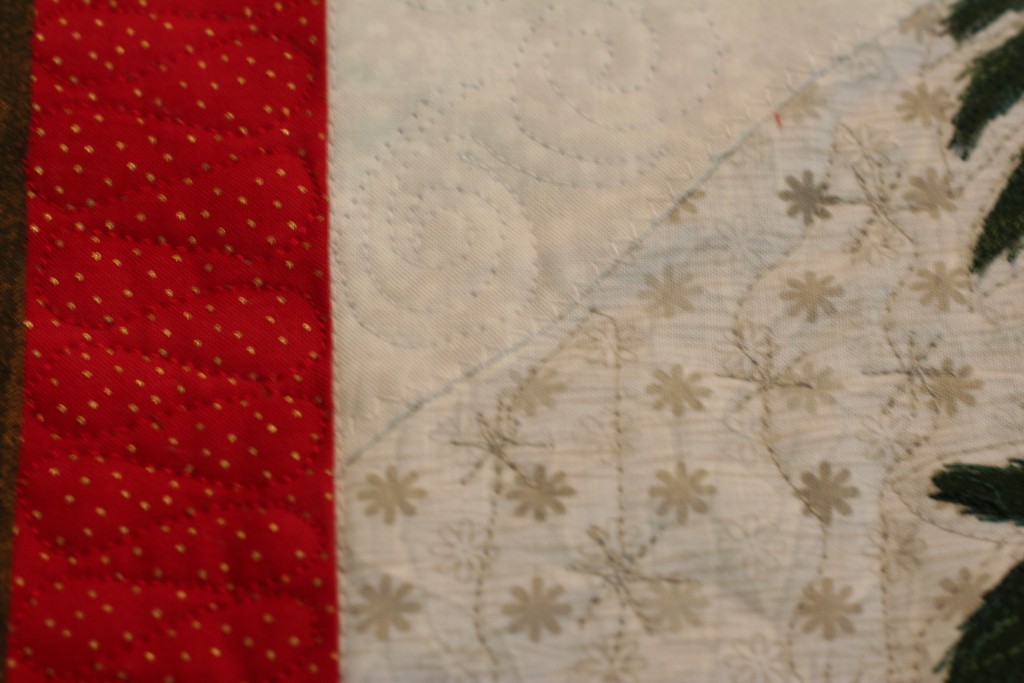
The next shot shows some ribbon candy stitching on the red border. That was really fun to stitch and I am pleased with the result. (Lori went over this thoroughly including variations of it, in her Doodle to Design class.) On the snowflake print, I did wavy lines with little snowflakes. Again, this was covered in Lori’s class. It was satisfying to be able to put the lessons from her class to use right away.

image

I have just about finished quilting this. I am trying to decide between binding it traditionally or facing it. Facing it is winning at this point. Hopefully I will have a finish to show you soon!

Check out the classes on Craftsy. There are so many to choose from. I love to be able to learn on my schedule and also love the quick interaction with the teacher. If you have questions, leave them in the comments. If you do click through to Craftsy from my links, thanks so much!

craftsy long banner

Linking for the first time with Sew Can She, Show Off Saturday! Also linking with Beth at Main Crush Monday. For all other link ups, check the top of the page, under Link Ups.
Free Motion Mavericks-Guest Host!


This week Needle and Foot is hosting the Free Motion Maverick weekly link up.  Muv, the regular hostess over at Lizzie Lenard Vintage Sewing, is busy with family commitments this week. I am happy to host for her.

I regularly check out this linky party each Thursday, linking up whenever I have a FMQ project to share. As you have read, I am trying to practice my FMQ consistently so I can steadily improve the quality of my stitching. Each week, the Free Motion Maverick link up provides me with lots of inspiration and encouragement on my free motion quilting.

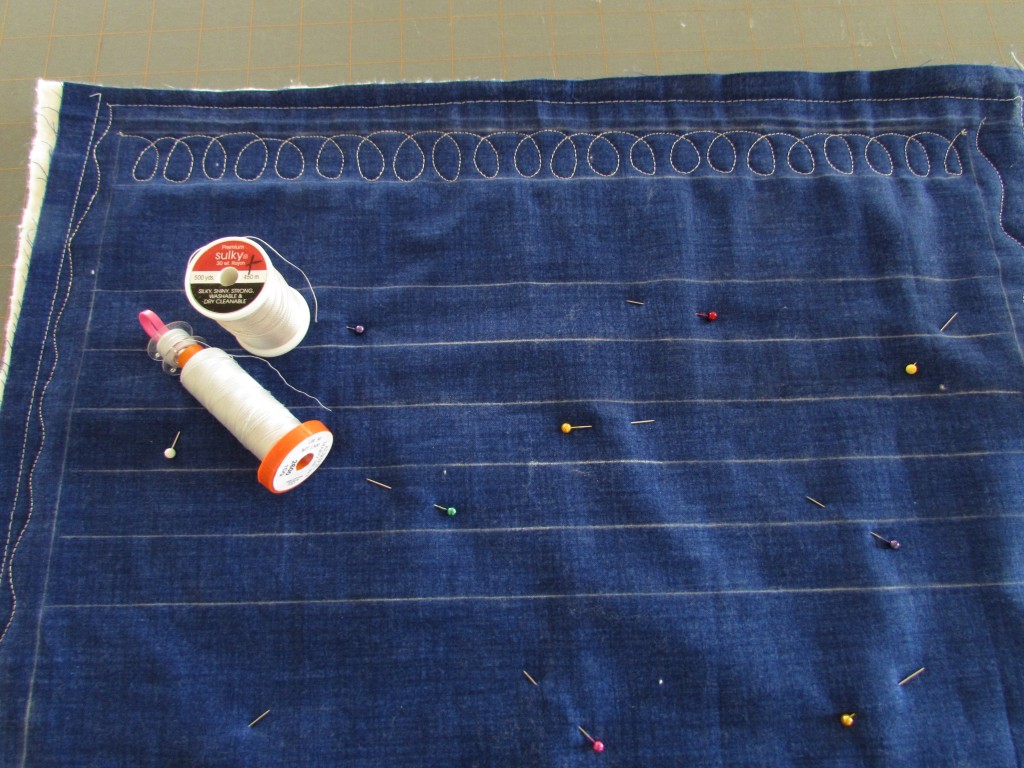
Last week I jumped on board with the mystery FMQ QAL over at The Inbox Jaunt. I have used the resources that Lori Kenedy provides on her blog so many times. Her endless stream of tutorials are so helpful. She just started a QAL where we will make a whole cloth mini using a solid color fabric. The frist step was to make the quilt sandwich and mark out the sections. She is assigning a section each Tuesday and there is to be a nautical theme to this project. It is definitely not too late to join in. We are just getting going!

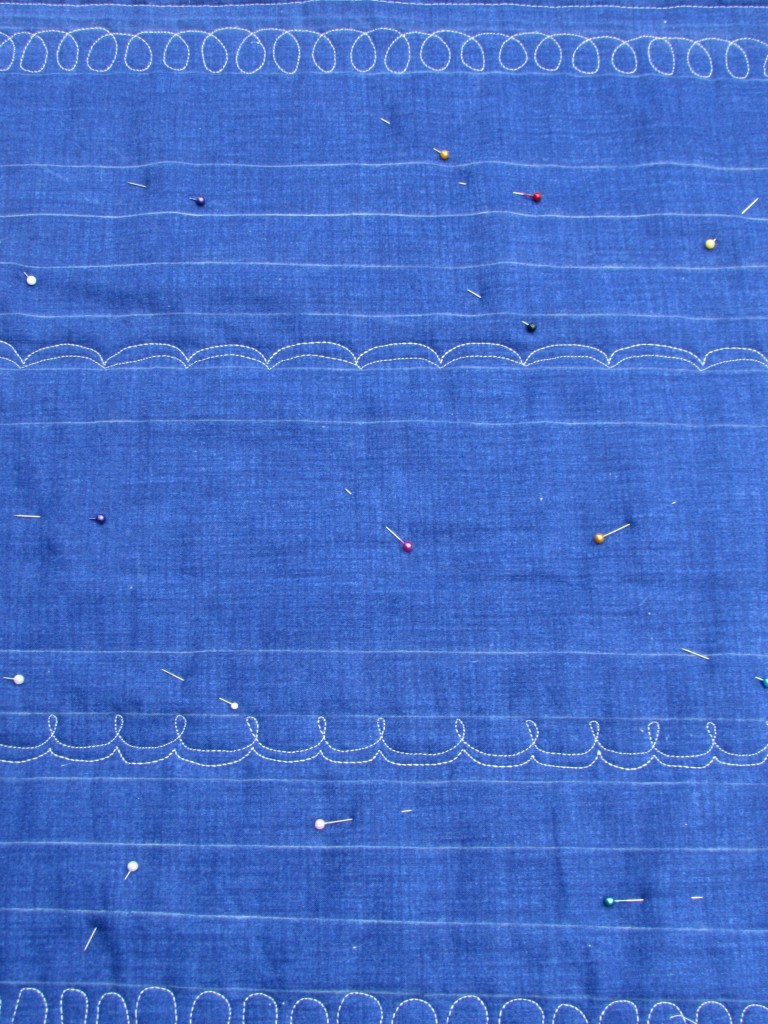
Last week we quilted two rows (top and bottom) of the piece with a loopy stitch. I am using Sulky thread for the top and Aurifil in the bobbin. So far, so good.

img_20160408_4769

Even though Lori had us run a stitch around the perimeter, I feel like I have to at least place a few pins. It is a small piece though, the pins are probably overkill. This week we did scallops on two rows. I doodled them on paper and stitched on a practice piece before going to the real deal. They look ok. Not great, just ok.

img_20160412_4801

I am looking forward to seeing what is next! Doing such a tiny amount each week makes this easy to fit in with everything else.

I am looking forward to seeing what everyone has been working on this week. Last week, this quilt by Afton Warrick was linked up. The quilting on her piece is outstanding.

Help me win the Mary Fons Quilt Contest. Please like my quilt on Facebook at https://www.facebook.com/SpringsCreative/photos/pcb.1281029551911786/1281026085245466/?type=3&theater

Afton calls this quilt “Small Wonders Kaleidescope”. It is a beautiful quilt. If you didn’t get the chance last week, take a peek at her post. She does a great job of stepping the reader through the process she used to quilt it. Quite inspirational.

Now let’s see what you are stitching! Link up here, whether you are a FMQ pro, or a novice, like myself.


RSC16 – Orange

I have finished up my monthly scrap challenge projects. April was declared as the orange month. Angela, of So Scrappy, suggested including accents of black; like a Monarch butterfly. While this is a nice idea, it didn’t work for any of my projects. Plus, orange and black makes me think of Halloween, which just doesn’t feel right in April.

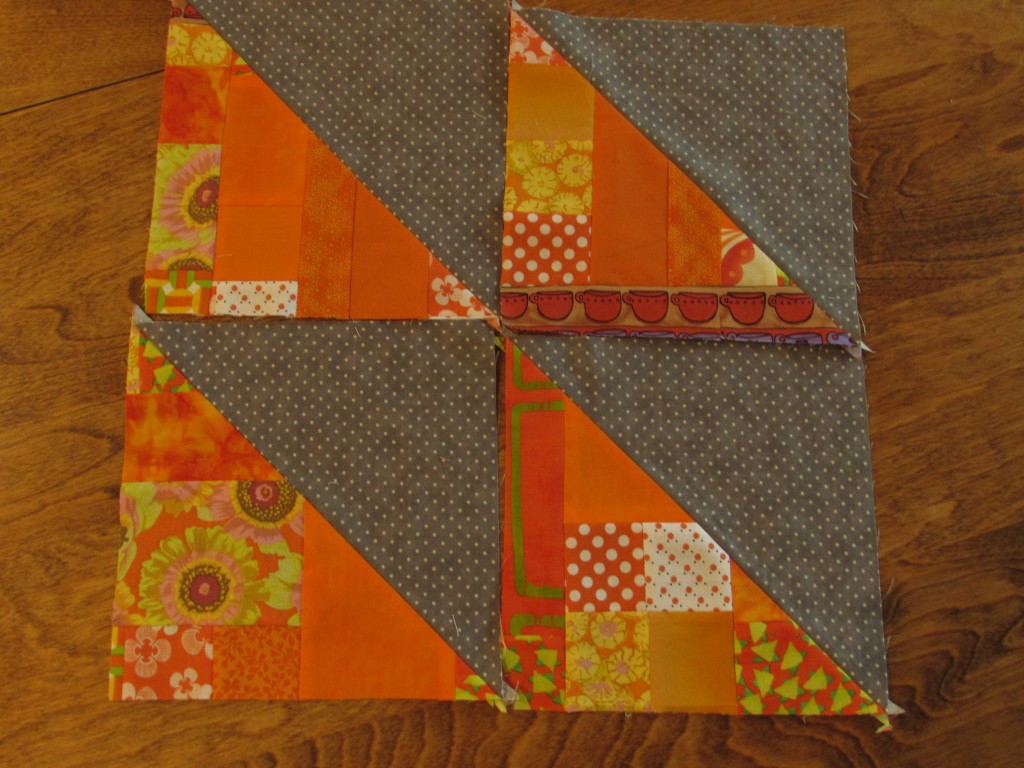
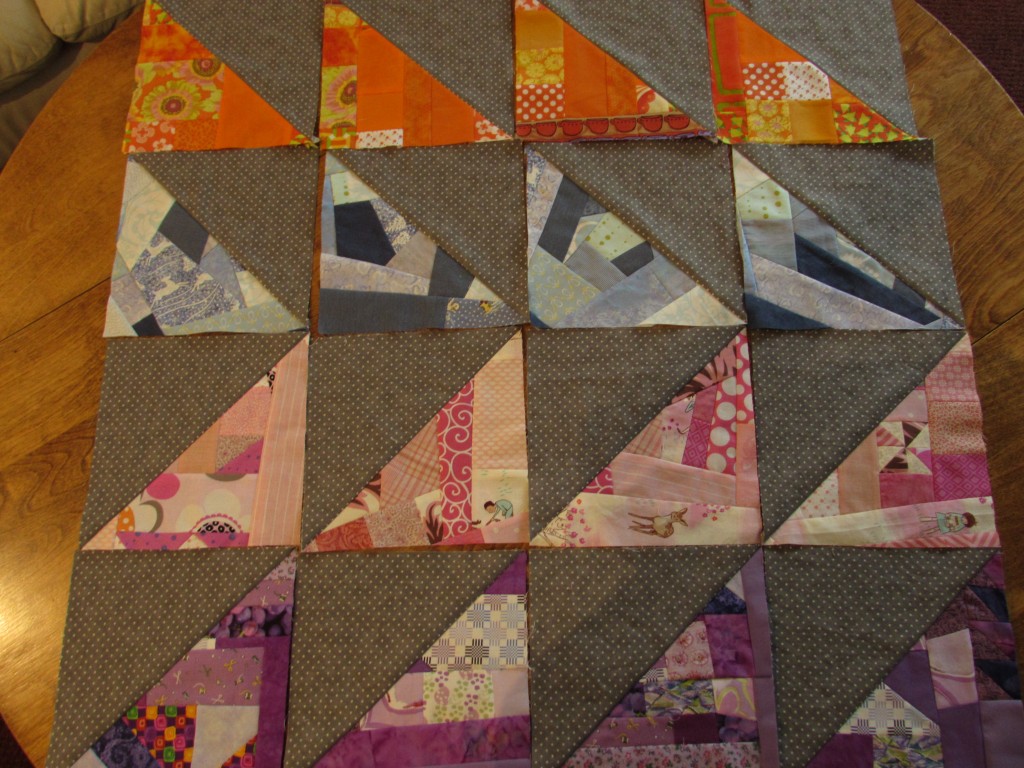
I made my improv HST’s and I love them! I am totally enjoying the process of piecing all of these scraps together and slicing them right back up again into half square triangles. I have the HST’s sized at 9 inches right now.

img_20160409_4774

Half square triangles can be arranged in an endless number of ways.

img_20160409_4775

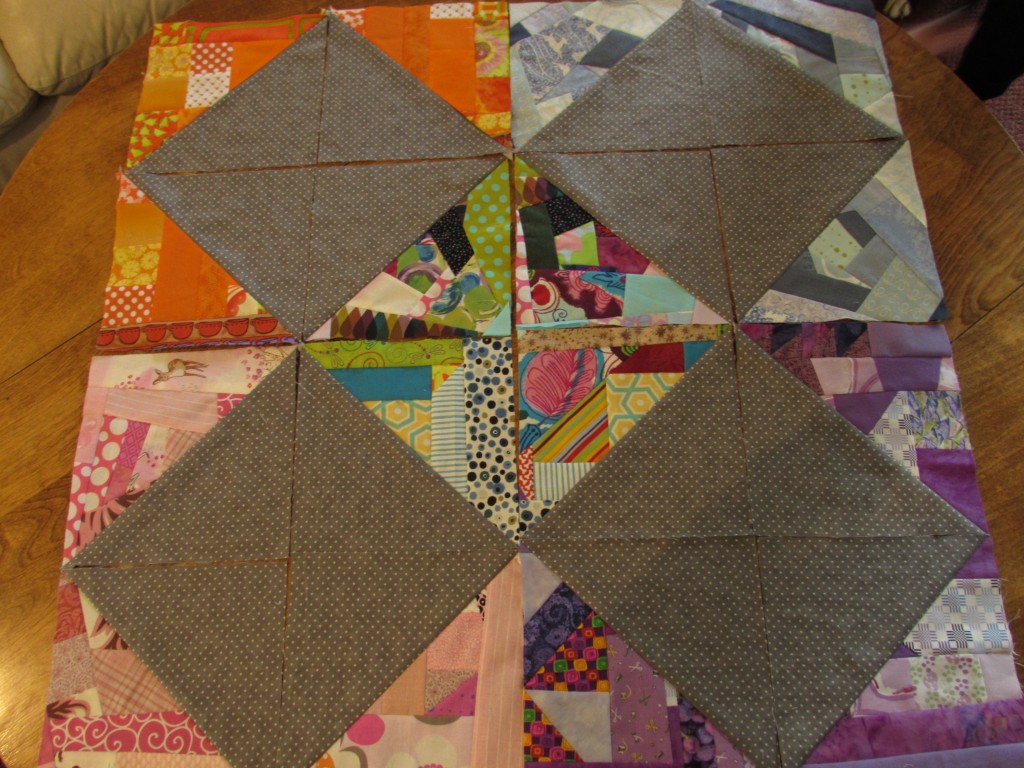
Each arrangement brings an entirely different look to the project.

img_20160409_4776

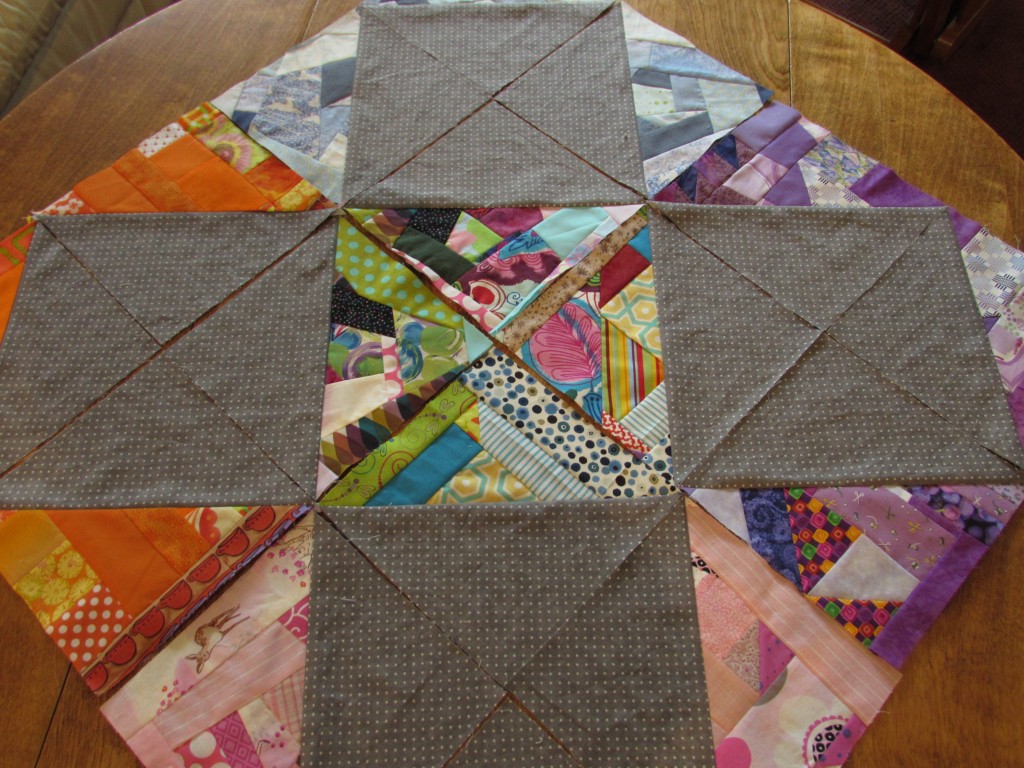
Just changing the perspective on this arrangement (setting the blocks on point) changes the look.

img_20160409_4777

All of those gray dotted blocks would provide great negative space to quilt! Even with all of these choices, I am debating cutting them again to make quarter square triangles. I haven’t decided yet but I think I may want to have the blocks a bit smaller than nine inches. With quarter scale triangles, I could do an hourglass pattern or a ribbon pattern (some call it a DNA quilt pattern.) So many ways to do this! I will wait until I get a few more months done and then maybe it will make itself known to me, as these things often do.

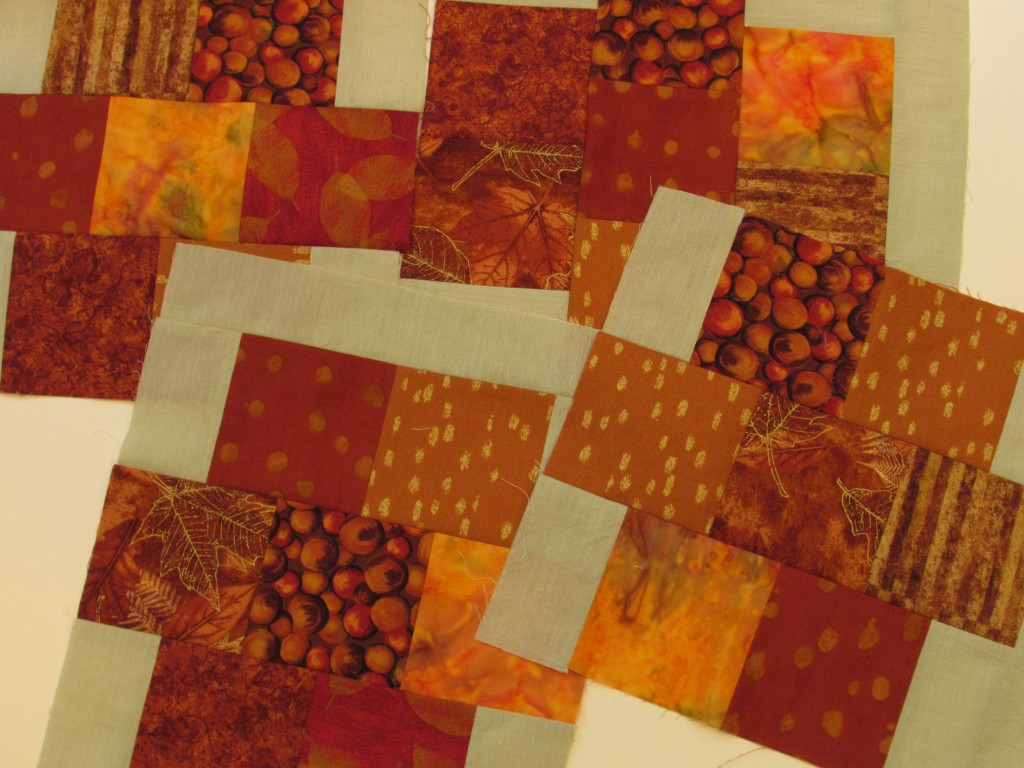
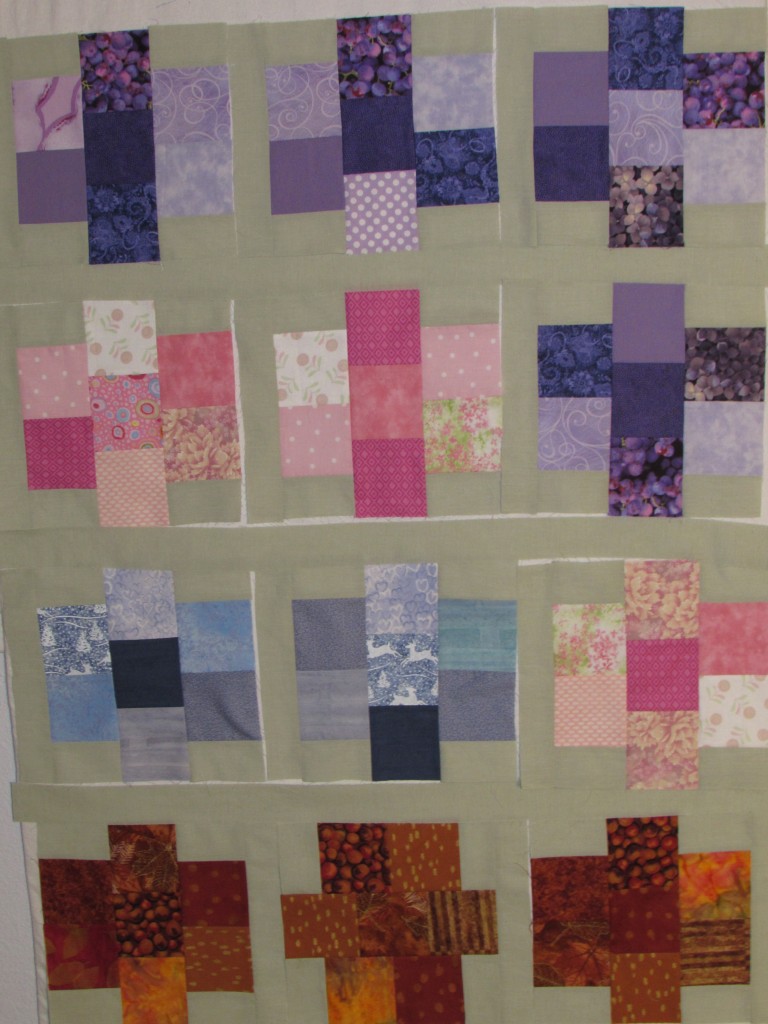
For the Gemstones quilt, I took a suggestion from Cynthia Brunz and used rust colors instead of brighter orange tones. The suggestion was absolute genius. These blocks call out Topaz, or Tiger’s Eye, and what is better for a quilt called Gemstones?

img_20160409_4772

I will confess that I had to go buy a few fat quarters to be able to use this colorway. I only had a few in my stash. Aren’t they gorgeous though?

I added the green sashing strip to one side of each block so I could see what that framework would look like. It’s perfect! At this point, I have made blocks to represent Amethyst, Topaz, Sapphire, and  Rose Quartz. I still need to make blocks in Ruby Red and Emerald Green.  What other gems need to be included? Maybe a lighter green for Peridot?

img_20160409_4771

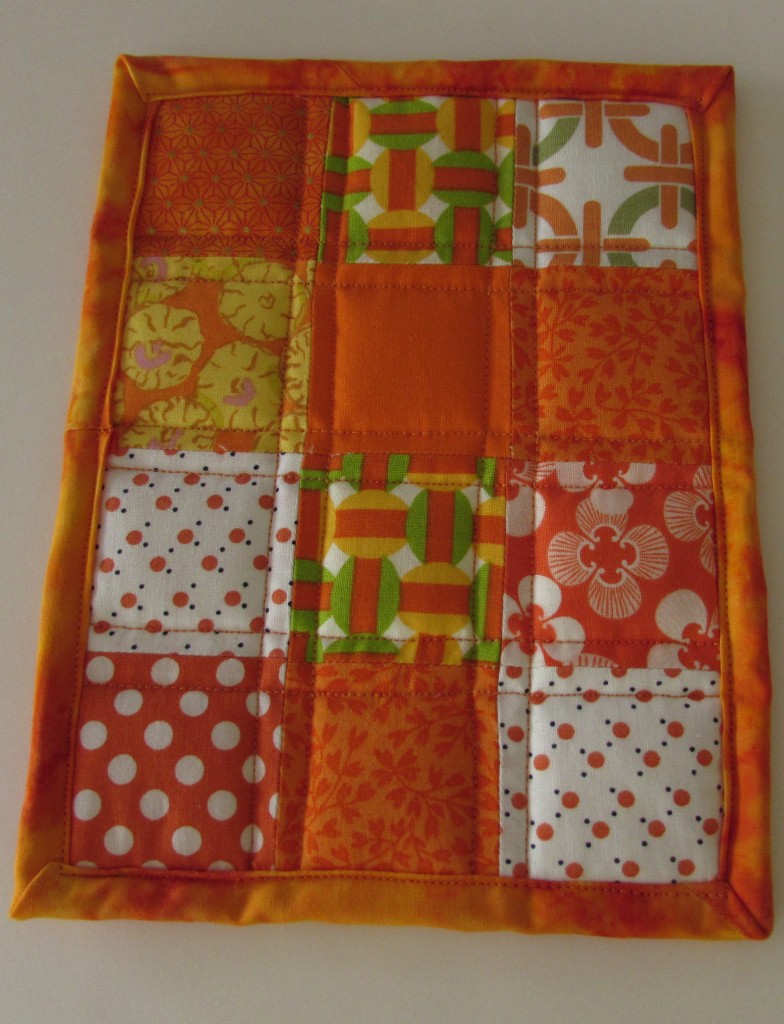
Finally, I used the last of the orange patchwork squares to make a little hot pad. I will pop this in the mail to my sister who seems to have a thing for orange right now.

img_20160406_4756

I used two layers of Insul Bright for insulation which makes it a bit stiff to handle. I found it was challenging to bind. Or maybe I just didn’t pay close enough attention? I machine stitched it to the front and back and it only looks ok. Should be alright since this will end up in a kitchen drawer and not under anyone’s close inspection!

Scrappy projects for April are complete! This week I will continue to work on the Stepping Stones QAL.  I was very happy to see (on Instagram) that Sandra over at Musings of a Menopaulsal Melon (probably the best blog name out there) joined in. She is making a great quilt using a neutral palette.  In addition, I am working on a mystery QAL over at The Inbox Jaunt. More on that later this week.  Finally, I will be hosting Free Motion Mavericks for Muv this week. I hope you will come back on Thursday and link up your FMQ projects!!

As always, I am linking this post up with all of my favorite spots. Check them out at the top of the page, under Link Ups.
 

Square Dance

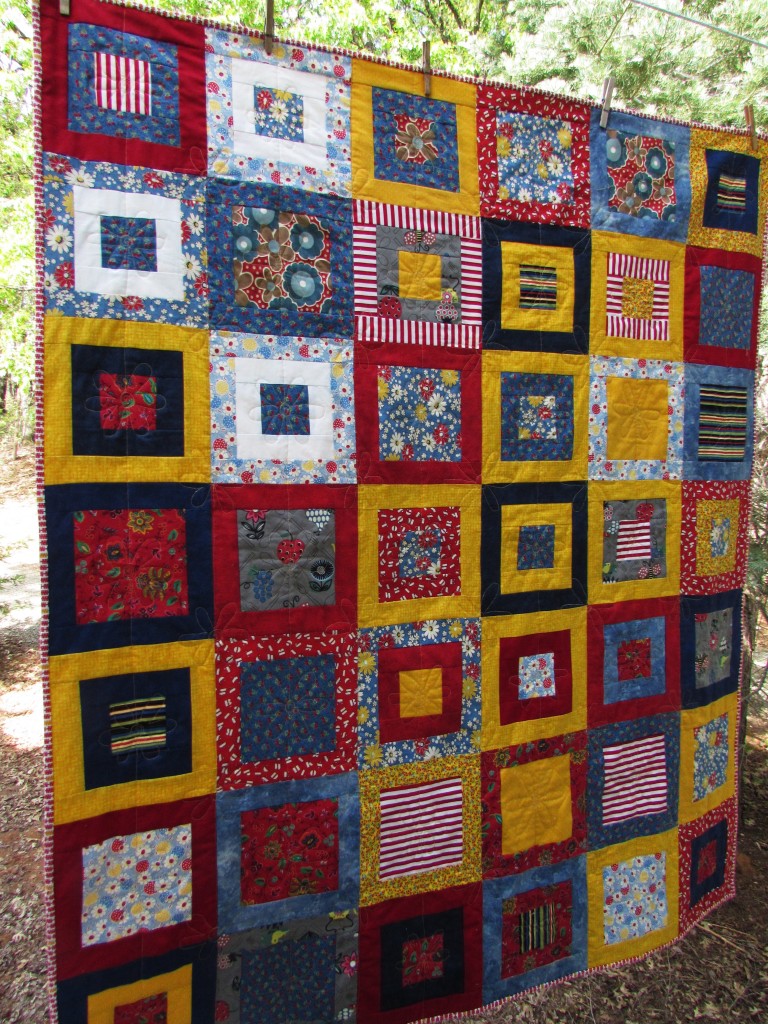
This week I finished up Square Dance. It was well over a year ago that I started this quilt. For some reason, it was put aside and ignored for a long while. Now that it is done, I am really pleased with the cheerful colors. The pattern is a simple one based on squares of two different sizes and simple borders on each, bringing the blocks to 9″ when finished.
img_20160407_4758

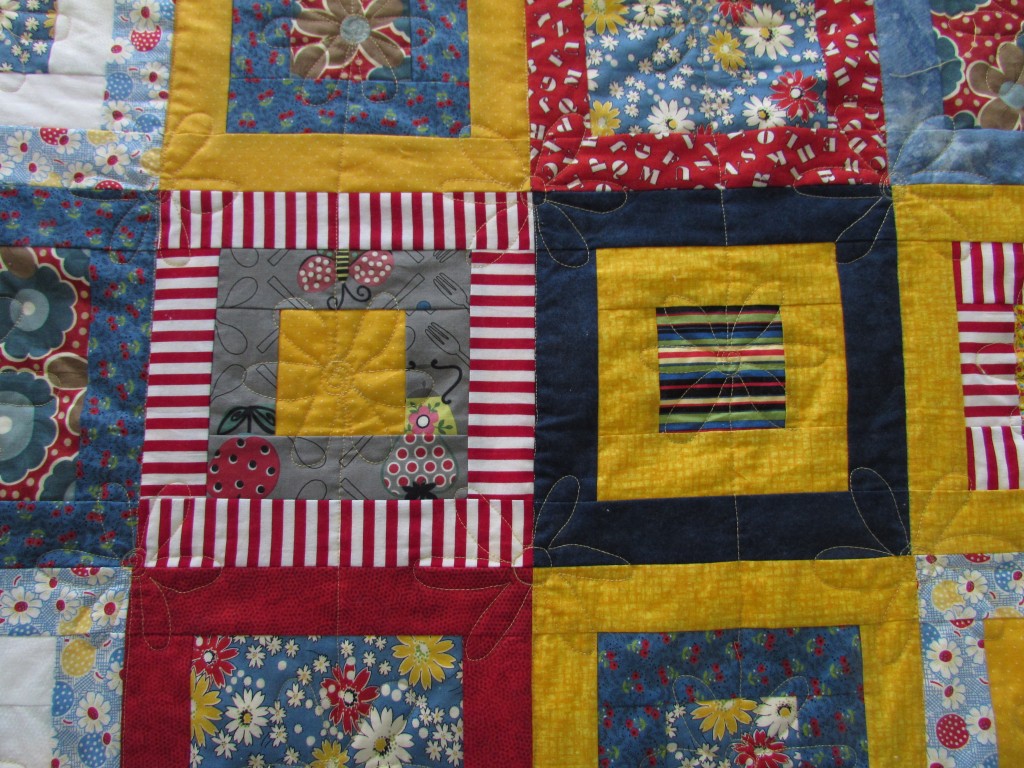
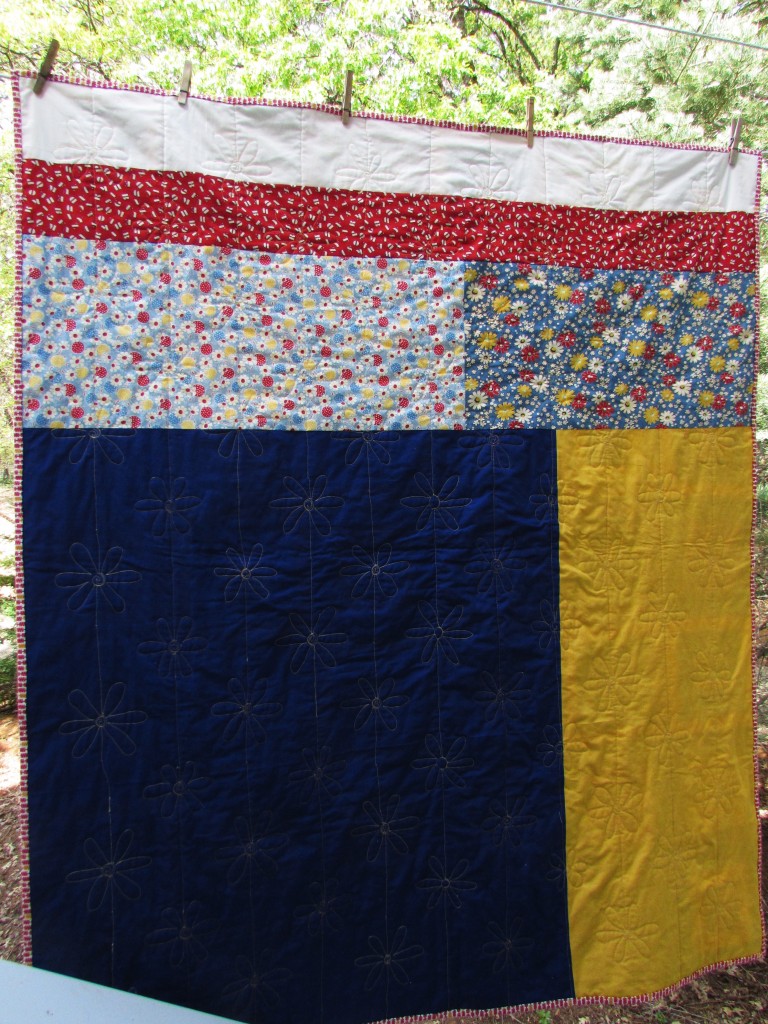
Putting the quilt together was a breeze. Quilting it, on the other hand, was not. Back in March, I was reading Cynthia’s posts over at Quilting Is More Fun Than Housework. She showed some quilts that she had finished up using some oversized daisy flowers. I loved it and thought it would be great for this quilt. I planned to put a flower in the center of each block. Additionally, I placed one on the intersection of each set of blocks.

img_20160407_4762 My machine was most uncooperative and I stitched about 1/4 of the quilt before I realized that my bobbin tension was way off and I had to unpick all of that quilting. Ugh. Not my favorite task. There really wasn’t a choice though. On the bright side, the tension was so far off that the stitches were totally loose on the back side and came out easily.  These frustrations were resolved when I found the Magic Bobbin Genies that I recently posted about. The small washers helped a great deal. I have had these issues sporadically and I am hoping this resolution works out over the long haul.

I requilted (is that a word?) the first section and finished up the rest. I think it is very cute – though it looks much better on the front than the back. I pieced the backing as I was determined to used some stash up. I love the way the backing came together but backing a quilt in solids means that every FMQ wiggle is accentuated. That’s ok. I am making progress with each project. For now, I am just going to look at the front side!

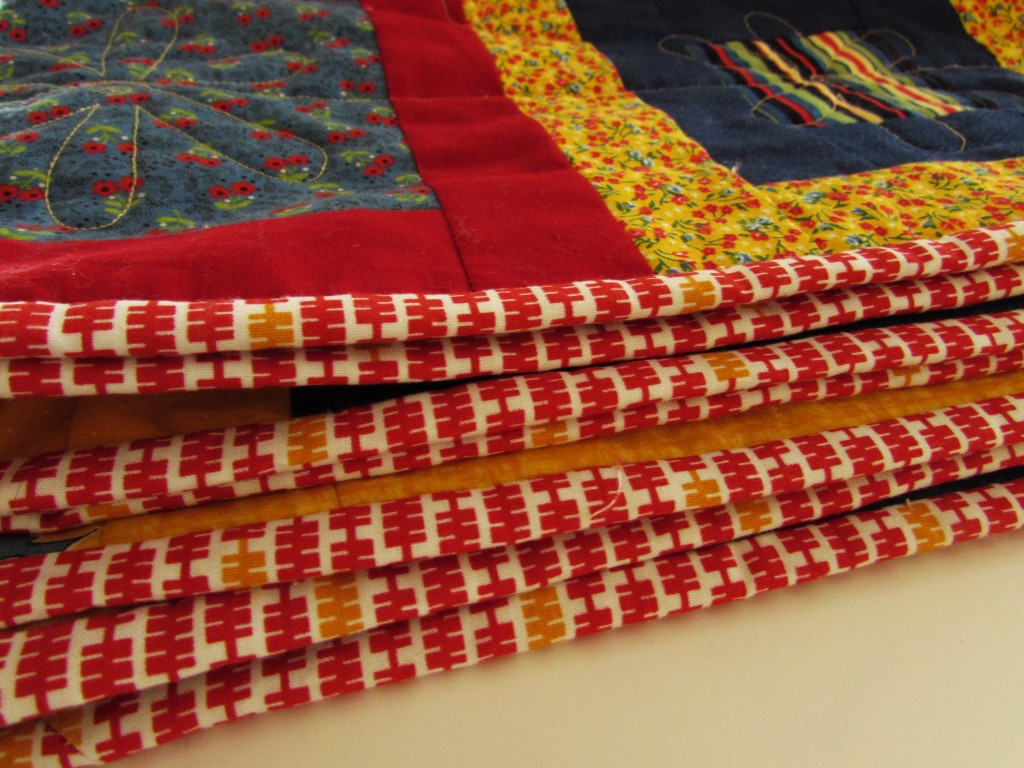
img_20160407_4763  The colors are great, as is the motif I chose for quilting Square Dance. Finally, look at the binding. It is adorable. I found this red and yellow print on a sale table at Ben Franklin and it was a steal.

img_20160407_4766

Tomorrow I will wash it and enjoy that cozy crinkle that the quilt will have once it is out of the dryer. Earlier this year, I signed up to participate in Hands 2 Help Charity Quilt Challenge organized by Sarah at Confessions of a Fabric Addict. When I signed up, I wasn’t entirely sure what I would donate but I think this quilt will bring comfort to it’s recipient.

Update:  I shipped this quilt off to Kat for her Covered in Love program and she let me know it had arrived. I hope it will be used by someone in the near future.

The timing of this finish is good as I am now in the process of piecing my black and white Stepping Stones quilt. There is black and white flying all over in my sewing room these days. The blocks are looking really good though. I am pretty excited about this one!

Linking to all sorts of sites. Check them out at the top of the page, under Link Ups!