Monthly Archives: July 2014

What’s Next?

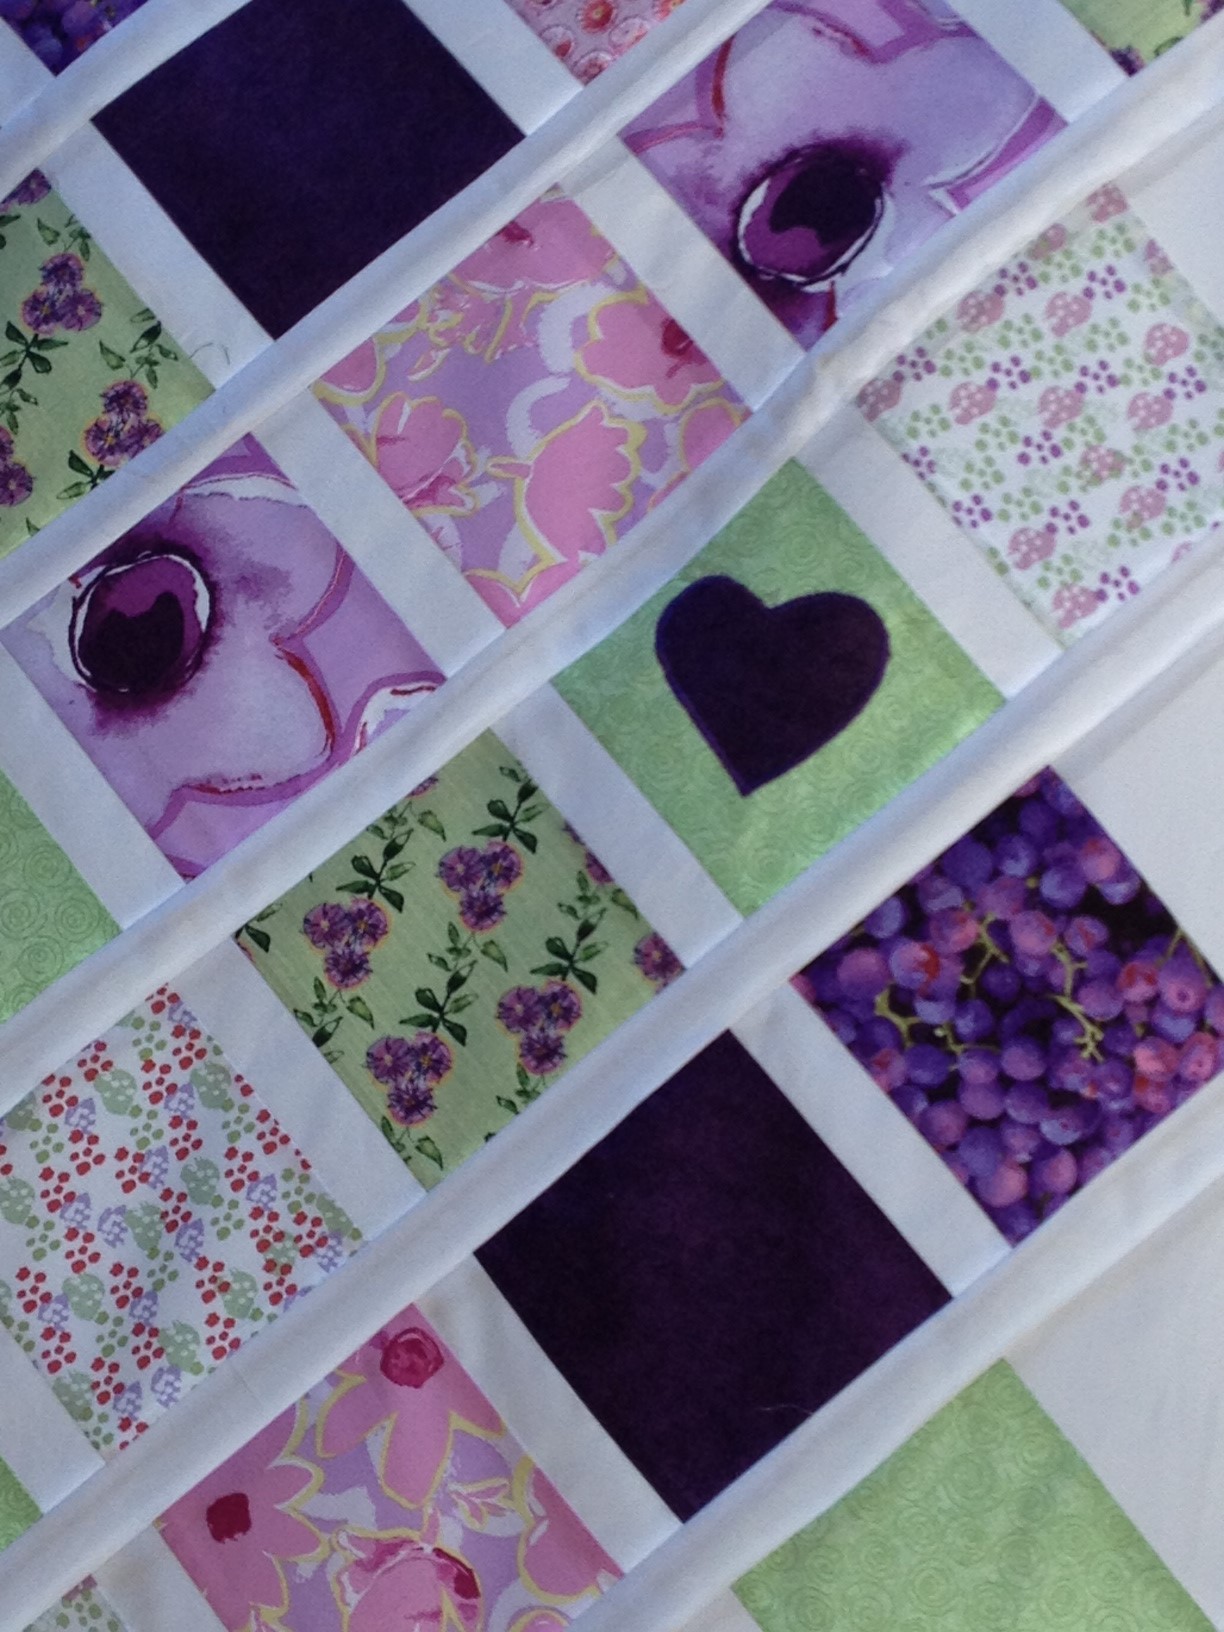
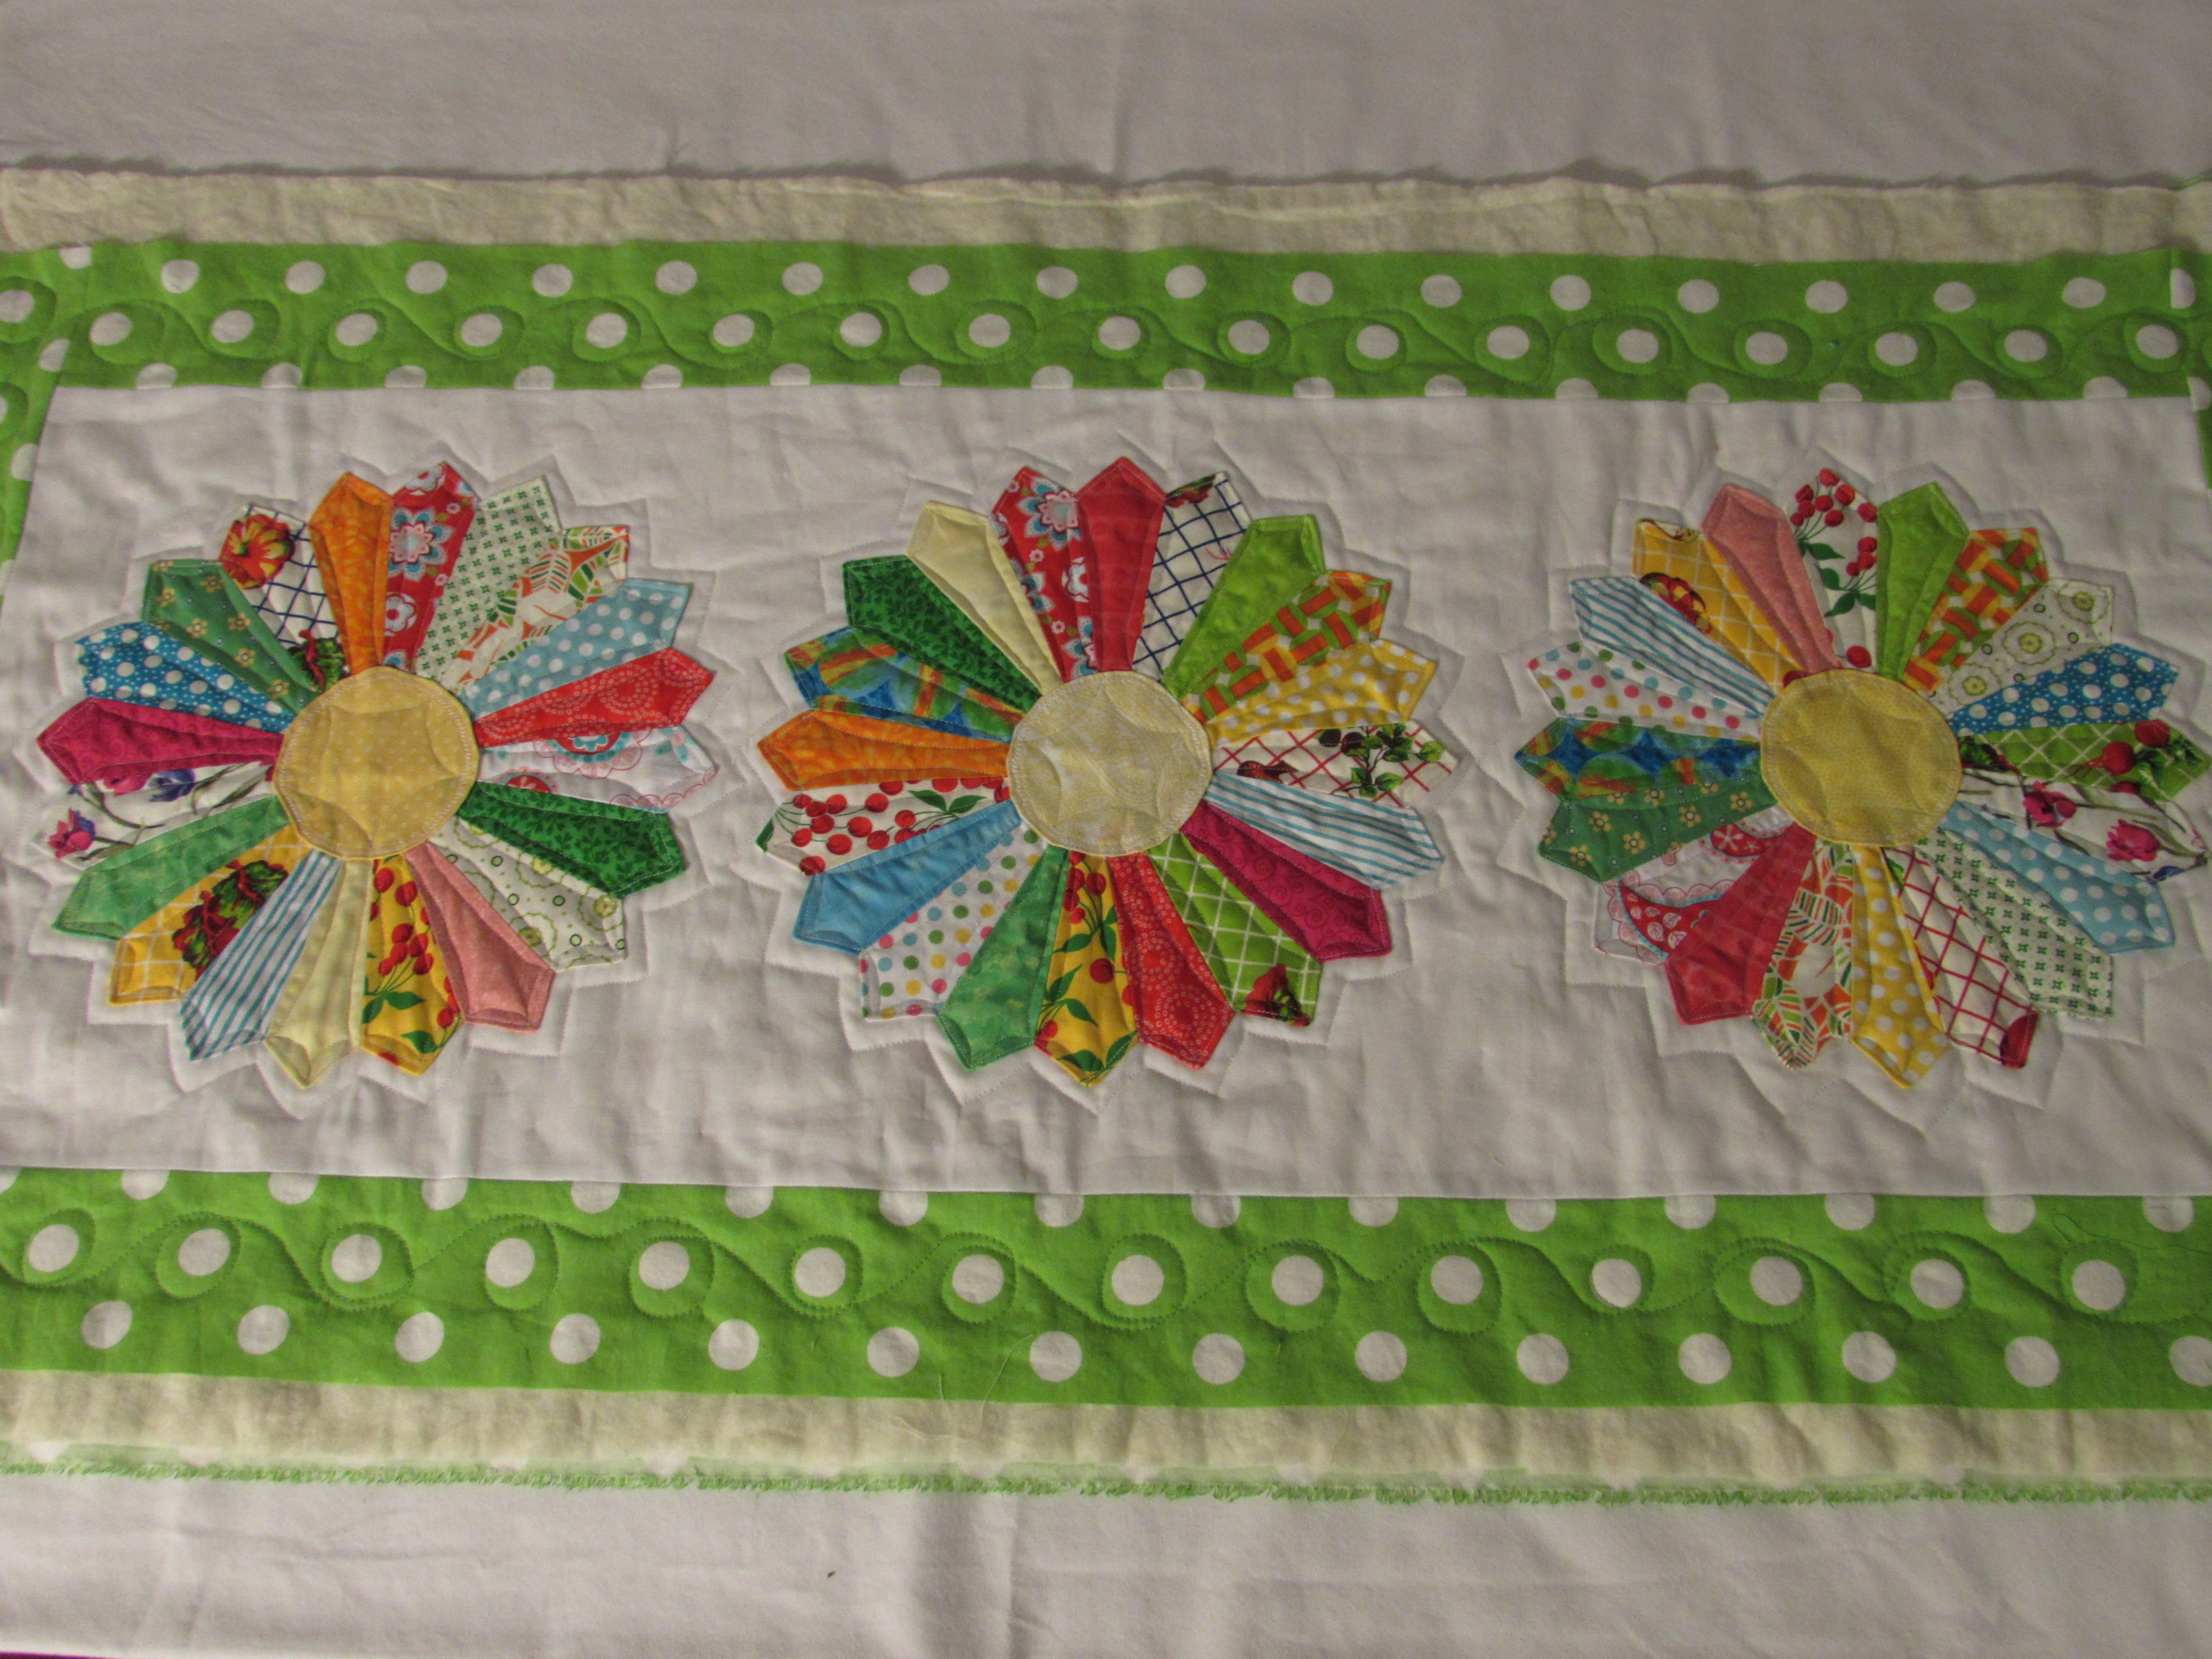
This quilting obssesion is such that I am always, always, always thinking of what’s next?  I have two quilts in progress and two projects that I am in the process of finishing up the binding.  Isn’t that plenty?  No, not even close.  If you are reading this, you probably understand.  I don’t know what drives this.  Is it all the amazing fabrics out there?  Do they  create this continual desire to start the next thing? Maybe it is the satisfaction of creating something? The peacefulness that comes over me when I am piecing something?? Honestly, it is almost always in the back of my mind; the next project.

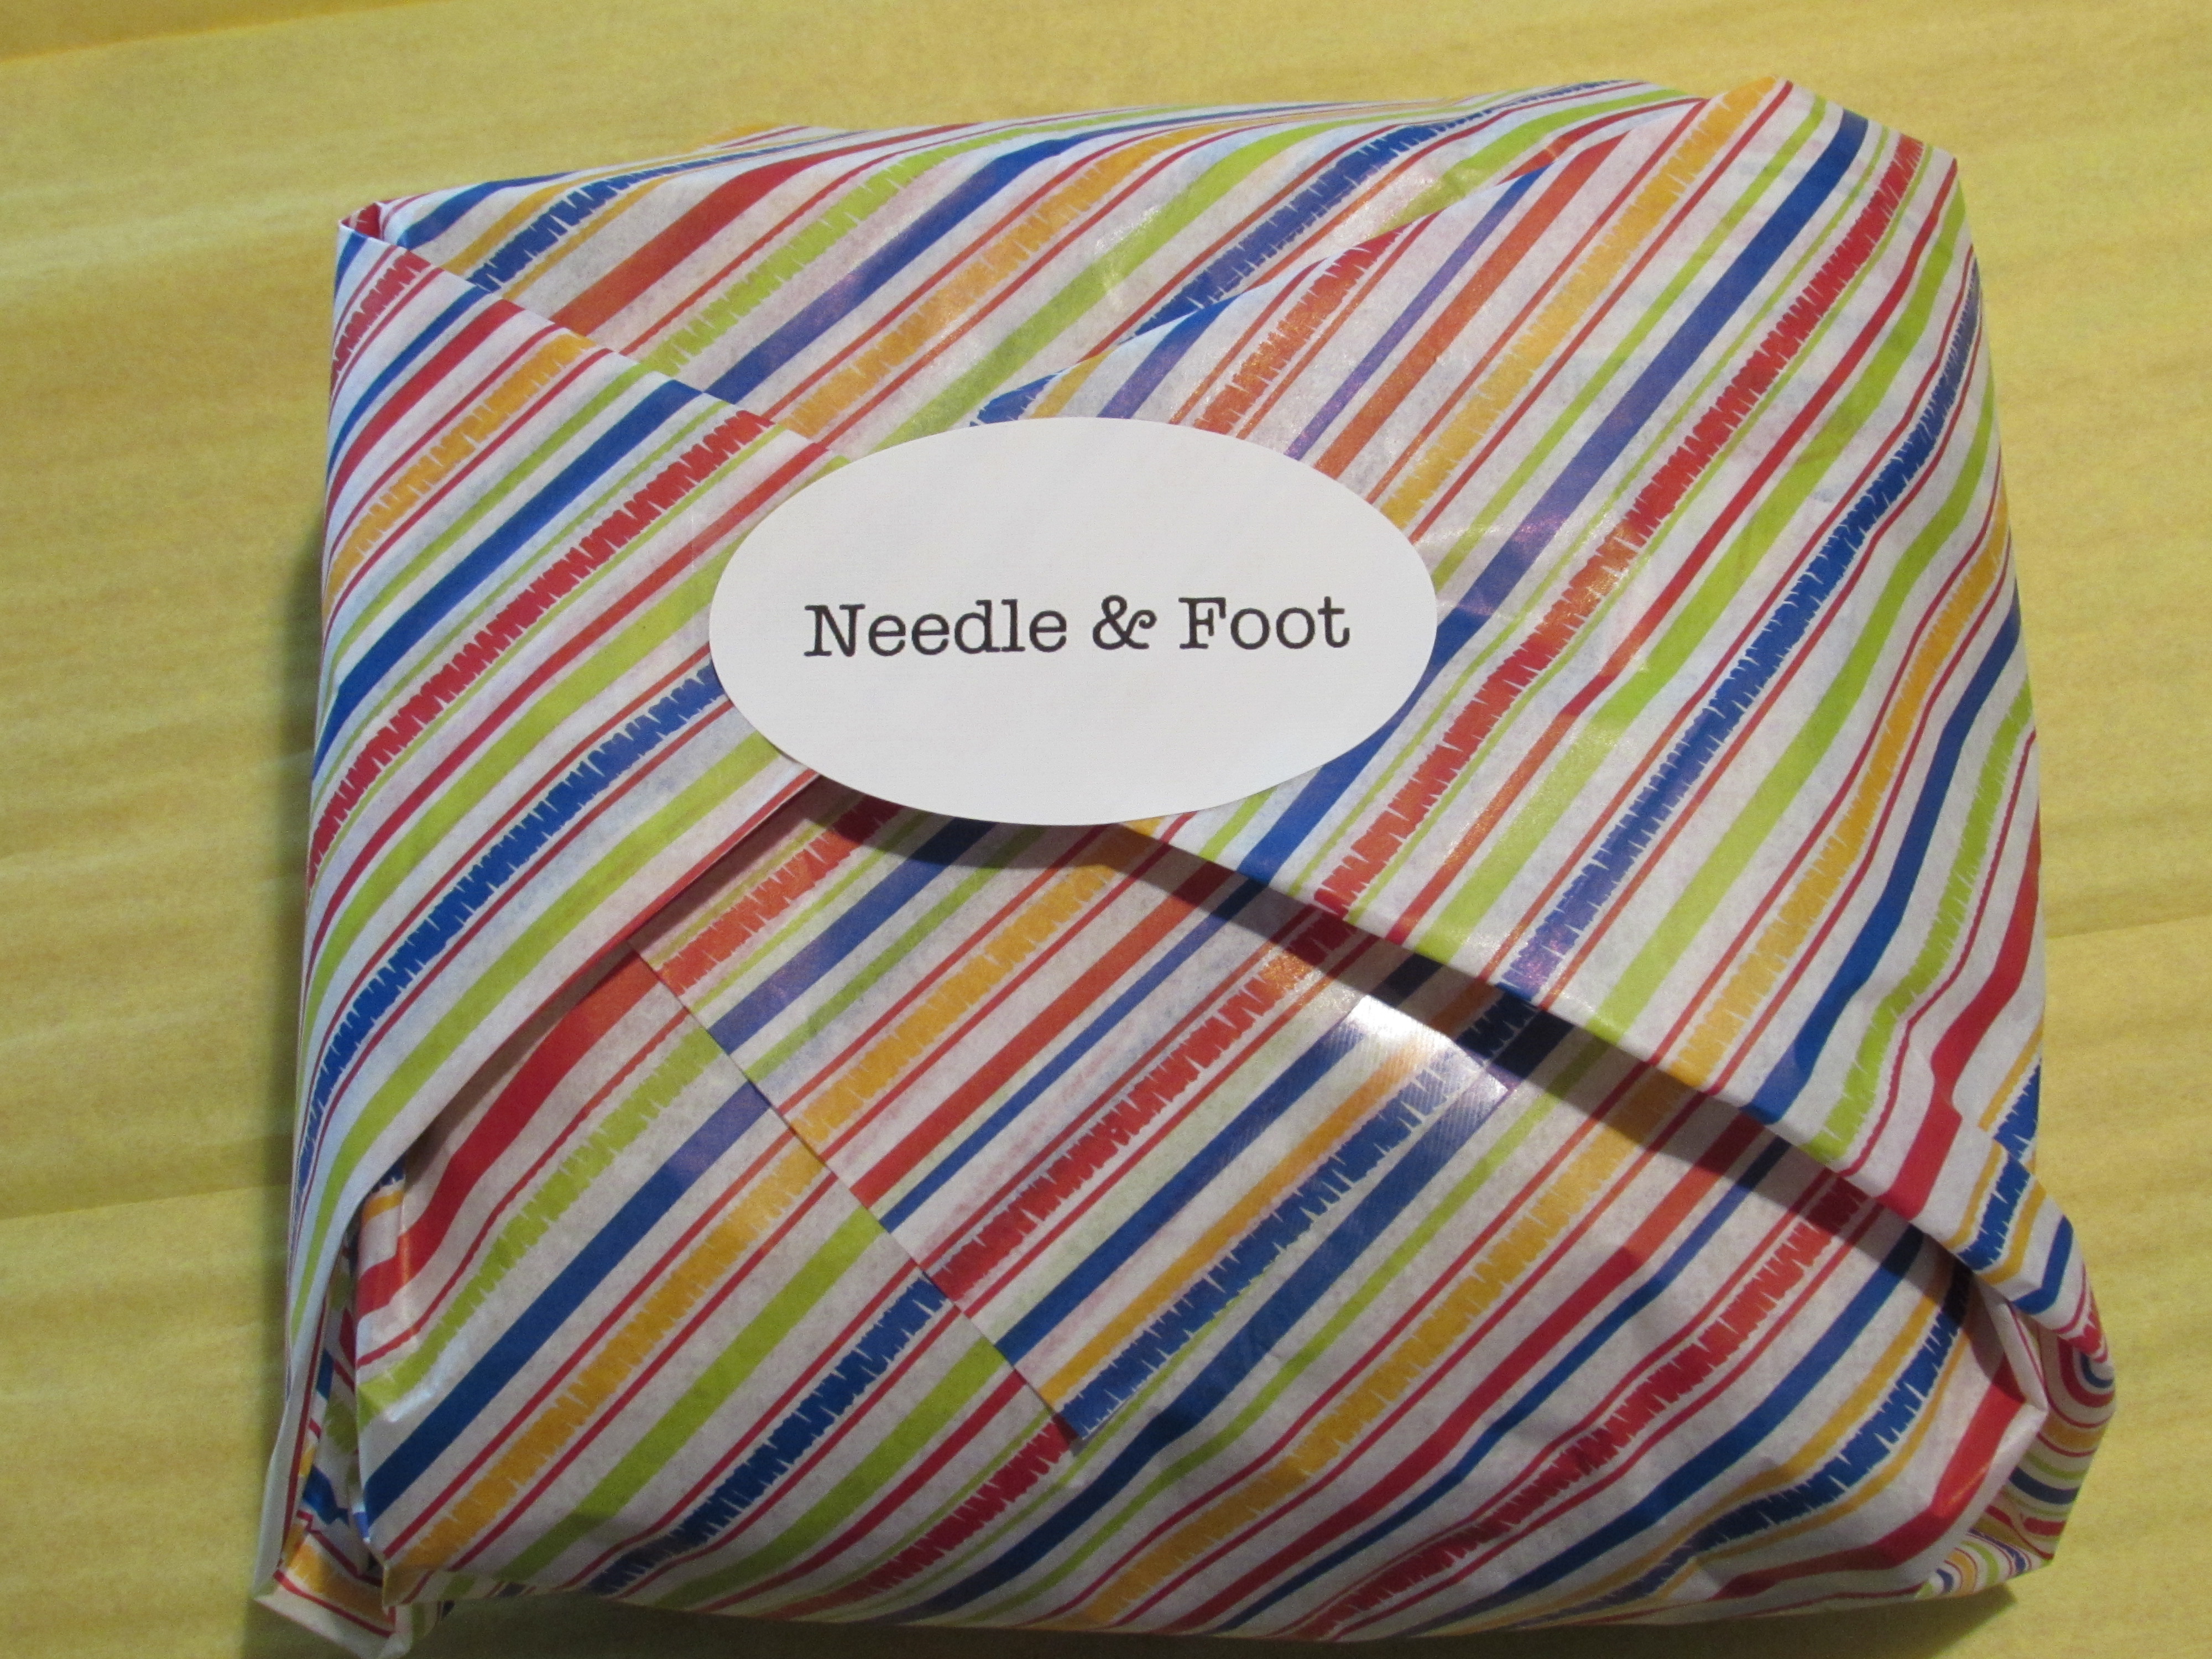
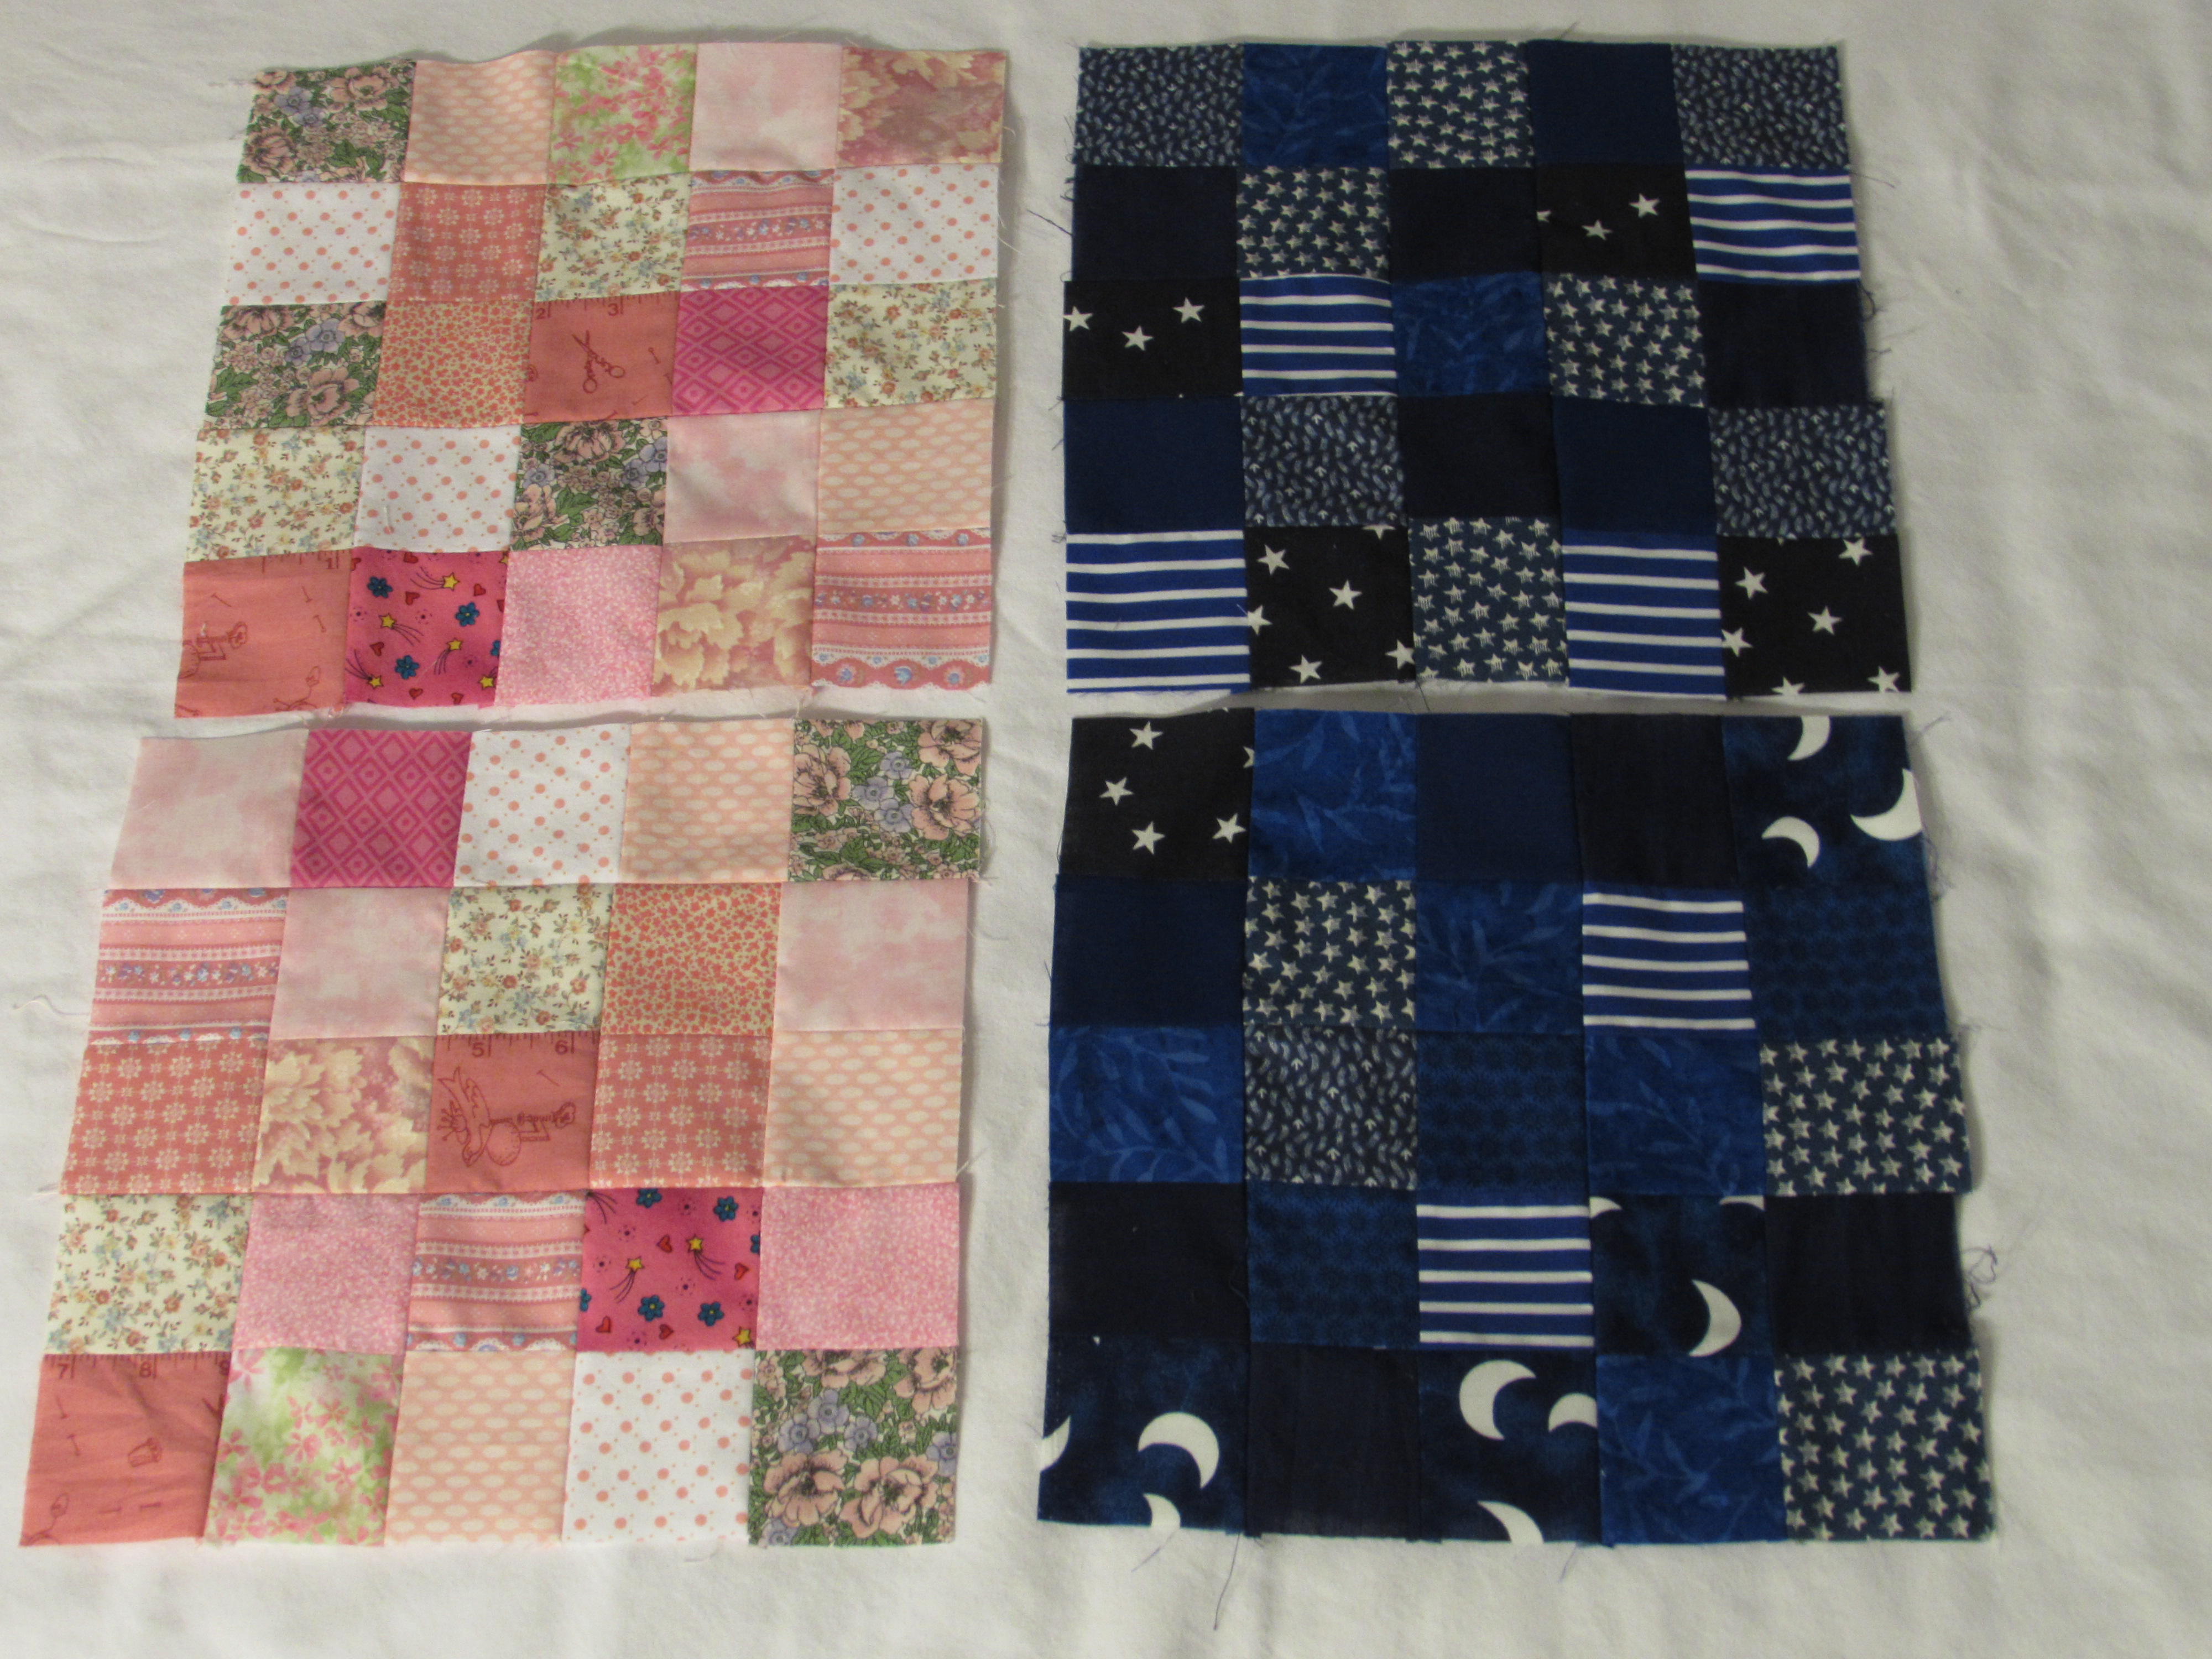
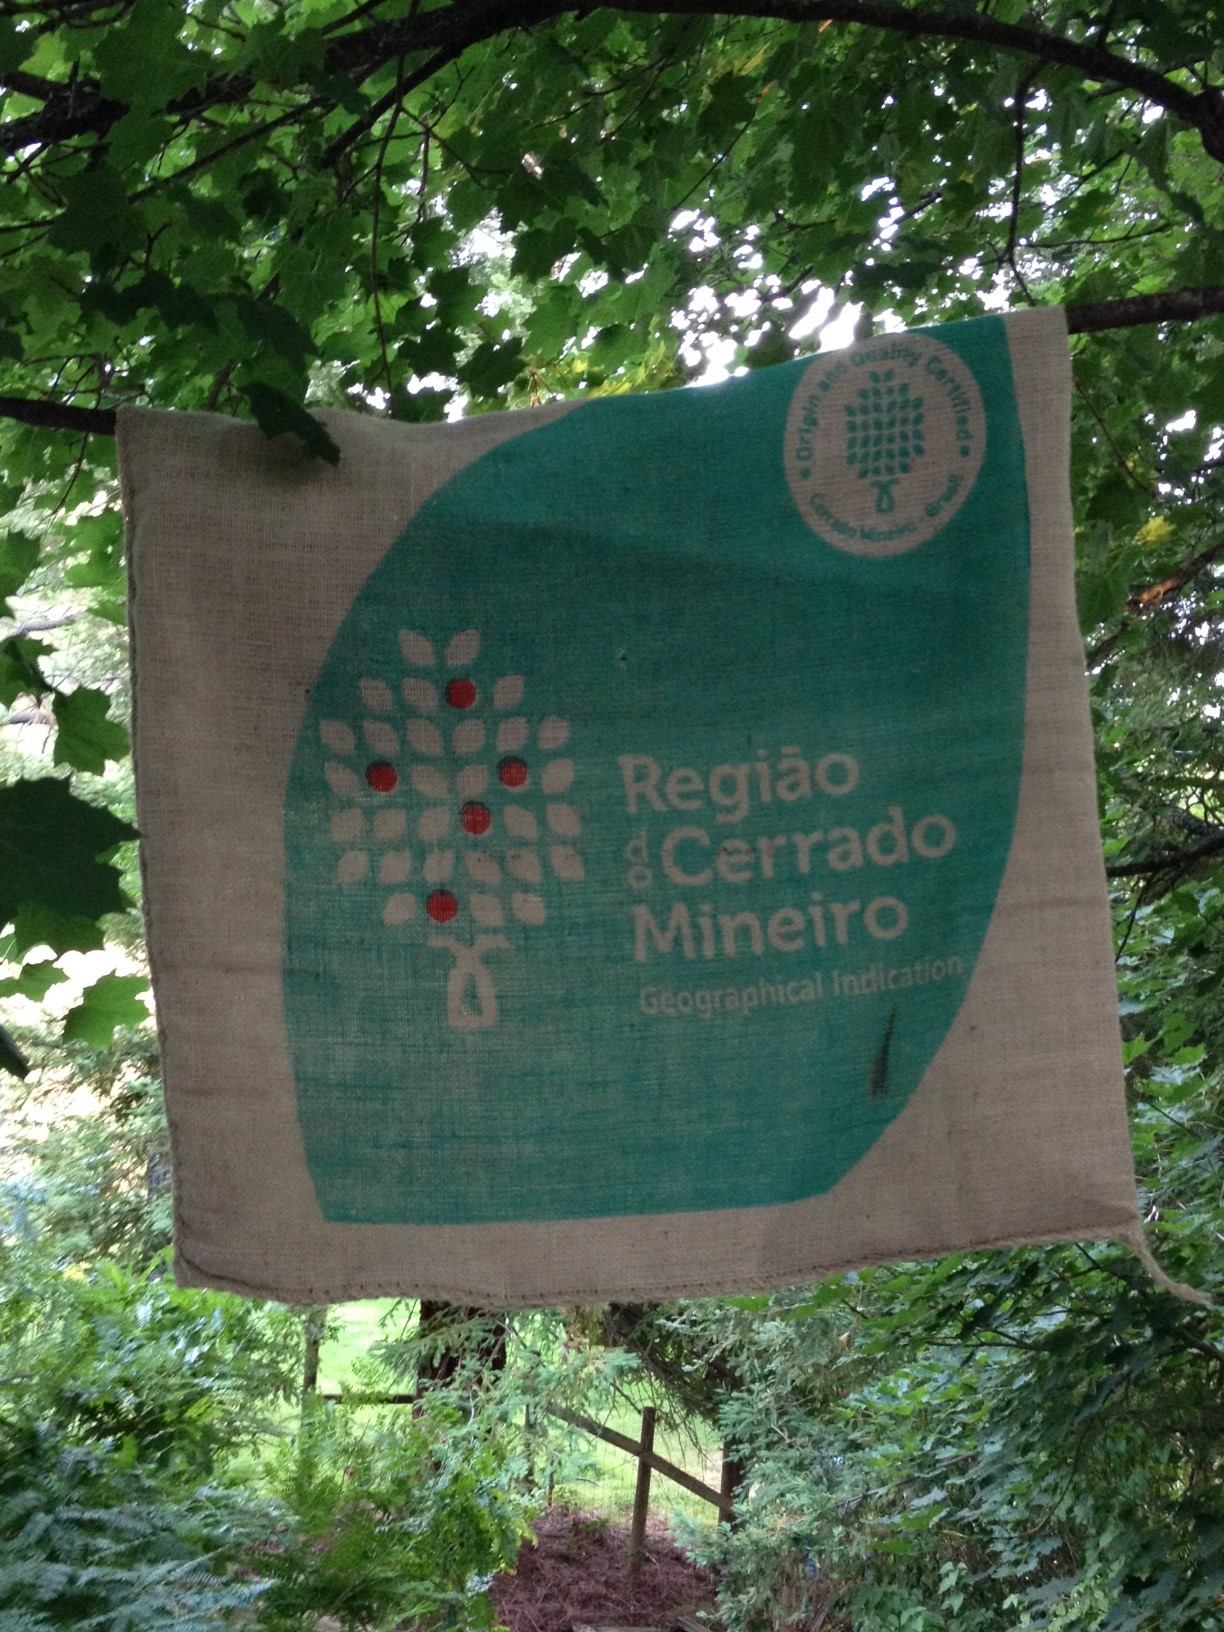
So, here is “what’s next”, for today anyway.  On a whim, I purchased a bag of scraps from Southern Fabric.  Have you taken a look at their on-line shop?  It is filled with a huge assortment of really nice fabric.  I follow them on Instagram and Facebook because they are always having a sale on something.  One day it was bags of strips.  They were half off (regular price is $12.00).  The only thing guaranteed was that the strips were from a coordinated line from Moda.  Good enough for me.  Really, is there any line that I really wouldn’t want to work with?  Doubtful. (By the way, this isn’t a sponsored post.  I just love their shop.) With rapid speed, I received my bag of surprises in the mail. (I love a good surprise too!) I was so thrilled.  Look what I got:

blue strips
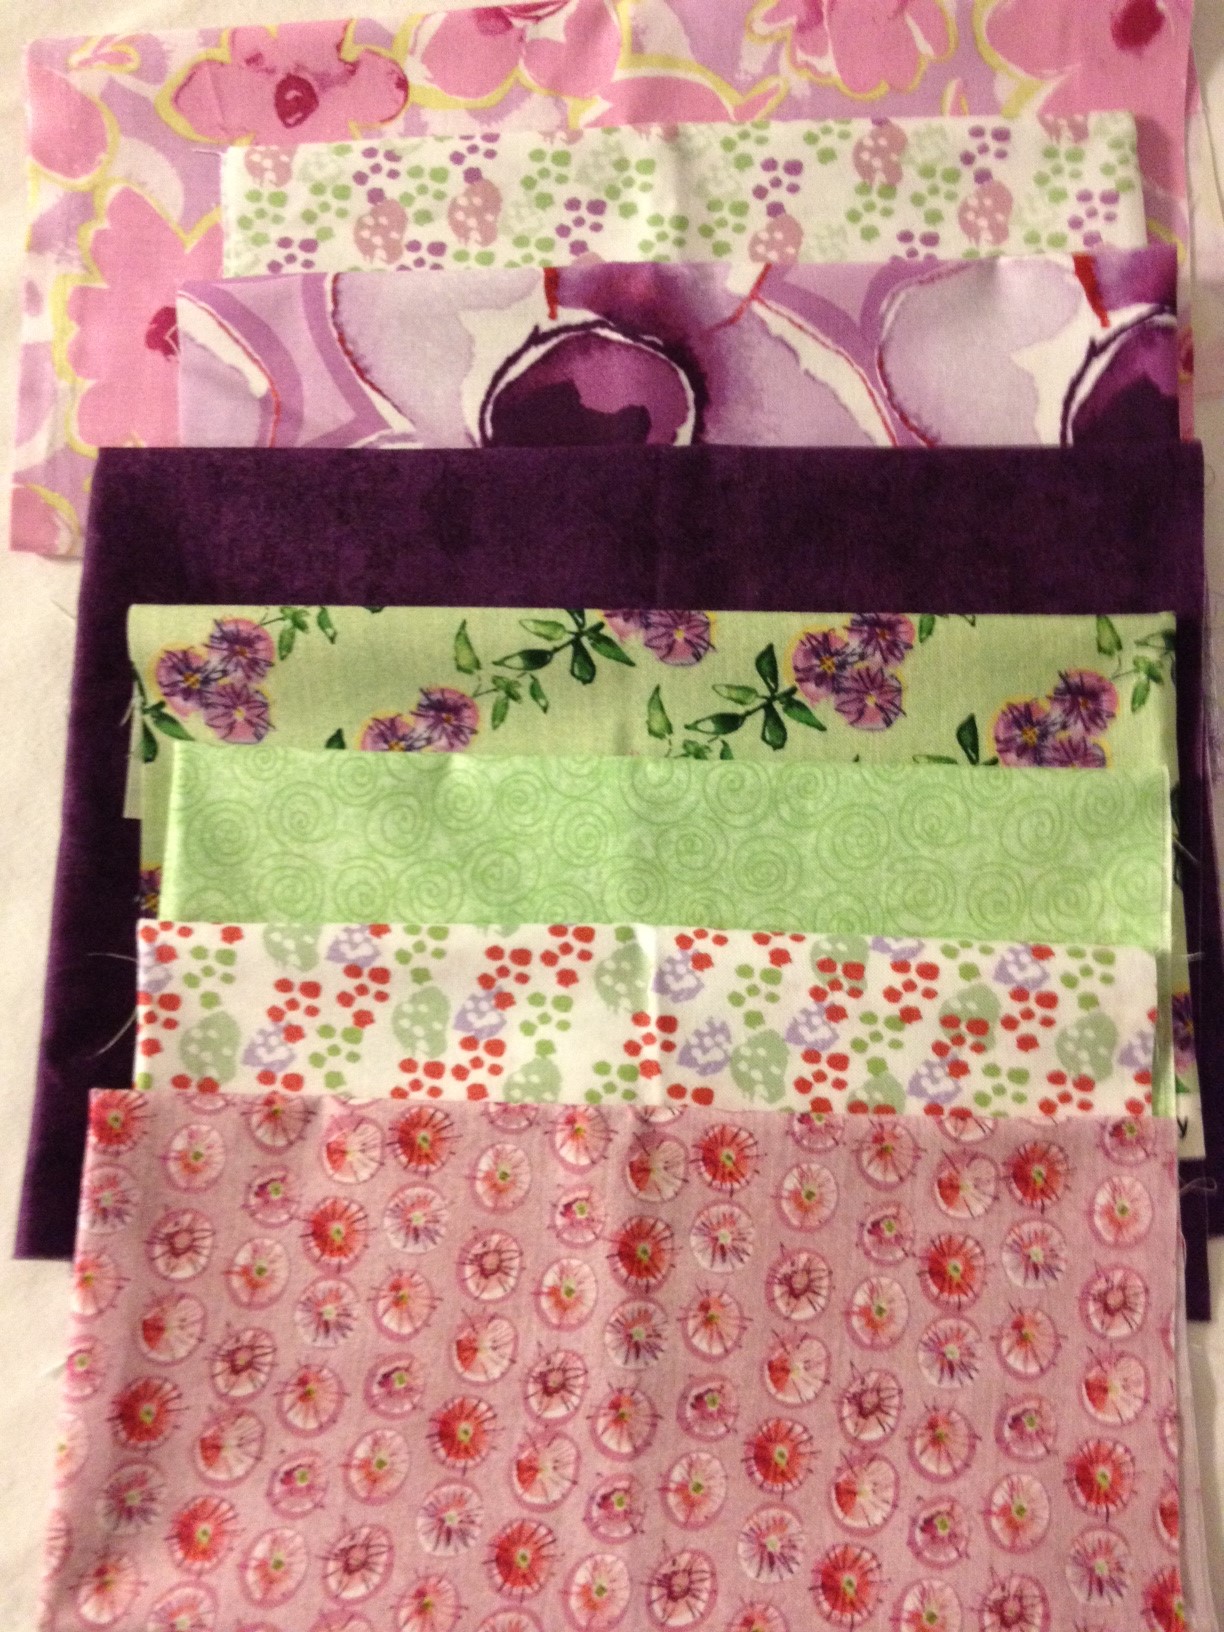
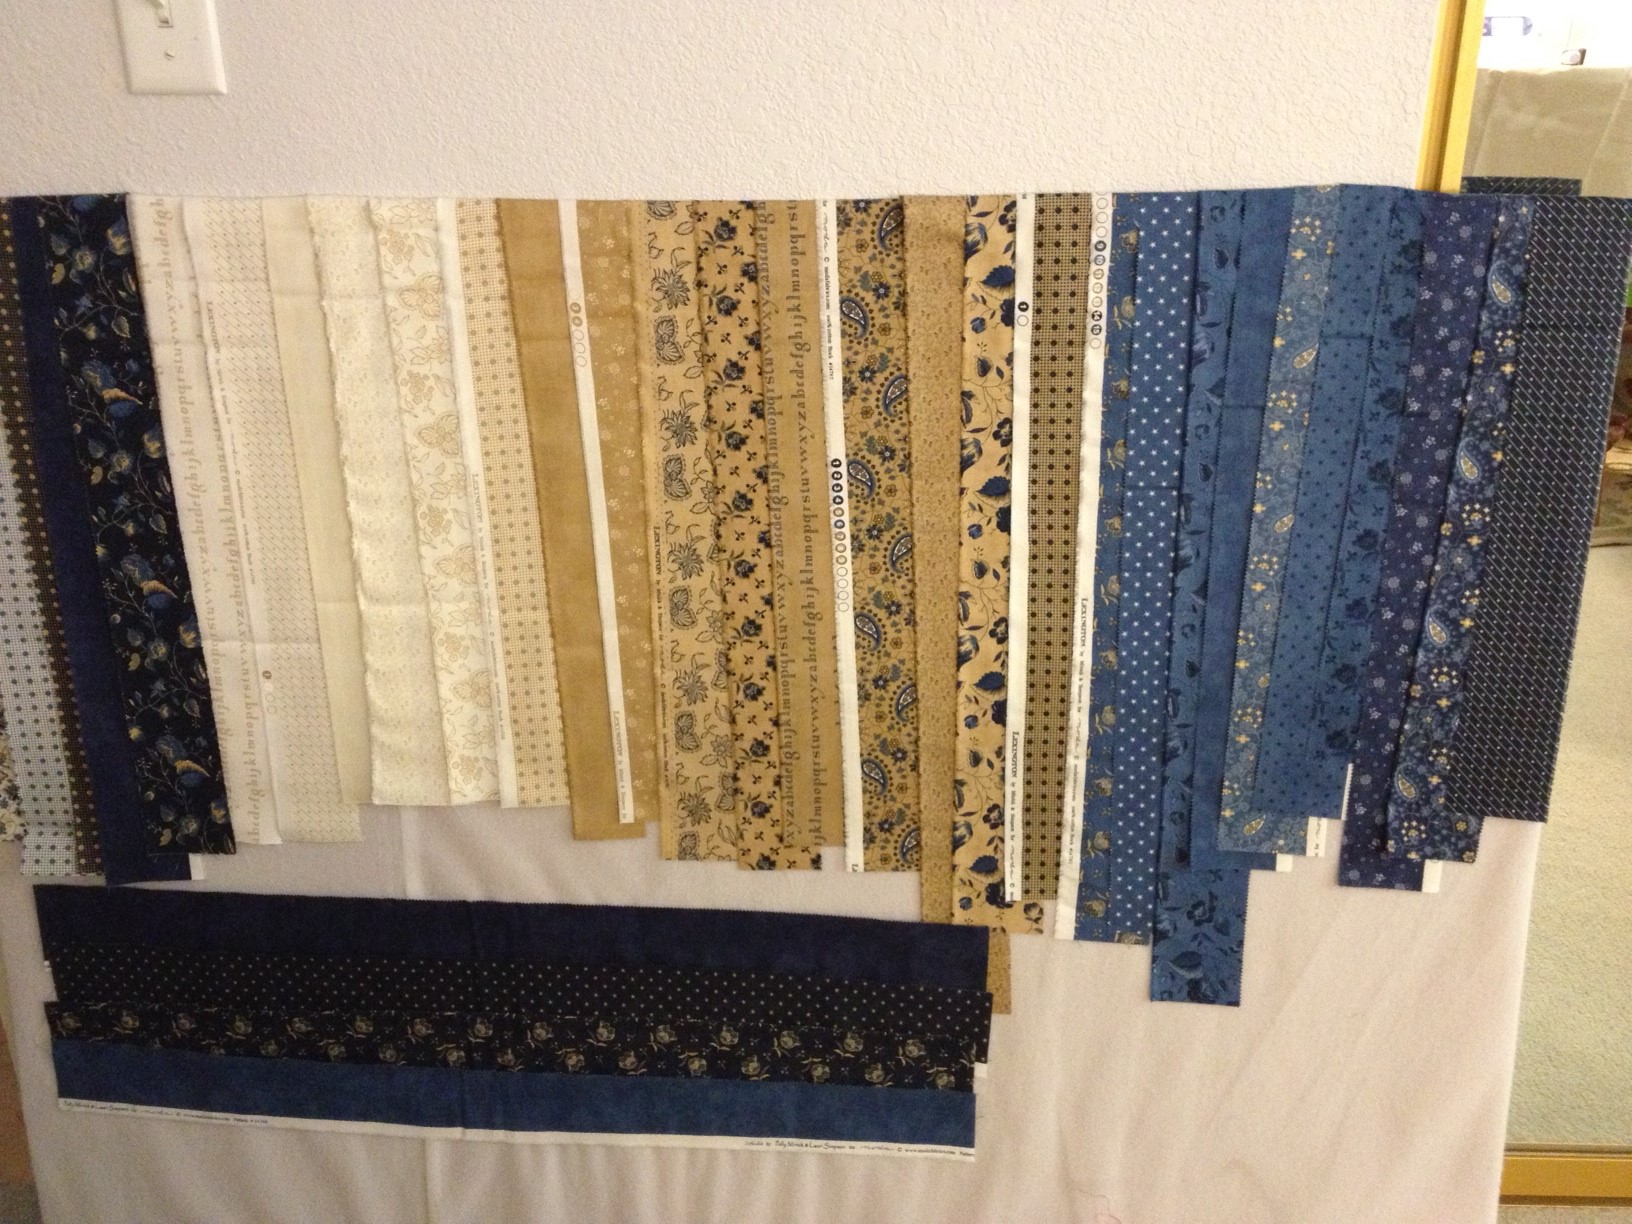
The strips are from the Lexington line designed by Minick & Simpson for Moda Fabrics.  I love it.  My favorite pieces are the text prints that just repeat the alphabet.  Really sweet.  I think I need to order some yardage in that text print.  Two strips just isn’t going to do it for me.

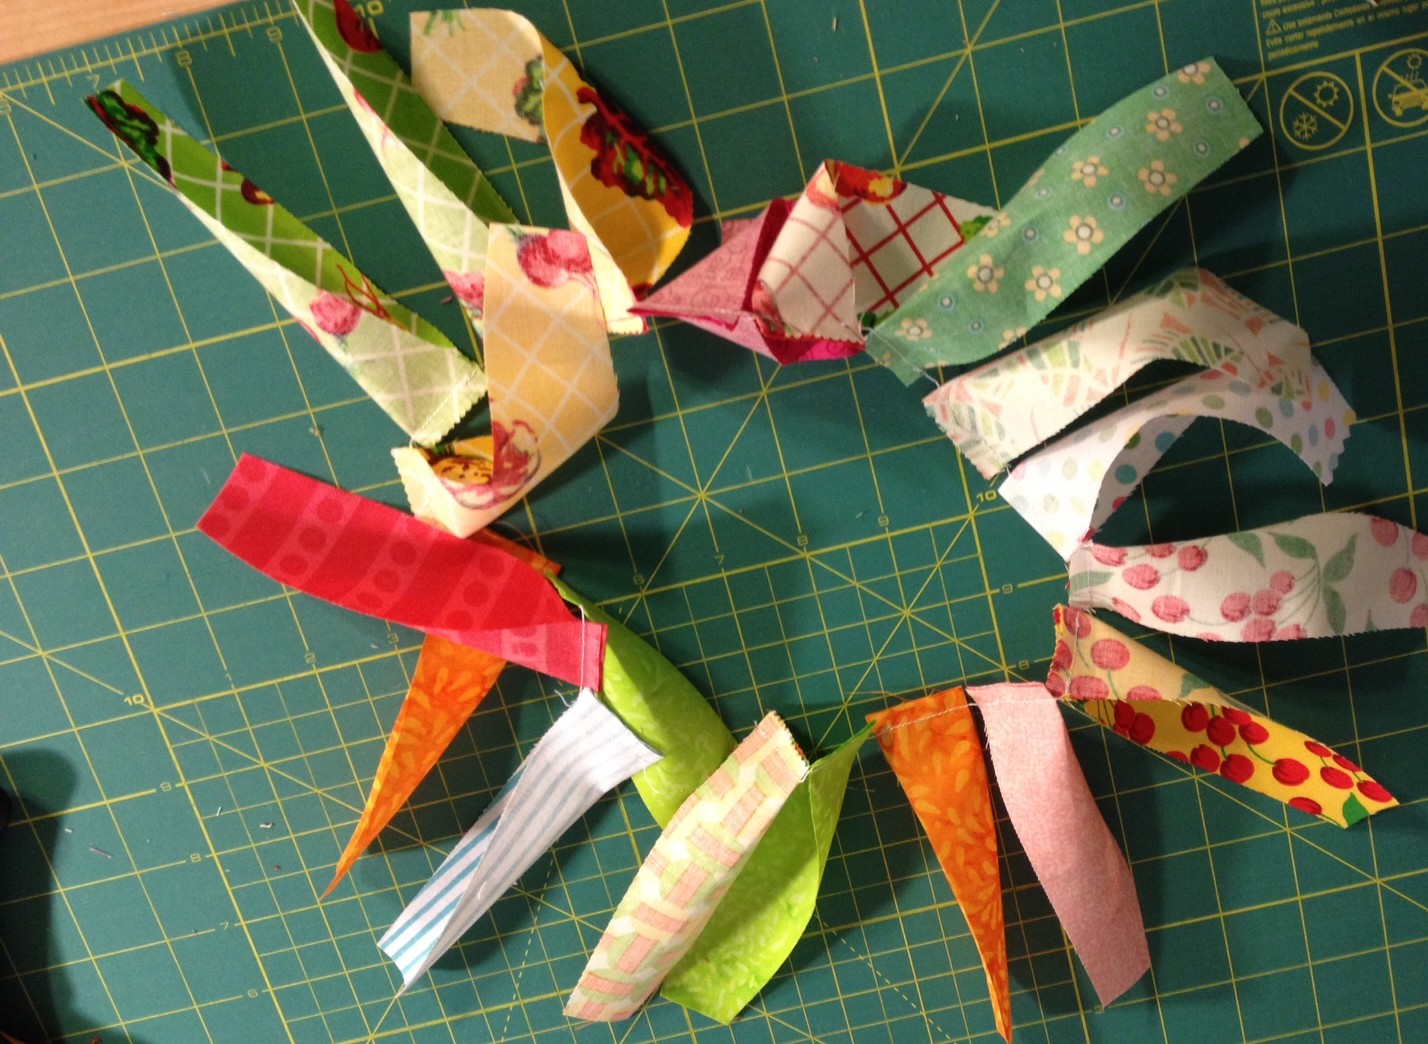
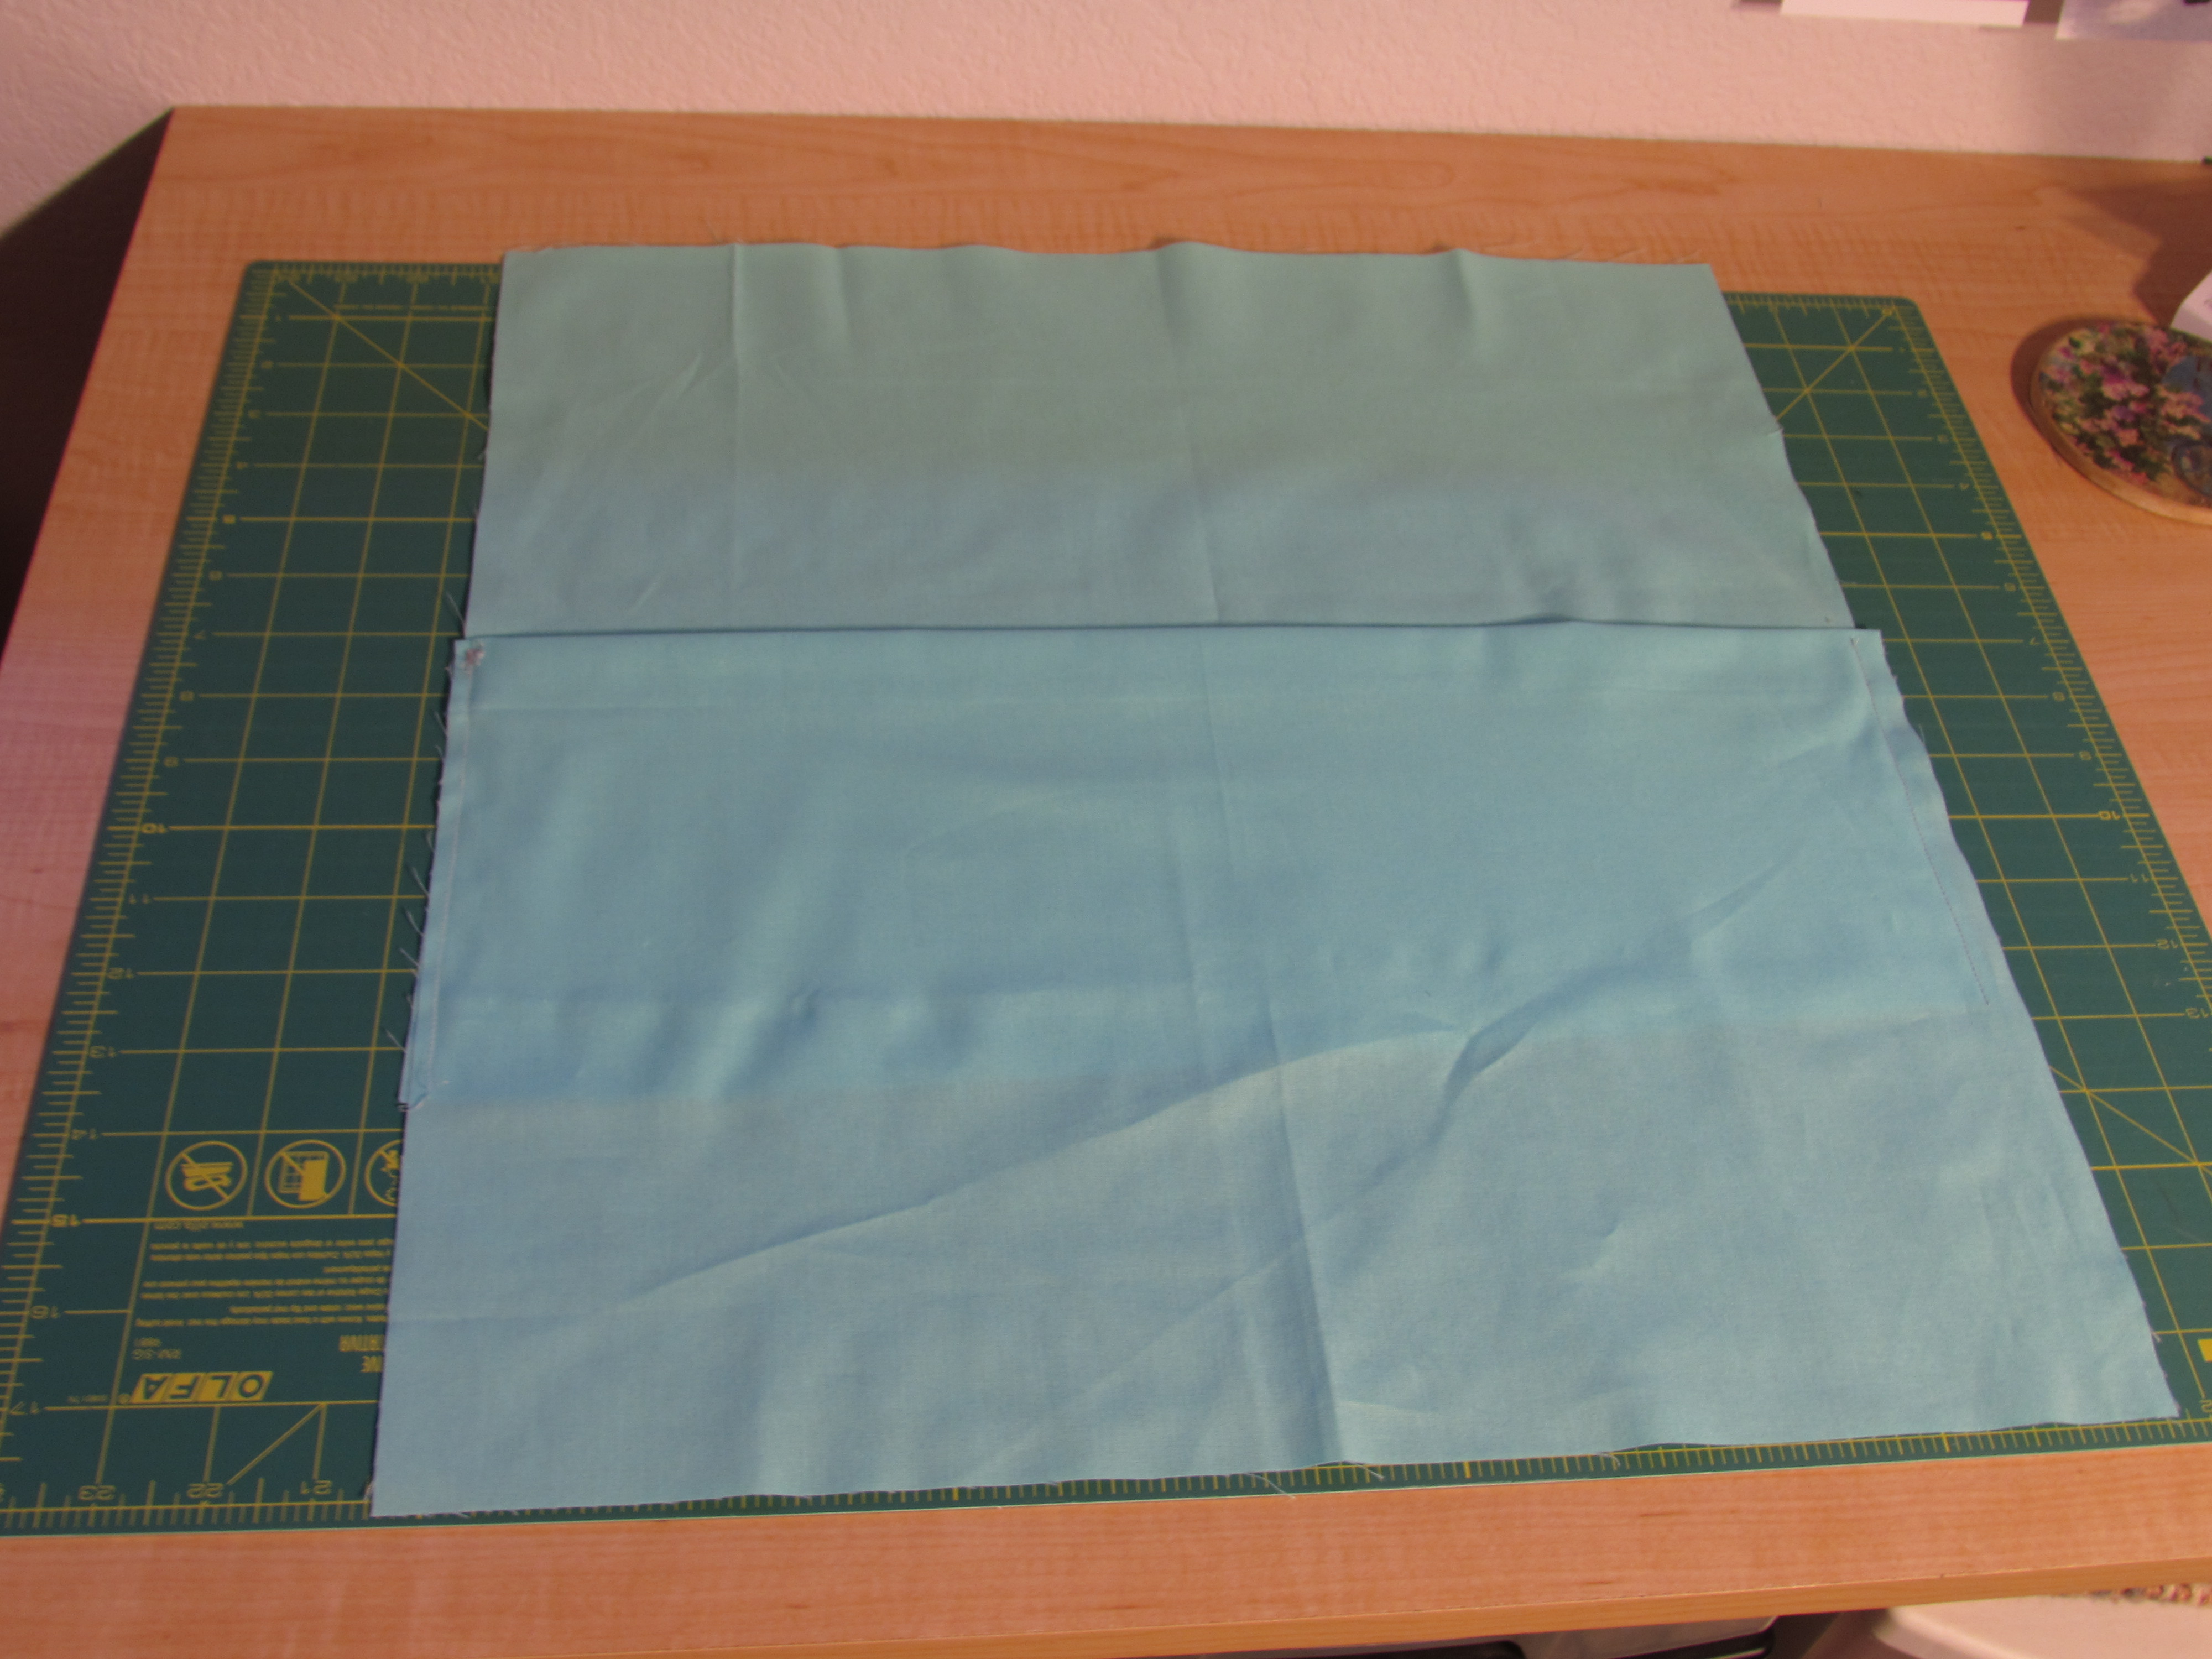
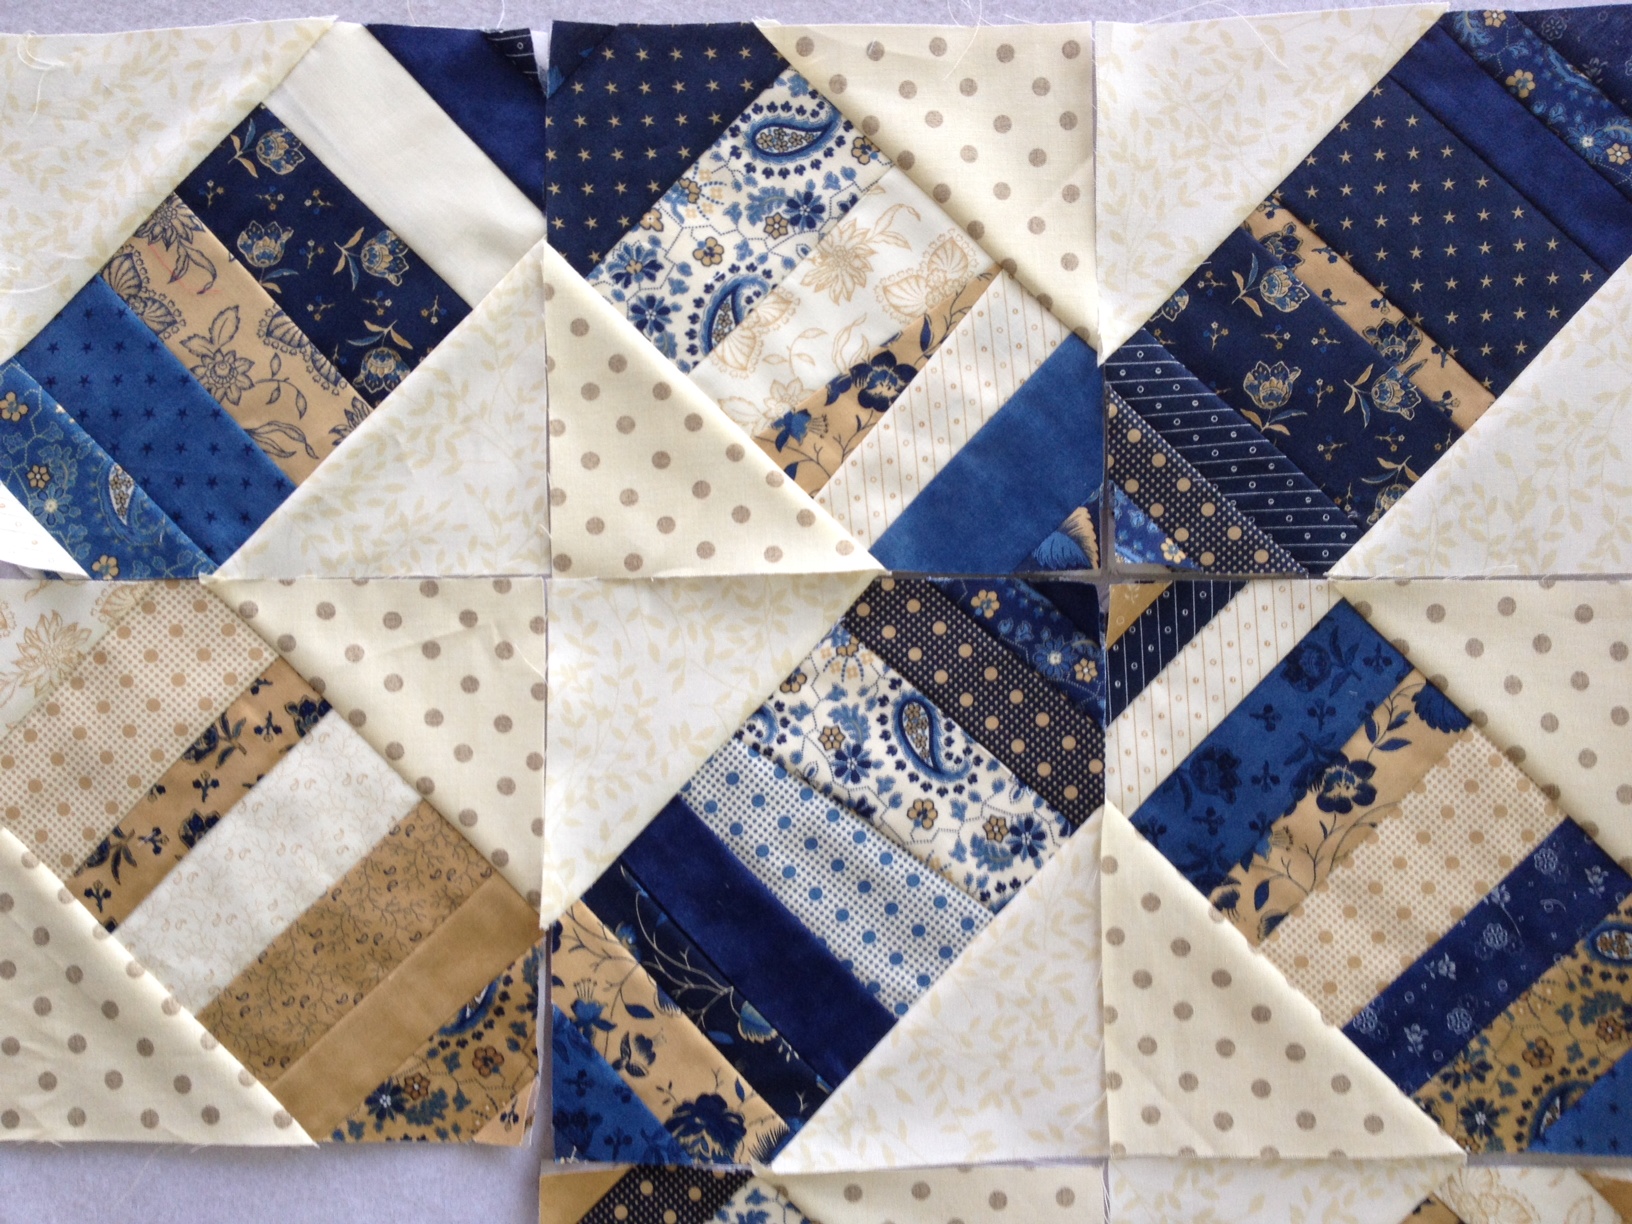
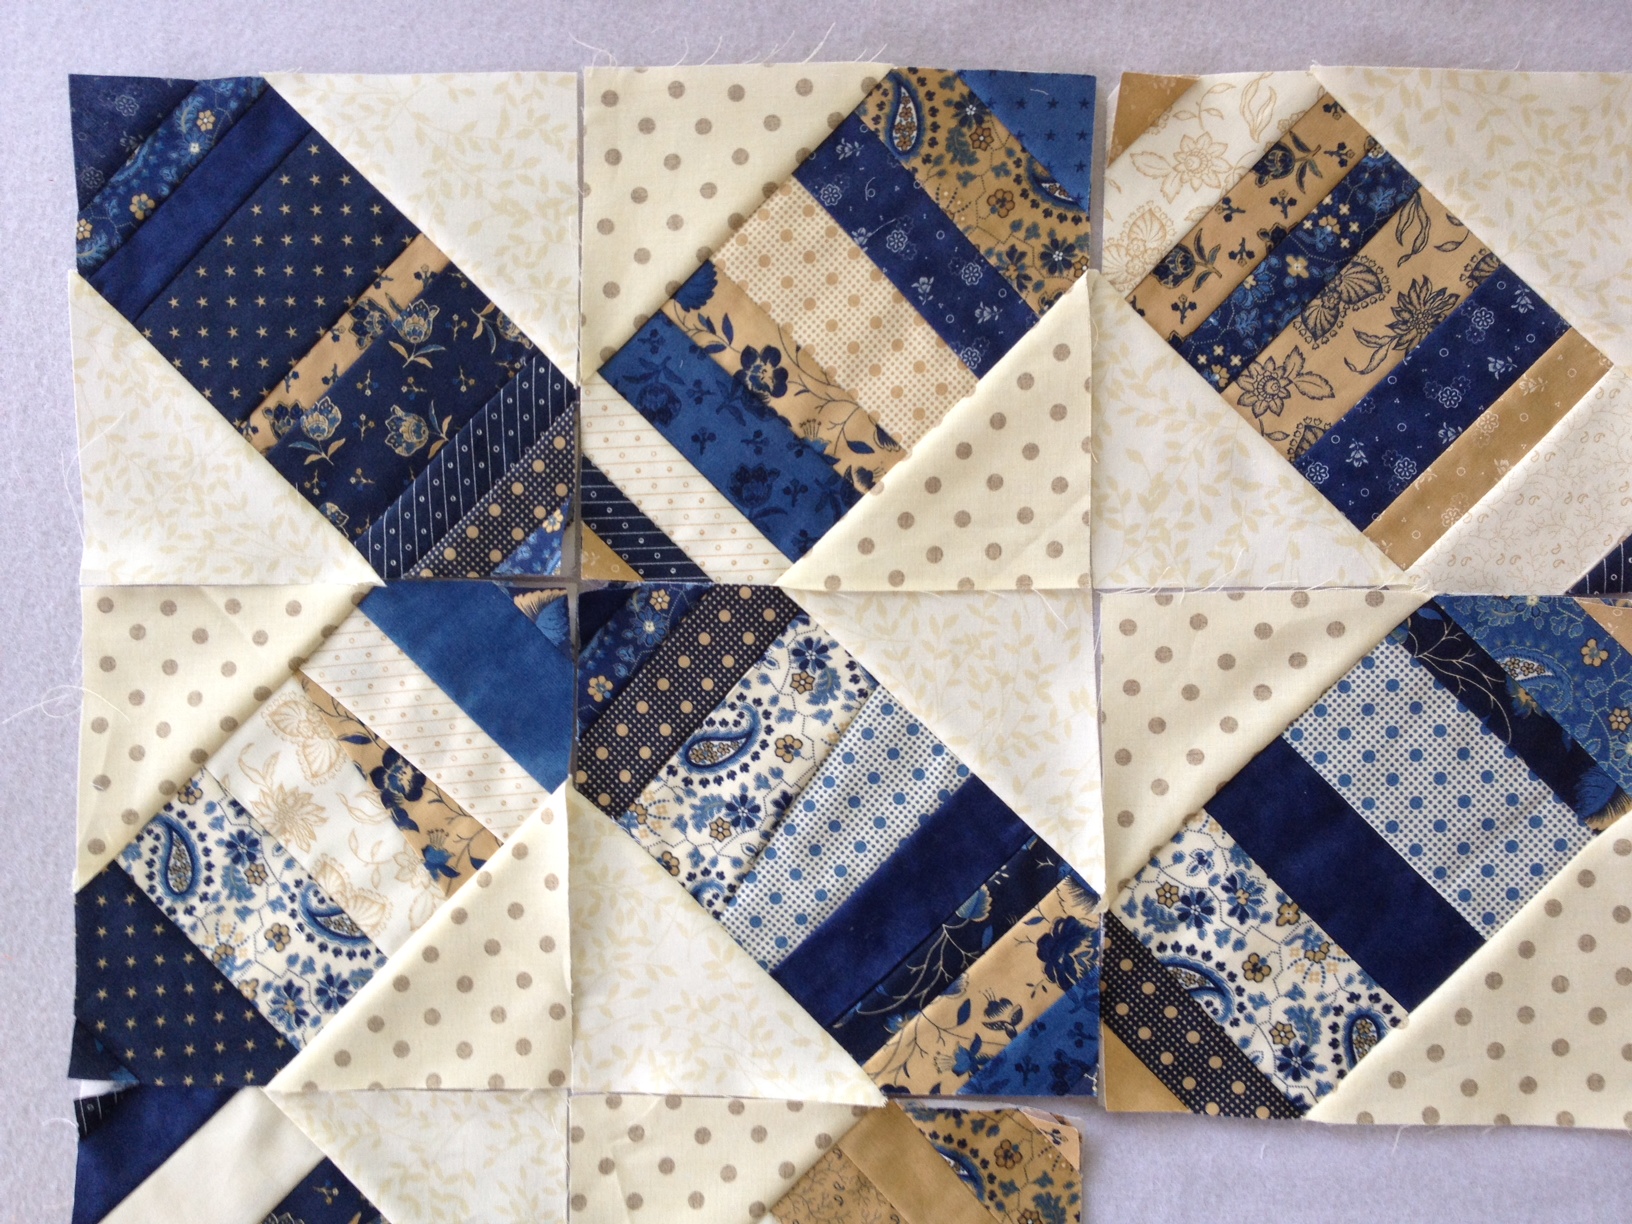
It was easy to come up with a project for these strips.  I decided to make a string quilt. The tutorial that I liked best was found on Quiltville.com. The blocks are strip quilted on a  rectangular piece of fabric and then triangles are added to the sides to create the block. First I trimmed the selvages off and cut my strips into various widths between 1 1/2 inches to 2 1/2 inches.  I used a sheet that I cut into rectangles for the foundation fabric. For the triangles, I have some low volume fabrics that work perfectly.  Check these out:

blue quilt low vol
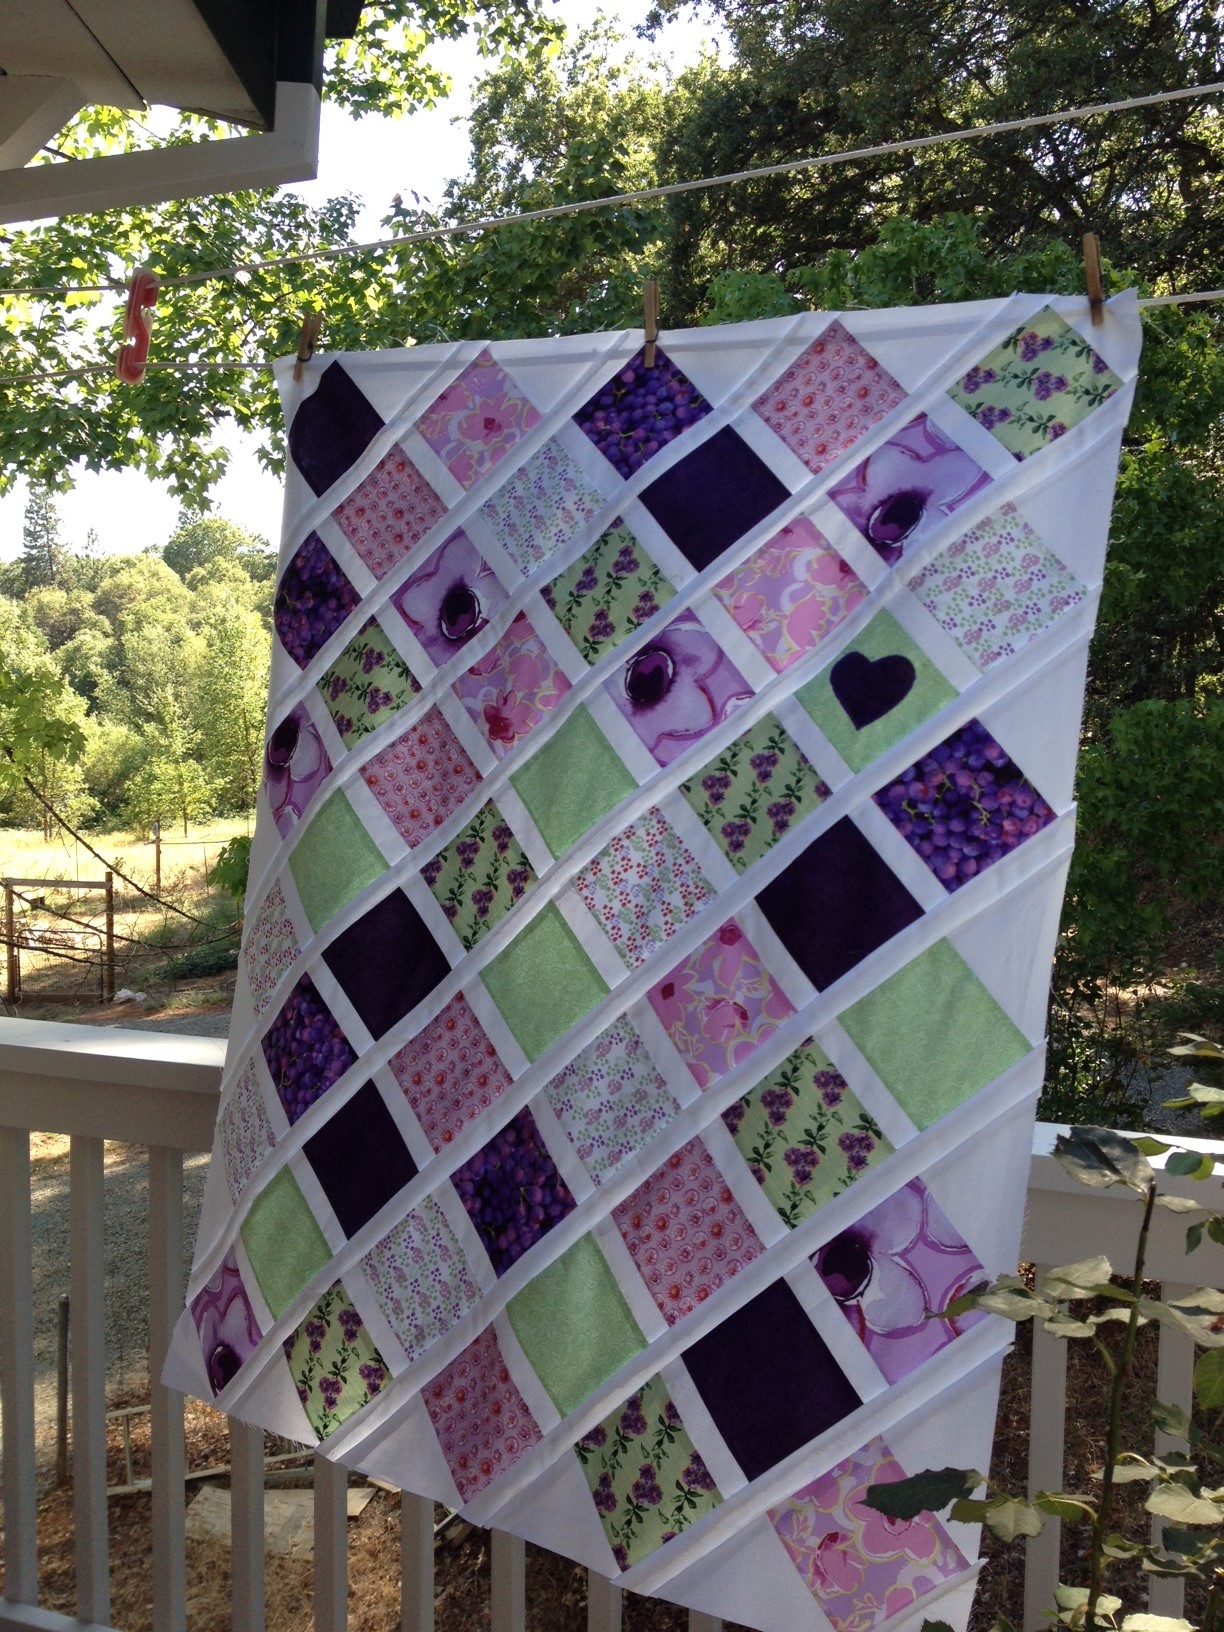
These are such pretty pieces and I love them with the blues and tans of the Lexington line.  Here are the blocks that I have thus far. As I have mentioned before, I lean toward the precise side (that actually is a bit of an understatement) so I’ve decided to sew some of the strips slightly wonky and try to enjoy the freedom that allows.  Not so bad to relax and accept a little intentionally crooked piecing! If nothing else, it is kind of freeing.

blue tan quilt blocks 2

The blocks are fun to make – they require almost no concentration.  The only (small) downside is pressing the strips each time one is flipped over.  Usually I will sew one from each end, starting at the center so I can press two at a time.  Kind of a hassle to do the pressing.  Other than that, easy peasy.

blue tan quilt blocksI am taking off this afternoon to go visit my son for a couple of days.  He just got his first job after graduating college so I am looking forward to hearing how things are going. I suspect I might be able to find a few local quilt shops during my travels! (a given, right?) Hope you are all enjoying your fabric craziness as much as I am.

Linking up with:

Marelize at Anything Goes Monday; Alyce at Blossom Heart Quilts, Connie at Freemotion by the River, Heather and Megan at Randi at Fabric Tuesday. How about with the lovely Lorna at Let’s Bee Social?

The Sisterhood

Eventually, after just few more words, this post becomes quilt related.  Honest.

I consider myself to be incredibly fortunate. Life is good and I have all that I need or want.  Not everyone can say this and I know I am so lucky. Part of my good fortune involves my five sisters. I am one of six girls and it is the best. My parents, like so many couples in the 1950’s, married really young (at the ripe old age of 20).  They produced their first daughter three days after their first wedding anniversary.  Within another nine years they created five more daughters!  So, we six girls were all within ten years of one another.

You can only imagine the craziness that it is to grow up with six girls in the house and no boys (other than Dad). It was a sort of love/hate relationship.  We fought incessantly – about who the sweater belonged to, whose night it was to do the dishes, who was supposed to vacuum this week, who left the dried up ice cream bowl out and should really be blamed for it – it went on and on.  However we were also each other’s best friend.  There was always someone to hang out with, lay in the sun with, our bottles of baby oil and tubs of cocoa butter at our side. (sunblock? I don’t think so….) My mom actually told us, on more than one occasion, that we should  make some friends (what? like with someone from another family? but why?)

Now that we are adults we are still so close, probably more so since we don’t have to share a room or fight over the dishes. There are daily text strings, sometimes numbering upward of 50 exchanges, between us.  These involve the really important (earth shattering actually) details of daily life.  How do you make cucumber/tomato salad?  How much should I be paying for apricots? Look at the latest picture of this grandbaby, or that one.

sisters

As I started this blog, they were my first supporters and definitely my first followers (since no one else knew I was out here writing away). And here comes the quilty part of the post….

Wednesday, during a morning text marathon, we were celebrating my very first sale on Etsy!! A momentous occasion.  See?

20140723_1452

One of my sisters asked what else I was going to put up on Etsy.  (They are like my advisory board.) We tossed some ideas around and a baby quilt was suggested.  I decided this would be a fun thing to do.  I hunted through my fabrics and found a great assortment to use for a baby quilt for a sweet little girl.

baby quilt fabric

Love having this all on hand and ready to go!  I wanted to make something sweet and simple.  I chose to do a quick lattice work pattern using five inch squares on point, sashed with white.  The tutorial is from none other than Amy Smart of Diary of a Quilter.  She posted it at the Moda Bakeshop  site a long  while back. Couldn’t get much easier than this.  Well, actually, it could.  If I would have had the right charm squares on hand it would have gone together much quicker.  As it was, I had to cut fifty (5) inch squares myself.  That took a bit of time but I need to be using the fabric I have, right?? The result is adorable.  Got the quilt top finished yesterday.  Yay!

baby quilt front

I added an appliqued heart to one of the squares for an extra touch.

baby quilt close up

My sisters were right.  (They always are.)  This was a really fun project.  I have the pieces for the back all cut and ready to assemble.  I haven’t found anything that I like in my stash to be used as binding.  (Oh well, a quick stop at my LQS will fix that–everything else was on hand, right??) Unfortunately I don’t have any batting just now.  Living 45 minutes from the nearest shop that carries batting for a decent price means I use Amazon a lot!  (Go Amazon Prime.) The batting will be here on Saturday and then I can get this finished up.

A quick question.  How should I quilt this.  Such a contrast between the white sashing and the dark purple squares.  I don’t know what color thread to use if I want to do a meandering, all over FMQ or a straight line pattern? Or, do I just quilt each square, avoiding the white sashing? I would love some input on this.

Great finish for Friday though.  A lovely quilt top in two quick afternoons!

Linking up with Crazy Mom Quilts, TGIFF, Link a Finish Friday, Confessions of a Fabric Addict, and finally, Fabric Frenzy Friday!!  Check out these links to see some really great work.

Have a great weekend everyone.

From one project to the next

Lots of progress has been made on a few projects this week.  I had some minor dental surgery done so I have been home taking it easy for most of the week.  Much of my time has been spent trying to figure out how many ways I can prepare a diet of oatmeal, smoothies, yogurt and scrambled eggs.  The ideas are running low though and it is lucky that I am able to chew things with a bit more substance today!

I posted last week about the Dresden plate table runner.  I got the quilting done on that and am so happy with it. I kept it simple and it works beautifully with the Dresdens.

20140722_1440

The back looks so pretty.

20140722_1441

In addition, I started (another) Block of the Month project.  Recently, I came across Mari’s blog, Academic Quilter .  As I was reading through some of her posts at Academic Quilter I saw that she is working on two rainbow block of the month quilts.  She has some gorgeous blocks pictured and I was intrigued.  As often happens, one thing led to another and there I was looking at (another) blog, So Scrappy.  (I swear I just get sucked in and lose all track of time when I start reading these quilty blogs.)  Angela, the writer at So Scrappy is hosting the Rainbow Scrap Challenge for 2014.  I decided to join in and start creating some rainbow blocks for myself.  Again, a little late to the party so I need to work to catch up.  My family was off and about on Saturday so I used the day to sew.  I got the January (blue) and February (pink) blocks done. I have the scraps collected and prepped for March which is teal blue. Because I am getting going on this a bit late, I decided to do simple patchwork blocks using 2 1/2″ squares, ending up with 10 1/2″ blocks.  I will sash them with white and put corner blocks in. Making two of each color will provide 24 blocks, enough for a quilt at the end of the year.  It has been fun using up all of the strips that I have been so faithfully sorting and saving. Also interesting to see what colors I have an abundance of and which I have very little (the dark blue for example…. not too much of that available).

20140722_1442

The other block of the month that I am working on is sponsored by Aurifil.  I posted about this earlier this summer.  I am just about caught up on this one.  Two more blocks done! The bear claw took some time…. When I finished it, the block was only about 10 inches square.  I stared at it for what seemed like forever, wondering why it was so tiny. I left out the interior border strips. So I had to spend a little time with my seam ripper and fix that up.

20140722_1434

Here are the six blocks:

20140722_1437

That is my quilting week in review! Summer is already more than half way through for us.  My daughter returns to school on August 14th!!  It’s going by way too fast. Hope you are all enjoying your summer!

Linking up with all of these lovely blogs:

FreeMotionbytheRiver, FabricTuesday, ShowandTellTuesday, and BlossomHeartQuilts. Also with NeedleandThreadThursday hosted by the lovely Kelly @ My Quilt Infatuation.


A Sweet Baby Boy!

I was honored to attend a baby shower a few months ago.  The mama is a sweet woman that I have known since she was two years old.  Her mom (Susan) and I are dear friends and way back when, we were stay at home moms with our littles.  Each of our children were born within months of each other.  Sarah (the new mama) was born three months after my oldest, Andrew.  The kids played together all the time and Susan and I would watch each other’s brood as needed.  When Sarah and Andrew were seven years old, we moved across country and their friendship didn’t get to continue.  Luckily, as time went on, Susan and I ended up living back in the same area. Life is busy so even though we only live an hour’s drive from each other we don’t get to see each other very often. When I received the invite to Sarah’s baby shower I was so excited.

Susan told me that Sarah was expecting a boy so I started to think about what sort of gift I wanted to bring. A short while before all of this, my sister made some adorable baby items to donate to a fundraiser for the Food Ministry that I volunteer for (I posted about the donation quilts that I have made for them here.) The items included some bibs, burpcloths, and little onesies with a necktie appliqued to the front.  The onesie was outstanding.  I loved it.  Before I gave them to the fundraising committee, I made a copy of the onesie on my copier so I would have the template for the necktie. It was clear that this would be an adorable gift.

I used an argyle print flannel for the necktie and also for some coordinating burpcloths. So simple yet so dang cute. I prewashed the onesies and the flannel because both are sure to shrink. After coming out of the dryer, I pressed the onesie nice and flat.  I cut out the necktie and then placed a (used and lightly ironed) dryer sheet on top of the right side of the necktie.  I sewed around the perimeter with a scant 1/4″ seam.  Leaving a few inches open on the side, I was able to turn it rightside out. After pressing this, I had a clean edge to applique. This is a great technique that was posted here by Christina at A Few Small Scraps. (If you haven’t read her blog, I highly recommend it.  She had so many good, practical tips; especially with regard to free motion quilting). Back to the project….. after pinning it tight, I appliqued the perimeter.  I also quilted a few lines across the little tie, following the lines of the print.  Just wanted it to hold tight to the fabric when laundered.  For the burpcloths I used Gerber prefolded diapers.  I prewashed and dried those as well.  I took a strip that measured 1/4″ larger than the center strip of the diaper and pressed under the edges. This was then pinned tightly to the diaper and I stitched the perimeter.  Once again, I quilted the center of the flannel with straight lines, following the pattern on the fabric.

The gift was a hit at the shower.  See?

baby shower sarahA few weeks after the shower her sweet boy was born.  Recently Sarah tagged me in a picture on Instagram.  Her sweet boy was wearing the little onesie.  So adorable.

sarah and aaron

Don’t you think he looks sophisticated for such a little guy.

These projects were so simple and fun to make.  I had some supplies leftover so I made another set.

20140709_1322

They are posted on Etsy here.

Congrats Sarah!!!

Linking to Sew Darn Crafty at SewManyWays.blogspot.com and Anything Goes Monday with Marelize. Another great link up at Fort Worth Fabric Studios too!


Dabbling with Dresdens

I have been playing with Dresden plates this week.  Never have done this because I thought it would require a patience level that I usually don’t have. I was happy to learn that this isn’t so.  Dresden’s look so precise but they are actually quite easy, time-consuming, but still easy.  There is a pattern in the most recent Love of Quilting magazine for a table runner with three dresdens placed on it. I made it exactly as the pattern instructs.

Cutting the petals takes a bit of time.  I am wondering if I need to purchase a smaller rotary cutter. I have just the one (45mm) but maybe I need the smaller one for finer piece work.  Does this ring true to any of you?  Let me know how many rotary cutters you use and the best size – or is there little difference??

dresden cutting

Learning something new is the greatest.  With this project I learned the dresden block as well as tried chain piecing for the first time.  What a timesaver.  Plus it saves on thread.  I don’t usually think about that part of it, but really, I am always buying thread.

dresden chain piece


It all came together really quickly.  So cute!!

dresden layoutThe pattern calls for borders that are 3 1/2 inches in width.  After attaching them, I think they are too wide. The runner will finish out at 45 x 20 inches. That is much bigger than I usually make for a table runner. I haven’t decided if I will leave it this large and hang it on the wall.  Or I will trim the borders and make it fit my table better.  Thoughts on this??

dresden with borders

The green polka dot print will be used as the backing as well.  That was a great thrift store find at only $4.00 for two yards.  Not sure what I will bind it with. I have been trying to decide how best to quilt this project.  I want to enhance the dresdens and do a light meandering on the white backing.  Looking through Flickr is always inspiring and I found this idea.

dresden sample quilting

It is perfect for the dresdens though it looks a bit intense for my skill level.  I may have to tone it down a bit.  It’s a good place to start though.

Hope you are all working on something fun!

Linking up with TGIFF, CrazyMomQuilts, and RichardandTanyaQuilt!  Happy Friday!

Sophisticated

At the beginning of this year I set a goal to make three birthday quilts for three special women.  You can read about the first two of these quilts here.  Yesterday I finished the third of the birthday quilts!!  Yay! I will ship it out today in honor of her birthday, which is today!  Think it will make it from California to Chicago in time for her to open it tonight??  At least I am getting it in the mail – it will have to arrive a few days after the day.  I am sure she won’t mind. I really love this quilt. I had pinned this design on Pinterest a long while back and was so happy to have an occasion to make it.  I used the pattern called Sedimentary created by Debbie Grifka at Esch House Quilts. Before I got started I check with my son, partner of the birthday girl, Marisa.  I knew I wanted to use black, gray and white as the basis but wanted him to select the accent color.  He chose cobalt blue, which I thought was a great choice.  Nice bold contrast but not too bright. This is a really easy quilt to make.  Cutting pieces consisted of lots of strips in three different widths.  The pattern directions are crystal clear and easy to follow.  Once the strips are sewn together it is a matter of laying them out and moving them around until the layout is pleasing.  I think if I ever make it again, I would reduce the widths of the strips overall and just create more of them. The strip widths are a bit “chunky” looking and narrowing the width would help that.  Overall though, I am so happy with it and hope that Marisa loves it!! marisa quilt 6   It was a lot of fun to choose all of the different black and white and gray fabrics.  Some I had in my stash and others I purchased for the quilt.  I used two text prints that I thought were perfect for Marisa.  One was all about stories (fitting as she is absolutely a bibliophile) and the other is written in French (Marisa is multi-lingual and speaks French among other languages). I had not used text prints before and they look great. It is fun to personalize the quilt with  just the right text prints. marisa quilt 3   The quilting was easier than it has been.  I suppose that it truly is all about practicing and it seems that each time gets a bit more comfortable and looks better over all.  I used YLI thread in a varigated gray to quilt a random pattern of swirls. The pattern contrasts nicely with the linear direction of the pattern. The thread was heavier and showed off the quilting better. (Although on the swirls that were a bit herky jerky they showed up more than I wanted!!) The only real problem was when I was quilting on the darker black strips, it was hard to see where I was coming from and going to. The back – I love the back.  Sometimes I get more excited about the back of a quilt than the front.  I decided to make four modern blocks with leftover strips and insert them in a column.  It looks great. marisa quilt 7   It is bound with a tiny print of blue and black, setting off both the front and back nicely. marisa quilt 8 marisa quilt 9 Here is my favorite tale about this quilt.  When I had the quilt lying on the floor and I was squaring it off and trimming the excess before binding it, my 13 year old daughter came in the room and took a look at it.  She said, “Mom, this is so pretty.  It is sophisticated.  Just like Marisa.” I loved Julia’s  interpretation and that is how the name of the quilt came to be. Sophisticated. marisa quilt 10   Happy Birthday Marisa!!   Linking up with Freemotion by the River, Fabric Tuesday and Sew Cute Tuesday and Show and Tell Tuesday.  Also at the lovely Lorna’s, Let’s Bee Social and, finally with Freshly Pieced’s  WIP Wednesday.

Upcycling, recycling, using stuff more than once.

Let it be known that I am a recycler.  I am not ok with the amount of plastic that is thrown away on a daily basis. Someday my (future) great-grandchildren are going to have one huge mess on their hands. In an attempt to minimize our household’s contribution to this mess, I recycle everything, re-using as much as possible.  I am one of those who uses a zip lock bag until it no longer zips. (In case you haven’t tried this, the bags can be rinsed, dried and used over and over.) My daughter and husband both take their lunches to work or school, as the case may be, in reusable, plastic zipper pouches. I buy them online at Blue Avocado. I bought four bags over two years ago and three of them are still in great shape. I can’t even count how many zip lock sandwich bags that saved us from using.  (I know there are lots of people who make their own bags and I may give that a try as well).

Along with recycling, I have been trying to reuse, or upcycle, (a trendier term) items. This week I found a great use for the huge coffee bean sacks that I purchased a while back at our local coffee roaster. I knew they would come in handy and I was so excited to create something from them!

sack front 3

I was hanging my laundry on the clothesline (which I do quite often). It is so hot here in the summer and I don’t like to run the clothes dryer if I can avoid it. It just heats up the house and makes our A/C unit run overtime. My clothesline is above our back deck and the clothespins are usually in this old basket.  See?  Not exactly gorgeous, right?

basket

For the past couple of years I have set this old basket on the deck railing and hung the clothes.  Numerous times the basket has dumped and the clothespins scatter over the deck or, worse, they fall over the edge down to the ground below.  You’d think I would have fixed this critical life problem a long while ago.  But I just kept picking up the pins and muttering sounds of irritation under my breath.  This week I decided to make something for the clothespins.

I made a simple, lined bag with boxed corners and added a long tab off of the back. Next I created a small sack and filled it with dry, white rice. Sewed up that pouch and inserted it into the bottom of the long tab. The tab hangs over the railing and acts as a counter weight for the bag holding the clothespins. It looks so much nicer than that basket. I was filled with wonder as I hung the clothes with my clothespins staying where they are supposed to!  Simple pleasures, right??

front of bag

Here is the back to show the tab with the counter weight.  Not a great shot, but then I was leaning over the railing and hoping not to drop my phone……  🙂

back of bag

After I made one for myself, I decided to make a few more. I modified them such that the tab is much shorter and doesn’t have the counter weight. I added some buttonholes and a button to the back. This way the tab can be looped over the clothesline and will just slide along as the clothes are hung.  Again, pure joy.  🙂 Look how cute this is:

20140701_1246I love the burlap from those coffee sacks.

20140701_1255


I put two different buttonholes in along the tab so the length can be adjusted as needed.

20140701_1269


The burlap looks great and wasn’t that difficult to sew with. I did reinforce the raw edge of each piece of burlap with a zig zag stitch to minimize any fray. I fused some heavy weight interfacing to the lining fabric. Various fabrics from my stash make up the linings and ribbon  accents were added. I opened an Etsy shop and these are my first items up for sale!  Check them out here.


Linking up with Crazy Mom Quilts, Richard and Tanya Quilt, also at Confessions of a Fabric Addict.

Scrappy Pleasures

About 18 months ago I finally finished a quilt for my daughter’s bed. It was one of my first really challenging projects. I am happy with the way the quilt finished up, though it was harder than I expected. I used a pattern from Natalia Bonner’s wonderful book, Beginner’s Guide to Free Motion Quilting. This book has excellent information for those that, like myself, are trying to learn to FMQ.  I am not sure the pattern that I used was really one for a new beginner.  The piecing was a challenge.  Long story short, I bit off way more than I had thought but now that it is done, I am happy I did it. Here is a picture of the quilt:

julia quilt large

The pebbling took roughly 1.5 billion hours.  Or at least, it felt that way  The spirals were really hard because I quilted this on a fairly old Janome that isn’t equipped for FMQ. I couldn’t drop the feed dogs and I was fighting the machine the whole time.  If you look closely at the quilting on this, it is painfully apparent that I was just learning. Again, glad I did this one and even happier that it is done!! (And happier yet that ,since then, I bought a newer Janome that quilts with ease!)

Once I finished this quilt I had amassed a huge pile of scraps. Cutting the lavender circles left a lot of waste. Here we are 18 months later and I finally used some of the leftover scraps.

20140708_1304I decided to make a throw pillow for Julia’s bed.  l created a checkerboard with some blue and lavender squares and then added some borders.  I love the floral print.  It is an older Kaffe Fassett print that I used for the backing of this quilt. To quilt it, I made a quick sandwich with a piece of leftover batting and some lightweight muslin. I quilted a cross hatch pattern and then added the back.

20140708_1305

I made the pillow cover “envelope style” so it all came together quickly.

20140708_1309

Pretty cute.

20140708_1313

I also made a little mat for Julia’s desk.  My husband made her a desk for her 12th birthday. It has a walnut top and Julia had been putting a couple of pieces of felt underneath her desk lamp and some other items so the top wouldn’t get scratched. I made a rectangular mat (11 x 18″) for her to use instead.

20140708_1308

This was a fun little project.  I took an assortment of scraps and just played around with them until I found an arrangement that I liked. It was my first attempt at improv piecing.  Just slicing and dicing and moving things around instead of drawing a sketch and measuring each piece. I am not one for doing things without a pattern or direction.  I (usually) cook from recipes rather than just making things up as I go.  As a kid, I colored within the lines. Get it? So playing with the fabric and just moving the pieces around was a fun exercise.  As far as improv piecing goes, this is pretty tame.  None of the pieces are wonky – it all lines up. Baby steps, right?? I used straight line quilting and machine binding.

20140708_1310

Two scrappy projects completed and they brighten Julia’s room. (Honestly though, these two projects made hardly a dent in that scrap pile!)  She is at camp this week and these will be fun surprises for her to come home to.

Linking up with: Linky Tuesday at Free Motion by the River; Fabric Tuesday at Quilt Story; Sew Cute Tuesday at Blossom Quilts; WIP Wednesday at Freshly Pieced and Let’s Bee Social at Sew Fresh Quilts.


A quick project

Recently I traveled to Chicago with my daughter, Julia, and my mom.  We went to see my middle son, Kyle. Julia and I had not been to Chicago before but my mom had lived there as a young girl. We had the best time.  Chicago is a gorgeous city.  The architecture is fascinating. We were lucky enough to have beautiful weather.  Sunny days with clear blue skies.

Julia was on a mission to see some of the parts of Chicago that were used in the recent movie, “Divergent”. We saw the ferris wheel at Navy Pier (which was used when Tris was climbing it to find the other team’s flag during the game of Capture the Flag played during Dauntless Initiation).

20140525_0900We were only there for four short days.  We packed as much of Chicago into those days as we possibly could.  What a fantastic trip.

When I was getting ready to go on this vacation I decided I needed a different bag for my camera.  The bag that I have is bulky and I didn’t want to take up that much space in my backpack. The day before we left I made a quick drawstring bag to use instead. I used a tutorial by the talented Jeni Baker. Jeni’s tutorial is so clear and easily understood. I chose to add a fusible interfacing to the body of the bag and also quilted some batting to the body as well. I wanted it to be a bit sturdier so the camera would be safely cushioned in the bag. I used some fat quarters that I have had from a Henry Glass collection designed by Jill Finley,  “Beyond the Gate”. The bag came together in short order and was perfect for the trip.

Linking up with Sew Cute Tuesday at Blossom Heart, Free Motion by the River, Freshly Pieced’s WIP Wednesday, Let’s Bee Social at Sew Fresh Quilts, Needle and Thread Thursday at My Quilt Infatuation. Linking to Amanda Jean at CrazyMomQuilts!!

drawstring bag 2