Tag Archives: clothespin bag

Clothespin Bag Tutorial & Giveaway


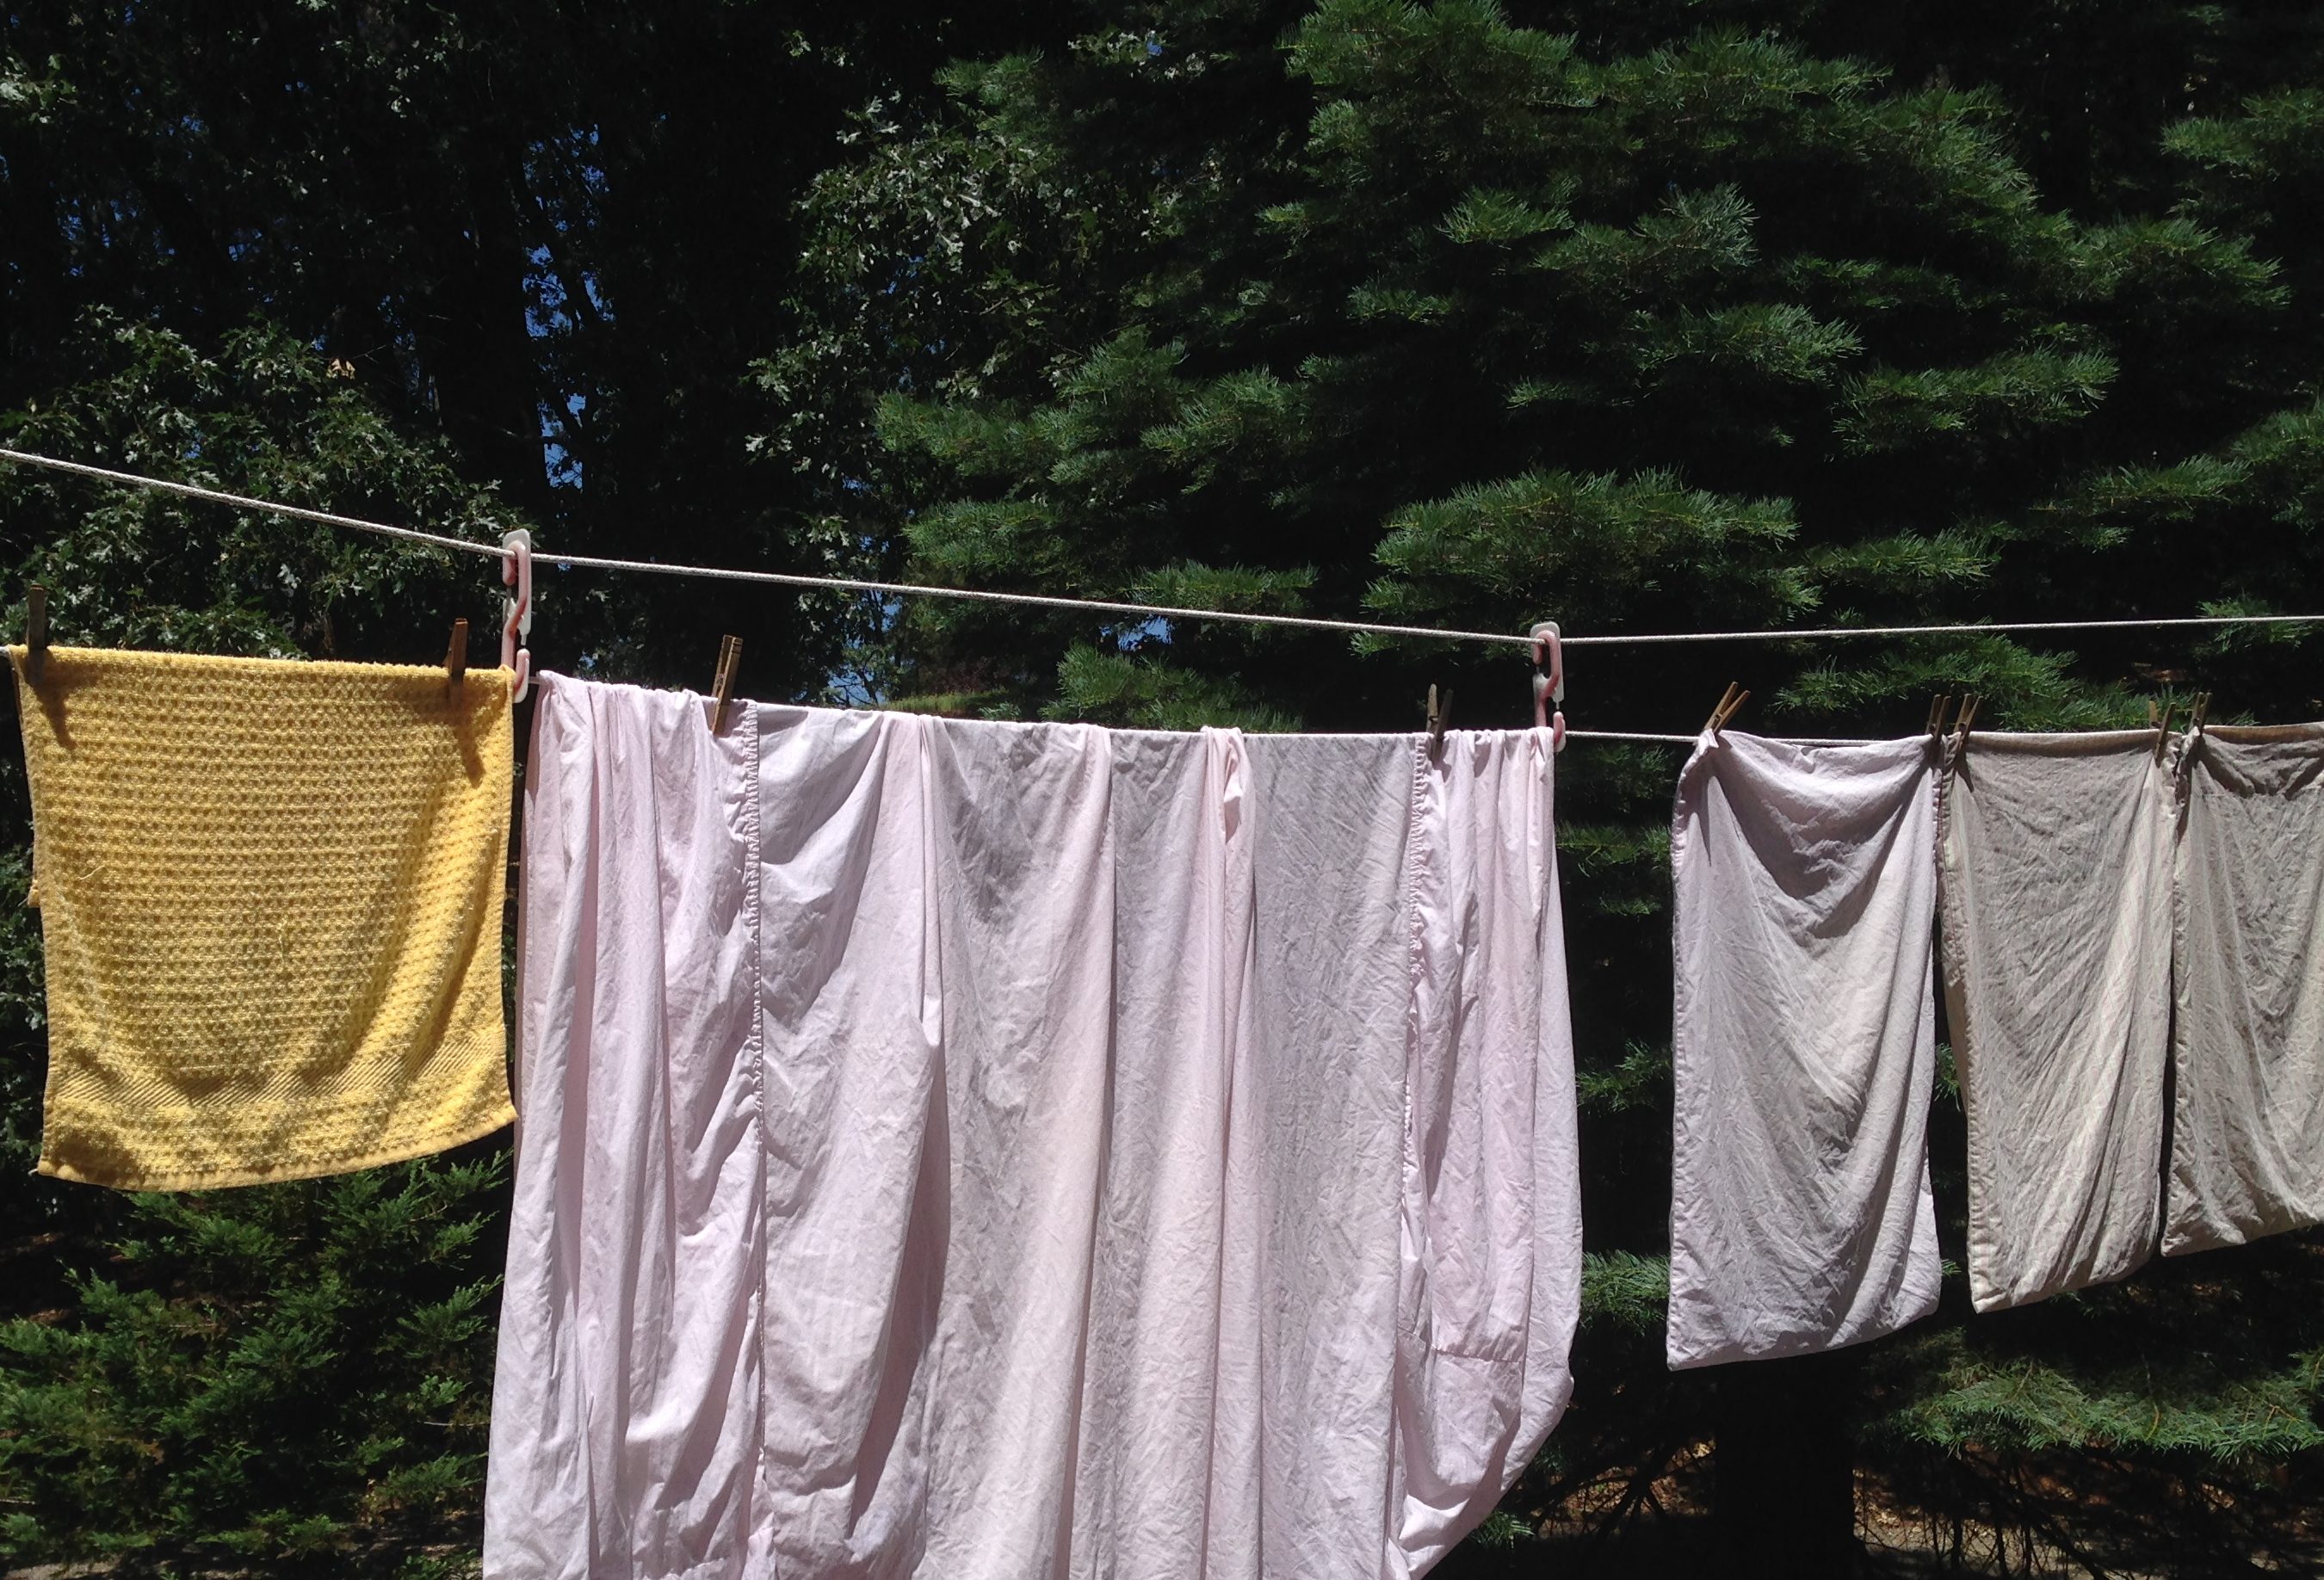
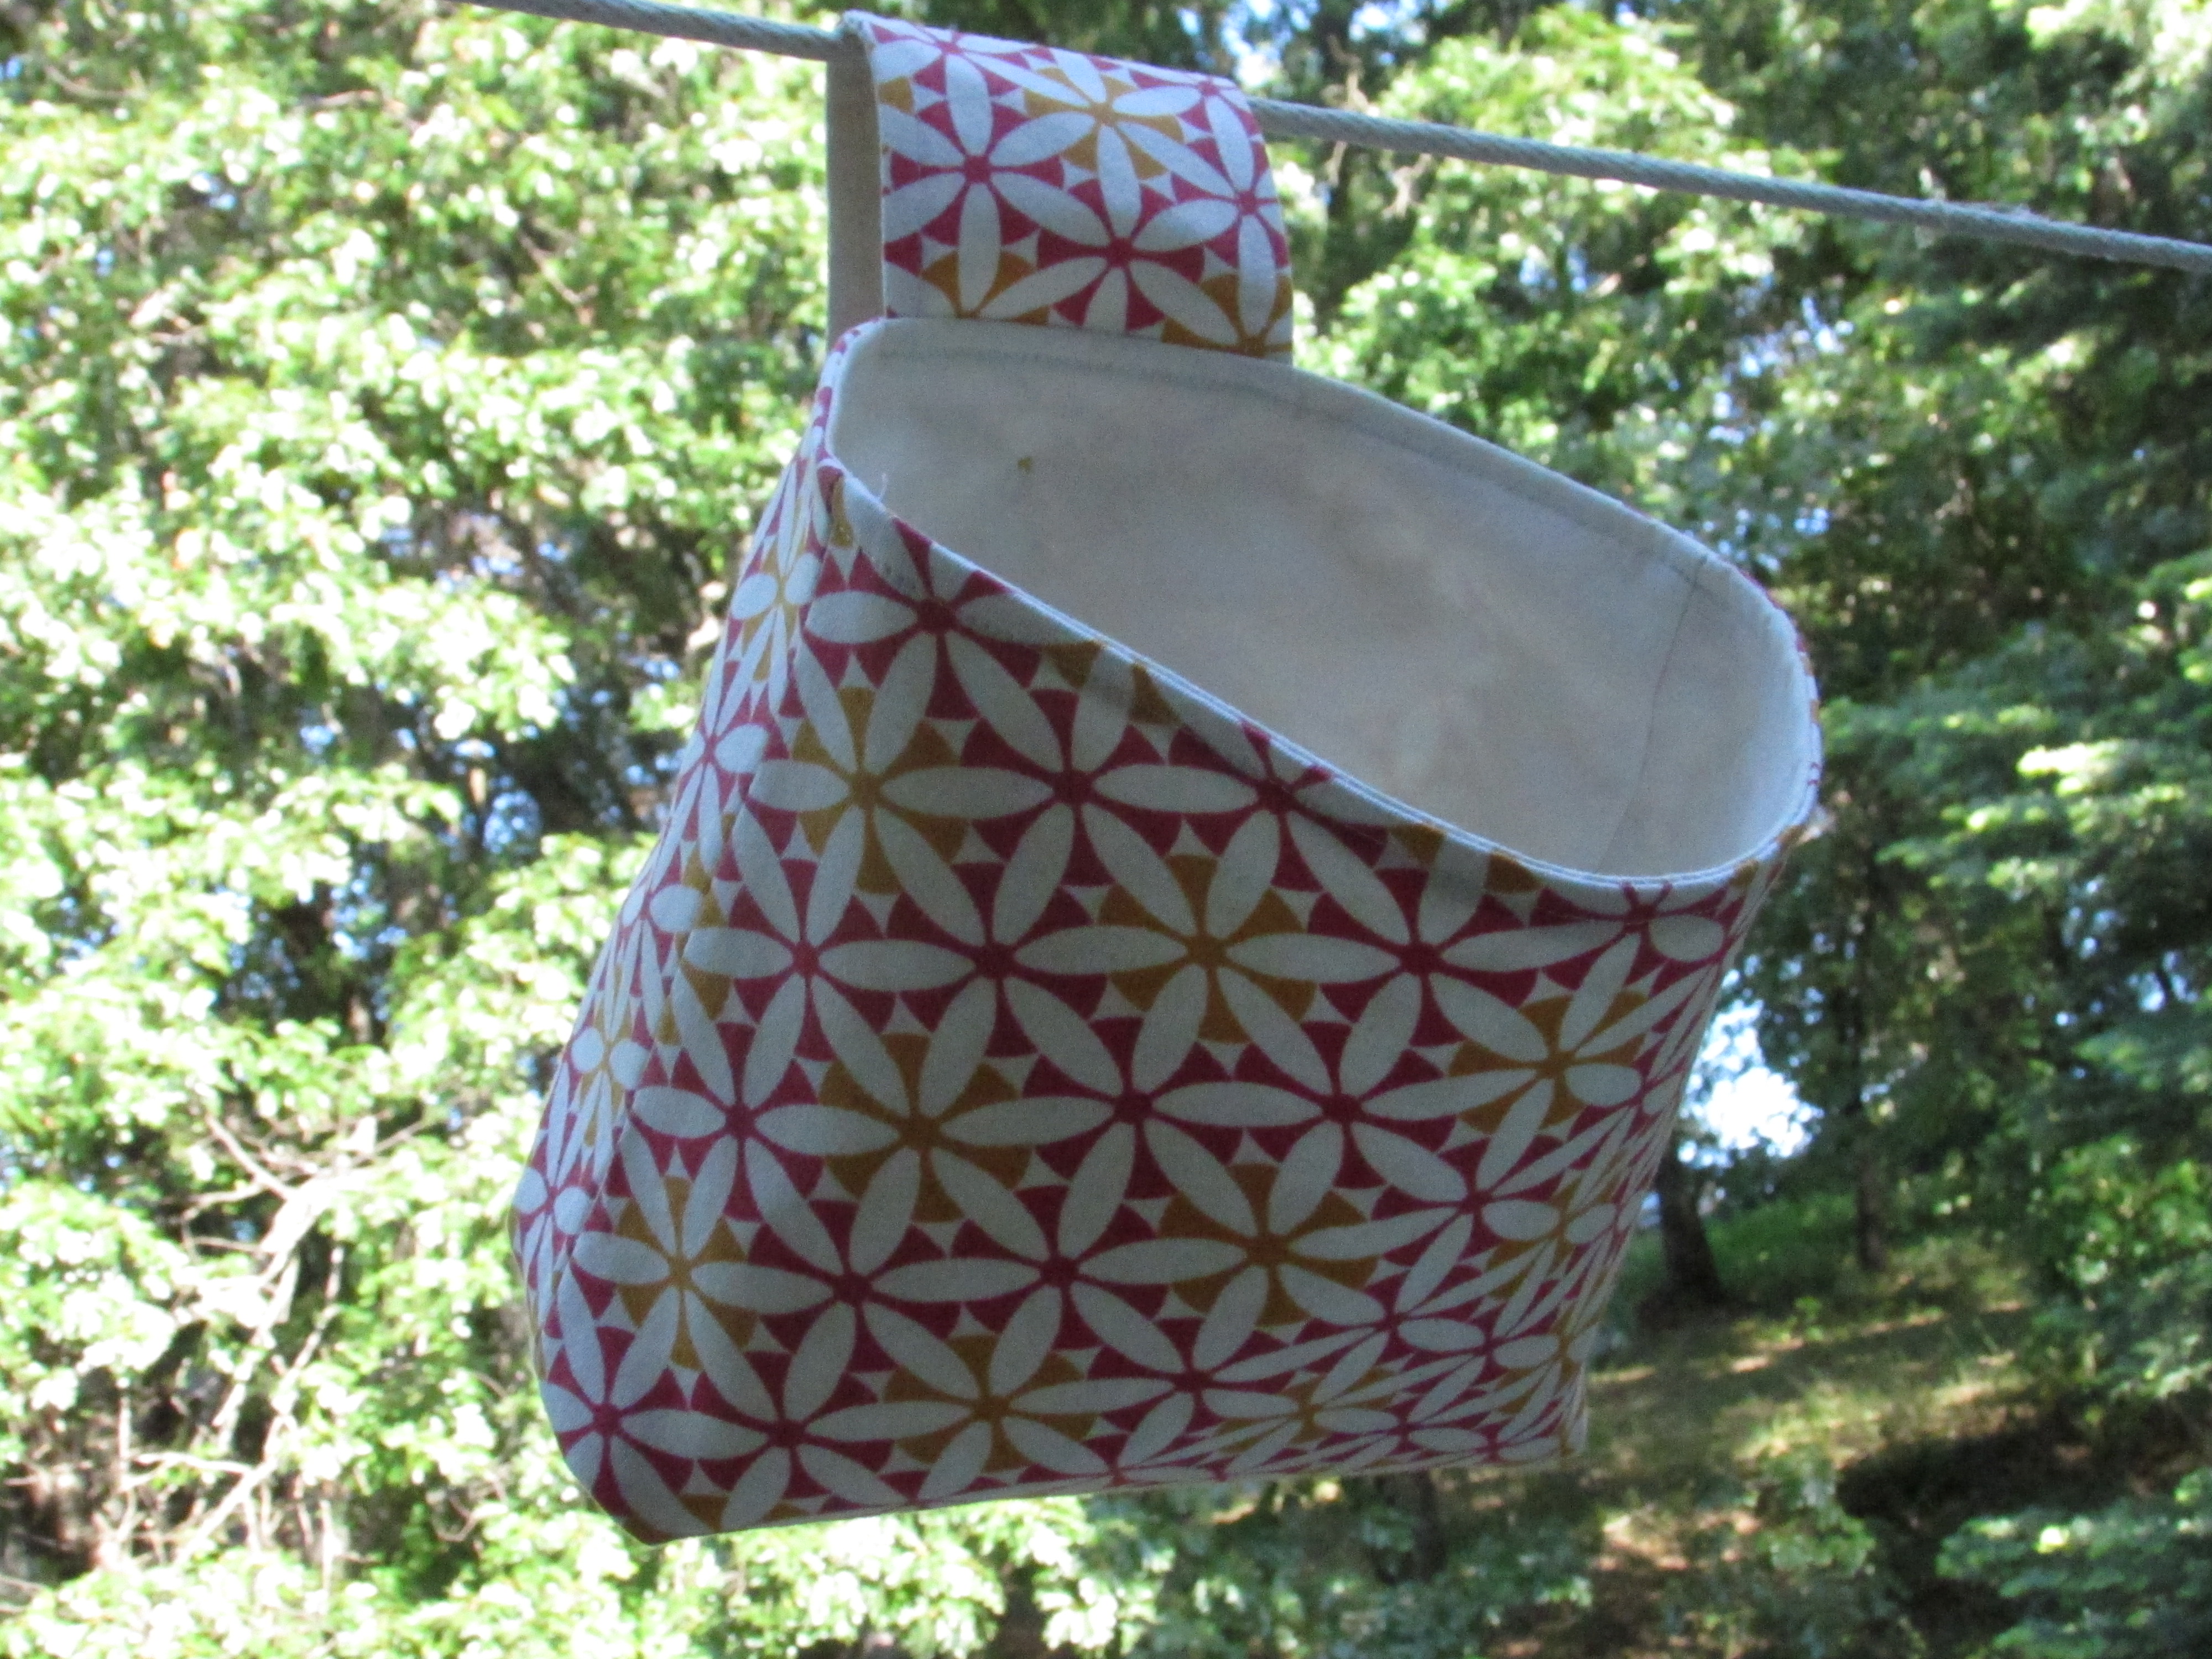
I am so excited to tell you that I have a tutorial posted over at Sew Mama Sew today! I hope you will go over and check it out. This tutorial is so timely – at least for the West Coast. We are sweltering this week with temps ranging in the high 90’s. This is the season where I wash clothes in the early morning and hang them on the line. Running the drier only heats up the house and it is hot enough as it is.

IMG_3454 (1)

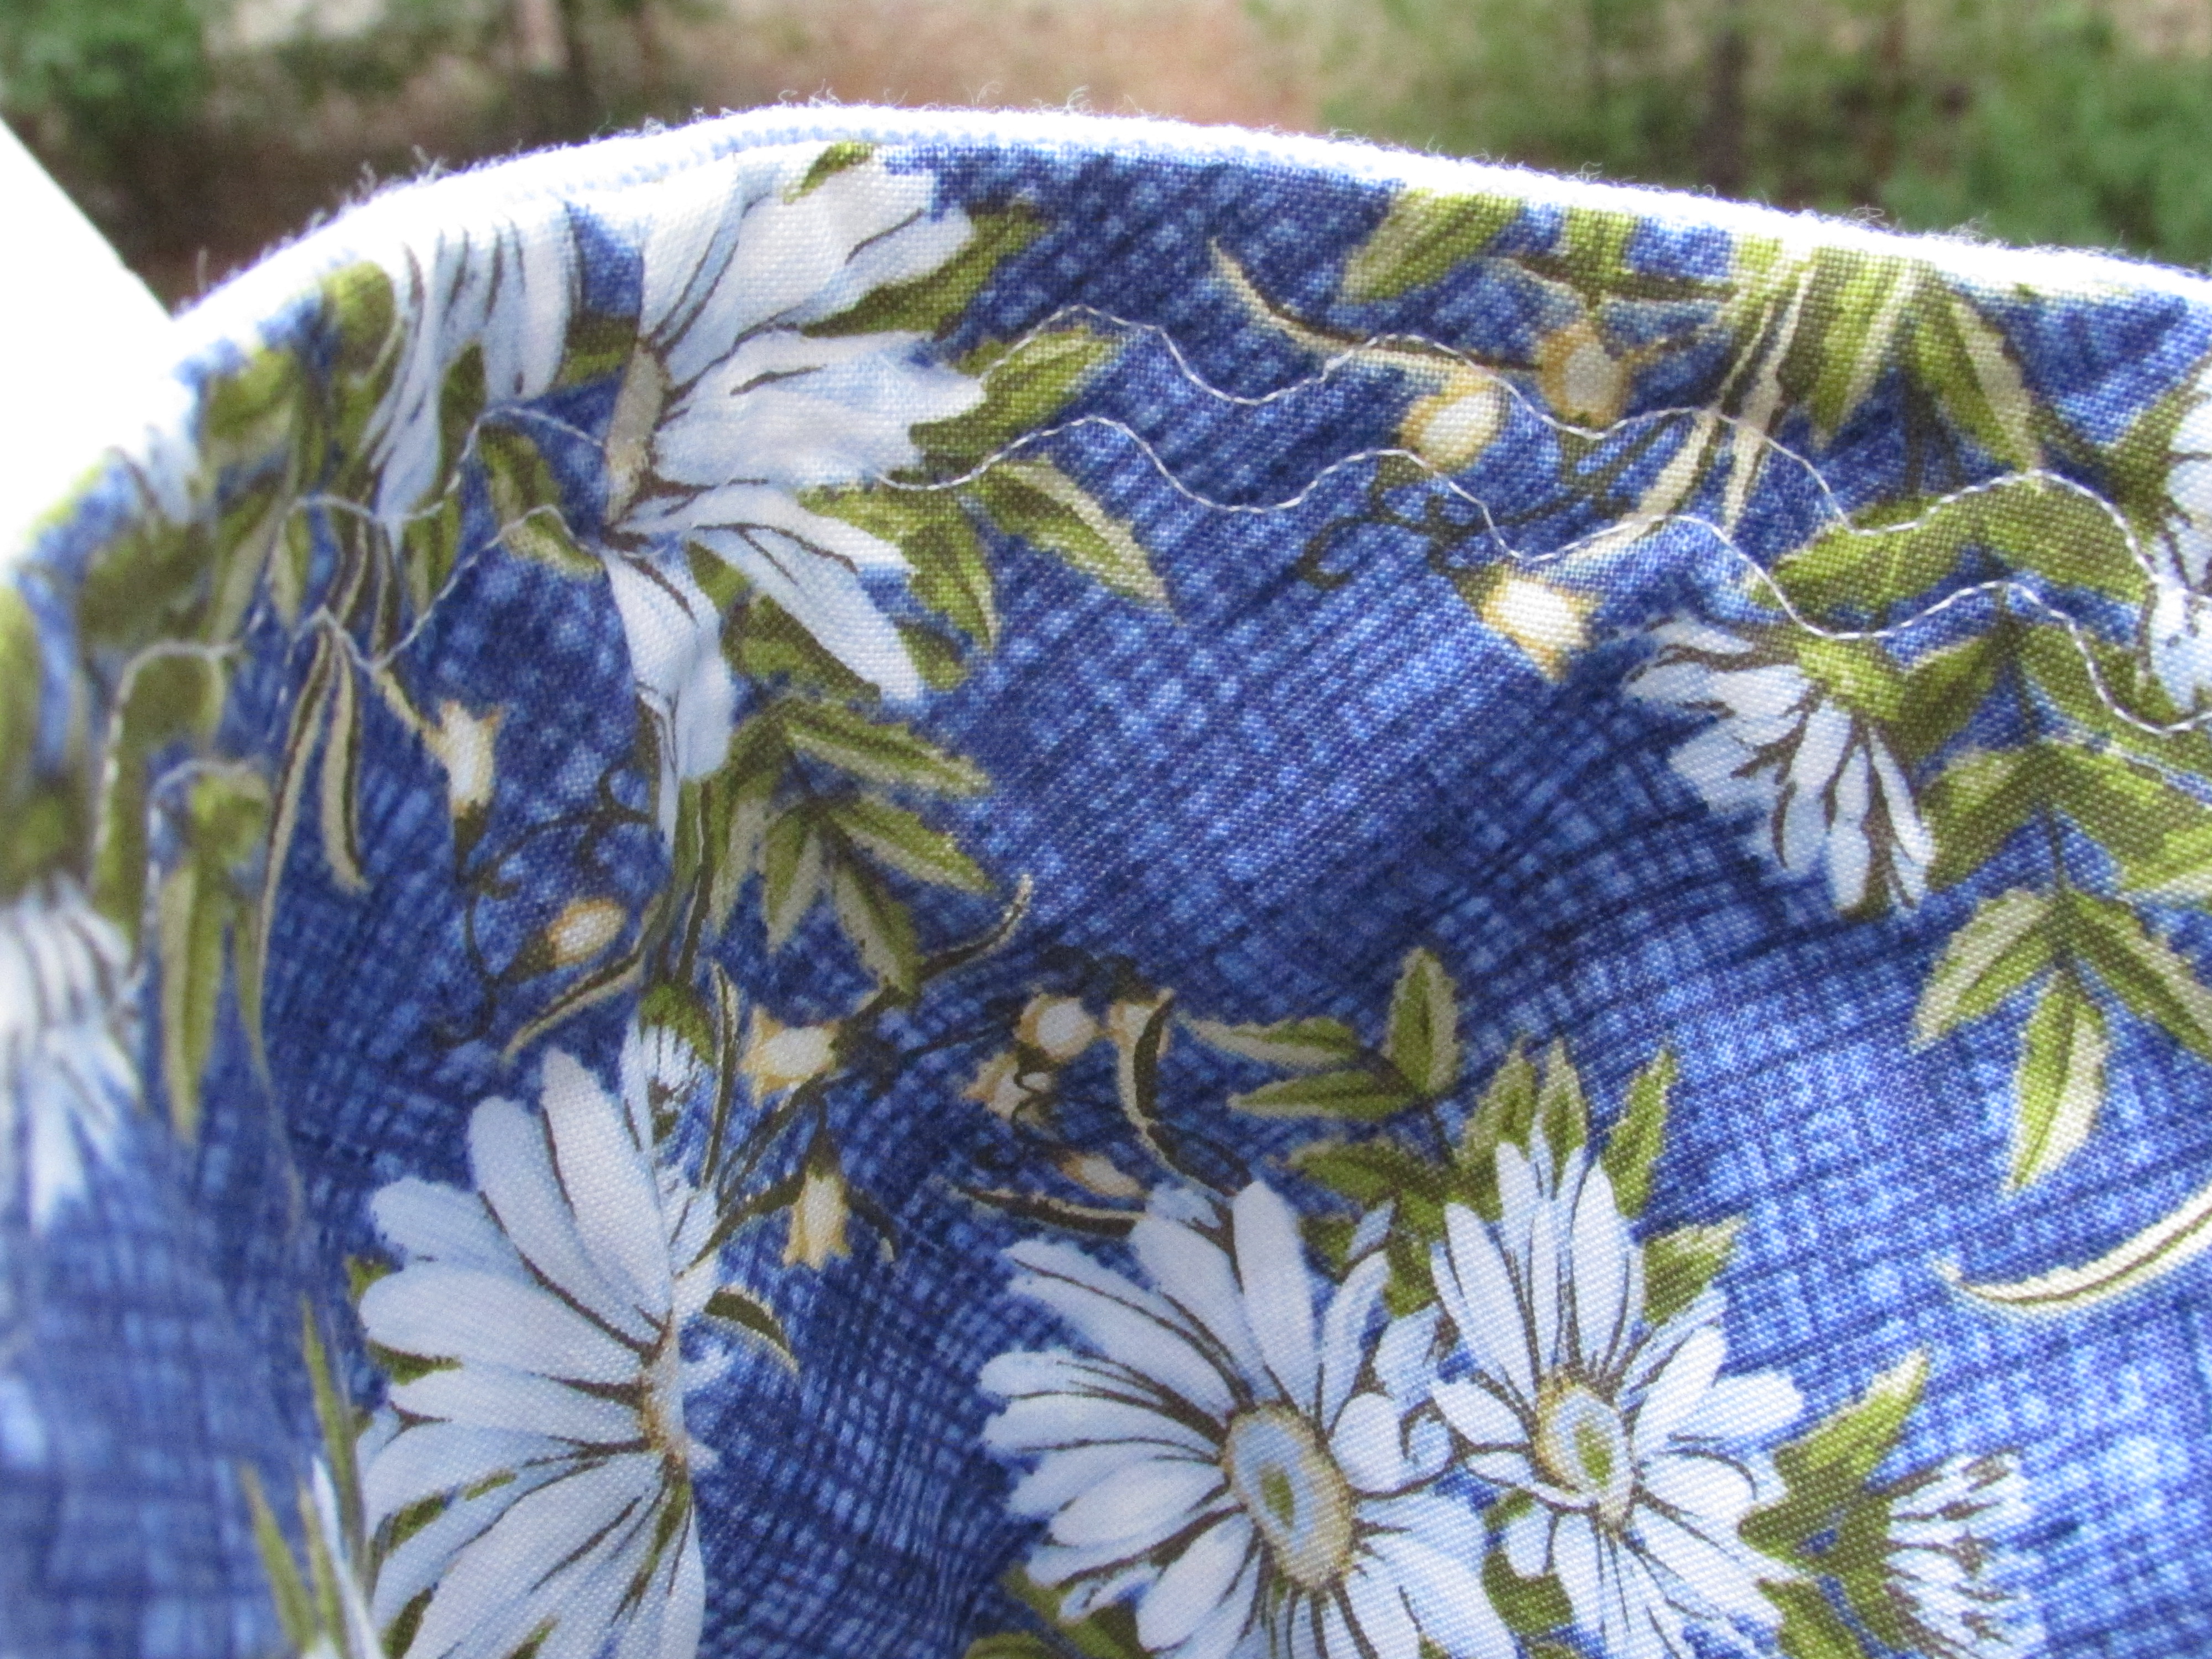
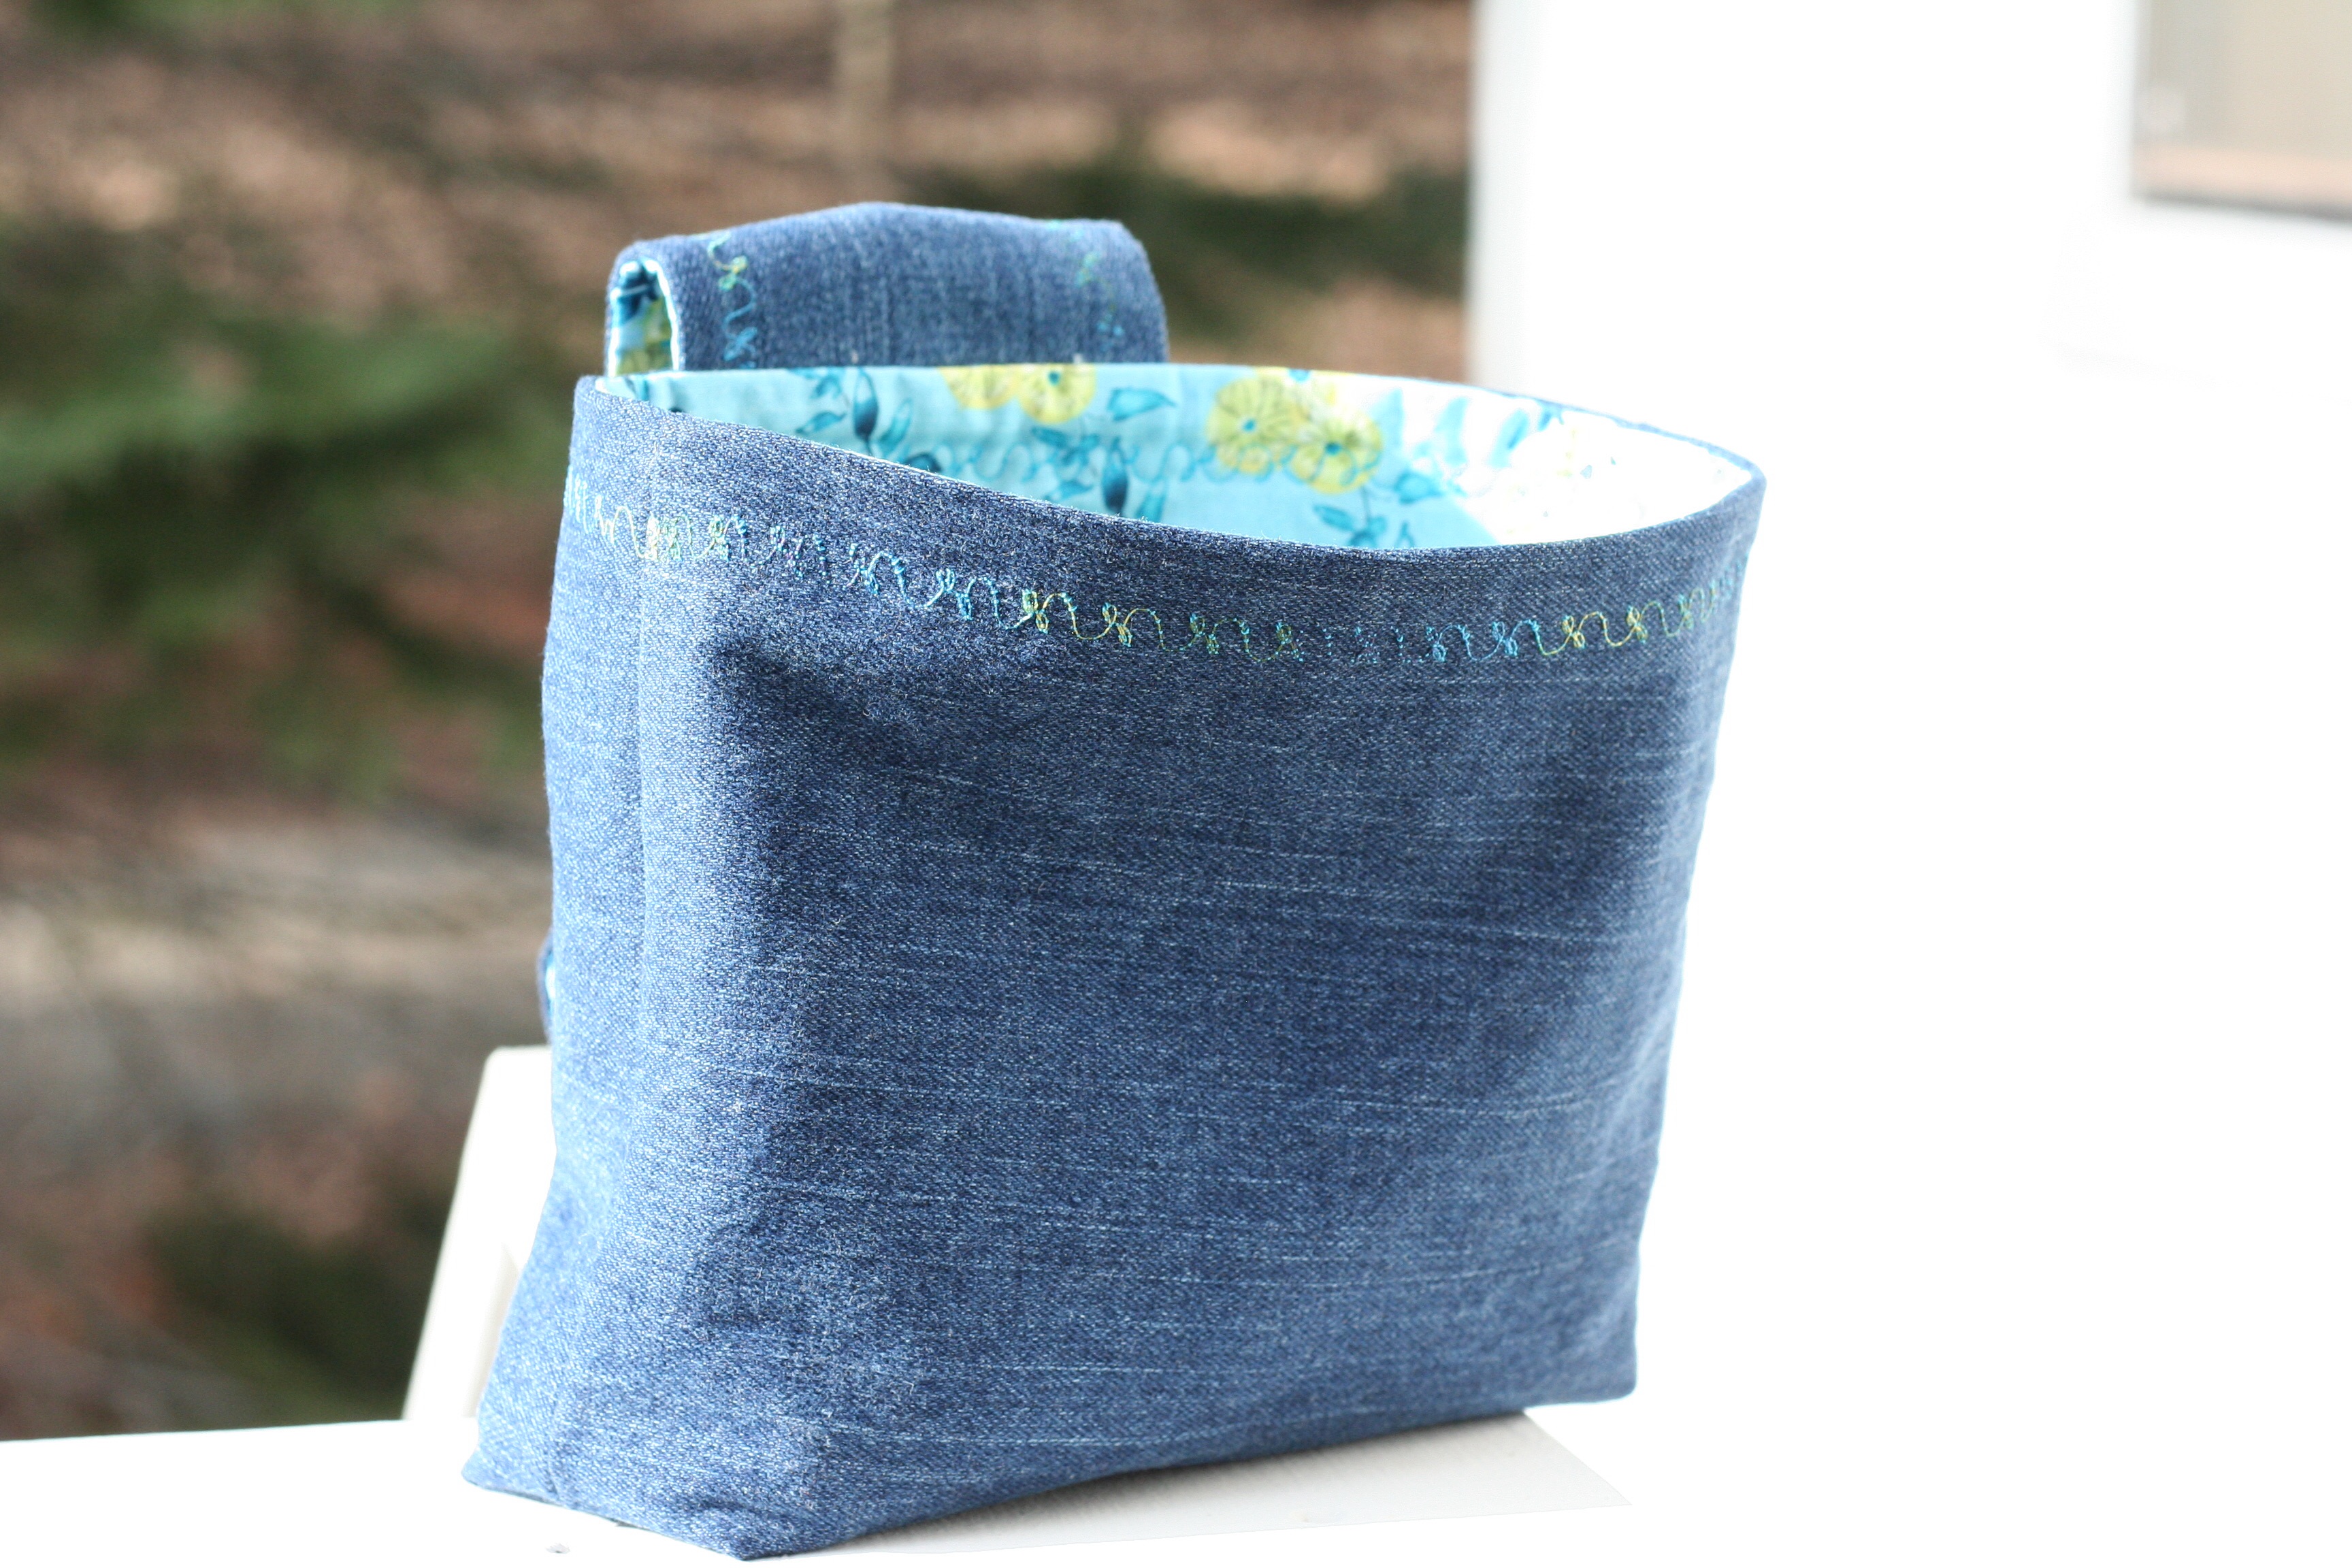
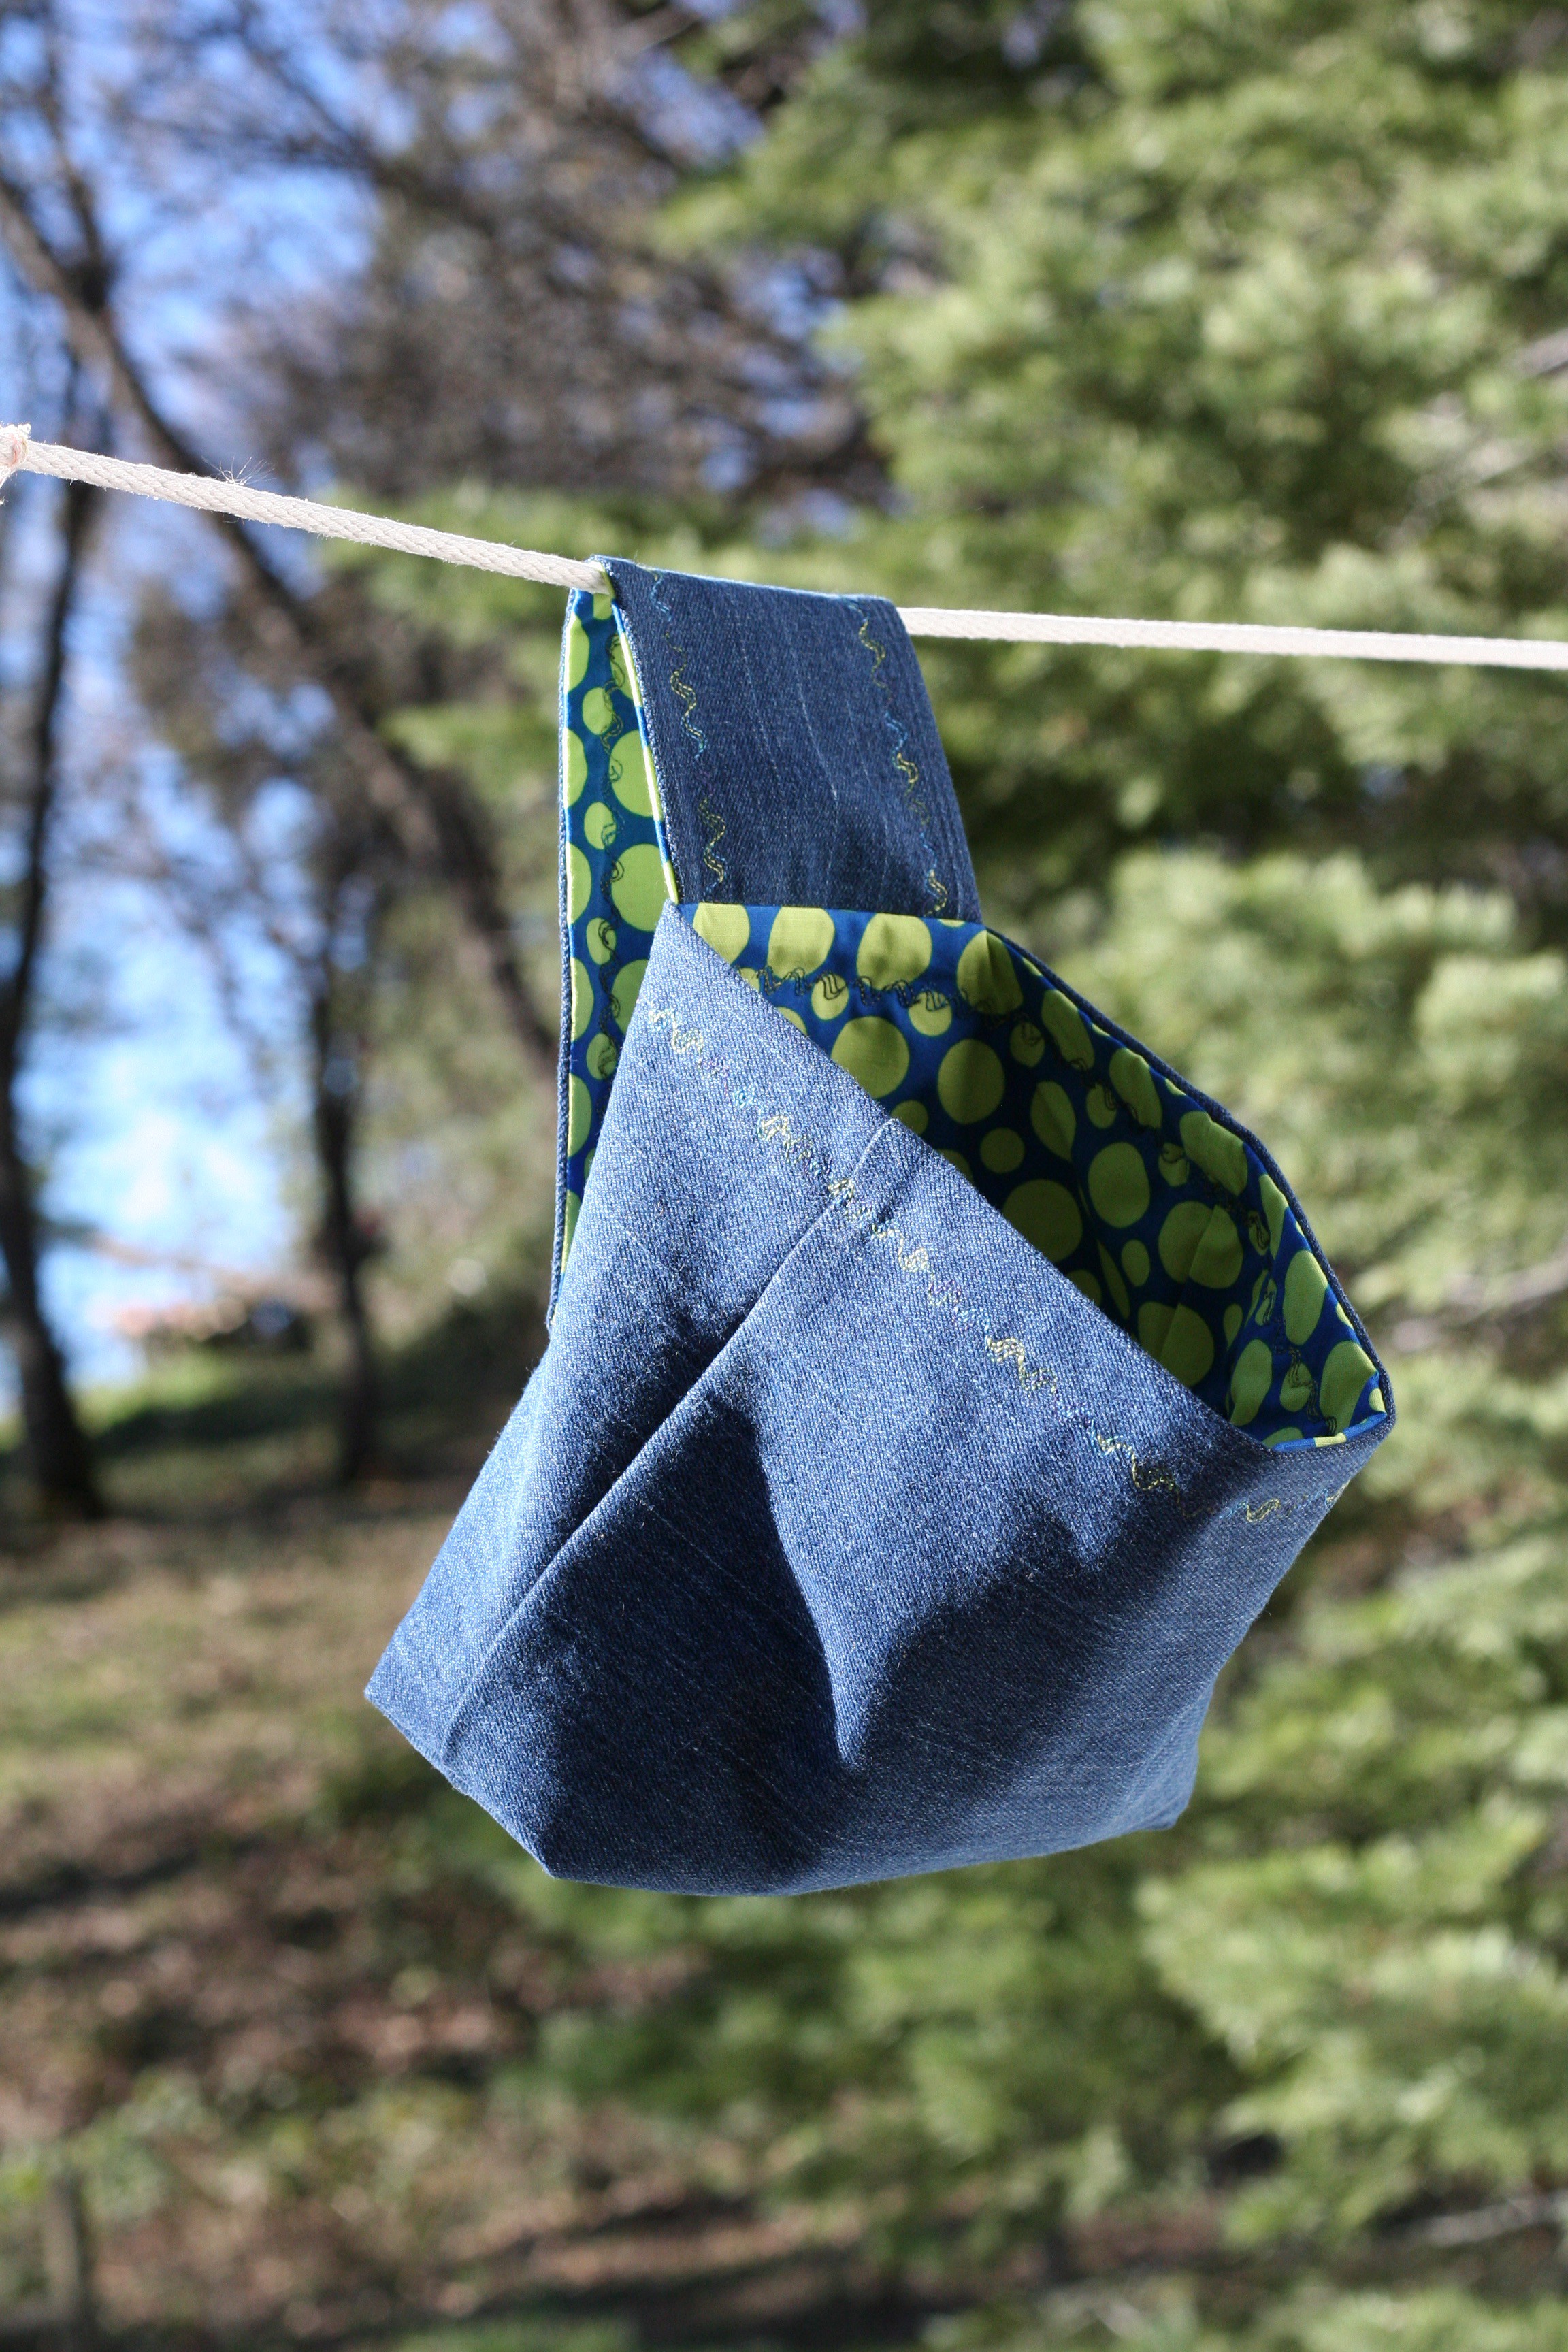
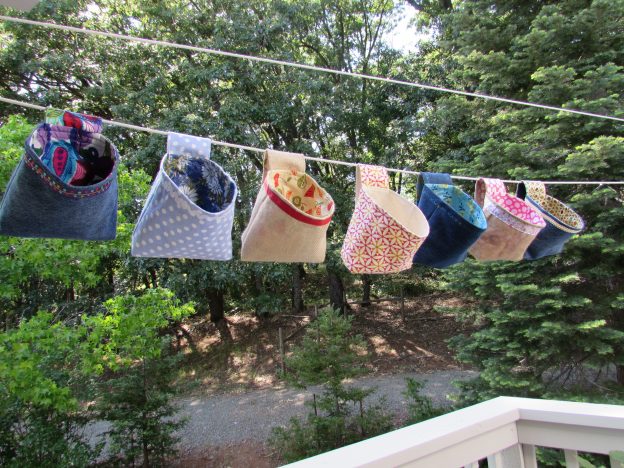
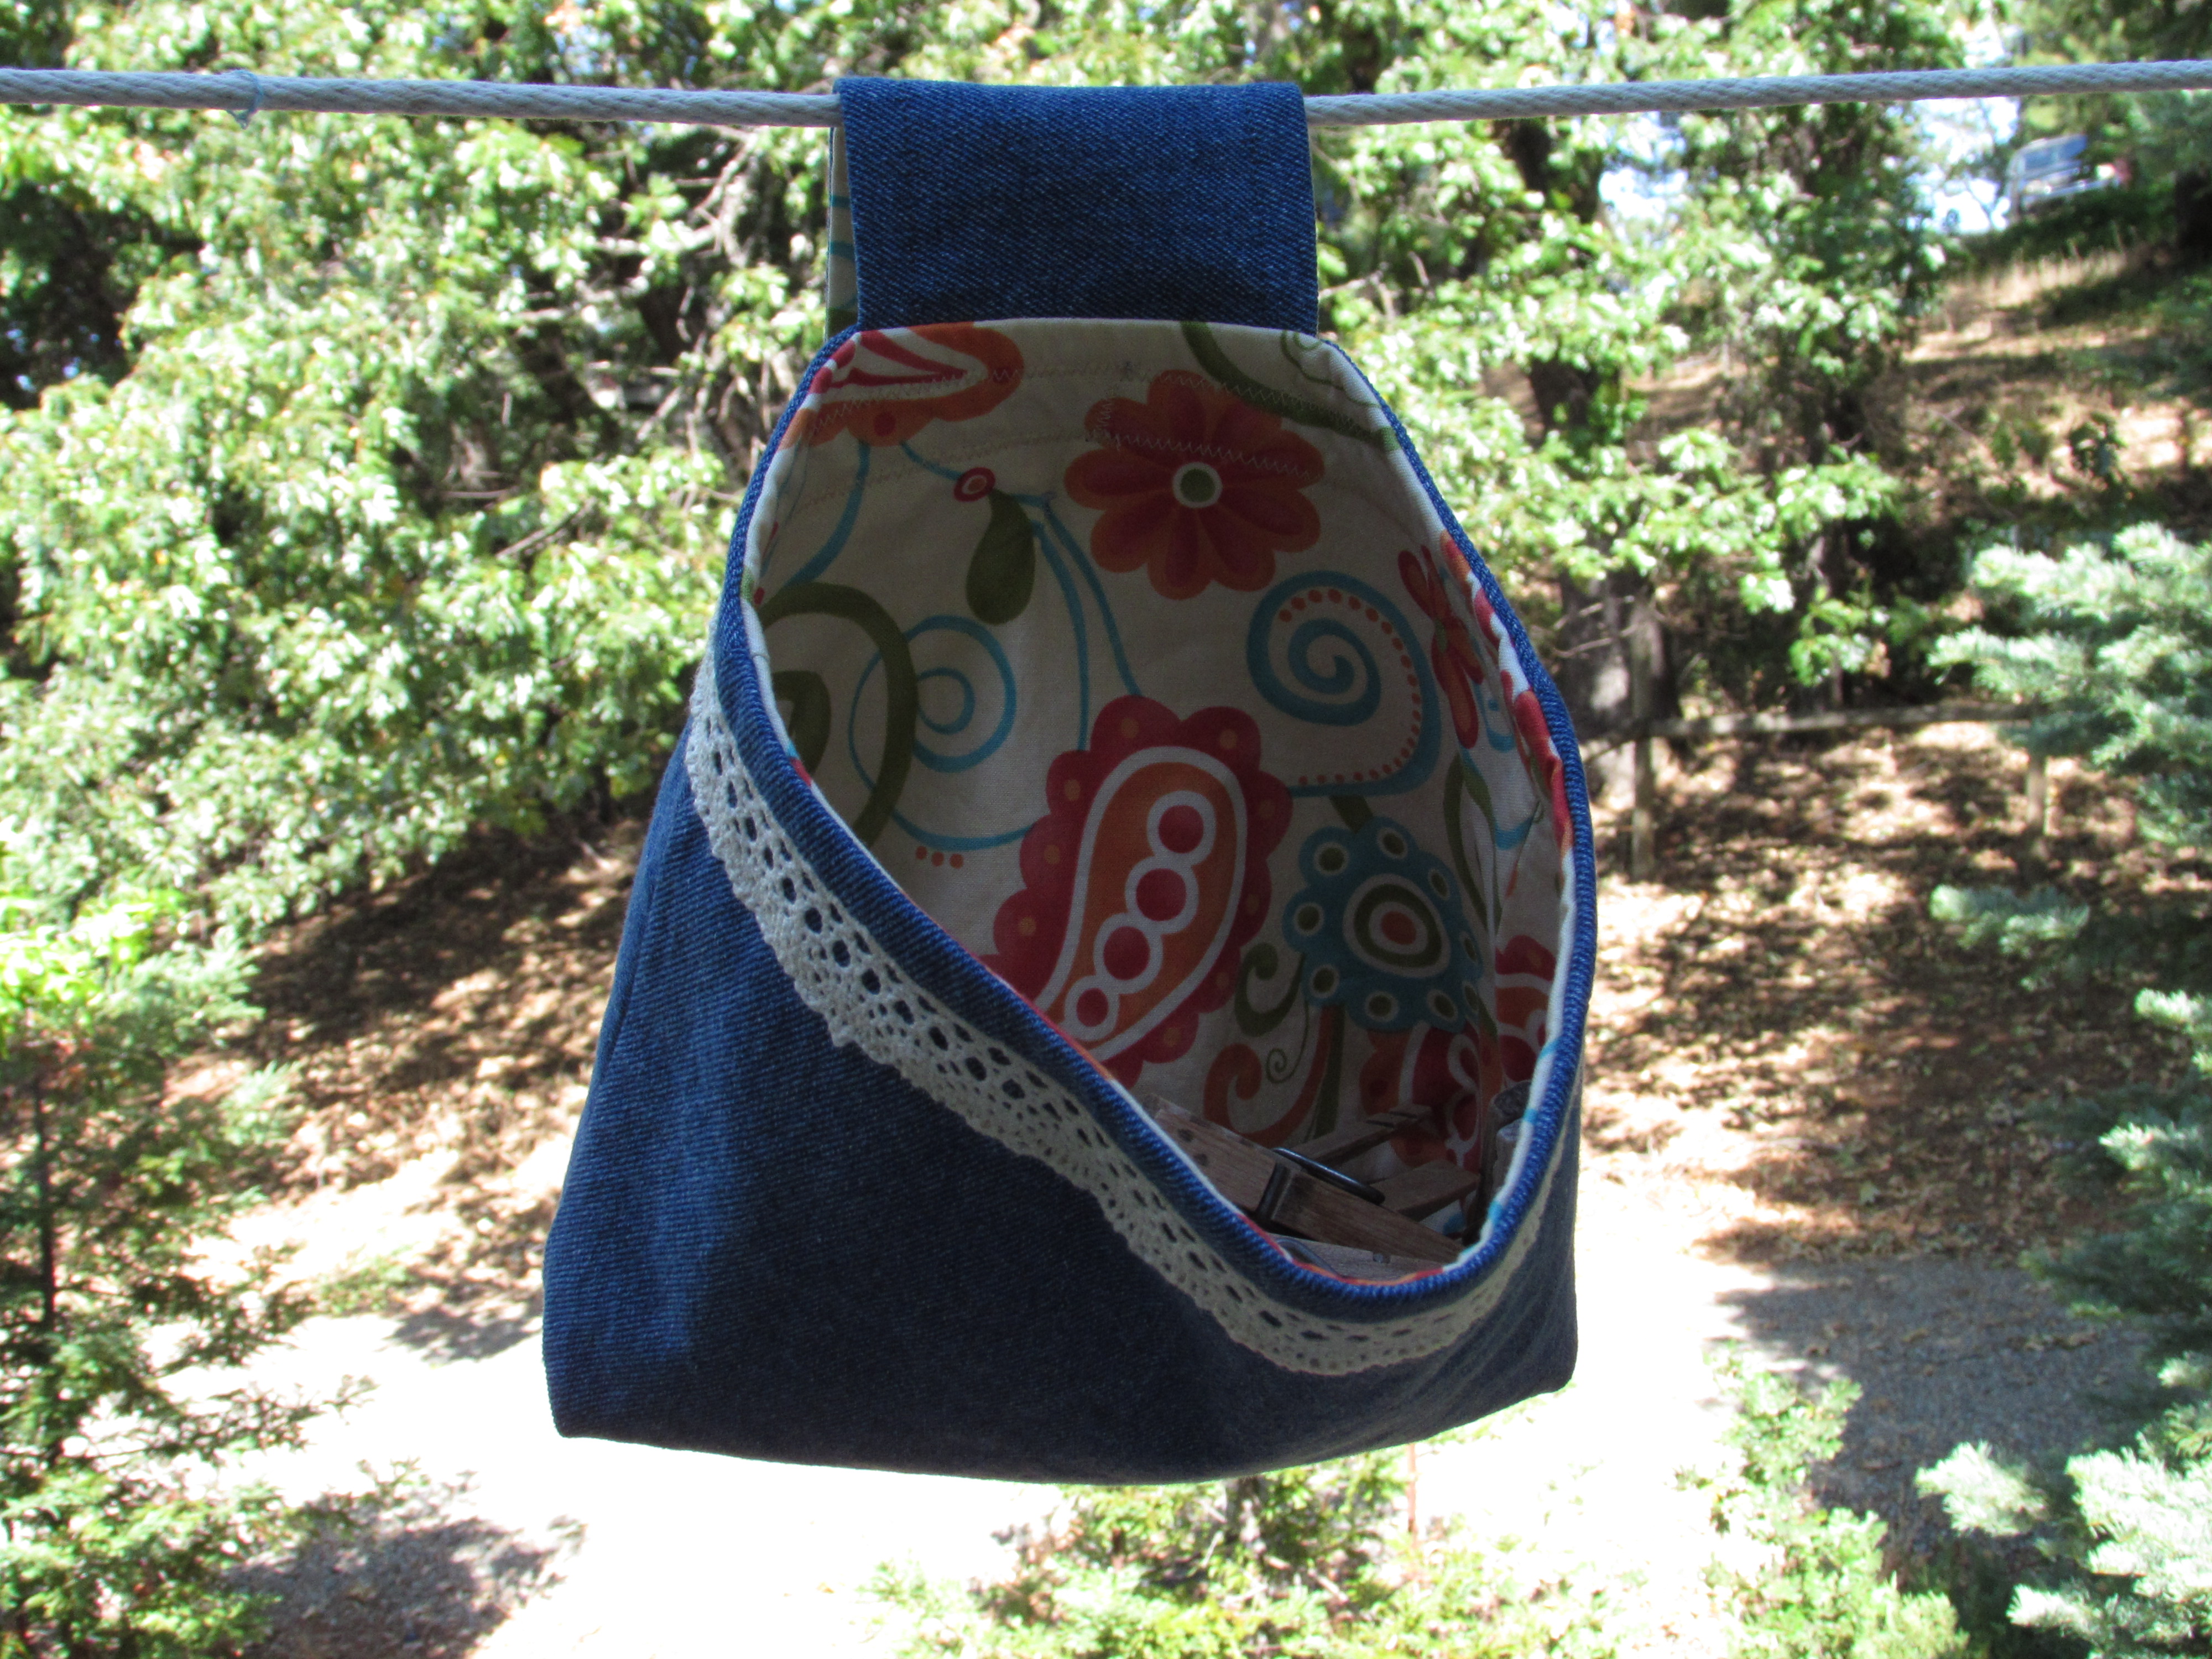
I have made a number of these bags and they come together quickly. I love using upcycled denim with a bright summery fabric for the lining.

IMG_20150722_3568

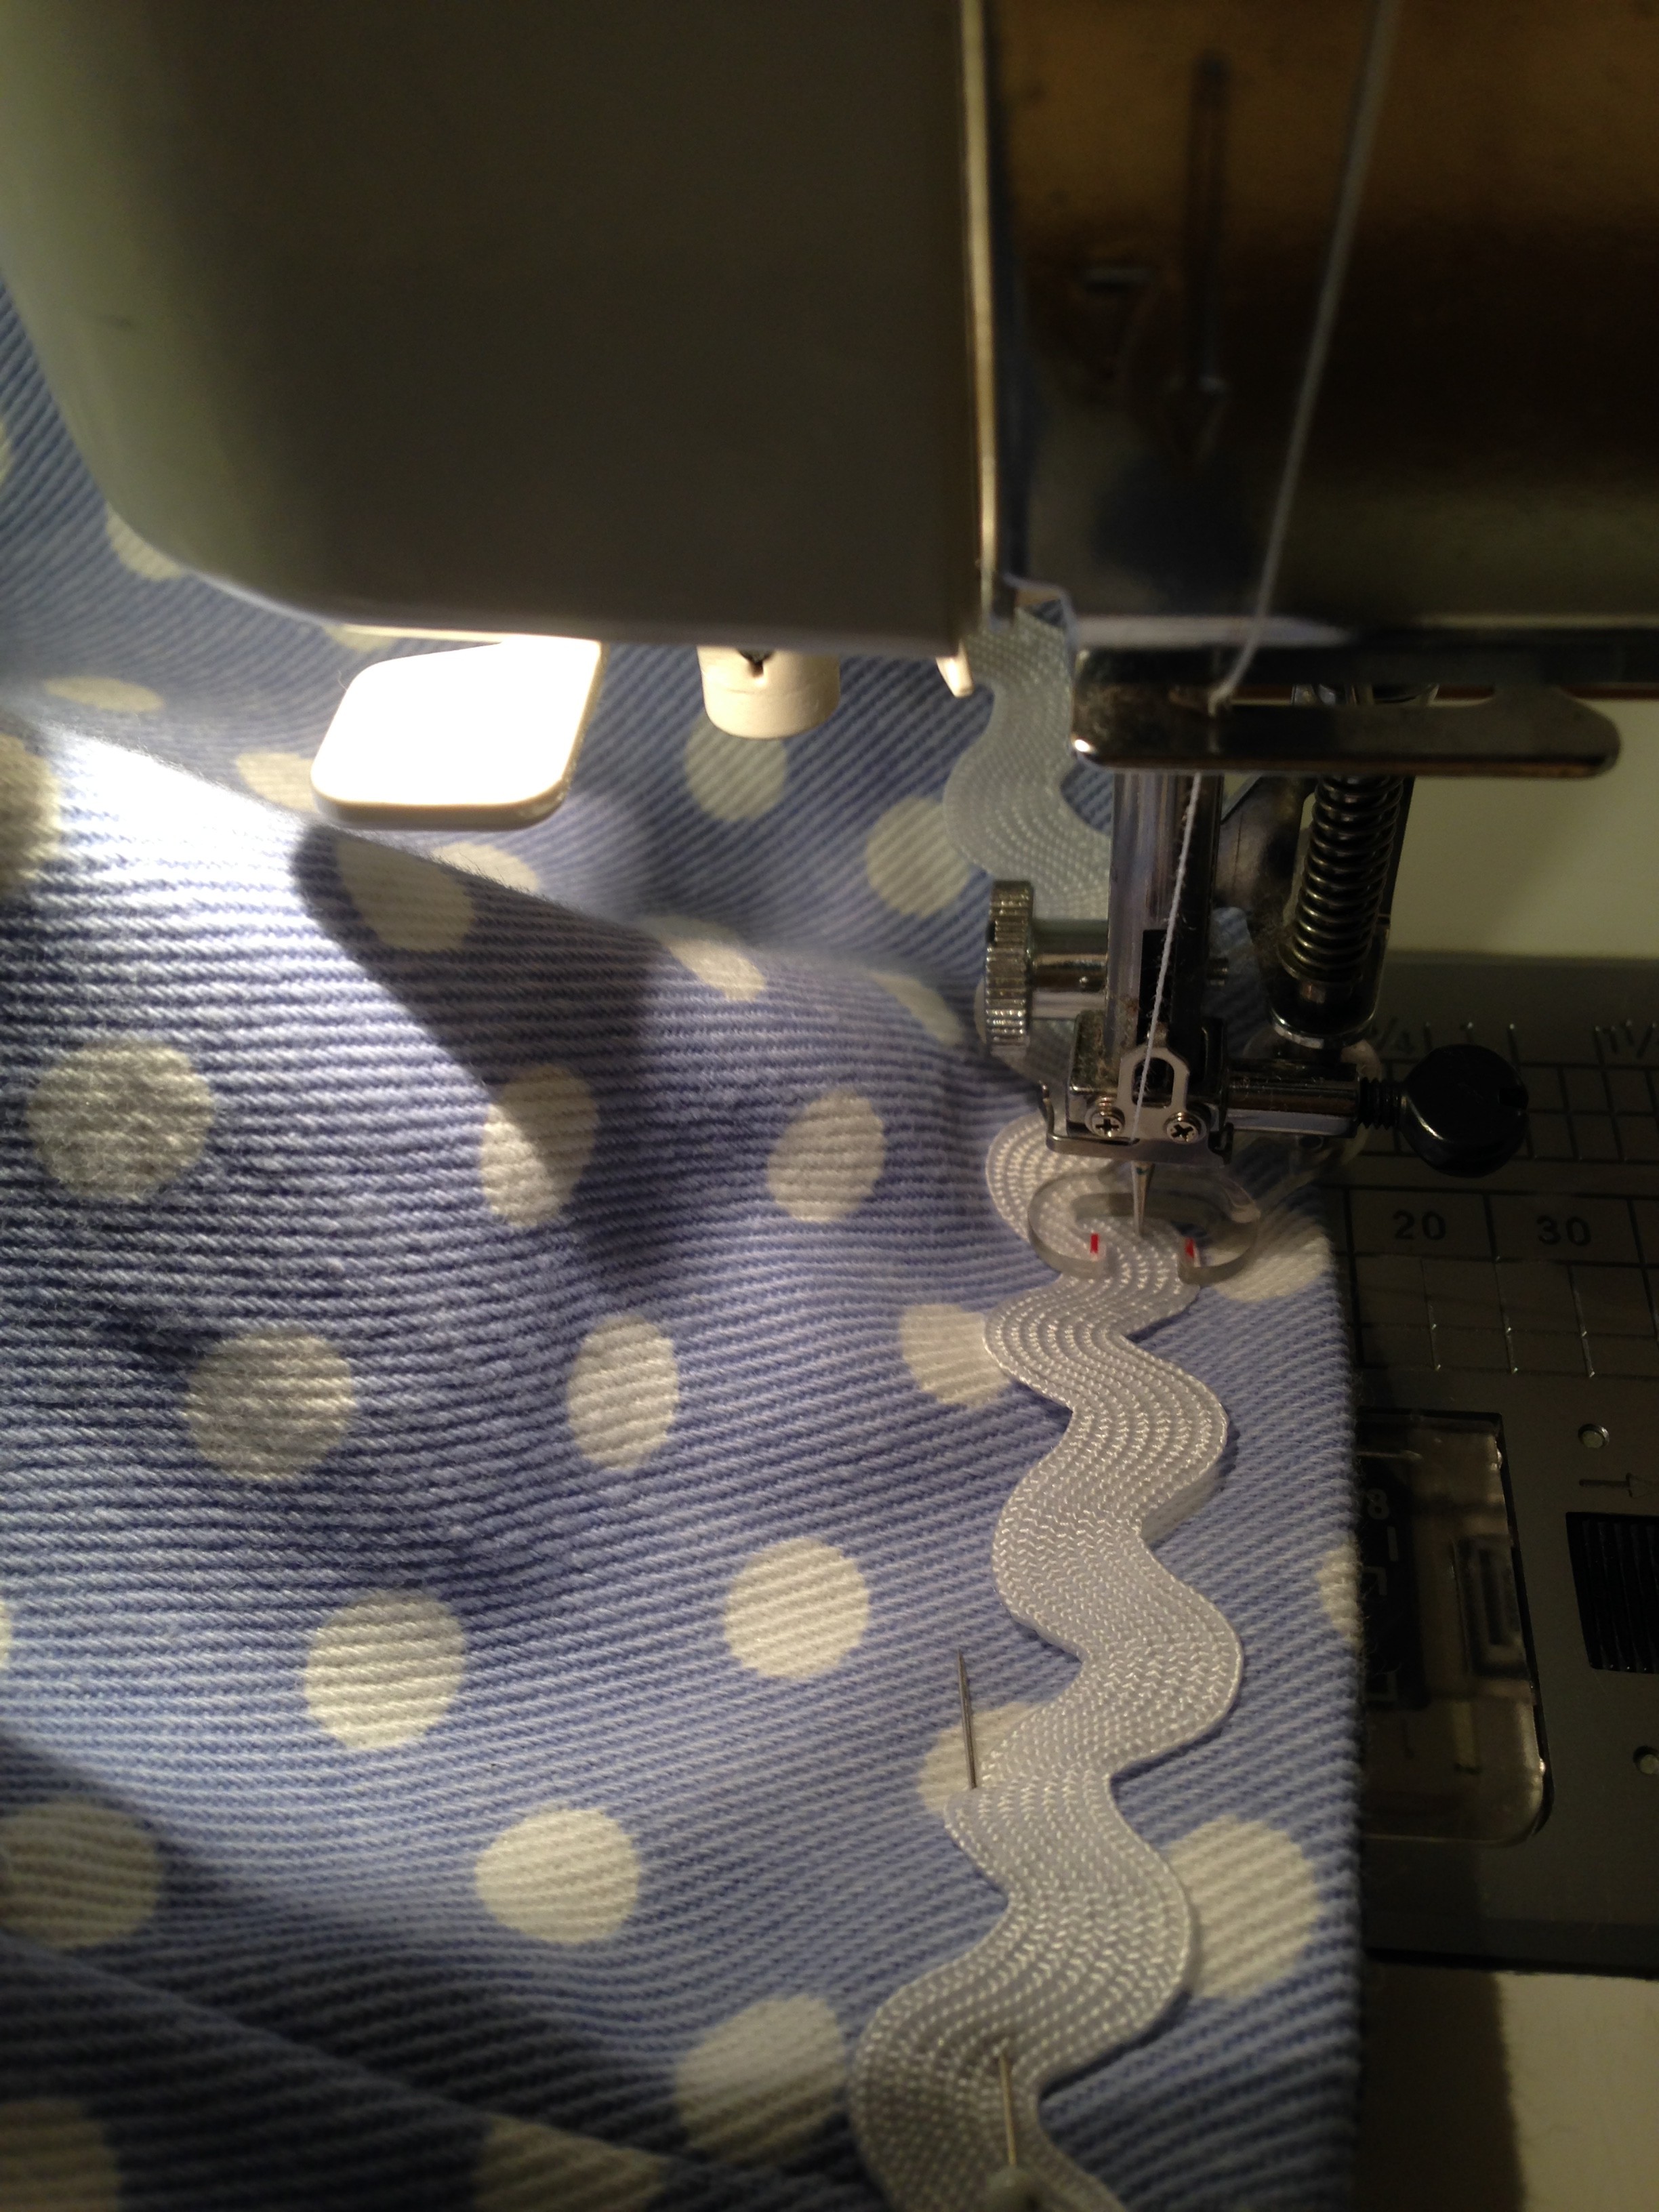
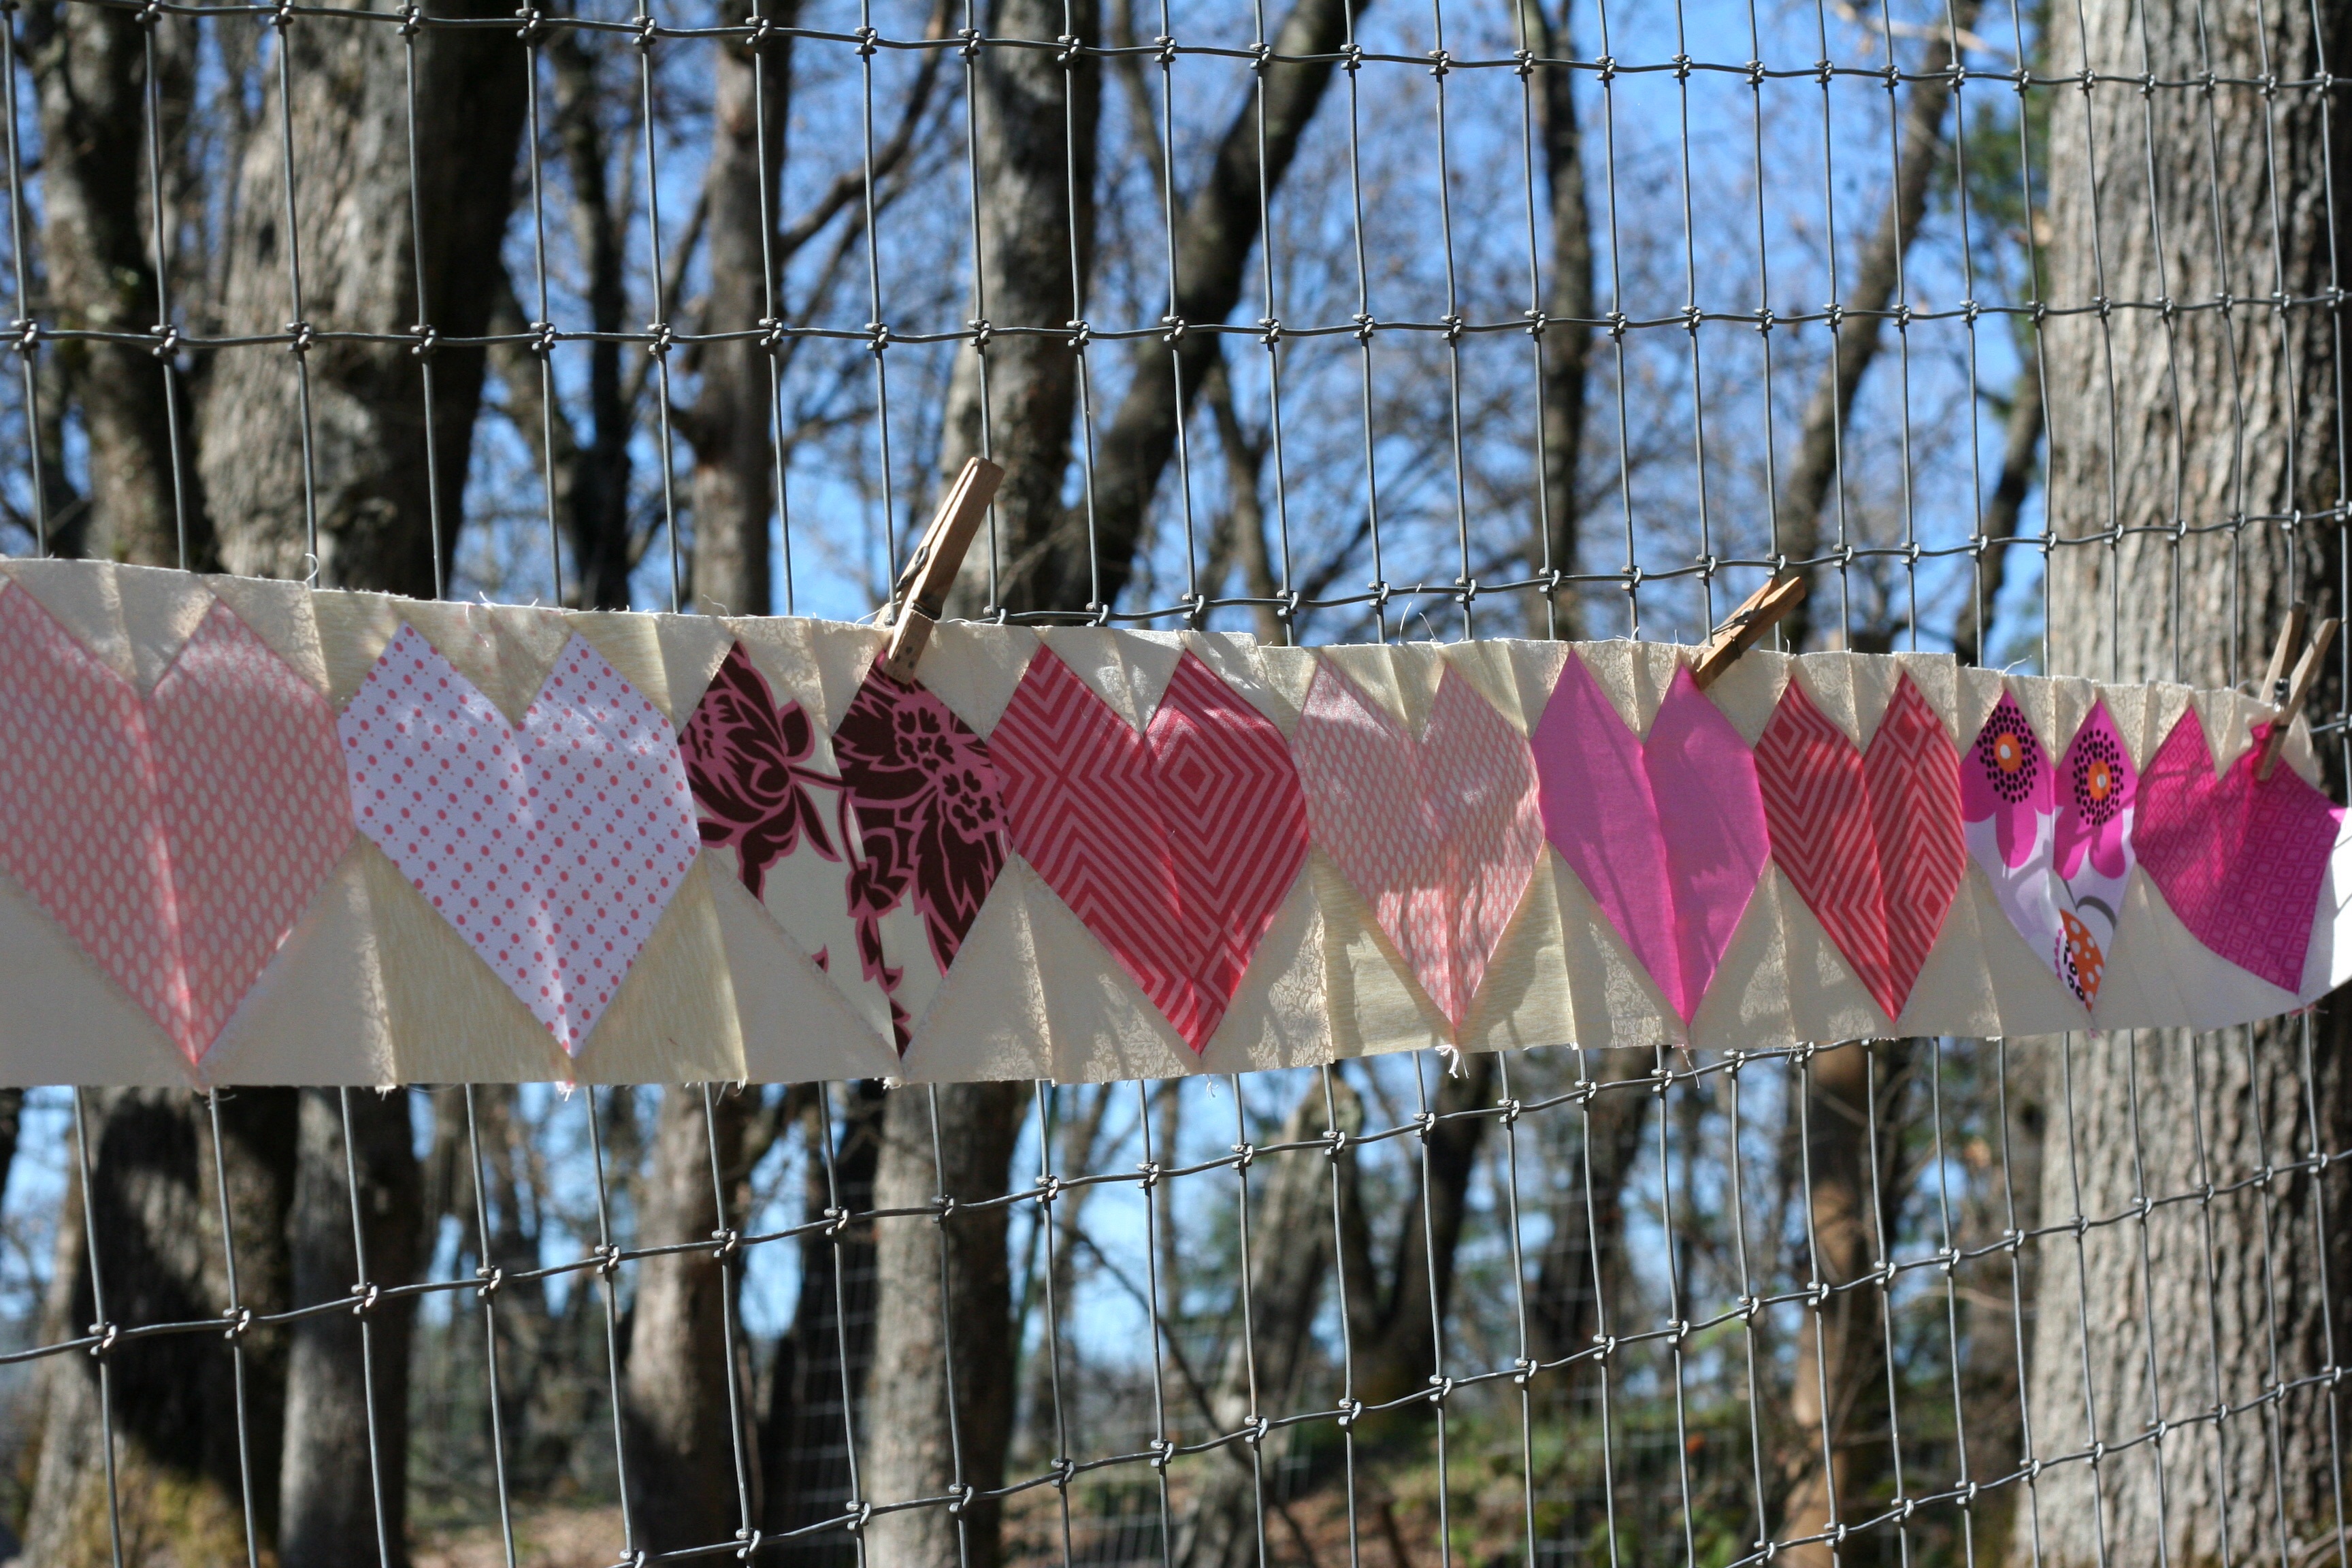
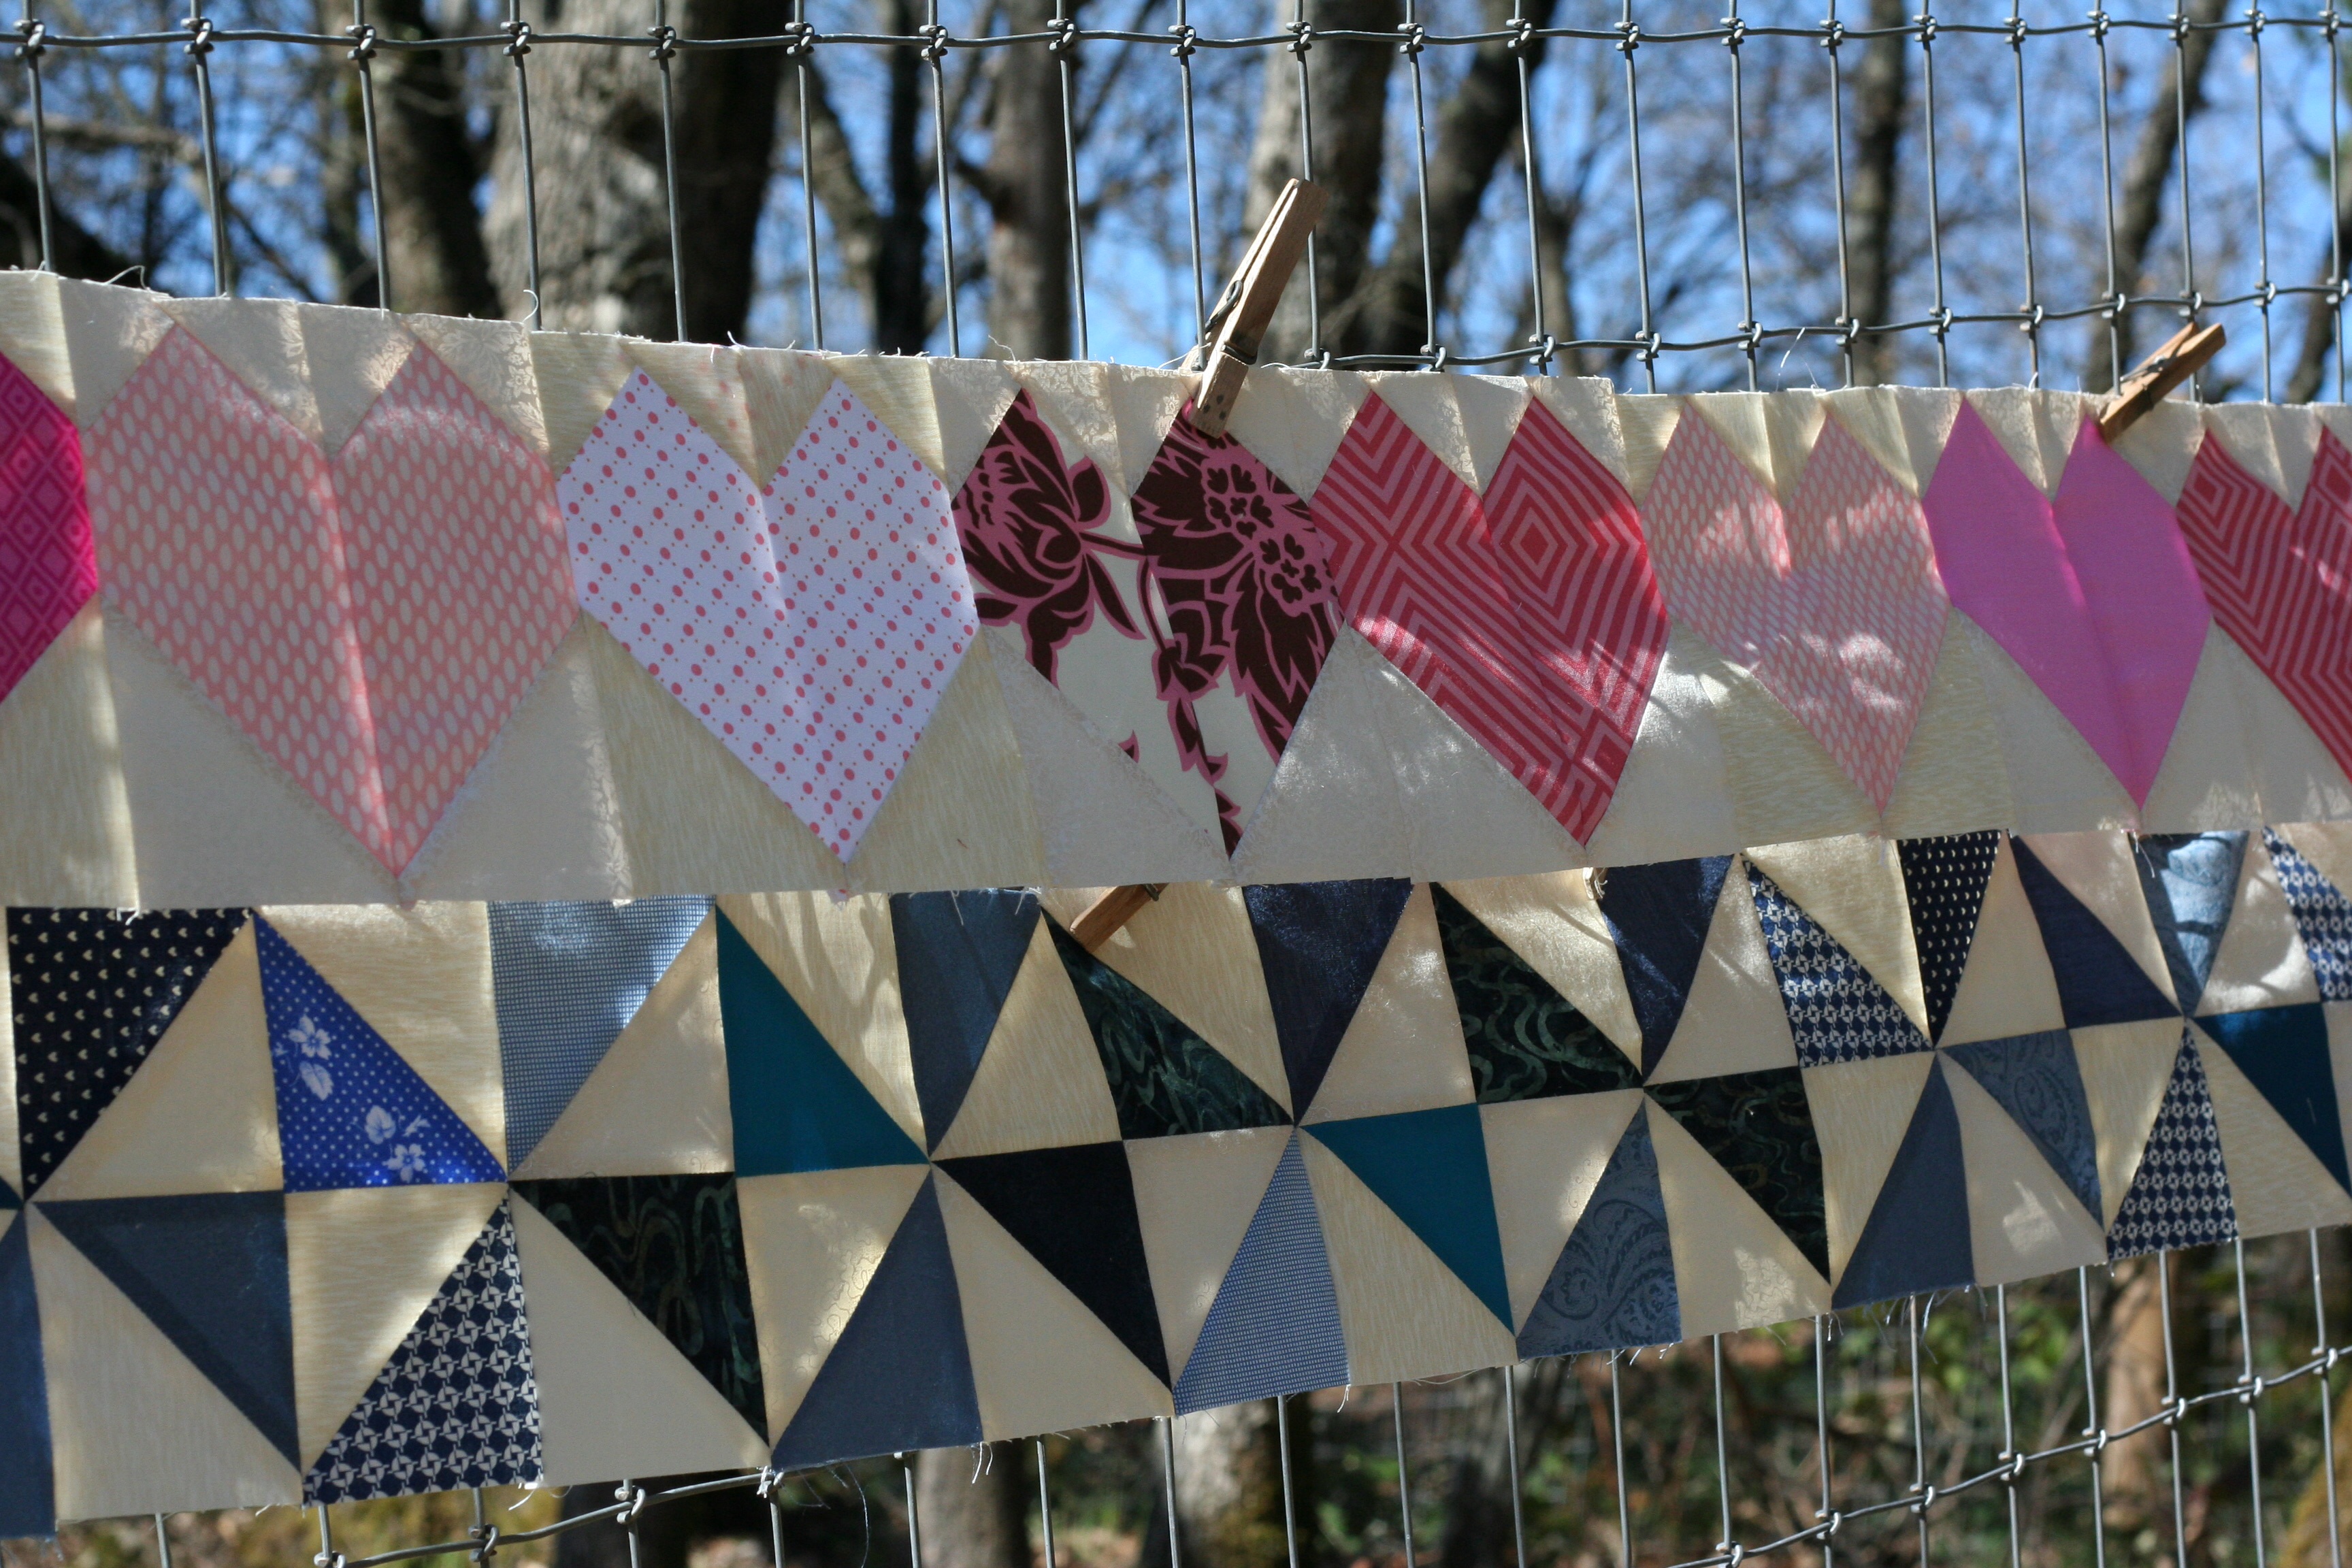
There are tons of printed twills that work well too.

IMG_20150525_3345

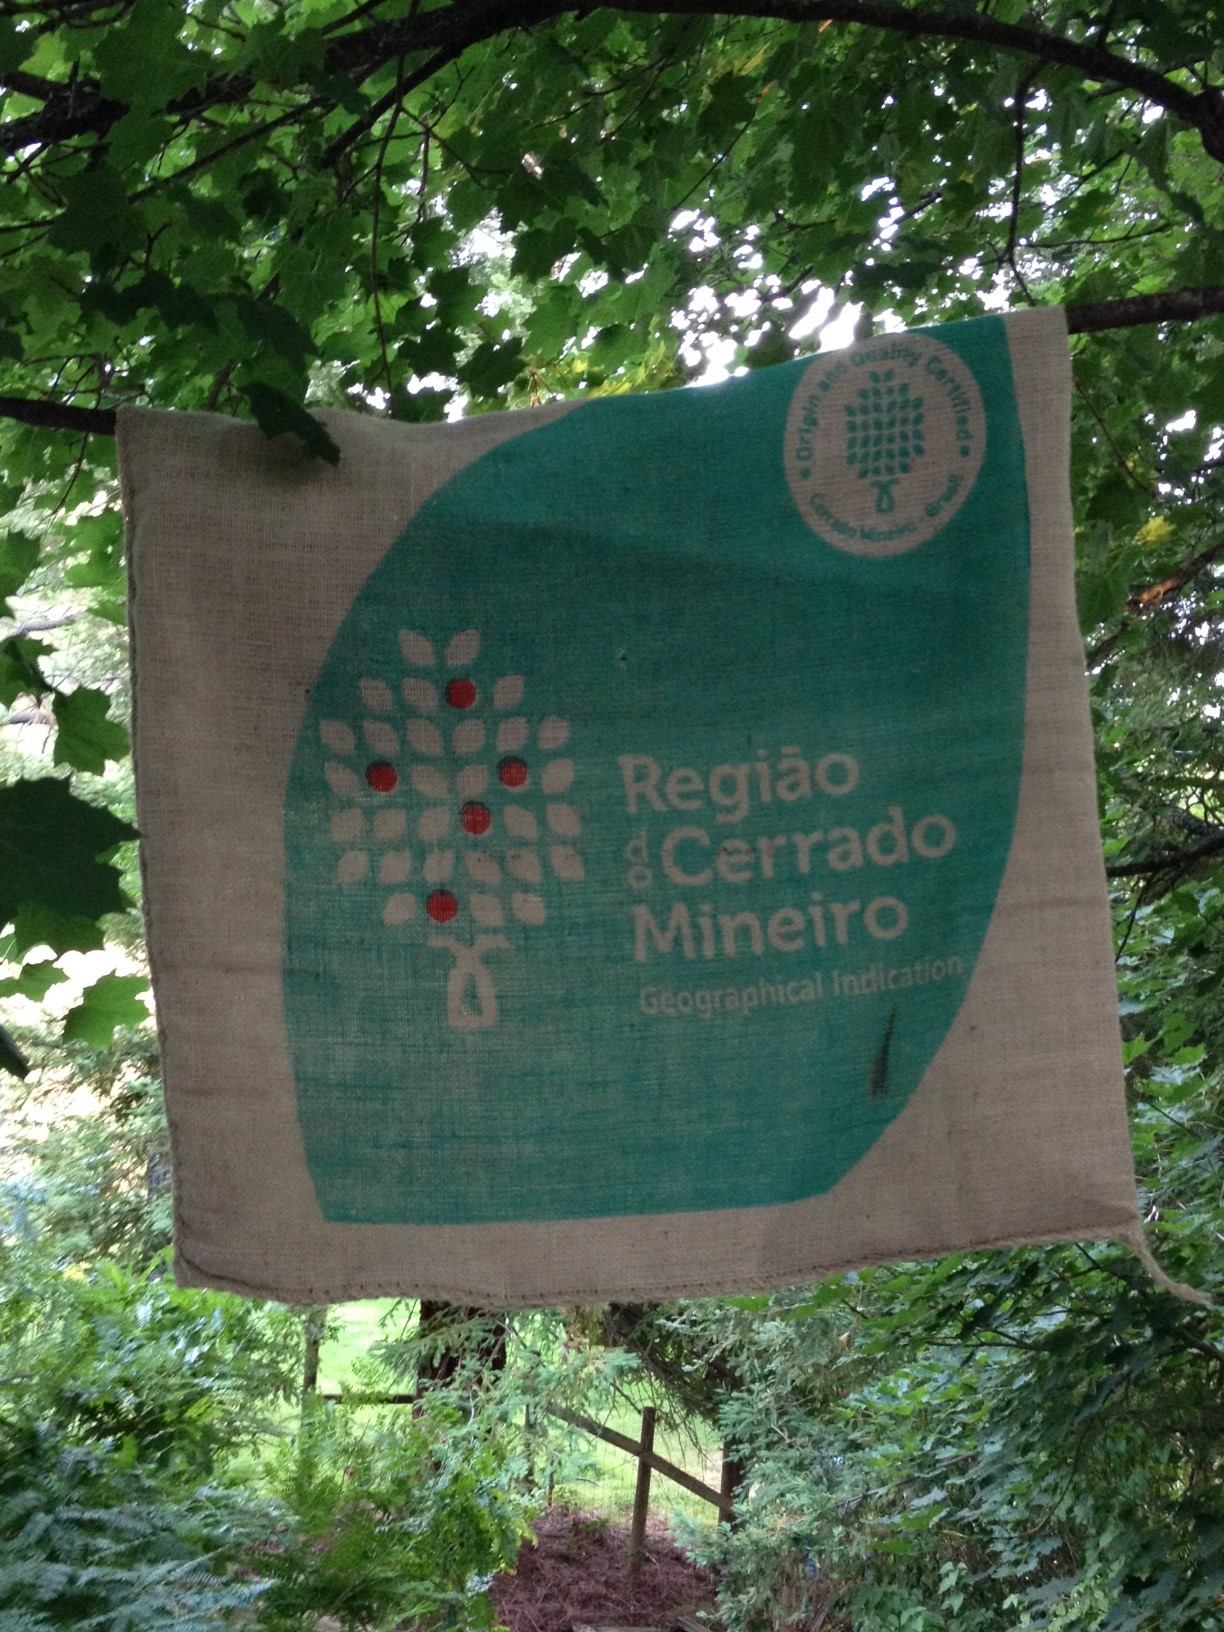
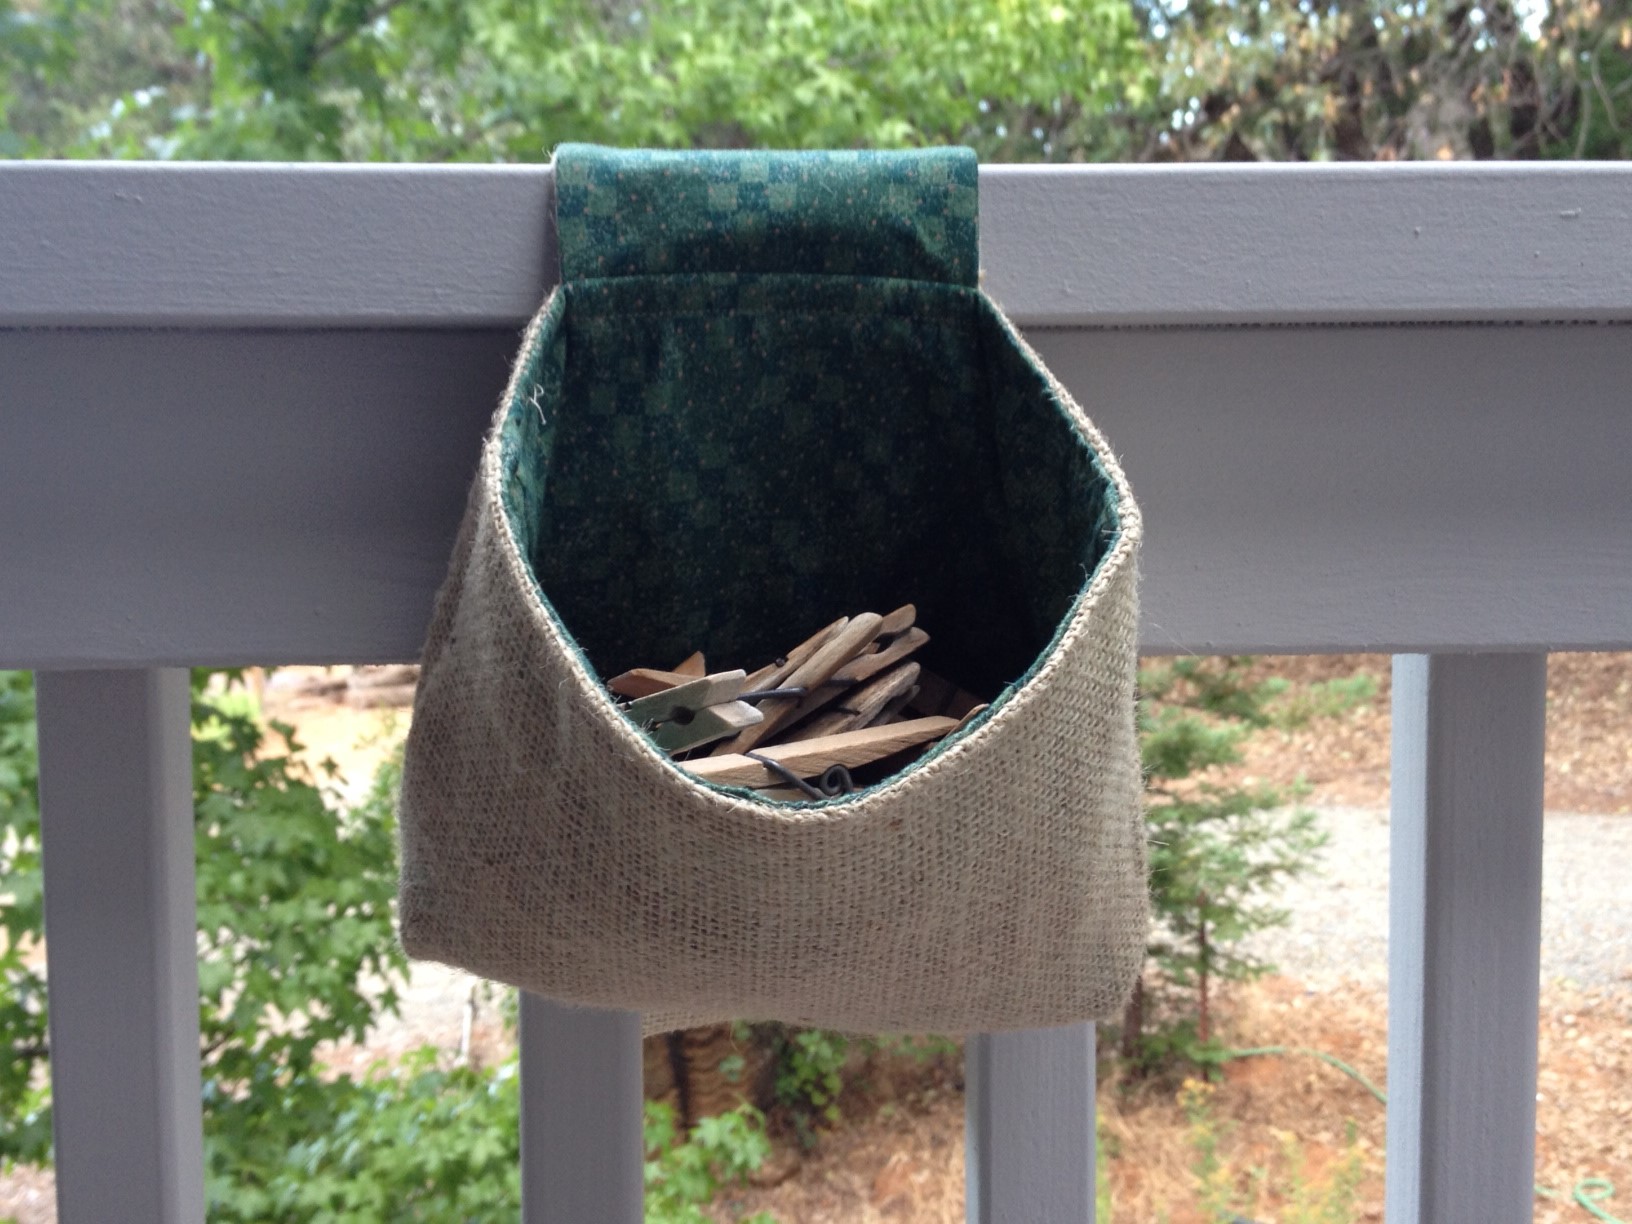
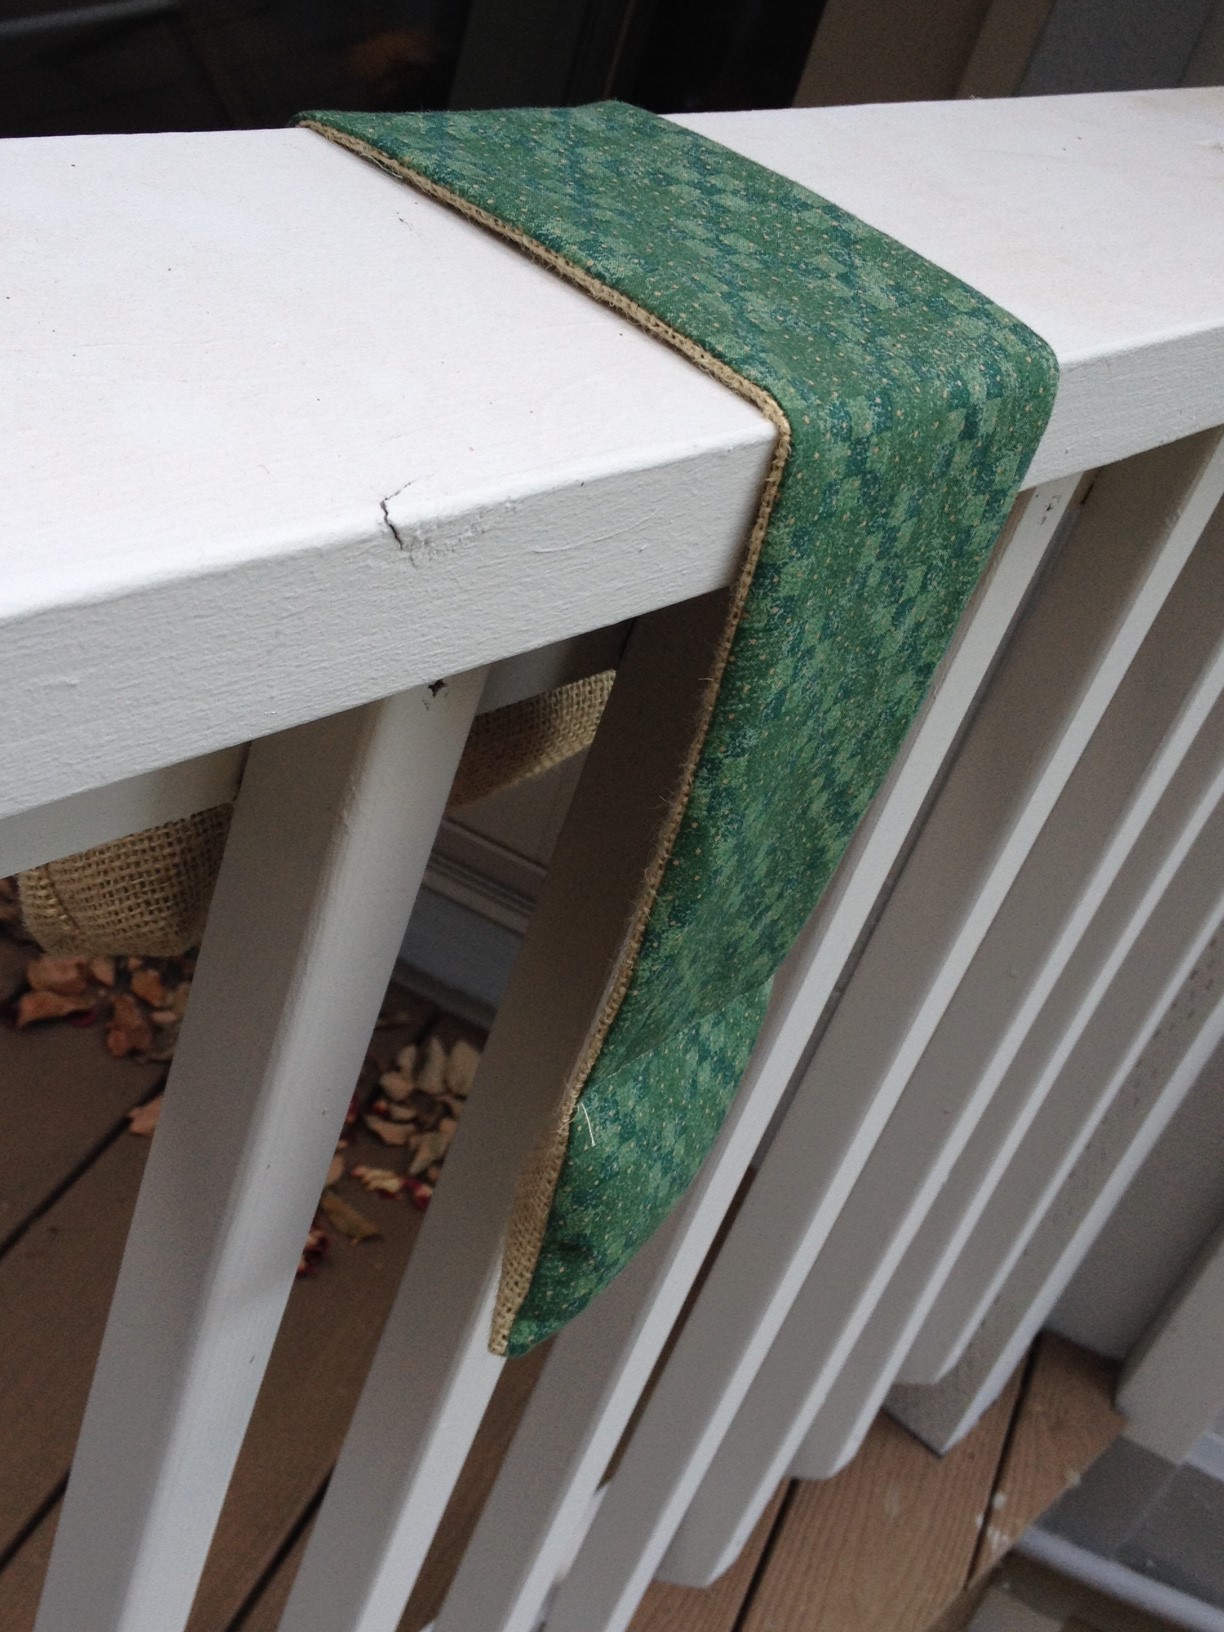
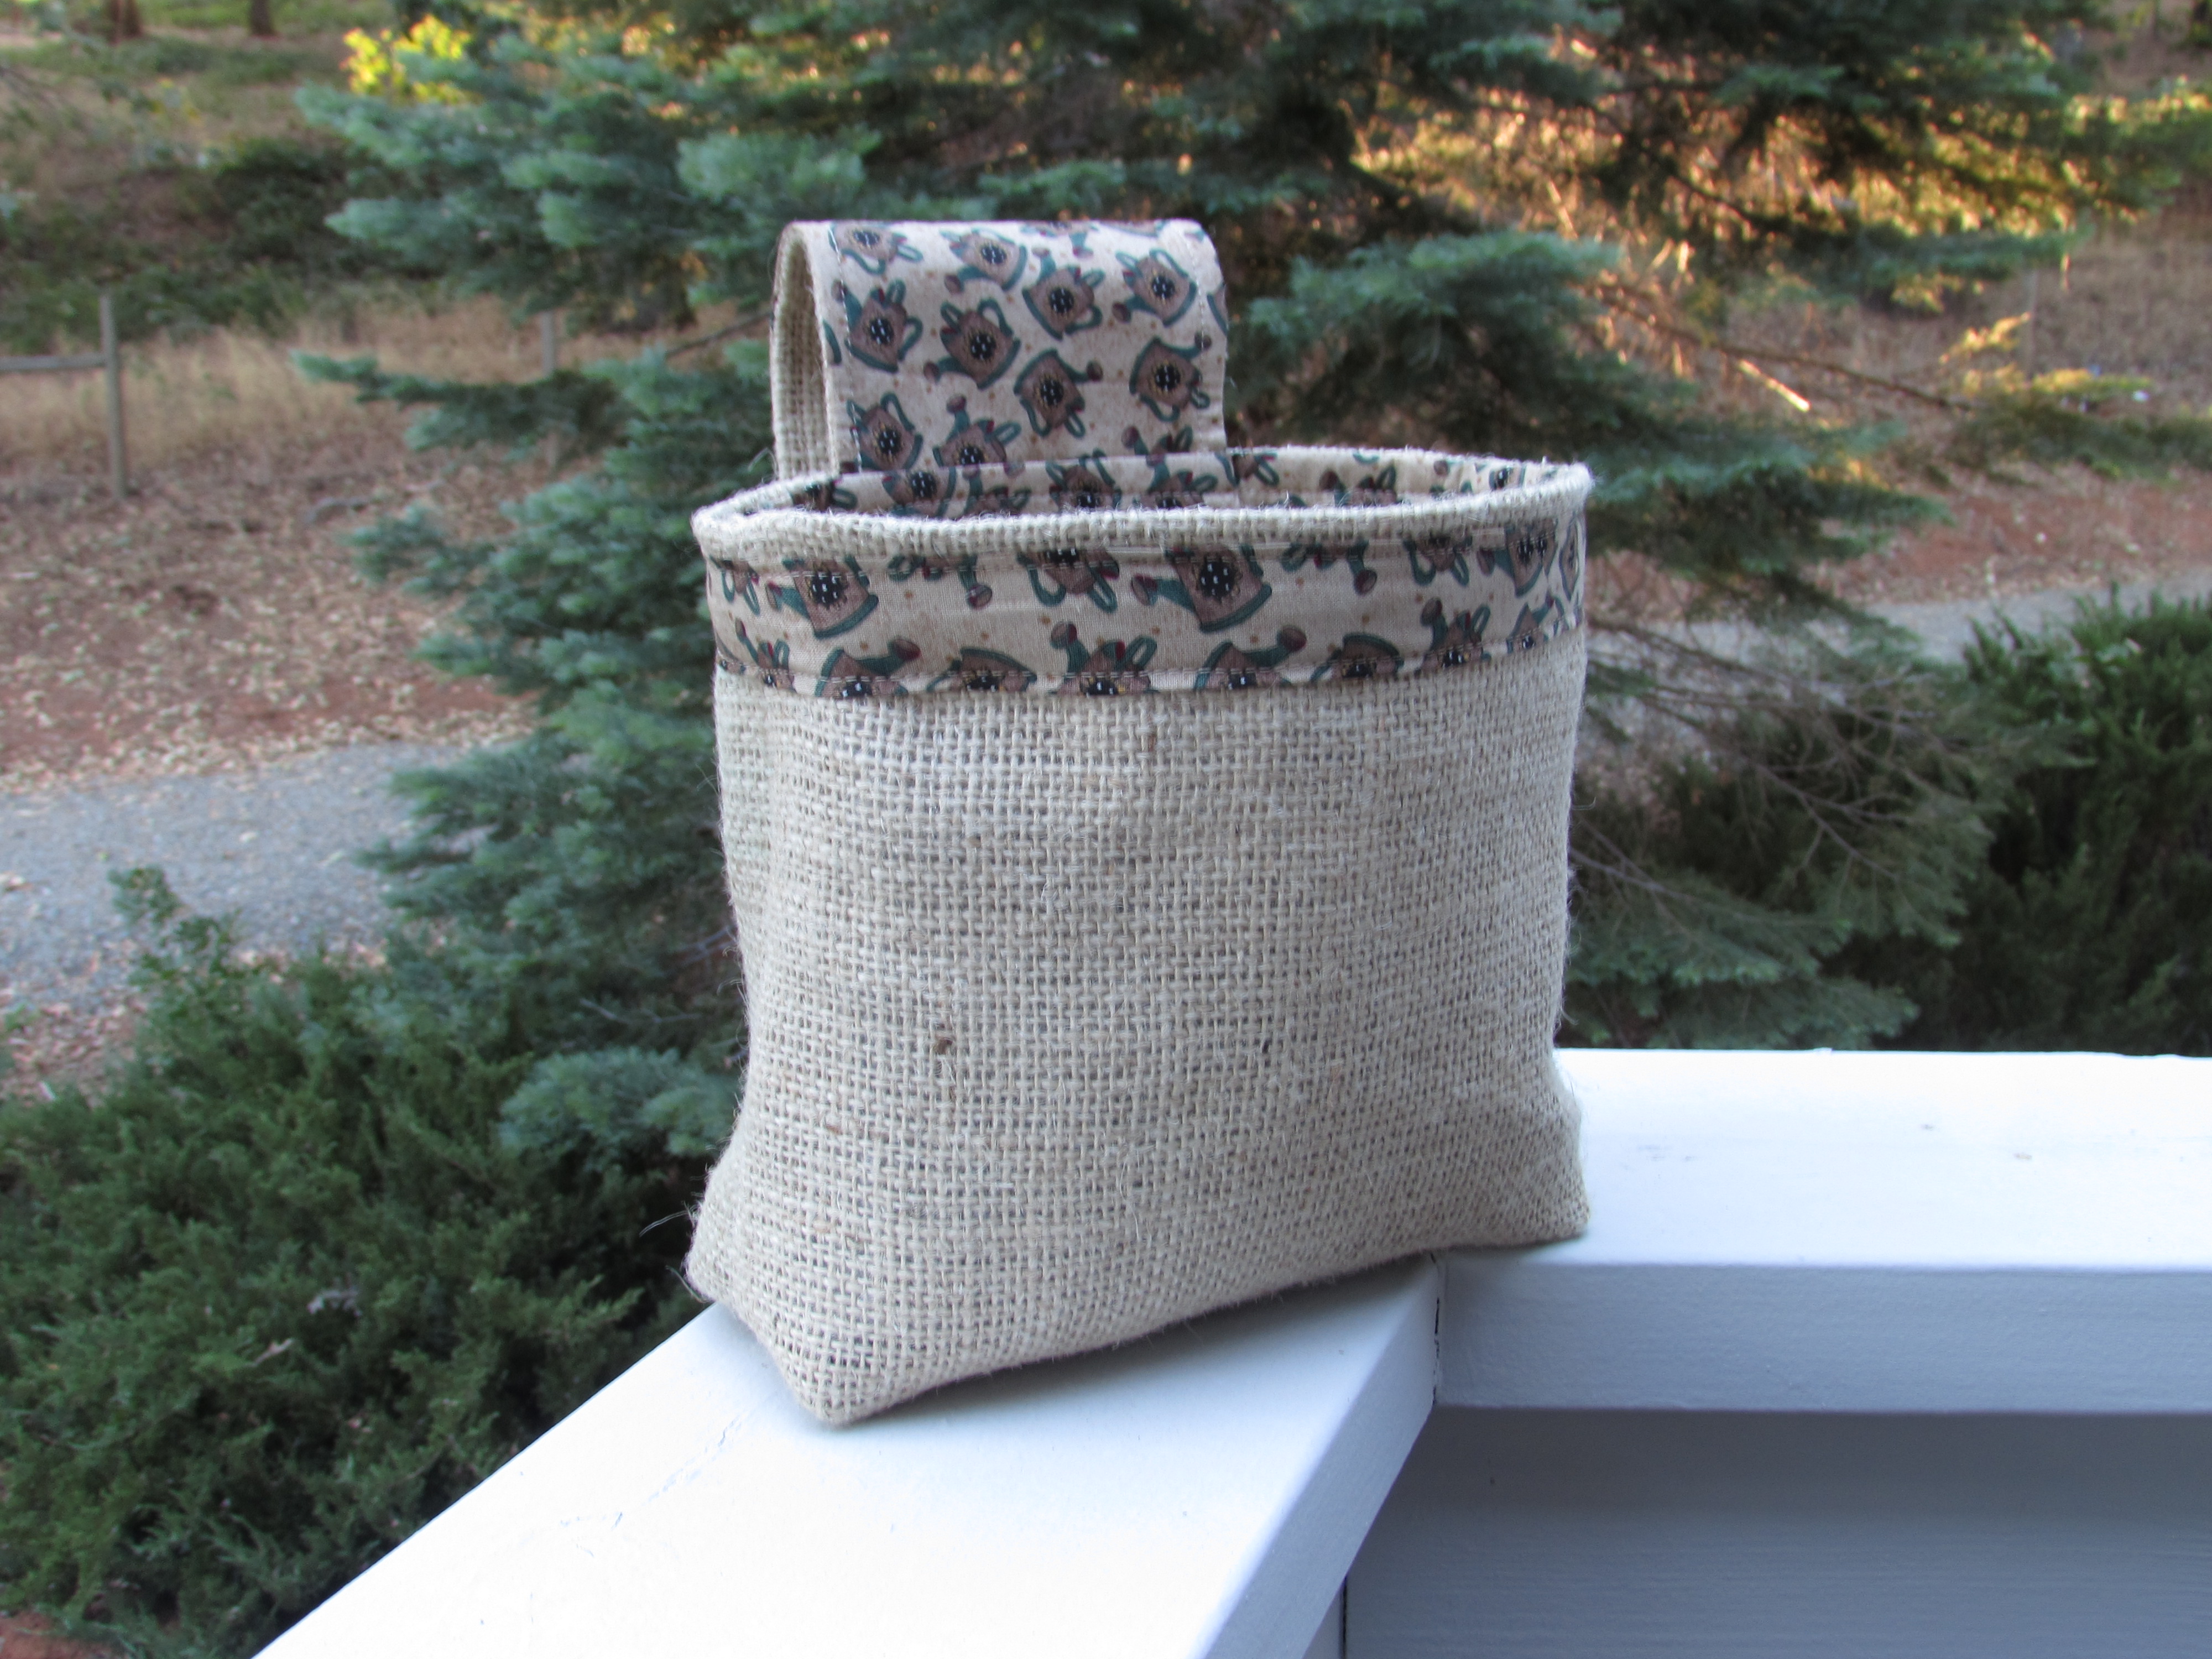
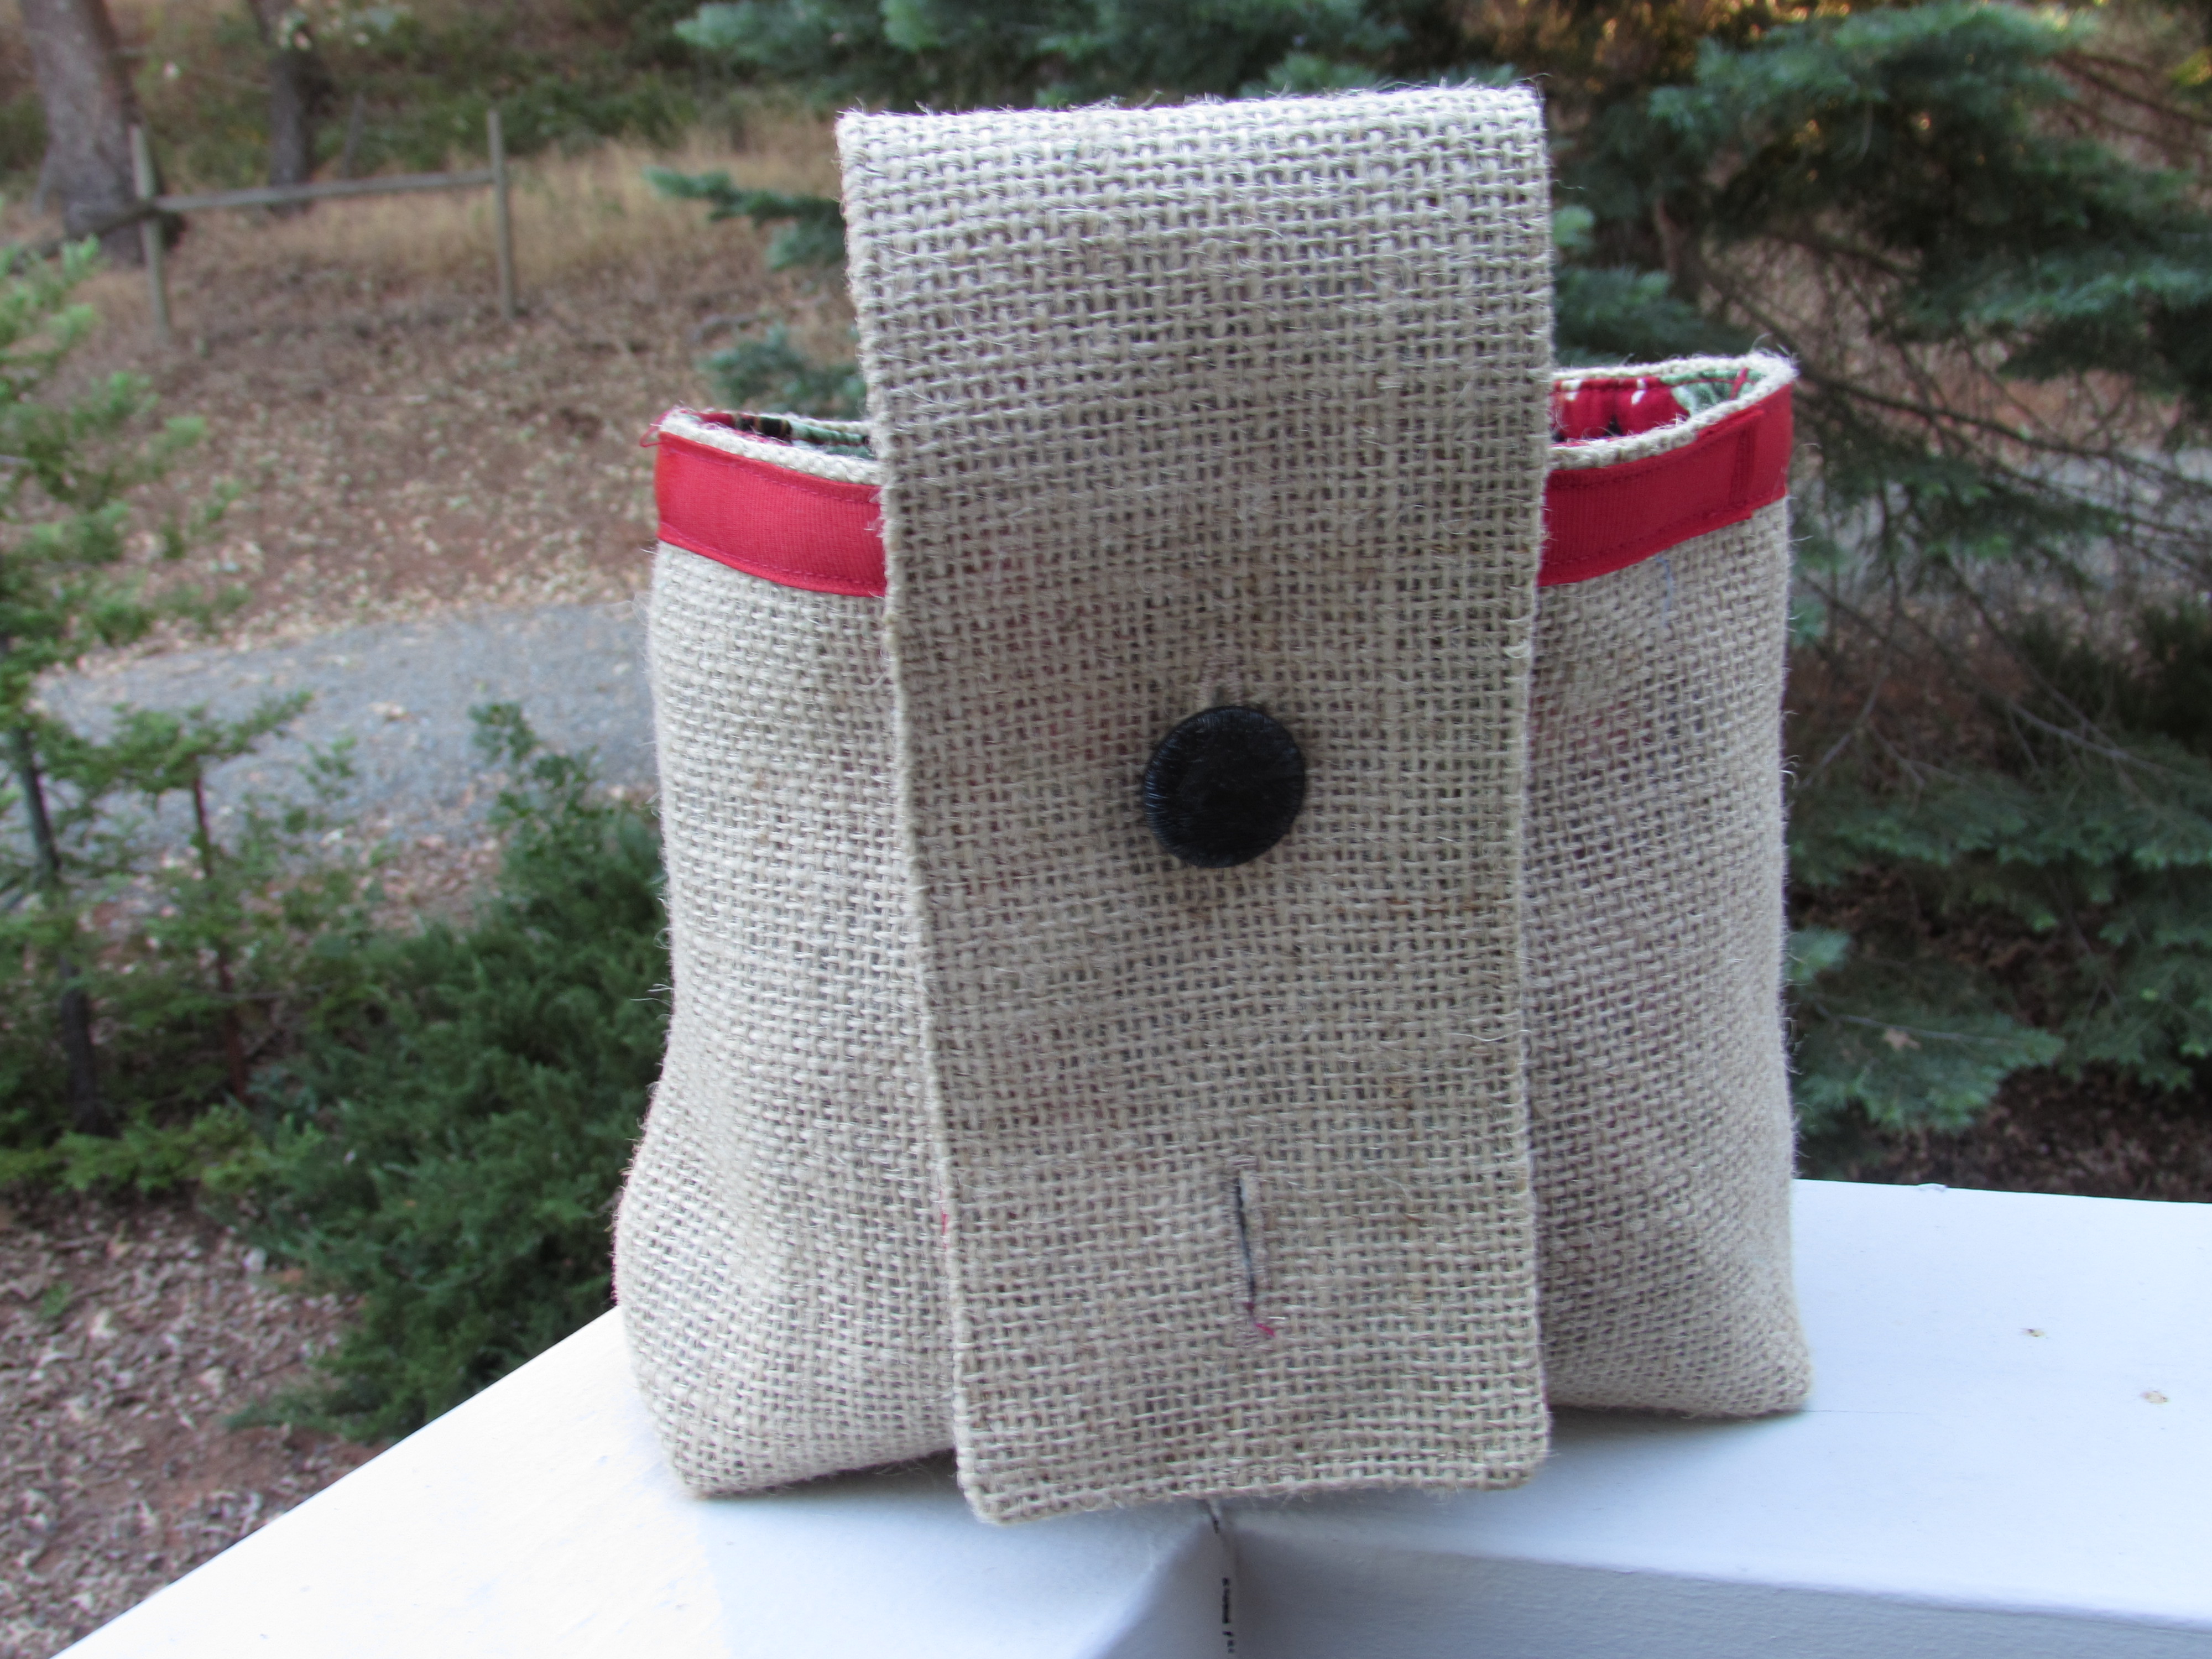
Upcycled burlap, lined with a fun print and embellished with trim, is adorable as well.

img_20160517_5168 I hope you take a look at the tutorial and give this a try. In celebration of summer and this tutorial, I have a giveaway for you today. I know, I know – two giveaways within the week! If you haven’t yet entered, check the first one out here!

Today’s giveaway is a generous one provided by Sheryl, my sponsor at Brewstitched. Enter the giveaway and you could win a $20.00 gift certificate to her Etsy shop.

brewstitched button

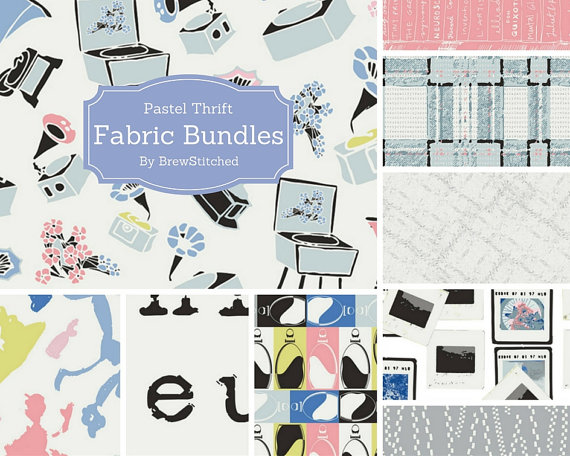
I have written about my partnership with Brewstitched before – you might check out an earlier post here. Sheryl has done some fabric shopping lately and stocked her shop with some gorgeous new fabrics, such as this Art Gallery collection, Pastel Thrift.

pastel thrift

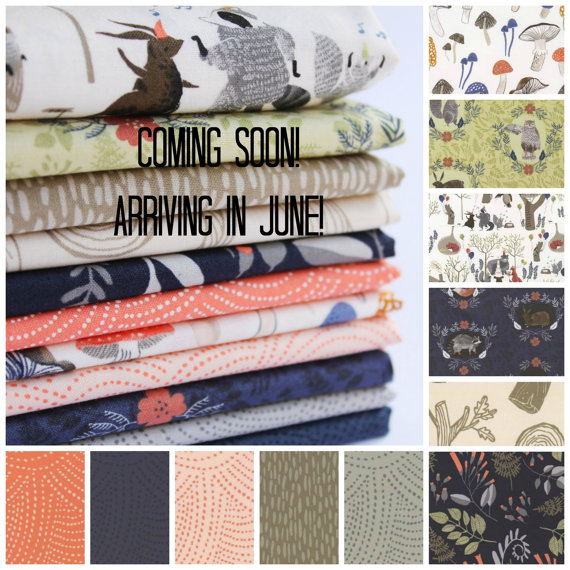
Soon, Brewstitched will also have the Dear Stella line, Foxtail Forest in stock. It is just gorgeous -but then you already know that I have a Dear Stella addiction. You can preorder yours now and Sheryl will ship it asap when the fabric arrives!

foxtail collection


OK – here is how you enter, leave me a comment and tell me what you do to keep your house cool this time of year. For a second entry, let me know how you follow Needle and Foot (Bloglovin, Instagram, Facebook).  Want a third try? Just follow Brewstitched on Instagram and let me know that you did. The giveaway will stay open until Saturday, June 11th with the winner announced on Sunday, June 12th. Good luck!!  Giveaway is now closed.


june-giveaway

All through the month of June Craftsy is having a Mystery Box Giveaway – one for you and one for a friend! Go and enter to win. Good luck!!

(Note: I am a Craftsy affiliate and if purchases are made by clicking on the link I provide, I will be paid a small commission.)

Sharing Ideas

OK- I feel like I made the greatest discovery. Not earth shattering or life changing (well, maybe a bit life changing for me) but so cool!

I have been making clothespin bags which I sell in my Etsy shop. They are fun to make and I have sold a number of them. Today I wanted to trim one out and decided to use rick rack. I love the cheerful look that rick rack gives to anything! It is such a classic trim. However, I don’t like the way it is usually attached. Often you will see it attached with a seam straight down the middle. However, this means that once it is washed, the edges of the trim will curl up around the seam. I debated sewing two straight seams down each edge to catch the edges but then you have stitching between each angle. This didn’t make me happy. I did what any self-respecting seamstress would do and turned to Pinterest. As one would expect, there are lots of ideas to be had. Many people are embroidering the trim down. This looks really cute but is too laborious. I can’t charge enough for these little bags to spend that kind of time stitching.  I came across a pin that linked back to Craft Nectar (which is the blog for Weeks and Bill over at Modern Quilt Studio). Weeks posted an idea about attaching rick rack by dropping the feed dogs and using your FMQ foot (aka darning foot).  Ah ha!!  Perfect. I never thought of that. It was so simple.

IMG_2159

I did reduce the stitch speed on my machine – it takes a bit of effort to keep the trim straight and stitch along the edges. Next time I think I will pull out the glue stick and use that to attach the trim first. That should make it even easier. The inside looks pretty good!

IMG_20150518_3333Here is the finished bag hanging from my clothesline.

IMG_20150518_3330On an unrelated note, I am so excited about the New Quilt Blogger bloghop event that is getting started. Hosted by Yvonne at Quilting Jetgirl, Stephanie at Late Night Quilter, Cheryl @ Meadow Mist Designs and Terri Ann at Childlike Fascination, this is a great opportunity to learn more about blogging and to interact with others in the community. I signed up this morning and thought I would put this out there in case any of you are interested.

2015 New Quilt Bloggers Button (300px)

The parameters they have set for joining are that you currently have a blog:

  1. mainly about modern quilting*,
  2. for less than 2 years,
  3. writing at least 4 posts a month,
  4. are willing to agree to be actively involved in the blog hop through visiting and commenting on the other blogger’s hop posts,
  5. and have or are willing to open a Facebook account to participate in the group discussions,

If you are interested, please visit and fill out the 2015 New Quilt Bloggers Blog Hop Sign Up Form.

(*Modern quilting to you is modern quilting to us.)

Note: They plan to accept 100 participants for the blog hop this year. The sign up form will be available until May 31, 2015, or until they reach 100 participants.

This looks like an amazing opportunity and I am really looking forward to learning from everyone involved. If you feel like it would be right for you, I encourage you to check it out.

That’s it for now! Hope you are all having a great week!

Linking to Connie at Freemotion by the River, and  Tips and Tutorials Tuesday.


On Gratitude

Hi Everyone!  Two posts in as many days. How about that?

I have recently started reading Yvonne’s blog over at Quilting Jetgirl. She is a really talented quilter and her blog is fun to read. She has begun a link up on Thursdays that she calls Thankful Thursdays. This week she has a great post about the inspirational quilters from Gees Bend that recently spoke at Quilt Con. It was really an interesting read. I think it is a timely reminder to focus on what we are grateful for. My last post was a bit of a downer because I recently finished a quilt and was not so thrilled with the final product. Rather than point out the nice things such as the amazing, hand dyed fabric that I used as the center accent fabrics (which I won from the monthly giveaway sponsored by Angela on soscrappy.com!) or the overall look of the quilt, all I could see was the less than perfect quilting I had done. Way too negative.

So this post is a reminder for me to remain mindful of the positive. This week I am filled with gratitude for the amazing spring blossoms that I have in my garden. We are having a very early spring – it has been unseasonably warm here in CA while the rest of the world is enduring a very harsh winter.

My peach tree is blossoming. Crazy early and I am hoping we will still get peaches. Hard to say with the blossoms coming about in February. Either way, it looks lovely.

image

Daffodils and primroses are in bloom as well.

006

004

Hard to believe how the climate can be so incredibly opposite from one side of the country to the other. The silver lining to a crazy warm winter are these blossoms that are popping up in my yard. Hope the eastern half of the world begins to thaw soon.

I had lots of finishes this week. I started replenishing the little clothesline/clothespin bags that I sell on Etsy. I was almost sold out (it is warm enough to use a clothesline in parts of the country!) This week I made them with upcycled denim jeans that I thrifted. They came together so quickly compared to the ones that I have made with burlap. (Burlap can be tricky to work with.)

image

imageAnd now a polka dotted version.

image


imageNice to add a few new items to my Etsy shop.

Also finished up the February Row for my RSC15 quilt. I am following along with Mari over at Academic Quilter on her Classic Stitches Row Quilt. She should be releasing the next block for March on Tuesday of next week. Looking forward to seeing what she has planned as well as what color Angela has picked for March.  For February Mari did a tutorial on these little heart blocks. I did 6 inch blocks. They were very simple to piece.

image

Here they are with the broken dishes blocks that we did for the January row.

image

They look cute side by side like this. Tempting as it is, I won’t stitch any rows together until I see what the others look like.

Hope you are all finding reasons to feel grateful. Some days you have to look deeper to figure it out but there is always, always something. Thanks to Yvonne for the reminder. Leave me a comment on gratitude. I would love to fill the page with positive thoughts. 🙂

Linking to Thankful Thursday and Sarah at Confessions of a Fabric Addict, as well as TGIFF.


Upcycling, recycling, using stuff more than once.

Let it be known that I am a recycler.  I am not ok with the amount of plastic that is thrown away on a daily basis. Someday my (future) great-grandchildren are going to have one huge mess on their hands. In an attempt to minimize our household’s contribution to this mess, I recycle everything, re-using as much as possible.  I am one of those who uses a zip lock bag until it no longer zips. (In case you haven’t tried this, the bags can be rinsed, dried and used over and over.) My daughter and husband both take their lunches to work or school, as the case may be, in reusable, plastic zipper pouches. I buy them online at Blue Avocado. I bought four bags over two years ago and three of them are still in great shape. I can’t even count how many zip lock sandwich bags that saved us from using.  (I know there are lots of people who make their own bags and I may give that a try as well).

Along with recycling, I have been trying to reuse, or upcycle, (a trendier term) items. This week I found a great use for the huge coffee bean sacks that I purchased a while back at our local coffee roaster. I knew they would come in handy and I was so excited to create something from them!

sack front 3

I was hanging my laundry on the clothesline (which I do quite often). It is so hot here in the summer and I don’t like to run the clothes dryer if I can avoid it. It just heats up the house and makes our A/C unit run overtime. My clothesline is above our back deck and the clothespins are usually in this old basket.  See?  Not exactly gorgeous, right?

basket

For the past couple of years I have set this old basket on the deck railing and hung the clothes.  Numerous times the basket has dumped and the clothespins scatter over the deck or, worse, they fall over the edge down to the ground below.  You’d think I would have fixed this critical life problem a long while ago.  But I just kept picking up the pins and muttering sounds of irritation under my breath.  This week I decided to make something for the clothespins.

I made a simple, lined bag with boxed corners and added a long tab off of the back. Next I created a small sack and filled it with dry, white rice. Sewed up that pouch and inserted it into the bottom of the long tab. The tab hangs over the railing and acts as a counter weight for the bag holding the clothespins. It looks so much nicer than that basket. I was filled with wonder as I hung the clothes with my clothespins staying where they are supposed to!  Simple pleasures, right??

front of bag

Here is the back to show the tab with the counter weight.  Not a great shot, but then I was leaning over the railing and hoping not to drop my phone……  🙂

back of bag

After I made one for myself, I decided to make a few more. I modified them such that the tab is much shorter and doesn’t have the counter weight. I added some buttonholes and a button to the back. This way the tab can be looped over the clothesline and will just slide along as the clothes are hung.  Again, pure joy.  🙂 Look how cute this is:

20140701_1246I love the burlap from those coffee sacks.

20140701_1255


I put two different buttonholes in along the tab so the length can be adjusted as needed.

20140701_1269


The burlap looks great and wasn’t that difficult to sew with. I did reinforce the raw edge of each piece of burlap with a zig zag stitch to minimize any fray. I fused some heavy weight interfacing to the lining fabric. Various fabrics from my stash make up the linings and ribbon  accents were added. I opened an Etsy shop and these are my first items up for sale!  Check them out here.


Linking up with Crazy Mom Quilts, Richard and Tanya Quilt, also at Confessions of a Fabric Addict.