Monthly Archives: April 2021

Rainbow Scrap Updates and a Panel Challenge

It is the end of the month and I scrambled to get a few things done for April. Seems the April came to a close much sooner than it was supposed to as I wasn’t really ready.

Yesterday was a housecleaning day. The obscure chores just get pushed back until finally the oven stinks whenever it is heating up and there is no choice but to clean it. That was not a fun chore but it is done and the oven is all ready to go again! I also had to give some of my houseplants a bath. The larger ones get dusty and it is easiest to take them on the back deck and just hose them off, let them dry and bring them back in. Yikes they look so much better now.

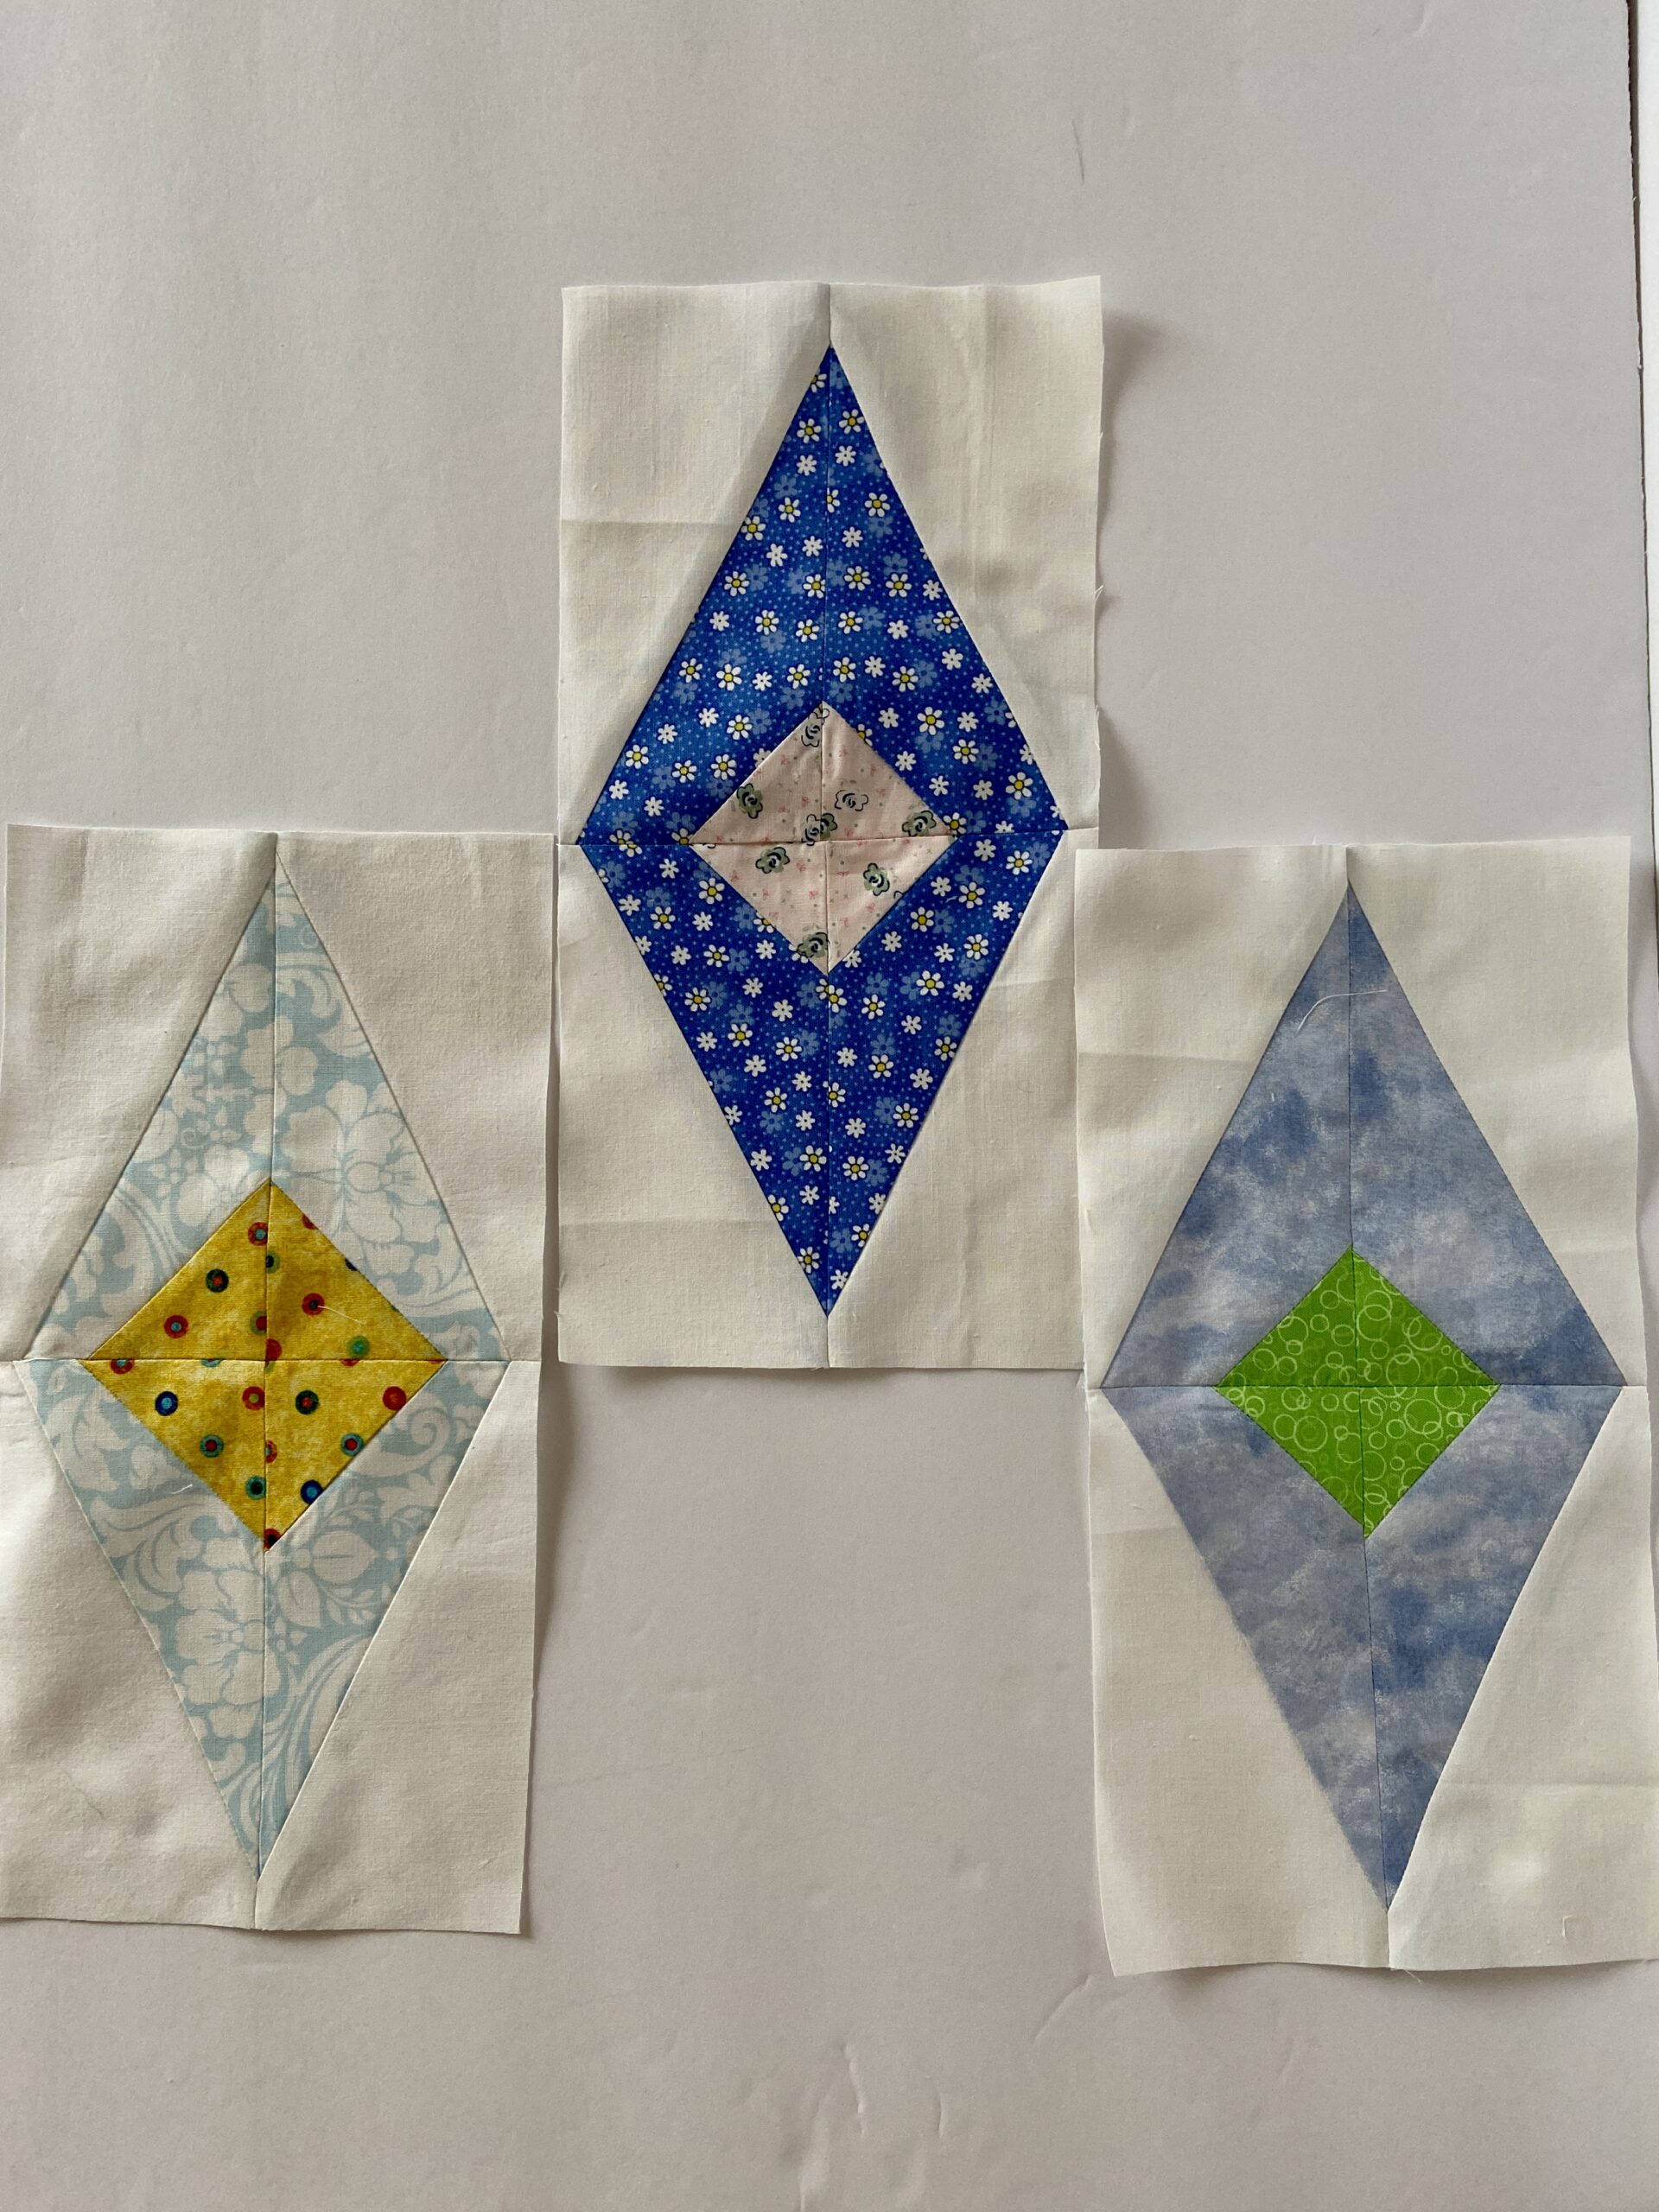
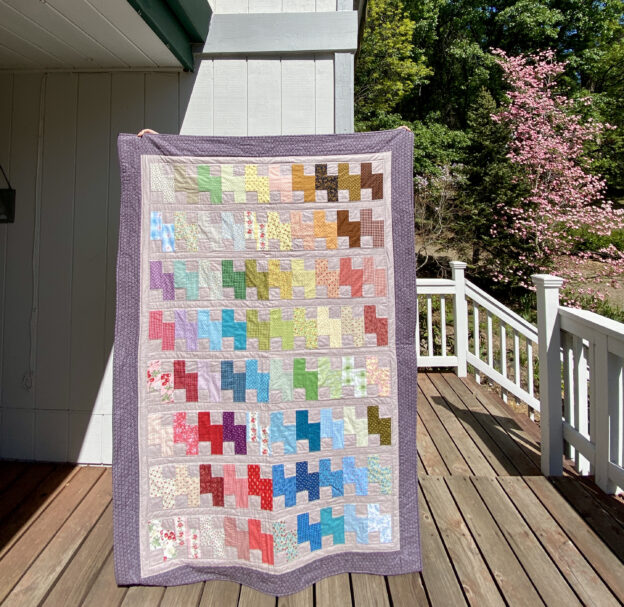
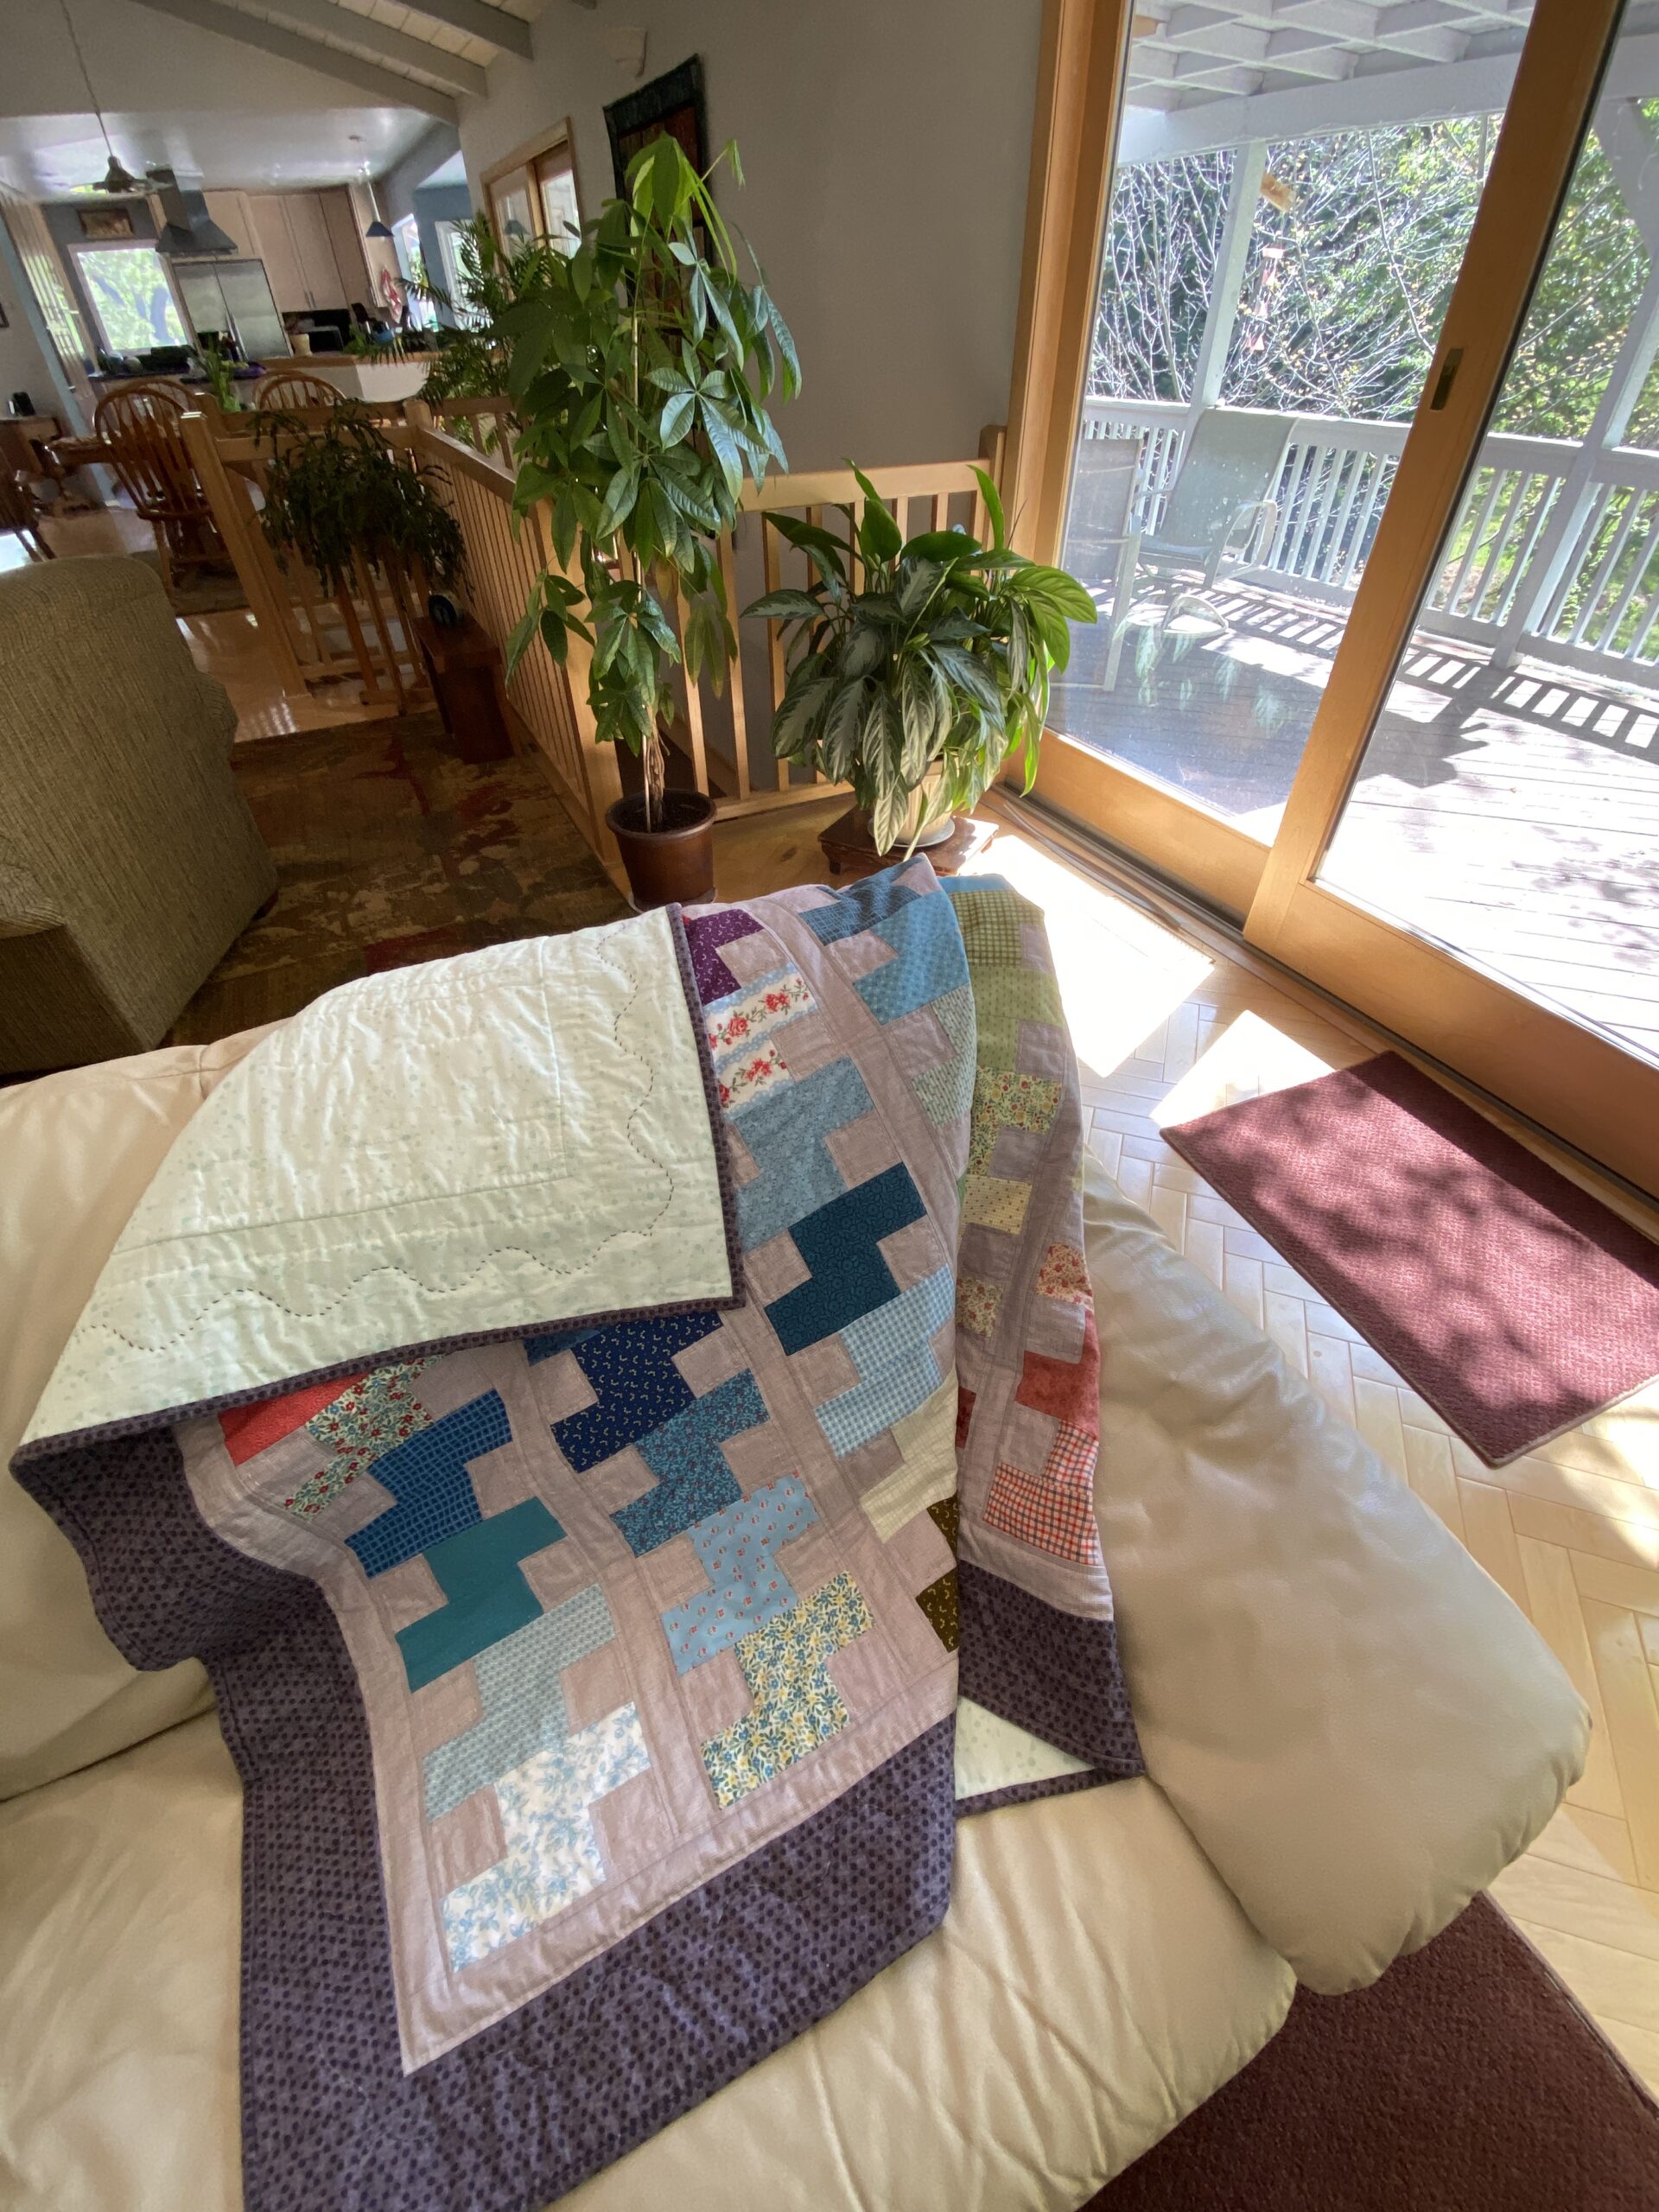
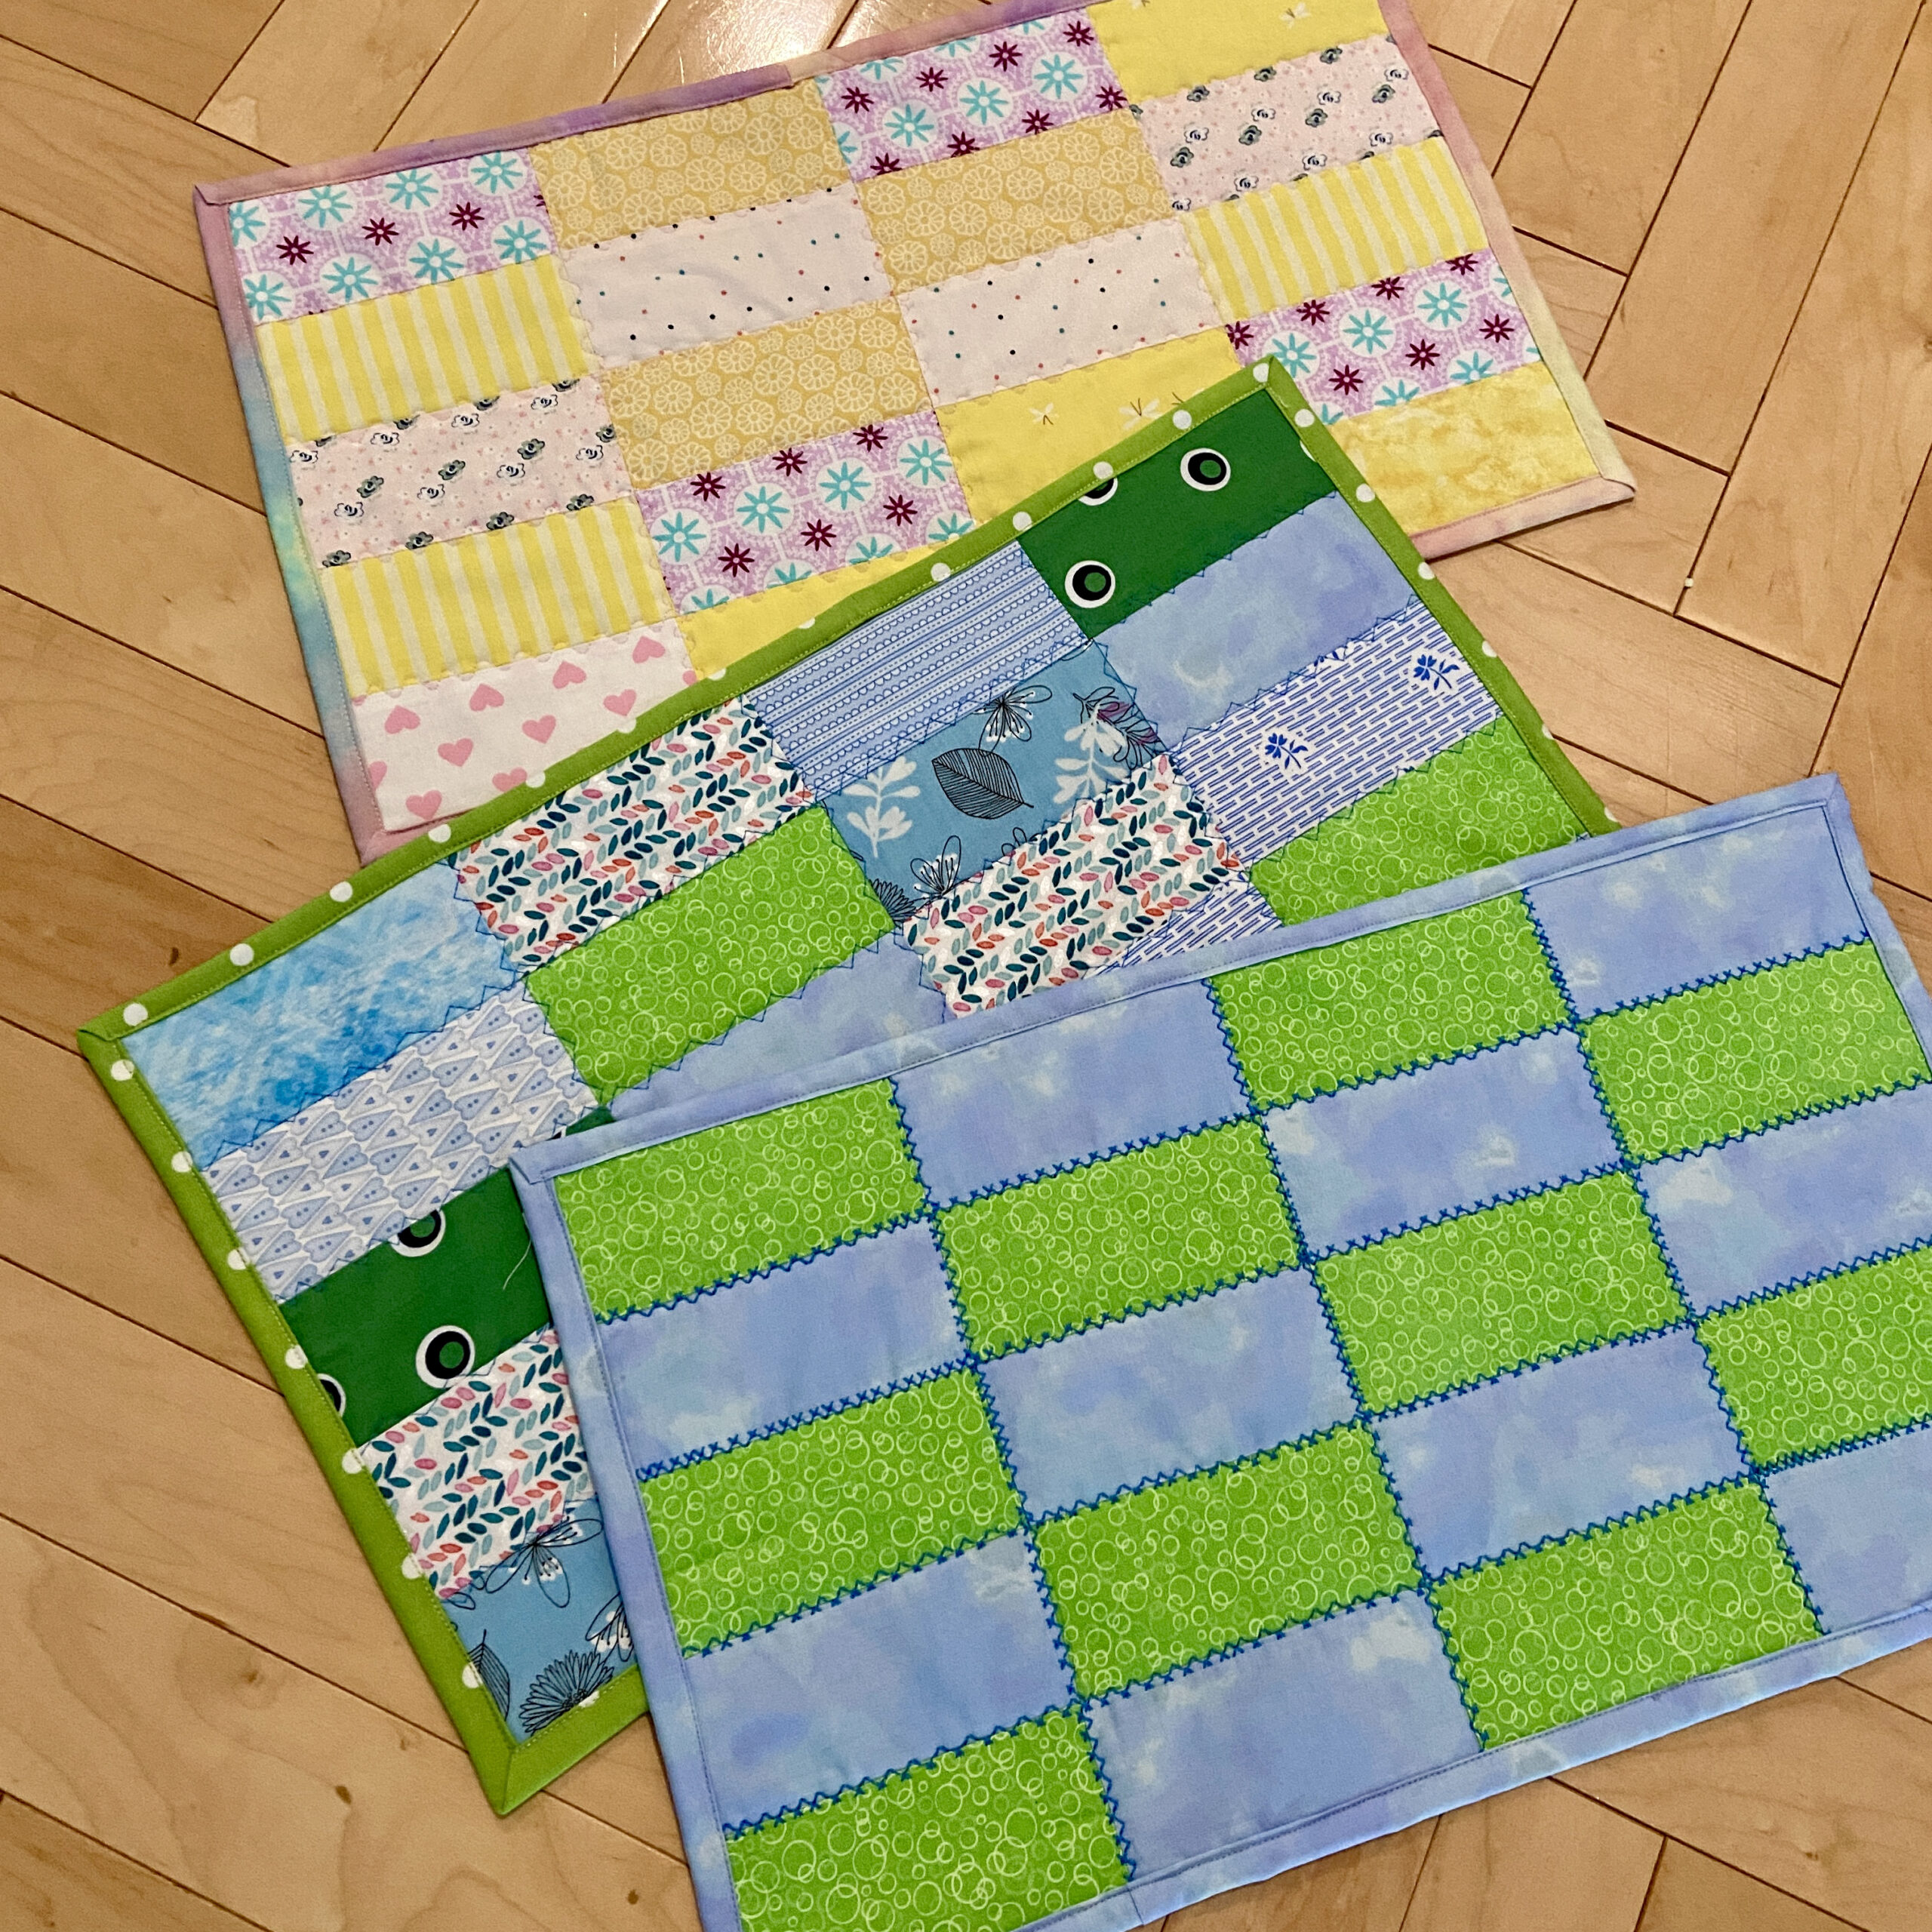
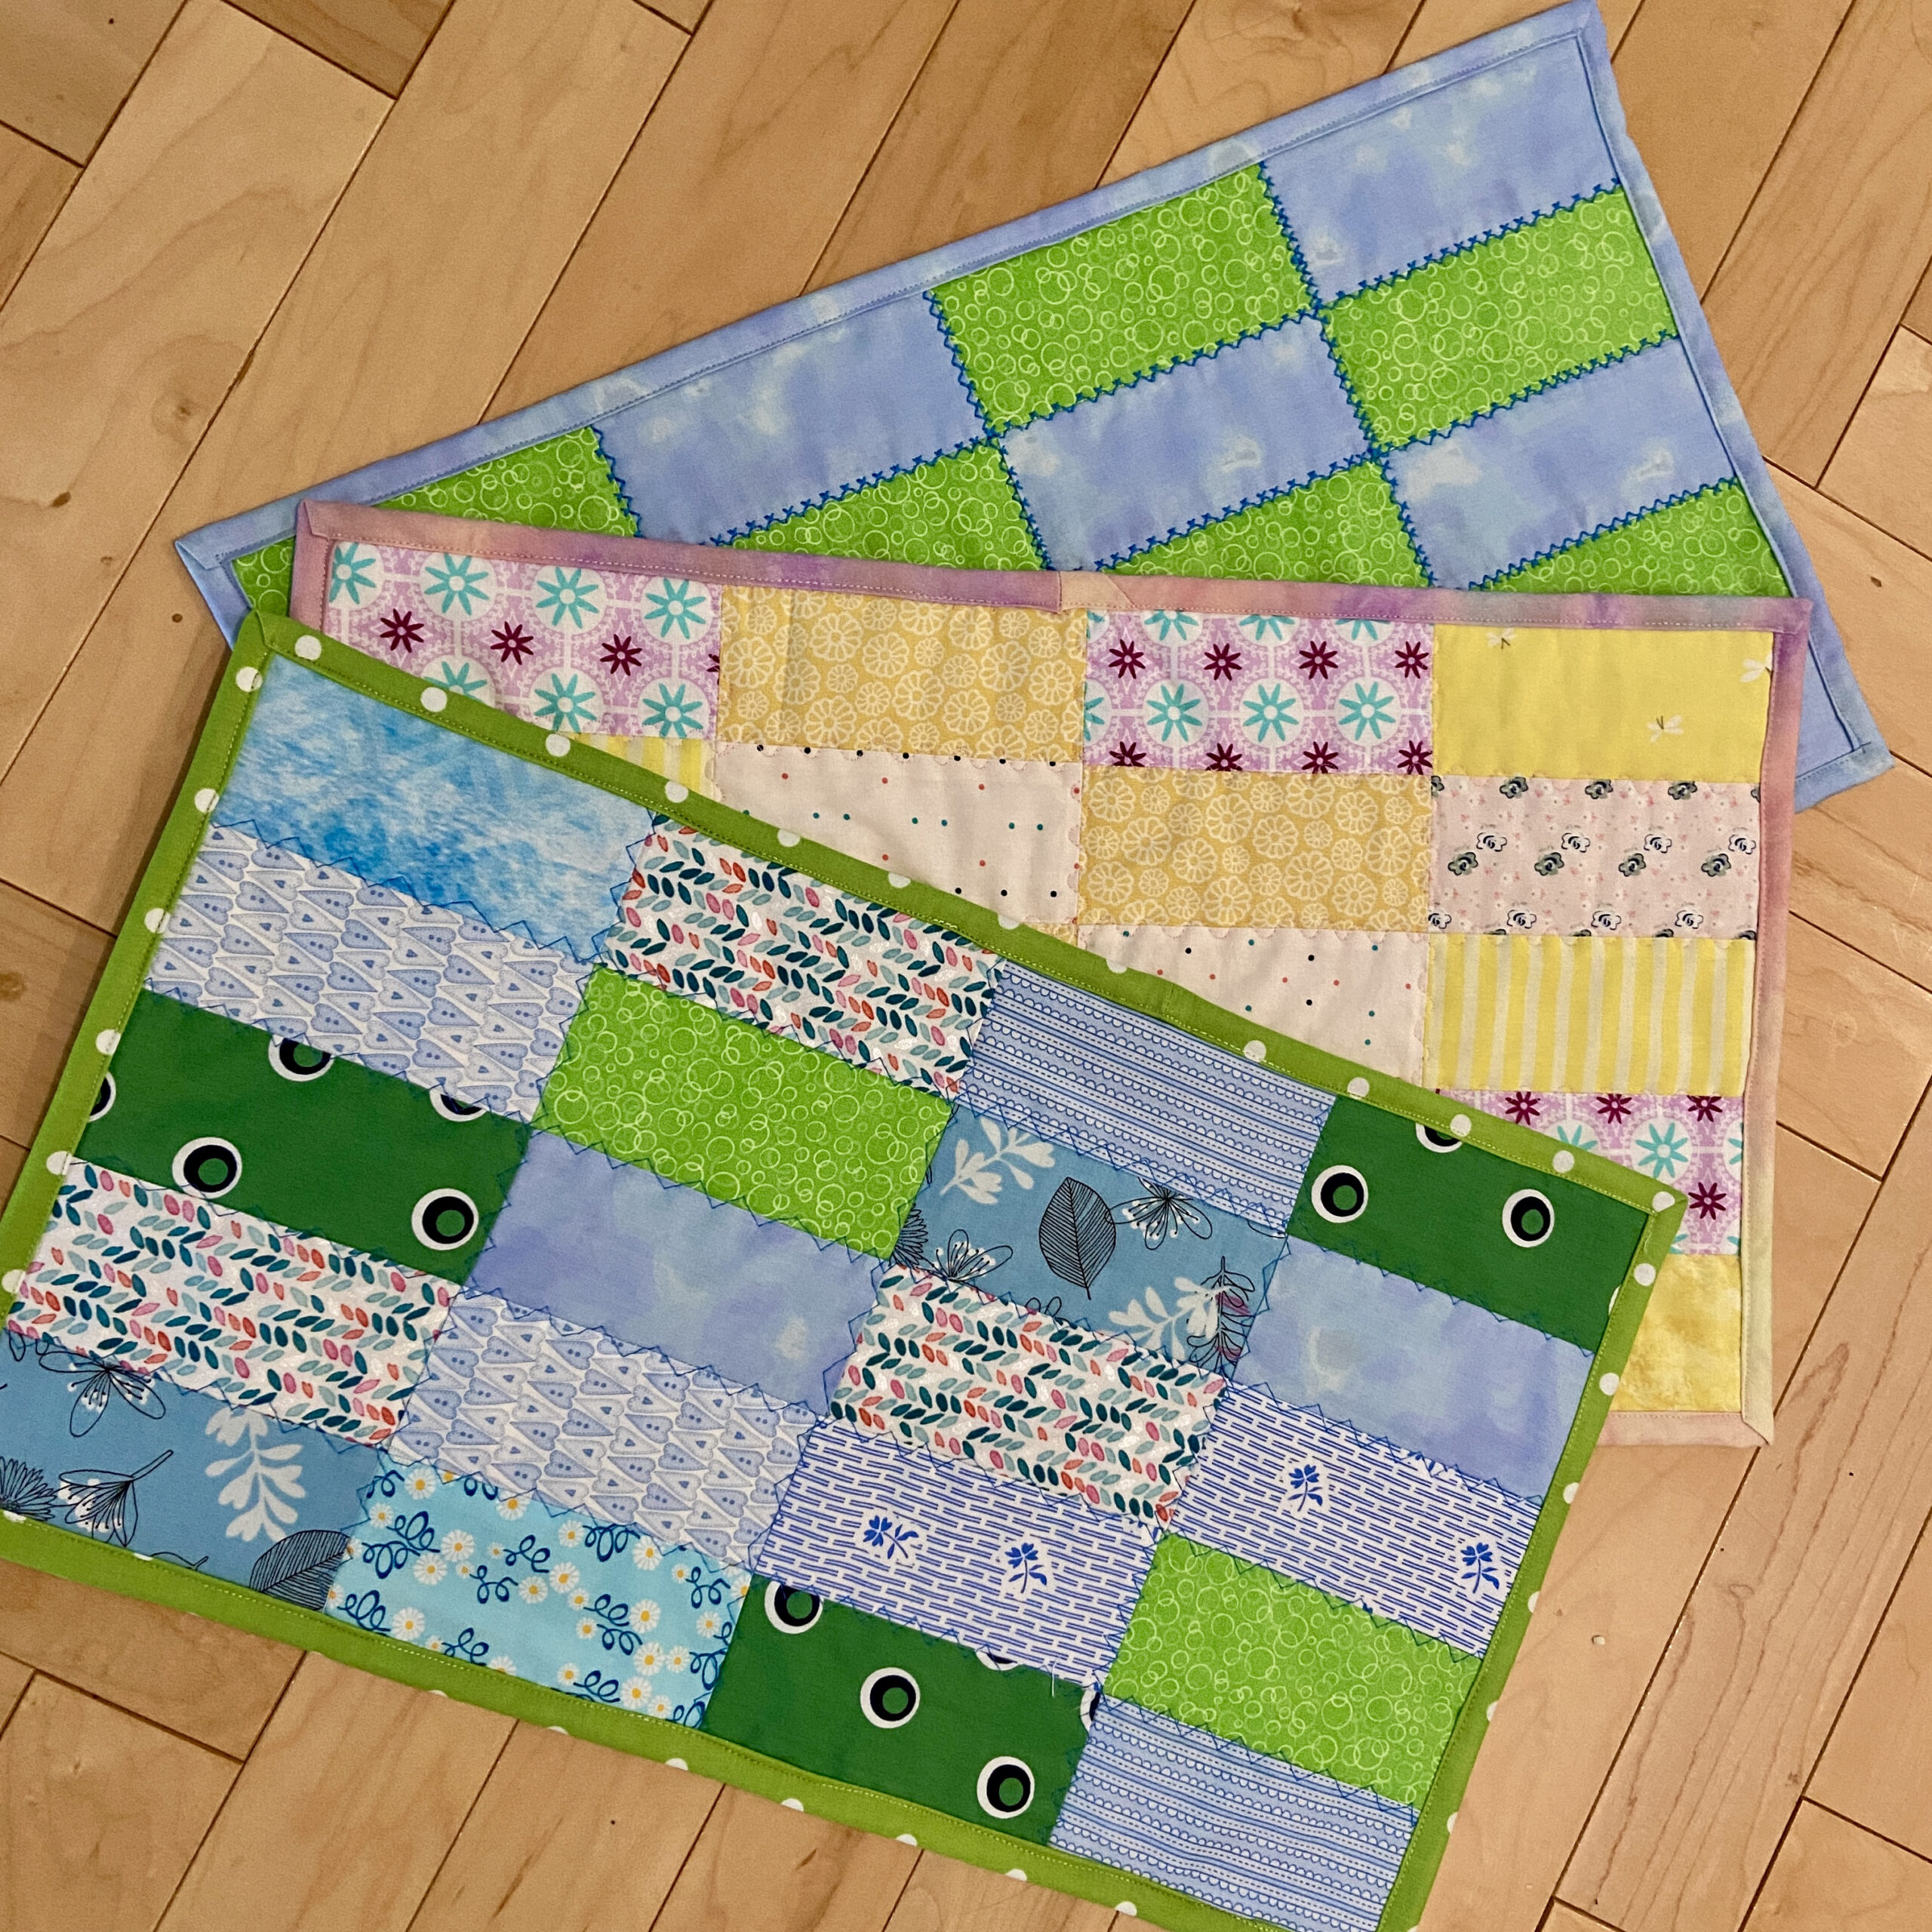
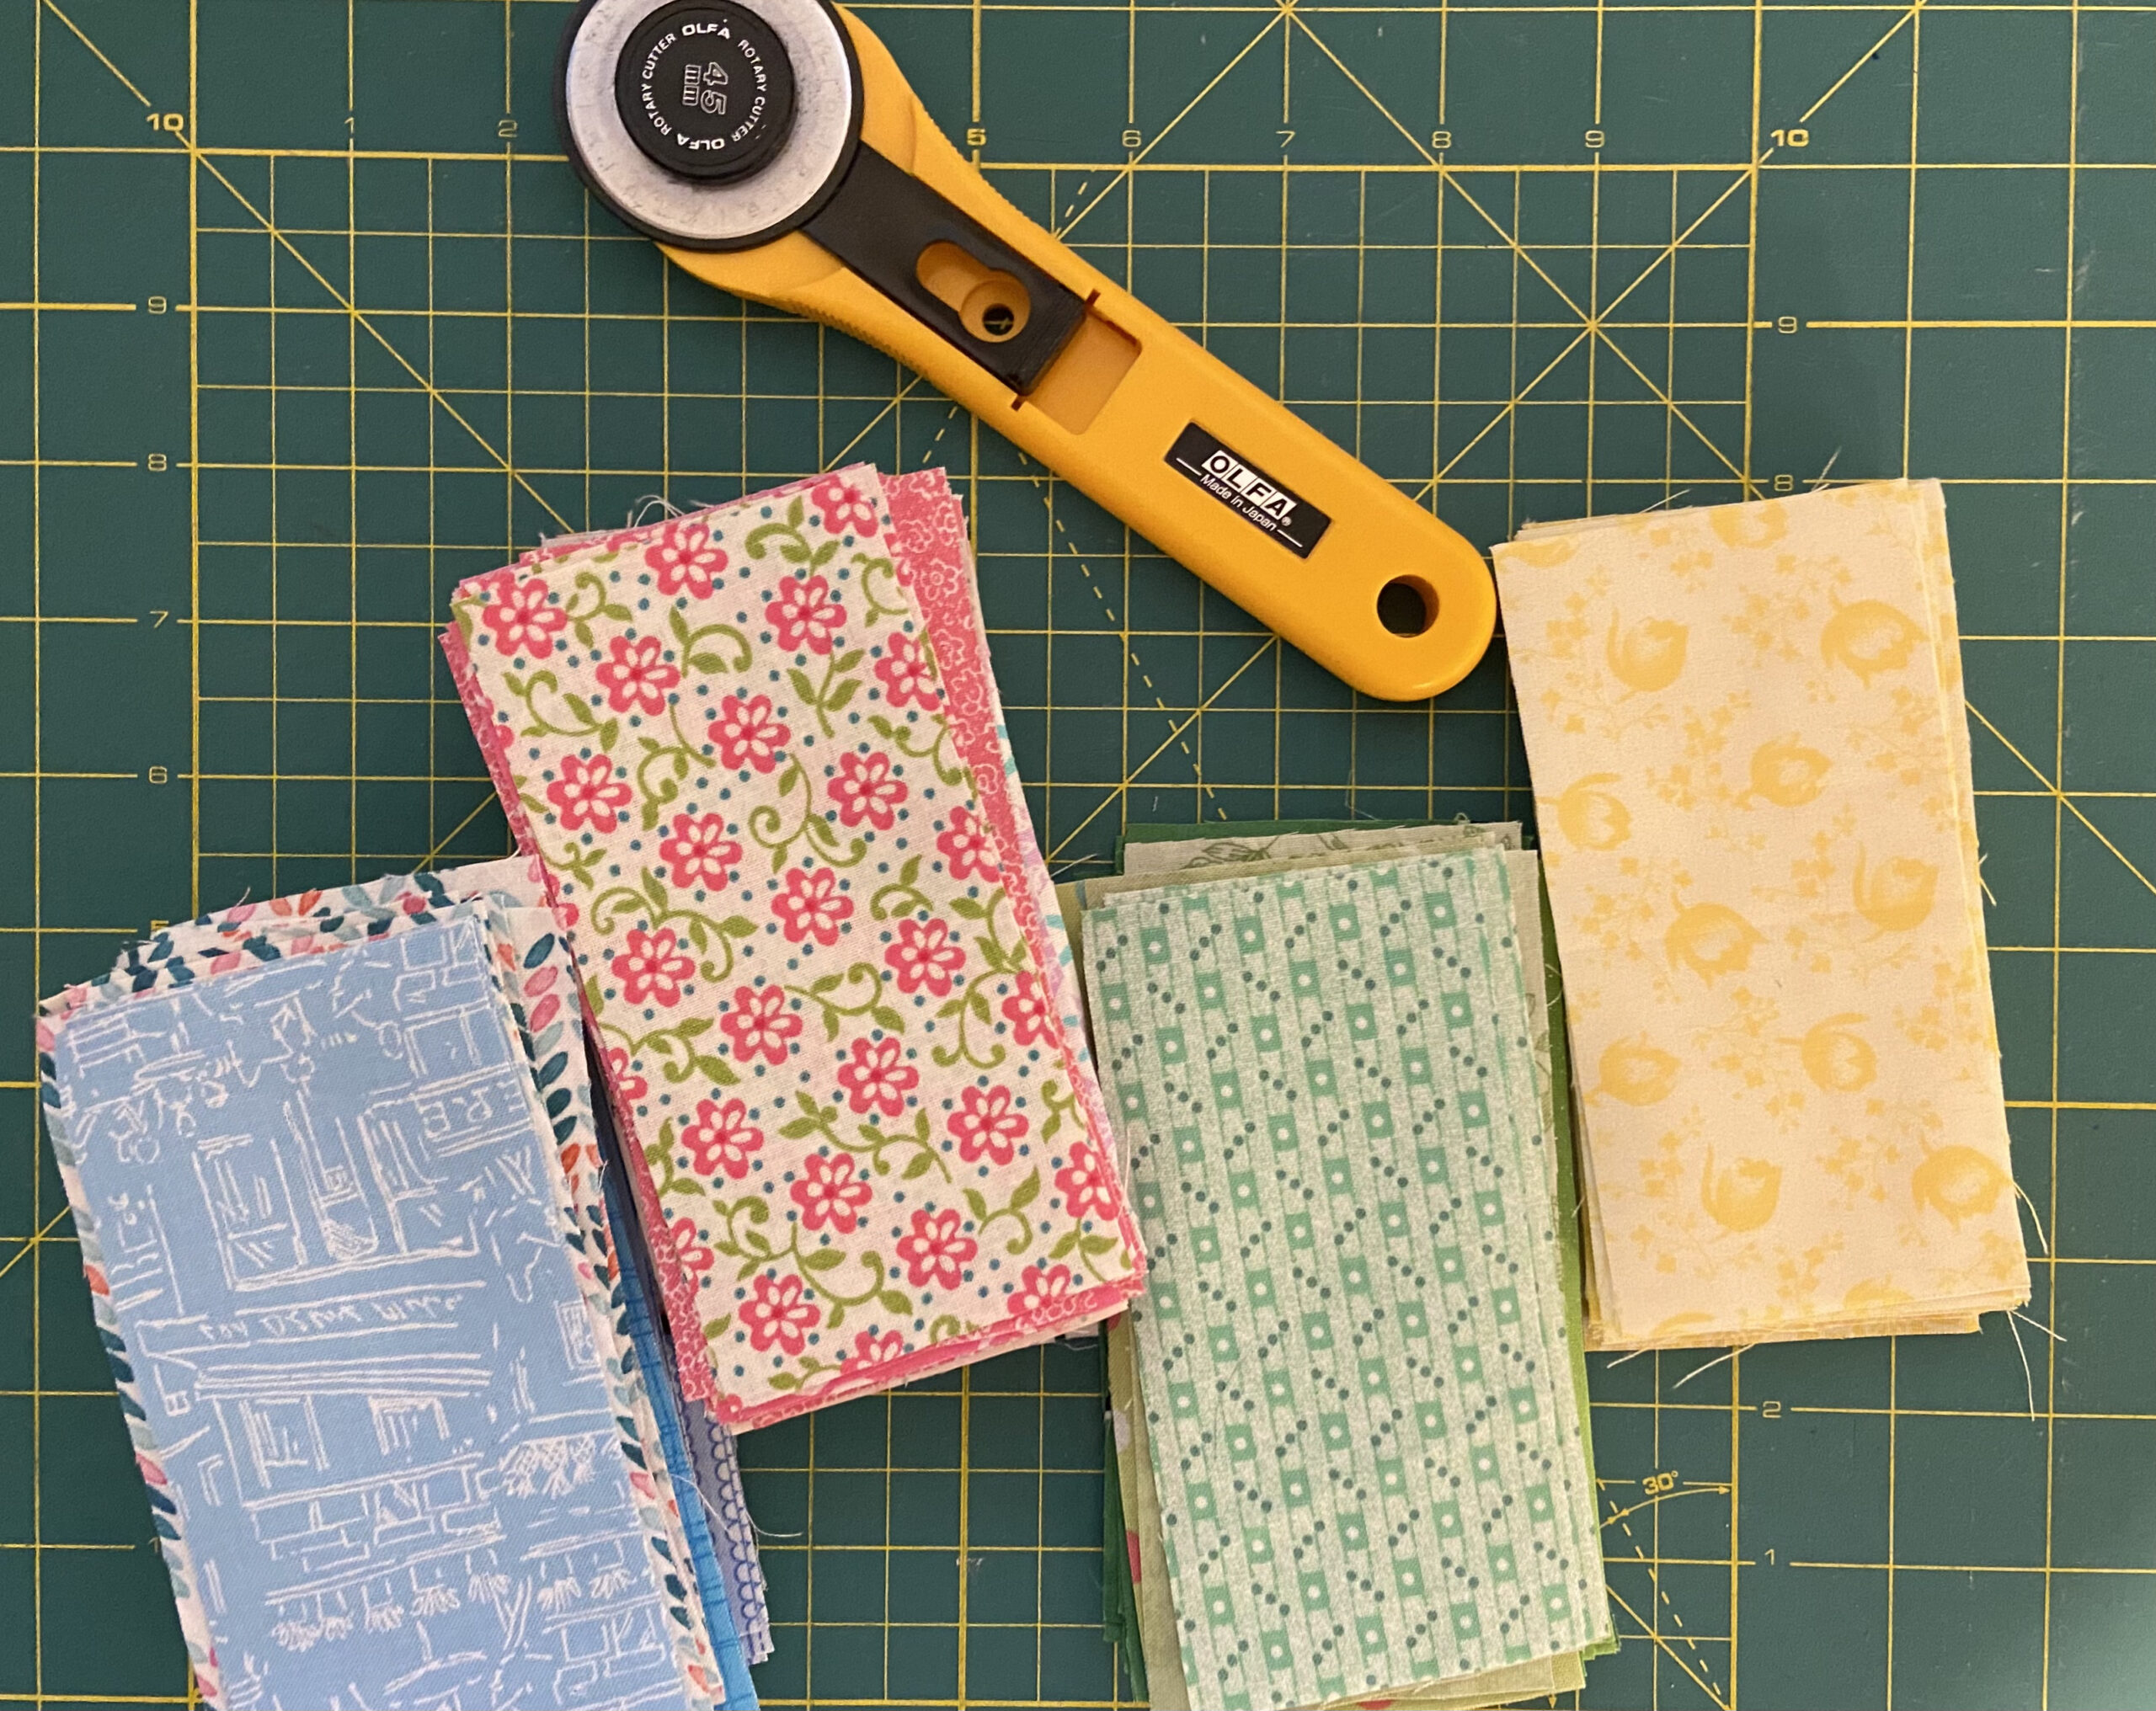
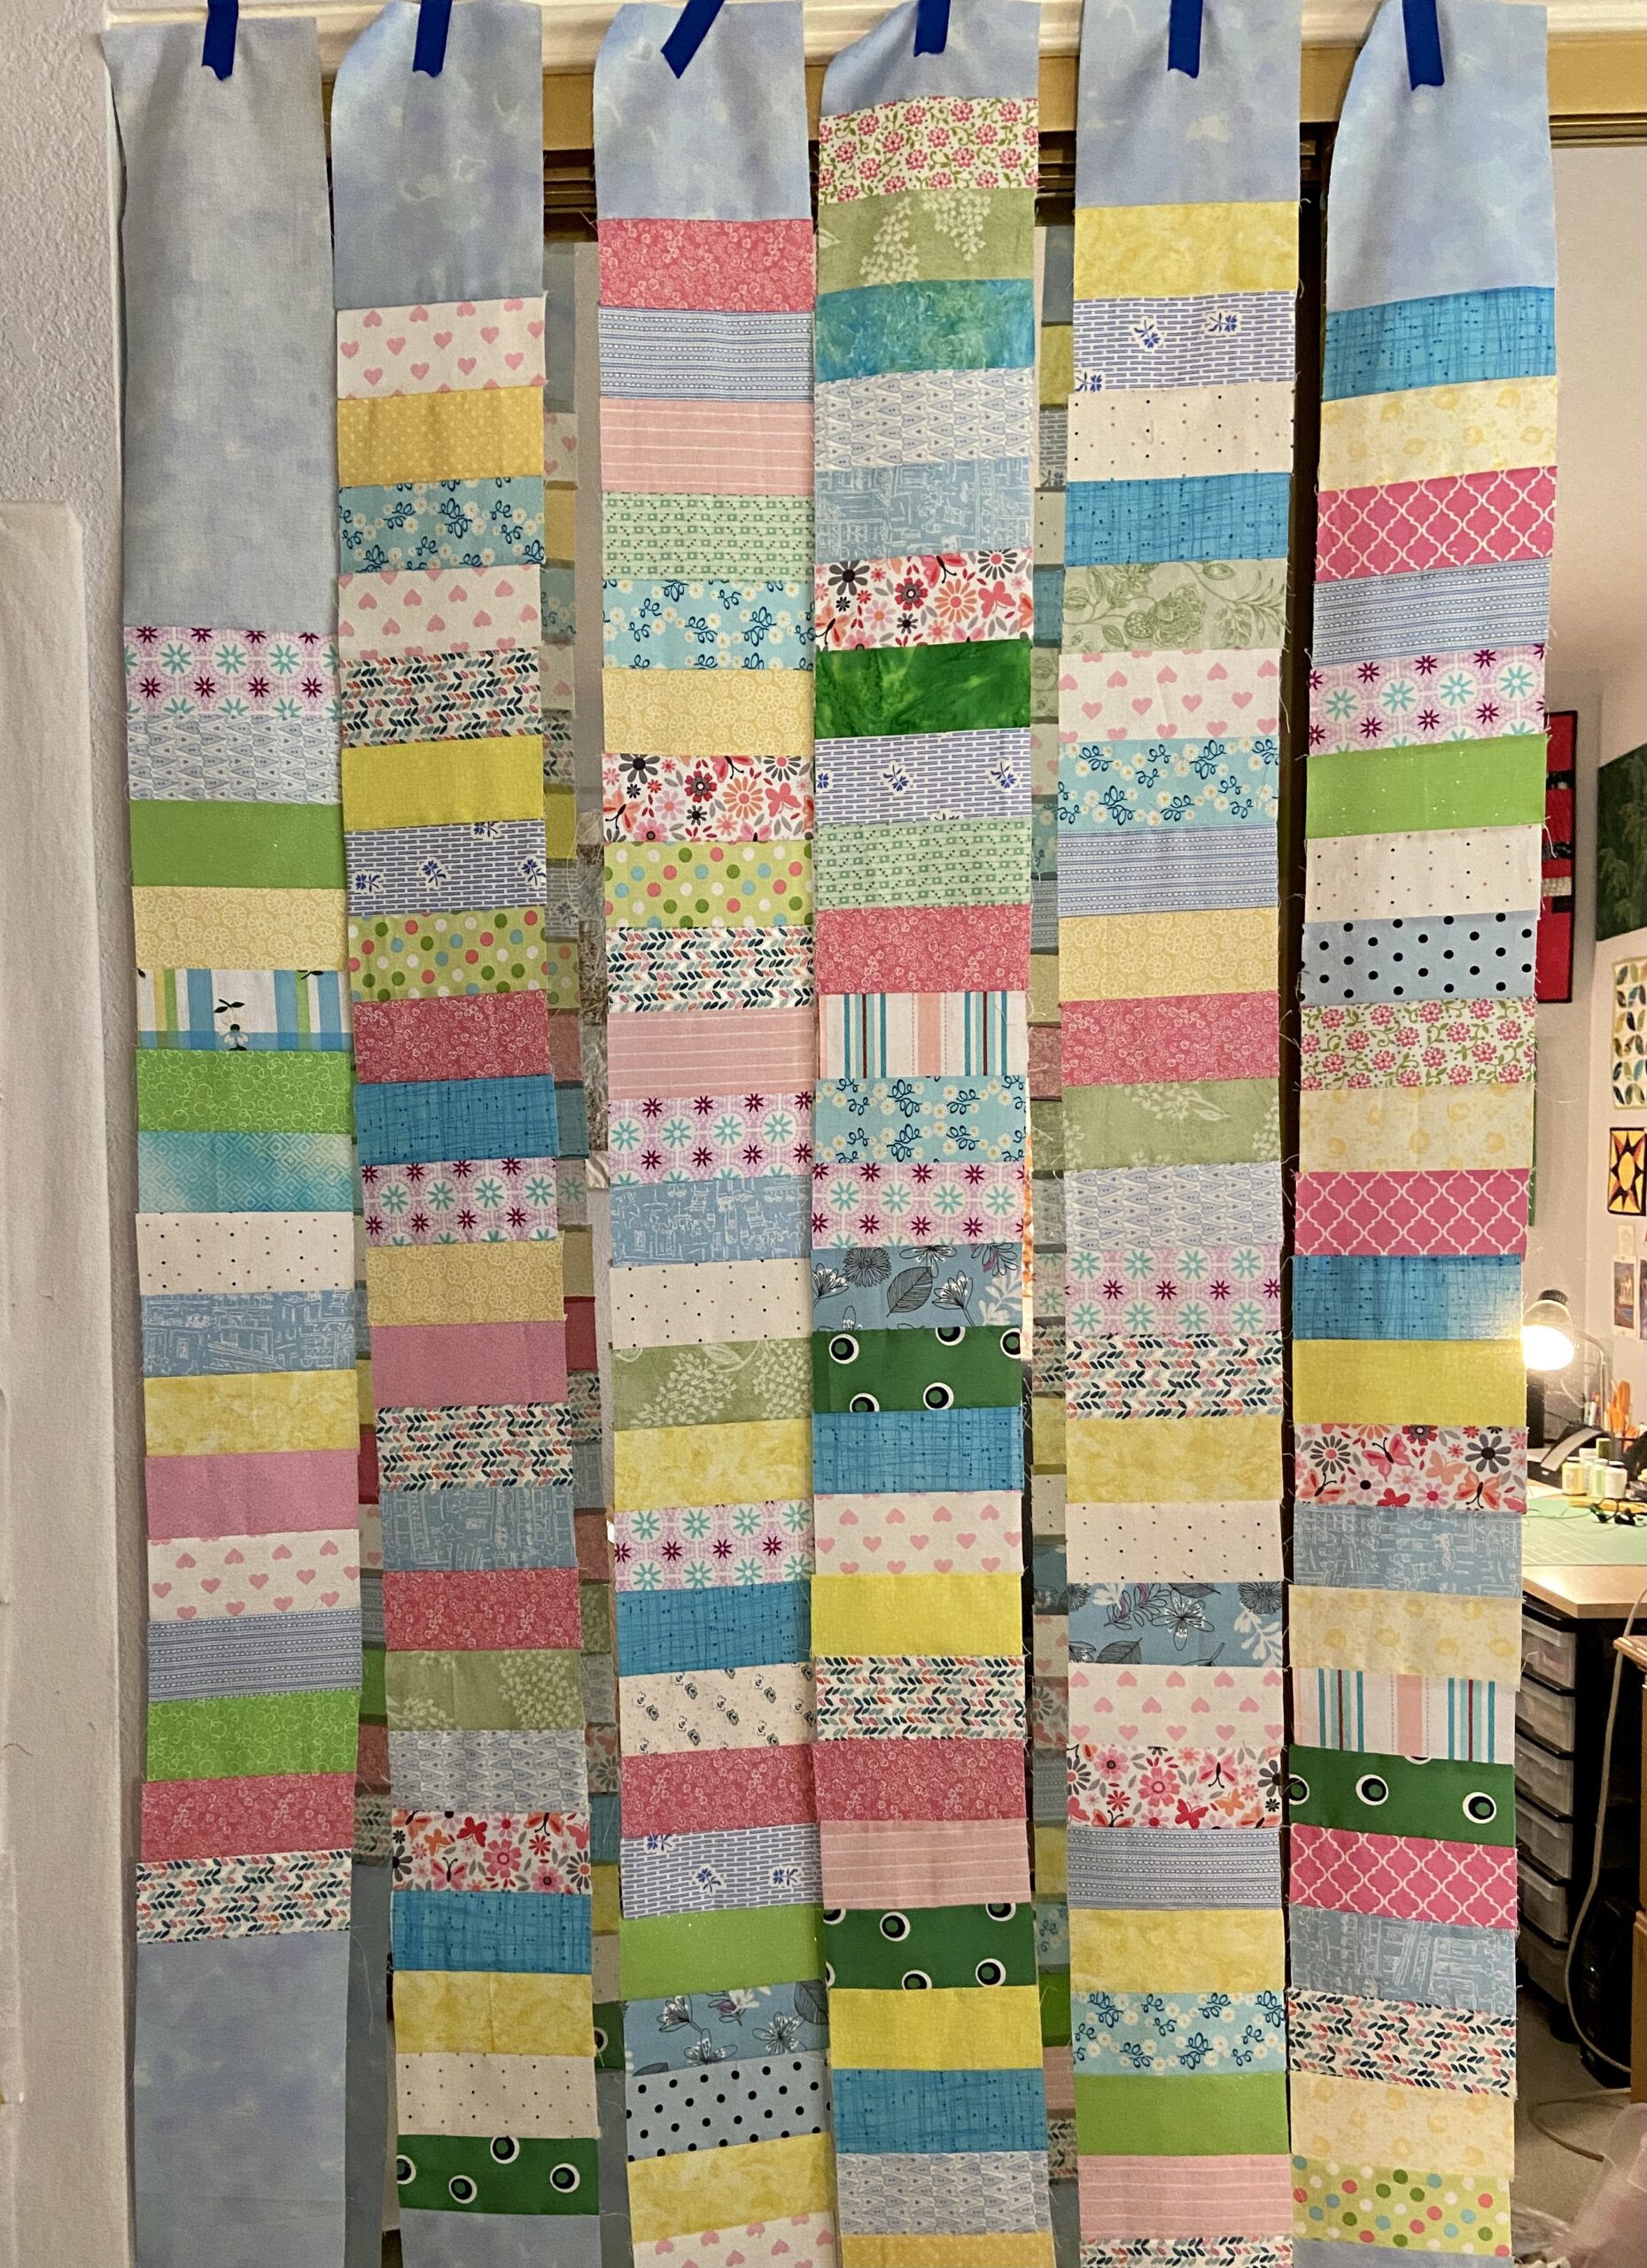
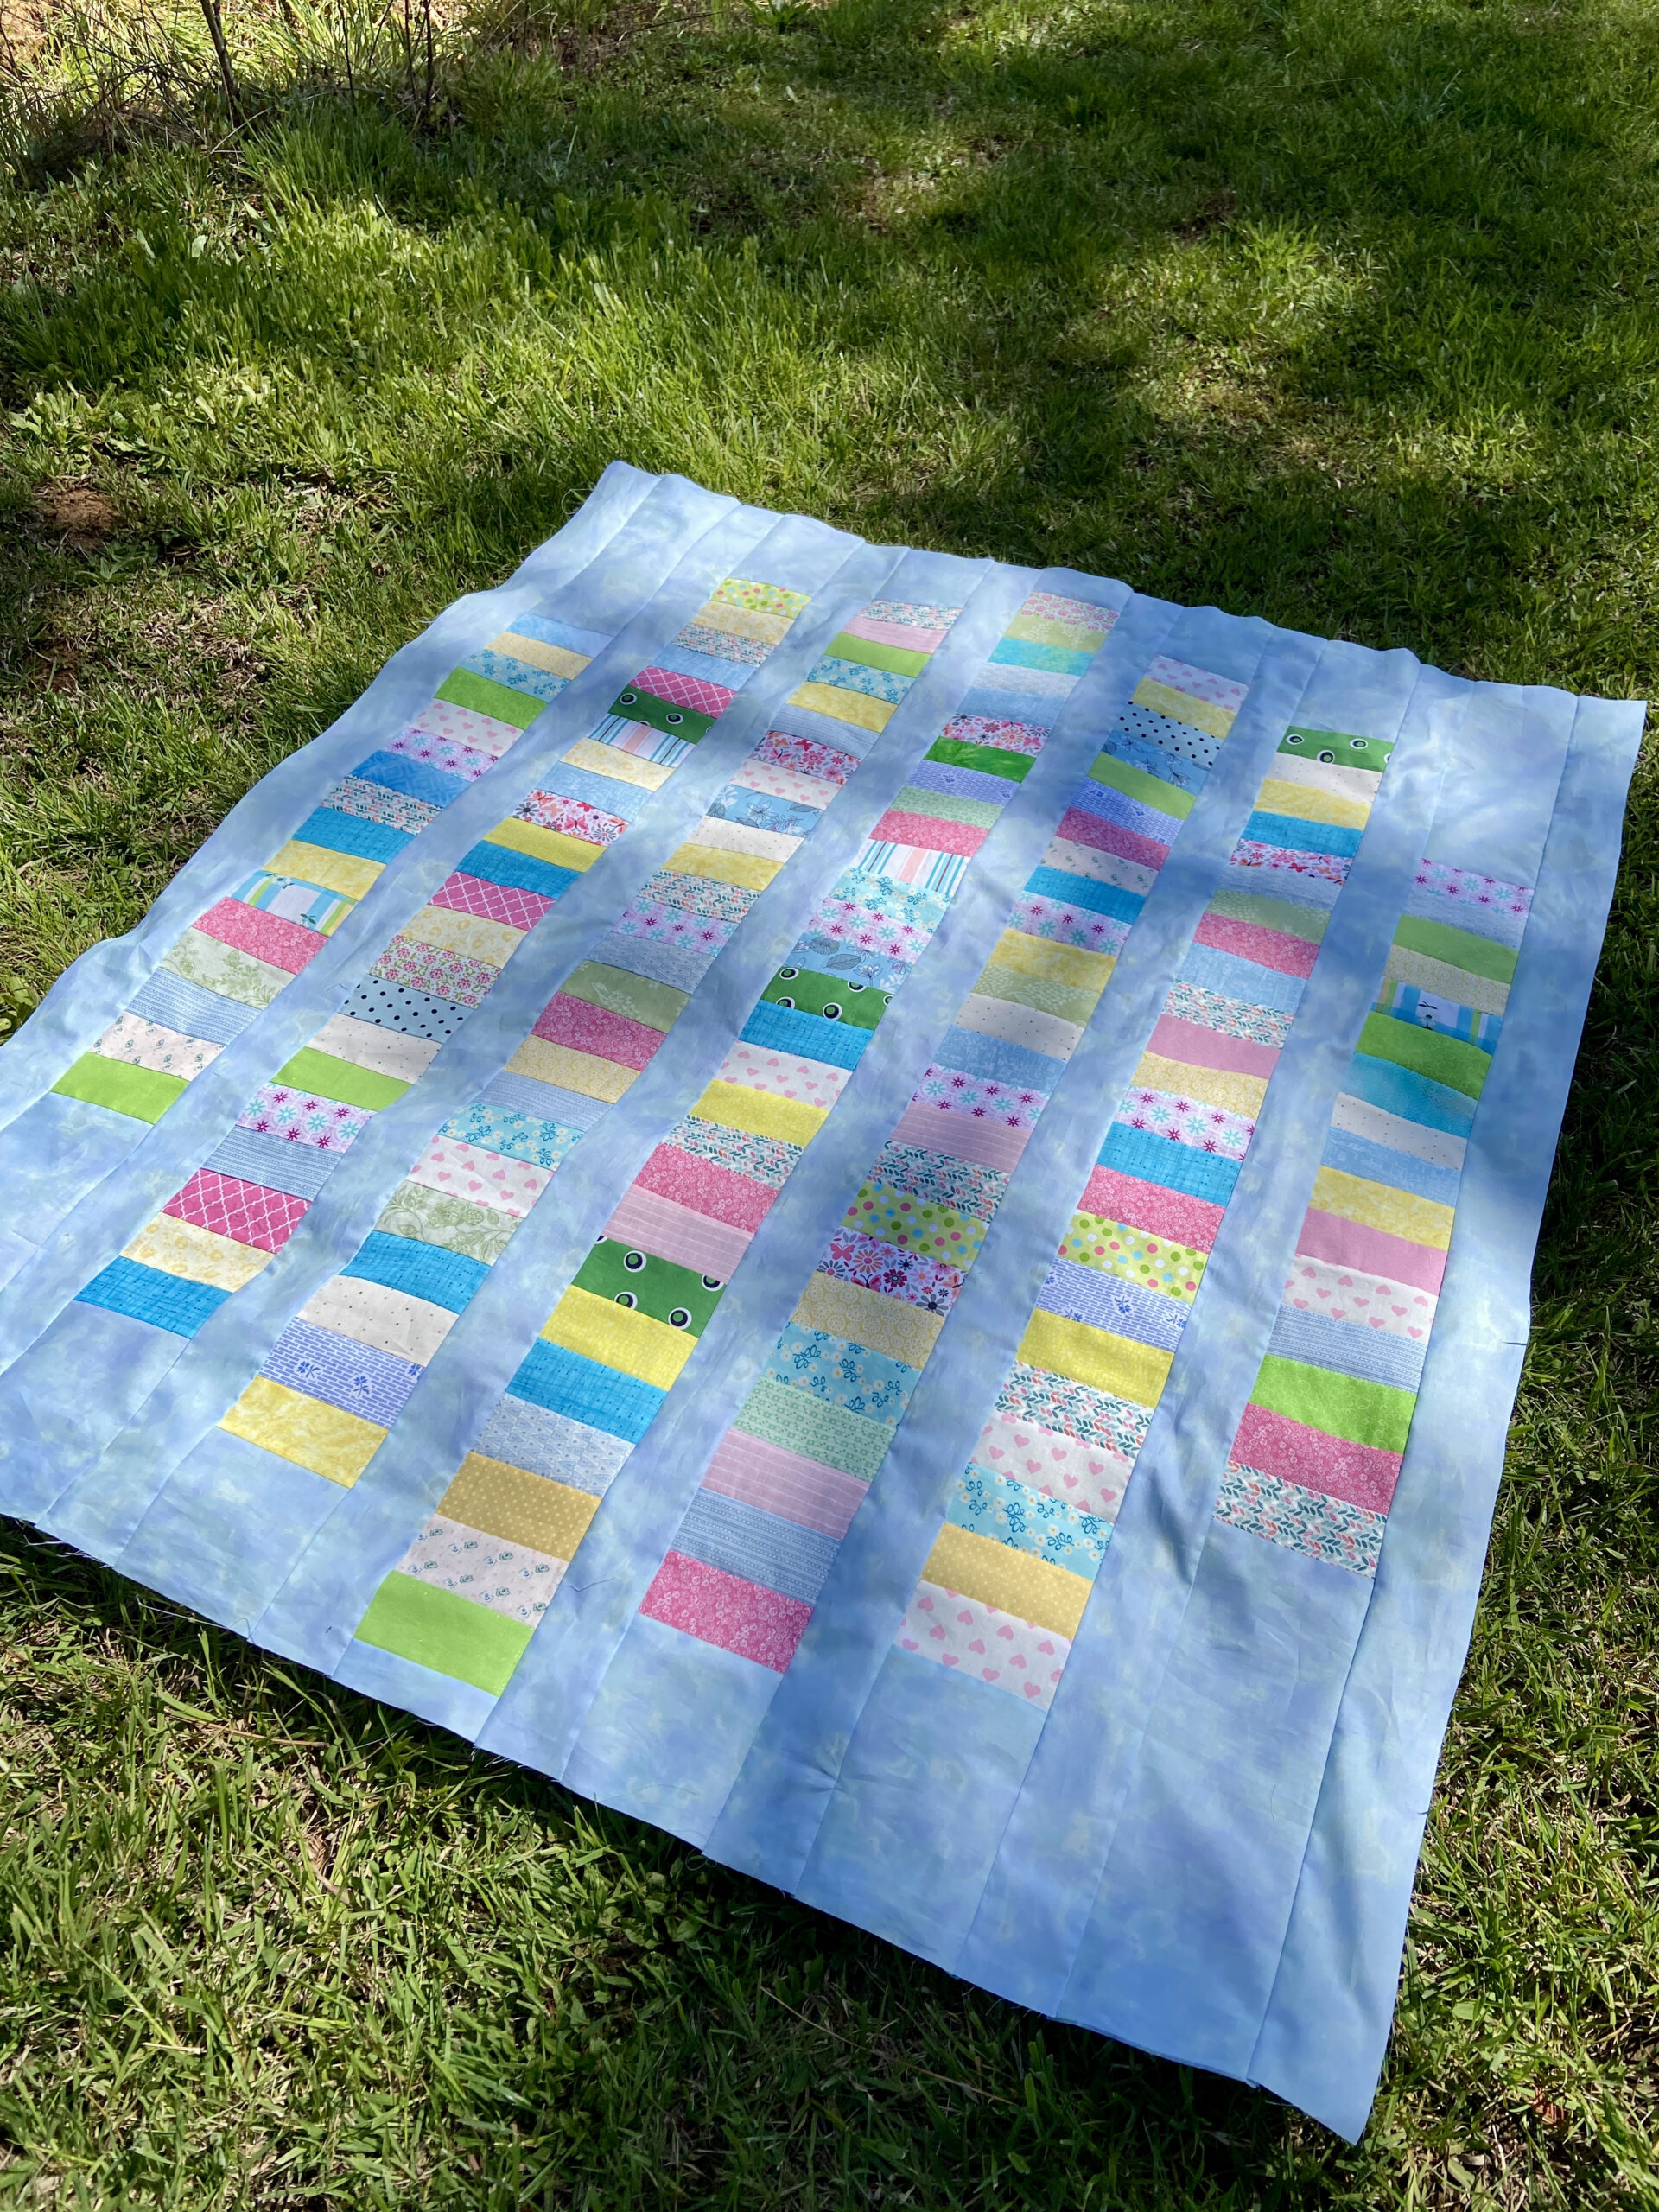
After that nonsense, I managed to finish the RSC blocks for April. I used three very different shades of blue for these blocks. The diamond blocks are fun to make and not at all difficult. They finish at 6″ x 12″. I have been pre-cutting the neutral background triangles making it simple to put them together (making one wonder why I would wait until the end of each month??) Sigh.

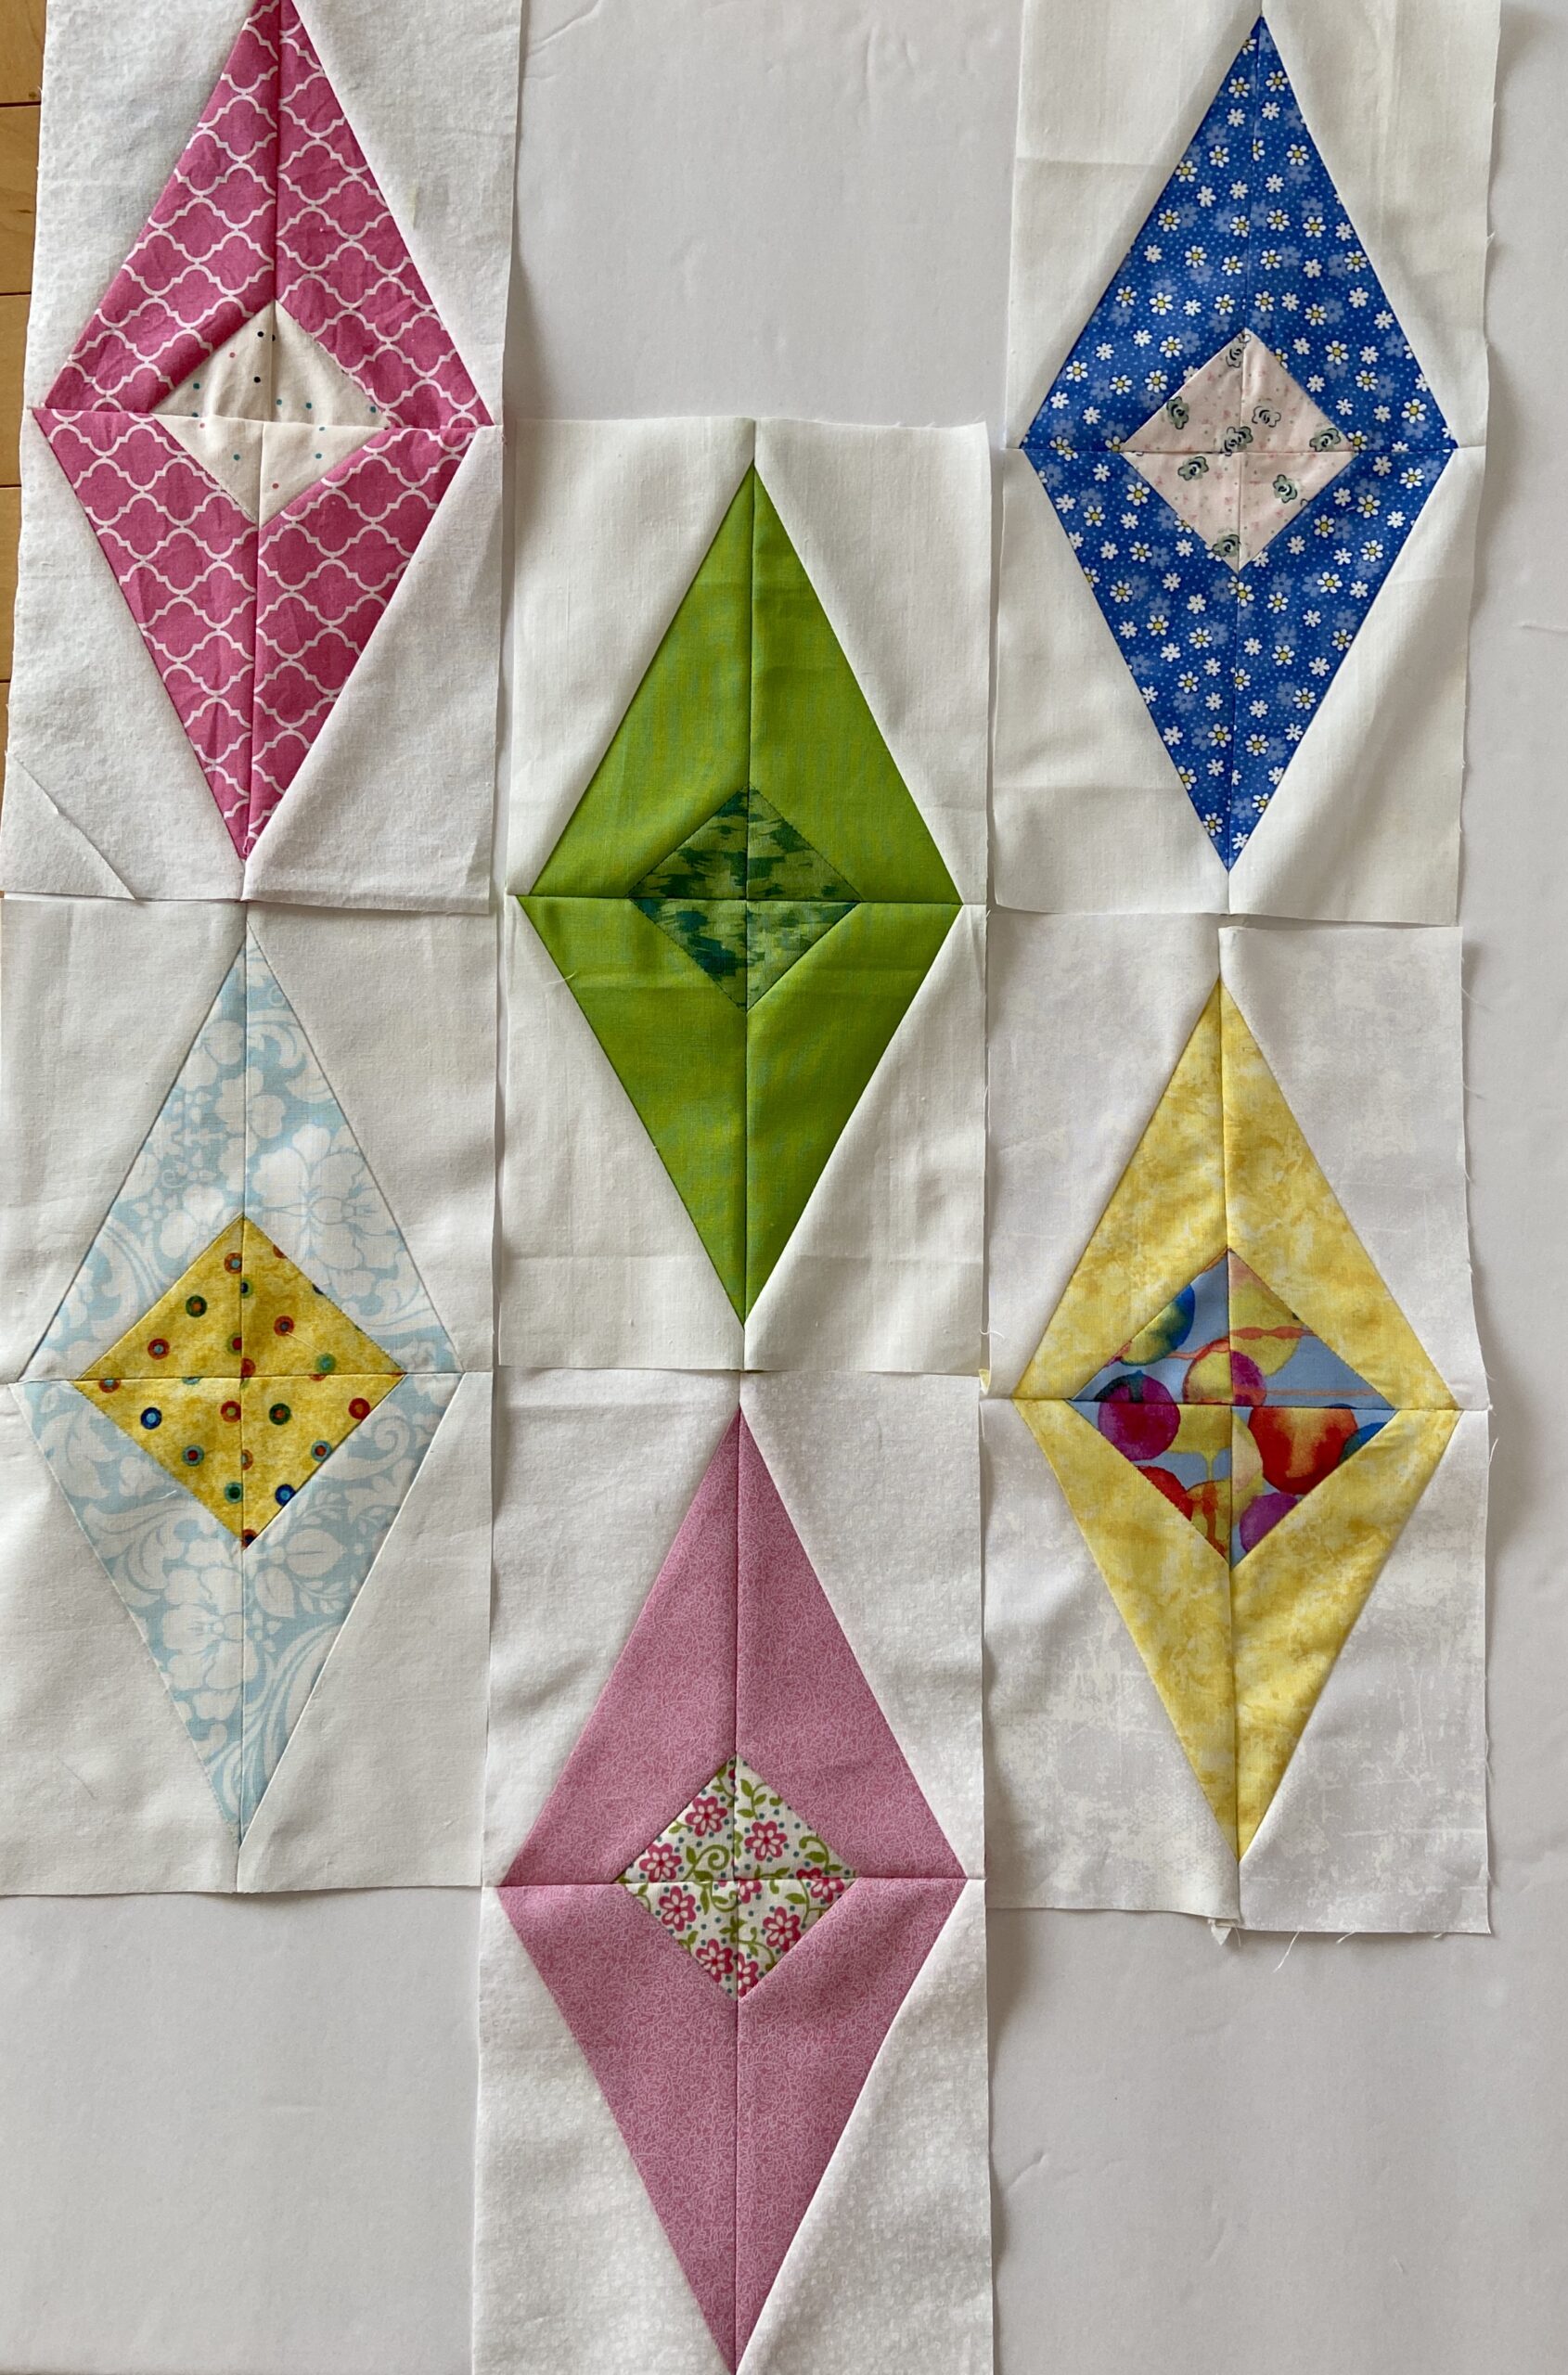
Here are a few of the colors put together. I am sure I will need more than three of each color (which is what I am currently making). Seems best I make a few more pink, yellow and green blocks so I won’t have to do it all in the fall. But will I??? We all know the answer to that. Motivate me. Tell me how happy I will be come October, if I have the right number of blocks made. Tell me how it will make it so much easier to assemble the quilt and if I don’t have the right number of blocks made, I will likely put this in a project bag and let it languish. Tell me, ok???

In the meanwhile, I have also been working on a panel challenge hosted over at Prairie Moon Quilts. A while back, Shelly challenged quilters to use one of the panels in their stash and make something with it. Too many times, the panels in shops attract a quilter and are purchased without a real plan how it might be used. Panels are so fun and can be used in any number of ways. To see a few of my favorites, check my Pinterest board.

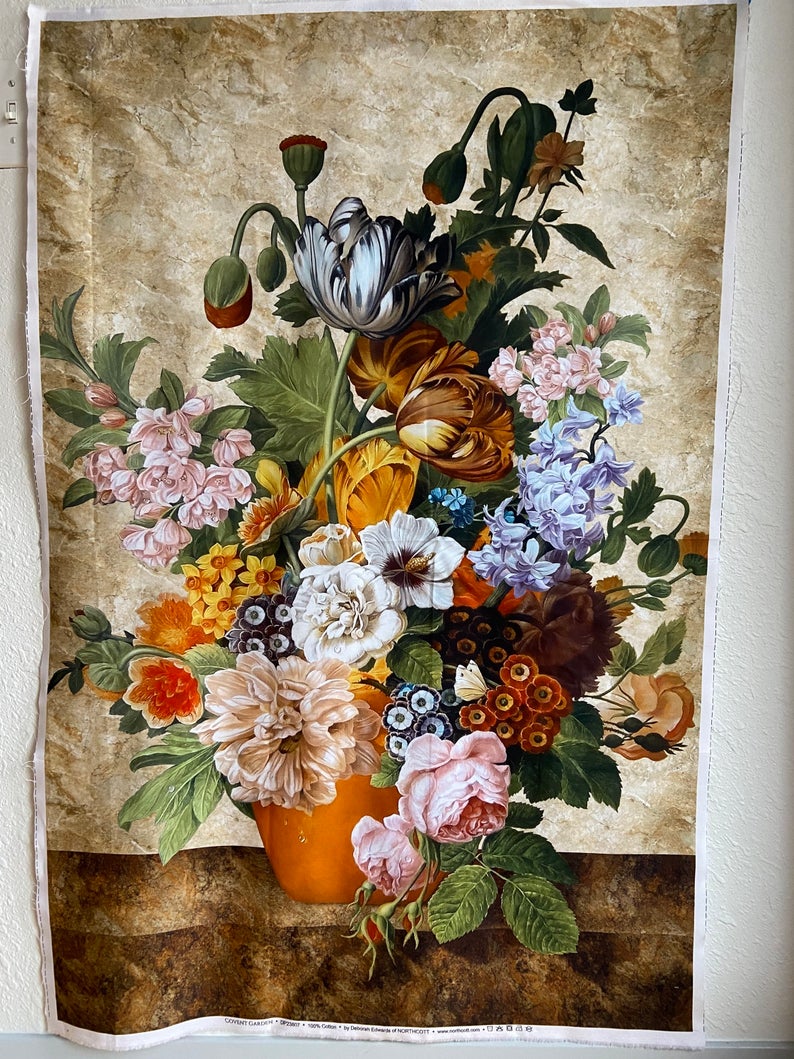
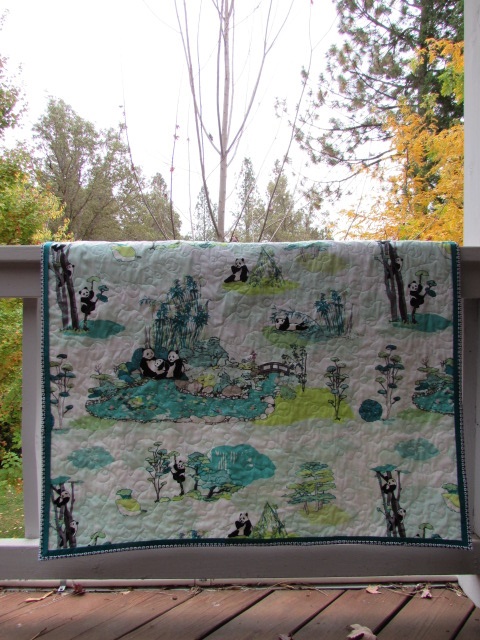
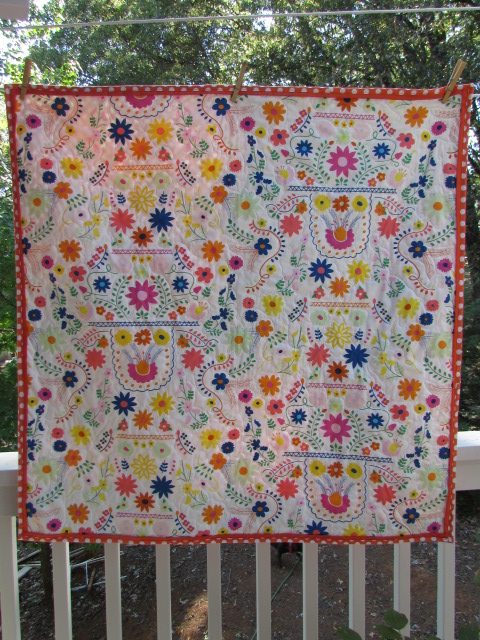
I chose to use this beautiful panel from Northcott’s Covent Garden Line. I do have it in the shop if you love it as much as I do! It measures 28″ x 42″. The colors are amazing. It was designed by Deborah Edwards.

When I first got this panel in the shop I wanted to just quilt it as a whole cloth and hang it somewhere. But as time went on, I was less convinced this was the right choice. When Shelly presented her challenge, I decided to cut it up and piece it.

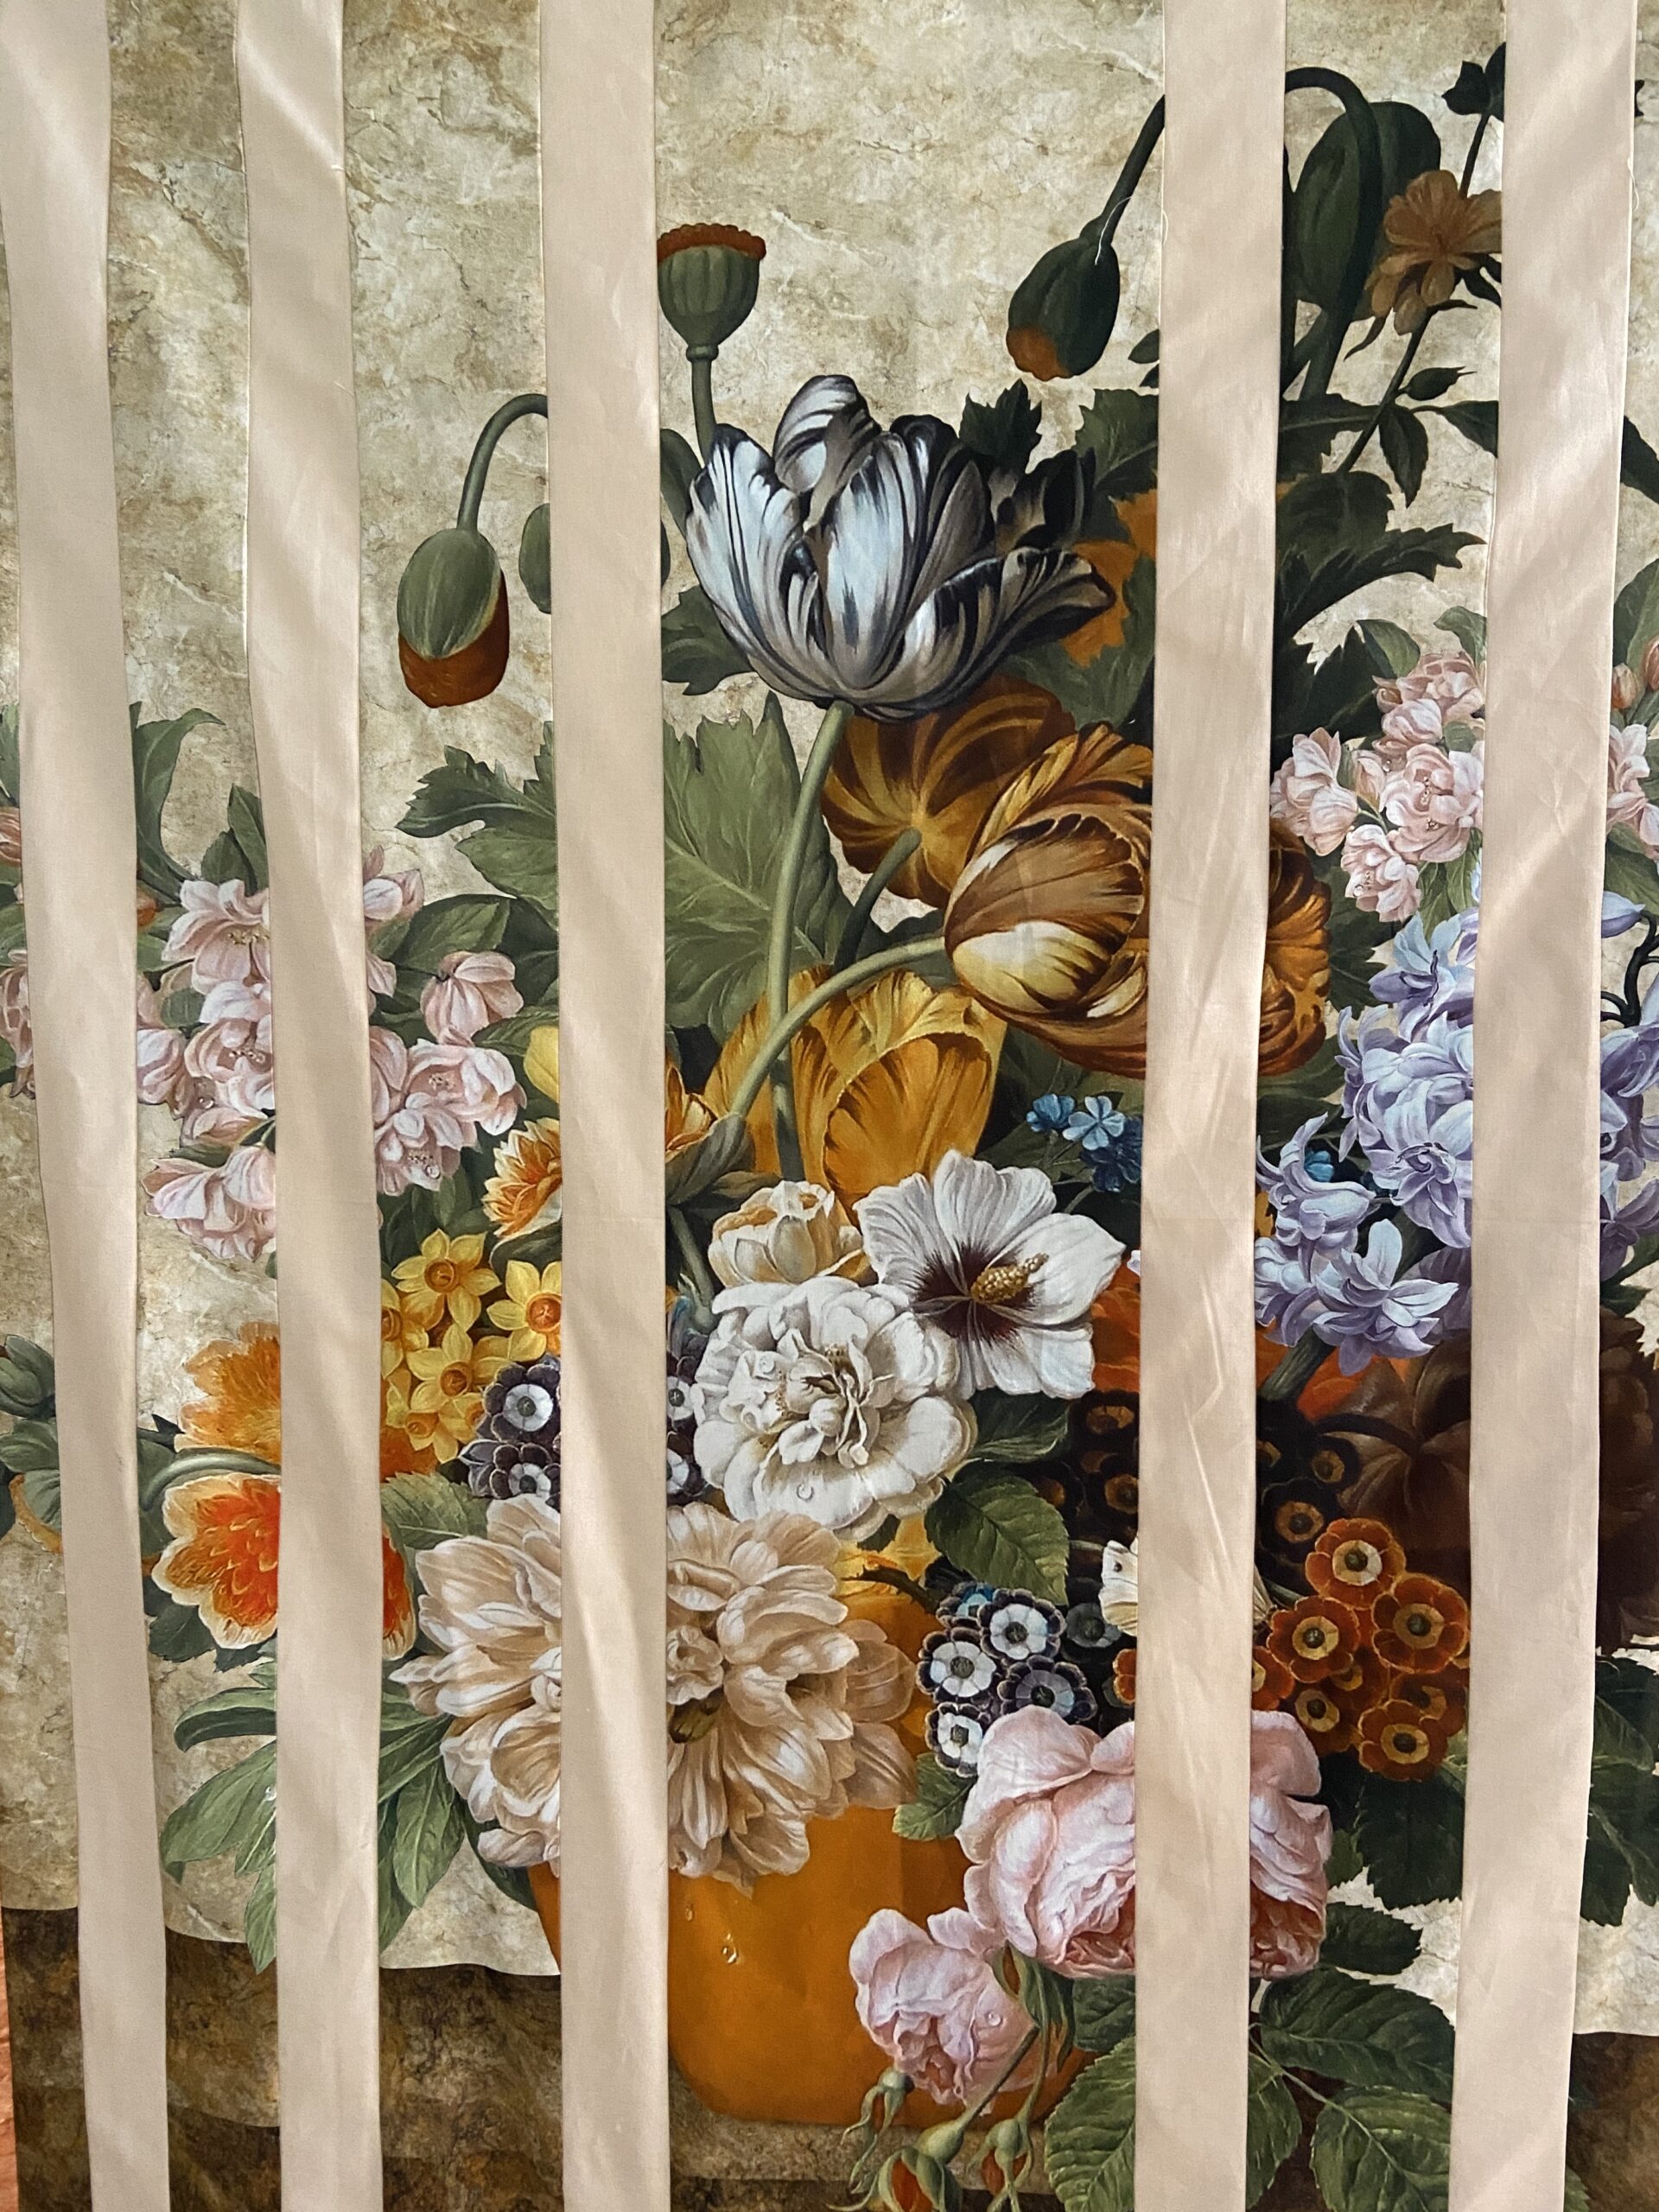
Next decision was how much to cut?? Not much was the answer I came up with. So I sliced it into columns. The center measures 9″ wide and moving out from there the size decreases. The next strip was cut at four inches, followed by three inches and the narrow outside strip was 2 1/2 inches wide.

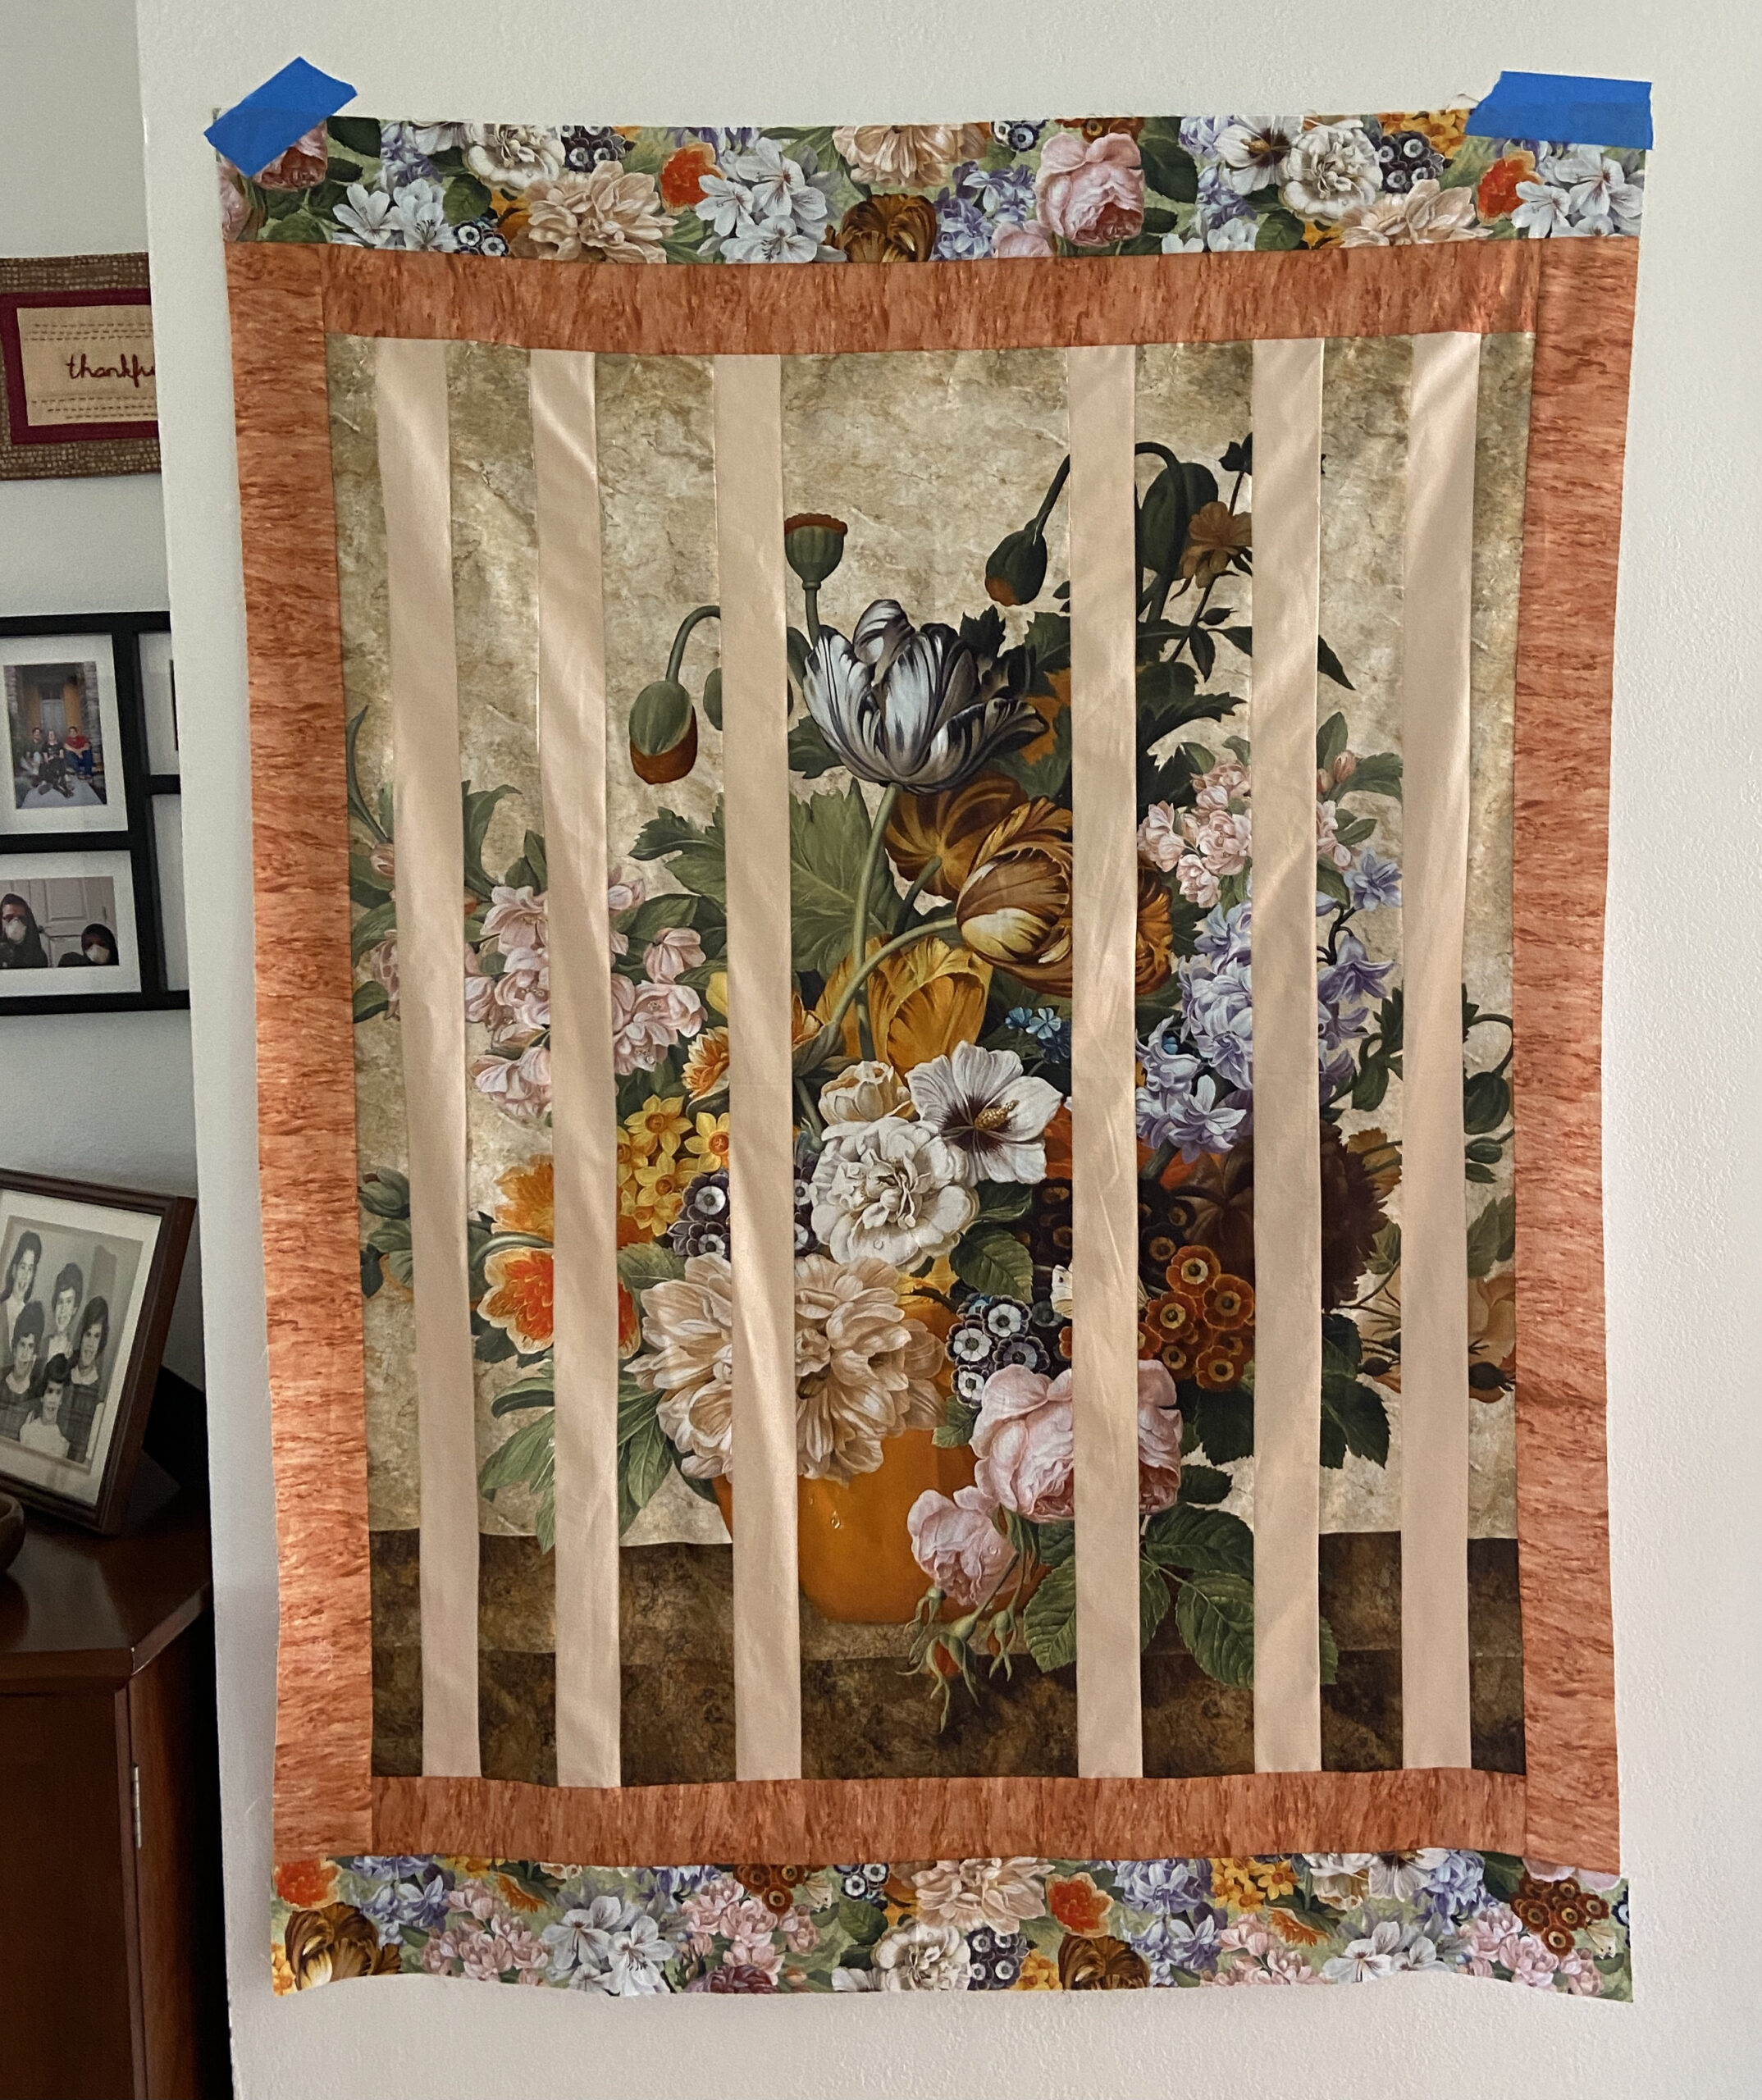
For the first border, I used a piece of fabric from PB Textiles. I liked the rusty tones with the flowers. It was just about square at this point and my brain felt like it should be a rectangle. Adding a four inch floral strip at top and bottom made this happen and my brain was much more content. Shelly will be showing all of the quilts made for this challenge and will have it open for viewers to vote. I hope you will hop over there on Monday to look at all the different projects everyone has made. I am looking forward to it!

What a huge difference this made – There are so many ways to use this columnar method with a panel. Some quilters will move the panel pieces up and down so the picture is not totally lined up. This looks great with panels showing pretty landscape scenes. I also love when a panel is cut and made with attic window blocks. One idea that attracted me was seeing a quilt where part of the panel was cut and appliquéd to the quilt. The design looked wonderful. To see the panels I have in the shop, click here.

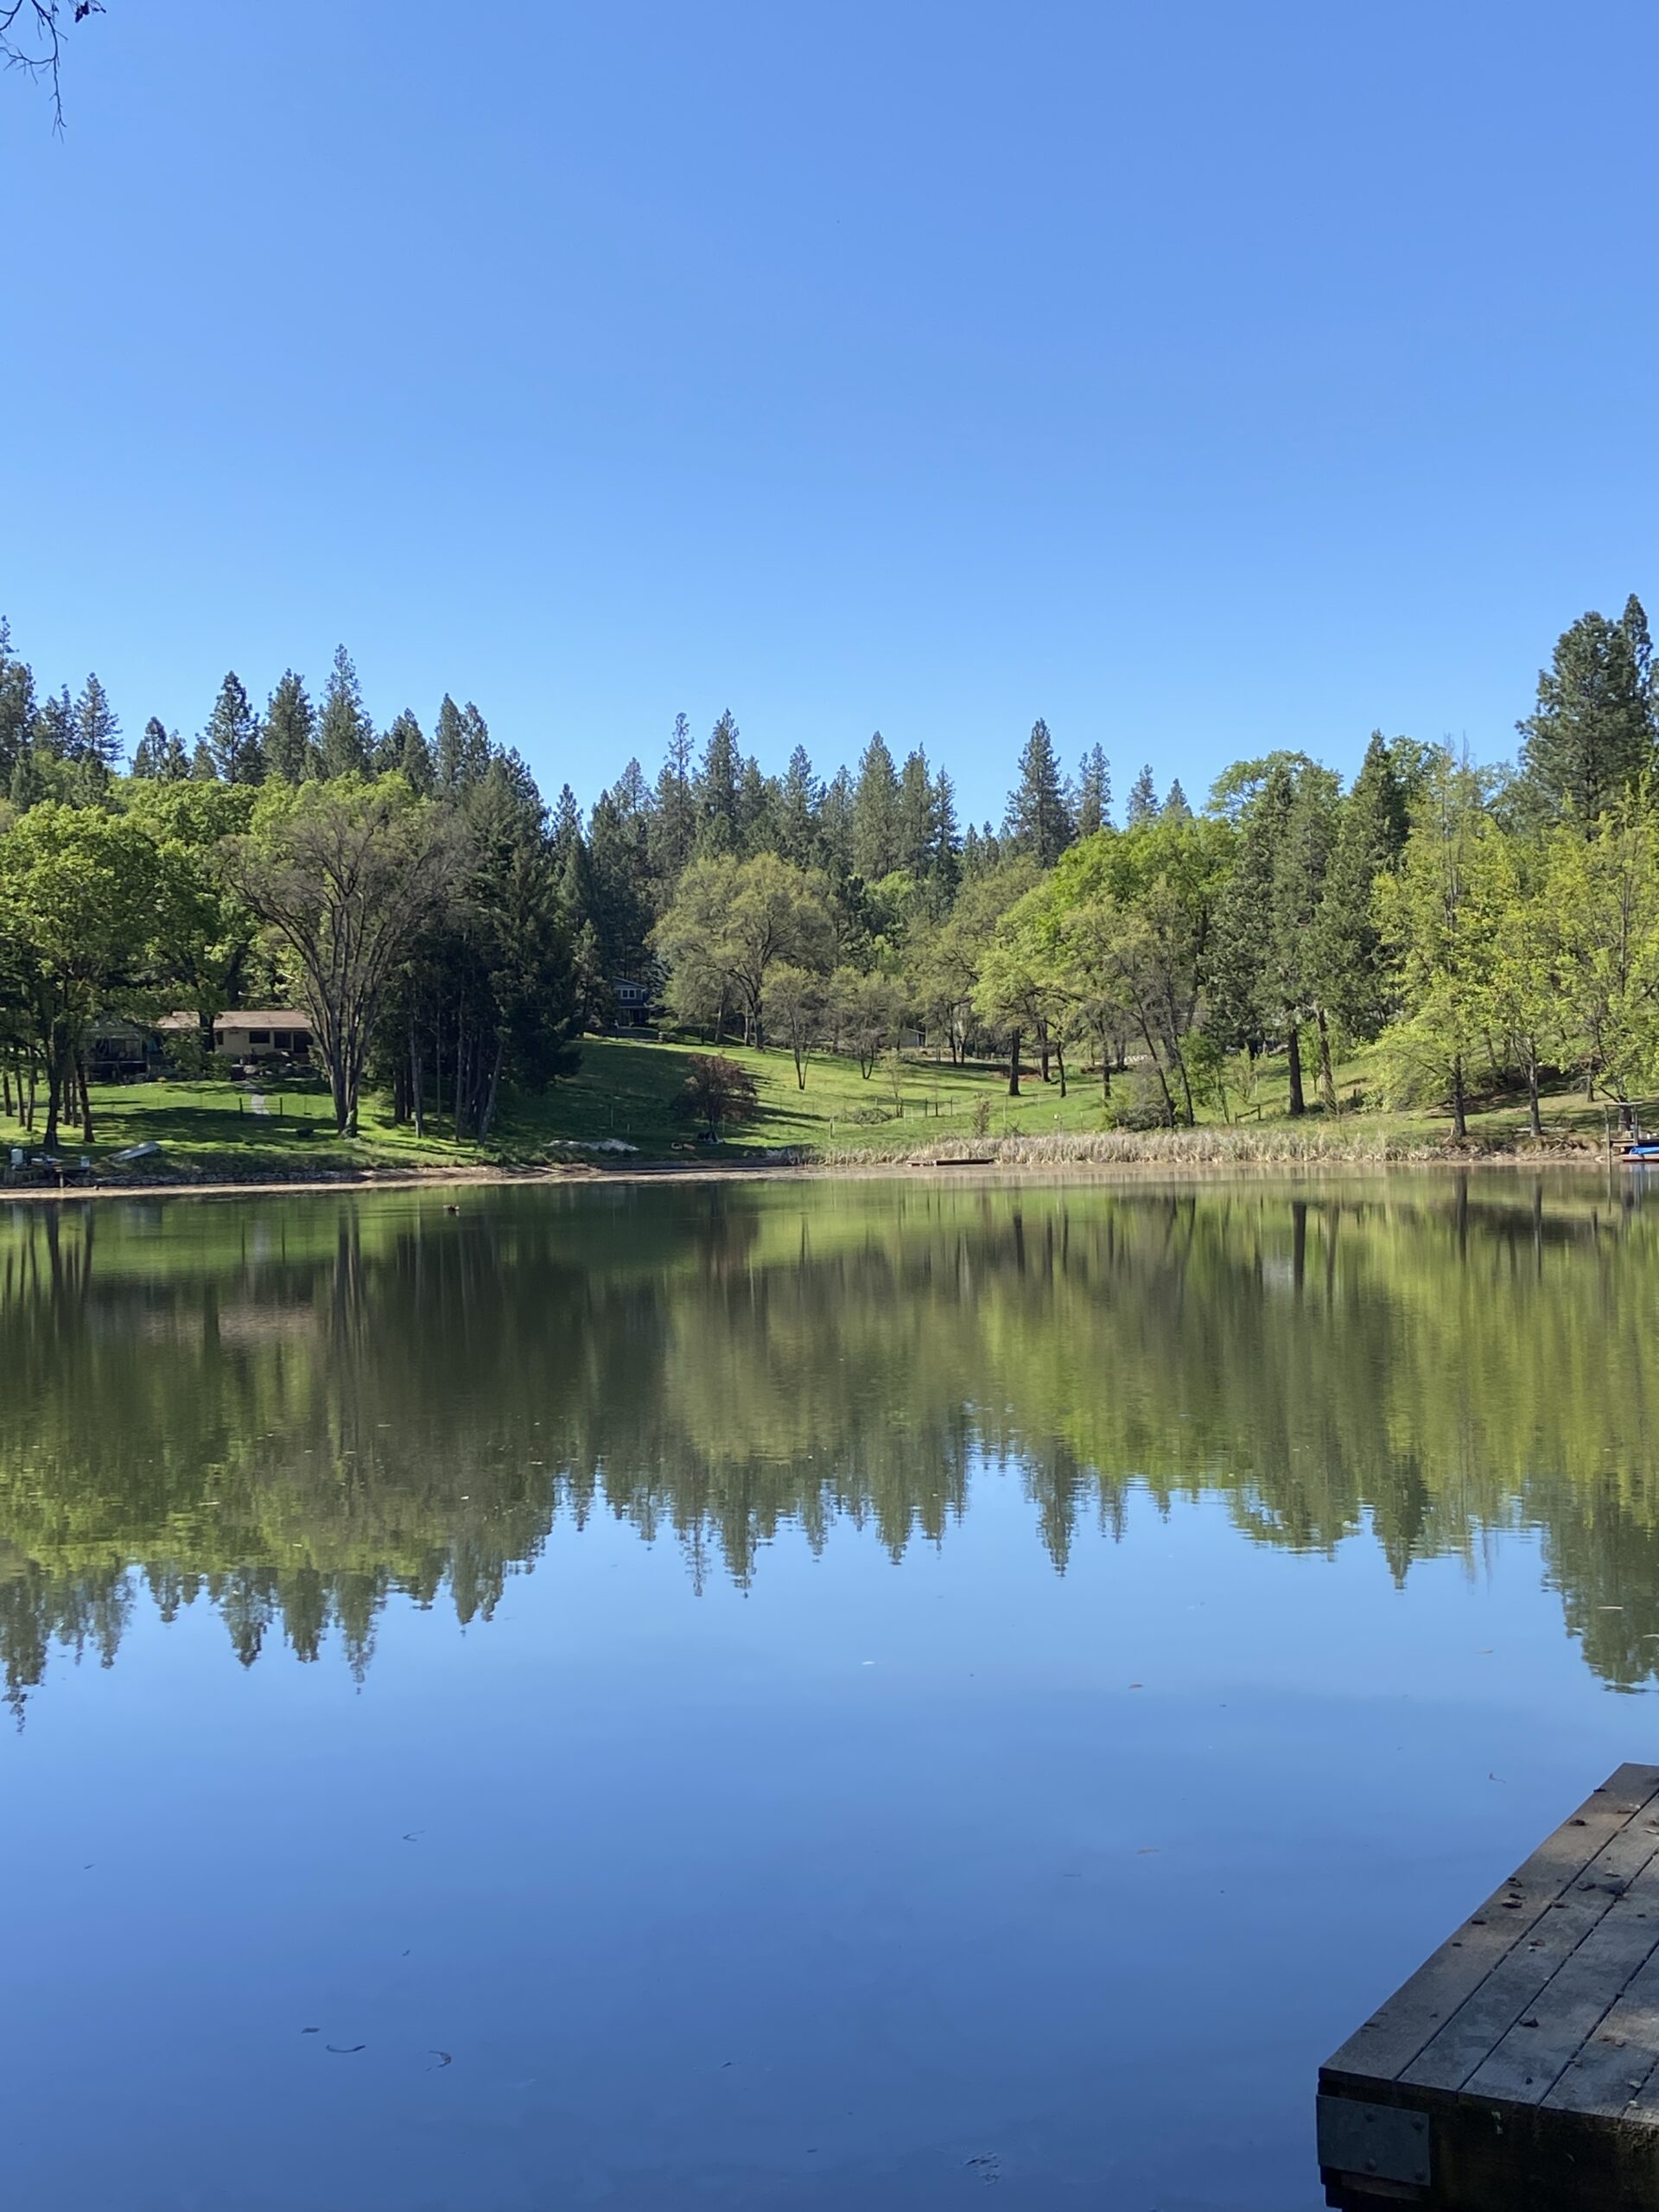
Thanks to Shelly for motivating me to play with this panel. Now it is time to baste and quilt it. I have a few quilt tops lined up to be finished. I think I will baste one this weekend to begin that process. What are your plans for the weekend? It is going to be rather warm here and there is plenty to do out in the yard during the cool of the morning and then in the sewing room in the afternoon.

Linking with my usuals. Check them out at the top of the page, under Link Ups.

A Homespun Finish

This quilt has been in process for quite some time. I finished the quilt top last March. The piecing was quite fun – I used two different charm packs from Benartex that both had a vintage feel to them. After sewing a 2 1/2″ wide strip to the top of each one, I sliced the block in 1/2 and flipped one side upside down. That gave me the rectangular blocks you see here. To add some size to the quilt, I sashed between rows. Finally I added a deep purple border all the way around.

I knew I wanted to try hand quilting and this seemed a good project to learn with. Wanting to think just about the hand stitching and not worry about the durability, I stitched in the ditch along the sashing lines and around the inner border. This was really helpful in keeping everything together.

There are many who would say I might have used a darker color thread but again, this was my first time and it shows! The stitches are inconsistent – honestly, I didn’t want them to be the star of the show here. I quilted around each smaller square and was ready to call it good there. However, what was the rush? I enjoyed quilting this in the evenings so I decided to go around the inner border once.

Then it came to me I might want to do some stitching in the purple border. I used a stencil to trace the curves here. I felt like I was done at this point so I put the binding on. For some reason, it was a challenge to find a binding I liked with this quilt. The neutral fabric used as the background is gone so that wasn’t going to work. There was enough of the purple fabric though and I decided I liked the simplicity of using the same fabric for binding and the outer border.

This quilt is sooooo cozy and soft. The only reason I haven’t yet washed it is there is one more thing nagging at me. I think maybe I should quilt another wavy line on the purple so it intersects and makes a bit of a chain. What do you think? Add more, or leave it as is?

Hand quilting was quite satisfying, especially since I was in no rush to finish this, and I knew I wanted to keep it so there wasn’t the pressure of it being just perfect for the recipient. I have a long ways to go. The back of the quilt doesn’t look so amazing. My stitches on the back look so tiny. I need to learn how to stitch so the front and back are more uniform. A few times, I forgot to pull my knot through and now it seems like it is too late. This doesn’t really bother me but you know…. it is a learning curve.

Spring is surely here! This pond is on the edge of our property and there are geese galore right now. Ray has seen a mama and her goslings swimming but I keep missing them.

The Dogwood tree in all its glory!

Our yard is at its best in spring time, before it gets too hot and the plants become stressed. The iris are pushing loads of blooms so they will be putting on a show soon.

This weekend I am celebrating spring flowers with a sale for you. All fabrics with flowers and blooms are 25% off. Sale begins today and runs through Sunday, April 25th! Enjoy!

Dinosaur Quilt Finished & Delivered

It took very little time to finish up the whole cloth dinosaur quilt I made for our local Community Service group. It is great to have quilts available for children in crises and I think this one is perfect. Cute dinosaurs on the fronts and snuggly, soft flannel on the back.

A not so artsy photo – complete with ladders and scrap wood in the background!

The binding is a bold red and white stripe, leftover yardage gifted by my sister some time ago.

I quilted around each dinosaur and if needed (to travel to the next creature) I echoed some of the trees or volcanoes. Simple and fun!

It finished at approximately 40″ square, a good size for a toddler needing a quilted hug.

Whole cloth quilts are a lot of fun and provide such easy FMQ practice. Here are a few I made in the past.

Panda Garden Recess Whole Cloth Quilt

I couldn’t bear to cut up this fabric. The little panda bear scenes deserved to stay whole. I had made this as a sample to use in my quilt show vendor booths some years back.

Commissioned baby quilt using Fiesta Fun.

This was a commission done for a customer. It was, again, a great chance to practice FMQ as I quilted around the flowers.

Who
Whole Cloth Quilt using Valori Wells’ Marikech fabric

Some years back, my niece asked me to make a quilt for her best friend’s first baby. She really wanted this boho elephant fabric which was no longer available. But you know how it goes – I put it out there that I needed a piece of this and was able to buy it from someone who had it on her shelf. Just enough to make the quilt.

Sometimes, a fabric is just so pretty as it is, I feel like I don’t need (or want) to cut it up. What do you think? Have you made a whole cloth quilt? If not, I bet you have a perfect large scale fabric in your stash to give it a try! Plus, it is easy to quilt and a nice way to get some practice. Quilting around shapes that are already there helps those shapes to pop a bit and is a great way to improve your FMQ skills.

Sharing with my usual link ups. Please take a look at the top of the page, under Link Ups.

Wednesday Work in Process

Hello!! Just a quick note to check in with you this fine morning. We had a sudden thunderstorm last night which was fun. However when we have a quick change in barometric pressure, that triggers a migraine which was the not-so-fun part. This morning I am moving a bit slow and thought I would post a bit about what I am working on.

This week I made a few more placemats for our local Meals on Wheels chapter. Our guild is collecting them but hasn’t yet hit the number they are hoping for. I made five of them in February and am always happy to make more!I happened to have a stack of strips (2 1/2″ x 5″) leftover from the coin quilt top I just shared. This made it super easy and fun to whip up a small stack of mats.

For each mat, I used a different stitch on my Janome to quilt them. It was nice to try out some of the stitches and see what I preferred.j

Yesterday I shared this on Instagram. I am making a simple whole cloth quilt for our guild’s community service group. They have an abundance of fabric and when I was last there, I picked up this cute print to make something for them. It is an older fabric from Blank Quilting Co. It seemed better to just leave it whole and quilt it as is. I will finish this up today so I can bring it over tomorrow to the work-day. These dinosaurs are so dang cute and will make a child happy some day!

I will close with this cute picture my husband took the other day. He has been working on getting our irrigation water going for the spring and summer. When this sprinkler was running, the geese came right over for a drink. We have not seen them use this as a drinking fountain and found it so funny. Even more so when the geese gave us a stern look after he turned off the sprinkler. Hahaha. Silly goose!

Hope you are all well and happy!! What are you up to this week? Leave me a quick note so I know how you are doing.

Linking up with a few favorite sites. Check them out at the top of the page, under Link Ups.

Coin Quilt is a Flimsy

I think this is the first coin quilt I have made and I love it. It is simple, pretty, and has lovely color. This project consumed a nice pile of scraps, most of which were given to me by my sister.

In January I spent some time cutting pink, green, blue and yellow scraps into strips measuring 2 1/2″ x 5″. Then I made myself put them away and finish a few other projects before playing with these. When I was ready to sew the coin quilt, it was great to just pull the bag of strips off the shelf and dive in.

I decided to make one long strip of coins for the center and worked outward from there, reducing the number of coins in each strip. Not having much of a design wall, I kept them taped to the trim above these closet doors. I spent almost no time placing colors or making sure one color wasn’t next to another. Knowing there would be wide sashing strips between the columns meant no coin would truly be side by side with another. Seeing it come together so nicely was satisfying, especially given I didn’t lay anything out. I simply pulled pieces and chain stitched them together.

I used a mottled, light blue fabric for the 2 1/2″ wide sashing, as well as the tops and the bottoms of each column. It screams springtime to me!

The next step is to pick a backing and get it basted. It is 69″ tall and maybe 54″ wide?

What have all of you been up to this week? It is gorgeous here but too dry. Way, way too dry. Today I read that this is the 3rd driest season in over 40 years for our area. We all know what that means. Horrific fire danger coming this summer and fall. Sigh.

We don’t really have much planned for the weekend. Some yard work, some sewing and generally hanging out. Hope all of you are well, happy and feeling creative.

I will leave you with some fun pictures – they are sure to make you smile!

Look who learned to ride her bike!! She is so proud of herself!!
Big sister is teaching little sis a bit of yoga. Downward Dog anyone???
Julia’s chicks are growing nicely!

Linking to my usuals. You will find lots of choices at the top of the page, under Link Ups.

By the way, all children’s fabrics are 25% off all weekend long!! Happy shopping. 🙂

A New T-Shirt for Spring

When I got home from Washington I picked up a project that I started about a month ago. I had it 80% complete and for whatever reason, it was set aside. It was fun to pick it up and finish it. Even more fun that I really like the fit, which as you can imagine, is not always the case!

Using McCall’s Pattern M7122, and a jersey knit by Art Gallery Fabric, I made a fun t-shirt. It has dolman sleeves that are 3/4 length. Being a vertically challenged person, I did cut the sleeves and overall length shorter. I made sure to prewash the fabric and dried it in a warm drier to make sure I wouldn’t have a shrinkage problem.

The only area where I did have to pay a bit of extra attention was making sure the striped pattern matched up when cutting the pieces. For the most part, I was successful here. It isn’t perfect but from a distance it looks nice.

The morning sun was making my eyes squint a bit but I am pleased with the fit (more so than the photo!!)

I like the little slits at each side. The t-shirt is really comfy and perfect to wear with leggings.

POST UPDATE: I should have included more details about how I made the shirt – there was a good question in the comments. Here are some tips.

I use my normal Janome 6500P sewing machine. All of the seams are stitched with a very, very narrow zig zag. On my machine it is 1 for width and 1 for length. This allows for some stretch so the seams don’t pop. Once I try it on and the fit is good, I do another, slightly wider zig zag to the right of the stitching line and then I trim the seam close to that. I use a ball point needle for the entire project. This is critical when sewing with knits. Also, I use a double point needle for any top stitching such as the hemlines and around the neckline. Hope this is helpful information. If you have questions, let me know.

Now I just have to be sure and wear it a few times before it gets too hot. I can tell summer will be here far too early. It has been in the mid-70’s this week. By end of May it will probably be hot. Ugh! We didn’t get nearly enough rain and I am definitely not ready for the heat of summer. (It is my least favorite season.)

In other news, my husband and I got our first vaccine injection yesterday! We both felt a little bit off last night but hopefully that will be it. Feels so good to have that done. I hope you are all making progress with the vaccines as well. We will soon be safely visiting friends and family in person!! Have a lovely weekend everyone.

Linking to:

Thank Goodness It’s Finished Friday at QuiltingGail
Can I Get a Whoop Whoop! at Confessions of a Fabric Addict
Brag About Your Beauties at From Bolt to Beauty