Tag Archives: scrappy quilt

2024 SAHRR – Round 3

Another Monday rolled around and this meant a new prompt for the 2024 Stay At Home Round Robin (SAHRR). Hosted by a group of bloggers, headed up by Gail, this annual round robin is a great way to push myself creatively. The blogger for the week suggests a block or an idea and we interpret it as we feel works with our quilt.

This week’s blogging host is Emily of The Darling Dogwood. Her only specification was to incorporate triangles in this round. This clicked with me right away. After last week’s round (use only two colors) I knew I wanted to incorporate some of the black and white charm squares I have set aside for this project.
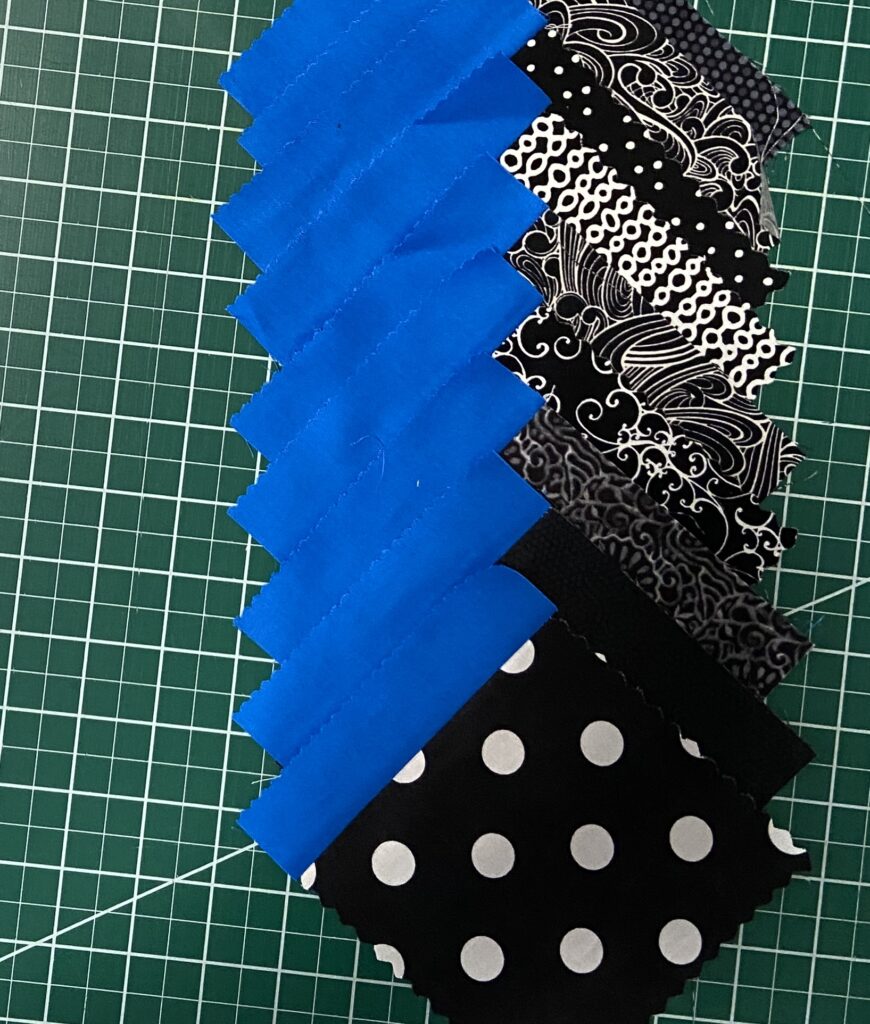
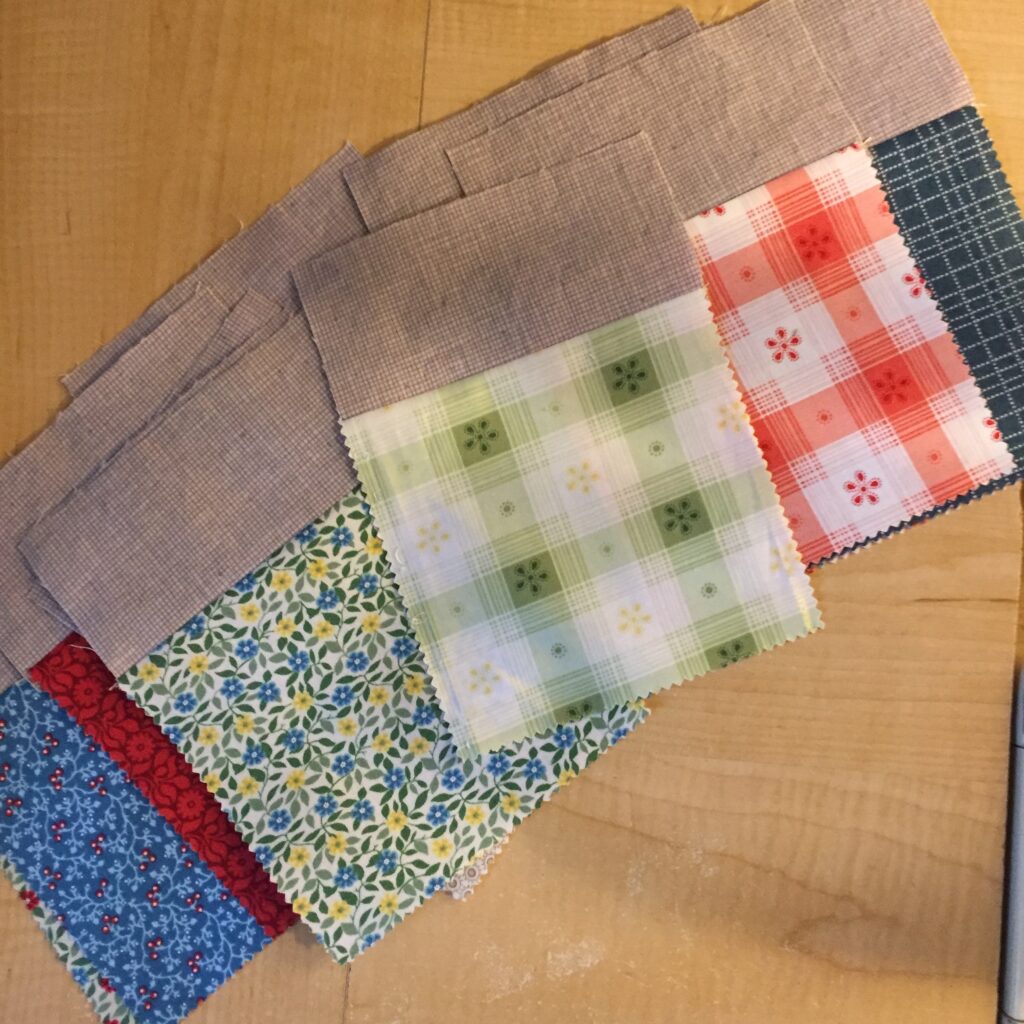
These leftover charm squares already have a 1 1/2 inch strip of blue already attached to them. I decided to cut triangles from the side where the blue meets the charm square.
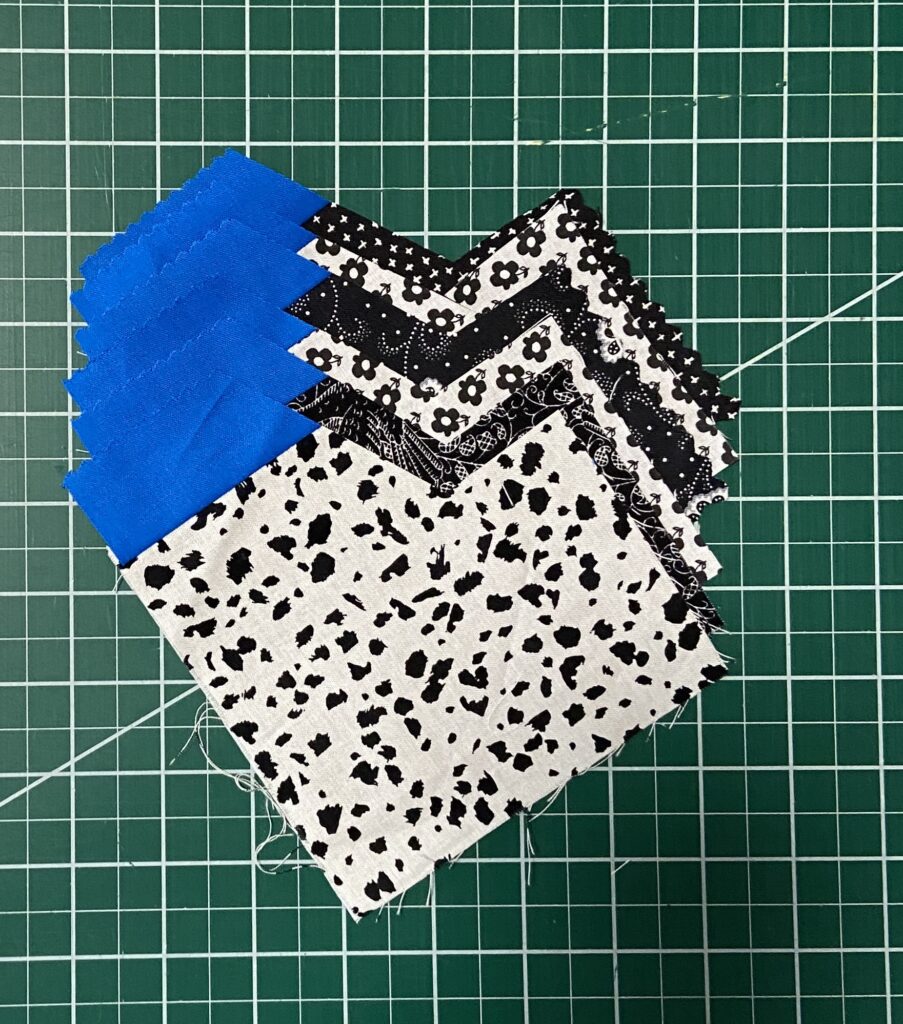
I cut a 2 1/2″ triangle from each of these. Unfortunately, I couldn’t get two triangles from each one so I am saving the remaining pieces for another round (hopefully).
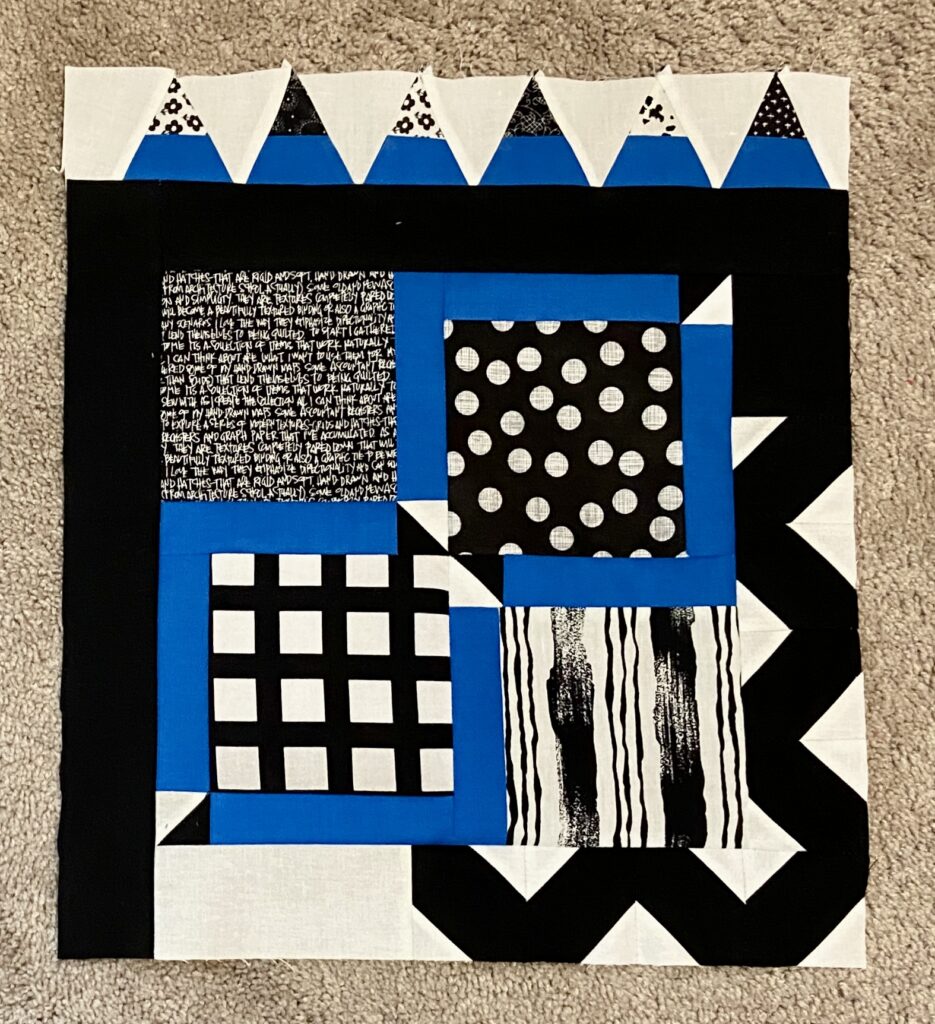
I wanted an equal size, white triangle in between each of the blue/black units. However, I didn’t really realize by doing this, I would be chopping off the points when I attached something to the top of this row. I should have made the white triangles larger so the points of the print charms would be encapsulated by the white and thus the points would be preserved. I am leaving it as is and not going to worry about it. Let’s all pretend I meant for it to be this way, ok?

I have some ideas for the next round but of course, I am waiting to see what the prompt is. I hope I can work within the prompt and the idea I am playing with. Currently this measures 15″ x 17″ which is great. Three more rounds should keep this to a nice wall hanging size.

Want to know one of the toughest parts about this event, for me anyway? It is waiting until the following Monday! Now that I sat and worked on it this morning, I don’t want to stop but I have to. Patience is a virtue, so they say. I need to work on that a little. Haha.
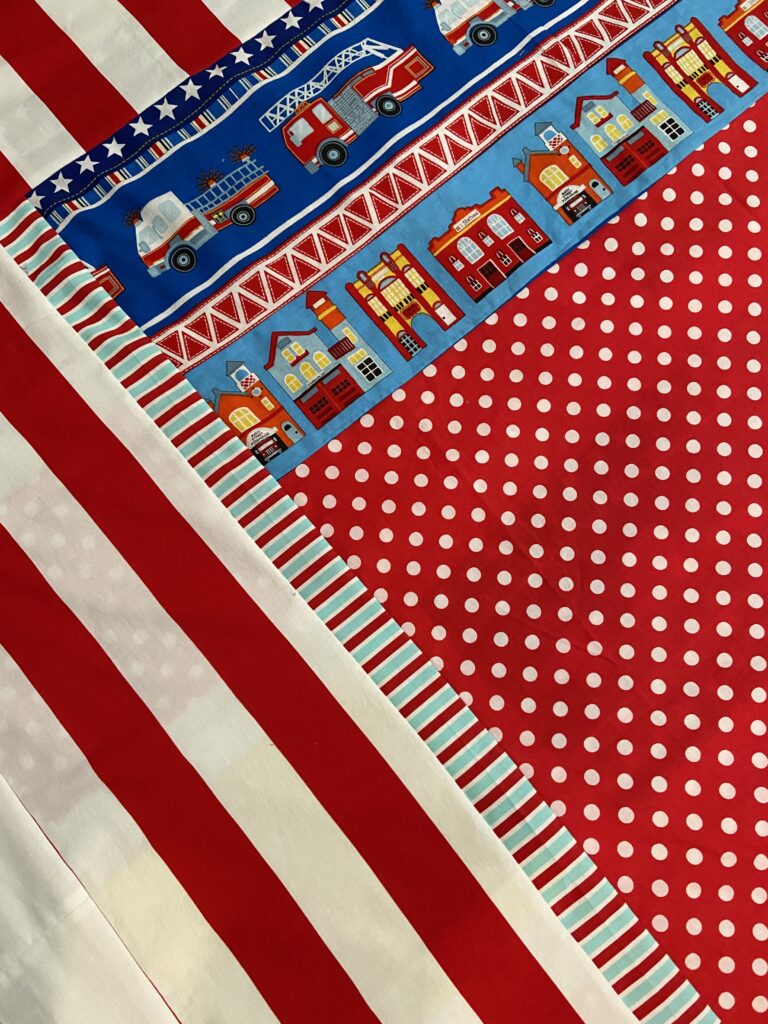
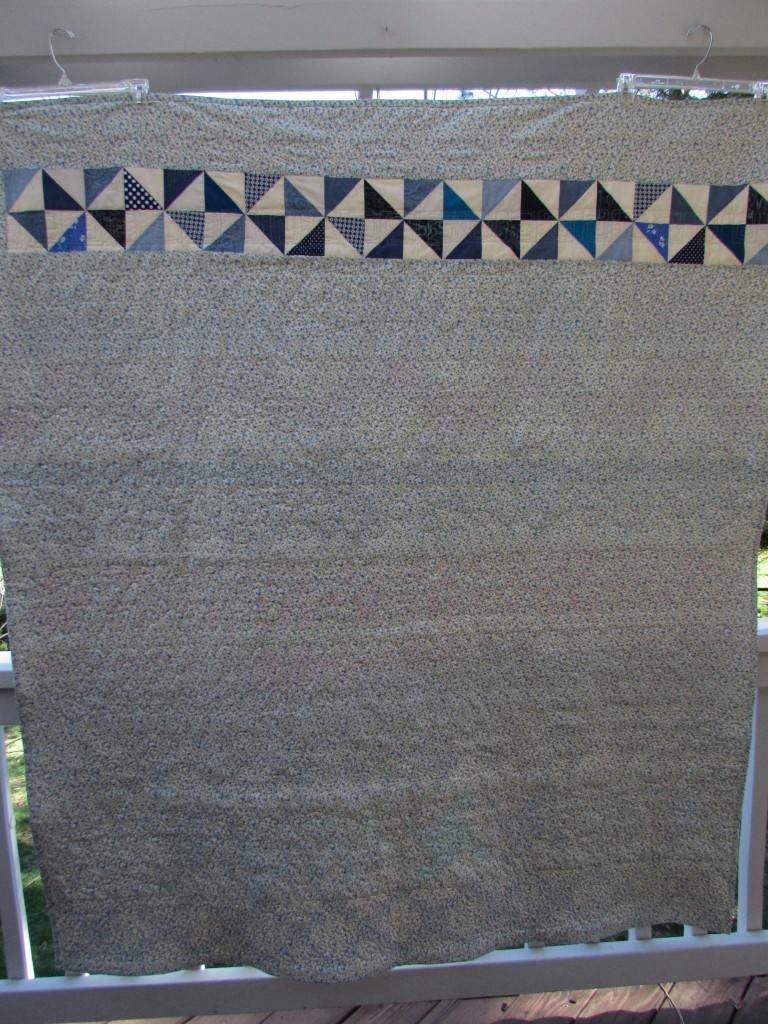
While I wait for next Monday’s prompt, I will go back to this project. I have a blog hop coming up in March and yesterday I spent some time piecing a backing for the quilt. It is so cute! Can’t wait to share this one with you all.

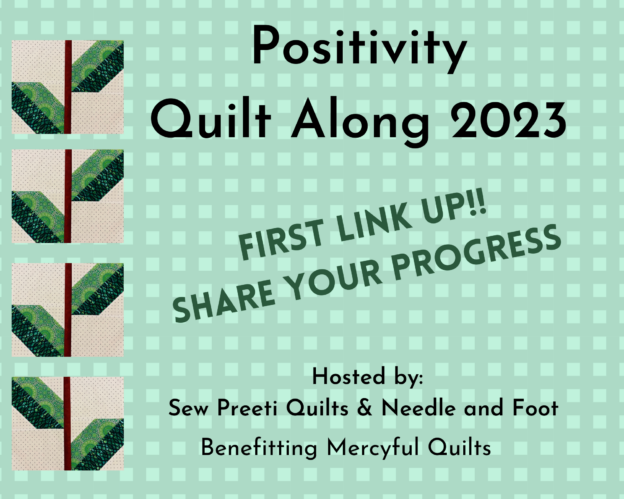
2023 Positivity QAL – Link Up

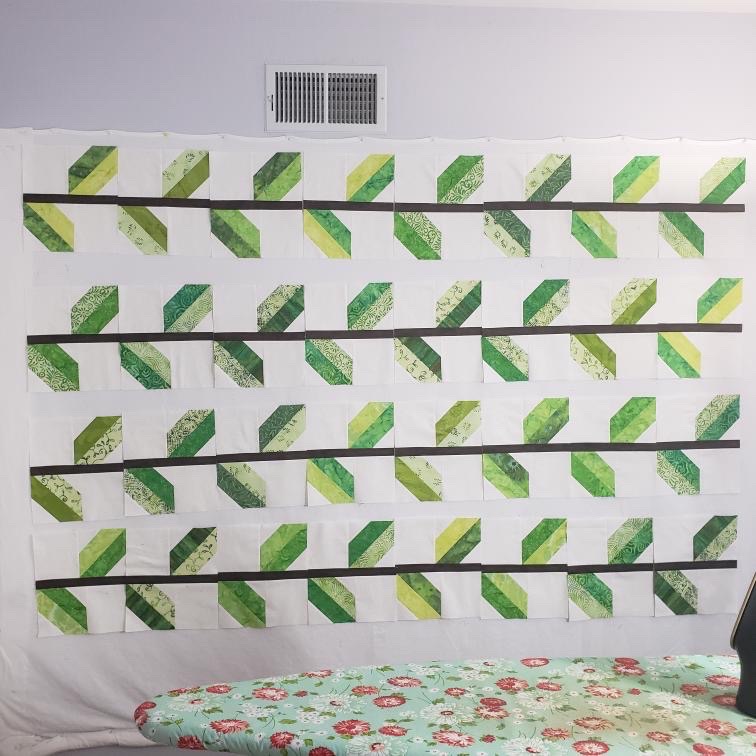
Hello Everyone!! I hope you have stopped by this morning to link up your progress on the 2023 Positivity Quilt! Preeti and I are really excited to see the variation in colors and fabrics you are using this year. Remember, the pattern can be as simple or complex as you want it to be. Last time I posted about my work on this quilt, I explained my determination to use scraps I have on hand for the green portion (my leaves). This has been a challenge and my leaves will be different sizes but with some work on the background piecing, it will work out.

Because I have been traveling a lot over the past six weeks, my progress has been slow. Like the non-existent sort of slow…. But I am home and have no plans to go anywhere. After all the driving over the last week, Ray and I both have no inclination to get in the car for any reason all week! This means I should be able to catch up. I plan to assemble the leaves I have made into vines. I am super excited to make some flower blocks too.

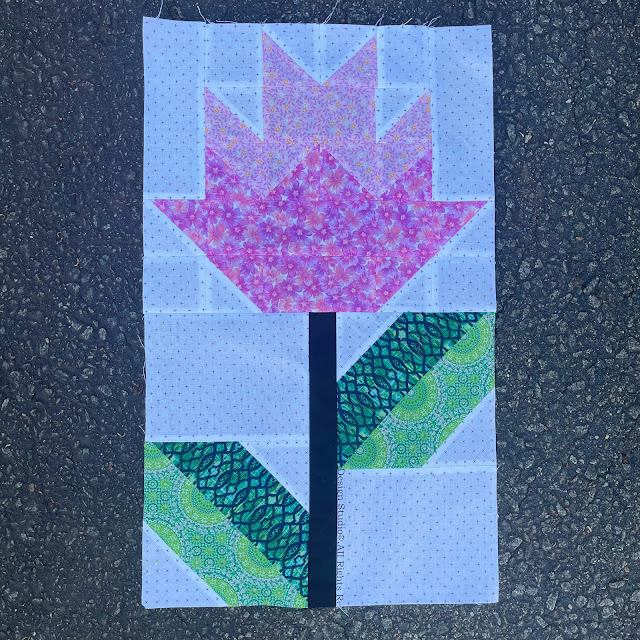
This picture is from the tutorial on Sew Preeti Quilts. Click here to find it. I think the flower is adorable and doesn’t look terribly fussy to piece for this non-fussy quilter!

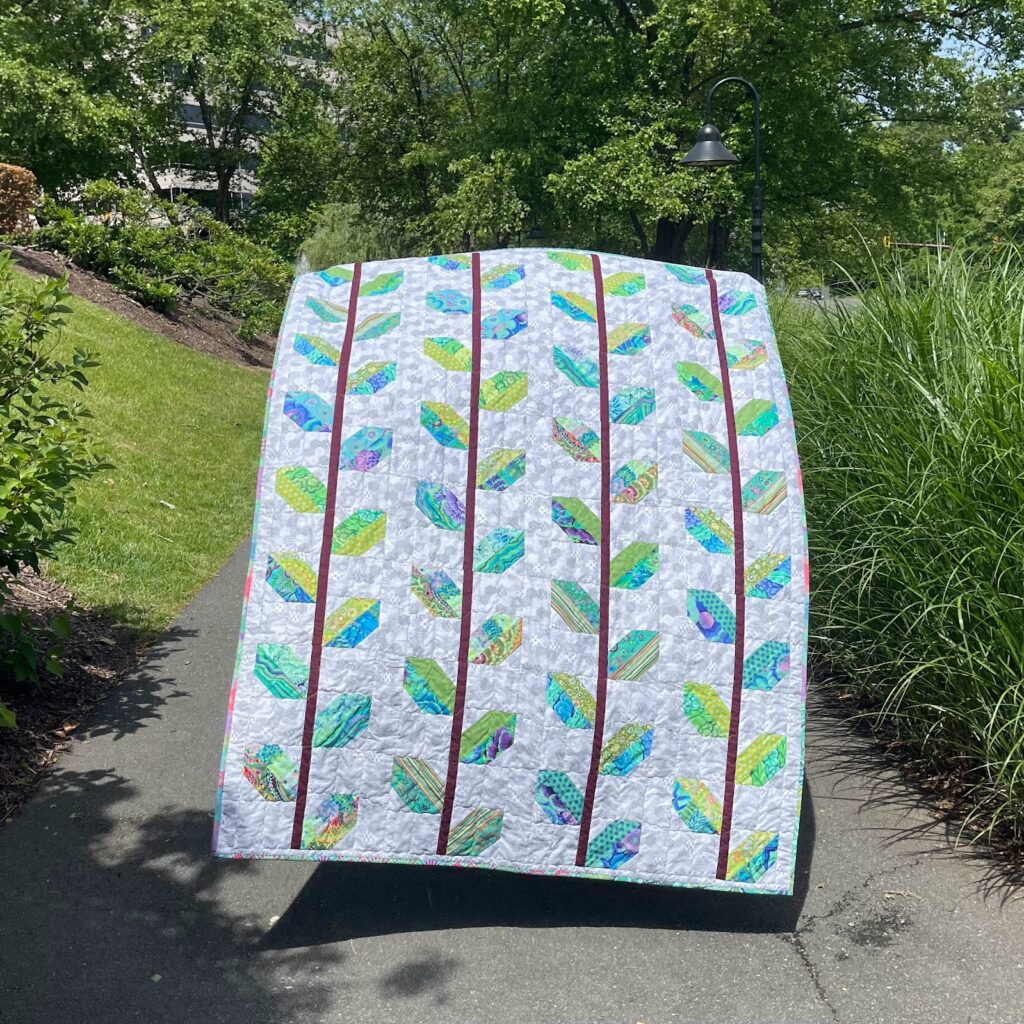
Preeti’s gorgeous vines!

Not everyone will choose to make blooms – some quilters might choose to do a quilt of leafy vines and finish it that way. Not all vines bloom, right?? In the above quilt, Preeti didn’t make the flower blocks. I love the look of this lush green quilt. Kaffe Fassett fabrics for the win!

OK – lets take a look at some progress pictures! It’s ok if you are behind – I certainly understand. Show us your fabric choices or just a few blocks. We love to share the fun around here. The link up will be open all week. If you aren’t a blogger, feel free to email a progress shot to me. I would love to add it to this post so people can share in your quilting fun. Just click on ‘contact me’ at the top of this page and send me a picture.

From @Justanaveragequilter

Updated to add the above progress photo from @Justanaveragequilter. Danielle quilted along with us last year too. So happy to have her sewing along again with us this year.

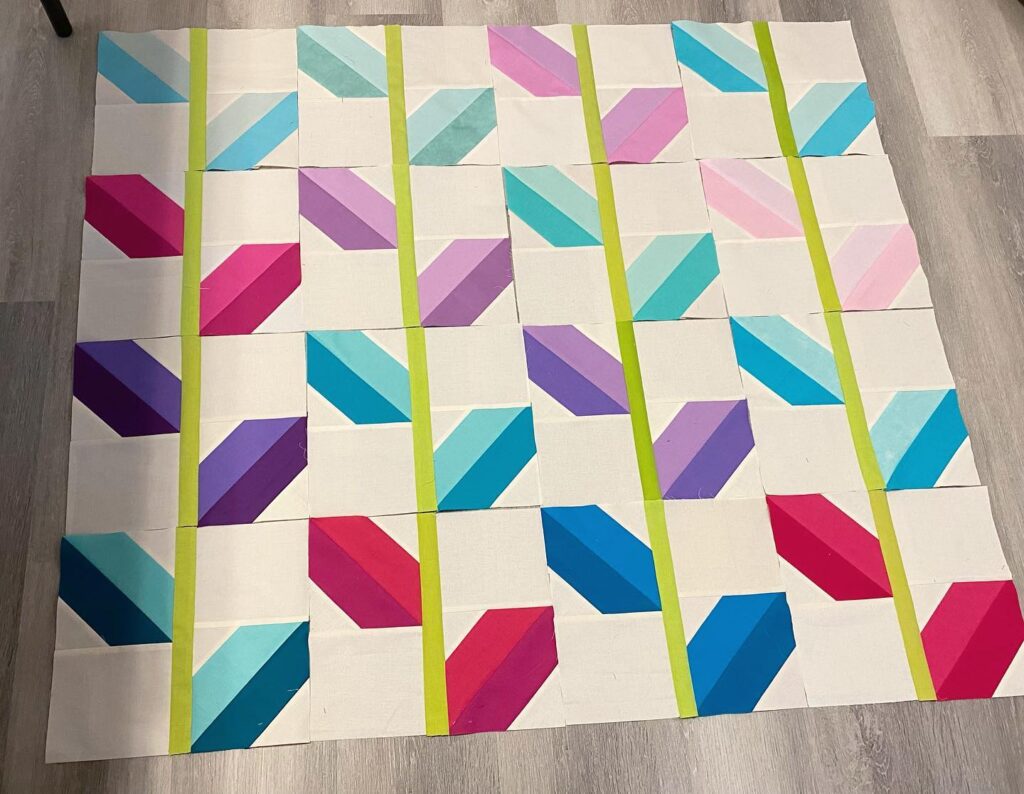
Made by @skynme2

Updated to add another quilt update. Made by @skynme, she did link up below but it won’t show the thumbnail so I put it here as well. Love the solids! Looks really different like this. She says she had all of these in her solids scrap bin. Yahoo!

The next link up will be on July 16th. This time we will be sharing quilt tops and there are patterns to be won! I am determined to have a finished top to share by then. (I think I can, I think I can…..)

Coin Quilt Finish

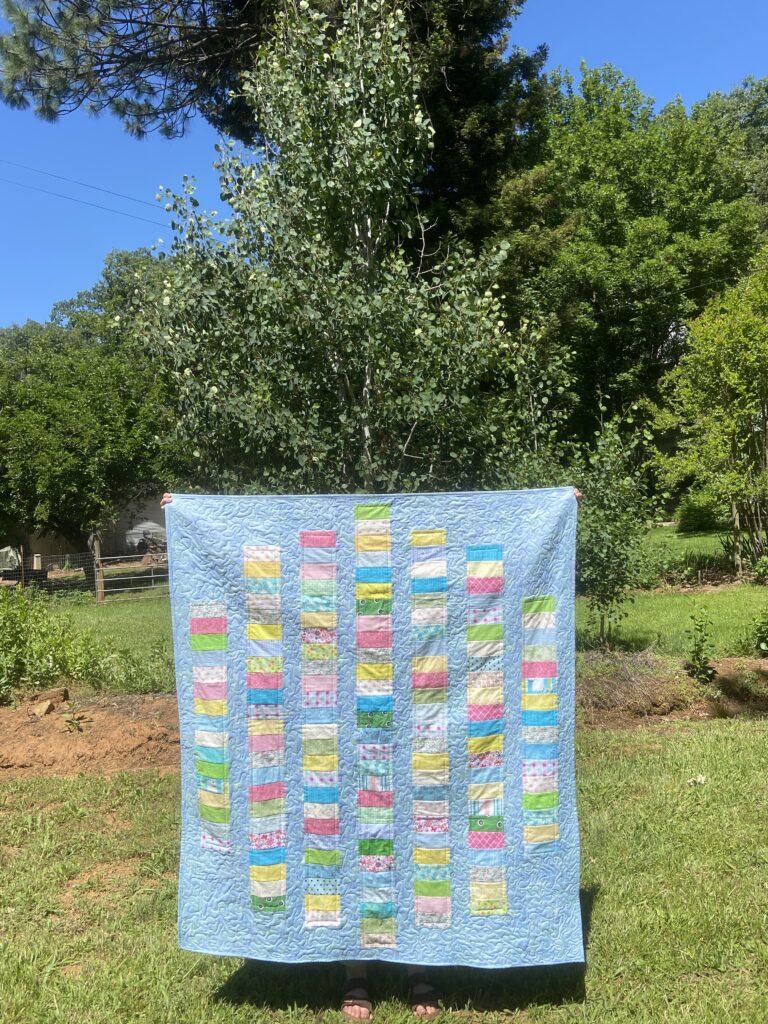
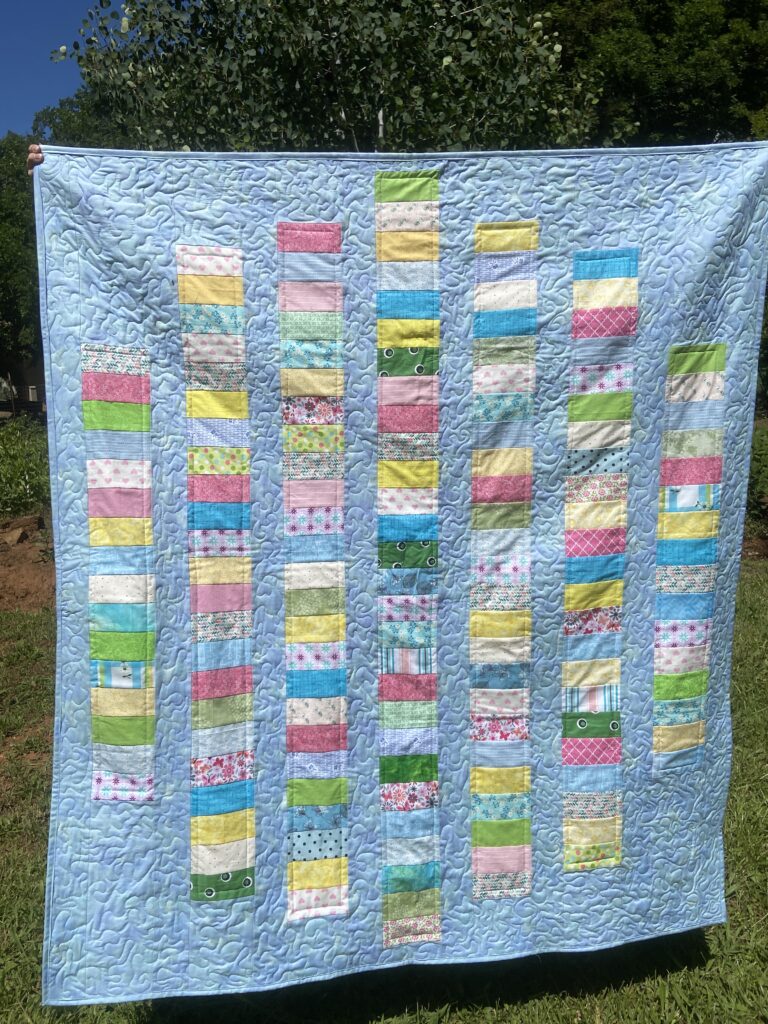
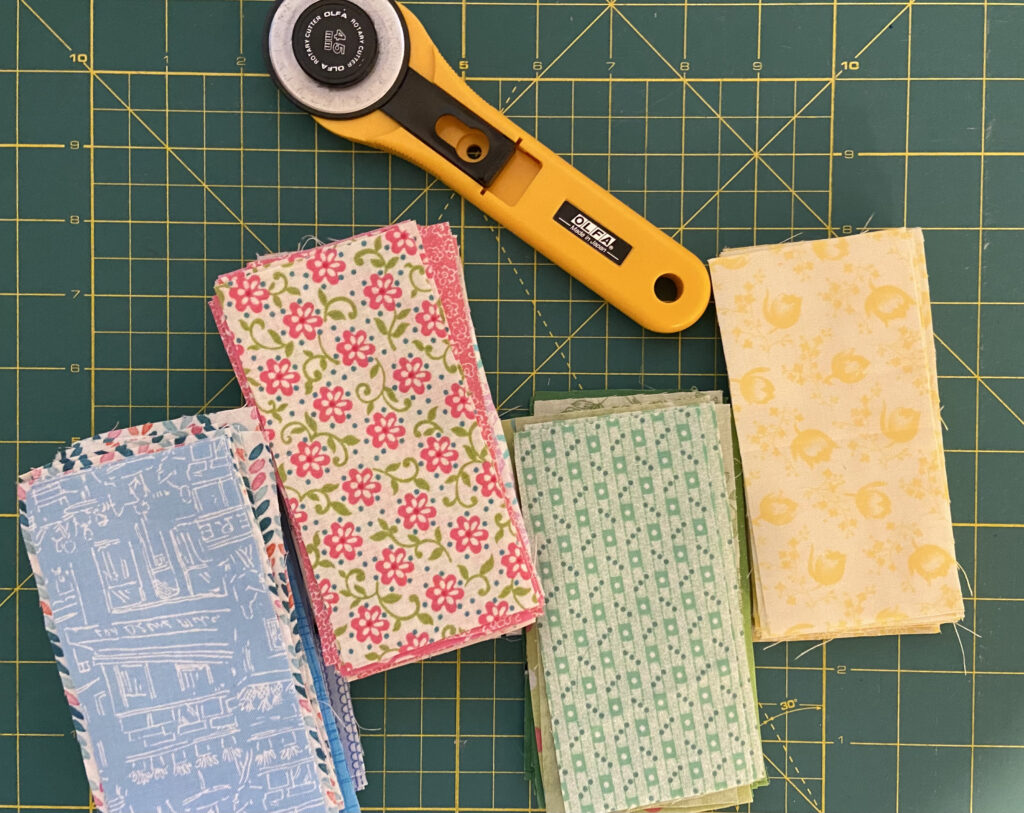
Today I want to share the finish of this pretty coin quilt. This quilt started out on a whim one day a couple of months ago. I was cleaning my sewing room and attacked a pile of scraps, cutting them into rectangles measuring 2 1/2″ x 4 1/2″. I decided to concentrate on specific colors and then use the rectangles at a later date for a coin quilt. Green, yellow, pink and blue were the colors I selected.

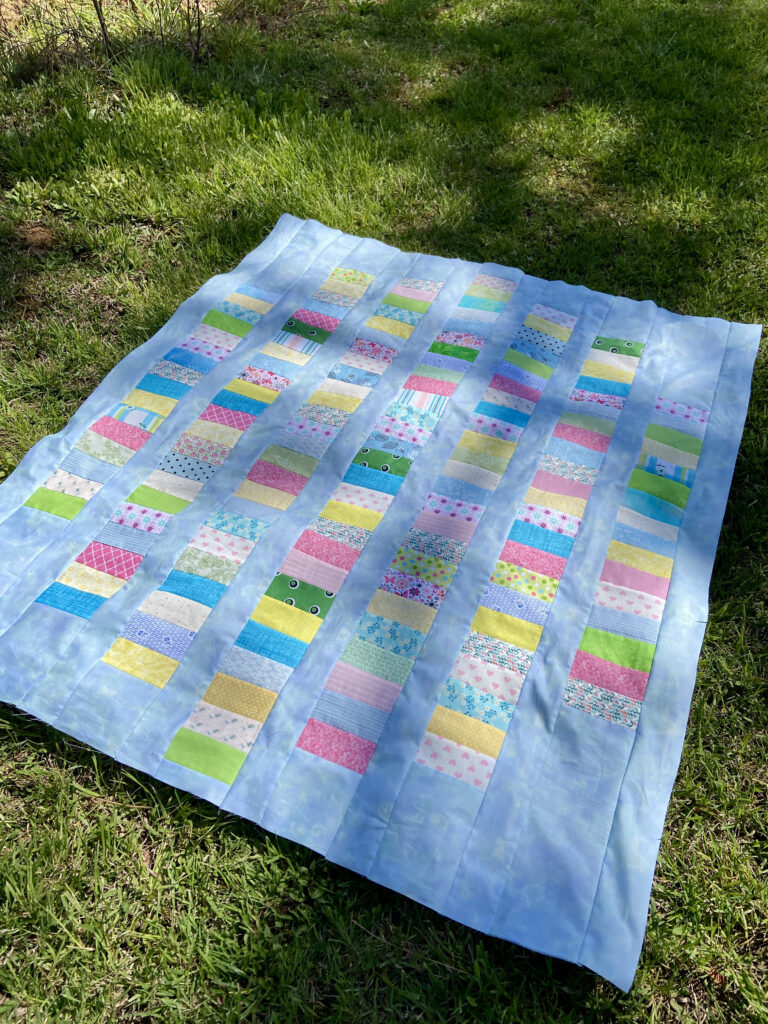
Yes, the quilt has a bit of an Easter egg vibe but who doesn’t love Easter eggs? I chose a mottled blue fabric from the shop as the background and a pretty green wide back (also from the shop) to finish it up. The binding is the same as the background. I might note I find myself really drawn to using a binding that matches the outer border when possible. I like the look of it. Maybe because it feels less busy to me.

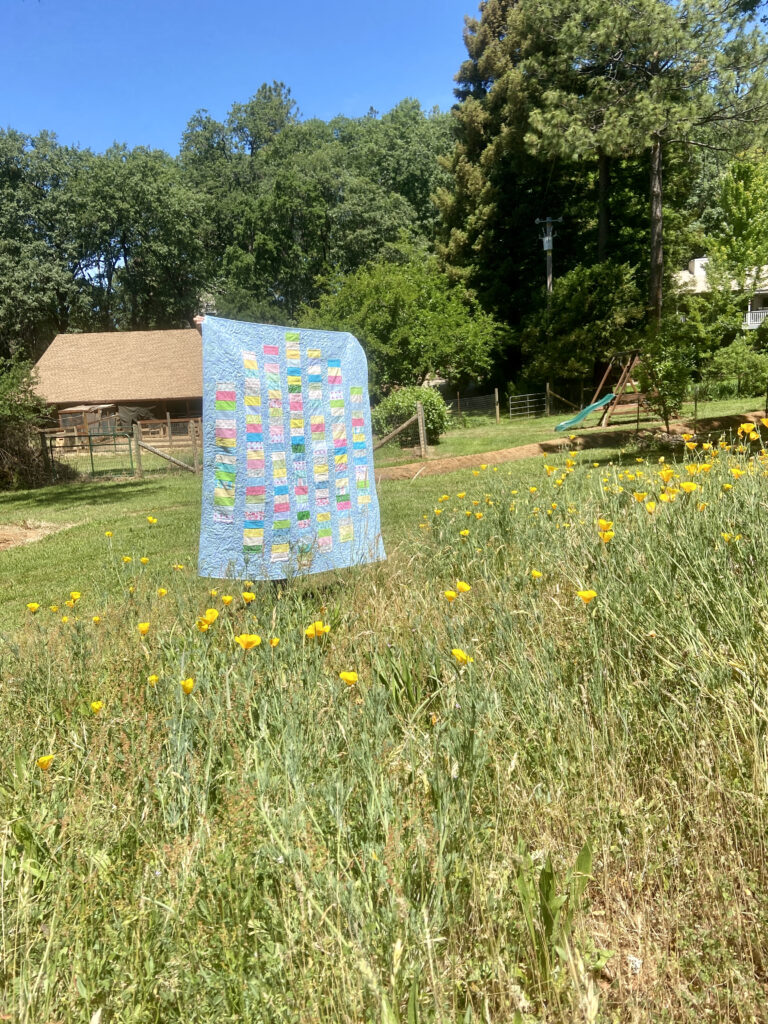
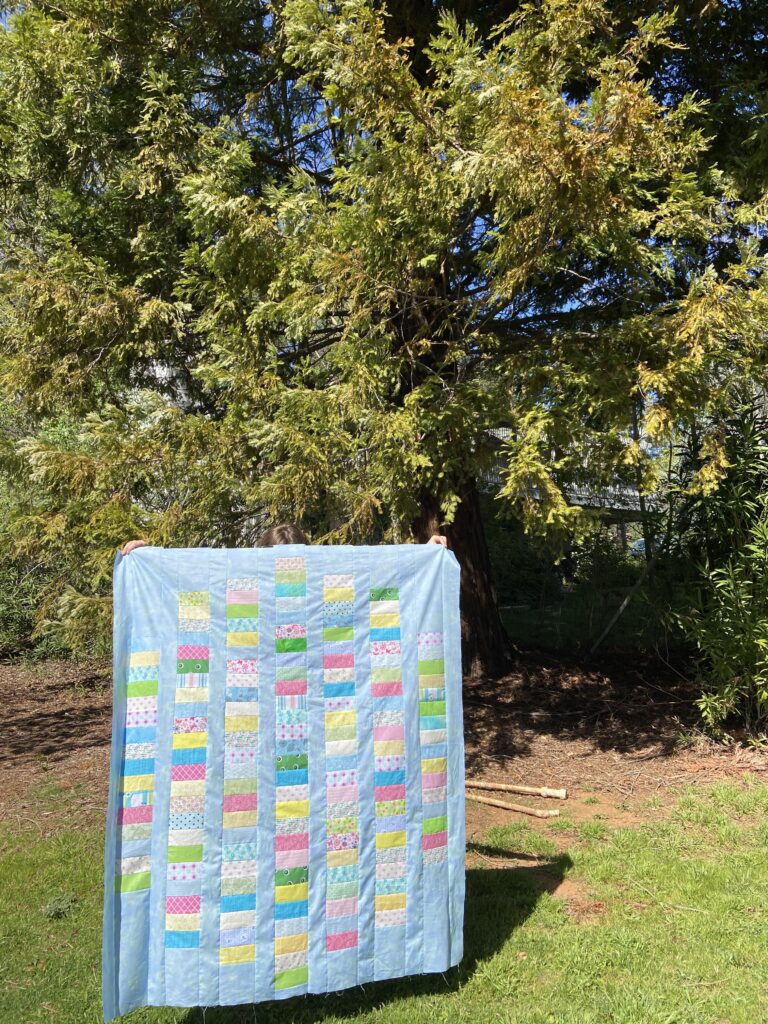
With my trusty quilt holder, Julia, I was able to take a few photos of this pretty quilt in our yard. When I quilted it, I outlined the coin columns and then stippled the blue background. I have been using Glide thread and finding my machine loves it. I had very few hiccups and those I did have were due to bobbin winding issues. Glide is slippery thread and (for me anyway) it can be a challenge to wind the bobbin with it.

My husband always leaves a patch of California poppies go in the field, not mowing them down until they finish blooming. The poppies are such a pretty pop of color for us. Anyway, this quilt is destined to be a Mercyful quilt and is also my contribution to the 2021 Hands 2 Help event run each year by Sarah Craig, Confessions of a Fabric Addict. I also have a quilt in the works for her Hometown Hero idea but it won’t be finished by the deadline. I will post the story behind that quilt soon as it is finished.

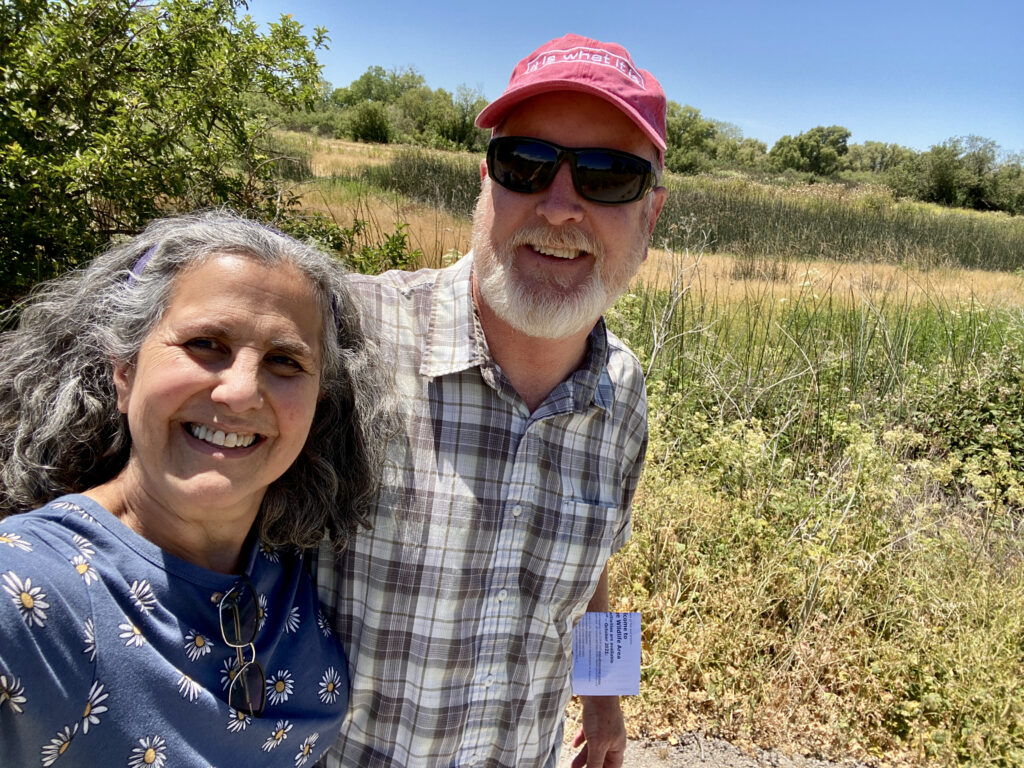
Yesterday my husband and I took a day and hiked at the Gray Lodge Wildlife area. It is gorgeous out there. Usually it is a haven for waterfowl but this late in the season, there isn’t a whole lot of water so the number of birds out there is far less. We were lucky to be out there and enjoying ourselves before it gets too much hotter. This is in a fairly toasty area an hour or so from our house. We plan to go back during the winter months to see the birds.

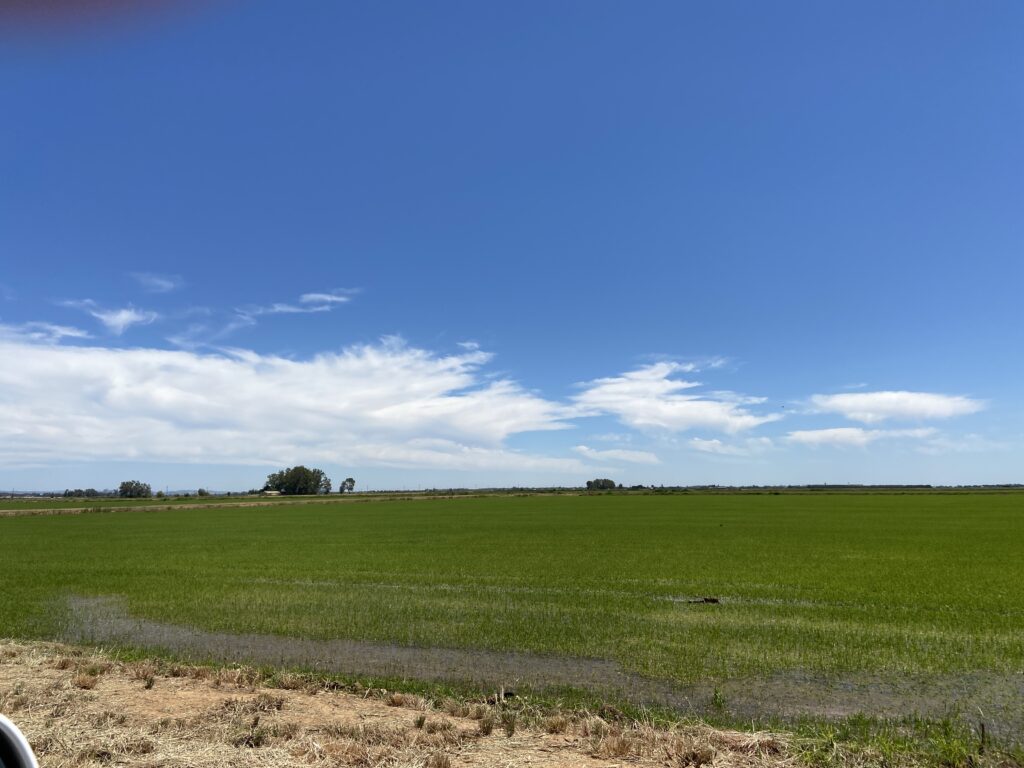
There are tons of rice fields out in this area too. At this time of year the fields are heavily irrigated and bright, bright green. So gorgeous. Because the fields are so wet, there are lots of white heron out there. Try as I might, I didn’t get any pictures of these pretty birds.

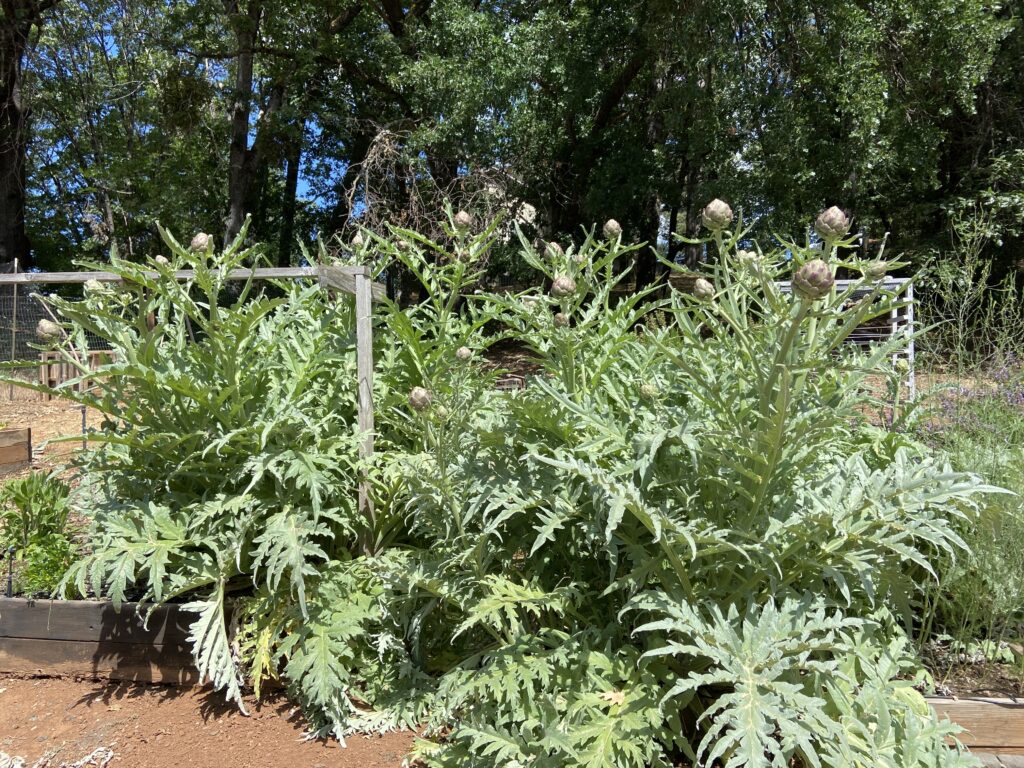
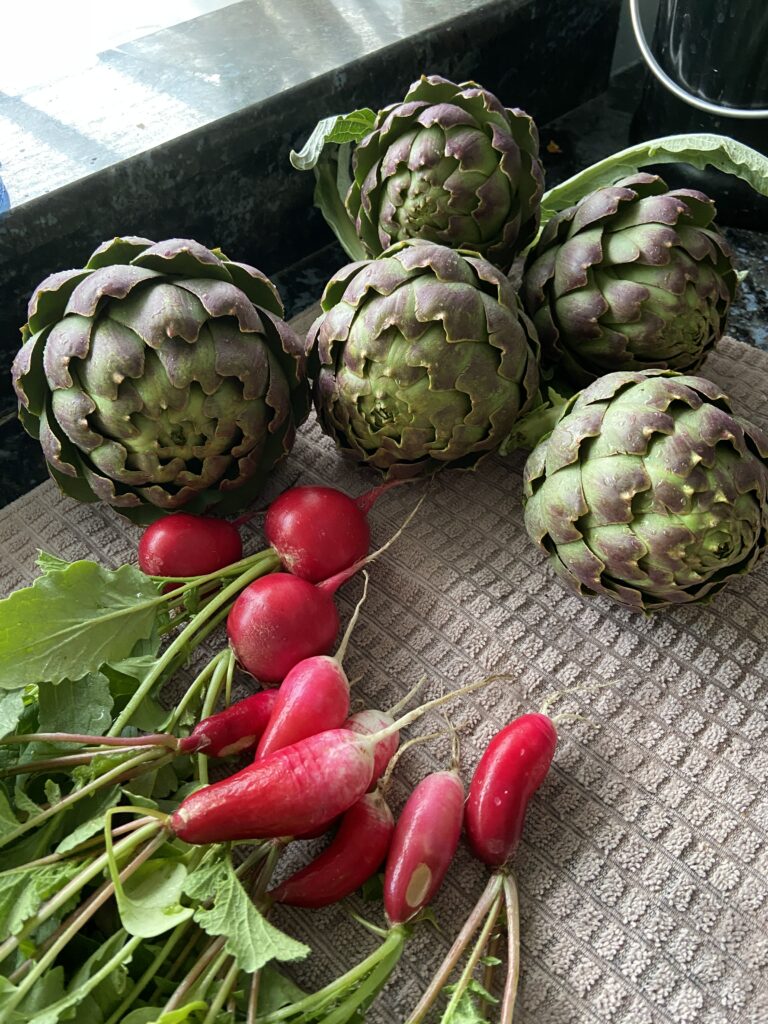
At home we are busy picking, cooking and eating artichokes. This year is a bumper year for our artichoke plants. However, it is supposed to really heat up over the next week which should slow the plants down quite a bit. I haven’t counted how many are out there but I bet we have about twenty left to pick, after eating several and sharing some with my neighbor.

So pretty!!

Ok – that is it for now. I have lots in the works! I am joining in with Sew Preeti Quilts Positivity Quilt Along which begins this coming week. I love the pattern for this quilt and look forward to sewing along with Preeti and many others. At the same time, I am making a quilt to celebrate the upcoming publication of Cheryl Brickey, of Meadow Mist Designs, new book, Just One Charm Pack. The book comes out toward the end of June and there will be a blog hop later in the summer to share the quilts several of us are making. I have the pieces cut and hope to start sewing tomorrow. Hope all of you enjoy the weekend!

Psst: Be sure to come back and read my next post. I have some big news to share!!

Linking up with Cheryl’s Favorite Finish as well as other favorites – check them out at the top of the page, under Link Ups.

Coin Quilt is a Flimsy

I think this is the first coin quilt I have made and I love it. It is simple, pretty, and has lovely color. This project consumed a nice pile of scraps, most of which were given to me by my sister.

In January I spent some time cutting pink, green, blue and yellow scraps into strips measuring 2 1/2″ x 5″. Then I made myself put them away and finish a few other projects before playing with these. When I was ready to sew the coin quilt, it was great to just pull the bag of strips off the shelf and dive in.

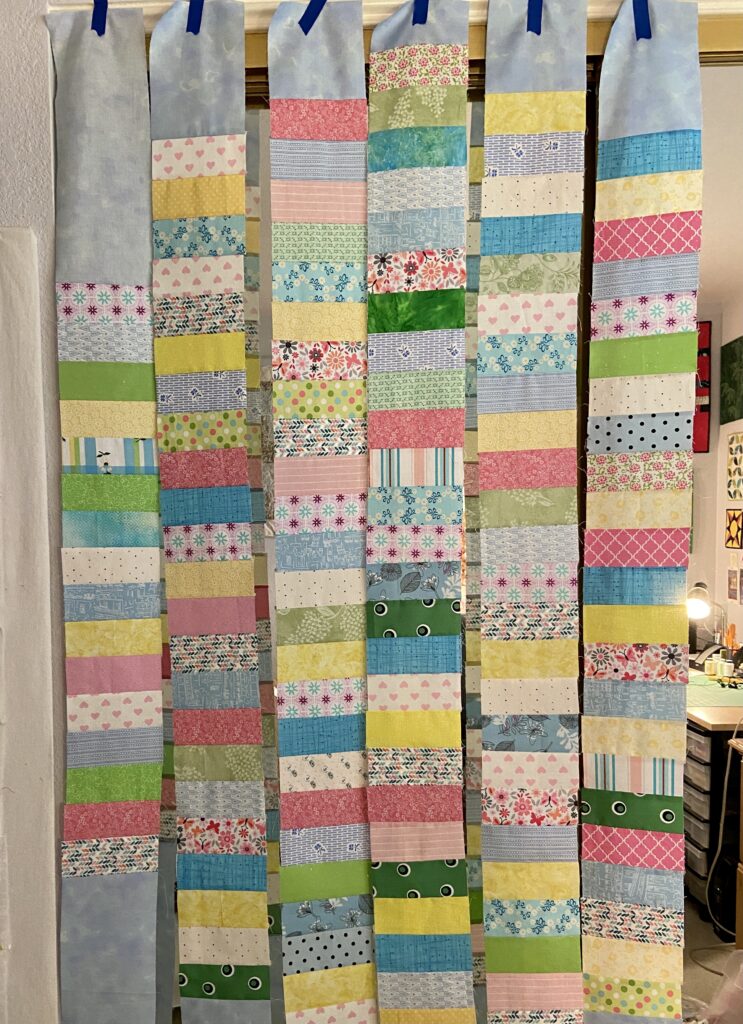
I decided to make one long strip of coins for the center and worked outward from there, reducing the number of coins in each strip. Not having much of a design wall, I kept them taped to the trim above these closet doors. I spent almost no time placing colors or making sure one color wasn’t next to another. Knowing there would be wide sashing strips between the columns meant no coin would truly be side by side with another. Seeing it come together so nicely was satisfying, especially given I didn’t lay anything out. I simply pulled pieces and chain stitched them together.

I used a mottled, light blue fabric for the 2 1/2″ wide sashing, as well as the tops and the bottoms of each column. It screams springtime to me!

The next step is to pick a backing and get it basted. It is 69″ tall and maybe 54″ wide?

What have all of you been up to this week? It is gorgeous here but too dry. Way, way too dry. Today I read that this is the 3rd driest season in over 40 years for our area. We all know what that means. Horrific fire danger coming this summer and fall. Sigh.
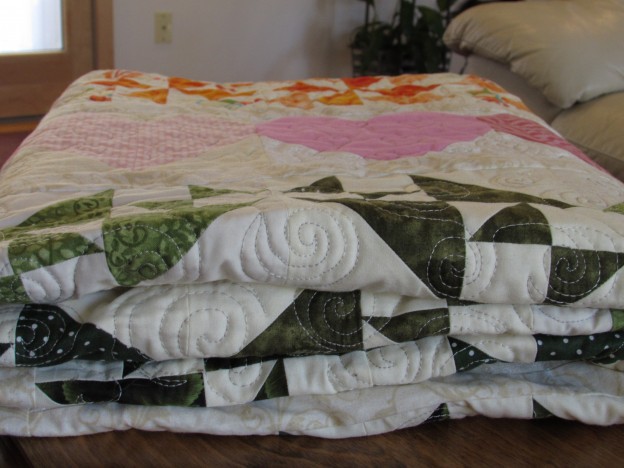
We don’t really have much planned for the weekend. Some yard work, some sewing and generally hanging out. Hope all of you are well, happy and feeling creative.

I will leave you with some fun pictures – they are sure to make you smile!

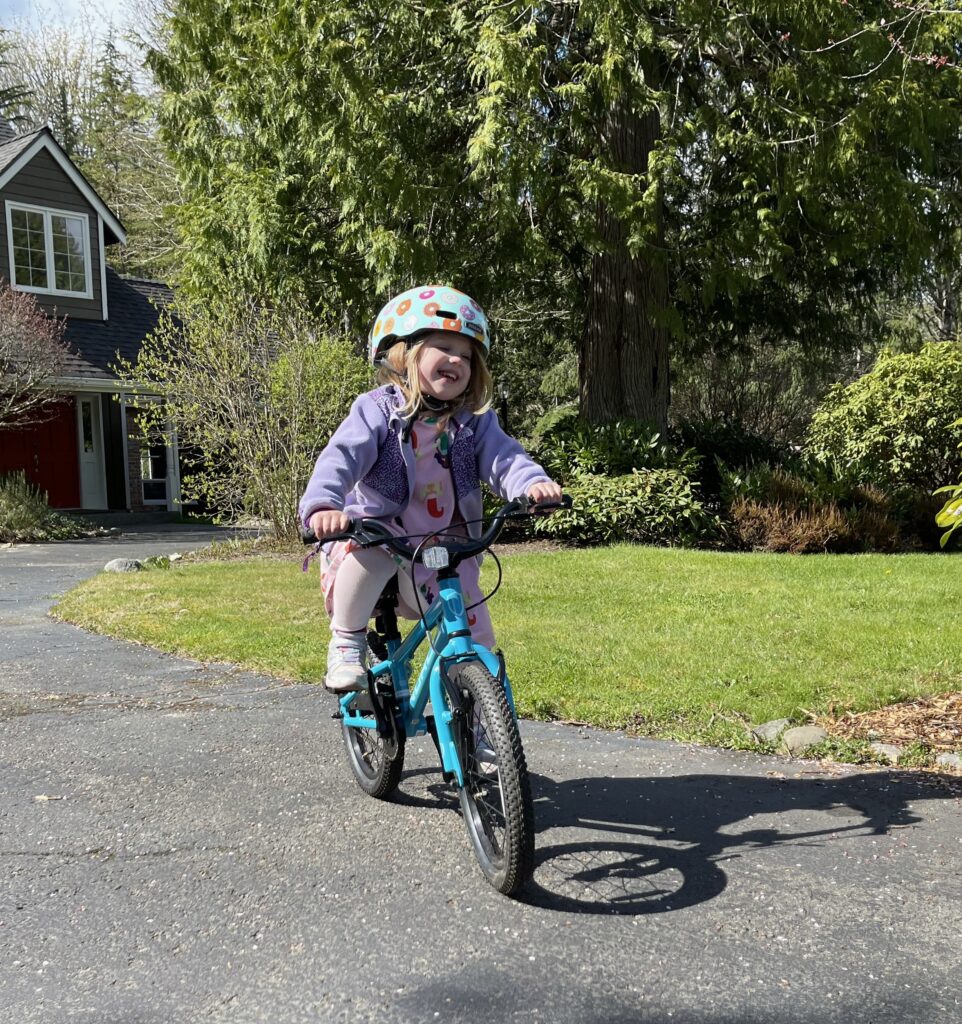
Look who learned to ride her bike!! She is so proud of herself!!
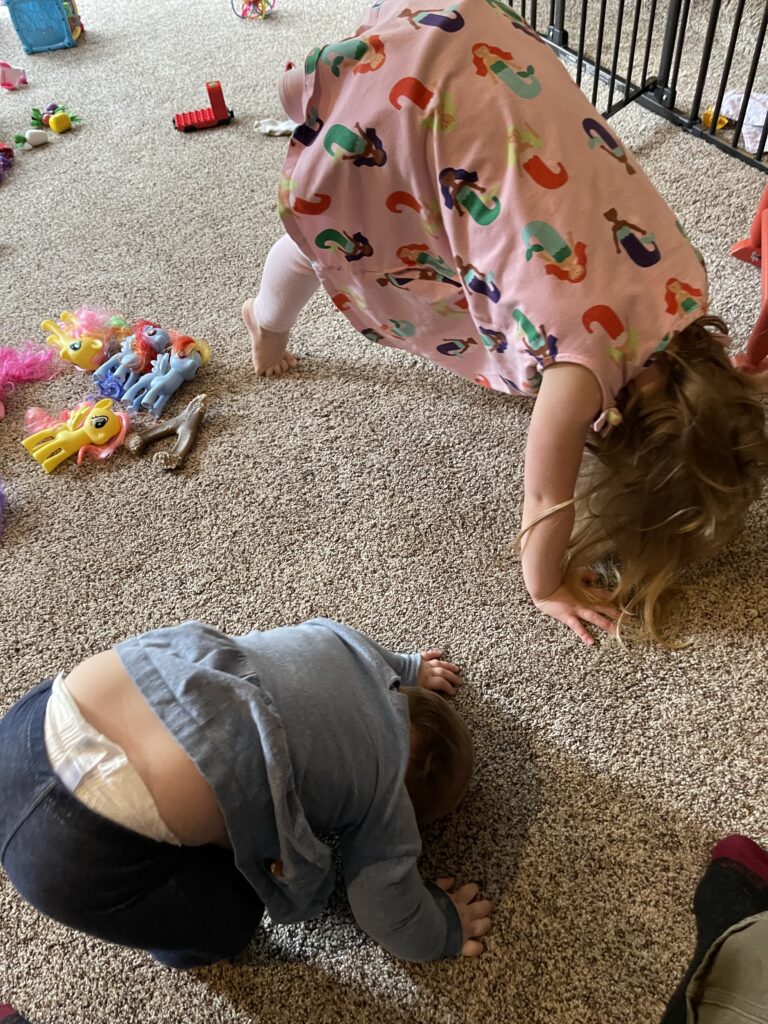
Big sister is teaching little sis a bit of yoga. Downward Dog anyone???
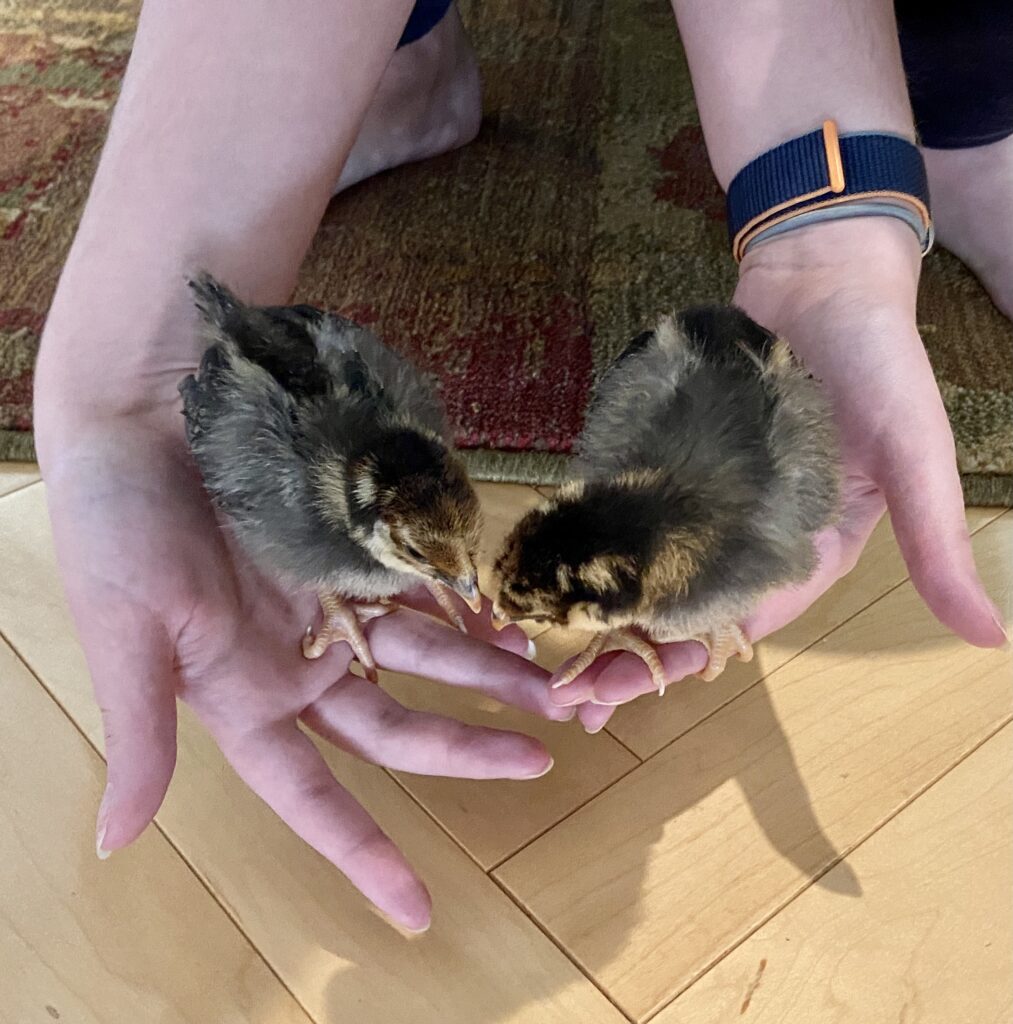
Julia’s chicks are growing nicely!

Linking to my usuals. You will find lots of choices at the top of the page, under Link Ups.

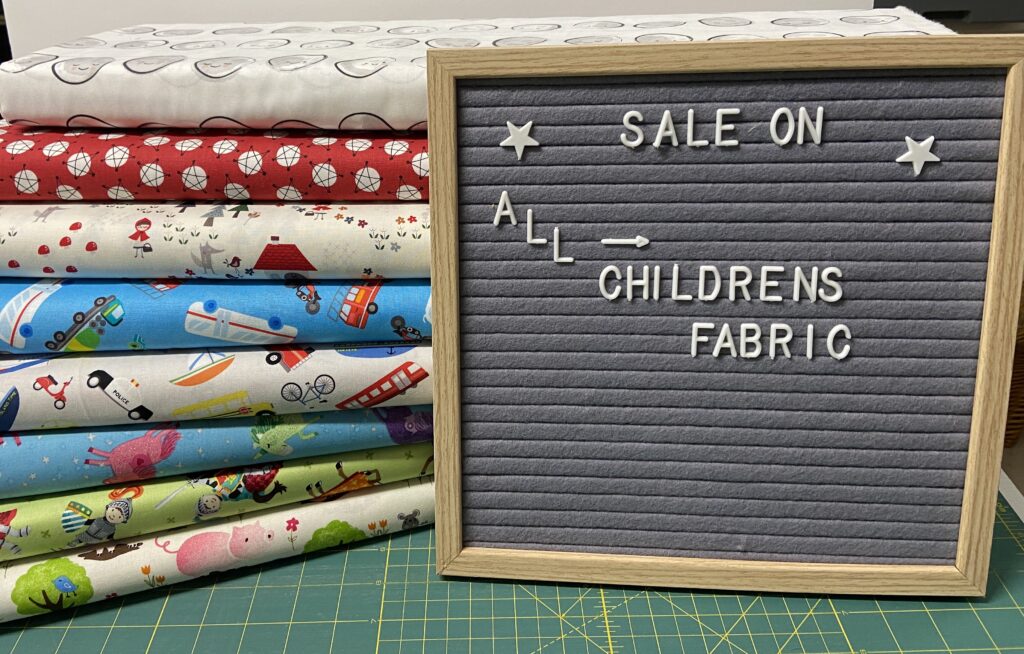
By the way, all children’s fabrics are 25% off all weekend long!! Happy shopping. 🙂

One More Little Finish

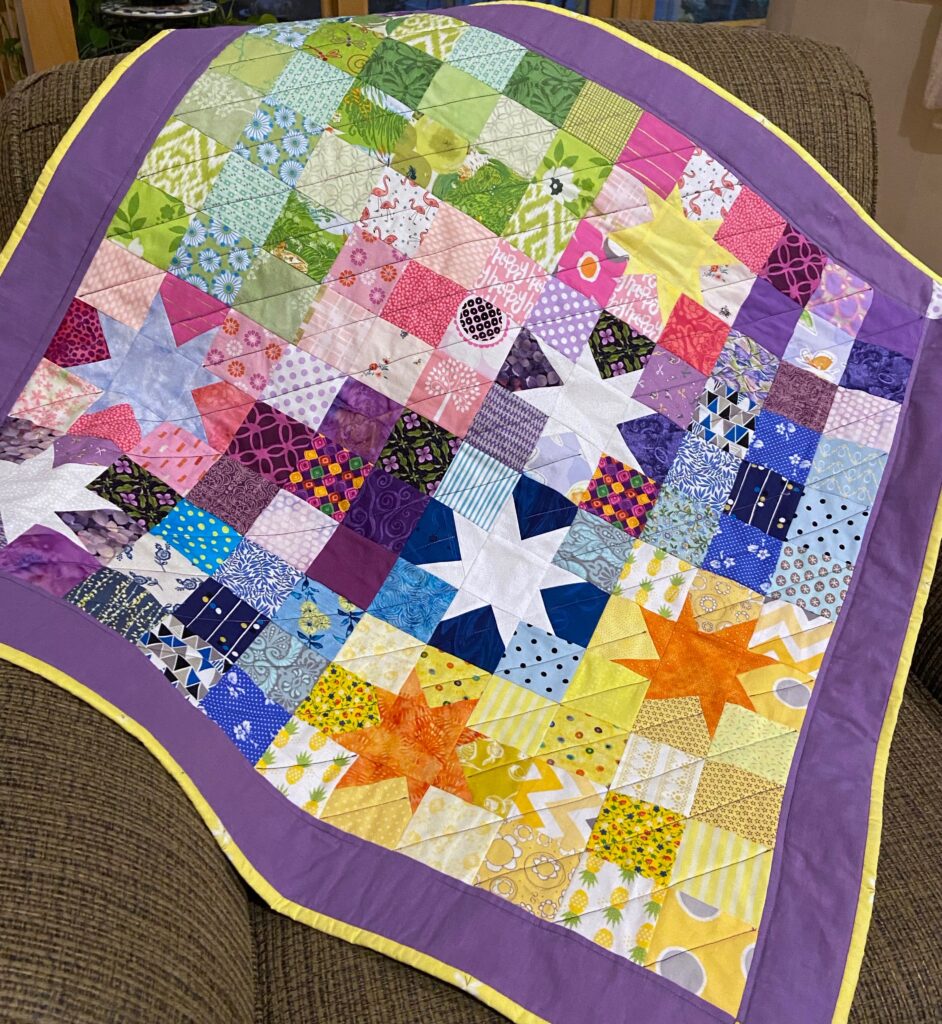
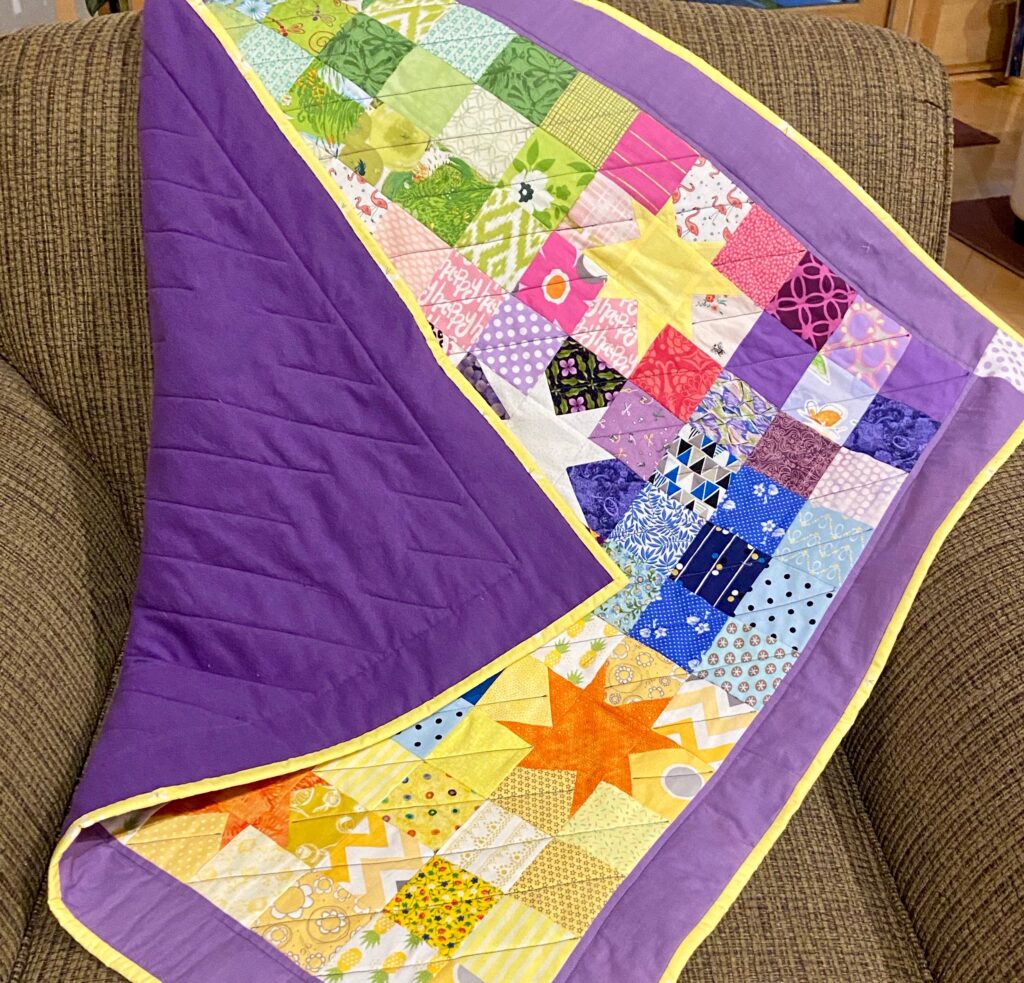
Look another little quilt headed to Jack’s Basket! As a result of my cleaning efforts in the sewing room, I put some scrappy nine patch blocks together that had been sitting in a pile for quite some time. It felt so nice to use up the blocks and make this sweet little quilt.

It is so bright and cheerful. I quilted straight lines on the diagonal. At first I was stitching across the wonky stars but it looked funny so I took that out. I think the stars look best without any quilting. The lines were just freehand with the corners of each square guiding me. Because the quilting is very light, the quilt has a cozy drape to it.
Purple flannel on the back makes for a soft, cuddly quilt. For the binding, I used a bit of a yellow print from an older line by Jeni Baker, back when she was designing for Art Gallery Fabric. I even had the right size scrap of batting for this. Isn’t it great to use up some fabric that has been sitting for a while?

I had not yet mailed the You Are My Sunshine whole cloth quilt yet so both of these will go out together next week. I am not positive, but I think this is either the seventh or eighth quilt I have finished this year. Most of these were were made with flimsies that have been sitting which is super satisfying! Still another month to go this year. Will I have time to finish another quilt? Time will tell!

Quarantine Quilting – Quilt Top Done

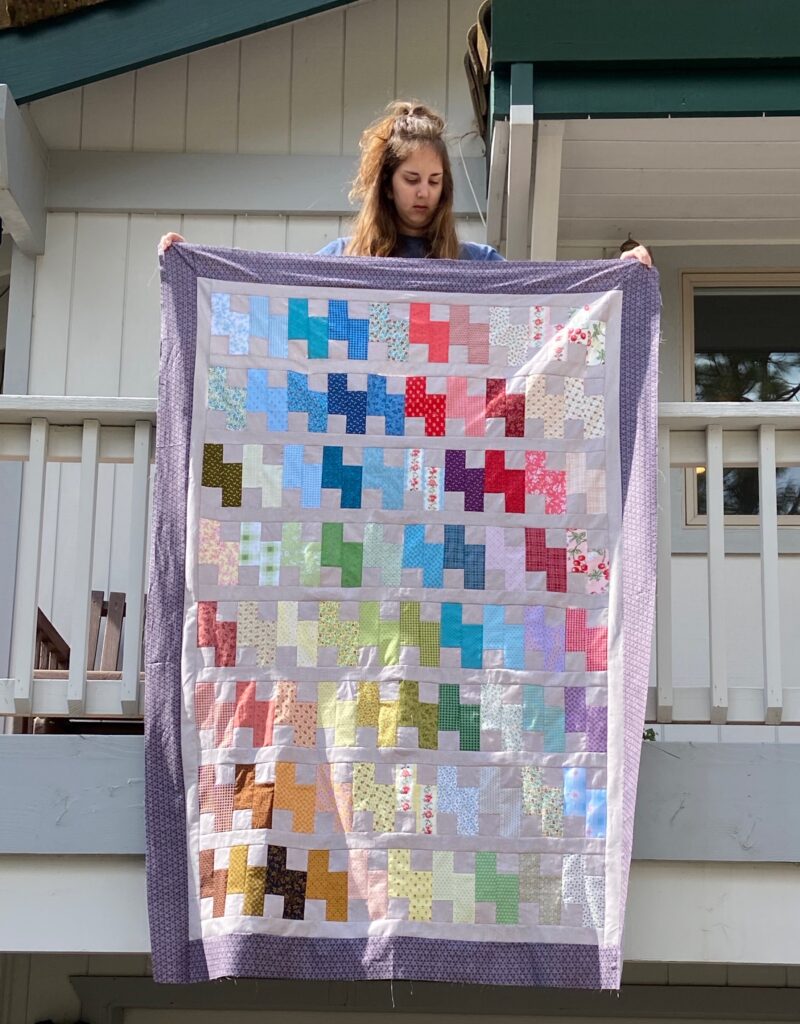
Well all this time at home is certainly allowing for lots of time in the sewing room. Last June I started sewing these charm squares I had accumulated into blocks. The charm squares are from a variety of sample packs from Benartex. Simple, prints in soothing colors that wanted to be made into something rather than live on the shelf in the closet (where they had been for at least two years or so).

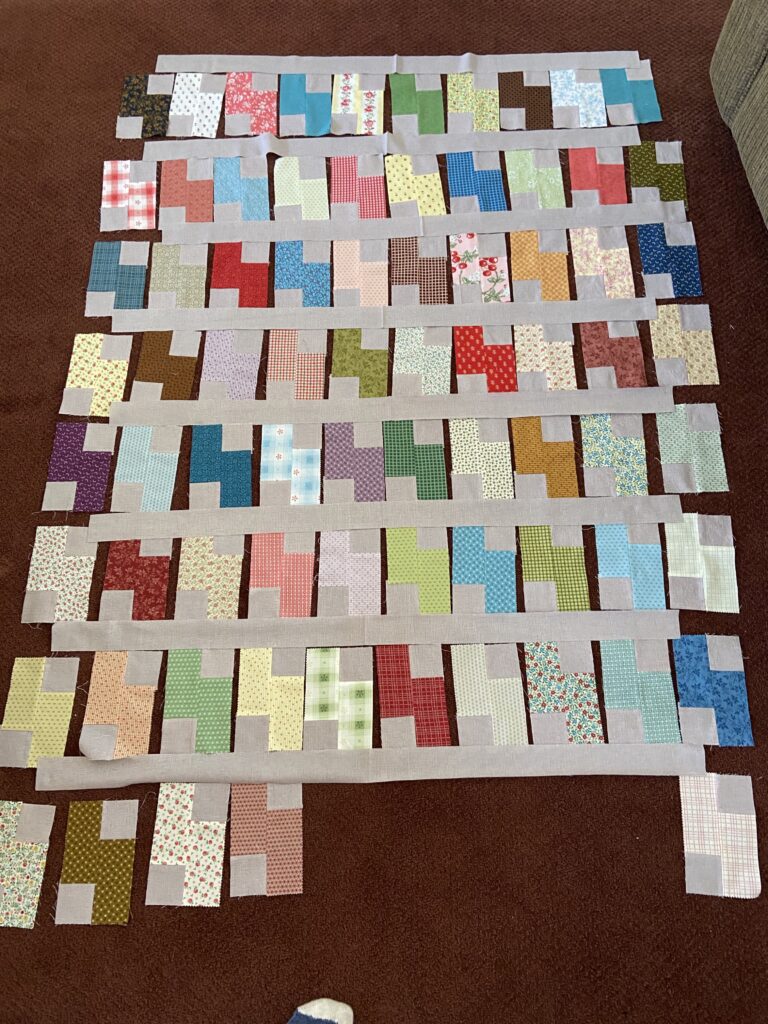
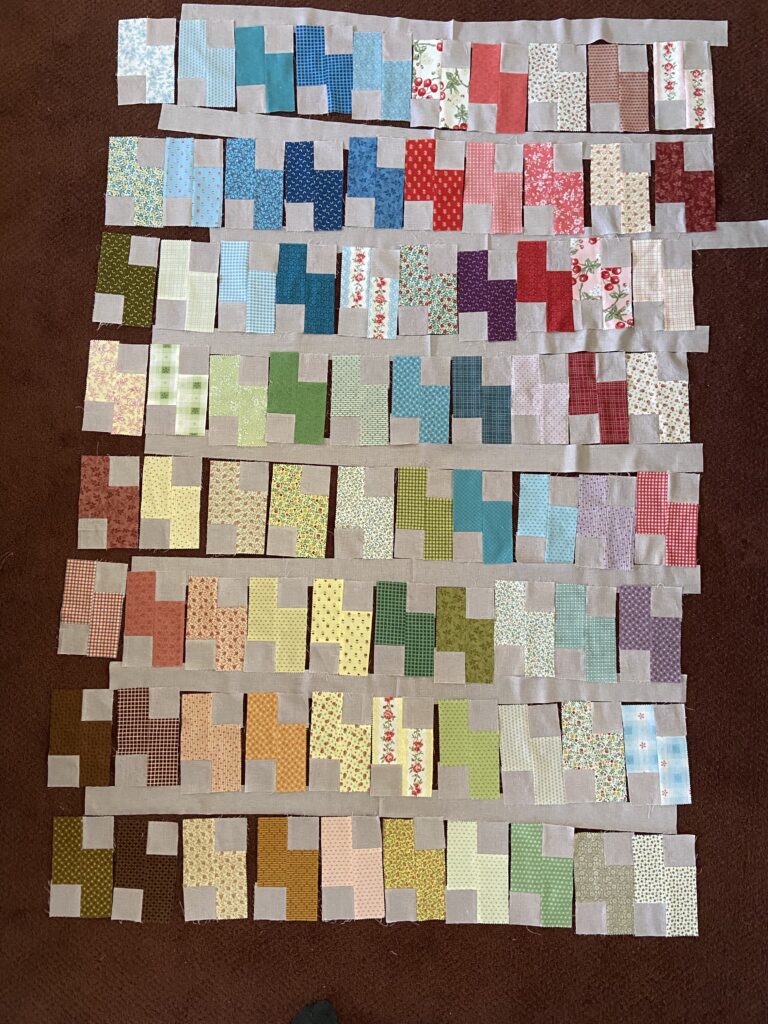
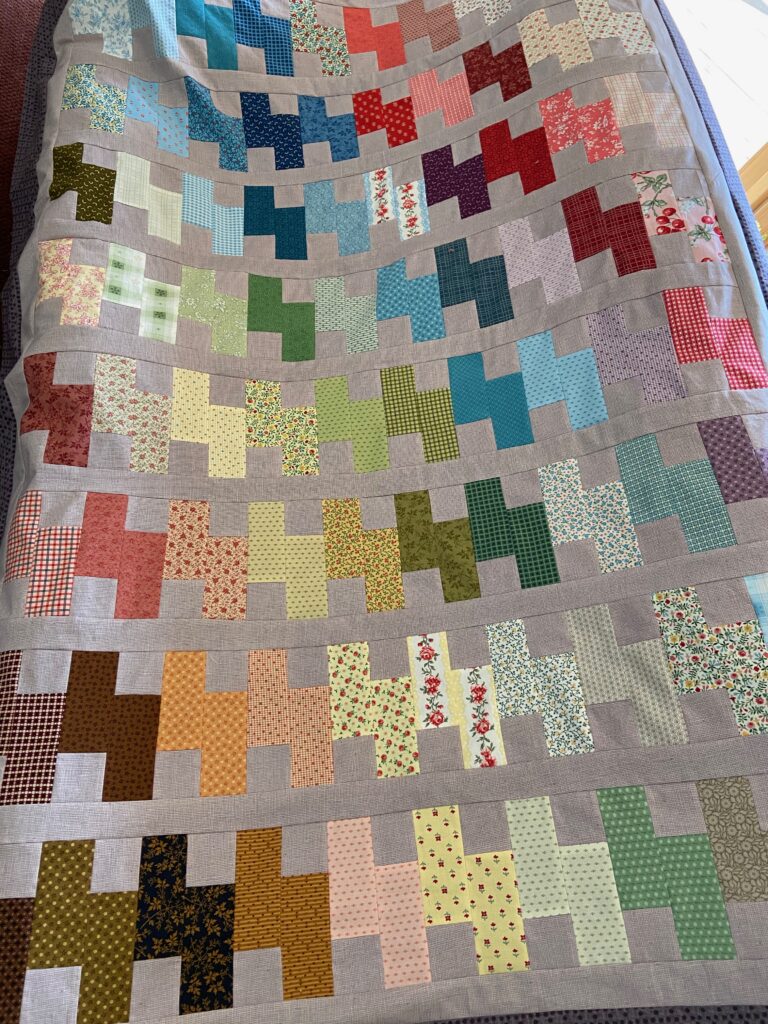
I saw this idea on Julie’s blog, Me and My Quilts, around that time. She was making something similar and I absolutely copied her!! I cut 2 1/2″ strips and sub cut them into five inch strips. Each was sewed to a charm square, then sliced vertically. One piece flipped around and then I sewed them back together.

I did lay out the pieces in a random order first but decided I wanted something a bit more organized so I started putting them in collections by color.

Finally making up my mind, I got the rows put together and added a few borders (it is a bit on the long and skinny side).

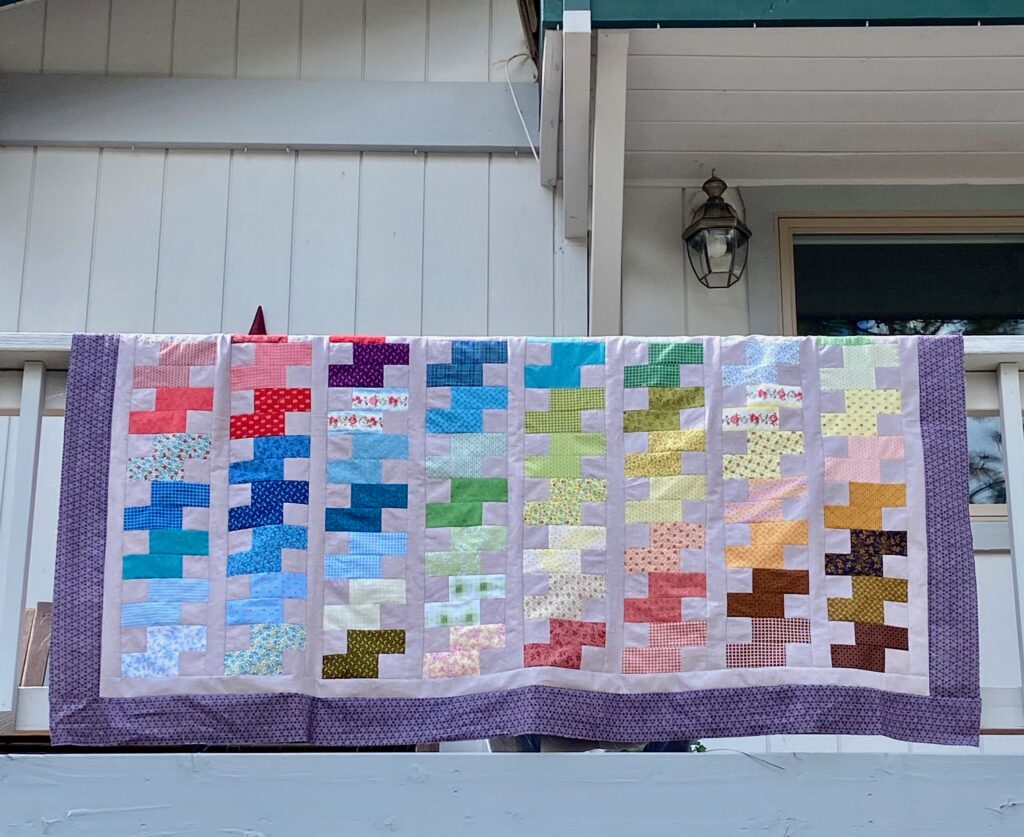
I used this purple print from the shop for the outer border. It is from the Ginger & Spice line by Missy Carpenter and looks great with the neutral sashing. I chose purple because there are only three purple blocks in the quilt and I thought it just needed more!

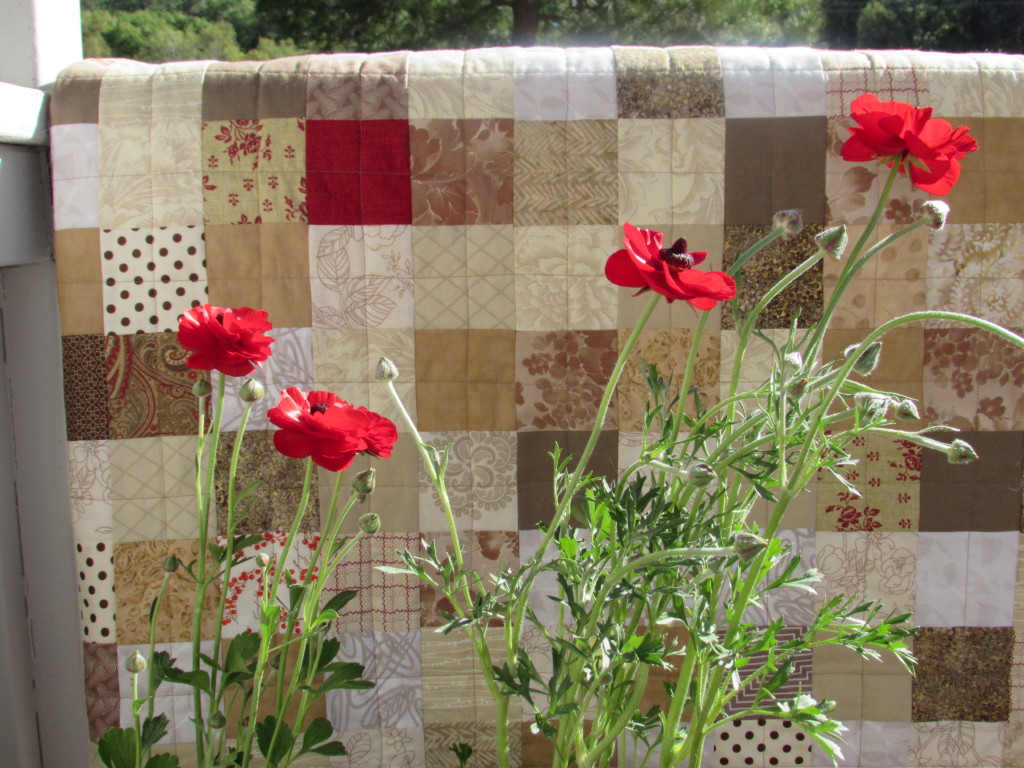
Draped sideways on the railing.

Now I am looking through choices for the backing. I have decided to keep this one. It is time for me to set up a hand quilting project to work on in the evenings. I have never hand quilted anything larger than a pillow or a mini so this is a big undertaking for me.

I have so many questions since this is a new undertaking for me! Once I baste it, I am thinking of stitching in the ditch along the sashing lines. I was thinking if I had it anchored in place, it would be easier to quilt. Of course one might say after stitching in the ditch it is basically quilted already. Is this a normal progression? I need all the hand quilters to give me lots and lots of tips and tricks in the comments please!! I am thinking of using Perle cotton. Yay or Nay??? I really don’t know what I am doing here so would love any and all hints or referrals to good places to read up on this.

I appreciate the help. Hope everyone is doing well as can be. These are trying times so let’s all stay connected even if virtually. Take care all of you. 🙂

Linking up with all the usuals. Check them out at the top of the page, under Link Ups.

Summer Flowers

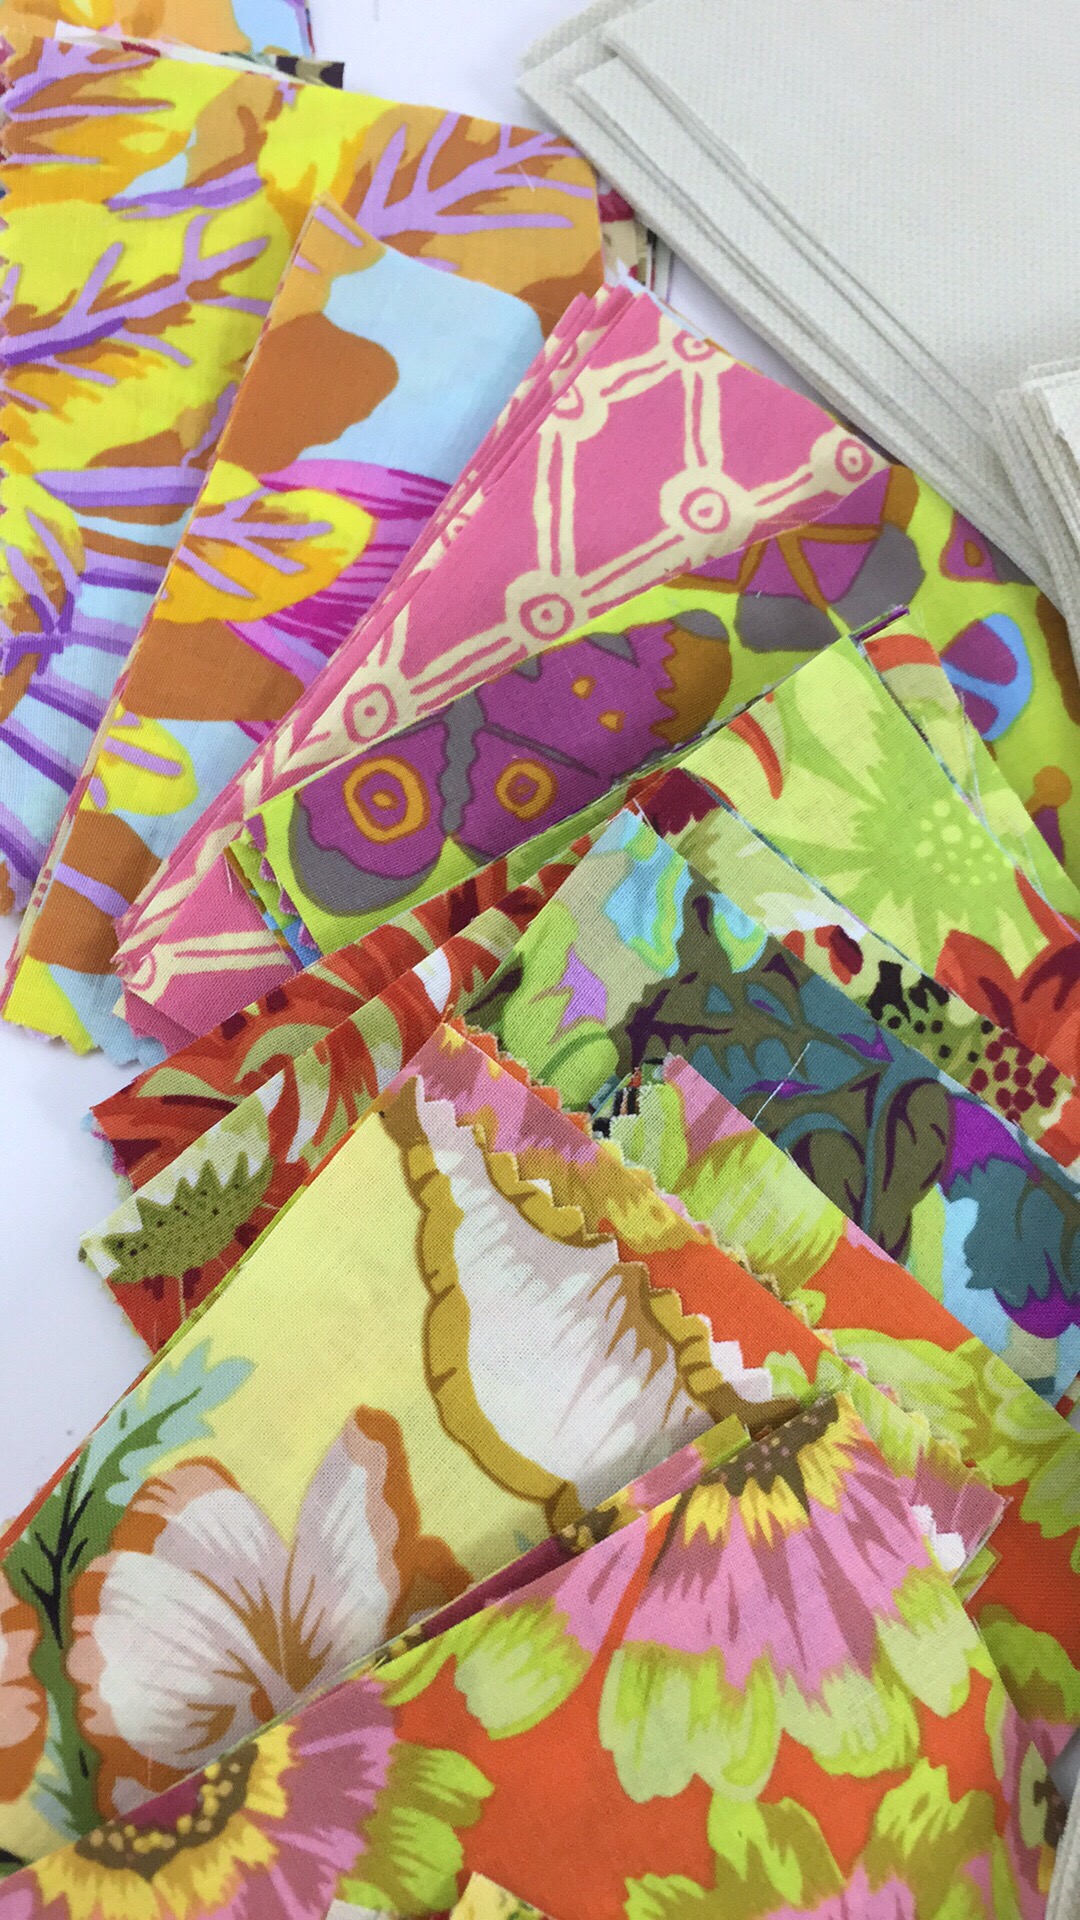
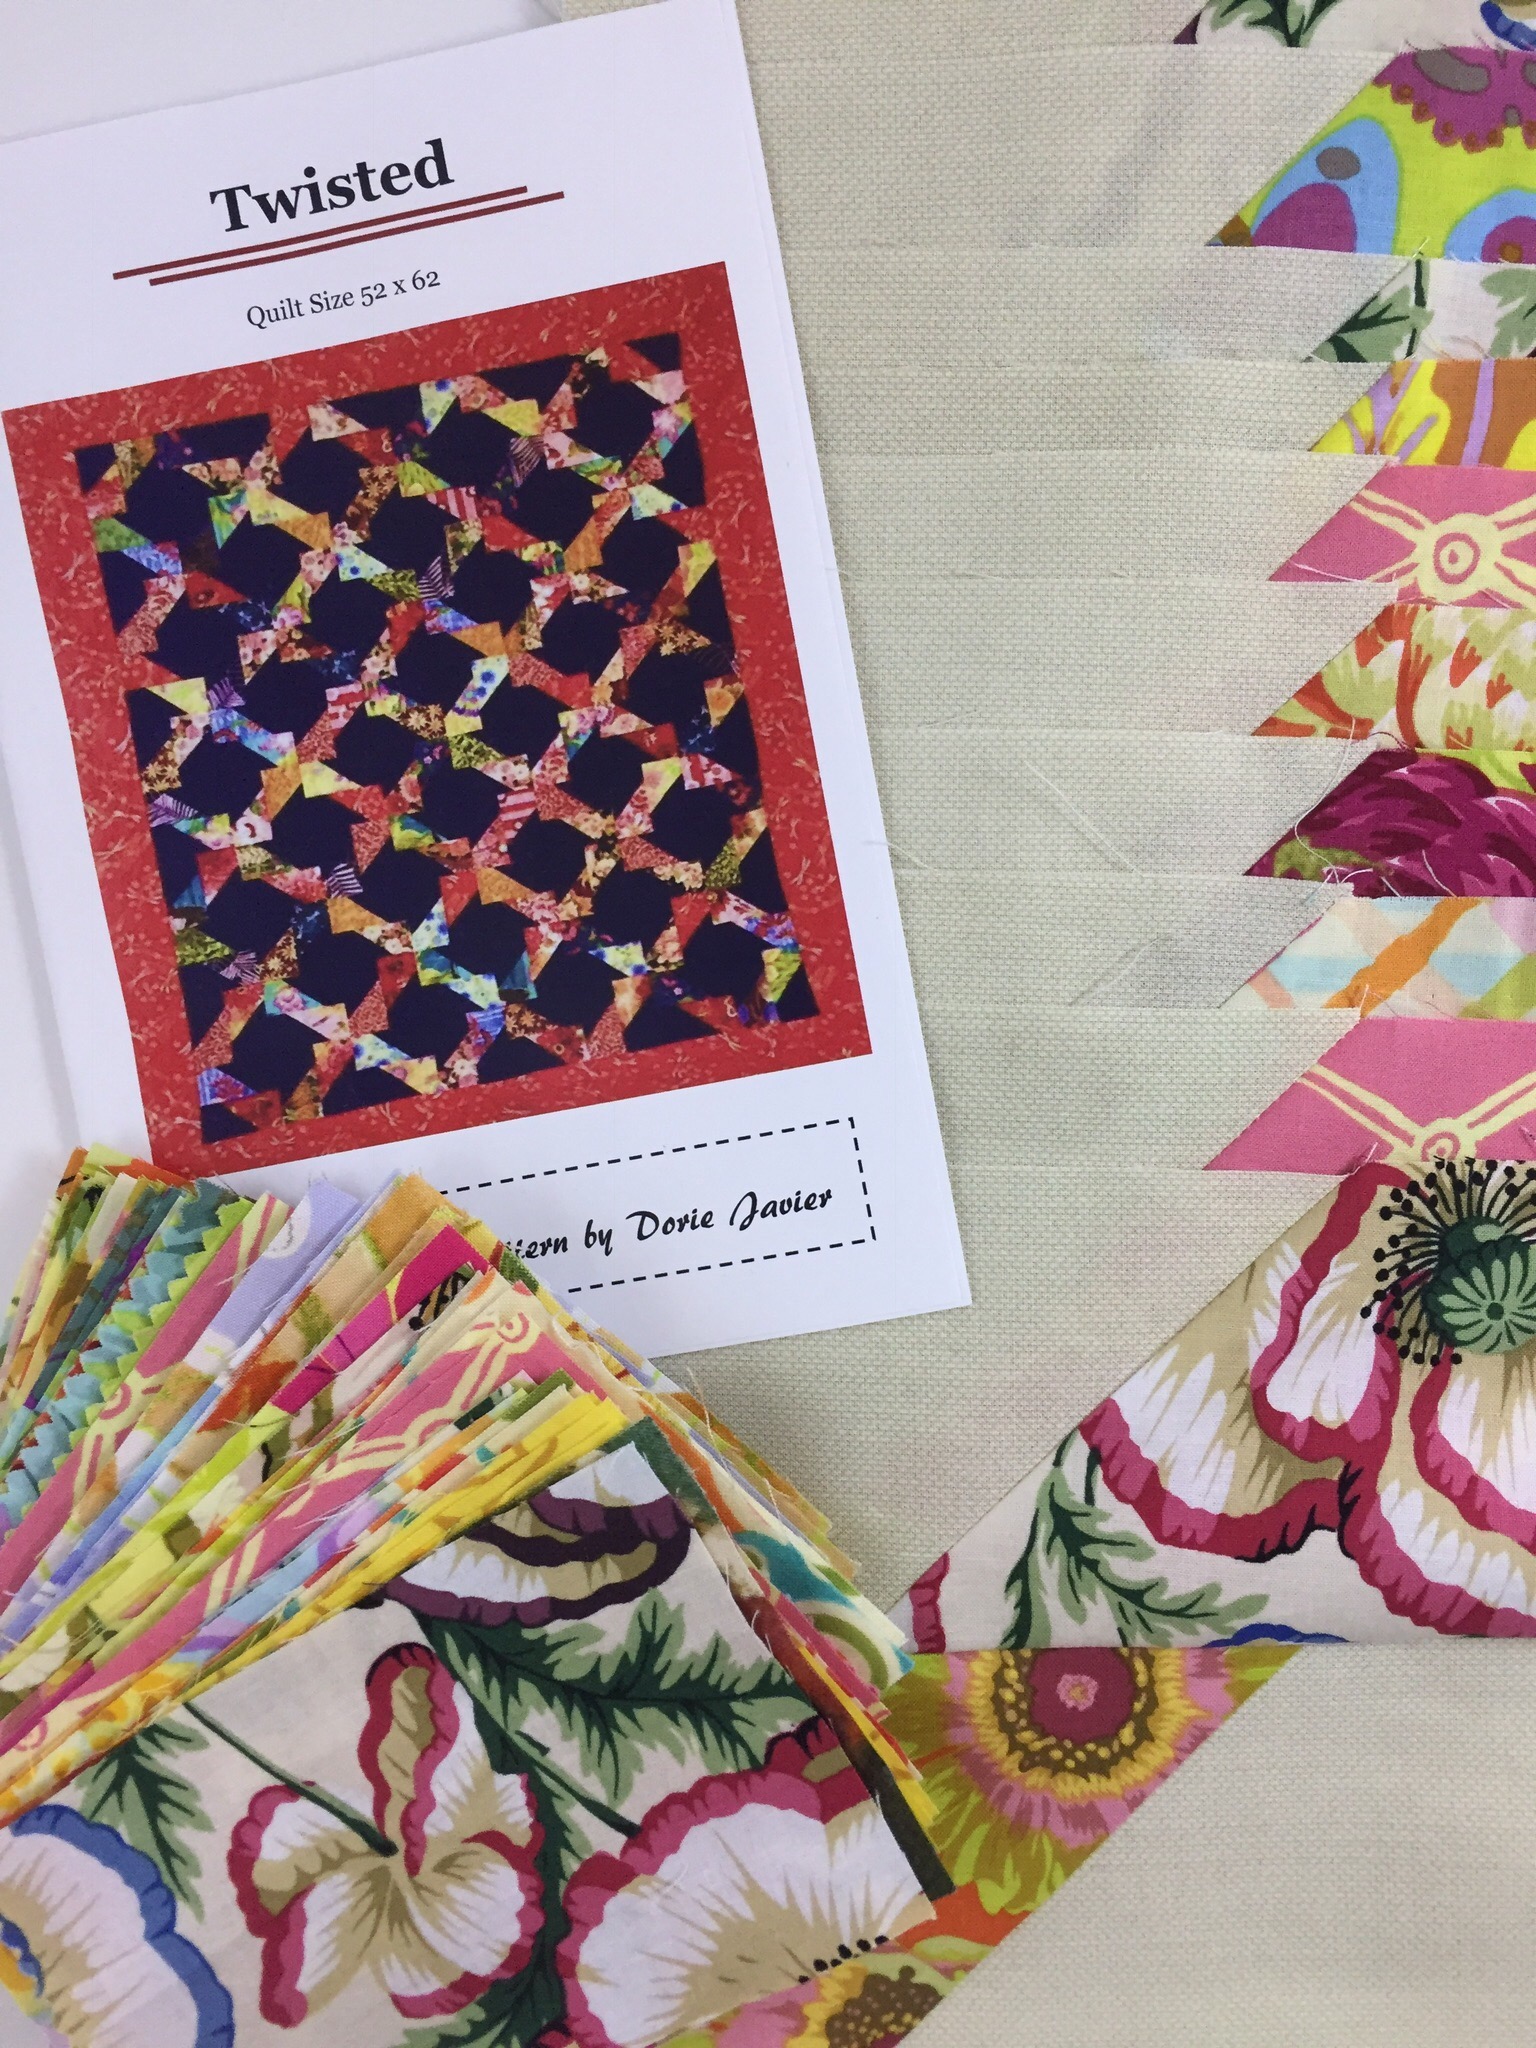
I started a new project! Over a year ago I received a stack of Kaffe Fassett florals from somebody. It was during the first round of #getyourquiltywishesgranted on Instagram. I wish I could give proper credit but I just can’t remember which kind quilter sent them. She had offered them up if anyone wanted to use them and I was the lucky recipient. Then, as often happens, they sat on the top shelf in the closet for about 18 months!


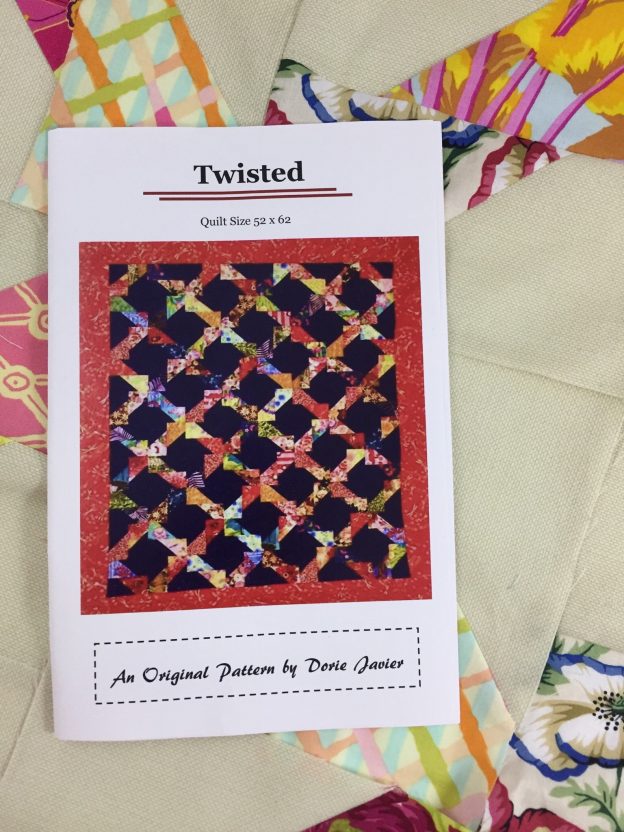
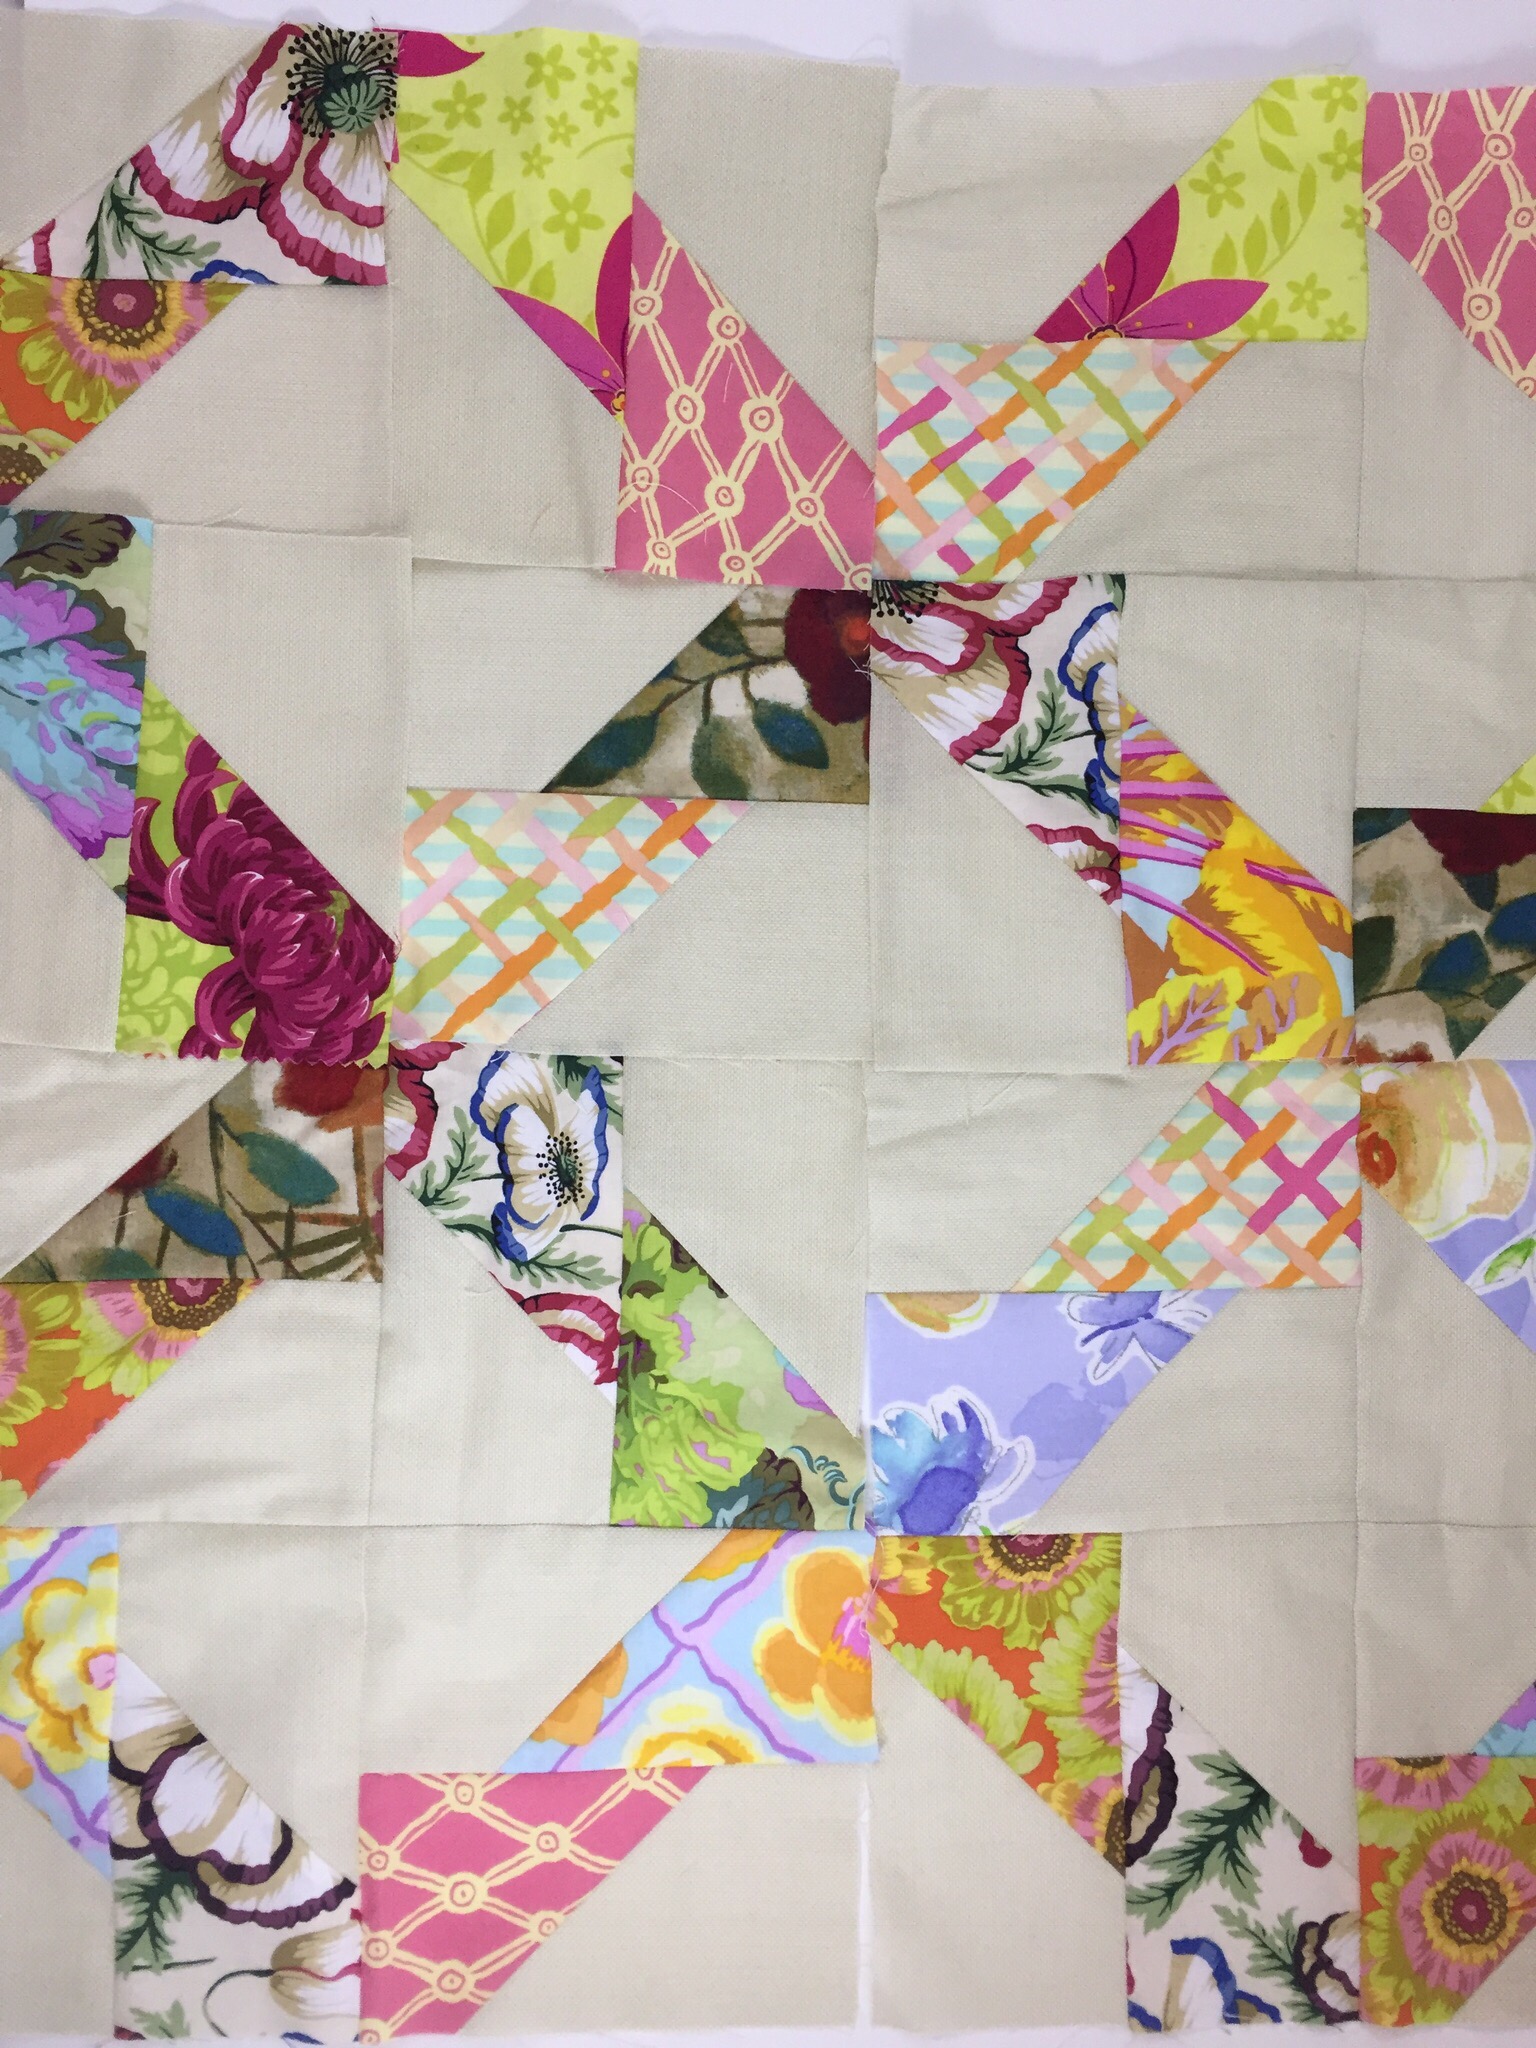
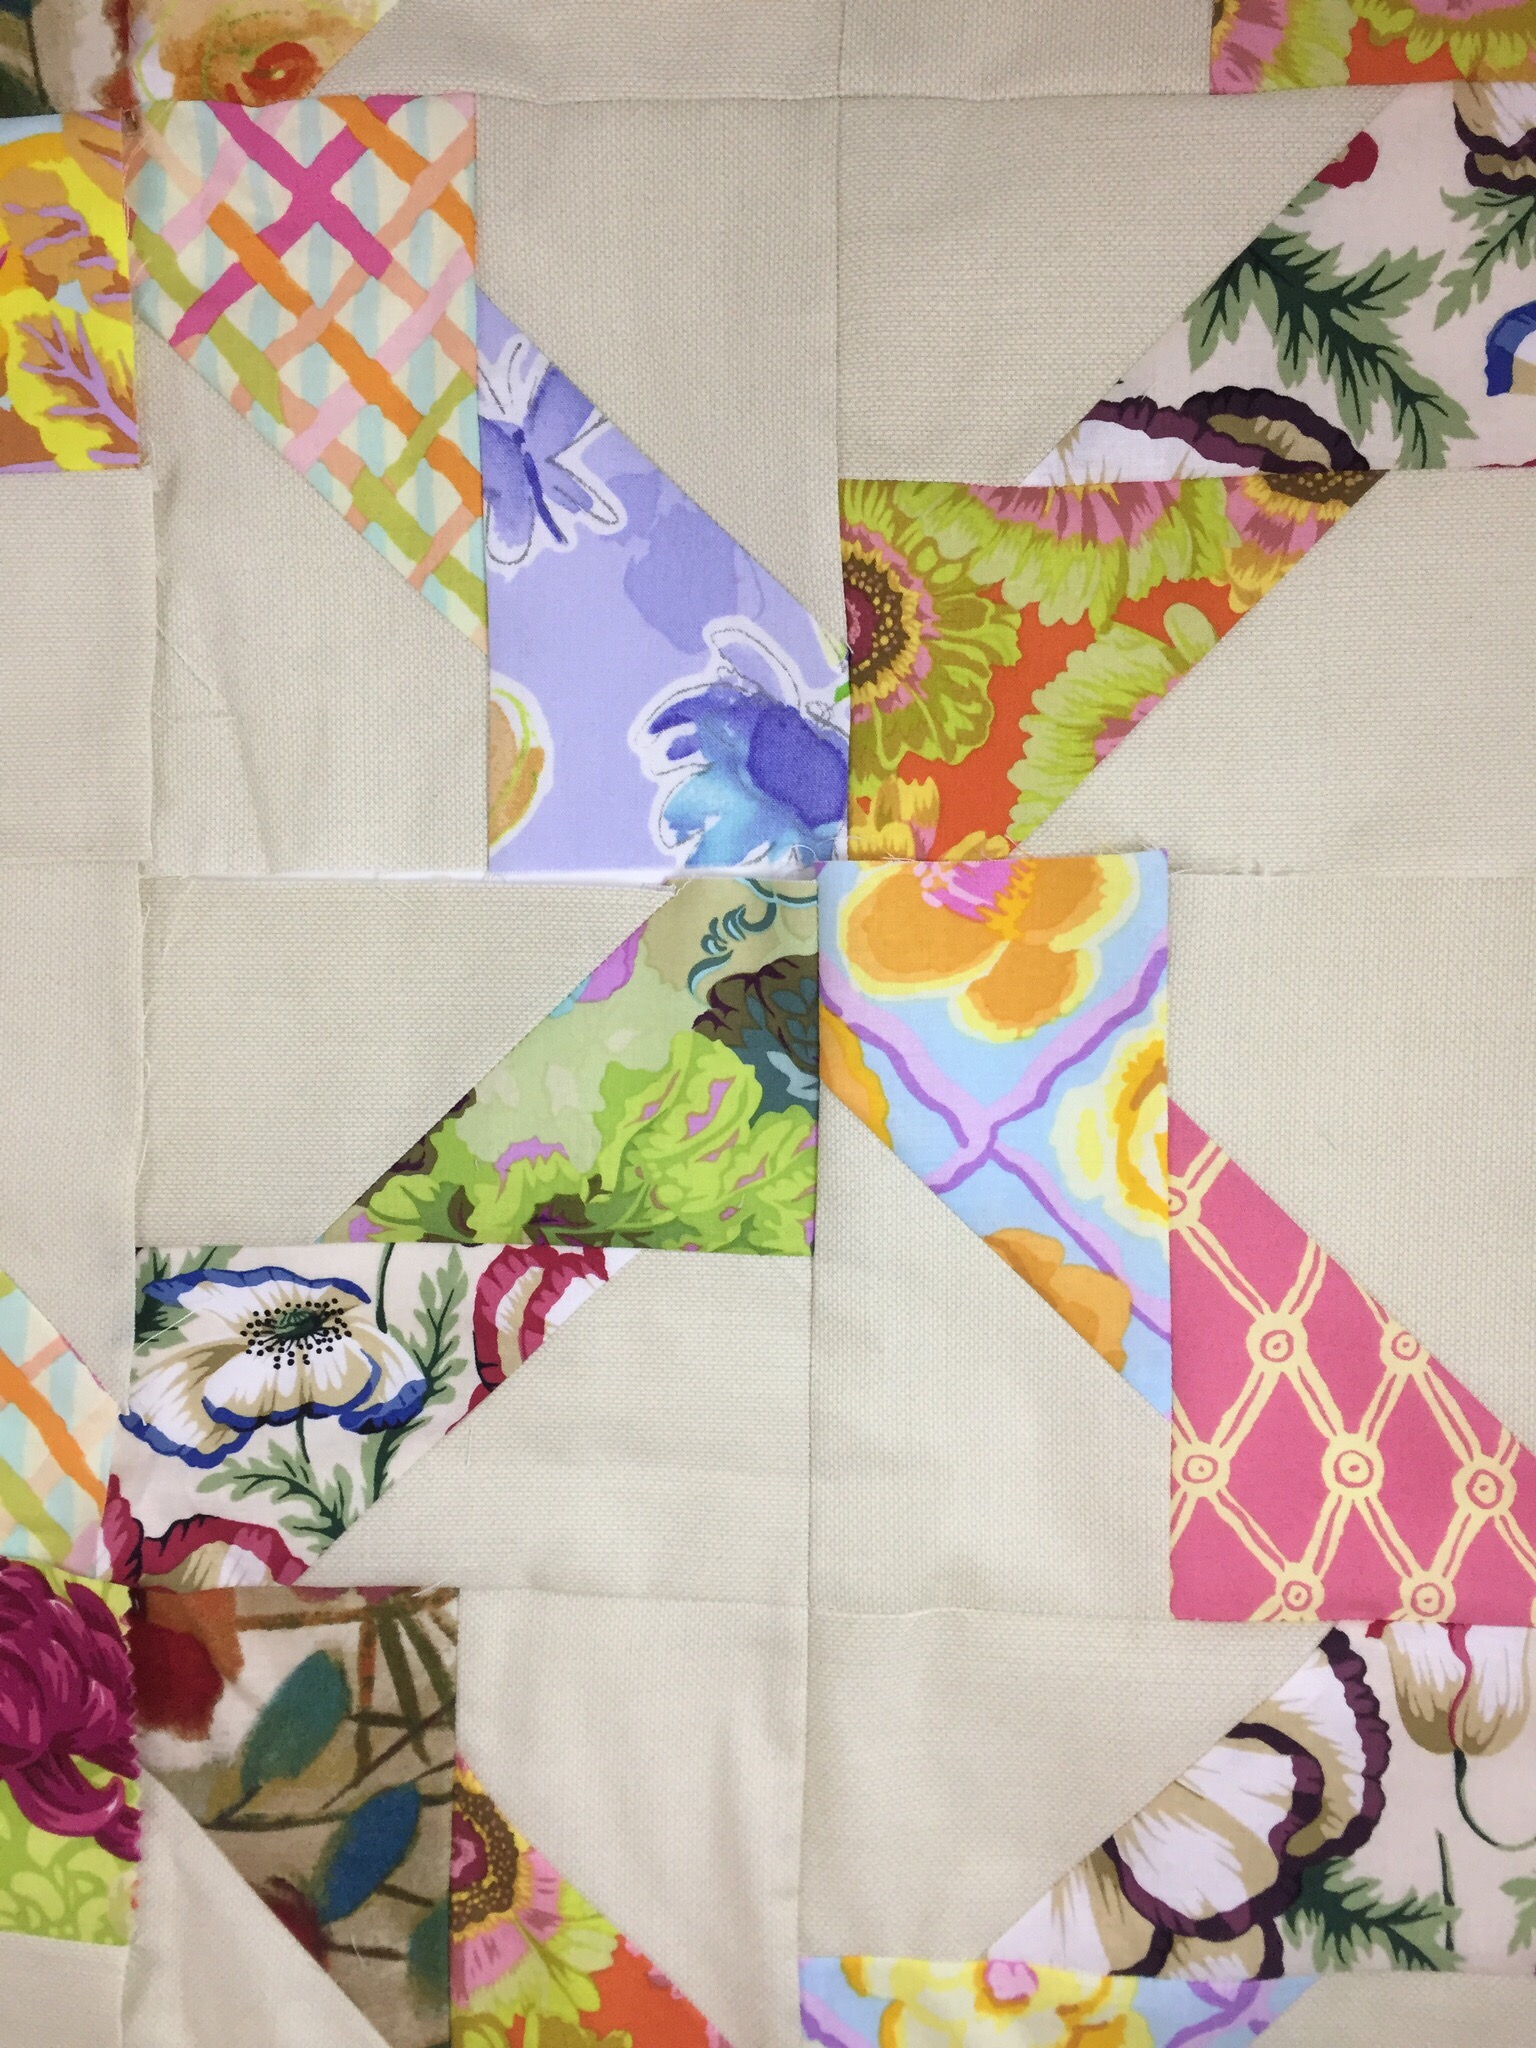
At the April guild meeting, they announced a class to be held for using up scraps. I have no shortage of possible ways to use scraps but this pattern looked cute and what is better than a day sewing with friends? I signed up. Yesterday was our sew day. A woman, Doris Javier, from a neighboring guild, had designed the pattern and she was there to teach. The pattern itself is extremely simple to construct; basically cut lots of rectangles and sew together in pairs. Then arrange in one of a number of designs and stitch into blocks. When I first started joining the rectangles, I was not consistent about the direction In which I placed the floral fabric and the background. Of course, it needs to be consistent so that the angles run the correct way. Luckily, I was eager to see how the block would come together and tried to lay some out right after I pieced the first couple. So I have a few that are slanting the wrong way and will have to be used in something else. Maybe I will piece the backing and use them for that. Because the rectangles are sewn together on the bias, much like binding strips, I now have a large stack of triangles to use up. They are all stacked in pairs and I will chain stitch them into HST’s to be used at some point down the road. Love those little bonus HST’s!

It has been a long time since I have sewn with a group and I had forgotten how much fun it is. Even with people you aren’t well acquainted with, there is already a common bond with our shared love of stitching. One of the best things about making a particular pattern with a group of people is seeing all of the different fabric combinations created by each of us. Each unique combination gives the quilt a whole new look. When I gathered my fabric together, I based the pull on the Kaffe Fassett scraps but didn’t have quite enough of them to make the whole top. It was very easy to add other brightly colored floral scraps to round things out. For the background, I selected a textured solid made by Red Rooster – it was the last bit I had in my shop and works perfectly with the florals. The look is so summery.


I made significant progress yesterday. I have a large stack of rectangles made and paired into blocks. It takes four of these to make a full block. I didn’t sew too many complete blocks together because I want to lay them out and check the distribution of color. At this point though, it shouldn’t take too long to complete the quilt top. I would estimate I have half of the rectangles pieced. With one more session in the sewing room, I should be able to chain piece the rest of them.


The group in class yesterday agreed to try and get at least the quilt top finished before the guild meeting in September. I am sure I can complete the top but would be even more pleased to get the quilt itself completed. We shall see how my projects go this summer!

Quick side note: I am thrilled with the number of readers joining in with the sew along that is just beginning. If you haven’t read the post yet, click here. We will be making a simple shirt to wear and I will break it down into a few simple steps. We are just getting started so I t isn’t too late to join in. Read the post, order your pattern and select your fabric. The next post will be up on June 15th! Let me know if you have any questions.

Resplendent Rows

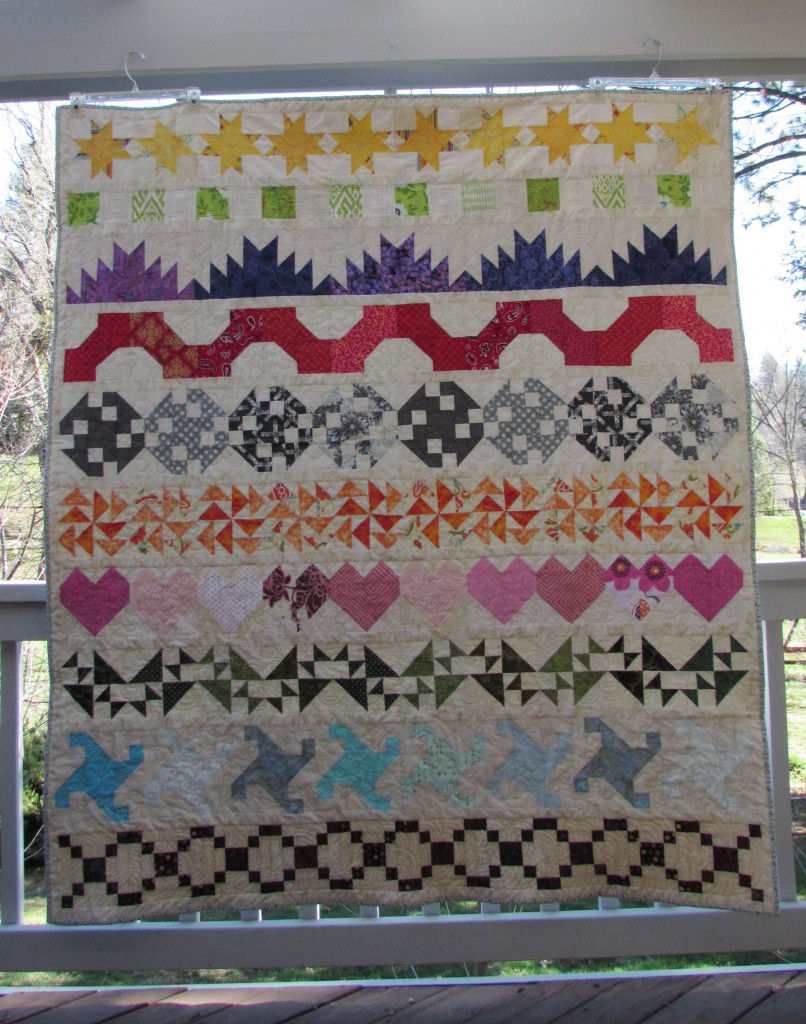
Oh, how I love this finish! I’m not positive, but I think this quilt (so far) is the one that I have spent the most time on. I don’t track hours or anything like that, but I feel like this one has many hours into it. For RSC15 I made a row quilt by following along with Mari and her Classic Stitches BOM. Each row consists of a set of blocks that root back in quilting history. Mari chose an excellent sampling of blocks and I was able to complete nine of her eleven tutorials. A couple of them were too challenging for me and I substituted easier blocks those two months.

IMG_20160222_4578

Overall, I absolutely adore this quilt. I love the bright, crazy, scrappy look, the traditional blocks that change row by row, sampler style, and the quilting that I did on each row. It was a great experience for me in a couple of different ways.

First of all, row quilts are a challenge in that it is tough to get each row to come out the same length. My supposition is that with all of the handling of each block and each row, month over month, they stretch a bit and become distorted. This quilt is absolutely not going to be entered into any juried shows! it is not even close to square. I sashed it because I wanted lines separating each row to give the eye a place to rest; this is a busy quilt. Additionally, the blocks are not accurately pieced enough to match row upon row. Did I cut off any points? Oh yeah. So by sashing them, I was able to deal with a lot of those issues. Cutting 60″ rows of sashing allowed me to ease the rows in and deal with any rows that were slightly longer than 60″. Really, sashing hides a multitude of issues.  🙂

I had a great time quilting this project. At 60″ by 70″, it was a reasonable size to FMQ on my machine. I chose a different motif for each row which was a great way to quilt it without getting bored half way through. Some motifs were easier than others but for the most part, I am very pleased with the result.

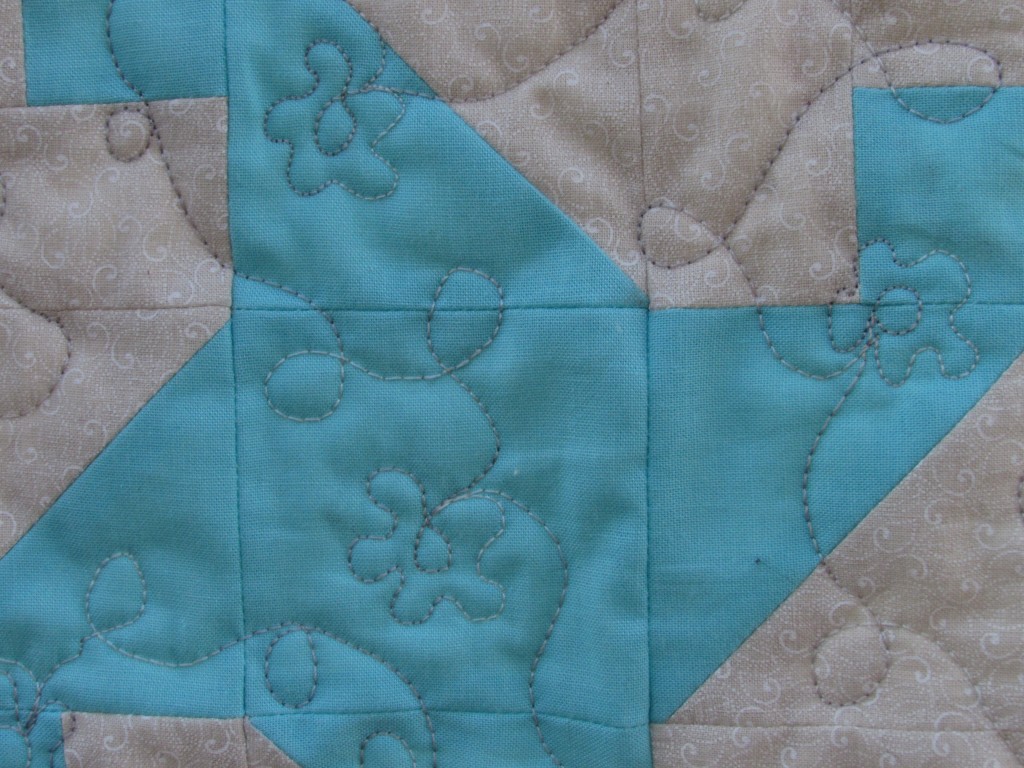
Lazy little flowers meander over the blue Water Wheel row.

IMG_20160222_4584

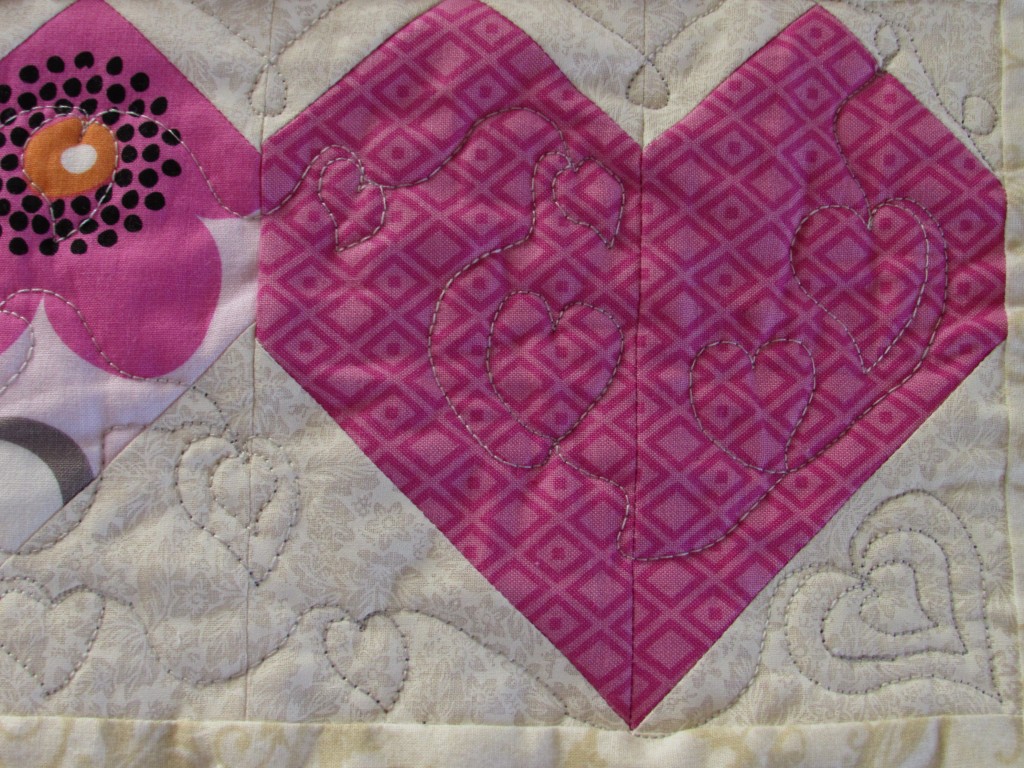
I quilted meandering hearts over the pink row. They turned out decent but they were harder than I expected.
IMG_20160222_4599

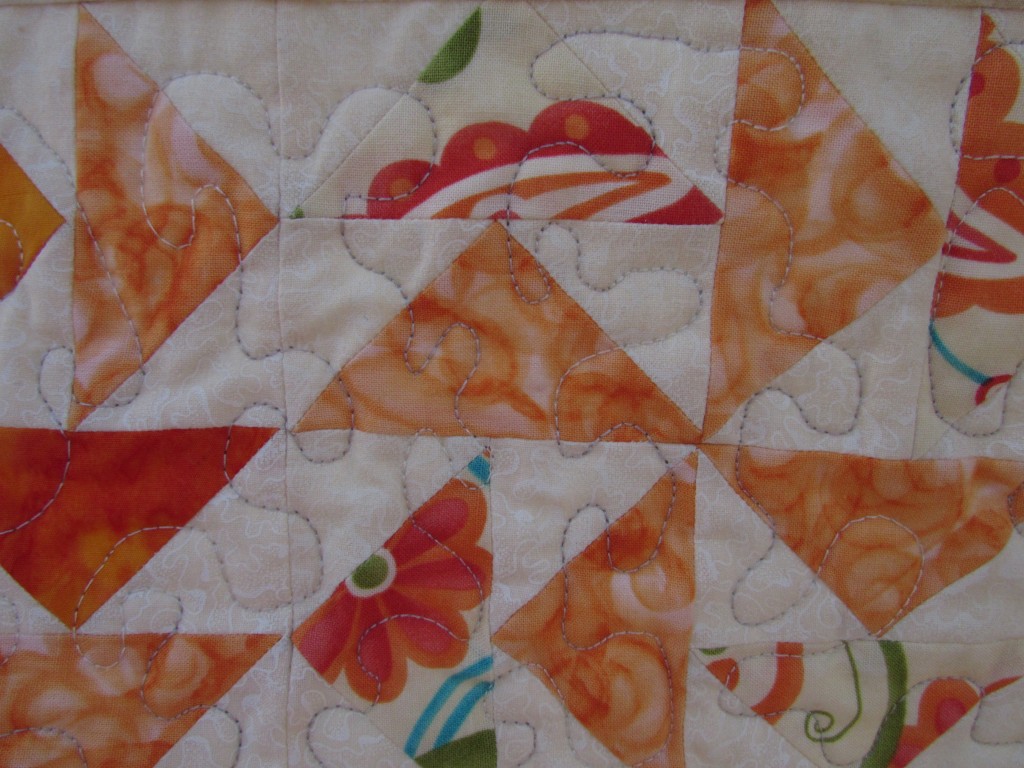
The orange Dutchman’s Puzzle blocks made for my favorite row. With these tiny pieces, my row had a fair-sized ripple to it and I was concerned about quilting it. After consulting with one of my favorite quilters, Janine over at Quilts From the Little House, I decided to use a tight meander. She felt like I could quilt the row into submission, and it worked. Yay Janine! Definitely good advice.

IMG_20160222_4583

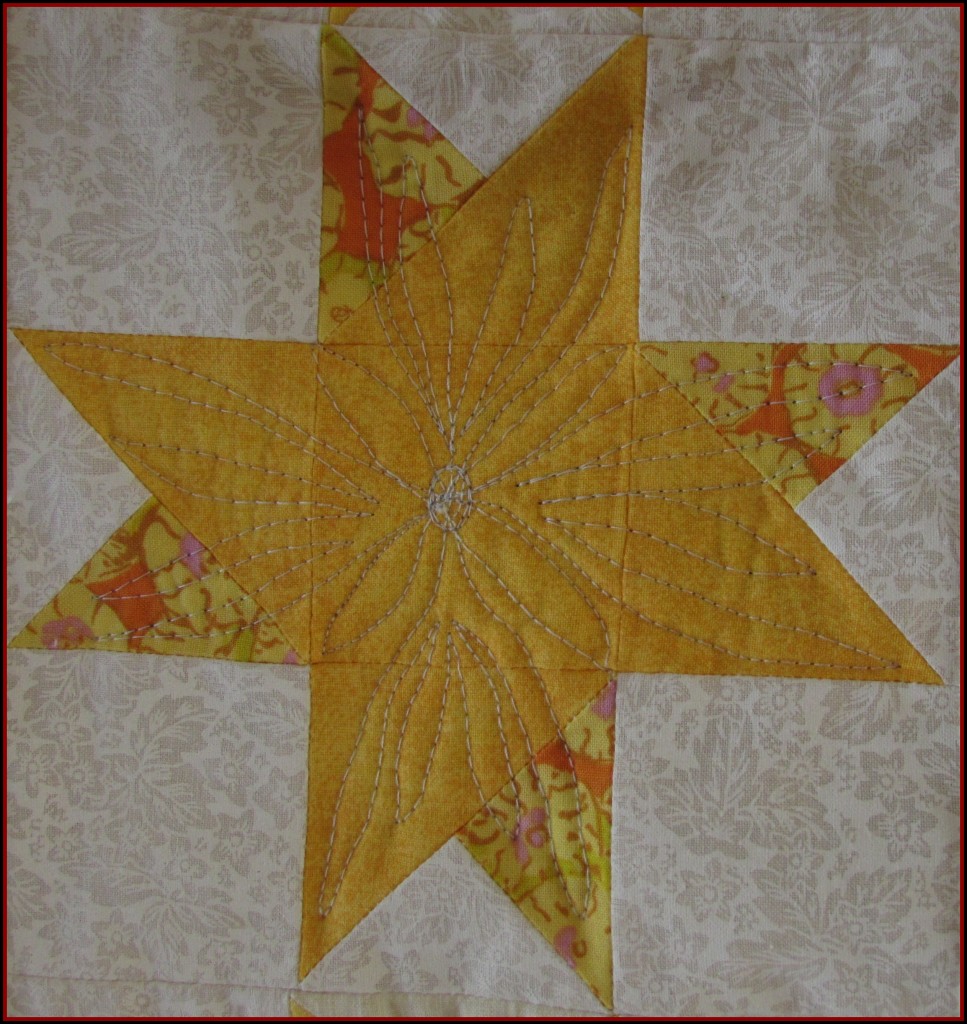
The yellow row of Double Stars is another favorite. I decided to quilt each individual star, rather than cruising over the entire row and I am very happy with the resulting flower contained within each star.

IMG_20160222_4592

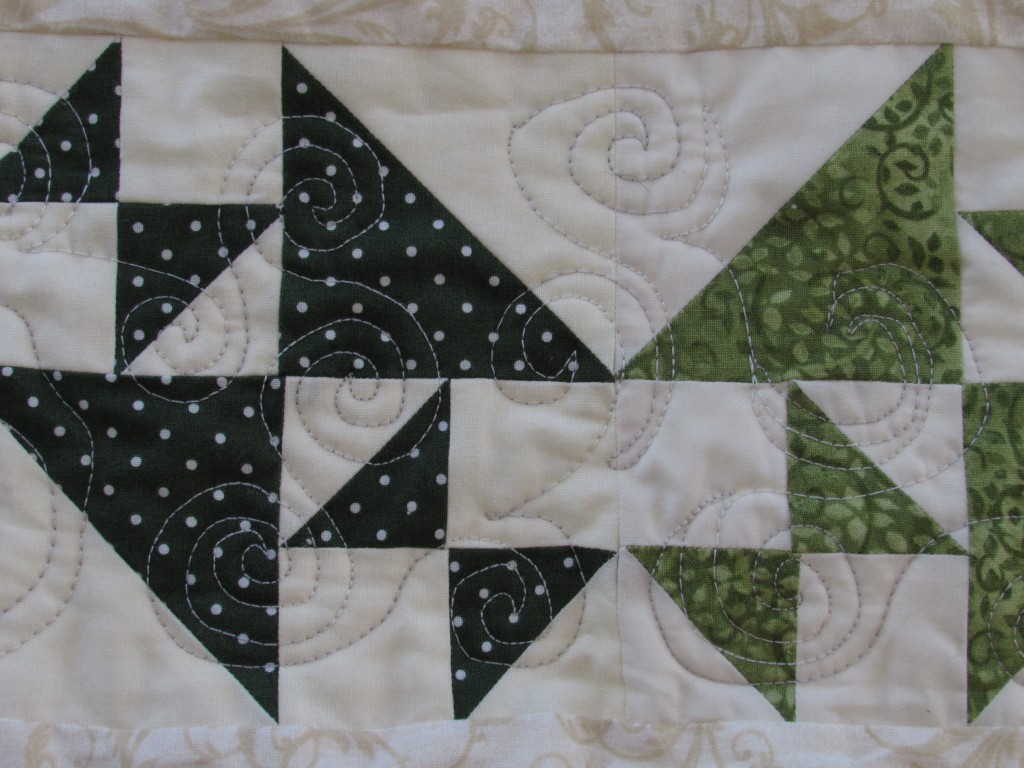
The green row of Crosses and Losses blocks is quilted with little swirls. These were tough. They are a bit more herky-jerky than I would like but this is where I am at this point in my quilting.  With each row, I worked right to left, preferring to begin with the bulk of the quilt bunched into the throat and then feed the quilt out. So the right side of the rows are a bit rougher than the left. I improved as I went along. I plan to only look at the good half.  😉

IMG_20160222_4585

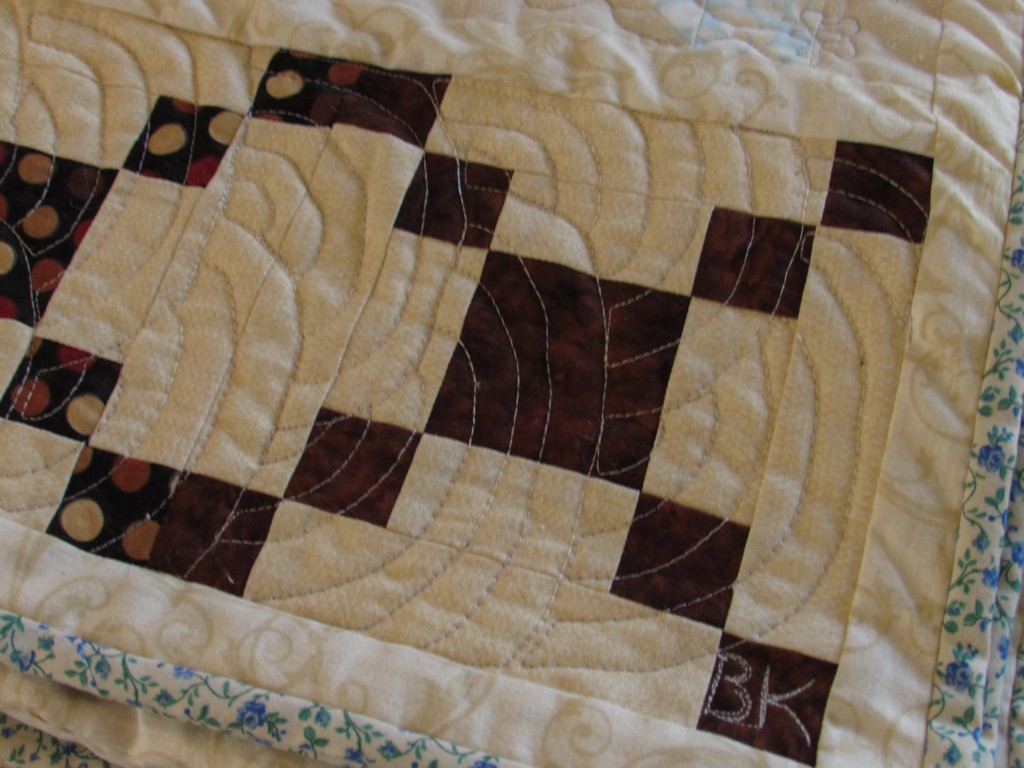
The brown Pennsylvania blocks are sporting a Baptist Fan motif. Since I rarely get around to labeling a quilt, I also put my initials on the very far right corner. (On this row I did work left to right. It seemed easier to get the fans moving in that direction.) Again, these turned out ok – they look better from a distance than up close. Curves are tough.

IMG_20160222_4600

Here is a peek at the back. I love the simplicity of the back since the front is so raucous. With the tiny floral print, the quilting really doesn’t show but that is fine. Crazy on the front and calm on the back! I used the backing fabric as binding too. The little floral has a vintage look to it that works with these traditional blocks.

IMG_20160222_4589Yep, I love this quilt and learned so much from the process of making and quilting it. It was a wonderful project and I am so grateful to Mari for all the time she took to create the tutorials each month and her patience with my whiny emails about how hard the blocks were! Her bit of history behind each block was an added bonus each month.

IMG_20160222_4593

Linking this week with Linky Tuesday, Sew Cute Tuesday, Freemotion Mavericks and Finish it Up Friday.

A Finish with a Flange

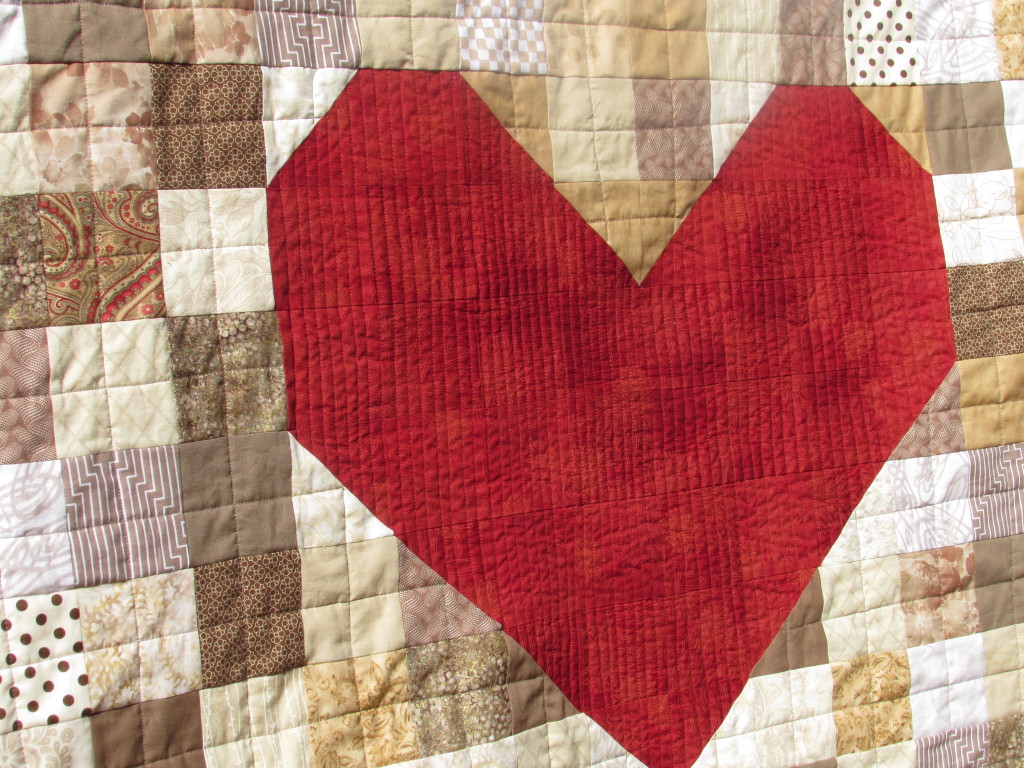
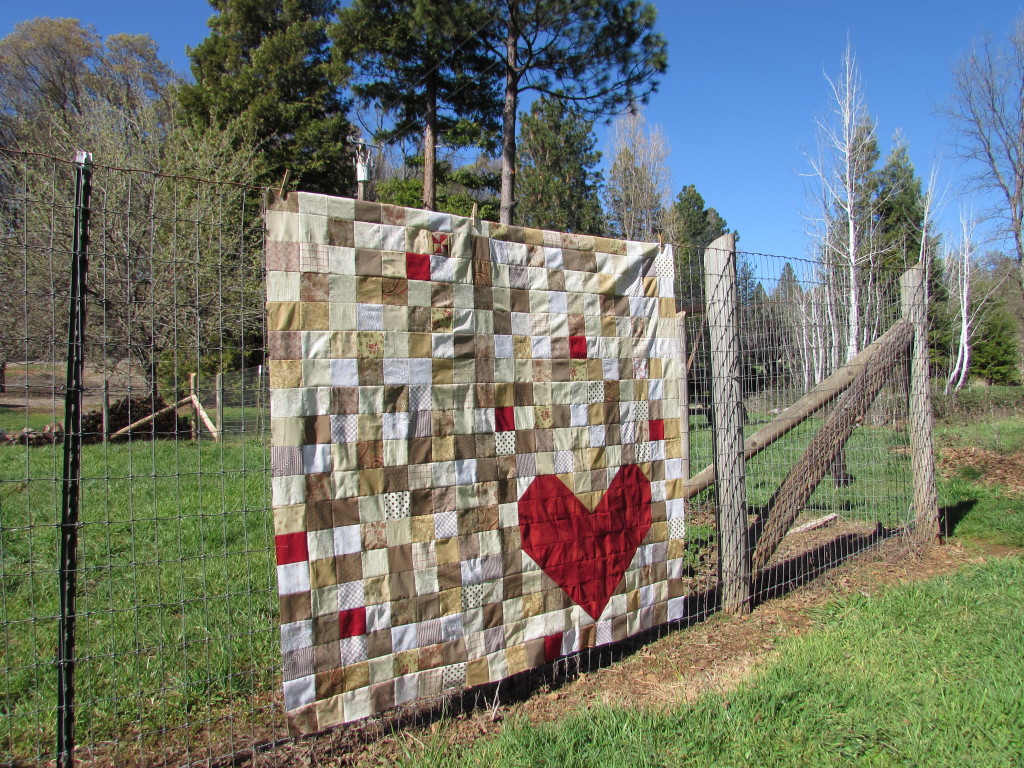
So pleased to show this week’s finish!!  I love this quilt for a variety of reasons. The colors are just what I wanted for one.  I have always loved a basic pallette using neutral colors. As I mentioned earlier, I then decided I wanted to put a pop of red it. The more I played with this, the more I liked that red. Thus the addition of the large red heart!

IMG_20150325_2982

The biggest reason though is that it is my own.  The design is simple but it came from me; I didn’t use anyone’s pattern and that is absolutely a first. I used straight line quilting going in several directions. The hearted was densely quilted with lines about 1/2″ apart. I used the edge of the walking foot as my guide for that. The body of the quilt has straight lines going through each square, both horizonally and vertically. I started out marking each line with my Hera Marker but after a while, I got used to the patterns in the fabric and used those to guide me along and just freehanded it. Much simpler and very freeing!

IMG_20150325_2986

I took my time with this and didn’t rush to finish it. I did get antsy when I was quilting it and again when I was burying the threads around the red heart. I reminded myself to relax and enjoy the process and it was so nice. I loved every bit of it – even the annoying tasks like cleaning up the myriad little threads all over the back before sandwiching it. Even (and especially) sewing the binding to the back. I do love the process. I think part of the issue is that I feel like I should crank something out so I have “something” to write a post about. This was in the back of my mind but really, even though this blog is something I truly enjoy, I don’t want to be cranking out finishes just so I have a post. That doesn’t make any sense to me.

IMG_20150325_2988

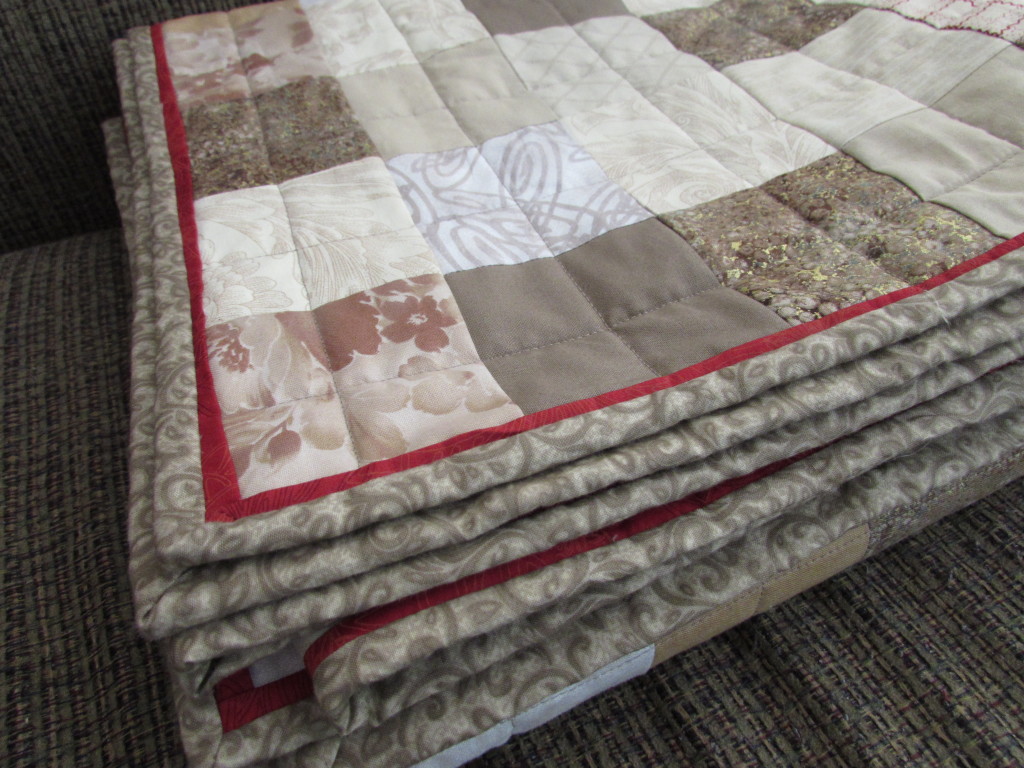
After I got the quilting finished up, I was looking at it trying to decide how I wanted to bind it. I had enough of the fabric from the backing to use as binding but I was torn between using that and using the red fabric from the heart. Finally I remembered a post I had read a long while back over at Persimon Dreams. She had placed a very narrow flange on the quilt before binding it to add a pop of color. Yay-it was the perfect solution. I commented on that particular post and Kim was so kind to send me a quick email explaining how she did it. (So, actually part of this quilt was inspired by another but that’s ok. I want to give credit where credit is due.) Adding the flange took very little time and I think the effect it provides is wonderful.

IMG_20150325_2996


If you haven’t ever done a flange, it is very easy. I cut strips that were one inch wide of the contrasting red fabric. Then I sewed them together, just as one would with a binding strip. Fold it in half and press so you are left with a 1/2″ wide folded strip. (Kim used a 3/4″ strip ending up with a 3/8″ folded piece but I wanted something a little bit wider.) Once you have the flange prepared, attach it to the quilt’s raw edge on the top side. Sew it to the quilt using a VERY scant 1/4″ seam. I used a longer stitch (my Janome was set to 3.5 stitch length) which made attaching it a breeze. Then attach your binding as usual. Be sure to hand stitch the binding to the back. If you machine stitch it, those stitches will show on the flange. Easy peasy!  If you have any questions, let me know in the comments.

IMG_20150325_2989

Yep, this was a great finish and I will be gifting it to someone soon. That is the best part – giving it away and giving someone the joy of a cozy quilt. Hope the recipient loves it.

Linking to Sew Bittersweet Designs as this is my March finish for ALYOF. Yahoo for setting a goal (I had better plan my projects for April soon.) Also linking to Freemotion by the River and Let’s Bee Social.

Progress Report

This week has started out with a productive bang. Yesterday I completed my neutrals/red heart quilt top. Today I finished up our taxes (never a fun task). Wow. If I don’t do anything else this week, I’m ok with that!

I got on a roll with the neutrals quilt and it all came together so quickly.

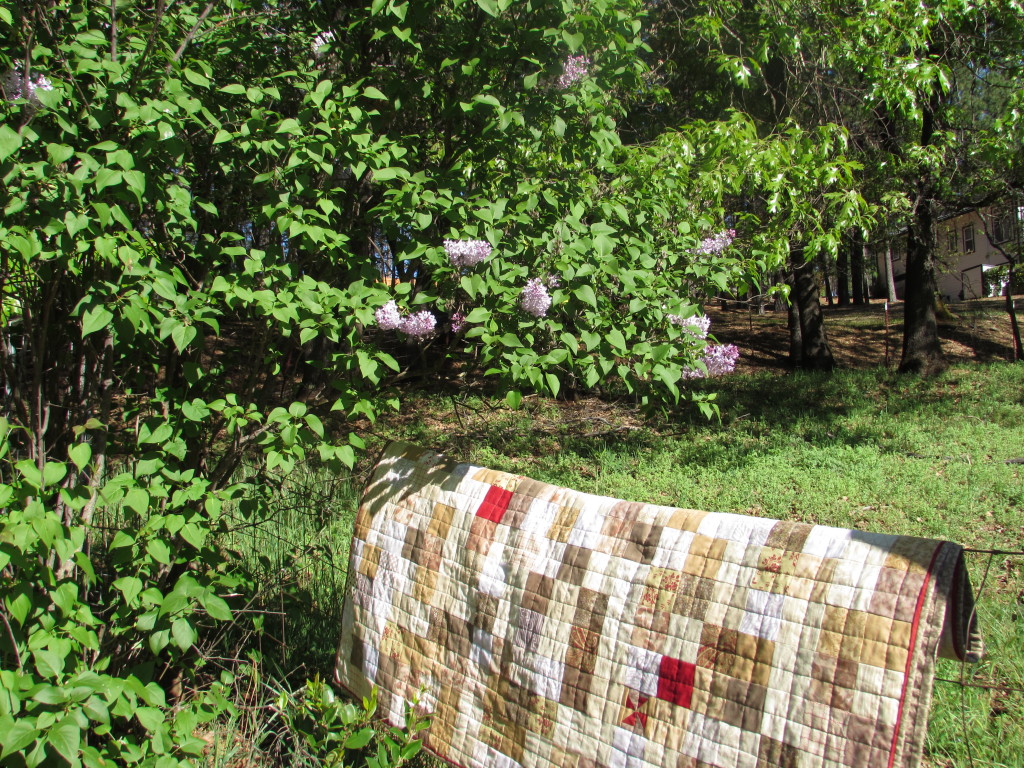
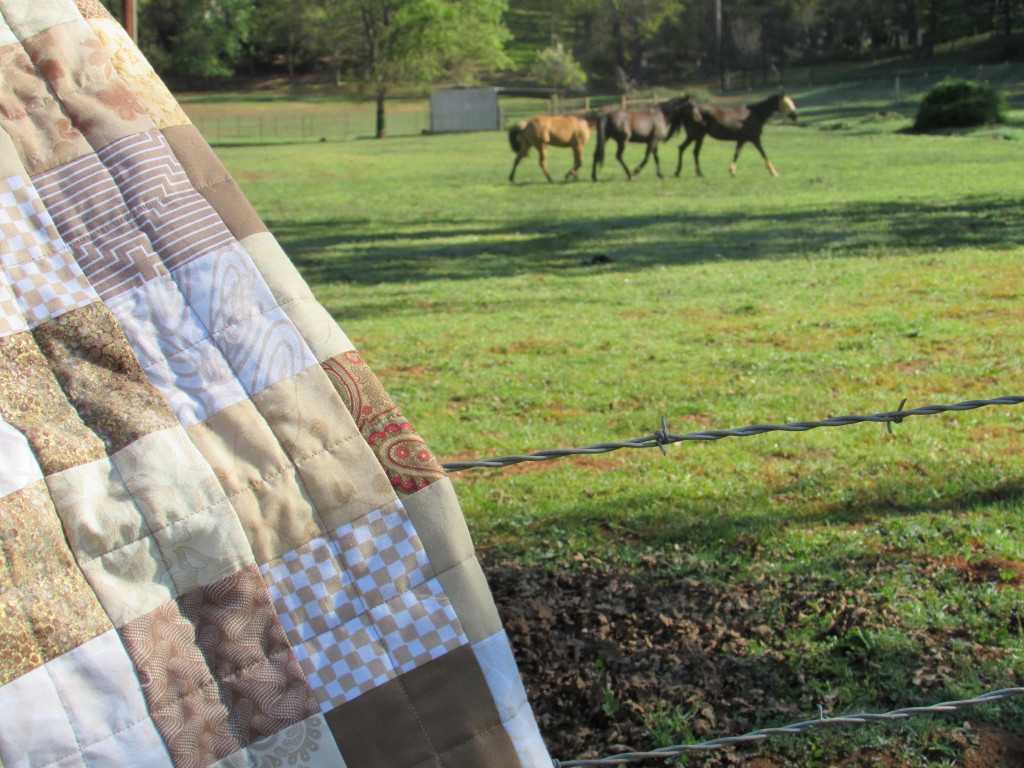
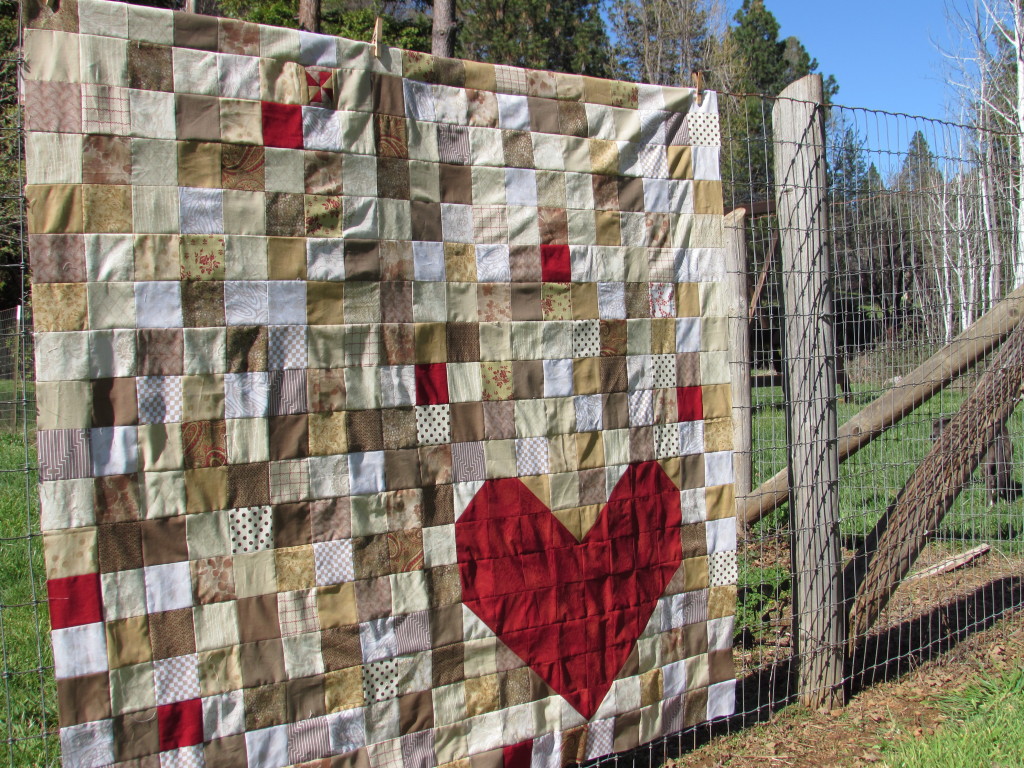
IMG_20150309_2952The fence wasn’t quite tall enough to photograph the whole thing but this is most of it. Pretend I ironed it – the wrinkles are really showing in these pictures!

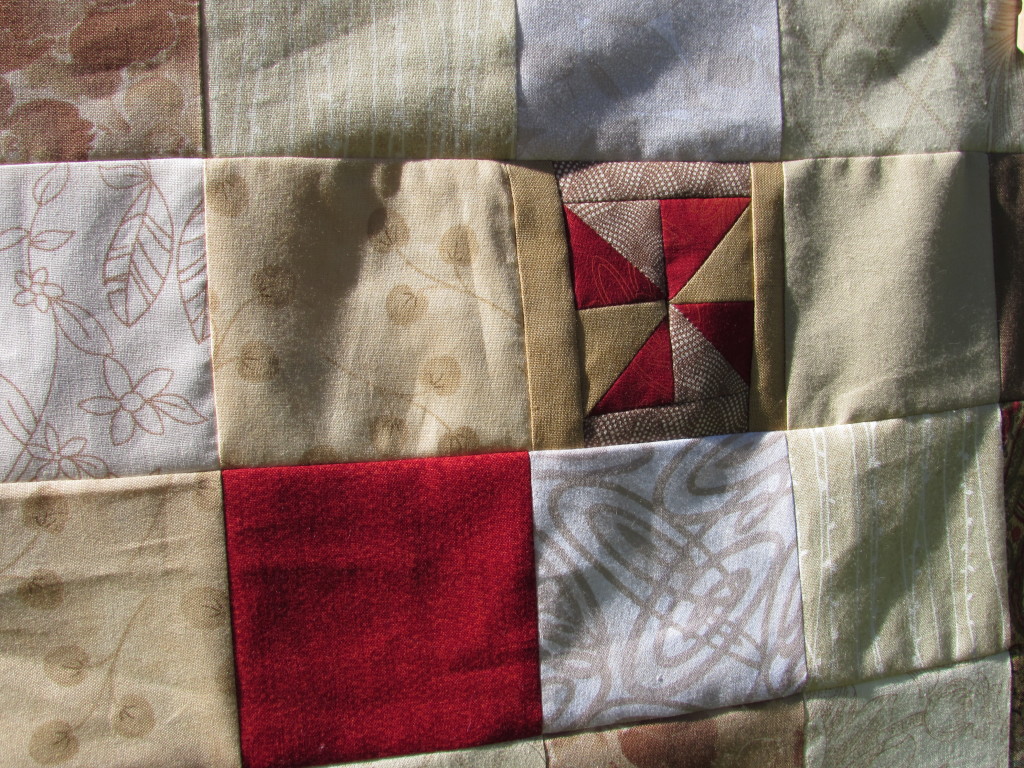
IMG_20150309_2954I pieced one little random block. When I was trimming the HST’s to be used in making the big heart, I had little bits and pieces leftover. I used a few of them to make this little guy.

IMG_20150309_2953Tomorrow I will get the backing assembled and pin baste the layers together. I haven’t quite  decided how to quilt it. I know I want to use straight line quilting but not positive of the pattern.  Also thinking about quilting the heart separately or different somehow so it stands out more.

Making good progress on my March goal! Also got started on the yellow scrappy blocks for RSC15 and they are going to be adorable. They are a double star block – finished the first of ten blocks today . At least all of the pieces are cut though so they will go together quickly.

Linking to Sew Cute Tuesday, Linky Tuesday and Let’s Bee Social. Links to all of these great sites are located at the top of this page under Link Ups.