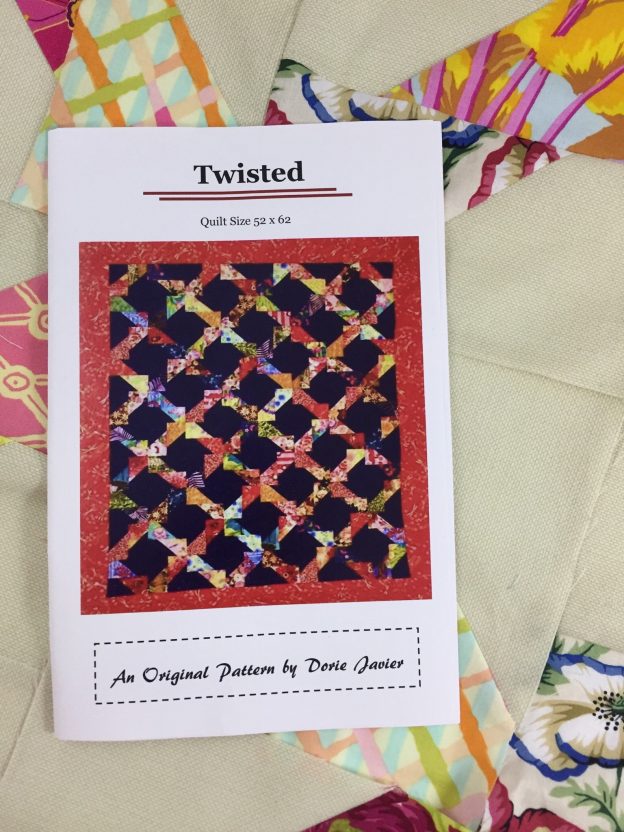
I have made progress on my Twisted quilt — I have a finished quilt top! Do you remember this project? I started it a long while back when my local quilt guild hosted a class taught by the pattern designer, Dorie Javier. (Pattern is available in my shop. Click here to see.) It was in June of last year that I began the quilt. I pulled it out once or twice since then and made a few more blocks for it. Then it would sit. Here we are, a year later, and I had hardly made any progress on it.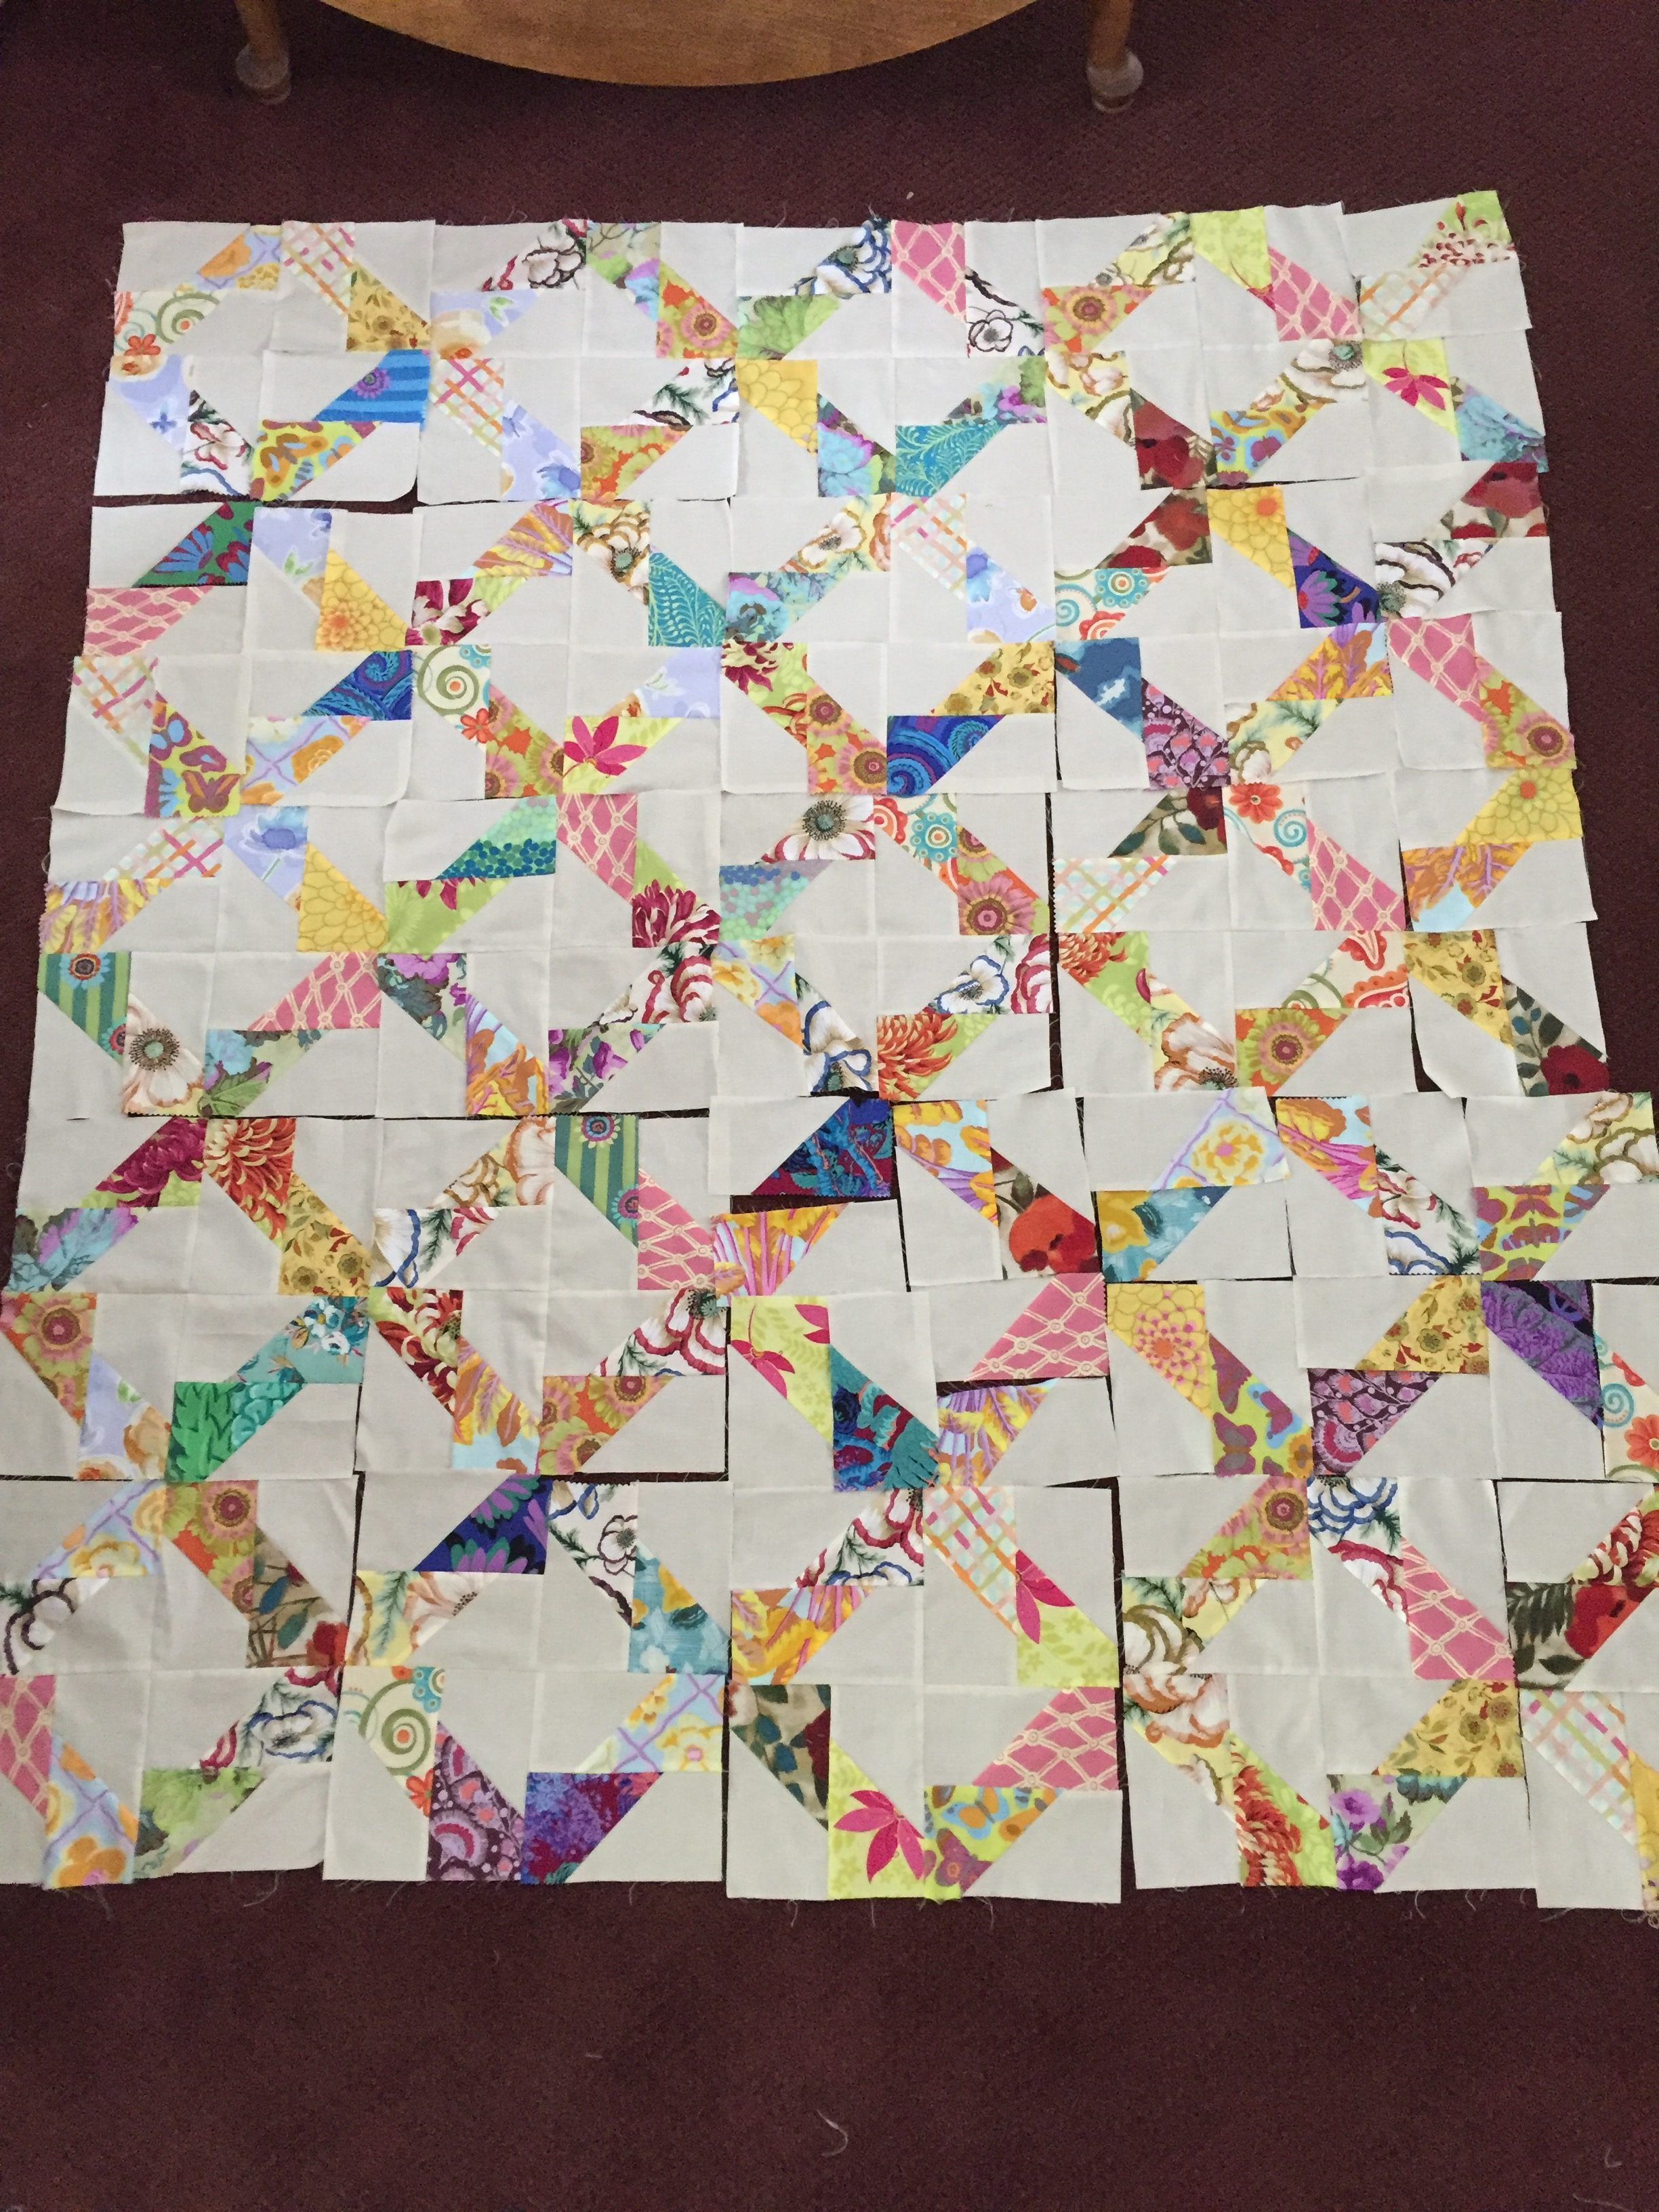 About two weeks ago, I had the pleasure of sewing with my friend, Sophia. I decided this was the project to work on. Making the rest of the blocks went quickly. Playing with the layout took a little bit of time. At first I was sewing the four blocks together and then laying out the 12″ blocks but I realized I needed to play with colors and sprinkle the darker values out across the quilt. It worked better to layout some of the six inch blocks so I had more flexibility. I unpicked the seams on a number of the 12″ blocks to allow for this.
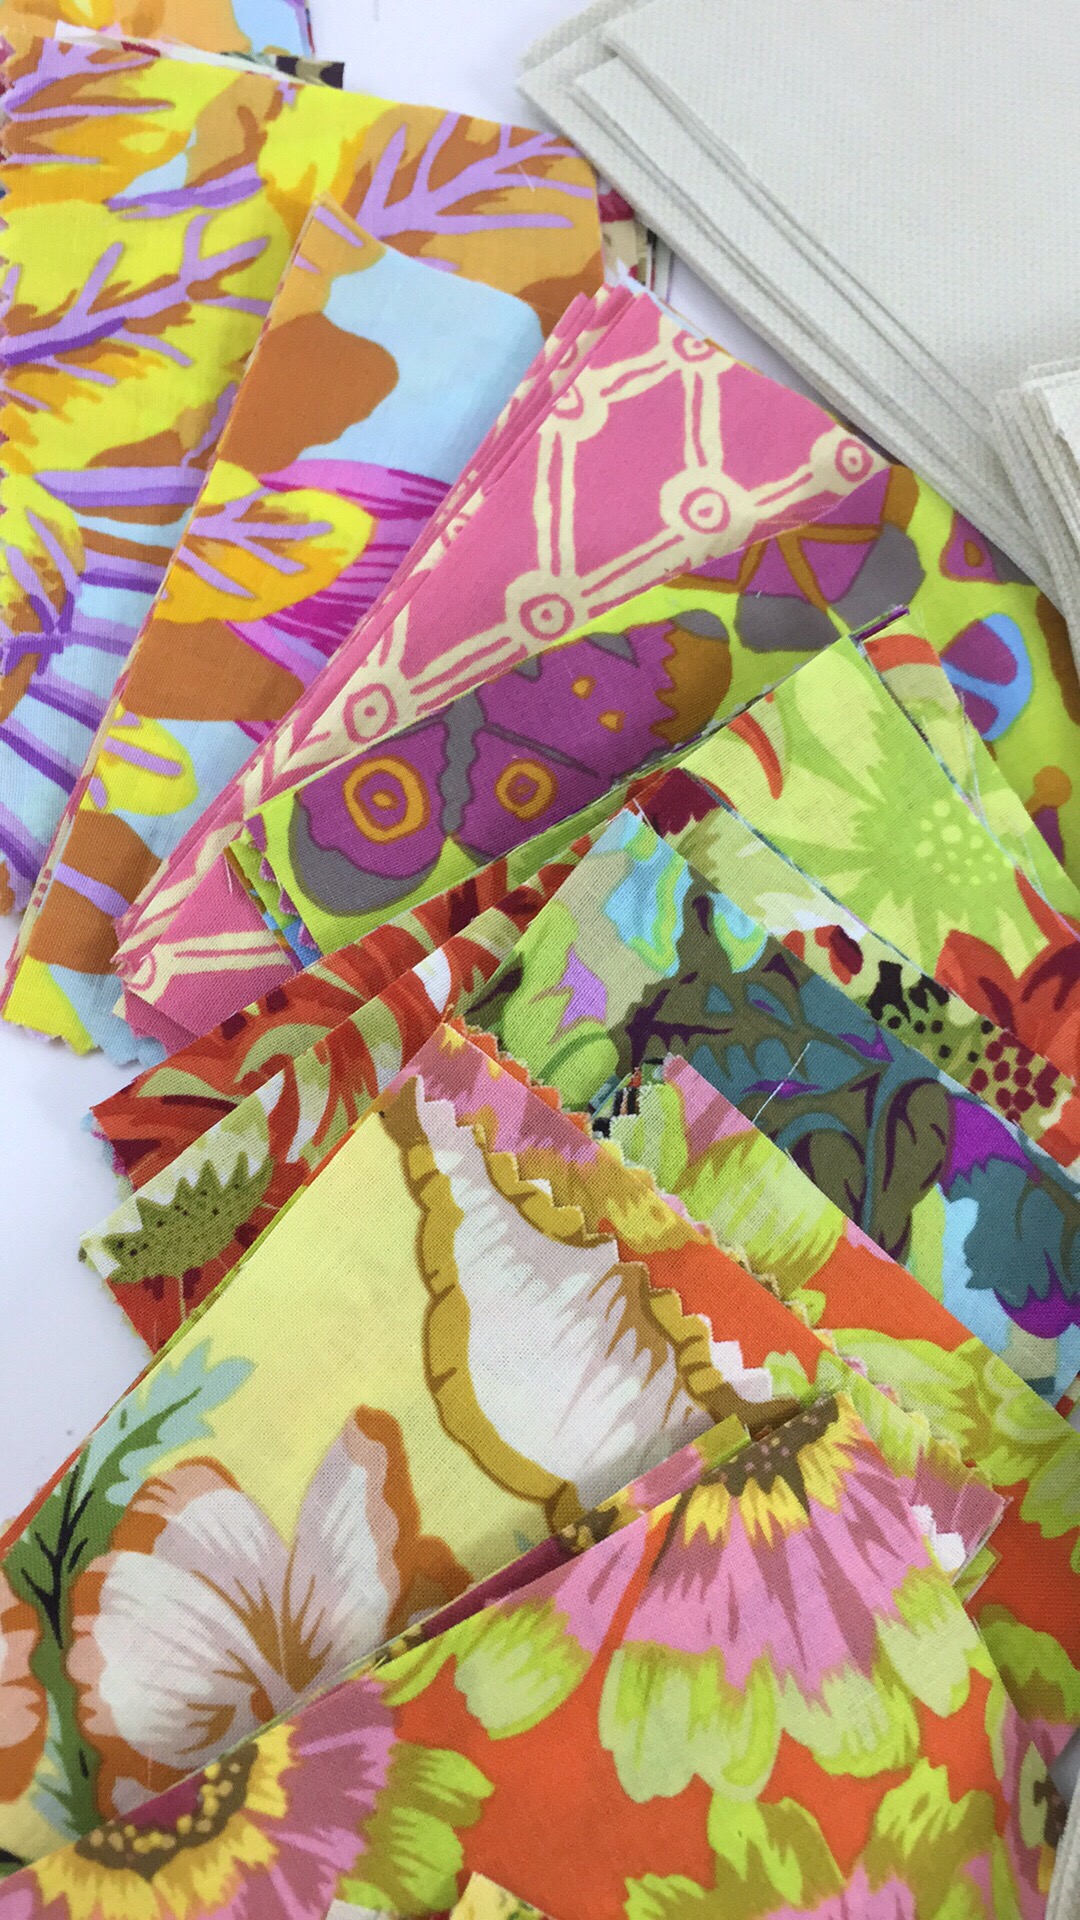
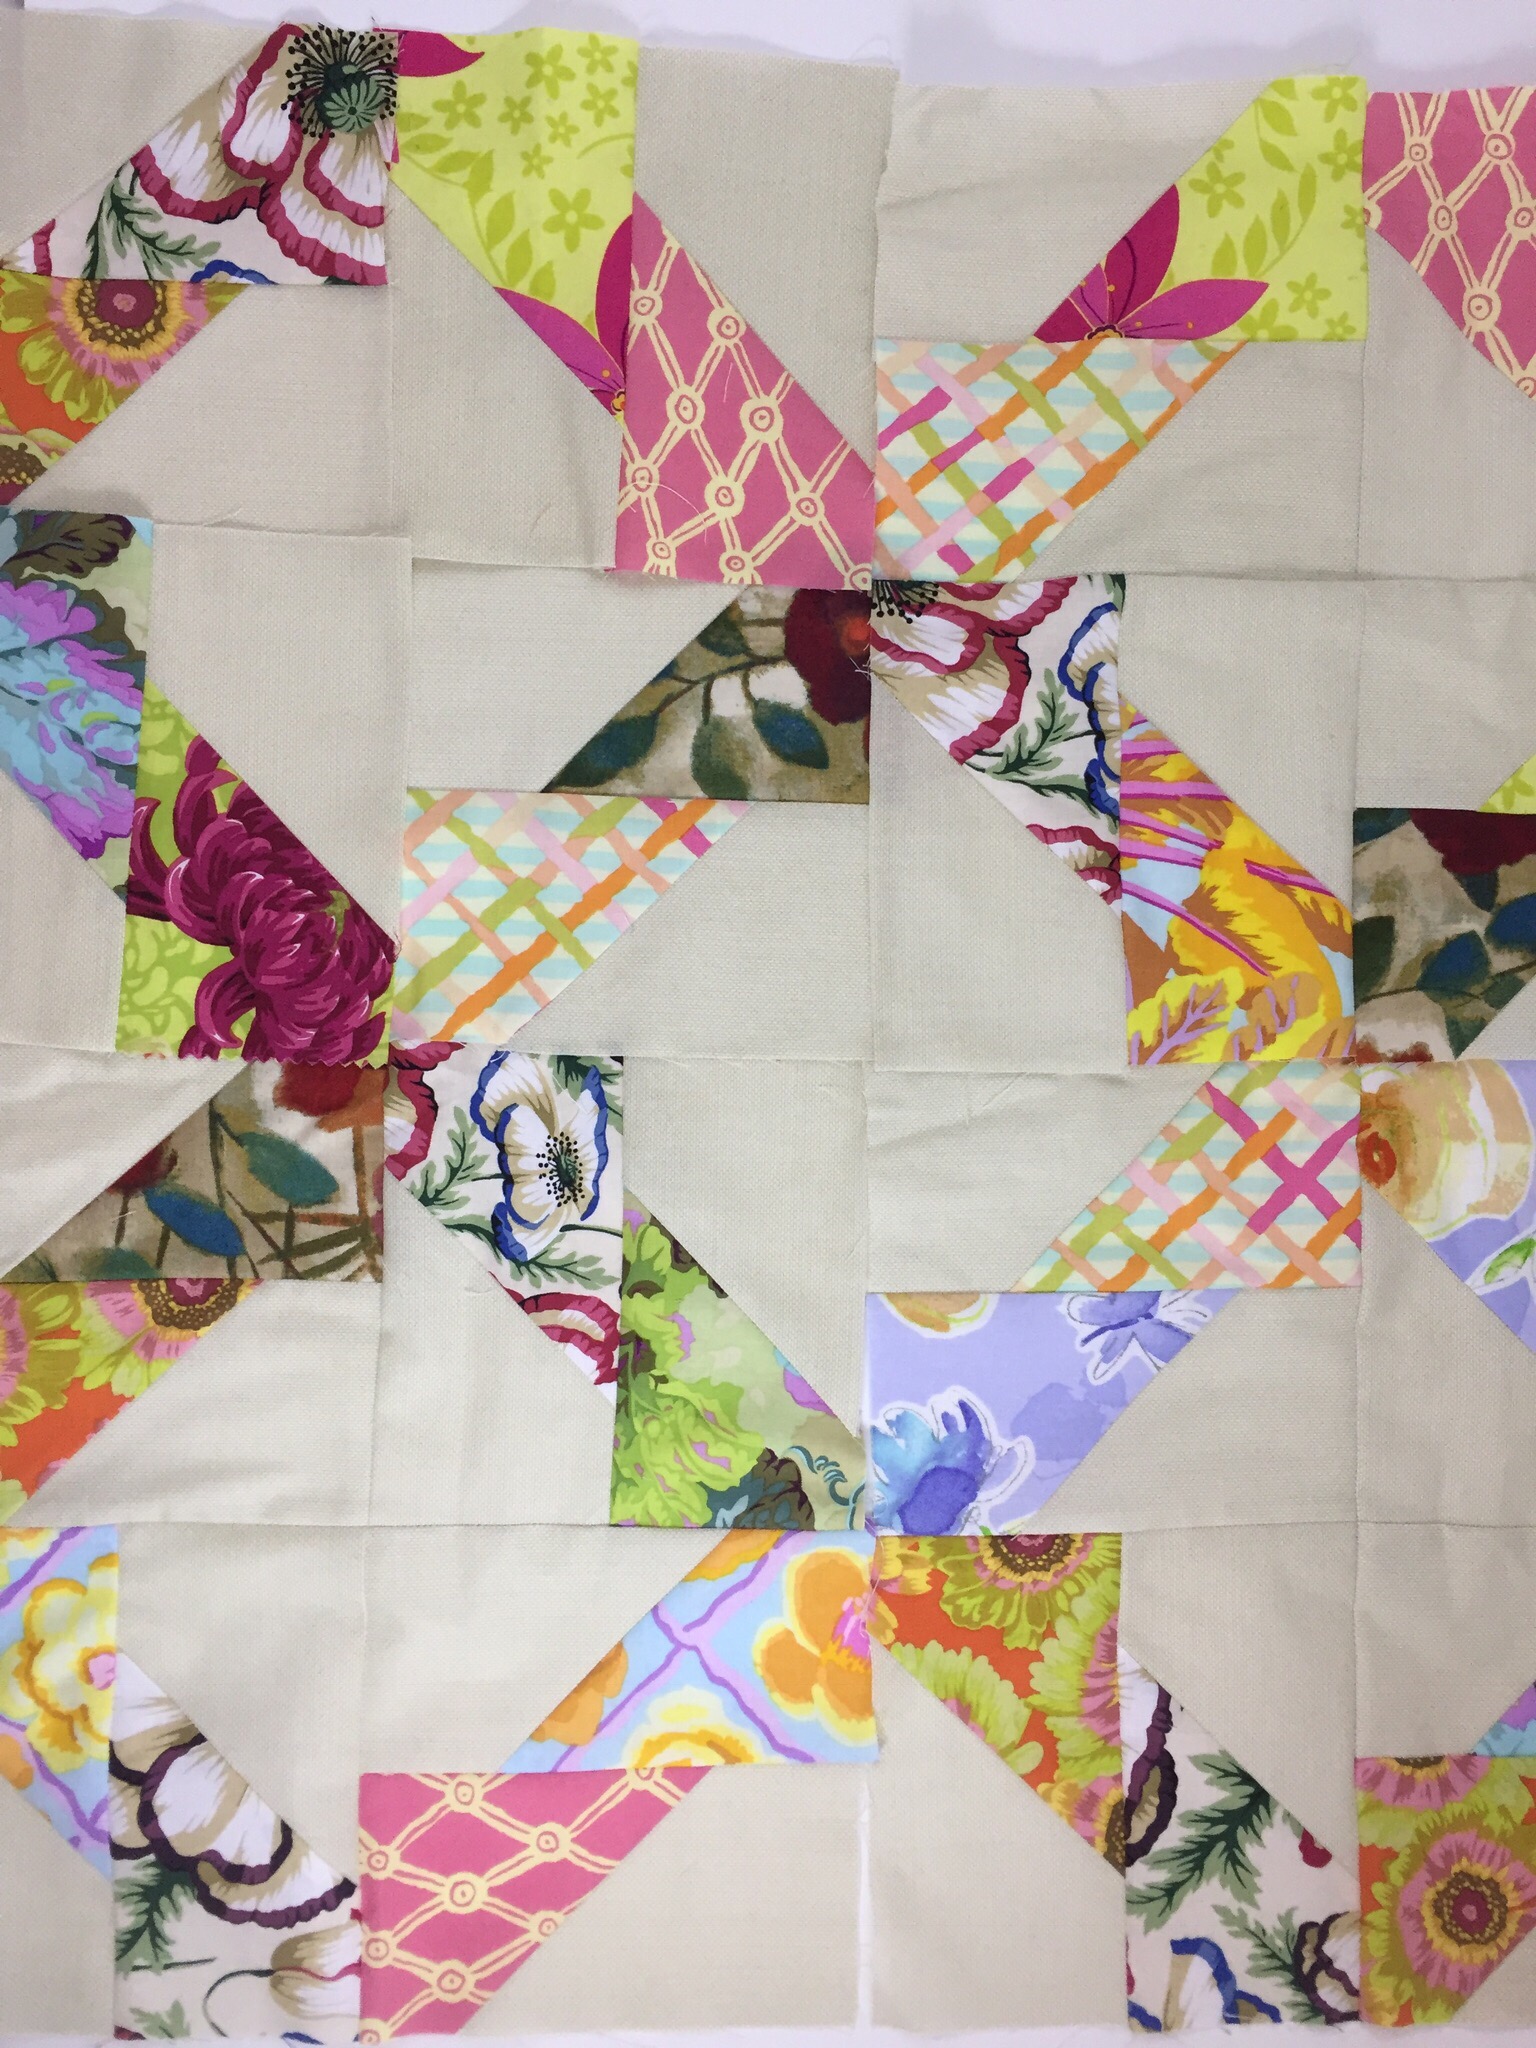
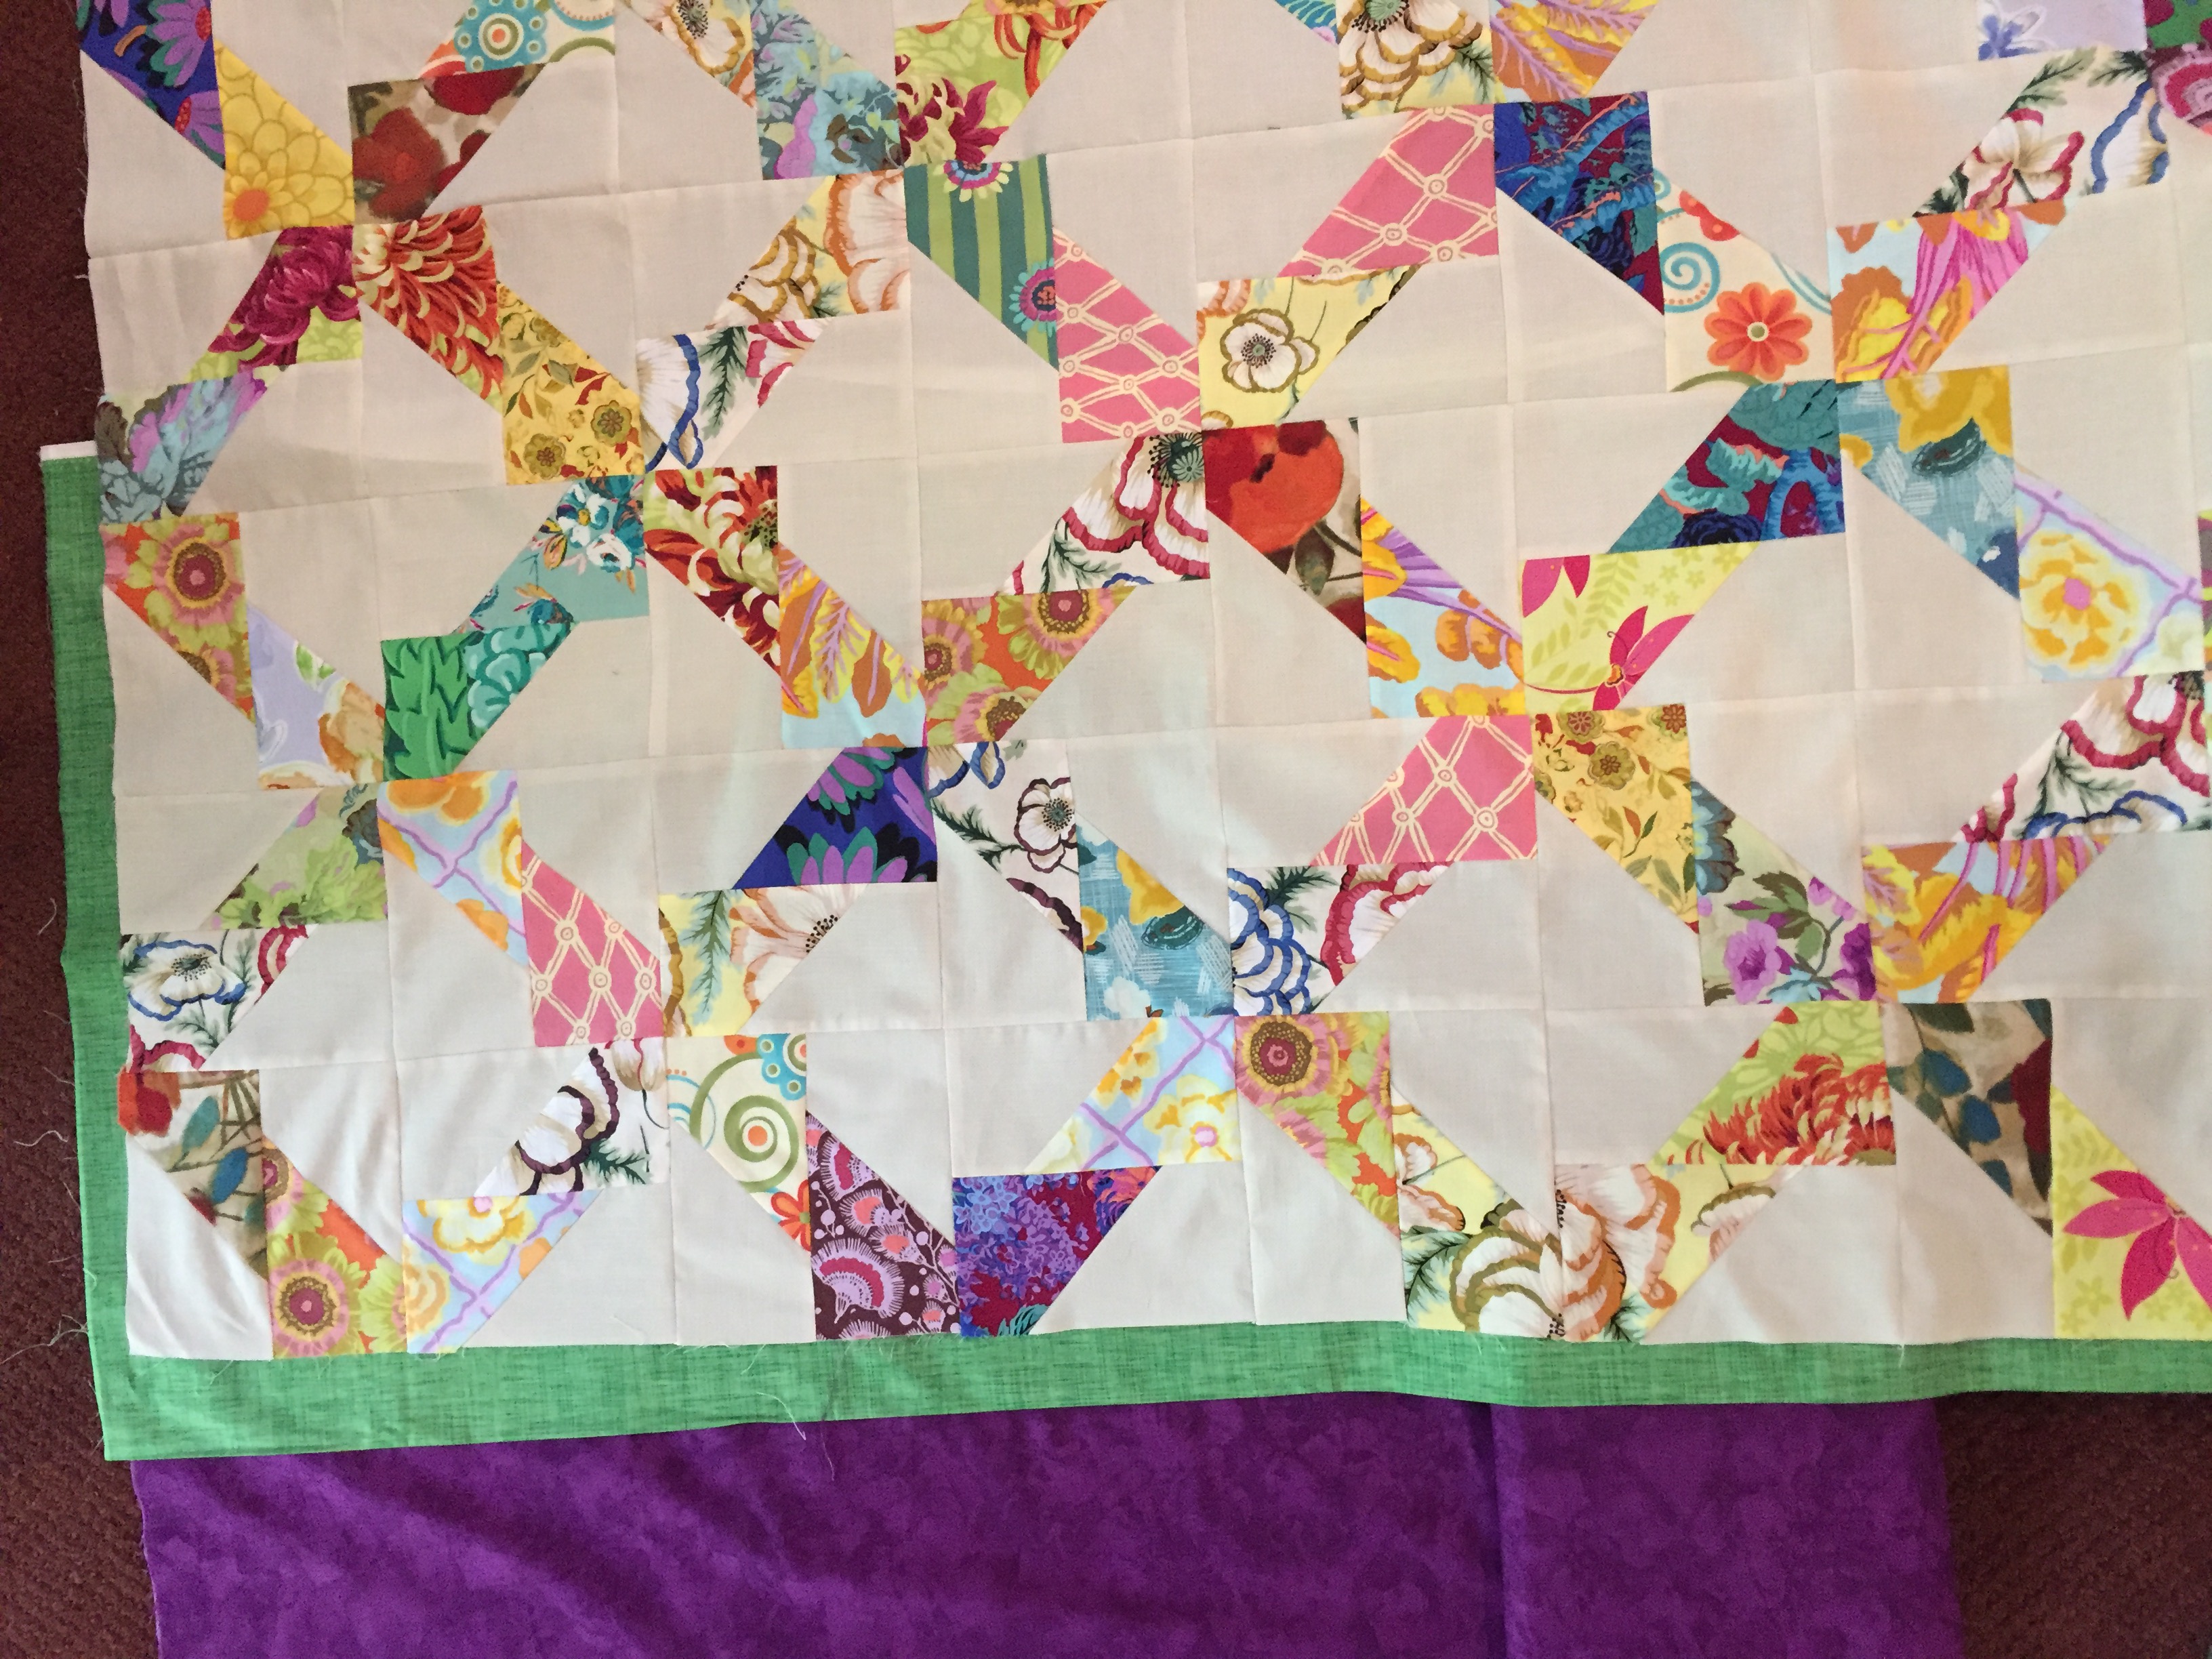
After settling on the layout and getting the design sewn together, I played with fabrics for the border. My first thought was to use a dark purple and a narrow strip of green. I posted the picture above on Instagram and asked for opinions. I love hearing from others because it often spurs me into another direction.
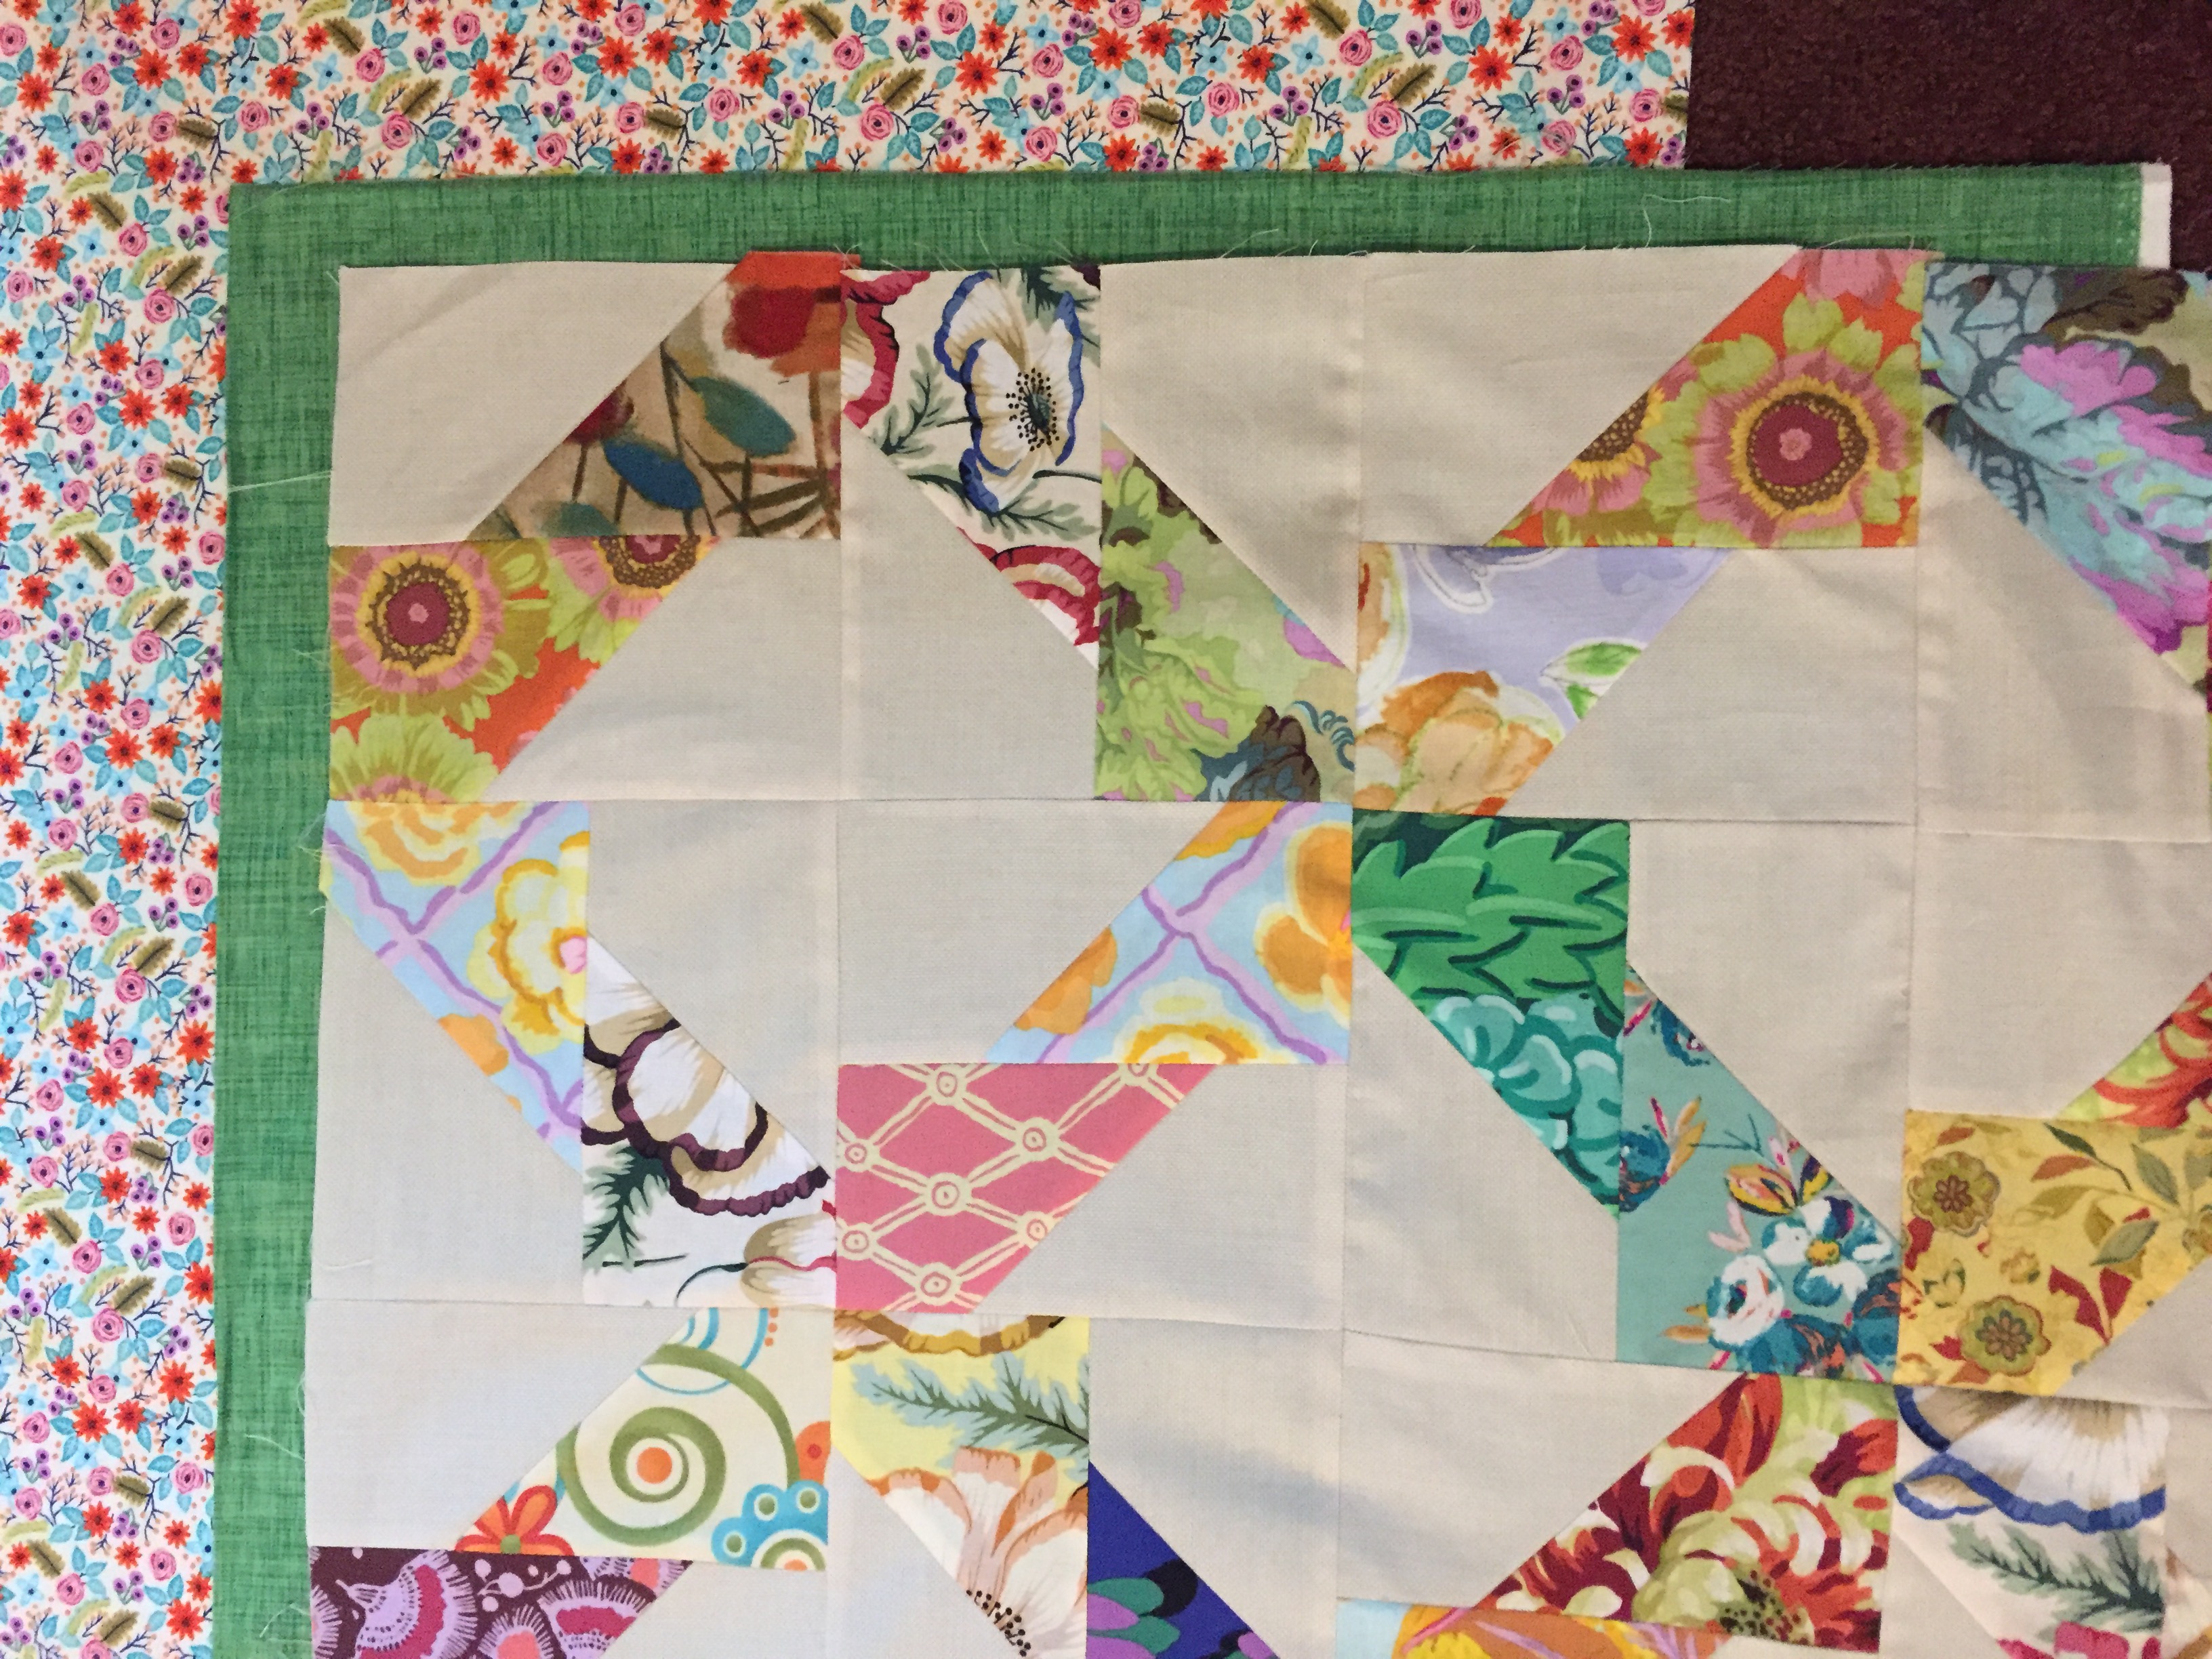
After looking at others’ feedback, I thought I would introduce a floral into the border. I looked at two from my shop. One was the High Meadow Floral from Amy Gibson’s Meriwether line and the other was Cat in the Flowers from Paint the Town.
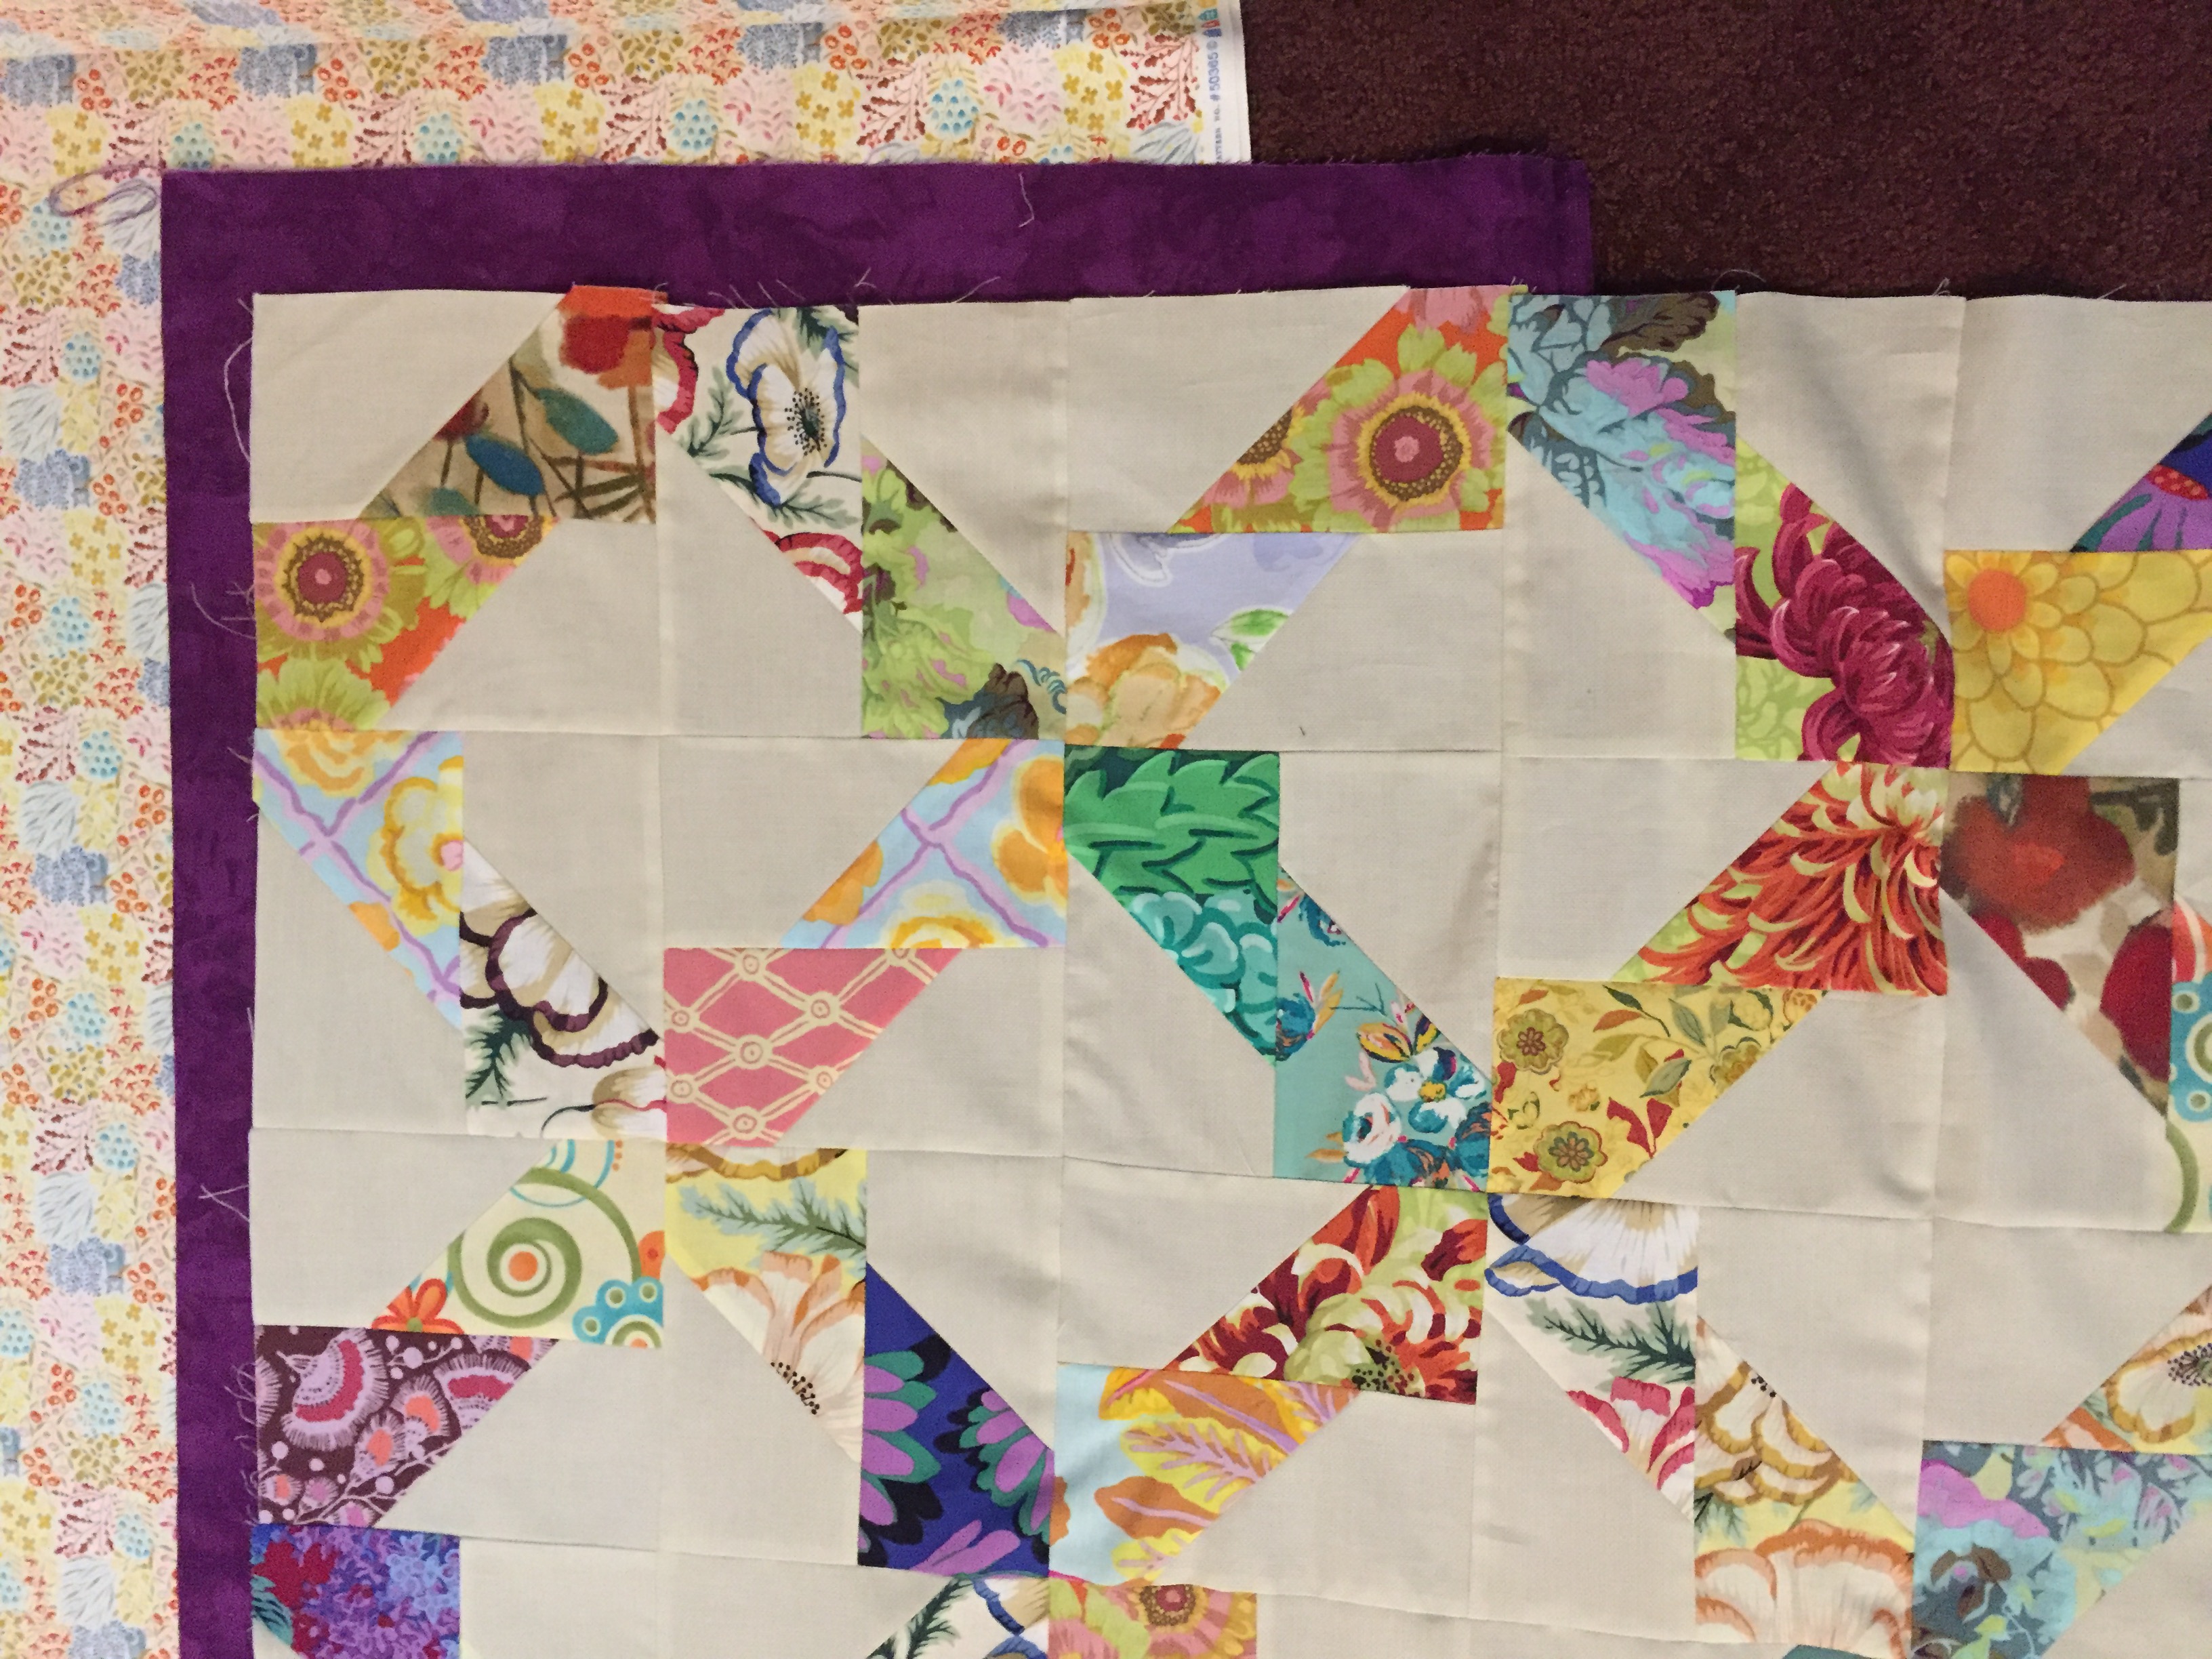
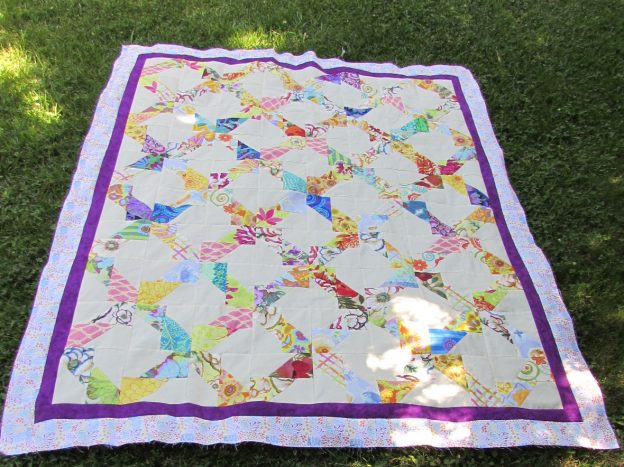
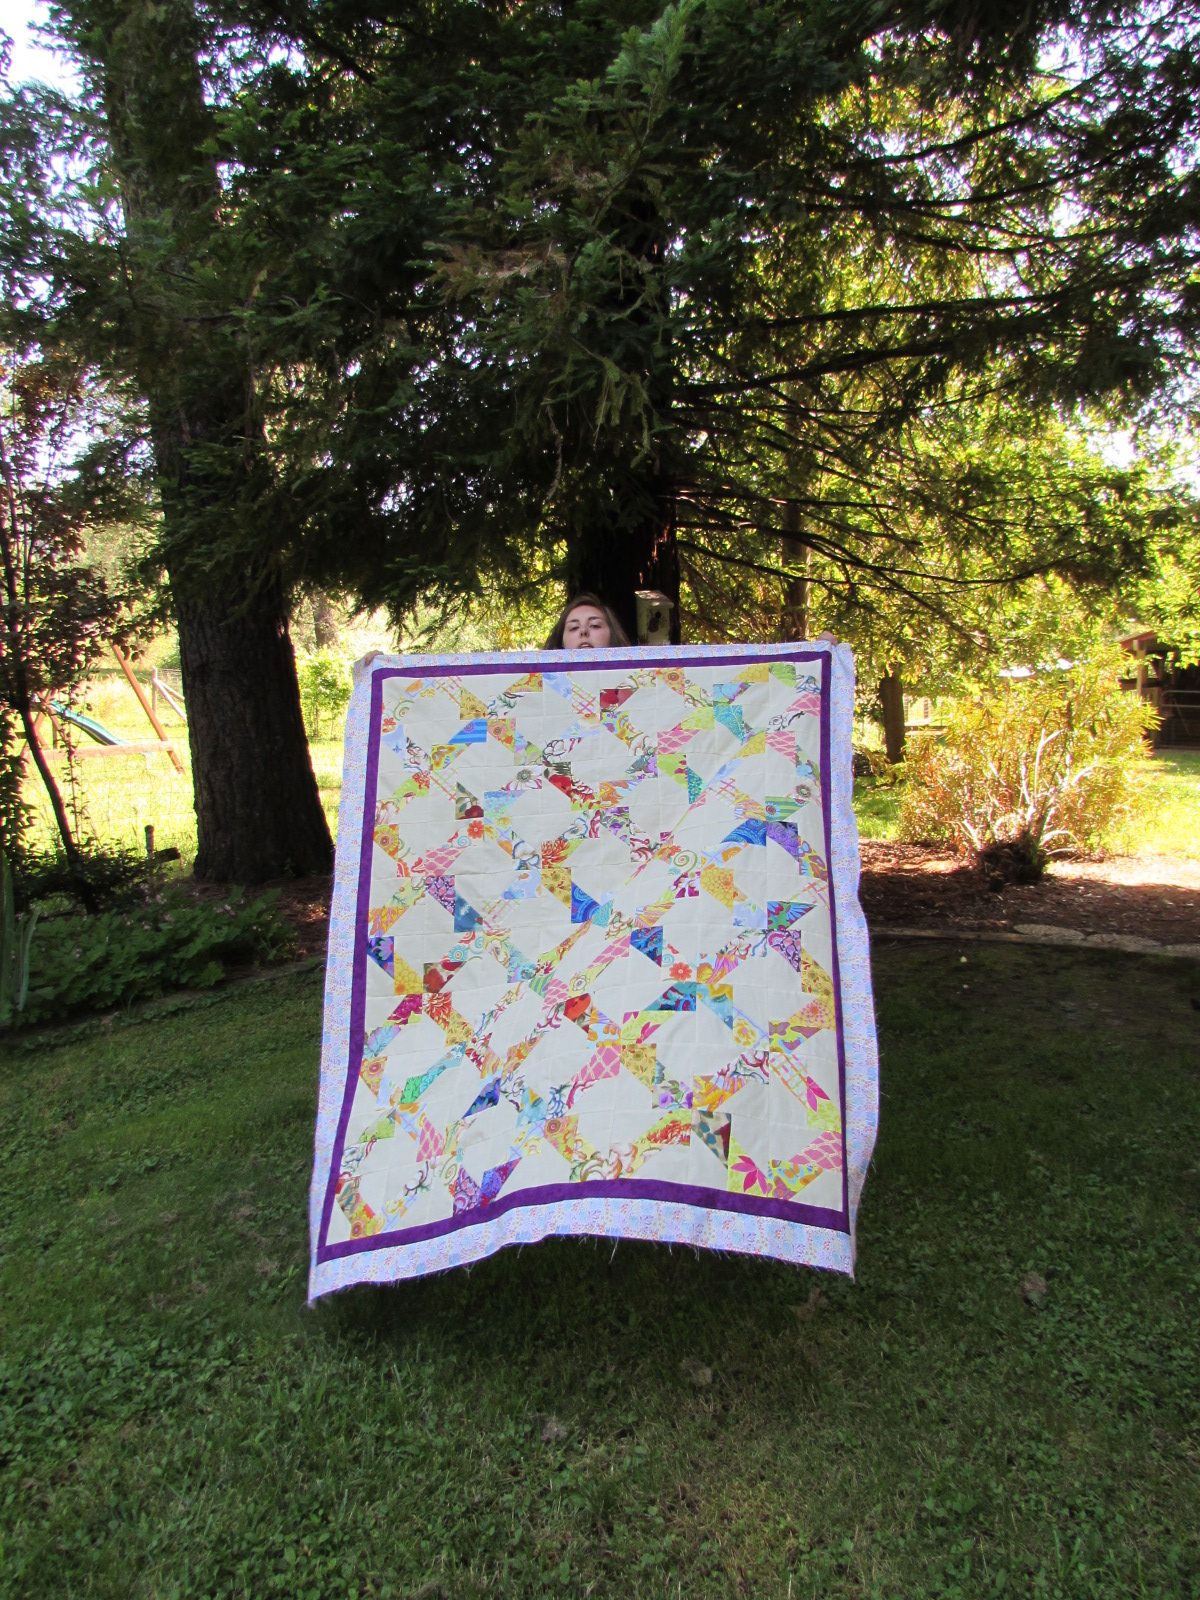
It was a tough choice and I actually think either would work, but I went with Cat in the Flowers and a narrow purple border. I liked the deeper color of the High Meadow floral but I didn’t like the red tones in some of the flowers. Cat in the Flowers has a softer palette and it seemed to work a little bit better. Because it is directional, with the kitties all oriented in the same direction, I decided to attach the borders so that the cats were all looking out and away from the quilt’s center.
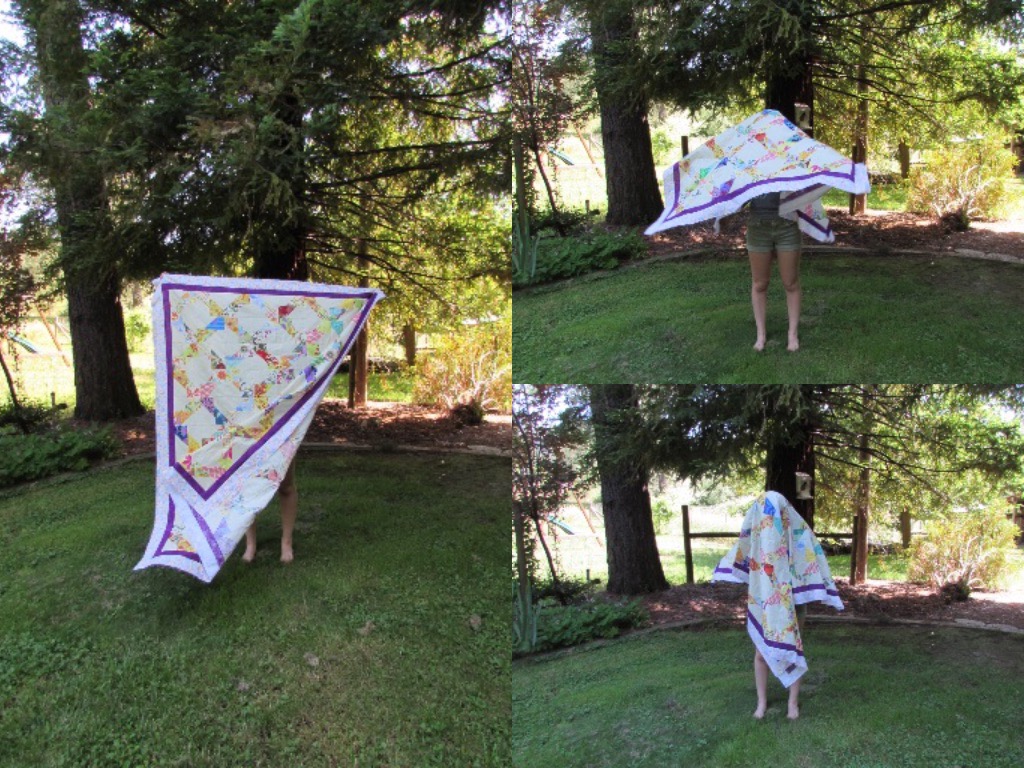
What do you think? I am so happy with the colors and the feminine, flowery vibe of the quilt top. We had some breezy weather and a comical quilt holder when trying to take pictures.
Now that the whole top is assembled, I am moving on to the next phase – time to decide how to quilt it! Like many of you, this is always a tough decision for me. At this point, I am thinking I will separate the quilting into three logical sections. The center of each set of four blocks, the lattice-like pattern created by the florals, and , of course, the borders.
Once I figure out how to quilt it, I will do it at home. Also, I have not yet decided on a backing for the quilt. I don’t have tons of yardage in my stash (well, if we don’t consider the shop fabric my stash!!). But it would be nice if I could use some stash up. Maybe I will piece a backing together or I could use a vintage sheet if I have one in a good color. Decisions, decisions
If you are interested in the Twisted quilt pattern, I carry it in my shop. There are also some of Dorie’s other patterns available too.
Feels good to have the quilt top done, some twelve months after starting it. How about you? Lots of UFO’s languishing? Do you have many quilt tops needing to be finished? Hopefully I will get this top basted over the weekend. It is supposed to be quite warm out so planning for an indoor project is a good idea. Have a great weekend everyone! I am linking up with the Friday favorites. Check them out at the top of the page, under Link Ups.
Newsletter!
Have you signed up for my newsletter? It is published every month or so and is full of information about my shop, new arrivals, sales, and events. Click here to sign up!