Monthly Archives: October 2019

One Adorable Pumpkin

Happy Halloween!! Your recent two weeks of family time in Vermont were wonderful. The goal was to hang out with our son and his wife and spend as much time as possible with our grand daughter. 
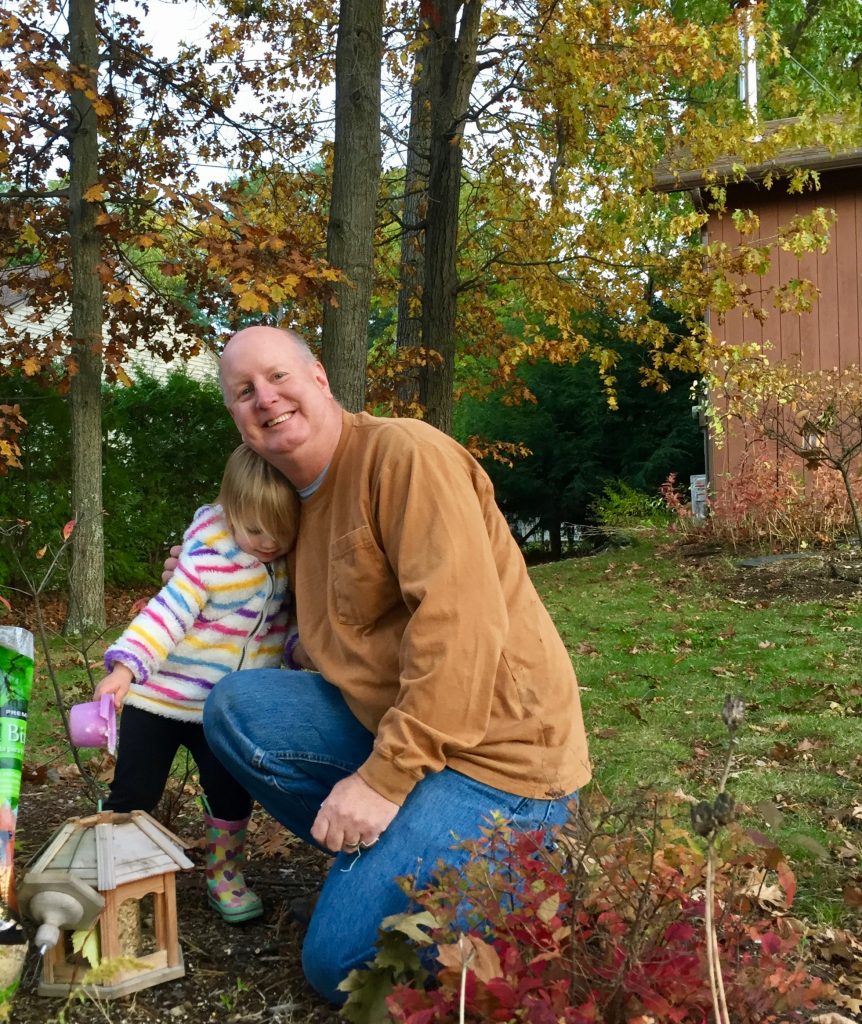
Grandpa was her favorite during our visit!

While there my grand daughter came down with a miserable virus and had terrible croup. Poor little girl was sick for a long stretch and toward the end of it, my husband came down with it.  Not a fun bug at all!  The two days before we left, my son and his wife were starting to come down with it but it didn’t look like they were going to be quite as sick.

Since we were having some quiet time at home and H was taking long naps due to being sick, i did have time to do some sewing. I pulled out my DIL’s sewing machine to make a Halloween costume for H. She and her mom found a cute picture of a little girl dressed up as a pumpkin with green leggings and t-shirt on underneath. 
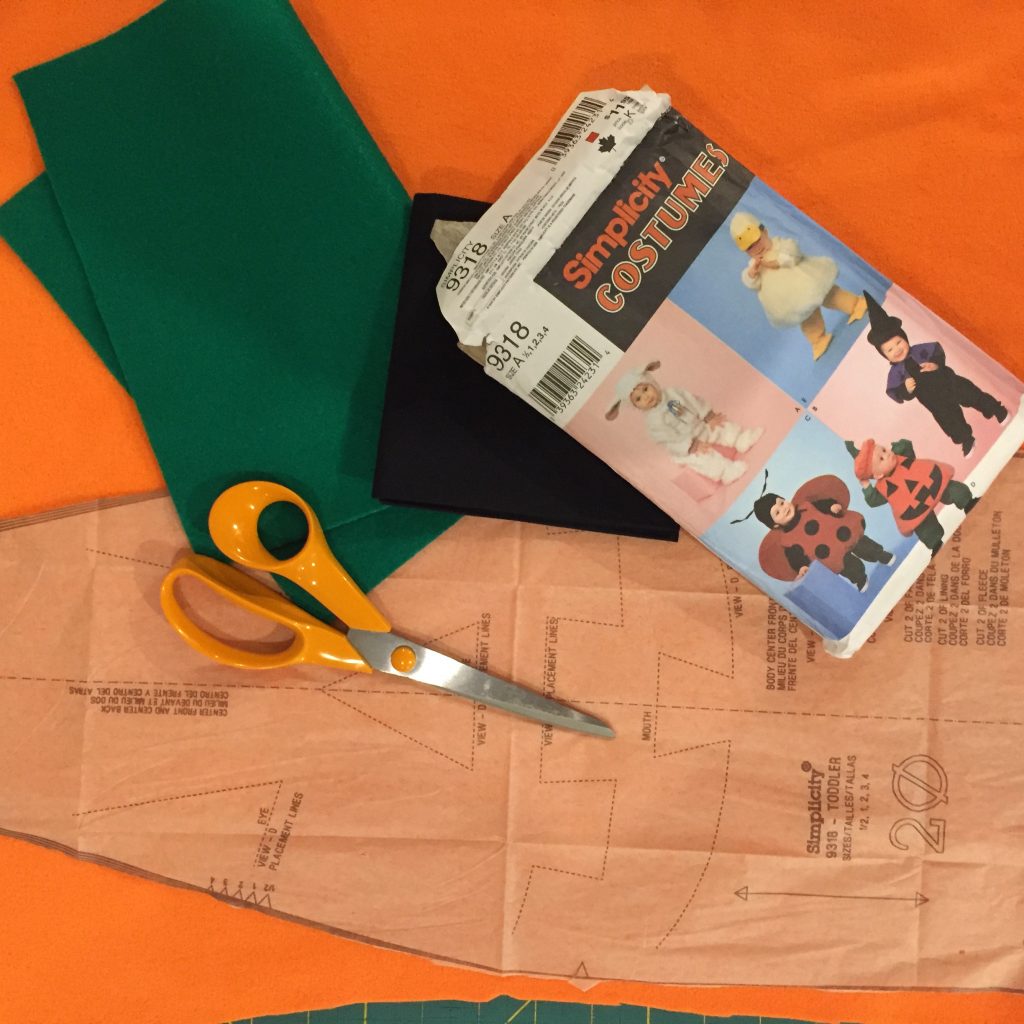

I used a Simplicity pattern for the costume. There is a Jo-Ann’s in the next town over so off I went in search of orange fabric. At first I planned to use a wool felt but it was so stiff. I knew H wouldn’t have fun running around in that at her Halloween party (at her daycare).  I was with my son Kyle (he and his wife drove over from New York for a weekend) and he spotted a bolt of orange fleece way up on a top shelf, not yet unwrapped. Lucky for me he is 6’ 2” and was happy to hop up and down to grab it. This was perfect. 
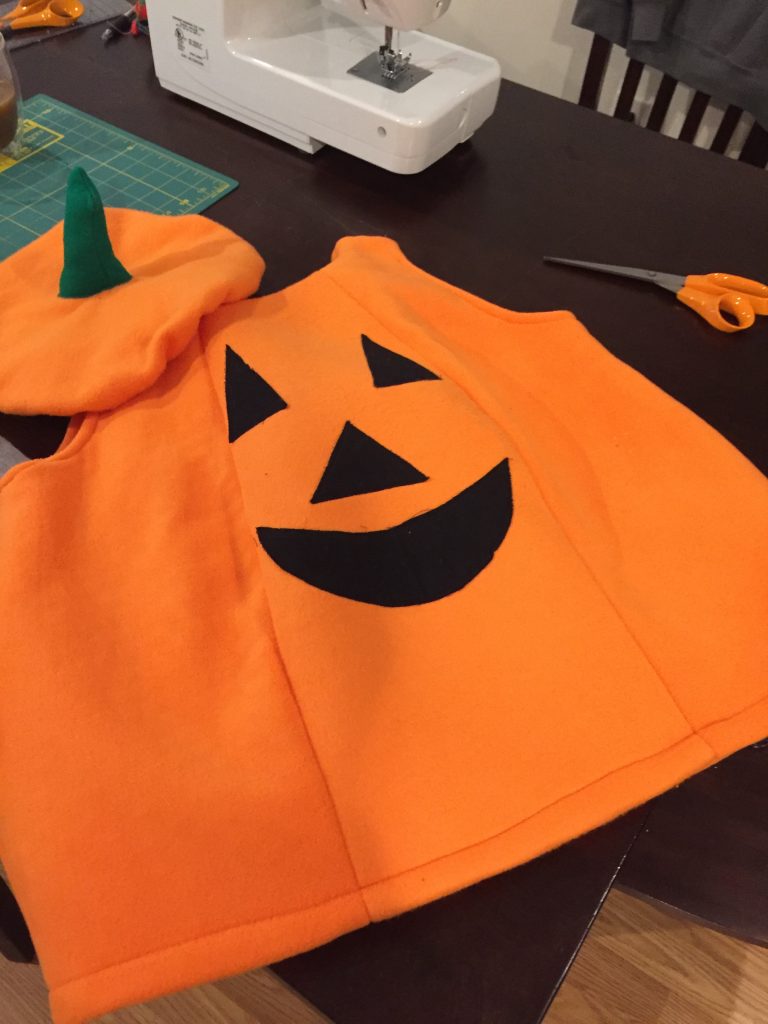

The pumpkin is lined with fleece and filled with batting. Even trick or treating in Vermont, this girl is going to be quite warm. Her outfit is so heavy!!  There was a stencil for the face but i felt like it was too big so I ended up cutting the pieces out free hand. Using a few bits of ‘Wonder-Under’, I fused the face to the front and appliquéd them with a simple zig zag stitch. 
The pattern called for a casing to be made at the hemline with elastic inserted to make it puffy. However with the fleece, there was already a nice shape to the pumpkin. Instead, I trimmed the fleece lining to be about two inches shorter than the outer layer.  Turning one inch of the outer layer to the inside, I machine stitched the hemline. 
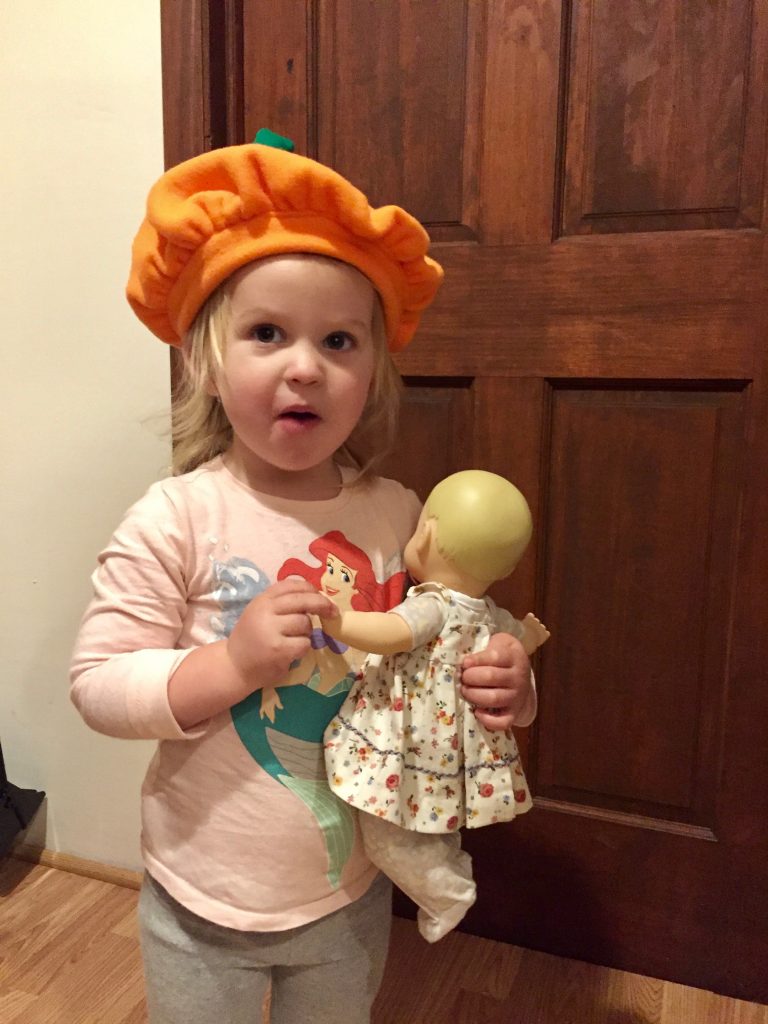
She was trying on the hat when I first finished it. But it was a bit too big.

Ok- my favorite part of the whole costume is definitely the hat. When I made it, H was quite happy to wear it about the house for an afternoon so I really hope she wears it on Halloween. It looks so darn cute on her. I made it during a nap time, guessing at the sizes and it was too big for her.  There wasn’t a clean way to fix this without doing a lot of seam ripping. I had to rip one seam on the  pumpkin and it was difficult to manage with that puffy fleece fabric. So I cheated and took a little tuck and just stitched it up. The hat is still a bit large but better than before. 
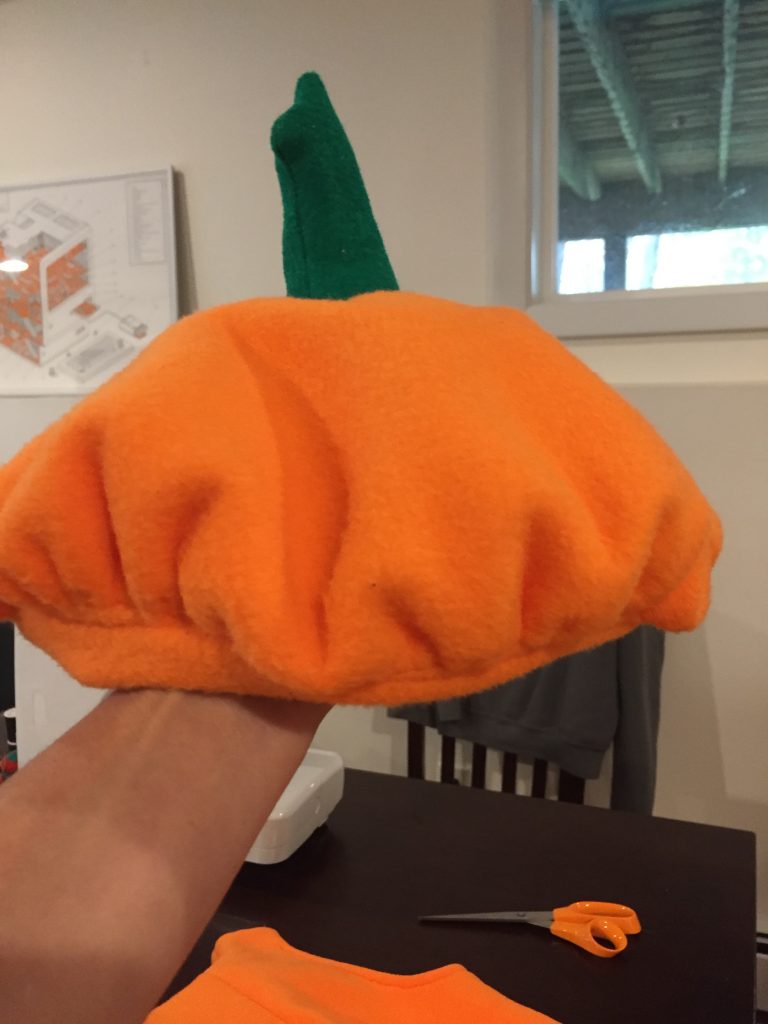
So darn cute!

When I left I had not had time to run out and buy some velcro which was needed for the shoulder straps. So I left it unfinished and my daughter-in-law took care of it. I received some really cute pictures of H having fun with her costume today.
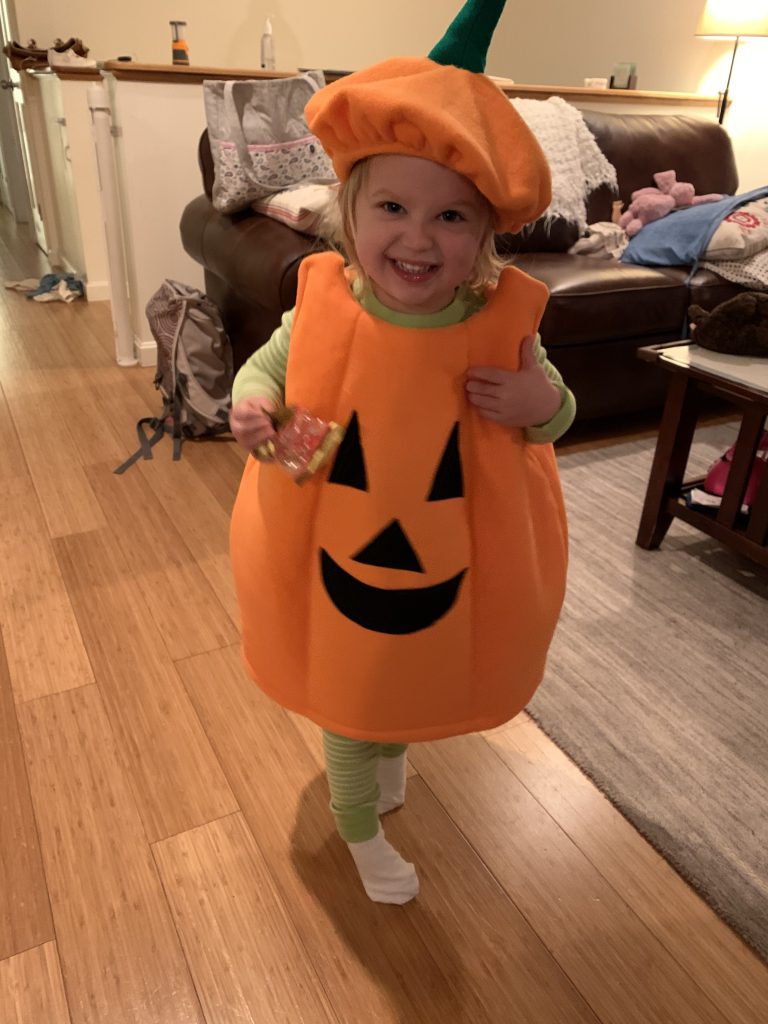
Getting ready for daycare earlier this morning. So much excitement!

I am glad they had a little party at her daycare. I hear they are supposed to have a lot of rain tonight so that may put the kibosh on any trick or treating.
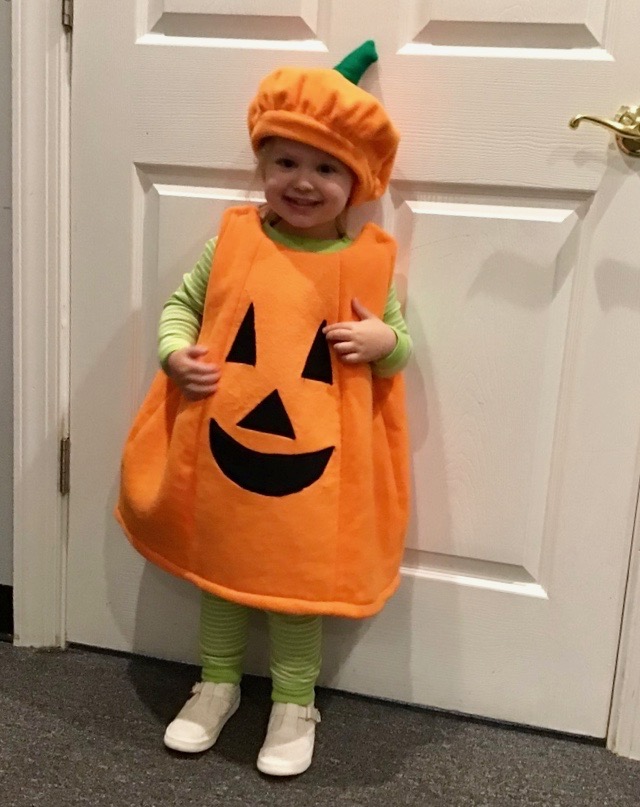
I love the green and white striped leggings and t-shirt under her pumpkin costume.

Just in case there was a chance for trick or treating, I also made her a tiny treat bag to carry.
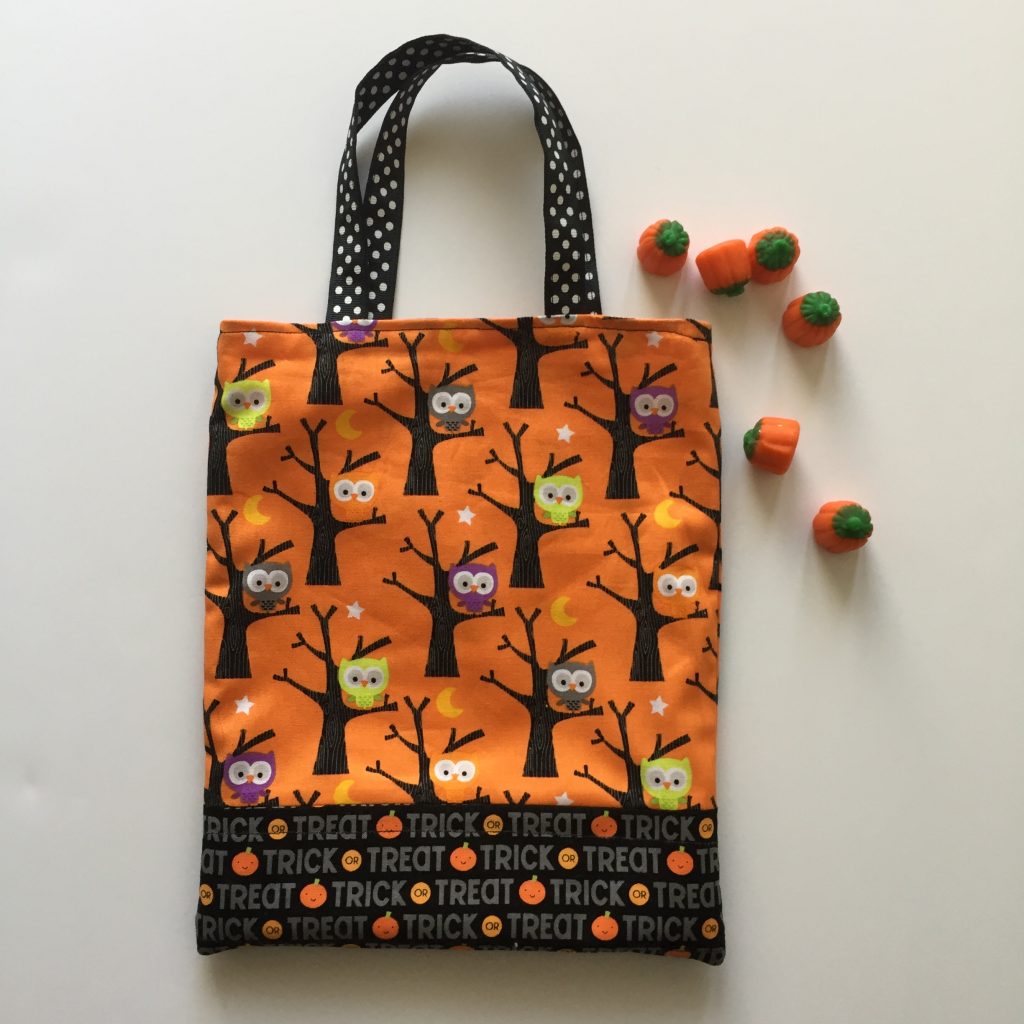
This was designed off the cuff and I didn’t write down any measurements. If I had to guess, I would say it finished at about 8″ x 11″ or so. Maybe even a bit smaller. I had that polka dot ribbon on hand (actually had all of the supplies on hand) and I took two pieces and sewed them together (wrong sides together) just to make it a bit heftier.
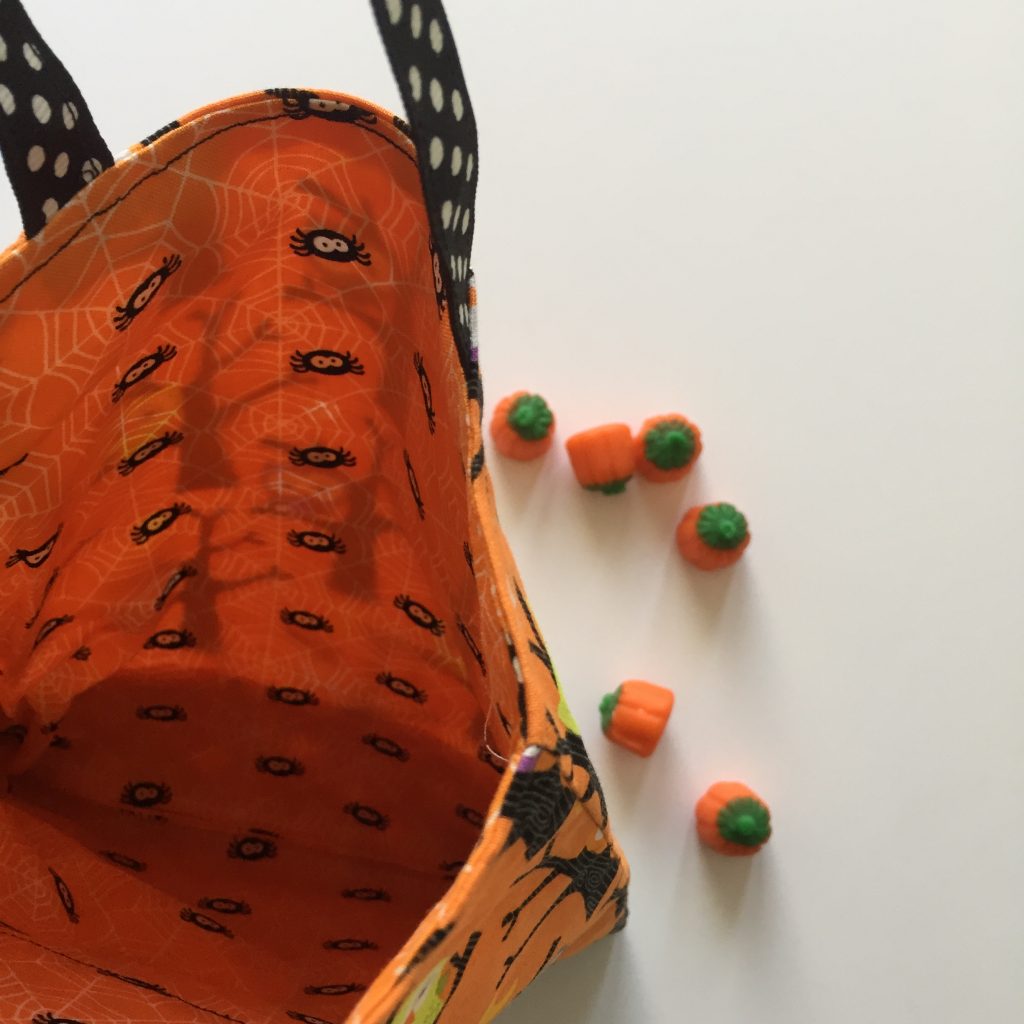
The bag is lined, which makes it a bit stronger. Since she does not yet know what trick or treating really is, she won’t be disappointed this year if they skip it due to weather. She can play with this bag or use it next year.
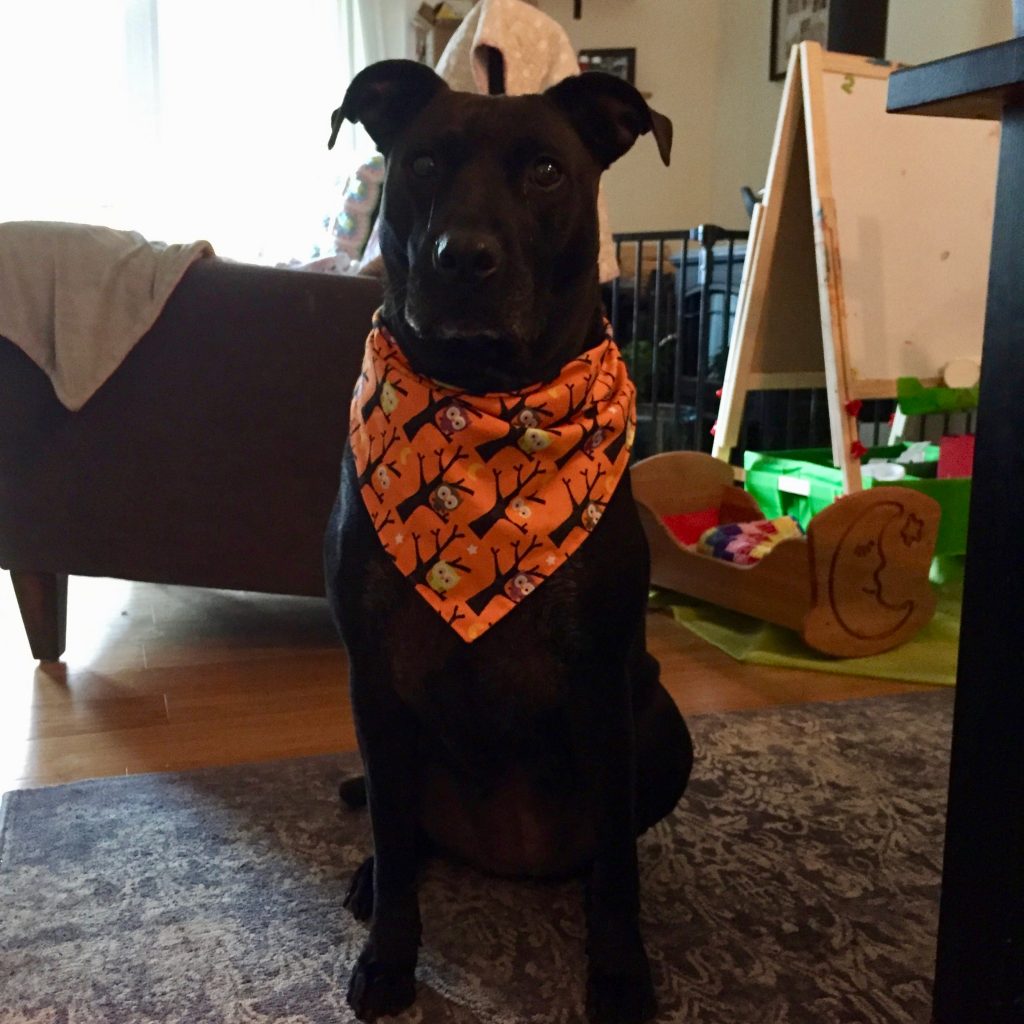
While I was there H and I made a festive bandana for their dog Wusha. I think Wusha looks a bit embarrassed to wear it but this dog will do anything my grand daughter asks of her. I had the triangular pieces cut and pinned and then had H sit on my lap and help me feed the fabric through the machine. I tried to take a selfie because it was so sweet but I am really, really not good at those and didn’t get much of a picture! But we had fun and she was thrilled to help Gram-gram sew for a few minutes.
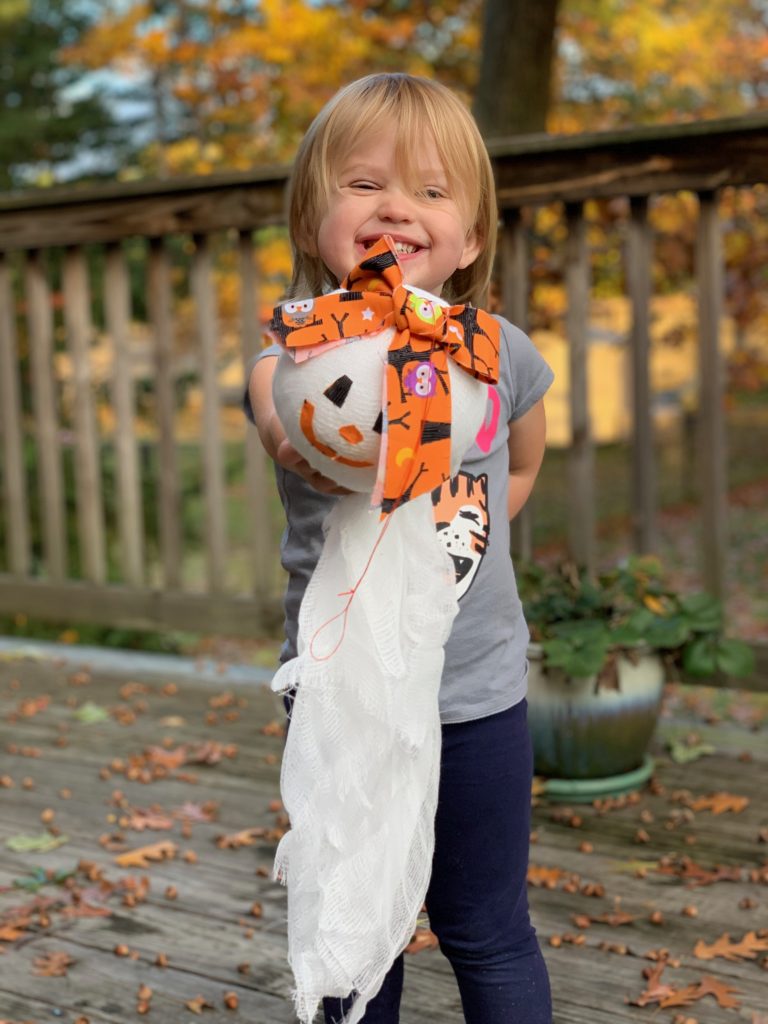
Introducing Georgie Ghost

One last project while we were there was to make a little ghost to hang in the dining room. We had been taking walks around the neighborhood and she really liked looking at the neighbors decorations. She loved the ghosts and a few little scarecrows we saw. I asked her if she would like to make a ghost and she was so excited.

This was super easy. One styrofoam ball from Wal-Mart and a packet of cheesecloth from the grocery store. I cut the cheesecloth in two strips and with the help of one happy two year old, layered the ball with the cheesecloth. Then we worked together to cut the eyes, nose and mouth. I had gotten her a glue stick that starts out purple and dries clear. This way she could see where she was putting the glue to put the pieces on. The addition of the bow on her head turned this little ghost into a girl. H and I had so much fun with this project and it was the perfect amount of work for a two year old.
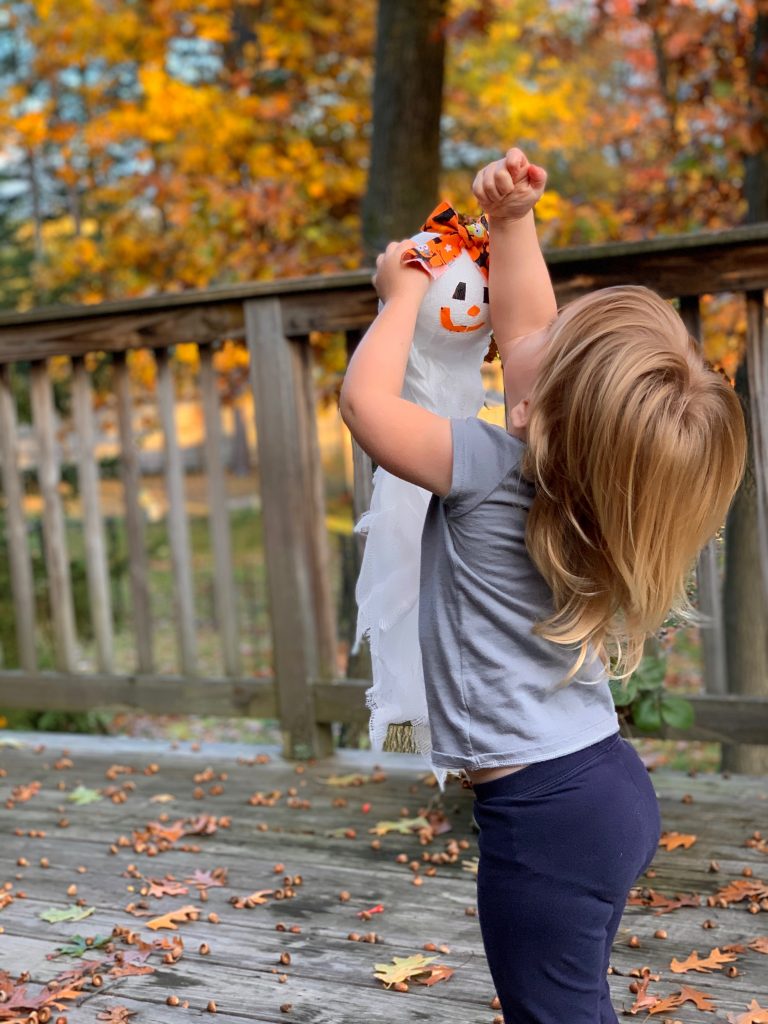
Checking to see if Georgie Ghost can fly.

My son took the photos of H and her ghost – they are so sweet! We really enjoyed our time with the kids and can’t wait for our next visit. Grand parenting is the best and it would be even better if we all lived on the same side of the country!! Someday…

Linking up with a few fun places, including the monthly Favorite Finish party at Meadow Mist Designs. Be sure to check the top of the page under Link Ups!

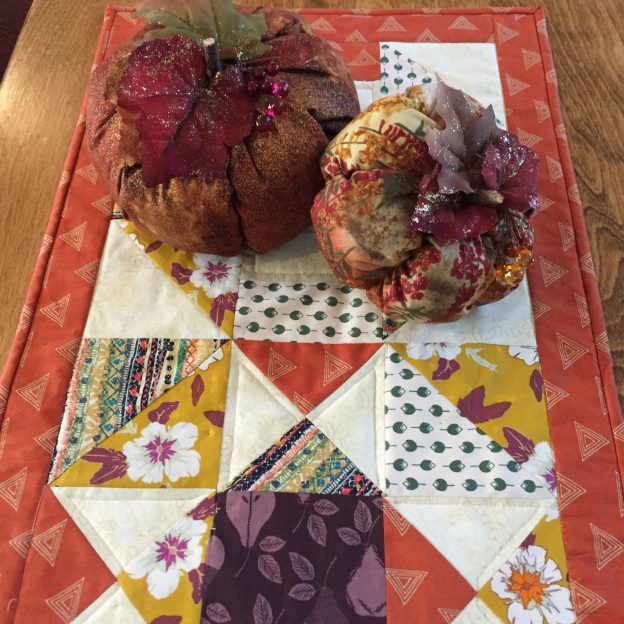
Scrappy Fall Table Runner

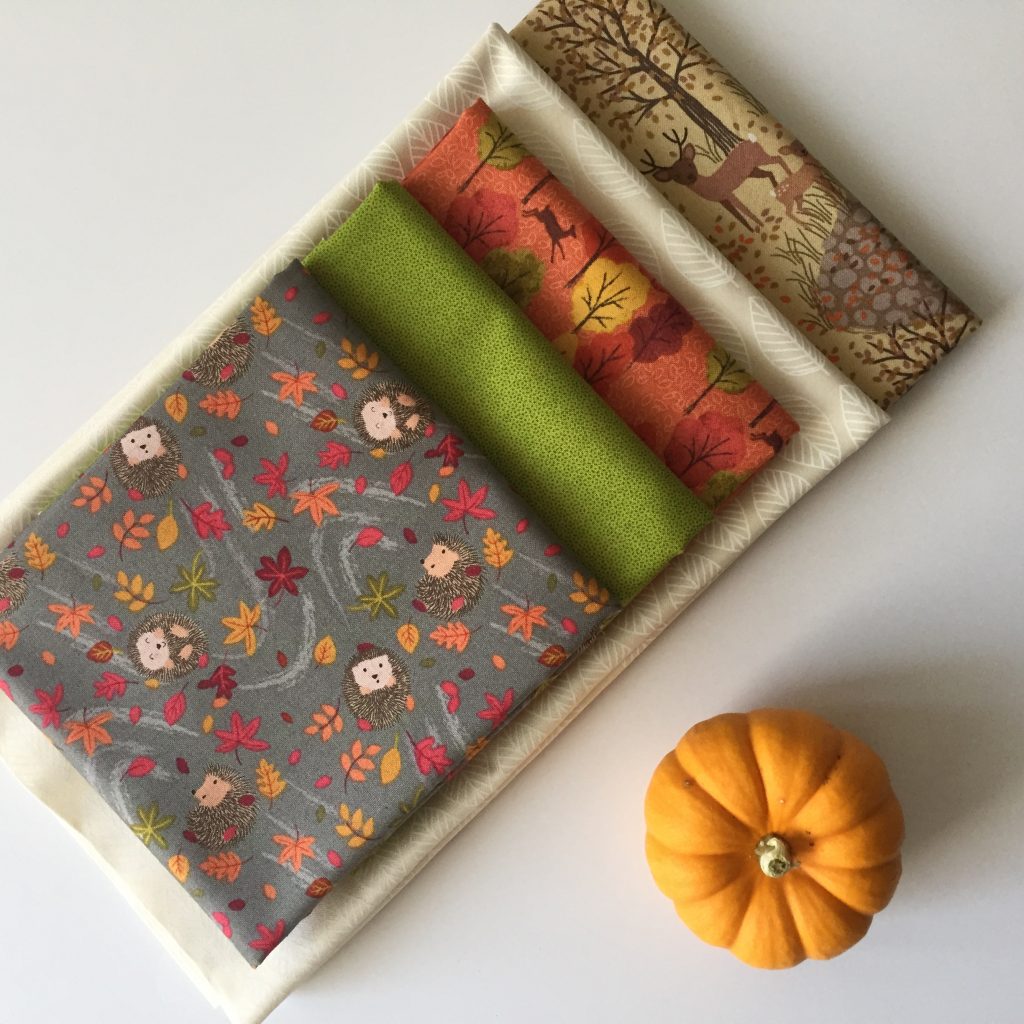
I have a fun finish to share with you all today. I have been doing a little collaborating with Carole of From My Carolina Home for the past couple of weeks. She is hosting her fabulous Autumn Jubilee which happens each fall season. One of her projects is a set of placemats which I supplied the fabric for. You can check those out here – they are really pretty. Carole does an amazing job creating tablescapes – whenever I see one, I wish I was sharing a meal with her! I love what she did for this festive autumn table. Below you can take a look at the fabric she used. The kit is available in the shop but in very limited supply. I suspect it will sell out quickly. It is a great bundle and she is supplying the tutorial for you!

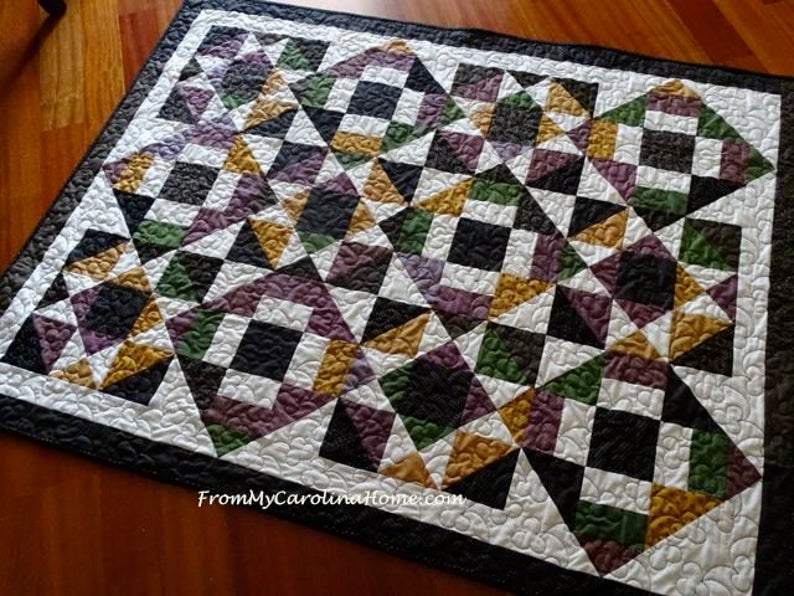
I wanted to make a scrappy project for my table as well. In return, I decided to try out one of her Scrap Dance patterns.

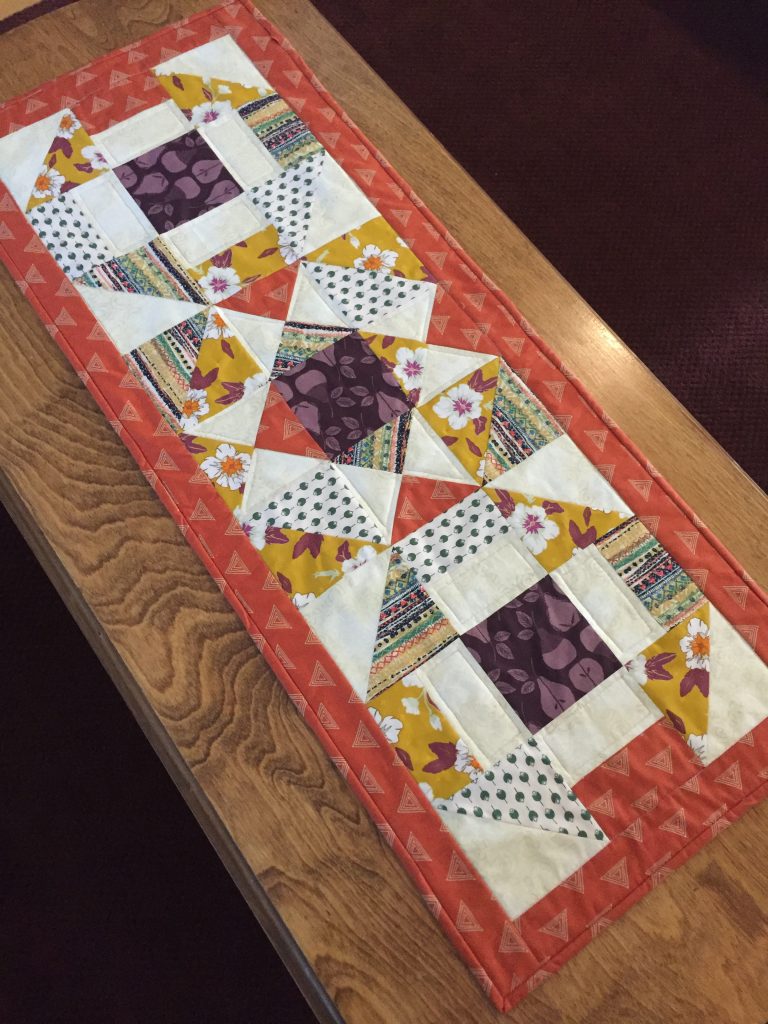
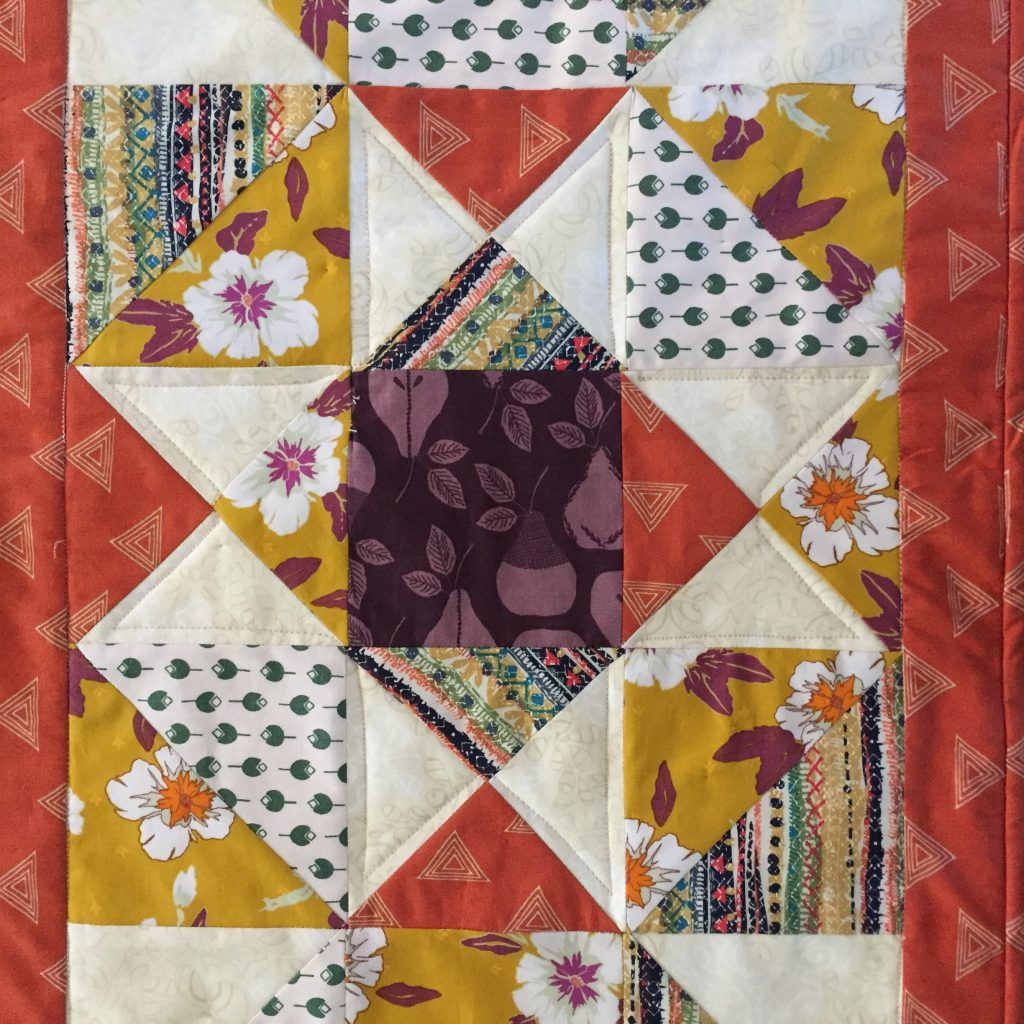
I chose the Scrap Dance Two Step pattern for my project. As you know, I like simplicity and this pattern has some great blocks that are really easy to piece. Just my style. Though it is intended for a larger quilt (which is really necessary for the secondary patterns to show up), I decided to use it for a table runner containing only three blocks. This is the perfect size for my table because the blocks finish at 12″ square.

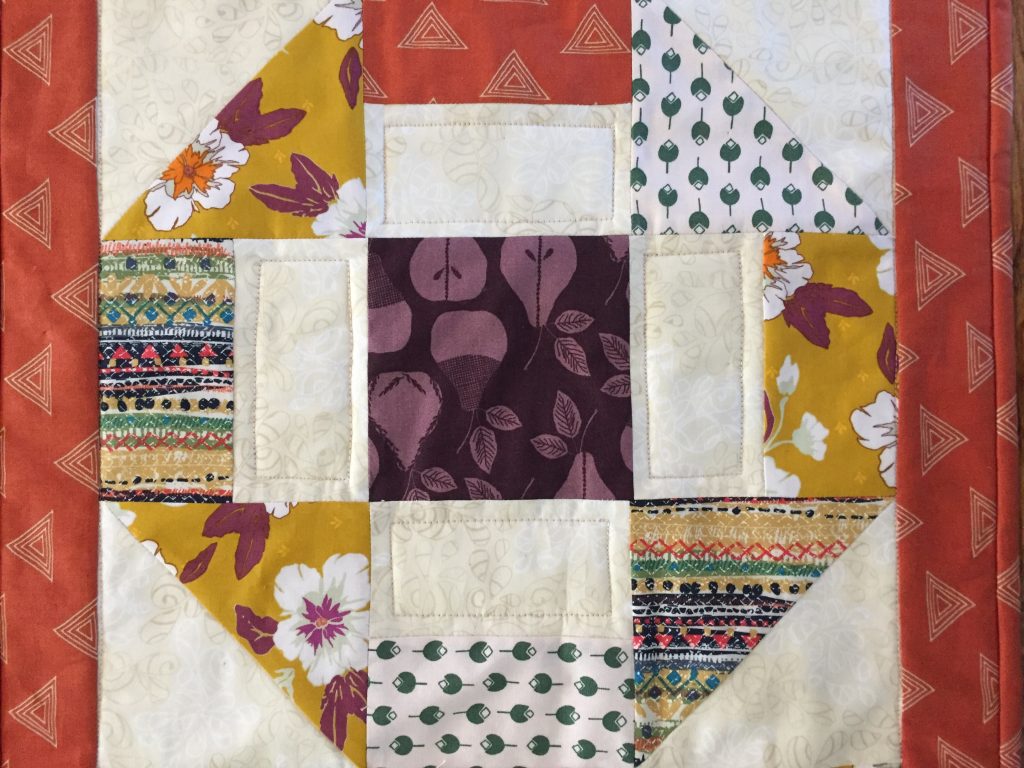
I chose pieces from a few of my scrap bins as well as a few fabrics in my shop. It is hard to resist using them, they are just downstairs! Can you blame me?? I cut a bit of Sweet Harvest for the centers of each block as I really love that plum color. Then I used scraps of other Art Gallery pieces for the remaining. The background is Natural Elements. Be it from the scrap bin, or the shop, I did use all Art Gallery Fabric for the top. A little Maureen Cracknell, Pat Bravo, Bonnie Christine and some Sharon Holland, are all put together for an autumnal scrappy look. I do think you could go scrappy on the background but only if they were the same values and the colors were super close. Otherwise the pattern might be lost.

Because there is so much going on with the colors and patterns of the fabrics, I went very simple with the quilting. I did some ditch stitching first to hold everything together. Following that I only outlined some of the background pieces.

The rectangles on either end as well as the triangles making up the star in the center. To keep things calm, I used the same fabric for the border and binding.

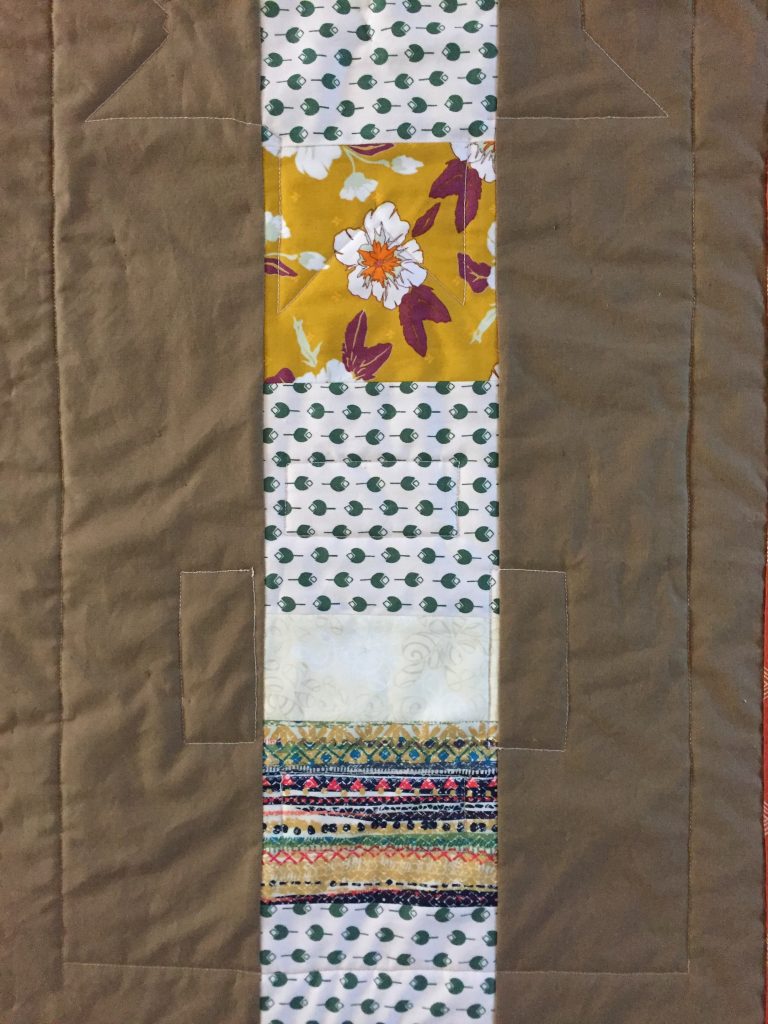
Originally, I had planned to make four blocks. However (after cutting pieces) I decided it would be too long for my table. This left me with some extra cut pieces to incorporate into the back. You can’t see the entire back here but the pieced stripe extends the length of the runner. The brown solid was in my stash so I used that bit up.

I have to say, Carole’s pattern was a dream to use. I think it would make an adorable bed size quilt. If you used solid scraps, it would be a bit on the modern side. With prints or repro fabrics you would achieve a very traditional look. I love that Carole includes so many sizes in her patterns. This pattern includes everything from table topper to a king size bed quilt. This gives the quilter many options and the math is all done for you! If you haven’t yet made one of her patterns, go check them out here. She has a number of them to choose from and I know you will enjoy using her beautiful designs and easily understood instructions.

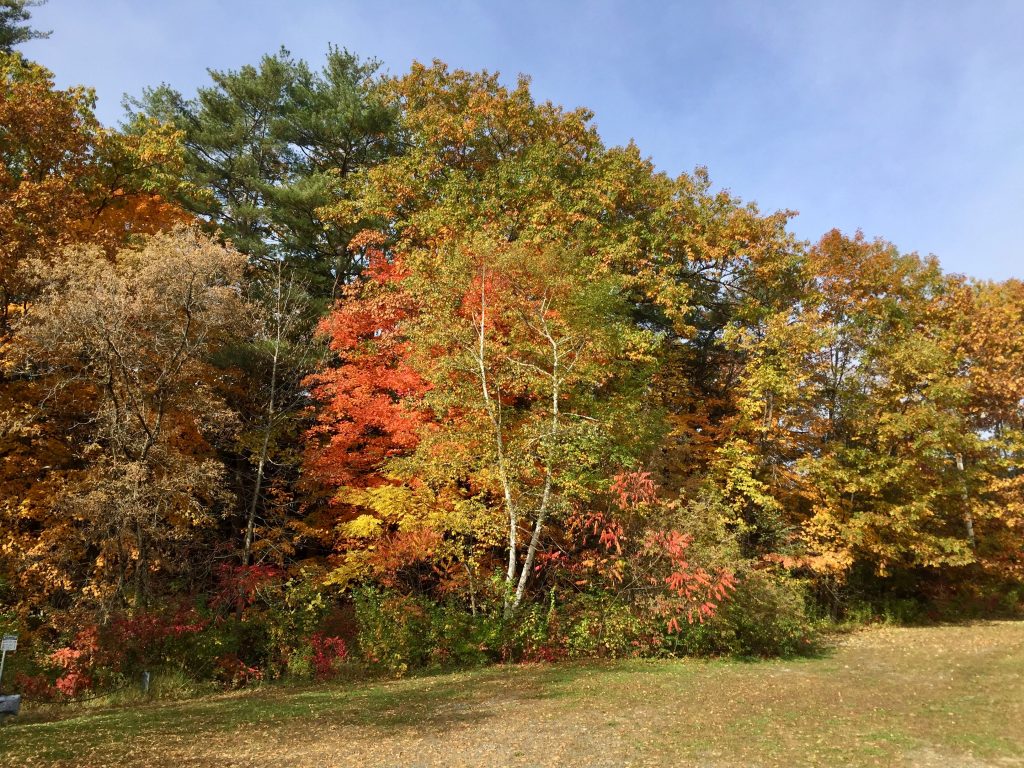
Southern Vermont is gorgeous at this time of year!

I am loving autumn here in the north east. We have had clear, gorgeous skies as well as some stormy gray days. Fall is my absolute favorite season so I plan to enjoy it regardless of the weather!

Linking up with a few fun places. Check them out at the top of the page, under Link Ups.

Grammy Time

Guess what? I am in Vermont hanging out with the cutest two year old ever! We arrived on Sunday last weekend. We are staying for two weeks which is just a treat. My husband came along on this trip which pleased H no end. She does love her Grandpa.

We have been on grand parent duty a bit and have also had a couple of days to do some touring around. As you can imagine, the beautiful fall leaves are at their peak right now. Tuesday and Wednesday Ray and I spent time driving east and south to the bottom of Vermont and then up the western side. Of course, this state is small so it doesn’t take long to do this. We stopped along the way though to enjoy the sites.

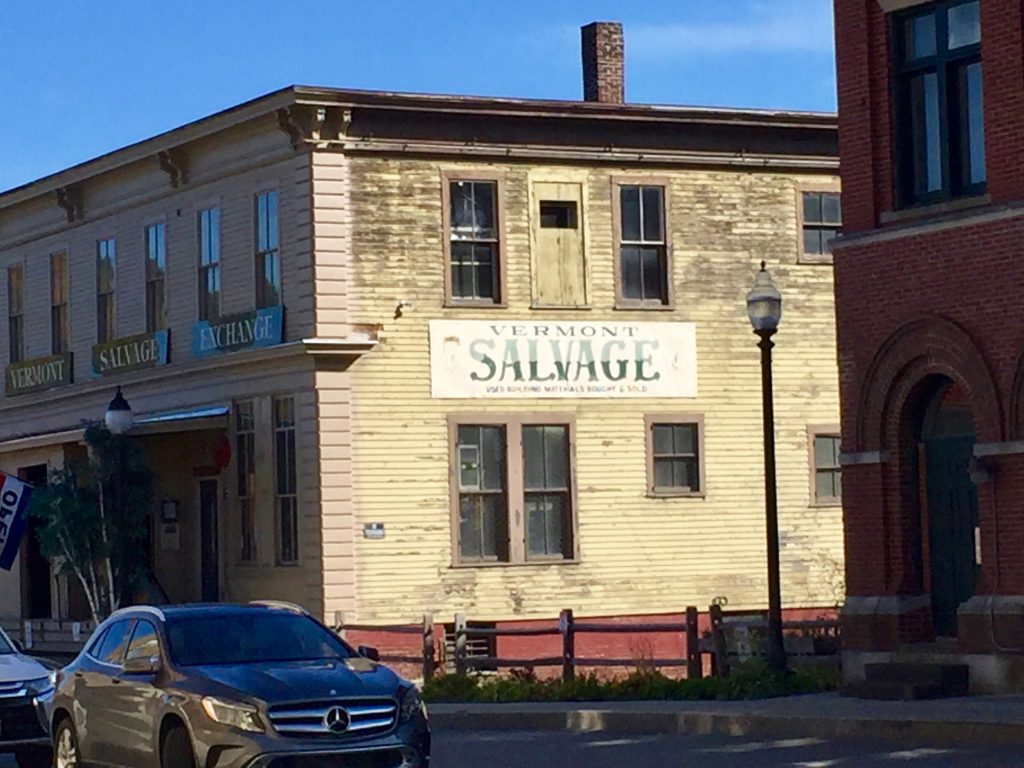
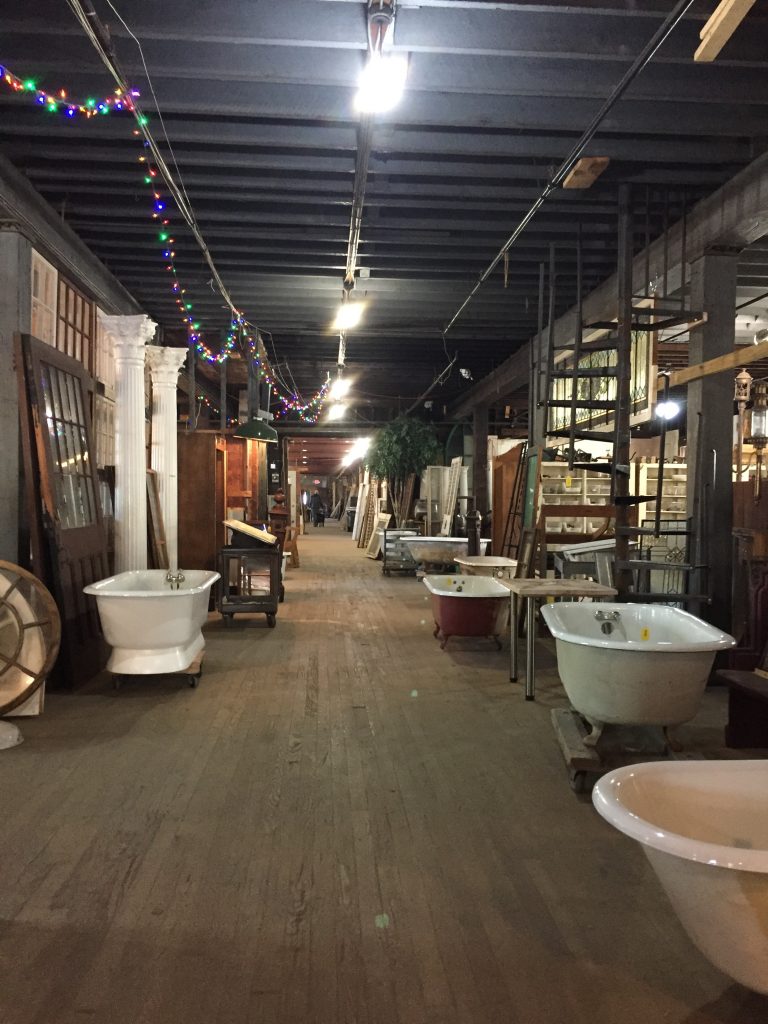
I will share my two favorite places we visited! First of all we found a place called Vermont Salvage in White River Junction. It is a huge building with three floors of all sorts of things that were kept during various home renovations. Ray and I spent a long time looking through pile and piles of fun things that would be great to have if we were fixing up a house

The selection was incredible. Everything from tubs and toilets to mantles and stained glass windows. There were bins filled with hardware, hinges, door handles, cabinet pulls and more.

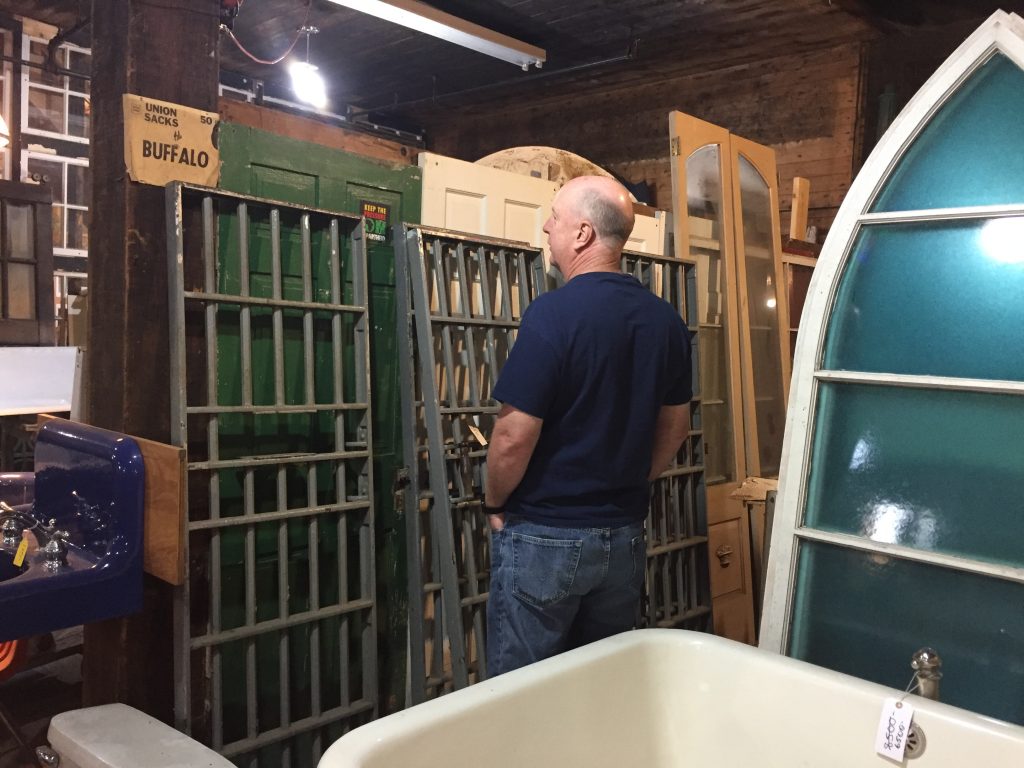
If only we could have thought of a way to use these old jail cell doors!

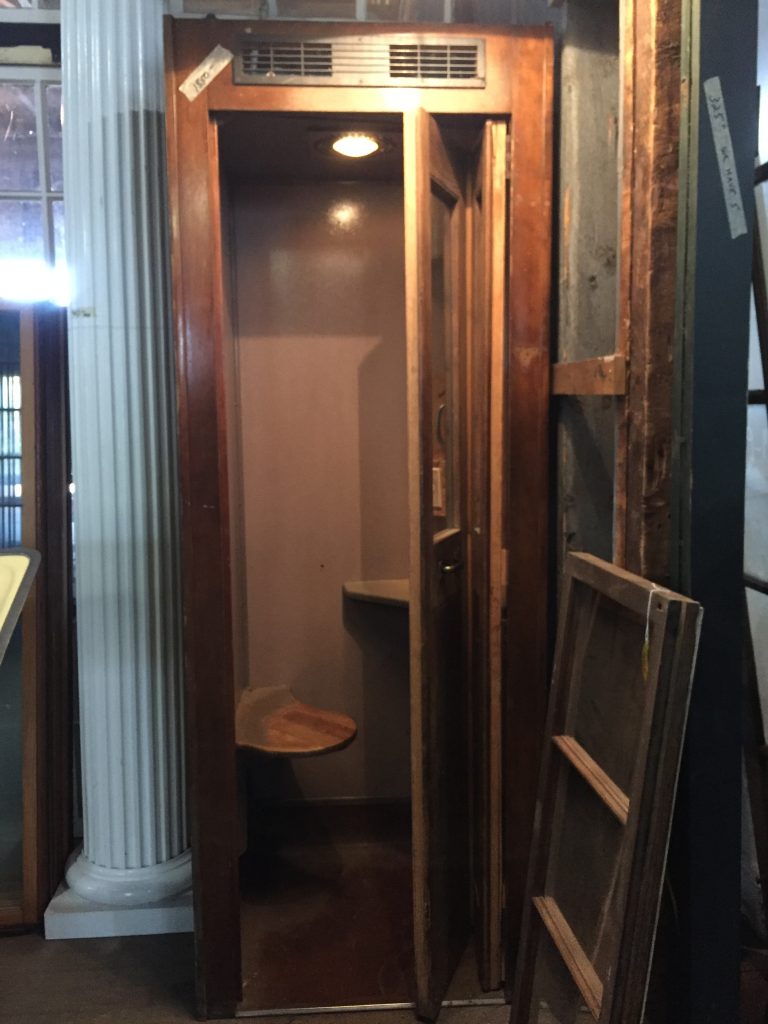
Here we found a wooden phone booth. Where did this come from? I just loved it.

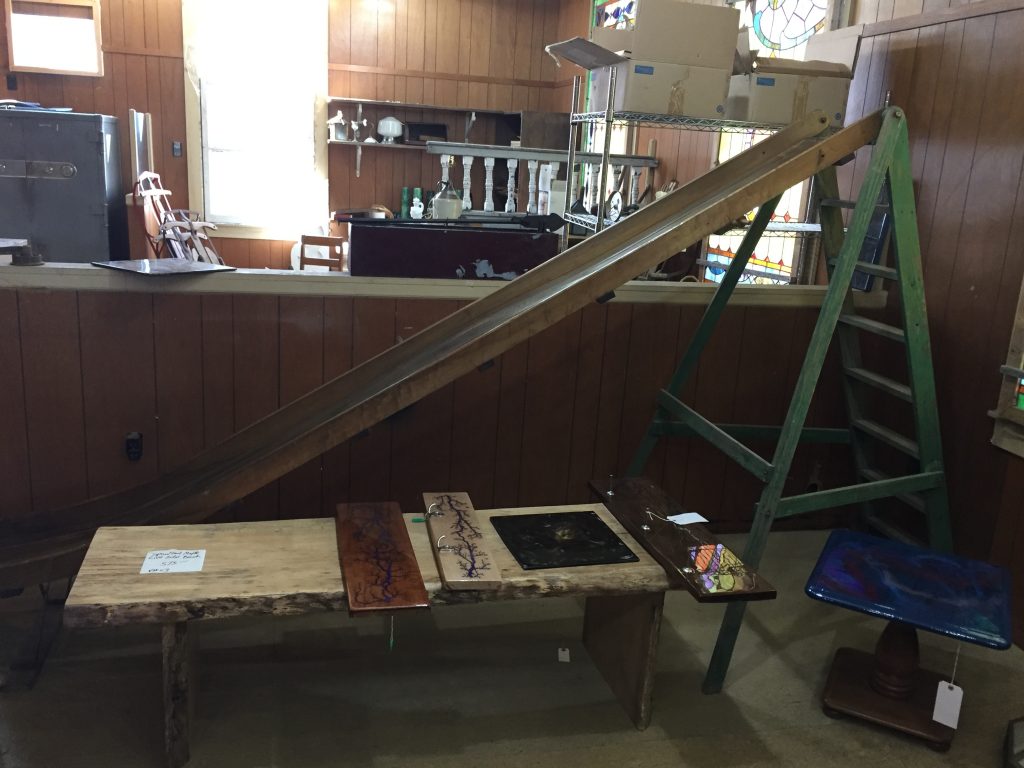
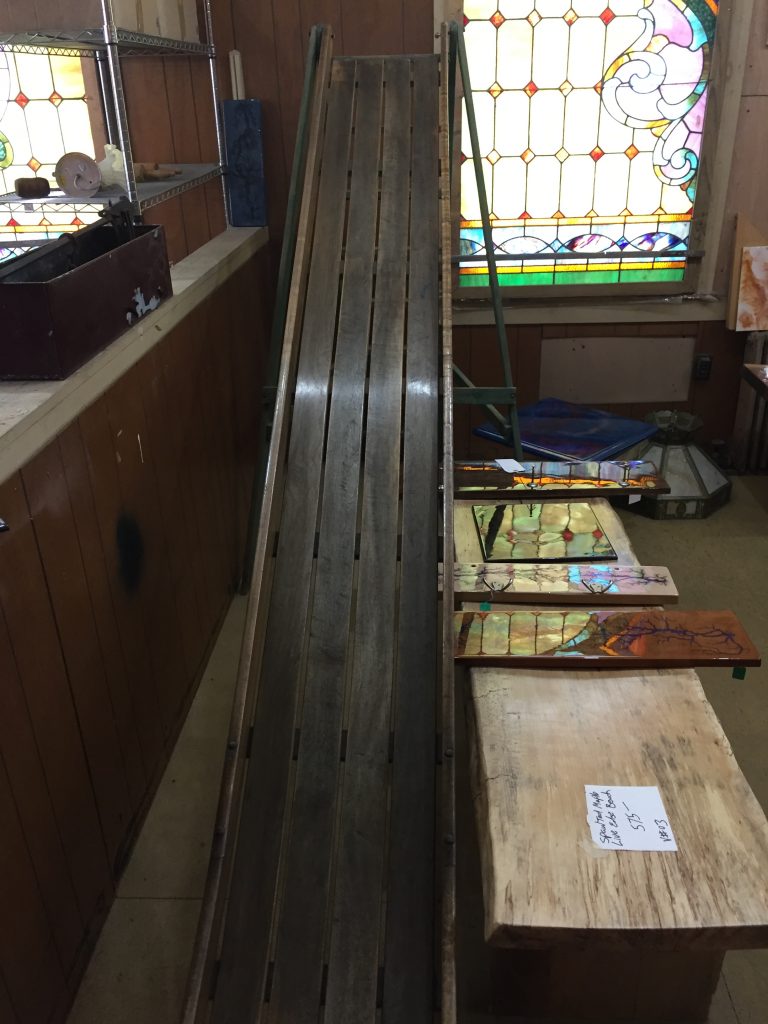
This wooden slide was so fun. It was quite rickety and I found myself wondering if it was made by some devoted father (or grandfather?) for their children.

I allows was thinking that my bum would in no way fit this slide! It was clearly made for little kids. Also, it was so steep. Think of how many kids flew down that slide and scrambled up the ladder for another turn!

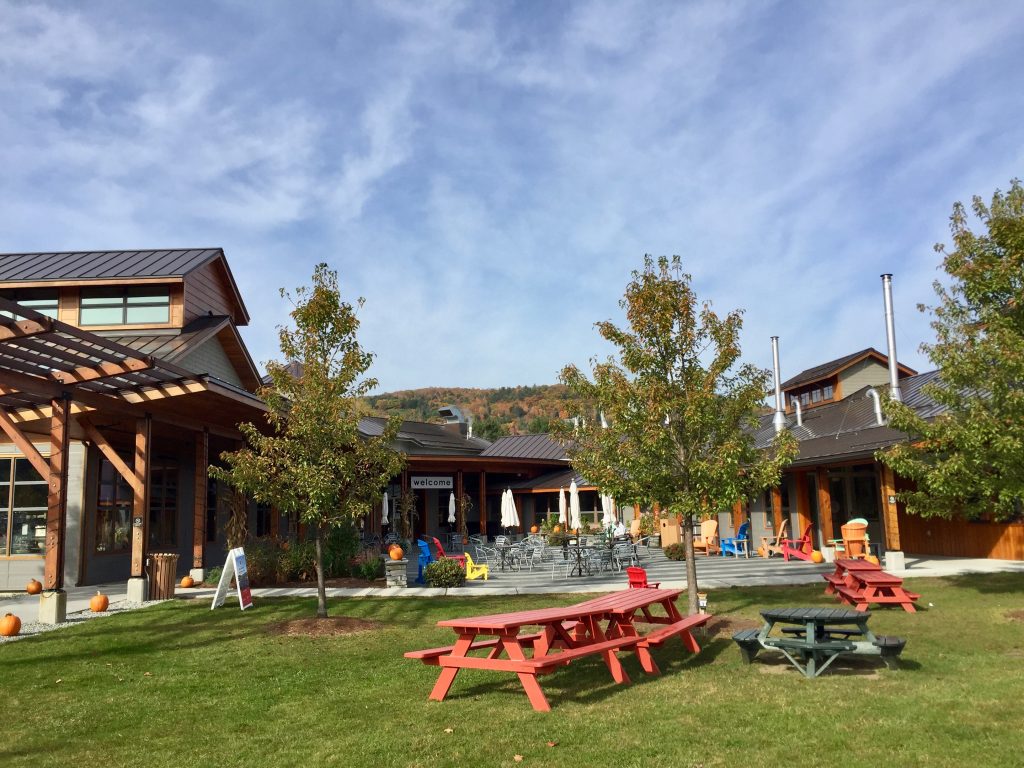
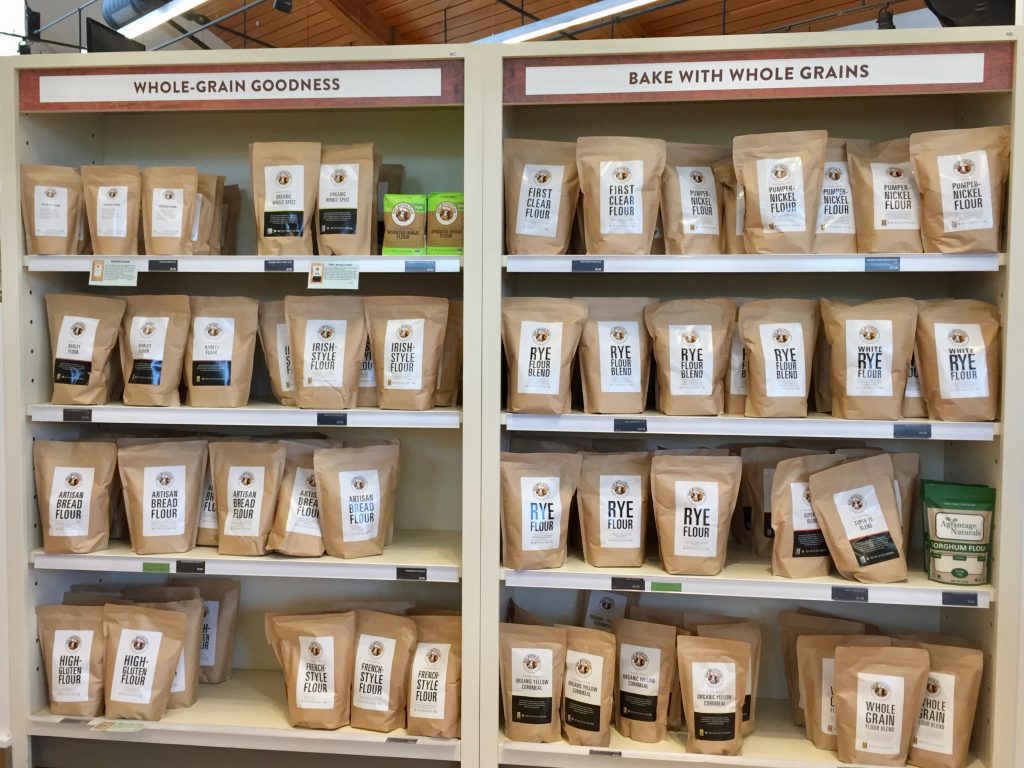
The other place we really enjoyed was a trip to King Arthur Flour. I love their website and use their recipes quite often. Our local grocery sells quite a variety of their flours too. When Julia was out here last summer she had lunch here with her brother and sister-in-law. She told me about it and said the shop was something I would love. Know what? She was so right!

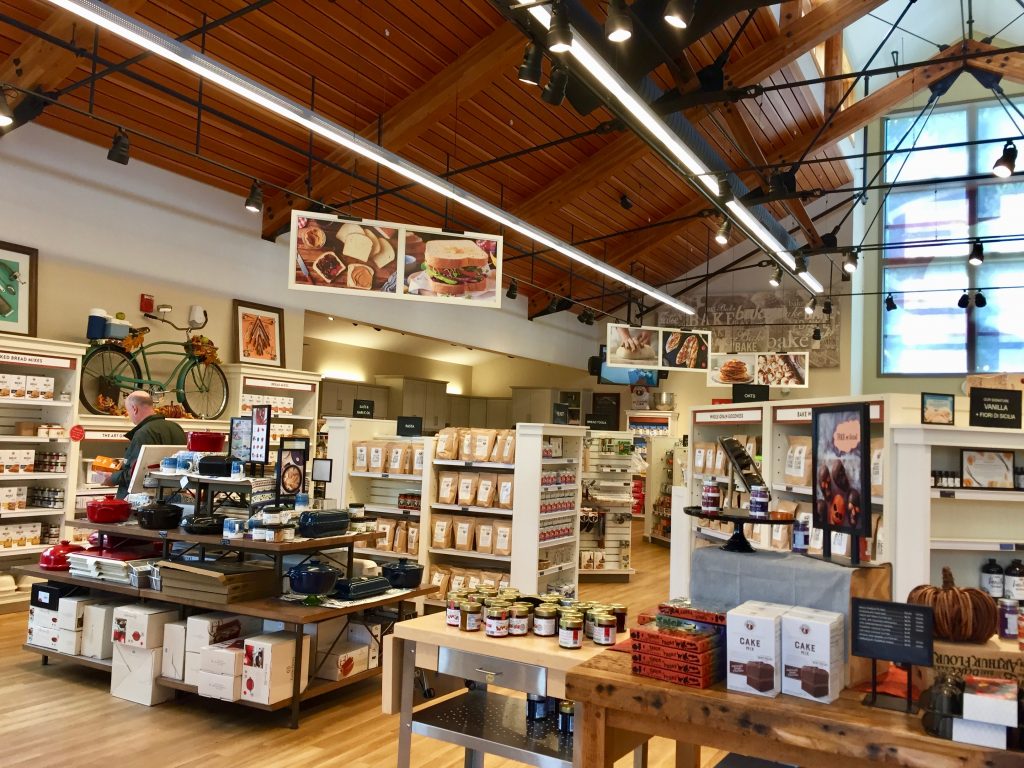
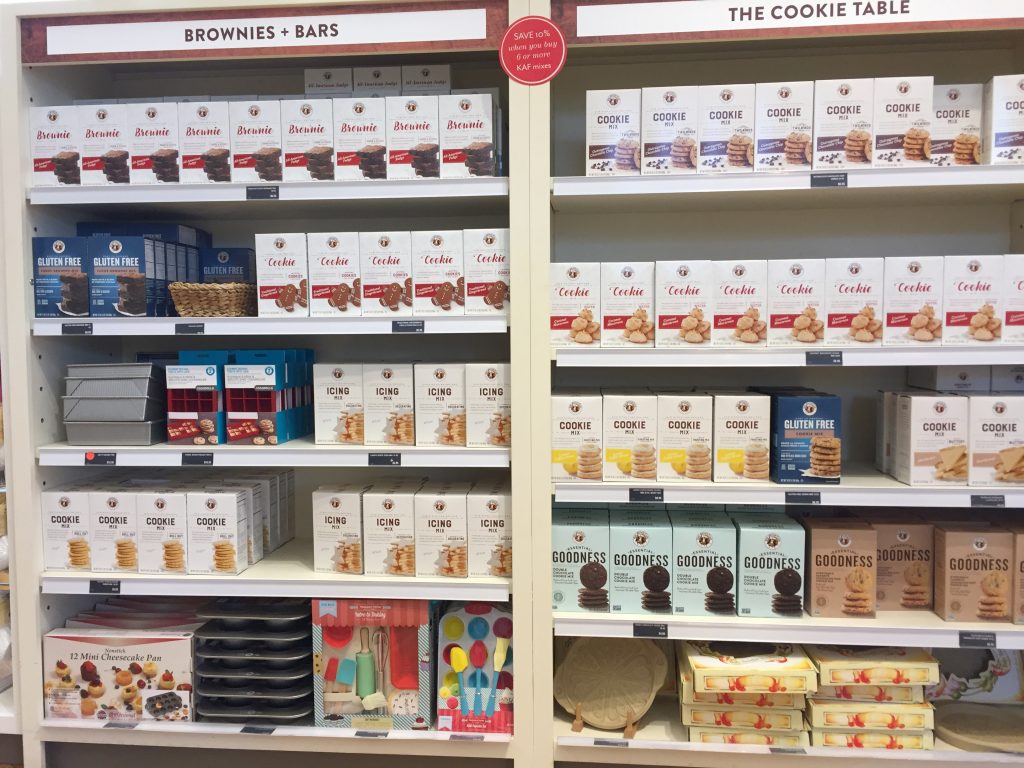
The store is enormous and is filled with baking tools, kitchen decor, linens, cookbooks and baking mixes of all kinds. The only thing that restrained us was the fact that we would have to tote things home to California and the fact that lots of the items are available online.

Being there made me want to go home and bake. I really love cooking and baking as does my husband.

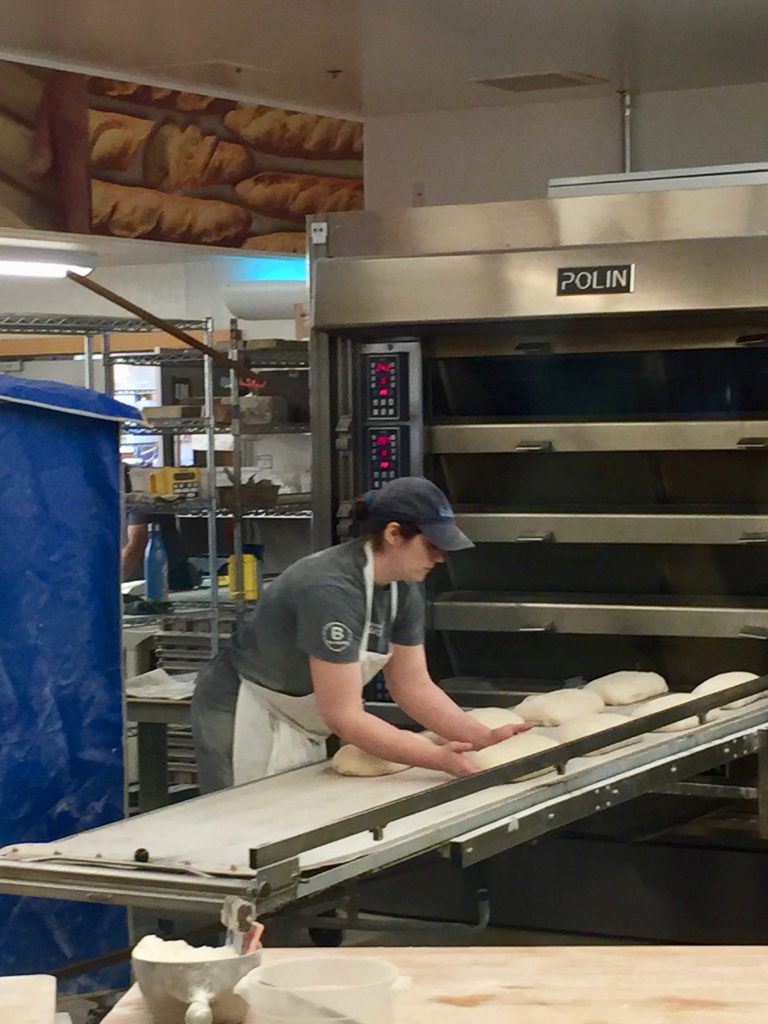
They make wonderful breads and baked goods onsite. Samples were everywhere which was a great selling technique! I liked the huge windows which allowed us to watch the baking in process.

Even more, they have a beautiful classroom set up. The day we were there the class was on making hot water pastry as well as short pastry crusts. I wish I could have snuck in the room just to listen for a while!

The restaurant is great too. We had a fantastic lunch after shopping and wandering. So yummy.

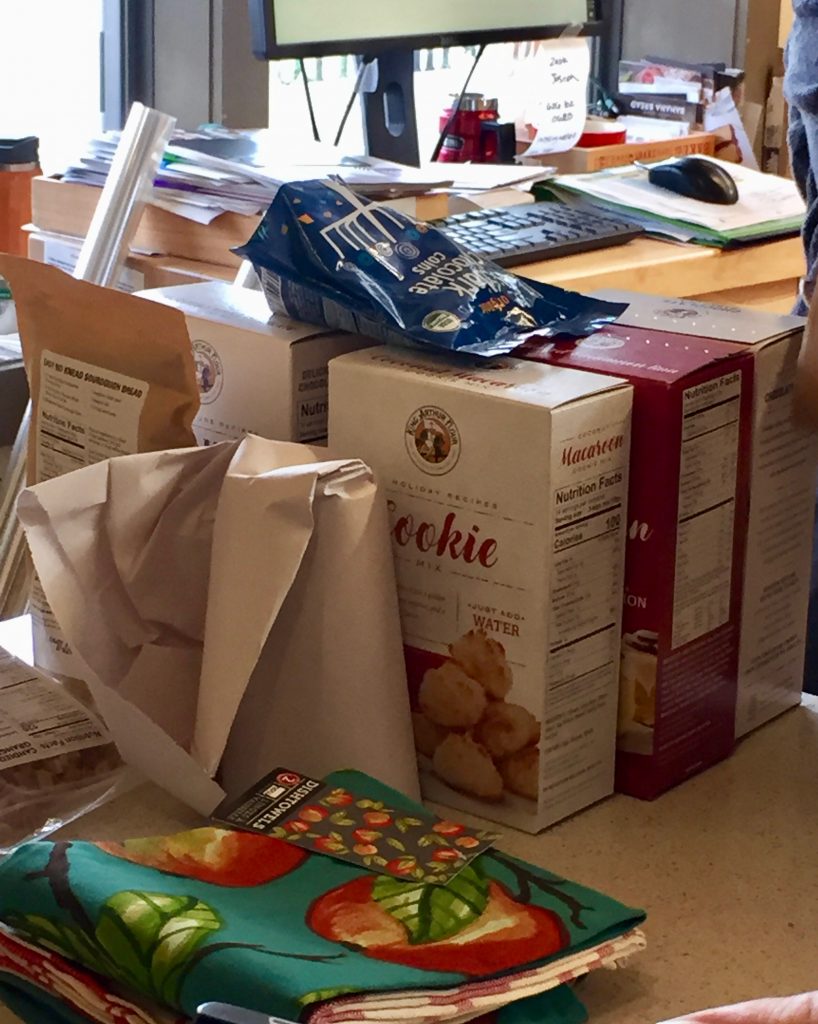
We did purchase a number of the mixes and plan to make some over the weekend. My middle son and his wife are driving over from Brooklyn where they live. So family time means lots of food (at least in our family!)

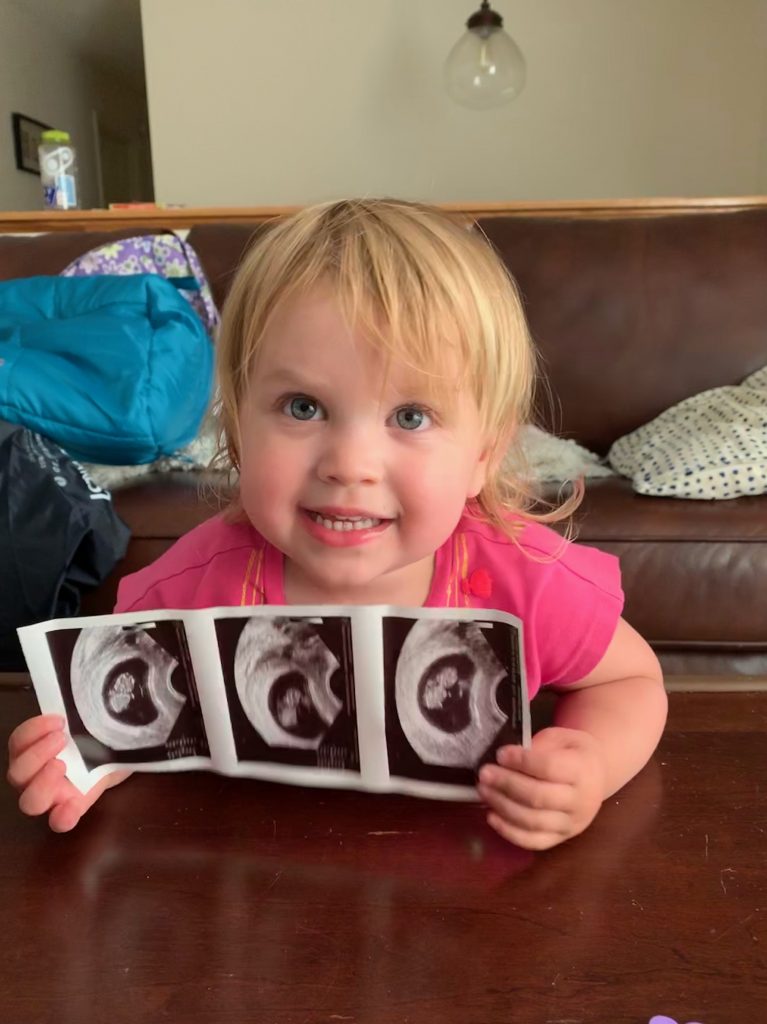
I will close now with this fun announcement! Guess who is going to be a big sister?? We are so excited for grand daughter number two! She is due to arrive in mid-March. Big sister seems to have some understanding of what is to come. She has told me the new baby will cry a lot, want a pacifier and lots of bottles. However she clearly doesn’t get the difference in boy names or girl names. She has asked that this child be called Ferdinand. I am really hoping her parents can talk her out of this!

That is my news for now. Hope all is well with you!

Susie’s Quilt is Finished

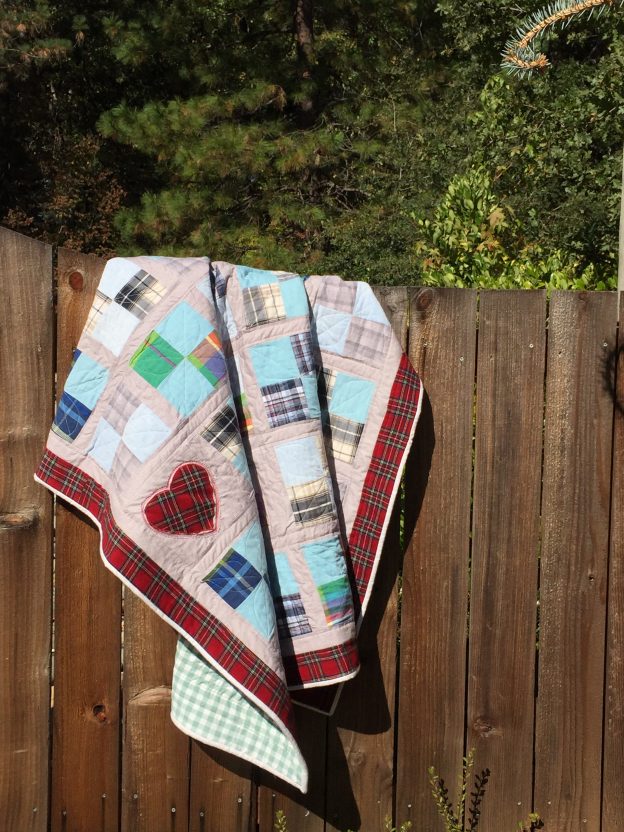
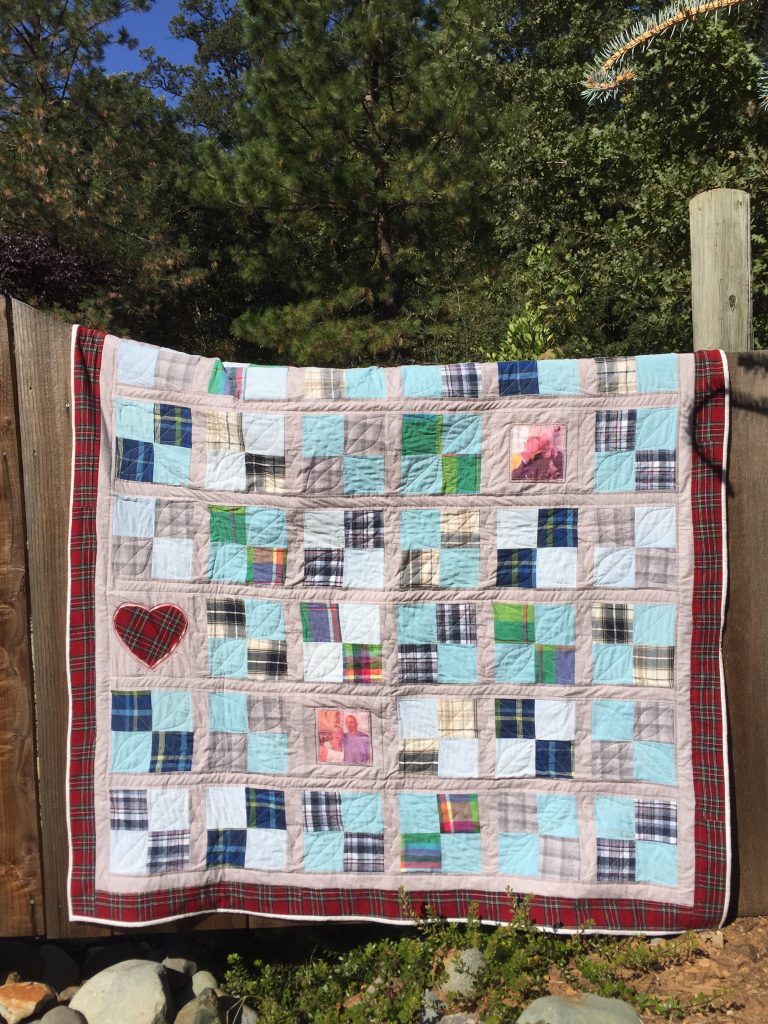
Months ago I started to make a memory quilt for my friend Susie. Her husband passed away in September of 2018 and some months later she gave me a stack of his shirts to make a quilt with. I first posted here about this project if you want to see earlier pictures.

That weird little curved line at the too right is a branch from a tree. Creative photography?!

Yesterday I had lunch with Susie and (finally) gave her the quilt. She is really happy to have it and I am hoping she enjoys snuggling up with her quilt and a good book now that cooler weather is upon us. I think it finished at about 65 x 75″ so that is a nice size.

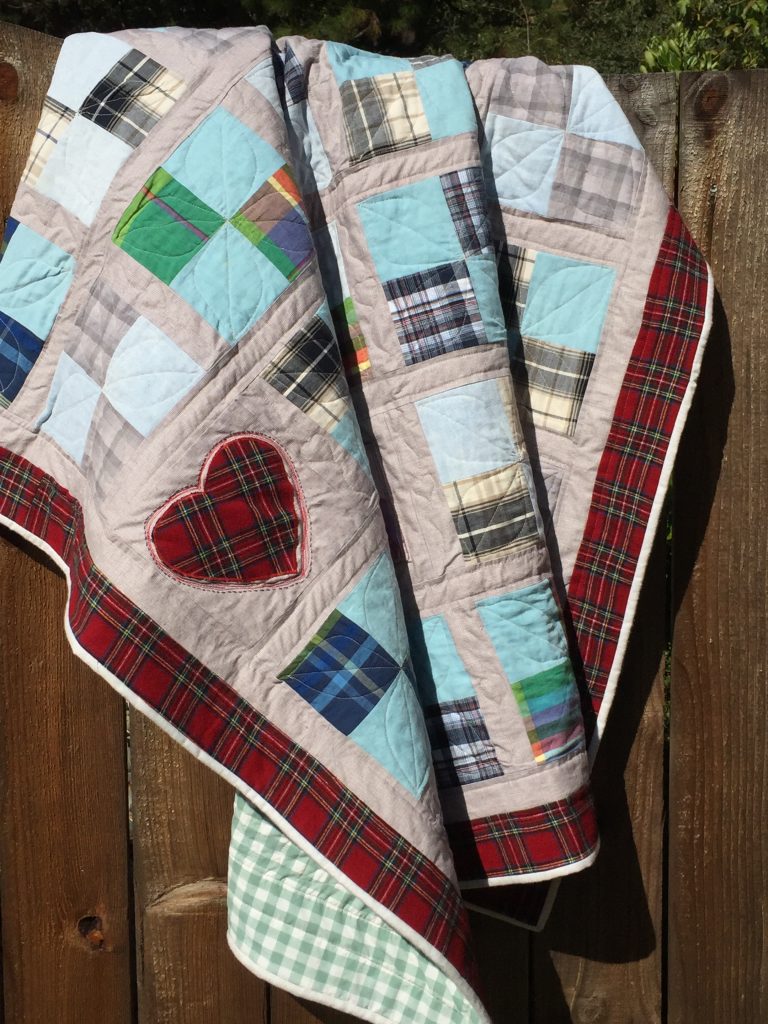
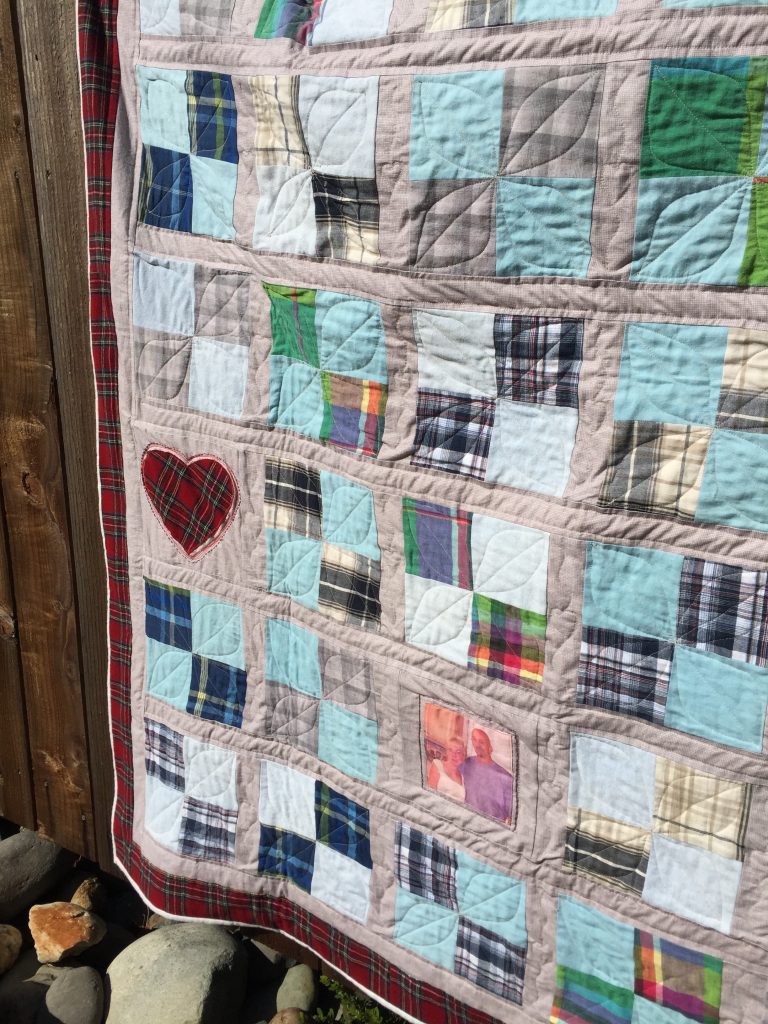
This quilt is rustic and cozy. Because all of the shirts were plaids, I chose to make each four patch block with a solid (from various pairs of shorts) and a plaid. The shirts were Rick’s favorites and he had worn some of them quite a bit. This made it nearly impossible to get a straight cut on the plaids. But I didn’t worry about it. This is a memory quilt and it will serve its purpose well.

My favorite part of the quilt is the red flannel that was used as the border and for the two red heart appliqués. The fabric was taken from Rick’s bathrobe and it frames the quilt perfectly. I love the deep red color. The binding is a soft creamy flannel that is in the shop. It seemed to be just the right choice with that rich red border. It complements the pale green gingham backing too.

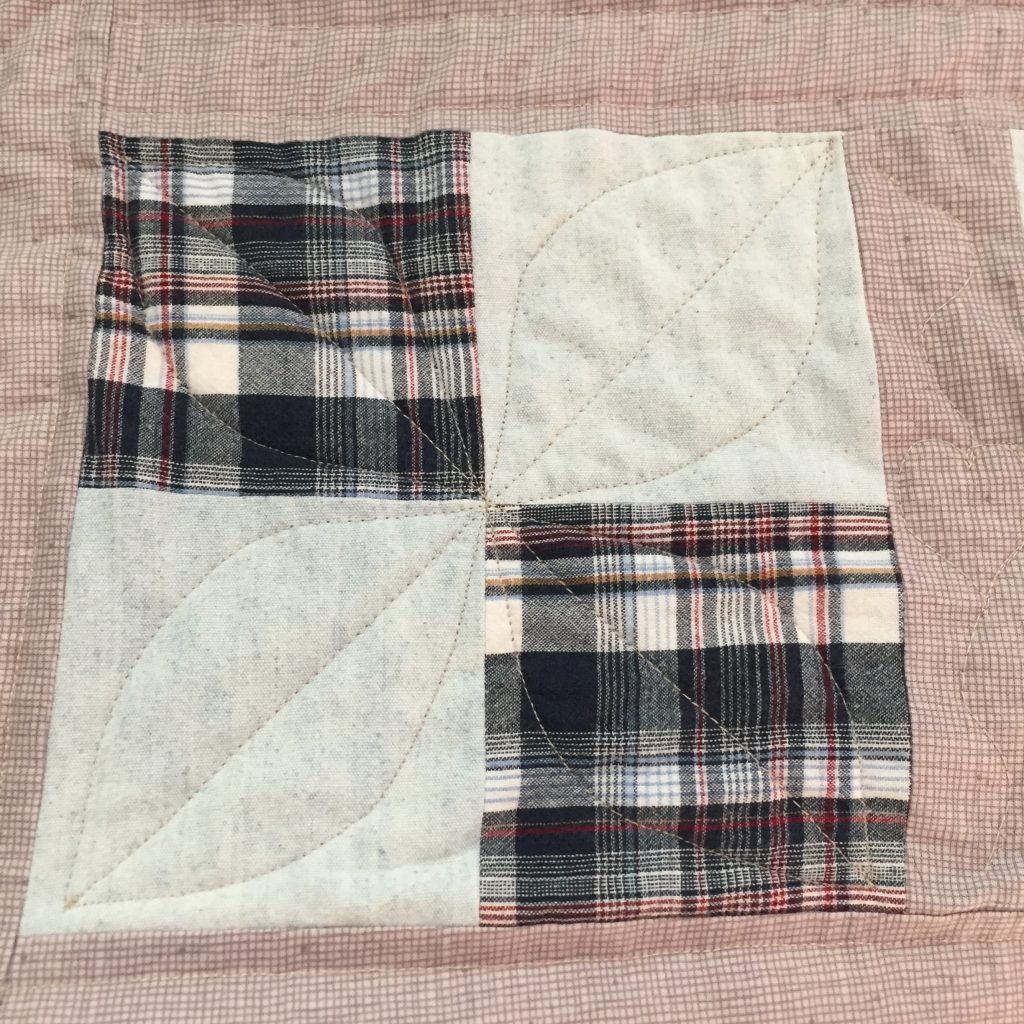
I don’t know the name (or if there is a name) for this pattern I quilted on the four patch blocks. I quilted a diagonal line and then swooped up one side and down the other creating a leaf shape. It was so easy to do and it looks pretty. I first started with a free motion foot and had a heck of a time getting across the main intersection of the four patch. It made me crazy that I couldn’t get over that point without jumping all over the place. When I finally made the switch to the walking foot, it was just a breeze. I didn’t even think of that in the beginning but this design works really well with a walking foot.

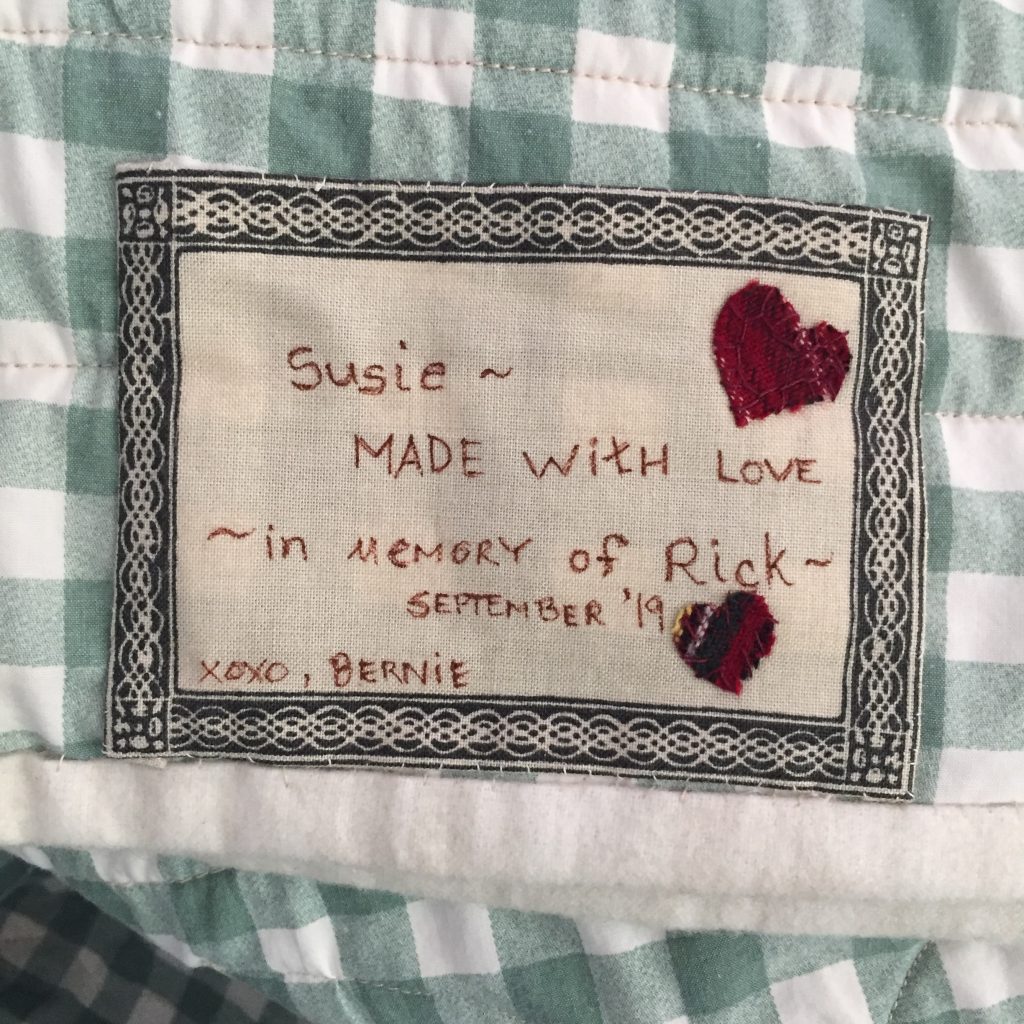
I rarely remember to label quilts but I did put one on the back of this quilt. My handwriting isn’t the best but I am glad I labeled it.

There are some tucks on the backing that really gave me trouble. Other than that, this was a wonderful project and I enjoyed making it. I hope Susie takes comfort in it and loves having the quilt as reminder of her many happy years with Rick.