Monthly Archives: November 2014

Happy Thanksgiving!

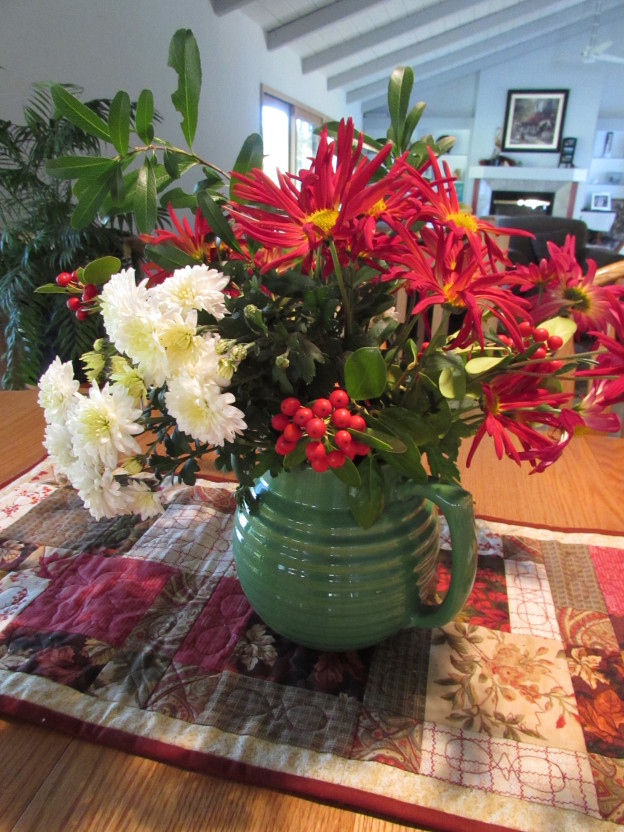
I just picked the last of my mums and have enough for the table. The flowers are now finished until the rhodies and azaleas come to life in about February. We are getting ready for Thanksgiving tomorrow.

Today is a baking day. Thanksgiving will be up at my mom and dad’s home this year. Two of my five sisters, their kids and grandkids are coming to celebrate. I love this holiday. It is probably my favorite of all of them. It is a day to enjoy family, eat wonderful food and visit, visit, visit! What better way to enjoy a holiday! I have been assigned dessert so Julia and I are making two kinds of fudge and a Chocolate Mousse Cheesecake (a layered deal that looks amazing.) I am also bringing the Cranberry Sauce and have a recipe that I love making each year. It is very simple.  Just in case you are looking for something new to try (could be for Thanksgiving or Christmas), here is the recipe. (I have had this clipping from a Bon Appetit magazine of years ago.)

Spiced Cranberry Sauce with Zinfandel

  • 1 3/4 c red Zinfandel (or any rather sweet red wine)
  • 1 cup white sugar
  • 1 cup packed brown sugar
  • 6 whole cloves
  • 6 whole allspice
  • 2 cinnamon sticks
  • 1 large strip of orange peel
  • 1 12-ounce bag of fresh cranberries

Combine all ingredients except cranberries in medium saucepan. Brting to boil over medium-high heat, stirring until sugar dissolves. Reduce heat and simmer until reduced to 1 3/4 cups, about 10 minutes. Strain syrup into larger saucepan. Add cranberries to syrup and cook over medium heat until berries burst and sauce slightly thickens, about 10-12 minutes. Transfer to bowl. Cover and refrigerate until cold. (Can be made up to 1 week ahead. Keep refrigerated.) This is soooo yummy plus your house smells delicious when it is cooking!


I have so much to be thankful for. All the simple things – my husband, kids and my amazing family, a home that I love in a community that I love, good health, good friends and, yes…. two sewing machines!! Not only that, I am also thankful for this quilting community that I so enjoy. 🙂 I am grateful! I hope all of you are feeling as fortunate. It feels good to remember how very much we have to be thankful for.

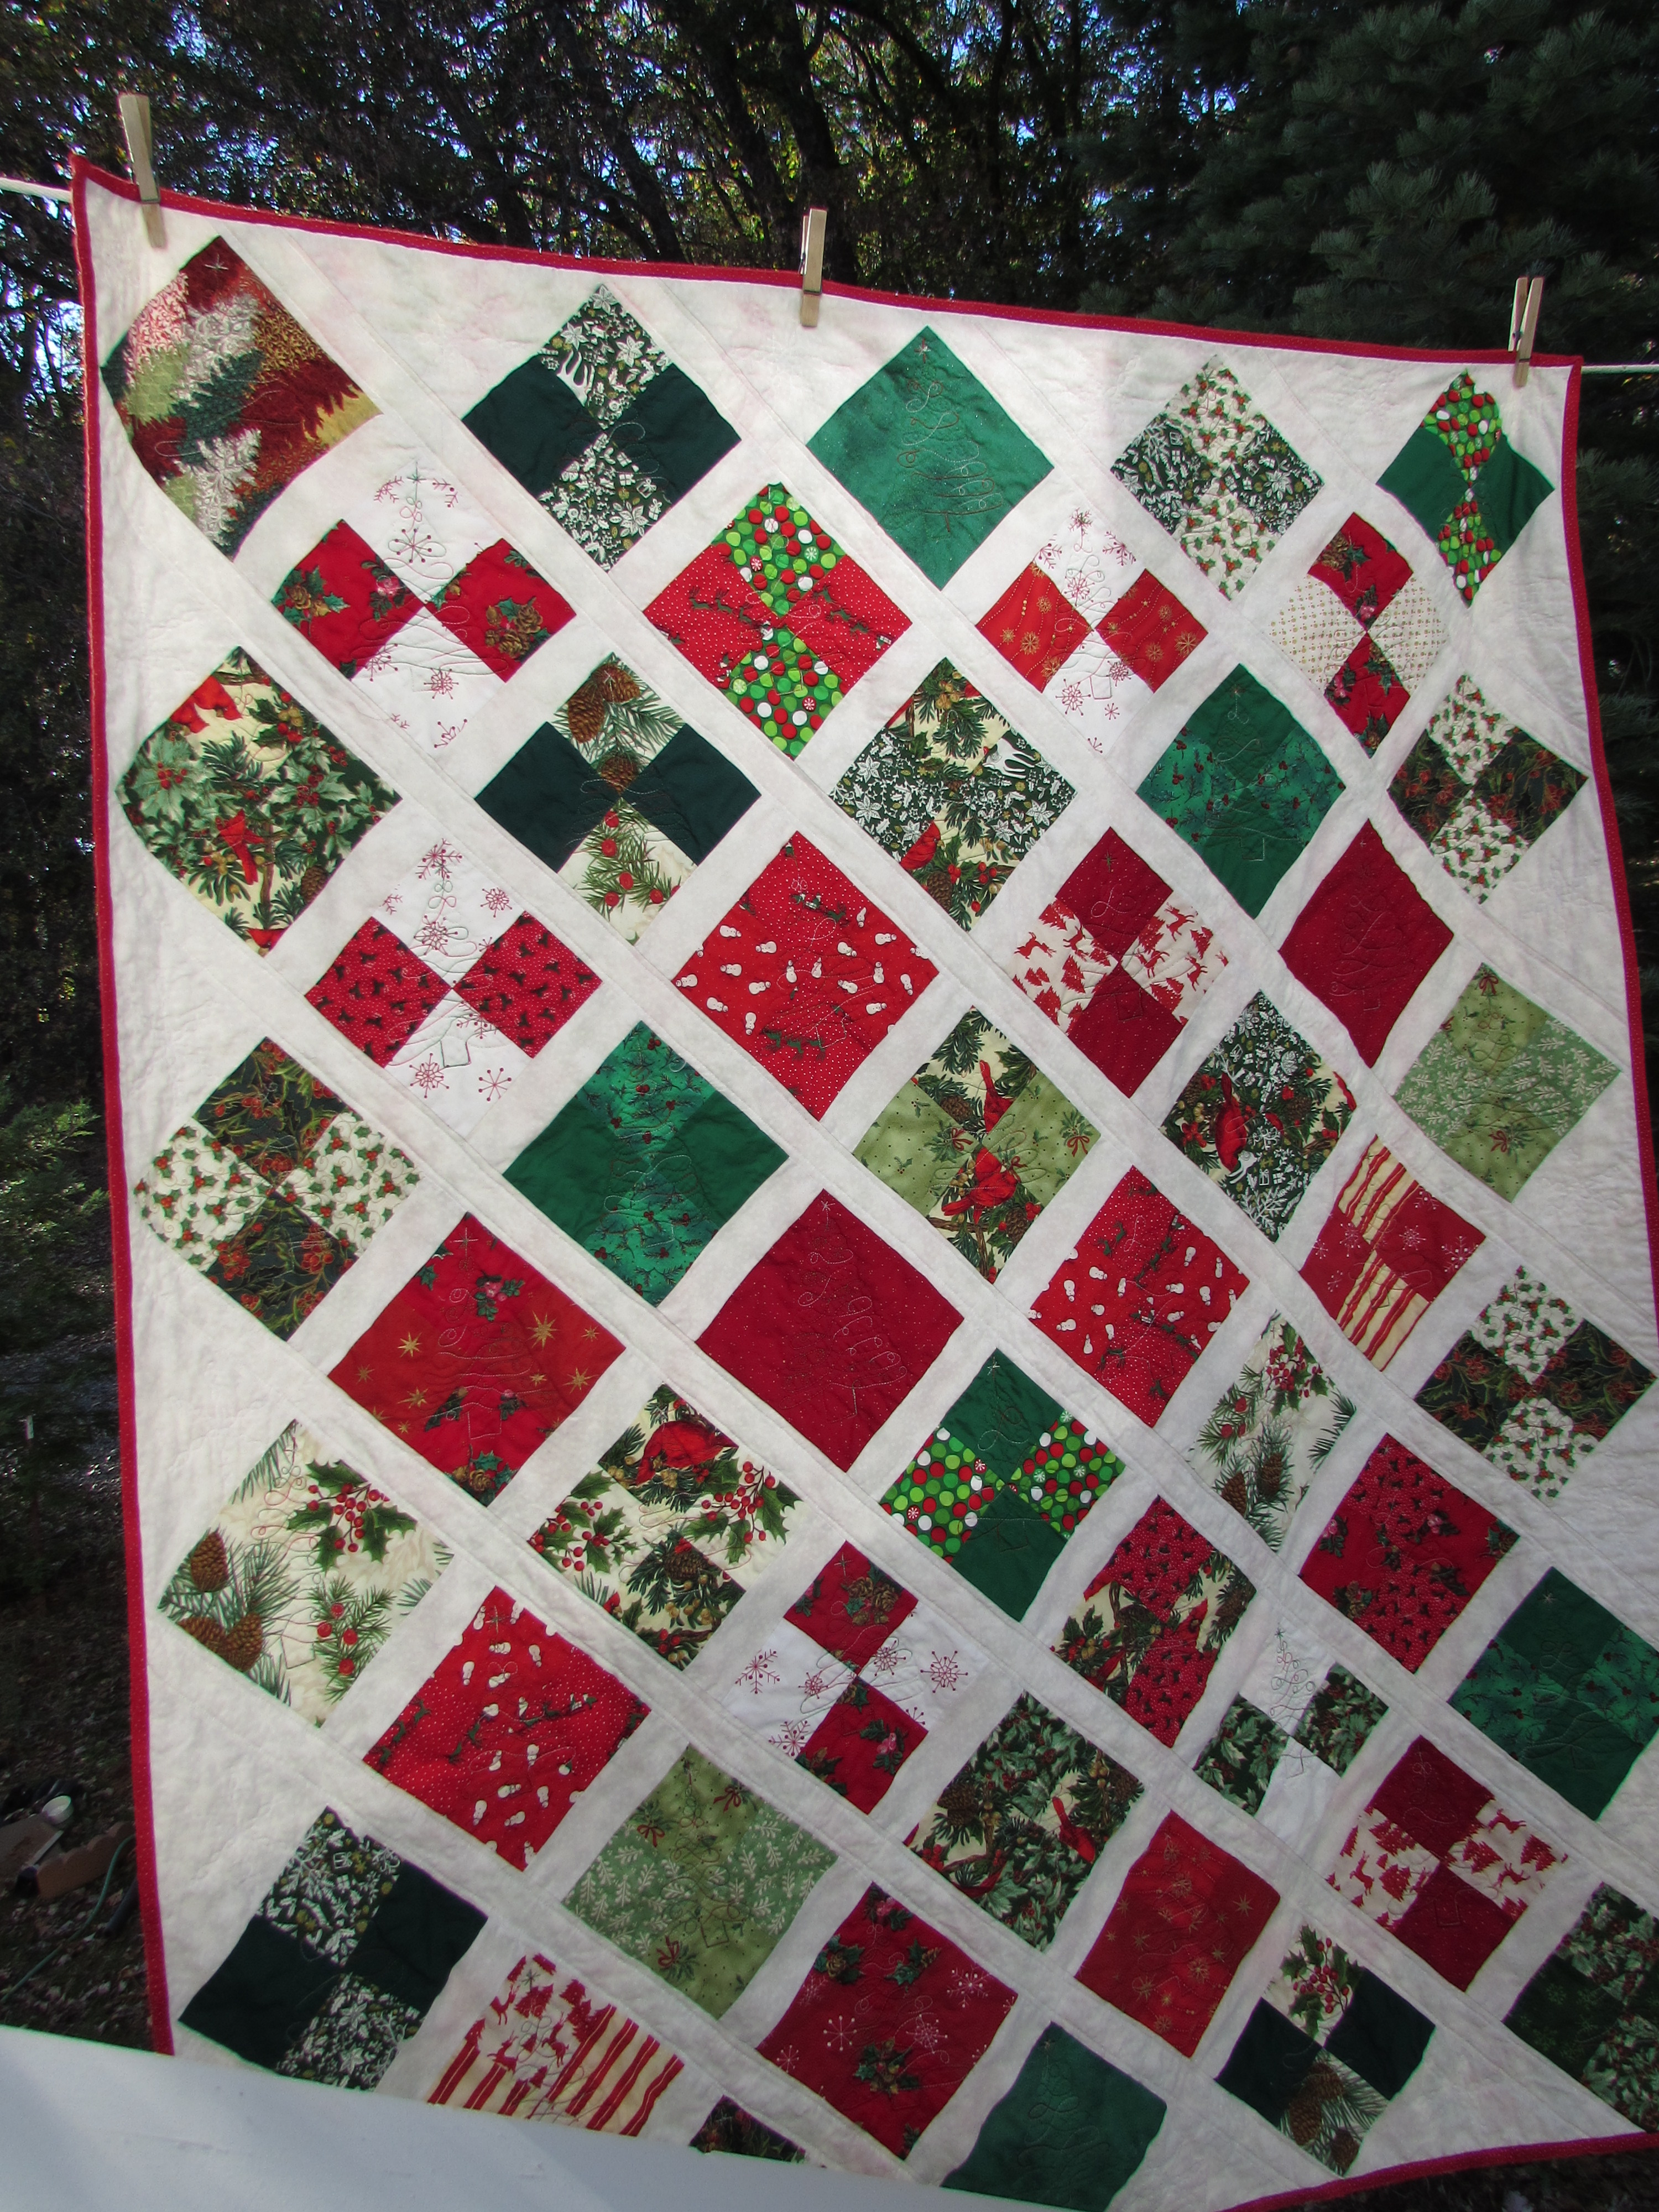
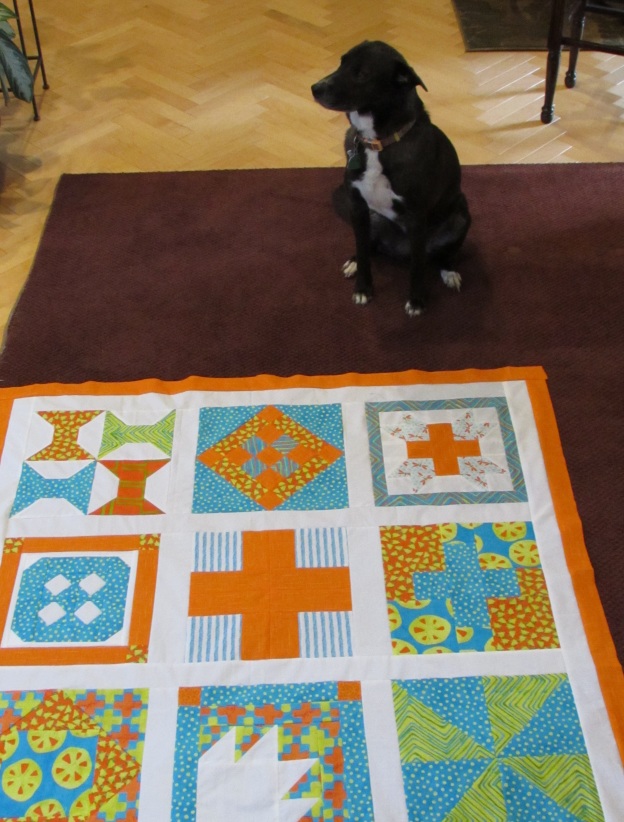
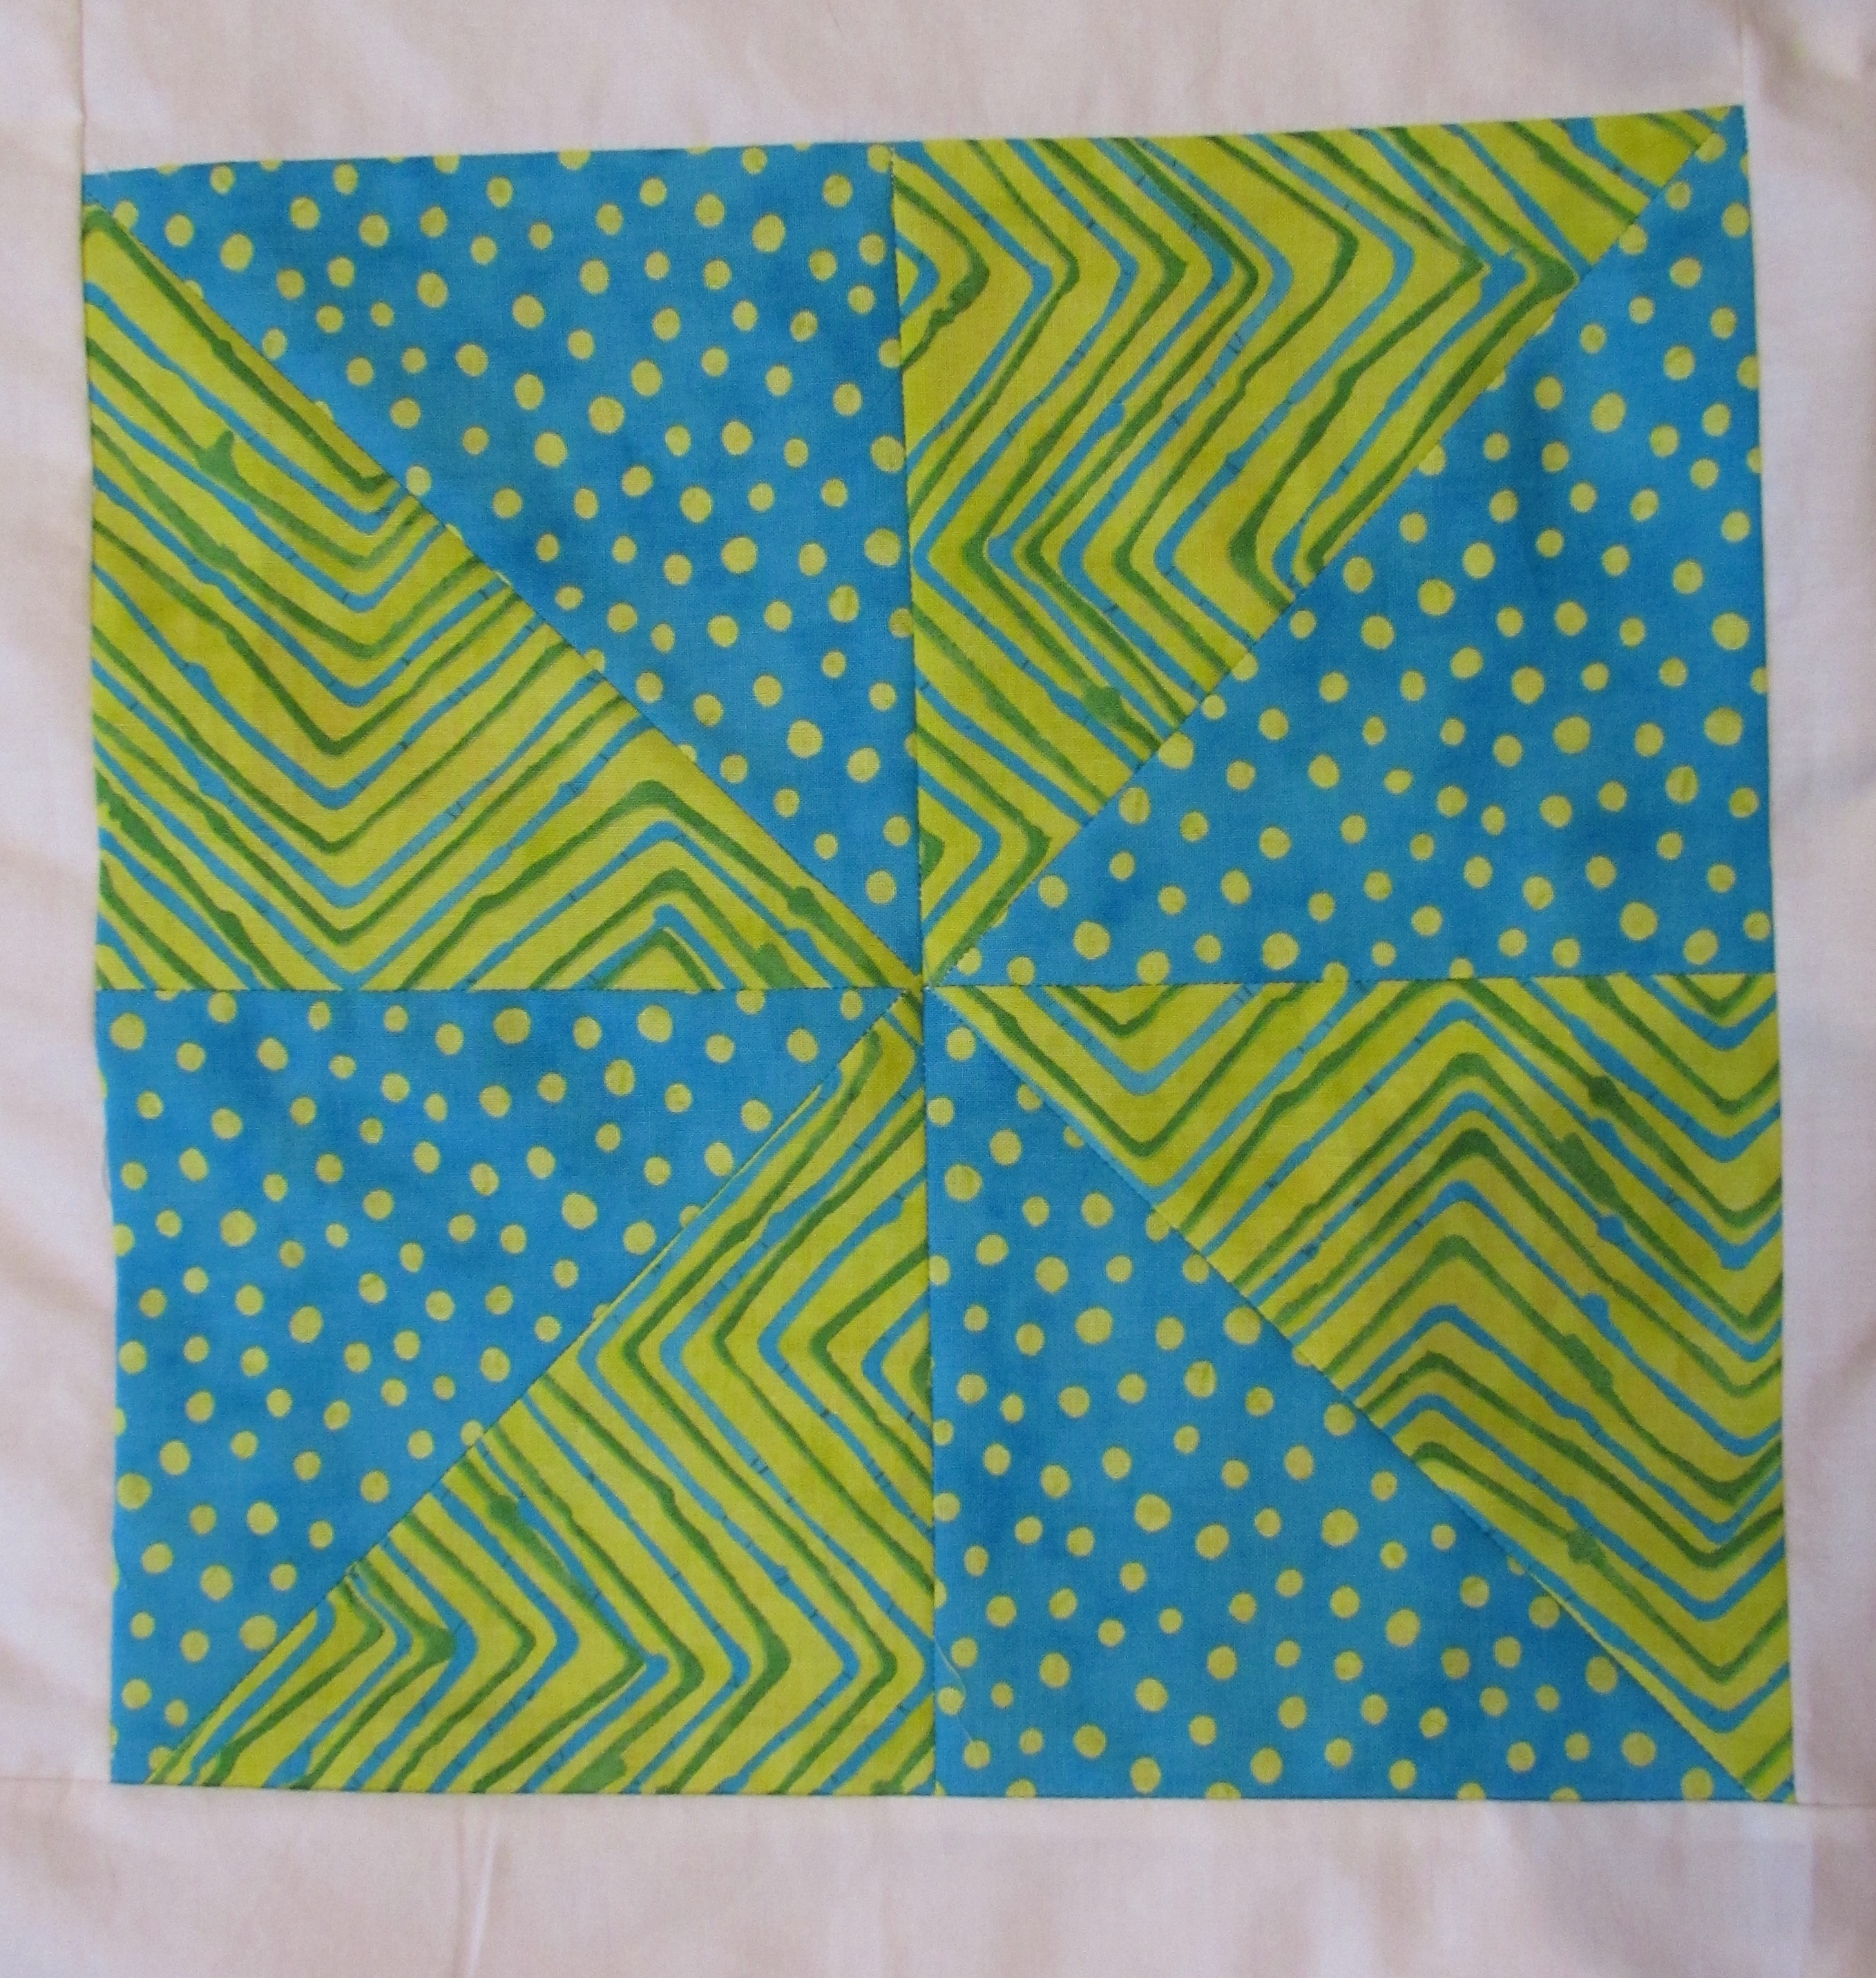
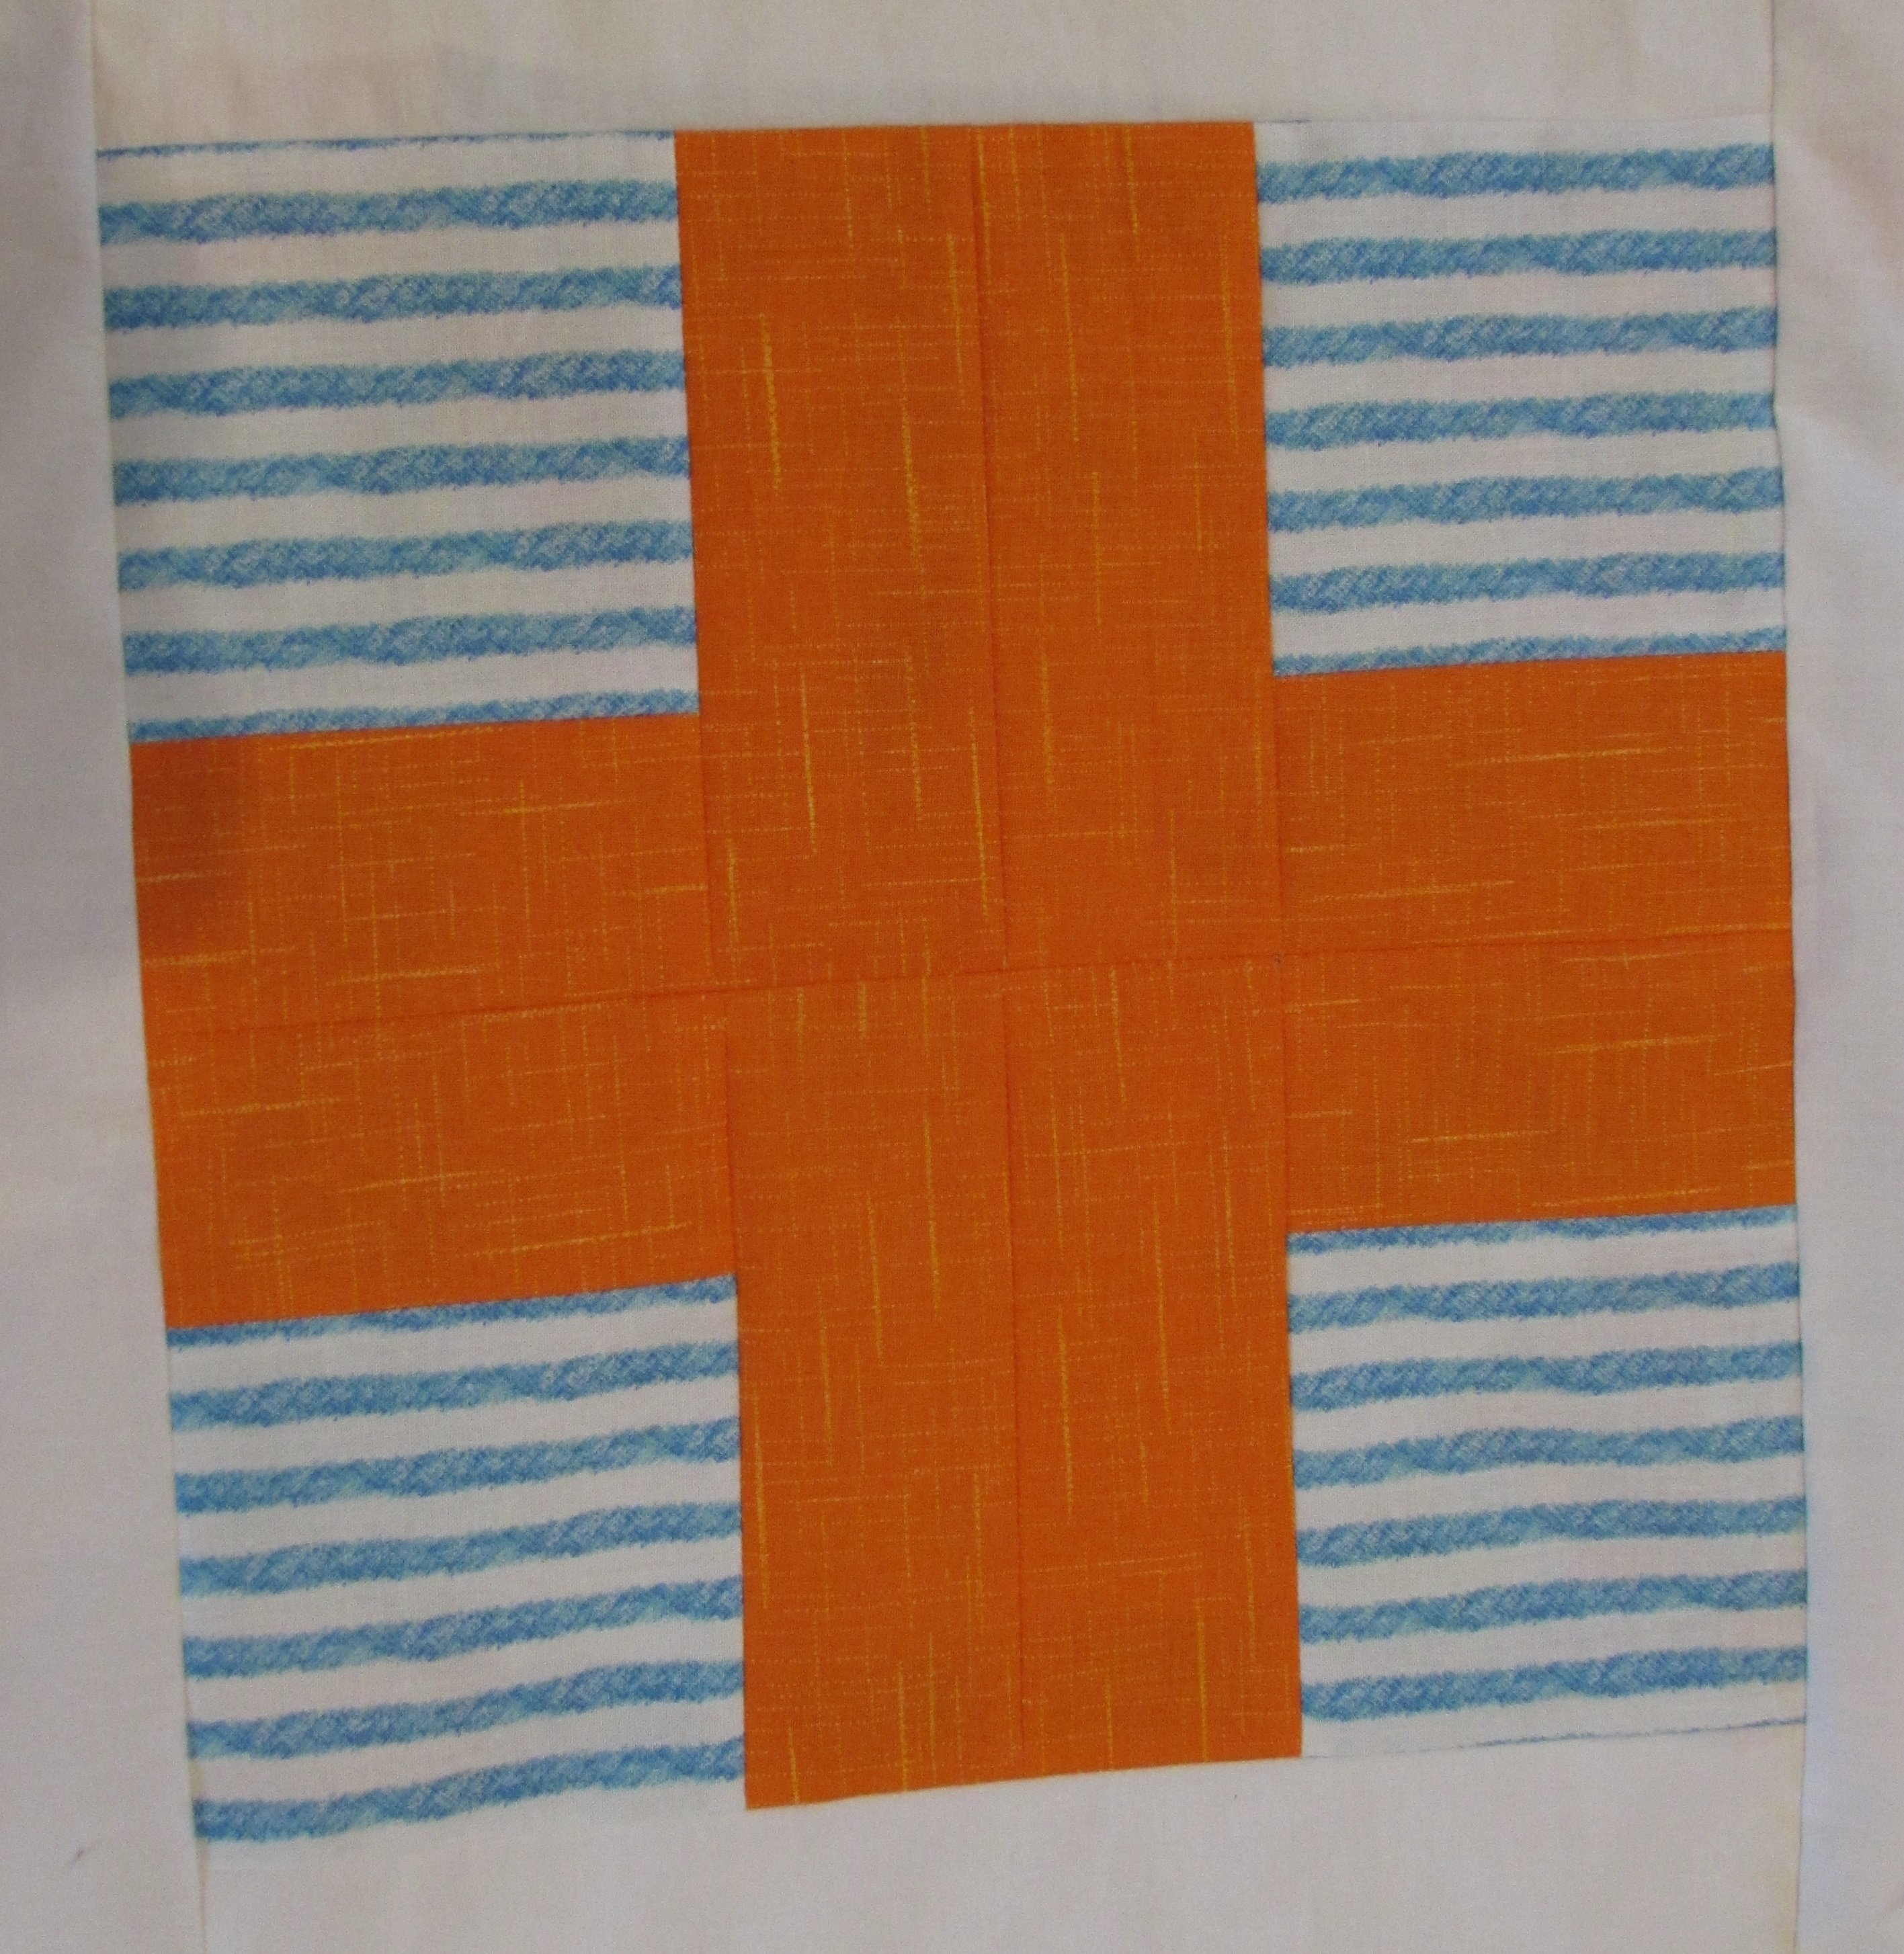
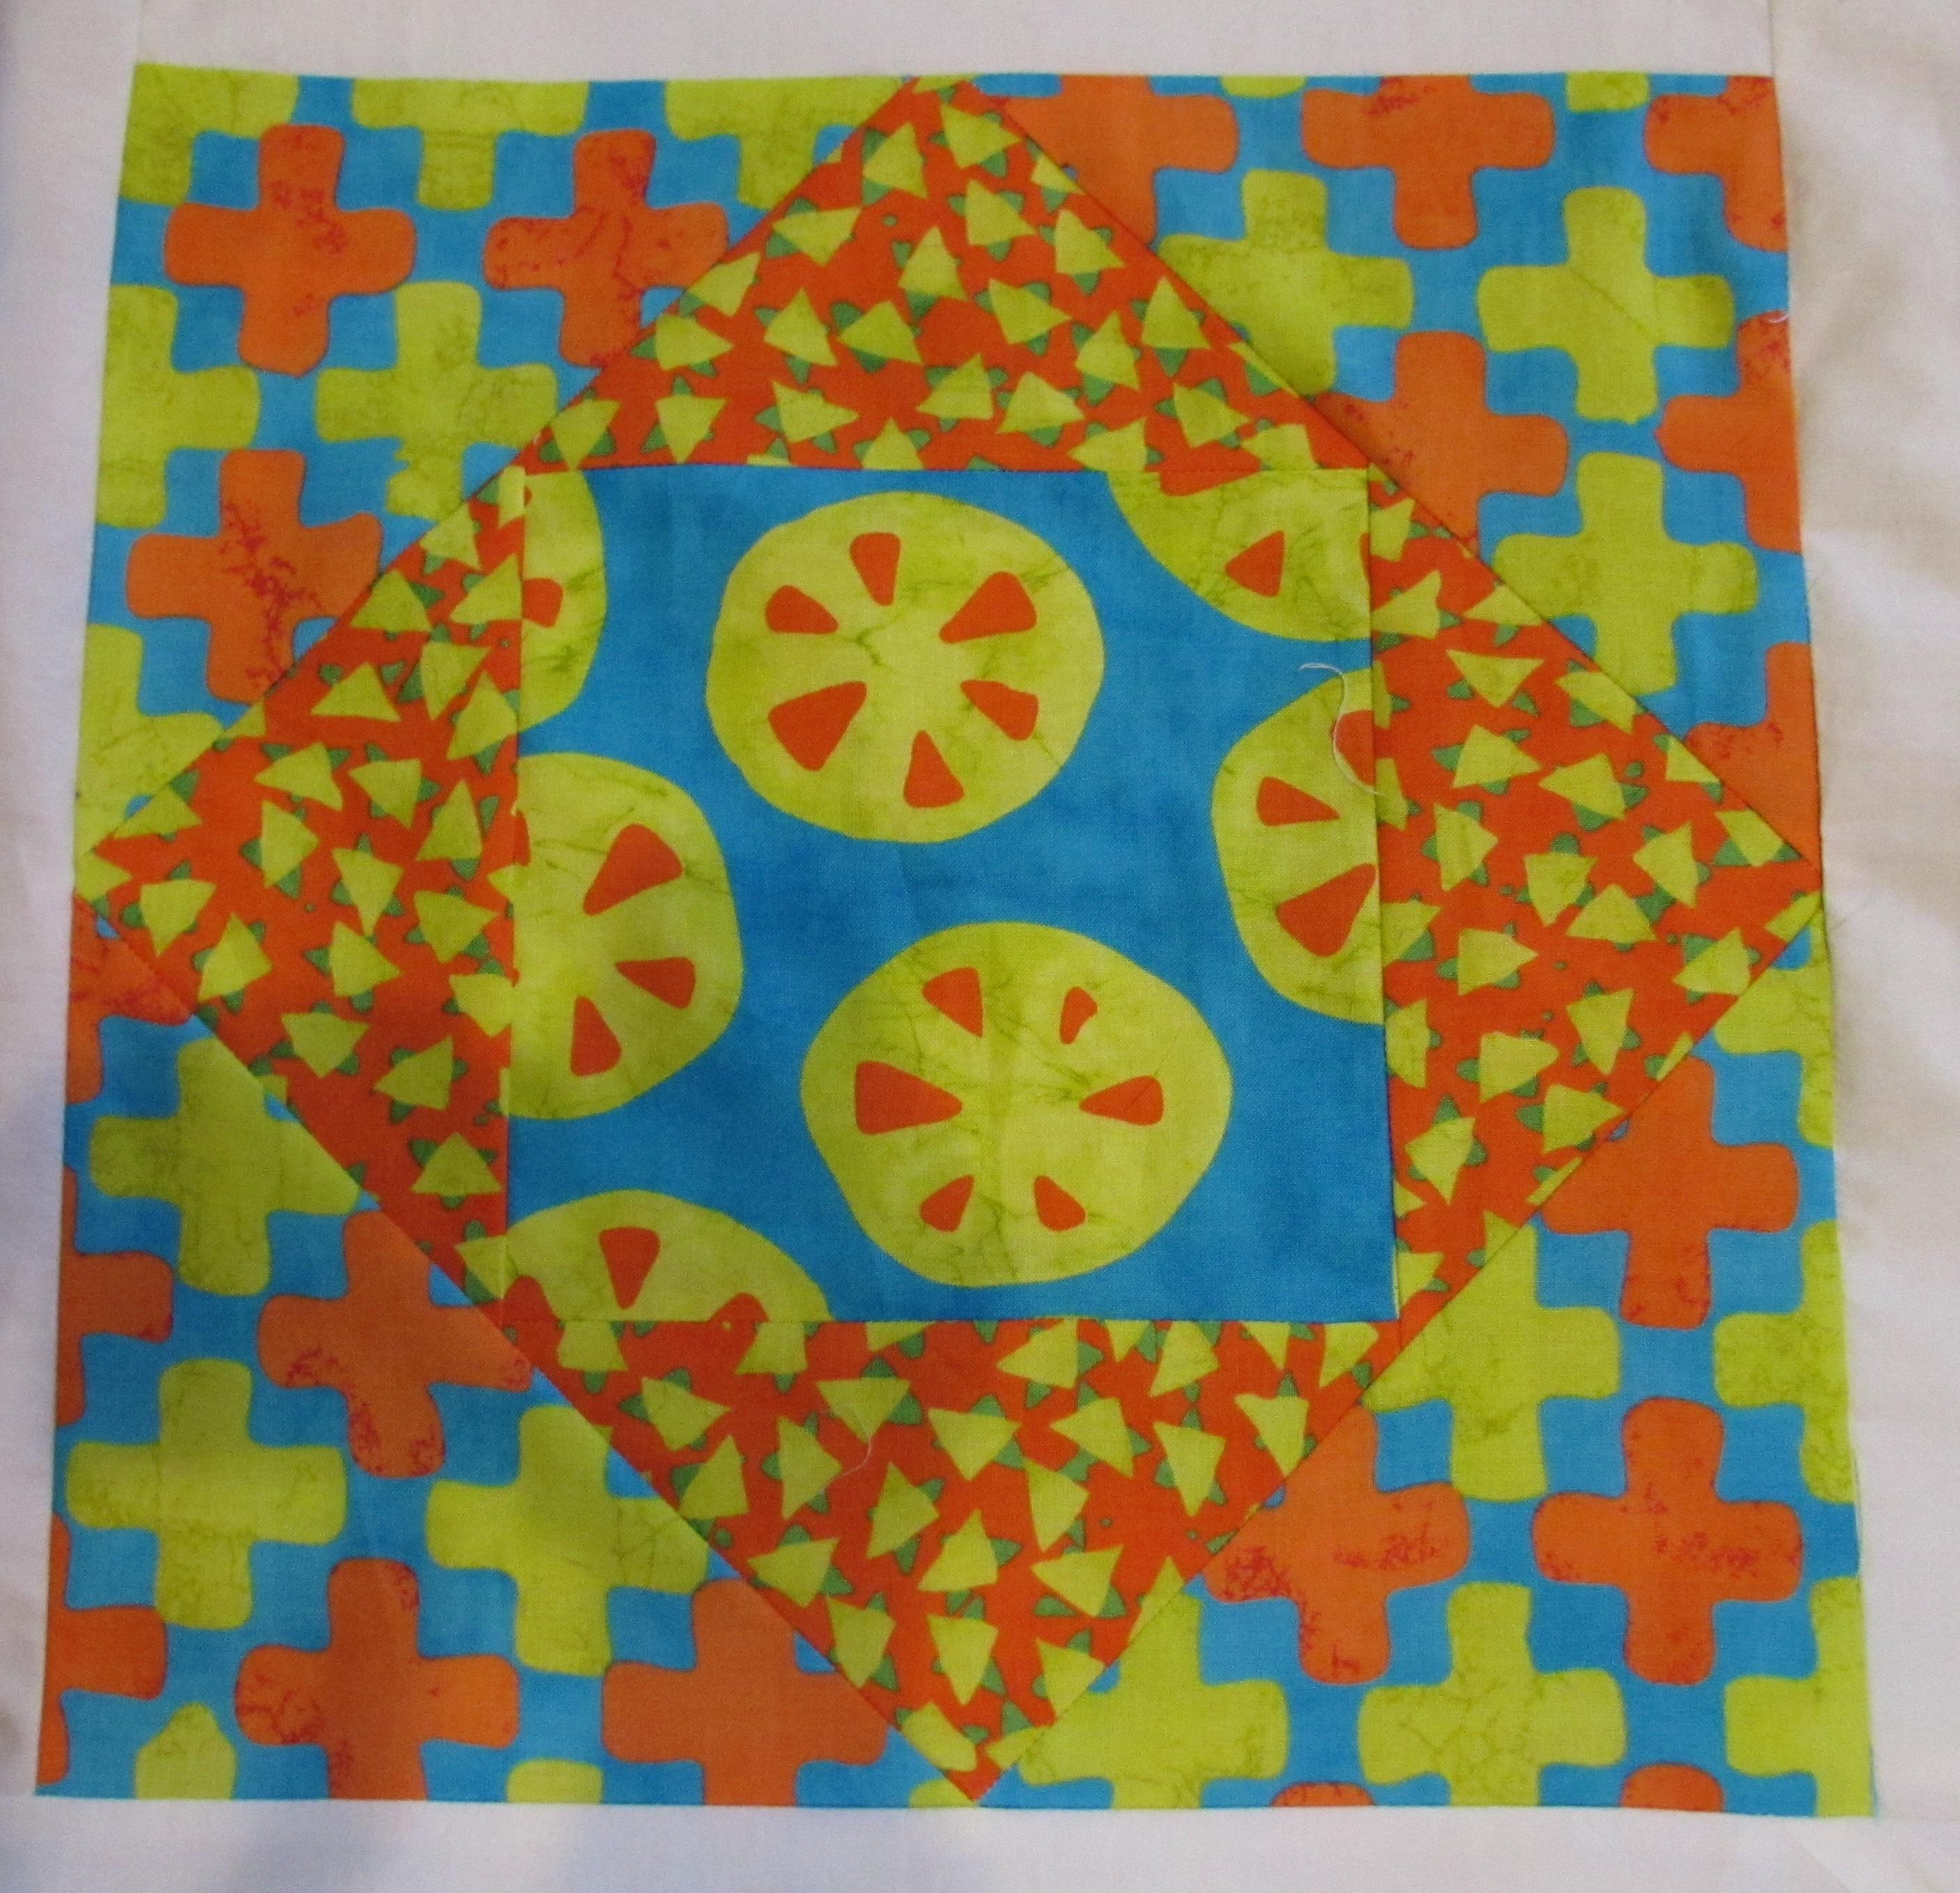
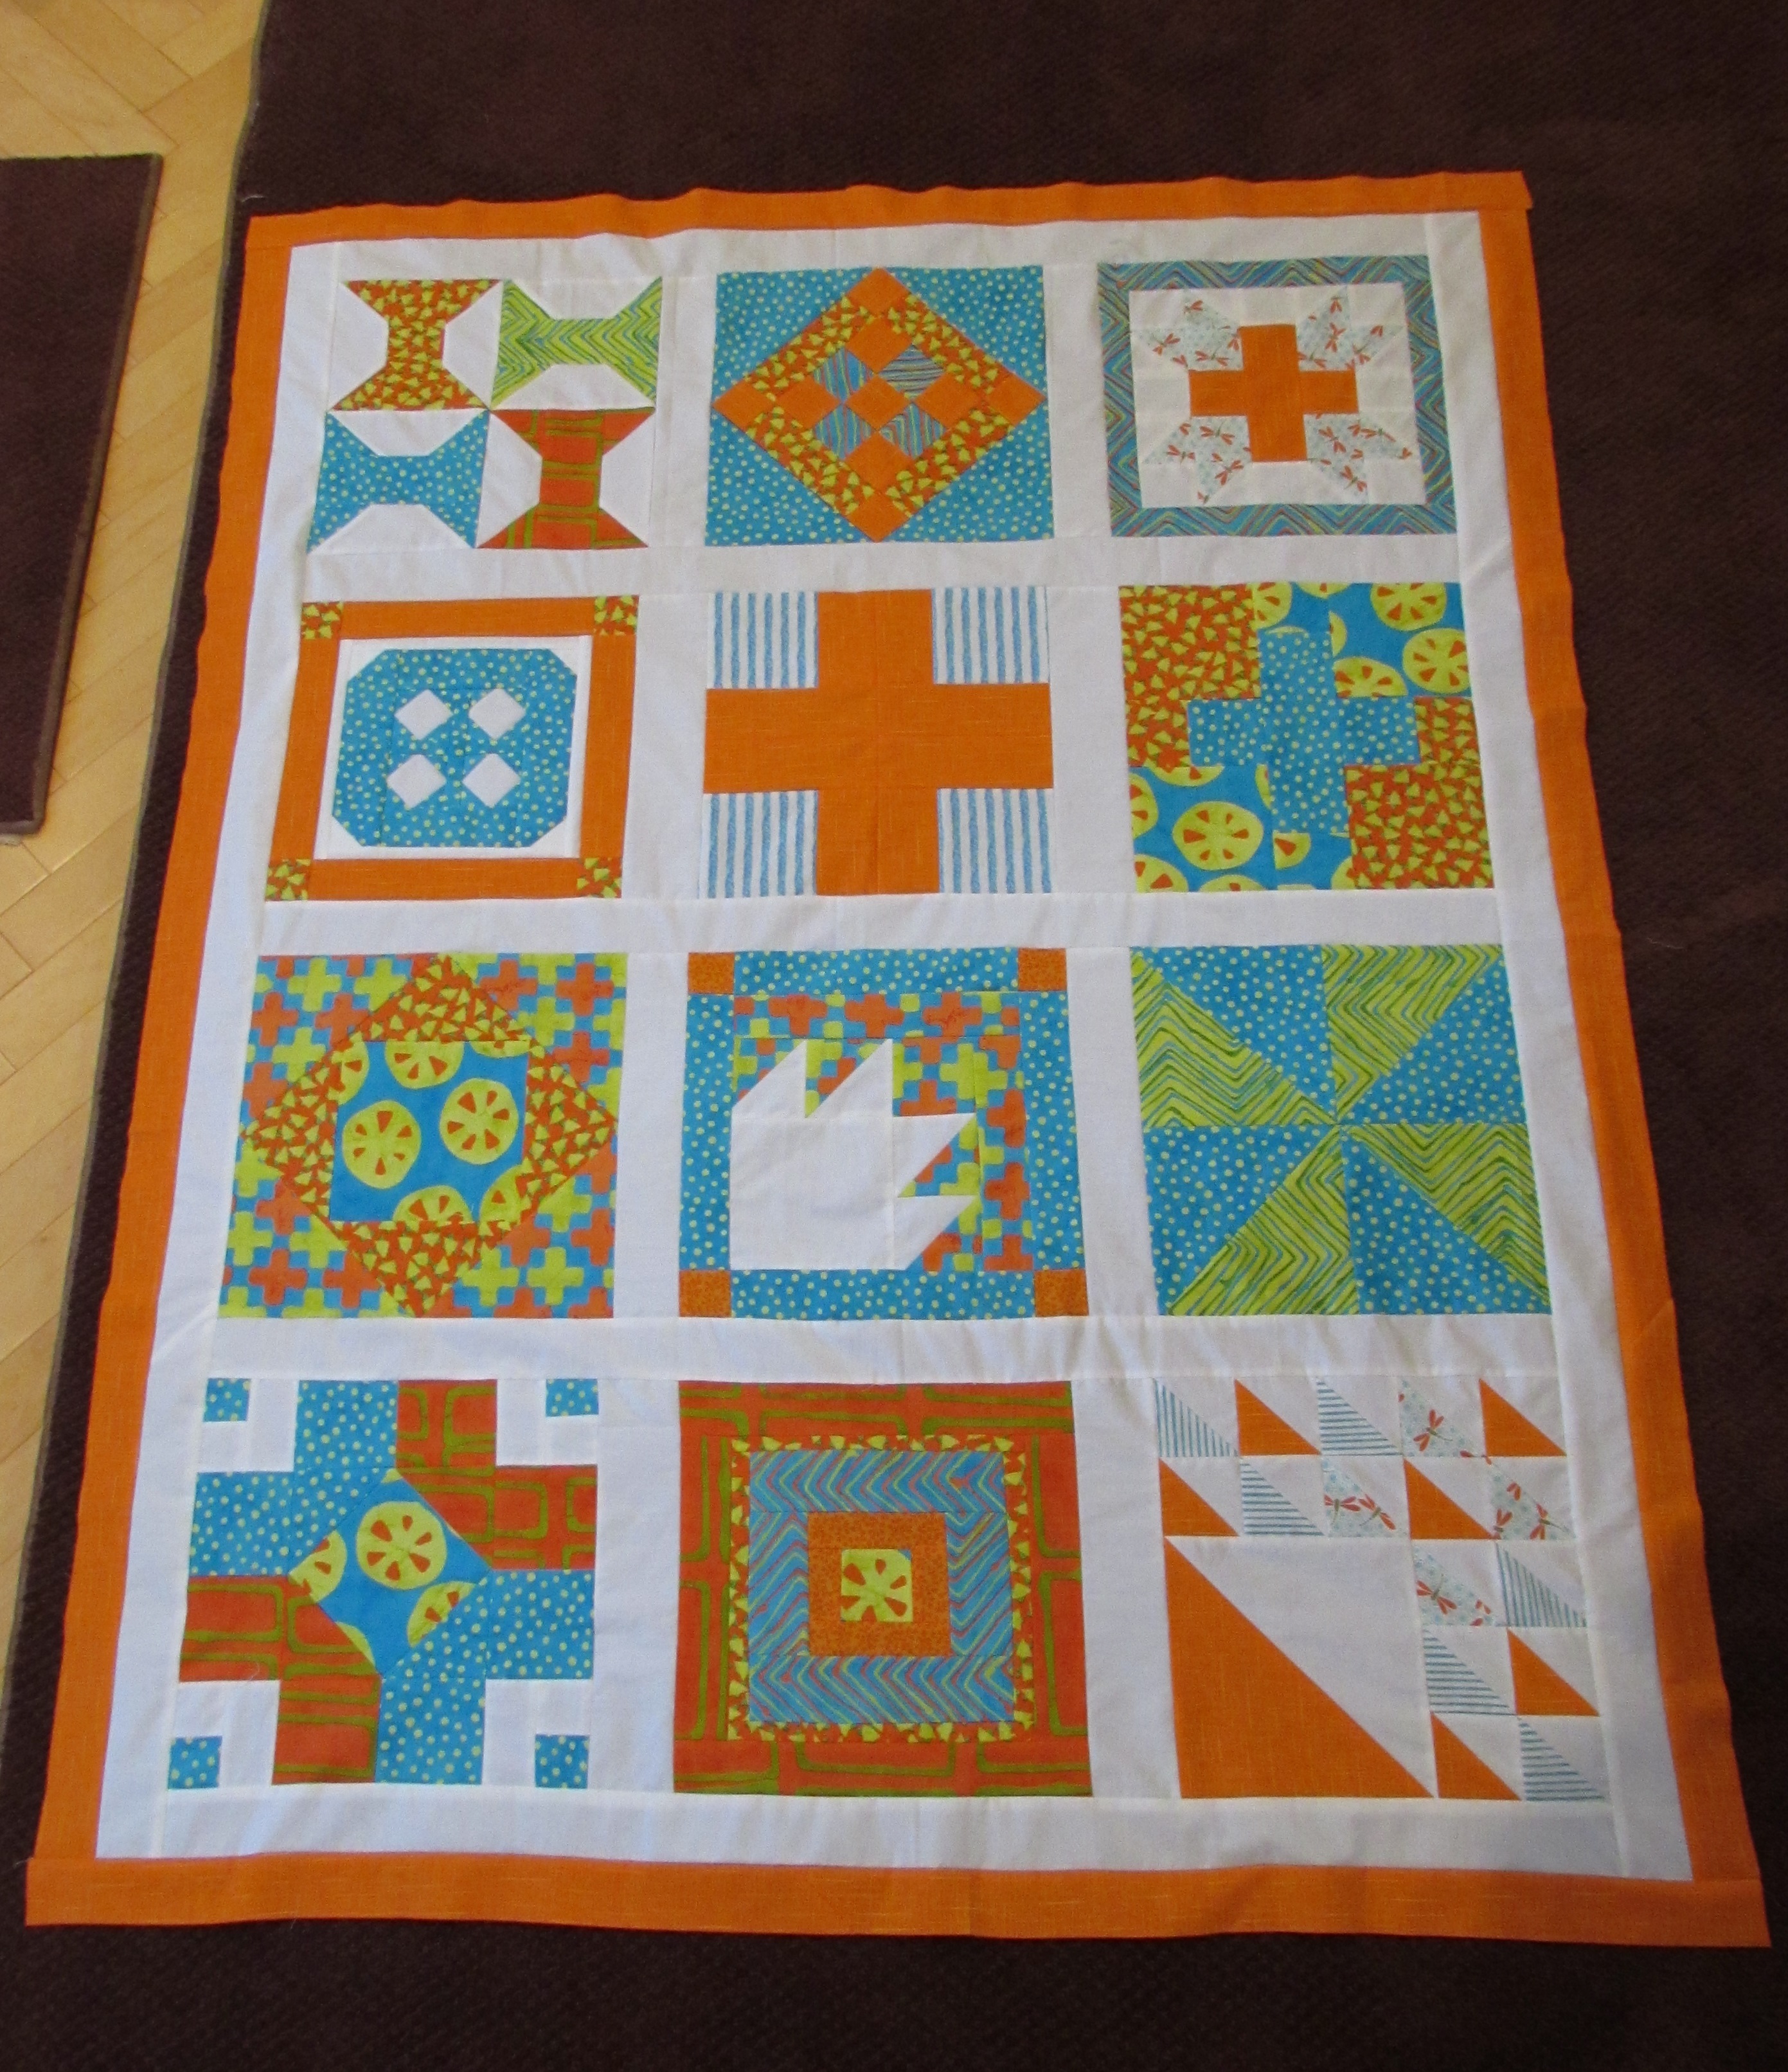
As far as sewing goes, this week was not entirely productive. We were gone last weekend and with the holiday, this is a short week. Also, there’s some procrasination going on here. I have not one or two, but three quilt tops that are finished and ready for quilting. I have to be in the mood for quilting – it takes a lot of focus for me. Probably because I don’t have tons of experience so it doesn’t just come automatically to me. Anyway, I haven’t been in the mood.

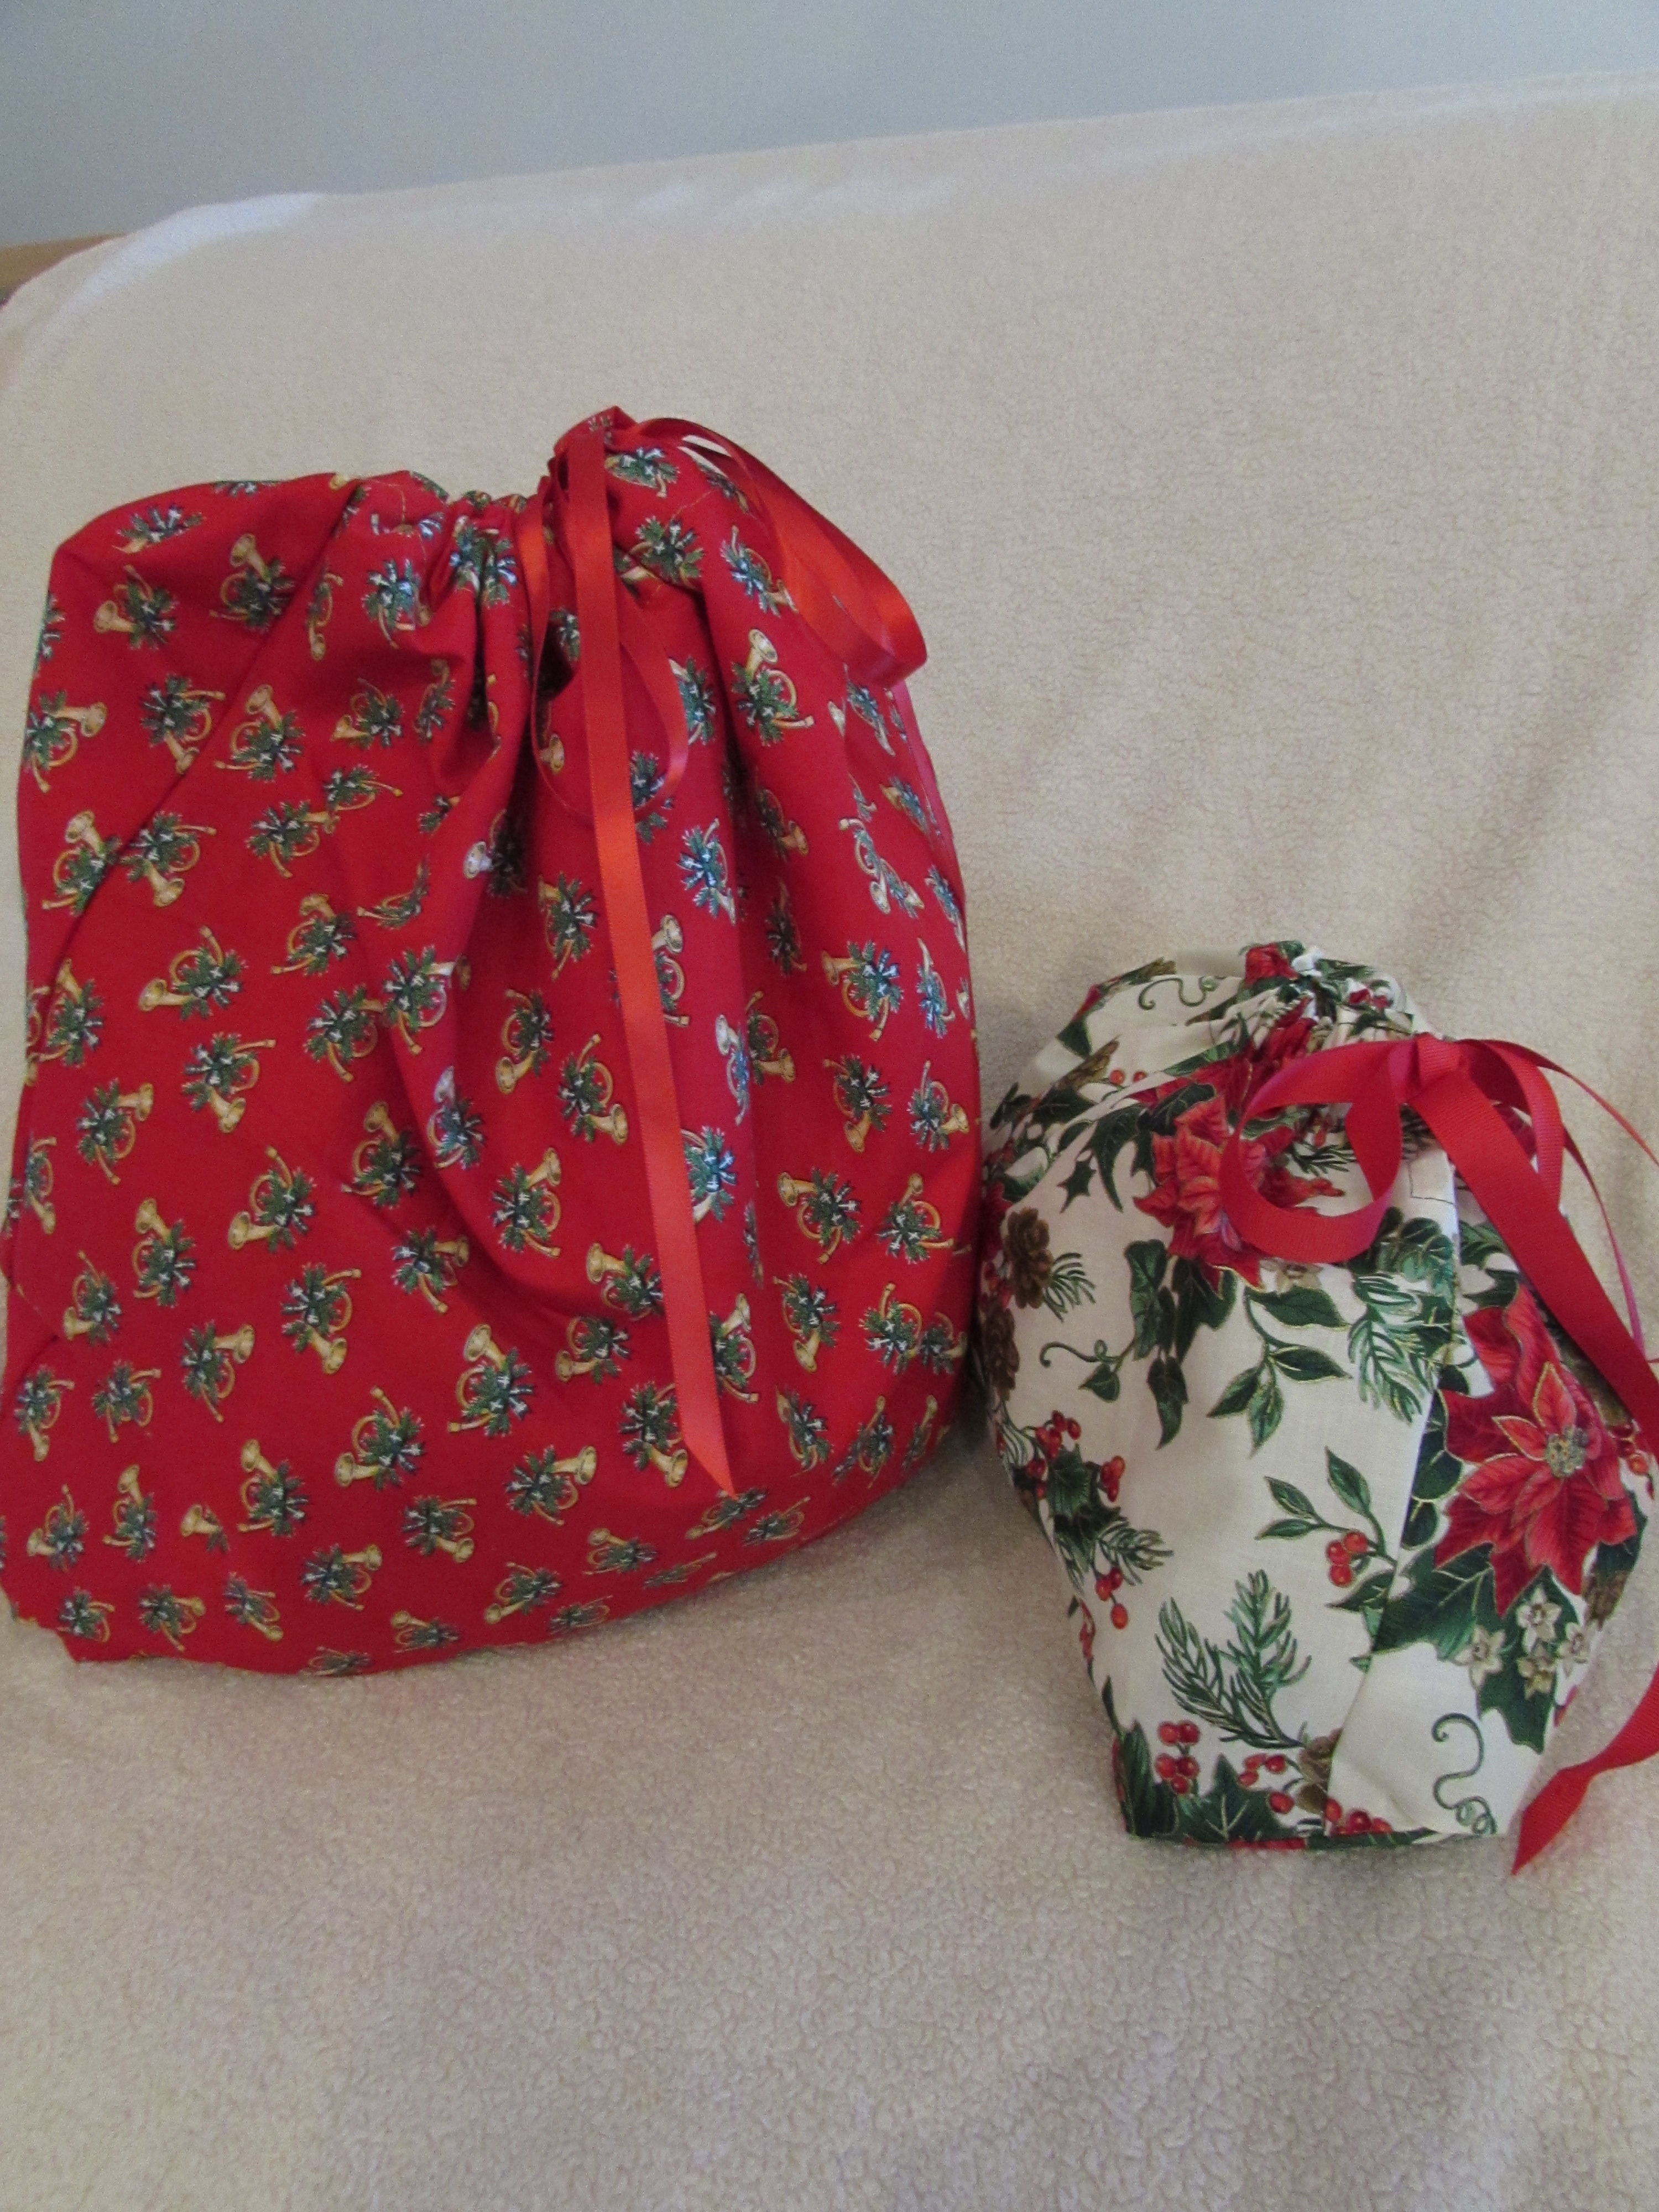
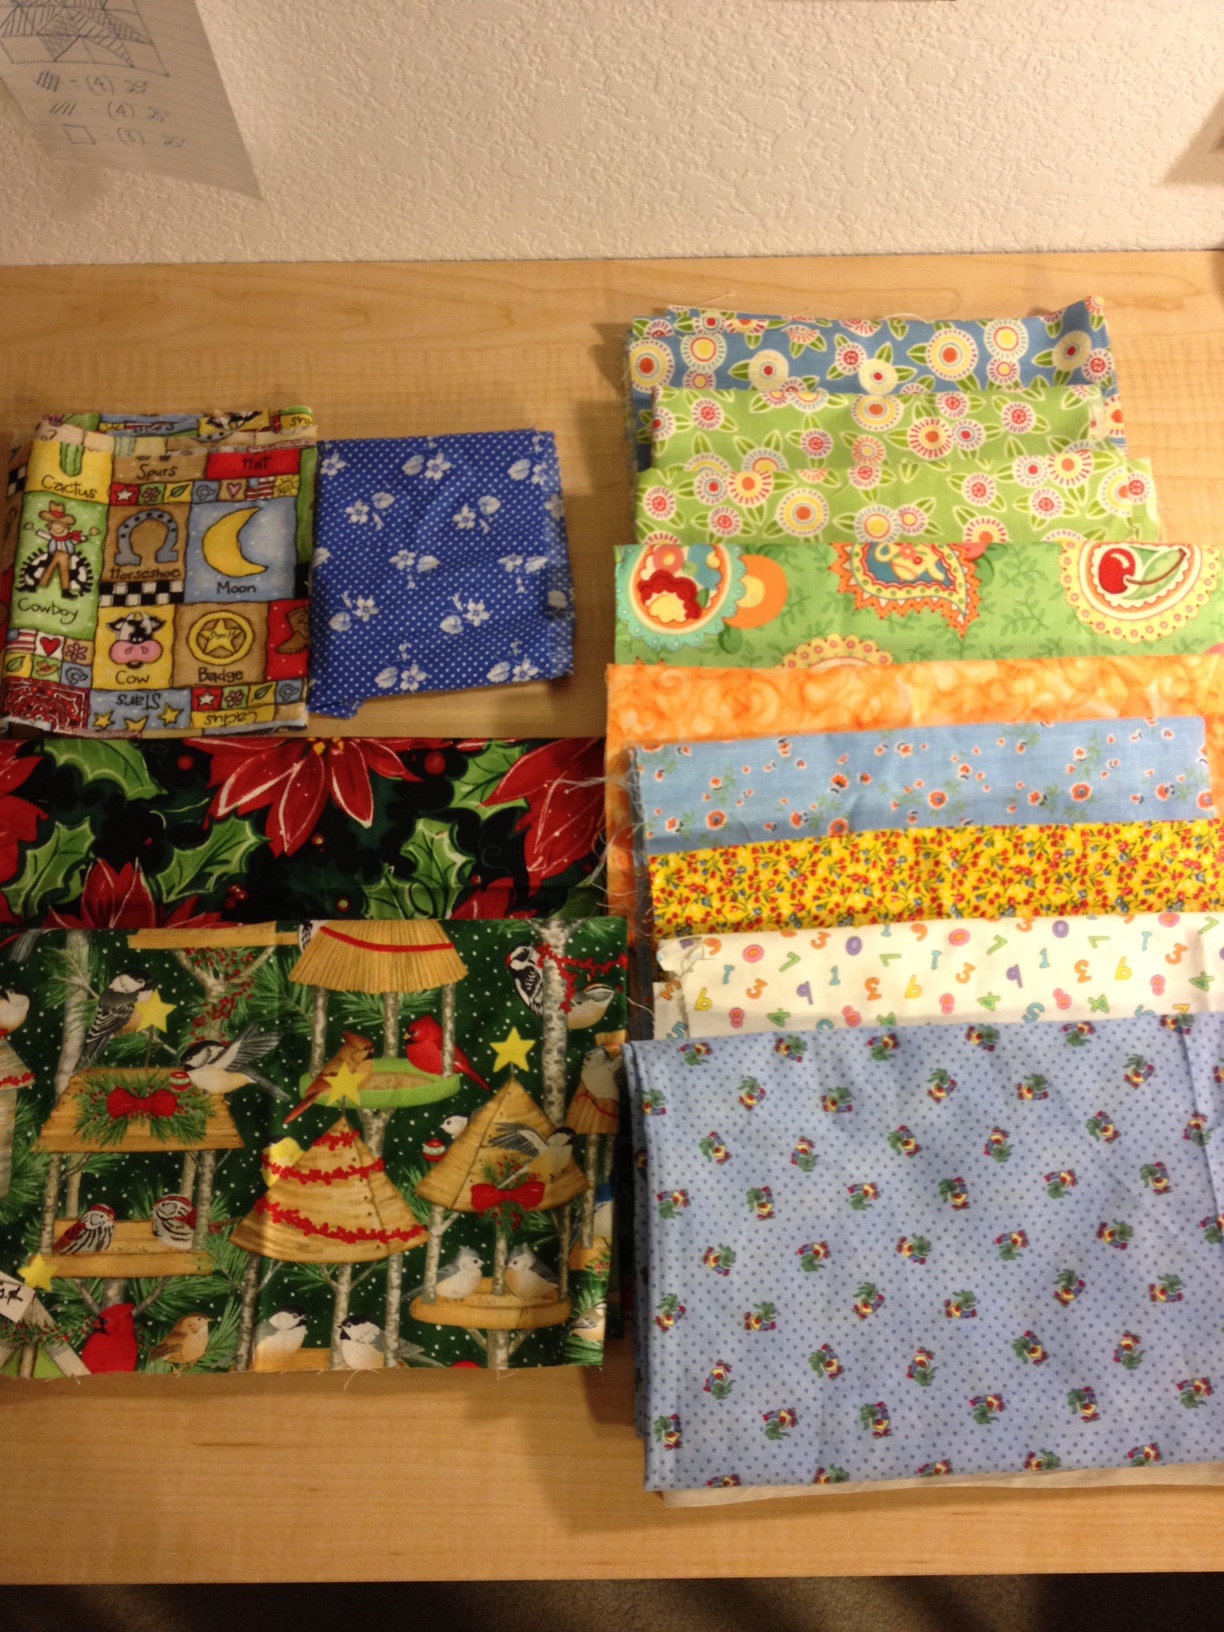
In the interest of avoiding all the quilting that needs to be done, I decided to make some drawstring bags to use for Christmas wrap. This will avoid some of the huge amount of paper waste that comes with Christmas morning. I can put them away and use them year on year.

I have a drawer full of Christmas fabric. All sorts and sizes of holiday scraps. I pulled out anything that was of decent size, ironed and squared them up. Sewing them into drawstring bags took no time at all. (If you haven’t made anything like this, there is a quick tutorial on www.diaryofaquilter.com. Amy Smart does it again!)

20141126_2090

Aren’t these cute? Fun to use up these scraps and a great way to put off quilting the three quilts that are staring me down.

20141126_2094

Wishing everyone a wonderful, safe holiday.

Linking to: Sew Cute Tuesday and Let’s Bee Social. As always, links to these sites are located at the top of the page, under Link Ups.

The Hidden Cost of a Quilt Retreat

A few weeks ago I posted about a quilt retreat that I went to located an hour north of my home. Remember I was describing the story of the lynching of Josefa Segovia (aka Juanita) and how her ghost now haunts the town?  If not, you can read the post here. Well, while on breaks or taking lunch during the retreat, my friend Sophia and I would walk around the tiny town of Downieville. It consists of a few restaurants, a post office, hardware store, gift shop and a few other shops.  It is a cute little town that attracts hikers and mountain bike riders (and quilting afficionados like me and Sophia!) As we wandered about the two block radius that is “town”, I noticed a little, worn out house for sale. I looked at the price and joked with Sophia that we should buy it and come up here to hike the river and go to the quilt retreats. We laughed and that was the end of the discussion.  Or was it…..

When I got home I kept thinking of that little house.  I looked at the listing on-line and showed it to my husband. He immediately got excited about it. The house is reminiscent of the Charlie Brown Christmas tree.  It just needs someone to love it!  The owner was elderly and after passing away a while back, the house has stood empty. We decided to make an offer on it and after minimal negotiations, we bought it.  Escrow should close this afternoon!!  We are soooo excited about this project.  Everything about the little house speaks to us. (Best part…. there is even a tiny room off the only bedroom that will be a sewing room where I can keep my old machine and some supplies!! Yay for weekend sewing up at the river.)

It needs to be completely renovated. However, it is so tiny with basically four rooms (the living space is just shy of 700 square feet) that it is a manageable project. It was built in the 1930’s and we plan to keep the vintage feel to the house. Here is the kitchen:

20141026_1990Isn’t that floor gorgeous?  All of the flooring in the house is hideous and will be replaced.  The colors are odd, to say the least, and really dated. The walls all have wall board and need to be updated. I like the vintage look of the cabinets and will just refinish them. Buy why is the paper towel roll on the outside of the cupboard??

20141026_1993The living room…. again, oh the flooring!!  There is dark hard wood under that ugly carpet so we will peel it up and refinish the floors. I like the little built in cabinet and book shelf but need to refinish both of them. They have about 138 layers of paint on them.

Now for the real reason we bought it.  This is basically in our back yard.  Walking about 100 feet brings us to this:

photo 1 (7)

The view upstream is wonderful.

photo 2 (9)Look at our tiny neighborhood library, which is just a few doors up from our house.

photo 3 (6)We start working on the house this week, soon as we get the keys. It will be a long project but a fun one. So….lesson learned. Quilt retreats can lead to all sorts of unexpected expenses.  Be careful when attending. On the plus side, I will have a place for Sophia and I to stay at the next retreat. So really, that is a money savings, right?

In the interest of keeping the house’s vintage feel, I have been thrifting and collecting vintage dinner ware and kitchen items. Yesterday I was out looking and while I didn’t find much for the house, look what I came home with:

photo (13)

I was so excited. Most of the pieces (with the exception of the upper left corner) are at least a fat quarter or larger. The fabrics were about 25-75 cents each. The top four on the right side are from an older Mary Engelbreit line for Moda.  Score.

Looking out the window now and leaves are blowing off the trees like crazy. It is supposed to start raining soon. It is shaping up to be a nice day.

Linking to Freemotion by the River, Let’s Bee Social, and Sew Cute Tuesday. Links to these and other link ups can be found at the top of the page, under Link Ups.


Making it my own

This week I finished the quilt top for the Aurifil 2014 BOM. Kind of strange since this is only November and the Aurifil December block hasn’t even been released yet.  Allow me to explain…. (or as Ricky Ricardo would have said, I ‘have some splaining to do’. How about that for dating myself.)

In June I discovered the Aurifil block of the month and decided to go for it even though I was already half way through the year.  I quickly made the blocks for January through June.  I had a pile of wonderfully bright fabric by Malka Dubrawsky, “A Stitch in Color”, that I wanted to use. (I did need to supplement with a few additional fabrics.) I posted about this a while back which you can read here if you want.  With the first 6 or 7 blocks, I was really happy with the look that was coming go together. There were a few issues though.  First of all, and this may be my naivete showing through, but the blocks varied in size. Some of the original designs were sized for a 12″ block and others were designed to be 12.5″ blocks. What is that all about? I kept thinking it was my error but no, that is how the designs were. I think the blocks should all be the same, strange isn’t it? Also, as new blocks were released (in September and October) I kept looking at them and playing with the fabric, trying to figure out how to piece them. It wasn’t working well at all.  The blocks were fussy with little pieces.  This fabric is bold and high volume – big prints running throughout. It just didn’t look good.  I kept setting the project aside and working on something else.  (Like procrastinating would magically fix the problem.)  But then……

I had an epiphany!  Just because I started this project with the Aurifil blocks, I didn’t have to finish it that way.  Yikes, this was a huge revelation for me.  You wouldn’t know this, but I am a rule follower; I don’t veer off the path very often. I started the Aurifil BOM, therefore it should be finished with the Aurifil blocks, like the Aurifil police would come and confiscate my quilt.  Not so. I decided these fabrics really only look good (to me anyway, and it’s my project, right??) in a big, chunky looking block. I decided to finish the quilt with blocks of my choosing.  I’m such a rebel.

During this same time, I found out about the app called BlockFab-HD. If you are an iPad user and haven’t tried this, it is wonderful! There are most of the commonly used blocks in the library. The user can determine the size and quantity of the block and the app will tell you the size of the pieces and the  yardage. It may not be EQ7, but it’s FREE! Works for me. You can put in different colorways and can look at the blocks tiled, sashed or separated with solid blocks.  Yes, it is limited but it suits my needs for now.

FIrst I chose to make a pinwheel block.

20141114_2049


Then I made a plus block.

20141114_2046

Finally, I did a square in square block. (I like this one quite a bit!)

20141114_2048

My biggest challenge in assembling the quilt top was dealing with the variance between the 12 and 12.5″ blocks. I couldn’t cut down the 12.5″ blocks or I would lose the points and ruin the block. I ended up sashing all of them with white. Sashing hides a multitude of problems and it worked for me with this project. I had to cut the sashing wider for the 12″ blocks so everything doesn’t line up perfectly. It isn’t very noticeable though. Look at the second and fourth rows – they have wider sashing between the blocks. I bordered it with the solid orange fabric to frame everything. Here is the resulting quilt top:

20141114_2052My borders are ruffling which is a pain. I will need to work on them before I quilt this. I haven’t selected a fabric for the back yet, but for the binding I plan to piece it with the leftovers. I think that will be so cute against the orange.

Lots of learning from this one, to be sure. For me though, that is what it is all about.  Learn something from each project and improve. I am so happy with the overall look of this.  It is vivid and happy as well as being wayyy outside of my usual work.

Looking forward to this weekend. My son will be home for a visit. It rained the last day or so and the air is fresh. Yay!!  Hope you all enjoy your weekend and get to enjoy some time at your machine.

Linking to Freemotion by the River, Needle and Thread Thursday, Let’s Bee Social, Crazy Mom Quilts, & TGIFF. As always, links to each of these sites are listed at the top of the page under Link Ups.

Comments are always appreciated and inspiring. I will answer them all.  🙂

This and That

I live just far north enough that we get to enjoy a colorful autumn.  Right now it is spectacular.  I have lived in Pennsylvania and I know that what we enjoy here is not on par with the colors that splash the countryside this time of year in the East. However, we do have some really lovely leaves on display these days! This was taken in my neighborhood  yesterday when I was walking the dog.

photo 2 (8)Ok – moving over to the sewing room….. I was really productive this week. For starters, I had a few sales in my Etsy shop which is always exciting.  Now that fall has arrived, I have been selling the cozies that I make for Chemex coffee pots. If you aren’t familar with Chemex pots, they make the best drip coffee. However, because the pots don’t sit on a hot burner or stove, the coffee cools quickly. I have been making these insulated covers for a while now.  With this mad rush – 😉 
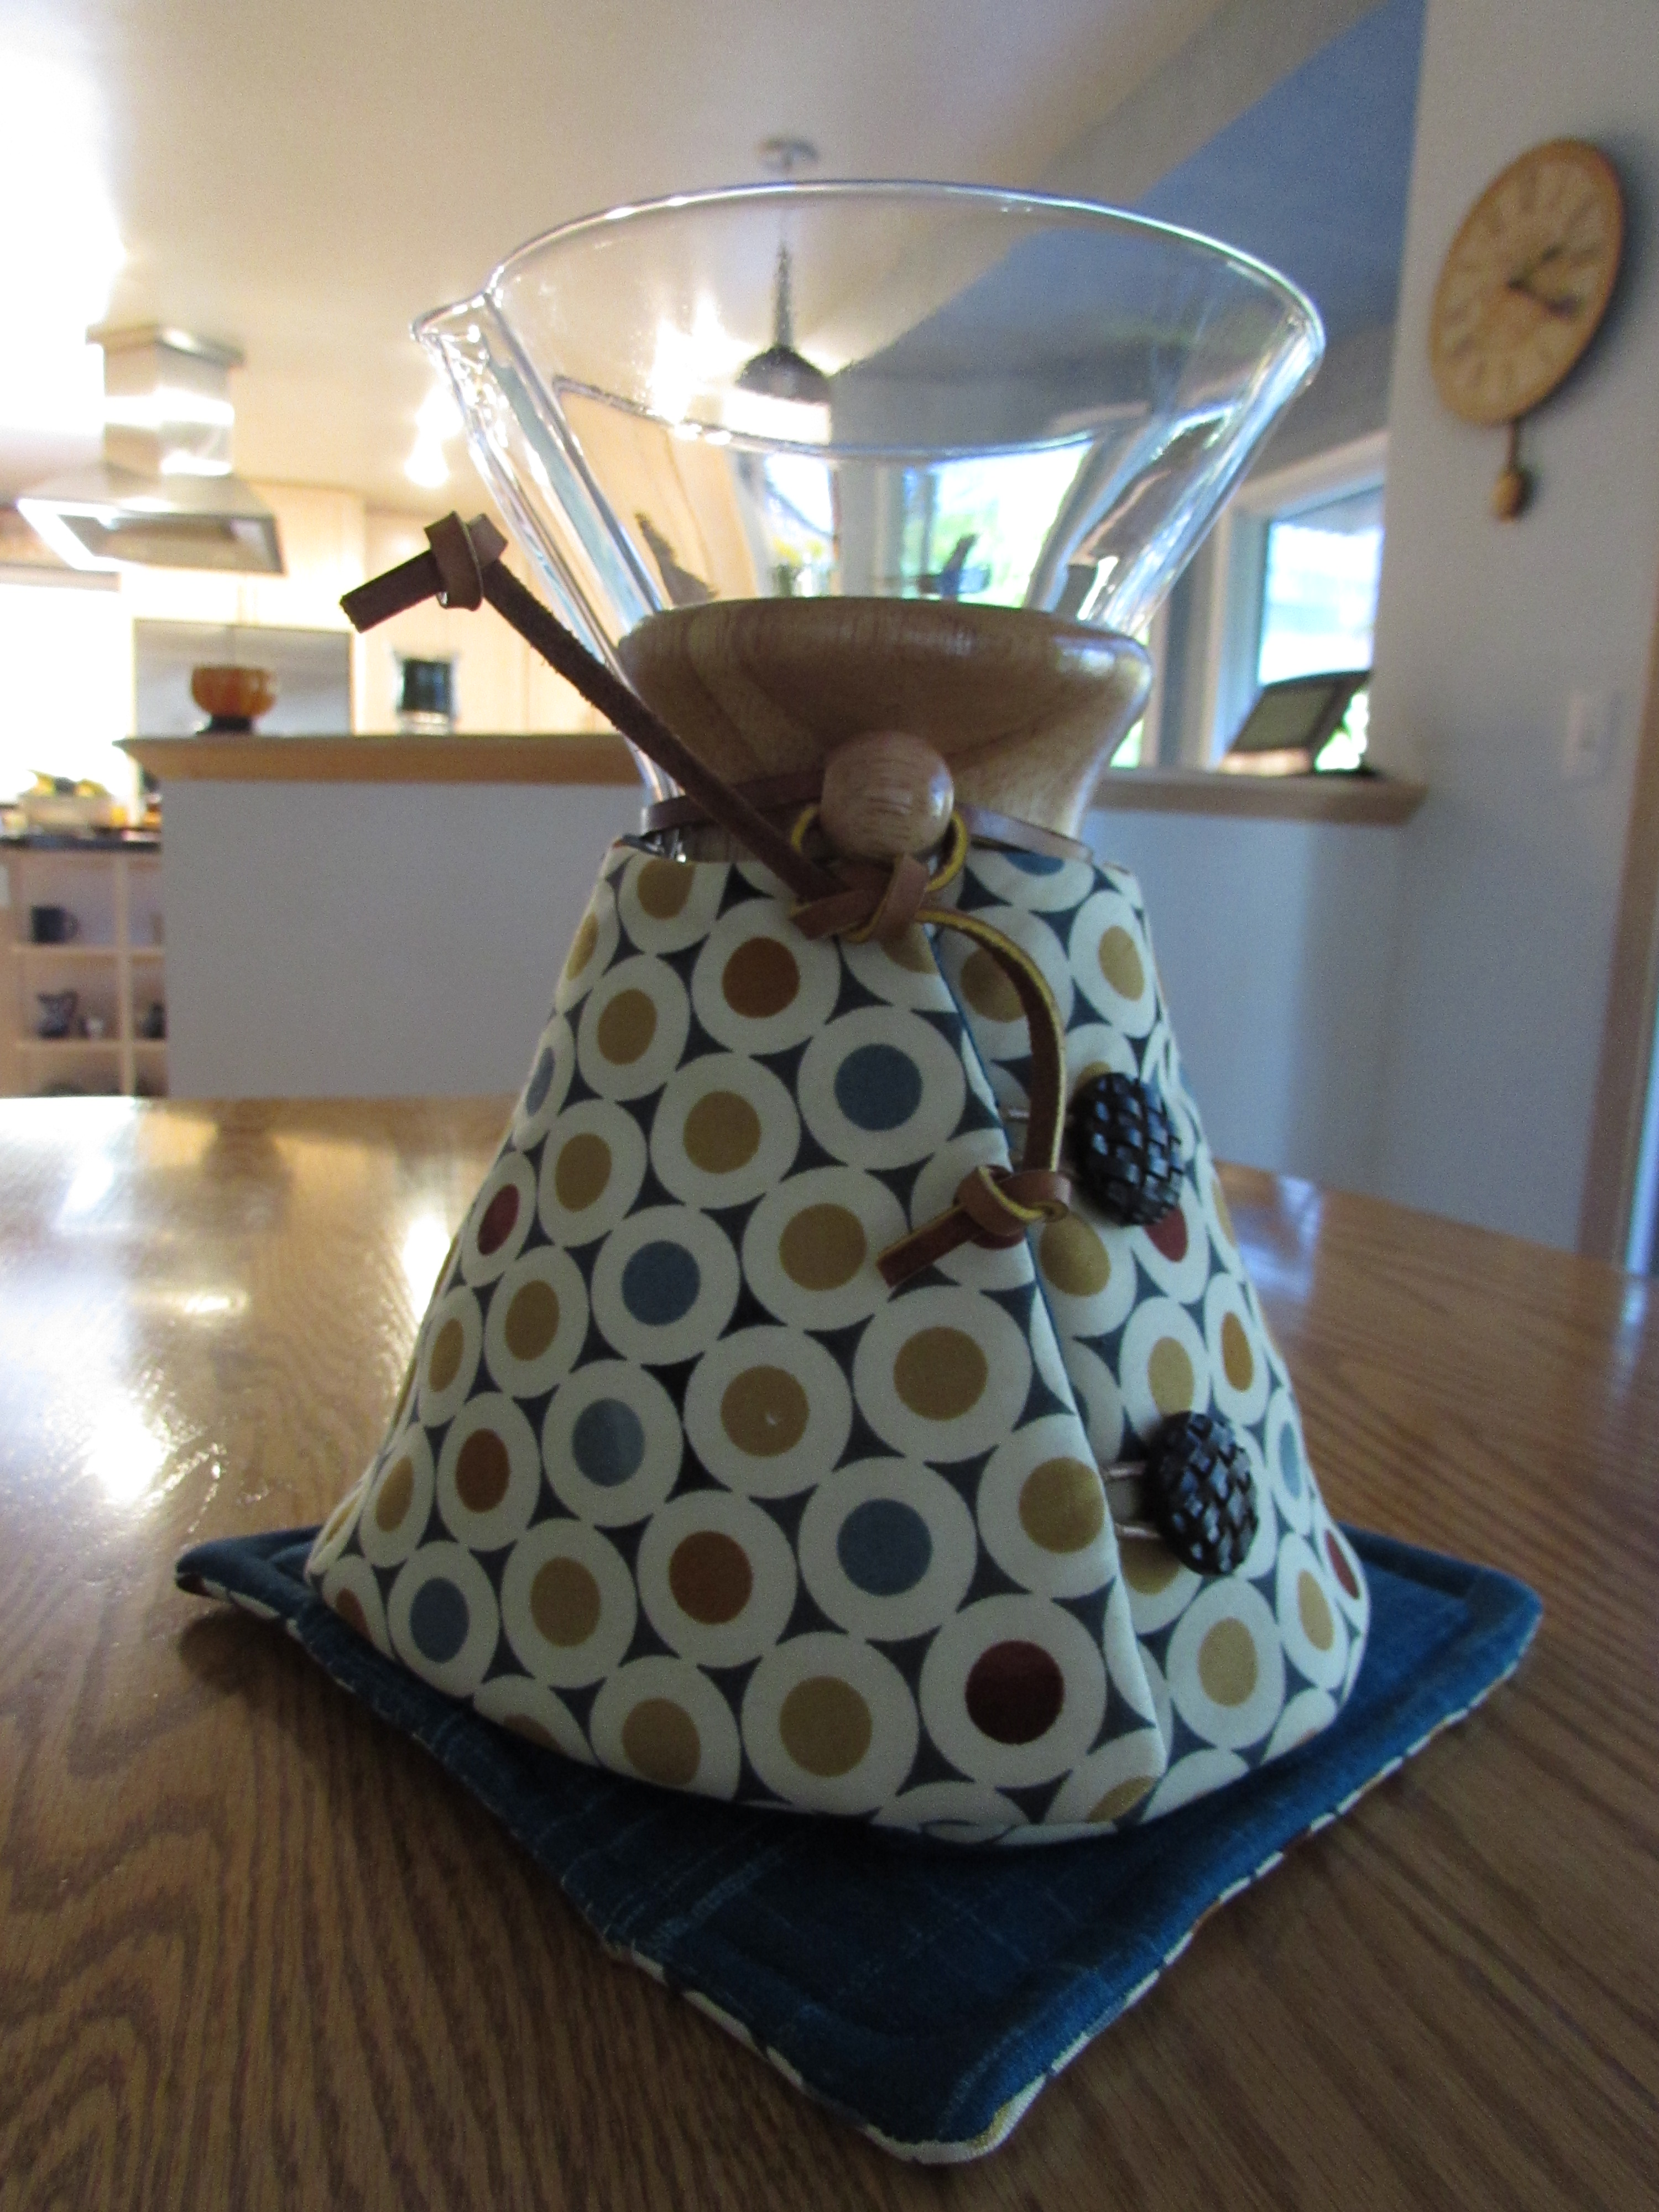
– on Chemex cozies, I figured I had better make a few more for my shop. These came together quickly. I have been cutting them in batches when I have the time and then sewing them sort of assembly line style. I love the fabric on this one.

20141105_2023

Here is another one. I had purchased this home dec fabric to use as a tablecloth but the piece I bought was too small so I am using it here.  Lovely!

20141028_2008

As an aside, I was taking some packages (Etsy orders) to the post office to mail. When I was there I saw that I had estimated the shipping fairly closely for one and had overpriced one package for a couple of dollars (not quite $2.00) I sighed and was telling the postal clerk that I can’t always come close when I quote the shipping charges and I wasn’t sure if I should refund the overage. She knows me since I have been there regularly lately (benefits of small town life) and said I shouldn’t only consider the post office charge.  She asked why am I not considering the time it takes to prepare the package, go to the post office, stand in line.  “That’s the ‘handling’ part in shipping and handling.”  Honestly, I never really thought about it and was always only charging for the postage. It made me feel better. This little Etsy shop has taught me a lot in the past few months. Very nice!

My main finish for this week is my Christmas Lattice Quilt.  I finally finished quilting it and even got the binding sewn on.  Yay!!

20141106_2034

Overall, I am pleased with this project. I quilted it by free motion quilting a little Christmas tree on each block. As always, some turned out great and others, not so much! They were just free-hand, though I did use chalk and draw two guidelines forming a basic triangle to follow. They don’t show up all that well since some of the fabrics are busy prints. I also straight-line quilted the sashing.

20141106_2035

On the setting and corner triangles I FMQ’d snowflakes. These were really fun – again just free hand. I’m very happy with how these turned out.

20141106_2036

The front of the quilt is pretty.  The back….. Yikes! With each project there are lessons learned, right? Let’s just say that this quilt should only be viewed from the front. I had a remnant of a red and green chevron print that I used as the backing.  The trees look absolutely awful against the chevron.  They don’t line up with the geometry of the print and the bright green thread that I (for whatever reason?!?) used in the bobbin looks, ummm…. horrid. I should have used white and maybe the trees would have been less noticeable on the back.  At any rate, by the time I saw how poorly this looked, it was too late to change.  So, when I am a world-famous quilter and all of my work hangs in a museum 200 years from now, they will look at this one and just wonder what on earth possessed me. Shudder.

20141106_2040

I am really trying to finish all of my WIP. Much as I am dying to make a new quilt top I need to finish up what I have already started. I hate having things stacked up. Tomorrow I will make the backing for the 1600 jelly roll quilt top that I made at the beginning of October. Hope to at least start the quilting on that one over the weekend.

In closing, does anyone need a good book recommendation?  I have read a few of the best books lately.  Here you go:

Me Before You by Jojo Moyes.  Excellent story with the best characters. Total tear jerker so have a box of tissues nearby. Basically the story is about a young woman who desperately needs work and finds a job as a companion to a very unhappy, cynical quadriplegic. There are some really funny parts as well as some very sad. No more details though as I don’t want to spoil the story.  Great book though.

The Namesake by Jhumpa Lahiri is wonderful. Again, great character development. This is a story of a couple in India that marries as arranged by their families. They come to live in the US in the mid 1960’s and raise two children. The story follows their assimilation into America and that of their kids. The insights into their culture are so interesting. Loved this book –  a really, really good read.

The Birthhouse by Ami McKay is a story about midwifery during the World War I era. The details are fascinating and the story is excellent.

What have you been reading lately? I would love to hear what is good and what’s not so great. Let me know!  Have a great weekend all.  🙂

Linking to Let’s Bee Social, Needle and Thread Thursday, TGIFF, & Crazy Mom Quilts. As usual, links to all of these wonderful sites are listed at the top of my page, under Link Ups.


Four Weddings and Four Dresses

As I have mentioned in previous posts, I am so lucky to have grown up with five sisters.  Our house was fueled by huge amounts of estrogen and my dad was surrounded by females.  We argued incessantly and stole each other’s clothing which created more arguing. For the most part though it was the best and I wouldn’t have it any other way.

With six girls, my parents knew that they would be shelling out for a lot of weddings. Having the six of us within ten years meant that college for some and weddings for others would all hit at once. What they didn’t know was that the three oldest girls would all be married within ten months of each other.  It seemed that once one got engaged, the other two followed suit immediately.  So in the year 1978 we had three weddings; one in February, the next in August and the last in December.  It was a wild year, to be sure.  I am pretty sure my parents are still exhausted from it.

Growing up we all learned to sew. We tackled shirts, pj’s, shorts, dresses and even the occasional bathing suit (you can only imagine how lovely those were).  One of my sisters even made a three piece suit for my uncle. (She is still an excellent seamstress.) It was only natural that each of these three sisters would make their wedding gowns. I thought it would be fun to share them with you.  When I was searching for pictures I found that my copies had yellowed.  It is hard to preserve pictures from that era.  They have really deteriorated. When I scanned these in, I used a black and white filter. It looks much better then the jaundiced look my sisters had with the yellowed pictures.

Ok.  Here is wedding number one which happened in February of 1978.  Tina made this dress out of Qiana.  Do you remember Qiana?  If you are my age, you’ll probably remember that it was very popular in the 1970’s. It was developed by DuPont in the early 1960’s and was a polyester knit but was so silky.  My sisters and I loved it.  We used it for dresses for high school dances. Lovely.  😉

image

Kind of hard to see the detail but it was a clingy, silky, thin knit that draped perfectly on her. I am fairly certain she made her veil as well.  Here is the detail for the neckline. (She was such a pretty bride.)

image

Tina had each of the five sisters as attendants.  We, of course, made the dresses.  I left this picture in color so you could appreciate the awesomeness of these bridesmaid dresses made of a light blue crepe.  The piece de resistance has to be the “Mother Earth” daisy crowns we so happily wore. I remember loving the chiffon flowery jackets too.

imageWedding number two was scheduled for August.  So, just after hosting this wedding, my parents were off and working on the next one.  The reception was to be in our backyard so there was plenty to do.

Patti made her dress over the summer.  It was sweet and feminine, made of a satin crepe. The sleeves were an opaque chiffon knit. I have this memory of her running out to buy shoes to wear with her dress – on the morning of the wedding! That’s my sister.

image

Here is another view. It looks like she used Tina’s veil. This girl was all of 19 years old when she got married. (Most of us got married really young.) She looked adorable.

imageSummer ended with this wedding and fall was spent planning the next one.  Cathy’s wedding was in December. The reception was also at our home. (My poor parents.) Following suit, she made her dress as well. If I remember right, it was made of a satin type of taffeta. It had a low sheen to it. She went all out and made a new veil which was decorated with a half crown of fresh flowers.

image

Like the others, she was young – she’d just turned 21. Here is a closer picture of Cathy’s dress (aren’t the sleeves pretty?).

imageWell my parents survived the three weddings.  My strongest memory was that the house became so quiet and I was so lonely for all of my older sisters. Even though there were still three of us at home, it was just way too quiet.

Just three years later I was engaged.  I married the summer after my junior year of college in August of 1981, at the ripe old age of 20. I suppose this may have been the beginning of my love of retro and vintage styles because I asked my mom if I could use her dress for my wedding gown.  (I also used my grandmother’s wedding band as my own.) You can see the original dress at the top of this post. My parents are so cute.  Like their daughters after them, they also married young.  It was spring of 1955 so my mom was 19 and my father was 20.

I decided I wanted a full length skirt with a train for my dress.  I took the bodice off of the skirt.  With (lots of) Cathy’s help, I made a new skirt to attach the bodice too.  Cathy and I shopped for satin and about 500 yards of tule. (I don’t know why we bought so much – This was back in 1981 and I still have leftover tule in my sewing room.  Comes in handy for crafts and costumes now and then.) We painstakingly cut the lace out from the skirt of the original dress. Because it was shorter than the new version, we had to piece the lace so that it could extend down the length of the skirt. I pulled out the dress today to look at how we actually made it which was so fun. It had covered buttons in the back which we extended down the back of the skirt. We pleated the front of the skirt and cut a long curved train for the back. I was talking to Cathy the other night and neither of us has much memory of making this. I do know for sure she helped because I wouldn’t have had the skill to do this without her.  I know we didn’t use a pattern of any sort.  I also remember that I used Cathy’s veil.

image

This shot is me with my sister, Juanita. She was my maid of honor. You can see the lace that we hand stitched to the tule on the dress.  I love the dress – it was so sweet to use Mom’s dress and make it my own.

So…. four weddings and four dresses in three year’s time. (The youngest two gave my parents a break and married six and nine years later. Neither of them are into sewing so they went the traditional route and bought their dresses.) Great memories for sure!

Linking to Anything Goes Monday and Let’s Bee Social.  Links to both of these are at the top of the page under Link Ups.