Category Archives: Holiday Quilts

Checking In

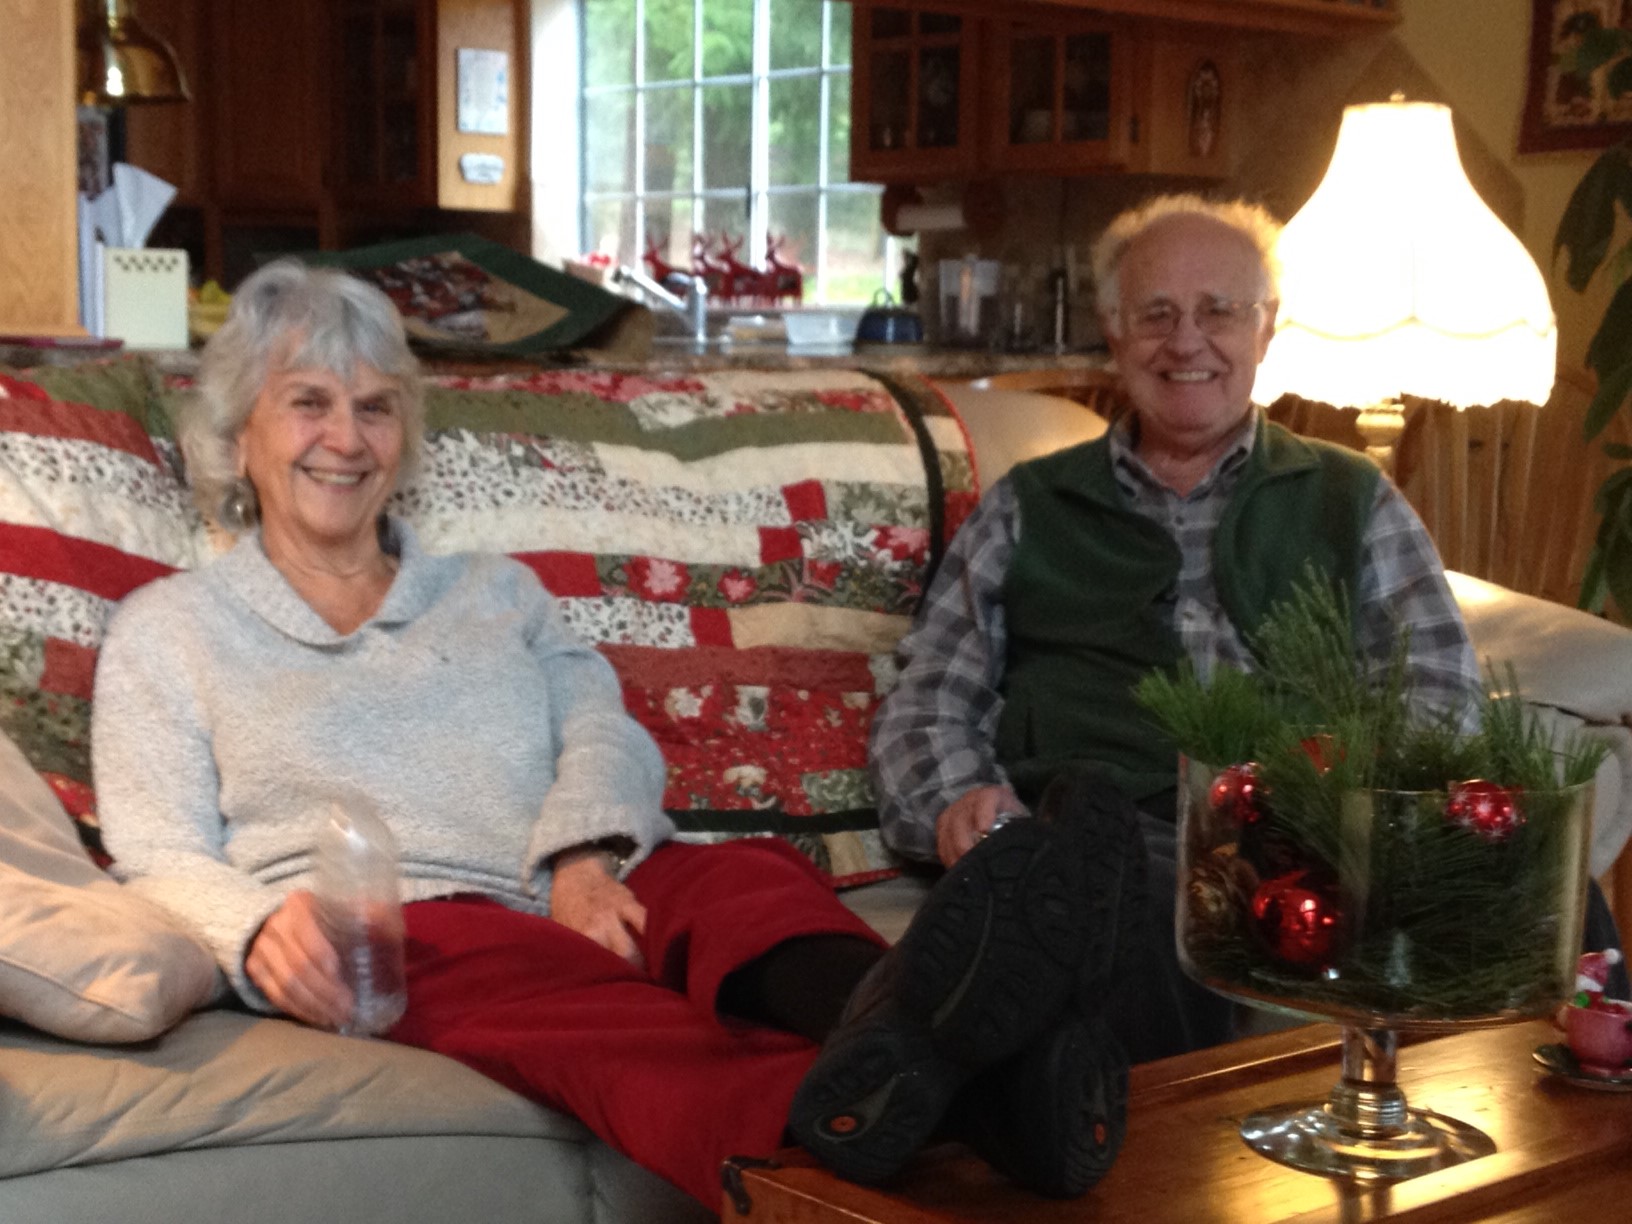
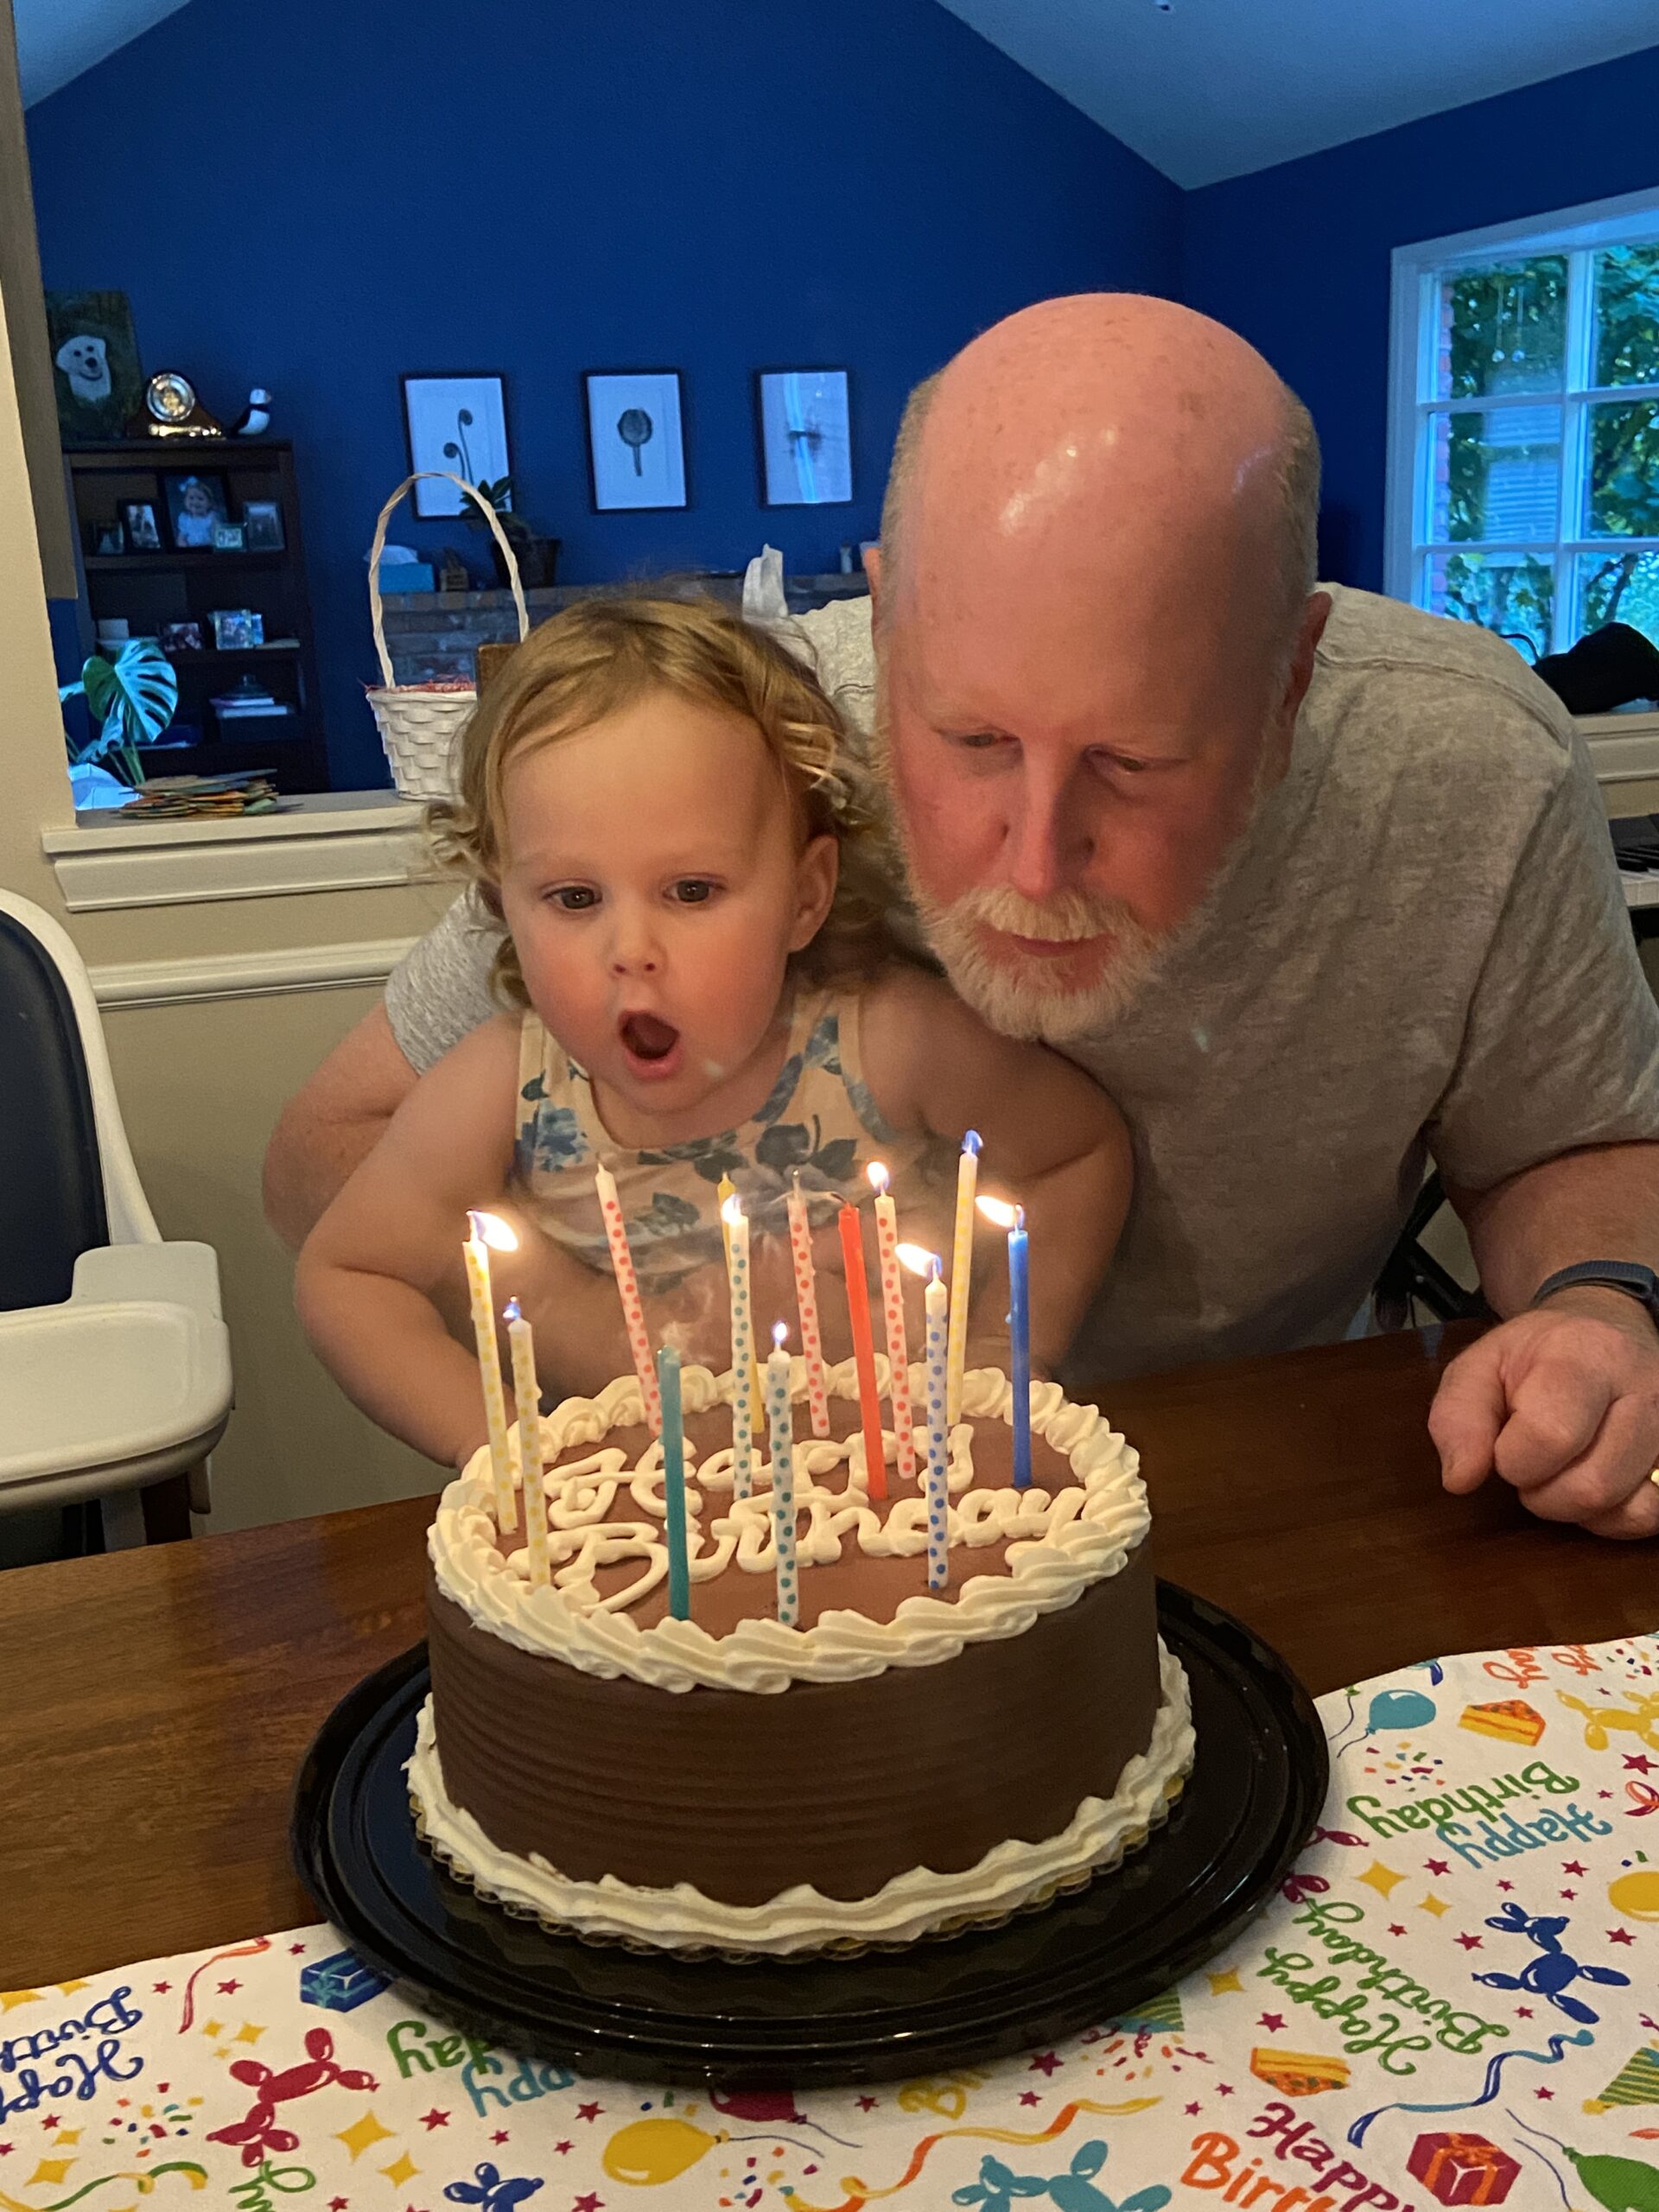
I have been out of touch for a couple of weeks. Last we chatted, I was heading to stay with my grand girls for a long weekend while their parents took a quick break. We had so much fun. The girls were very easy to take care of even though the two year old was running a bit of a fever. She was still very happy to be with her grandpa, even if not feeling quite 100%. We got to celebrate Ray’s birthday while we were there.

Celebrating Grandpa’s birthday together

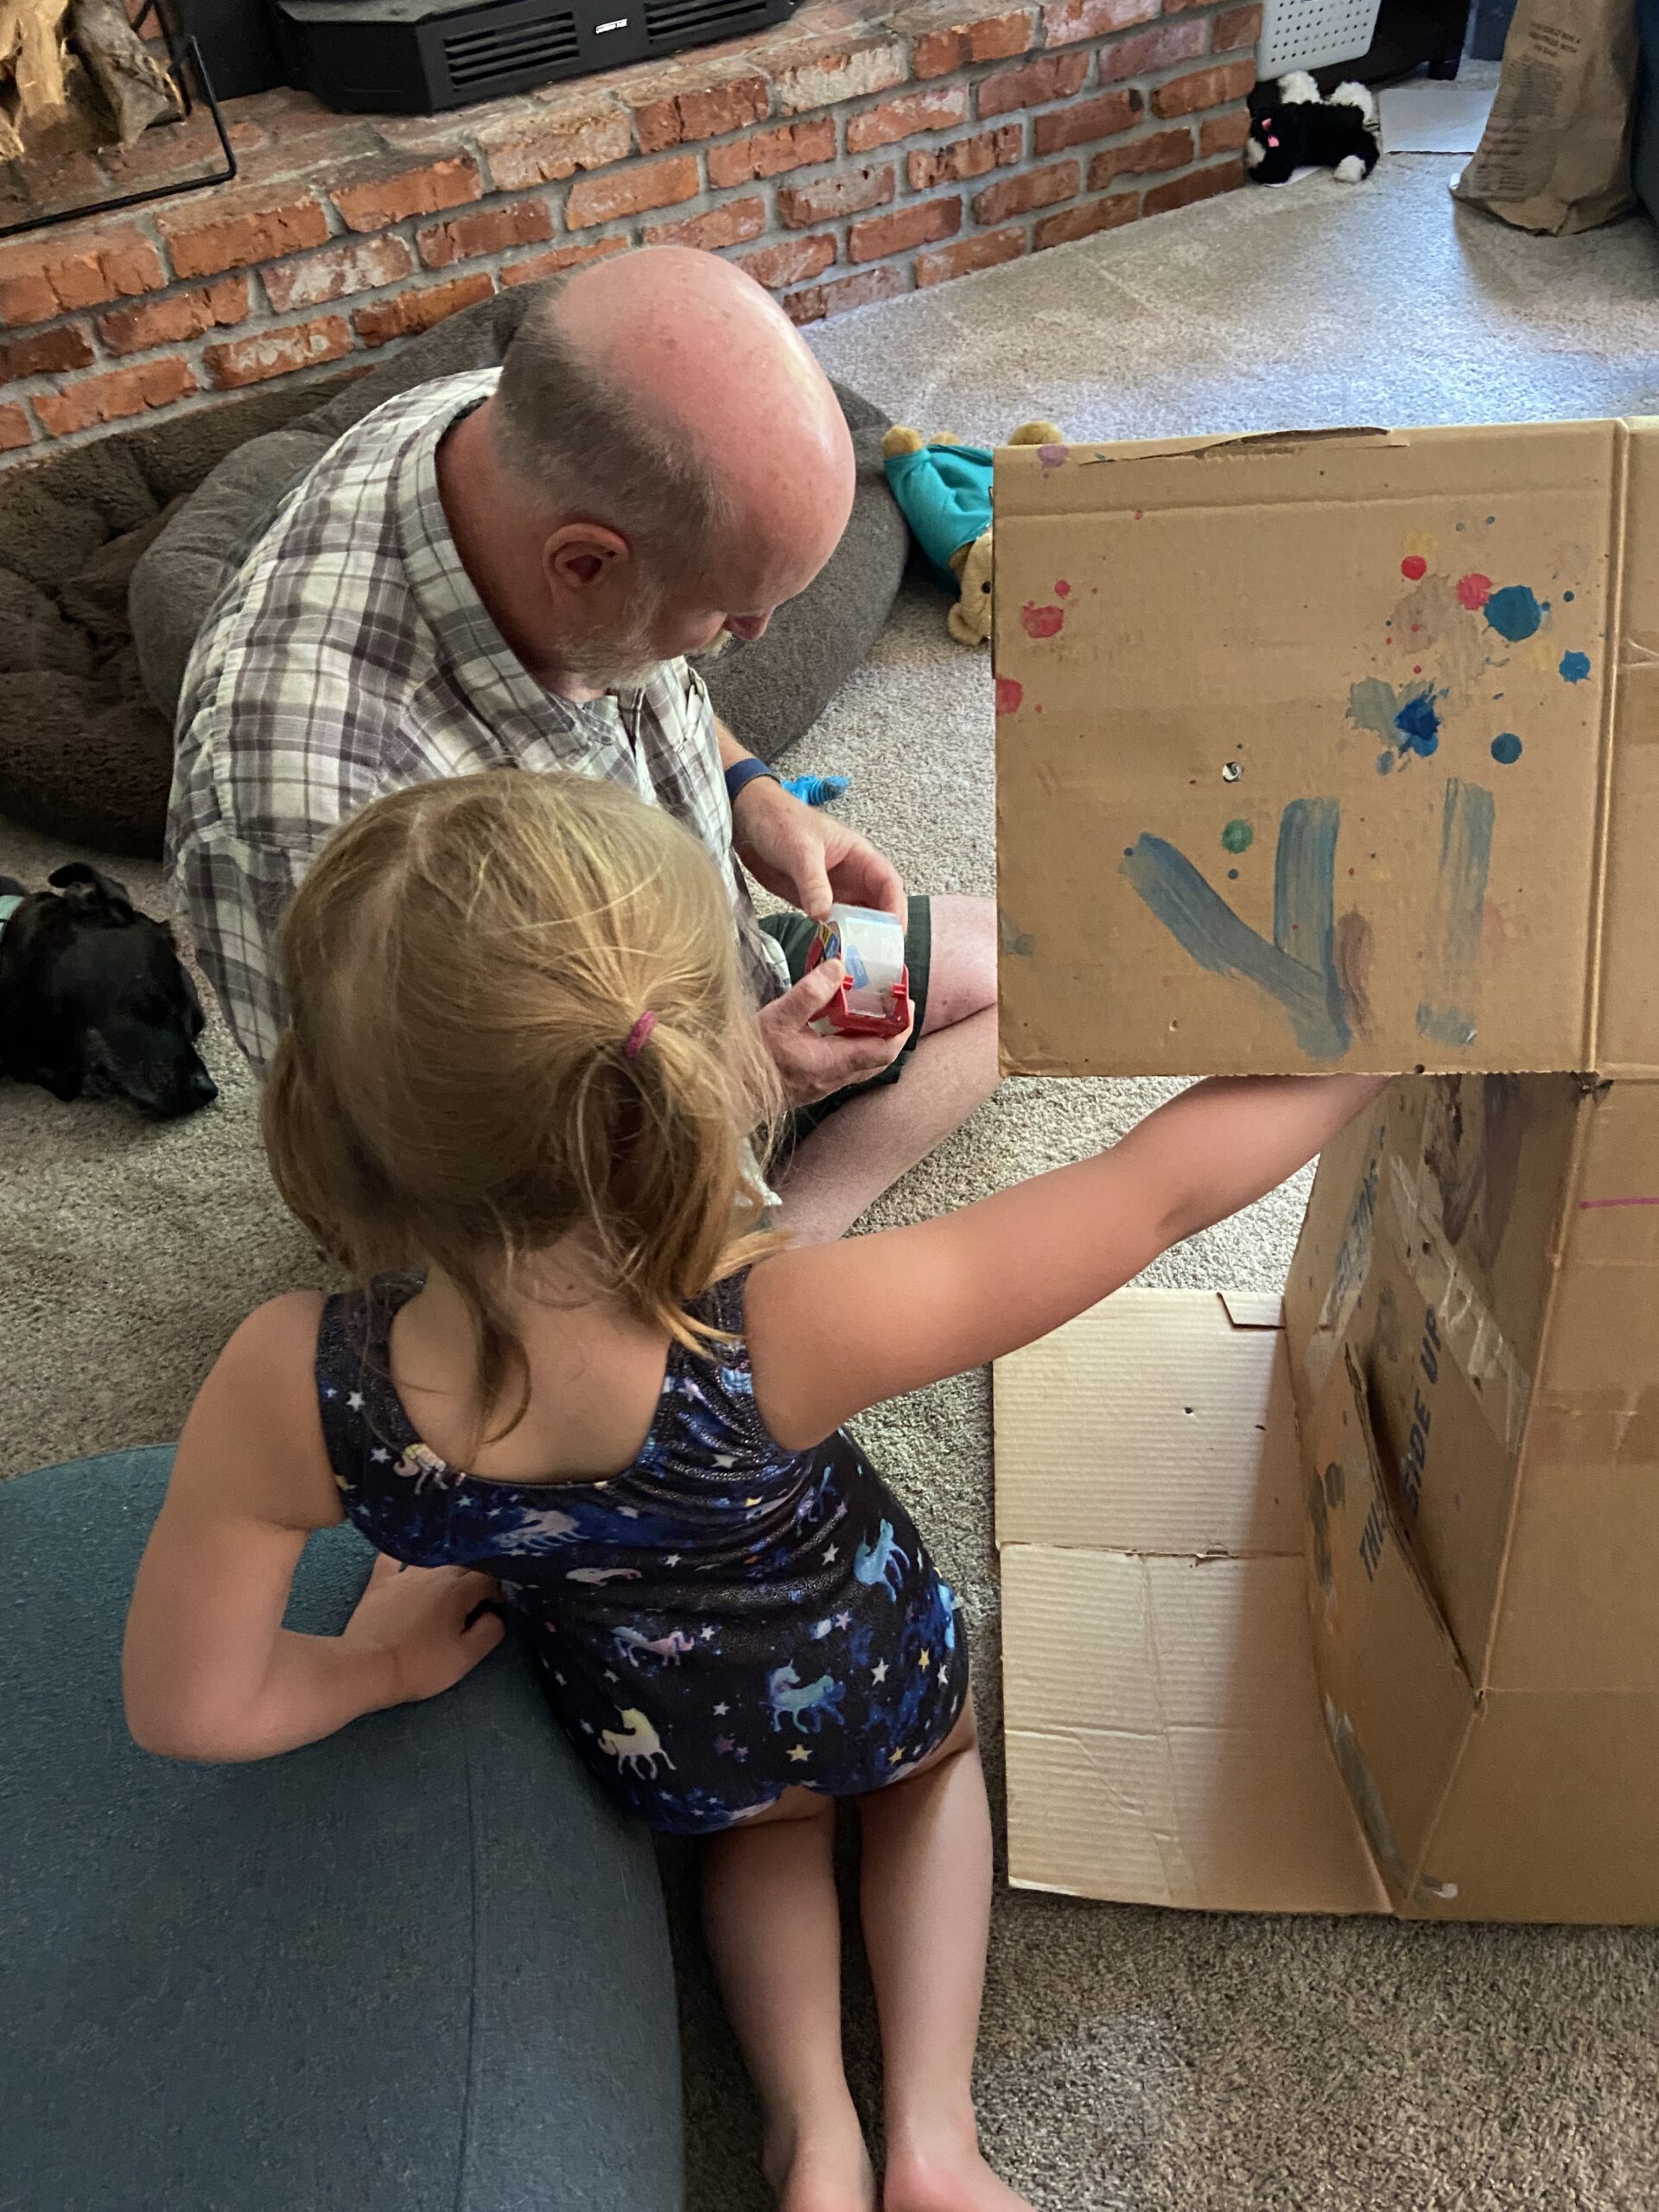
The girls had fun painting a cardboard box outside. There was no real plan other than to paint for the sake of painting.

Muffin tins make a great holder for the paint.

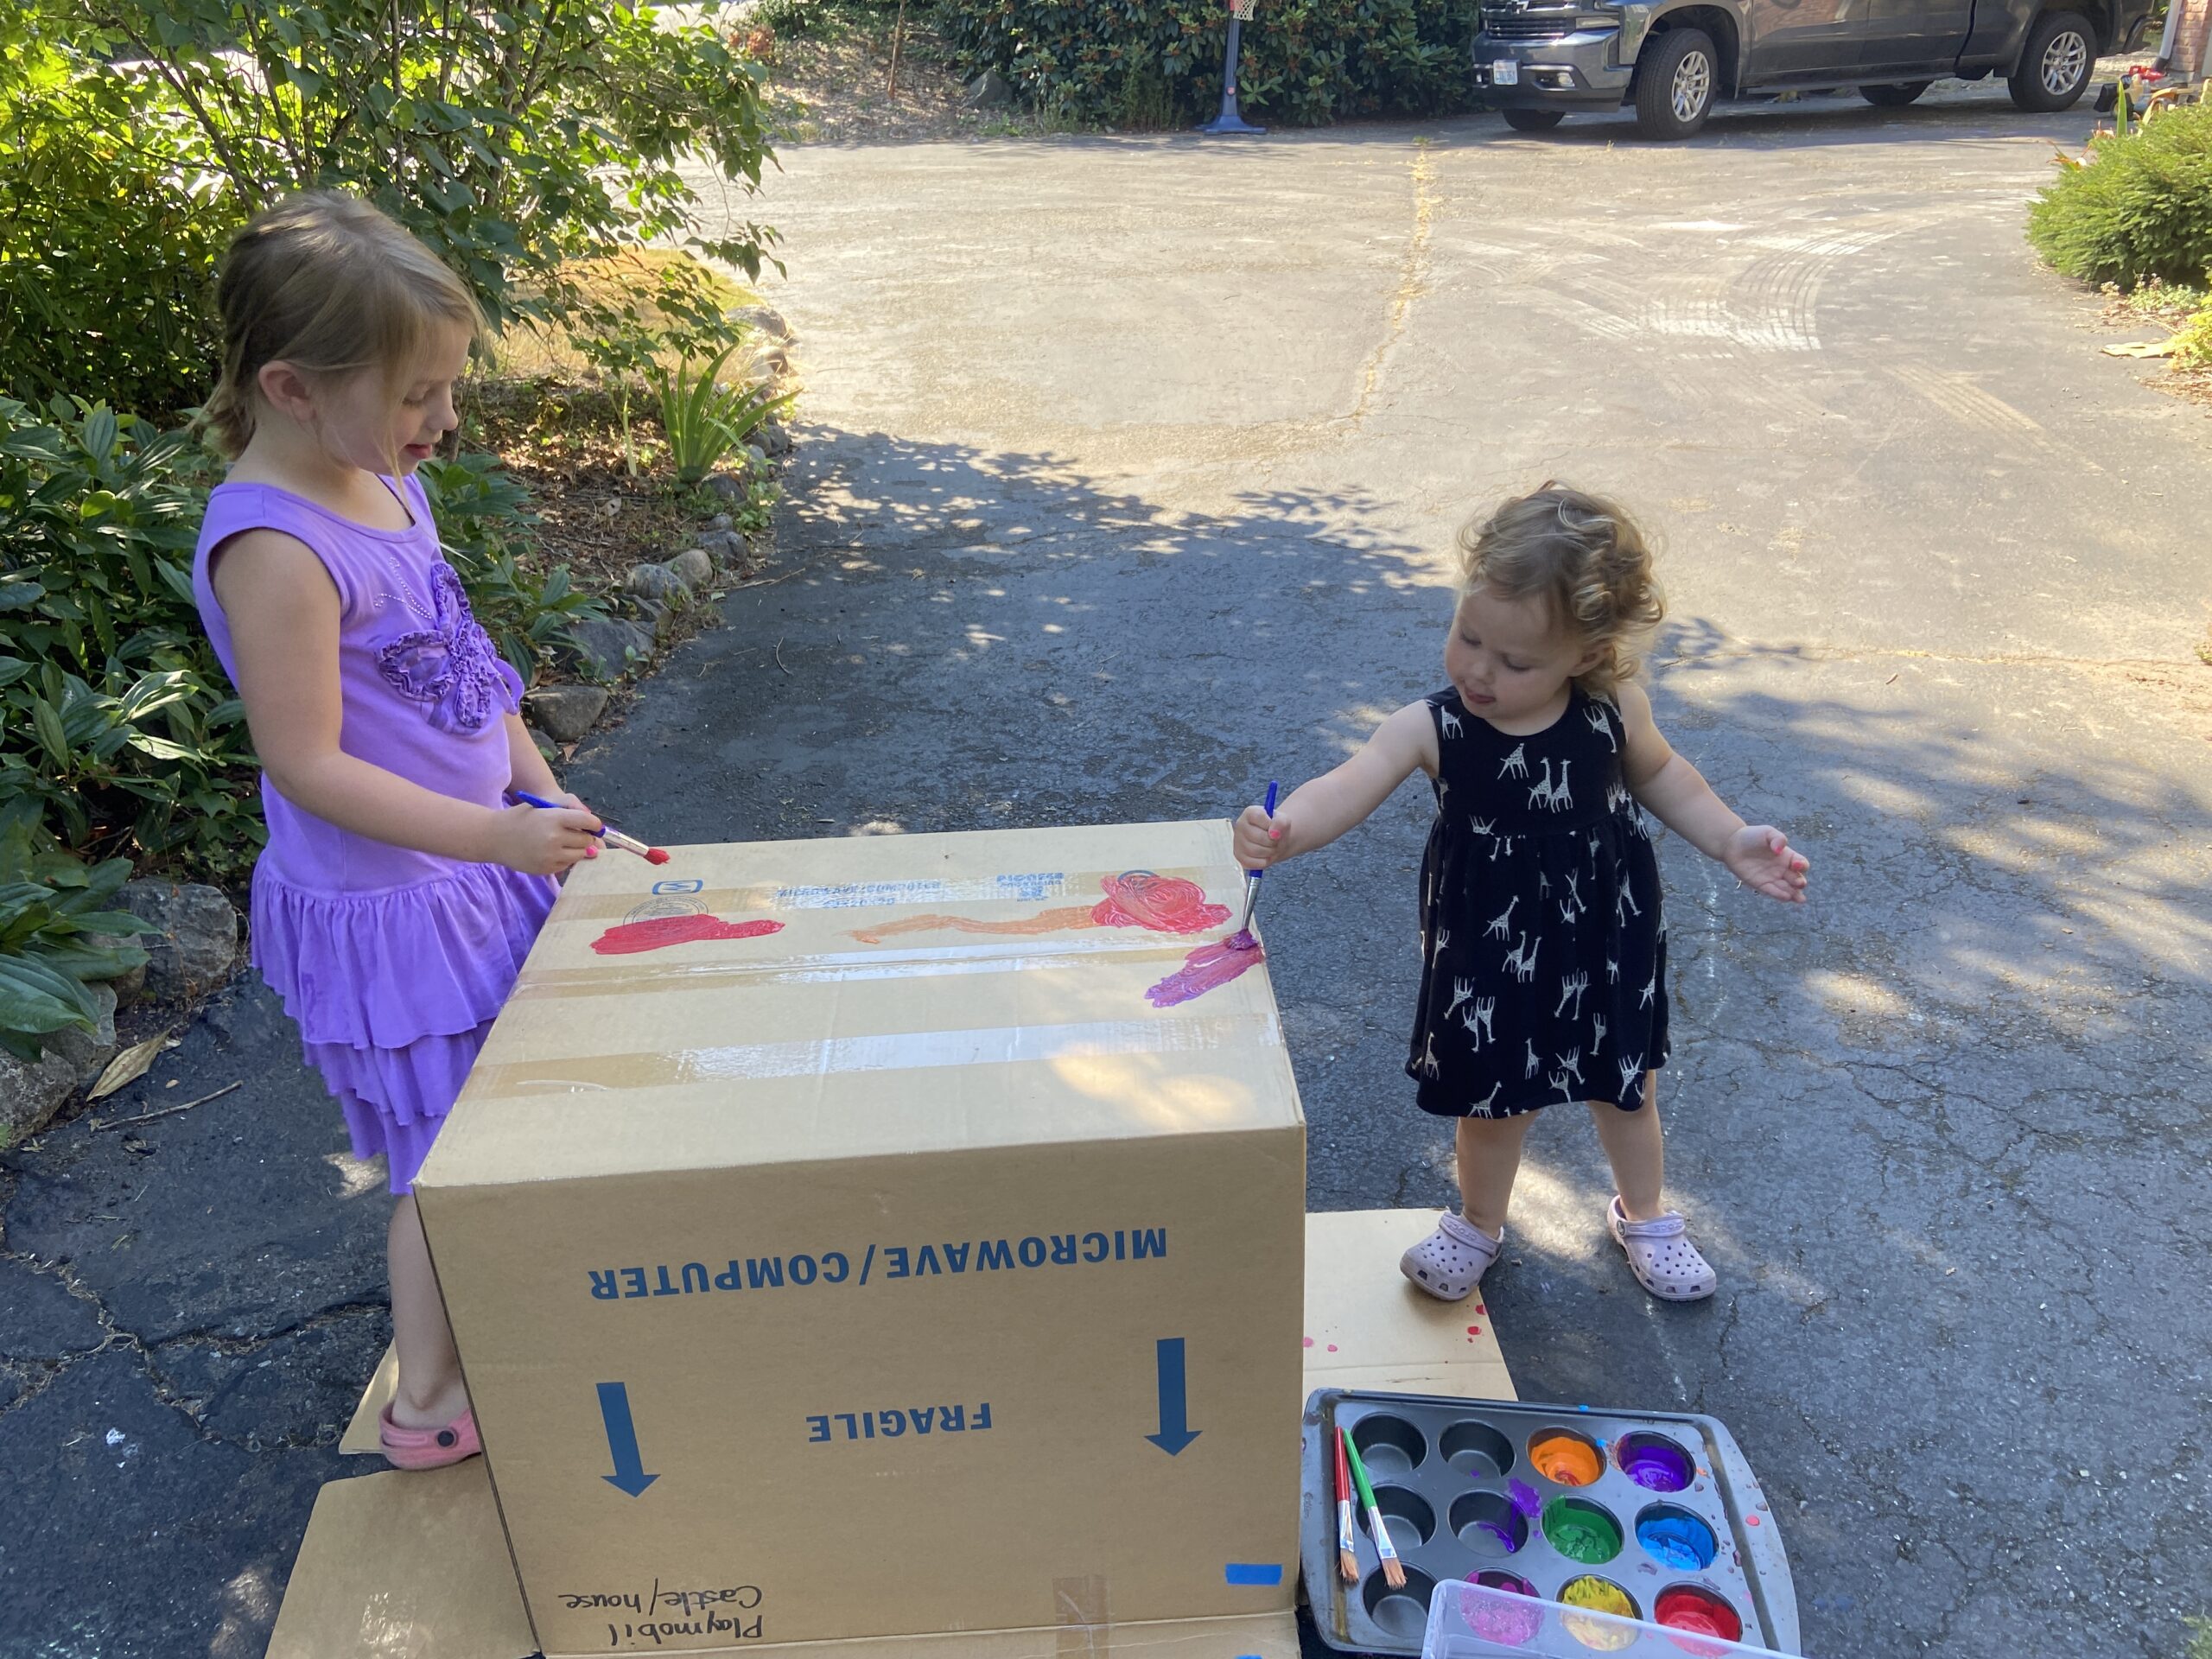
Once the box was done, H asked if we could make it into a rocket ship. She clearly had a very specific plan in mind. Ray and I talked to her for a bit to try and suss out her plan. She was able to explain just what she thought it would look like.

Working with Grandpa to make the rocket ship

It turned out so cute and the girls were pleased!

Rocket ship to the moon!

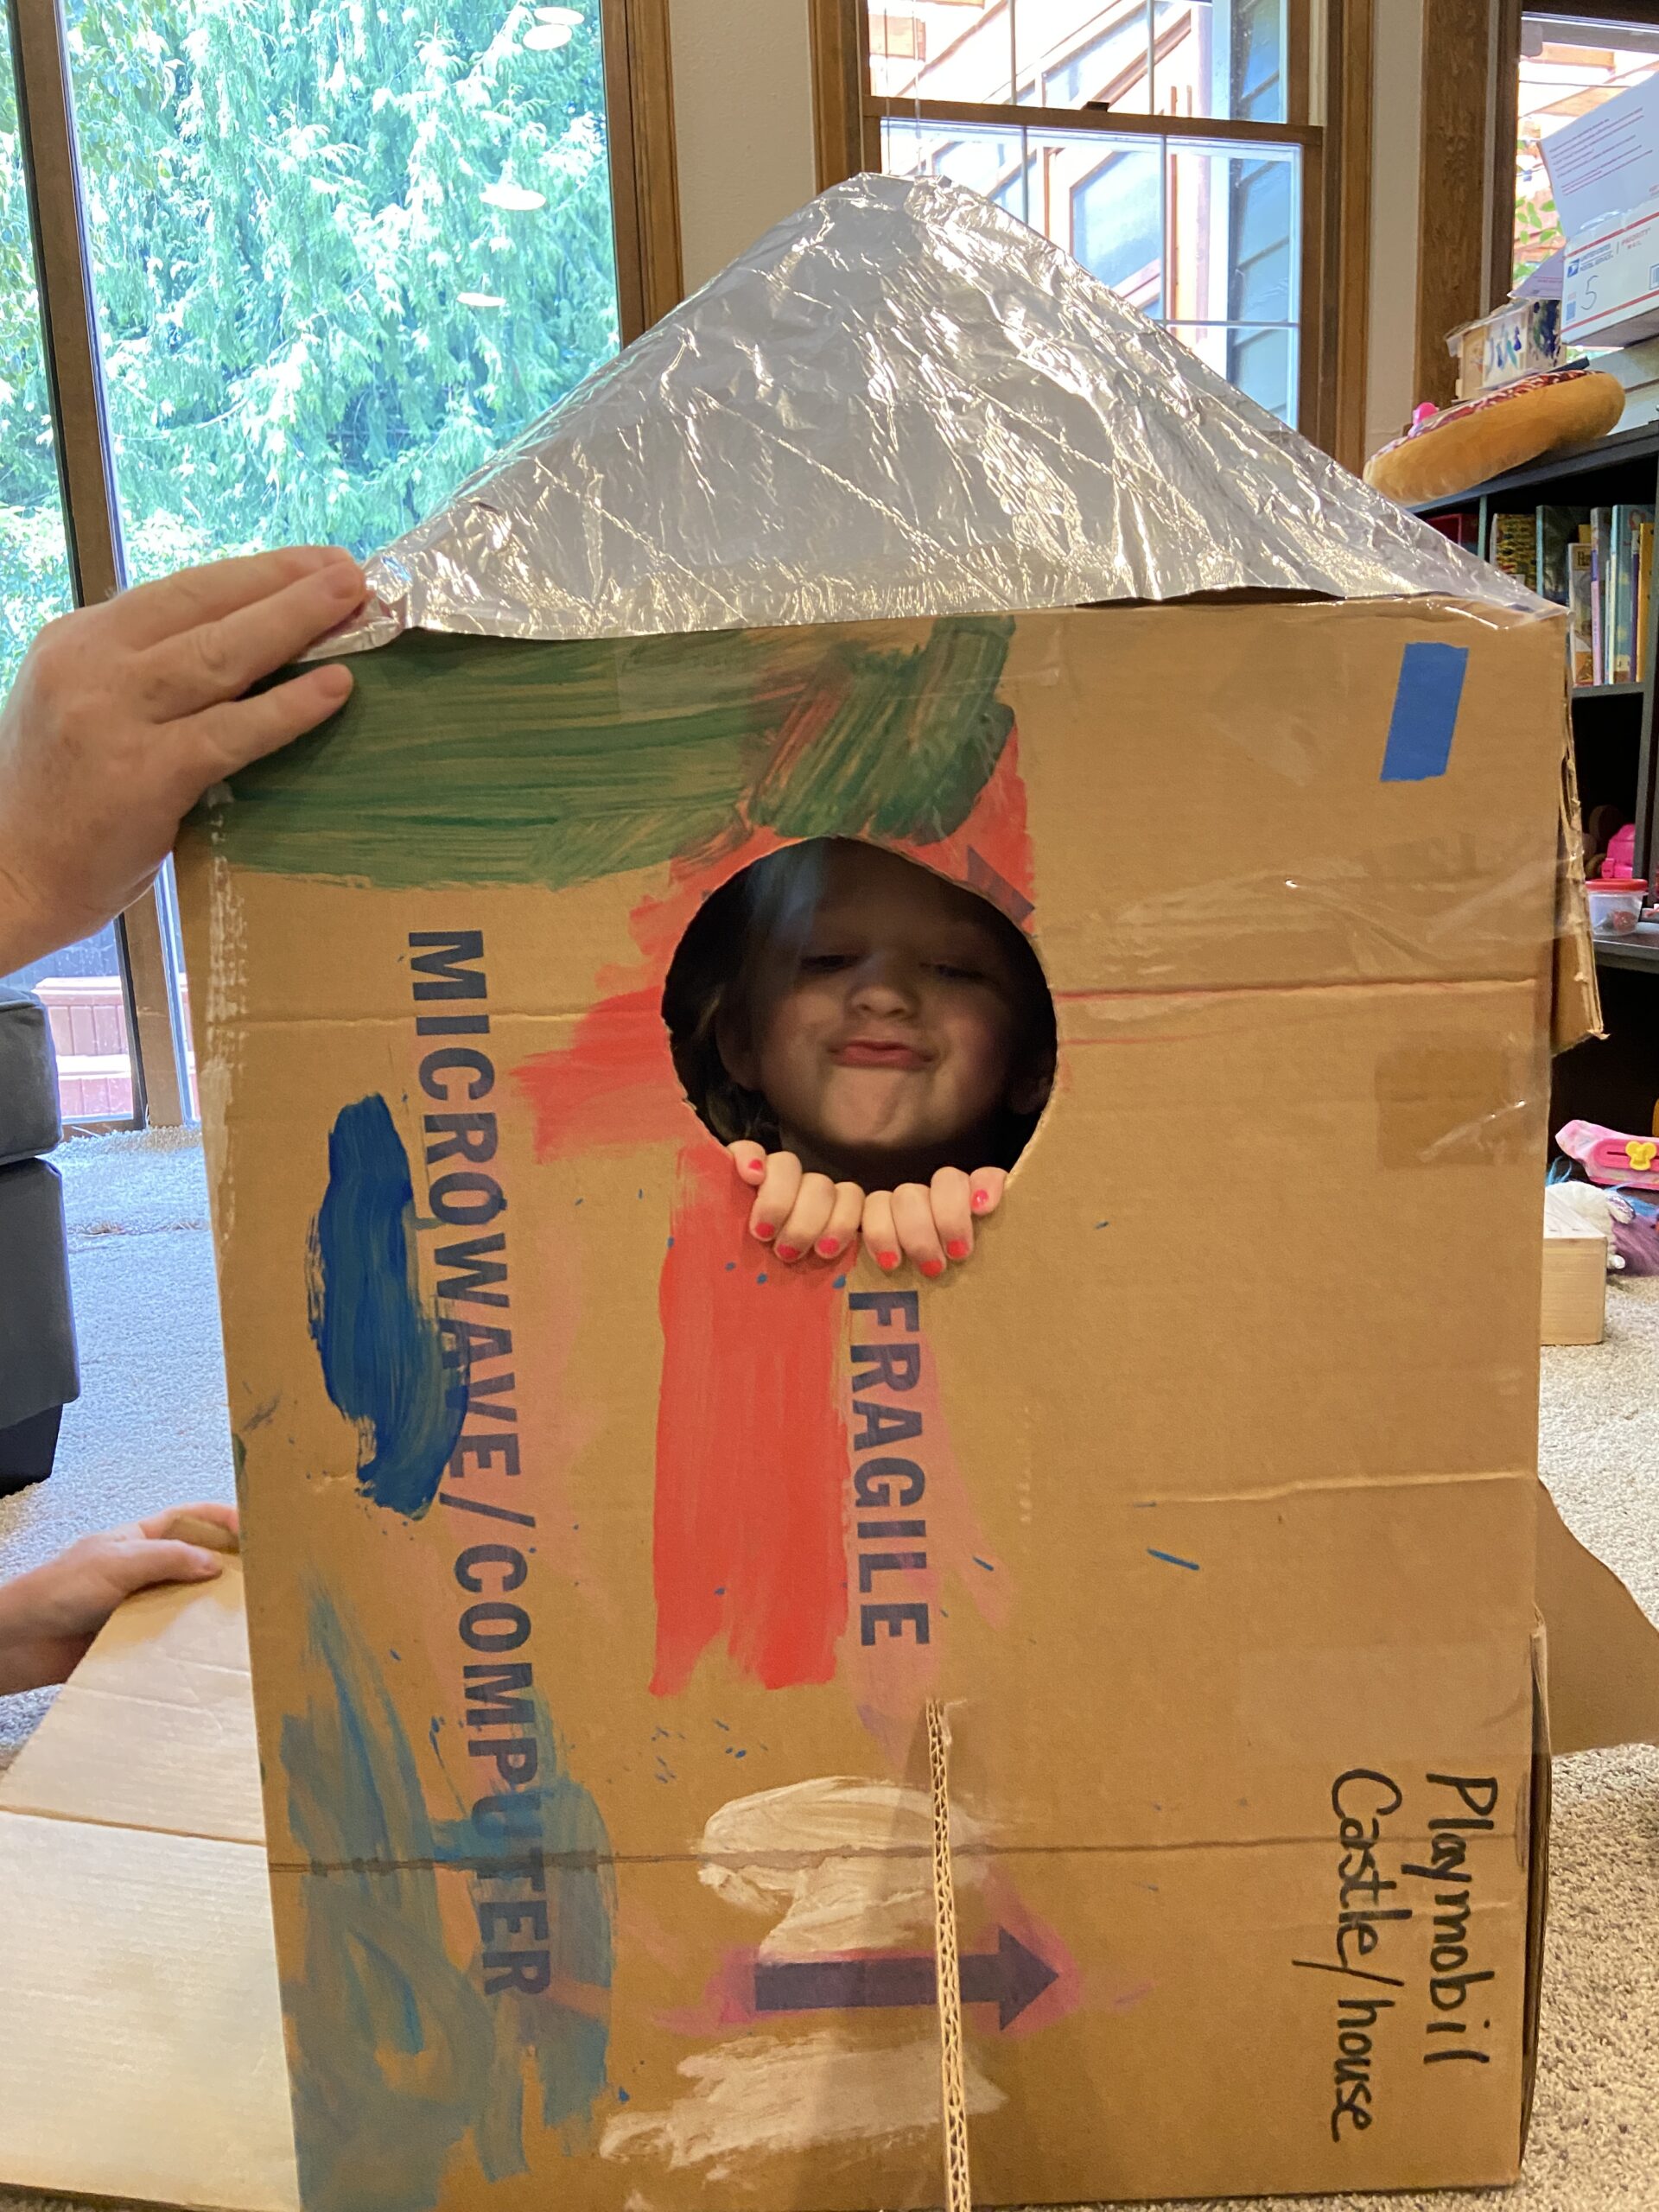
When H was in the box, she and Grandpa would count down to blast off and Grandpa would shake the box like crazy to make it feel like she was blasting off. It was so fun.

The day we were driving home I started to feel sick. By the time we got home (it is only a 75 minute drive) I felt horrible. Climbed into bed and there I stayed for three days. Then I just felt awful for another three or four days. I tested negative for Covid and it seems I had the flu. The day I started to feel better, Ray crawled into bed and repeated my entire experience. Ugh!! We lost a couple of weeks to this virus and it was not fun!

Once we got our energy back, we invited the girls to come for a weekend. We really wanted to spend some time with them before H starts school.

Playing at the local splash pad

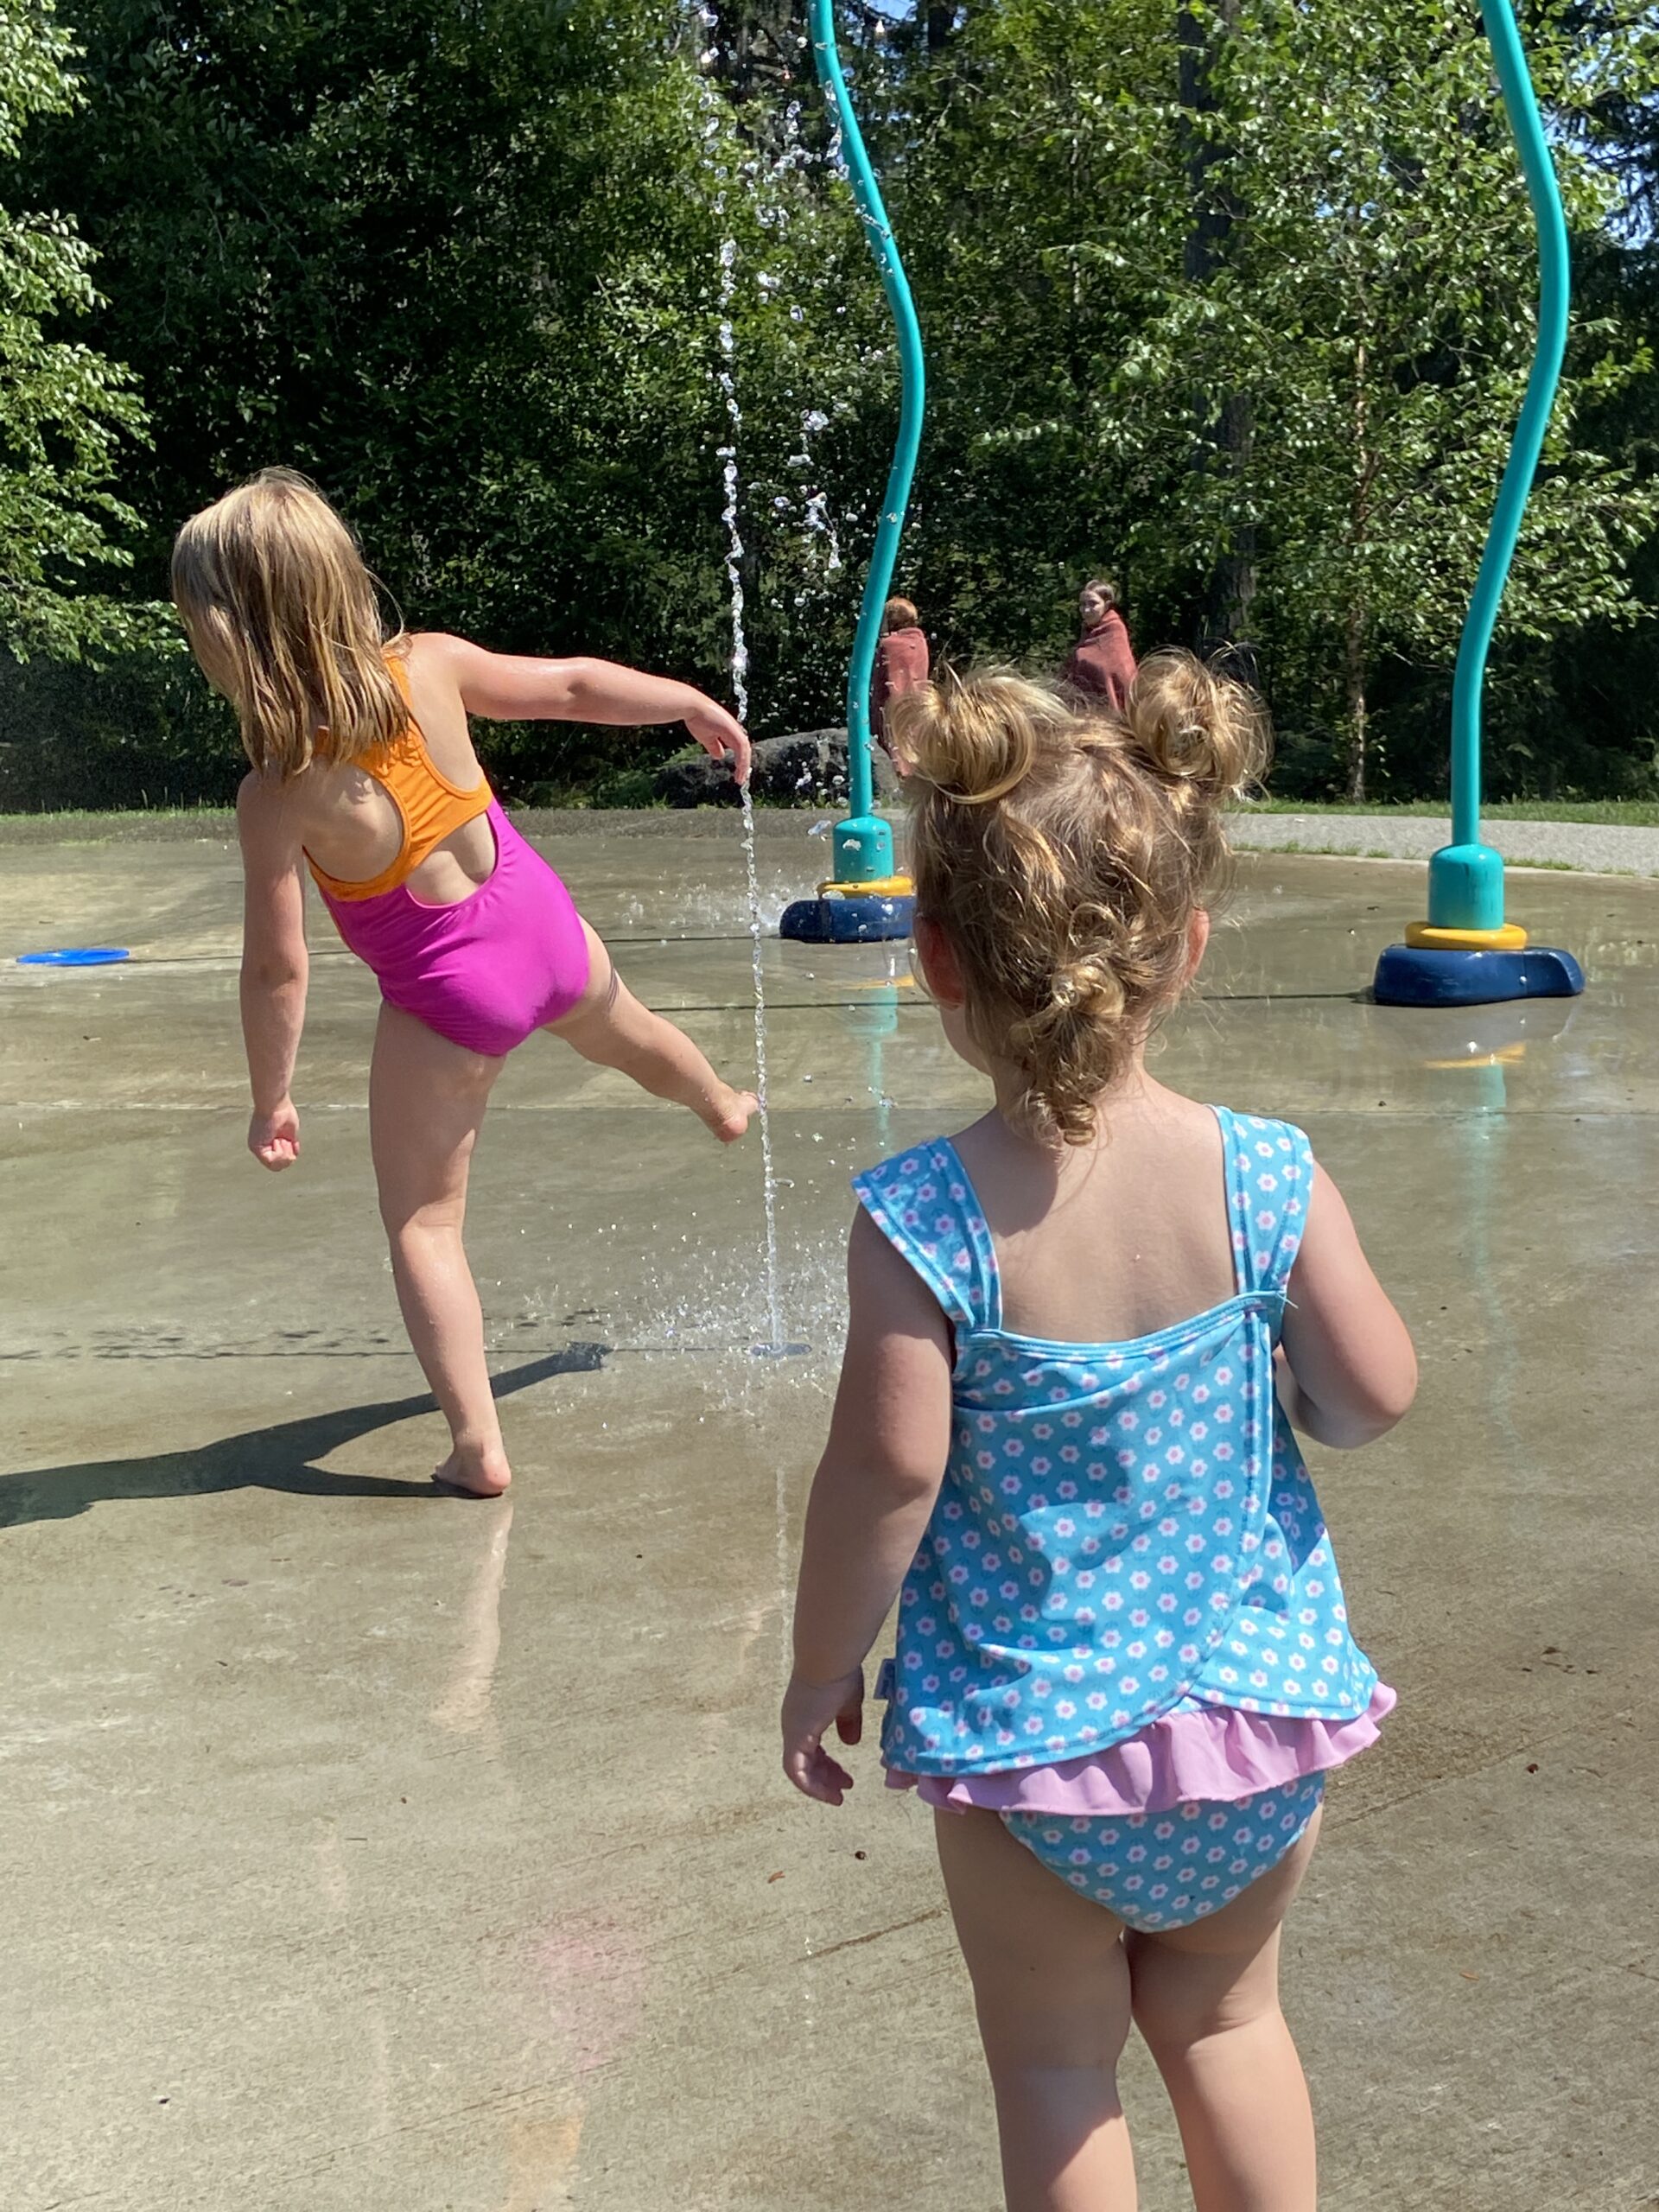
We went to a local park that has a splash pad. Little sister was a bit leary of most of the fountains but she would occasionally stand near one and shriek. It was really funny. Mostly she watched and also stomped in the puddles.

This girl couldn’t get enough!

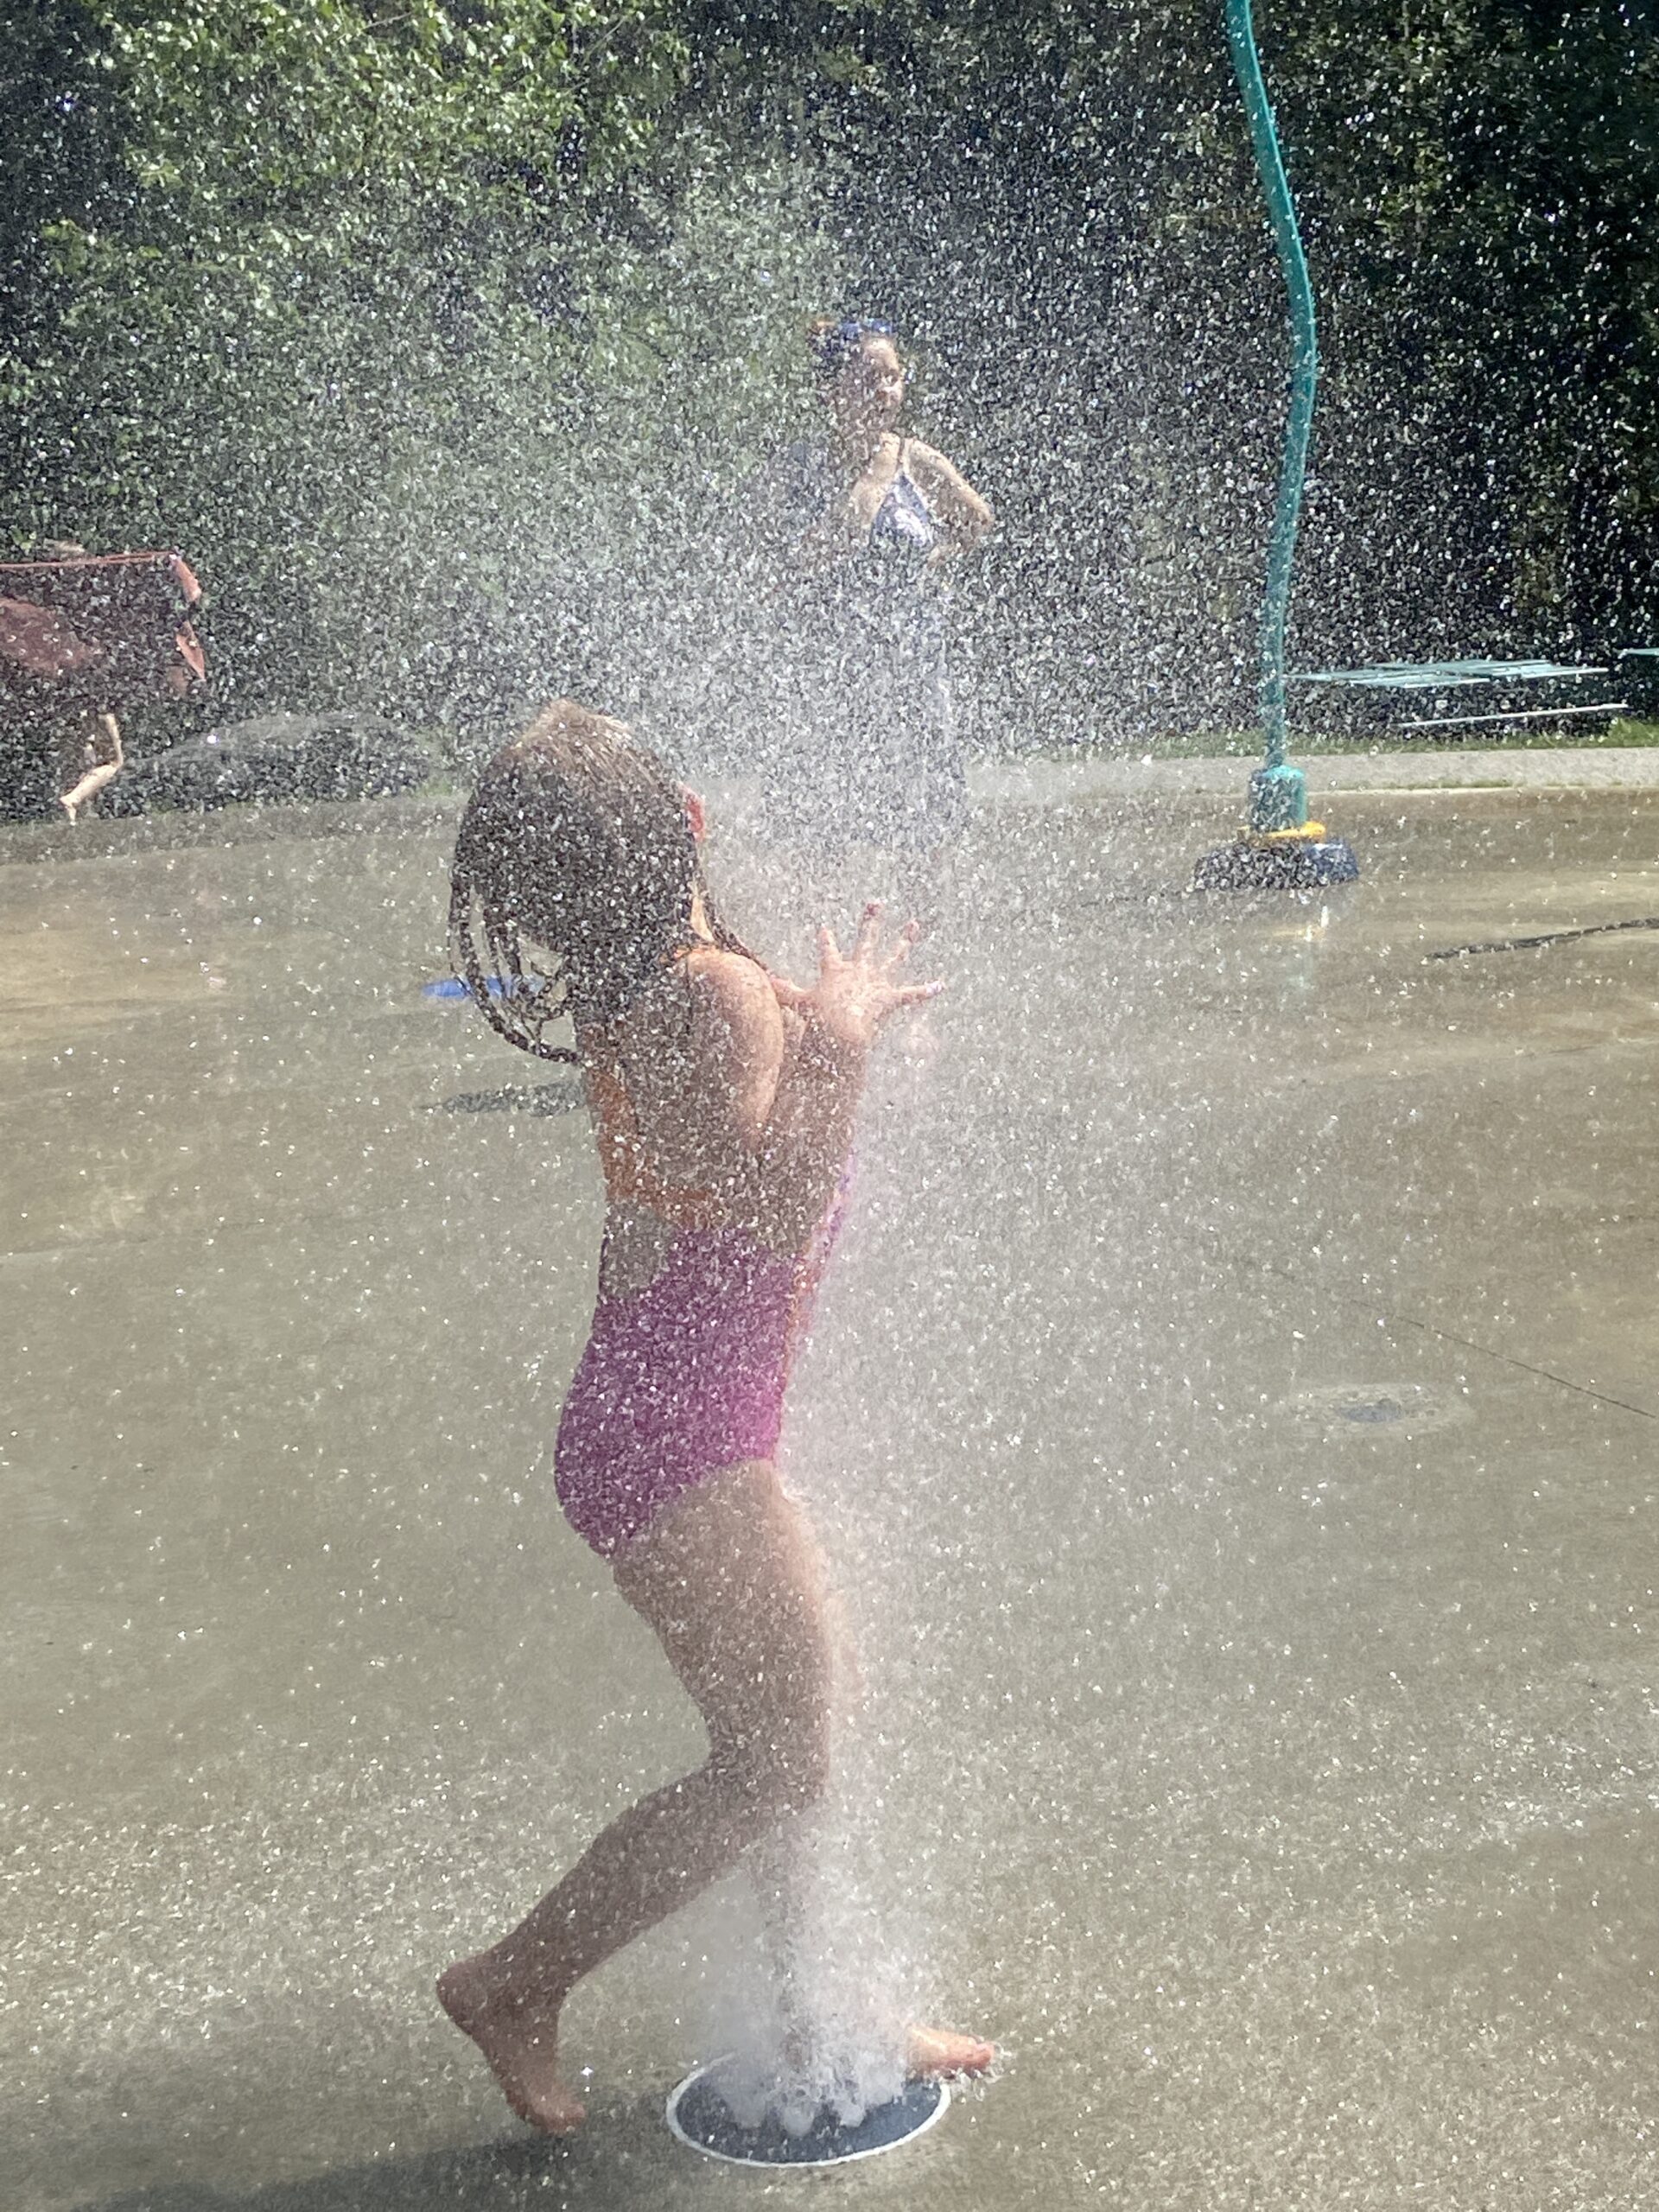
No fear with this one though. She has such an adventurous spirit!

Two kitties in a swing

There was a playground next to the splash pad. H was in this big webbed swing and really wanted her little sister to join her. A was not going anywhere near it. She kept saying it was scary. After many invitations, big sister said, “let’s be kitties” which is one of A’s favorite games. A few meows later and little sister was in the swing snuggling with H. I was almost getting choked up here. H kept patting her little sister’s back, saying ‘see, this isn’t scary, I am here with you’. They fight occasionally but this sort of thing makes up for the squabbles.

Making pizzas.

The last night we all made individual pizzas together. The girls love doing this. Yum.

Summer is winding down and H starts kindergarten in two weeks! Hard to believe she is going to be in school.

My friend from California arrives today for a quick visit. She is also a quilter and as luck would have it, today is the local quilt guild’s show. I am really excited to see Sophia, even if just for one night.

Scrappy pumpkins

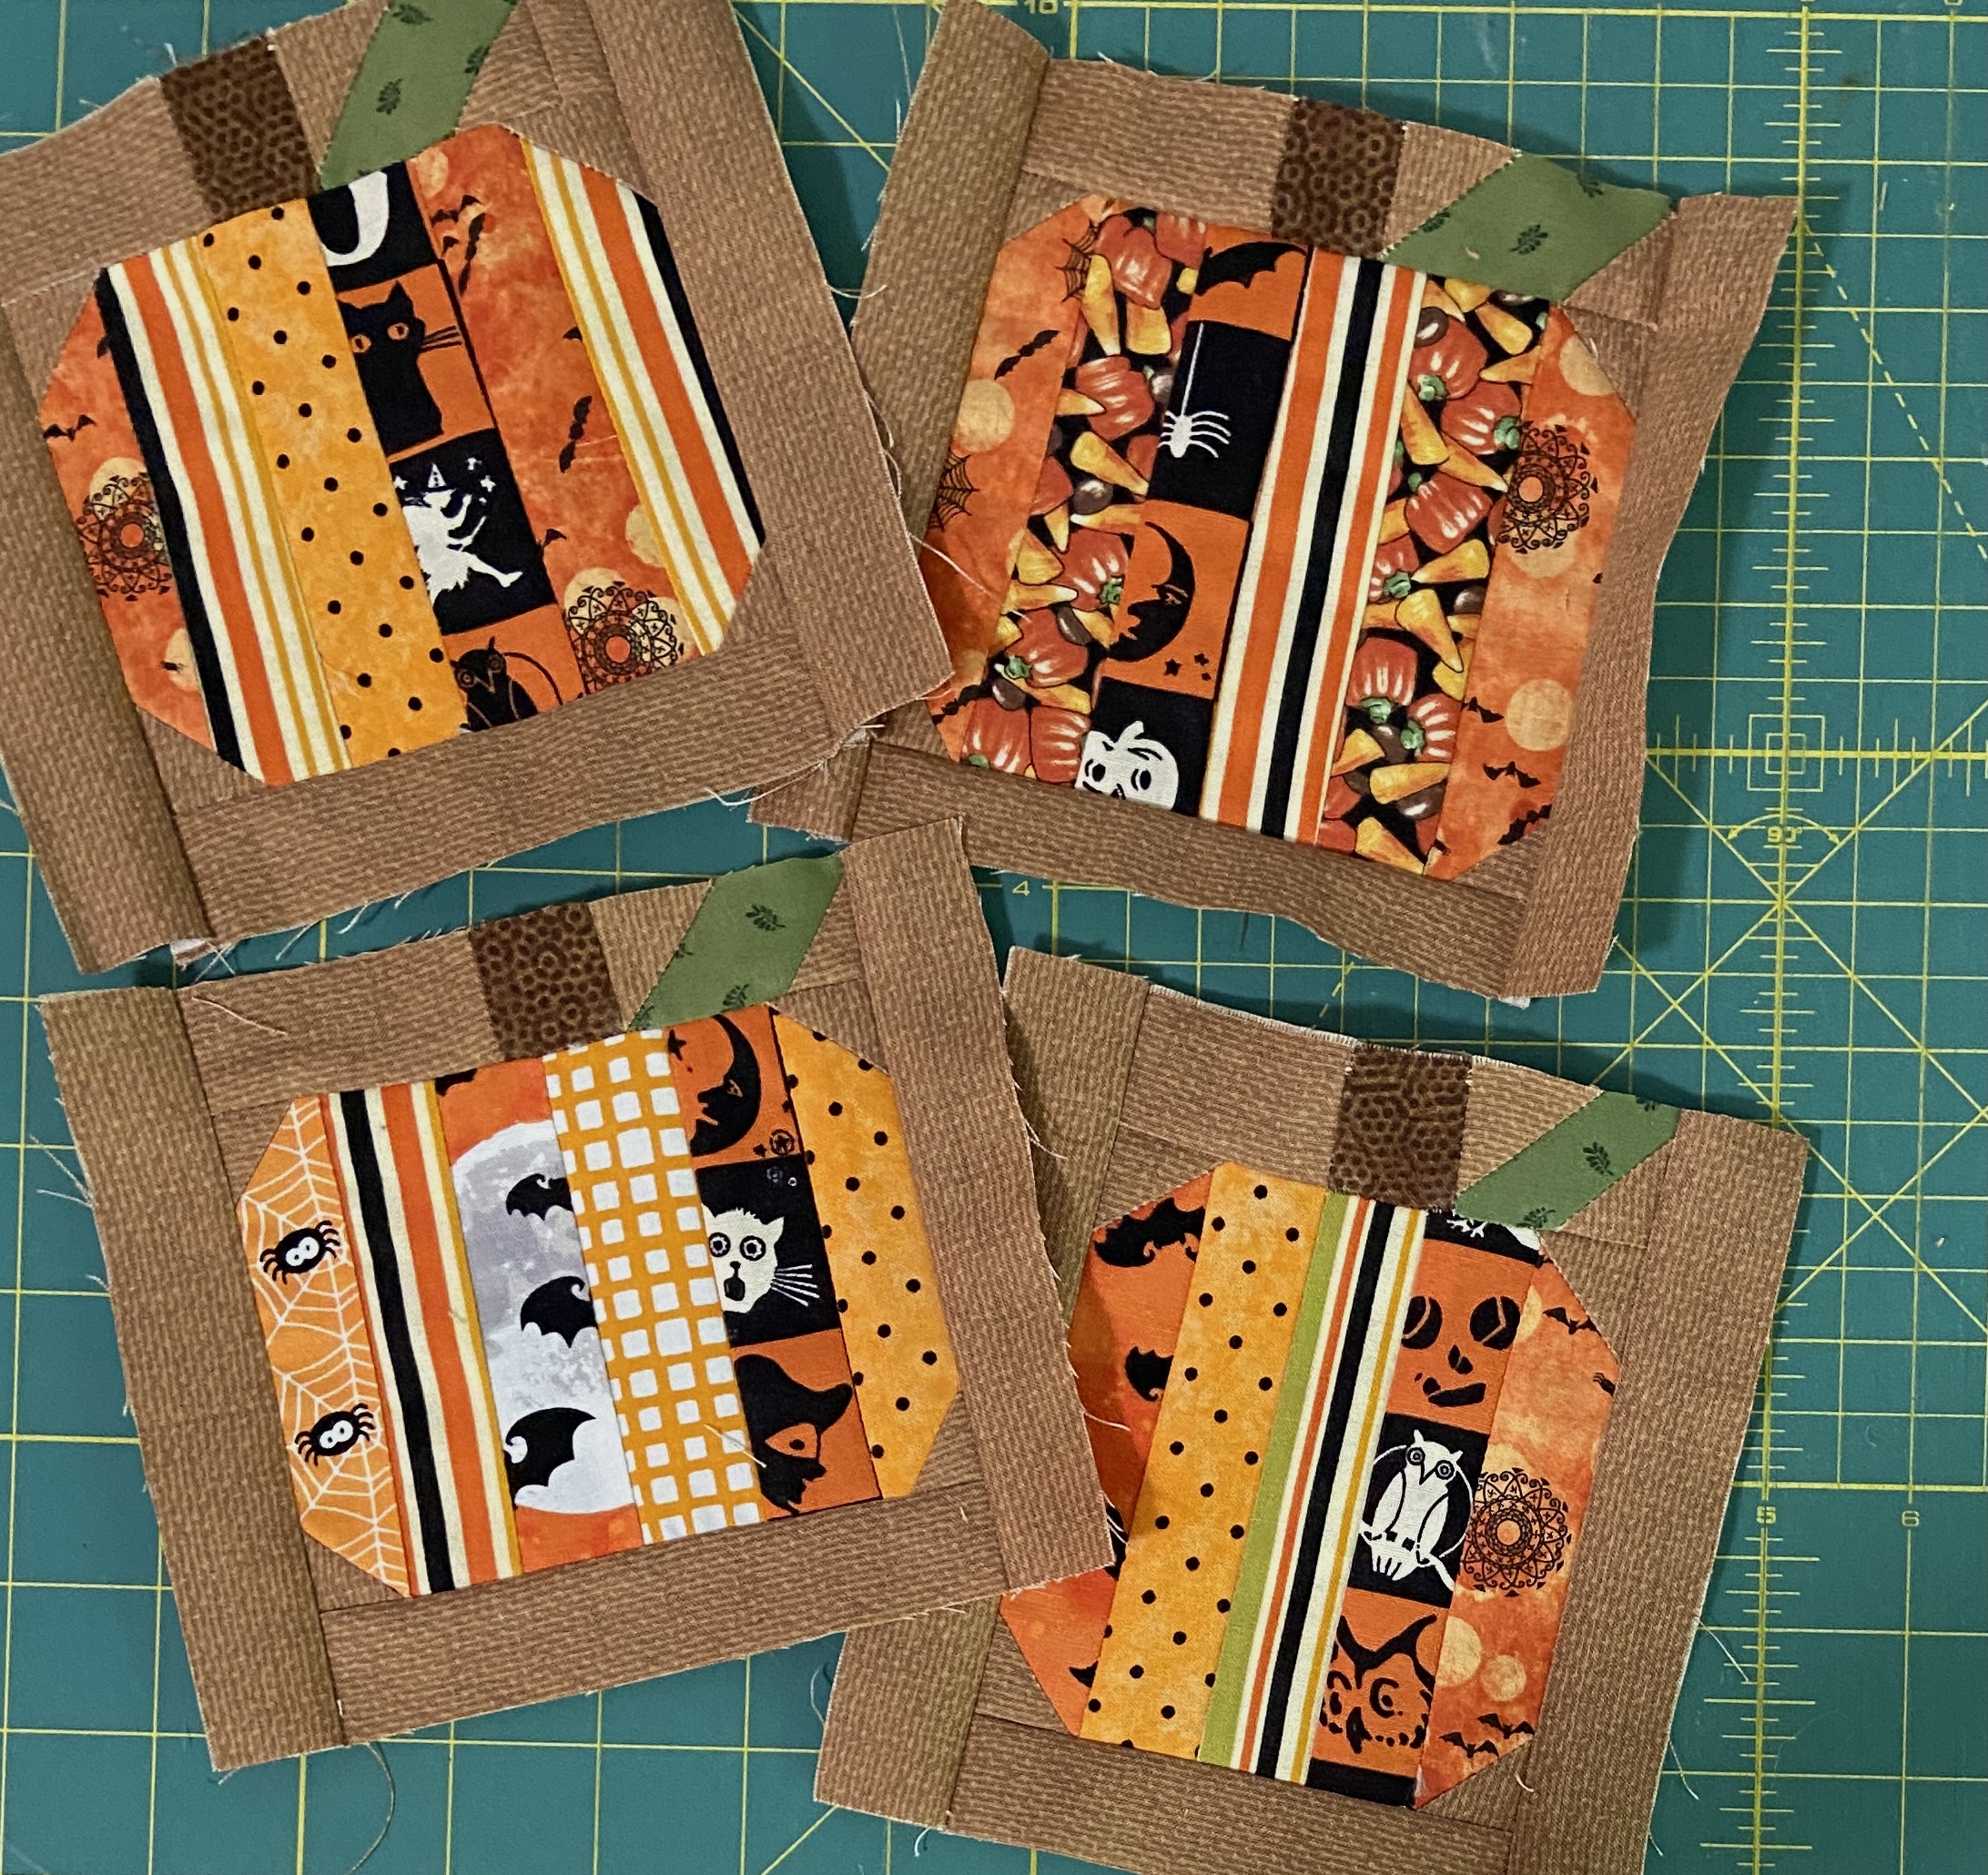
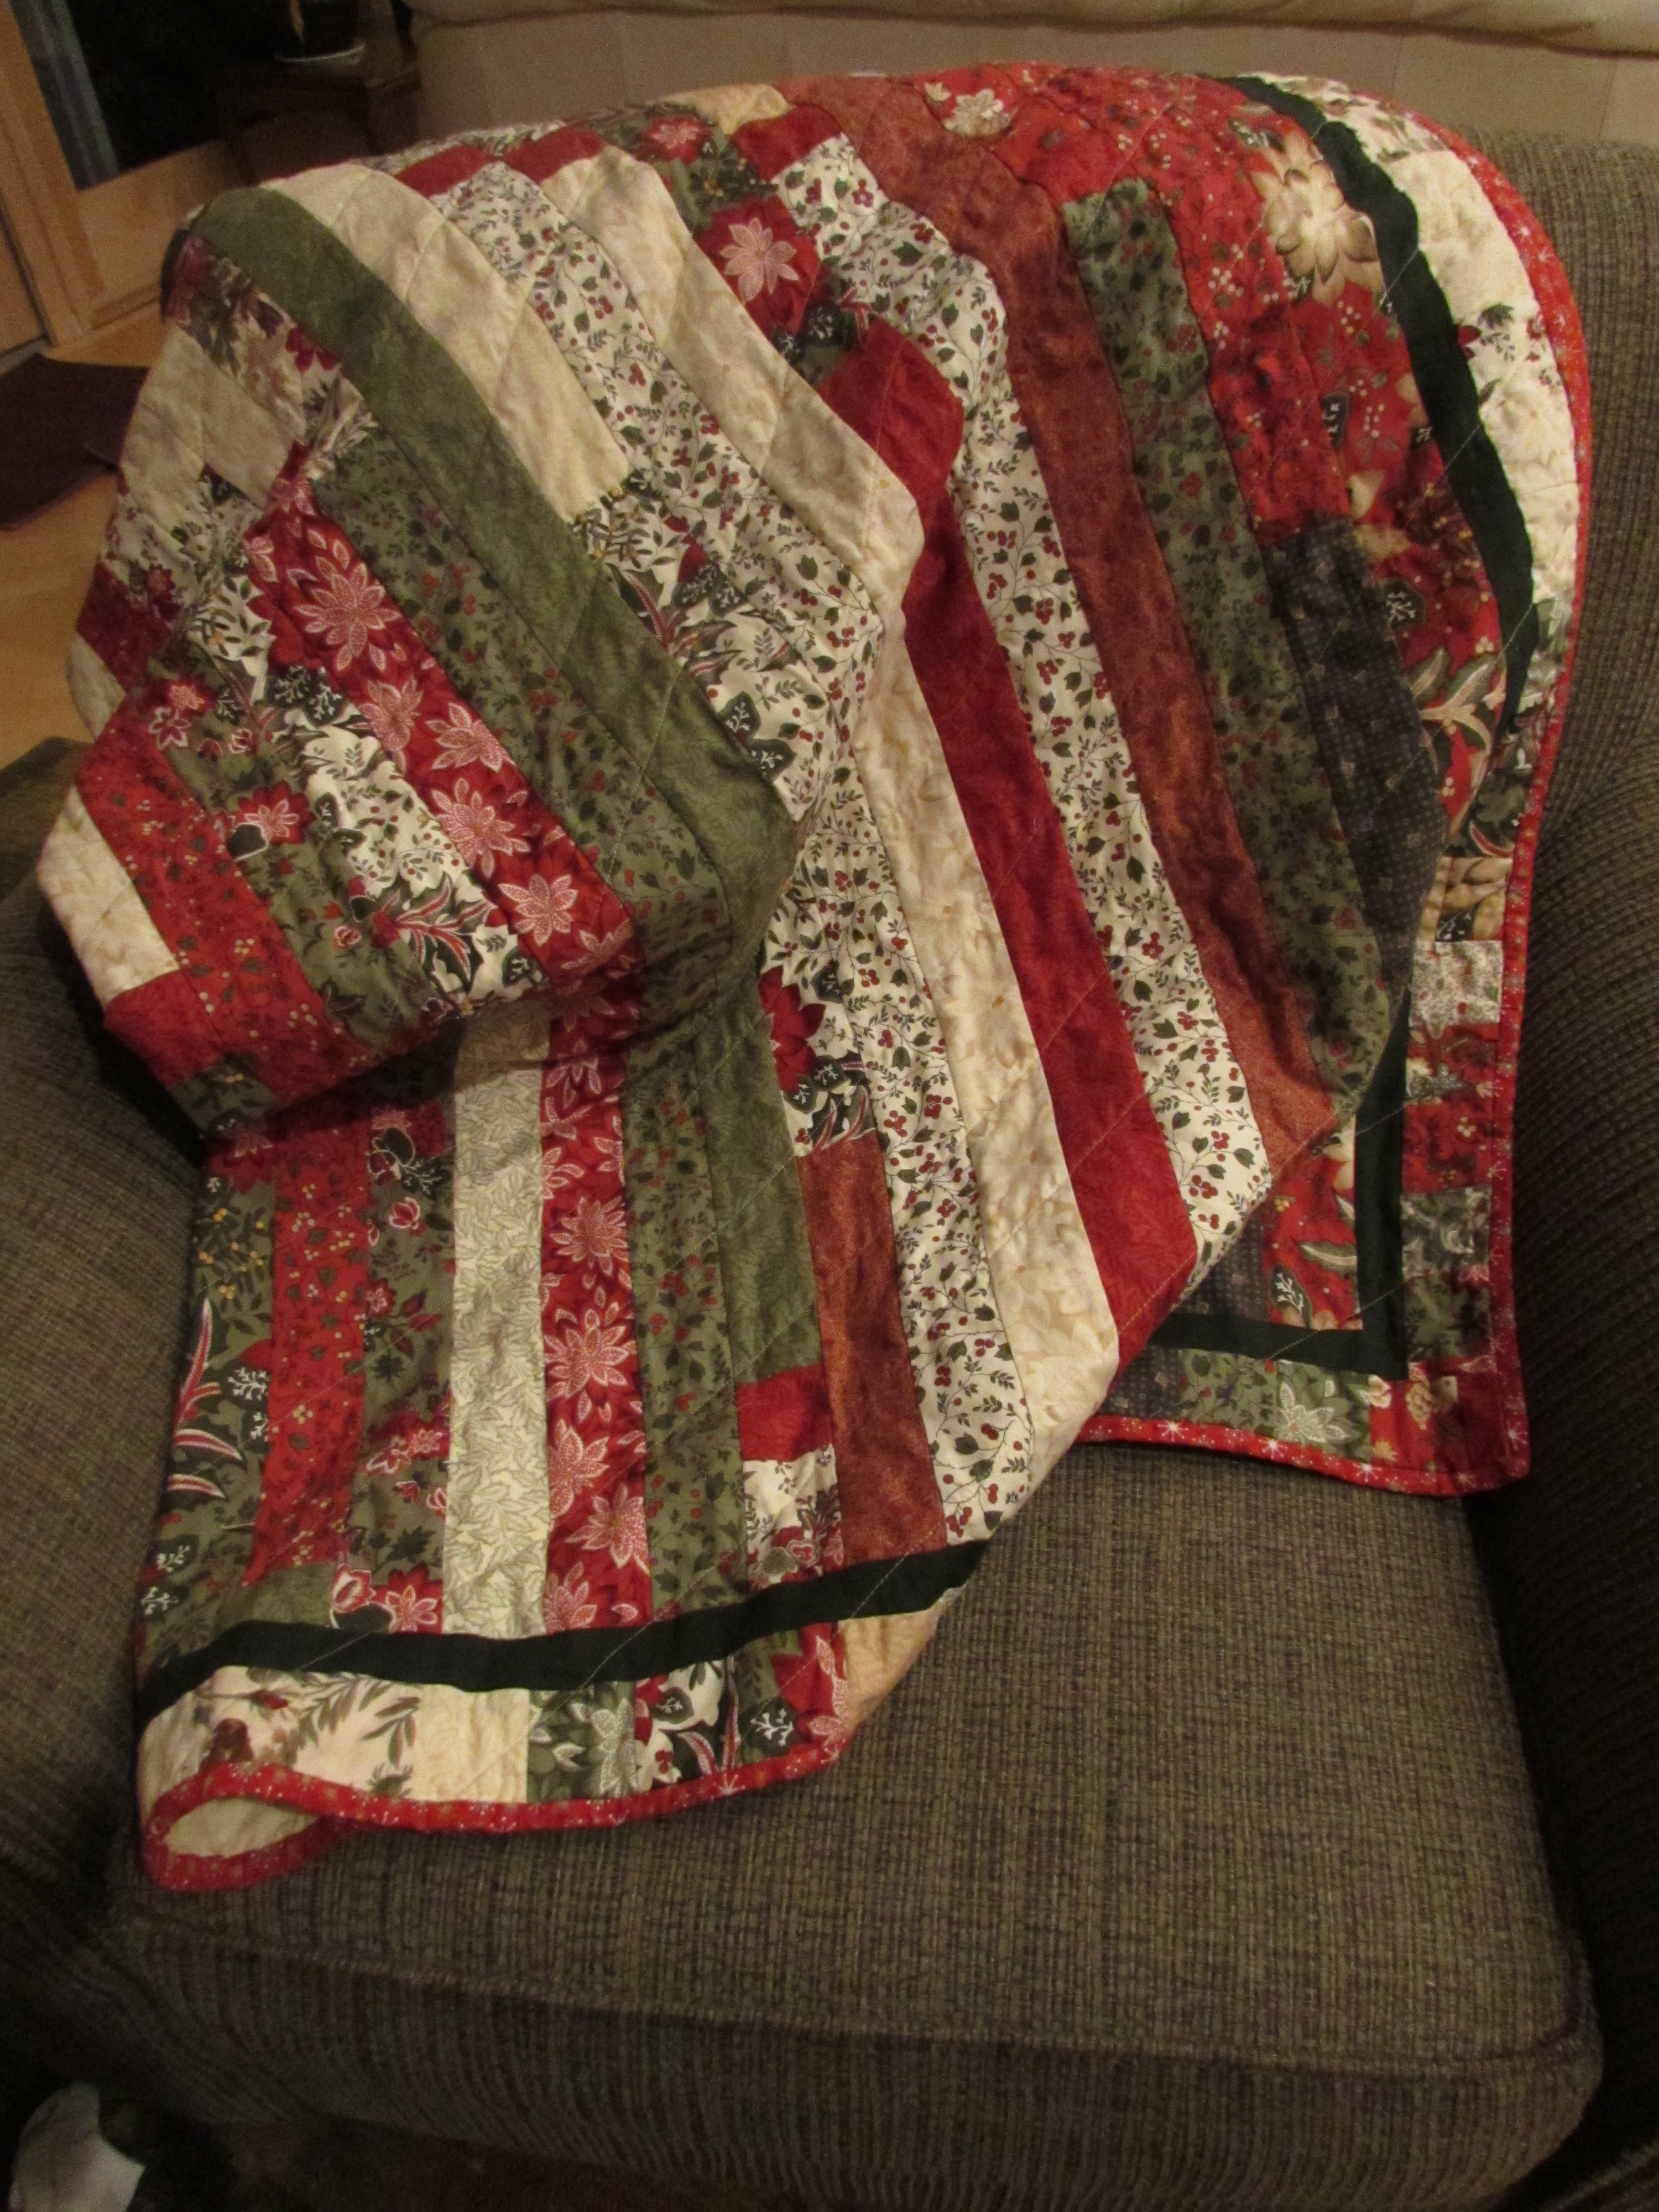
With school starting for H and summer winding down, I have been thinking about fall. I made a few scrappy, strip-pieced pumpkins. I think I will incorporate them into a Halloween quilt.

Debbie Mum Halloween panel

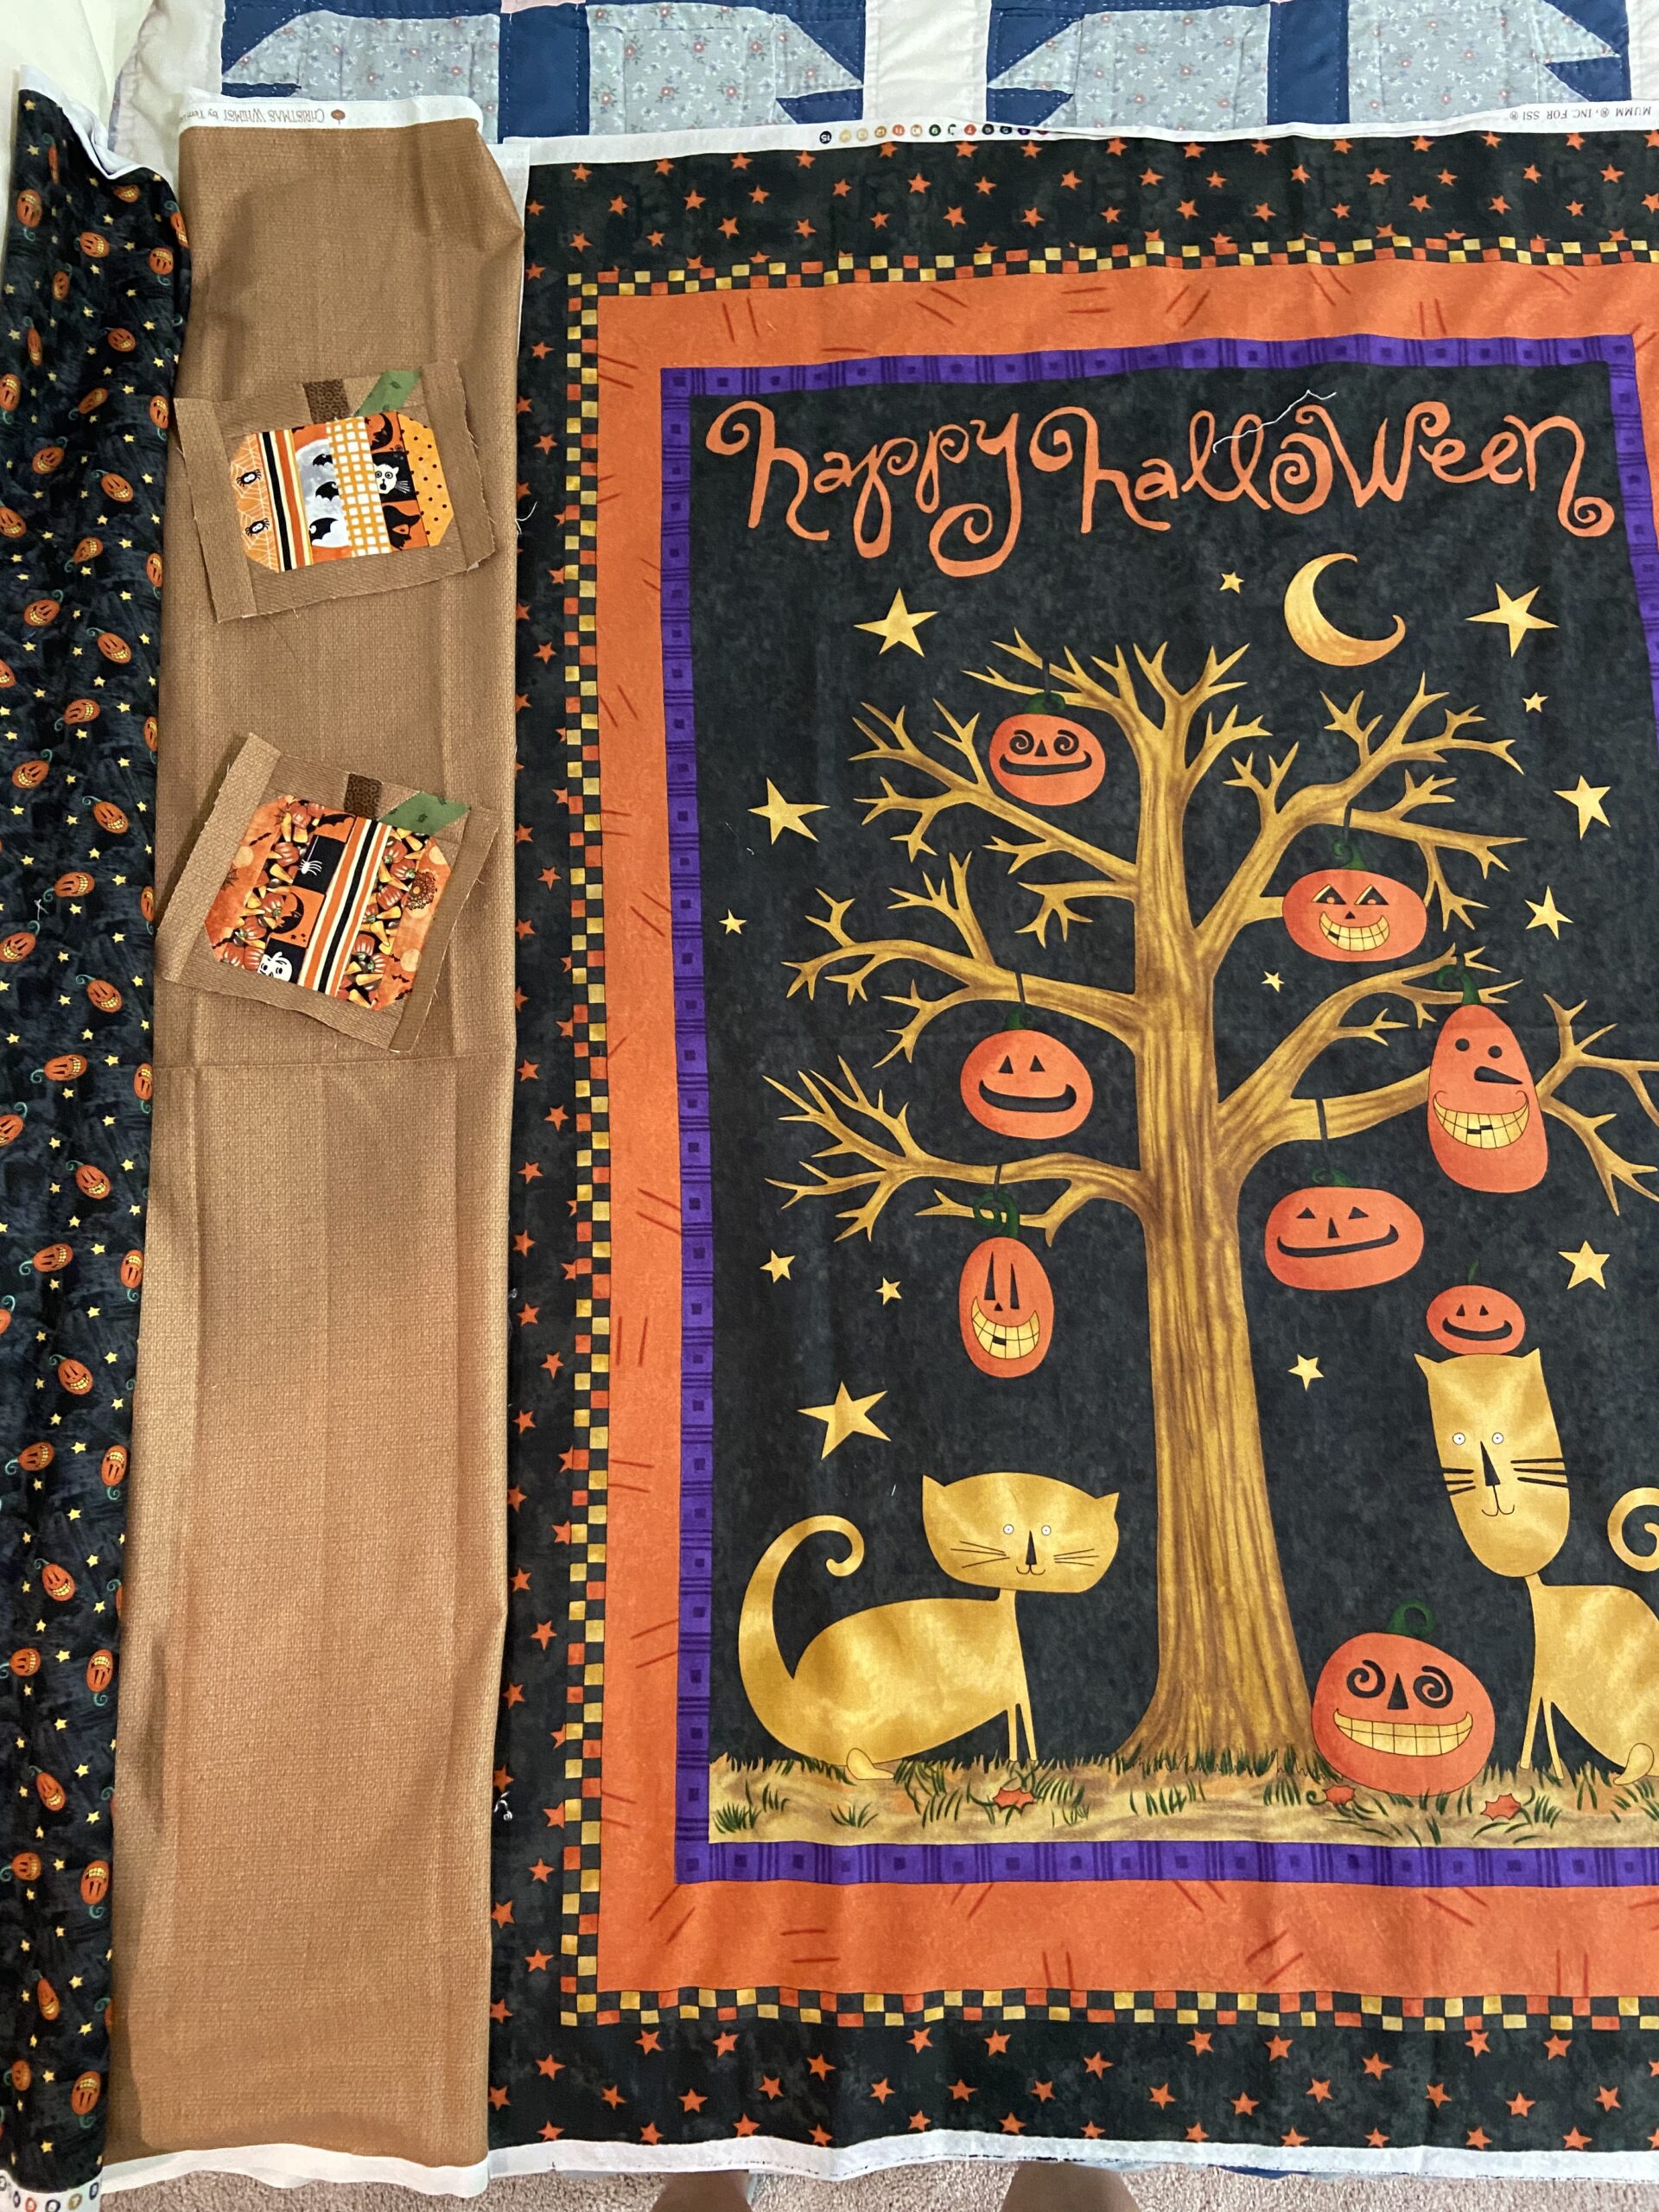
I can’t remember if I shared this but I was at an estate sale some time ago and picked up this Halloween panel. I am thinking I will use the pumpkins to border one side. I am going to make blocks out of them that set the pumpkins on an angle so they have some character. More on that as I make progress.

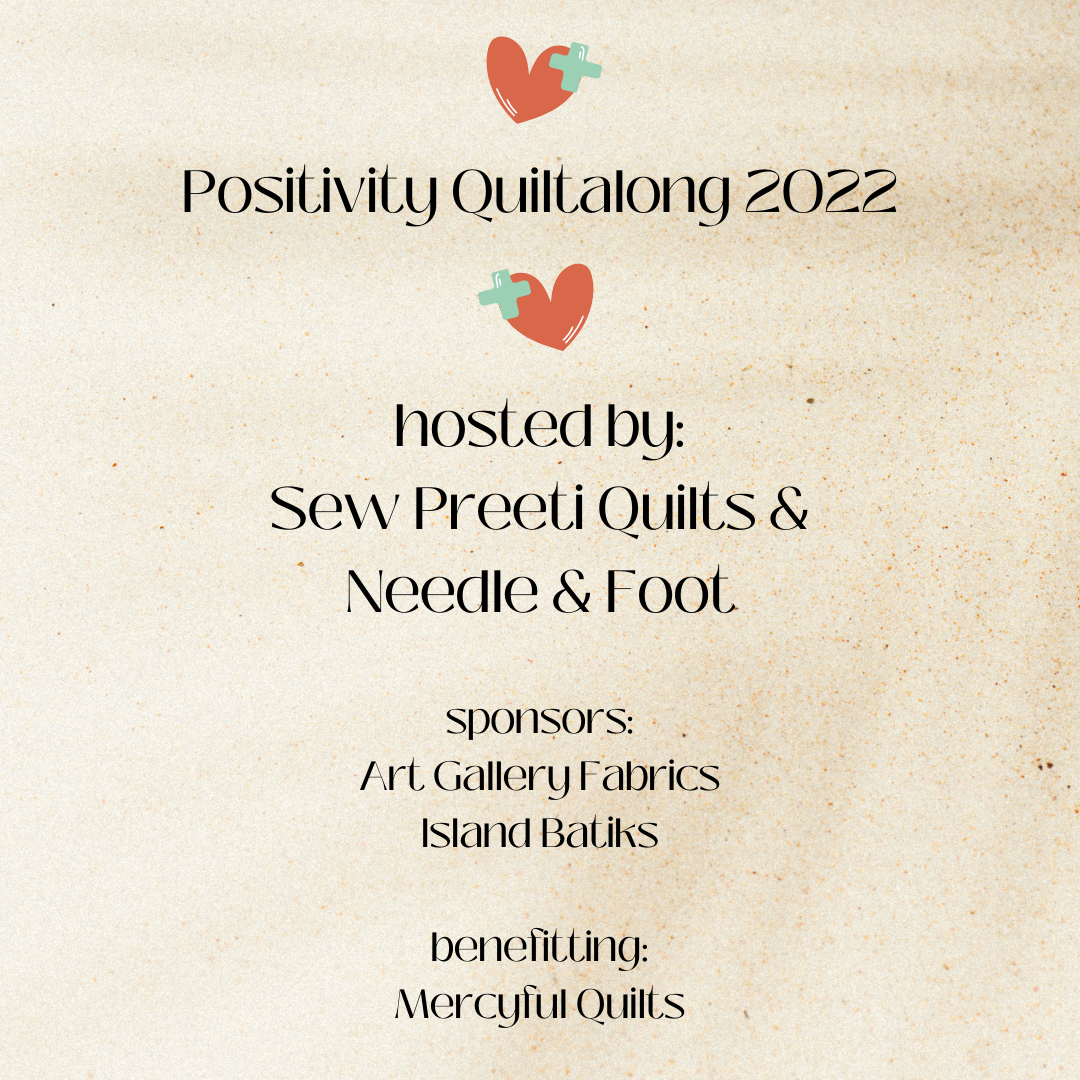
Lastly! Sunday is the opening of the final link up for the 2022 Positivity QAL!! I have my quilt finished. If you do as well, please link up!! Remember that if you don’t have a way to link up, you can email me a photo and I will add it to the blog post. I want you to be eligible for the prize drawing!! The link up will be open all next week so you still have time to finish it up. See you soon!

A Patriotic Finish & Giveaway!!

Note: Giveaway now closed. I actually selected two winners because I found enough for two kits. Winners have been notified. Hope to hear from them soon so I can mail off their prize!

Good morning all! I intended to post this before Memorial Day. Somehow it didn’t happen so I am writing it this morning. No worries though. While patriotic projects are good at any time of year; May, June and July usually put people in the mood for red, white and blue with Memorial Day, Flag Day and Independence Day during these months.

The front deck.

Doesn’t this look nice? Here is the backstory of this little wall hanging.

Feels great to be sewing again!

My sister recently sold (actually practically gave) me a Bernina sewing machine and a Juki serger. I have not sewn with a Bernina before so I have been watching YouTube and practicing on simple projects. Leftover from the shop, I have a couple of these panels and some of the coordinates from the Home Of the Free line that I had carried.

This shows most of the panel. It has the welcome portion and lots of little sayings as well. I took the stripe at the bottom and added it to the welcome portion to balance things out. Then I basted it together and did some basic quilting to hold everything together.

It measures 15″ x 24″. For the binding I used one of the coordinates. It is super simple but I think it makes a cute welcome sign.

Cute paisley backing.

For the backing, I chose this paisley print. The reds are the same tone so it looks wonderful together. I love paisleys. Even if this is on the back side and no one will really see it., I know it is there!

Now I have a cute welcome sign on the front porch to takes us through summer months.

How about you? Would you like to make one? Or maybe a quilt with these fabrics? I still have enough fabric to gift a kit for your project! It includes a star print instead of the paisley but you’ll have enough to play with to make whatever you’d like. I would love to see what you do with this!

GIVEAWAY NOW CLOSED.

Please leave a comment for me if you are interested in this kit. No pattern included so you’ll have to be creative and work something out. Since this is a patriotic, American fabric, the giveaway is limited to US residents. I will choose a winner on Sunday afternoon. Good luck and have a great weekend!

Sharing at Finished or not Friday, Brag About Your Beauties and TGIFF over at Anja Quilts.

**************************************************************************

Reminder!! The Positivity 2022 QAL has begun. We are choosing fabrics and cutting pieces. At least that is where I am. Hoping to start putting blocks together soon though. Check out fabric and cutting instructions at Sew Preeti Quilts. Hope you will join us!

Mostly Packing with Some Sewing

Like it says above – I have spent most of my time packing and clearing out things in preparation for our 2022 move. Lots has been done, but still quite a ways to go!

Quite the tower of tubs.

On Instagram, I offered up some of my scraps. There is sooooo much fabric and while I did want to keep some scraps, I knew I had way too much.

This is what I kept.

After sorting and giving away a lot of scraps, I bagged up the remainder by color. Once I am setting up a new sewing room, I can decide if I want them back in the original tubs. Storing them in this one tub seems to save on space but I am unsure how long they would stay in the bags. I could see it becoming just a jumbled mess in this tub.

Much easier to move these than the tower of over stuffed bins!

Last post I mentioned an old WIP I was finishing up. When I cleaned out the sewing room, I found a small quilt top and decided to finish it up.

Norman Rockwell Christmas Scenes

Some years ago, four or five maybe, I picked up these Norman Rockwell scenes. They had been cut from a panel and were in a bag of holiday fabric I bought at a very tiny local quilt show. From what I could determine the panel was from the 1970’s or 80’s. I love Norman Rockwell and knew it would be fun to make something with them. So I sashed them and put the project away. This is such a common story with me!

Simple stippling for the win

I outlined the main graphic and ditch stitched the sashing first. Then filled in with tiny stippling. Look at this happy scene. The girl and her dog, the musical mice – all are so sweet.

I love the pajamas worn by the brother and sister. I bet their mama made them.

It is hard to see in the photo but I did some stitching around the chair and along the wings of it which makes it puff quite a bit. Then the tiny stippling.

It was a fun finish and is already hanging on the wall. Another WIP finished and many more remain. Today we are going to get a tree and decorate for Christmas. Next week Julia has finals and then is home for three weeks. Supposedly we are due for a rainy day or two this week. All good things in my book! Hoping the same for you!

Linking to a few favorites this week. Check them out at the top of the page, under Link Ups.

Ticker Tape Holiday Tree

I have loved ‘ticker tape’ projects since I first saw them on Crazy Mom Quilts, some years back. They are so cute and a really fun way to use up bits and pieces of fabric. Fast forward to a couple of days ago when I saw the cutest ticker tape tree over at Devoted Quilter’s site. Leanne created this 12″ block for Quilt Mania. I thought, “ok, I am going to do this. ” I have loved these little scrappy projects for a long time and I decided to set aside the jillion other things I needed to do and make this fun mini. (Thank you Leanne!!)

I have to say, I am especially excited that this quilt turned out because I made it on a ‘post-migraine day’. Normally, I never make anything the day after a migraine. If you have never had one, a migraine leaves a person with scrambled eggs for brains. The day following one, I don’t think clearly, feel very foggy and definitely do not drive anywhere. So when I decided to make this, I figured it was low risk. Using scraps, it wasn’t a huge deal if it ended up in the trash. Fortunately Leanne’s instructions were really helpful. I did get all turned upside down when I was trying to stitch the tree shape (using two rectangles of the cream fabric and a square of dark green for the tree. I kept flipping the rectangles around and could not see my way through it. I finally texted my friend, Sophia, and she was going to talk me through it. But suddenly the lightbulb flipped on and I got it. Seriously, it is very frustrating to know I ‘should’ know how to do something and have this muddled brain that just can’t get there.

Anyhow….. I did get there. Once the little tree was constructed, I put the borders on. The red plaid was a scrap from a big bag of fabric scraps my sister gave me a while ago. It was perfect for framing the little tree.

Then came the fun part – cutting up scraps and decorating the tree. Leanne had made hers with various shades of green but I decided to make mine festive with various holiday fabrics. Once I had an arrangement I liked, I used a fabric glue stick to place the pieces.

I used a tight zig-zag to applique the pieces to the tree. This is more than adequate since it will hang on a wall during the holidays and shouldn’t require laundering.

I had fun using a micro stipple on the background. Nothing like a mini quilt to give that satisfying feeling of a finish, right?

See that little snowflake at the top of the tree? Love it! Also, the green heart in the center just adds a little sparkle to my tree.

The backing was a bit of a holiday print I had in my drawer full of Christmas fabrics.

Overall, this was just a very fun project that I enjoyed making. It has been such a long time since I played around like this. Be sure to give it a try. The directions are available here. I am looking forward to hanging this in the entryway during the holidays! Thanks again Leanne – writing tutorials takes a bit of time and I am so appreciative to you for putting this one together.

Linking to Whoop Whoop, Brag About Your Beauties, Finished or Not Fridays.

Finished! Christmas Tree Skirt

First of all, I want to thank you for the sweet comments on my last post.  I appreciate it.  Life isn’t predictable and this is just how it is — The migraines started almost ten years ago and I don’t see this changing any time soon.   But this week has been reasonable and I actually finished a project!  I also made a Christmas gift which I will share after the holidays. Hurray for time at the sewing machine.

I have wanted to make a quilted skirt for the Christmas tree for a long while.  Until now, I have just used a large piece of holiday fabric which I wrapped around the base of the tree.  But this year, we decided to decorate with two smaller trees instead of our usual very tall one.  This required two skirts, right?

I used a selection of holiday fabric for this.  Several of the prints are from Tis the Season, a line I carry in my shop.  The black print, the white tone on tone, and the darker red snowflake print were in my stash. The skirt was based on a pattern by Judy Metsker of Night Owl Quilting. This pattern when finished was a bit smaller than I wanted.  However, I had an older version of her pattern; it looks as though the newer version has size options.

At any rate, it was a very simple pattern.  I chose to quilt it sampler style with a different motif on each fabric using a white Mettler thread. I stitched a stipple on the red snowflake fabric and a little boxy FMQ motif on the Christmas gift fabric.

My favorite quilt motif is the row of basic Christmas trees I stitched along the border of the skirt.  I used a variegated Mettler thread in red, green and white which looks so festive.  On the white fabric I quilted a few wavy lines with stars on them.  I wasn’t able to get a photo that really shows this motif very well. I machine stitched the binding down using a zig zag stitch with the same variegated thread.  I think it looks great.

The second tree remains wrapped with that holiday fabric I have been using for so long.  But that is fine. The house looks festive and Christmas is around the corner.  How about you?  Is your tree up? Holiday shopping well underway?  Julia and I plan to go to Sacramento on Friday afternoon for the finishing touches on Christmas shopping.  I usually try to finish up early as the crowds get so crazy the week before Christmas.

Finally, I will be hosting a fun giveaway on Instagram this weekend.  Be sure to pop over Saturday morning to find out the details!  I held one last weekend and it was a lot of fun so I am going to do it again. Maybe this is your weekend to win!

Linking up to my usual favorites.  Check them ot at the top of the page, under Link Ups.


Happy Red, White & Blue!

To the US readers, Happy Independence Day!  To all others, Happy Monday!

I was looking for something to decorate the table with since my parents were coming to BBQ and I found this table runner.  I made this one several years ago. It was during a horrid heatwave where it was just too hot to be outside on the 4th. (We aren’t far from that this year either!!). I remember we stayed inside and I found some scraps to make this runner so I would feel like I was celebrating the 4th in some way.


This was very early on as far as free motion quilting goes but it looks pretty good. I remember thinking the spirals were a bit of a trick.


I think it is a sweet 4th of July decoration and it makes the table so festive.


Additionally, around the same time, I made this little flag for Mom and Dad. They hang in on the house during the summer. They live up the hill from me in a big house that has a large wrap around deck and it looks pretty hanging there.


I think this could be one of the first times I did any appliqué on a quilt. It is a cute little flag with an Americana feel to it.

Linking up to a few fun parties which, as always, are found at the top of the page under Link Ups.  Have a safe and happy 4th of July!!

A Bonus Finish!

I spent yesterday afternoon playing in the sewing room. I had plenty of other things that I should have been working on.  Namely, putting away the fall decorations and cleaning up so we can put up our Christmas tree this weekend. There is too much mess around here to create the mess that happens when we decorate the tree.  But I just didn’t feel like it. Instead, I really wanted to play with the 16 bonus HST’s that resulted from the Swoon block mini that I made a couple of weeks ago.

The Swoon block is based on rectangles, HST’s and Flying Geese blocks. The best thing about Flying Geese blocks is the pile of ‘bonus’ HST’s that accumulate when you trim the corners on the block. If you aren’t familiar with this happy little prize, allow me to explain. Briefly, when the blocks are sewn to the upper right corner of the rectangle, creating the Flying Geese block, there is a corner that is cut off. If you take an extra second to sew a second seam, 1/2″ to the right of the first seam, you have the opportunity to have a ready made (albeit untrimmed) HST. I admit, I am not very careful when I do this. My feeling is that these are just little scraps that I am giving a second chance to possibly be used in a future project. I don’t mark the second line, I don’t even measure it.  I just eyeball it and sew about 1/2″ from that first seam and slice it off.  When I had finished the Swoon mini, I took the pile of HST’s and pressed them open. I looked at the smallest one – They were all approximately 2.5″ – and I squared them to the size of the smallest block. Then I had a pile of uniform HST’s. (If you can’t go with my very casual method or if you don’t understand what I am talking about, Bonnie Hunter has a nice tutorial on making the extra HST’s in a more precise manner. Take a look here.)

Look what I made yesterday. At 8 x 8″, it is a teeny tiny finish.

IMG_20151204_4234

I spent a bit of time playing with the HST’s, trying different layouts. It is a bit like playing Tangrams. There is no limit to the number of ways to position the blocks. I didn’t want to actually make anymore so I limited myself to use the 16 that I had – no more, no less.

IMG_20151204_4235

Once I had them sewn together, I decided to practice some FMQ with the little piece. Going to my usual sources, Pinterest, Leah Day, and Lori Kennedy, I found a holly motif that I liked. Here is the link to the tutorial on Lori’s site, The Inbox Jaunt.

IMG_20151204_4238

Two things made quilting this a challenge. One is that I used two layers Insul Bright batting scraps inside of this in case I wanted to use it as a hot pad or a trivet on my dining room table.  The Insul Bright was a bit annoying to quilt through, especially a double layer. Second, I decided to use Sulky thread on top and I put Mettler in the bobbin.  I love Sulky threads – so shiny and glossy. But also a bit slippery soI had to play with the tension to get it right.

Overall, the little hot pad is pretty cute. The FMQ is a bit rough. The bow at the bottom of the holly in the center is an eyesore but obviously not enough that I was willing to take the time to rip the stitches out. (It is a hot pad after all.) I haven’t practiced free motion quilting for a long while so it was fun to play with this. I am ever thankful to Lori’s site for the endless FMQ tutorials. I love that she has so many seasonal themes. It is very fun to play with them.

IMG_20151204_4236

Finally, I wanted to point out something that took me by surprise. I used a scrap of holiday fabric for the back. After I was done and it was trimmed and ready for binding, I was digging through my scraps and found a few more pieces of the backing fabric to use as binding. There was barely enough. I had to cut narrow 2″ strips which were a trick to use – the quilt sandwich being extra thick from the Insul Bright. Anyway… come on Bernie and get to the point. As I stitched the binding down on the back, the folded binding matched up with the backing quite closely at one point.

IMG_20151204_4237

Isn’t that cute? The holly just about matched up, as did the little bird. Nothing earth shattering but it is a fun coincidence. (Doesn’t take much to amuse me!)  There you have it, my second finish this week!

Is your tree up (if you are a Christmas-tree-decorating person)? How about lights outside on the house? I am hoping Ray will put ours up this weekend. I think the outdoor lights are one of my favorite parts of the season and I leave them up as long as possible.

Linking to Amanda Jean at Crazy Mom Quilts and Lizzie at Free Motion Mavericks.

TBT Except It’s Saturday

I have been reading posts that are linked up to a party hosted by Jen at Quarter Inch From the Edge this week and really enjoying them. (I also enjoy the name of Jen’s blog, isn’t it perfect?). She has been hosting a monthly link up where bloggers are sharing projects from earlier days and I love seeing how far everyone has come with their skill and creativity. Really interesting to read the posts and check out the pictures. Most of my earlier projects have been posted about already but I did think it would be fun to share the Tablerunner Craze of 2012.

The fall of 2012 was when the quilting bug really bit. I had recently finished a queen size simple patchwork quilt for my mother-in-law. I posted that story here. When I was finishing up that quilt, I had no clue how to FMQ so I stitched in the ditch along every block. Once that was finished, I really wanted to try some free motion quilting so I took a class at my LQS to learn the basics.  Table runners seemed like the perfect opportunity to practice this newfound love. Glad for the excuse to shop, I shopped for holiday fabric so I could make table runners for my family as Christmas gifts. If you have been a reader for any length of time, you probably know I have a huge family. I made eight table runners in about a month’s time. One for each of my five sisters, one for my mom and my mother-in-law, and one for myself.

This was long before I started blogging and I am happy I thought to take a quick picture of some of them before giving them away.  Definitely last minute pictures. I remember I was about to wrap them and get them in the mail and I tossed them over the back of the couch and took a picture with my phone. (Hence the superb quality of the pictures!) Here are three of the runners.

image

I did a basic, squiggly meander over the entire runner. Mitred bindings were not yet in my wheelhouse so the corners were just folded over and stitched (machine stitched to the front and hand stitched to the back? Maybe, maybe not….)

Here are three more.

image

These runners are on the small side. They are probably 13″ wide and maybe 30″ long? They were pretty though and I enjoy looking back at them. They were definitely my first foray into free motion quilting.  Actually, it kind of amazes me that this was almost exactly four years ago. The time continues to buzz by.

We are spending the long weekend up at our Downieville house. It is gorgeous up here with crisp, cool air. If you live in California, you are probably hearing about this tremendous El Nino that is supposed to happen this year. Ray is cleaning all of the drainage paths and gutters this weekend. If it comes to be, then we could get some substantial storms this year. I am grateful that he is so good about preparing for this sort of thing. Our Downieville house is is a flood zone being so close to the river so we do need to be careful. At any rate, maybe this year will put an end to four years of drought. Here’s hoping!

Linking to Quarter Inch From the Edge (for the very first time!)


When it rains, it pours!

I am sitting here in the kitchen listening to it pour rain. Living in parched California, this is really a wonderful sound. As we were enjoying the downpour my cell phone and my husband’s cell phone start beeping with one of those emergency alert sounds. Apparently it is coming down so hard that the Weather Service is posting flash flood warnings!  It’s ok, we need it so desperately.  There is actually one tiny town in Central California, called Porterville, where many of the residential wells have dried up.  Truly and completely dried up. The residents of that town are buying their water and taking sponge baths. The city officials actually brought in portable showers so the 600+ residents with dry wells could have a hot shower (the rule is to bring your own towel and soap.) Clearly it is no exaggeration that we are experiencing a drought.  The fact that my rain gauge shows 2.43 inches of rain in the last 24 hours is wonderful!

Today I gave the first Christmas gift of the season! How fun it is to gift a quilt to someone – I love the feeling of making it for someone special and knowing they are touched when they receive it. I made a 1600 quilt top (jelly roll quilt) back in October. You can read about it here. Using Moda’s “Merriment” line, it turned out to be lovely shades of deep red and pine green with lots of creamy colors thrown in for good measure. It is technically a holiday print but really it isn’t that “Christmasy” so I think it can be used throughout the winter months.

Holiday Jelly Roll Quilt November, 2014

I cut off enough of the edge of the original quilt top to be able to create a pieced border around the edges. I put a narrow strip of pine green between the main section and the border.  Using diagonal, straight line quilting made this project a breeze to quilt.

Holiday Jelly Roll QuiltThe backing is a simple creamy tone on tone fabric. It looks pretty with the red binding. (I forgot to take a picture of the backing though, oops!)

The most fun was bringing it over to its new owners, my Mom and Dad. Merry Christmas – I thought I would give it to them now since they were just decorating for the holidays. They love it and it looks great on the couch, right near their wood stove. So cozy. The picture isn’t the best, I only had my phone with me. But look how cute!

photoI have started another project that will be gifted at Christmas time. That won’t be shown here until after the holidays. Don’t want to ruin the surprise. Time to go read my book and listen to the rain. Hope all is well at your house!

Linking to Let’s Bee Social, Linky Tuesday, Confessions of a Fabric Addict, Crazy Mom Quilts and TGIFF. Take a peek at all of these link ups to see so many amazing projects. As always the links are available at the top of my page, under Link Ups.  Also…. thanks in advance for your comments, they always make my day!