Tag Archives: bonnie hunter

String Frenzy Book Tour

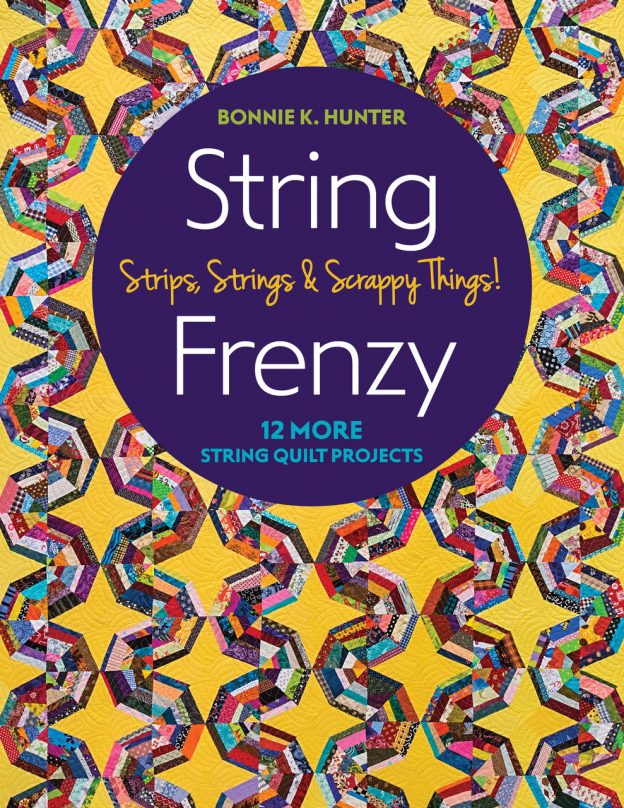
Today is my stop on the String Frenzy Book Tour!! You may have already read a few posts about this new book by none other than Bonnie Hunter. Bonnie, queen of scrappy quilts, has been at it again and this new book is the result of hours and hours of work. If you are new to my blog, welcome! I am so glad you’re here and hope you will take a few minutes to look around.

One of the things that impressed me about the book is Bonnie’s level of detail. She discusses the basics on block construction, string blocks, crumb blocks and foundation piecing. Lots and lots of great information for the beginner to intermediate quilter which is right where I fall.

Once she provides a good basis of instruction, she moves into the patterns. This book contains twelve unique quilt patterns with wonderful instruction. The difficulty ranges from advanced beginner to intermediate skill level.

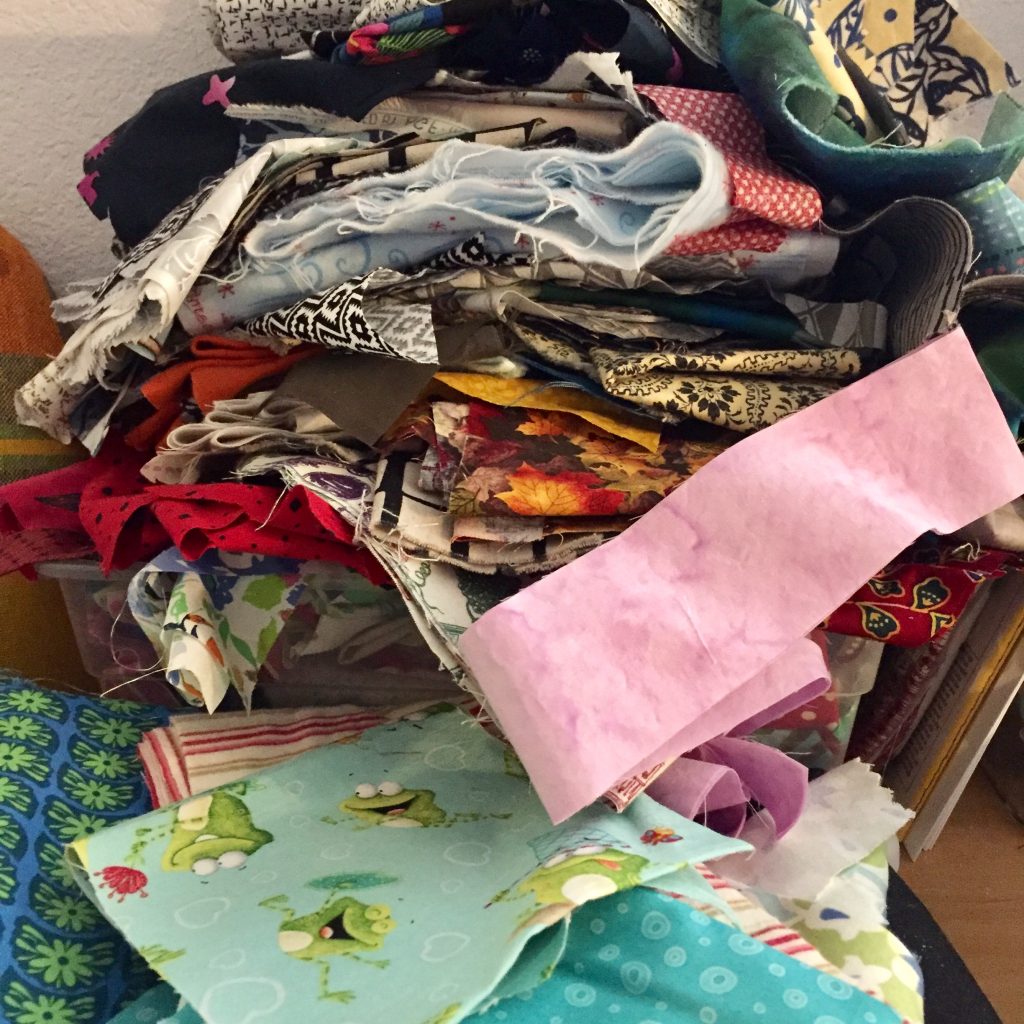
I haven’t made a scrappy quilt in a very long time, which is made abundantly clear by the overflowing scrap bins and the pile of scraps not put away (for lack of a bin to fit them into)! While I didn’t have time to make an entire quilt, I did want to try one of the patterns. Making a table runner seemed more manageable with the other projects I have going on right now.

Daybreak from the String Frenzy book by Bonnie K Hunter

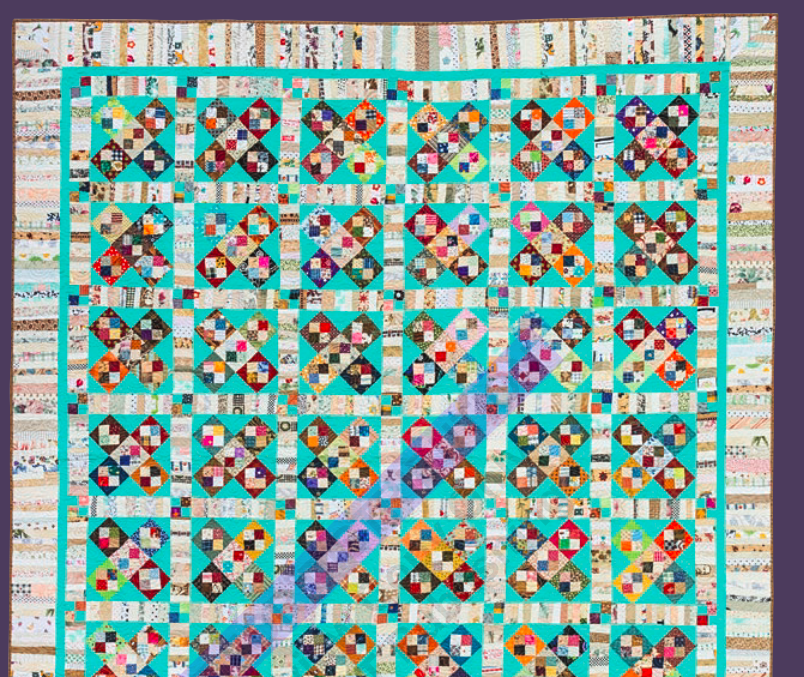
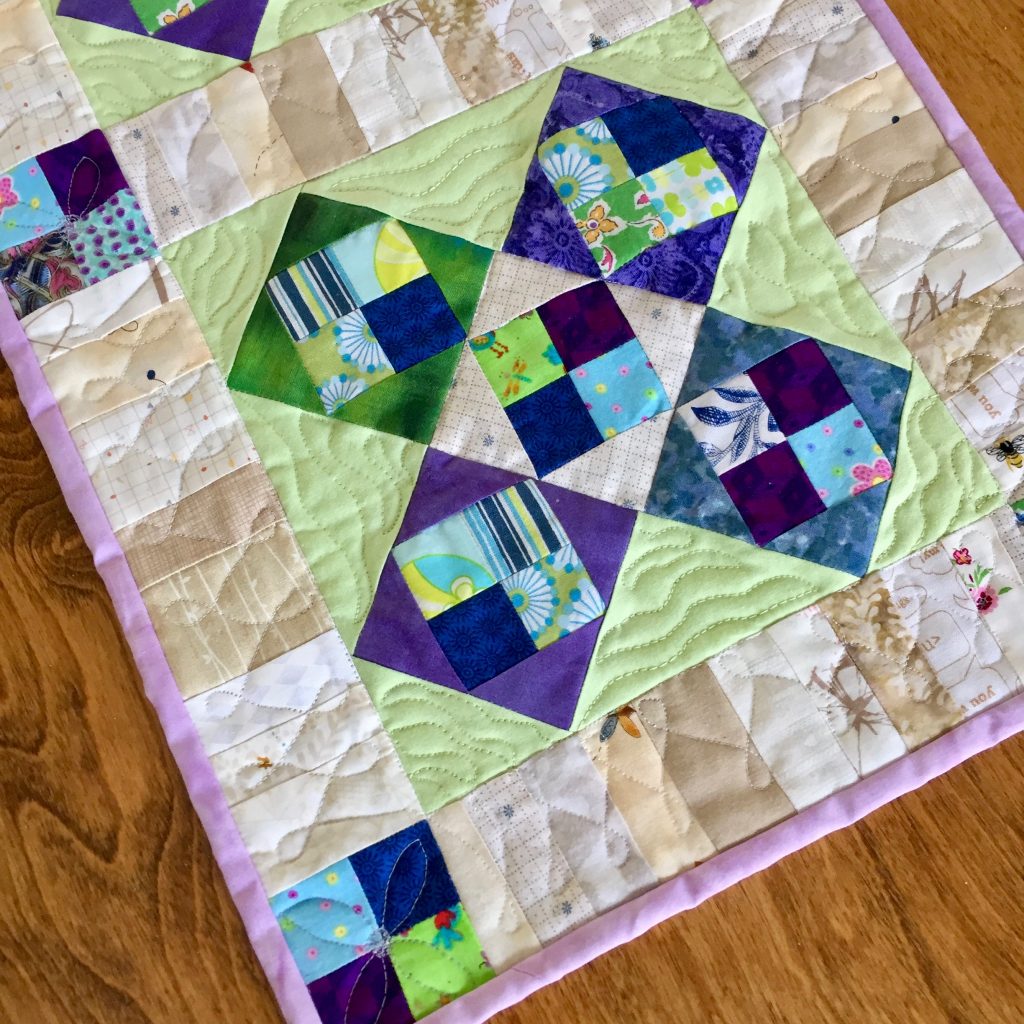
For my project, I selected the Daybreak pattern. I liked the tiny four patch blocks and the string pieced sashing Bonnie used in this pattern. These four patch blocks each finish at 2 1/2 inches. I used strip piecing to make these which was pretty darn quick.

Little four patch blocks.

When I was reading the book I decided rather than going with a totally scrappy look, I would choose a couple of colors to emphasize. My choices were green, blue and purple.

Scrappy four patch blocks

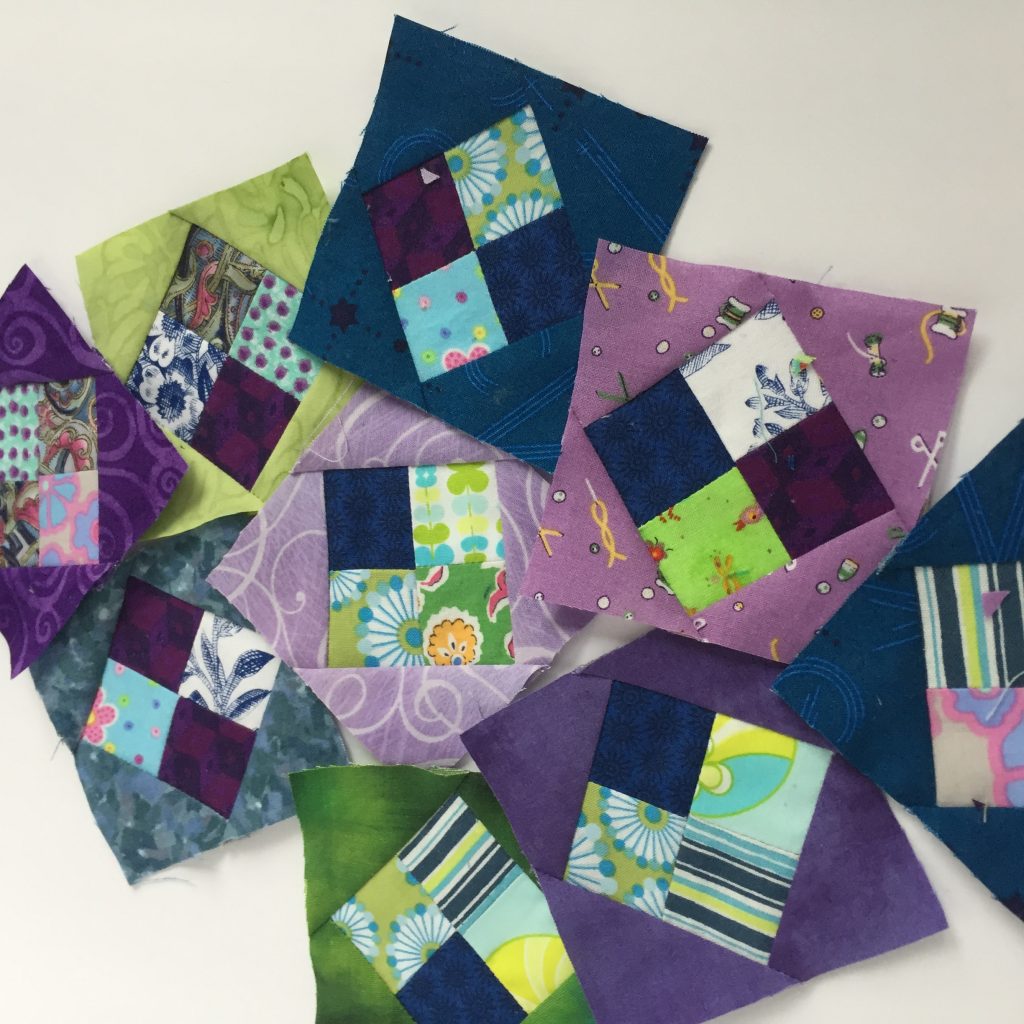
Then I decided I would use a pale green for the setting triangles within each block.

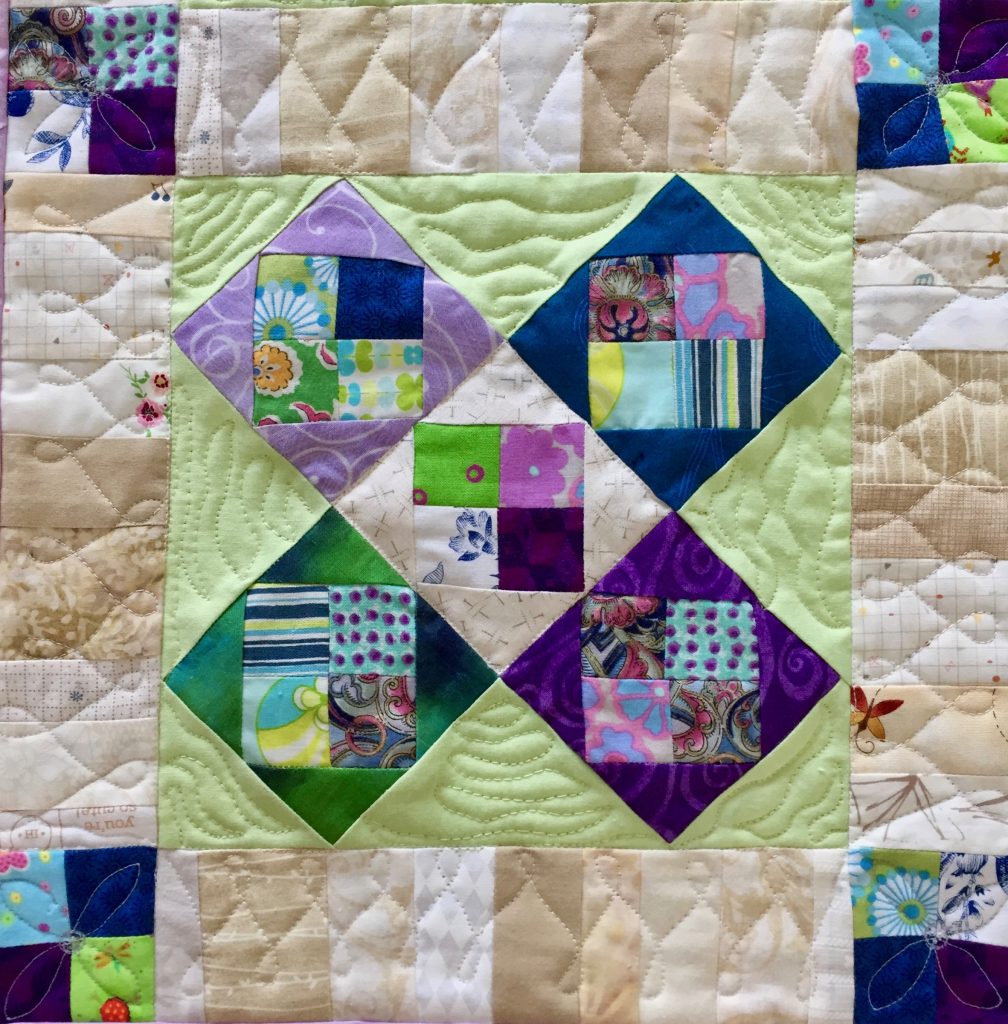
The borders were all pieced using my abundant supply of neutral scraps. I cut them into strings of varying widths and sewed large sections together. Then these were cut into strips measuring 2 1/2″ by 8″.

Finished! My version of Daybreak, just three blocks in all!

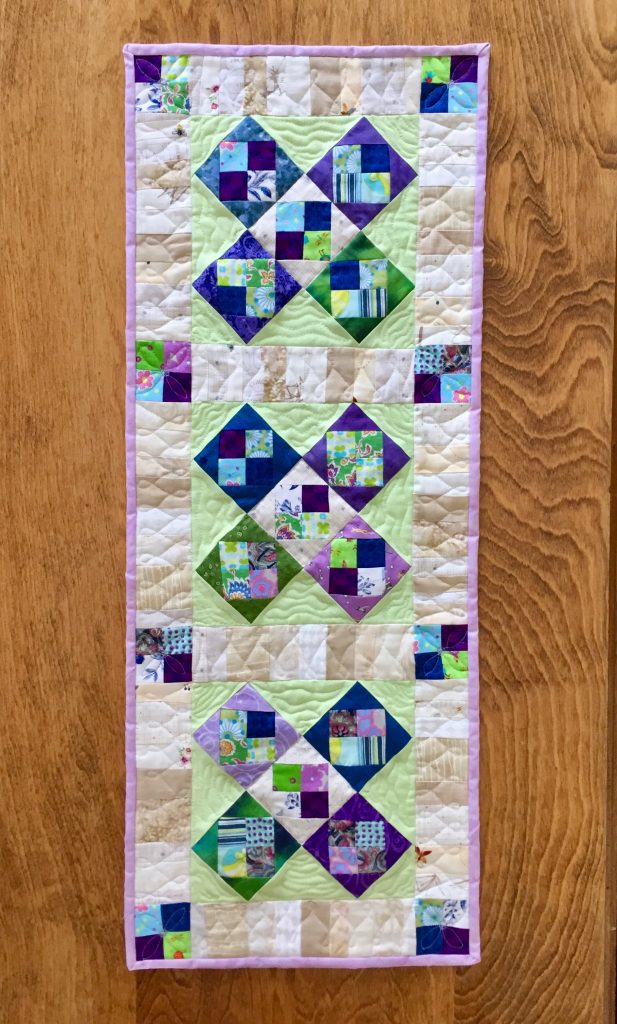
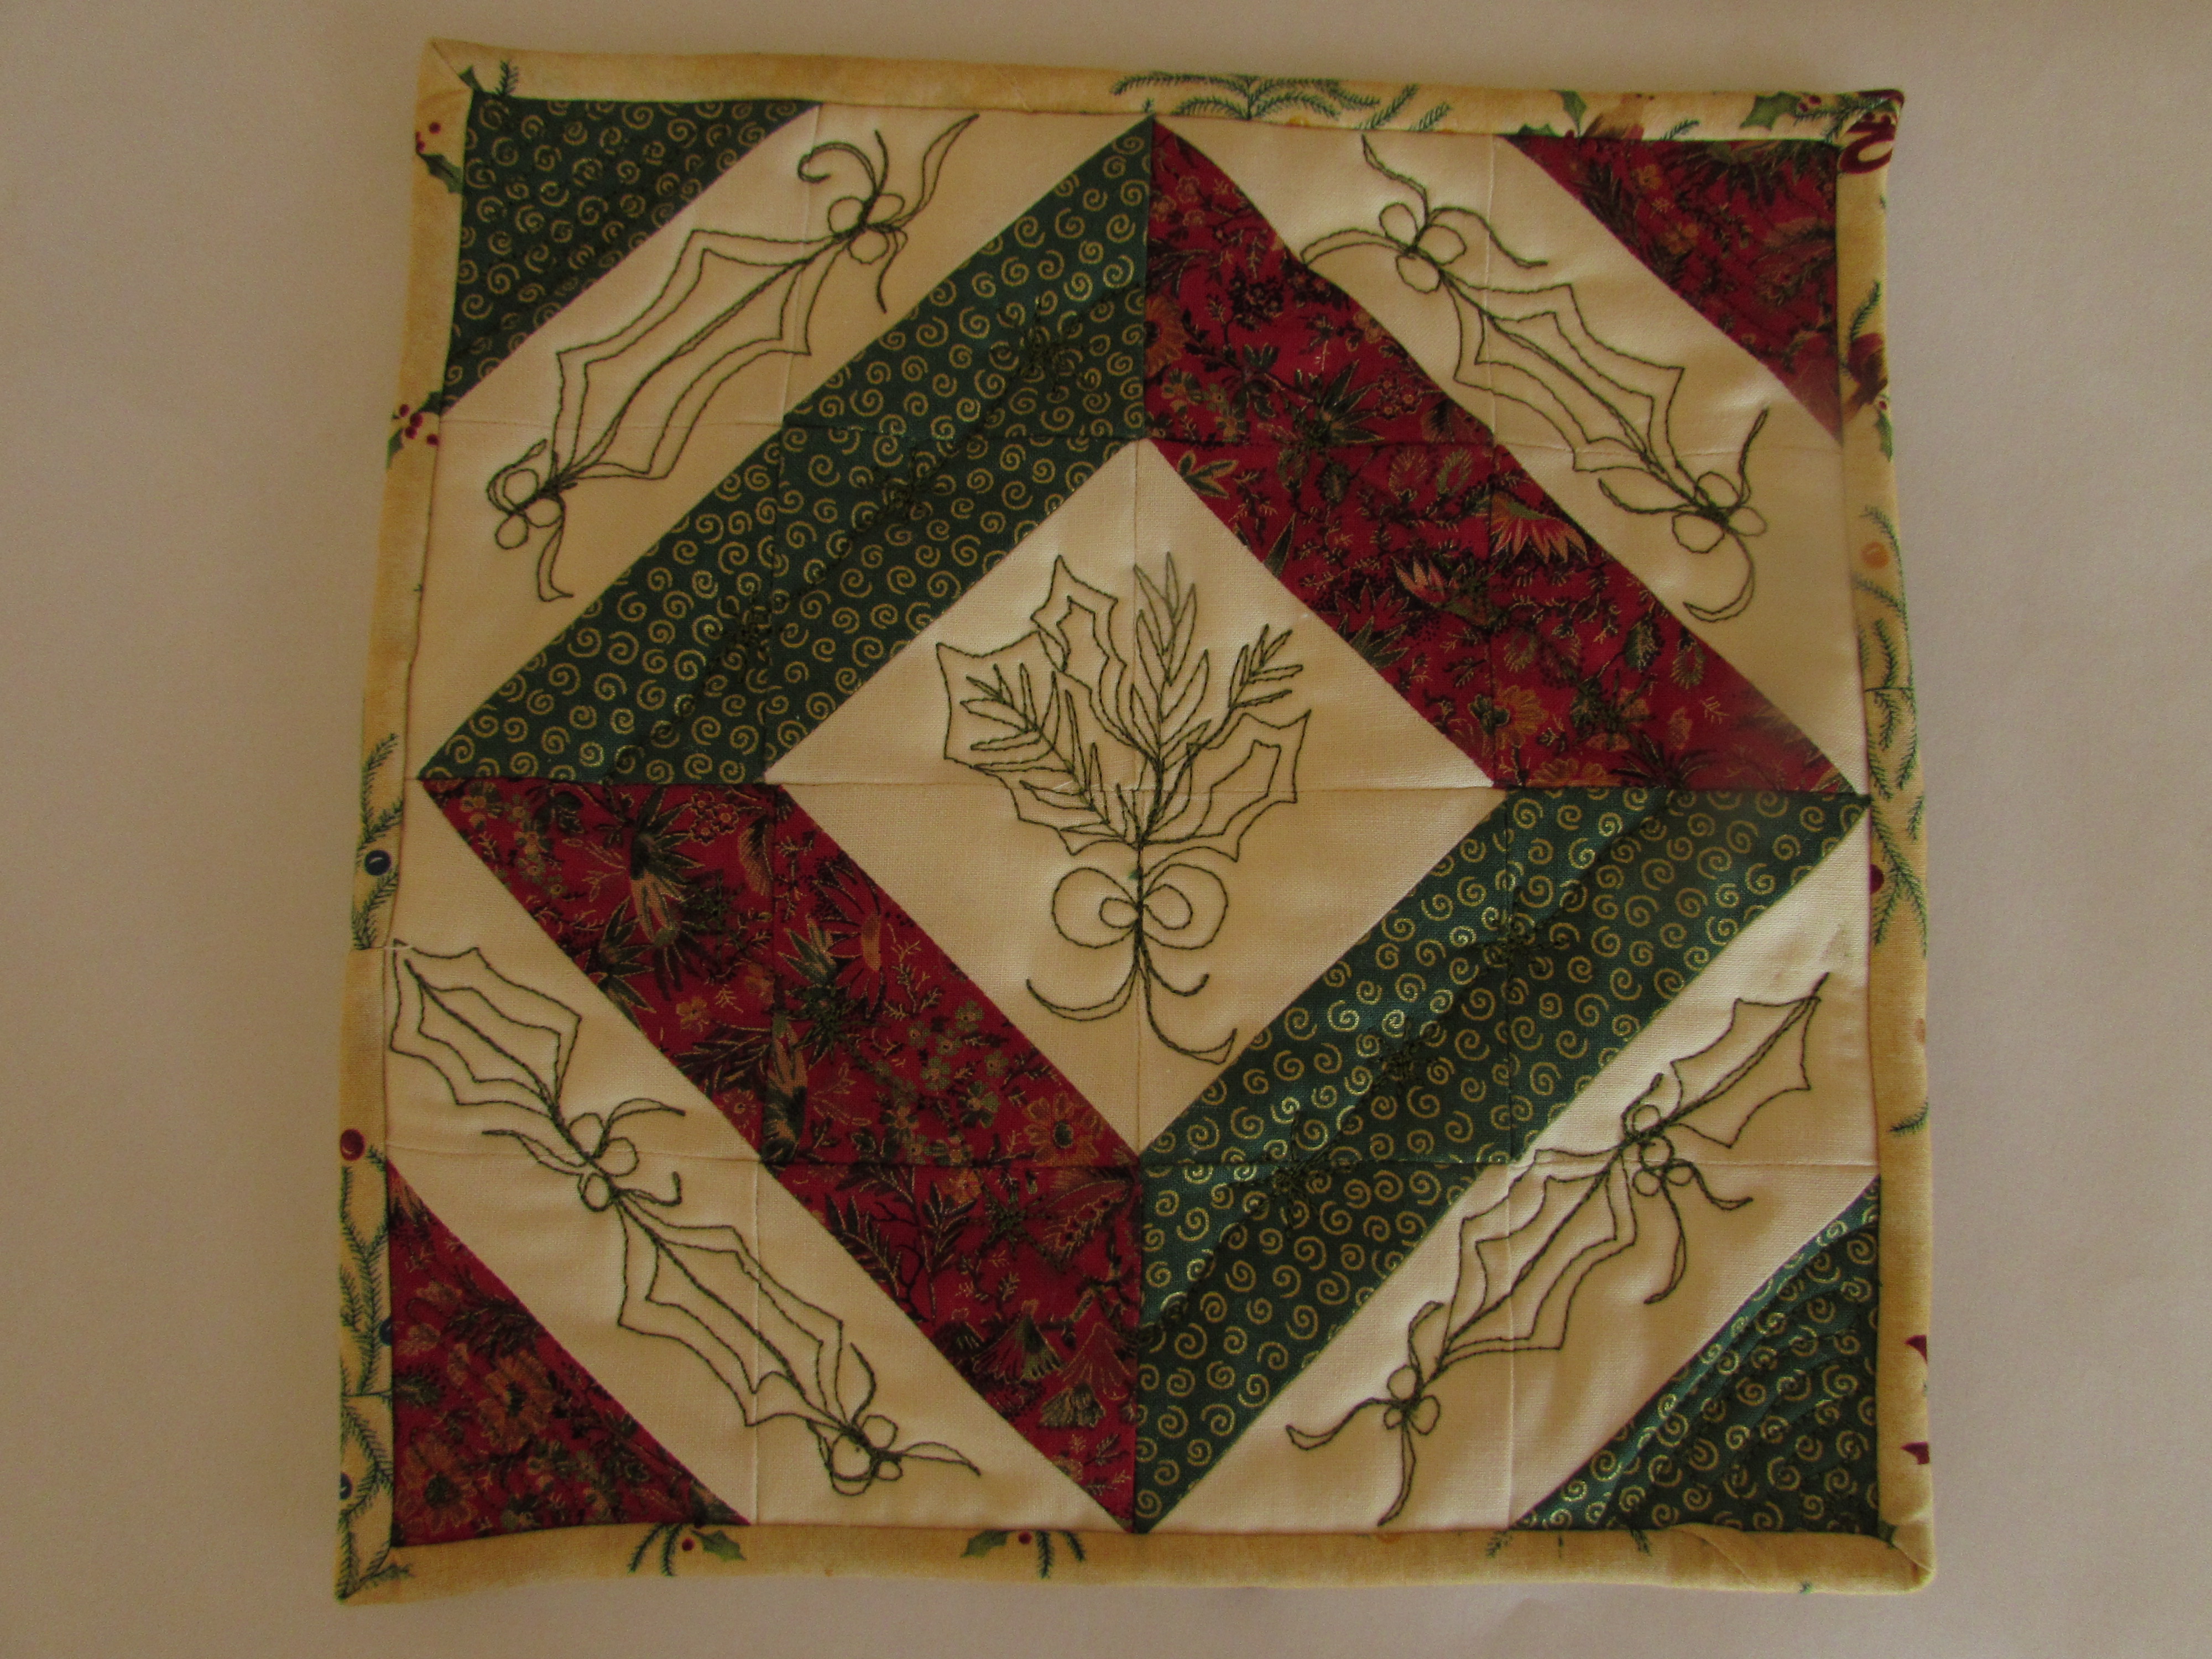
This is the finished project! I had intended to use it as a table runner but I really like it and am debating putting a sleeve on the back and hanging it in my sewing room. The finished measurements are approximately 12″ x 32″ and I have a spot on the wall that might work just fine. I need to think on that for a bit.

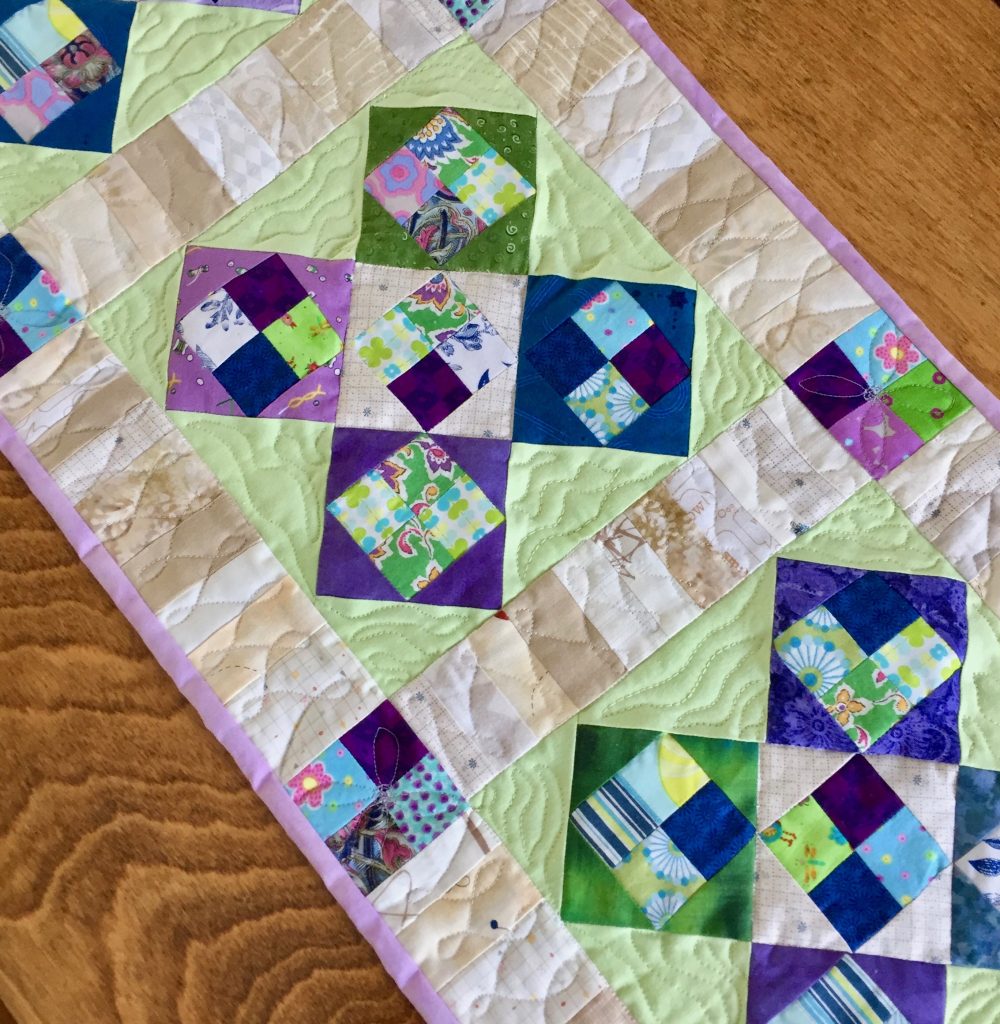
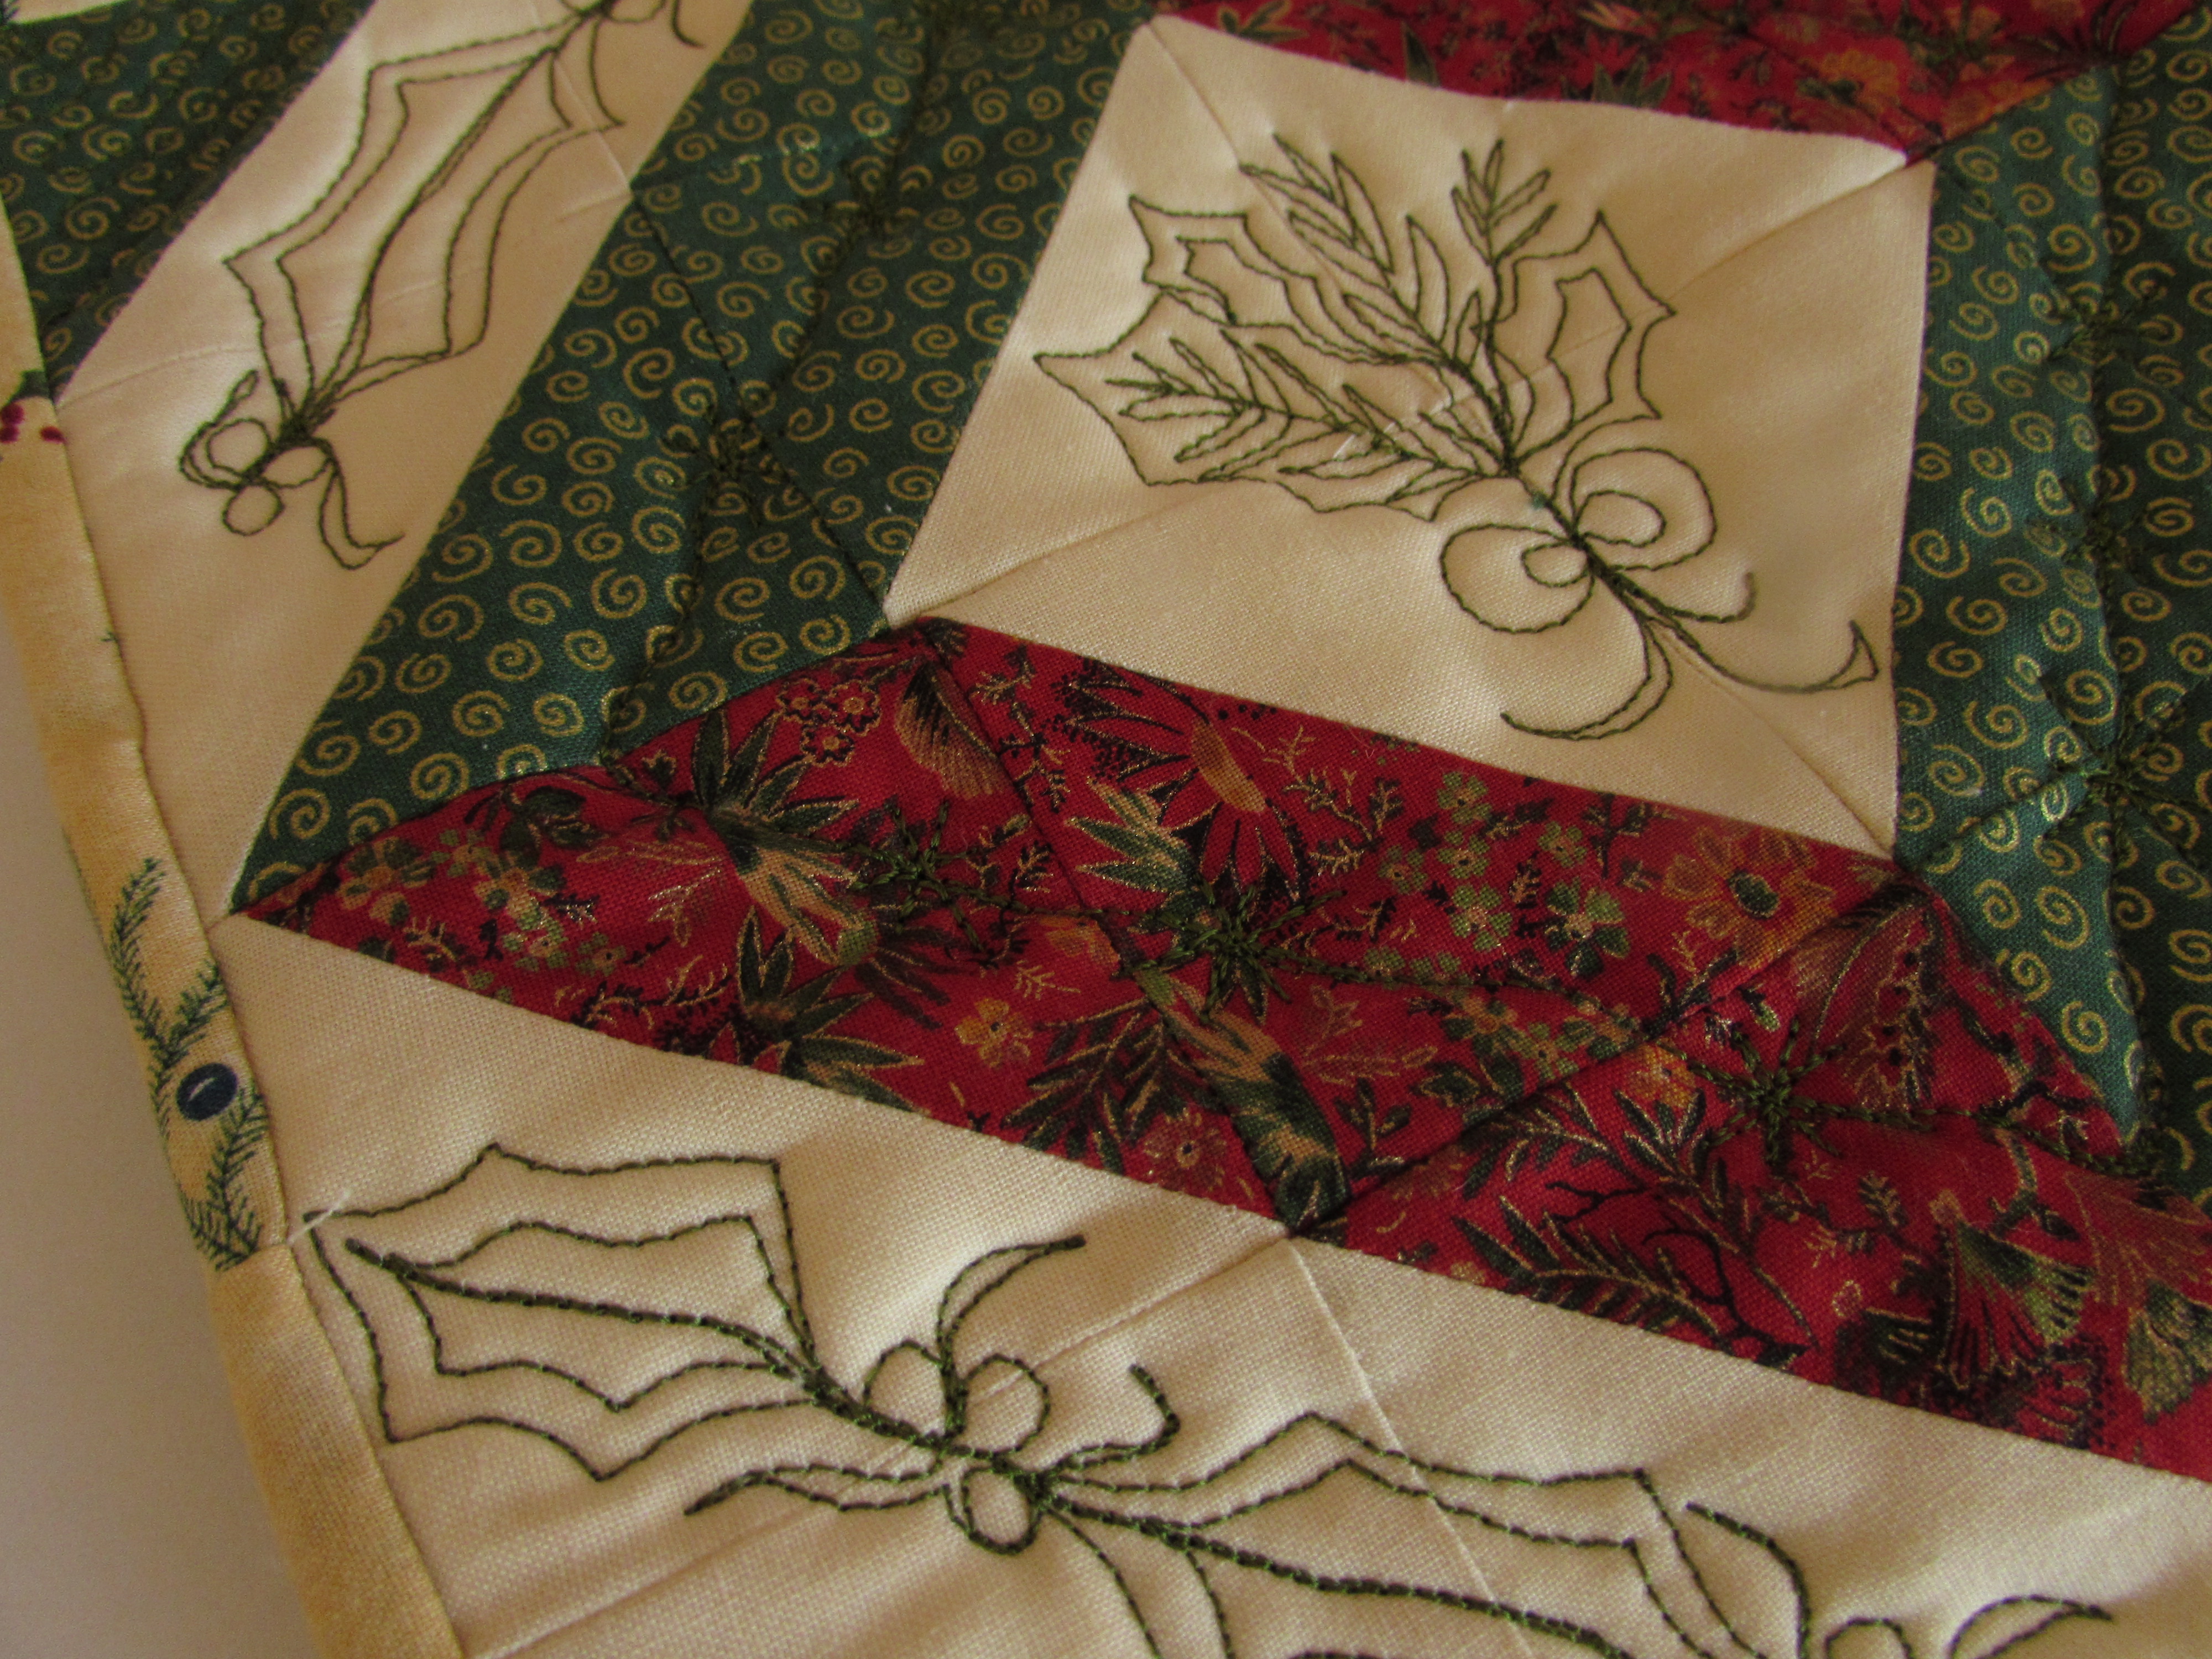
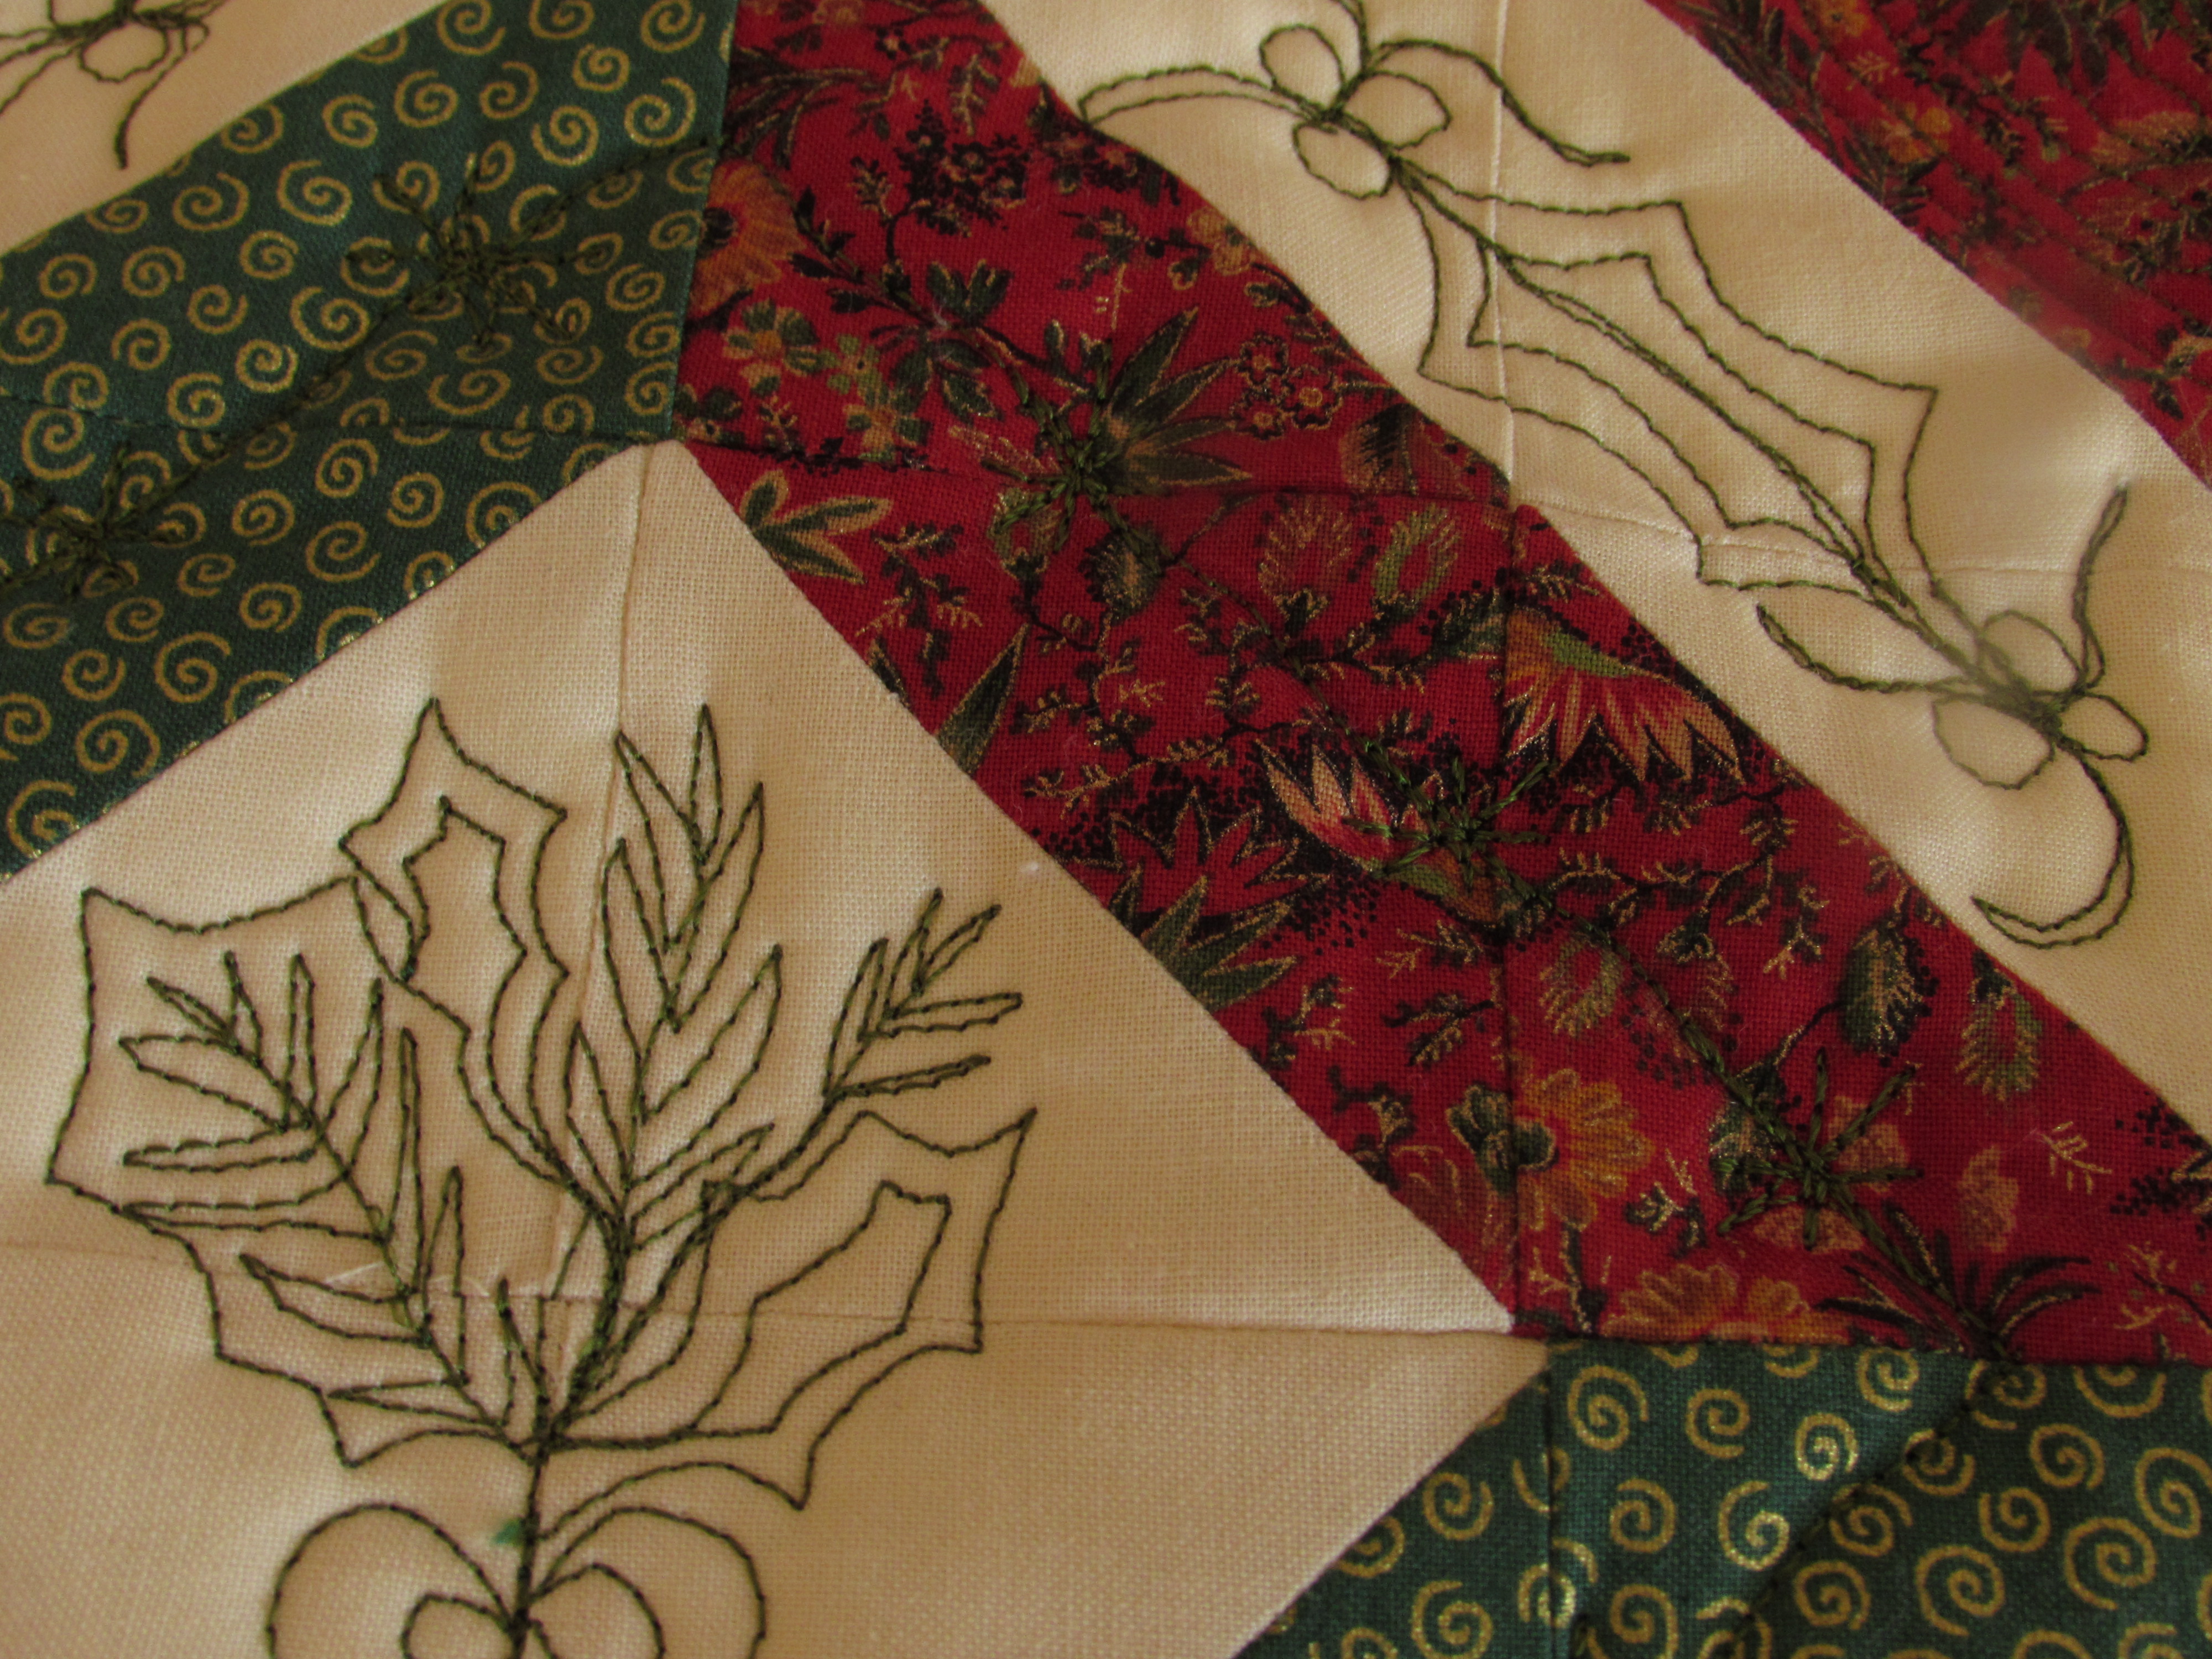
Quilting it was enjoyable. It has been a while since I have done any free motion quilting. I stitched in the ditch around the five on-point blocks within each block because I knew I wouldn’t be quilting those. I wanted to leave them alone. Additionally, I used loops on the low volume scrappy sashing and some wavy lines on the light green triangles.

As it should with a scrappy quilt, every bit of fabric came from my stash. I didn’t take a photo of the backing but even that was in the closet! Yay for using up some fabrics that have languished for a long while.

All in all, this is a great book. Lots of fun ways to use scraps and if you don’t want to make the entire quilt, go for a mini, a table topper or a runner. I love making smaller projects because there is a satisfying finish and practicing my FMQ is so much easier on small quilts.

Be sure to check out the other stops on the tour and look at the projects made by the rest of the gang. Here is the schedule:

Friday, 4/5: C&T Publishing at ctpub.com/blog

Saturday, 4/6: Pat Sloan at ilovetomakequilts.com

Sunday, 4/7: Sandra Clemons at makeitblossomdesigns.com

Monday, 4/8: Susan Arnold at quiltfabrication.com

Tuesday, 4/9: Bernie Kringel at needleandfoot.com. (You are here!!)

Wednesday, 4/10: Bonnie Hunter at quiltville.blogspot.com

Bonus!! C&T Pubs has generously provided me with an e-book of String Frenzy to give to one lucky reader. Leave me a comment and let me know if you are a scrappy quilter. Do you make lots of scrappy projects? What is your favorite way to use your scraps – and what constitutes a scrap? Will you save a 1.5″ square? How small is too small?? Looking forward to hearing back from you. Giveaway open until Friday and I will draw a winner over the weekend!

UPDATE: Giveaway now closed. Winner was comment #6, Sandy M! Congrats Sandy. Enjoy the book! 🙂

Sale happening in the shop this week!!


Calling to all customers!! I have all Michael Miller fabrics on sale at 50% off through the weekend! Yep — Such a great deal. Hop over the shop and take a look. I am sure you will find something you love. Prices can’t be beat. Shipping is a flat rate of $6.99 no matter how large the order is. Happy Shopping!!

Newsletter!

Have you signed up for my newsletter?  It is published every month or so and contains information about my shop, new arrivals, sales, and events.  Click here to sign up!

A Bonus Finish!

I spent yesterday afternoon playing in the sewing room. I had plenty of other things that I should have been working on.  Namely, putting away the fall decorations and cleaning up so we can put up our Christmas tree this weekend. There is too much mess around here to create the mess that happens when we decorate the tree.  But I just didn’t feel like it. Instead, I really wanted to play with the 16 bonus HST’s that resulted from the Swoon block mini that I made a couple of weeks ago.

The Swoon block is based on rectangles, HST’s and Flying Geese blocks. The best thing about Flying Geese blocks is the pile of ‘bonus’ HST’s that accumulate when you trim the corners on the block. If you aren’t familiar with this happy little prize, allow me to explain. Briefly, when the blocks are sewn to the upper right corner of the rectangle, creating the Flying Geese block, there is a corner that is cut off. If you take an extra second to sew a second seam, 1/2″ to the right of the first seam, you have the opportunity to have a ready made (albeit untrimmed) HST. I admit, I am not very careful when I do this. My feeling is that these are just little scraps that I am giving a second chance to possibly be used in a future project. I don’t mark the second line, I don’t even measure it.  I just eyeball it and sew about 1/2″ from that first seam and slice it off.  When I had finished the Swoon mini, I took the pile of HST’s and pressed them open. I looked at the smallest one – They were all approximately 2.5″ – and I squared them to the size of the smallest block. Then I had a pile of uniform HST’s. (If you can’t go with my very casual method or if you don’t understand what I am talking about, Bonnie Hunter has a nice tutorial on making the extra HST’s in a more precise manner. Take a look here.)

Look what I made yesterday. At 8 x 8″, it is a teeny tiny finish.

IMG_20151204_4234

I spent a bit of time playing with the HST’s, trying different layouts. It is a bit like playing Tangrams. There is no limit to the number of ways to position the blocks. I didn’t want to actually make anymore so I limited myself to use the 16 that I had – no more, no less.

IMG_20151204_4235

Once I had them sewn together, I decided to practice some FMQ with the little piece. Going to my usual sources, Pinterest, Leah Day, and Lori Kennedy, I found a holly motif that I liked. Here is the link to the tutorial on Lori’s site, The Inbox Jaunt.

IMG_20151204_4238

Two things made quilting this a challenge. One is that I used two layers Insul Bright batting scraps inside of this in case I wanted to use it as a hot pad or a trivet on my dining room table.  The Insul Bright was a bit annoying to quilt through, especially a double layer. Second, I decided to use Sulky thread on top and I put Mettler in the bobbin.  I love Sulky threads – so shiny and glossy. But also a bit slippery soI had to play with the tension to get it right.

Overall, the little hot pad is pretty cute. The FMQ is a bit rough. The bow at the bottom of the holly in the center is an eyesore but obviously not enough that I was willing to take the time to rip the stitches out. (It is a hot pad after all.) I haven’t practiced free motion quilting for a long while so it was fun to play with this. I am ever thankful to Lori’s site for the endless FMQ tutorials. I love that she has so many seasonal themes. It is very fun to play with them.

IMG_20151204_4236

Finally, I wanted to point out something that took me by surprise. I used a scrap of holiday fabric for the back. After I was done and it was trimmed and ready for binding, I was digging through my scraps and found a few more pieces of the backing fabric to use as binding. There was barely enough. I had to cut narrow 2″ strips which were a trick to use – the quilt sandwich being extra thick from the Insul Bright. Anyway… come on Bernie and get to the point. As I stitched the binding down on the back, the folded binding matched up with the backing quite closely at one point.

IMG_20151204_4237

Isn’t that cute? The holly just about matched up, as did the little bird. Nothing earth shattering but it is a fun coincidence. (Doesn’t take much to amuse me!)  There you have it, my second finish this week!

Is your tree up (if you are a Christmas-tree-decorating person)? How about lights outside on the house? I am hoping Ray will put ours up this weekend. I think the outdoor lights are one of my favorite parts of the season and I leave them up as long as possible.

Linking to Amanda Jean at Crazy Mom Quilts and Lizzie at Free Motion Mavericks.