Hi everyone! After a long (nearly three month) absence, I decided it is time to write a post. Over the last couple of weeks, I received a number of emails from friends asking if I was ok because I haven’t been writing any posts. Life has been great; busy and full of all the things I like. Somehow, I just was not in the mood for blogging. I haven’t been reading posts, or commenting, or writing. Maybe I just needed a break.
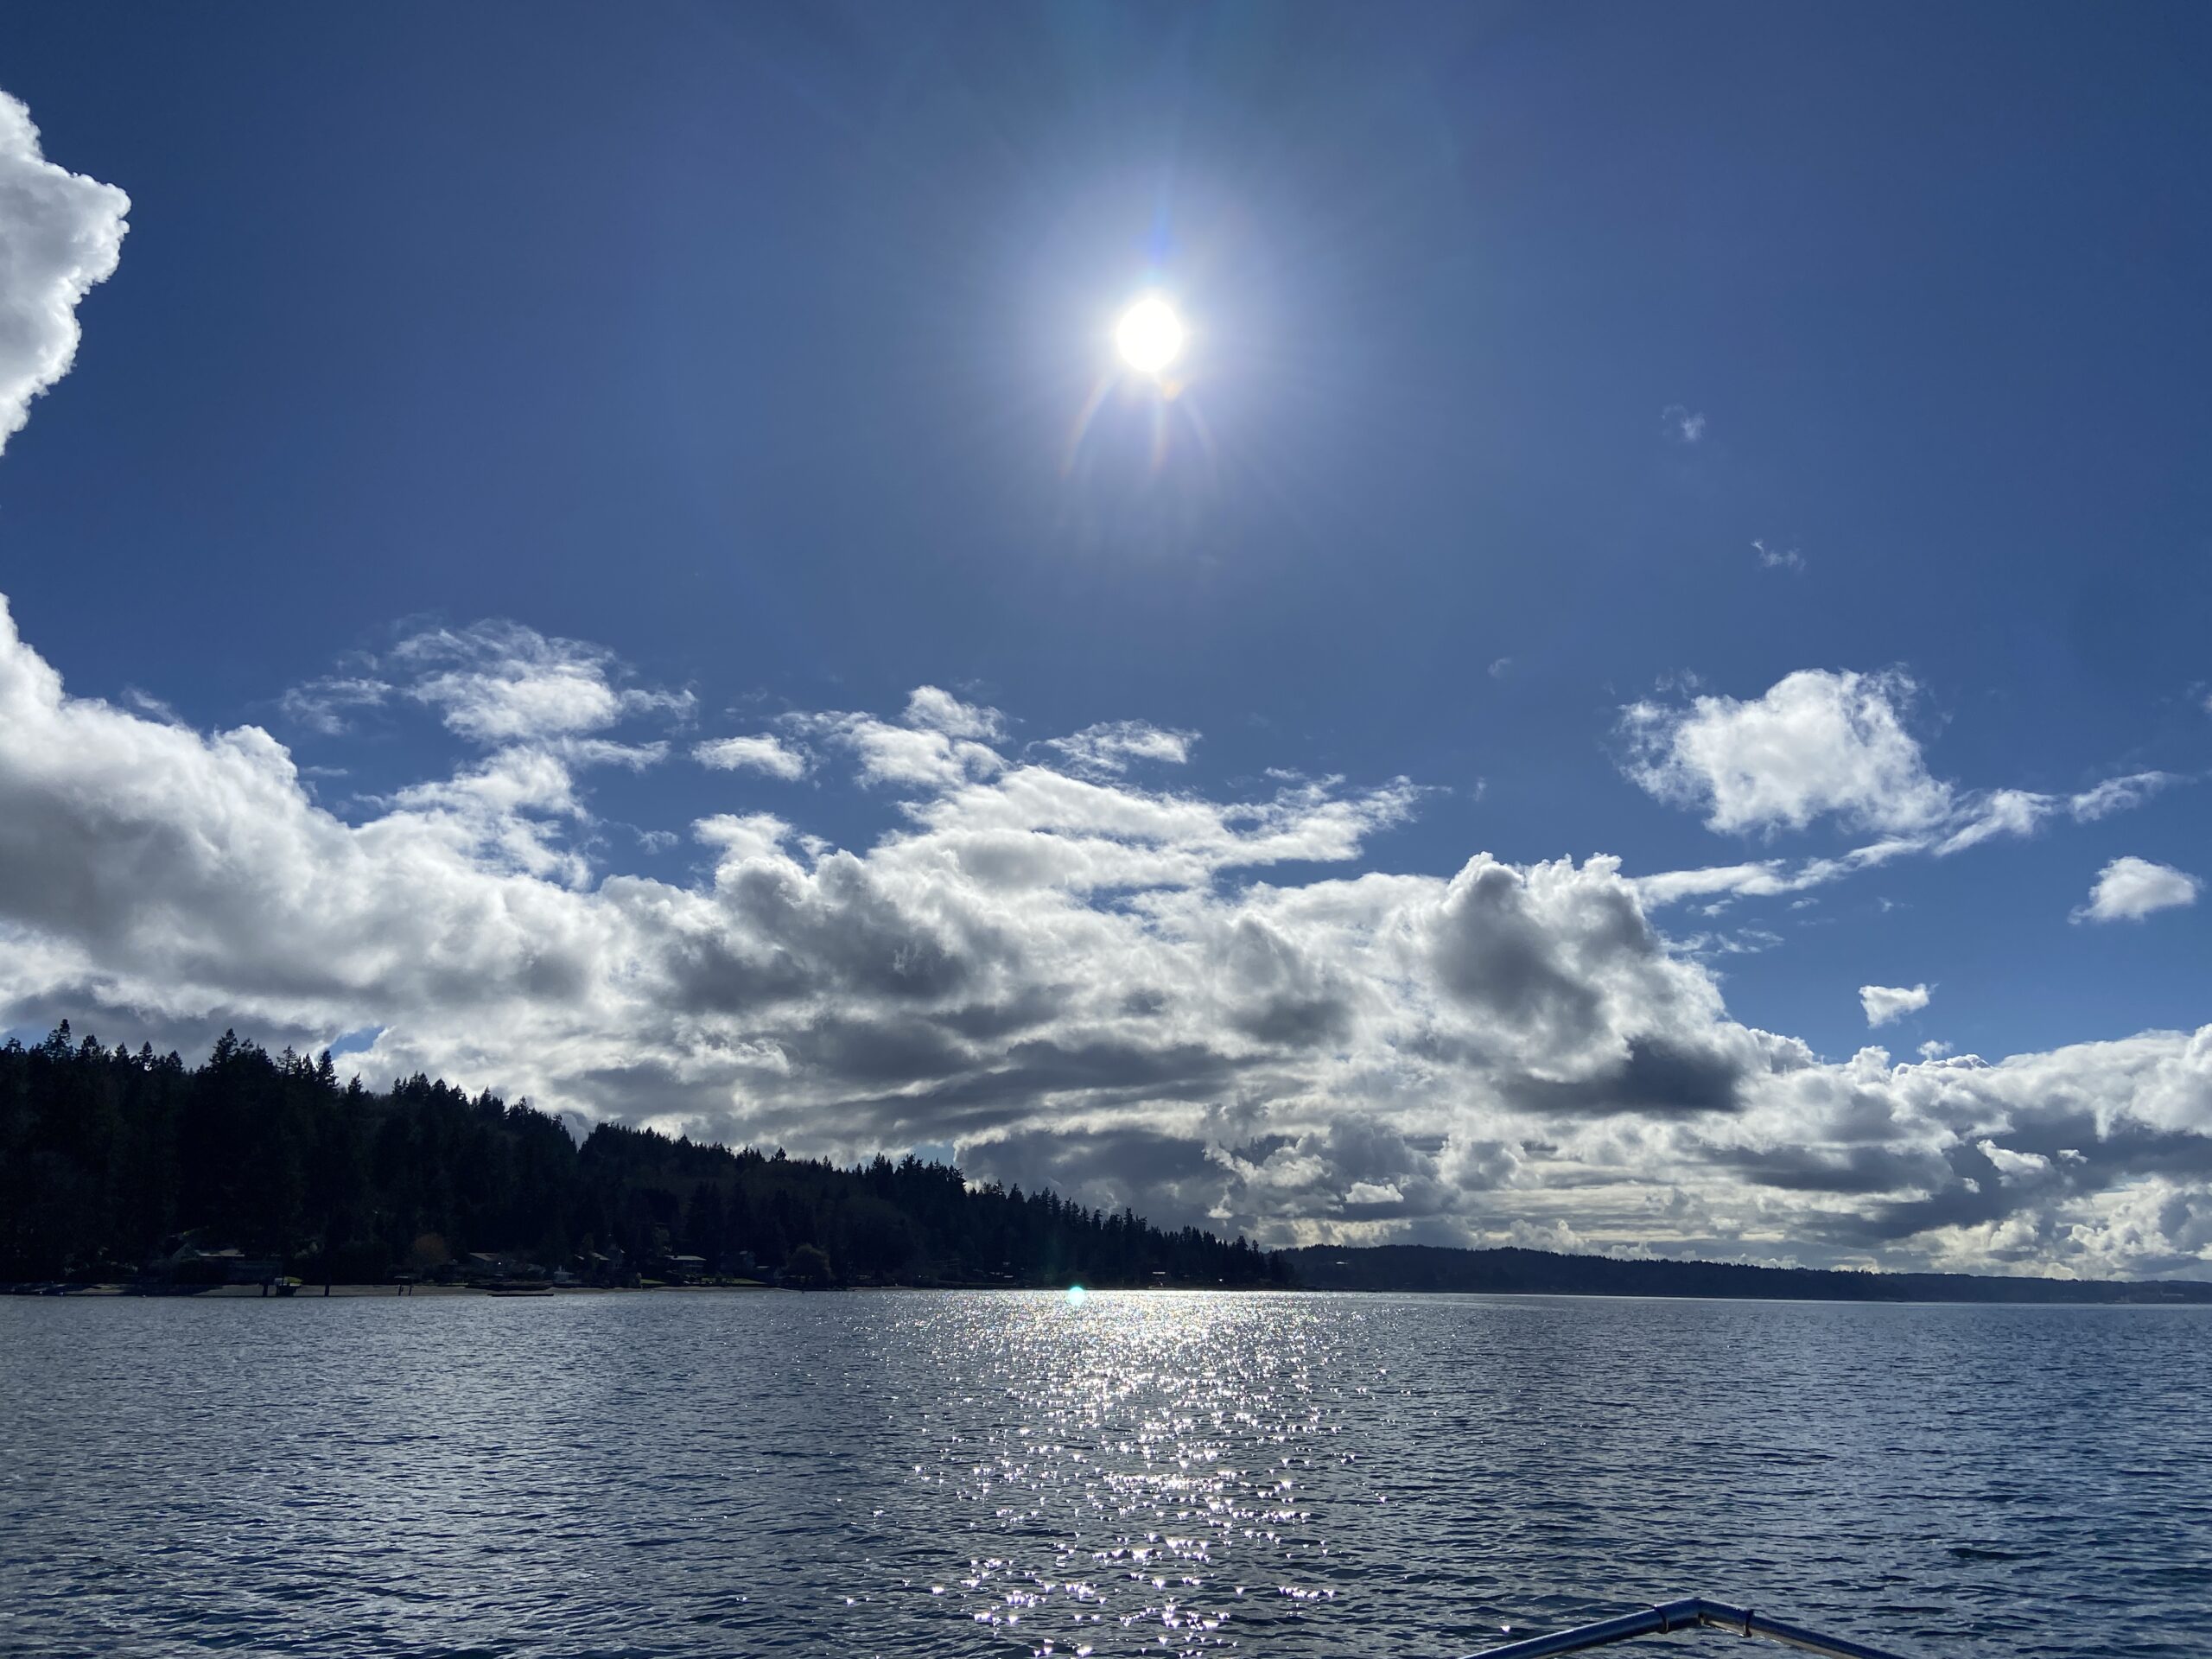
Trying to catch up on the last three months is a challenge – where do I begin?? There has been lots of family time, celebrations, visitors, time with my children and grand children, home projects and – of course – sewing. There were two long weekends at the beach; one with Ray, me and Julia and the other with my parents, Ray and me. We celebrated my parents’ 69th wedding anniversary and Julia’s 23rd birthday. My sisters and I all met up at one sister’s house in Denver, CO for a long weekend. Lots and lots has been happening!
Throughout spring Ray spent hours out in the garden prepping a vegetable garden. It is really starting to produce now and we are enjoying lots of snow peas, rhubarb, a few varieties of lettuce, turnips, and radishes. I wasn’t at all sure about the turnips but we have had fun finding different ways to prepare them. I have roasted them (ok but not fantastic), mashed them with russet potatoes (very good) and made a yummy salad with raw turnips. I was surprised by the salad – we both enjoyed it quite a bit. Some sort of critter is making Ray crazy by eating the carrots as fast as the poor things can grow. The summer veggies are coming in now. As you’d imagine, we cannot wait for the tomatoes!
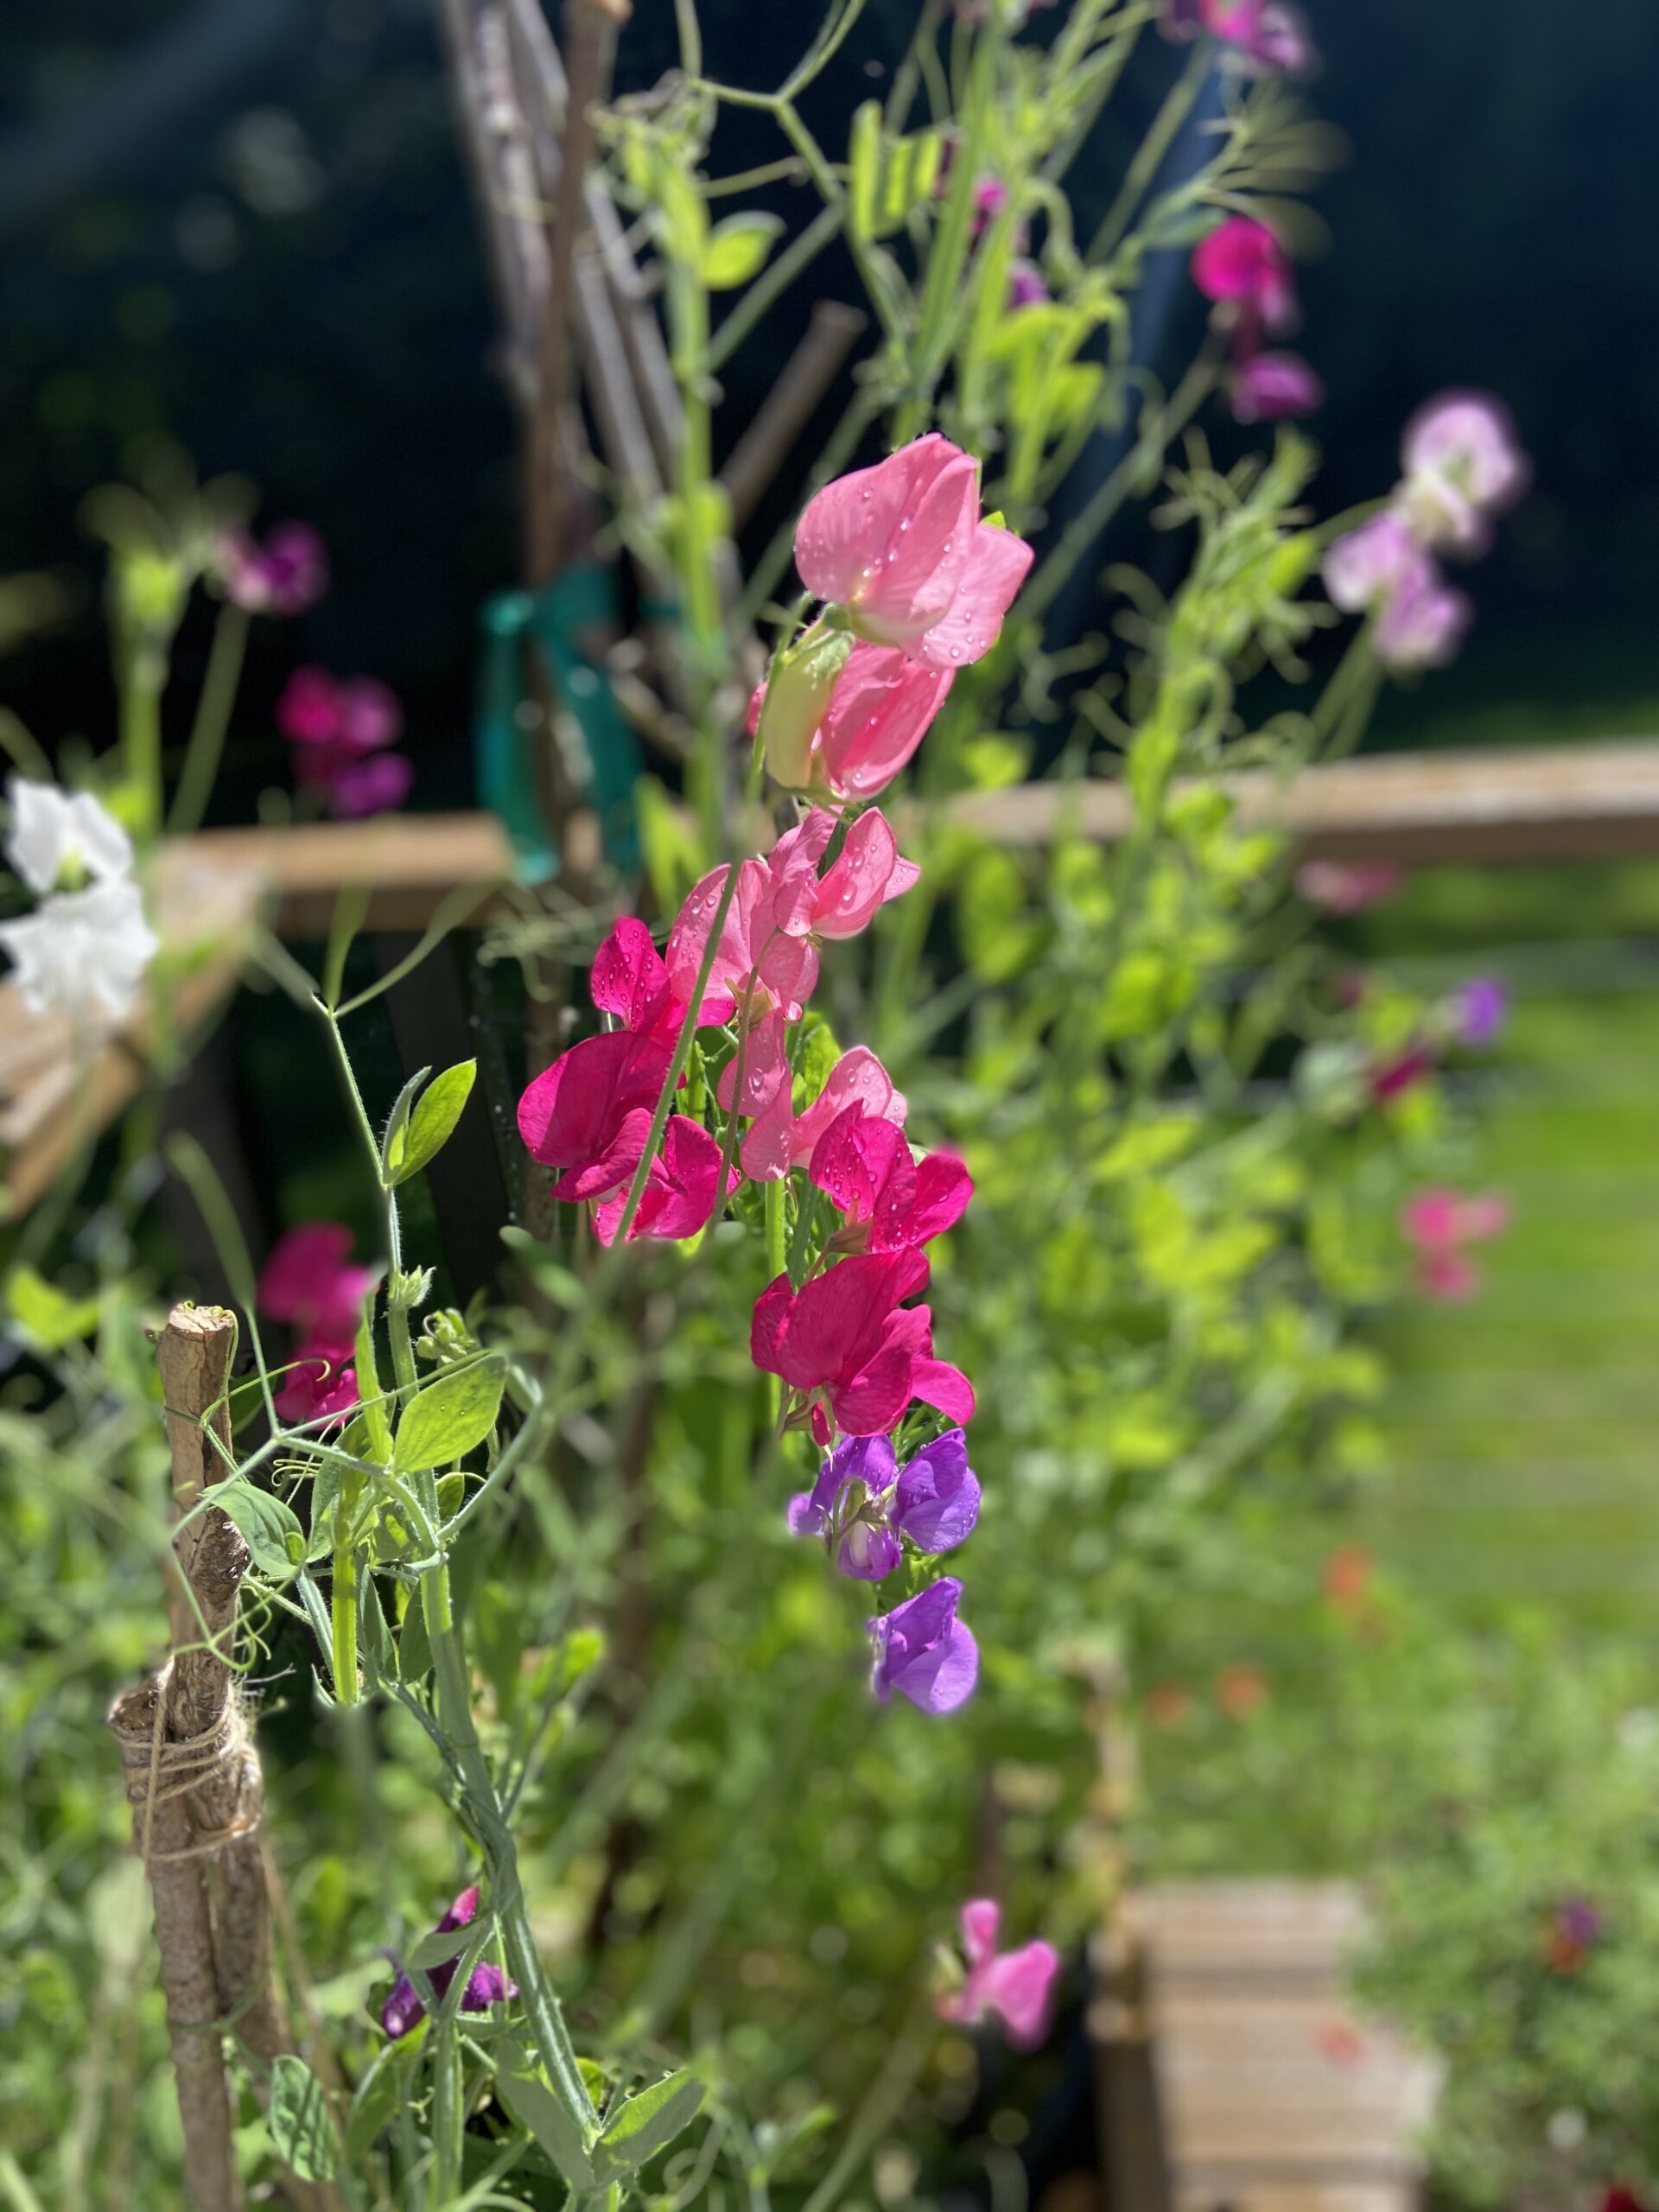
Sweet peas are doing great this year. I love these – the colors and that amazing fragrance. Sitting on the deck, it smells so wonderful!
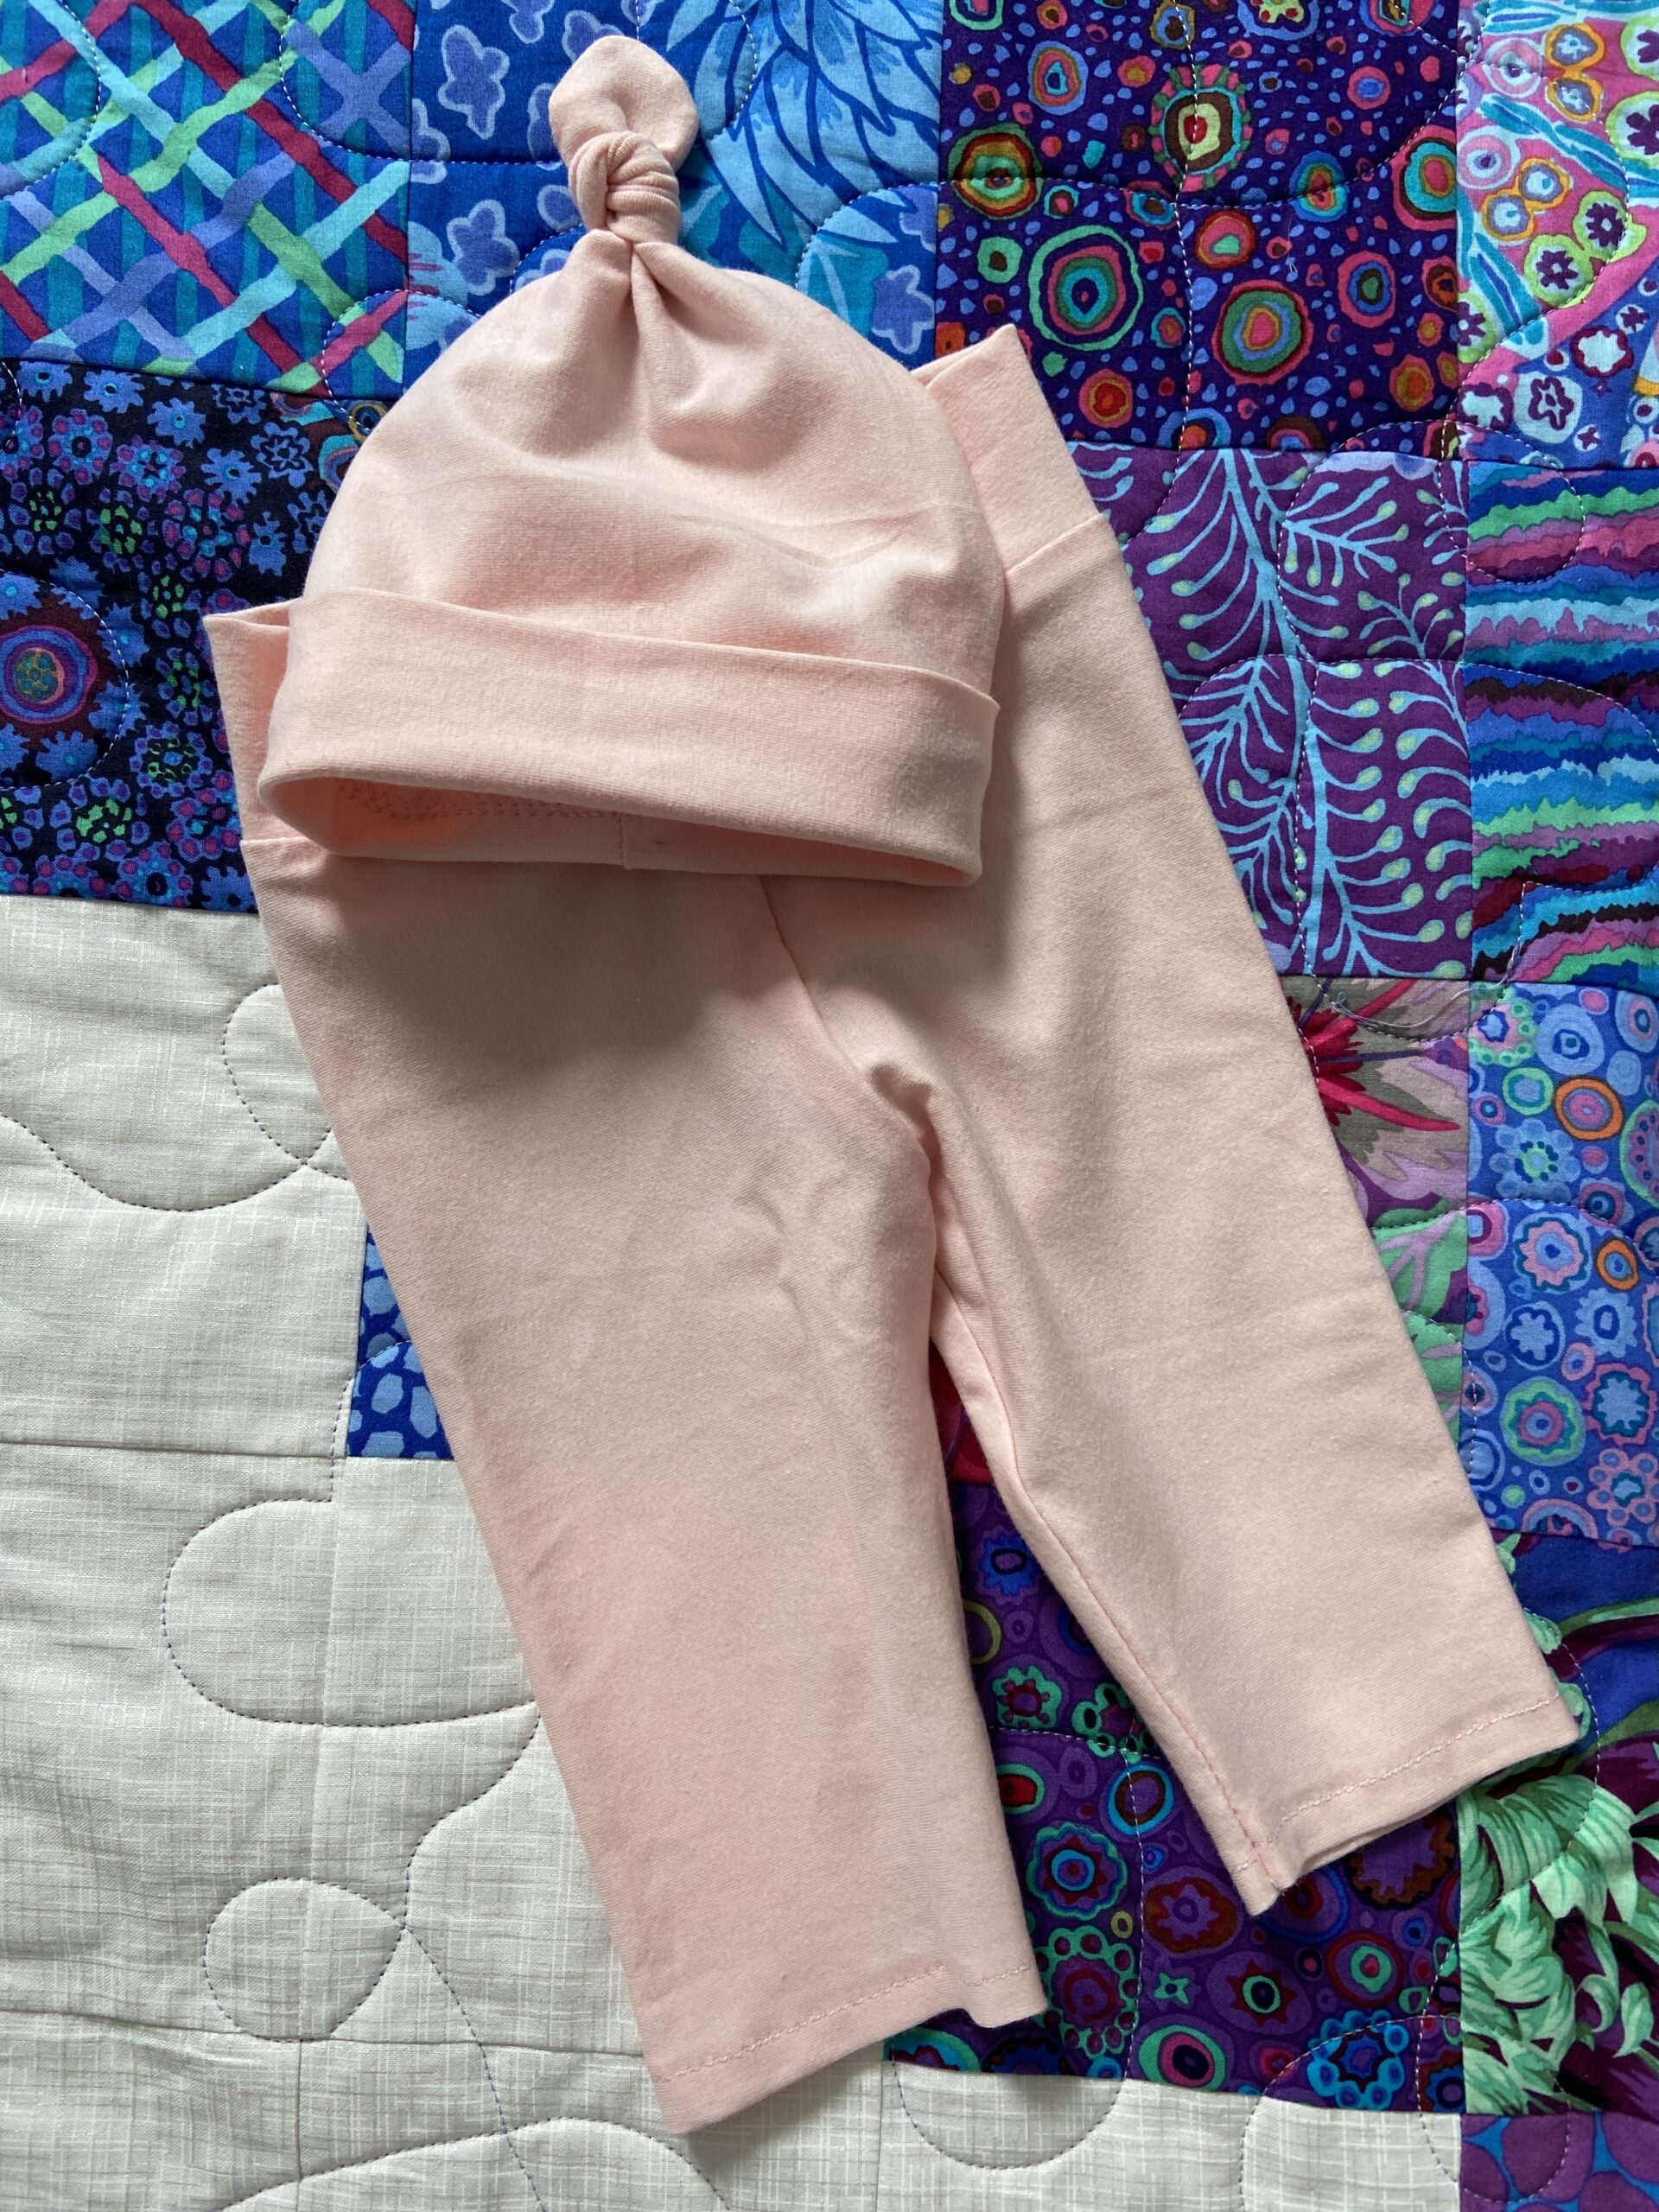
We recently received the fantastic news of a new baby joining to our family! My son and his wife are expecting their first child mid-November. I cannot wait!!! When they found out the baby is a girl, I quickly found a small piece of pale pink stretch knit fabric and made these leggings and matching hat. They are so teeny tiny.

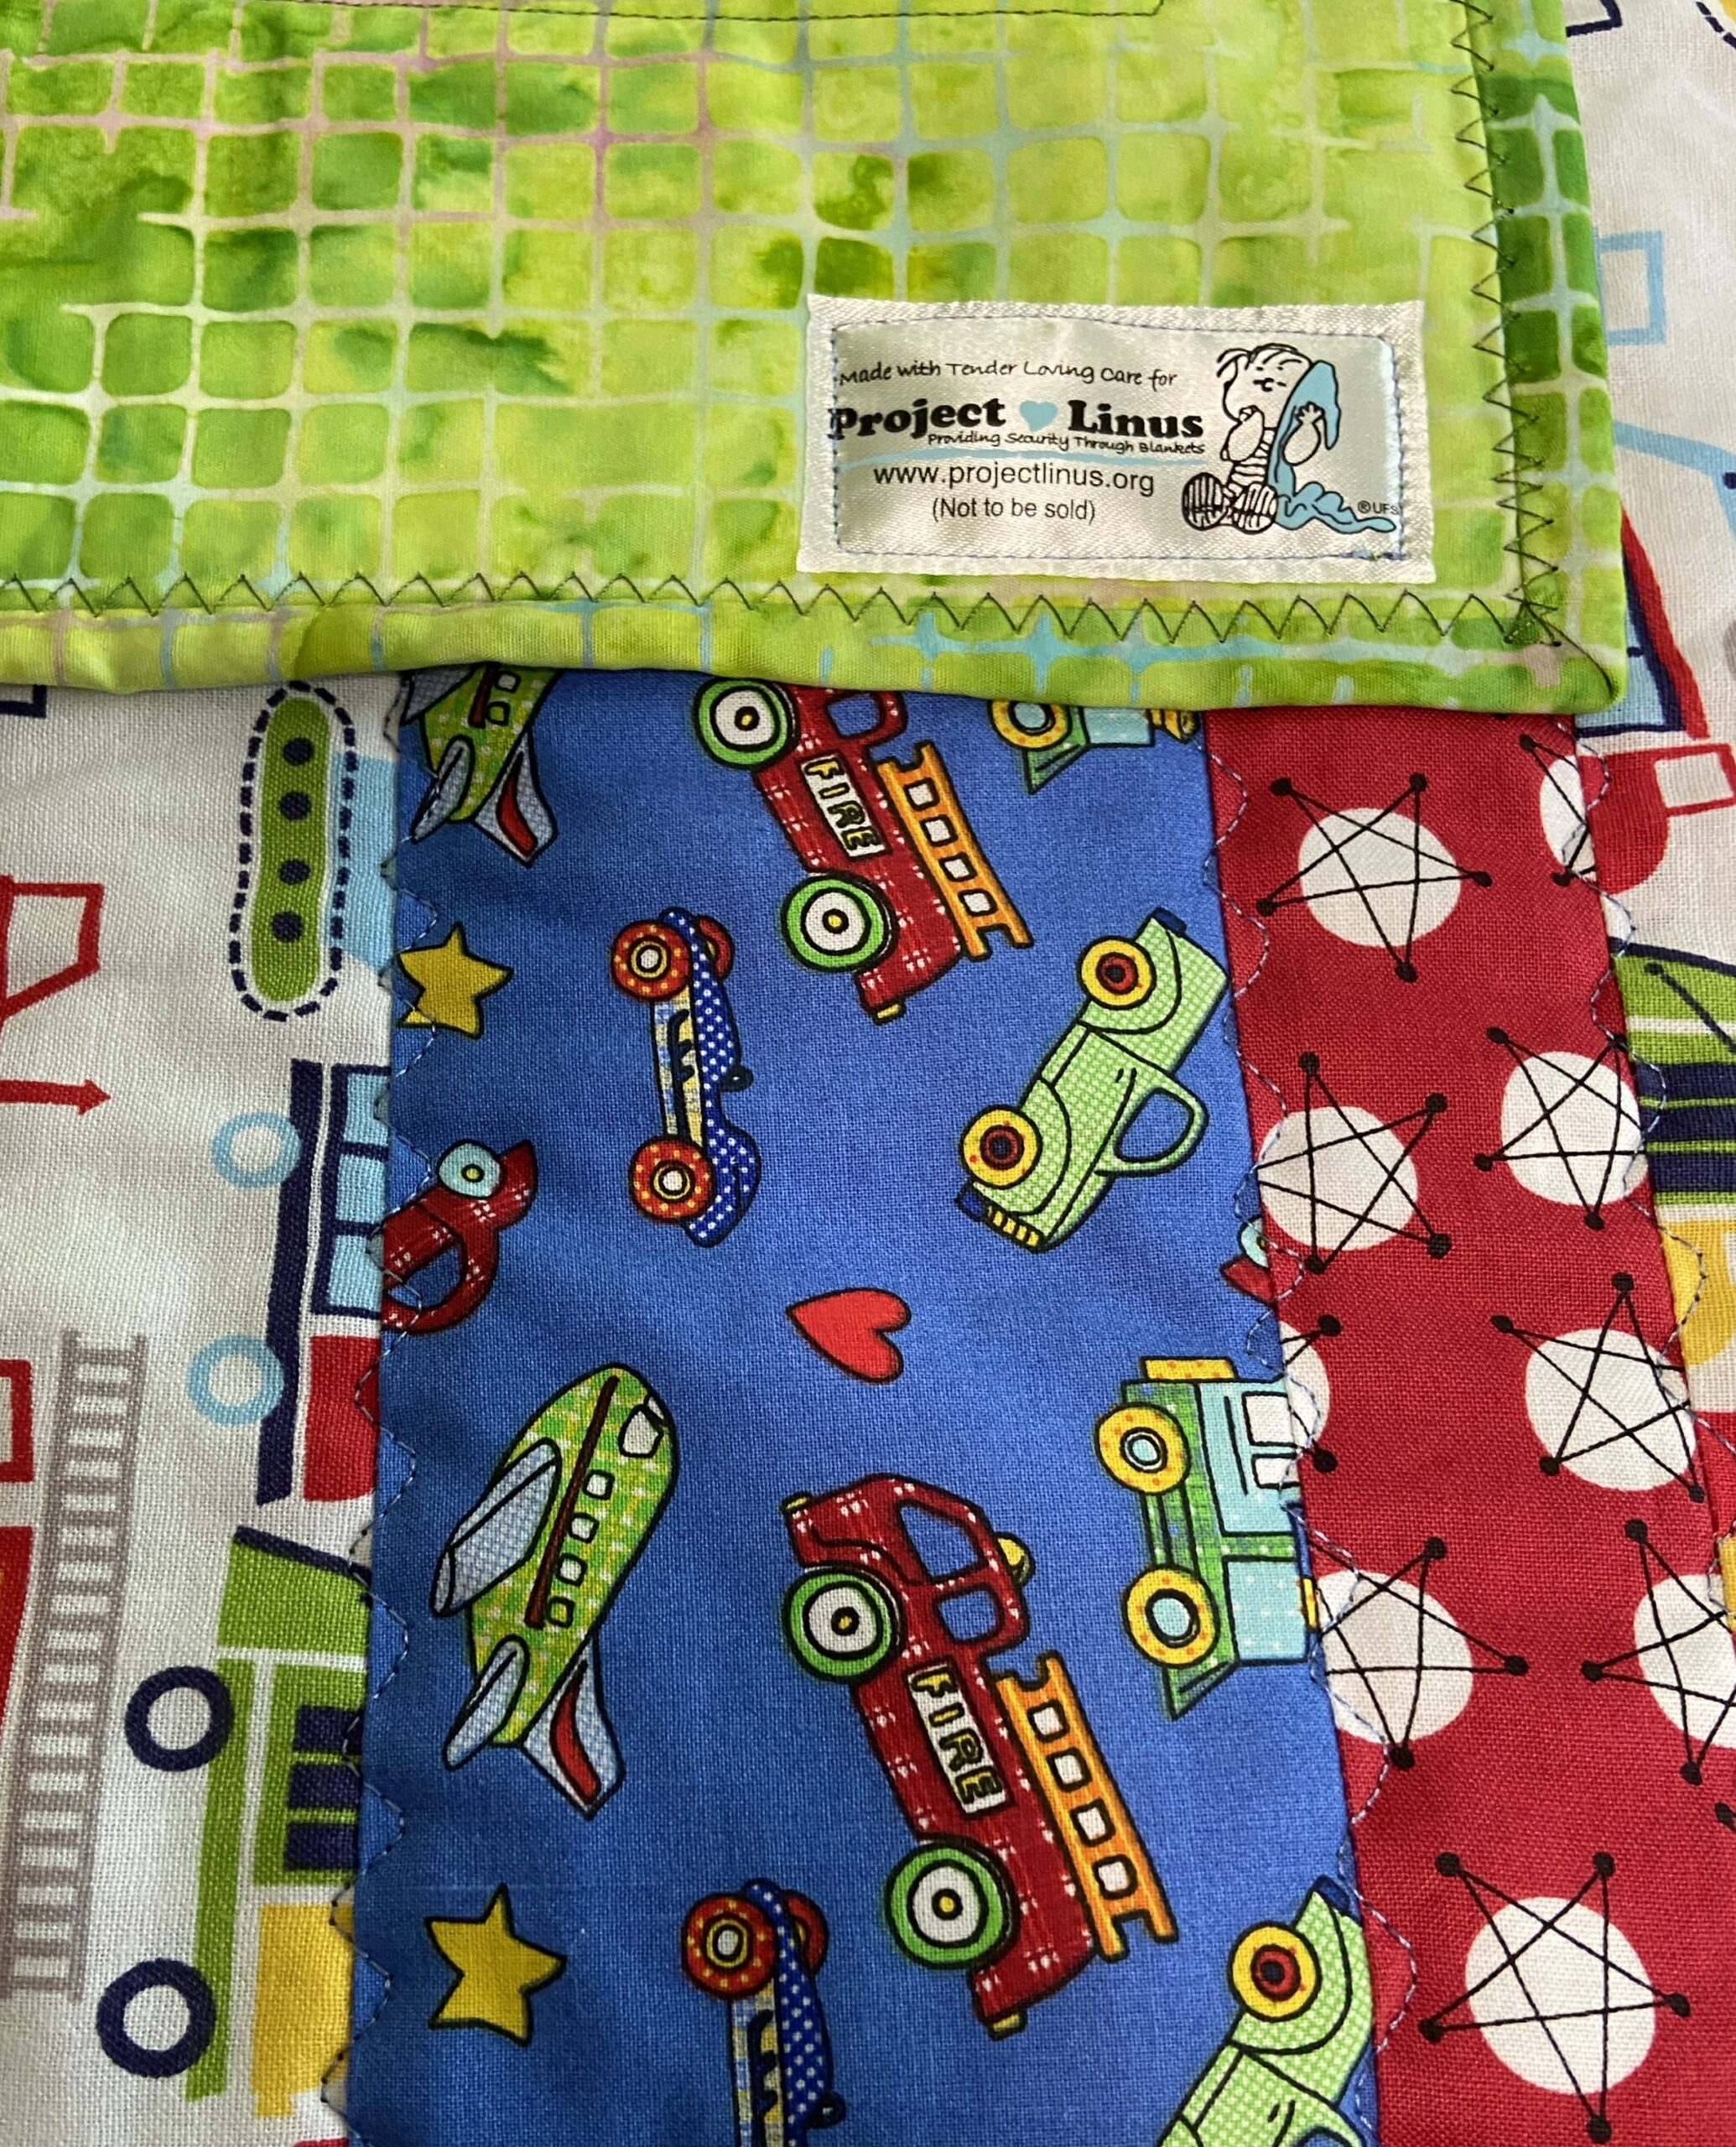
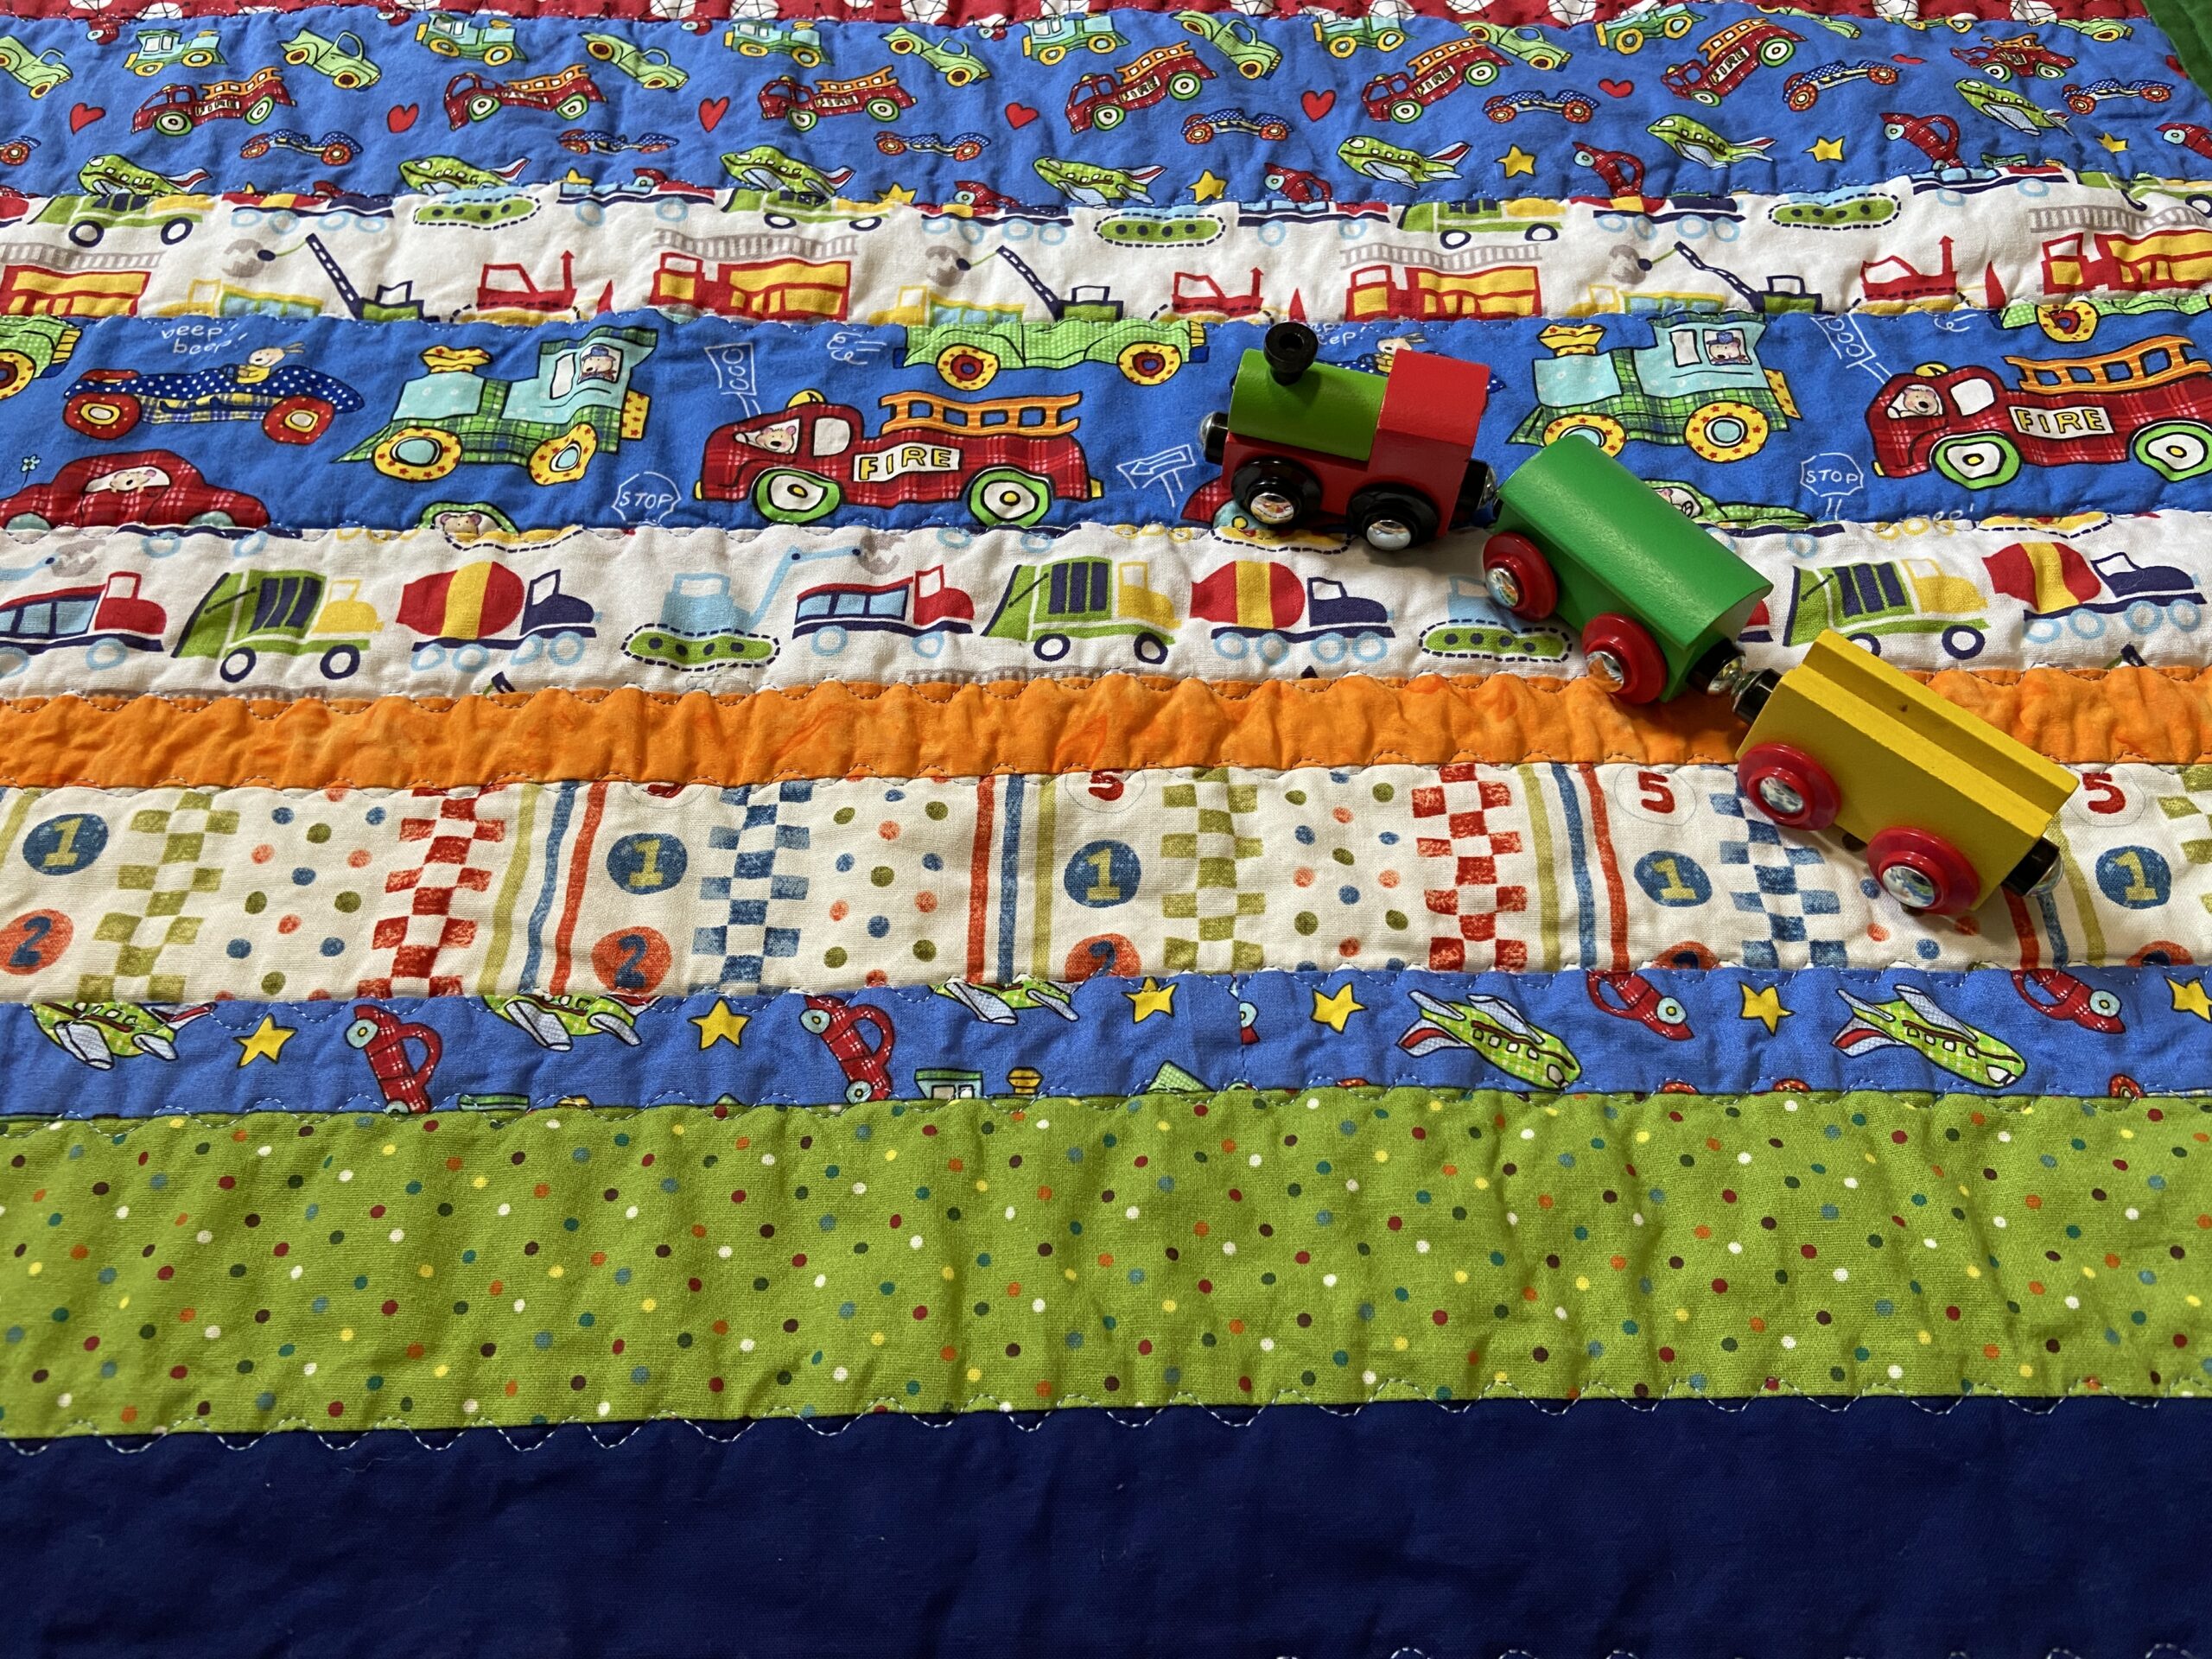
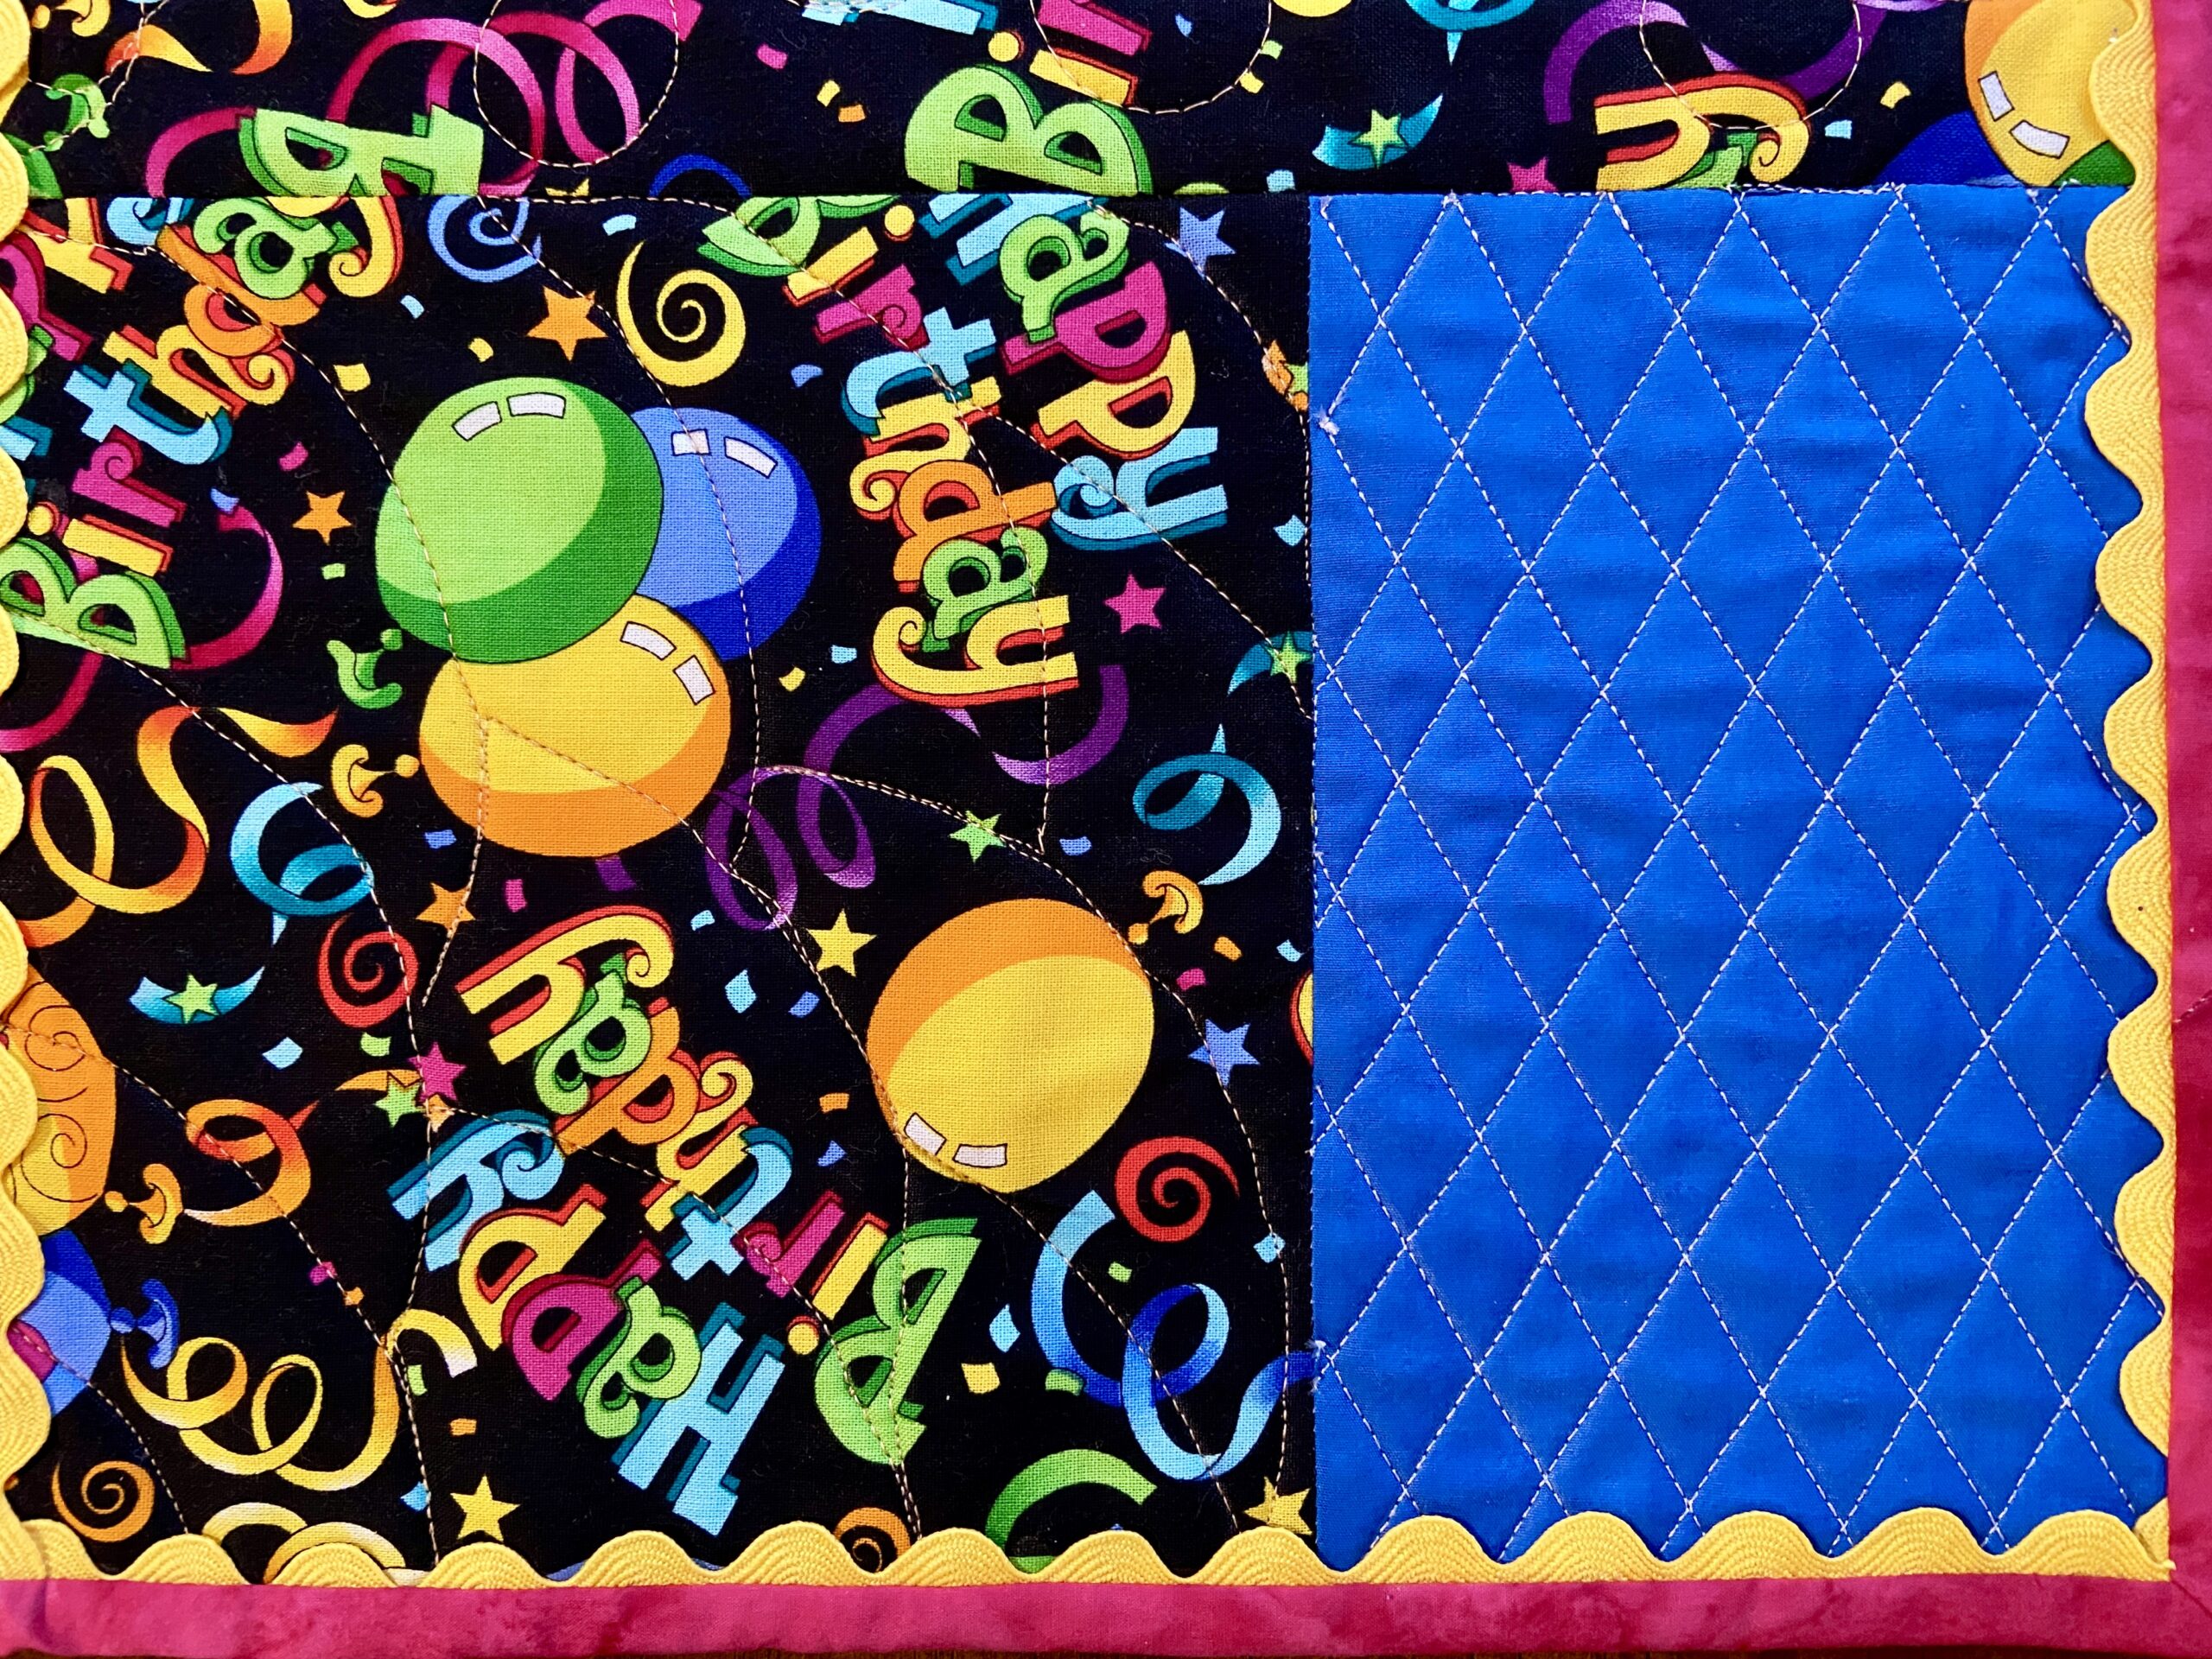
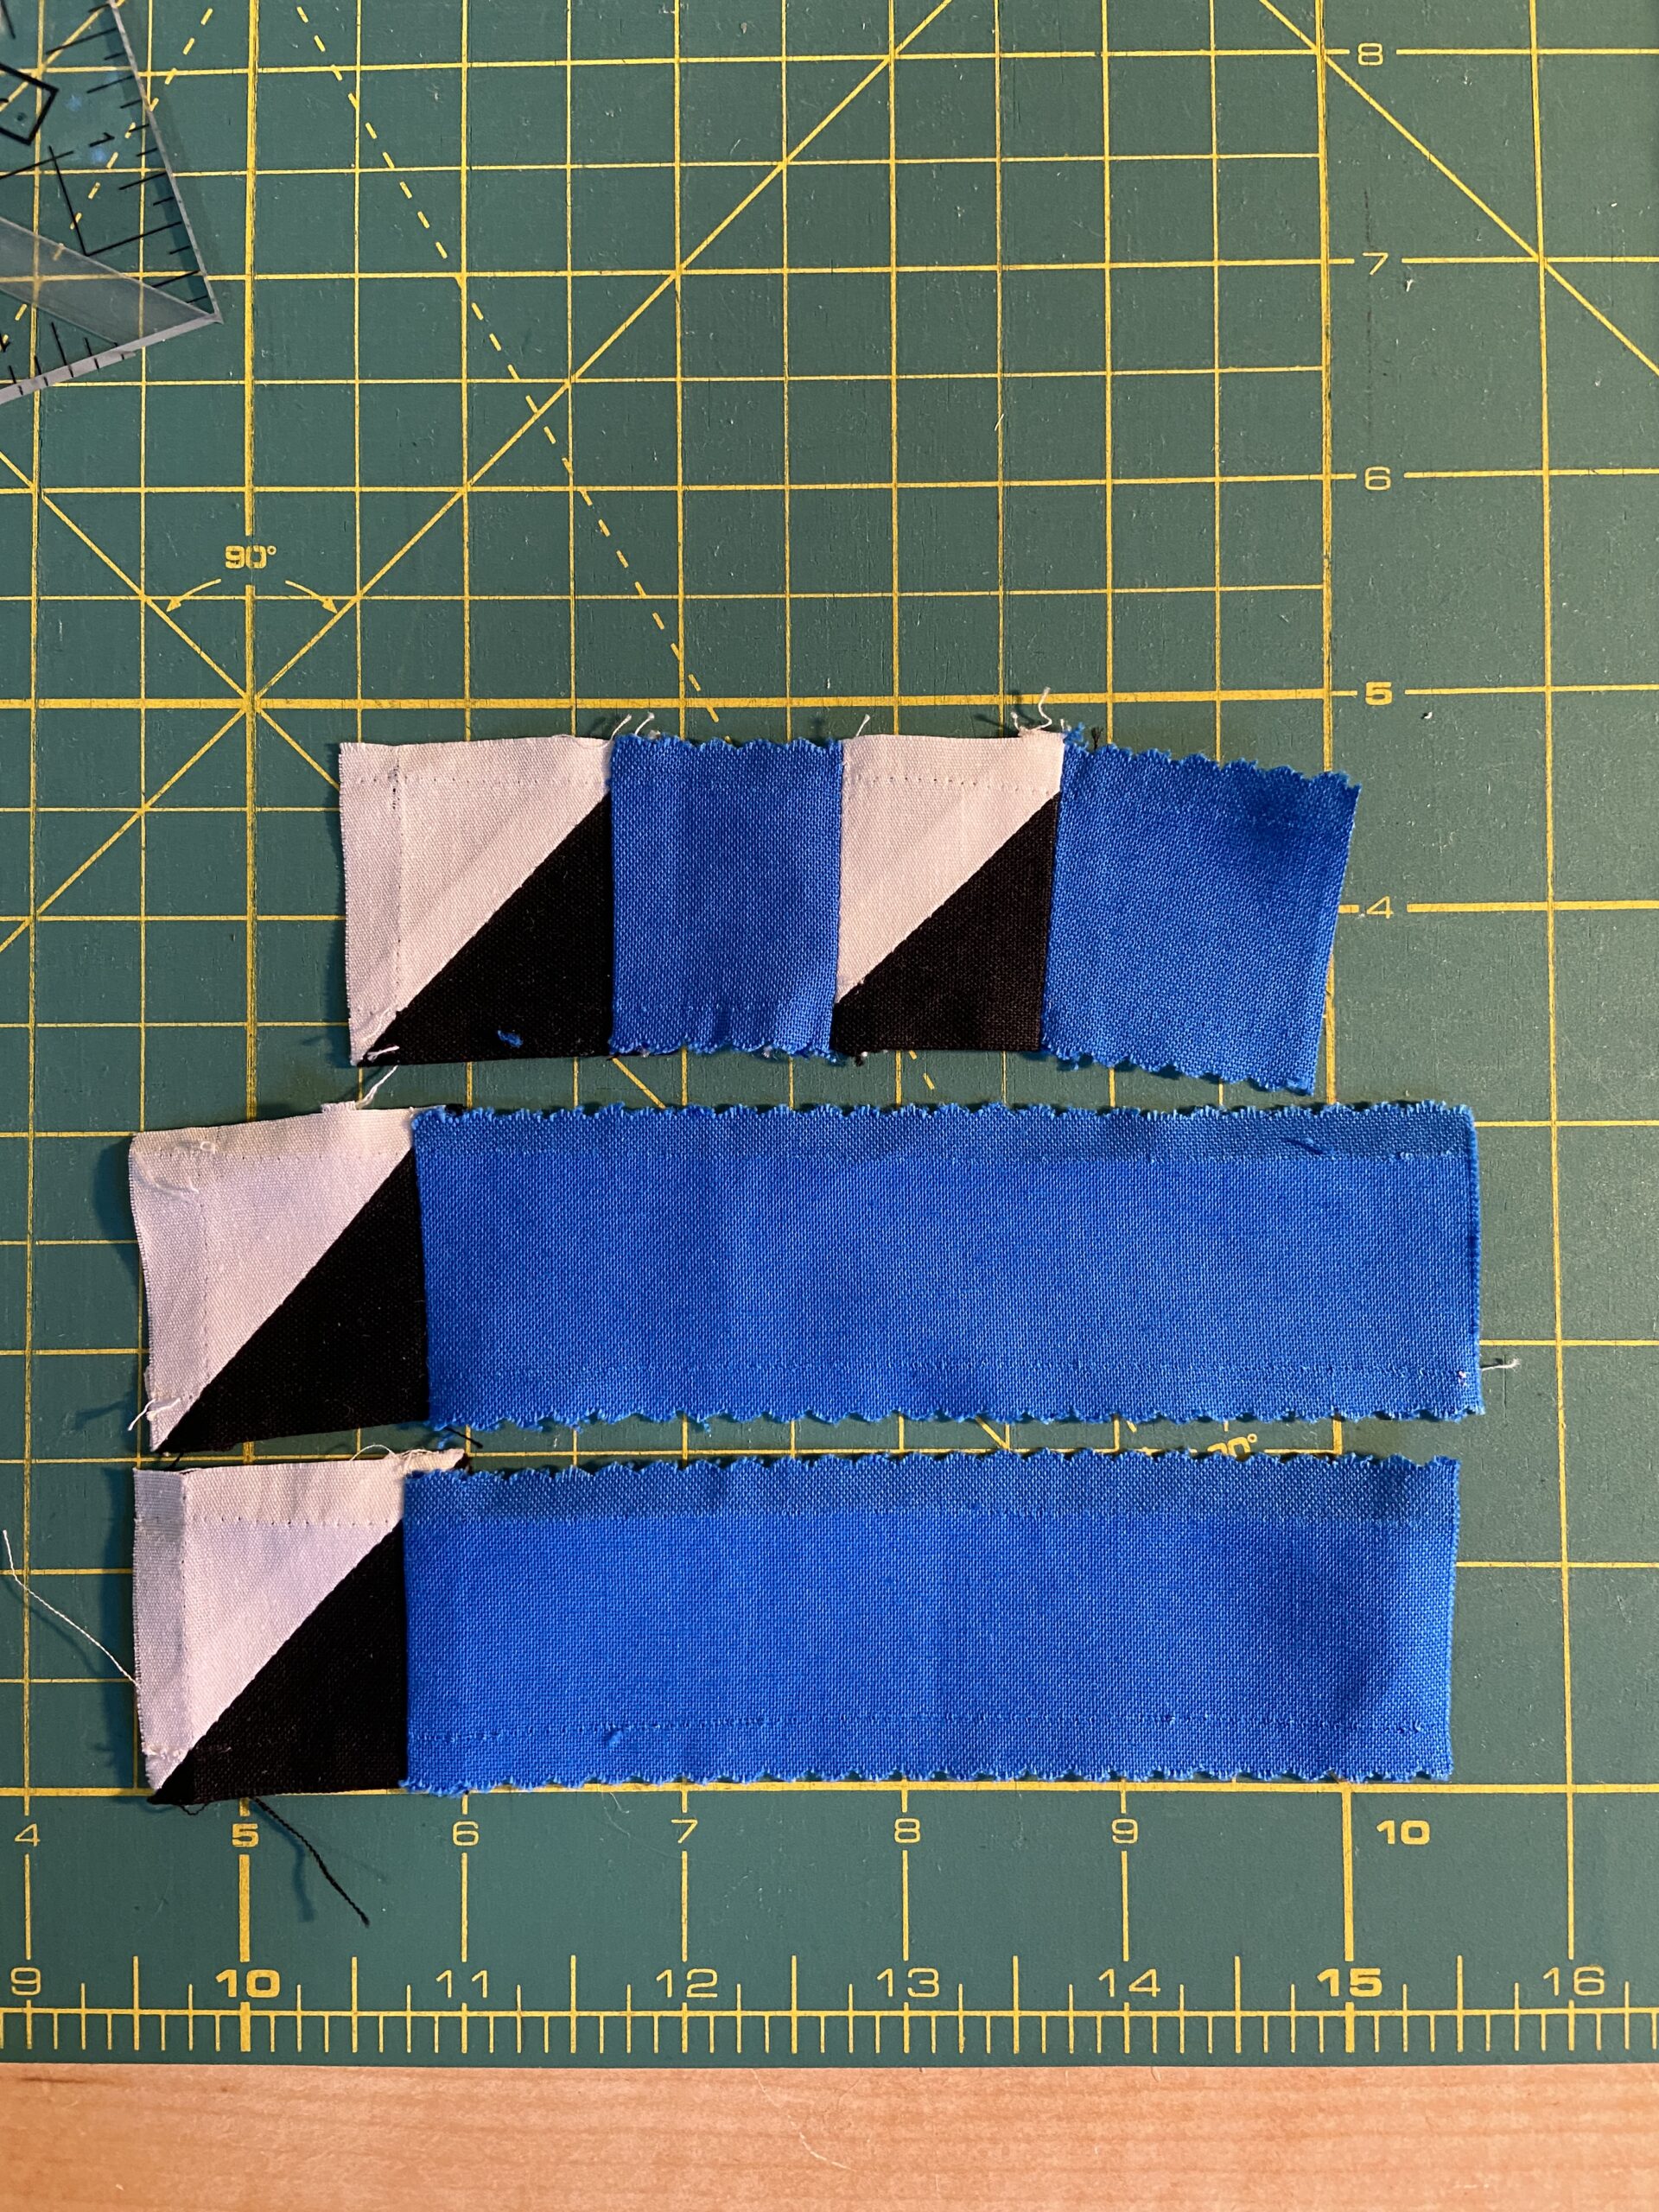
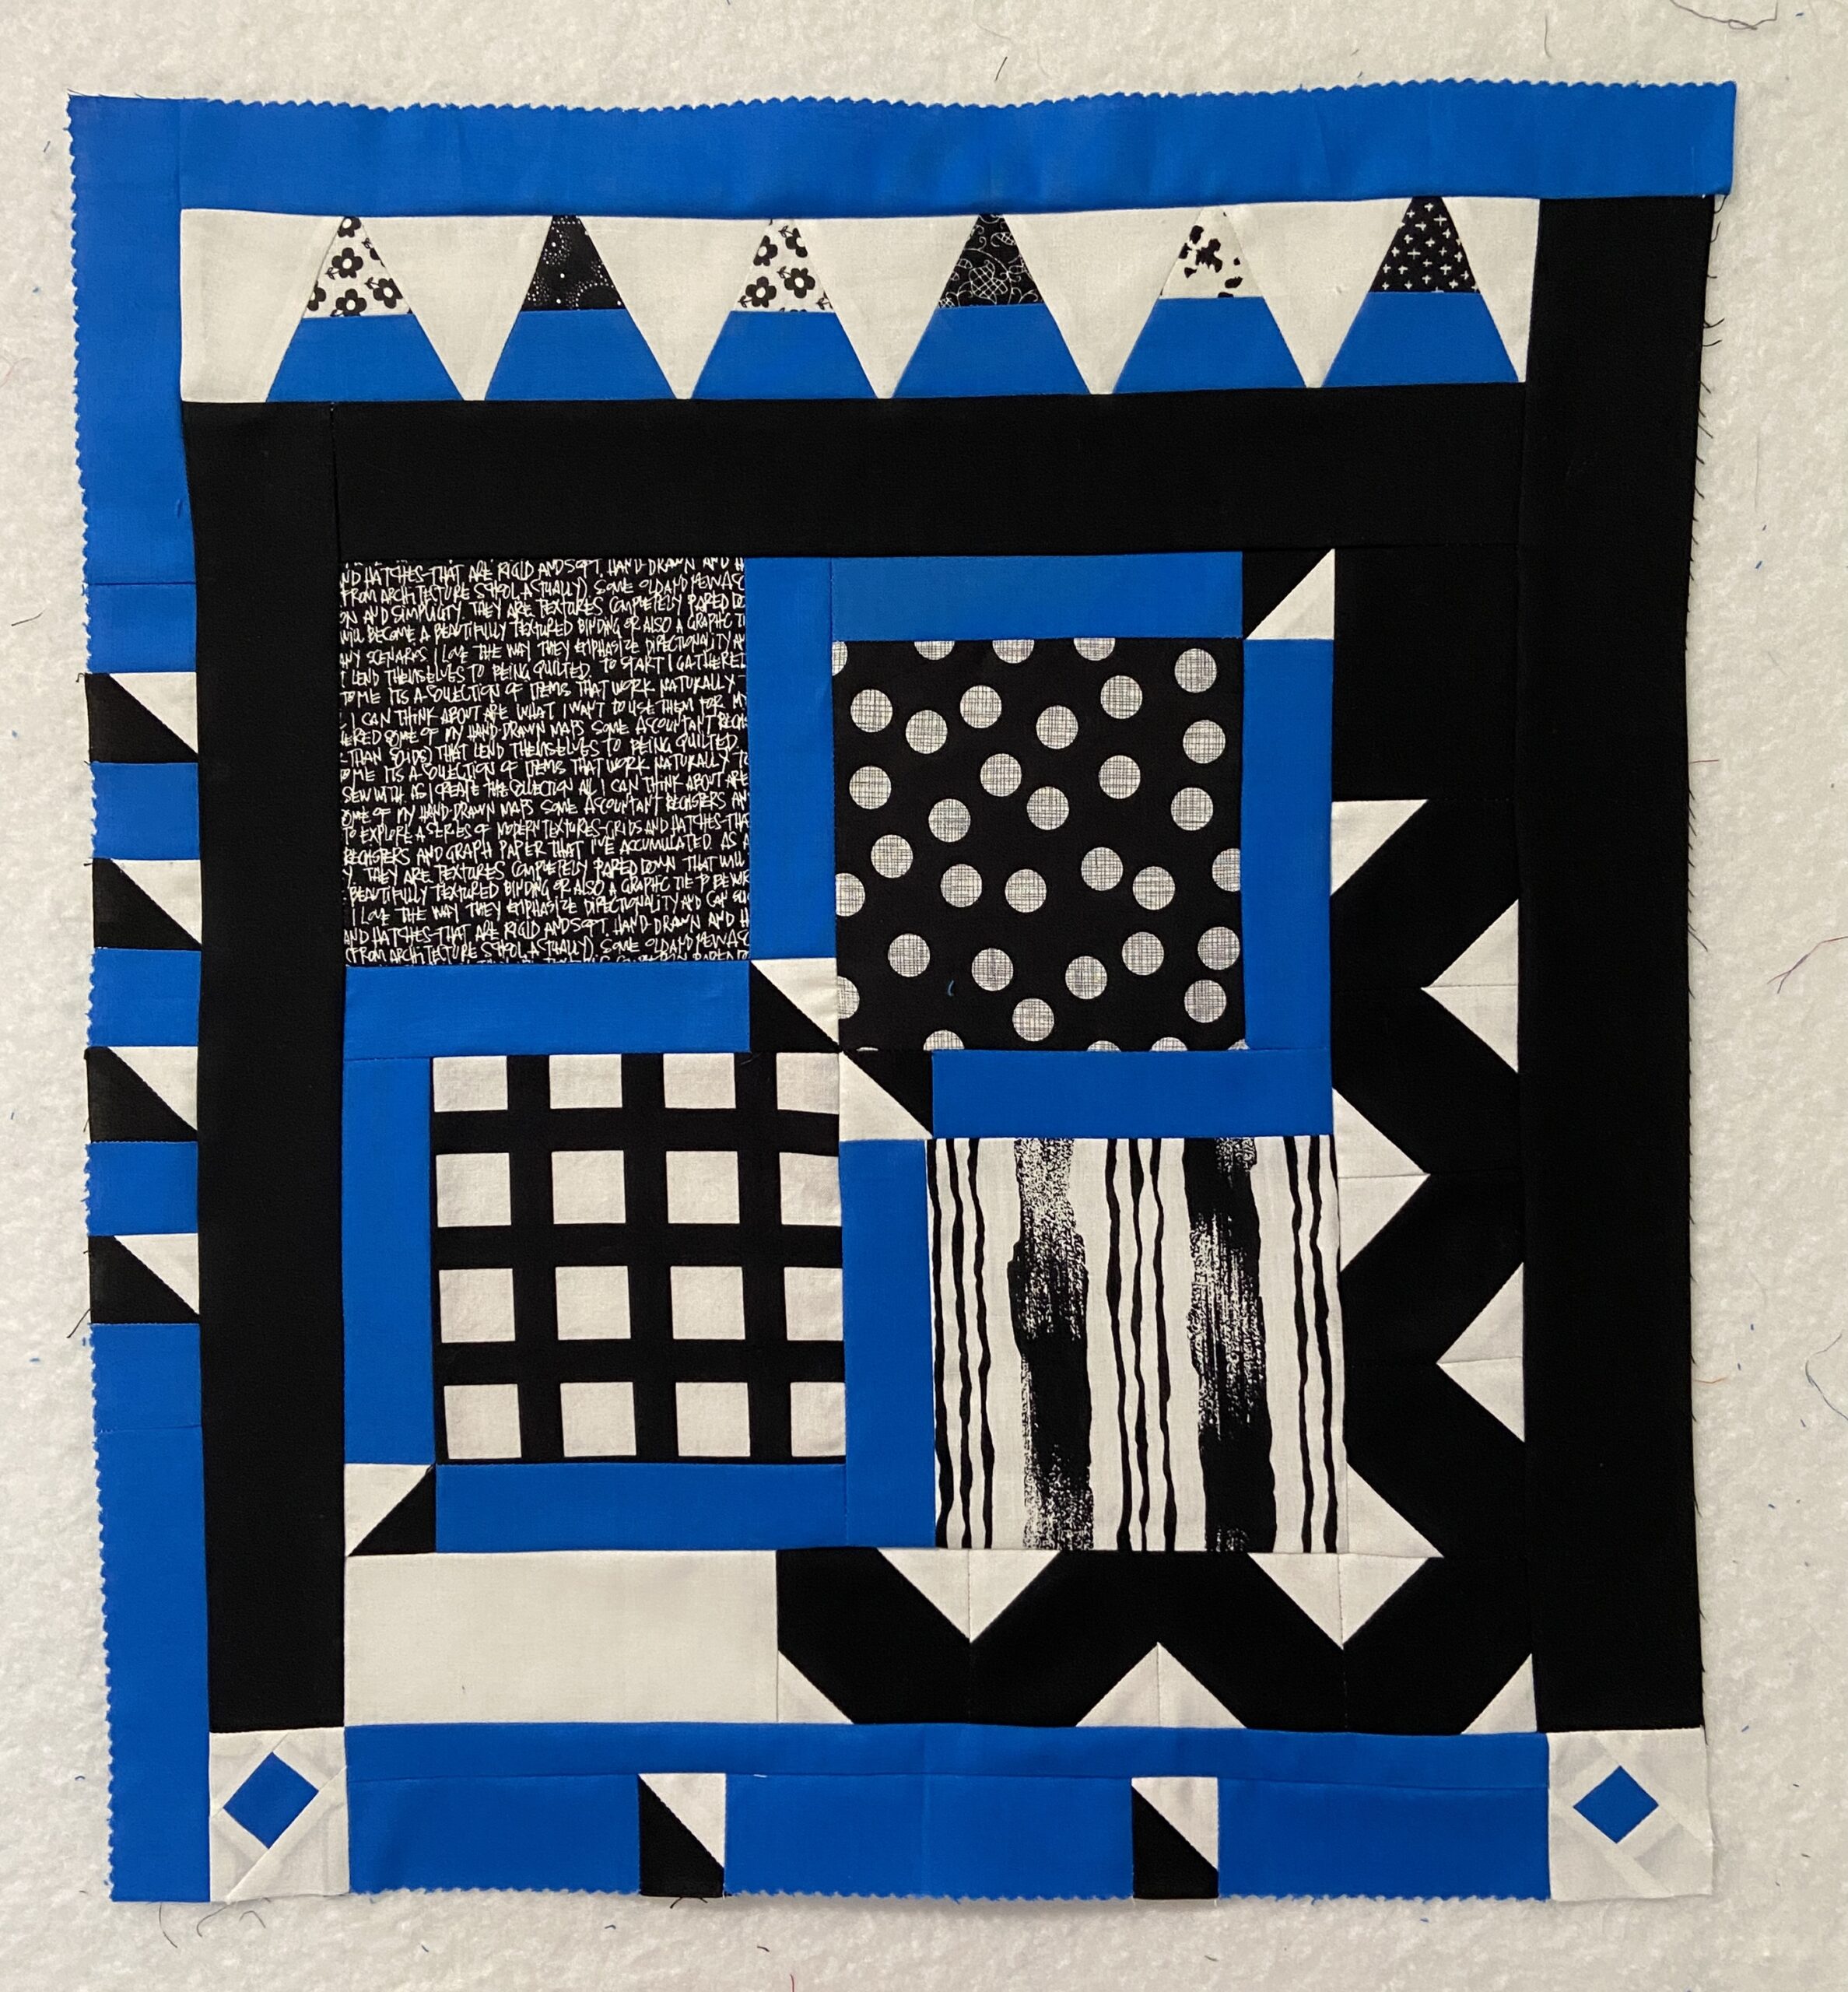
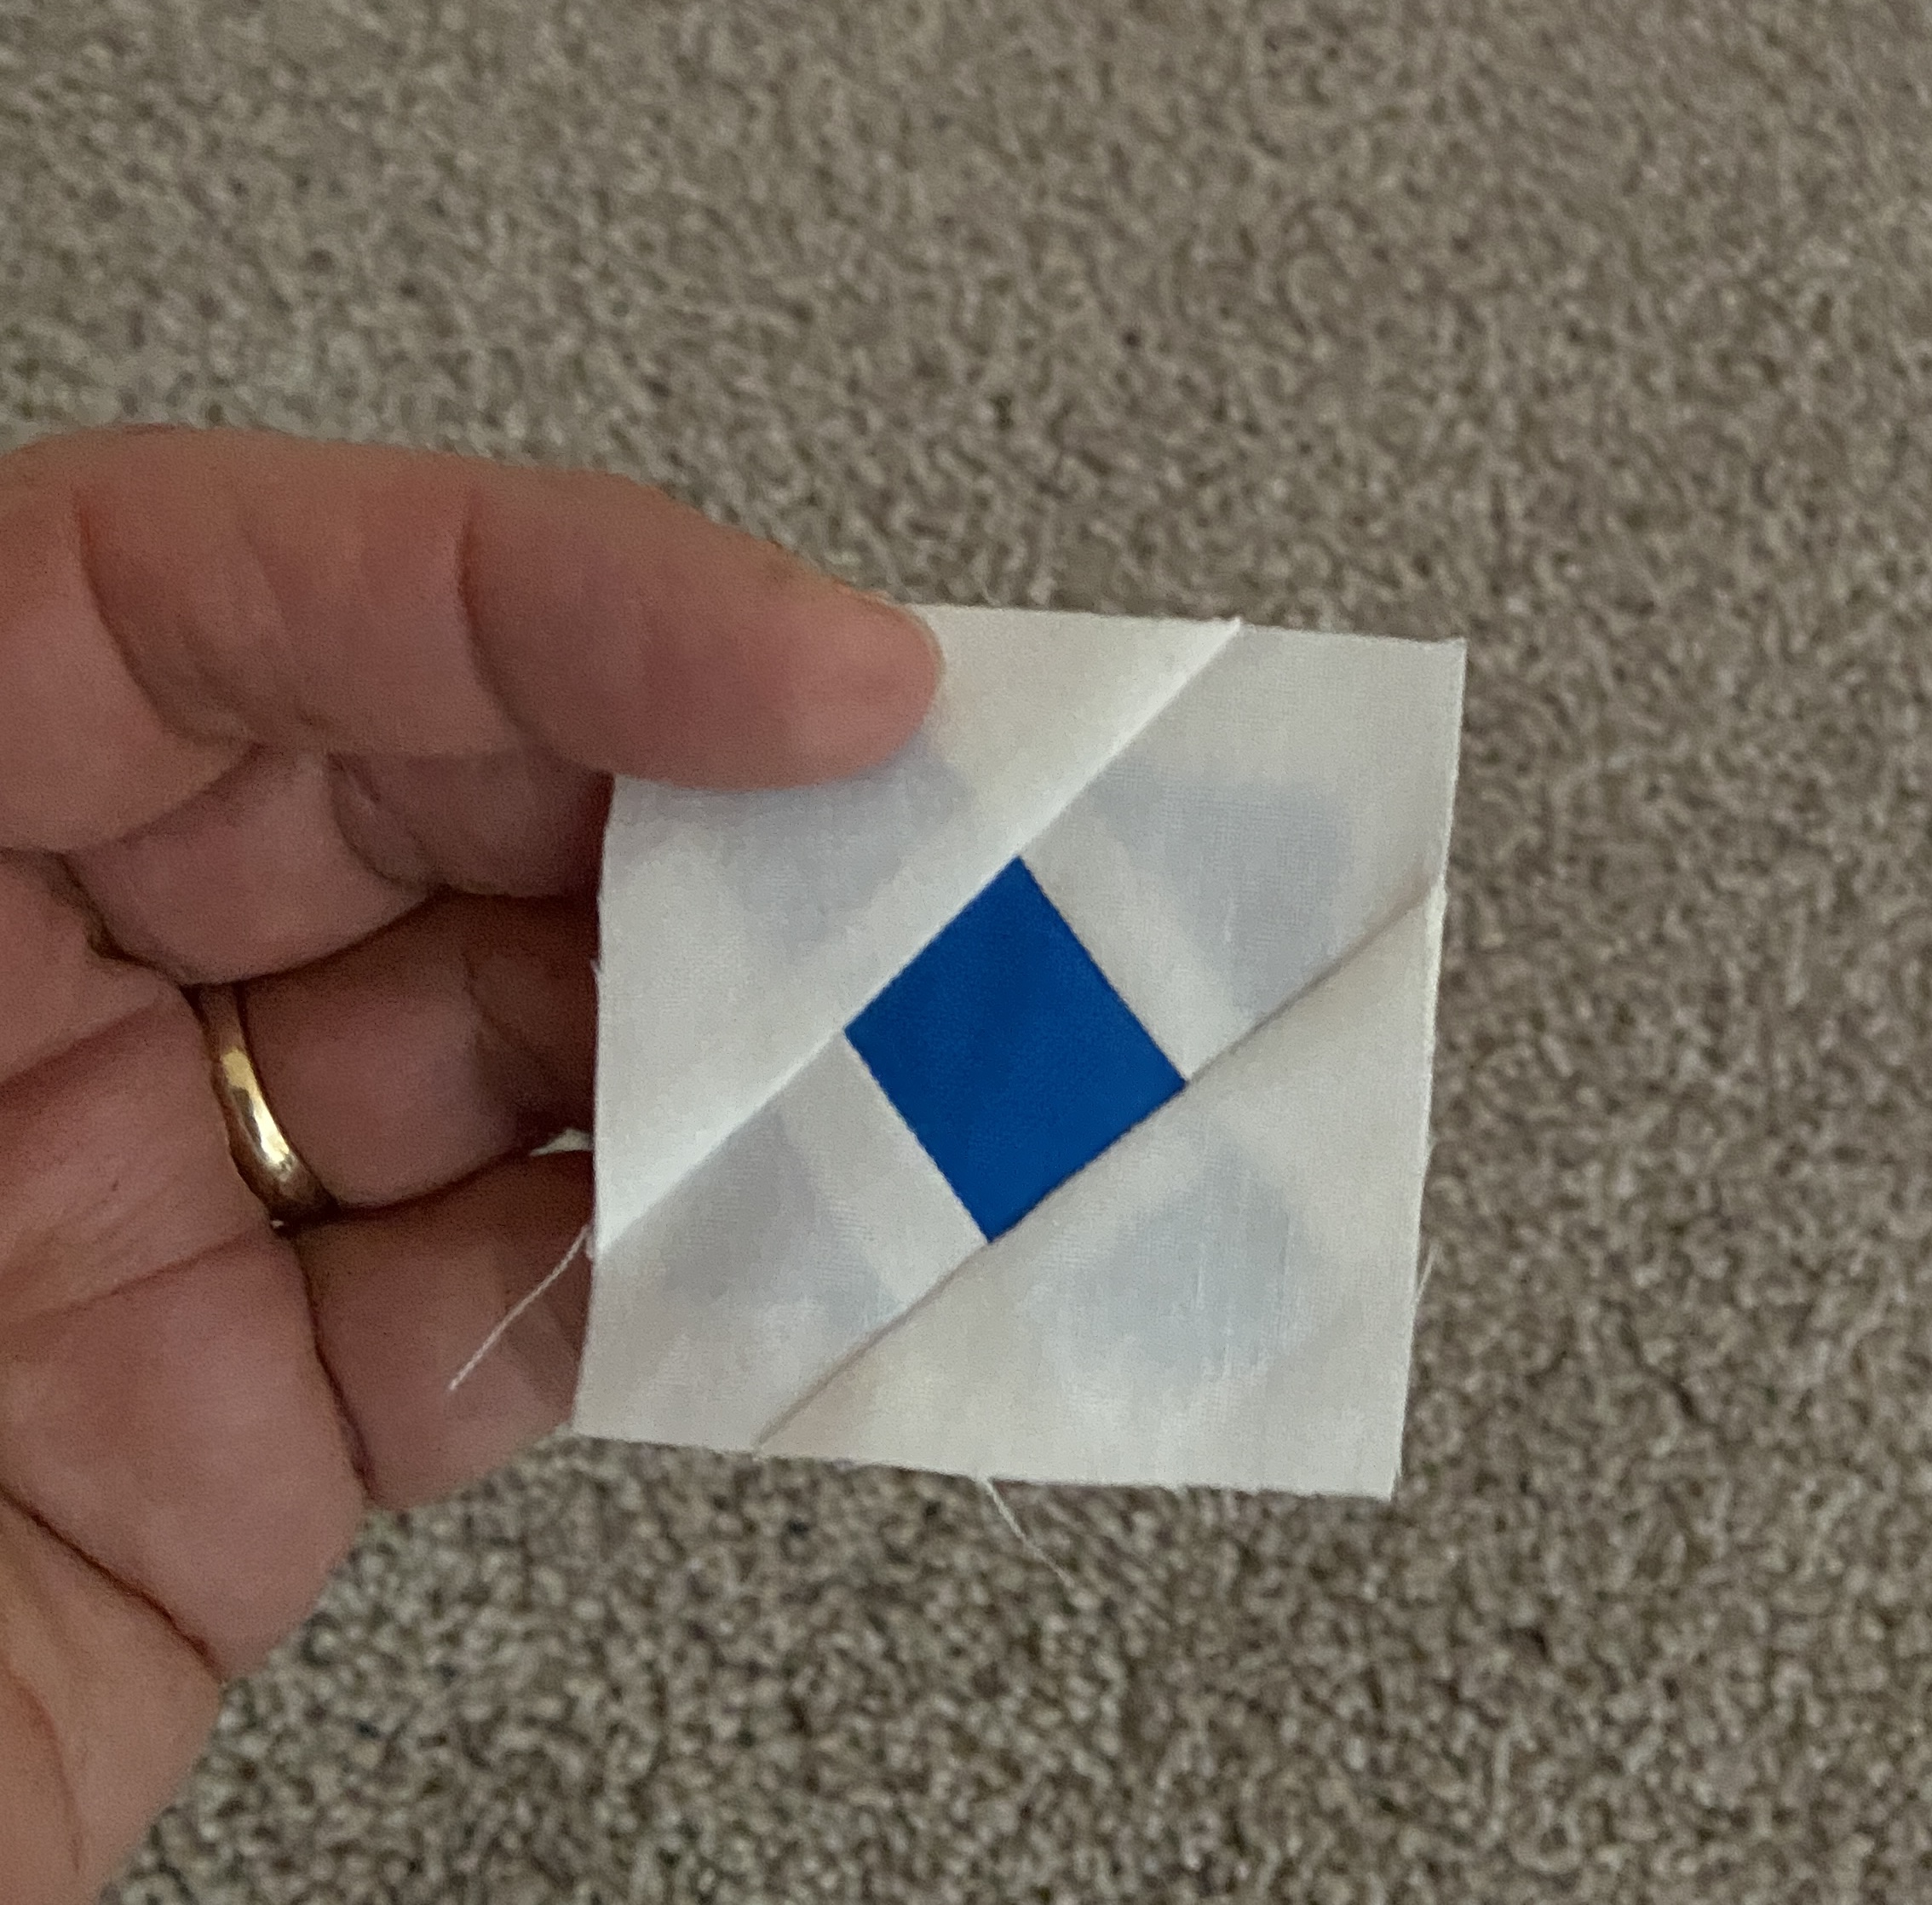
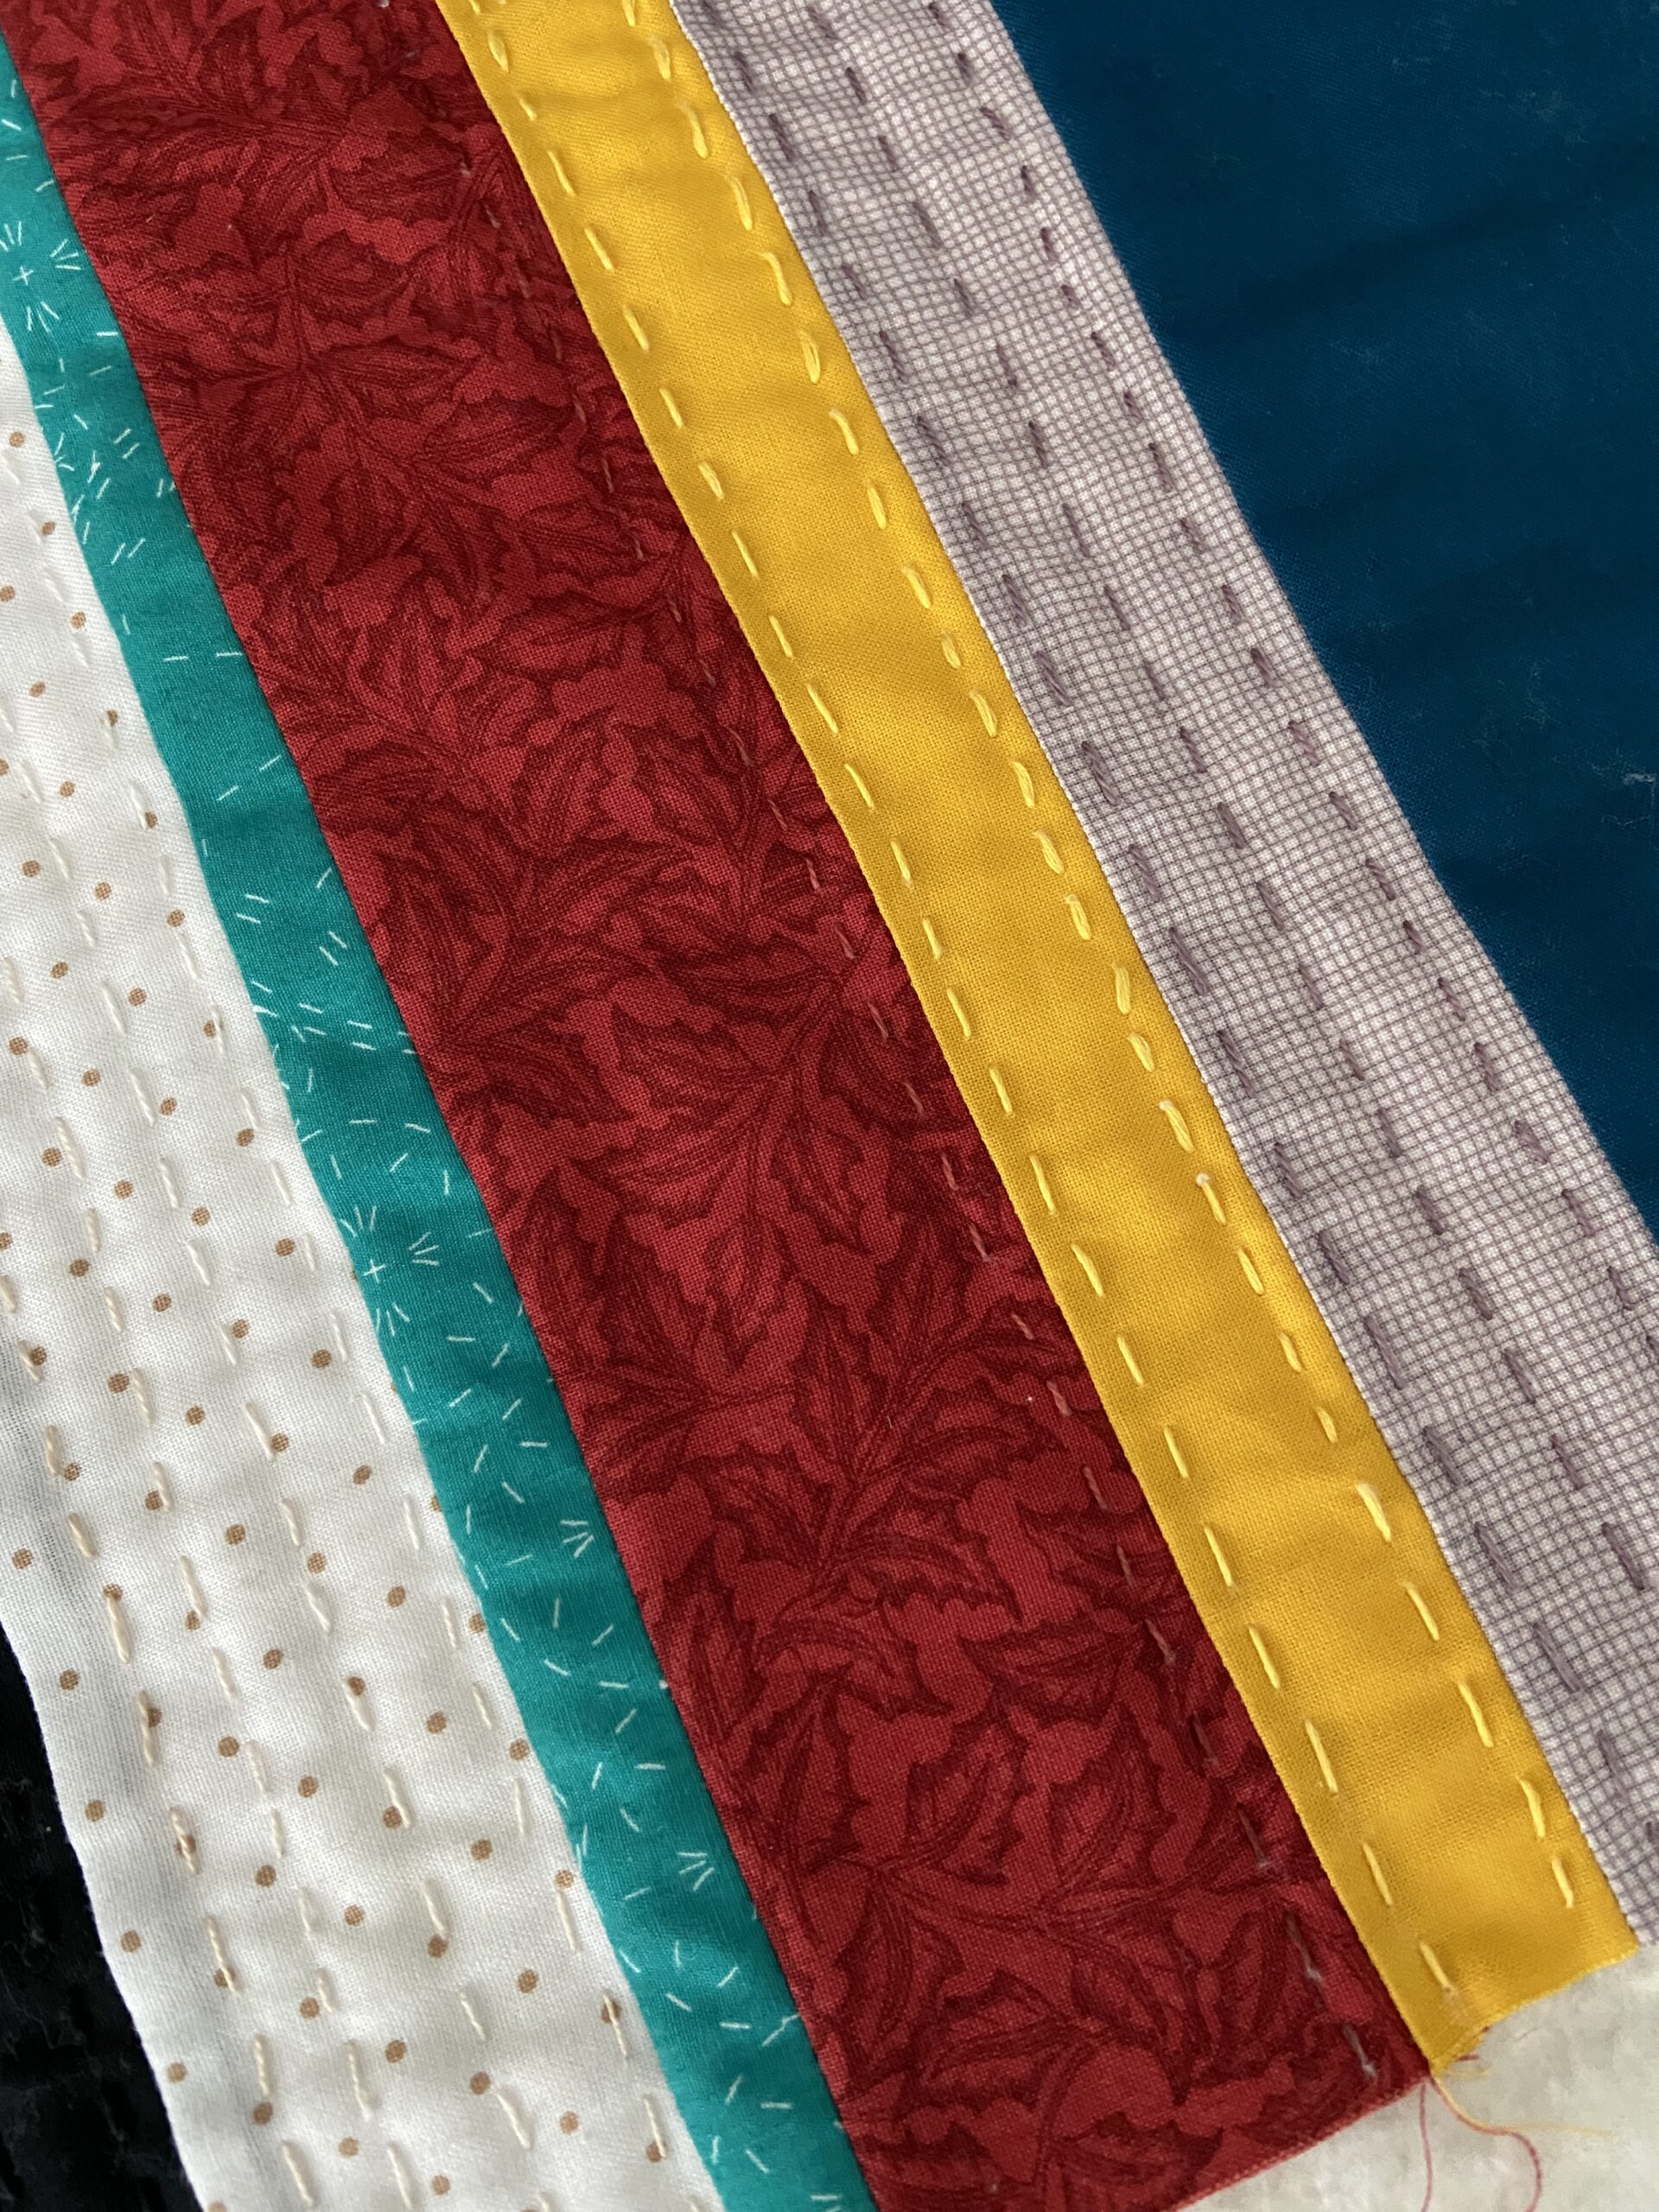
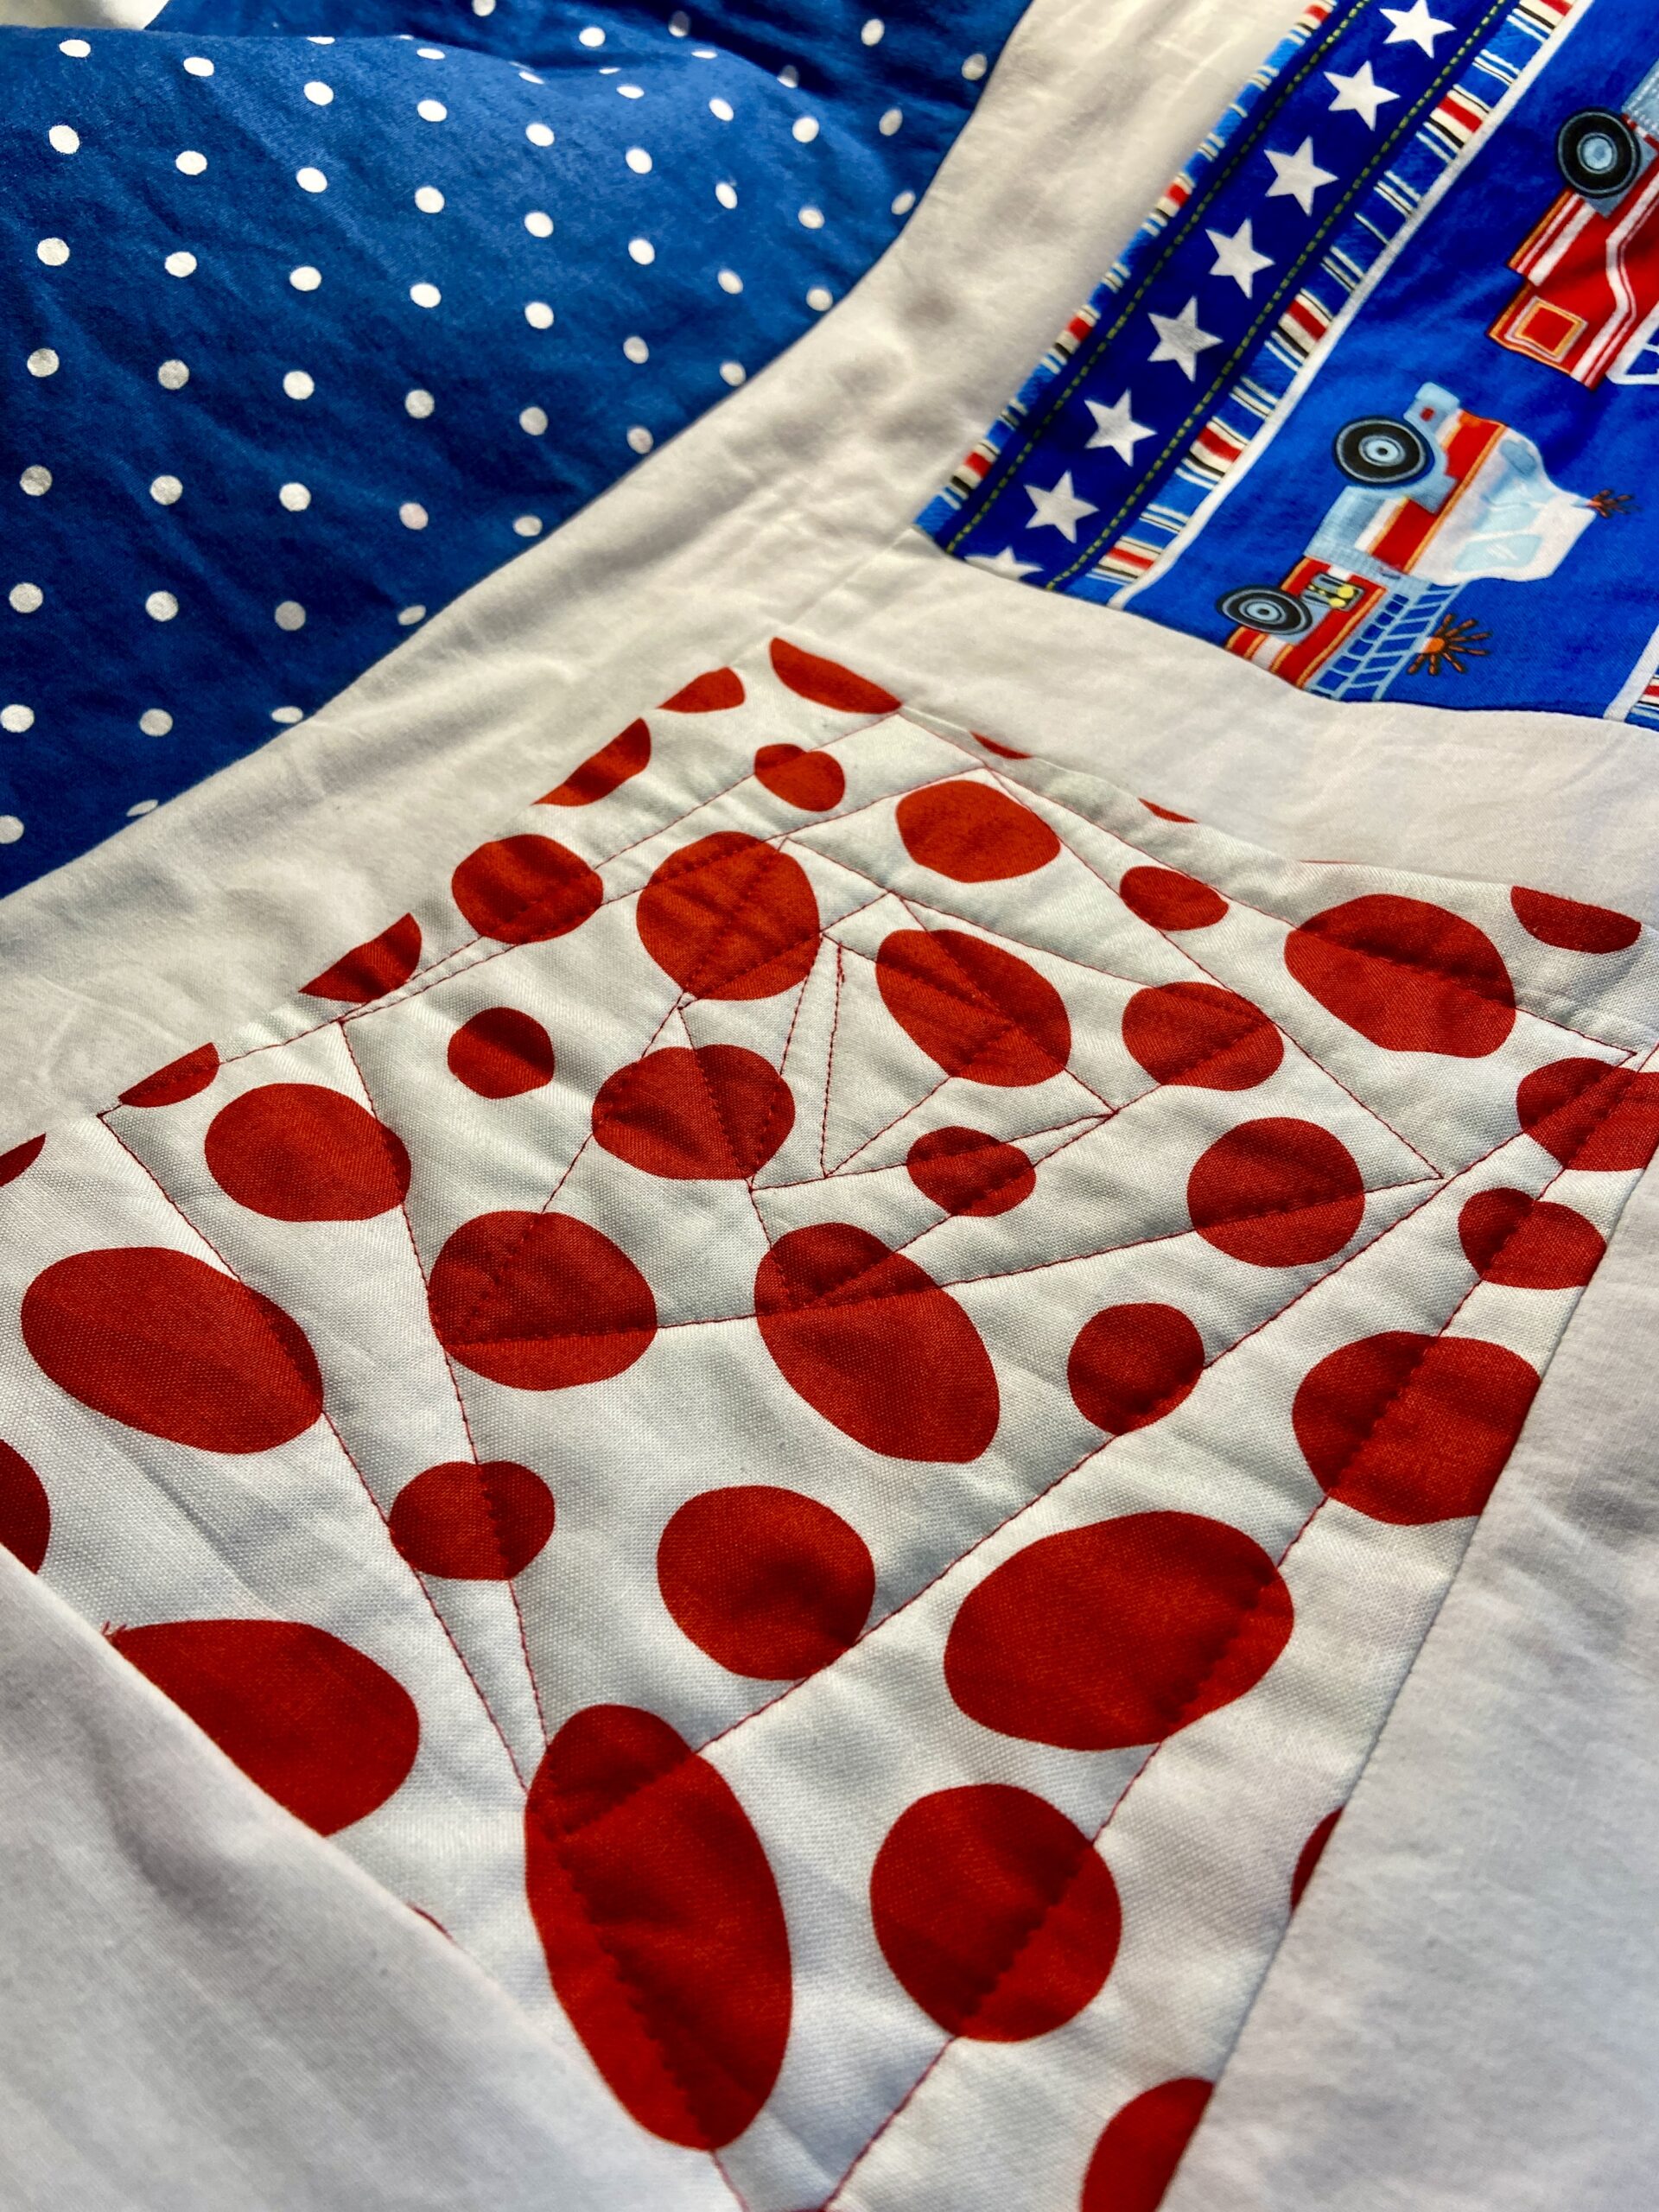
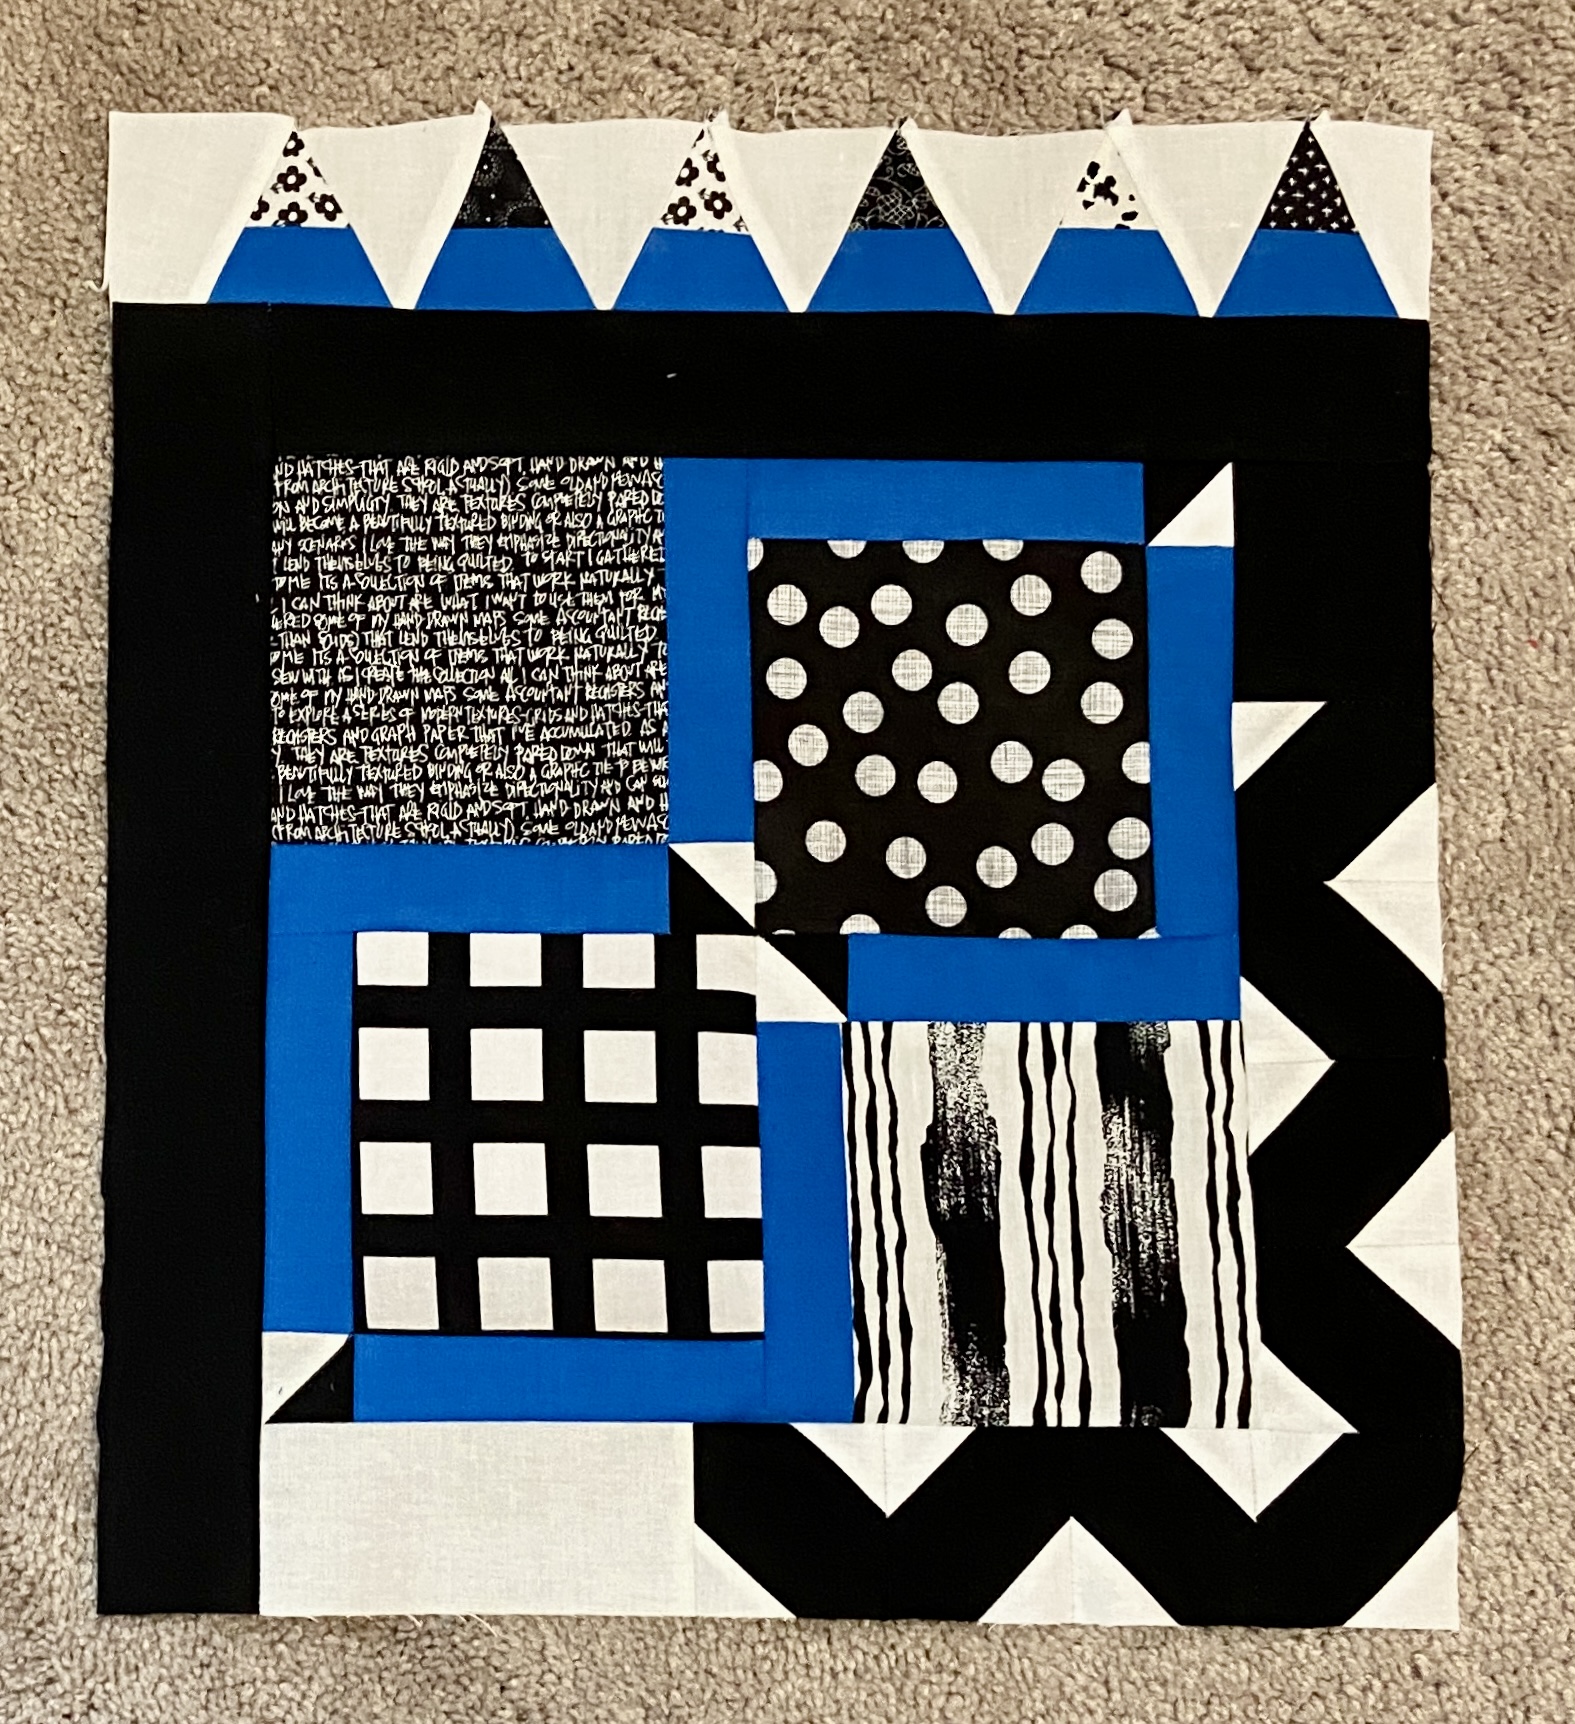
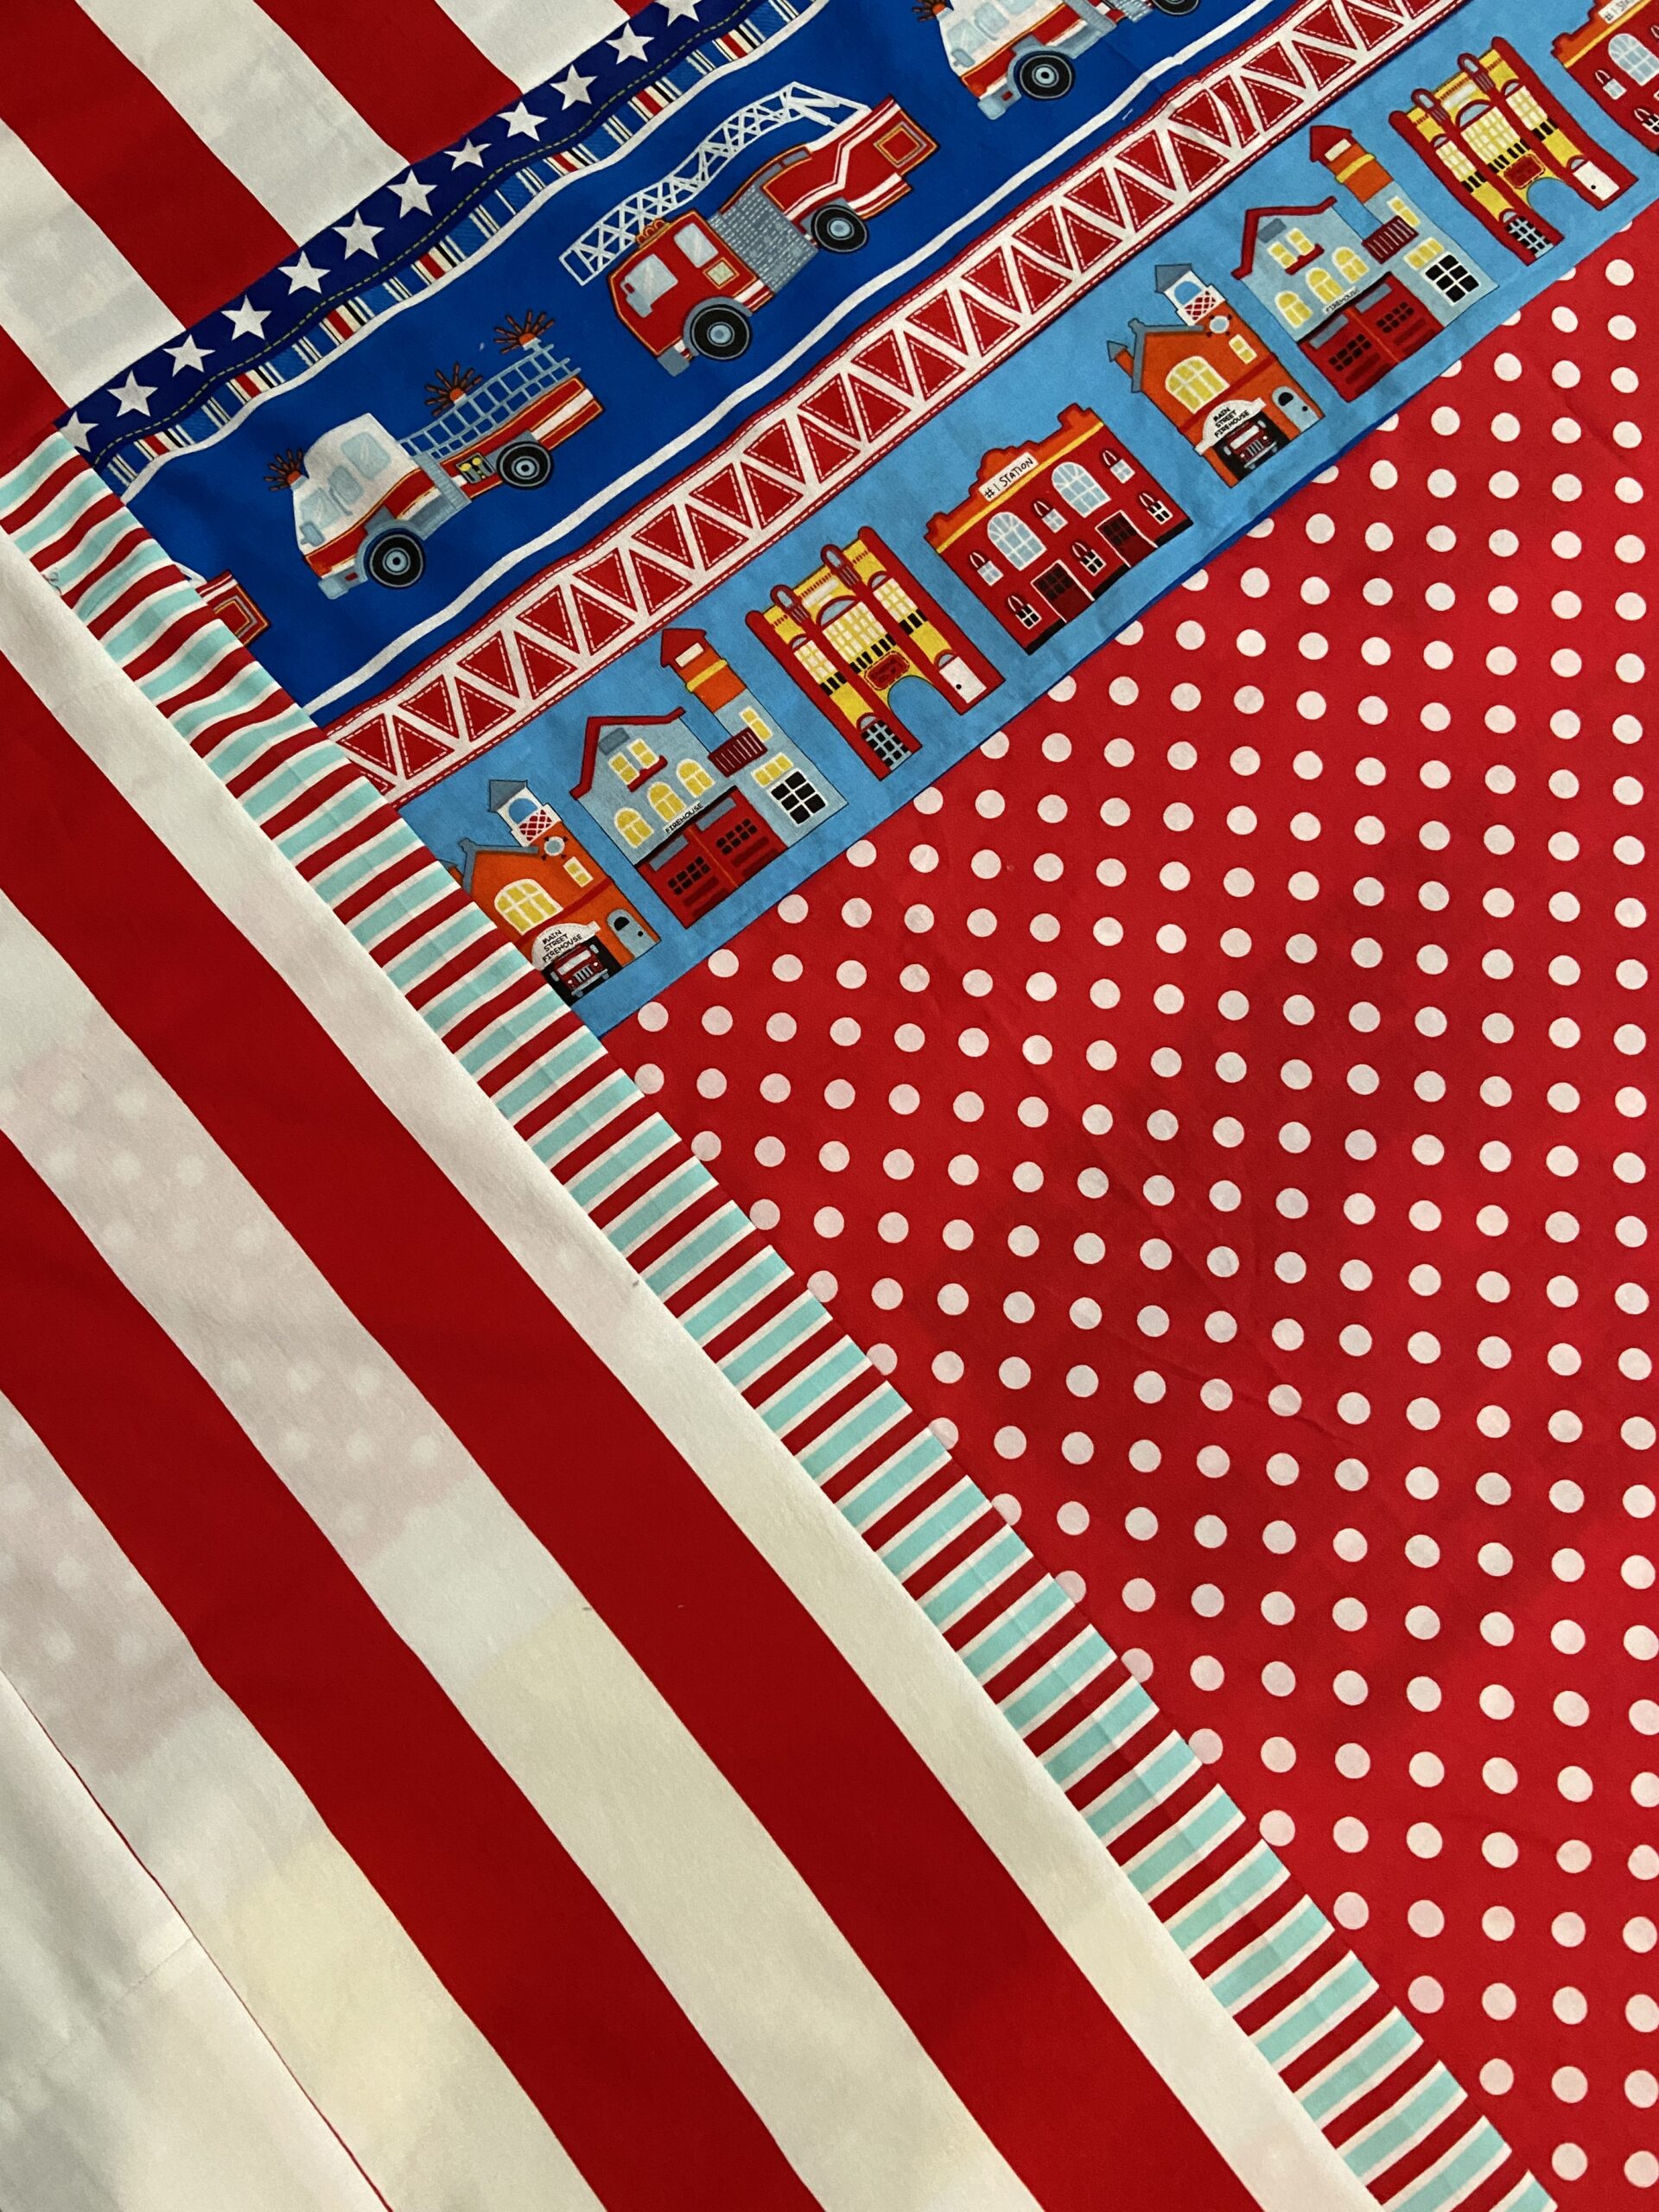
I also made three soft, stuffed blocks. They each have a few rattles in them for a noisy sound as well as crinkly paper in one. They might be a tad bit over stuffed but I still love them.
Should we take a quick look at some of the clothing I made recently? Okie doke!
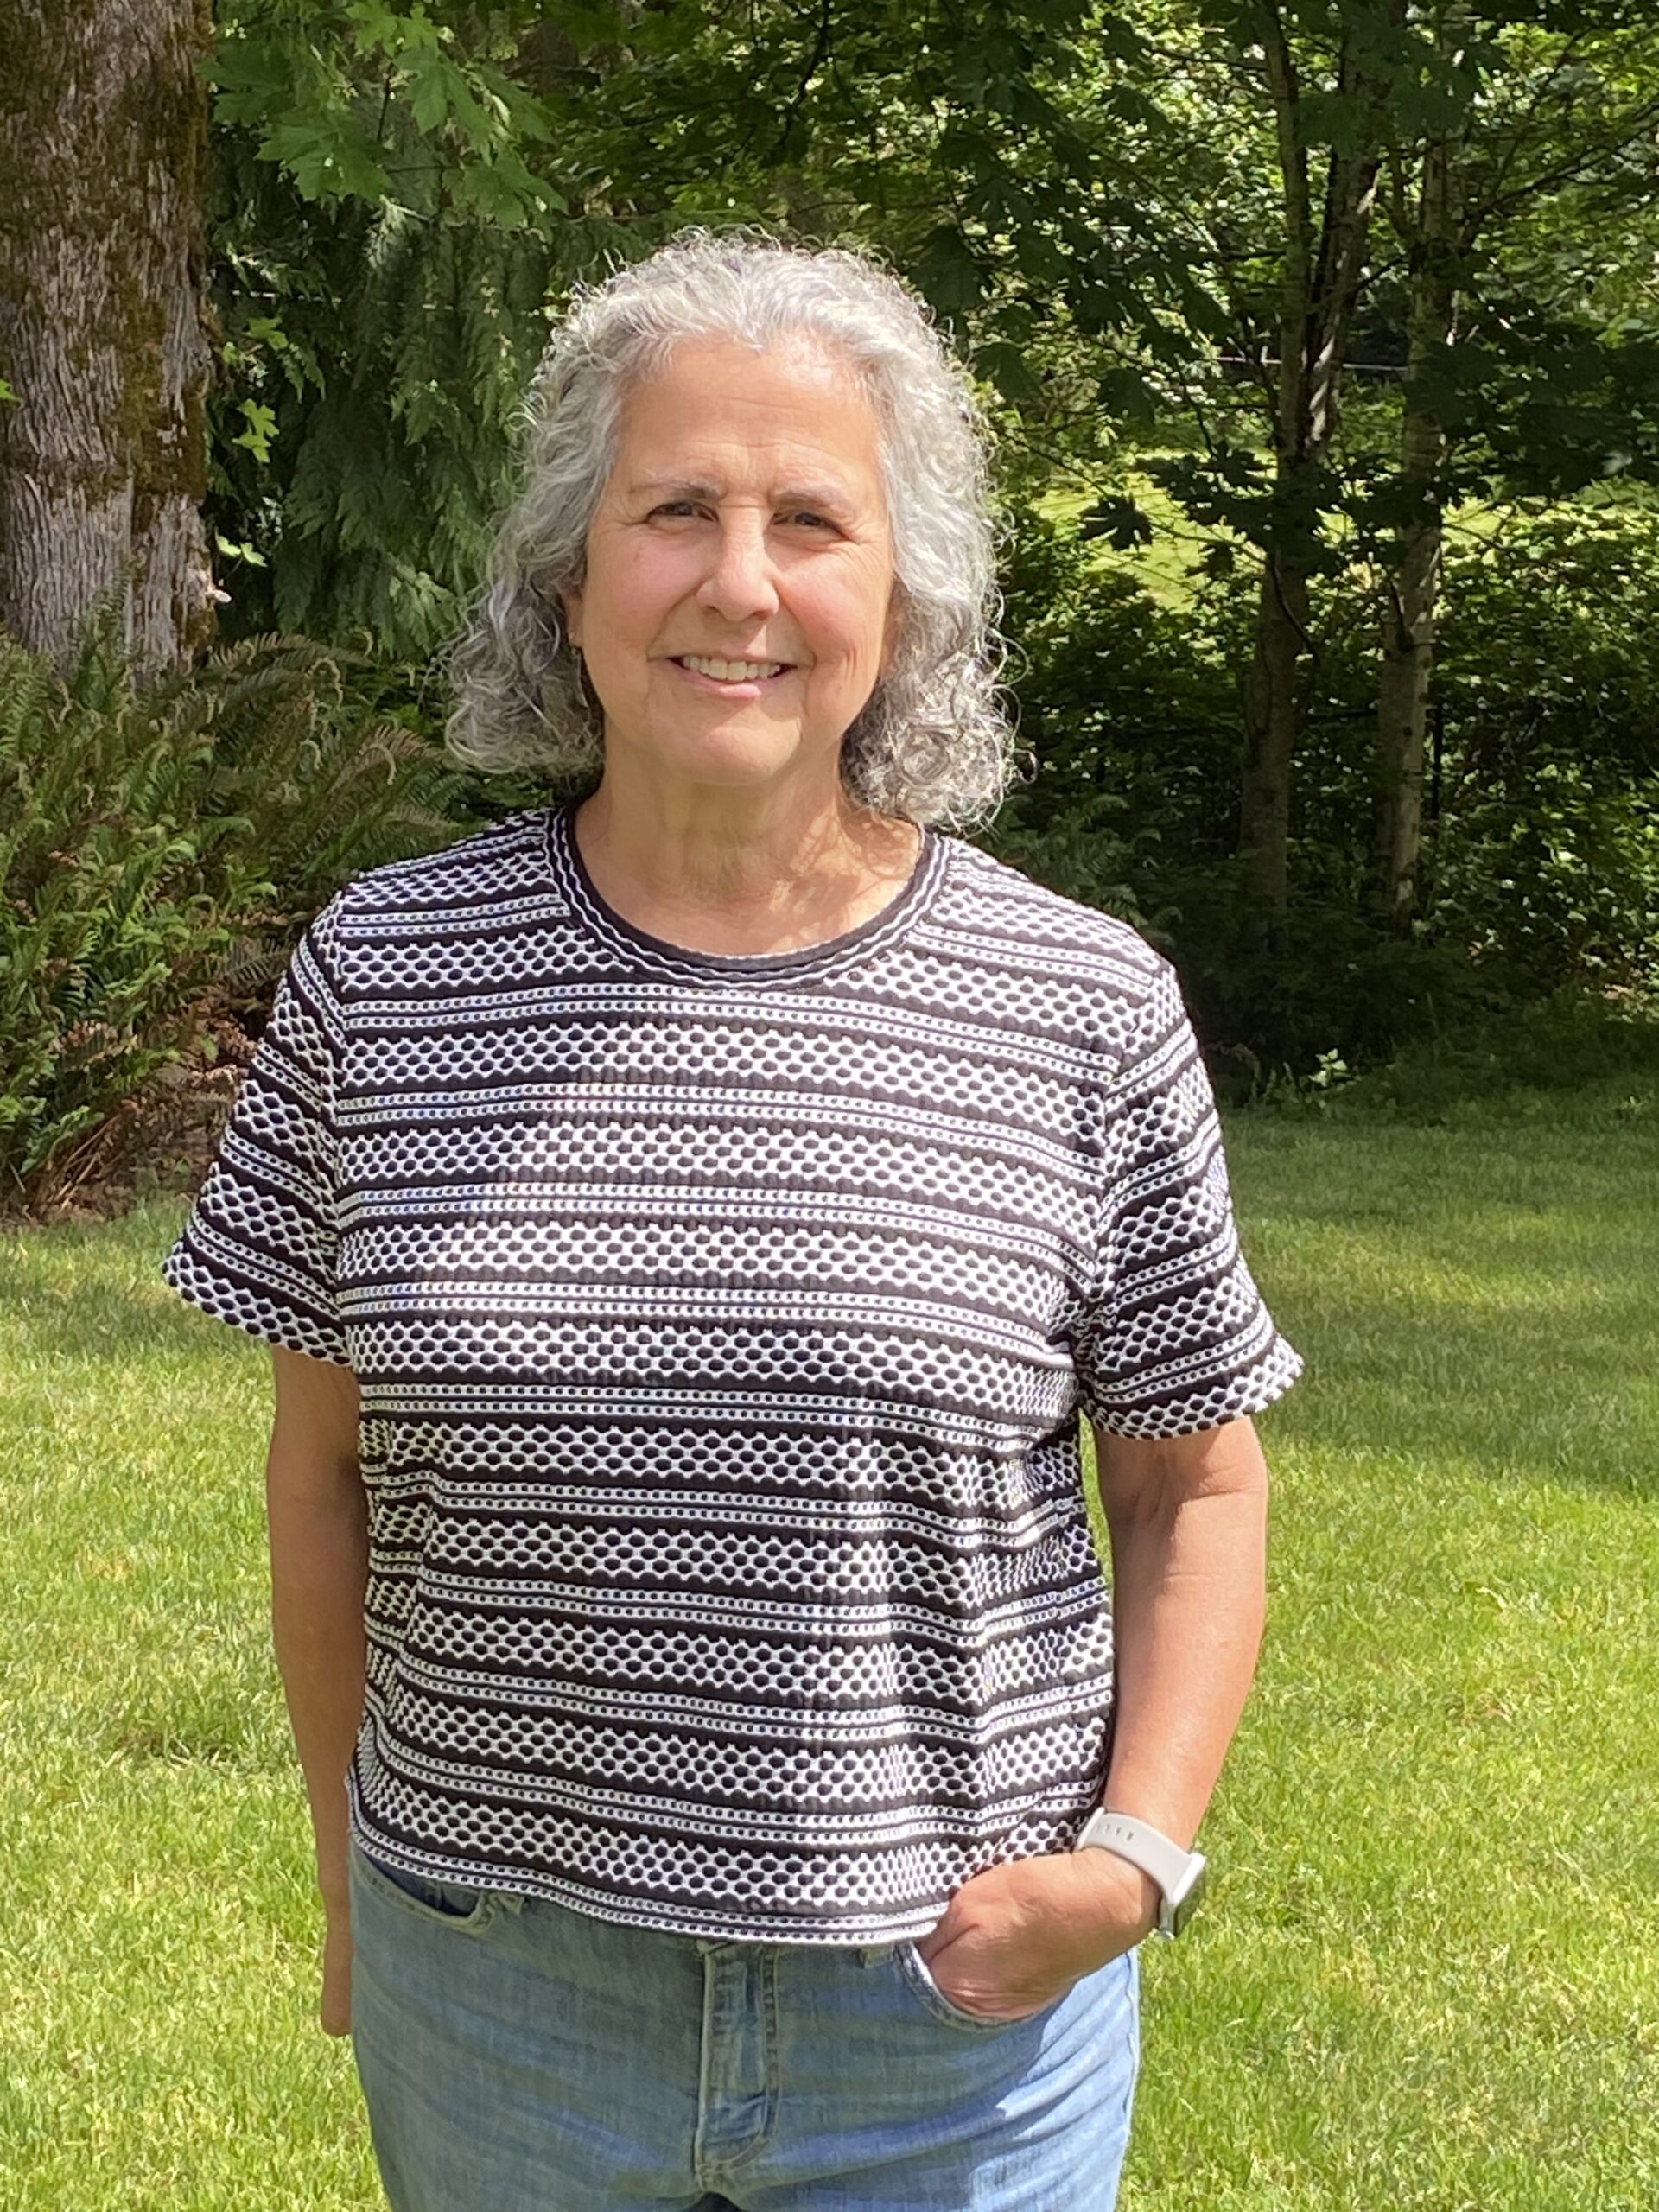
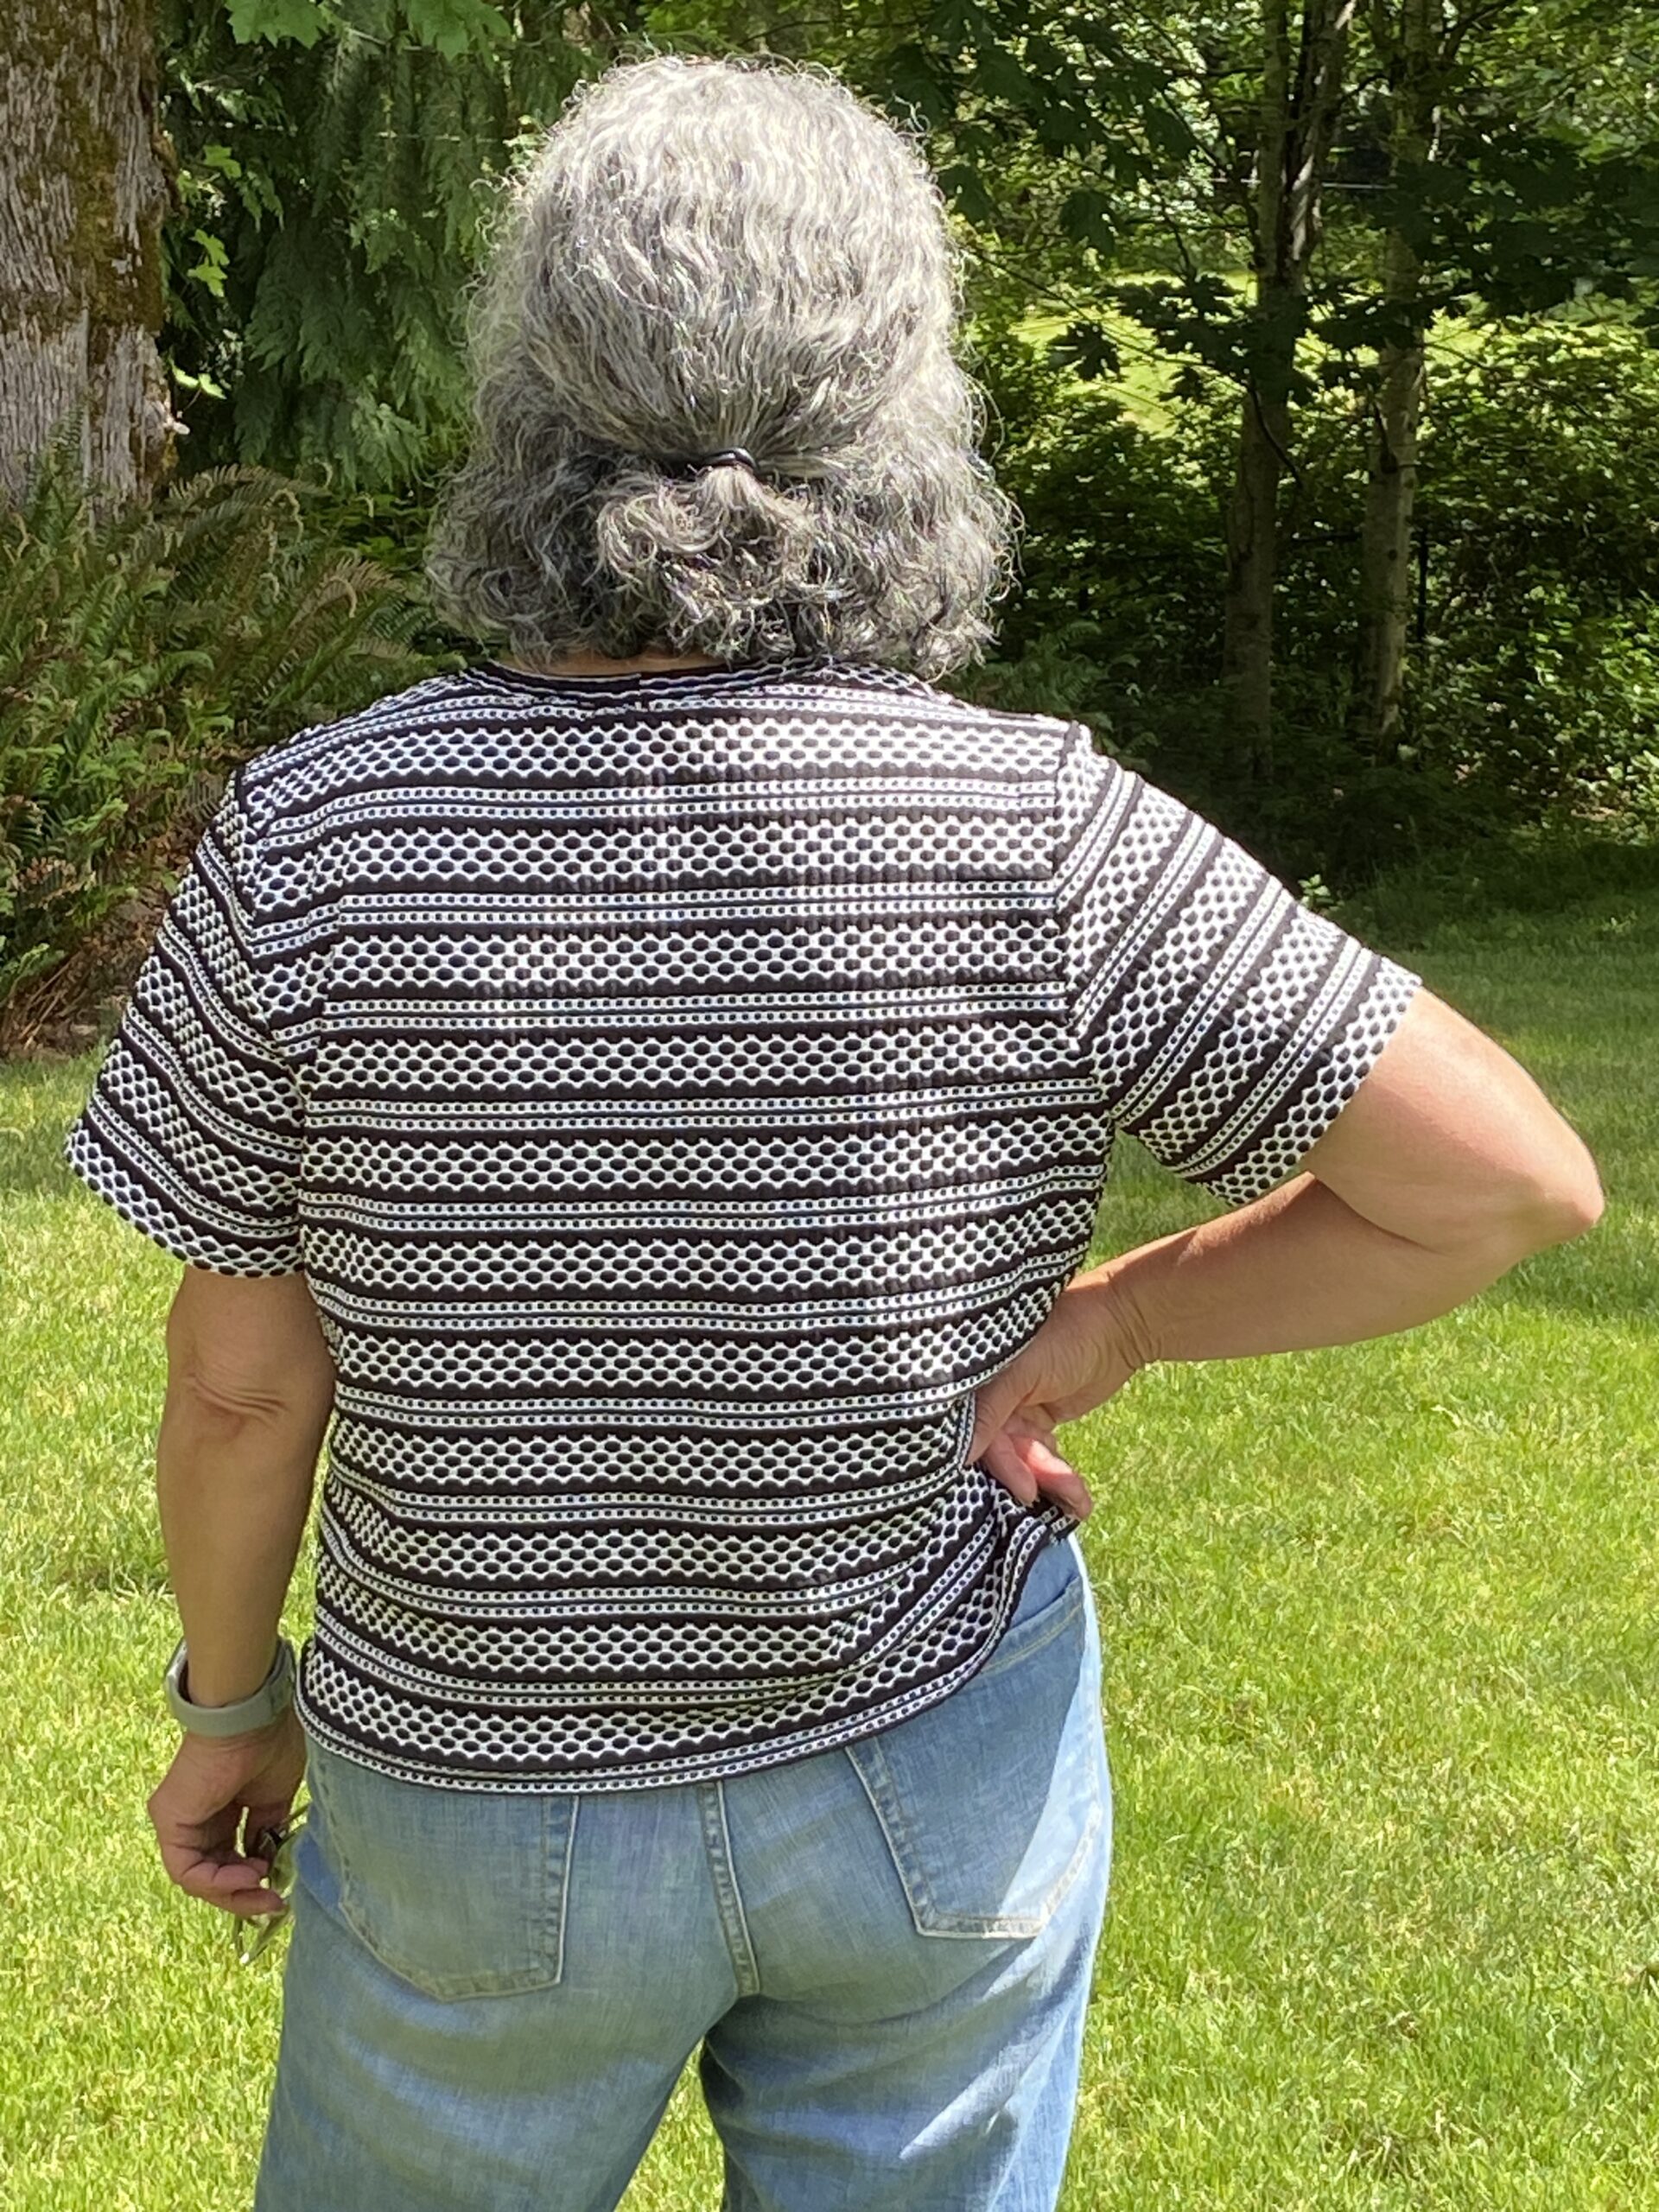
This t-shirt was made with a piece of stretch knit fabric I have had for several years. I am super happy with it, though I would like it to be about two inches longer. However, the size of the fabric determined the length of the shirt. It fits nicely though.
Here is another project I just finished up. A few weeks ago there was a morning class on sewing with knits at a local sewing shop. The actual event was more of a “let’s sell you some knit fabric” session – there wasn’t a whole lot of teaching going on. However I did pick up a great featherweight performance fabric. UV protection and moisture wicking components mean it is be perfect for running. I bought a couple of yards with a plan to make some tops.
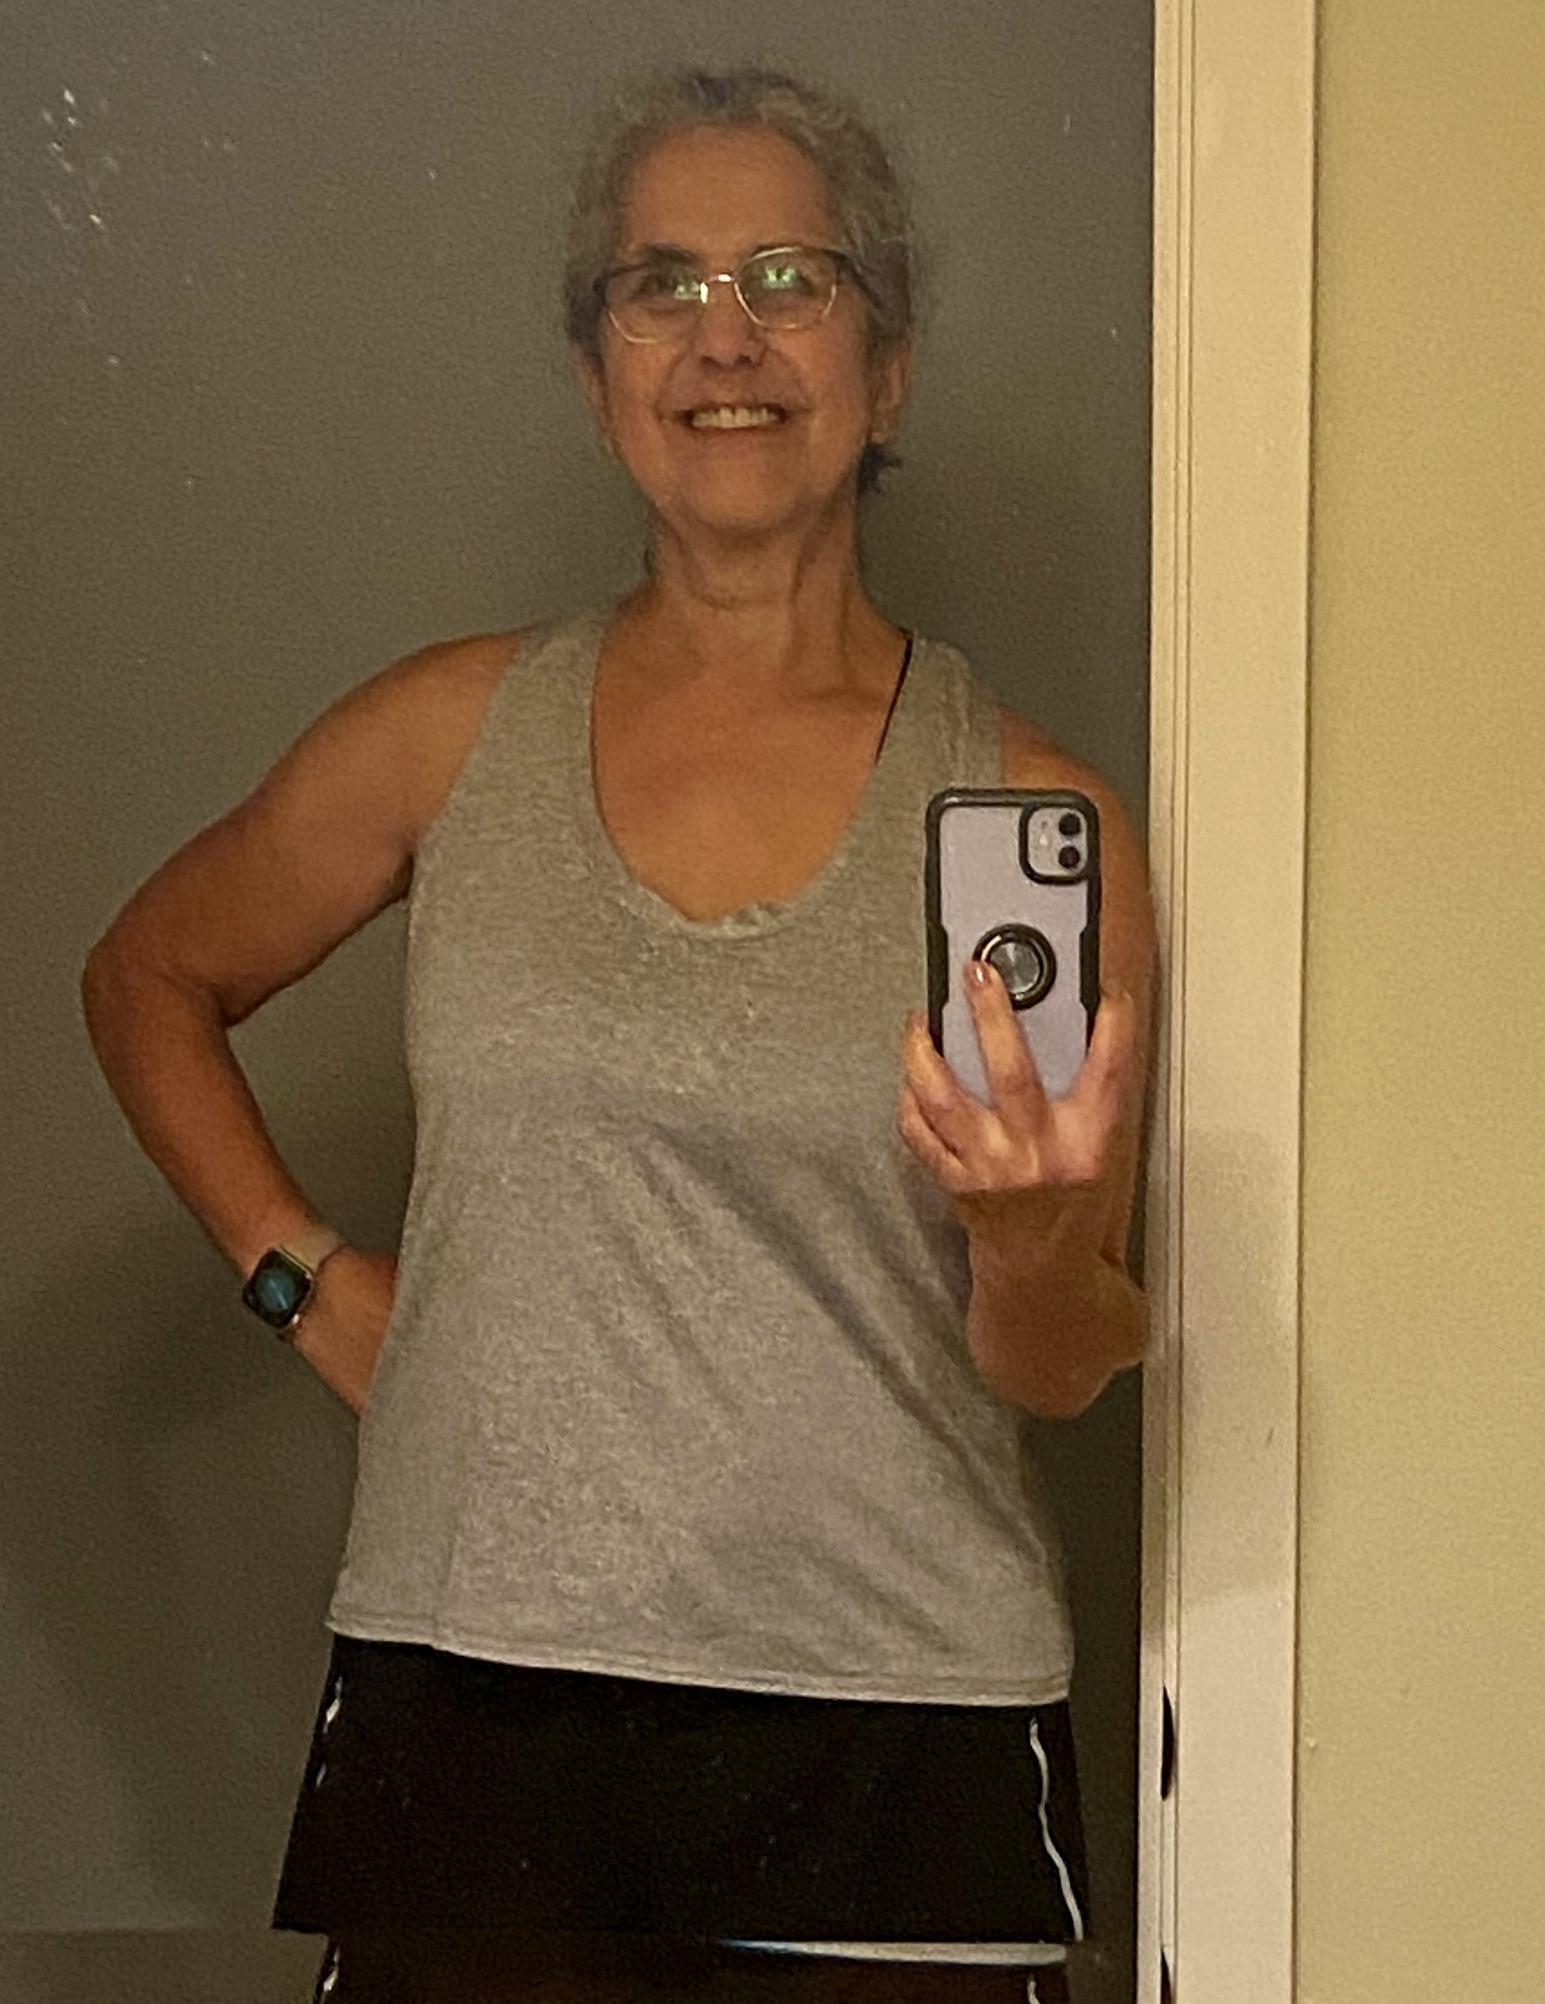
First I made this tank top. It was super easy to make using the Kira tank pattern by Sonia Estep Designs. Soon after this successful make, I tried a second one with a different fabric. I don’t like the fit of it – I just went too fast when I cut it out. Anyway, no picture of it because I am going to make it again with the same fabric.

Here is a blouse I made with a piece of voile that was on the shelf. I like the fit of this one quite a bit. The pattern, McCalls 7548, is from 1994 and very dated looking. I had to modify it a lot because it was a size 18 which is too big. But it turned out cute and I plan to wear it a lot.

Another piece of fabric, another project! I picked up this fabric years ago at a garage sale. It is super lightweight, maybe a thin chambray. I saw this pattern and it was perfect! I haven’t taken a picture yet as I just finished them. But they are very cute. Running the stripes in both directions is really clever. (I was too lazy to make the belt loops and belt.)
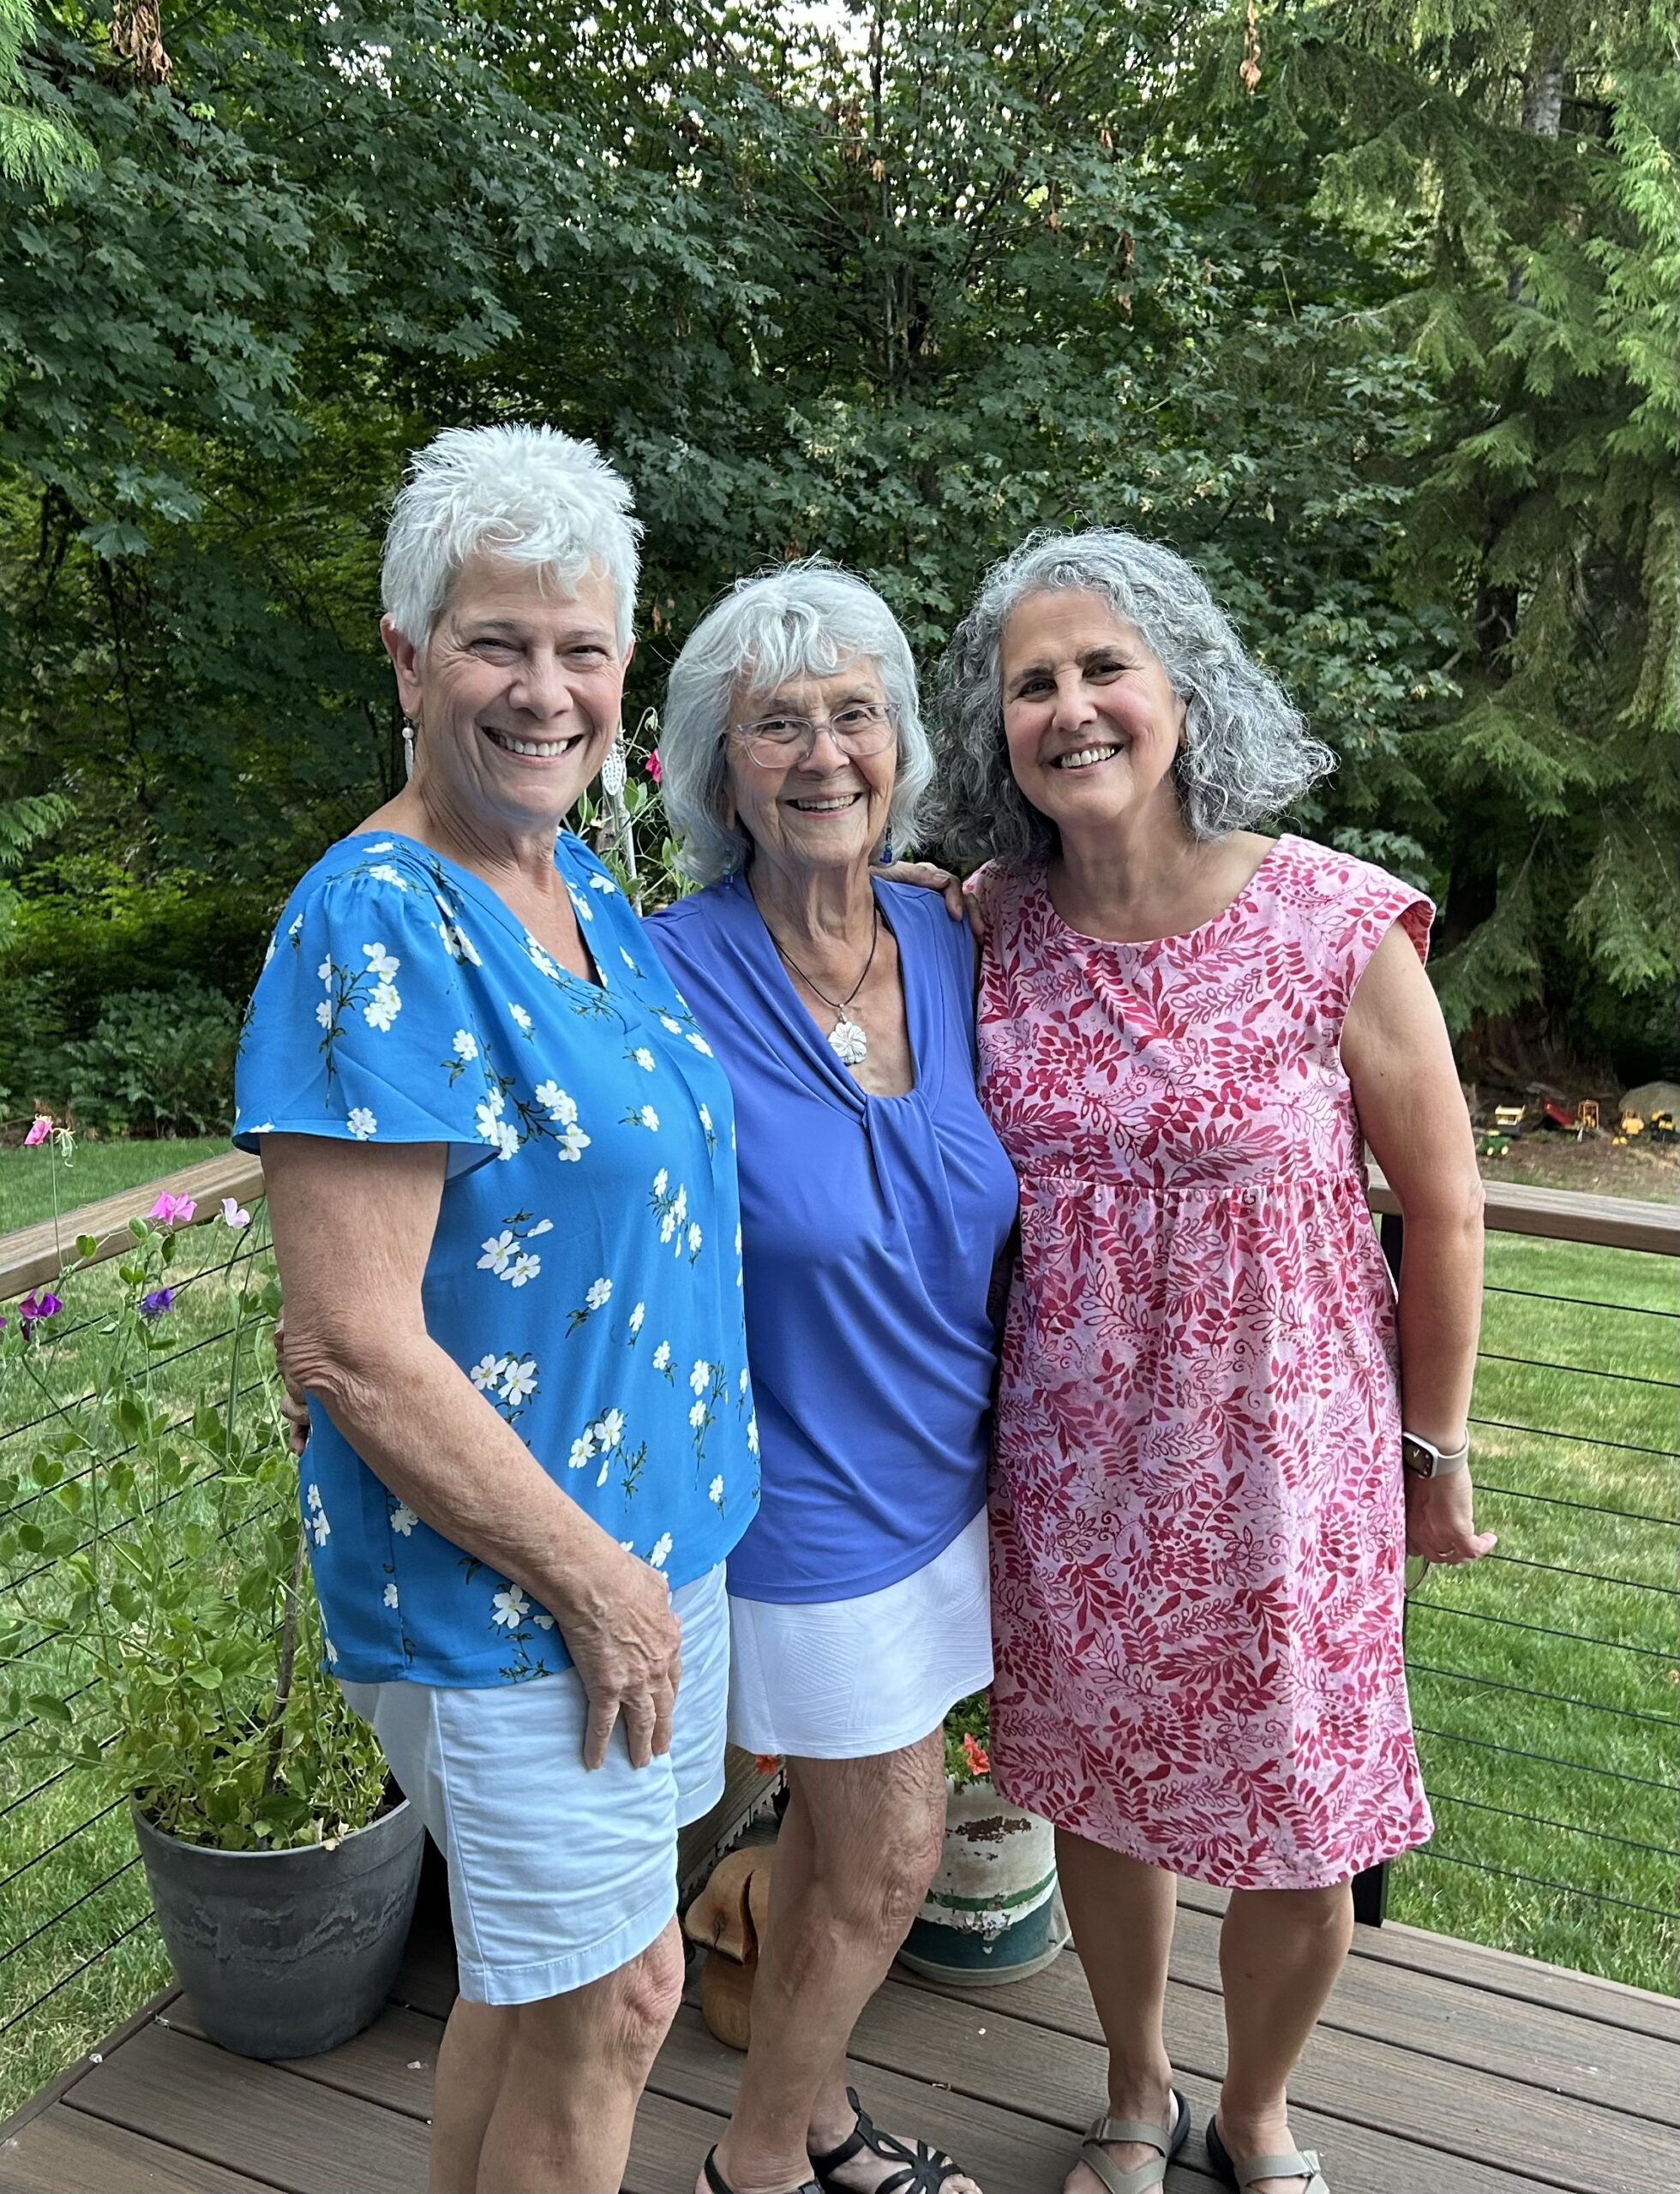
Last but not least, here is a dress I made. The knit was scored at the Goodwill for $3.00! I have more left after making the dress too! I like this but if I were to make it again, there are a few things I would change. It is slightly tight across the back and the bodice could be lengthened. Just in case you are wondering who I am with in this adorable picture, let me introduce you to my mom and cousin. We all share the same first name – Mom, Bernie and Bernie. My cousin lives in Louisiana so we don’t see her nearly enough. When we do though, it is our tradition to get a picture of the ‘three Bernie’s’.
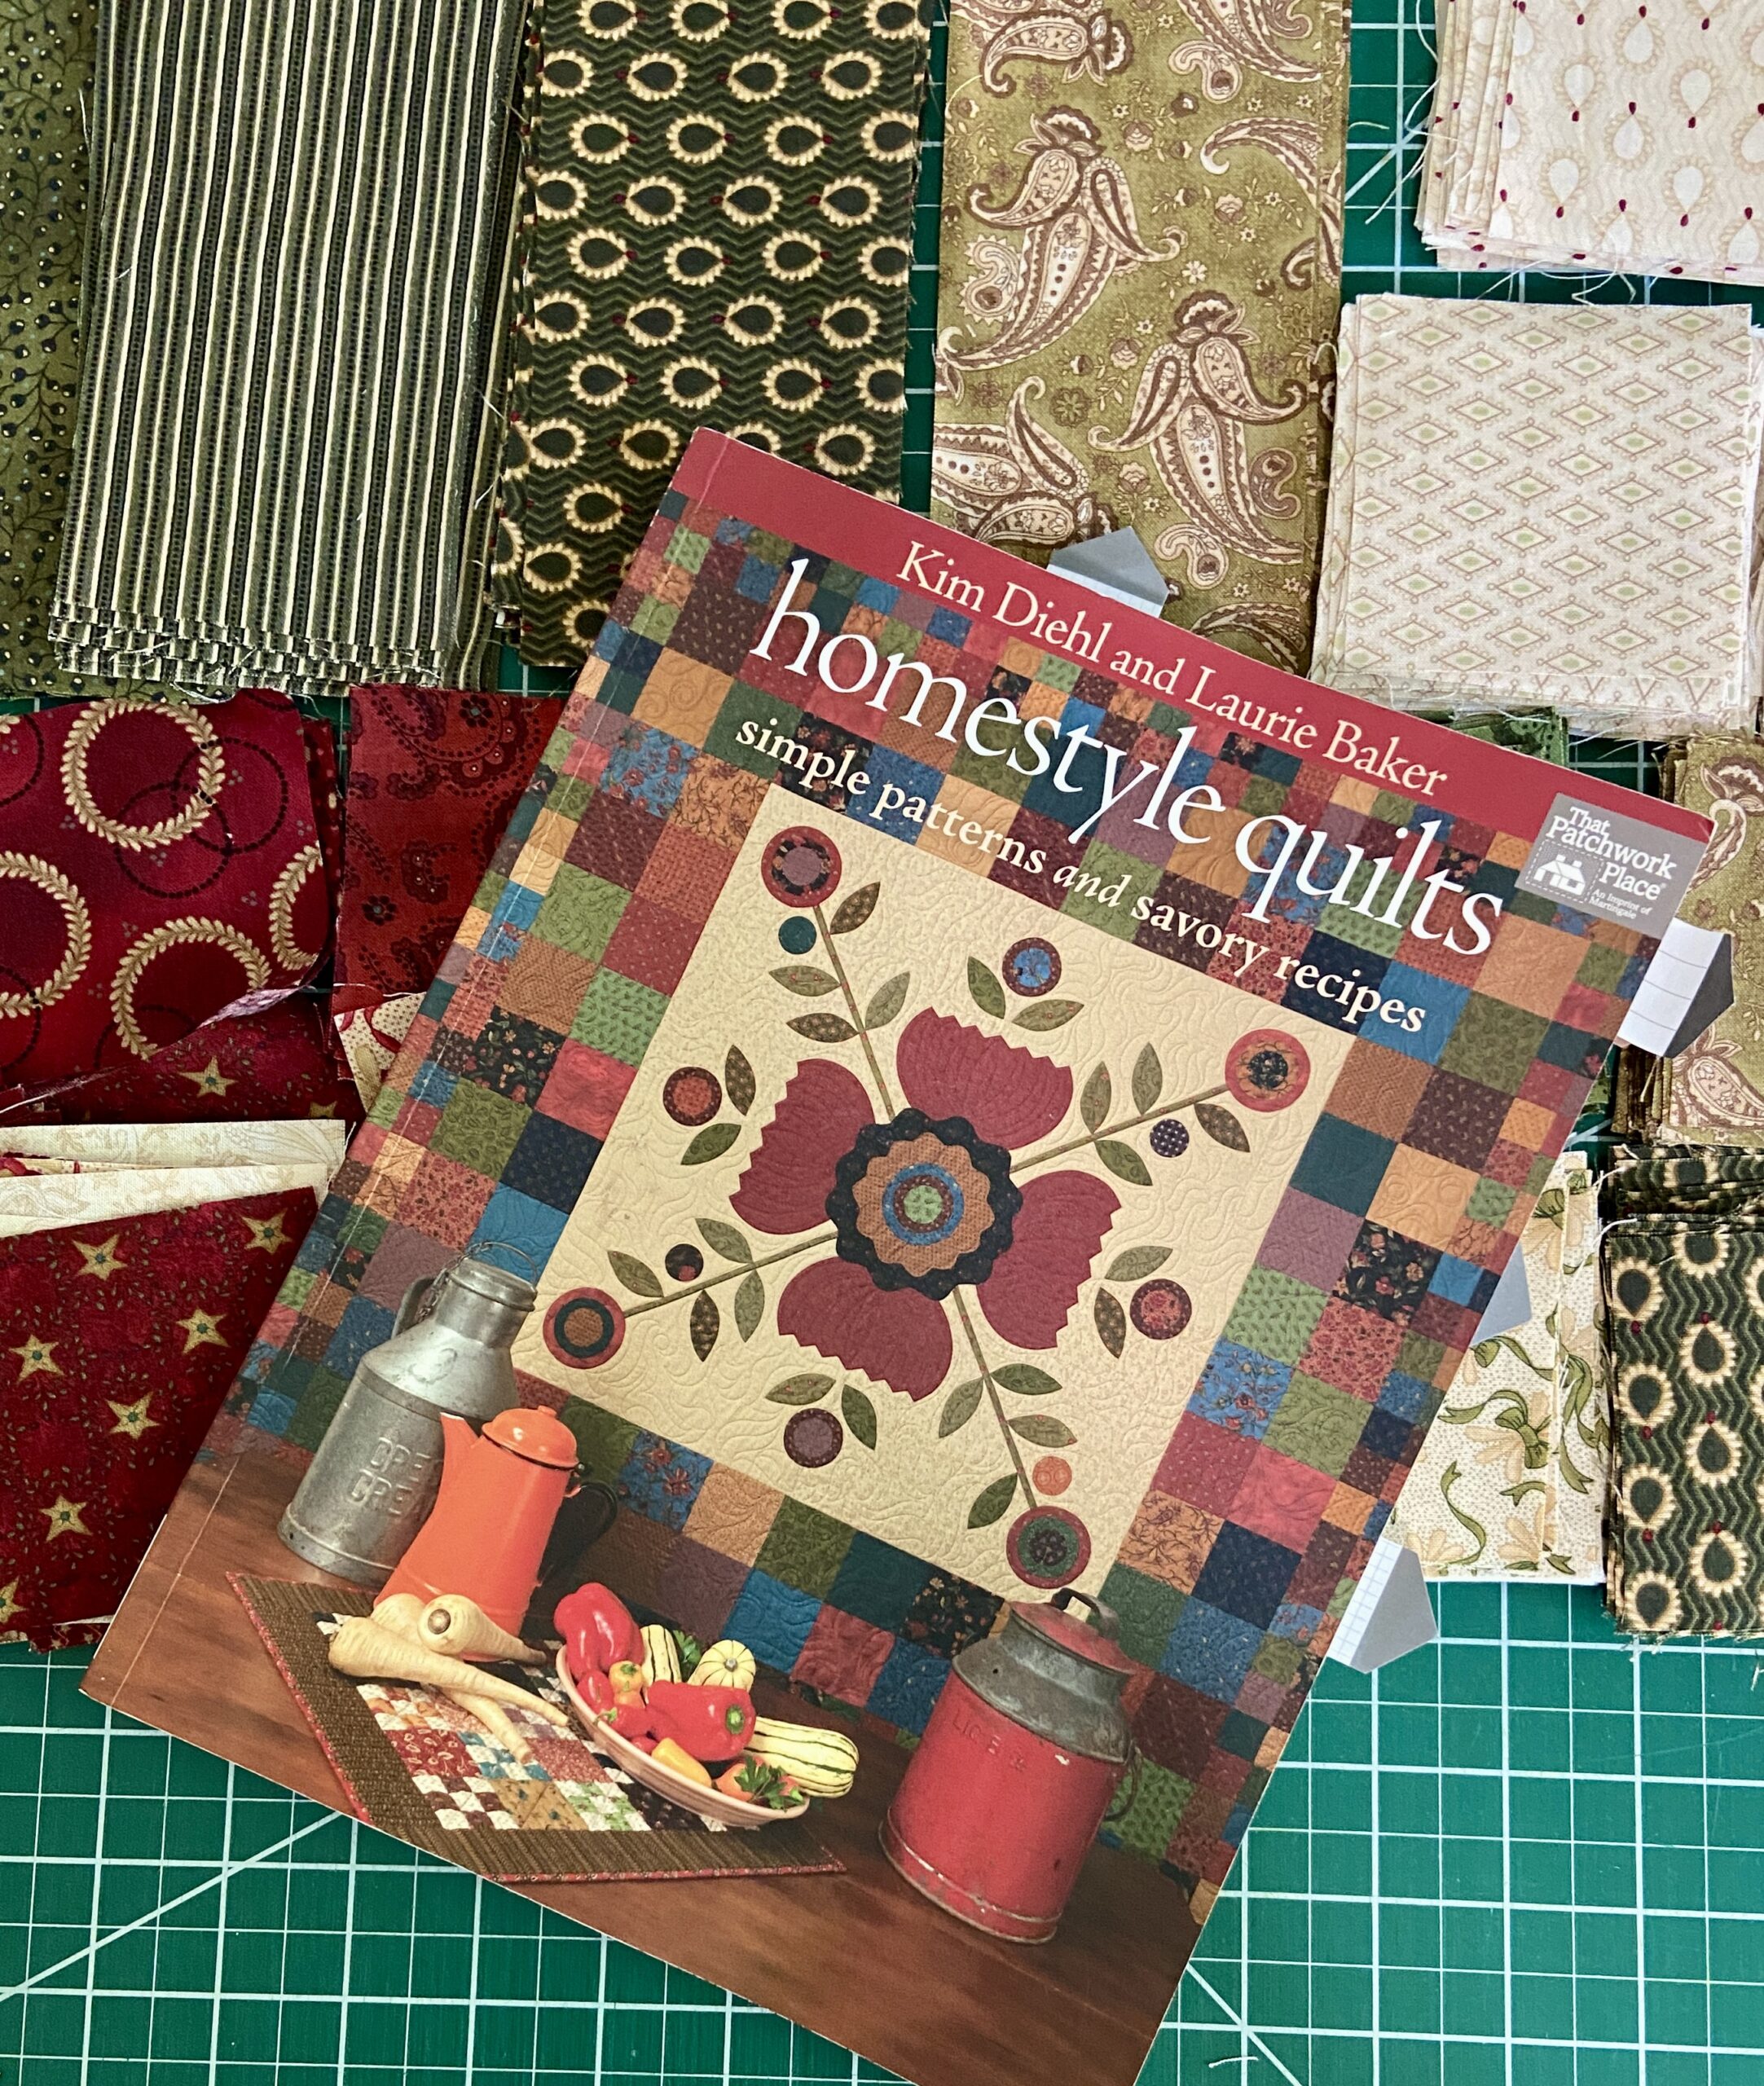
This weekend there is a quilt show in Sequim, WA. My friend and I plan to attend. My goal is to enjoy the quilts and NOT bring home more fabric. Seriously working on using up the stacks of fabric I have so I do not need to add to it! I will let you know if I can control that impulse to buy fabric. (It is so hard!!)
Nice to be back in touch! Let me know how you are doing, ok?
Sharing at some of my favorites. Check out the links at the top of the page for Brag About Your Beauties and TGIFF. 🙂