Category Archives: Scrappy Quilting

Scrappy Pink Finish

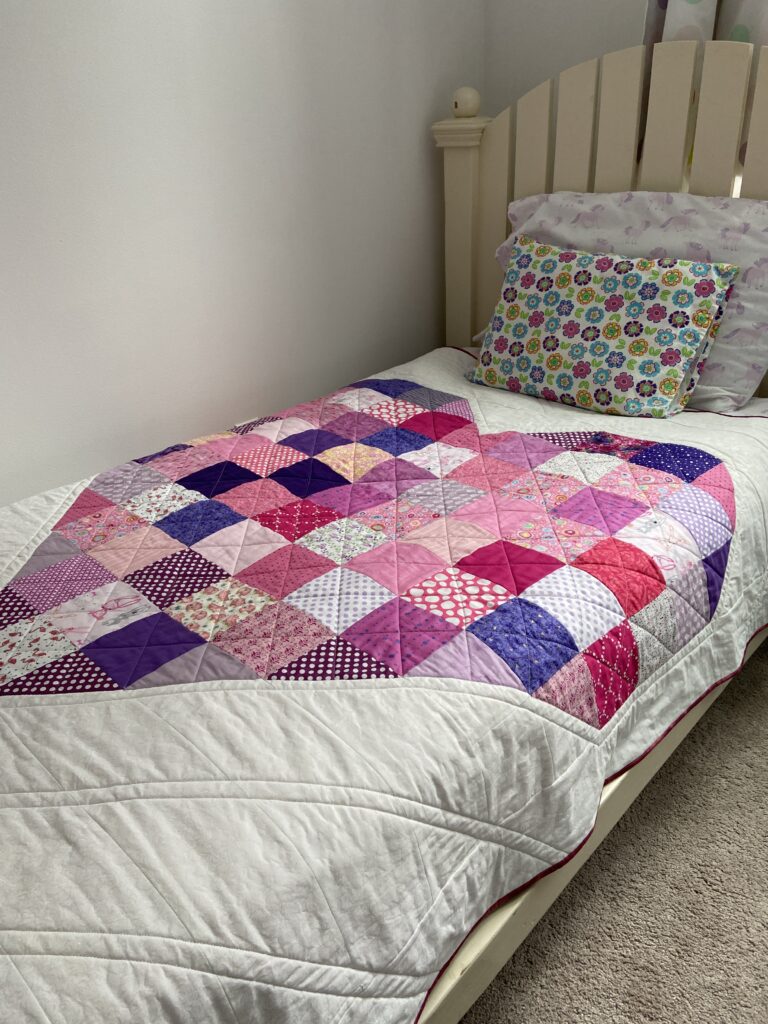
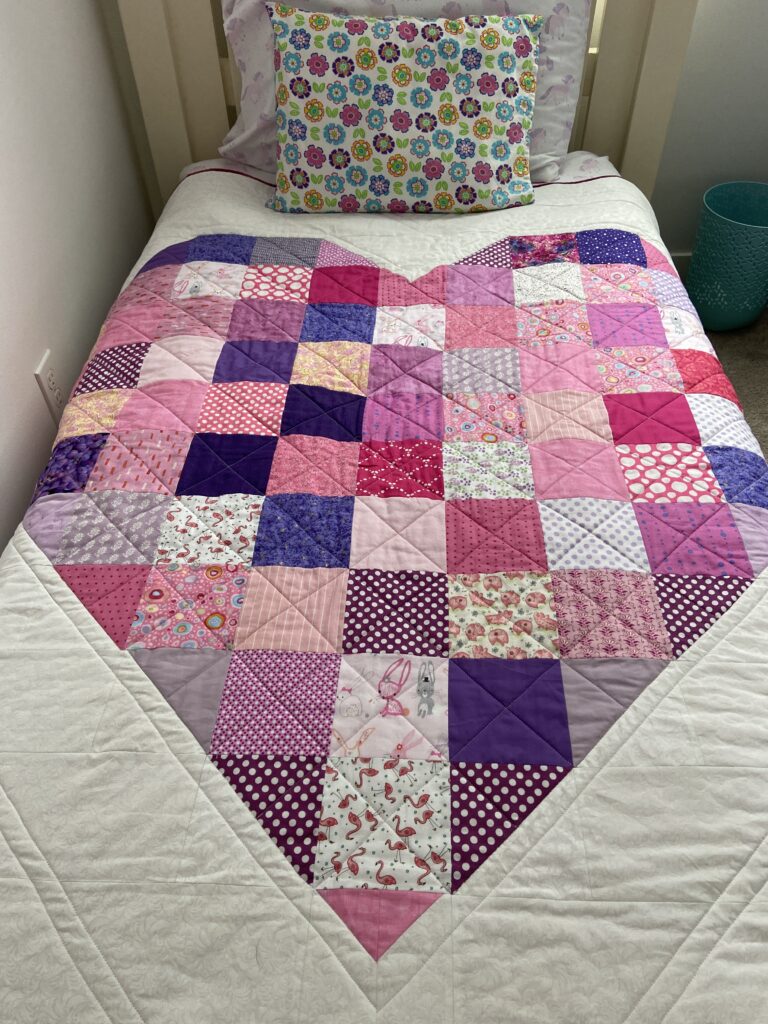
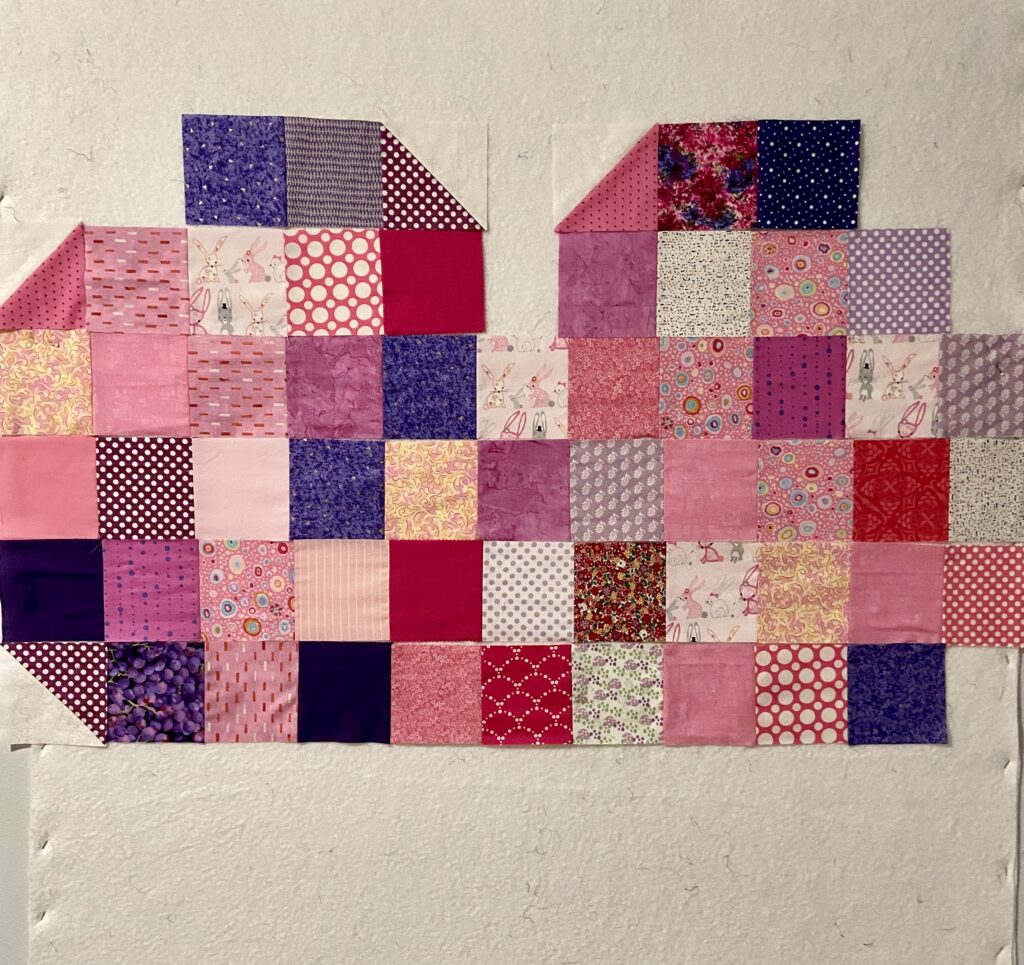
Not sure why I have not posted this already but I finished up the pink heart quilt for the twin bed. Actually I finished it several weeks ago. I kept thinking I would go take some sort of artsy, creative photos of it but really, a twin size quilt is a bit cumbersome to take outside and hang over a fence or tree branch. I settled for somewhat boring shots of it on the bed. Better than never recording the finish!

It is cozy, warm and very, very pink! Just what little girls need when spending the night at their grandparent’s house! Simple cross hatch across the heart and then minimal straight line quilting over the white portion did the trick. I am somewhat concerned I need more quilting over the white background and will add another set of double lines between the existing sets. Shouldn’t take any time at all to pop the walking foot on the machine and add a bit more stitching.

It looks puffy because it is! I wanted this to be super warm. The girls often wear nightgowns or little shorts and t-shirts to bed so I gave this quilt an extra layer. When I basted it, I had the batting (80/20) and then also added a layer to thin pink flannel between the batting and the dark pink backing. Not surprisingly, this added some heft to the quilt. I think it feels super cozy.

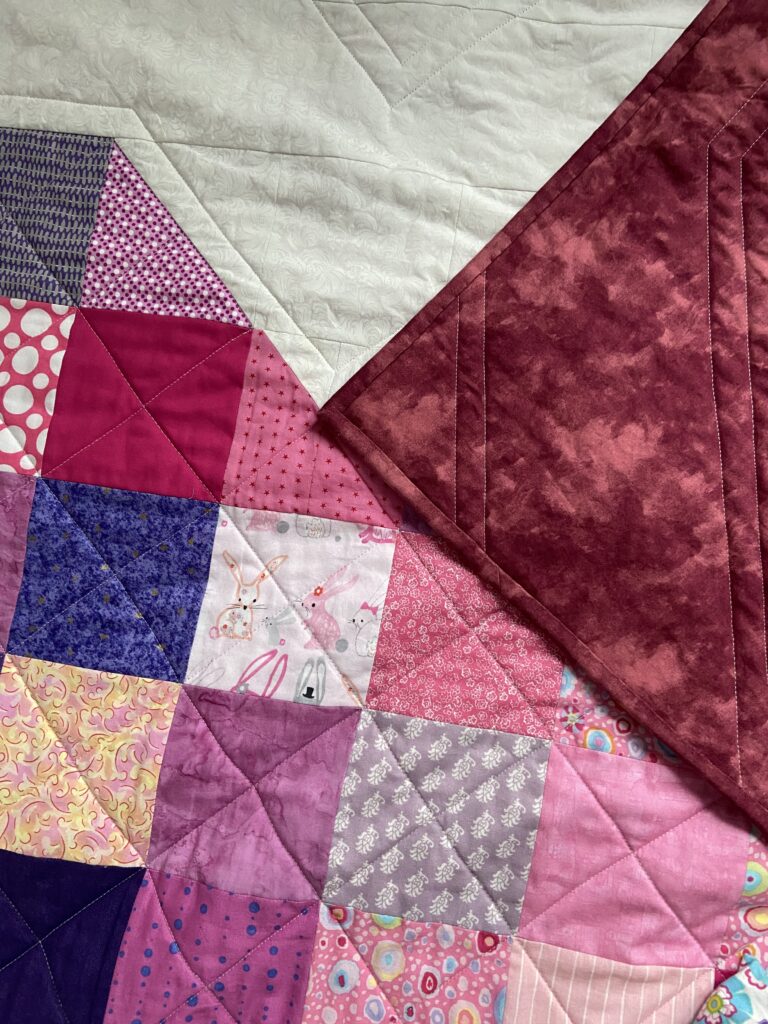
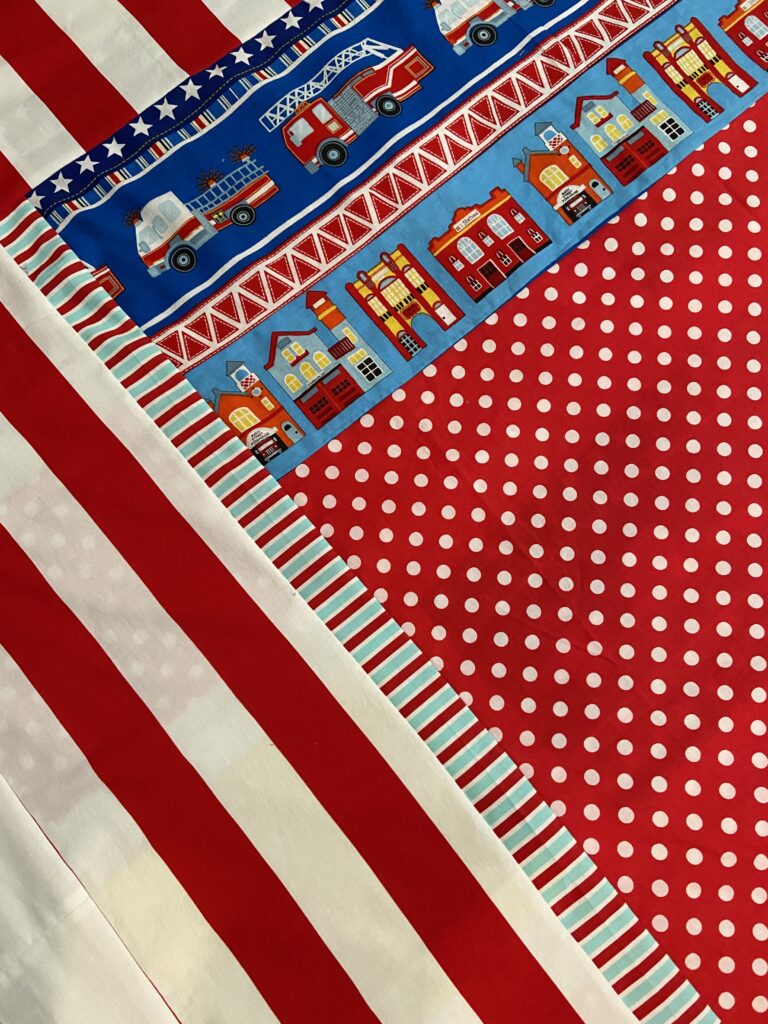
Here is the backing. I have a number of yards of this leftover from the shop so it felt great to use a large portion to back the quilt and to bind it as well. I prewashed it to prevent any color bleeding into the white portion from the front of the quilt. It shouldn’t be an issue.

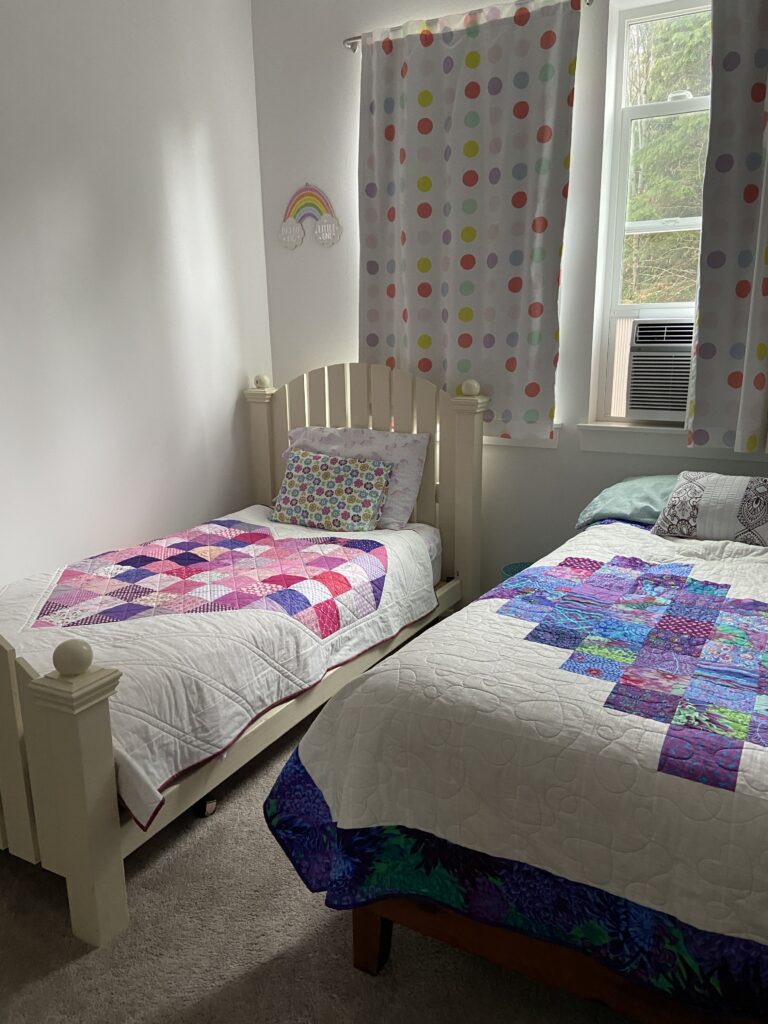
Both of the heart quilts look sweet side by side in this guest room. These will keep the grand kids cozy for the next sleepover!! Enjoy the weekend everyone. We don’t have any plans so maybe a little sewing, a little exercise and some yard work. Sounds good to me!

Linking to my usuals. Check them out at the top of the page, under link ups.

2024 SAHRR – Round 3

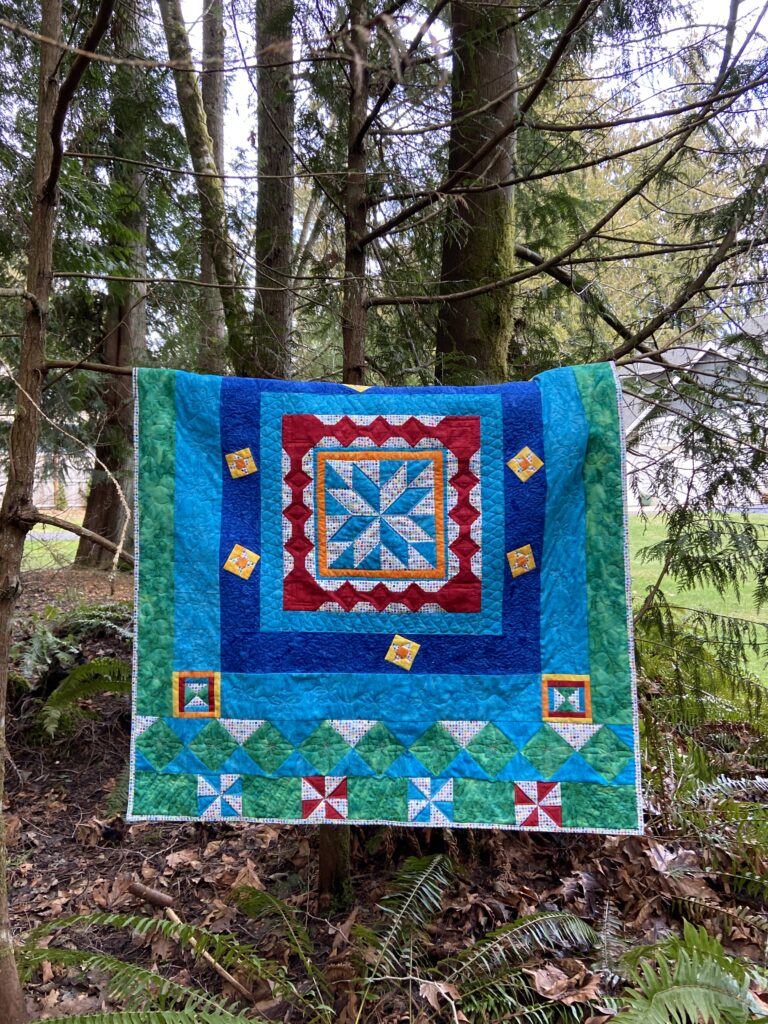
Another Monday rolled around and this meant a new prompt for the 2024 Stay At Home Round Robin (SAHRR). Hosted by a group of bloggers, headed up by Gail, this annual round robin is a great way to push myself creatively. The blogger for the week suggests a block or an idea and we interpret it as we feel works with our quilt.

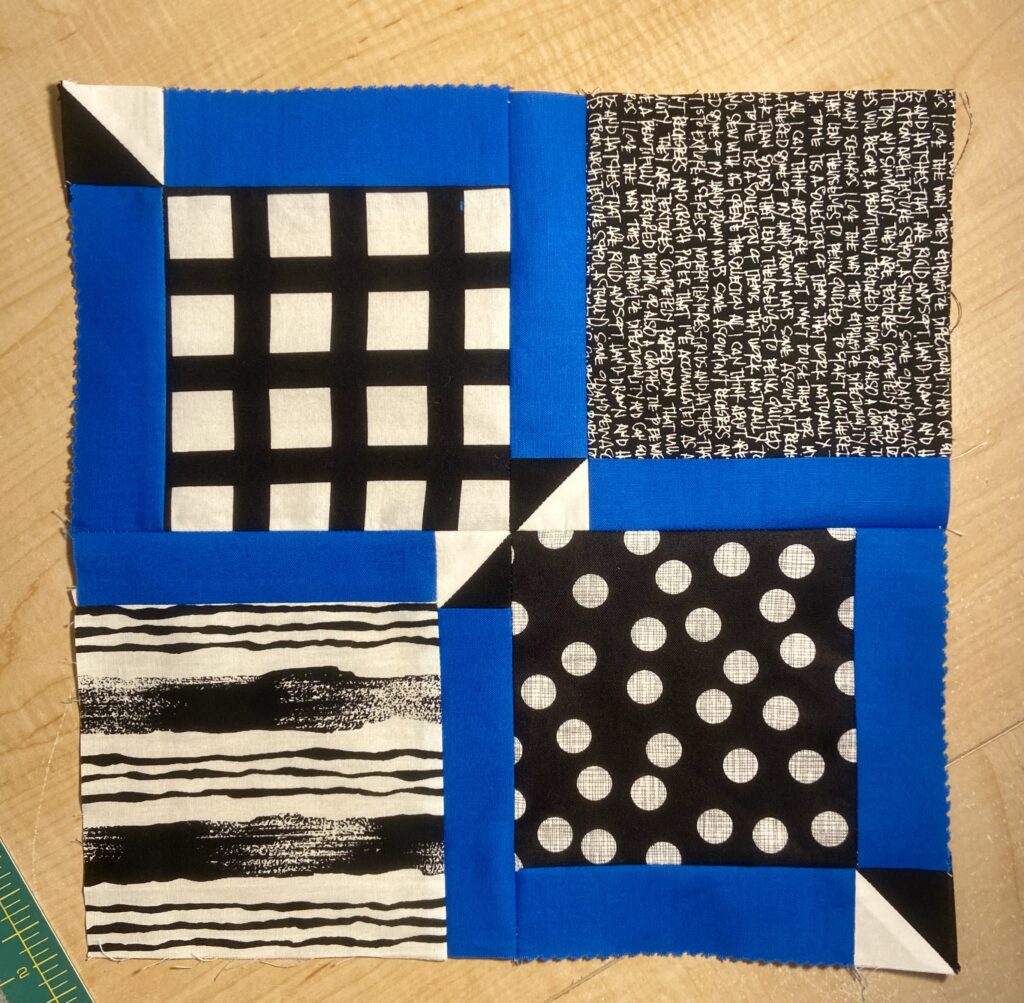
This week’s blogging host is Emily of The Darling Dogwood. Her only specification was to incorporate triangles in this round. This clicked with me right away. After last week’s round (use only two colors) I knew I wanted to incorporate some of the black and white charm squares I have set aside for this project.

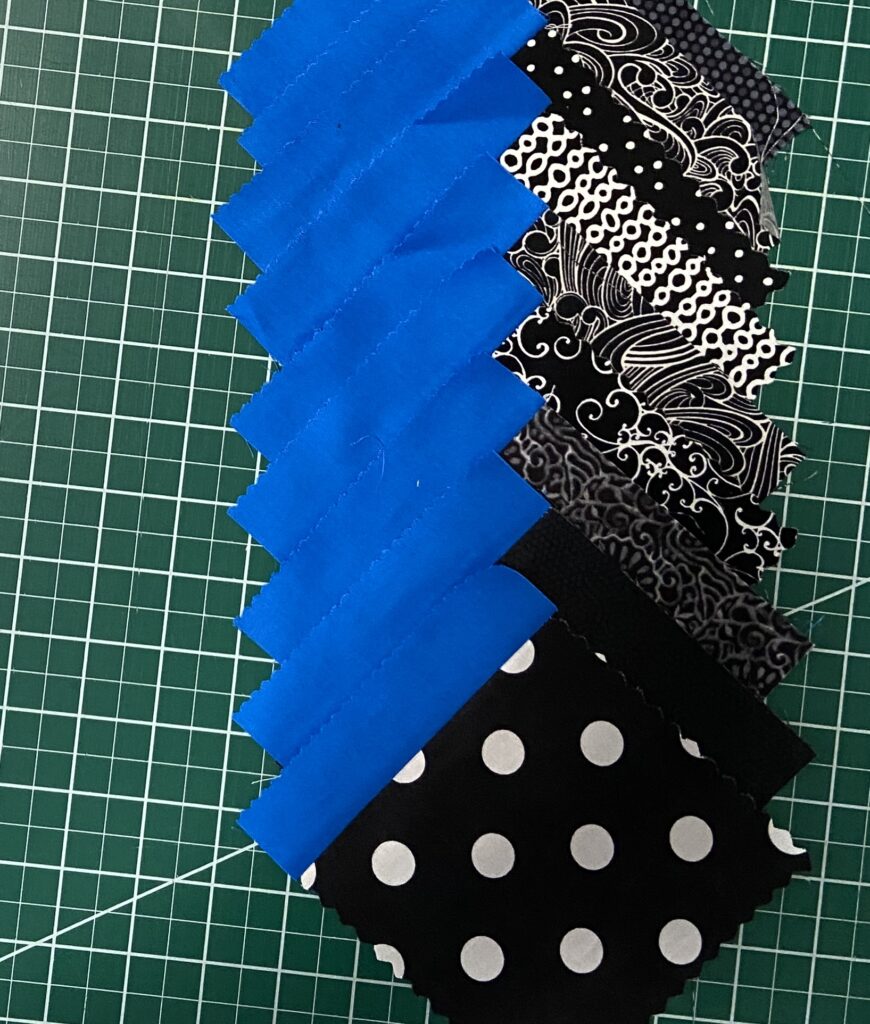
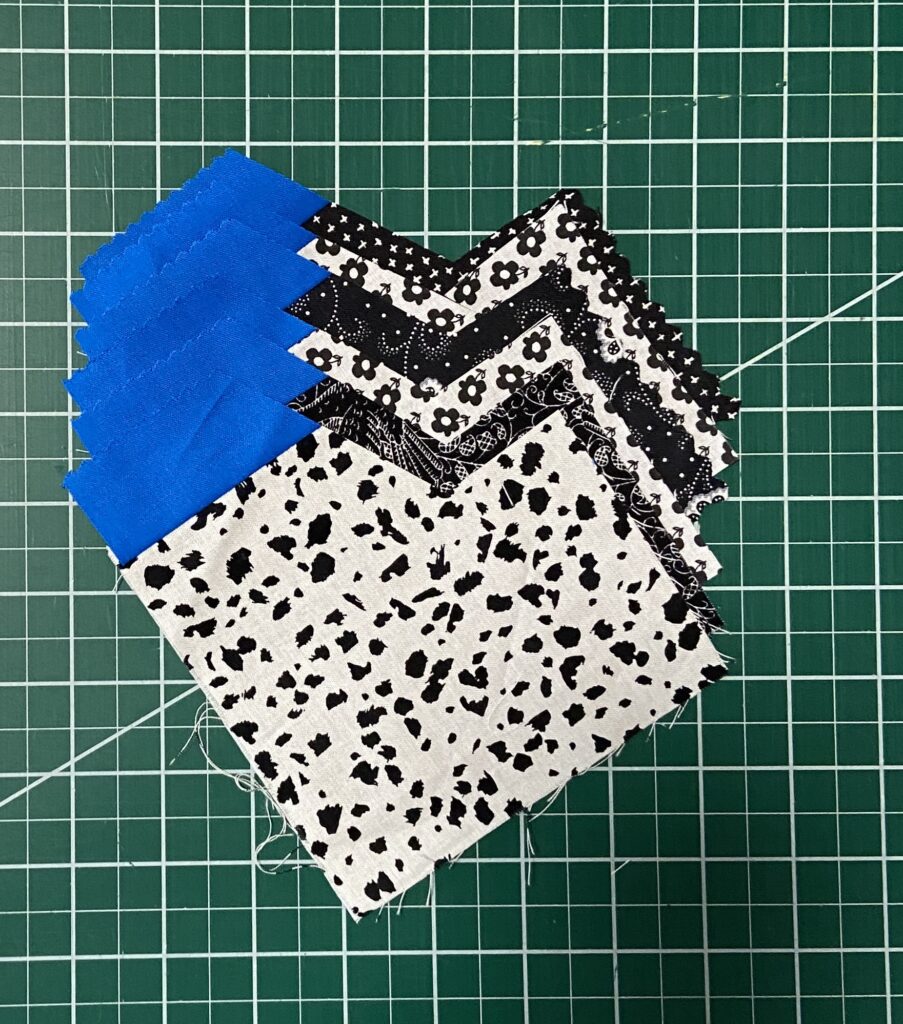
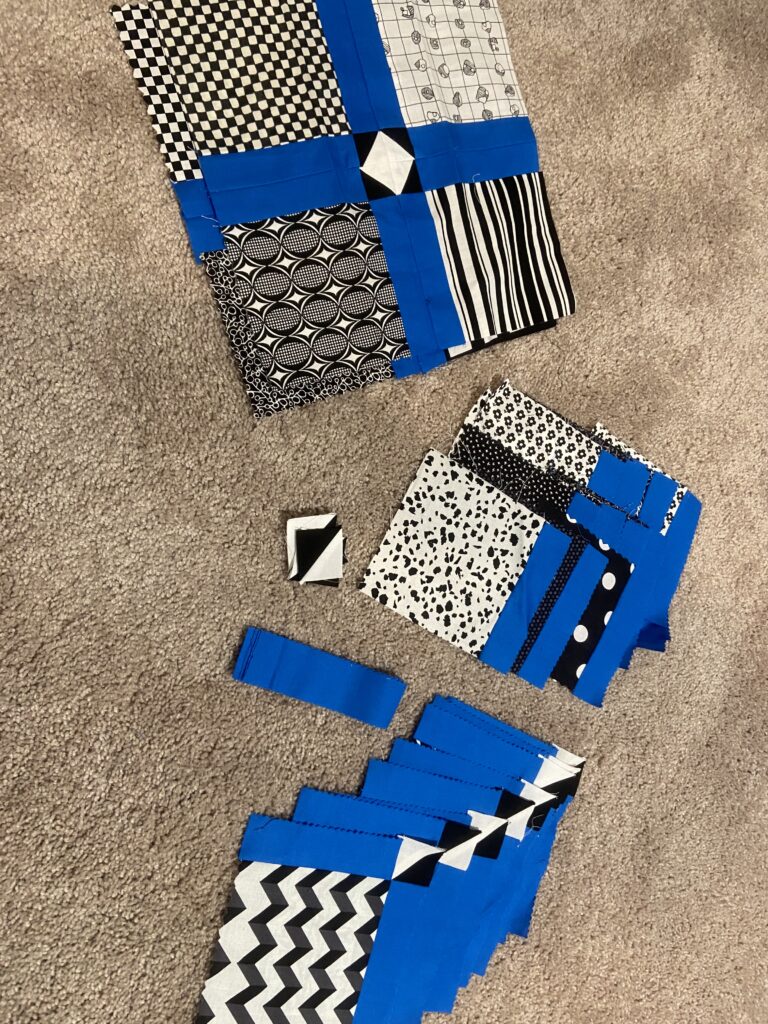
These leftover charm squares already have a 1 1/2 inch strip of blue already attached to them. I decided to cut triangles from the side where the blue meets the charm square.

I cut a 2 1/2″ triangle from each of these. Unfortunately, I couldn’t get two triangles from each one so I am saving the remaining pieces for another round (hopefully).

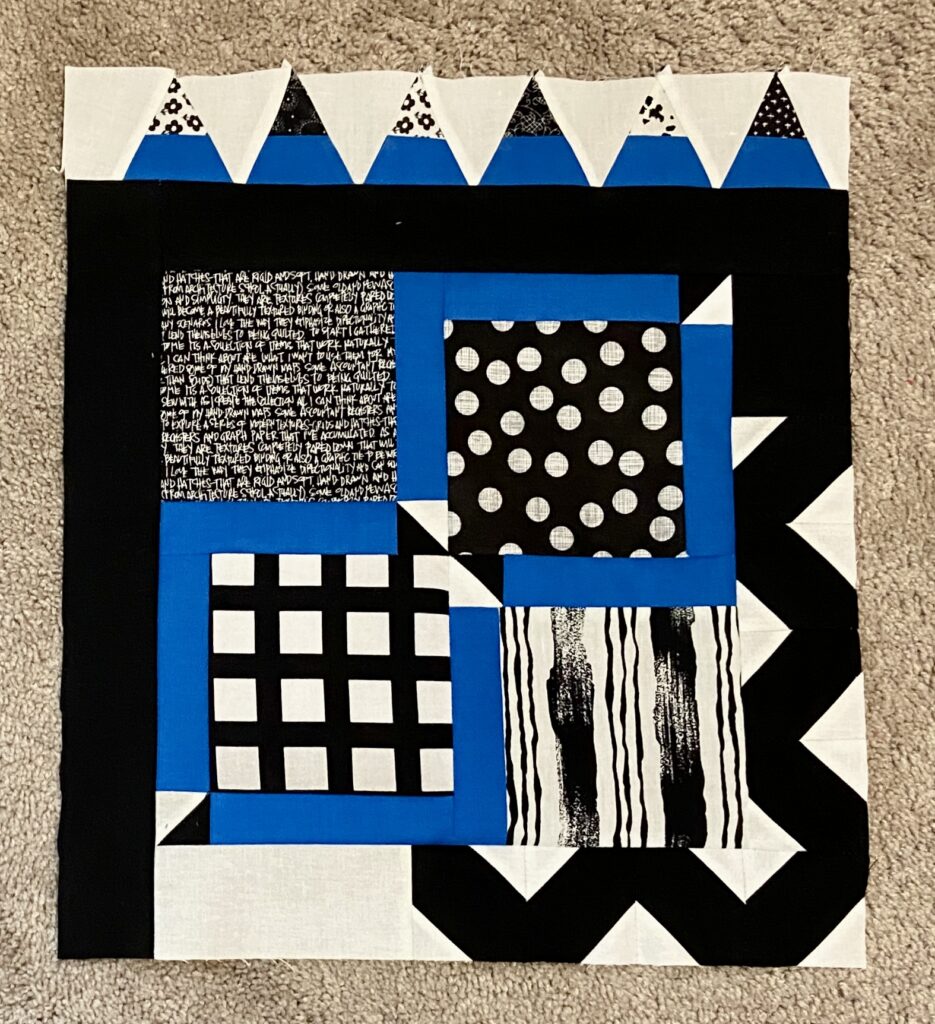
I wanted an equal size, white triangle in between each of the blue/black units. However, I didn’t really realize by doing this, I would be chopping off the points when I attached something to the top of this row. I should have made the white triangles larger so the points of the print charms would be encapsulated by the white and thus the points would be preserved. I am leaving it as is and not going to worry about it. Let’s all pretend I meant for it to be this way, ok?

I have some ideas for the next round but of course, I am waiting to see what the prompt is. I hope I can work within the prompt and the idea I am playing with. Currently this measures 15″ x 17″ which is great. Three more rounds should keep this to a nice wall hanging size.

Want to know one of the toughest parts about this event, for me anyway? It is waiting until the following Monday! Now that I sat and worked on it this morning, I don’t want to stop but I have to. Patience is a virtue, so they say. I need to work on that a little. Haha.
While I wait for next Monday’s prompt, I will go back to this project. I have a blog hop coming up in March and yesterday I spent some time piecing a backing for the quilt. It is so cute! Can’t wait to share this one with you all.

Green Strips and Pink Hearts

We just finished up a week or so of bitterly cold weather. We don’t often drop into the teens here but yikes it was cold. No snow (which disappointed me). Lots of rain but then this is Washington, so it is to be expected.

With the super cold weather, our heater was just keeping the house warm. My sewing room has never gotten much heat and it was pretty chilly up there. But I braved the cold and sewed anyway. Nothing an extra sweatshirt couldn’t take care of!

I finished up the quilt top for the twin bed in the grand kid guest room. It is going to be so cute! Yesterday I pre-washed the backing fabric because it is a deep pink color and I was concerned it might bleed into the white background. Now I can sew one seam to make it large enough and do some spray basting. For quilting, I am thinking an edge to edge over the white background and some sort of meandering motif in the patchwork heart. I am excited for this one – it will look so cute in the girls’ room. (Hmmm, if I ever have more grand children, are the girls going to think it is unfair to have to share ‘their room’ with cousins???)

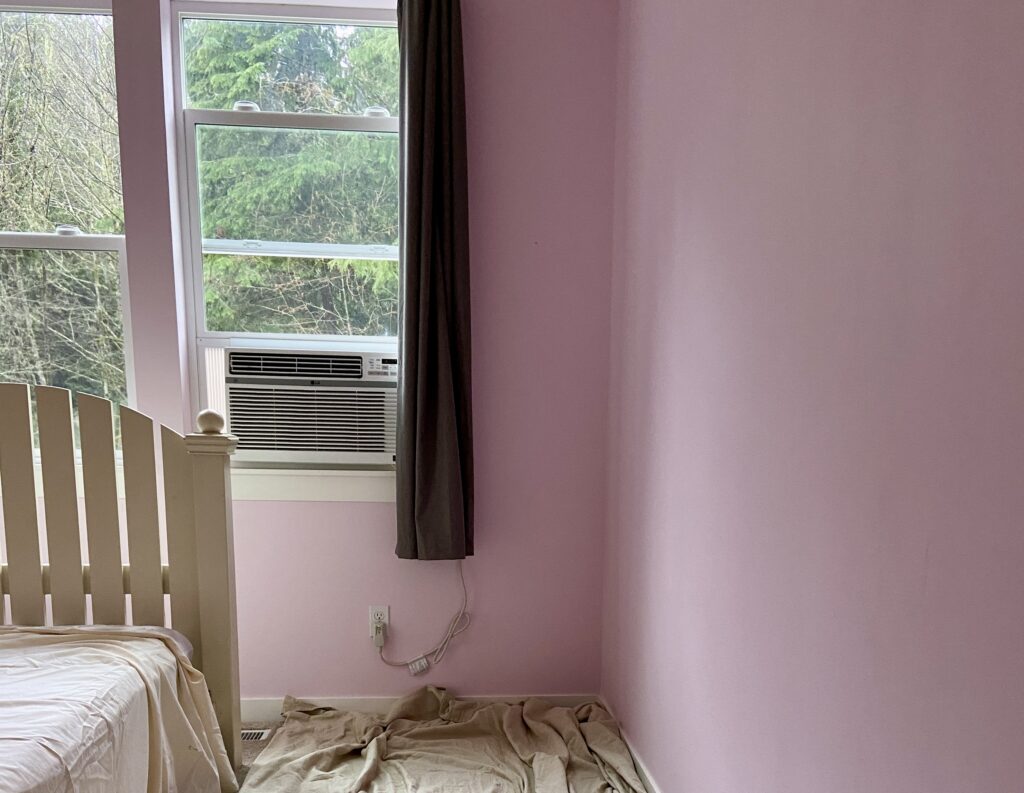
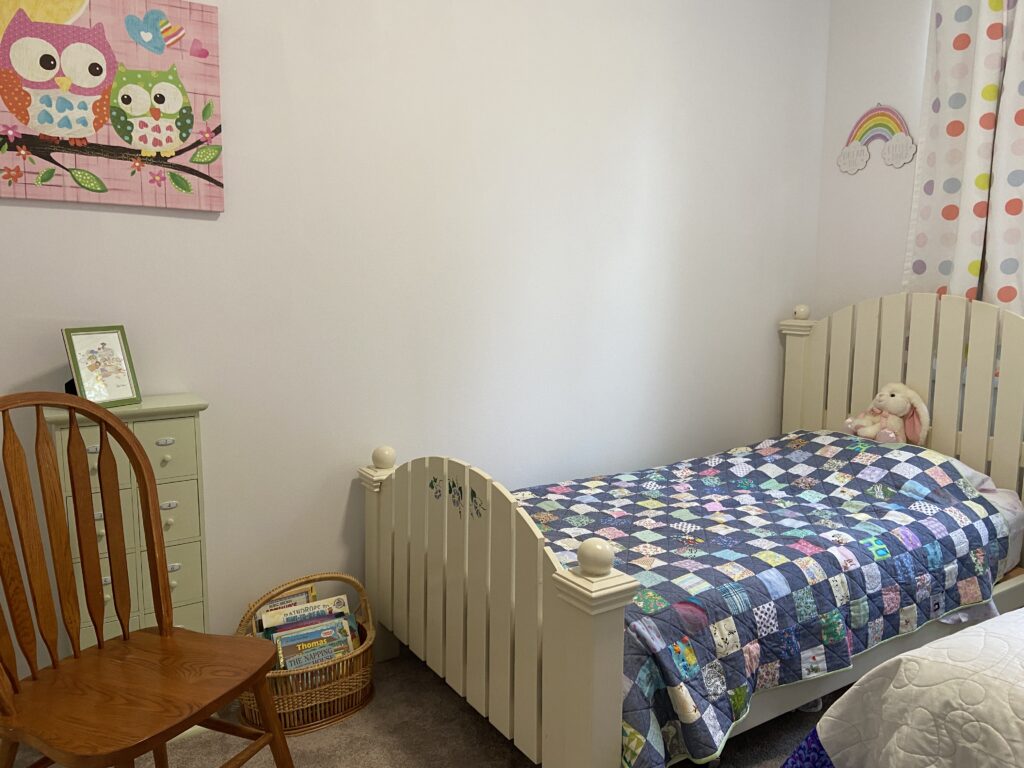
A few weeks ago Ray and I (mostly Ray and only a little me) painted the kid room. That pepto bismol pink was so awful. In the summertime when the sun came through that window, it cast a deep pink glow over the hallway. The room had so much pink and ugly dark gray curtains! I bought some off white paint and found these sweet polka dot curtains on Facebook Marketplace. What a difference this made. When the heart quilt is done, it will replace the patchwork that you see above. I love the twin bed frame. Ray made it for Julia when she was about four or five years old. It weighs 500 billion pounds and should we have an earthquake we will all run in there and hide out under the bed. We will be perfectly safe there.

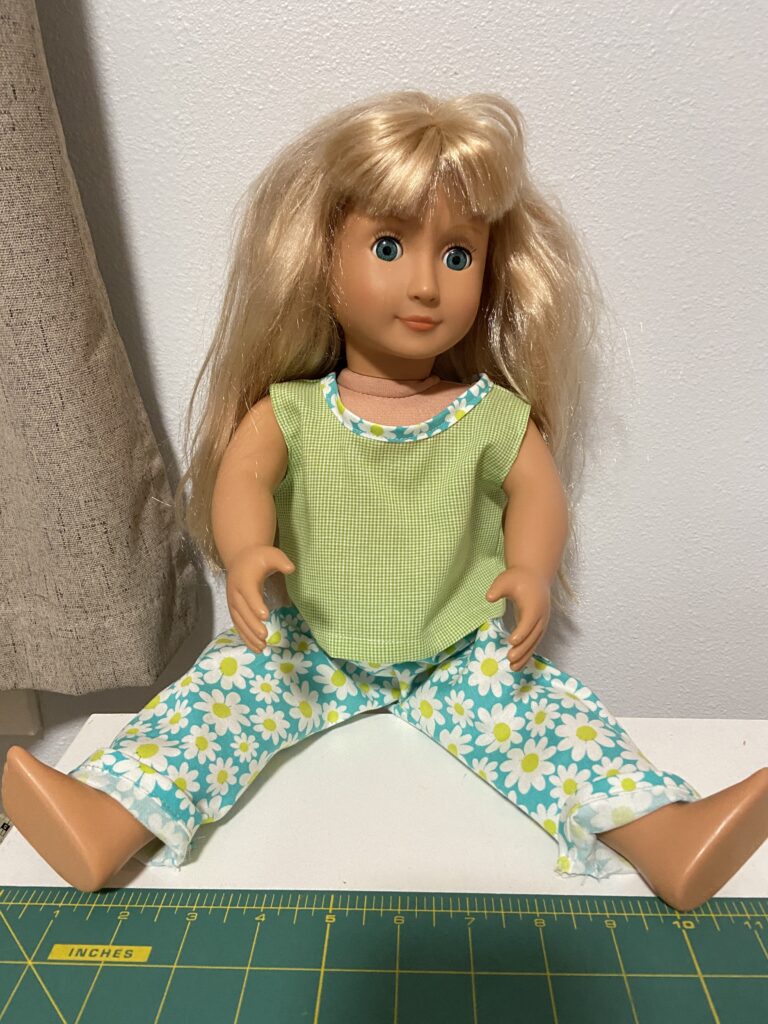
Always thinking of my girls, I saw this (undressed) doll at a thrift shop for a dollar. I went to get my stack of doll clothes patterns to make something for her and remembered I donated all of them. Why did I do that??? Anyway, I had a pattern for pants and drew a little pattern for the shirt. It closes with velcro in the back and looks pretty cute (if I do say so myself). She needs a bit of hair styling but I am thinking H and A can take care of that when they come over.

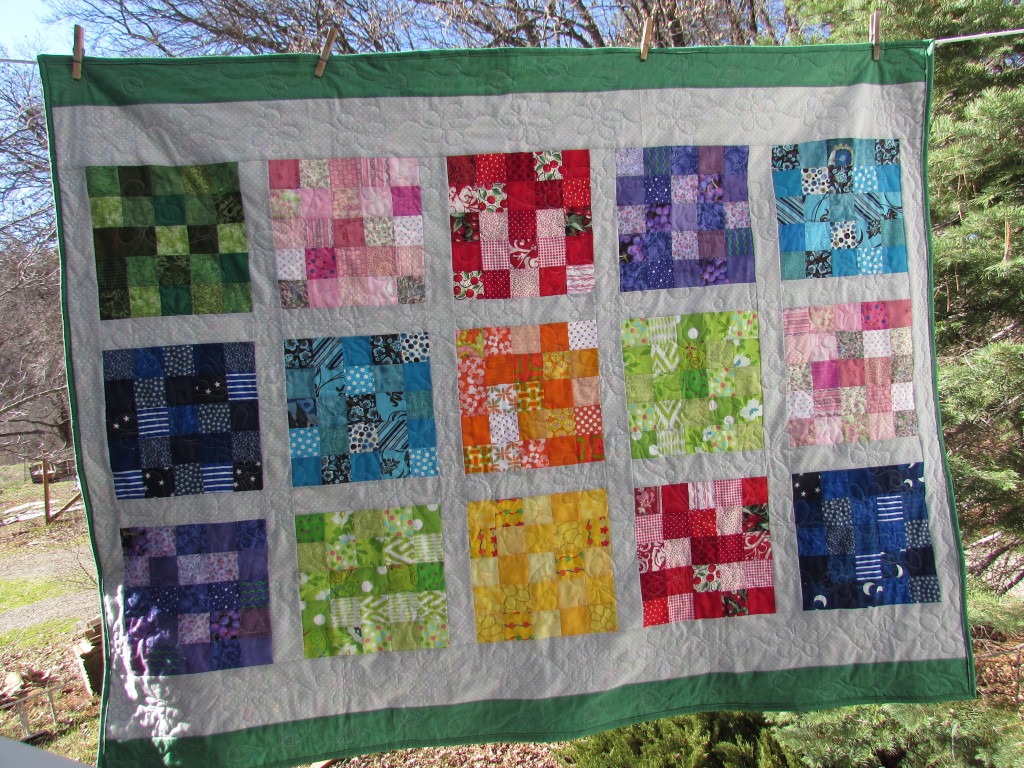
Quite a while ago, I participated in the annual Rainbow Scrap Challenge project. These projects are hosted by Angela at So Scrappy. Below are some projects I made with RSC blocks. In case you are unfamiliar, and I cannot imagine anyone is, Angela picks a color each month. The quilter makes blocks with that color and at the end of the year assembles a rainbow themed, scrappy quilt.

Rainbow Scrap Challenge 2014 Quilt; Finished January, 2015
RSC 2017; finished March 2018

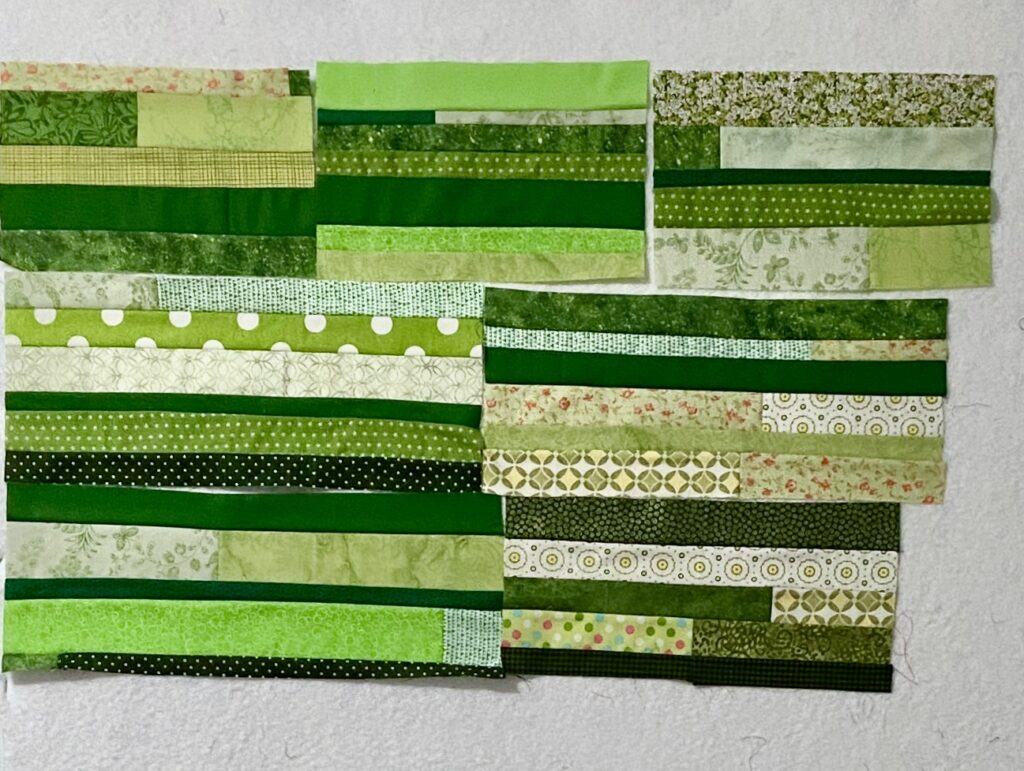
This year my goal is to use up my bin of strips. It is stuffed to the brim. The only thing I won’t use are binding strip leftovers. These are rolled up and measured. Maybe I can use them as a scrappy binding at the end of the year? As for what blocks I plan to make with these, that remains to be determined. Right now, I am just joining strips and ‘making fabric’.

This week I joined all of the green strips. Most of these pieces of made fabric are seven inches tall. The length is determined by the size of the strips I used. Hard to tell from this picture but the bulk of this measures about 30″ wide and 21″ tall. So it is a good chunk. The green has been dealt with for now. If one of the monthly colors doesn’t exist in the strips bin, I will just skip it. I have a few books for inspiration when I think about how to use the strips. Sunday Morning Quilts, No Scrap Left Behind, and 15 Minutes of Play are my favorites for this sort of thing. I am sure I will find inspiration within one of these books and decide how to use the strips. Thank you to Sandra of MMMQuilts for this idea. I saw her working on something similar on Instagram and decided to follow suit.

That sums up my work in the sewing room this week. Good start to the year, for sure.

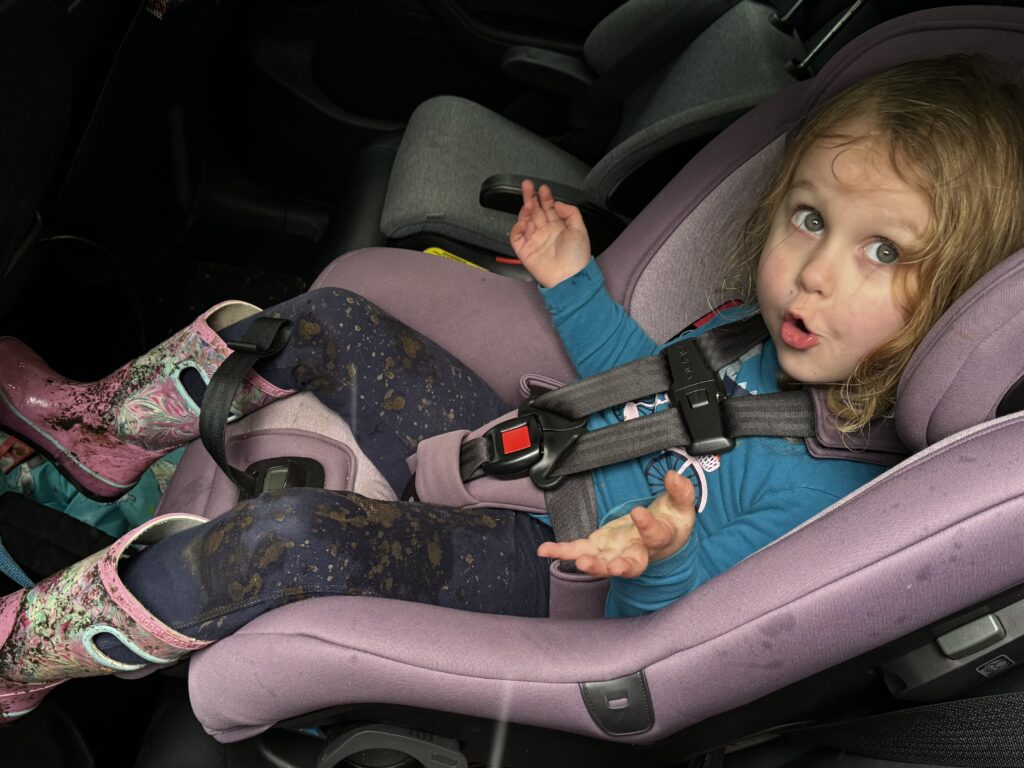
My son texted this picture to me last week. He was picking A up from preschool. She was covered in mud! She goes to a farm based preschool and they play outdoors no matter the weather (which makes sense around here or the kids would never be outside.) When the school year began, parents were warned not to send the kids to school wearing anything special. These kids play hard and are allowed to make mud, dig holes, whatever. There is a really cool area called The Mud Kitchen which has all sorts of utensils, bowls and pans to ‘cook’ with. She clearly had a great day. I love the expression on her face. “Mud? What mud?”

Linking up with Angela at So Scrappy.

Stay At Home Round Robin

Last year was the first time I participated in the annual SAHRR (Stay At Home Round Robin) hosted by Quilting Gail each year. Gail began this quilt along during Covid as a way to stay connected during quarantine. I jumped on board last year and it was a lot of fun. I like the challenge of a new block to use weekly in any way I want. There are quite a number of quilters involved now and seeing the interpretations of the new block was really inspirational.

Round Robin Quilt; March 2023

Last year I made a baby or toddler size quilt using pieces I had cut for a different project which had since been abandoned. It was a great use of the fabric.

This year I had a few ideas of what I wanted to work with. My bin of orphan quilt blocks (the leftovers from projects, test blocks etc.) is stuffed! After pulling three different piles of fabric and unused blocks, I finally made a decision.

This block is made of bits left over from a quilt I made years ago as a gift for my niece and her new husband.

I have quite a variety of pieces leftover and will do my best to re-purpose them into this quilt. I can always add to this as needed but I hope to use most of this. Likely I will have to cut up or take apart some of the existing blocks. The challenge will be meeting my two goals; use up the leftovers and keep the quilt size as small as possible. Watching other quilters last year, I saw many who combined weekly assignments into one round. Six bloggers will each post one block but this doesn’t mean the quilt has to have six separate rounds.

If you want to see what some of the other quilters are planning as their starting point, I would pop over to Quilting Gail’s to take a look. We are linking up our starting blocks there. I can tell from the variety of chosen center blocks, each quilt will be unique. Now to wait until the 23rd when Wendy of Pieceful Thoughts announces what we are to use for the first round!

First Finish of 2024

Have to say, I am on a tear lately. Lots of sewing has been happening up in my sewing room! Sometimes the mood hits just right and everything lines up – inspiration, enough time, wintry weather which encourages staying inside, plus fun projects to work on.

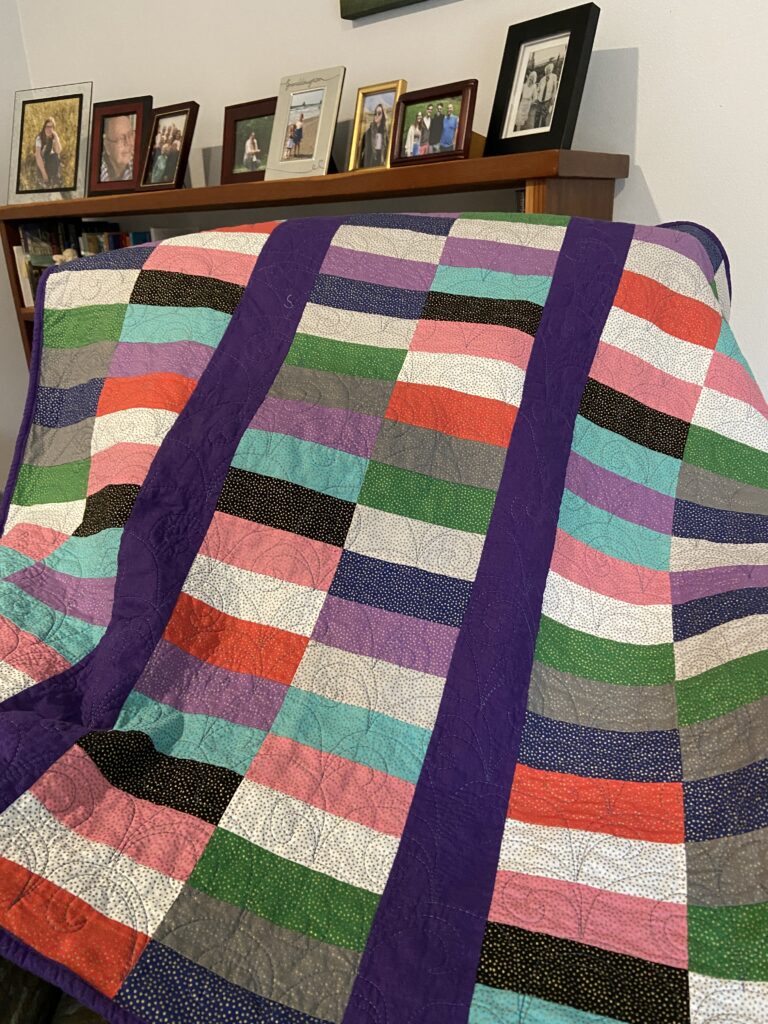
Toward the end of December, I found myself wanting to practice some free motion quilting. I pulled out a small set of 2 1/2″ strips I bought at the thrift store a while back. There were only 20 strips so I decided to make a small quilt. This makes the FMQ practice easier to do. They were odd strips – someone had cut them by hand and each one was off at one point or another. I had to trim all of them – but you get what you pay for and I paid three bucks for these!

I have no idea what fabric this is but the set has tiny gold metallic dots on a variety of colors. For the most part I keep the red and black strips to a minimum. Otherwise I used the whole set. Simple columns of rectangles with a solid purple strip between them made for a quick quilt top. I strip pieced the strips in sets of six and then cut those into blocks, six inches wide. Rather than sew columns, I chose to sew two of the sets together, making blocks. Then I made the columns.

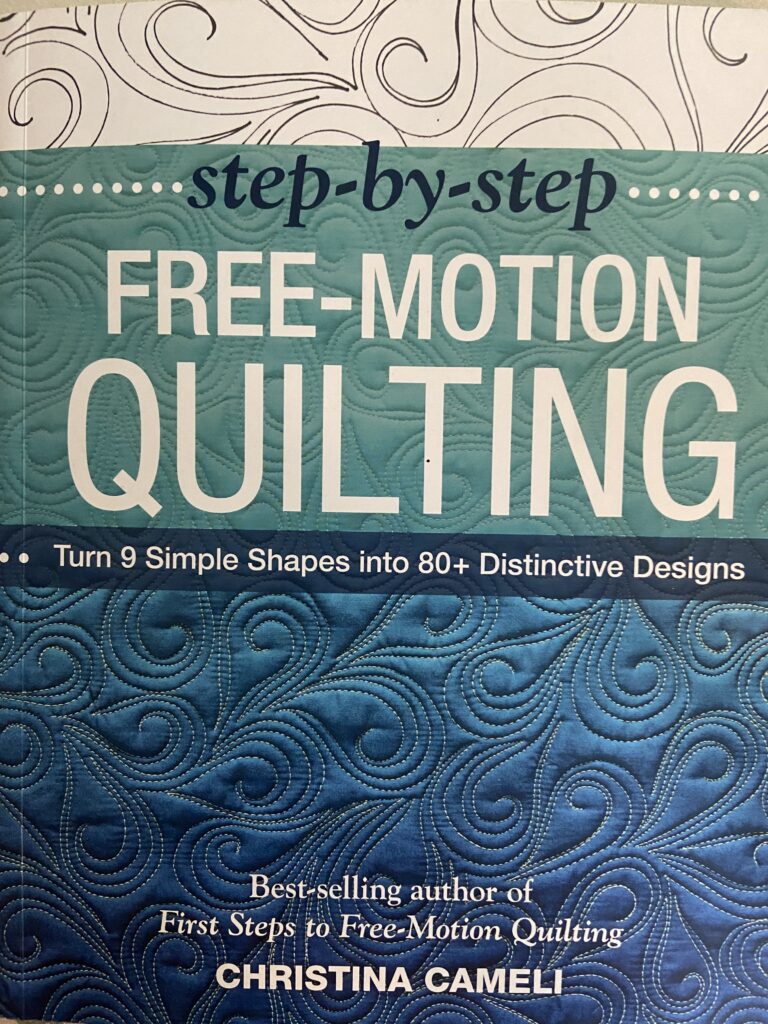
I took a look through my FMQ book by Christina Cameli to find a design to use. I wanted to quilt edge to edge so I would not have to worry about movement, getting stuck in corners, etc. As is my usual, once I settled on a design, I practiced it by drawing it on a large whiteboard I keep in the sewing room. Once it was comfortable, I started the quilting. This was such a pleasant process. Just going back and forth, back and forth – it was finished in no time!

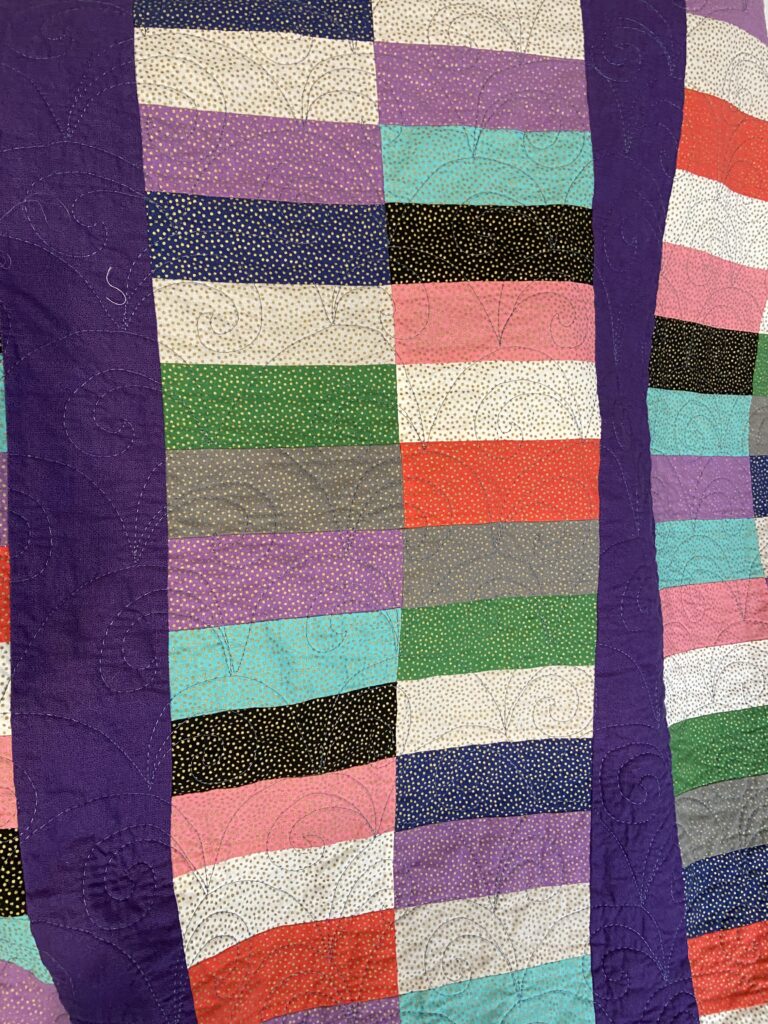
Here is a closer picture of the quilting – it was sort of a clam shell shape with a swirl inside. The motif is super easy. I started at the bottom of the quilt and moved upward. About half way through the stitching becomes so much smoother; proof to me that practice really helps. The repetitive motif gets easier and easier as my brain learns the pattern.

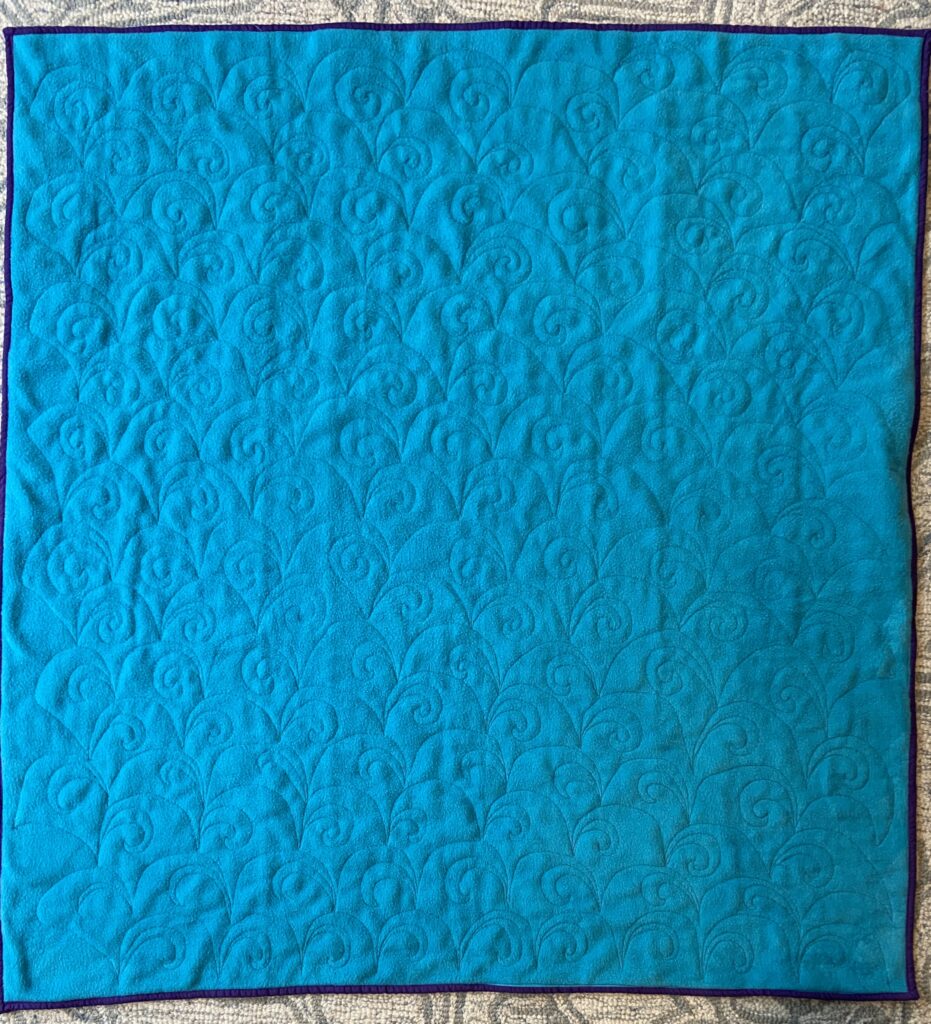
The quilt is backed with fleece, making it really cozy. When our grand daughters are here they tend to use one small quilt I have because it is backed with flannel. They prefer the soft feeling of the flannel. Now we have two soft ones for them. I like seeing the quilting from the back. Sure – I need to continue to practice but seems like with each one I improve just a bit. I spray basted this project but there are some bubbles on the back side. Maybe I needed to use more spray or it could be because it was fleece? I am not sure. There is always something to learn.

I have already moved onto, and made a lot of progress with, the next quilt. Younger grand daughter has outgrown the toddler bed and we are putting another twin bed in the guest room. The other twin bed (where her big sister sleeps) has a quilt with a huge heart made of charm squares in the middle with white all around it. This quilt was given to me when I moved from California by a wonderful friend. I am replicating the design and making another heart quilt using pink and purple scraps.

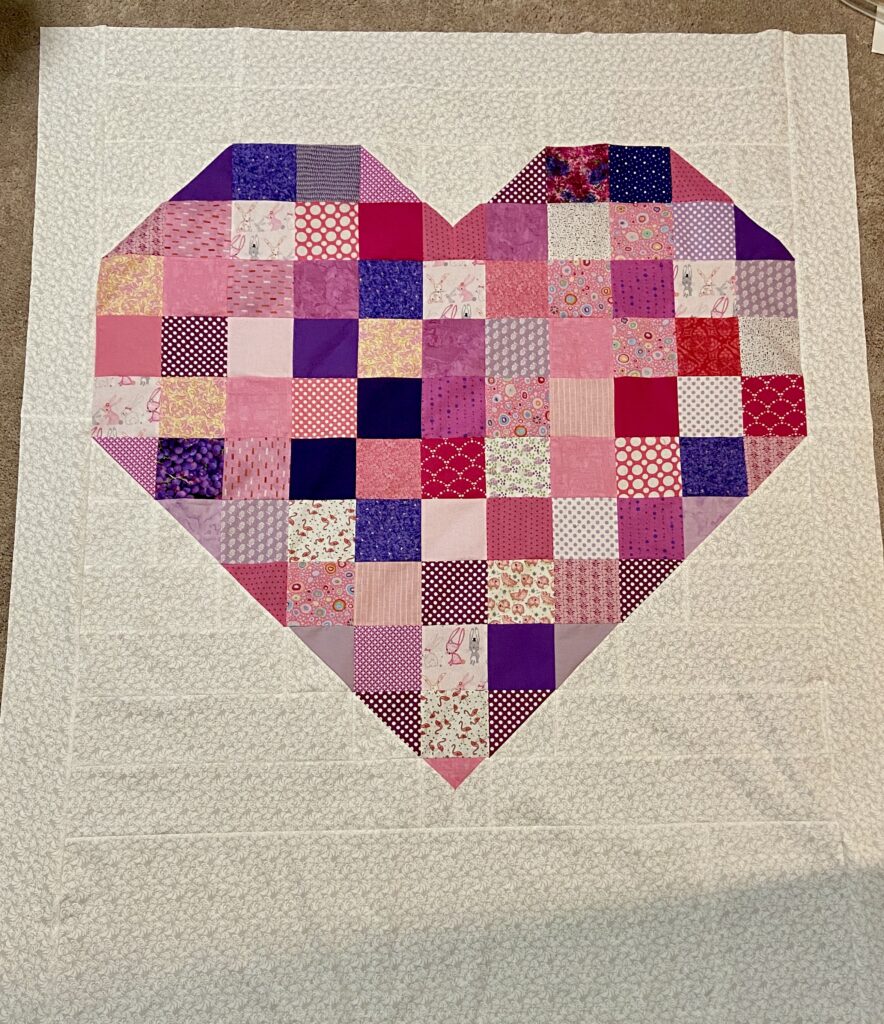
Here is a progress shot (with weird color because I took the photo in the evening) . I have some of the rows stitched together but I am still moving things around for color placement. Surely it won’t take long to finish the quilt top. One thing I am pondering though – the quilt made by my friend has a white background which she pieced with white charm squares. I will be using white yardage. Rather than cut the five inch squares it seems to make sense to cut five inch strips. The piecing would certainly take less time. Do you know of any reason not to do it this way? Let me know your thoughts!

OK – that’s it for now. Hope you all have something fun to work on this weekend!

Linking to Free Motion Mavericks and a few others. (Check out the Link Up tab at the top of the page for lots of fun places to check out.)

Diamonds are a Girl’s Best Friend

Wayyy back in the fall of 1992 I moved to State College, Pennsylvania. This was a huge change for our little family; me, my husband and our three young boys. My (first) husband was taking a break from his job teaching at a local community college in California and studying for his PhD in Instructional Technology. We sold our 20 acre farm in California and moved to a little neighborhood near the university. Neither of us had ever lived in the mid-west, lived in a snowy climate, or relocated to a place so far from family, friends and all that was familiar!

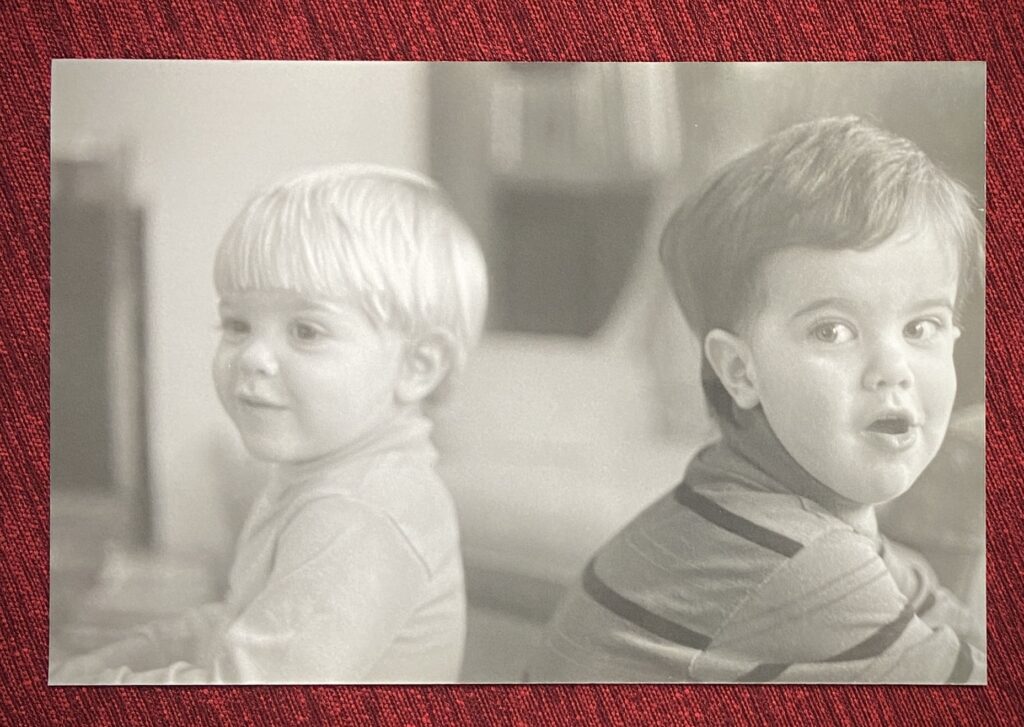
We decided he would go to school and I would have an in-home daycare, making just enough money to get by while he got his degree. I went through the process and got the house and myself licensed and put an ad in the paper. It was nerve wracking, to say the least. Almost immediately, I had response from Rich and Denese. They were in a similar stage of life where Rich was pursuing his PhD and she was working as an attorney. They needed full-time childcare for their toddler, James, becoming one of my first families.

James and my youngest son are two weeks apart in age, both were just turning two years old. The two of them together made for a very dynamic duo. They were both so active, impulsive and basically into everything! It was a wild and very fun time.

As most of you know, my husband passed away suddenly in spring of 1994. During this horrific time, Rich and Denese jumped right in, helping wherever they could. After the kids and I moved back to CA, Rich and Denese came to visit the following summer, checking in on us and providing great comfort to me. When I remarried, Denese and her mom came back to California to be at the wedding. They have always been there, even from a distance, for many years.

Fast forward to several months ago, I learned Denese was diagnosed with breast cancer. She is fortunate in that this cancer is treatable and she will come through it. But we all know it is a miserable experience to go through the surgeries, chemo and radiation that are necessary to quell the cancer.

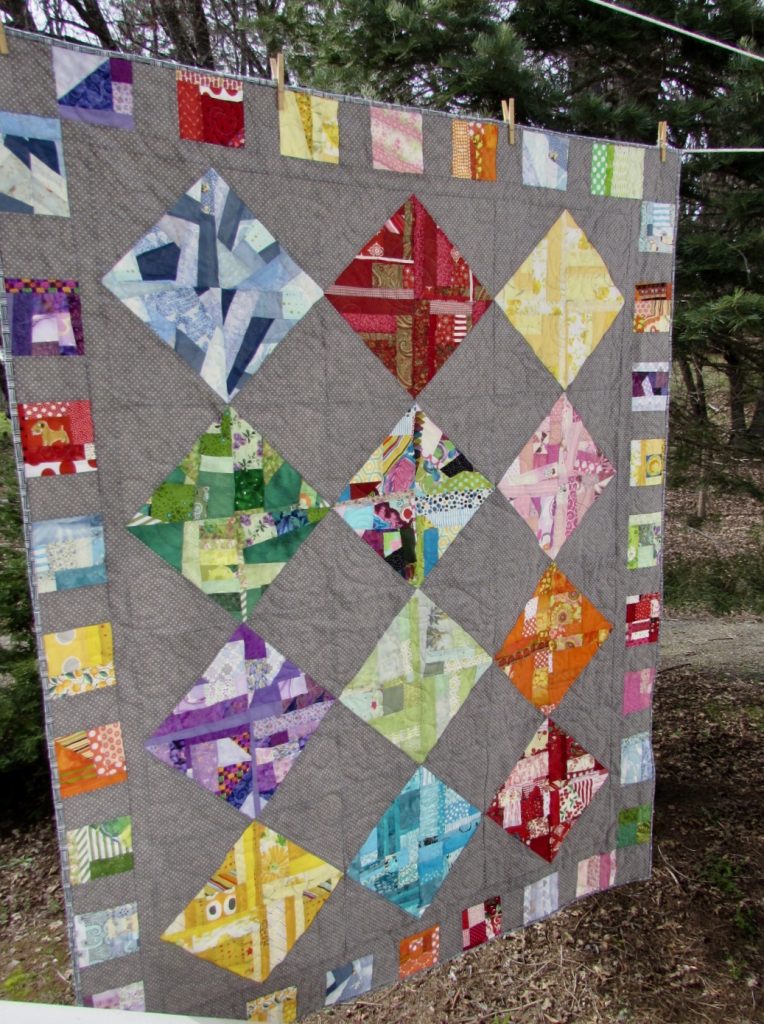
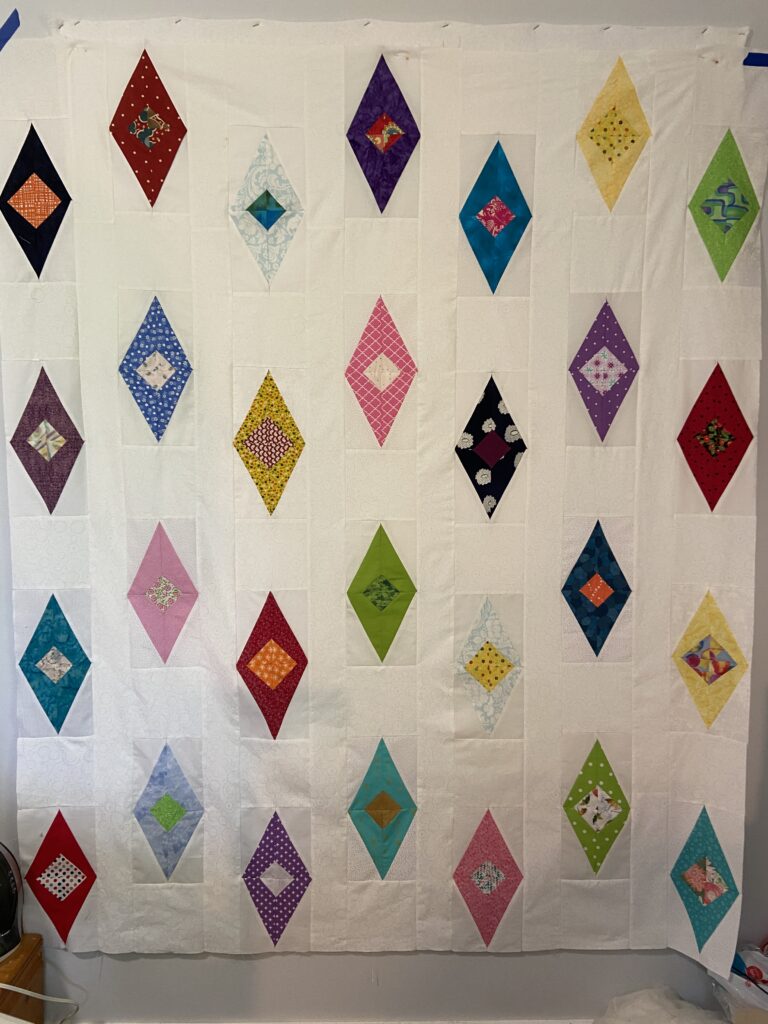
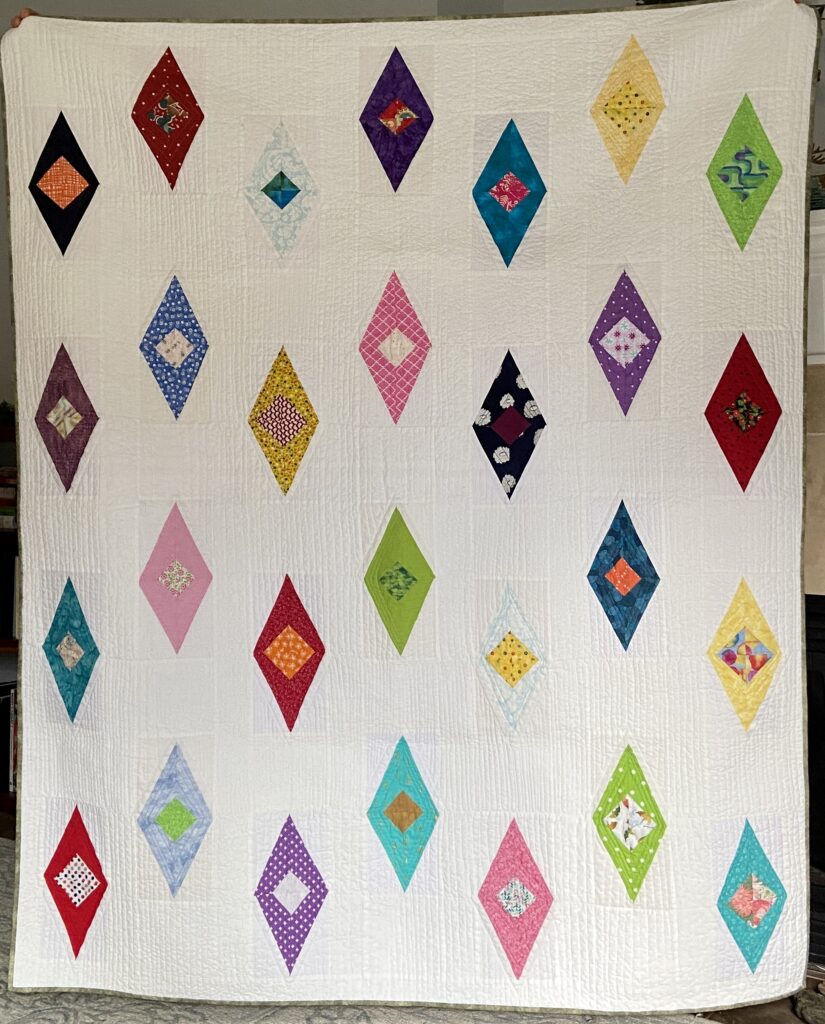
Of course my first thought was to send Denese a quilt. I wanted her to have it while dealing with chemo and the exhaustion that is so prevalent during this time. So I looked at the quilts I had in process and decided the diamond quilt was meant for her – we are great friends and diamonds are also ‘a girl’s best friend’! So I finished up the top and started quilting it. Of course then my machine went on the fritz and it spent two weeks in the shop.

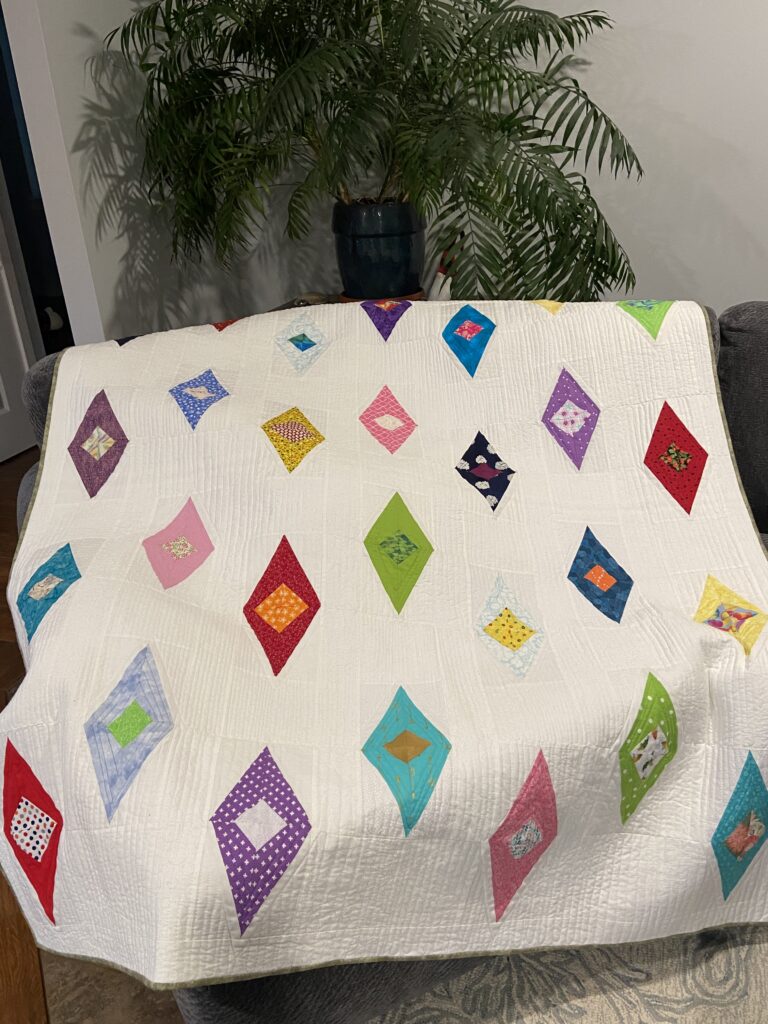
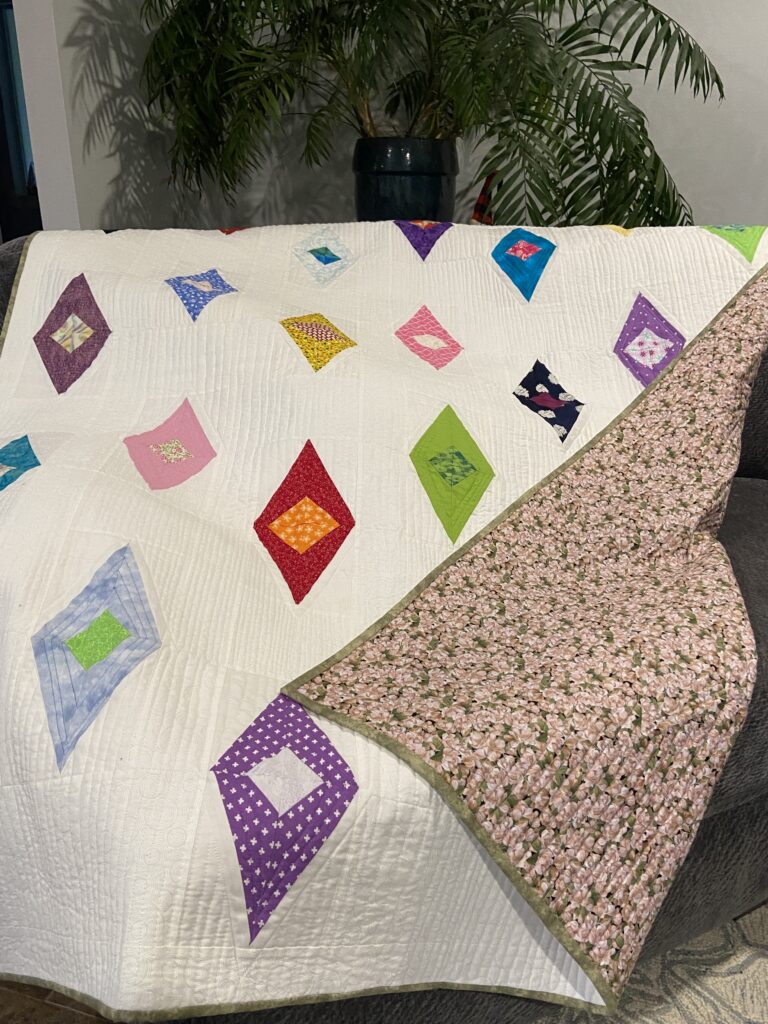
The quilting design happened organically. First I decided to do a couple of passes on the diamonds, anchoring them down with a few lines echoing the small center diamond. Then I did a pass echoing just half of the larger diamond.

After this was done the straight line quilting began. The lines are free hand, using the last line be my guide for the next line. The widths are similar but not exactly the same, if that makes sense. I almost never quilt a lap quilt so heavily but this seemed to be the right thing for this quilt. Also, the lines don’t go top to bottom. I worked in sections so they loop up and down at various points – boy, I am not writing this clearly, hence why I am not a pattern designer!!

The backing is a gorgeous floral I had on hand. The binding, however, was a trick for me. One would think with all of the many colors on the front, it would be a snap to pick a binding. But the backing has only four colors (green, black, white and pink) and nothing looked right. A trip to the fabric shop was needed and I found this mottled green that looked pretty from both sides.

Post Update: If you are interested in making these diamond blocks, I used the tutorial over at Bonjour Quilts. Here is the link to it. These blocks are a breeze. I offset them by adding space between the blocks as well as a sashing strip between columns.

After a quick wash (with lots of color catchers to protect that white background), the quilt was sent off to Denese. I am happy to say she really likes it. I truly hope it brings comfort to her as she goes through the rest of her treatments. I know the latter parts 2024 will be a better time for her but currently, she has more to endure. Fortunately, she has really good family support to help her get through all of this. Plus one quilt from her best friend out in California.

Sharing to my favorite link ups. See the Link Up tab at the top of the page.

Ring Me – Quilt Top Finished!

Over the past year my friend Sophia and I have been trying to work on some older projects. We have done a decent job of it and gotten a few things finished up. I have another one to share with you today! This one came about because I had to take my Bernina to the shop. Fortunately I have a back up machine for these times. It is an older Kenmore and works well. However, I don’t have a 1/4″ foot for it. I wanted to work on something where precision wasn’t key.
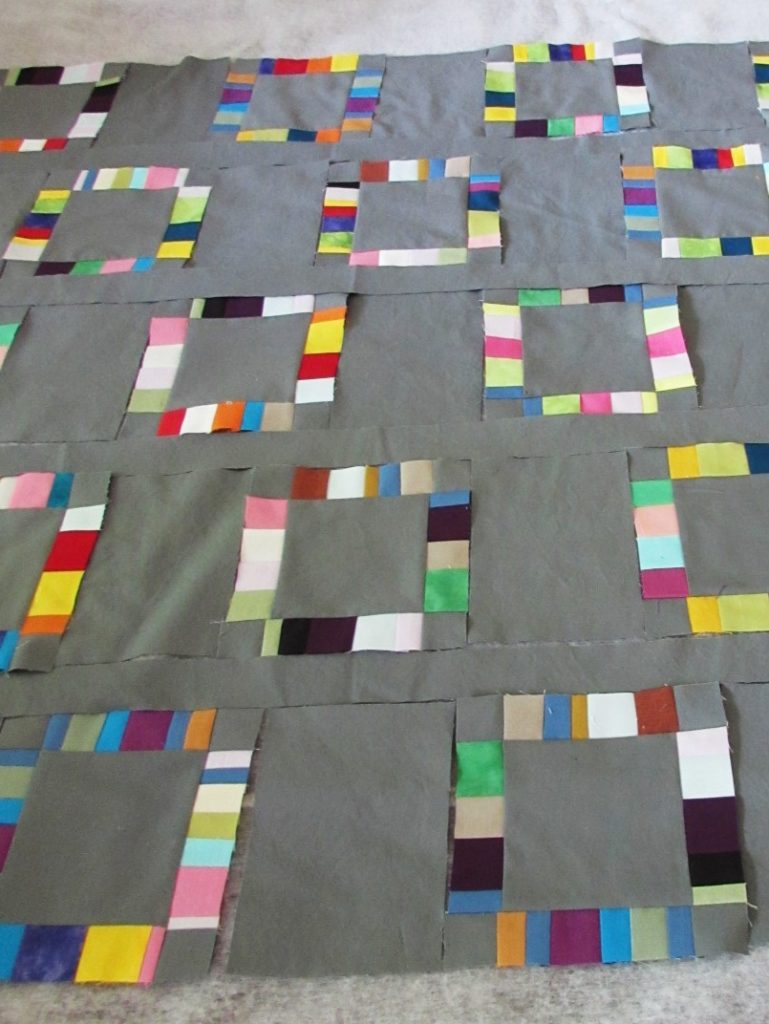
My unfinished Ring Me quilt was the ticket. This pattern has no points to match making the piecing very simple. This project was started back in early 2017. I took part in a blog hop to announce the release of No Scrap Left Behind, written by Amanda Jean Nyberg (aka Crazy Mom Quilts). I love this book! Amanda has written two quilt books, Sunday Morning Quilts and No Scrap Left Behind. I have both of them in my library. She had an incredibly popular quilt blog but chose to stop blogging at the end of 2018 after a ten year run. Fortunately, she left the blog up so we can all still access her amazing ideas, tutorials and quilt patterns. She is definitely the queen of scrap quilting!
Back to the quilt now. When I was due to publish the project for the blog hop, I was really in the early stages of making the quilt top. I posted progress pictures (see above) and that was as far as it got.

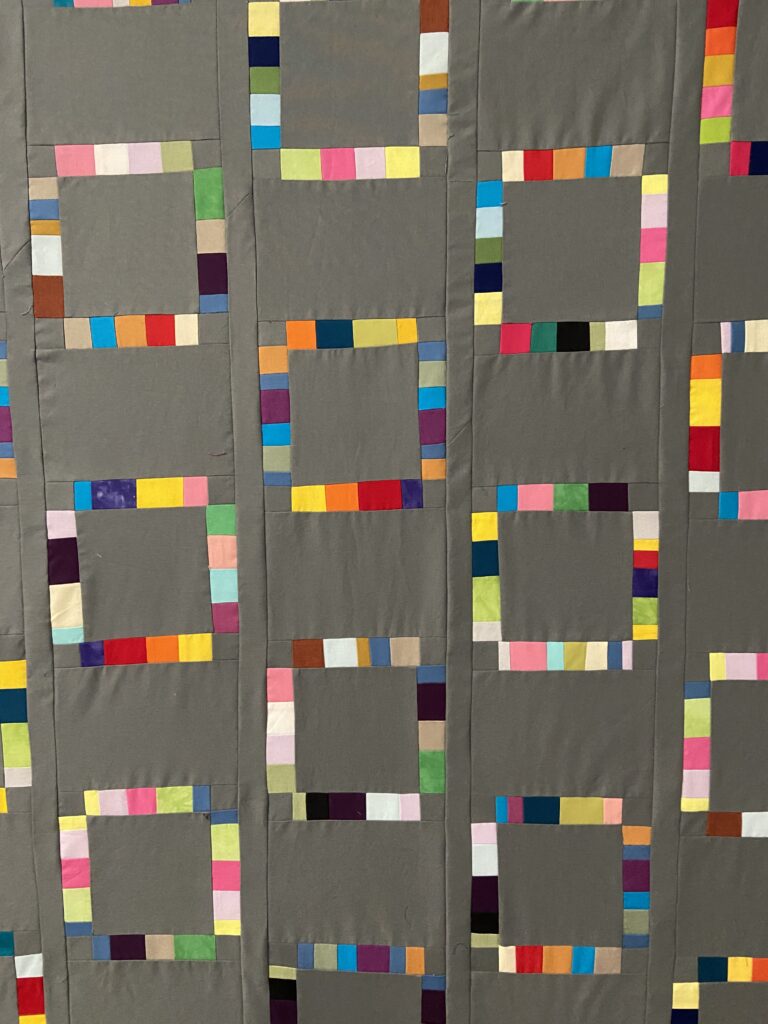
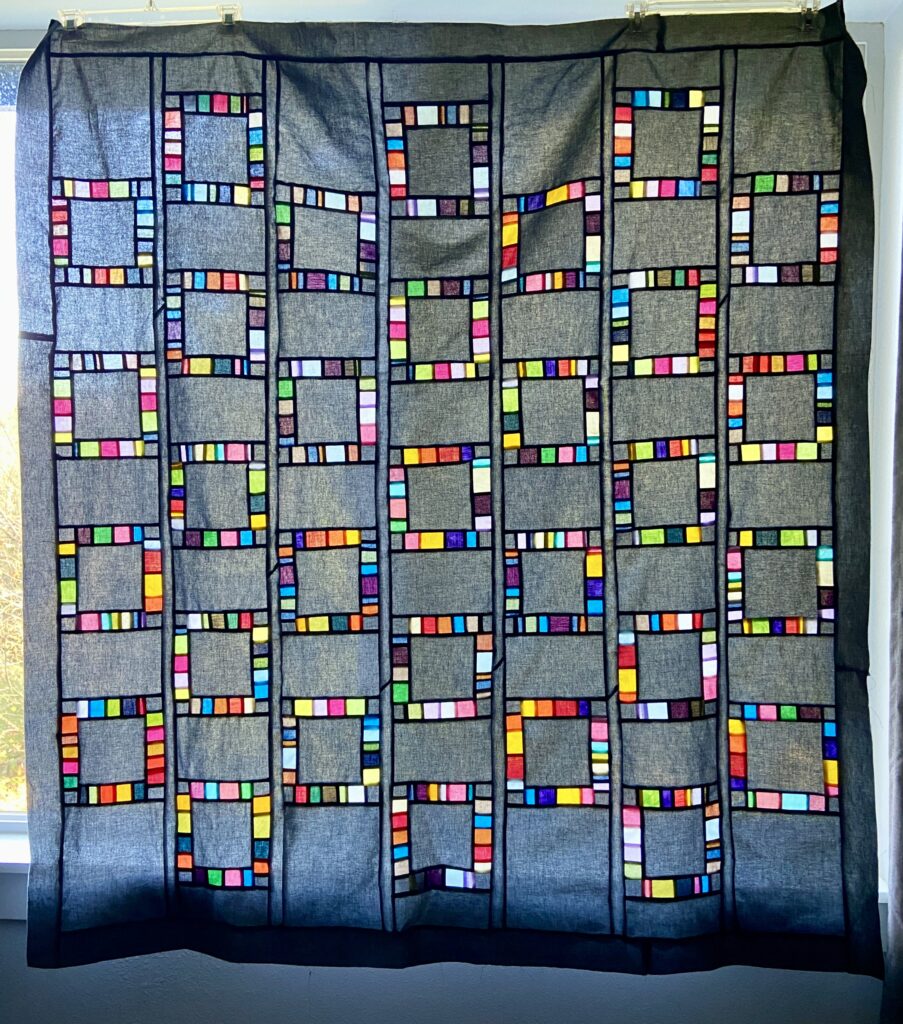
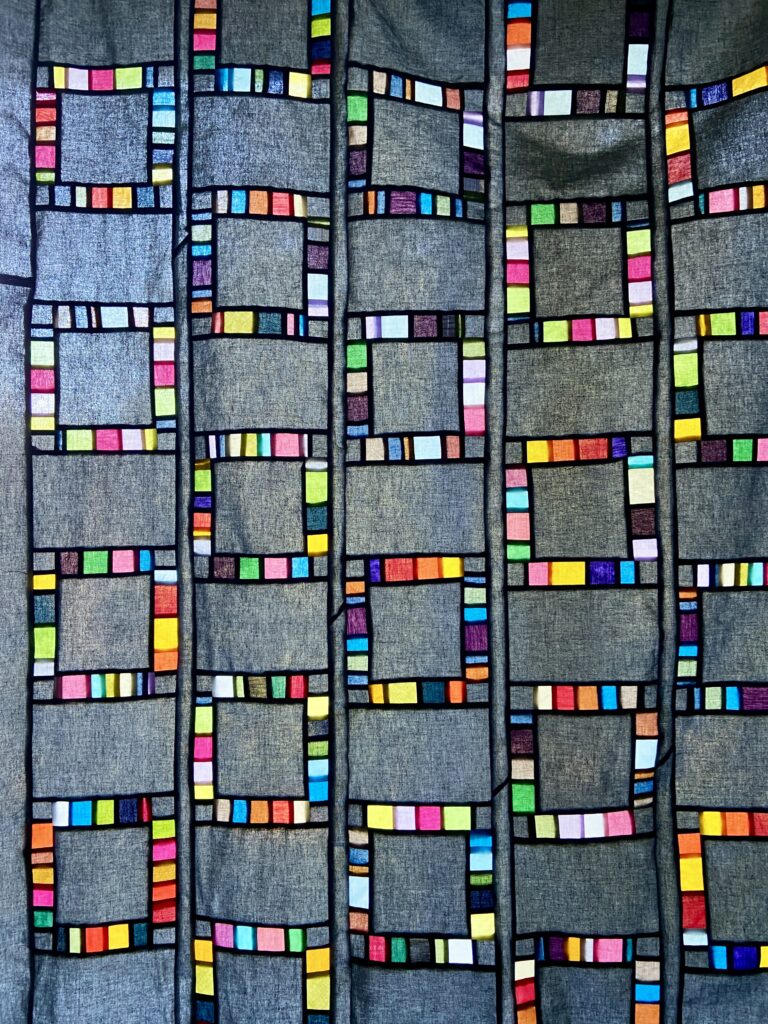
In a relatively short time, I was able to complete the quilt top. With a charcoal gray background, the solid ‘rings’ add vibrant color. To make the rings, I gathered solid fabric strips and trimmed them to about 1 1/2″ or 2″ wide. After making strips sets I cut strips that were 1 1/2″ wide. These were combined with 1 1/2″ corner stones of the gray and stitched to squares.

I encourage you to find a copy of the book if you don’t already have it. The book has many patterns made with scraps with the projects categorized by shape of scrap (eg squares, triangles, strips). Before I knew it, I had my top completed and sewing without the 1/4″ foot was a non-issue.

Yesterday the sun was shining through a window in my bedroom and I knew it would light up the quilt top. Isn’t this stunning? I love the way it looks with the light pouring through.

Stained glass, right?? The seams on the back side of the flimsy look like black framing around the color and the sashing strips. Such a cool effect. This is as far as I took the project though. I wanted my Bernina back for quilting it.

Today I was able to go pick up my machine. I have one quilt in process where the quilting is nearly finished (I was working on it when the Bernina decided to get stuck). Once that quilt is done, I will baste this one and get going on it. Can’t wait!

This week has been a bit of a drudge as I have had a cold. While I can’t prove it, I am guessing I caught it when I was babysitting the girls last week. Who knows? Historically, my sweet grand daughters have been very generous in sharing any germs they might be harboring. We went home on Thursday, Friday the 3 year old started running a fever and on Sunday I started to feel sick. Oh well. They are worth it. We had so much fun with them. My son and his wife took a well deserved trip to Hawaii. Ray and I had the pleasure of spending loads of time with the grands. Here are some pictures of the fun we had:

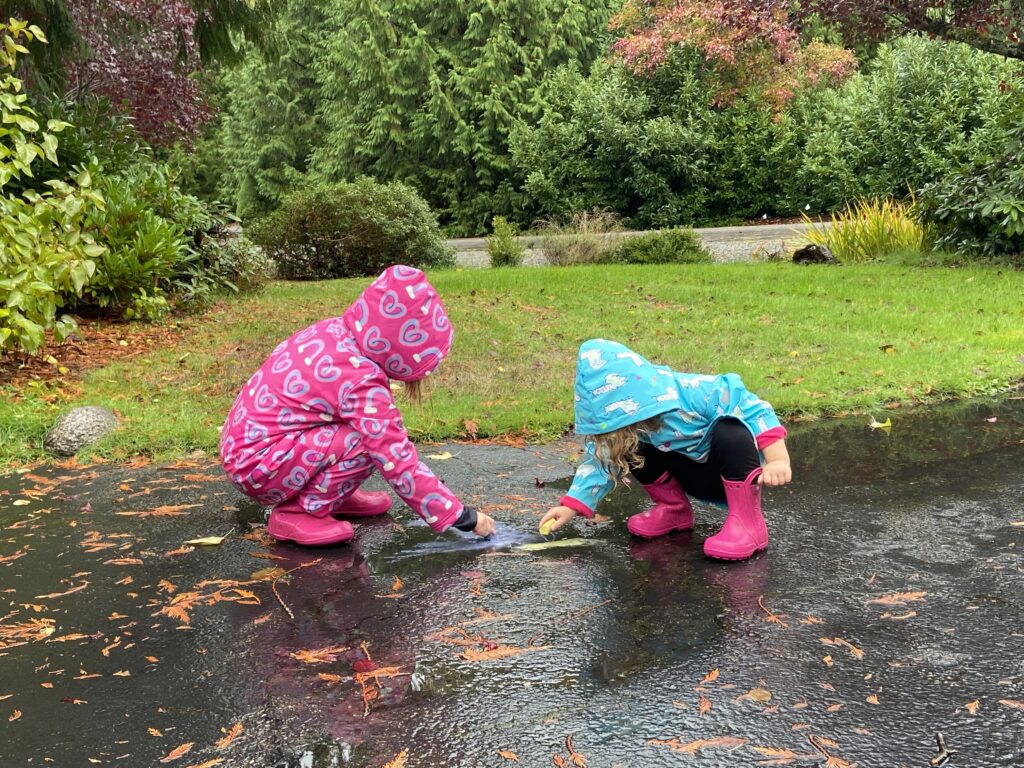
Playing in puddles.

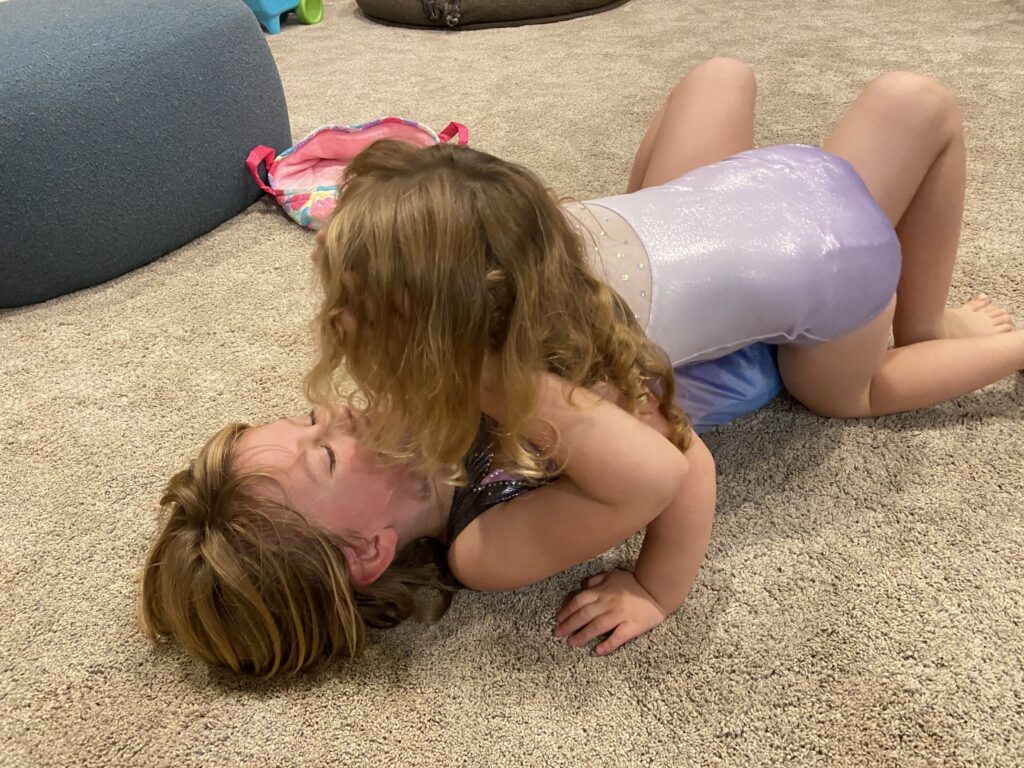
So much dancing, wrestling and gymnastics happens with these two. They love to perform for an audience.

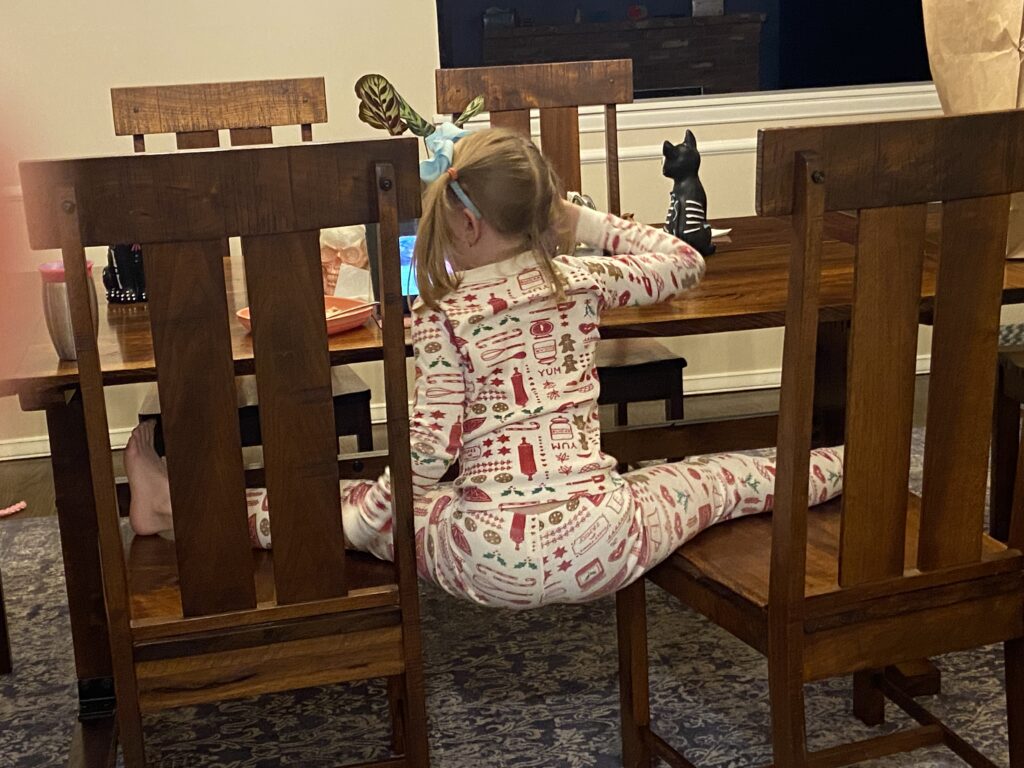
This silly girl was having some dessert and watching a show on the iPad. I had to laugh when I walked by and saw her sitting like this. Ouch.

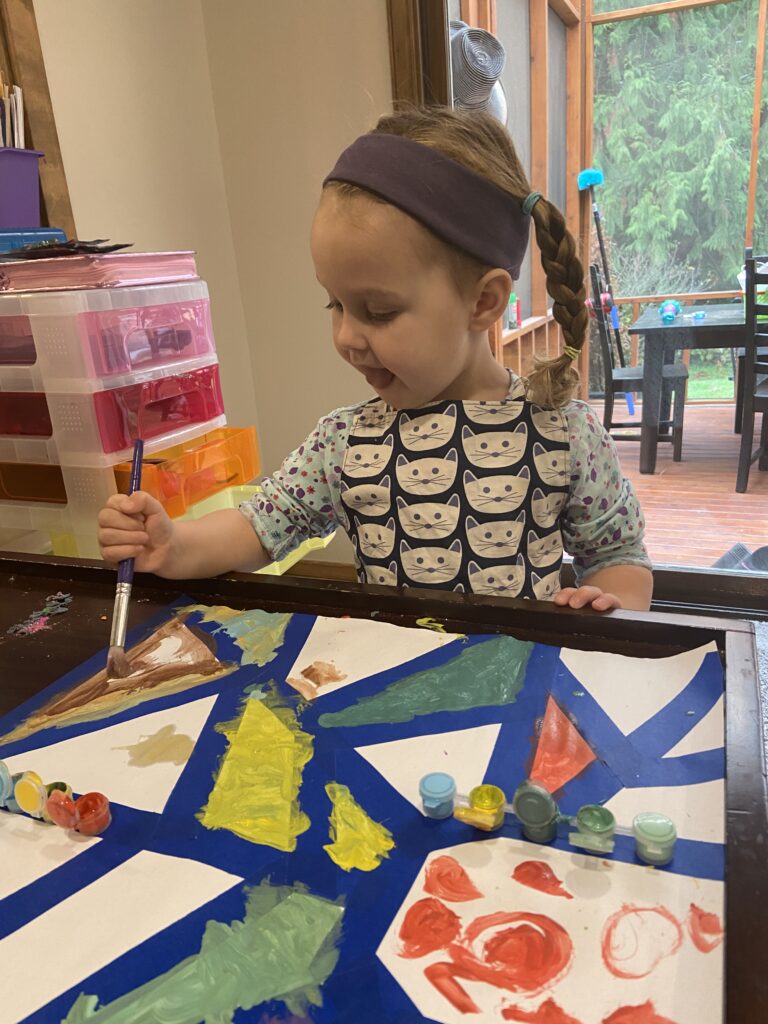
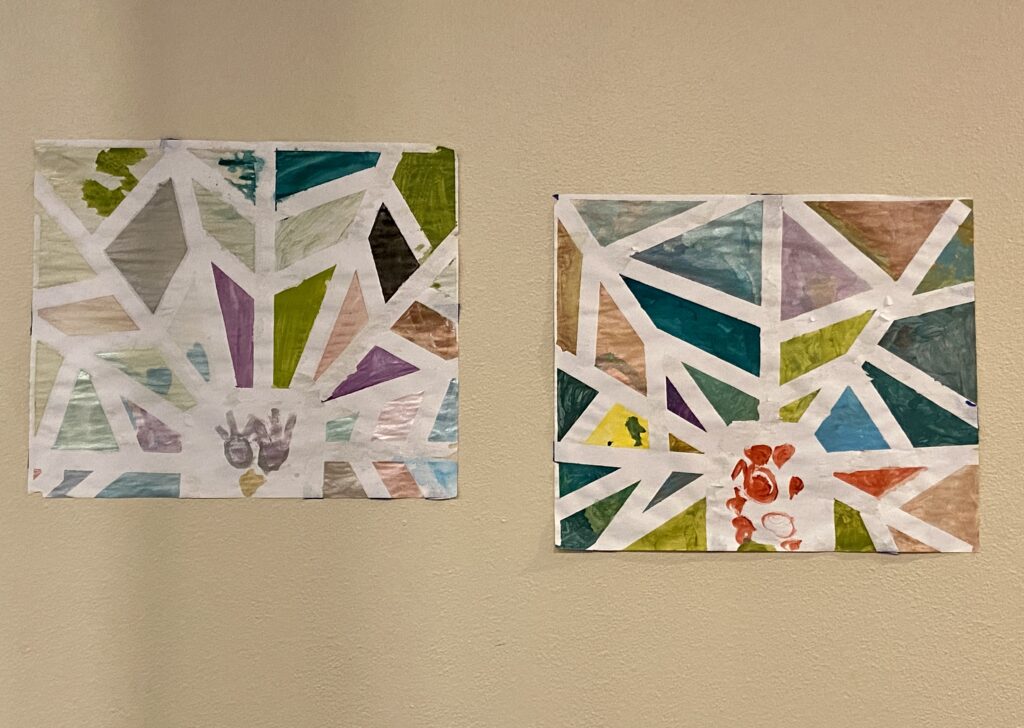
We did a number of art projects with the kids. This one was fun. I put blue painters tape down and told them to paint the sections however they wanted to. It was a challenge to peel up the painters tape though. I should have used heavier paper (or even cardboard). The tape was pulling on the paper a lot so I had to go super slow. The results were great though.

Aren’t these pretty??

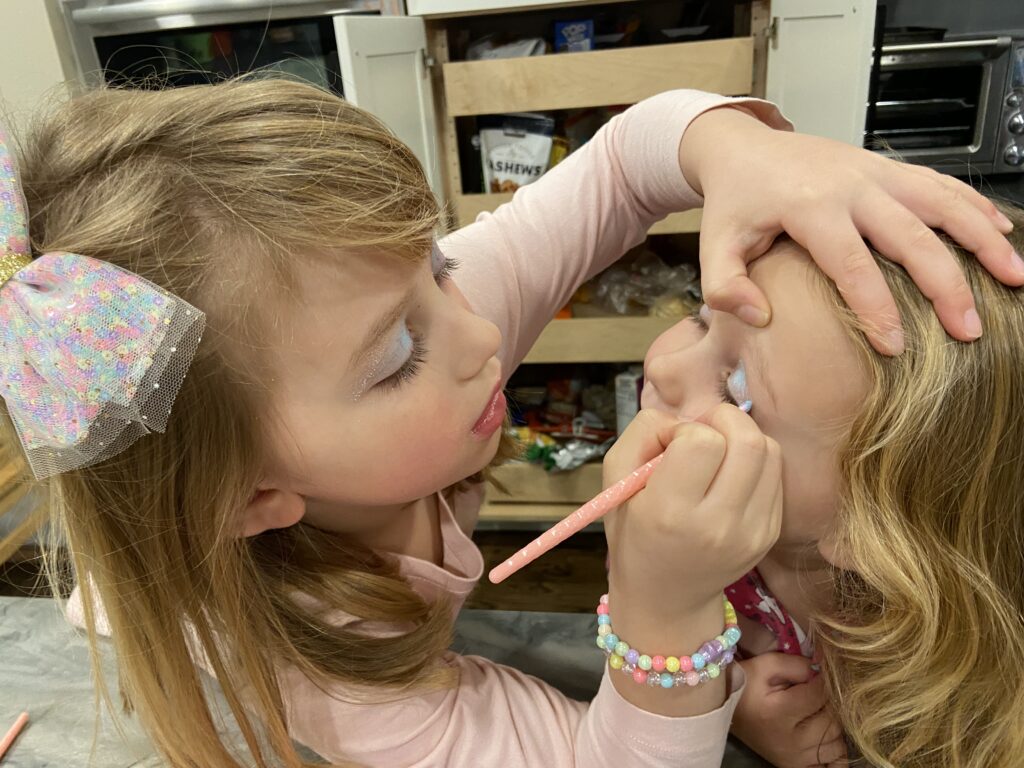
We went shopping one day and H (age 6) saw this make up kit that said ages 5 years and up. I was very hesitant to buy it so I texted the parents a picture of it to see if they approved. She was overjoyed when Mom and Dad gave the go ahead. Oh my gosh, the glitter and color these two had all over their faces for the remainder of our time together. It was so funny.

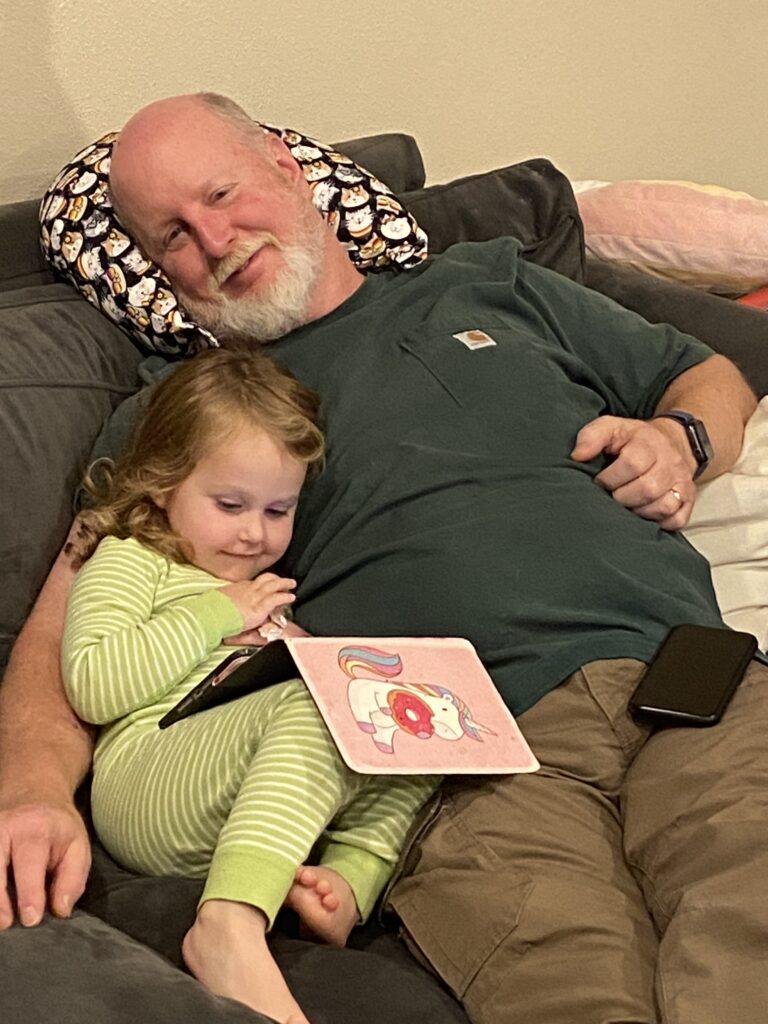
The girls love their grandpa and he enjoyed lots of snuggle time.

Overall, the week went well. We came home exhausted and happy. These two kids were one of the reasons we wanted to move up to Washington. Ray and I grew up with grand parents who were actively involved in our lives. It is so special to have a close relationship with the girls.

It is time to go plug in the Bernina and get it set up. I have missed this machine and am anxious to have her back up and running! If I don’t post again, I wish all of the US folks out there a Happy Thanksgiving next week!!

Linking up with Alycia at Finished or Not Friday

Procrastination Situation

Whenever there is a post on social media asking for a quilters most favorite or least favorite part of quilting, the answer for my least favorite is immediate and passionate. I really dislike basting quilts. There is so much riding on it. The need for a perfectly flat backing, a well prepped quilt top, the perfect amount of pins (I haven’t yet tried spray basting), no secret folds or wrinkles – ugh! It is more than I can stand. This is where I start to procrastinate. I know I am not alone. This is clear by the fact that the majority of quilters have any number of quilt tops that are unfinished, waiting to be basted and quilted. I don’t mind the quilting process and I usually enjoy binding a quilt. It is just the basting.

This is why I found myself in my sewing room this week starting a new project. Because really I should be basting and quilting my 2023 Positivity quilt. The top is finished and it is adorable (if I do say so myself). But I need to fuss around and create a backing and then…… baste it. I would venture a guess that someone could make a successful side gig offering to baste quilts for people like me. There are loads of us. Off I went to make something else, anything else, so I wouldn’t have to baste the quilt.

Last week while wandering the local quilt show (where I enjoyed that Sinbonnet Sue quilt) I spent more than a few minutes checking out the country store portion of the show. I love looking through the fabrics and other items quilters are selling. There was a bundle of charm squares that had been put together by a quilter. It was from a variety of lines and looked like leftovers from charm packs they had used. I liked the colors and knew it would be cute to make something with them. (I am proud to say this is the only purchase I made! I dug deep and restrained myself from buying anything else).

On Sunday I found myself in the sewing room looking for something to work on, anything that didn’t require basting. There were those cute charm squares sitting there, calling to me. “Choose us, choose us. You’ll have days of fun before any basting is required.” Sounded like a grand idea to me. I poked around on my Pinterest boards and decided to make a quilt similar to one I had pinned some time ago.

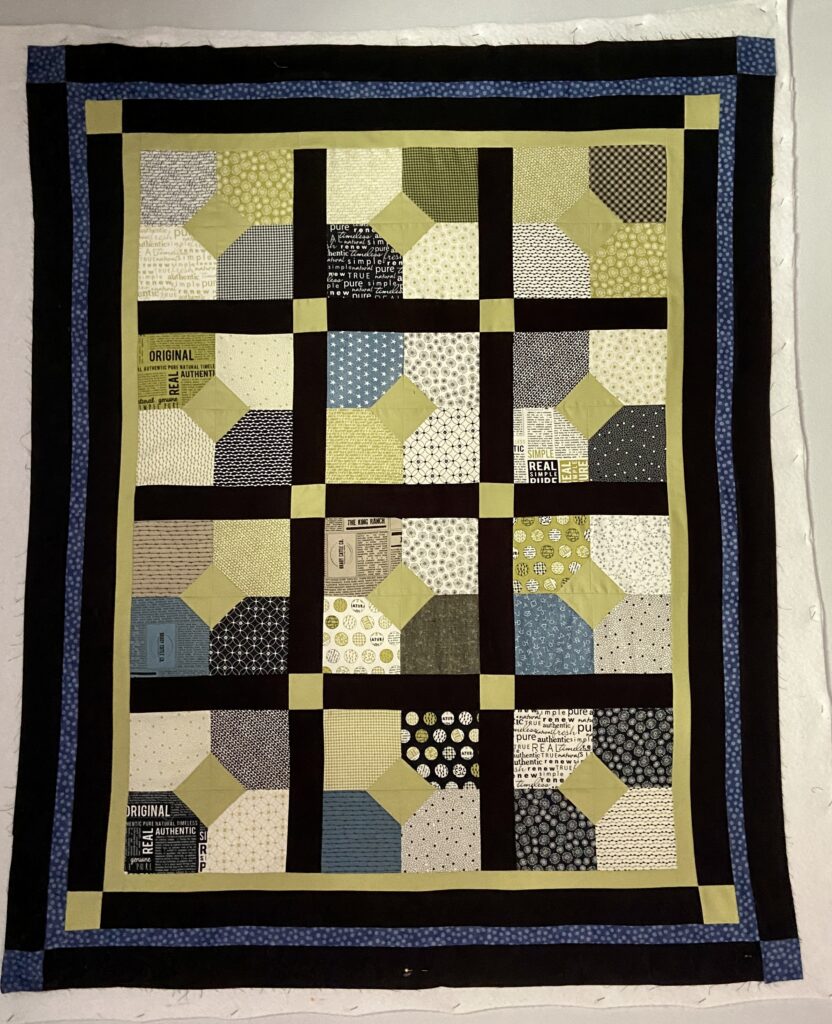
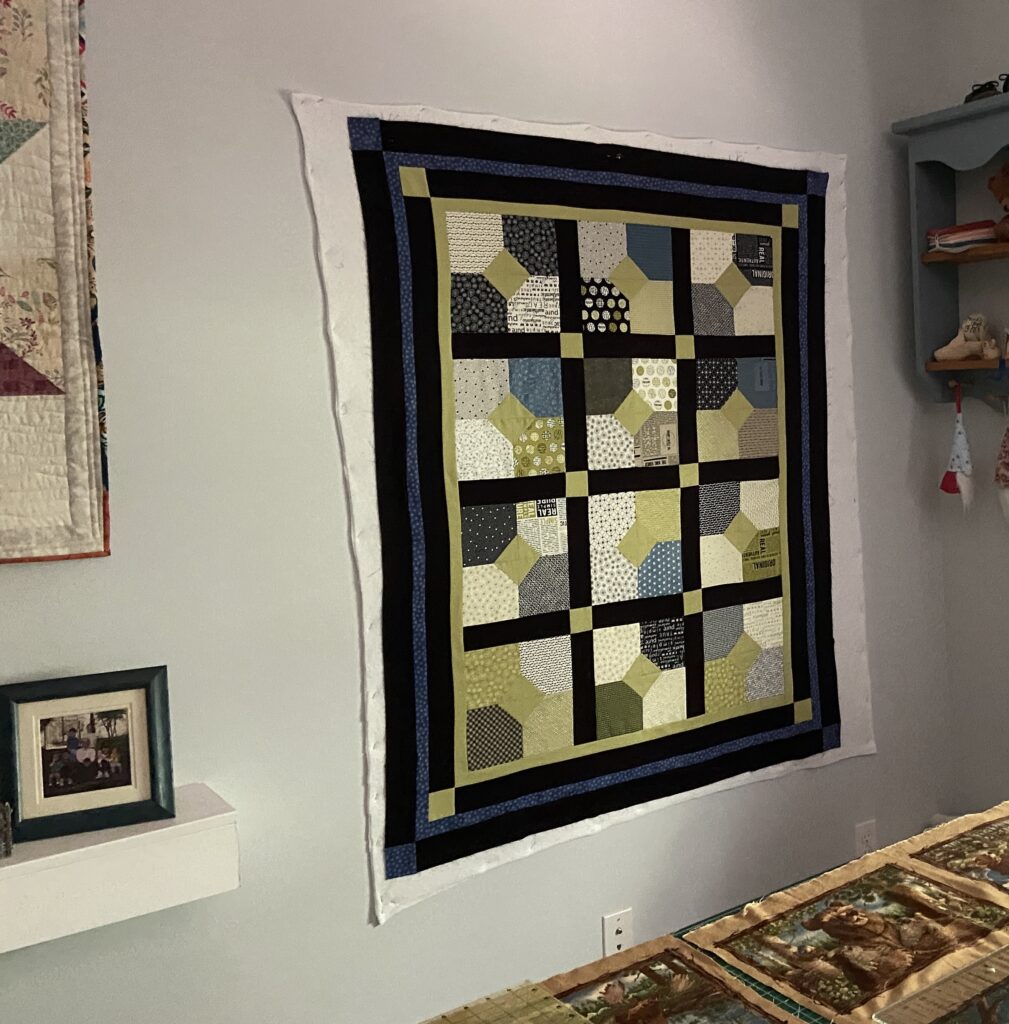
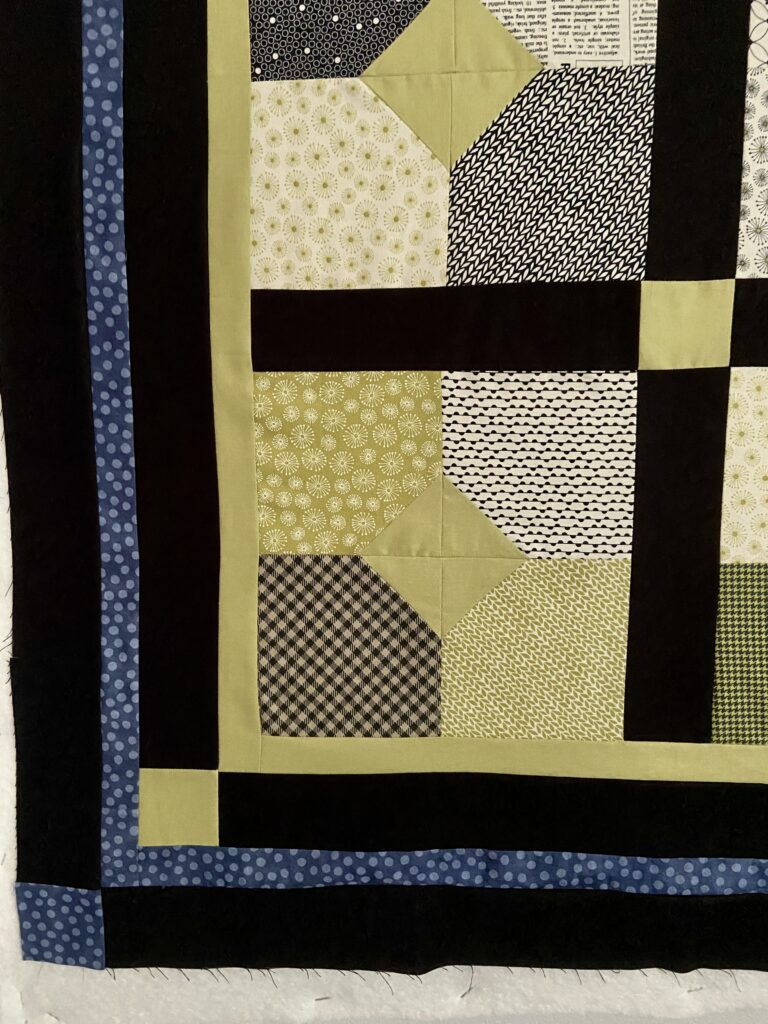
I looked through the solid green fabrics on the shelf and chose one to put on one corner of each charm square. Then I stitched them into a four patch. Because of my limited number of charms, I put a black border on them using the same green for cornerstones. (True confession time – I didn’t keep the little triangles from the stitch/flip on the corners. I know I should have, it was reckless of me, but I tossed them. Mia culpa.)

With the twelve blocks and the sashing, the quilt was fairly small. First I added another narrow border of the green (using almost all I had of this fabric) and then added a wider black border with green cornerstones. But it was still too small.

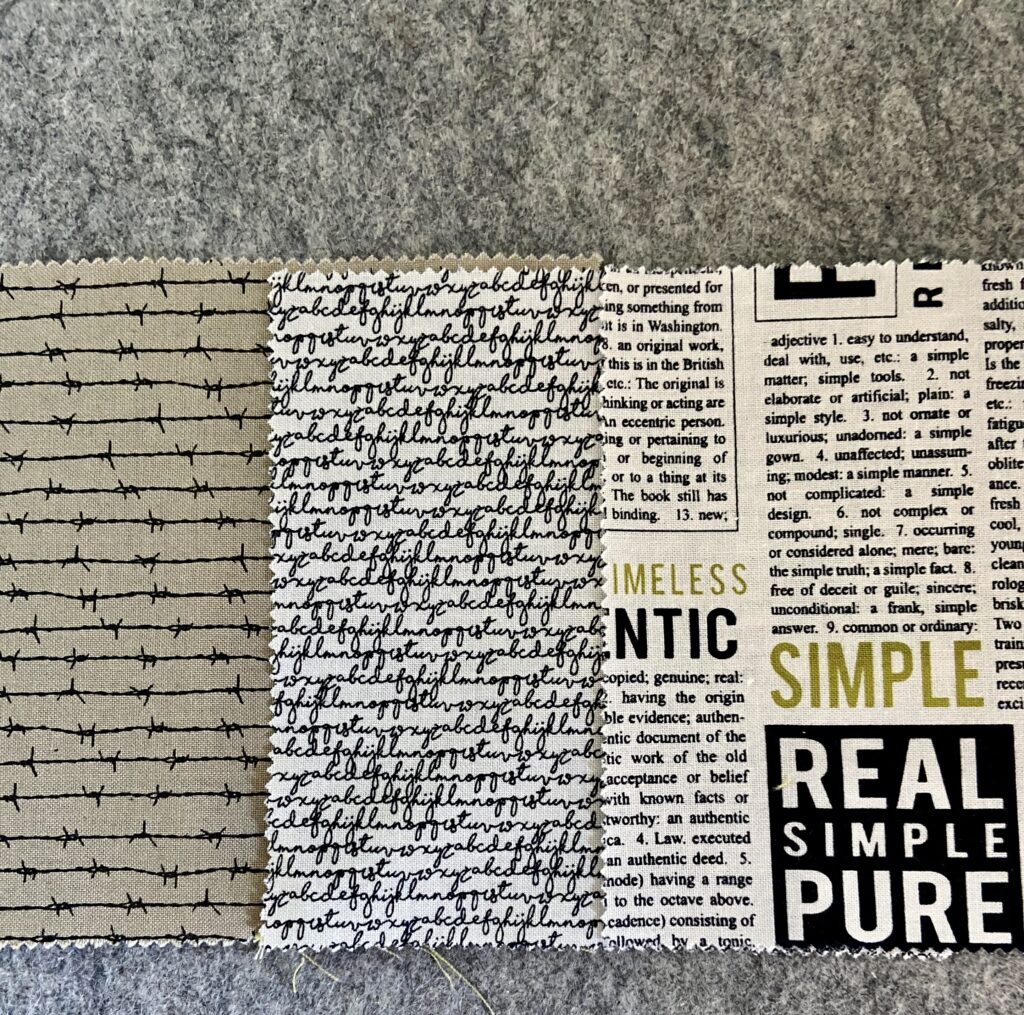
Last night I put out an alert – all the way from Washington state to Minnesota. Isn’t technology the best?? Texting Wendy at Pieceful Thoughts, I asked for some ideas. After sending pictures of a variety of fabrics to her, it was agreed that a narrow border of this denim blue dotted fabric would be cute with another black border. I used cornerstones again for consistency.

TaDaa! Another quilt top is finished. Another quilt top is whispering ‘finish me, baste me, don’t let me sit here forever.’ This puts me at four quilt tops needing to be basted and one that is in the midst of being quilted yet no where near finished. It is a vicious, never-ending cycle. Help!!! Help me!!!

Positivity Quilt Along Link Up #2

Hi All! Crazy busy here over on the western side of Washington state these days. There has been so much happening. Julia moved up here just a few weeks ago. My mom and dad were successful in selling their California house and just moved up here as well. The family has been working on helping them with unpacking which means no sewing time.

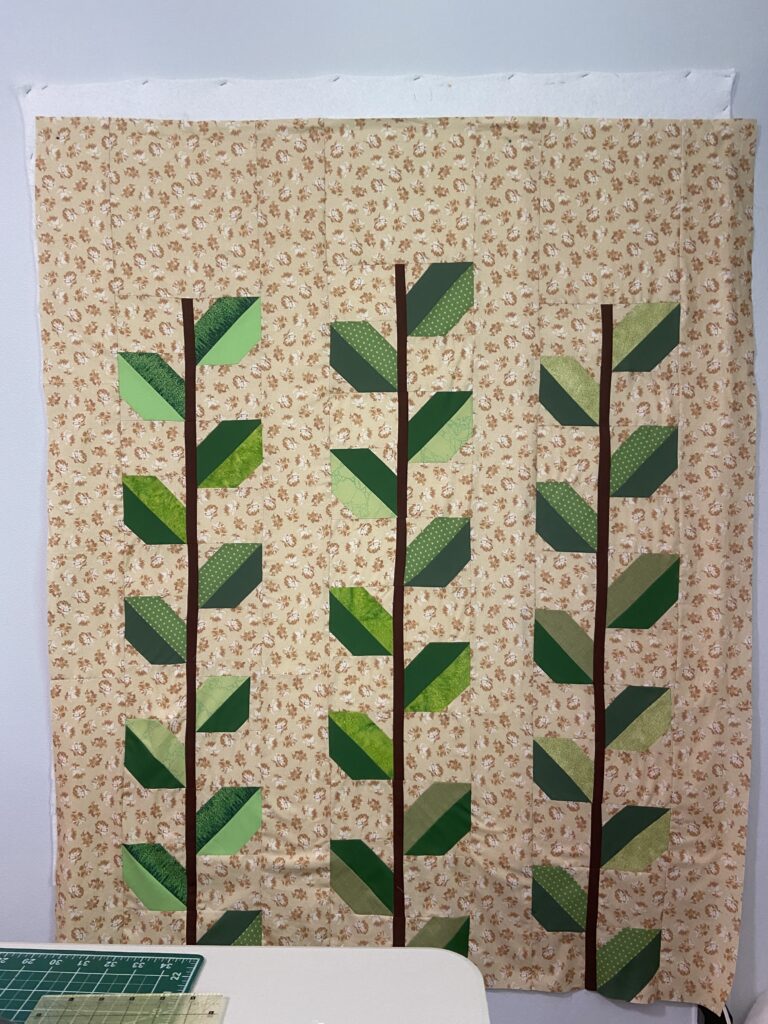
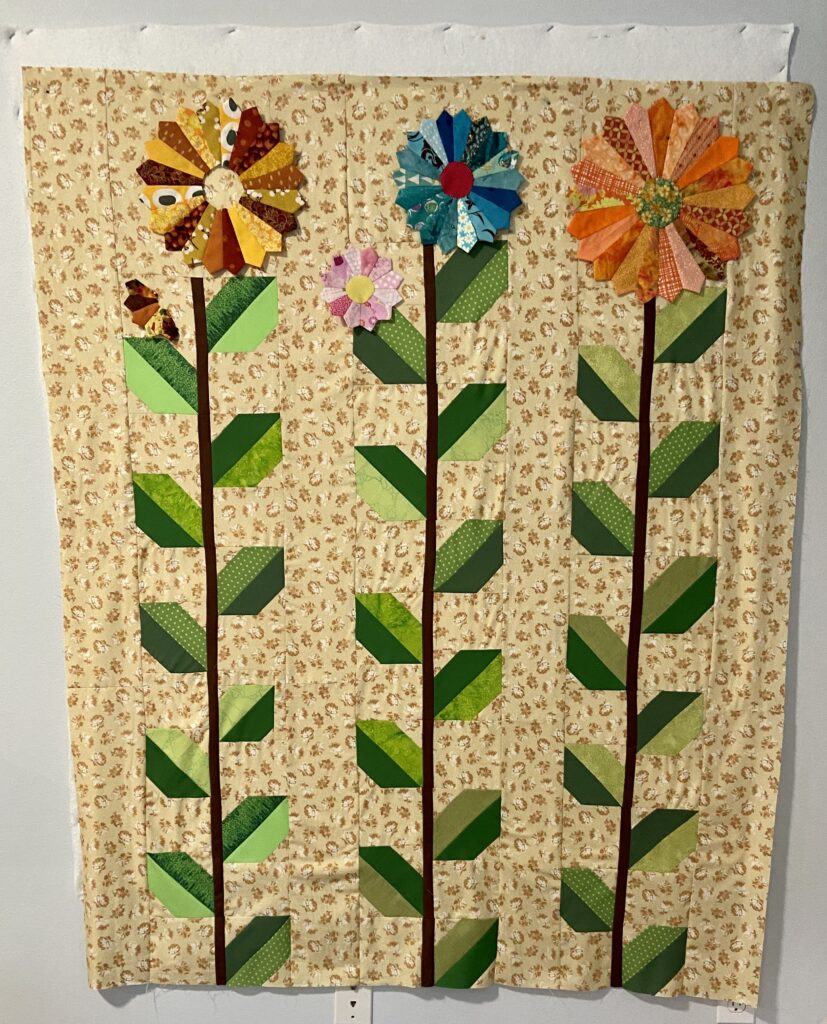
Quilt top without the flowers

I did get some progress made on my quilt top before all of this began however. I am very happy with it. My plan is to use the Dresdens I made some time ago, as well as a few new ones, for the flowers. This is a time saver for me which is so helpful. Time is just not plentiful these days!!

I am experimenting with the placement of the Dresdens. They won’t be sitting right on top of the stem. If you look up on the left side, you’ll see a partial Dresden. I want to put a cone shape center at the top so it looks like a partial bloom. (Does that make sense)? I am loving how this is coming together. I borrowed some bias tape makers from my sister and will make stems with it. I want them to be narrower than the stems I made for the leaves. I may use a few slightly different fabrics to add some variety to the flowers.

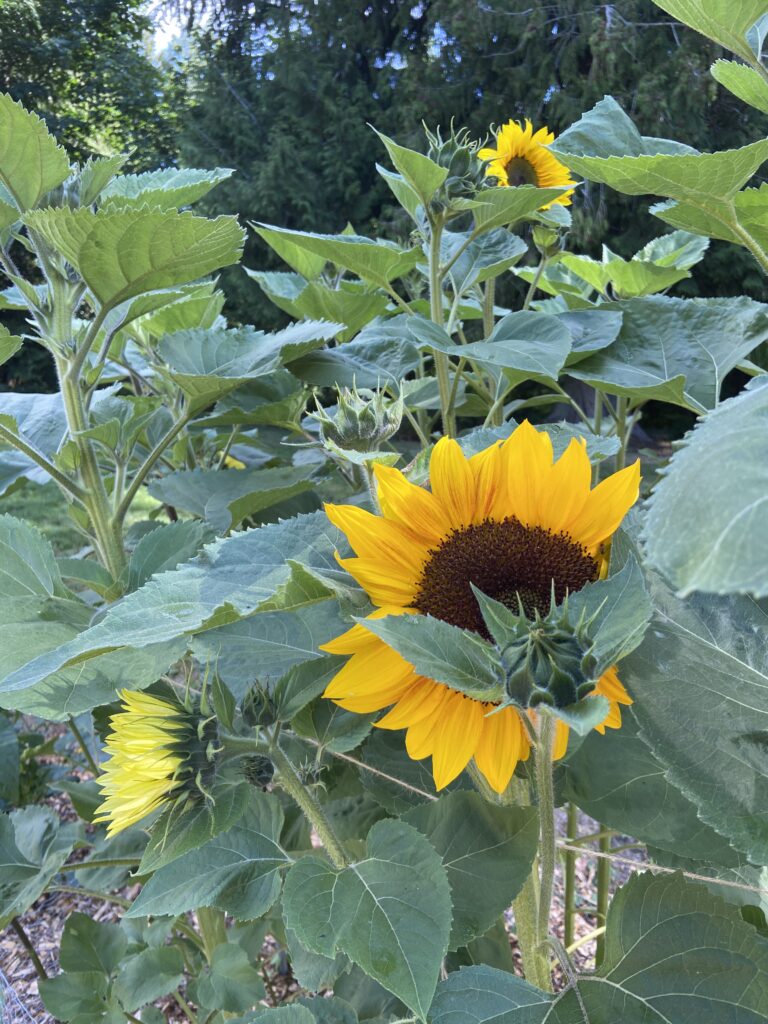
These are sunflowers Ray and I planted in our backyard this year. They are blooming profusely. My favorite flowers by far are sunflowers and peonies. Anyway, see the pale yellow, partially open blossom? That is what I am trying for with the small, partial Dresden. In another week or so I should have the Dresden’s finished and will be able to baste the quilt.

OK – time to see some quilt tops!! Remember we will be giving away a number of quilt patterns for entrants in this week’s link up. If you don’t know how to link up or just want me to share a photo of your quilt top, please email it to me. Can’t wait to see what the quilts are looking like at this point! Thanks so much for participating in the 2023 Positivity QAL!!!

Linking up with Oh Scrap!

Quilt Beginnings

The 2023 Positivity Quilt Along has begun! The first post went up about a week ago at Sew Preeti Quilts where she shared the pattern choices as well as fabric cutting instructions. I am very excited about this year’s pattern(s)!

Above is a quilt based on climbing, leafy vines which Preeti has aptly names Positivity Grows. Very pretty, super simple and quite effective!

The other version, namedPositivity Blooms, is shown above. I am planning to make a version like this. I chose this version for a couple of reasons.

When I looked at fabric in the beginning, I was going to use one of two jelly rolls I have on the shelf. But as I considered each of them it was clear neither was going to work well. They really didn’t work for a botanically themed quilt. Some of you will pull this off and it will be lovely but I couldn’t figure it out. After this, I vacillated between buying a jelly roll or using scraps. I have sooooo much fabric and surely there was a way to use what I have. I found two large pieces of solid green fabric in two shades. I cut strips of these for half of each leaf. Then I went through all sorts of bits and bobs of green prints, cutting as many strips as I could. But not many of these were full width of fabric so this presents a bit of a challenge. My blocks won’t easily work out mathematically. But this is ok. If some of my leaves are different sizes they will just mimic nature that much more. The standard block goes together much easier than this! Please check Preeti’s recent tutorial explaining the process.

It will take a bit more time, but I can make it work. See the extra border I added to two of the leaves above? Even if a bit time consuming, in the end it will add a fun variety to the sizes of my leaves. Also, since I don’t have a lot of each of the patterned green fabrics, my leaves will be scrappy with a variety of shades in the leaves. I am not sure how I want to mix them together but I can figure that out later.

Not all of my blocks will be built in matched pairs. You can see above, on each column there is a single leaf. On the right column, look at the third leaf down. This will occur here and there due to the amount of leaves I can get out of the random size strips. Again, nature does this sort of thing all the time, right? As for the blooming version of the quilt, I thought this would be a good one for me since I have less than ideal amounts of the green strips. Making the blooms means making less leaves. I like the earthy colors of the background fabric. I hope it will give this quilt a bit of a fall feel to it.

So far I am having a lot of fun with this. For now though, I am setting it aside. Tomorrow I fly to Brooklyn NY to see my son and his wife. Normally they fly out here for visiting but this time, I am heading east. We have a few plans but mostly I just want to soak in the family and enjoy lots of visiting. I don’t see them nearly enough so I am super excited.

This isn’t the best shot but I wanted to share a picture of A wearing the pajamas I made for the girls. They fit but wow, it won’t last long. I made a size 3T and wish I had made the 4T. Oh well, for now they look adorable. (She was engaged with some TV show and wasn’t not at all into modeling for me.) Most importantly, she likes them and that makes it all worth it.

Time to do some laundry so I can pack for tomorrow’s trip! While I am away, my parents will be up here house hunting. Hopefully they will find just what they want!!