Tag Archives: jelly roll quilt

First Finish of 2024

Have to say, I am on a tear lately. Lots of sewing has been happening up in my sewing room! Sometimes the mood hits just right and everything lines up – inspiration, enough time, wintry weather which encourages staying inside, plus fun projects to work on.

Toward the end of December, I found myself wanting to practice some free motion quilting. I pulled out a small set of 2 1/2″ strips I bought at the thrift store a while back. There were only 20 strips so I decided to make a small quilt. This makes the FMQ practice easier to do. They were odd strips – someone had cut them by hand and each one was off at one point or another. I had to trim all of them – but you get what you pay for and I paid three bucks for these!

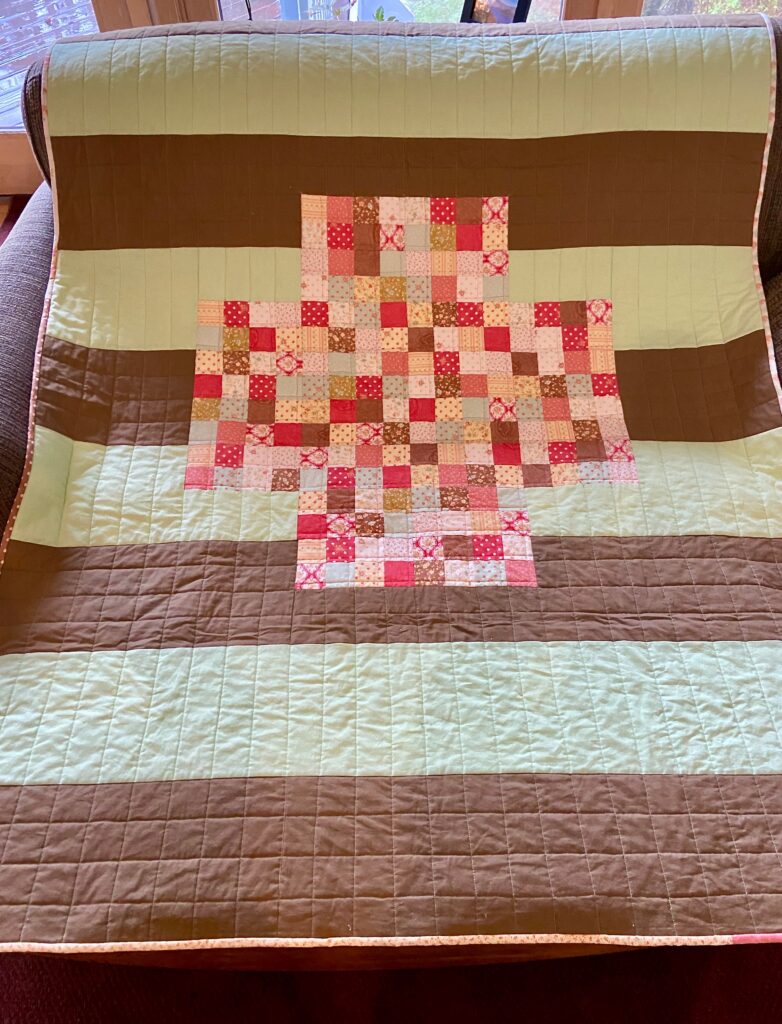
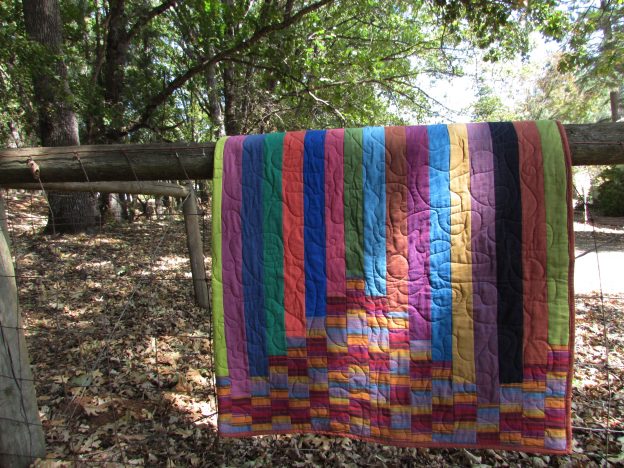
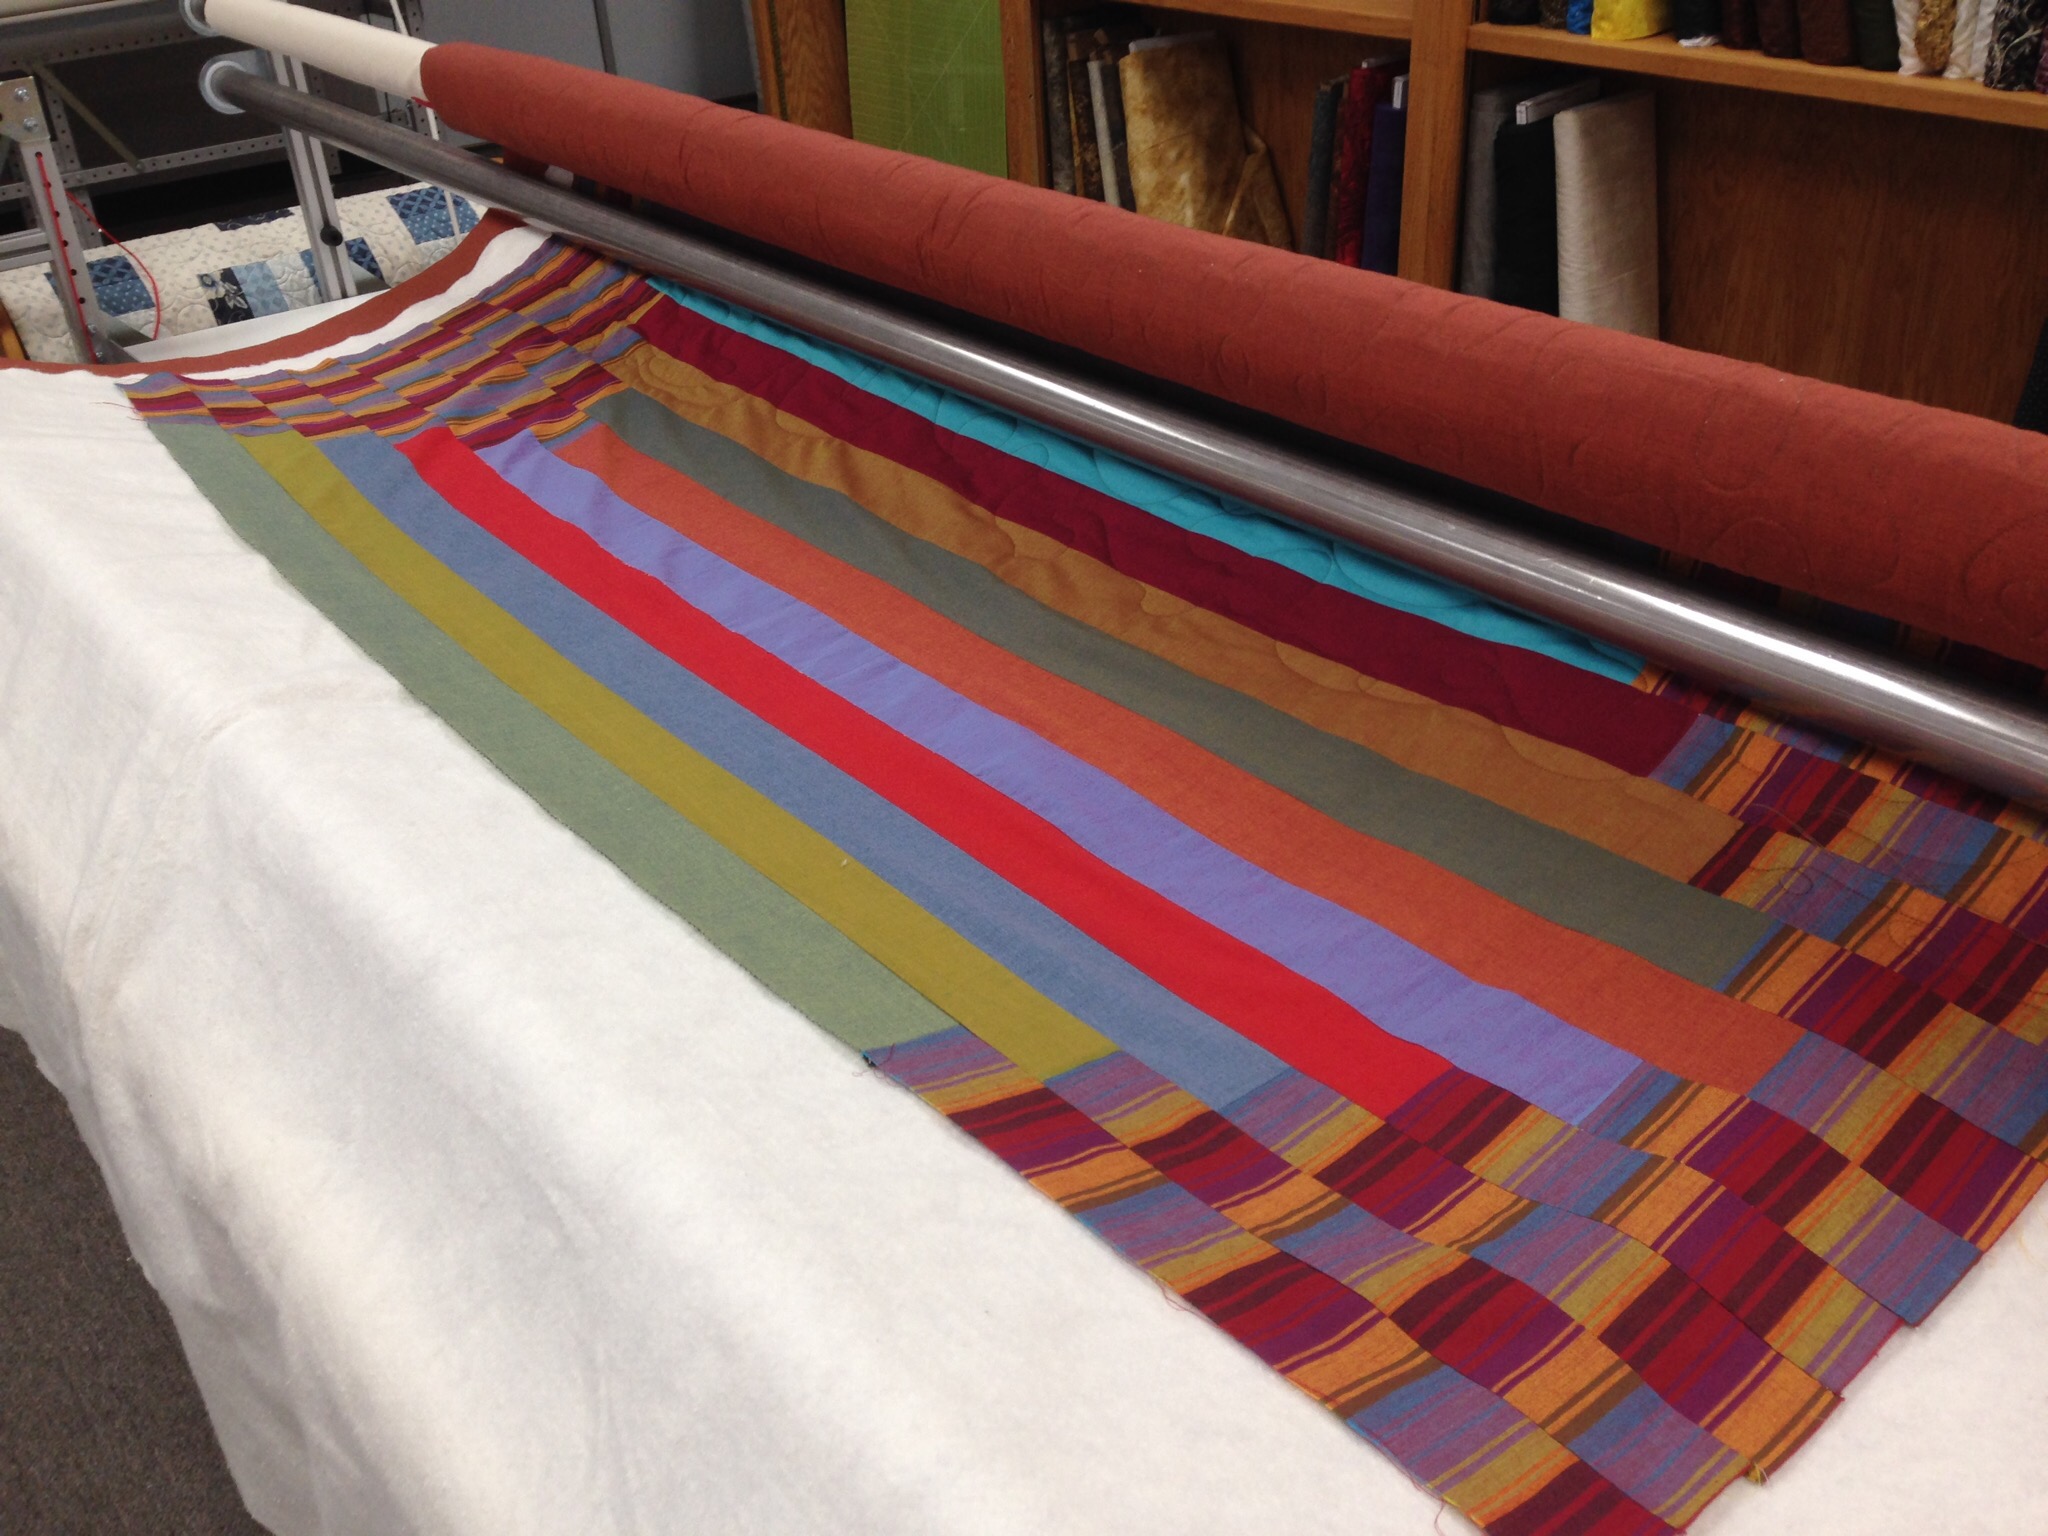
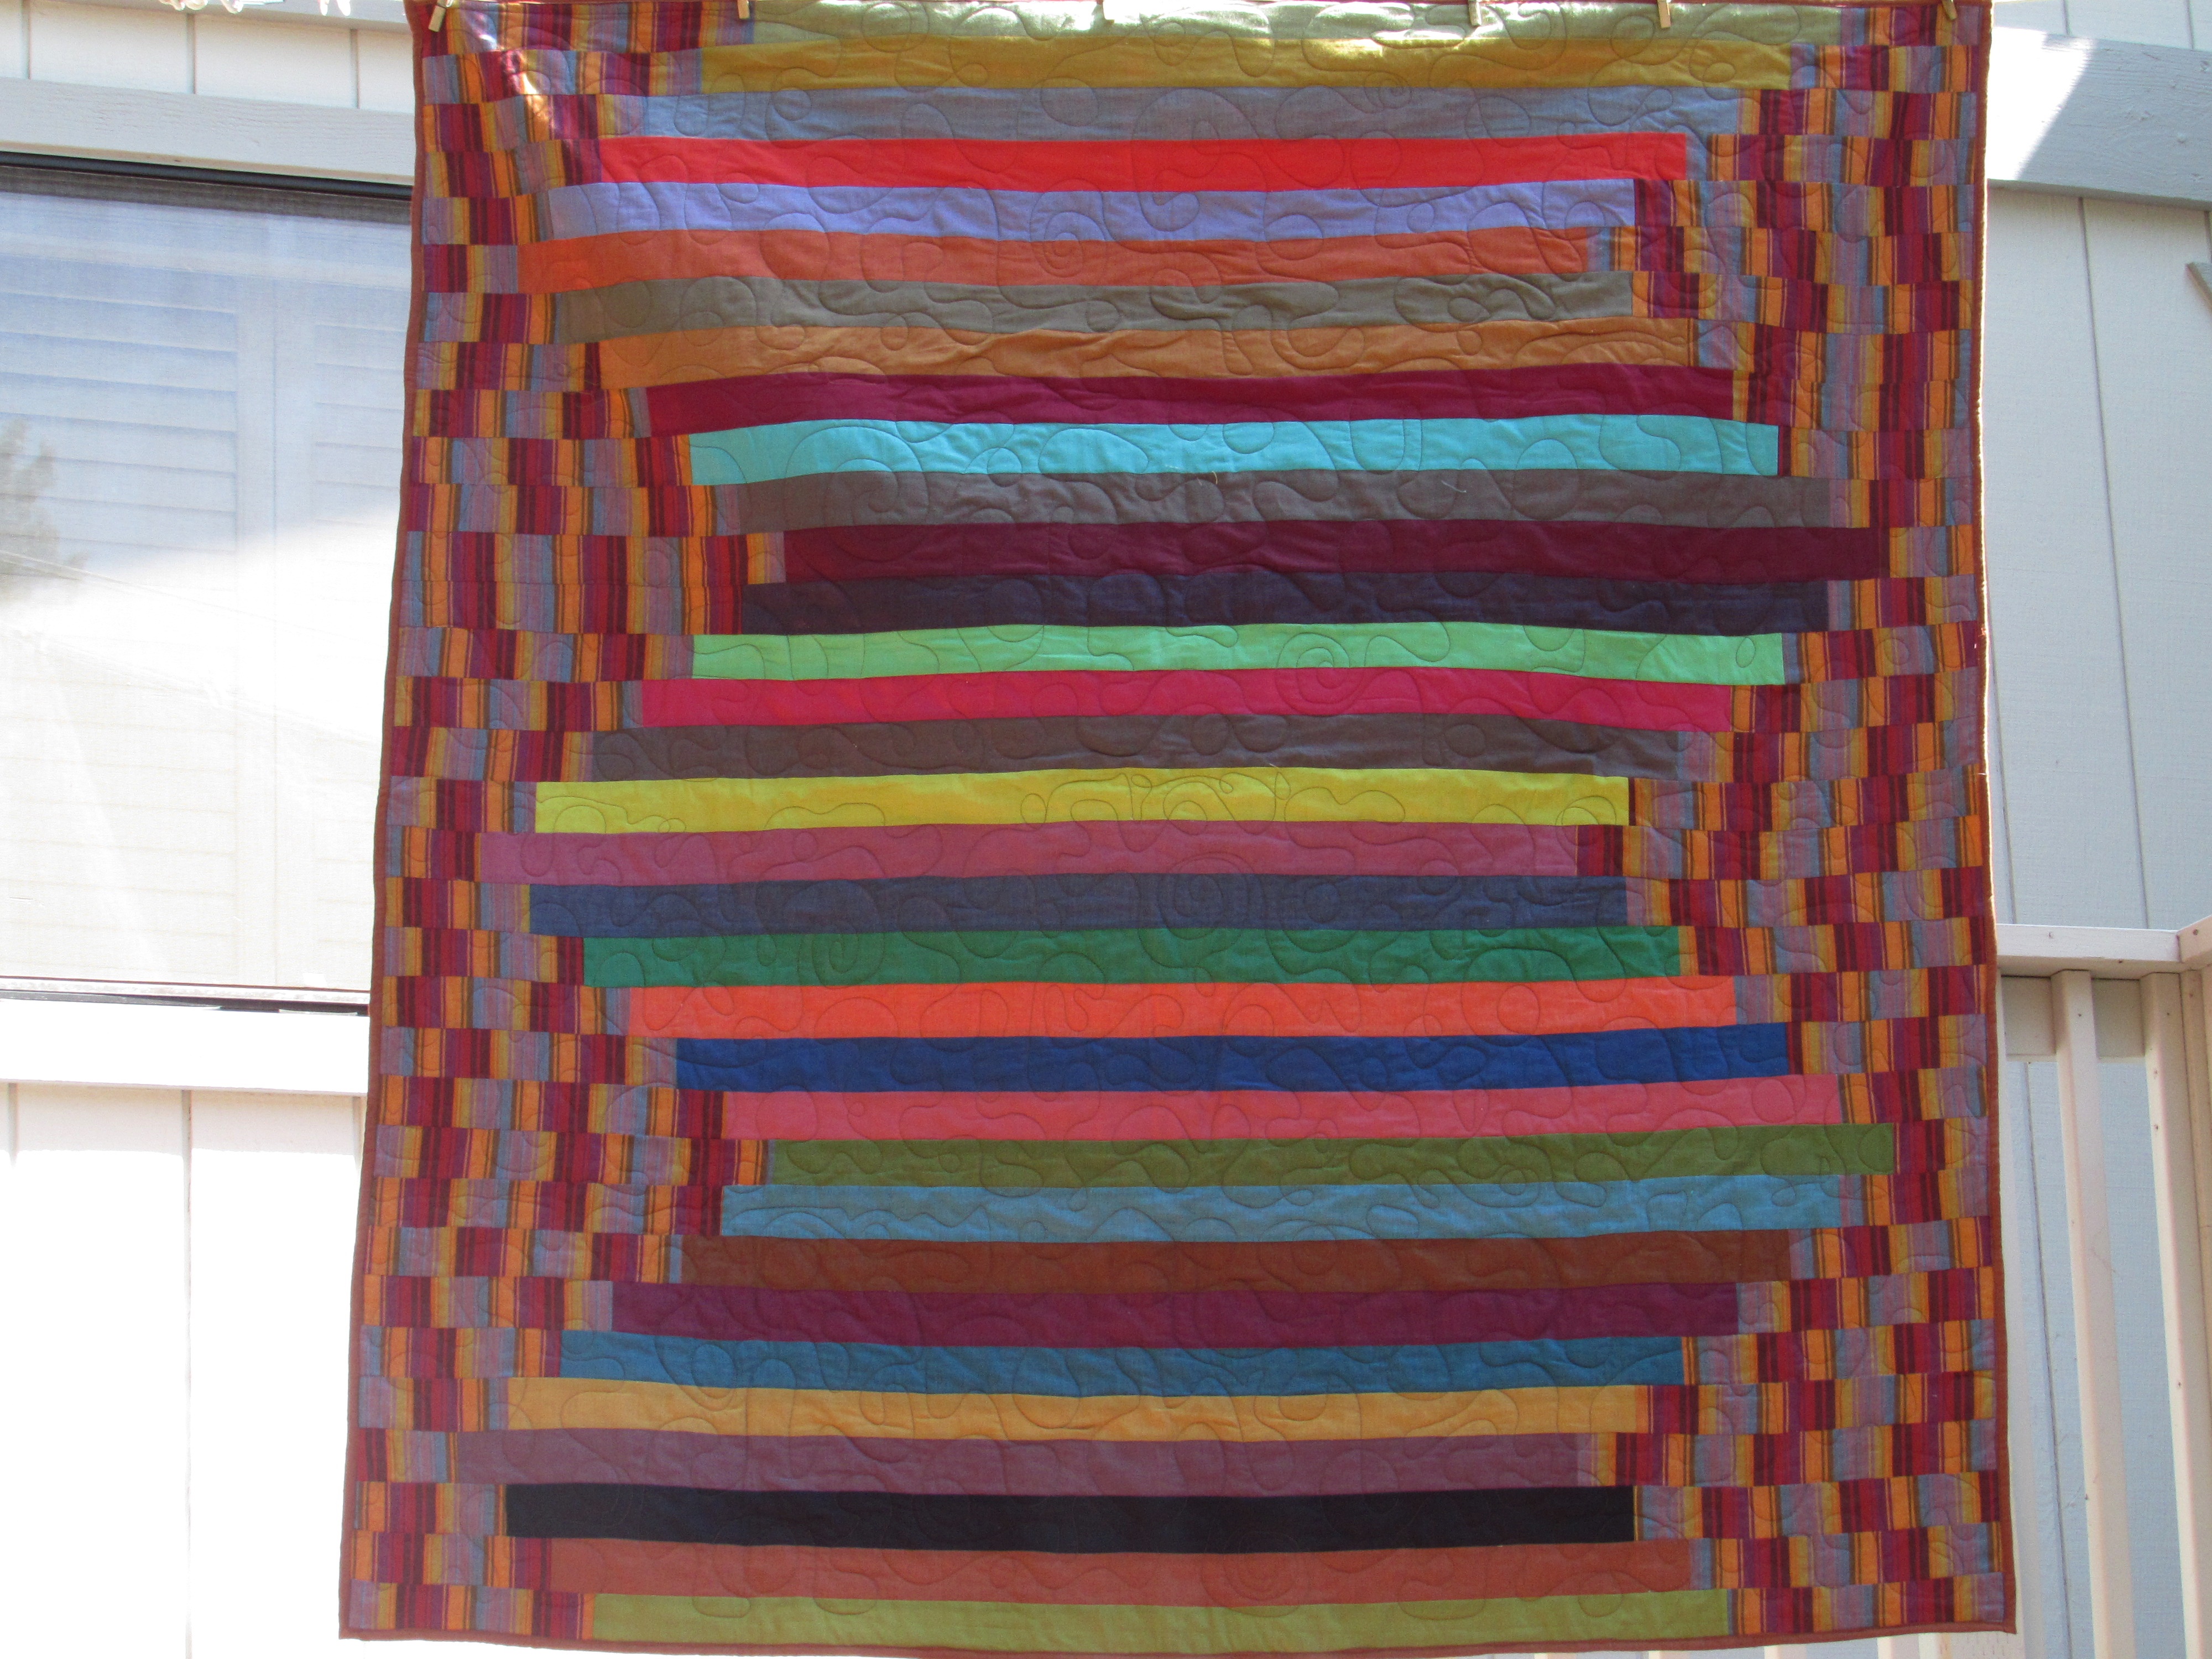
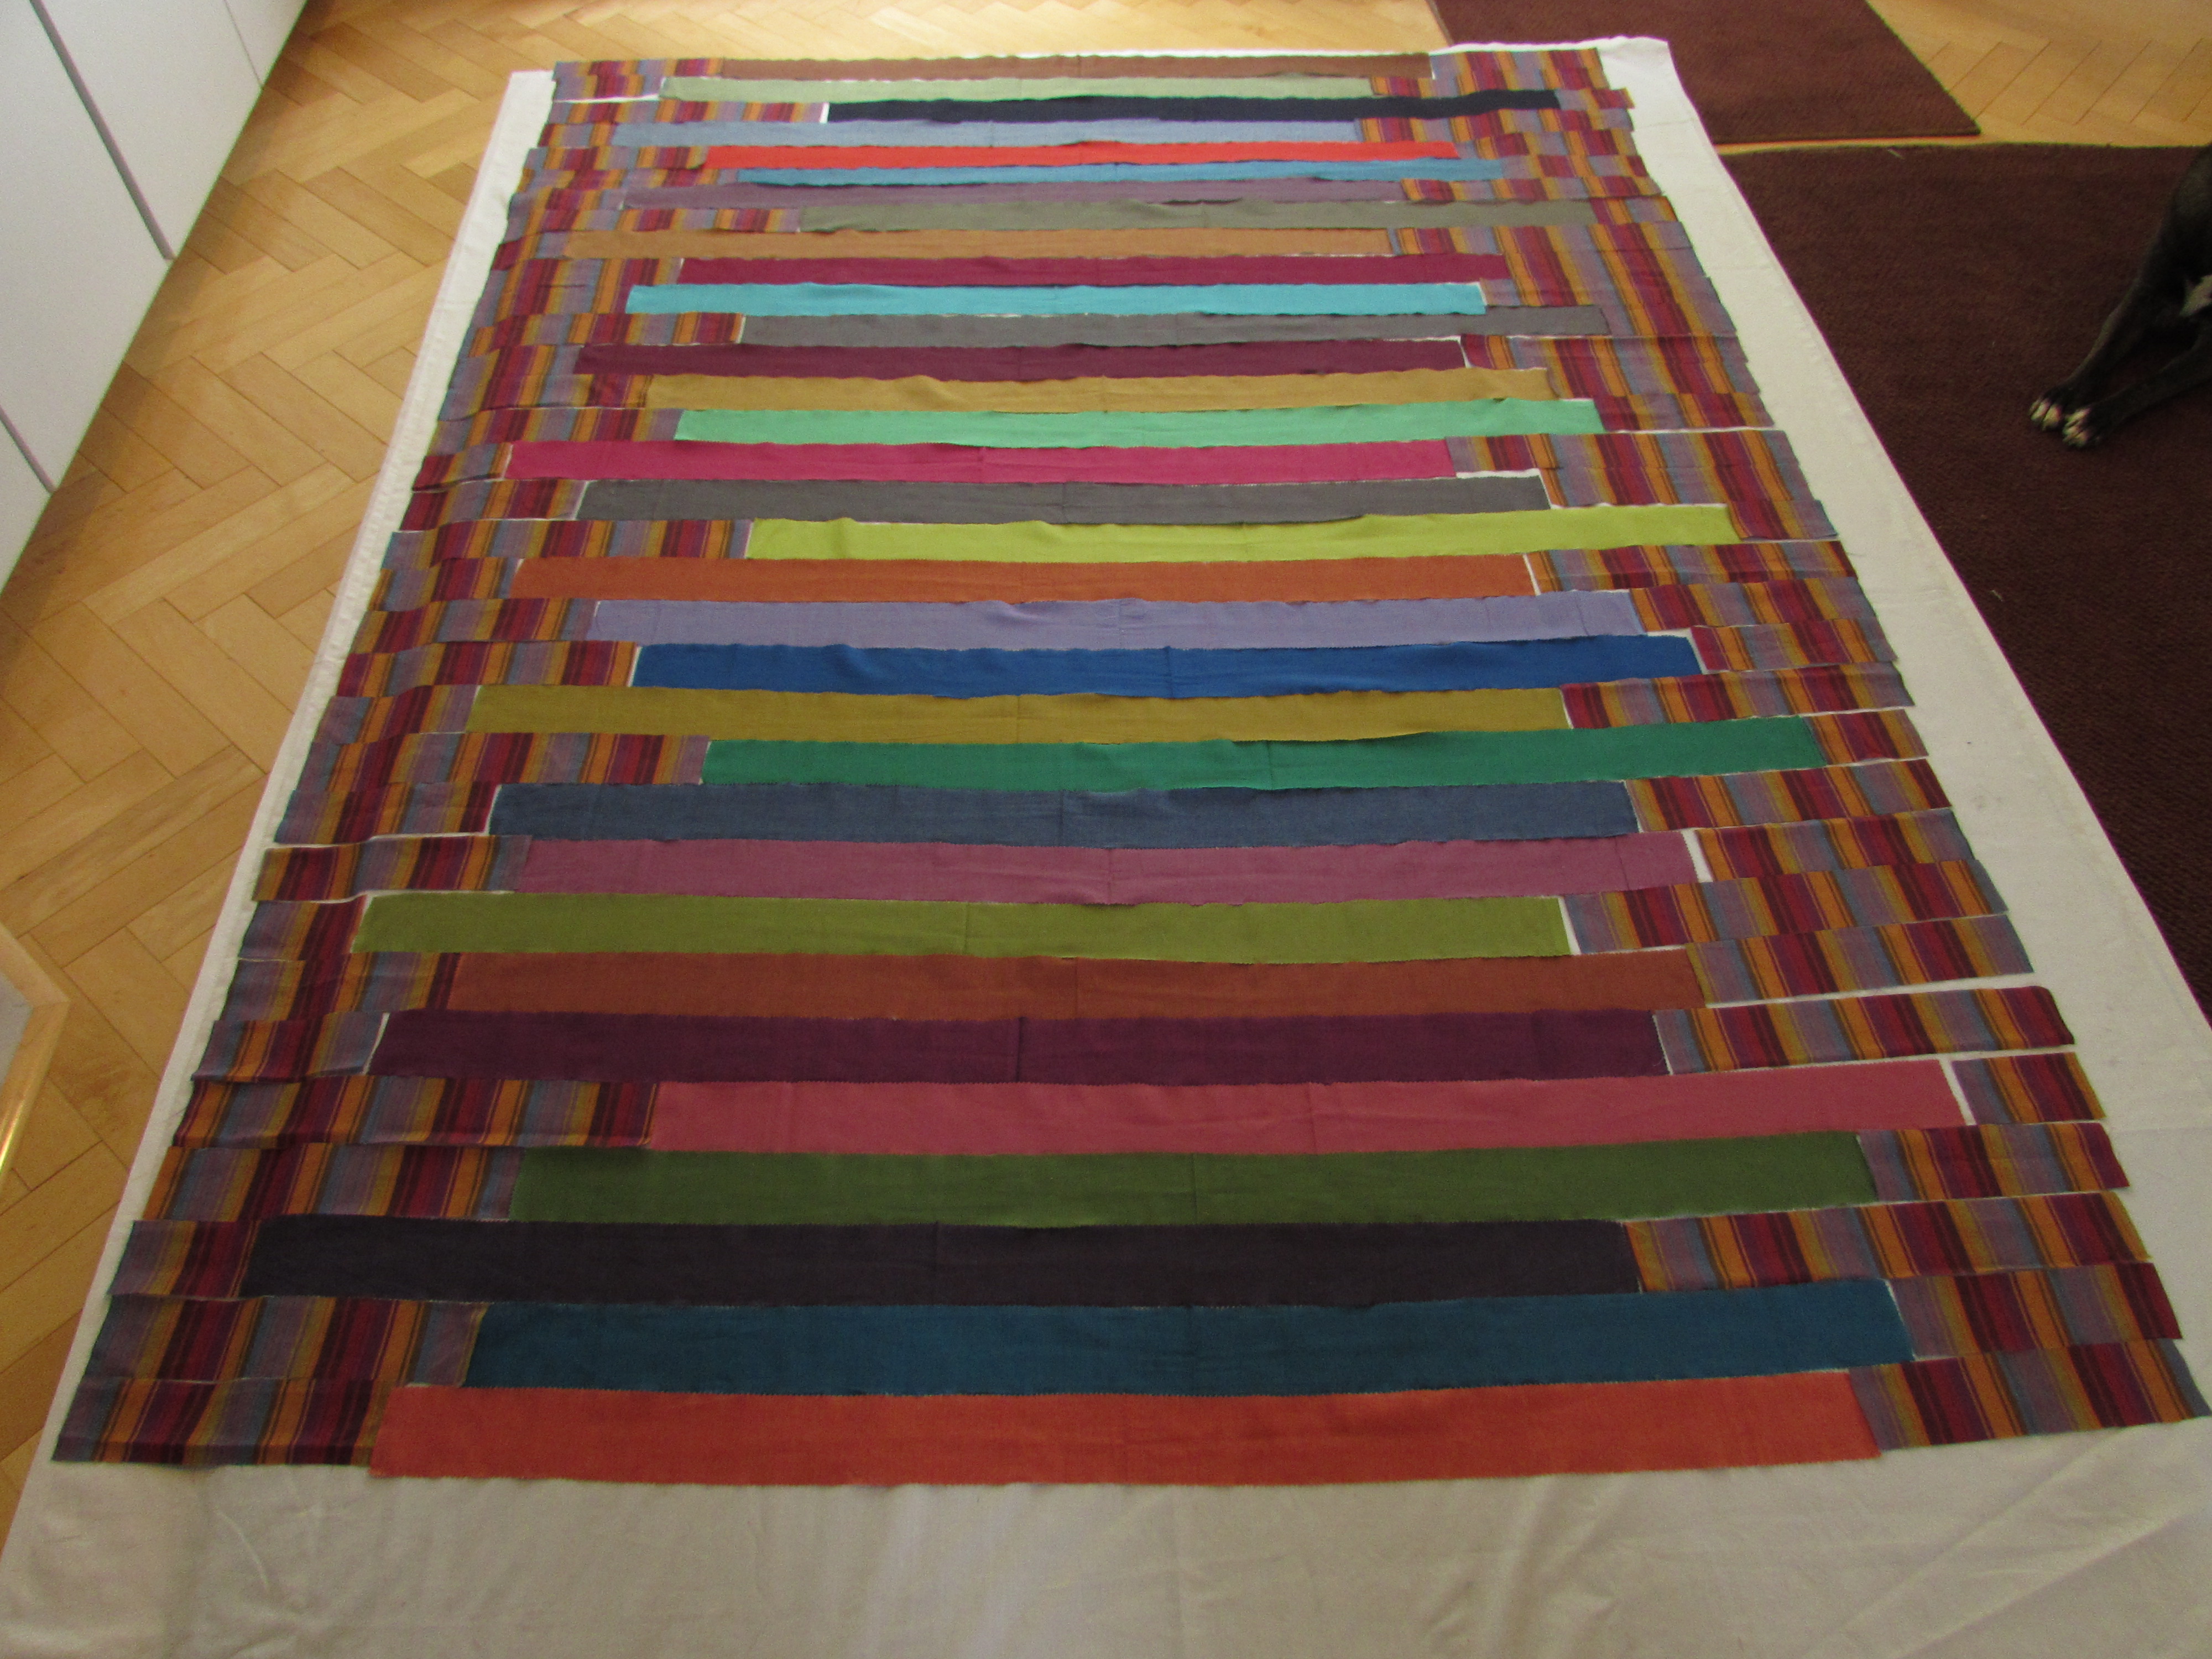
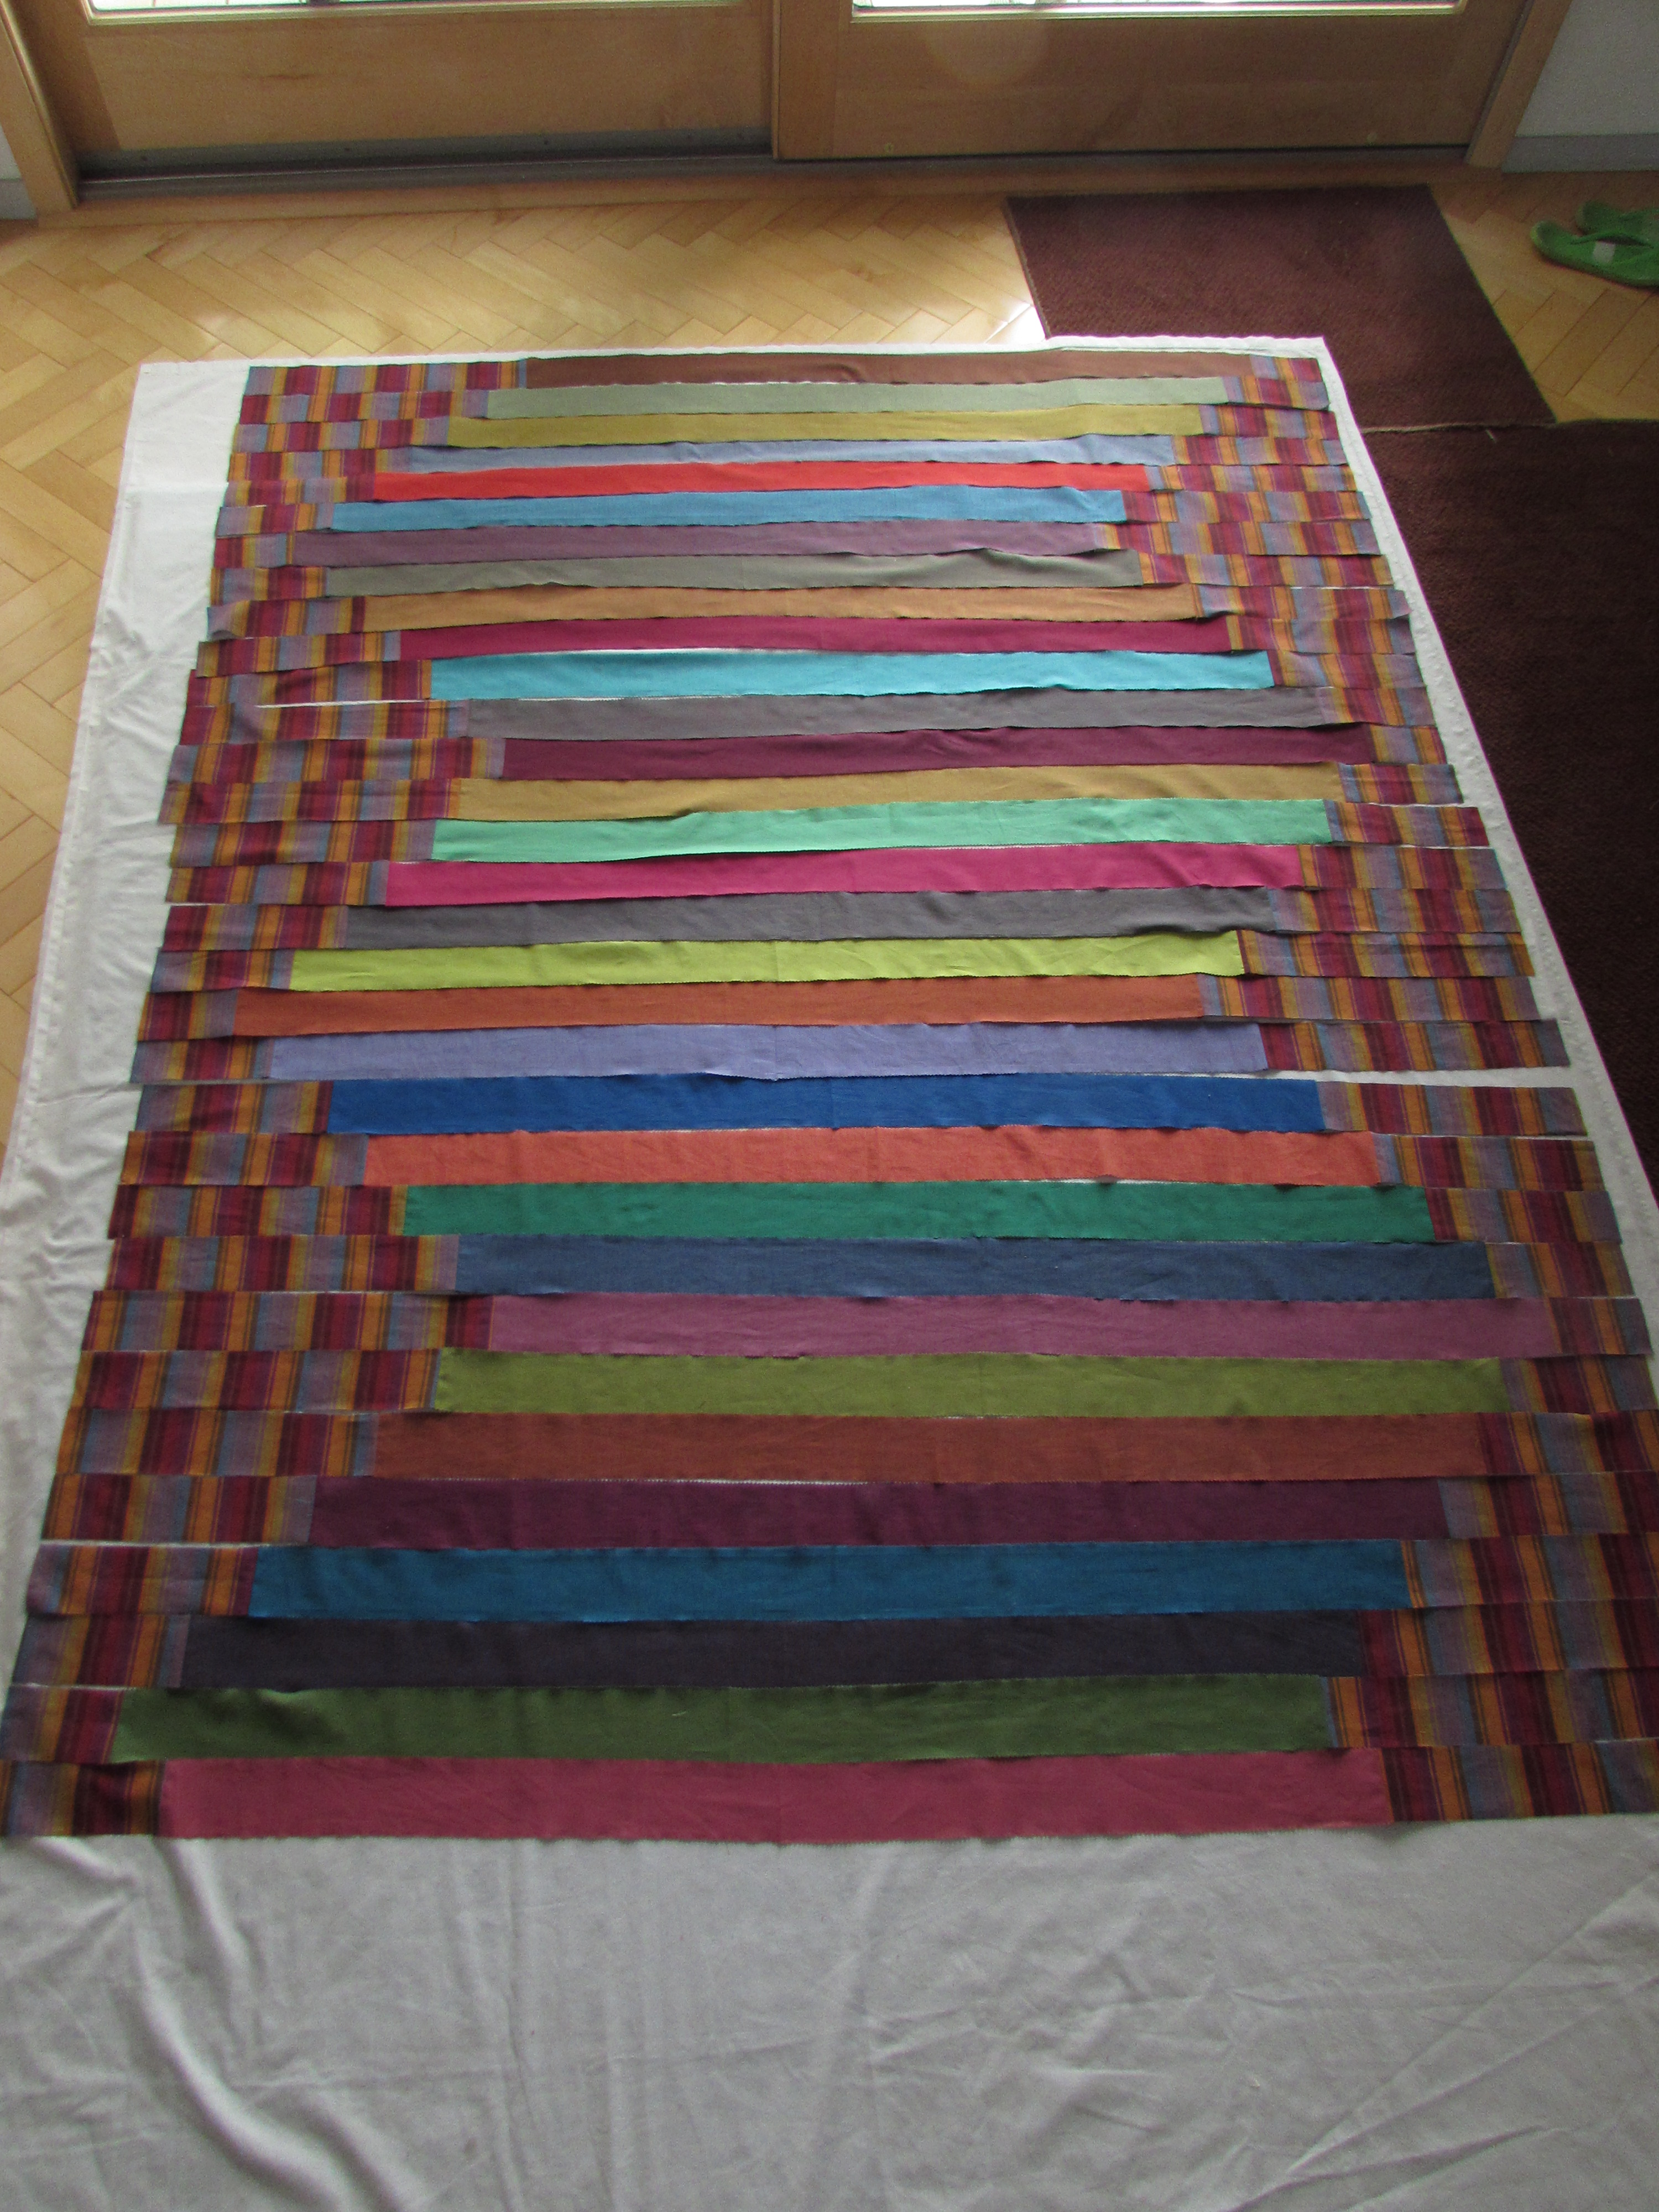
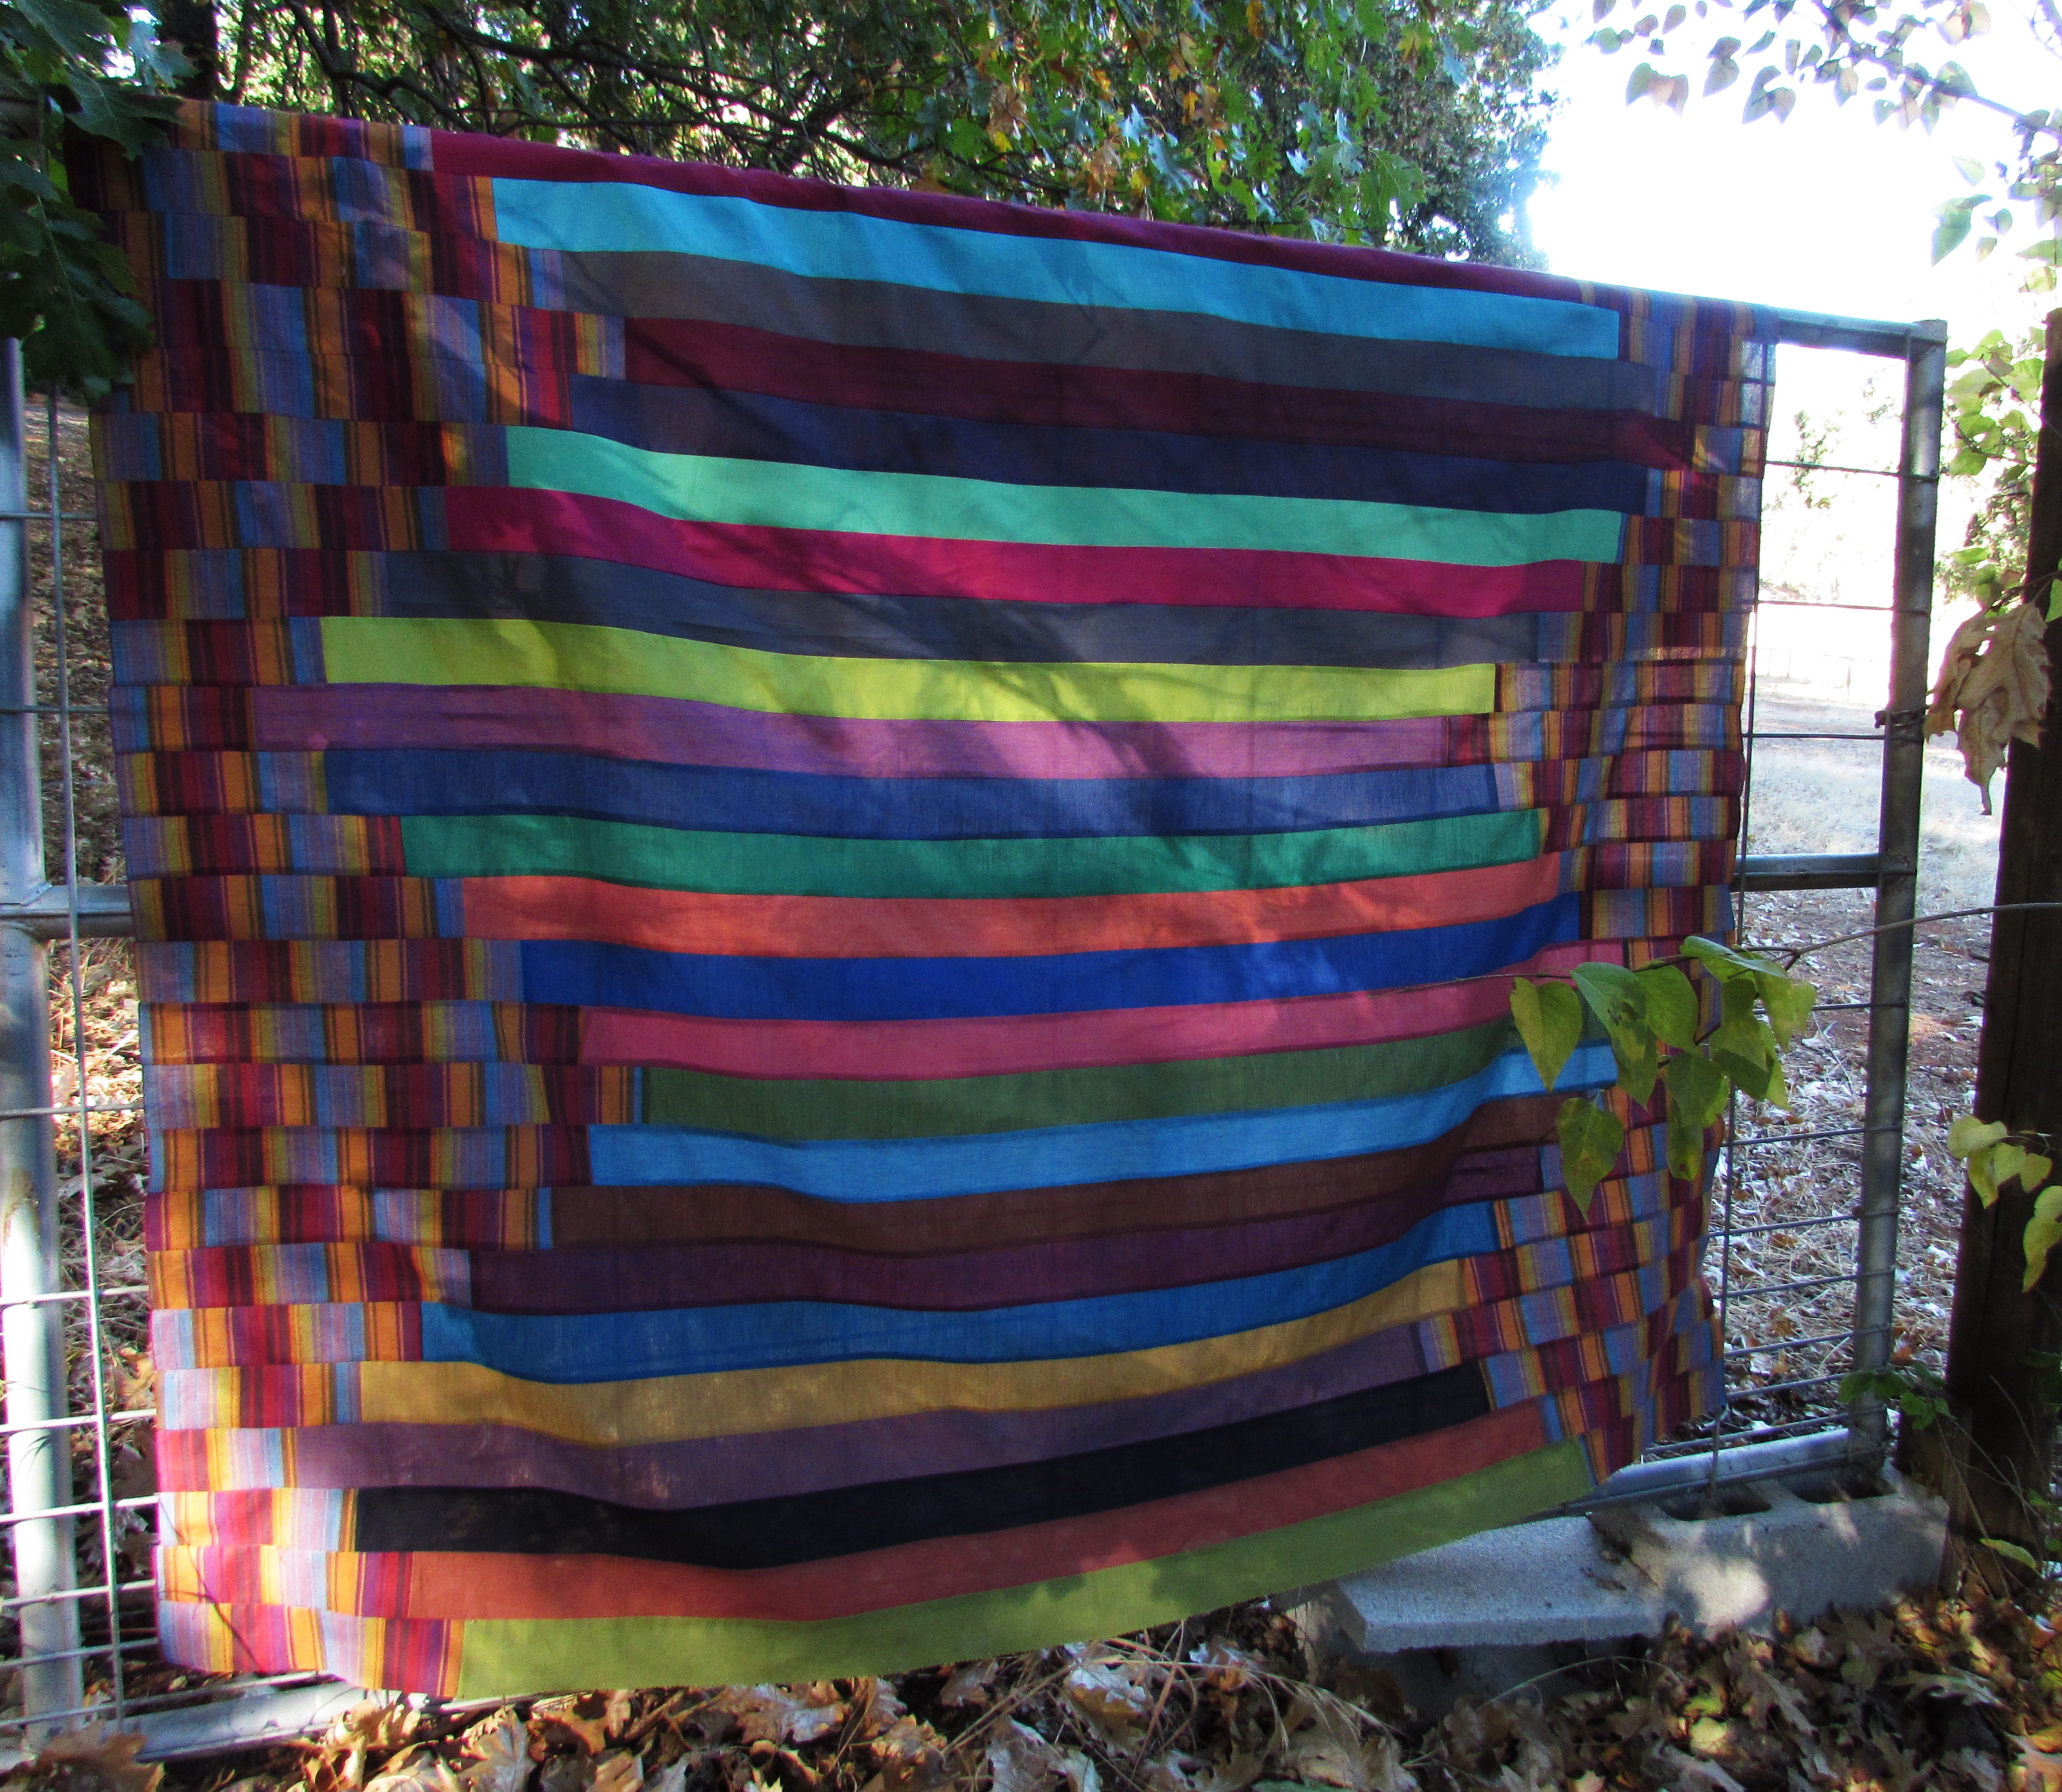
I have no idea what fabric this is but the set has tiny gold metallic dots on a variety of colors. For the most part I keep the red and black strips to a minimum. Otherwise I used the whole set. Simple columns of rectangles with a solid purple strip between them made for a quick quilt top. I strip pieced the strips in sets of six and then cut those into blocks, six inches wide. Rather than sew columns, I chose to sew two of the sets together, making blocks. Then I made the columns.

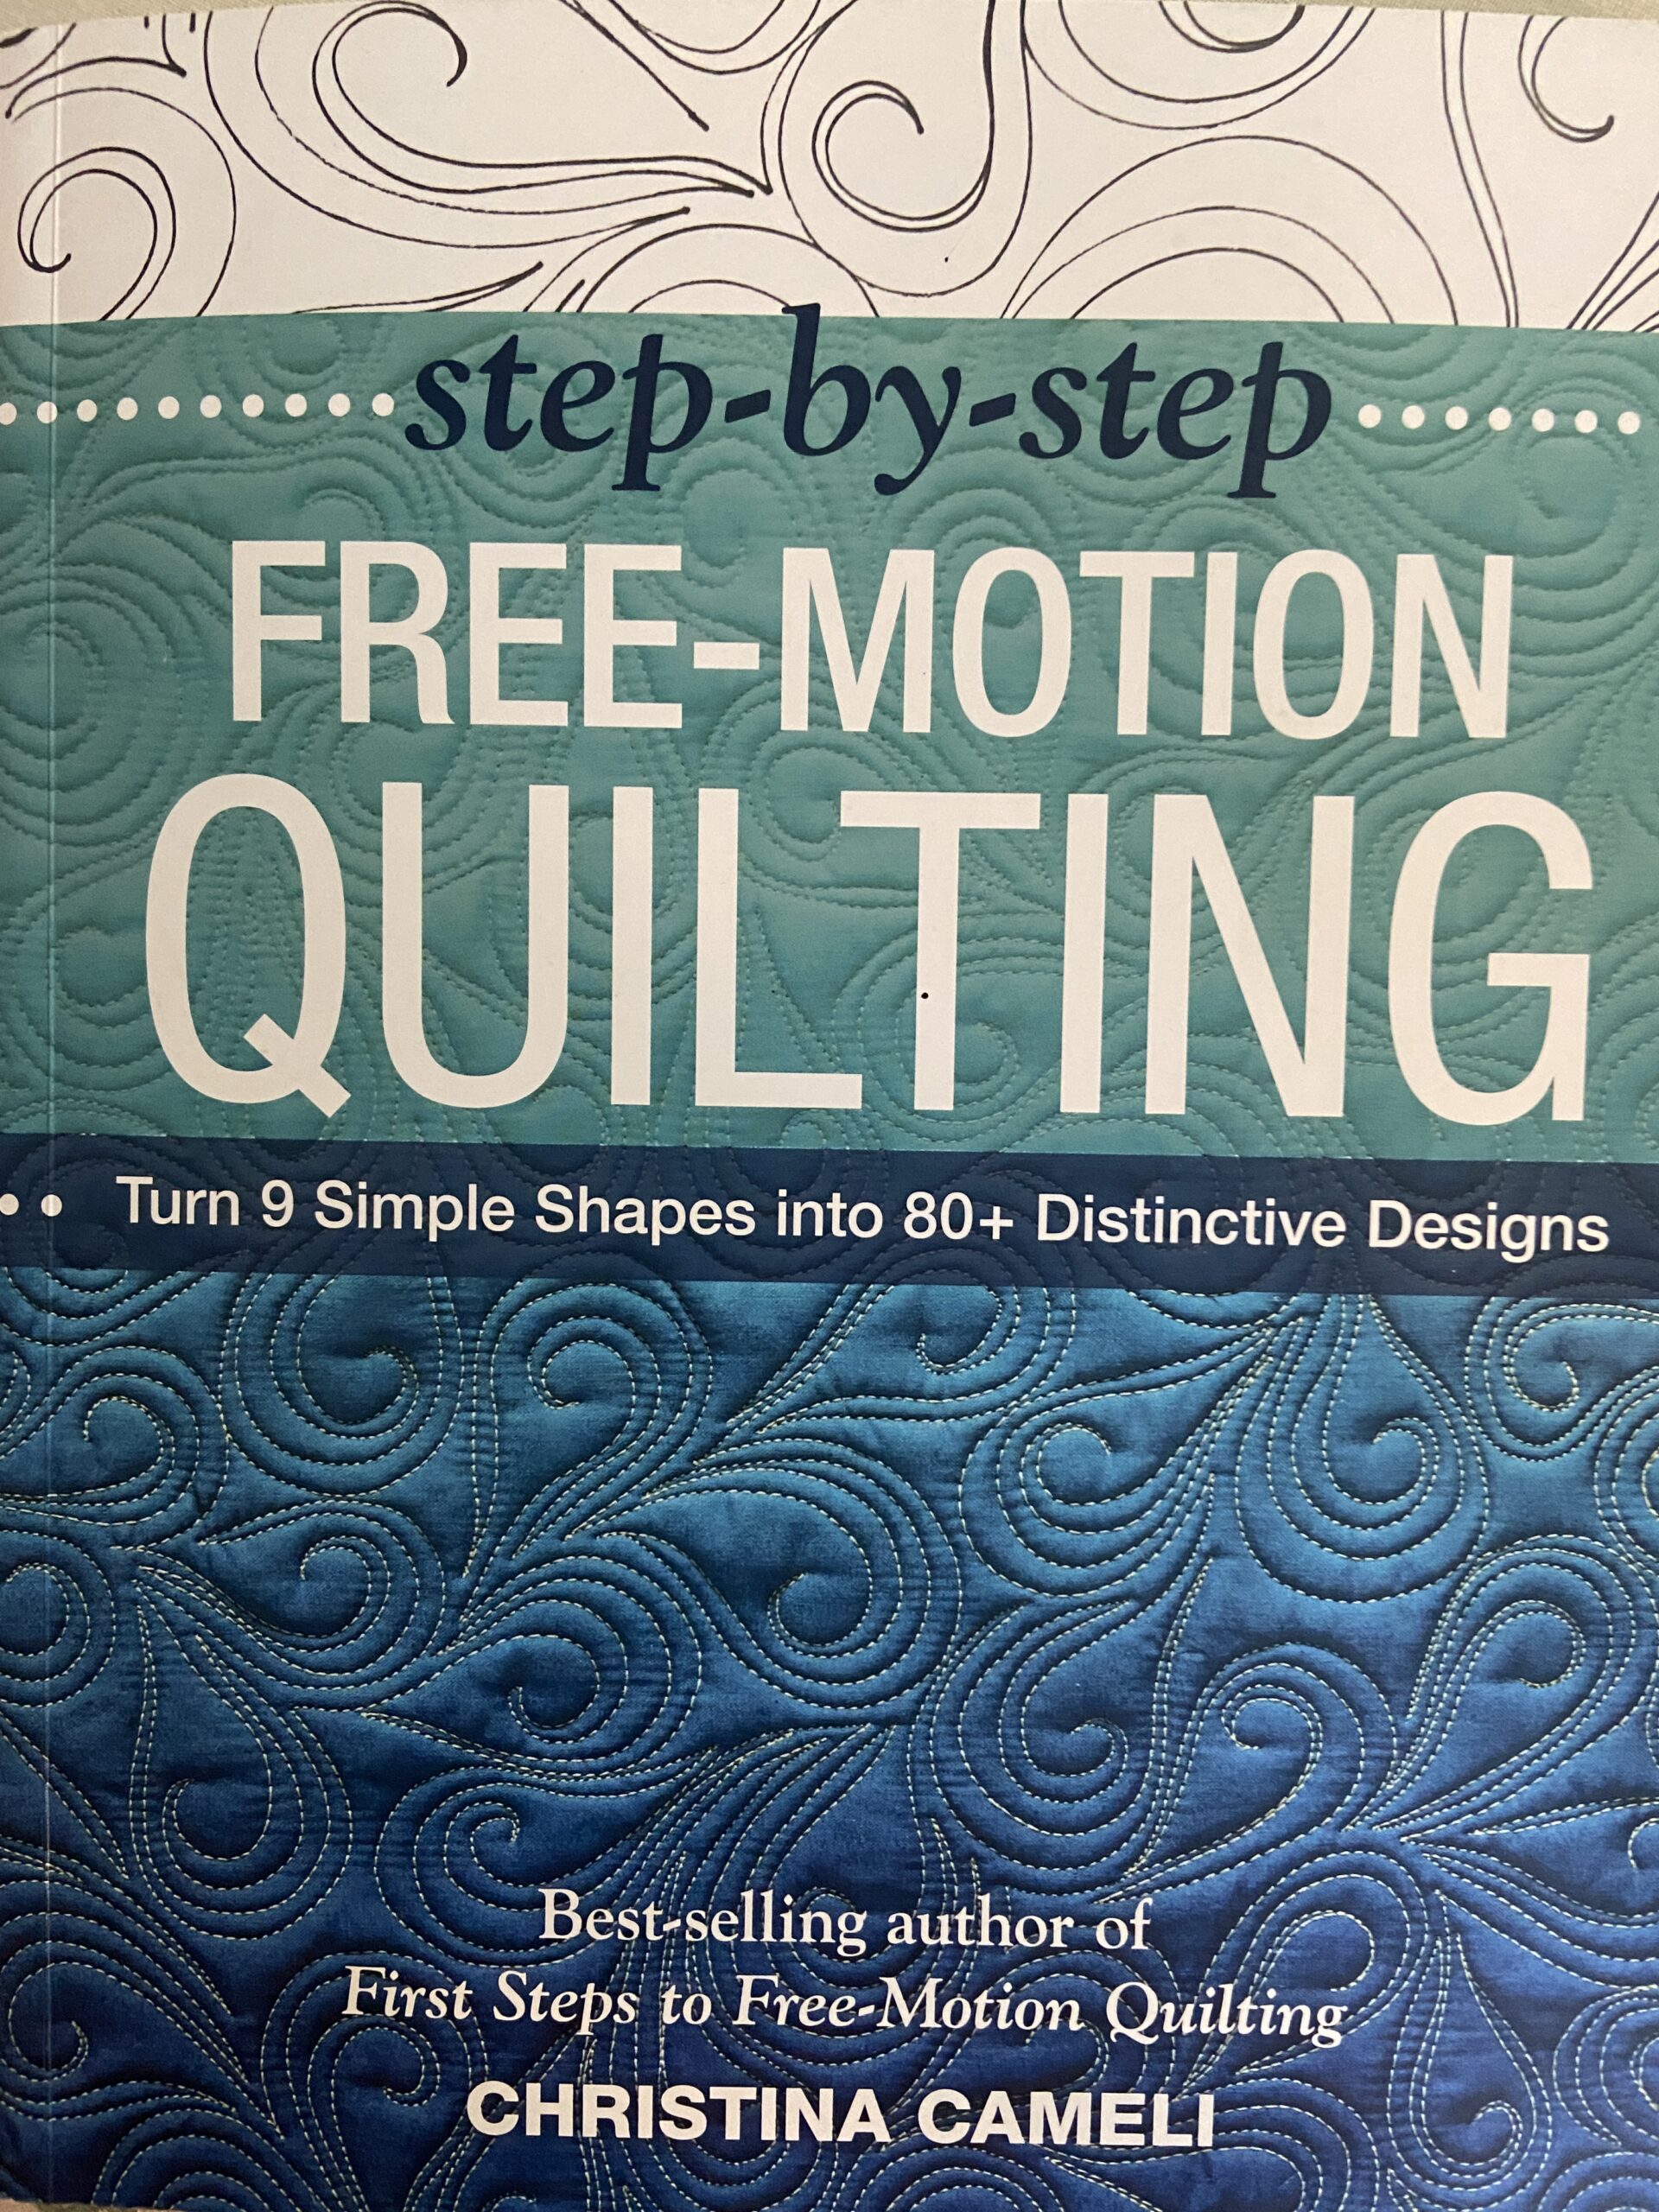
I took a look through my FMQ book by Christina Cameli to find a design to use. I wanted to quilt edge to edge so I would not have to worry about movement, getting stuck in corners, etc. As is my usual, once I settled on a design, I practiced it by drawing it on a large whiteboard I keep in the sewing room. Once it was comfortable, I started the quilting. This was such a pleasant process. Just going back and forth, back and forth – it was finished in no time!

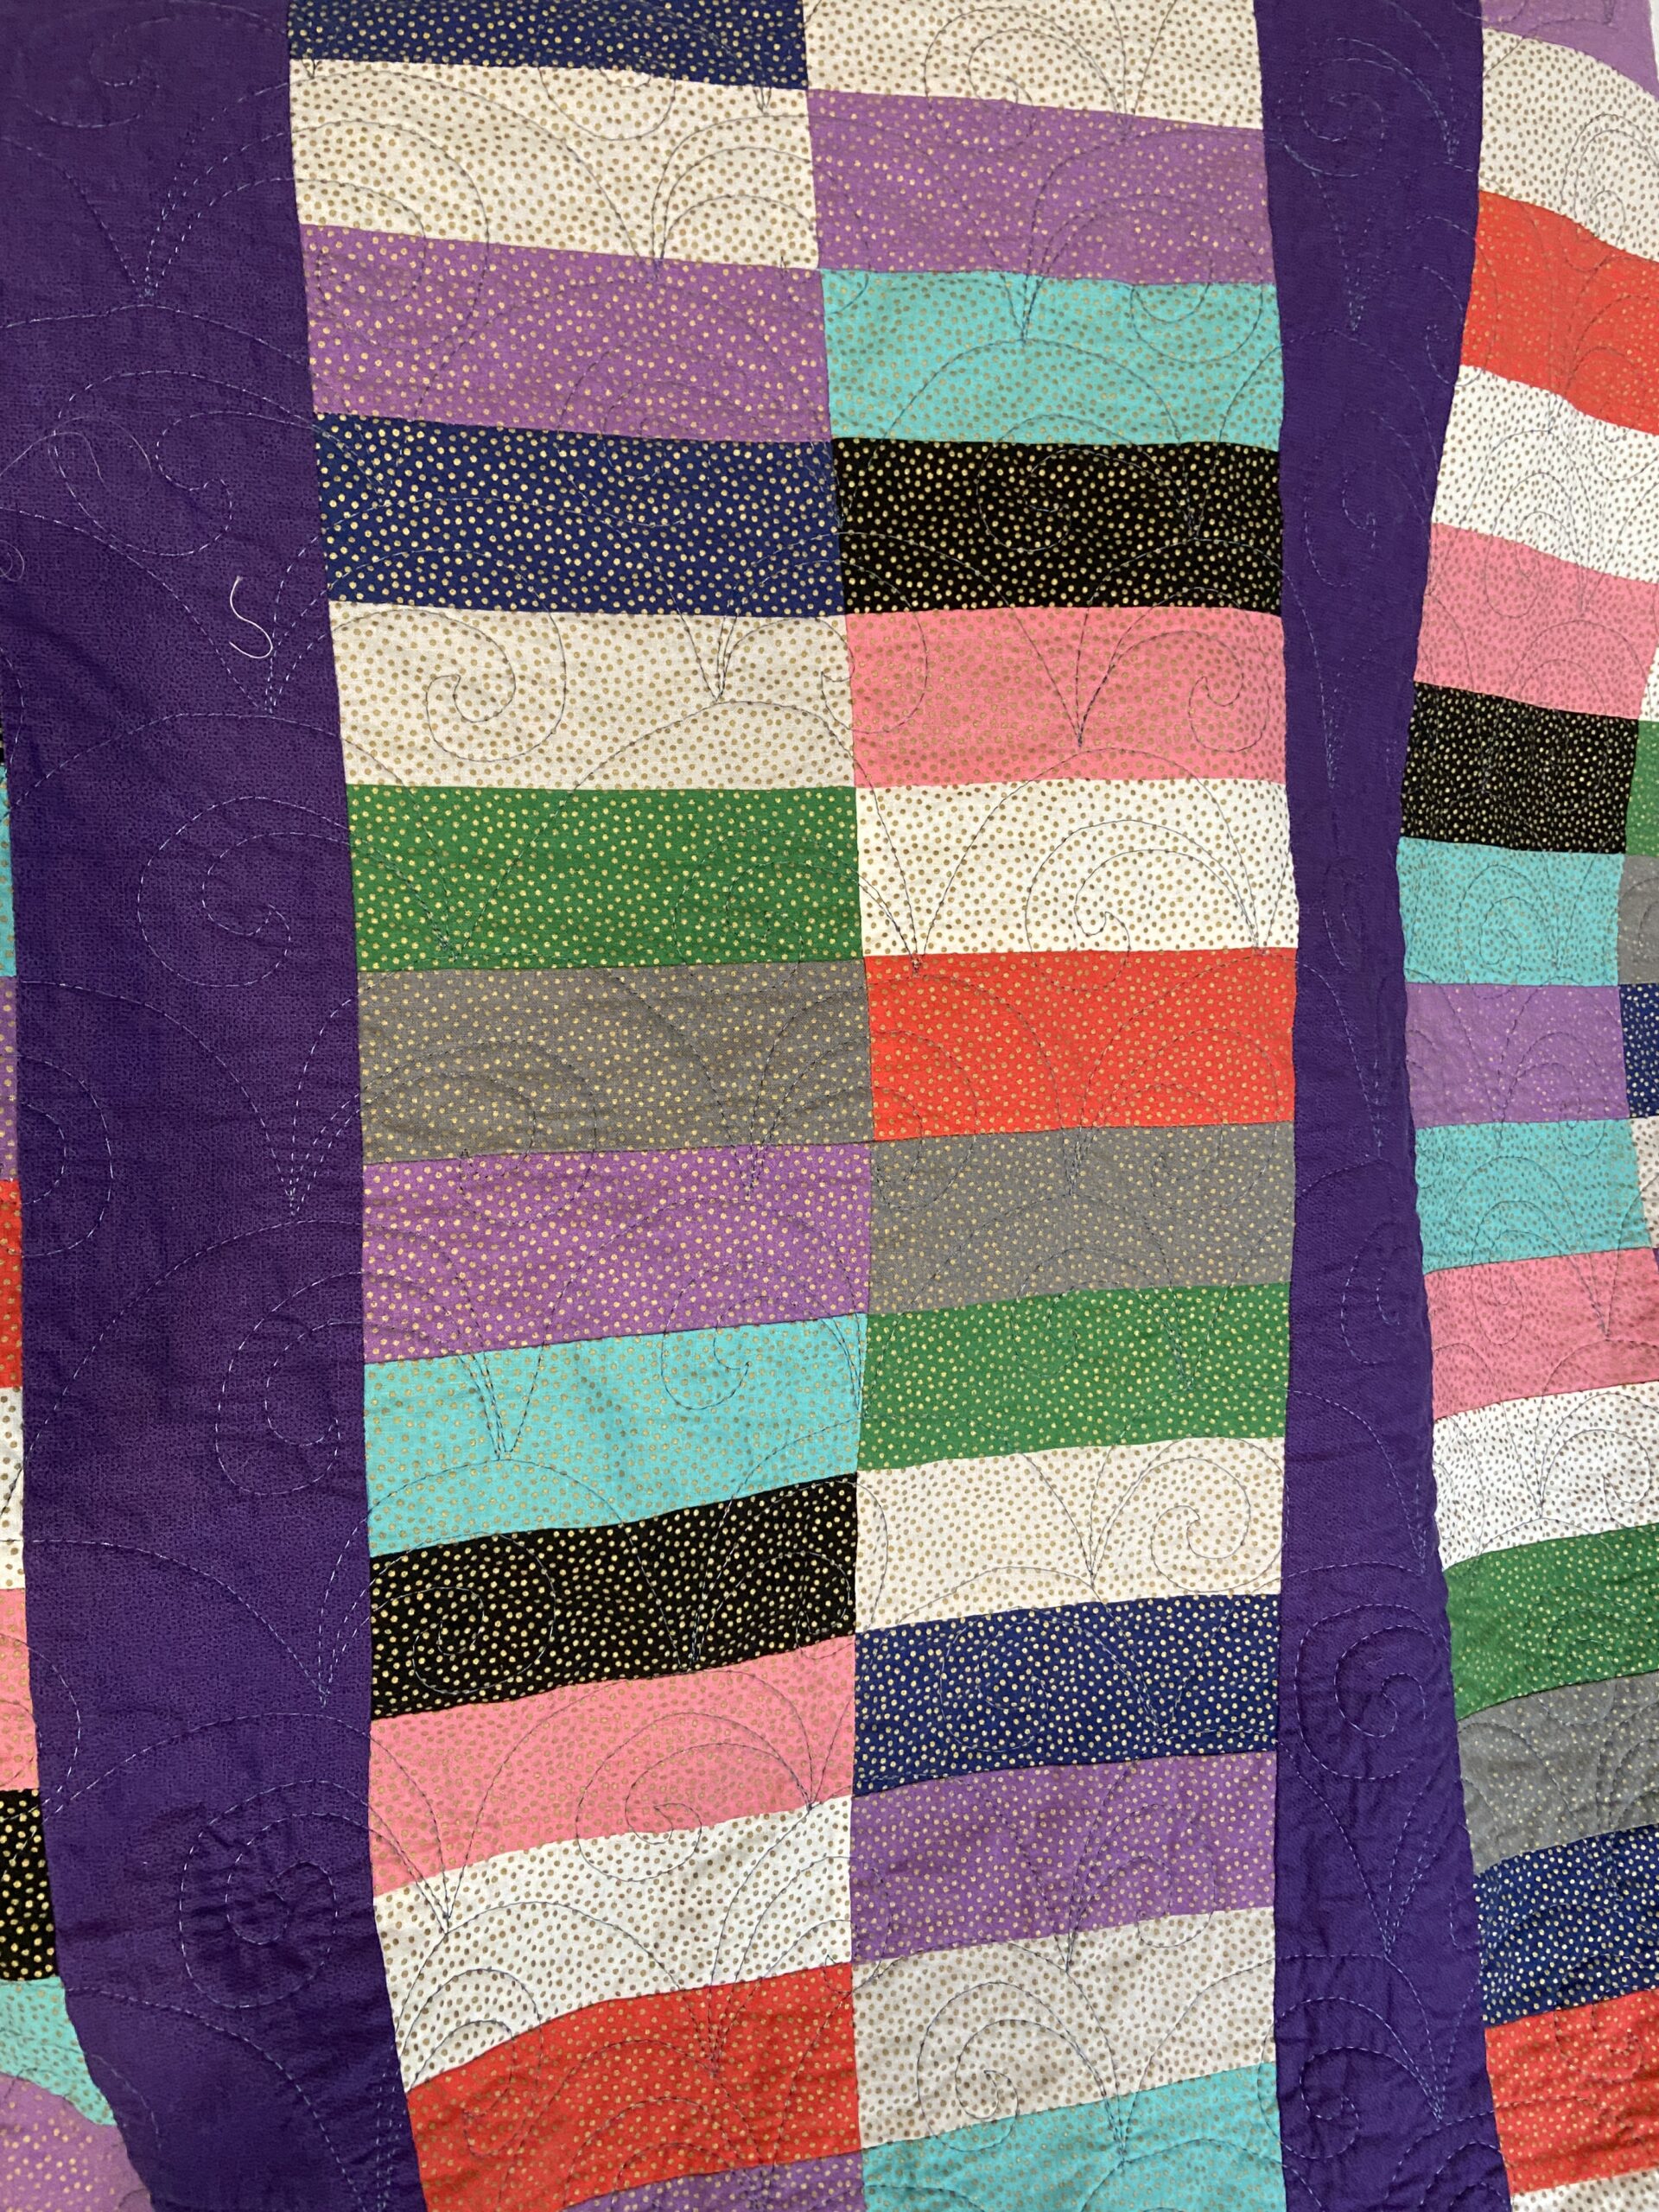
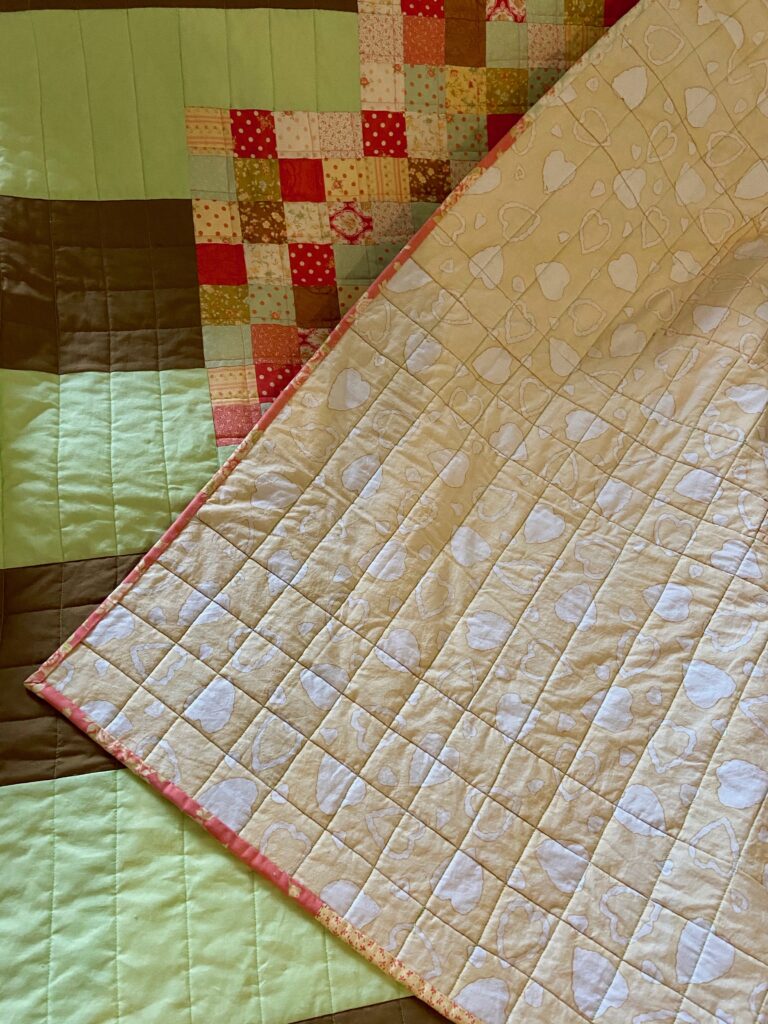
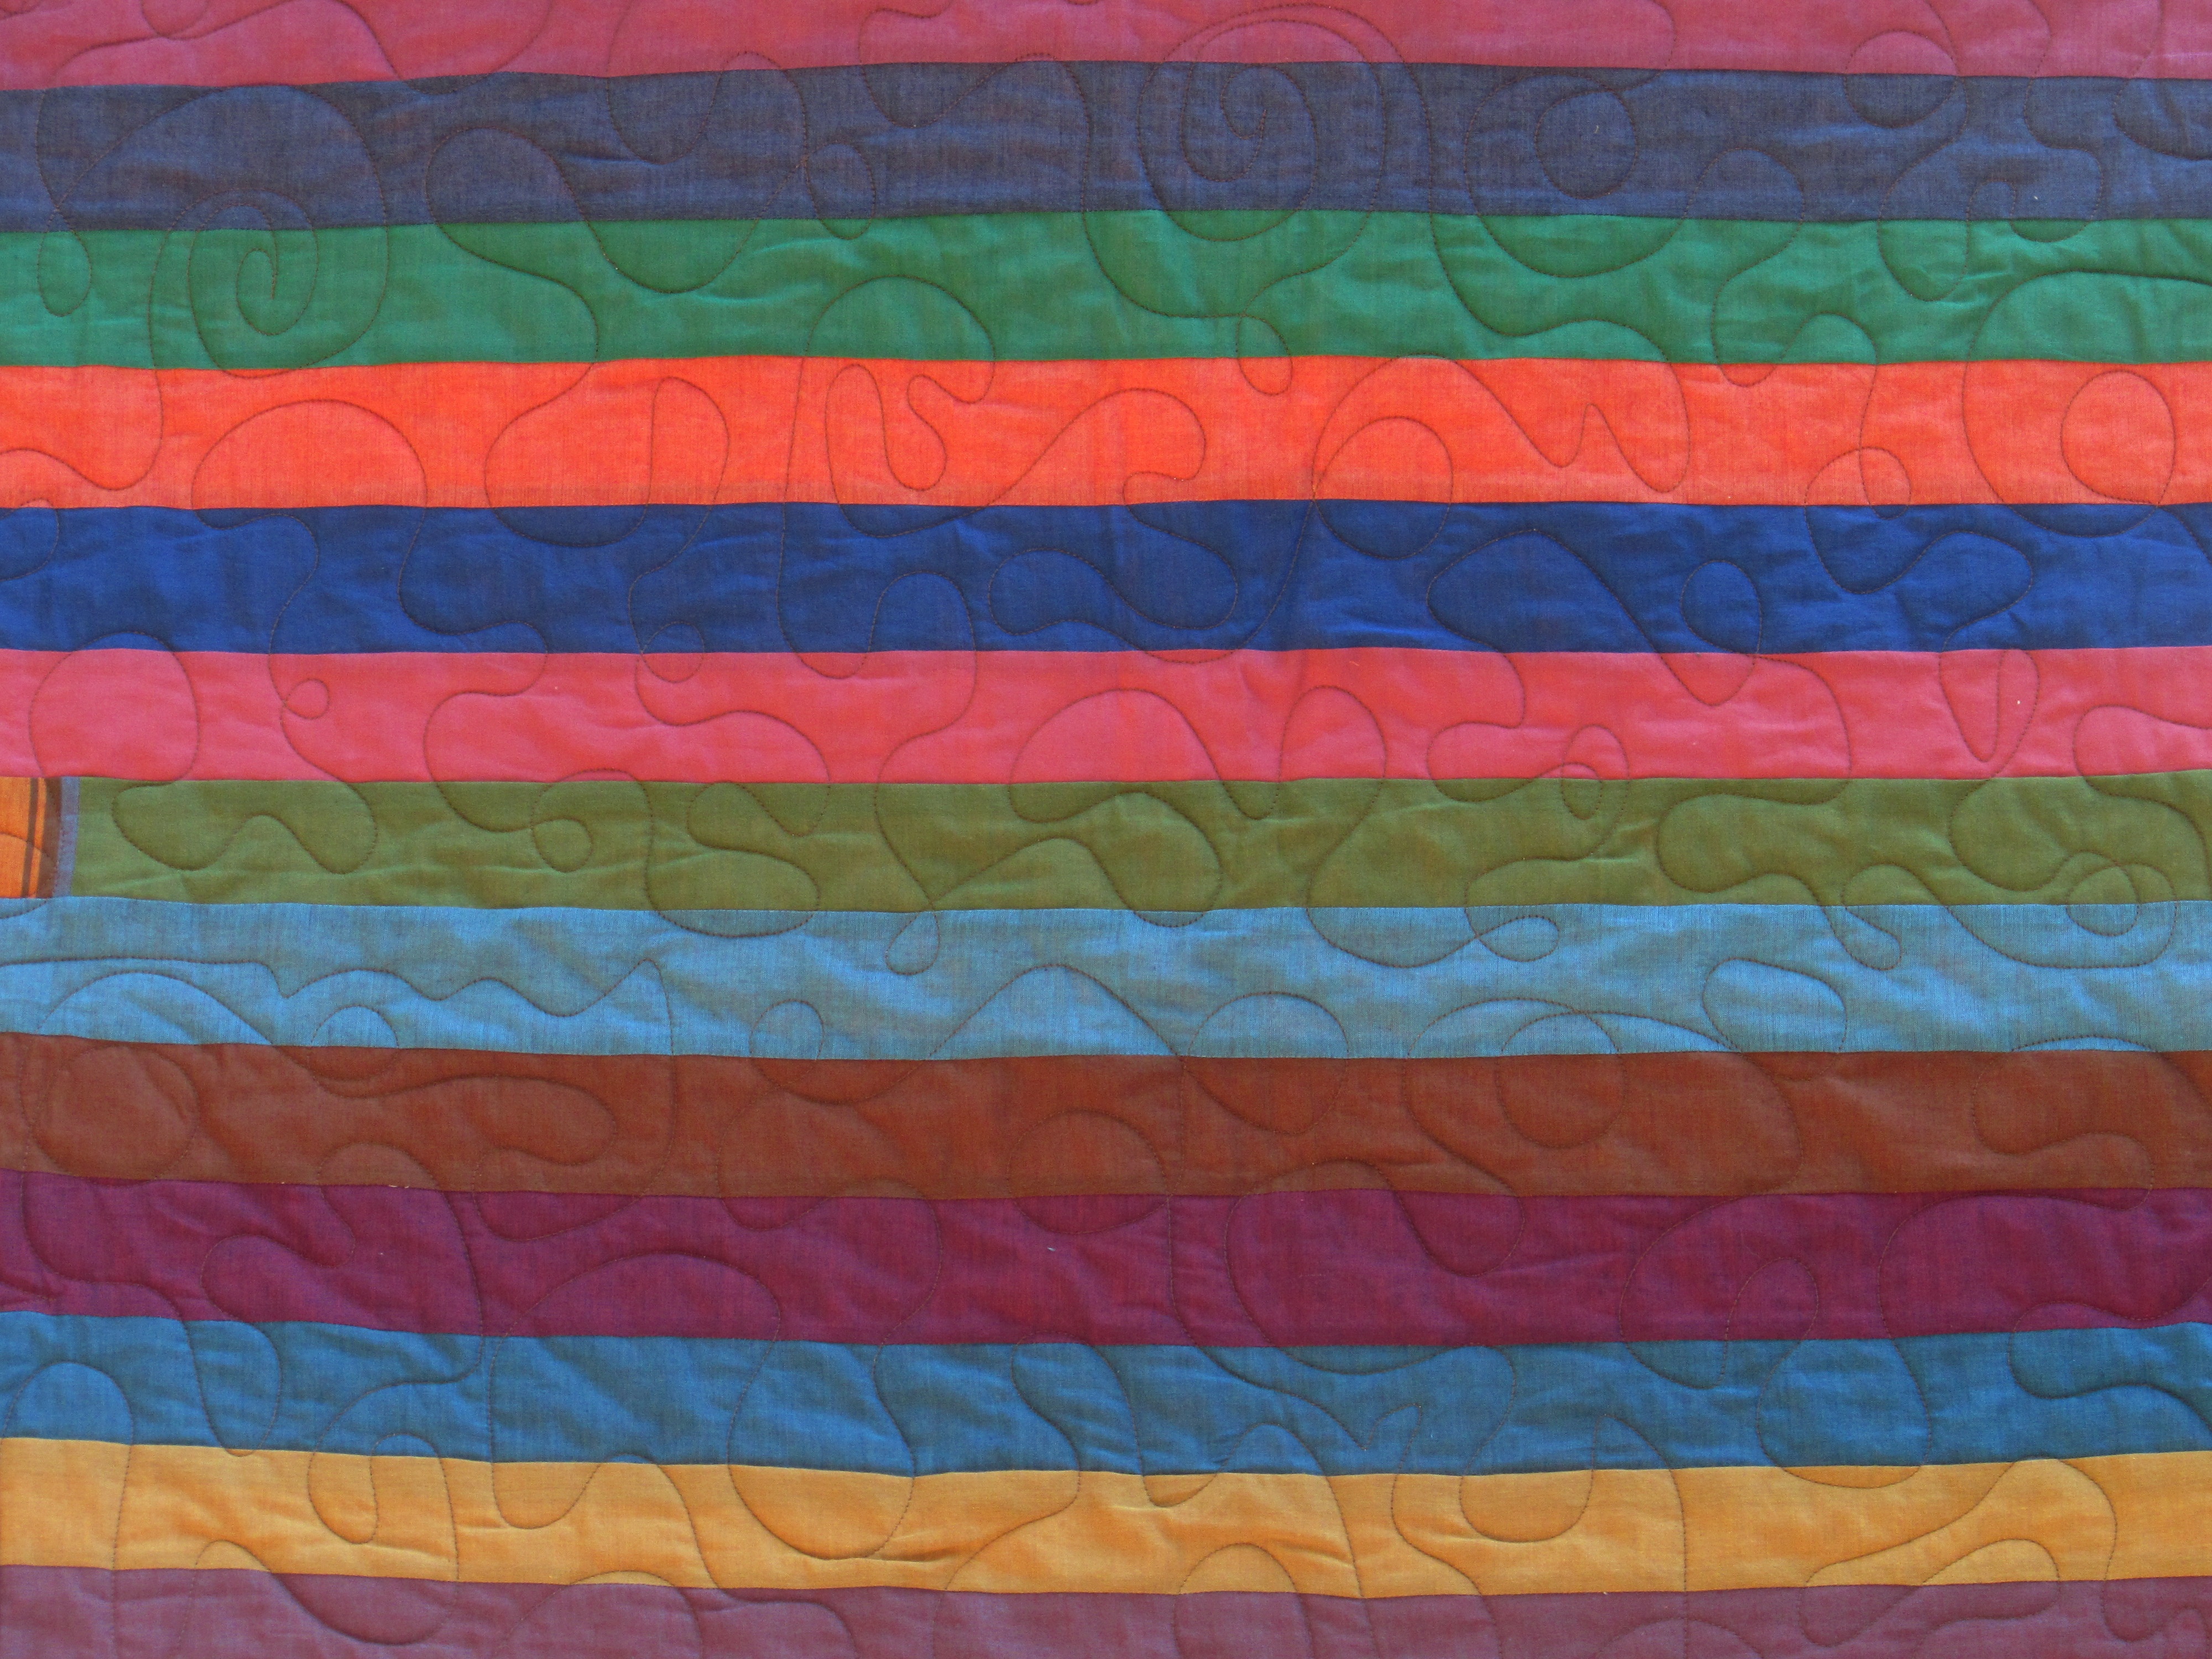
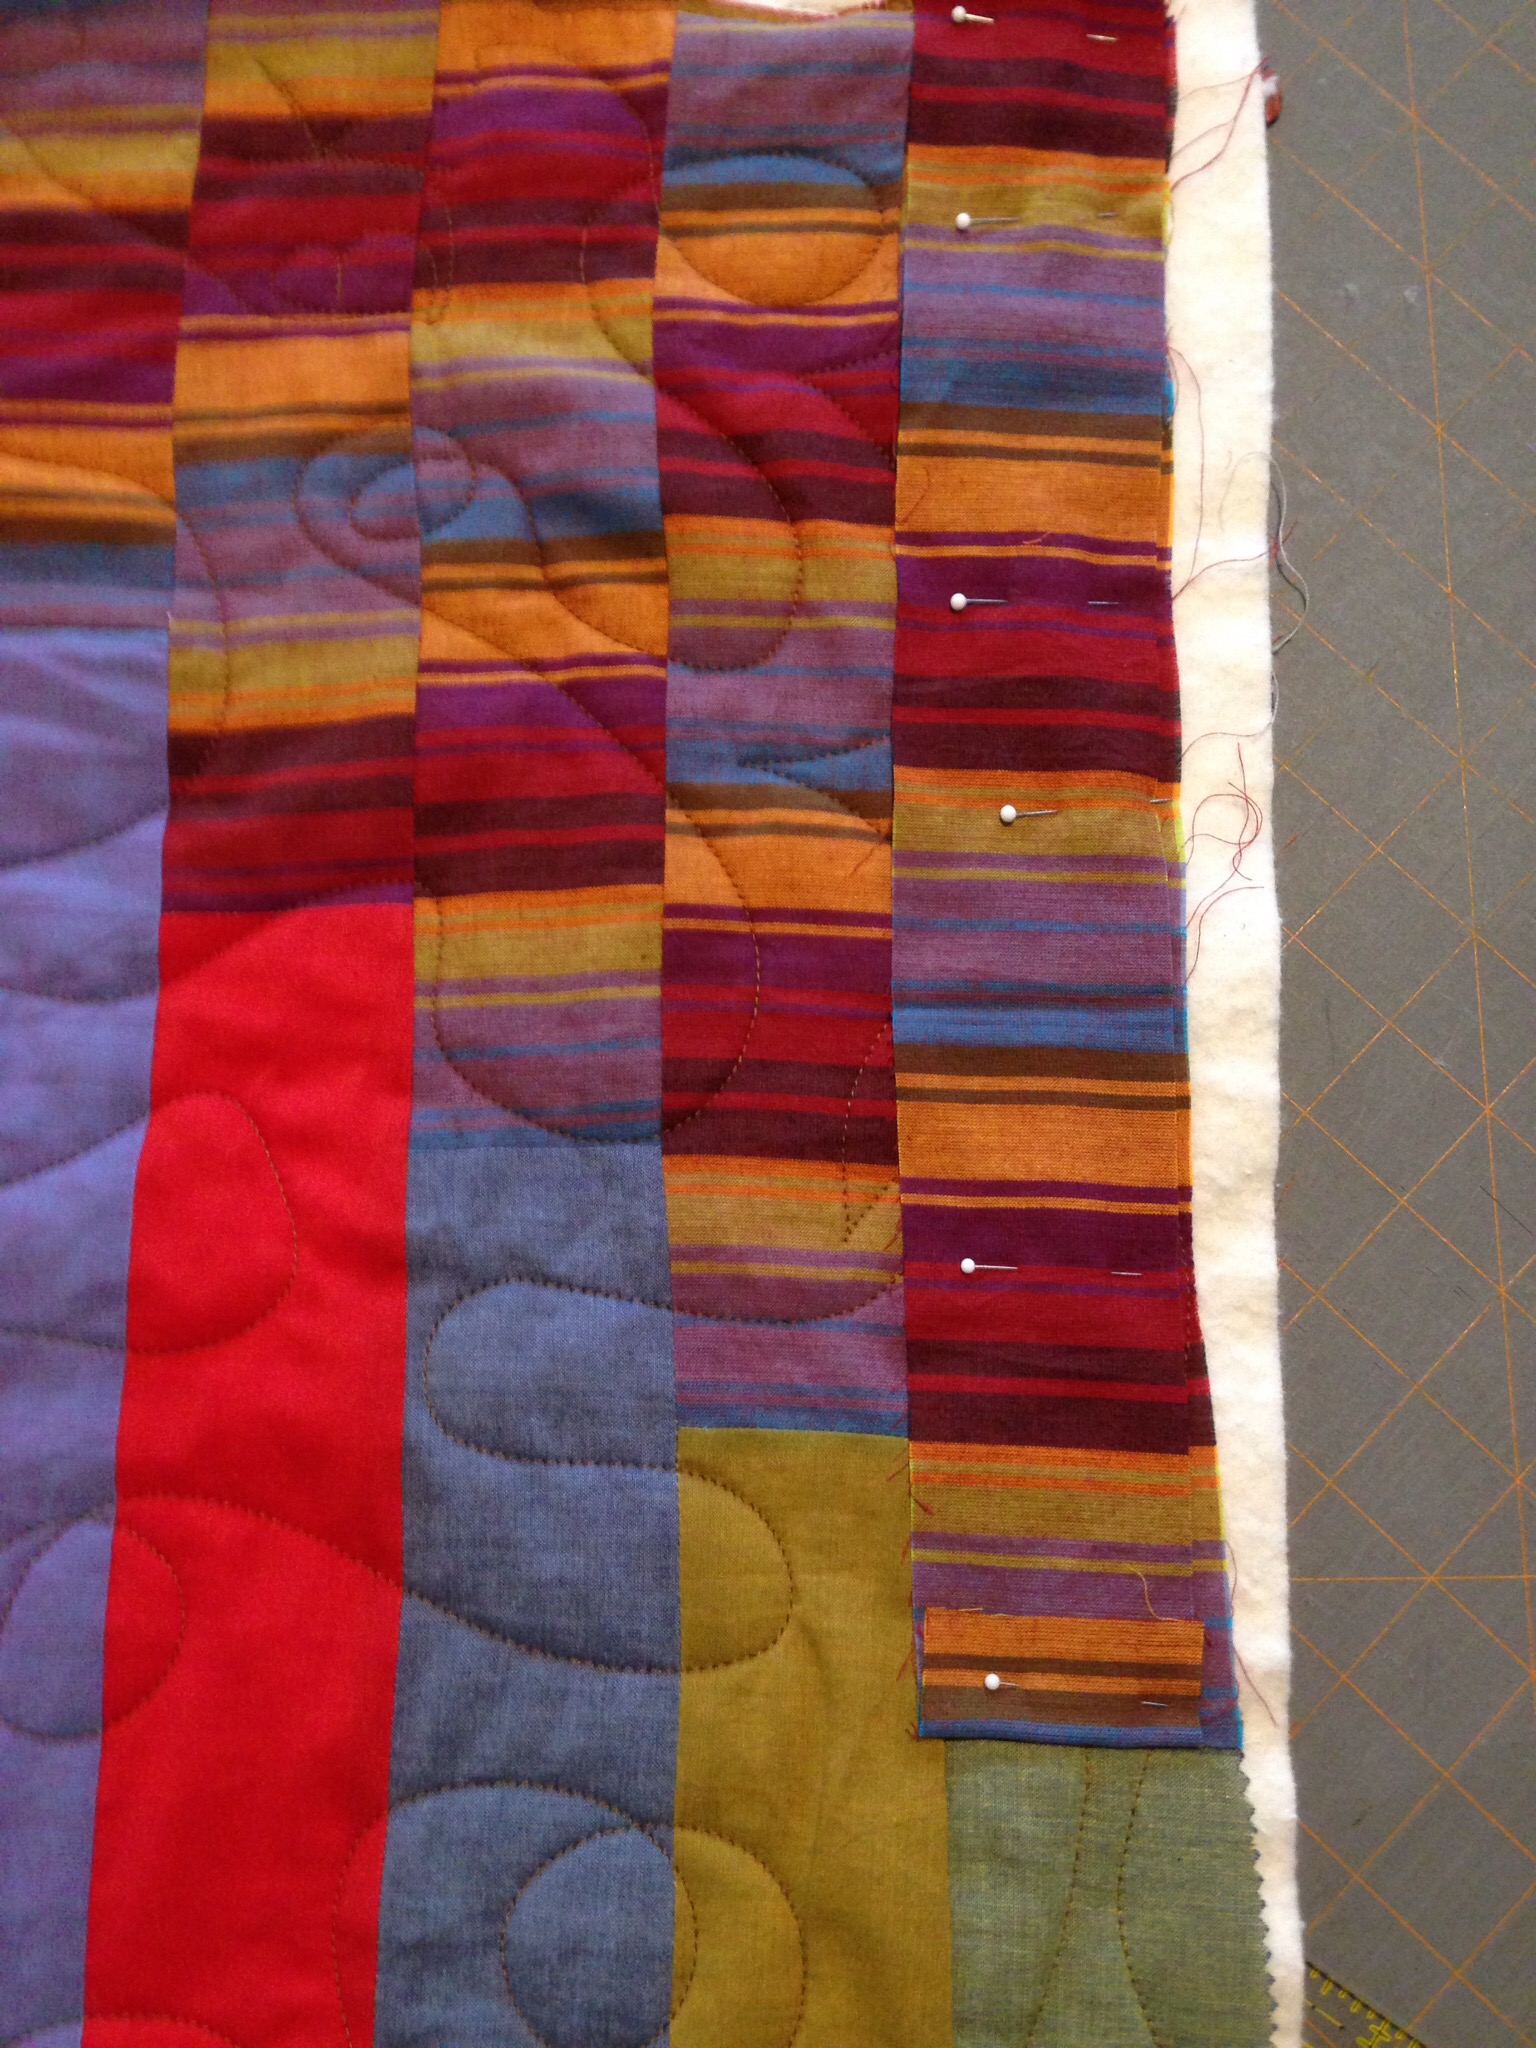
Here is a closer picture of the quilting – it was sort of a clam shell shape with a swirl inside. The motif is super easy. I started at the bottom of the quilt and moved upward. About half way through the stitching becomes so much smoother; proof to me that practice really helps. The repetitive motif gets easier and easier as my brain learns the pattern.

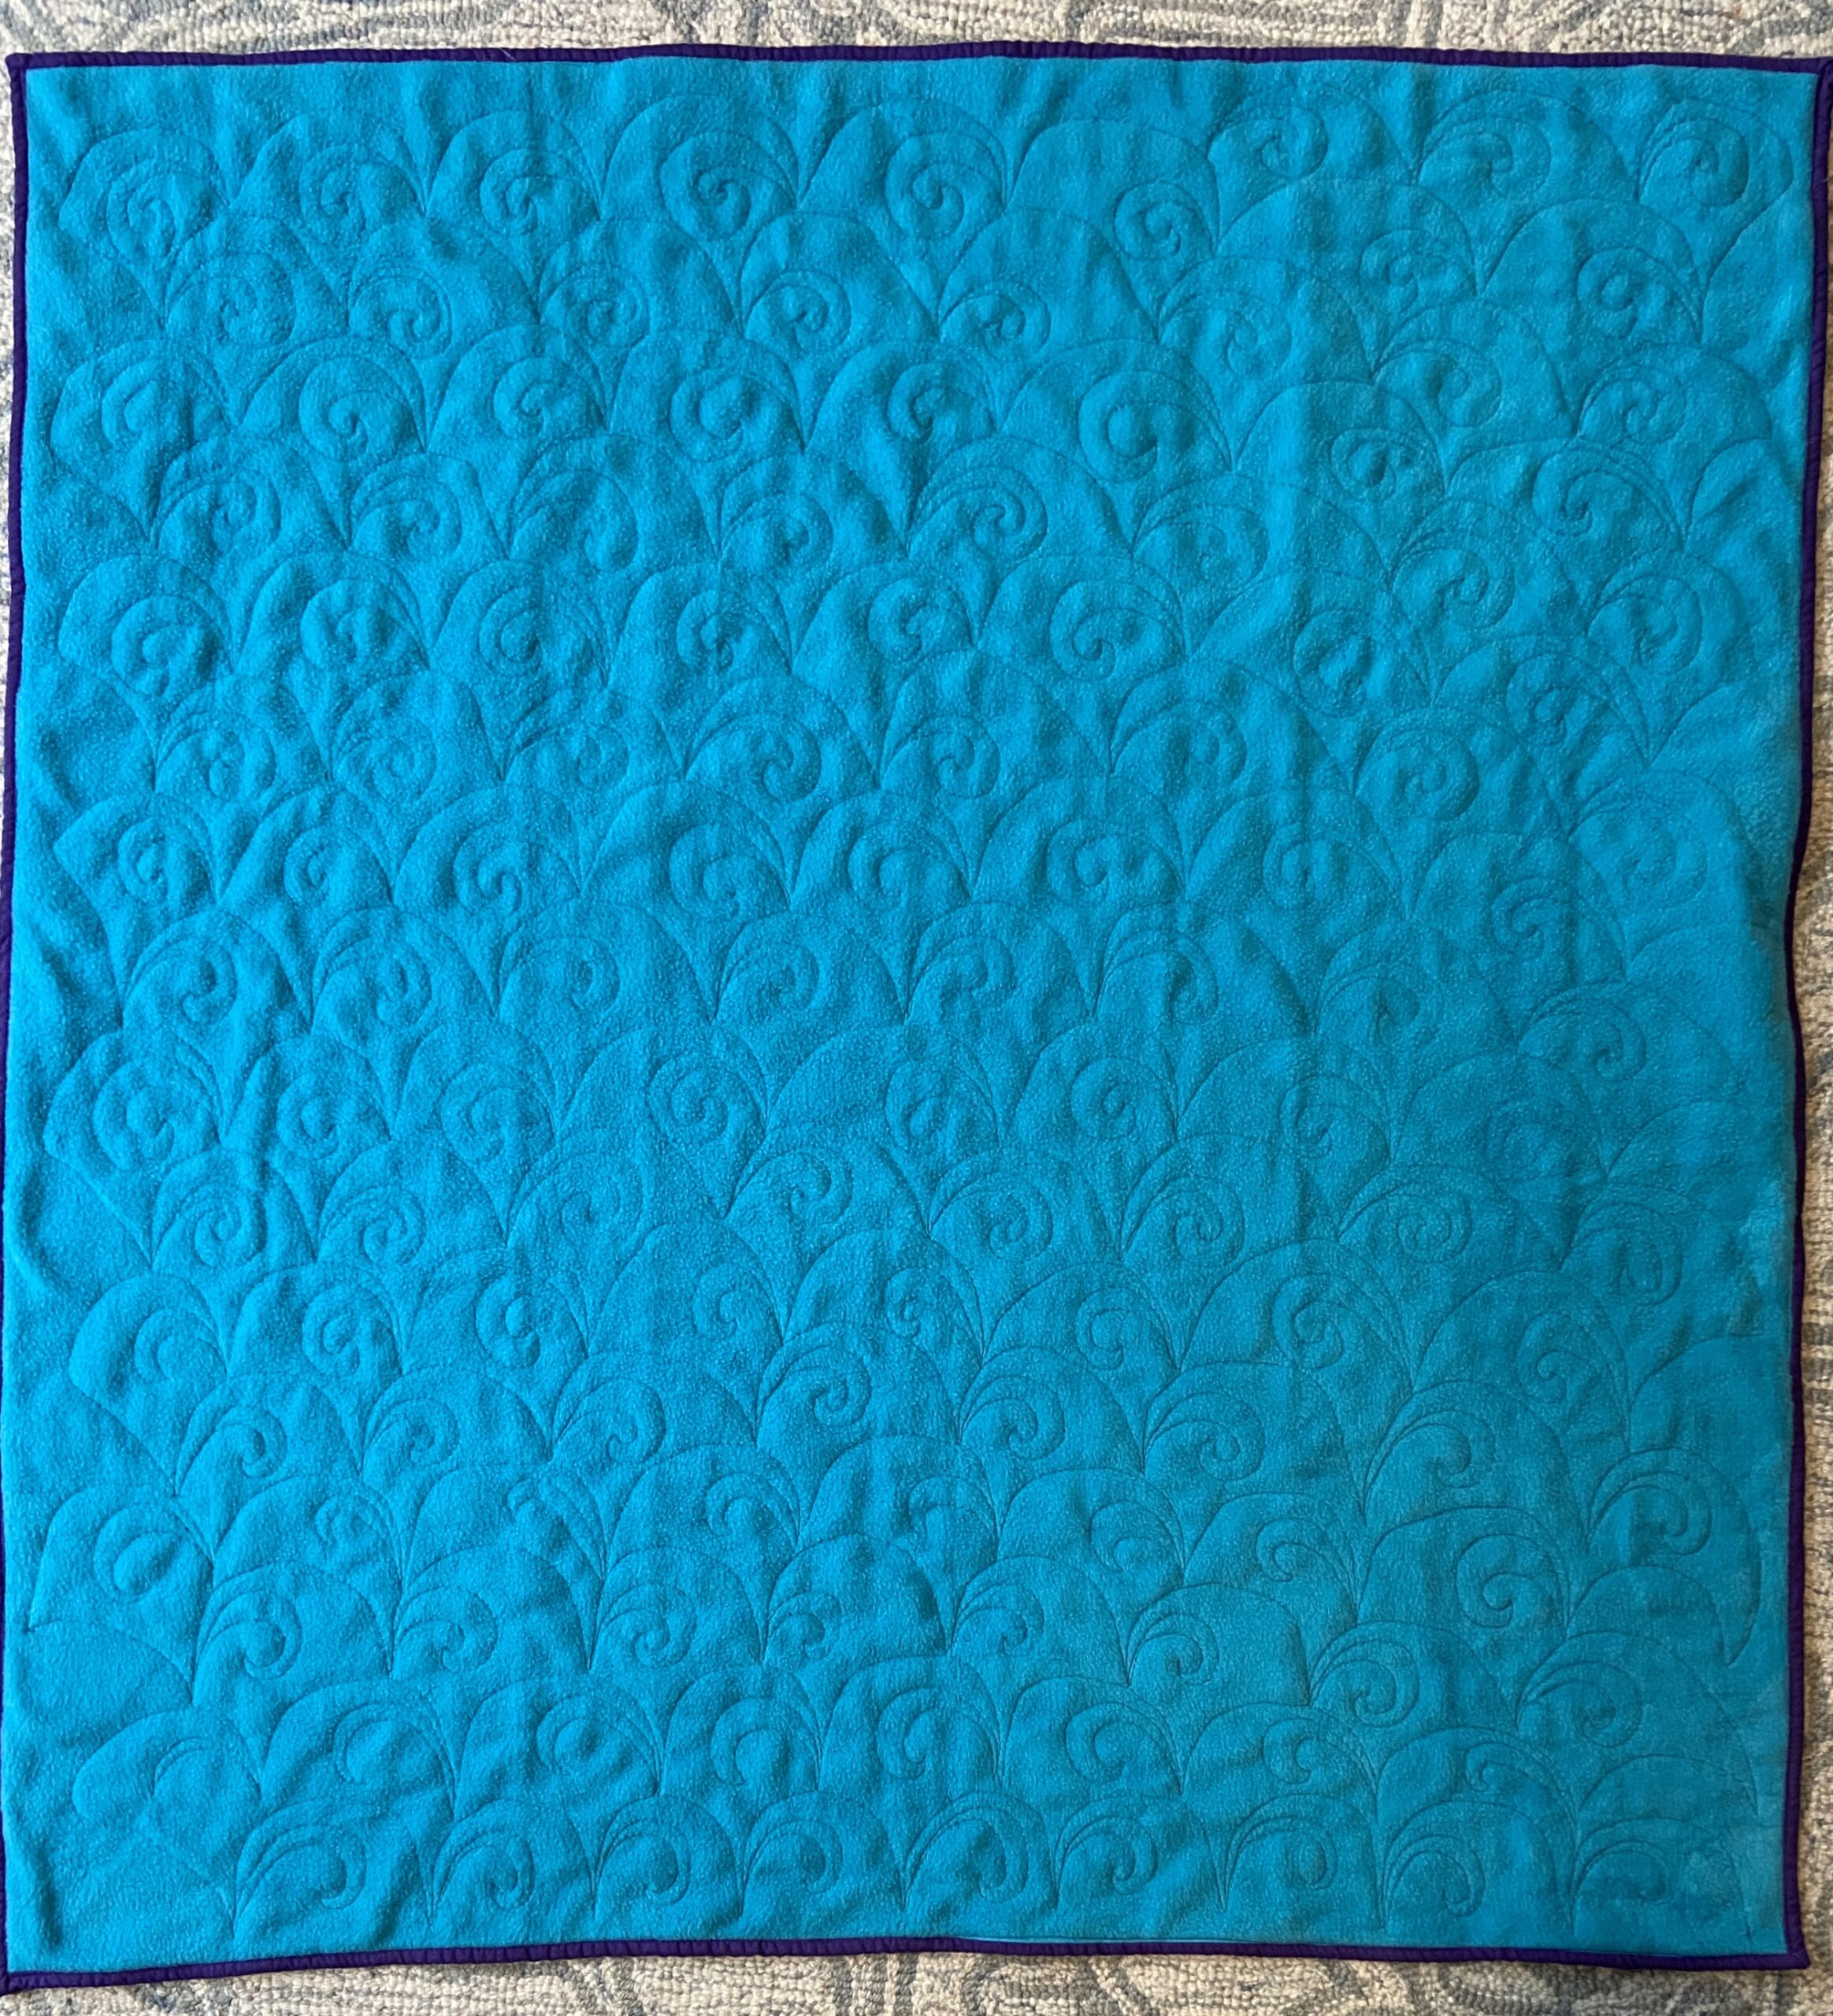
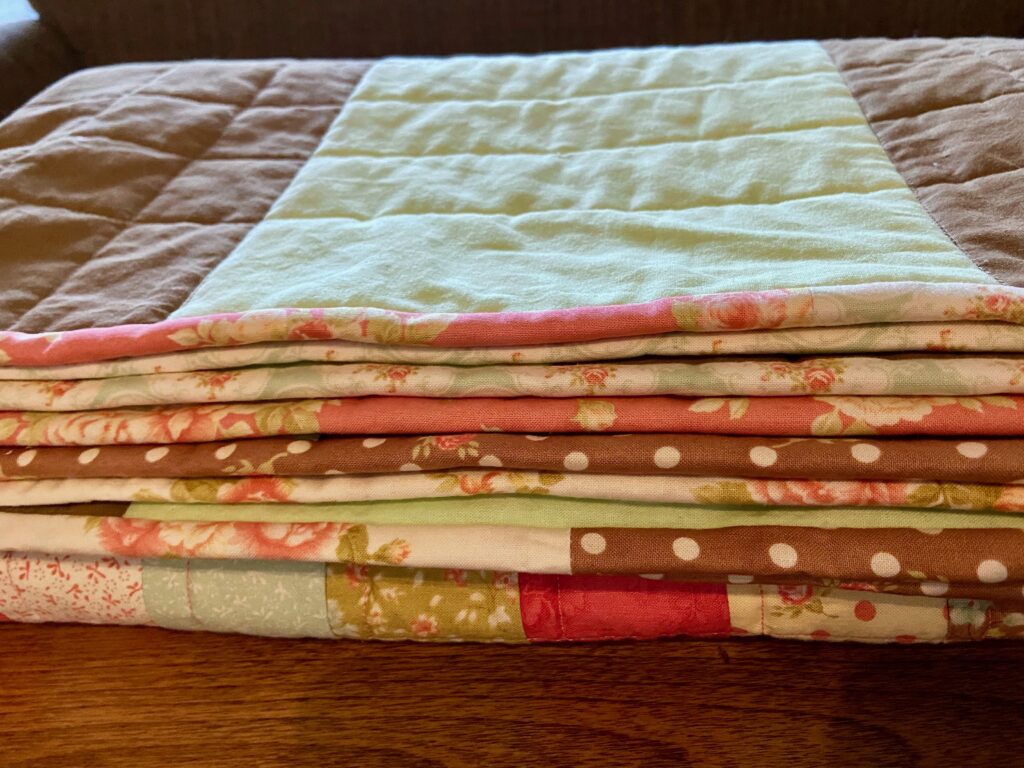
The quilt is backed with fleece, making it really cozy. When our grand daughters are here they tend to use one small quilt I have because it is backed with flannel. They prefer the soft feeling of the flannel. Now we have two soft ones for them. I like seeing the quilting from the back. Sure – I need to continue to practice but seems like with each one I improve just a bit. I spray basted this project but there are some bubbles on the back side. Maybe I needed to use more spray or it could be because it was fleece? I am not sure. There is always something to learn.

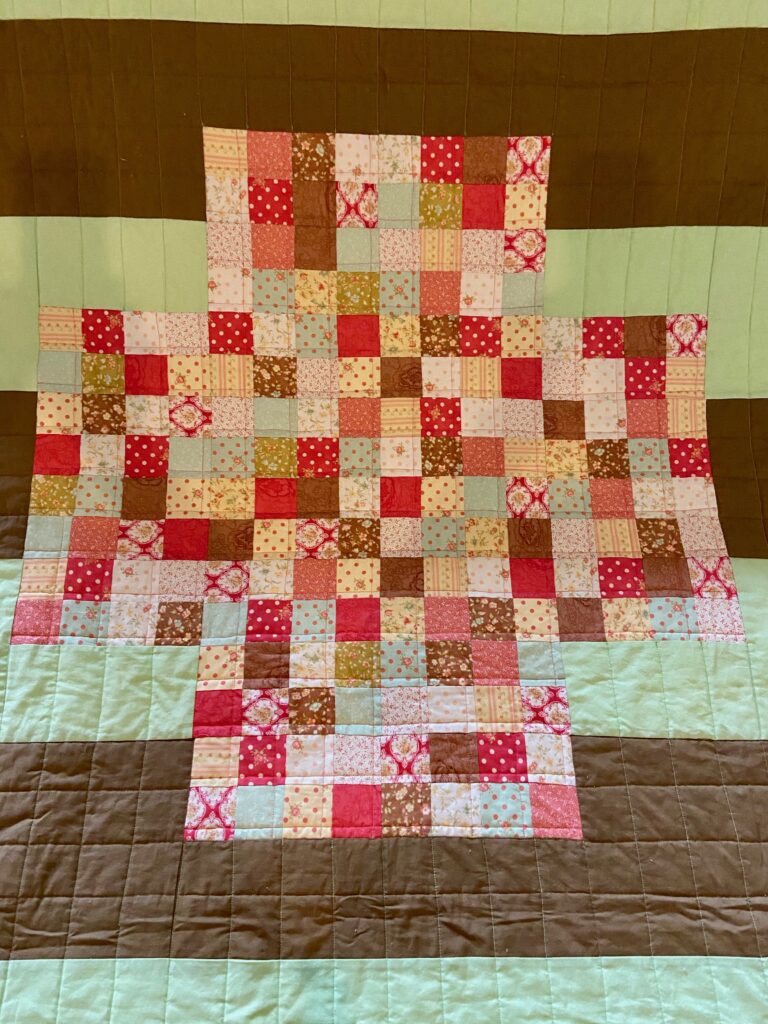
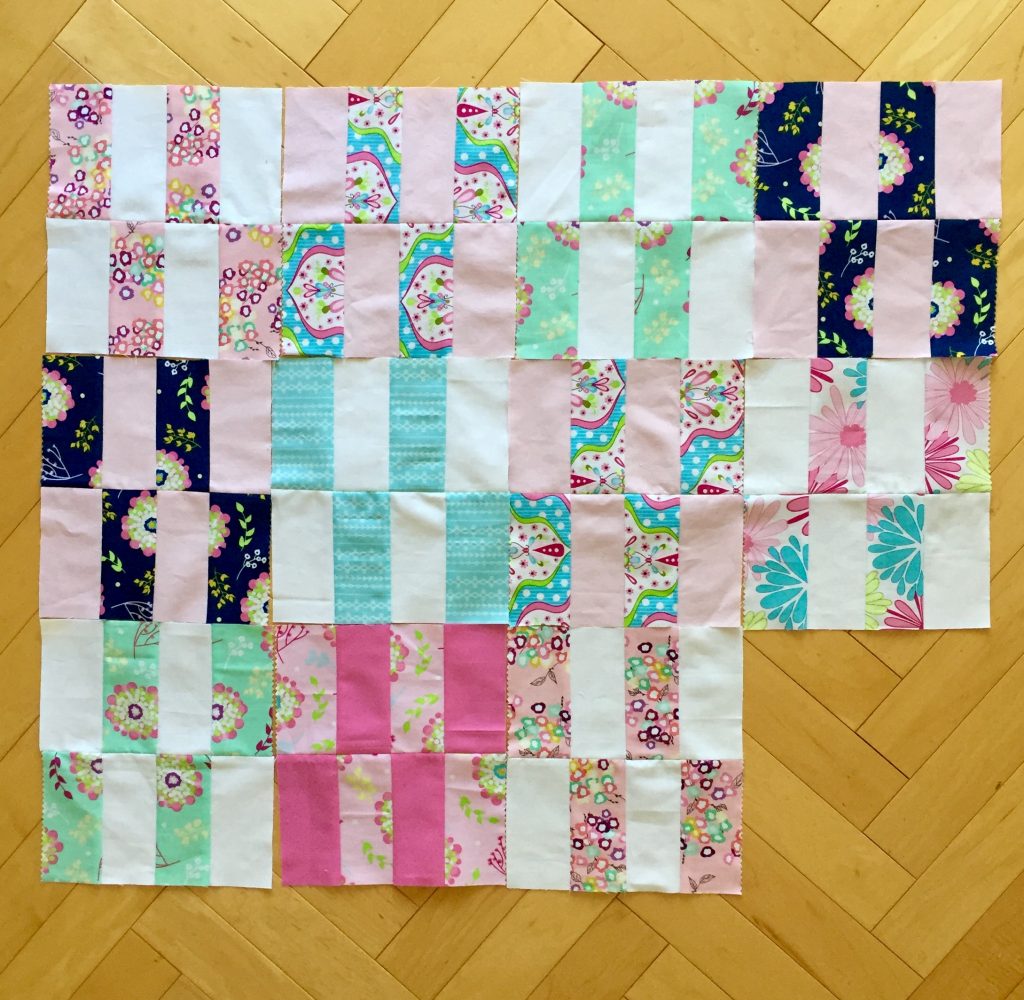
I have already moved onto, and made a lot of progress with, the next quilt. Younger grand daughter has outgrown the toddler bed and we are putting another twin bed in the guest room. The other twin bed (where her big sister sleeps) has a quilt with a huge heart made of charm squares in the middle with white all around it. This quilt was given to me when I moved from California by a wonderful friend. I am replicating the design and making another heart quilt using pink and purple scraps.

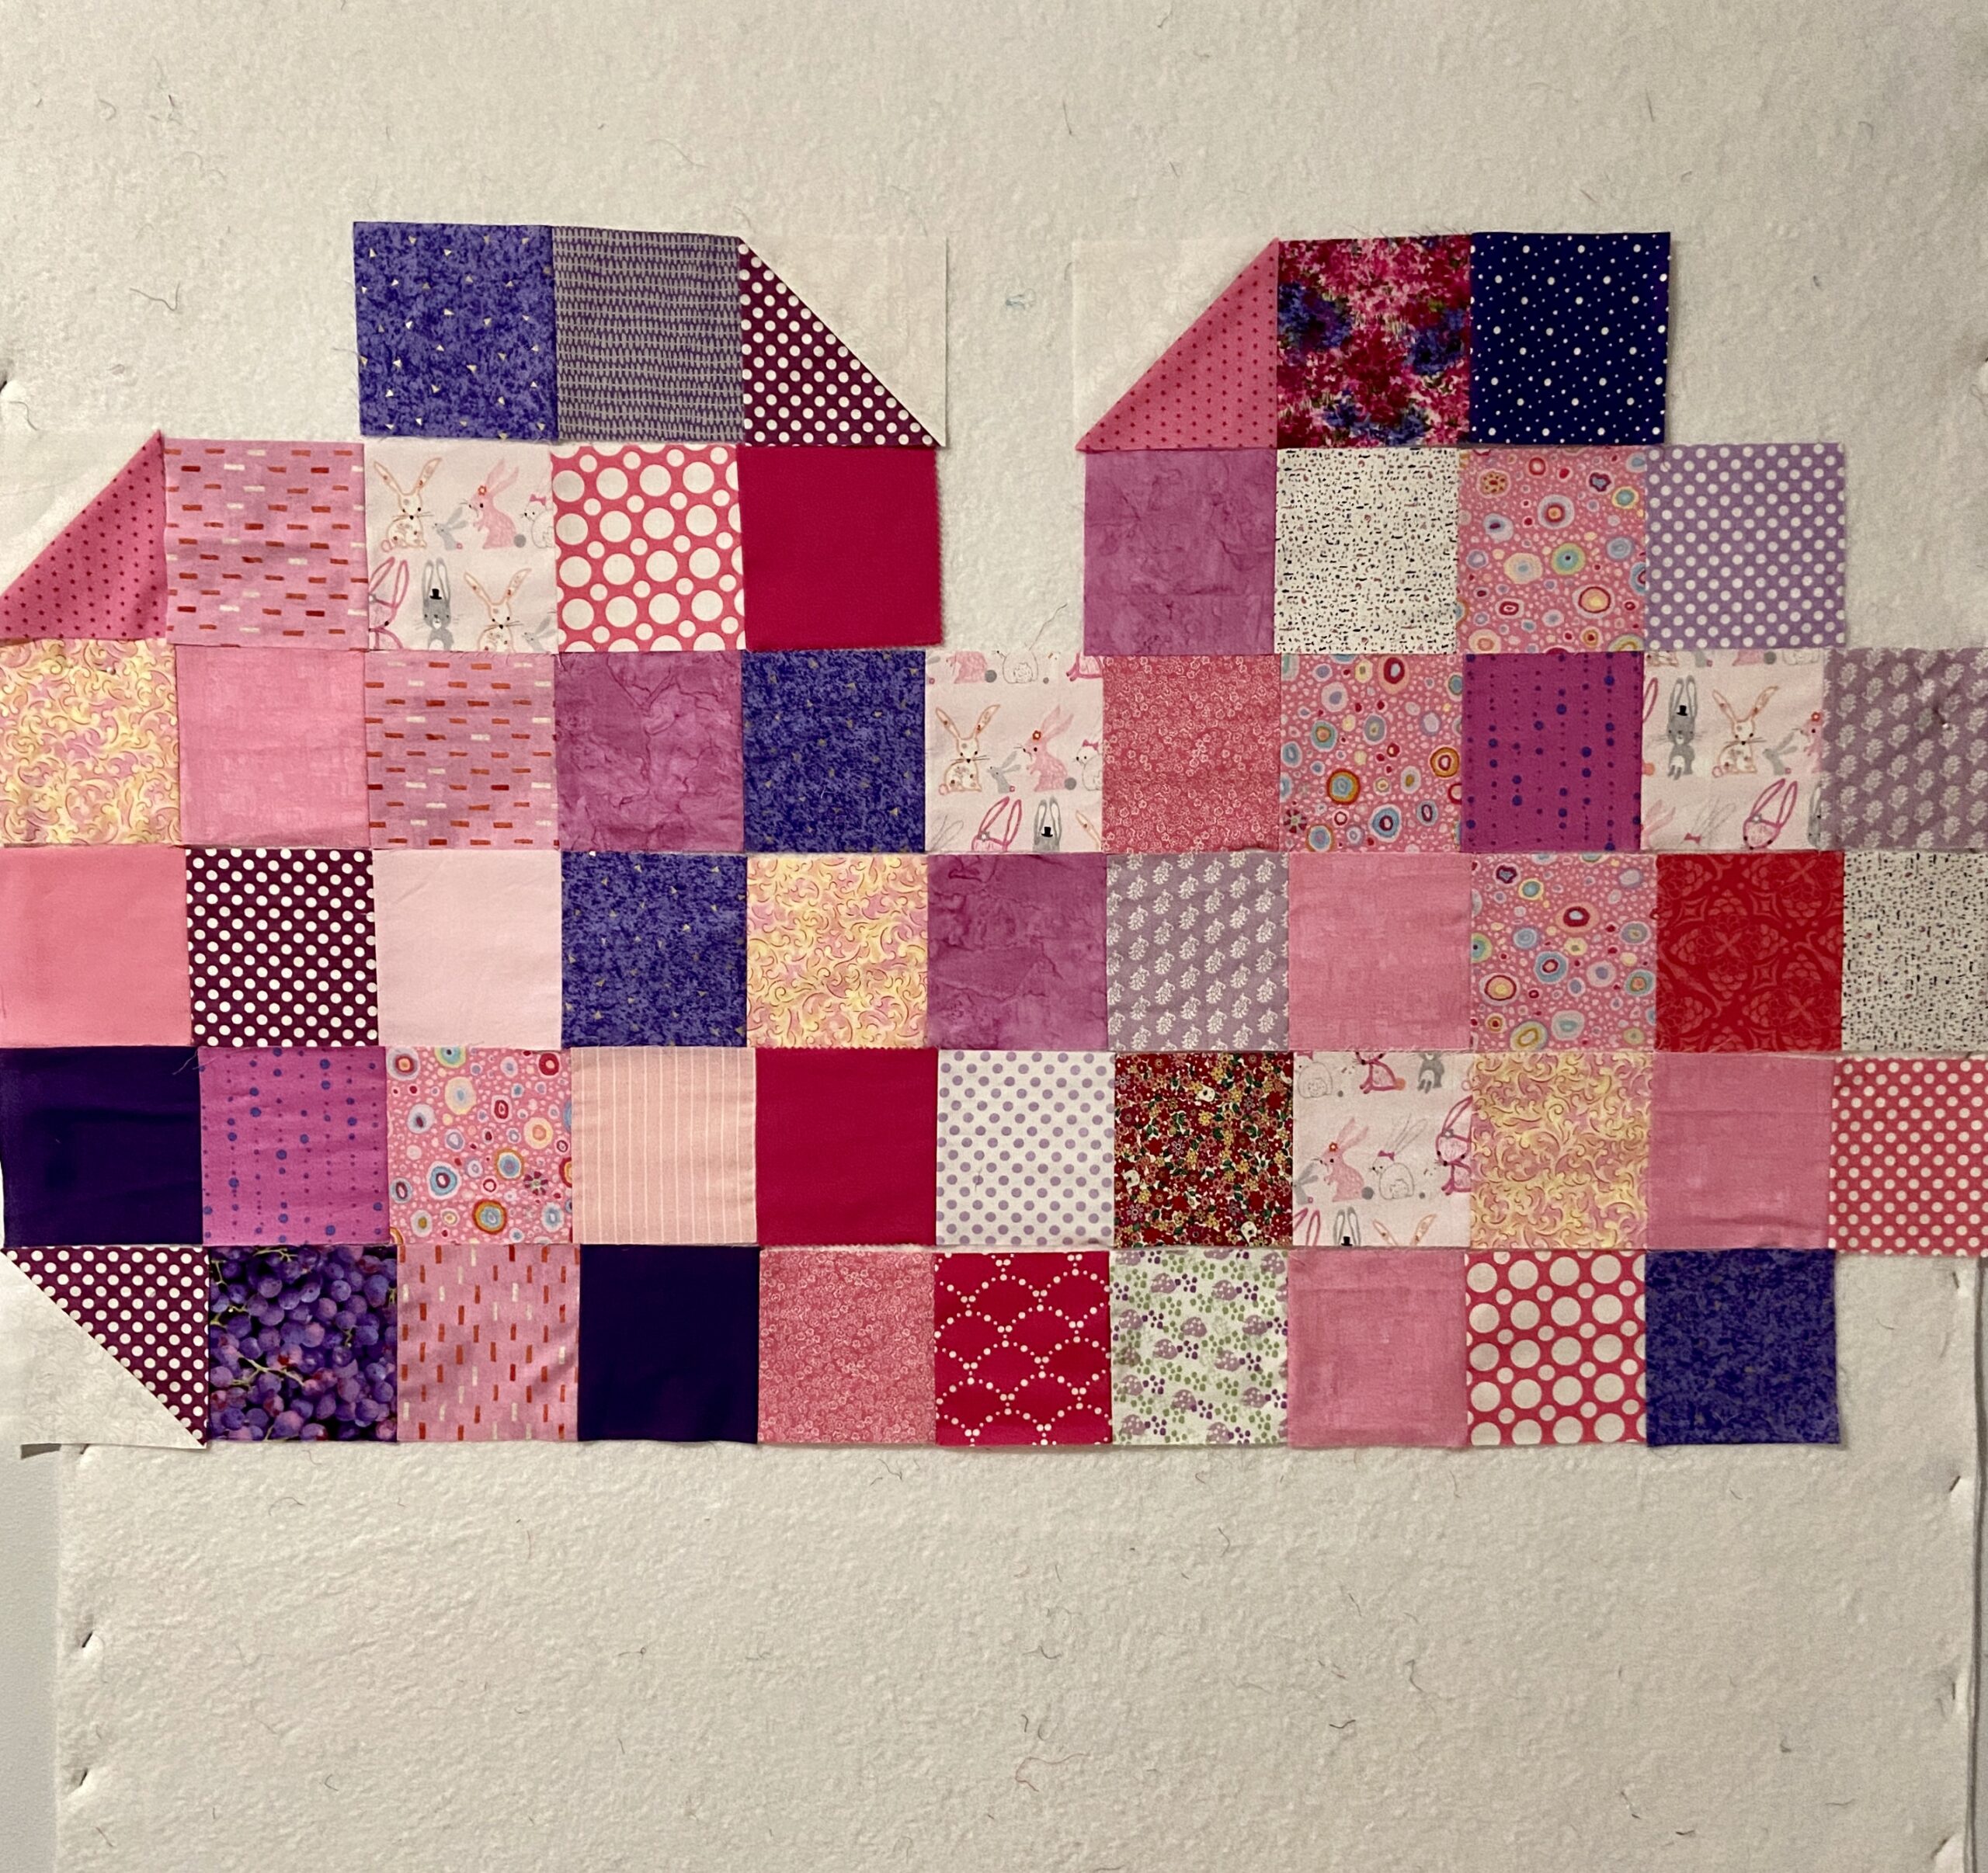
Here is a progress shot (with weird color because I took the photo in the evening) . I have some of the rows stitched together but I am still moving things around for color placement. Surely it won’t take long to finish the quilt top. One thing I am pondering though – the quilt made by my friend has a white background which she pieced with white charm squares. I will be using white yardage. Rather than cut the five inch squares it seems to make sense to cut five inch strips. The piecing would certainly take less time. Do you know of any reason not to do it this way? Let me know your thoughts!

OK – that’s it for now. Hope you all have something fun to work on this weekend!

Linking to Free Motion Mavericks and a few others. (Check out the Link Up tab at the top of the page for lots of fun places to check out.)

Quilts, Quarantines, Babies and More

Oh my gosh, where to start! This is such a crazy world these days. The news is all-consuming as we constantly check for updates on the spread of Covid-19, within the US and internationally as well. Our philosophy is to take it seriously and try to remain calm and rational at the same time. The Governor of California spoke yesterday. He has ordered all pubs, bars, nightclubs and wineries in California to shut down for the duration. All restaurants are to cut their capacity for seating in half and move tables much further apart. People age 65 and over are to quarantine in place at their homes. No visitors at convalescent or senior homes unless it is a terminal situation and people need to be there to say goodbye. So, things are serious here in CA. I believe if people respect the rules and stay home for a bit, the contagion will be limited and hopefully the situation can be controlled. I hope you are in a safe situation and able to stay healthy.

My son with his two sweet girls.

Moving on to better and more enjoyable topics, my new grand daughter arrived on March 12th!!! Such an exciting event to break up the negative vibe we have all been experiencing. When I look at the photo above, I just love how big sister has her hands up to her face, looking at her new sister with awe. Isn’t this heart-warming? The baby is healthy and mommy is healing well. She was very chunky at birth, weighing 8 pounds and 14.5 ounces. She has dropped to 8 pounds, one ounce but is feeding well and doing fine.

Two sisters just hanging around together.

Big sister surely loves little sister but is a tad disappointed in the baby’s lack of abilities. On the first day, she asked her father to bring the baby into her room so “she could crawl around a little”. Once she realized this wouldn’t happen for a while, she got a little bored of baby sister. Today I got to FaceTime with them and she was “playing” doctor with dad and little sister. I could hear my son quietly say, ‘gentle, gentle’. I think it is going well though. So all is as it should be. My husband and I were supposed to travel out to Vermont on March 31st and we are soooo sad to postpone the trip. We will go just as soon as the Covid crises calms down. Hopefully sooner rather than later.

Postage Plus Quilt

I finished up a quilt for Mercy Hospital! I am really pleased with this finish. You may remember I started this back when the blog hop was running for the Modern Plus Quilts book. I took it to quilt it on a friend’s long arm and had a horrible time with it. In frustration, I took it off the long arm and brought it home. After ripping out so many stitches I came to be extremely annoyed with the whole thing. It was folded and placed in a basket where it sat for two years!!

I decided it was time to finish it up and really had fun with it. I used my walking foot and quilted it in a grid fashion. I outlined the patchwork plus in the center. With the wide brown stripes there is quilting running in both directions. The horizontal lines are stitched in brown and the vertical lines in green. It looks wonderful!

Backing is a pale yellow batik heart fabric.

For the backing, I used a piece I had thrifted years ago. It is a buttery yellow batik with hearts all over it.

Scrappy binding for the win!

When I pieced the plus in the center of the quilt, I used a jelly roll. It didn’t take but 1/2 of the strips so I decided to use some of the leftover strips for binding. It looks really pretty since, naturally, the prints and colors work perfectly.

Ready for Mercy Hospital

I am so happy to have this done and ready for Mercy Hospital. I am already working on the next one for them. Their supplies are down so I am trying to boost the stack for them just a bit. Mercyful Quilts is once again thrilled to be a recipient for quilts made through the 2020 Hands2Help event that is hosted annually by Sarah of Confessions of a Fabric Addict. I am so grateful to have our organization included. Last year so many gorgeous quilts were donated and it was hugely helpful. Thank you in advance to all the quilters who participate in this year’s event!

I have been thinking quite a bit about being home for the duration of the Covid-19 saga. Many of us are turning to our craft and sewing rooms. I read a great article about how soothing it is to involve oneself in a craft, such as sewing, art, woodworking or other project during stressful times such as these. Ray and Julia have been talking about working out in his woodshed while she is home. All three of us have been baking. Of course, I plan to sew. My shop has been quite busy the last couple of days so I think many quilters are planning the same thing.

To this end, I want to help out a bit. Lots of quilters are turning to on-line shopping if Covid is prevalent in their area. For instance, I have noticed a substantial increase in orders from the Bay Area in California where so many people are home and quarantined. To make things a bit better for those shopping on-line, I have a Free (standard) Shipping promotion going in the shop. It started today and will run through Wednesday. All orders will ship for free during that time! You won’t need to enter a promo code – it is all set up for you. I hope this is helpful to you! Click here and browse a bit.

I am going to sew this afternoon. I haven’t made any of my scrappy projects for March yet. So I need to make my orange block for the Monthly Color Challenge and then something with the teal scraps for RSC20. After that, I will pick up another quilt top to finish up for Mercy Hospital. What is your plan? Is Covid affecting you and your daily routine? I worry about people who live alone and are quarantined. Can we all support each other? Let me know how you are doing and let’s all keep each other busy and engaged.

Linking up with several sites, including Brag About Your Beauties and Elm Street Quilts.

Little Updates

Hurray – It’s Friday!! When you work at home, it doesn’t really matter as much that Friday rolls around, does it? But I still love that feeing of heading into the weekend. It is probably just ingrained in me from the years of being in school, working, having kids in school – Fridays are a great day!

I am popping in with just a few things to tell you. Before we get started, you may have noticed the incredibly beautiful hatching chick in the picture above. Julia made it in first grade and it makes me smile to remember those days. Do you keep your kids Objet d’art from way back when?

Ok, the first point of discussion is about commenting on various blog posts. There has always been this glitch in commenting on certain blog posts since I use WordPress for my blog. I know about fixing the no-reply issue and I have done that a couple of times but things are always changing and once again, there are many blogs I cannot comment on directly.

Additionally, those blogs I can comment on (that are not on a WordPress platform) usually have a Captcha process to go through. I don’t mind this for the most part. Many of the blogs have it set so I usually have to click one round of objects (you know, the fire hydrant, traffic light, bus, car, cross walk or store front) but there are some blogs where I have to go through five and six rounds. To be completely honest, after the 3rd round or so, I just give up. It becomes a bother.

Instead of just reading posts and not commenting, I have started to comment directly by using a blog reader. I have used Bloglovin for years to organize the blogs I follow and to keep track of those following me via Bloglovin. A while back they added a feature where a reader can comment on a post right there. It is not heavily used but it is so convenient. It does mean the author of the post has to check Bloglovin to see those comments. I cannot figure out a setting where they will notify me if I have a post comment on Bloglovin. That would be a great feature, so maybe one day. I just wanted to let people know that they might want to check Bloglovin and see if there are comments from yours truly or others on their posts. Not the perfect solution but I am going to continue to do this and see how it goes. At least I am trying to interact and not just lurk behind the scenes.

Springtime blocks.

As for sewing, I have been working on these cute blocks. This line is called Floriography. I had purchased a stack of it at least three years ago. I began a Tula Pink quilt with it but hated the way the blocks looked. I clearly didn’t know what I was doing and it gives me a headache just to look at those blocks! So, I decided to throw in some solids from my wonderful closet of stash and make these blocks. I want to make more blocks with the darker blue and pink before I really work on the layout. I am using a pattern (tutorial really) by Cluck Cluck Sew. I had pinned it long ago and decided this is a great use for it. I am looking forward to making more of these and putting it together.

This weekend Julia selects her piggy for this year. She is pretty excited (actually, so am I!). My son and his wife are coming for a little family time and my parents are coming to dinner tomorrow night as well. I am thinking steak and shrimp for dinner with peach cobbler for dessert. This should make for a great weekend! Family time, baby pigs, and good food. What more does this girl need?

Check out my Forsythia blooms! So pretty this time of year!

I cut some to bring in the house. The blossoms always drop everywhere but it doesn’t bother me. I love the bright yellow indoors!

Through this weekend!

Remember – there is a great sale on Michael Miller Fabric over at my shop. Today and through the weekend, it is 50% off. There are some great stripes for quilt bindings and a few large scale prints that would make wonderful quilt backs. Come take a look! Have a great weekend everyone! Linking with Myra at Busy Hands Quilts for Finished or Not Friday.

Day Two at the Long Arm Shop

Last week I spent several hours practicing on a long arm machine. I decided to work on a quilt top that I made last fall. Using Kaffe Fassett stripes and solids, I made a strip quilt last fall. As often happens, it was put aside and left untouched for almost a year. By the time I finished this quilt top, it was distorted and nowhere near flats. Not sure if you remember this one, but here is the first post if you want the back story. In that post I mentioned that I had put some of the strips together incorrectly and had to do a bit of seam ripping to fix it. I think I handled the strips too much and they really stretched. If you haven’t handled Kaffe Fassett shot cottons, they are very soft. This makes for a cozy quilt but using a jelly roll of this was harder than I expected. Of all my quilts, I am sure this one has the most technical flaws. But it is also one of the prettiest because of all the color.

image

Fast forward eleven months, I decided to finally finish it. The colors are gorgeous and it deserves to be used. I knew it would never be a quilt to brag on but oh, it is so soft. Quilting it on my machine or the long arm was going to be problematic either way. I figured if I took it to the shop, they might be able to help me to make it as good as possible. When I showed it to the owner, he said I could choose to make it flat and out of square (by a long ways) or I could square it and there would be some big folds that I would just have to quilt down. Without much deliberation, I chose to smooth it and deal with squaring it up later. The larger goal was to practice with the long arm. He helped me load it and played with it to get it as flat as he could.

img_7420

I didn’t have much of a quilting ‘plan’ in my head with this. More important was learning to use the machine and get the feel of it. The speed picks up on the machine and it is difficult to get into a rhythm that isn’t too fast and allows me to have good control over moving the needle. I did a random stipple with a few loops here and there. It was so much fun. I loved the freedom of movement since I wasn’t dealing with the weight of the quilt. When I think back on how it felt when I was guiding the needle, I am certain I was going to fast. My concern was if I slowed down, my stitch length would shorten and be inconsistent. Plus I would just forget and my speed would increase!

img_7419

Speed was my primary problem. Second to that was judging how close I could quilt near the top and bottom bars. I found myself going too close and getting trapped in places. There is no reason to go that close; it is cleaner to stay a couple of inches away from the top bar and bottom. But I would get my speed going too fast and dang it, I would find myself trapped again!

Even laying it as flat as possible, there are a few significant puckers. It couldn’t be helped. I think using the long arm to quilt it was much more successful than my home machine would have been. I could look ahead and as I moved the quilt over the bars I gently finessed it as flat as possible.  Now, remember he said if I went for smooth and flat, it would be warped and out of square? Oh my, he was right. 🙂

When I got it home I trimmed the excess batting and backing away with scissors, just to see what I was dealing with. Then I did a few dramatic, heavy sighs and asked Ray for help. I knew he would have a solution. The issue was that if I cut it square, it would be so obvious due to the linear pattern of the stripes. Both the top and bottom green stripes would have been sliced at strange angles. Ray suggested taking some of the striped fabric and enlarging the width at the bottom of the stripes. This would give a bit of an illusion of a straight line and I would be able to keep the full width of both green stripes. (I am married to a genius.) I never even thought of it. I have quite a bit of the striped fabric left over. There was no problem cutting a piece and matching the stripe up completely.

image

imageMost of the extra width is covered by the binding. It was a simple solution and I am so pleased with the result. As I said earlier, this quilt is filled with flaws. But when I look at it I am quite happy with it. The colors are lovely and the feel is so soft. Learning to use the long arm feels a bit like going backward. I am just getting some confidence with my free motion skills on my domestic machine and now I am back at square one, learning to quilt all over again!

On Thursday this week, I will be back in the shop. I am going to quilt my plus quilt.  Hopefully I will be able to control my speed a bit. I am going to try to be diligent about leaving myself space at the top and bottom bars. My plan is to do loose spirals in the negative space and straight line quilting within the pluses. I think (I hope?) that is a reasonable goal for me at this point. Any hints or tips on my long arm practice sessions are more than welcome!  Also, while I am thinking of it, do I do all of the straightline quilting and then go back and do the spirals or do I just do whatever shows up within the space of the bars and keep moving it in the one direction? Inquiring minds need to know!

Linking to all of the awesomeness that is listed at the top of the page, under Link Ups.

unnamed

This is a good weekend to shop Craftsy! They have some great discounts on kits and supplies for their End of Summer Clearance. Take a look. This sale begins Friday, 9/16/16 and runs through Sunday night, 9/18/16.

(I am a Craftsy affiliate.)

Quilt Top Finish

This week I have a finish to share – I made a quilt top using a jelly roll of Kaffe Fassett solids and a coordinating striped piece of yardage. Several months ago, I saw the jelly roll on Cratsy.com and was crazy about the colors. Really rich, earthy tones that were just calling out to me. I didn’t have a specific plan for it so it sat on the shelf for a while.

Meanwhile, I have been practicing my FMQ and am always in search of something to stitch. I decided to make a very simple quilt top with the jelly roll as that would allow me a really clean slate for quilting. I went to my LQS and found the coordinating yardage (she has a great selection of Kaffe Fassett in her shop.)  Then I started to play with ideas. I cut strips from the yaradage and laid them out in a few patterns with the jelly roll (actually I drew everything first on graph paper but then still had to play around with it for a while, crawling all over the living room floor.)

First try:

IMG_20150915_3864
In this version, I was putting the striped pieces in a random pattern. (You can see that Lady was supervising me all the while – those are her paws in the upper right corner.)

Next I tried something with a bit more order to it, increasing and decreasing the length of the striped pieces by size.

IMG_20150919_3881I decided I liked this pattern best. The stitching not a big deal. Well, it shouldn’t have been. I had all of the striped pieces sewn to the solid strips and then I spend a day or two dealing with a migraine. I thought that I was through the worst of it and started to sew the stripes together. As luck would have it, I was not thinking clearly enough and in several places, I sewed them together incorrectly, creating havoc with my simple pattern. It took a bit of time with my seam ripper to get it all fixed up.

Now that it is done, I am really happy with the curved look of the solid color stripes. Kind of like an over-sized chevron.

IMG_20150923_3899

I haven’t figured out what I will use as backing. I know I don’t have anything in my stash that will work so I will do some shopping for that.  Most likely I will use a solid that is used on the front. I don’t plan to put any borders on it. I do plan to finish this up soon so I am going to use it as my October goal for ALYOF. I will have it quilted and bound by end of October!

IMG_20150923_3902

Later today my five sisters are coming to my house for the weekend. I am beyond excited. My mom and dad live about 15 miles from me so the whole family will be together for the weekend. My husband and daughter went up to the Downieville house which means it will be just the original eight of us for the weekend!

Have a great weekend all!

Linking to Amanda Jean at Crazy Mom Quilts.