Tag Archives: charm square quilt

Procrastination Situation

Whenever there is a post on social media asking for a quilters most favorite or least favorite part of quilting, the answer for my least favorite is immediate and passionate. I really dislike basting quilts. There is so much riding on it. The need for a perfectly flat backing, a well prepped quilt top, the perfect amount of pins (I haven’t yet tried spray basting), no secret folds or wrinkles – ugh! It is more than I can stand. This is where I start to procrastinate. I know I am not alone. This is clear by the fact that the majority of quilters have any number of quilt tops that are unfinished, waiting to be basted and quilted. I don’t mind the quilting process and I usually enjoy binding a quilt. It is just the basting.

This is why I found myself in my sewing room this week starting a new project. Because really I should be basting and quilting my 2023 Positivity quilt. The top is finished and it is adorable (if I do say so myself). But I need to fuss around and create a backing and then…… baste it. I would venture a guess that someone could make a successful side gig offering to baste quilts for people like me. There are loads of us. Off I went to make something else, anything else, so I wouldn’t have to baste the quilt.

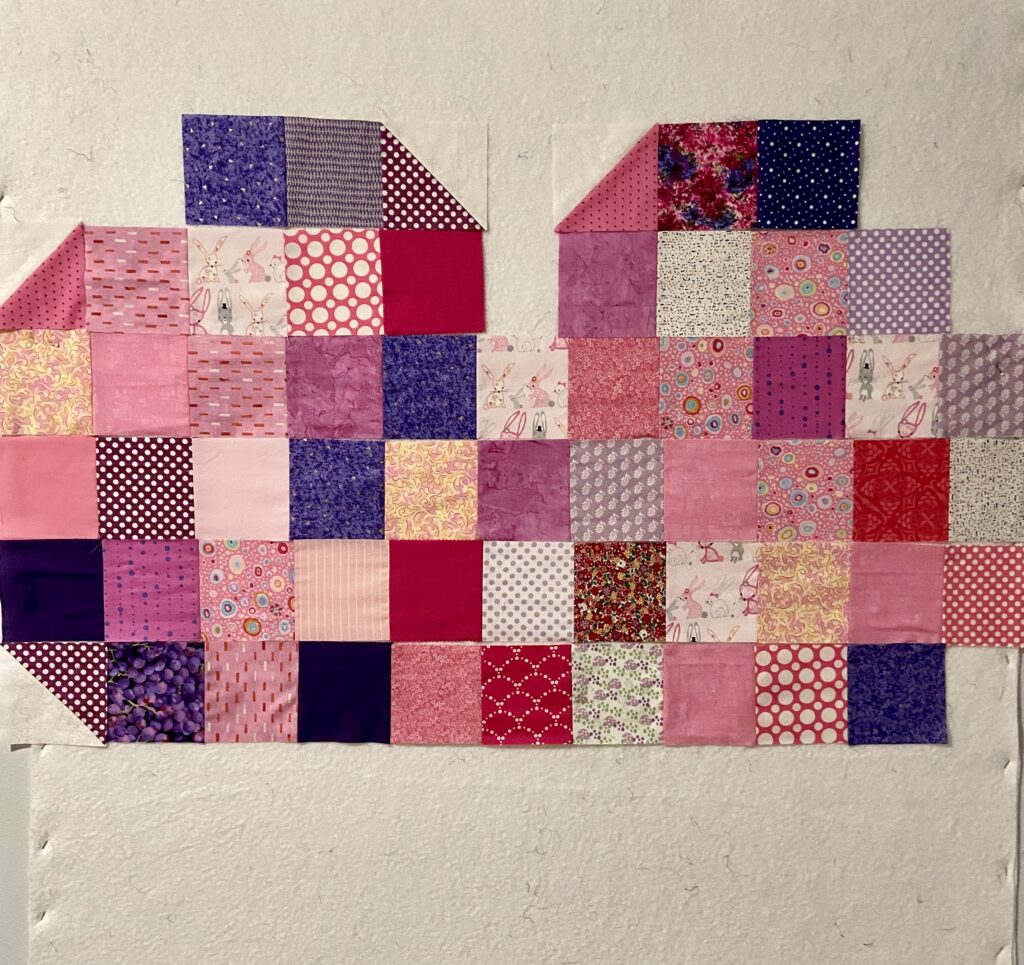
Last week while wandering the local quilt show (where I enjoyed that Sinbonnet Sue quilt) I spent more than a few minutes checking out the country store portion of the show. I love looking through the fabrics and other items quilters are selling. There was a bundle of charm squares that had been put together by a quilter. It was from a variety of lines and looked like leftovers from charm packs they had used. I liked the colors and knew it would be cute to make something with them. (I am proud to say this is the only purchase I made! I dug deep and restrained myself from buying anything else).

On Sunday I found myself in the sewing room looking for something to work on, anything that didn’t require basting. There were those cute charm squares sitting there, calling to me. “Choose us, choose us. You’ll have days of fun before any basting is required.” Sounded like a grand idea to me. I poked around on my Pinterest boards and decided to make a quilt similar to one I had pinned some time ago.

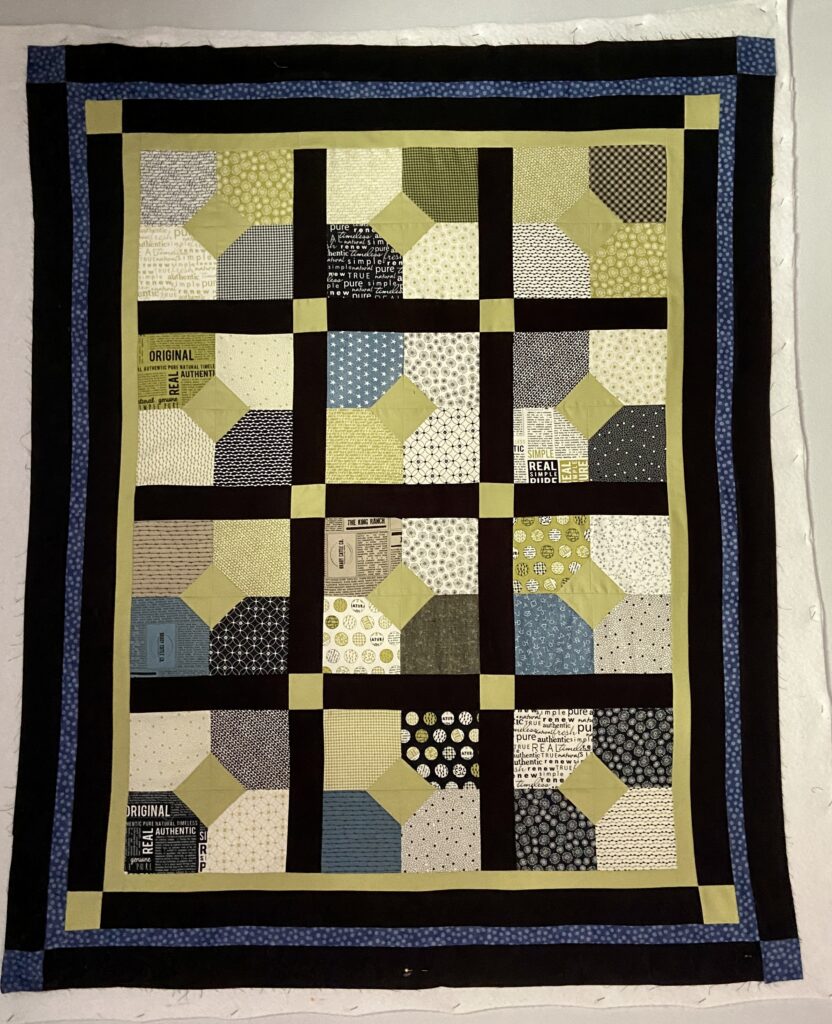
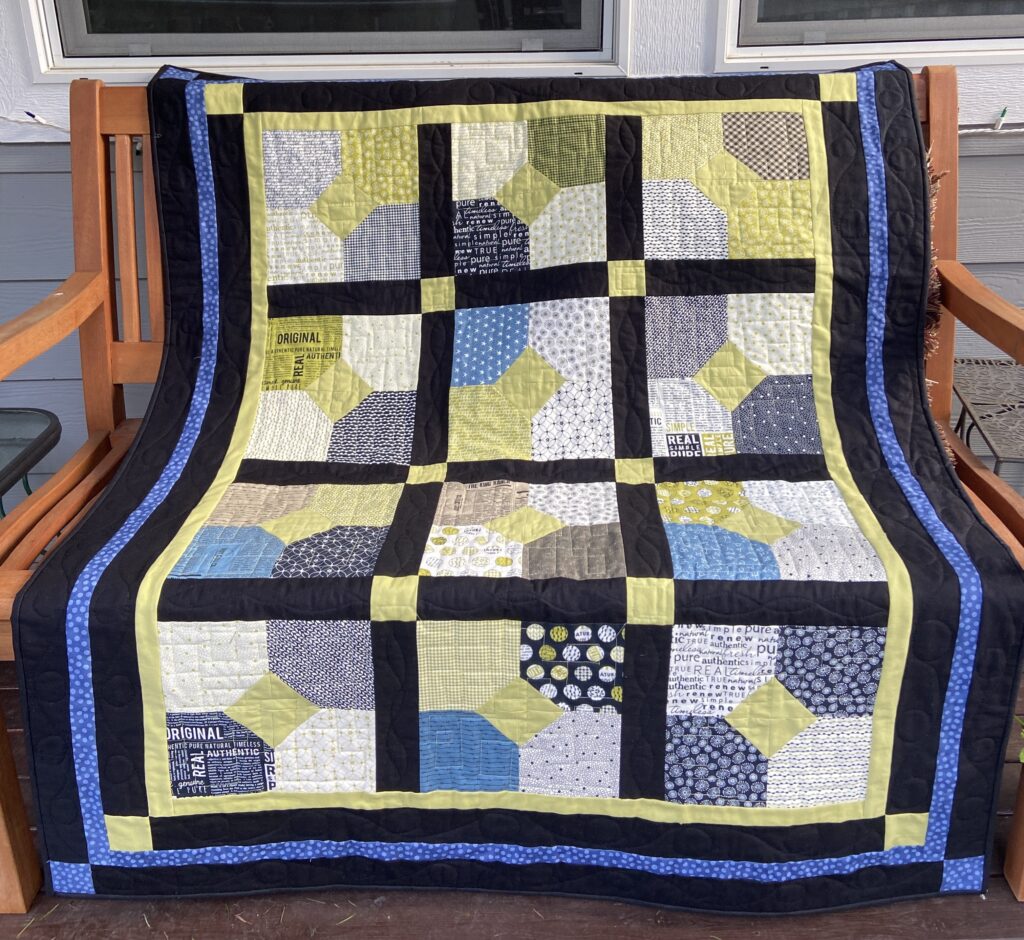
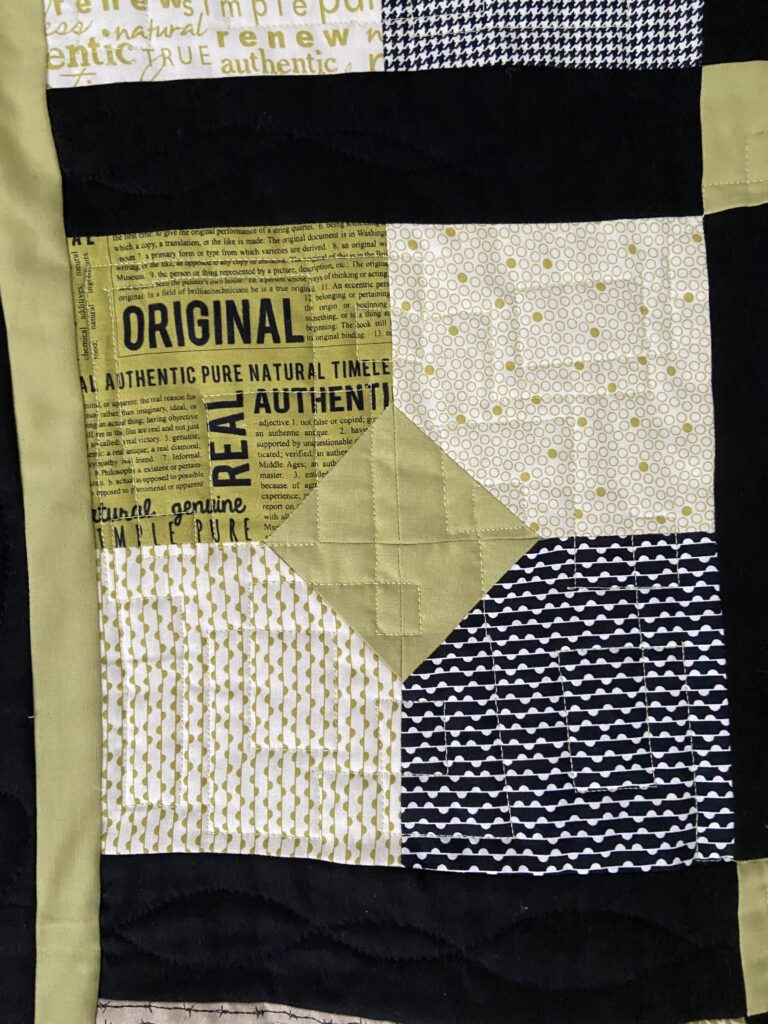
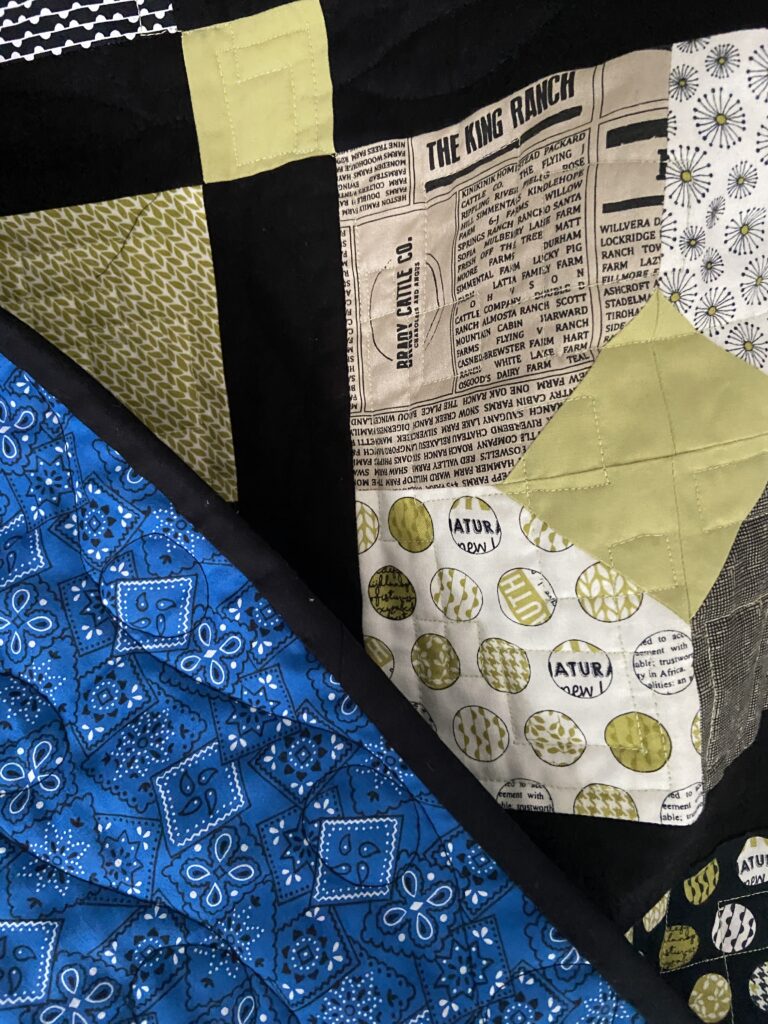
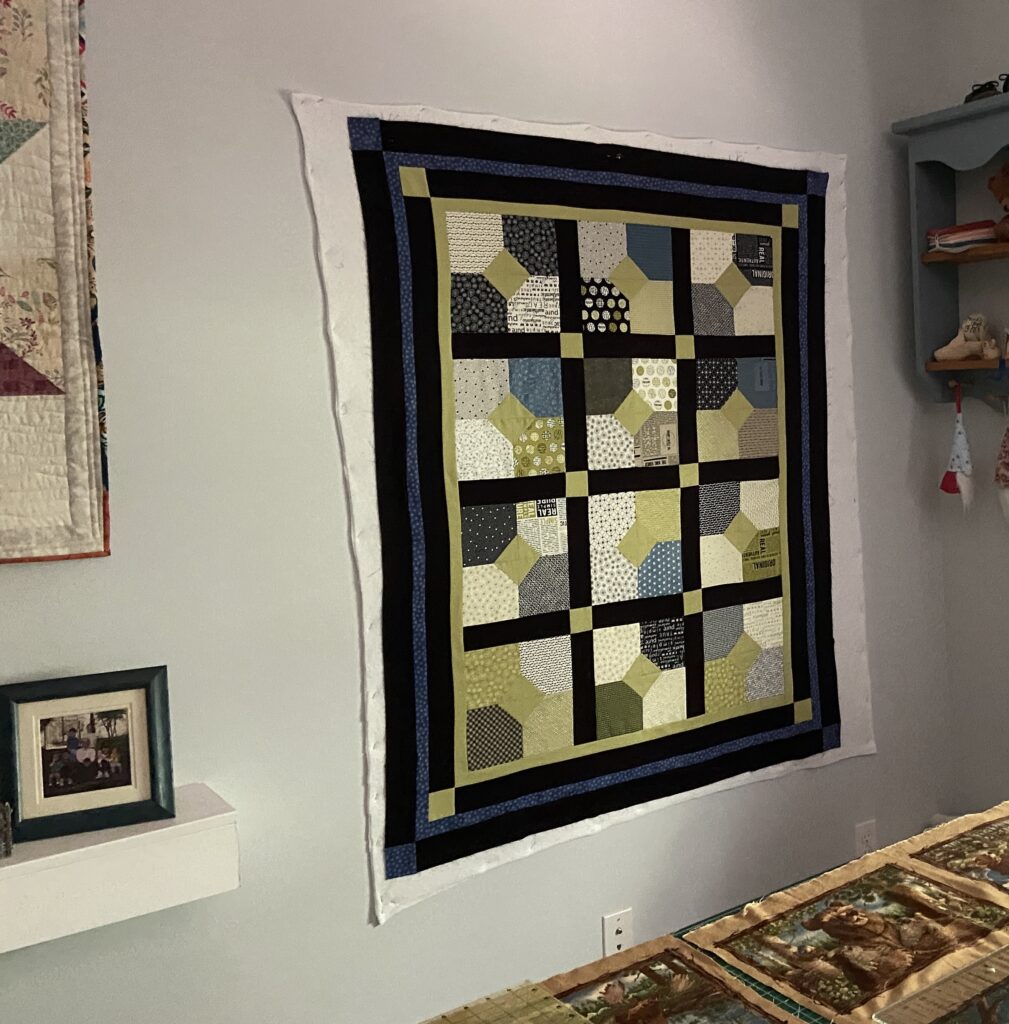
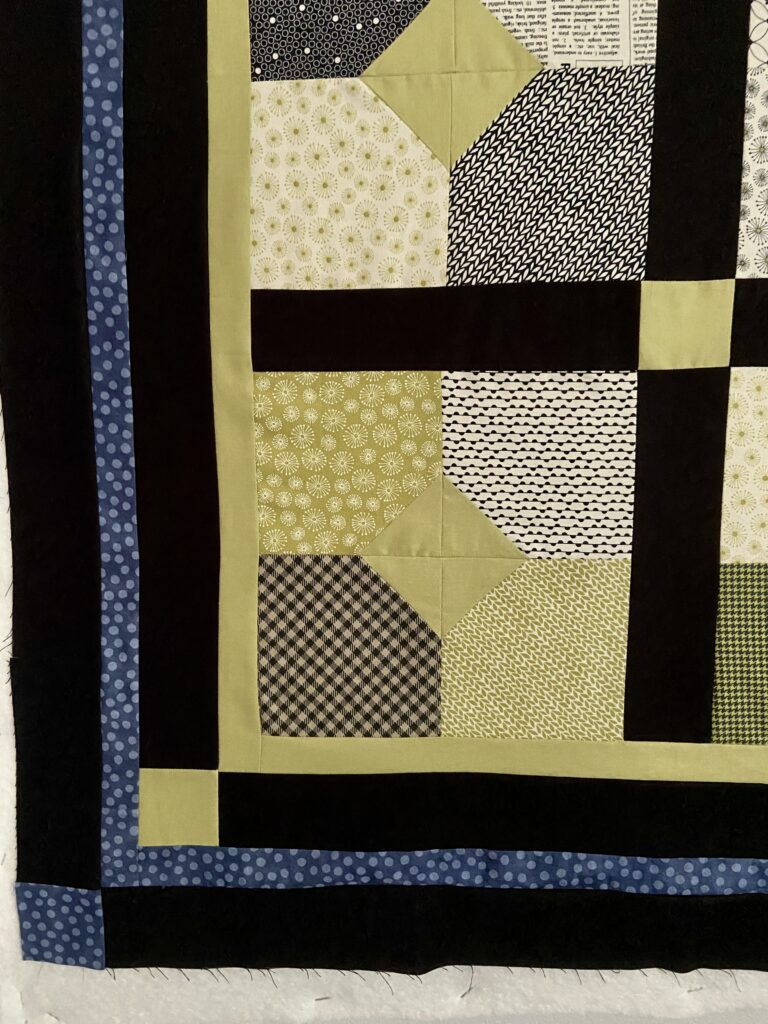
I looked through the solid green fabrics on the shelf and chose one to put on one corner of each charm square. Then I stitched them into a four patch. Because of my limited number of charms, I put a black border on them using the same green for cornerstones. (True confession time – I didn’t keep the little triangles from the stitch/flip on the corners. I know I should have, it was reckless of me, but I tossed them. Mia culpa.)

With the twelve blocks and the sashing, the quilt was fairly small. First I added another narrow border of the green (using almost all I had of this fabric) and then added a wider black border with green cornerstones. But it was still too small.

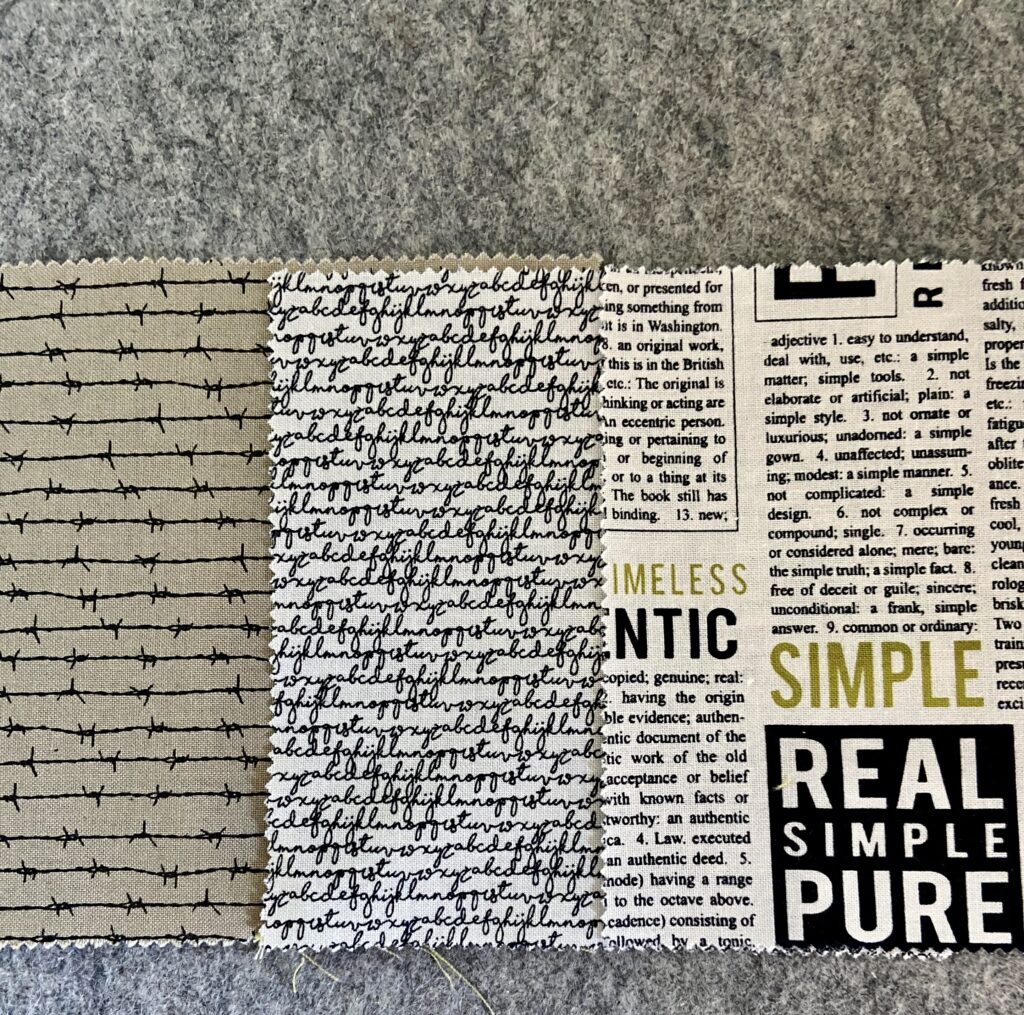
Last night I put out an alert – all the way from Washington state to Minnesota. Isn’t technology the best?? Texting Wendy at Pieceful Thoughts, I asked for some ideas. After sending pictures of a variety of fabrics to her, it was agreed that a narrow border of this denim blue dotted fabric would be cute with another black border. I used cornerstones again for consistency.

TaDaa! Another quilt top is finished. Another quilt top is whispering ‘finish me, baste me, don’t let me sit here forever.’ This puts me at four quilt tops needing to be basted and one that is in the midst of being quilted yet no where near finished. It is a vicious, never-ending cycle. Help!!! Help me!!!

A Homespun Finish

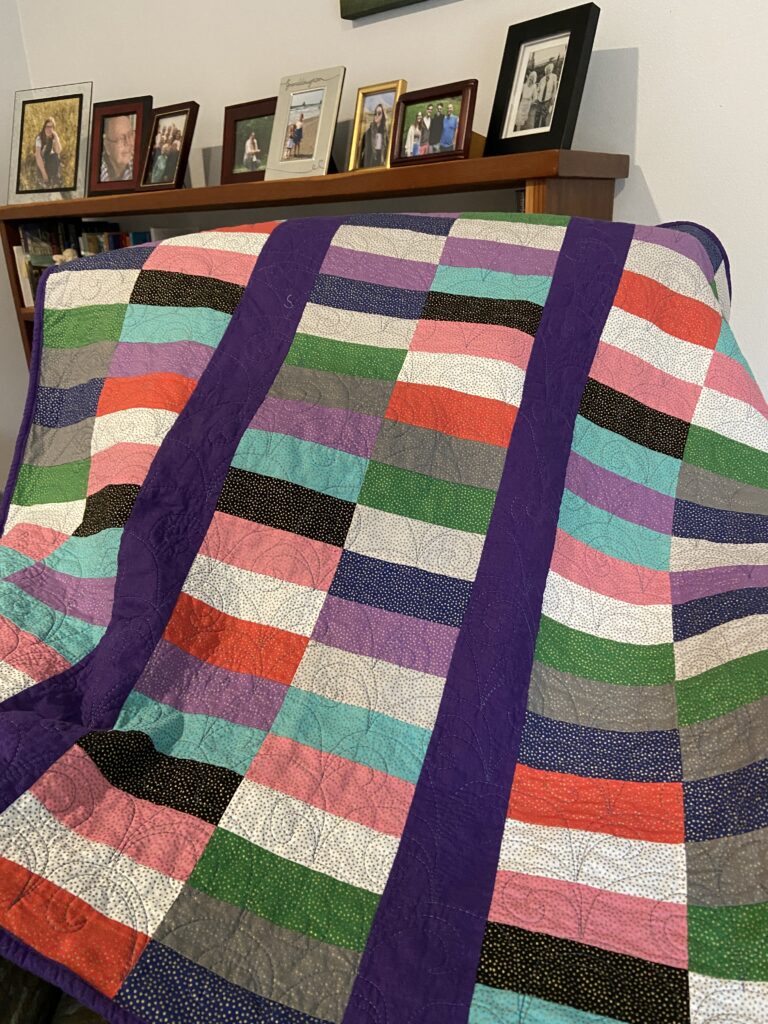
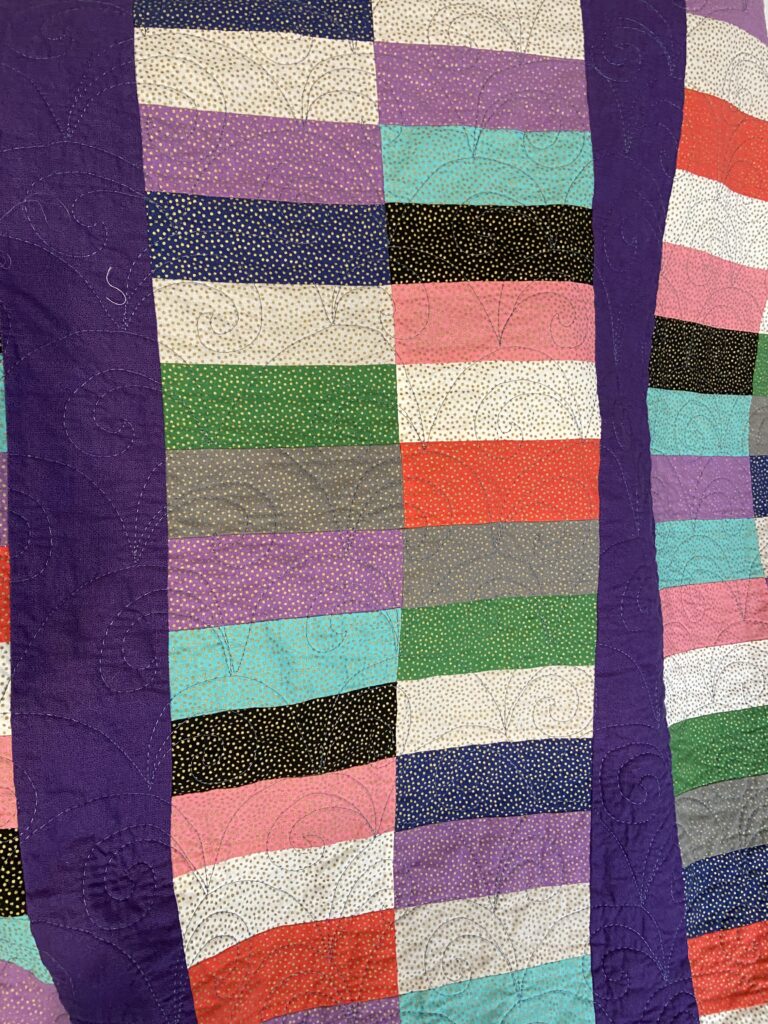
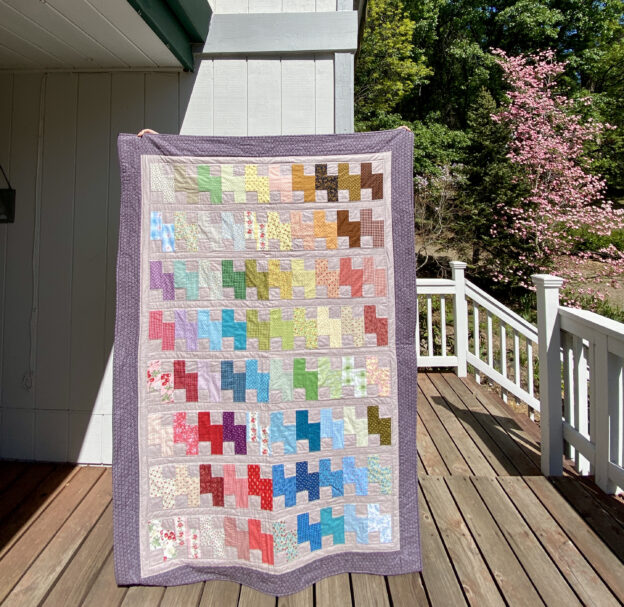
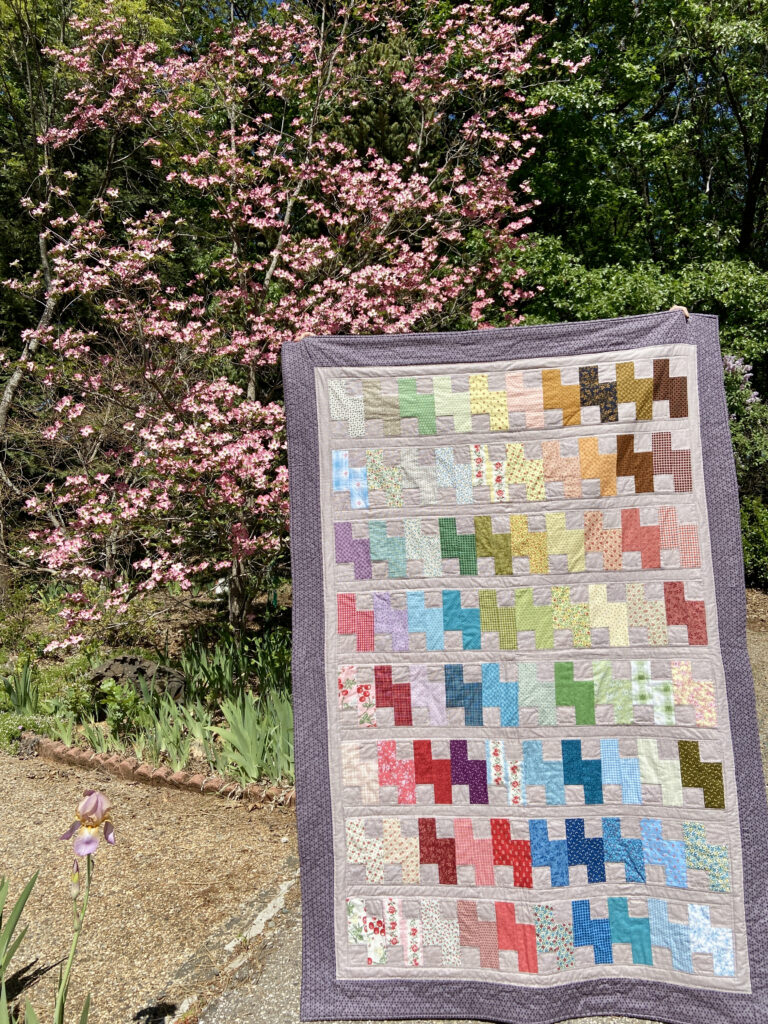
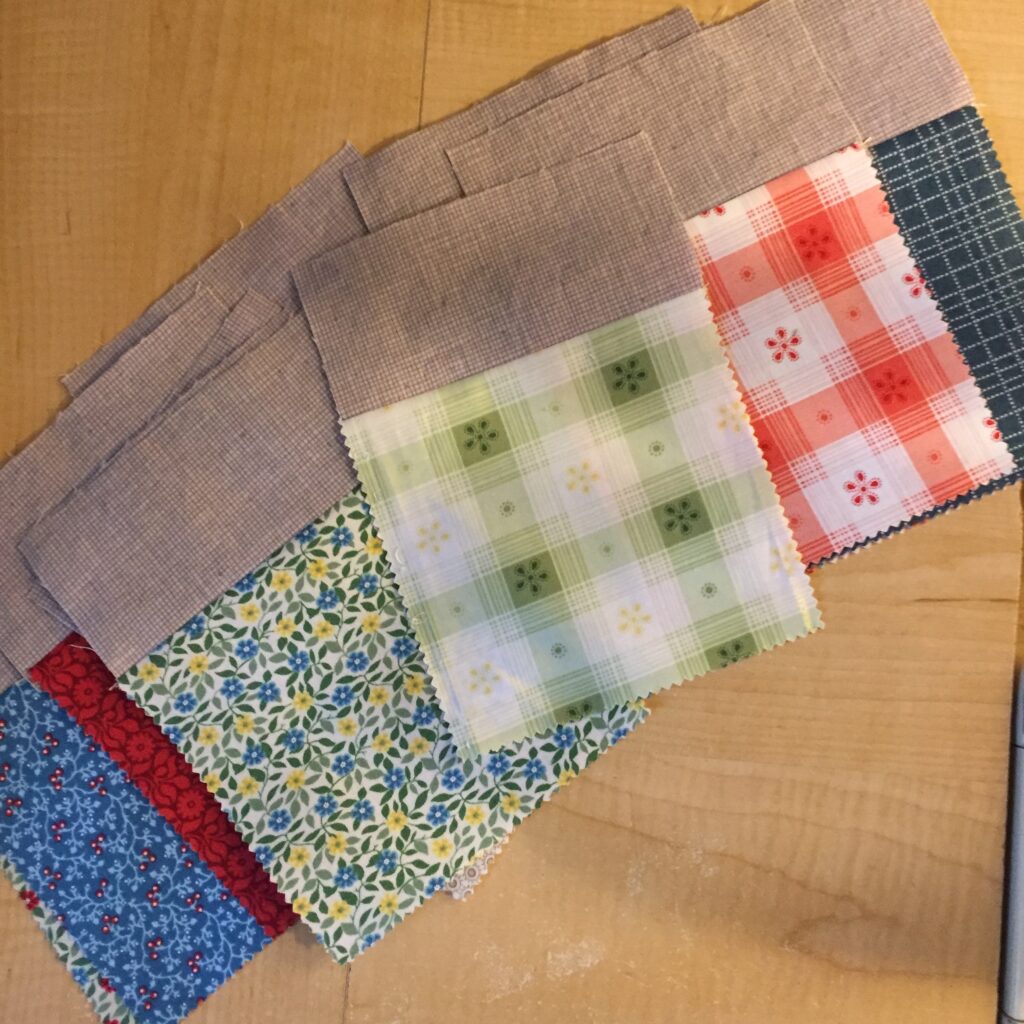
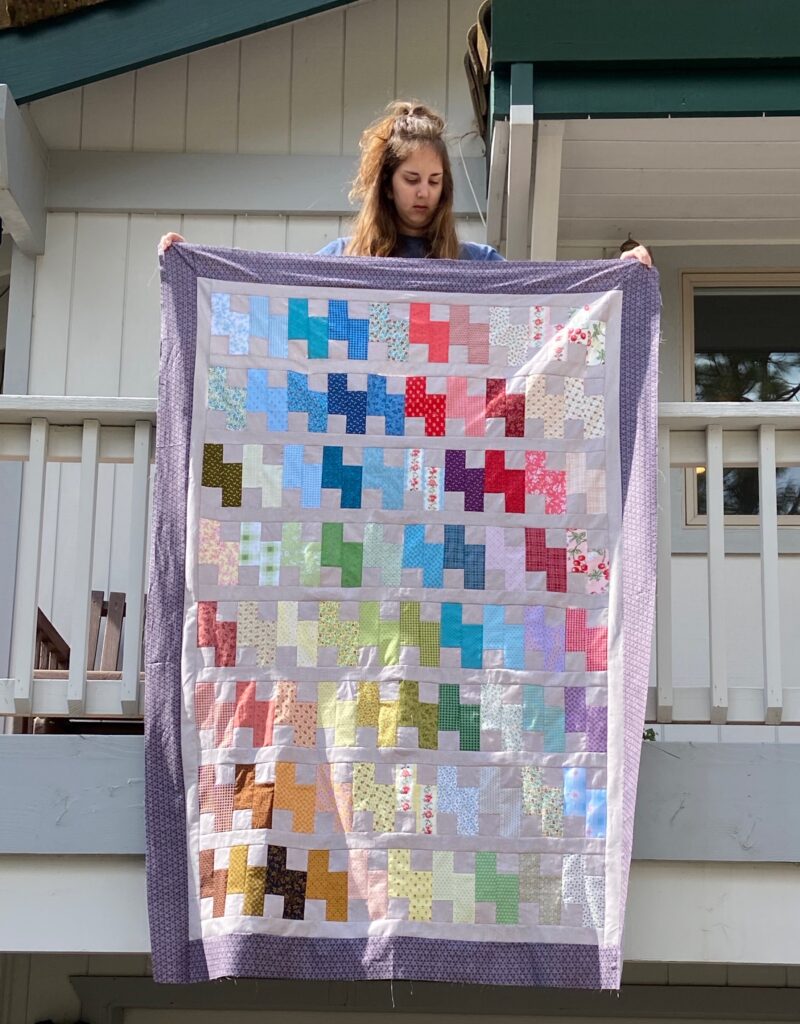
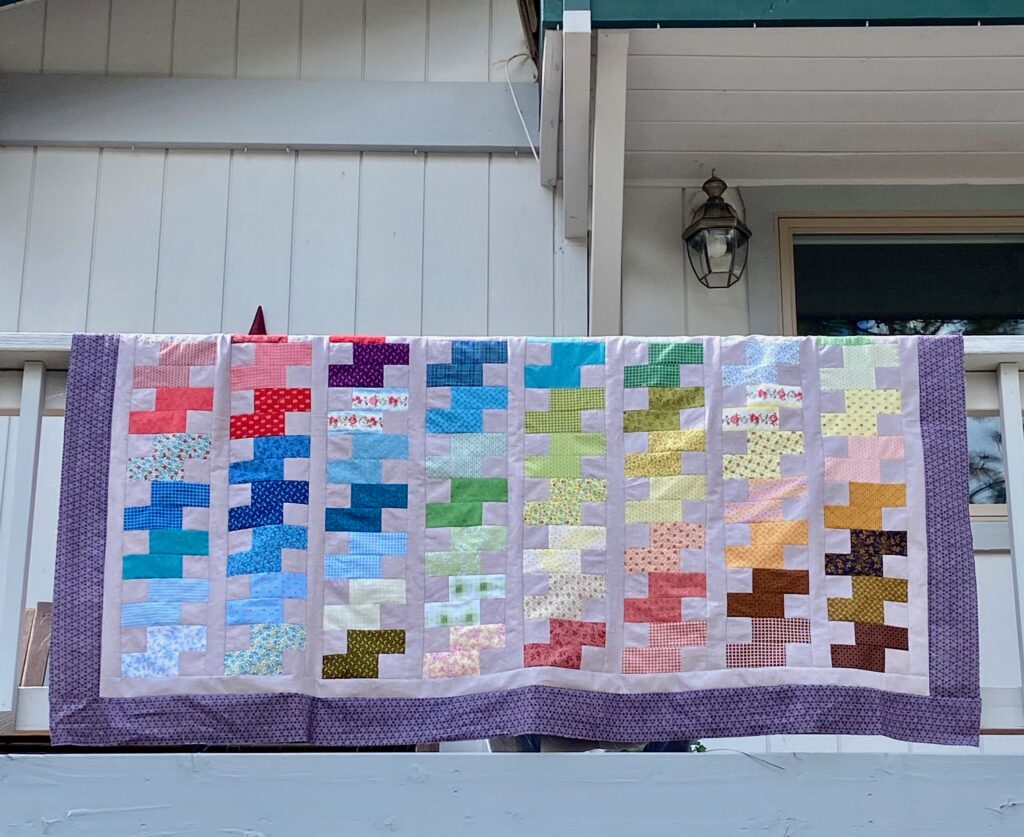
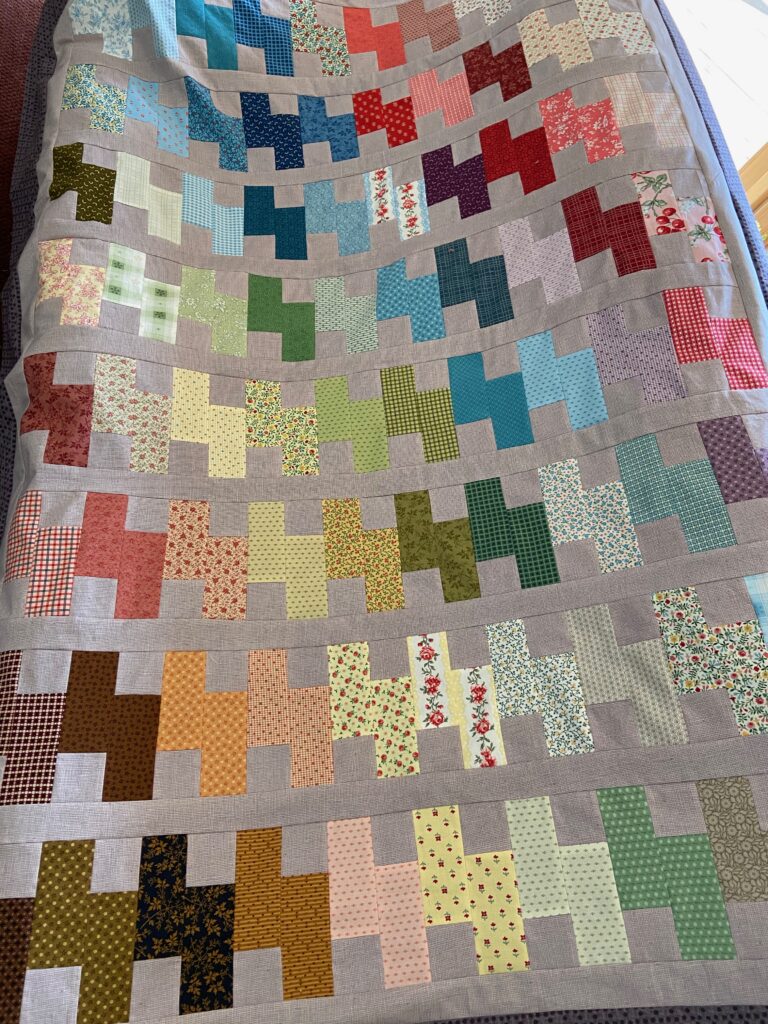
This quilt has been in process for quite some time. I finished the quilt top last March. The piecing was quite fun – I used two different charm packs from Benartex that both had a vintage feel to them. After sewing a 2 1/2″ wide strip to the top of each one, I sliced the block in 1/2 and flipped one side upside down. That gave me the rectangular blocks you see here. To add some size to the quilt, I sashed between rows. Finally I added a deep purple border all the way around.

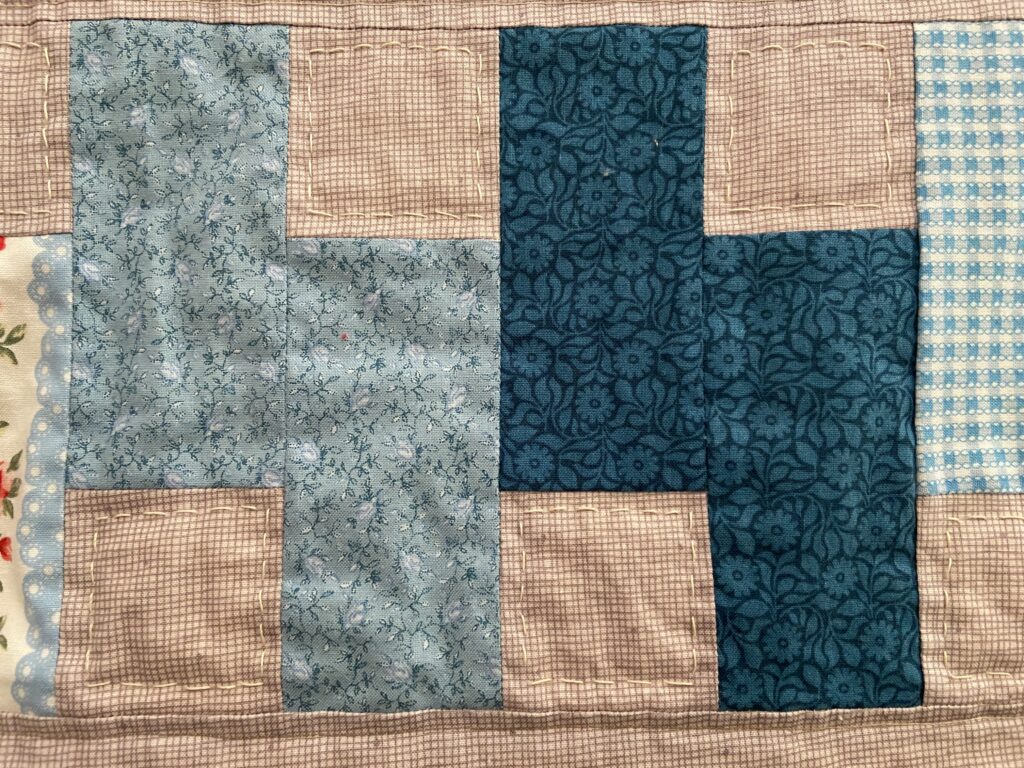
I knew I wanted to try hand quilting and this seemed a good project to learn with. Wanting to think just about the hand stitching and not worry about the durability, I stitched in the ditch along the sashing lines and around the inner border. This was really helpful in keeping everything together.

There are many who would say I might have used a darker color thread but again, this was my first time and it shows! The stitches are inconsistent – honestly, I didn’t want them to be the star of the show here. I quilted around each smaller square and was ready to call it good there. However, what was the rush? I enjoyed quilting this in the evenings so I decided to go around the inner border once.

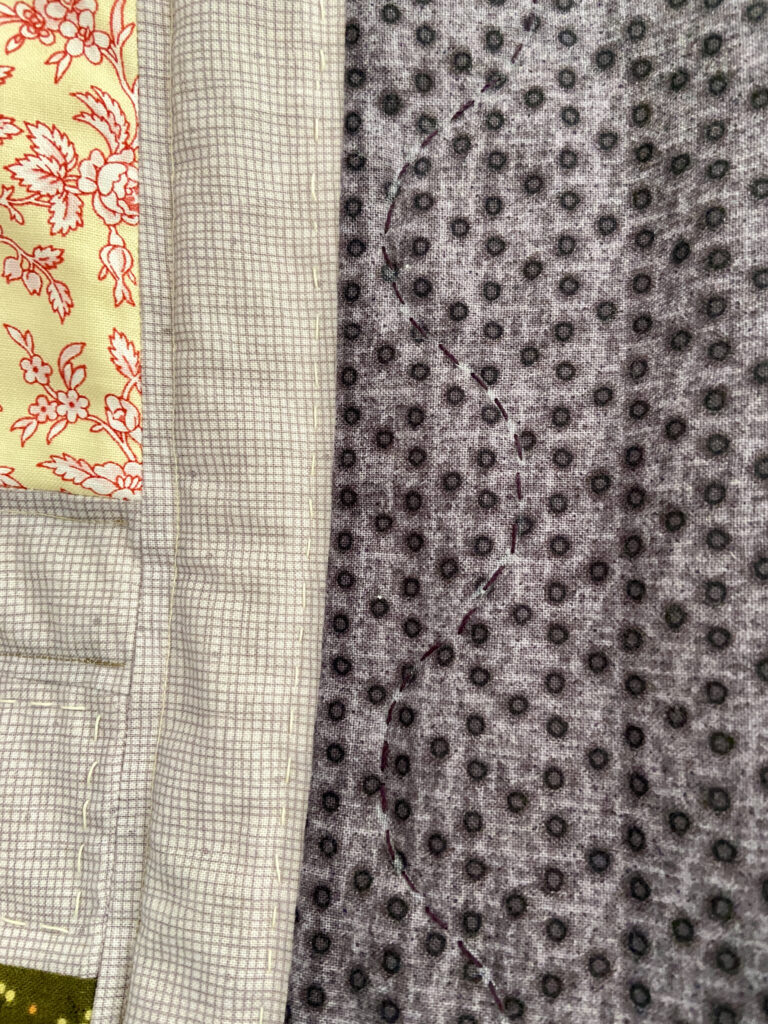
Then it came to me I might want to do some stitching in the purple border. I used a stencil to trace the curves here. I felt like I was done at this point so I put the binding on. For some reason, it was a challenge to find a binding I liked with this quilt. The neutral fabric used as the background is gone so that wasn’t going to work. There was enough of the purple fabric though and I decided I liked the simplicity of using the same fabric for binding and the outer border.

This quilt is sooooo cozy and soft. The only reason I haven’t yet washed it is there is one more thing nagging at me. I think maybe I should quilt another wavy line on the purple so it intersects and makes a bit of a chain. What do you think? Add more, or leave it as is?

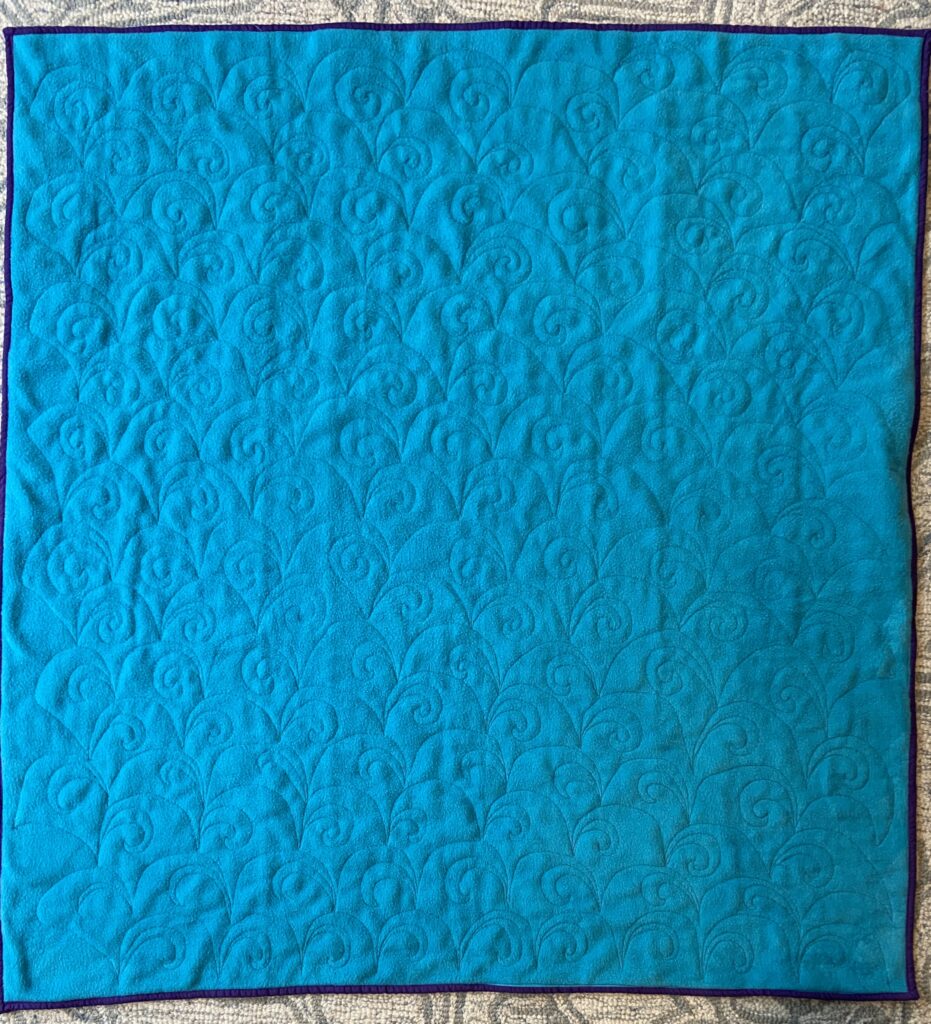
Hand quilting was quite satisfying, especially since I was in no rush to finish this, and I knew I wanted to keep it so there wasn’t the pressure of it being just perfect for the recipient. I have a long ways to go. The back of the quilt doesn’t look so amazing. My stitches on the back look so tiny. I need to learn how to stitch so the front and back are more uniform. A few times, I forgot to pull my knot through and now it seems like it is too late. This doesn’t really bother me but you know…. it is a learning curve.

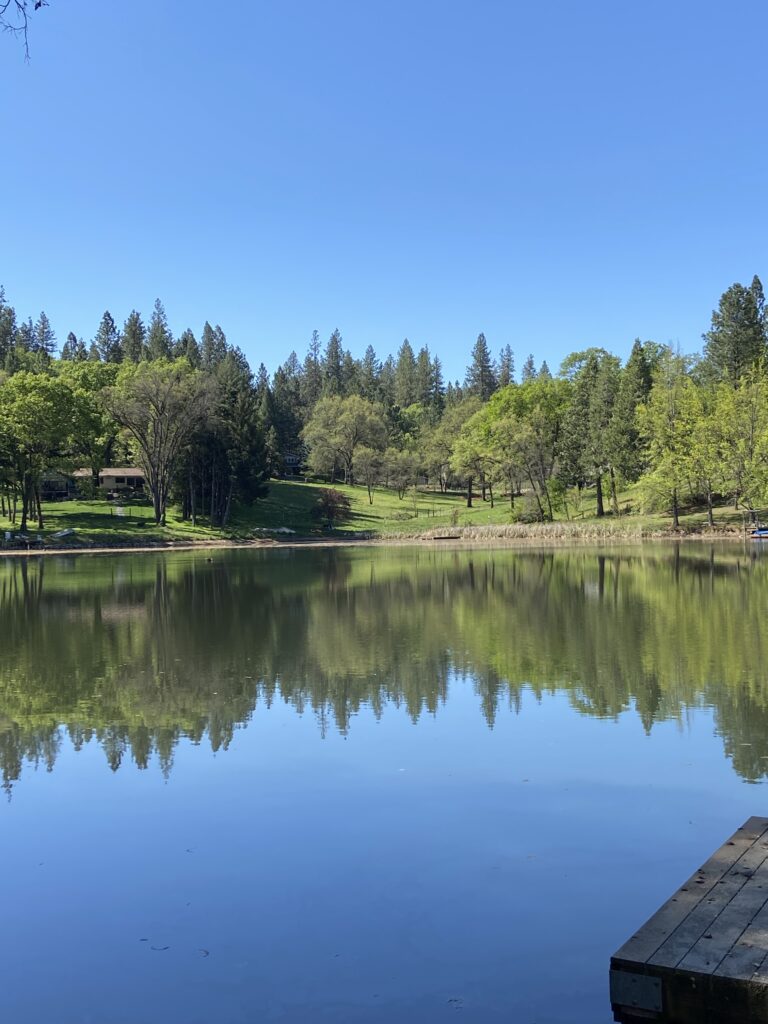
Spring is surely here! This pond is on the edge of our property and there are geese galore right now. Ray has seen a mama and her goslings swimming but I keep missing them.

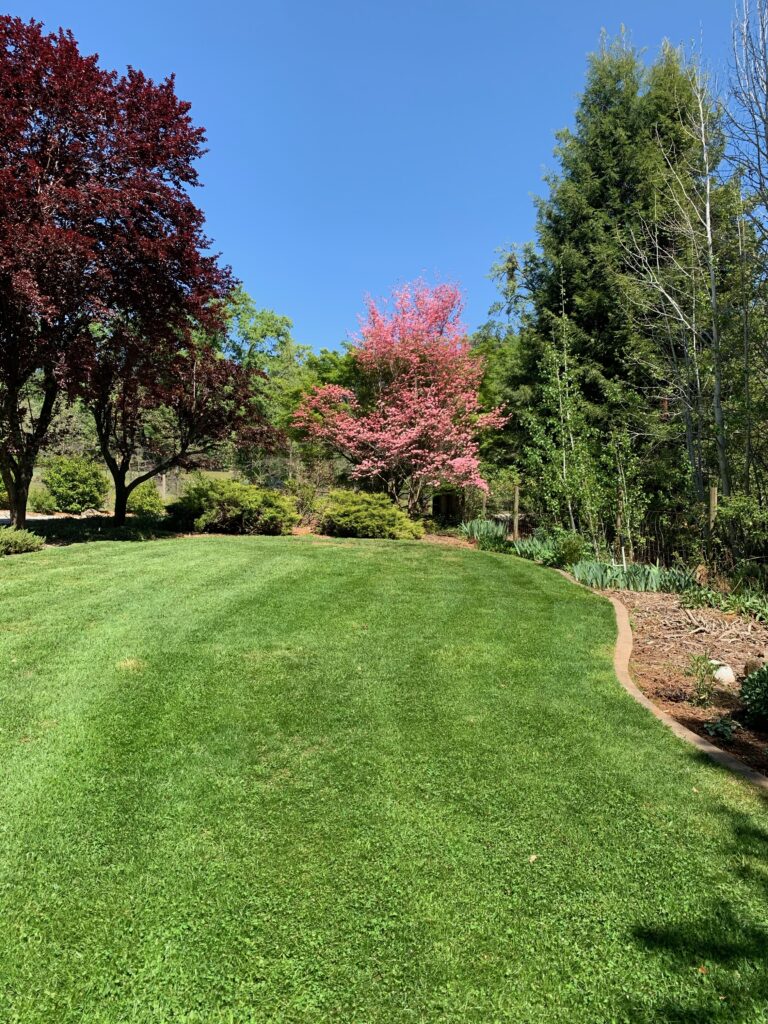
The Dogwood tree in all its glory!

Our yard is at its best in spring time, before it gets too hot and the plants become stressed. The iris are pushing loads of blooms so they will be putting on a show soon.

This weekend I am celebrating spring flowers with a sale for you. All fabrics with flowers and blooms are 25% off. Sale begins today and runs through Sunday, April 25th! Enjoy!

Quarantine Quilting – Quilt Top Done

Well all this time at home is certainly allowing for lots of time in the sewing room. Last June I started sewing these charm squares I had accumulated into blocks. The charm squares are from a variety of sample packs from Benartex. Simple, prints in soothing colors that wanted to be made into something rather than live on the shelf in the closet (where they had been for at least two years or so).

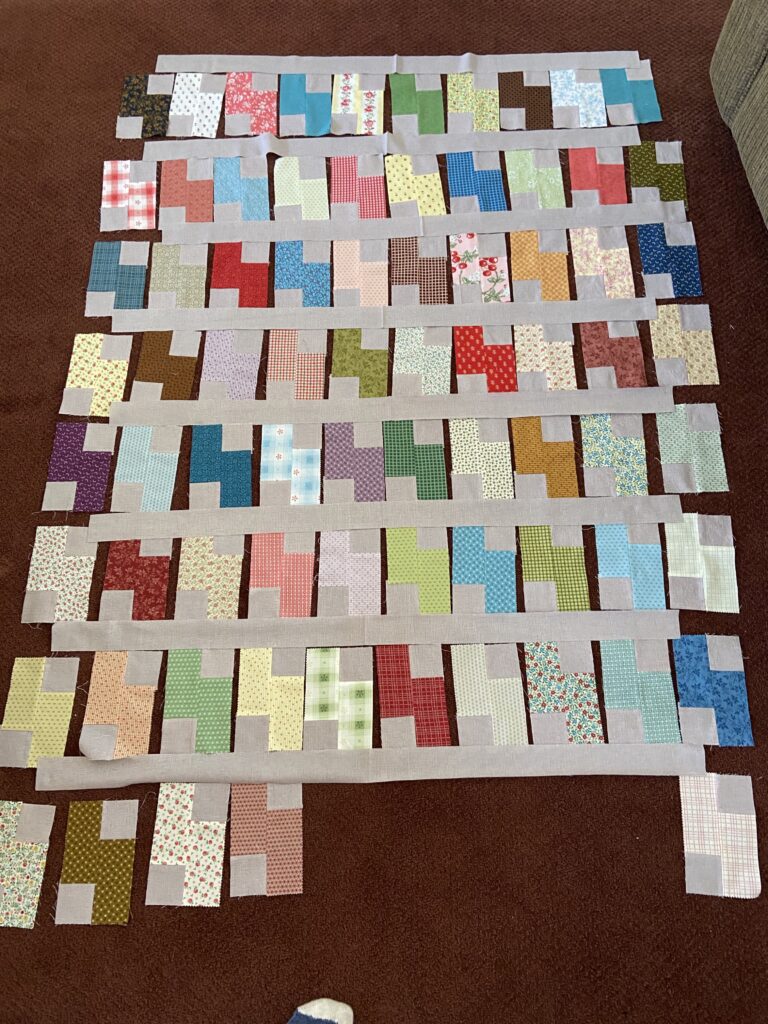
I saw this idea on Julie’s blog, Me and My Quilts, around that time. She was making something similar and I absolutely copied her!! I cut 2 1/2″ strips and sub cut them into five inch strips. Each was sewed to a charm square, then sliced vertically. One piece flipped around and then I sewed them back together.

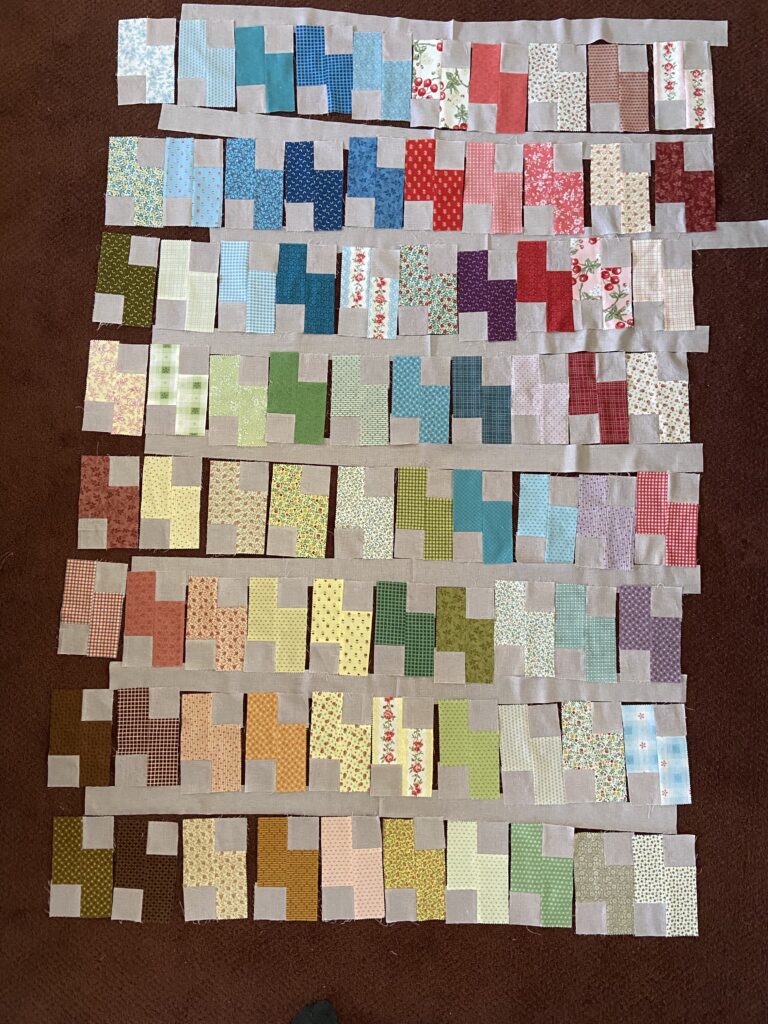
I did lay out the pieces in a random order first but decided I wanted something a bit more organized so I started putting them in collections by color.

Finally making up my mind, I got the rows put together and added a few borders (it is a bit on the long and skinny side).

I used this purple print from the shop for the outer border. It is from the Ginger & Spice line by Missy Carpenter and looks great with the neutral sashing. I chose purple because there are only three purple blocks in the quilt and I thought it just needed more!

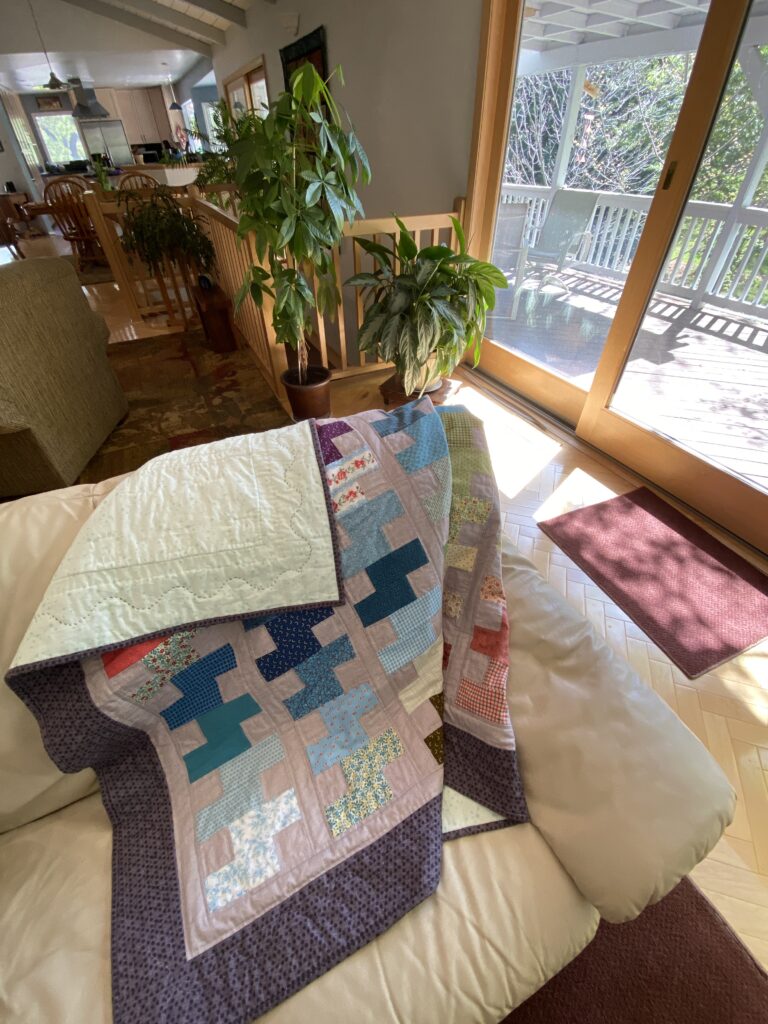
Draped sideways on the railing.

Now I am looking through choices for the backing. I have decided to keep this one. It is time for me to set up a hand quilting project to work on in the evenings. I have never hand quilted anything larger than a pillow or a mini so this is a big undertaking for me.

I have so many questions since this is a new undertaking for me! Once I baste it, I am thinking of stitching in the ditch along the sashing lines. I was thinking if I had it anchored in place, it would be easier to quilt. Of course one might say after stitching in the ditch it is basically quilted already. Is this a normal progression? I need all the hand quilters to give me lots and lots of tips and tricks in the comments please!! I am thinking of using Perle cotton. Yay or Nay??? I really don’t know what I am doing here so would love any and all hints or referrals to good places to read up on this.

I appreciate the help. Hope everyone is doing well as can be. These are trying times so let’s all stay connected even if virtually. Take care all of you. 🙂

Linking up with all the usuals. Check them out at the top of the page, under Link Ups.

Three Babies with Three Quilts

This is a quick post to bring a little smile to your day. Over the past several months our family has grown by three.  It has been wonderful to welcome the three newest members to the family. This brings the great granchild count up to 12 for my parents. Quite the family my parents started; they had six girls and the six of us had a total of 21 children between us. Now there are 12 great grandchildren (so far!)

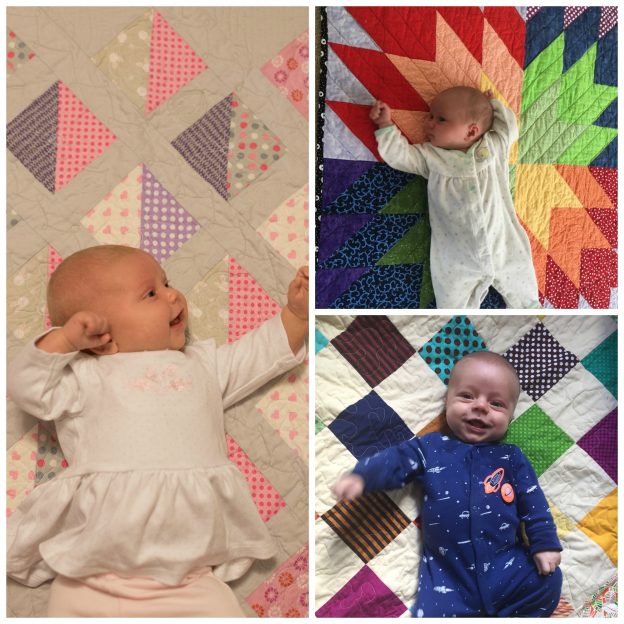
When I found out about all of the babies to be born in the beginning of 2017 (we had one born in January and two born in March) I got busy making some quilts. Now that the babies are here and the quilts are gifted, I want to share photos of these sweet babies and their quilts.

This little guy was born January 17th. He has the lattice quilt I made for him last fall. (Read about details for this one here.)  Isn’t he adorable? Have you seen such a cute smile? His two older sisters dote on him. This lattice quilt was based on this tutorial.

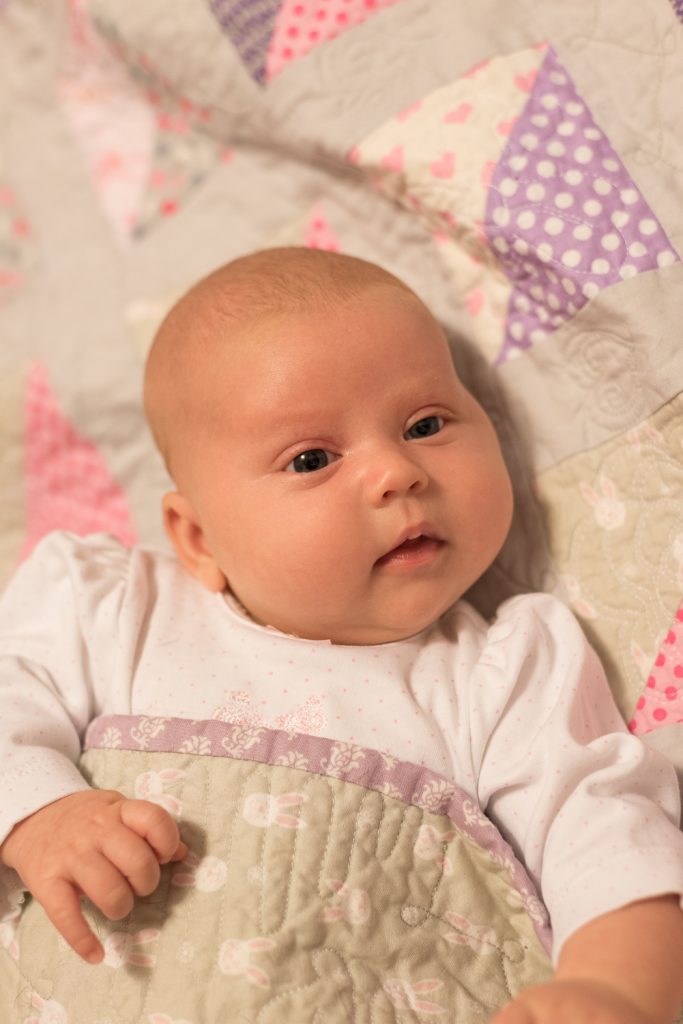
My sweet grand daughter was born next, on March 7th. She is so darn cute. This girl got a quilt of HST’s based on the Simply Snuggly pattern. More details on this project can be found here. Her presence in this world means I will be traveling to Vermont when I can and enjoying the stream of photos her parents share with me in the meanwhile. She just started to smile last week and it melts my heart to see those smiles.

Finally, the third baby, this adorable girl was born at the end of March. She also has two older siblings, a brother and a sister. I made her the rainbow star quilt using the When You Wish pattern by BonJour Quilts. For details on this quilt click here. I really loved making this one and will definitely use this pattern again.

Hope you enjoyed these sweet pictures. I love seeing the babies with the quilts. Makes me smile. 🙂


Sweet Baby Quilt Finish

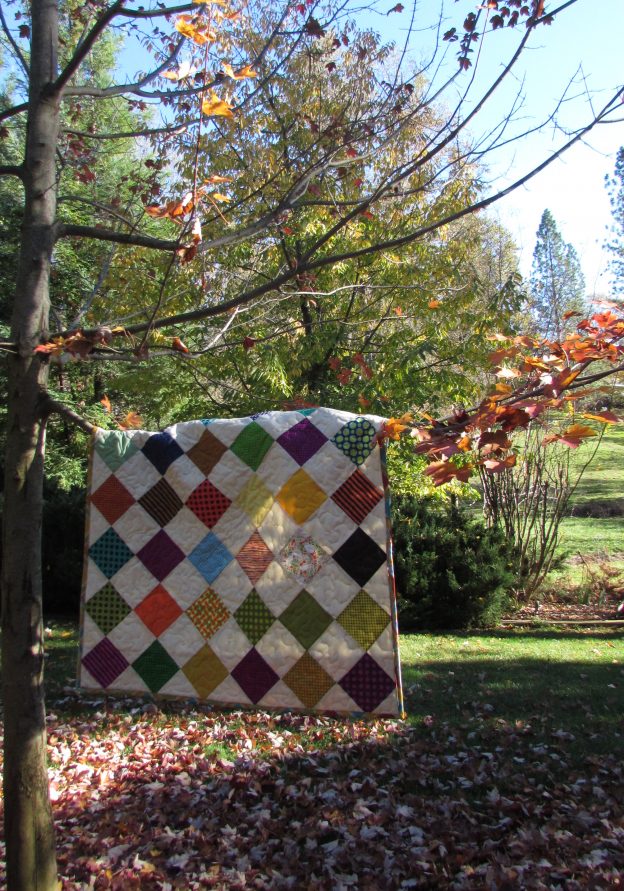
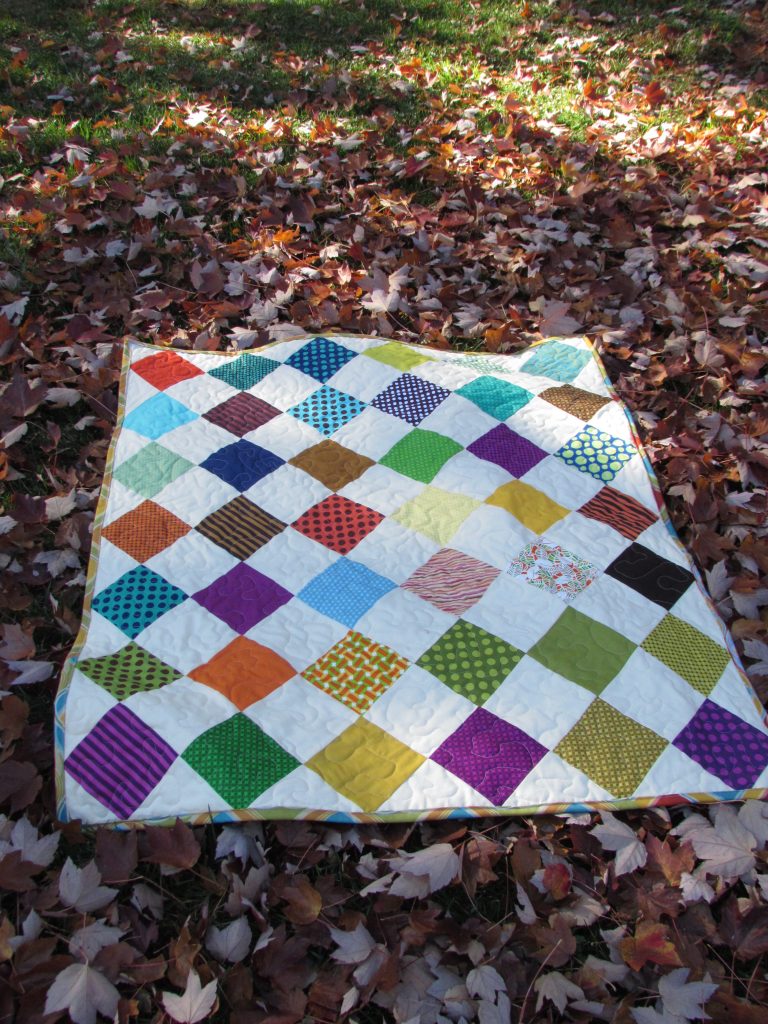
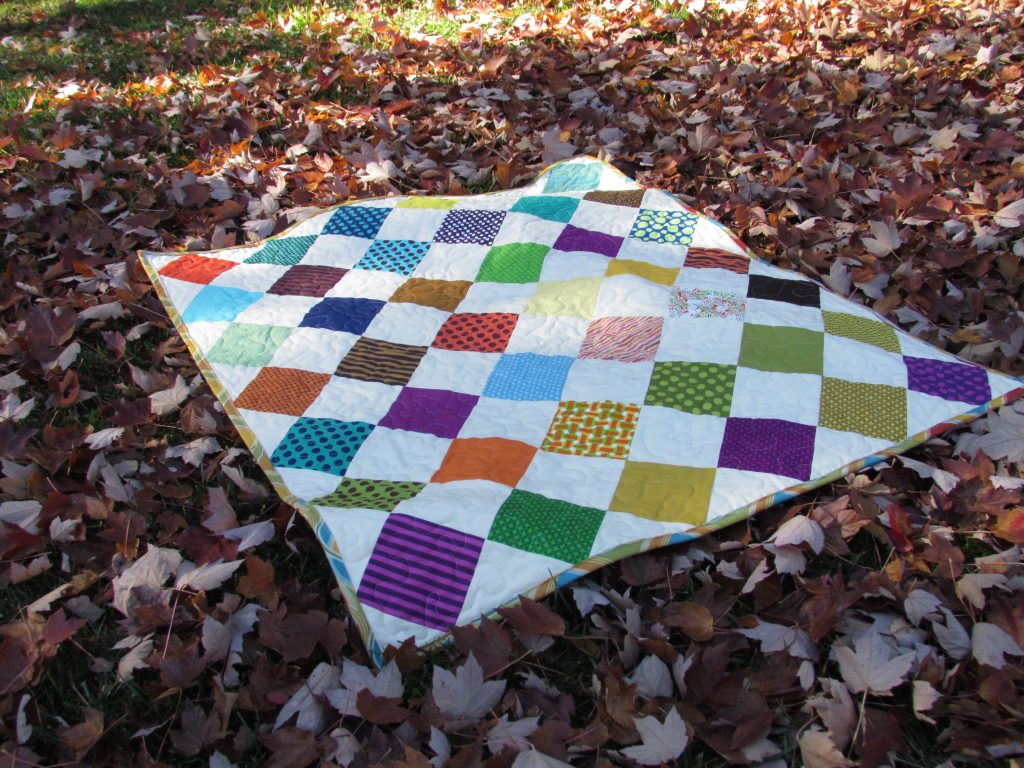
I love this quilt. It is simply sweet and joyful.  It came together quick as anything and that is satisfying too. My niece is expecting her third child in January. She is such a wonderful mom to her two daughters. She has a huge balancing act to juggle these days with a busy career as an attorney in the Bay Area, mom to two girls ages 3 and 5 and a baby due in a few months. As with their first two babies, they have chosen not to find out the gender of this baby so I kept this project unisex as far as color schemes go. I am excited to meet this baby and especially to hear the name that she/he will be given. My niece’s husband is from Ireland and their girls have beautiful Irish names (Ciara and Roisin). I expect this baby will have an equally special name.

img_8030

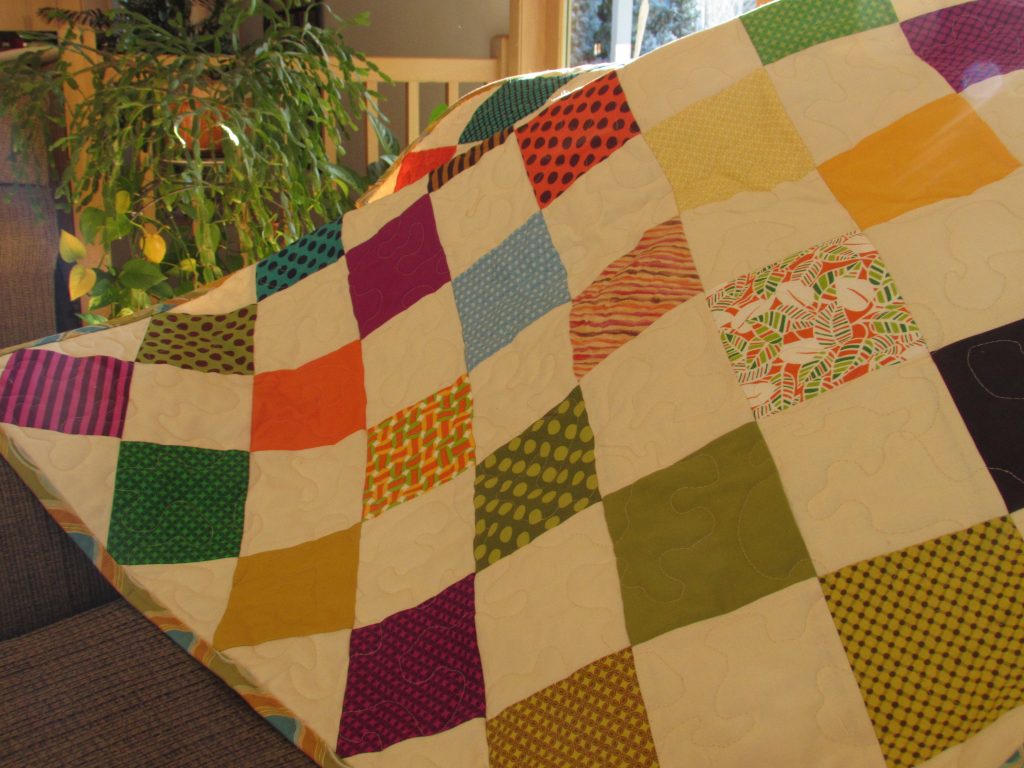
For the first time, I used Hobb’s Heirloom batting, an 80/20 cotton and polyester batting. It has a different feel;  lighter in weight and a bit puffier. I stippled it with a wide, open pattern to keep that lofty feel.

img_8022

Another satisfying bit about this project is that it required not one trip to the store. I had every bit of this in my stash. From charm squares to background fabric and from backing to batting and binding – it was all from my stash. That is fantastic.  All too often I end up buying fabric for this or that and to just pick from what I have and get a sweet quilt as a result; that is what it is all about. (Lately, I have really been thinking about the amount of fabric I have accumulated over the past three years. It is time to use it. There are so many pretty projects waiting for me in that closet!)

img_8024

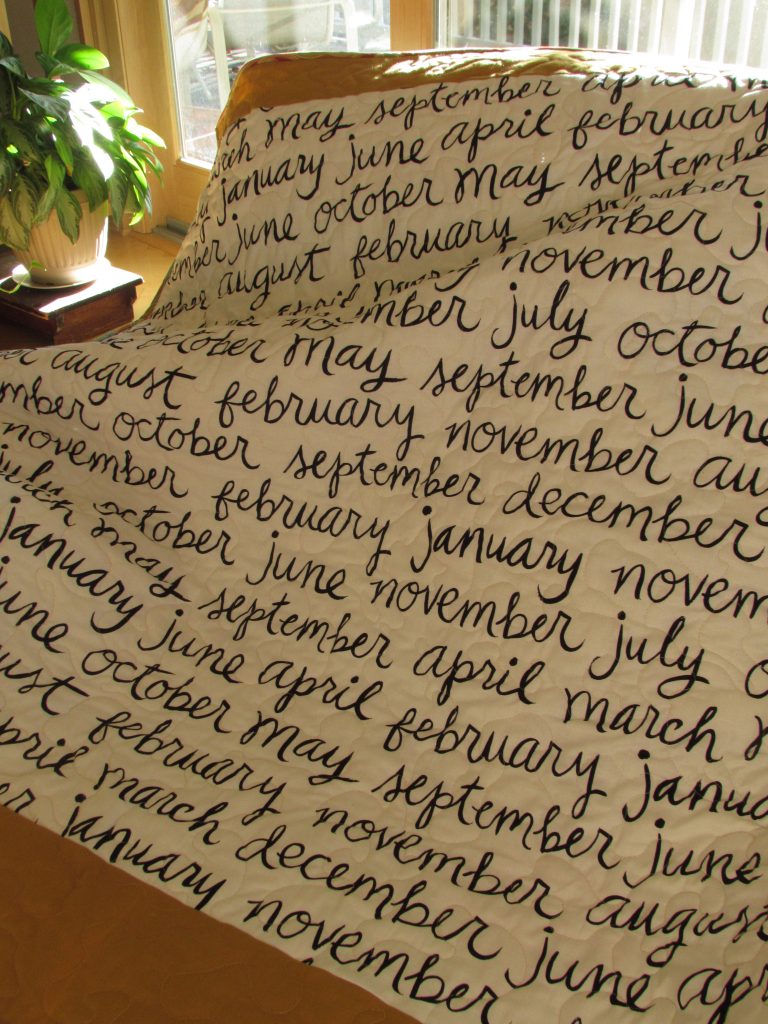
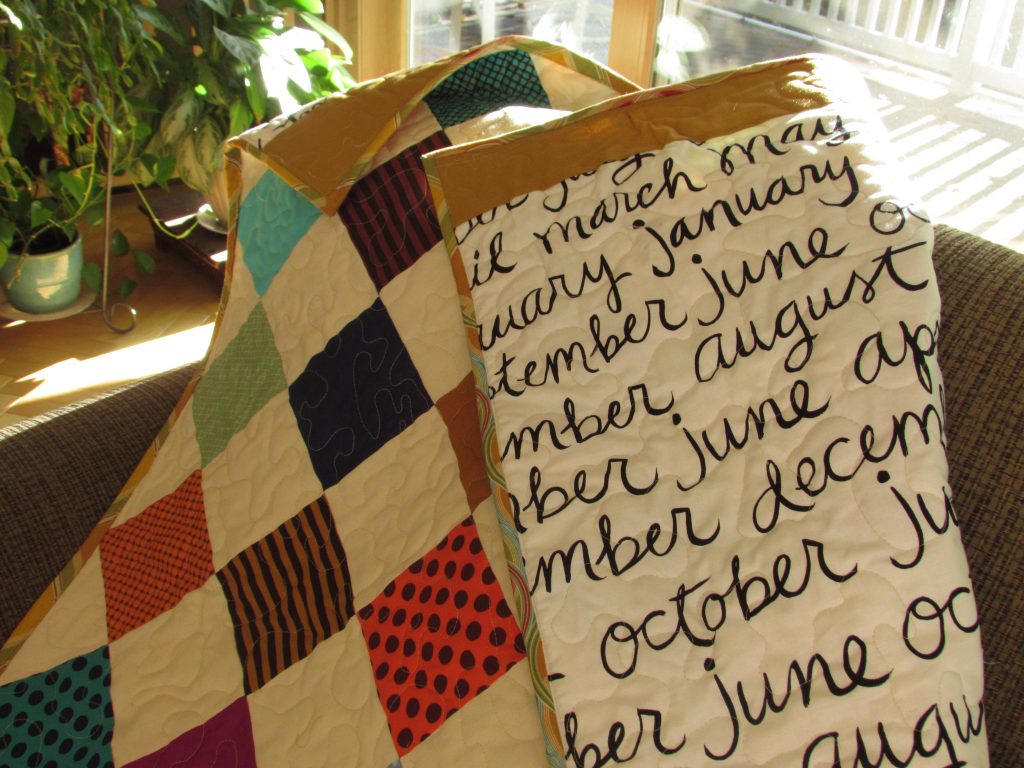
The backing is a cute text print that has been languishing on the shelf for a good two years. It is from a line called 8 Days a Week and was put out by Windham fabric. I only had one yard of it so I added a top and bottom border in this pretty cheddar yellow solid that I thrifted a while back. I think it is adorable and this baby will be one step ahead learning to read cursive at such an early age. 😉

img_8023

The binding is a Riley Blake print that I purchased a while ago on a whim. Fortunately, the colors worked perfectly with this quilt. More of that cheddar yellow, some blue and green tones that are just right.

img_8025-1

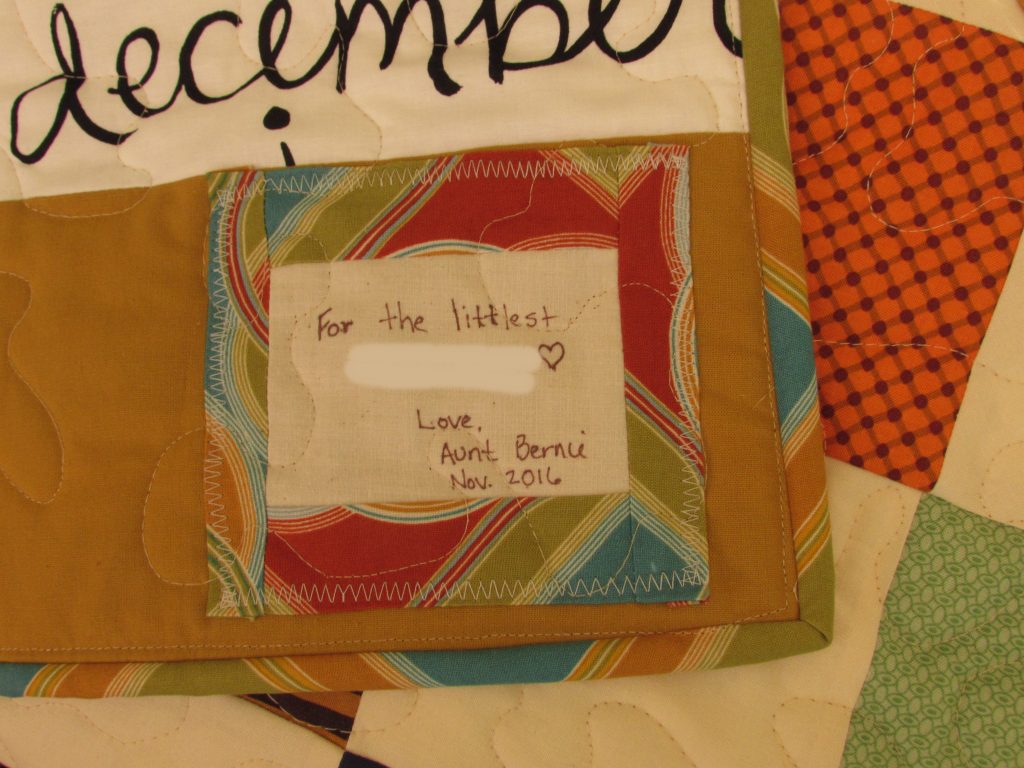
The icing on the cake is that I actually labeled the quilt. (I never think to do this!!)  I framed the label with the binding fabric. (I blurred out their last name for privacy.)

img_8034

And now comes the part where I tell the maddening part of this whole project – it is that darn quilty math. When I cut the triangles for the side setting and corner setting triangles, I cut them too small. I didn’t see this until after I quilted the whole thing. So every. single. point is cut off with from the binding. Go ahead, take a look – it’s quite apparent. I feel terrible because while this child will be able to read cursive and recite the months of the year, he/she won’t know that a square has four points….  Ok. That is enough negativity. It is a sweet quilt and I know my niece will love it.  That is all that matters.


Linking to my favorites – find them at the top of the page, under Link Ups.