Category Archives: Free Motion Quilting

First Finish of 2024

Have to say, I am on a tear lately. Lots of sewing has been happening up in my sewing room! Sometimes the mood hits just right and everything lines up – inspiration, enough time, wintry weather which encourages staying inside, plus fun projects to work on.

Toward the end of December, I found myself wanting to practice some free motion quilting. I pulled out a small set of 2 1/2″ strips I bought at the thrift store a while back. There were only 20 strips so I decided to make a small quilt. This makes the FMQ practice easier to do. They were odd strips – someone had cut them by hand and each one was off at one point or another. I had to trim all of them – but you get what you pay for and I paid three bucks for these!
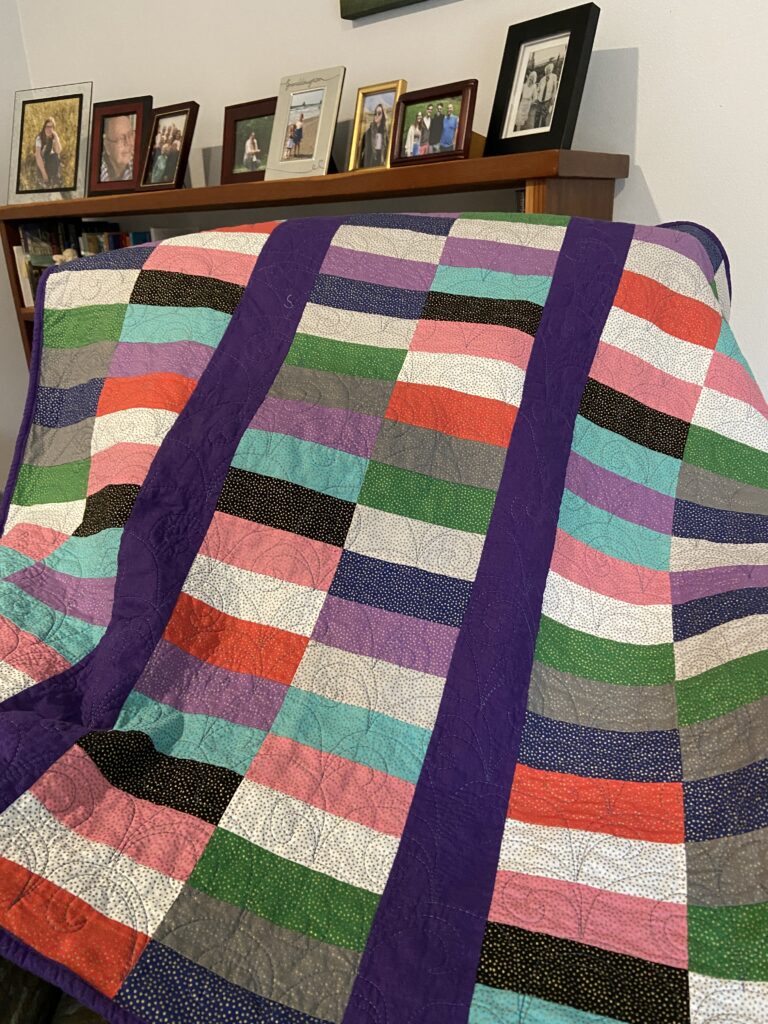
I have no idea what fabric this is but the set has tiny gold metallic dots on a variety of colors. For the most part I keep the red and black strips to a minimum. Otherwise I used the whole set. Simple columns of rectangles with a solid purple strip between them made for a quick quilt top. I strip pieced the strips in sets of six and then cut those into blocks, six inches wide. Rather than sew columns, I chose to sew two of the sets together, making blocks. Then I made the columns.
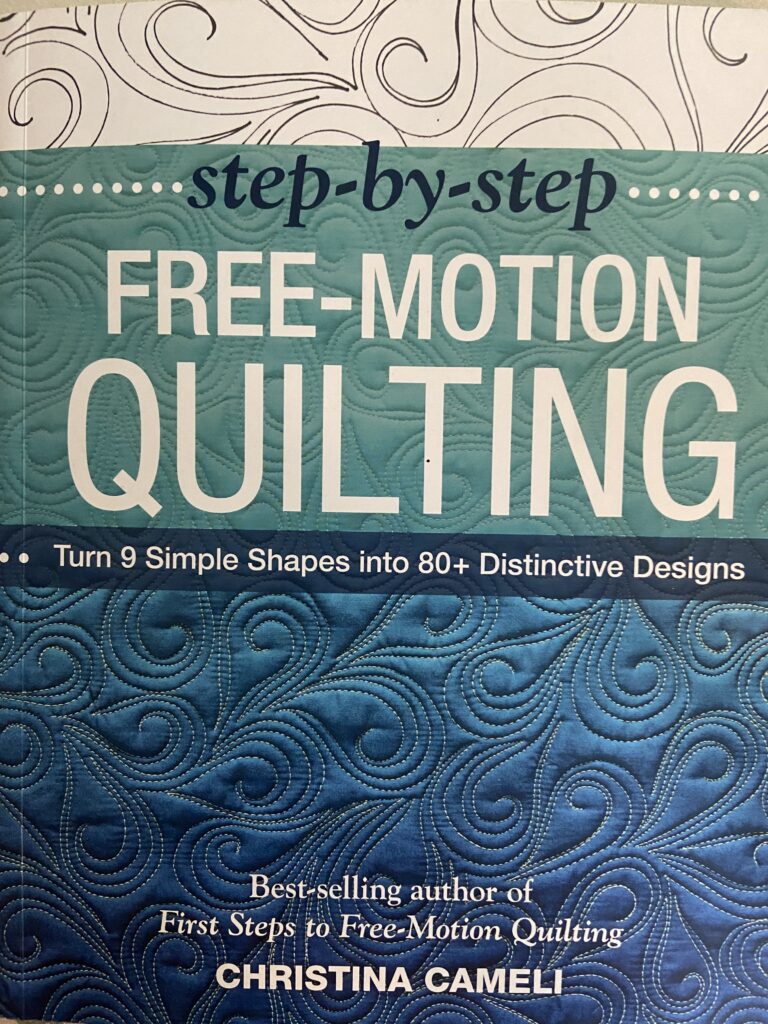
I took a look through my FMQ book by Christina Cameli to find a design to use. I wanted to quilt edge to edge so I would not have to worry about movement, getting stuck in corners, etc. As is my usual, once I settled on a design, I practiced it by drawing it on a large whiteboard I keep in the sewing room. Once it was comfortable, I started the quilting. This was such a pleasant process. Just going back and forth, back and forth – it was finished in no time!
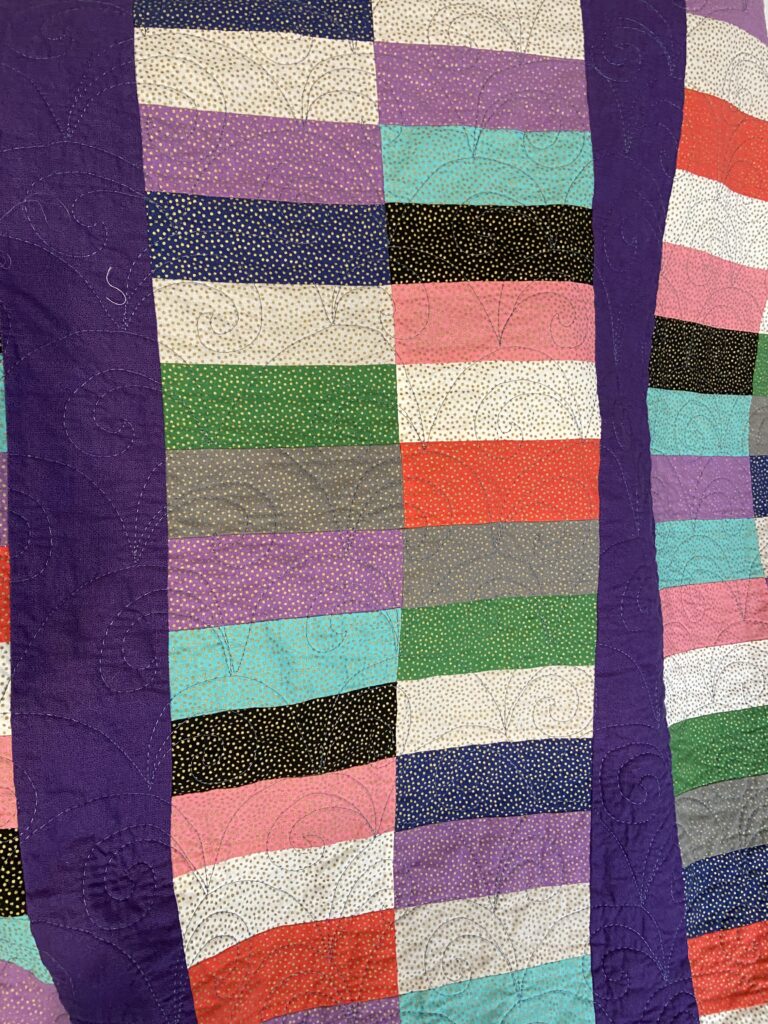
Here is a closer picture of the quilting – it was sort of a clam shell shape with a swirl inside. The motif is super easy. I started at the bottom of the quilt and moved upward. About half way through the stitching becomes so much smoother; proof to me that practice really helps. The repetitive motif gets easier and easier as my brain learns the pattern.
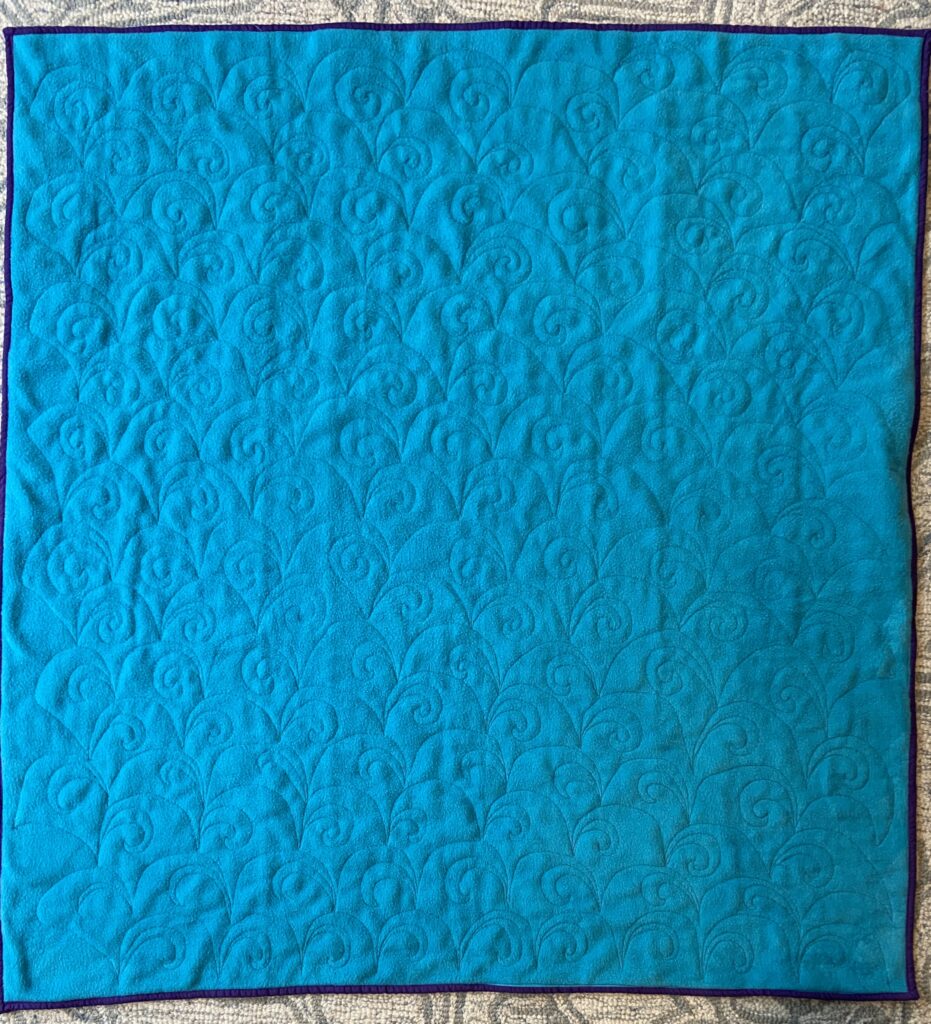
The quilt is backed with fleece, making it really cozy. When our grand daughters are here they tend to use one small quilt I have because it is backed with flannel. They prefer the soft feeling of the flannel. Now we have two soft ones for them. I like seeing the quilting from the back. Sure – I need to continue to practice but seems like with each one I improve just a bit. I spray basted this project but there are some bubbles on the back side. Maybe I needed to use more spray or it could be because it was fleece? I am not sure. There is always something to learn.

I have already moved onto, and made a lot of progress with, the next quilt. Younger grand daughter has outgrown the toddler bed and we are putting another twin bed in the guest room. The other twin bed (where her big sister sleeps) has a quilt with a huge heart made of charm squares in the middle with white all around it. This quilt was given to me when I moved from California by a wonderful friend. I am replicating the design and making another heart quilt using pink and purple scraps.
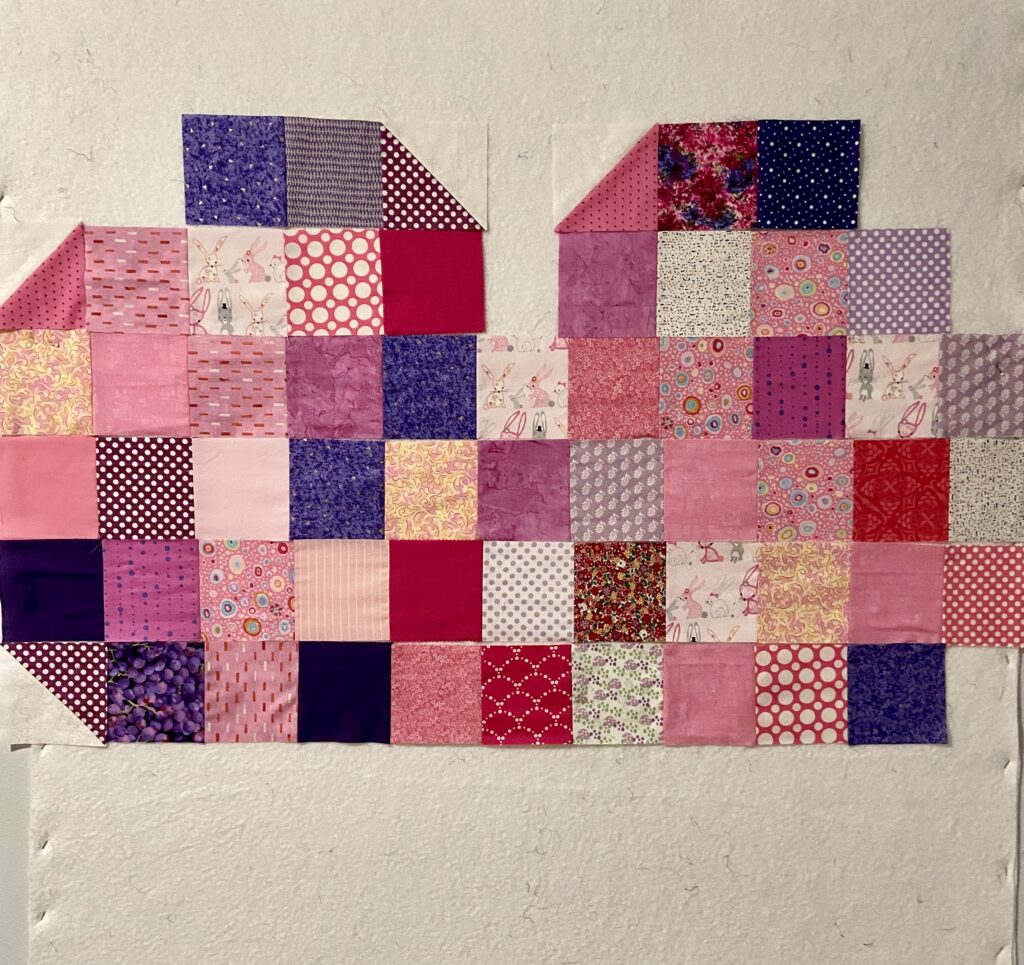
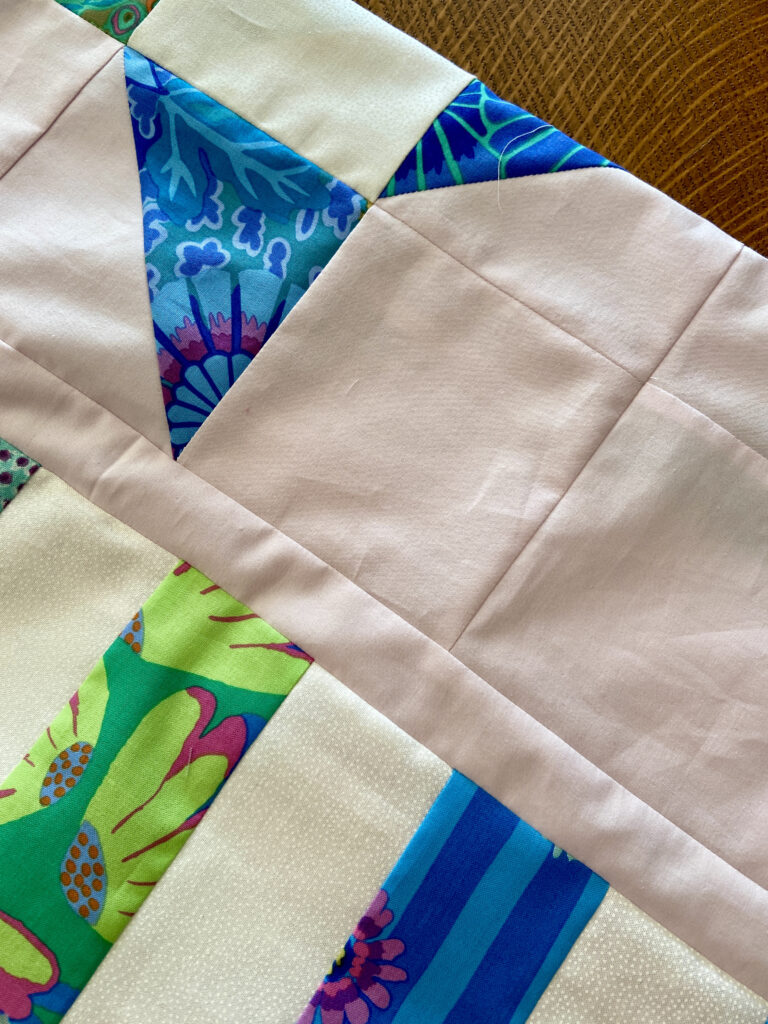
Here is a progress shot (with weird color because I took the photo in the evening) . I have some of the rows stitched together but I am still moving things around for color placement. Surely it won’t take long to finish the quilt top. One thing I am pondering though – the quilt made by my friend has a white background which she pieced with white charm squares. I will be using white yardage. Rather than cut the five inch squares it seems to make sense to cut five inch strips. The piecing would certainly take less time. Do you know of any reason not to do it this way? Let me know your thoughts!

OK – that’s it for now. Hope you all have something fun to work on this weekend!

Linking to Free Motion Mavericks and a few others. (Check out the Link Up tab at the top of the page for lots of fun places to check out.)

Diamonds are a Girl’s Best Friend

Wayyy back in the fall of 1992 I moved to State College, Pennsylvania. This was a huge change for our little family; me, my husband and our three young boys. My (first) husband was taking a break from his job teaching at a local community college in California and studying for his PhD in Instructional Technology. We sold our 20 acre farm in California and moved to a little neighborhood near the university. Neither of us had ever lived in the mid-west, lived in a snowy climate, or relocated to a place so far from family, friends and all that was familiar!

We decided he would go to school and I would have an in-home daycare, making just enough money to get by while he got his degree. I went through the process and got the house and myself licensed and put an ad in the paper. It was nerve wracking, to say the least. Almost immediately, I had response from Rich and Denese. They were in a similar stage of life where Rich was pursuing his PhD and she was working as an attorney. They needed full-time childcare for their toddler, James, becoming one of my first families.

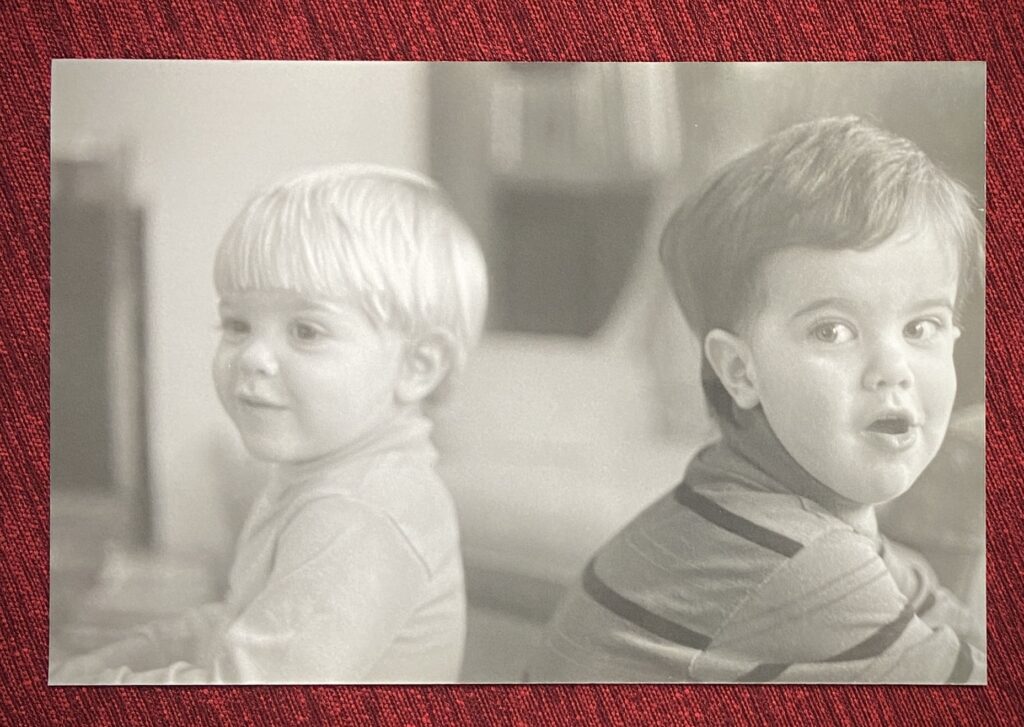
James and my youngest son are two weeks apart in age, both were just turning two years old. The two of them together made for a very dynamic duo. They were both so active, impulsive and basically into everything! It was a wild and very fun time.

As most of you know, my husband passed away suddenly in spring of 1994. During this horrific time, Rich and Denese jumped right in, helping wherever they could. After the kids and I moved back to CA, Rich and Denese came to visit the following summer, checking in on us and providing great comfort to me. When I remarried, Denese and her mom came back to California to be at the wedding. They have always been there, even from a distance, for many years.

Fast forward to several months ago, I learned Denese was diagnosed with breast cancer. She is fortunate in that this cancer is treatable and she will come through it. But we all know it is a miserable experience to go through the surgeries, chemo and radiation that are necessary to quell the cancer.

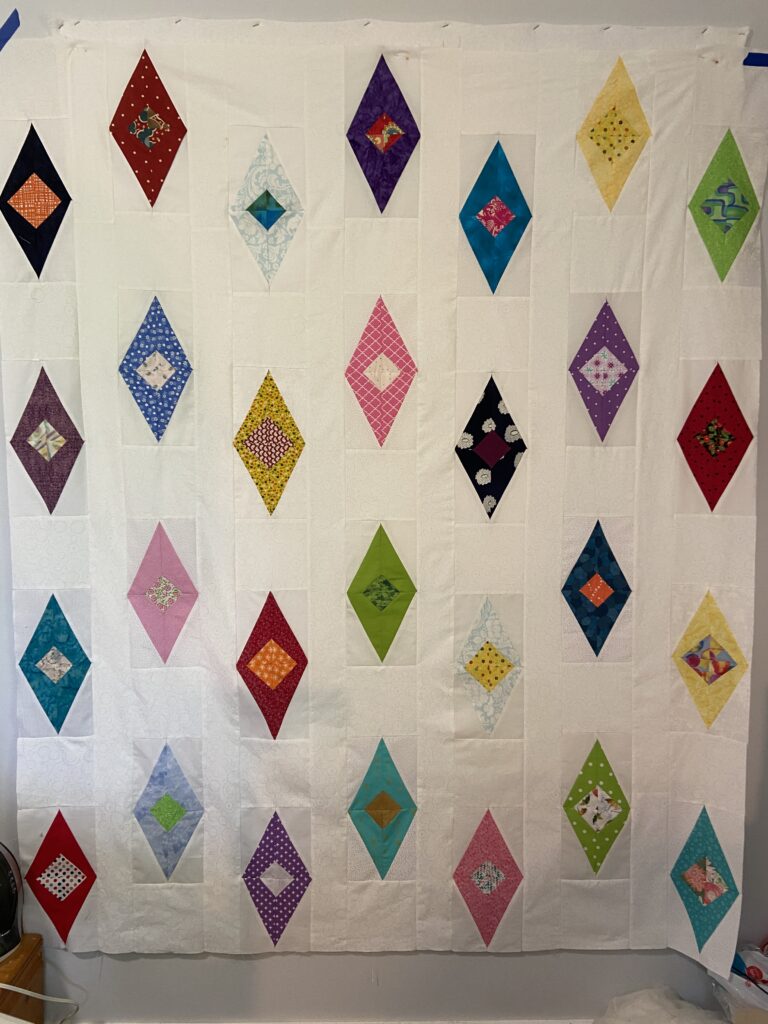
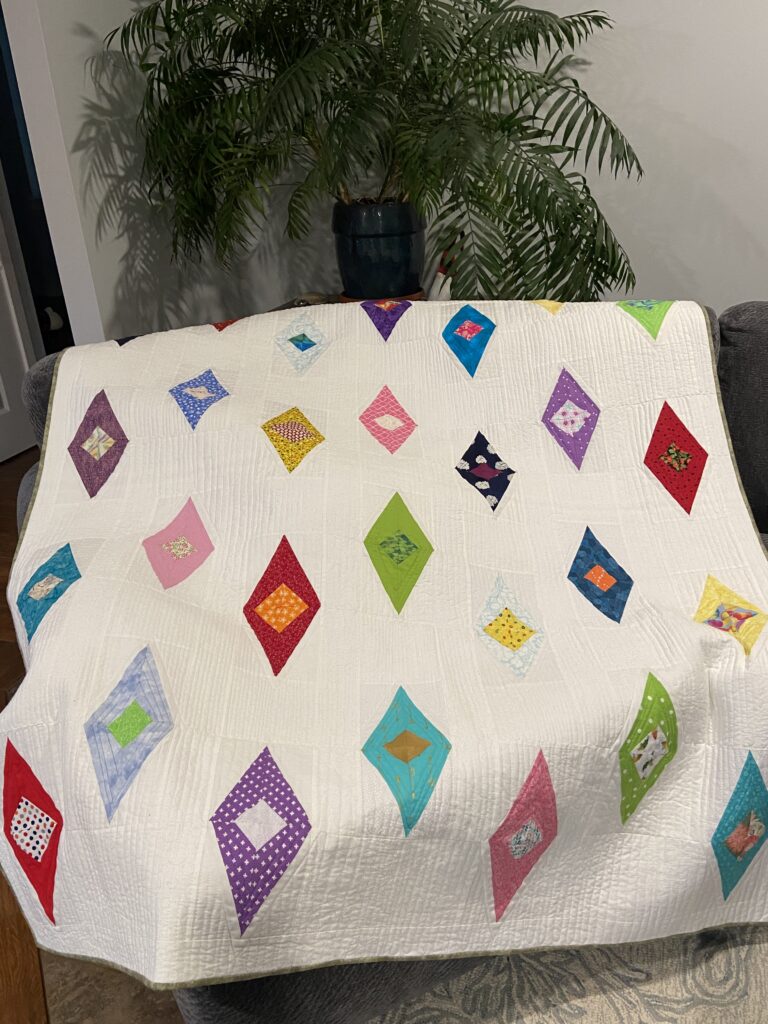
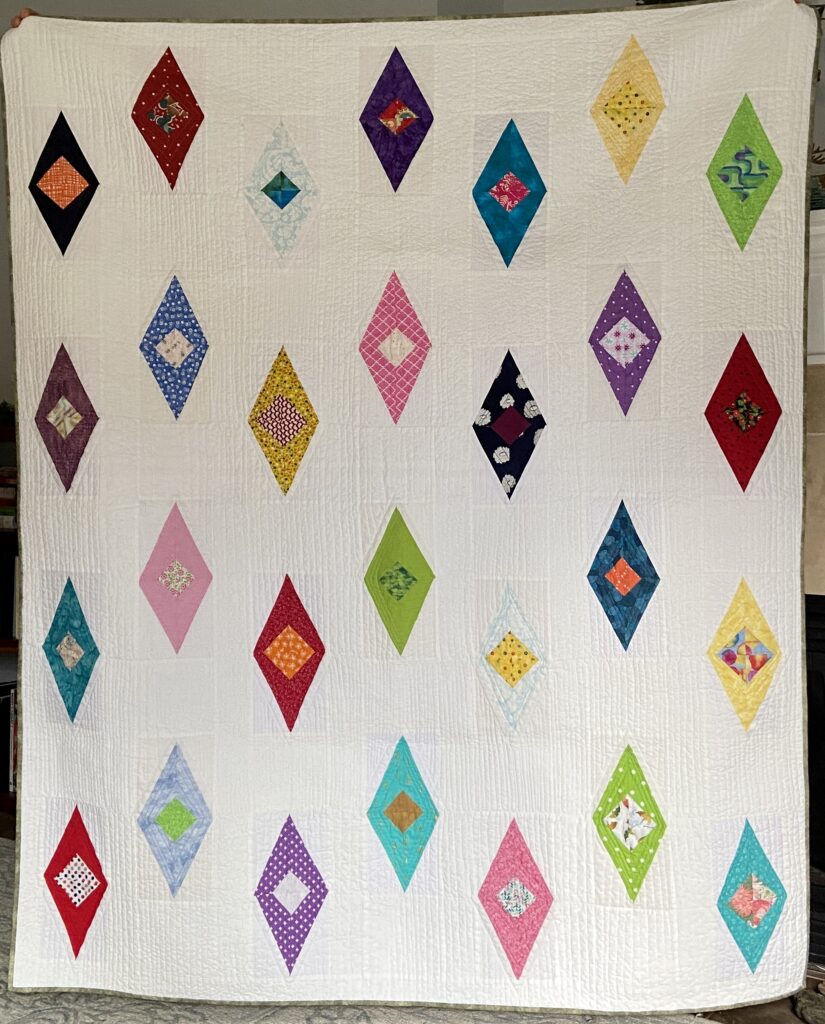
Of course my first thought was to send Denese a quilt. I wanted her to have it while dealing with chemo and the exhaustion that is so prevalent during this time. So I looked at the quilts I had in process and decided the diamond quilt was meant for her – we are great friends and diamonds are also ‘a girl’s best friend’! So I finished up the top and started quilting it. Of course then my machine went on the fritz and it spent two weeks in the shop.

The quilting design happened organically. First I decided to do a couple of passes on the diamonds, anchoring them down with a few lines echoing the small center diamond. Then I did a pass echoing just half of the larger diamond.

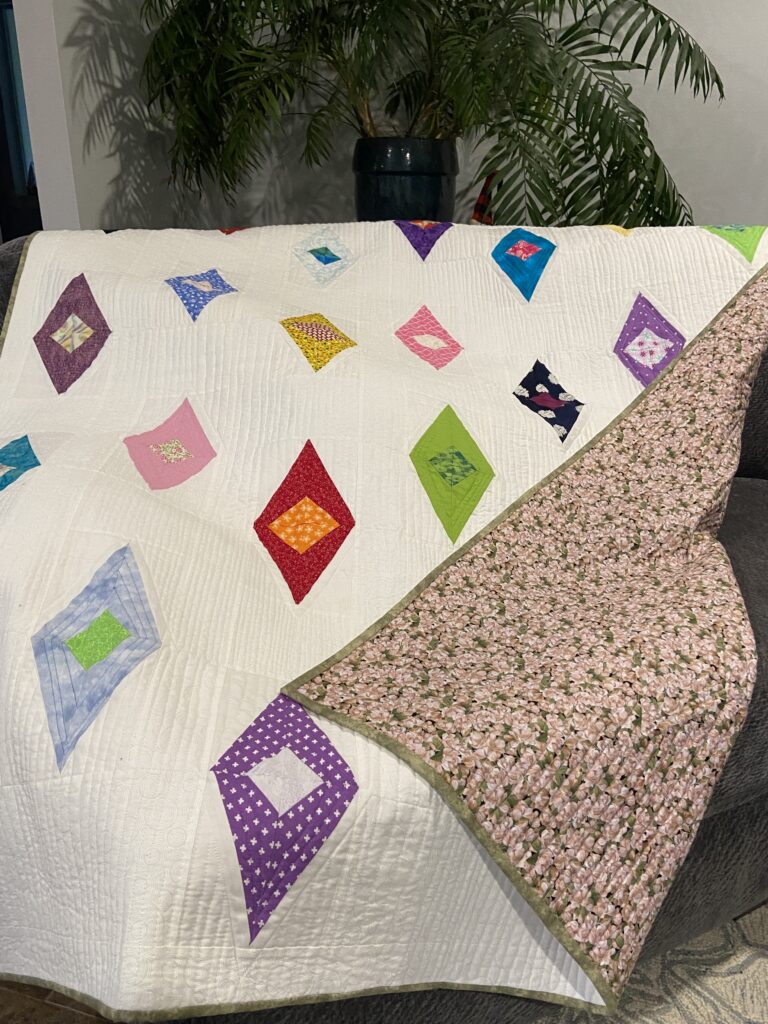
After this was done the straight line quilting began. The lines are free hand, using the last line be my guide for the next line. The widths are similar but not exactly the same, if that makes sense. I almost never quilt a lap quilt so heavily but this seemed to be the right thing for this quilt. Also, the lines don’t go top to bottom. I worked in sections so they loop up and down at various points – boy, I am not writing this clearly, hence why I am not a pattern designer!!

The backing is a gorgeous floral I had on hand. The binding, however, was a trick for me. One would think with all of the many colors on the front, it would be a snap to pick a binding. But the backing has only four colors (green, black, white and pink) and nothing looked right. A trip to the fabric shop was needed and I found this mottled green that looked pretty from both sides.

Post Update: If you are interested in making these diamond blocks, I used the tutorial over at Bonjour Quilts. Here is the link to it. These blocks are a breeze. I offset them by adding space between the blocks as well as a sashing strip between columns.

After a quick wash (with lots of color catchers to protect that white background), the quilt was sent off to Denese. I am happy to say she really likes it. I truly hope it brings comfort to her as she goes through the rest of her treatments. I know the latter parts 2024 will be a better time for her but currently, she has more to endure. Fortunately, she has really good family support to help her get through all of this. Plus one quilt from her best friend out in California.

Sharing to my favorite link ups. See the Link Up tab at the top of the page.

2023 Positivity Quilt Finished!!

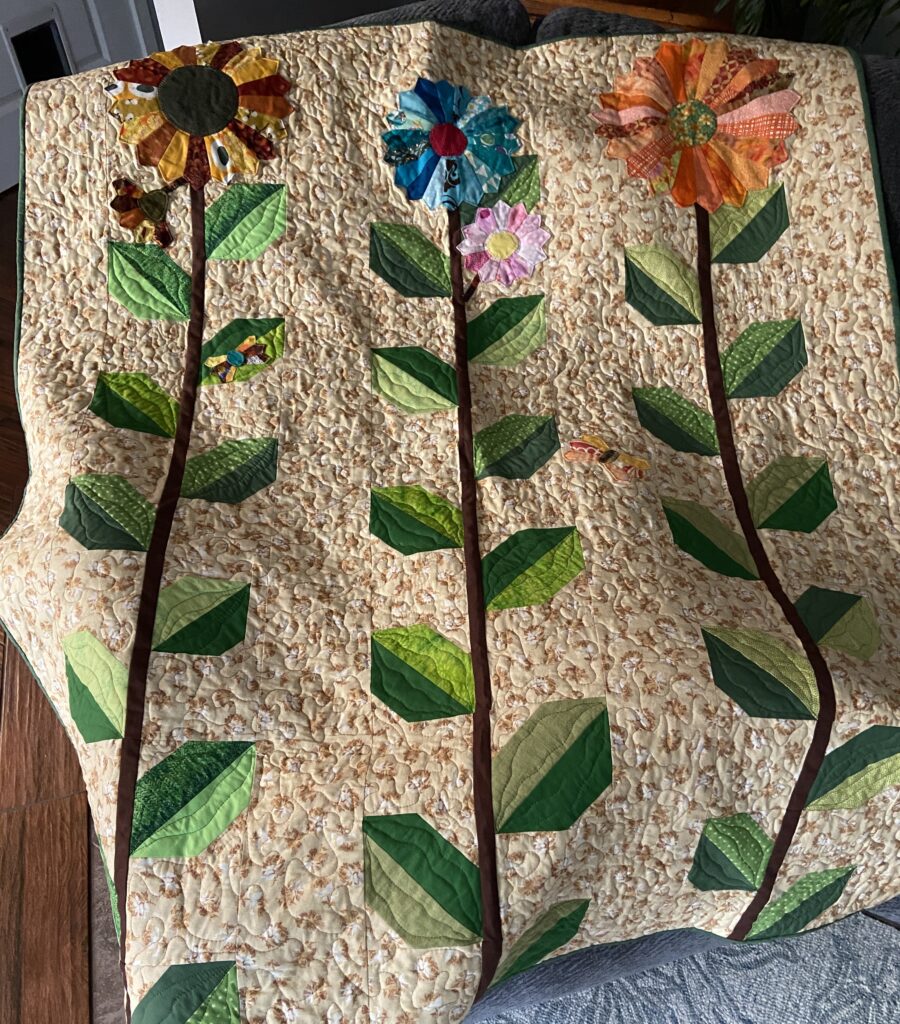
I really wanted to get this posted during September! The goal was to have this finished by Labor Day weekend which, for the most part, it was. The only thing unfinished was the hand sewing on the back of the binding. But so much was happening and by evening I was too darn tired to stitch it down.

As Dad has gotten better and the worry lessens, life is getting to feel (a little bit) more normal. I finally got that binding stitched and am happy to show you this sweet quilt!

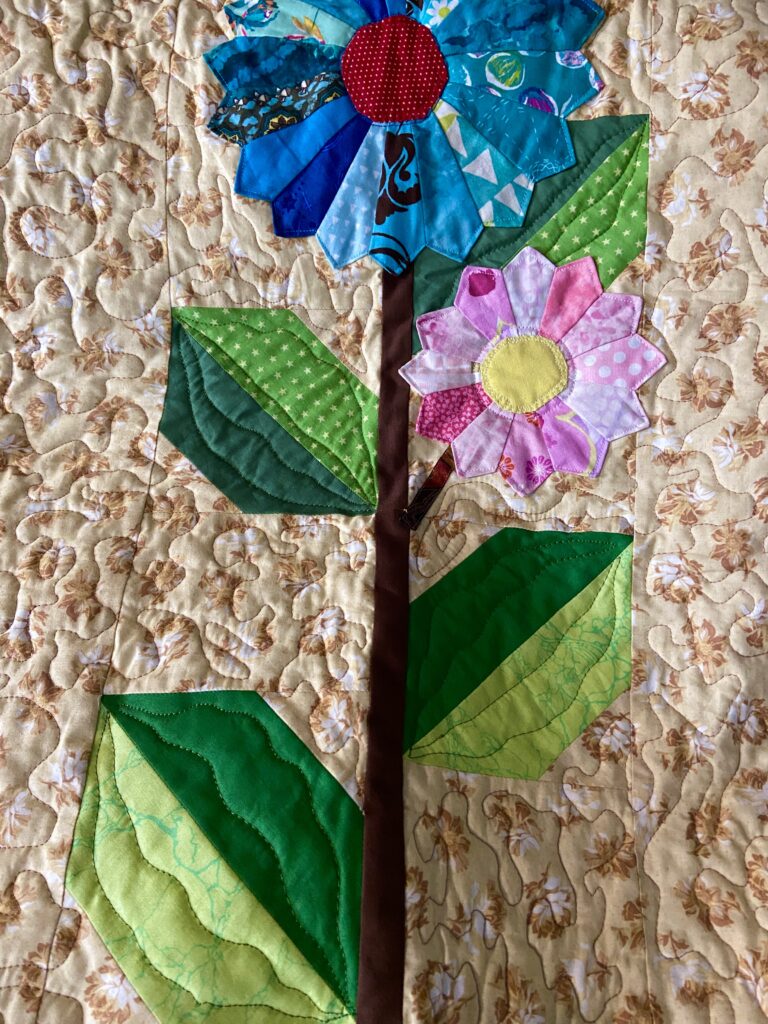
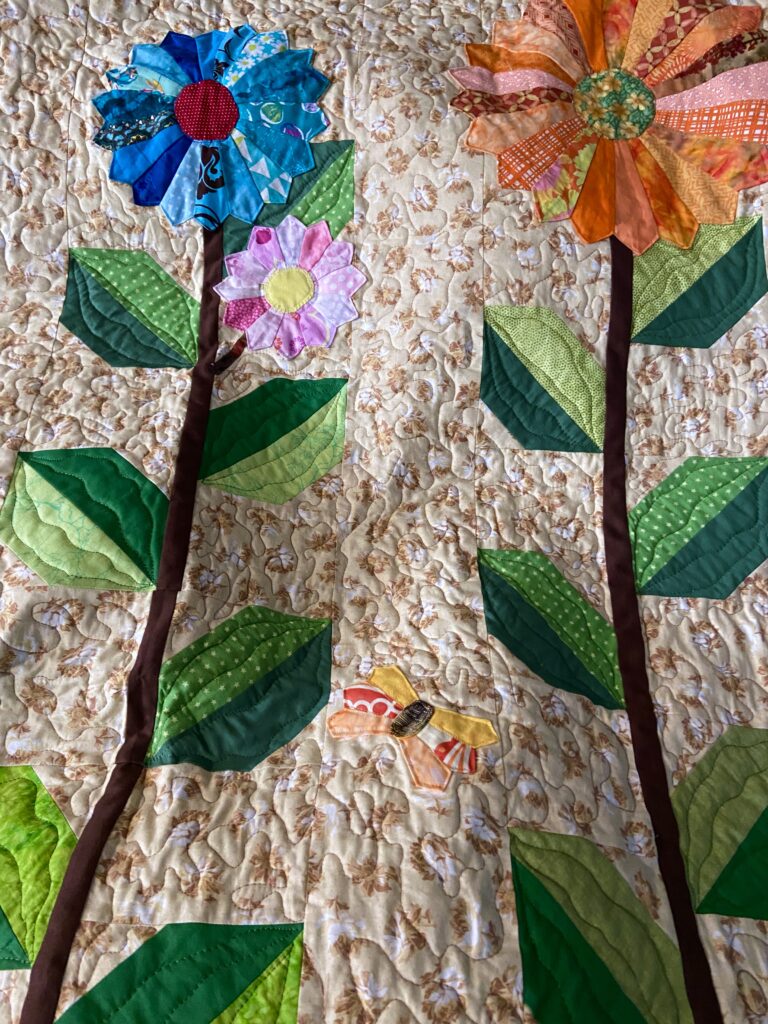
I loved making flowers using the Dresdens I had made some time ago. I only had to make one more to complete this. I was attaching the ‘flowers’ first to the quilt top by stitching around the border and along the seams of some of the petals. Then I attached the center circles using a blanket stitch on my machine. So they are firmly attached to the quilt top. As I was finishing the binding I kept thinking about washing this before donating it. I realized (luckily in time!) that I really need stitch through the Dresdens and backing fabric so they won’t pull apart when washed. The unquilted portion, especially on the larger Dresdens, is too wide.

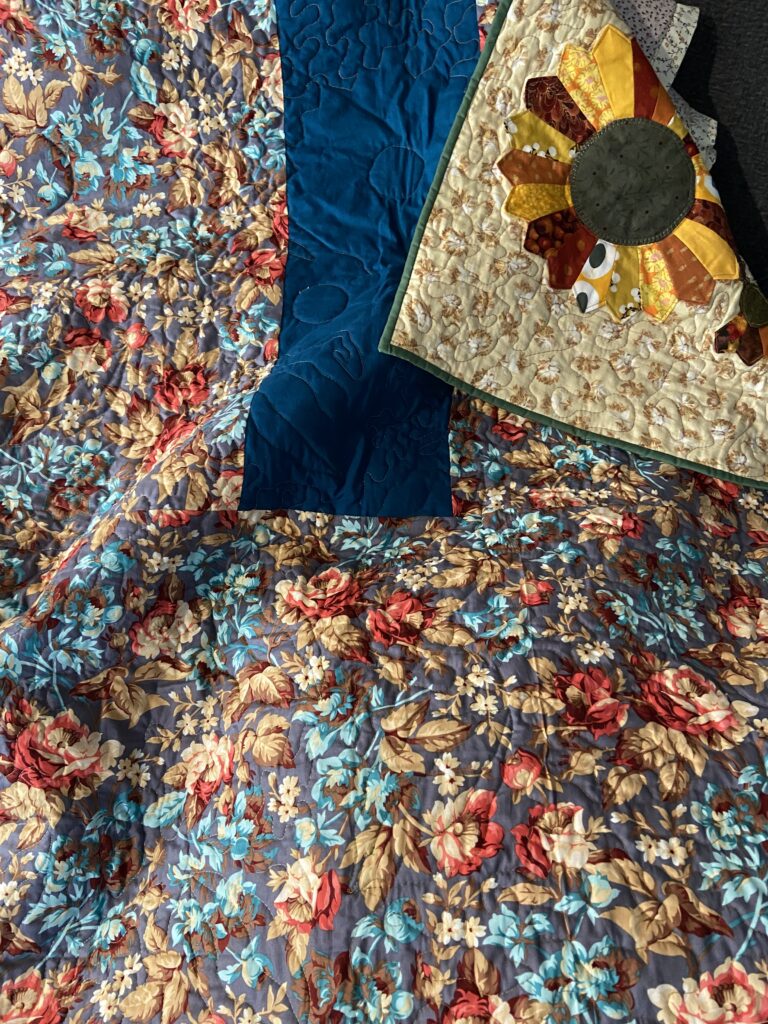
Looking at the back side, it is obvious where the blank space is from the unquilted Dresden. As an aside, backing this quilt with the last of this bold floral was very satisfying. It has such a pretty, autumnal vibe to it. The background on the front and this print on the back were from the same fabric line so I wanted to put them both in the same quilt. I did have to add a chunk of blue solid to make this work.

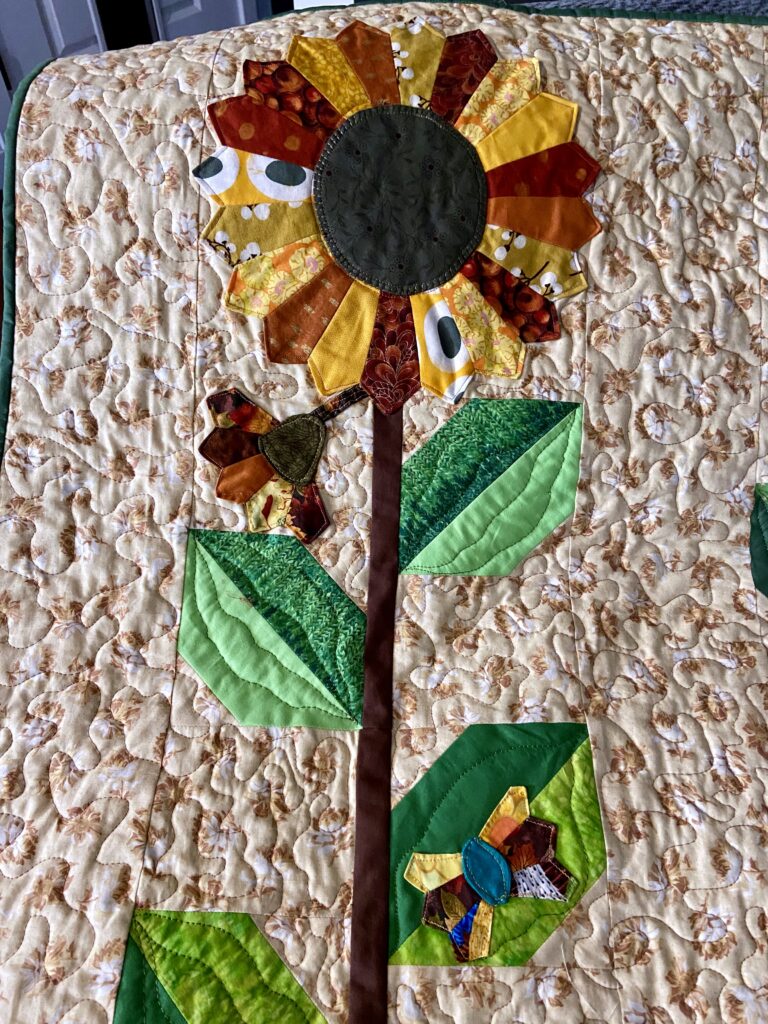
The butterflies were made with tiny Dresden bits and pieces. I really like them as well as the partially blooming flower above it to the left.

Another little butterfly! Quilting was done with a simple stipple on the background and wavy lines on the leaves (thanks to Janine, Quilts From the Little House, for that inspiration)!

Many, many thanks to Preeti for this cute pattern and her time hosting this QAL for Mercyful Quilts. Also sending gratitude to the quilters who made and donated Positivity quilts to Mercy Hospital.

For those of you who were not able to participate but want to help, Mercy Hospital is in need of more lap size quilts. Basic requirements are no smaller than approximately 55″ x 55″ and no larger than approximately 65″ x 80″. For style, that is totally up to you. We do not serve children so no juvenile fabrics please. We love having a mix of male, female and gender neutral designs and colors. Also, if you want to, we do love having one or two patriotic quilts for our veterans. Lastly, please do not send us anything from a home where someone smokes inside the house. We need quilts free of fragrance. Should you decide to wash it before sending (which we do prefer) please do not use fabric softeners or any sort of scented detergents. If you have more questions, please leave them in the comments and I will get back to you.

I am just finishing up one more comfort quilt which I will share soon. Then they will be sent off to Mercy Hospital!

Linking up with Oh Scrap and Finished or Not Friday. Check them out too. I have been so out of the blogging world and had forgotten how much I enjoy looking at everyone’s projects!!

2022 Positivity Quilt – Final Link Up!

Who has finished their 2022 Positivity Quilt for Mercy Hospital in Sacramento? Visualize me with my hand up in the air and a huge smile on my face! Whether you are finished, or still working on it, know that Mercyful Quilts is so grateful to you for your time, creativity and generosity. These quilts give comfort to families as they say goodbye to a person very special to them. Anyone who has lost someone dear to them knows how difficult this is. For us to be able to provide some support to these people is a gift.

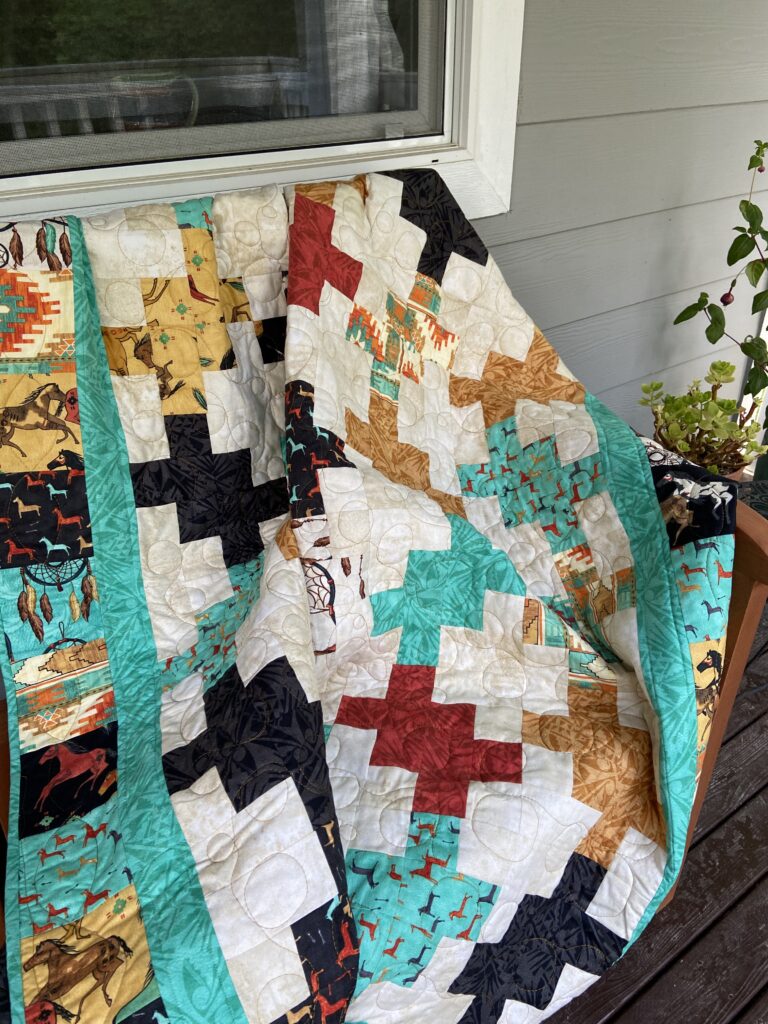
My 2022 Positivity Quilt

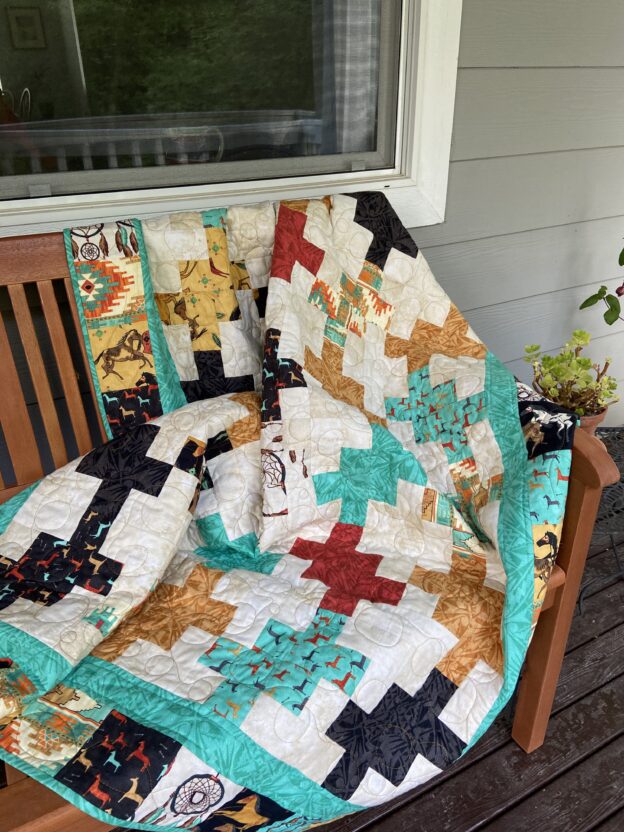
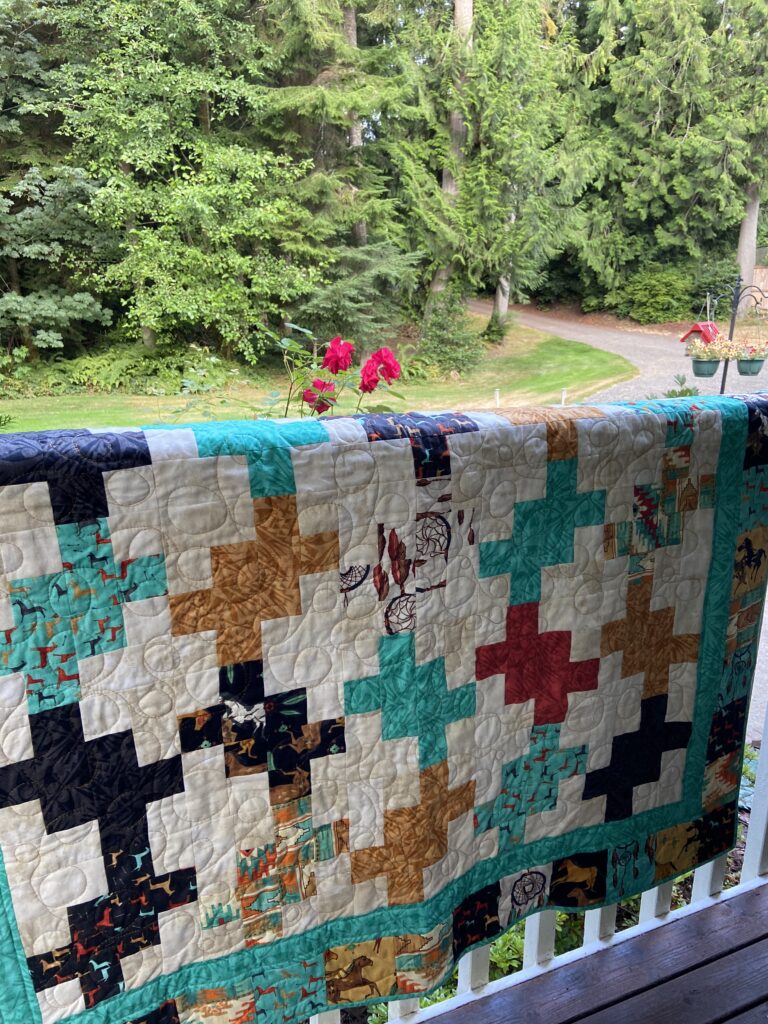
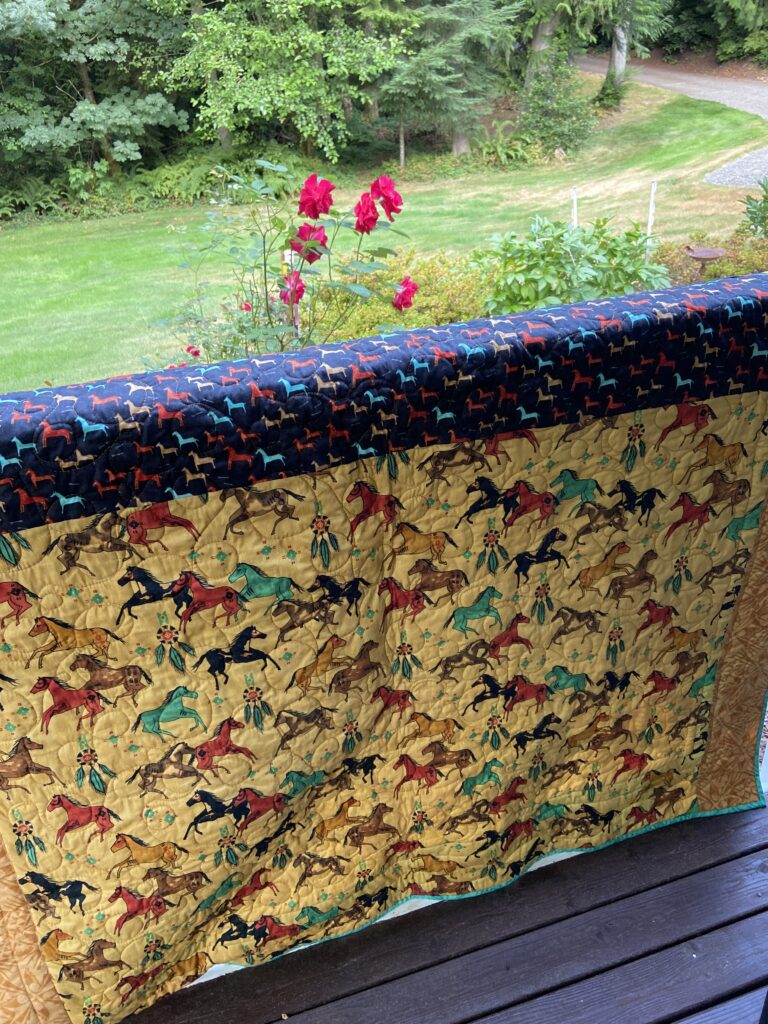
I am really happy with the quilt I made for this QAL. Before I left California, my friend Stephanie (who has donated 3 quilts to Mercy Hospital already) gave me a stack of fabric. In her honor, I used the bundle of Dreamcatcher fabric for this quilt. It wasn’t the absolute perfect choice because so much of the fabric was directional and made some of the blocks look a bit chopped up. But – the overall effect is good, so I am pleased. I mentioned before that this western themed fabric isn’t something I would typically choose. But this quilt isn’t for me, is it? The region that Mercy Hospital in Sacramento serves has plenty of people with horses and ranches so I am hoping this quilt calls to a family with this sort of vibe.

Pieced backing for the win.

I had some large pieces in the stack and was able to piece a backing with them. At least this way I could feature the directional prints in the right manner.

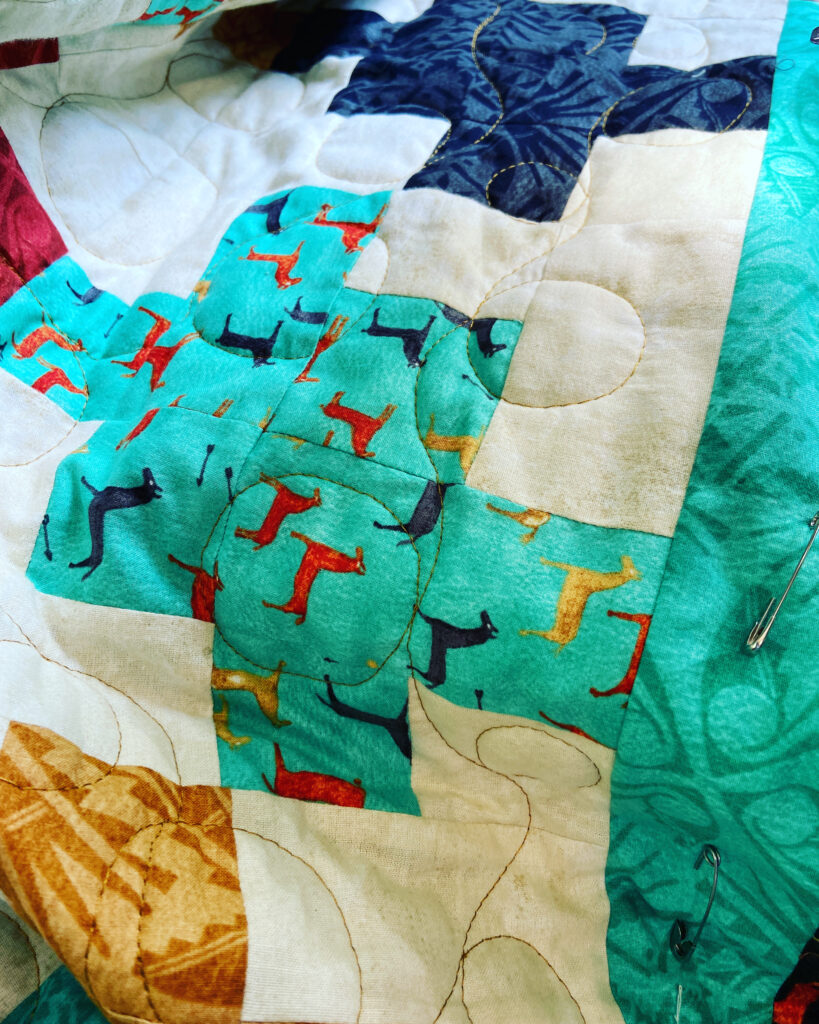
Loops and more loops

I quilted the body of the quilt with loops of all sizes. I wanted to practice one shape while I was quilting so I selected circles – quilting just circles over and over was great to develop that muscle memory. As usual, I quilted with Glide thread. It is super silky and works well for me.

Time for the binding

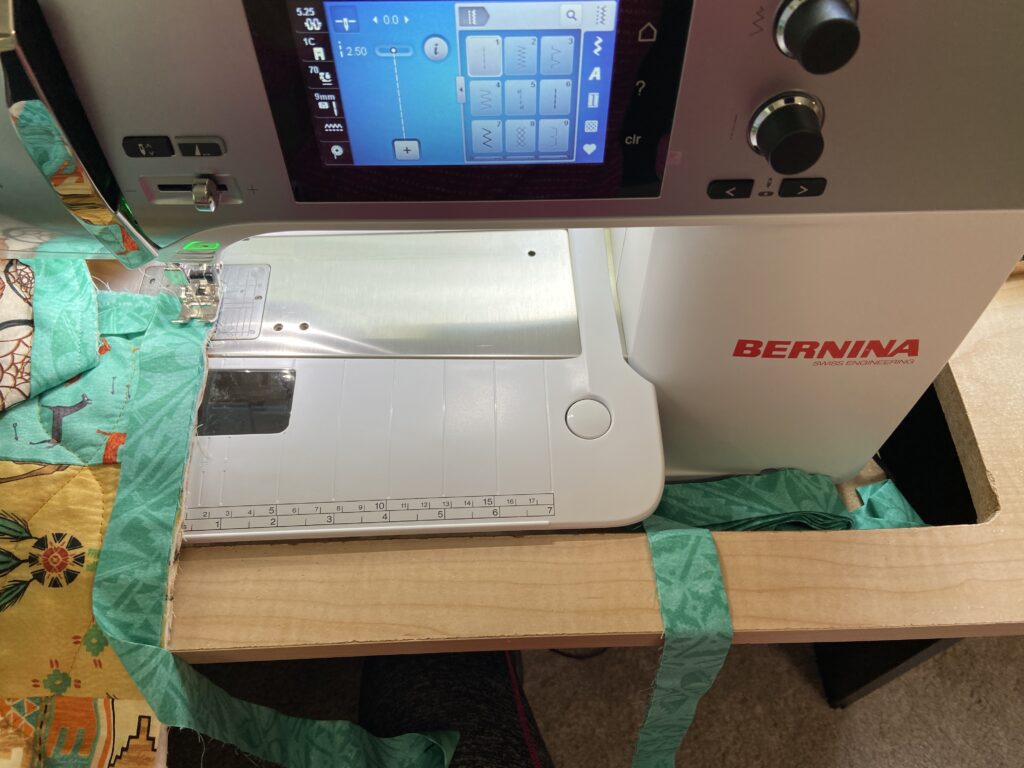
I like this little nook in front of my machine – it is just the right place to tuck the roll of binding while I am attaching it. I machine stitched to the front and hand stitched the back.

Now that this is finished, I have two Mercyful quilts ready to go. So – do you have yours ready too? If so, please link up and show us your finish!

If you can’t link up, please send me a picture so I can enter you in the prize drawing. Here is Lisa T’s quilt finish. Lisa’s quilt is a lovely rainbow of color!

Such pretty colors in this one – pieced and quilted by Wendy F.

The two quilts shown above were made by Danielle (@justanaveragequilter). The different background colors make such a difference in the overall look of the quilt!

Maybe I should share a prize or two donated by Art Gallery Fabric. They are always very generous sponsors and I am grateful. Surely you are already aware of the quality of AGF fabrics but if you haven’t given them a try, please do.

Each of these Art Gallery Fabric prizes give you three yards of fabric to work with! There are also bundles of fabric provided by Island Batik as well as

OK – Here is the link up! Show us what you made. (Or email me a picture! You can use the contact me button on this page.)

I am linking up with Oh Scrap! this week.

Meadow Quilt is a Finish!

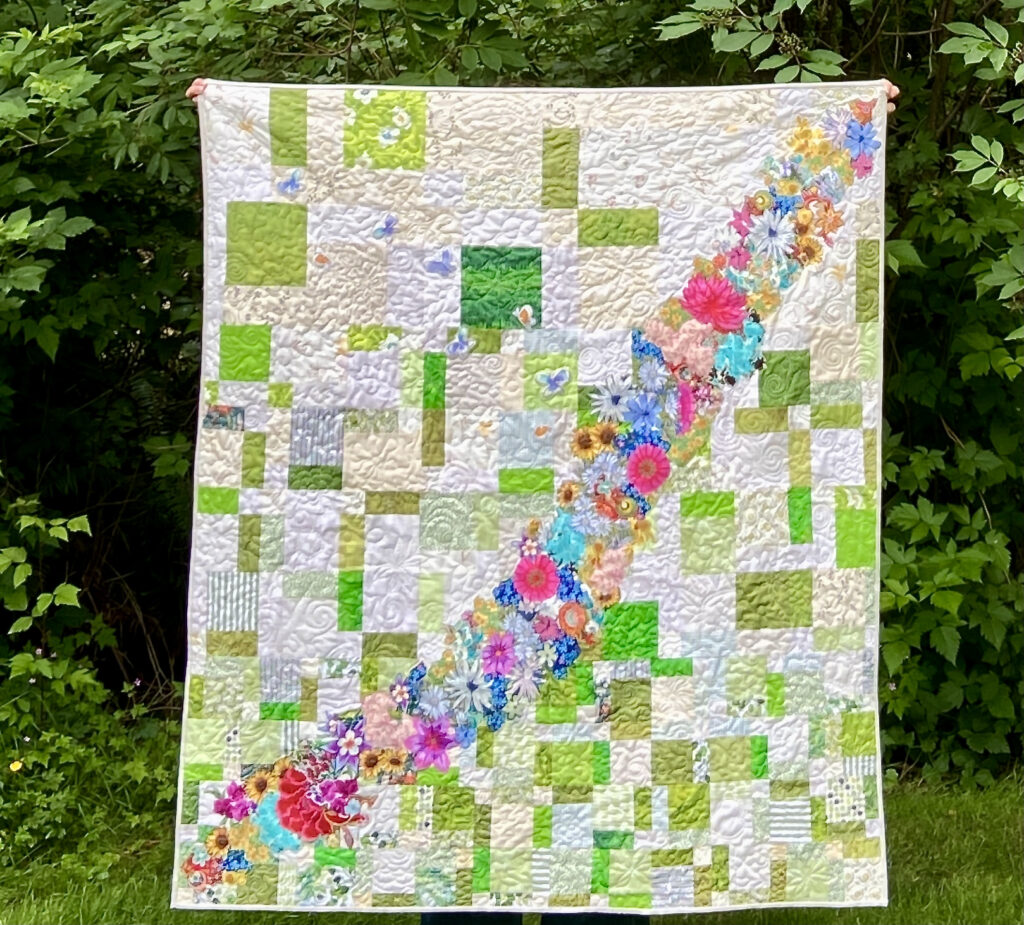
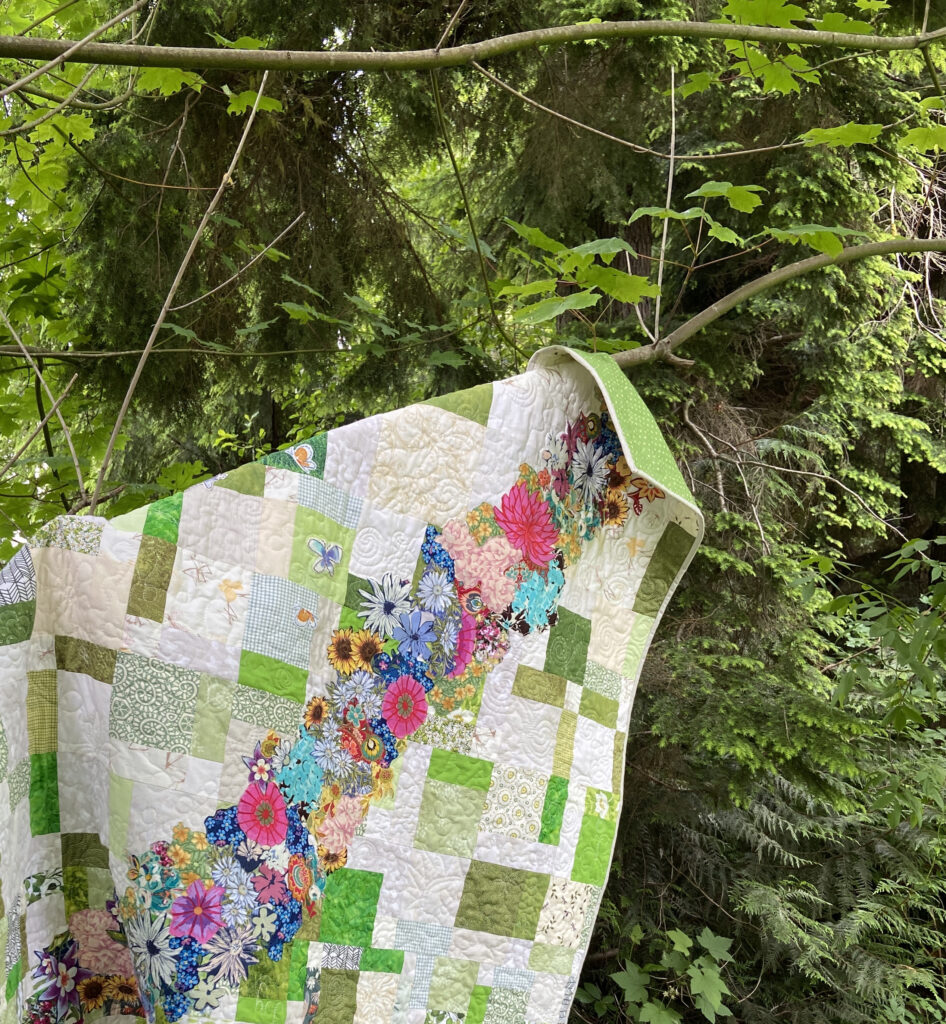
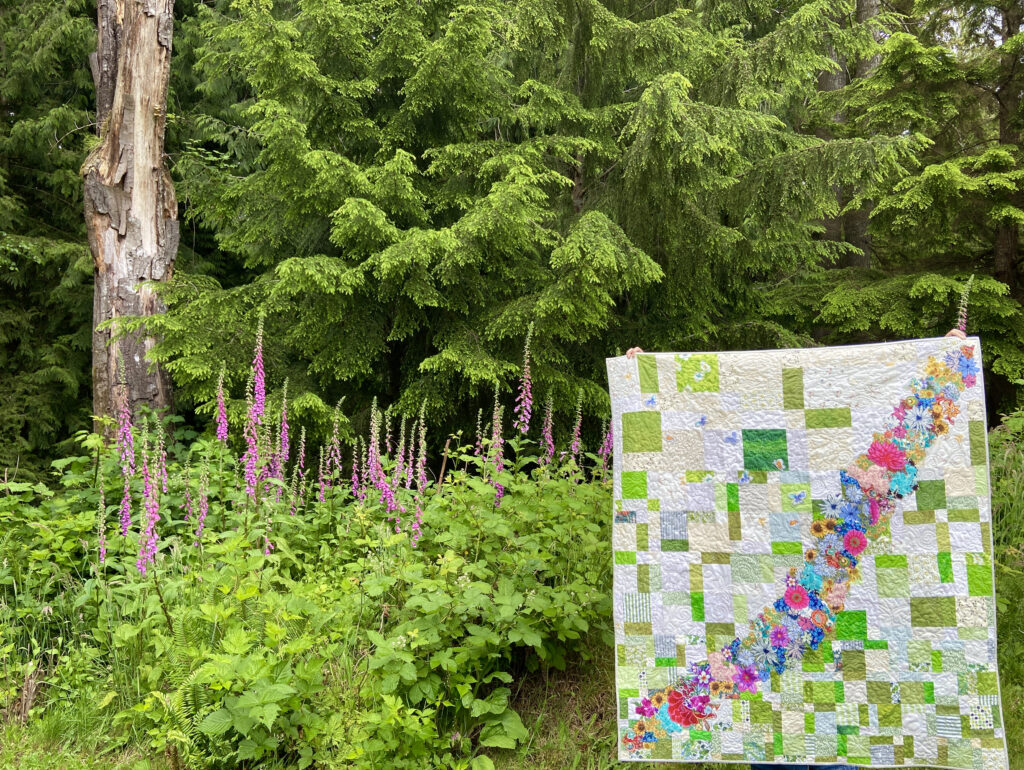
Making a quilt is not a quick endeavor. At least for me it isn’t. Back in 2016 I read a tutorial by Bonjour Quilts and left a comment about how much I loved the quilt. Then in 2020, in a newsletter by Bonjour Quilts (side note – if you don’t receive her newsletter, check it out. Kirsty writes a great newsletter and I very much enjoy reading it) I was reminded of the quilt. At that time, I started cutting pieces for the background. I believe this was at the beginning of the pandemic. Fast forward to 2021, I decided to finish the quilt so I could give it to my nephew and his bride when they married in July 2021. Well, then we decided to list the house and move so all sewing came to an abrupt halt.

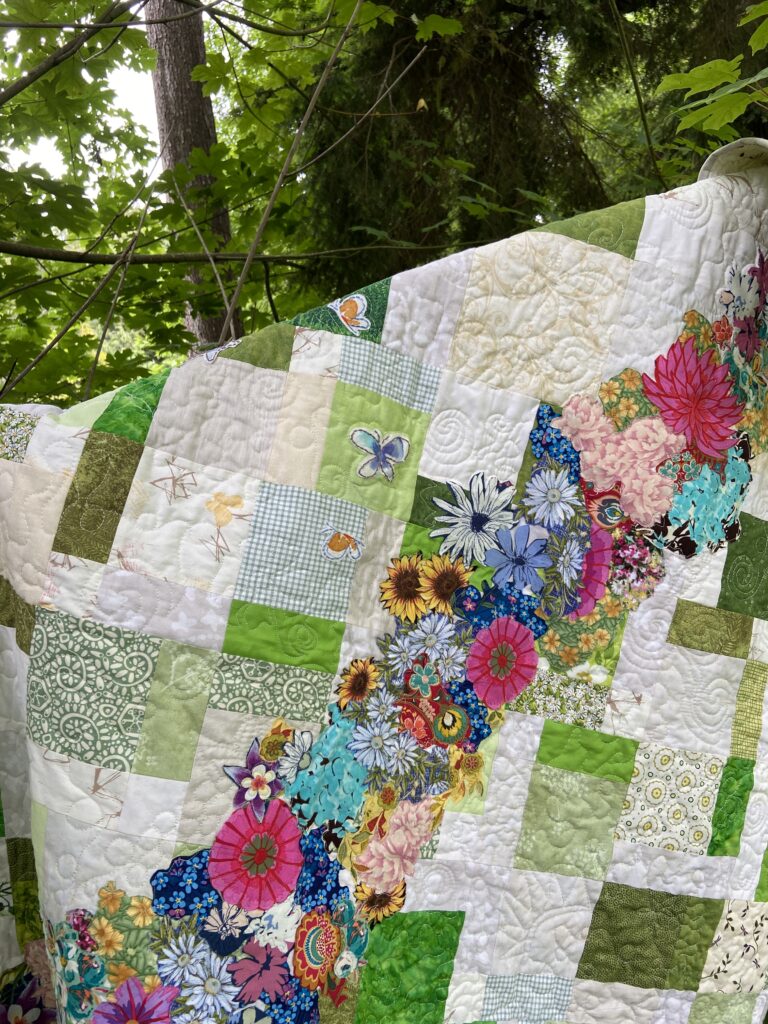
With my sewing room (almost) set up and my time freed up, I am sewing and quilting again! I had the Meadow quilt top finished and basted before we moved, so I started to quilt it. Before basting it, I did some FMQ over the flowers in the center. I knew I wanted to secure them tightly, even though they are fused to the base. However I didn’t want all of that to show on the back. I did a preliminary set of stitches before basting and then finished securing the flowers after it was basted.

The background is free motion quilted with whatever came to mind. There are swirls, basic stippling, some flowers, hearts, sunshines and a few words here and there. On the top I used an off-white Glide thread and the bottom is a pale green Glide thread. (I am a big fan of Glide for free motion quilting).

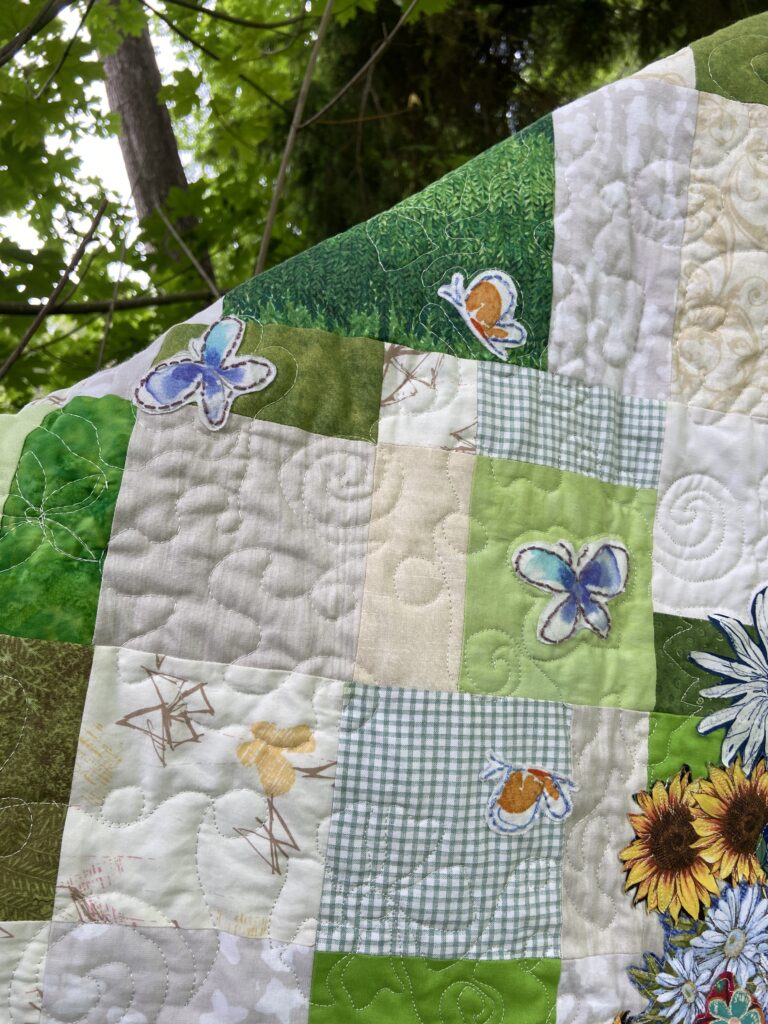
Every meadow has a few butterflies fluttering about, right? I fussy cut these and fused them to the top. Using Perle cotton, I did some basic stitching around the edges to help them stand out a bit.

I forgot to take a shot with the backing showing but in this one you can see a bit of the corner. It is a 60″ wide voile by Frou Frou. Grassy green with tiny white stars on it, the fabric is so soft. I think it gives a cuddly feel to the quilt. (I have had this on the shelf for a long time so don’t know that it would be available anymore?)

The pictures were all taken in our yard. Right now everything is so green. Foxglove are standing tall in the backyard, giving a meadow like feel to it.

I am so happy with this finish. It is unusual but not difficult. I actually think this is the case with many of Kirsty’s (Bonjour Quilts) patterns and tutorials. It is on the way to the bride and groom, just in time for their first anniversary!! I hope they love it.

Sharing at my favorite link ups – see the list at the top of the page for the details!

REMINDER: The first link up for 2022 Positivity QAL opens this Sunday, June 26th. Please come back (here) then to link up and show us your progress with your blocks. I am looking forward to seeing the different color combos!!

What a Busy Week!

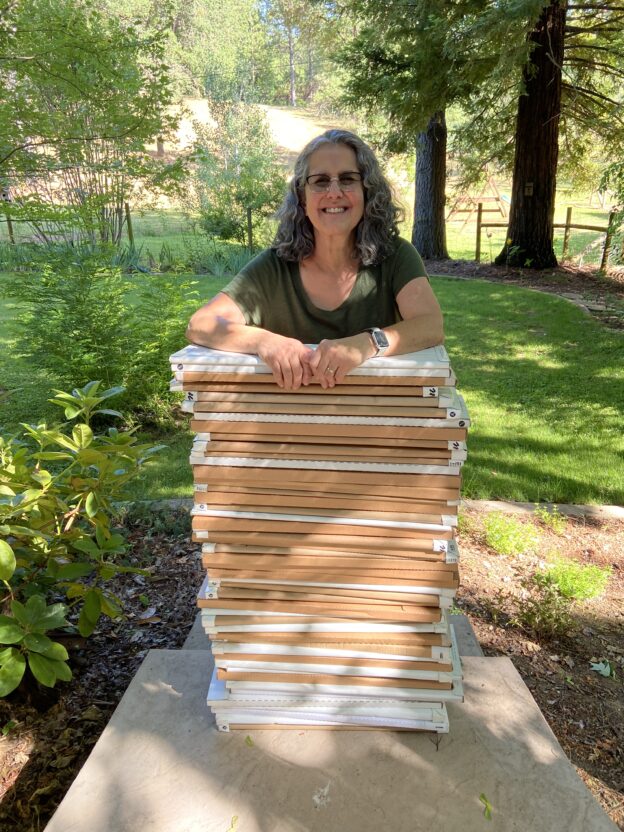
First of all, thank you for all the well wishes you left on my last post. What a nice bunch of friends! So…after posting about my plan to retire, the orders for my shop went nuts! Truly, it was an incredible response. In the first four or five days, I cut over 400 yards of fabric. This was a lot. Honestly, a lot! Many customers like to order a stack of 1/2 yard cuts so who knows how many cuts that 400 yards really was. Just believe me, so many! Check out all of the empty bolts. Shelves are thinning out quickly.

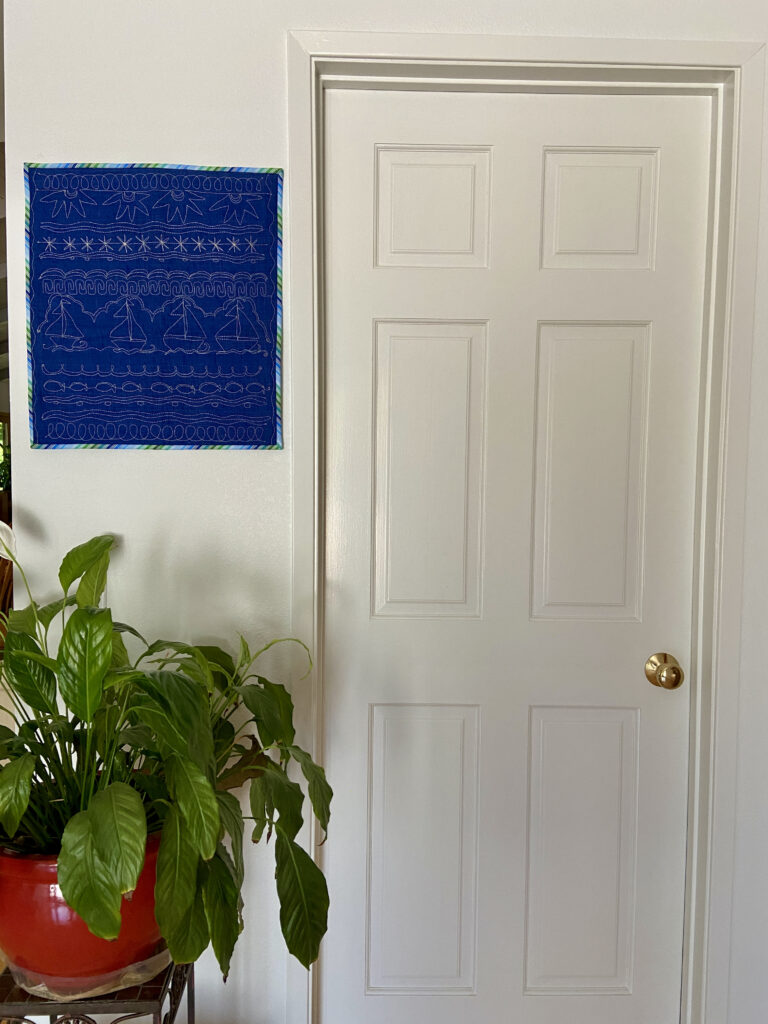
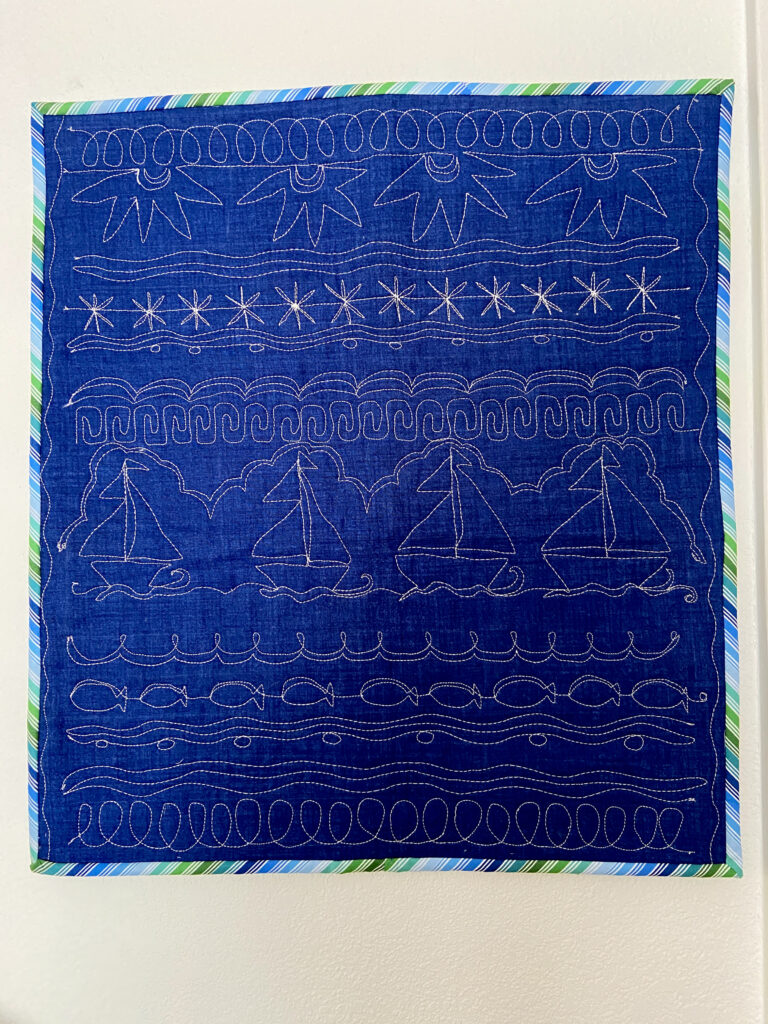
As the shelves empty out, I keep moving bolts and condensing them. This is freeing up space for me to move my personal stash downstairs. I am moving all of my sewing supplies and machine downstairs so we can have a ‘real’ guest room. I continue to organize and purge through my fabrics which has been really helpful. As I was working on this last week, I found a free motion quilting project I had made a few years ago. It was a quilt along hosted by Lori Kenedy back in 2016. I had a lot of fun stitching along with her but when I finished it, I put it in the closet and forgot about it. Upon finding it, I decided to bind it and hang it. It is so summery with the boats, fish and sunshine.

The quilting is far from perfect but the overall look is cute and worth enjoying during these summer months. I love the bias stripe binding. It is from the shop, just in case you are wondering. (Haha.)

Just a tiny peek!

Moving on, I have also been working on a quilt to be shared during a blog hop in July. The flimsy is done and I am trying to decide on a backing. This will be shared soon!!

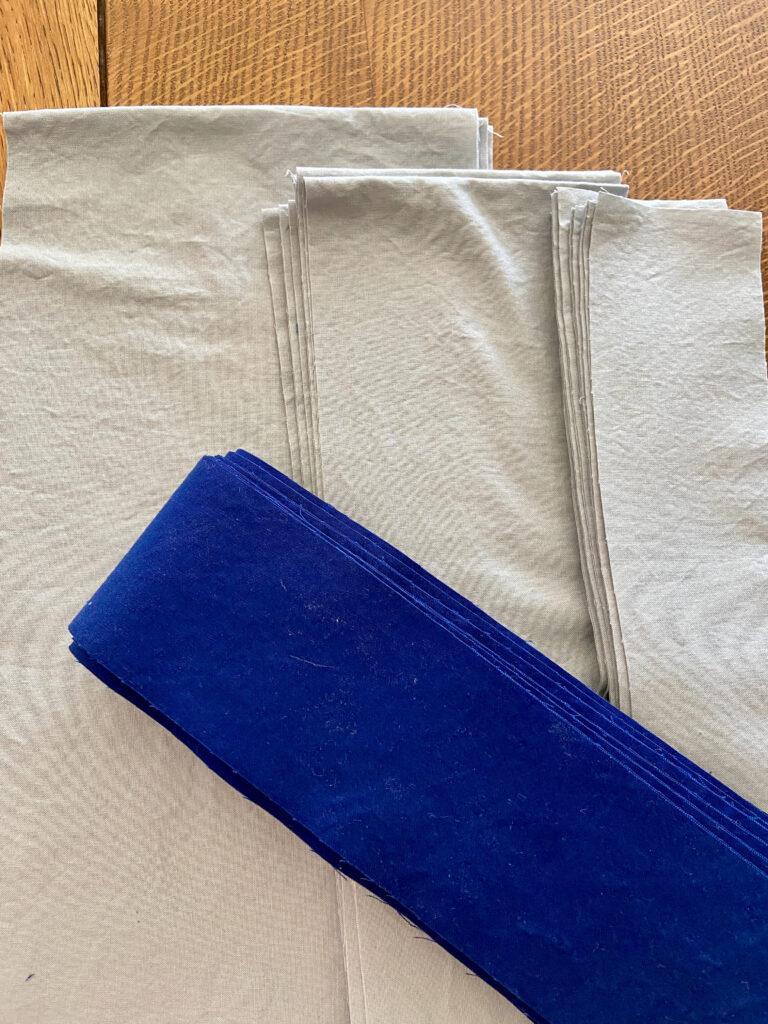
I have also been cutting a stack of strips in gray and blue. I am making my largest quilt yet. It is a king size for our bed. This is going to be a great project. Assembling the top shouldn’t take terribly long as it is a simple design. Now basting this monster and quilting it is a whole other story!!

This sums up my week! I think the weekend will be focused on the king size quilt. I am so anxious to see it come together. Hopefully I will have some progress photos for you soon. I also need to pull purple scraps for my RSC diamond blocks. So many projects and never enough time!

Don’t forget – all fabric, quilt patterns and notions are on sale, 20% off! I hope you will come by and check it out!

Linking to my favorites – including Brag About Your Beauties. The rest are located at the top of the page, under Link Ups.

FMQ Refresher

With the onset of the pandemic and especially when everything shut down, my shop went nuts. It took me by surprise, never having owned an on-line business during a pandemic before. (Who knew??). Anyway, I was happy to provide fabric to the many, many people making masks as well as quilters who were not able to physically go into their LQS. As a result of this increase though, I was really busy and had almost no time to sew.

Things have changed and many people are venturing into brick and mortar shops (which is good for the shop owners, as long as people are being careful and masking up.) I think the frenetic mask making has slowed down a tiny bit as well. Thus my shop has gone back to a more realistic level of sales for one person to handle. What does this mean? More time to sew!! Hurray.

This week I had the opportunity to learn to use my friend Sophia’s Baby Lock Tiara sit down quilter. It is a dream. The wide throat is incredible and it sews with a nice even stitch. So much easier than using my Janome (which while it has a bigger throat, is getting old and tired) for FMQ.

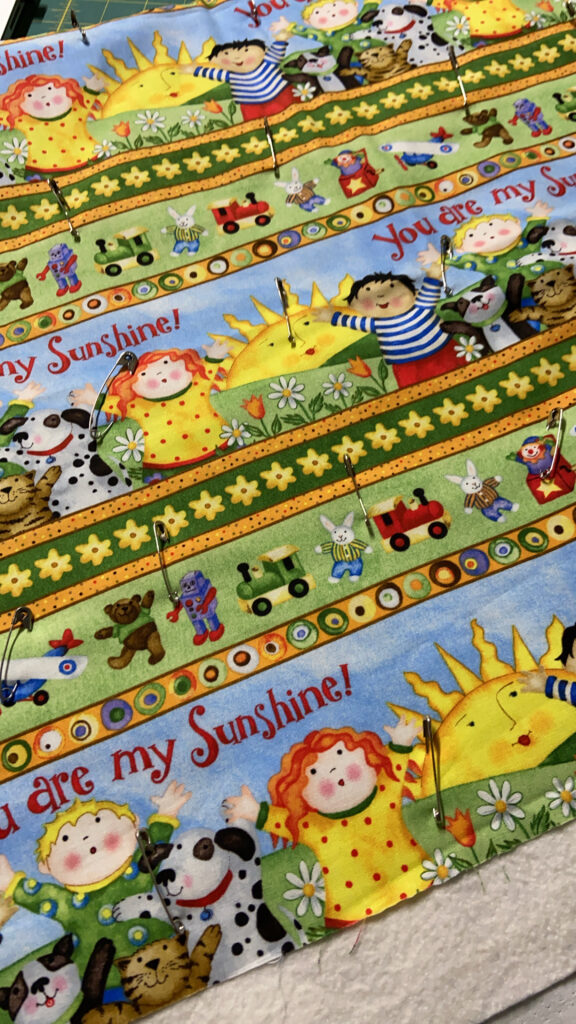
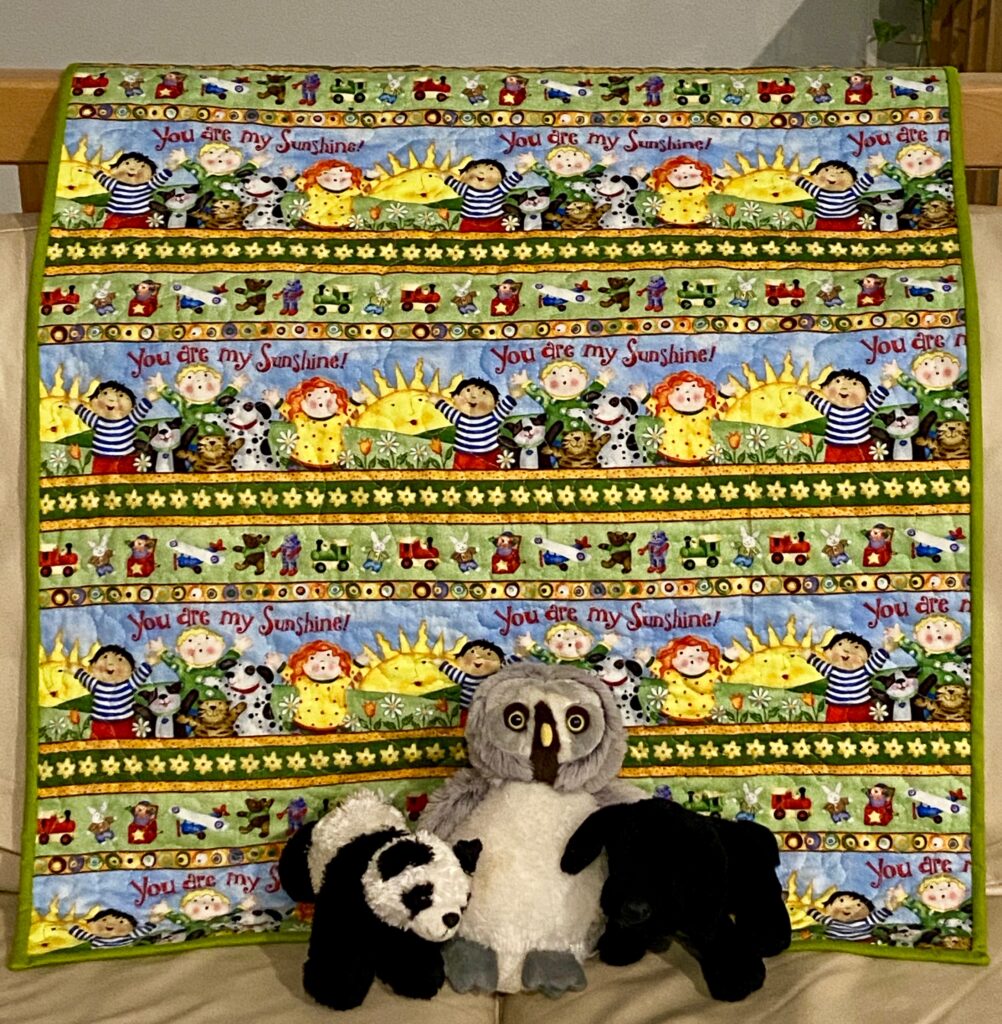
When I wanted to first try it, I decided to just bring a piece of cloth over – I wasn’t sure how successful I would be and didn’t want to bring anything I had pieced. I have had a yard of this cute fabric sitting on the shelf for a good 4 or 5 years. I am sure it was a border print made for a panel but I think it is adorable. I used to sing this song to my kids when putting them to bed and now I love hearing my son sing it to his girls.

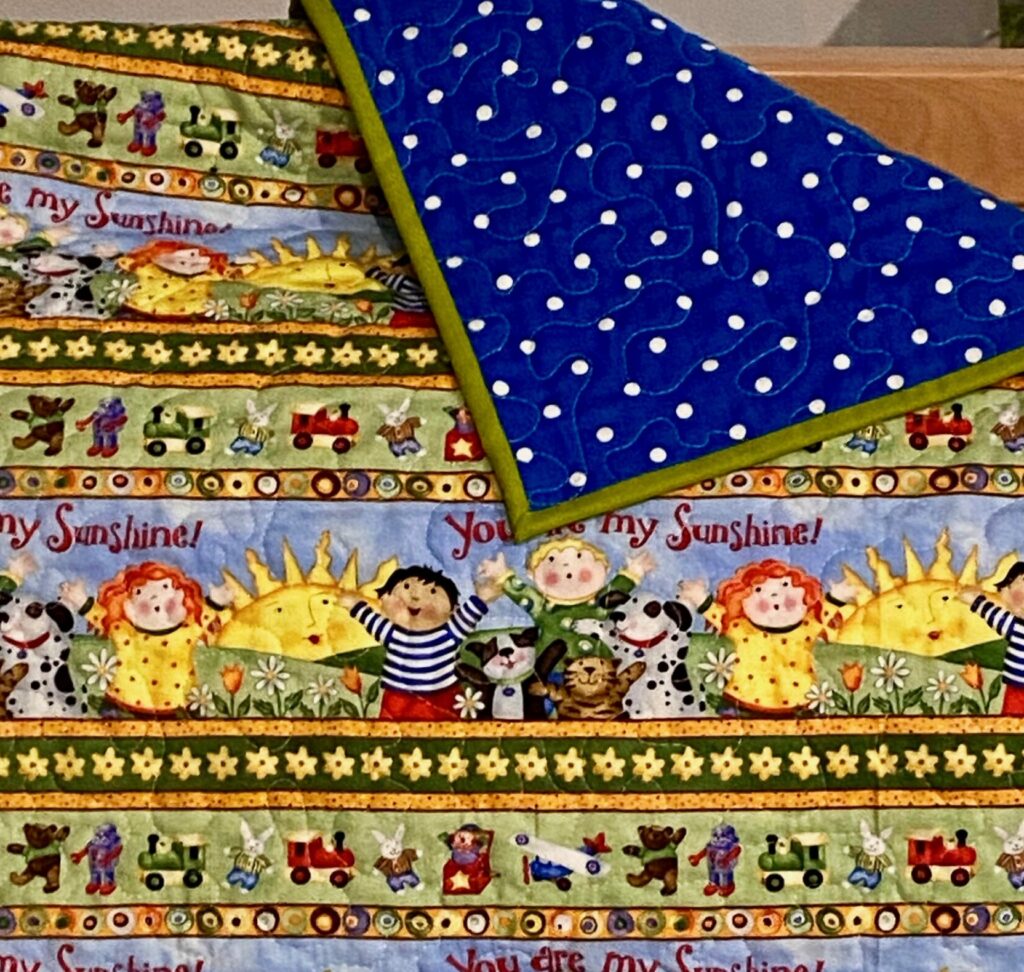
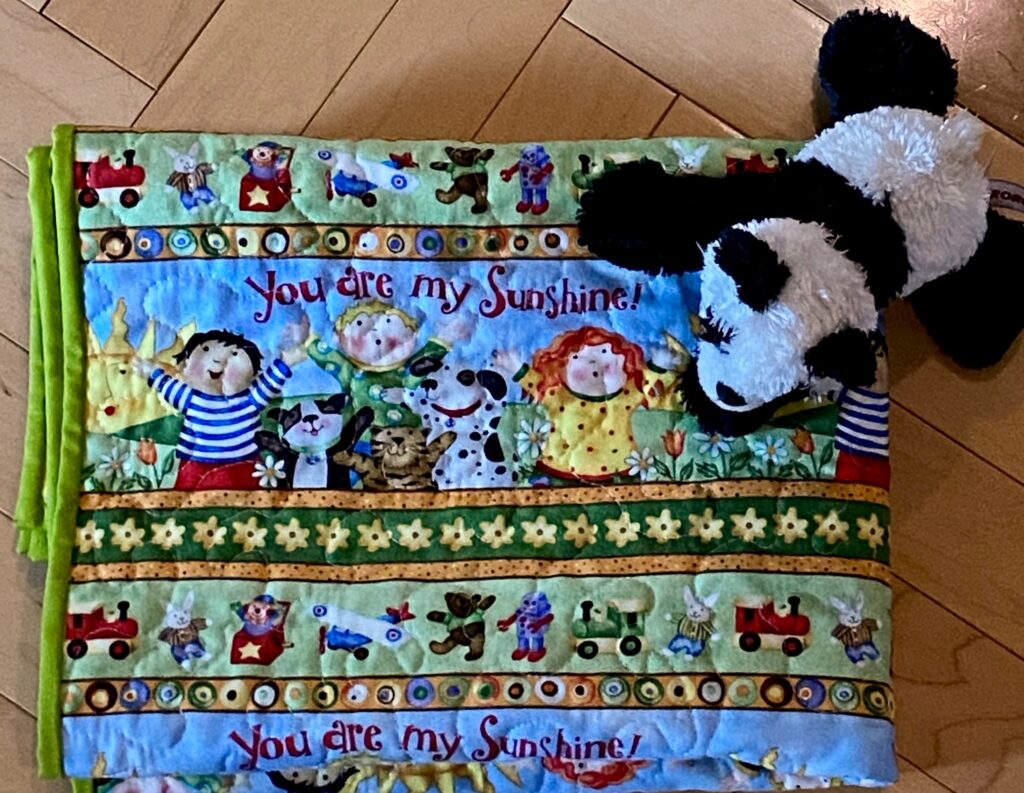
I decided to use it as a whole cloth baby quilt for donation. To practice with Sophia’s machine, I just stippled this. It was so fun and so incredibly quick. It took (almost) as long to pin baste it as to quilt it.

The bold blue polka dots on the back are really cute. You can see the stippling a bit better on the back side. I used an off-white thread which doesn’t really show on the front.

Now there is a cute baby quilt ready for donation and I have a little practice under my belt with the Tiara machine. It is rather tiny in size (30 x 36″) so I will need to see which organizations can utilize a quilt of this size.

So that is a (small finish for me! Used a little bit of fabric off the shelf, learned to use a cool machine and have a donation ready for someone! My next project with the machine will be the jelly roll quilt I recently pieced. I am looking forward to getting some tops finished up! 🙂

Updating to add:

Linking at the following

TGIFF

Brag About Your Beauties

Whoop Whoop

Farm Quilt Finish

I am in a quilting and reading phase. Quilt a little, read a lot, quilt some more. There are always so many projects to make and books to be read, am I right?

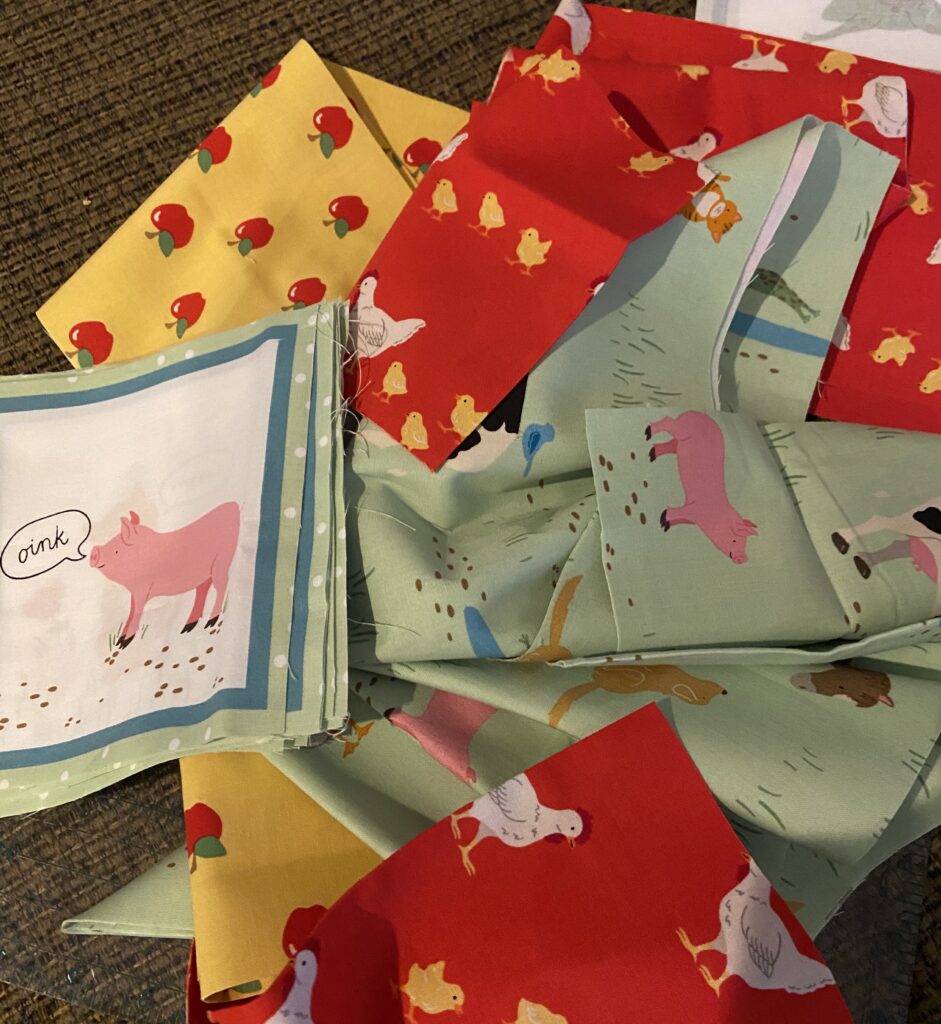
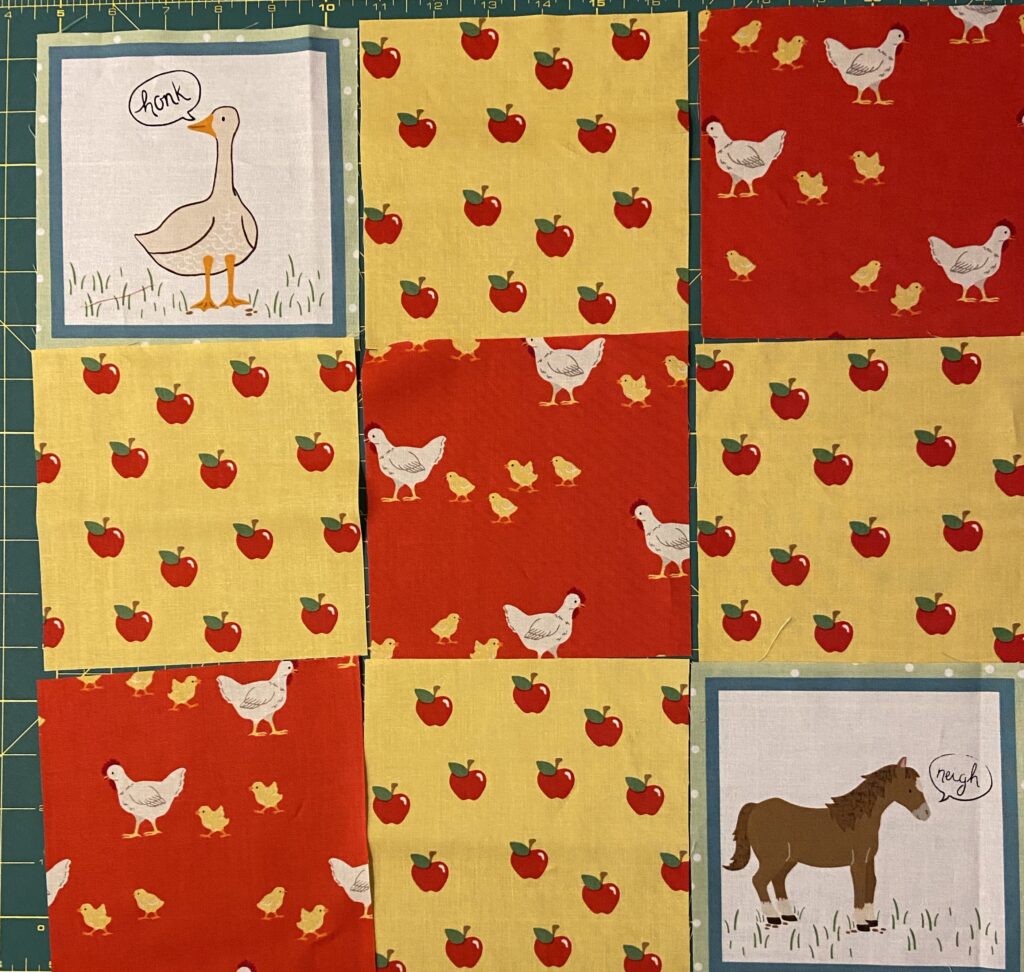
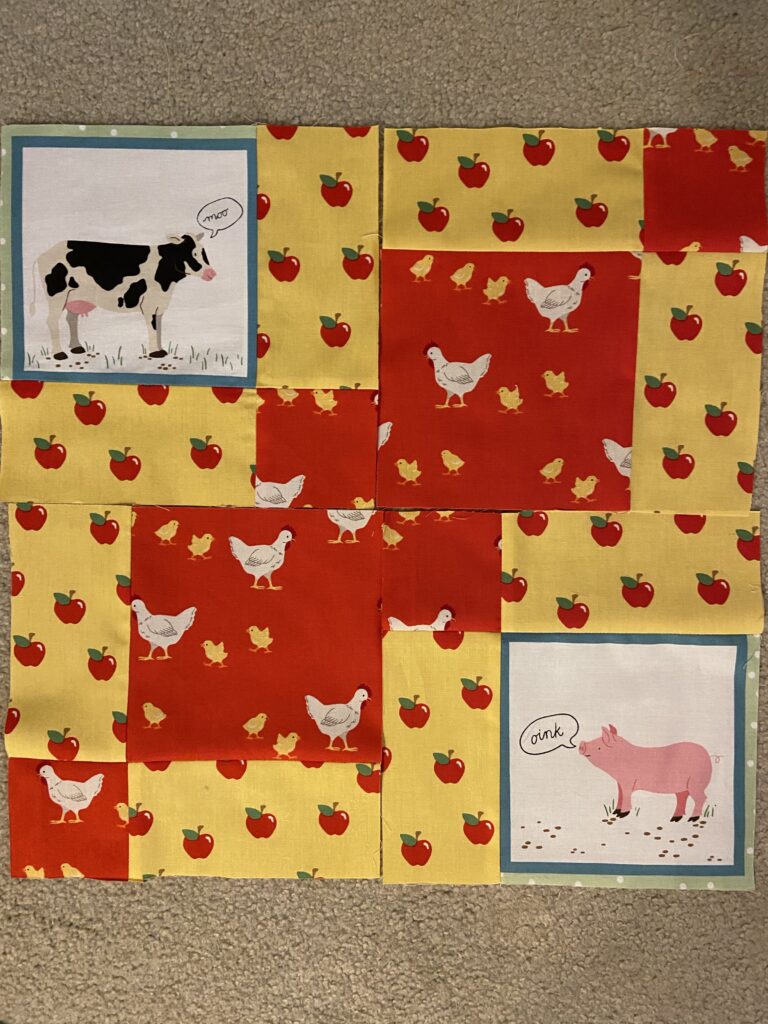
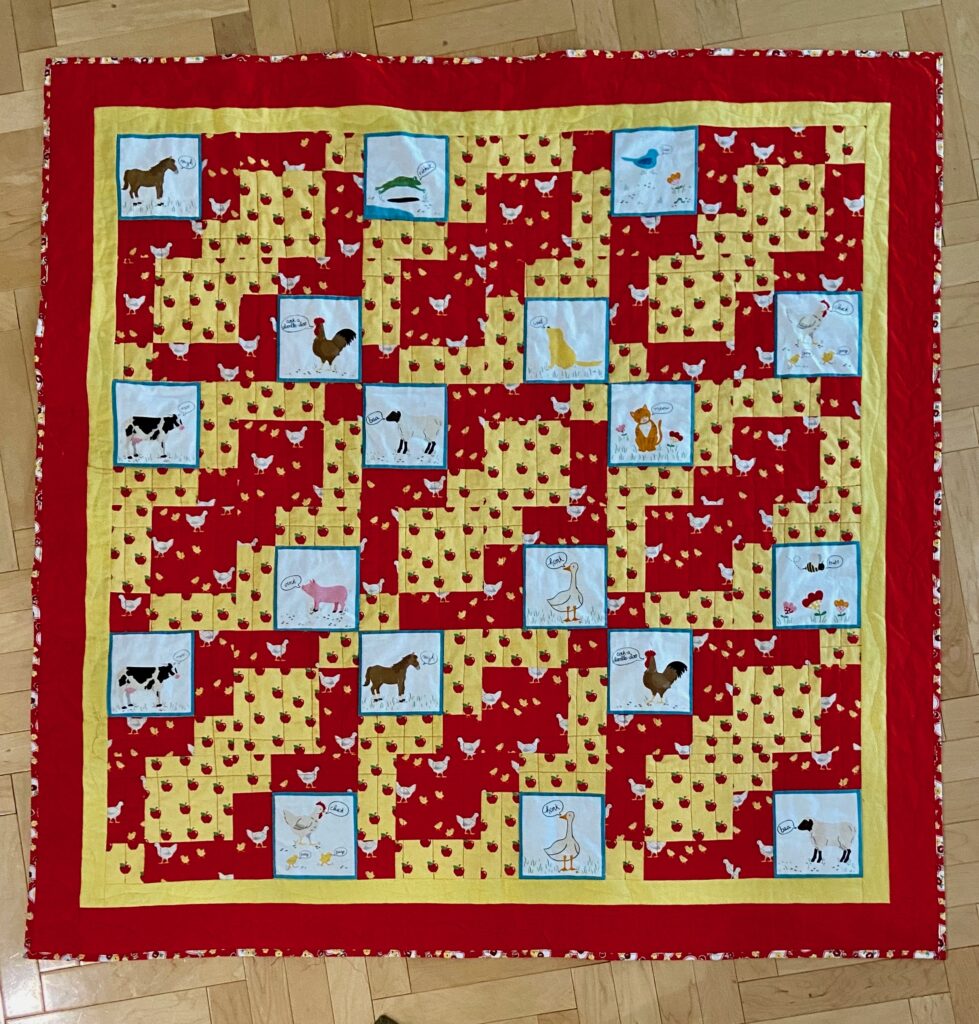
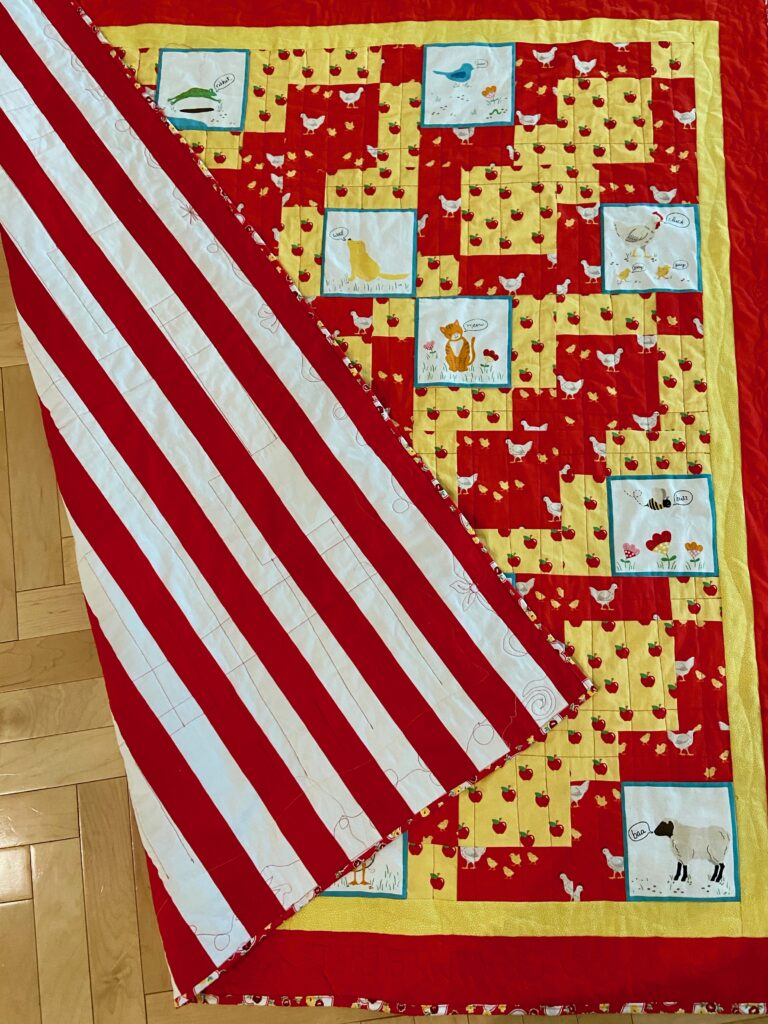
But – the sewing! I have been getting lots done. Today I will share this cute picnic quilt I made for my grand daughters. I carried this line of fabric (it is all gone – sold so fast!) and before I sold out, I stashed away some of the red and yellow yardage as well as a panel of the animals.

I love seeing red and yellow together. It makes for a really cheerful combination. I need did use the green fabric with this project. I decided to save it for another day.

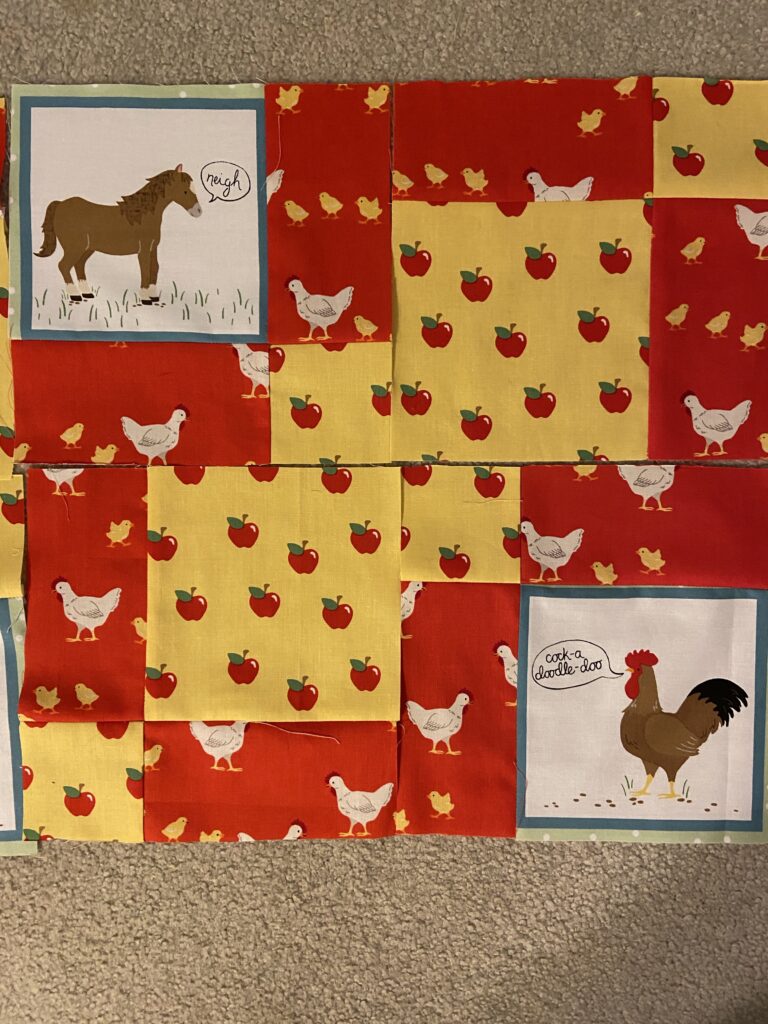
I started to make nine patch blocks last January and split them up, sewing them back together for a disappearing nine patch design.

Some had red centers.

Some had yellow centers. But once made, the blocks were always set aside for some other project.

Well my son and his wife recently bought a house outside of Seattle and we have been calling it “the Farm House”. It isn’t really a farm but it is on 1.5 acres and has a lot of raised beds, greenhouses, and a chicken coop. So, farm enough in our opinion.

I decided I needed to finish the quilt so the girls could sit on it outside and eat a snack or bring their lunch outside. The three year old is always filled with energy and I know she will love their big yard. This property is perfect for them.

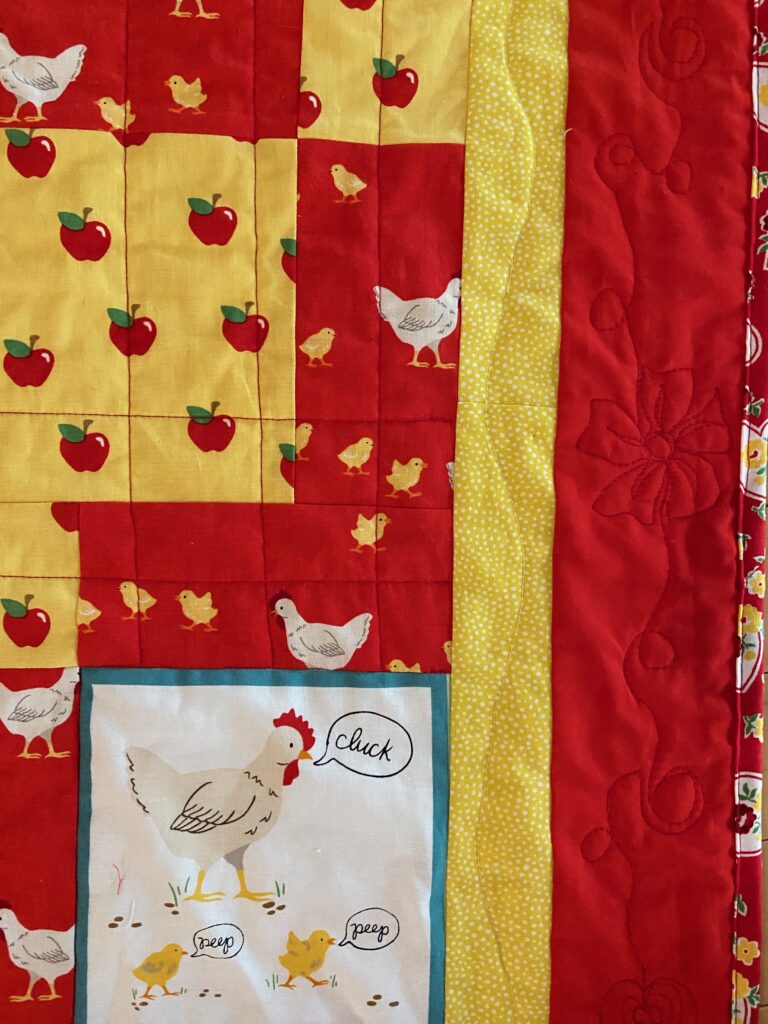
I had some fun quilting this. In the center, I stitched in the ditch around the white animal squares. Then I used vertical and horizontal straight lines at various intervals. In the yellow border I just did a wavy line through each one.

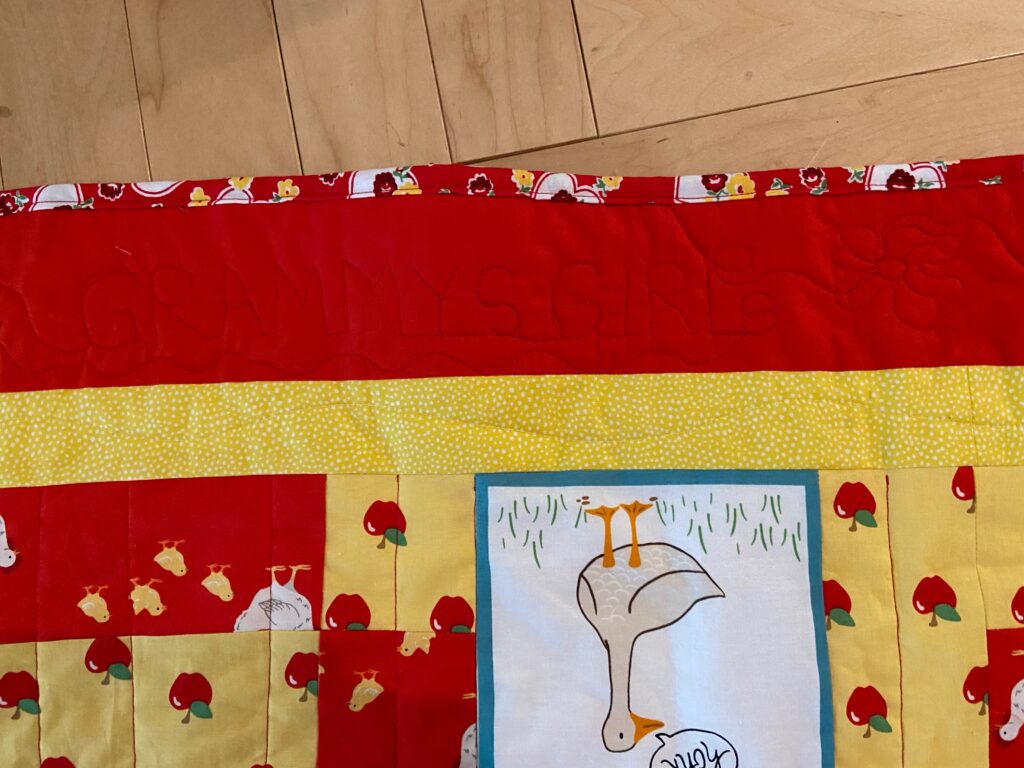
I played with the red border. I did swirls, hearts, flowers and whatever else came to mind. On two corners I put the girl’s names which was fun. On the bottom border I stitched “Grammys Girls” but wasn’t thinking of the orientation so it is upside down. Sigh. Not a huge deal but I do wish I had thought to flip it before I stitched the words. Not enough to spend the time unpicking the stitching though. Haha.

The backing is a super wide stripe from Michael Miller. My sister was clearing her sewing area a couple of years ago and gifted me this piece and a few others. I knew it would come in handy at some point. The binding is a repro feed sack print I have in the shop. I like the little flowers framing the quilt, though this picture doesn’t really show the binding off very well.

I ran into a snag when I washed the quilt last night tho. The red bled onto the white animal squares. (I was too annoyed to take any pictures.) Ugh. I haven’t experienced this and was a little freaked out. Both Wendy of Pieceful Thoughts and Jan of Colorful Fabriholic recommended this method by Vicki Welsh to removed the red. By the time I asked these lovely women, I had already cold water washed it twice and rinsed it two more times. After reading Vicki’s method, I chose to alter it a bit. My washer is large and the quilt is about 50 x 50″ so not terribly big. I put it in the wash on the “deep water wash” cycle with hot water. The hot water was the part that scared me but Vicki says that is what needs to be done. Before I put the quilt back in I decided to spray each of the white squares liberally with OxyClean stain remover. I didn’t rub it in aggressively but I did sort of massage it into the stained areas. Then I used a fragrance free “free and clear” type of laundry detergent and put in more than I normally do. Once the machine was filled with hot water I stopped the cycle and let it soak, making sure it was all under water. Finally I let the machine finish its cycle and ran it through a couple of extra rinse cycles since there was a lot of soap in there. It worked! The animals are back in their little white squares as opposed to the pale pink squares that I saw last night. Phew! Thank you Wendy, Jan and Vicki!!

Now that this is finished, I have moved on to another quilt top. I basted it yesterday and plan to quilt it this weekend. It is miserably hot and smokey outside – I did get a little yard work done early this morning but will be inside all afternoon. We don’t have any plans for the long weekend. Hope you are all well. Enjoy your long weekend and make sure to spend a little (or a lot) of time sewing!

Linking to:

Brag About Your Beauties, Whoop Whoop, Tish’s UFO Busting & TGIFF

Super Cute, Super Simple Finish

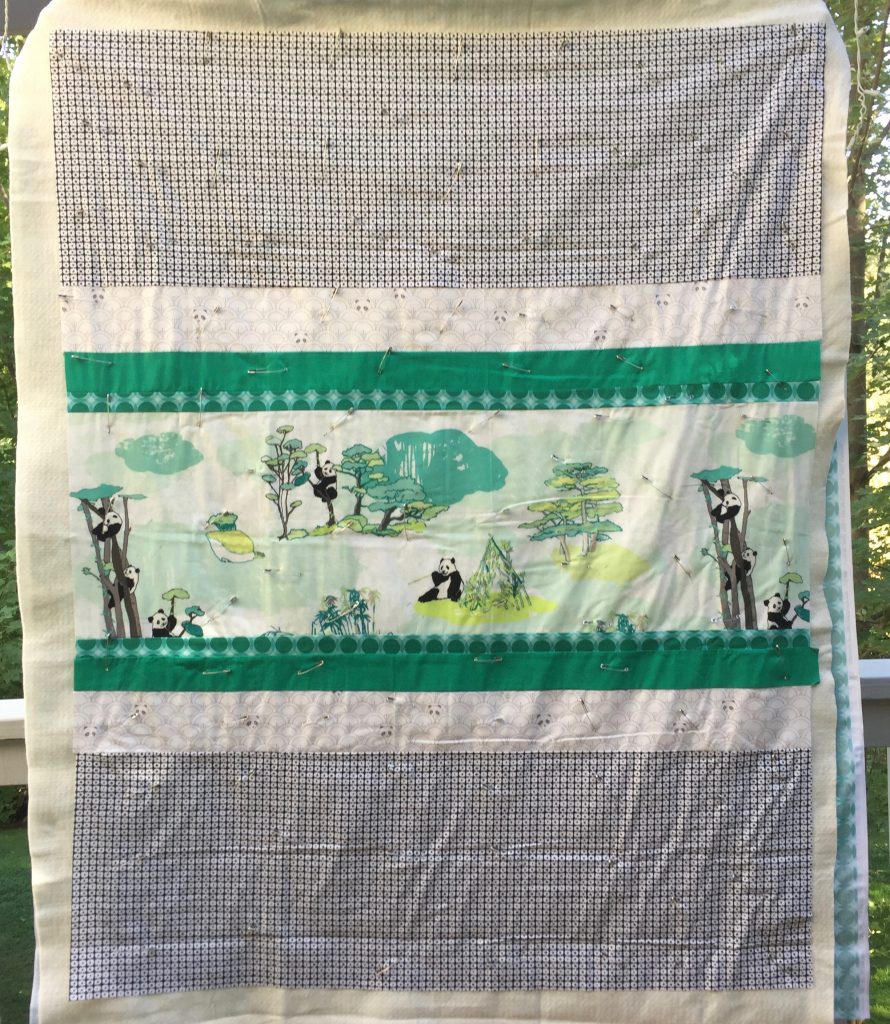
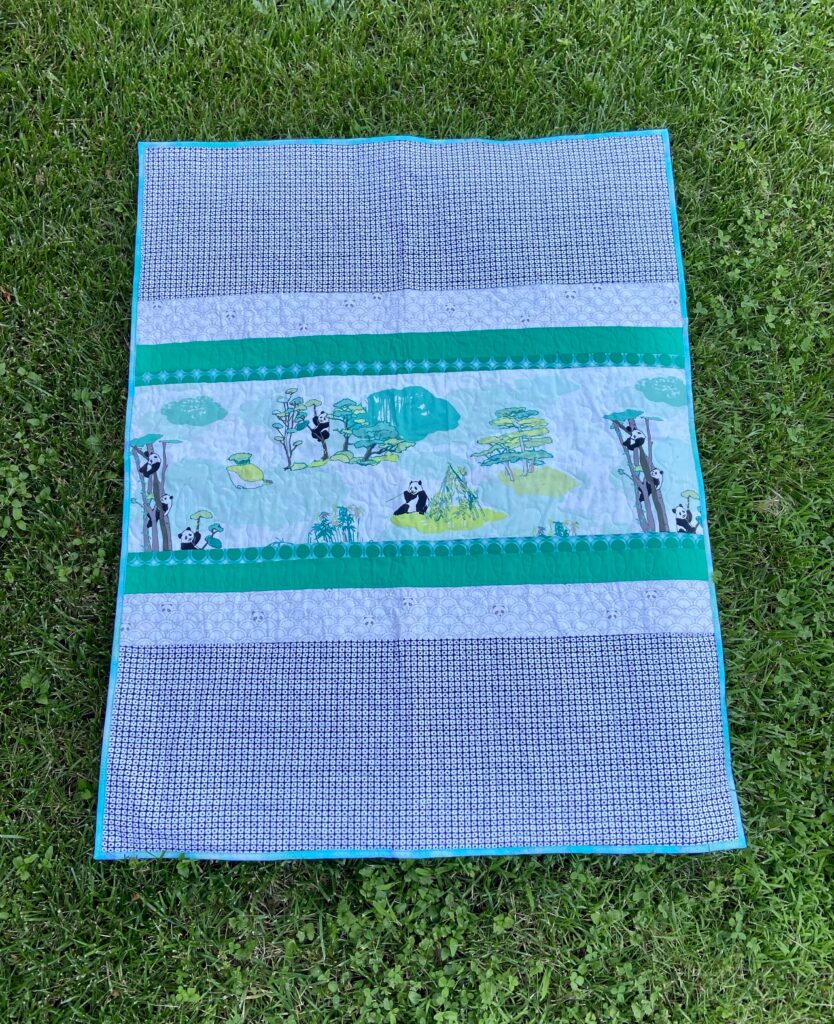
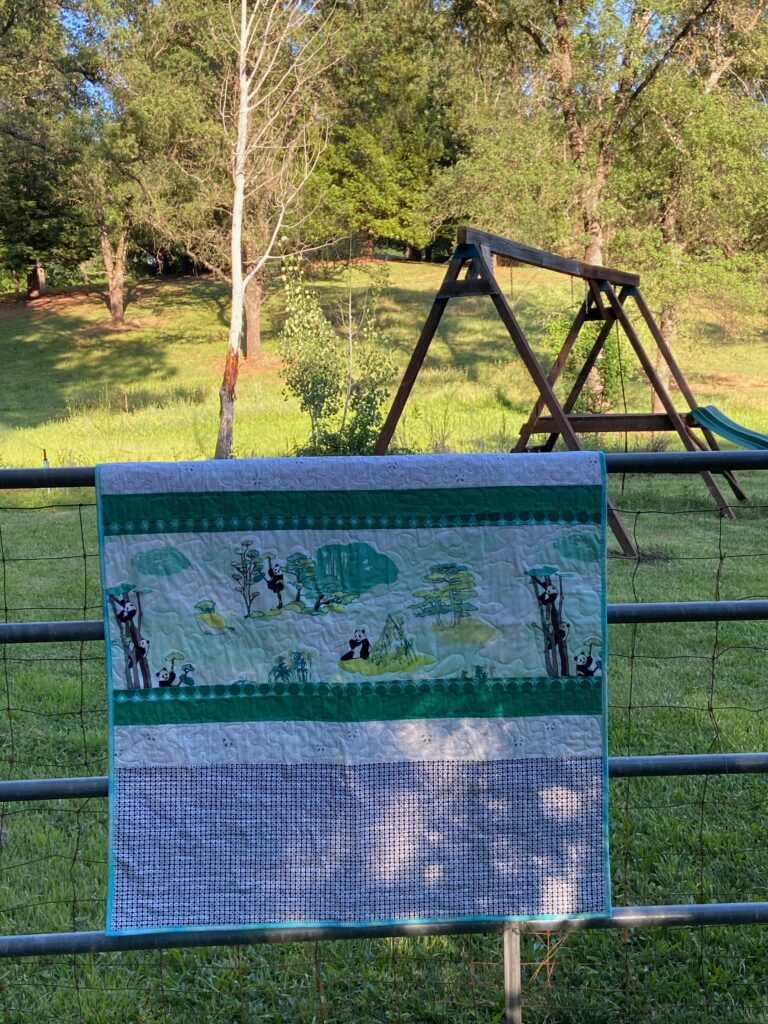
You know how you set something aside for so long and then somehow your mind decides it is going to take forever to finish it and you don’t want to so you just leave it there? Yeah, me too. Last fall I pieced a cute strip quilt using a focus print from Pandalicious. I had yardage in the shop and thought it would be fun to make one and then make up some kits for others to make it.

Last September…….

So I made up the quilt top and got it basted. I started to free motion quilt each of the strips and all was going well. When I got to the large section of pandas in the middle, my tension got screwed up. Of course I didn’t know this and just kept going because the top side looked fine. Ugh. When I saw the back, I knew it all had to be unpicked.

Onward I went and got all the messy stitching ripped out. By then I developed some serious dislike of the project and set it aside? Why do this? It wasn’t the quilt’s fault. But I did anyway. Folded it up and put it on top of a pile of fabric.

Easy Peasy Finish!

This week I thought it was time to finish it. Of course, by now, the fabric is gone and I can’t make any kits. Sigh. Quilting the remaining sections (the pandas in the middle and both of the black and white sections on top and bottom) took no time at all. Like an afternoon of playing at the machine and it was done. So after sitting there for 9 months or so, it is done!

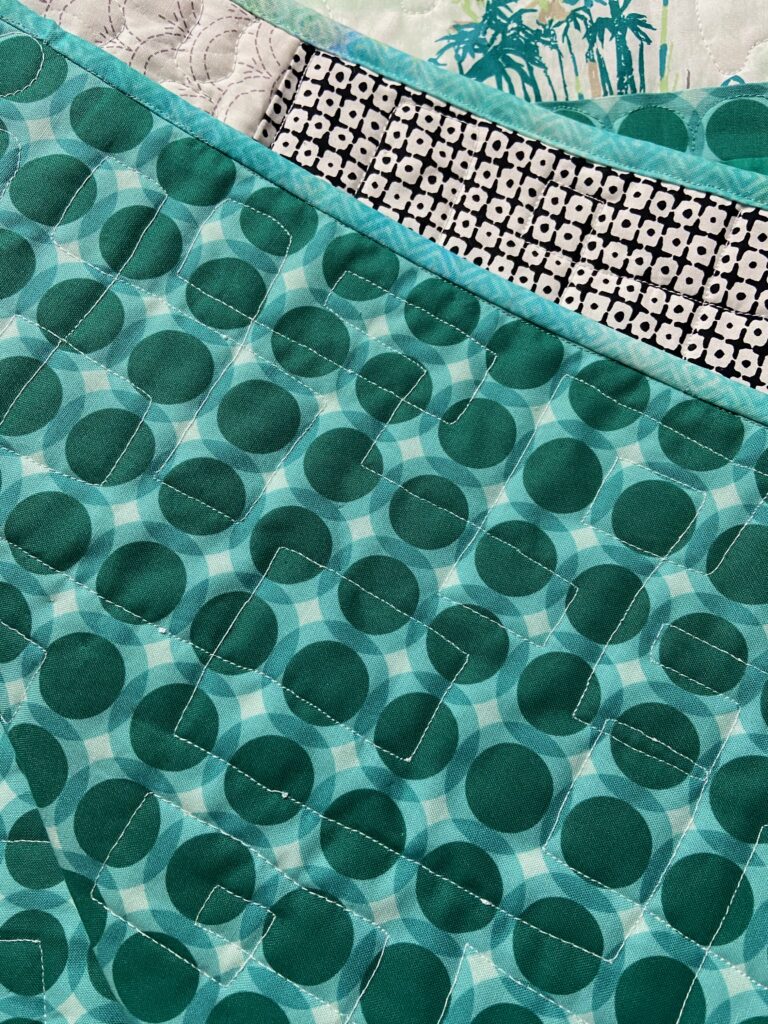
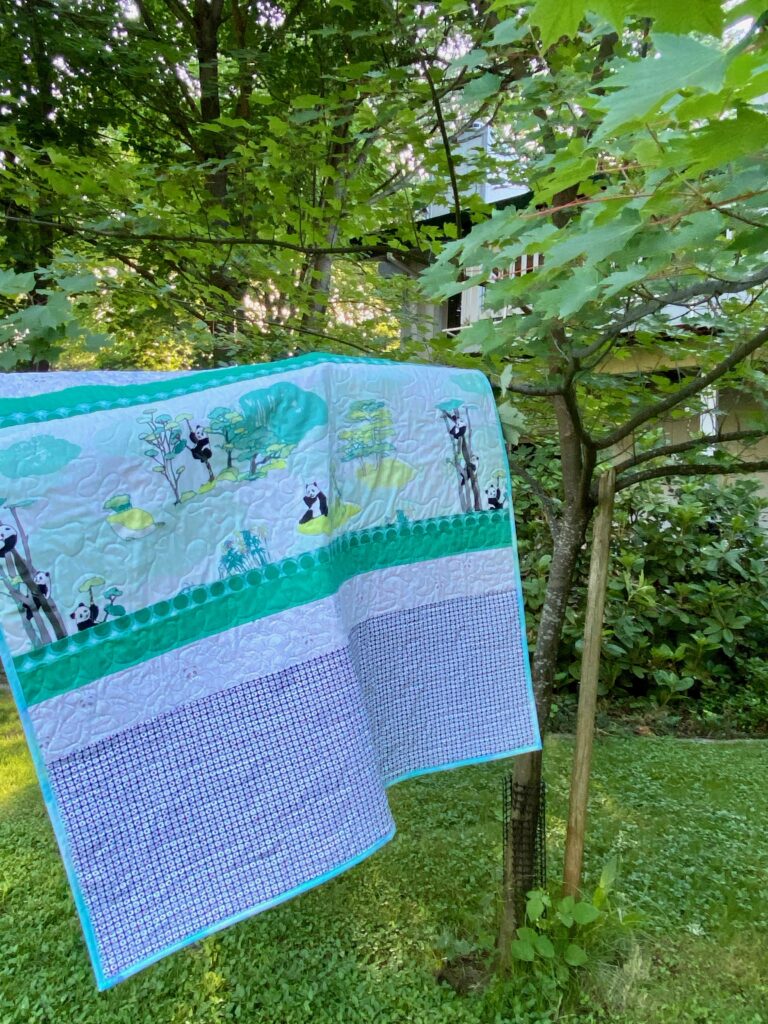
I attached the binding with machine stitching on front and back. It is adorable! I quilted the top and bottom sections with a meandering motif of interlocking squares. I am not sure what was going on, but there are some little tension issues on the back side. Not enough that I am going to fix it though. I suspect after being washed, it will all work out.

Sweetest pandas!

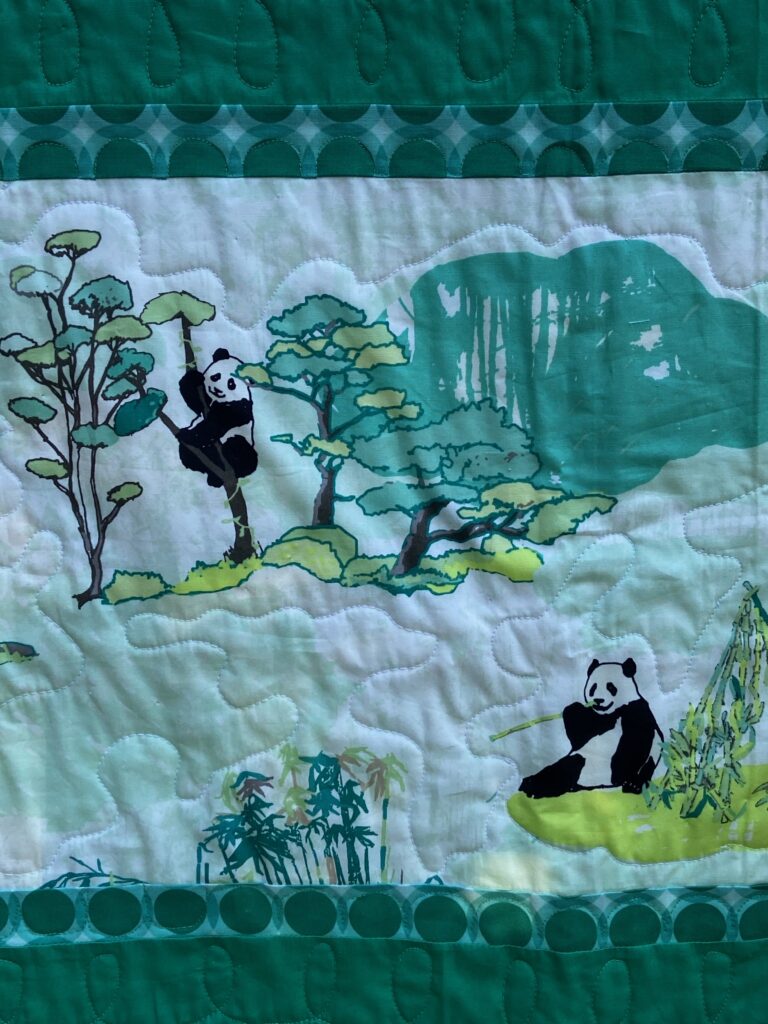
I did a very loose meander over the middle section going around the pandas. They are such happy little guys!

Shady evening sun.

I took the photos in the early evening so the sun was creating lots of shadows. But no matter, just look at how happy this little quilt is. What should I do with this one? I will likely donate it. It will be fun for some child to snuggle under.

Why does the color look so strange in this one?

Happy to cross this off the UFO list and wish I had done it long ago. Makes me happy to get it finished up.

Anyone have anything fun planned for the weekend? Hahaha…. sorry to be so ridiculous! I feel like each day (weekend or not) is so much the same due to the quarantine. Our town is loosening up just a bit but we are still very careful. So it will be the usual. Taking walks, a little bit of gardening, shipping orders and sewing, sewing, sewing!

Silly silly girl

Want to leave you with a smile. Isn’t this just a classic fun-in-the-bathtub picture?? This girl makes me laugh all the time. She is such a joyous kiddo. Enjoy the day everyone!!

Linking to Brag About Your Beauties and Can I Get a Whoop Whoop! Go check them out to see lots of fun projects.

Incredible Stitches!

While I don’t have any work of my own to share this week, I do want to pop in and show you something pretty! As program coordinator for our guild, I have scheduled Cindy Needham to come teach a workshop in February for us. I scheduled this a long while back and felt fortunate even then to be worked into her full teaching/speaking schedule. Luckily for us, Cindy lives only two hours from here which made her very affordable for our guild.

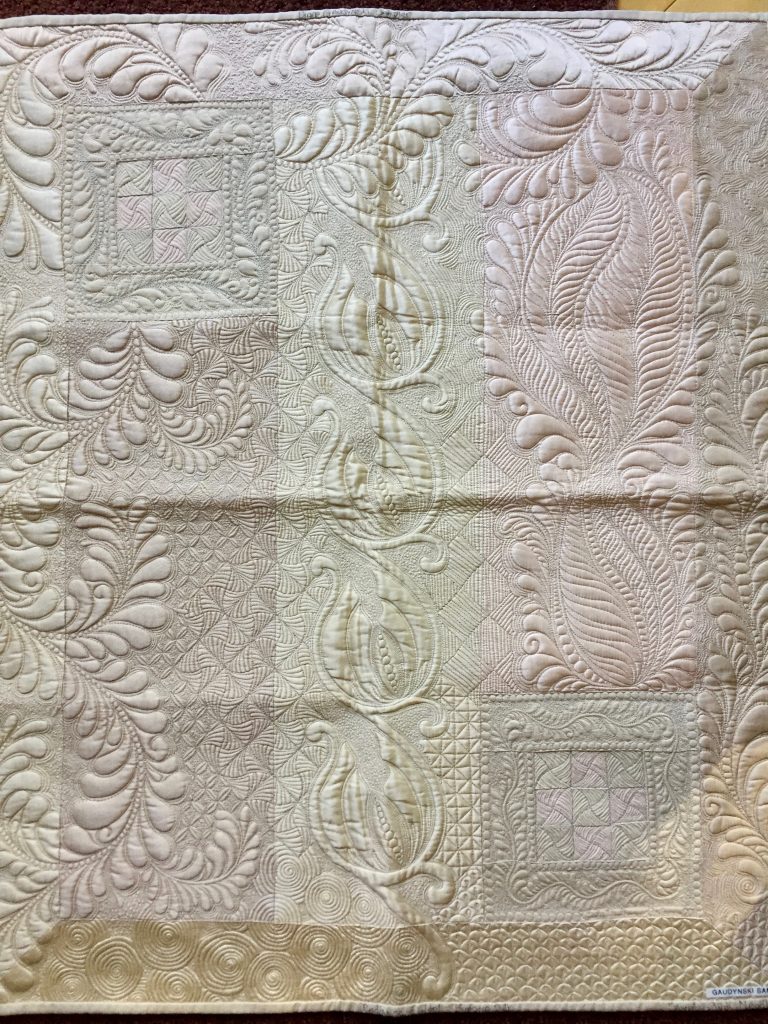
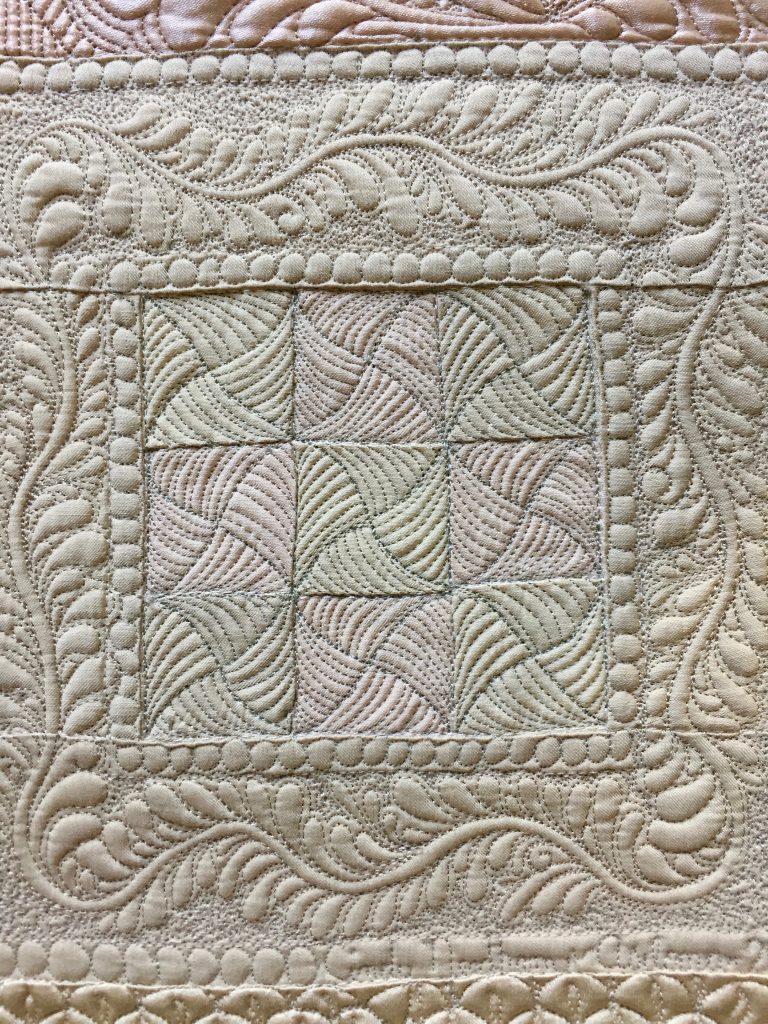
Mini quilt pieced and quilted by Cindy Needham.

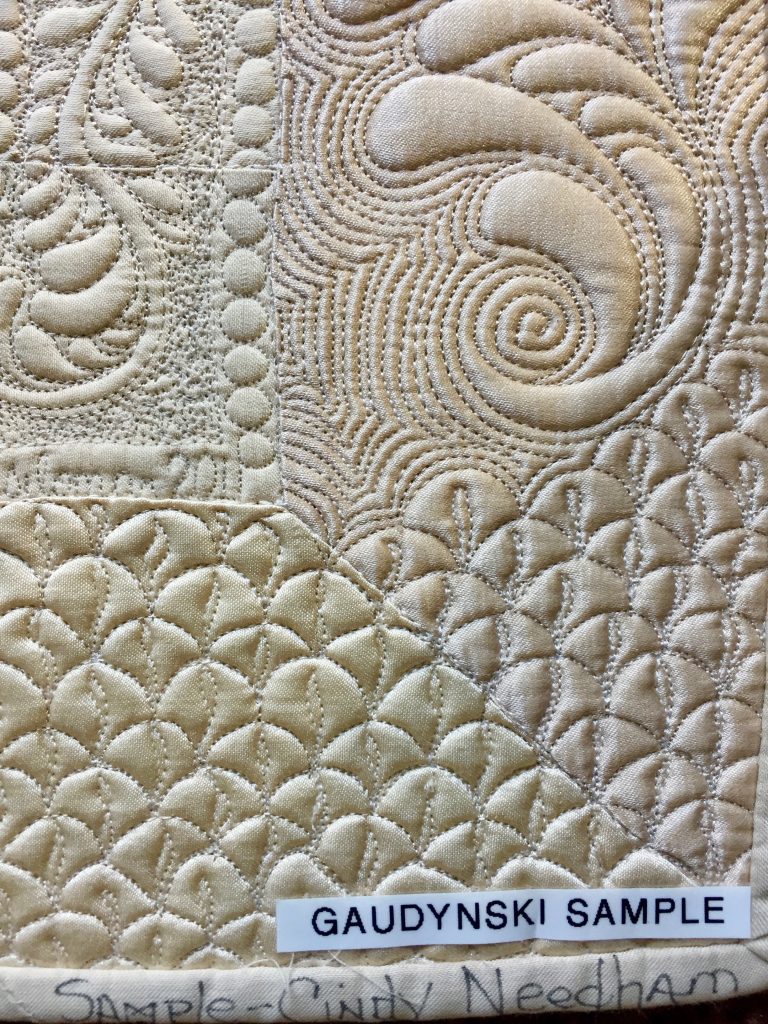
Anyway, on to the good stuff! When I schedule someone to teach, I always request a sample of the project they are going to teach. Guild members love to see the samples, as opposed to a picture, when deciding if they want to take the class. I believe most guilds provide samples for this reason. Cindy will be teaching a workshop on planning quilt motifs and quilting feathers. The sample above is pieced with silk. The mini measures approximately 20″ x 28″ or so (I didn’t actually measure it.) This particular piece is labeled as a Gaudynski sample as it looks to be stitched in the style developed and taught by Diane Gaudynski.

Up close, quilting by Cindy Needham

This sample is just incredible. I knew Cindy was an extremely talented quilter. But seeing it up close is such a treat. She free motion quilts and for the life of me, I cannot imagine ever quilting like this. I thought it would be a fun thing to share this beautiful stitching with you.

Quilting by Cindy Needham.

The motifs are so tiny and so detailed. It is hard to imagine having this sort of control. I tried to watch her lines, where she traveled to and from. Jaw dropping work!

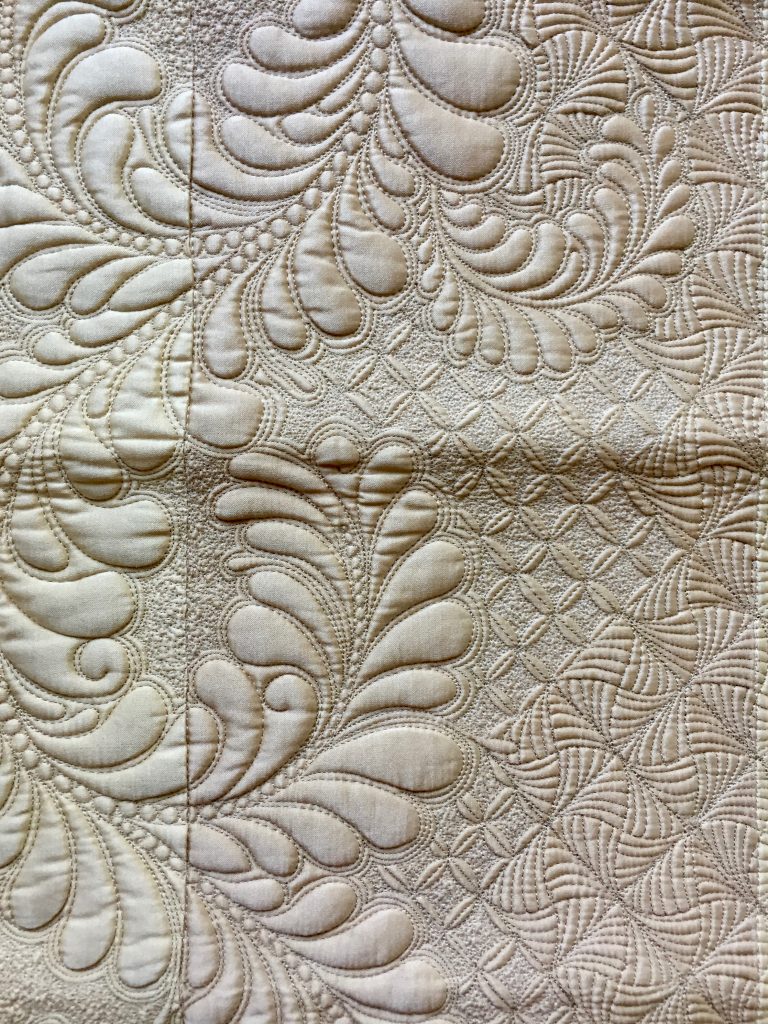
Check out these feathers! Quilting by Cindy Needham

The feathers are beautiful but to me the most impressive are the petals to the right of the feathers. Those tiny spaces between each petal are stitched down with minute stitches causing the petals to pop. Same for the flat space between the feathers. Such teeny tiny stitches!

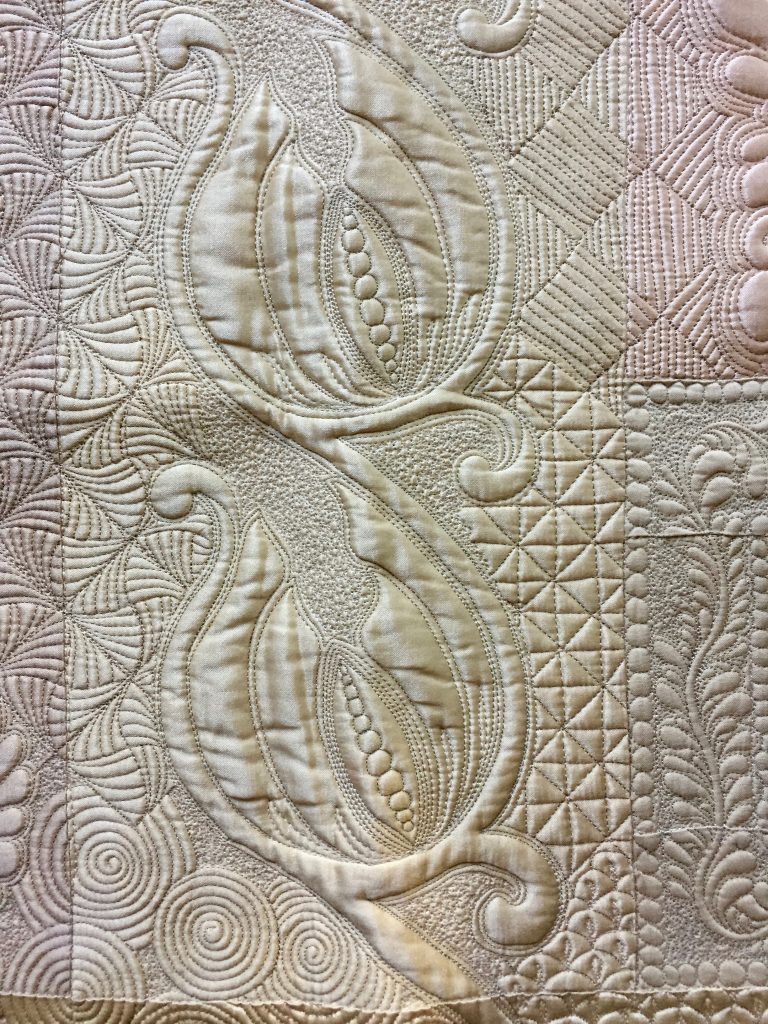
Quilting by Cindy Needham.

These look like tulips to me. I love them because they show off the silk beautifully. The whole effect overall is elegant. Pale colors of pink, rose and a really light gold all worked together. Cindy collects vintage linens and textiles and works them into much of her art. I am so looking forward to her trunk show and listening to her lecture. I will post an update in a couple of months after our February guild meeting.

Hope you all had a great Thanksgiving holiday. Thanks to so many of you who shopped my Small Business Saturday/Cyber Monday sales! The last of those shipped out yesterday.

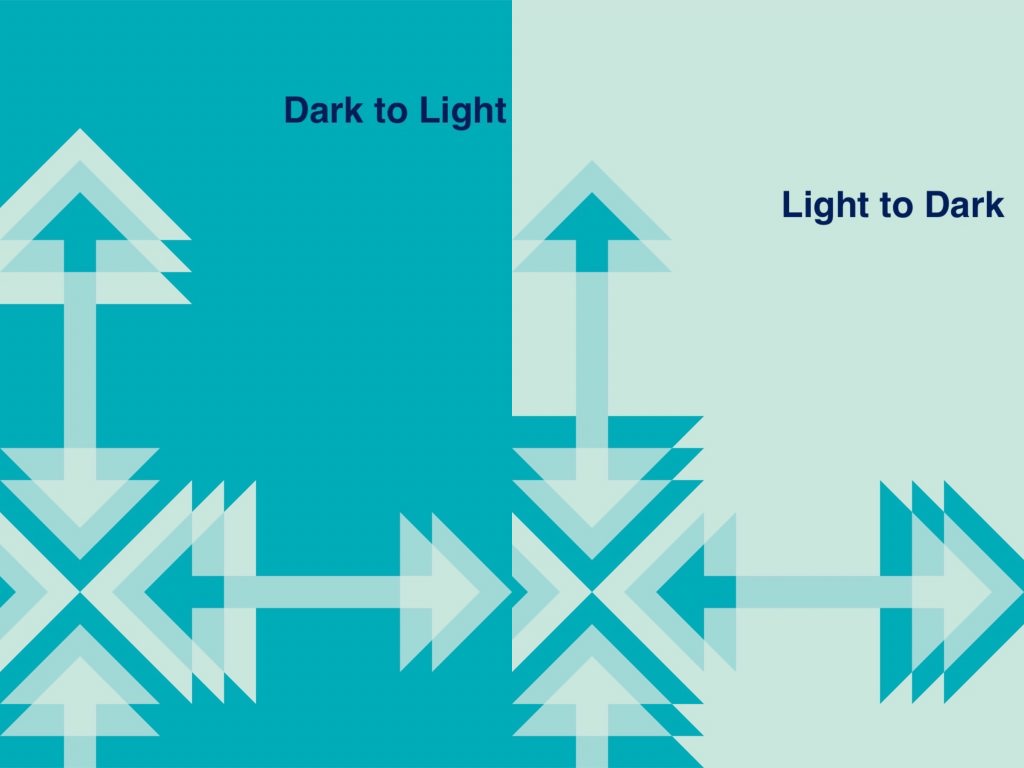
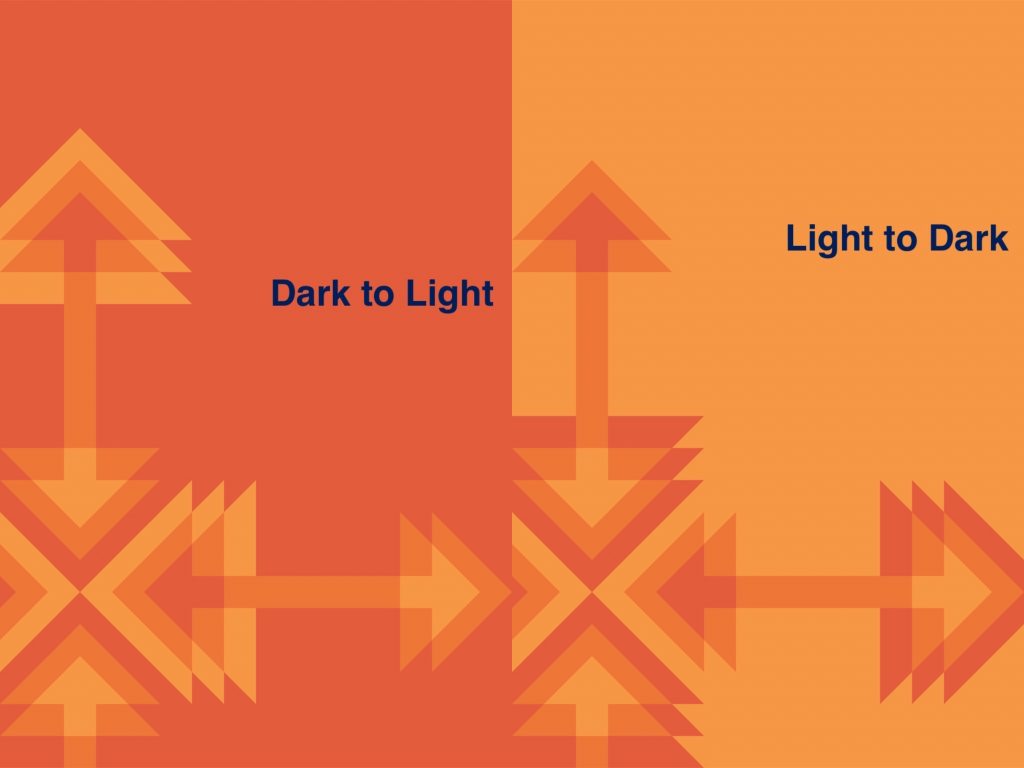
I am still cutting kits for the Push Pull QAL. My customers have been really patient as I ran out of the darker fabrics for both kits and had to re-order. An interesting thing of note – I offered four kits. Two teal blue kits where the quilter could choose a light or dark background and two orange kits with the light or dark background.

Every single kit sold so far has had the dark background. Not sure why this catches my attention but it does.

I am curious what your thoughts are? Maybe the transparency effect is shown better with the dark background? I like them both but clearly that is not the opinion of most! I still have a few kits left if you are interested. Click here to check them out.

It is going to be a rainy weekend so tomorrow I should be able to find some time in the sewing room. I have several holiday gifts I am working on and I need to make some progress with those! Sunday we are driving over to my son and his wife’s house for lunch. We haven’t seen them in a long while so I am excited about that! How about you?