Monthly Archives: December 2015

Christmas Giving and Receiving

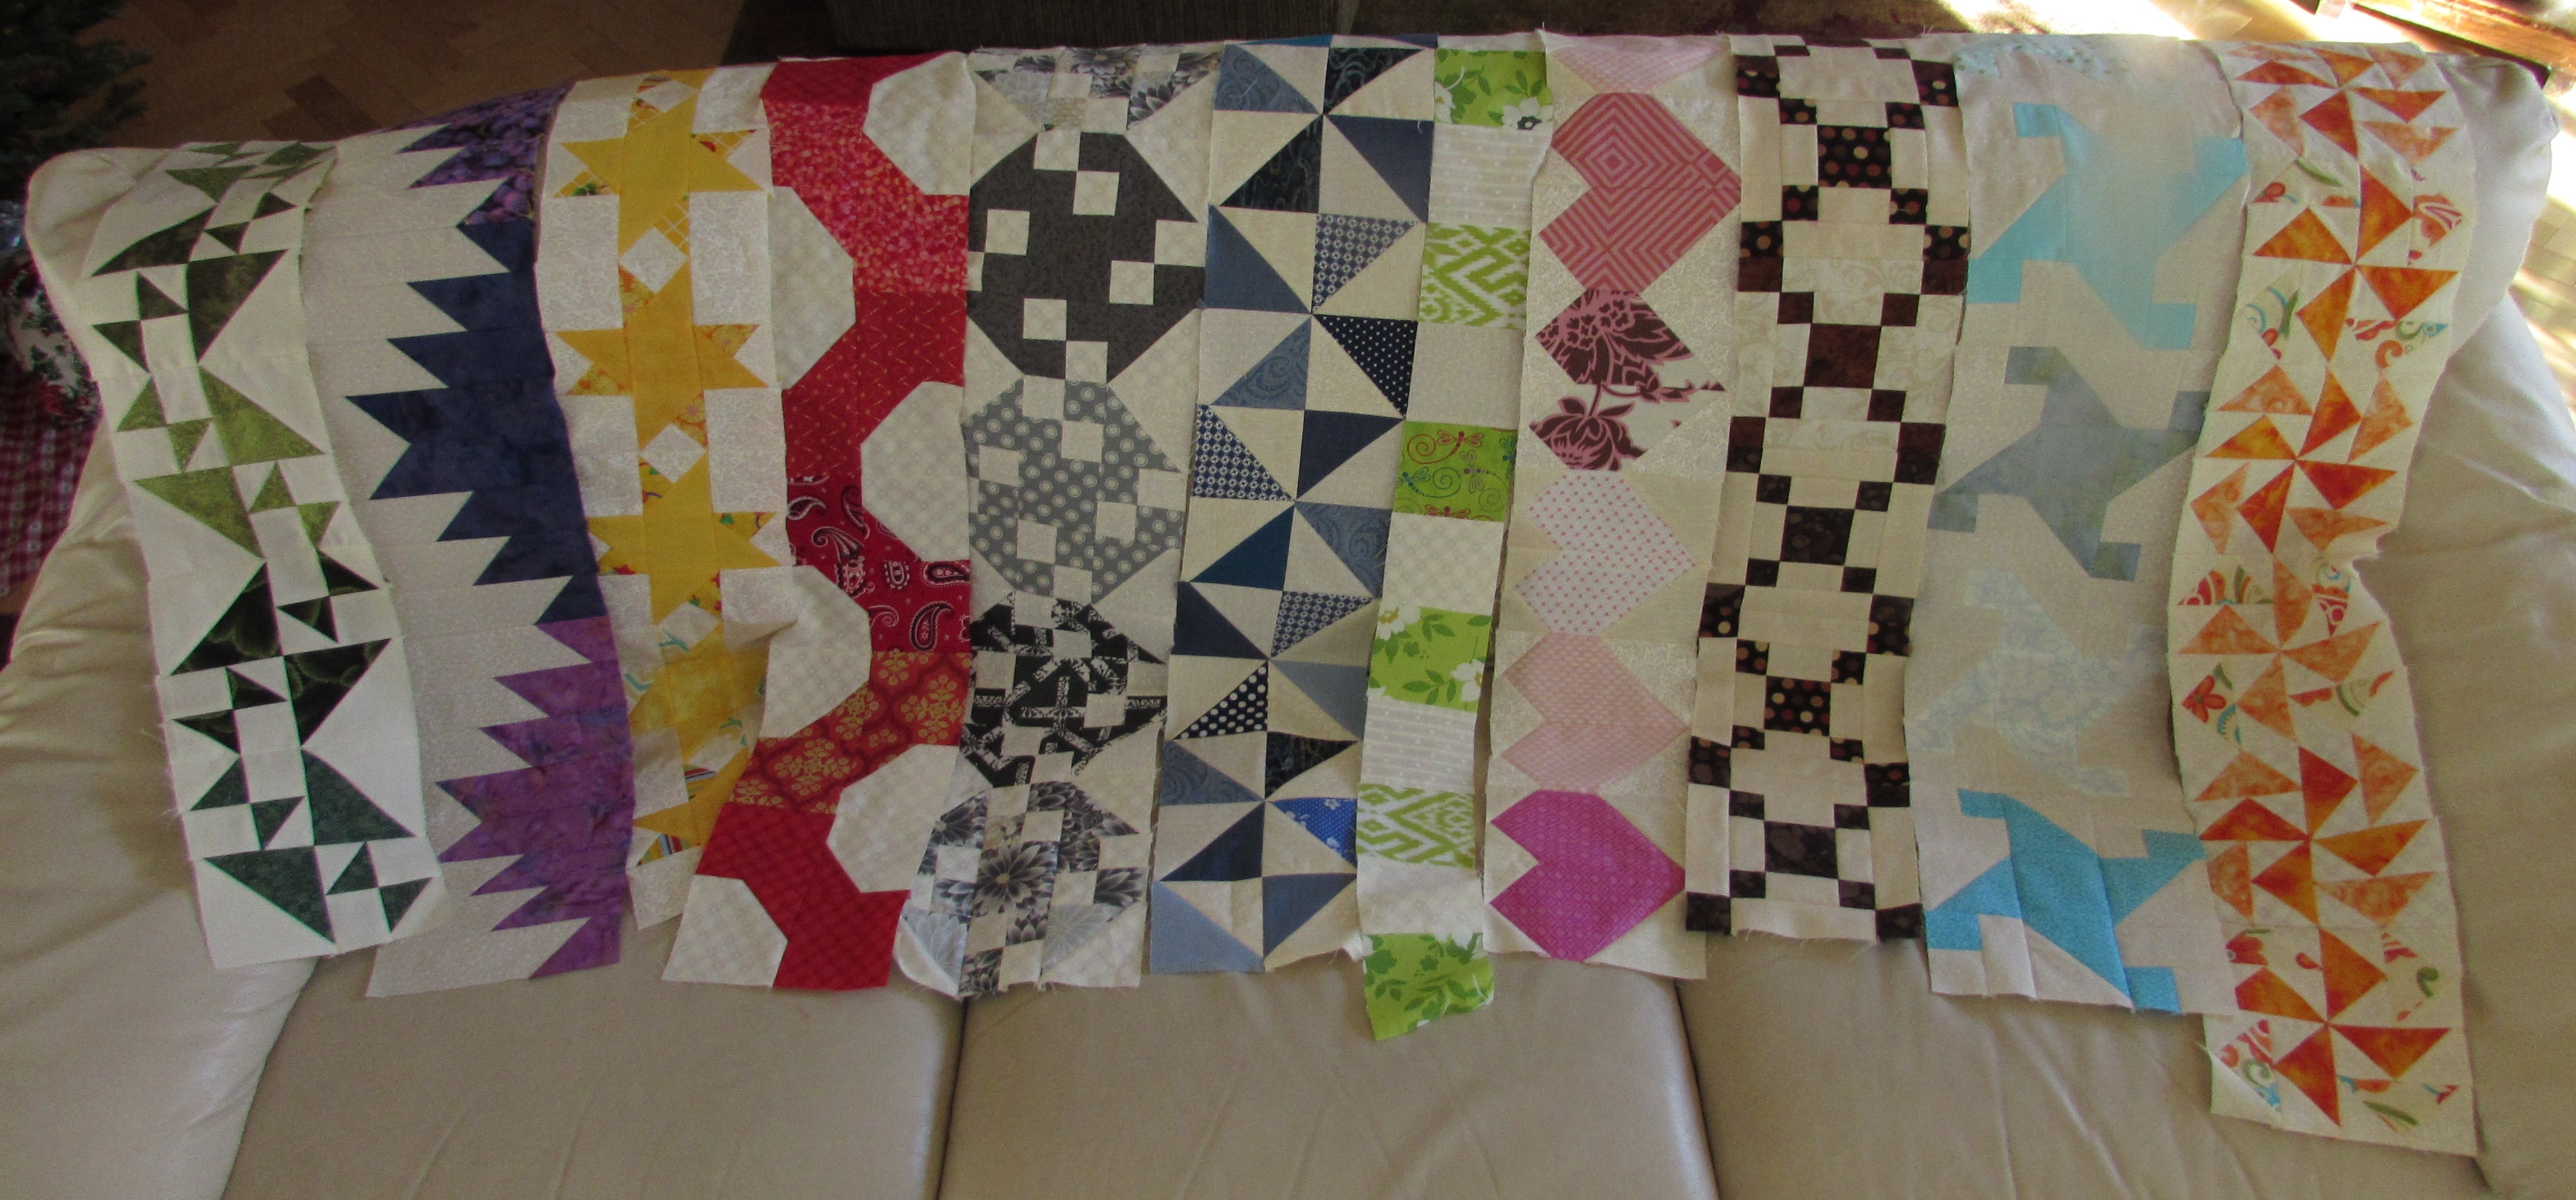
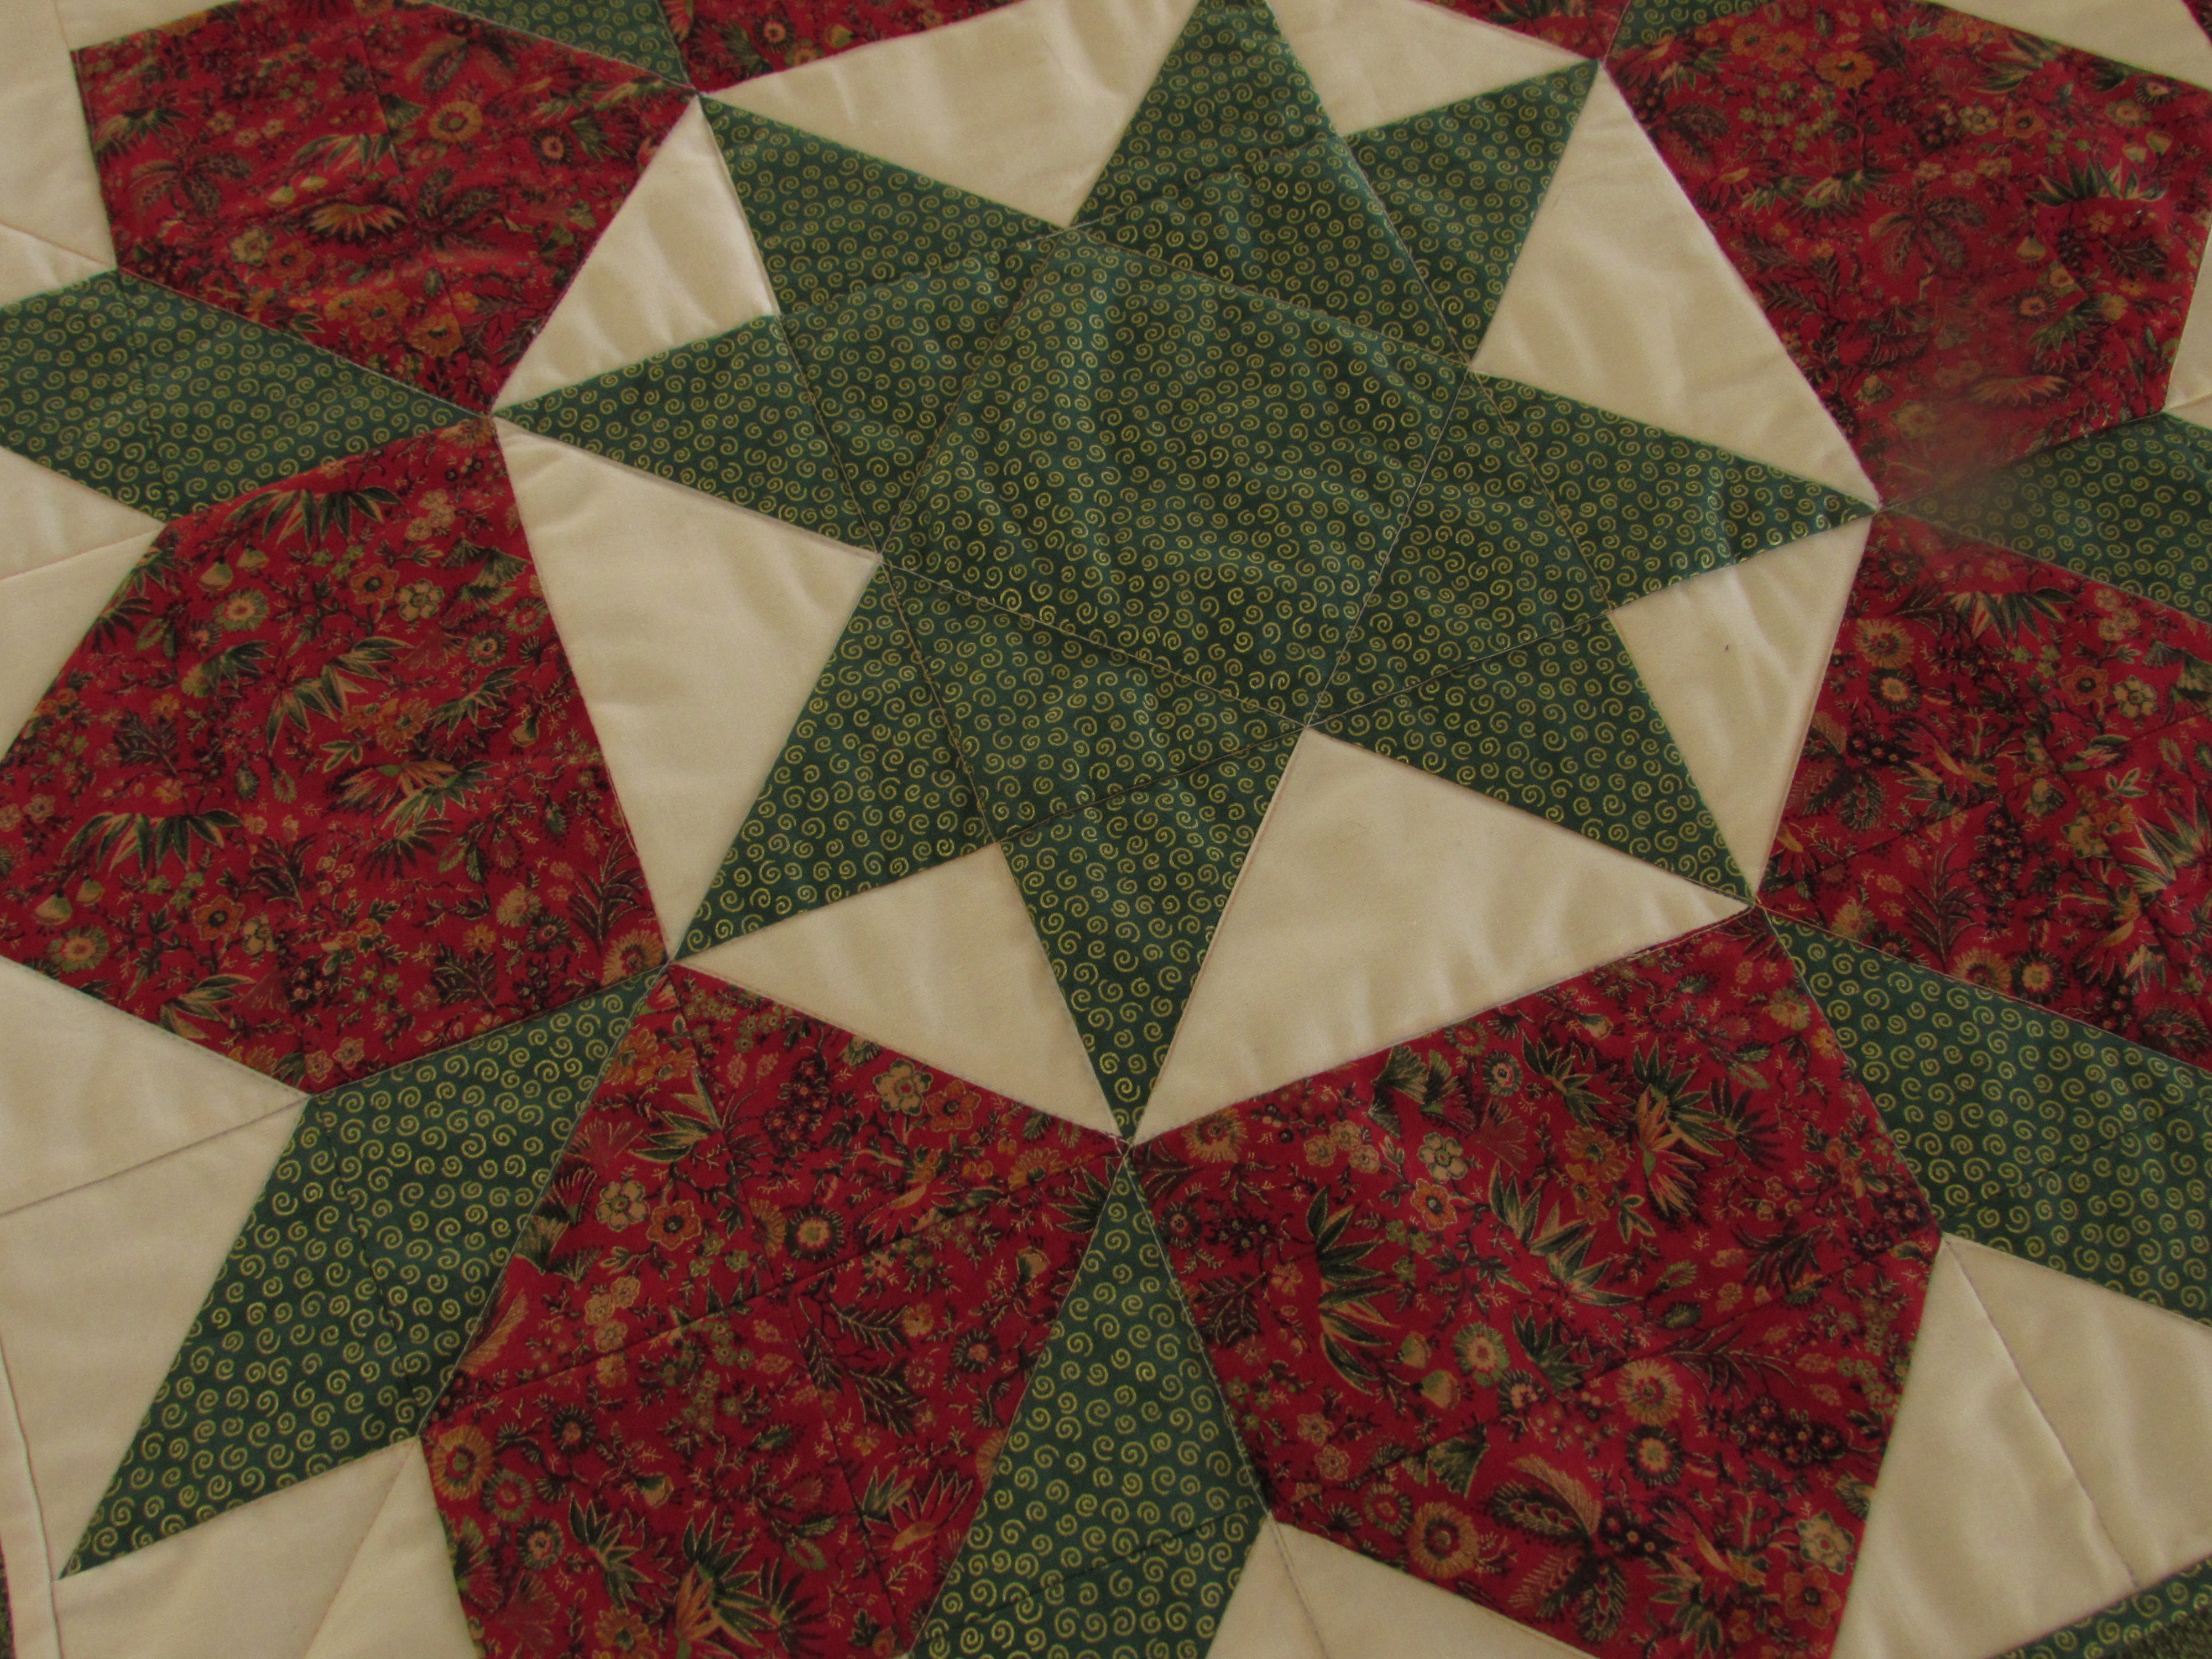
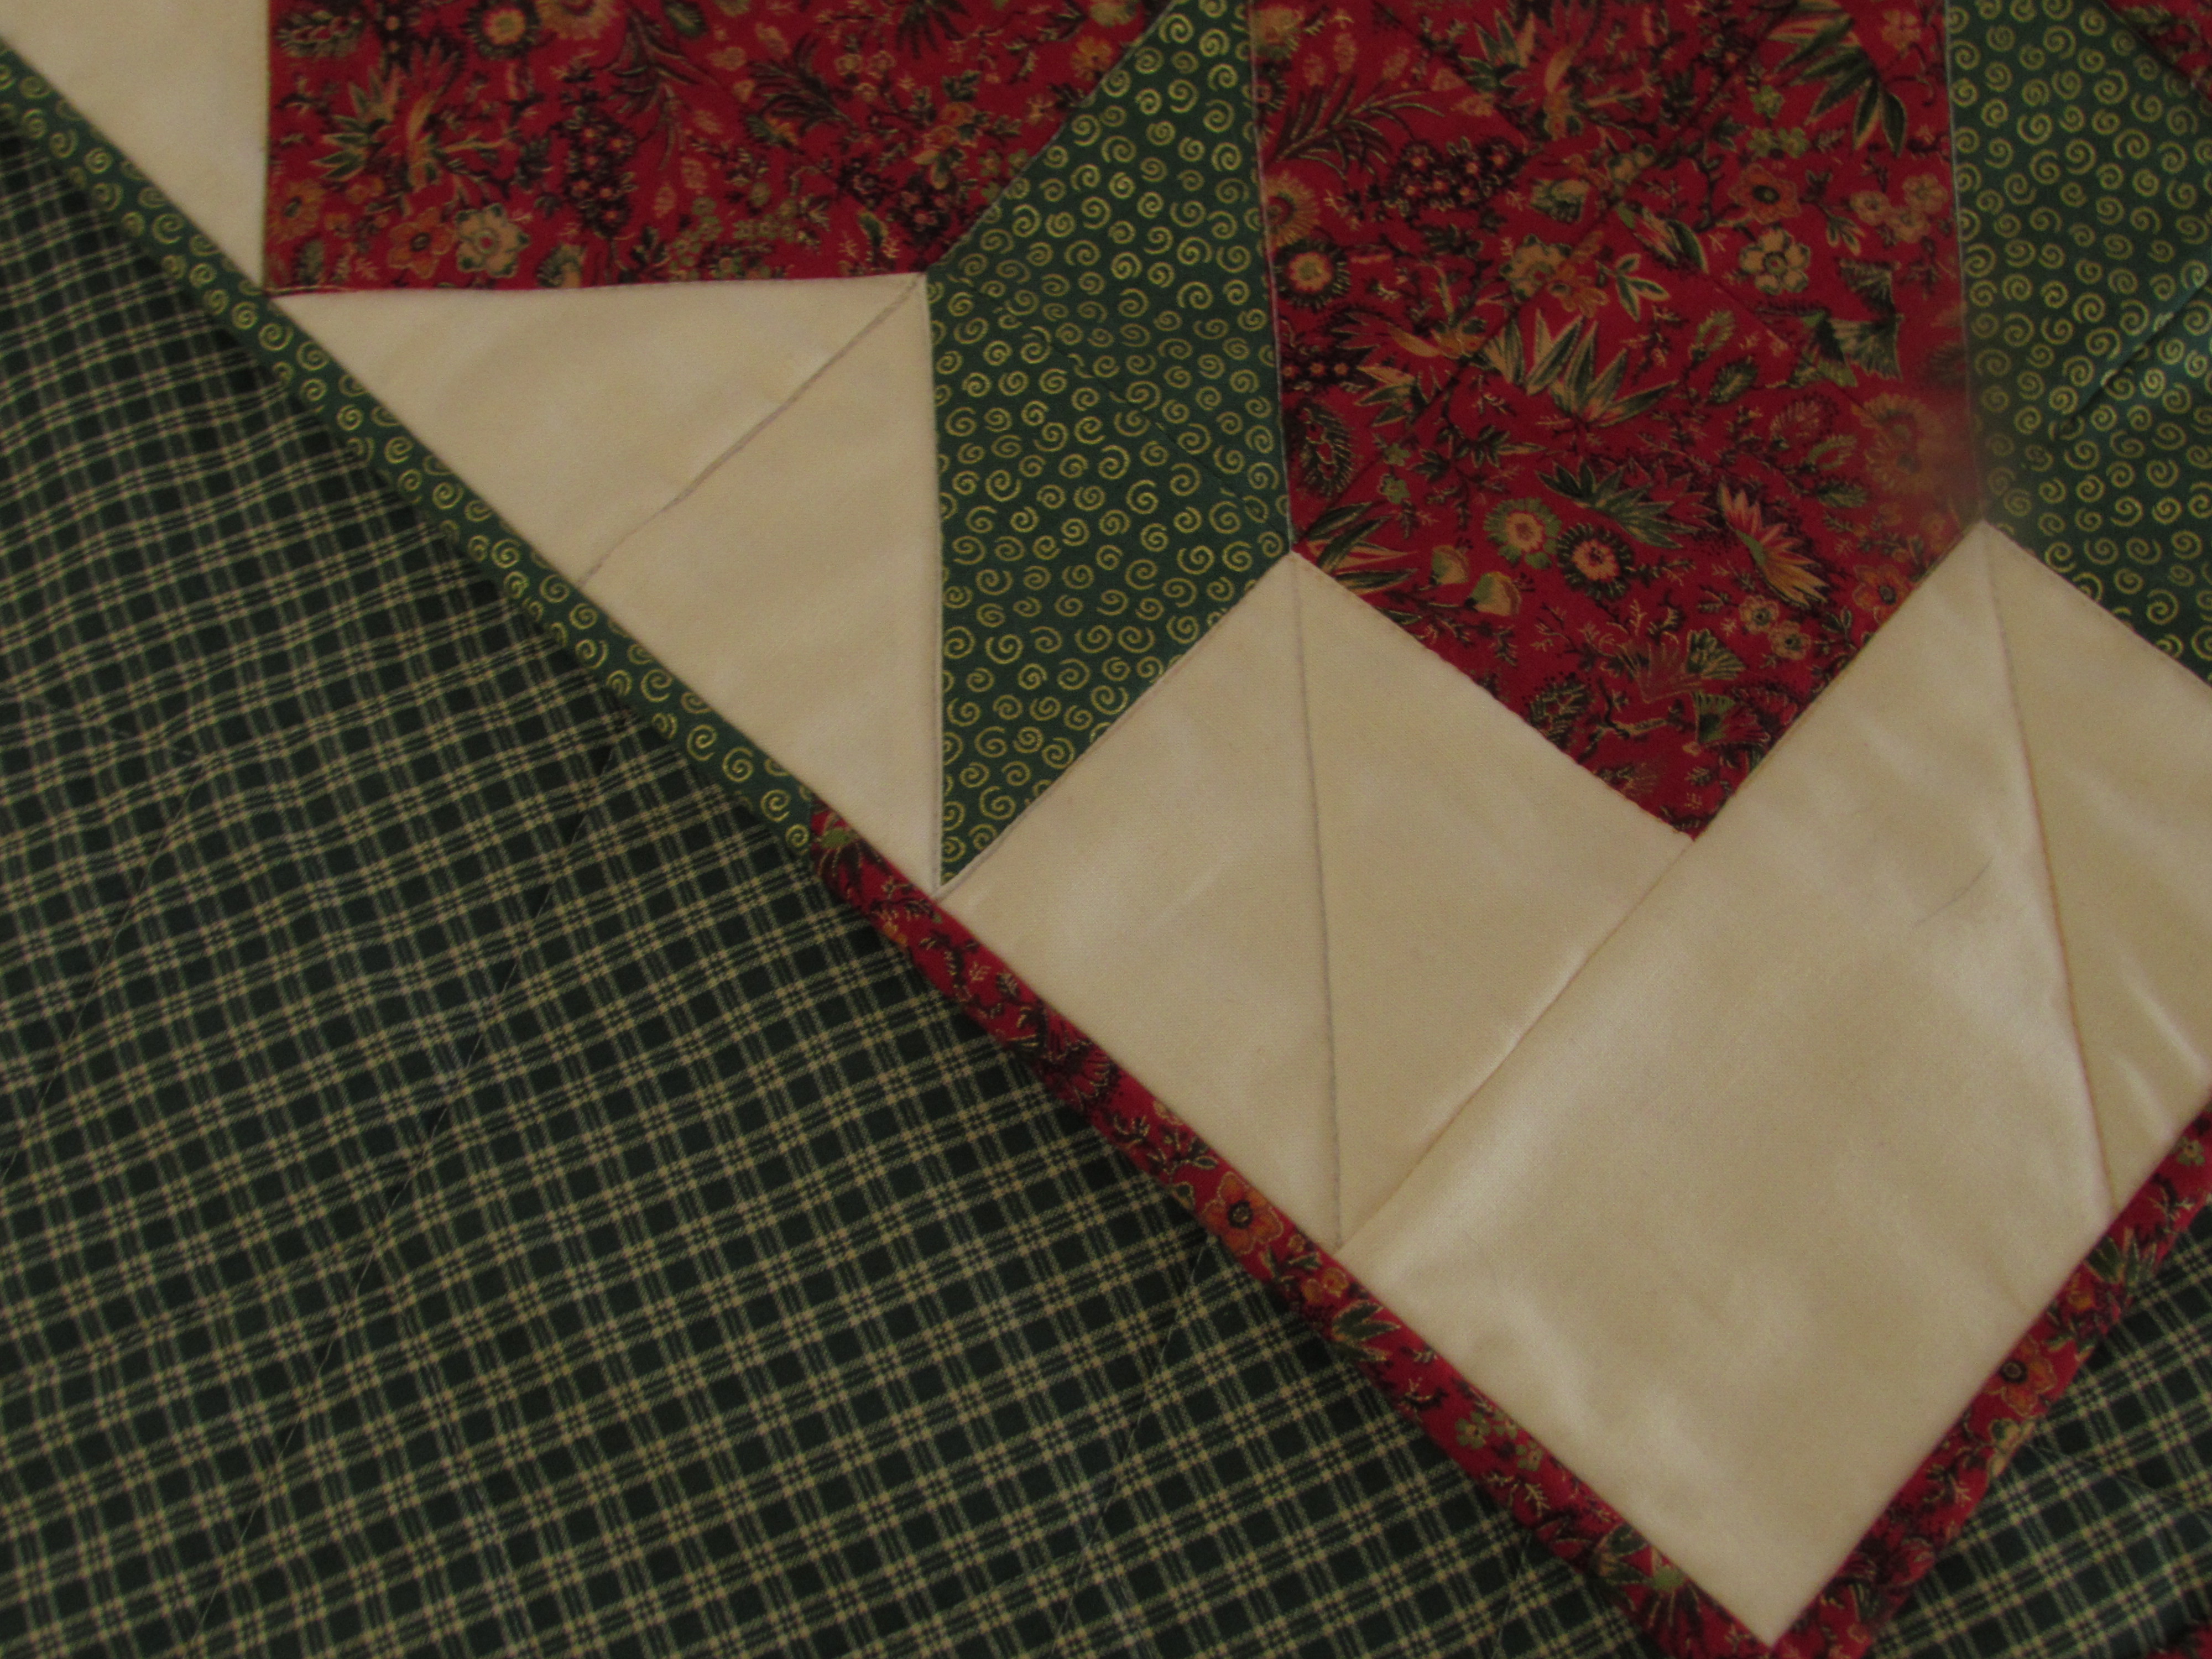
About a week before Christmas I decided I wanted to make a few gifts. My self-imposed parameters were no trips to the store, no spending money on fabric and something quick, easy and fun. I decided on the thirty minute zipper pouches that I found at Kelby Sews. They are a lot of fun to make and very satisfying.

IMG_20151219_4292

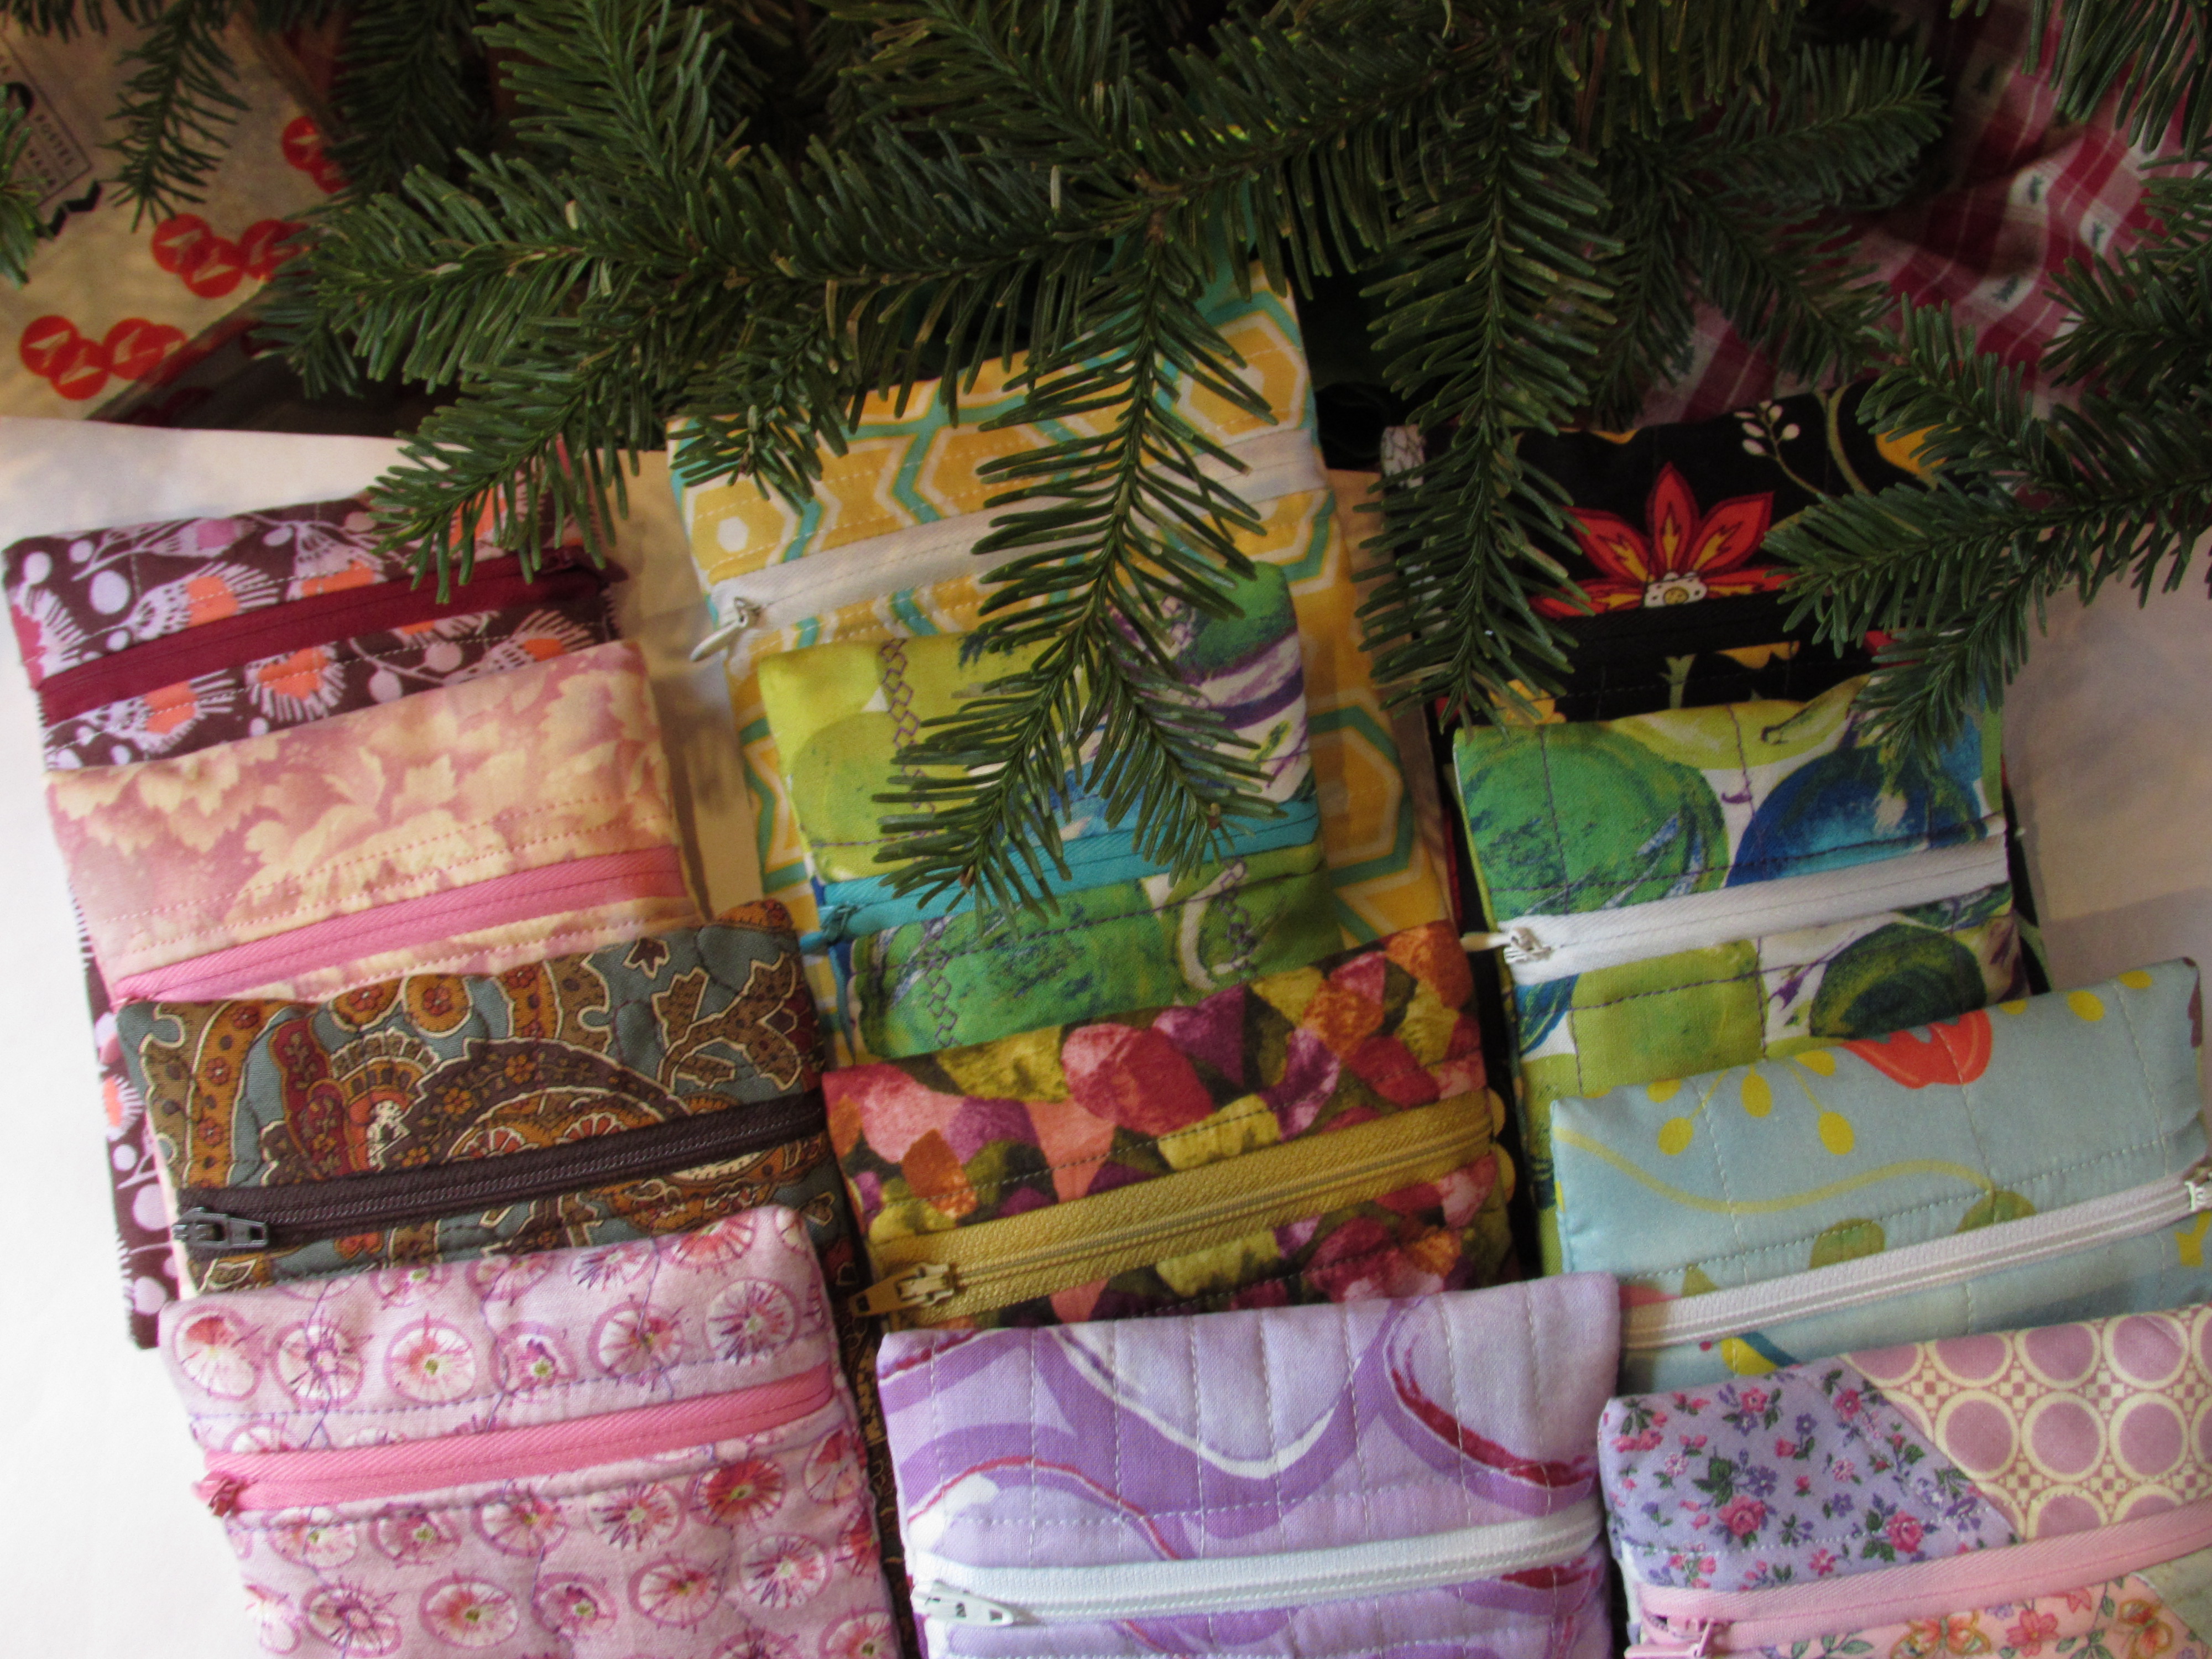
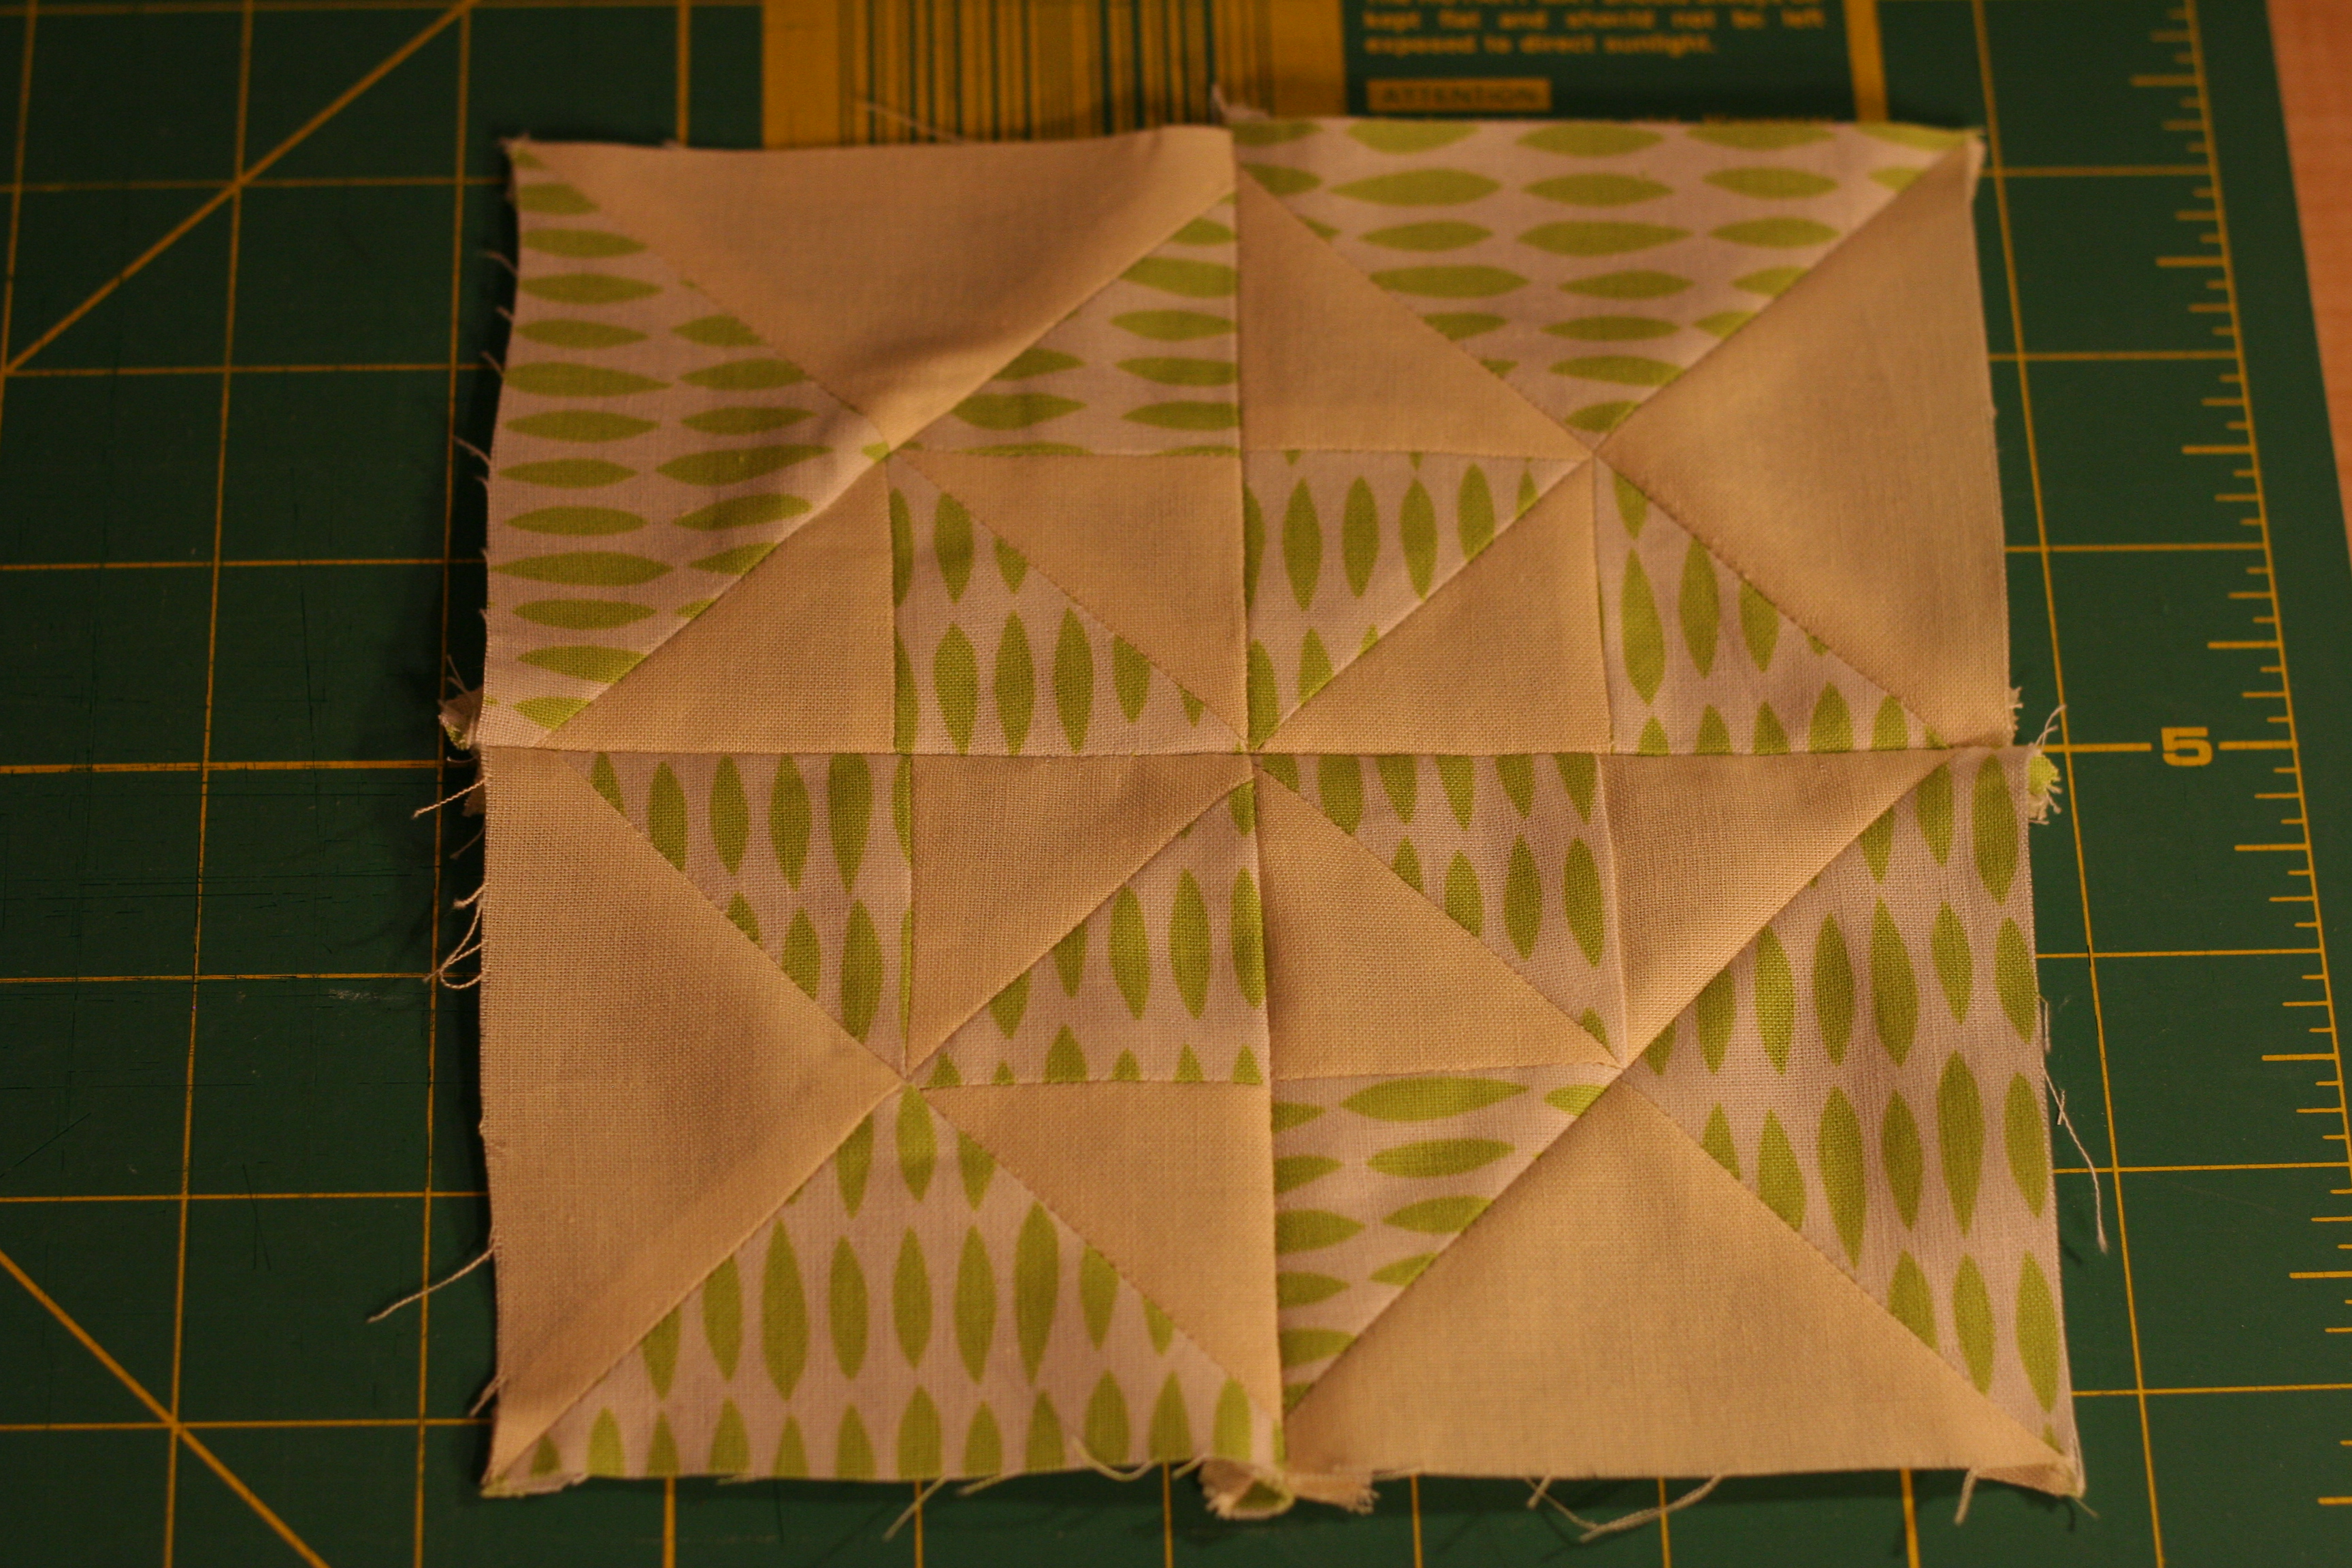
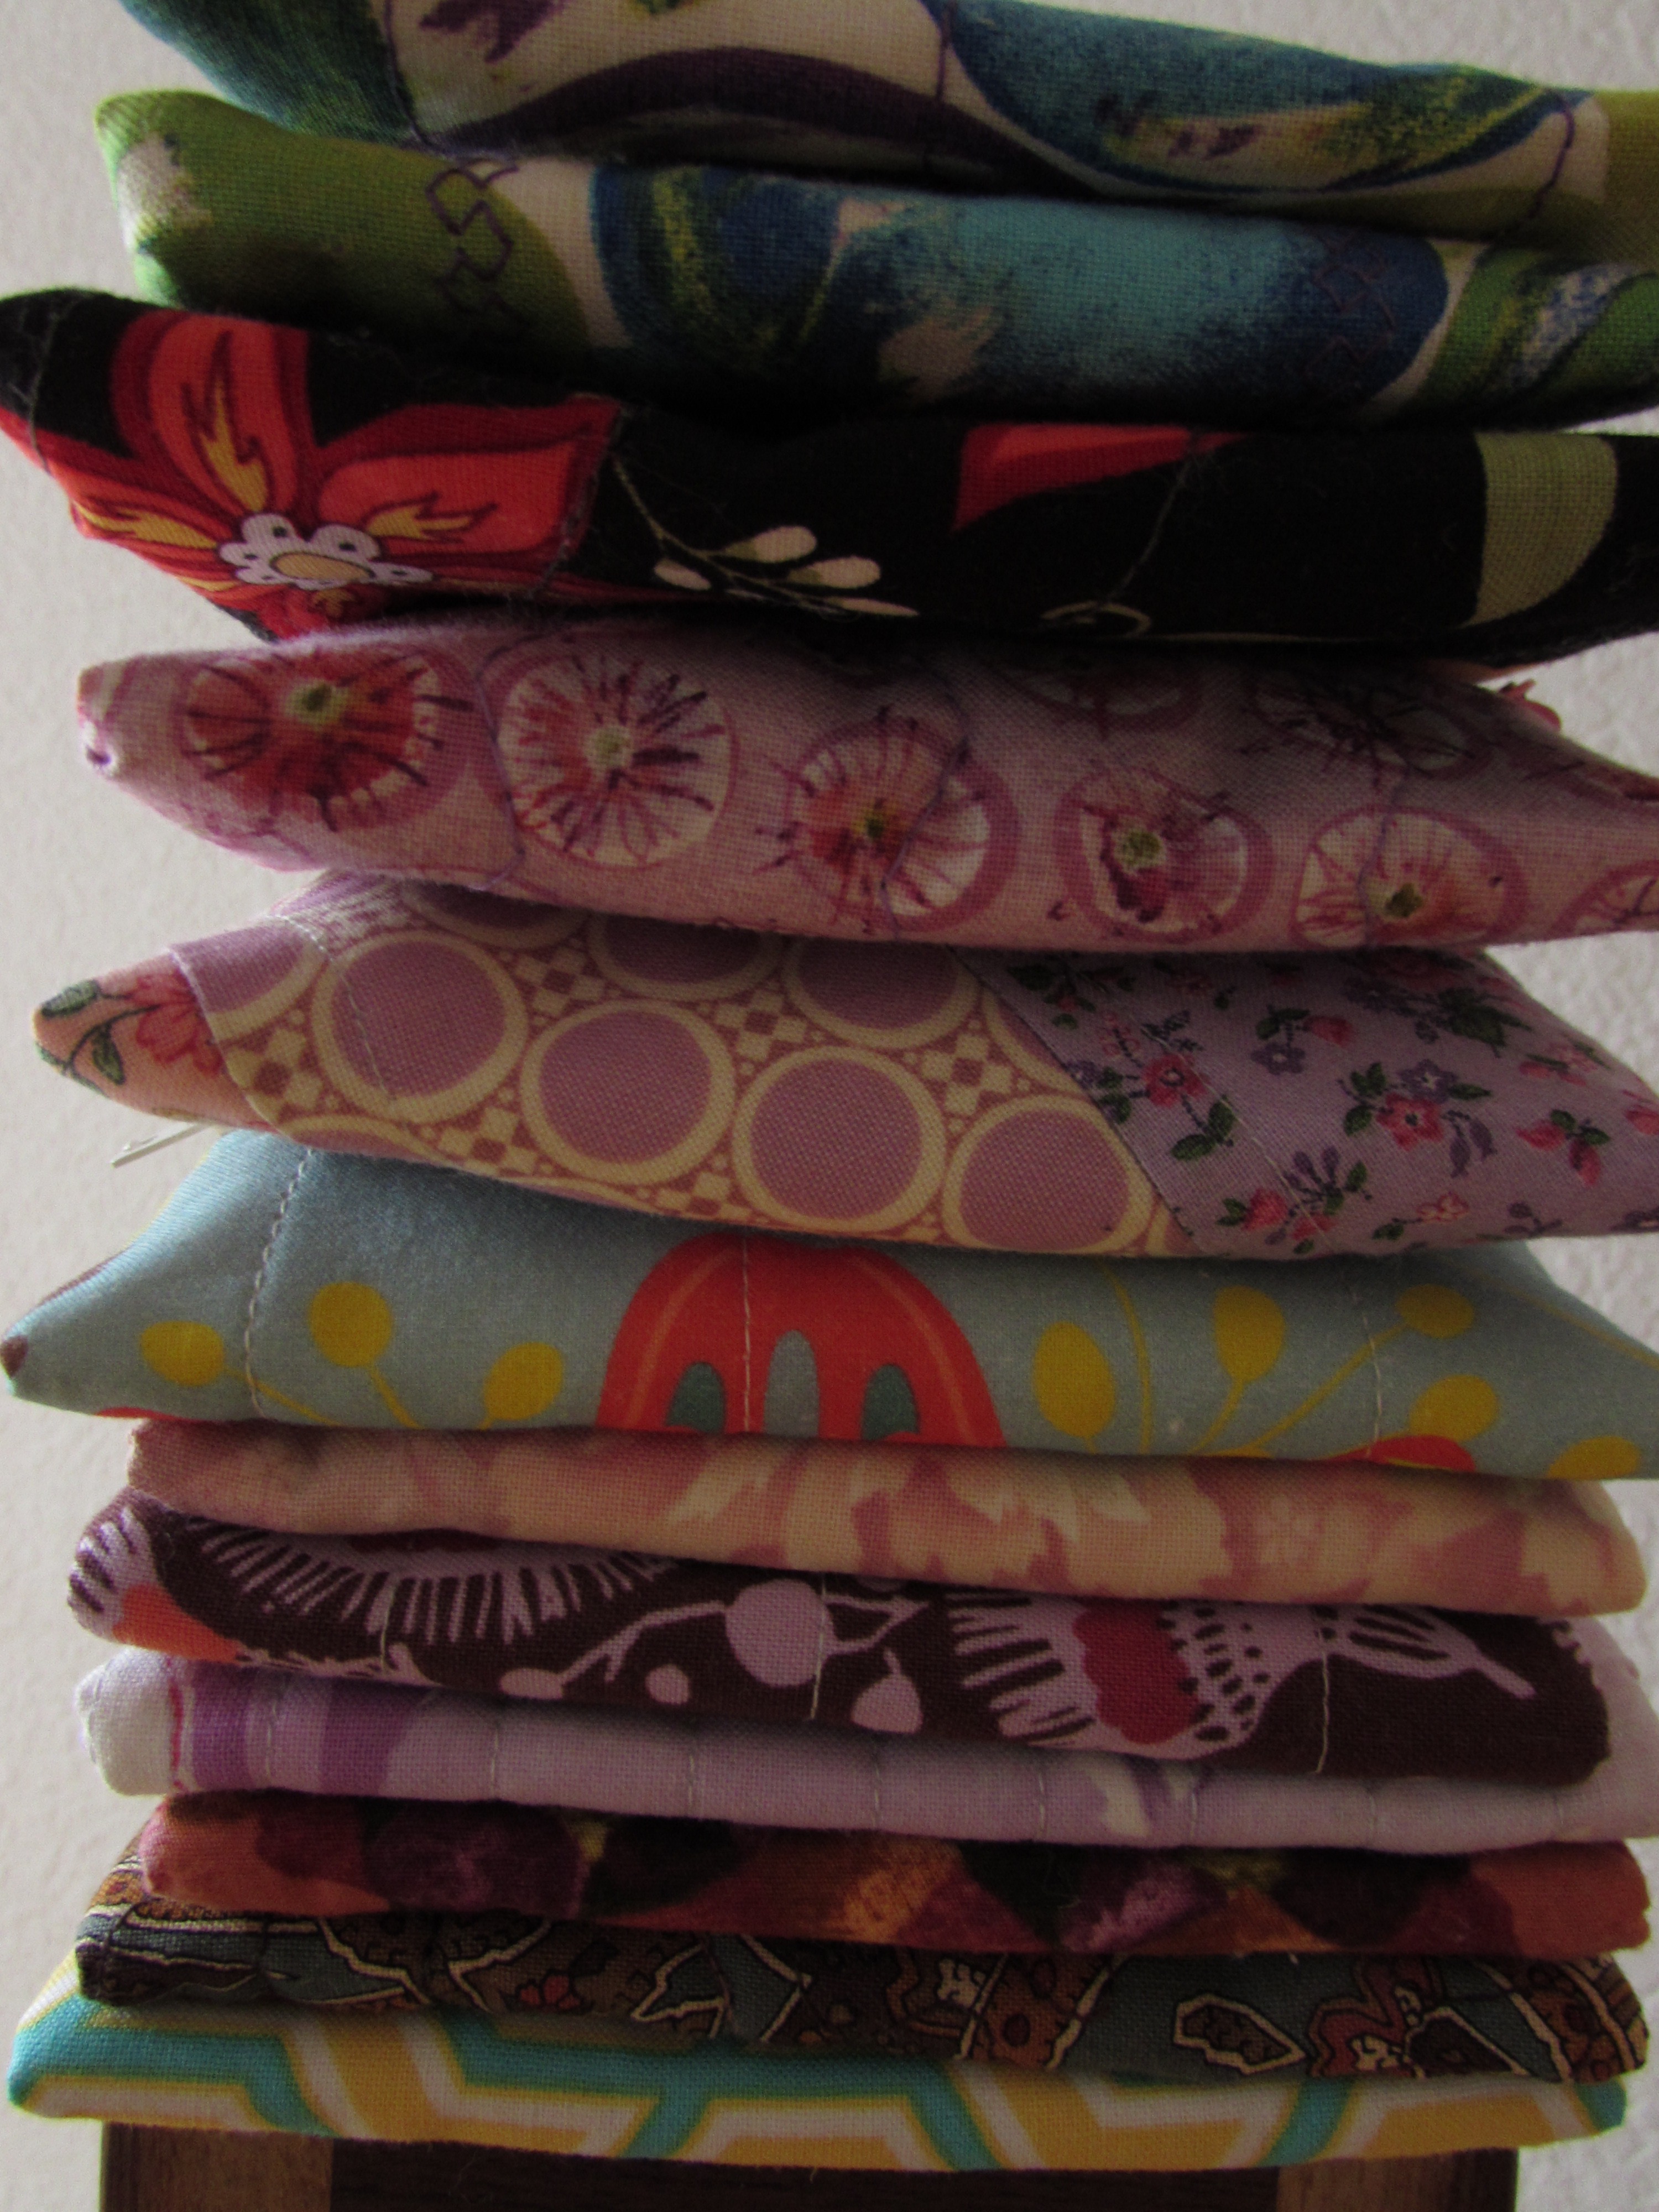
I do follow the basic tutorial that Kelby posted as her method of making these bags is wonderfully simple. However, I don’t strictly adhere to her dimensions. I have a large zip lok bag of zippers that I have collected from various thrift stores. Many, really most, of the zippers I have are very long, 16-22″ or so. It doesn’t matter as the ends are cut off once the bag is assembled. In addition I, like most quilters, have a large drawer full of batting scraps. The long pieces that are trimmed from the edges after quilting a project are stored there and are perfect for this project. With the zippers and batting on hand, I just had to pull large scraps that went well and coordinated with the zippers. That was probably the toughest part of the process, matching fabrics to whatever zippers I had.  Looking at the photo below, you will see fabrics from Kaffe Fassett, Henry Glass, Allison Glass, Amy Butler, and several by Kathy Davis.  A variety of wonderful colors, to be sure; it felt great to use up so many scraps! The tutorial tells the maker to use adhesive and glue the fabric to the batting. I chose to quilt them together instead. I think it adds an extra touch, and also…I don’t have any spray baste on hand!

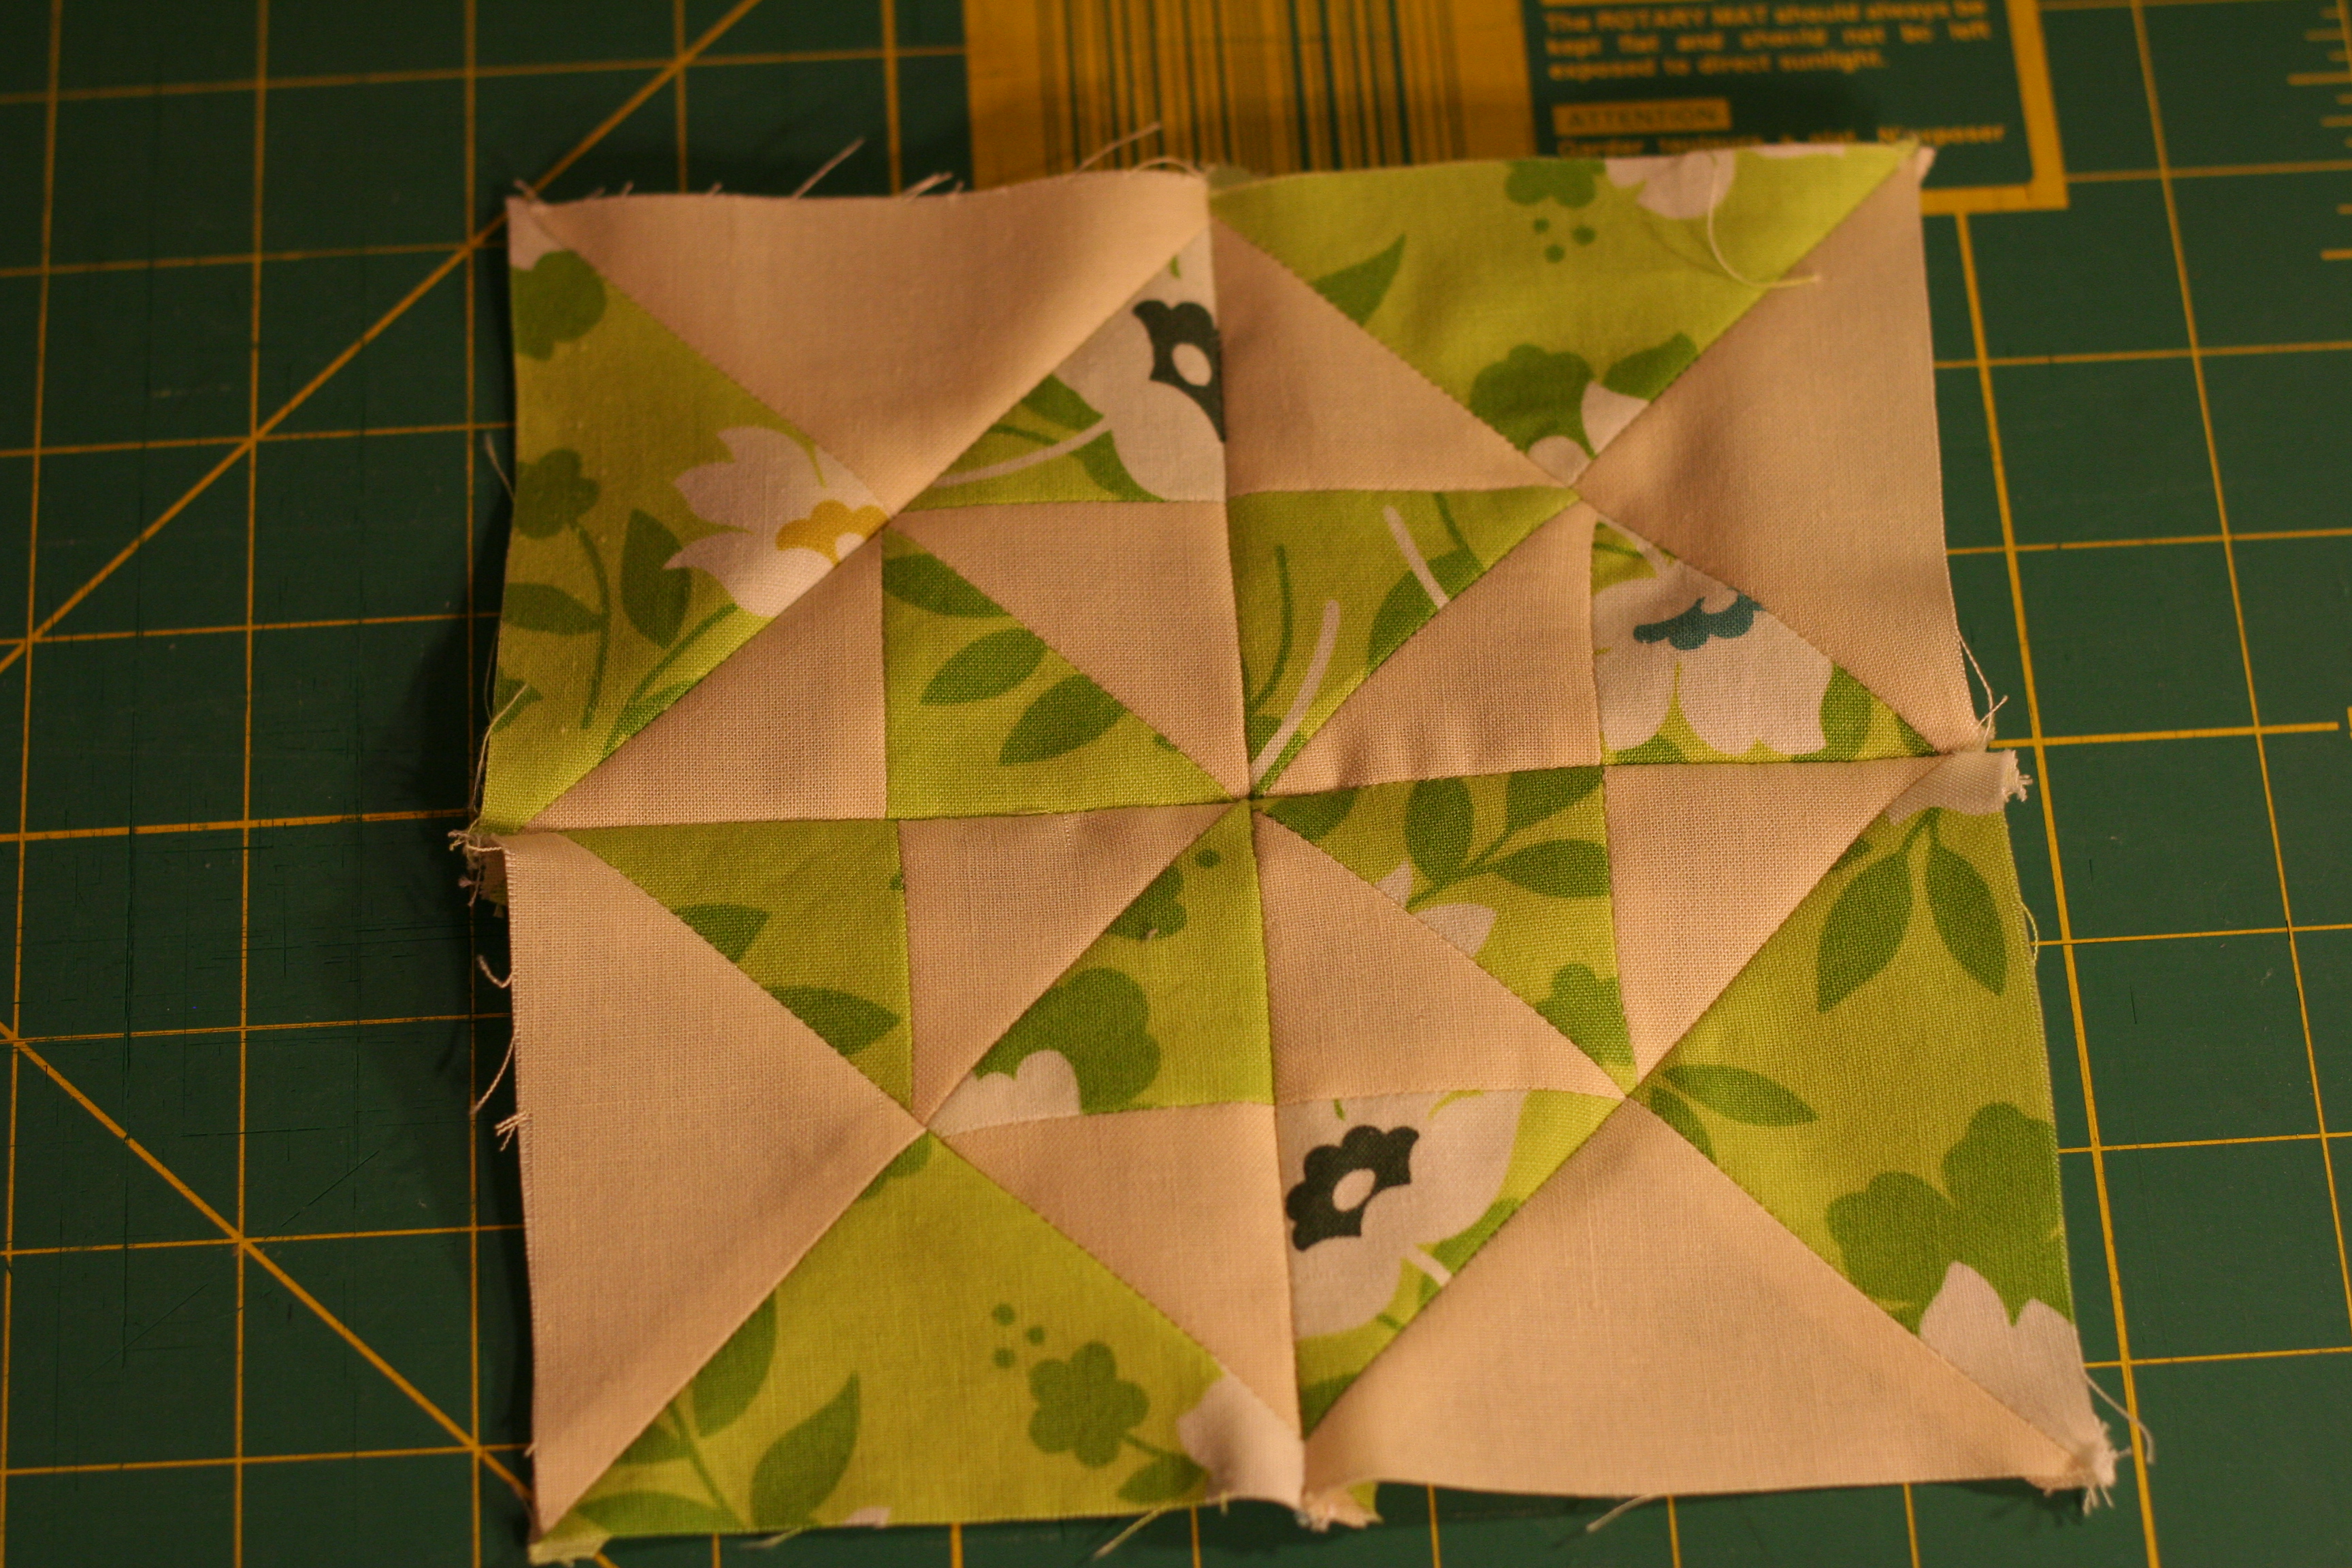
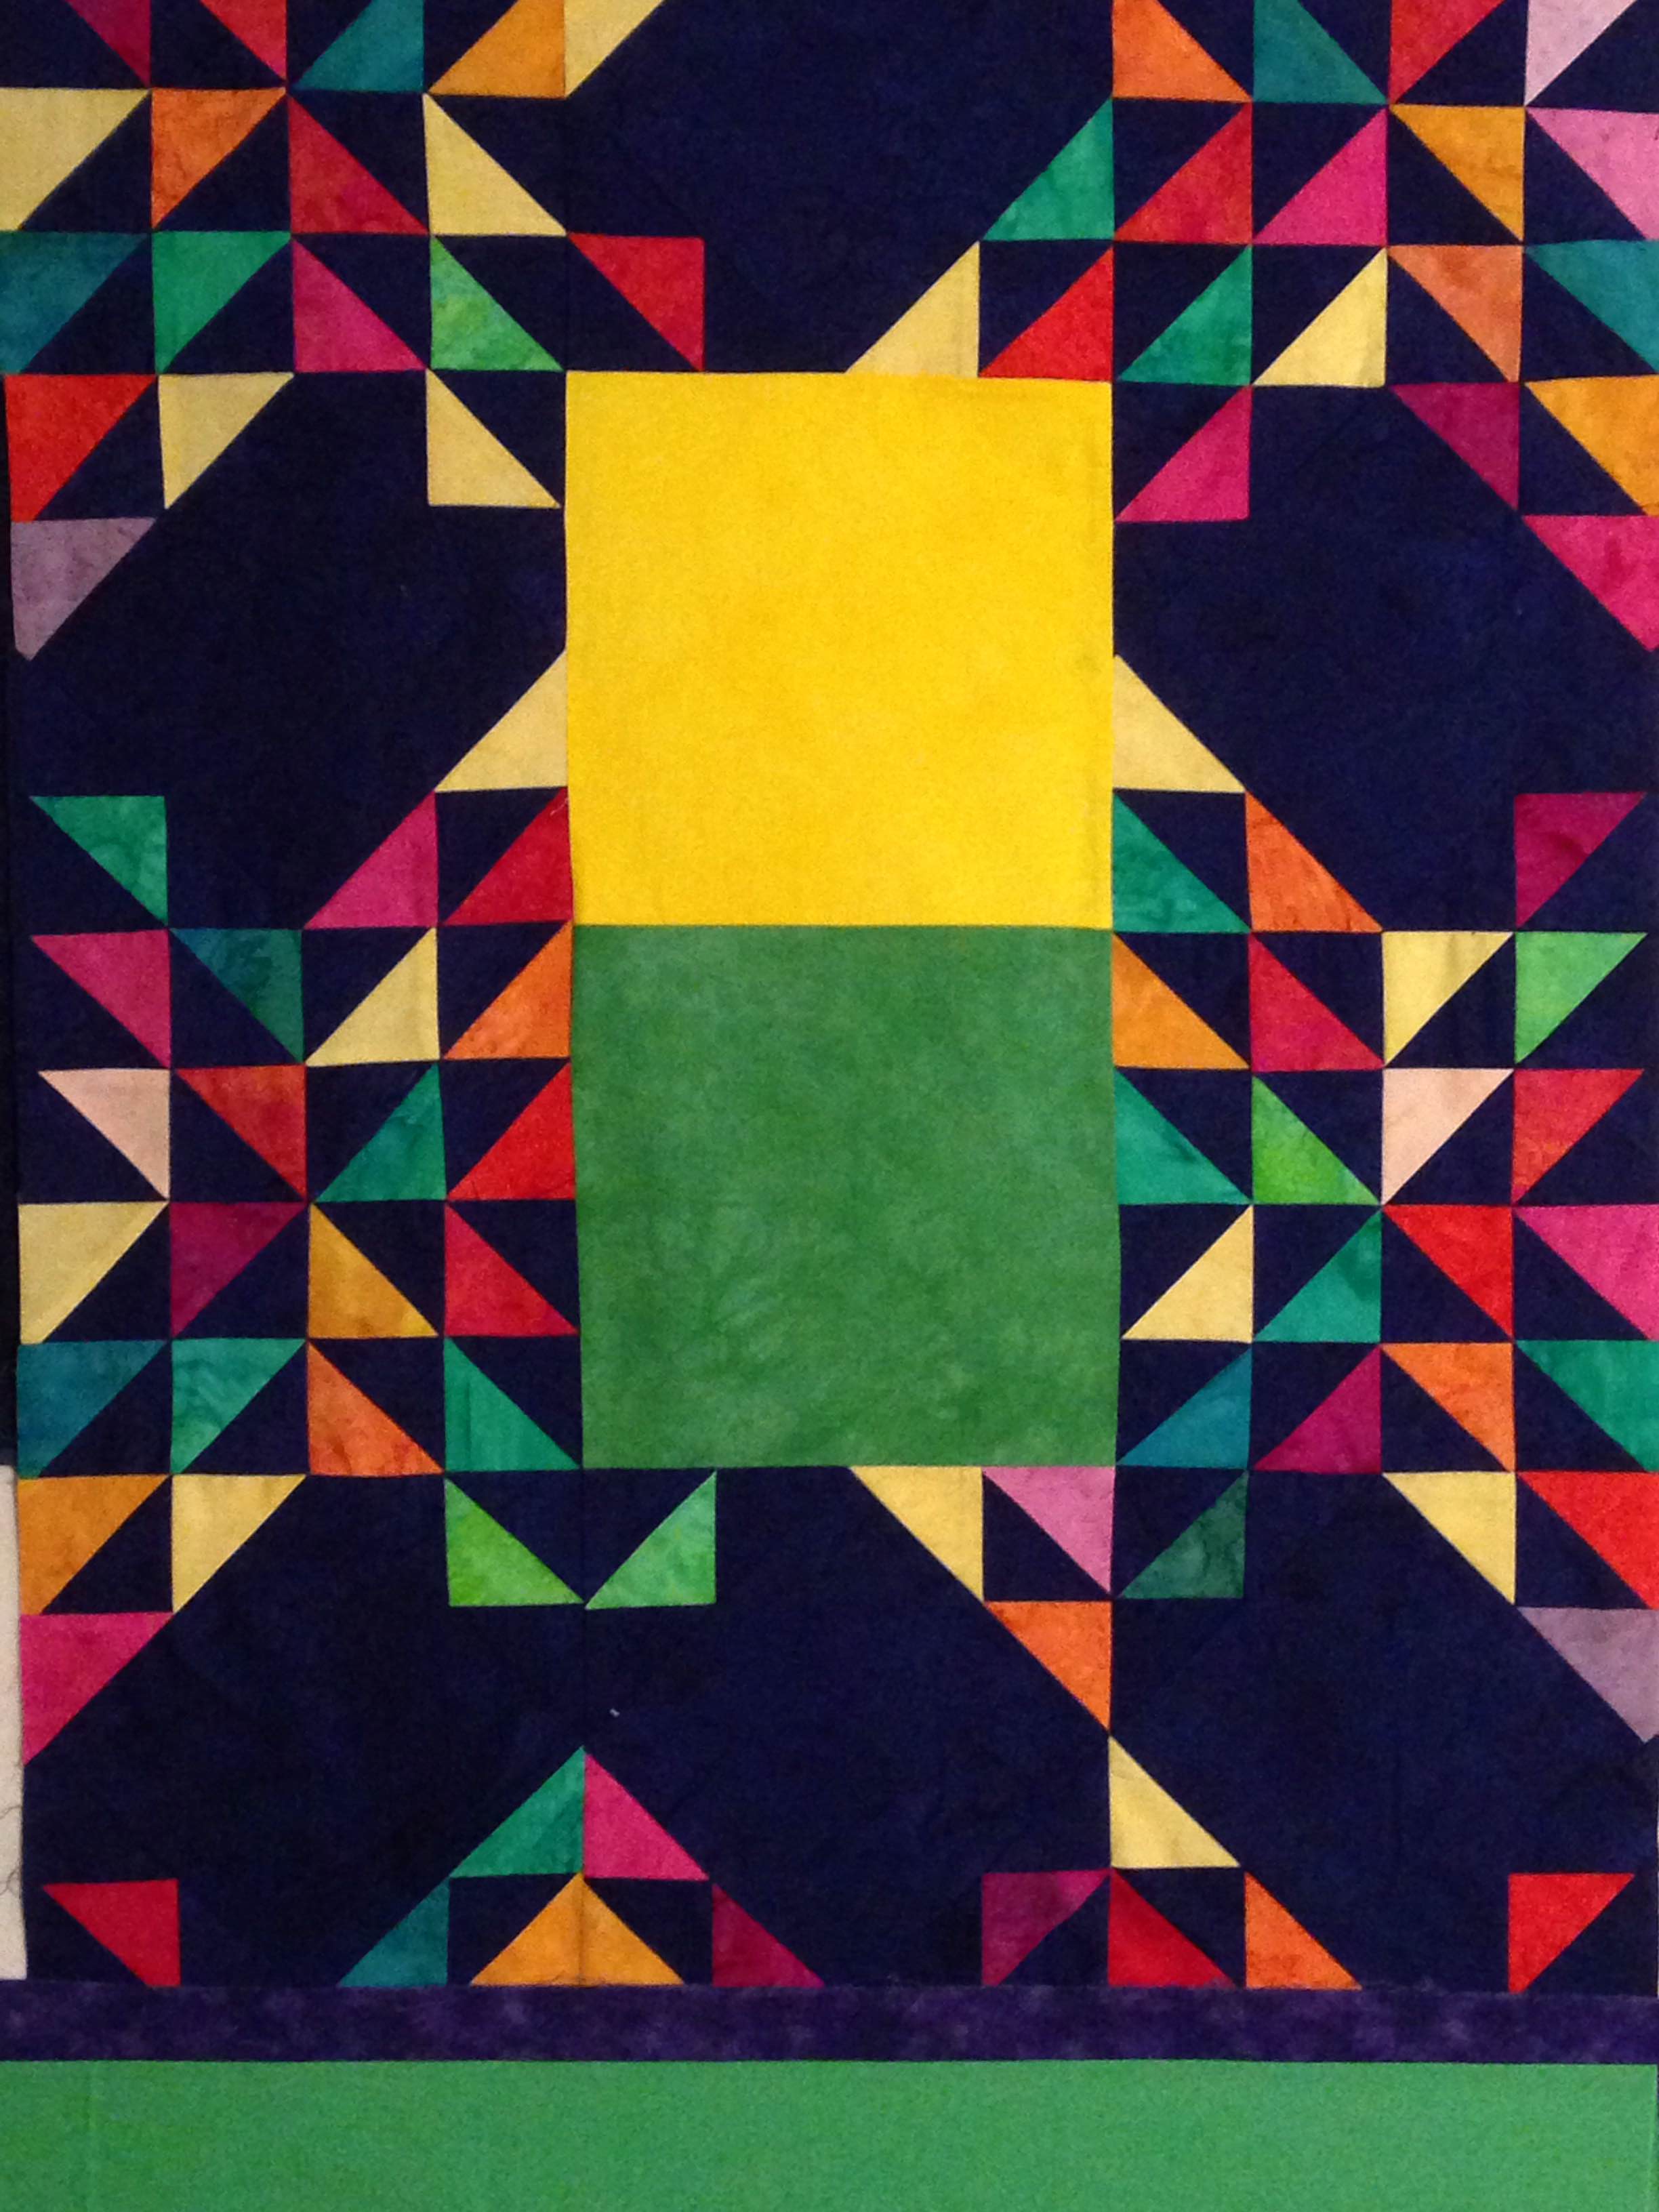
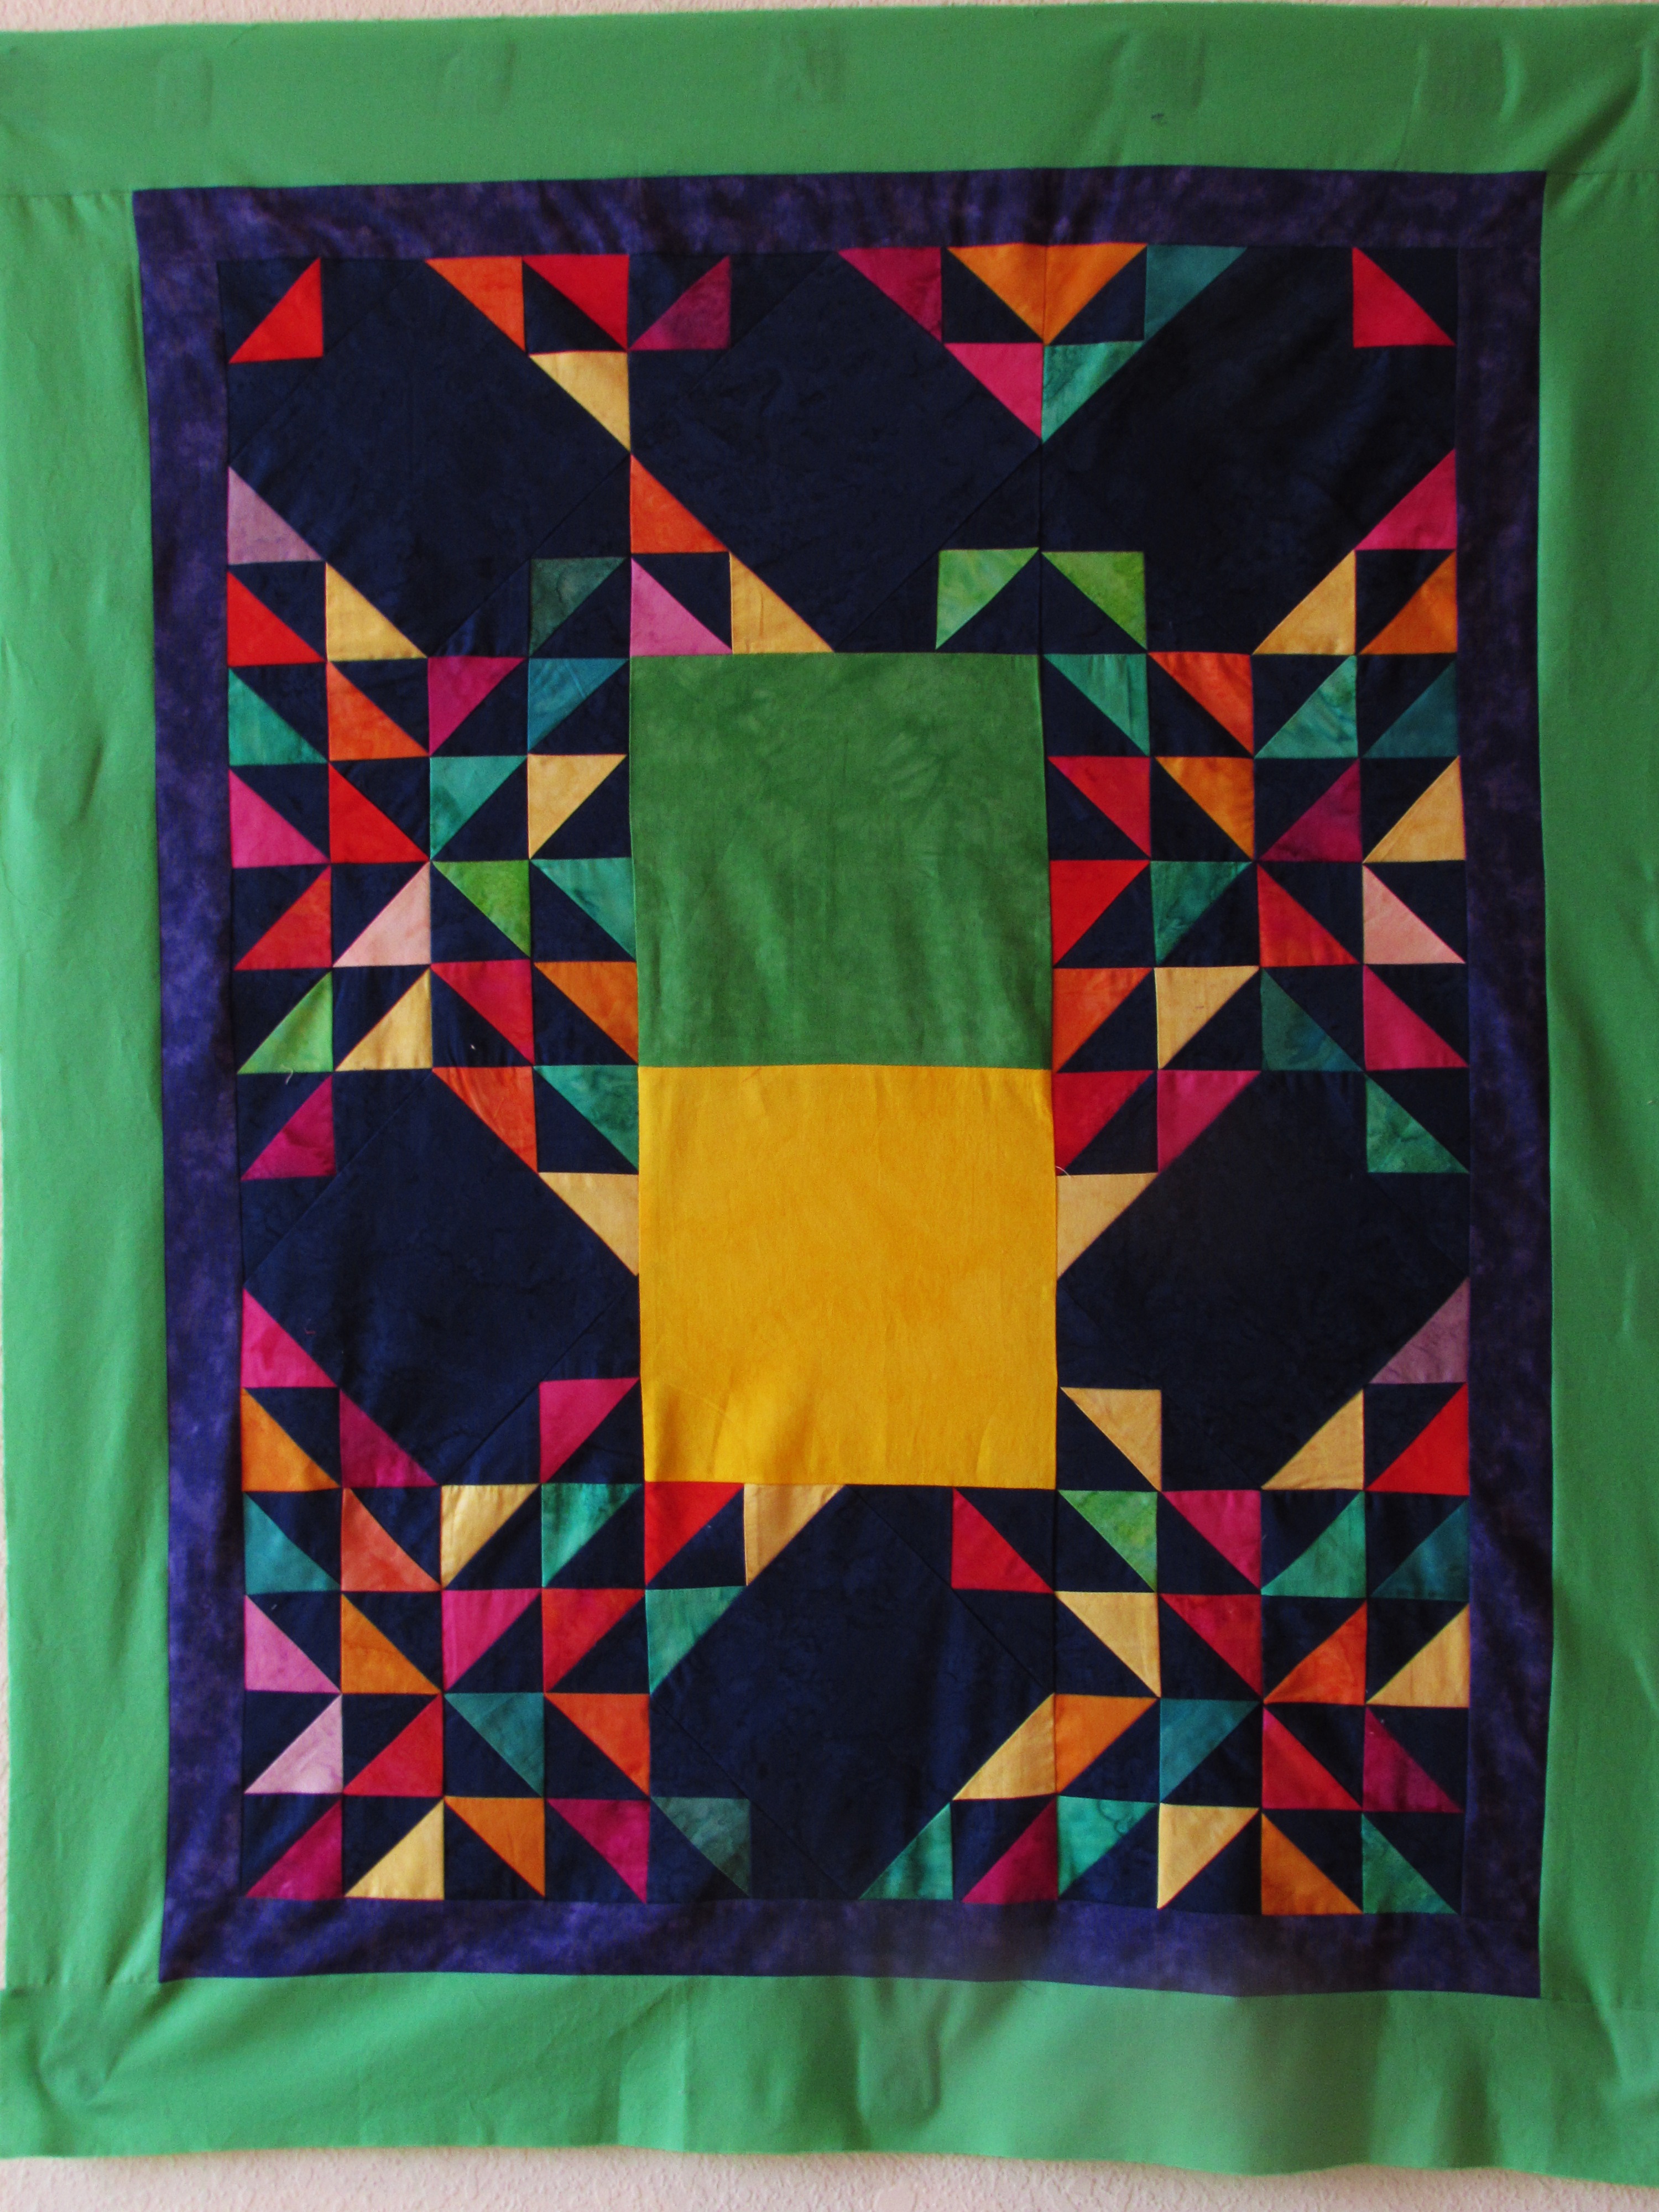
If you look at the picture you will see the bag that is the fifth one down in the stack, is made of multiple fabrics. I used an orphan block for that one. It was a practice block I used when I was trying to make a herringbone block. Fortunately it was long enough to make a pouch with, I just had to cut the width down. I loved that pouch because it looked like I had pieced it.


I put some yummy Evelyn and Crabtree lotions in the pouches and mailed them off to my sisters and a quilty friend in Michigan. I also gave them to my mother, my mother-in-law, and sister in law. For my two nieces, I filled the pouch with chocolate and a gift card.
In addition to making these zipper pouches, I made a couple of heat packs for my kids. These are filled with rice and can be heated in the microwave to soothe a sore muscle.  (They can also be stored in the freezer and used for muscle aches and pains.) I made one for myself a long while back and love it.

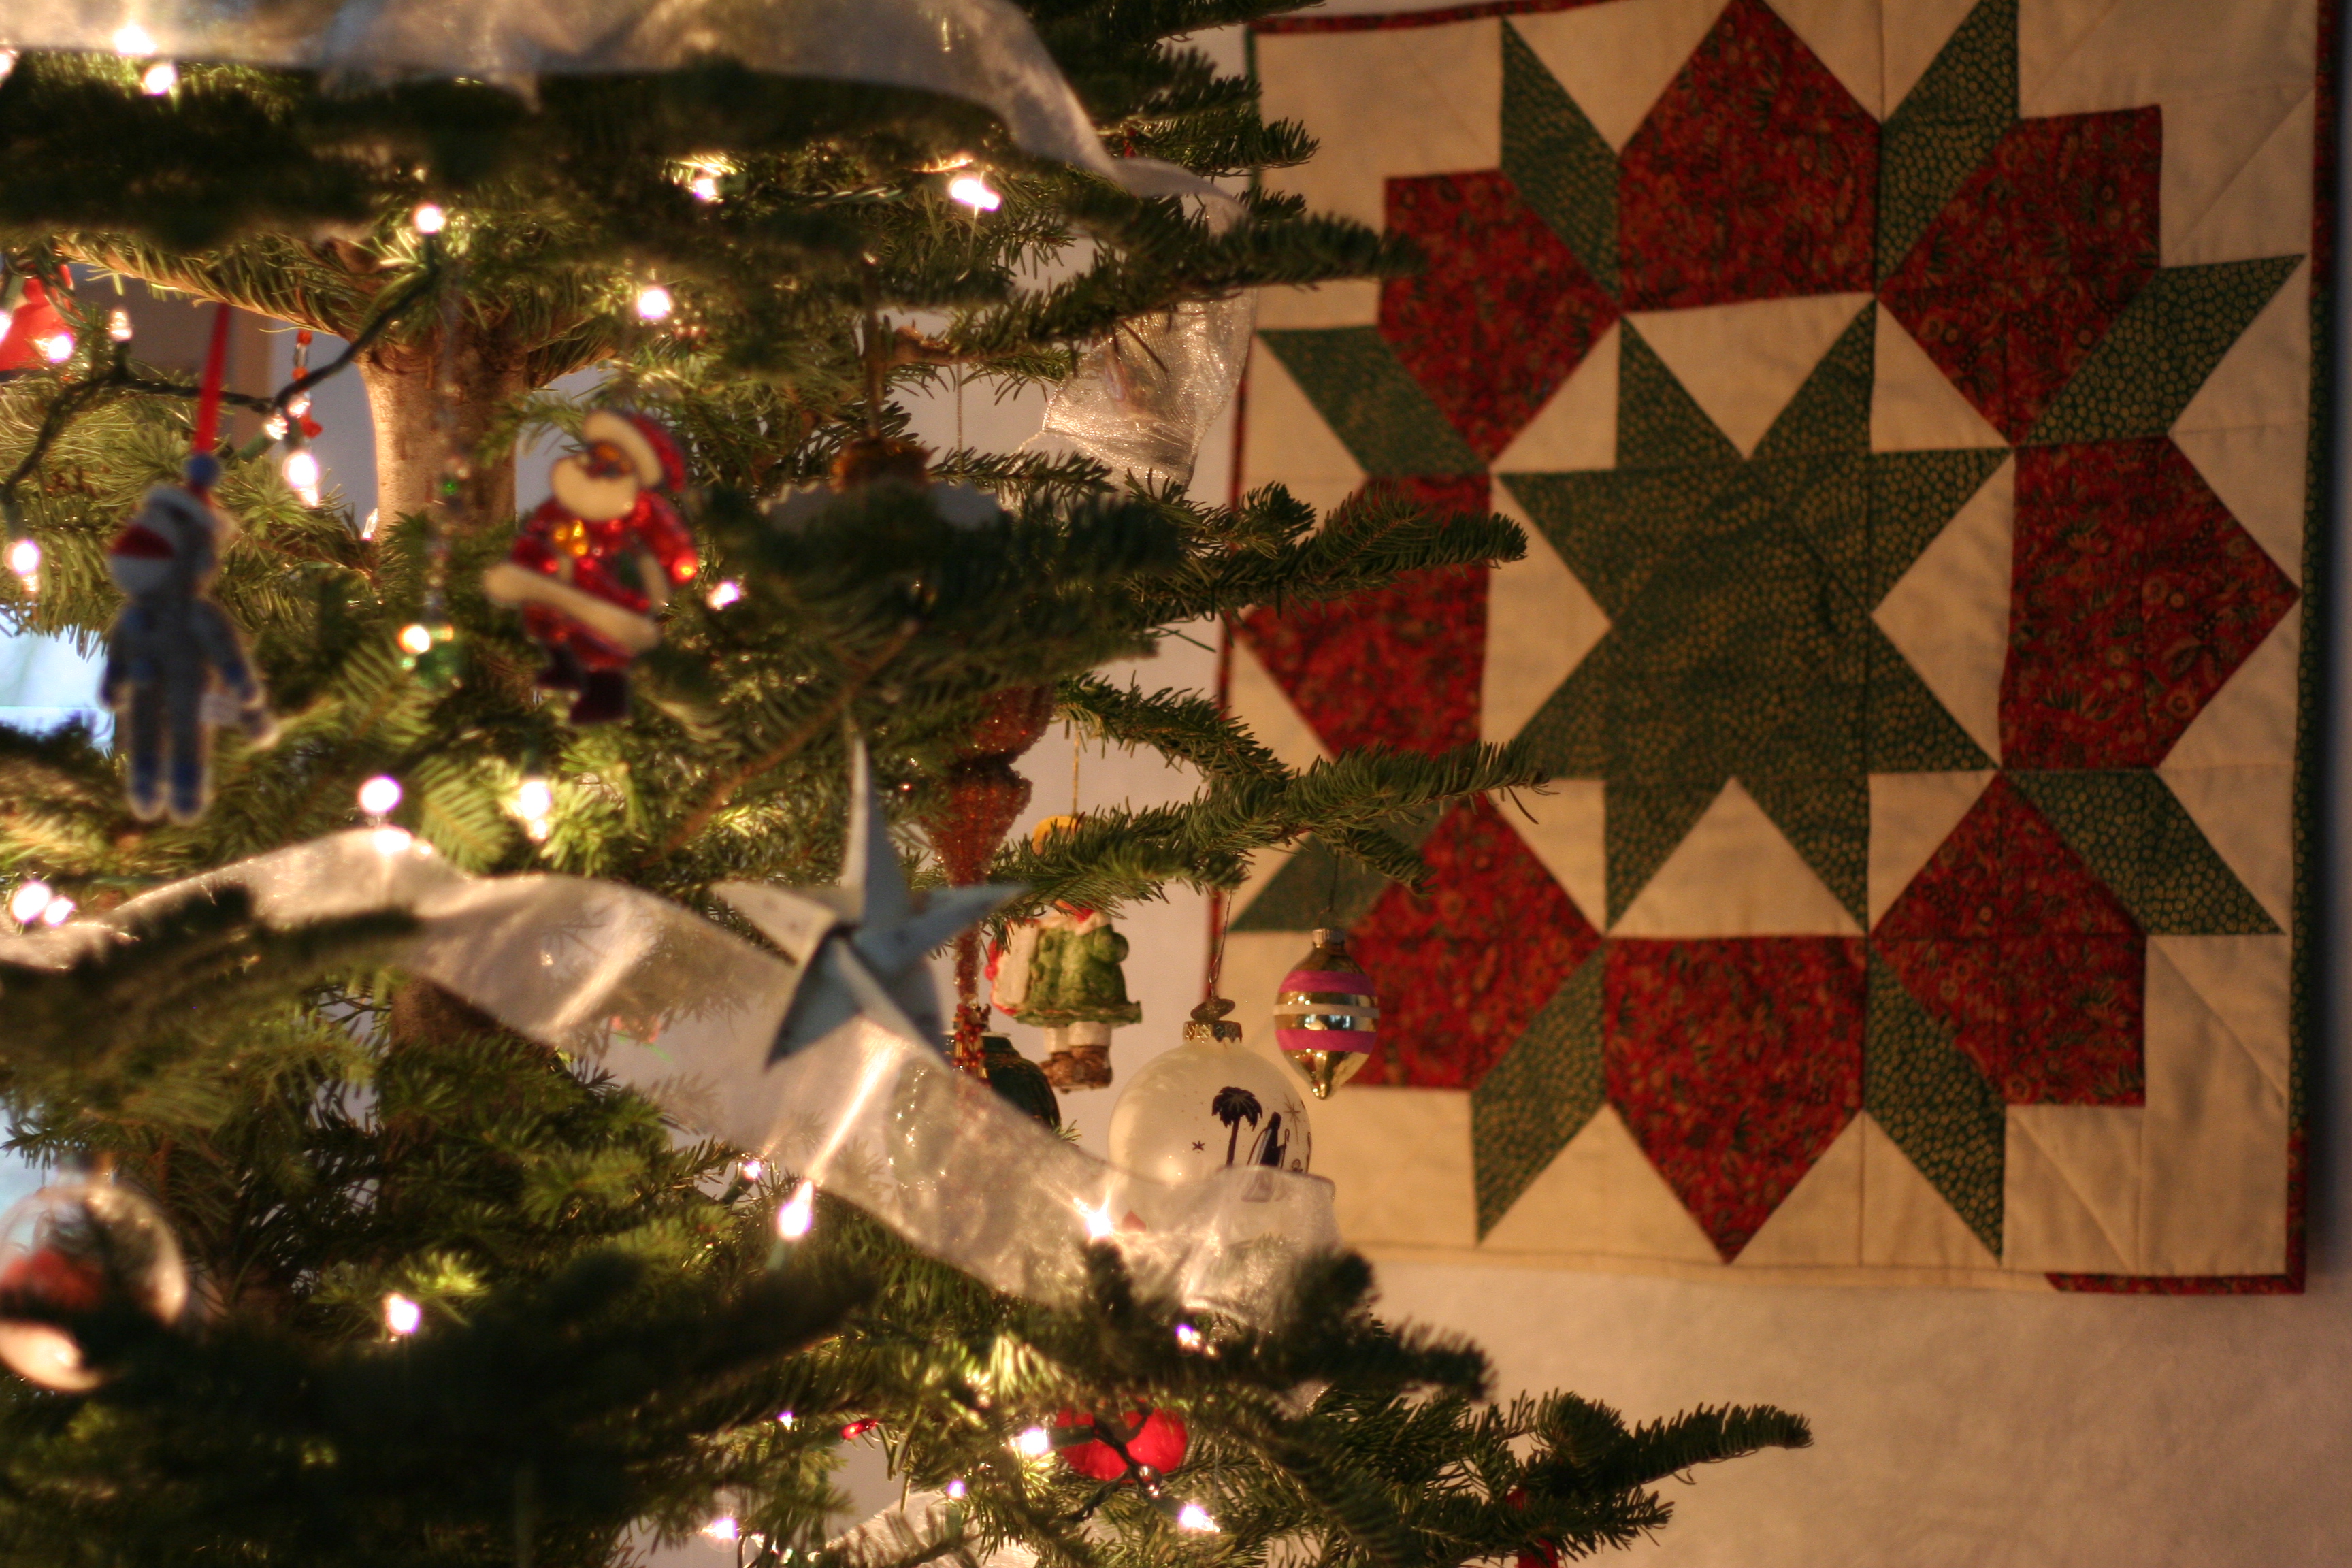
While it is fun to make, and give, gifts, it is also fun to receive a quilty gift. This year I received three quilting books. I have a list of books that I want to add to my library and received three of them.

IMG_20151227_4350

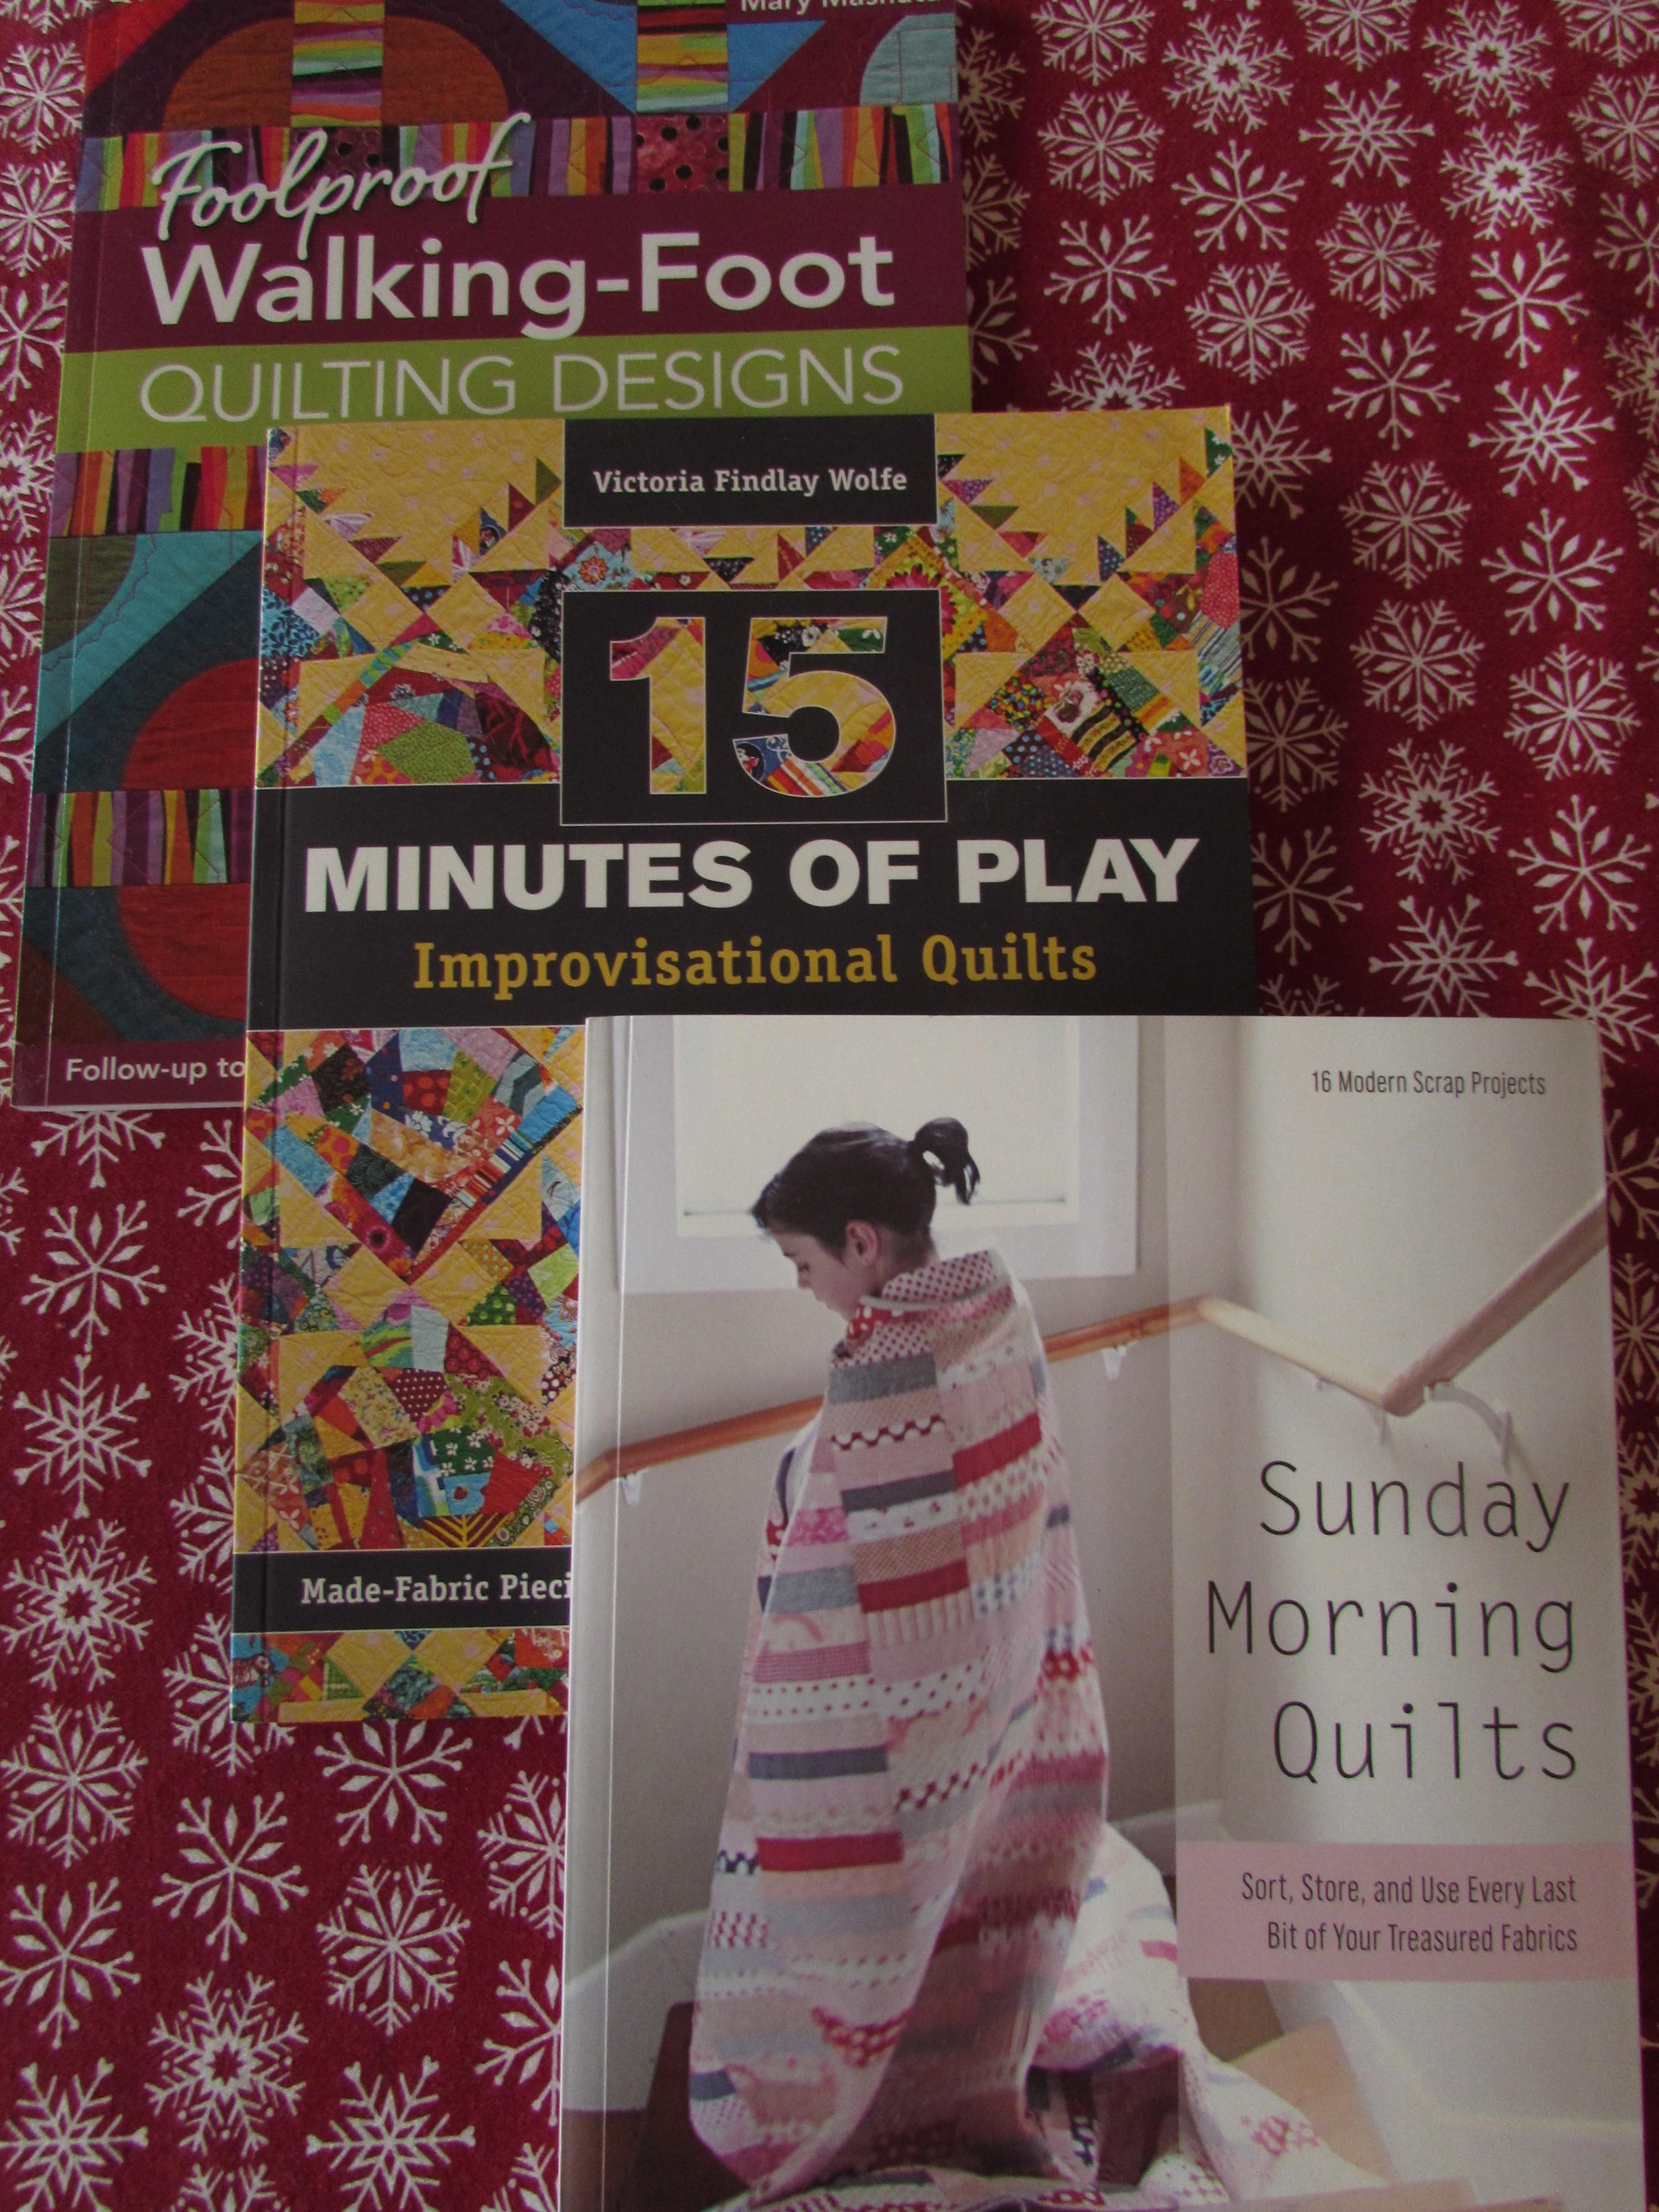
Since receiving it, I have already read Fifteen Minutes of Play, by Victoria Findlay-Wolfe, in its entirety. I love it and spent a few minutes yesterday creating ‘Made-fabric’. I am planning to incorporate her ideas into my projects for RSC16 and will post more on that later. Sunday Morning Quilts has some wonderful ideas for quilts using mostly scraps. Written by the quilt world’s scrappy quilting queens, Amanda Jean Nyberg and Cheryl Arkinson, it is filled with great ideas. Mary Mashuta’s recent book, Foolproof Walking-Foot Quilting Designs, is also wonderful. Mary has some great ideas for quilting designs other than straight lines with a walking foot. I have just taken a peek at that one and already learned a few new ideas that I will try soon. These three books will provide a great deal of inspiration and instruction for upcoming projects. If nothing else, just looking at the photos of the quilts made by these amazing women is so satisfying!

Happy New Year to all of you. May 2016 be a year of peace, good health, and many hours of stitching!

Linking to Crazy Mom Quilts, Freemotion by the River, and Let’s Bee Social.


2015 Wrap Up

I hope all of you had a wonderful holiday. Christmas was lovely. The weather forecast called for a white Christmas and we were all excited – it’s been years since we had snow for Christmas. However, the forecast missed the mark and all we got was a lot of hail and ice. Oh well….  maybe next year.

Now that things are calmer, it is a good time to look back at the year and celebrate quilting achievements and successes. As usual, at this time of year, it is amazing how the year flew by. Recording projects and events via this blog makes it so easy to remember the course of the year. It is satisfying to take a peek back and see all that was actually accomplished.

image

For example, I made:

  •  Five mini quilts, from start to finish, including my first fabric challenge project and my first swap on Instagram.
  • Two tablerunners and three pillows.
  • Finished four quilt tops that I pieced in 2014.
  • Pieced and finished two baby quilts.
  • Pieced and finished three lap size quilts.
  • Pieced two quilt tops, a baby quilt and the Kaffe Fassett strip quilt, both of which need to be completed.
  • All of the rows for my Classic BOM quilt – they are not yet sashed and pieced into a top though.
  • Numerous small projects that were intended to give me areas on which to practice my FMQ skills.
  • One very, very, very fluffy yellow bathrobe!
  • 14-ish (?) little handmade Christmas gifts this year (which I will post more about in a few days.)
  • I also had 80 Etsy sales, of which approximately 65 of those were handmade items.

My sewing machine was well attended this year! Most importantly, I enjoyed just about every minute of it. Spending so much time in the sewing room improved my skills. Specifically, my accuracy in piecing and my efficiency over all. I did a lot of chain piecing which was surprisingly helpful. This is not to say I didn’t have my fair share of fails either. But who wants to dwell on the negative?? As long as I learn from the mistake and don’t repeat it… very often!

In addition to all of the sewing, I spent a fair amount of time at the computer blogging. In fact, this post is my 99th post for 2015 (and due to my fondness of round numbers, I will definitely post again this week to even it out to 100 for the year!!) Looking back at the posts I wrote, I have a short list of favorites. I am fond of these posts either because of the quilty project they recorded, the discussion that resulted, or the event that is represented.

A Finish with a Flange; This post shows the quilt I made for my sister Patti to wrap her up and support her while she endured chemo for breast cancer.

Love and Good Luck Rolled Up in a Quilt;   This post tells the story of two amazing people who journeyed to India to have their baby, via a surrogate mom. I am so happy for them and I loved making a little quilt for their child. It was also one of the first times that I used thread sketching on a project which was very satisfying!

No Easy Solution;  This was a discussion about Craftsy.com and their ability to sell for lower prices, shopping online vs in brick and mortar shops, and Craftsy’s decision to sell their own fabric line.  While it wasn’t an earth-shaking piece of writing, I completely enjoyed hearing the input everyone left in the comments.

Finally, New Quilt Blogger Bloghop; This one was more about the experience than the actual post. Being relatively new to the blogging arena, joining this group last summer was a great experience. I met many great bloggers and we all supported each other as we worked to improve our blogging skills. Led by four awesome bloggers, I learned a great deal. There were opportunities to participate in other projects that our leaders put together which made for a very rich experience.

Yes, 2015 was a productive year in which I learned so much. I am looking forward to the new year and hope to work out a plan of what I hope to accomplish during 2016. I would love to hear what you most enjoyed sewing in 2015. What is your favorite accomplishment? What new skill did you work on? Share in the comments!

Linking to Meadow Mist Designs today. Cheryl is hosting a ‘Best of’ link party for bloggers to share some of their favorite posts from 2015. Hop over and take a peak. I certainly plan to. 🙂


Taming the Yellow Beast

The beast has been tamed. The pile of oversized yellow fluff has been transformed into a cozy bathrobe at last.  I received so much encouragement after that last post that I decided to dive back in and take control of that yellow monster.

It was easy!

First I took a bit of time with the seam ripper and picked out the hem on both sleeves. Turning it inside out, I laid it on the floor and carefully smoothed it out. I pinned two inches or so along the inside of the length of the side seams and the seam of the sleeve. Then I just cut – cut off the two inches along each side.

The nice thing about this robe is the fluff. Conversely, the worst thing about this robe is the fluff!  Once everything was stitched back together I tried it on. Amazing how this helped! ( If only I would have thought to do this the first time around!)   It fit much better but was still too puffy. Topstitching around the entire collar and all the way down the front of the robe, on both sides, really helped to tame it. Because of the fluff, it was hard to sew accurate straight seams. When I was sewing on the “wrong” side of the fabric, there was no issue. However sewing on top of the fabric was really tough. My presser foot would get lost in all that fluff! There was a lot of drag on the fabric and my top thread shredded over and over. (I tried my walking foot but that seemed to make it even worse.)IMG_2862

Like I was saying before, the fluff was also a positive attribute in that it didn’t truly matter how straight my seams were. The depth of the fabric made it difficult to see the actual seam, you only see the impression the seam leaves.

Here is my first attempt at modeling the robe (in my sweats and socks!)

IMG_20151218_4286Photo credits to my kind husband for these modeling shots. I may send them into a bathrobe modeling agency. I feel a new career beginning.

IMG_20151218_4287Looking at these amazing photos, I noticed that the pattern on the fabric almost matches where I put the patch pockets on. I cannot take credit for this – it certainly was not planned! I found that hand stitching was much faster than top stitching so I sewed the hem by hand while watching some TV last night.

IMG_20151218_4288

At this point my only remaining concern is that this is one very warm robe. Maybe too much so for this post menopausal model.

IMG_20151218_4290

Linking to Crazy Mom Quilts and Confessions of a Fabric Addict. Also with Sew Bittersweet Designs, once the December ALYOF link up is posted.  Because, with 13 days to spare, I just completed my December goal!  Woot woot!

Both links are found at the top of the page under Link Ups.


Mid-Week Update

First of all, I really want to thank everyone that entered the giveaway last week. I loved reading about all of the Christmas memories. So many really sweet stories were told; I encourage you to take a peek at the comments and read them.  It was very heartwarming. Julia drew two winners. My gifts were sent off to Kelly (she won the bunting) and Sarah (she won the tablerunner). Interestingly, both winners hailed from Pennsylvania!  Congrats to both!

I have been busy in my sewing room over the past week. Working on my row quilt, Christmas gifts (which I will share after the holidays), a very frustratingly fluffy yellow bathrobe and a gift for my dad for his upcoming birthday. Where to start? Let’s go with the frustrating stories and end up on a more pleasant note, shall we?

Oh, this bathrobe! The fur and fluff that flies when I work on it is truly amazing. I had NO idea what I was getting into and never will I buy such a fluffy fabric again! I have the robe basically assembled – I sneezed my way through it only to find that it will fit nicely once I gain about 75 pounds. I don’t know how to account for this. I made it a size small (8-10) but honestly, I could wrap it around me twice over.  When I re-read the post about planning to make this, I can hear a very cocky tone in retrospect. I said that garment sewing came naturally to me because I had done it so often. In some ways that is true. I knew how to put it together, didn’t need to ponder the directions, just dove in and sewed. But what about trying the thing on? At least holding it up to me in front of a mirror at some point?? Nope, as I was getting ready to hem it, I thought,  ‘hmmm, this looks a tad large’. I put it on and my jaw dropped. It frustrated me because I can only imagine the fluff that will fly if I try to take a seam ripper to it.

I tossed it on the bed in the sewing room where it landed in a cloud of yellow. There it sits, waiting until I calm down and decide how to fix it.

Next project update:  My Classic Stitches project that I have been working on all year. You probably remember that I have been doing a BOM project led by Mari over at Academic Quilter. All I had left was to complete the green row of ‘Peace and Plenty” blocks. Well,  I can honestly say these blocks gave me no peace. Not a moment, in fact.  It started out well enough. When I was up in Downieville over Thanksgiving weekend I got all of the green pieces cut and I felt so proud. All organized and ready to go.  I came home and assembled the first block. It was adorable and I even shot an email with a picture of it to Mari. (What is it they say about pride????)

green row 1

With that one done, I quickly made another.  So far, so good.

green square 2After those two, everything hit the fan. For some unknown reason (though it may have to do with that whole pride thing) I couldn’t assemble block number three. COULD. NOT.  I sewed it and picked it apart and sewed it again and picked it apart. After the third time using my seam ripper (you know when the edges of the fabric are frayed and you know that the integrity of the block is nill?)  I gave up. Luckily, I had just read Mari’s post about finishing her row quilt (which is spectacular – take a look here!) I saw that she had issues with the brown row and decided to just make a checkered row of simple squares. Since I had my green blocks cut, I just trimmed them down to 3 and 1/2″ and called it good. I figured I was really just taking my cue from the master. So my green row is now a simple row of blocks. (See it to the left of the pink hearts?) I actually like that it is a small row. I wanted a change in the height but couldn’t see myself really making any of these blocks in a three or four inch size. At least not without a considerable amount of pain. 😉IMG_20151214_4274

Right now I have all the rows hanging over the back of the couch (luckily we have two!) I am at the stage where I am moving rows around, trying to decide what order to put them together with. I need to get sashing fabric too. I don’t have any stash that is long enough and I don’t want to piece the sashing. I do love how this is coming together and hopefully I will get it assembled in the next few days.

Finally – to leave you on a good note… I went to the monthly meeting of a gardening club that I belong to. Since there really isn’t much gardening to be accomplished right now, we made wreaths for the holidays. I decided to make a really big one so i could hang it on the front of the house. All of the boughs were cut from trees in out yard, which is a nice thing.  It turned out so pretty and was incredibly easy to put together. (I really needed a win at this point!)

wreath


I also wanted to show you how pretty the Swoon Mini looks. I hung it on the wall behind the Christmas tree and the lights just make it glow. I just love it. I need to make another one that doesn’t have a holiday theme.

swoon quilt with tree

I hope your recent sewing efforts are a bit more successful than mine have been. I feel I am turning the corner though. Ready for success.

Linking to Freemotion by the River and Let’s Bee Social.  Links to these two lovely blogs are at the top of the page, under Link Ups.

Thrifting SCORE

I went to a few of my favorite thrift stores last weekend. While I was out I also shopped at Humble Fabrics, it’s not really a thrift store, because she sells both new and “pre-owned” fabrics. It is, however, one of my favorite places to hunt for unusual fabrics. Last weekend I found an abundance of both new and pre-owned fabrics.

My favorite score has to be this set of quilt blocks! Two rows of four were stitched together.

IMG_20151210_4241

There were also these three additional blocks.

IMG_20151210_4243

I was thrilled to find them in a tub of scraps! The tub mainly holds small pieces that are not big enough to fold and put on the shelves. I don’t usually rummage through this but one of the quilt blocks caught my eye.  I dug through it and was able to find two pieced strips containing four blocks each.  The piecing is lovely – great points and tight stitching. Before I took these pictures (which I apologize for because they were taken at night, indoors. Forgive me. 😉 ) the blocks were labeled – A-1, A-2 etc. So I could sort of tell where the quilter was headed. However I wasn’t able to place the blocks as they were intended. Having only a few of them, I just did what I could. It looks good though!

When I got home, I pressed them and played around a bit. Finally I decided to piece them for a baby quilt to be donated. I love the bright colors. In the center I used two blocks from a set of hand dyed fabric that I won last year in a giveaway for RSC14 over at So Scrappy. They were made by Vicki Welsh. Her work is fantastic.

The squares finish out at 8″ which means that the body of the quilt comes to 24 x 36″. I felt that was too small even for a baby quilt so I played around with various ideas for borders.

IMG_2836

The left side with the square patched border looked way too busy.  On the right was a piece of blue and black print.  I rejected that one because it was too dark and I wanted to stick with solids and batiks (like the body of the quilt.)

IMG_2839

After trying a number of borders, I decided on this combination of purple (Moda Marbles line) and solid green. Softer than the others I tried and remains neutral (so fine for either a boy or girl).


Here is the end result, made with thrifted blocks and fabric from my stash. It finishes at approximately 33 x 42″.

IMG_20151211_4248

We are having a rainy day (Yahoo!) so I had to tape this to the wall for photos. Not the best but good enough to give you the idea.

IMG_20151211_4247

IMG_2837

While I am very excited to finish this up, I have to set it aside and finish up some Christmas secret sewing. I have the backing and binding all ready to go, so after the holidays I will finish it up and donate.  I know about Project Linus but are there other nice organizations to donate baby quilts to?  If you know of one, leave it in a comment for me.  Thanks so much and have a wonderful weekend!

If you haven’t already, be sure to check out the giveaways on Sew Mama Sew.  You can enter my giveaway until Sunday night. Take a peek!

Linking to Confessions of a Fabric Addict and Crazy Mom Quilts – links for both are at the top of the page, under Link Ups

Sew Mama Sew December Giveaway

Hi Everyone!  Welcome to one of my favorite events of the year. Twice each year, in December and May there is a huge giveaway link up sponsored by Sew Mama Sew. It is a fun way to check out blogs you may not otherwise have read. If you have not checked out the giveaway yet , I encourage you to do so. So many craft bloggers have linked up and there are all sorts of prizes to be won.

If this is your first time visiting Needle and Foot, welcome! I hope you will take a minute to look around my site.  I have been blogging for approximately 18 months and have made so many friends via this blog and the others that I follow. To learn more about me, click on the About Me page at the top of your screen. I  have many of my quilts displayed in the Quilt Gallery page (also at the top of the page). If you would like to read the blog post associated with a particular quilt, click the title showing just below the picture.  I love blogging and sewing and spend most of my time with one or the other. Comments and questions are always welcome and I try to answer each one. (With the exception of this particular post – I won’t be able to answer each comment on this post. I hope you understand!)

On to the giveaway.  I have two giveaways to offer.  (Before I get to far into it, I want to be sure to tell you that I will be shipping within the United States only. I apologize but it is fairly expensive to ship outside of the US.)

The first is a holiday table runner that I made. It measures approximately 40 x 14″.  The center of the runner is a pieced stripe of various Christmas prints. The various fabrics feature holiday ornaments, poinsettias, and holly. The color scheme is green, red, cream and gold. Along the length of the center strip is a border of dark cream and gold fabric. Next to that is a deep red border.

20140925_1733

The backing fabric and binding are the same deep red, gold and green print. I quilted this table runner on my home machine by stitching the length of the table runner at various widths. I would love to give it to one of you!

20140925_1736

The second giveaway is a holiday banner, or bunting. The flags are double-sided so it looks nice where ever it is hung. Across the top is red ribbon with an extra length left at each end t give you some flexibility when you decide where to hang it. These buntings are a fun holiday decoration and I would love to send it off to one of you!

IMG_20150826_3721

I used traditional colors and many of the fabrics have a vintage look to them.

IMG_20150826_3719

.Each flag measures 6″ across the top and is 9″ in length (down to the point of the flag). The entire banner measures 80″ in length from first flag to last. There is 20″ of ribbon hanging freely to use to hang it. To make this, I cut the triangle shapes and fused them together with Wonder Under. I topstitched the perimeter to add strength to the flags.( I don’t think it will do well in the washer. I would just spot clean the flags as necessary. )

OK – Here is how you enter to win one of these giveaways!  Please leave me a comment  describing the best (or favorite) gift you have ever given or received. It can be either one. I am looking forward to reading your memories!  If you follow me, you get an extra entry. Just comment and let me know how you follow. The giveaway will be open through Sunday, December 13th. I will pull two winners on Monday morning. Be sure that you are not a no-reply blogger (if you like, you could leave your email address in the comment.)

Thank you so much for stopping by! I wish you luck with all of the giveaways this week. I hope you have enjoyed looking around my blog and invite you to follow me via Bloglovin or sign up to receive posts in your email. (Rest assured that your email address is never shared or used for purposes other than to send you blog posts.) Both links are on the right at the top of the page.  For a little more fun, follow me on Instagram. I am @kringelb.

THIS GIVEAWAY IS NOW CLOSED.

Again, thank you for visiting. I am wishing each of you a fabulous holiday season, whichever way you choose to celebrate.


Saturday Smile

If you are an Instagram user, you might have seen the flurry of activity surrounding #GETYOURQUILTYWISHESGRANTED. In the usual form of this quilting community, there is all kinds of giving going on. I am not sure who started it (if you know, please give them credit in  the comments) but it is such a joy. IG quilters are posting a wish’ for a particular pattern, a certain piece of fabric, scraps from a certain line or colorway, and others are granting the wish. Yep, just out of the kindness of their quilty heart, mailing off their fabric, usually to someone they have not met, in an effort to make them happy. Yet another example of why I love this community. It feels great to fill a need and is fun to receive something you have been looking for or have run out of. I have filled one wish so far and plan to run through the hashtag again and see what else I can do. Just because it is a nice thing to do.

On another note, my sister, Alicia, shared this video on her Facebook page a week or two ago. I loved it and have watched it a couple of times. It is a mashup of 66 classic movie dance scenes set to Uptown Funk, by Bruno Mars. I thought you might enjoy it too. It is a bit long but really entertaining. I am dating myself when I say that I used to sit and watch the Shirley Temple movies with my sisters. We would watch them when we were over at my Aunt’s house. It is such a fond memory and here is Shirley Temple dancing to Uptown Funk. It’s fantastic. Enjoy!

A Bonus Finish!

I spent yesterday afternoon playing in the sewing room. I had plenty of other things that I should have been working on.  Namely, putting away the fall decorations and cleaning up so we can put up our Christmas tree this weekend. There is too much mess around here to create the mess that happens when we decorate the tree.  But I just didn’t feel like it. Instead, I really wanted to play with the 16 bonus HST’s that resulted from the Swoon block mini that I made a couple of weeks ago.

The Swoon block is based on rectangles, HST’s and Flying Geese blocks. The best thing about Flying Geese blocks is the pile of ‘bonus’ HST’s that accumulate when you trim the corners on the block. If you aren’t familiar with this happy little prize, allow me to explain. Briefly, when the blocks are sewn to the upper right corner of the rectangle, creating the Flying Geese block, there is a corner that is cut off. If you take an extra second to sew a second seam, 1/2″ to the right of the first seam, you have the opportunity to have a ready made (albeit untrimmed) HST. I admit, I am not very careful when I do this. My feeling is that these are just little scraps that I am giving a second chance to possibly be used in a future project. I don’t mark the second line, I don’t even measure it.  I just eyeball it and sew about 1/2″ from that first seam and slice it off.  When I had finished the Swoon mini, I took the pile of HST’s and pressed them open. I looked at the smallest one – They were all approximately 2.5″ – and I squared them to the size of the smallest block. Then I had a pile of uniform HST’s. (If you can’t go with my very casual method or if you don’t understand what I am talking about, Bonnie Hunter has a nice tutorial on making the extra HST’s in a more precise manner. Take a look here.)

Look what I made yesterday. At 8 x 8″, it is a teeny tiny finish.

IMG_20151204_4234

I spent a bit of time playing with the HST’s, trying different layouts. It is a bit like playing Tangrams. There is no limit to the number of ways to position the blocks. I didn’t want to actually make anymore so I limited myself to use the 16 that I had – no more, no less.

IMG_20151204_4235

Once I had them sewn together, I decided to practice some FMQ with the little piece. Going to my usual sources, Pinterest, Leah Day, and Lori Kennedy, I found a holly motif that I liked. Here is the link to the tutorial on Lori’s site, The Inbox Jaunt.

IMG_20151204_4238

Two things made quilting this a challenge. One is that I used two layers Insul Bright batting scraps inside of this in case I wanted to use it as a hot pad or a trivet on my dining room table.  The Insul Bright was a bit annoying to quilt through, especially a double layer. Second, I decided to use Sulky thread on top and I put Mettler in the bobbin.  I love Sulky threads – so shiny and glossy. But also a bit slippery soI had to play with the tension to get it right.

Overall, the little hot pad is pretty cute. The FMQ is a bit rough. The bow at the bottom of the holly in the center is an eyesore but obviously not enough that I was willing to take the time to rip the stitches out. (It is a hot pad after all.) I haven’t practiced free motion quilting for a long while so it was fun to play with this. I am ever thankful to Lori’s site for the endless FMQ tutorials. I love that she has so many seasonal themes. It is very fun to play with them.

IMG_20151204_4236

Finally, I wanted to point out something that took me by surprise. I used a scrap of holiday fabric for the back. After I was done and it was trimmed and ready for binding, I was digging through my scraps and found a few more pieces of the backing fabric to use as binding. There was barely enough. I had to cut narrow 2″ strips which were a trick to use – the quilt sandwich being extra thick from the Insul Bright. Anyway… come on Bernie and get to the point. As I stitched the binding down on the back, the folded binding matched up with the backing quite closely at one point.

IMG_20151204_4237

Isn’t that cute? The holly just about matched up, as did the little bird. Nothing earth shattering but it is a fun coincidence. (Doesn’t take much to amuse me!)  There you have it, my second finish this week!

Is your tree up (if you are a Christmas-tree-decorating person)? How about lights outside on the house? I am hoping Ray will put ours up this weekend. I think the outdoor lights are one of my favorite parts of the season and I leave them up as long as possible.

Linking to Amanda Jean at Crazy Mom Quilts and Lizzie at Free Motion Mavericks.

Swooning over this finish

A few weeks ago we had a quiet weekend – Ray was up working on our house in Downieville and Julia and I stayed home. I pulled out my pile of Christmas fabrics, trying to think of an easy project. I wanted something that would come together easily and could be made entirely from my stash. After spending some time looking at ideas that I have collected on Pinterest, I made my decision. I would make a mini that consisted of one large swoon block.

I have been drooling over pictures of quilts with swoon blocks and minis made from swoon blocks for a long while now. I am not sure what it is about them, but I love them. The pattern for the swoon block was developed by Camille Roskelly over at Thimble Blossoms.  She really started something when she created this pattern.  The pattern makes a quilt with nine swoon blocks that measure 24″ square. For this project, I decided to just make one block and use it as a mini.

IMG_20151129_4195

Using only minimal quilting, the fabrics and the pattern shine.

IMG_20151129_4197

It turned out so festive.

IMG_20151129_4198

I was able to make the quilt using only scraps I had on hand. The backing is a green and cream plaid that a neighbor gave me a long while back. I didn’t have enough of any one the fabrics to bind it so I made a scrappy binding.

IMG_20151129_4196

Because it is made of rectangles, HST’s and Flying Geese blocks, the block was a breeze to cut and piece. Making a large quilt with them would be very easy. I love the oversized look of the block.

There you go. A really satisfying finish that was so fun to make and used up some stash.

Linking to Freemotion by the River, Let’s Bee Social and Finish It Up Friday.  Links to all of these are located at the top of the page under Link Ups.