Category Archives: Scrappy Binding

A Harmonious Finish

This week I finished my Harmony quilt. I will finally be able to send it off to my nephew and his wife as their wedding gift. Doesn’t some rule of etiquette say you can give a wedding present within the first year and it is still ‘proper’? According to this post on Manners Monday of the Huffington Post, I am still within the time frame. Though really, who would refuse a wedding gift because it was late? At least I am finally giving it to them!!

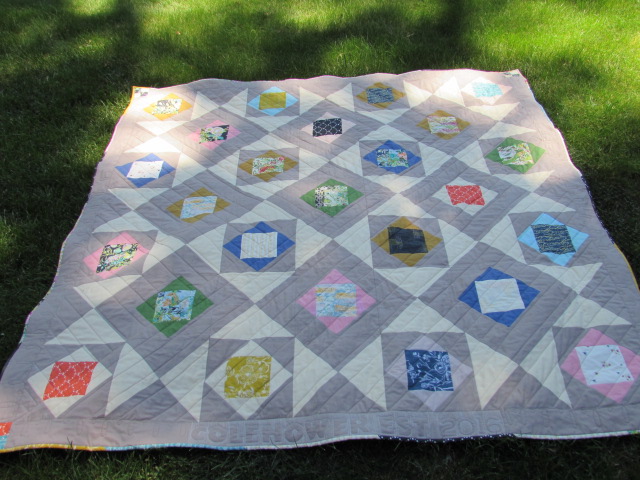
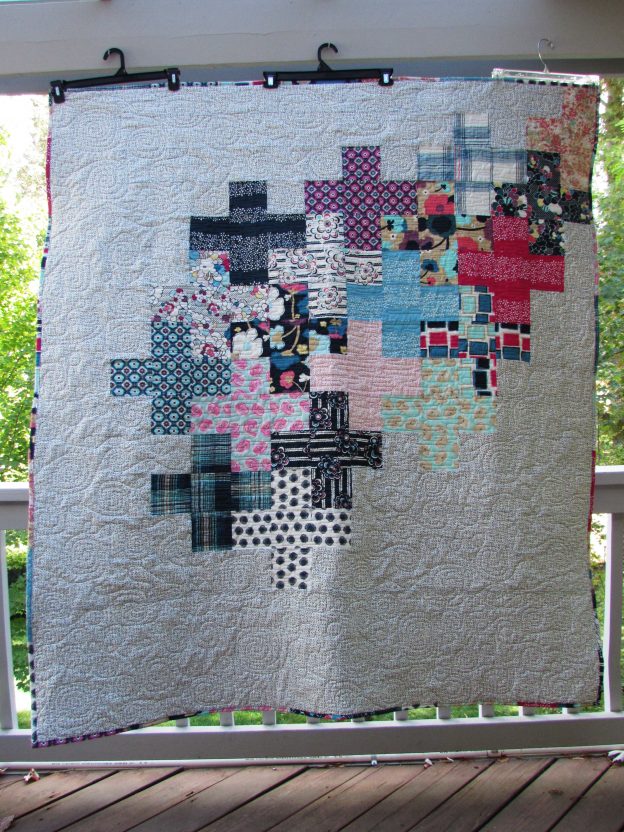
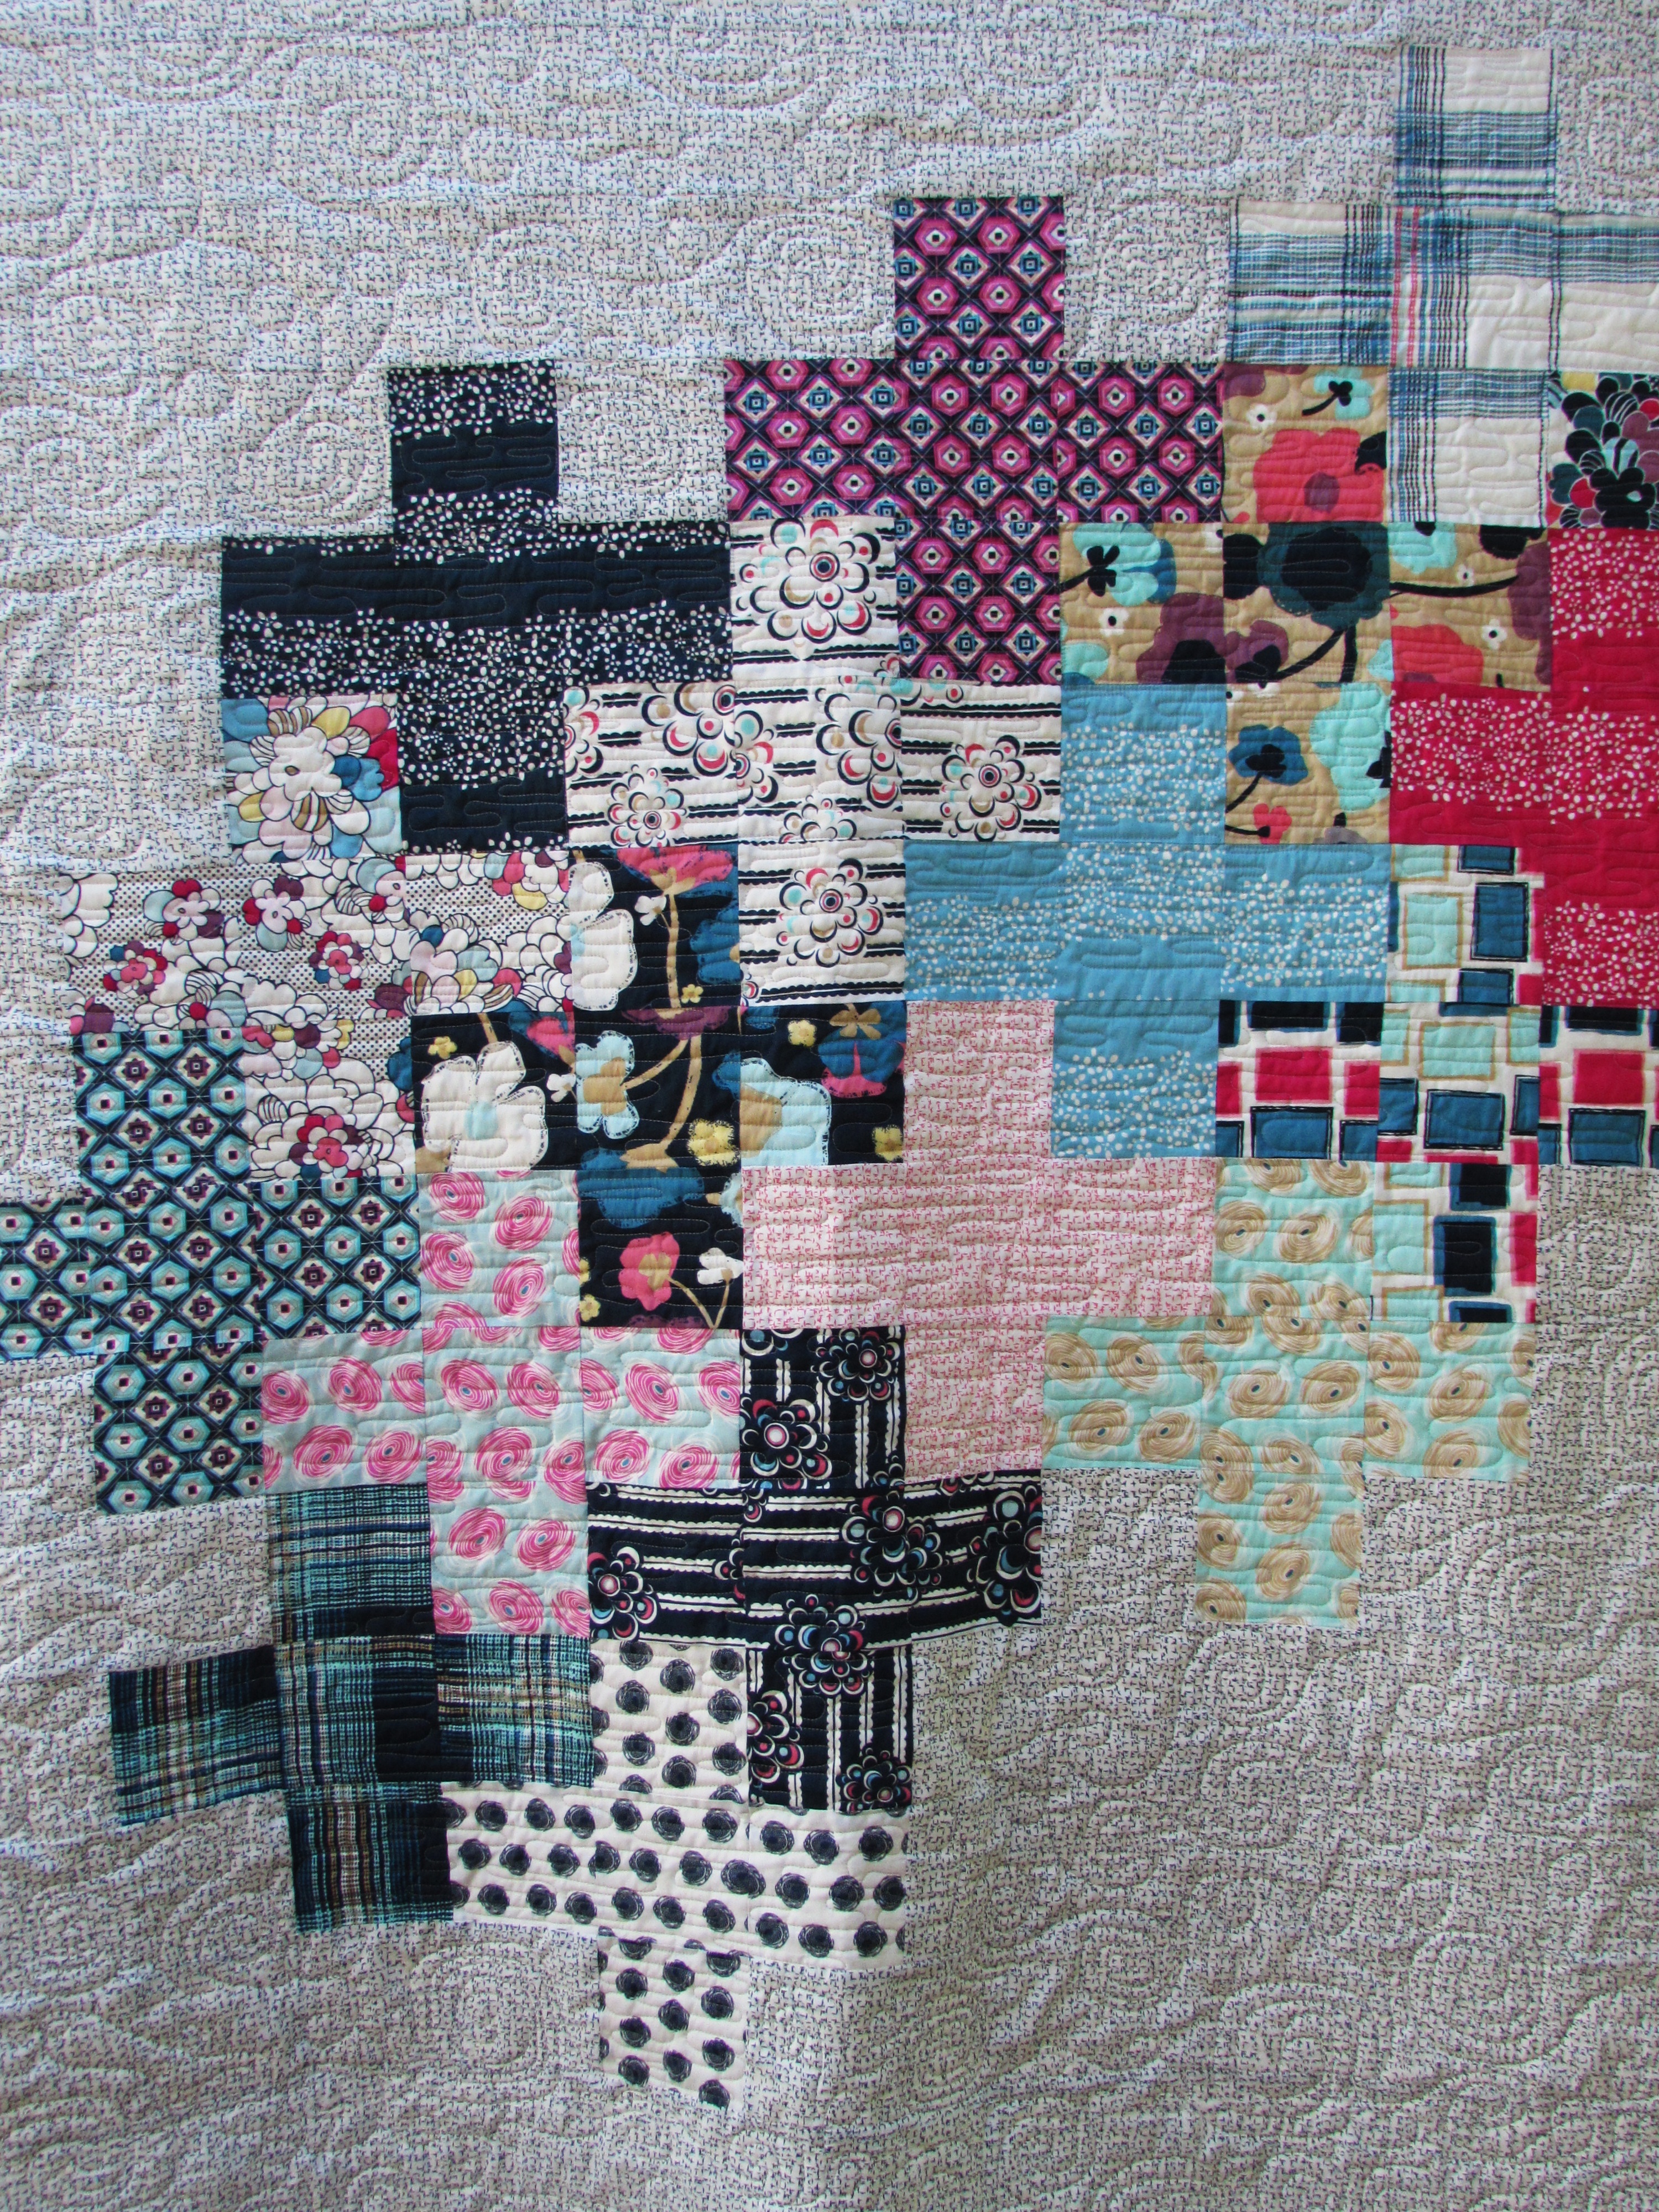
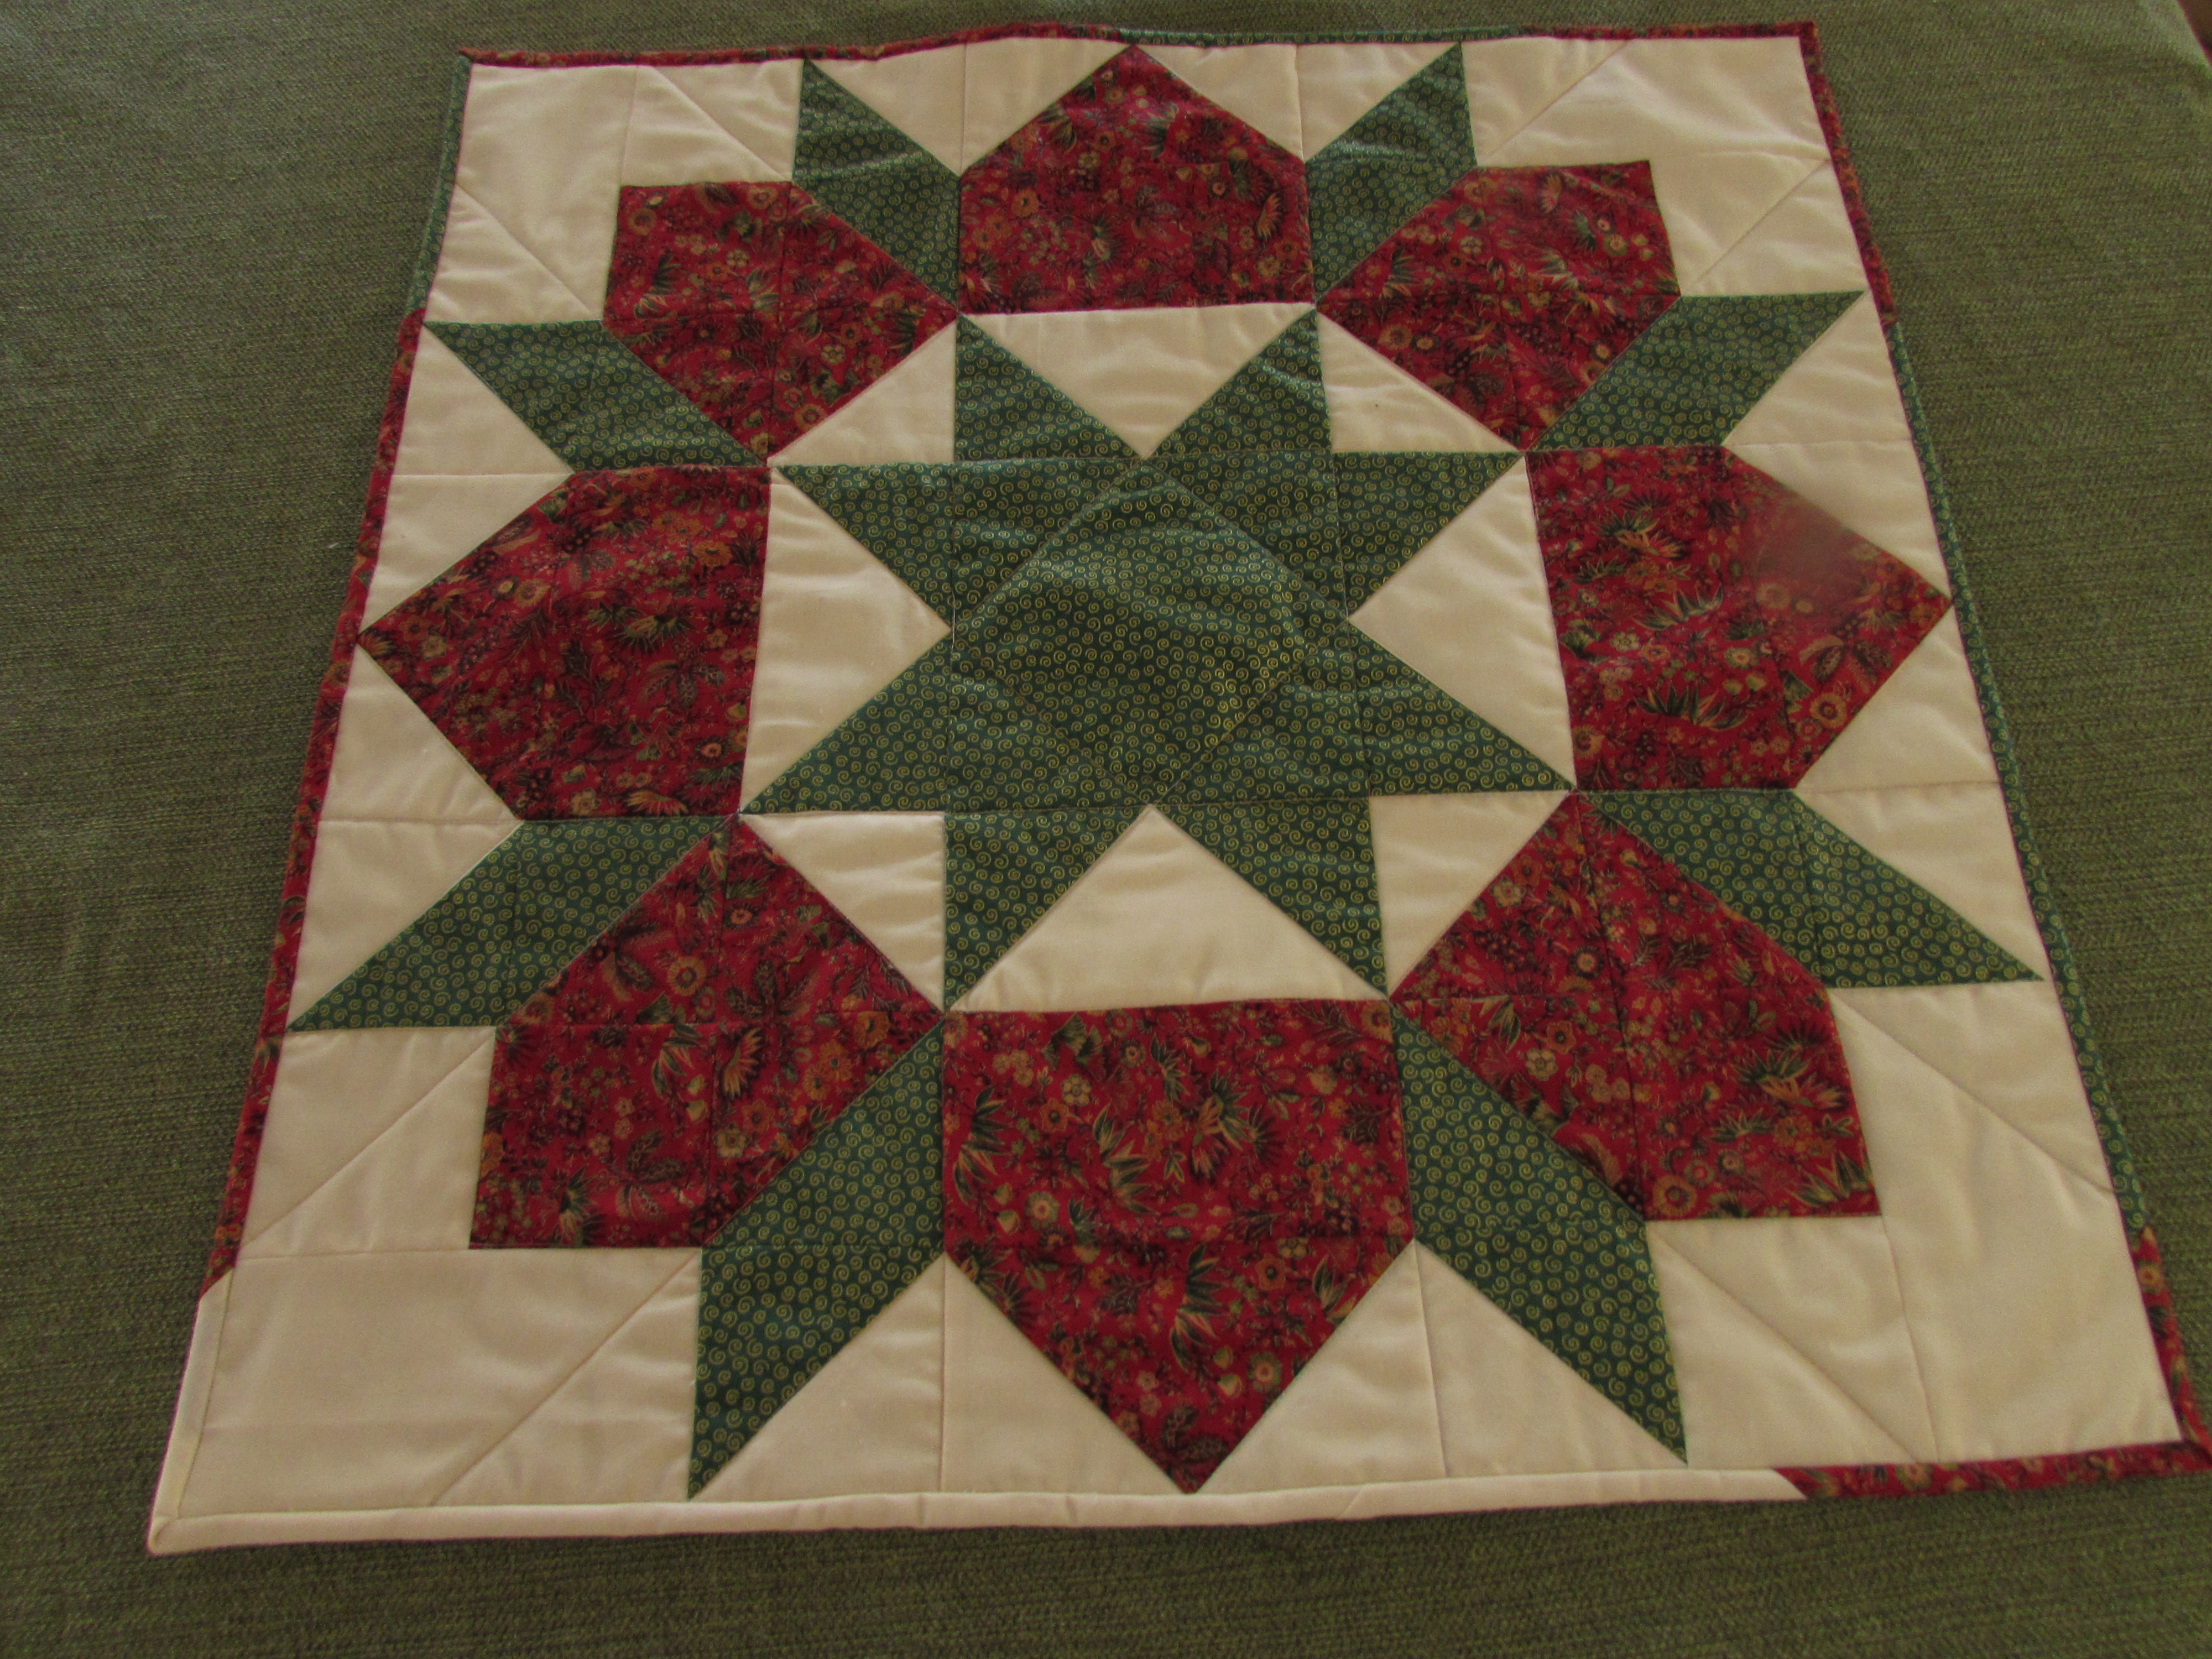
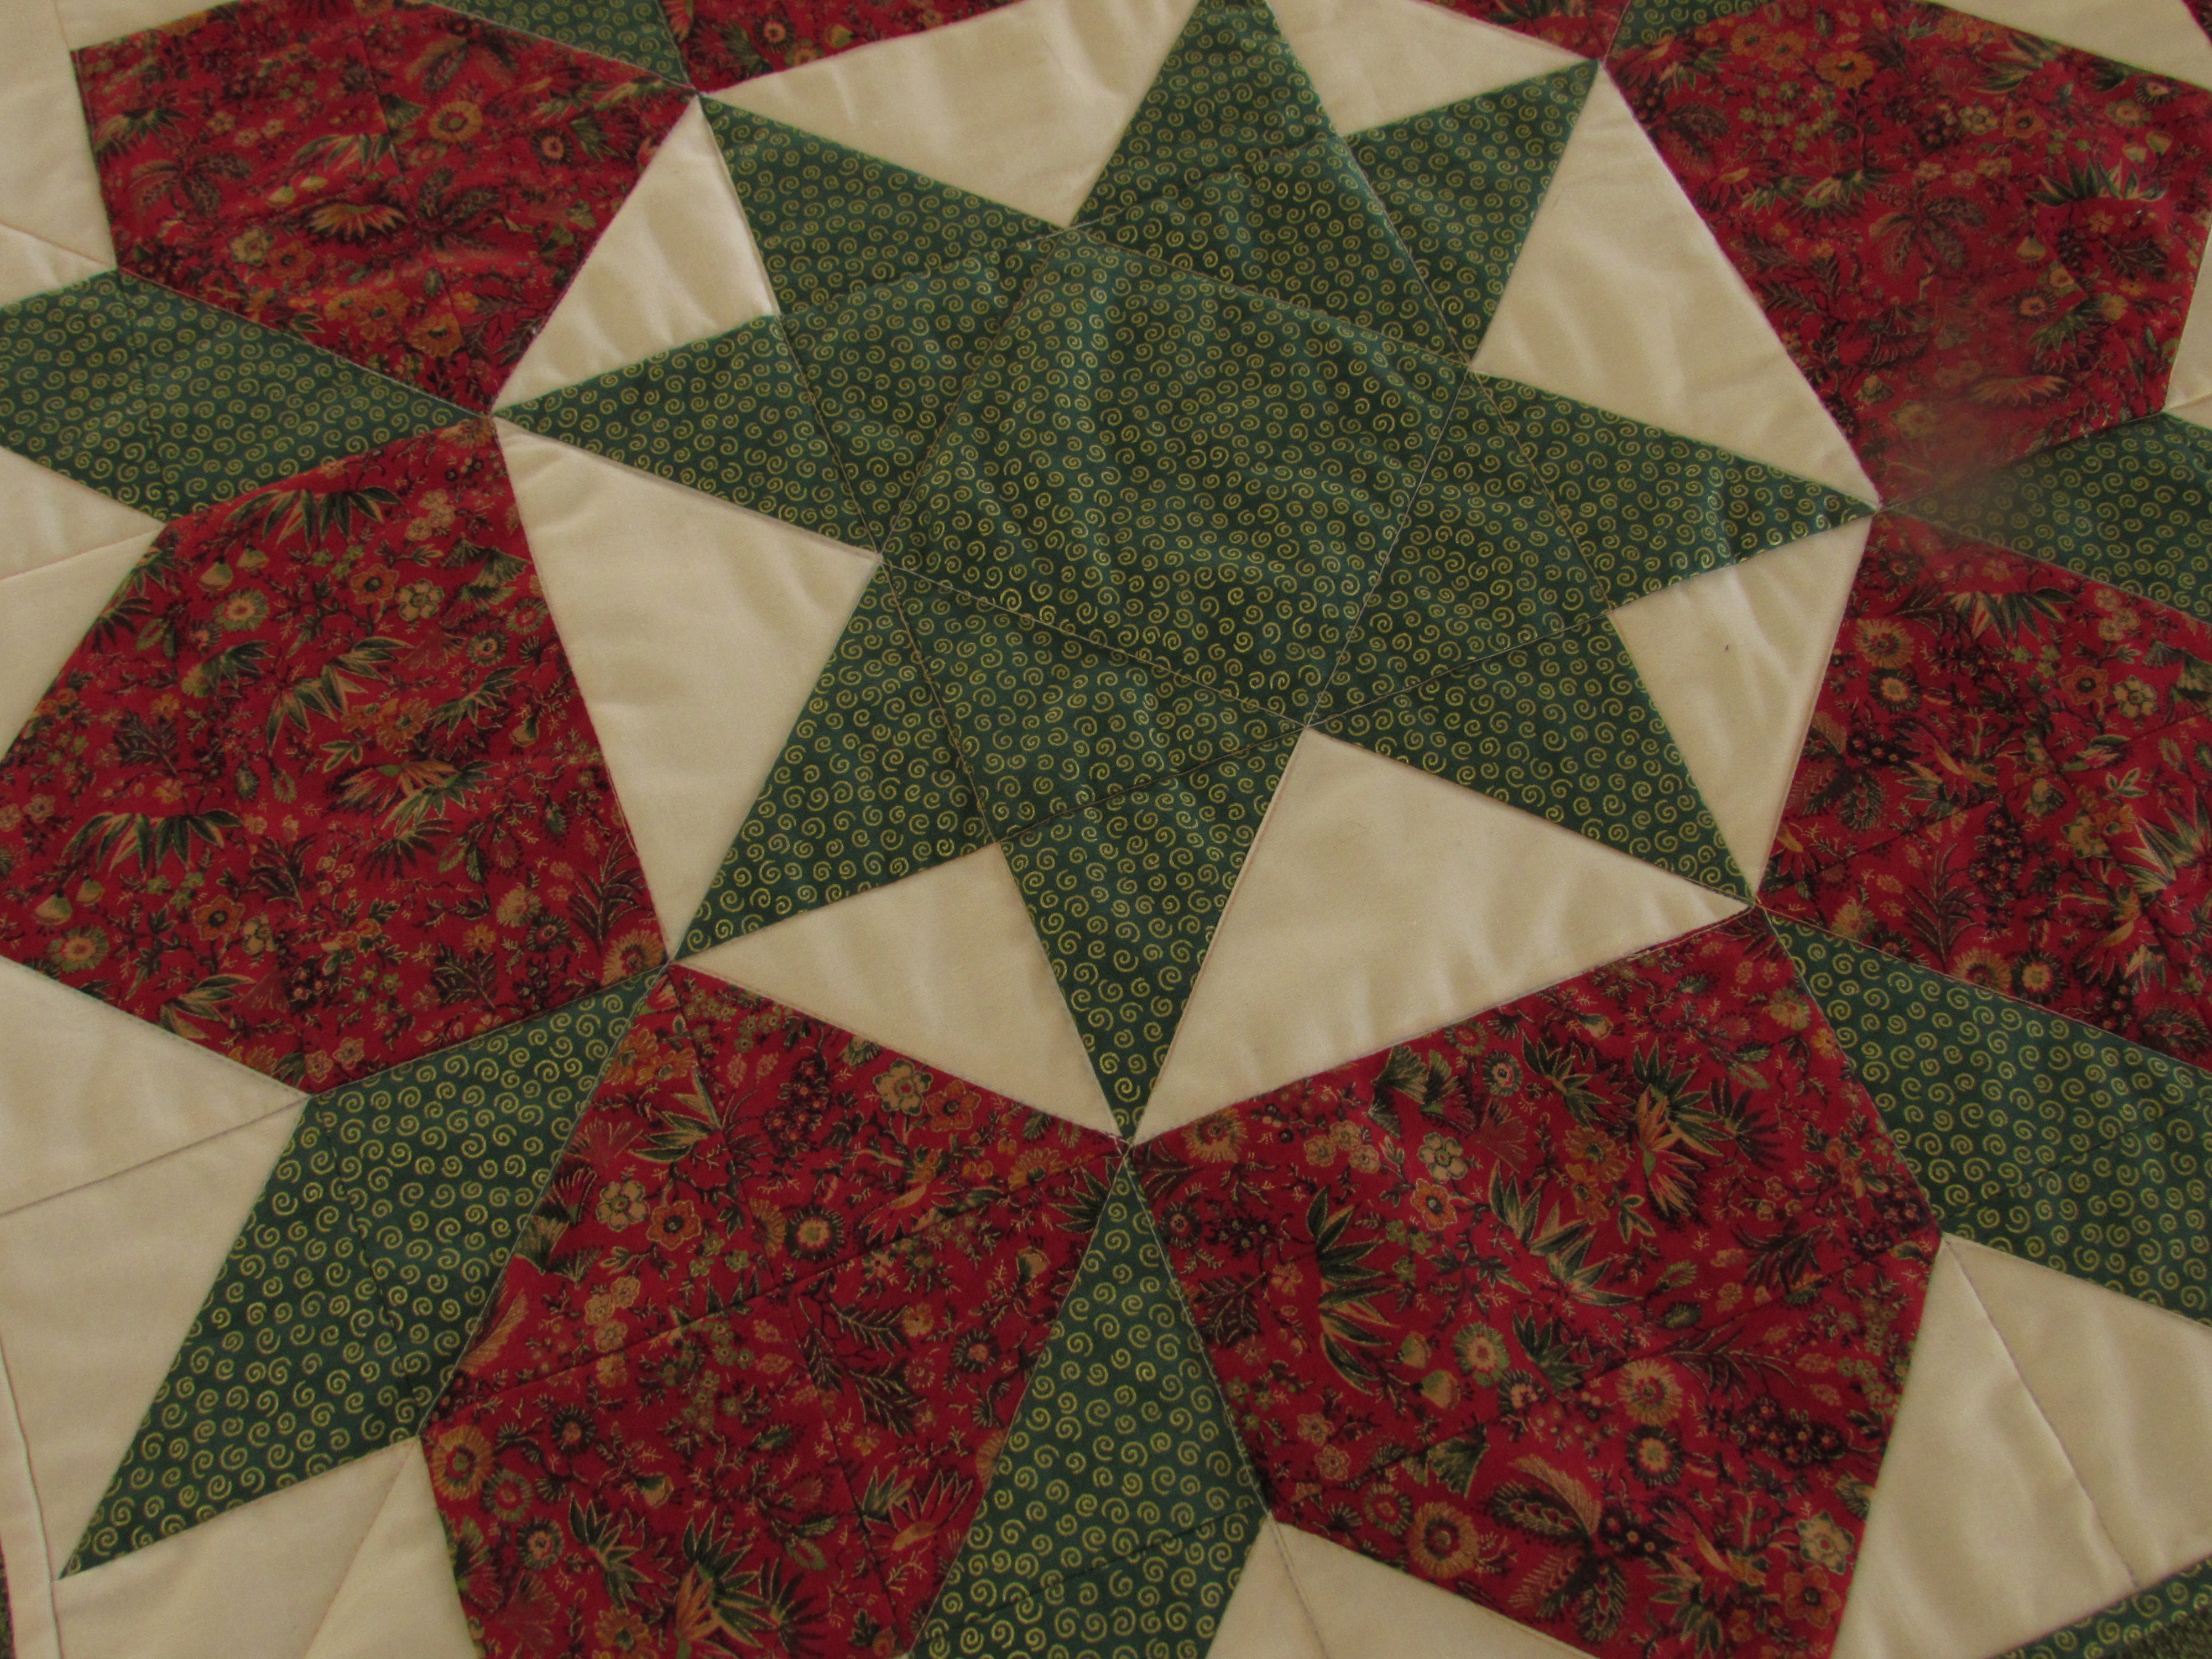
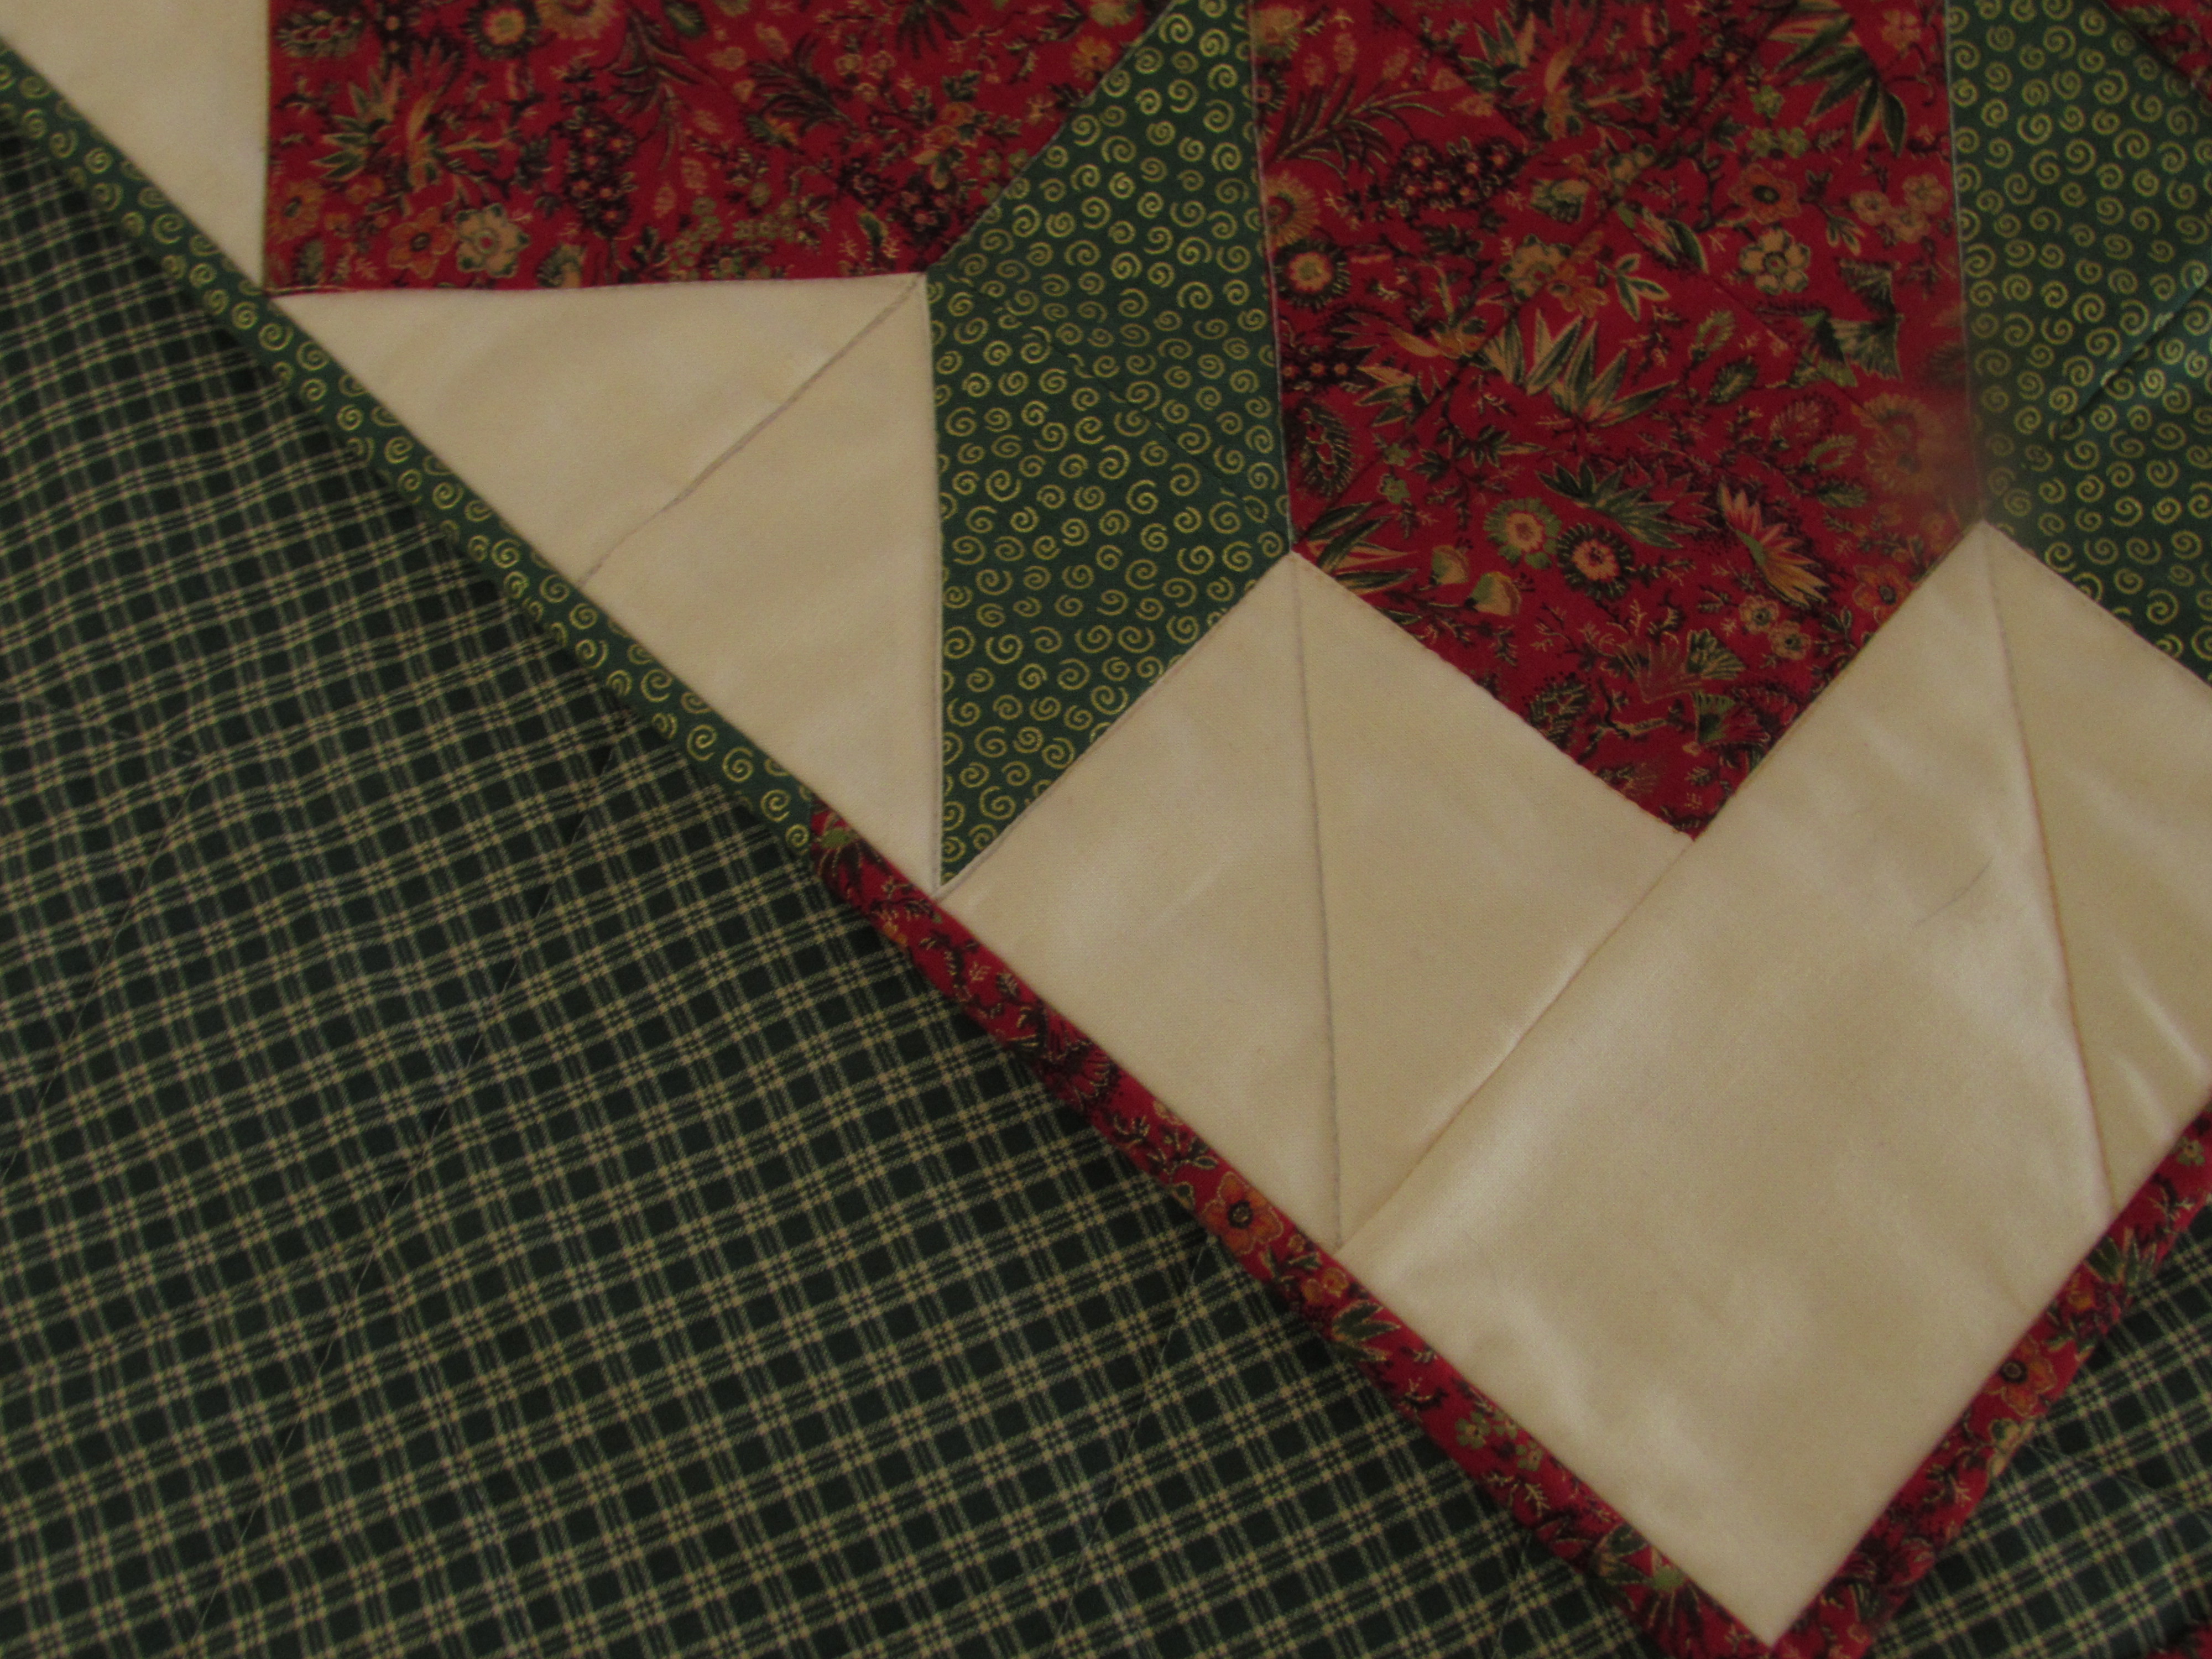
You might remember I made the quilt top a long time ago. I used a fat eighth set of Millie Fleur by BariJ for the centers and Moda solids, Fig Tree Cream and Stone. The pattern is one that alternates hourglass blocks and economy blocks, each of which finished at 9 1/2″. I love the look of this pattern and feel proud to have drawn it myself and figured it out without a pattern (I don’t do that too often.)

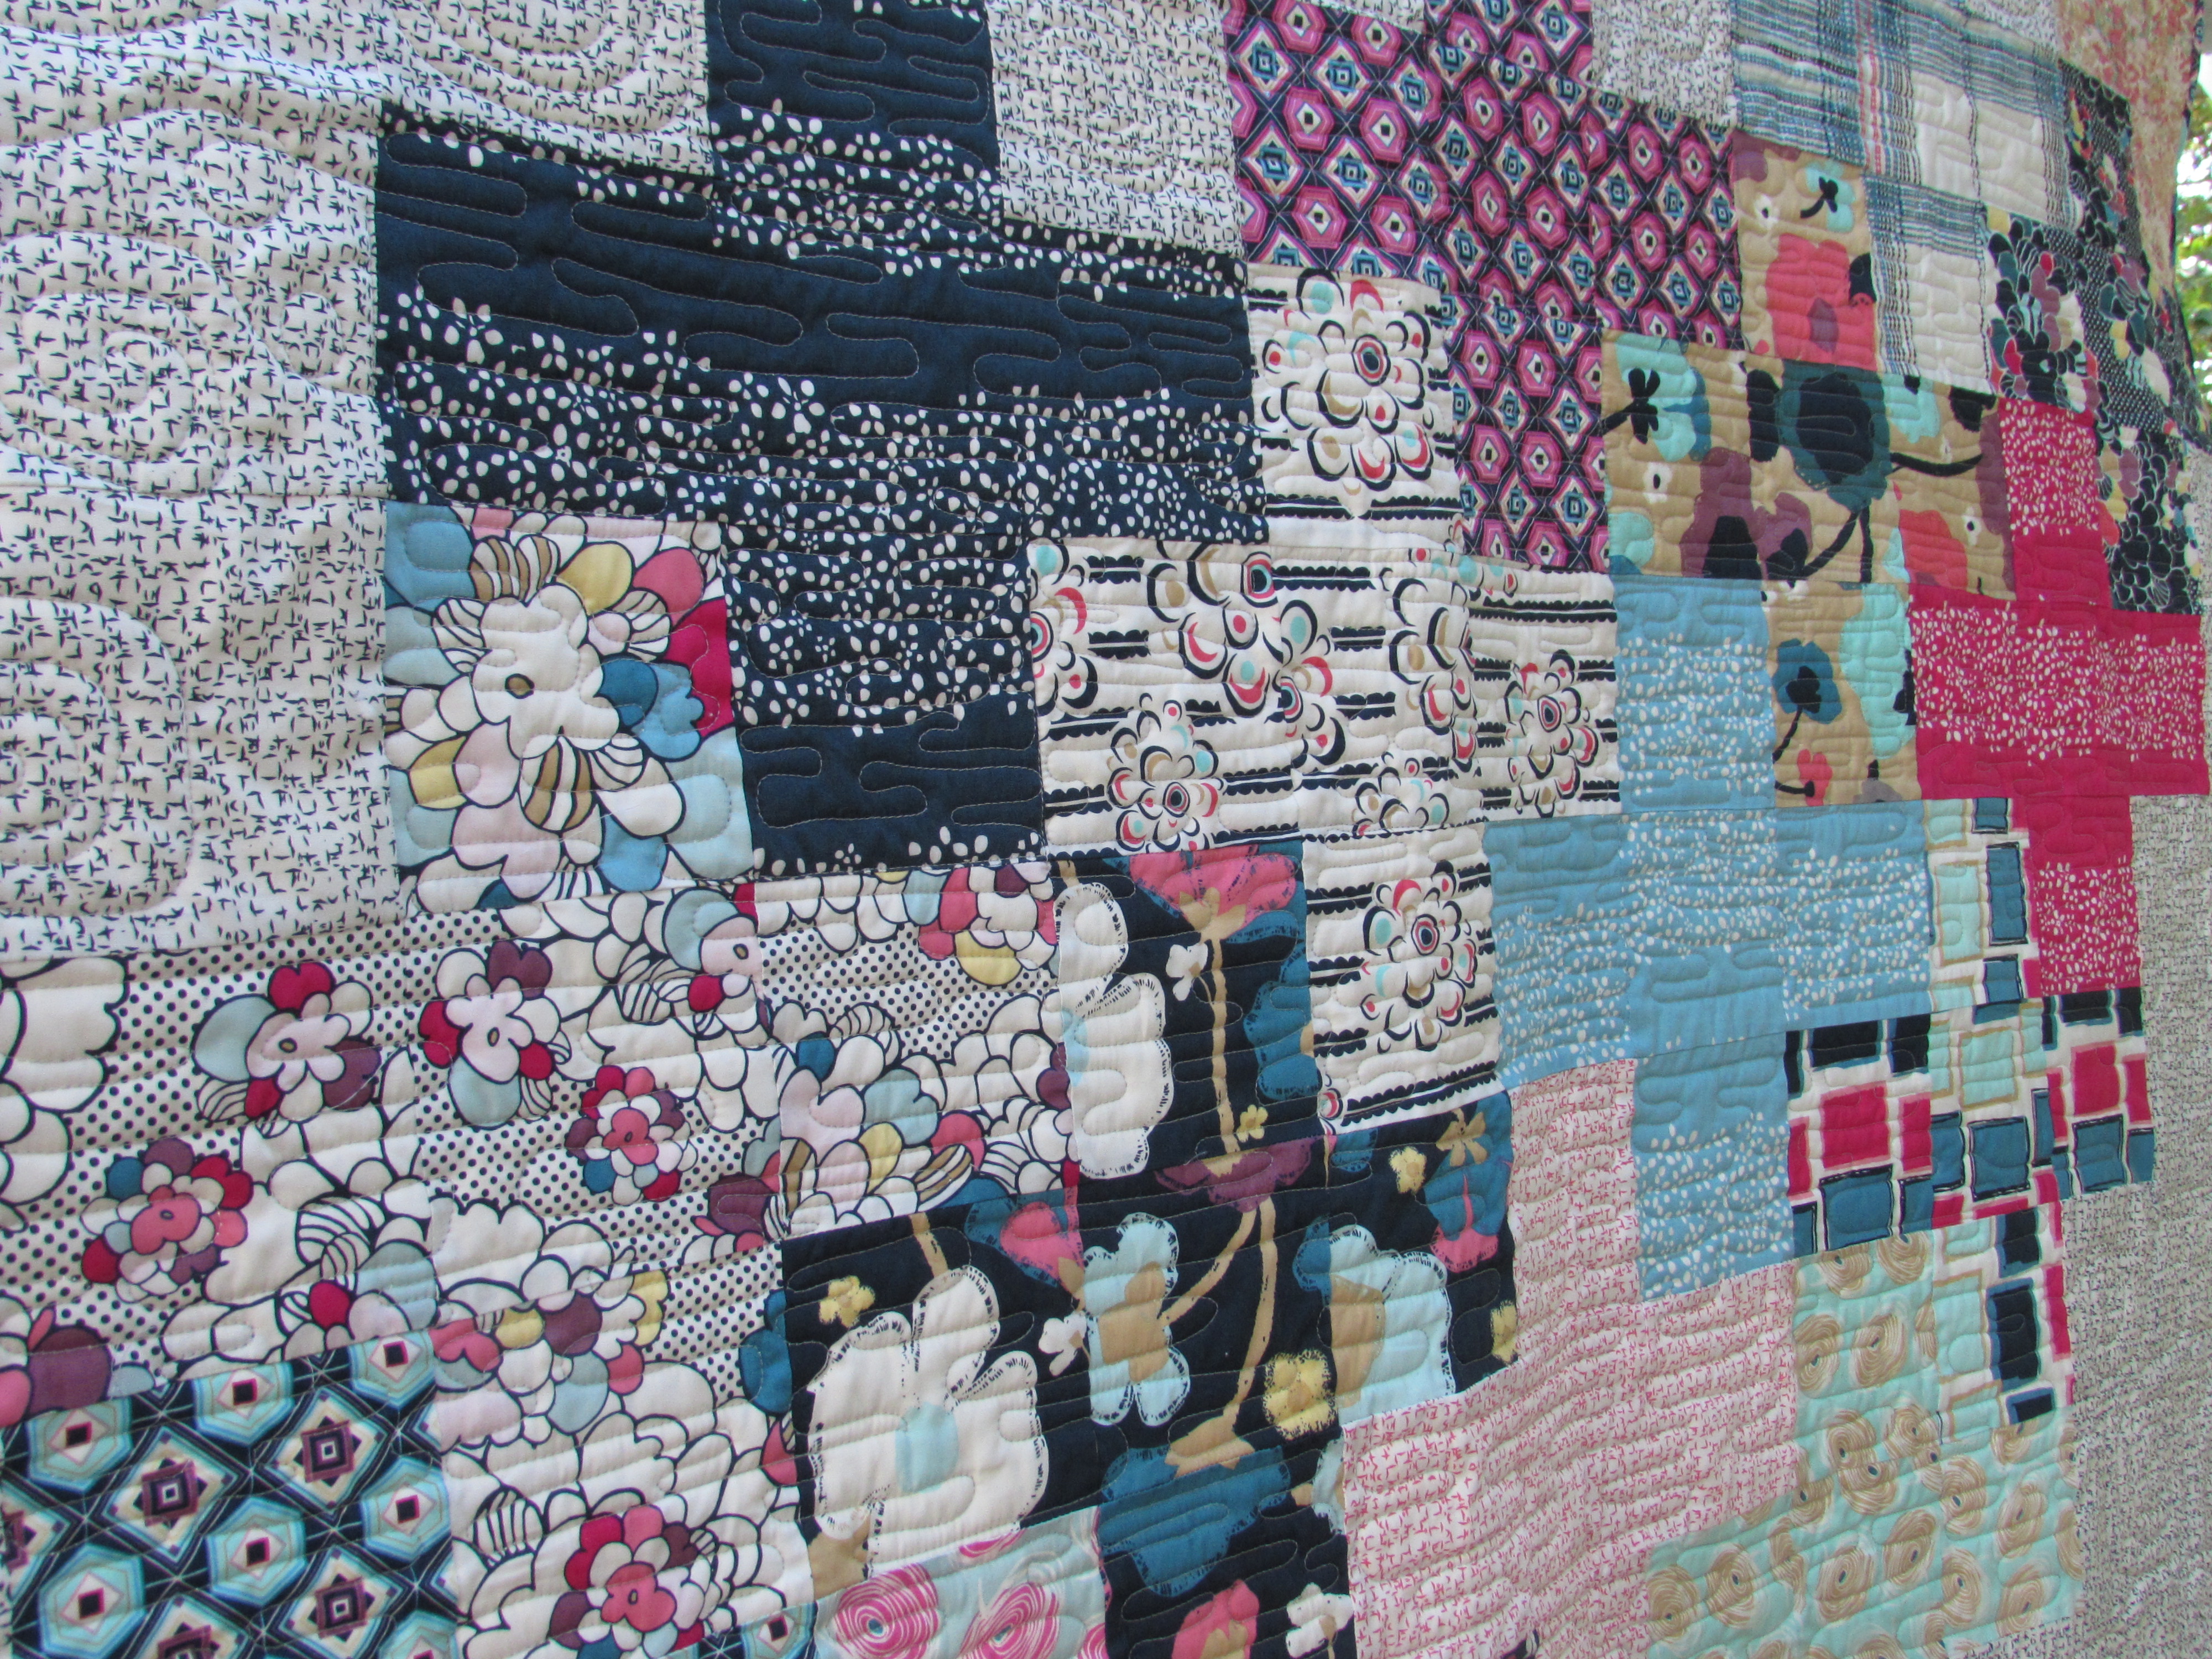
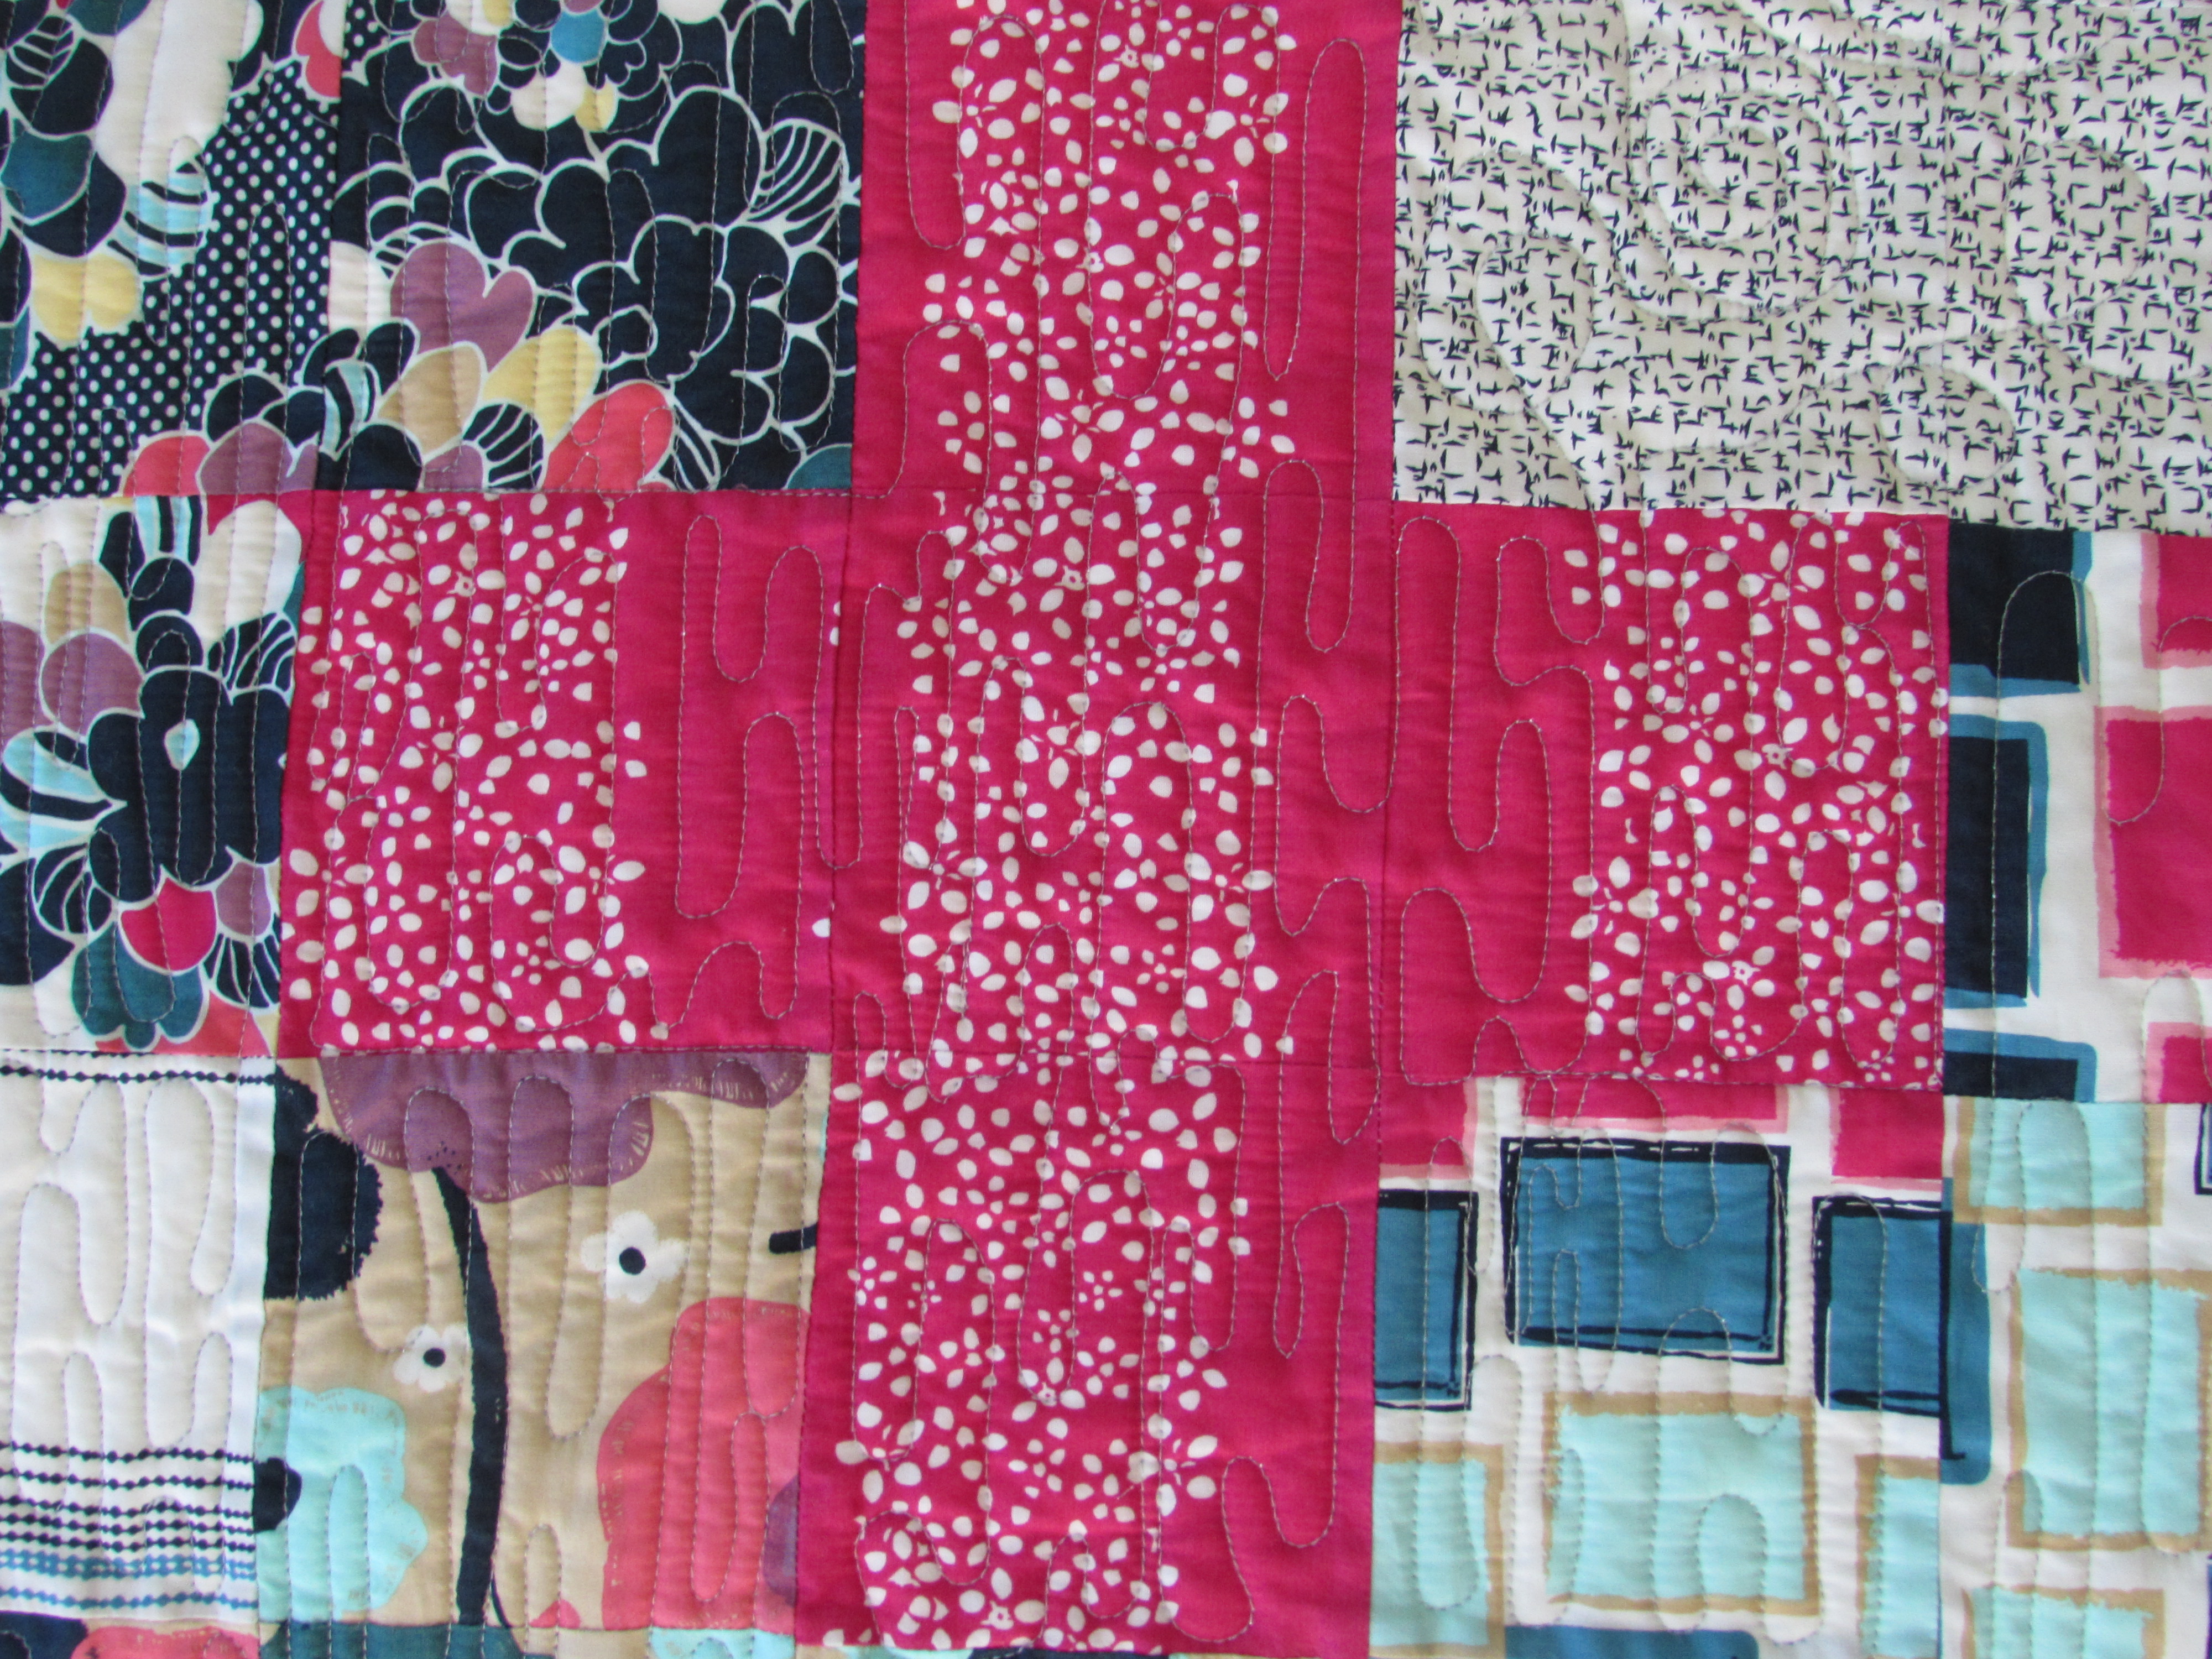
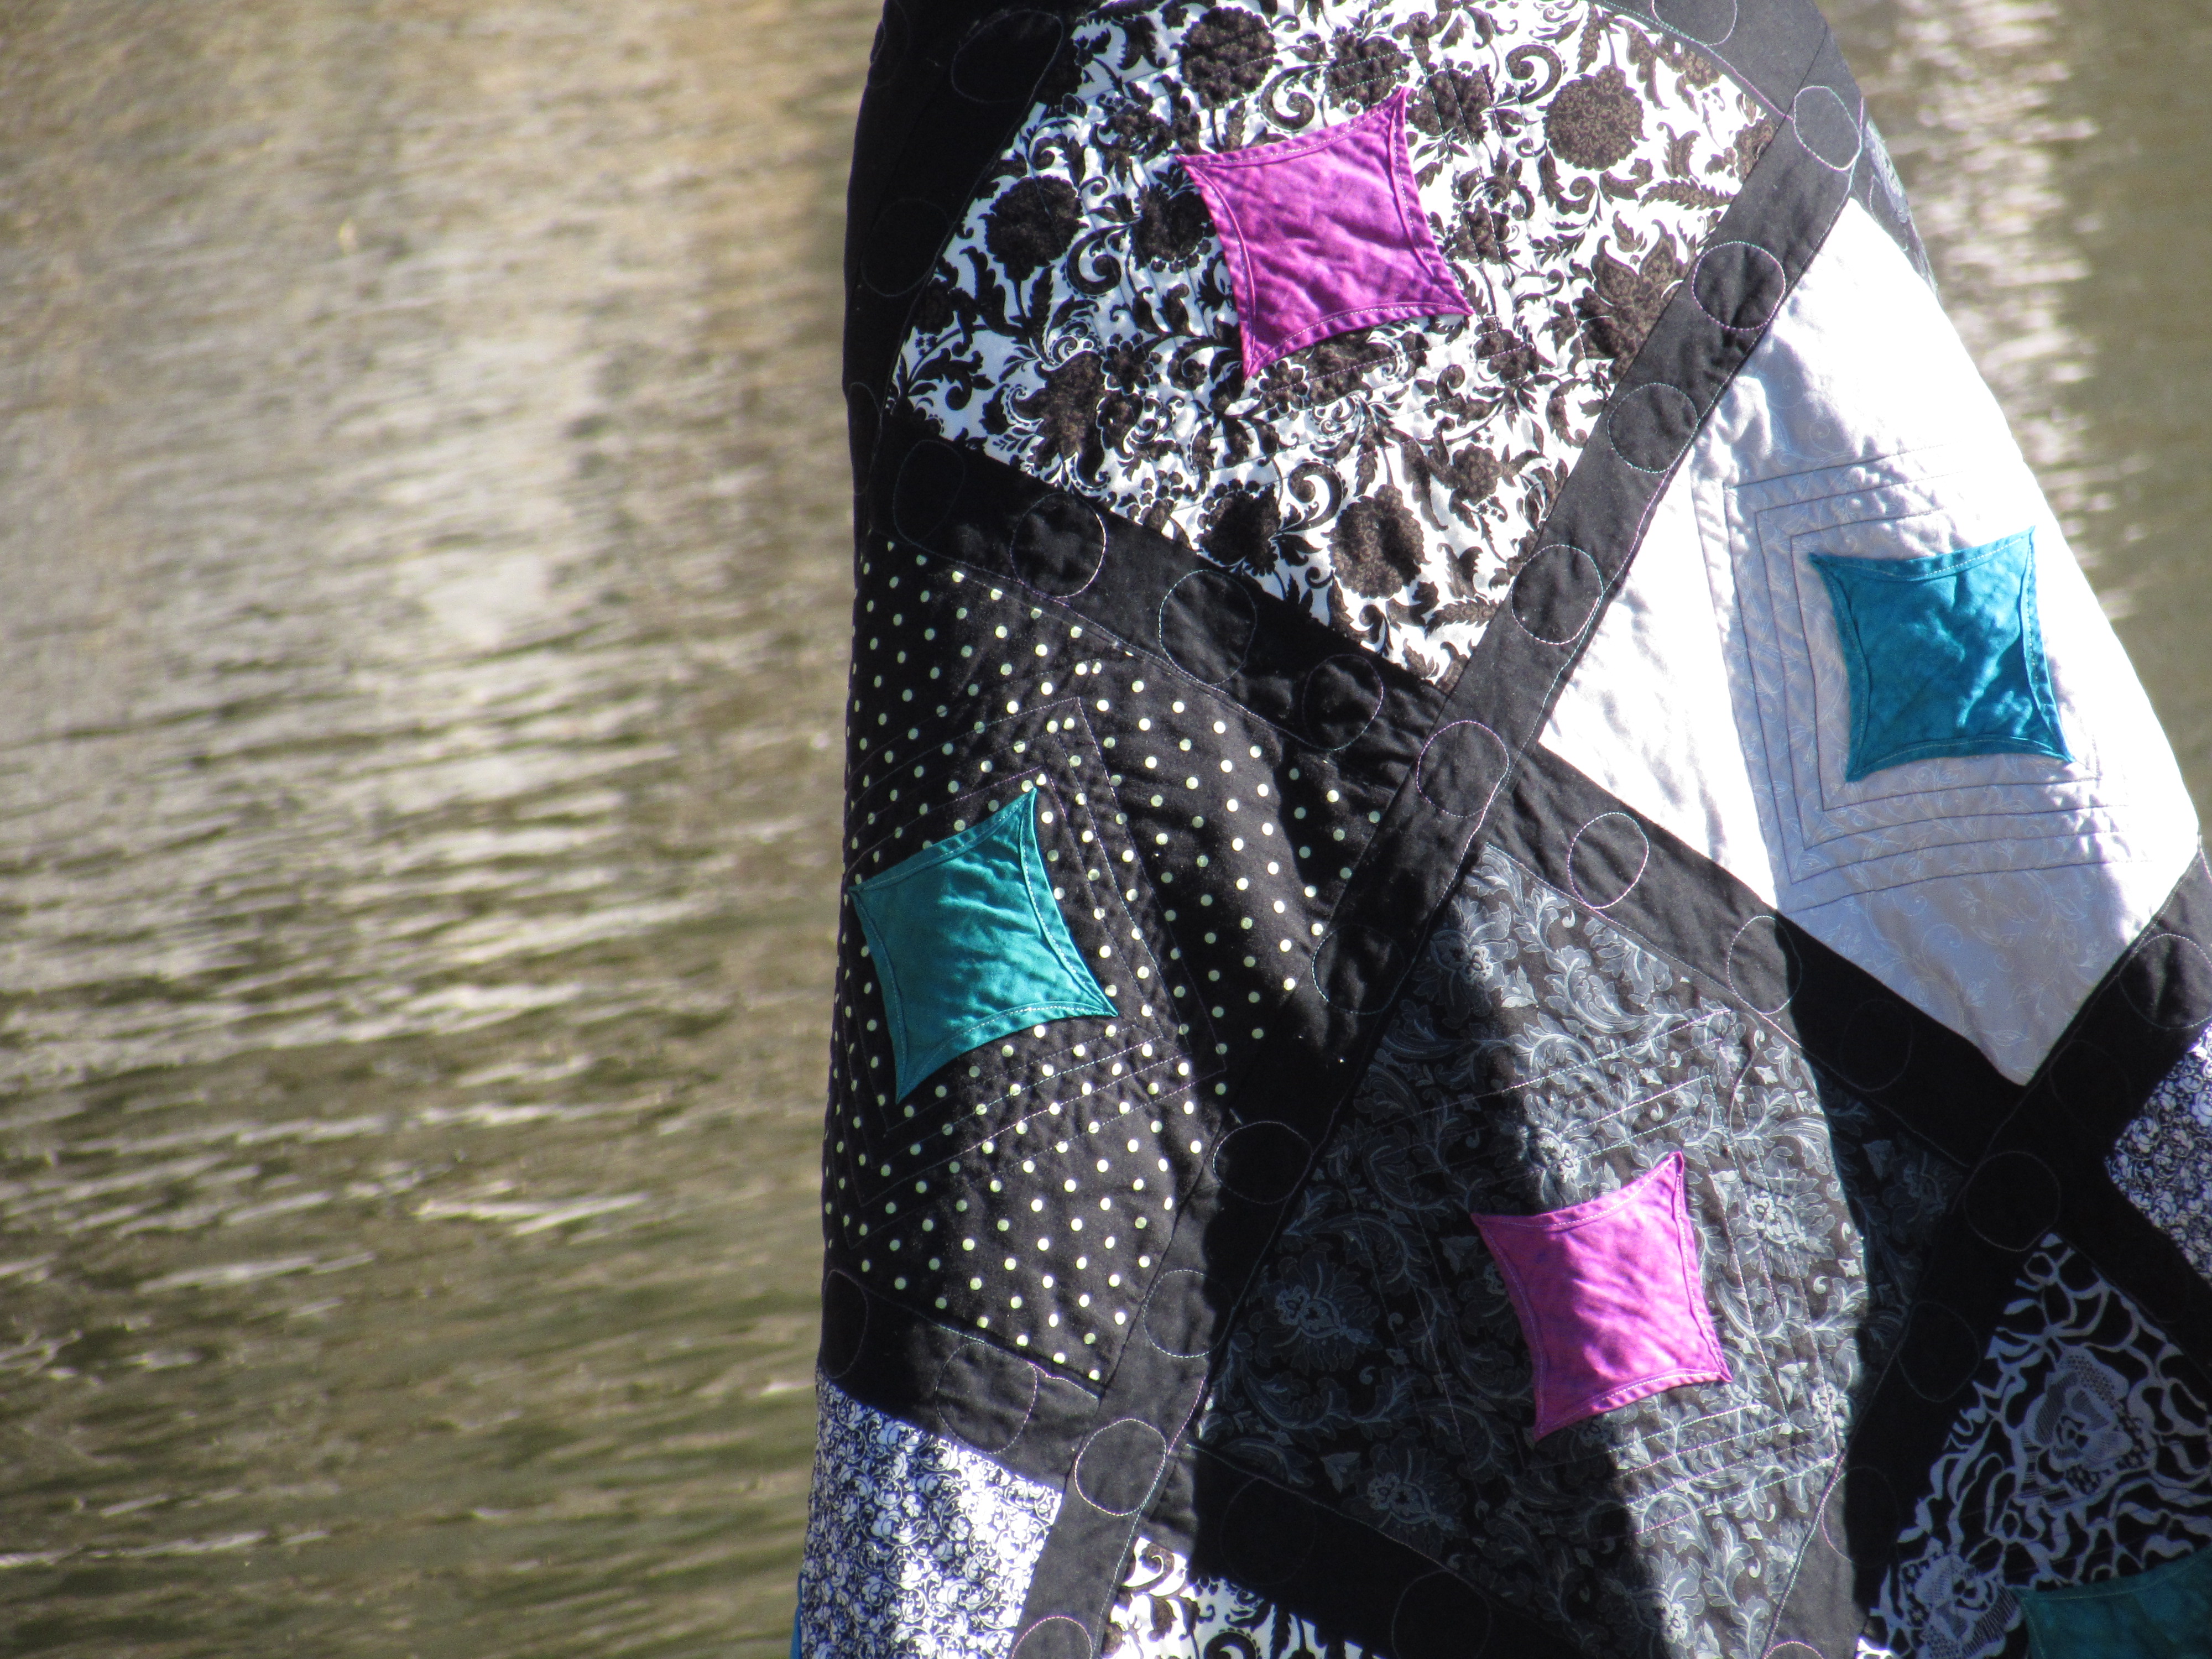
I wanted to quilt it on a long arm because there is lots of cool negative space and it would have been fun to play with it. However, that just never worked out and in the interest of time and wanting to complete this quilt, I opted to quilt it at home.  It is fairly large at 74″ square so I decided against free motion quilting and settled for straight line with my walking foot. I did a diagonal line across the middle. For one side I did vertical lines all the way out and on the other side I quilted horizontal lines. I like the effect.

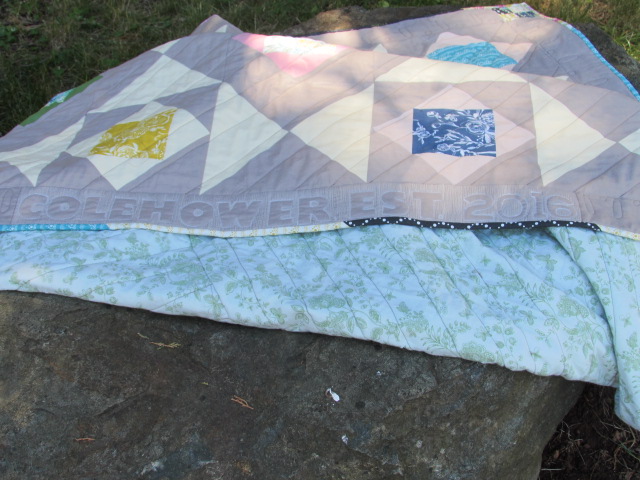
My favorite part of the quilt is the bottom border where I relief quilted their last name and the words EST. 2016.  It is a sweet reminder of when they married and established their family of two (plus a couple of dogs!!) As with my other relief quilting projects, I fused stabilizer to the back of the border strip (before it was attached to the quilt) Once the letters were traced on to the border, I used my darning foot and created the design by free motion quilting around the shapes of the letters and numbers.  After attaching the border strip and quilting the body of the quilt, I took the darning foot and FMQ’d the outline of each letter and number to quilt that section of the border and make the letters stand out and puff up a bit.

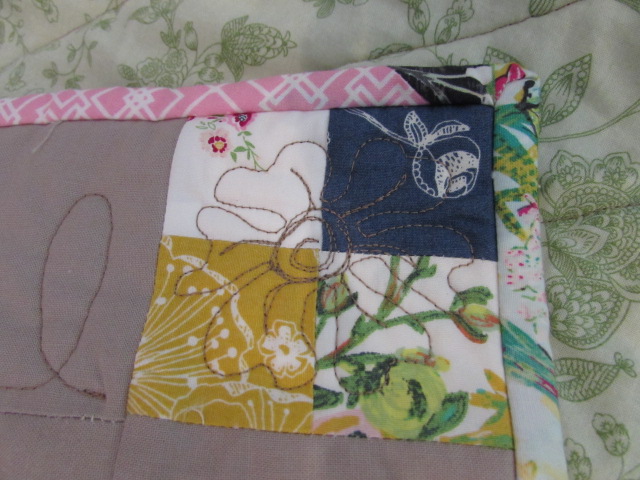
On the corners I used a four patch block as a cornerstone.  On each of these I quilted a little flower. The borders were free motion quilted with a pattern of loops, alternating small and large ones.

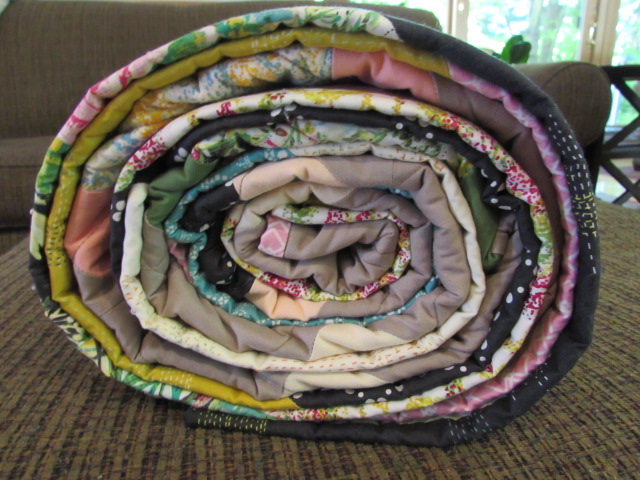
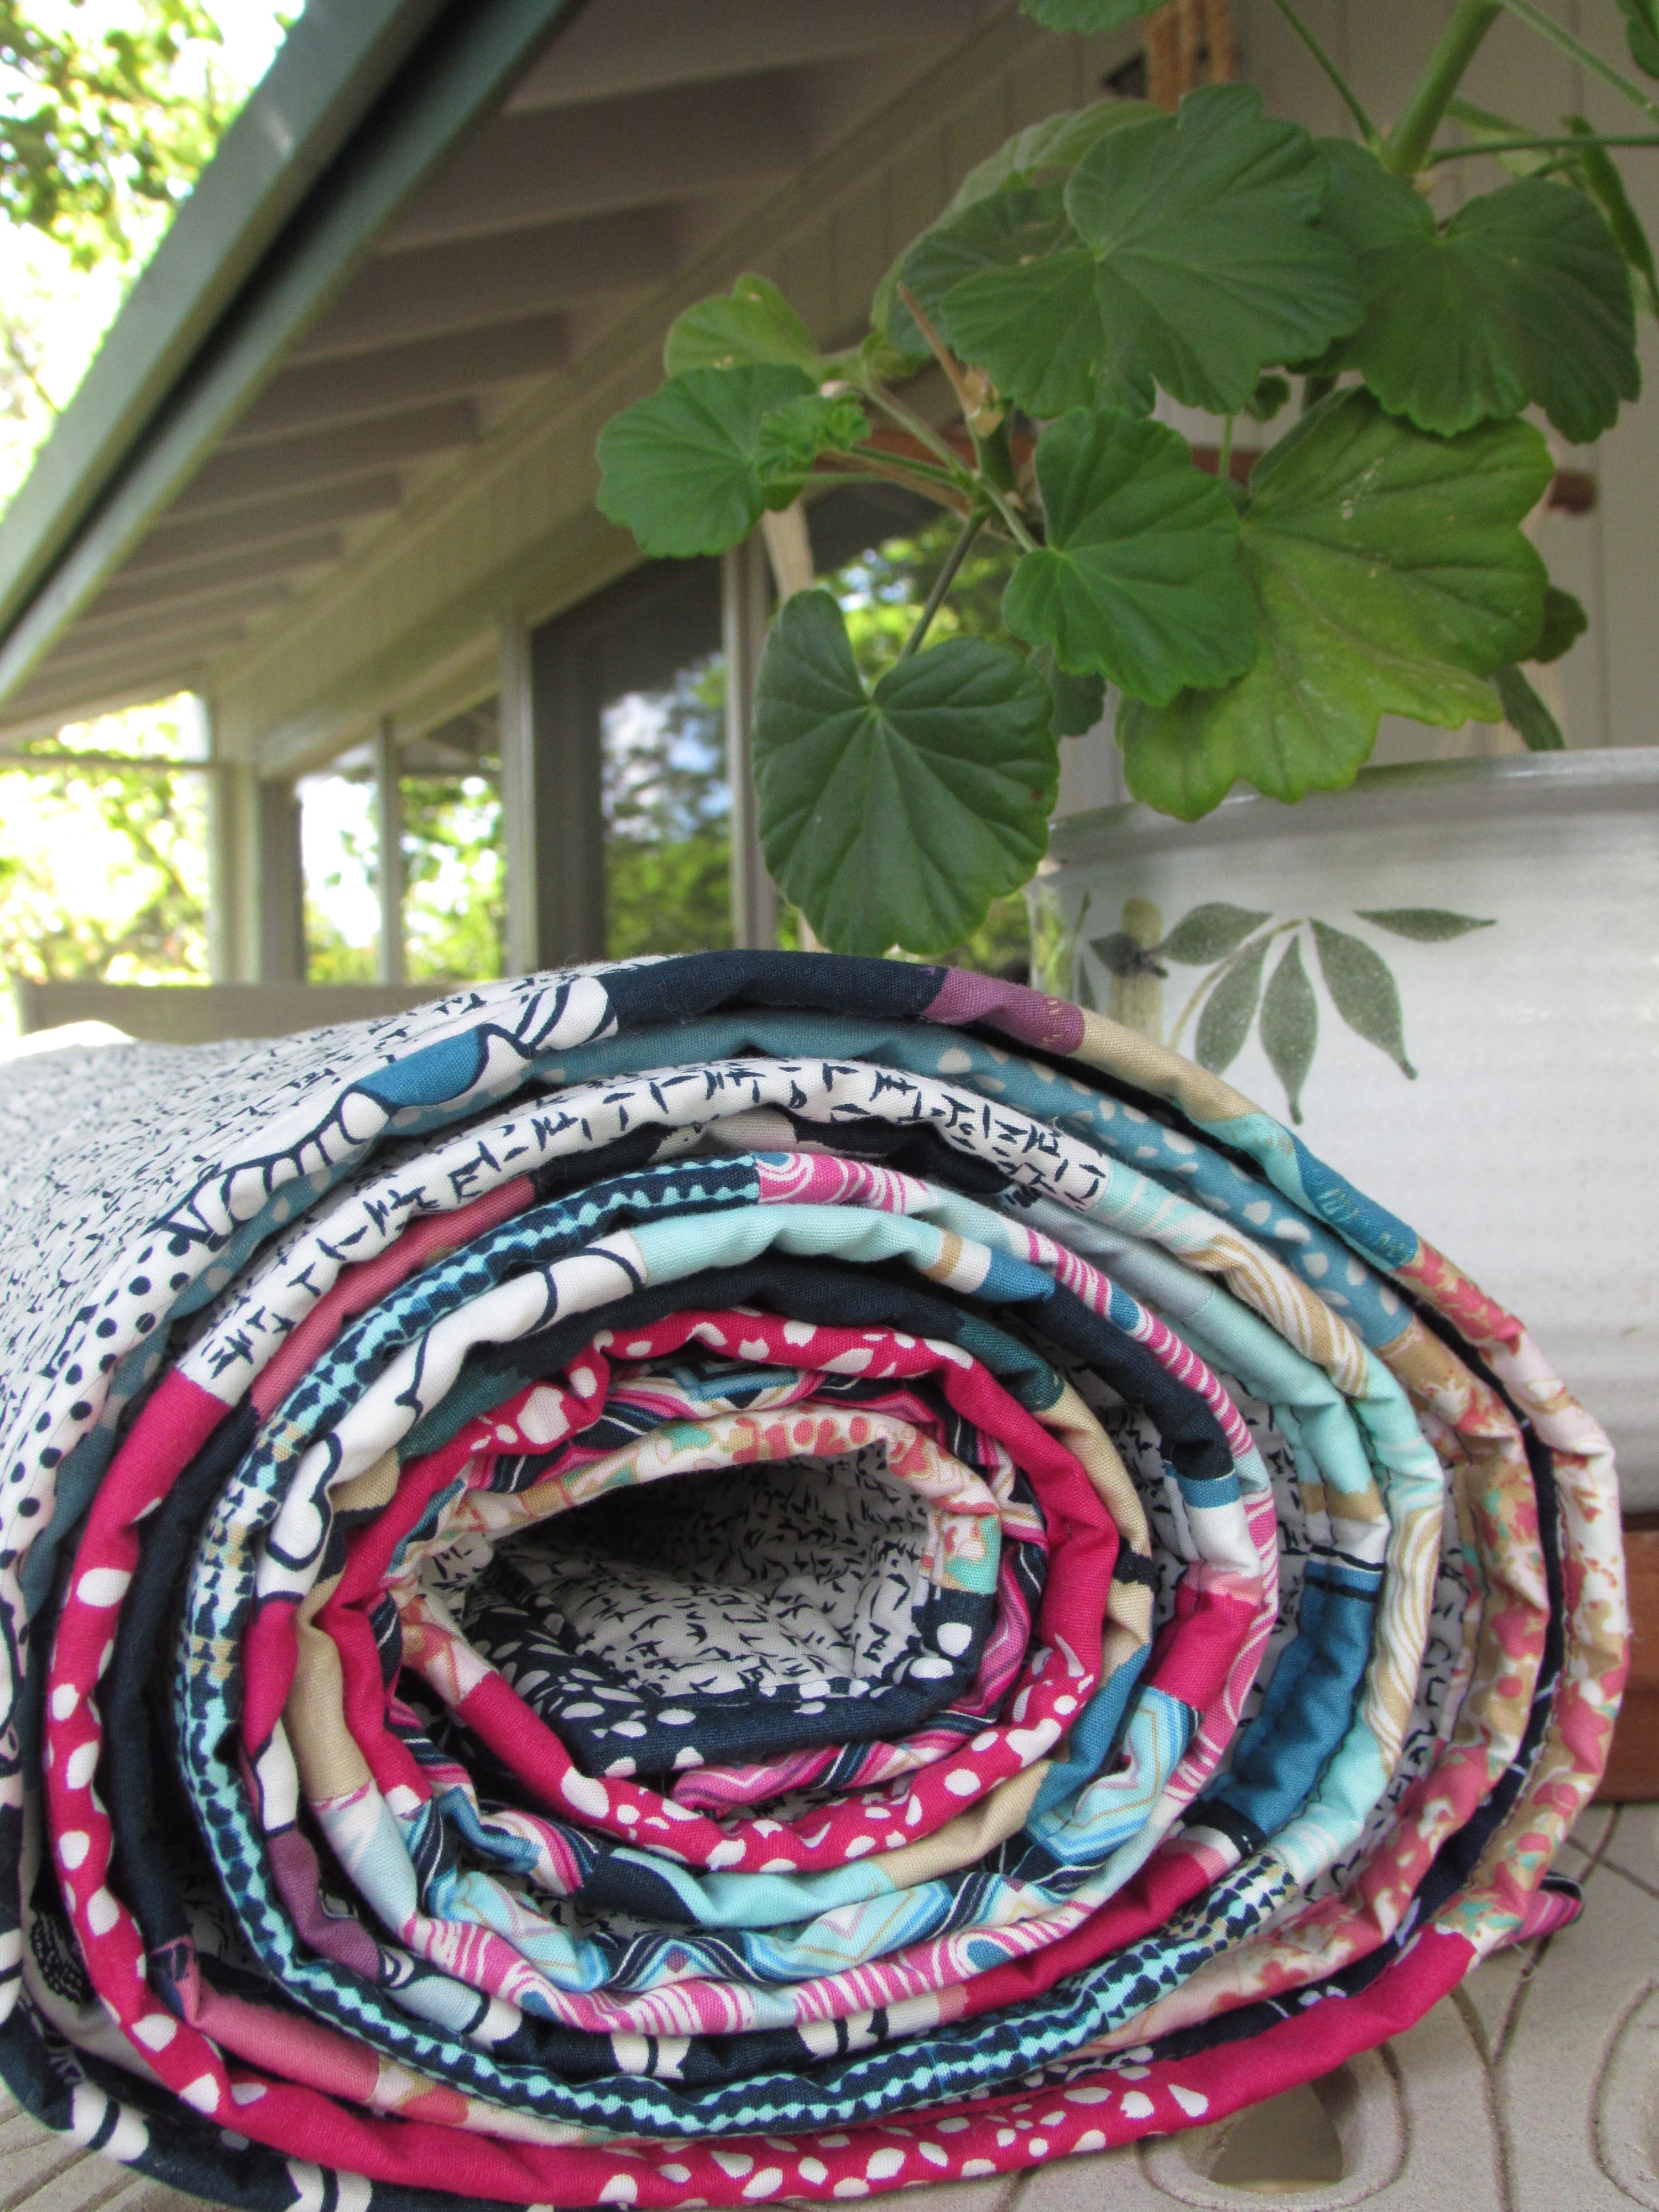
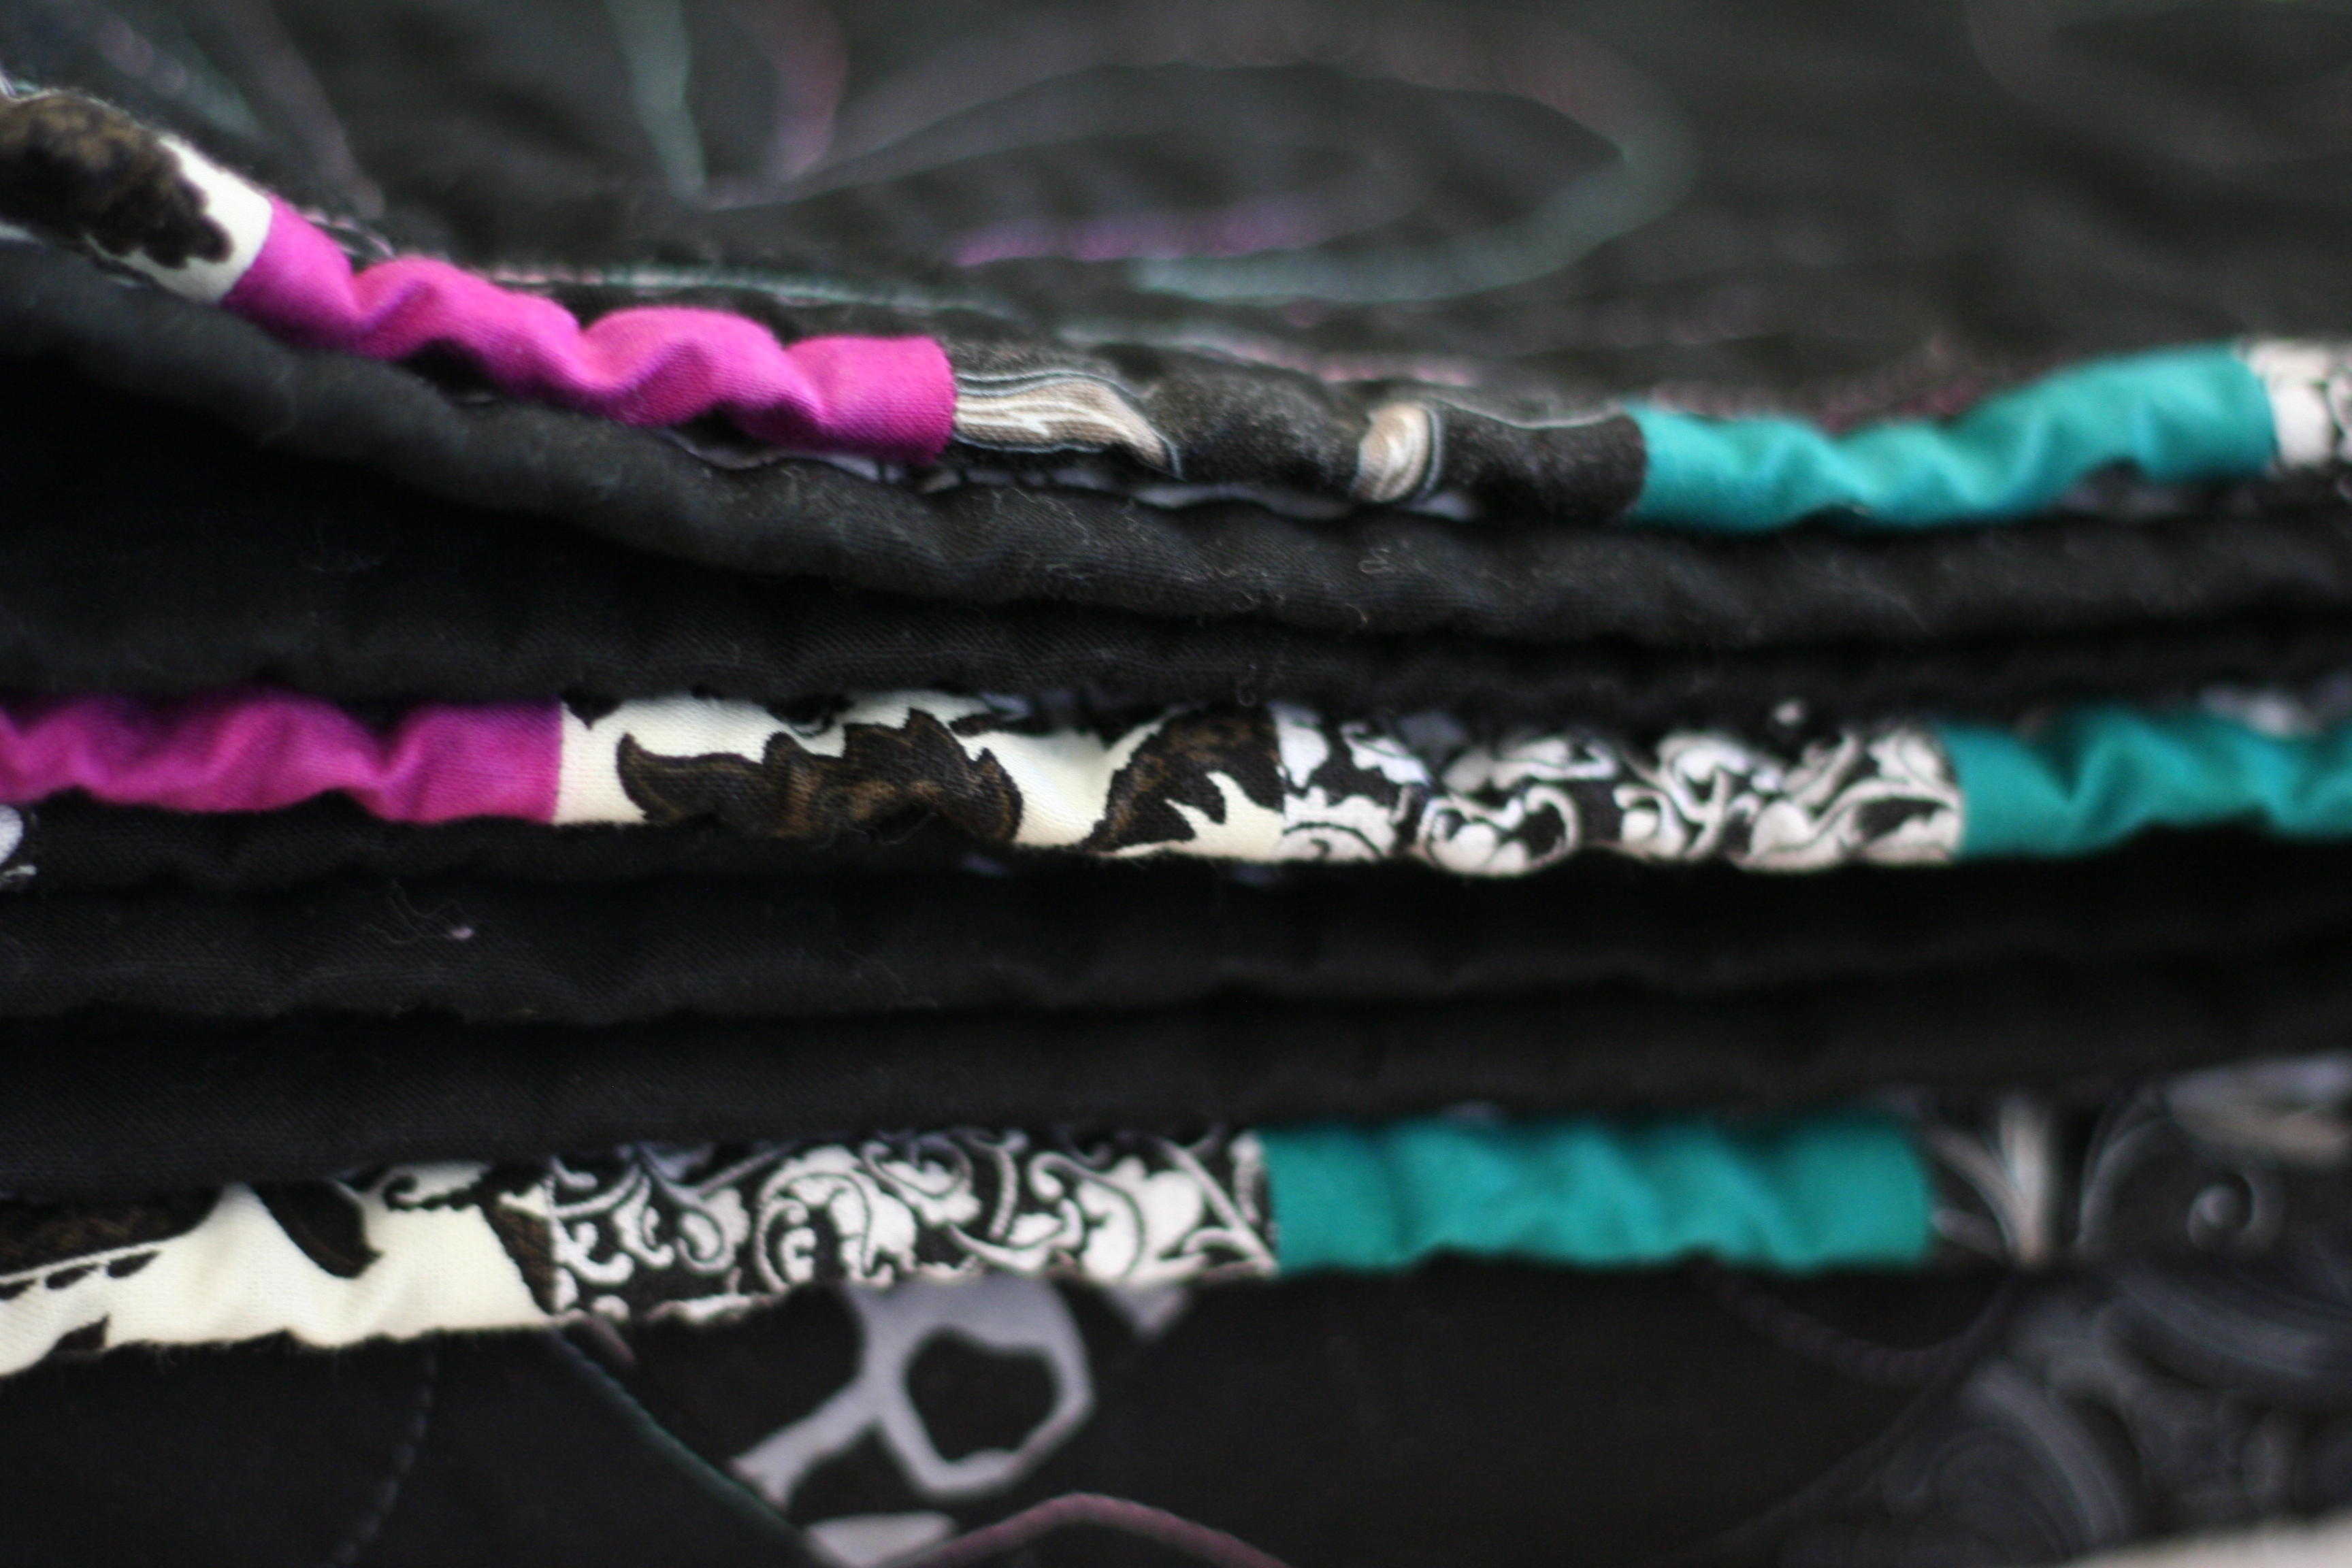
To finish it off, I made a scrappy binding!  I am such a fan of scrappy bindings. Luckily, I had just enough of the Millie Fleur fabric left to make the binding.

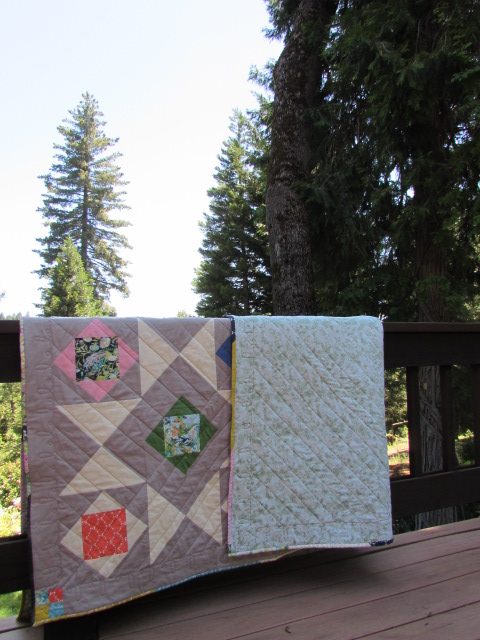
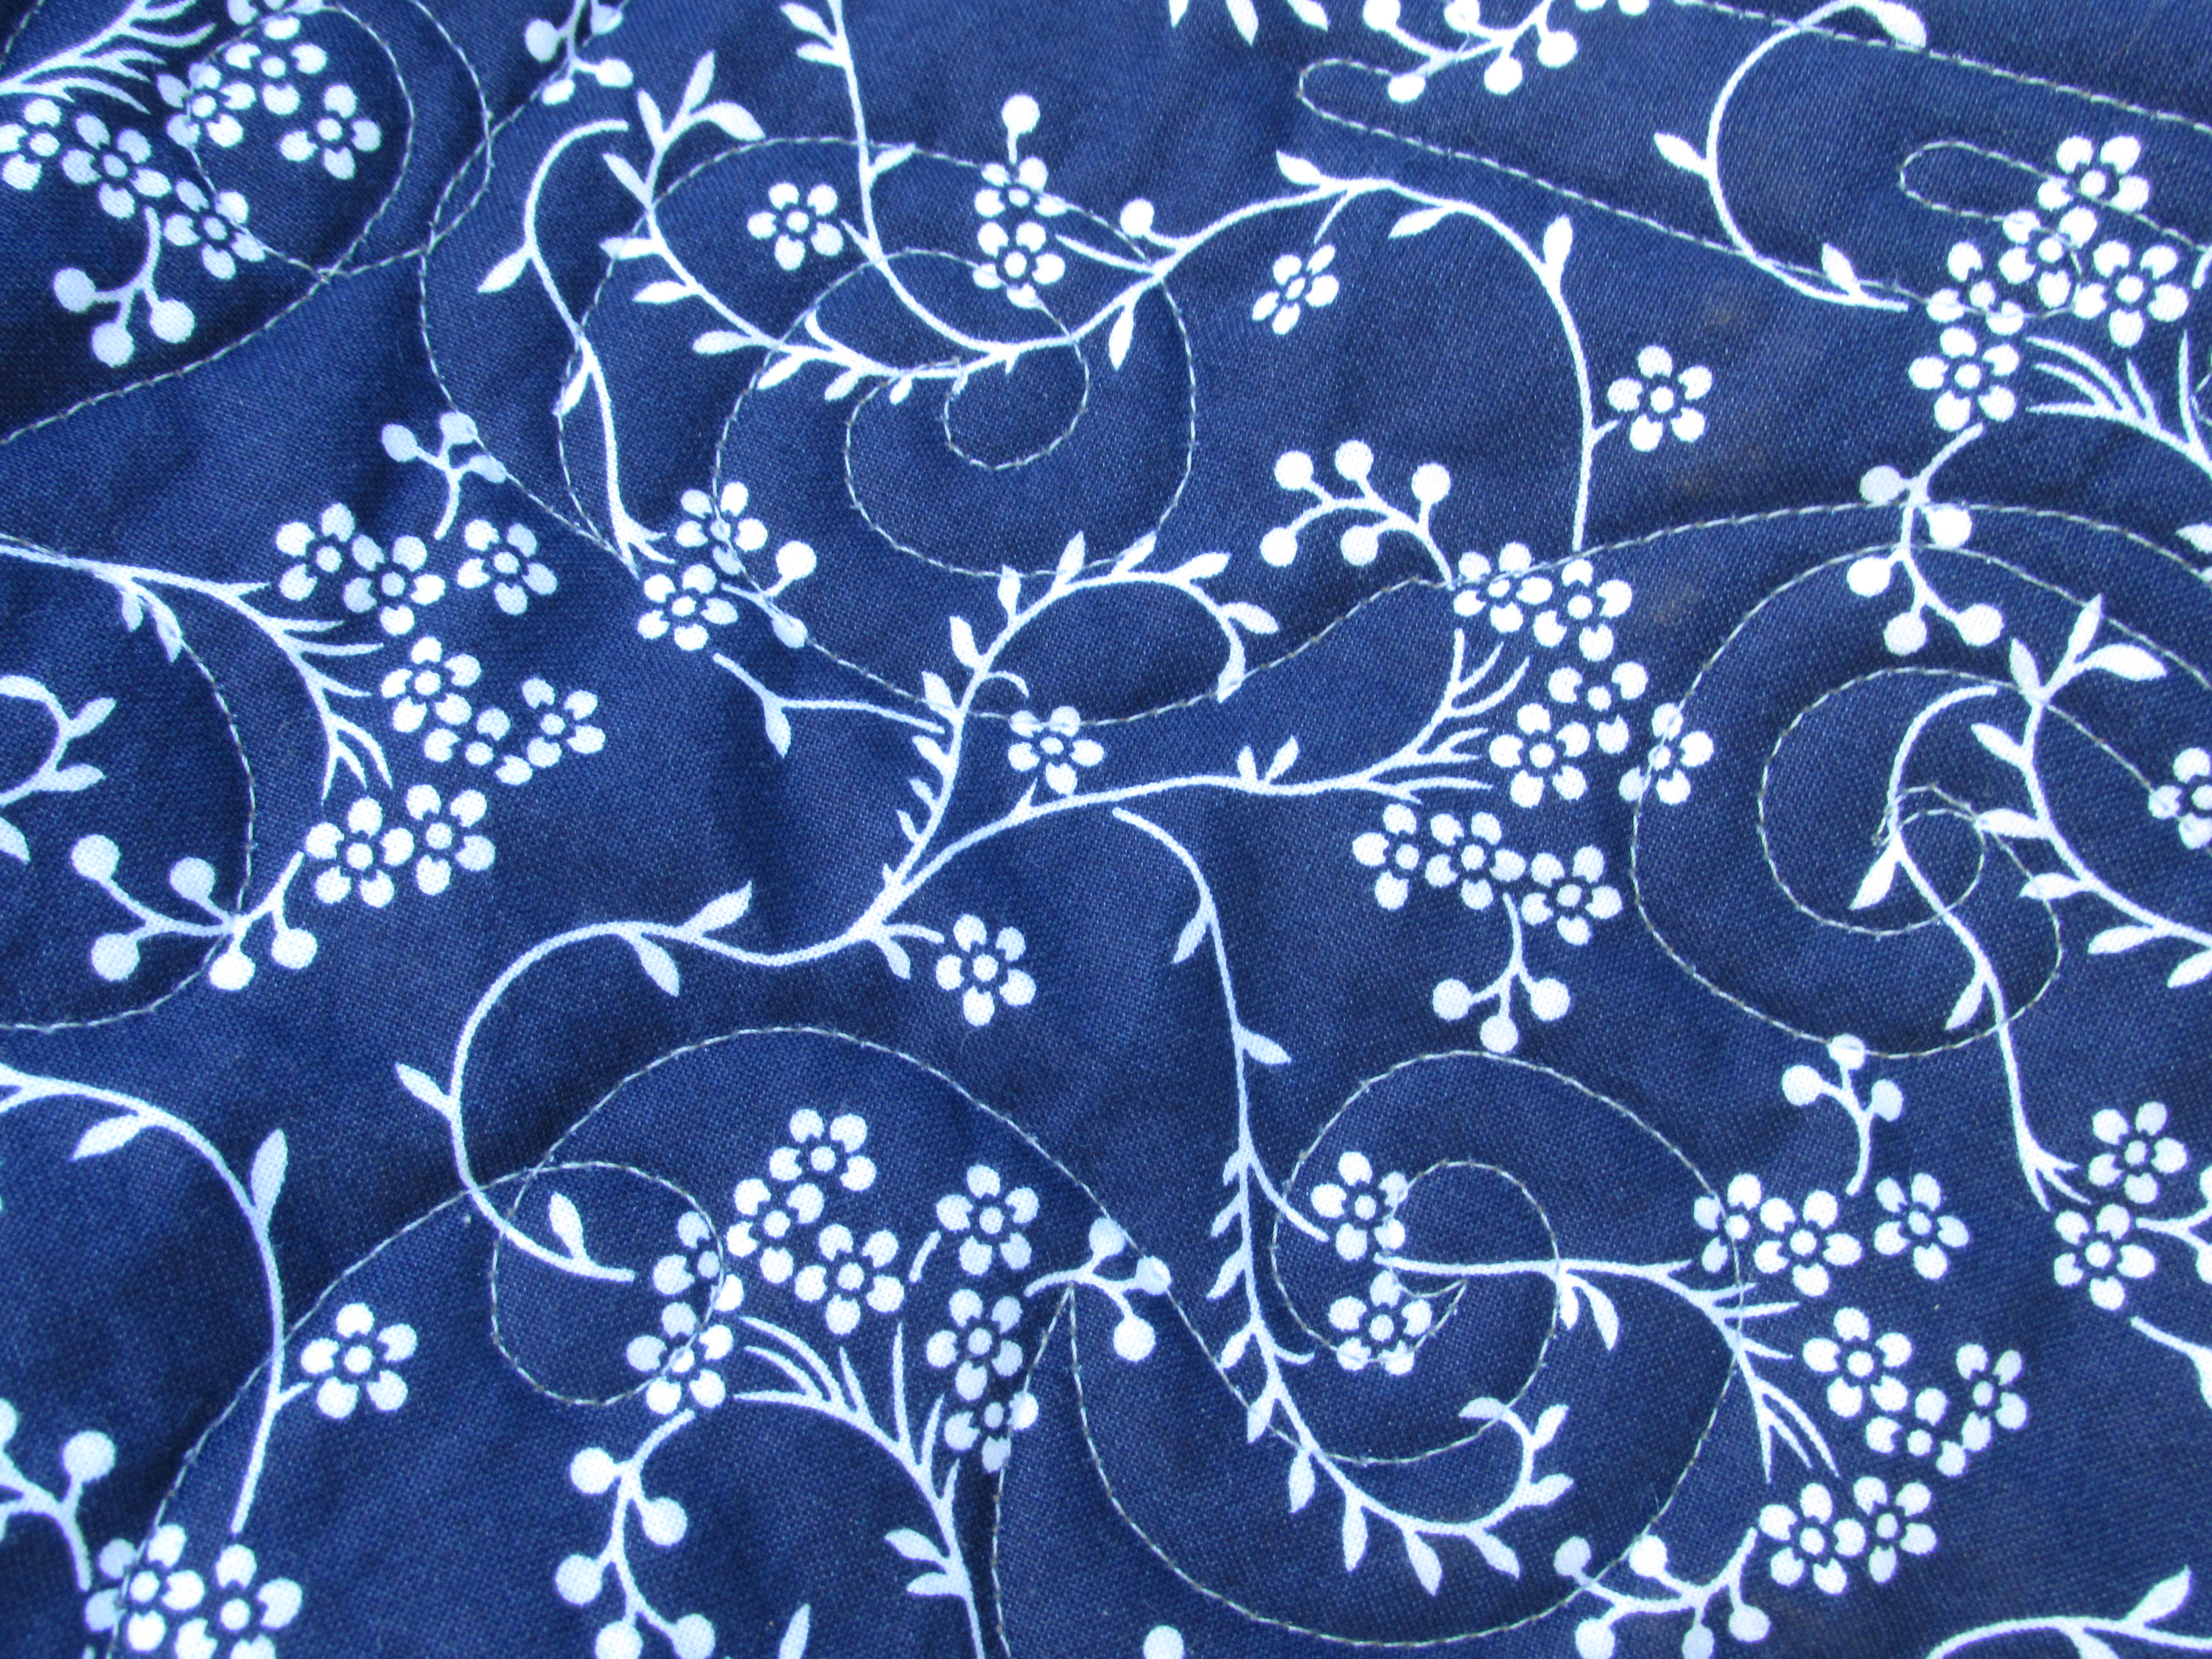
The backing is a green, floral wide back I purchased long ago and I couldn’t honestly say what it is. I can say I love the ease of a wide back for backing. Pieced backs are very cool and give you sort of a double sided quilt but wide backs (108″ wide) provide ease of use and a speedy finish. (Plus I have a large piece of it leftover which is kind of nice!)  In fact, I recently bought the first bolt of wide back, a small gray polka dot by Red Rooster and it is listed in my shop.  Just in case you need some. 🙂

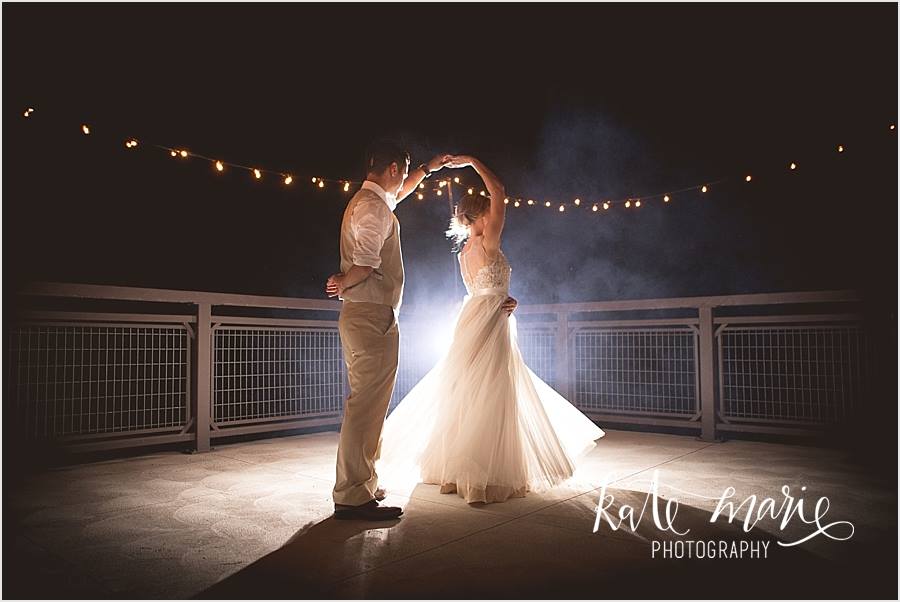
I can’t wait for the kids to receive their quilt.  I was really sad to have missed this wedding last year. From the pictures they shared, it was just a gorgeous day for my nephew and his new wife. I am sharing a picture of them dancing at their wedding. Breathtaking, aren’t they? I hope they love the quilt and use it happily for years to come.

If you haven’t yet signed up, I would love to have you sign up for my newsletter. Sent monthly, it contains updates about new fabrics I have in the shop and promotions that will run that month for newsletter readers. Sign up form is on the right side of your screen, toward the top.

Linking to my favorites, each of which can be found at the top of the page, under Link Ups.


Positively Floating – a Finish

Earlier this summer I made a plus quilt using the Art Gallery Dare fabric line, designed by Pat Bravo. I set it aside for a while, as most of us tend to do. After taking the long arm class, I decided to quilt this one for my second round of practice. Thursday last week found me at the Sew-So Shop ready to load the project on the machine.

When I arrived, I was told that the owners would be running a bit late due to a family emergency. There was another woman, a very experienced long arm quilter (Diane), who was there to pick something up and she offered to help me get everything set up. I felt so fortunate to have run into her because she taught me a great deal in the 15 minutes that we worked together. It was so helpful!  We got the backing, batting and quilt top loaded and straight.

I talked with Diane about my plan to quilt this. I wanted to do simple spirals in the negative space and something linear within the pluses so they would be differentiated from the background. She and I scribbled on paper for a bit and decided on a flow of linear lines that look like water flowing. This would allow me to leave the machine free (as opposed to setting the channel locks for straight lines) and would give me a relaxed pattern to stitch. It worked perfectly (well, nothing is perfect but overall, it was very successful!)

img_7524

I love the flow of these soft linear curves. At first I tried to treat each plus as a separate entity but it didn’t seem to make a difference so I relaxed on that and let the lines flow over the edge of one fabric and on to the next.

img_7523

I love this motif – I don’t think I have used it prior to this but I will definitely use it again. It was really relaxing to stitch.

img_7521

For the negative space, or the background, I did large, loose spirals and loops. My goal was to work on my speed control and precision so I picked a simple motif. Looking back, I wish I would have selected a darker gray thread because the quilting hardly shows up.  I was not feeling very confident about my abilities so I picked a light thread, in case the stitching wasn’t the best.

img_7528

The stitching shows up better on the back.  For the first time, I bought a wide back cotton for the backing. This was so convenient! I had begun to piece a backing using the leftover Dare fabrics but when I decided to do this on the long arm, I nixed a pieced backing. I have enough going on loading the long arm without having to worry about a potentially wavy or ‘un-square’ backing (is that a word?).  Using a wide back fabric eliminated all of those possible issues.

img_7530

Since I had already pieced strips of the scraps, I decided to use that as the binding. I sliced the strips into 2 1/4″ strips for the binding. You know how much I love a scrappy binding.

As with each long arm experience before, I do have a question. The finished quilt has a bit of a wave to the center of it. (Look at the photo at the top and you’ll see it.) I feel it was flat and square when I started to quilt it. My question is, do you think this is because I quilted the Plus section more tightly than the negative space? It definitely has a stiffness to the Plus area. When I did the surrounding area, I kept it loose so the whole quilt wouldn’t be stiff but maybe I should have been consistent all the way through? Looking for some advice here. Yvonne….. Help please! 🙂

Oh how I have enjoyed learning about and using the long arm. I have one more finished quilt top to do so I will set up some time for that project soon! It has really helped me to get some projects finished up that were languishing a bit.

Couple of reminders –

  1. The voting begins for the Quilt Bloggers Festival on Sunday! Go take a look and choose your favorites — so many gorgeous projects have been entered.
  2. Handmade Halloween is coming soon! I hope you are checking your blog history for fun posts to link up that will inspire readers to make something for Halloween! If you don’t want to link an older post, you are welcome to write a new one. Lots of fun prizes have been provided by Craftsy, C&T Publishing, as well as Lorna from Sew Fresh Quilts. Come back and join the party October 4th!! Be sure to let me know if you have any questions!
  3. Craftsy has a sale going on this weekend. All classes are less than $20 (except for those in the Great Courses line.) Take advantage and learn something new!! There is always something new to learn.  (Note, I am a Craftsy affiliate.)

unnamed

Linking up to my favorites. See the tab at the top of the page, Link Ups, for more info.

Swooning over this finish

A few weeks ago we had a quiet weekend – Ray was up working on our house in Downieville and Julia and I stayed home. I pulled out my pile of Christmas fabrics, trying to think of an easy project. I wanted something that would come together easily and could be made entirely from my stash. After spending some time looking at ideas that I have collected on Pinterest, I made my decision. I would make a mini that consisted of one large swoon block.

I have been drooling over pictures of quilts with swoon blocks and minis made from swoon blocks for a long while now. I am not sure what it is about them, but I love them. The pattern for the swoon block was developed by Camille Roskelly over at Thimble Blossoms.  She really started something when she created this pattern.  The pattern makes a quilt with nine swoon blocks that measure 24″ square. For this project, I decided to just make one block and use it as a mini.

IMG_20151129_4195

Using only minimal quilting, the fabrics and the pattern shine.

IMG_20151129_4197

It turned out so festive.

IMG_20151129_4198

I was able to make the quilt using only scraps I had on hand. The backing is a green and cream plaid that a neighbor gave me a long while back. I didn’t have enough of any one the fabrics to bind it so I made a scrappy binding.

IMG_20151129_4196

Because it is made of rectangles, HST’s and Flying Geese blocks, the block was a breeze to cut and piece. Making a large quilt with them would be very easy. I love the oversized look of the block.

There you go. A really satisfying finish that was so fun to make and used up some stash.

Linking to Freemotion by the River, Let’s Bee Social and Finish It Up Friday.  Links to all of these are located at the top of the page under Link Ups.

ALYOF, Sort of

If you are unsure what ALYOF means, it stands for A Lovely Year of Finishes (a fun link up at Sew Bittersweet Designs where you set goals and see what everyone finishes up during the month). Let’s just says some are lovlier than others! I finished my quilt with the black and gray ten minute blocks which was my February goal for AYOLF. Finishing it feels good because I met my goal, but I am not thrilled with the finish. I didn’t like the blocks a whole lot from the get go. I set them on point, sashed them with black and used black for both the corner and setting triangles. Then I remembered that I hate quilting on black…. Ooops.

IMG_20150222_2933

I have been really working on improving my FMQ skills. Want to know how to highlight the fact that you are not yet highly skilled at FMQ? Quilt with lighter colored thread on black – that will do it. I used a varigated YLI thread which matched the colors of the quilt very nicely. YLI has some heft and it is nice to sew with. It looked ok on the print fabrics.  On the black, not so much. Oh well, live and learn!

The saving grace for this quilt, in my opinion, is the scrappy binding. I love a scrappy binding. I had actually gone to the LQS for fabric to bind it and couldn’t find anything so I decided to just bind it in black. Alas, I didn’t have enough black when I got home so I dug through all the scrap left from the project and made a lovely binding. To me a scrappy binding adds charm to a quilt.

IMG_0268Like I was saying, lessons learned….  if I were to be granted a “do-over” on this one, I would quilt it in charcoal gray (dark but a color I could see against the black). The stitching would look reasonable if it wasn’t so darn light. I am not at a skill level (yet) to highlight the stitching by using light colors on a dark fabric. Hard to post pics of your work when you aren’t really happy with it but this is the real deal.  It doesn’t all turn out perfect. I am definitely done with black for a while. Luckily, my daughter loves the colors and she doesn’t give a hoot about the quilting. I had planned to use it as a donation quilt but I think this one will stay with us.  🙂

My daughter was my quilt model yesterday. My favorite pictures were of her running down the hill from our pond, back to our house. Put a cape on a kid, no matter the age, and they will run.

IMG_20150222_2942

IMG_20150222_2943Hope everyone is having a good week. As usual, we are crossing fingers for a bit of rain at the end of this week. California has virtually NO snowpack which should make for a horrendous fire season this summer. I am hearing hints that there might be a tiny bit of snow coming our way this weekend. Please, please, please……

Linking to Sew Cute Tuesday, Freemotion by the River and Let’s Bee Social as well as AYOLF at Sew Bittersweet Designs.  Links for most of these are at the top of the page under link-ups.