Tag Archives: long arm quilting

Sam’s Quilt

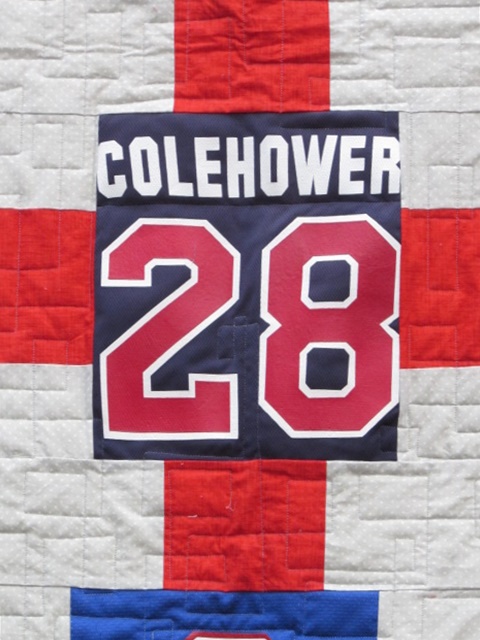
The sports jersey quilt is finished!  This is the second t-shirt quilt I have made, the first one being for my niece, Lil (Sam’s cousin.) The jersey quilt was a good learning experience, but what quilt isn’t? There is always something new to try or a skill to further practice.


The biggest challenge was definitely piecing those slick, polyester pieces of the jerseys.  Second to that would be working with the rubbery decals used for his number and the logos.  They were much thicker than one would think.  Other than those two issues, this was a breeze to make. You can read progress posts about putting it together here and here.

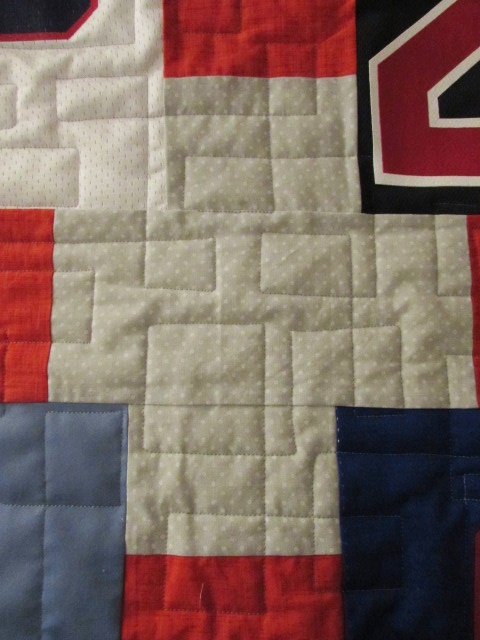
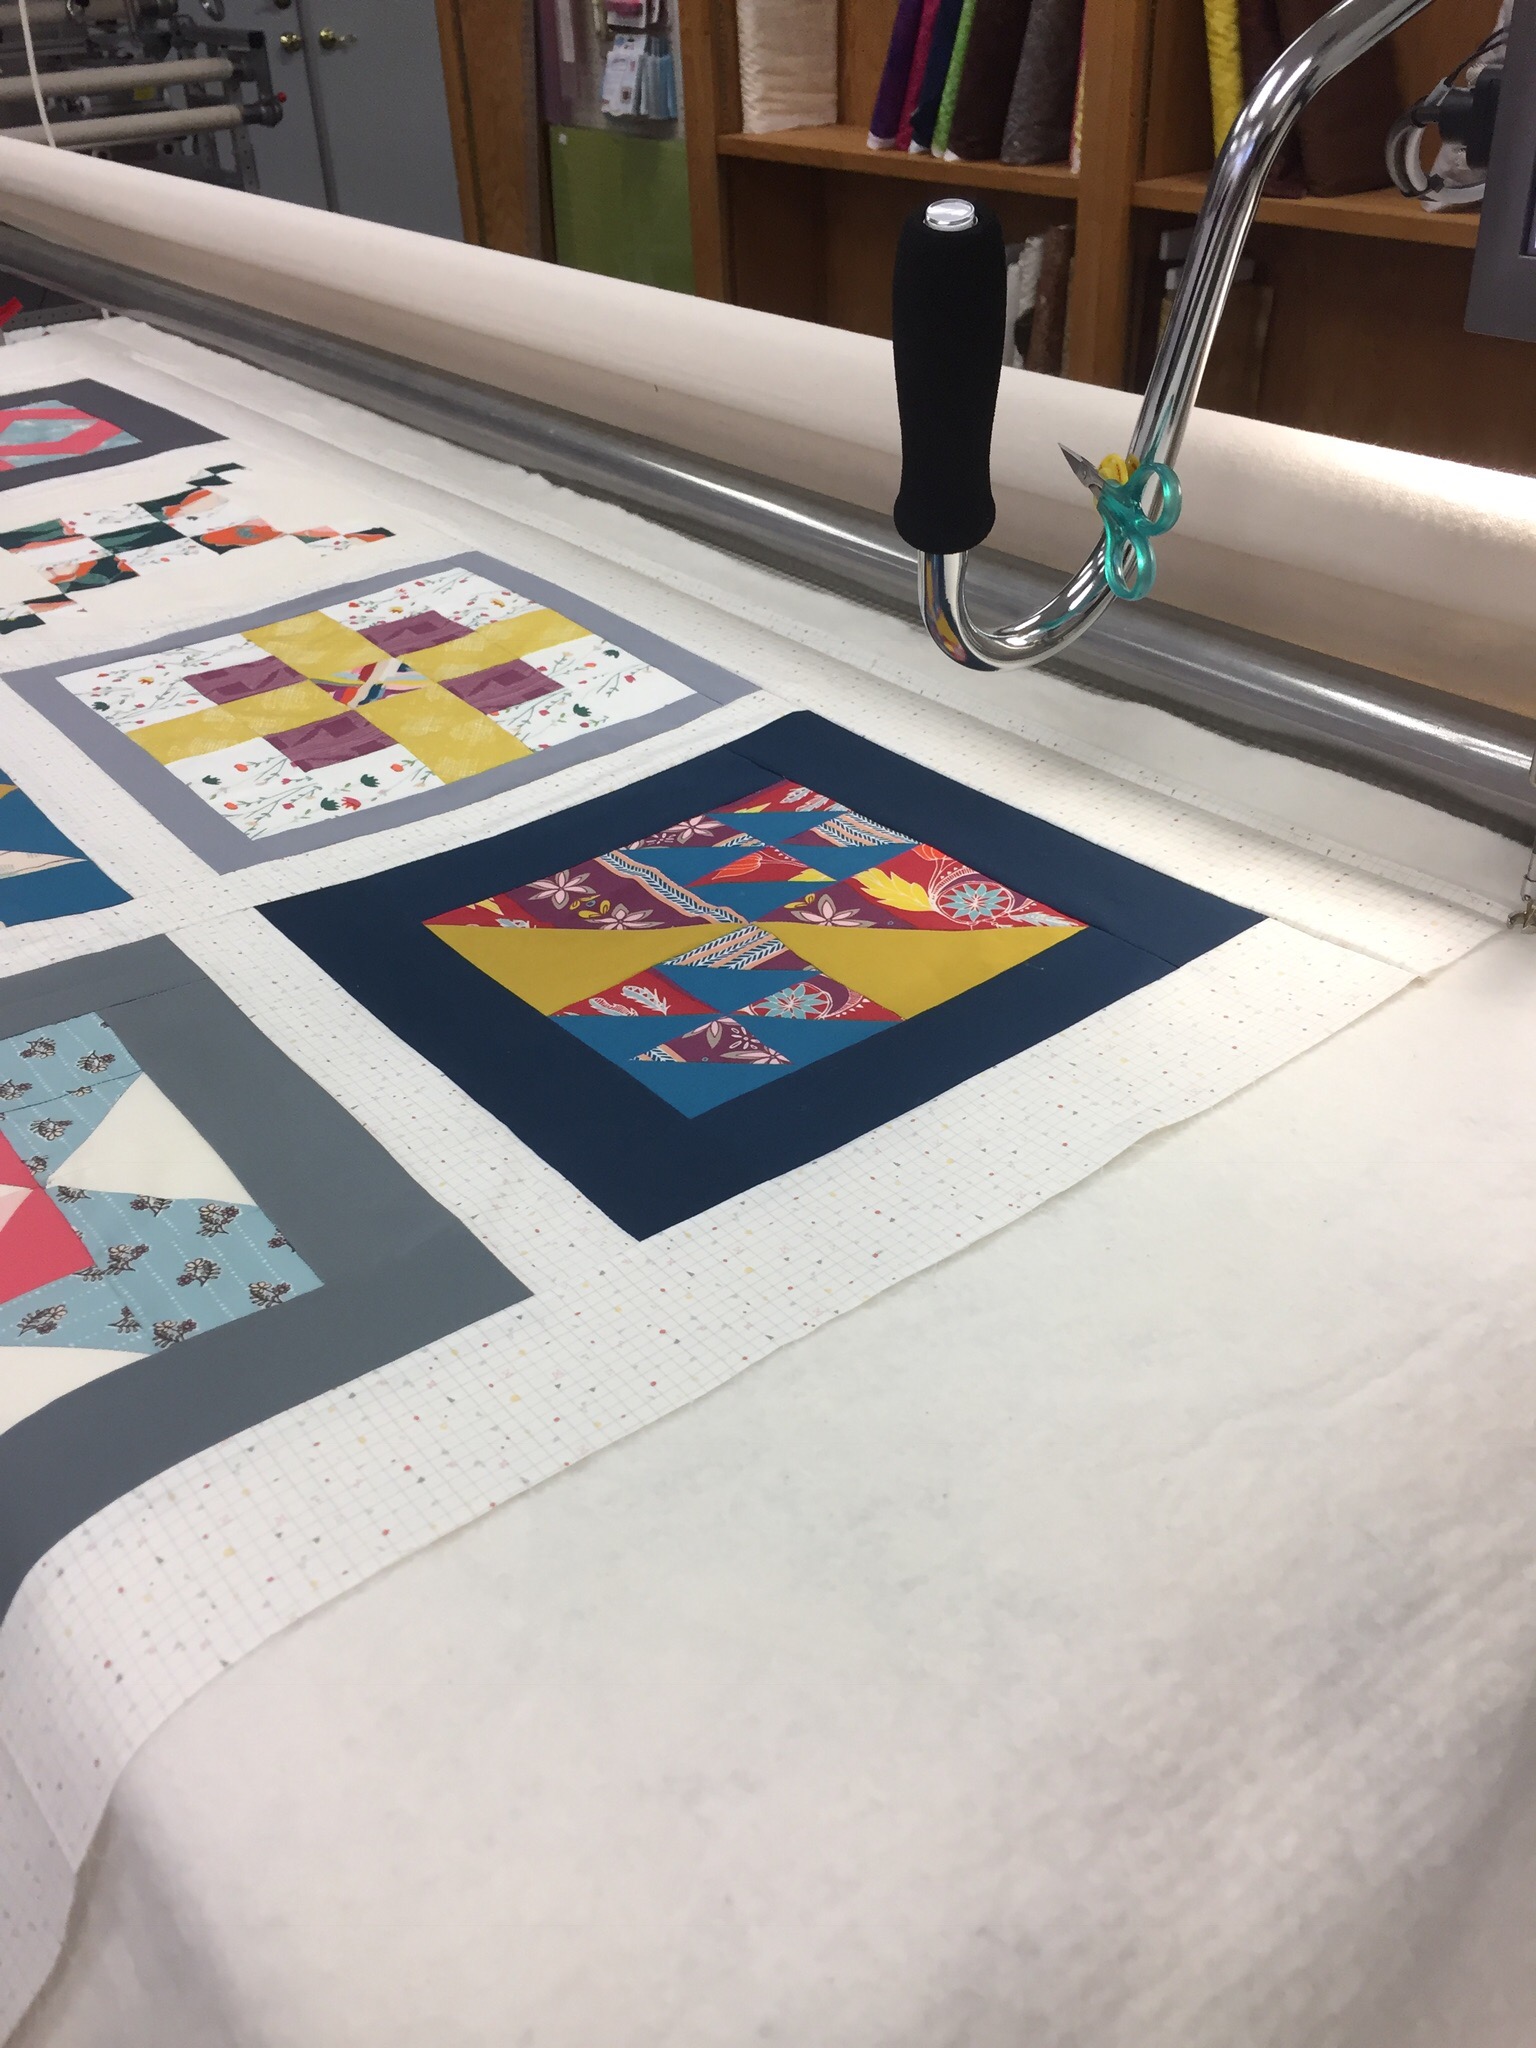
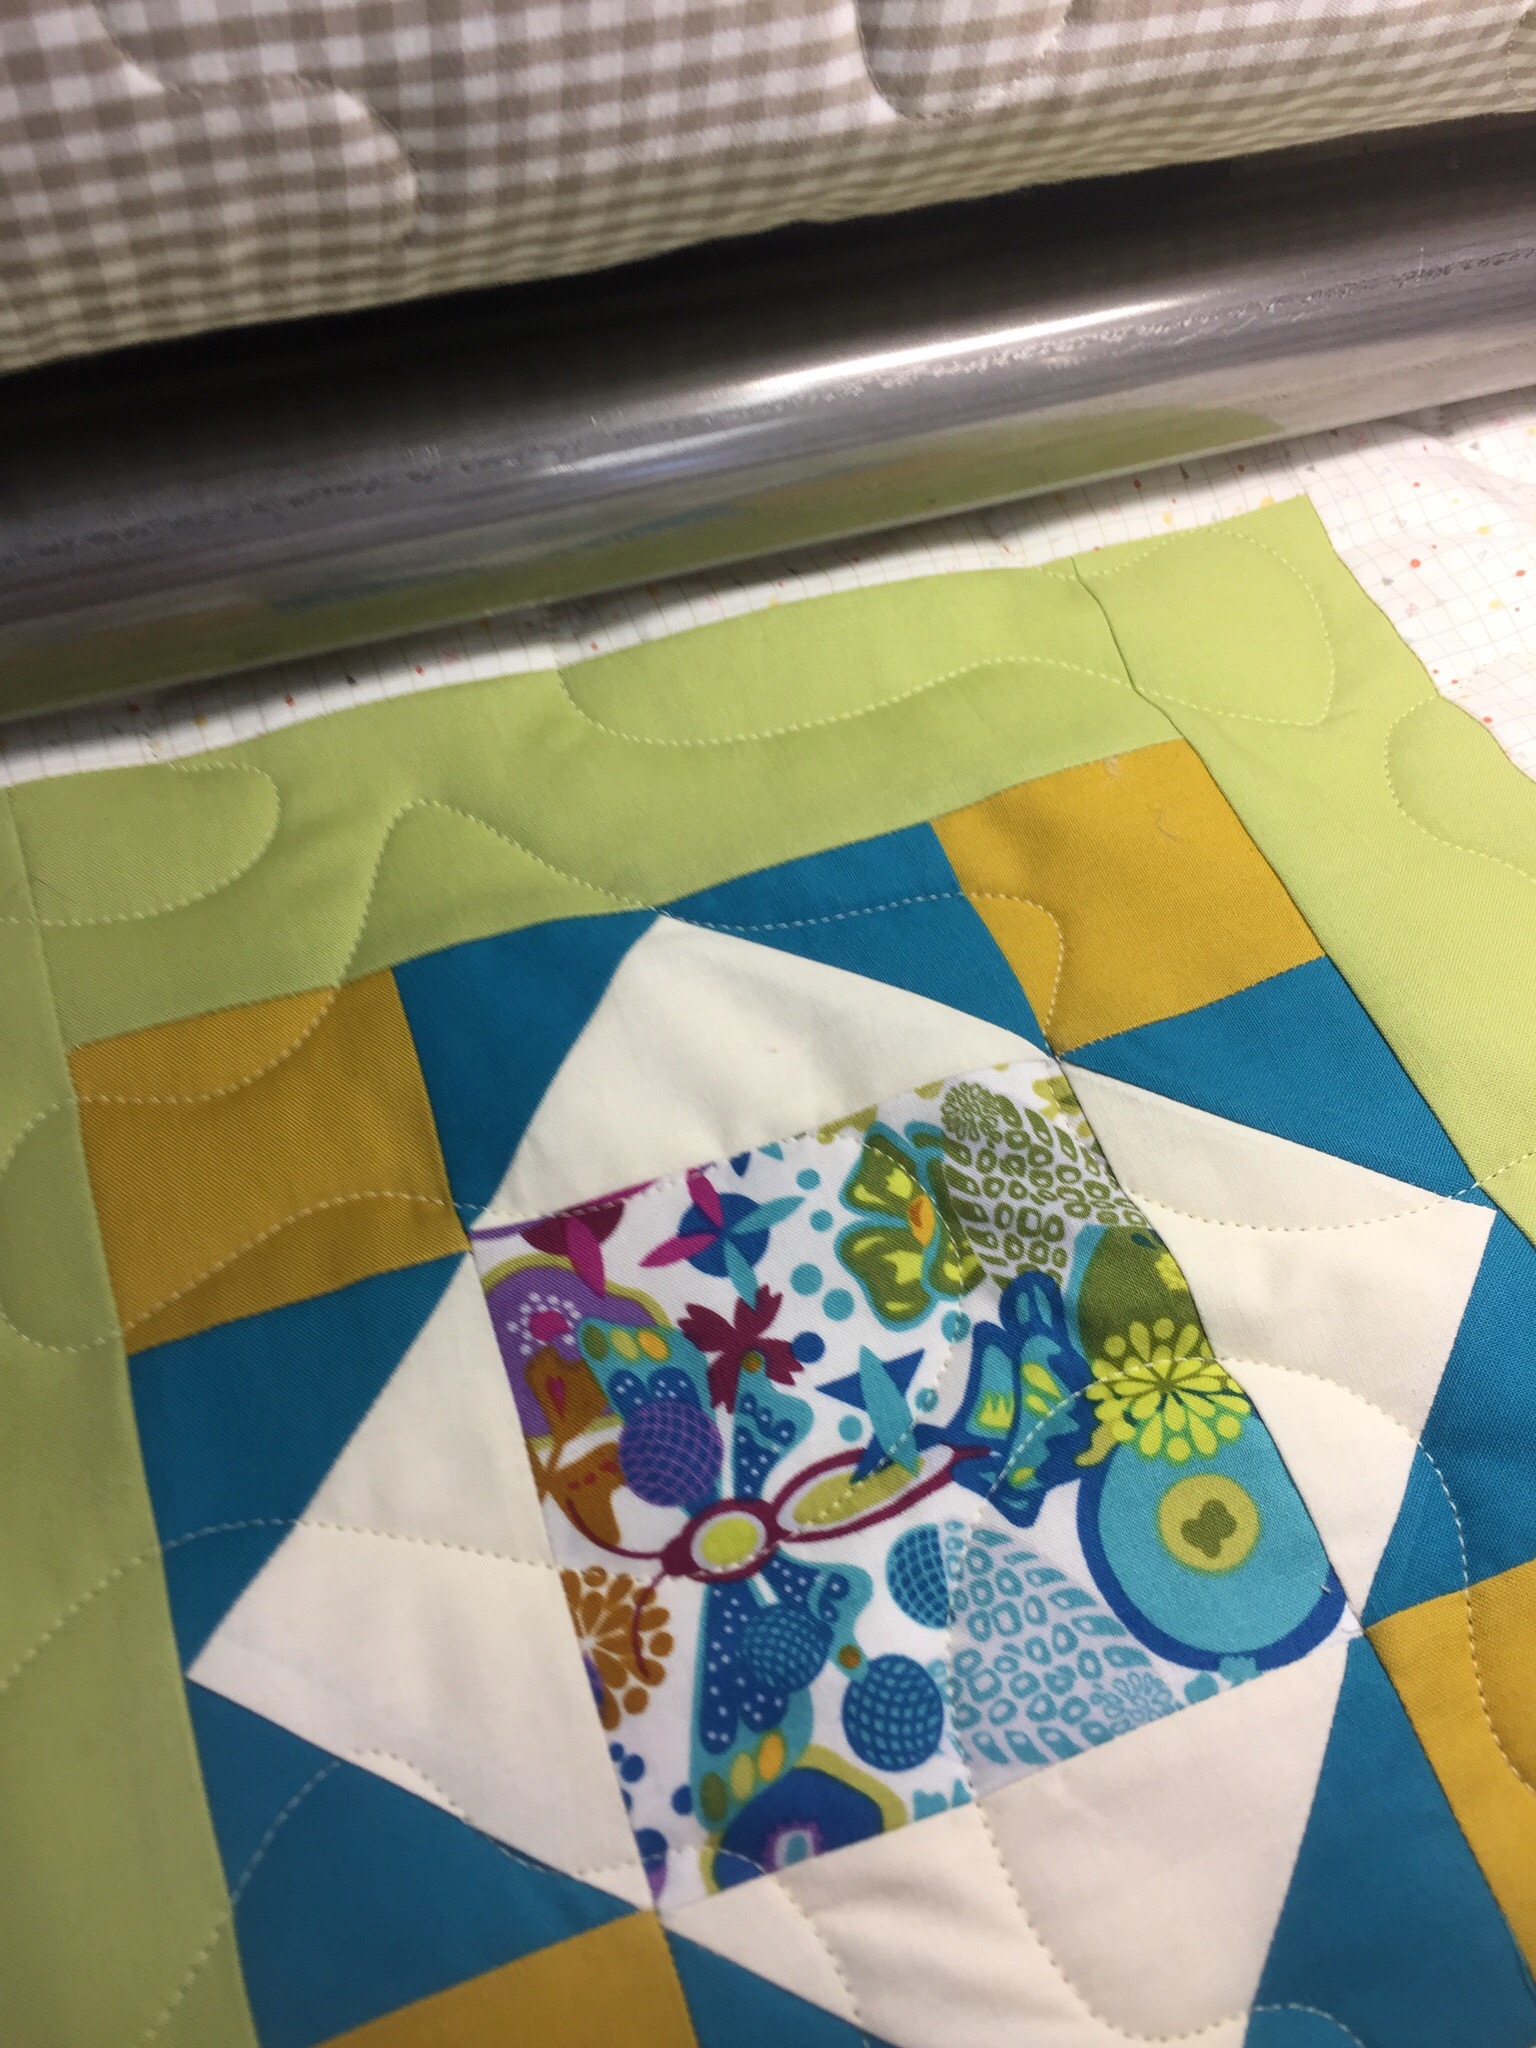
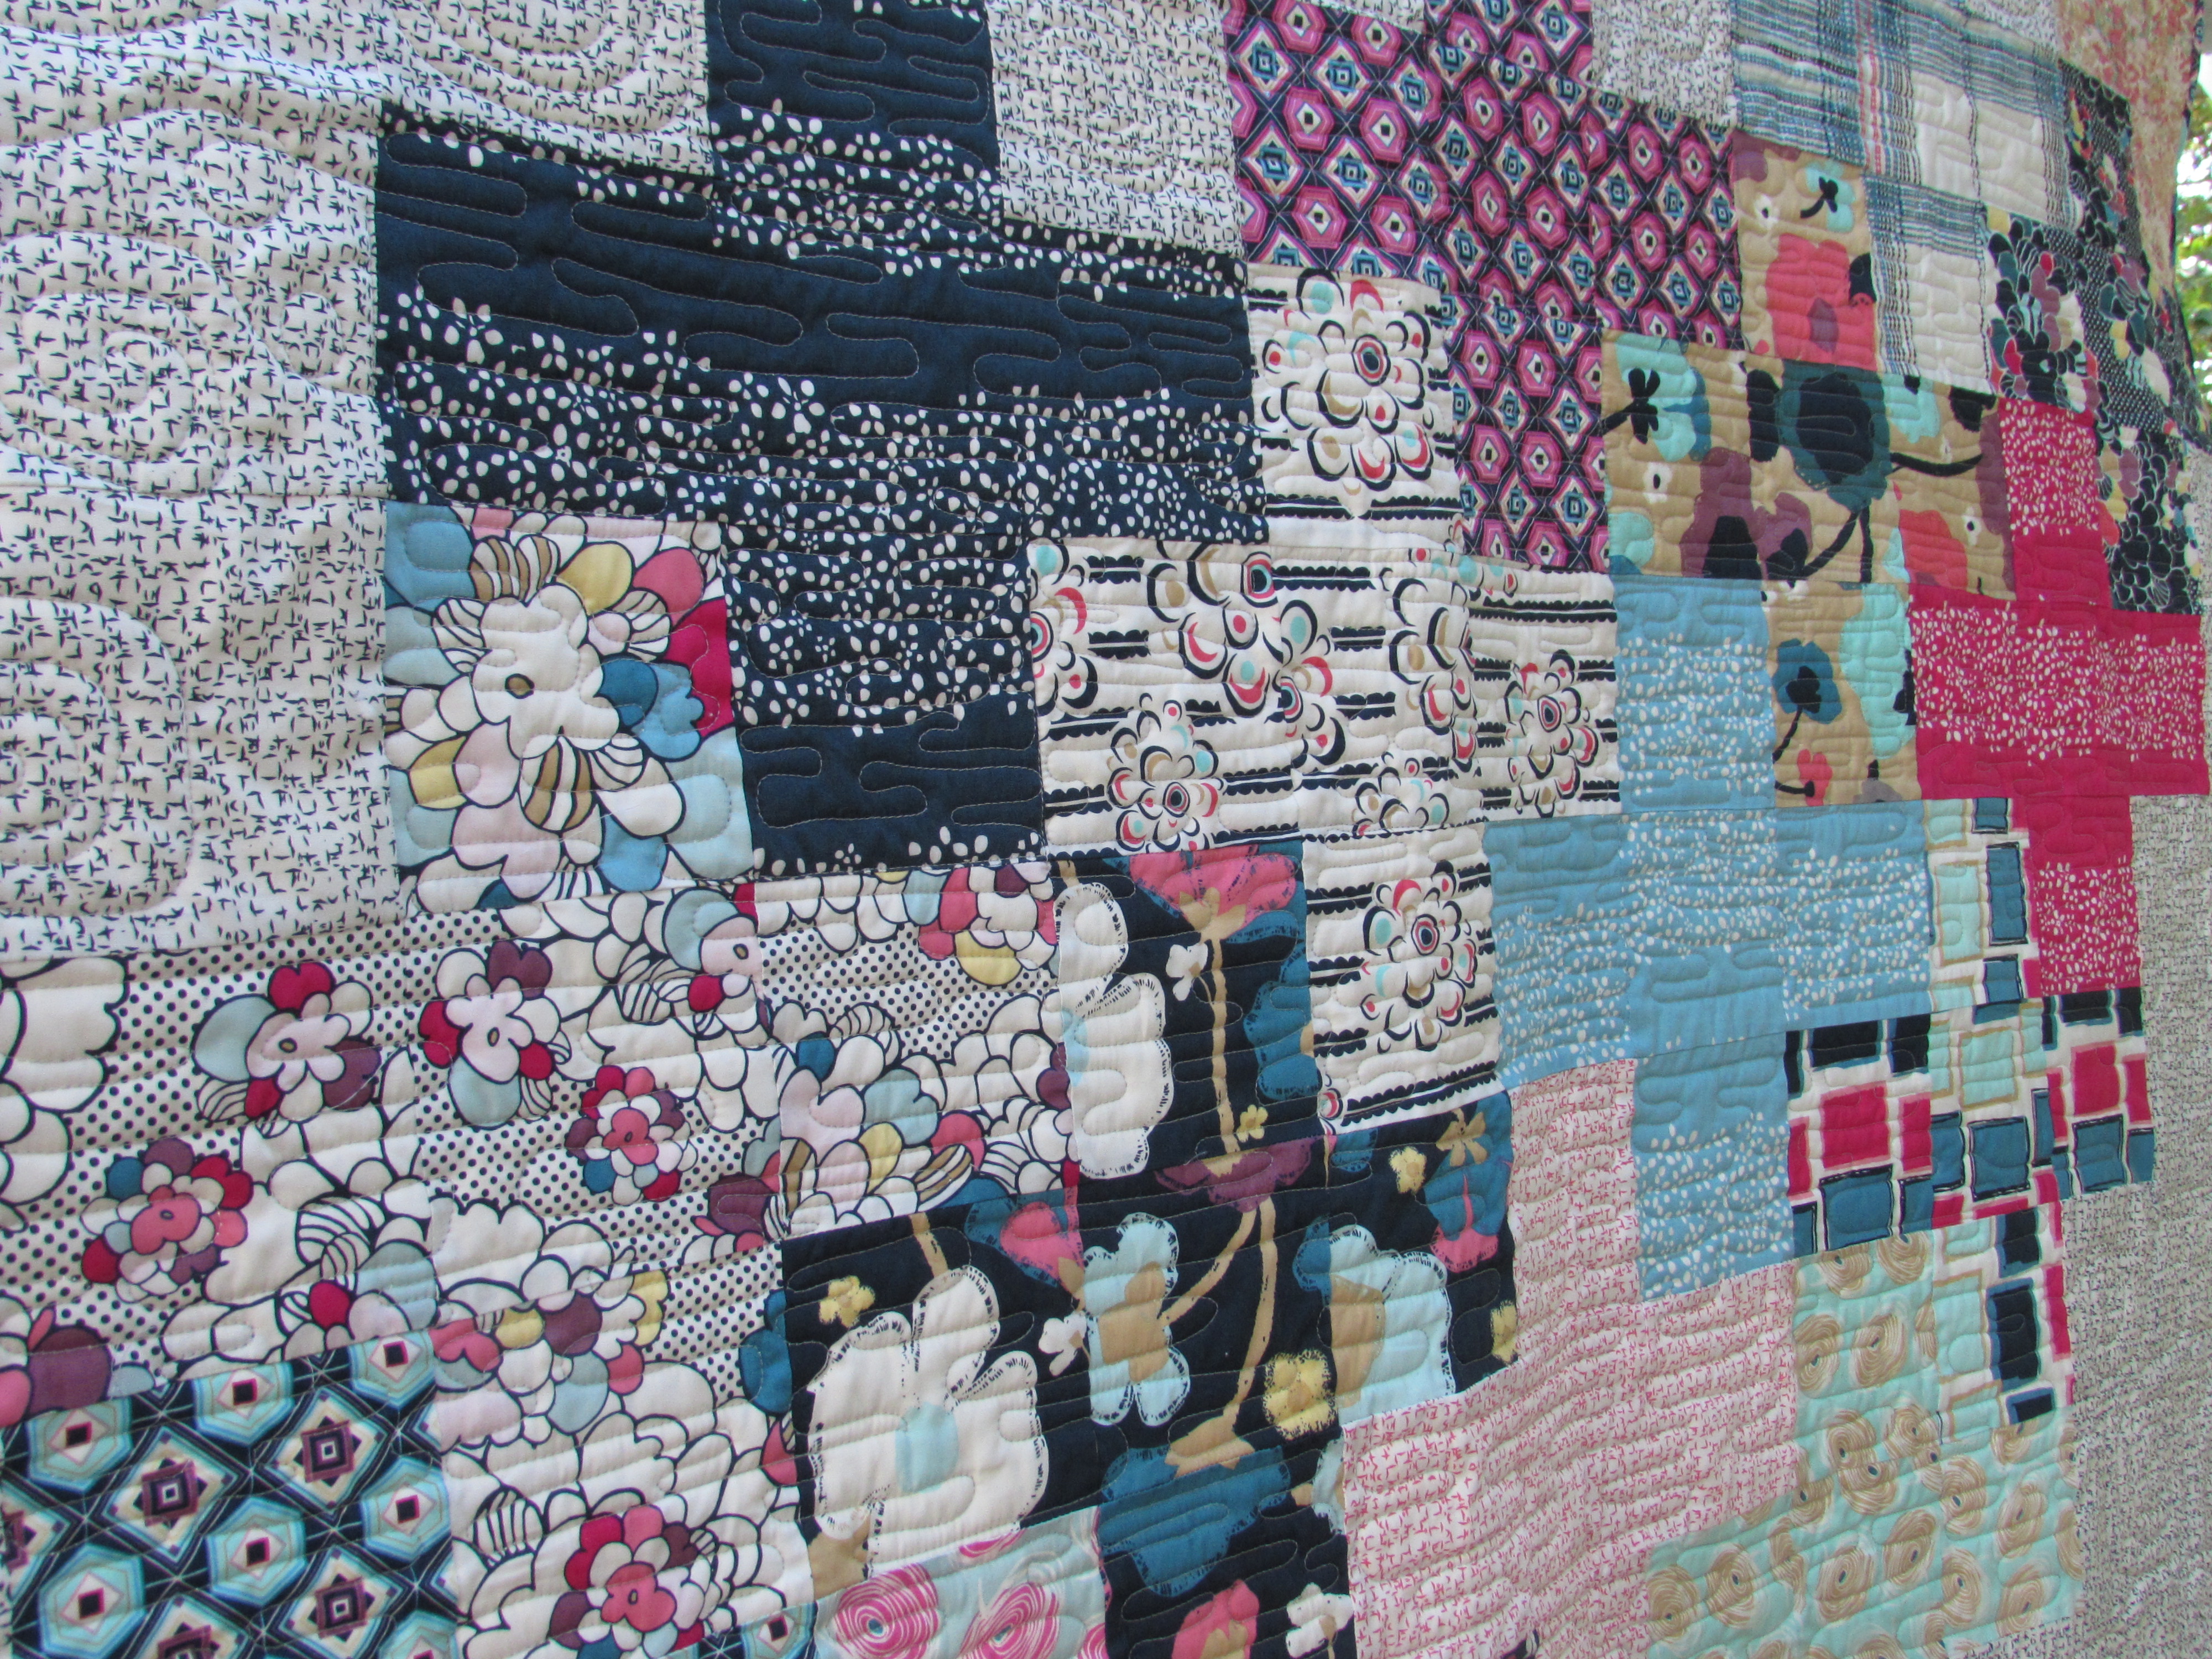
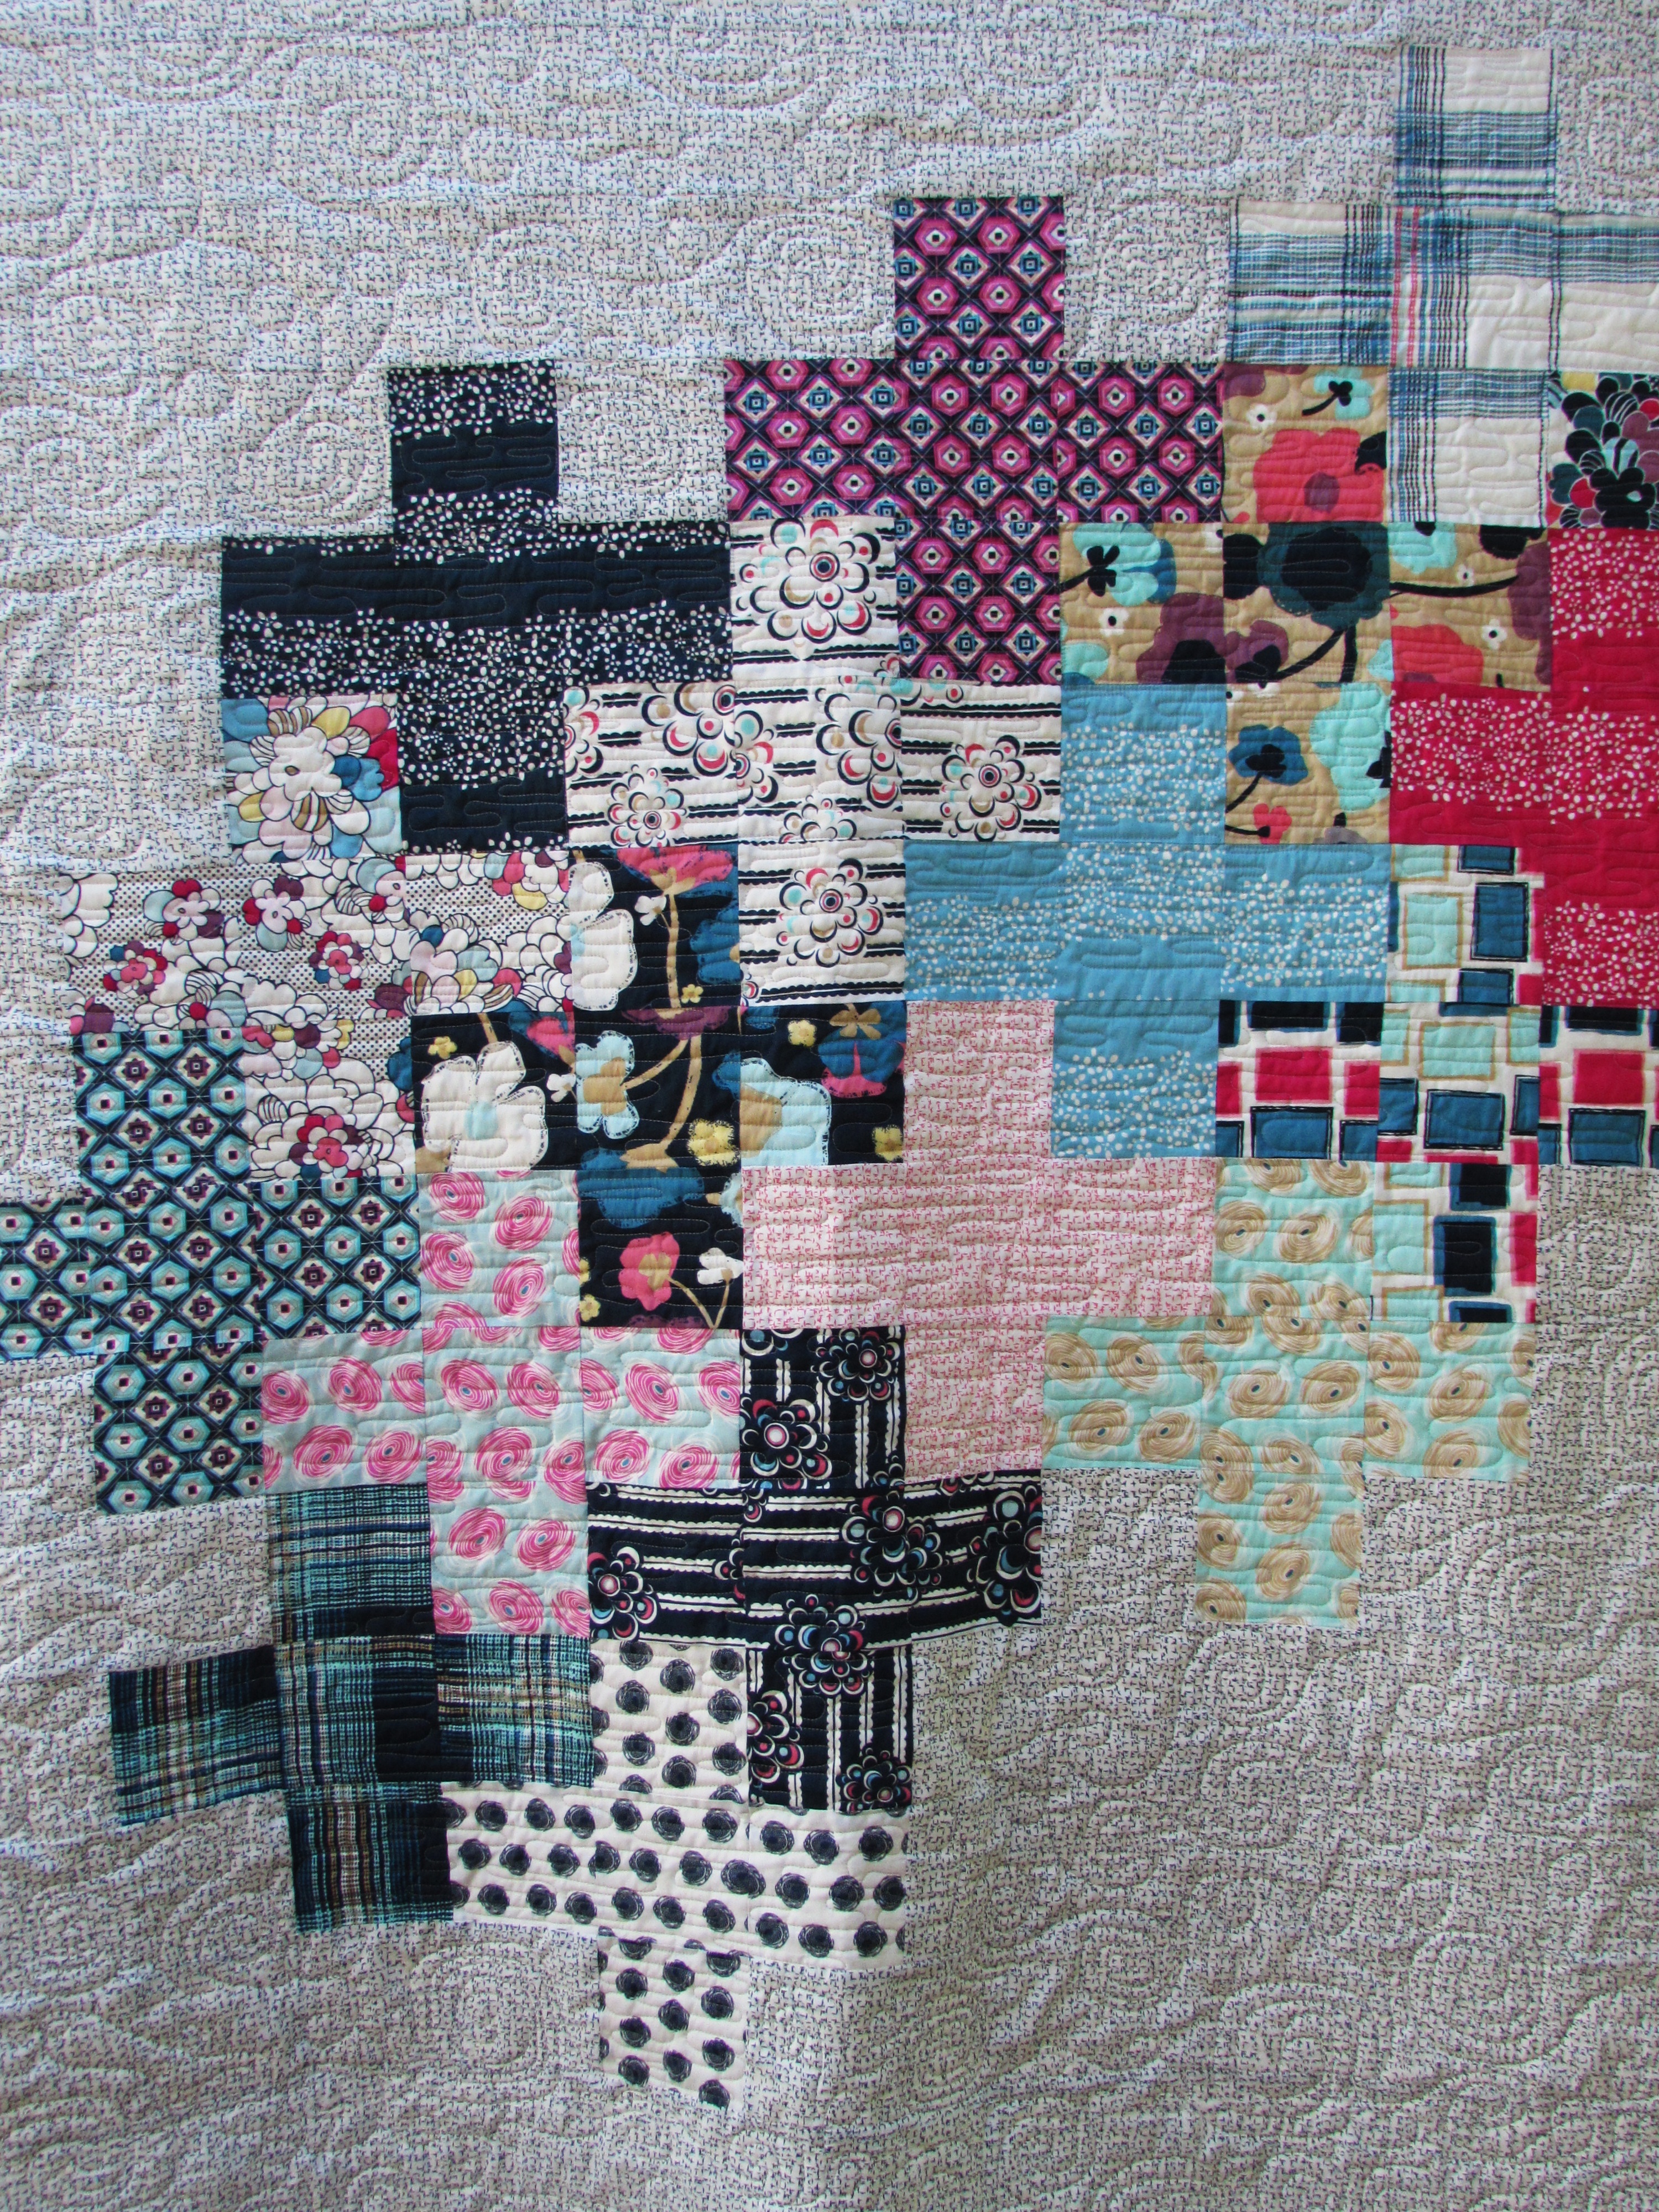
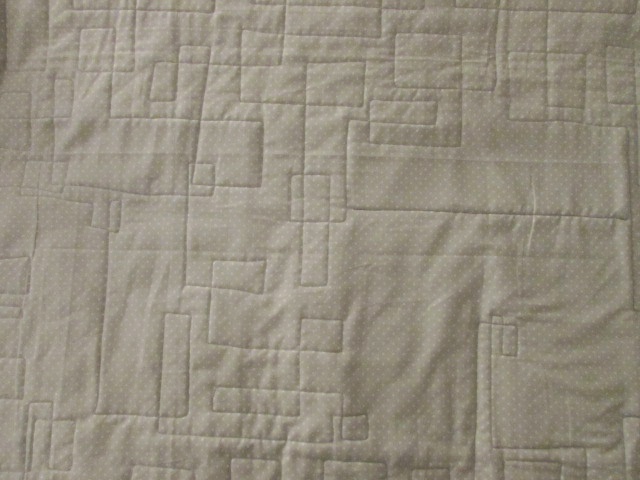
To quilt this rather heavy project, I rented time at the long arm shop.  It would have been difficult to feed it through the throat of my home machine because the decals are thick and stiff, making the quilt unwieldy. Once I had it loaded on the machine I quilted it with lots of interlocking squares.  It looks like a nice, masculine motif and works great with the blocky pattern of the quilt.

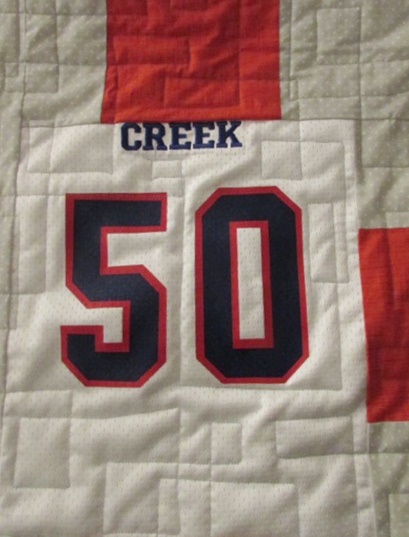
Sam’s football number was 50, just like his father’s was when he played.

I tried to avoid quilting through the rubbery decals and numbers.  Instead I went around and inbetween them wherever I could. It was really difficult to keep the quilt flat while quilting it. I cannot tell you why, the heft of it or maybe the slick jerseys? If I were quilting it at home, I would have guessed I didn’t baste it well enough. But when we loaded it on the long arm (the gal at the shop kindly helped me) it seemed very straight and flat.  At any rate, it is not tightly quilted. The quilt has a puffiness to it.  It doesn’t bother me though.  I plan to wash it today before I mail it off and it is likely to crinkle up a bit when the batting and cotton fabrics shrink up a little.


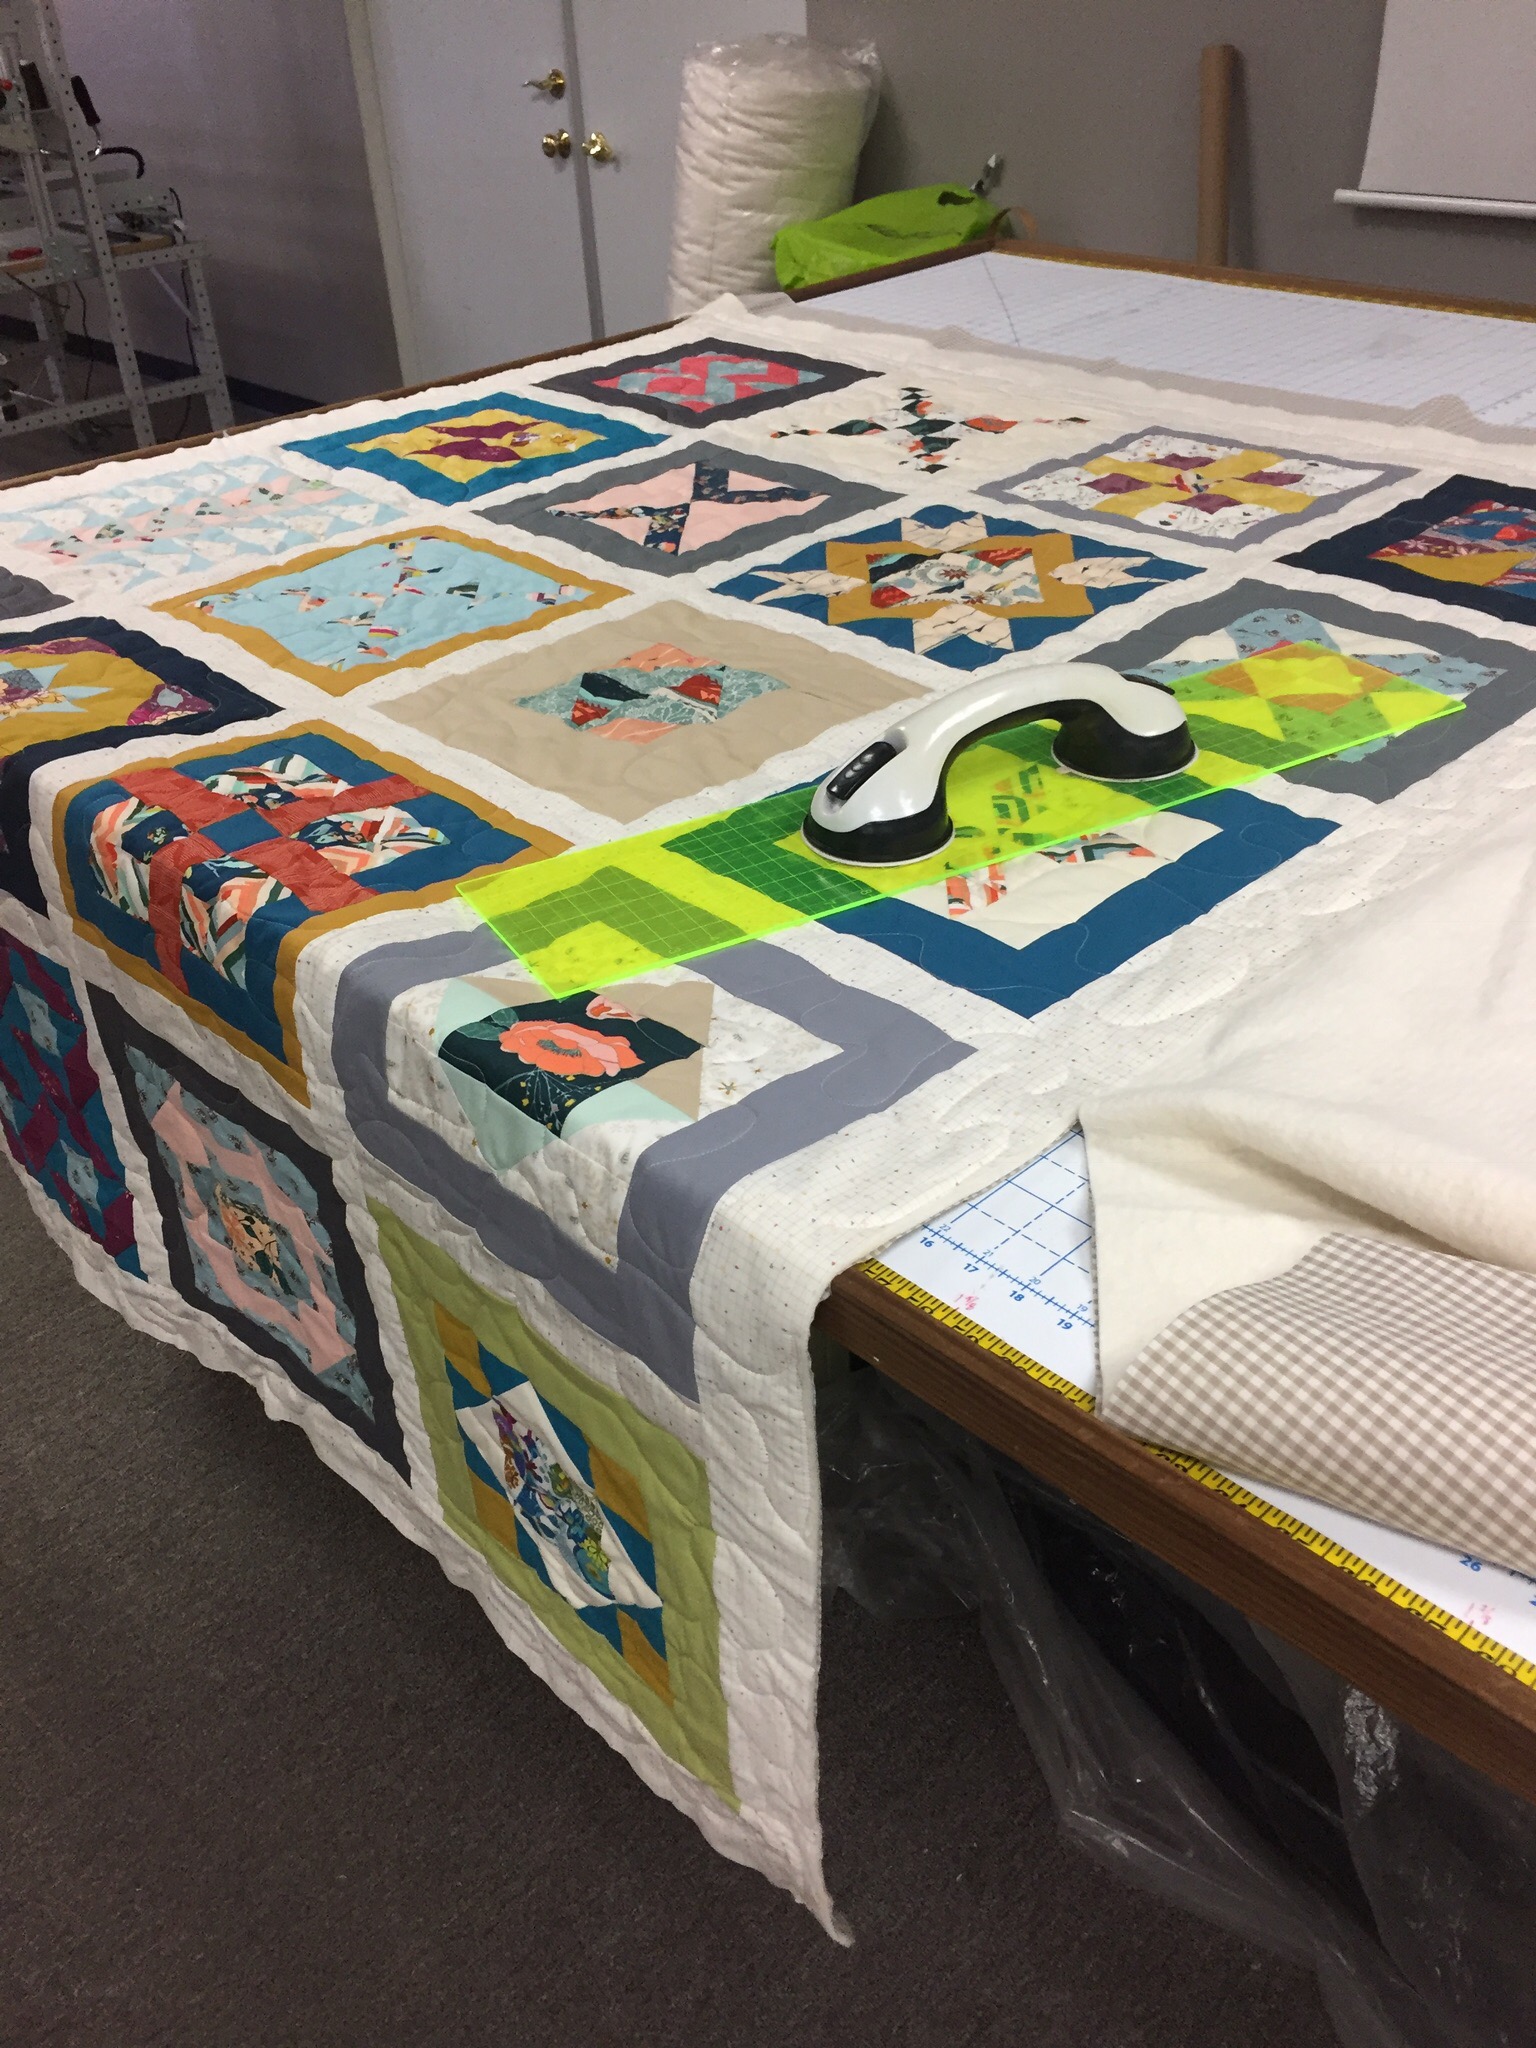
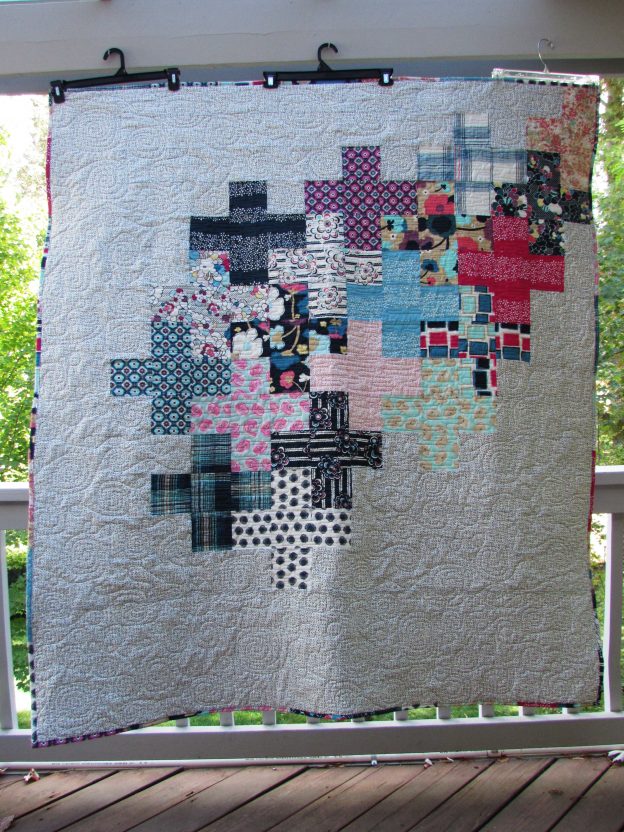
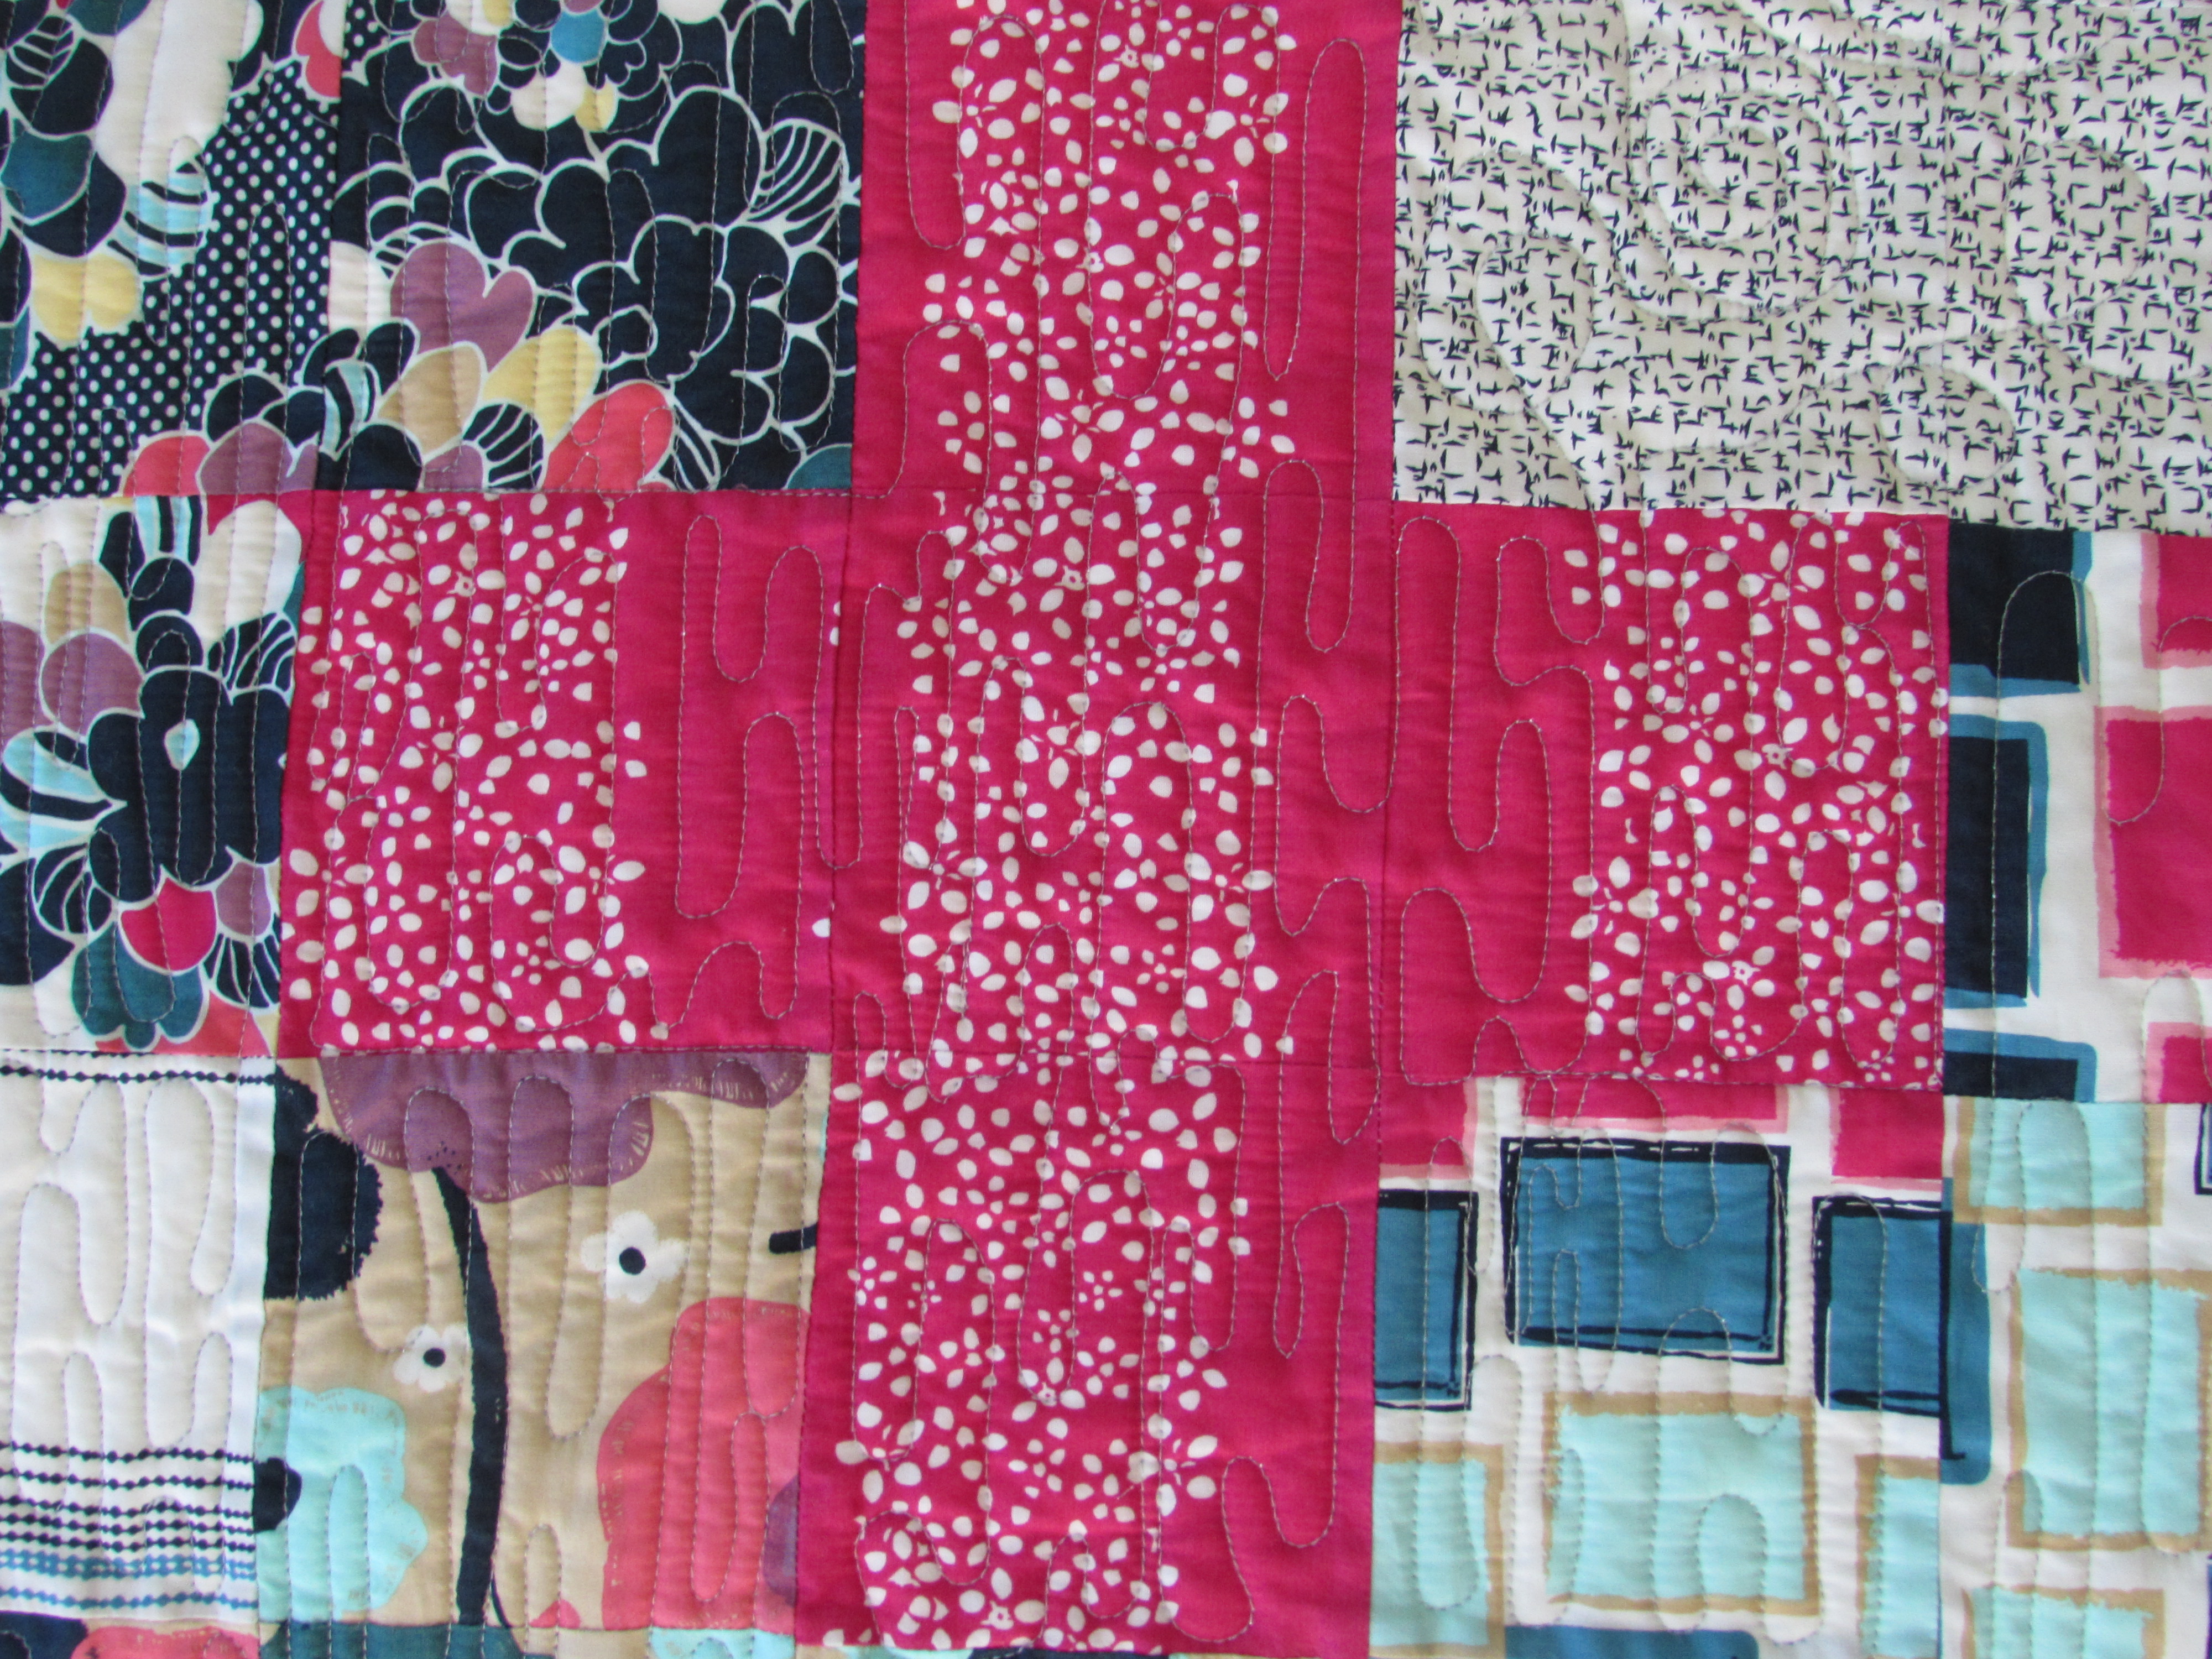
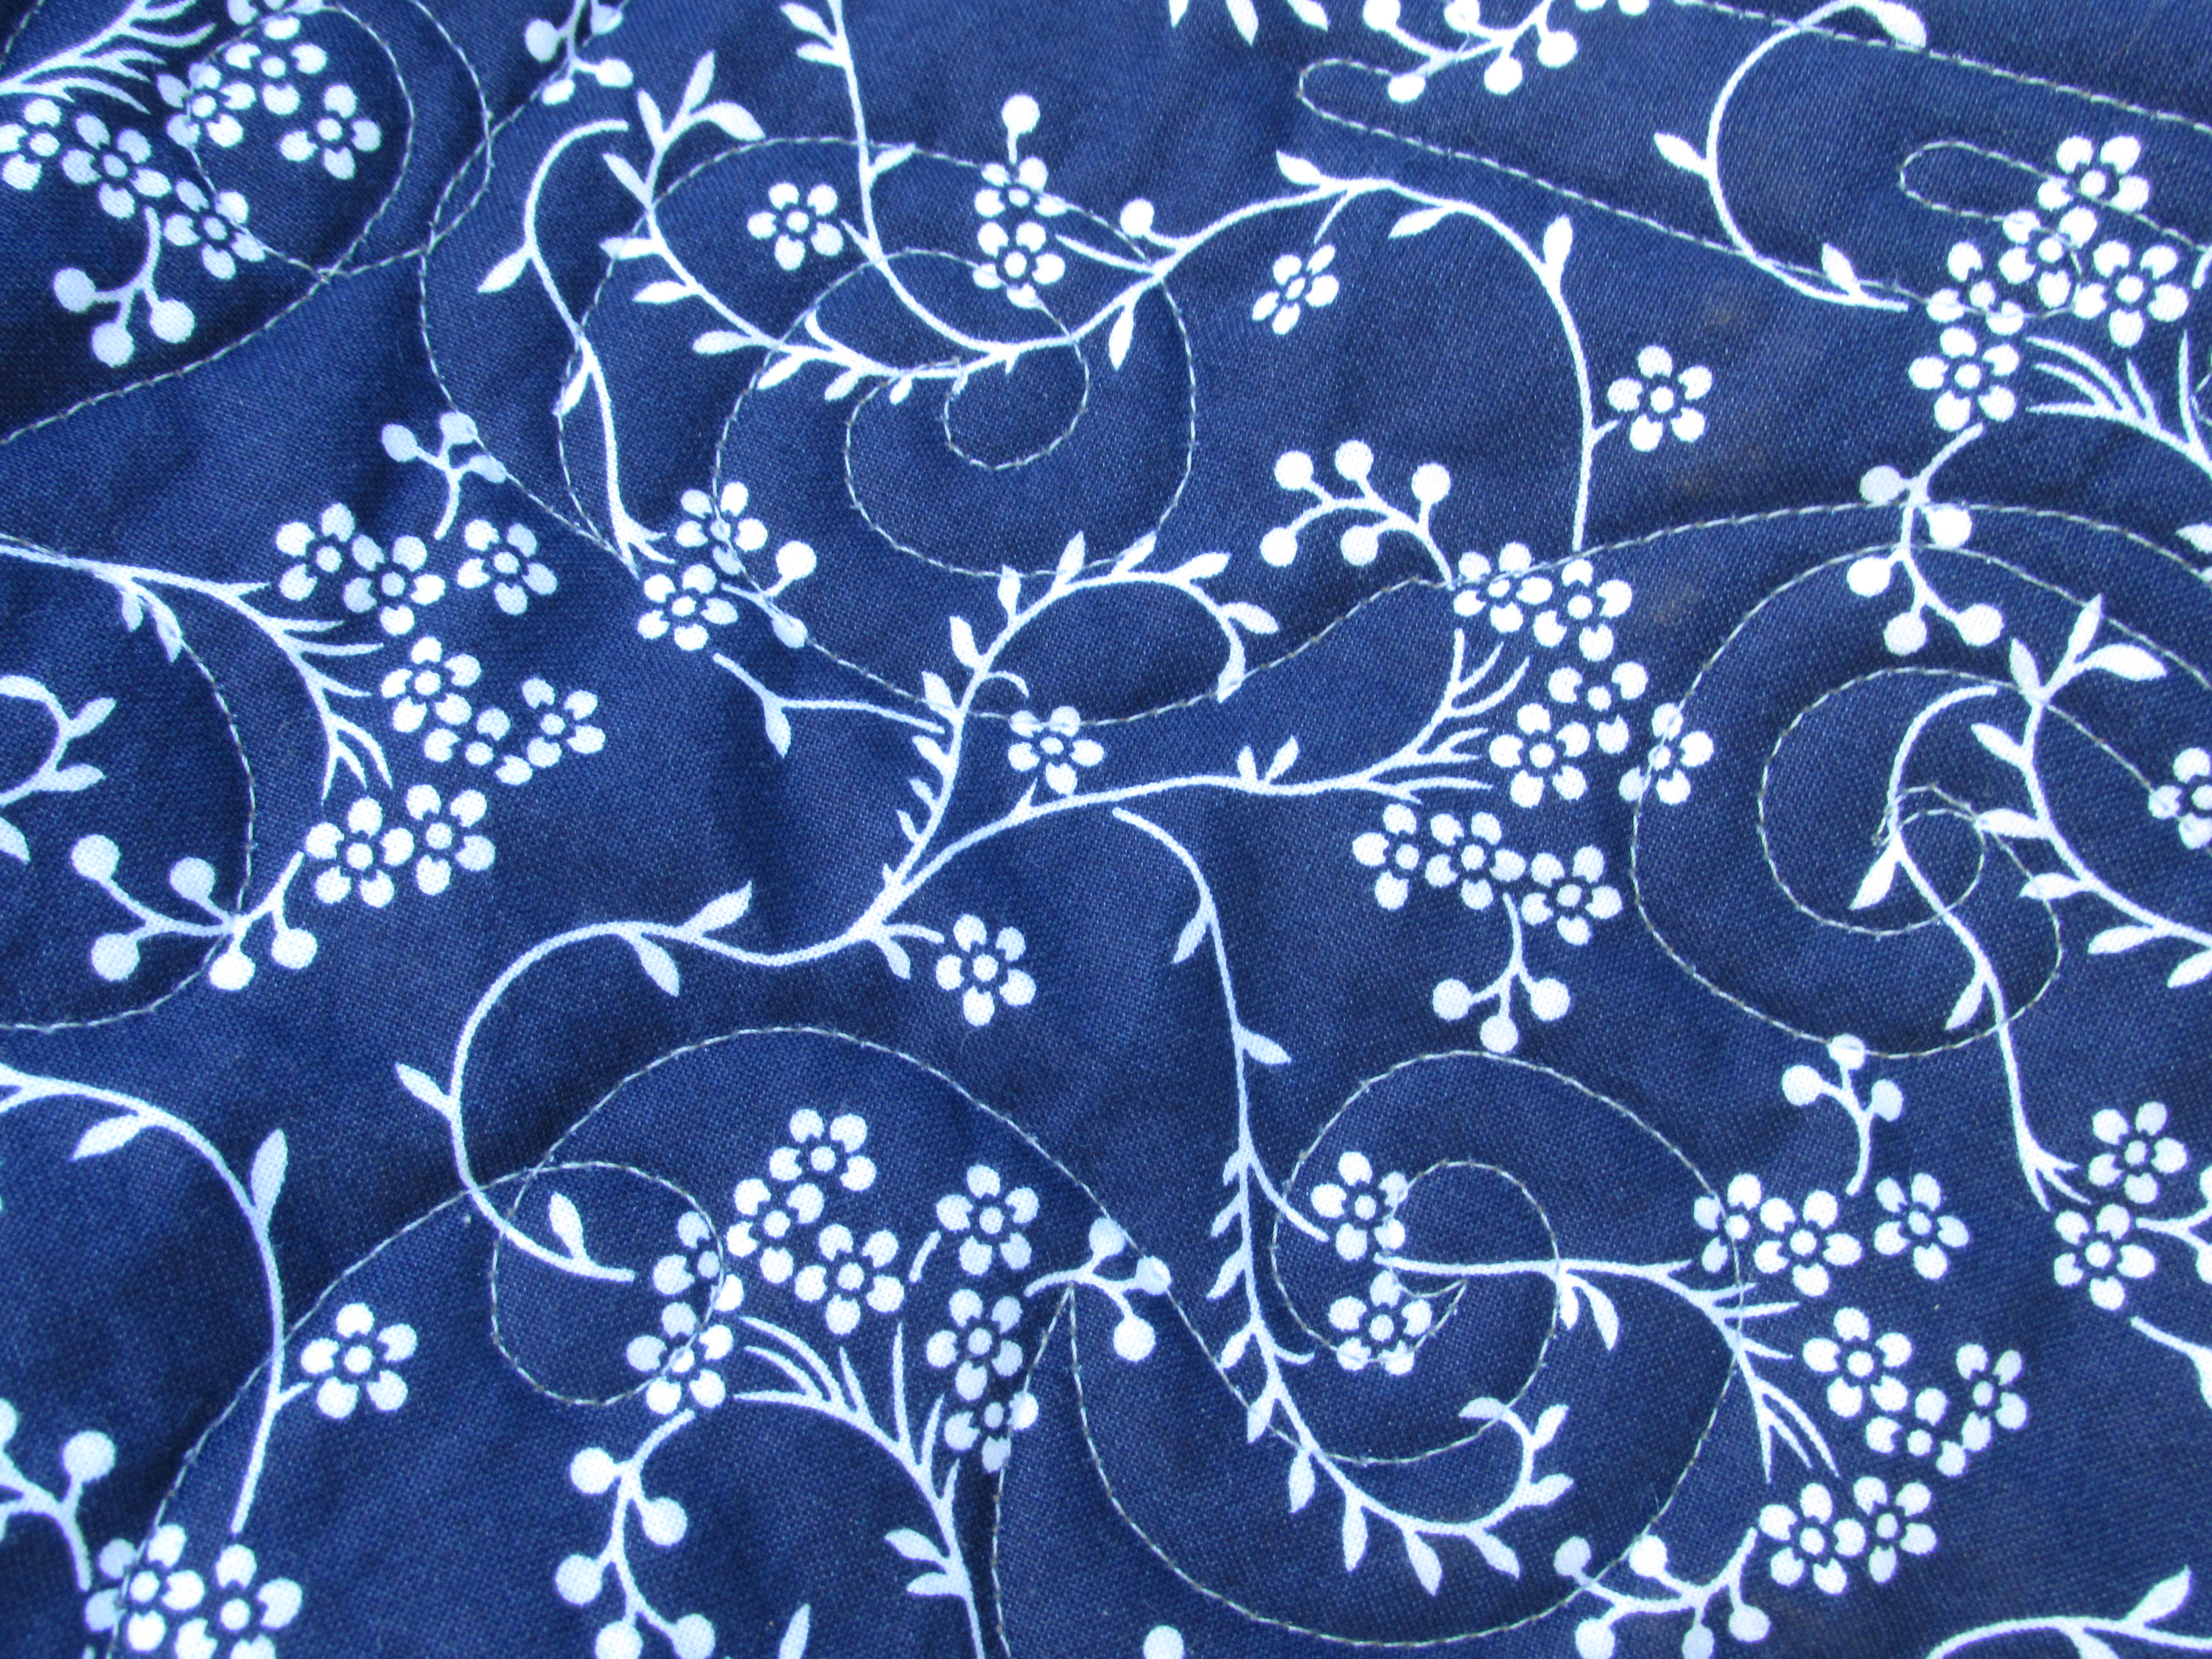
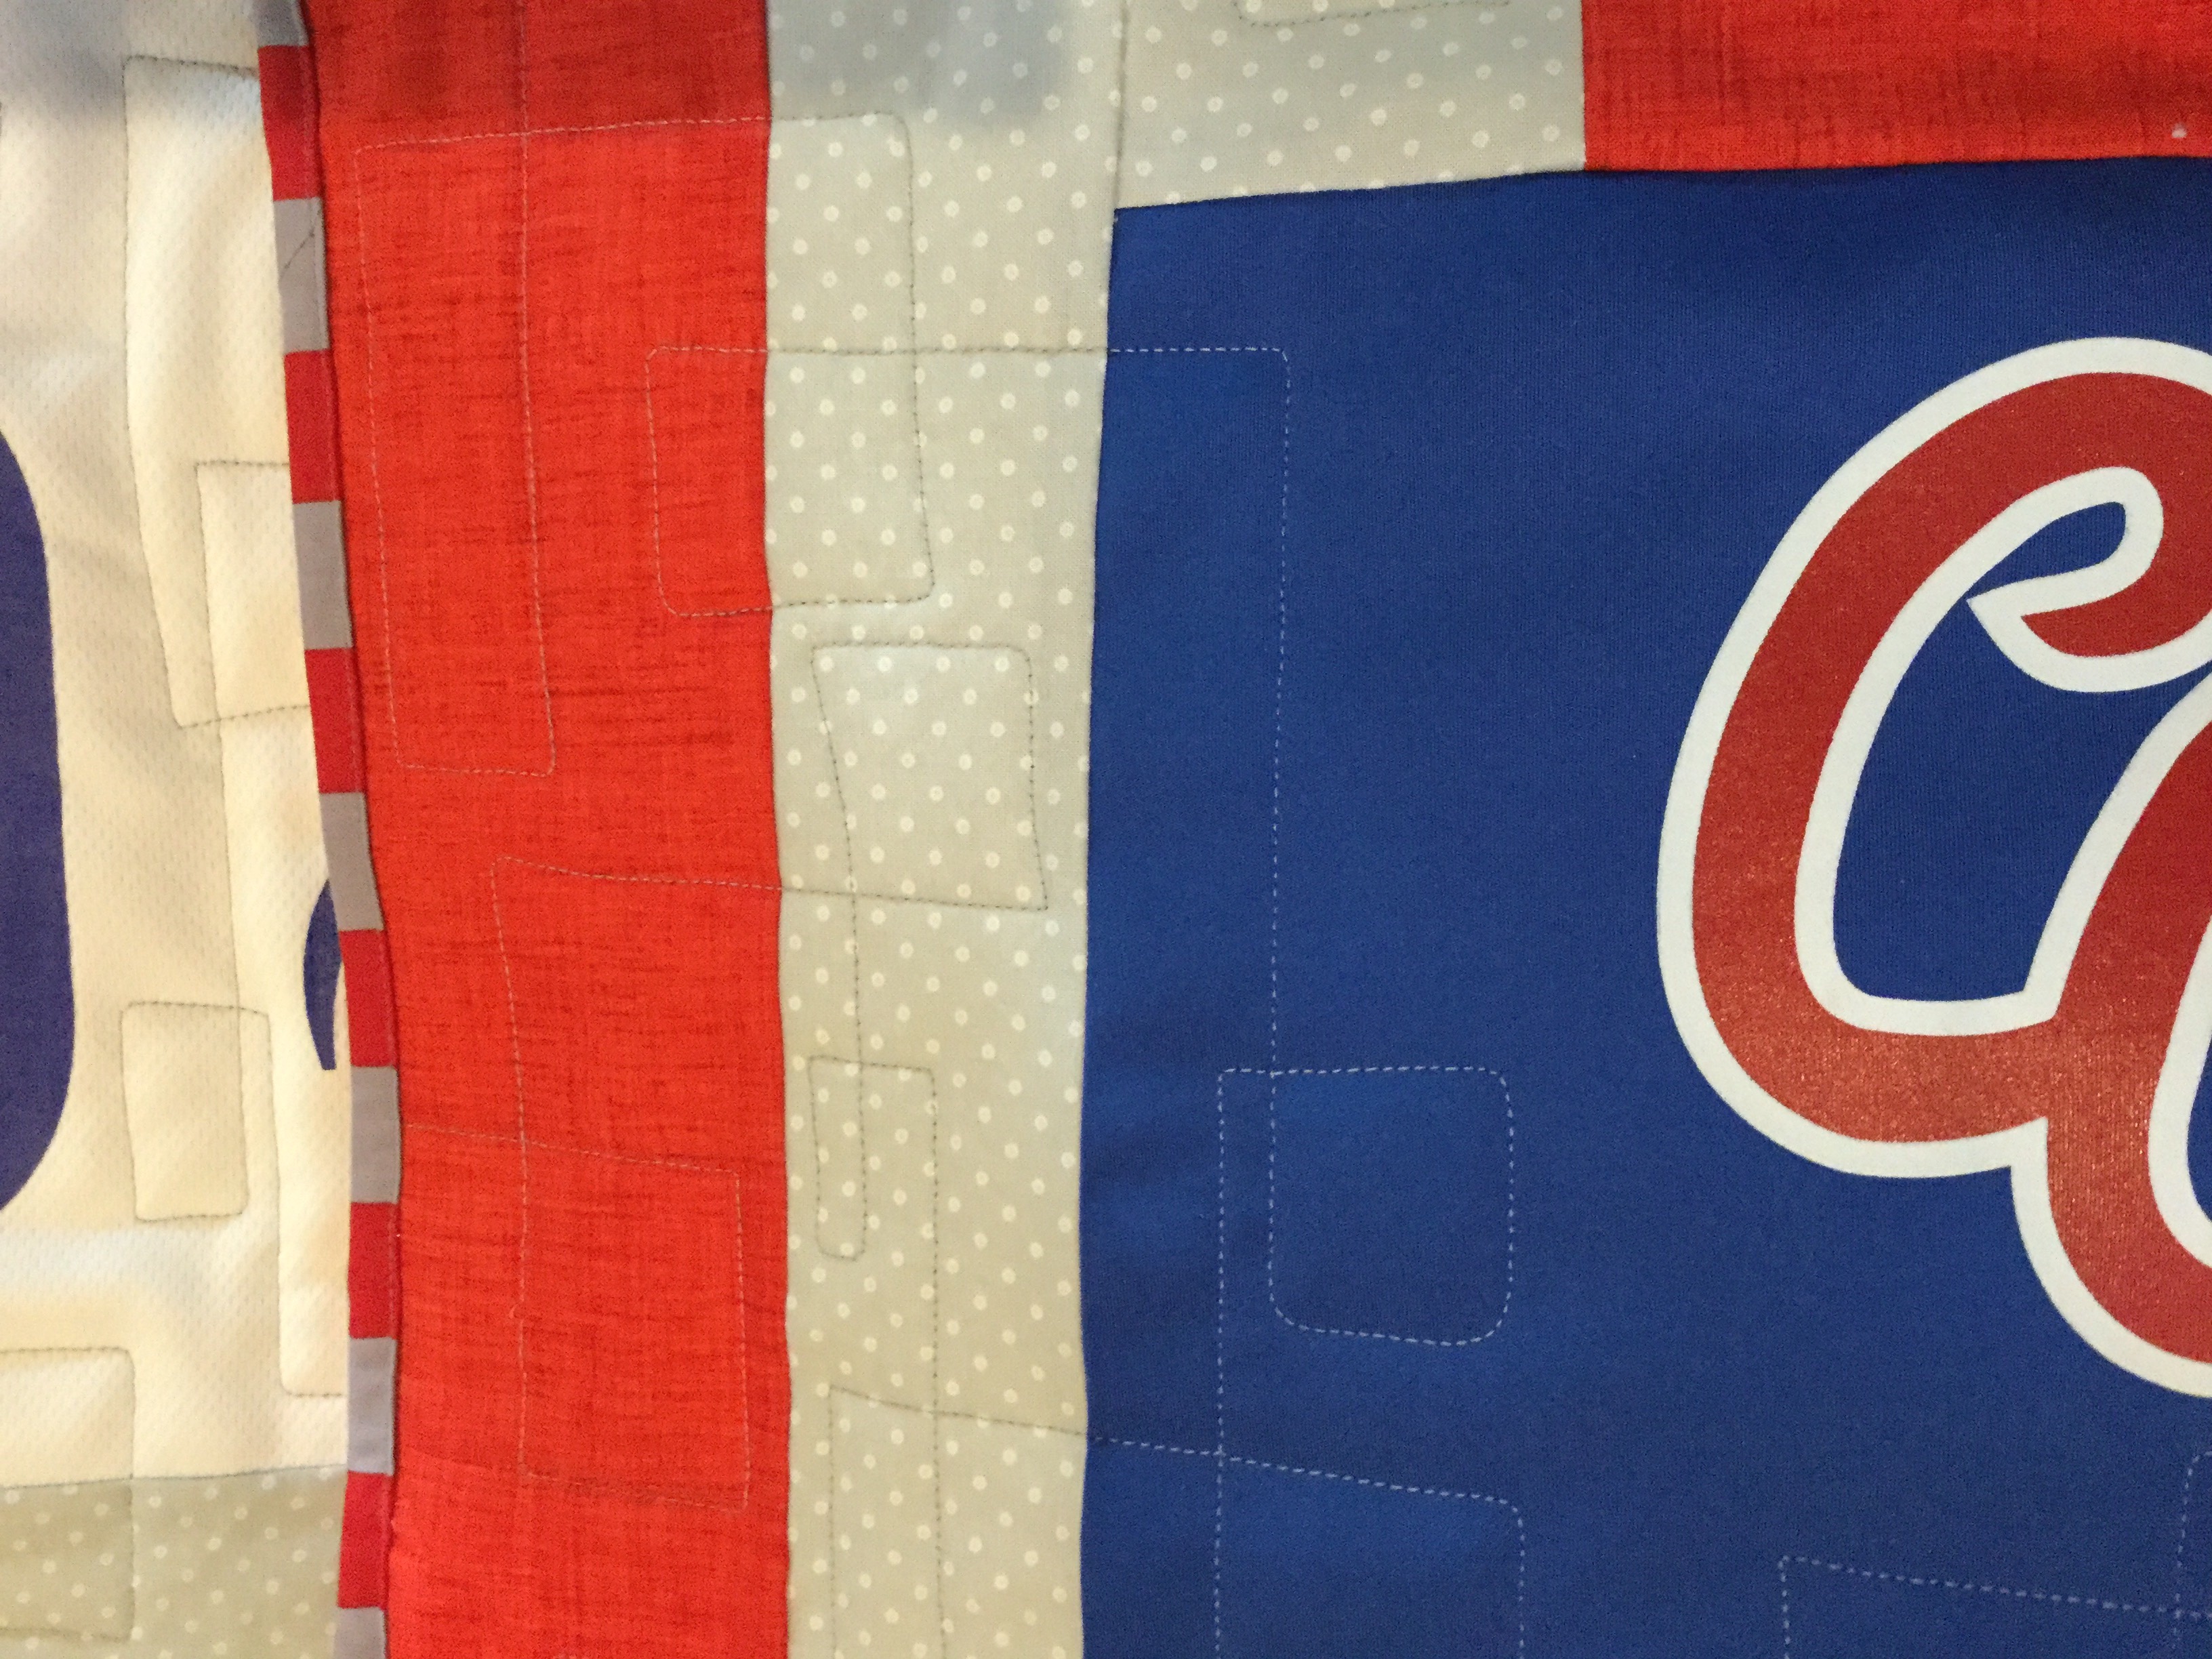
Remember I pieced the backing so I could use up a few more jerseys?  This is the first time I loaded a backing that really had to be straight on the long arm to line up well with the front.  It was mostly a success – the logos are straight but they aren’t centered across the back.  Side note, it has been quite rainy this week which is wonderful. I kept waiting for a clearing in the weather so I could take some photos.  Finally, Julia said we better just to take pictures Mom.  So off we went in the rain.  I put a beach towel under the quilt and she held it over the railing.  Such a dedicated quilt holder!!  You can see the towel shows under that edge on the left. 😉  Ok, back on topic – I love the way the back looks and it shows the quilting pattern off a bit.  I keep looking at the larger spaces near the decals and wonder if I should add some quilting there?  Do you have any input?  Are those unquilted spaces too large?

The binding is an older stripe with 1 1/2″ widths red and gray.  At first I was hesitant to use it because the red wasn’t exactly the shade I wanted but there are so many different reds in this quilt between jersey colors and the sashing I used that it worked well in the end. The bold, chunky look of the stripe fits with the blocky pattern of the quilt just fine.


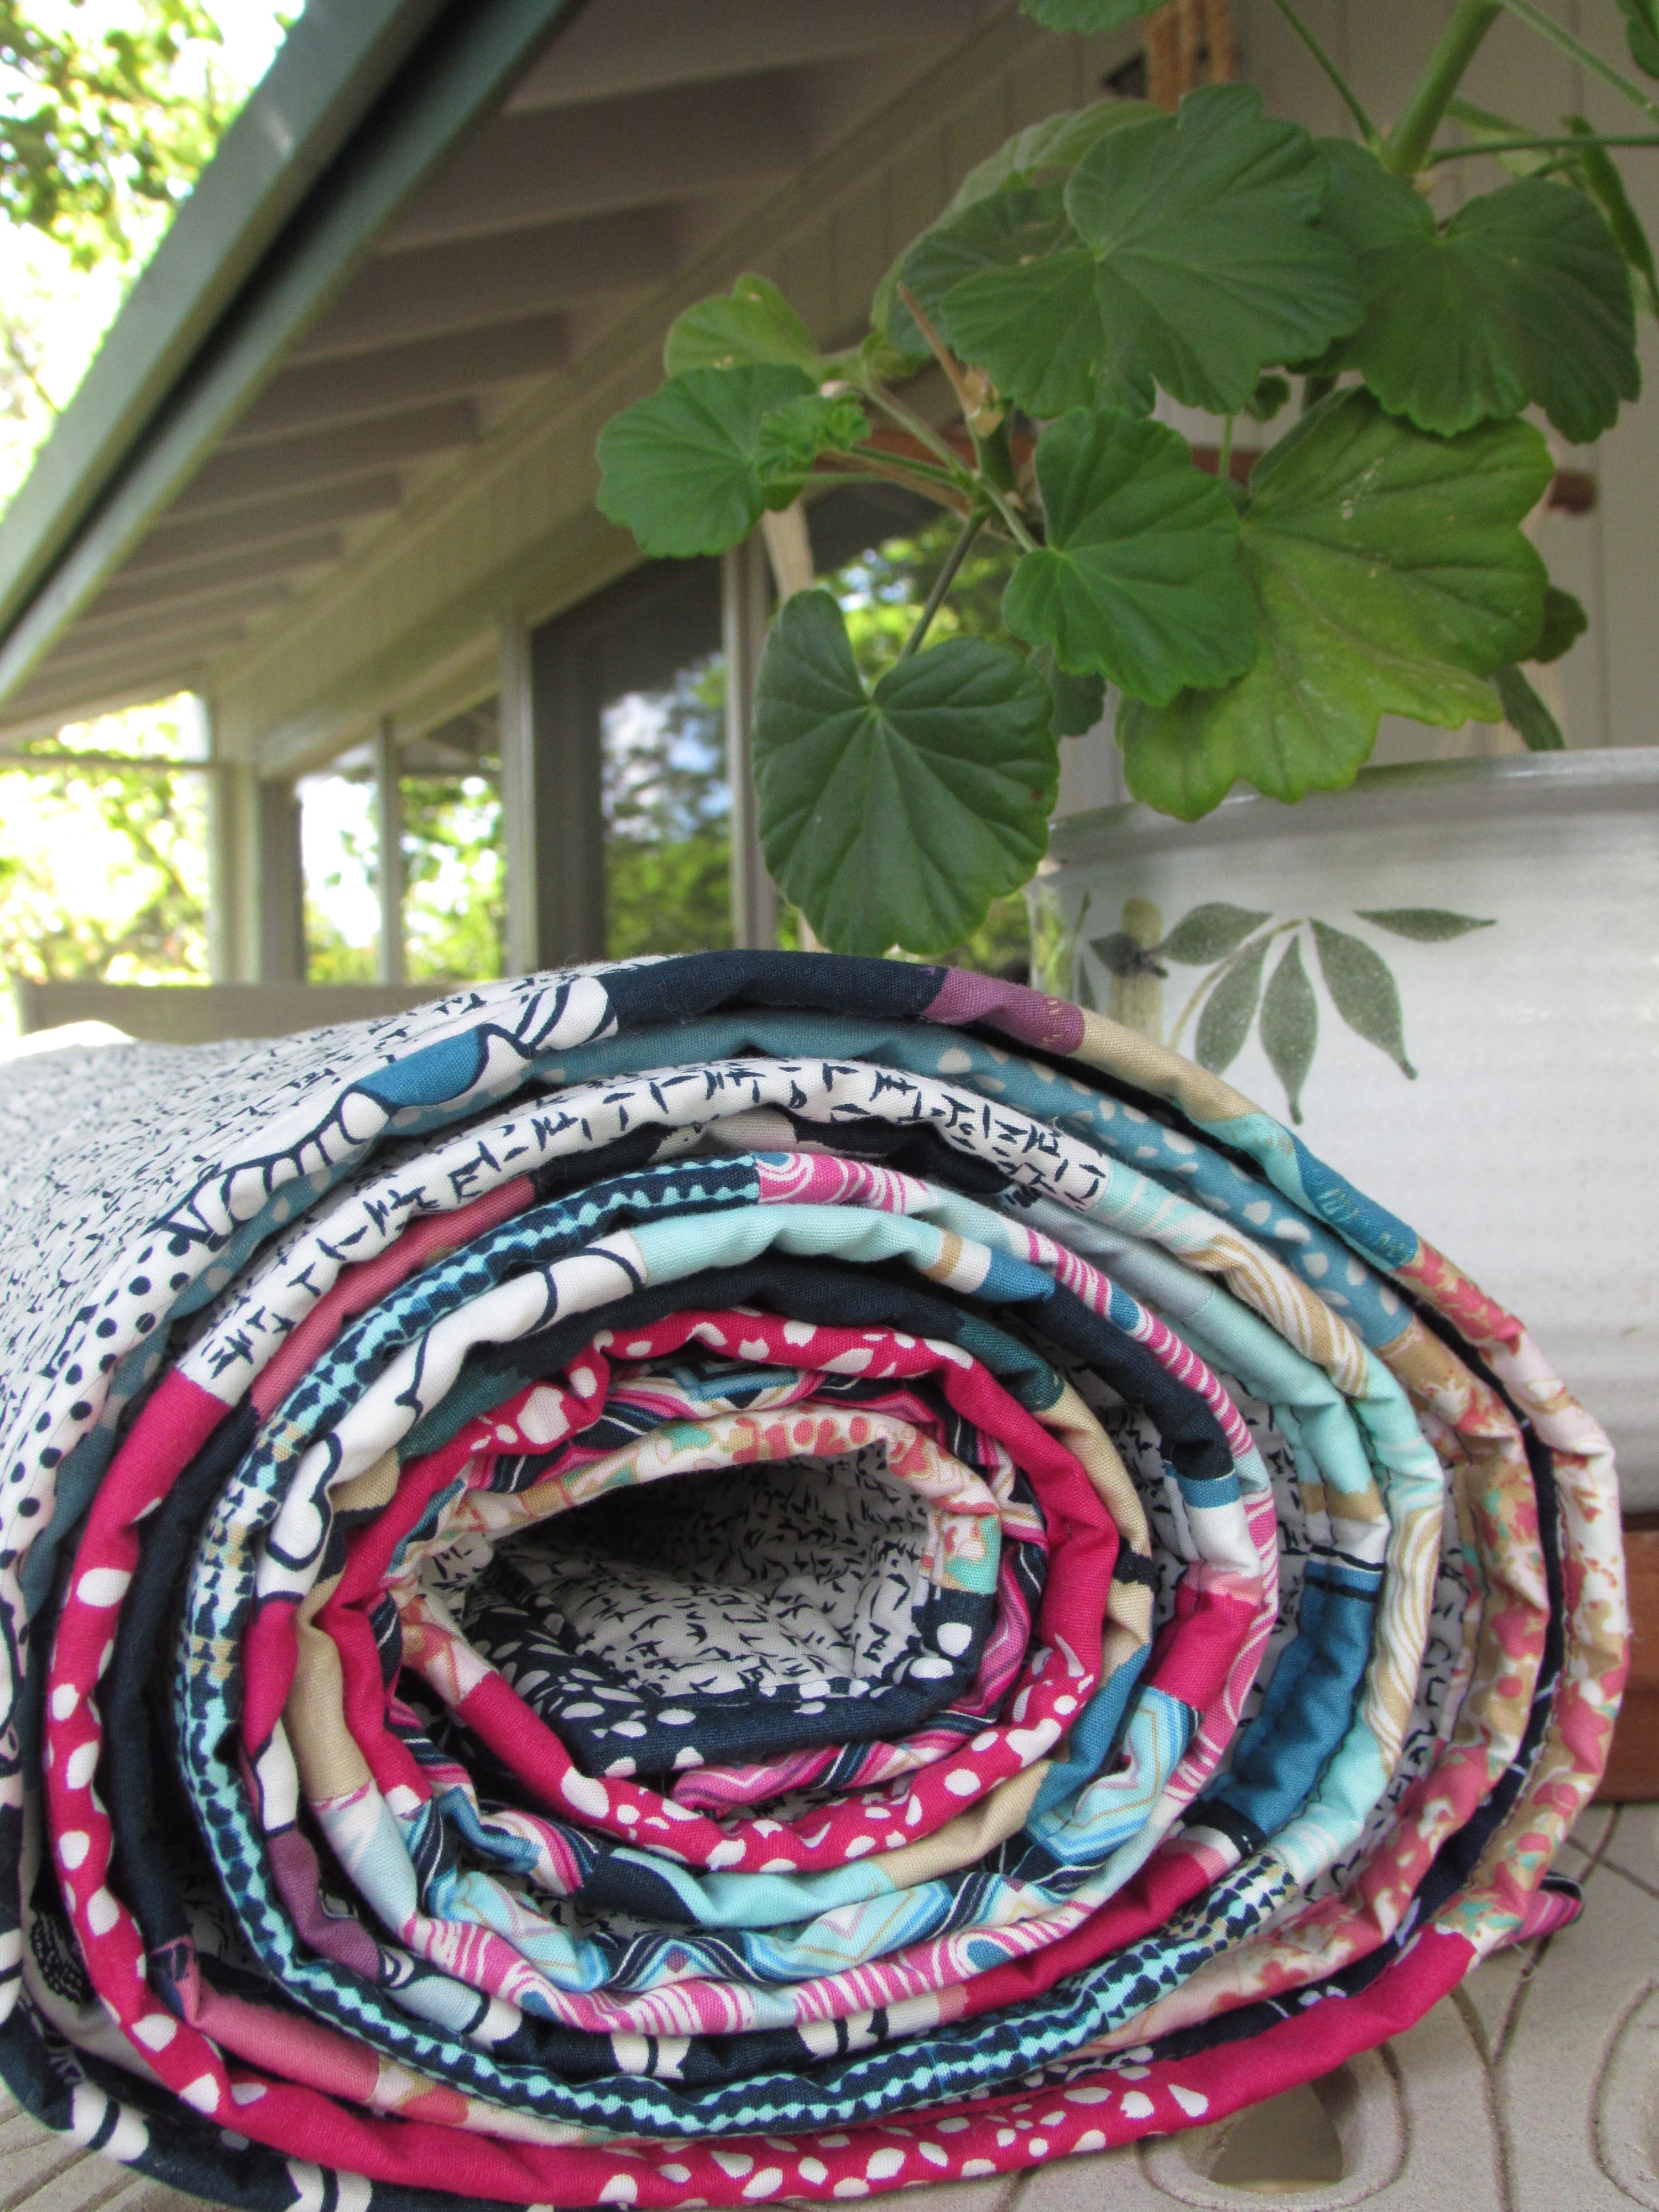
So this one is finished and will be sent off to Sam early next week.  The long arm practice continues.  It is tons of fun but has a definite learning curve to it.  My skills are improving but I need so much more practice.  It motivates me to finish up some of my projects so I can go back and practice some more!

Now sewing time for me over the next couple of days. This weekend my sister and I are working the Pioneer Quilt Guild’s show in Roseville.  If you are local and planning to attend, please come say hello!  I am excited to see the quilts hanging and meet members of the Pioneer guild!

No Finish This Friday

Well, I guess not every week is going to include a finished project, right? That is unreasonable.  But I did come close! It wasn’t a terribly productive week. Monday morning I had my second round of Botox injections. I have been receiving them as a way to lessen the frequency of migraines as well as the severity of them. My first round was in July and I will receive them every ninety days.  Both times, the series of injections set me off and triggered a cycle of migraines.  So, it wasn’t unexpected that I was down for the count for much of the week.

While I was in migraine mode, I wisely stayed away from the sewing machine as I tend to make so many mistakes if I sew while dealing with headaches. My brain just doesn’t fire on all pistons and I make silly errors.  Instead, I sorted my scrap pile which hasn’t been done in months. I also watched too much TV but Netflix has the most recent season of the PBS show, Call The Midwife, and I love that series so I couldn’t help myself.

As is often the case for me, the blue scrap pile and the green were huge. I managed to stuff the greens into their tub but no way would the blues fit. I posted this on Instagram and found someone who could use blue scraps. Those are packed up and ready to be sent off to a happy quilter. It is nice to share them, better than tossing the fabric and really, how on earth will I use all of it?!

Yesterday I felt much better and was able to keep my appointment at the long arm shop. I had planned to take the jersey quilt and finish that up but I chickened out. I decided to take one more of my own quilts to gain a bit more practice time before I tackle the jersey quilt.  I was nervous about thread or needle issues with that thicker quilt.  When I got there and talked to the gal at the shop, she assured me it wouldn’t be a big deal to quilt Sam’s project so it will definitely be the next one I take to the shop.

I loaded my Sewcial Bee Sampler quilt top and was excited that I was able to load it (almost) without help. I am getting the hang of this process which feels good.  The quilt top lay nice and flat – also exciting to me – it doesn’t always happen that way. I decided to just do a simple meander so I could focus on controlling the needle’s speed and direction.

Because I didn’t place any focus on a more challenging quilting motif, this was very relaxing and I really enjoyed it. I had almost no hiccups – the thread snapped once but the shop gal was able to adjust the bobbin tension and I was back in the game in no time.  I have to say, I am loving using the shop’s machine because there is a source of support right there – It is the best of both worlds.

It took no time to get the top quilted up. Another perk of renting time at the shop is their huge cutting table in the back.  I was invited to use it to trim and square up the quilt once I had finished. This process is so difficult at home because I don’t have a surface larger than the dining room table and I have to lay both my cutting mats under the quilt and keep shifting everything around. It is not easy, for sure.  But having this huge table available to me makes the task a breeze.I loved everything about finishing up this quilt. Today I will prepare my binding strips so I can do the hand stitching this weekend.  Hopefully I will have a finished quilt to share with you soon.

 I have also decided to pull my “Ring Me” quilt out of the closet and work on it. I started this one as a part of the blog hop celebrating Amanda Jean Nyberg’s recent book, No Scrap Left Behind.  I want to make it queen size instead of lap size (as I originally planned) so I have some cutting to do to enlarge it.  Previously I have been hesitant to make larger quilts because I dreaded quilting them on my home machine. I feel like I have options now so I am going to take advantage of that and make some larger projects. I would love to put this one on the guest bed in my sewing room.

Ok – enough for now.  I have a custom Etsy order to finish up and several fabric orders to pack. The shop has been really busy this week which makes me happy. It has been so nice to have this part time job that I can work into my time schedule, depending on whether I am dealing with a migraine or not.  Have a wonderful weekend everyone.

Remember today is the last day to enter the giveaway celebrating the Grand Opening of Ferrari Handmade.  Check that out here.

Positively Floating – a Finish

Earlier this summer I made a plus quilt using the Art Gallery Dare fabric line, designed by Pat Bravo. I set it aside for a while, as most of us tend to do. After taking the long arm class, I decided to quilt this one for my second round of practice. Thursday last week found me at the Sew-So Shop ready to load the project on the machine.

When I arrived, I was told that the owners would be running a bit late due to a family emergency. There was another woman, a very experienced long arm quilter (Diane), who was there to pick something up and she offered to help me get everything set up. I felt so fortunate to have run into her because she taught me a great deal in the 15 minutes that we worked together. It was so helpful!  We got the backing, batting and quilt top loaded and straight.

I talked with Diane about my plan to quilt this. I wanted to do simple spirals in the negative space and something linear within the pluses so they would be differentiated from the background. She and I scribbled on paper for a bit and decided on a flow of linear lines that look like water flowing. This would allow me to leave the machine free (as opposed to setting the channel locks for straight lines) and would give me a relaxed pattern to stitch. It worked perfectly (well, nothing is perfect but overall, it was very successful!)

img_7524

I love the flow of these soft linear curves. At first I tried to treat each plus as a separate entity but it didn’t seem to make a difference so I relaxed on that and let the lines flow over the edge of one fabric and on to the next.

img_7523

I love this motif – I don’t think I have used it prior to this but I will definitely use it again. It was really relaxing to stitch.

img_7521

For the negative space, or the background, I did large, loose spirals and loops. My goal was to work on my speed control and precision so I picked a simple motif. Looking back, I wish I would have selected a darker gray thread because the quilting hardly shows up.  I was not feeling very confident about my abilities so I picked a light thread, in case the stitching wasn’t the best.

img_7528

The stitching shows up better on the back.  For the first time, I bought a wide back cotton for the backing. This was so convenient! I had begun to piece a backing using the leftover Dare fabrics but when I decided to do this on the long arm, I nixed a pieced backing. I have enough going on loading the long arm without having to worry about a potentially wavy or ‘un-square’ backing (is that a word?).  Using a wide back fabric eliminated all of those possible issues.

img_7530

Since I had already pieced strips of the scraps, I decided to use that as the binding. I sliced the strips into 2 1/4″ strips for the binding. You know how much I love a scrappy binding.

As with each long arm experience before, I do have a question. The finished quilt has a bit of a wave to the center of it. (Look at the photo at the top and you’ll see it.) I feel it was flat and square when I started to quilt it. My question is, do you think this is because I quilted the Plus section more tightly than the negative space? It definitely has a stiffness to the Plus area. When I did the surrounding area, I kept it loose so the whole quilt wouldn’t be stiff but maybe I should have been consistent all the way through? Looking for some advice here. Yvonne….. Help please! 🙂

Oh how I have enjoyed learning about and using the long arm. I have one more finished quilt top to do so I will set up some time for that project soon! It has really helped me to get some projects finished up that were languishing a bit.

Couple of reminders –

  1. The voting begins for the Quilt Bloggers Festival on Sunday! Go take a look and choose your favorites — so many gorgeous projects have been entered.
  2. Handmade Halloween is coming soon! I hope you are checking your blog history for fun posts to link up that will inspire readers to make something for Halloween! If you don’t want to link an older post, you are welcome to write a new one. Lots of fun prizes have been provided by Craftsy, C&T Publishing, as well as Lorna from Sew Fresh Quilts. Come back and join the party October 4th!! Be sure to let me know if you have any questions!
  3. Craftsy has a sale going on this weekend. All classes are less than $20 (except for those in the Great Courses line.) Take advantage and learn something new!! There is always something new to learn.  (Note, I am a Craftsy affiliate.)

unnamed

Linking up to my favorites. See the tab at the top of the page, Link Ups, for more info.