It has been a long while since I have done any free motion quilting. I had the itch a few days ago. Of course that itch wasn’t big enough to get me to baste and quilt either of the two quilt tops that are waiting patiently for me to finish them. I wanted a quick fix. Know what I mean?
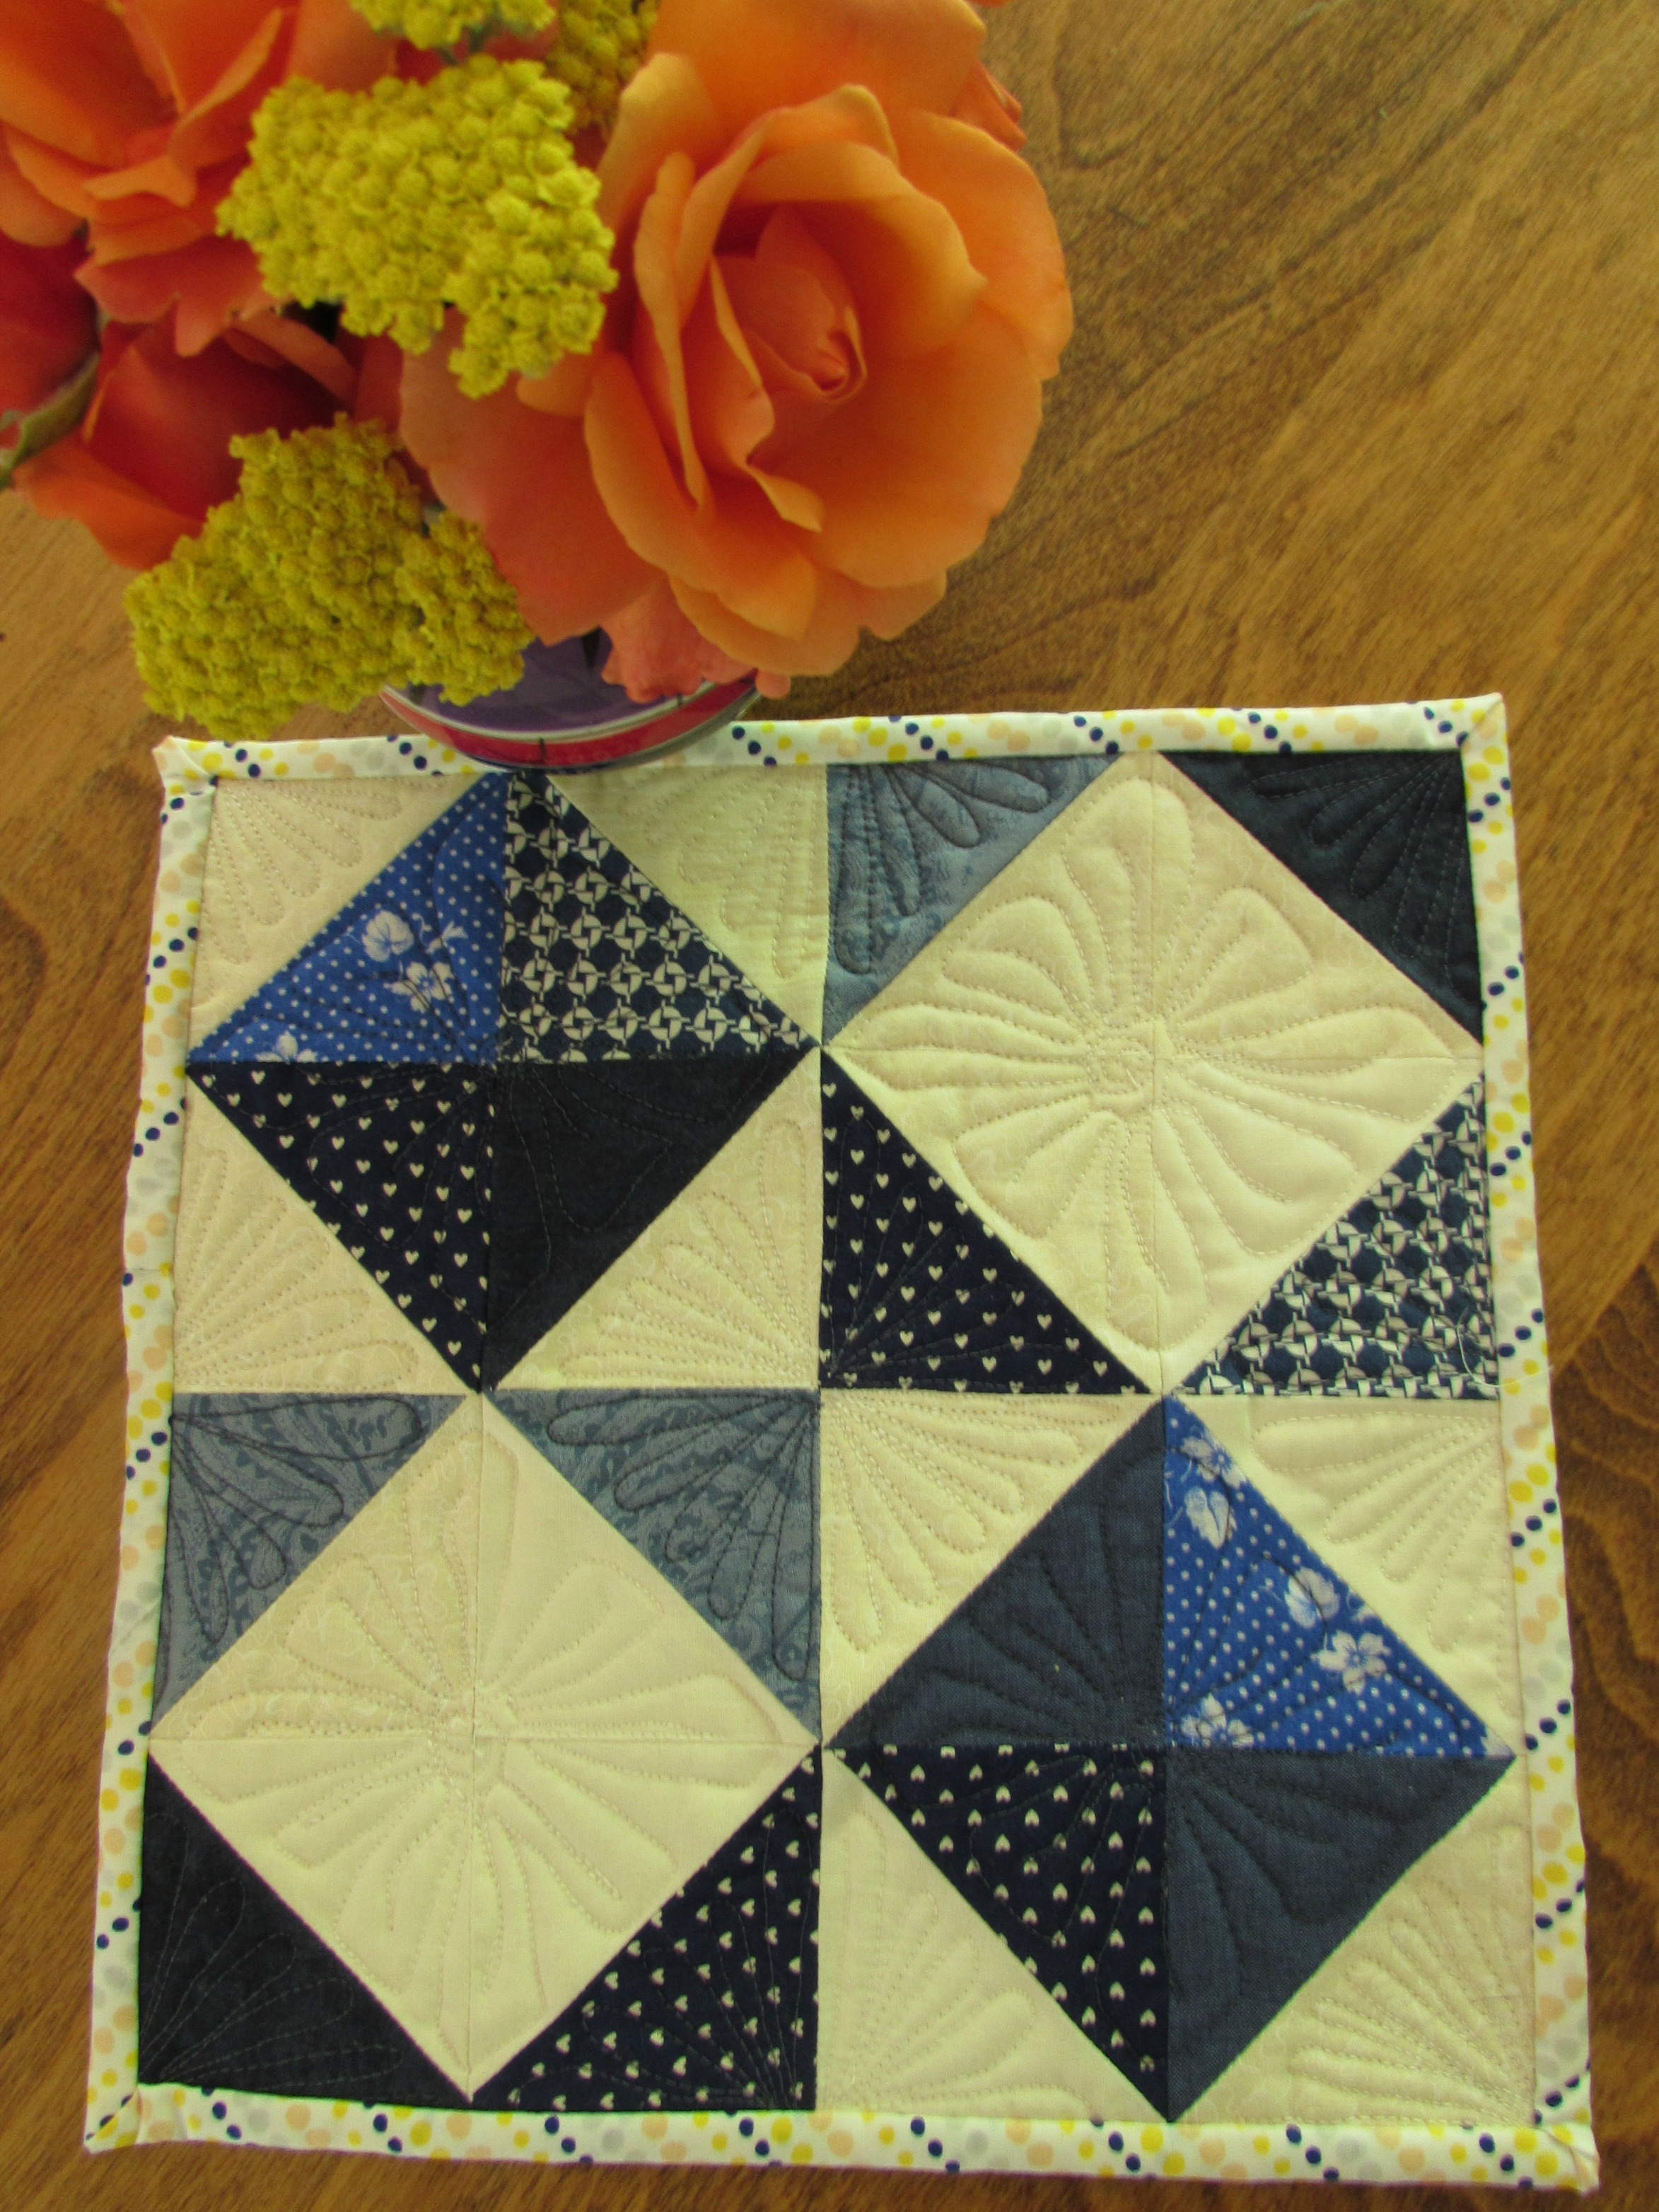
I have a drawer where I toss extra HST blocks that seem to accumulate from time to time. I sewed a dozen together and ended up with a cute little block.
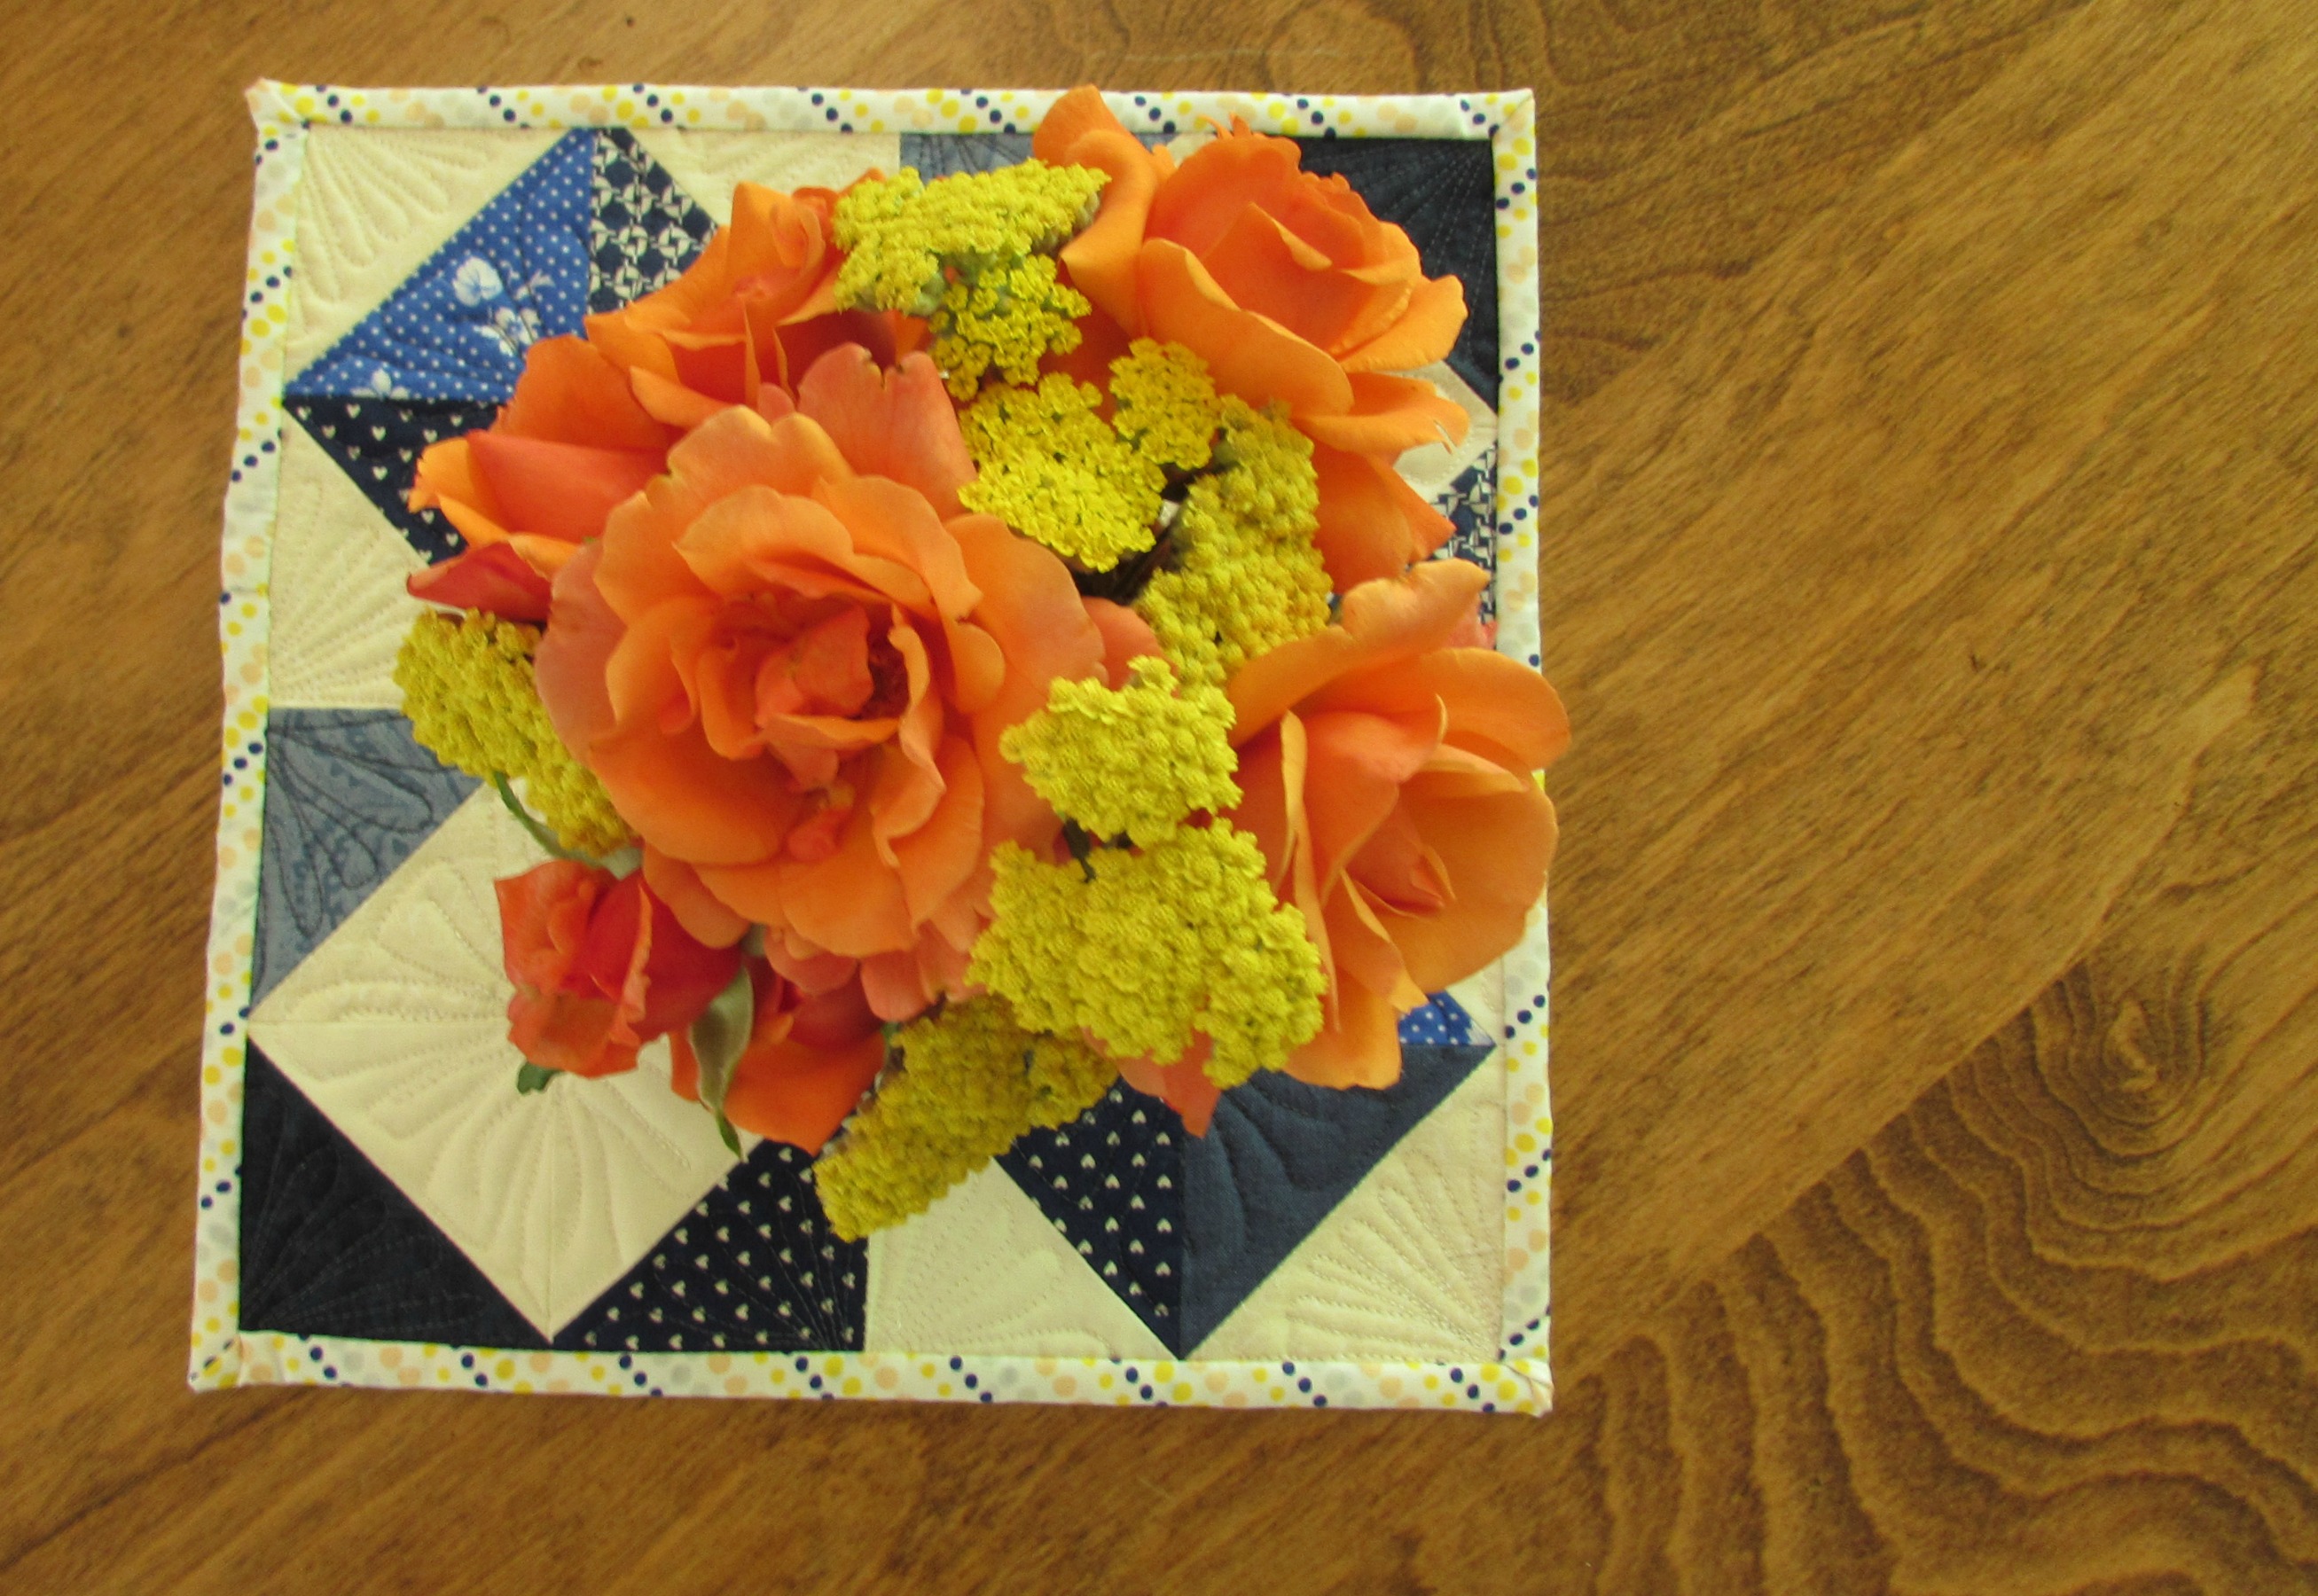
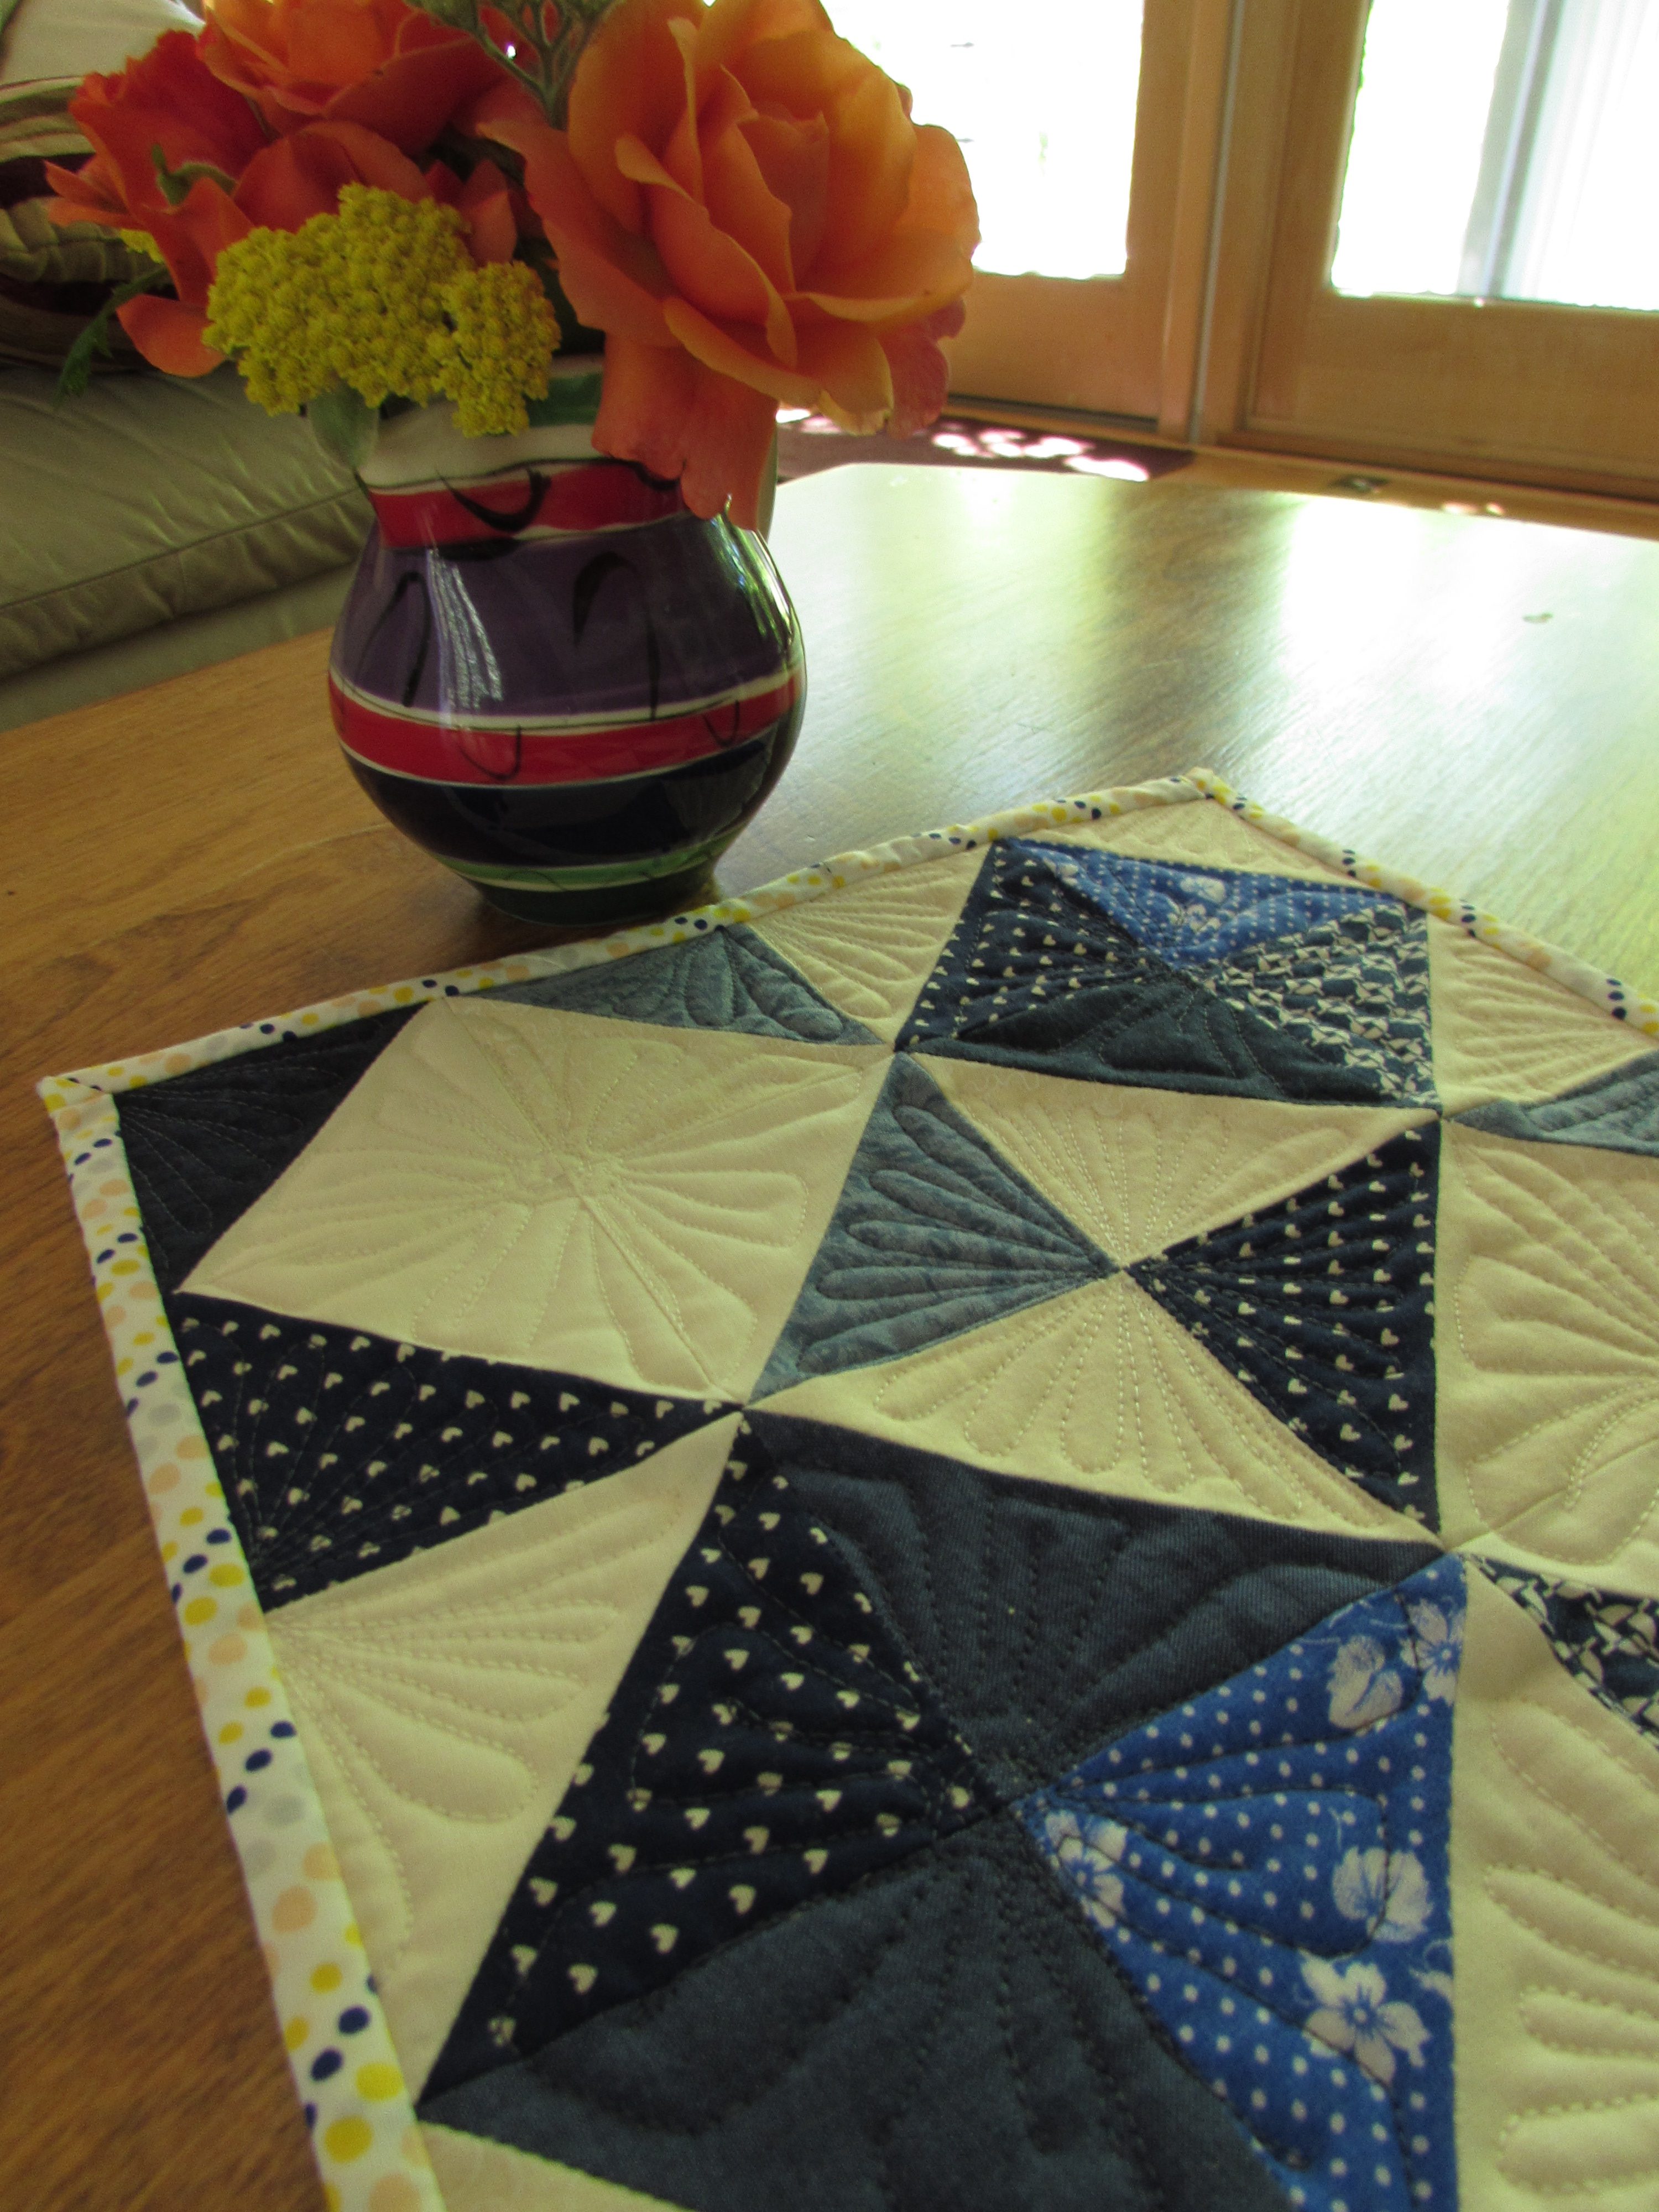
I quilted every inch of it with little flourishes in the triangles and flowers in the center of the four diamonds. At first I didn’t plan to bind it, since it was just a quick practice piece. But is that fair? To just throw it away??? I think not. Leave it in the sewing room cluttering up my desk? Nope, that doesn’t work either. I can always put it under a vase of flowers. So I trimmed it to 12″ square and found a little scrap of polka dots to use as binding. The binding was actually the hardest part. I cut it too narrow and it pulls in spots.
Stitching this was so gratifying. One evening of play and practice.
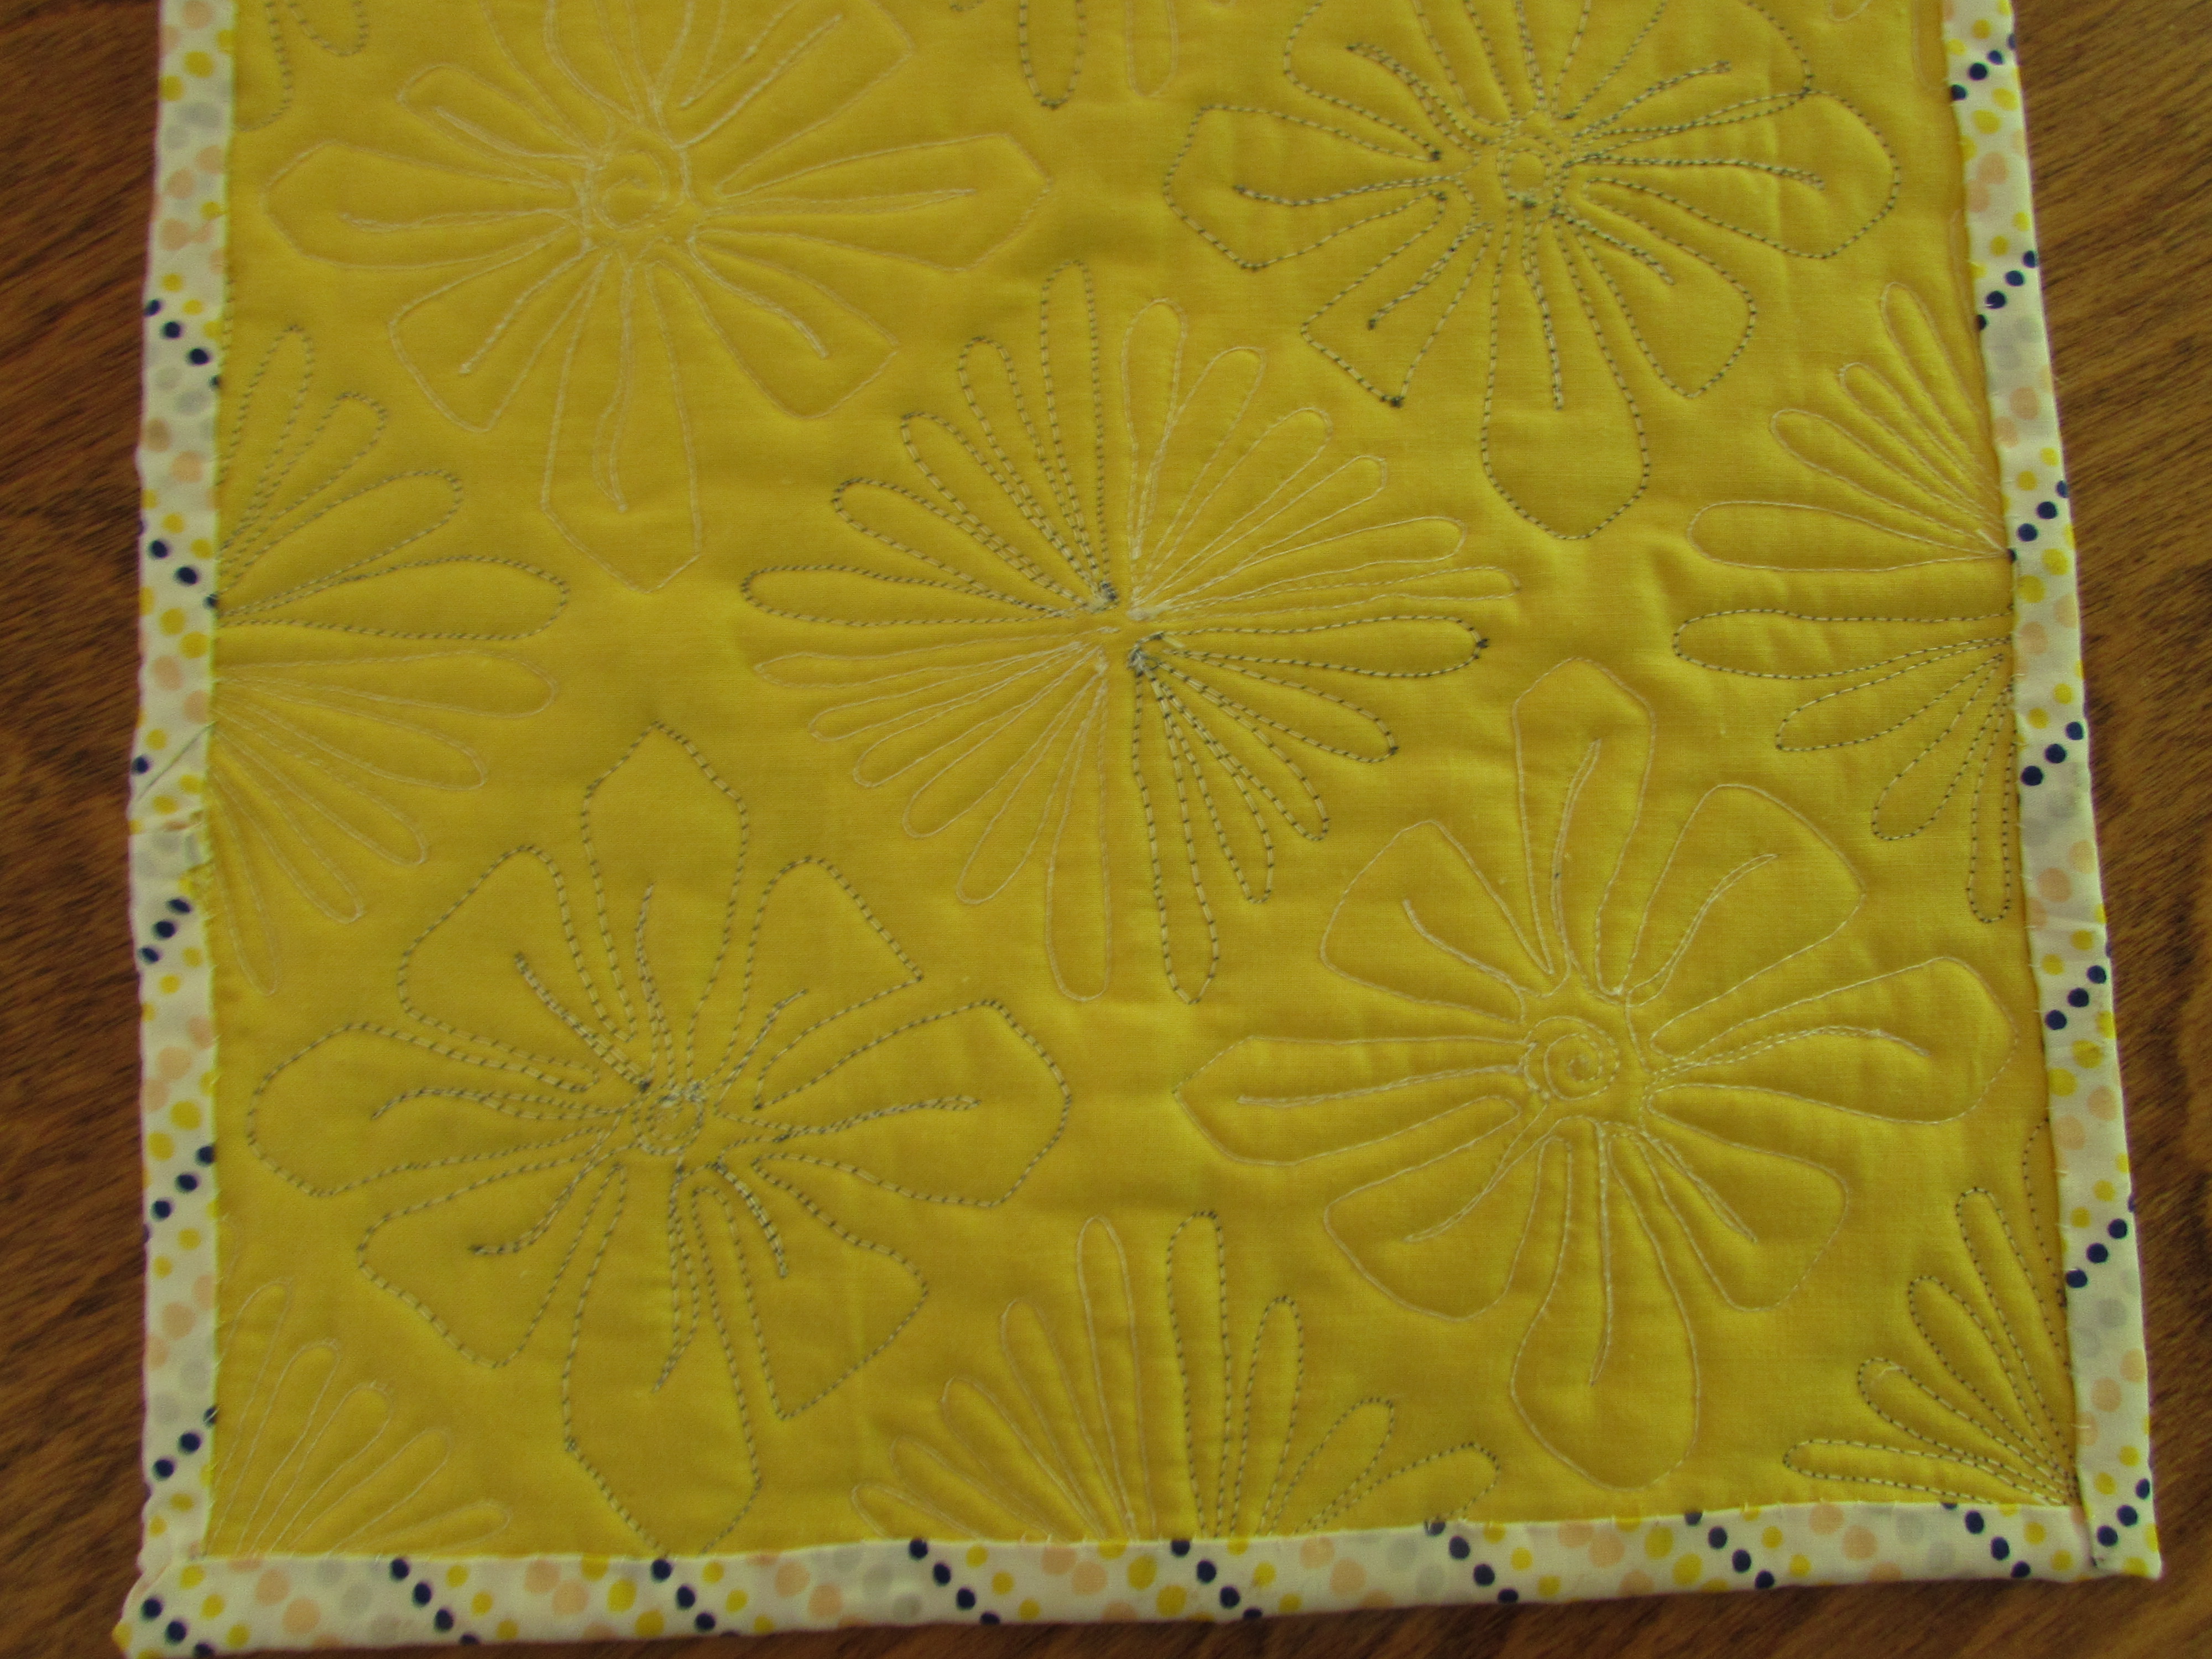
I switched between blue and cream thread but didn’t change the bobbin. It looks kind of funky on the back side.
Now that the itch to FMQ has been scratched, it is time to move on to something else. Hope you are all enjoying some time at the sewing machine.
Linking up with Muv at Freemotion Mavericks because I haven’t done that for a while and I have been missing her lately. 🙂
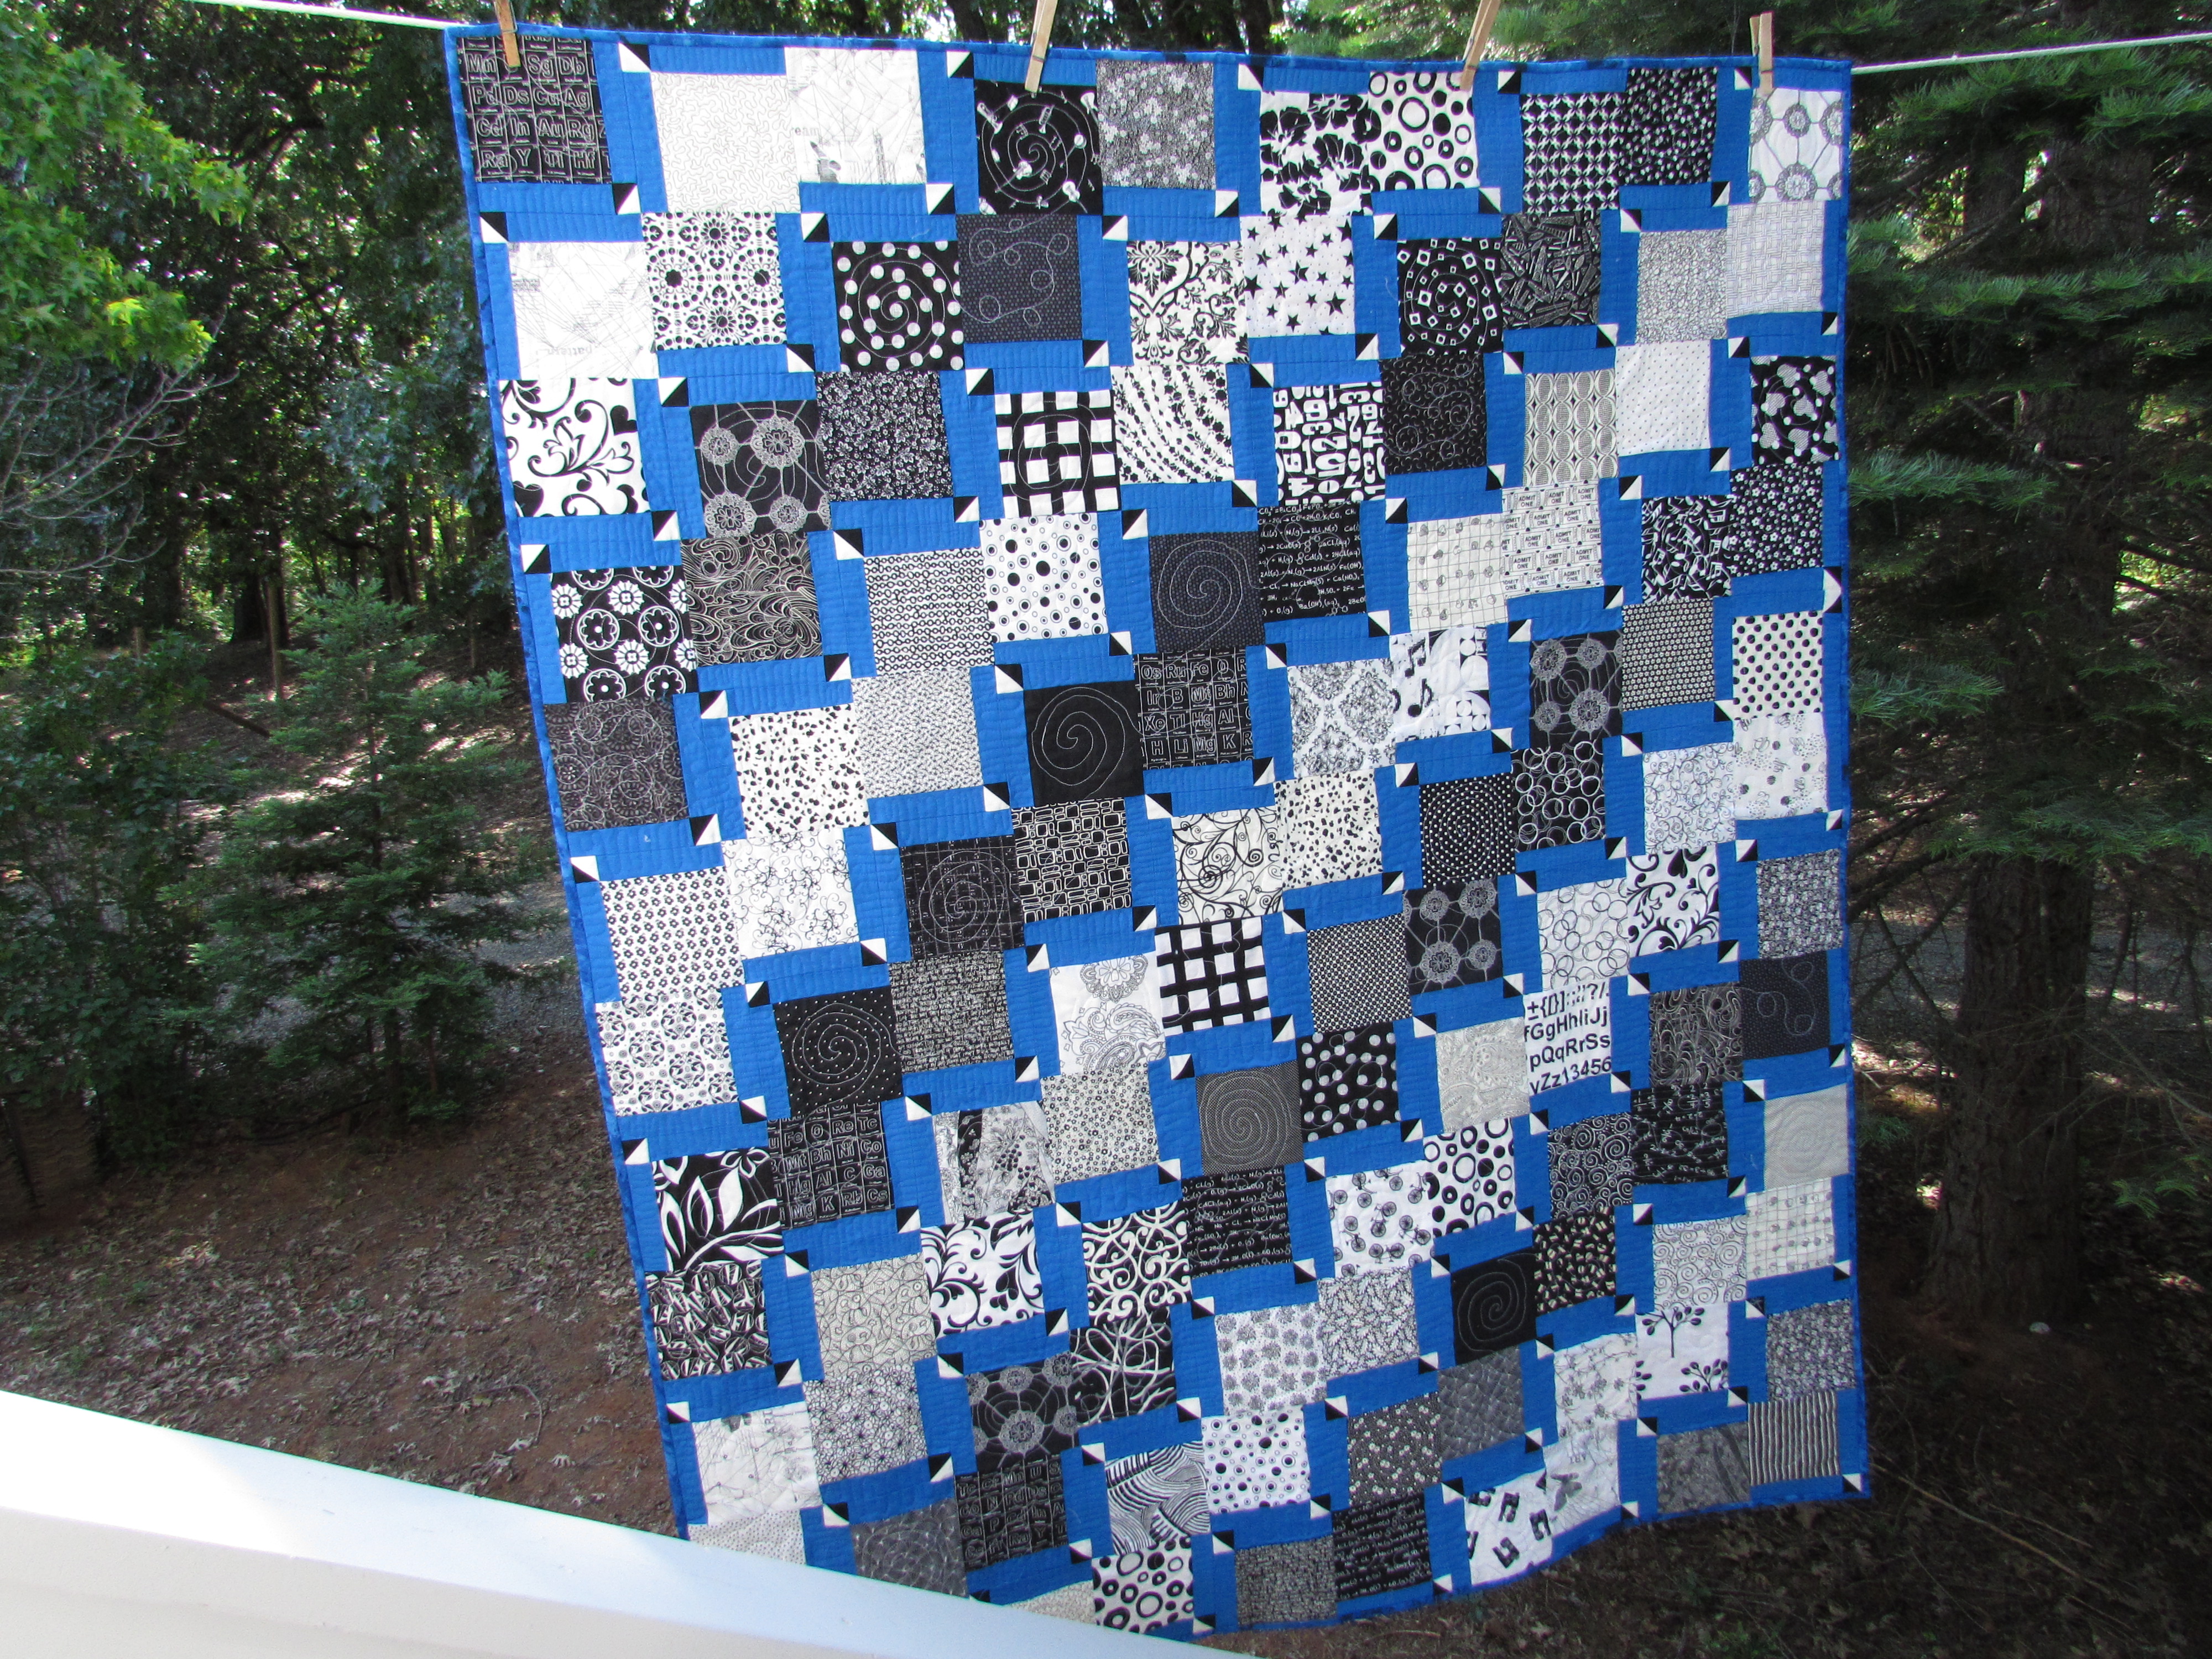
It seems like I finished this quilt a while ago. You might remember that I made this as part of a quiltalong with Jennifer from Inquiring Quilter. Probably two weeks ago I finished up the quilting and got the binding stitched about 75% of the way. Then it sat there. I was distracted by purses and other fun projects. Yesterday afternoon I was able to stitch that last bit of binding down while Julia rested that poor pinkie toe of hers and it is now complete.
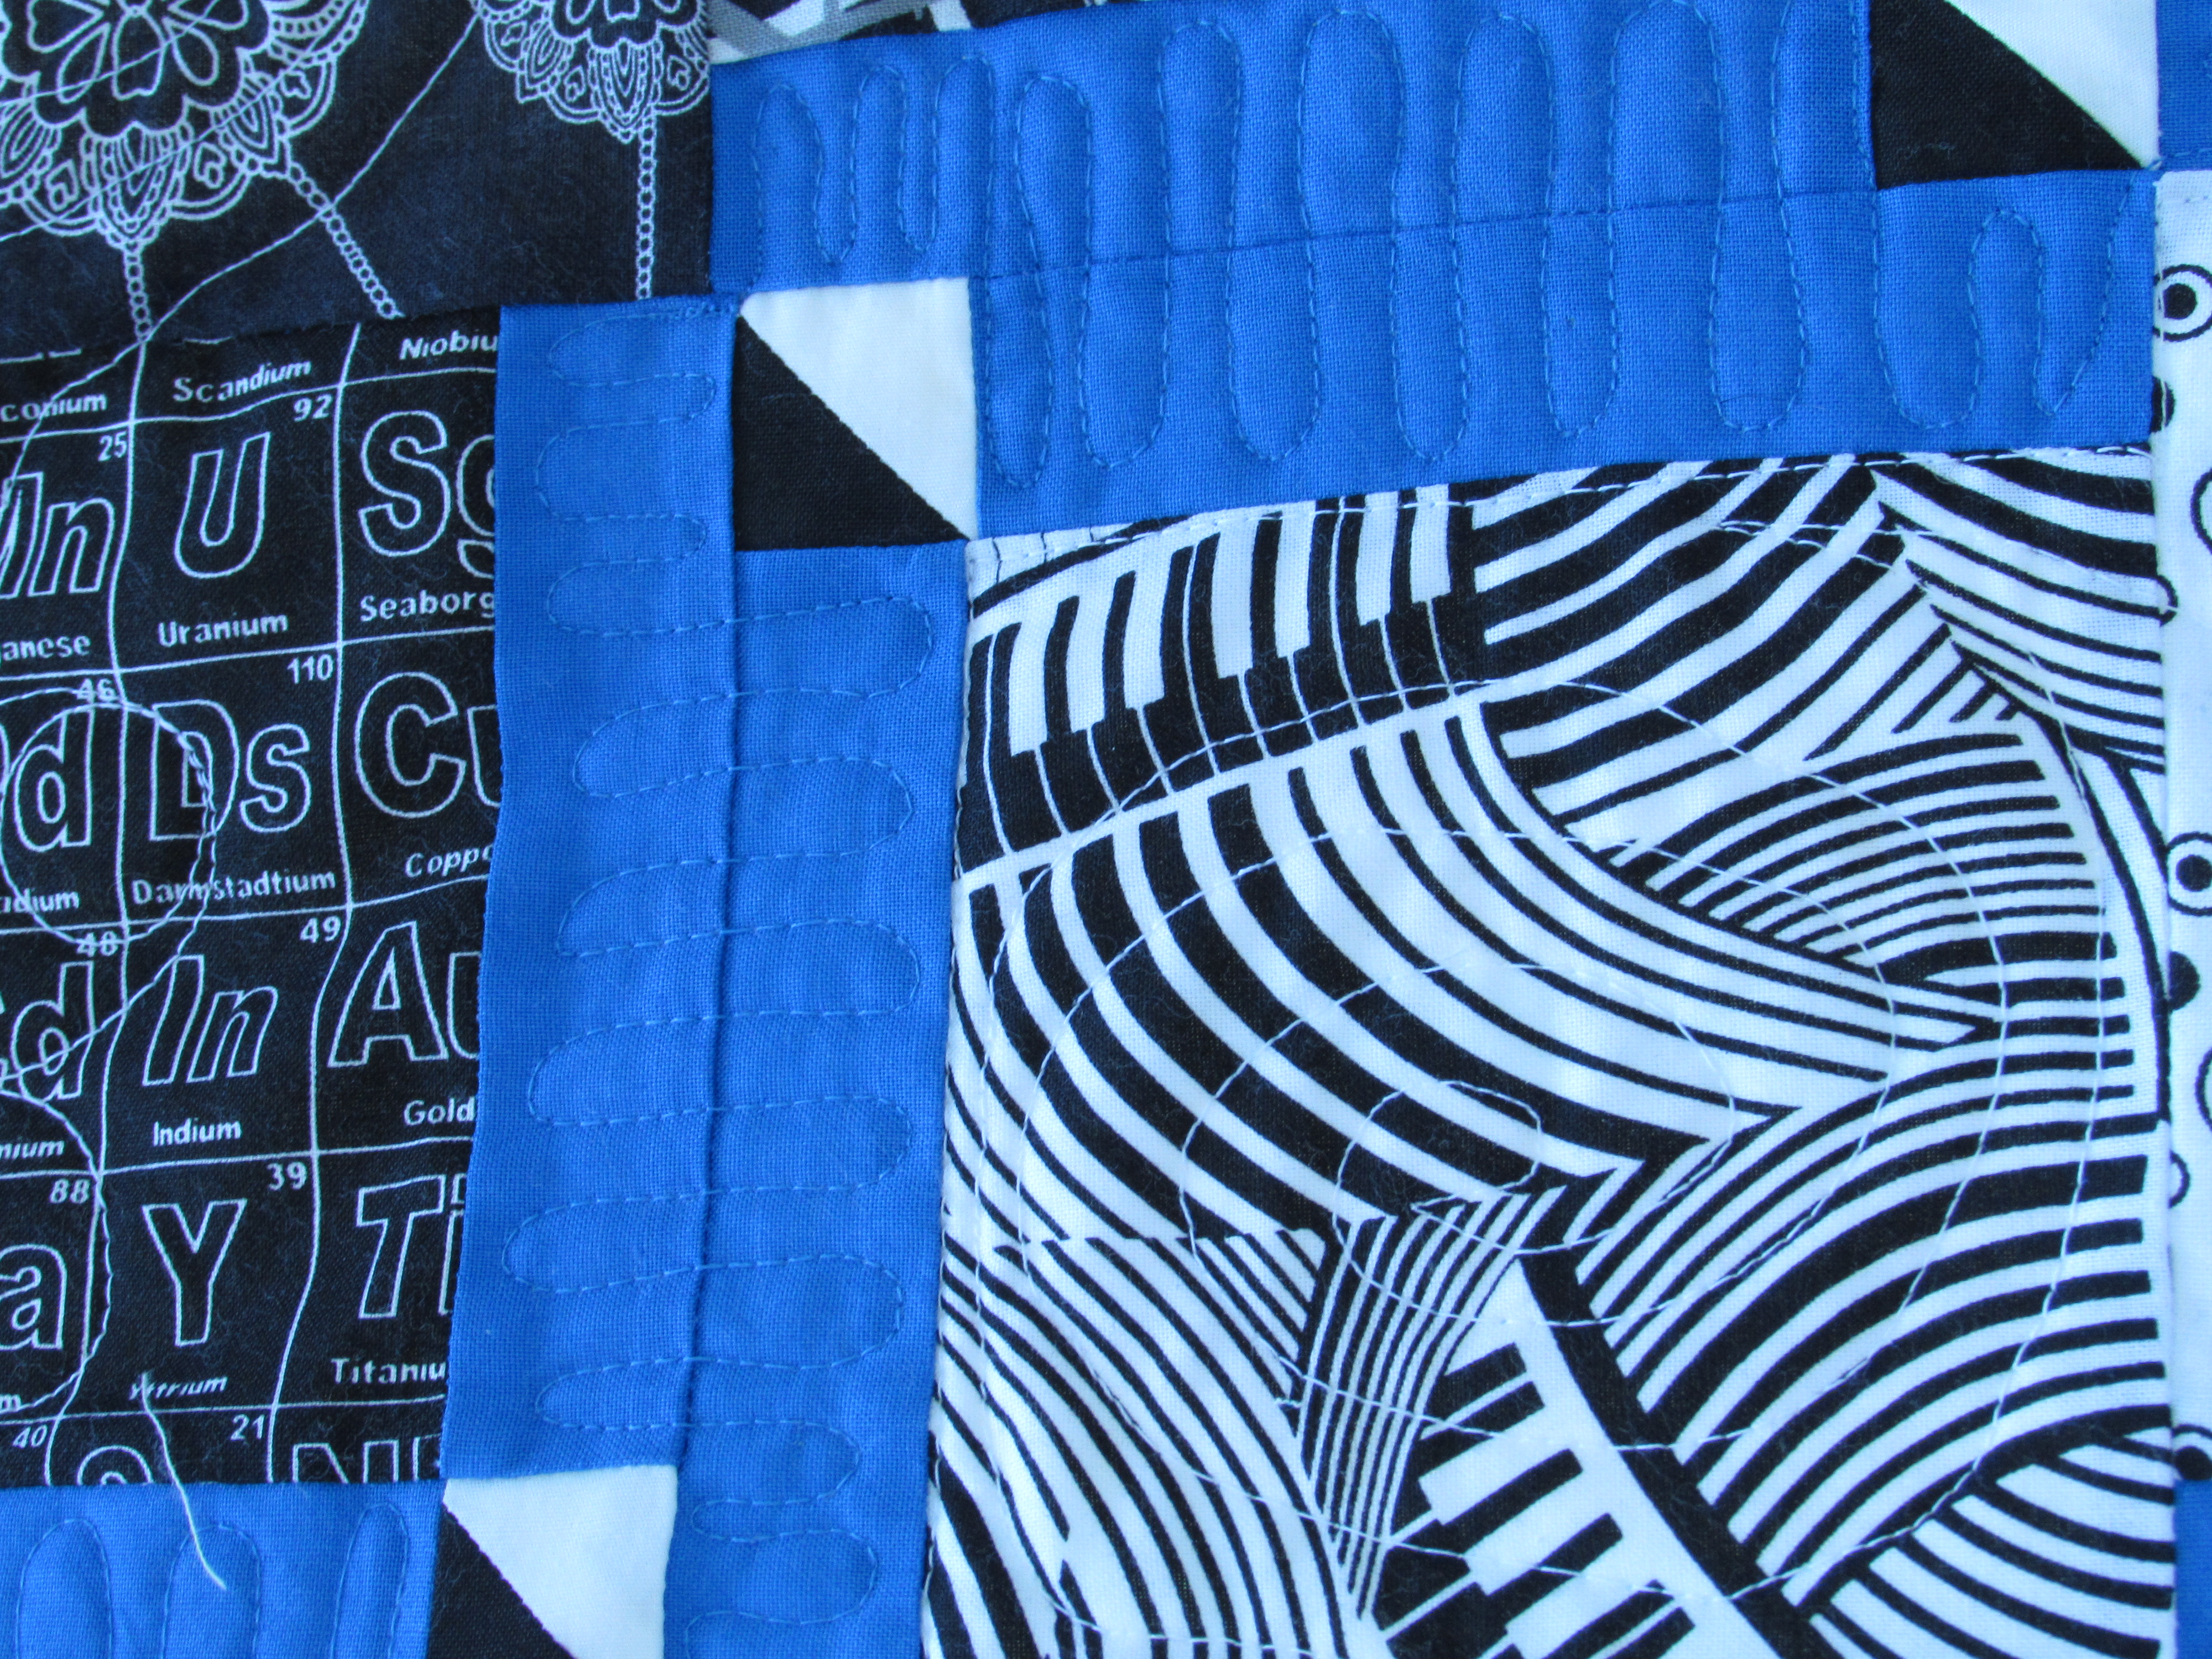
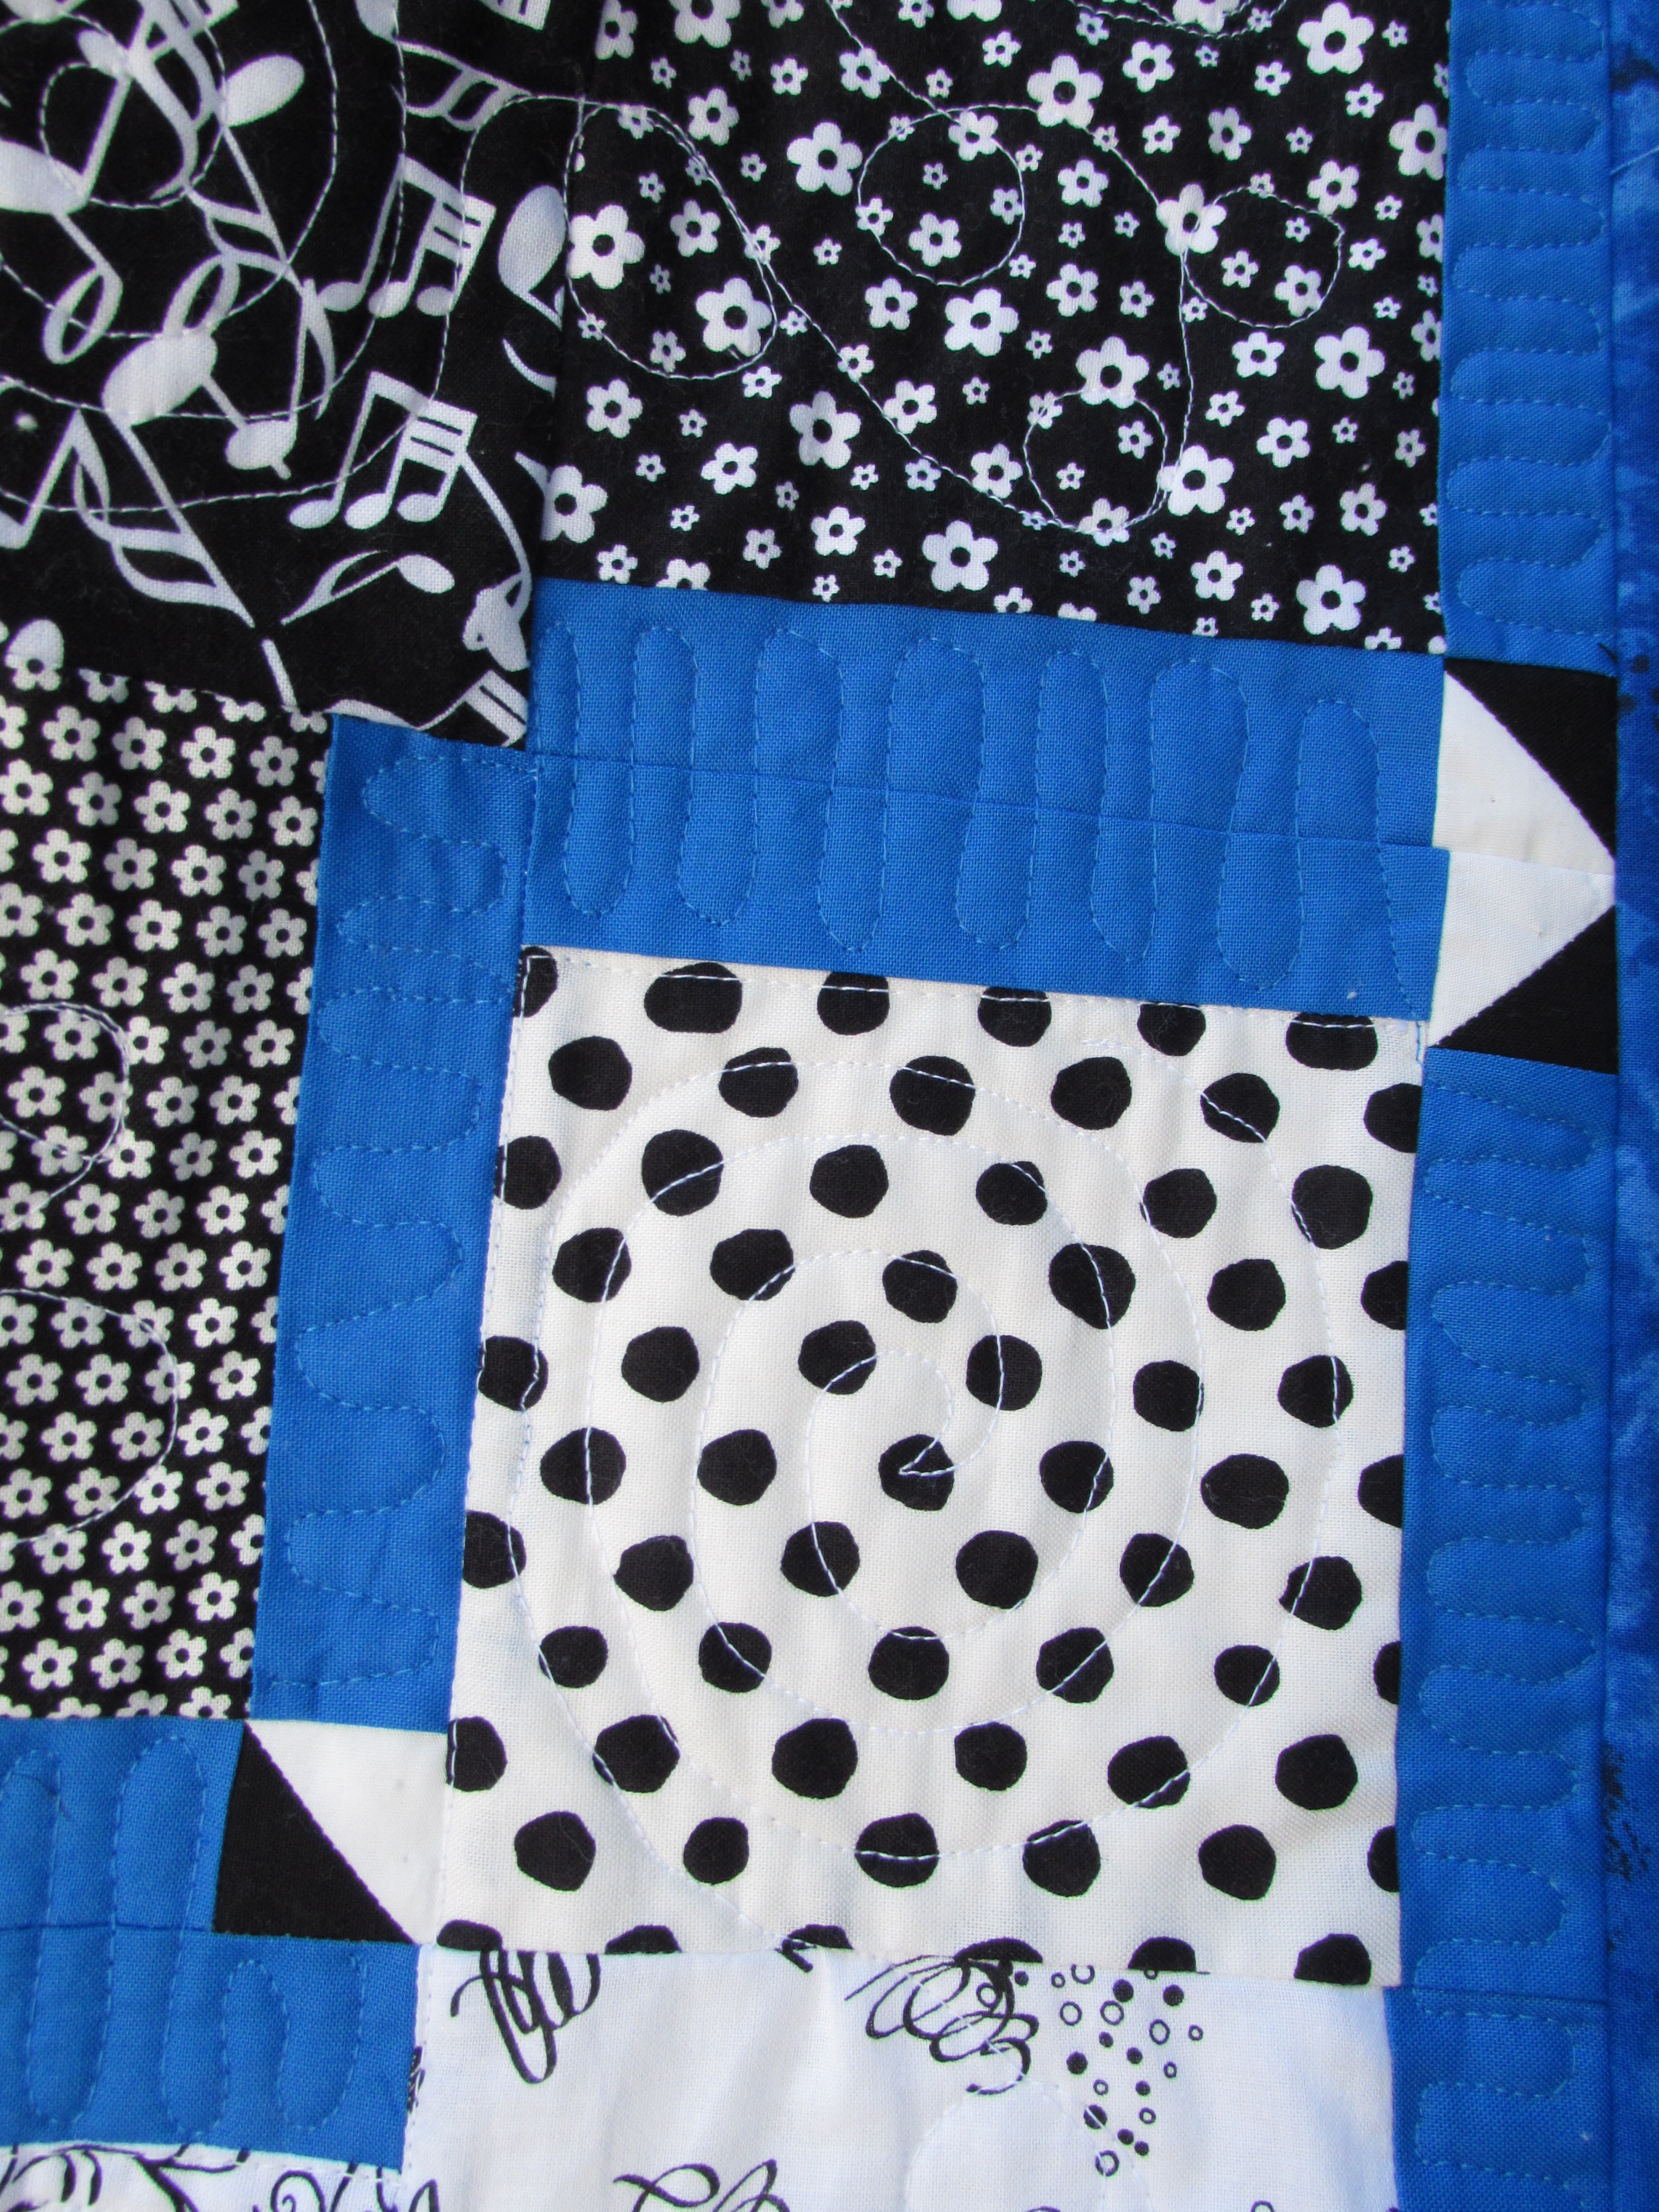
The movement caused by the diagonal placement of the charms and those cute little HST’s make this quilt. The black, white and cobalt blue also worked very well together. (Though if I were to do this again, I think I would bind it in black. )
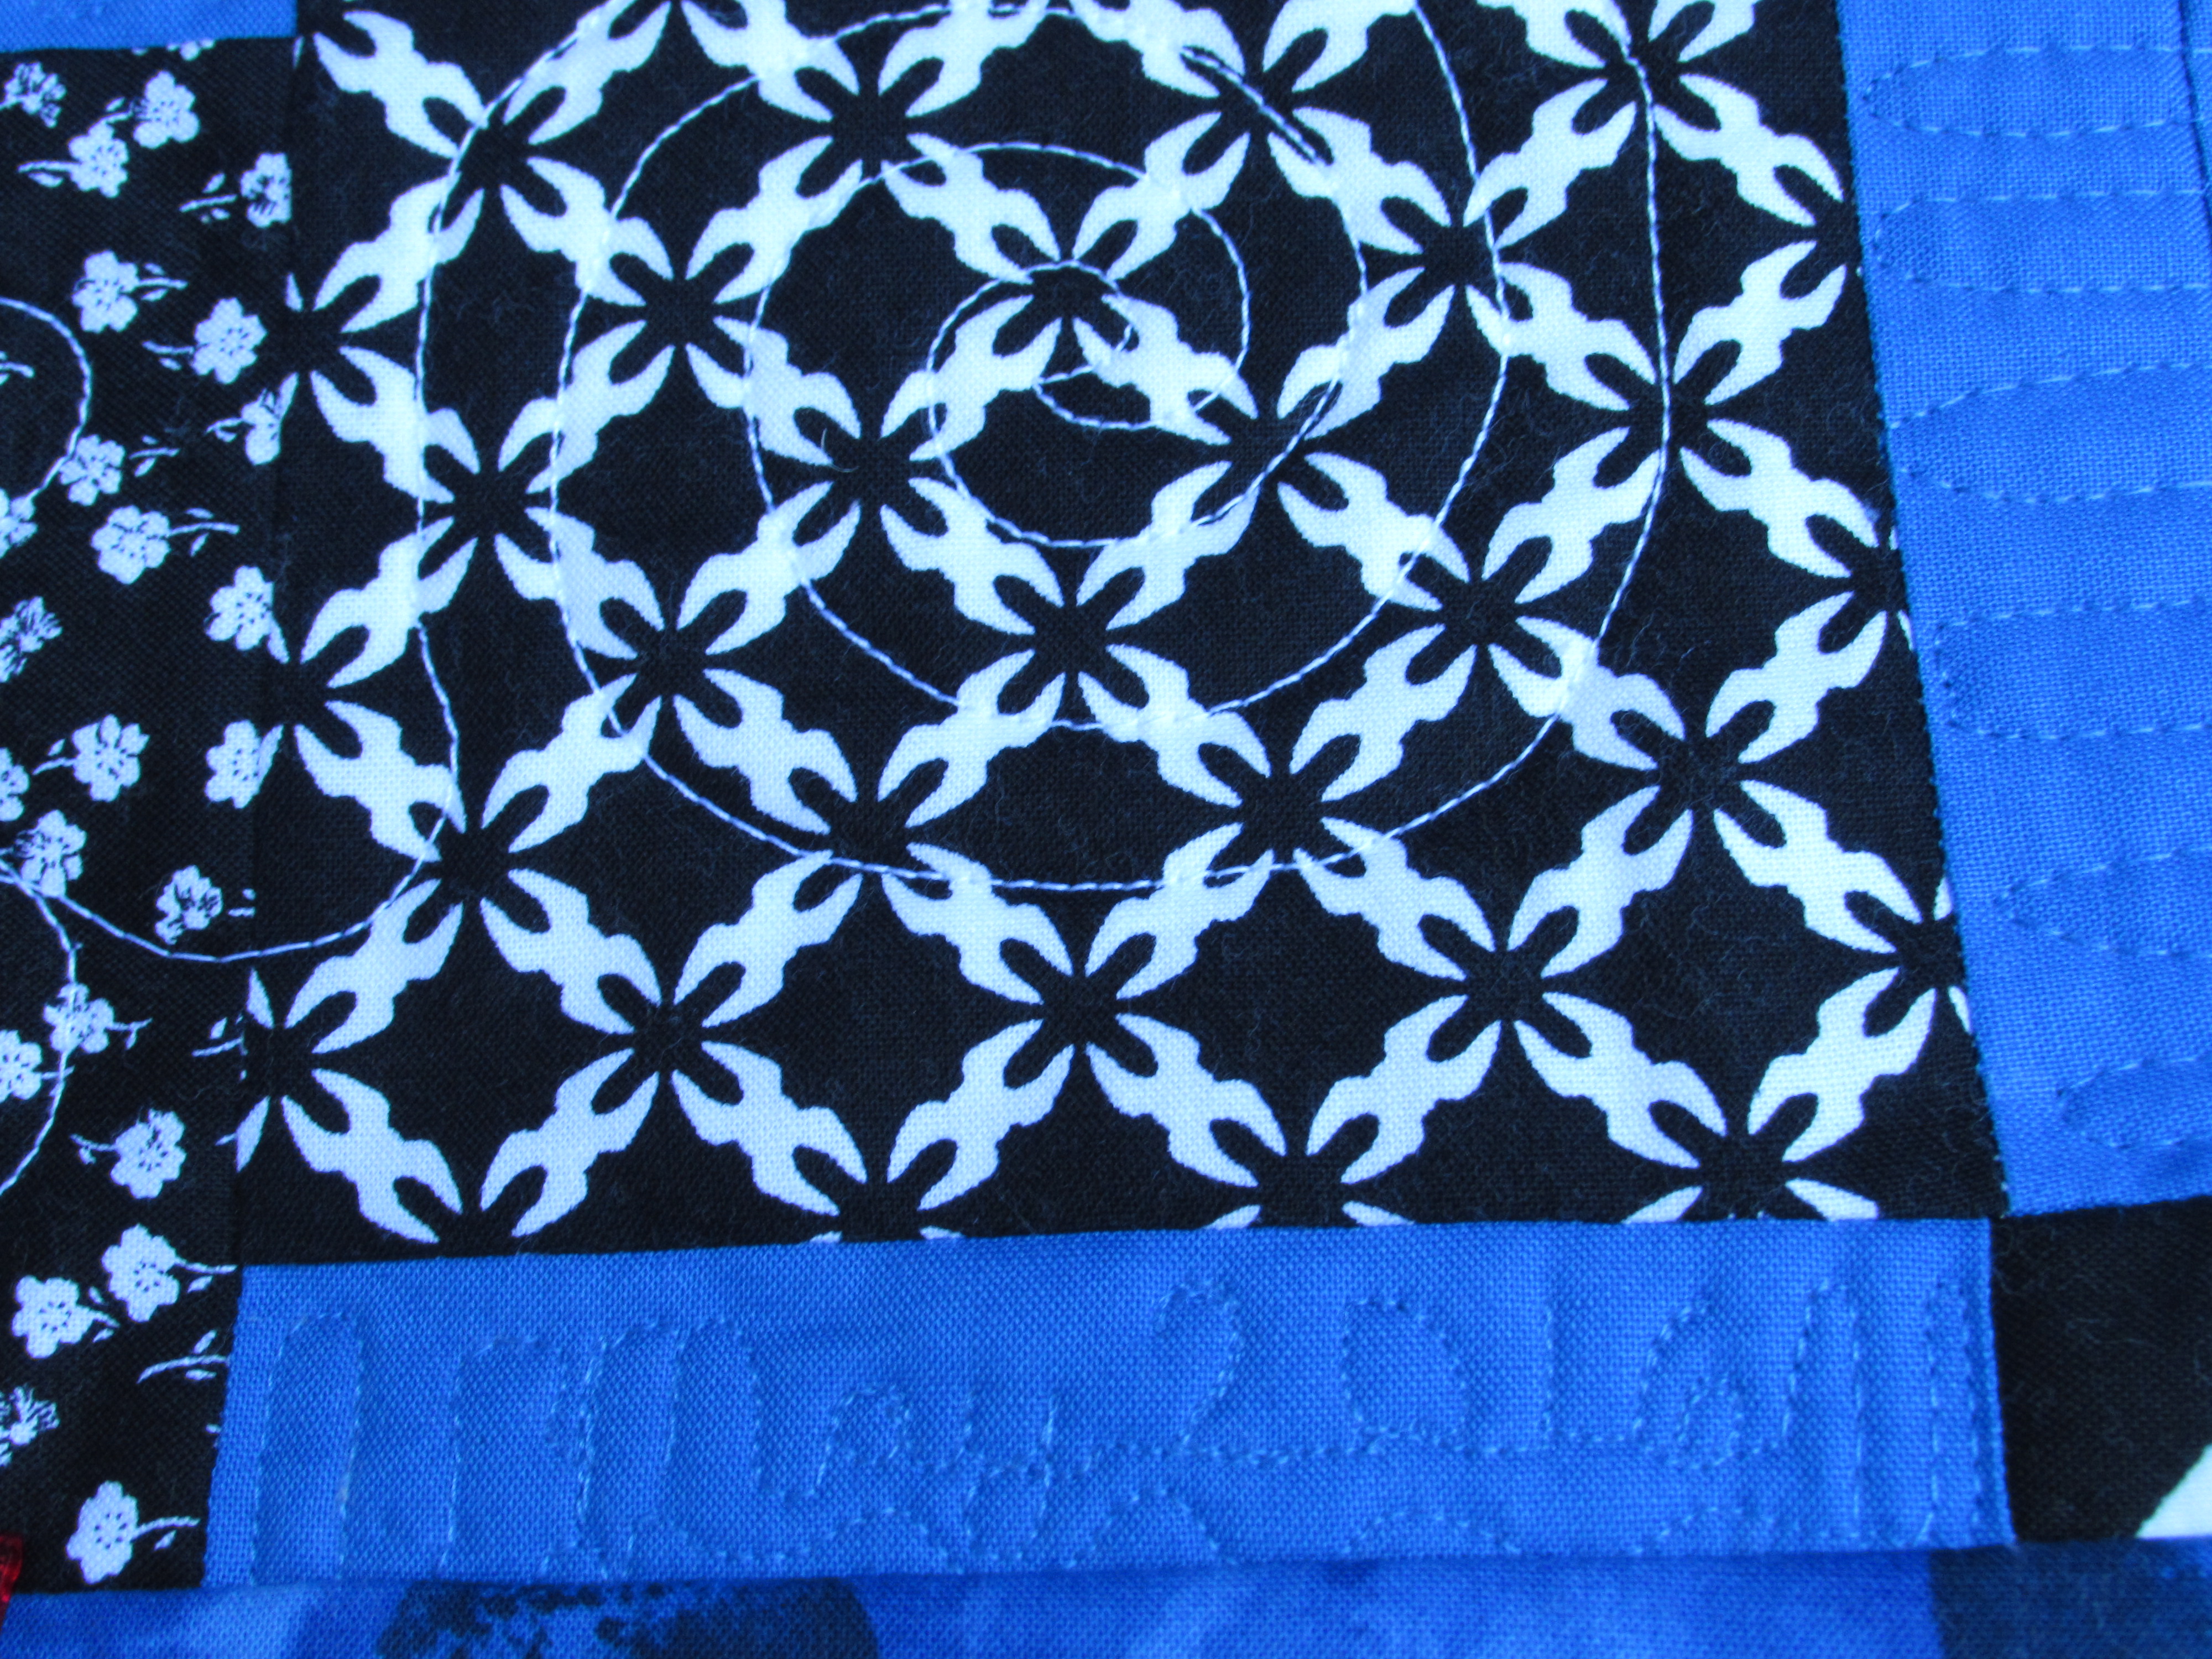
All of the quilting is curved (rather than angular) which complements the angular structure of the charm squares, borders, and HST’s. As far as my FMQ goes, this looks reasonable but is still not where I want to be. The only way to get there is to continue practicing, which is the plan! I look forward to washing this and letting it crinkle because that will hide some of the jitters in my stitching.
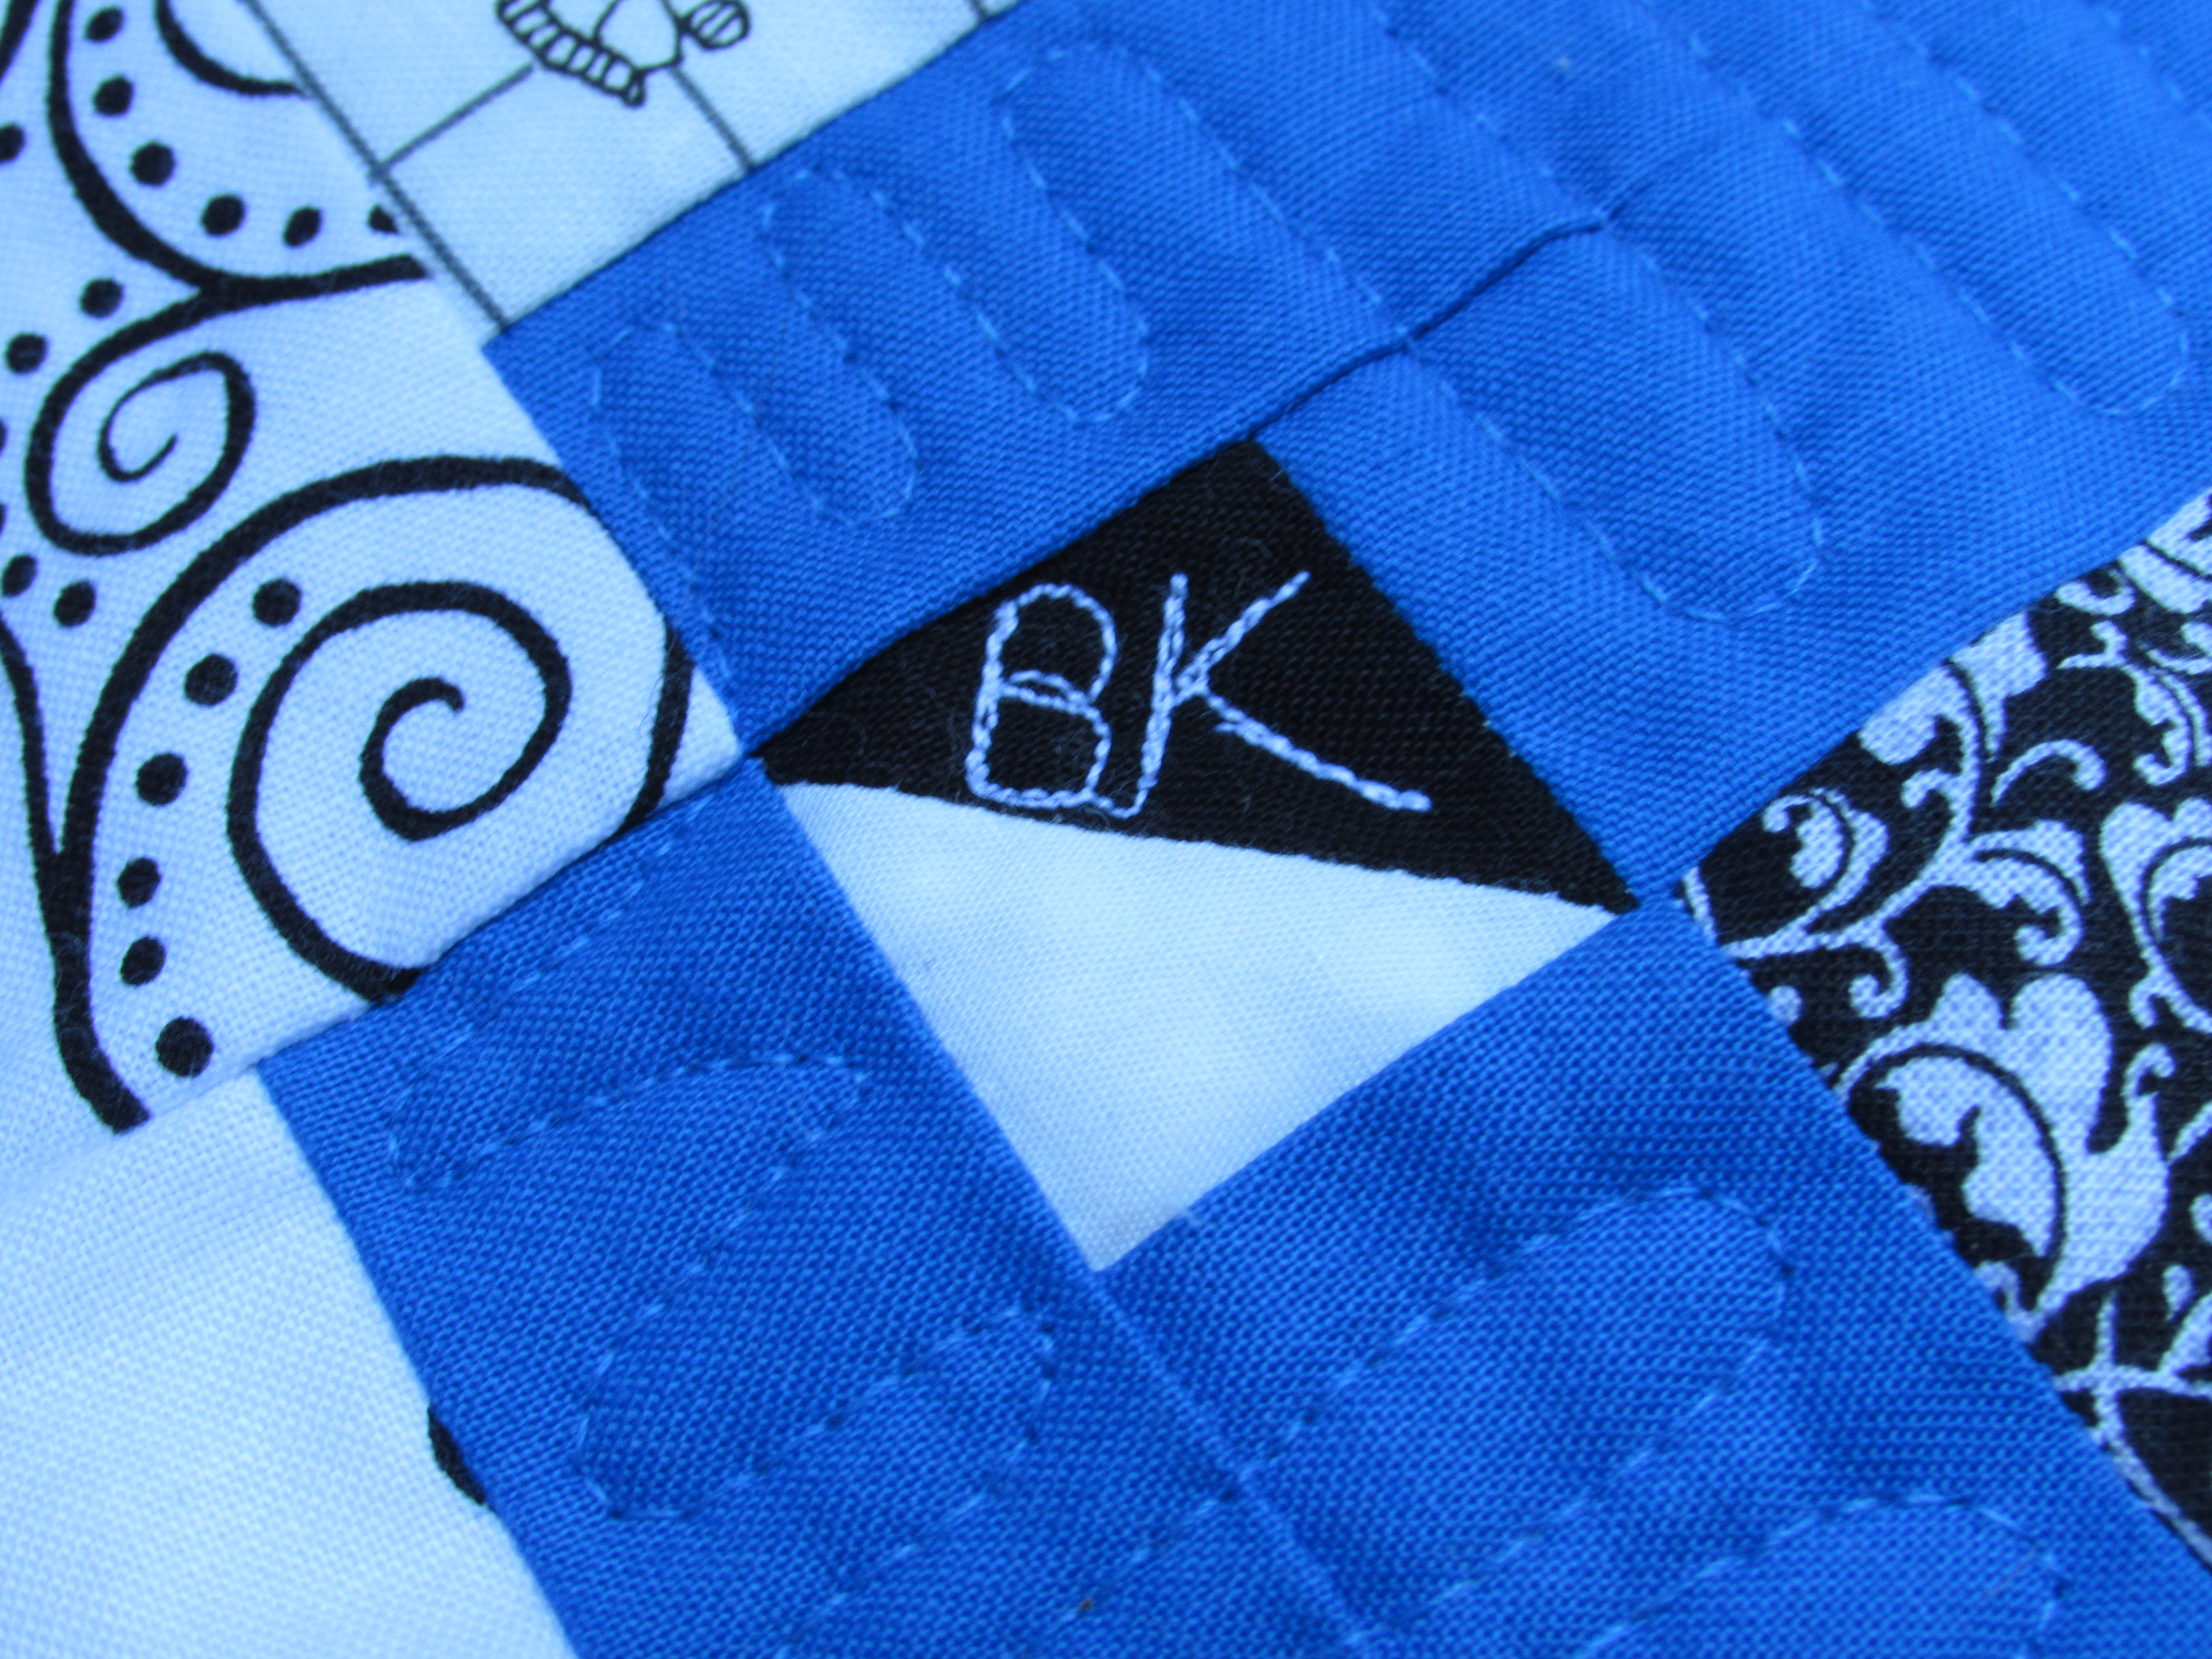
Because I am lax in my use of quilt labels (meaning I label about 1 out of 12 projects) I stitched my initials on one of the HST’s. At least that will give someone a hint as to who made this.
I also put the month and year in. This was kind of funny though. I was stitching the binding down and saw that I had left one bit of blue border empty so I took it over to the machine and quickly filled it in. I like it!
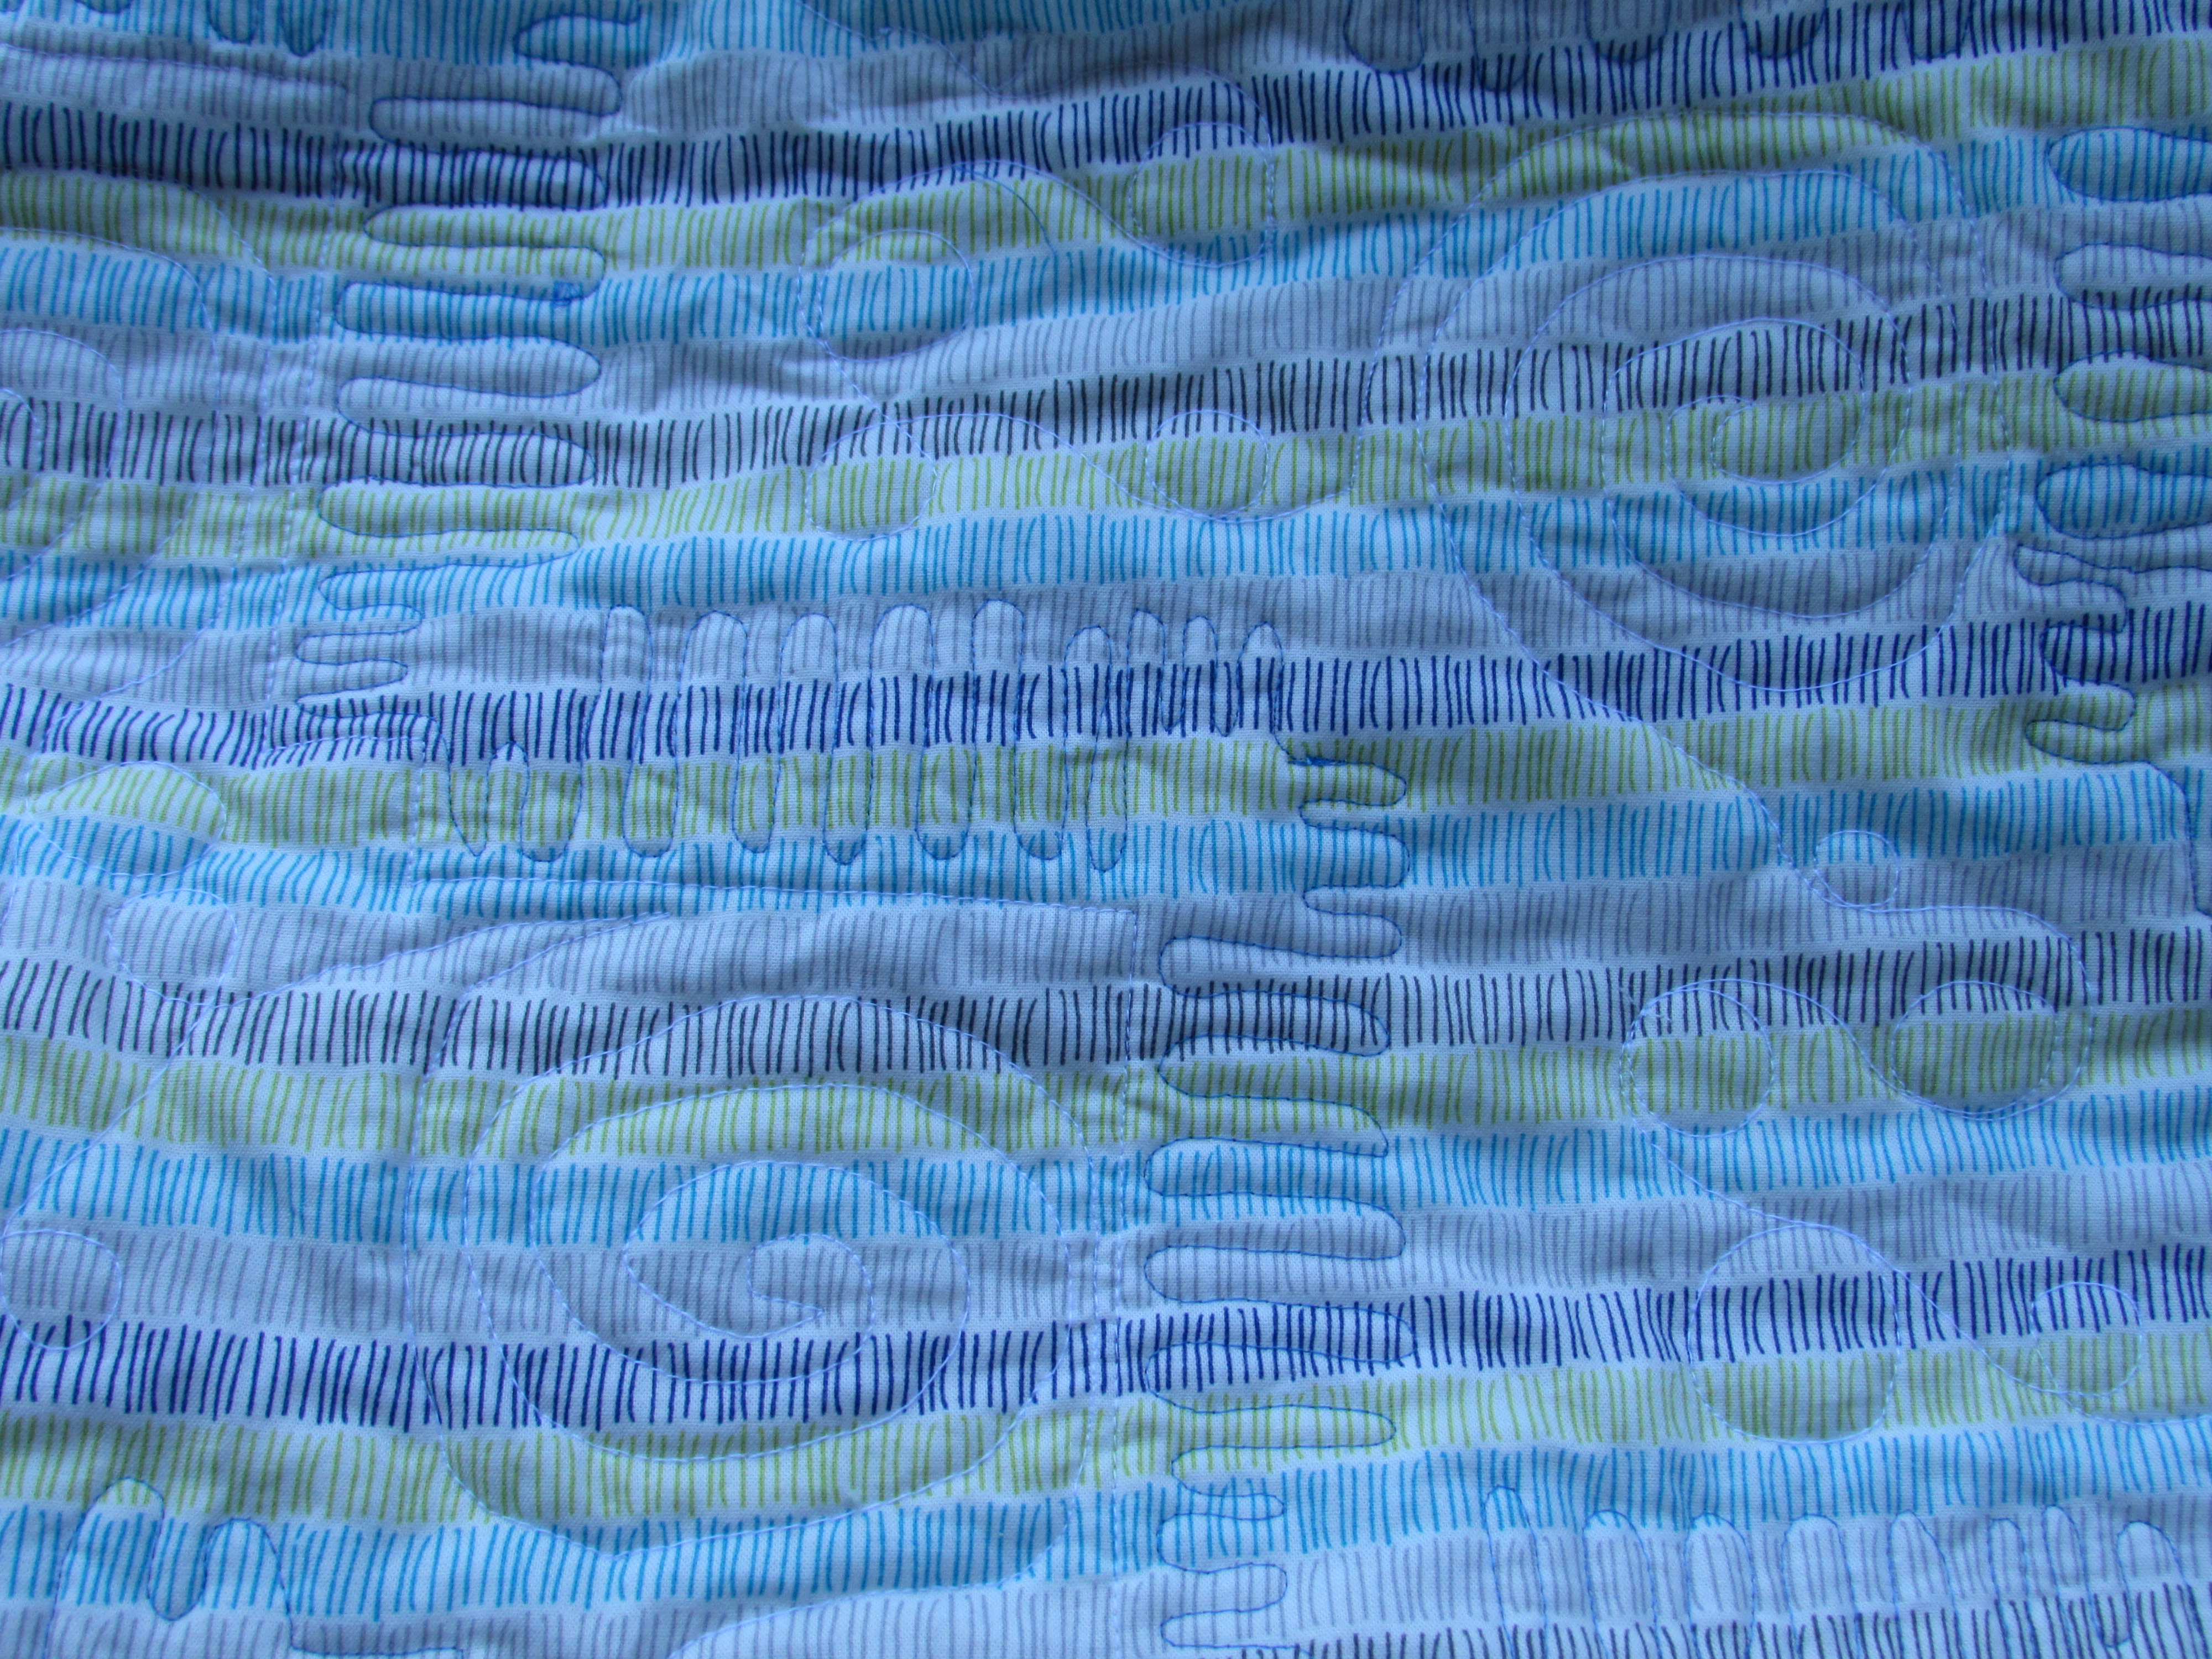
For the backing I chose a print from the Good Neighbors line designed by Amanda Jean Nyberg of Crazy Mom Quilts. I am very happy with this fabric as it has a nice feel to it and the price is right (as it is with most of the fabric over at Connecting Threads.) It has a bright bit of color to it and the pattern hides some of the FMQ wiggles too.
Finally, as with Amish tradition, there is one mistake. Look at these HST’s! The block was stitched incorrectly but I didn’t notice this until I was quilting up to these HST’s. Ah, well, this is testament to the imperfection of our craft! Or, another way to look at it: ‘A diamond with a flaw is worth more than a pebble without imperfections.’ (Chinese Proverb)
This was a fun experience, between the social aspects of the quiltalong, using these particular colors (which I have wanted to do for quite a while), and furthering my FMQ just a bit, it was very satisfying. Hopefully you are enjoying your projects too. If you are in the US, have a great Memorial weekend. We are supposed to have some hot weather over the next couple of days – here comes summer!
Linking to my usuals! Check them out at the top of the page, under Link Ups.
I spent yesterday afternoon playing in the sewing room. I had plenty of other things that I should have been working on. Namely, putting away the fall decorations and cleaning up so we can put up our Christmas tree this weekend. There is too much mess around here to create the mess that happens when we decorate the tree. But I just didn’t feel like it. Instead, I really wanted to play with the 16 bonus HST’s that resulted from the Swoon block mini that I made a couple of weeks ago.
The Swoon block is based on rectangles, HST’s and Flying Geese blocks. The best thing about Flying Geese blocks is the pile of ‘bonus’ HST’s that accumulate when you trim the corners on the block. If you aren’t familiar with this happy little prize, allow me to explain. Briefly, when the blocks are sewn to the upper right corner of the rectangle, creating the Flying Geese block, there is a corner that is cut off. If you take an extra second to sew a second seam, 1/2″ to the right of the first seam, you have the opportunity to have a ready made (albeit untrimmed) HST. I admit, I am not very careful when I do this. My feeling is that these are just little scraps that I am giving a second chance to possibly be used in a future project. I don’t mark the second line, I don’t even measure it. I just eyeball it and sew about 1/2″ from that first seam and slice it off. When I had finished the Swoon mini, I took the pile of HST’s and pressed them open. I looked at the smallest one – They were all approximately 2.5″ – and I squared them to the size of the smallest block. Then I had a pile of uniform HST’s. (If you can’t go with my very casual method or if you don’t understand what I am talking about, Bonnie Hunter has a nice tutorial on making the extra HST’s in a more precise manner. Take a look here.)
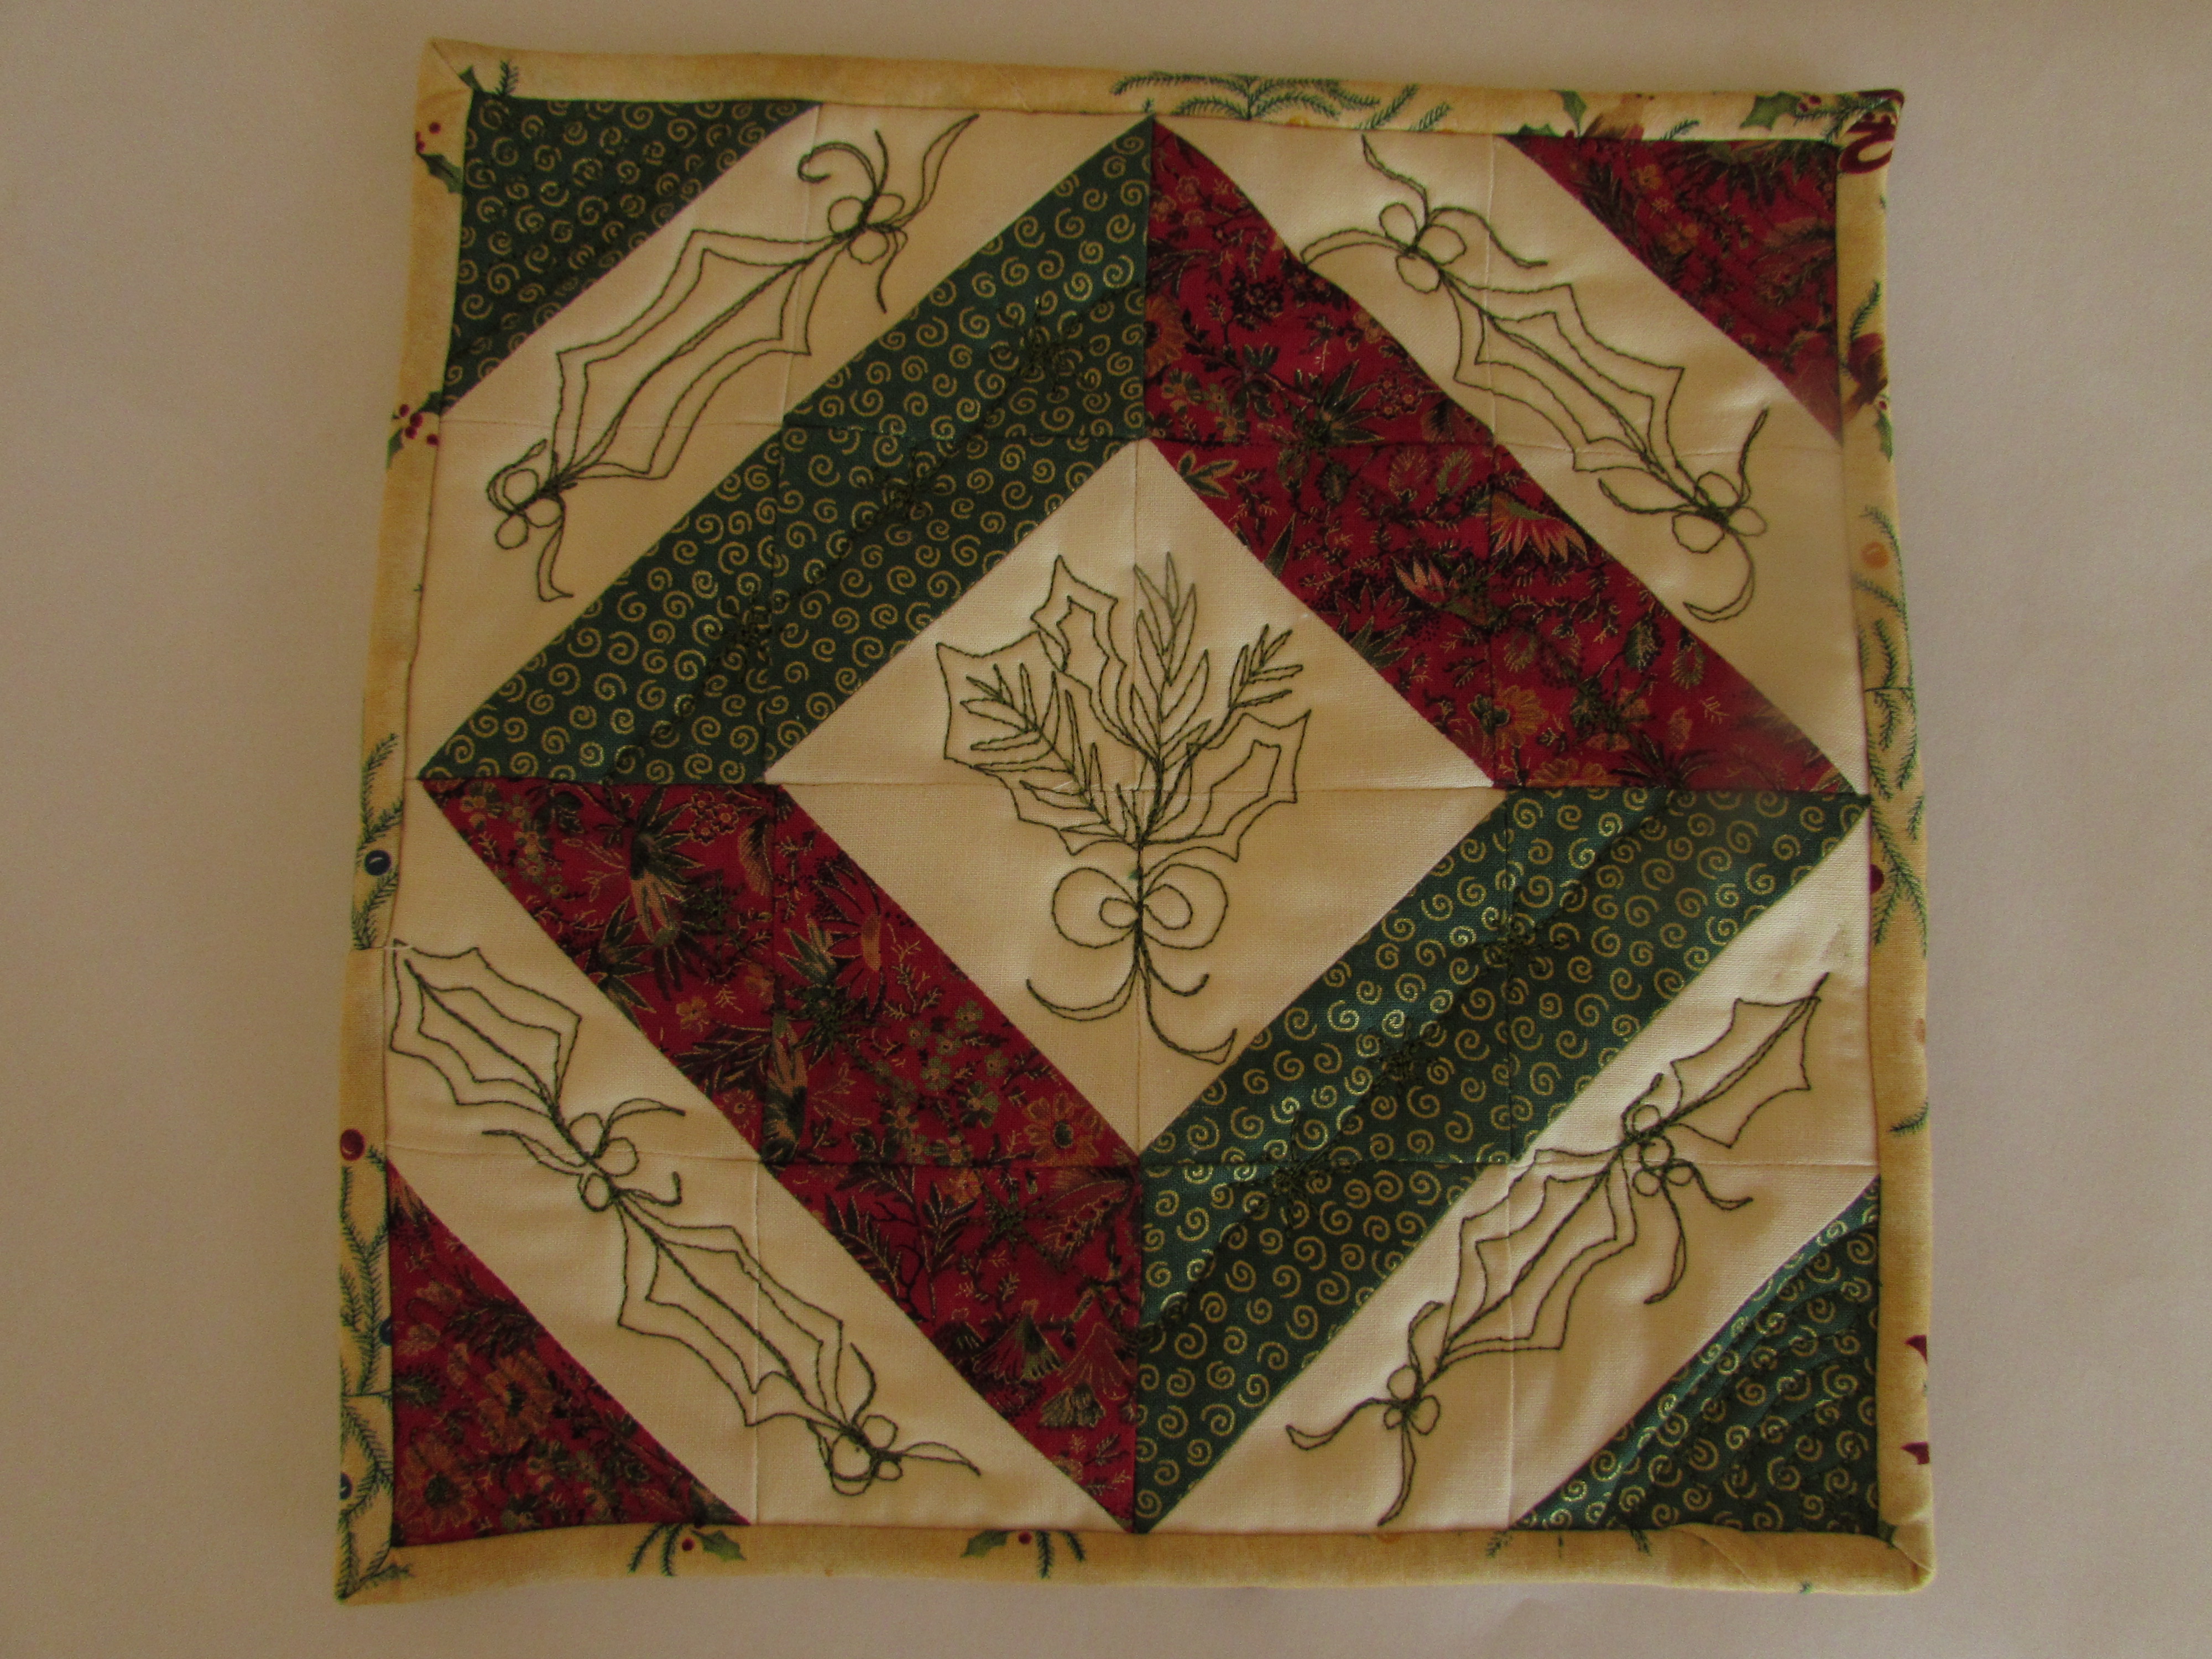
Look what I made yesterday. At 8 x 8″, it is a teeny tiny finish.
I spent a bit of time playing with the HST’s, trying different layouts. It is a bit like playing Tangrams. There is no limit to the number of ways to position the blocks. I didn’t want to actually make anymore so I limited myself to use the 16 that I had – no more, no less.
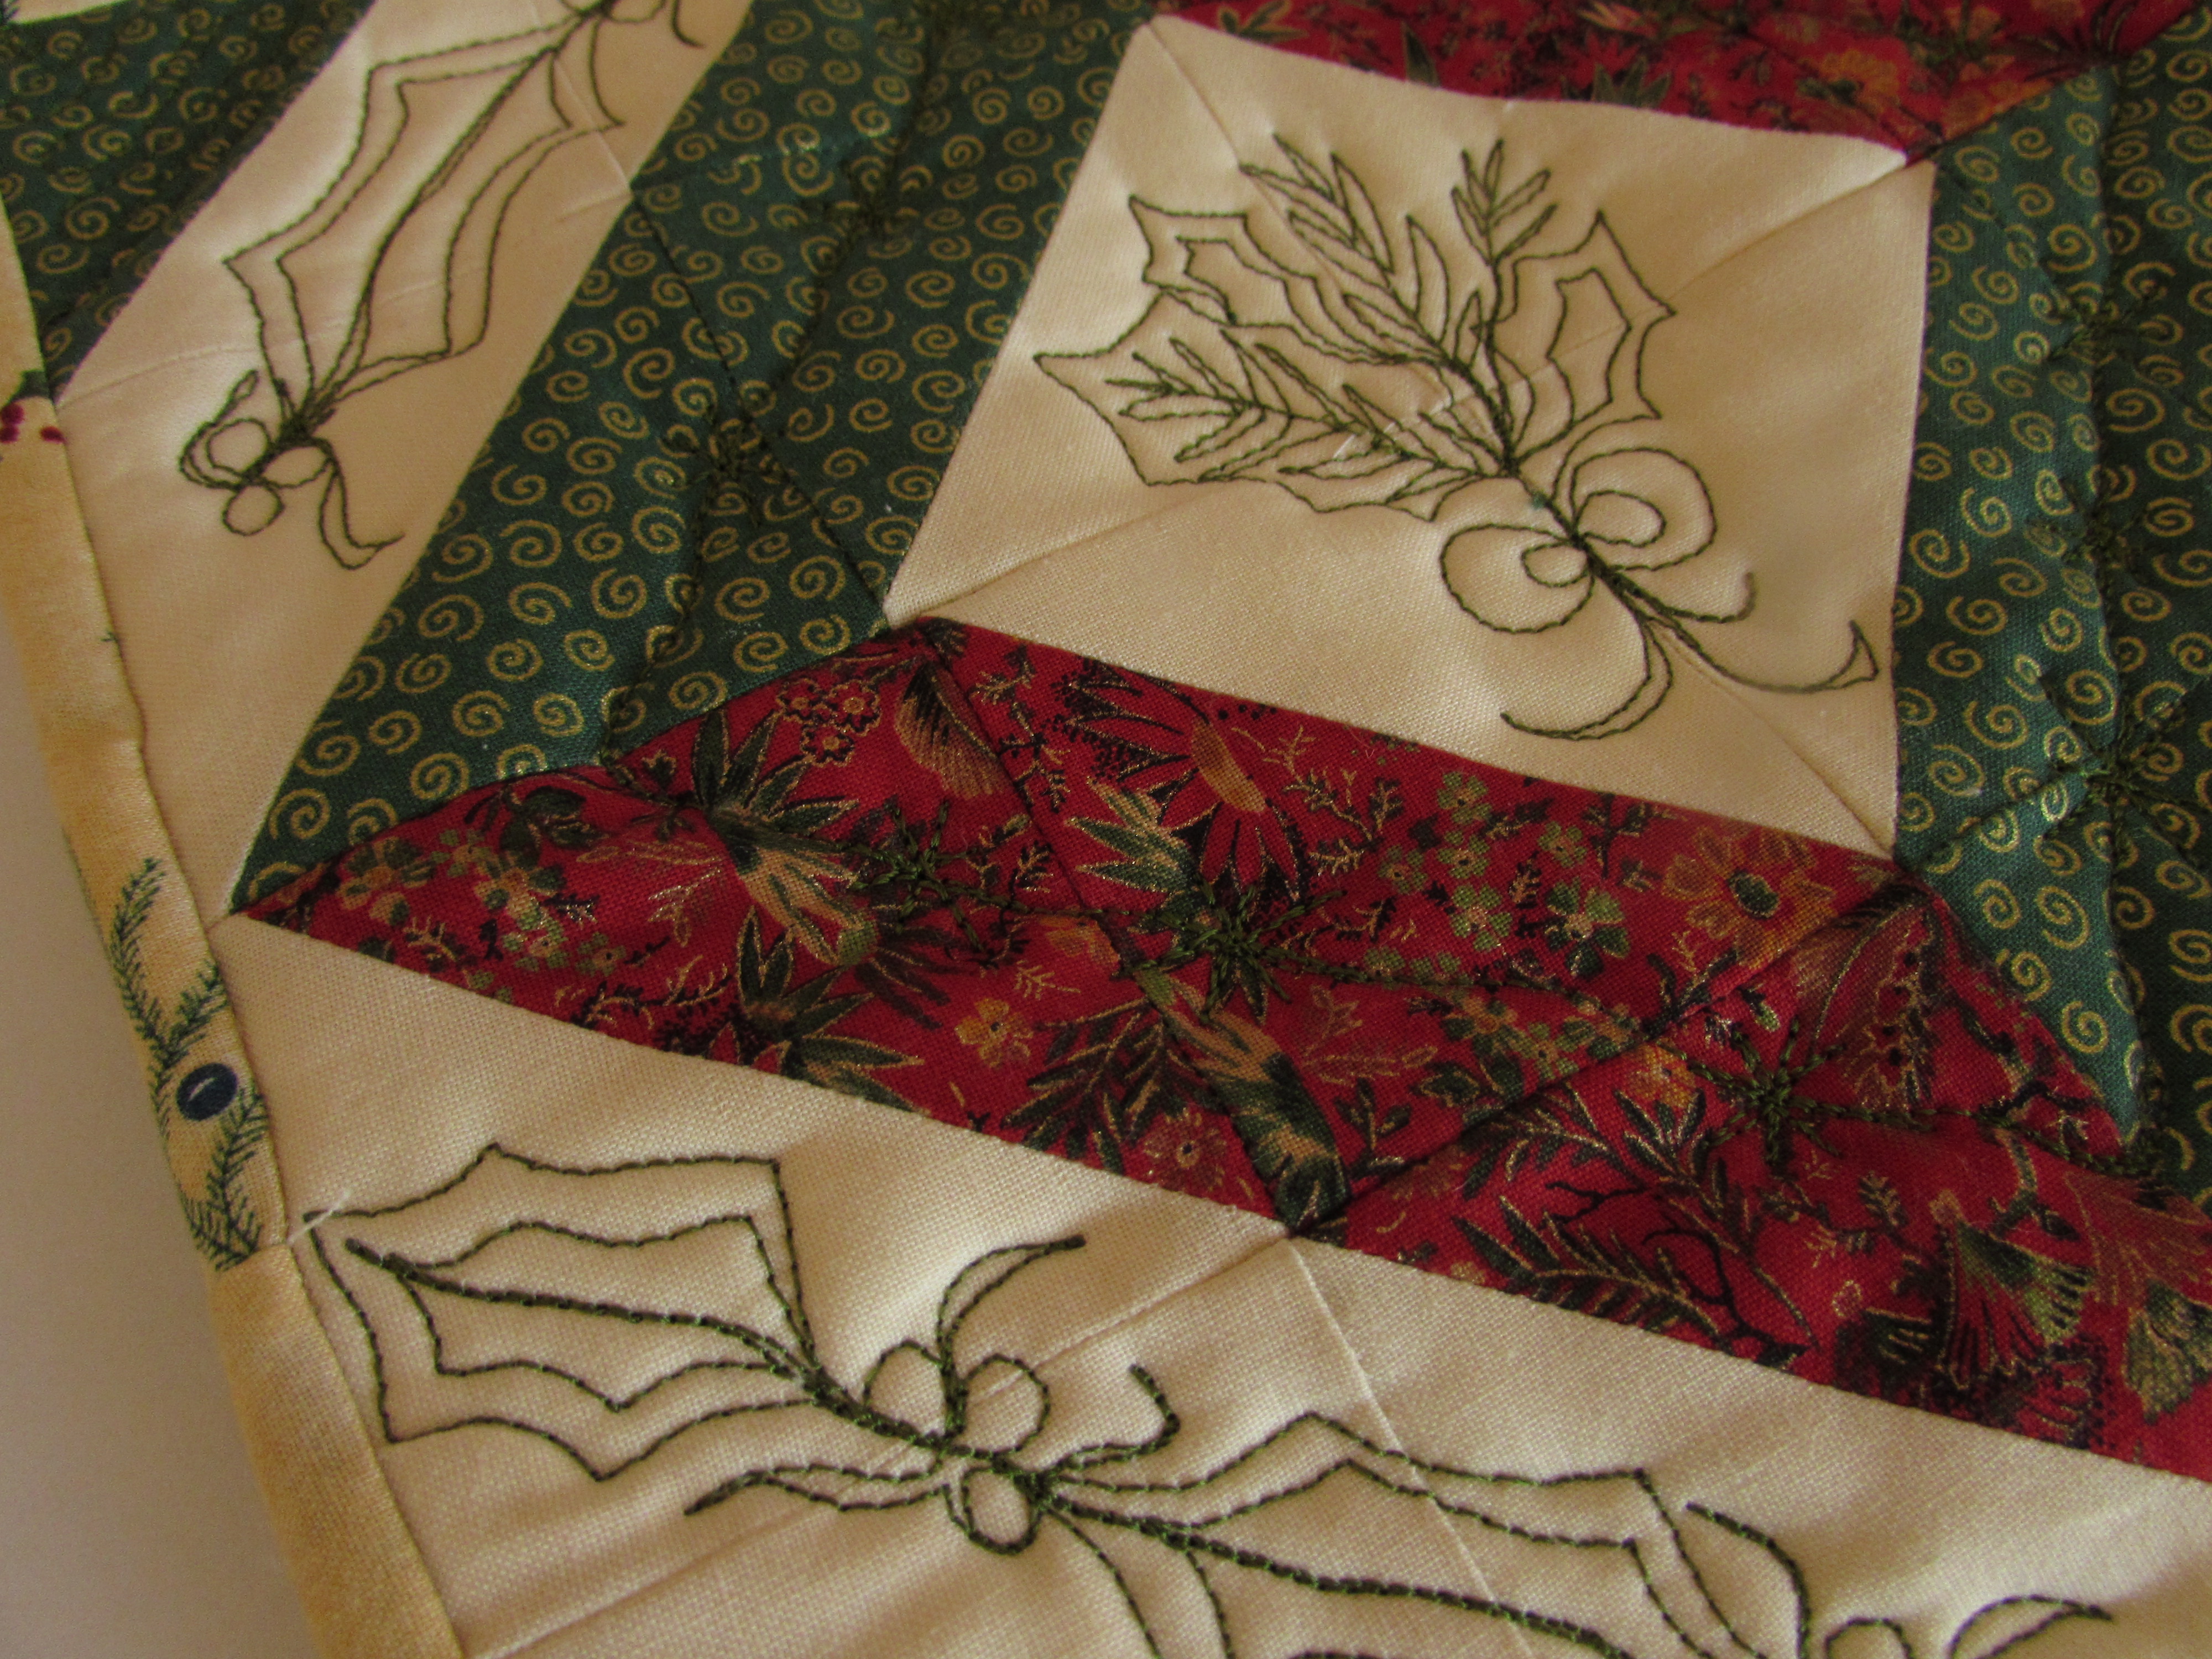
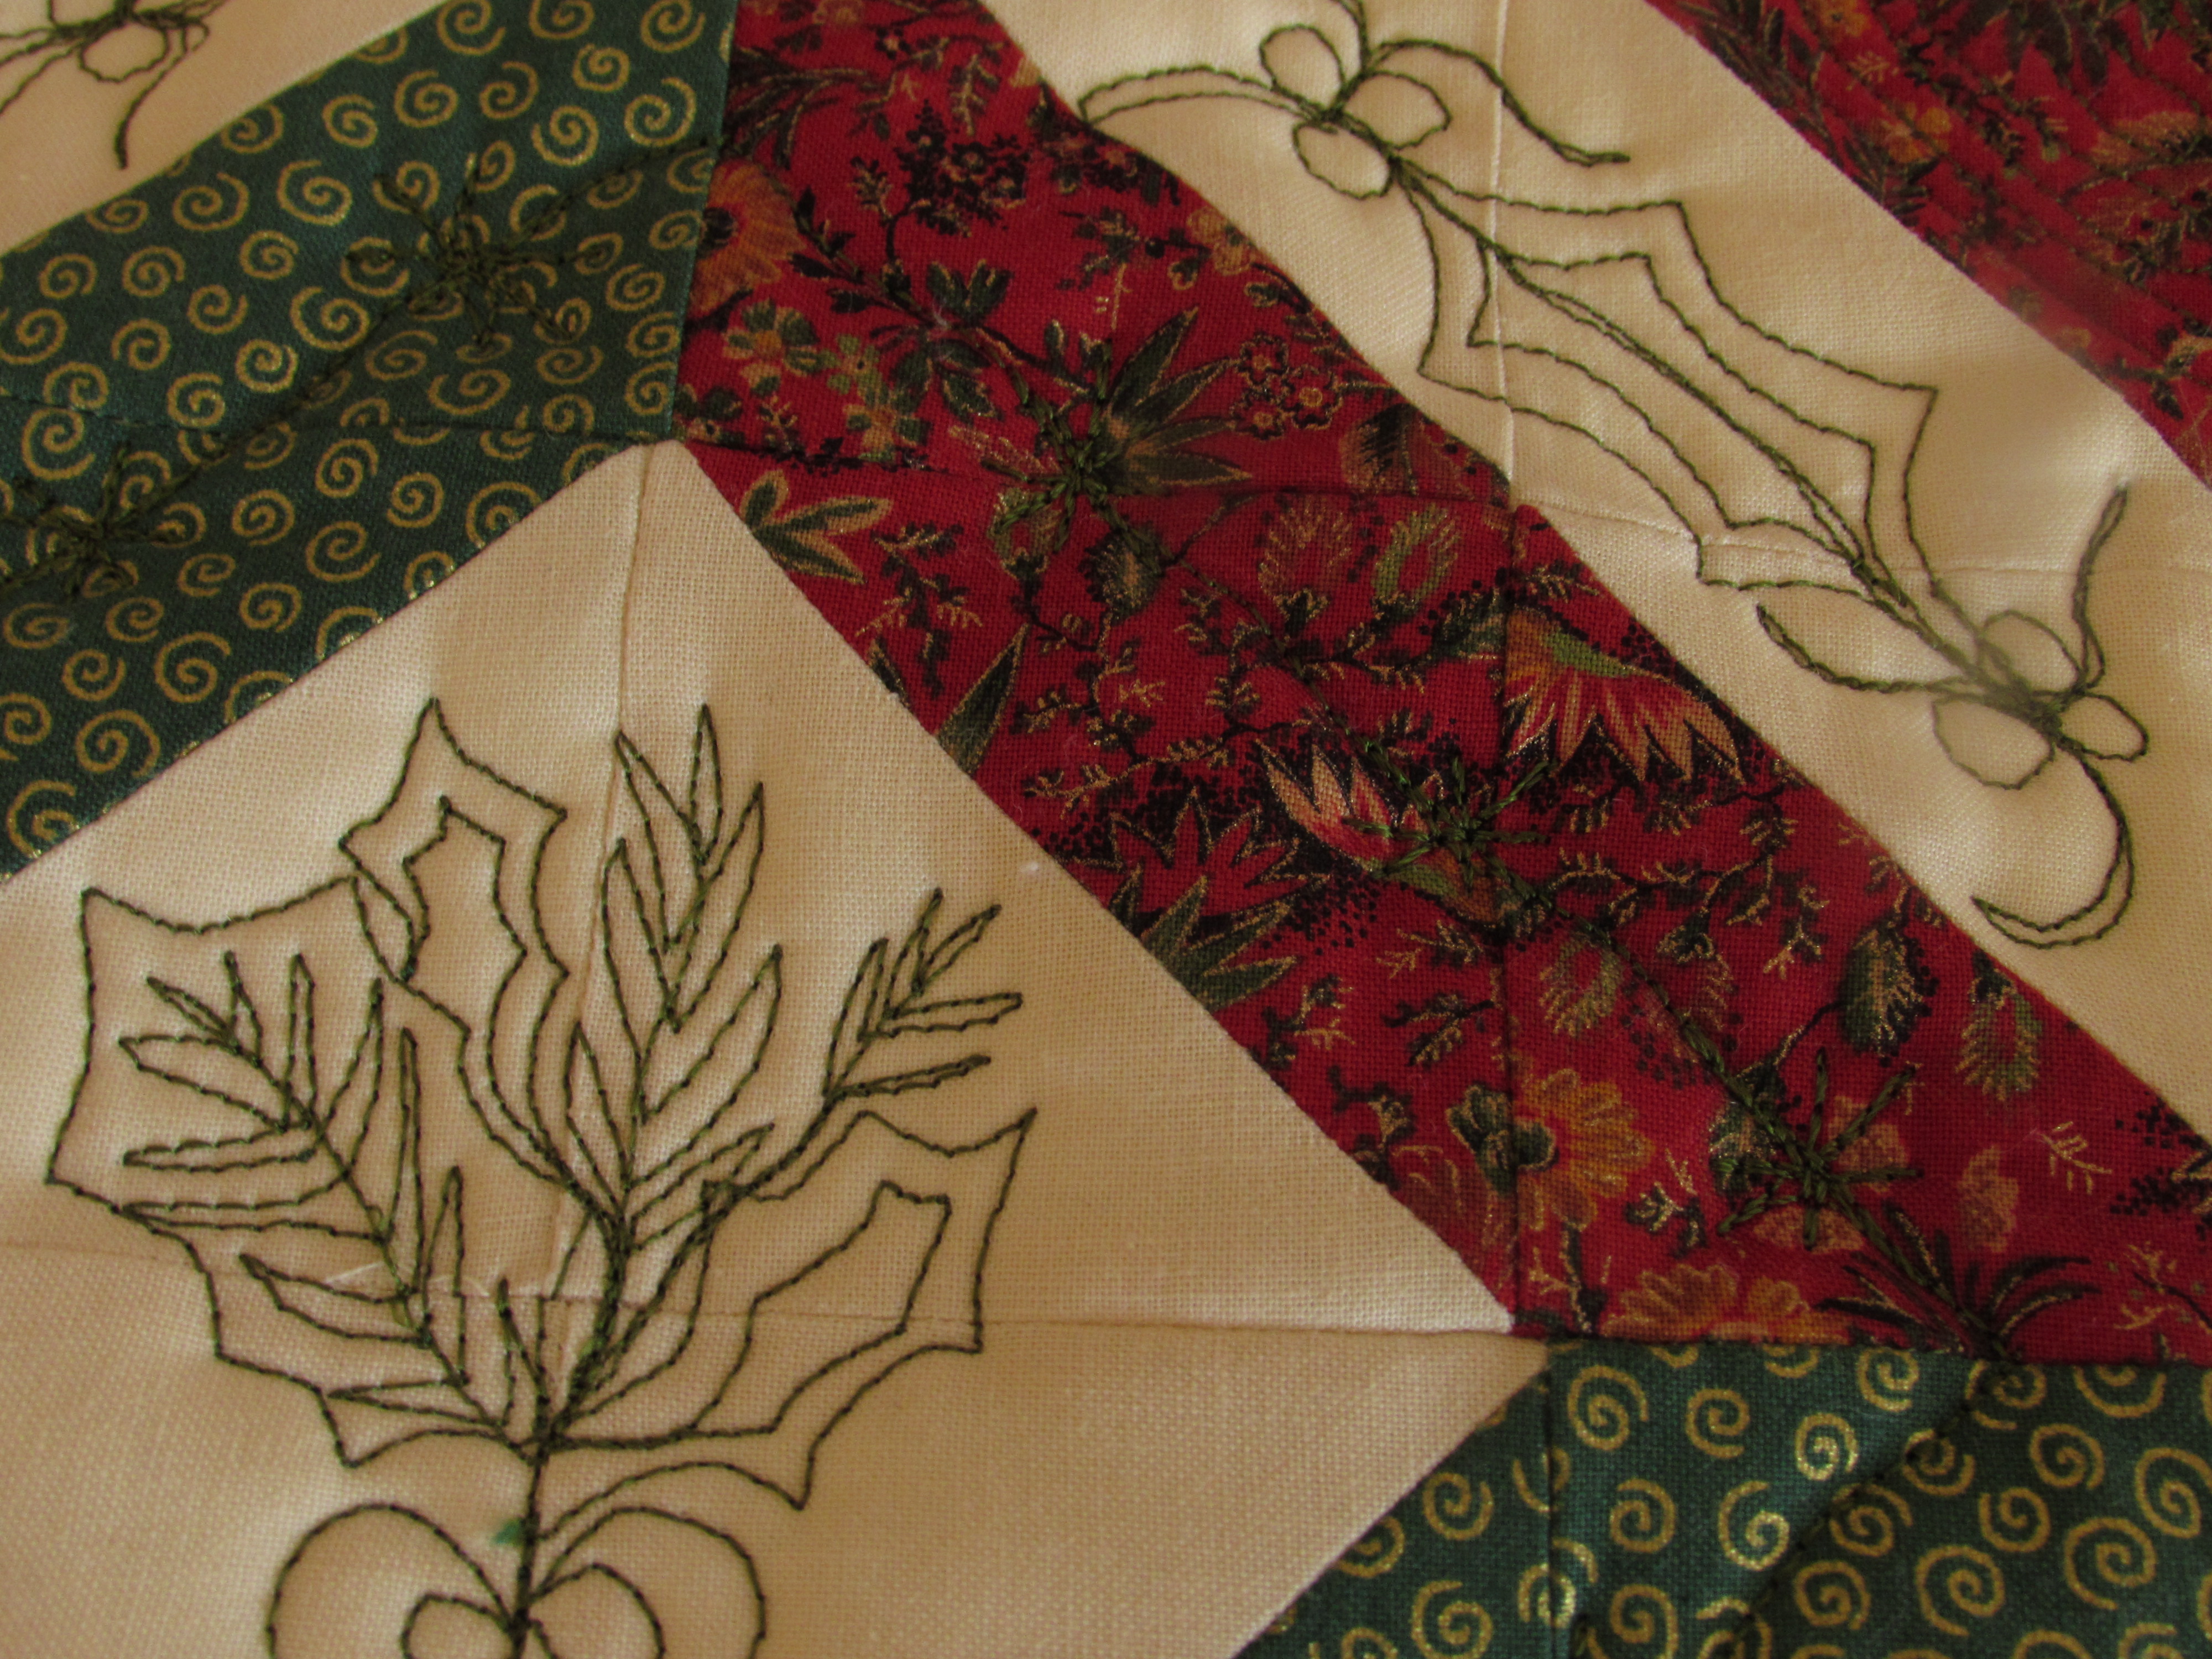
Once I had them sewn together, I decided to practice some FMQ with the little piece. Going to my usual sources, Pinterest, Leah Day, and Lori Kennedy, I found a holly motif that I liked. Here is the link to the tutorial on Lori’s site, The Inbox Jaunt.
Two things made quilting this a challenge. One is that I used two layers Insul Bright batting scraps inside of this in case I wanted to use it as a hot pad or a trivet on my dining room table. The Insul Bright was a bit annoying to quilt through, especially a double layer. Second, I decided to use Sulky thread on top and I put Mettler in the bobbin. I love Sulky threads – so shiny and glossy. But also a bit slippery soI had to play with the tension to get it right.
Overall, the little hot pad is pretty cute. The FMQ is a bit rough. The bow at the bottom of the holly in the center is an eyesore but obviously not enough that I was willing to take the time to rip the stitches out. (It is a hot pad after all.) I haven’t practiced free motion quilting for a long while so it was fun to play with this. I am ever thankful to Lori’s site for the endless FMQ tutorials. I love that she has so many seasonal themes. It is very fun to play with them.
Finally, I wanted to point out something that took me by surprise. I used a scrap of holiday fabric for the back. After I was done and it was trimmed and ready for binding, I was digging through my scraps and found a few more pieces of the backing fabric to use as binding. There was barely enough. I had to cut narrow 2″ strips which were a trick to use – the quilt sandwich being extra thick from the Insul Bright. Anyway… come on Bernie and get to the point. As I stitched the binding down on the back, the folded binding matched up with the backing quite closely at one point.
Isn’t that cute? The holly just about matched up, as did the little bird. Nothing earth shattering but it is a fun coincidence. (Doesn’t take much to amuse me!) There you have it, my second finish this week!
Is your tree up (if you are a Christmas-tree-decorating person)? How about lights outside on the house? I am hoping Ray will put ours up this weekend. I think the outdoor lights are one of my favorite parts of the season and I leave them up as long as possible.
As part of the New Bloggers Bloghop that I have been participating in this summer, we are each to design a quilt block using selected fabrics given to us by Fabri-Quilt. We each received fat-eighths of these luscious pieces.
Our task was to come up with a fun block that finished out at 12 & 1/2″. We were also to develop a tutorial in case anyone would like to make the block. Today is the first day of the hop and there is a great list of quilters that will blog about their block today. The hop continues for another three days (through Thursday) which means loads of block ideas. This week is a huge opportunity to pin upwards of 60 tutorials for fresh, new quilt blocks. Think of the sampler that could be made from this hop! I am so looking forward to seeing what my hive mates came up with. After making our blocks, we sent them to Stephanie at LateNightQuilter. One of the leaders of the New Blogger Bloghop, Stephanie is organizing the construction of several charity quilts from our blocks. These quilts will be gorgeous and will go to a few lucky recipients.
On to my block! I posted earlier that I had been playing with several ideas for a block. I made a modified plus block but didn’t like it in the 12 1/2″ size. It was too “chunky” looking to me. Then I played with a herringbone block. It was ok but not great. Finally, when I was working on my blocks for my row quilt, I took a stack of HST’s and kept laying them out in different patterns. This is the one I liked most. There are unlimited ways that HST’s can be assembled which is what makes them so much fun to work with.
Creating this block is so simple. Here you go!
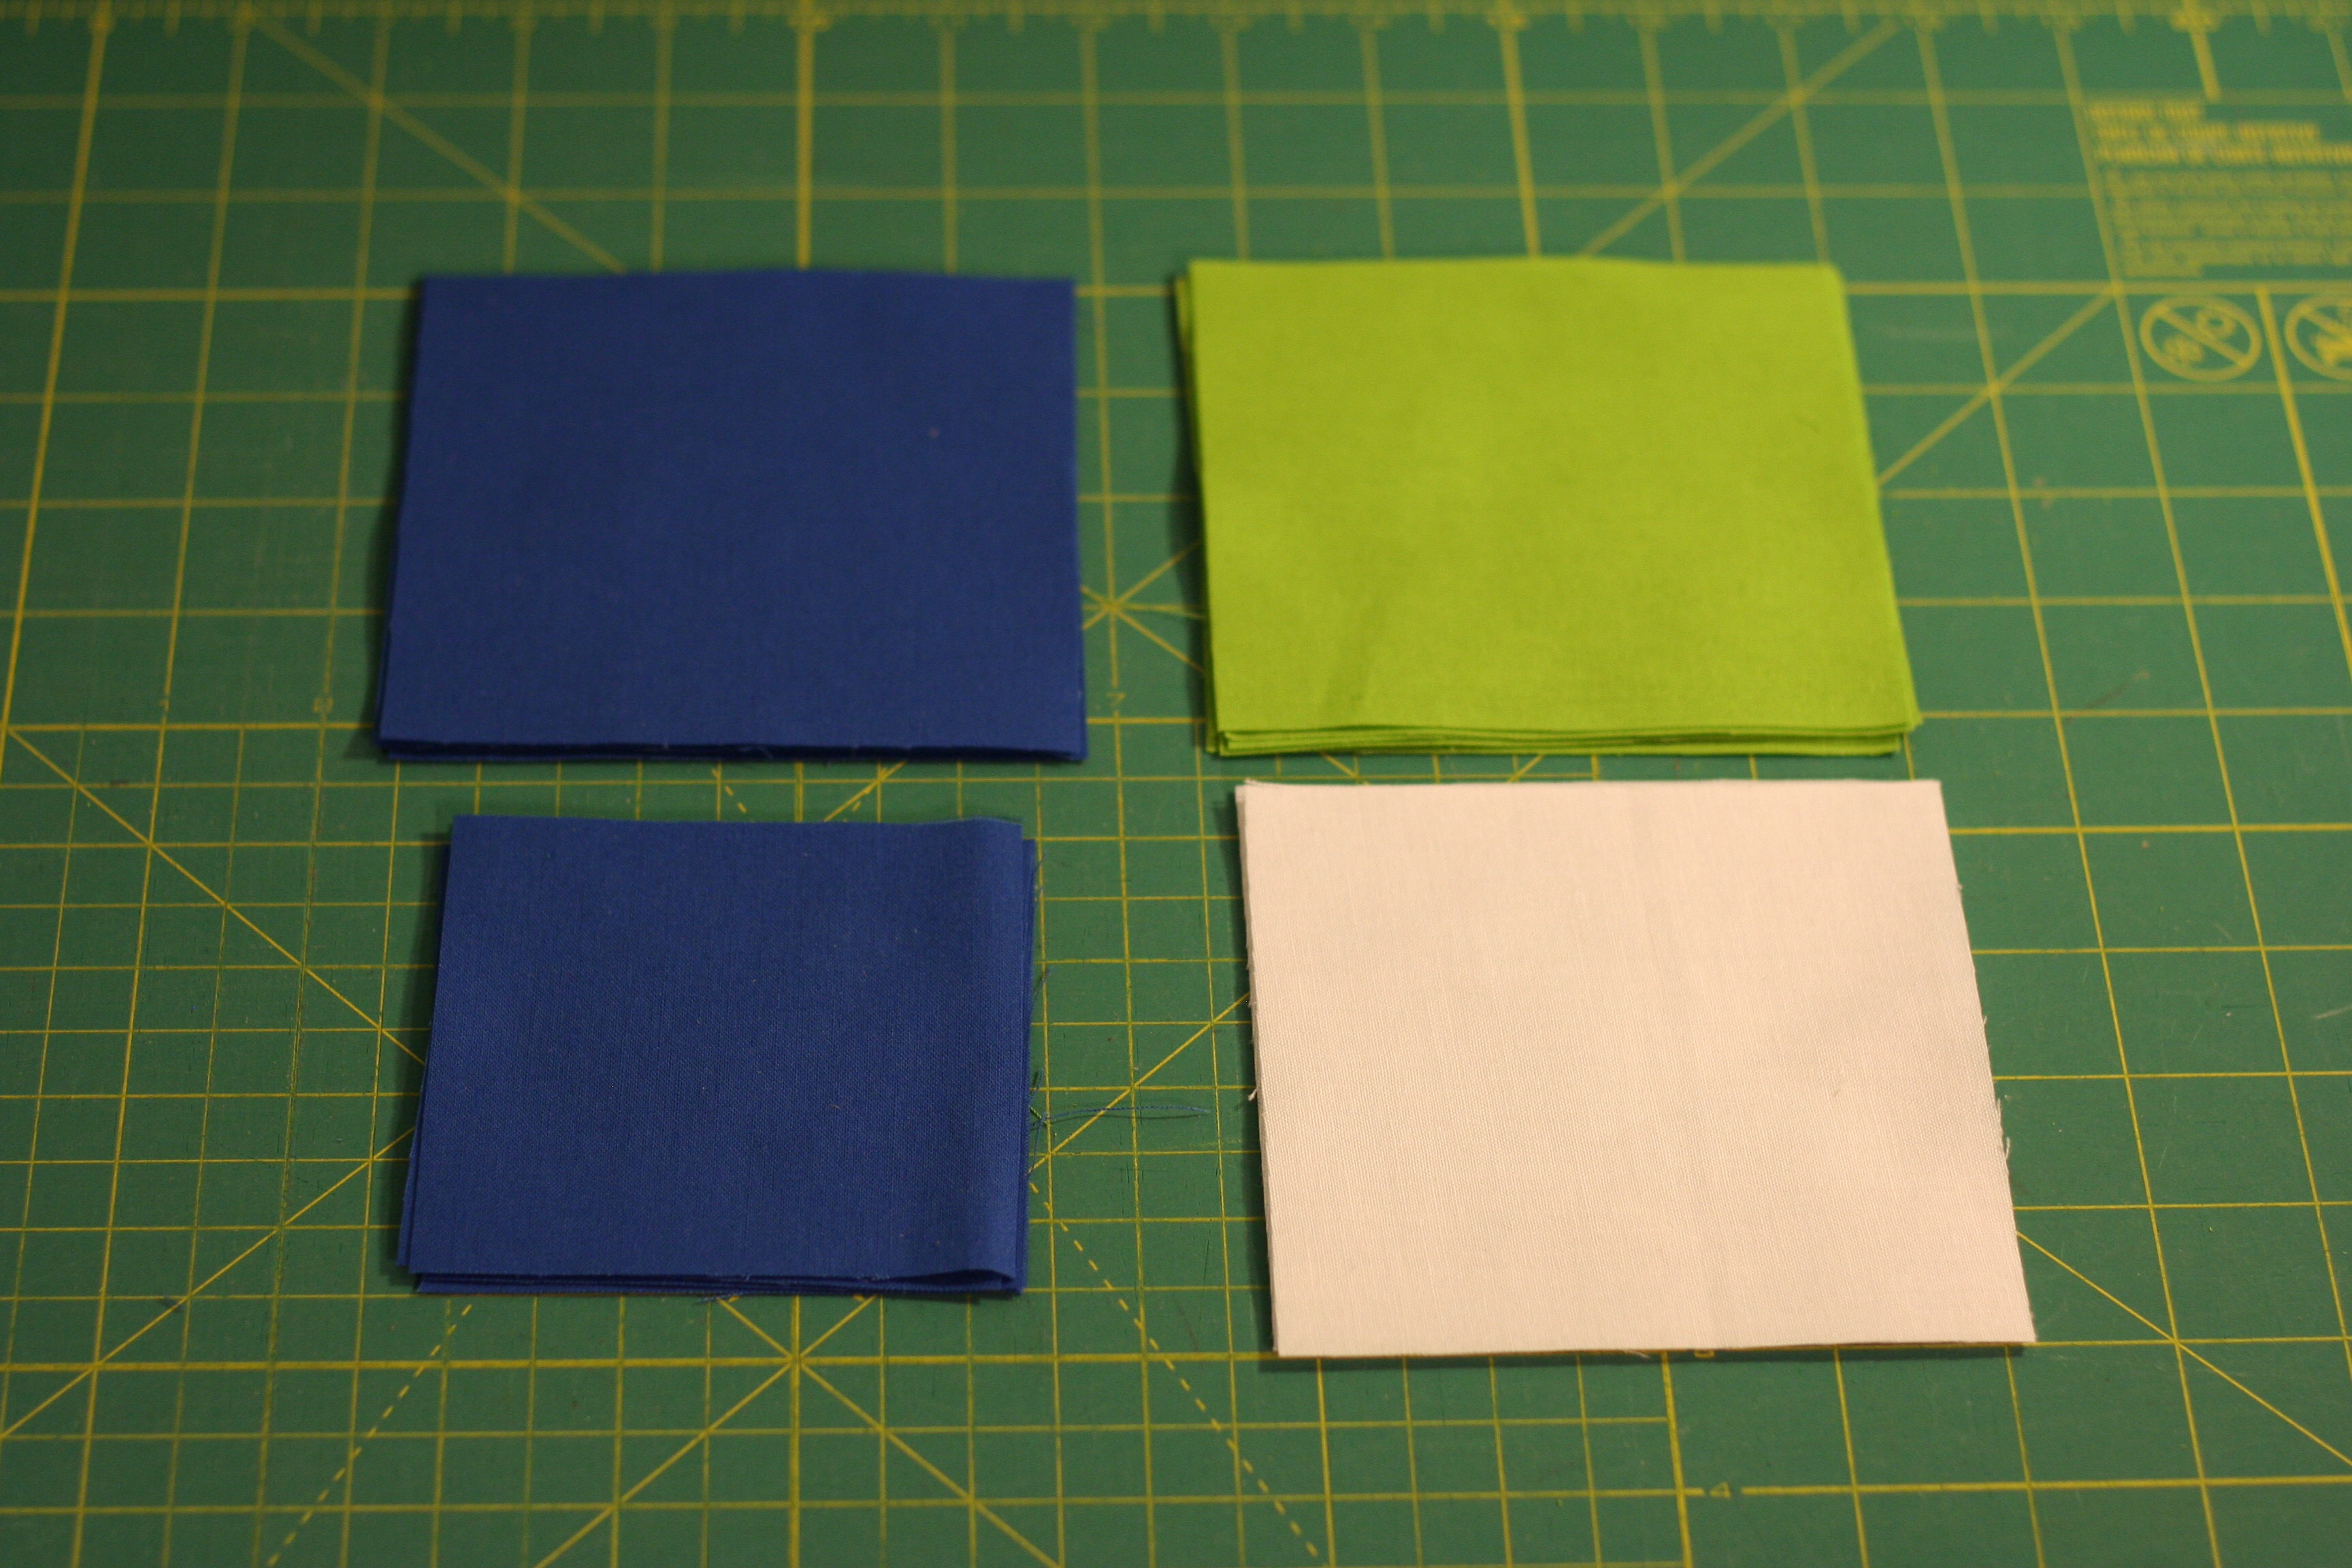
Cutting List:
(4) 3 & 1/2″ squares of background fabric
(4) 4 & 3/8″ squares of background fabric
(6) 4 & 3/8″ squares of middle fabric
(2) 4 & 3/8″ squares of the center fabric
Process:
Start by creating the HST’s. Just in case you are new to quilting, HST is the acronym for a half-square triangle. There are many ways to create a half-square triangle. My favorite way is this:
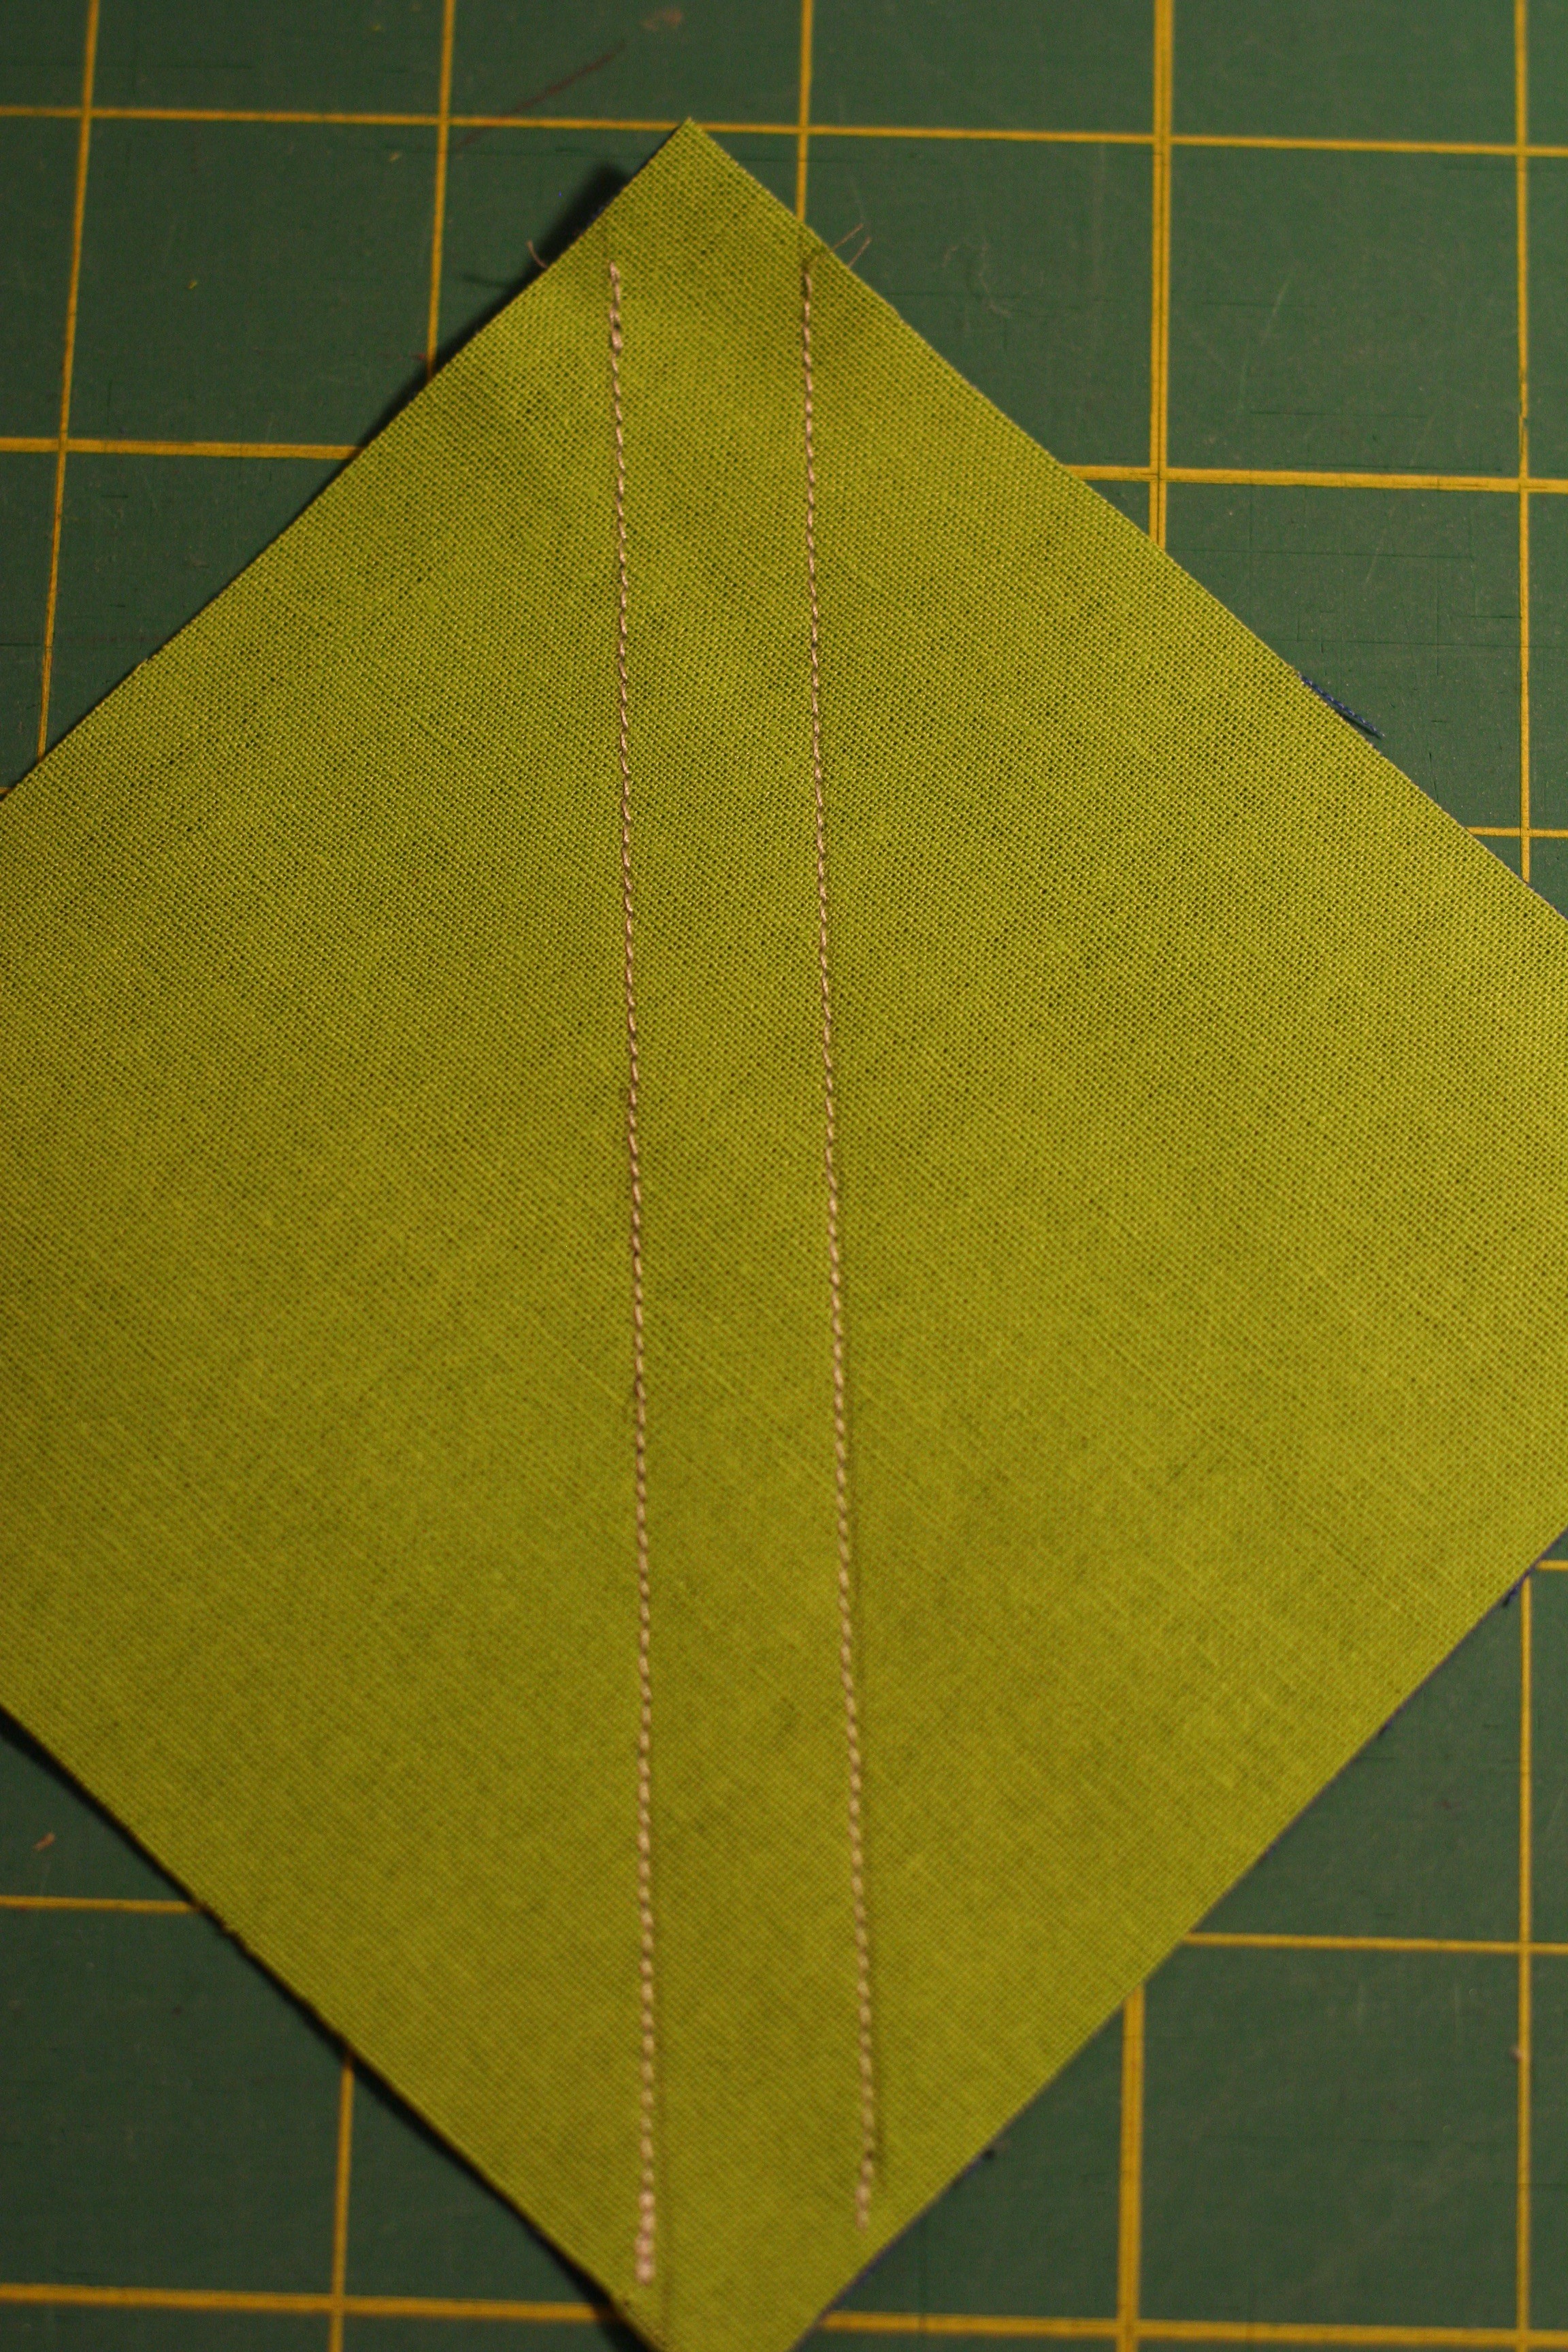
Place one piece each of the background fabric and the feature fabric right sides together. Place your 1/4″ seam marker, on the diagonal, corner to corner, and trace a line along each edge.
This quarter inch seam marker is 1/2″ wide and give you two lines to trace, which you will then use to stitch a seam. (If you don’t have one of these handy little tools, they are very inexpensive. Here is a link.)
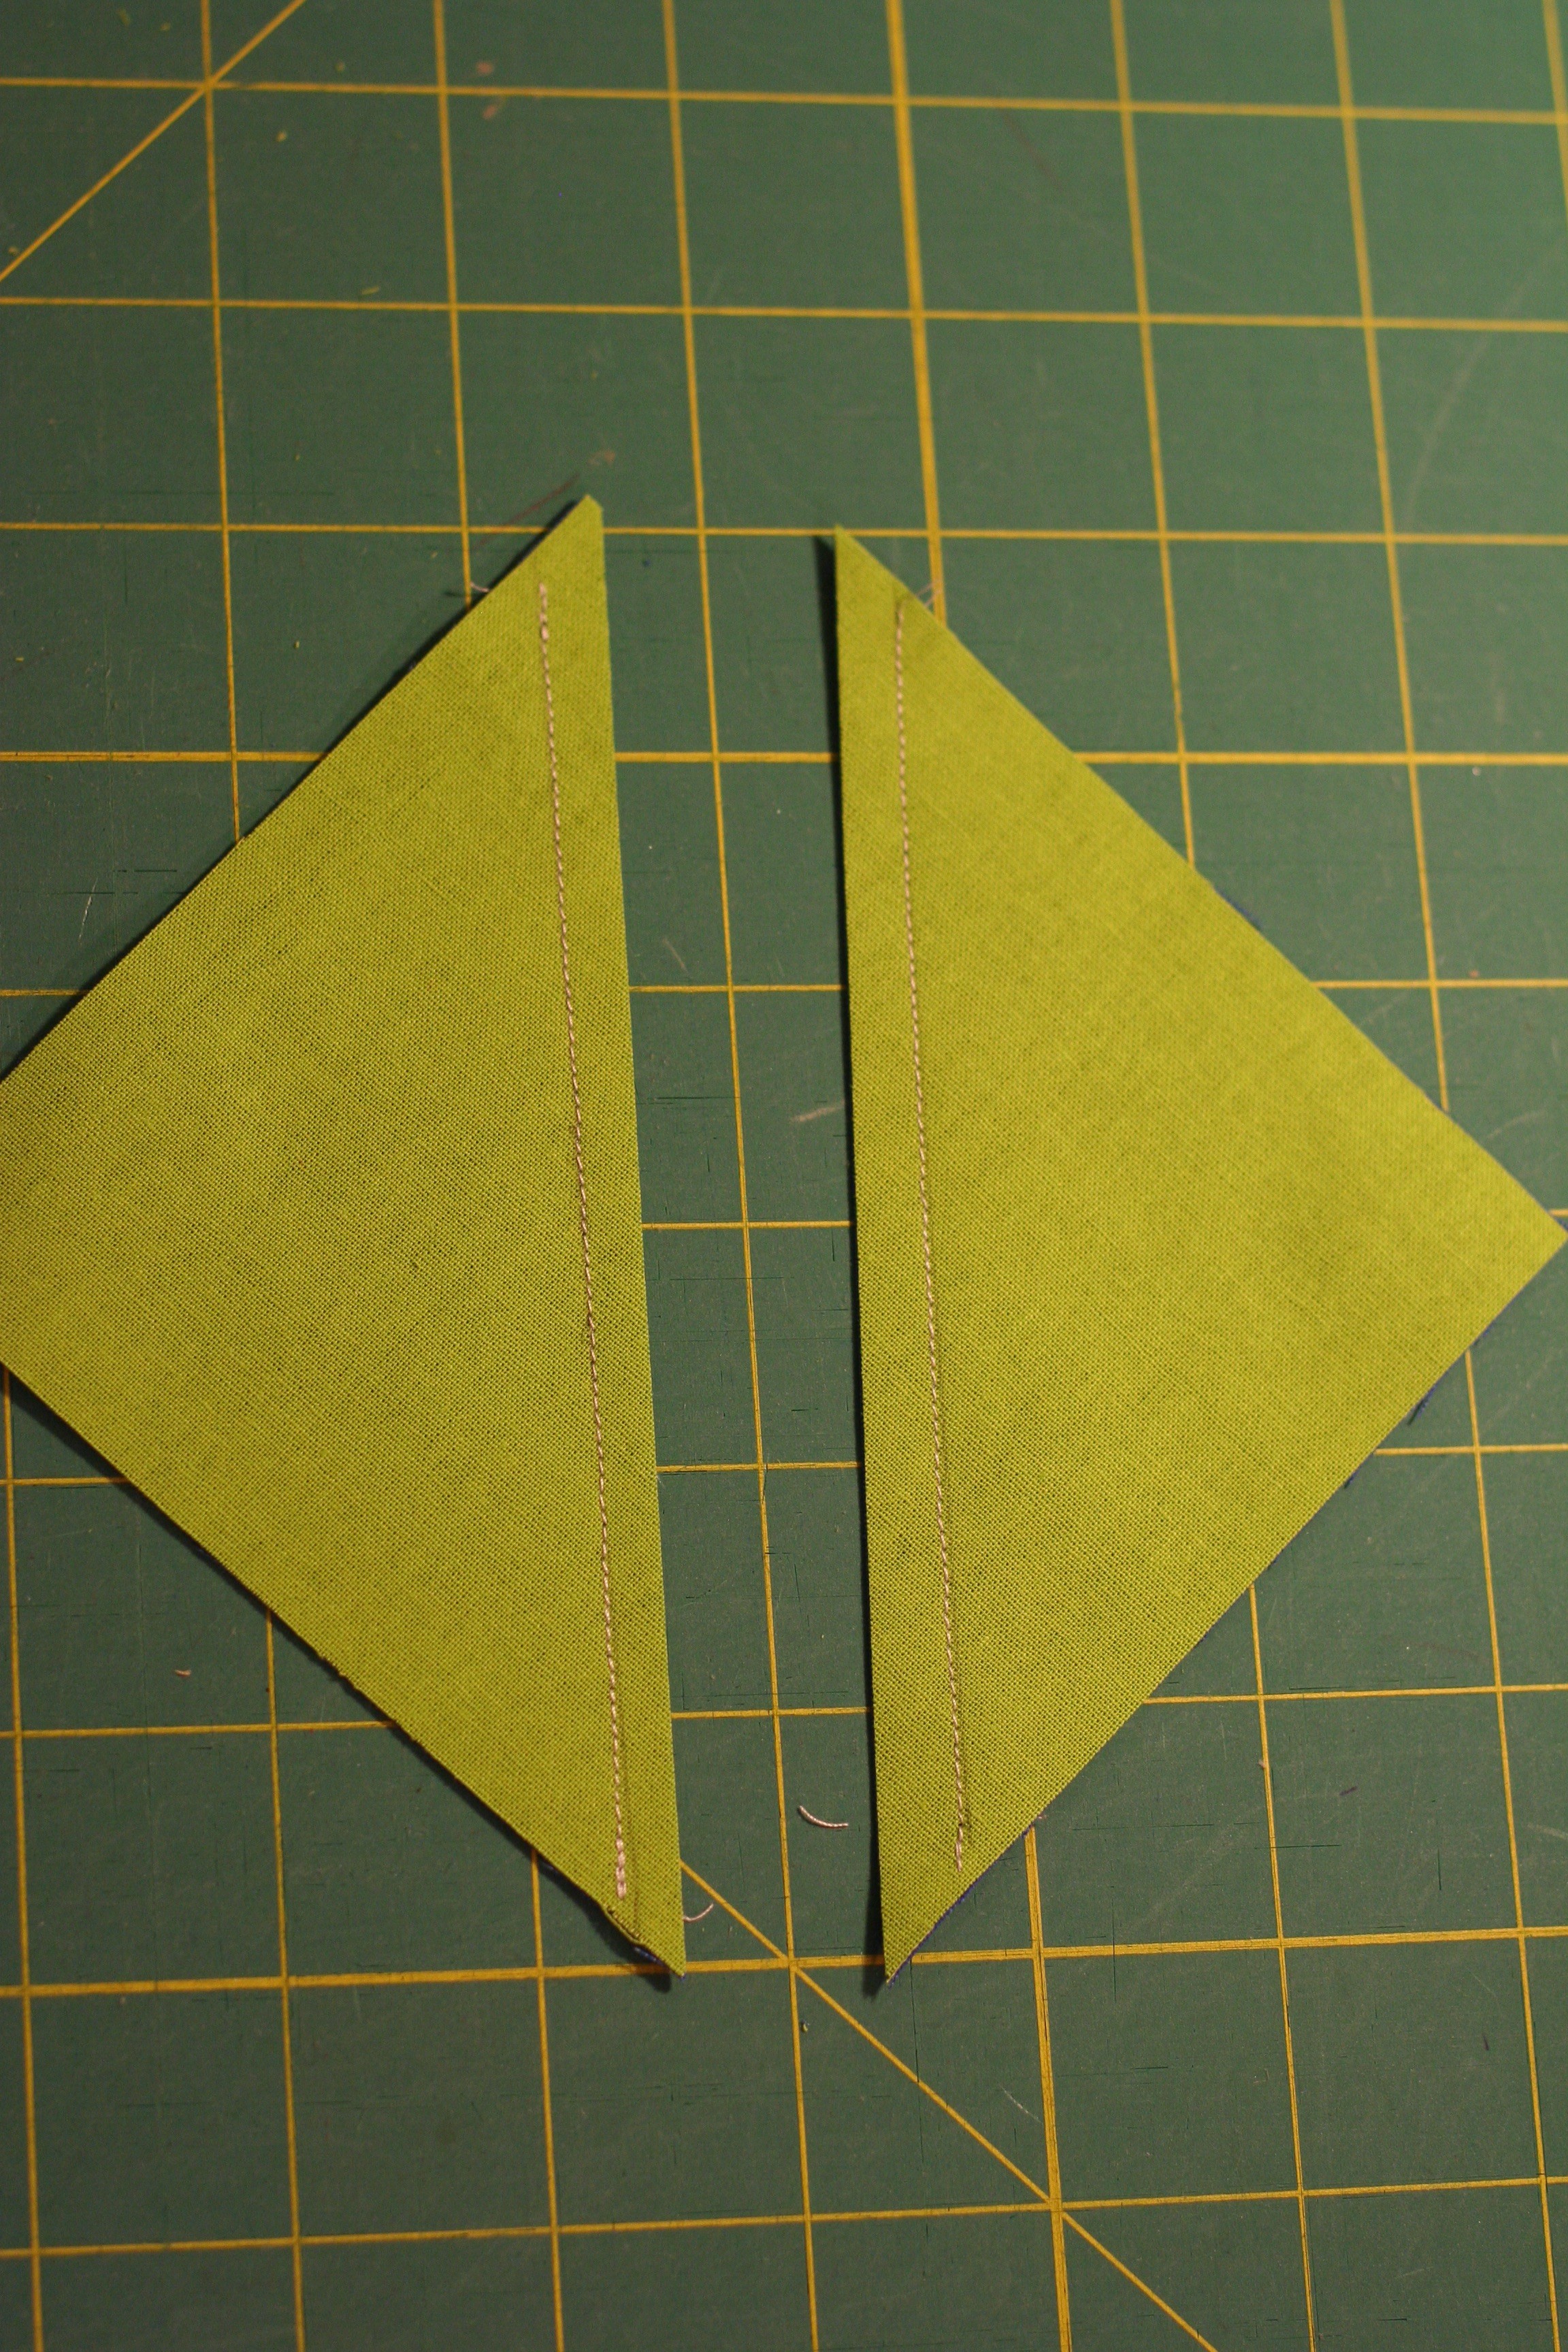
Once you have both seams stitched, slice it in half, right down the center of those seams.
This gives you two HST’s. Press them open. (Pressing open or to the side is a matter of personal preference. I usually press open.)
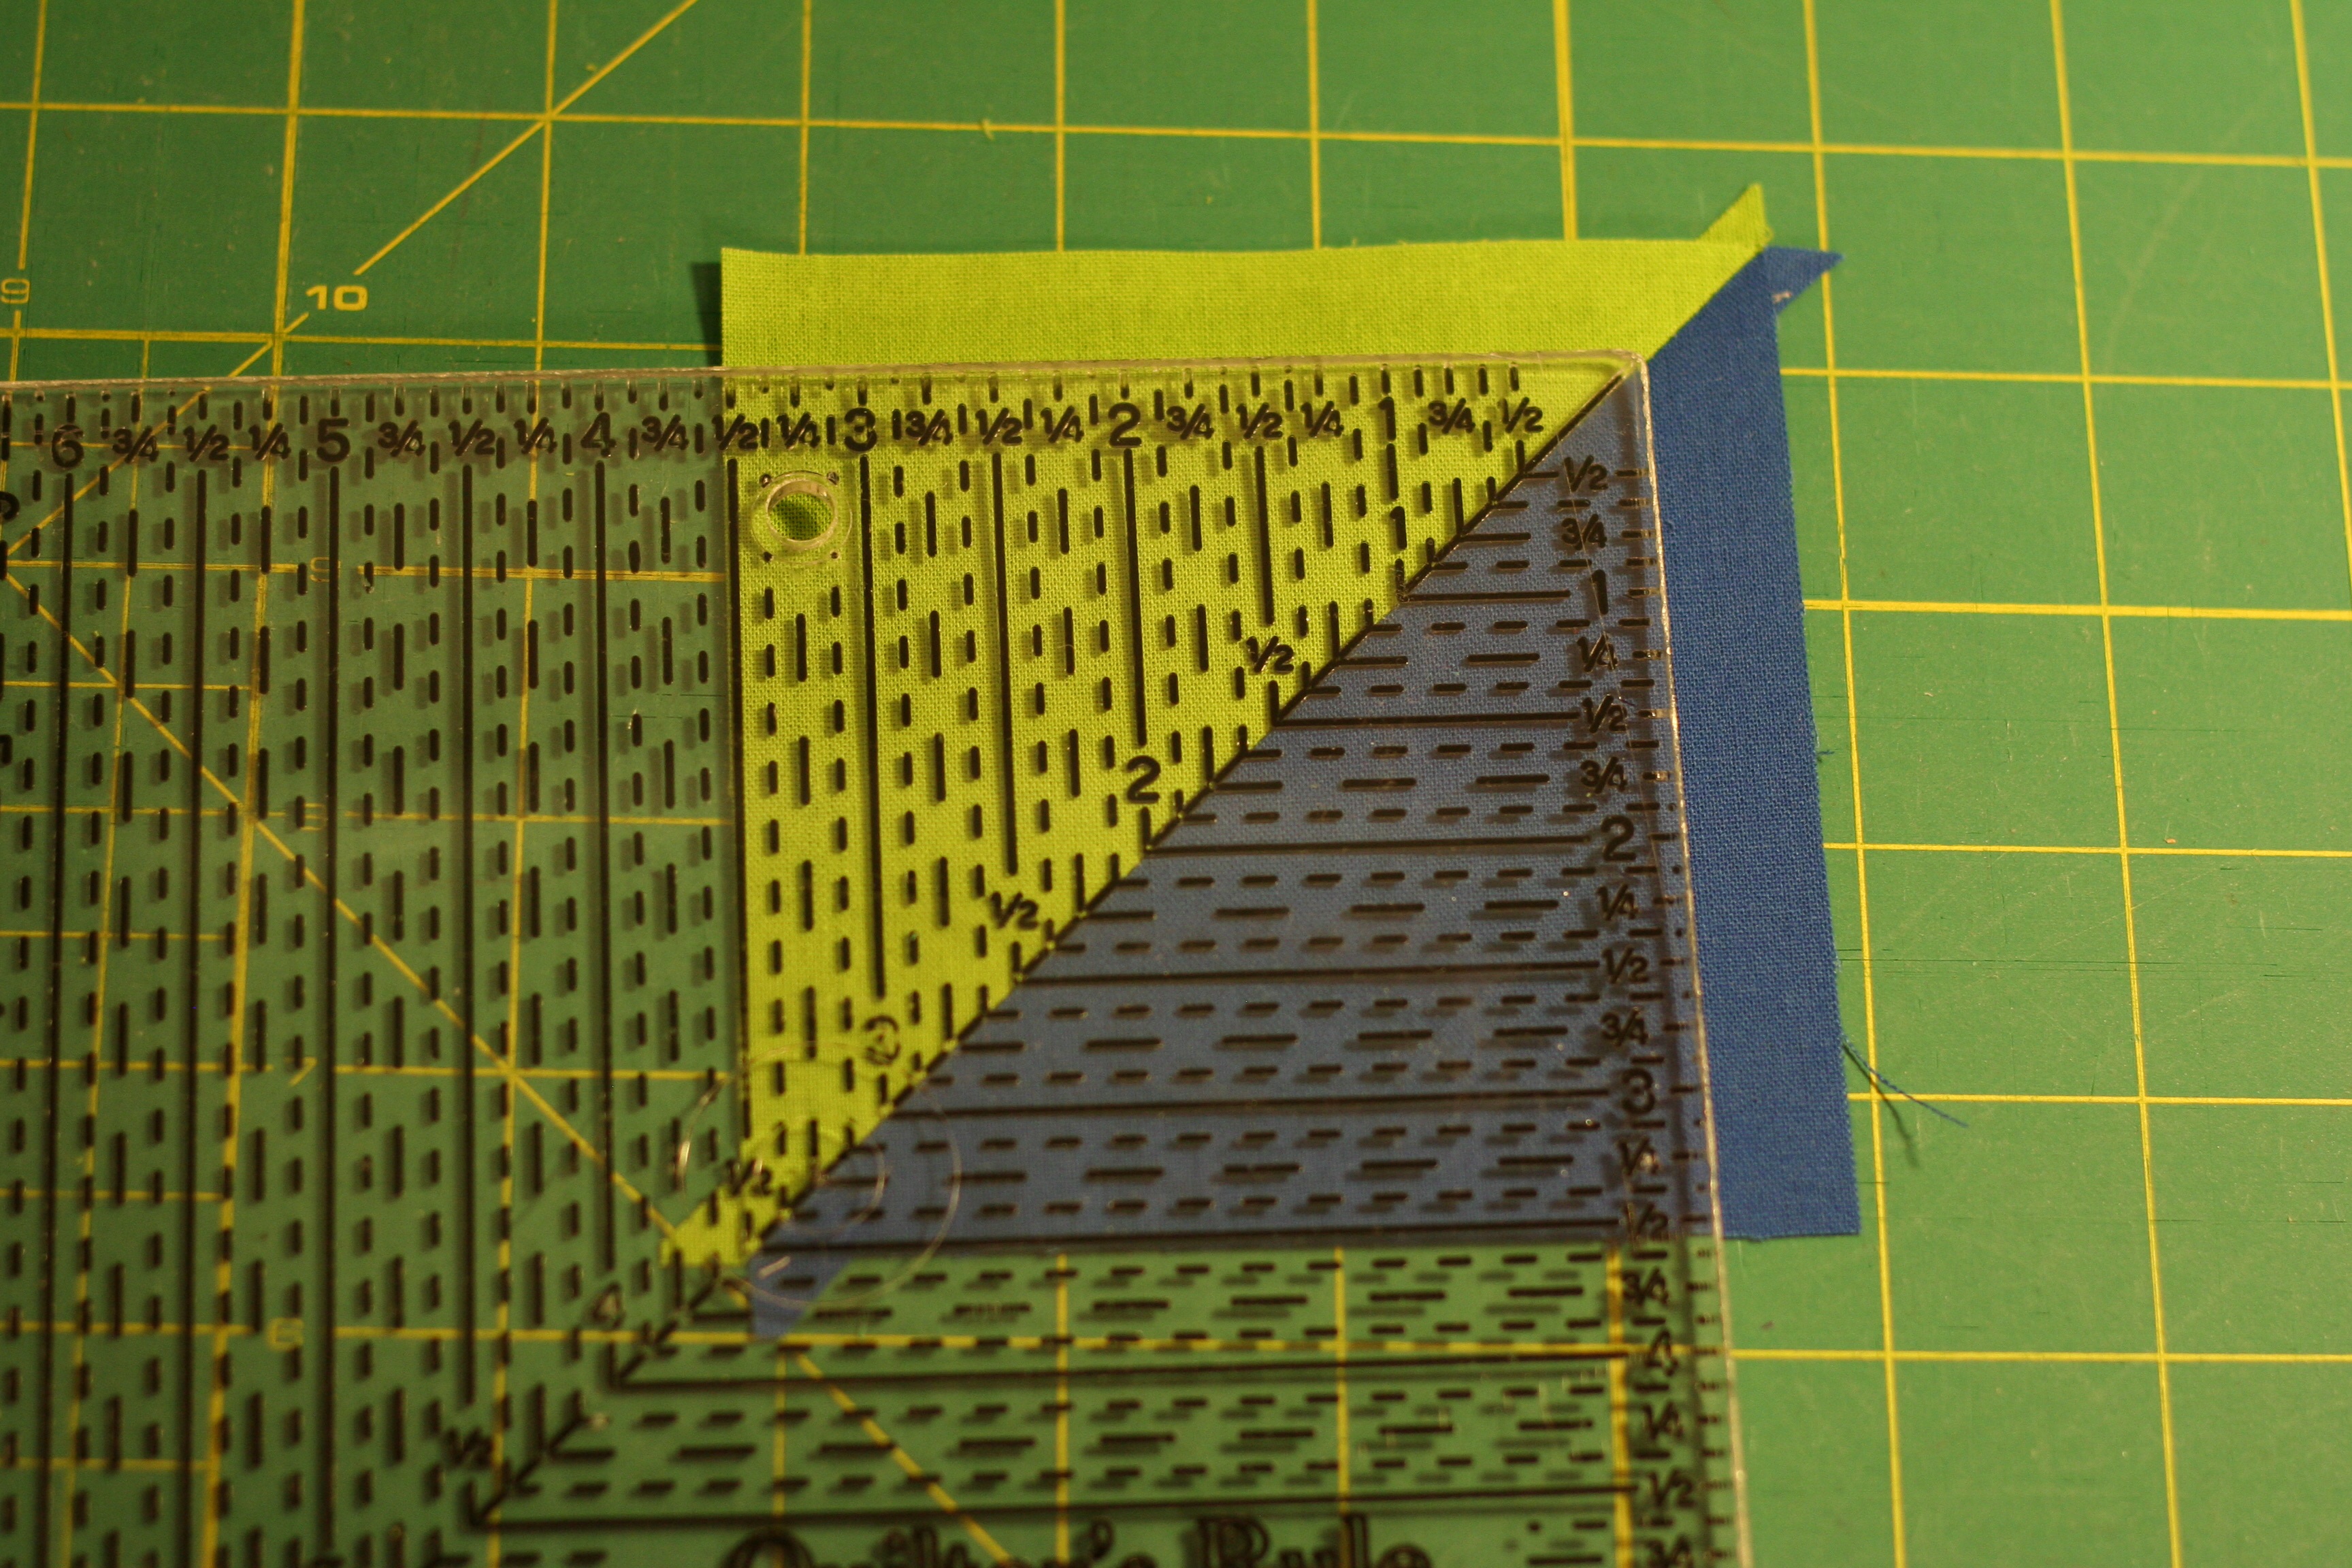
The block will need to be squared up (trimmed to size). Using a square ruler, trim the block to a finish of 3 & 1/2″.
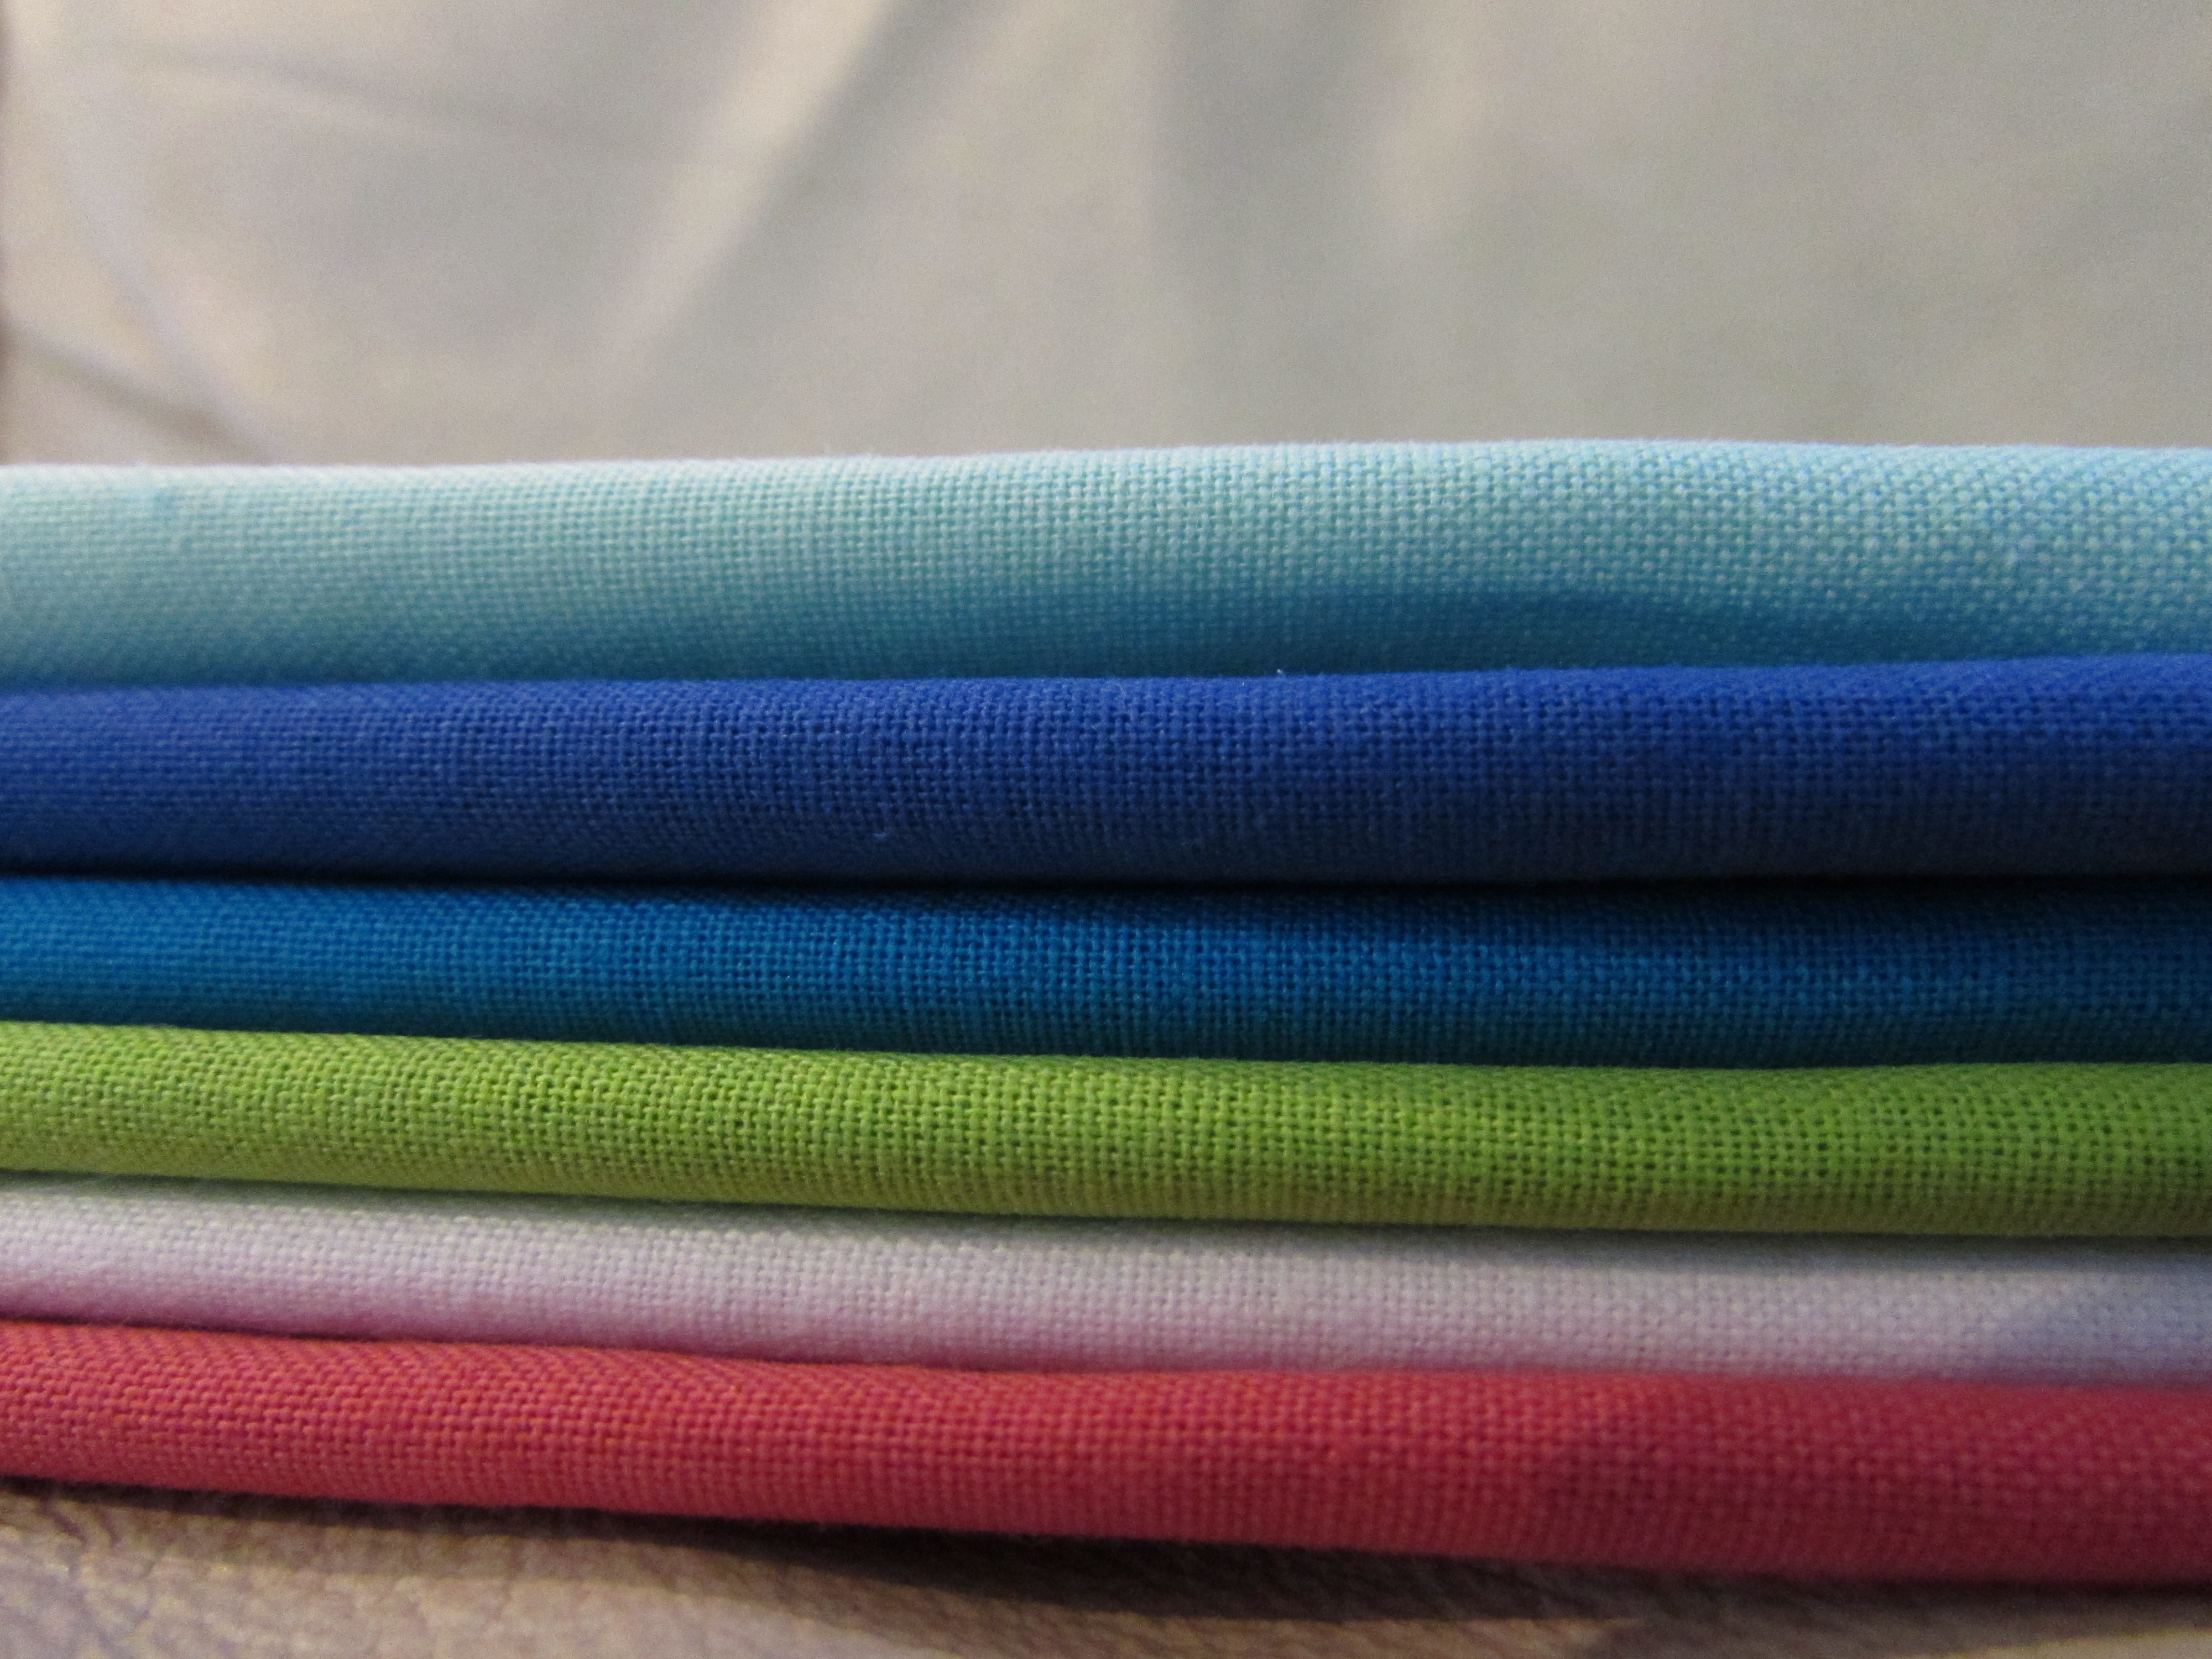
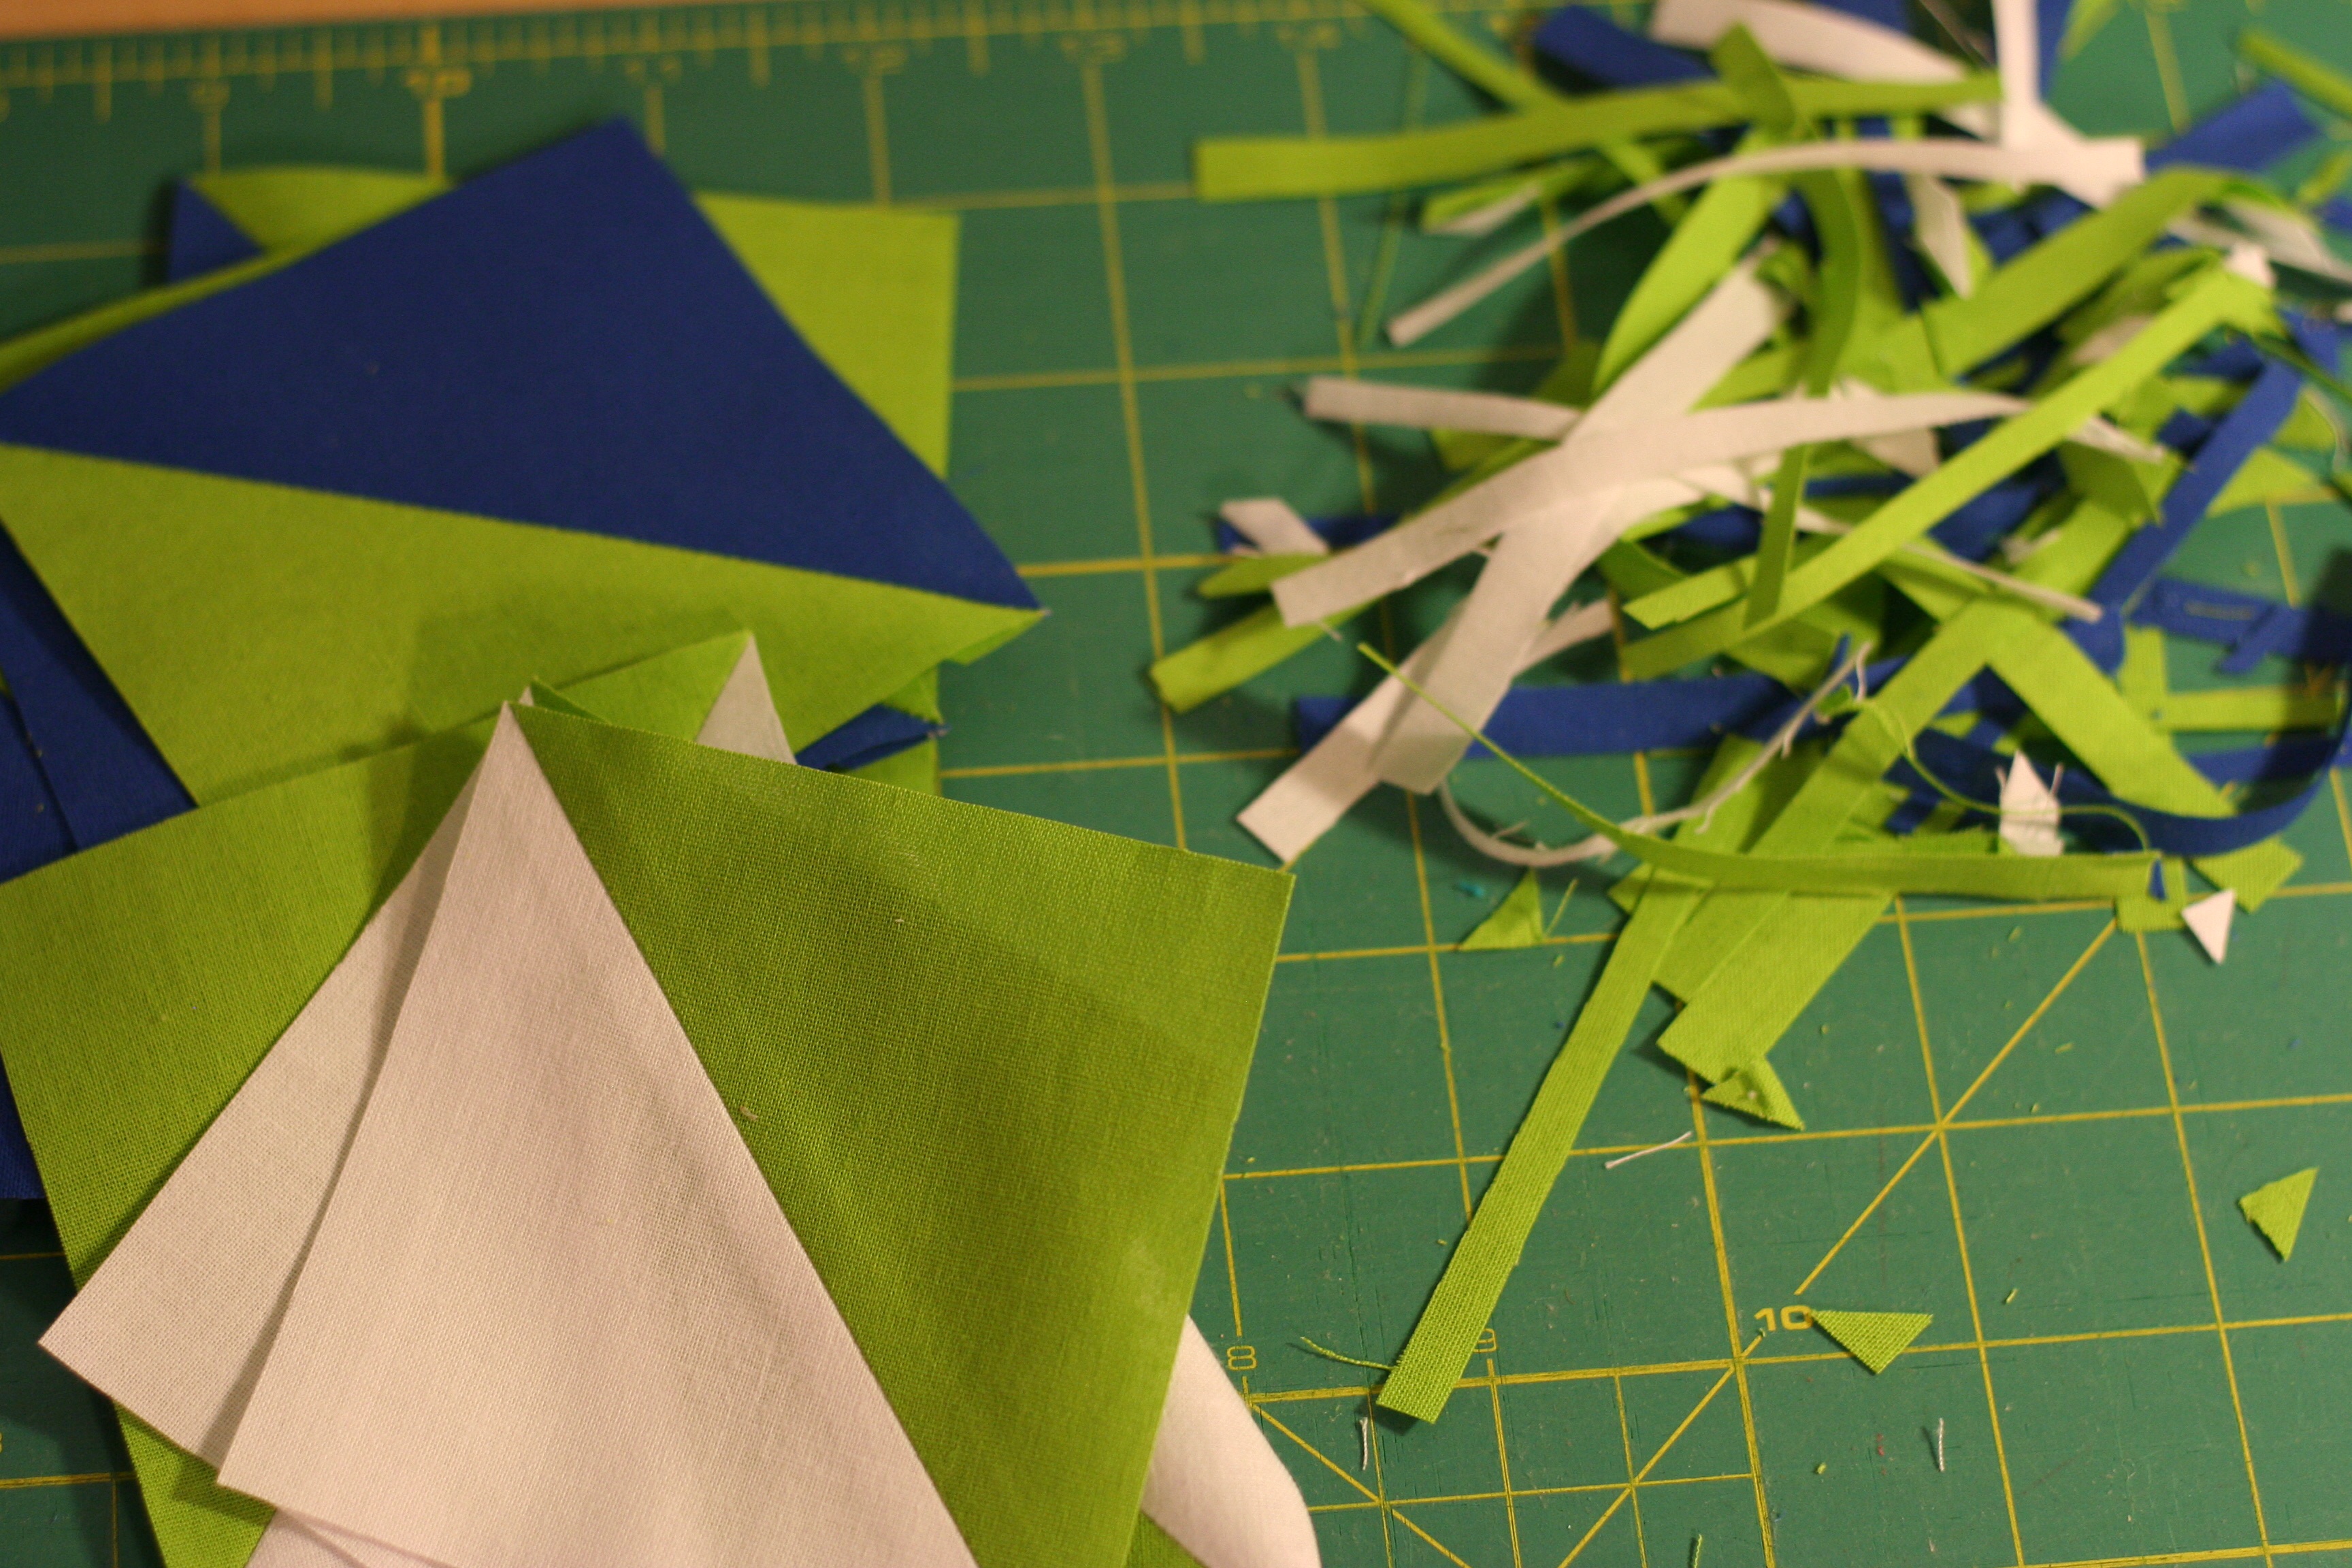
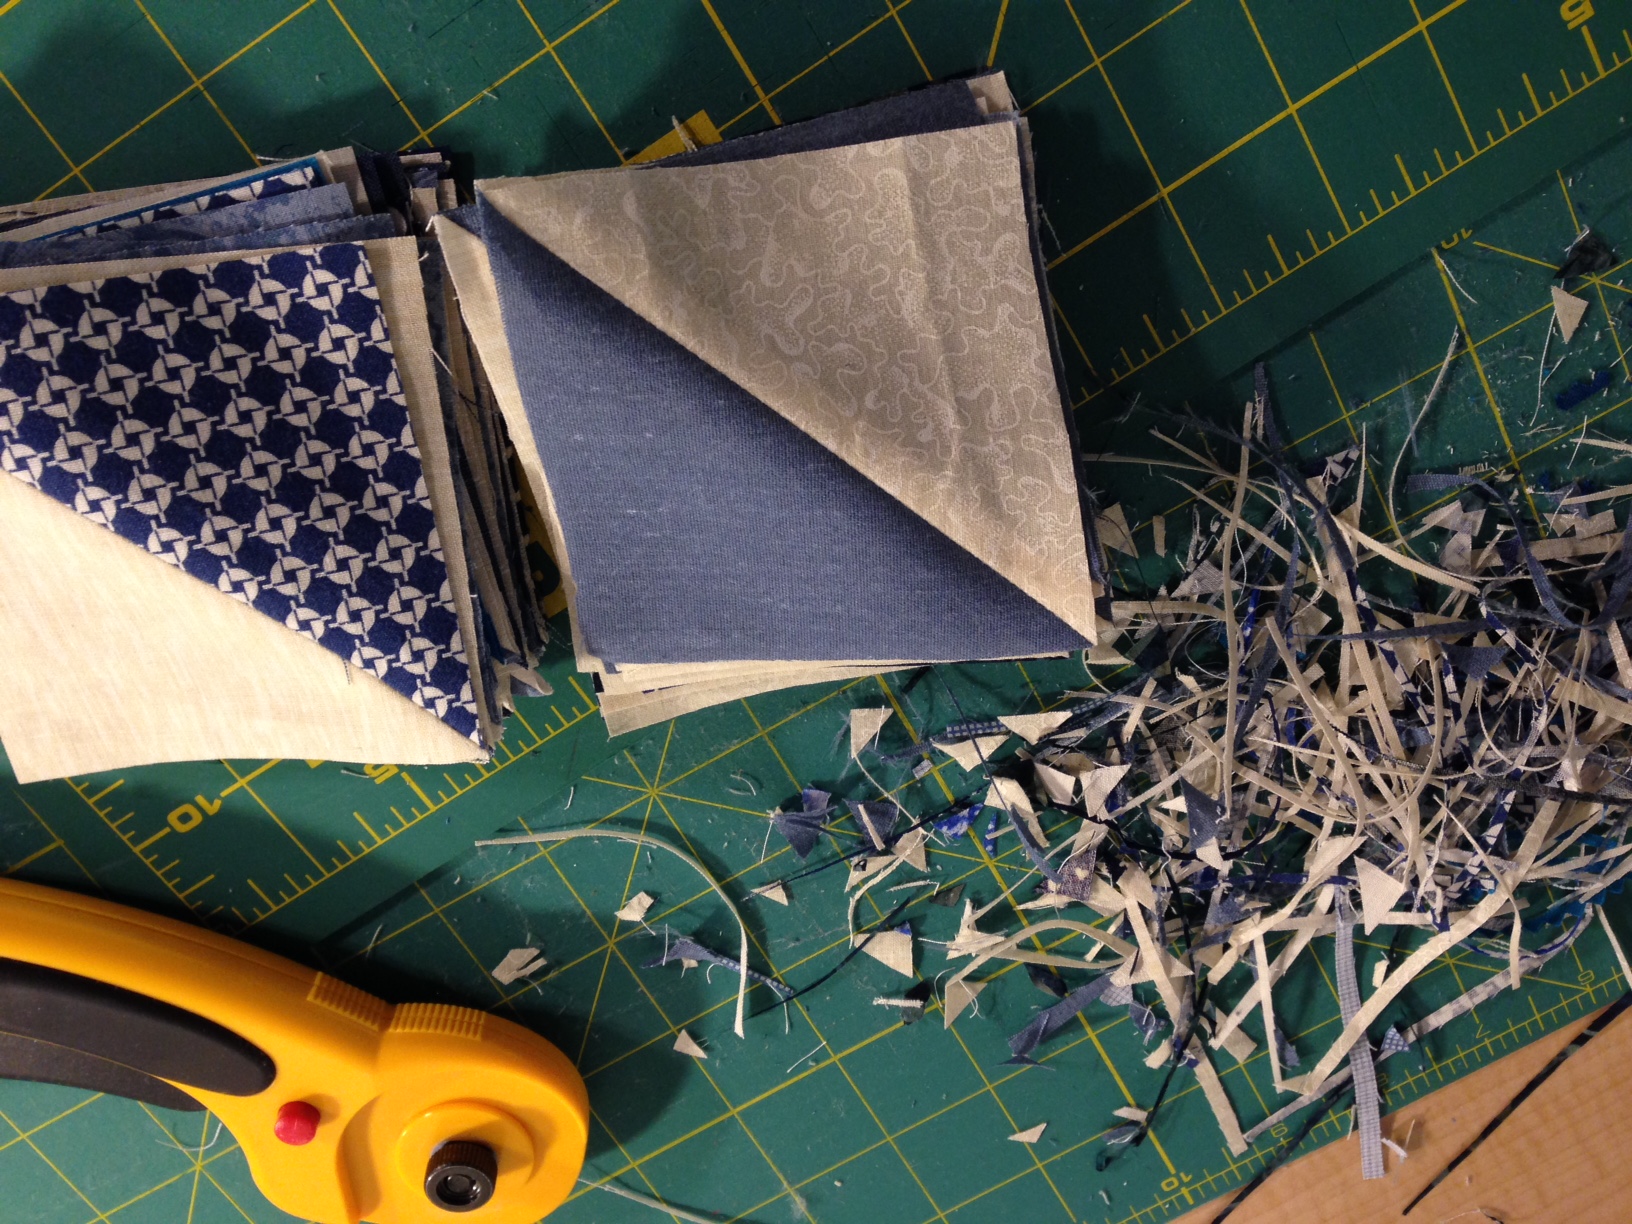
Repeat this process with each of the half square triangles, giving you 12 HST’s that measure 3 & 1/2″ each. Look at the colors in that stack of trimmings, so pretty!
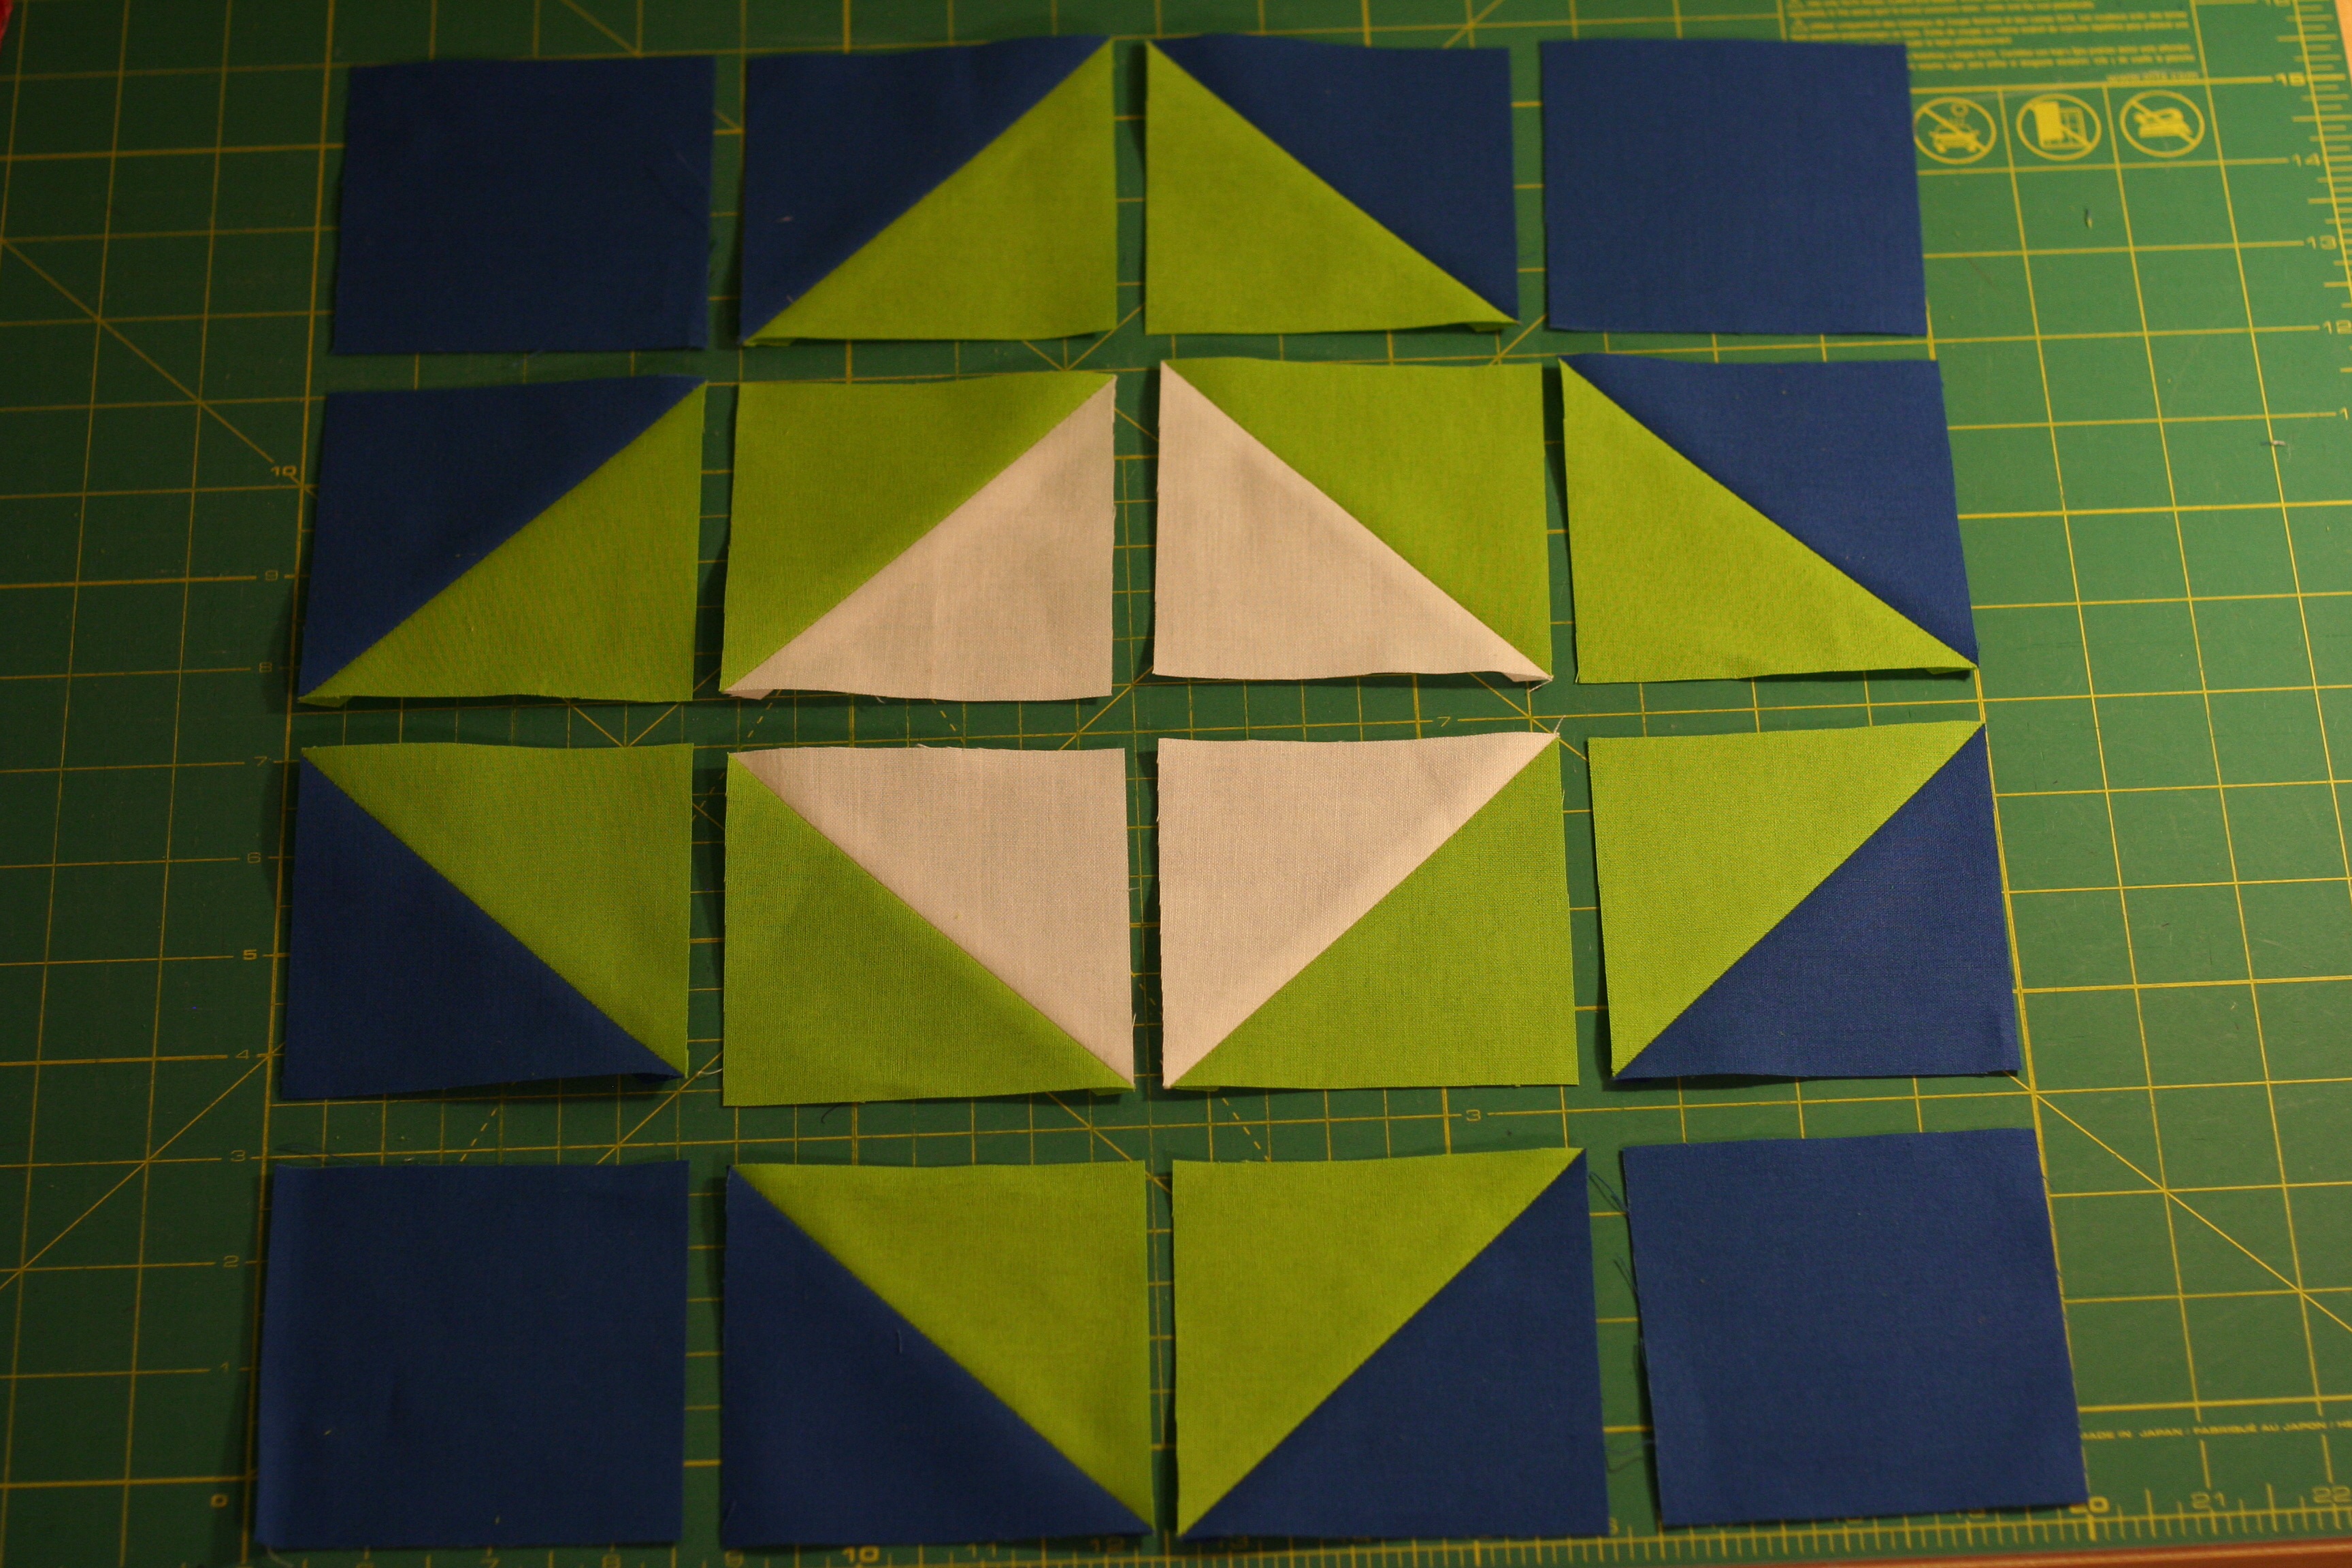
At this point you can lay your squares out in rows of four.
Assemble the rows and stitch each of the squares together.
Then stitch the rows together.
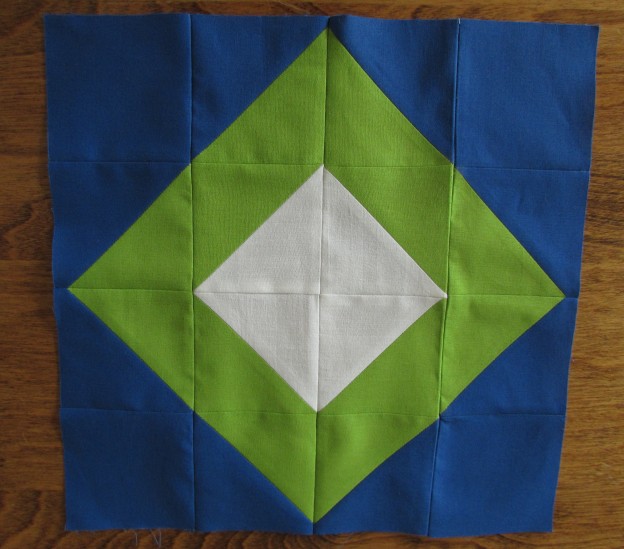
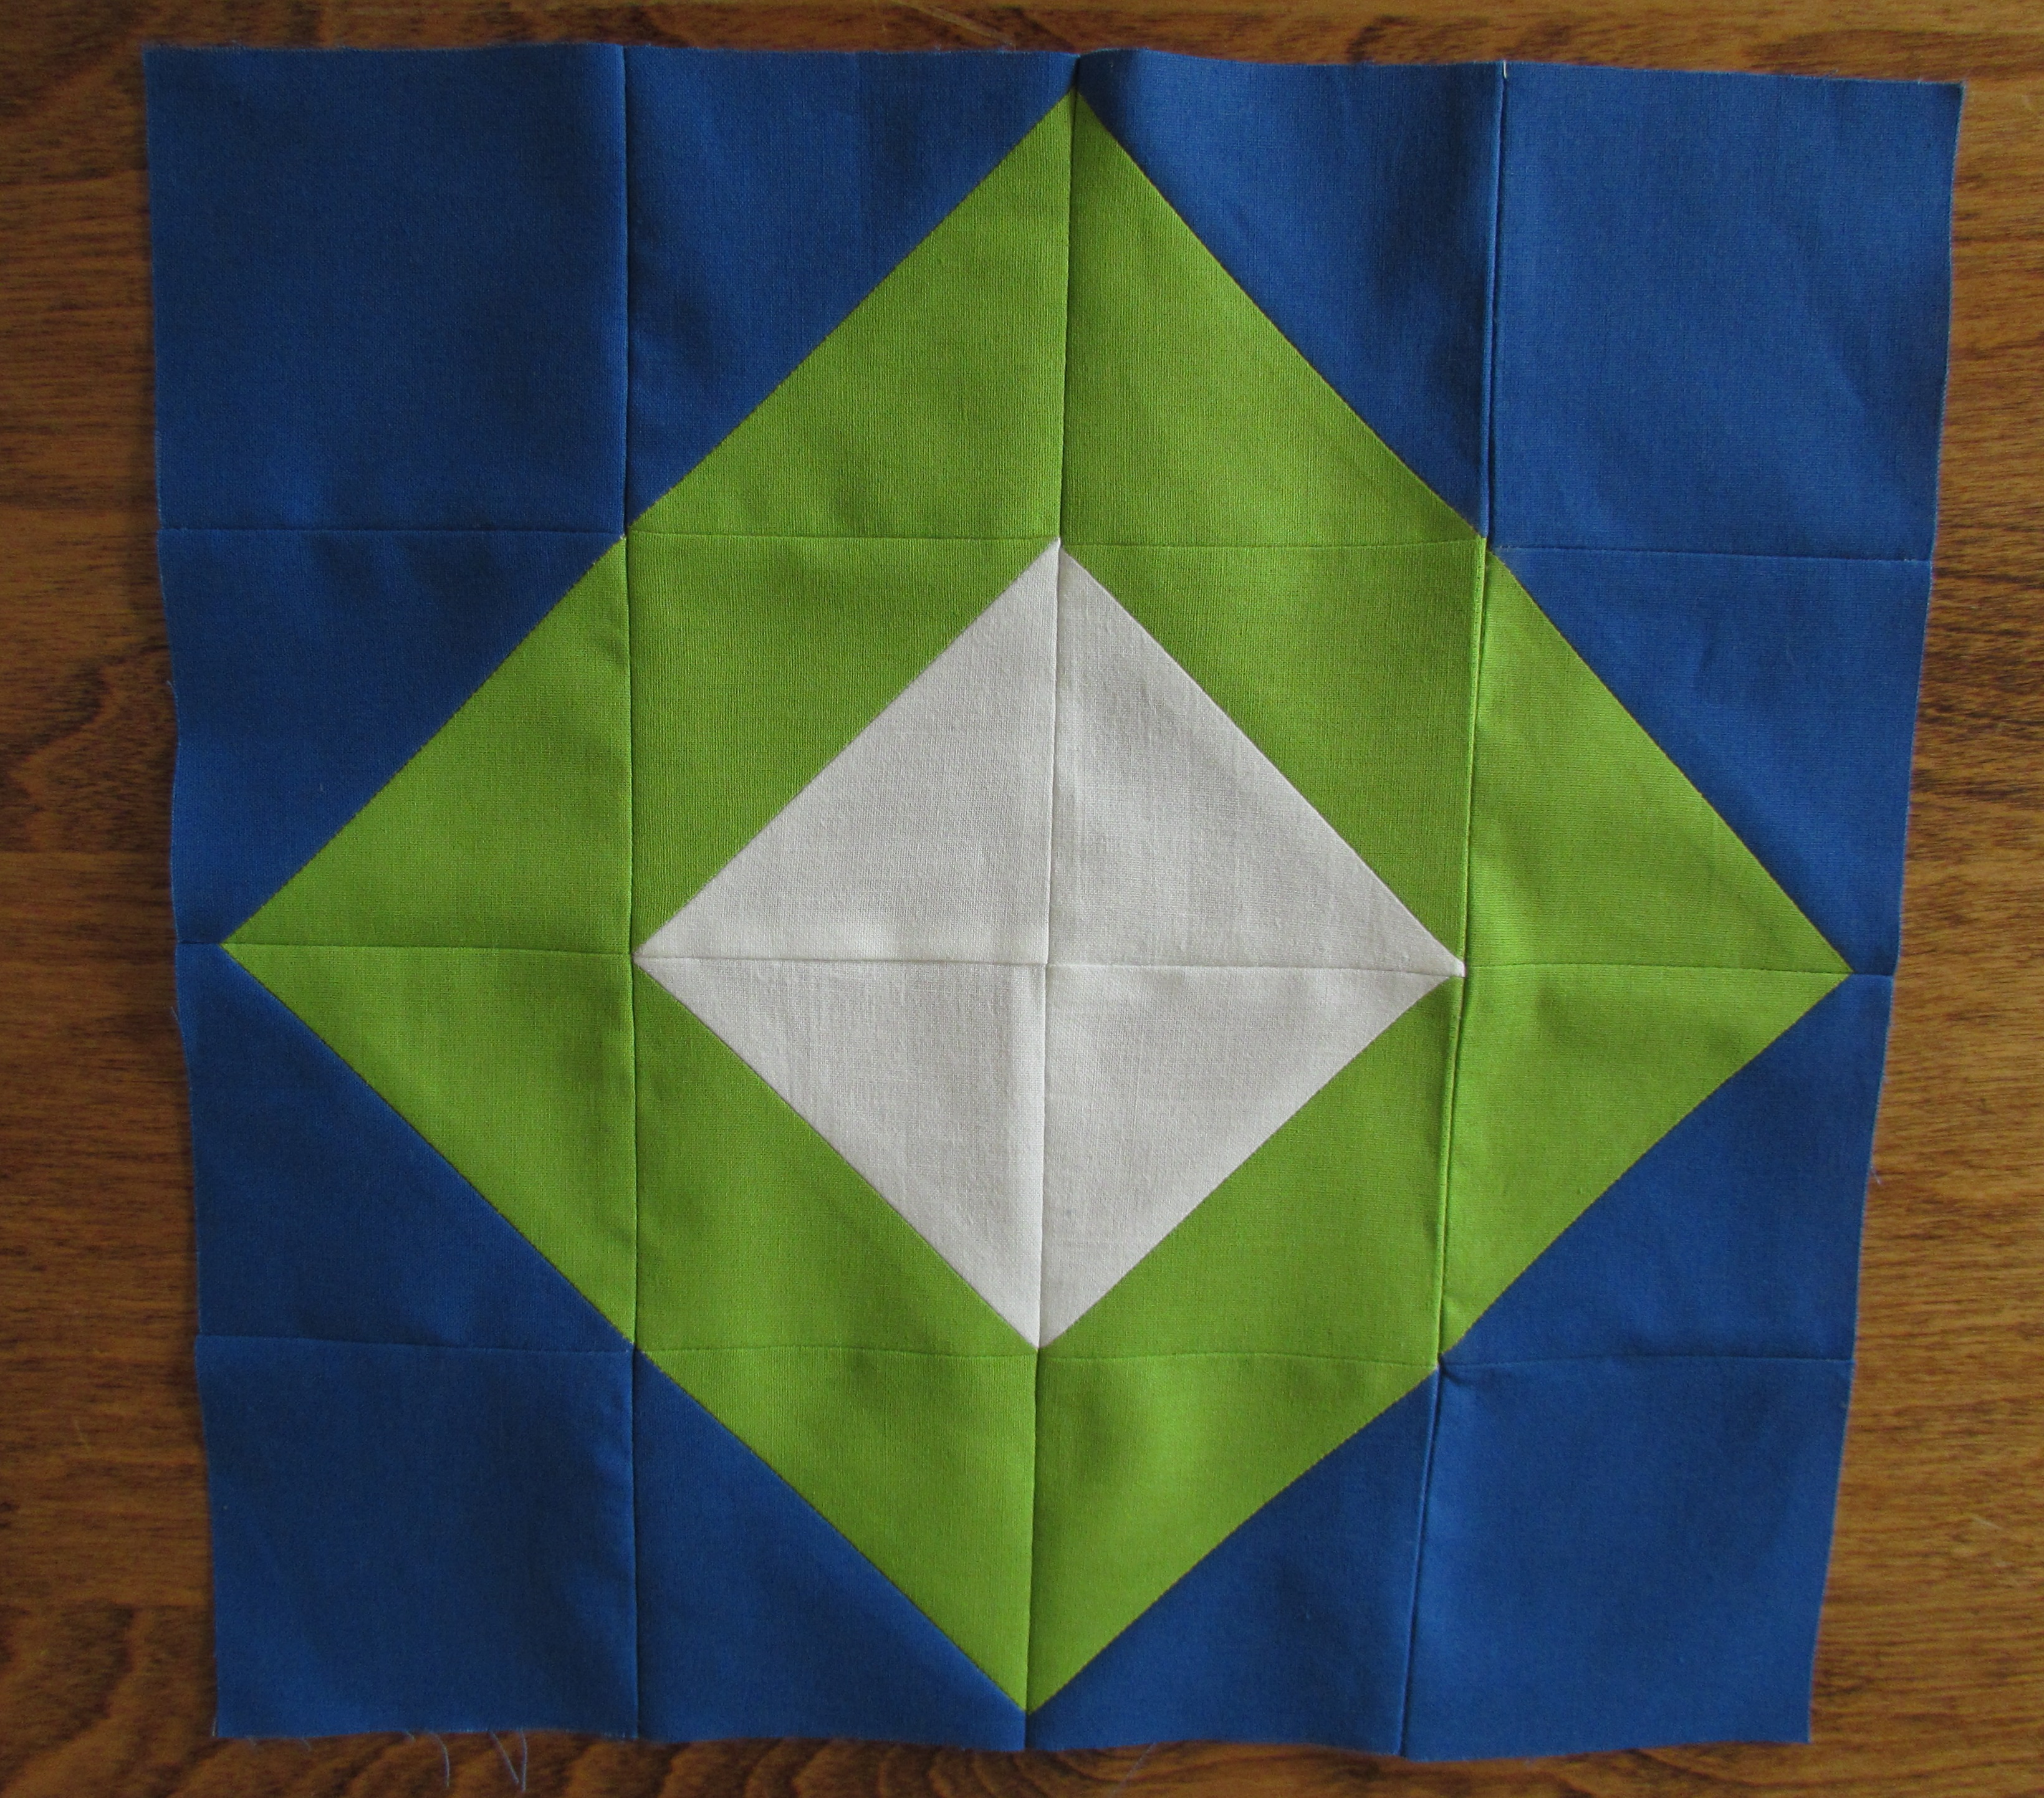
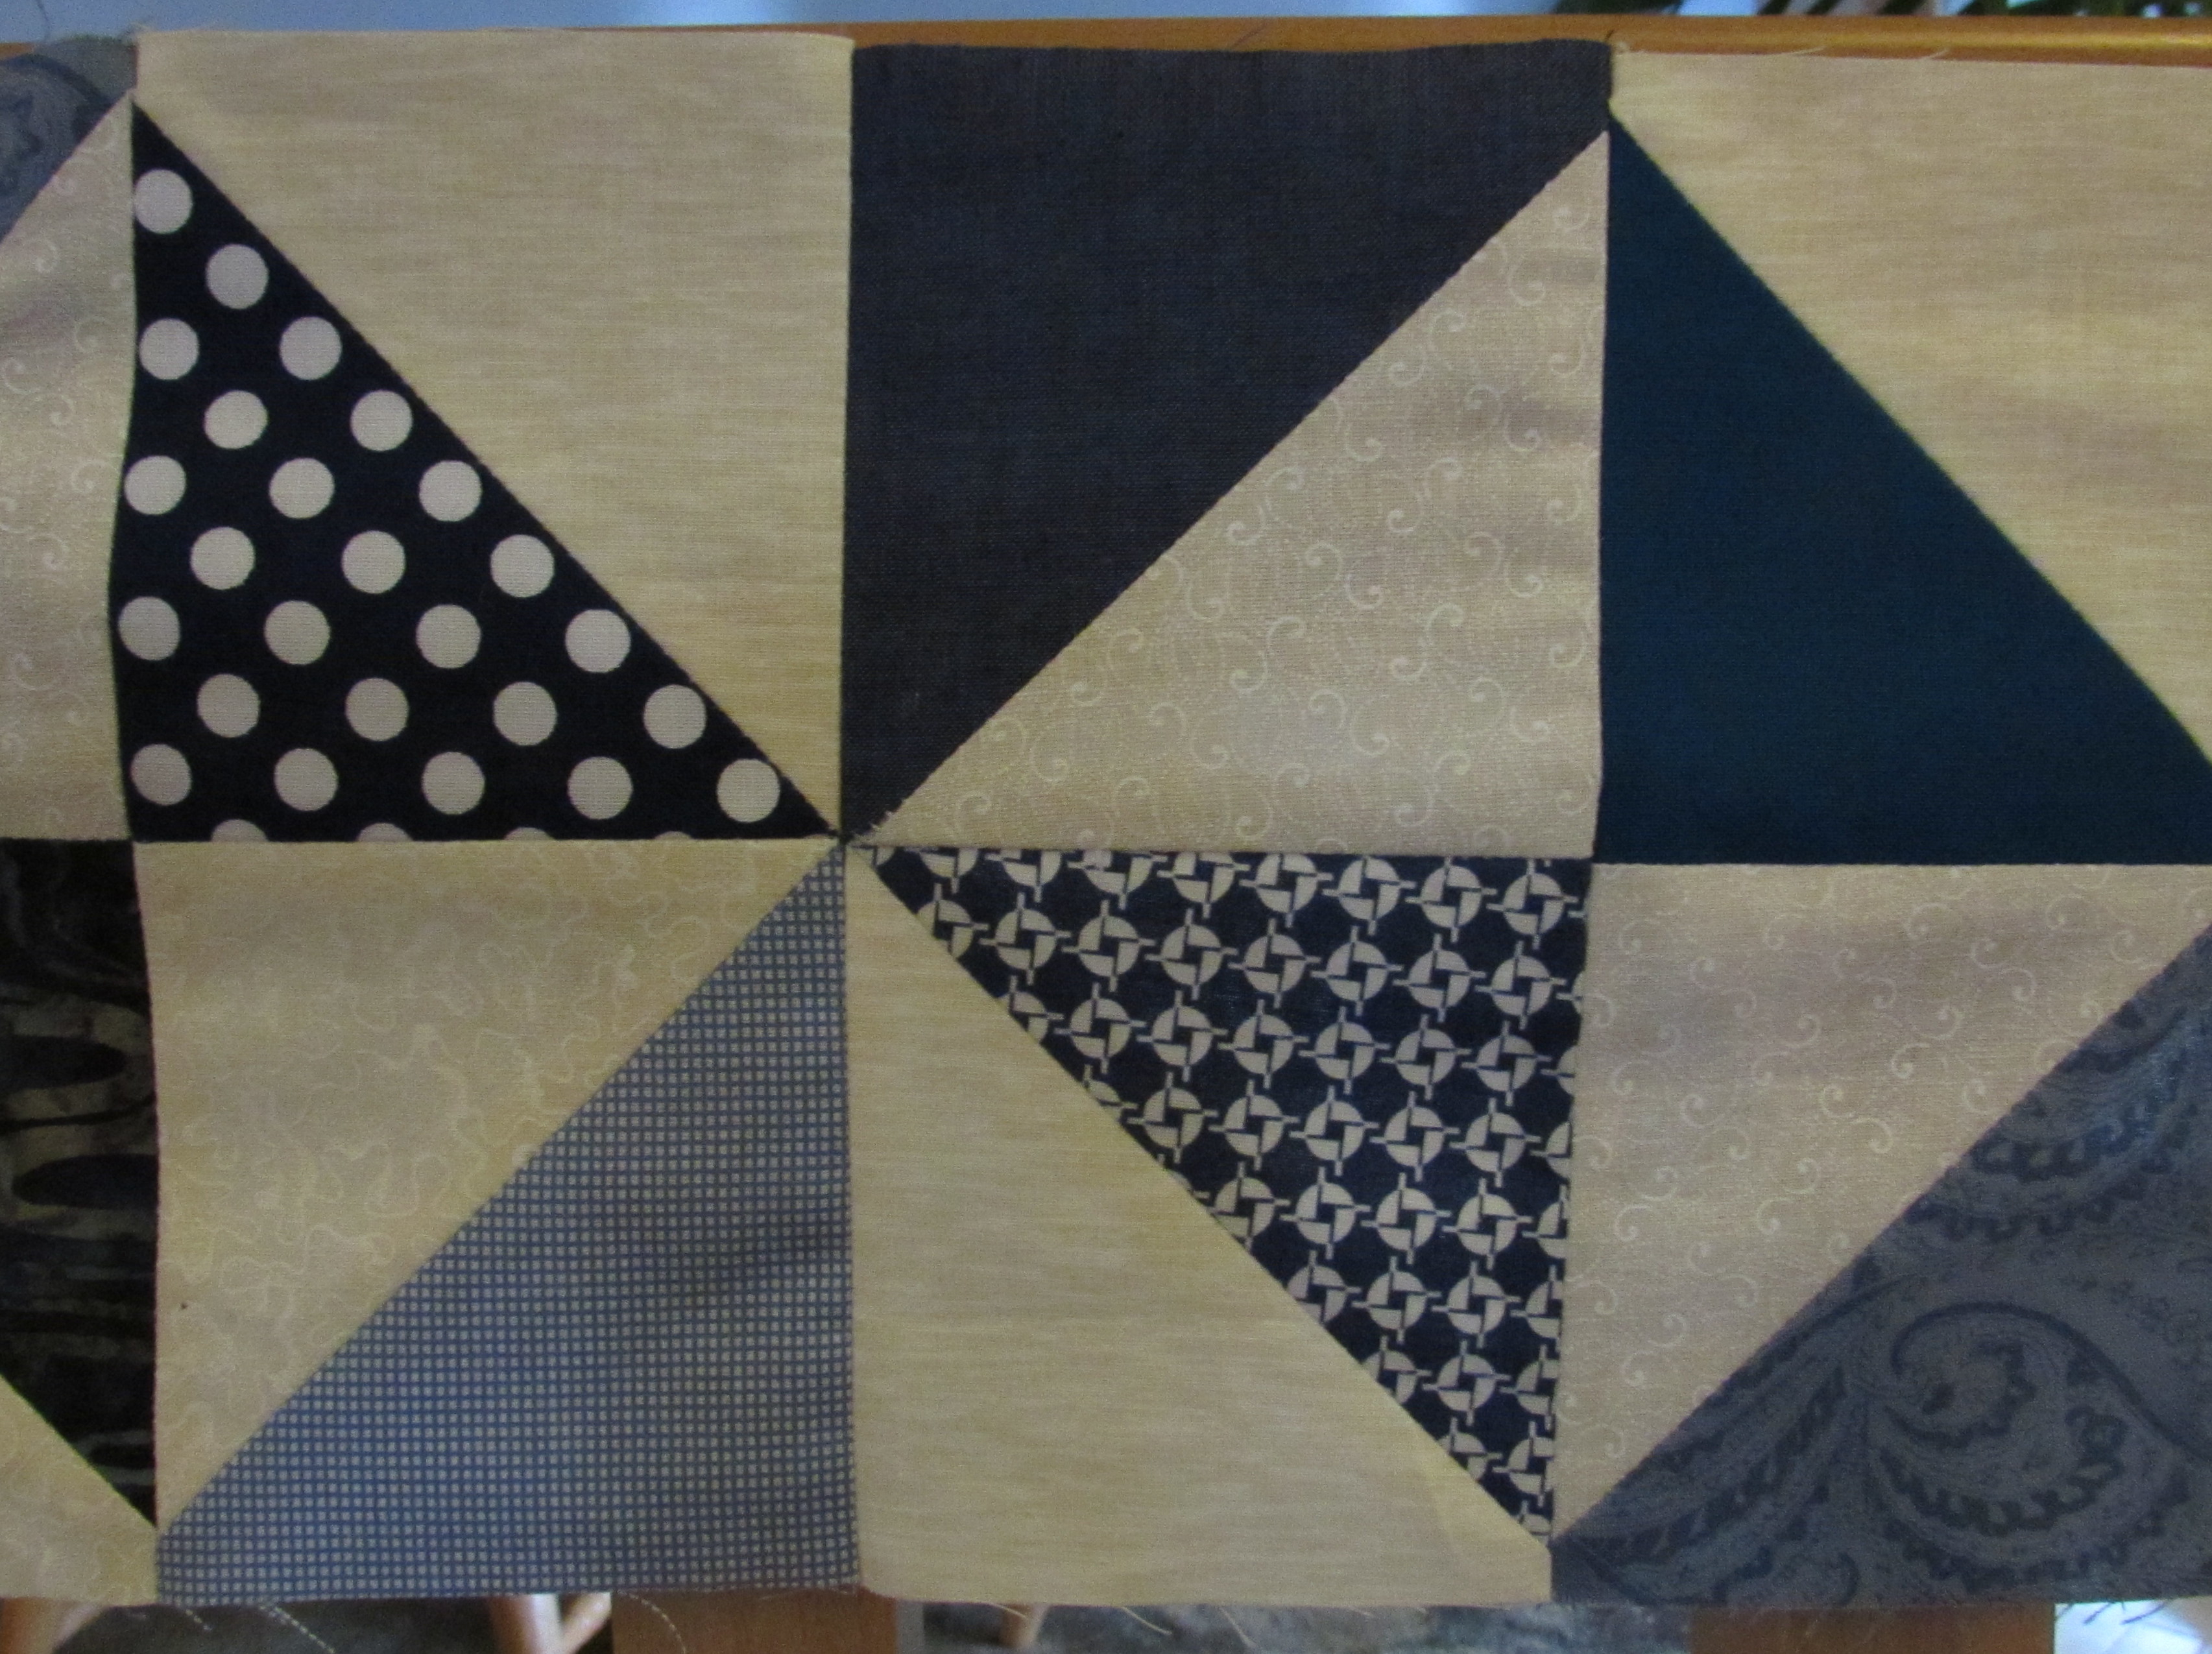
Ta Da!! Isn’t this the cutest? Double Diamonds!
Think of all of the inspiration to be had with all of these new ideas over the next few days. Be sure to pop in and take a peek. Pin as many as you like for future reference. I plan to! I have a board on Pinterest for quilt block inspiration. Feel free to follow it if you like. Today my blog hop partners are the following:
In addition to all of these tutorial posts, there will be several giveways this week for a set of 1/2 yard cuts of the fabrics we used. To enter the giveaway, go visit Quilting Jetgirl. While the colors in this set are lovely, they are very bold and saturated. Were you to win this set, I strongly advise that you prewash with like colors (e.g not red and white together!) and dry them. That way any possible color bleeding or fabric shrinkage will happen before you cut and sew!
Yesterday I spent the day recuperating from some sort of intestinal bug. I spent a bit of time pitying myself in the morning since I had spent a good portion of the week prior down with migraines. Once I completed that task (the pity party) I decided to move forward. One can only enjoy that sort of thing for so long.
I decided to look at www.vistaprint.com and play with designing a business card for Needle and Foot. The day prior to being sick, I was in our local kitchen goods store, The Wooden Spoon. (Isn’t that a cute name?) I was comparing the eight cup Chemex and the ten cup pot. I have a customer on Etsy that wants a ten cup cover and I had not yet made a pattern for that size. The manager was so gracious when I explained what I was doing and that I hoped to avoid actually buying the ten cup pot (they are sort of spendy and I already have the six and eight cup model). Once she saw what I was making, she asked for a business card to show the owner because she thought they might be interested in talking with me at some point. Alas, no business card had I. So I did what any other professional would do and wrote my contact info on a scrap of paper that I dug from the darkest depths of my purse. You should know that the nuns always gave me a hard-earned “C” in cursive/handwriting all those years back so it is sure that I left a gorgeous note. Hope they don’t lose it. Hence the need for something a bit more professional. Off to Vistaprint.
After I created what I thought looked like a good draft I submitted it to my Advisory Board of Five (aka my five sisters). Oh, the helpful information that I gleaned from them. The texting session went as follows:
Me:
Here it is, what do you think? I know the picture is blurred and I am working on that but how about the information?
Them :
I like the picture. Make the picture bigger.
Add ‘Quilter Extrordinaire’ under the name.
Now you can use the cards to put in those fishbowls at restaurants and win free lunches. This is the only reason I have business cards. I haven’t won yet but I feel it happening at some point.
Oh, I actually won a free lunch doing that at Noodles & Co. (In my old life.) <this advisor is currently retired.>
See, they pay for themselves.
Me:
Thanks. Now, do I order 100 or go big and get the 10,000 pack? Buying in bulk is always more economical you know.
Them:
Do they have a ten pack??
100 doesn’t seem like enough but 10,000 would allow you to wallpaper a room in the Downieville house <that is the house we are currently renovating.>
It is always best to have support like this when making critical decisions. The expertise and wisdom run deep within this group. If you don’t have this type of support I highly recommend you go out and adopt a few sisters for yourself.
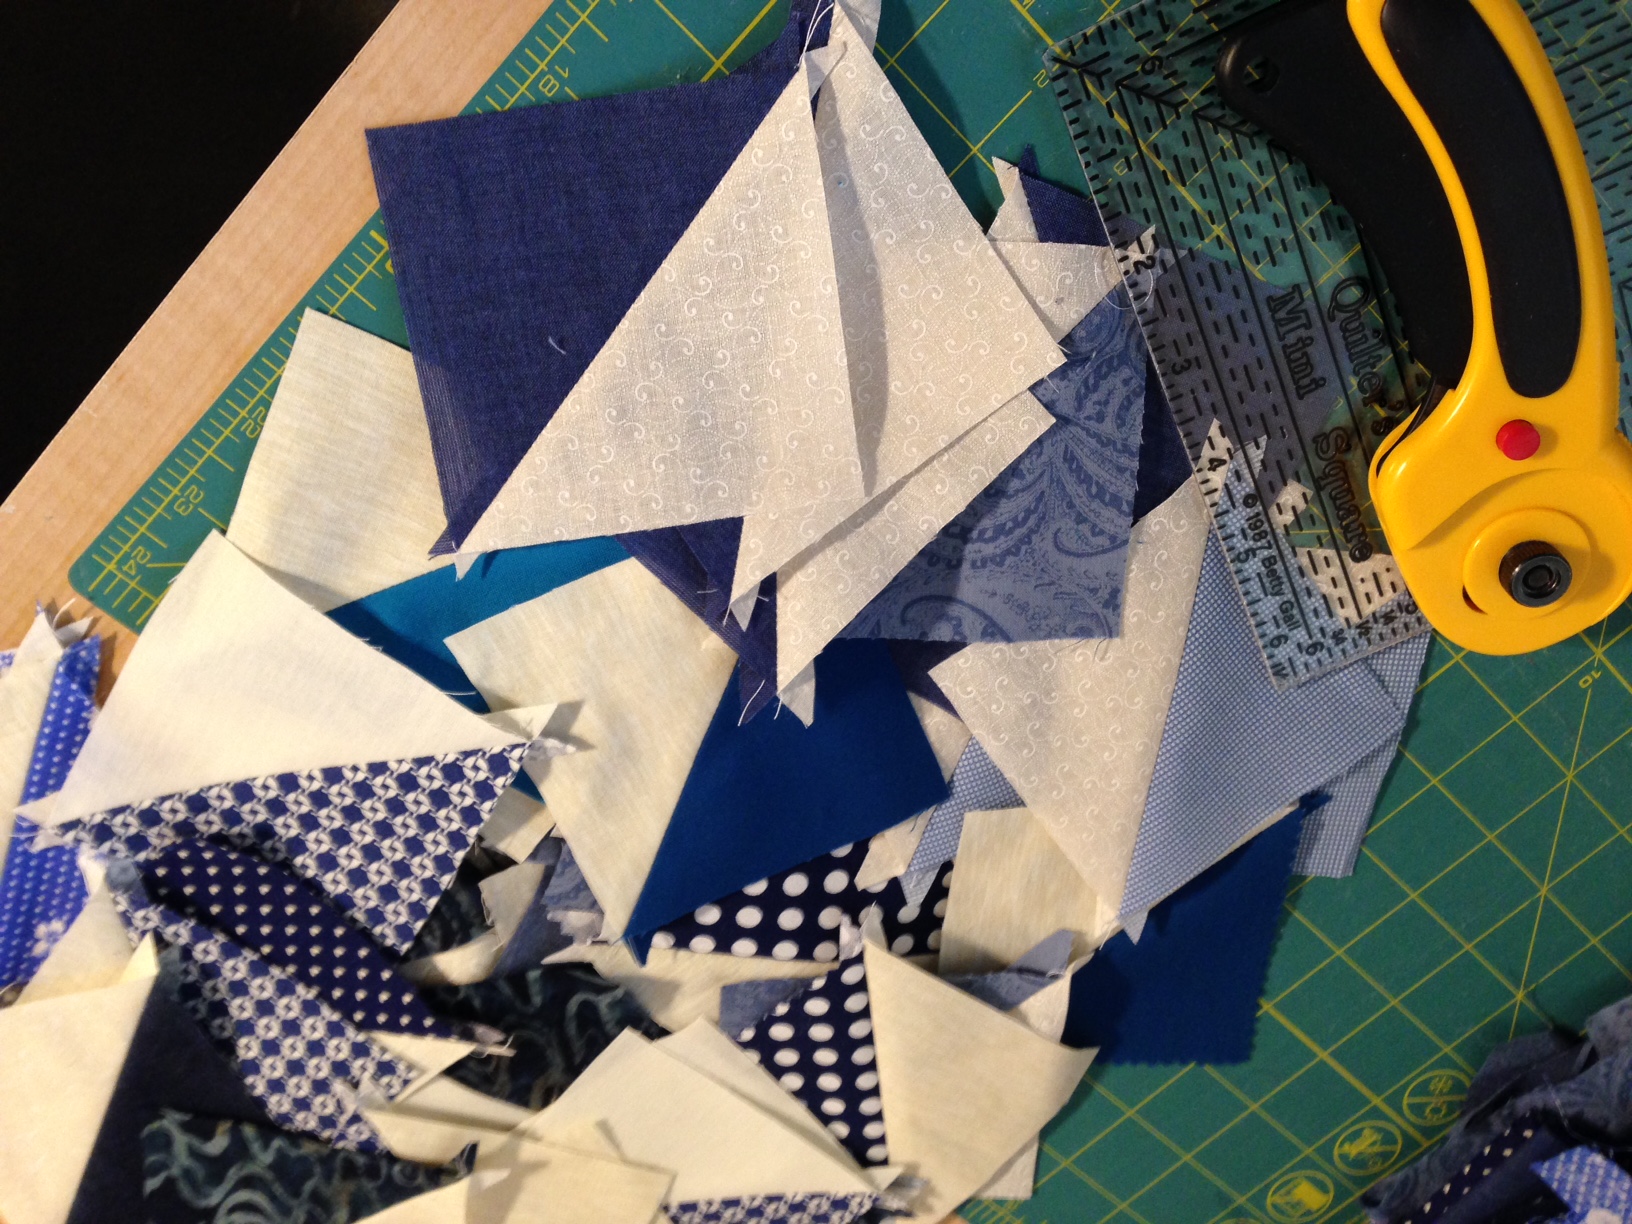
Other than designing business cards (I bought the 100 pack, by the way) I did a little bit of sewing. Prior to getting sick, I decided to start working on the first row of Mari’s Classic Stitches BOM. She is making the first row with Broken Dishes blocks which are created with HST’s. I am not usually a fan of HST’s – all the trimming and squaring up that is required gets to me after a while. But the block is cute and I really want to do this row quilt for RSC2015. I dug in. The color for January is blue which I have plenty of scraps for. Unfortunately my first attempt was not entirely successful. I read the instructions wrong and made HST’s that were three inches when squared off. The instructions actually said to make them so they were 3″ finished (like when sewn into the block.) This means I should have squared them to 3 1/2″. Dang it. Luckily after making the first 24 HST’s I put them on the design wall to play with them. Soon as they were up there I knew they were too small. So that stack went into a Ziploc bag to be used some other day, in some other way.
I started over and it all went as it should. Got the HST’s put together (and it didn’t take long.)
It’s that trimming. Why isn’t there a better way? Or is there? Does anyone have any good tips for trimming HST’s? My method for making HST’s is to cut two square and put them right sides together. I have a little tool to draw two lines that are each 1/4″ from the diaganol. I sew those two lines and cut them apart down the center. The method works but maybe I am missing something wonderful that would allow me to love making HST’s? If so, please leave me a comment with your suggestion!! I will be ever grateful as sooo many blocks are based on HST’s.
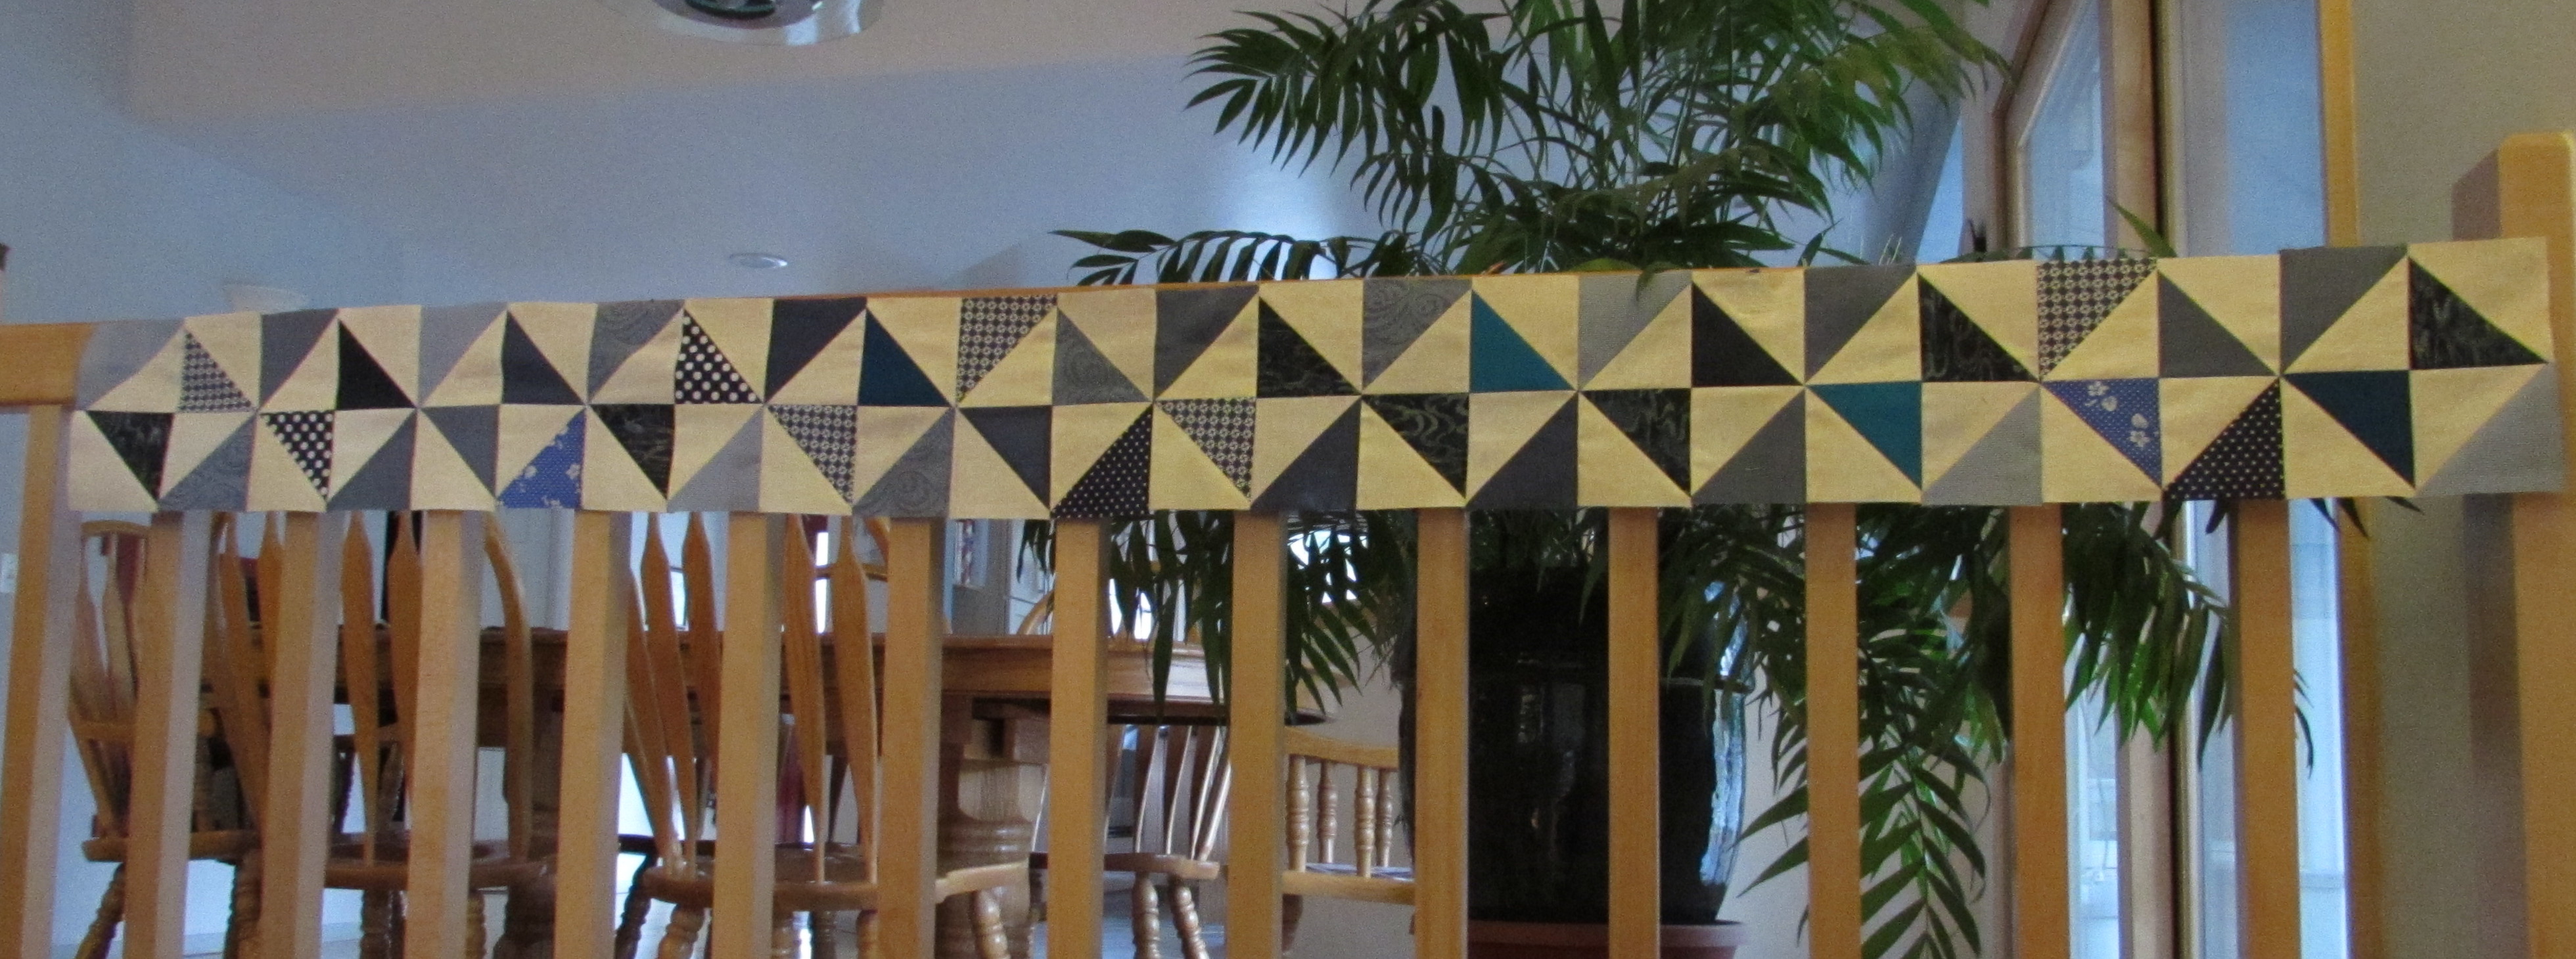
Enough whining. The trimming was completed. The fun part is piecing the blocks. Here they are – almost done and hanging on the wall.
One good thing is that with this project, I noticed that my points are getting more accurate. Not all of them… but some actually look like this:
And, ta da! First row of the quilt is done. Yay! (Hard to take a picture of this as it finished at 60″ long and it is raining out. This will do for now.) Row one complete!
Hope you all have a wonderful weekend. Linking to Lorna at Let’s Bee Social and Amanda Jean at Crazy Mom Quilts. Both of these links are found at the top of my page, under Link Ups. Also linking to Angela at So Scrappy for RSC15 and with Megan at Sew Stitching Cute’s link up.