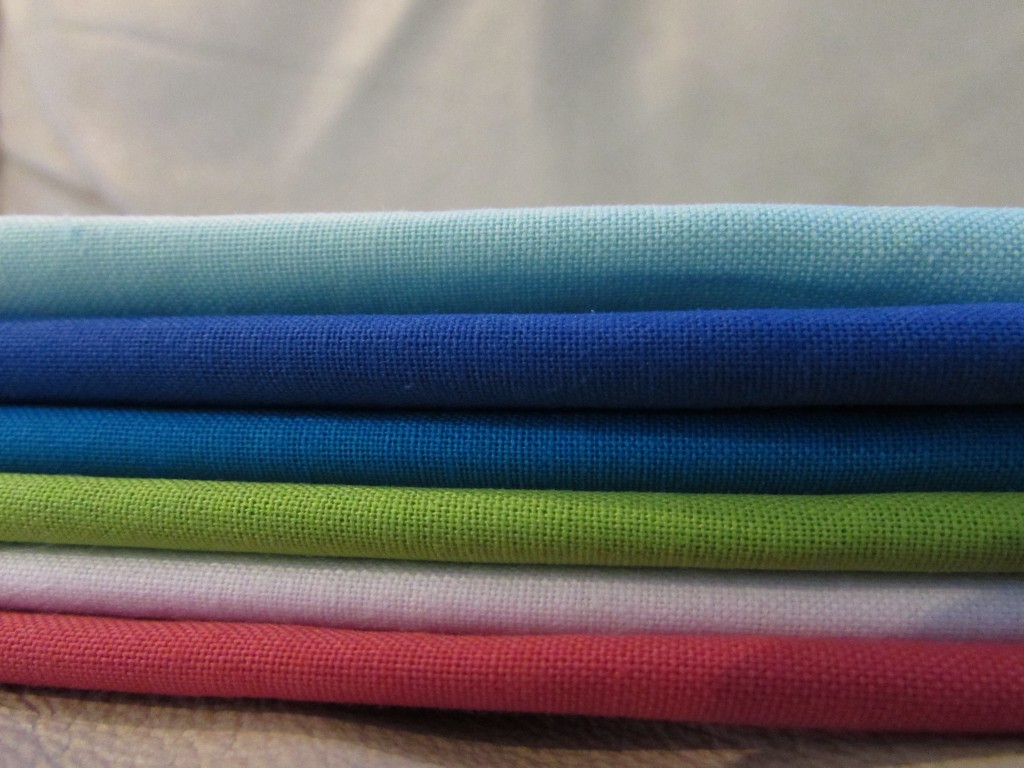
As part of the New Bloggers Bloghop that I have been participating in this summer, we are each to design a quilt block using selected fabrics given to us by Fabri-Quilt. We each received fat-eighths of these luscious pieces.
 Our task was to come up with a fun block that finished out at 12 & 1/2″. We were also to develop a tutorial in case anyone would like to make the block. Today is the first day of the hop and there is a great list of quilters that will blog about their block today. The hop continues for another three days (through Thursday) which means loads of block ideas. This week is a huge opportunity to pin upwards of 60 tutorials for fresh, new quilt blocks. Think of the sampler that could be made from this hop! I am so looking forward to seeing what my hive mates came up with. After making our blocks, we sent them to Stephanie at LateNightQuilter. One of the leaders of the New Blogger Bloghop, Stephanie is organizing the construction of several charity quilts from our blocks. These quilts will be gorgeous and will go to a few lucky recipients.
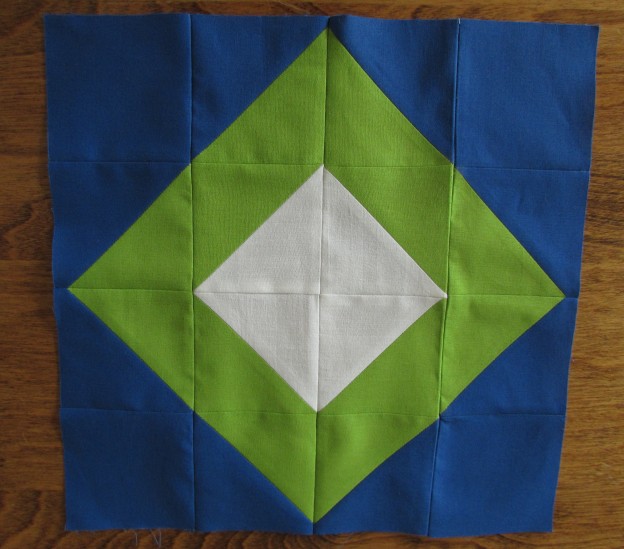
On to my block! I posted earlier that I had been playing with several ideas for a block. I made a modified plus block but didn’t like it in the 12 1/2″ size. It was too “chunky” looking to me. Then I played with a herringbone block. It was ok but not great. Finally, when I was working on my blocks for my row quilt, I took a stack of HST’s and kept laying them out in different patterns. This is the one I liked most. There are unlimited ways that HST’s can be assembled which is what makes them so much fun to work with.
Creating this block is so simple. Here you go!
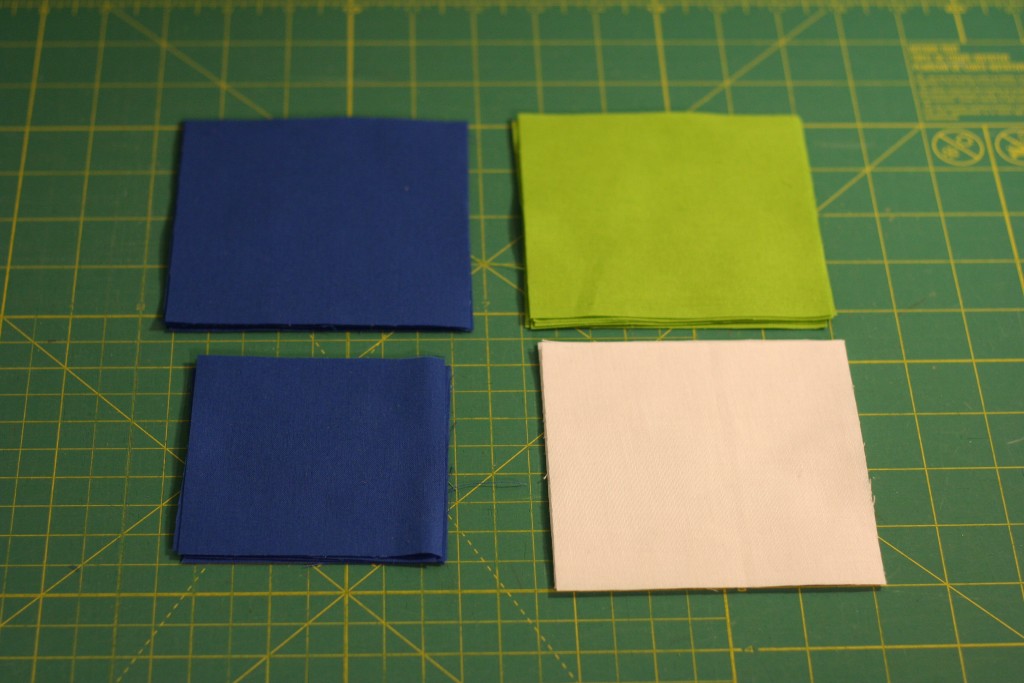
Cutting List:
- (4) 3 & 1/2″ squares of background fabric
- (4) 4 & 3/8″ squares of background fabric
- (6) 4 & 3/8″ squares of middle fabric
- (2) 4 & 3/8″ squares of the center fabric
Process:
Start by creating the HST’s. Just in case you are new to quilting, HST is the acronym for a half-square triangle. There are many ways to create a half-square triangle. My favorite way is this:
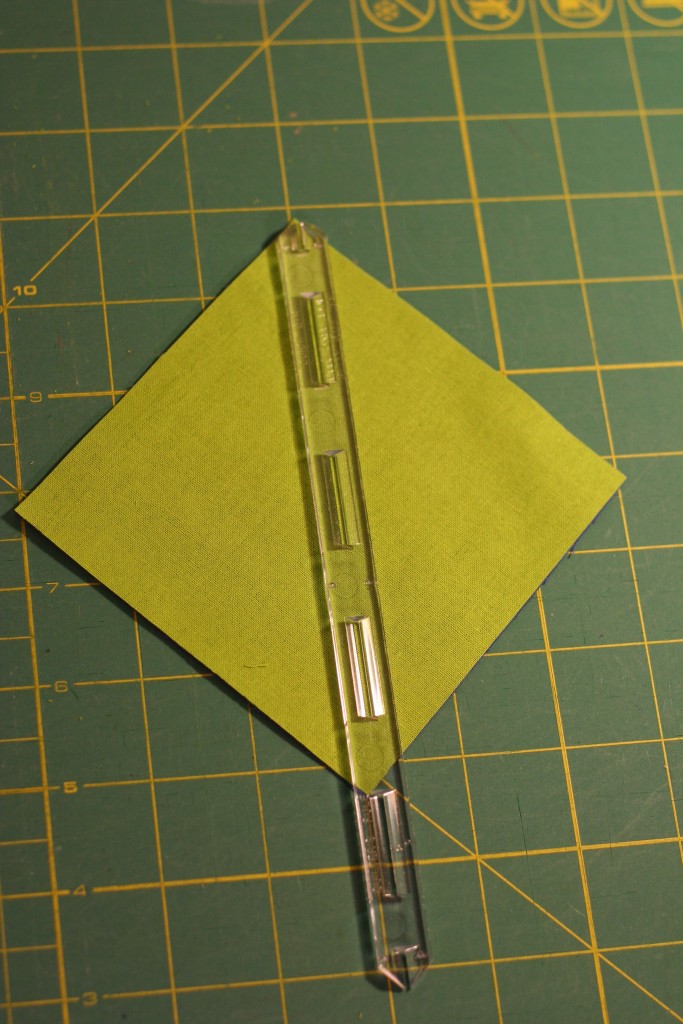
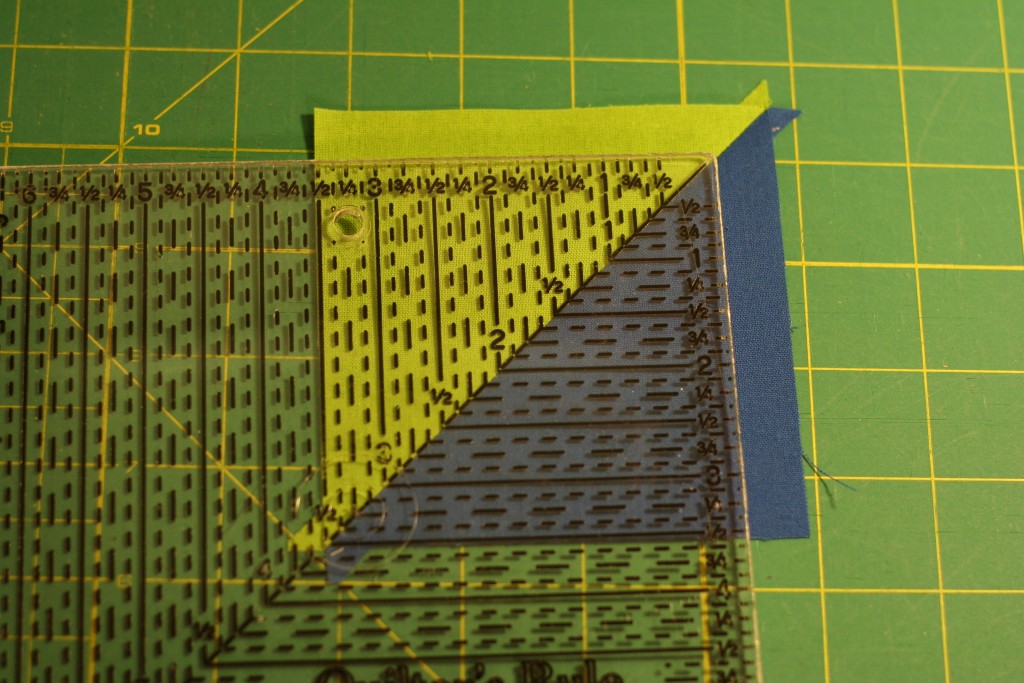
Place one piece each of the background fabric and the feature fabric right sides together. Place your 1/4″ seam marker, on the diagonal, corner to corner, and trace a line along each edge.
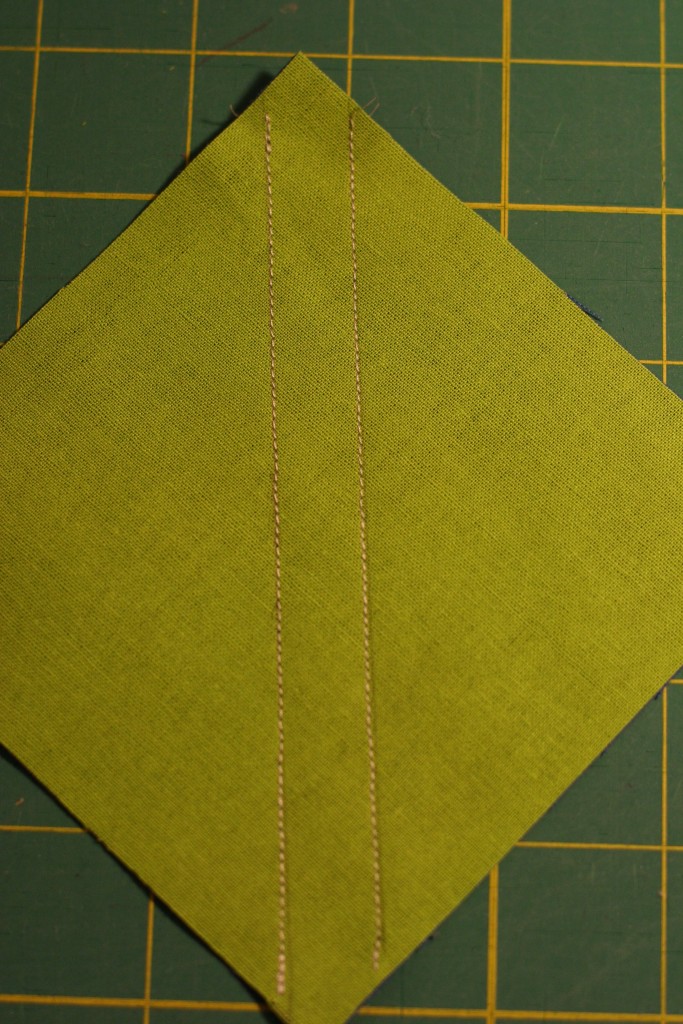
This quarter inch seam marker is 1/2″ wide and give you two lines to trace, which you will then use to stitch a seam. (If you don’t have one of these handy little tools, they are very inexpensive. Here is a link.)
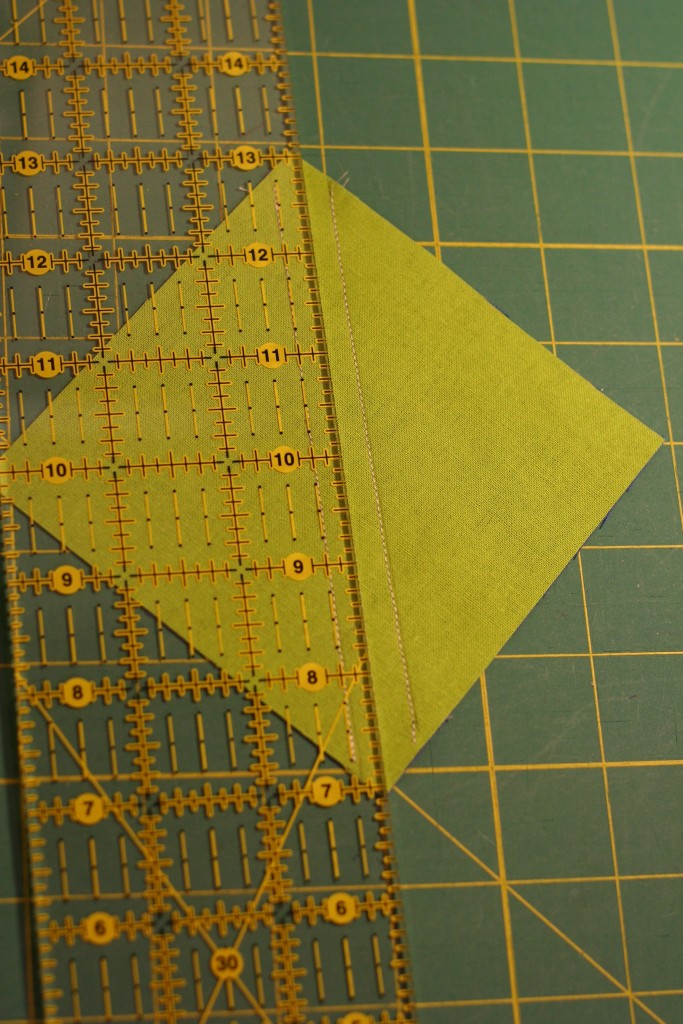
Once you have both seams stitched, slice it in half, right down the center of those seams.
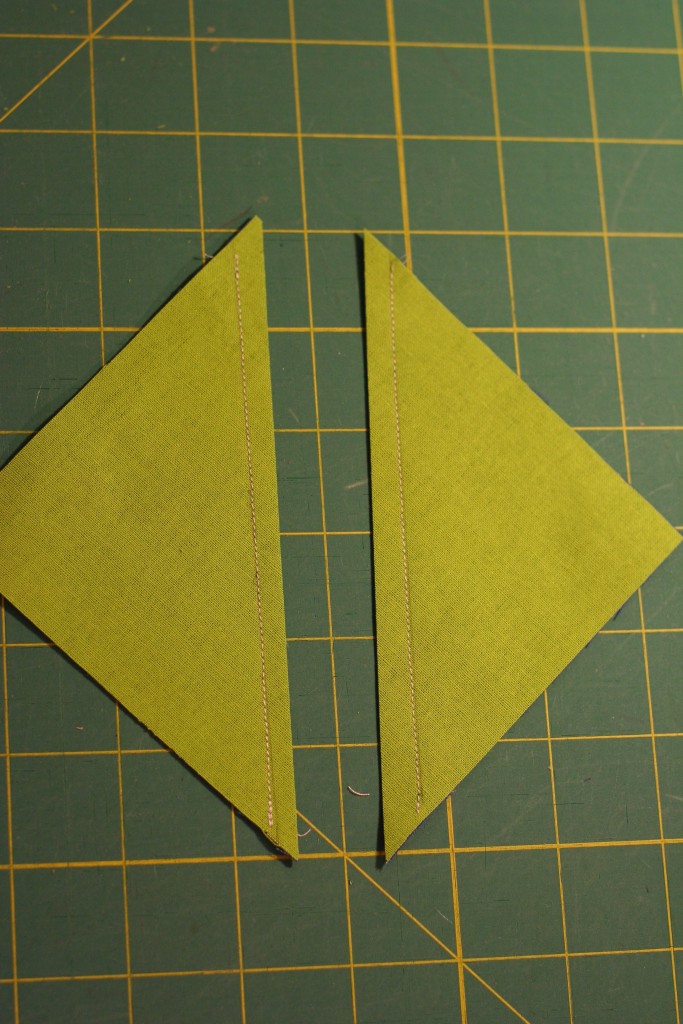
This gives you two HST’s. Press them open. (Pressing open or to the side is a matter of personal preference. I usually press open.)
The block will need to be squared up (trimmed to size). Using a square ruler, trim the block to a finish of 3 & 1/2″.
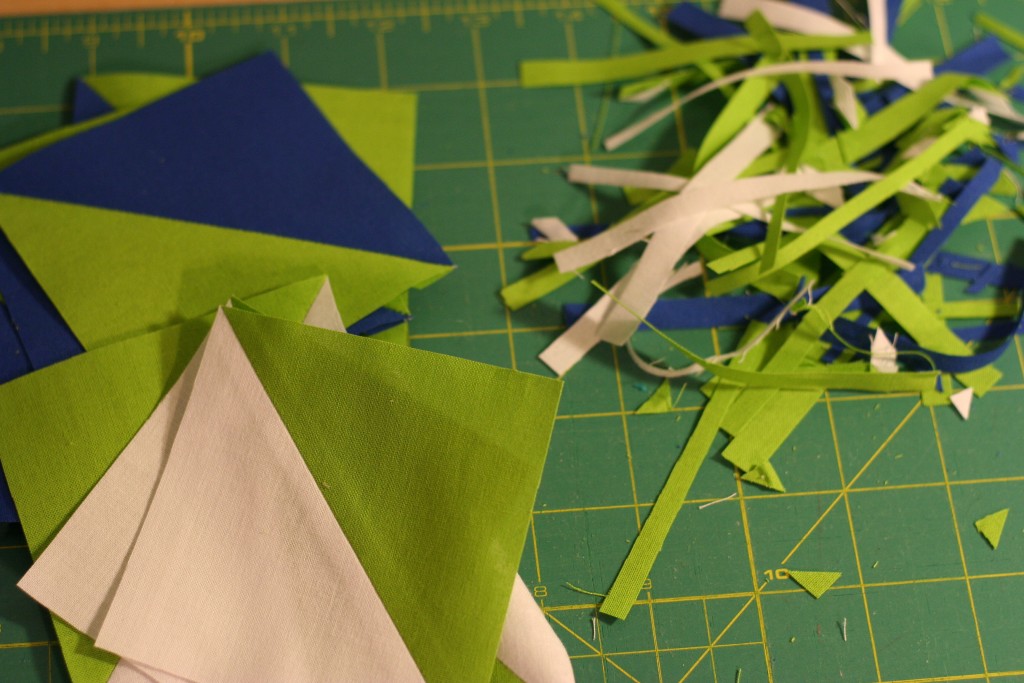
Repeat this process with each of the half square triangles, giving you 12 HST’s that measure 3 & 1/2″ each. Look at the colors in that stack of trimmings, so pretty!
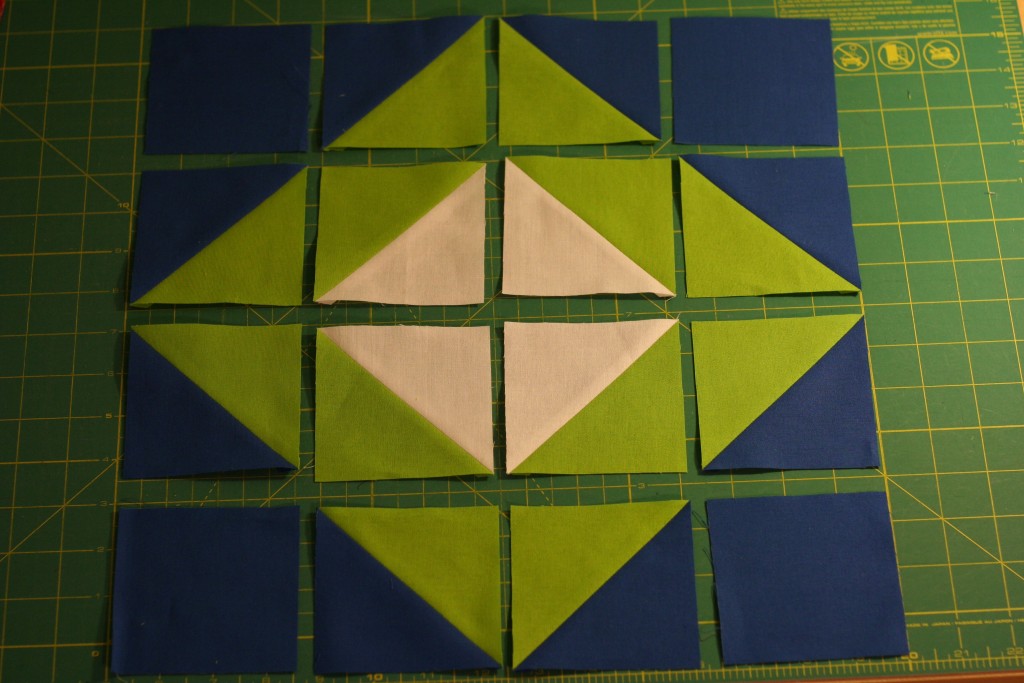
At this point you can lay your squares out in rows of four.
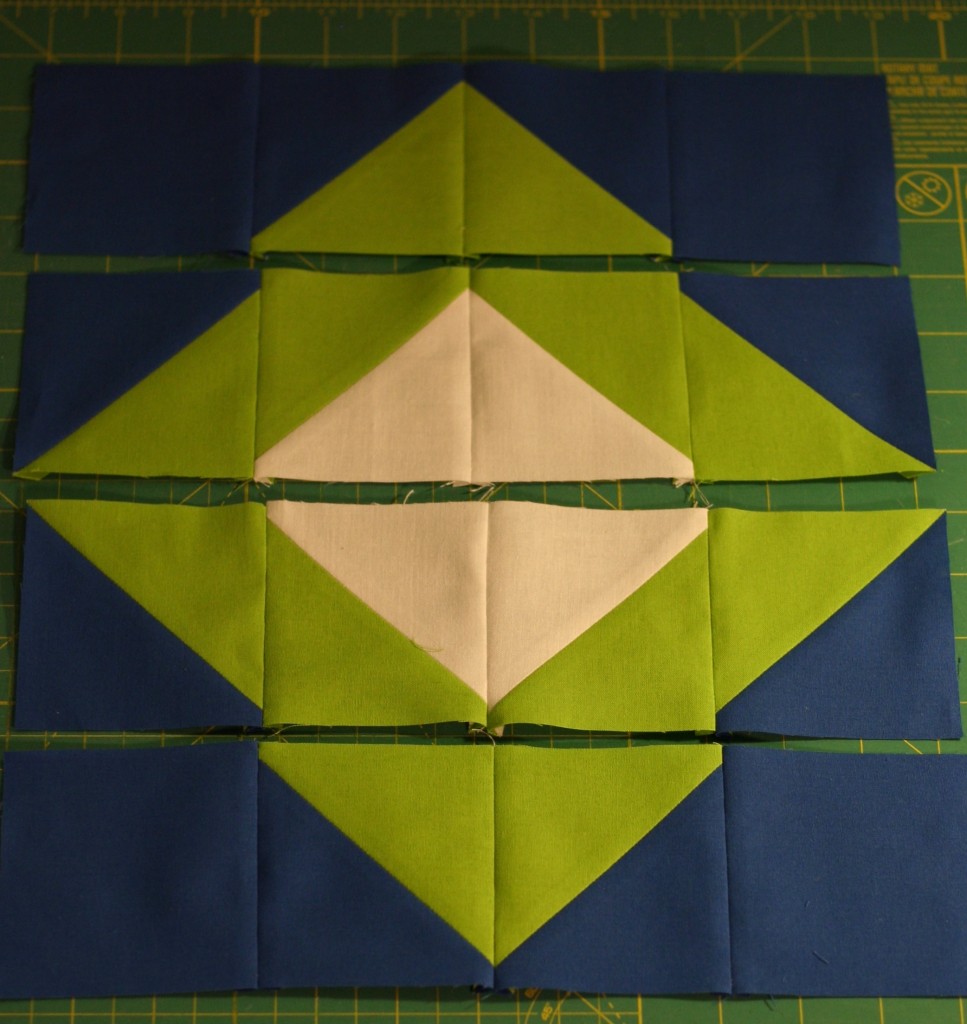
Assemble the rows and stitch each of the squares together.
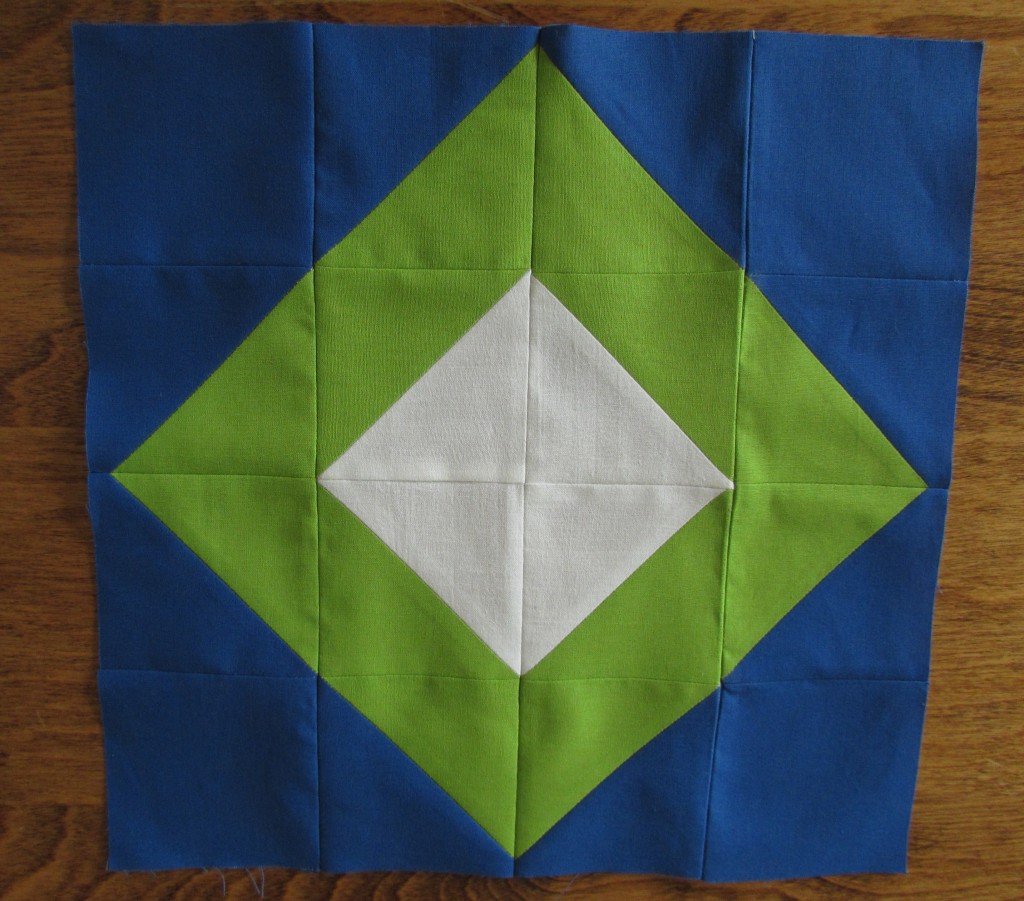
Then stitch the rows together.
Ta Da!! Isn’t this the cutest? Double Diamonds!
Think of all of the inspiration to be had with all of these new ideas over the next few days. Be sure to pop in and take a peek. Pin as many as you like for future reference. I plan to! I have a board on Pinterest for quilt block inspiration. Feel free to follow it if you like. Today my blog hop partners are the following:
Host – Yvonne @Quilting Jetgirl
Kelly @Quilting it Out
Martha @Once a Wingnut
Irene @Patchwork and Pastry
Cassandra @The (not so) Dramatic Life
Andrea @The Sewing Fools
Silvia @A Stranger View
Wanda @Wanda’s Life Sampler
Sandra @Musings of a Menopausal Melon
Vicki @Orchid Owl Quilts
Jess @Quilty Habit
Diana @Red Delicious Life
Chelsea @Patch the Giraffe
Margo @Shadow Lane Quilts
Renee @Quilts of a Feather
In addition to all of these tutorial posts, there will be several giveways this week for a set of 1/2 yard cuts of the fabrics we used. To enter the giveaway, go visit Quilting Jetgirl. While the colors in this set are lovely, they are very bold and saturated. Were you to win this set, I strongly advise that you prewash with like colors (e.g not red and white together!) and dry them. That way any possible color bleeding or fabric shrinkage will happen before you cut and sew!

