Category Archives: Sewing Hints

Sewing with Stretch Knit Fabrics

Sewing with knit fabrics, making t-shirts and tank tops is not terribly difficult. I have made a number of them. However I am usually less than satisfied with the finished look, especially the hem and the neckline. The other day I was reading a post by Leanne at Devoted Quilter and she shared a pretty blue t-shirt she made. By using a double needle (or twin needle) she was able to achieve a nice finish at the hem and neckline.
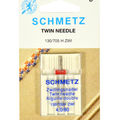
These are available everywhere – Jo-Anns, Amazon, etc.

Some time back, I purchased a double needle, fully intending to try this. But for whatever reason, the needle landed in the drawer with lots of other needles and was forgotten. Leanne’s success gave me just the push I needed to give it a try. I looked on-line to see if there was anything special about threading my machine (Janome 6500) for this needle. My machine has two posts for thread which is mandatory. But threading it was nearly the same as using only one spool of thread. I didn’t want to buy two spools of the same color thread since this isn’t a color I will use often. Instead, I wound an extra bobbin and used it on the second post. This worked just fine.
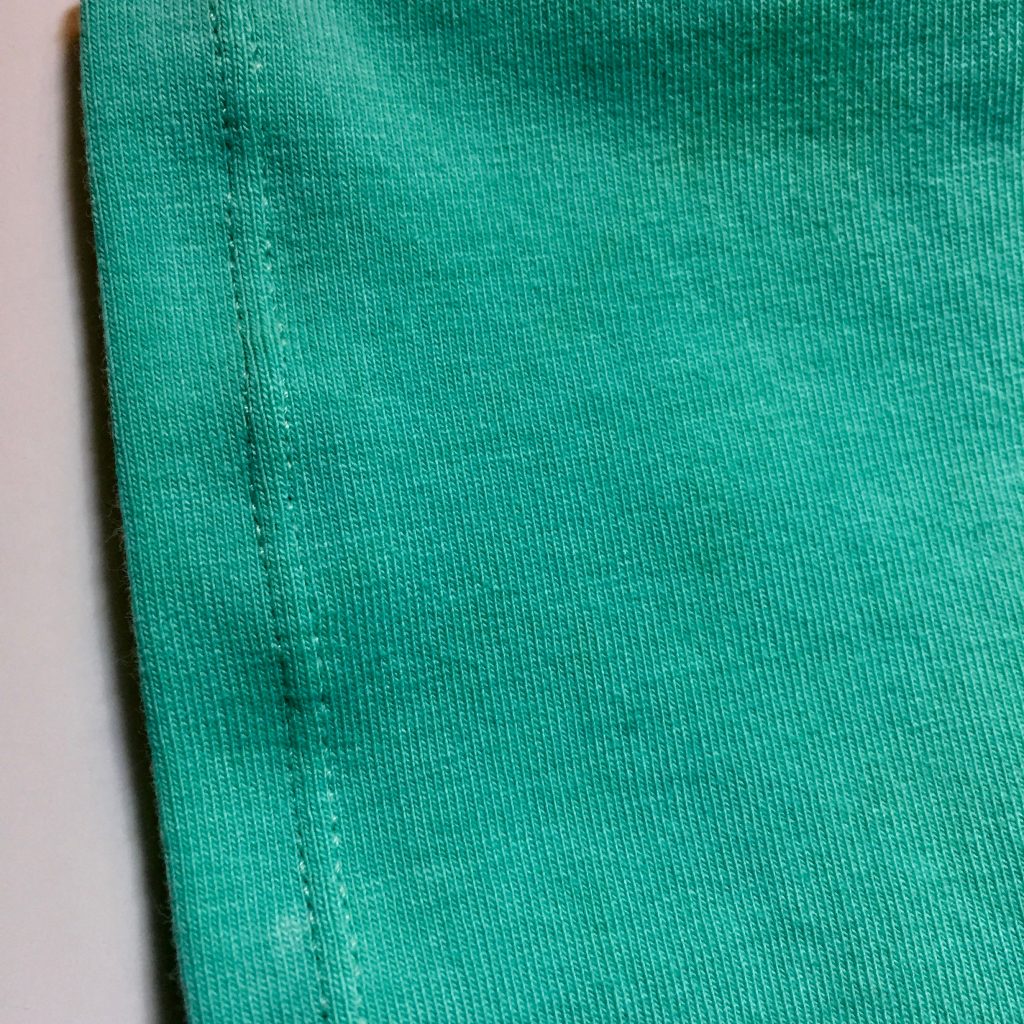
Two very neat rows of topstitching forming the hem of the sleeve.

Sewing with a twin needle is interesting in that you must stitch from the right (or the top) side of the garment. The twin stitching shows on top and the bottom stitching has an interesting zig zag pattern achieved from the use on two needles on top and only one bobbin on the bottom.
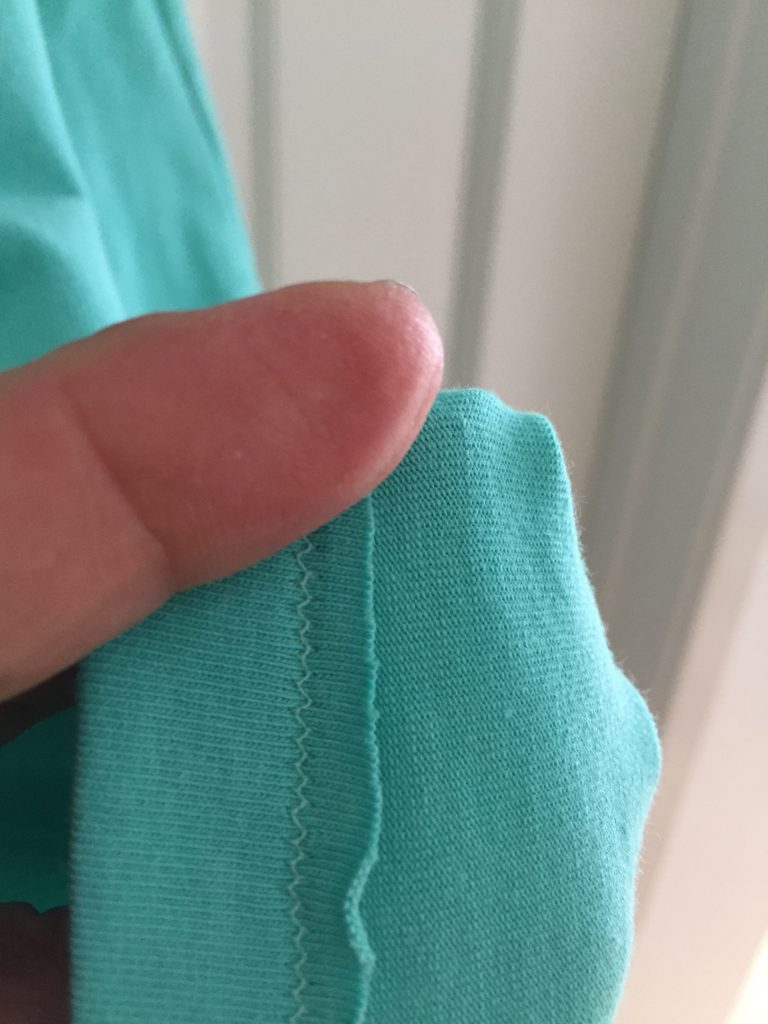
This is how the back side looks.

This is the part I think is so magical. When I first tried using the needle and a a few scraps, I wasn’t at all sure what the bottom would look like as I didn’t really understand how one bobbin would deal with two threads.
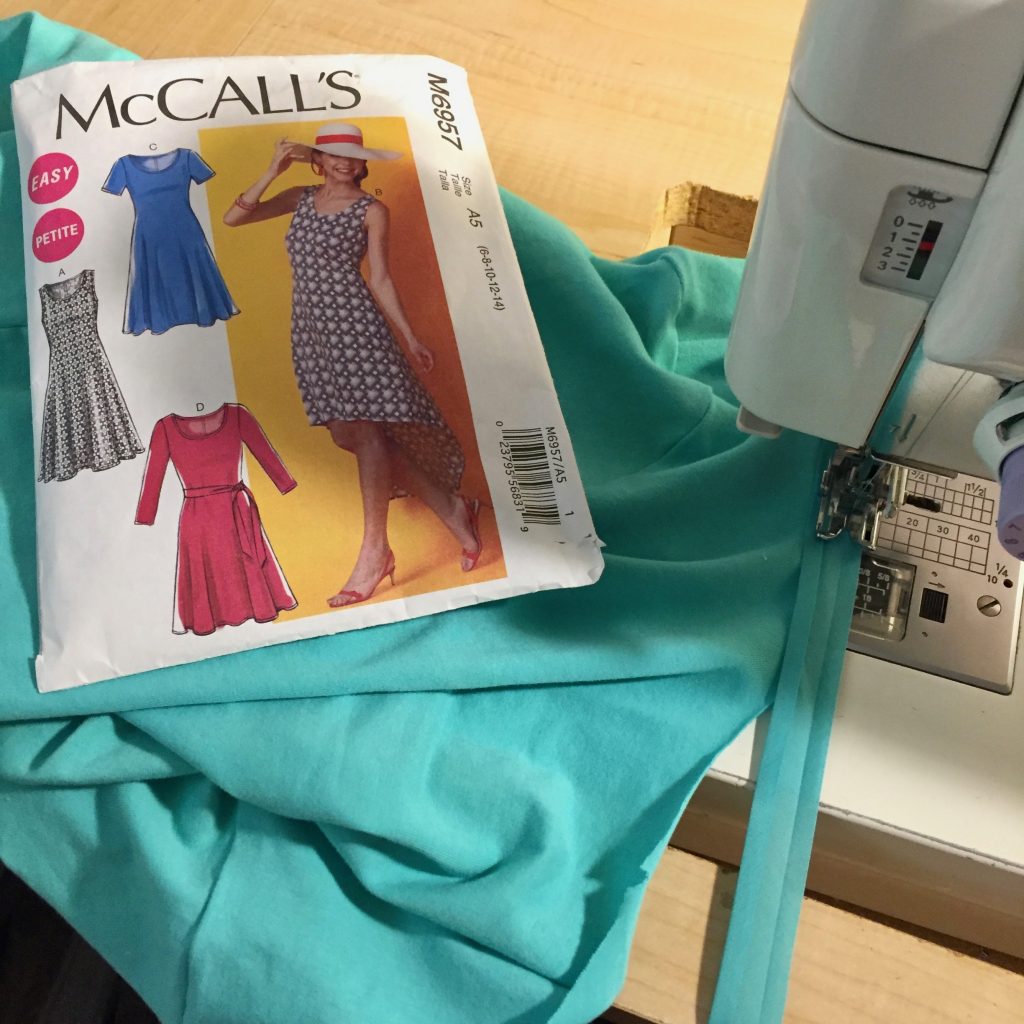
Ok, here are a few details about this project. Using McCall’s M6957 and my thrifted stretch knit fabric, I made a very simple t-shirt dress. I cut the top at a size 12 and graded the waist and hip area to a 14 so it wouldn’t hug at the belly (because that isn’t a look I need to share with the world). 😉 The cut of this simple dress is really comfortable and the fact there are only three pieces to the pattern makes it a very easy project to put together.

I have had this green knit fabric in the drawer for about a year now. I picked it up at a garage sale from someone who was clearing out a lot of fabric. (That was a great sale and I was fortunate to purchase a large stack of knit fabric in good condition). I thought I would use this piece of fabric because if the fit wasn’t good there wasn’t a big loss since there was only a few dollars investment.
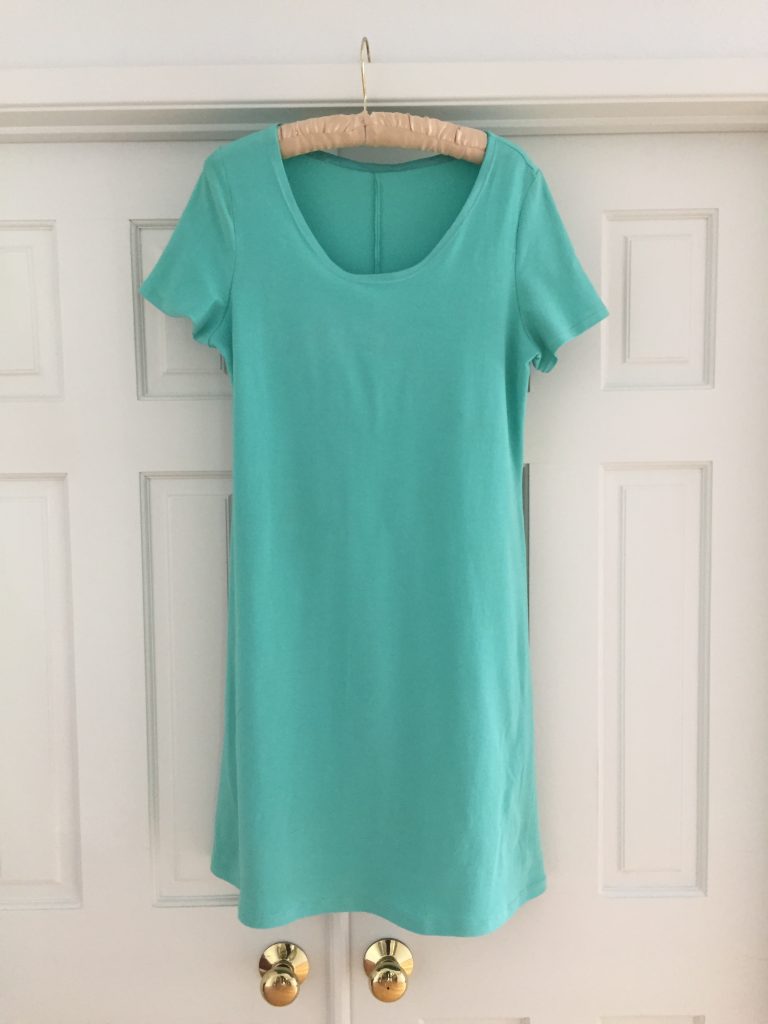
I got lucky though and the fit is great. I don’t have a picture of it on me because as I write this, I don’t have anyone to take a photo. Selfies are not my forte so I am not going to bother. Maybe I will post one later on. For now, you get the boring picture of it hanging from the door.

In my opinion the double needle makes all the difference. The hemline, hem of the sleeves and the topstitching of the neckline look so clean. It really elevates the finish of this dress. One thing to note, the pattern instructions told me to just fold the neckline in toward the wrong side and topstitch. I don’t like that method as it usually makes a wavy neckline and it allows too much stretch.
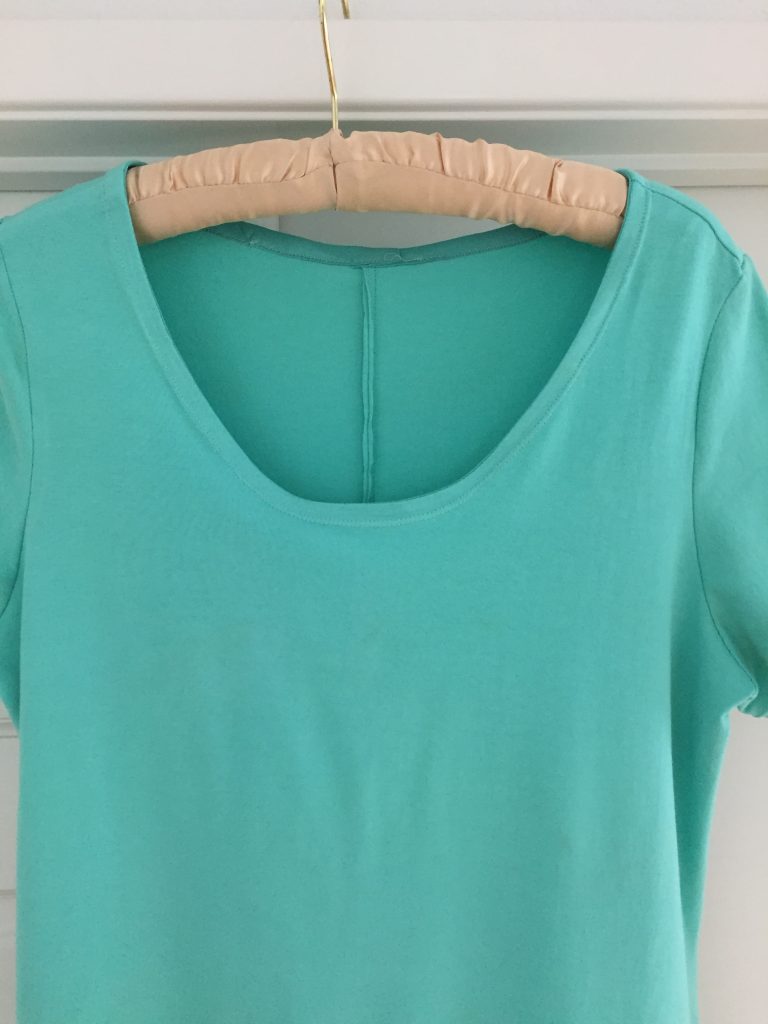
Instead, I attached single fold bias tape and then folded that to the inside and topstitched it. This way, I have a cotton strip creating shape to the neckline. It lays flat and looks really nice. I also reinforced the shoulder seams with bias tape so they wouldn’t stretch. After sewing the shoulder seams and checking the fit, I took a small piece of bias tape, laid it over the seam line and stitched it down. A very easy task and it will prevent the seams from stretching.

Now that I feel confident about the fit and look of this pattern, I want to make another one. I have lots of nice knits and look forward to using them. I think I will make a sleeveless version since we have such warm summers.

Hoping all of you enjoy the weekend. We will likely have a fairly quiet weekend. Julia is studying for finals. My husband wrenched his back and is limping around trying to let it heal. No big plans for the Kringel’s this weekend!

Linking to my usuals – check them out at the top of the page under Link Ups.

A Bonus Finish!

I spent yesterday afternoon playing in the sewing room. I had plenty of other things that I should have been working on.  Namely, putting away the fall decorations and cleaning up so we can put up our Christmas tree this weekend. There is too much mess around here to create the mess that happens when we decorate the tree.  But I just didn’t feel like it. Instead, I really wanted to play with the 16 bonus HST’s that resulted from the Swoon block mini that I made a couple of weeks ago.

The Swoon block is based on rectangles, HST’s and Flying Geese blocks. The best thing about Flying Geese blocks is the pile of ‘bonus’ HST’s that accumulate when you trim the corners on the block. If you aren’t familiar with this happy little prize, allow me to explain. Briefly, when the blocks are sewn to the upper right corner of the rectangle, creating the Flying Geese block, there is a corner that is cut off. If you take an extra second to sew a second seam, 1/2″ to the right of the first seam, you have the opportunity to have a ready made (albeit untrimmed) HST. I admit, I am not very careful when I do this. My feeling is that these are just little scraps that I am giving a second chance to possibly be used in a future project. I don’t mark the second line, I don’t even measure it.  I just eyeball it and sew about 1/2″ from that first seam and slice it off.  When I had finished the Swoon mini, I took the pile of HST’s and pressed them open. I looked at the smallest one – They were all approximately 2.5″ – and I squared them to the size of the smallest block. Then I had a pile of uniform HST’s. (If you can’t go with my very casual method or if you don’t understand what I am talking about, Bonnie Hunter has a nice tutorial on making the extra HST’s in a more precise manner. Take a look here.)

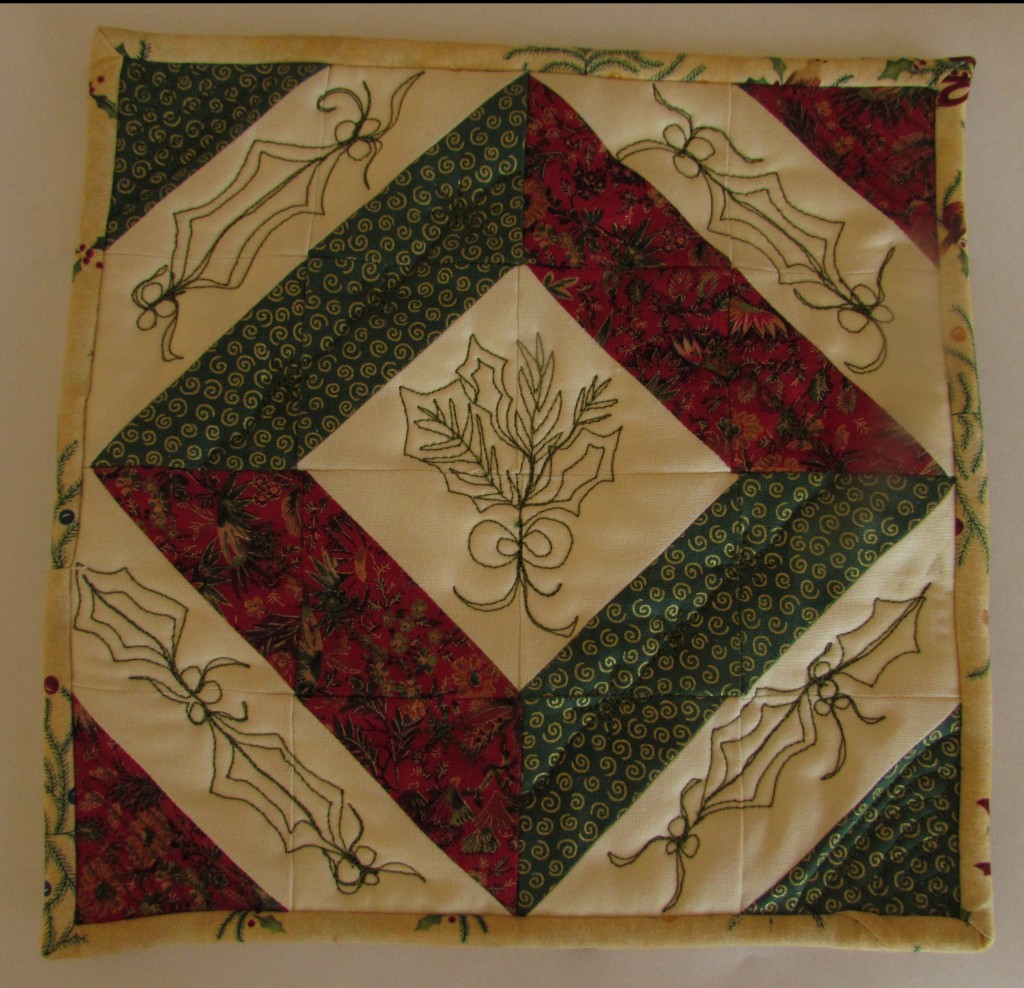
Look what I made yesterday. At 8 x 8″, it is a teeny tiny finish.

IMG_20151204_4234

I spent a bit of time playing with the HST’s, trying different layouts. It is a bit like playing Tangrams. There is no limit to the number of ways to position the blocks. I didn’t want to actually make anymore so I limited myself to use the 16 that I had – no more, no less.

IMG_20151204_4235

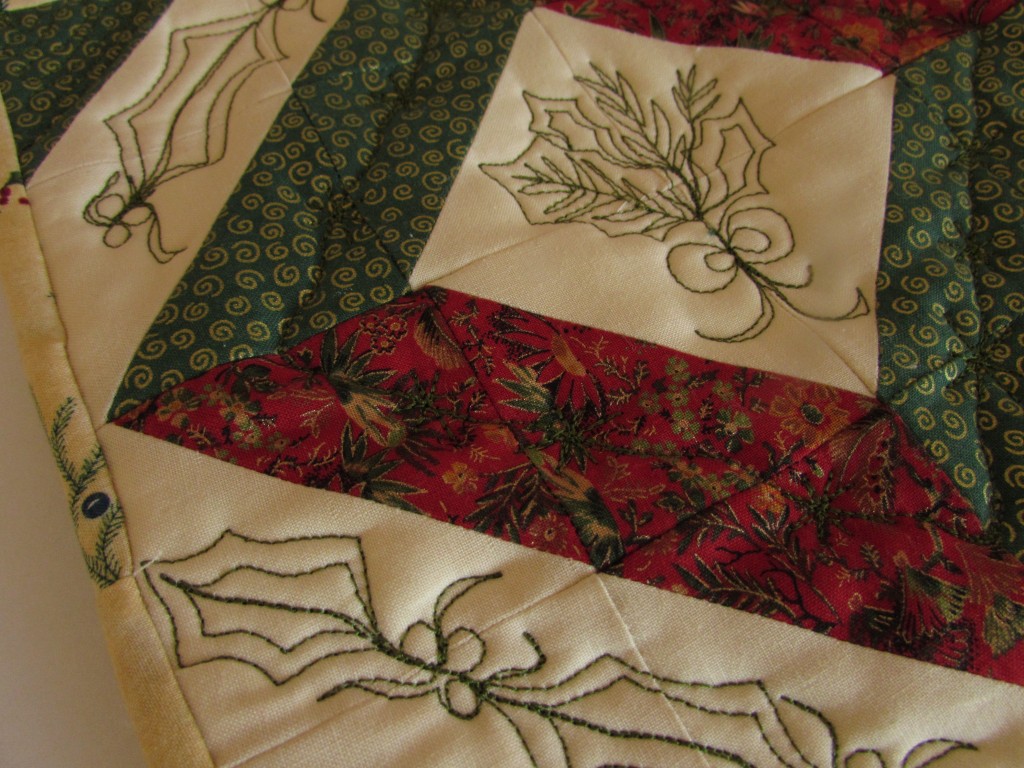
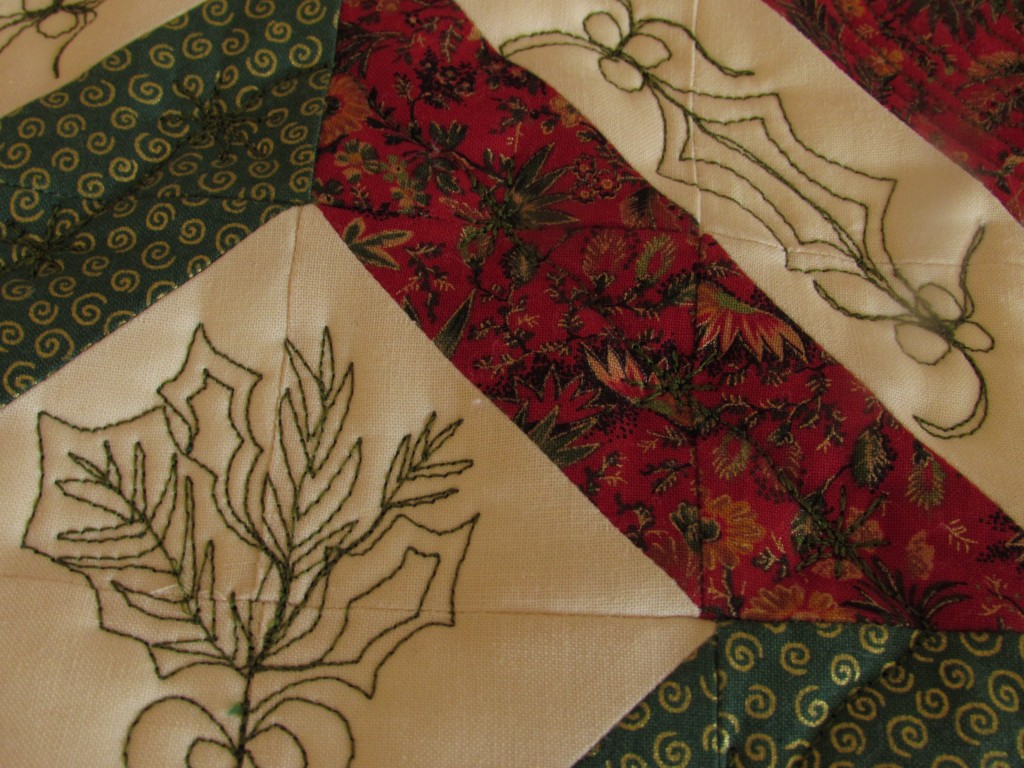
Once I had them sewn together, I decided to practice some FMQ with the little piece. Going to my usual sources, Pinterest, Leah Day, and Lori Kennedy, I found a holly motif that I liked. Here is the link to the tutorial on Lori’s site, The Inbox Jaunt.

IMG_20151204_4238

Two things made quilting this a challenge. One is that I used two layers Insul Bright batting scraps inside of this in case I wanted to use it as a hot pad or a trivet on my dining room table.  The Insul Bright was a bit annoying to quilt through, especially a double layer. Second, I decided to use Sulky thread on top and I put Mettler in the bobbin.  I love Sulky threads – so shiny and glossy. But also a bit slippery soI had to play with the tension to get it right.

Overall, the little hot pad is pretty cute. The FMQ is a bit rough. The bow at the bottom of the holly in the center is an eyesore but obviously not enough that I was willing to take the time to rip the stitches out. (It is a hot pad after all.) I haven’t practiced free motion quilting for a long while so it was fun to play with this. I am ever thankful to Lori’s site for the endless FMQ tutorials. I love that she has so many seasonal themes. It is very fun to play with them.

IMG_20151204_4236

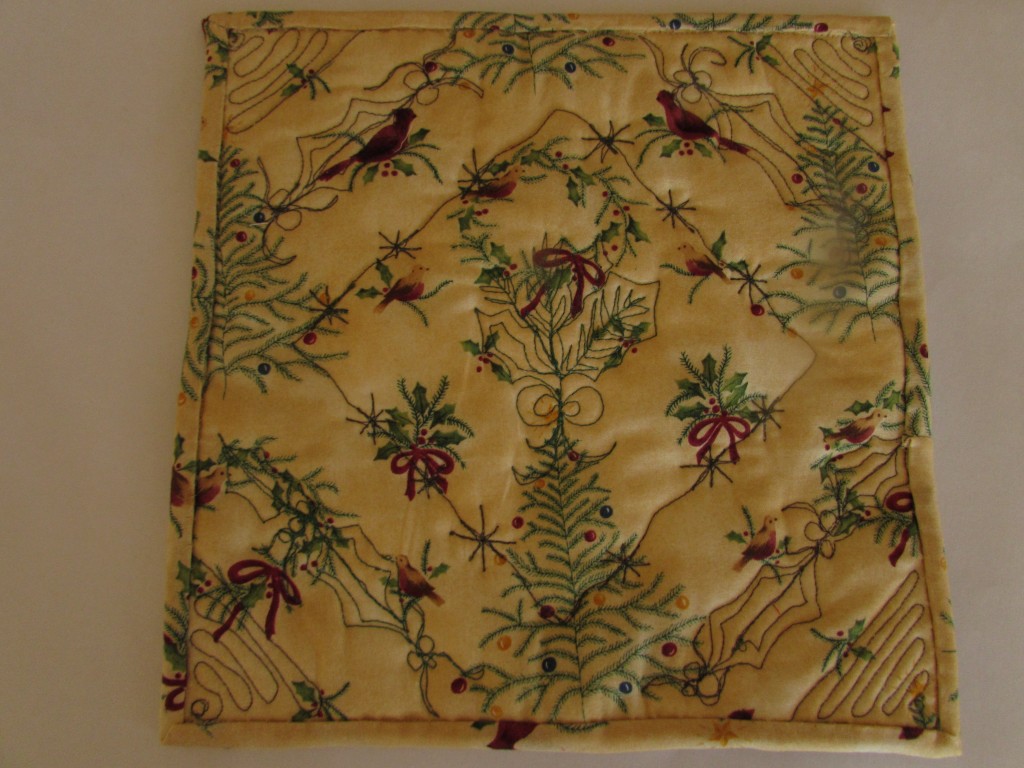
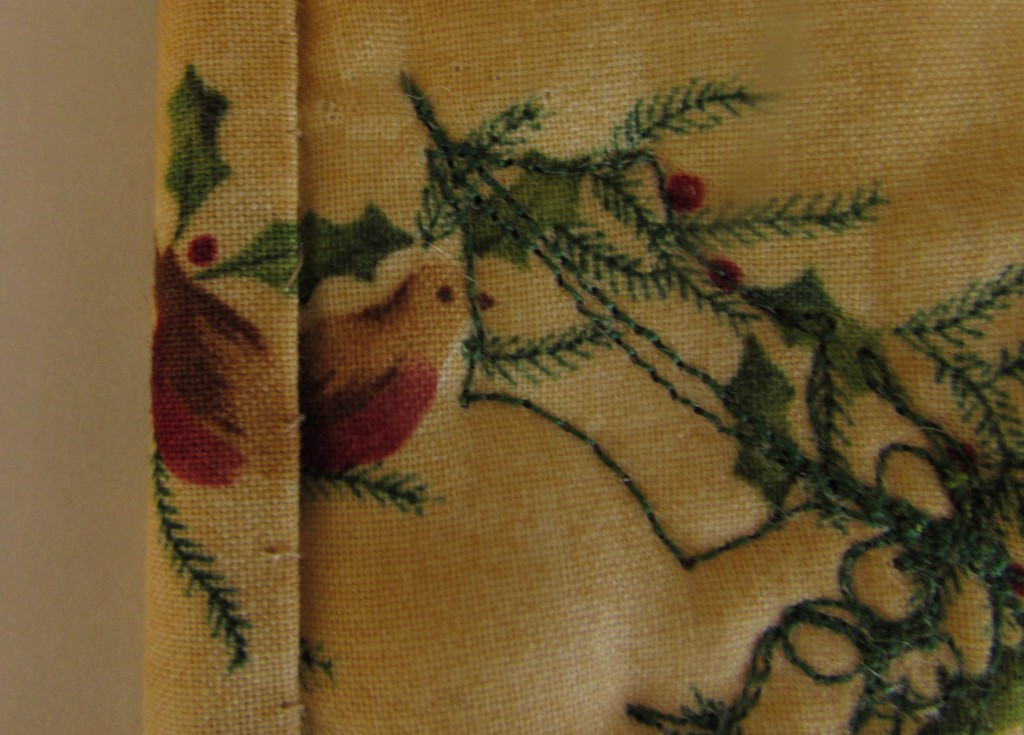
Finally, I wanted to point out something that took me by surprise. I used a scrap of holiday fabric for the back. After I was done and it was trimmed and ready for binding, I was digging through my scraps and found a few more pieces of the backing fabric to use as binding. There was barely enough. I had to cut narrow 2″ strips which were a trick to use – the quilt sandwich being extra thick from the Insul Bright. Anyway… come on Bernie and get to the point. As I stitched the binding down on the back, the folded binding matched up with the backing quite closely at one point.

IMG_20151204_4237

Isn’t that cute? The holly just about matched up, as did the little bird. Nothing earth shattering but it is a fun coincidence. (Doesn’t take much to amuse me!)  There you have it, my second finish this week!

Is your tree up (if you are a Christmas-tree-decorating person)? How about lights outside on the house? I am hoping Ray will put ours up this weekend. I think the outdoor lights are one of my favorite parts of the season and I leave them up as long as possible.

Linking to Amanda Jean at Crazy Mom Quilts and Lizzie at Free Motion Mavericks.

Fabri-Quilt New Block Bloghop

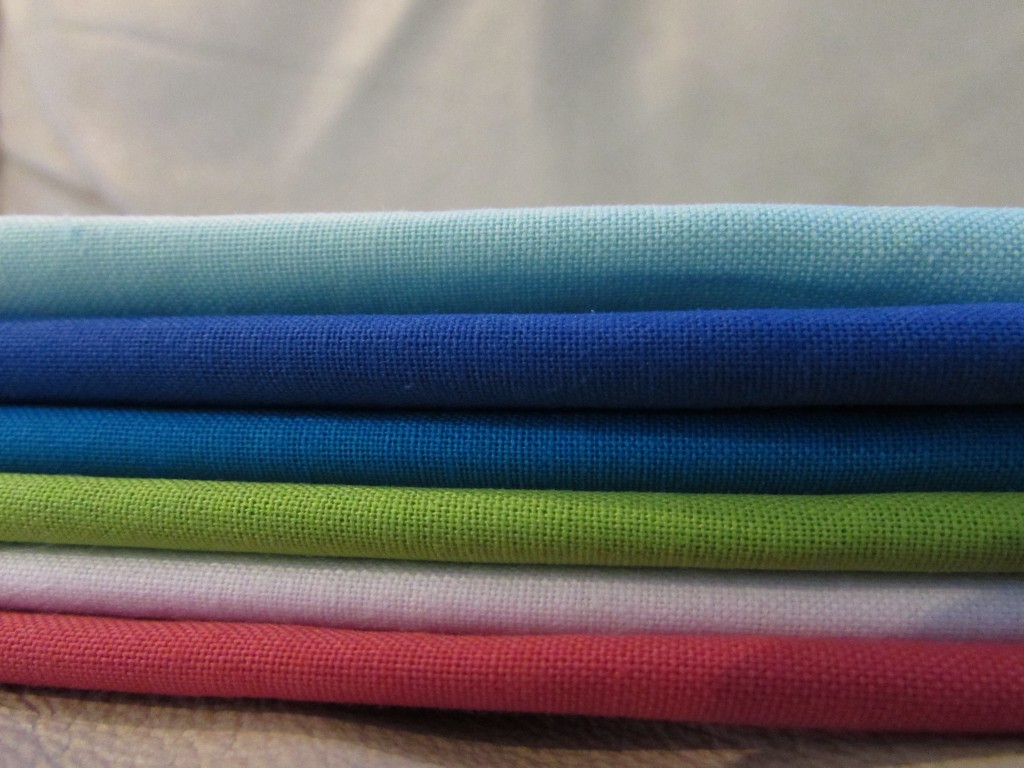
As part of the New Bloggers Bloghop that I have been participating in this summer, we are each to design a quilt block using selected fabrics given to us by Fabri-Quilt. We each received fat-eighths of these luscious pieces.

IMG_20150803_3649Our task was to come up with a fun block that finished out at 12 & 1/2″. We were also to develop a tutorial in case anyone would like to make the block. Today is the first day of the hop and there is a great list of quilters that will blog about their block today. The hop continues for another three days (through Thursday) which means loads of block ideas. This week is a huge opportunity to pin upwards of 60 tutorials for fresh, new quilt blocks. Think of the sampler that could be made from this hop! I am so looking forward to seeing what my hive mates came up with. After making our blocks, we sent them to Stephanie at LateNightQuilter. One of the leaders of the New Blogger Bloghop, Stephanie is organizing the construction of several charity quilts from our blocks. These quilts will be gorgeous and will go to a few lucky recipients.

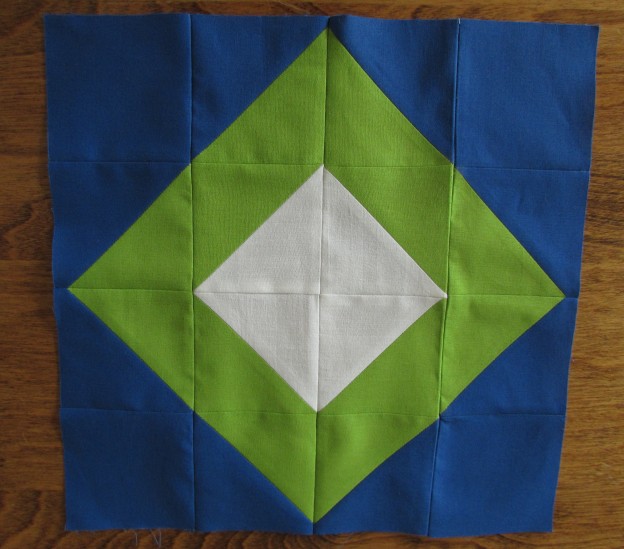
On to my block! I posted earlier that I had been playing with several ideas for a block. I made a modified plus block but didn’t like it in the 12 1/2″ size. It was too “chunky” looking to me.  Then I played with a herringbone block. It was ok but not great. Finally, when I was working on my blocks for my row quilt, I took a stack of HST’s and kept laying them out in different patterns. This is the one I liked most. There are unlimited ways that HST’s can be assembled which is what makes them so much fun to work with.

Creating this block is so simple. Here you go!

Cutting List:

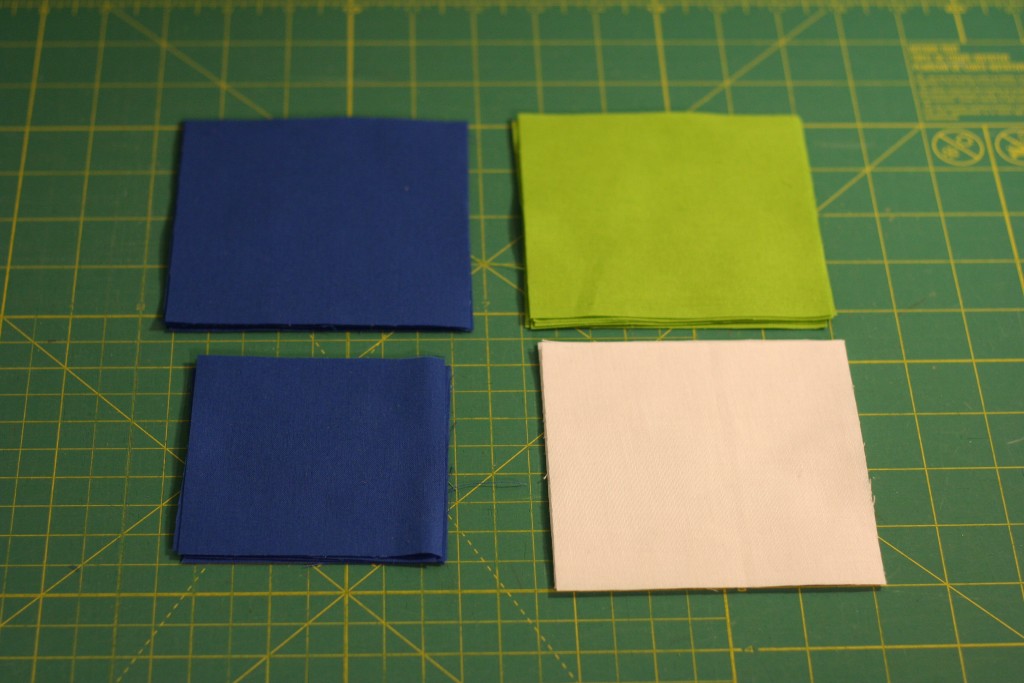
  • (4) 3 & 1/2″ squares of background fabric
  • (4) 4 & 3/8″ squares of background fabric
  • (6) 4 & 3/8″ squares of middle fabric
  • (2) 4 & 3/8″ squares of the center fabric

image

Process:

Start by creating the HST’s. Just in case you are new to quilting, HST is the acronym for a half-square triangle. There are many ways to create a half-square triangle. My favorite way is this:

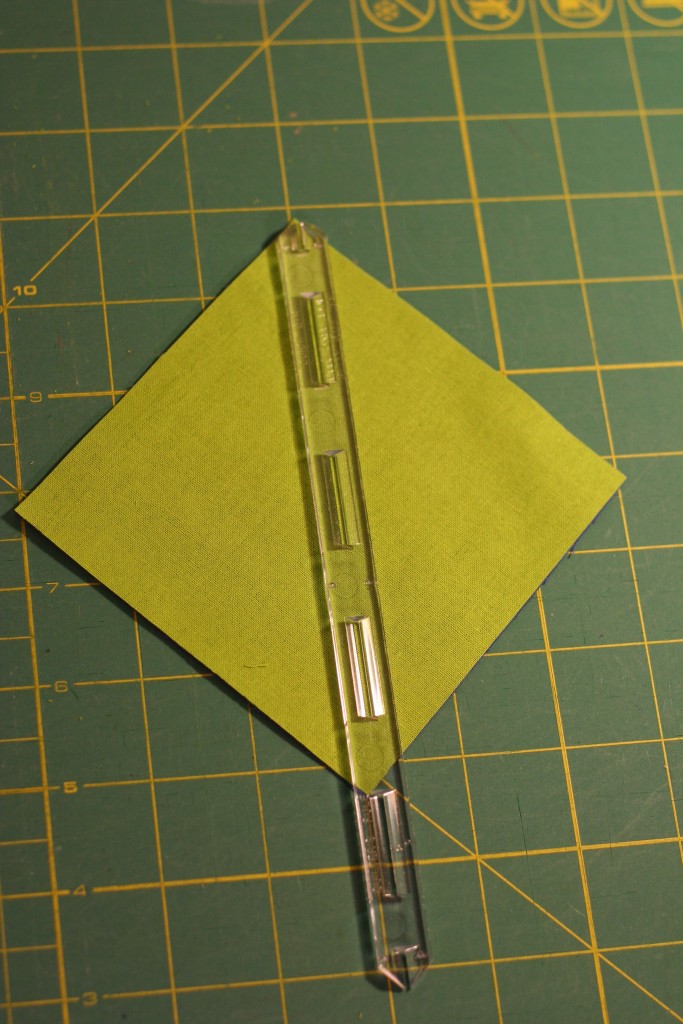
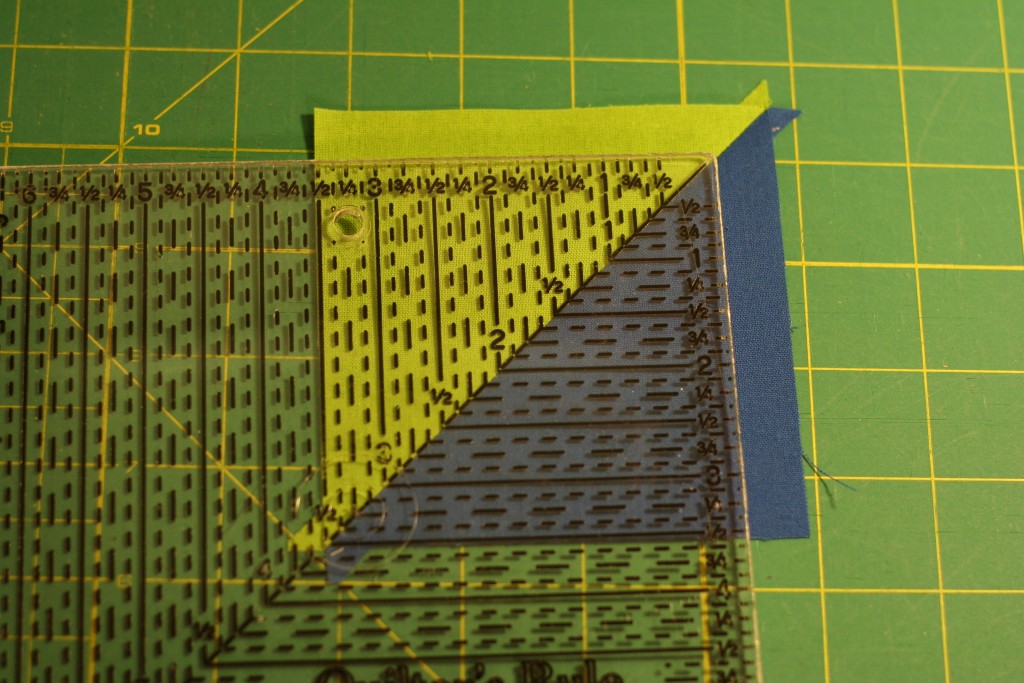
Place one piece each of the background fabric and the feature fabric right sides together. Place  your 1/4″ seam marker, on the diagonal, corner to corner,  and trace a line along each edge.

image

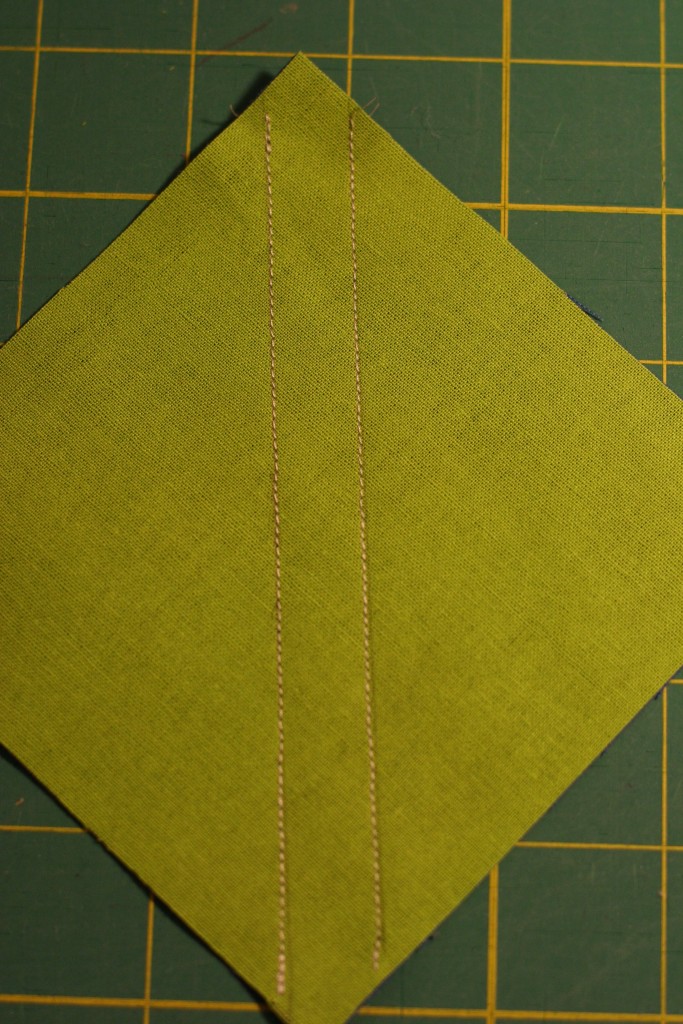
This quarter inch seam marker is 1/2″ wide and give you two lines to trace, which you will then use to stitch a seam. (If you don’t have one of these handy little tools, they are very inexpensive. Here is a link.)

image

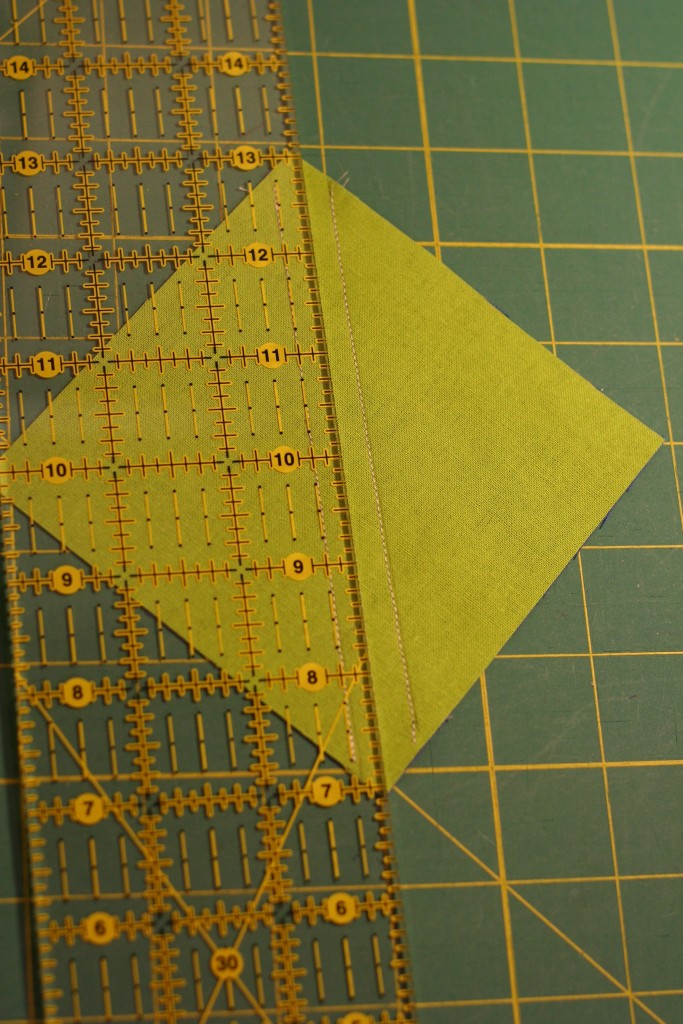
Once you have both seams stitched, slice it in half, right down the center of those seams.

image

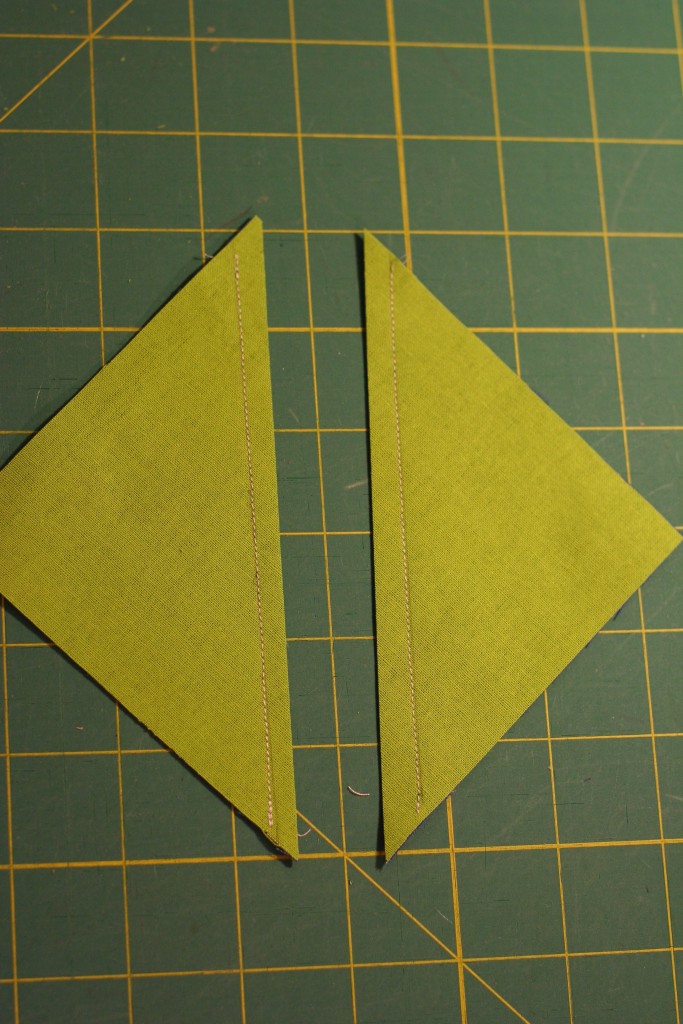
This gives you two HST’s. Press them open. (Pressing open or to the side is a matter of personal preference. I usually press open.)

image

The block will need to be squared up (trimmed to size).  Using a square ruler, trim the block to a finish of 3 & 1/2″.

image

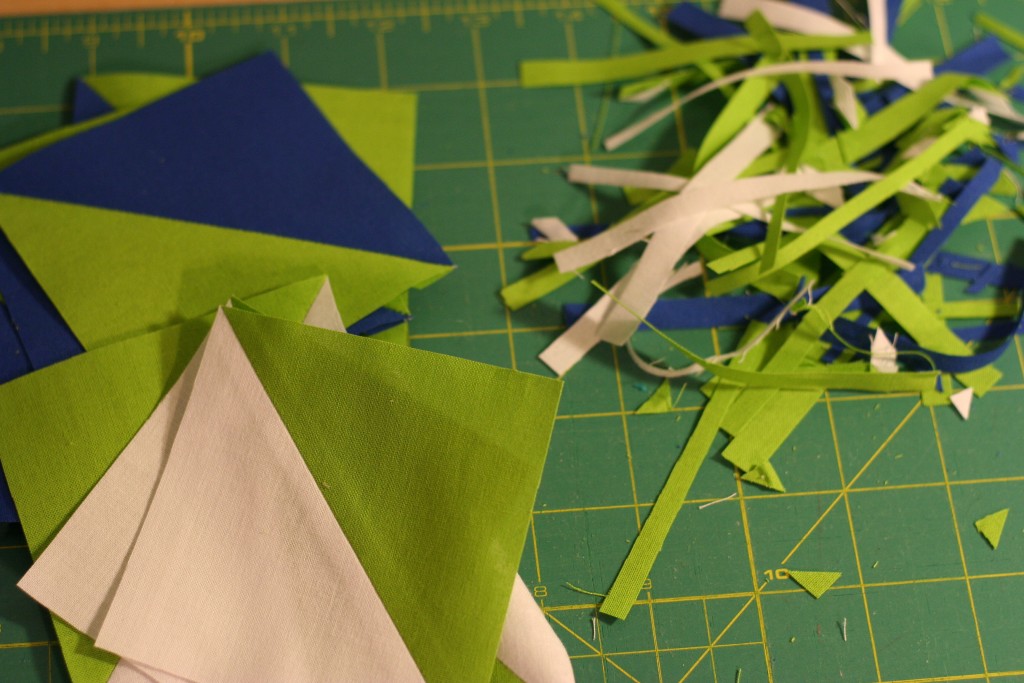
Repeat this process with each of the half square triangles, giving you 12 HST’s that measure 3 & 1/2″ each. Look at the colors in that stack of trimmings, so pretty!

image

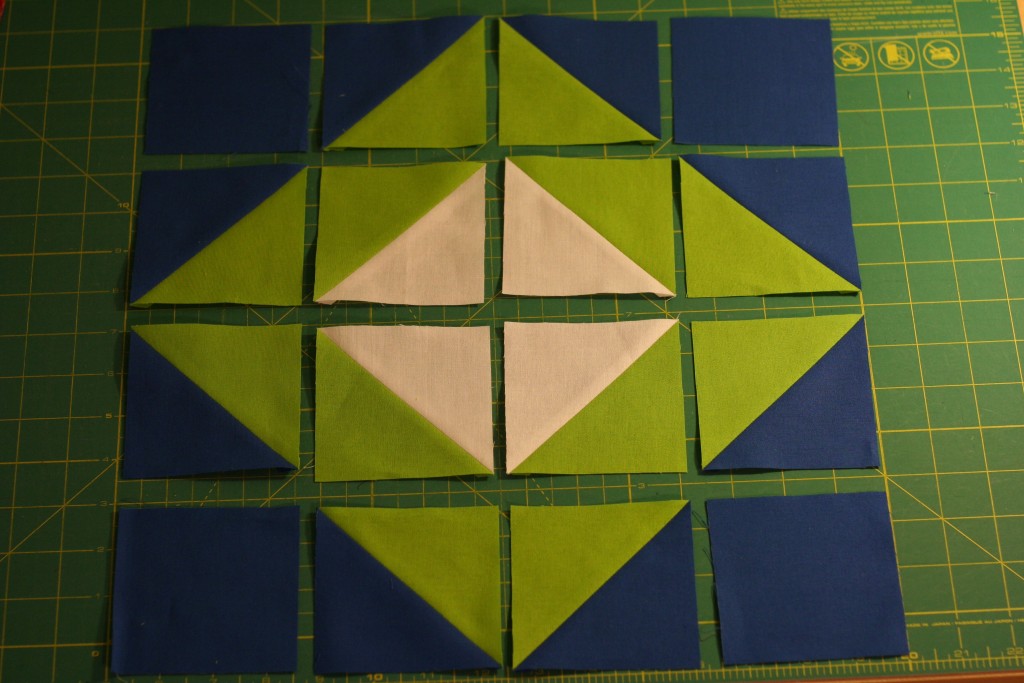
At this point you can lay your squares out in rows of four.

image

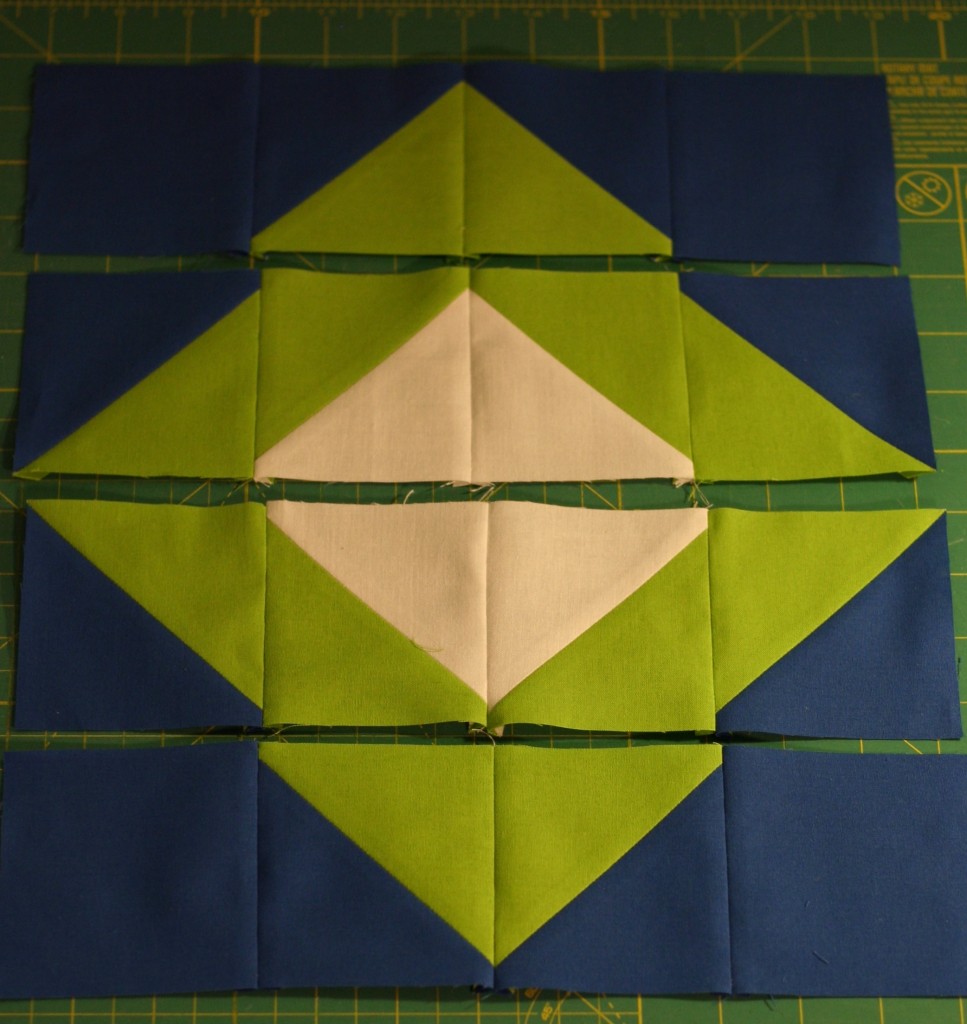
Assemble the rows and stitch each of the squares together.

image

Then stitch the rows together.

IMG_20150828_3727

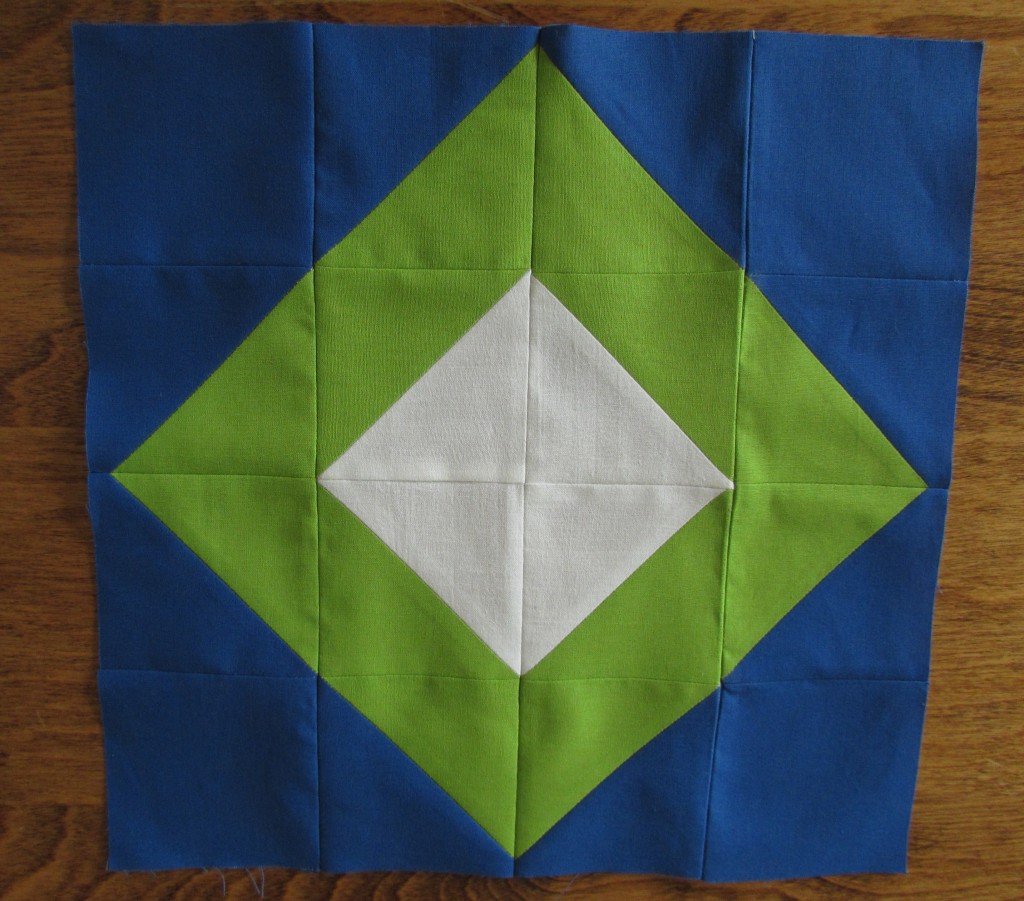
Ta Da!! Isn’t this the cutest? Double Diamonds!

Think of all of the inspiration to be had with all of these new ideas over the next few days. Be sure to pop in and take a peek. Pin as many as you like for future reference. I plan to! I have a board on Pinterest for quilt block inspiration. Feel free to follow it if you like. Today my blog hop partners are the following:

Host – Yvonne @Quilting Jetgirl
Kelly @Quilting it Out
Martha @Once a Wingnut
Irene @Patchwork and Pastry
Cassandra @The (not so) Dramatic Life
Andrea @The Sewing Fools
Silvia @A Stranger View
Wanda @Wanda’s Life Sampler
Sandra @Musings of a Menopausal Melon
Vicki @Orchid Owl Quilts
Jess @Quilty Habit
Diana @Red Delicious Life
Chelsea @Patch the Giraffe
Margo @Shadow Lane Quilts
Renee @Quilts of a Feather

In addition to all of these tutorial posts, there will be several giveways this week for a set of 1/2 yard cuts of the fabrics we used. To enter the giveaway, go visit Quilting Jetgirl. While the colors in this set are lovely, they are very bold and saturated. Were you to win this set, I strongly advise that you prewash with like colors (e.g not red and white together!) and dry them. That way any possible color bleeding or fabric shrinkage will happen before you cut and sew!


Anticipation

I am sitting here waiting for the delivery of my new washing machine.If you could have heard the noise made during the final spin cycle, you would have no trouble imagining my anticipation for this wonderful event. It sounded like jets were leaving the runway. The floor shook as the machine rumbled. The sound grew louder with each load of wash. I called to see about having this fixed, assuming that they could just replace the bad bearing or whatever was failing. But the service technician asked how old the washing machine was (ten years old) and told me that it wasn’t worth fixing it. The average lifespan of a washer is about ten years these days. Planned obsolescence – don’t even get me started. Remembering back, I am fairly certain my mom had one washer for the duration of my childhood.

While shopping for a new machine, I asked the salesperson if there was a washer that would hold up for longer than the estimated ten years. He said, sure – this one over here will last 15 or so. Of course it was expensive enough that I could just buy another one in ten years and still spend the same amount. Irritating. So, I am just waiting for the delivery guys to show up and heave that beast up the two flights of stairs on my deck and install it. I have a pile of laundry waiting right here with me. Exciting times, right?

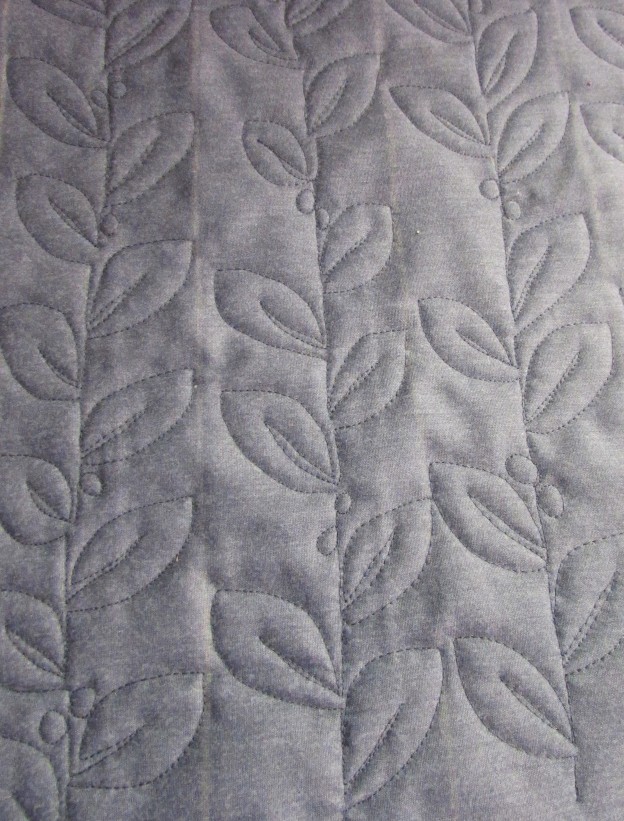
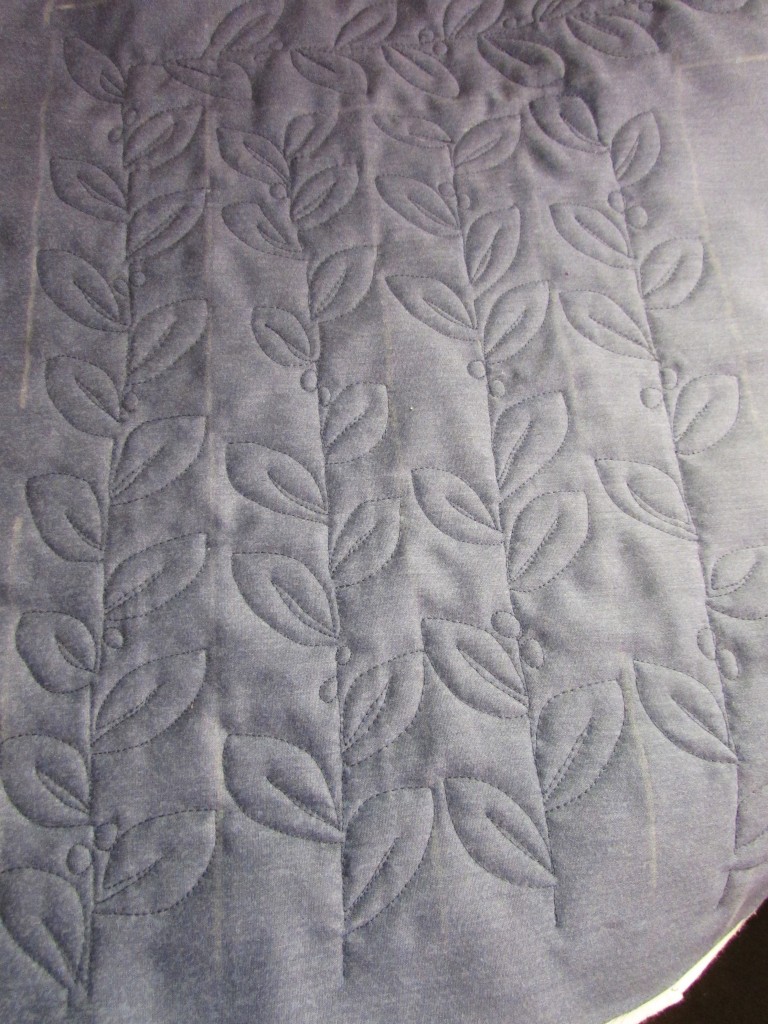
Over the weekend (since I wasn’t doing laundry) I practiced my FMQ. I wanted a larger fabric sandwich to practice on as I was doing a leafy border motif and wanted to figure out how to turn the corner. For me, it is really a challenge to plan the motif and be at the right point in the design to make that turn. I cannot visualize things like that in my head, yet I prefer to quilt without tracing a design. When I stitch over a tracing of a design, my stitches wobble. Don’t ask me why. If I had to make a supposition, it would be that my mind becomes focused on that dang traced line. Without the line, my stitches flow much better. This corner isn’t great. I don’t like that harsh right angle on the vine. But the leaves worked out ok.

IMG_20150822_3694I do like the motif. I found this Modern Leaf tutorial via Lori Kennedy’s incredible website, The Inbox Jaunt. I have mentioned her before, but really, if you are working on your FMQ skills, I cannot recommend her enough. Her site offers tons of tutorials and many, many different motifs. It is definitely worth taking a peek at all she has to offer.

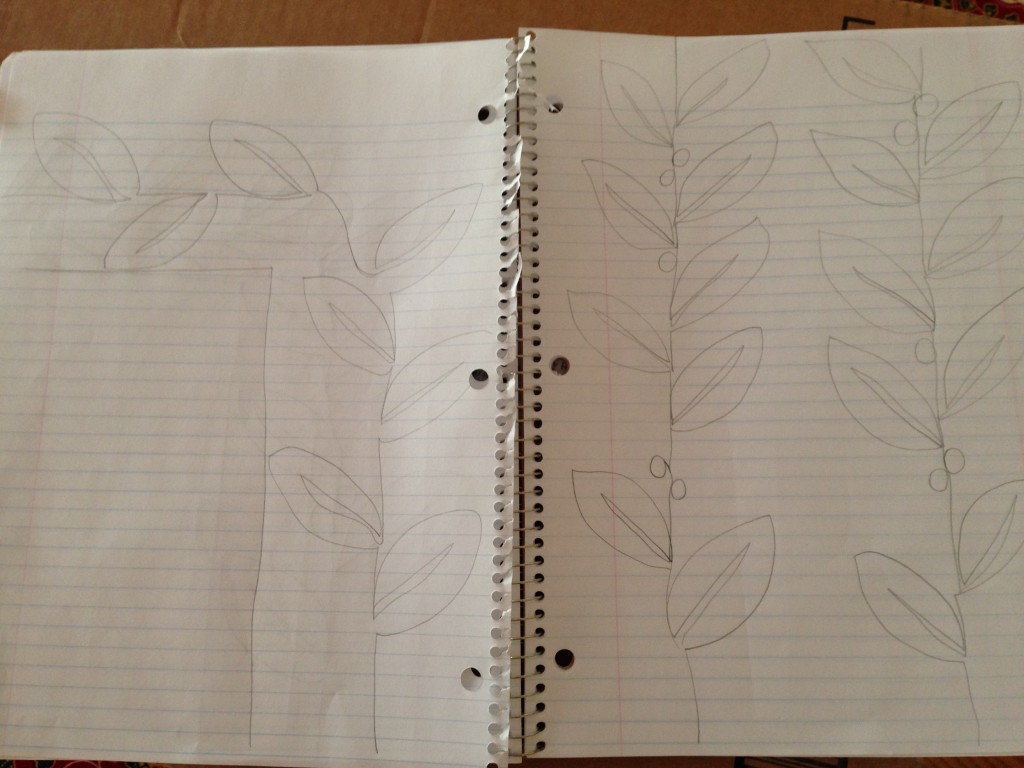
Lori is a huge proponent of doodling and drawing the motif before actually stitching it. I did several pages of practice drawings. (Drawing is not my forte, not in the slightest.) However, the practice of making those hand motions using pencil and paper definitely transfers to an increased muscle memory of that pattern. It helps!

IMG_2477

When I was putting the fabric sandwich together, I didn’t want to waste a large scrap of batting. I have a whole drawer full of many straggly lengths (often from trimming the edges off of a project after quilting it).  I have taken to stitching these pieces together (frankenbatting style). Have you tried this? I have never had any issue with it. Mainly I do it for smaller projects, but I have read posts from many quilters who have done it to gain larger sizes as well.

IMG_20150822_3693I use a fairly wide zig zag stitch with only a hint of overlap of the two lengths of batting. To avoid a lump along that line of stitching, it is best to just hold the two lengths as close together as possible without much of an overlap.  This is a great way to use up those piles of batting scraps.

Today I plan to finish up the quilting on the vintage double nine patch. I have one border left and I will use this leaf motif. My binding strips are ready to go. Looks like I will have a finish this week!!

How about you? Working on anything fun this week??  Ever pieced your batting scraps? Do tell. 🙂

Linking to Freemotion by the River, Sew Cute Tuesday, Freemotion Mavericks, and Confessions of a Fabric Addict (who by the way is having a giveaway to celebrate her 1,000,000 VIEW!!  That is worthy of celebrating!! The giveaway is open until Thursday of this week.)