Tag Archives: sewing with knits

Sewing with Stretch Knit Fabrics

Sewing with knit fabrics, making t-shirts and tank tops is not terribly difficult. I have made a number of them. However I am usually less than satisfied with the finished look, especially the hem and the neckline. The other day I was reading a post by Leanne at Devoted Quilter and she shared a pretty blue t-shirt she made. By using a double needle (or twin needle) she was able to achieve a nice finish at the hem and neckline.

These are available everywhere – Jo-Anns, Amazon, etc.

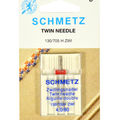
Some time back, I purchased a double needle, fully intending to try this. But for whatever reason, the needle landed in the drawer with lots of other needles and was forgotten. Leanne’s success gave me just the push I needed to give it a try. I looked on-line to see if there was anything special about threading my machine (Janome 6500) for this needle. My machine has two posts for thread which is mandatory. But threading it was nearly the same as using only one spool of thread. I didn’t want to buy two spools of the same color thread since this isn’t a color I will use often. Instead, I wound an extra bobbin and used it on the second post. This worked just fine.

Two very neat rows of topstitching forming the hem of the sleeve.

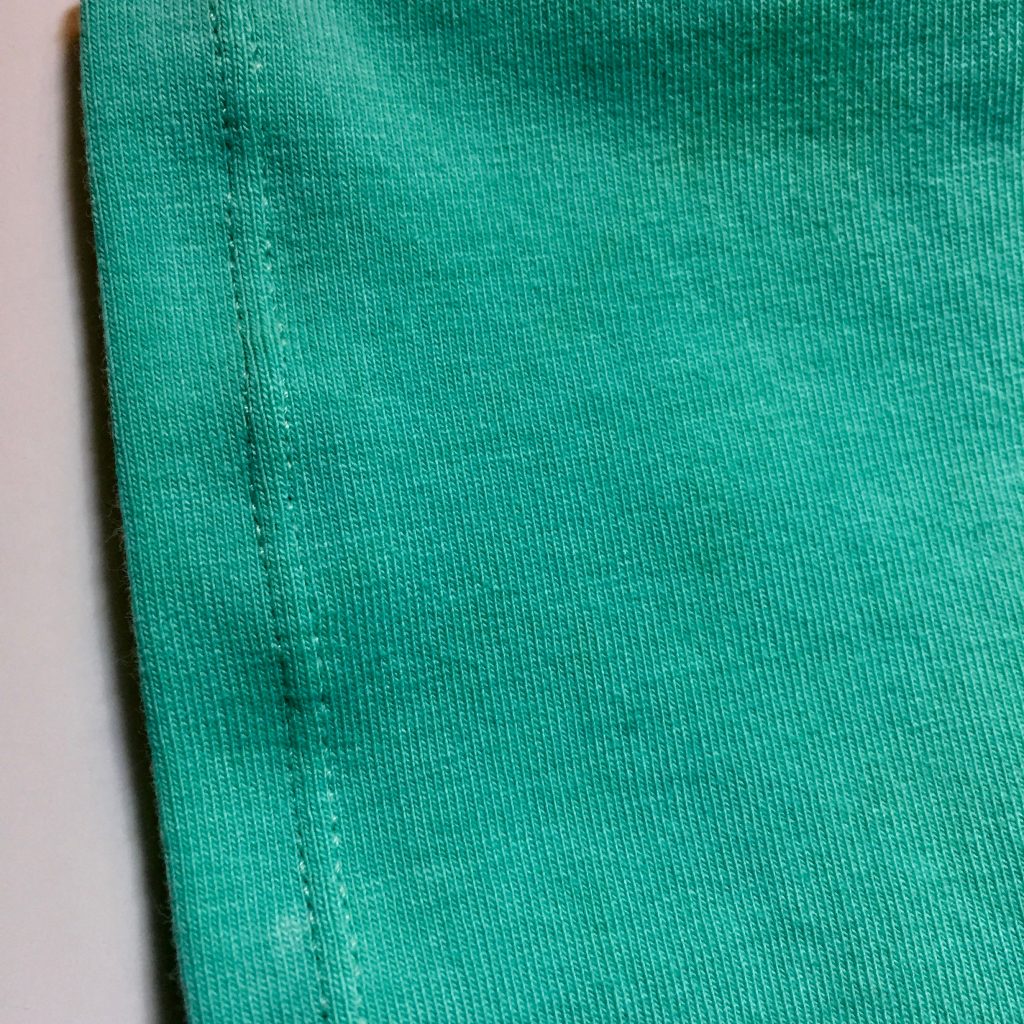
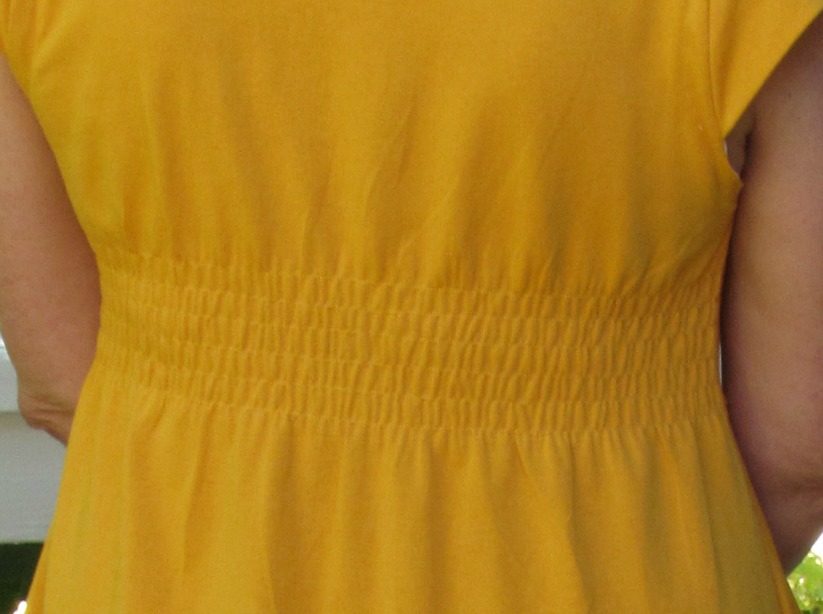
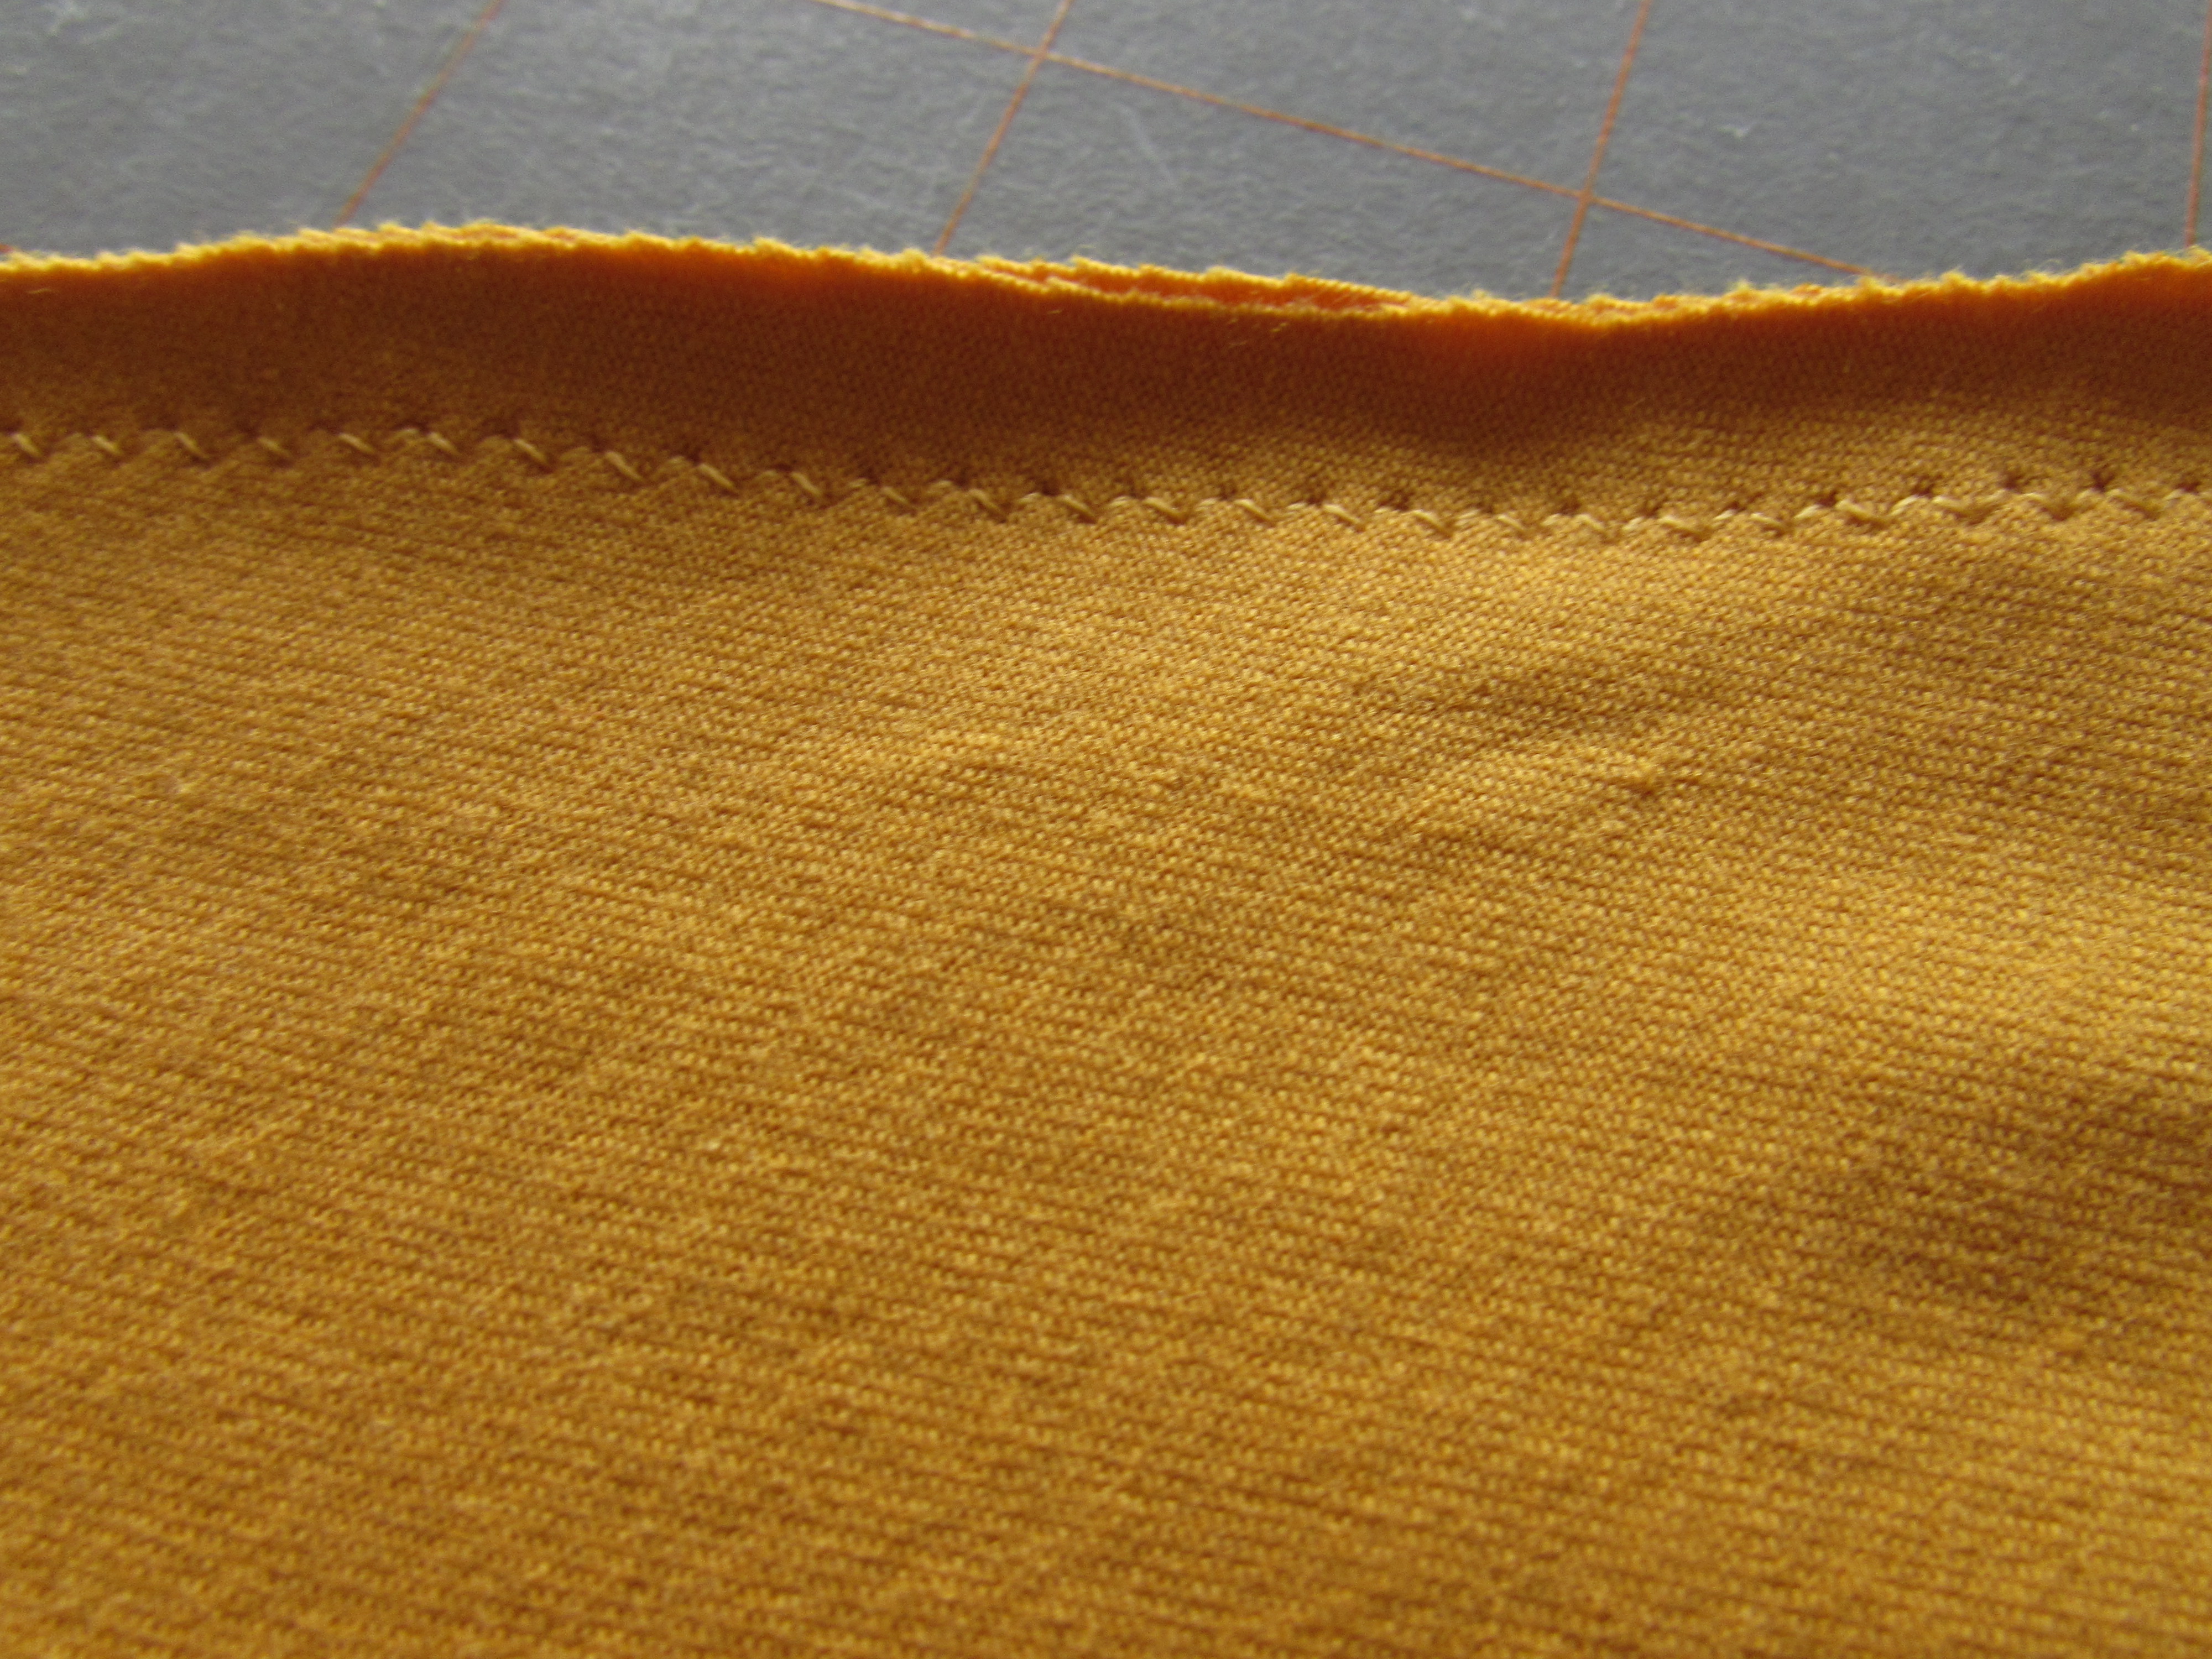
Sewing with a twin needle is interesting in that you must stitch from the right (or the top) side of the garment. The twin stitching shows on top and the bottom stitching has an interesting zig zag pattern achieved from the use on two needles on top and only one bobbin on the bottom.

This is how the back side looks.

This is the part I think is so magical. When I first tried using the needle and a a few scraps, I wasn’t at all sure what the bottom would look like as I didn’t really understand how one bobbin would deal with two threads.

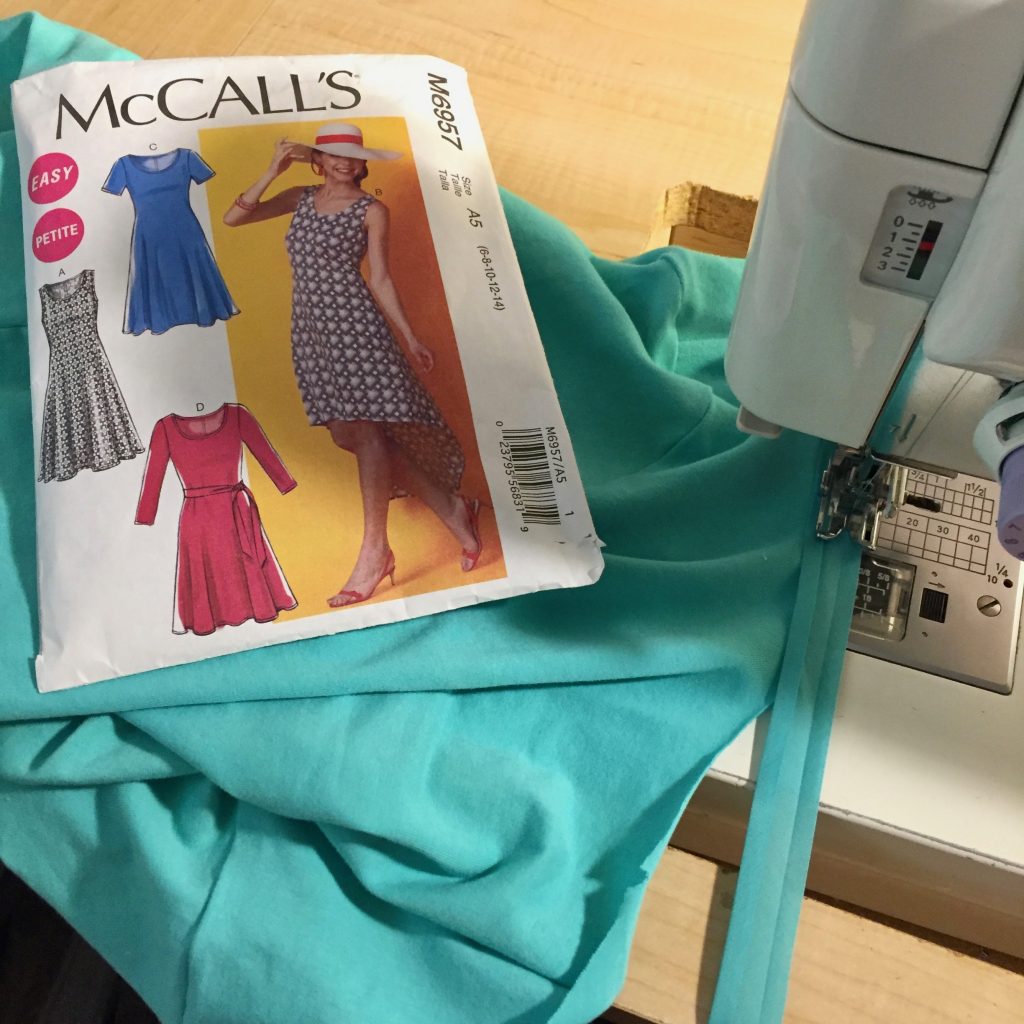
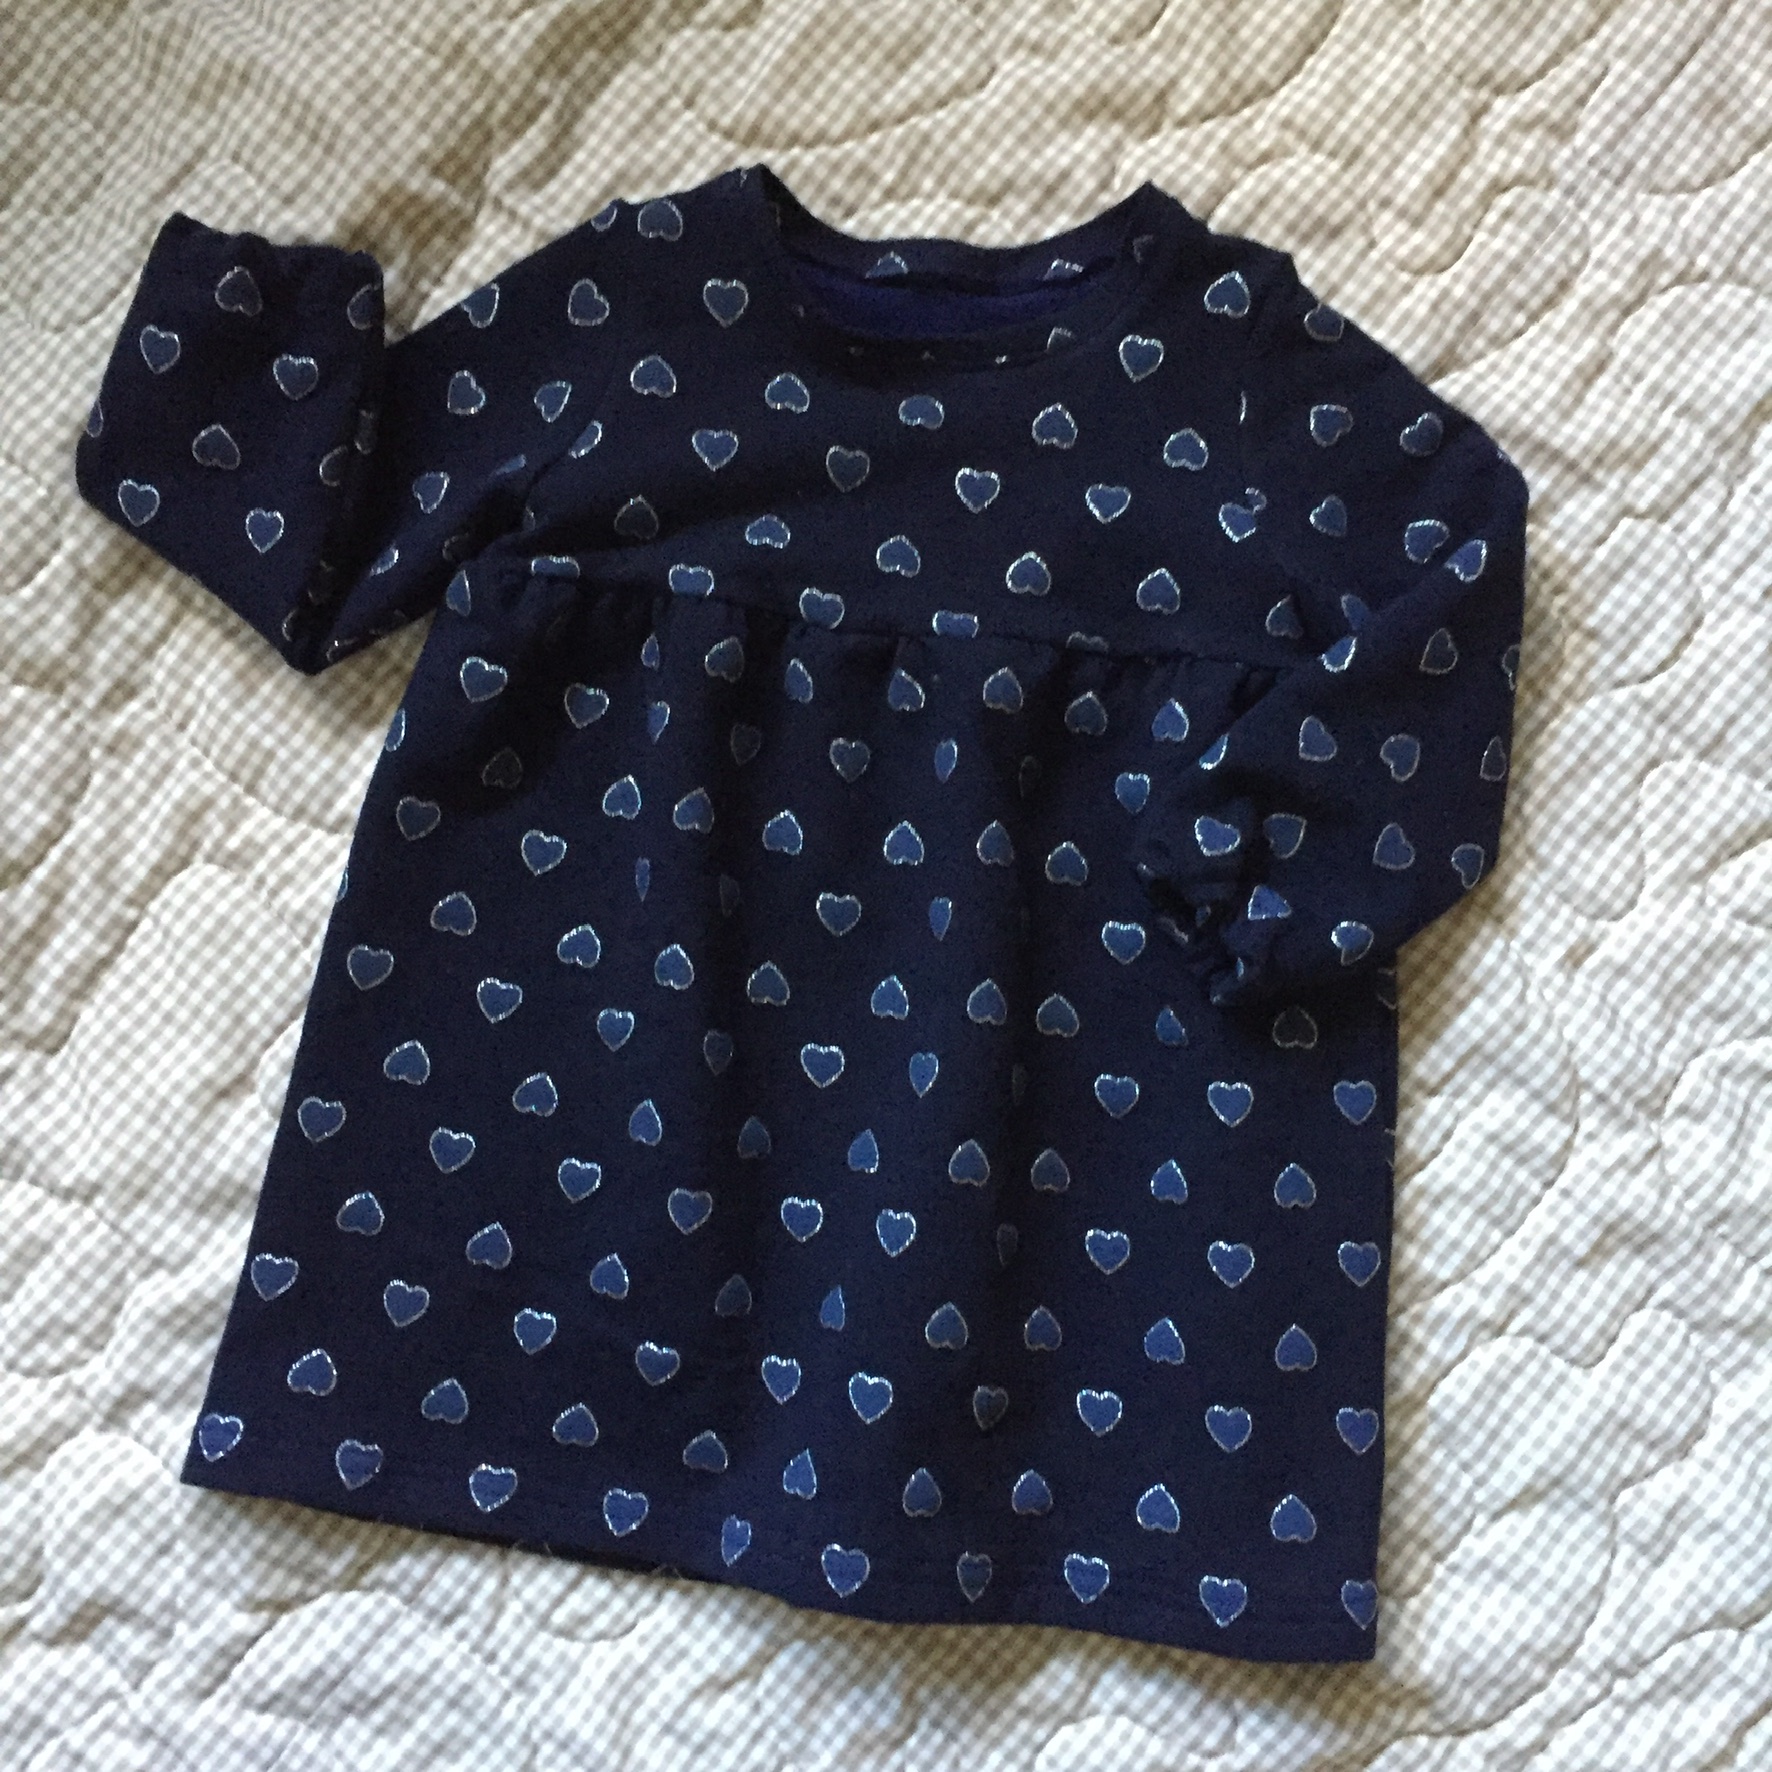
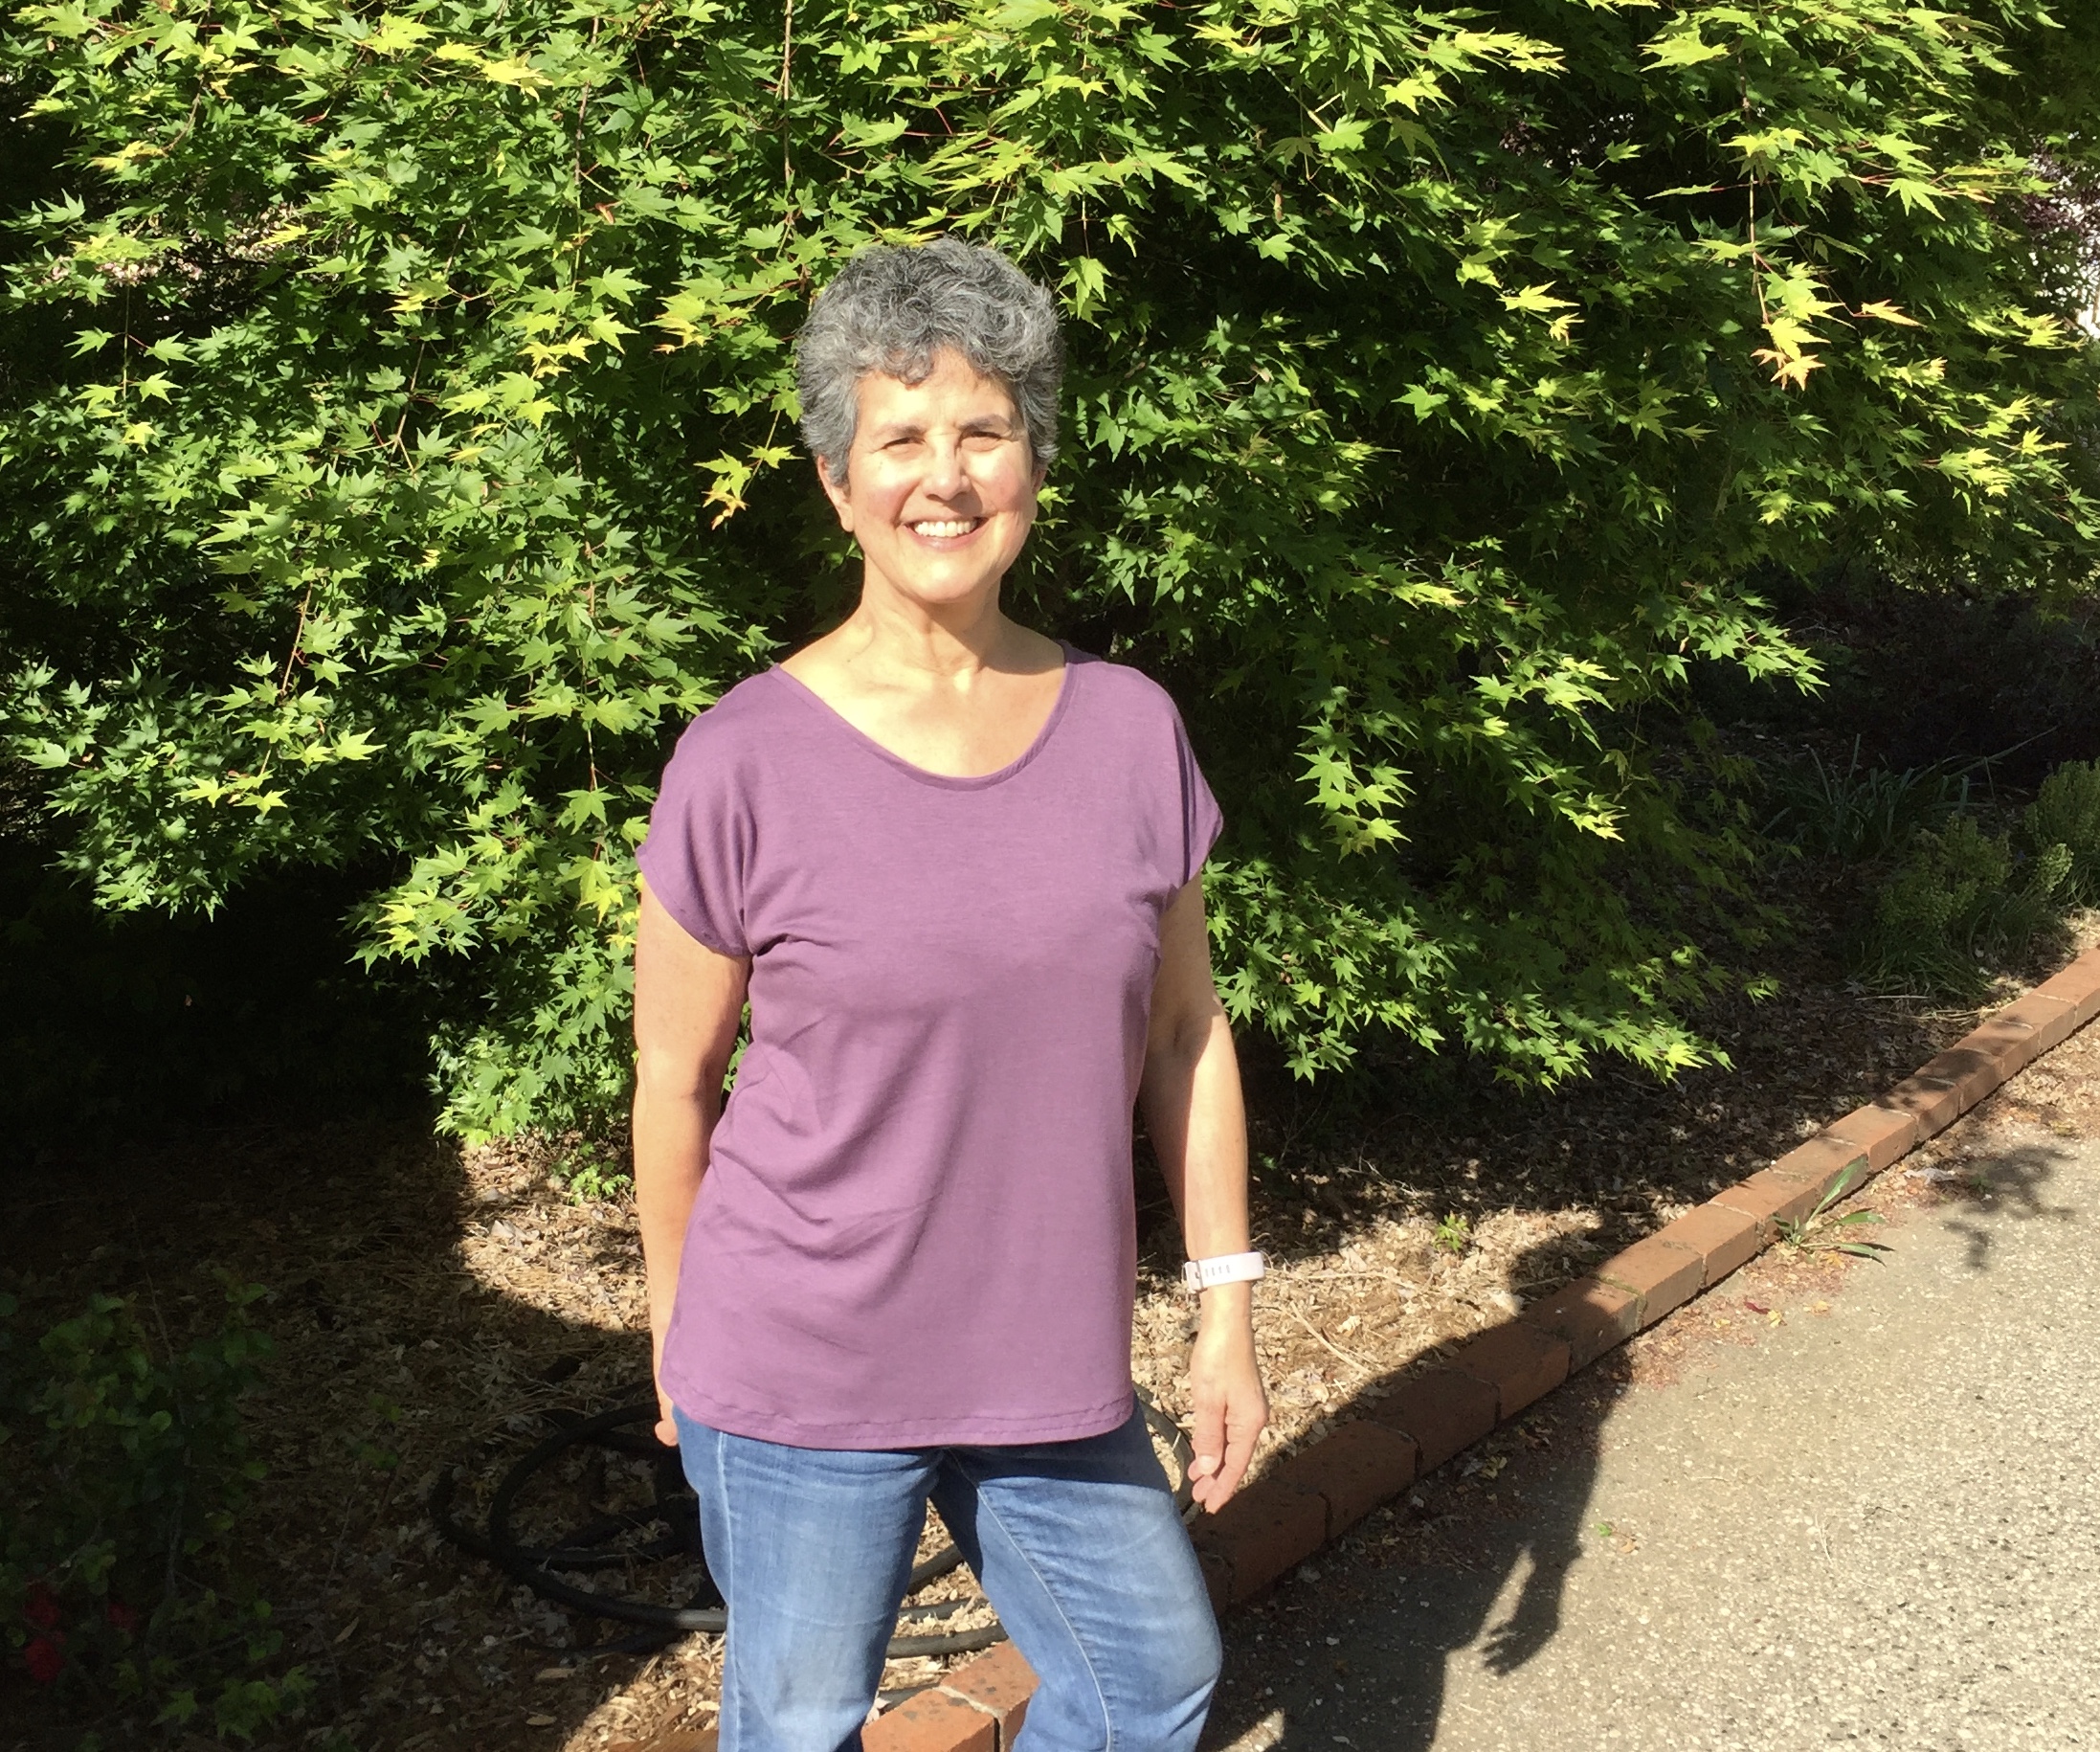
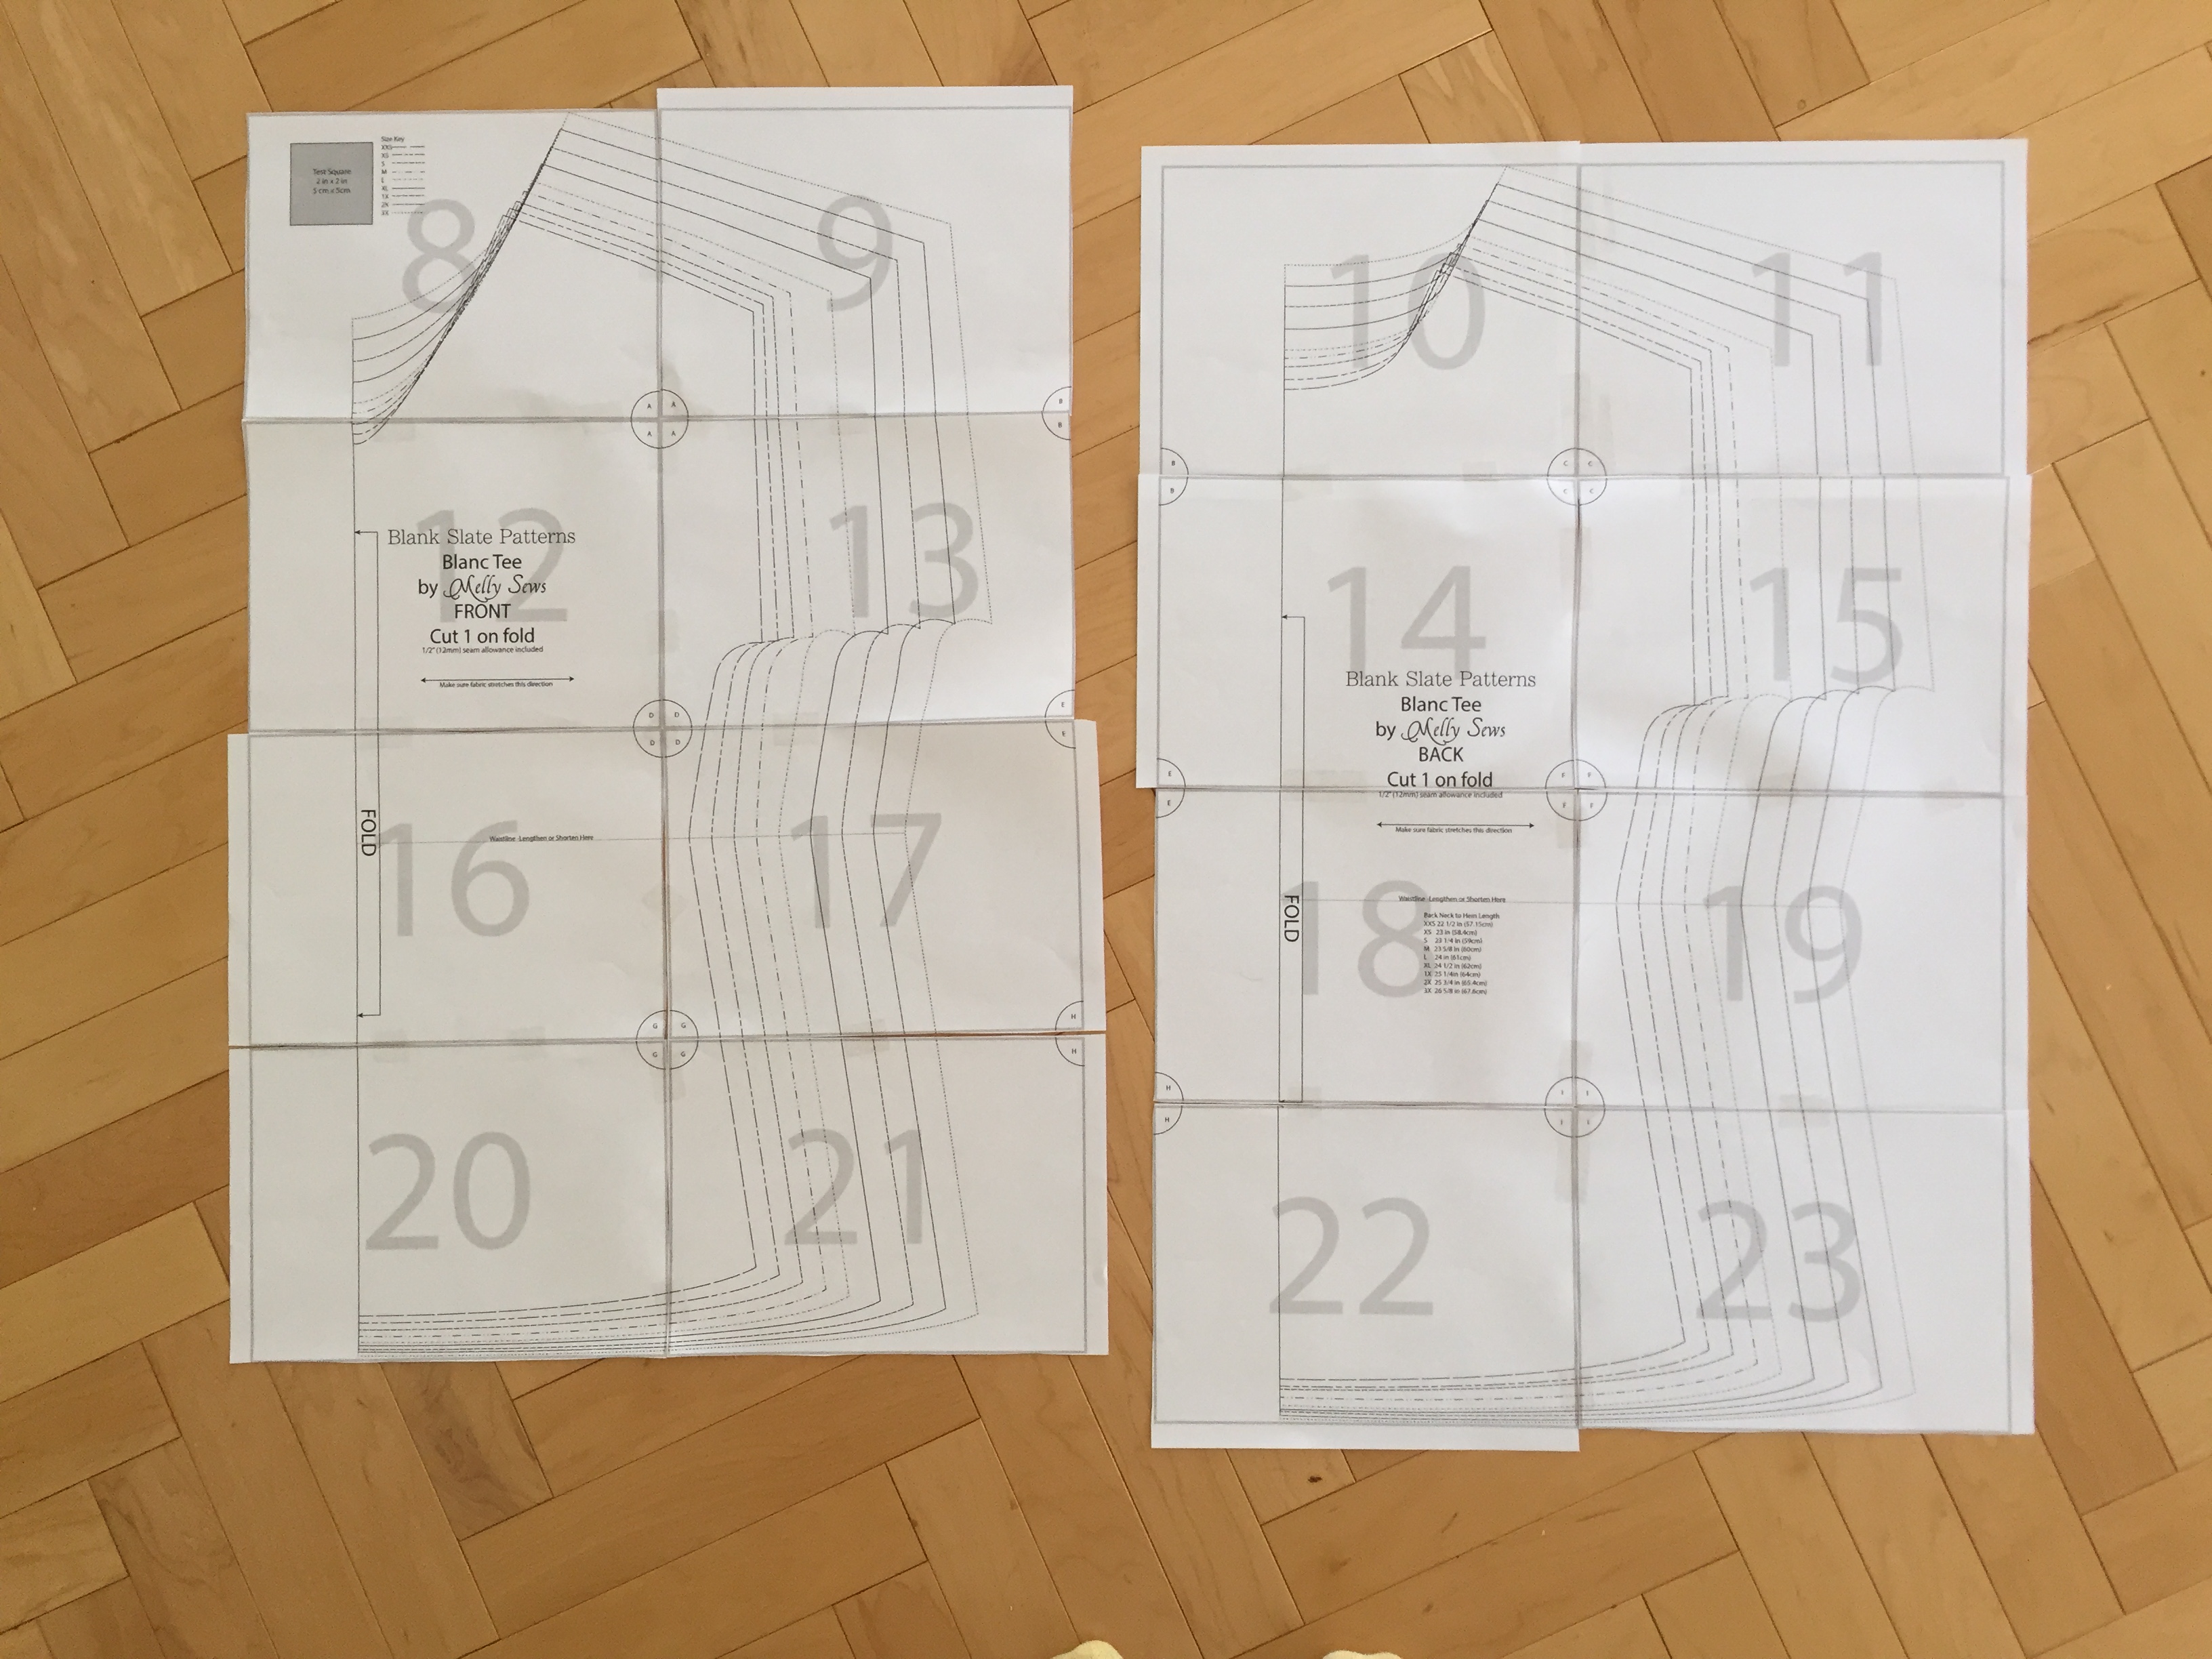
Ok, here are a few details about this project. Using McCall’s M6957 and my thrifted stretch knit fabric, I made a very simple t-shirt dress. I cut the top at a size 12 and graded the waist and hip area to a 14 so it wouldn’t hug at the belly (because that isn’t a look I need to share with the world). 😉 The cut of this simple dress is really comfortable and the fact there are only three pieces to the pattern makes it a very easy project to put together.

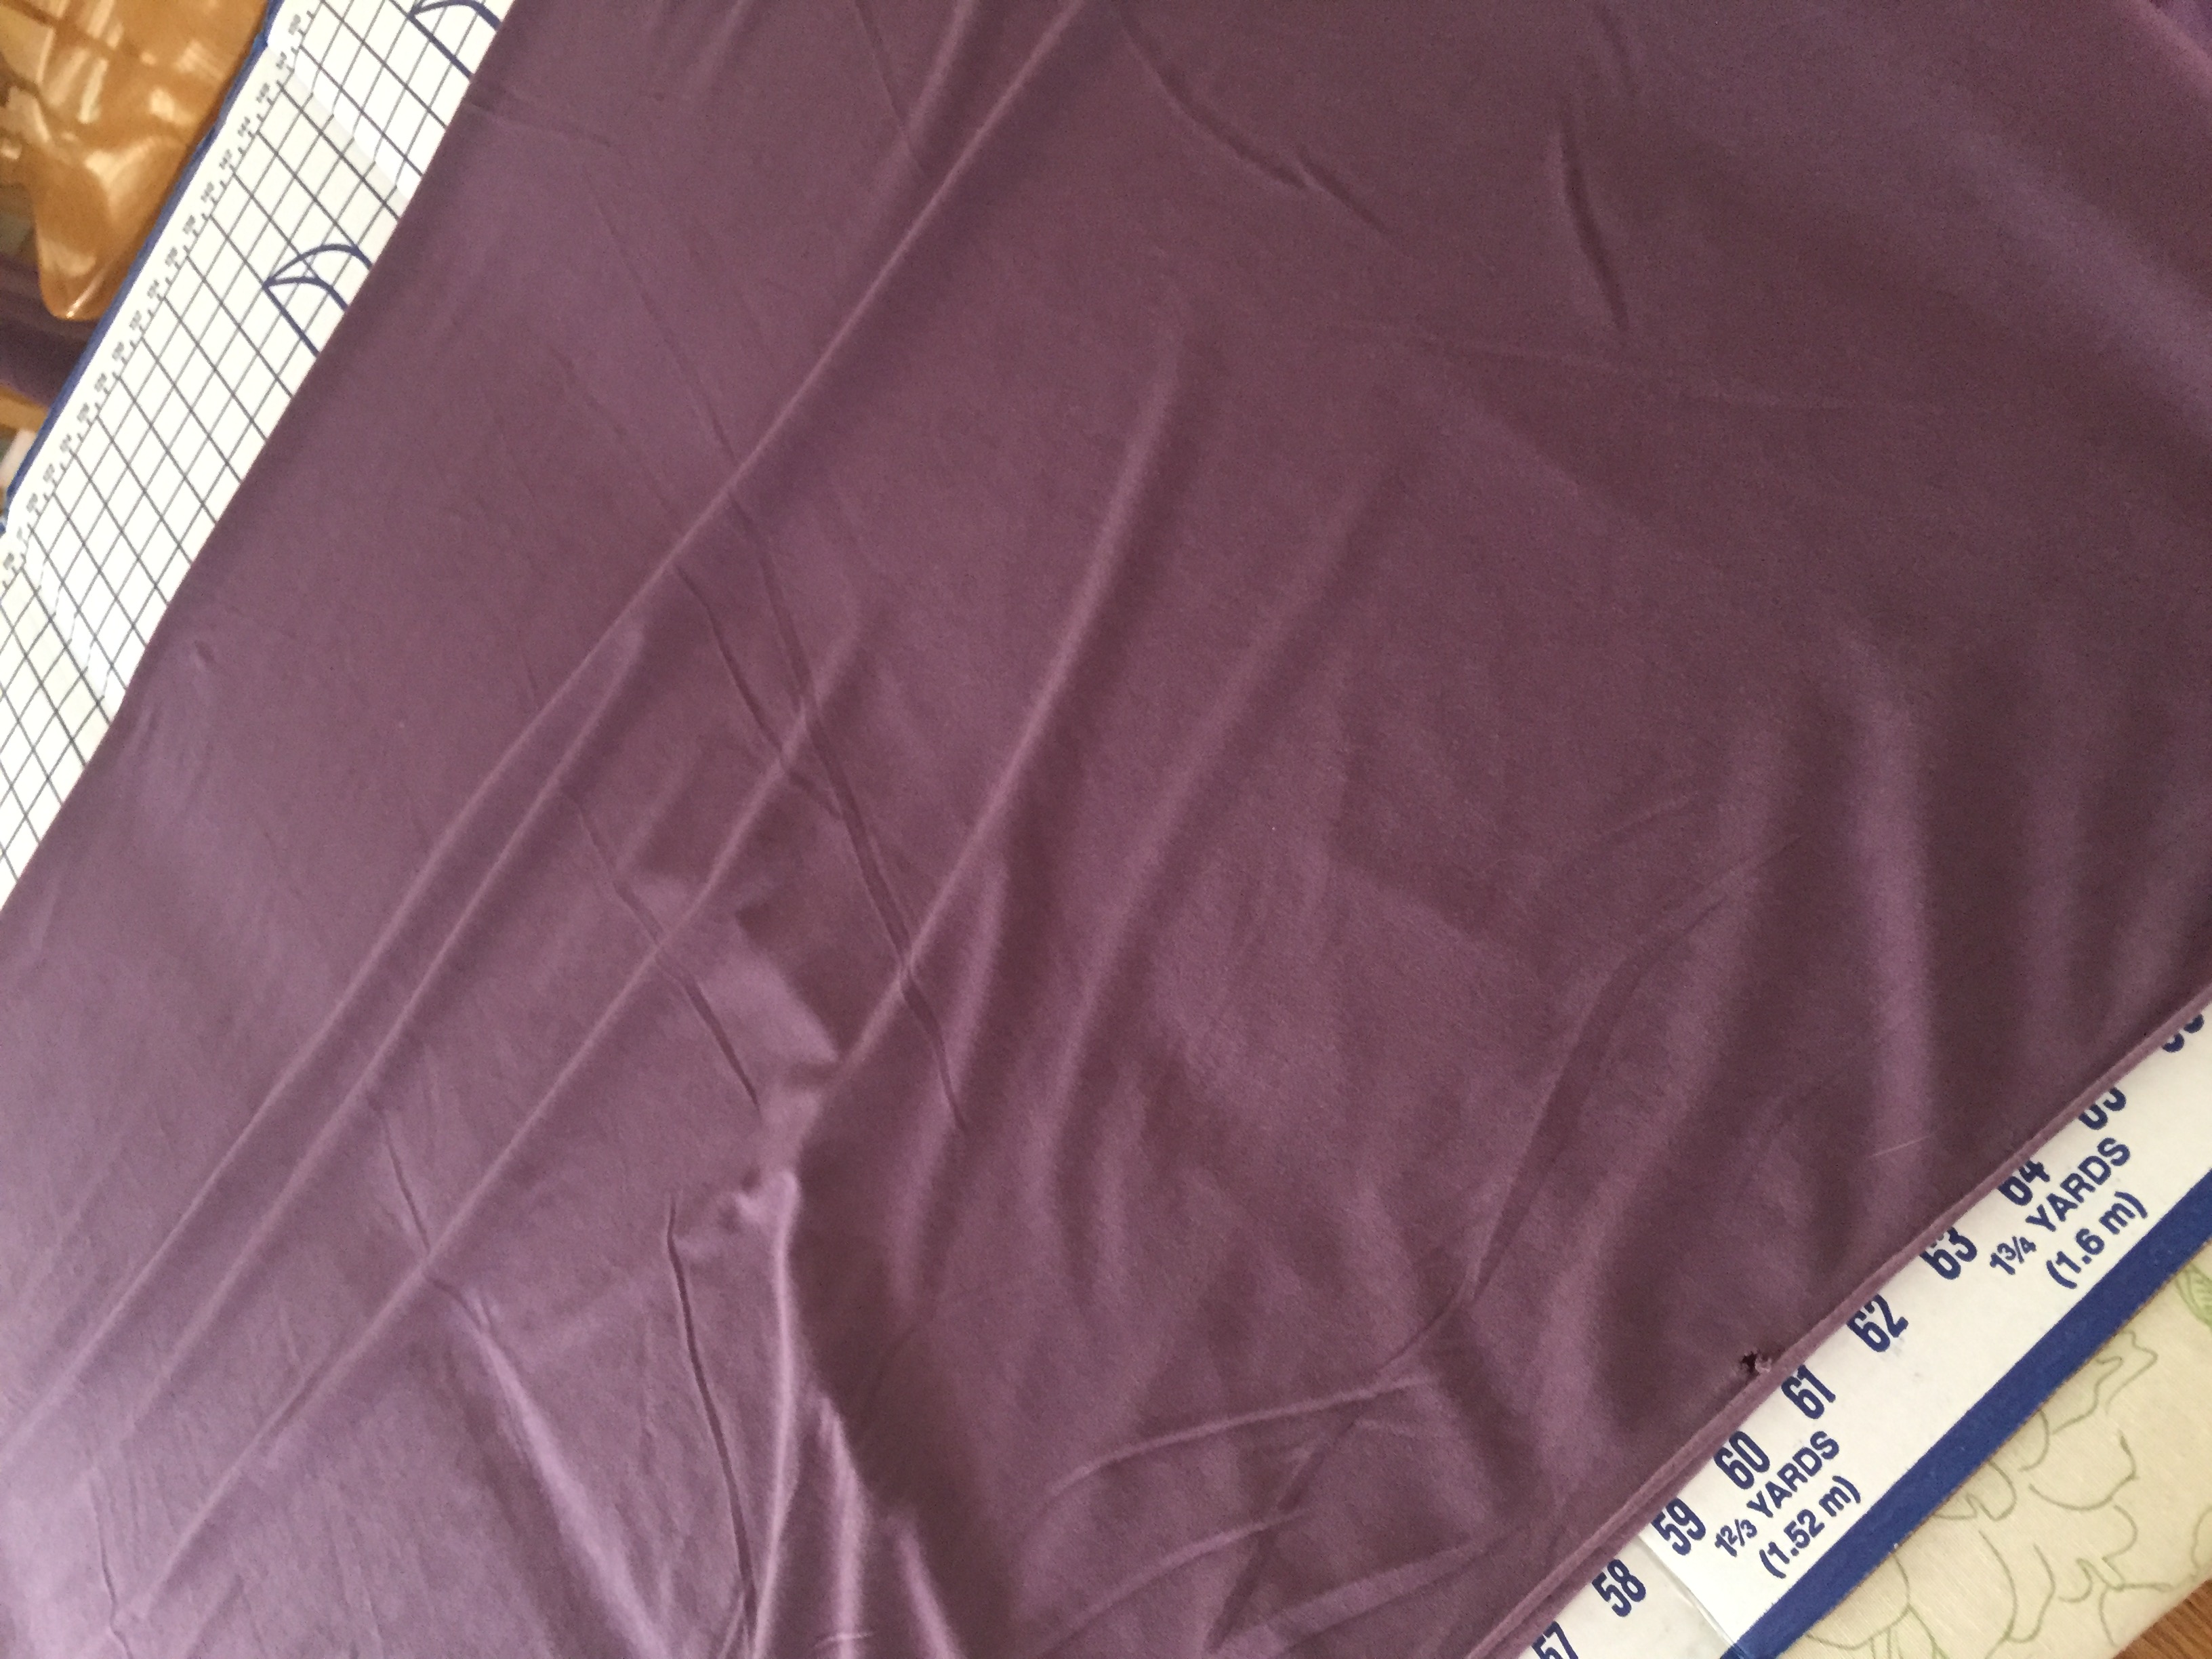
I have had this green knit fabric in the drawer for about a year now. I picked it up at a garage sale from someone who was clearing out a lot of fabric. (That was a great sale and I was fortunate to purchase a large stack of knit fabric in good condition). I thought I would use this piece of fabric because if the fit wasn’t good there wasn’t a big loss since there was only a few dollars investment.

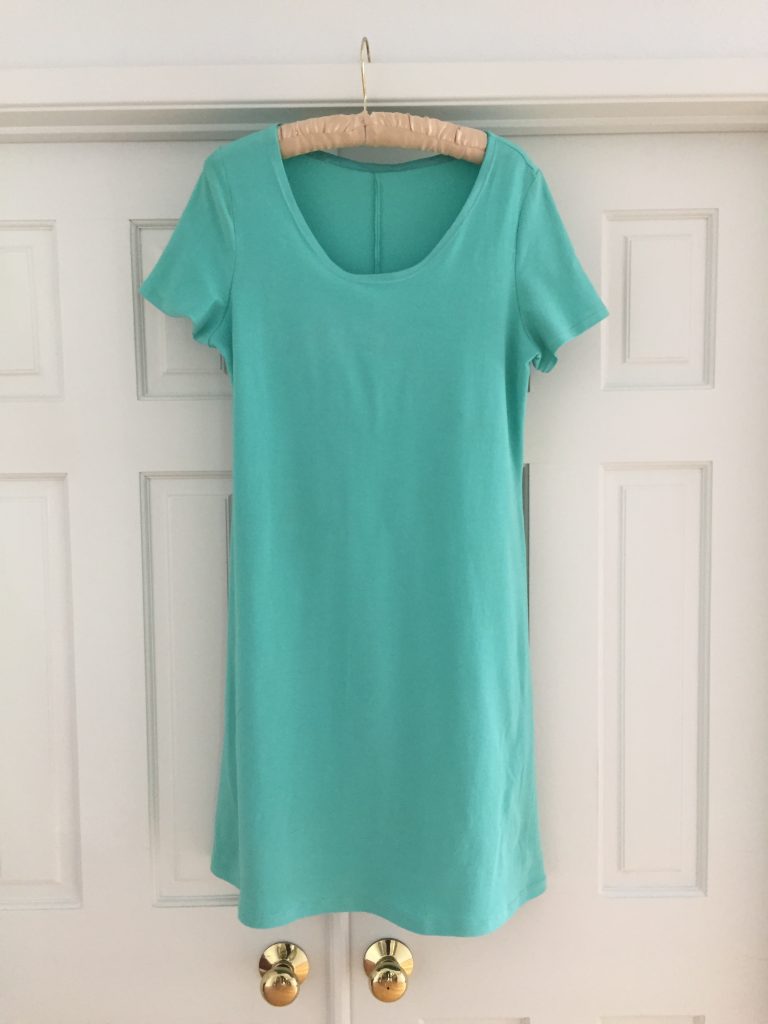
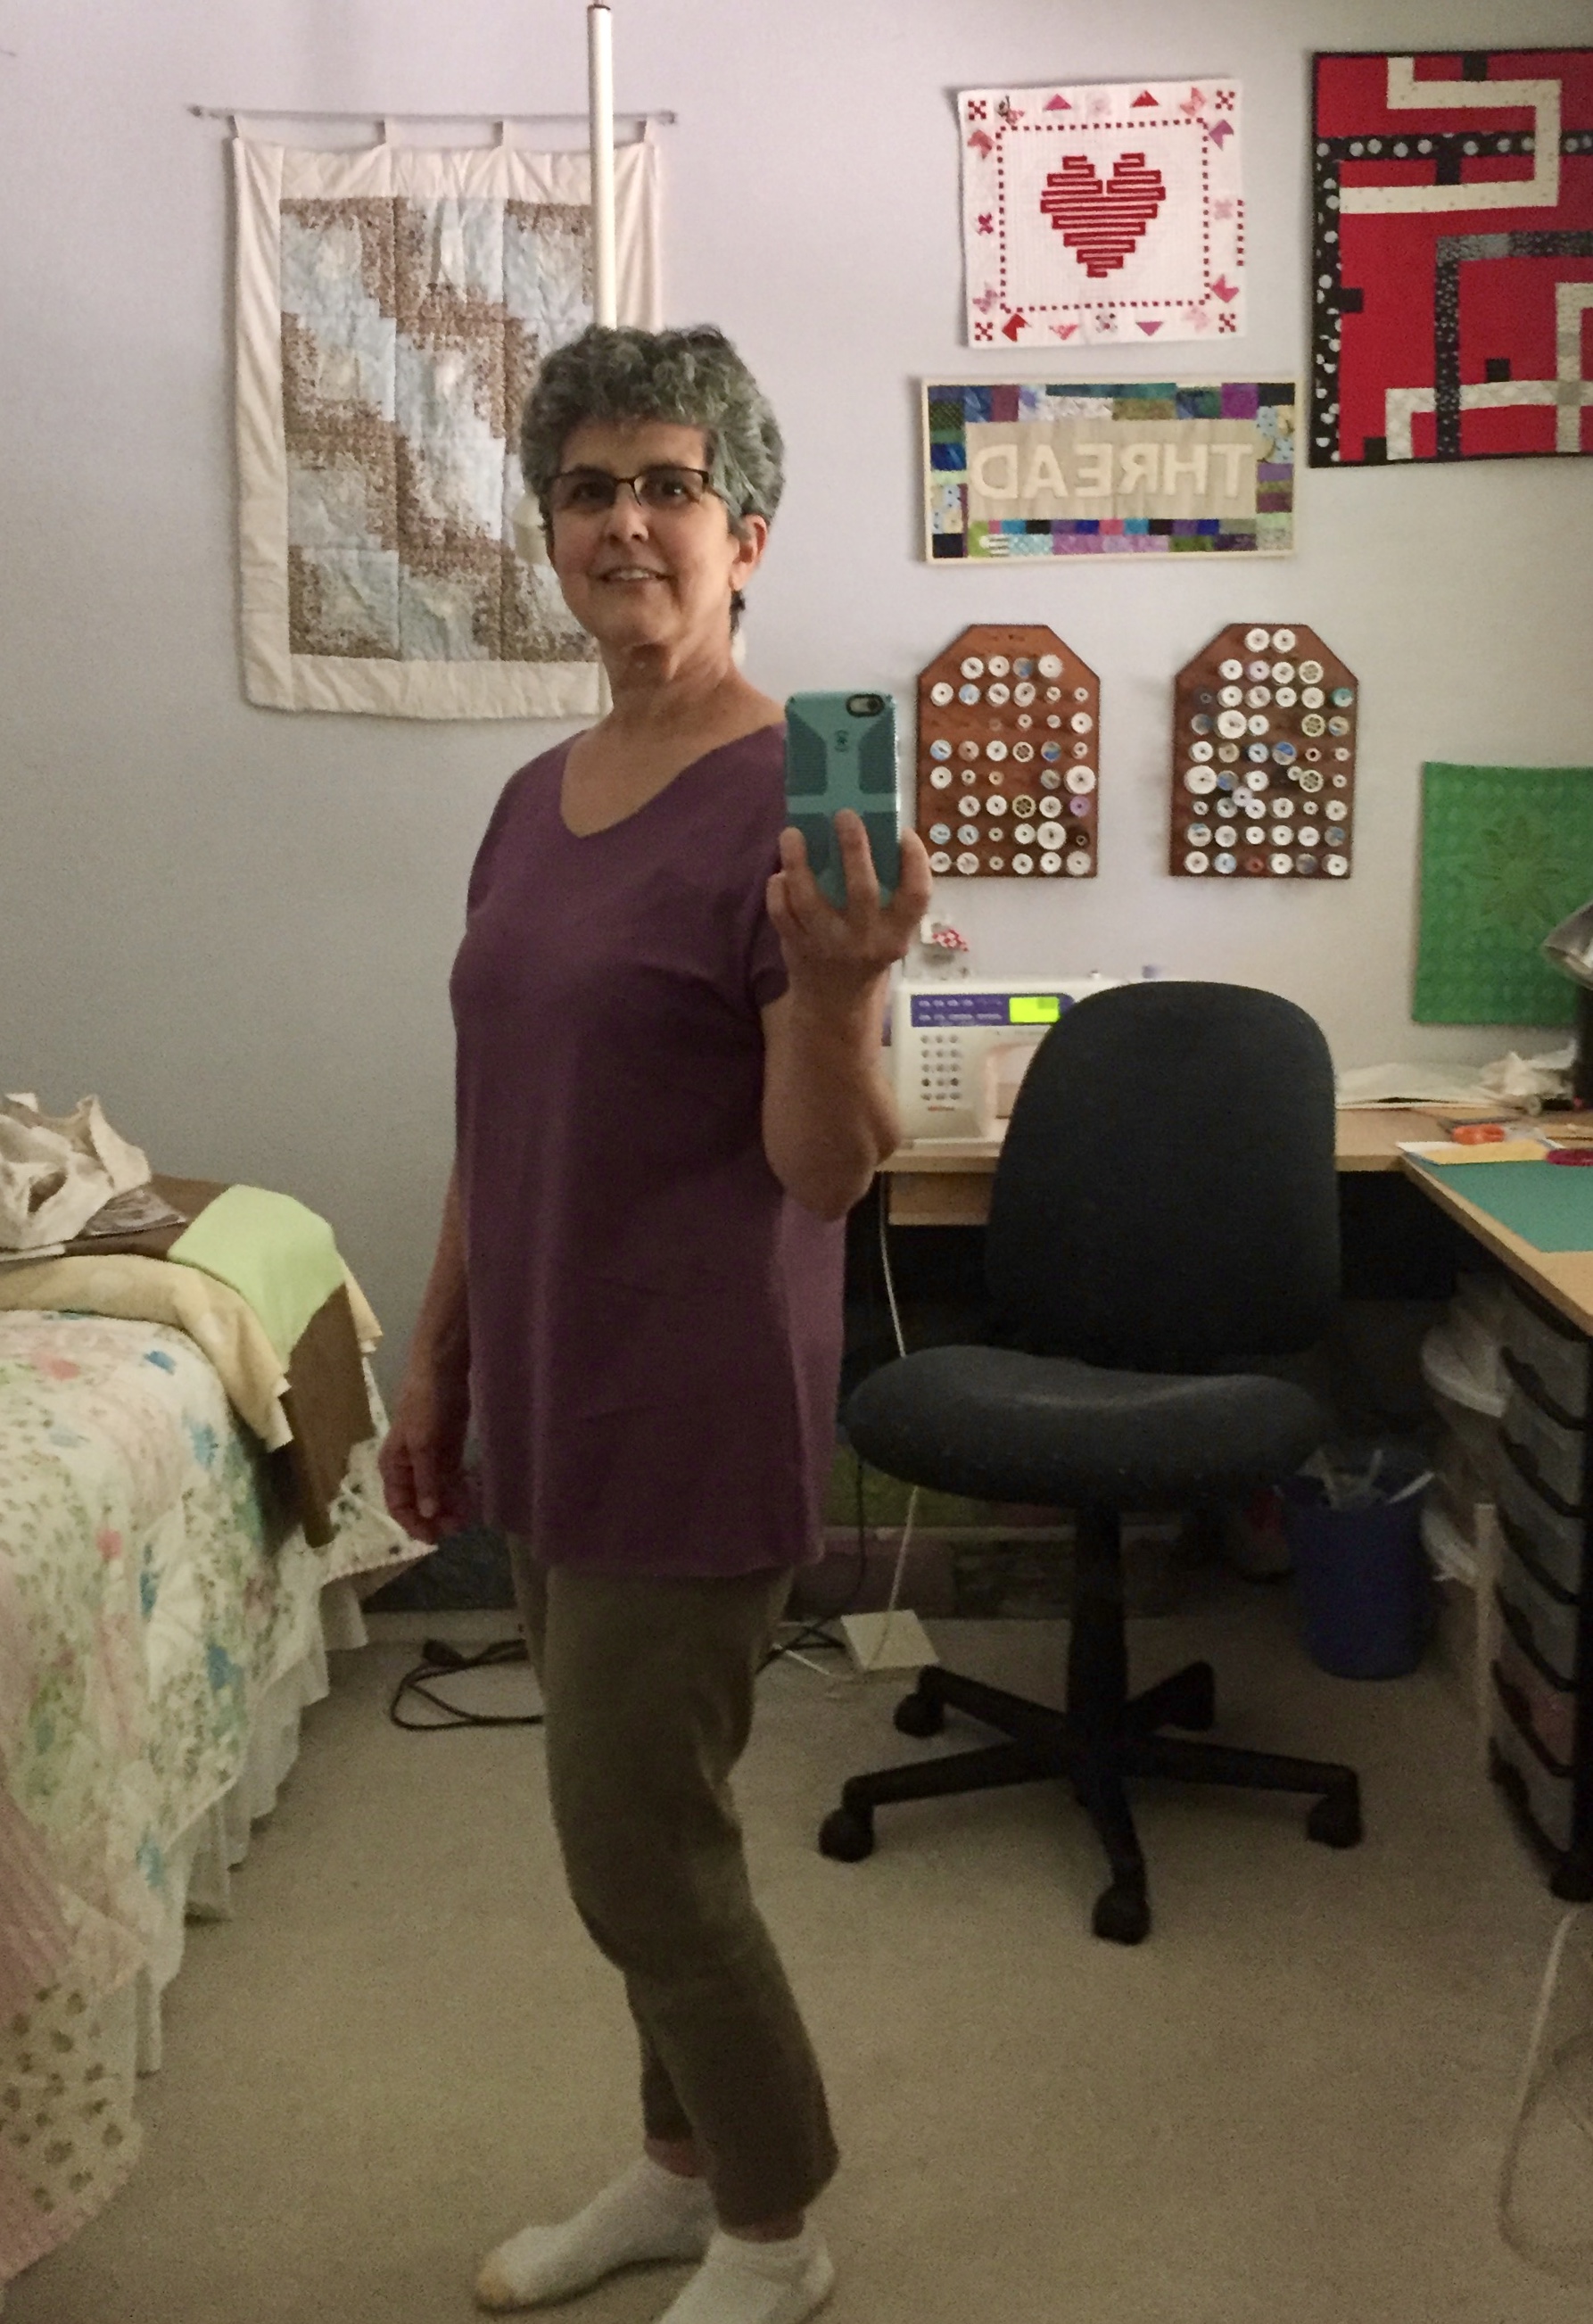
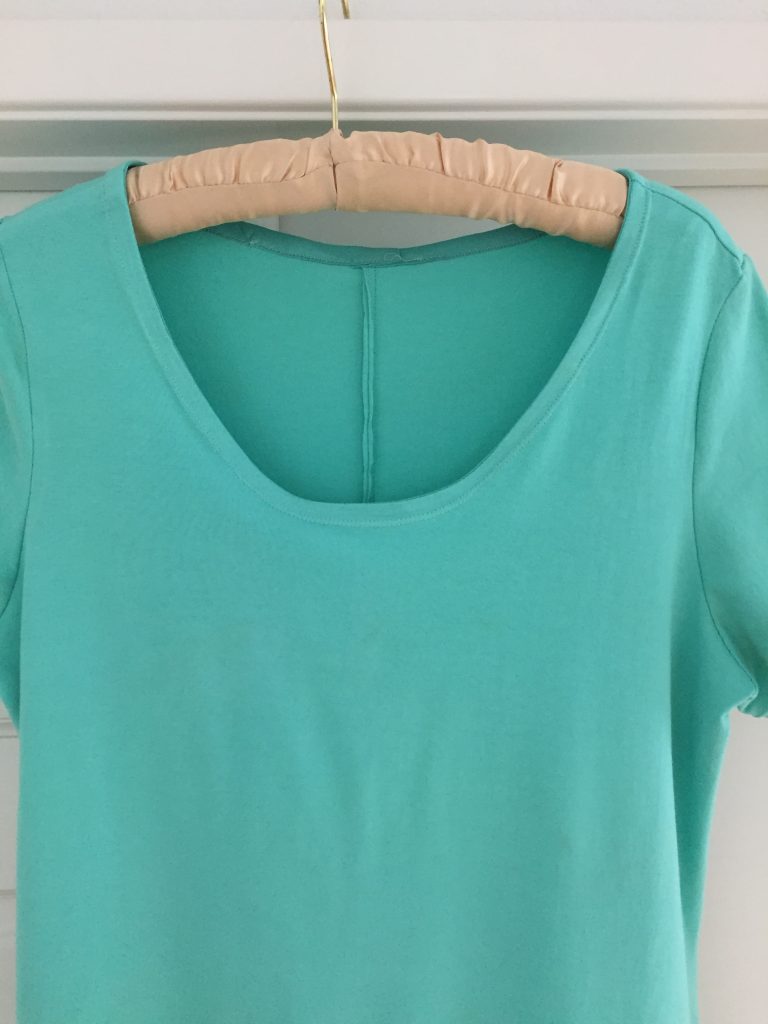
I got lucky though and the fit is great. I don’t have a picture of it on me because as I write this, I don’t have anyone to take a photo. Selfies are not my forte so I am not going to bother. Maybe I will post one later on. For now, you get the boring picture of it hanging from the door.

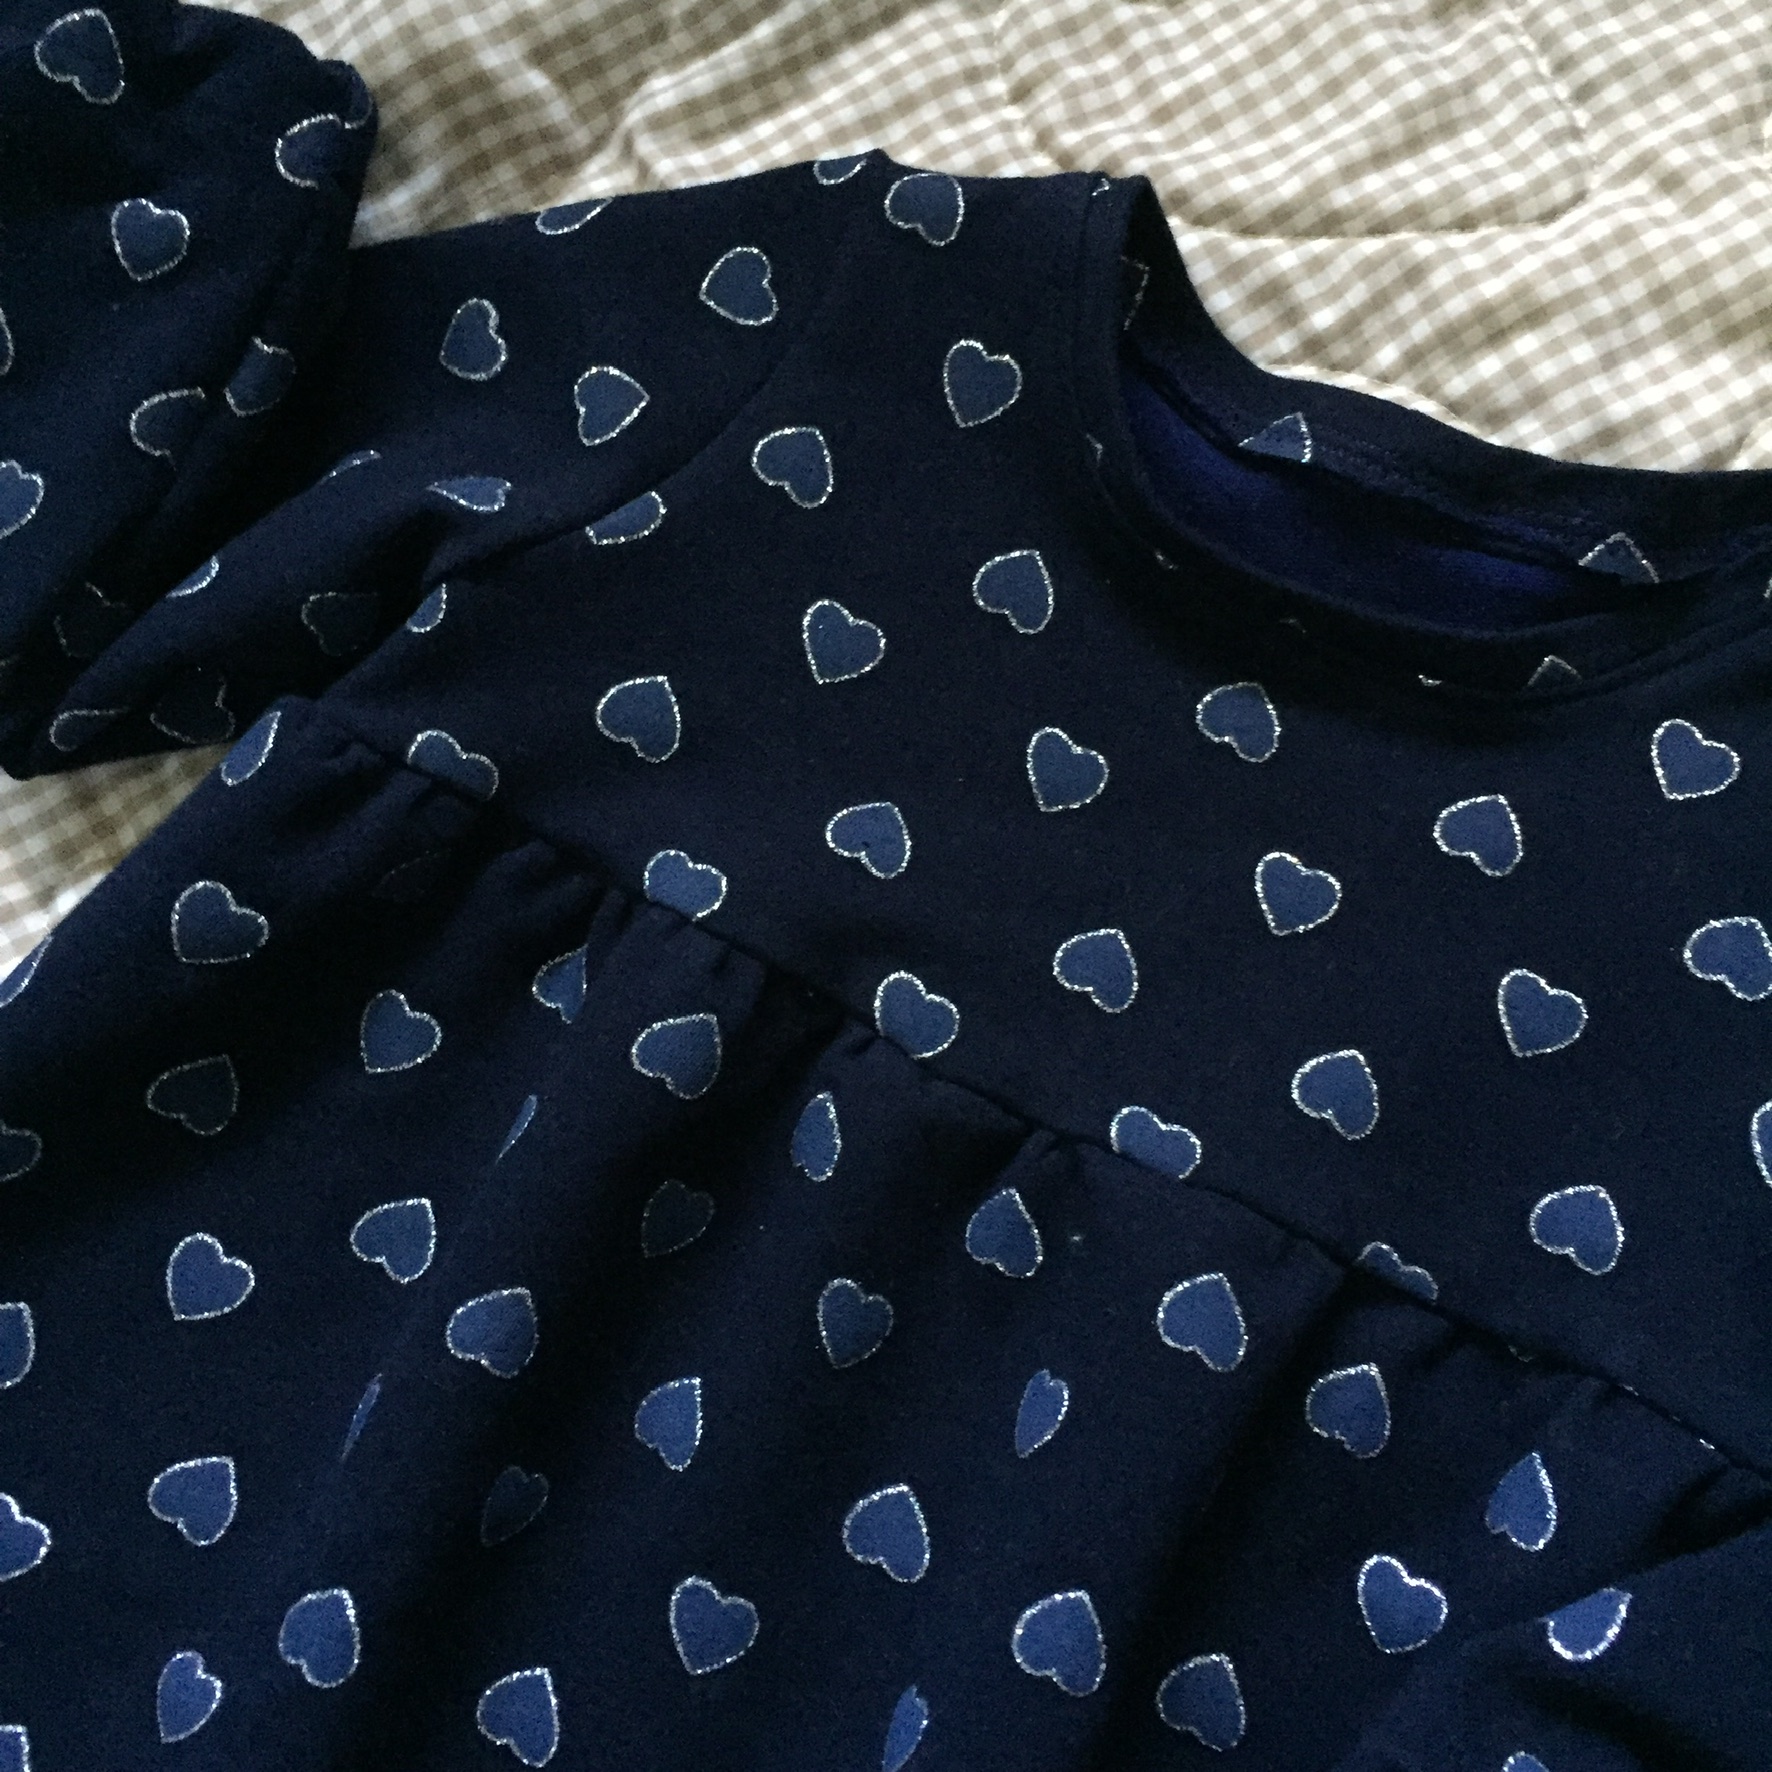
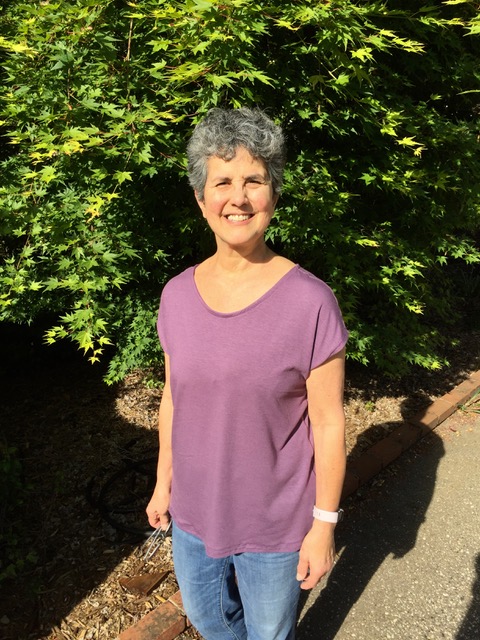
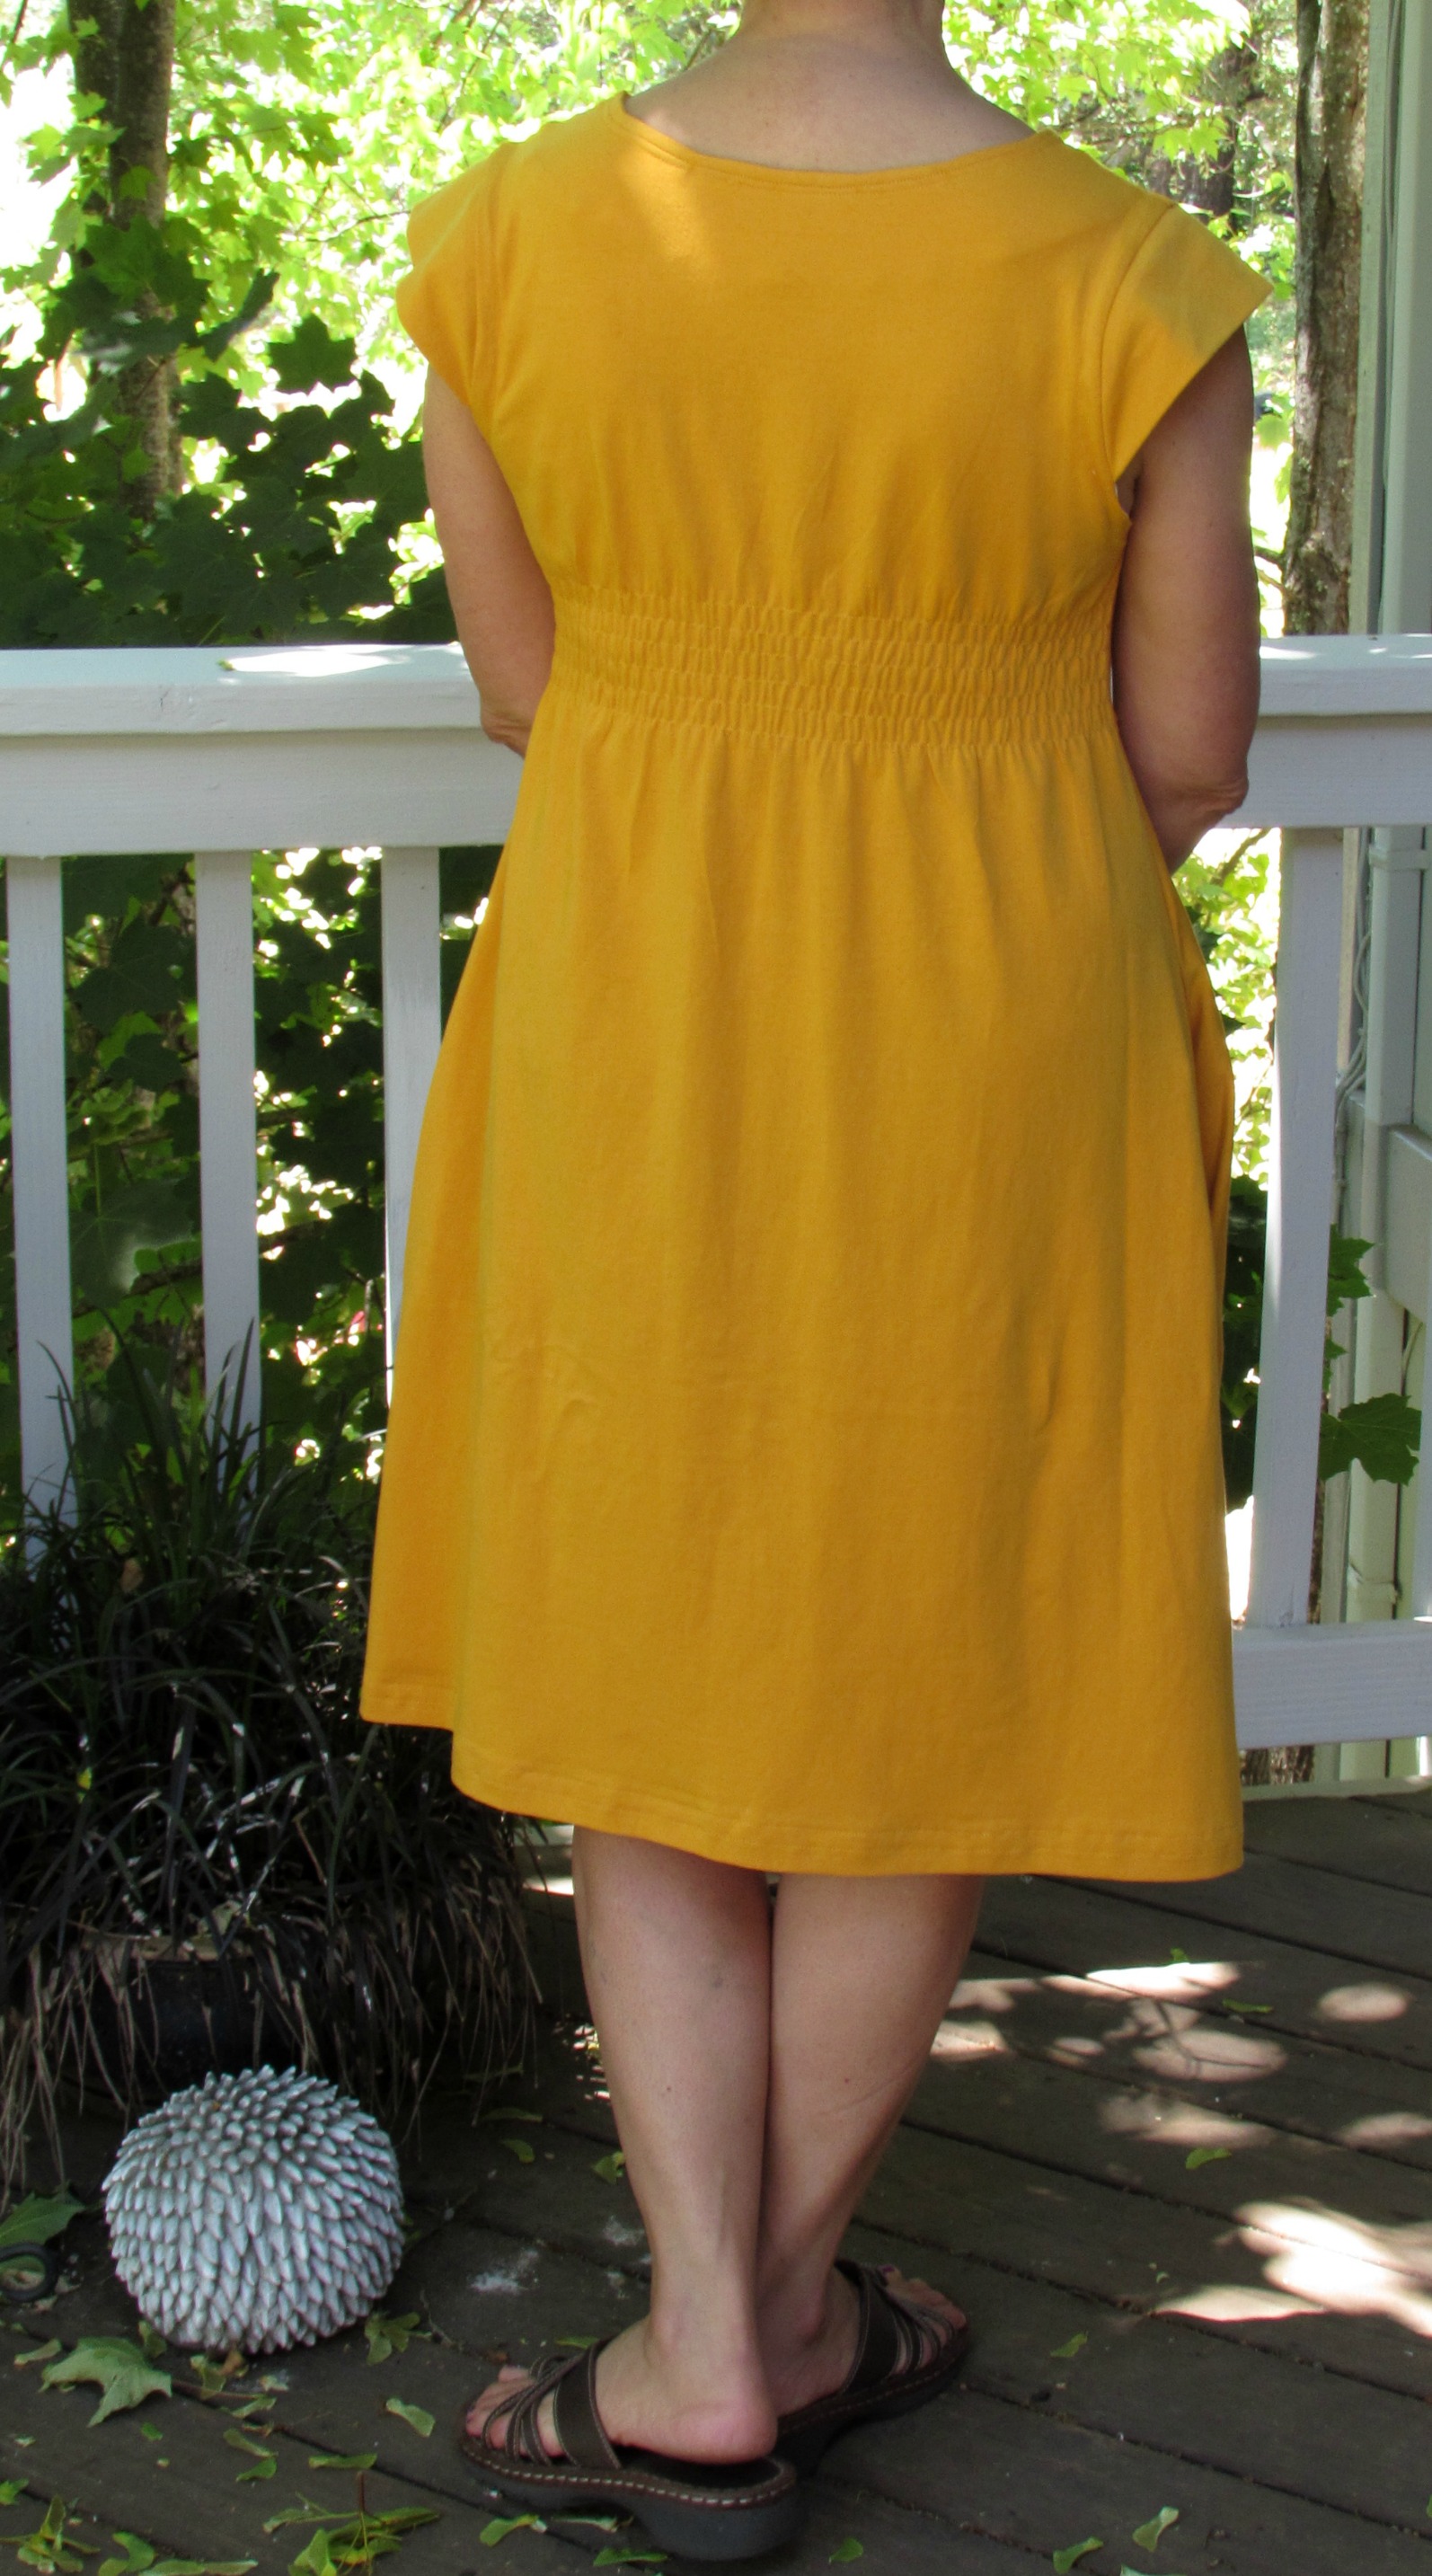
In my opinion the double needle makes all the difference. The hemline, hem of the sleeves and the topstitching of the neckline look so clean. It really elevates the finish of this dress. One thing to note, the pattern instructions told me to just fold the neckline in toward the wrong side and topstitch. I don’t like that method as it usually makes a wavy neckline and it allows too much stretch.

Instead, I attached single fold bias tape and then folded that to the inside and topstitched it. This way, I have a cotton strip creating shape to the neckline. It lays flat and looks really nice. I also reinforced the shoulder seams with bias tape so they wouldn’t stretch. After sewing the shoulder seams and checking the fit, I took a small piece of bias tape, laid it over the seam line and stitched it down. A very easy task and it will prevent the seams from stretching.

Now that I feel confident about the fit and look of this pattern, I want to make another one. I have lots of nice knits and look forward to using them. I think I will make a sleeveless version since we have such warm summers.

Hoping all of you enjoy the weekend. We will likely have a fairly quiet weekend. Julia is studying for finals. My husband wrenched his back and is limping around trying to let it heal. No big plans for the Kringel’s this weekend!

Linking to my usuals – check them out at the top of the page under Link Ups.

Happy New Year!

I saw a funny graphic on Facebook the other day.  It isn’t something I made up and I don’t know to whom I would credit this but it resonated with me.

Of course, it is even worse now.  It isn’t a couple of years out.  Next year is 2020 so, 30 years ago will be 1990.  How can that be? Thirty years ago seems such a long while back. However 1990 doesn’t seem that long ago.  Ah, I am such the philosopher.  These are the deep thoughts I have been having as we move into 2019 – 😉

I have had the pleasure of spending the New Year’s holiday with my oldest son and DIL in Vermont.  It has been a wonderful week of family time – my middle son and his wife drove here from Toronto for the holiday.  My grand daughter has been charming – I gave her a little plastic tea set for Christmas and we have had a number of tea parties with her stuffed animals..  I am surprised to see how quickly she fell into this pretend routine of pouring tea (she calls it ‘pepper tea’ as she can’t quite say peppermint tea). She adds a spoonful of sugar, stirs the tea and then blows on it to cool it off for her hedge hog and her Elmo doll.  I love it!

I also brought her a little dress that I made a couple of days before flying out.  This is the first time I have sewn anything with a Burda pattern.  The directions were clearly explained though so I didn’t have any issues. When I was making this, my DIL’s mother was visiting in Vermont so I was able to ask her to take a few measurements for me.  I made a size 2 and, for the most part, it fits nicely

The fabric is a soft and cozy fleece from Jo-Ann Fabrics. It is a deep navy with little hearts outlined in silver. H called them stars, maybe because they are sort of sparkly?

The neckline is finished with a strip of the same fabric.  I am STILL having issues with my serger so I finished the seams with a small zig zag stitch and then trimmed the seams.  It worked just fine.

Here is a cute picture of H wearing her new dress.  Is she not absolutley adorable??

Earlier that same day, she asked Grammy to put ‘pretty-pretties’ in her hair which means a pony tail.  She has so little hair, but I did the best I could!  She makes me smile.

This morning we woke to a little bit of snow.  Perfect timing – we get to have just a bit of wintry weather before heading back to California tomorrow to the real world.  School starts next week for Julia and I have orders to ship. We had such a great visit though – Vermont life is pretty wonderful!


Me Made May

Do any of you follow, or get involved in, Me Made May each year?  This event is one to encourage garment sewing and was started years ago.  Now in its ninth year, it is a very popular sewing celebration that happens on many social media platforms. It is the creation of Zoe from So Zo, What Do You Know.  She is a sewist living in the UK and she often blogs about garment sewing and sustainable sewing.

Me Made May is a unique event in that each participant really sets up their own challenge.  Many, many of the sewists will challenge themselves to wear only their handmade clothing each day of the month (some even take it as far as handmade underwear, camisoles and/or bras).  Others may set a personal challenge to wear something handmade once each week.  Others might set out to create some handmade garments during the month.  There really isn’t a right or wrong way to go about it.  I also like that there is no judging, no voting, no huge prizes driving everyone. People share their makes, their sewing ideas and plans with each other – usually on Instagram #mmm18 or #memademay2018 or by blogging.  (Just to give some perspective on the size of this event, it began 6 days ago.  As of this writing on Sunday afternoon, there are over 4,000 posts in#memademay2018.) It celebrates a mutual love of sewing – be it incredibly intricate and fitted garments, or a basic t-shirt.

blanc t-shirt

Which is exactly what I made last week!

Several months ago, I thrifted a bolt (yep, I have a lot of it) of this mauve stretch knit fabric.  I had no idea what I would do with it at the time but I figured I would think of something.  The fabric in general is in great condition.  There are a few spots on the selvage that have a small hole which don’t really cause any issue since they are on the selvage. Thinking I wanted to make a t-shirt, I scouted the internet and posed the question on Facebook, asking for pattern recommendations. One pattern designer that was recommended is Blank Slate Patterns. I liked both the look and simplicity of the Blanc T Shirt.  You can buy the pattern, or if you are a member of their Facebook group, it is a free download.

blanc t-shirt

The pattern has two pieces. Well actually, it is a pdf download and there are 20 pages to print. But 16 of those pages create two pattern pieces. It is sized from XS to XL.  Really, this is a simple process – just takes a little bit of tape and scissors. Not a big deal.

I decided this first round would be a practice session.  I purposely cut it out as a size large because it is easier to size down than up. Plus I was hoping for a loose, kind of flowy look?  Is flowy a word?  Probably not but you know what I mean.

It takes no time to sew front to back. Once I tried it on and decided I liked the fit, I ran a loose zig zag stitch over each seam to finish it off.  Really I should have set up the serger to do this and get a nice finish but you know… it was in the closet…. the sewing table was a mess…. it just seemed like to much work. Maybe next time.

After finishing the seams, all that was left was a bit of finish works. Hemming the bottom and the sleeves came next.  Finally I finished the neckline with purchased bias tape. The only hiccup in the project was the bottom hem.  I ran two lines of stitching and there are several wobbles in the second line.  I am not sure why it happened.  It doesn’t bother me enough to rip it out though. If I were to want a double stitched line I think I would try using a double needle.  I bought one a long time ago but have not yet practiced with it.

blanc t-shirt

I love these little projects because of the quick finish. It is really satisfying to cut out a couple of pieces and then have a t-shirt to wear the next day.  I am going to make one more in this pretty black knit that I bought.  My plan after that is to make something a bit more challenging. I have two patterns sitting out that I keep looking at and debating which to try first.  Stay tuned for more in Me Made May!

Linking up all over the place.  Check out the link parties I enjoy!  They are listed at the top of the page, under Link Ups.

Five Reasons to Repeat a Pattern

I don’t know that I have ever made the same quilt twice. Wait, maybe that isn’t entirely true. I have definitely made the same quilty gifts in multiples. Like the Christmas table runners I made for my family one year. Or the zip pouches I made for gifts last year.  But not full quilts. Those have always been different. There are so many amazing quilt designs out there and I haven’t yet repeated one.

Clothing patterns? Those I will repeat. Time after time after time. When my kiddos were tiny I would make flannel pj’s for them, using the same pattern until the pieces were so pin marked I would have to tape them together. My Washi dress? Just repeated that one and I am so glad I did. Here are my thoughts on why.

  1. The first time I use a pattern I have to learn the pattern. Even though I have been sewing for so many years (44-ish years?) it takes a minute to just look at the pieces, read the directions and figure out the process.  Using the pattern a second (or third, or fourth) time that process is complete and doesn’t need to happen again.
  2. Of course, the cost of the pattern. I think I paid about $12 for the Washi pattern, I am not sure. So why not distribute that across a few garments? Kind of like dollar cost averaging in the stock market. 😉 Make it once and you have spent $12 plus the cost of fabric and notions for the one garment. Make it three times and you are at $4 plus fabric and notions for each garment. Might as well get as much bang for your buck as possible.
  3. My confidence level increases with each garment. Going in the second time, I knew where the problem areas might be and already had solutions for those. For instance, in the first Washi dress, I found that the elastic bobbin used while shirring the back would need to be reloaded with each stripe of shirring. I still don’t understand why but at least, this time, I didn’t have to fool around to figure out a solution. It makes for a more peaceful sewing experience.
  4.  With the extra confidence in the pattern, I can challenge myself in other ways. For this dress, I chose a knit fabric. I wasn’t sure what it would mean to make a pattern designed for woven fabrics with a knit but I felt good about trying it because I was already familiar with the pattern and how it fit me. I would not have done this the first time using the pattern because I wouldn’t have felt confident in the result.
  5. There are so many variations to be had. For the second dress, I chose not to cut the dip in the neckline. I was concerned that with a heavier fabric (knit vs cotton) the neckline would not lie flat with that cut out. I used the scoop neck version instead. Also, I tried it without the sleeve cap, didn’t like it and put the little sleeve on in the end.

Here is the finished Washi, version two!

IMG_6823

Just as I hoped, it is very comfortable. (For me the goal is almost always comfort.) The knit washes well. (I did prewash it as knits have a strong tendency to shrink.)

IMG_6834

The drape is very soft. After washing and drying it, there was no issue with wrinkling.

IMG_6834.2

The shirring wasn’t as tight with this version. I suppose that has to do with the knit vs cotton issue but I am not sure? If I make it again with a knit, I would play with the stitch size a bit while shirring it. Also, with the stretchiness of the knit it feels a bit too big. So if I do a repeat, I will cut it down a bit, especially in the bodice.

I also learned a bit more about sewing with knits. I wasn’t sure how to finish the seams since I don’t have a serger machine. Looking through some great garment sewing websites, I found one that instructed me to use a tiny zigzag stitch on all of the straight seams (like the side seams.) This sort of intimidated me but it worked out wonderfully.

IMG_6800

This tiny zigzag stitch made a big difference in how the dress hung. The seams didn’t get wavy because the zigzag stitch allows for some movement with the stretch of the knit. Also, I sprayed the hemline with starch before hemming it. Adding that extra structure made for a nice flat hem.

Besides finishing up the dress, I also finished painting the caps of the deck railings. I am so happy because it is supposed to really heat up over the next week or so.

IMG_6841

Lots and lots of painting!

IMG_6840

For now, the painting project is a finish and it looks so much better. Don’t you love checking something off the list? Especially something you really didn’t want to do in the first place?? Me too.

Have a good weekend everyone. Stay cool during this oh-so-hot part of July.

Linking up all over the place. See the links at the top of the page, under Link Ups.

christmas-in-july

In case you are wondering what is going on at Craftsy this weekend, here is the latest. It is Christmas in July at Craftsy and they are offering great deals (up to 60% off!) on kits and supplies so you are able to start working on holiday gift items ahead of schedule. You’ll be ready when the season rolls around. Sale begins today, 7/22/16 and runs through Sunday, July 24th. Check it out!

I am a Craftsy affiliate! Thank you for any purchases made via my blog as I will receive a small commission.