Tag Archives: inbox jaunt

Lots Going On!

The week is starting out with a bang! Yesterday I was scheduled to have some dental surgery today and I really, really, really wasn’t looking forward to it. Imagine my joy when the dental office called to reschedule my appointment (hopefully in another decade, another century, as far out as I can schedule it!) Anyway, Ray had taken the day off because he expected to be driving the patient home and rolling his loopy wife out of the car and into bed. Since we didn’t have to do this, we opted for a drive up to Downieville and a hike.
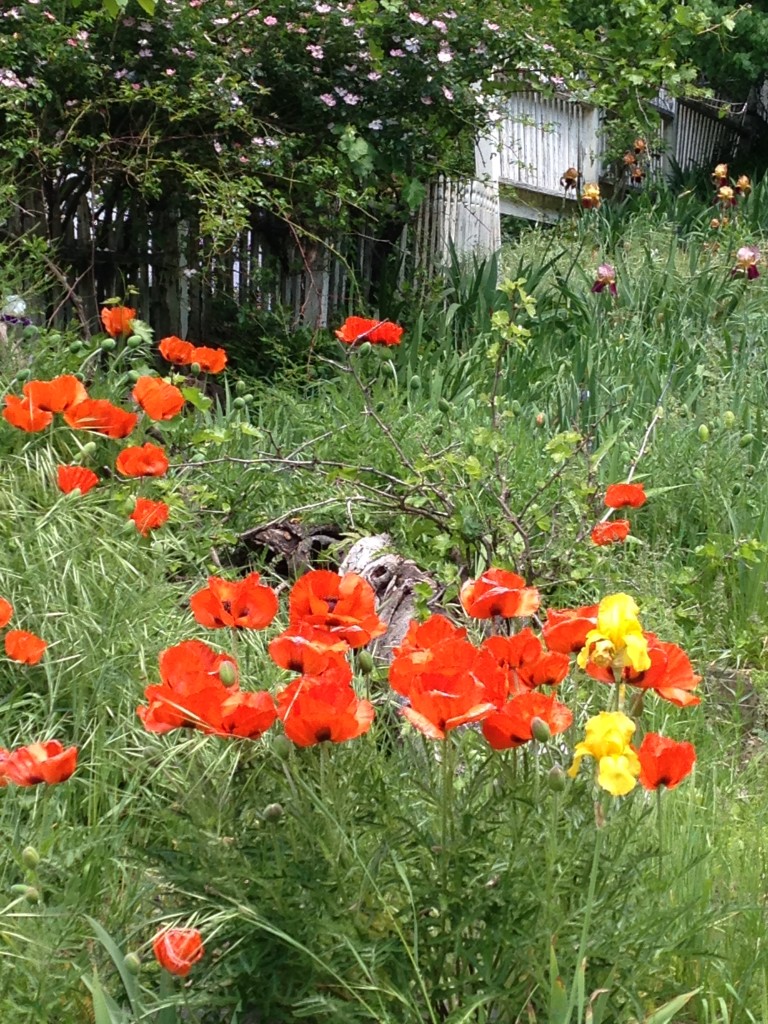
DV hikeThese poppies are just everywhere. Last year when they all went to seed, I collected tons of seed pods and tried to start them in our garden. Not one plant came up. I am not sure why but I am going to give it another try this fall. I know they are grow happily up here as they are just covering everyone’s yards and hillsides. I love the drama of these vivid red poppies.

dv hike 2

Really deep and crystal clear, the river is running so fast.  Ray and I are curious to see how high it remains this summer. Last year, with the drought, it ran quite low. I suspect this summer will be a different story. Monday was a totally different day than the one I expected. Hurray for small blessings like dental appointment cancellations!!!

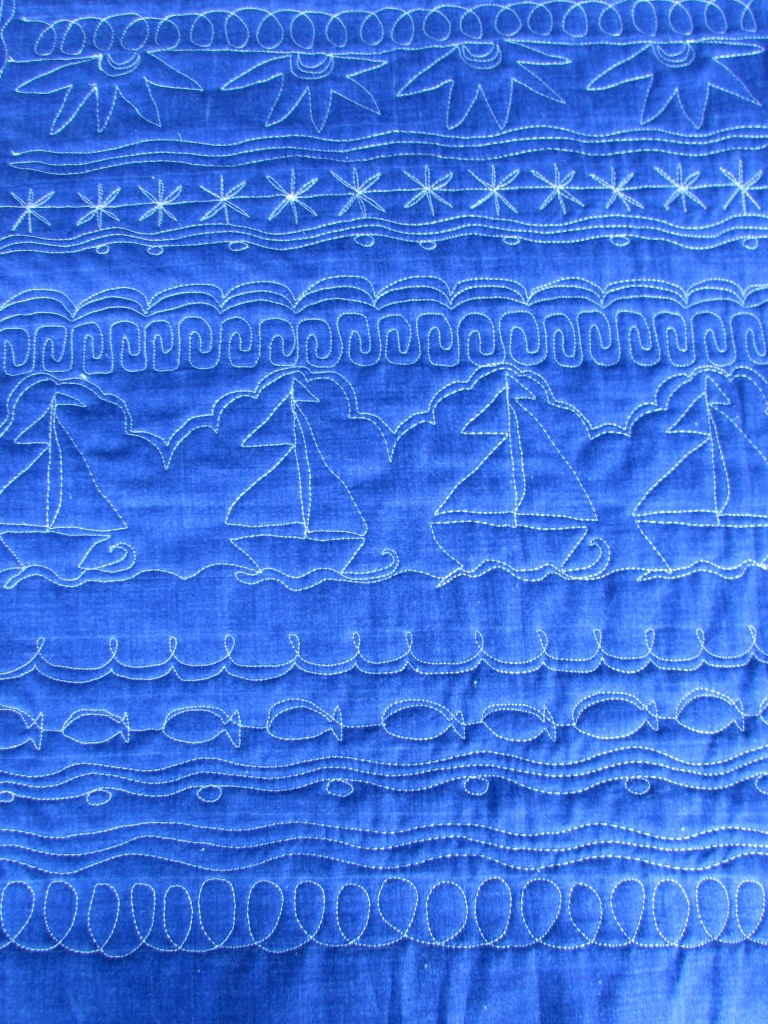
This weekend I was able to catch up on the FMQ quiltalong that I have been doing with Lori at The Inbox Jaunt. This project just gets cuter and cuter.

img_20160516_5164

Those sailboats make this whole project shine! I love them and kind of want to make something for a child that features the boats. I think they are just adorable. It is with mixed feelings that I watch for today’s post from Lori. This week we will be quilting the last row and adding some finishing touches. Overall, this was a fun way to practice my FMQ.

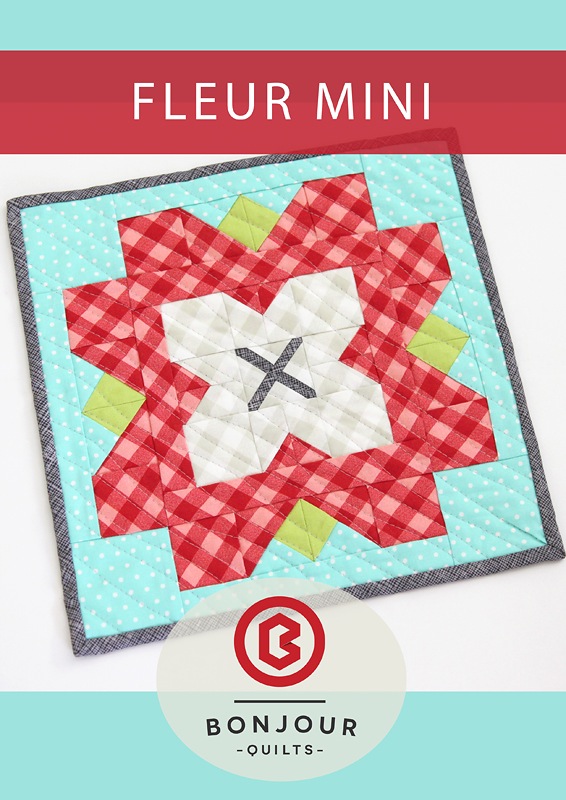
In support of the May is for Makers theme this month, I purchased my second indie pattern of the month. Yikes, it was hard to choose. It sort of reminds me of when my youngest son was little. (Ok, even now at 25 years old, he is still like this.)  He had such a hard time making choices – picking out an ice cream flavor took such a long time. The donut shop was even worse. When he grew to be a teenager, I dreaded the hours we would spend shopping when it was time to get new shoes. It looks like the apple doesn’t fall far from the tree. Here I was, shopping for a pattern-just for fun, no parameters. I was buying a pattern only because I wanted to support someone in their creative efforts. And I just COULDN’T DECIDE! Finally, I made my choice and bought a newly released pattern from Kirsty over at Bonjour Quilts. It is called Fleur.

FleurMiniCoverSmall

This mini finishes at 11″ square though she also sells a pattern for a jumbo size Fleur which works into a queen size quilt. I am thinking this mini would look great with four blocks so that it finished at 22″ x 22″. It is a sweet, summery look and will be fun to put together.

Finally, guess what! I am working on my first tutorial for Sew Mama Sew! I am excited about it and a little nervous because I really want to get all the details written up clearly and concisely. The tutorial is for something I have made so many times that I can do it without thought. Now I am making a few of them and trying to take good notes of the steps necessary. It posts in three weeks so hopefully I will have it all worked out by early next week.

I hope your week has started out as happy as mine!!

Linking to my usual favorites. Check them out at the top of the page, under Link Ups.

Craftsy Update:  In a continued celebration of their birthday, Craftsy is offering some of their most popular classes for 50% off. Sale begins Wednesday, May 18th! Check them out. I have taken some quilting classes purchased at Craftsy and feel that that the caliber of the classes is first rate! (I am a Craftsy affiliate, meaning if you click through my link and make a purchase, I will receive a small payment.)

unnamed (1)


Free Motion Mavericks-Guest Host!


This week Needle and Foot is hosting the Free Motion Maverick weekly link up.  Muv, the regular hostess over at Lizzie Lenard Vintage Sewing, is busy with family commitments this week. I am happy to host for her.

I regularly check out this linky party each Thursday, linking up whenever I have a FMQ project to share. As you have read, I am trying to practice my FMQ consistently so I can steadily improve the quality of my stitching. Each week, the Free Motion Maverick link up provides me with lots of inspiration and encouragement on my free motion quilting.

Last week I jumped on board with the mystery FMQ QAL over at The Inbox Jaunt. I have used the resources that Lori Kenedy provides on her blog so many times. Her endless stream of tutorials are so helpful. She just started a QAL where we will make a whole cloth mini using a solid color fabric. The frist step was to make the quilt sandwich and mark out the sections. She is assigning a section each Tuesday and there is to be a nautical theme to this project. It is definitely not too late to join in. We are just getting going!

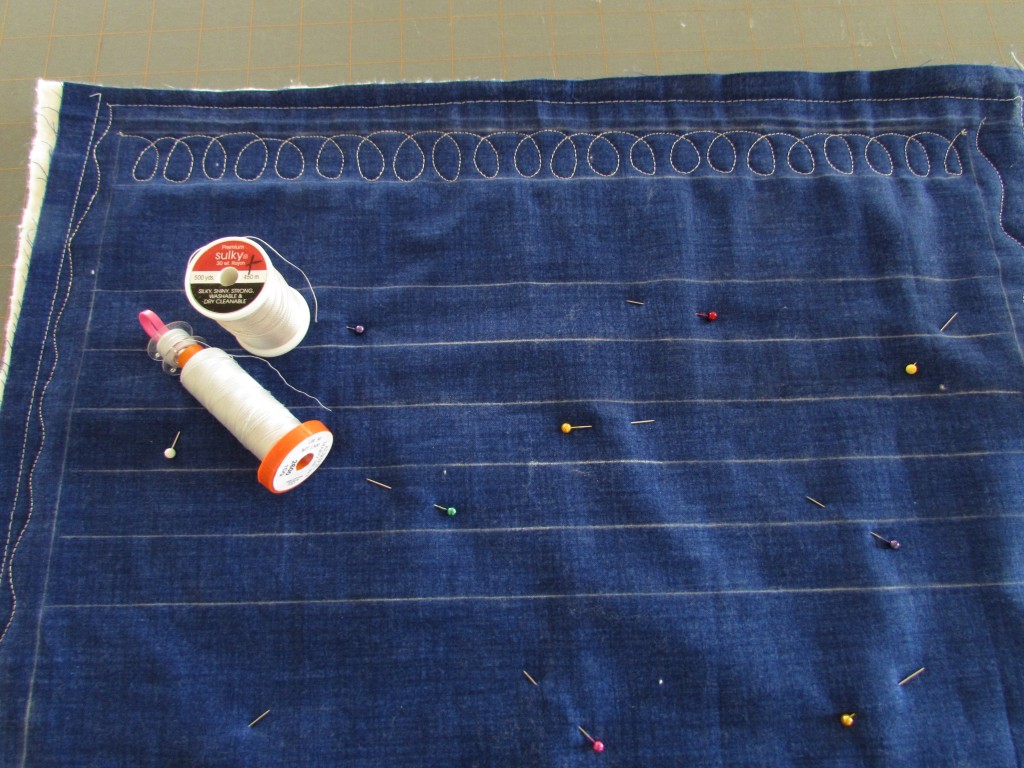
Last week we quilted two rows (top and bottom) of the piece with a loopy stitch. I am using Sulky thread for the top and Aurifil in the bobbin. So far, so good.

img_20160408_4769

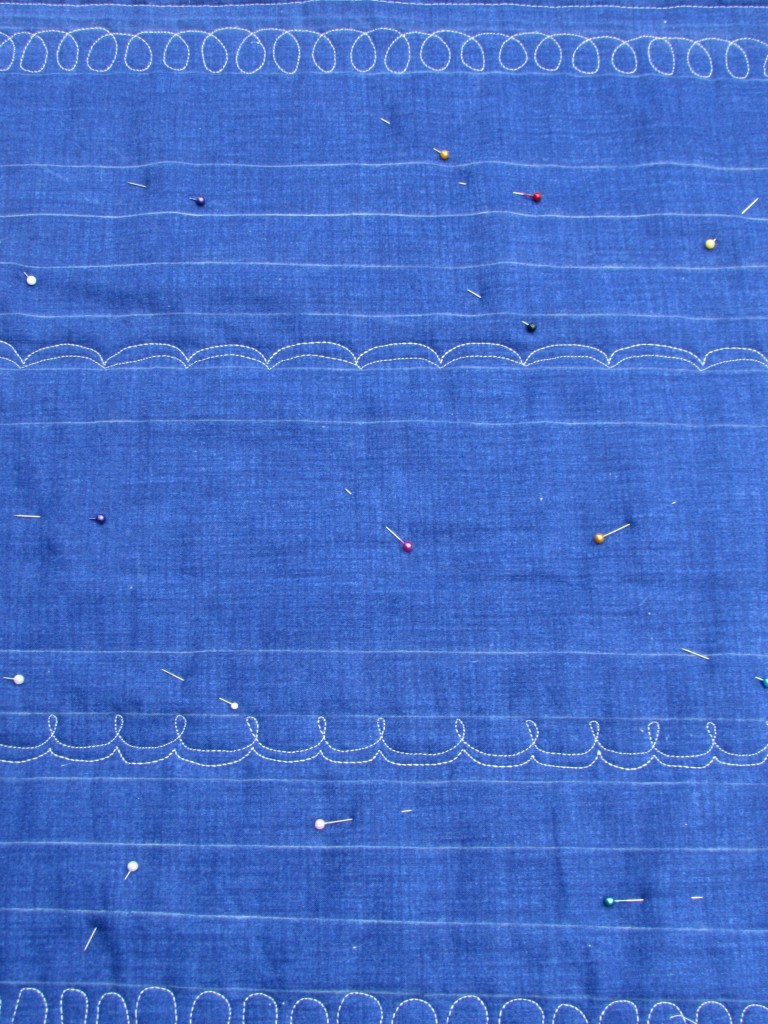
Even though Lori had us run a stitch around the perimeter, I feel like I have to at least place a few pins. It is a small piece though, the pins are probably overkill. This week we did scallops on two rows. I doodled them on paper and stitched on a practice piece before going to the real deal. They look ok. Not great, just ok.

img_20160412_4801

I am looking forward to seeing what is next! Doing such a tiny amount each week makes this easy to fit in with everything else.

I am looking forward to seeing what everyone has been working on this week. Last week, this quilt by Afton Warrick was linked up. The quilting on her piece is outstanding.

Help me win the Mary Fons Quilt Contest. Please like my quilt on Facebook at https://www.facebook.com/SpringsCreative/photos/pcb.1281029551911786/1281026085245466/?type=3&theater

Afton calls this quilt “Small Wonders Kaleidescope”. It is a beautiful quilt. If you didn’t get the chance last week, take a peek at her post. She does a great job of stepping the reader through the process she used to quilt it. Quite inspirational.

Now let’s see what you are stitching! Link up here, whether you are a FMQ pro, or a novice, like myself.


Perfection? No Thanks.

I did a little practice session (actually it took a few sessions) of free motion quilting. It’s been a while since I last sat down and focused on it. Really, when it is truly a practice session and I don’t have a lot invested in the outcome, it is very fun. FMQ is a skill (like most) that will never improve unless one invests the time.

My main issue is the whole look-at-every-wiggle obsession that I have. I have heard it so many times; when we sit at the machine to quilt, our line of sight is up close and personal. The finished product is usually viewed from a distance which improves the look of things tremendously.  As I played with this practice piece, I made many wiggles and hops that I was unhappy with. However, for the most part, I left them as they are. My strong dislike for the seam ripper makes it easier for me to ignore the less than perfect stitching. I don’t need to make it perfect. I just need to keep stitching. If I spend lots of time ripping things out, the joy is lost; given up to the pursuit of perfection when really, good is enough for me.

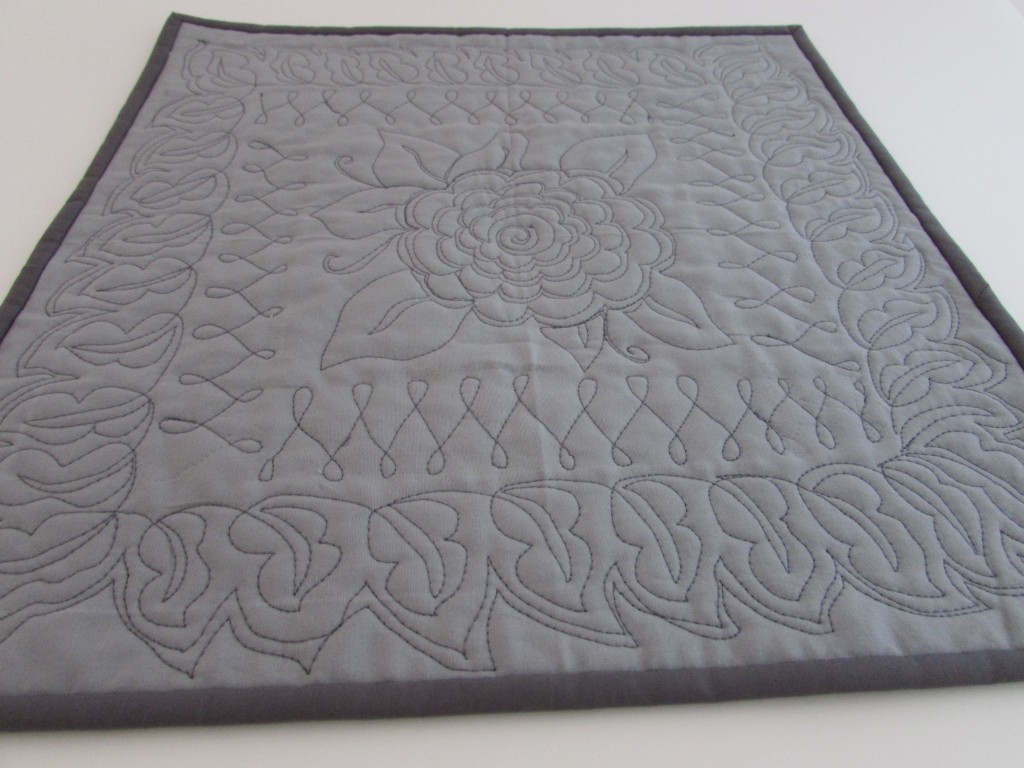
IMG_20160317_4708

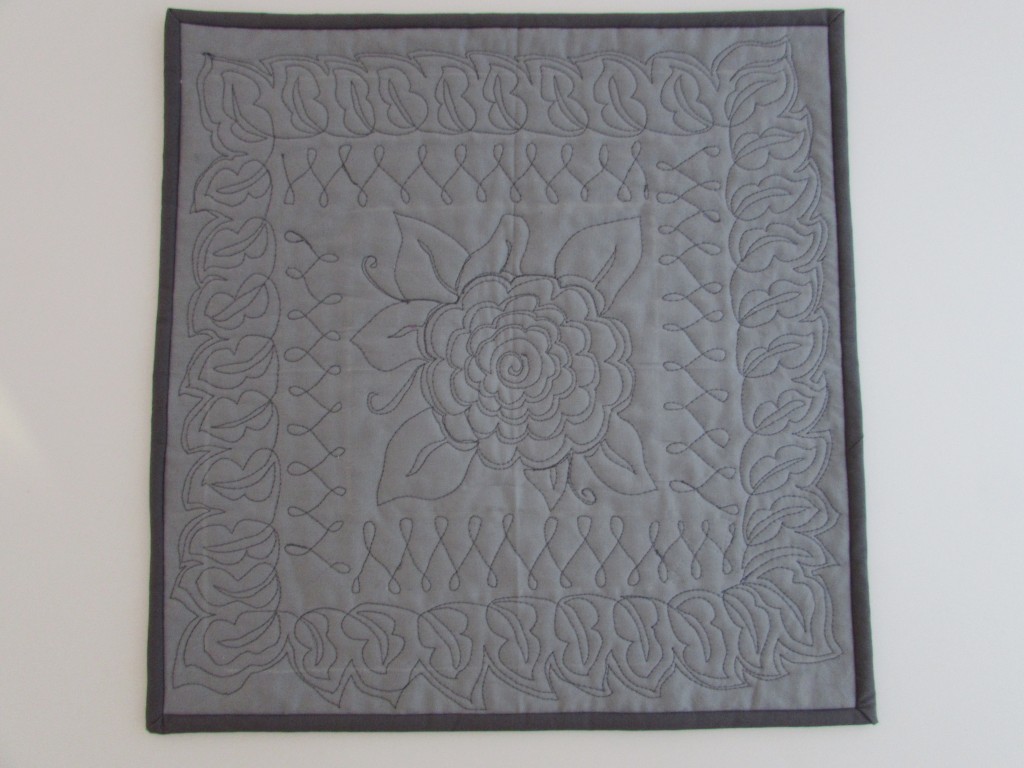
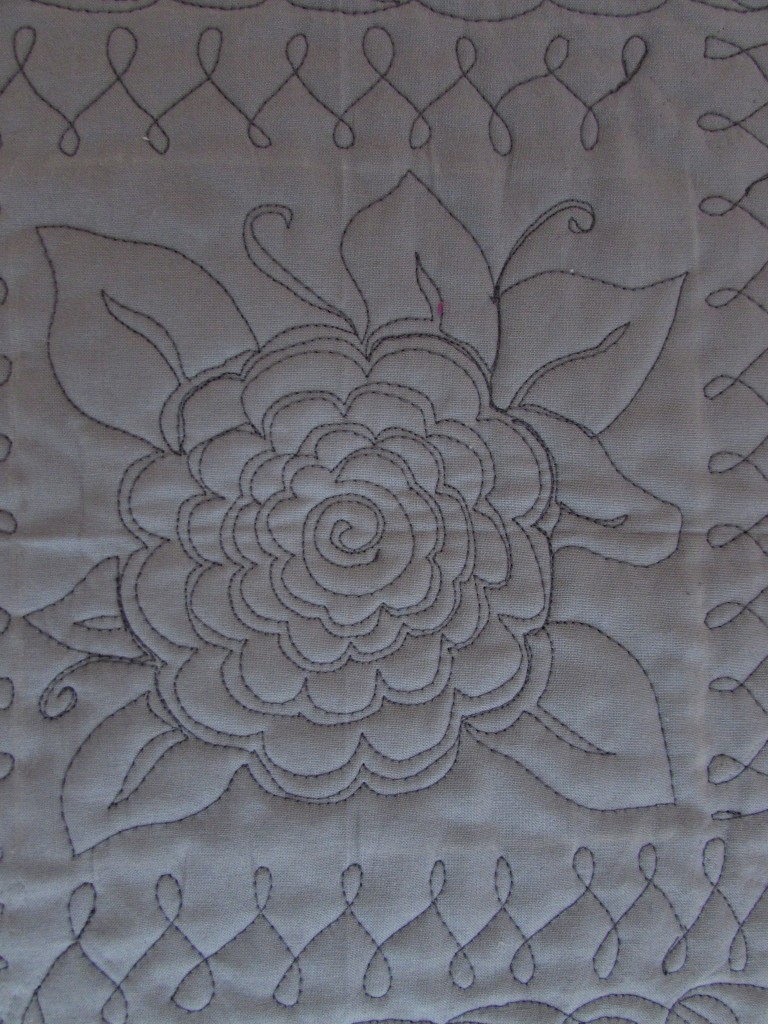
As expected (and hoped for) I learned quite a bit with this piece. First of all, in a Craftsy class, Machine Quilting Wholecloth Quilts with Cindy Needham, she suggests folding your practice piece in half and ironing a line and then folding one more time (so you have 4 quarters) and ironing again. You end up with the center marked well and four gridlines to guide you. The lines are still slightly visible on this piece.  Following that I worked on the flower in the center. The tutorial for this motif was taken from Lori Kenedy’s site, The Inbox Jaunt. The name of the motif is Claire’s Peony.  This flower is really fun to do.

IMG_20160317_4709

I bordered the flower with a simple twist. Here comes lesson number two. I found out that I had no idea how to deal with the corners. This design doesn’t really lend itself to turning a corner. I tried, oh, I did try! With this one, I used my seam ripper and tried a few times to find a way. After a couple of tries, I just went end to end and gave up on the turn. It isn’t award winning but then, this isn’t going to a show, it’s practice. So I am fine with it.

The outer border is inspired by another of Lori’s tutorials, The Maypop Leaf. I doodled this one for a while on paper (actually I draw anything first, before stitching) but it is still a bit rough. Again, practice, right? I felt like it needed one last bit so I echoed the leaf border a couple of times.

IMG_20160317_4710

I was going to toss this into a pile of odds and ends but after looking at it for a while, I decided to keep it. I like the way it looks as a whole so I put a quick binding on it and kept it. It finishes out at 15″ x 15 1/2″ (I know – where did that extra 1/2″ come from???) Keeping these is a good thing – as I progress, it is nice to look back and see how far I have come.  You know, the hardest part of writing this post is to keep the critcism of this practice session to a minimum. I feel like if I am going to share these projects, I need to zoom in and explain or defend every mistake. But I am not going to. It isn’t perfect but it is certainly good enough.

Linking to Freemotion Mavericks and other assorted wonderful linky parties. Info on all of them are listed at the top of the page, under link ups.


A Vintage Finish

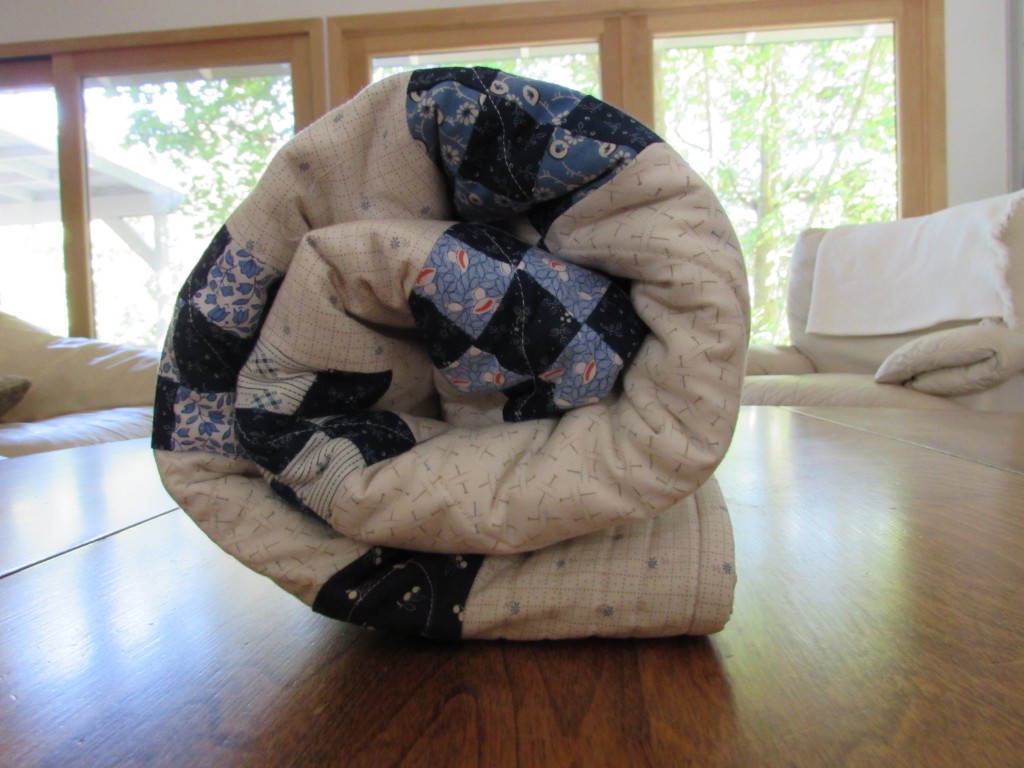
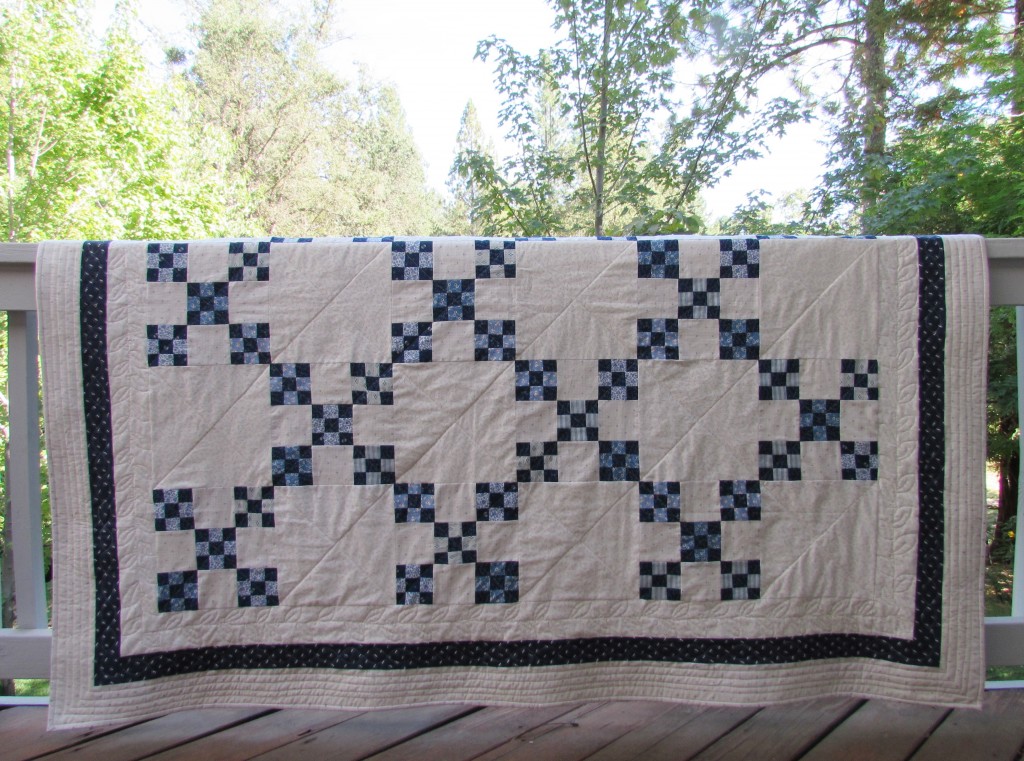
Looks like I made it, and with a few days to spare! My ALYOF goal for August was to quilt and bind my vintage double nine patch quilt. Yahoo for setting goals.

IMG_20150827_3699

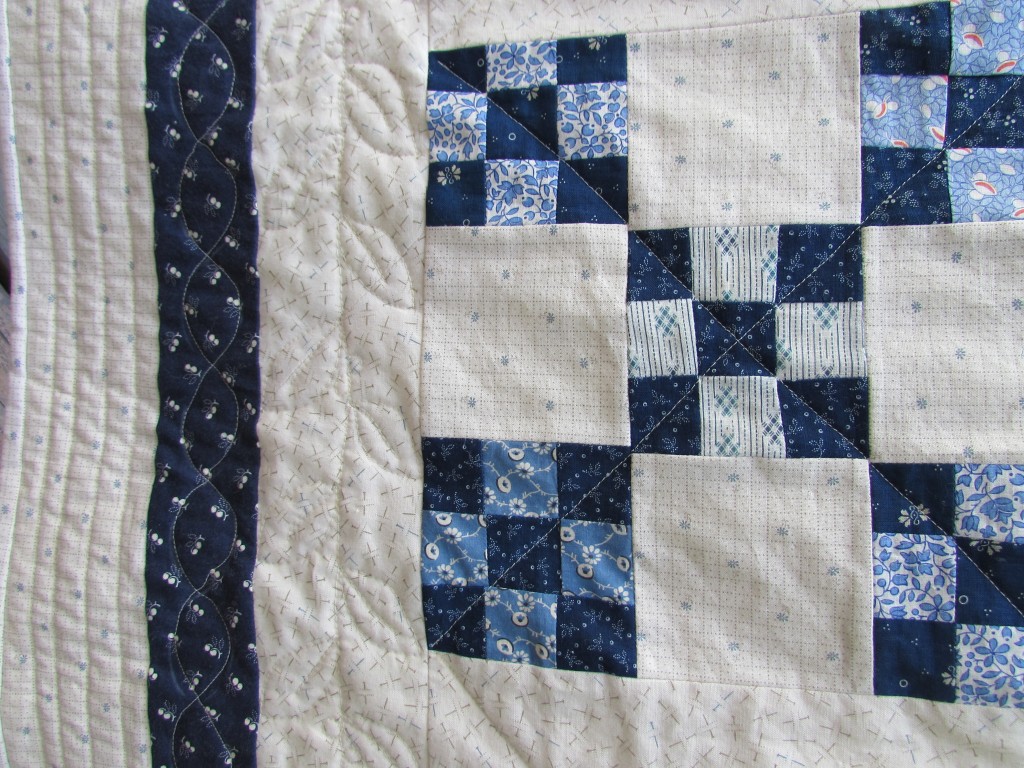
I had asked readers to suggest ideas for quilting the vintage quilt and was happy to receive tons of suggestions. Thanks so much for the ideas. I decided to quilt a basic cross-hatch over the main nine-patch blocks. Then I wanted to do something different with each of the three borders. My original thought was to do different cable patterns so I bought a couple of cable stencils.

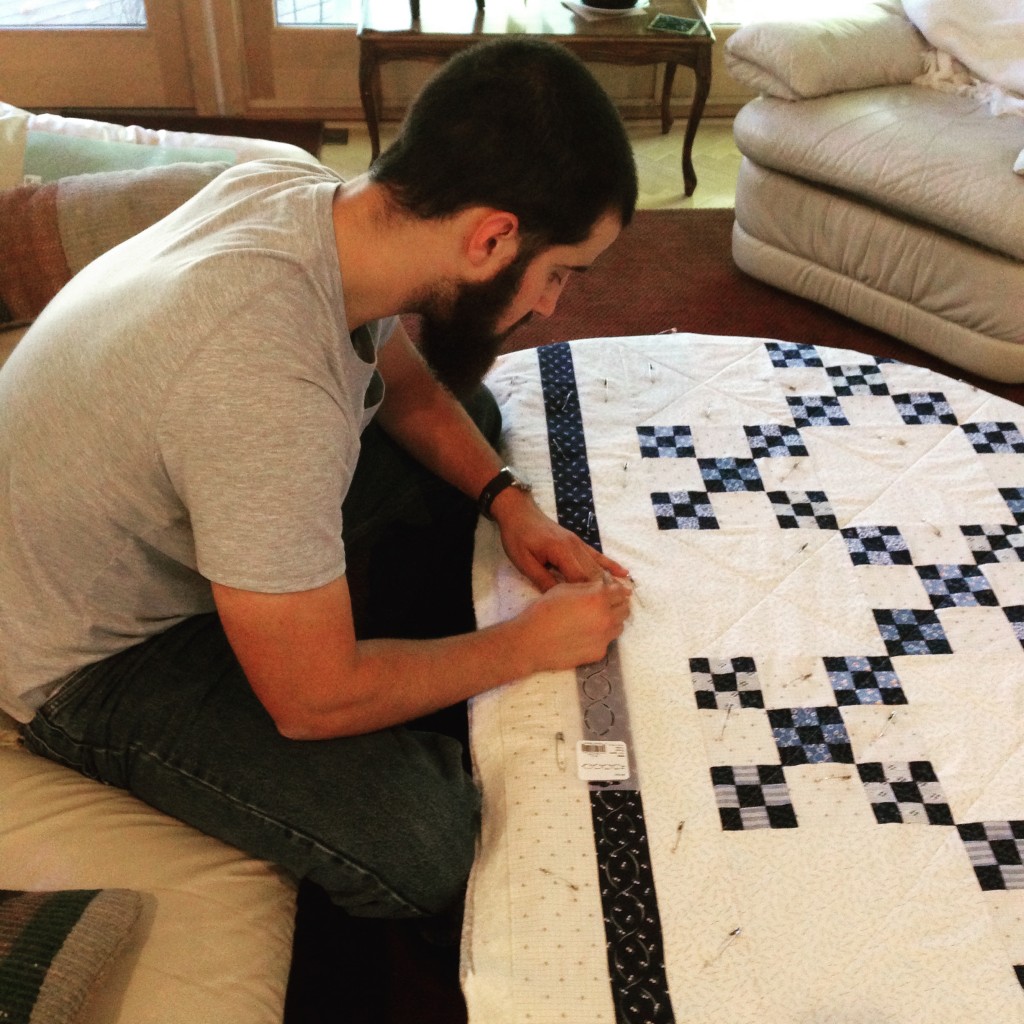
Alas, it wasn’t entirely successful. I started by doing a basic, single cable on the middle (narrowest) border. I had great help with tracing the stencil. Ian was home for the weekend and kindly traced for me.

IMG_2409

Try as I might, I couldn’t relax and just stitch. I wanted to use my walking foot, maybe that was the mistake? The stitching isn’t fluid and I am less than pleased with it. Hoping that a run through the wash (in my NEW washing machine) will make the jitters a bit less obvious.

IMG_20150827_3703

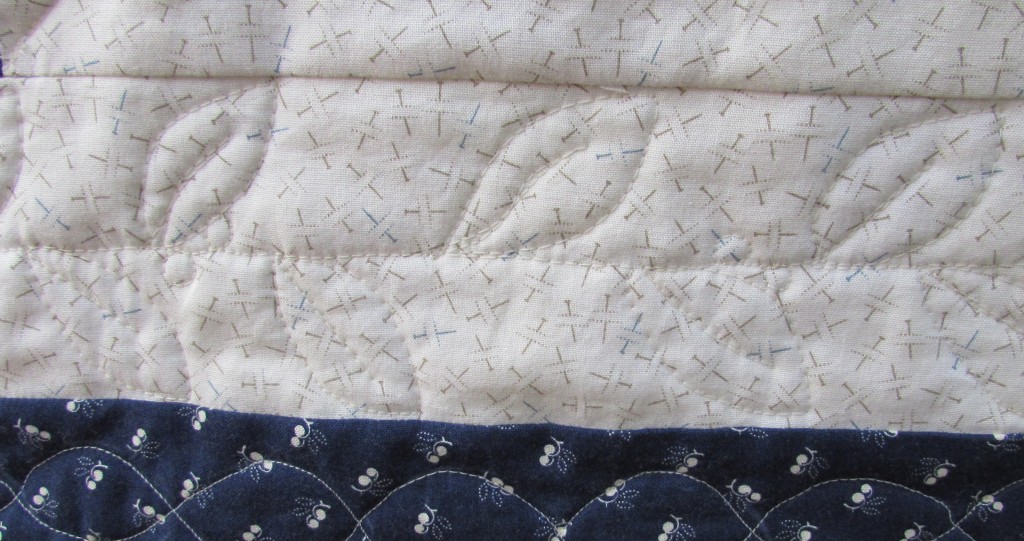
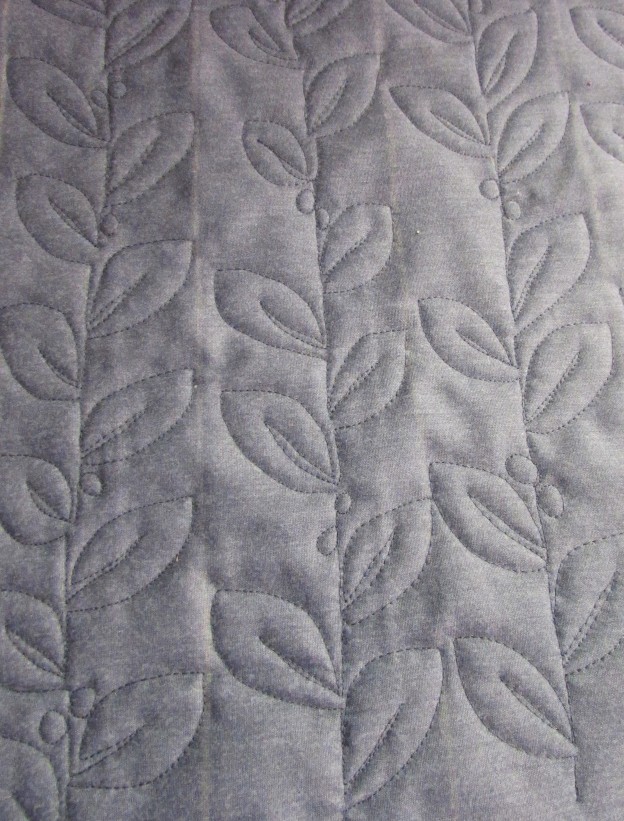
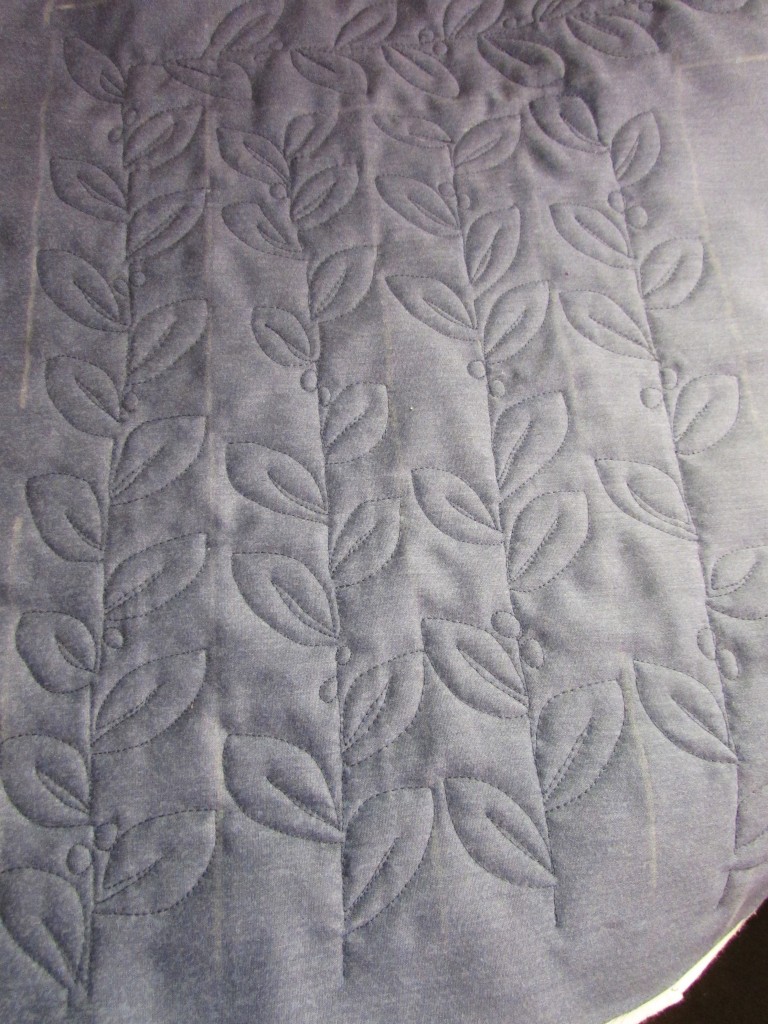
Because of the issues with the single cable, I lost interest in doing a more complex cable pattern so I put the stencils away in the deepest recesses of my desk drawer. I don’t plan on looking at them for quite some time. Instead, I played with some motifs that Lori Kennedy has posted over at The Inbox Jaunt. I chose her Modern Leaf pattern (which I posted about earlier this week.) Because I am susceptible to this sort of nonsense, I wondered if I should use a motif with the word “Modern” in it when I was really trying to go for a vintage look. Jeez… I need to get over myself already. It worked out fine and was very fun to quilt. Because I did the quilting with cream colored Mettler thread, it is hard to see in the pictures. But I am much happier with it than the single cable. (I love the fabric with those little pins. Really cute.)

IMG_20150827_3702

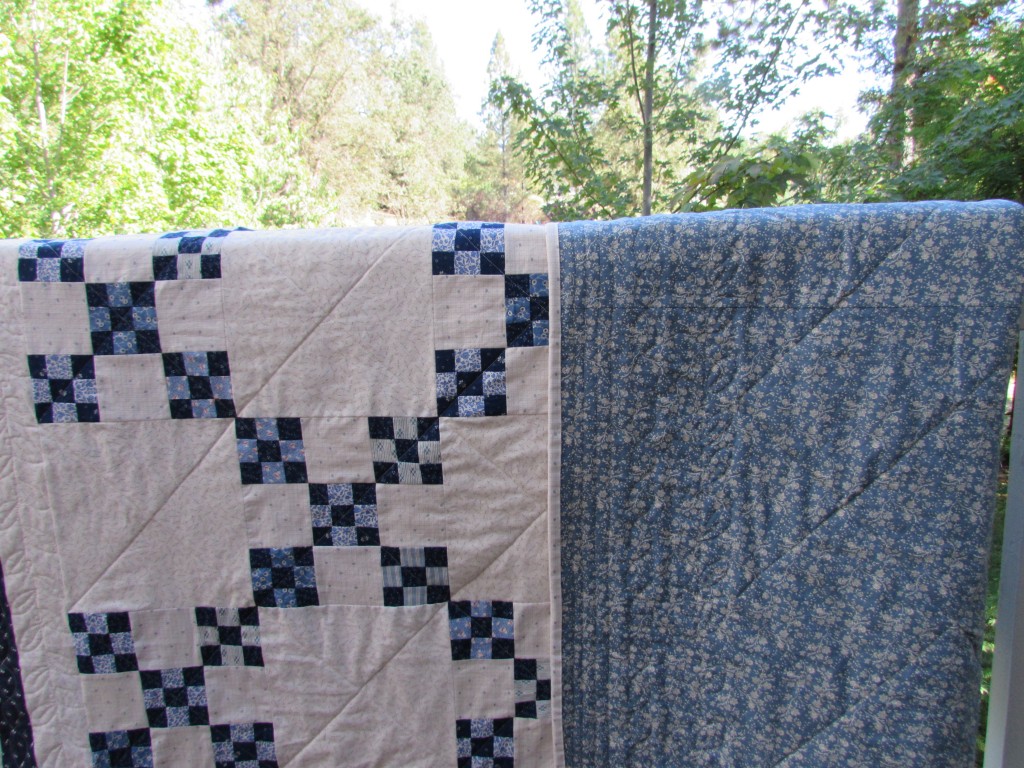
For the final, outside border I did basic straight-line quilting which I just eyeballed using the side of the walking foot. Simple and clean. I backed it with a blue print and as you can see, I used one of the cream background fabrics as the binding.

IMG_20150827_3704

One small concern that came to mind is that I have a six inch gap between stitching lines on the cross-hatch. The batting said I could space the quilting with as much as an eight inch gap. However this is likely the widest I have gone and it seems sketchy to me.  Any input on that? I could still add lines to the body of the quilt if need be. If I split the difference between the existing lines, I would have a three inch gap. Thanks for any ideas you might have.

IMG_20150827_3701

Overall, I am happy with the finish. This is a more traditional quilt than I normally make but I enjoyed it. My next project is more modern and uses Kaffe Fassett yardage and jelly roll. I am chomping at the bit to get started on it so stay tuned.

Linking to my favorites:  Let’s Bee Social, Finish it up Friday, and Sew Bittersweet Designs.  Take a peek at these sites – there is a lot of great work out there!

Anticipation

I am sitting here waiting for the delivery of my new washing machine.If you could have heard the noise made during the final spin cycle, you would have no trouble imagining my anticipation for this wonderful event. It sounded like jets were leaving the runway. The floor shook as the machine rumbled. The sound grew louder with each load of wash. I called to see about having this fixed, assuming that they could just replace the bad bearing or whatever was failing. But the service technician asked how old the washing machine was (ten years old) and told me that it wasn’t worth fixing it. The average lifespan of a washer is about ten years these days. Planned obsolescence – don’t even get me started. Remembering back, I am fairly certain my mom had one washer for the duration of my childhood.

While shopping for a new machine, I asked the salesperson if there was a washer that would hold up for longer than the estimated ten years. He said, sure – this one over here will last 15 or so. Of course it was expensive enough that I could just buy another one in ten years and still spend the same amount. Irritating. So, I am just waiting for the delivery guys to show up and heave that beast up the two flights of stairs on my deck and install it. I have a pile of laundry waiting right here with me. Exciting times, right?

Over the weekend (since I wasn’t doing laundry) I practiced my FMQ. I wanted a larger fabric sandwich to practice on as I was doing a leafy border motif and wanted to figure out how to turn the corner. For me, it is really a challenge to plan the motif and be at the right point in the design to make that turn. I cannot visualize things like that in my head, yet I prefer to quilt without tracing a design. When I stitch over a tracing of a design, my stitches wobble. Don’t ask me why. If I had to make a supposition, it would be that my mind becomes focused on that dang traced line. Without the line, my stitches flow much better. This corner isn’t great. I don’t like that harsh right angle on the vine. But the leaves worked out ok.

IMG_20150822_3694I do like the motif. I found this Modern Leaf tutorial via Lori Kennedy’s incredible website, The Inbox Jaunt. I have mentioned her before, but really, if you are working on your FMQ skills, I cannot recommend her enough. Her site offers tons of tutorials and many, many different motifs. It is definitely worth taking a peek at all she has to offer.

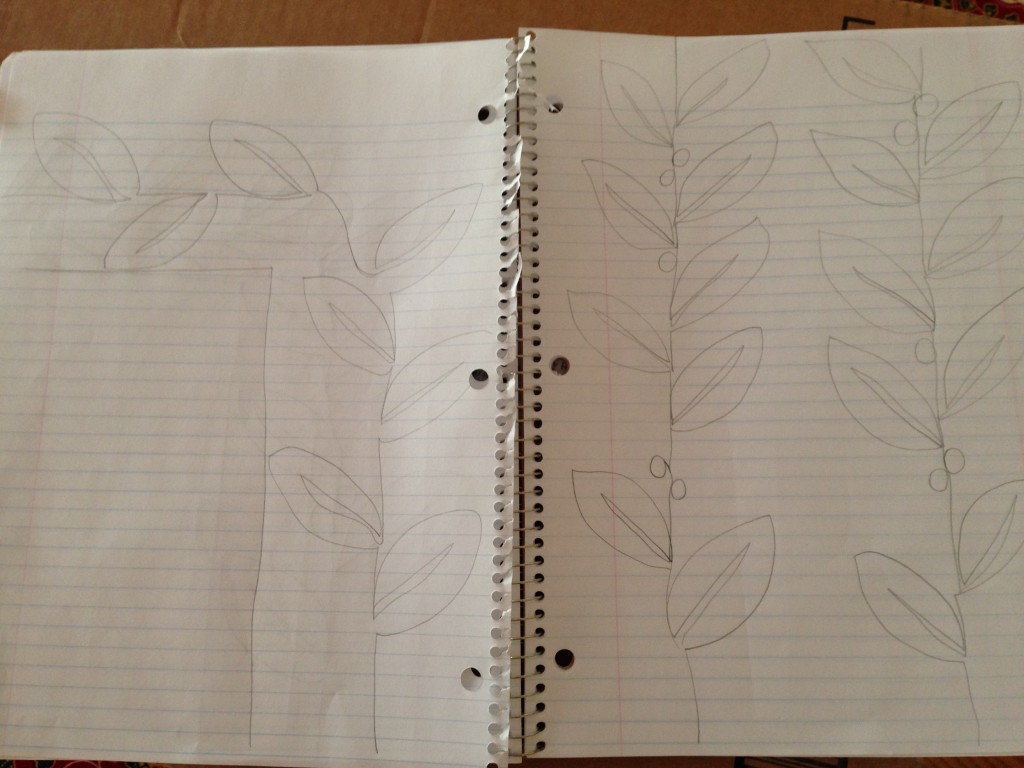
Lori is a huge proponent of doodling and drawing the motif before actually stitching it. I did several pages of practice drawings. (Drawing is not my forte, not in the slightest.) However, the practice of making those hand motions using pencil and paper definitely transfers to an increased muscle memory of that pattern. It helps!

IMG_2477

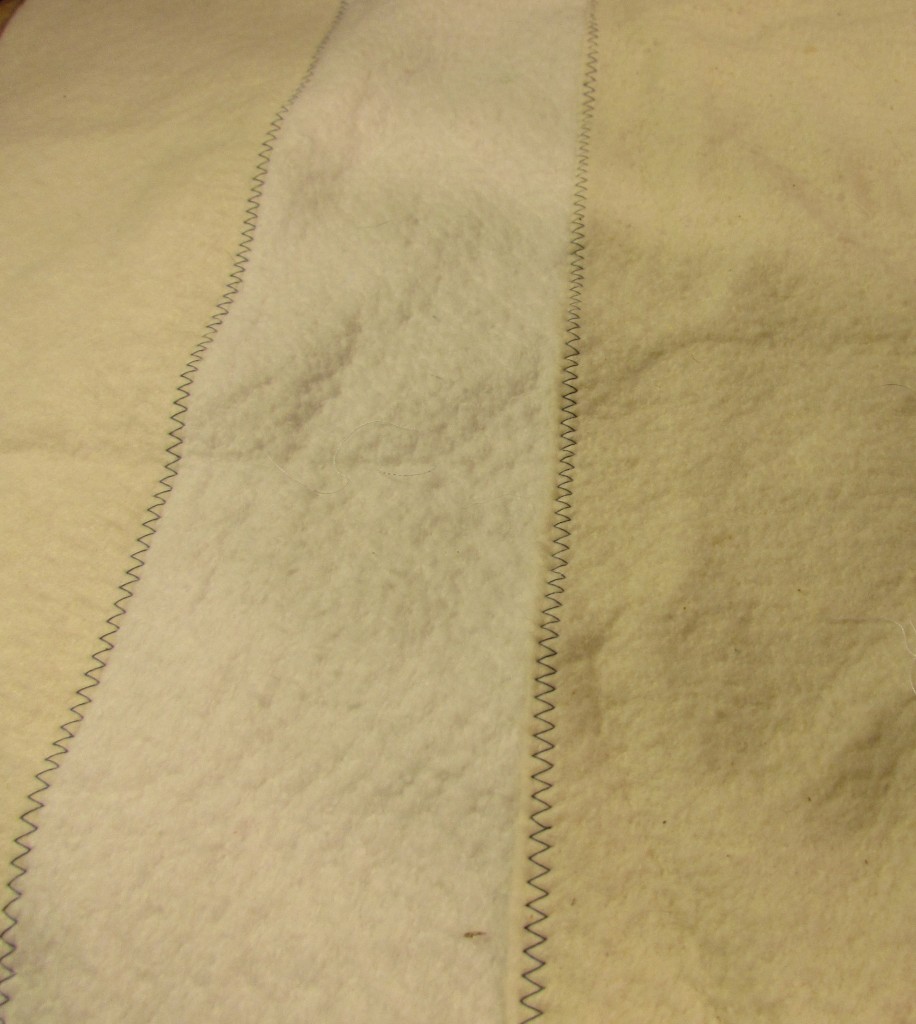
When I was putting the fabric sandwich together, I didn’t want to waste a large scrap of batting. I have a whole drawer full of many straggly lengths (often from trimming the edges off of a project after quilting it).  I have taken to stitching these pieces together (frankenbatting style). Have you tried this? I have never had any issue with it. Mainly I do it for smaller projects, but I have read posts from many quilters who have done it to gain larger sizes as well.

IMG_20150822_3693I use a fairly wide zig zag stitch with only a hint of overlap of the two lengths of batting. To avoid a lump along that line of stitching, it is best to just hold the two lengths as close together as possible without much of an overlap.  This is a great way to use up those piles of batting scraps.

Today I plan to finish up the quilting on the vintage double nine patch. I have one border left and I will use this leaf motif. My binding strips are ready to go. Looks like I will have a finish this week!!

How about you? Working on anything fun this week??  Ever pieced your batting scraps? Do tell. 🙂

Linking to Freemotion by the River, Sew Cute Tuesday, Freemotion Mavericks, and Confessions of a Fabric Addict (who by the way is having a giveaway to celebrate her 1,000,000 VIEW!!  That is worthy of celebrating!! The giveaway is open until Thursday of this week.)


Free Motion Monday

I have been spending more time practicing my free motion quilting skills. I really want to be more competent with the FMQ part of the quilting process and the only way to get there is what? Practice, practice, practice. It is tough because the time I can spend quilting, like most people, is limited by regular life. When I spend time practicing my FMQ, I am not making!!  It doesn’t feel as productive as piecing, binding, FINISHING something. Possibly I am a bit too goal oriented at times, you think? At the beginning of the year, I set a goal to focus more on the process, rather than rushing to the finish. This is a great exercise in being more process focused.

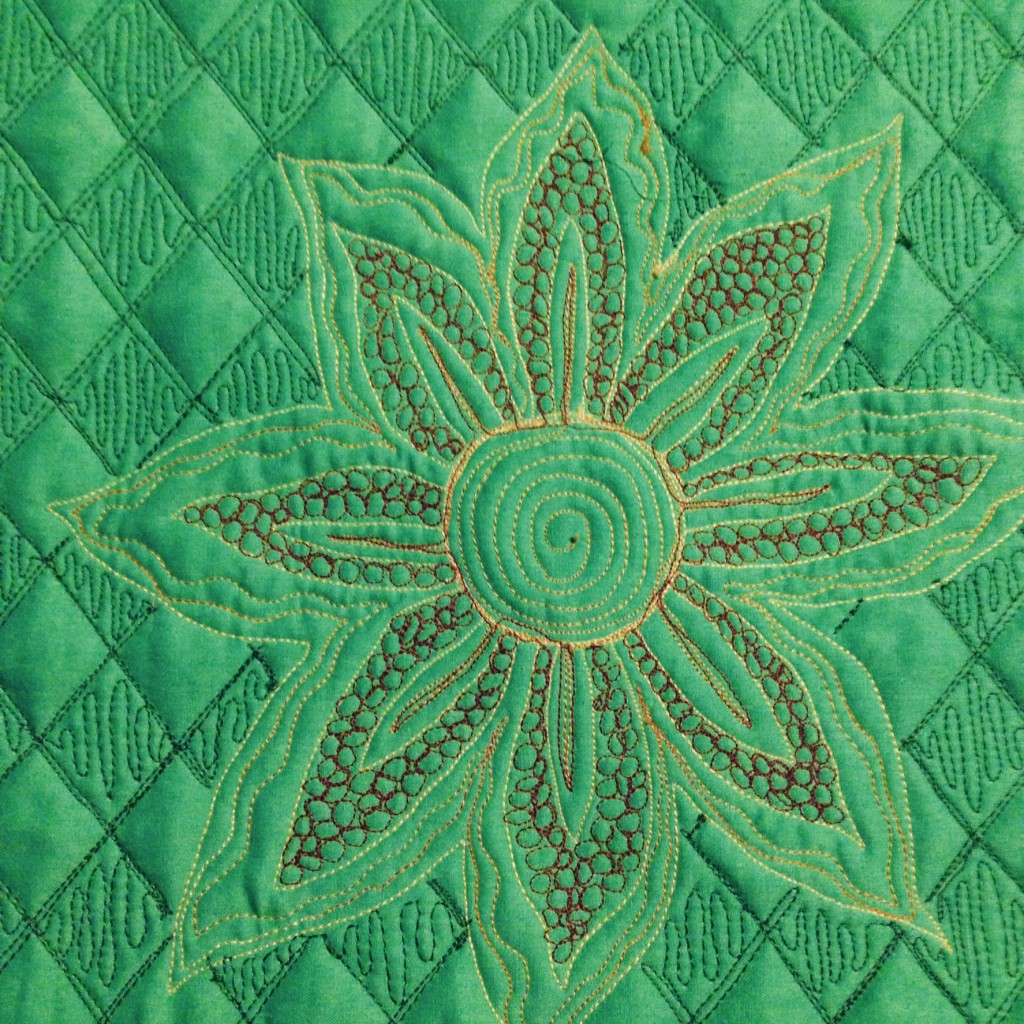
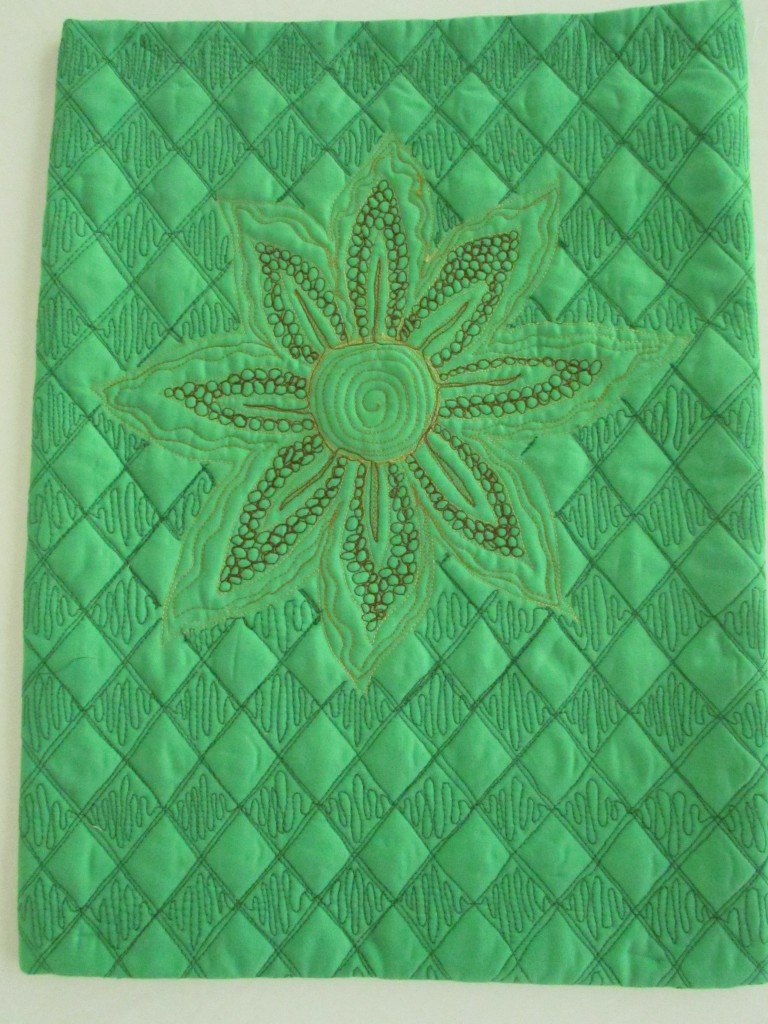
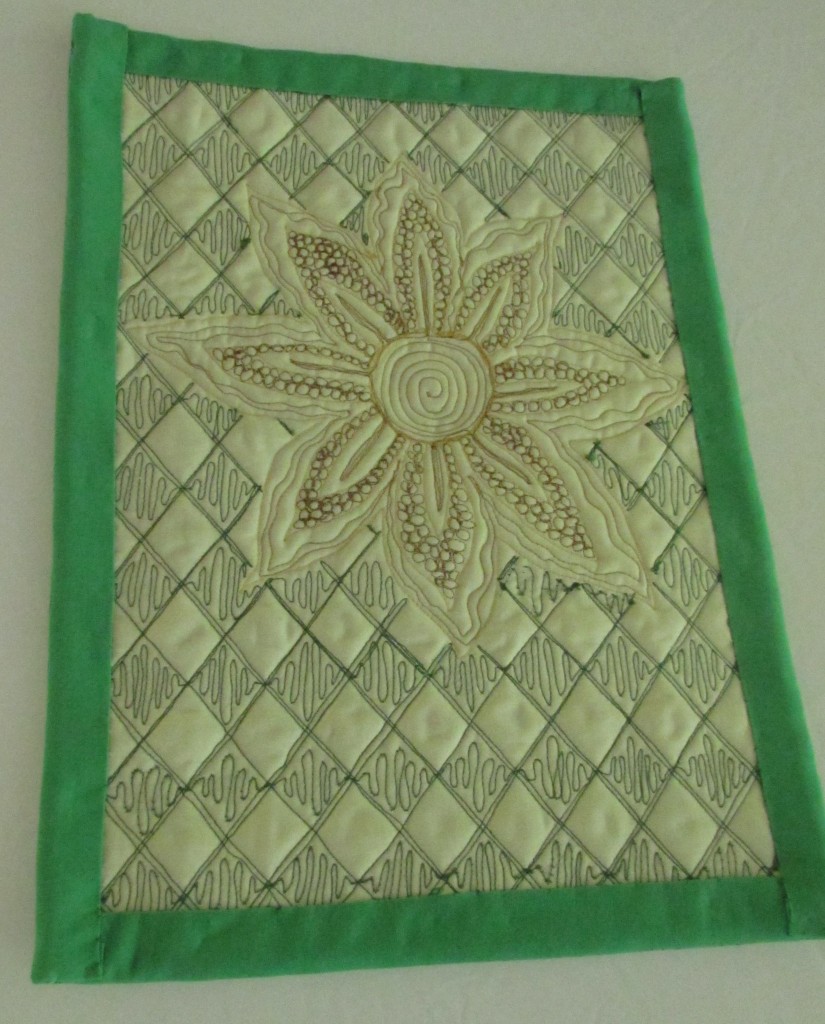
Last week I was working from Christina Cameli’s book and practicing filler patterns. This week I decided to find a larger motif and then use filler around it. I grabbed some solid green fabric that I had thrifted a while back, some batting and plain muslin for the backing. Making a sandwich and pinning it together, I tried to think of what I wanted to quilt on it. I turned to Pinterest, the source of so many ideas. I came across a sunflower that looked pretty, and more importantly, like something I could accomplish. The inspiration came from Amy at Freemotion Quilting Adventures. This site is a wonderful collection of all sorts of helpful information for those learning to FMQ, as well as those that are just expanding their skills.

IMG_4185 (2)

I did the flower first and then started looking for a background filler. A great source for ideas is Lori Kennedy’s site, The Inbox Jaunt. She is an amazingly prolific quilter and is very generous in sharing tutorials and patterns for different fillers as well as motifs. I saw her tutorial on the grid pop motif and decided that would be a fun one to try. I drew diagonal lines and double stitched each line. To gain the pop effect, every other line of diamonds is filled in. The effect is great!

IMG_20150525_3341

For this project, I made a conscious decision not to worry about perfection. My tension was making me crazy and after doing the usual, re-threading, cleaning out the bobbin space, rewinding the bobbin, I let it go. This isn’t a gift, it isn’t for sale, it is practice. I want more time quilting and it doesn’t have to be perfect. It is more about gaining that muscle memory to make it that much easier the next time.

Looking at the back of the piece, you can see the tension issues.

IMG_20150525_3344


Overall, I love the end result. I even faced it so that I can use it. Currently I have it sitting on my hutch and the sunflower and popping grid make me smile. It is a good sense of accomplishment. I am already looking at ideas for this week’s practice session! Hope everyone has a wonderful week.

Linking to Monday Makers, Freemotion by the River and later this week, will link to Freemotion Mavericks.