Somehow a month passed by and I wasn’t struck with the urge to write. Not for lack of projects to share however. I have found quite a bit of time to be in the sewing room. Let’s take a look at a few projects.
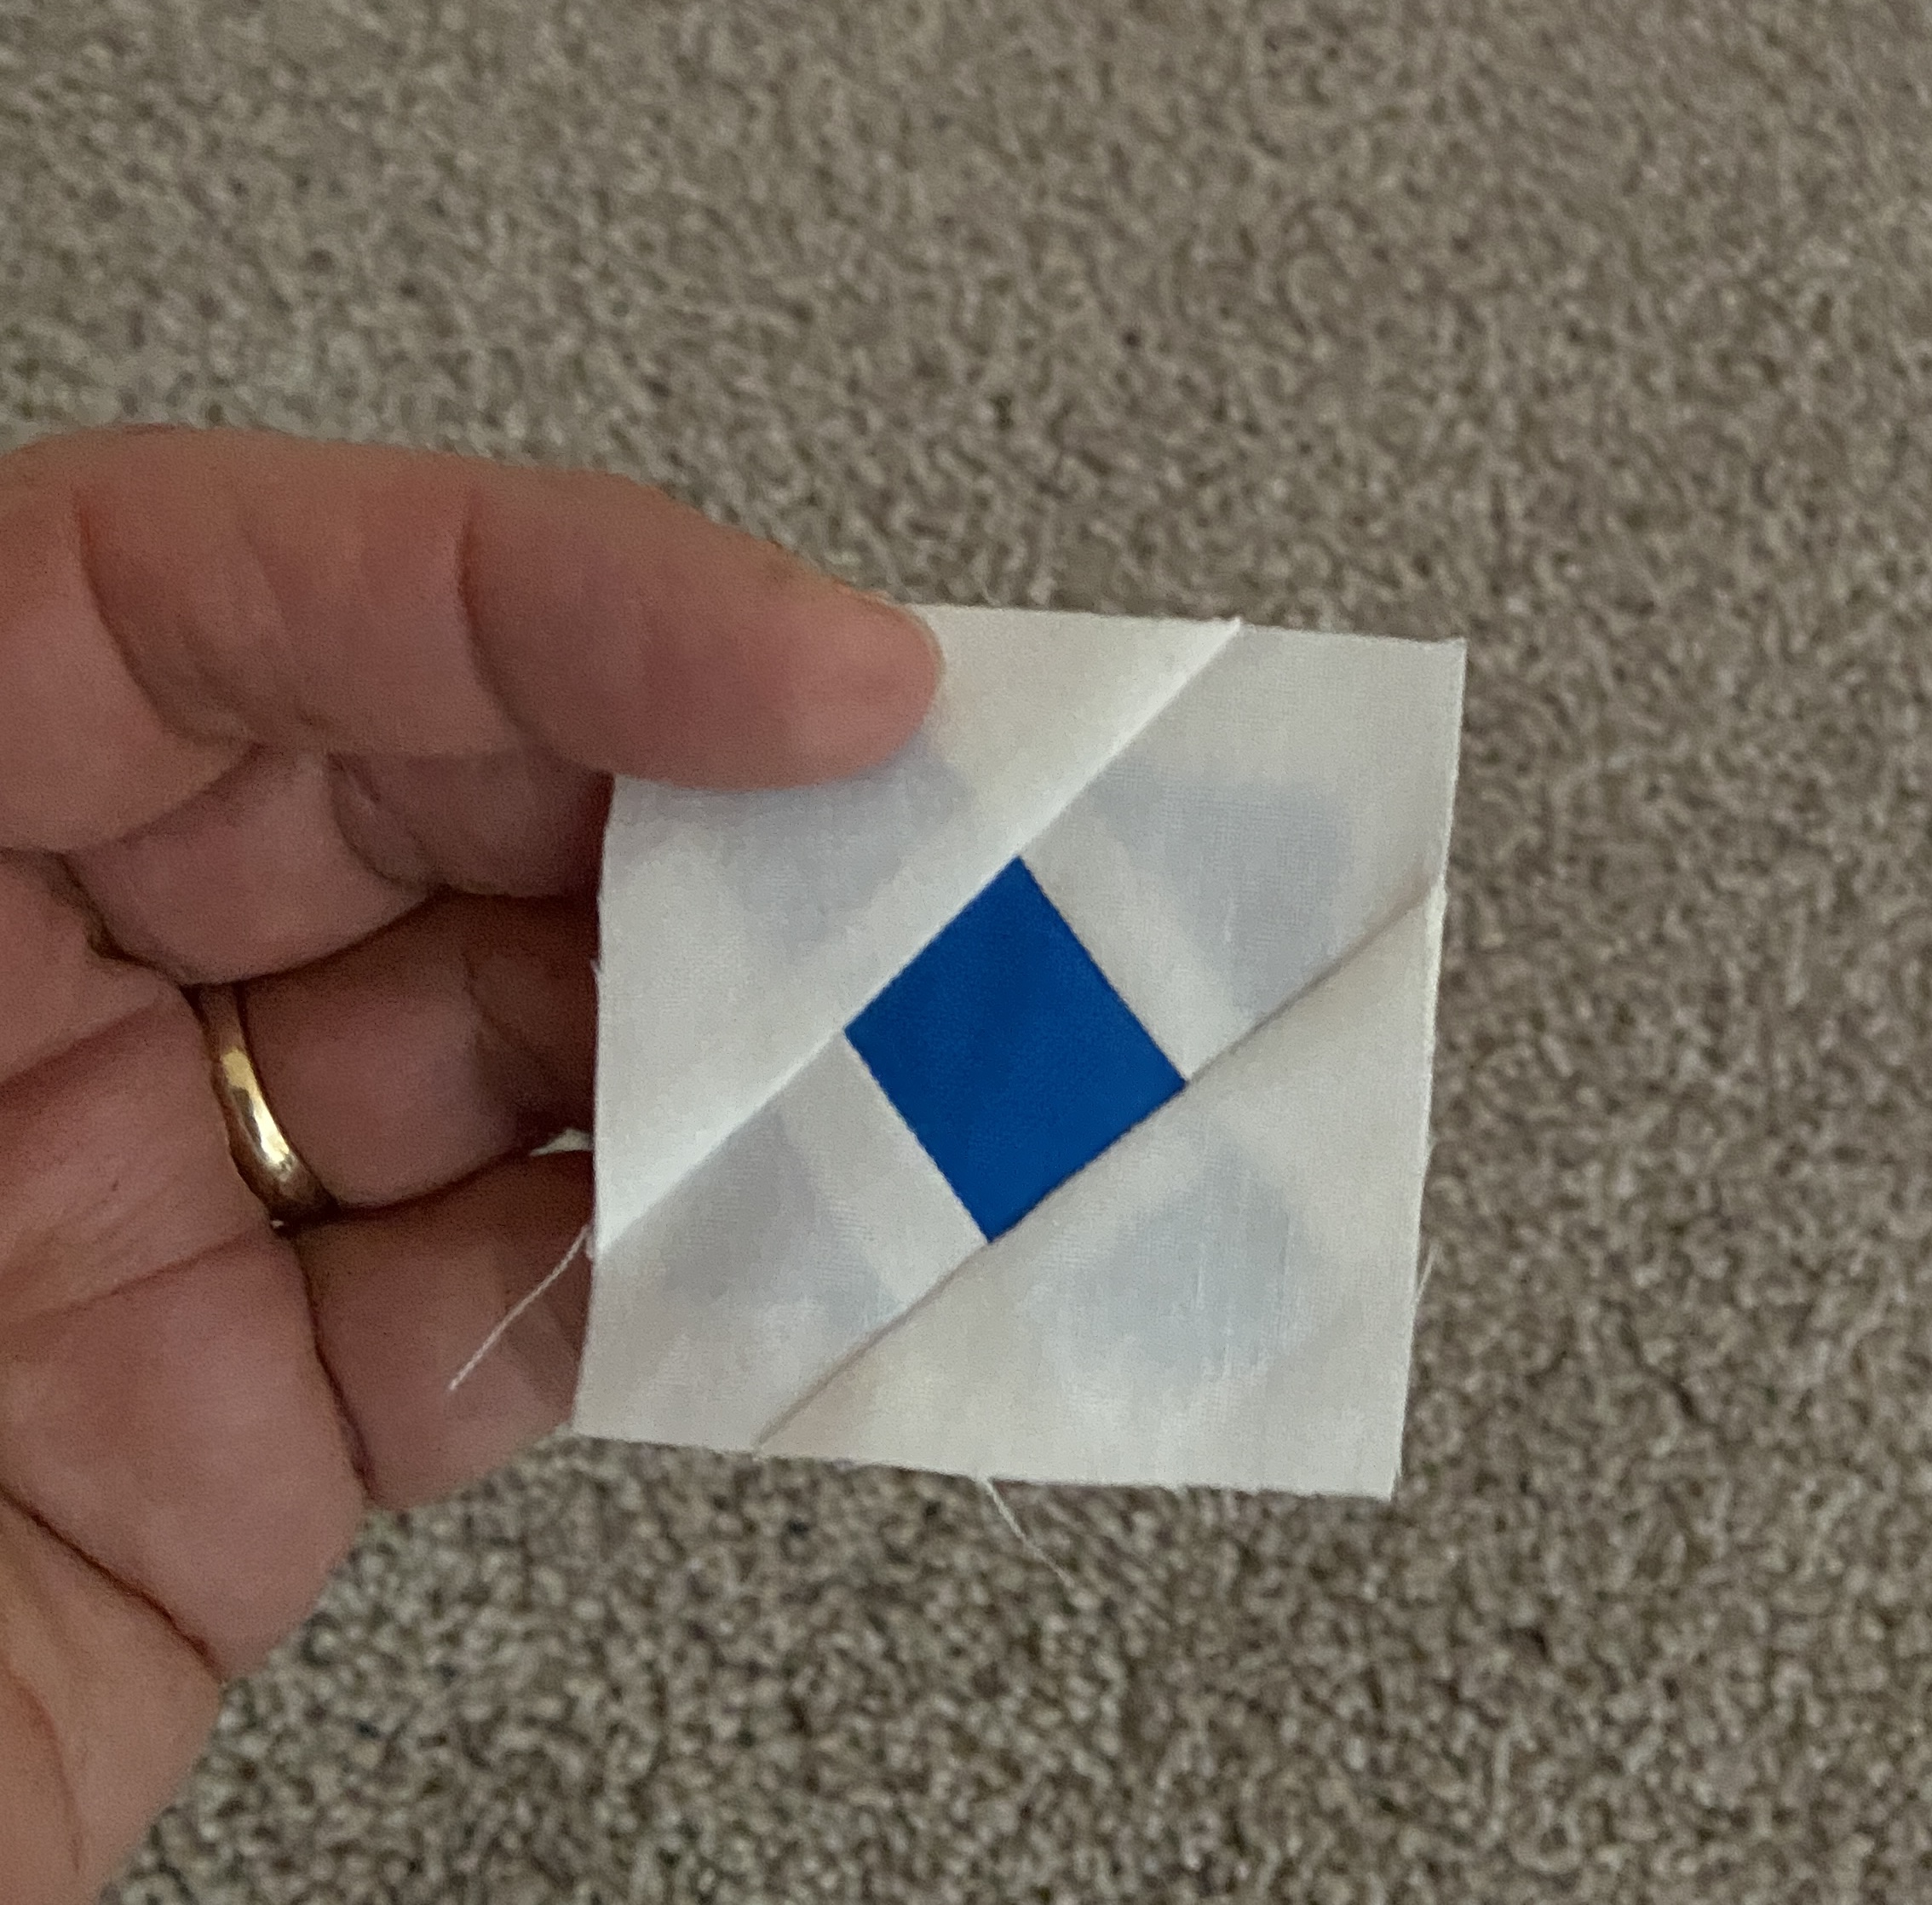
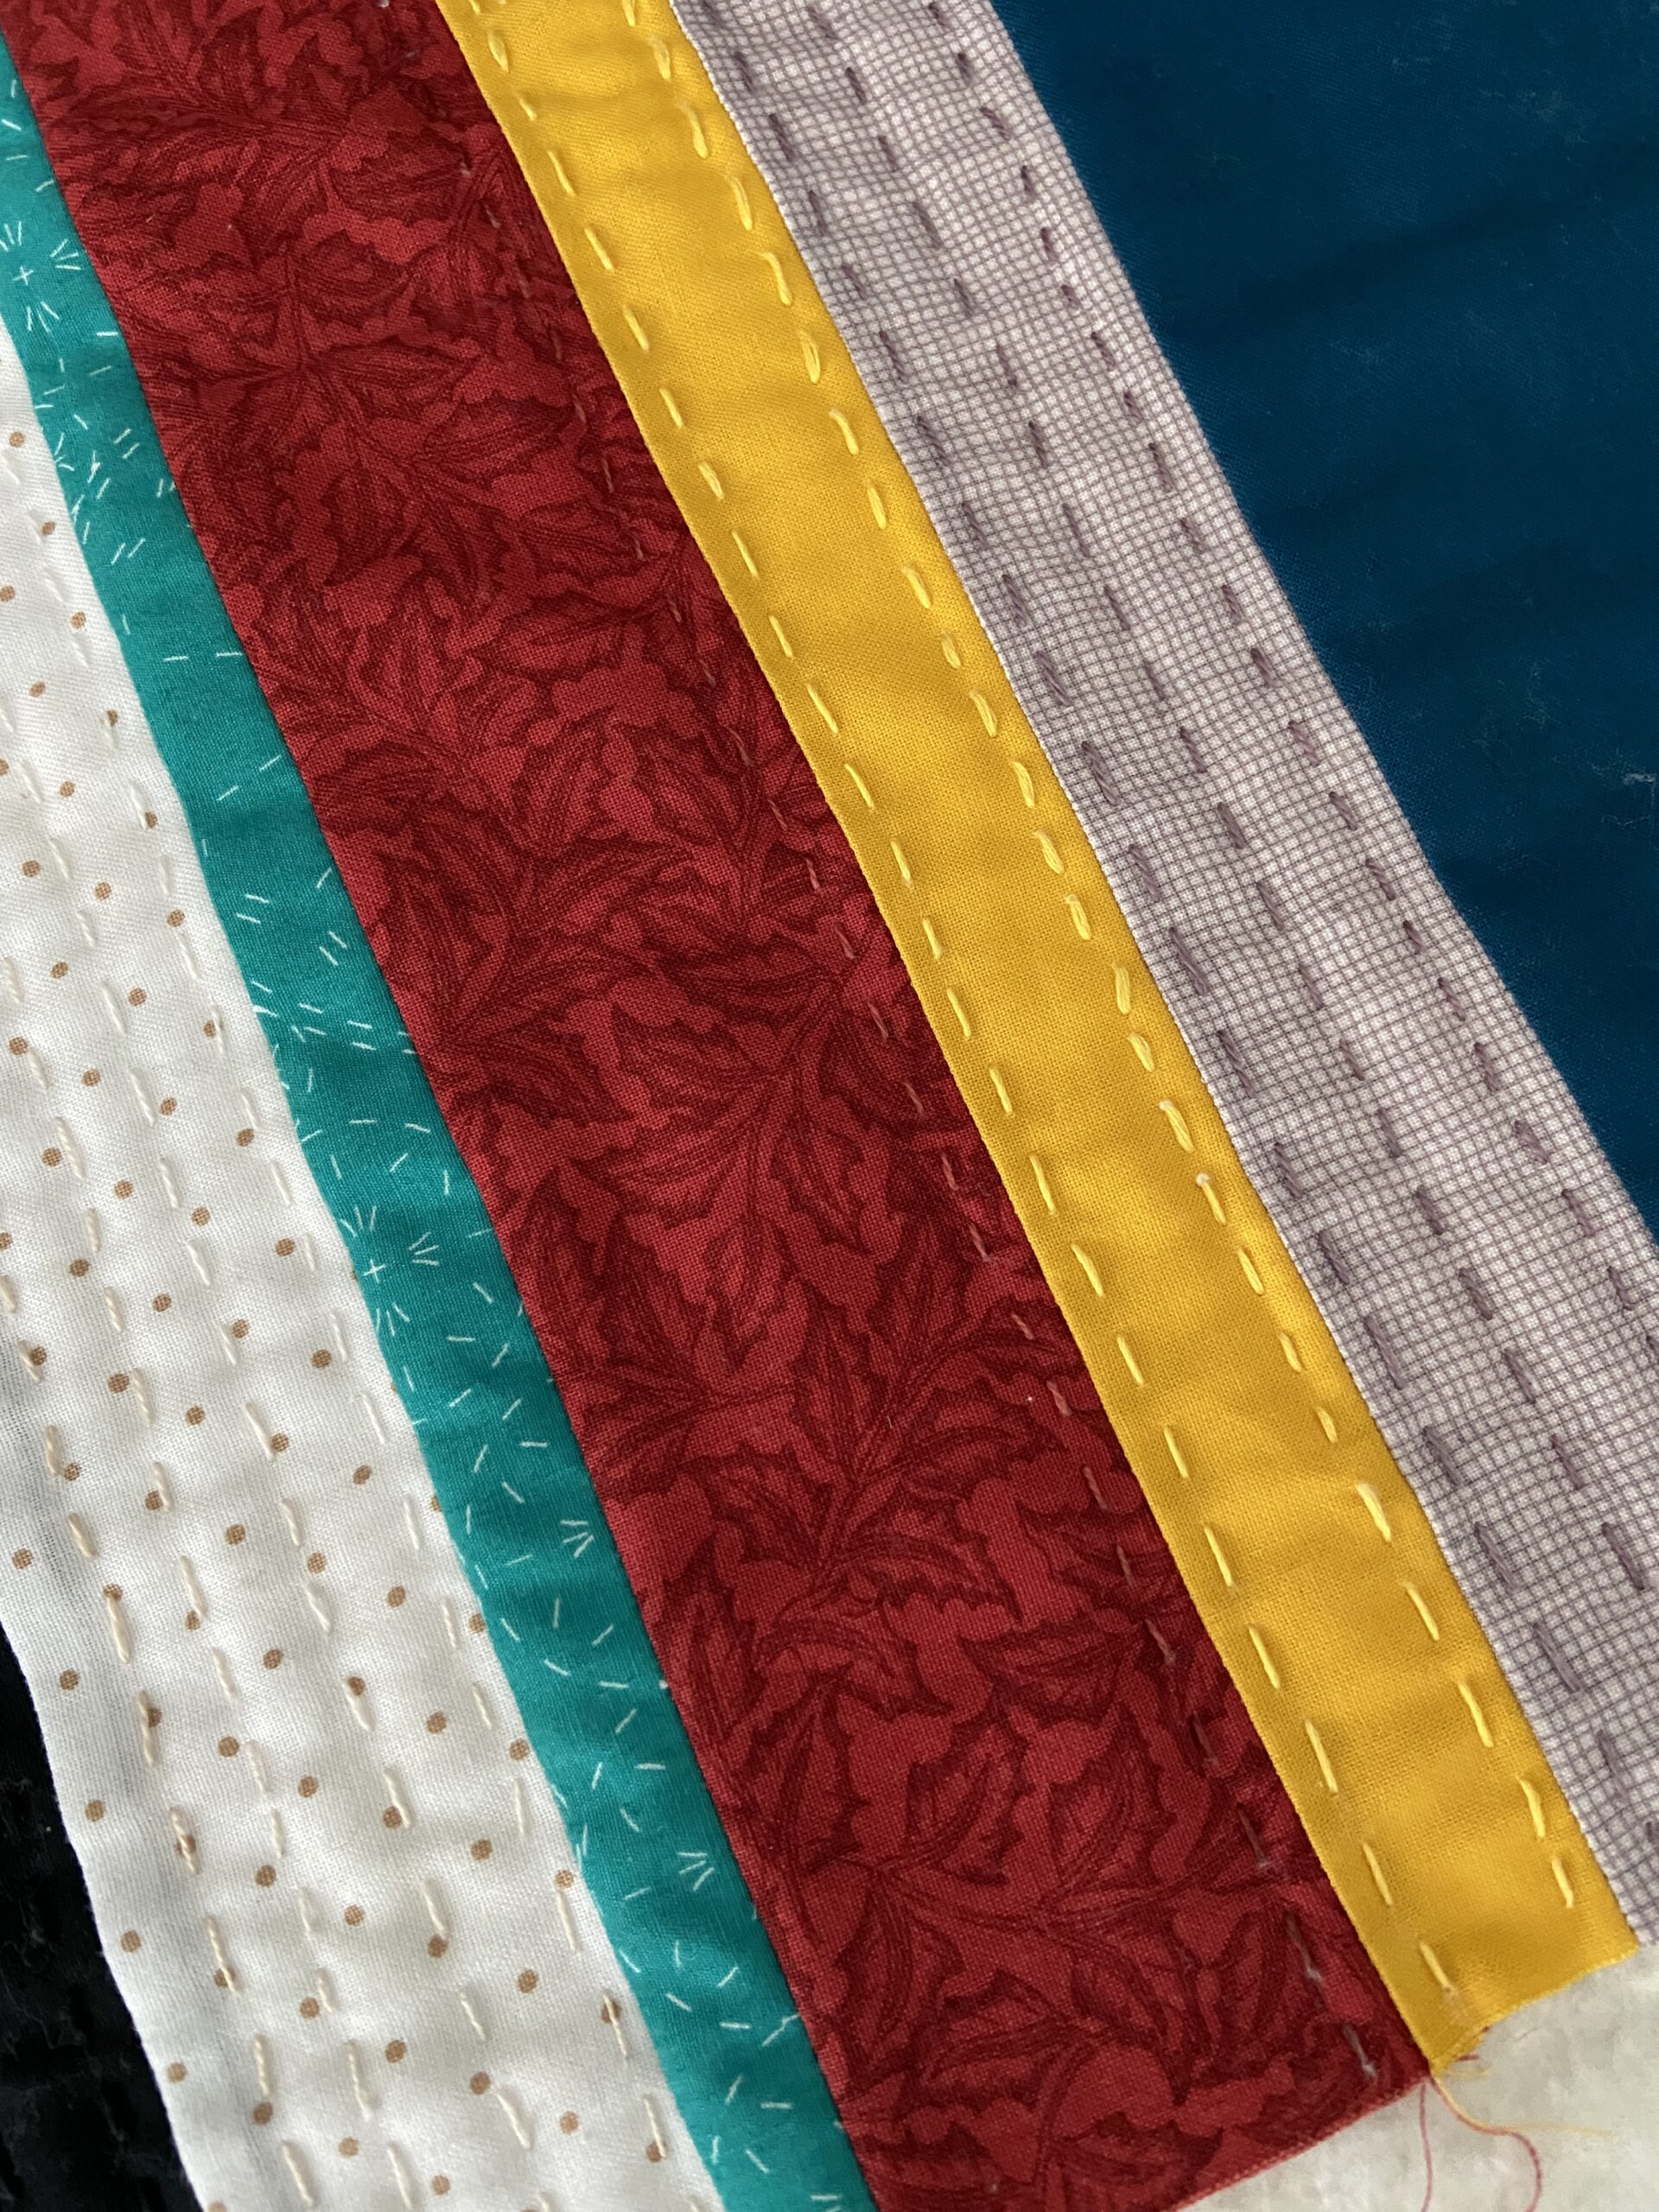
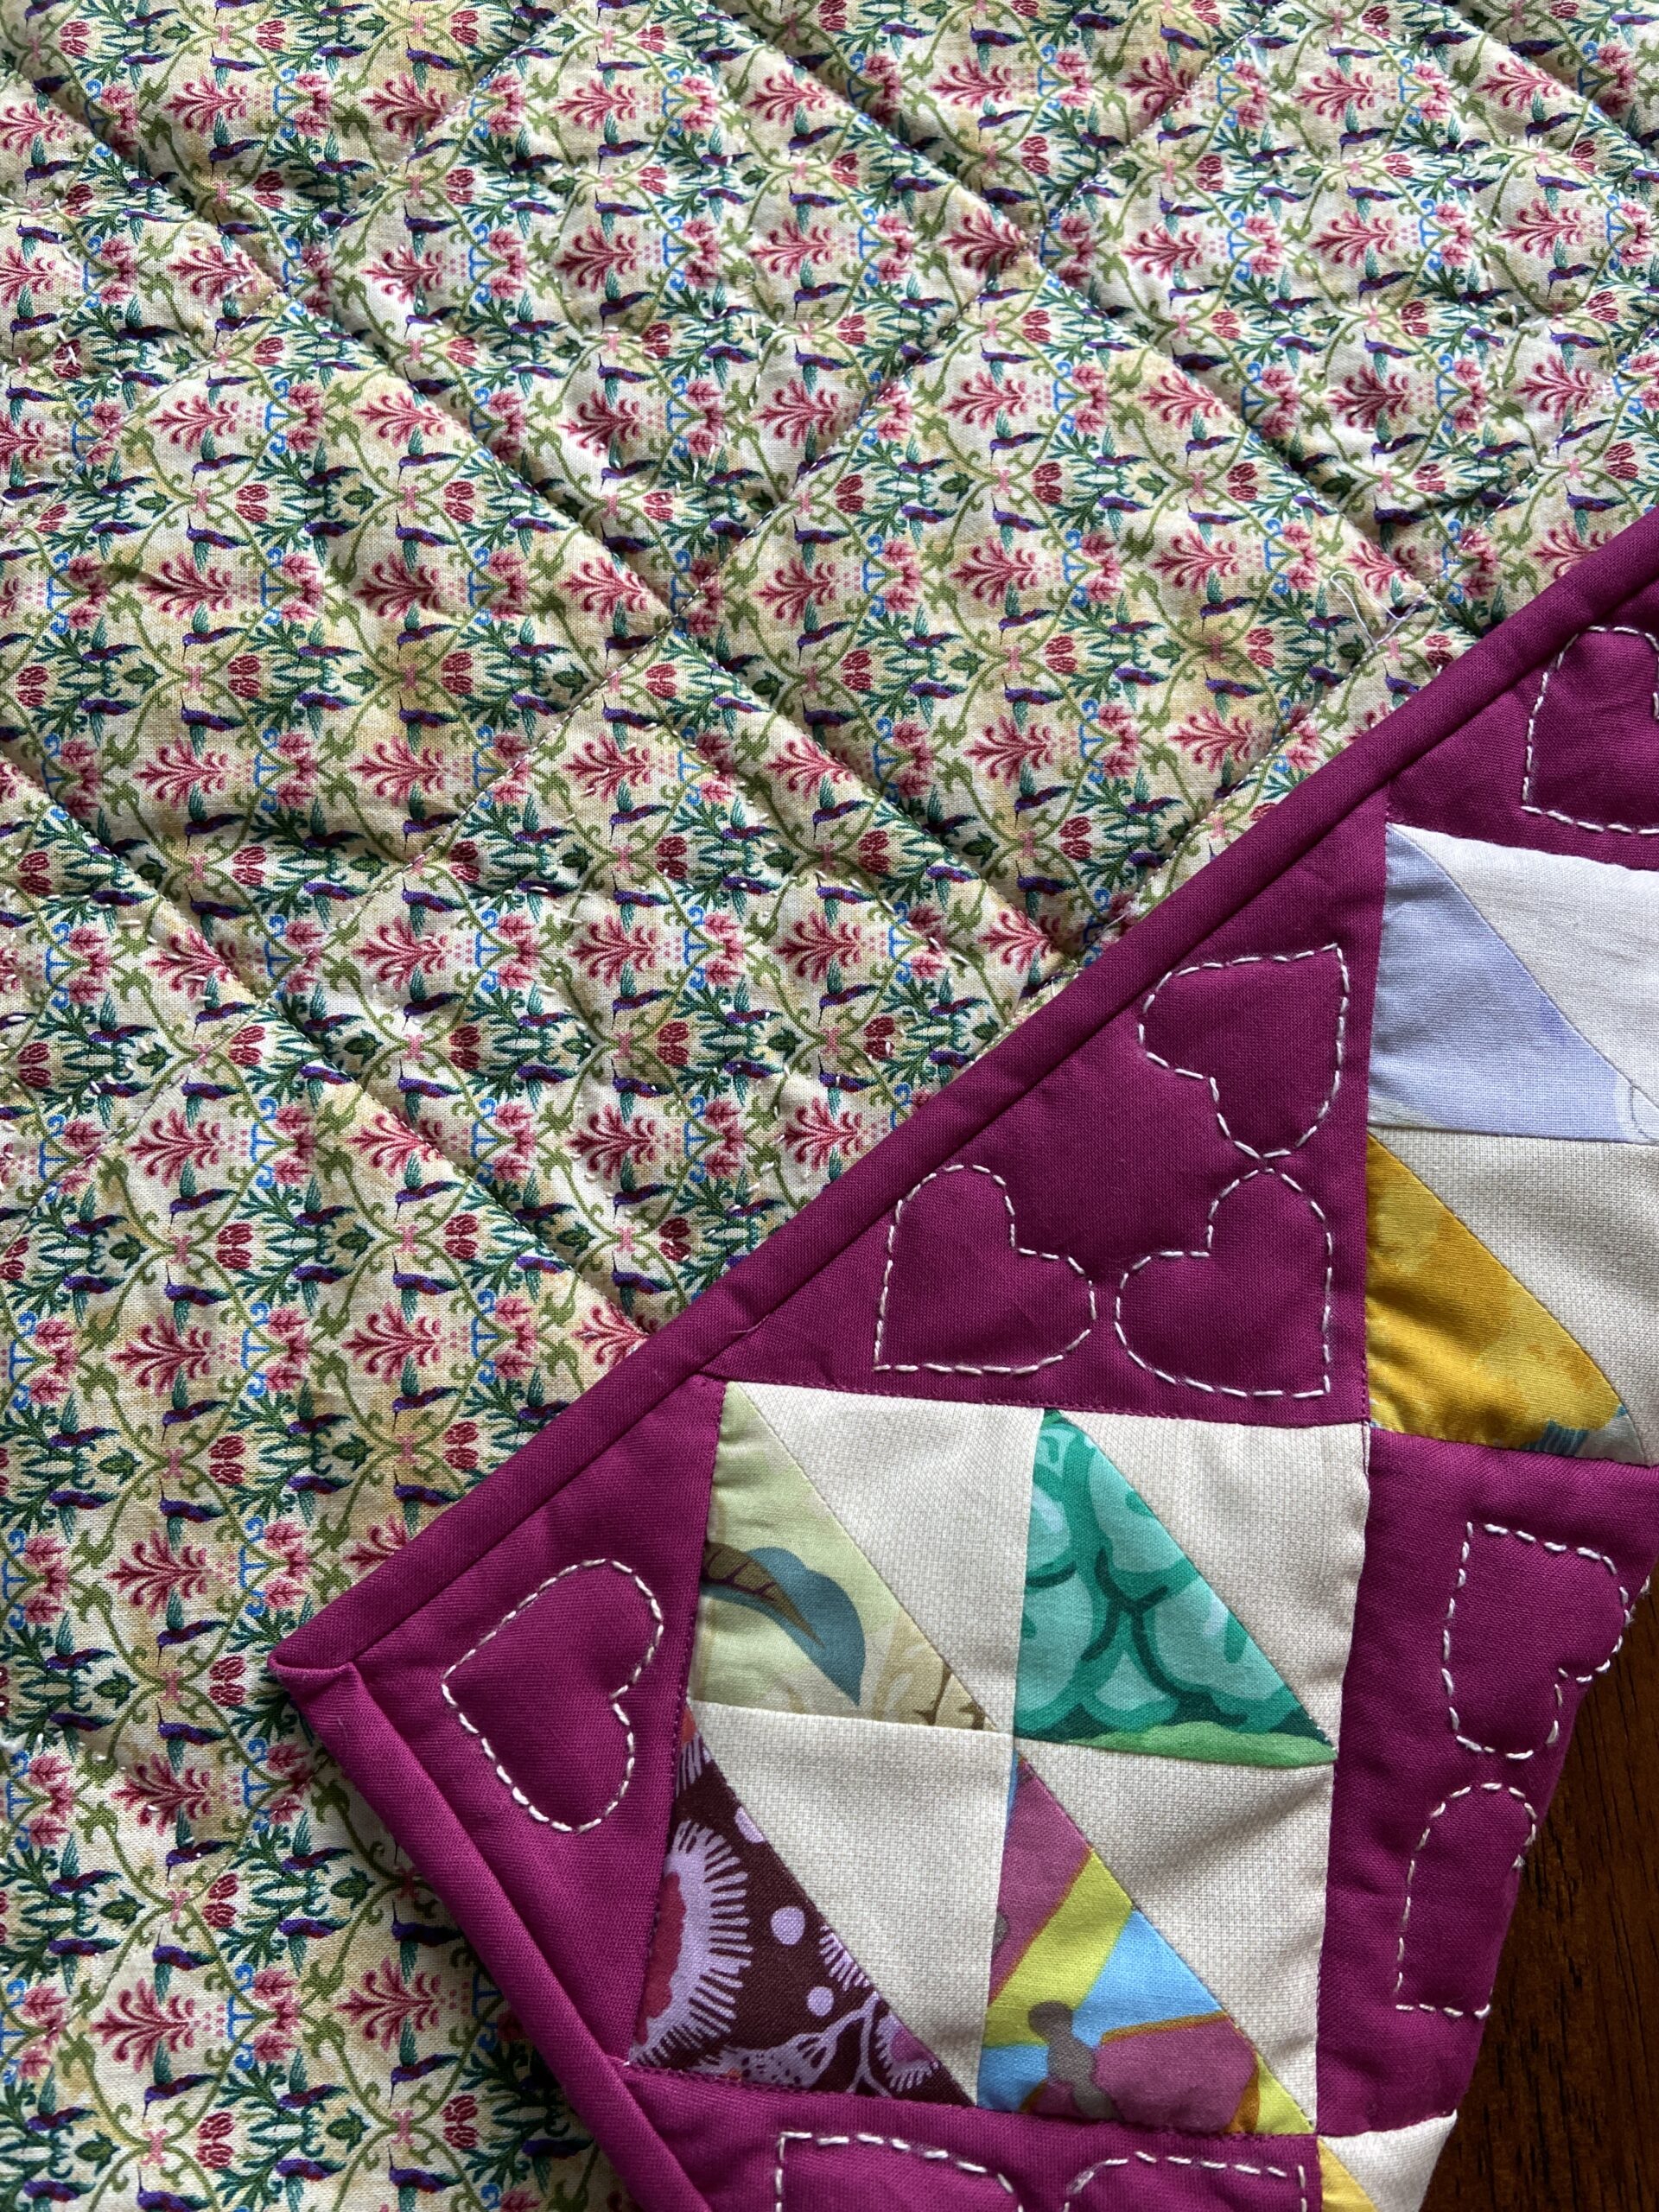
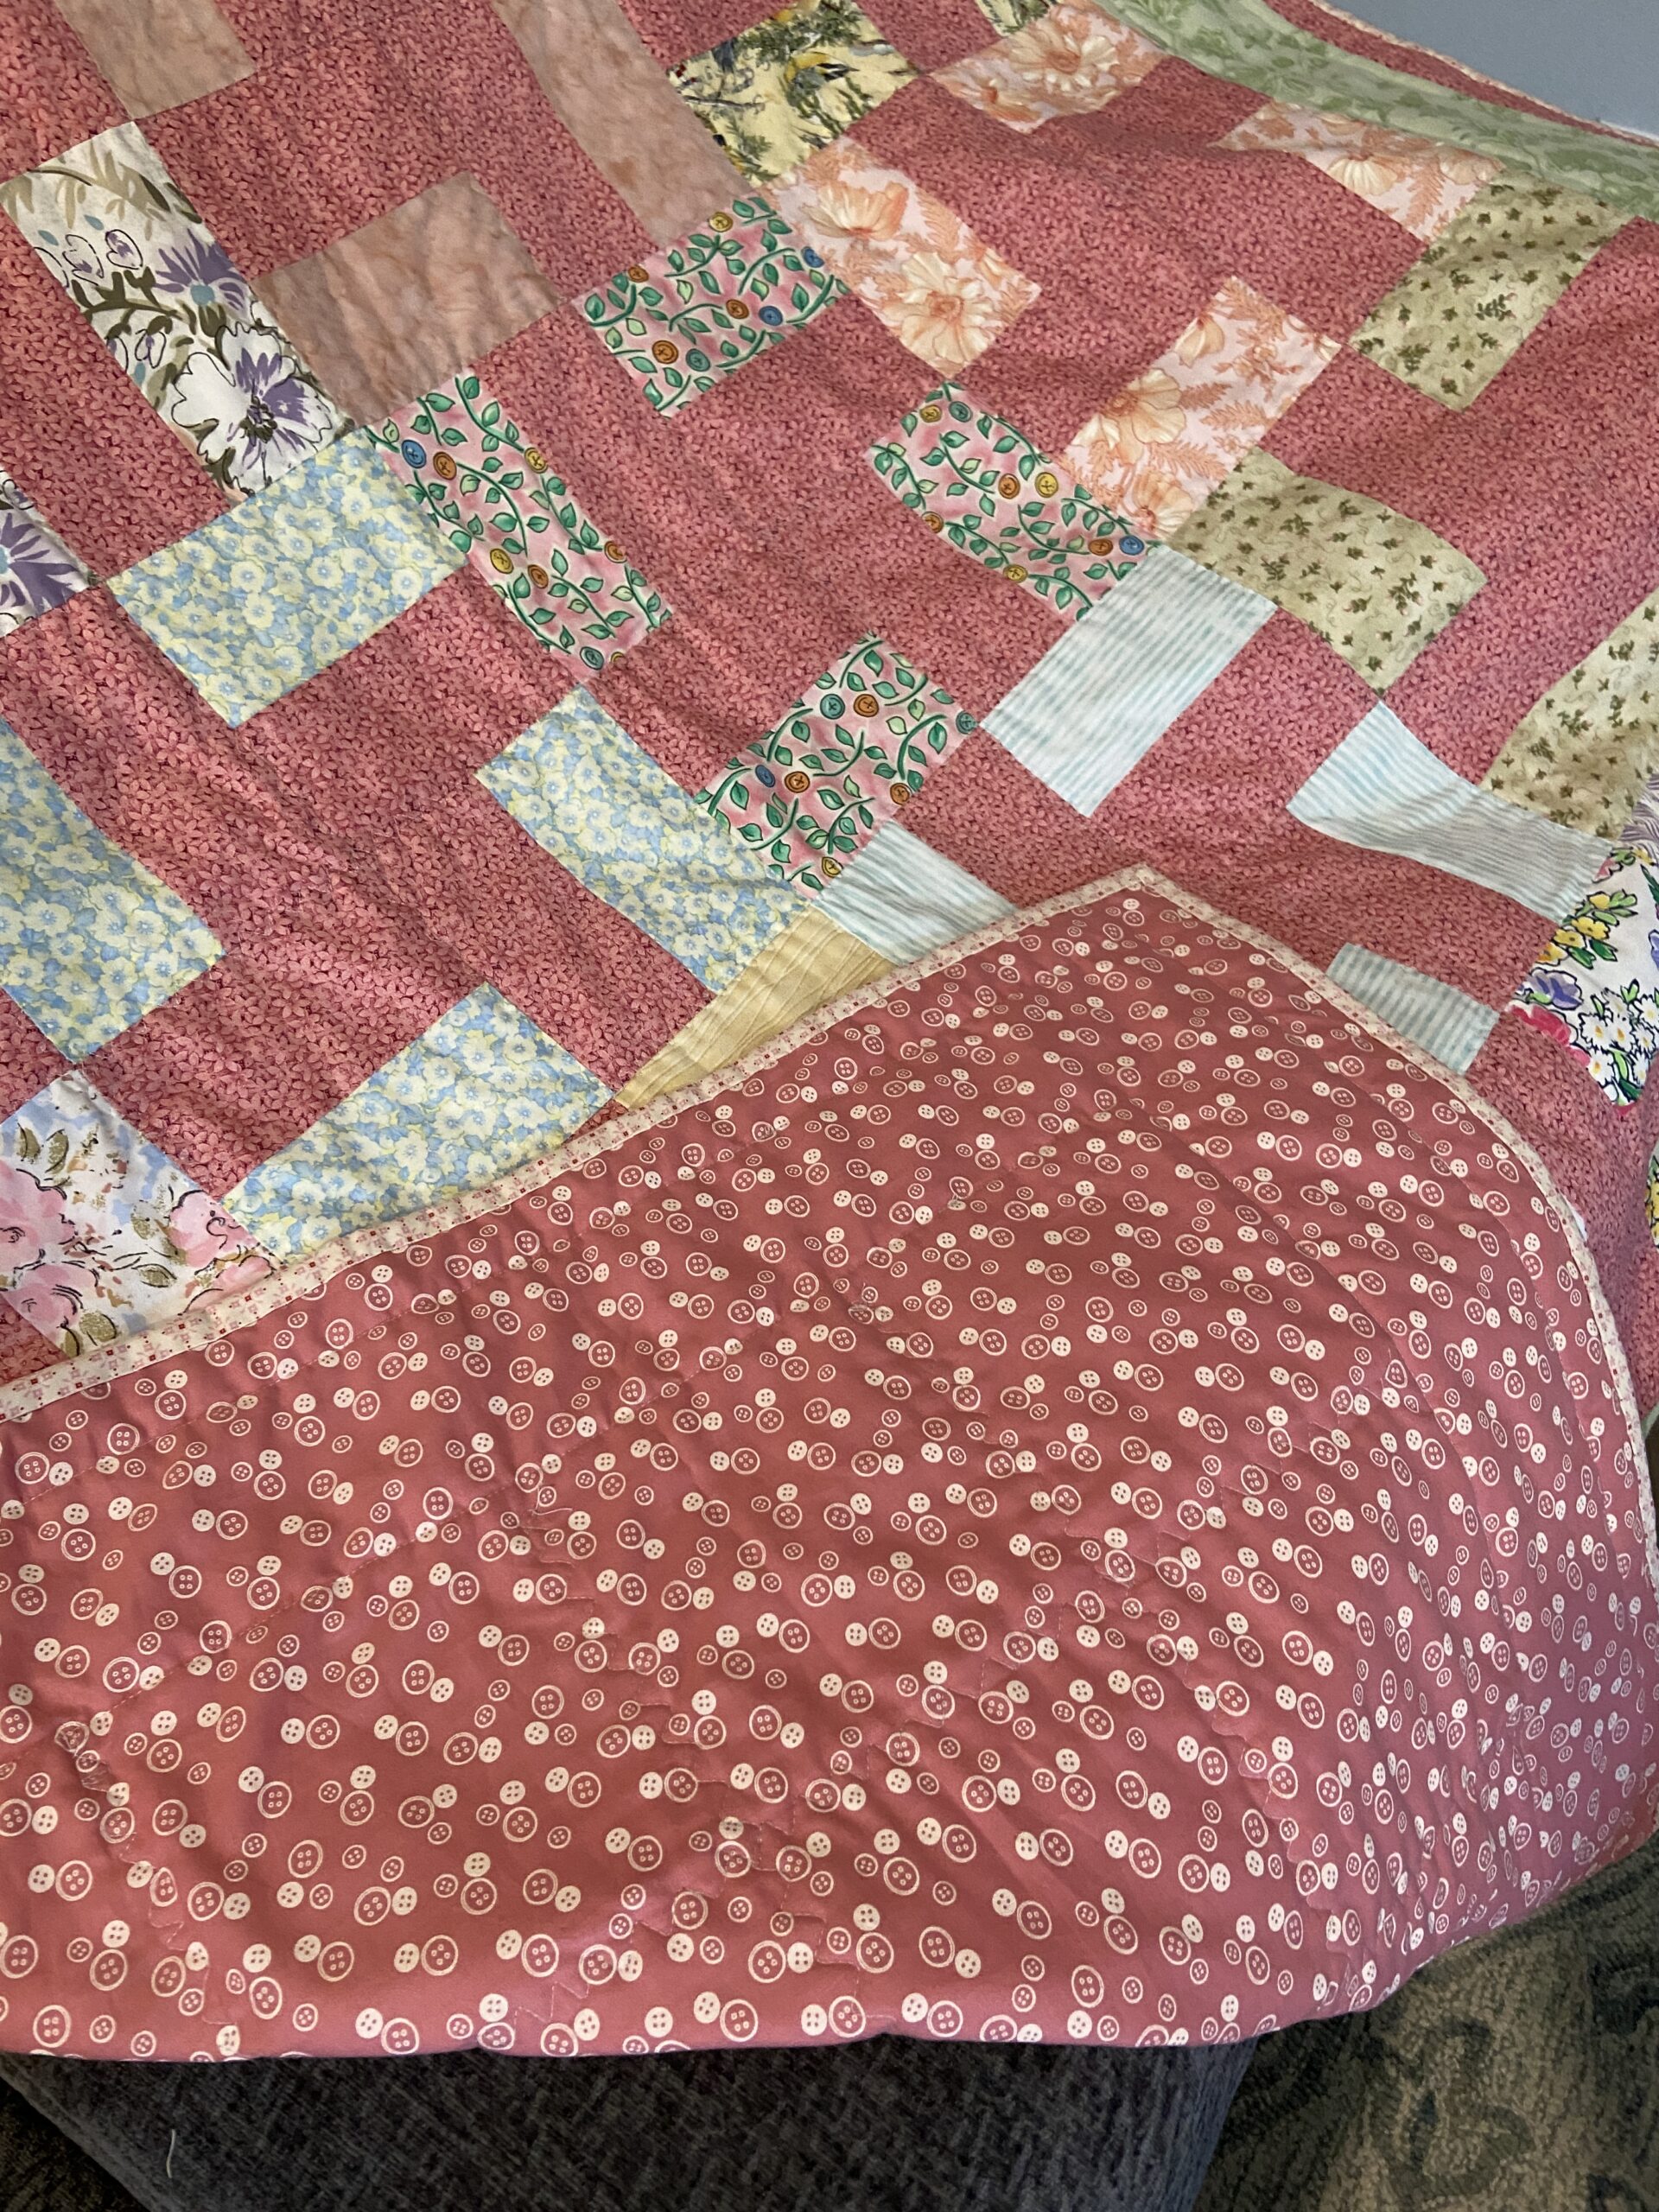
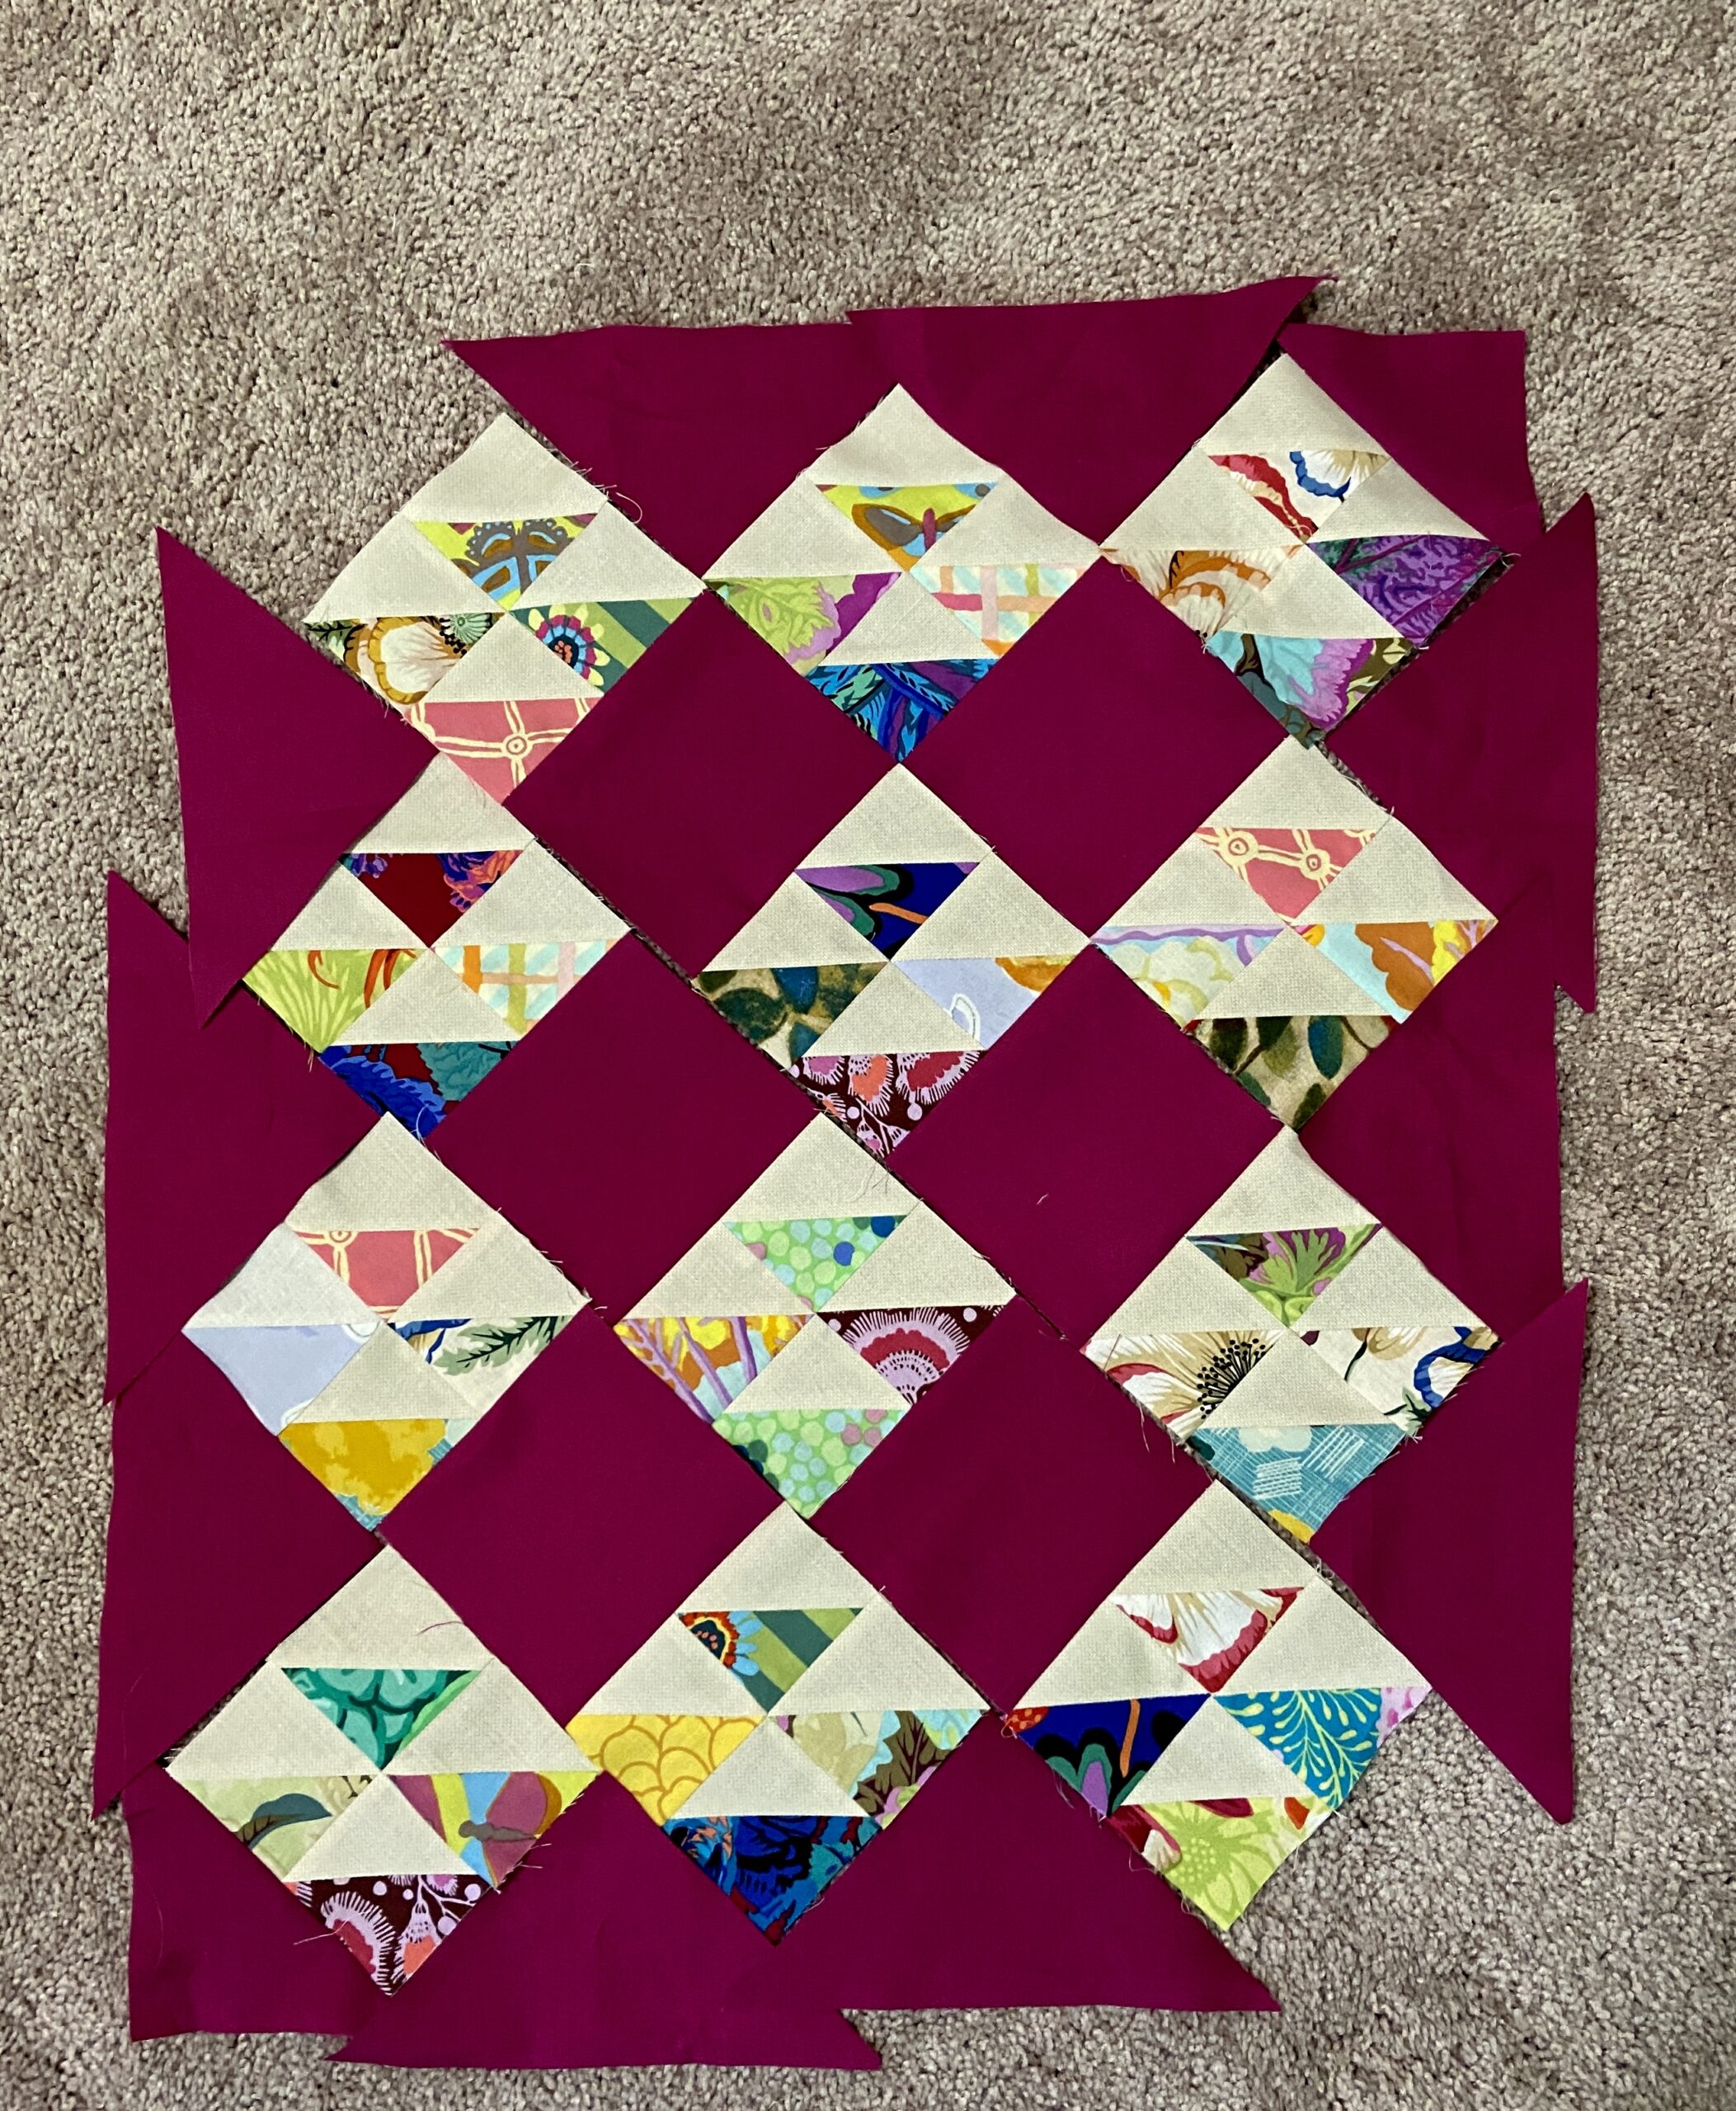
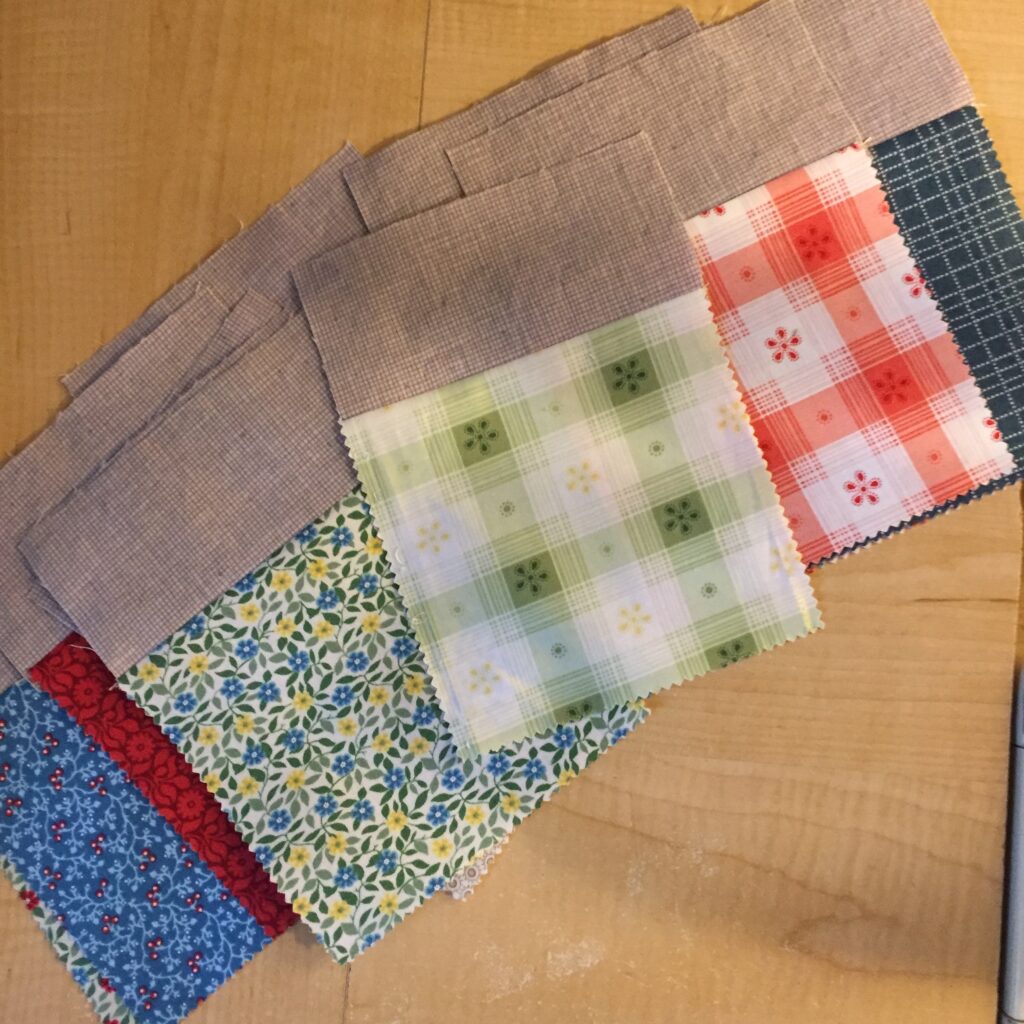
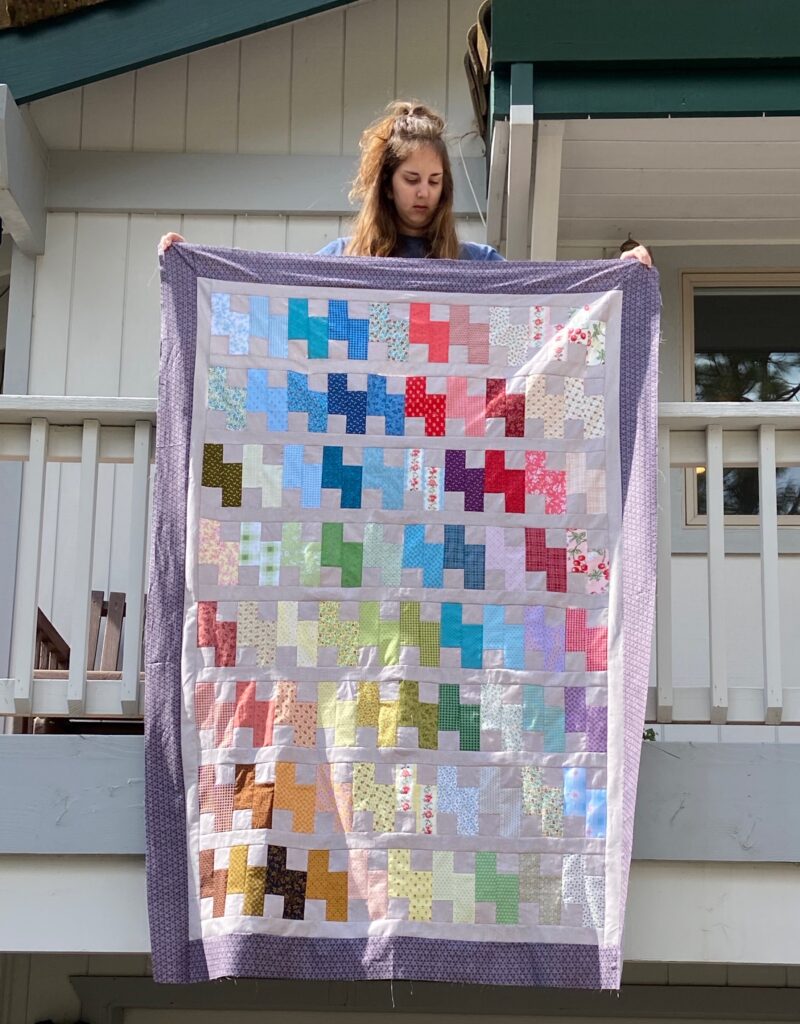
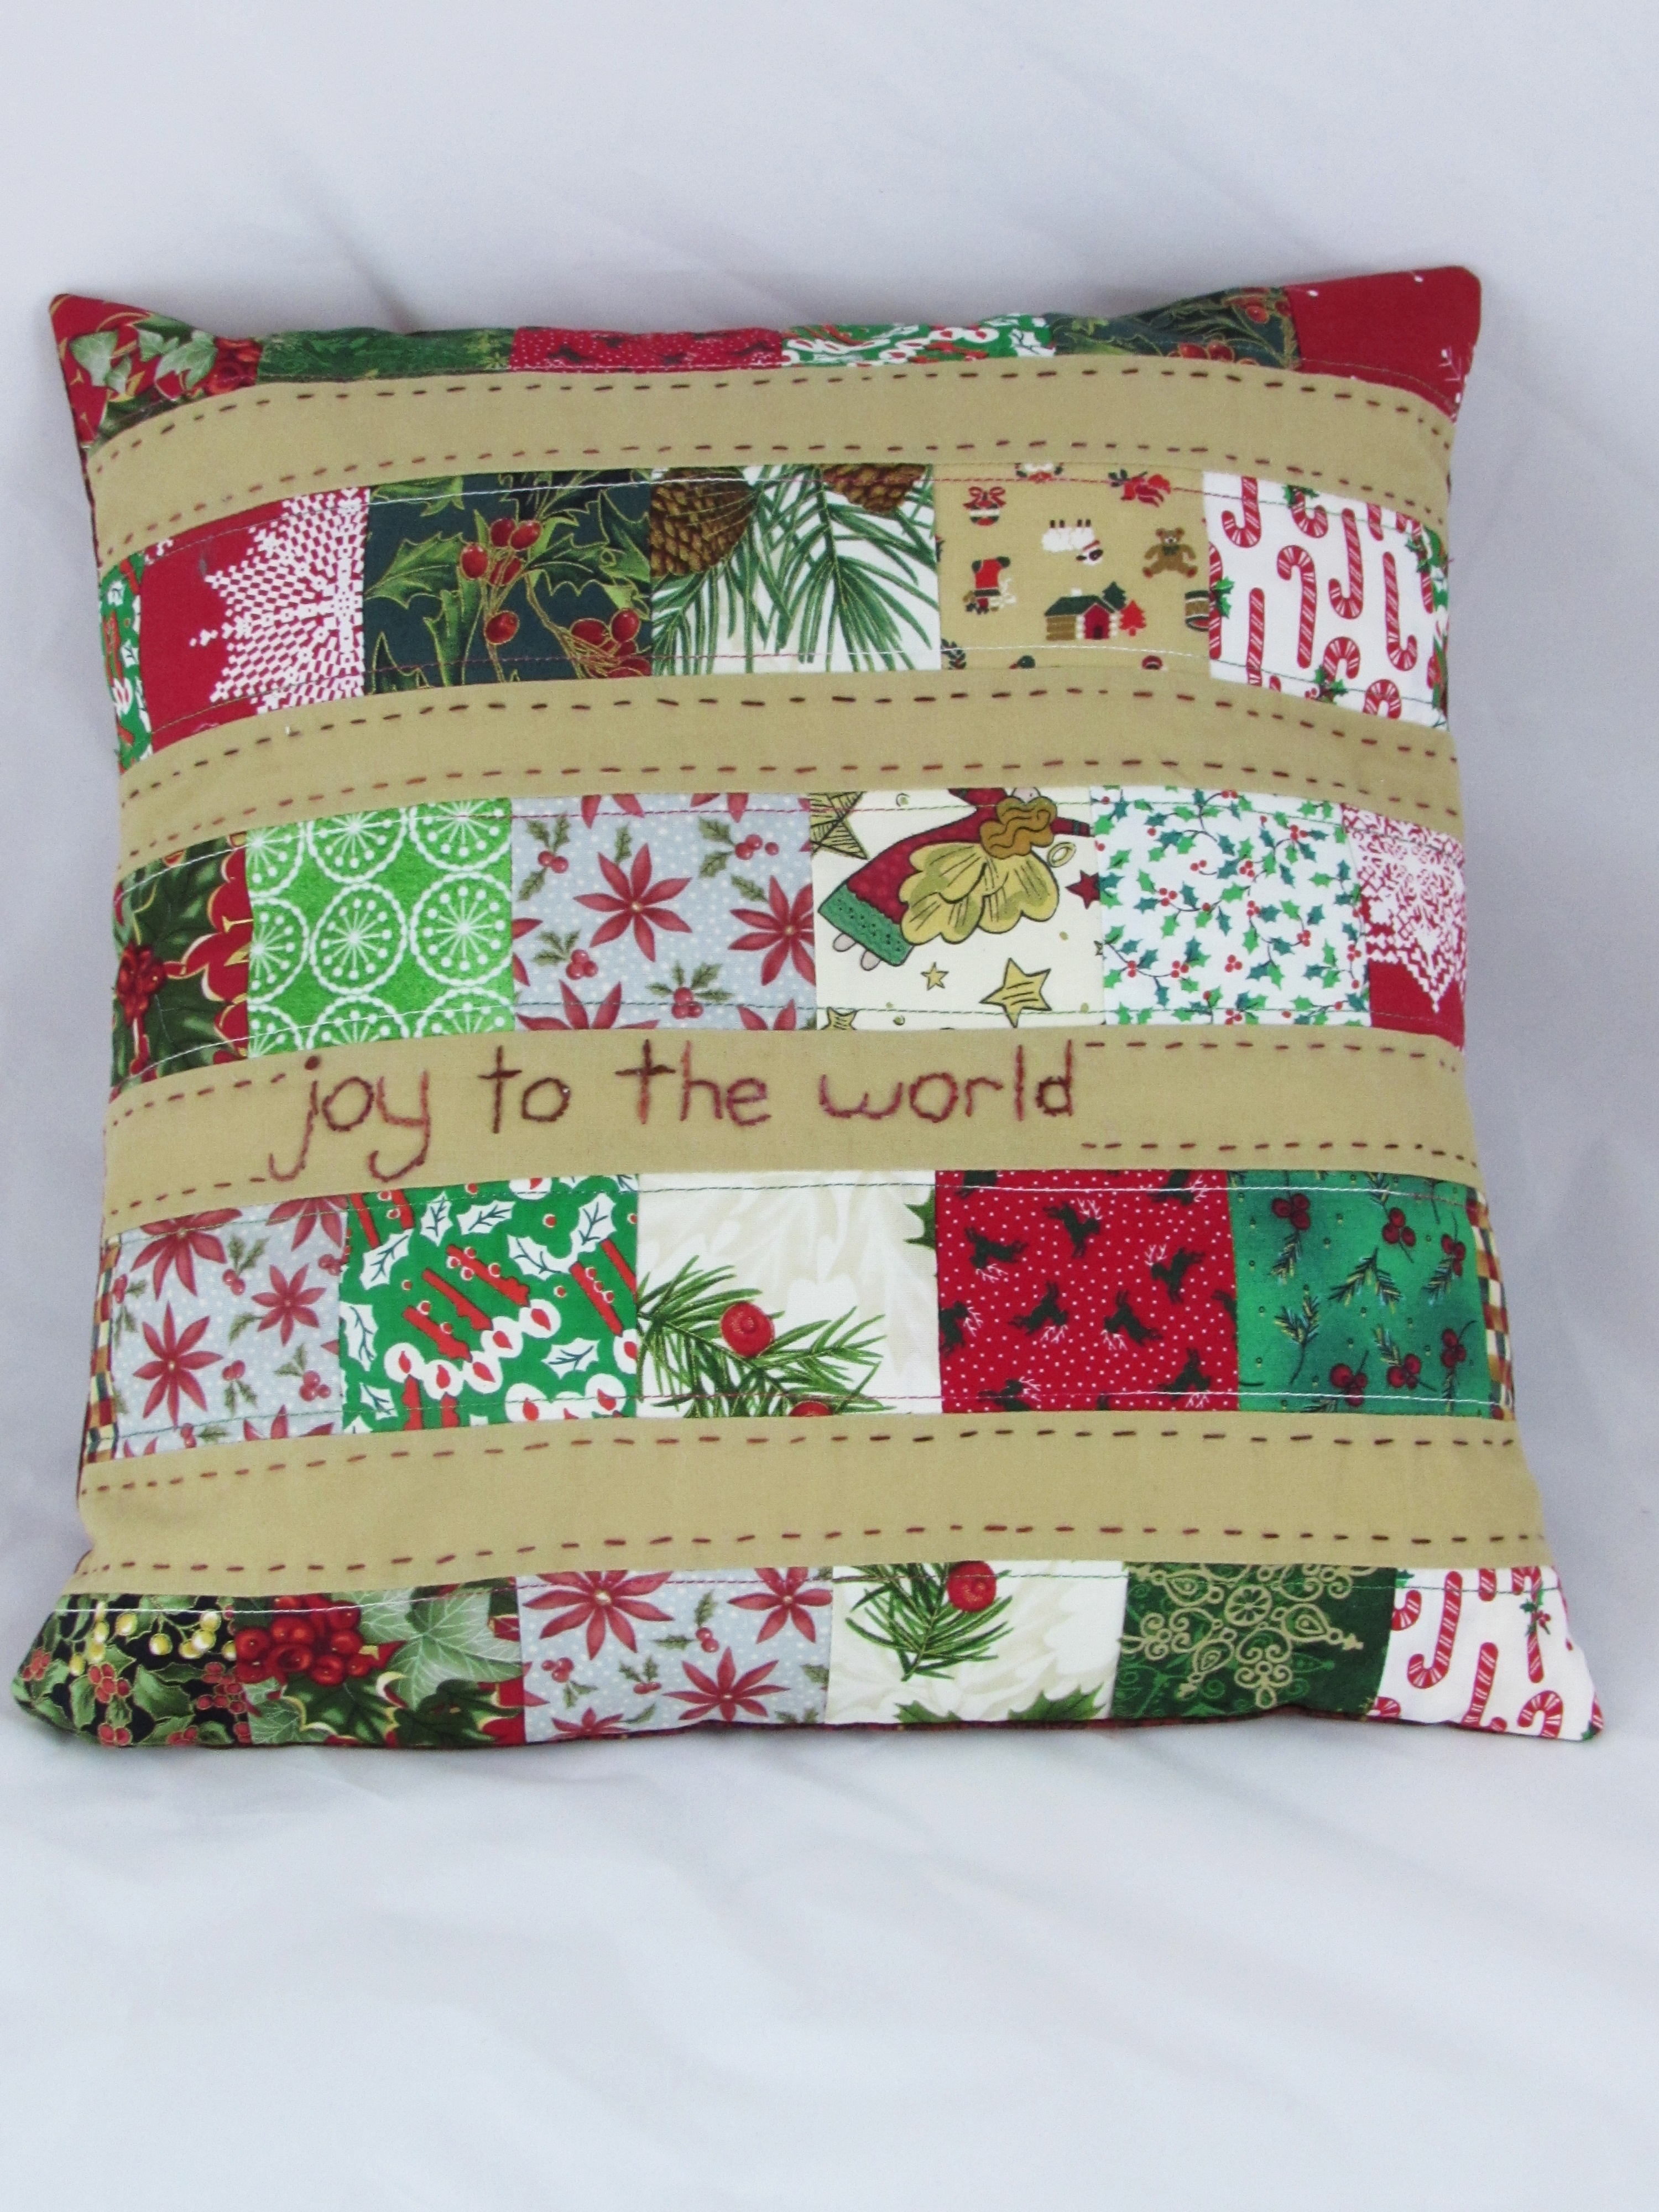
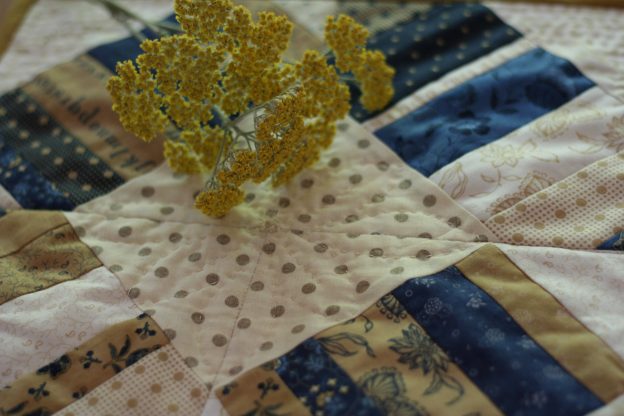
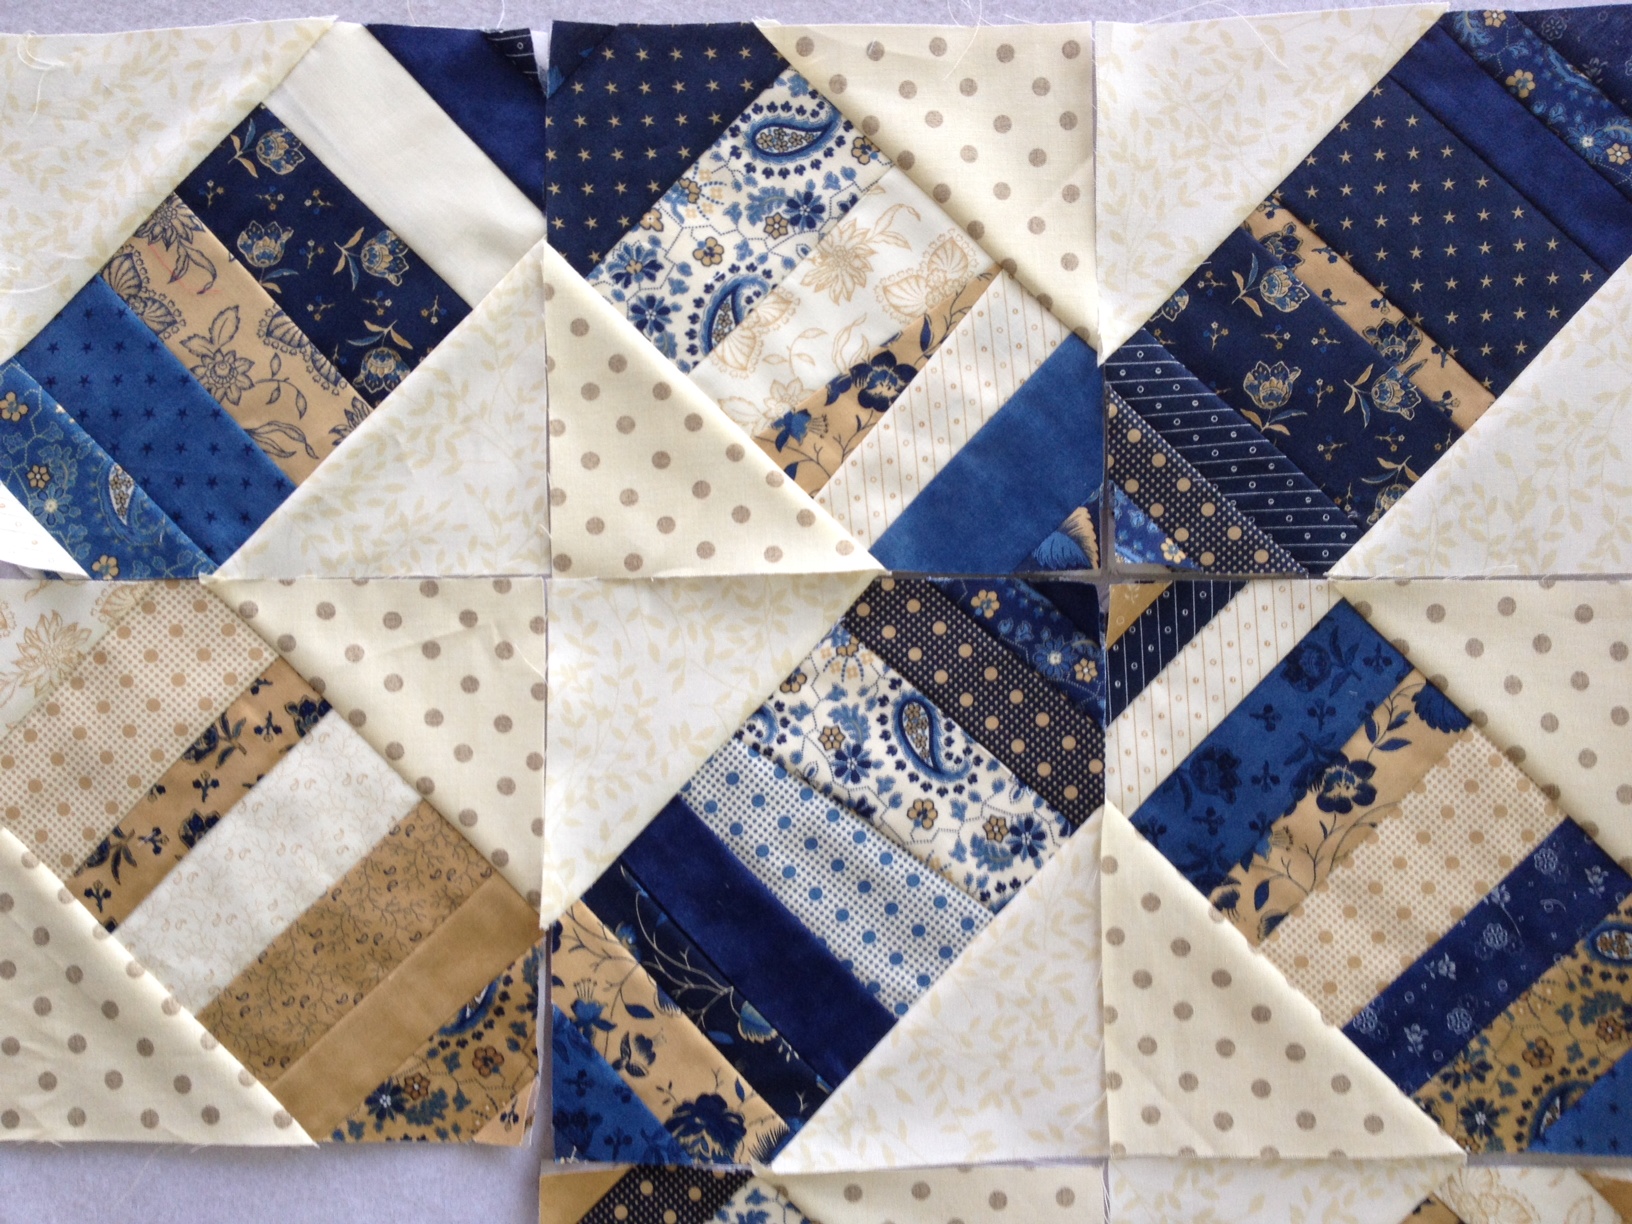
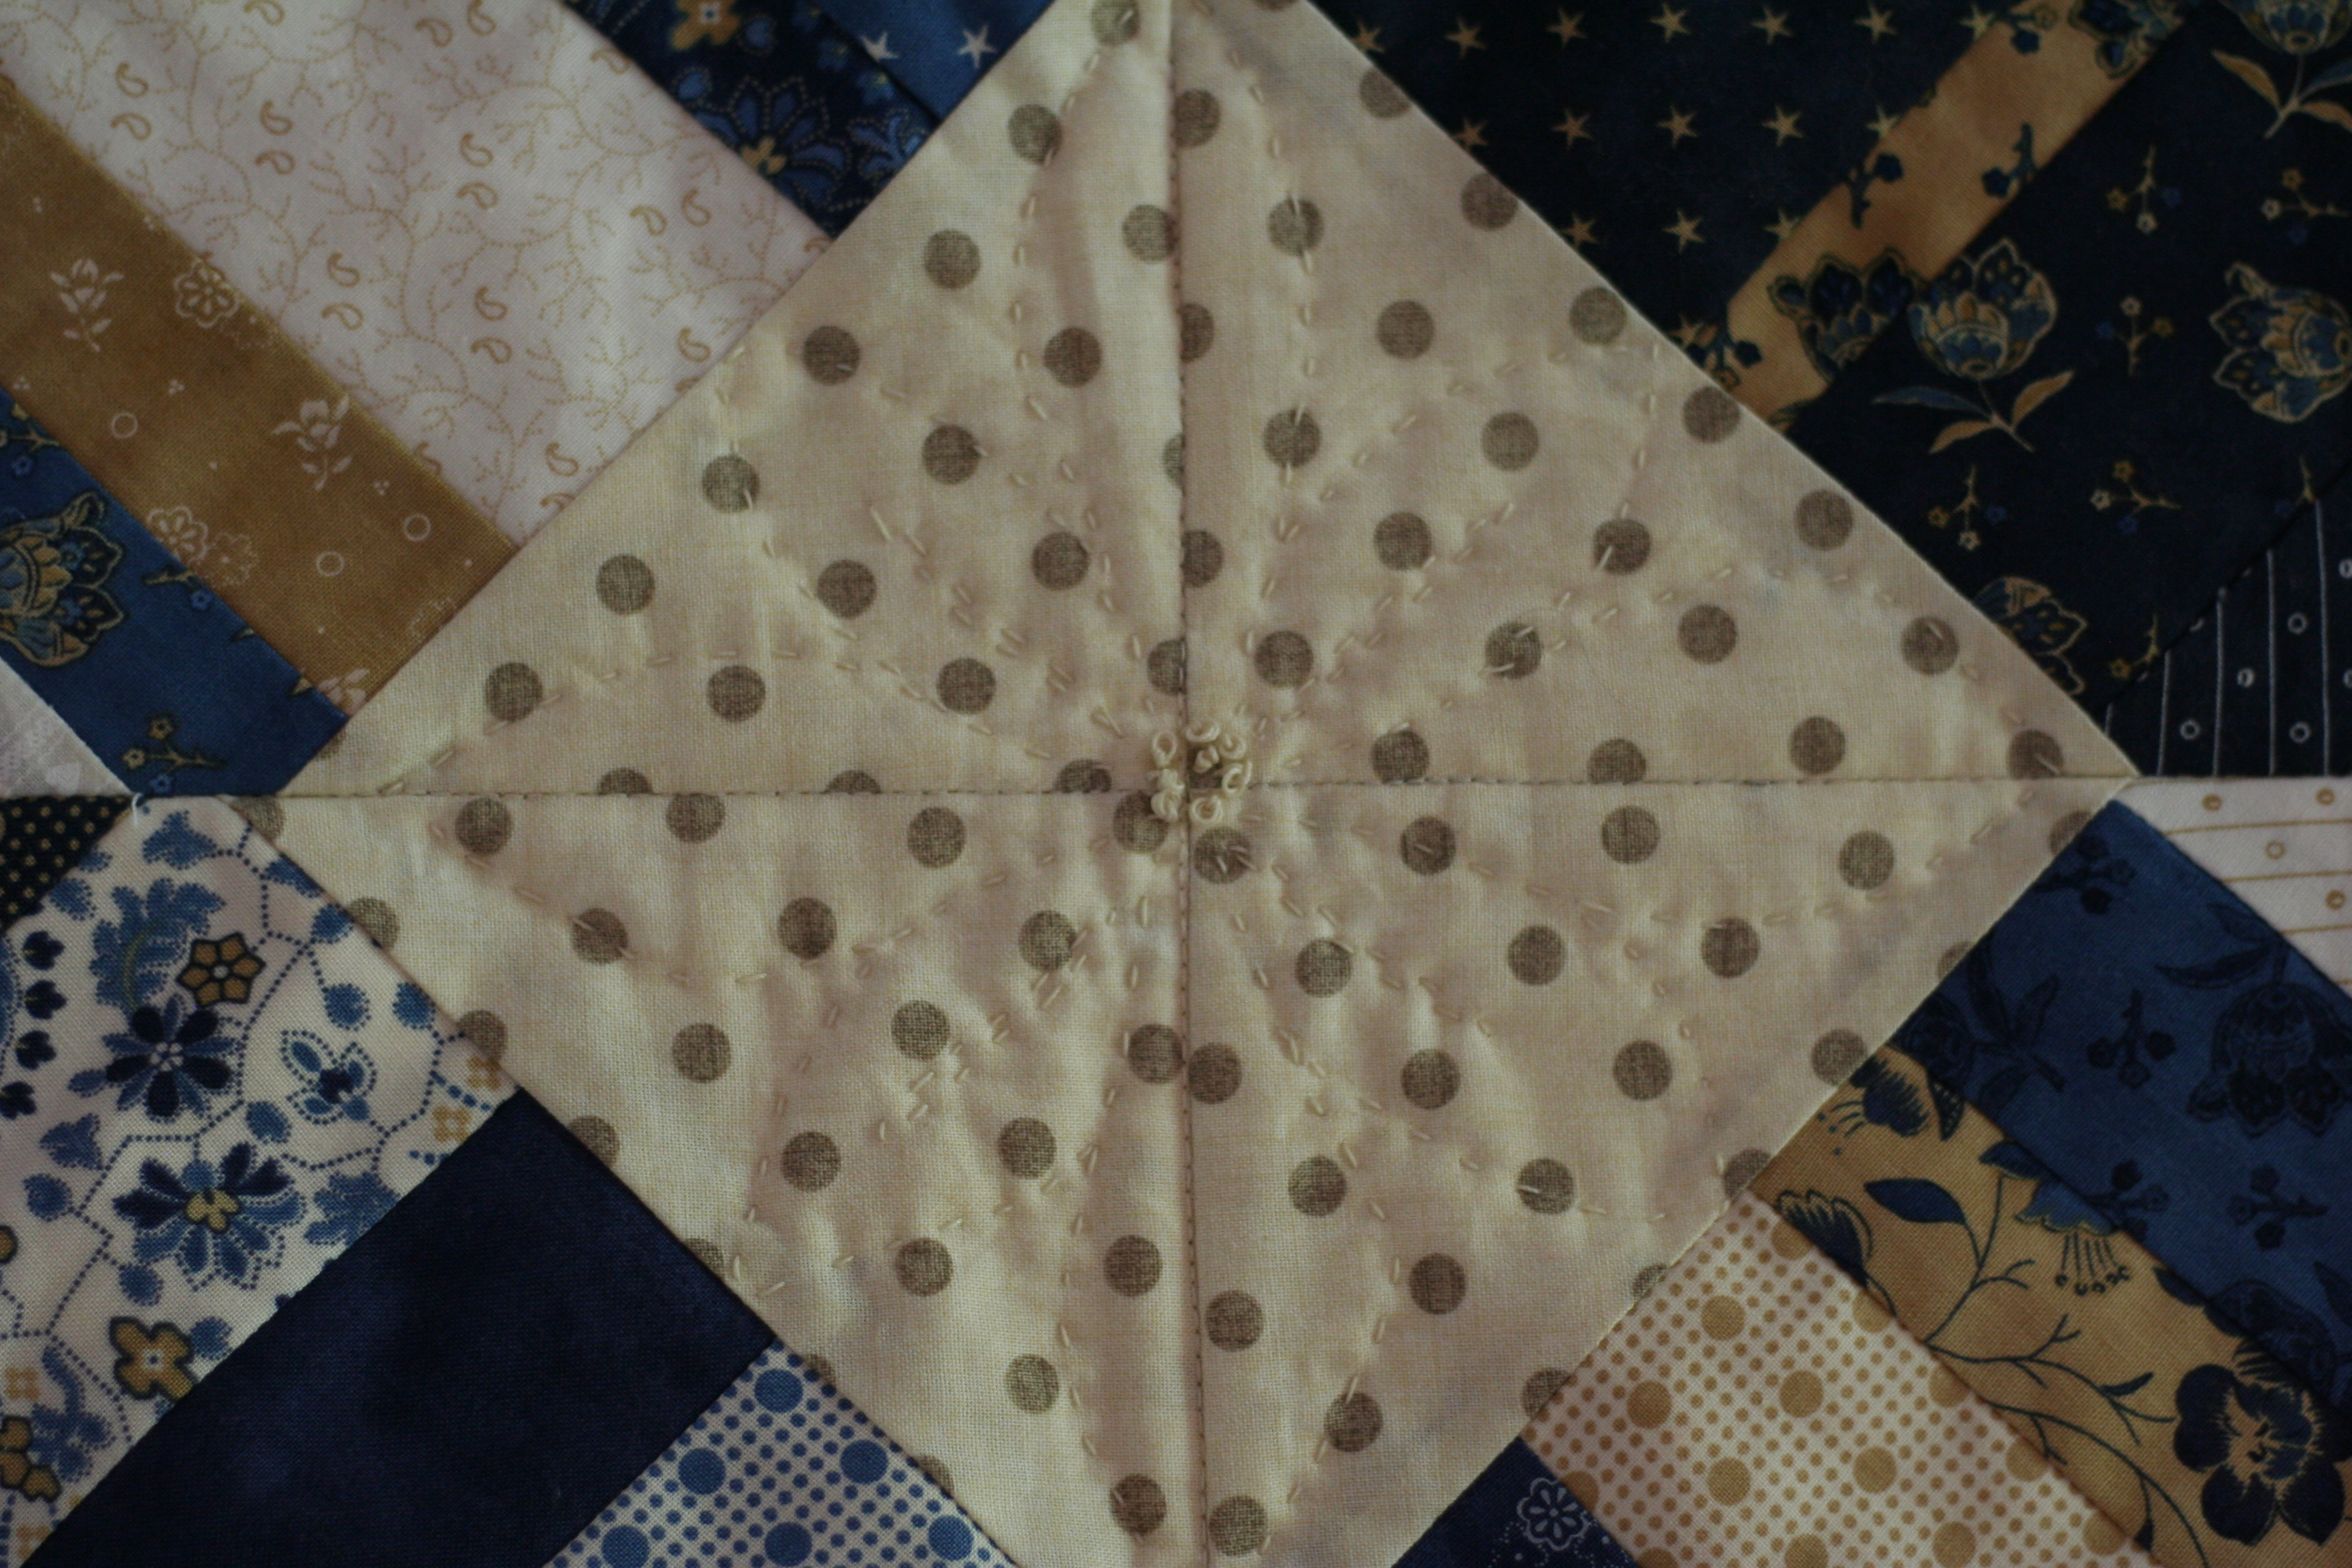
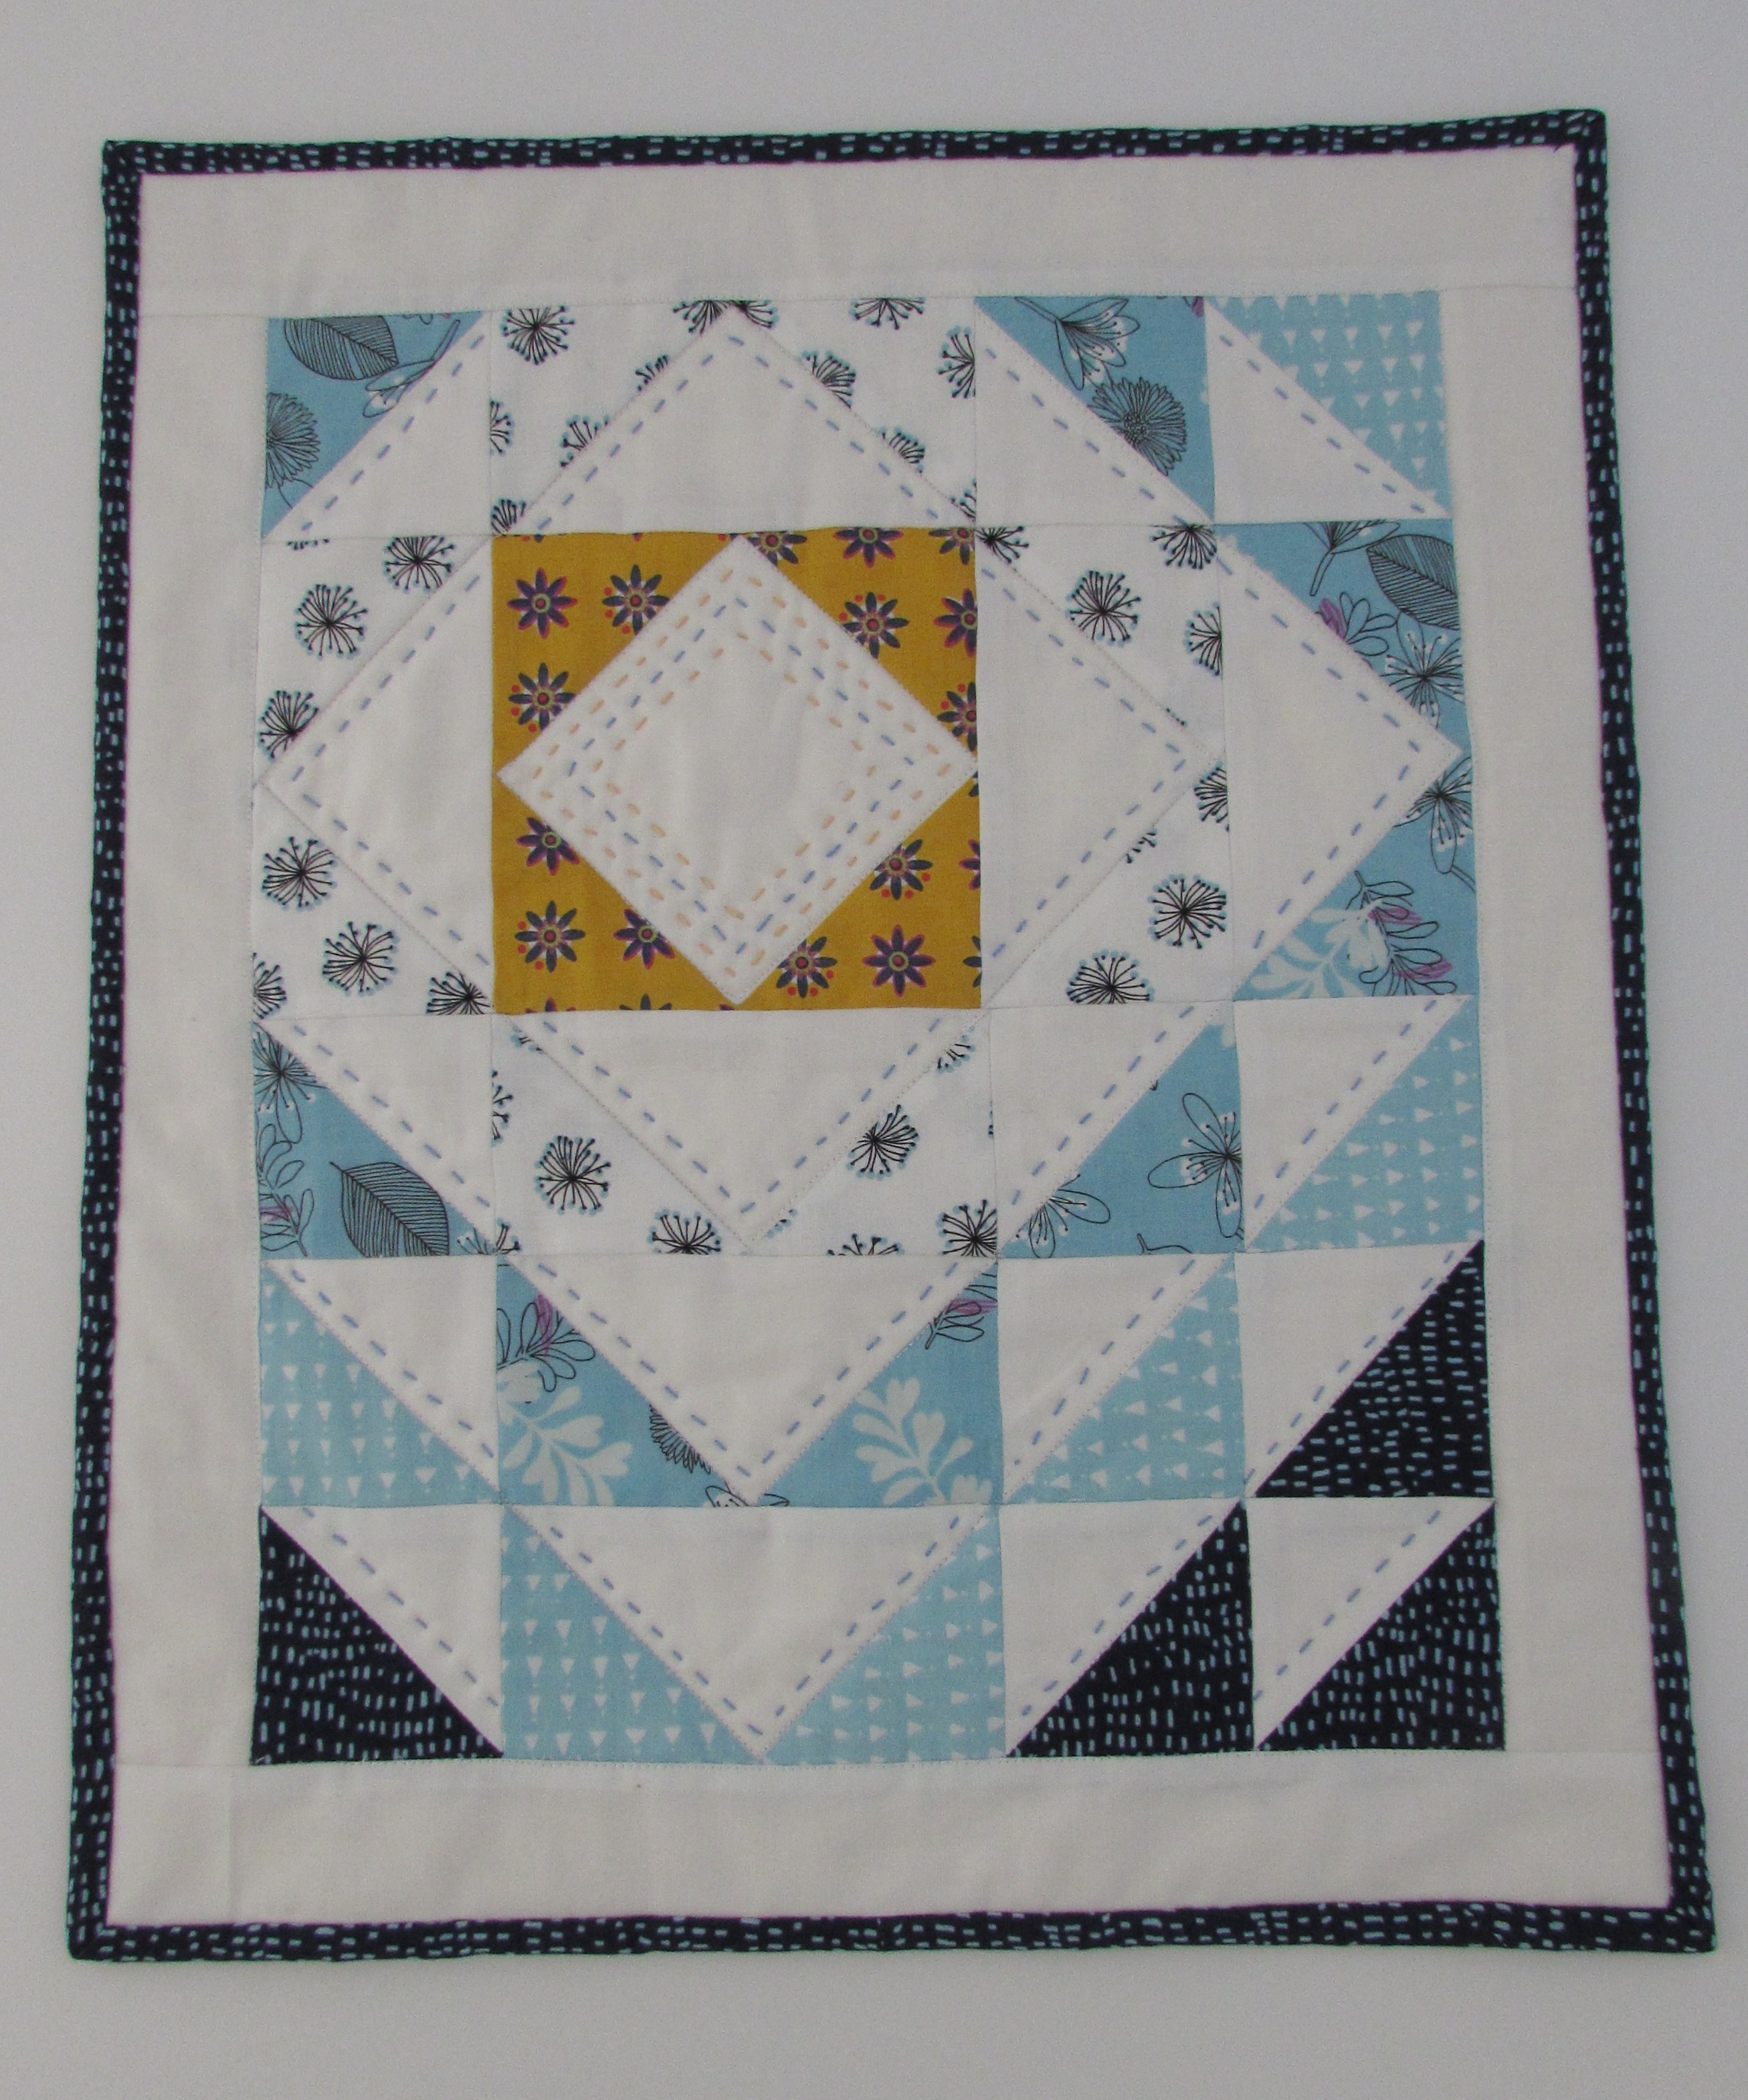
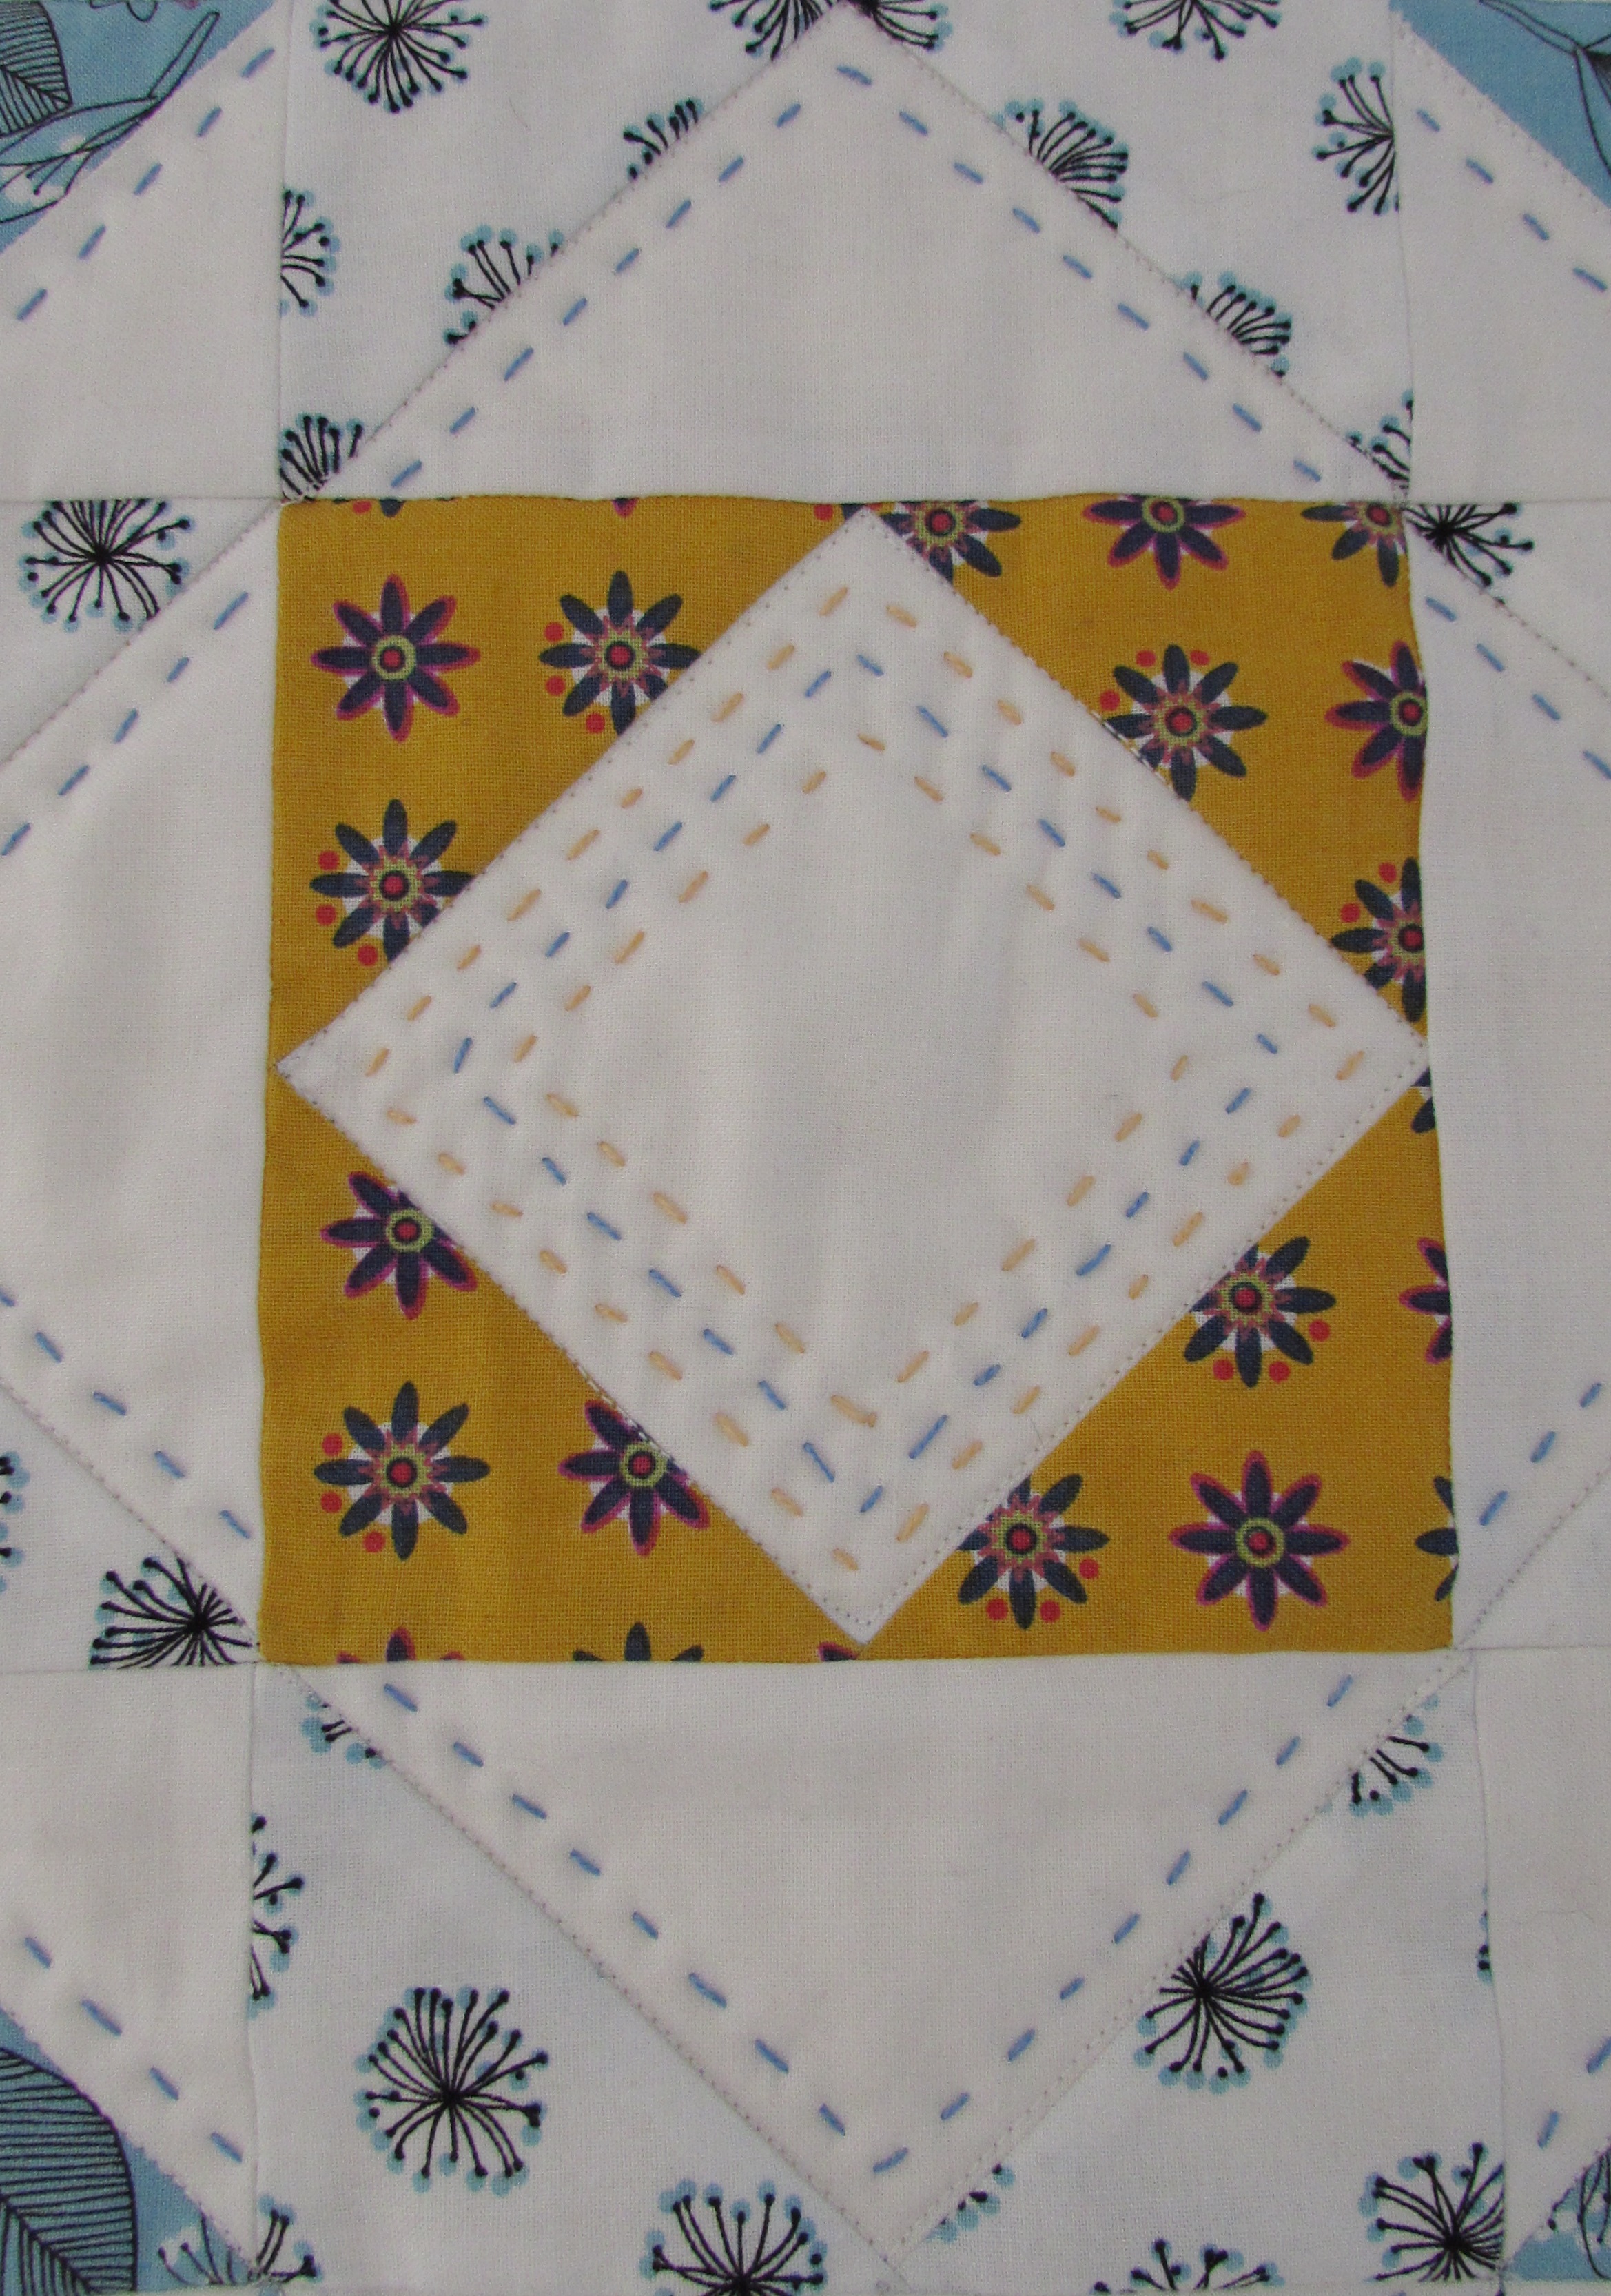
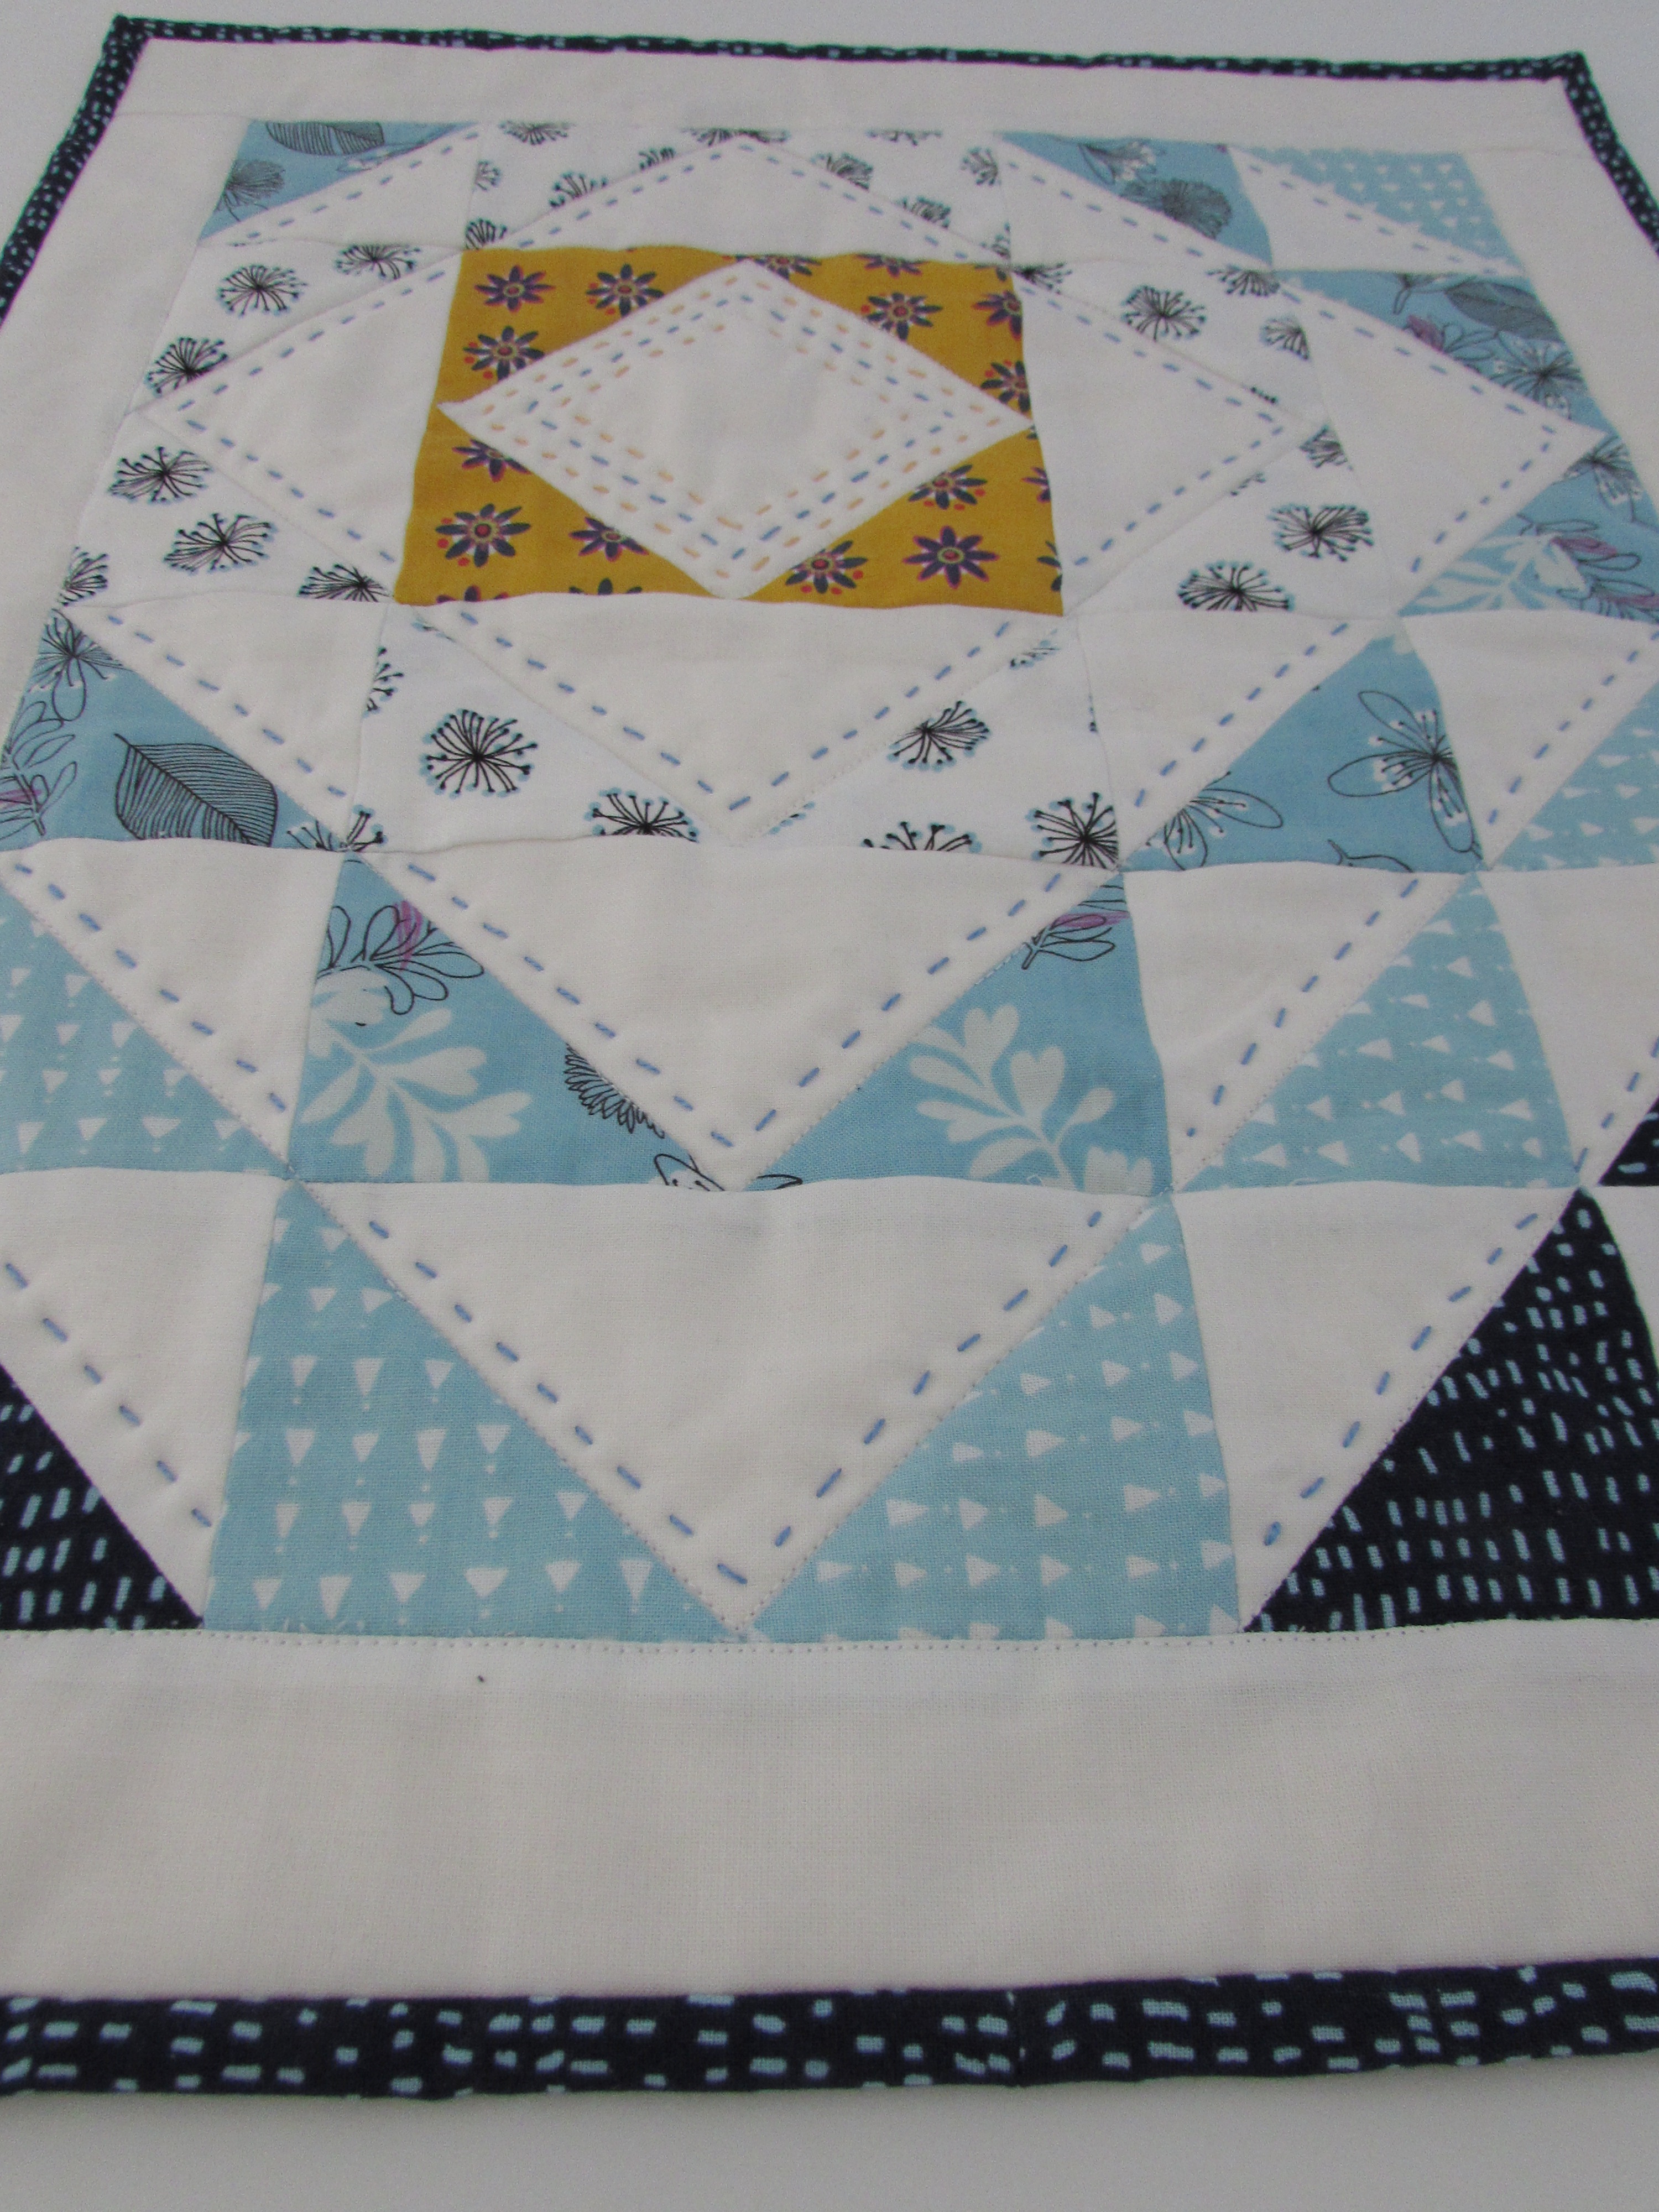
Quite a number of weeks ago, I decided I wanted to make something that I could hand quilt with big stitches. I love the look of hand quilting and have not done a whole lot of it. I wish I could remember where I saw the inspiration for this but I didn’t write it down. It isn’t terribly unique but I did use someone else’s idea.
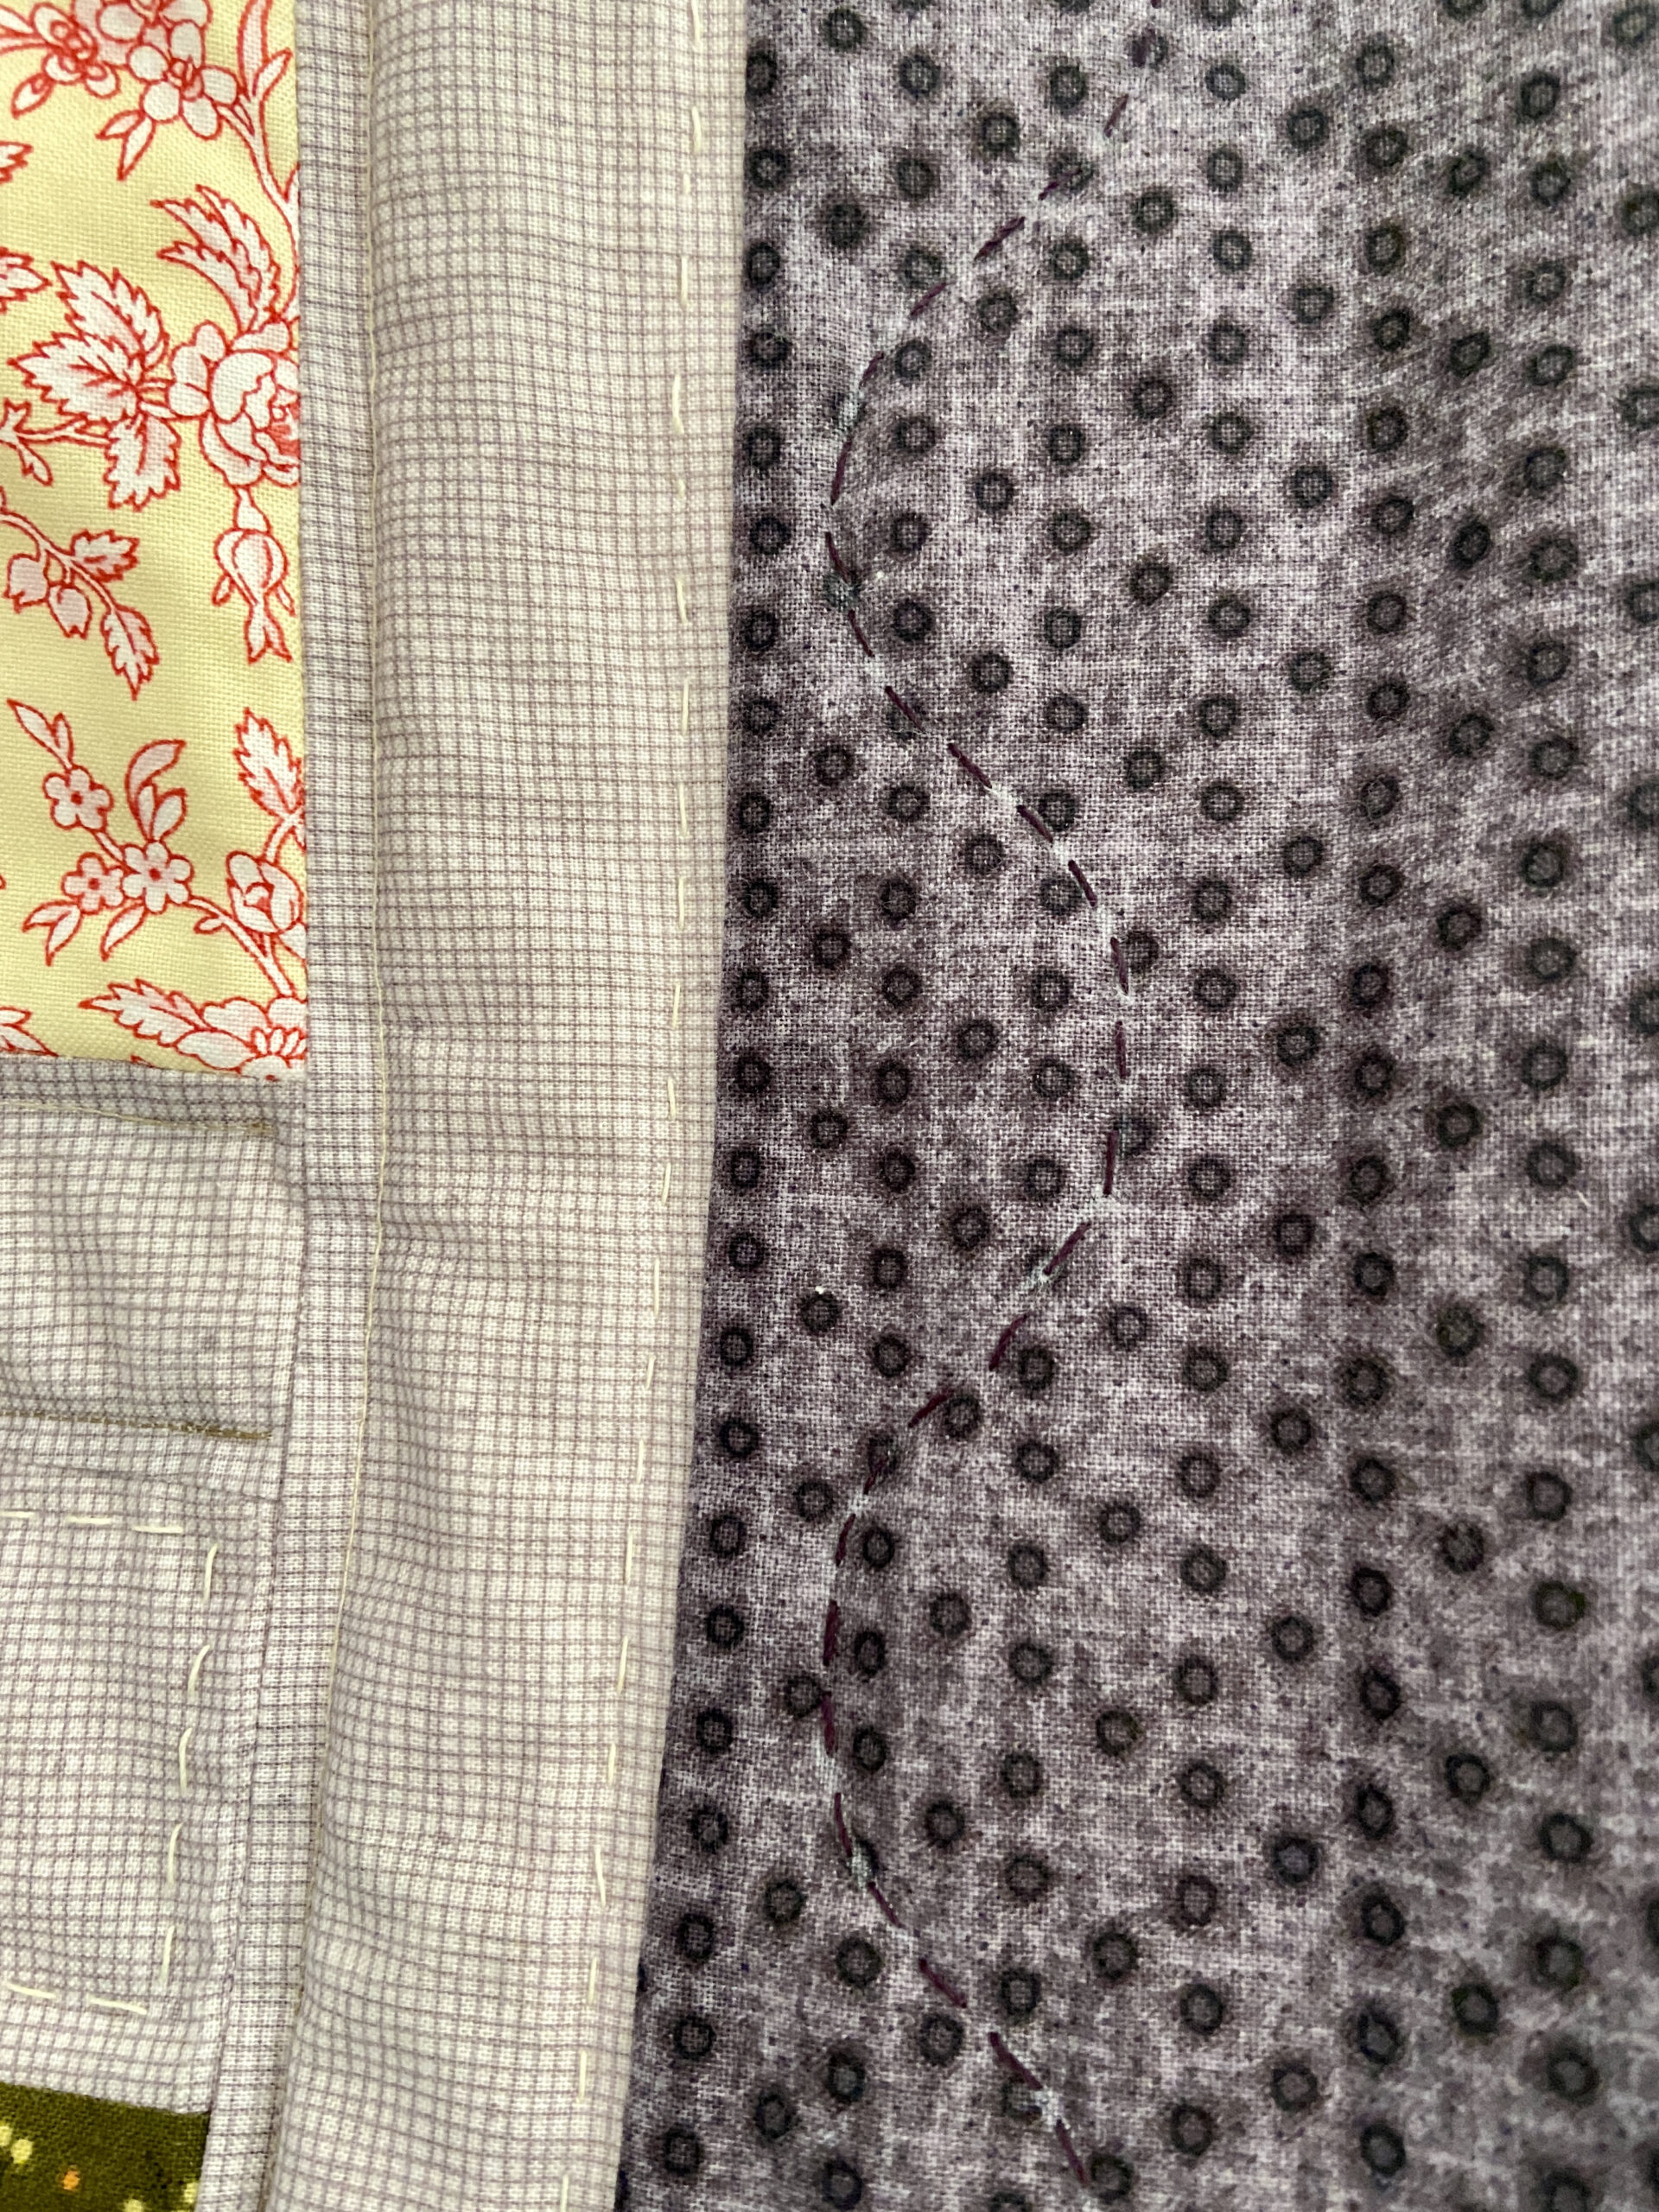
It took me no time to stitch these strips together. The most time was spent on choosing the fabrics. All came from the scrap bin though!
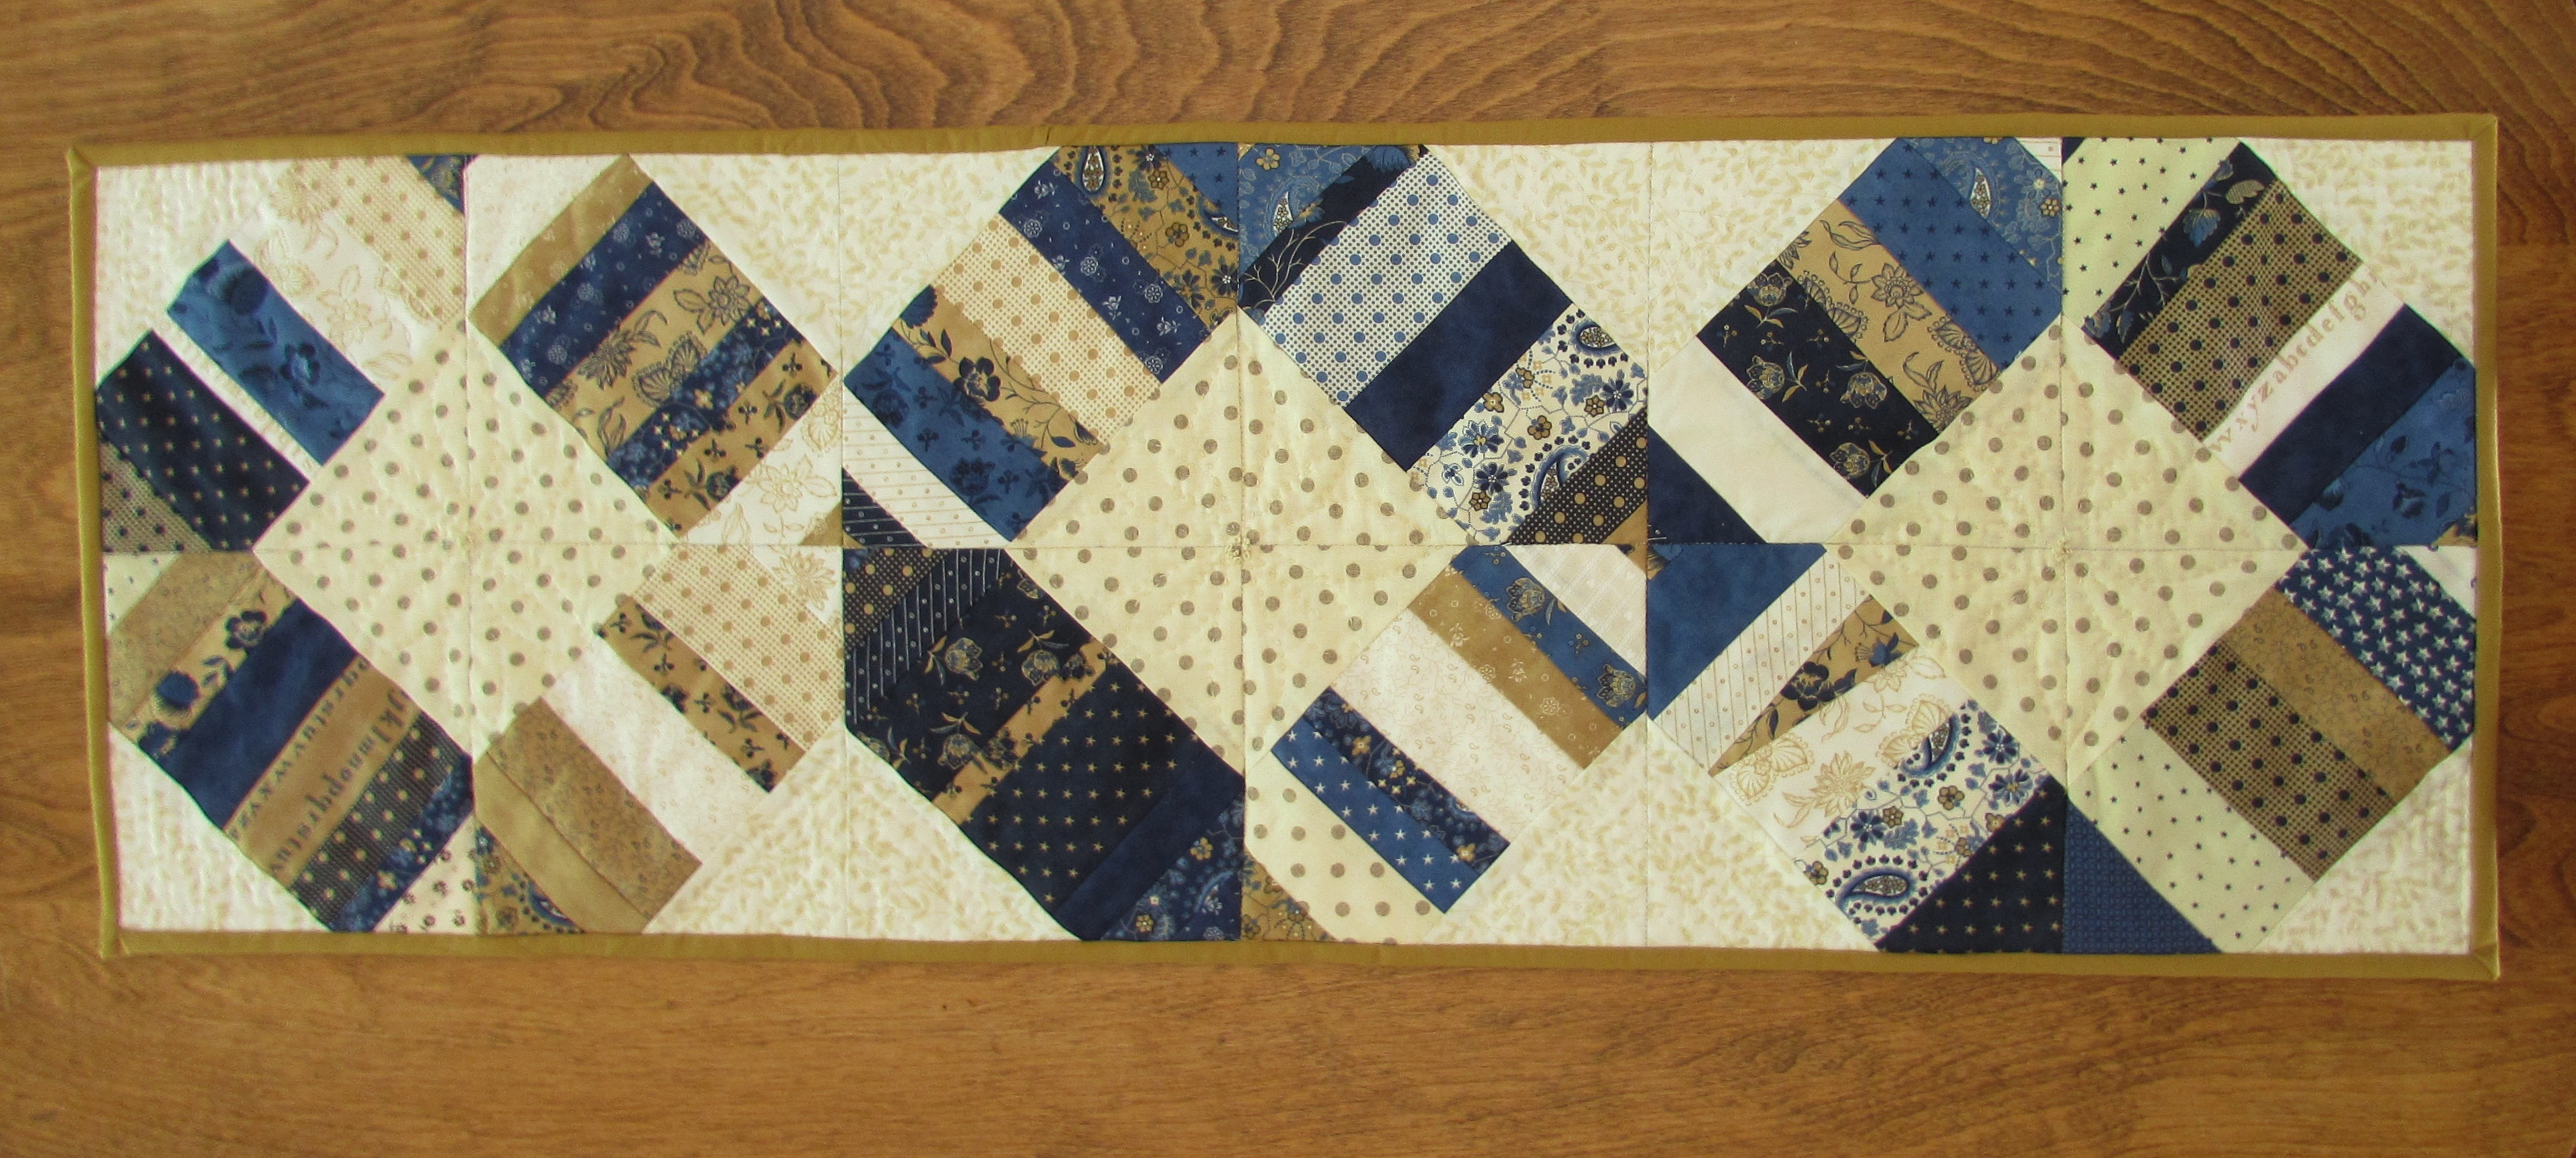
The first fabric I selected was the red print in the upper left corner (actually, this picture shows the project upside down). Not that anyone would know that but in my mind, this is upside down.
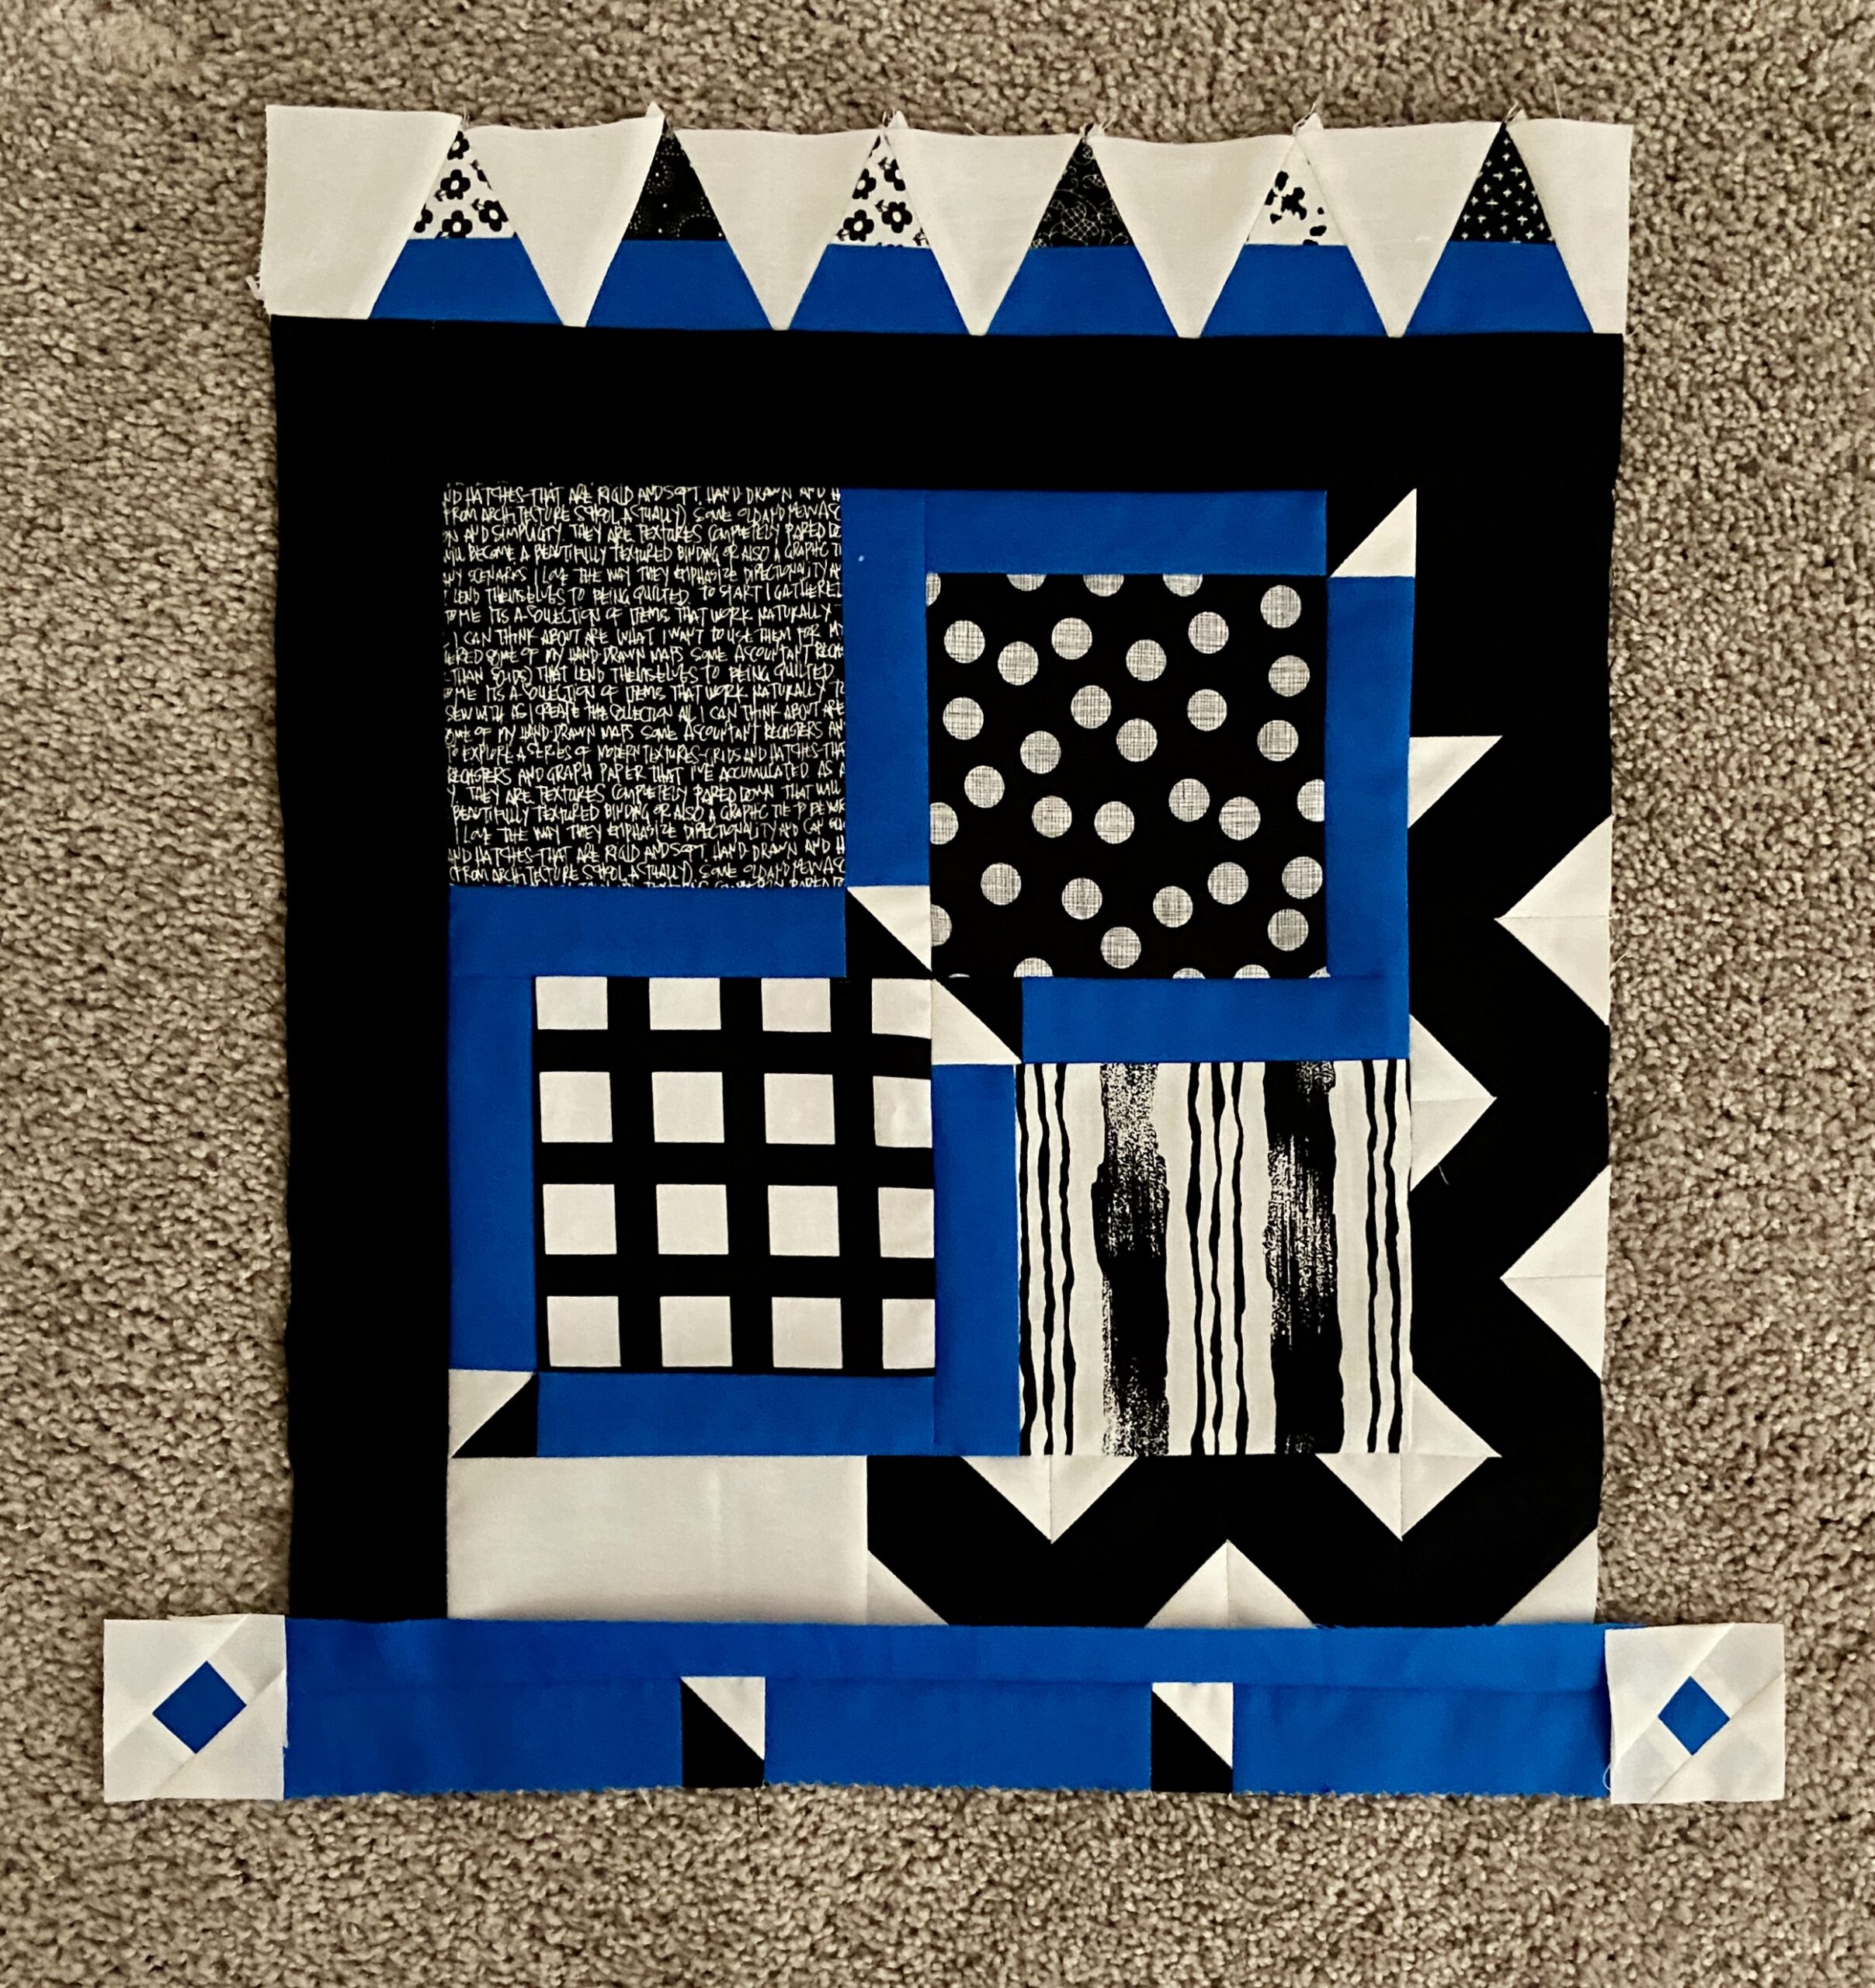
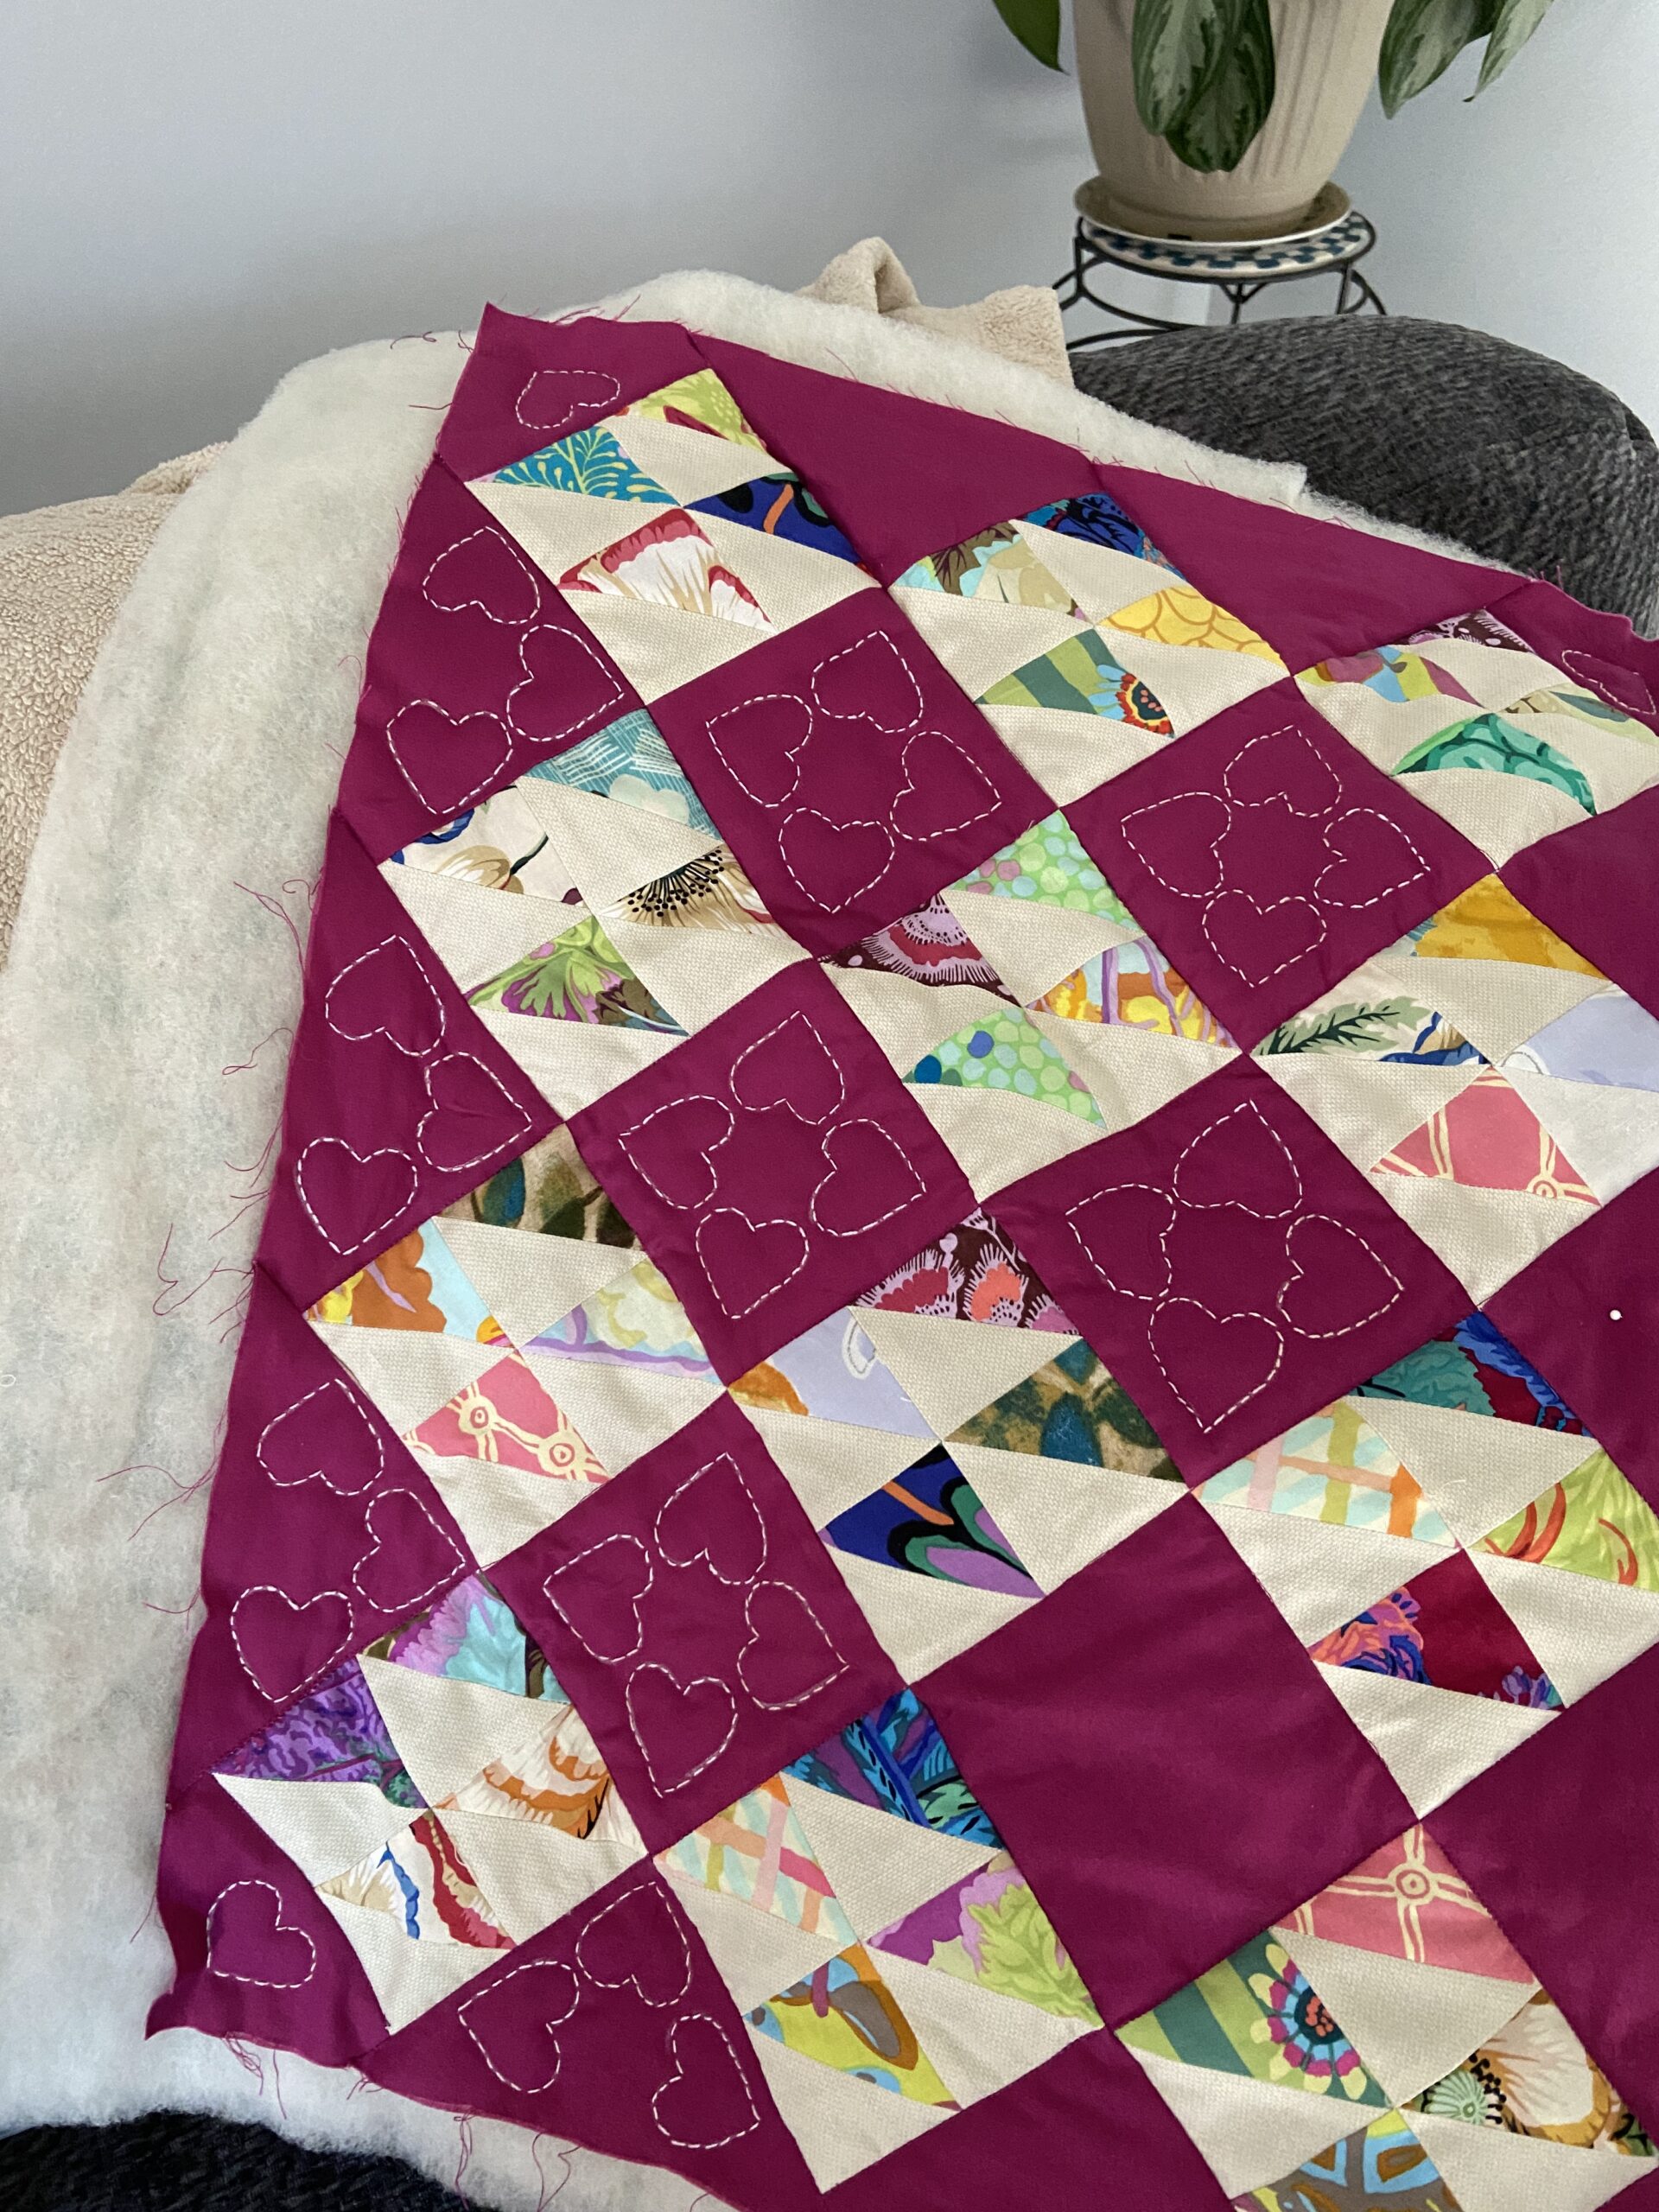
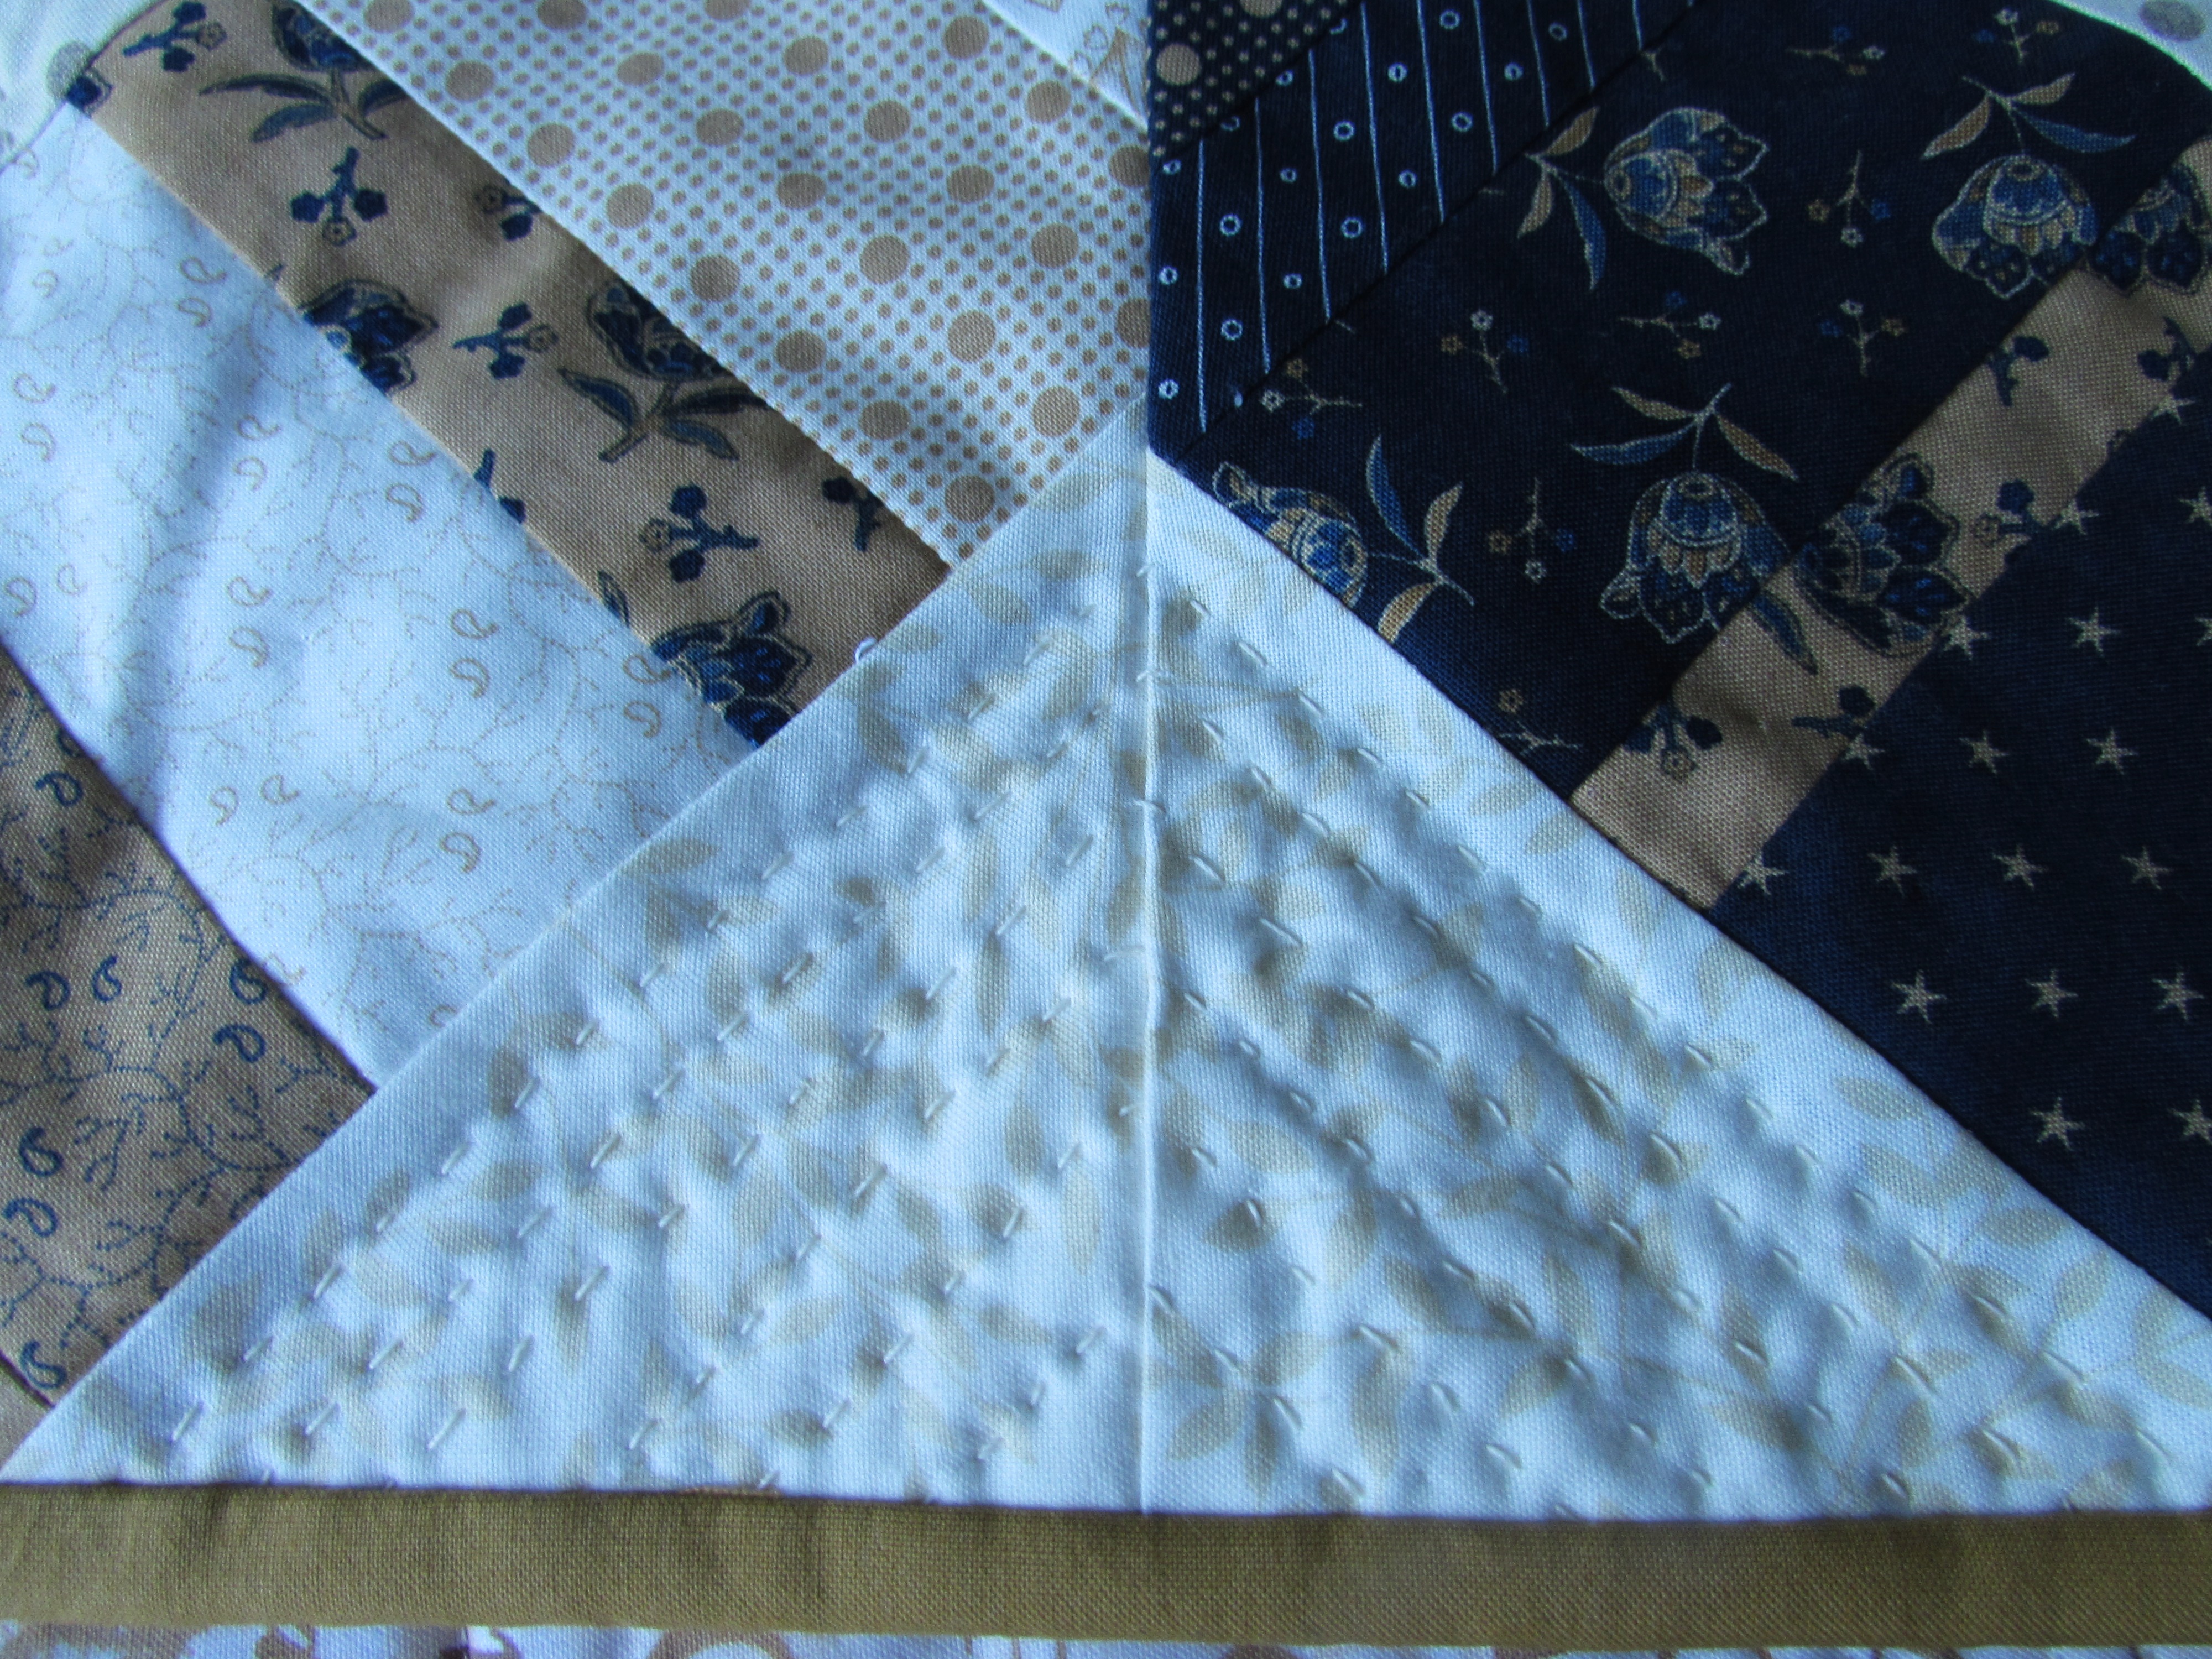
After assembling the top and basting it, I began to quilt it by hand. I didn’t use a hoop and maybe I should have. By the time I was done quilting it, it was somewhat distorted and this made it a challenge to square up for binding.
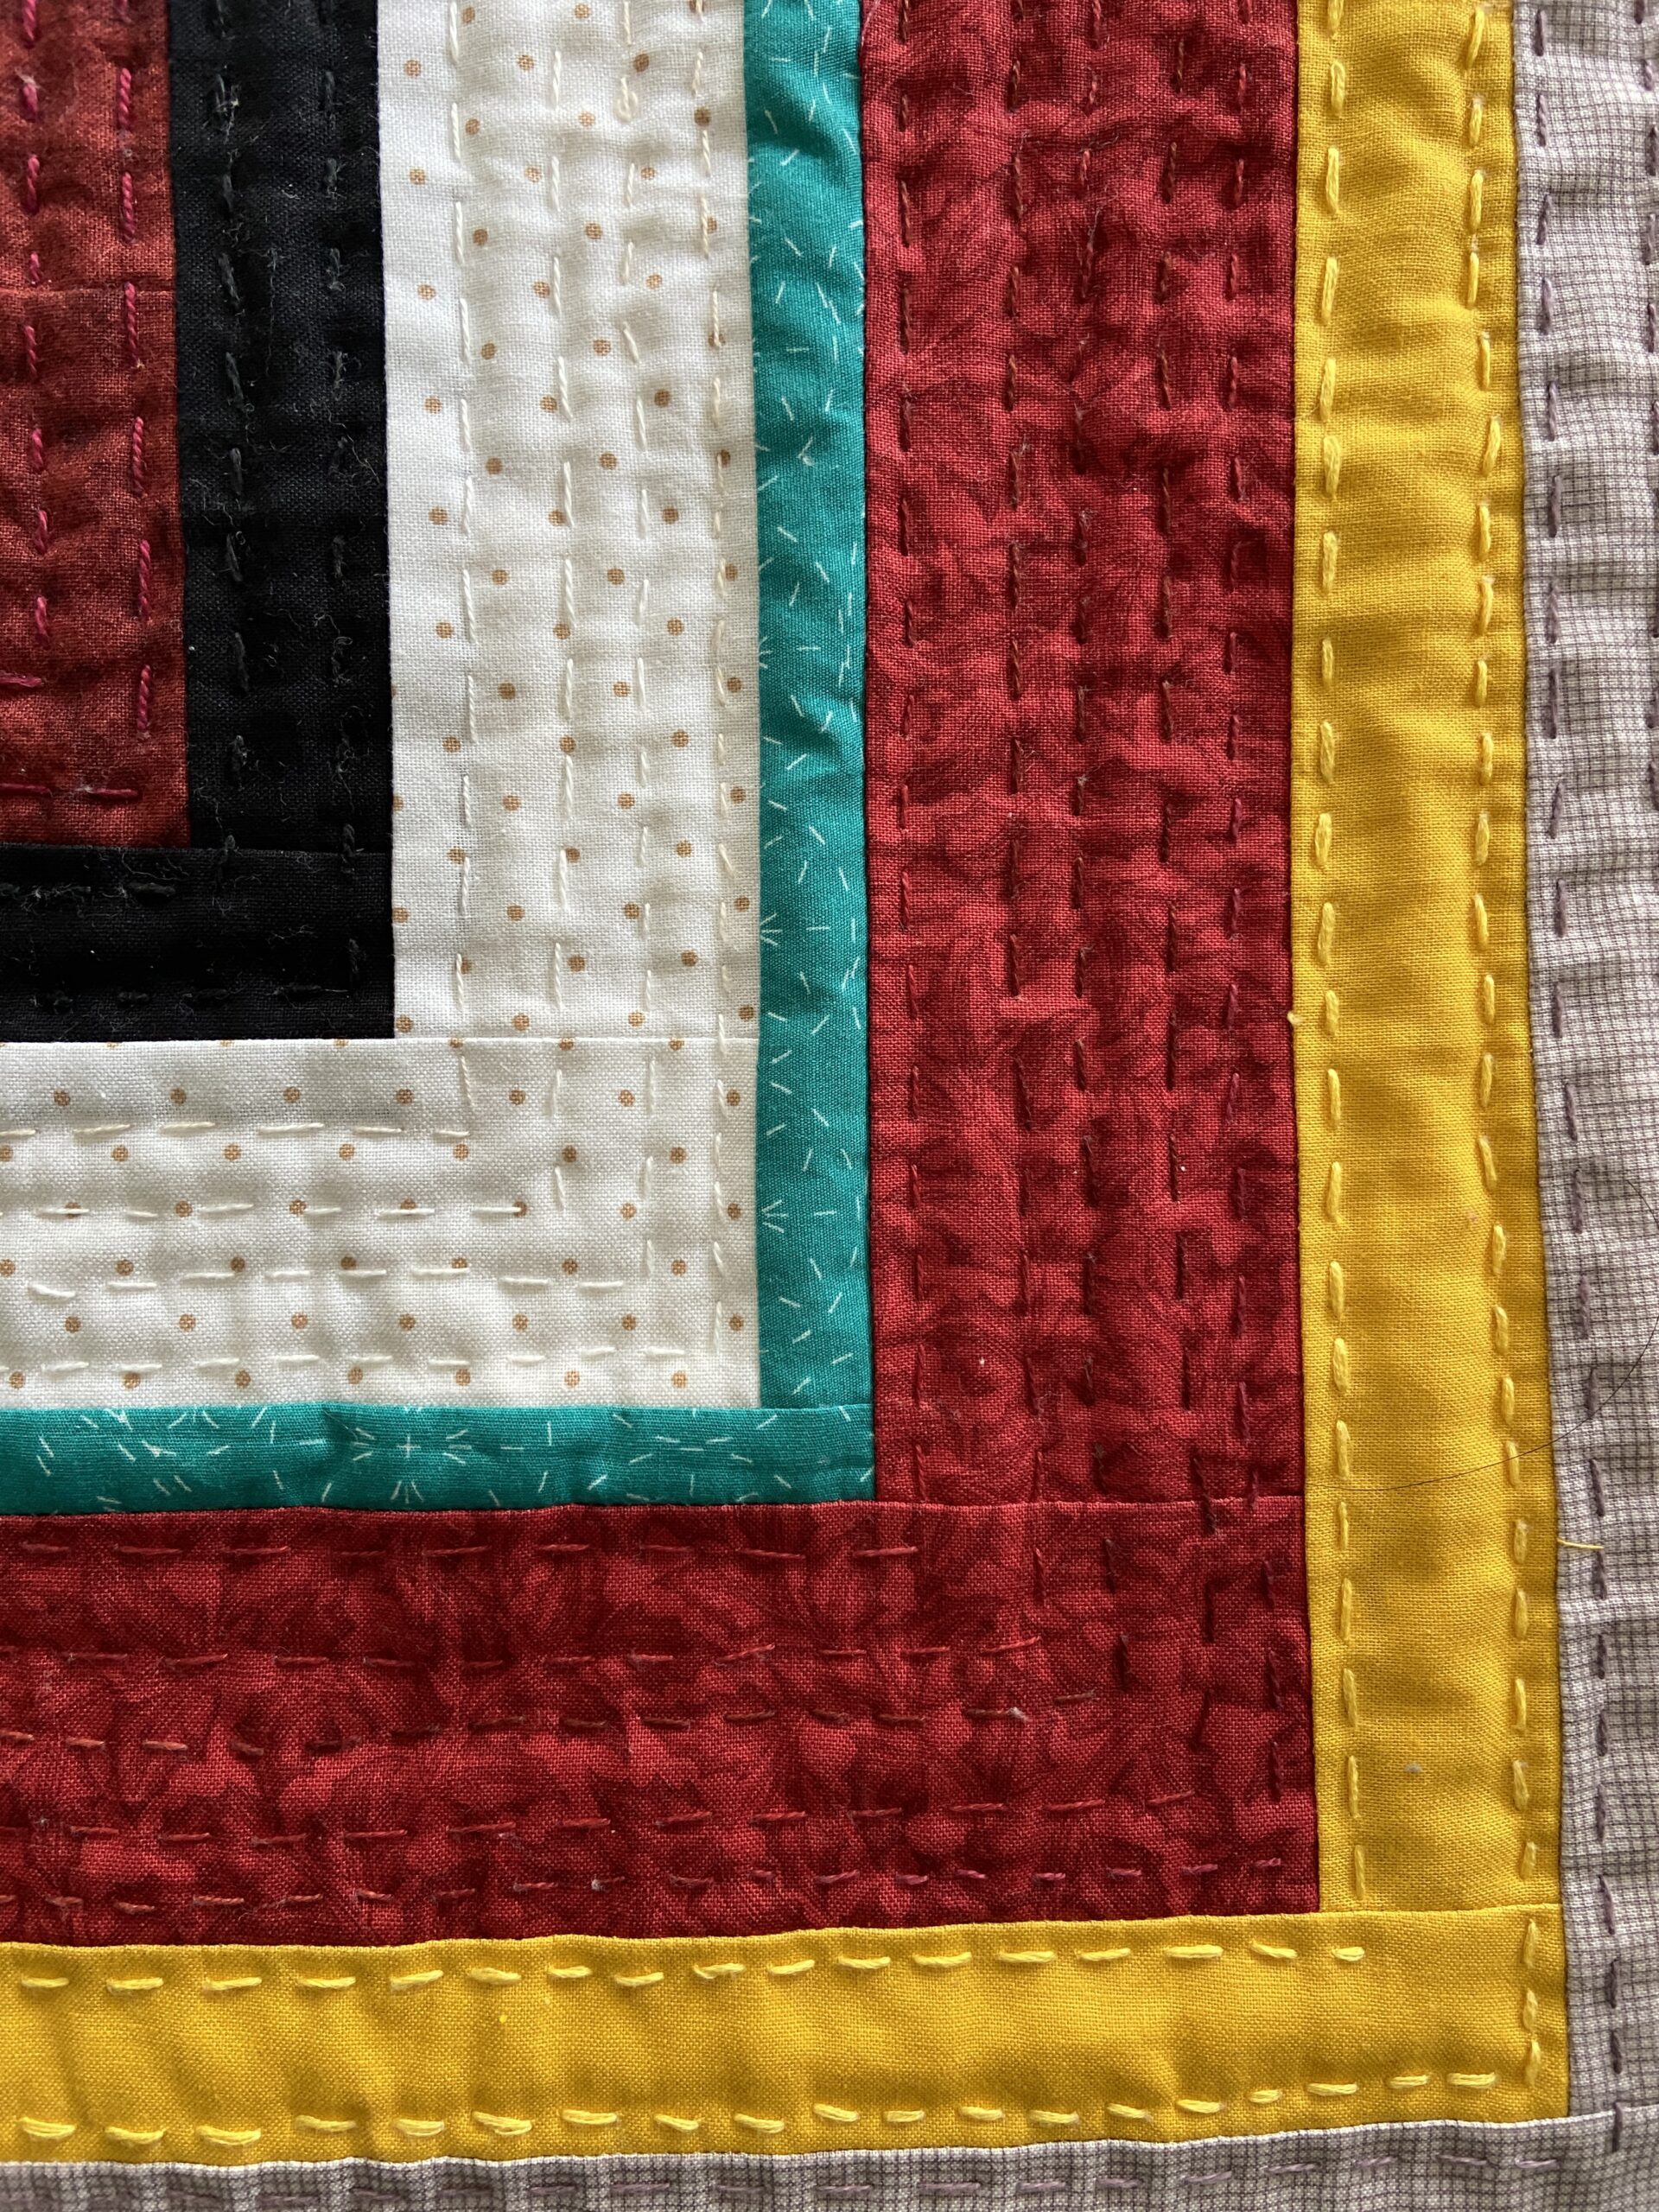
I love the stitching, even with all of the wobbles and wiggles.
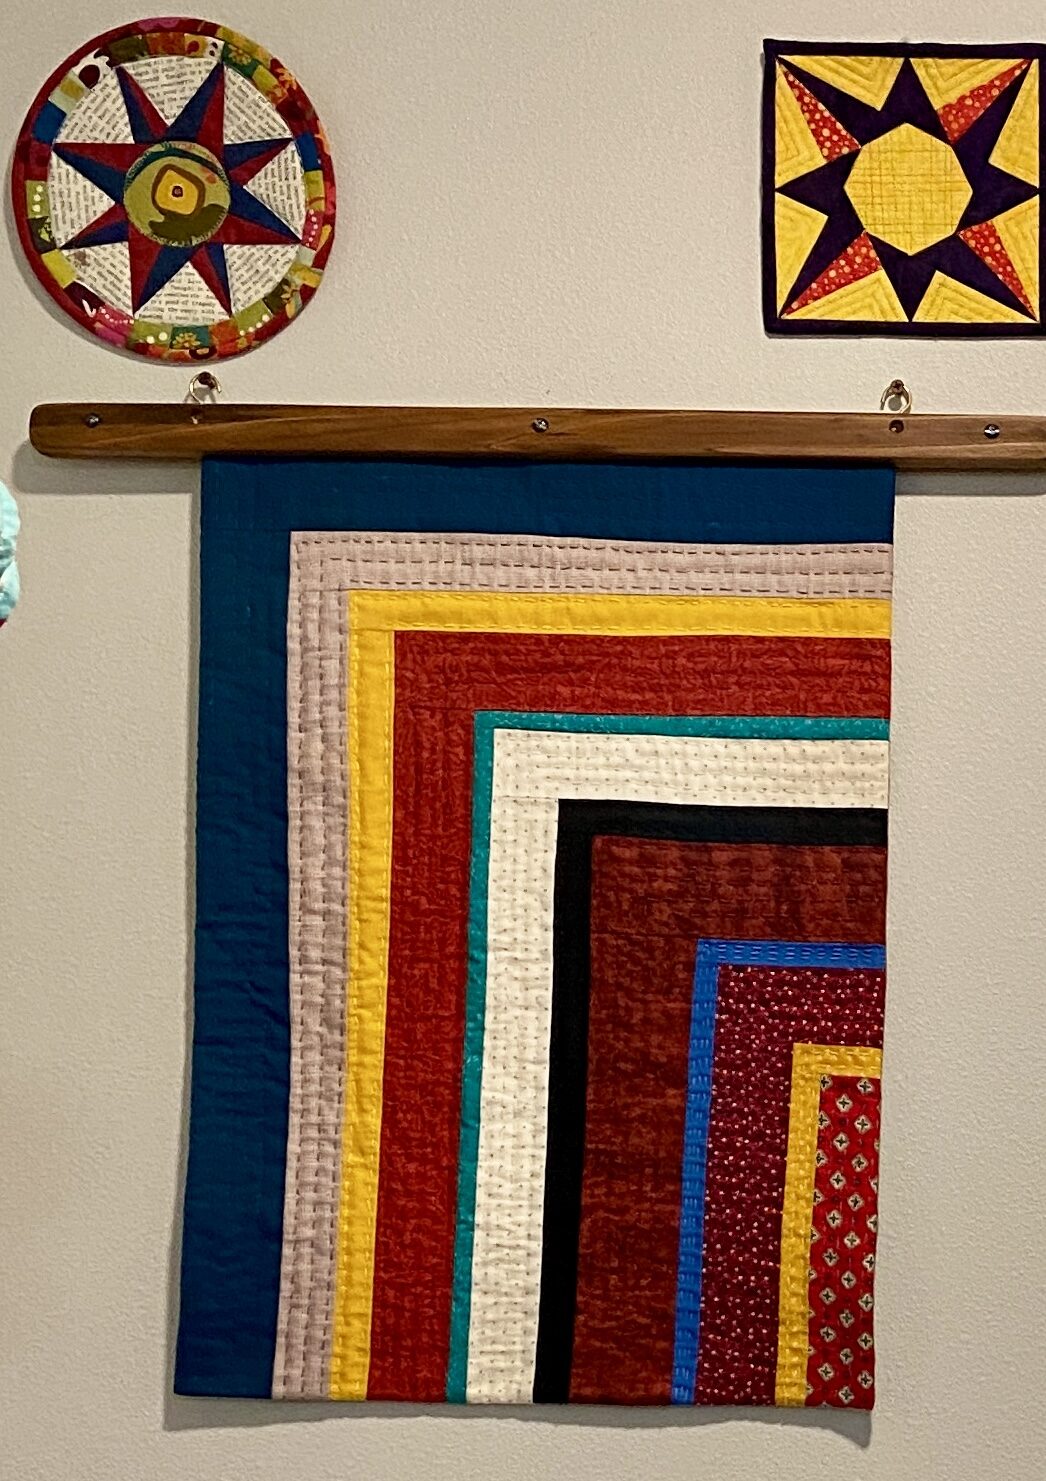
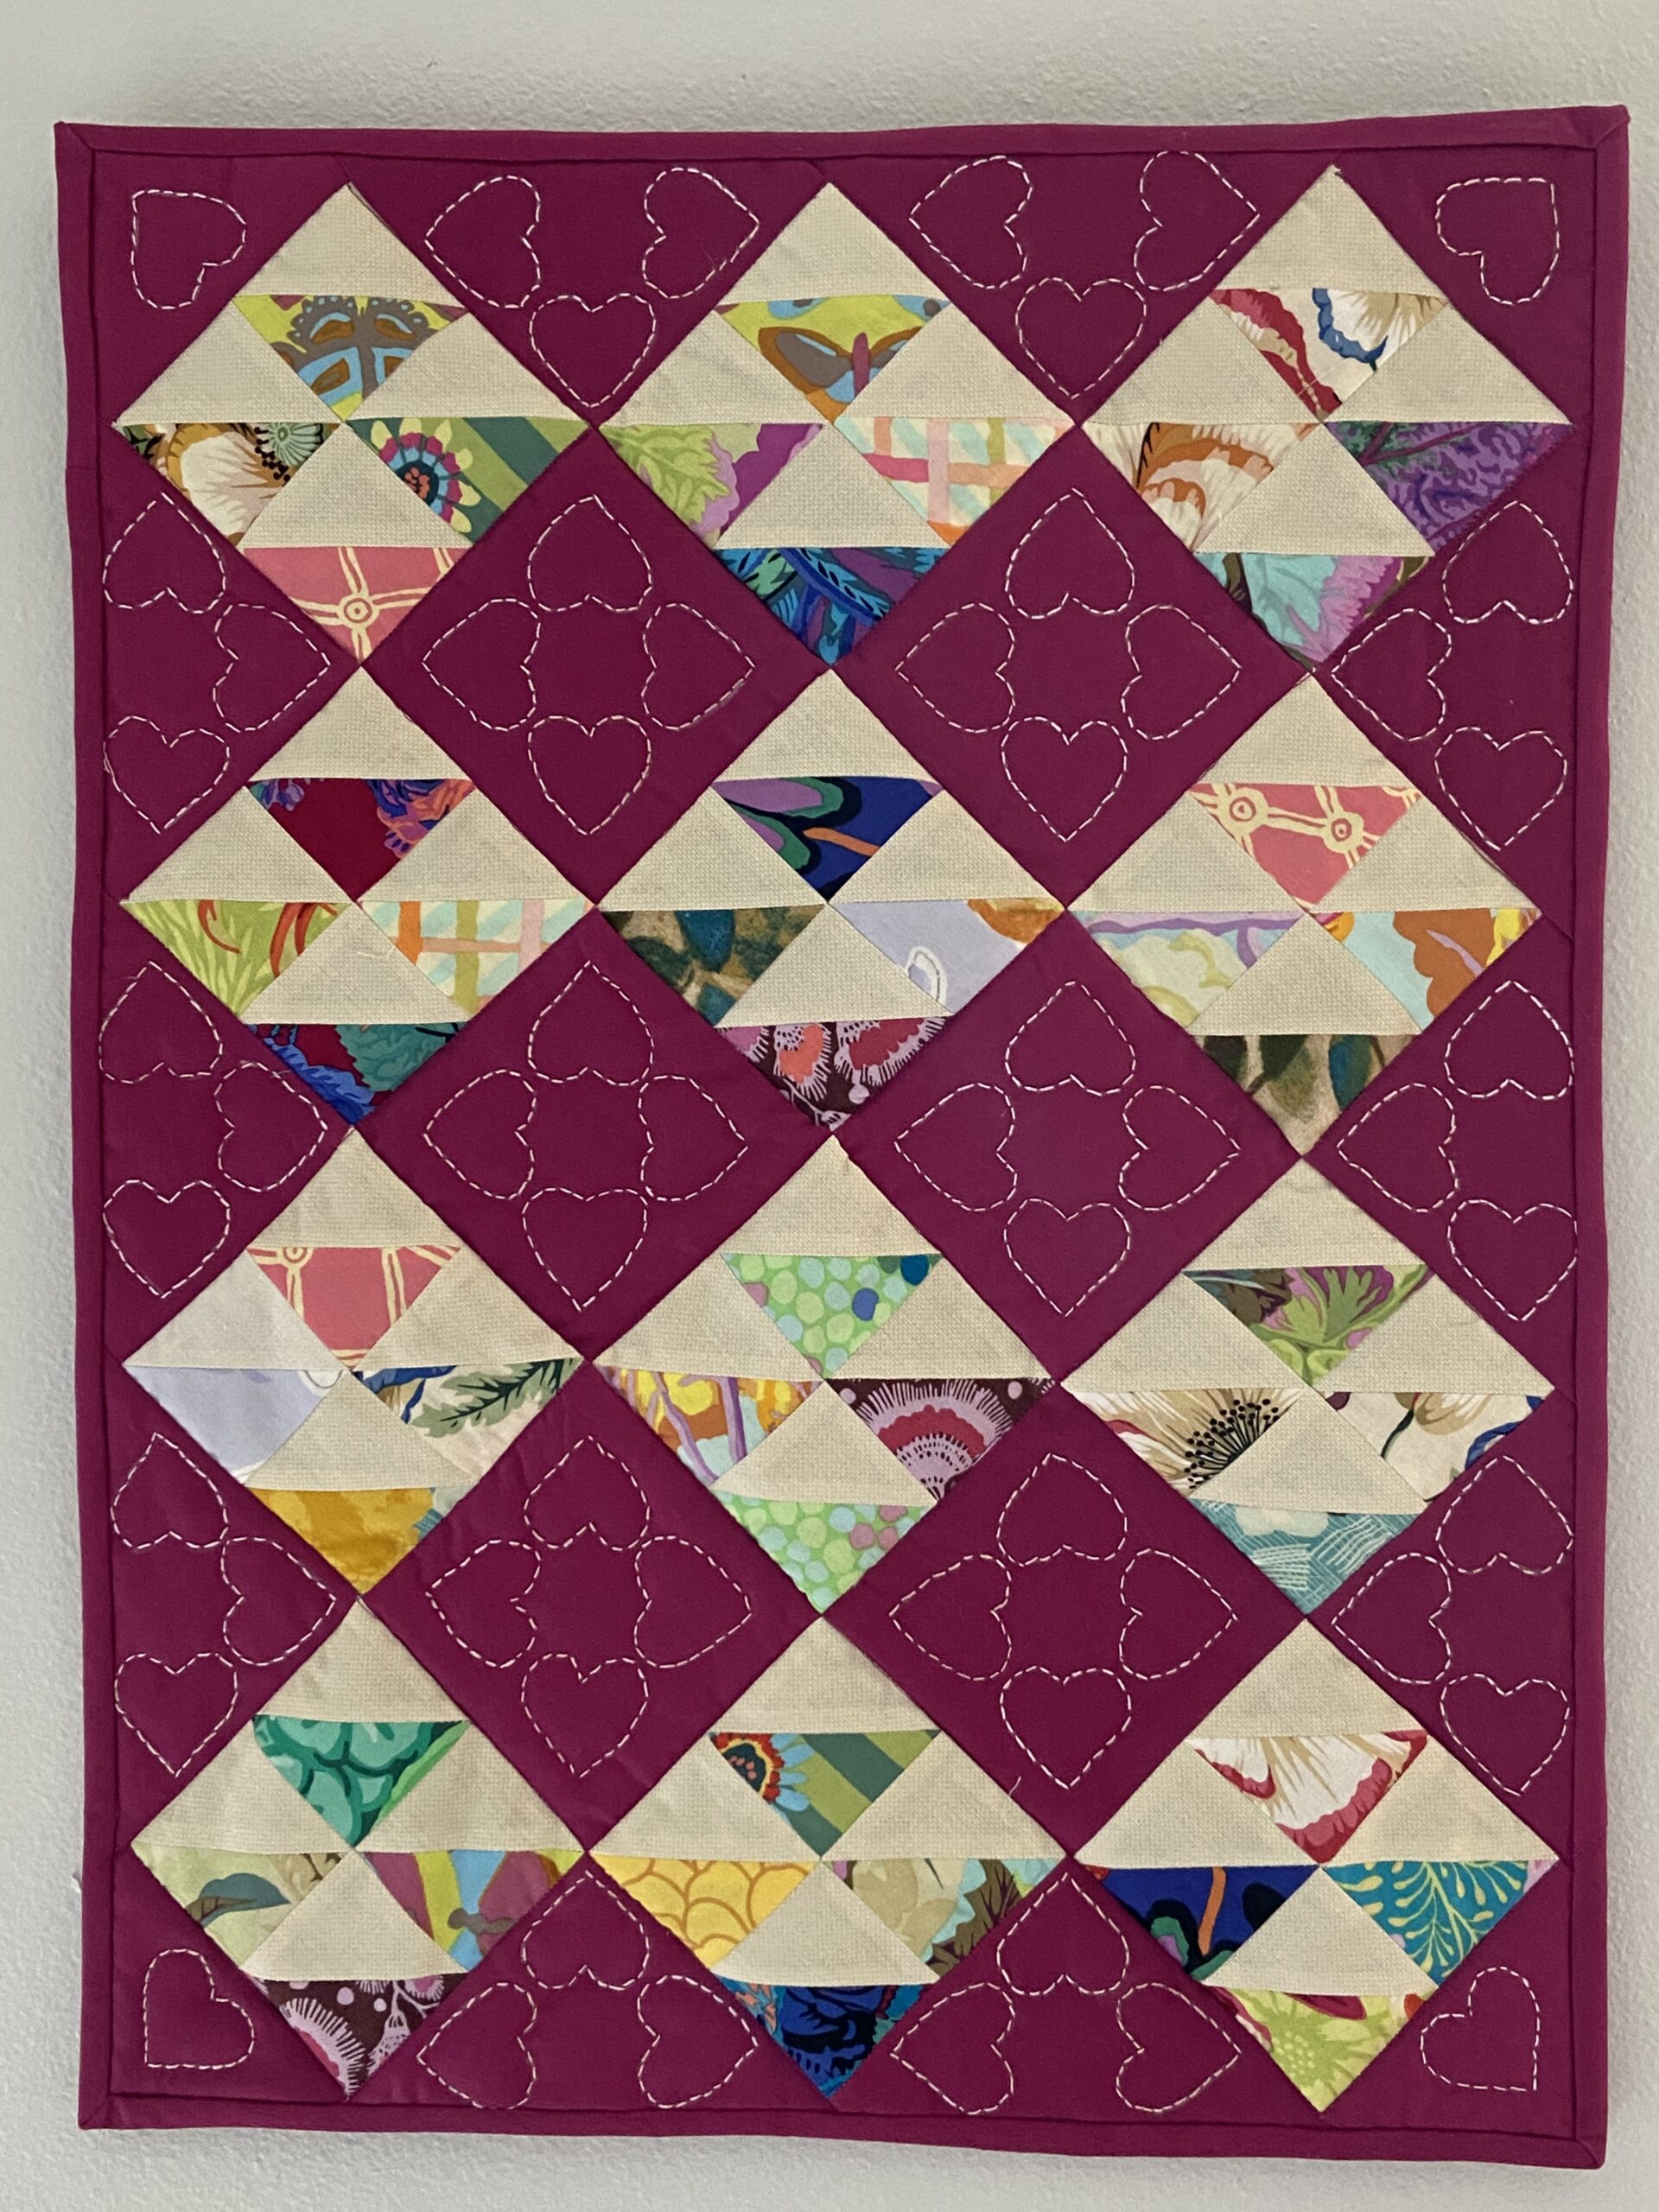
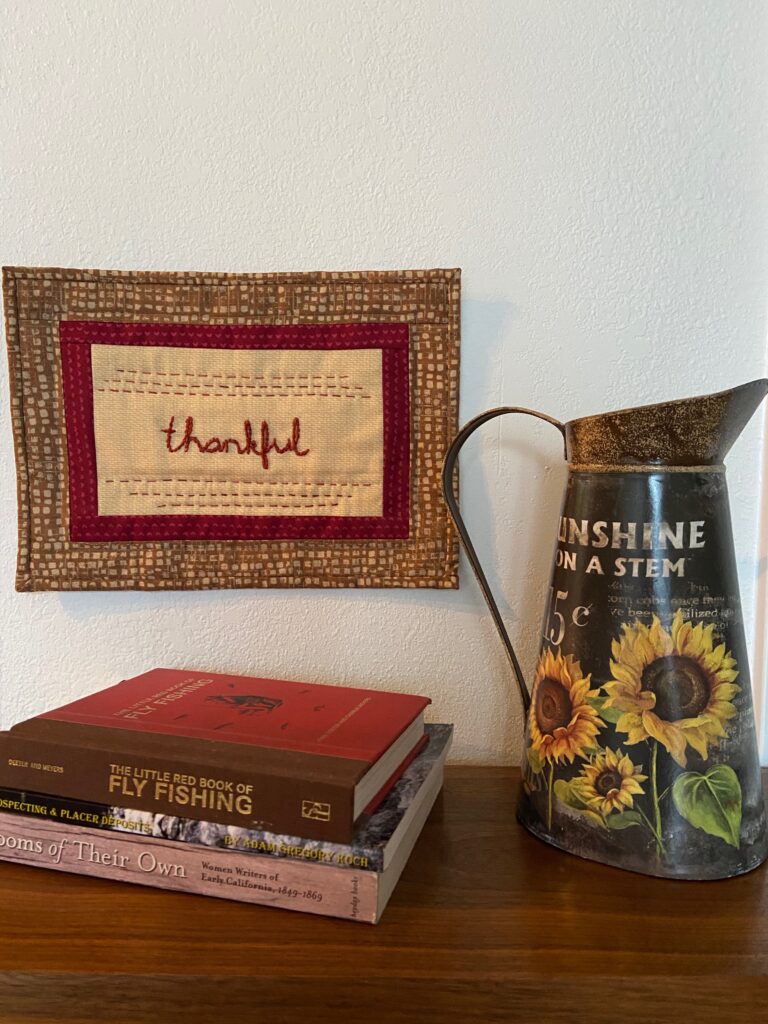
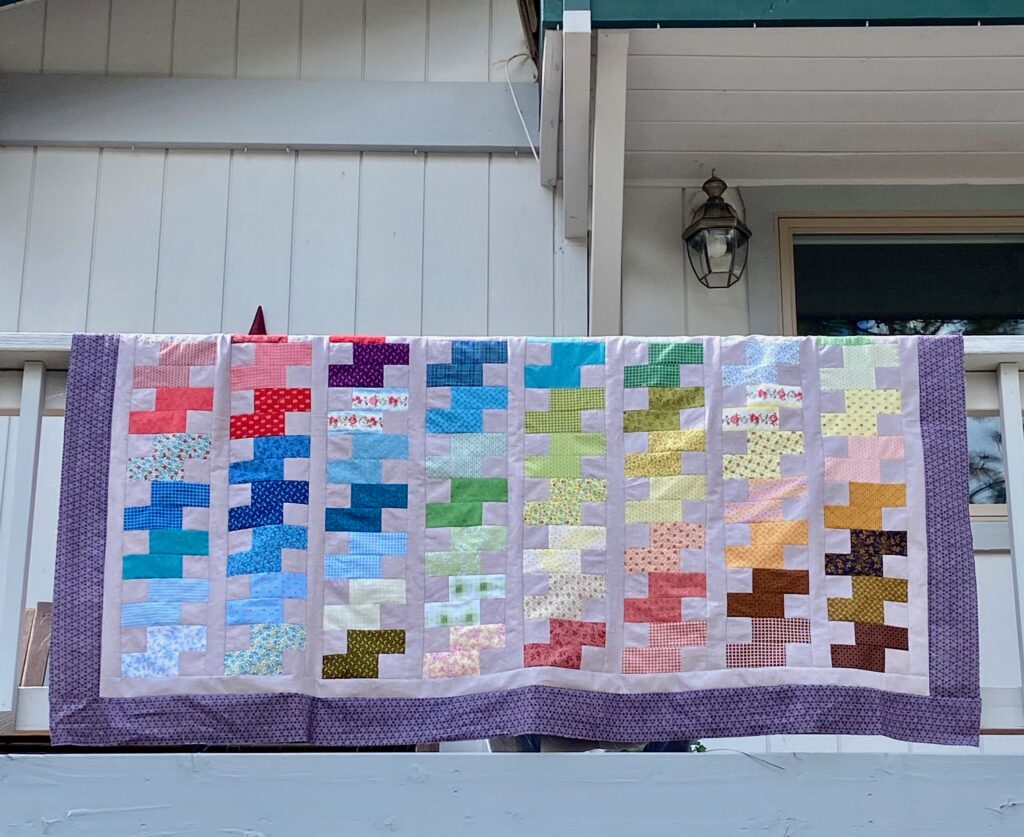
Currently I have it hanging on a wall in my sewing room. I like this little hanger (made by my friend’s husband). I switch quilts here fairly often because it can be done easily. You can see this is crooked on the right side. Well, I should clarify, it is actually cut squarely but the strips are distorted. It is quirky but I like it. The colors are right up my alley. This little quilt provided many evenings of hand sewing which I enjoyed greatly.
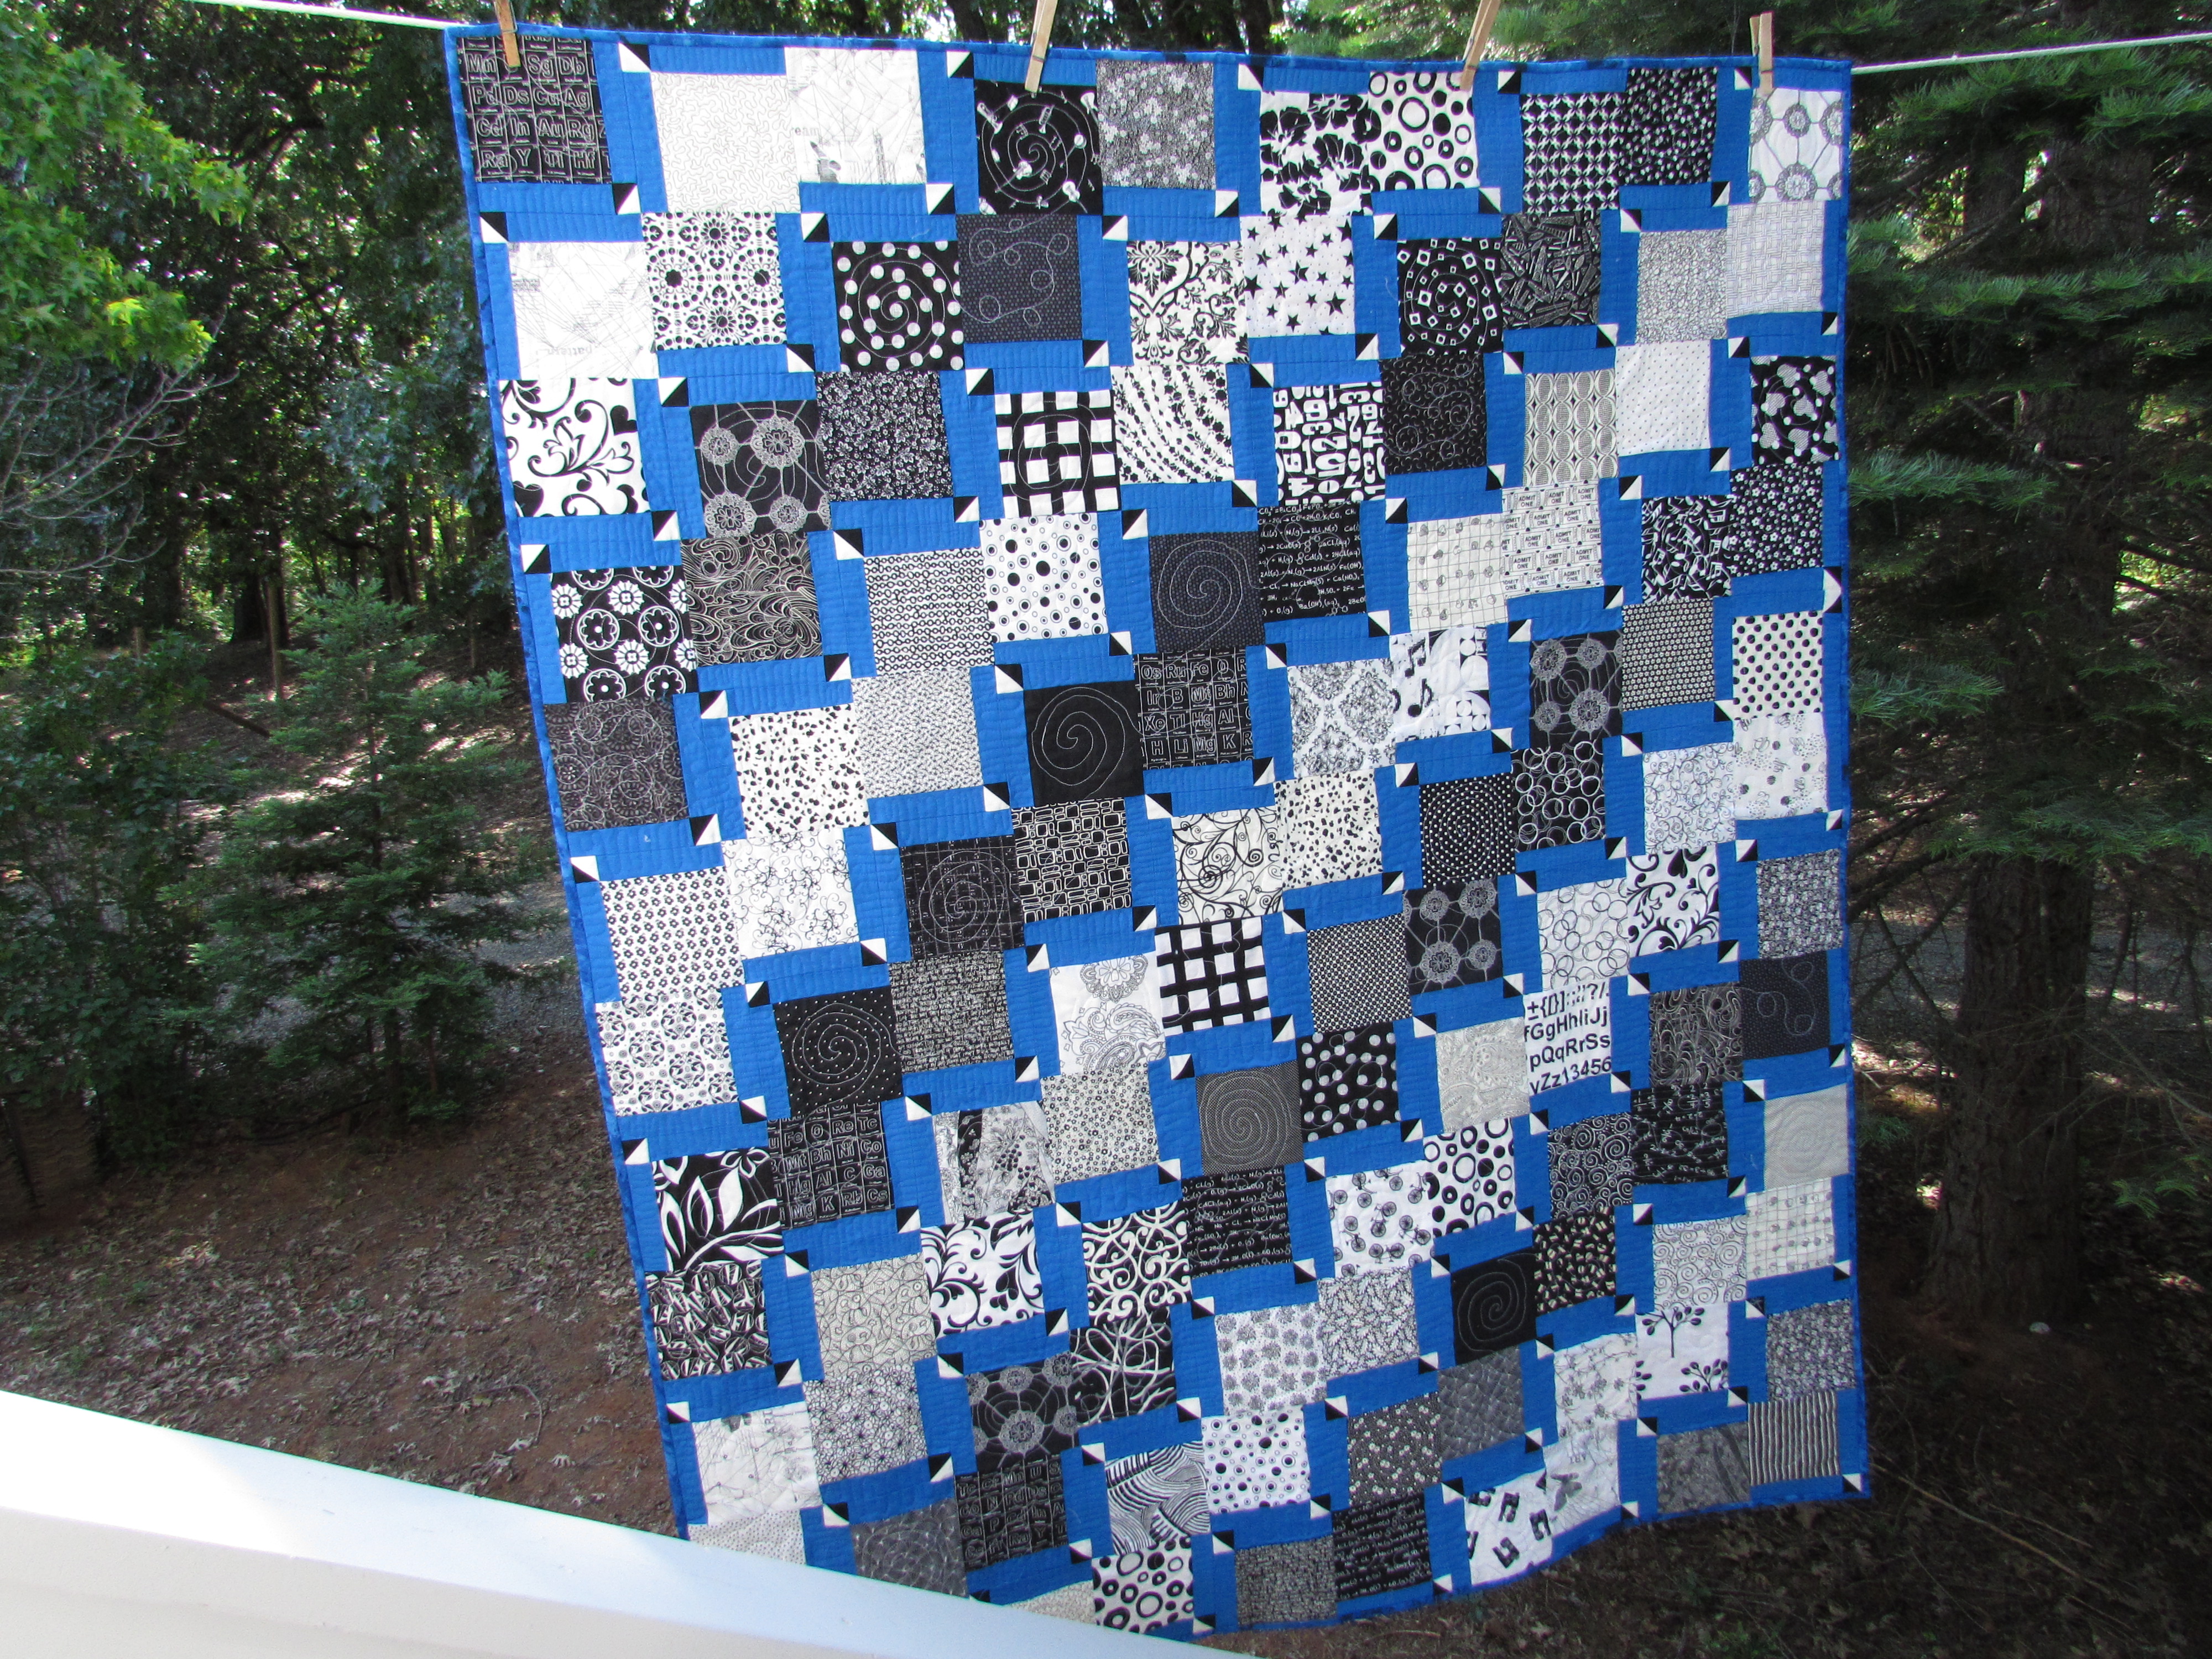
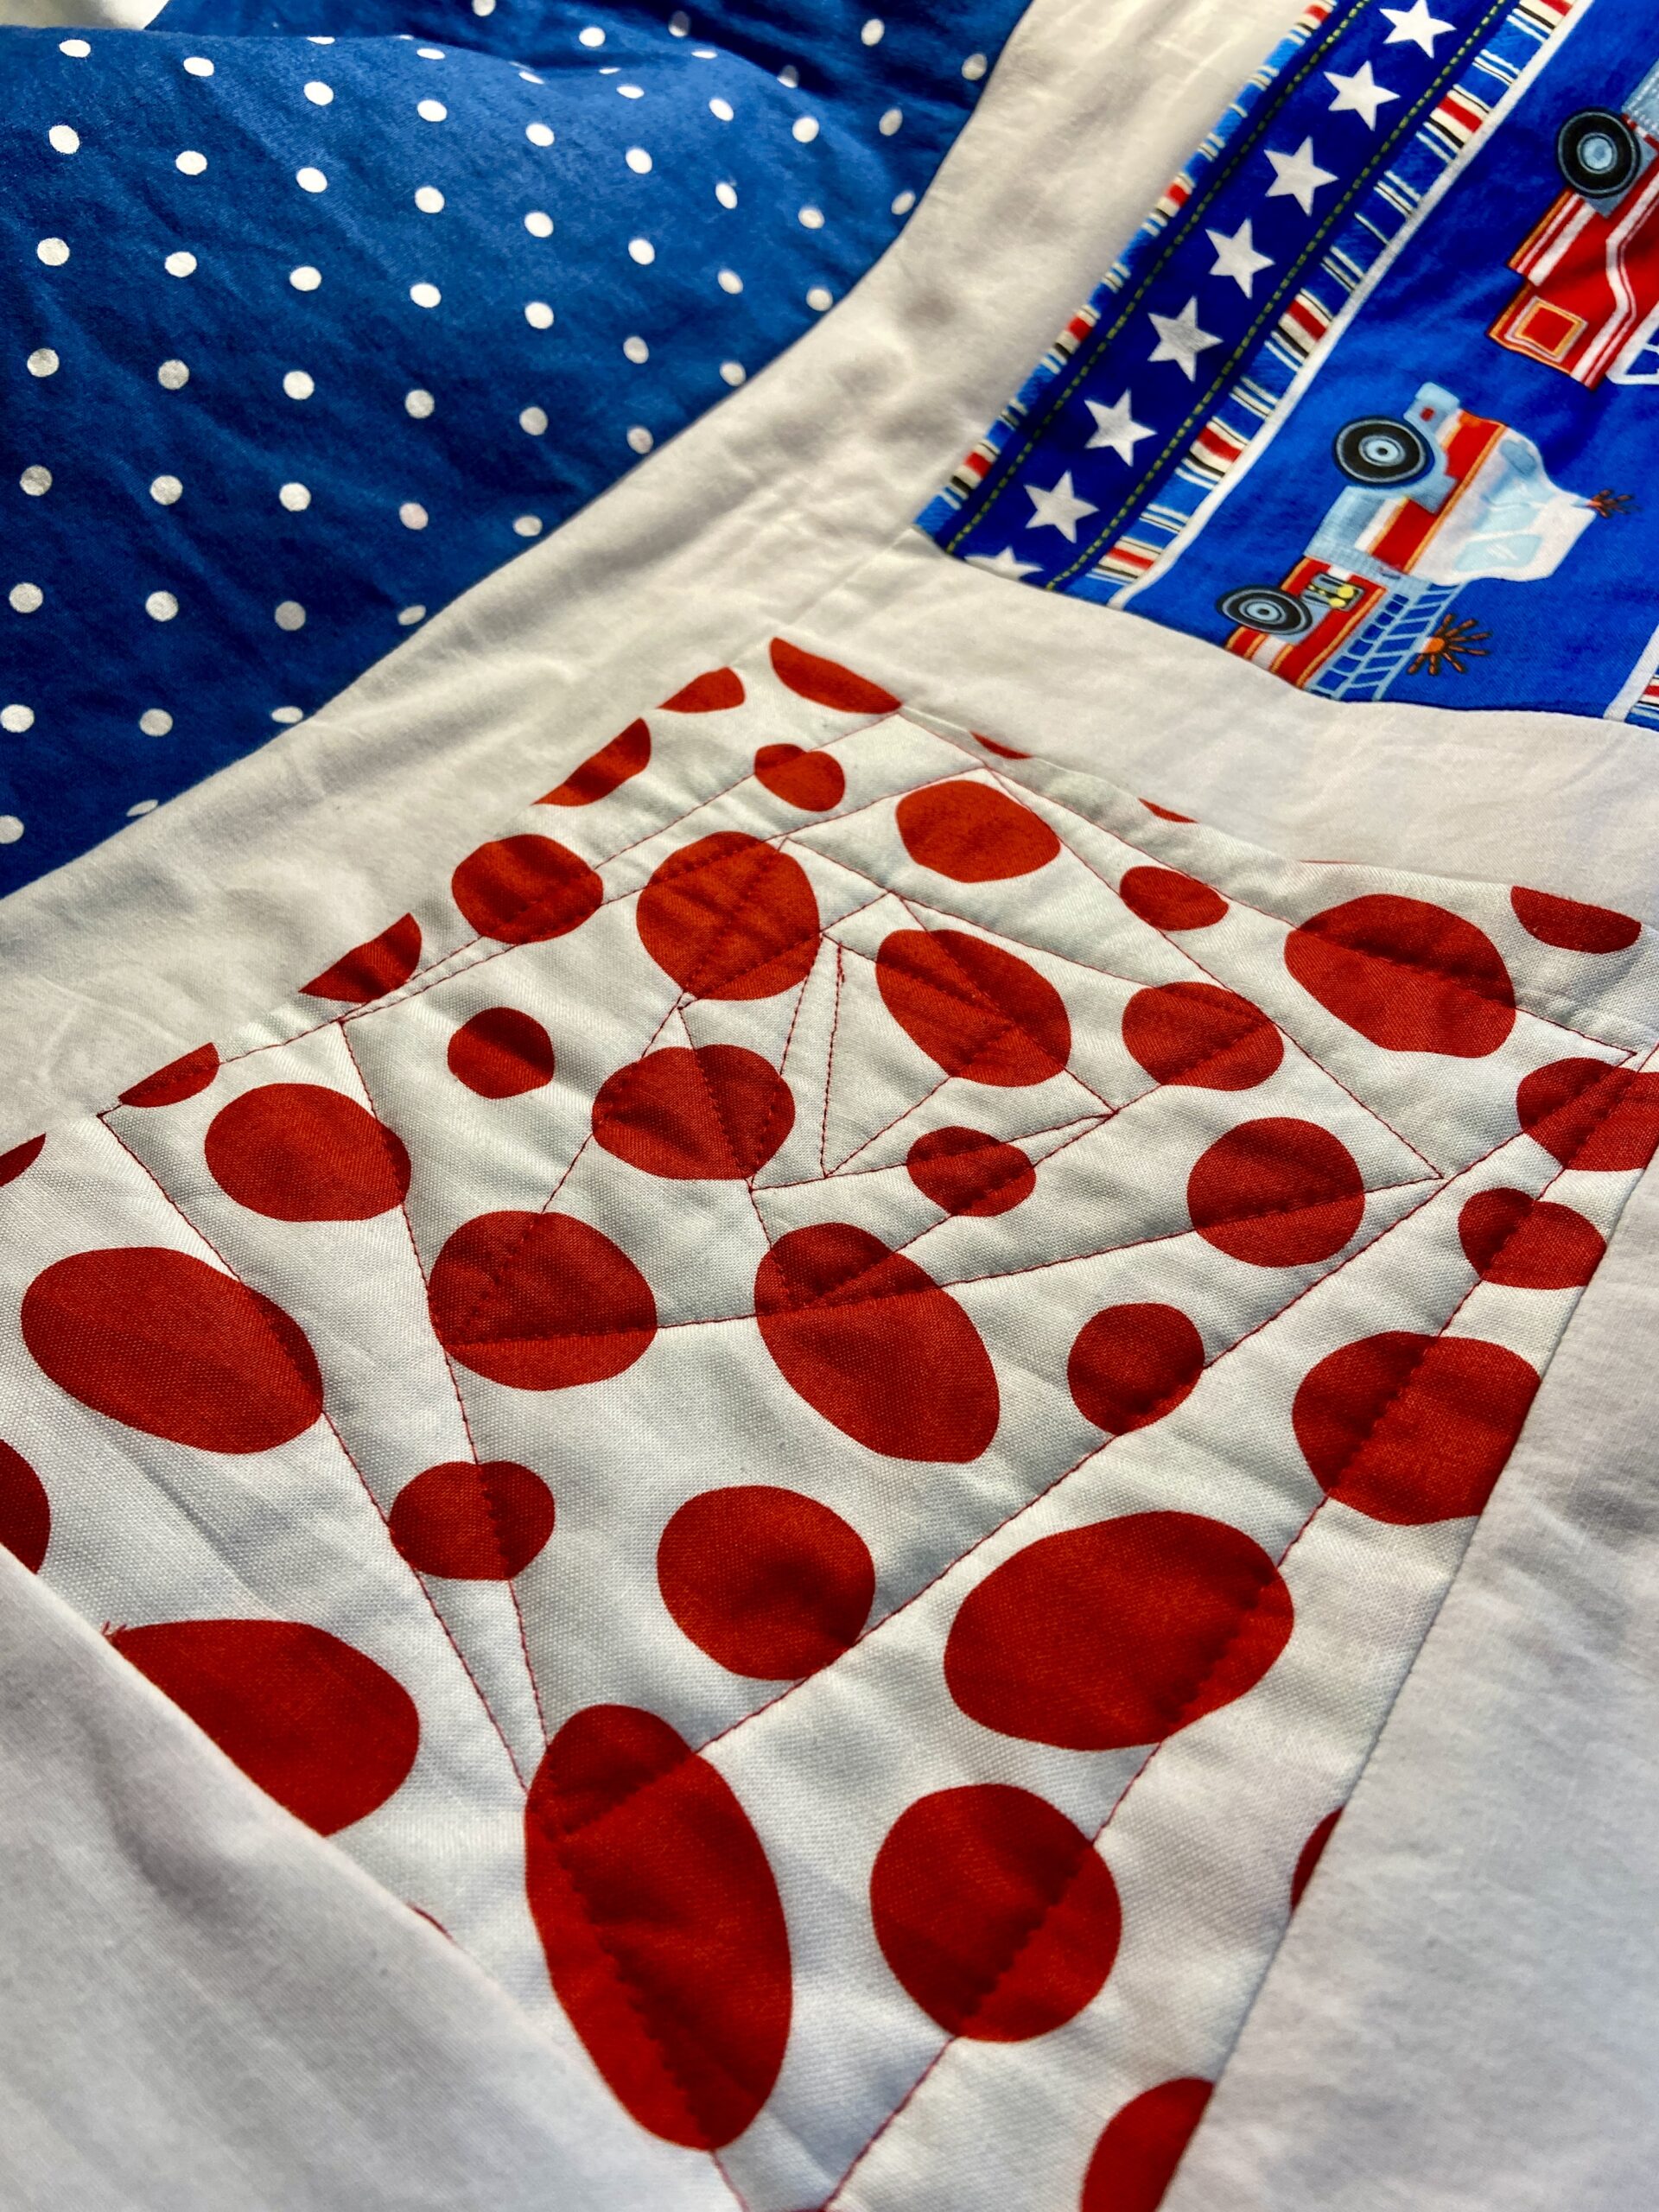
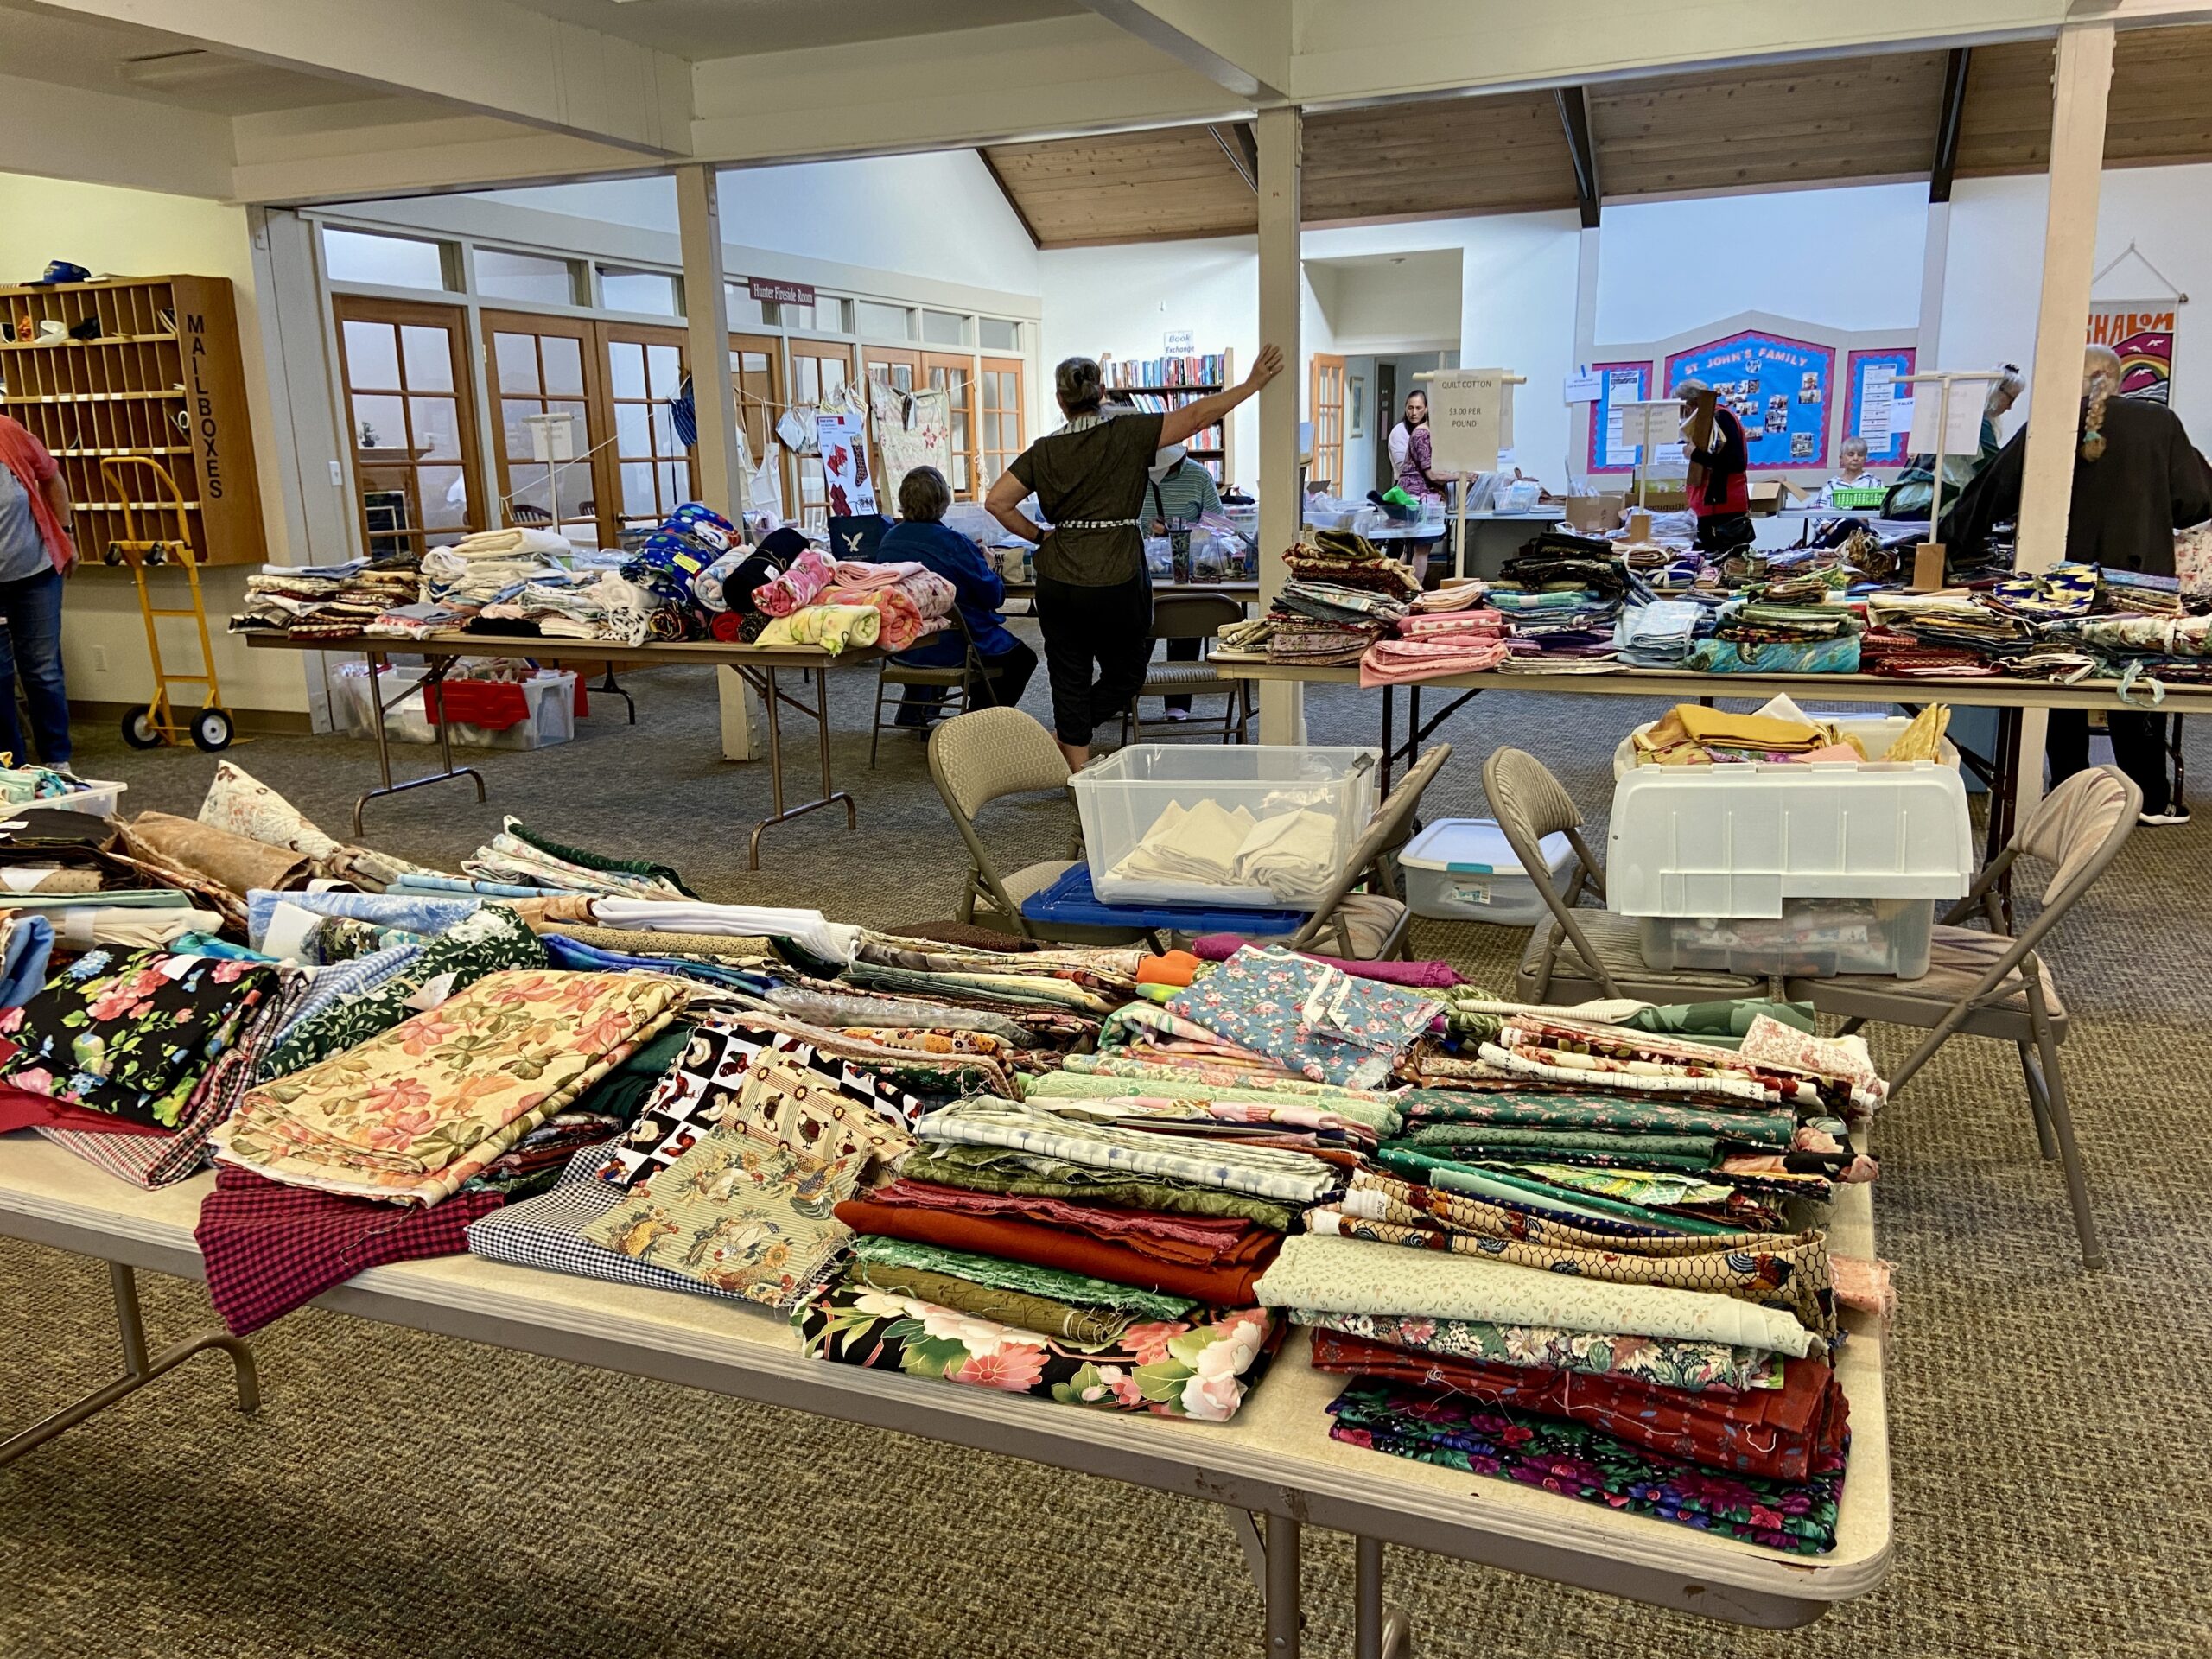
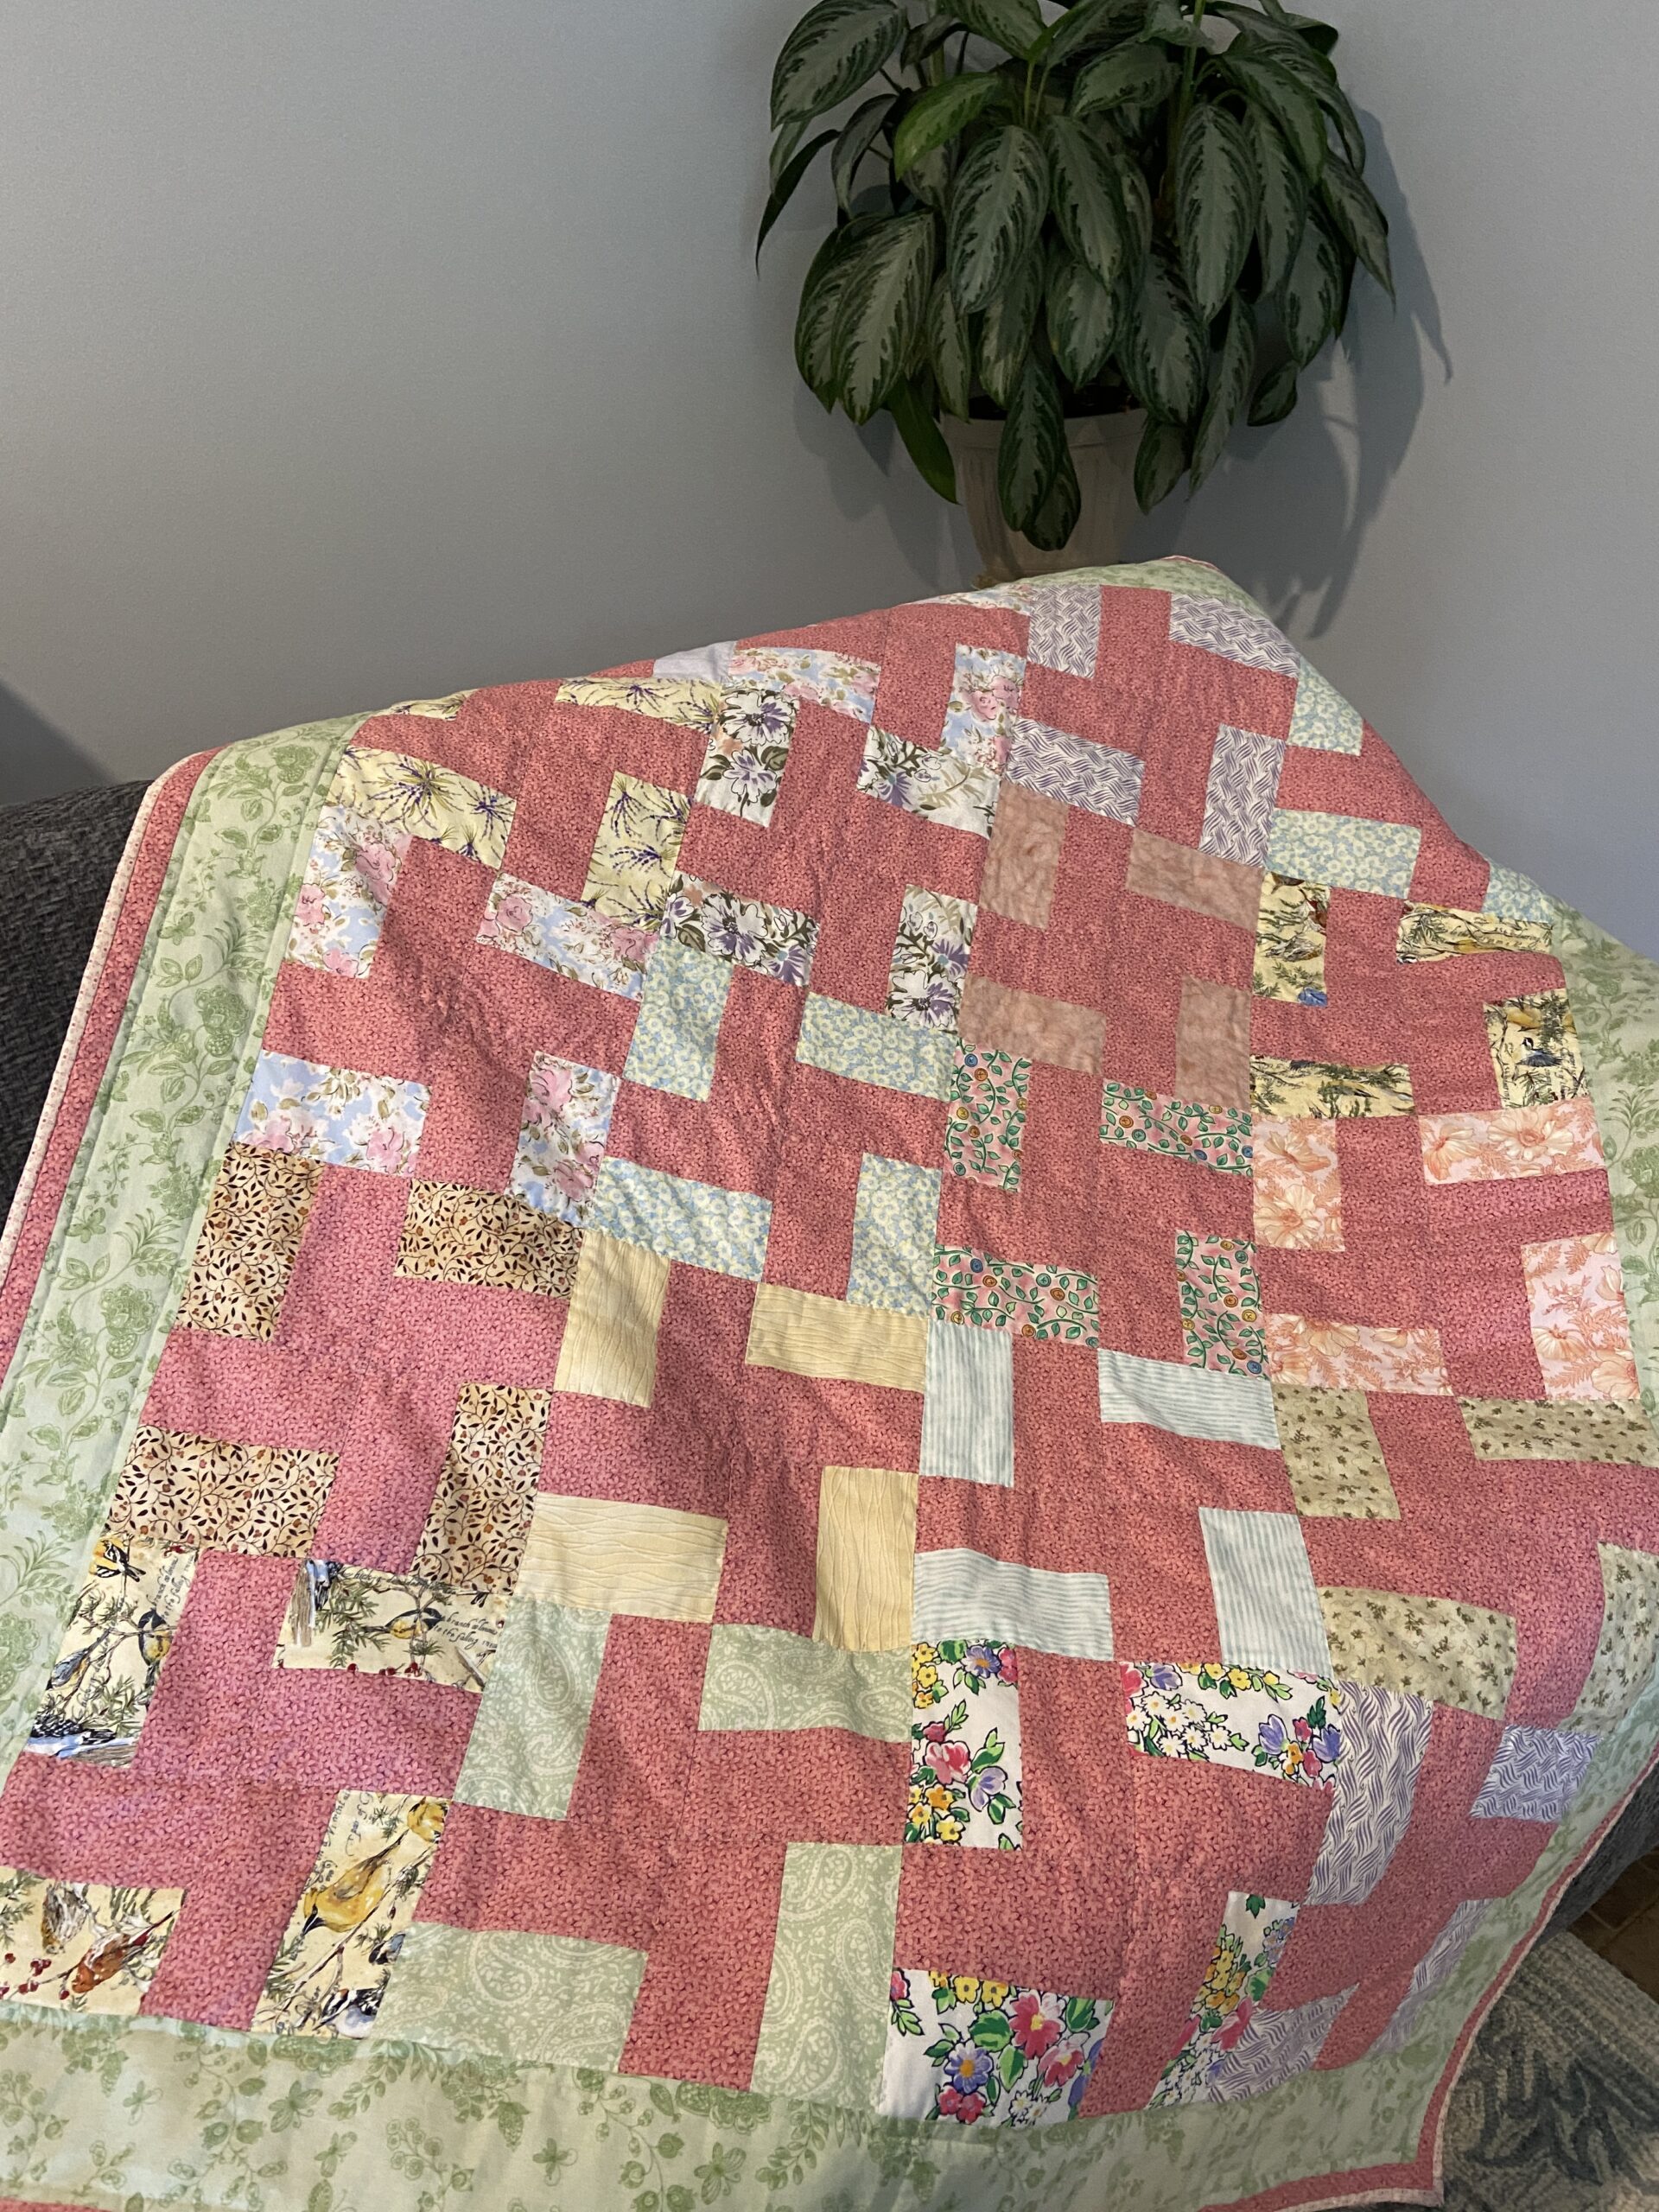
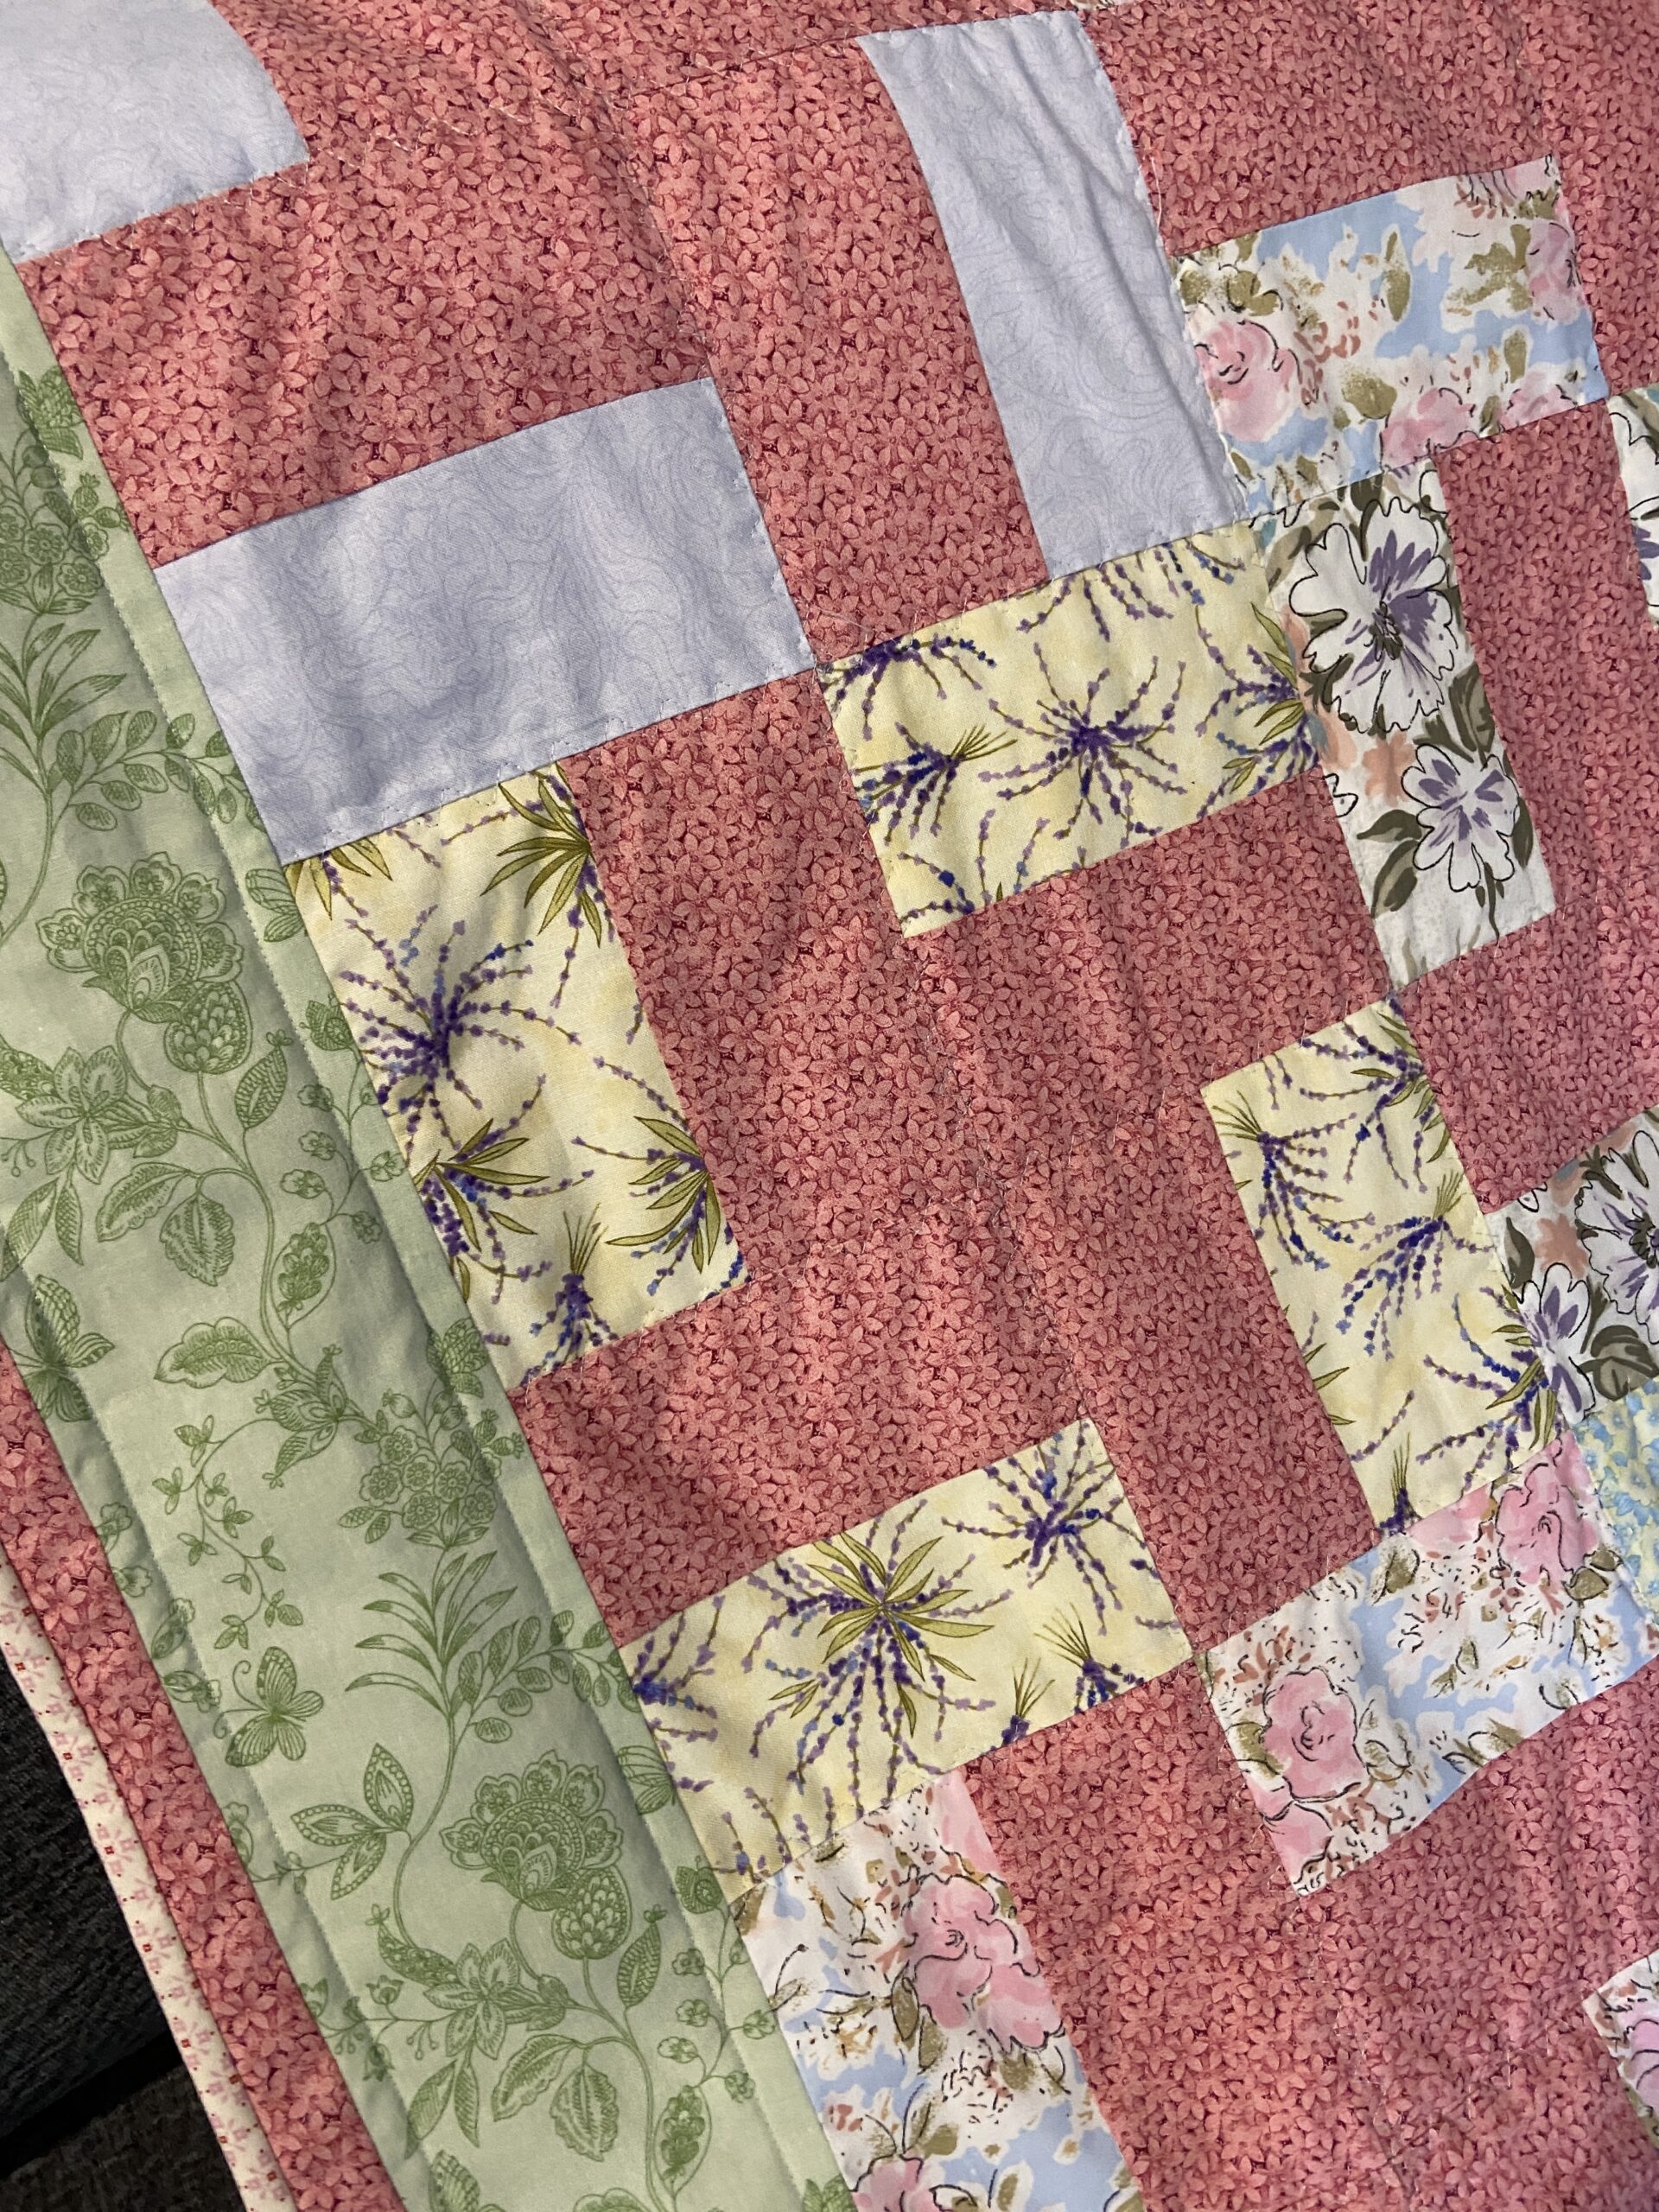
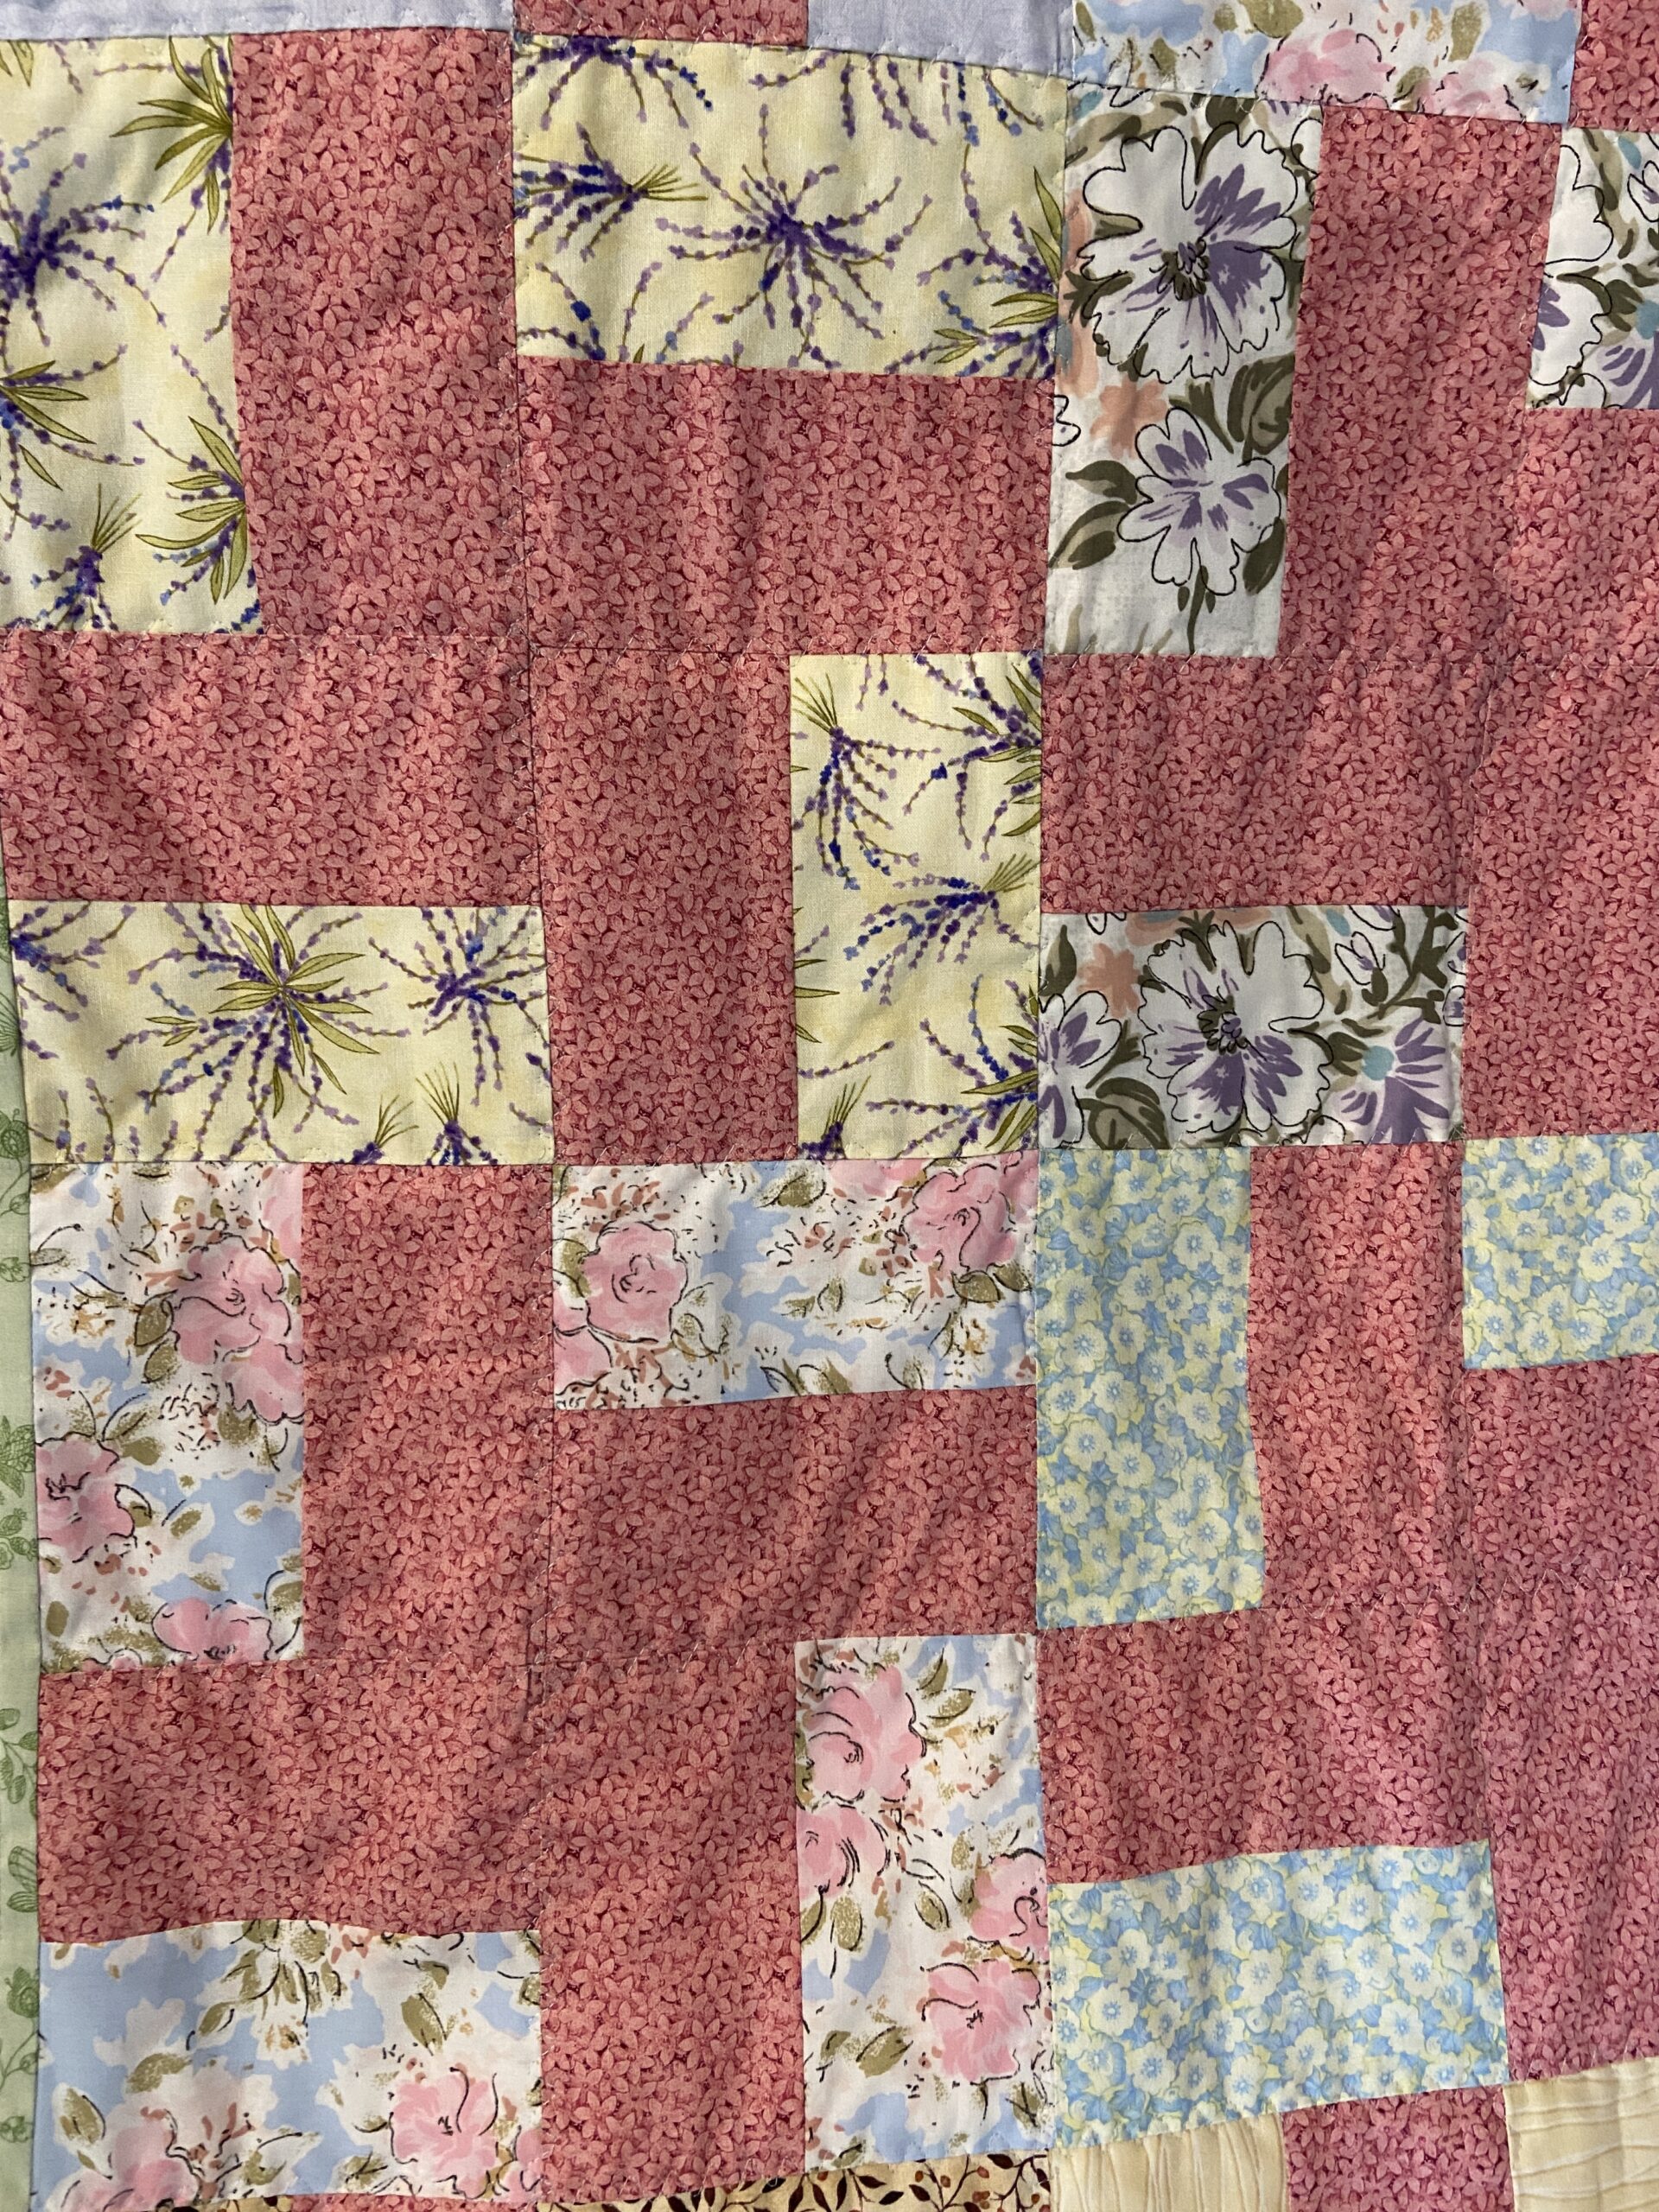
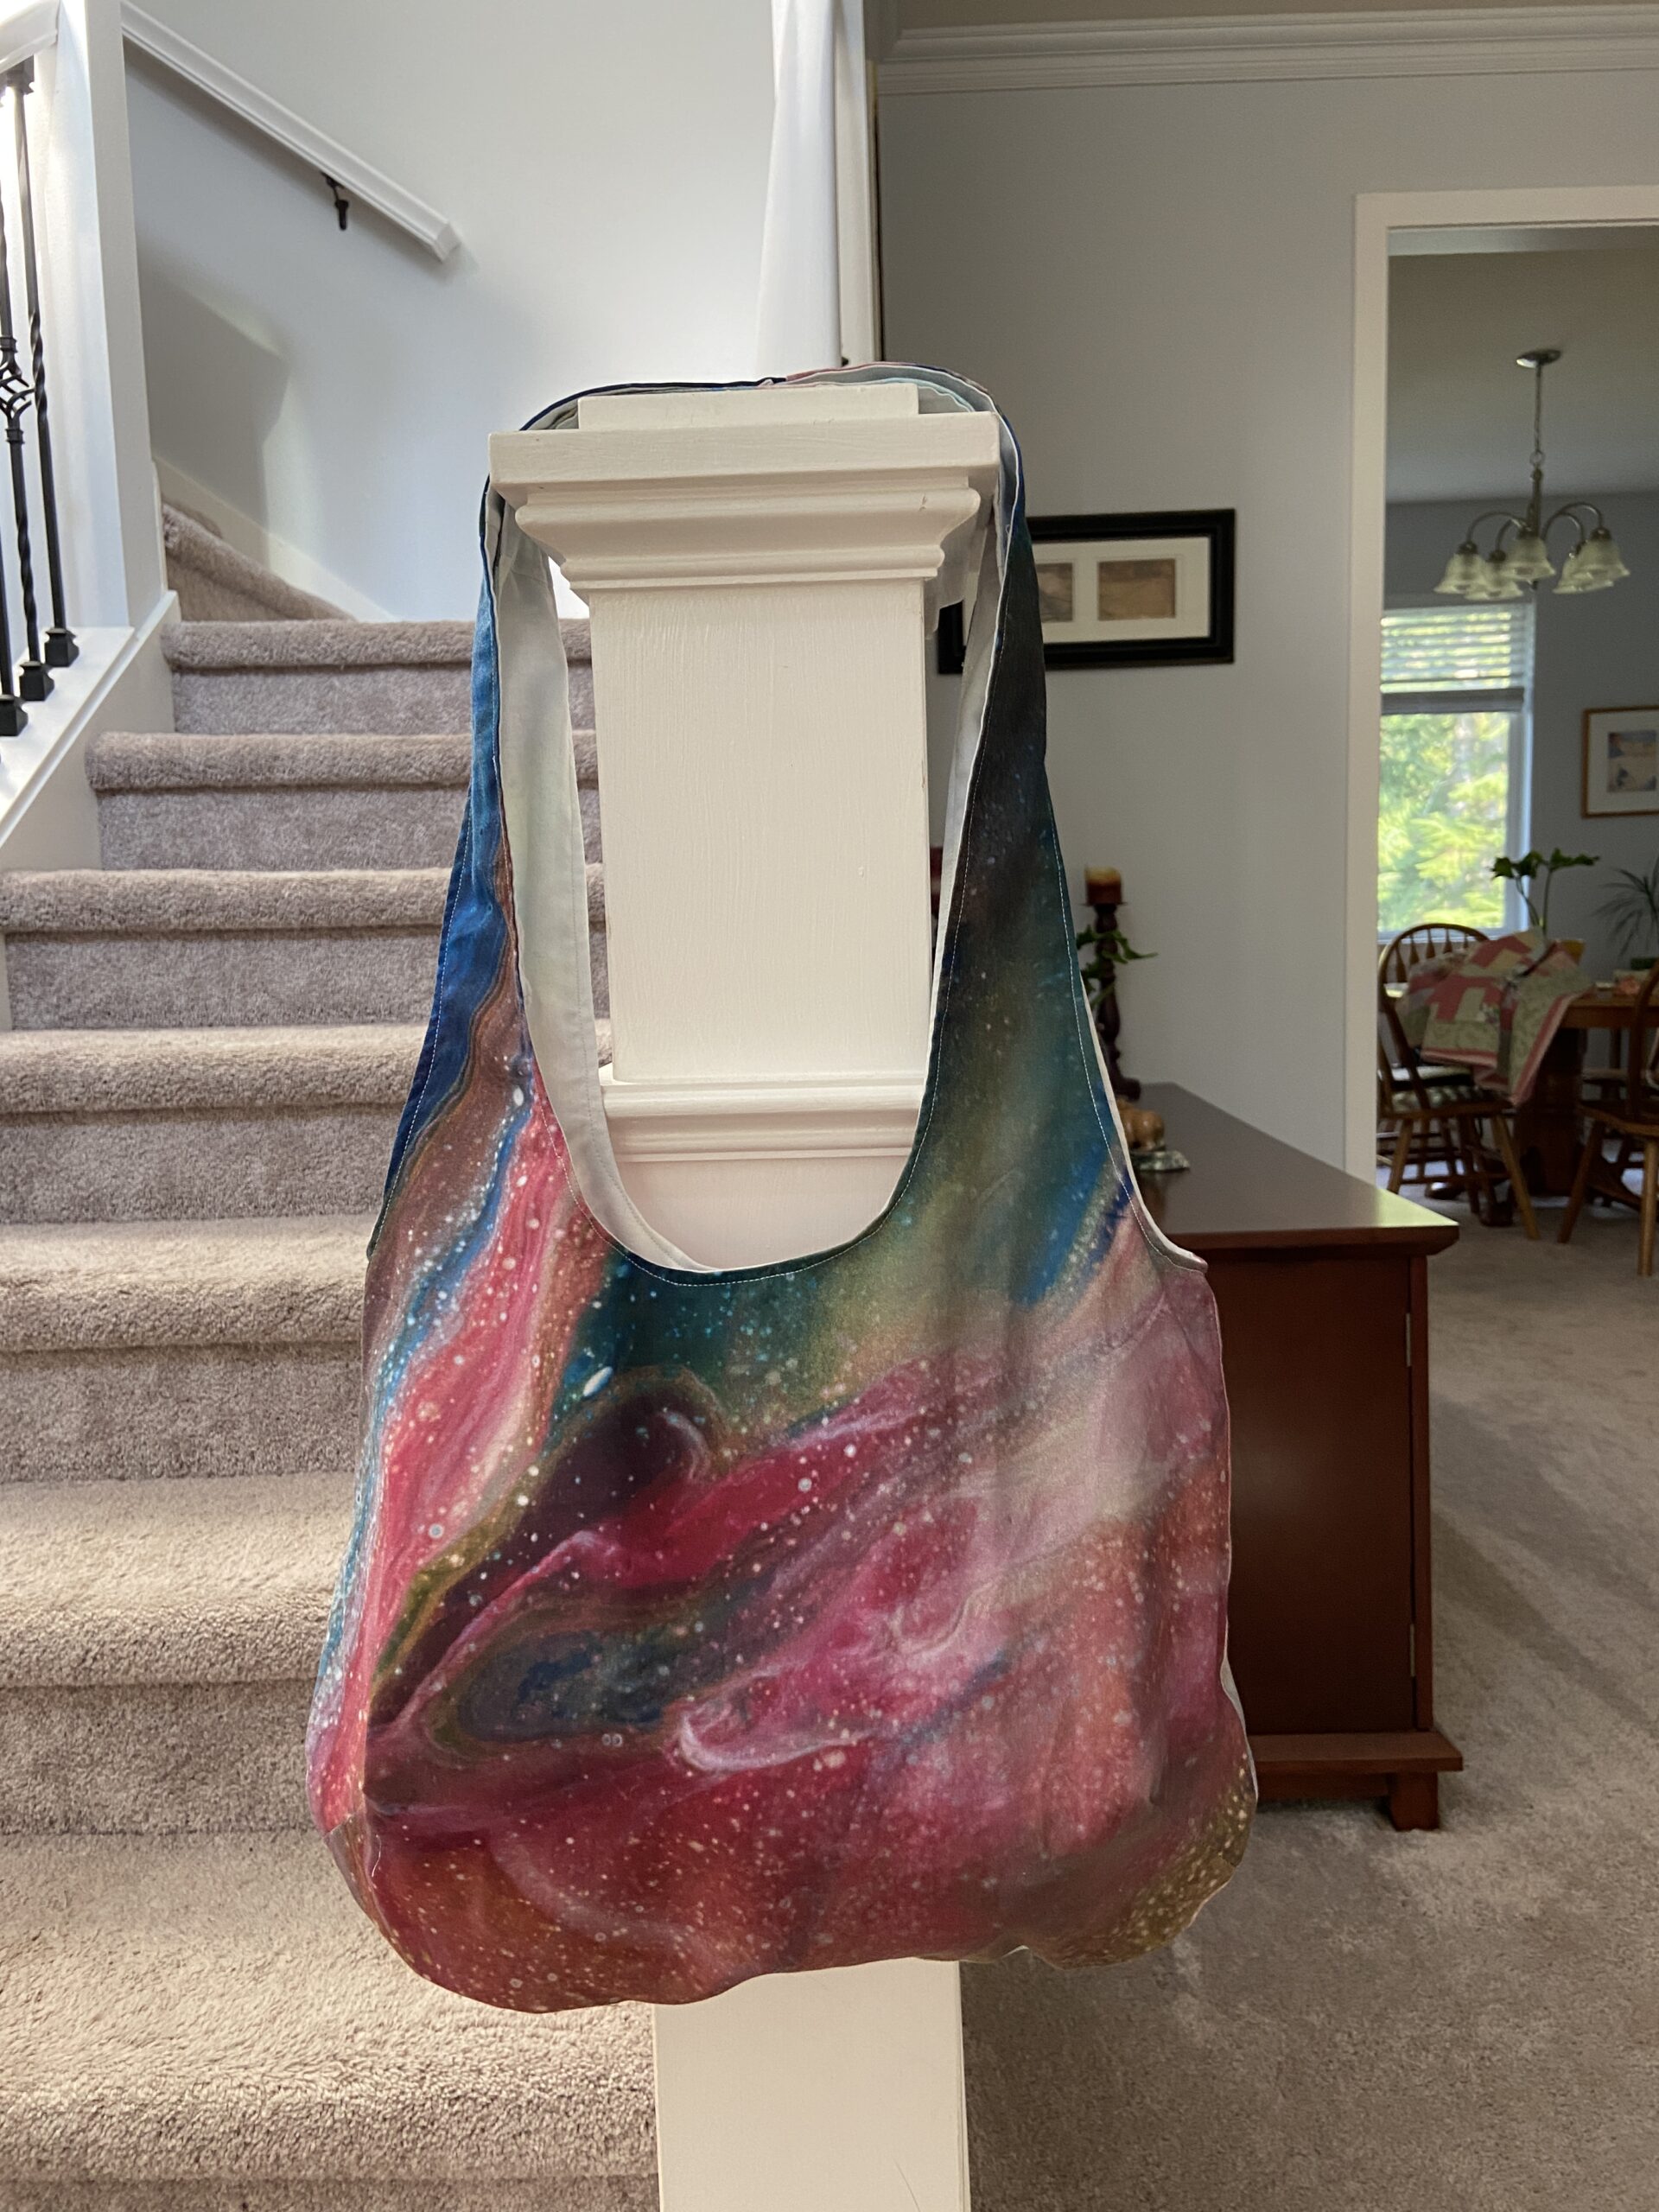
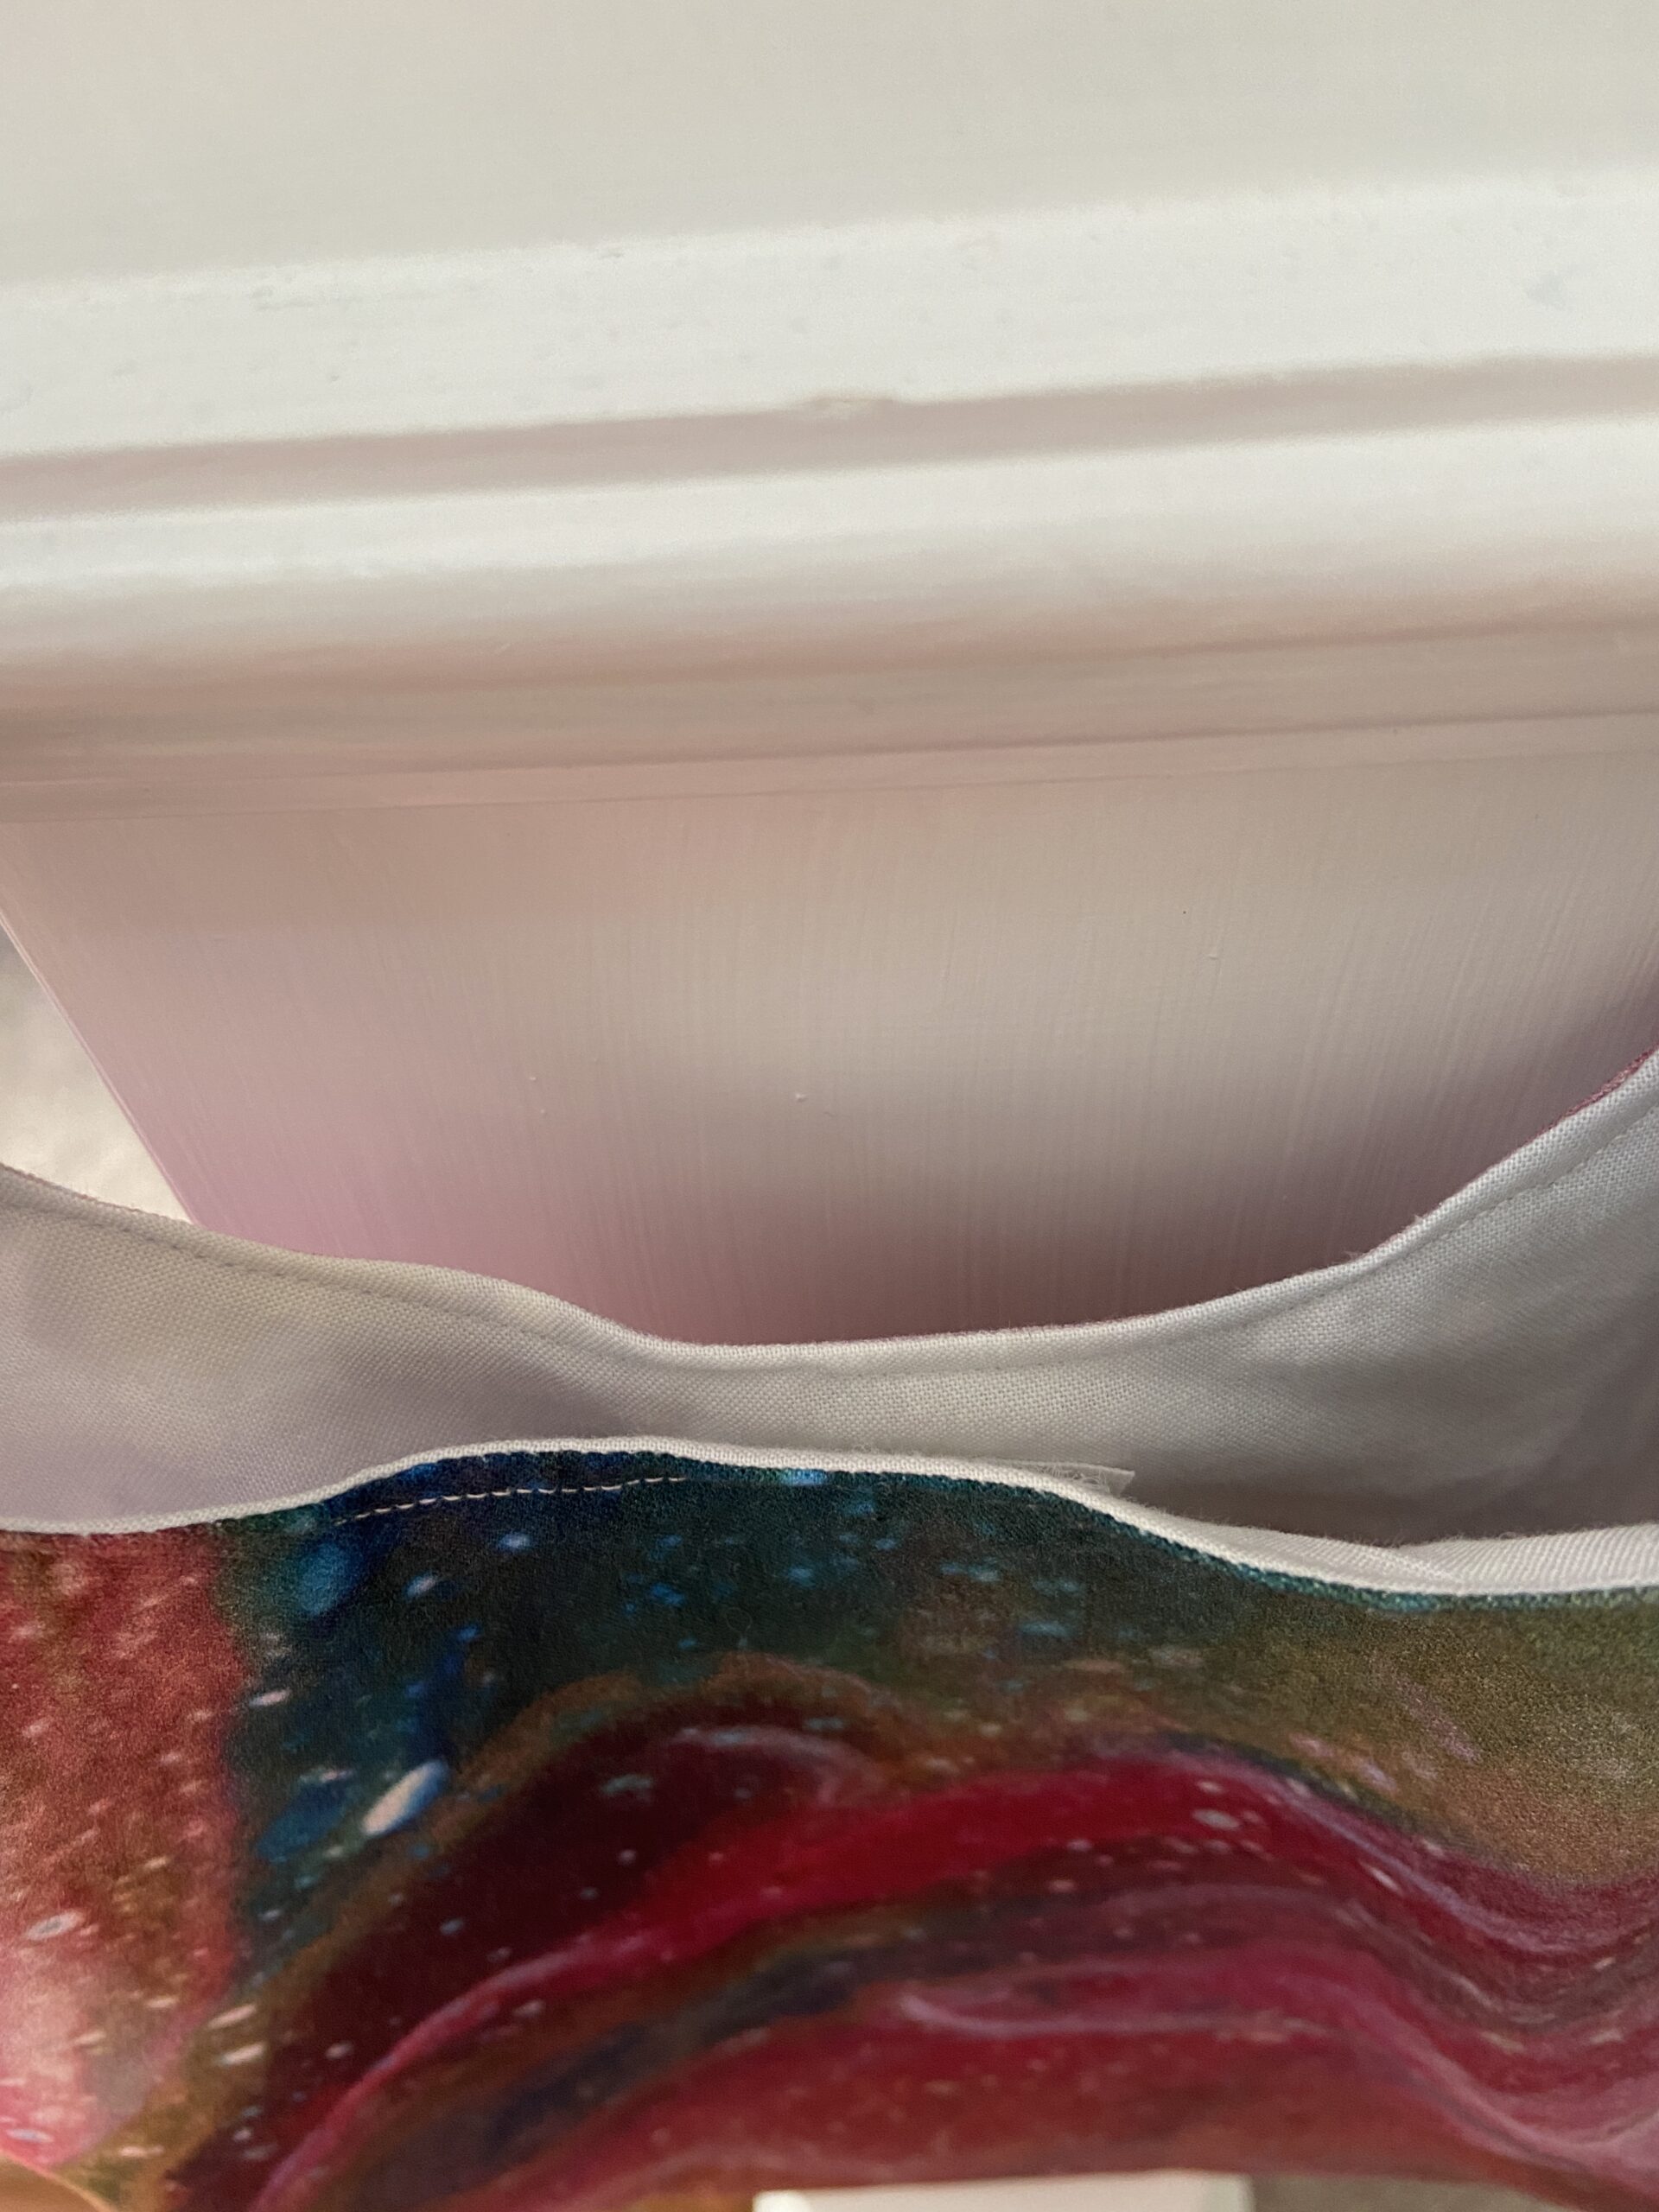
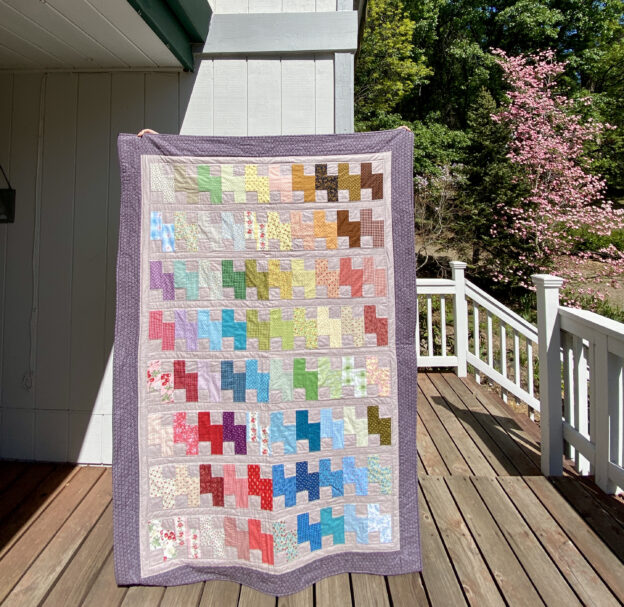
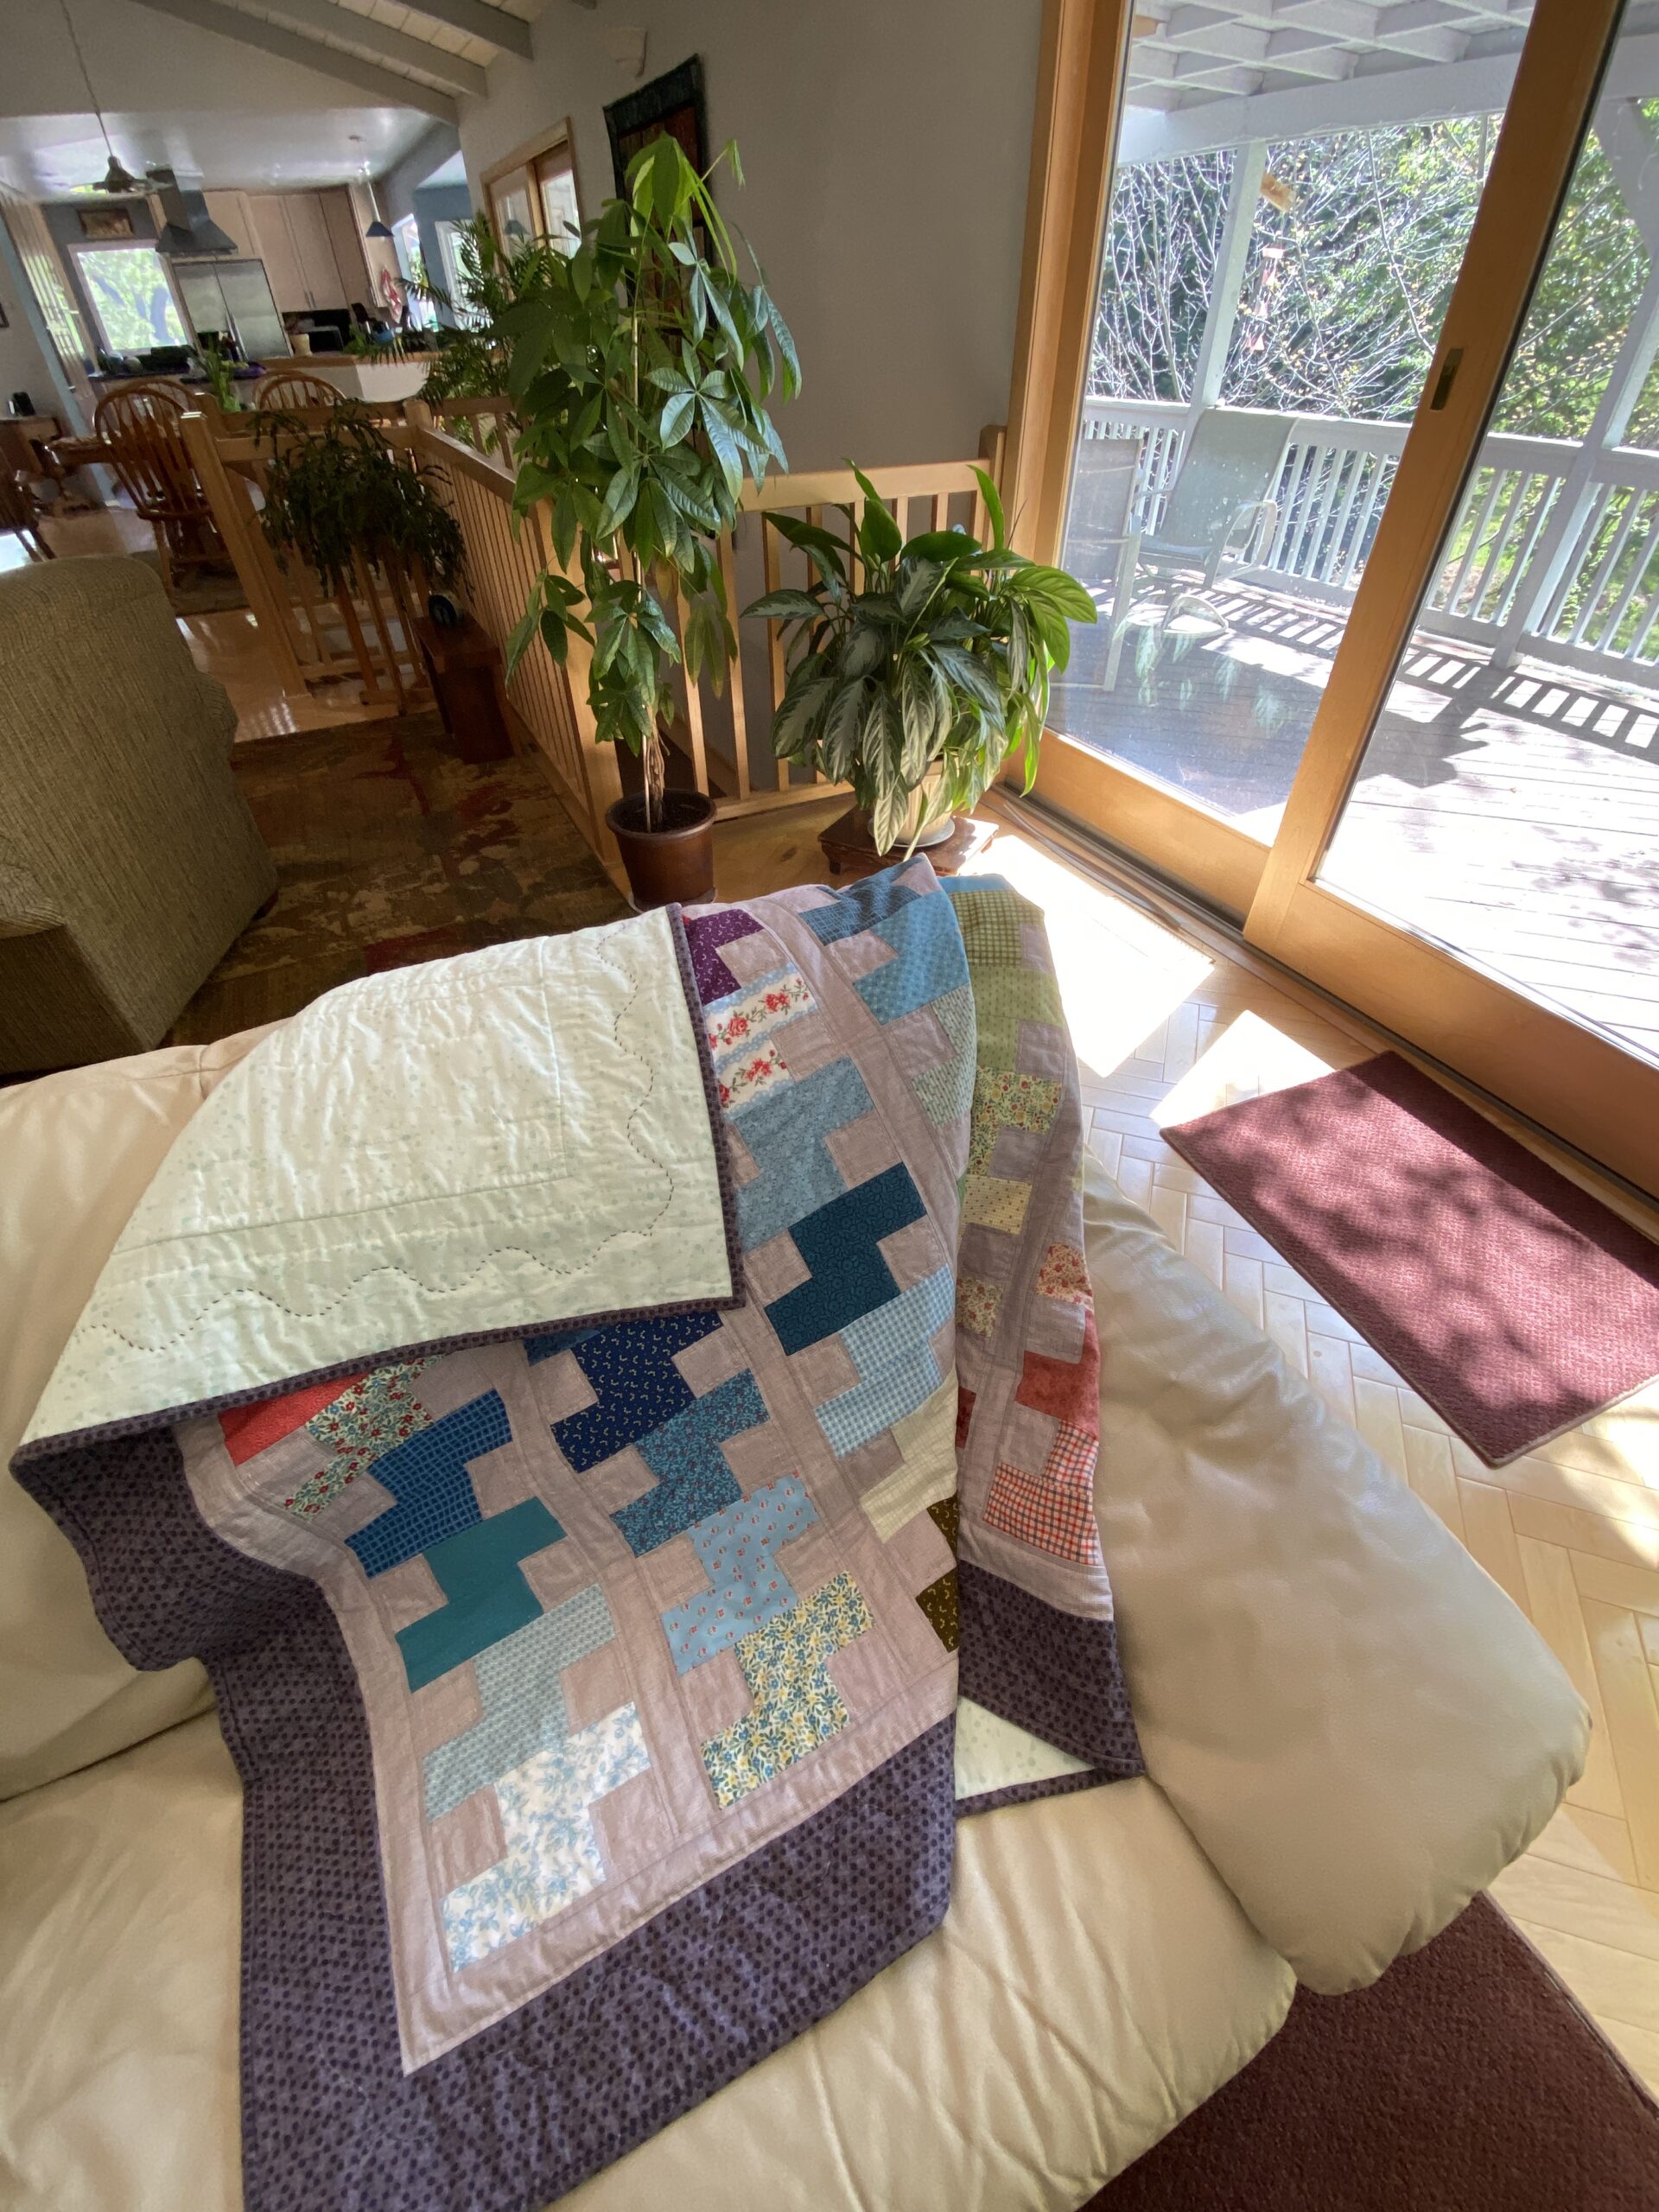
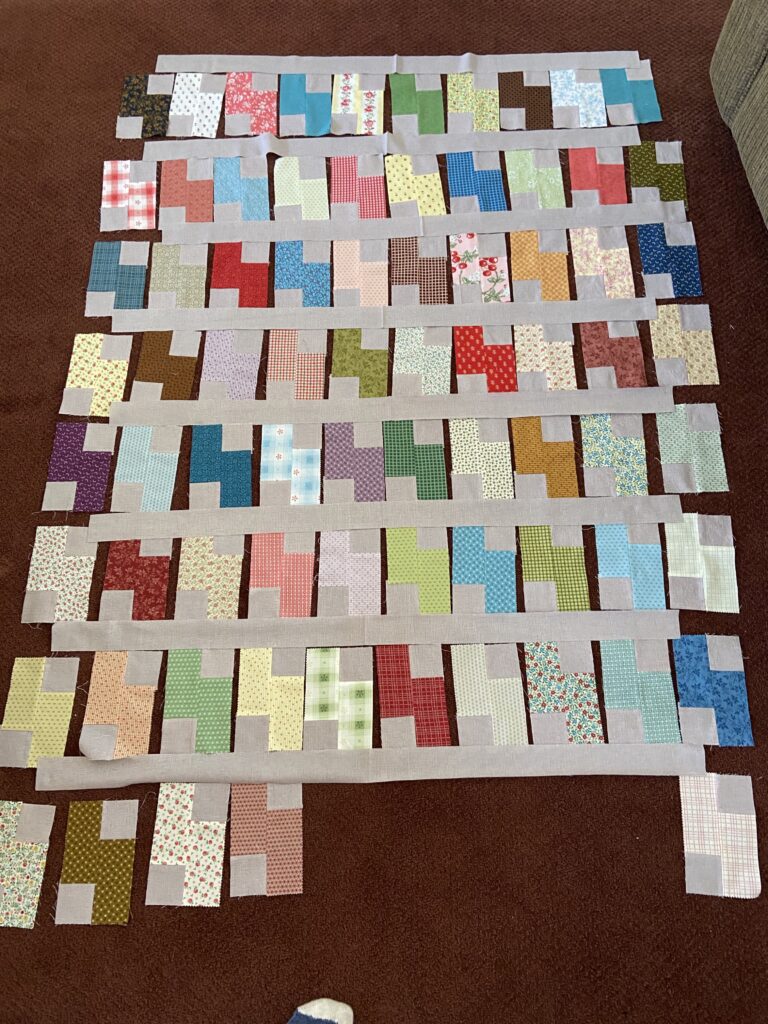
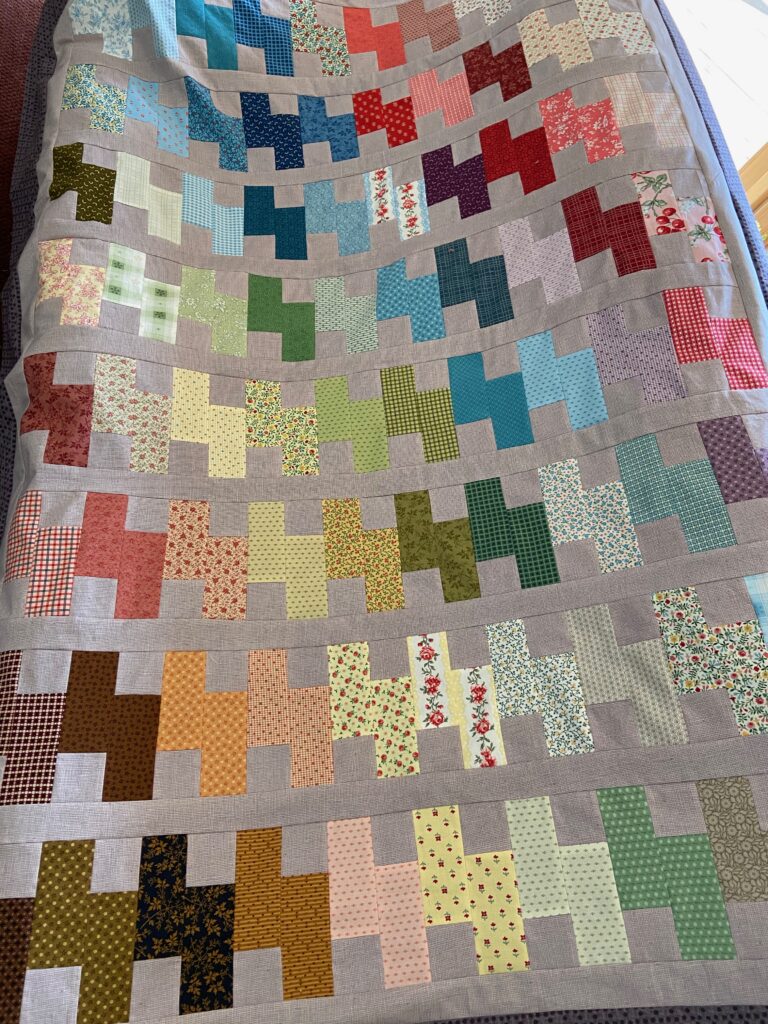
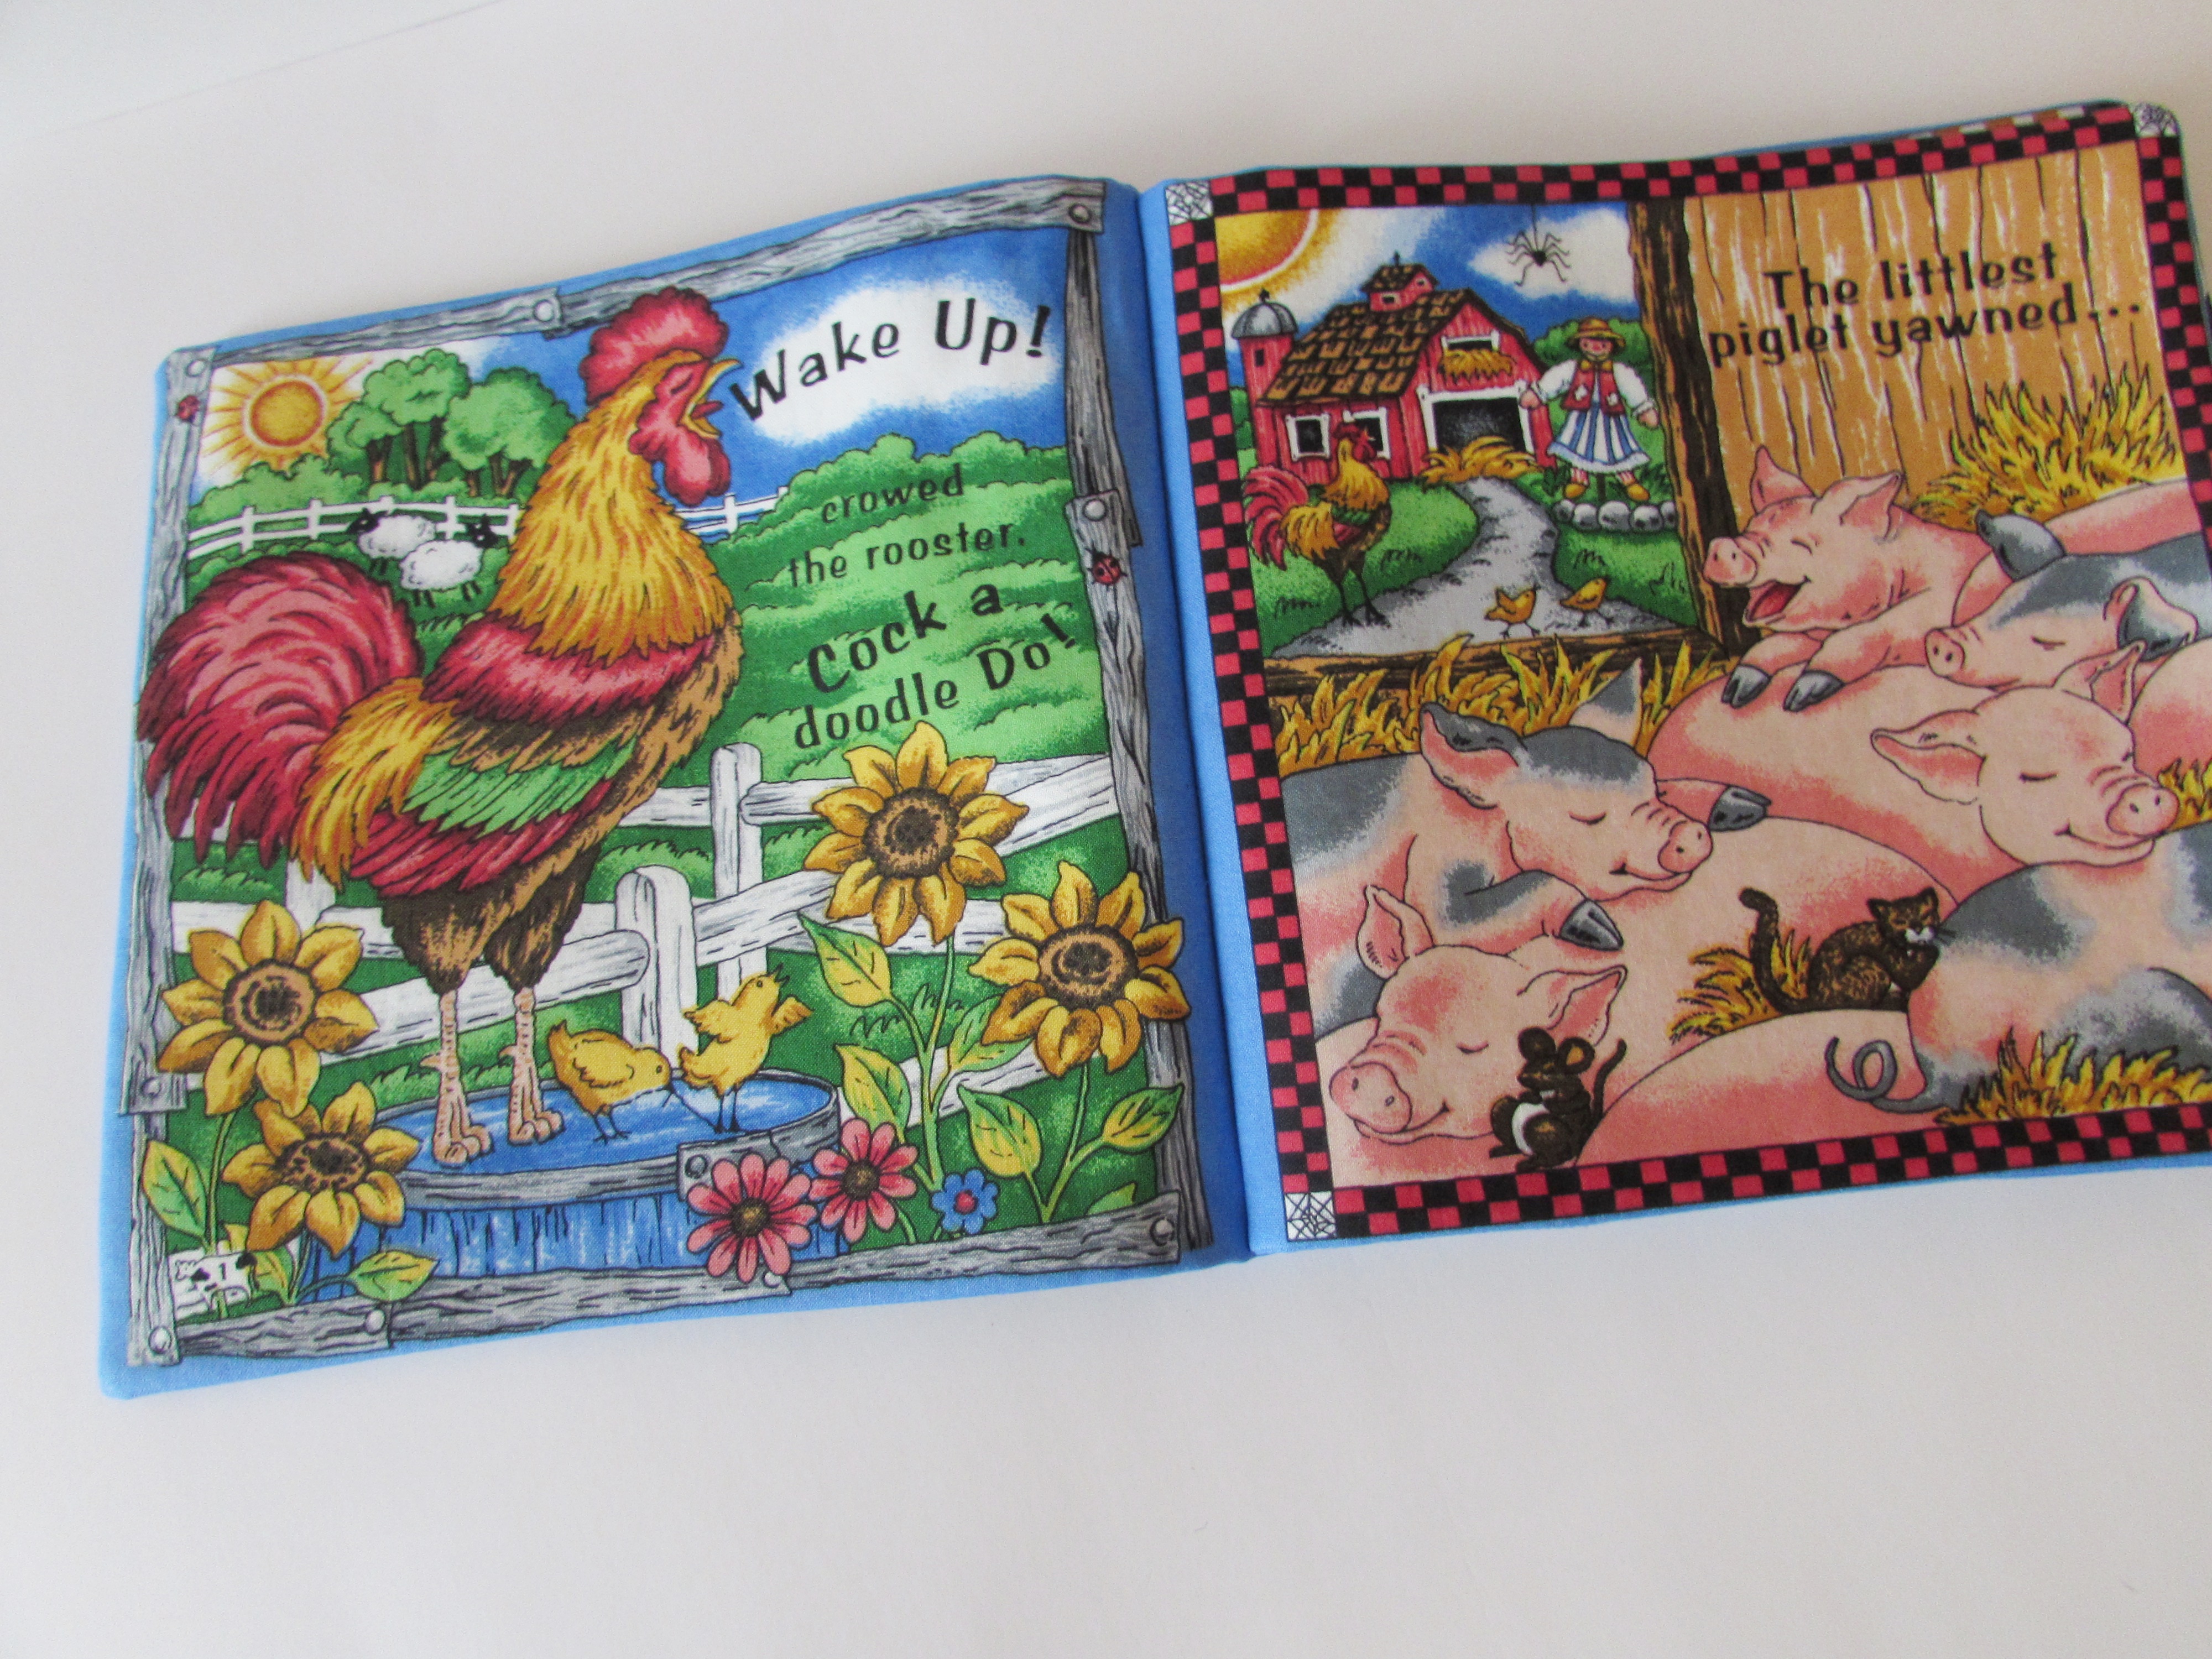
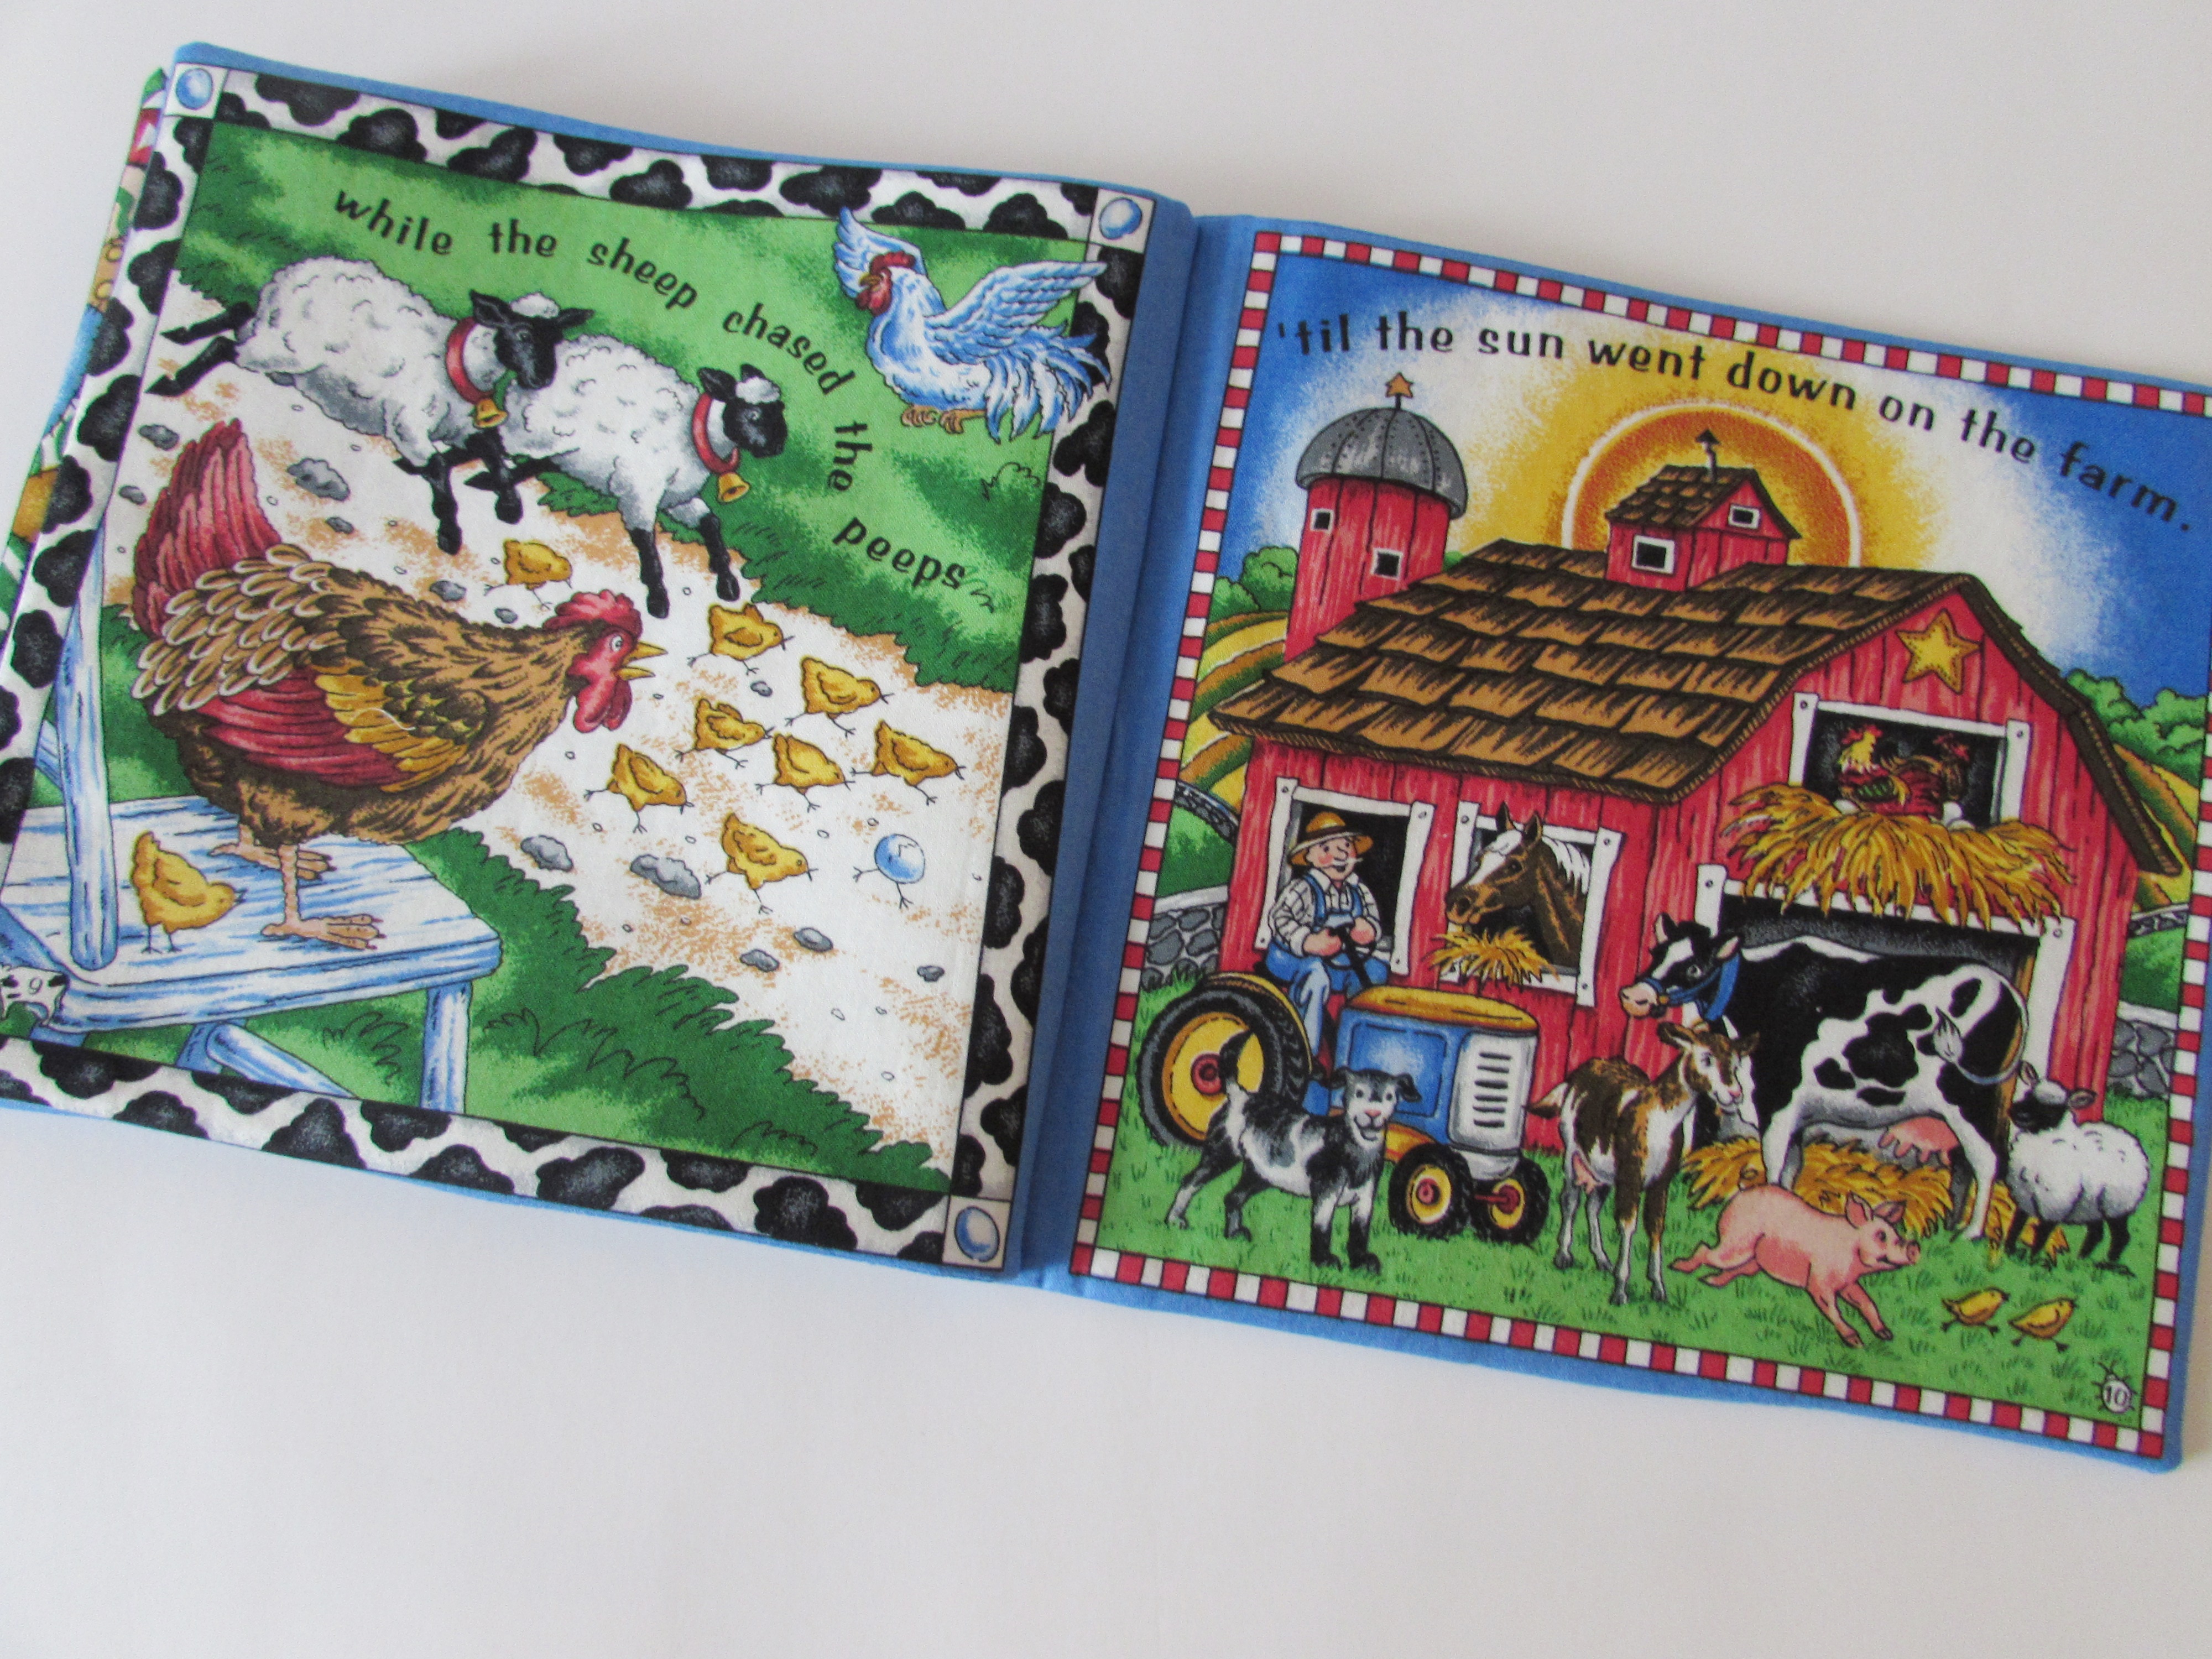
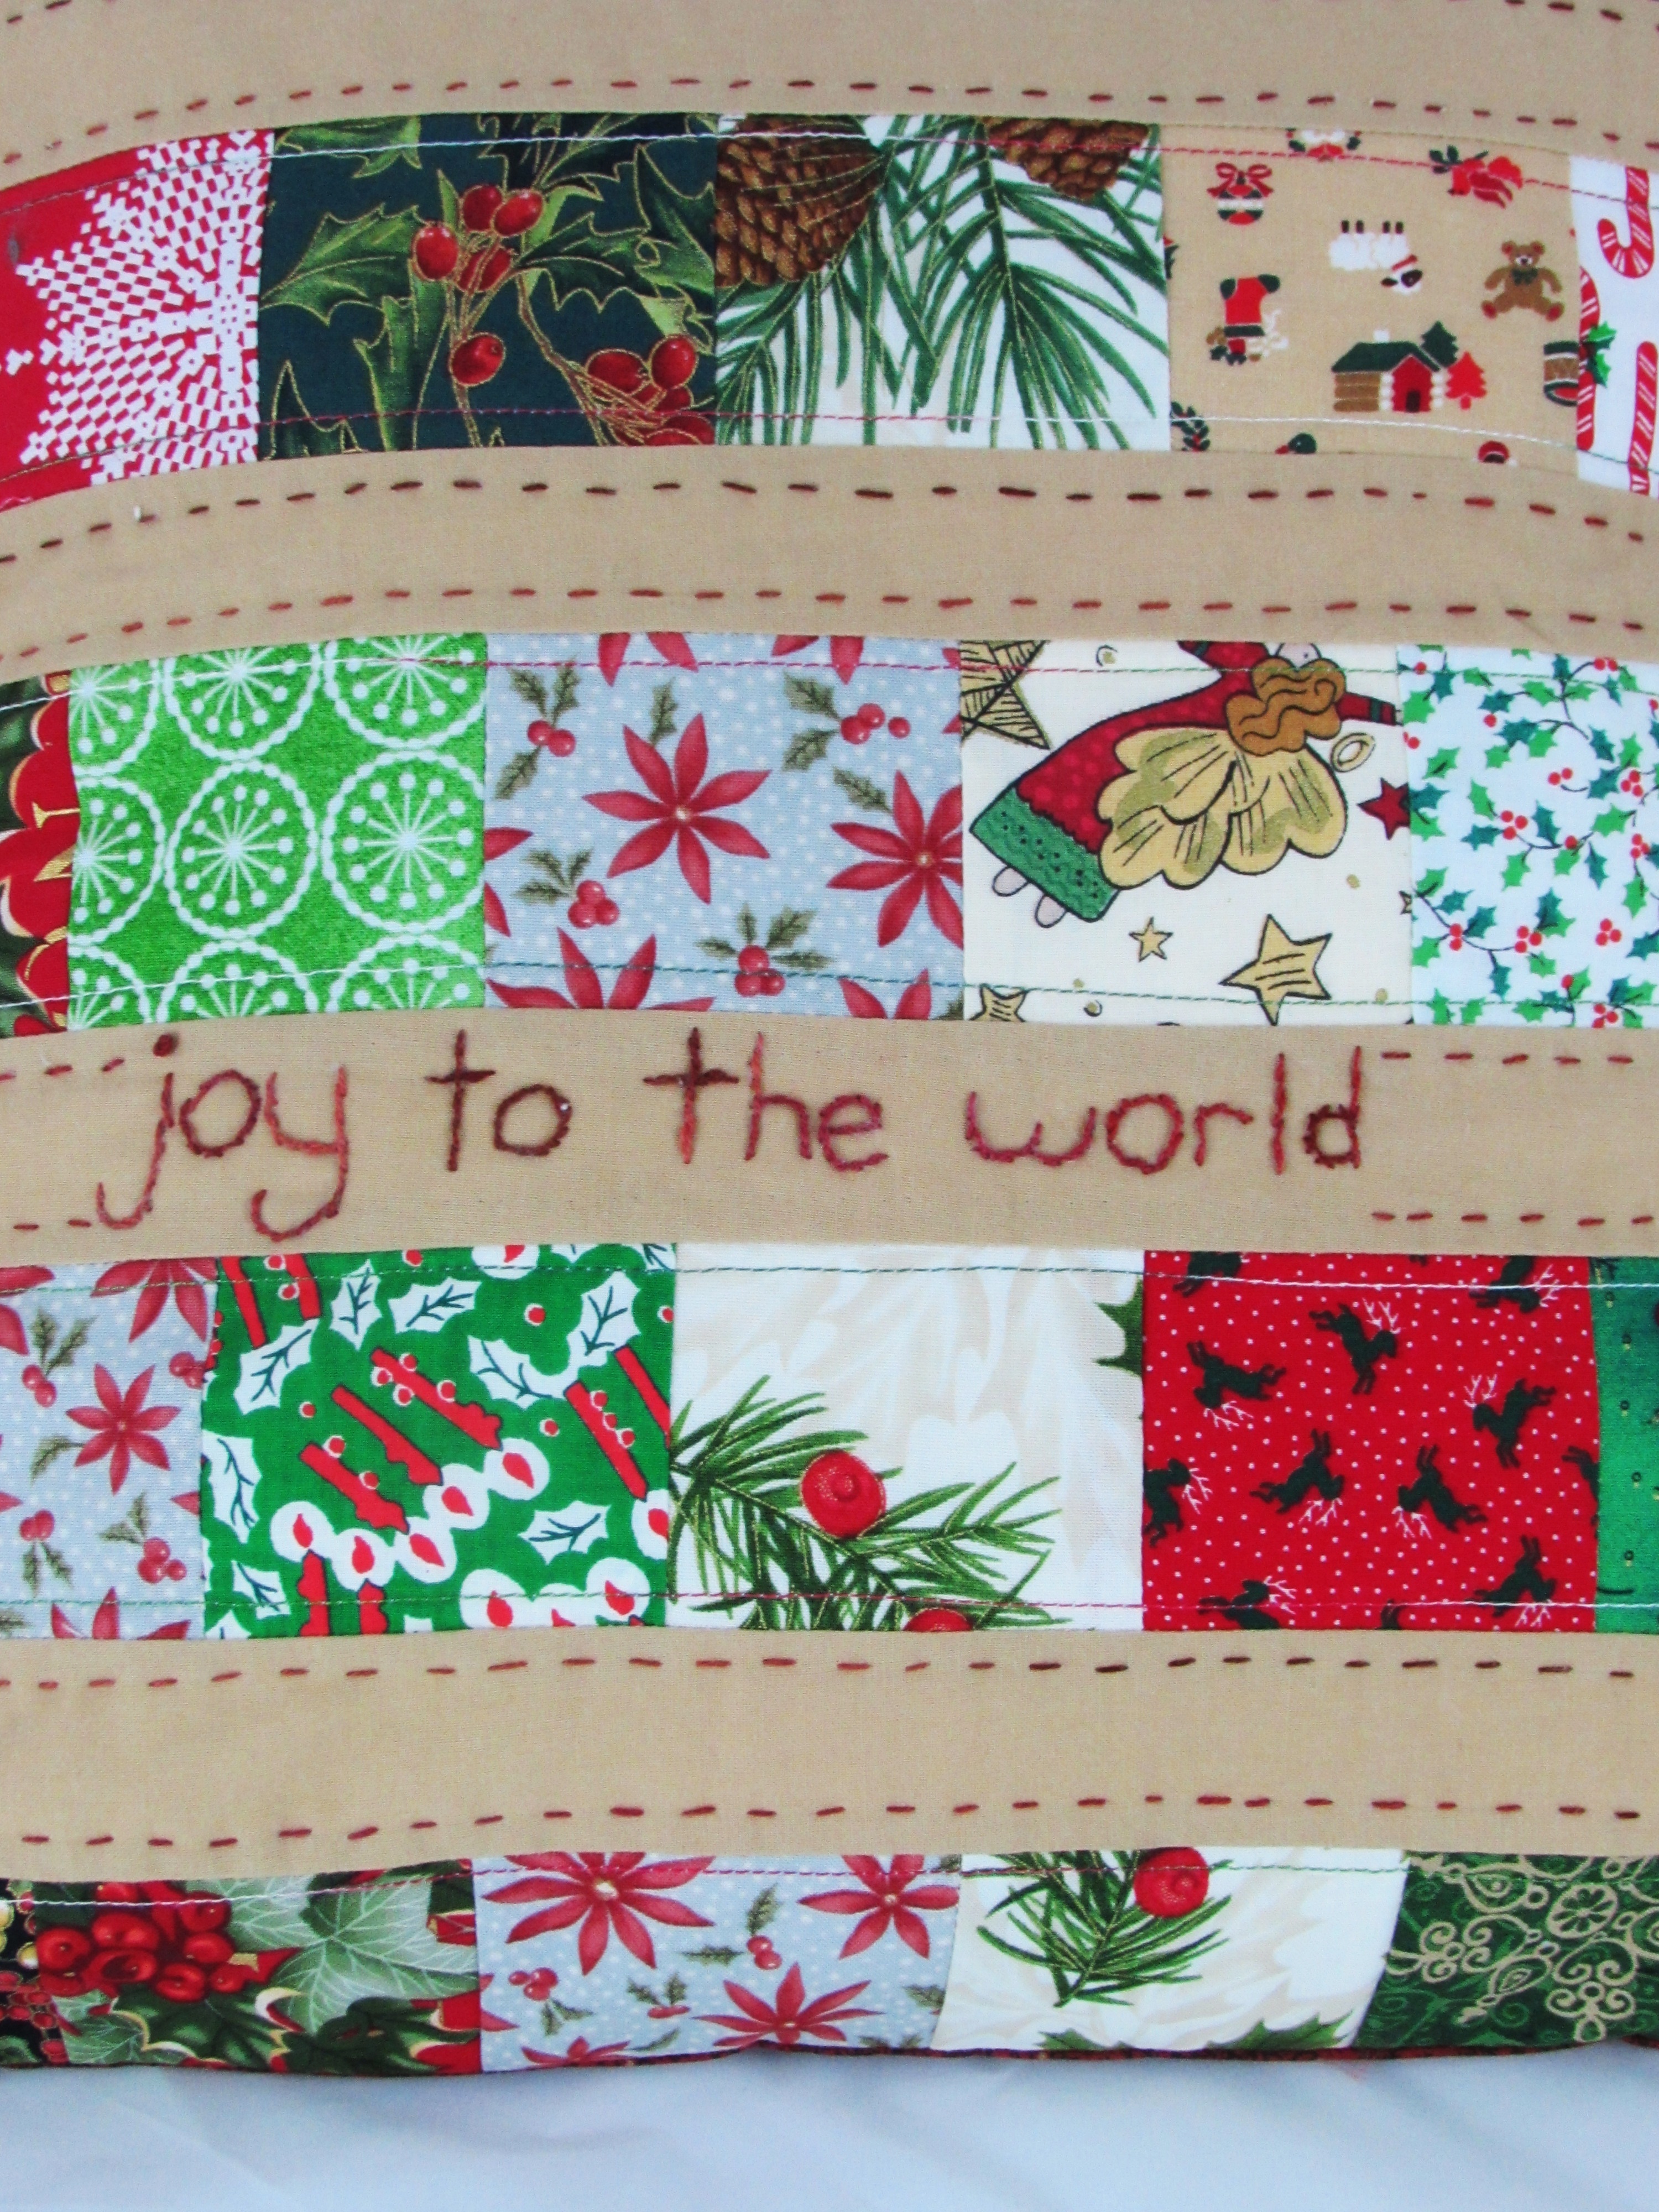
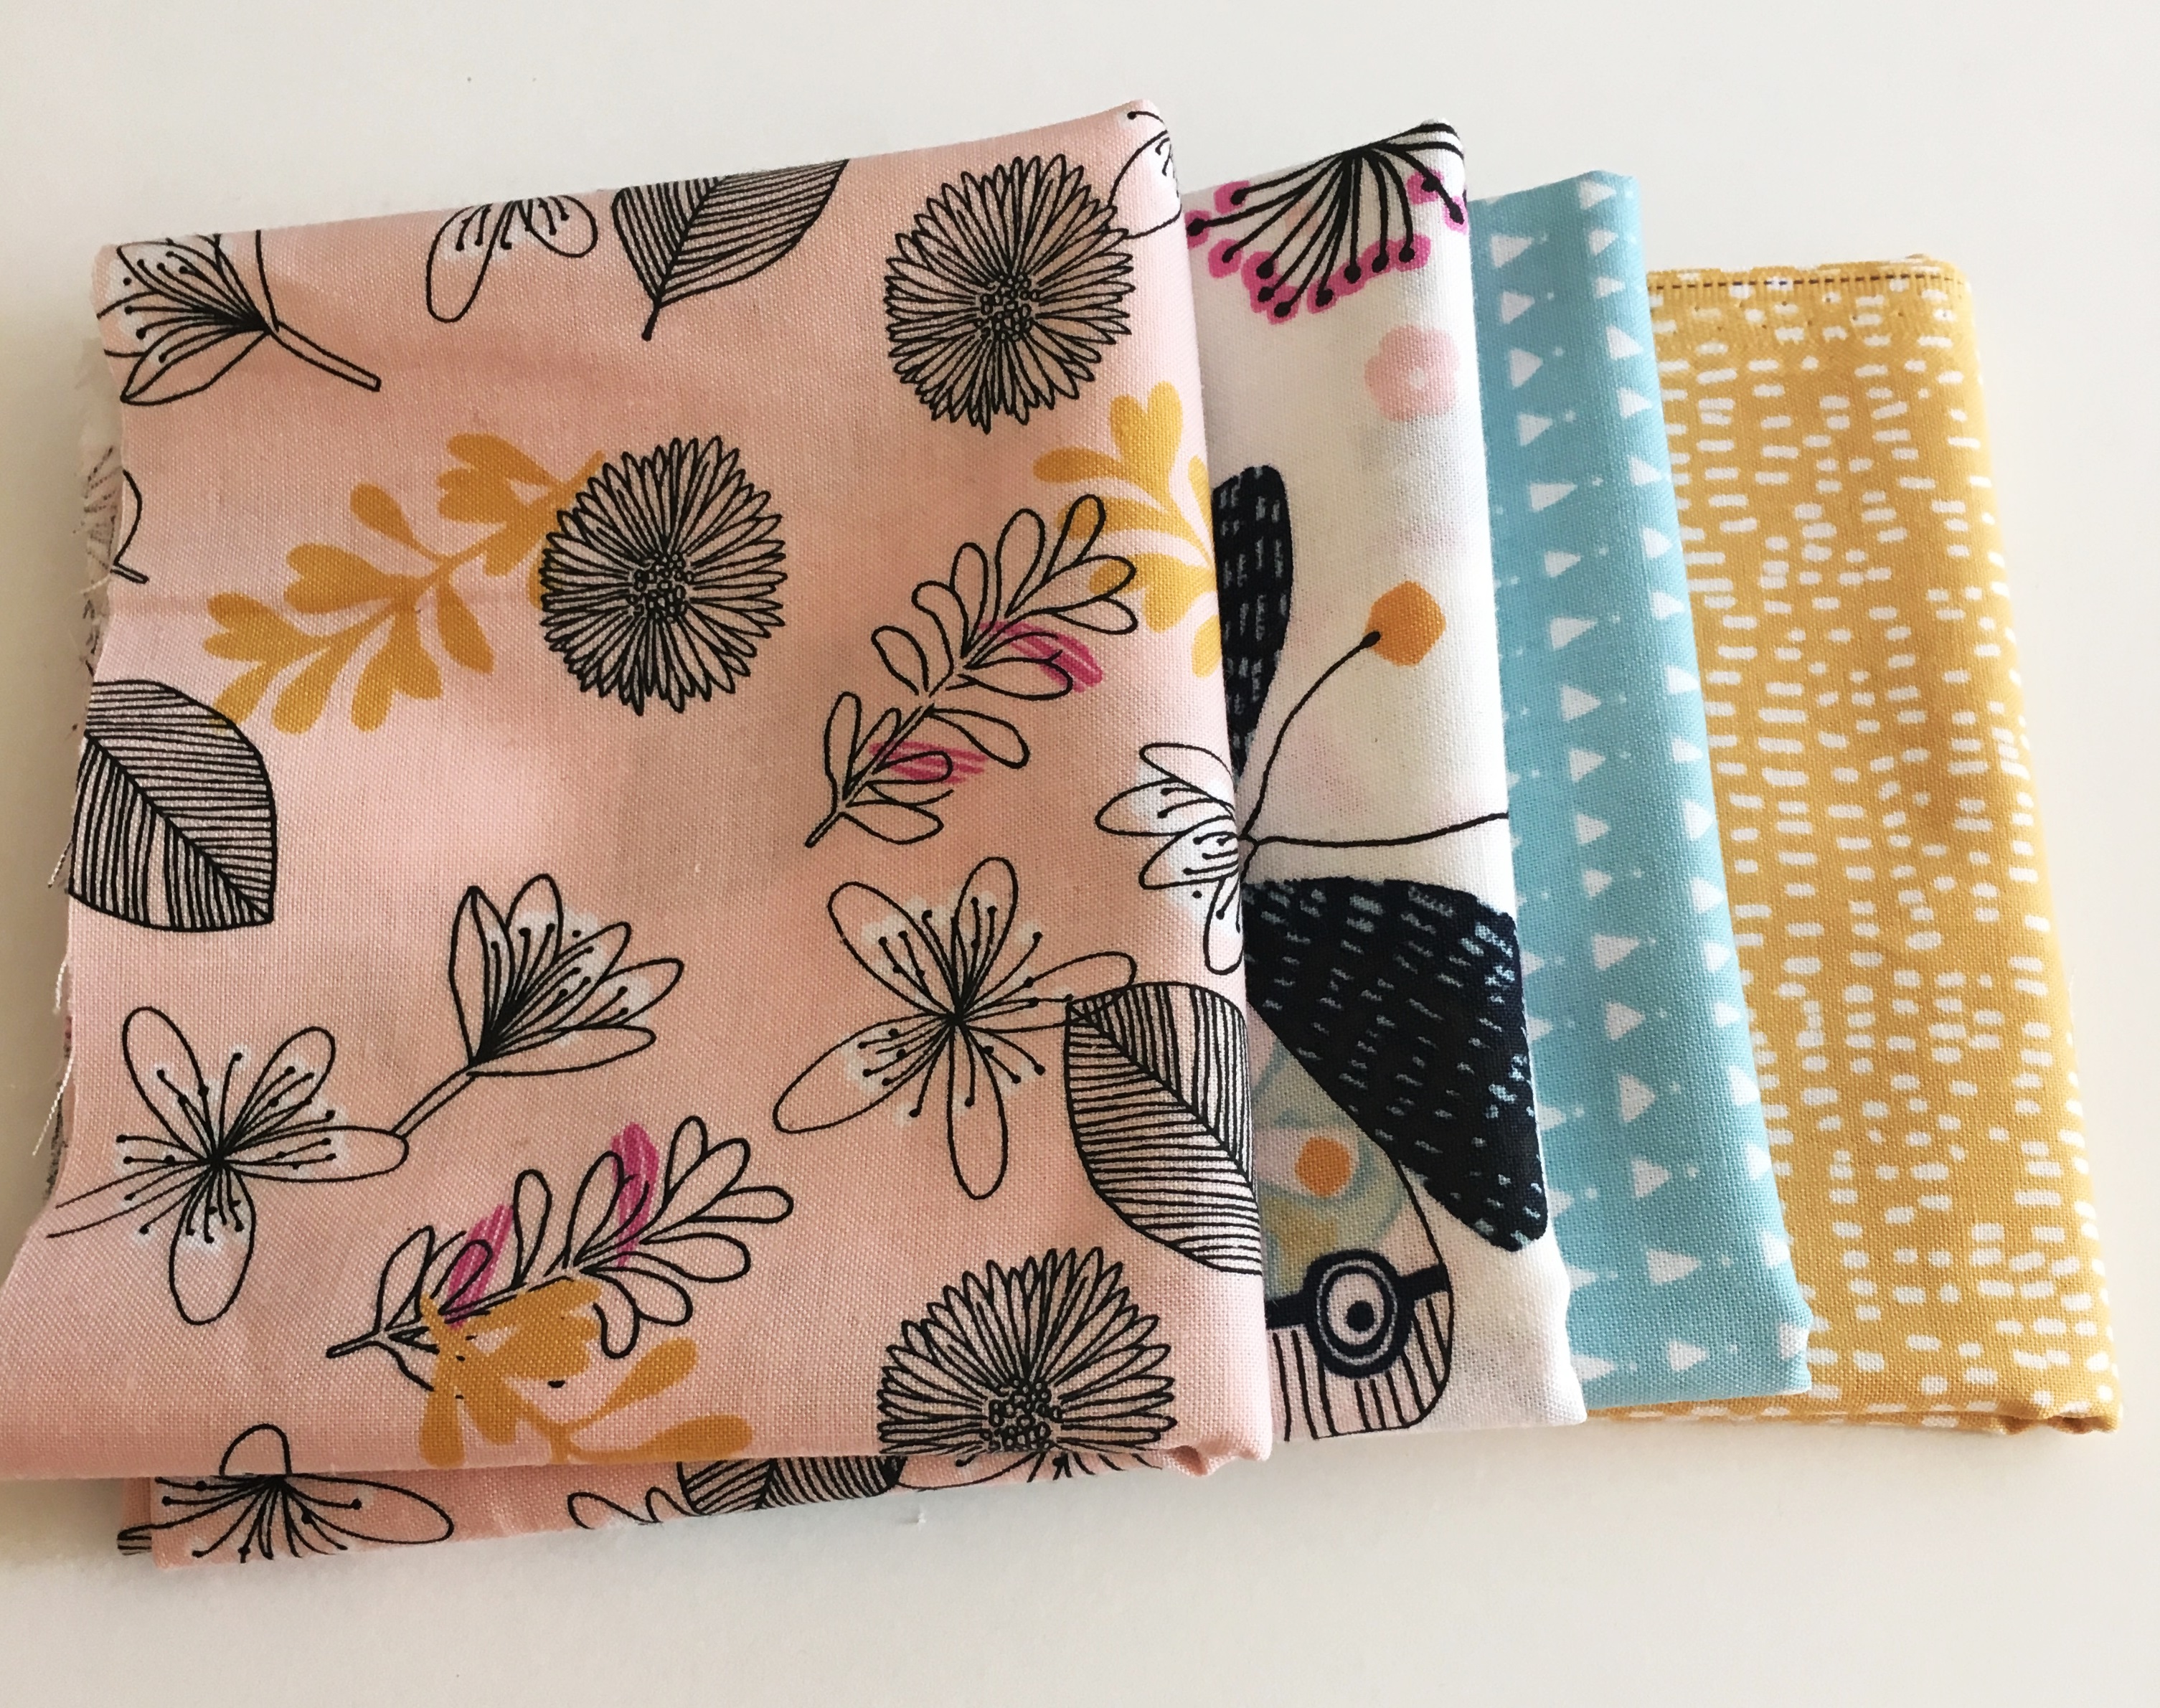
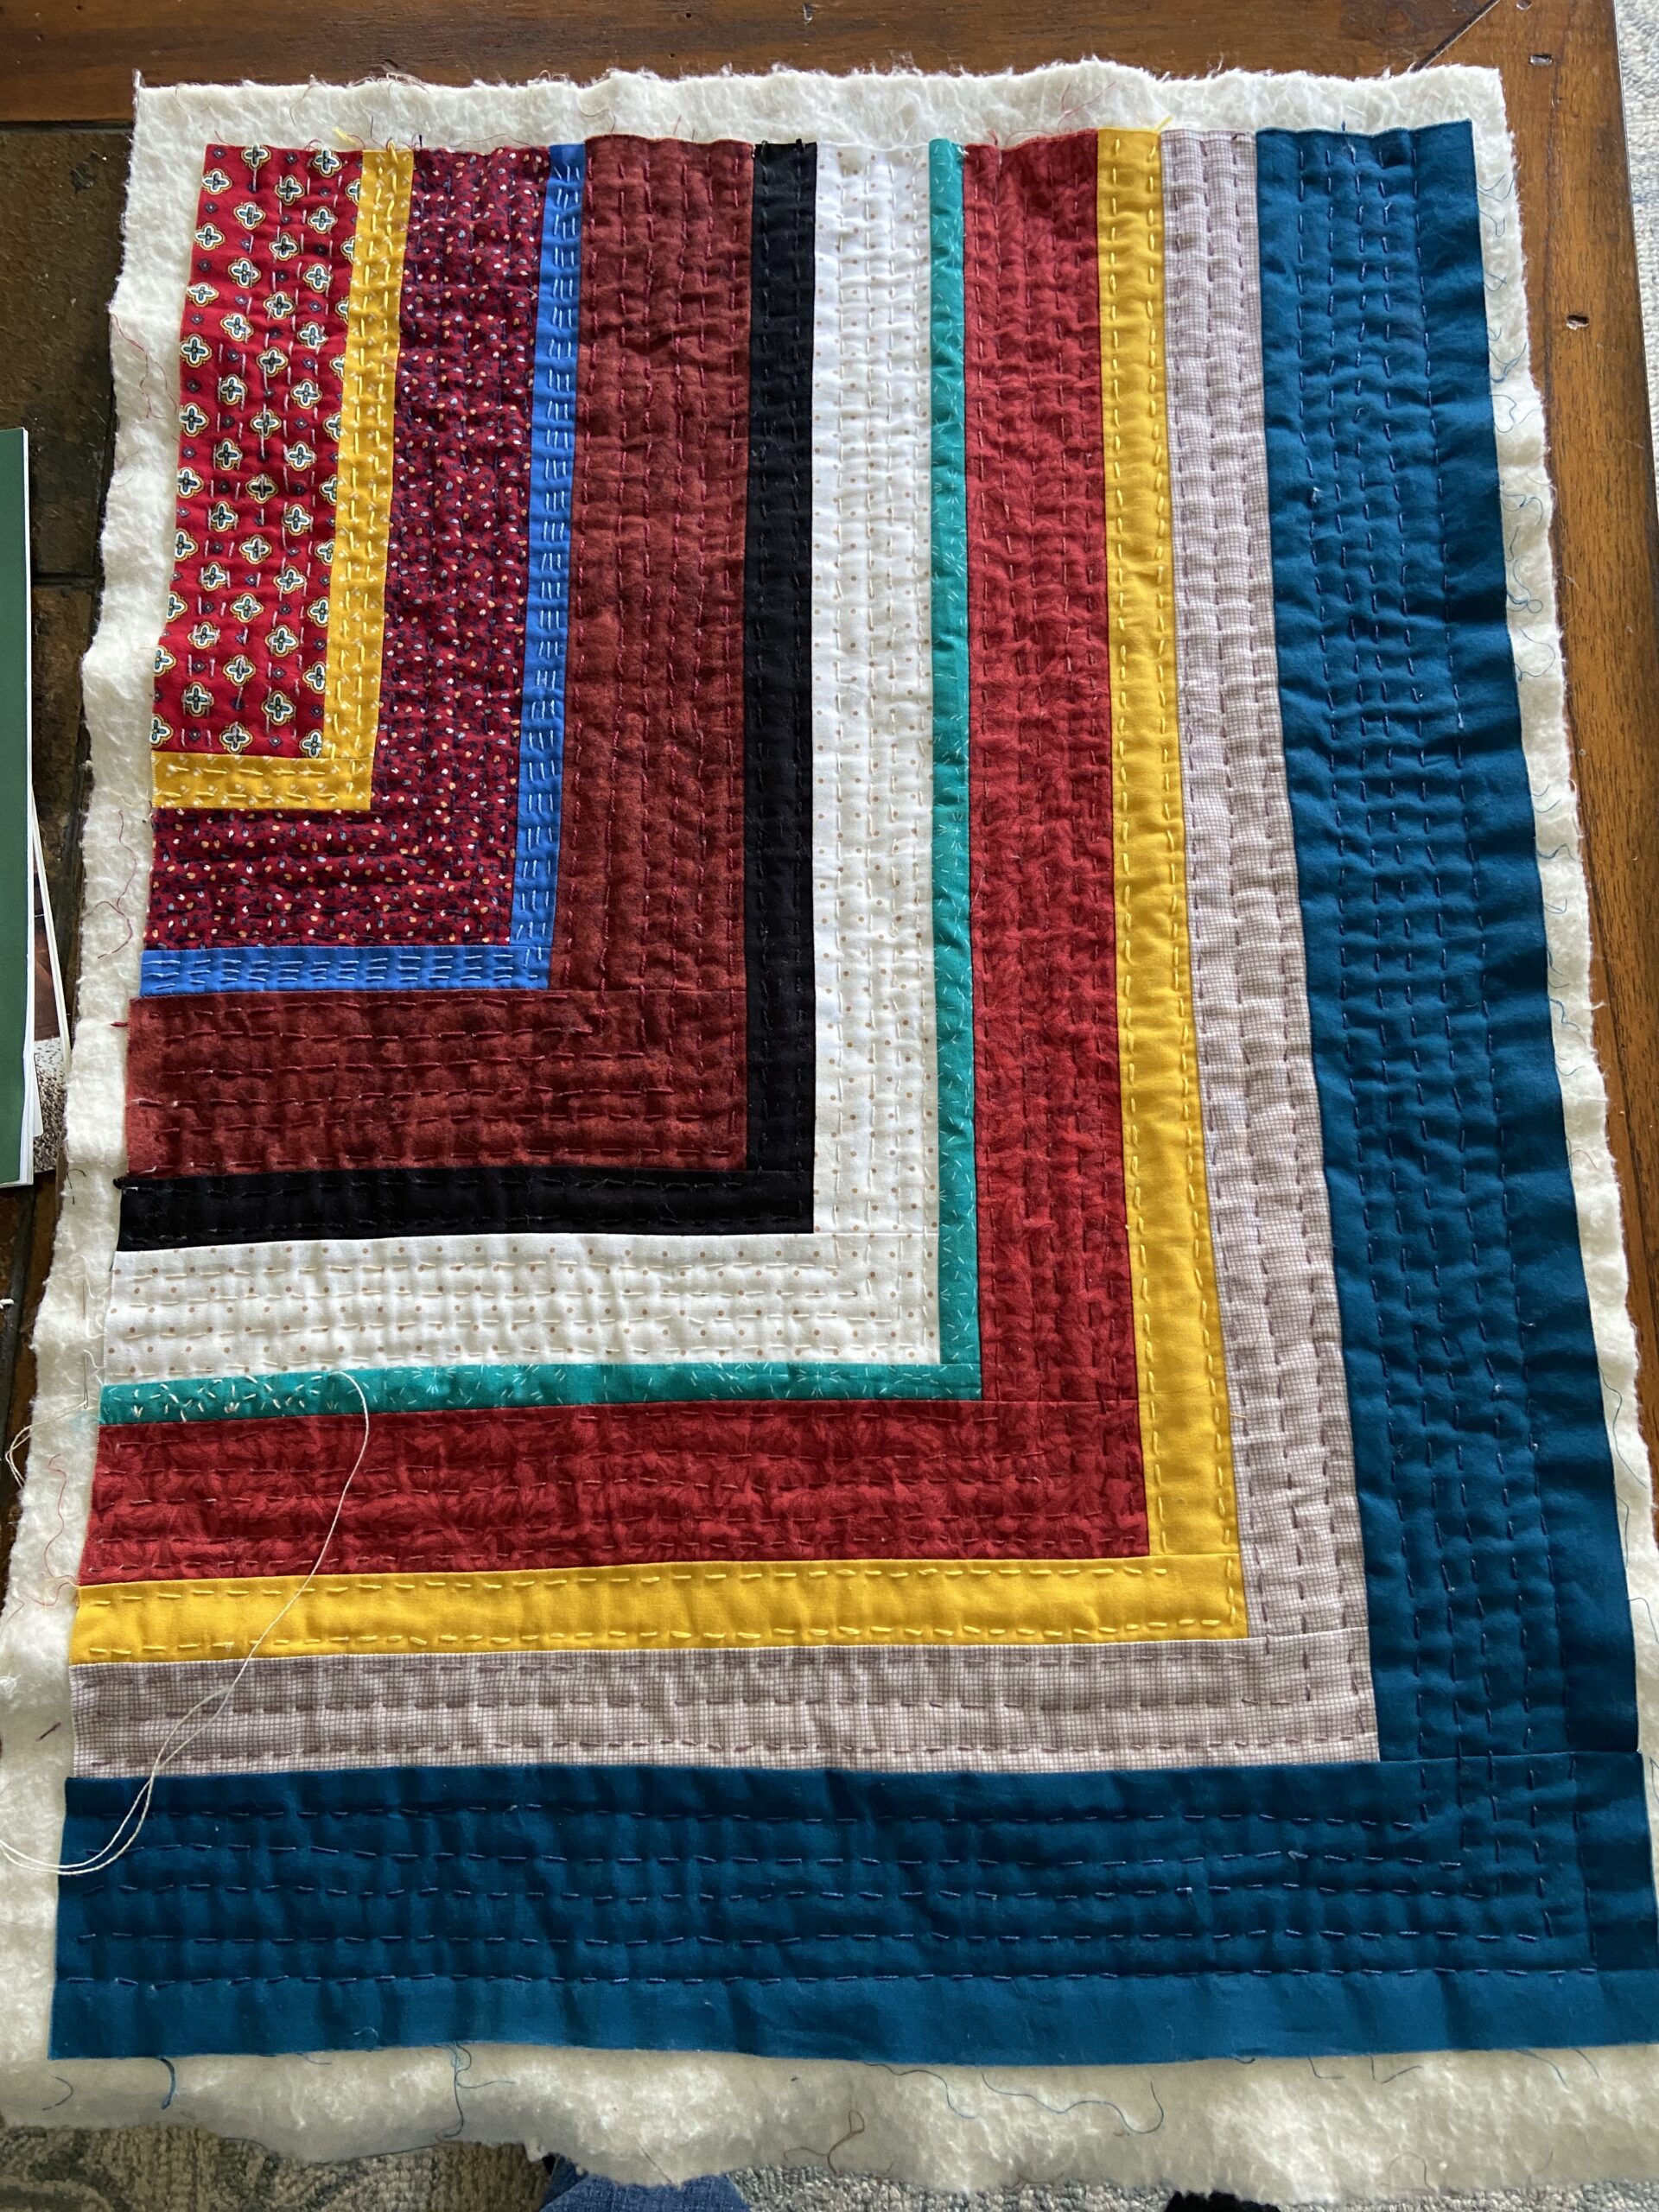
In between times, I have been sorting and cutting a bag of fabric scraps for Project Linus. I was able to cut a large stack of charm squares and 3 1/2″ squares for future projects. In the scrap bag there were loads of strips. Rather than sort and cut them, I decided to just trim them up and make a quick quilt top.
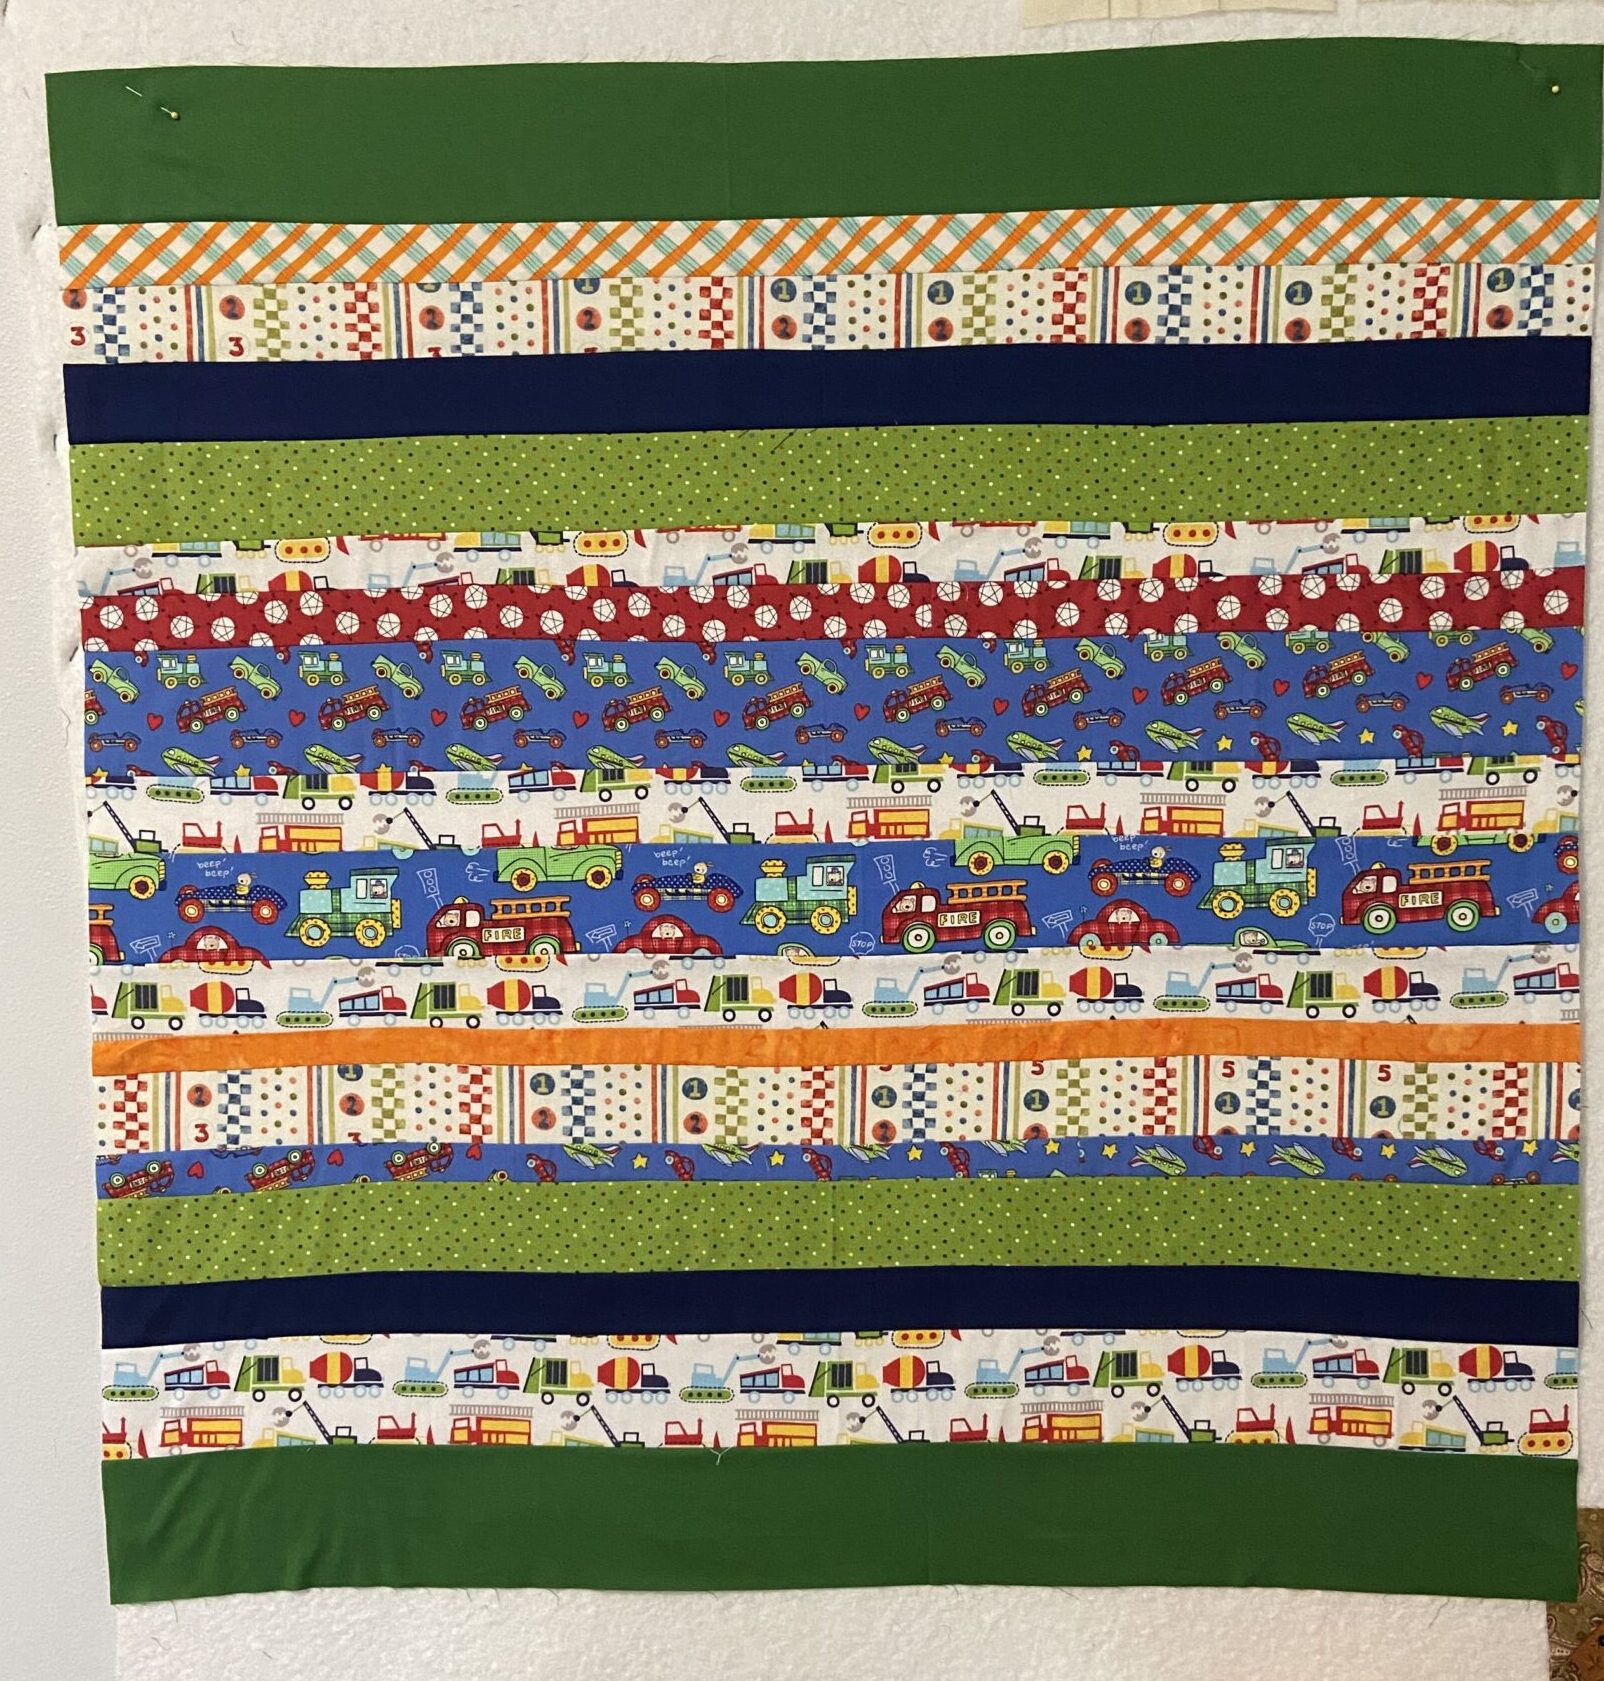
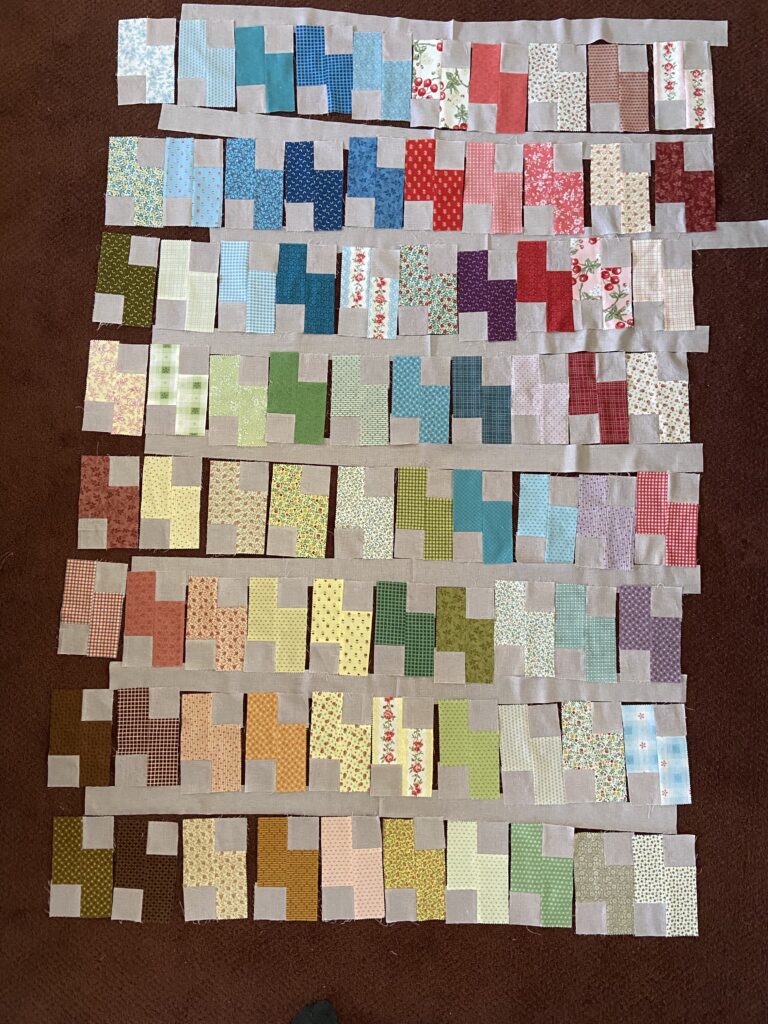
I think I will add another strip or two to both the bottom and top to make it a bit larger. Then it will be finished up. The meetings are the last Sunday of each month so I have time to get this done by the next session. It is cute, kind of busy but it has a lot of fun things to look at. I’ll share it again when it is finished.
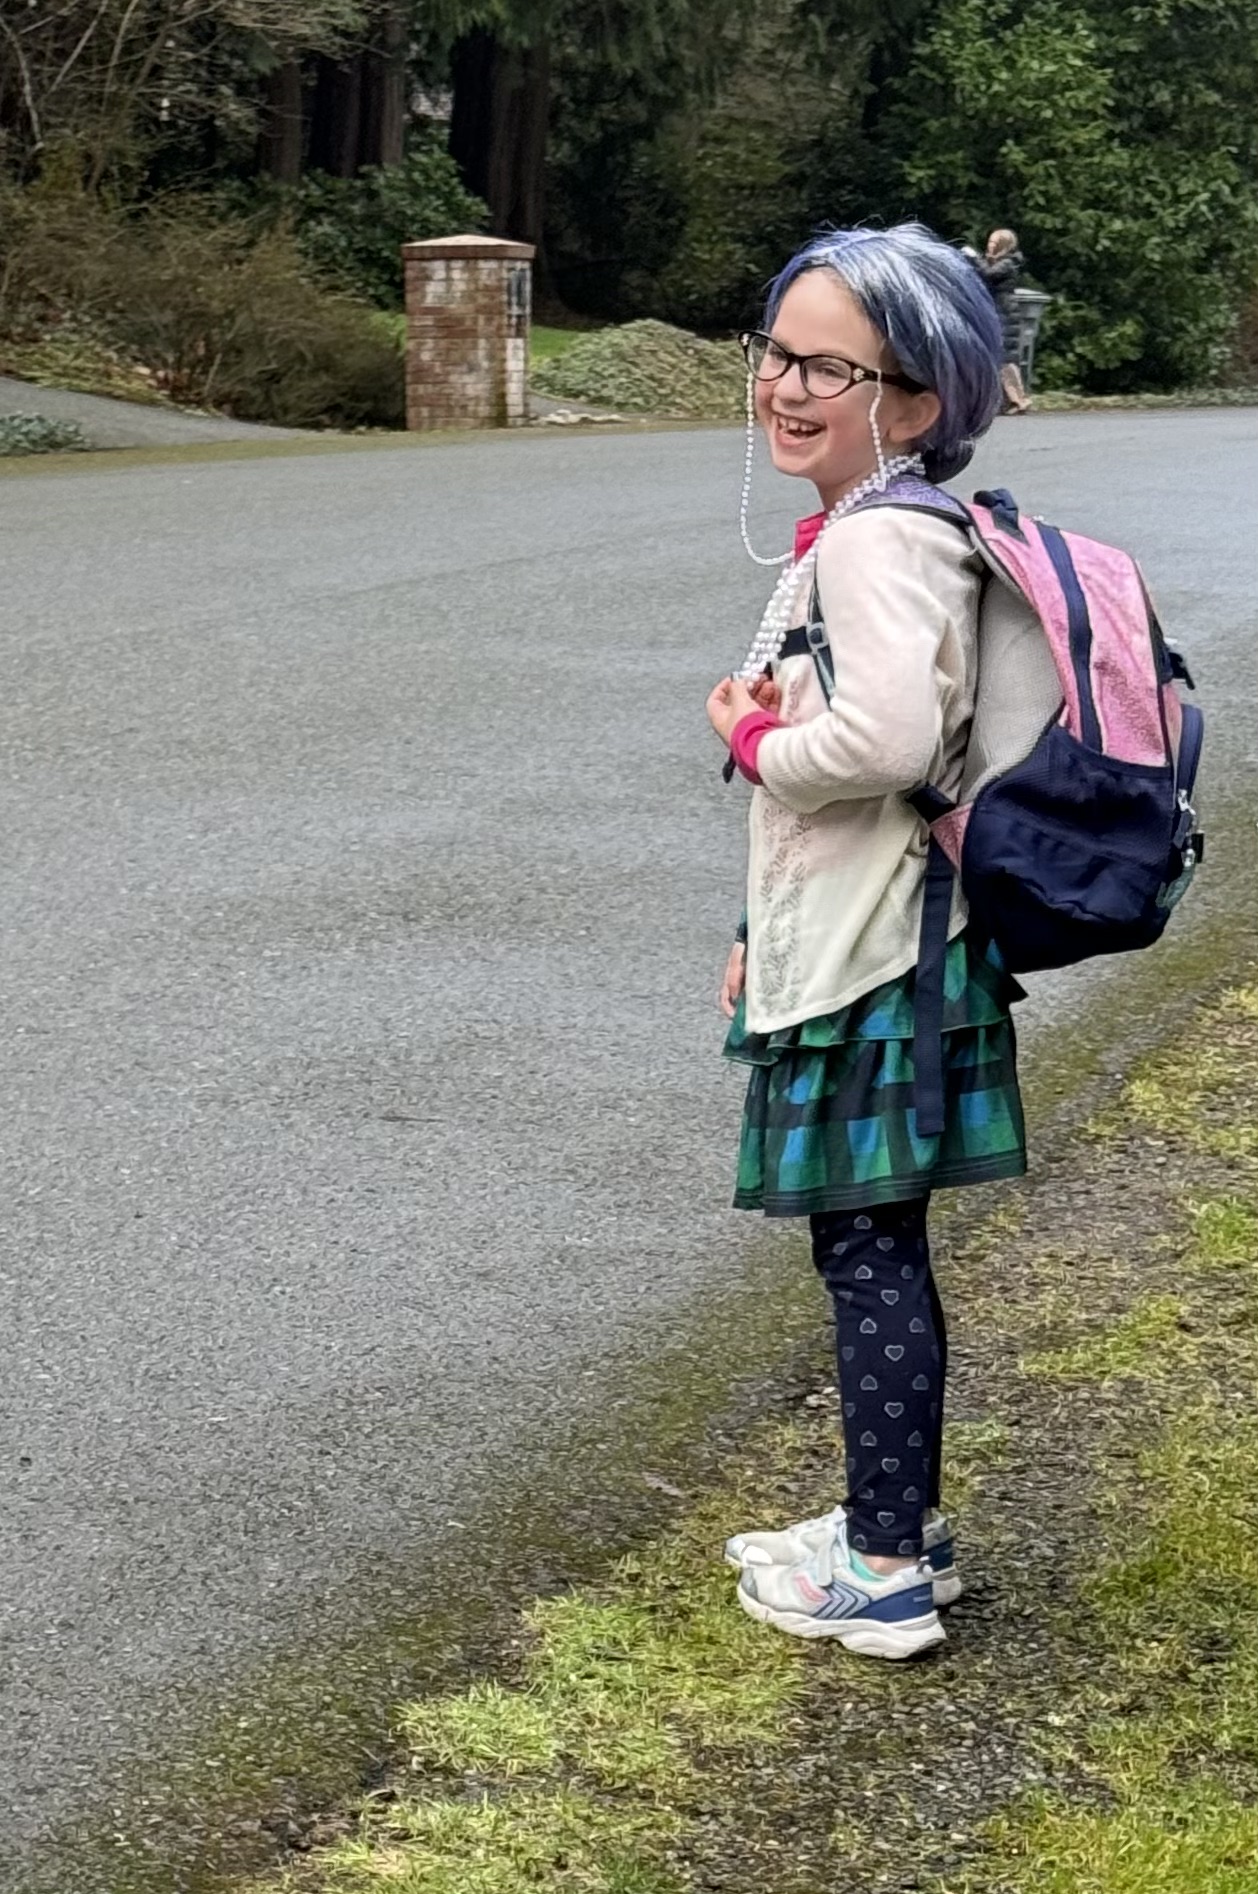
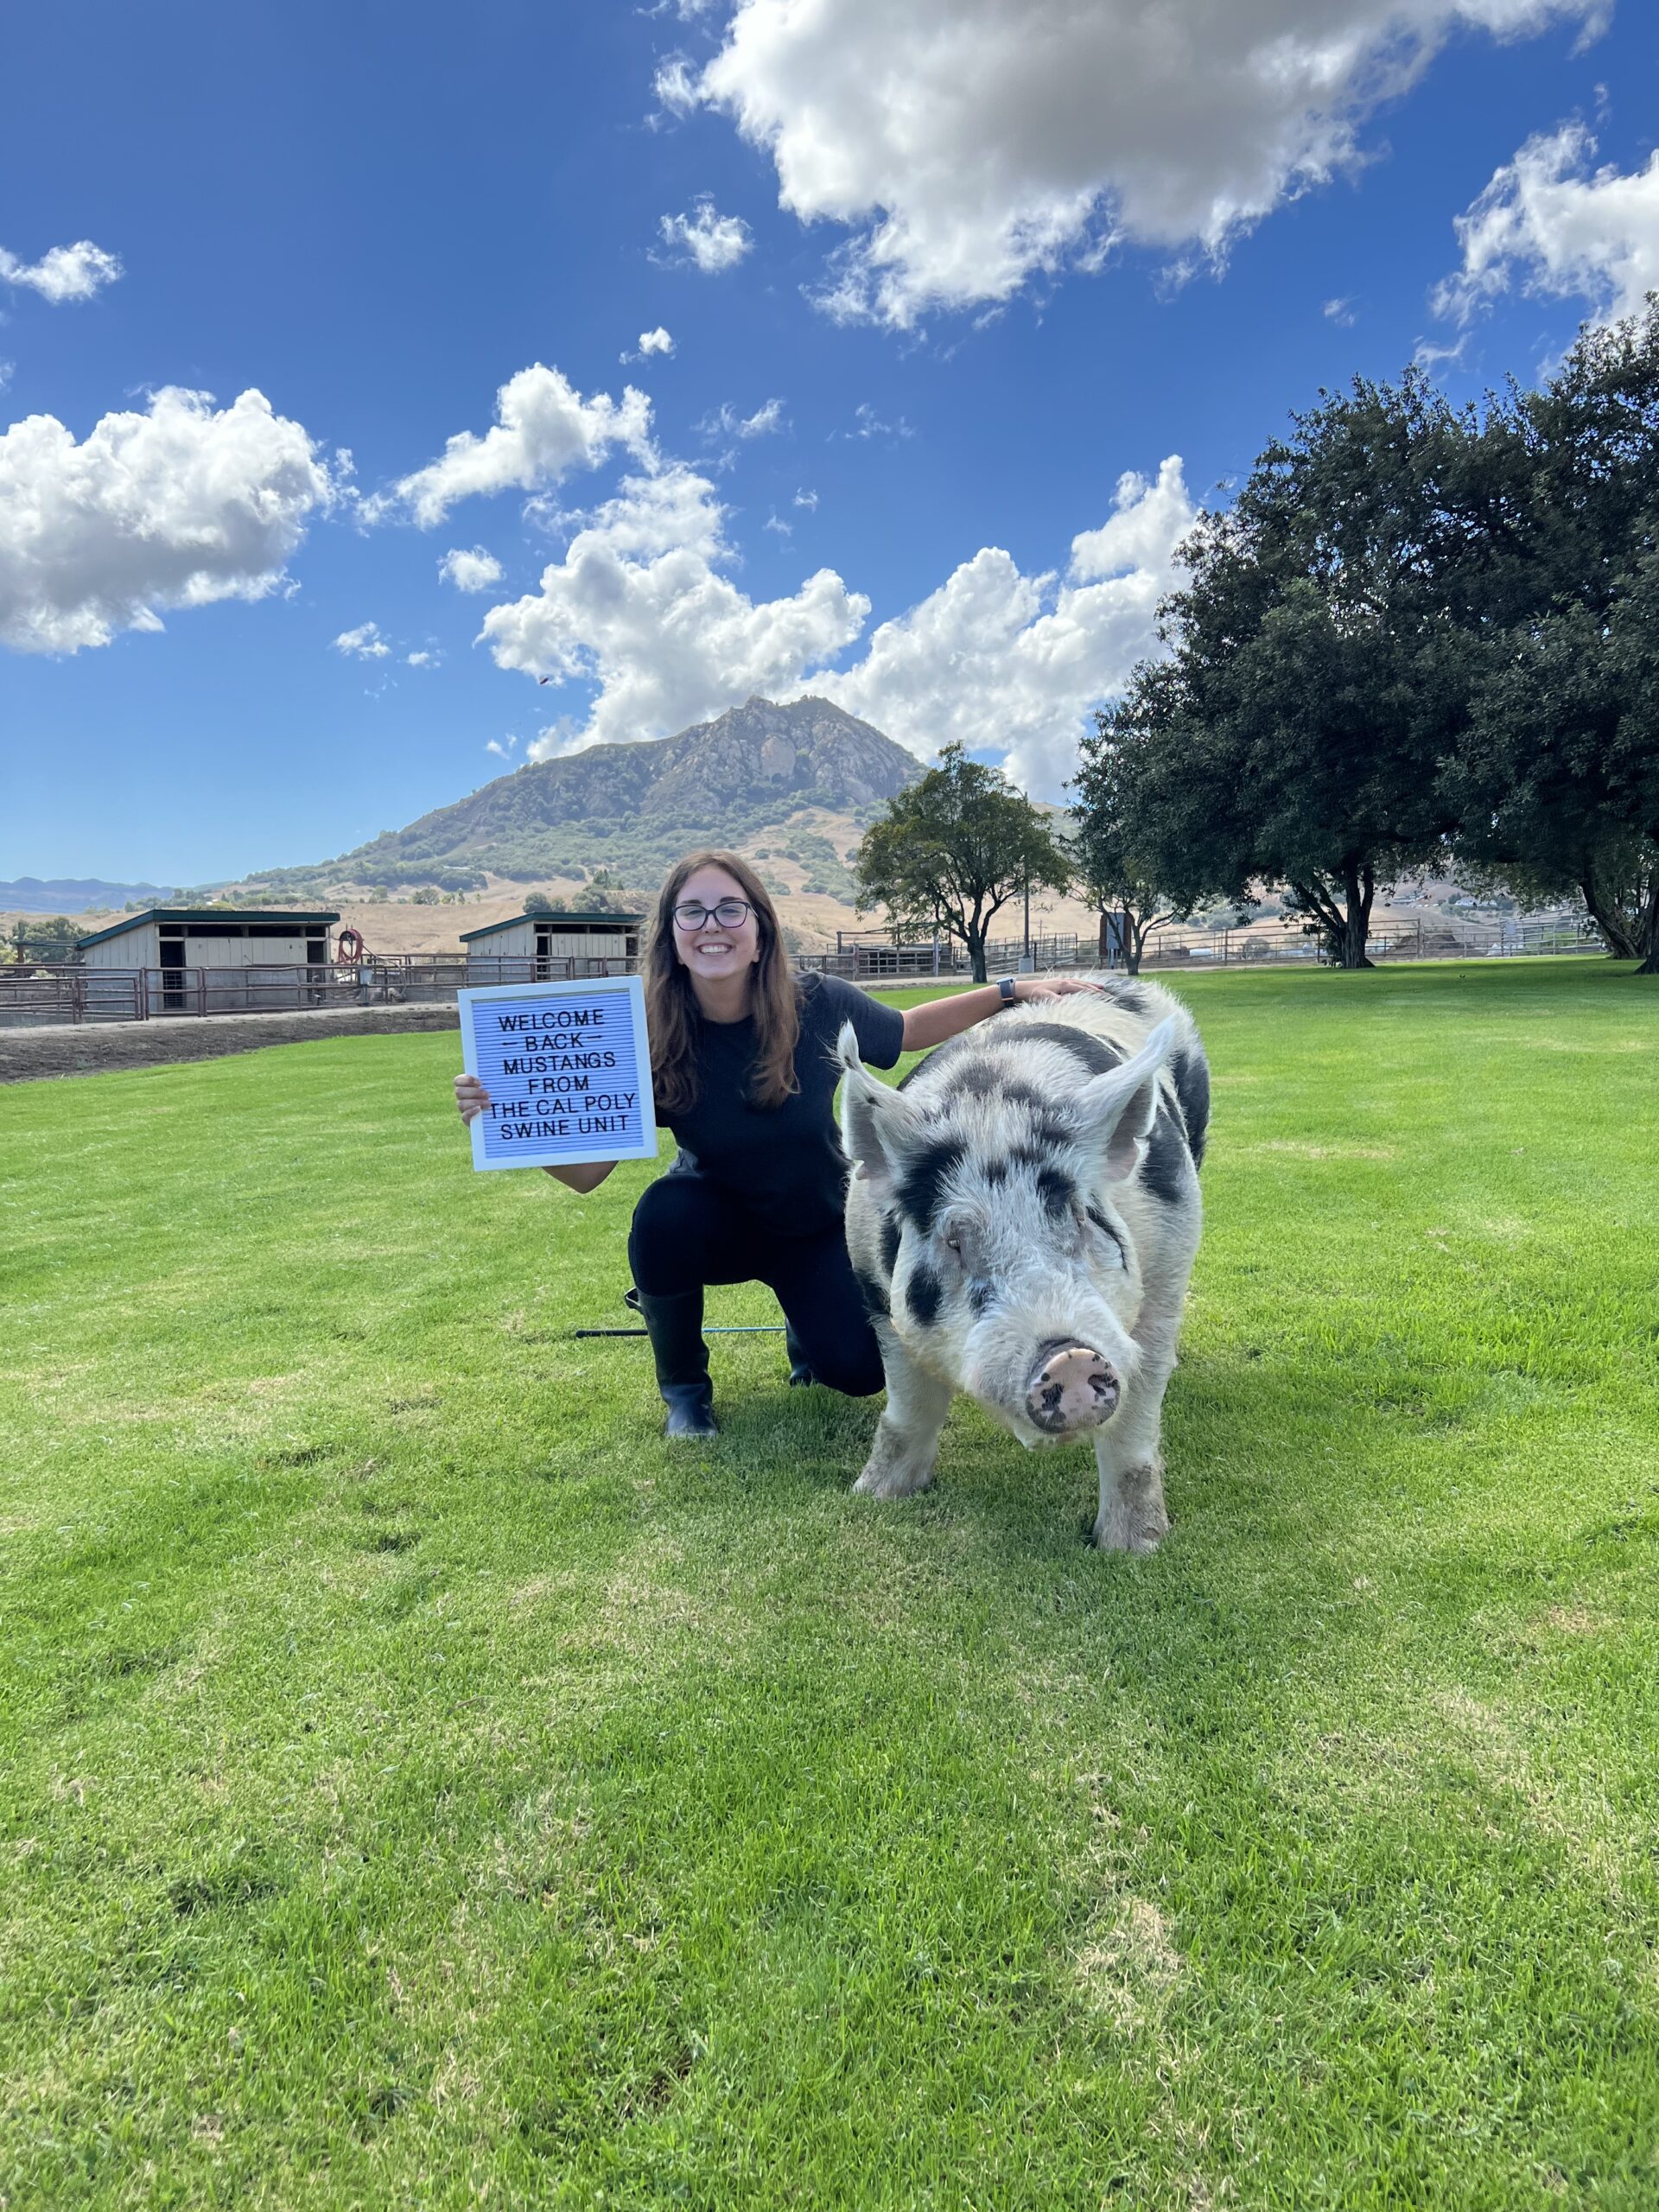
In between sewing, we have had lots of good family time. We had my son and his wife out from New York for about 5 days which was so nice. I miss them all the time and treasure when I do get to be with them. We also celebrated Easter with lots of family, including my sister and her husband who came up from Colorado.
I have been waiting for the rain to stop and it looks like it has. Time to get some time outdoors! Hope you will leave me a comment and tell me how you are doing. It has been a long time since we’ve chatted!