Tag Archives: table runner

Vermont Sewing Continues

Time has flown by and I will be heading home on Wednesday. When I was getting ready to come out here I thought three weeks sounded like such a long time but yikes, it has gone by quickly!! We quickly settled into a rhythm and it has been wonderful

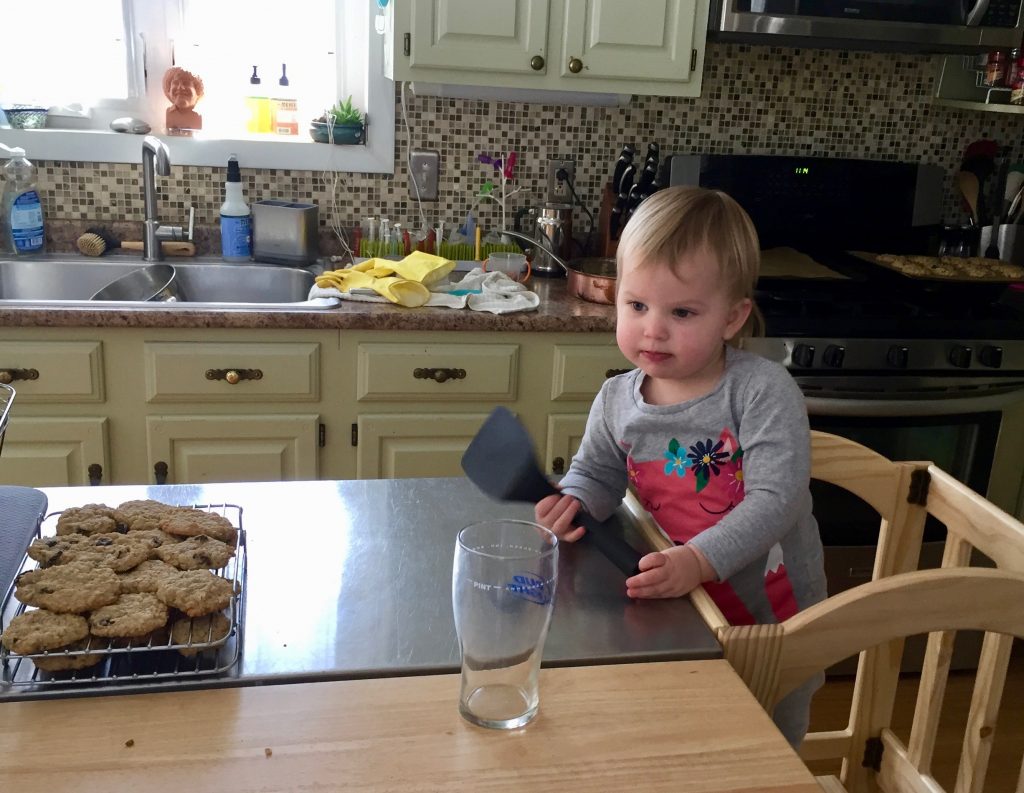
H and I have spent a lot of time in the kitchen. She has a new stool to stand on so she can ‘help’ cook and she just loves it. She crawls in and out constantly and has learned to drag it from counter to counter to the sink and back. Washing dishes, stirring and mixing, so many projects. Luckily she and I enjoy baking and we have made SOOO many things. Cookies, focaccia bread, muffins – I have probably put on a couple of pounds during this trip.

Maple Pecan Scones

Yesterday we made these Maple Pecan Scones. She had so much fun and was covered in flour by the end of this round of baking. They are delicious and if you want to try them, here is a link to the recipe on the King Arthur Flour website. I cut them fairly small so she wouldn’t have a huge serving. Actually I put half of them in the freezer so they can have them again after I leave.

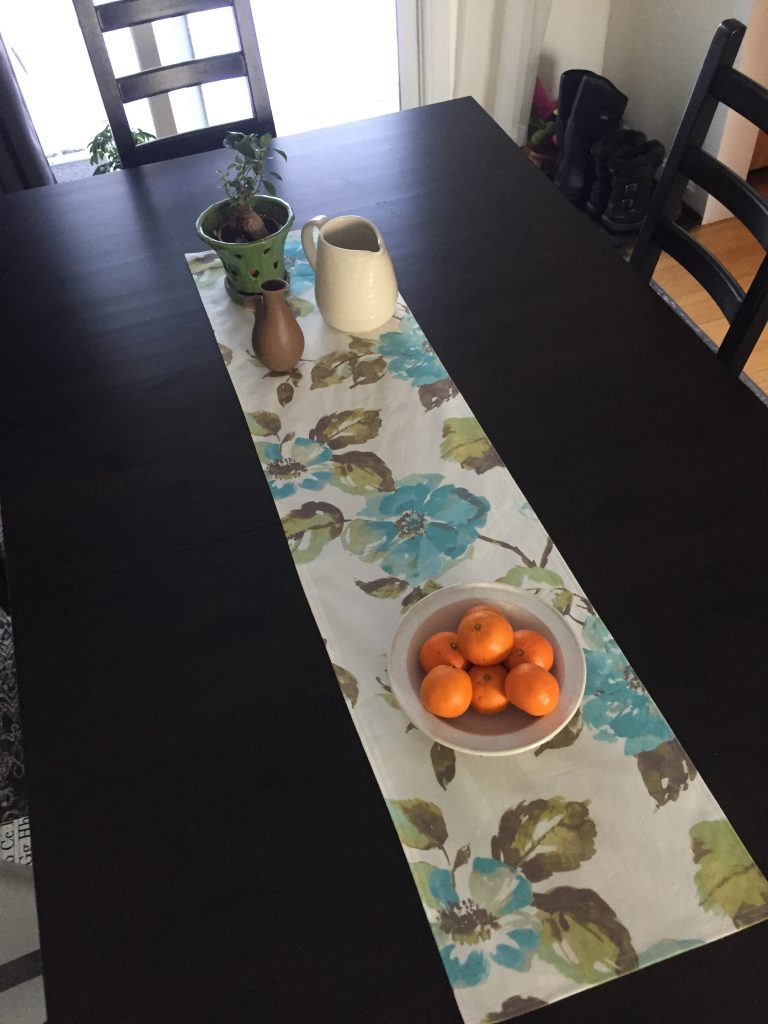
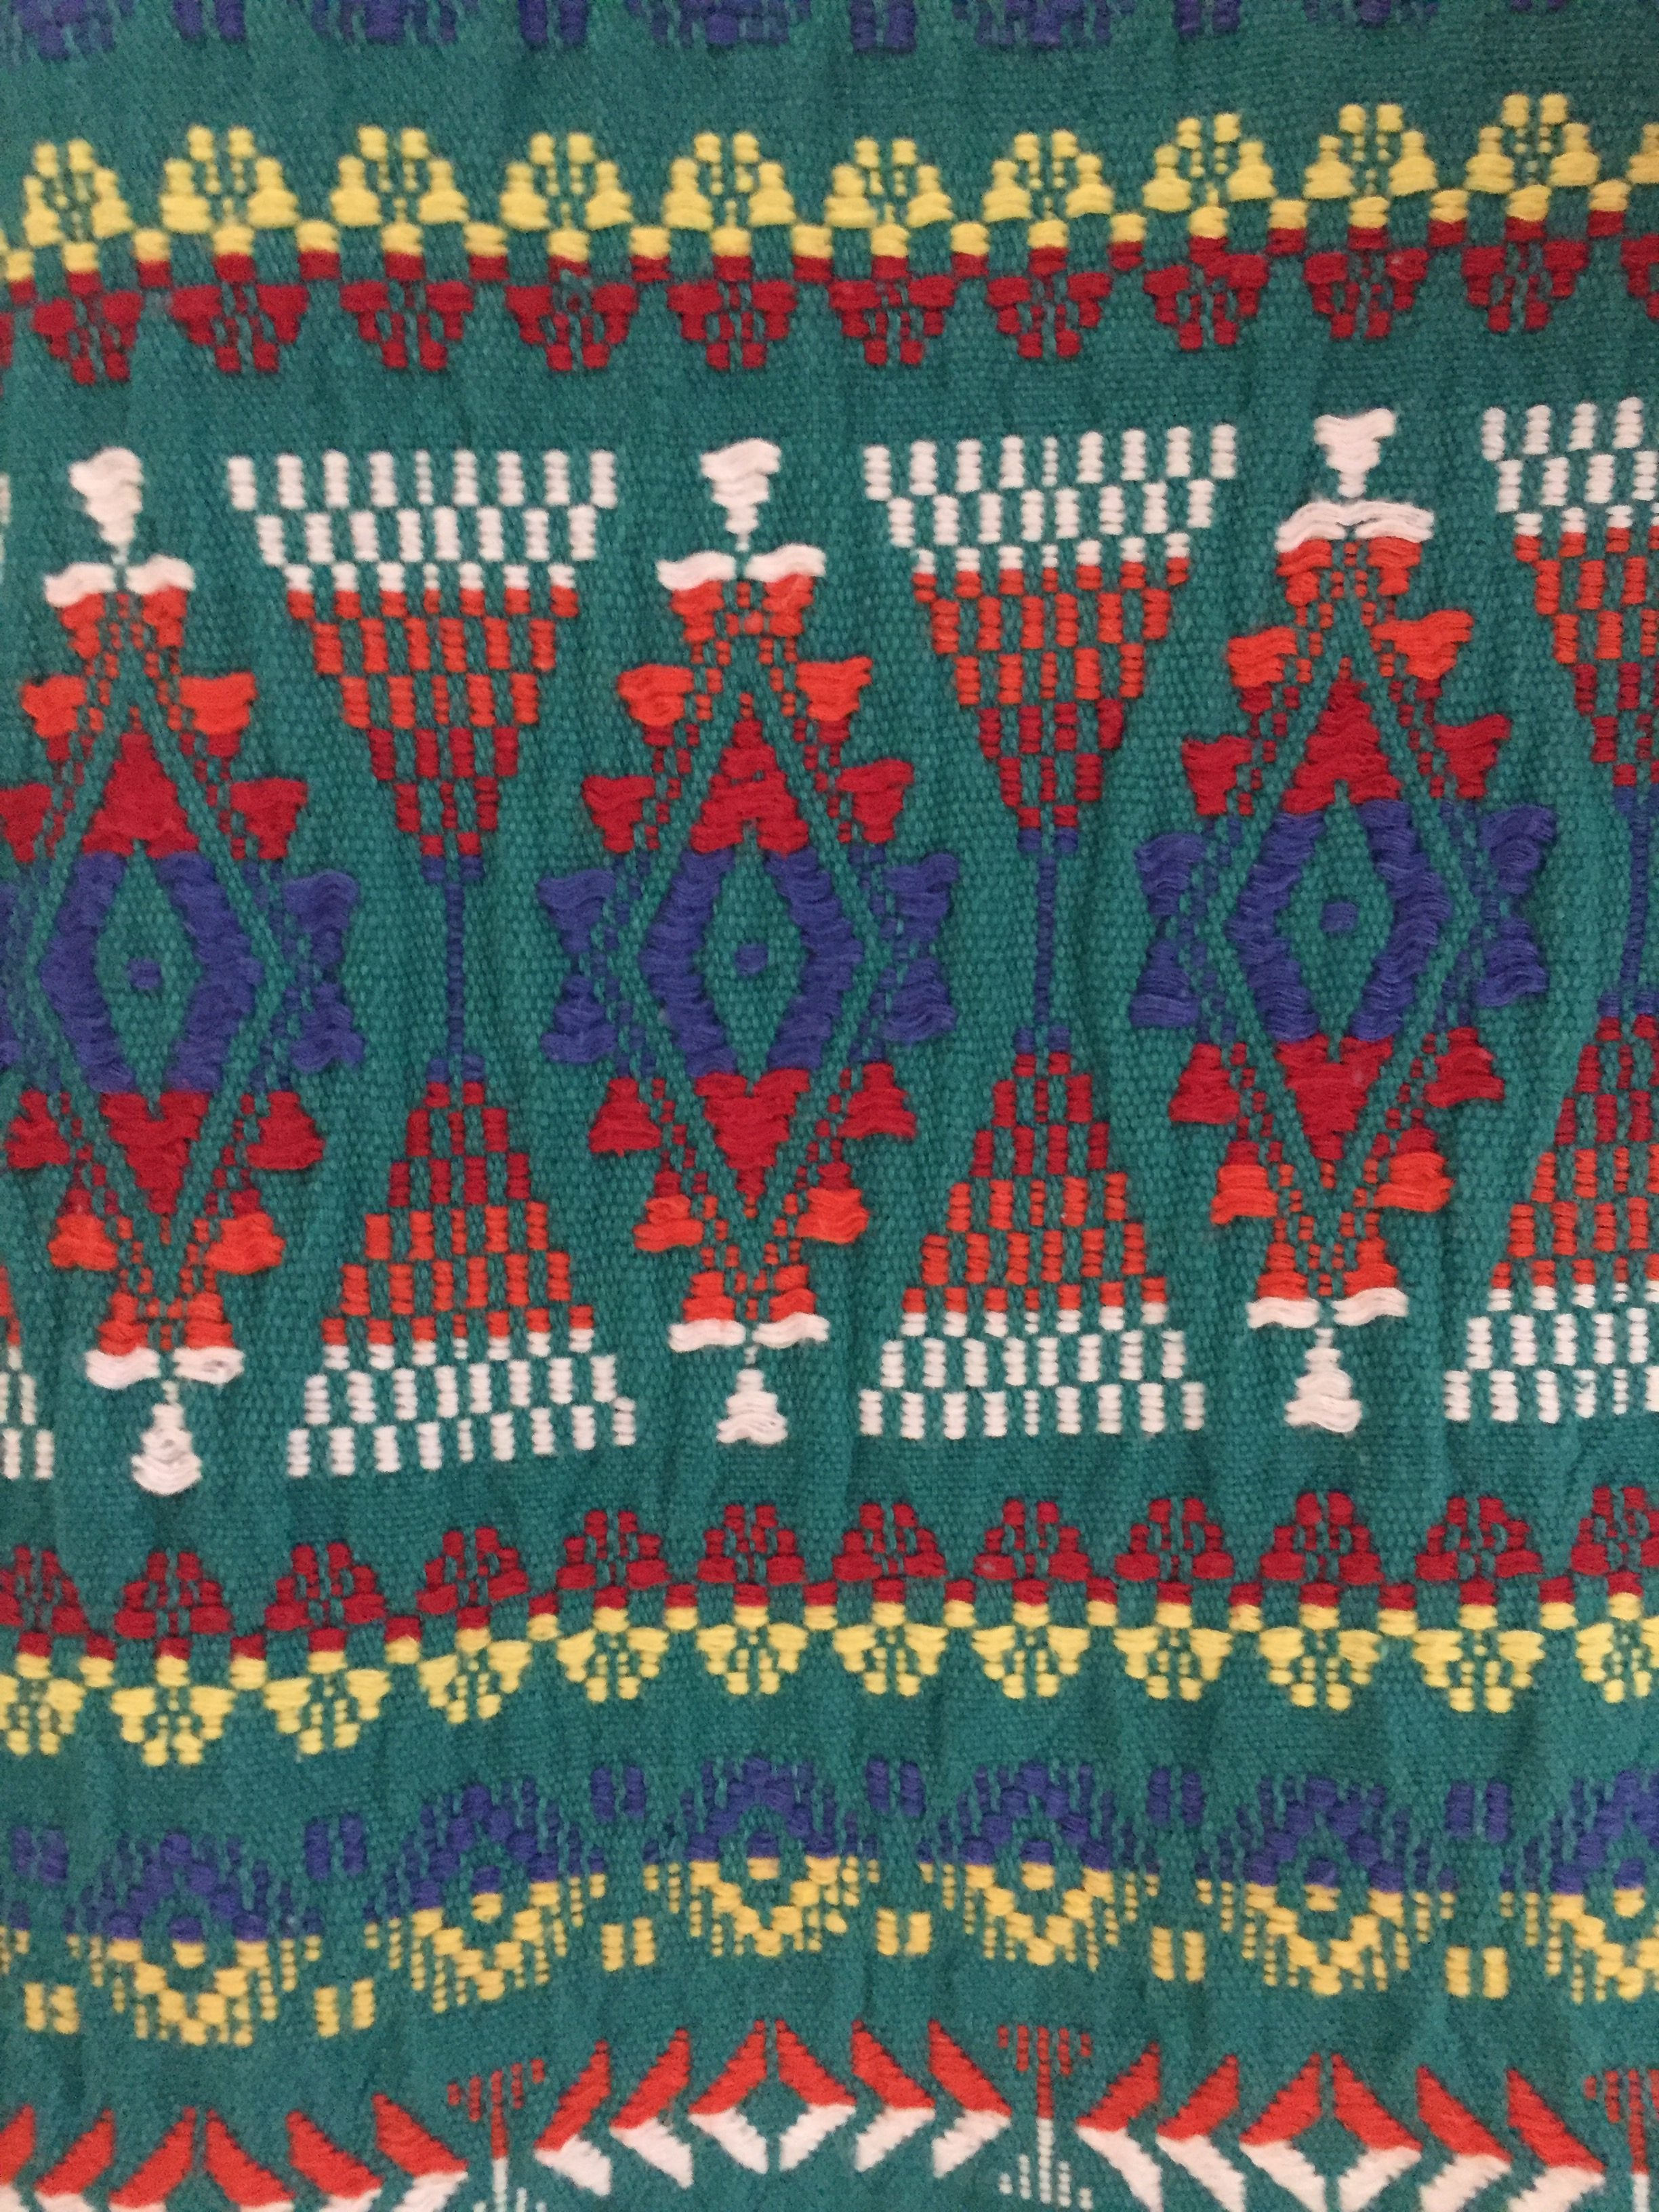
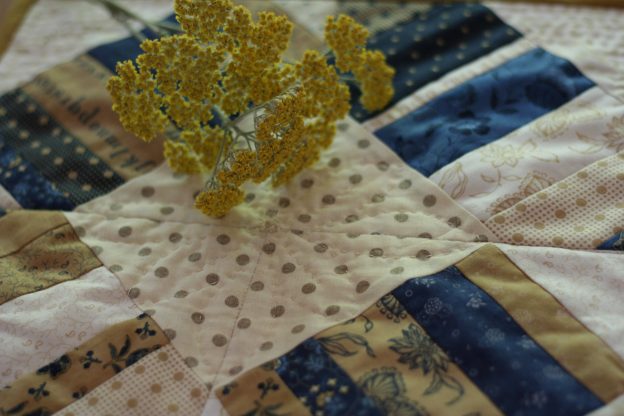
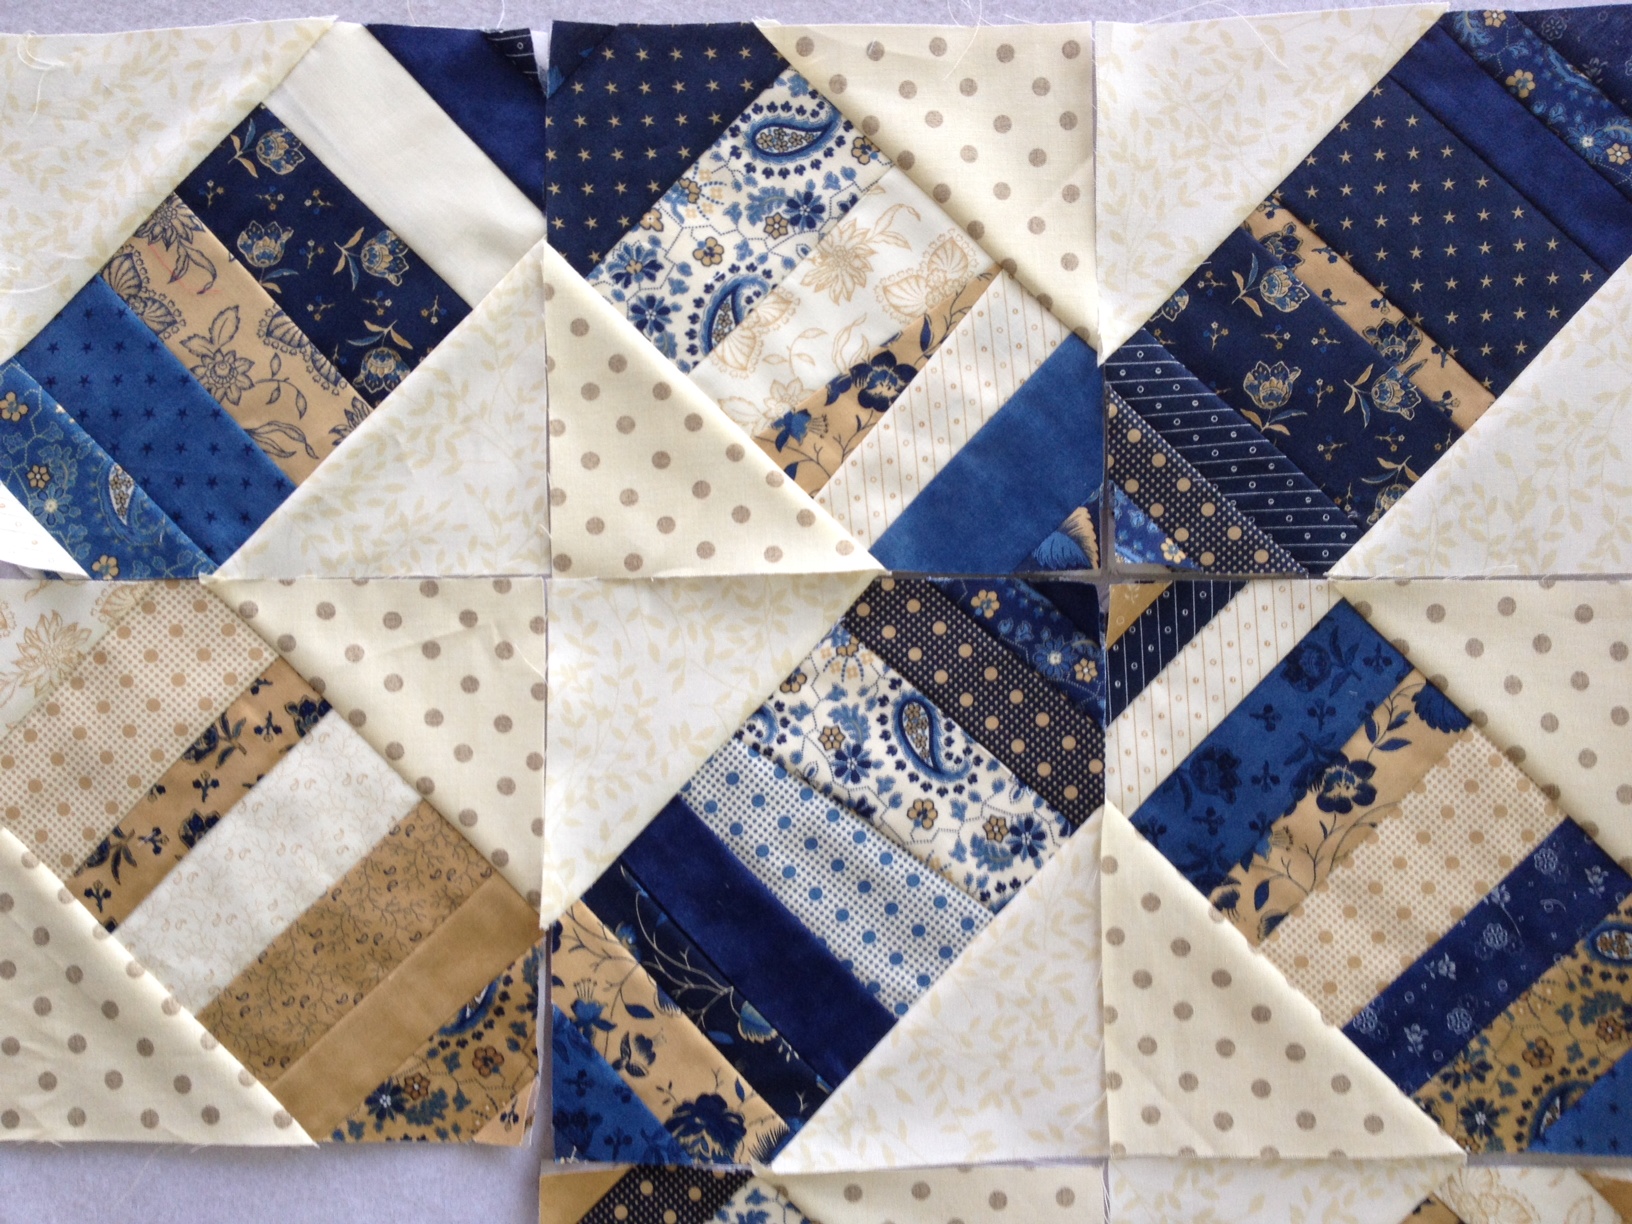
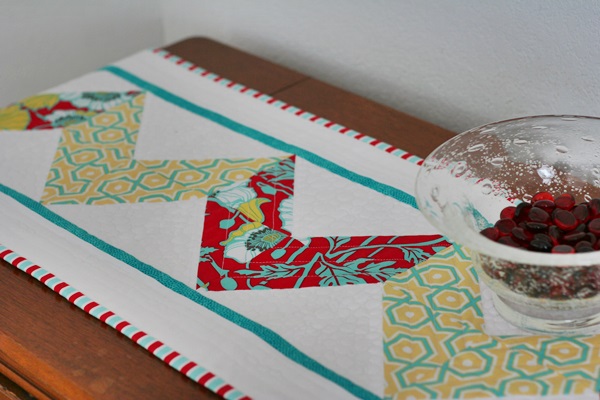
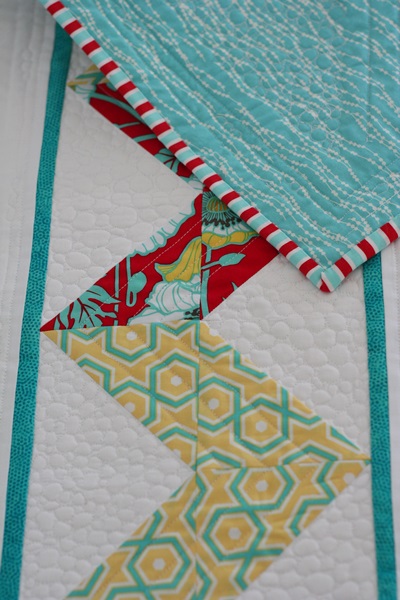
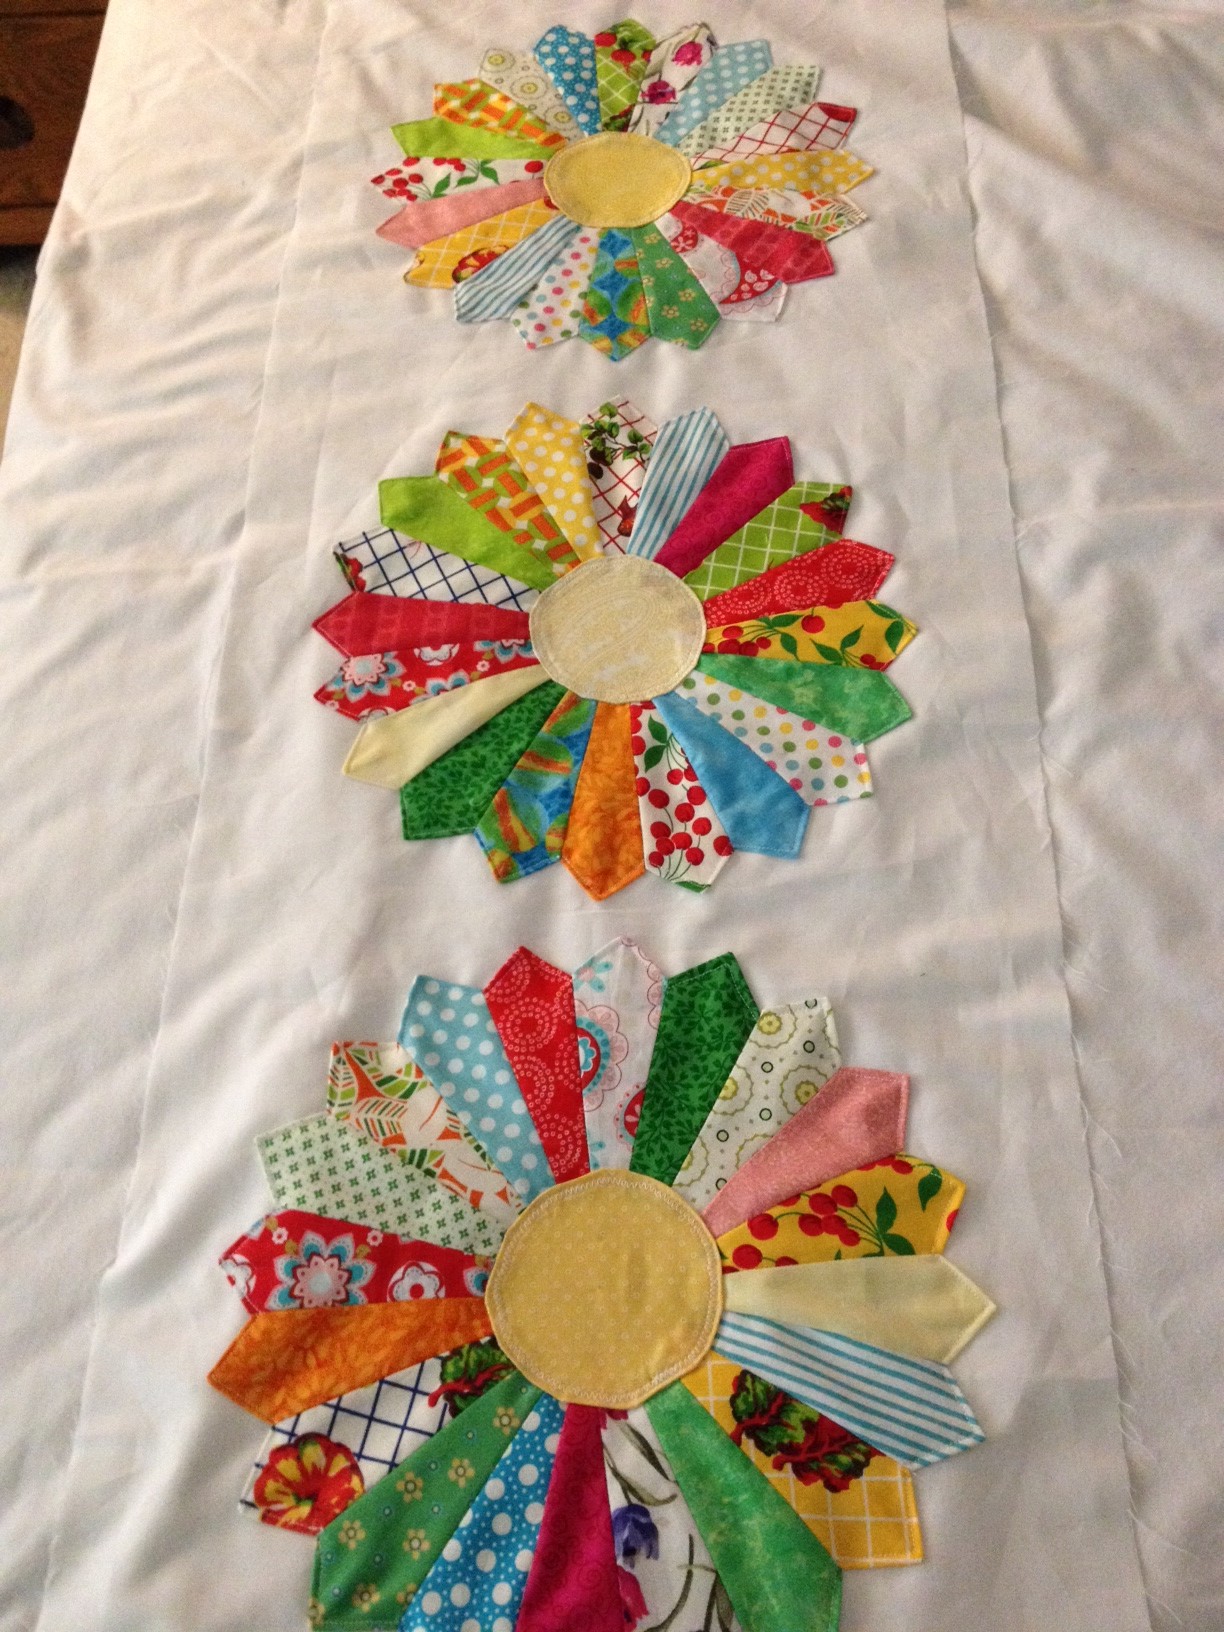
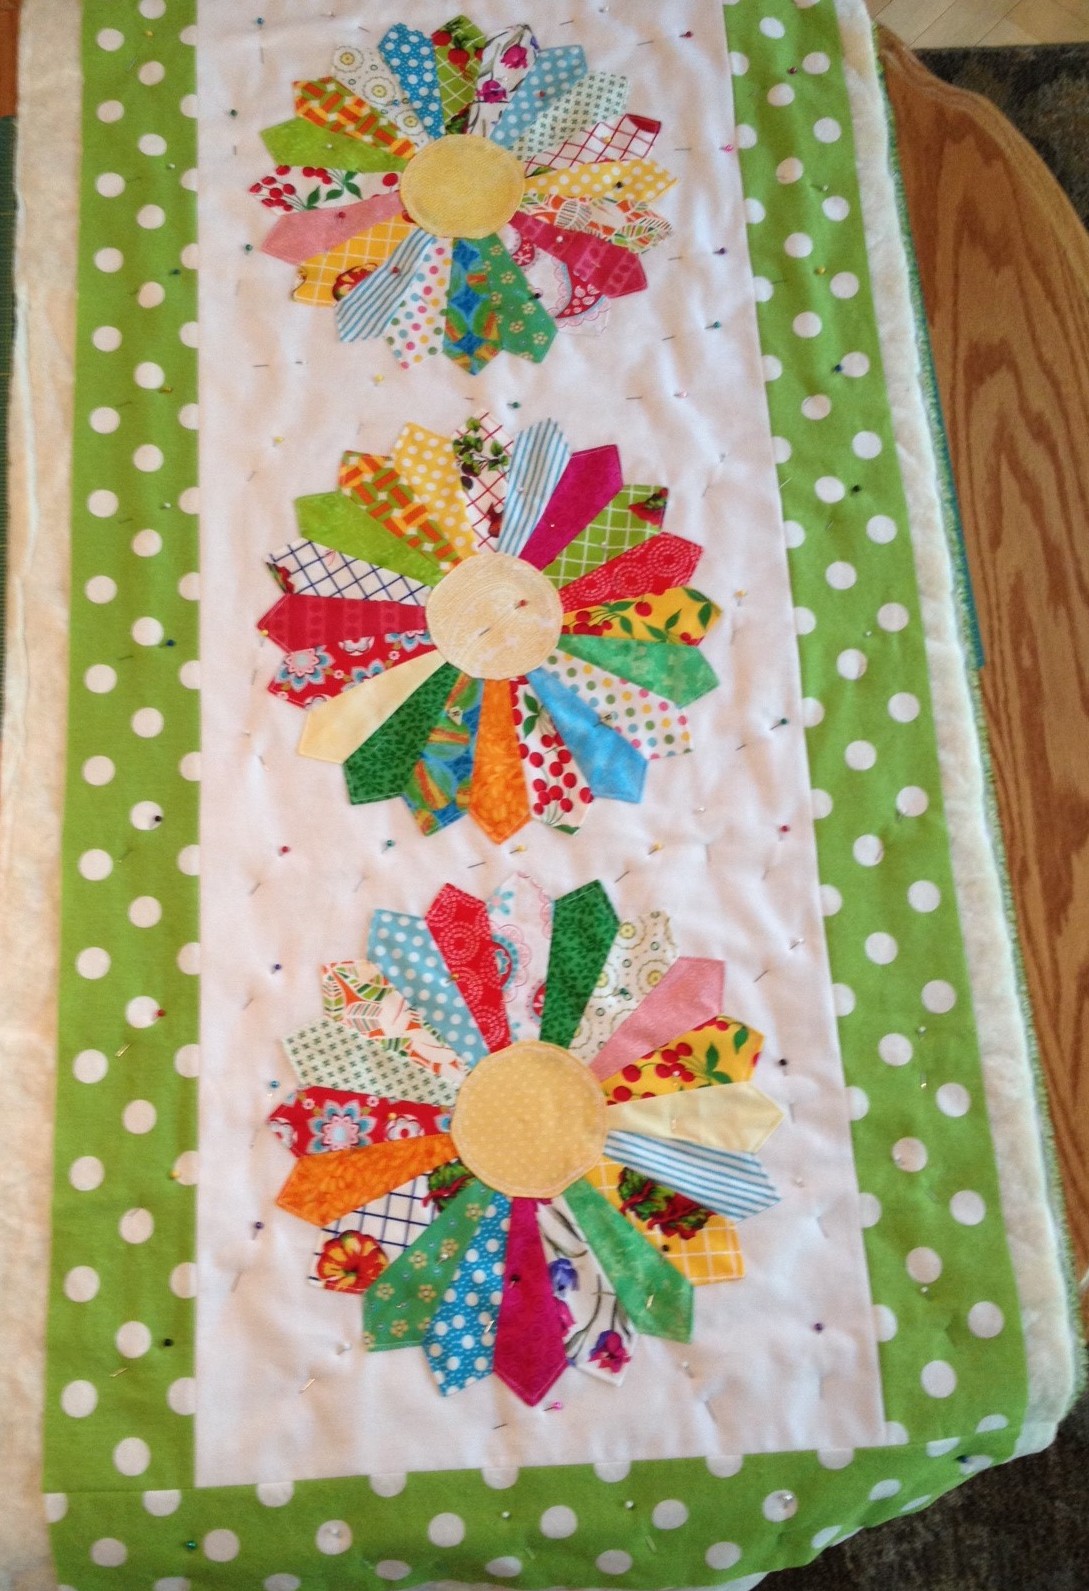
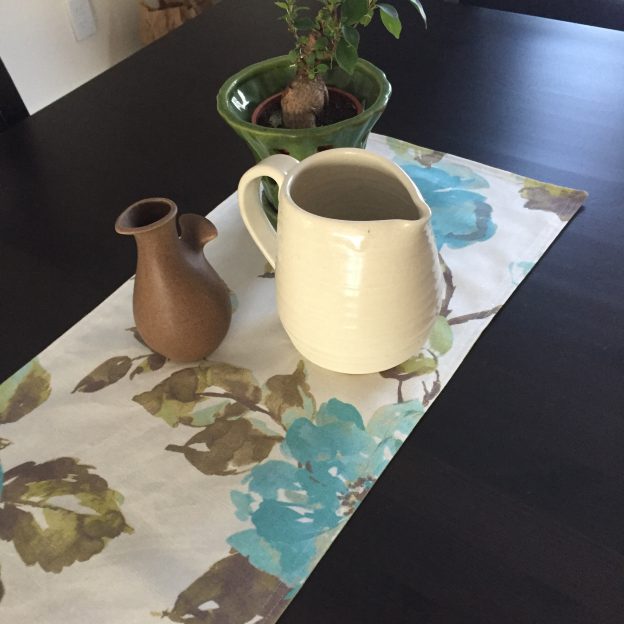
As for sewing, I have done quite a bit! I made a table runner for my daughter in law. When I was at Jo-Ann’s, they had the Home Decor fabrics on sale and I picked up this floral print. It is a nice weight and has a linen like texture.

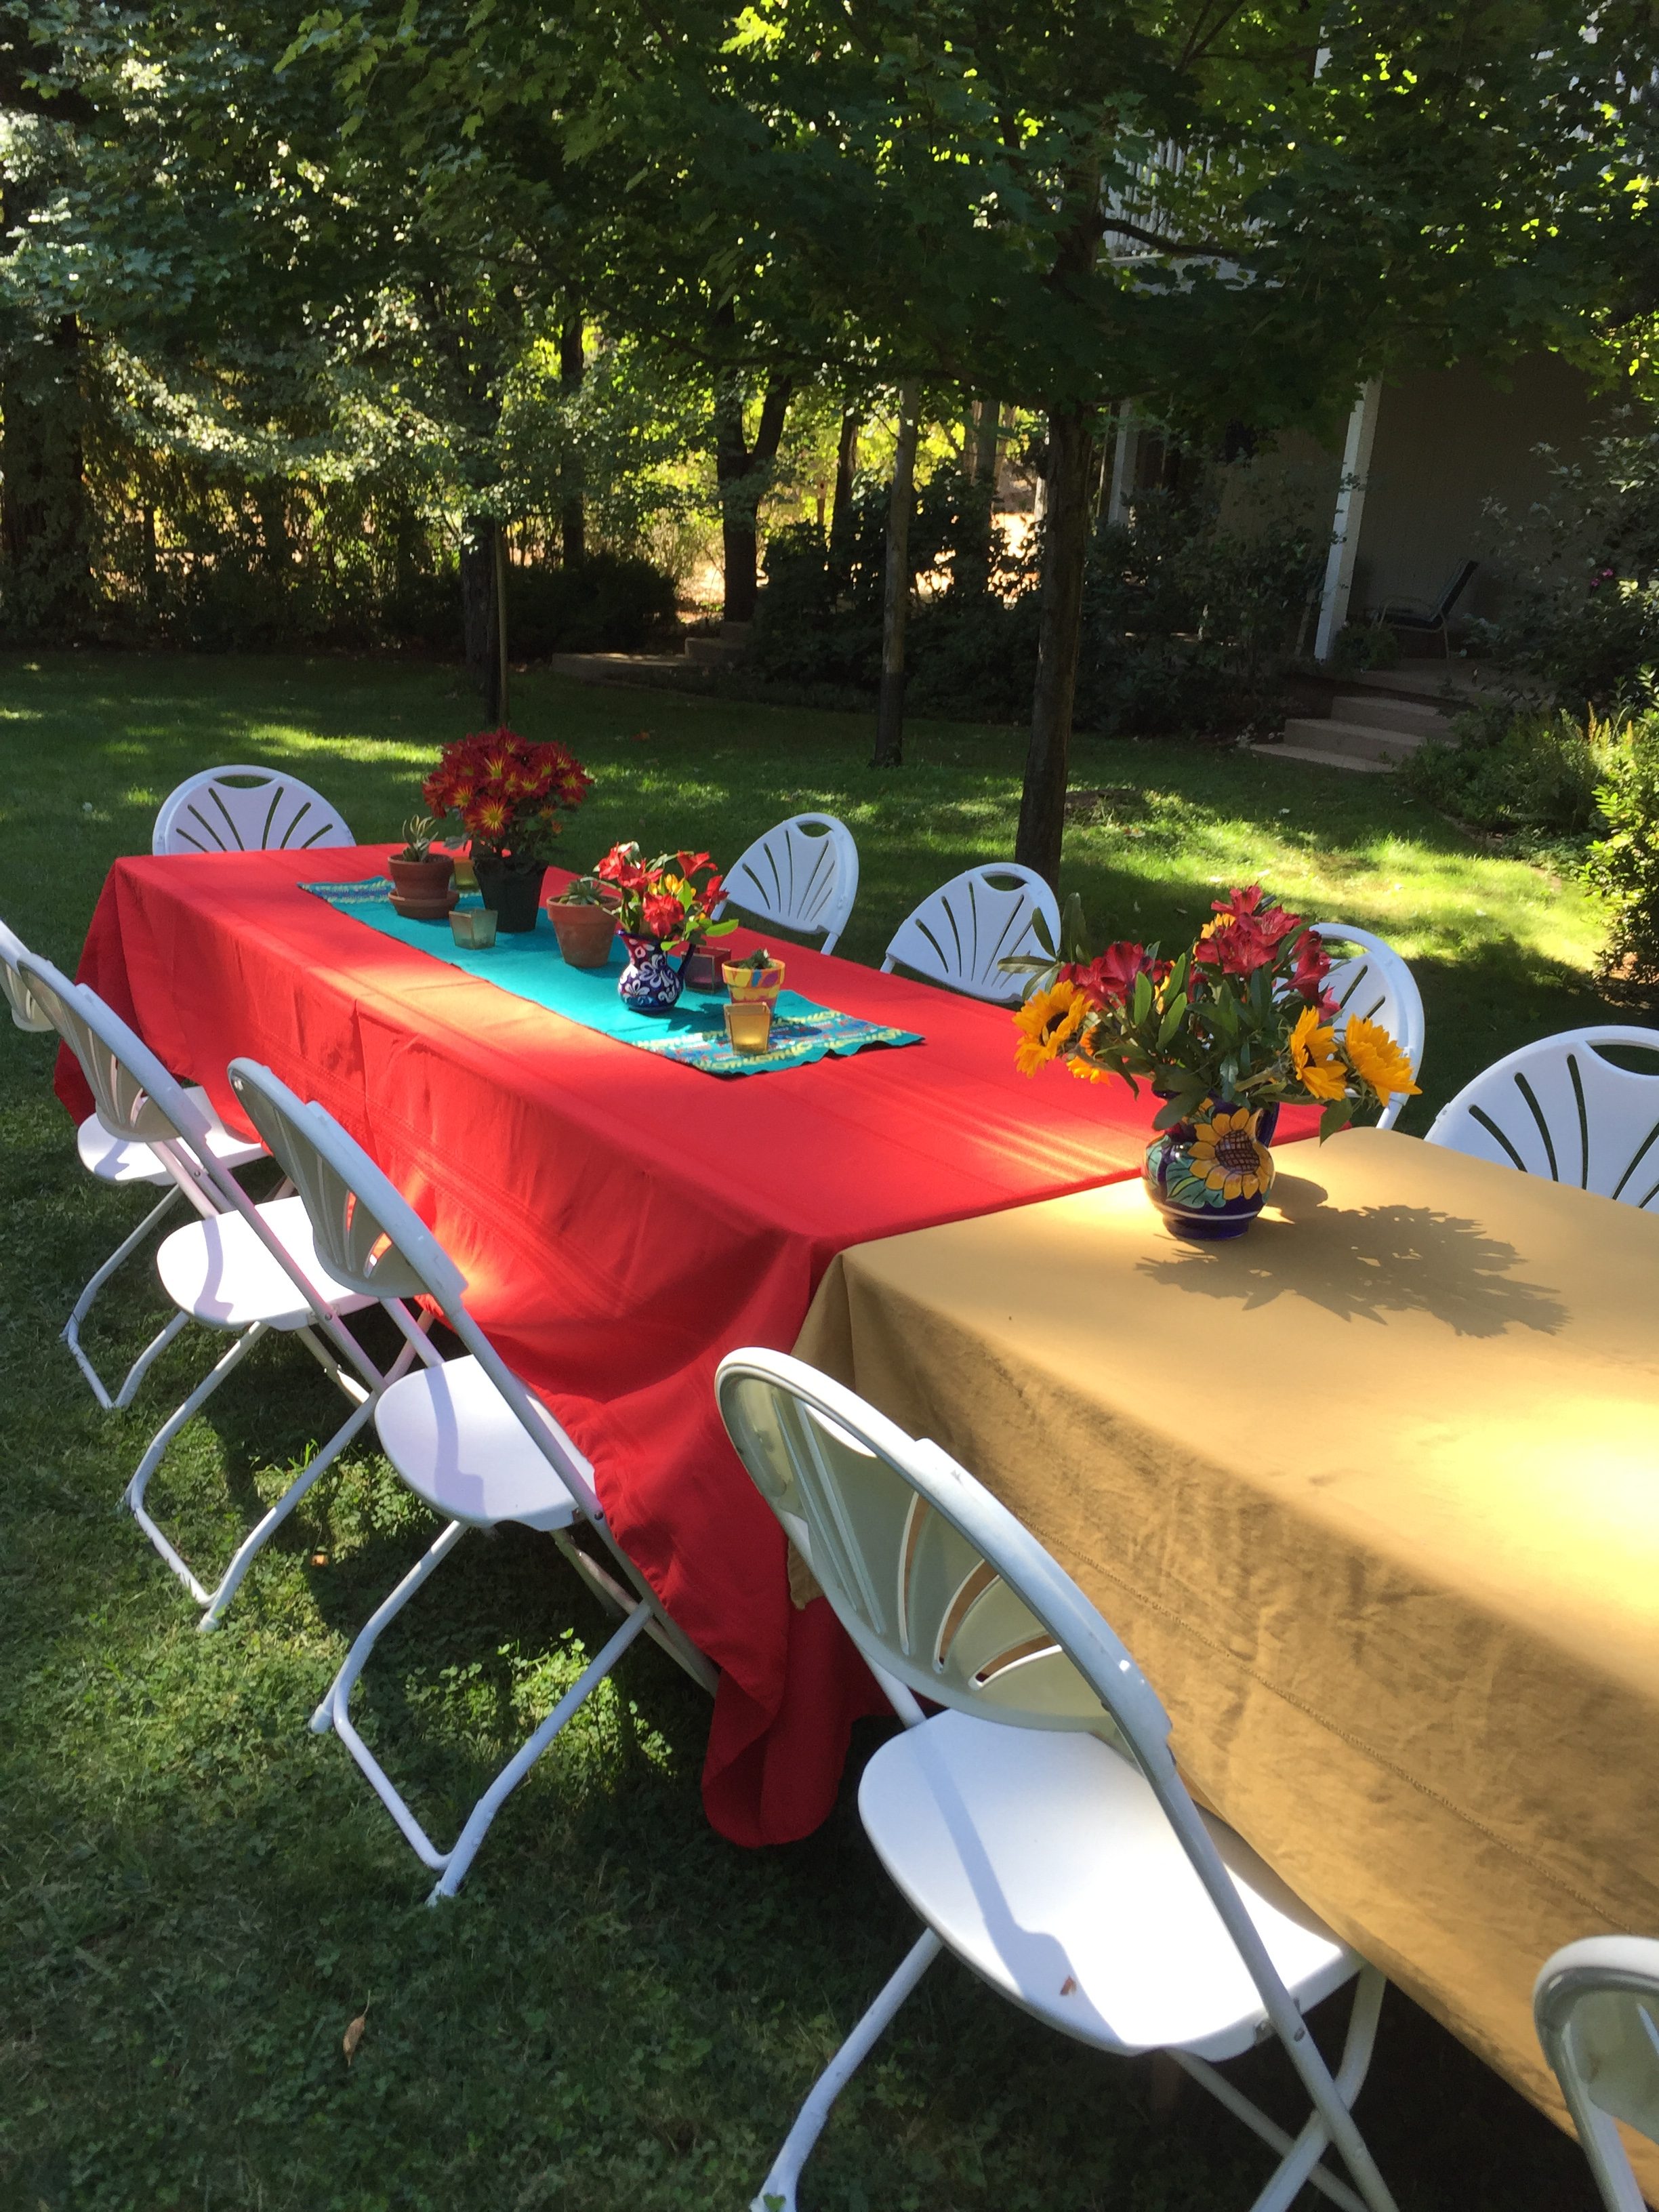
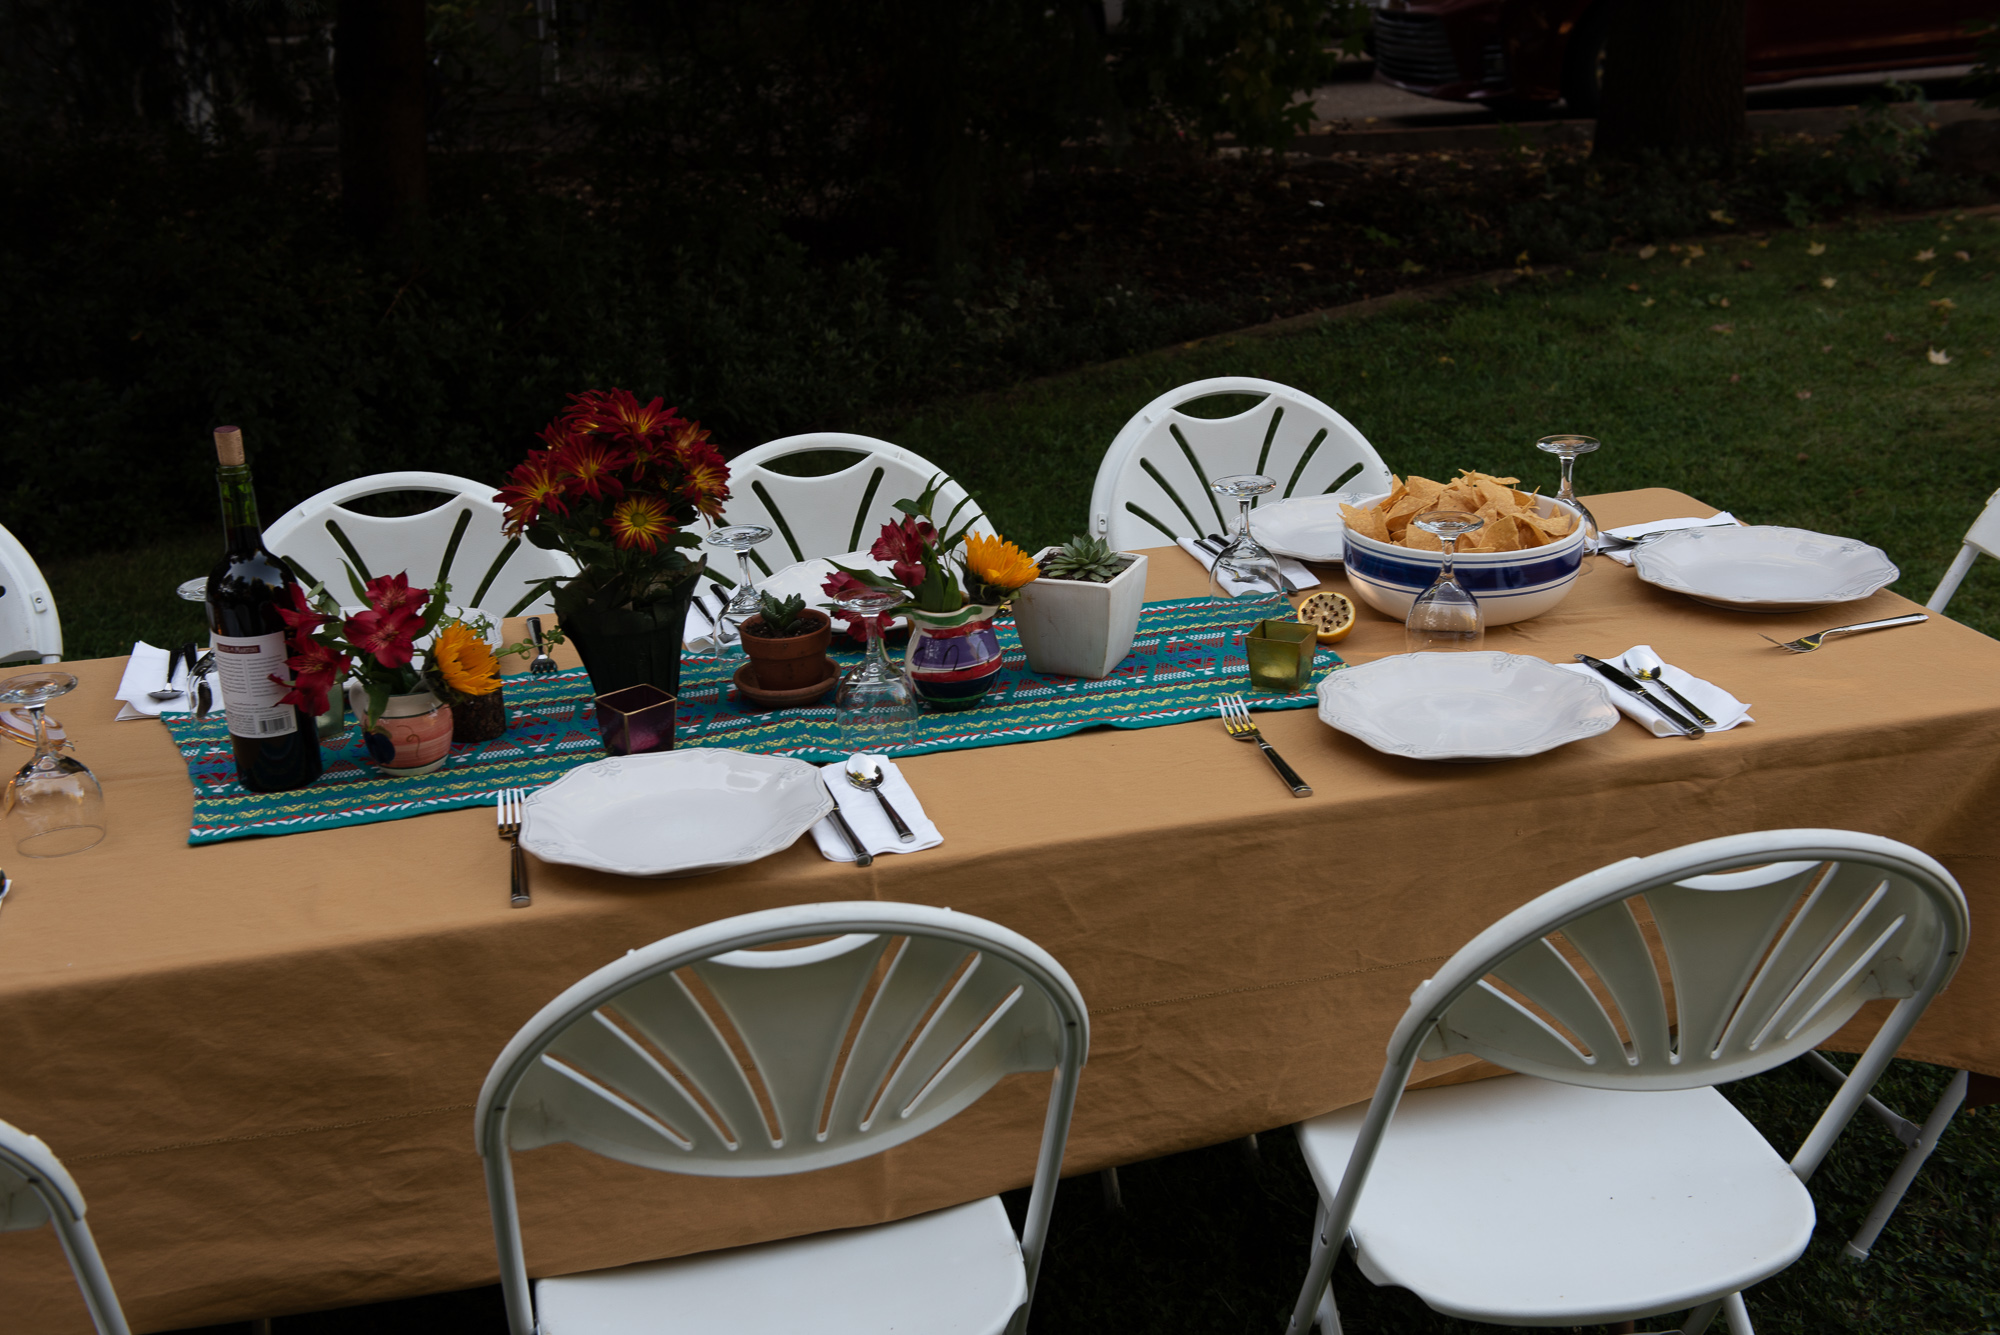
I also grabbed a celery green Kona solid (I don’t know what the real name is – I didn’t check the bolt.) This project took no time at all to make. I cut a rectangle (I think it was 14″ x 50″) and stitched the front and back, right sides together. Once I turned it right side out, I ran two lines of topstitching around the perimeter and called it good. It looks great on their dining room table. However, I removed it after taking the photo so we wouldn’t spill on it before my DIL even gets home!

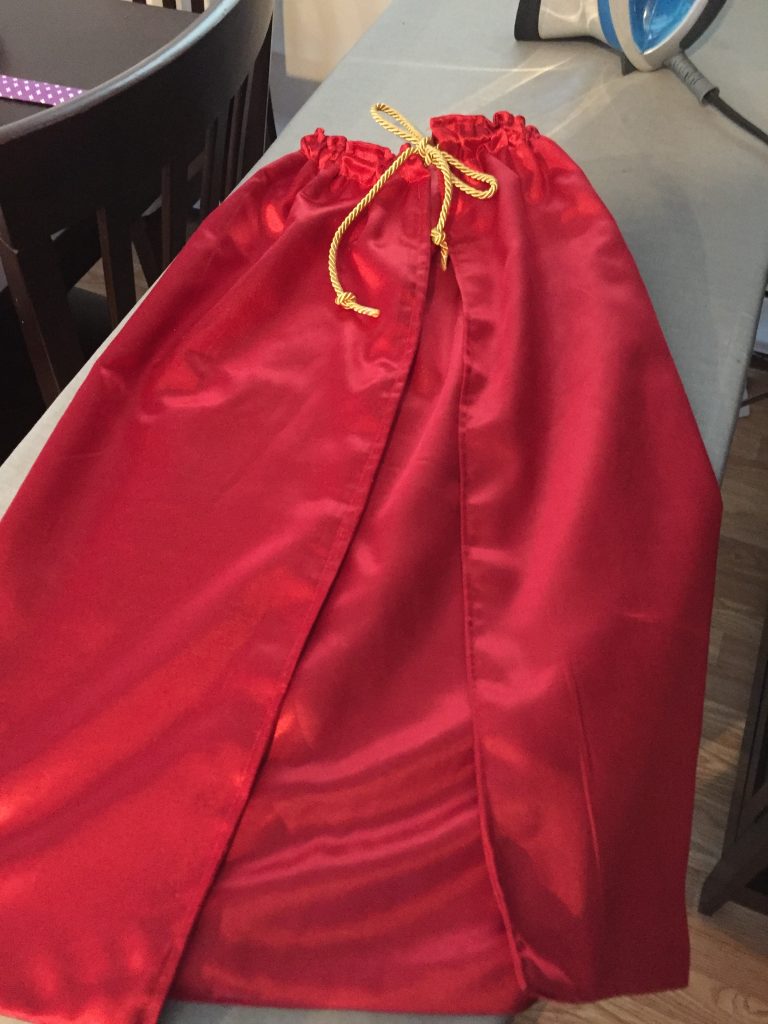
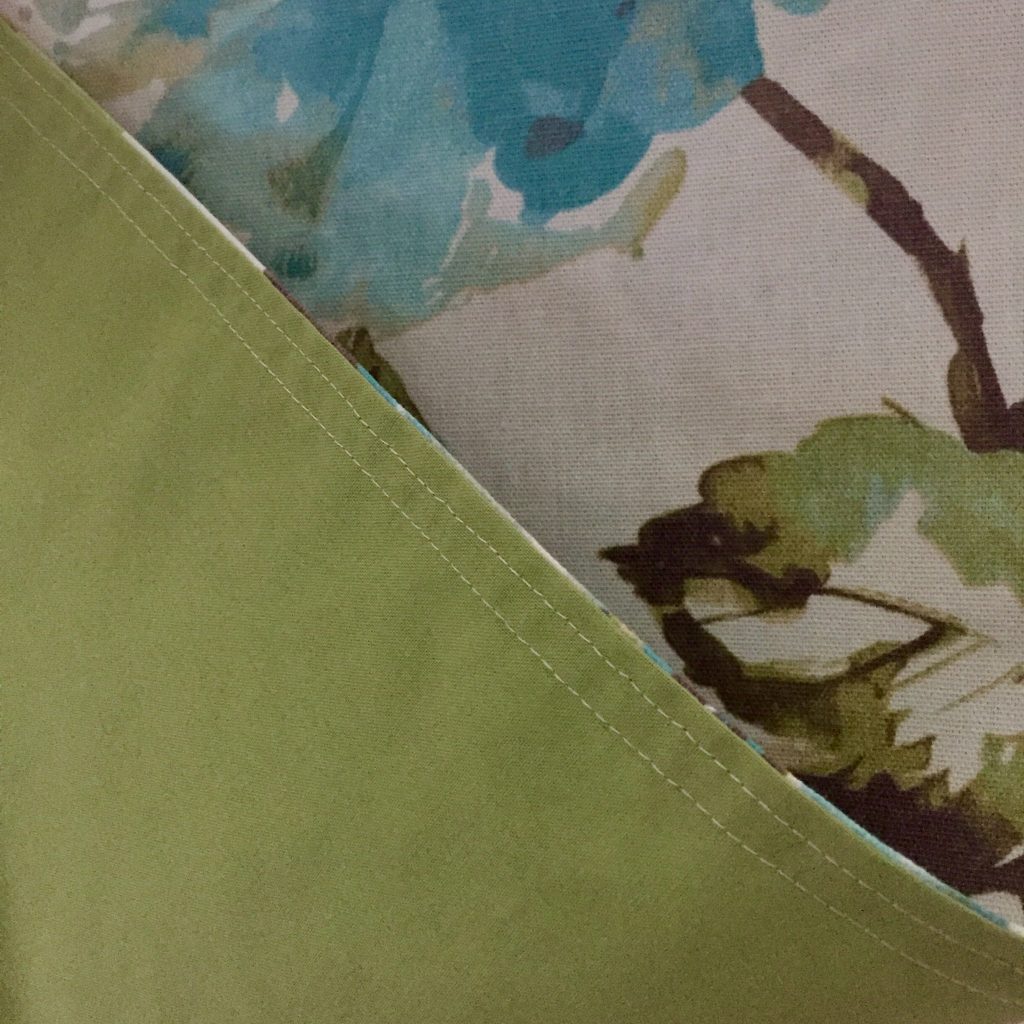
Another project was to make a super hero cape for my grand daughter. Again, this was a very simple project. I bought a 1/2 yard of red satin fabric at Jo-Ann’s and folded it in 1/2, right sides together. I stitched around two sides and turned it right side out. With the folded side and the two stitched sides, it was finished on three sides of the square. After pressing it (on super low heat) I folded the raw edges to the inside and stitched two seams, one at the top edge and one about 2 inches lower. This left an opening at each side to thread the cord through.

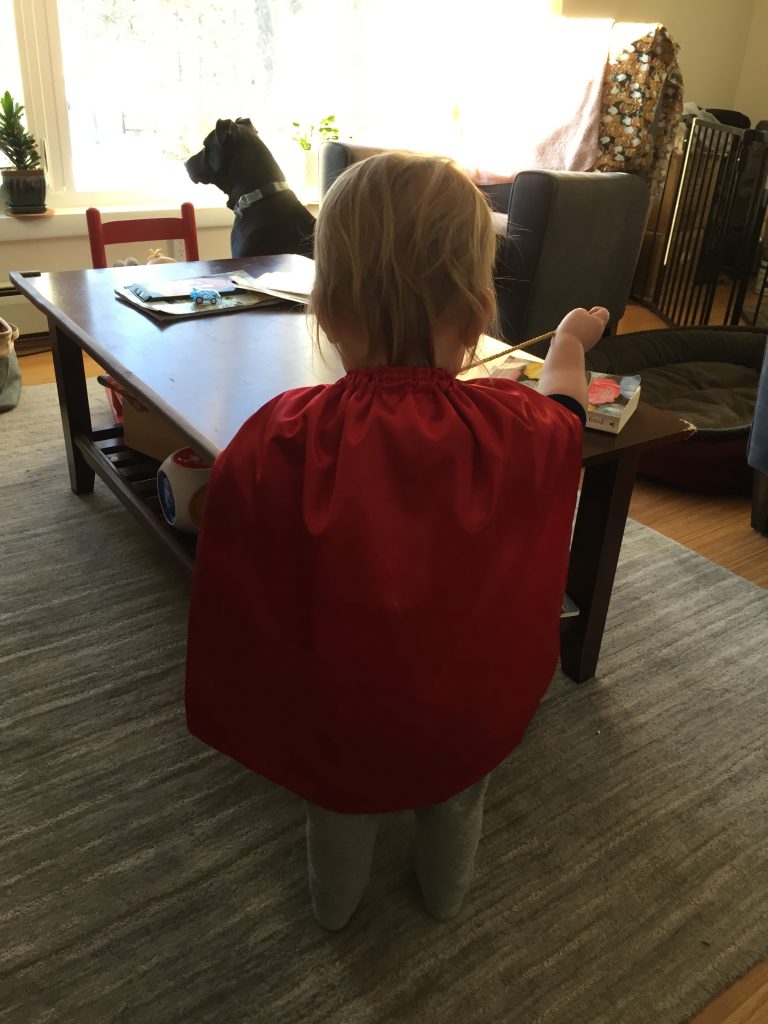
My grand daughter wasn’t thrilled with this. She doesn’t seem to care one way or another about it. However, I suspect she will enjoy it at some point. It is silky and shiny and will catch her eye when she is in the mood for playing dress up.

I have just a few more days with her so I am keeping her home from day care this week. She can go at the end of the week after I leave. Not sure what we will do with our last couple of days but I know it will be fun.

Linking up with the usual parties. Check them out at the top of the page, under Link Ups.

Upcycling a Vintage Caftan

This post is picture heavy and contains just a bit of sewing related info so if you aren’t in the mood, I totally understand!  As you might already know, my son and his fiancé were married on Saturday.  As the parents of the groom, we hosted a rehearsal dinner on the Friday night before the wedding. The couple wanted a Mexican dinner which we had catered by a local Mexican restaurant.  I don’t usually do this but it worked out well for us.  I had so much going on and not cooking the meal myself was so helpful.

When my husband and I thought about the dinner, we really wanted to have it outdoors.  Our front yard is so pretty and very private because we live on rural property and don’t have neighbors close by.  Again, I went the simpler route and rented tables, chairs, dishes, flatware and wine glasses.  This really made for an easy party because we didn’t have to wash dishes afterward.  All that was required was to stack the dishes, glassware and flatware in restaurant style racks and they picked it up in the morning.  With the wedding the next day, it was great not to have to deal with lots of clean up that night.

The fun part was thinking about decorations.  My first thought was I needed two brightly colored table cloths and table runners for the center of each table.

1970’s Caftan

My frugal self sent me over to the thrift stores in town to hunt.  I didn’t find any table cloths but did find a fun vintage caftan.  I decided to use a harvest gold table cloth I already had and a red one belonging to my mom.

My thought was to utilize the stitching somehow by taking it apart and reassembling it.  I cut the bottom off, leaving a border of the green.  I hemmed it all the way around and that created one runner.  For the second runner, I cut a large swath of the solid fabric from the center of the dress.  Then I cut the sleeves off so I could use the decorated portion of the sleeves. The width of the second runner was determined by how wide the stitching was on the deconstructed sleeves. I attached one section of the decorative stitching to each end of the solid color fabric so it ran vertically on each end.  I did have to block the runners and starch them to get them to lay (mostly) flat.  These had been laundered and worn quite a bit so the fabric was not at all square.

The runners are different but coordinated.  (I didn’t take pictures of just the runners but this  sort of gives you an idea.

Here is the other one.

To finish things off, I potted little succulents in small clay pots gleaned from my garage and. my mother’s.  I added votive candles and small vases with Alstroemeria and dwarf Sunflowers. The vases are actually small pitchers I bought during a family vacation in Mexico a long time ago.  We also tucked in some lemon halves that had a large number of whole cloves inserted across the cut side because we read that it might repel the Yellowjackets.  (At this time of year, we often have yellow jackets and they are so annoying when we eat outdoors.  My husband put about 1/2 dozen open cans of cat food and tuna in strategic locations around the perimeter of the lawn and this proved to be a good distraction for the bees.  They were not a problem during the dinner). The lemons looked nice but I highly doubt their scent did much to help us.

Of course, way too much food!

The dinner was wonderful.

Toasting my son and his fiancé

We celebrated the bride and groom with toasts, laughter and great food.

Decorating the arbor on Saturday morning.

Saturday morning we all headed over to the venue (maybe ten miles from home) and got everything ready.  My husband built an arbor for the kids to stand in front of for the ceremony.  Now they will have it to put in their yard as a remembrance of their day.  The bride wanted it draped with soft, flowing tulle.  I found two colors at JoAnn’s and bought 15 yards of each the Eggnog and the light Peach colors.  My husband patiently draped and re-draped it as we all stood on the ground giving direction. (You can imagine, right??)

It was a breezy day which was nice and it made the tulle float a bit.

My daughter-in-law’s Jackie O look. She is so funny.

Saturday morning was really a fun family time.  Everyone was so excited about the wedding and just enjoying each other’s company.

The guys set up the chairs while we decorated the arbor.

This guy loves being a father!

My grand daughter had so much fun running around but we had to keep close track of her because there is a creek running through the property and a large pond as well.

Time for coffee and scones.

Once the arbor was set up and the chairs in place, all we had to do was place the tables where we wanted them.  Then the wedding coordinator and the caterers came and set the tables.  I wish I had a picture of this before the ceremony started.  I am sure the photographer got some though.  I will share them when we get to see them (likely a several weeks from now.) Spending the morning of the wedding day together getting things ready was so much fun.

I will share some wedding pictures in a separate post.  Everyone has gone back to their real lives.  The bride and groom are taking their honeymoon in May so they are back to work now.  My plan for this morning is to tackle some housecleaning.  It is a complete disaster!  Then I need to get back to work.  I received a box of fabric yesterday and there is another scheduled to arrive this afternoon so I have lots to do.  If you have been waiting for Carrie Bloomston’s new line, Wonder, it should be listed by tomorrow, maybe late this afternoon if I can get to it!  It is just fantastic.

Linking to my favorites!  Including a new link up called Brag About Your Beauties, hosted by Michelle of From Bolt to Beauty. Come take a look – there will surely be something to inspire you!


Change of Plans

The day we were to leave for our vacation in Maine, I decided I really wanted to take a hand stitching project along with me as I was fairly certain Ray wouldn’t be too keen on my bringing along a sewing machine. He can be so darn unreasonable. Ha ha. We were to be gone for two weeks which is far too long to be without needle and thread. I was searching through the closet in my sewing room and decided to change my plan for a UFO that I had.

Here is the back story. In July, 2014, I posted about a packet of scraps I ordered online. It turned out to be strips from the Moda line called Lexington, designed by Minnick & Simpson. I planned to make a string quilt. Here is a picture of some of the blocks. Side note:  wow, that is a horrible picture. I am happy to see that my photography has improved over time. 😉blue tan quilt blocks 2

Each string block finished at seven inches. After making about 20 blocks I set it aside and have not touched it since. I am not sure why, but I lost interest in it. I really like the colors in the project though. I decided to repurpose the blocks that were made and quickly sewed twelve blocks together to use as a table runner. Using twelve blocks gave me a runner that was about 13.5″ x 40″ which is a nice size for my table.

I cut a piece of batting from a bag of batting scraps that I had and also a piece of backing. I love the backing – I purchased it a couple of years ago at a quilt shop in the bay area. My sister, Cathy, found it on a sale table for me.

image

It has been on the shelf for a bit and I was happy to find a project to use it in. After stitching up the blocks, I quickly sandwiched everything and ditch stitched it down the center and across the width at each seam. I didn’t want to pack a hoop to quilt it and if it was stitched already, I knew it would be stable to hand stitch.

This was such a nice way to practice hand quilting. I have not done a lot of handwork. I did quilt a pillow last spring but since then, not so much. I brought my Hera marker and a square ruler with me, hoping I could figure out some sort of design once I got going. I also brought some basic hand quilting thread as well as Perle cotton.

image

There are three centers and on each, I stitched a flower. In the center I placed a cluster of french knots. To create the flower petals I used my Hera marker and traced around the top of a coffee cup. Once I got going, I could just freehand them but I needed a guide to get me started.

In each triangle I echoed the lines of the triangles with straight lines. I like the simplicity of the quilting. While we are looking at this picture, let’s all ignore the fact that the point isn’t even close to matching properly. Thank you kindly.

IMG_6735

The  table runner is very pretty and I look forward to using it later this fall. It feels autumnal to me. I love the binding. This bit of fabric was in my stash and works perfectly. I definitely enjoyed the hand quilting and will continue to practice my stitching.

IMG_6714

I still have a few more of these string blocks which will likely sit in that lonely pile where orphan blocks go until I find a use for them.

Hope everyone has a lovely weekend which involves at least a little time in the sewing room. Linking to my usual favorites. Find them at the top of the page, under Link Ups.

day1_quilt craftsy

In case you are searching for that perfect class to take on Craftsy, there is a sale running this weekend on their most popular classes. It’s a good time to take advantage of a great deal and learn something new.

As a Craftsy affiliate, I will earn a small portion of any sale made by clicking through the links on my page. If you choose to make a purchase, thanks a bunch!

Squeaked in a Finish

Crazy busy around here this week. We are definitely making progress on the house up in Downieville but it takes time and effort. Much more on Ray’s part than mine but still… On Wednesday I took a drive up to the house (it takes just over an hour’s time to get there) to let in a guy to finish the drywall. He textured the walls which took the better part of the afternoon. While he was working, I took advantage of some gorgeous weather and went for a hike. I was a little bit nervous about hiking alone. I don’t have cell reception and no one knew where I was going. I played it safe and didn’t go too far down the trail. I did find a new one though and the water was gorgeous. With the drought, the river is extremely low. Even so, it was breathtaking in spots.

image1 (5)

Spending the afternoon on my own up there was really nice. I haven’t honestly spent very much time alone. Four kids will do that to a person. When I got back to the house I was texting with  Ray and sending progress pictures of the work being done. We decided I should spend the night so I could: 1.) Continue this alone thing that was going so well – and – 2.) prime the bedroom once the texturing dried. The only issue was that I didn’t bring extra clothes as this was completely unplanned (spontaneity isn’t my strong suit either, so this was a good thing for me to do!)  My husband had extra clothes up there. He is a planner and is always well supplied with whatever he needs. I dug into his stuff and came up with a lovely pair of jeans and a tshirt of his to use for painting. Just as a point of reference, he is 8 inches taller than me and probably 80 pounds heavier. As long as no one came to the door, I was pleased with the look I was sporting.

image2 (7)

I know, it was an amazing look. I got the room primed and ready for paint. We will go up later this afternoon and finish up the painting. One step closer to having a bedroom. Wahoo!

While all of this was going on, I did manage a quick finish. I completed the chevron table runner.

image1 (4)

The quilting is inspired by an older quilt along on www.christaquilts.com. I reversed it though and pebbled the white sections and straight-lined the chevron. I didn’t want to pebble over the print fabric or it would have been too busy. The pebbling looks great on the white though. I combined the two stitches and ran some straight lines along the border with circles interspersed on those lines.

image2 (4)

You might remember that the chevron fabrics are from a Joel Dewberry line. The backing is  called Sphere, a part of Moda’s Zen Chic line. That was scored during a 50% off sale a while back.

image1 (3)

As usual, the binding is my favorite part. I used Daysail, by Bonnie and Camille. I love the stripes. I had originally planned to make a bias cut binding but decided I liked the standard cut better for this project. It is adorable; the blue and red stripe plays well with the Joel Dewberry prints. This is one of three table runners that I am making for my April goal for ALYOF.  The second one is nearly done as well, so I am making progress. This table runner is listed in my Etsy shop.

Saturday is my 17th wedding anniversary. Time has flown by. We are celebrating in high style, because that’s the kind of couple that we are. The plan is to paint the bedroom and hopefully finish up some electrical work in there. Jealous, aren’t you? Enjoy your weekend, whatever the plan!

Linking to Crazy Mom Quilts and Let’s Bee Social, my two favorite linky parties. You’ll find these links at the top of the page, under link ups.


Dabbling with Dresdens

I have been playing with Dresden plates this week.  Never have done this because I thought it would require a patience level that I usually don’t have. I was happy to learn that this isn’t so.  Dresden’s look so precise but they are actually quite easy, time-consuming, but still easy.  There is a pattern in the most recent Love of Quilting magazine for a table runner with three dresdens placed on it. I made it exactly as the pattern instructs.

Cutting the petals takes a bit of time.  I am wondering if I need to purchase a smaller rotary cutter. I have just the one (45mm) but maybe I need the smaller one for finer piece work.  Does this ring true to any of you?  Let me know how many rotary cutters you use and the best size – or is there little difference??

dresden cutting

Learning something new is the greatest.  With this project I learned the dresden block as well as tried chain piecing for the first time.  What a timesaver.  Plus it saves on thread.  I don’t usually think about that part of it, but really, I am always buying thread.

dresden chain piece


It all came together really quickly.  So cute!!

dresden layoutThe pattern calls for borders that are 3 1/2 inches in width.  After attaching them, I think they are too wide. The runner will finish out at 45 x 20 inches. That is much bigger than I usually make for a table runner. I haven’t decided if I will leave it this large and hang it on the wall.  Or I will trim the borders and make it fit my table better.  Thoughts on this??

dresden with borders

The green polka dot print will be used as the backing as well.  That was a great thrift store find at only $4.00 for two yards.  Not sure what I will bind it with. I have been trying to decide how best to quilt this project.  I want to enhance the dresdens and do a light meandering on the white backing.  Looking through Flickr is always inspiring and I found this idea.

dresden sample quilting

It is perfect for the dresdens though it looks a bit intense for my skill level.  I may have to tone it down a bit.  It’s a good place to start though.

Hope you are all working on something fun!

Linking up with TGIFF, CrazyMomQuilts, and RichardandTanyaQuilt!  Happy Friday!