Tag Archives: tablerunner

Upcycling a Vintage Caftan

This post is picture heavy and contains just a bit of sewing related info so if you aren’t in the mood, I totally understand!  As you might already know, my son and his fiancé were married on Saturday.  As the parents of the groom, we hosted a rehearsal dinner on the Friday night before the wedding. The couple wanted a Mexican dinner which we had catered by a local Mexican restaurant.  I don’t usually do this but it worked out well for us.  I had so much going on and not cooking the meal myself was so helpful.

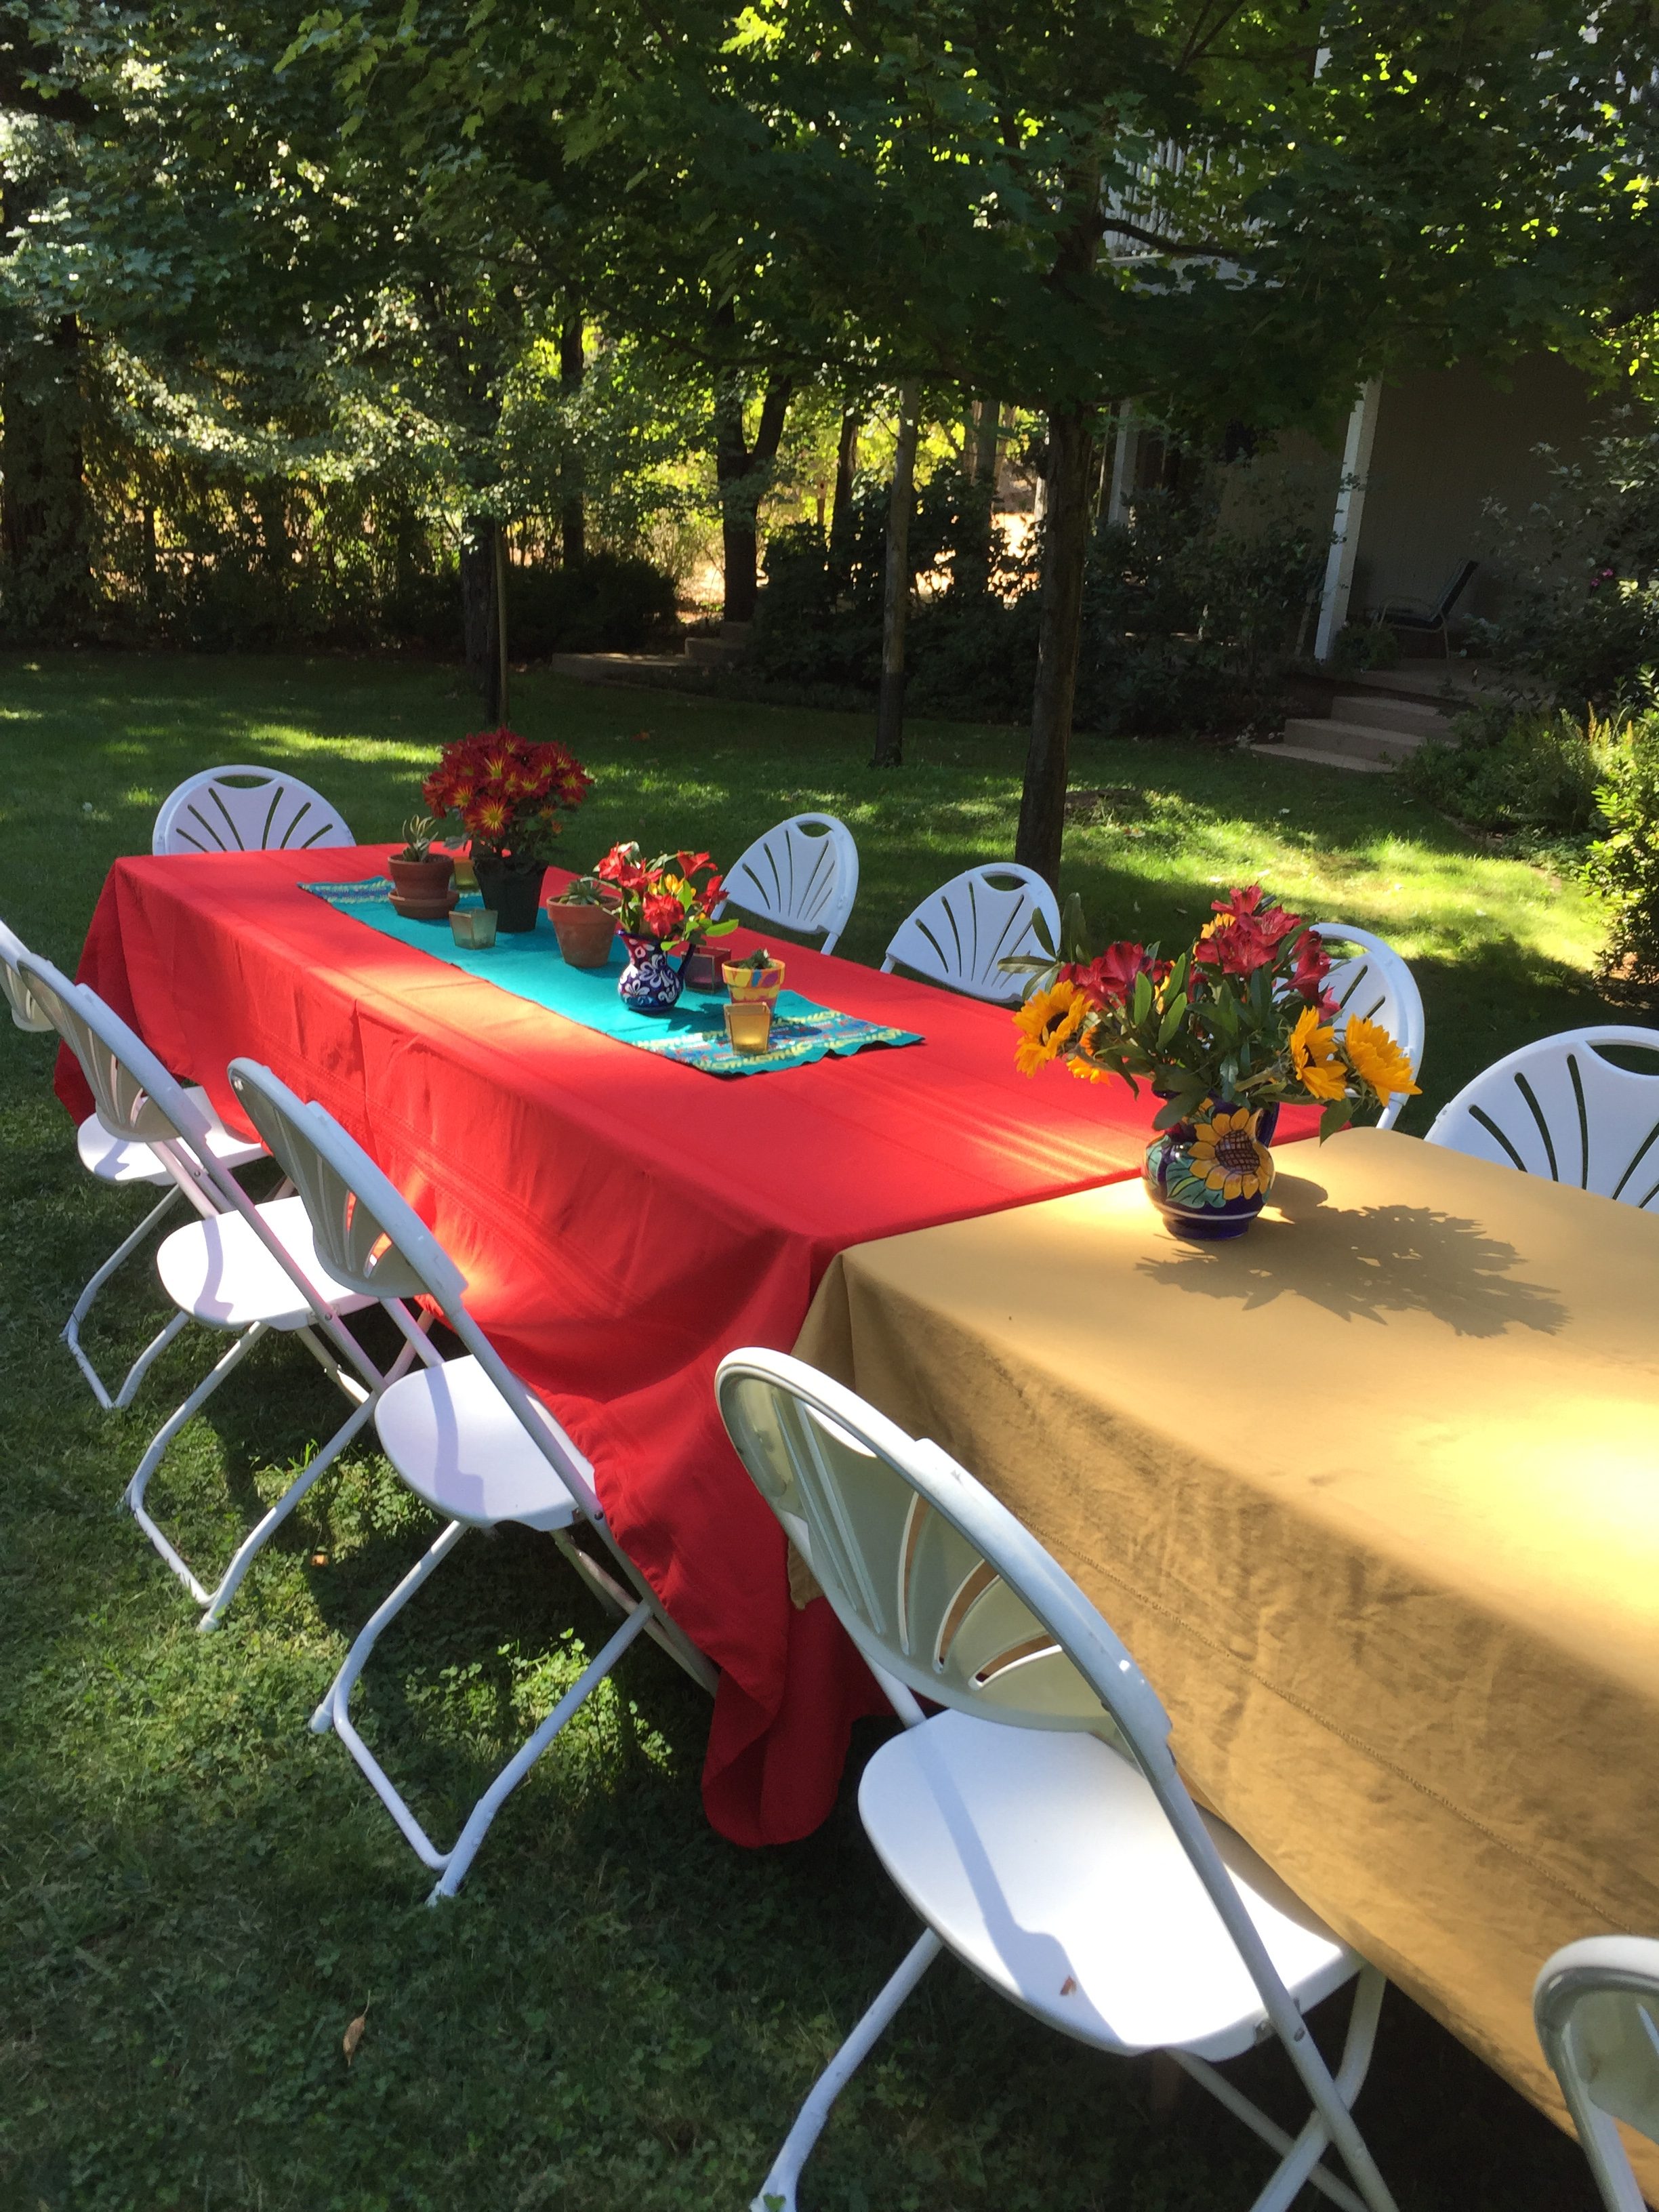
When my husband and I thought about the dinner, we really wanted to have it outdoors.  Our front yard is so pretty and very private because we live on rural property and don’t have neighbors close by.  Again, I went the simpler route and rented tables, chairs, dishes, flatware and wine glasses.  This really made for an easy party because we didn’t have to wash dishes afterward.  All that was required was to stack the dishes, glassware and flatware in restaurant style racks and they picked it up in the morning.  With the wedding the next day, it was great not to have to deal with lots of clean up that night.

The fun part was thinking about decorations.  My first thought was I needed two brightly colored table cloths and table runners for the center of each table.

1970’s Caftan

My frugal self sent me over to the thrift stores in town to hunt.  I didn’t find any table cloths but did find a fun vintage caftan.  I decided to use a harvest gold table cloth I already had and a red one belonging to my mom.
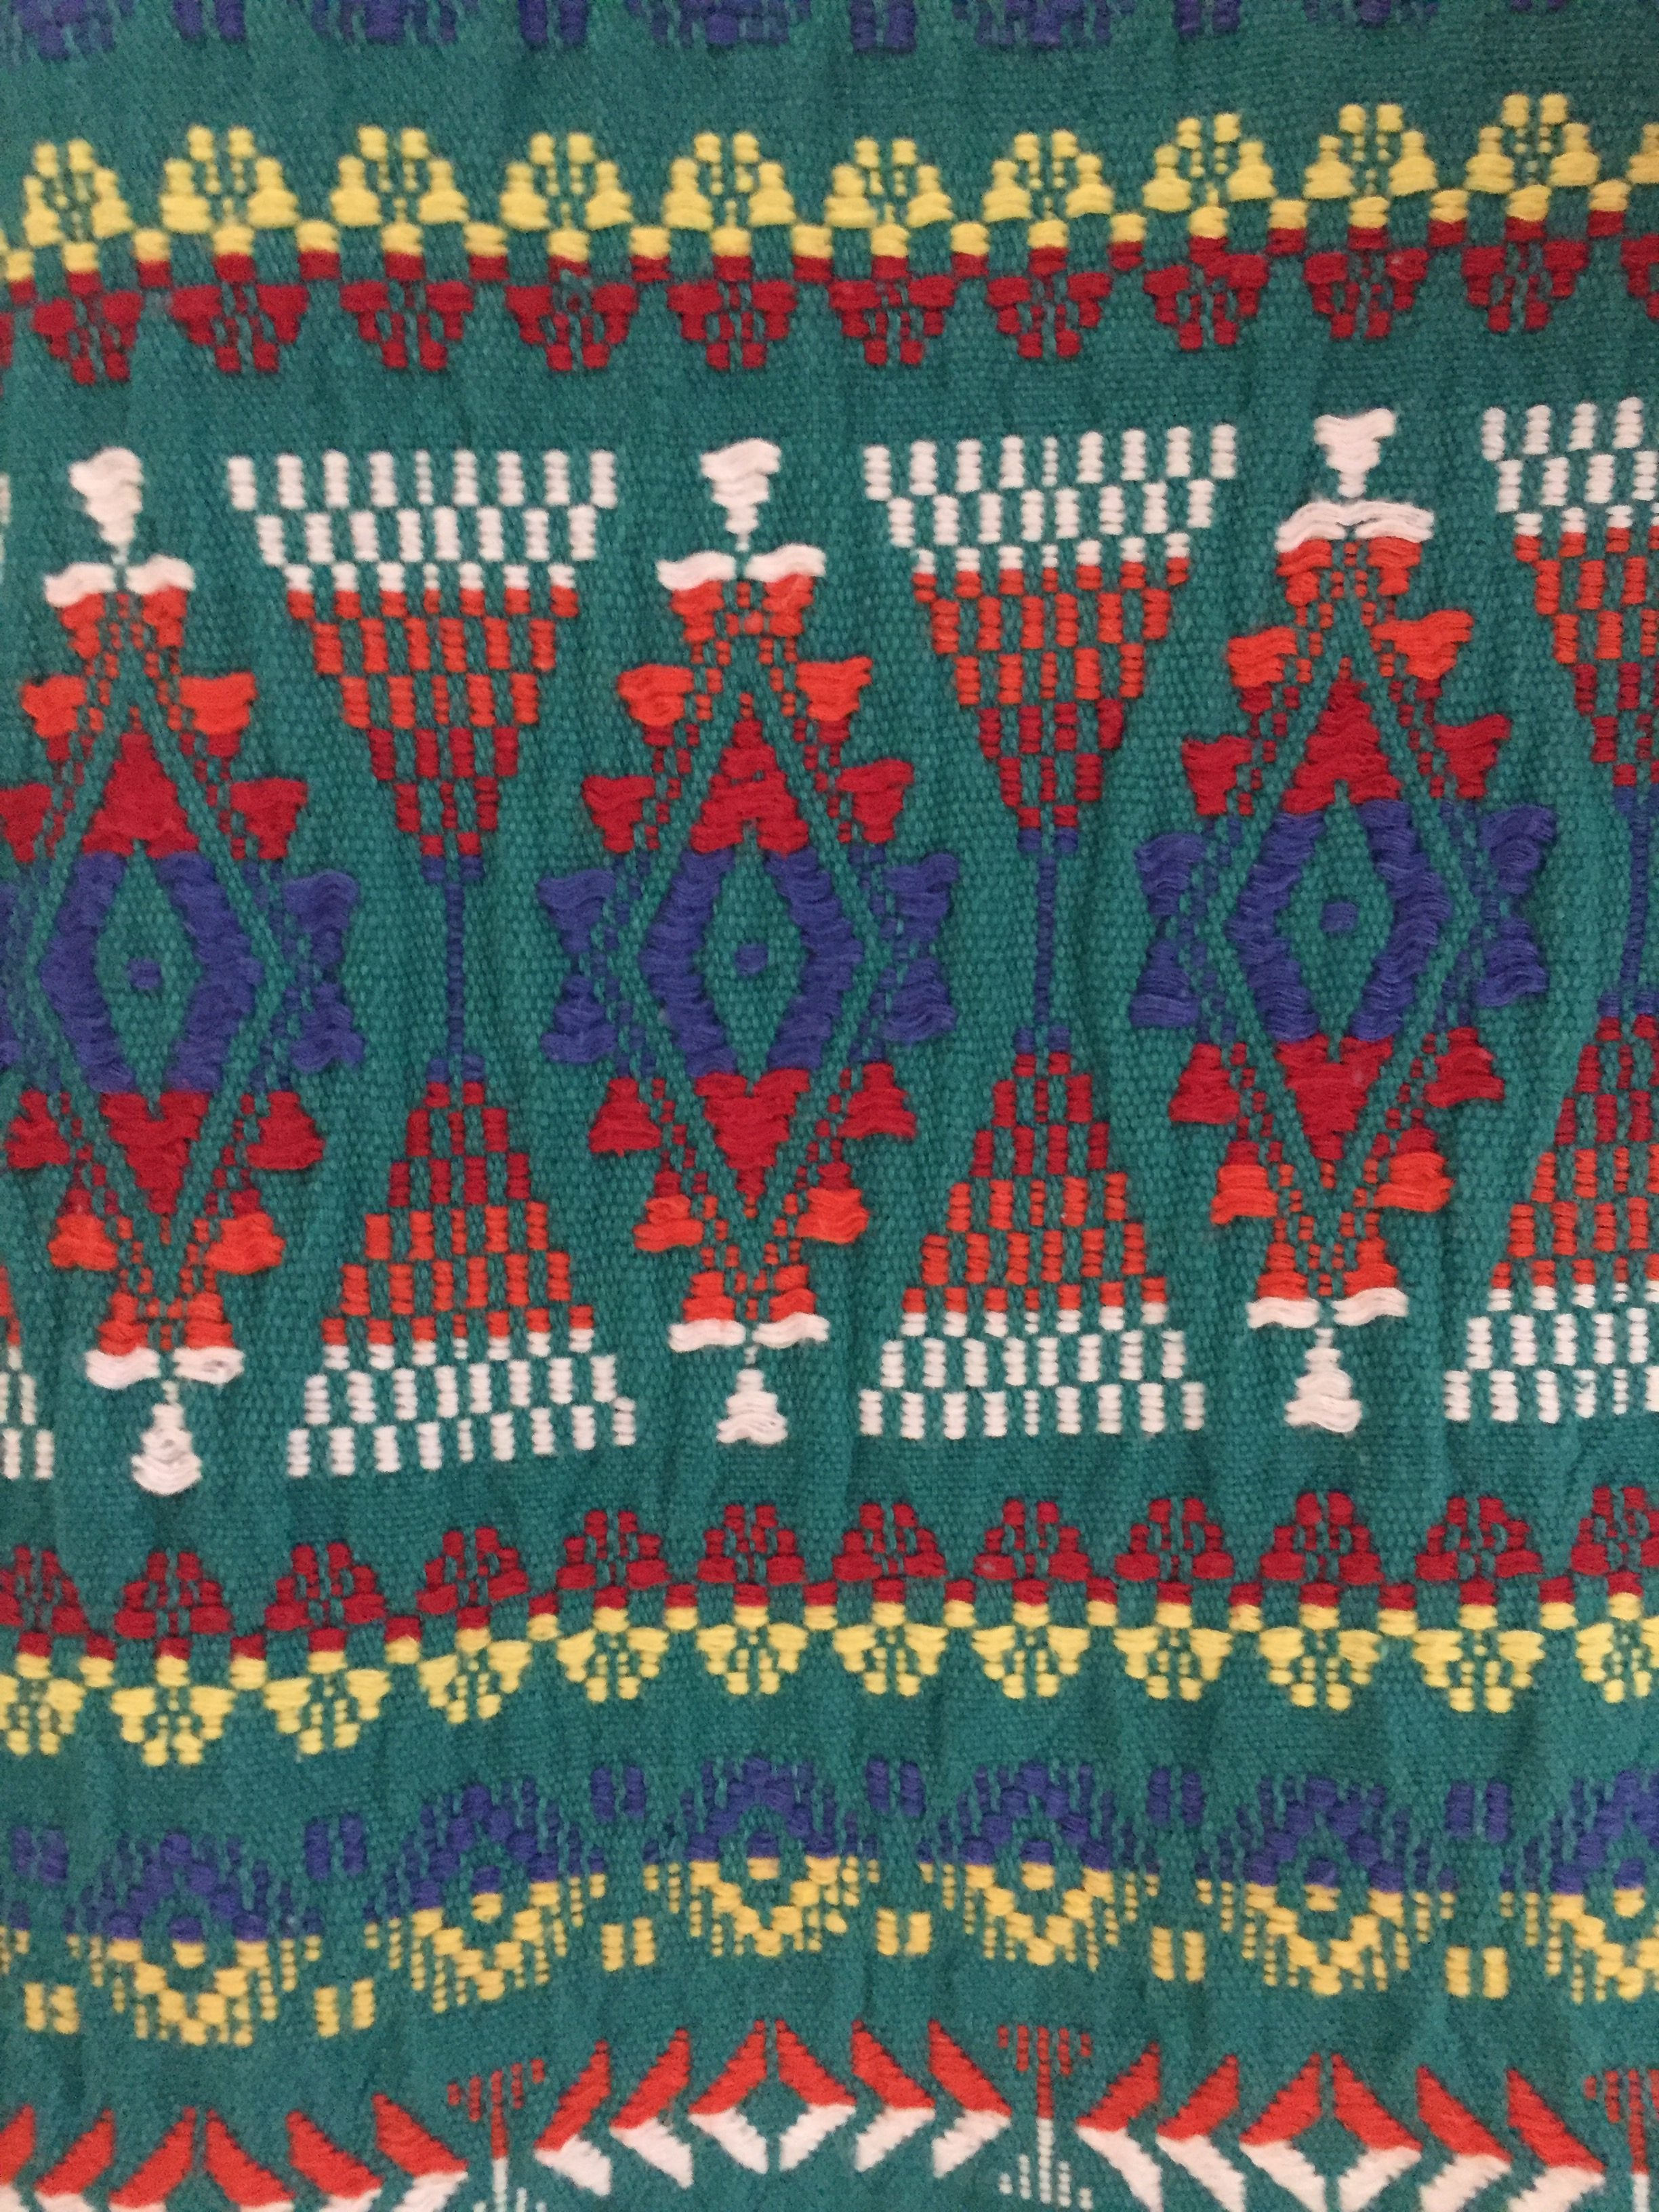
My thought was to utilize the stitching somehow by taking it apart and reassembling it.  I cut the bottom off, leaving a border of the green.  I hemmed it all the way around and that created one runner.  For the second runner, I cut a large swath of the solid fabric from the center of the dress.  Then I cut the sleeves off so I could use the decorated portion of the sleeves. The width of the second runner was determined by how wide the stitching was on the deconstructed sleeves. I attached one section of the decorative stitching to each end of the solid color fabric so it ran vertically on each end.  I did have to block the runners and starch them to get them to lay (mostly) flat.  These had been laundered and worn quite a bit so the fabric was not at all square.

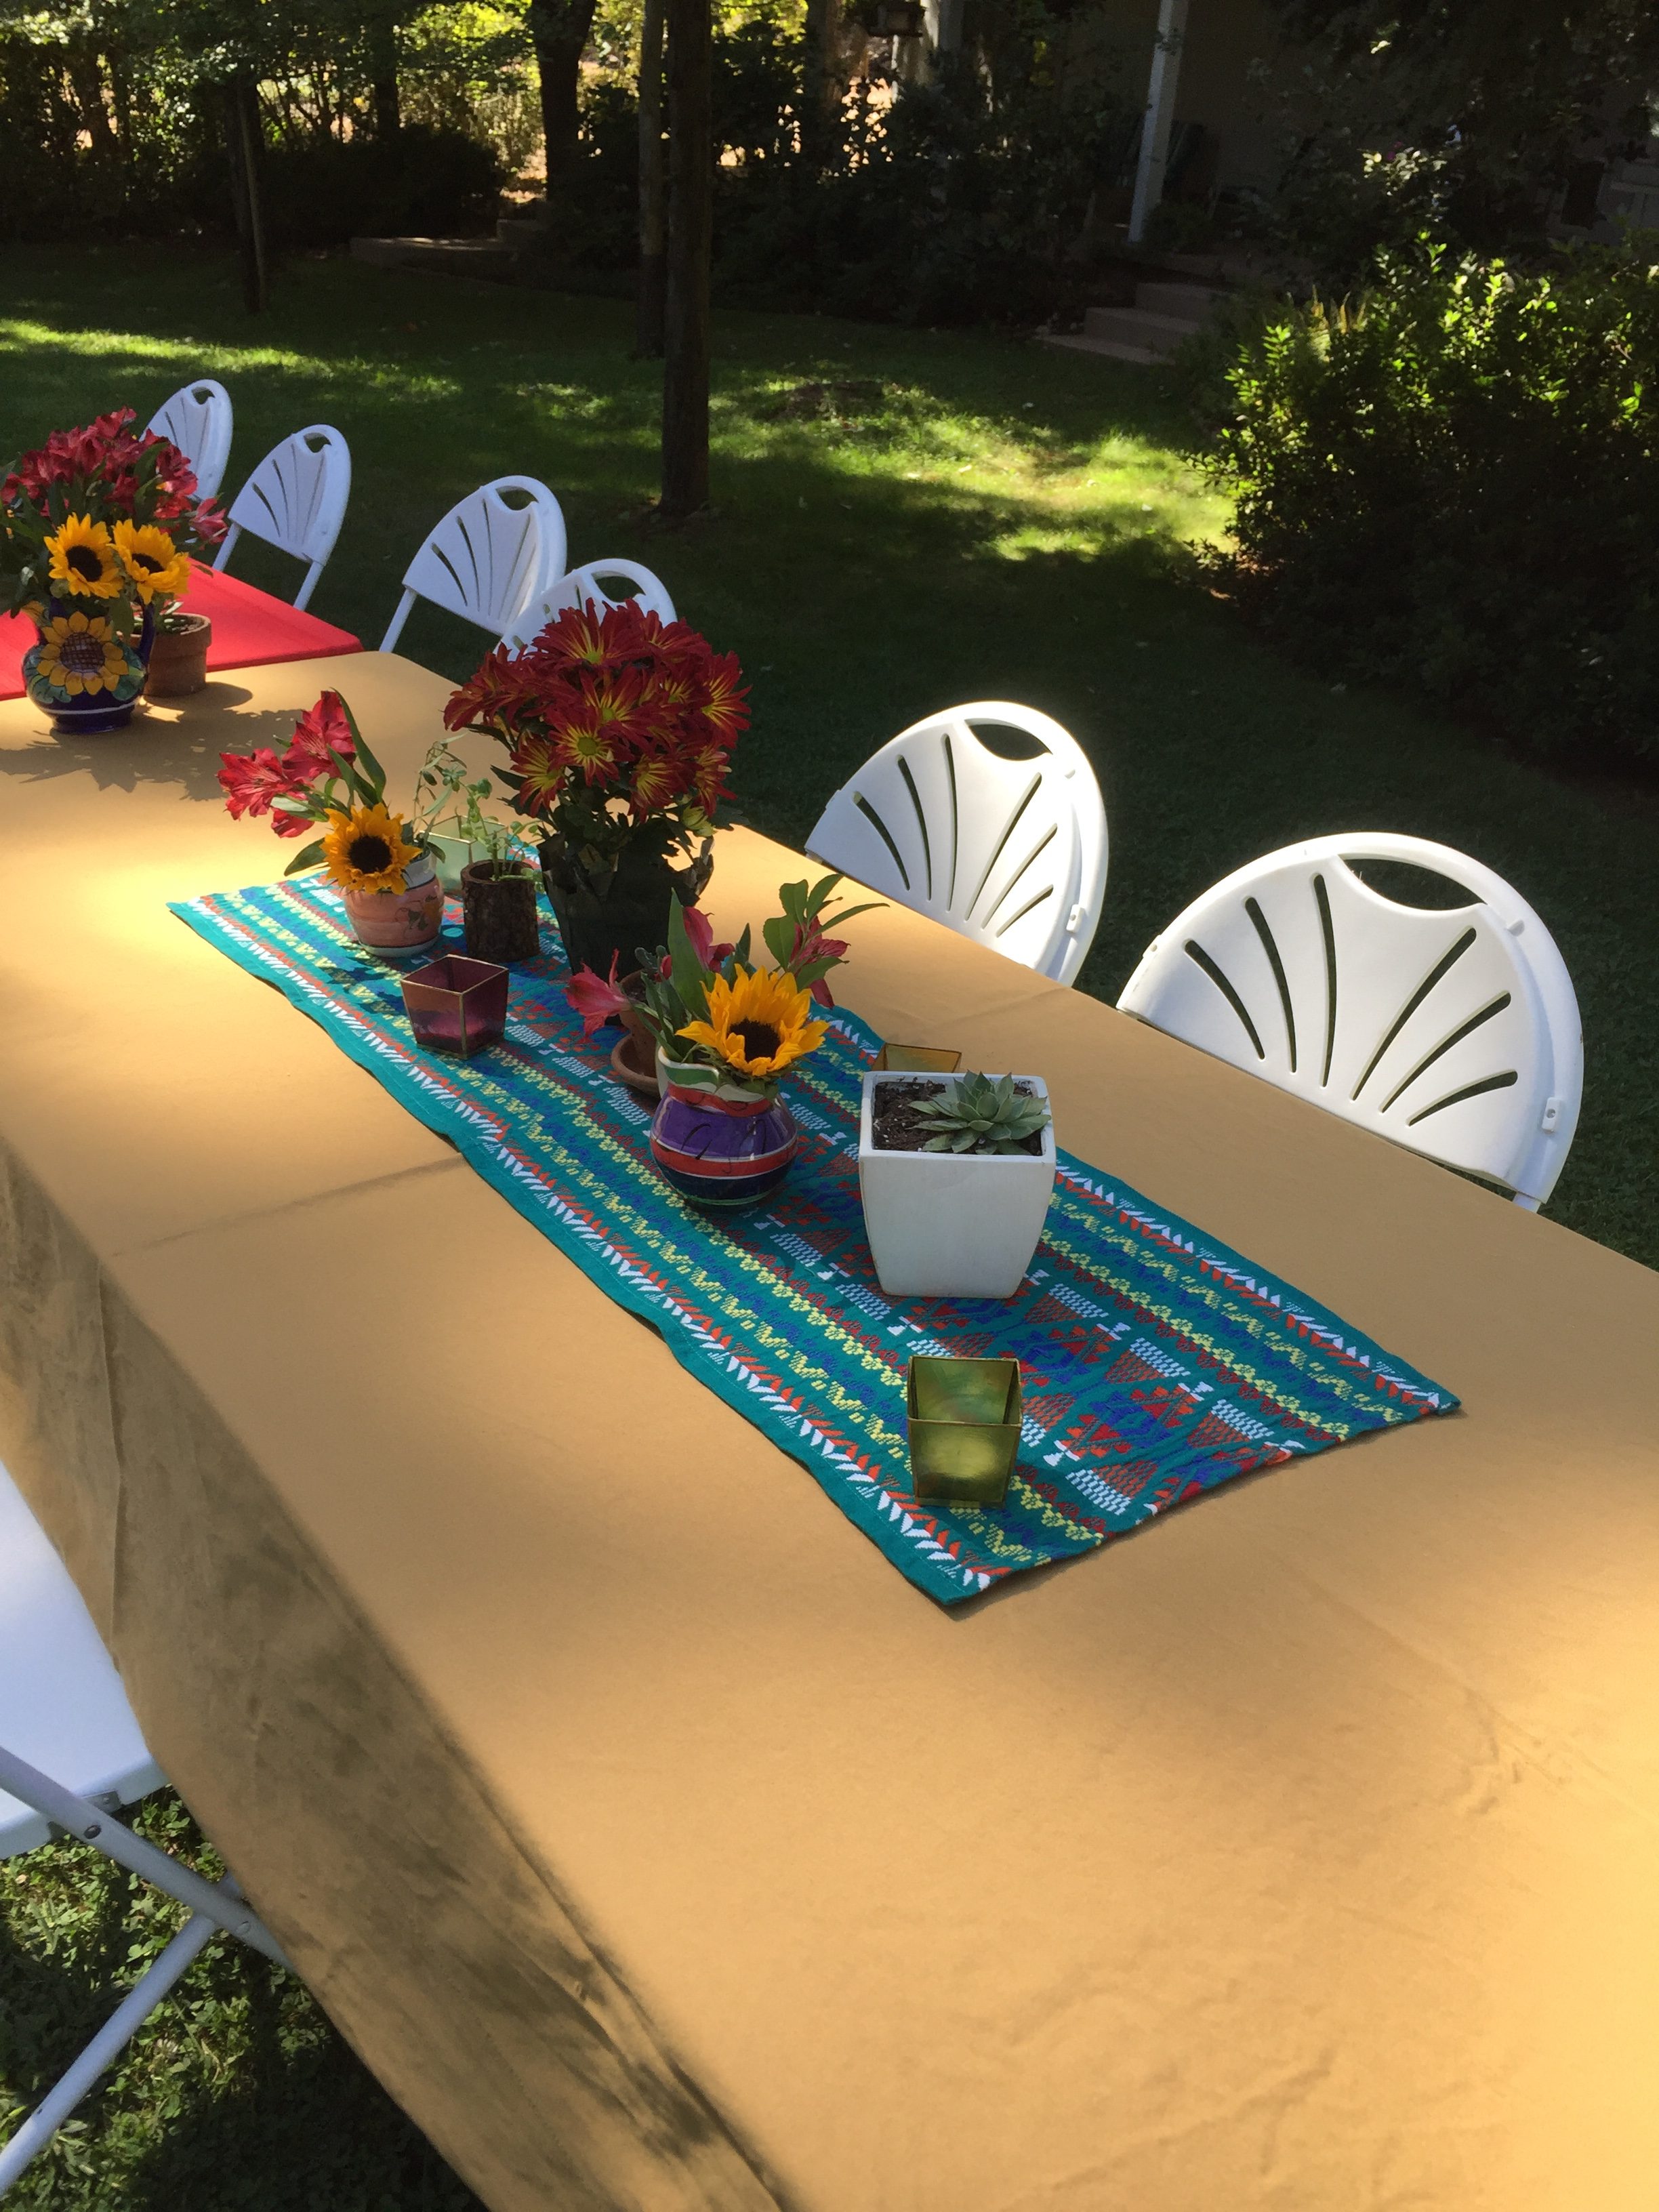
The runners are different but coordinated.  (I didn’t take pictures of just the runners but this  sort of gives you an idea.

Here is the other one.

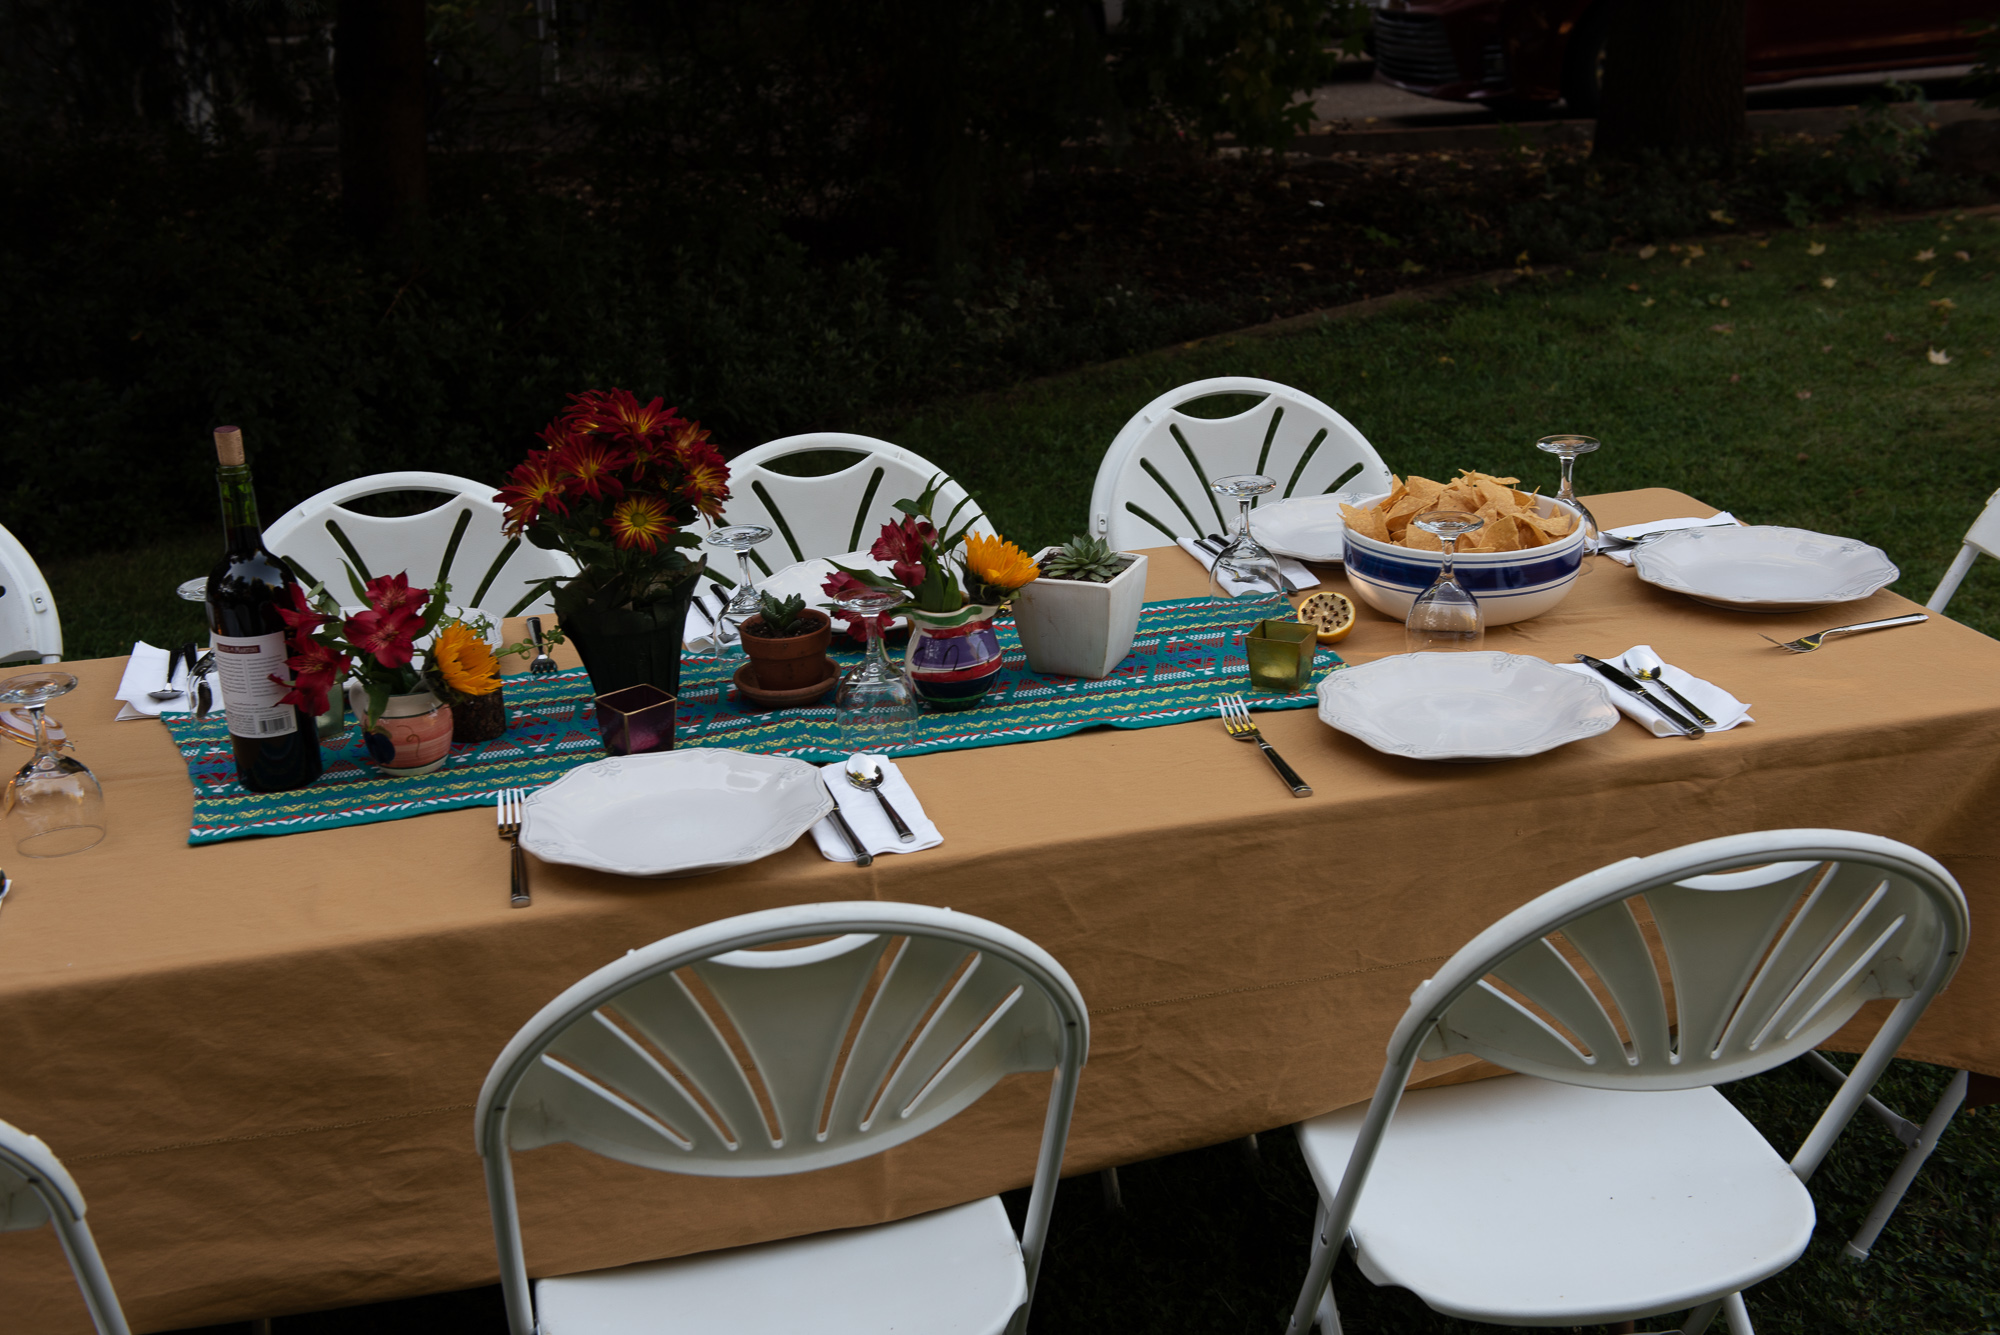
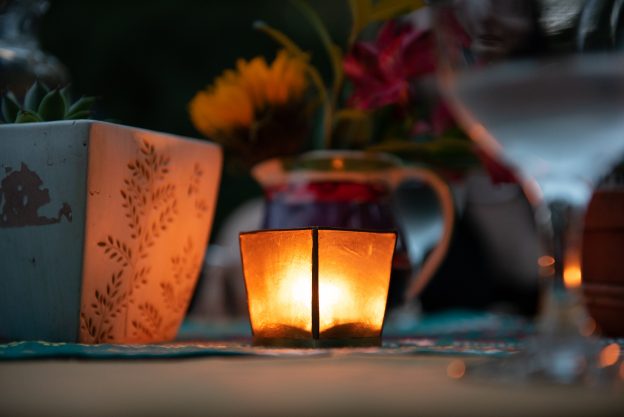
To finish things off, I potted little succulents in small clay pots gleaned from my garage and. my mother’s.  I added votive candles and small vases with Alstroemeria and dwarf Sunflowers. The vases are actually small pitchers I bought during a family vacation in Mexico a long time ago.  We also tucked in some lemon halves that had a large number of whole cloves inserted across the cut side because we read that it might repel the Yellowjackets.  (At this time of year, we often have yellow jackets and they are so annoying when we eat outdoors.  My husband put about 1/2 dozen open cans of cat food and tuna in strategic locations around the perimeter of the lawn and this proved to be a good distraction for the bees.  They were not a problem during the dinner). The lemons looked nice but I highly doubt their scent did much to help us.

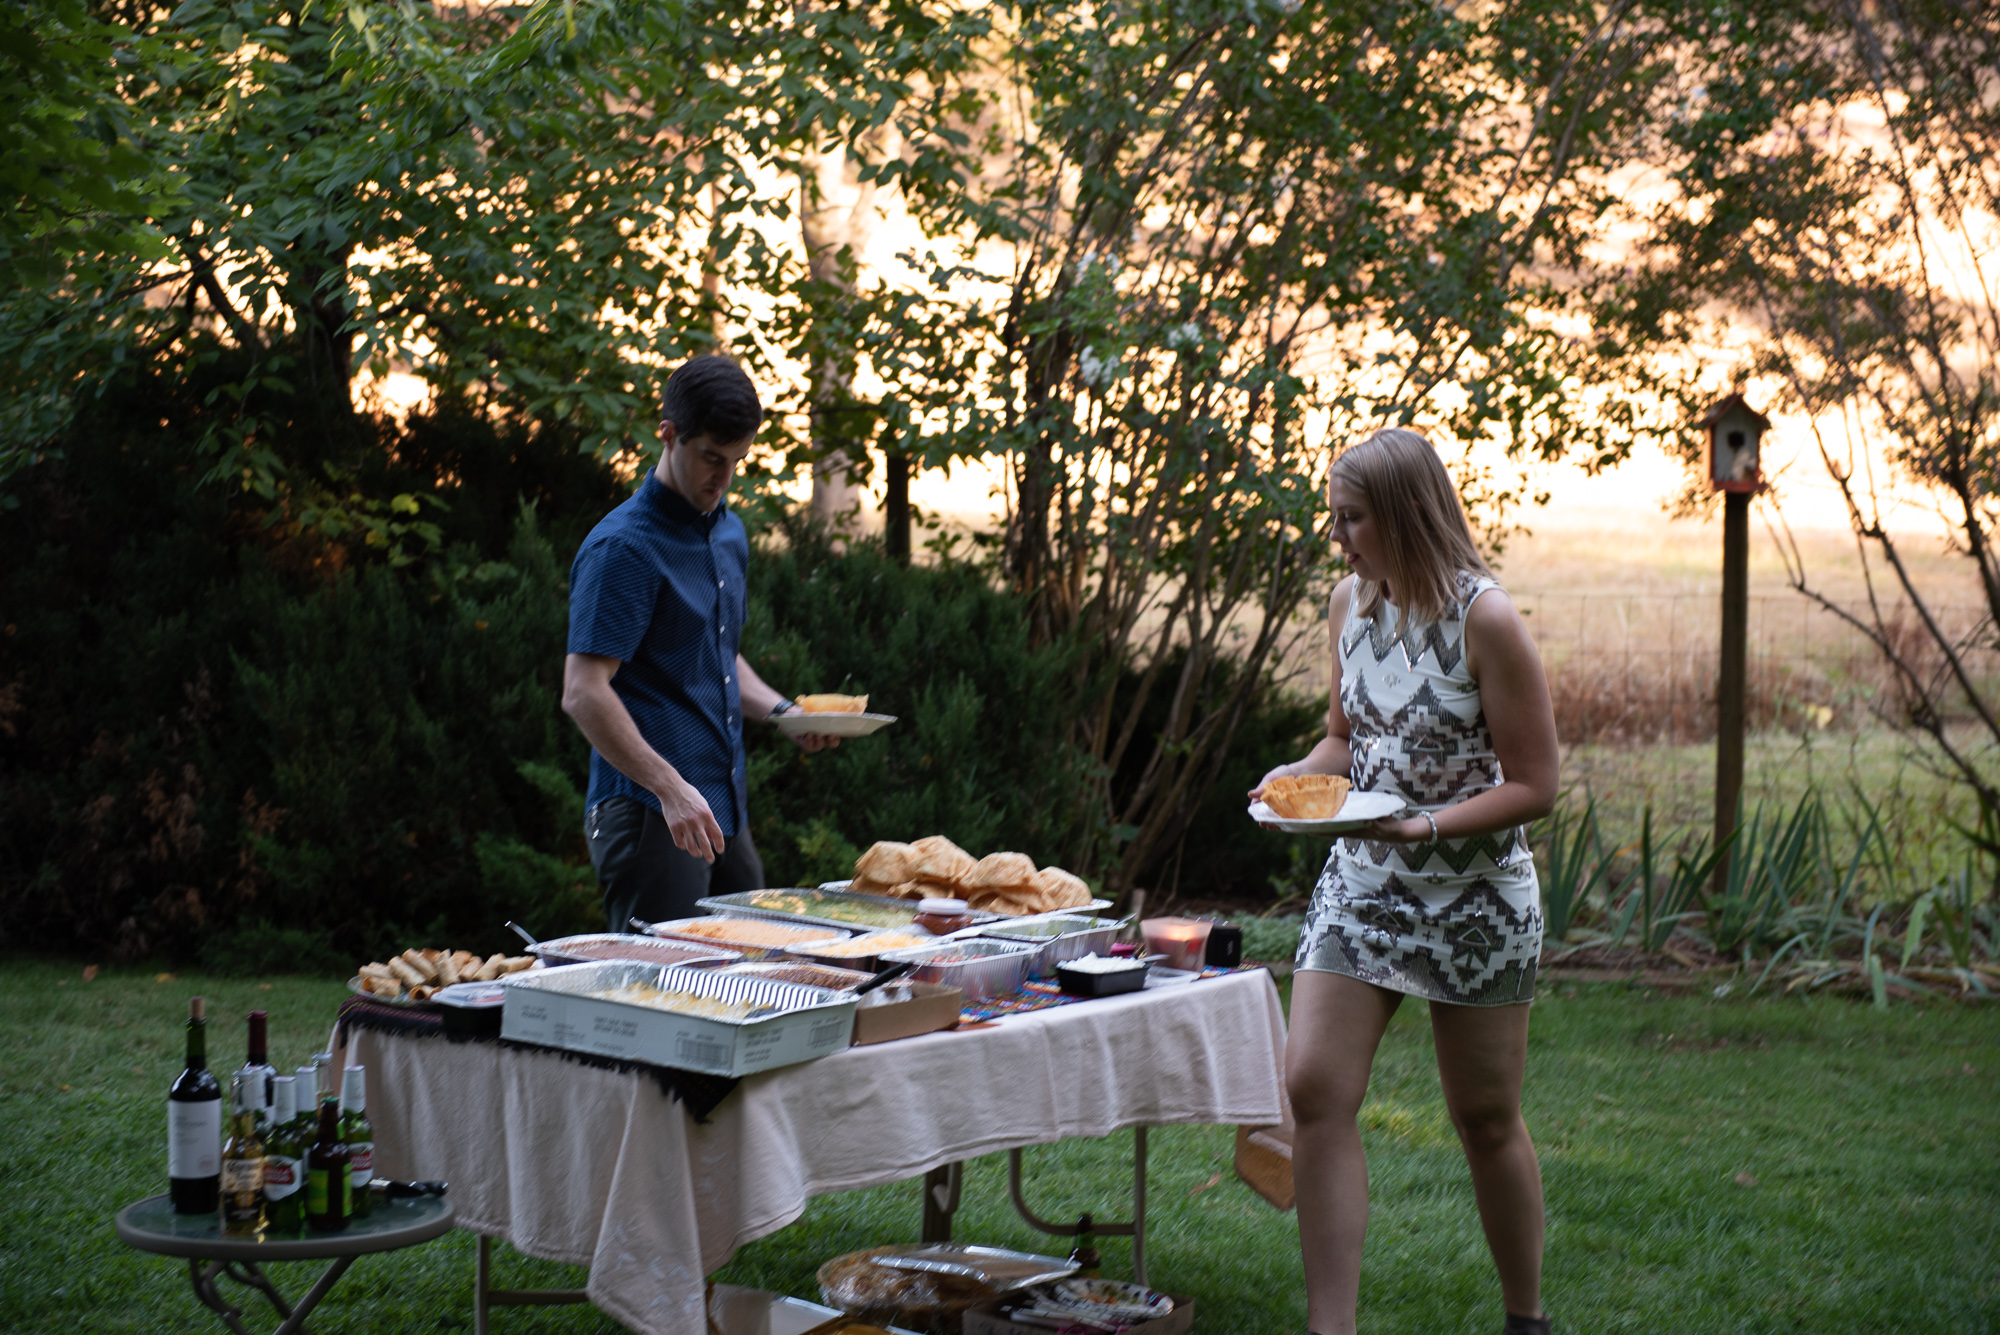
Of course, way too much food!

The dinner was wonderful.

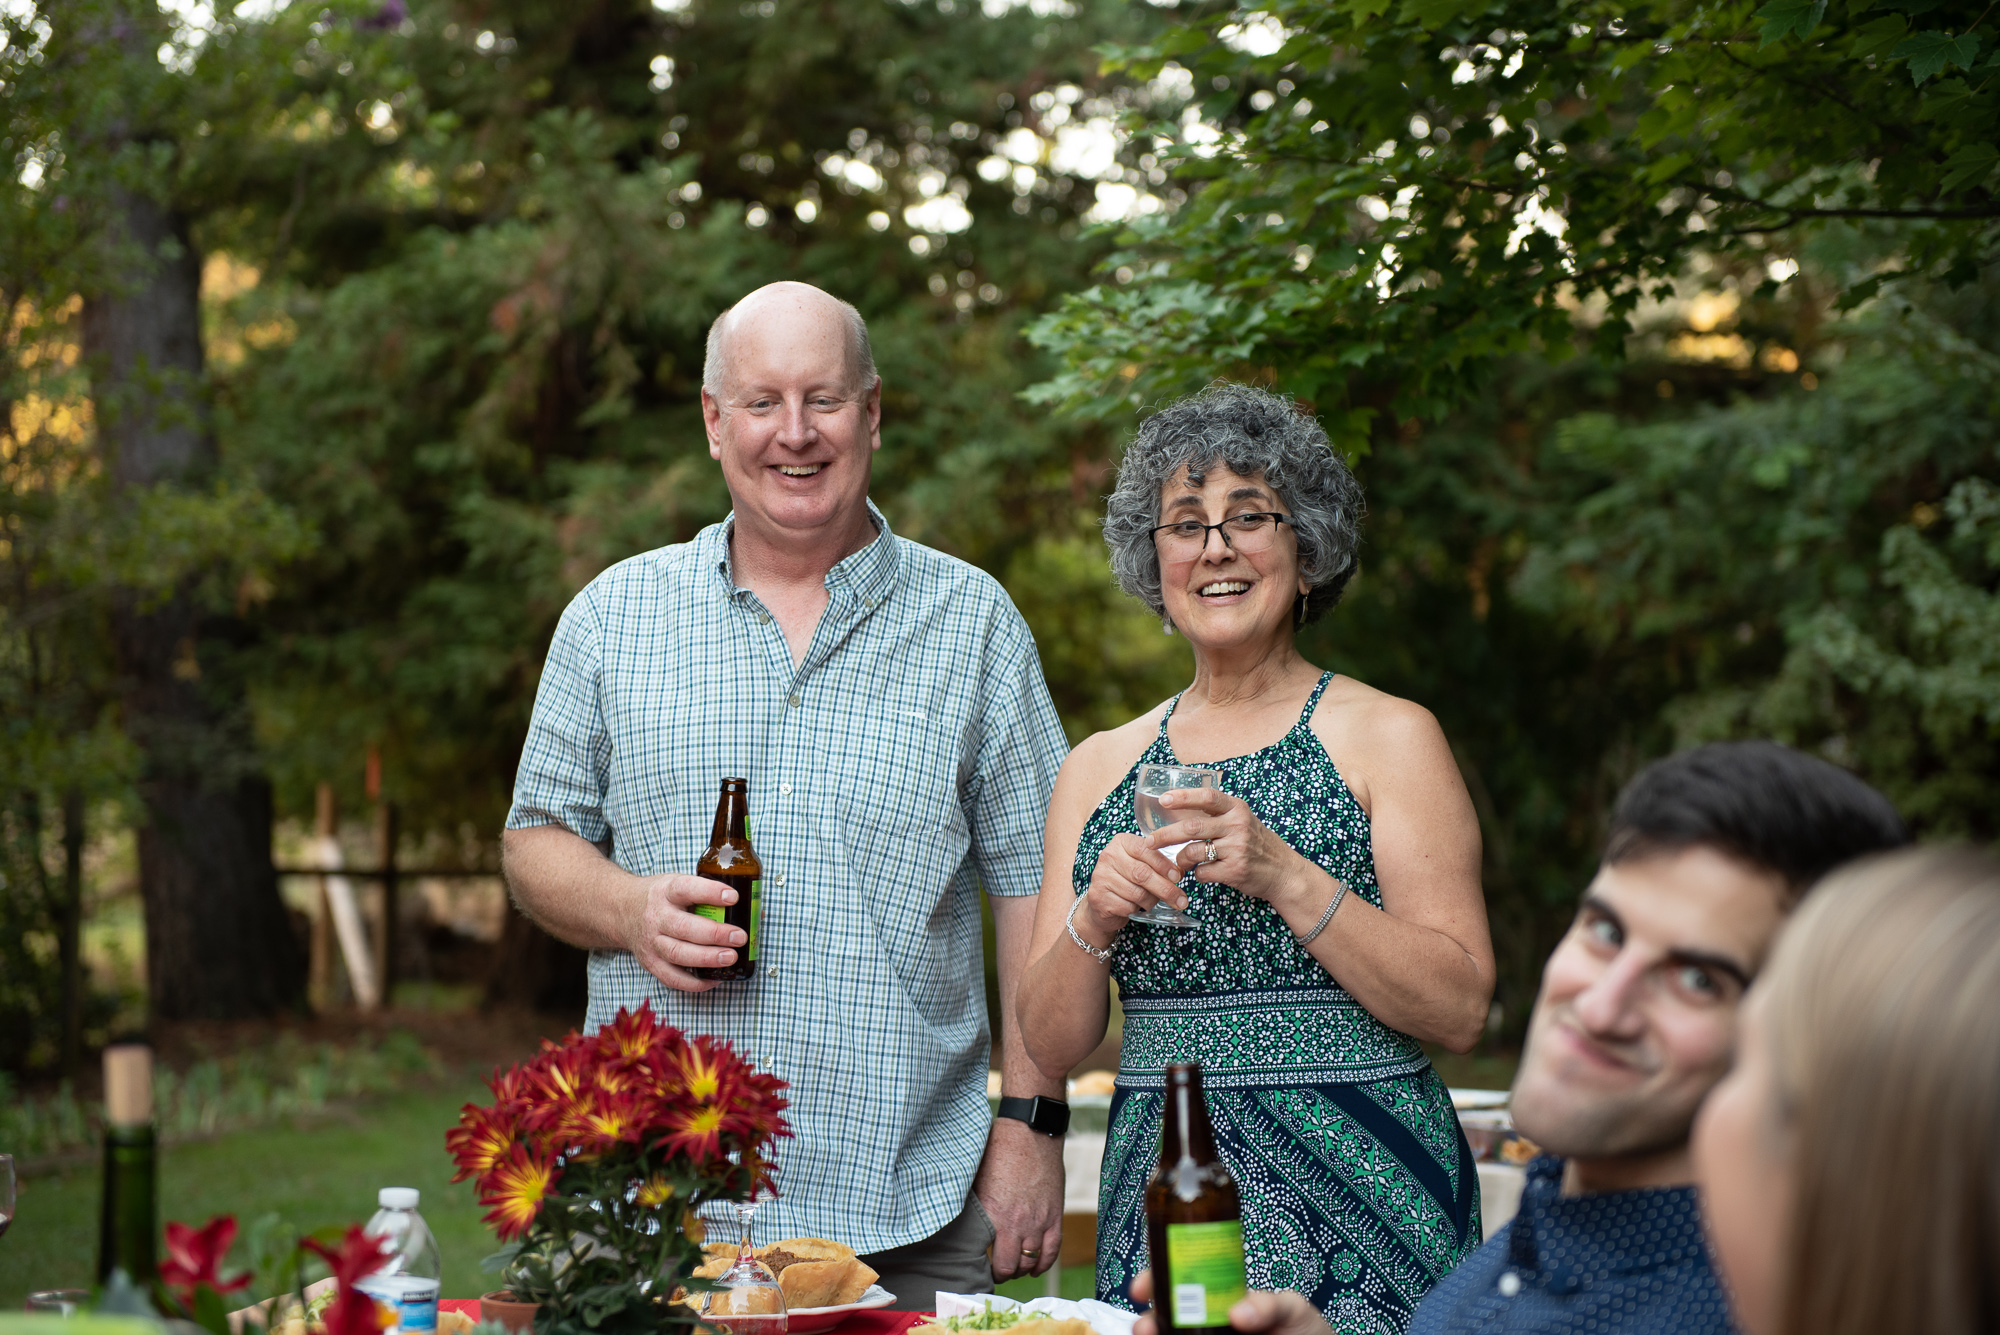
Toasting my son and his fiancé

We celebrated the bride and groom with toasts, laughter and great food.

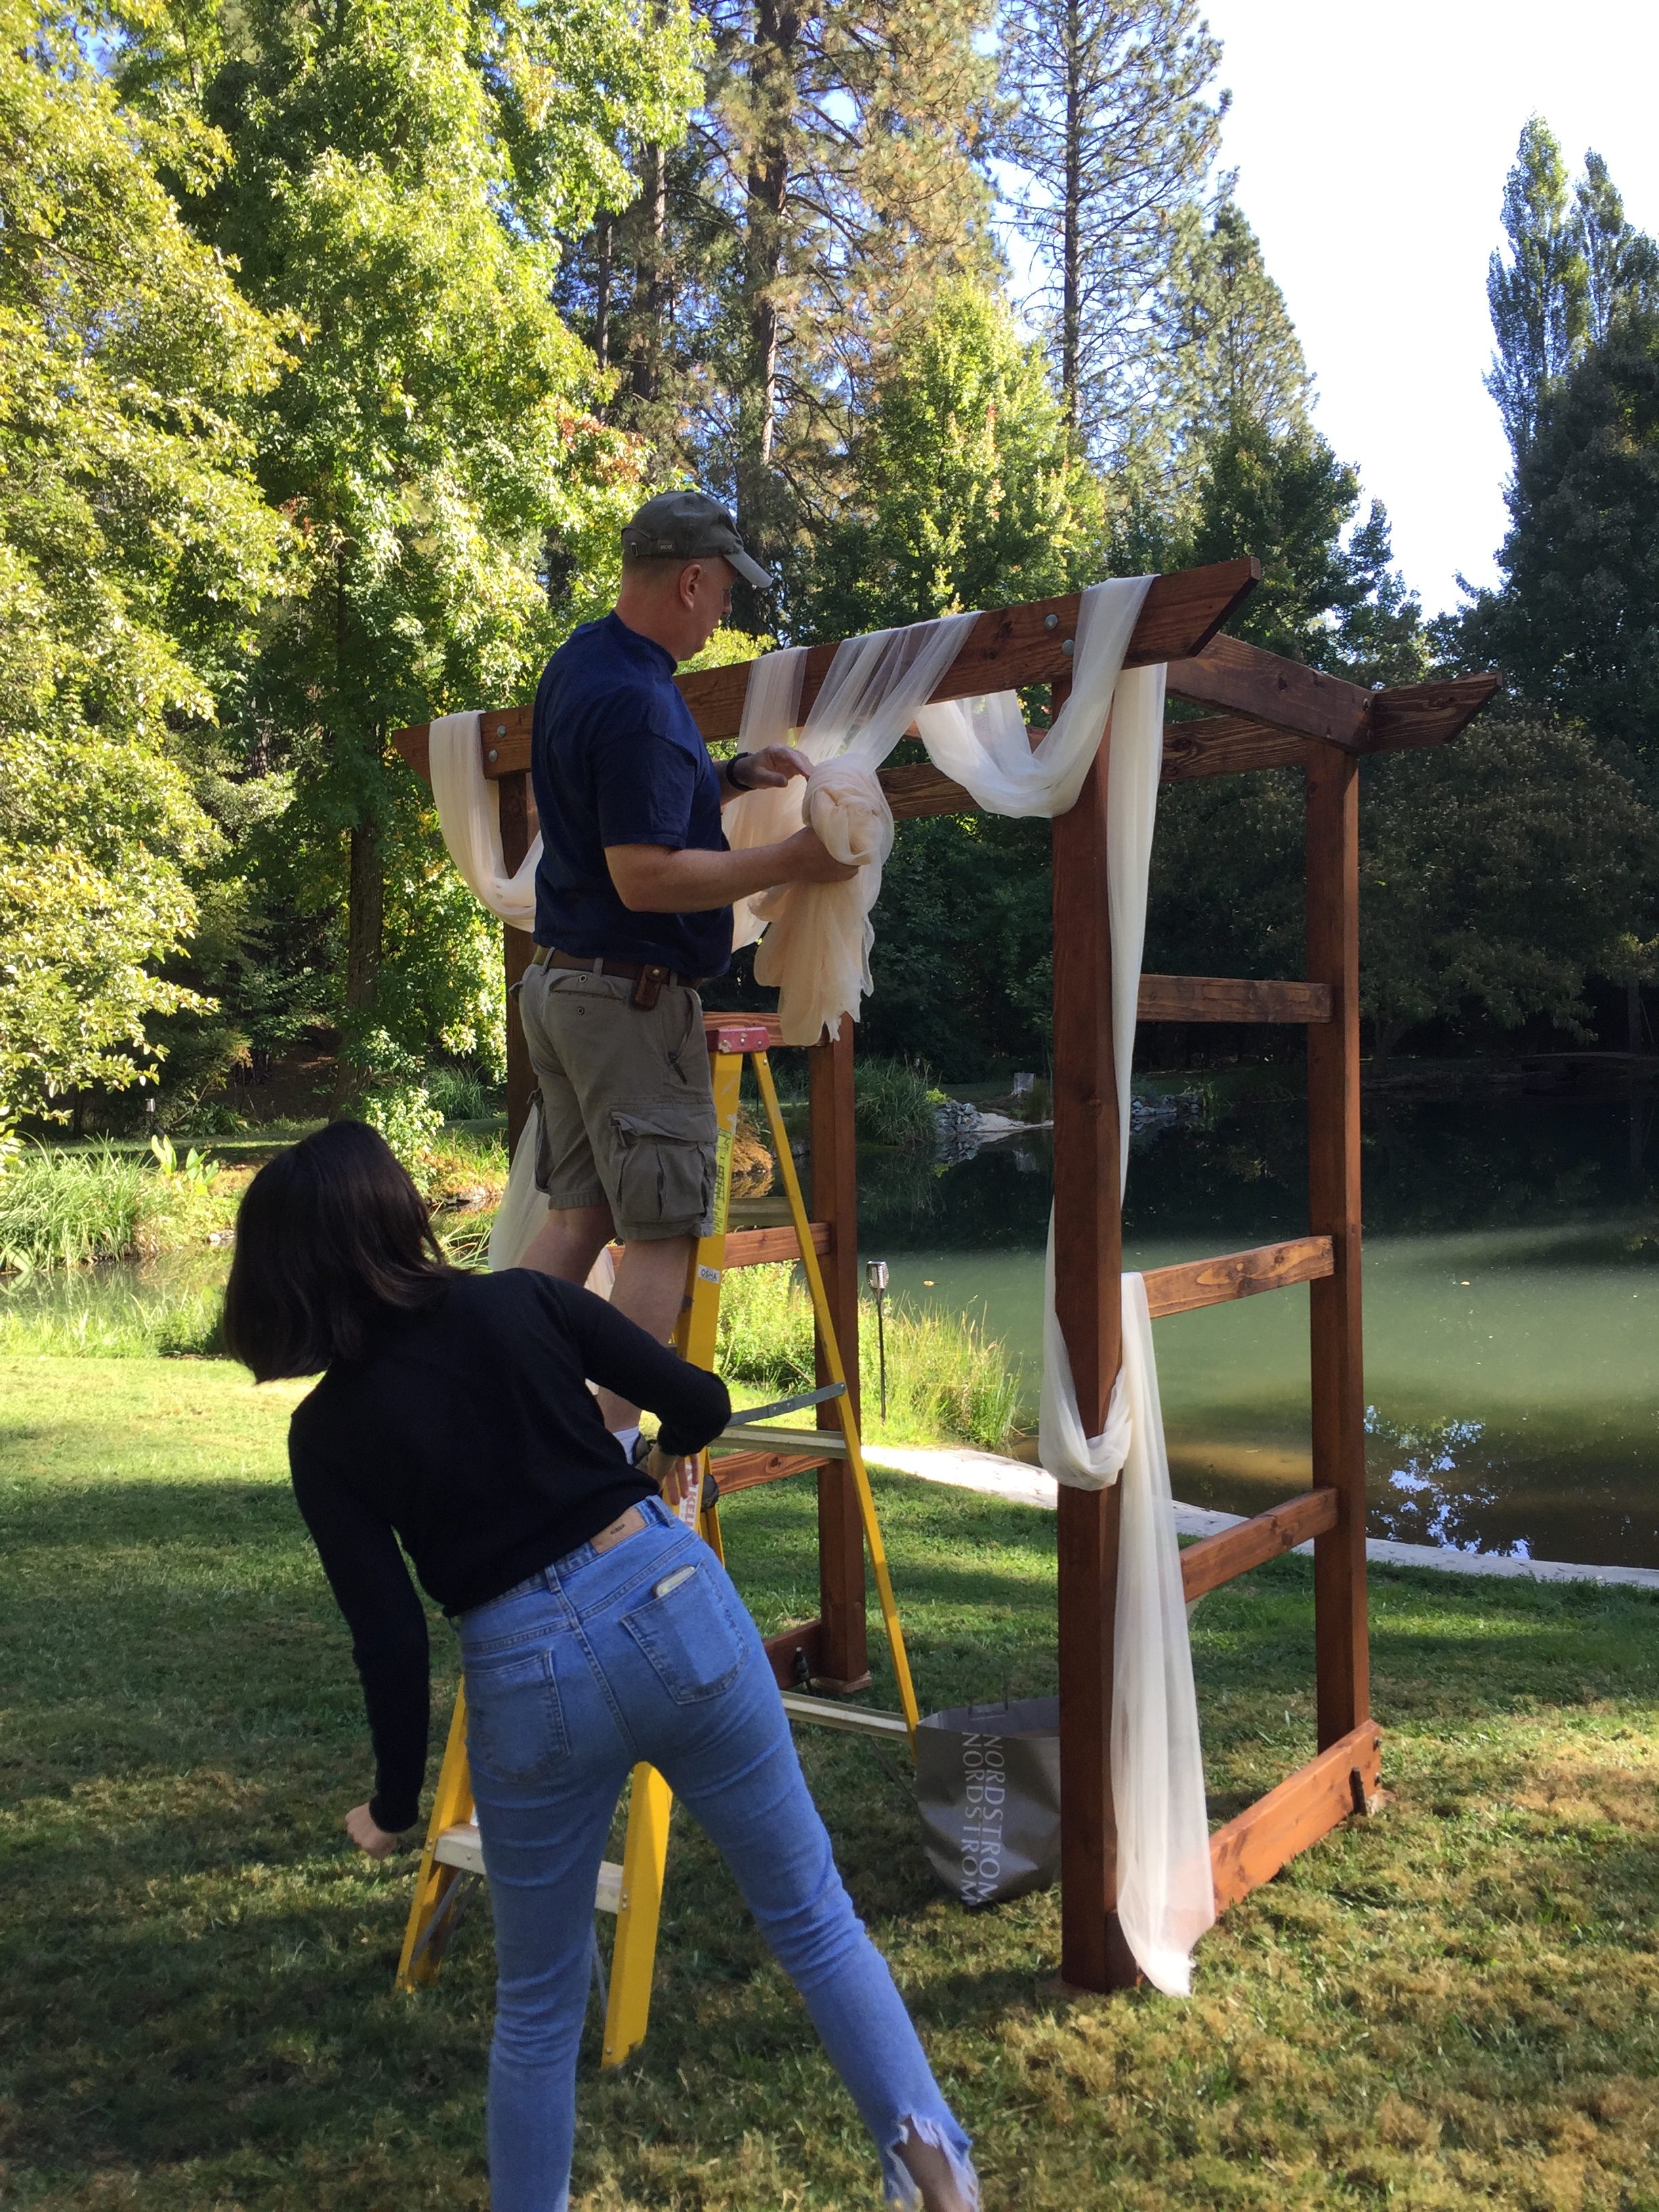
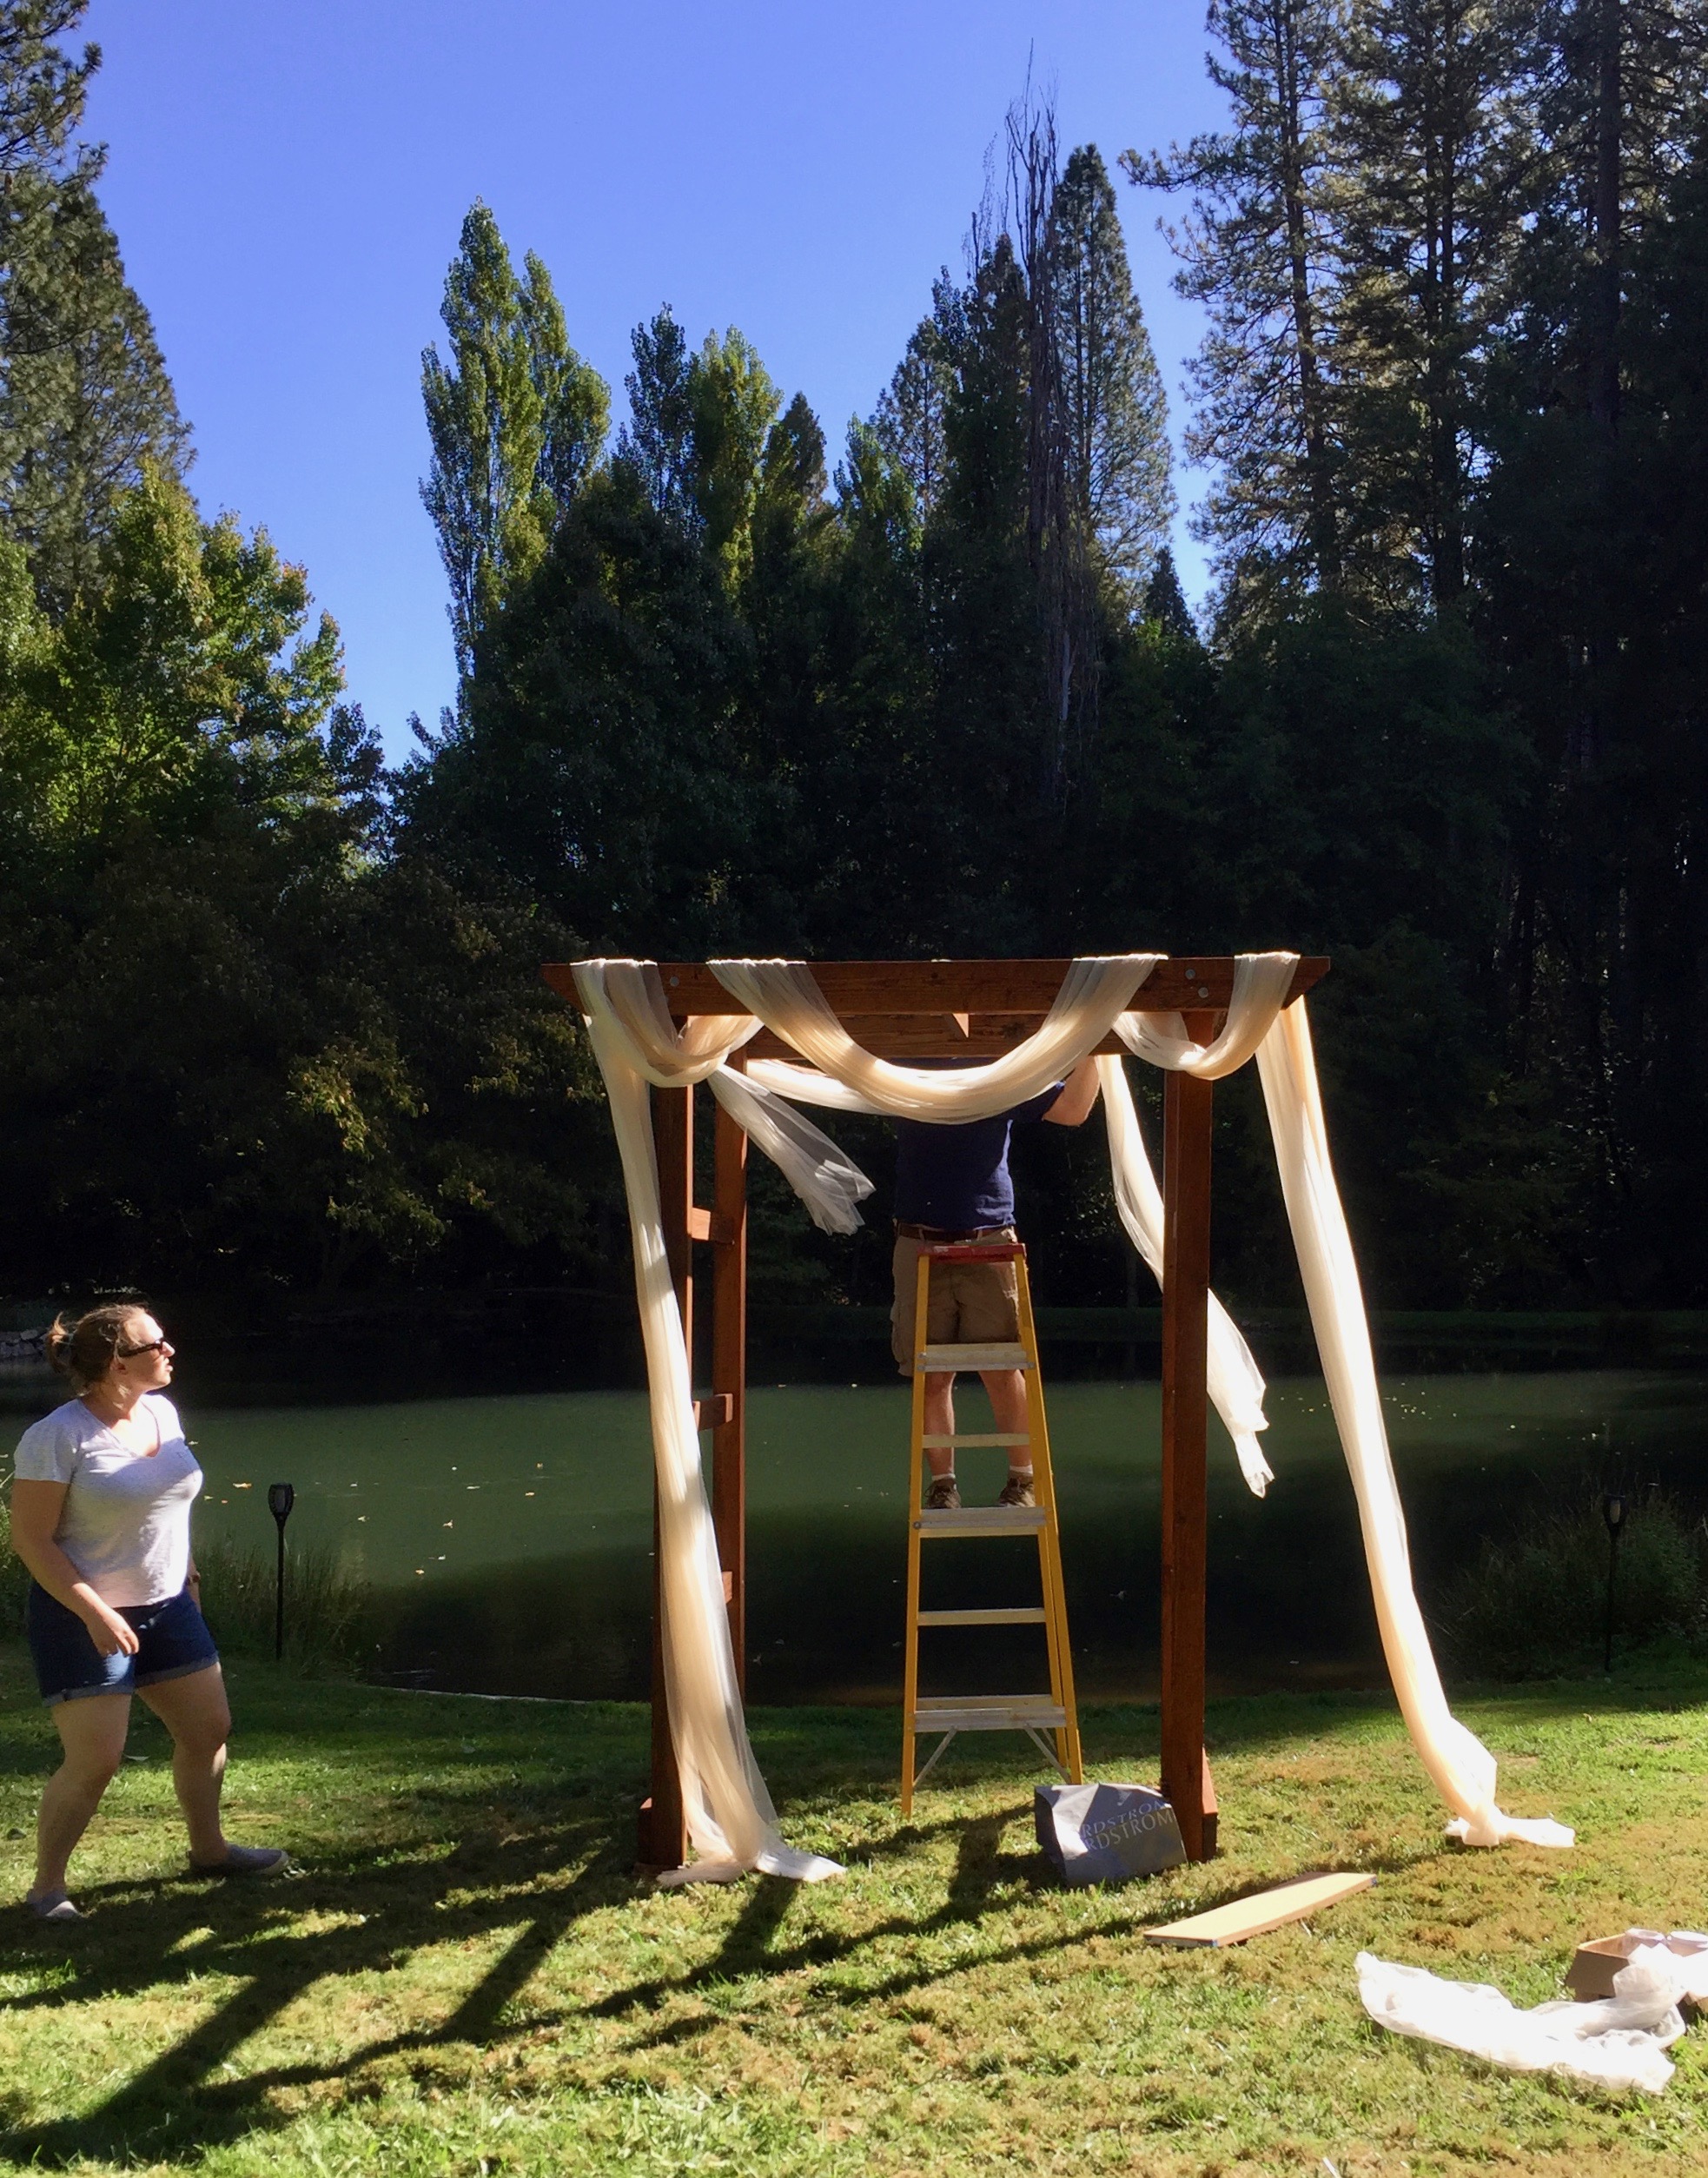
Decorating the arbor on Saturday morning.

Saturday morning we all headed over to the venue (maybe ten miles from home) and got everything ready.  My husband built an arbor for the kids to stand in front of for the ceremony.  Now they will have it to put in their yard as a remembrance of their day.  The bride wanted it draped with soft, flowing tulle.  I found two colors at JoAnn’s and bought 15 yards of each the Eggnog and the light Peach colors.  My husband patiently draped and re-draped it as we all stood on the ground giving direction. (You can imagine, right??)

It was a breezy day which was nice and it made the tulle float a bit.

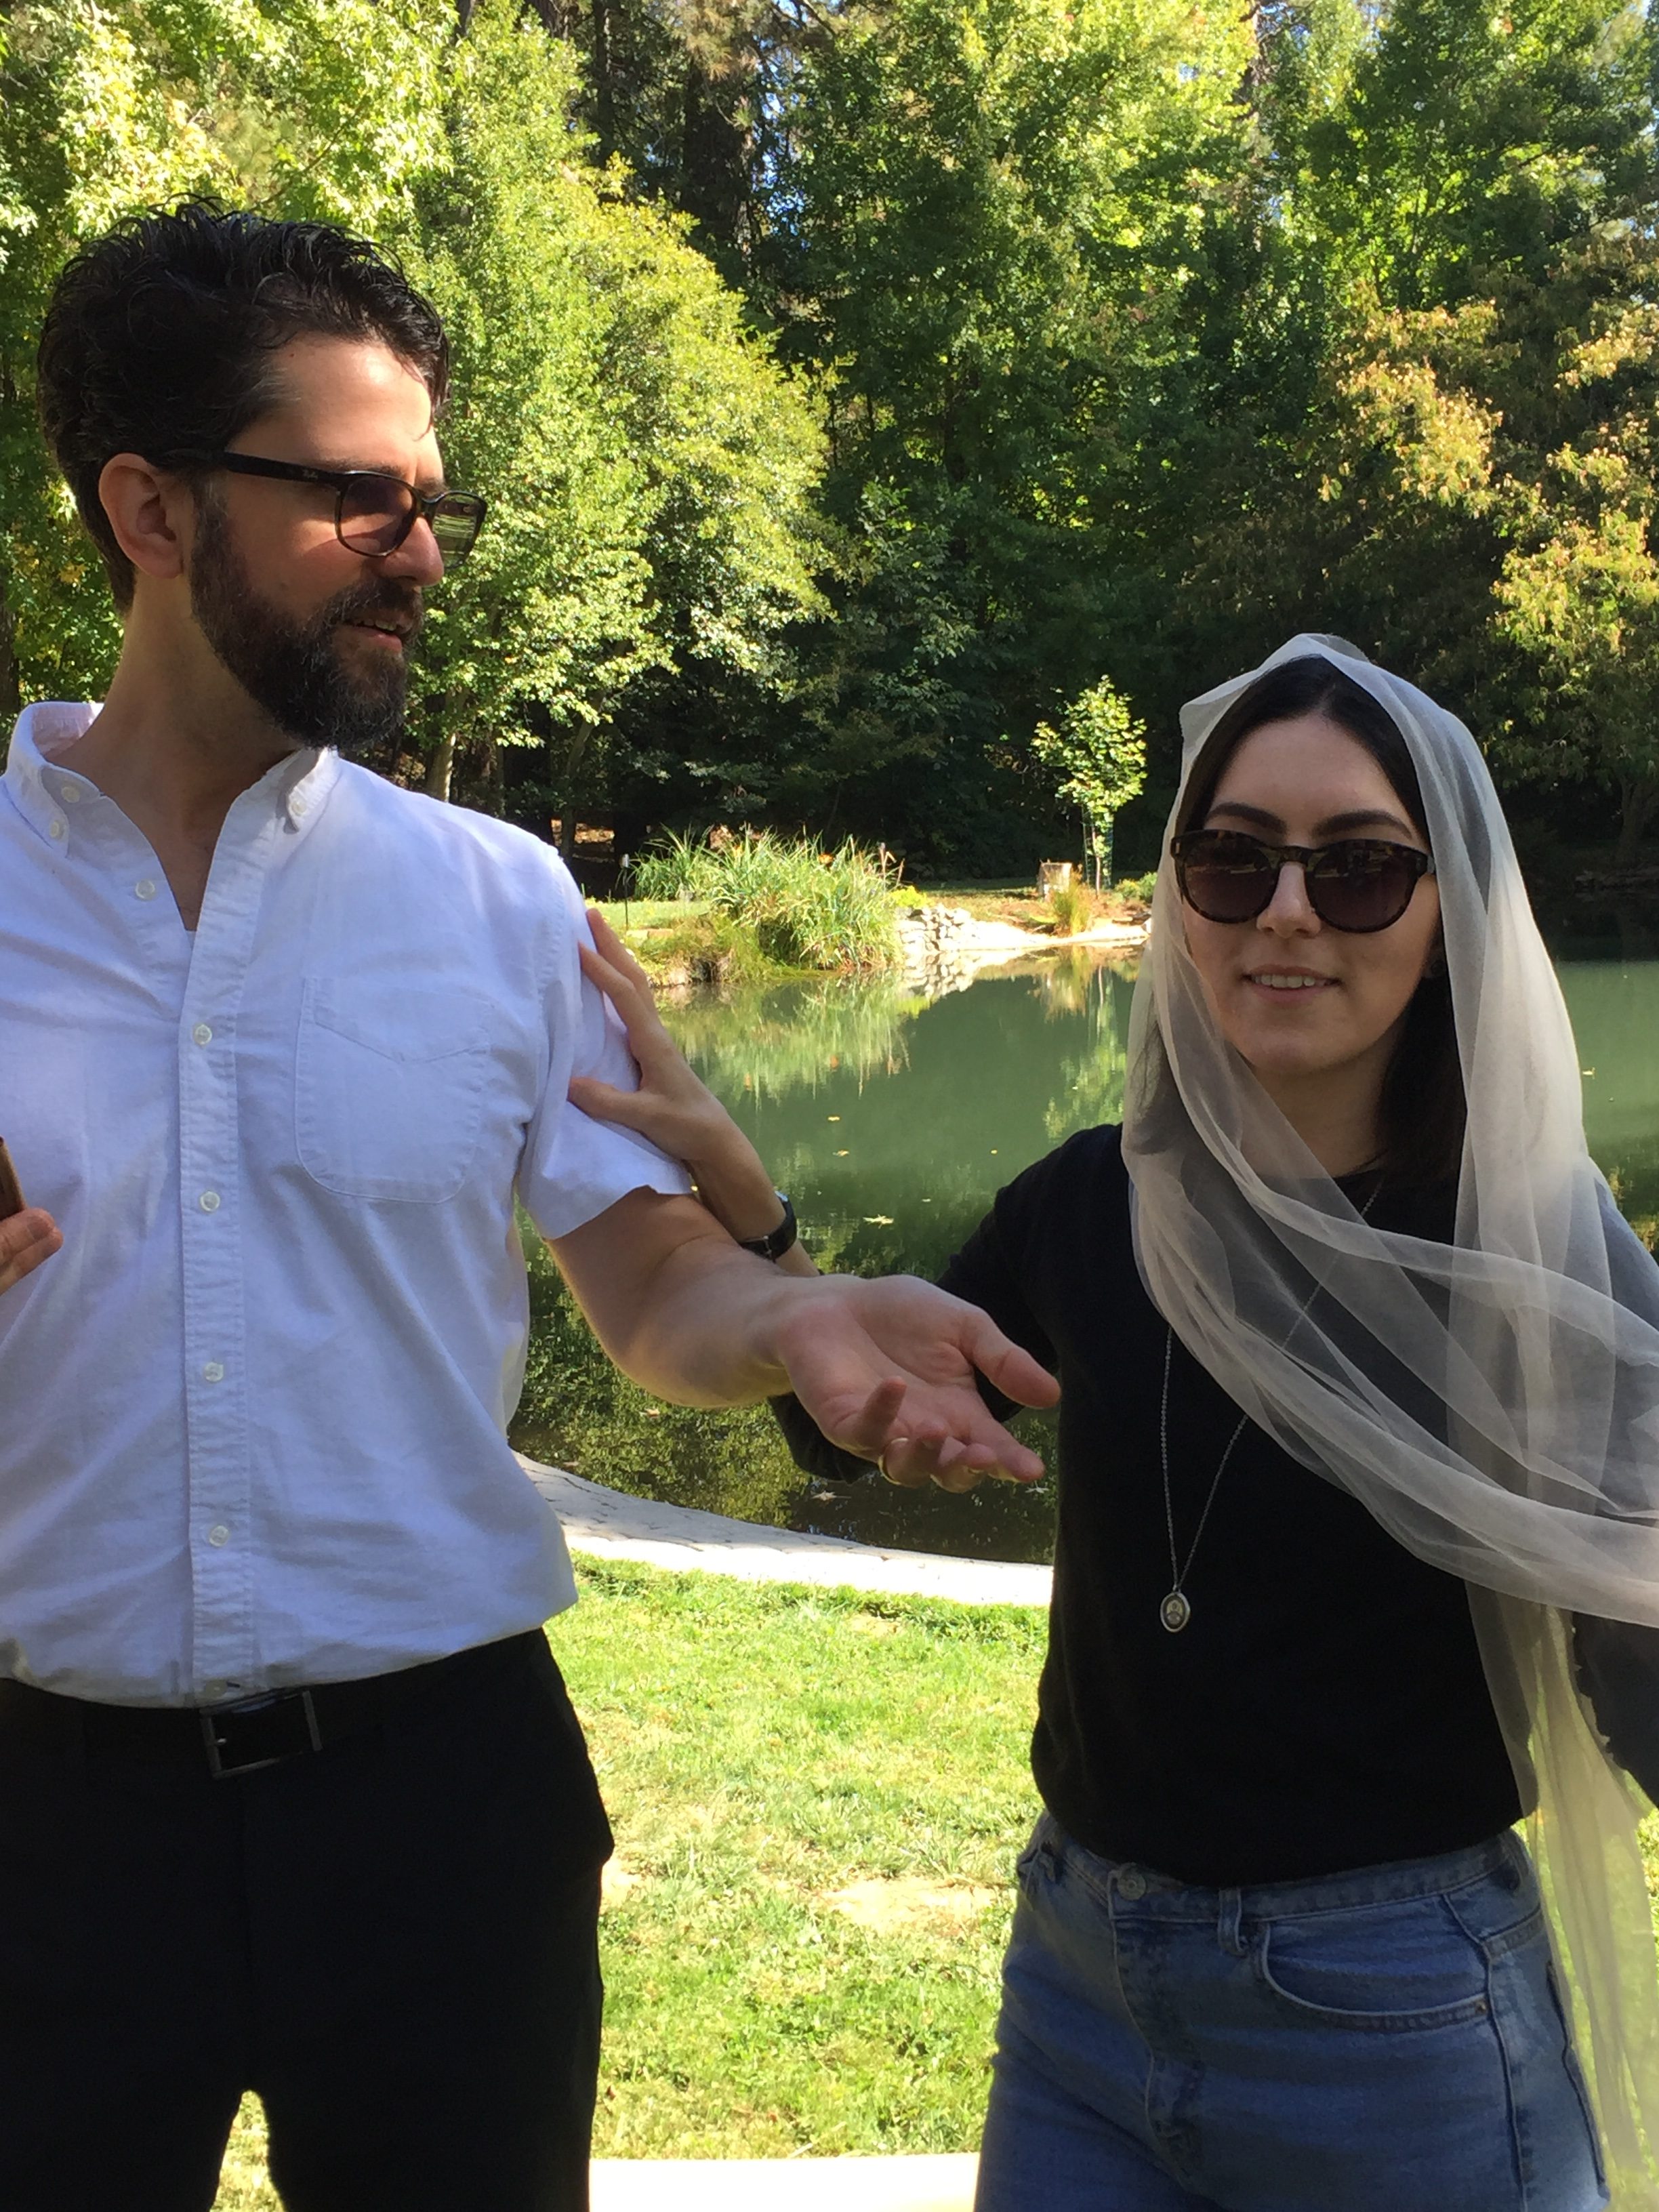
My daughter-in-law’s Jackie O look. She is so funny.

Saturday morning was really a fun family time.  Everyone was so excited about the wedding and just enjoying each other’s company.
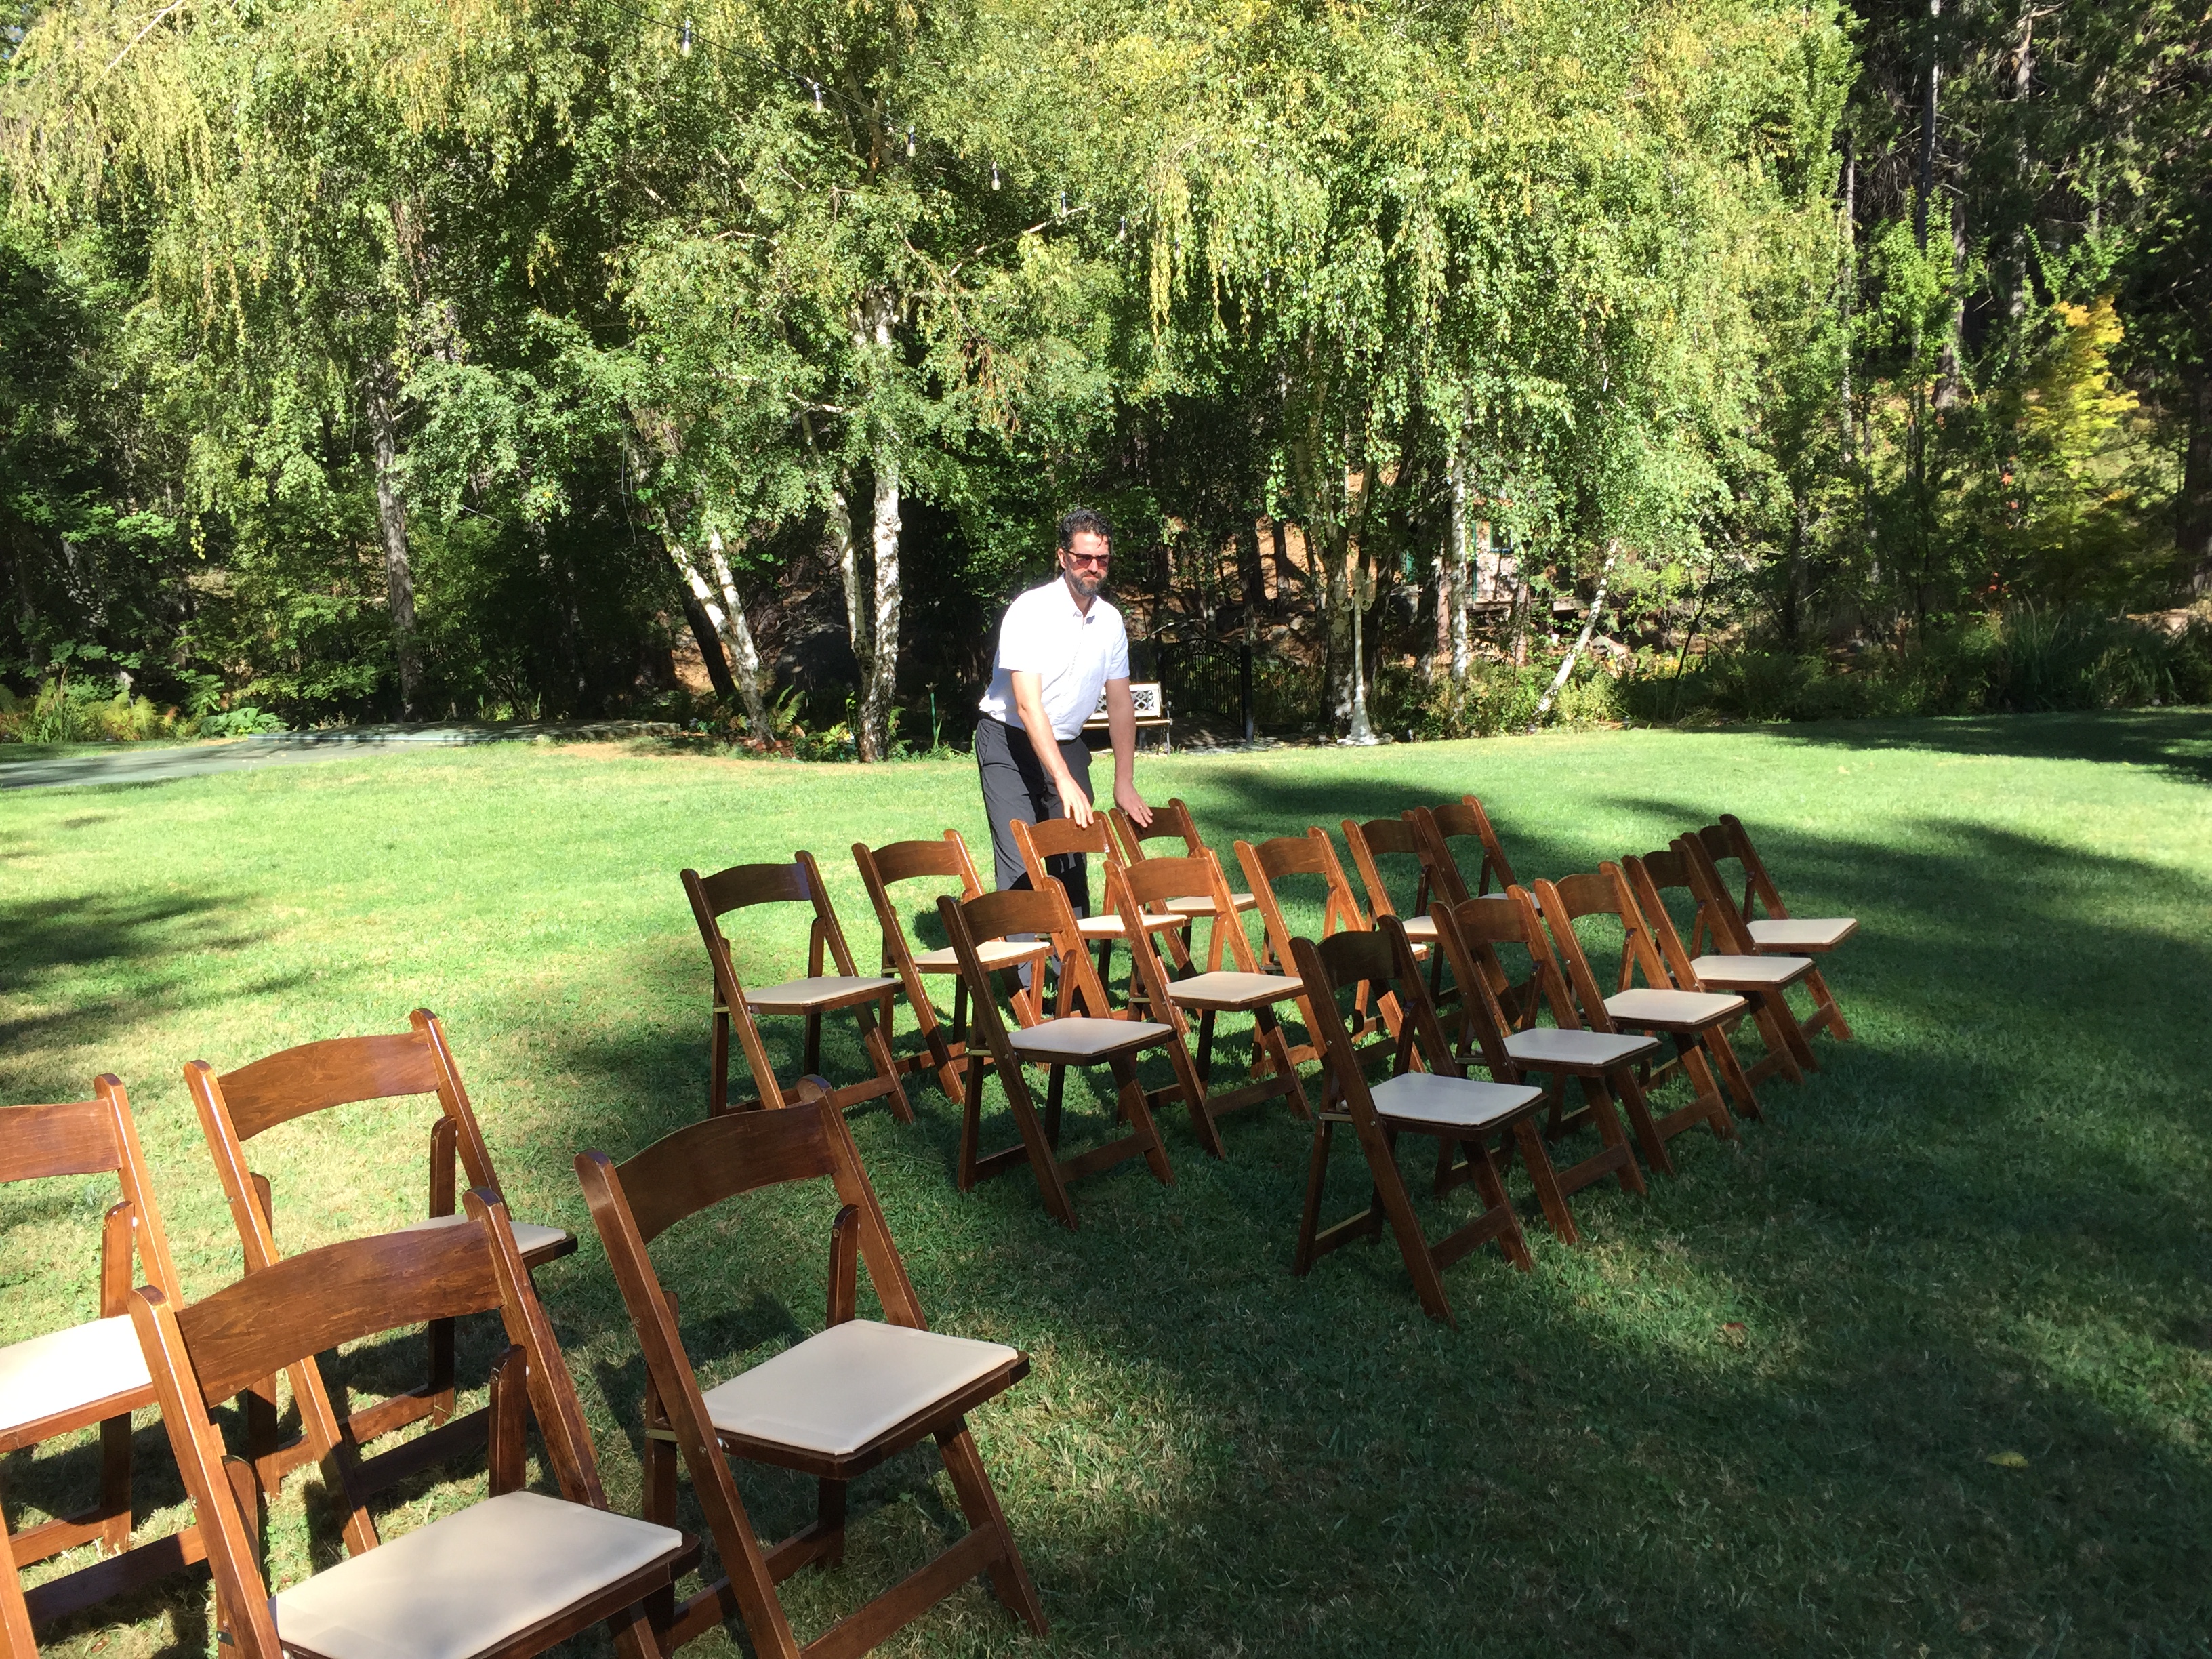
The guys set up the chairs while we decorated the arbor.

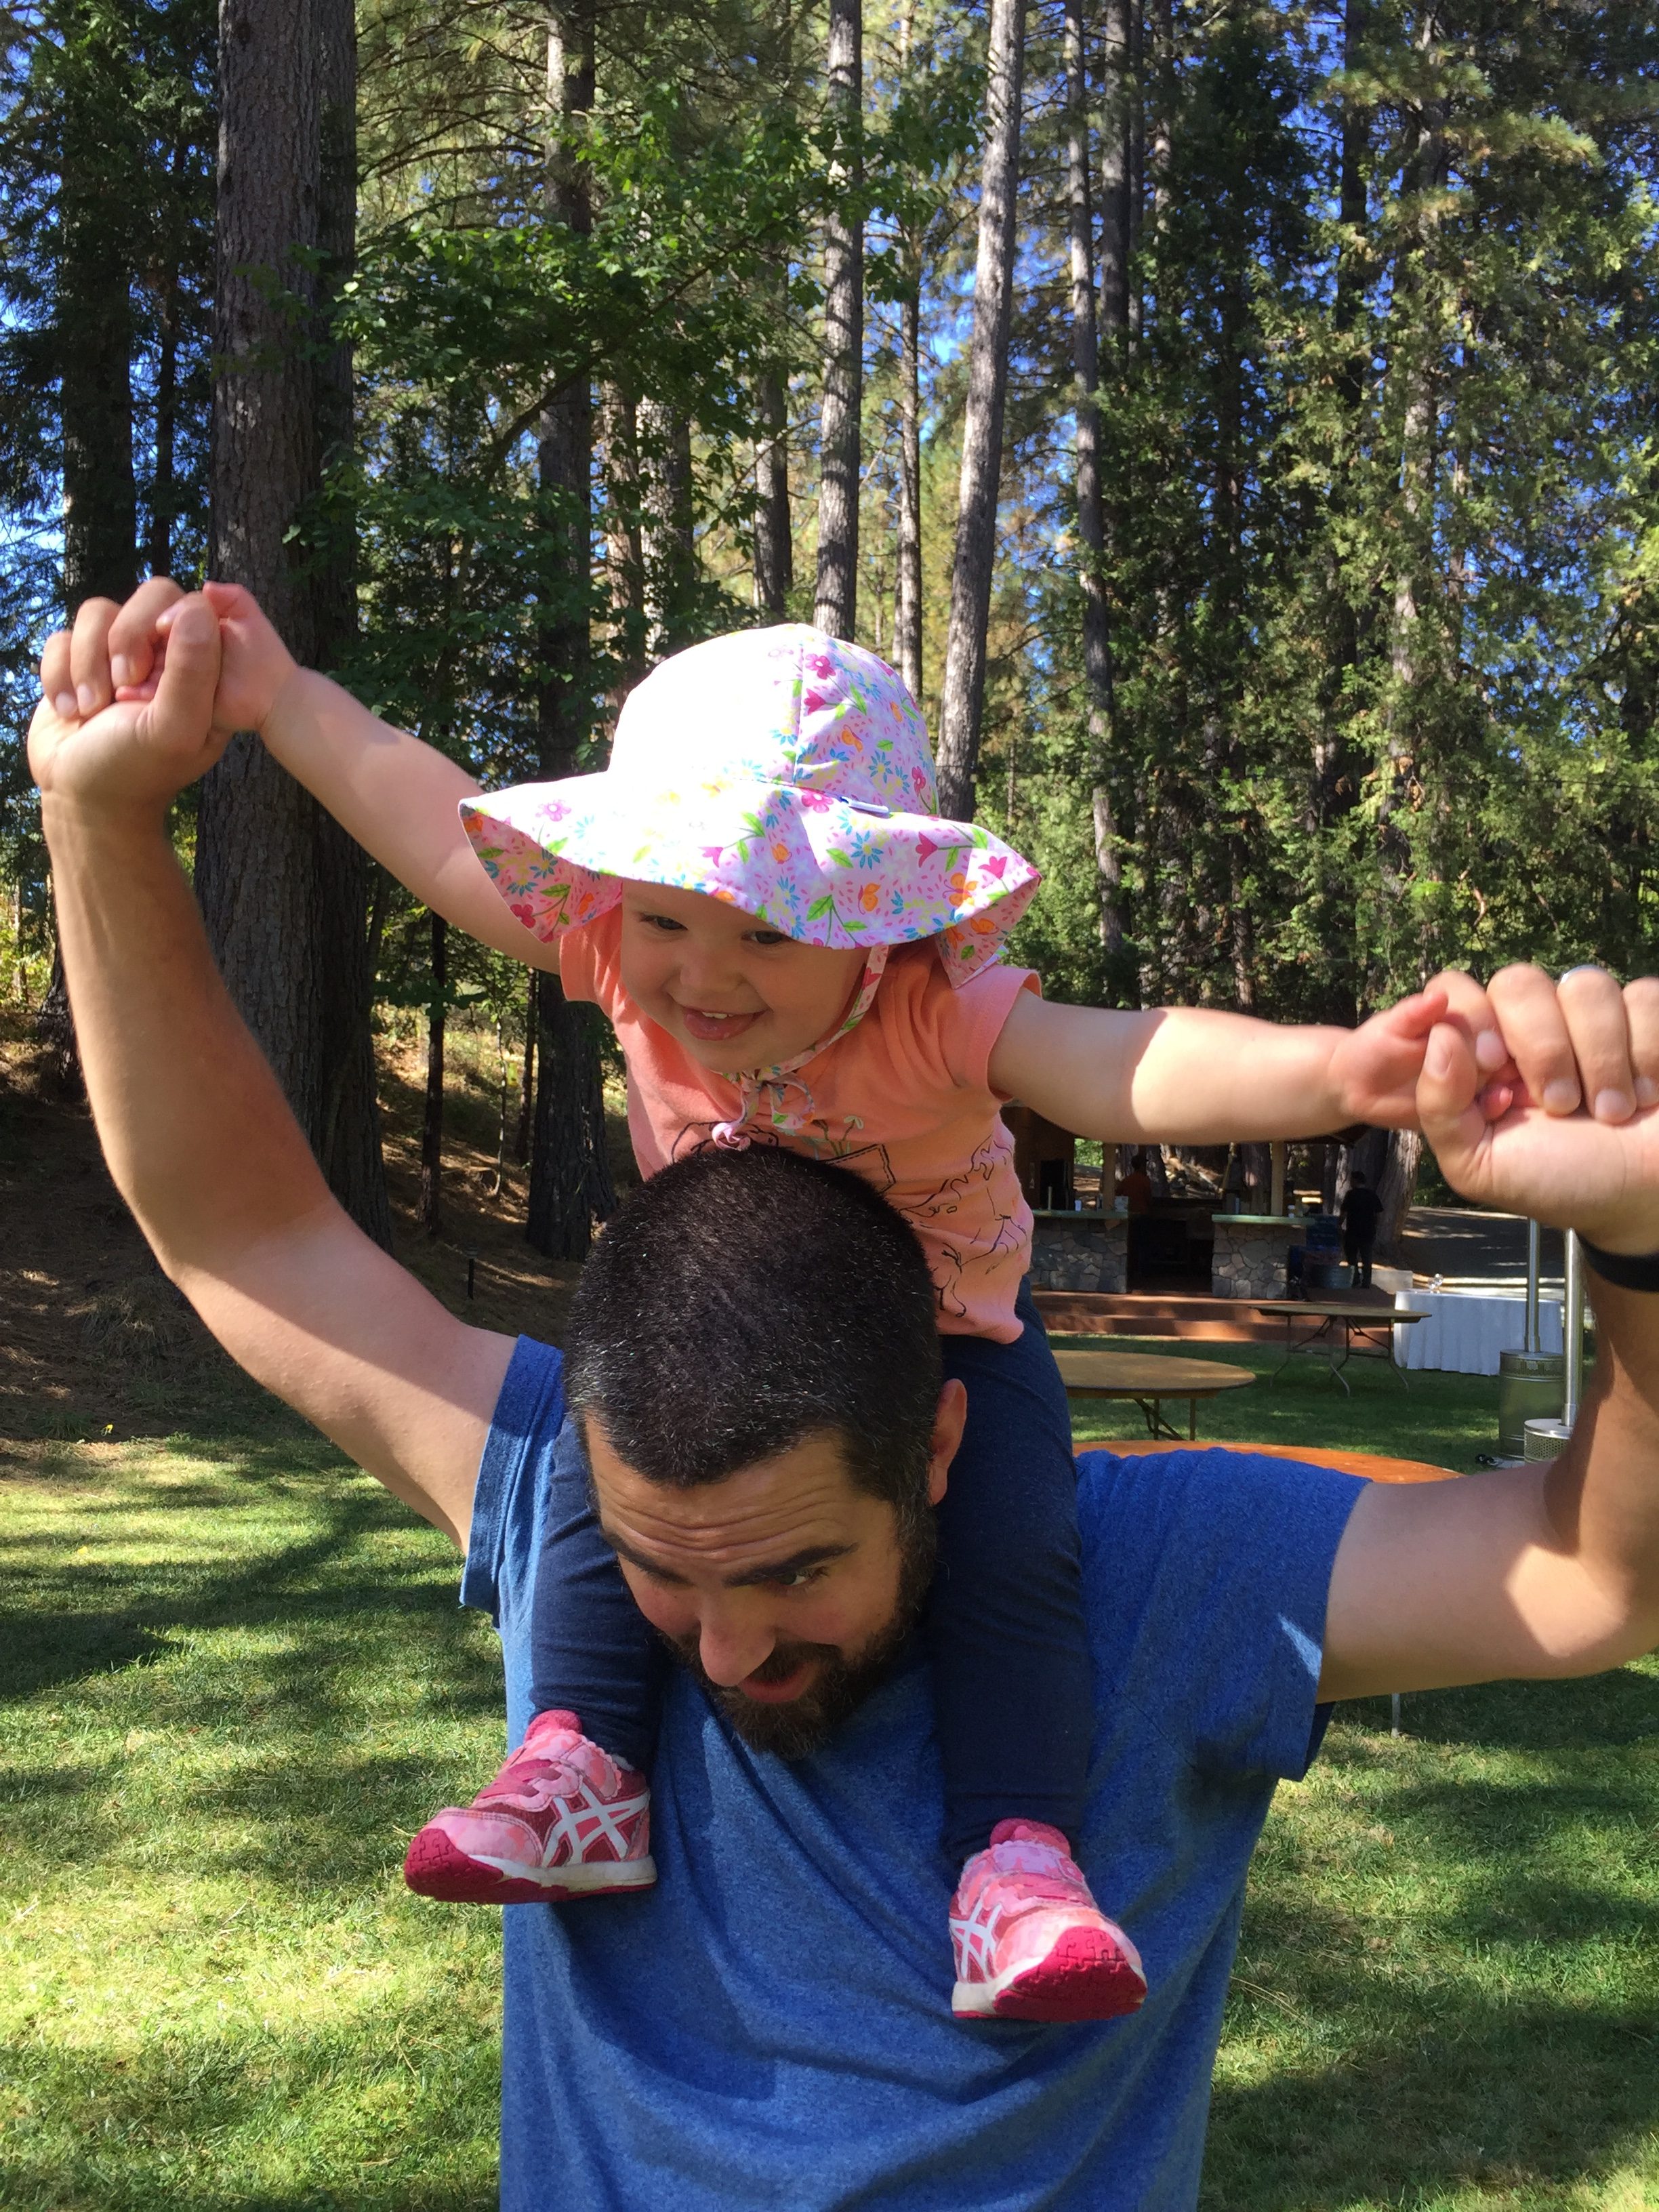
This guy loves being a father!

My grand daughter had so much fun running around but we had to keep close track of her because there is a creek running through the property and a large pond as well.

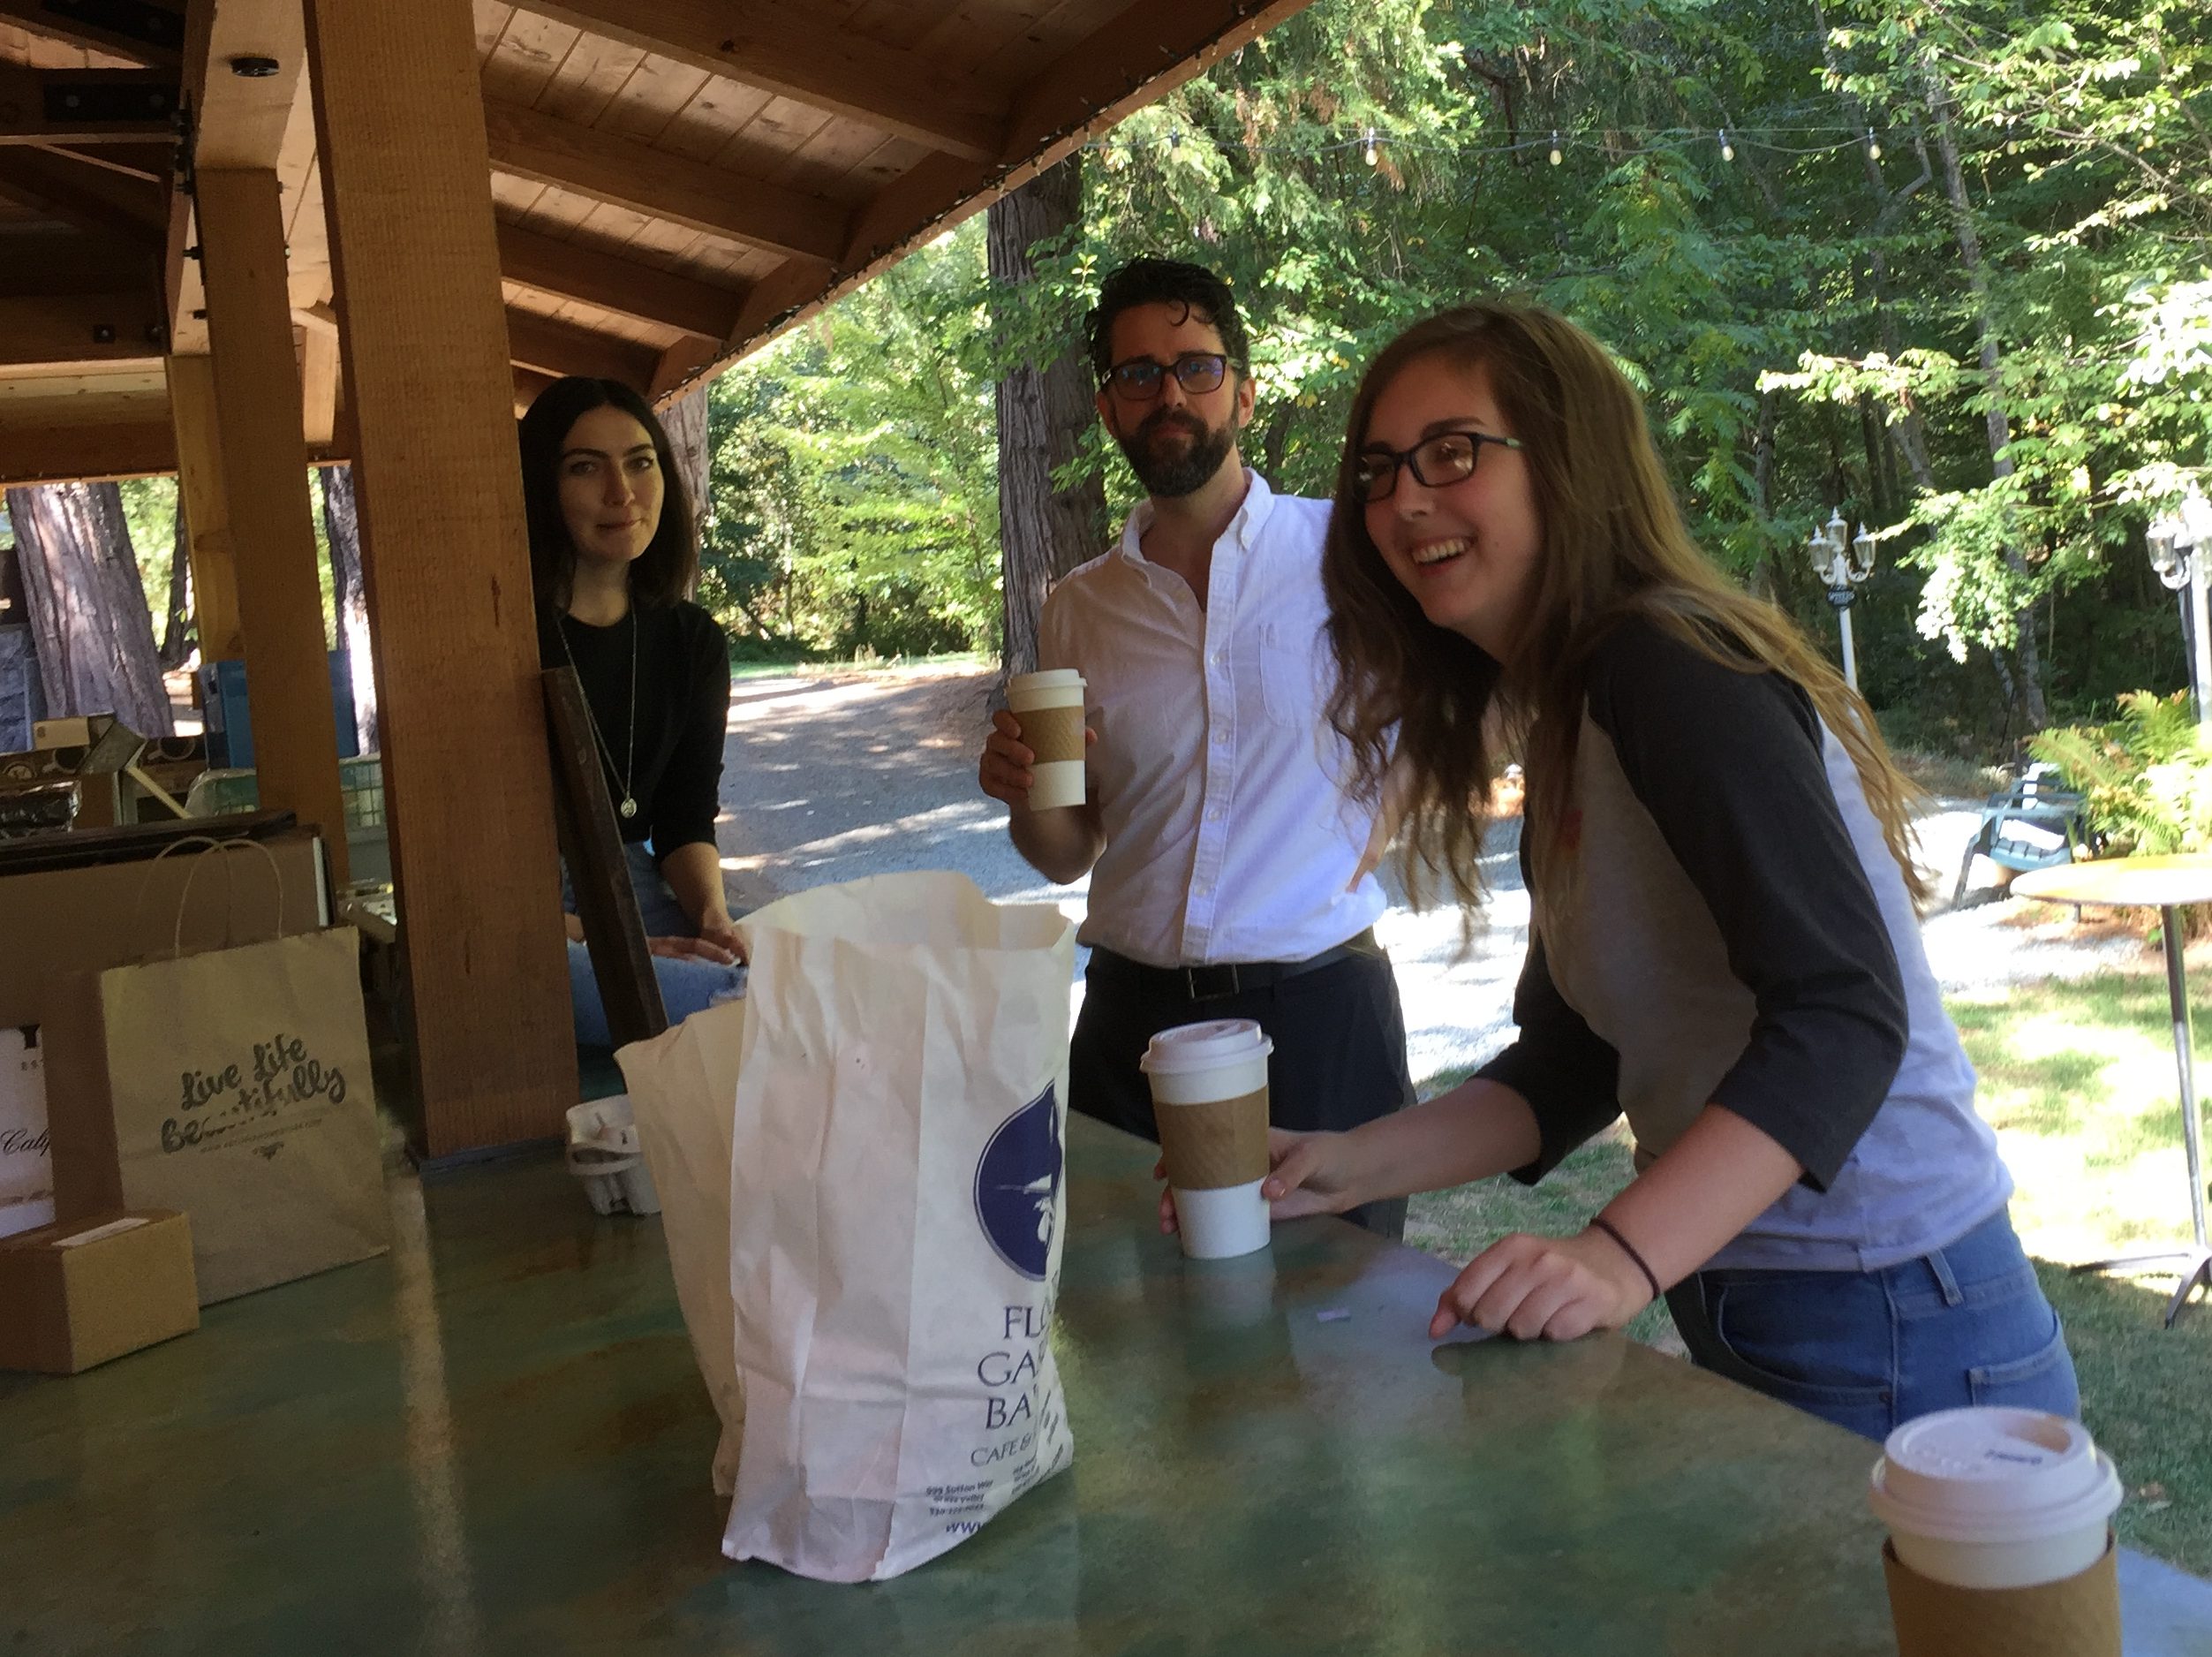
Time for coffee and scones.

Once the arbor was set up and the chairs in place, all we had to do was place the tables where we wanted them.  Then the wedding coordinator and the caterers came and set the tables.  I wish I had a picture of this before the ceremony started.  I am sure the photographer got some though.  I will share them when we get to see them (likely a several weeks from now.) Spending the morning of the wedding day together getting things ready was so much fun.

I will share some wedding pictures in a separate post.  Everyone has gone back to their real lives.  The bride and groom are taking their honeymoon in May so they are back to work now.  My plan for this morning is to tackle some housecleaning.  It is a complete disaster!  Then I need to get back to work.  I received a box of fabric yesterday and there is another scheduled to arrive this afternoon so I have lots to do.  If you have been waiting for Carrie Bloomston’s new line, Wonder, it should be listed by tomorrow, maybe late this afternoon if I can get to it!  It is just fantastic.

Linking to my favorites!  Including a new link up called Brag About Your Beauties, hosted by Michelle of From Bolt to Beauty. Come take a look – there will surely be something to inspire you!



Family Time and Quilting Time

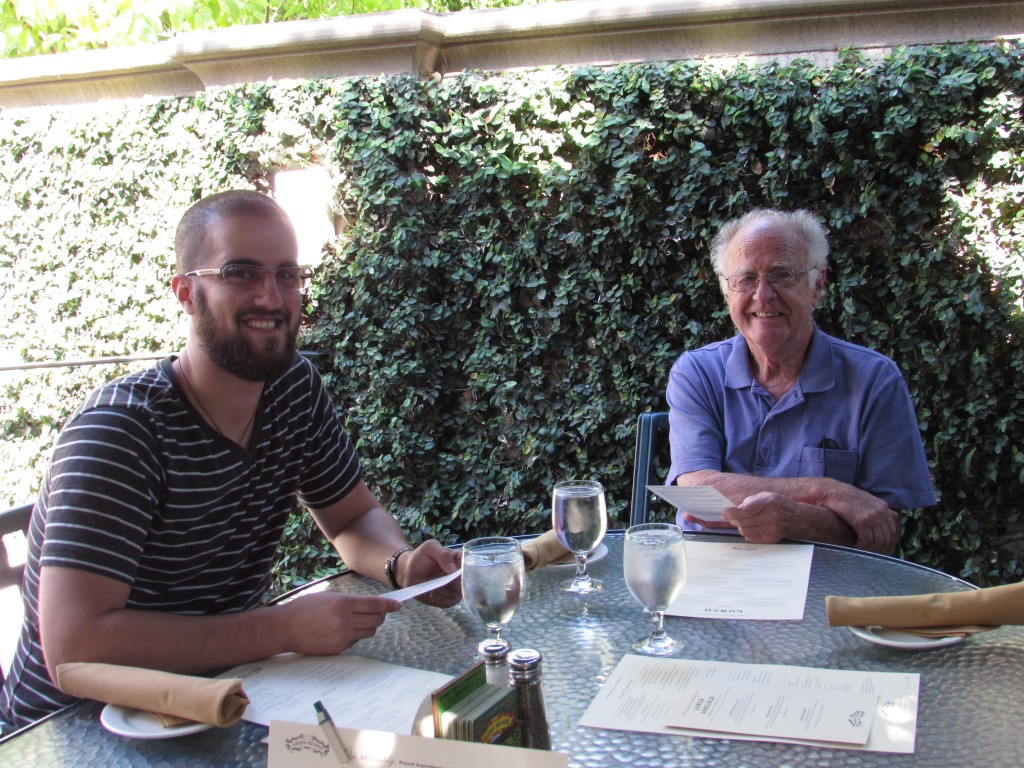
This has been a great week. My son was home for a few days. He had a long weekend at work and came home for some family time.  He is a production engineer in the Central Valley and works all sorts of shifts.  His “weekend” depends on what shift he works that week.  This week his weekend was Tuesday/Wednesday.  As always, it is was so nice to have him home.  One day he called my dad and asked Papa if he wanted to spend the afternoon together and go on a tour of the Sierra Nevada Brewery.  Dad was up for it so the three of us went.  Sierra Nevada Brewery is located in Chico which is just over an hour’s drive from us.  They have a yummy pub on site so lunch was first on the agenda. The food at this pub is excellent. Lunch alone was worth the drive!

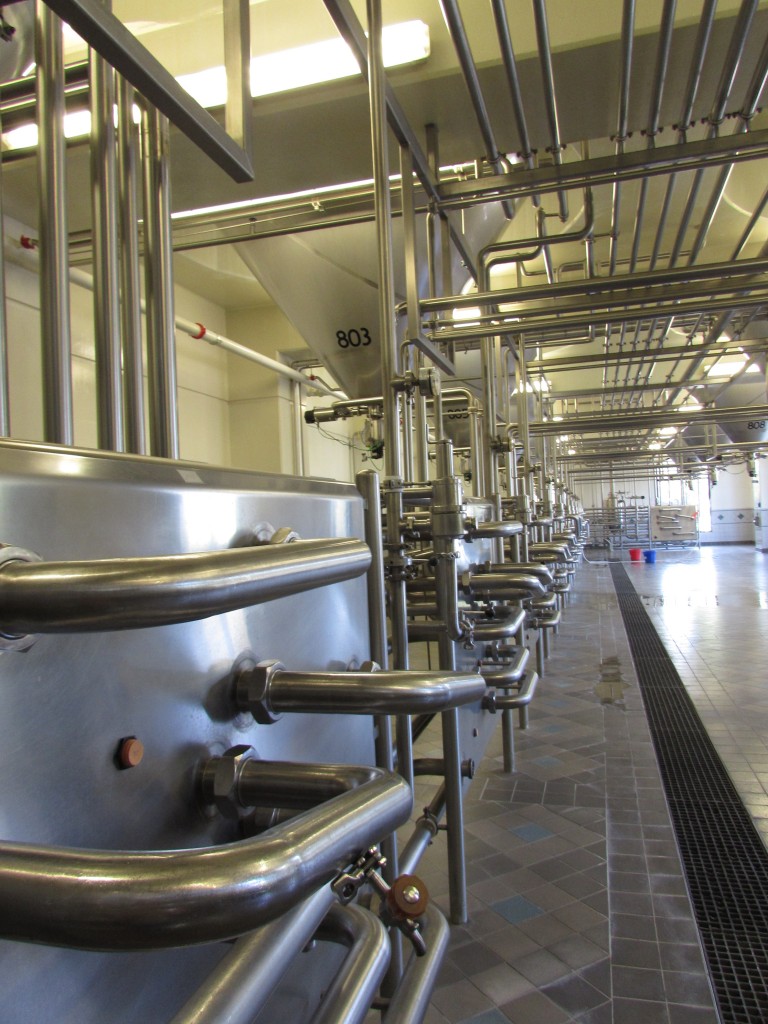
20140917_1675Sierra Nevada’s brewery is gorgeous.  The whole facility shines.  We spent about an hour touring it. They produce around 900,000 bottles per day and it is completely mechanized.  It was almost eerie how few humans were seen working in the plant!

20140917_1687


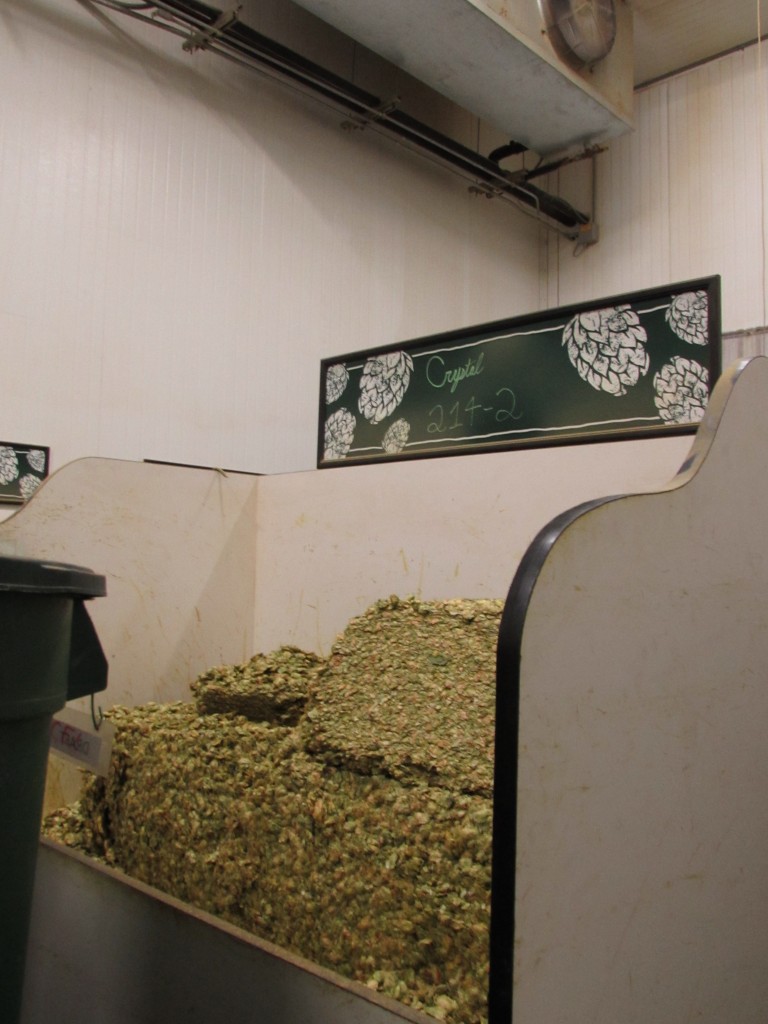
One of my favorite stops on the tour was the refrigerated room where they store the hops.  It smelled so good in there! They had us rub the hops between our hands and inhale the fragrance. Each variety had such a distinctly different smell.

20140917_1684

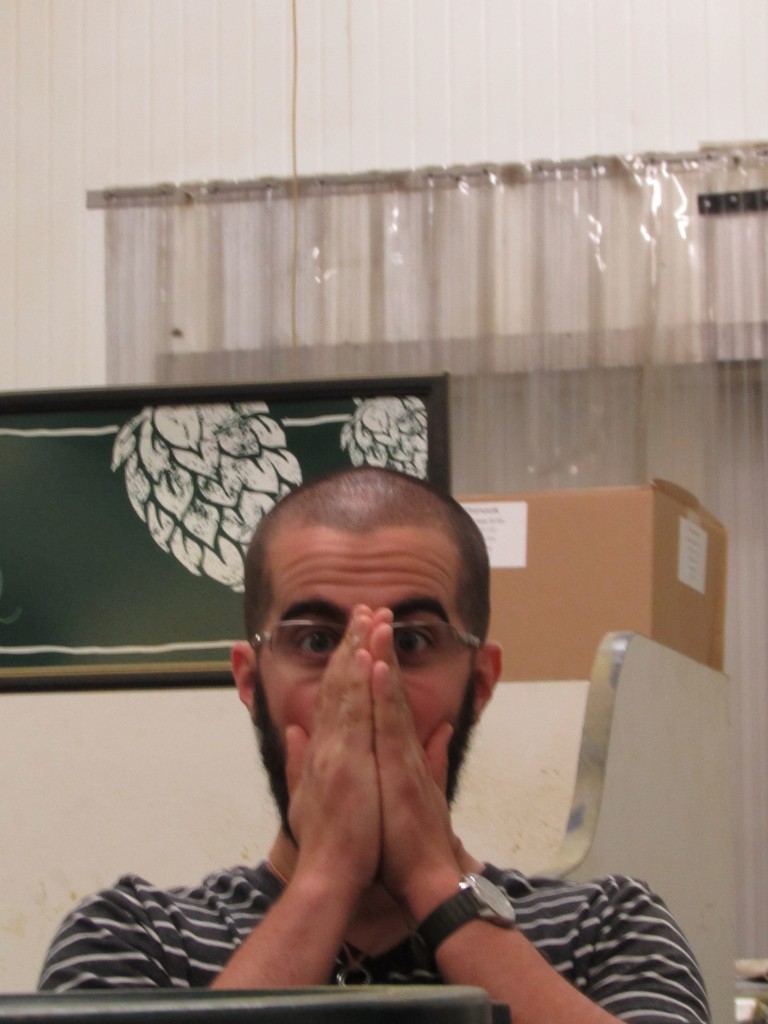
Ian and I both loved this part of the tour.

20140917_1683

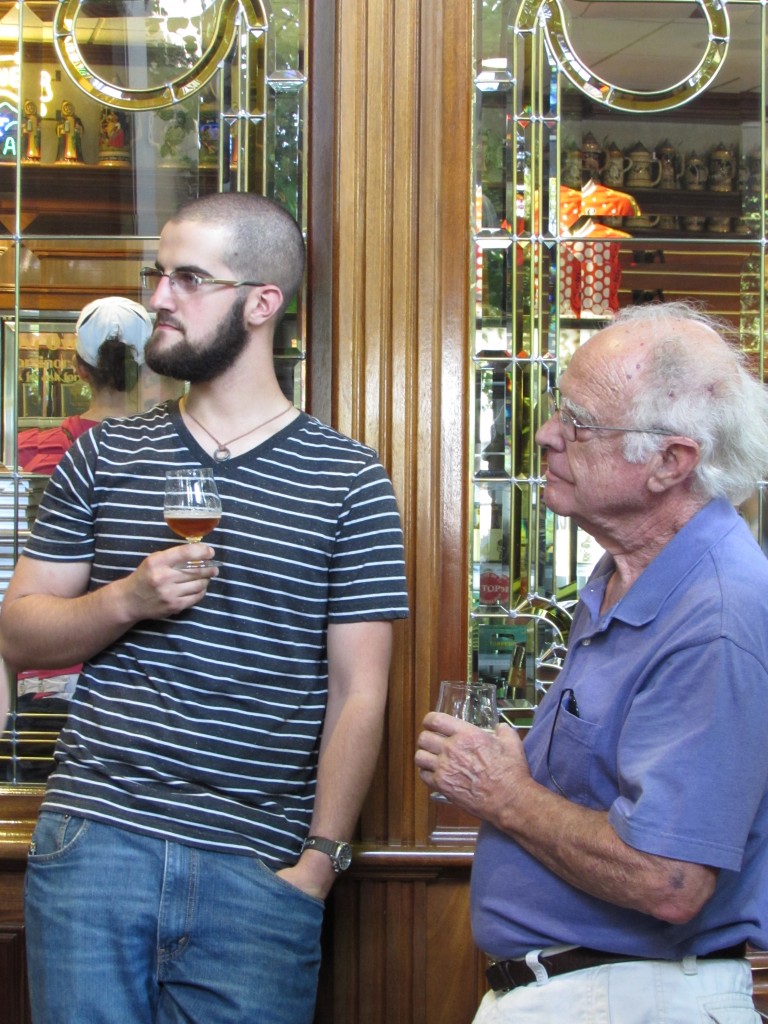
As you’d expect, they save the best for the end!  Beer tasting finished off the afternoon.  Dad and Ian compared the tastings, deciding which were their favorites.  I was the designated driver for the trip home.  It was such a fun day with my dad and my all-of-a-sudden-all-grown-up-kiddo.

20140917_1704

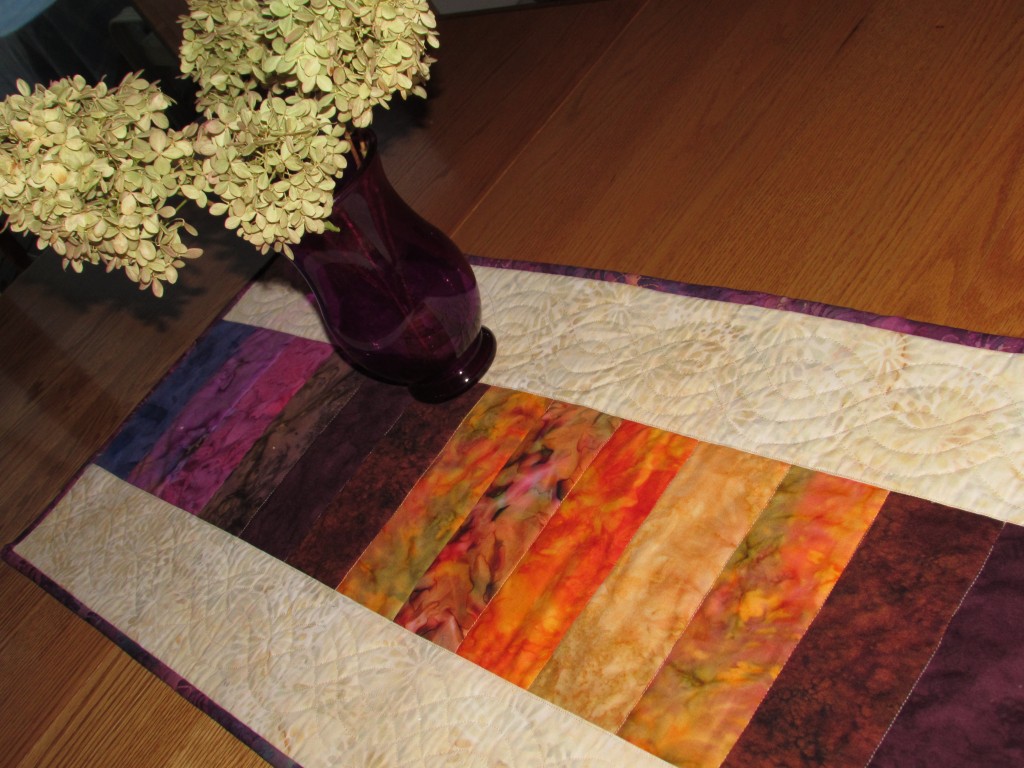
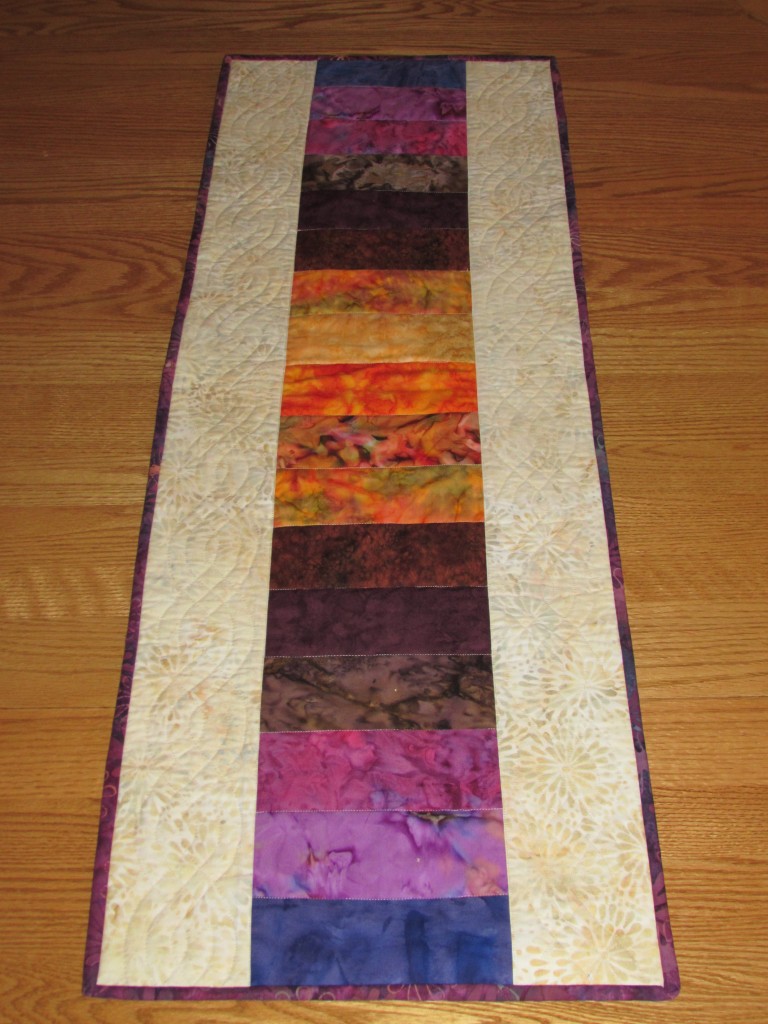
Lest you think I completely strayed from the sewing machine this week, I did work on a couple of projects.  My finish for the week was a tablerunner that is reminiscent of a sunset.

20140918_1715

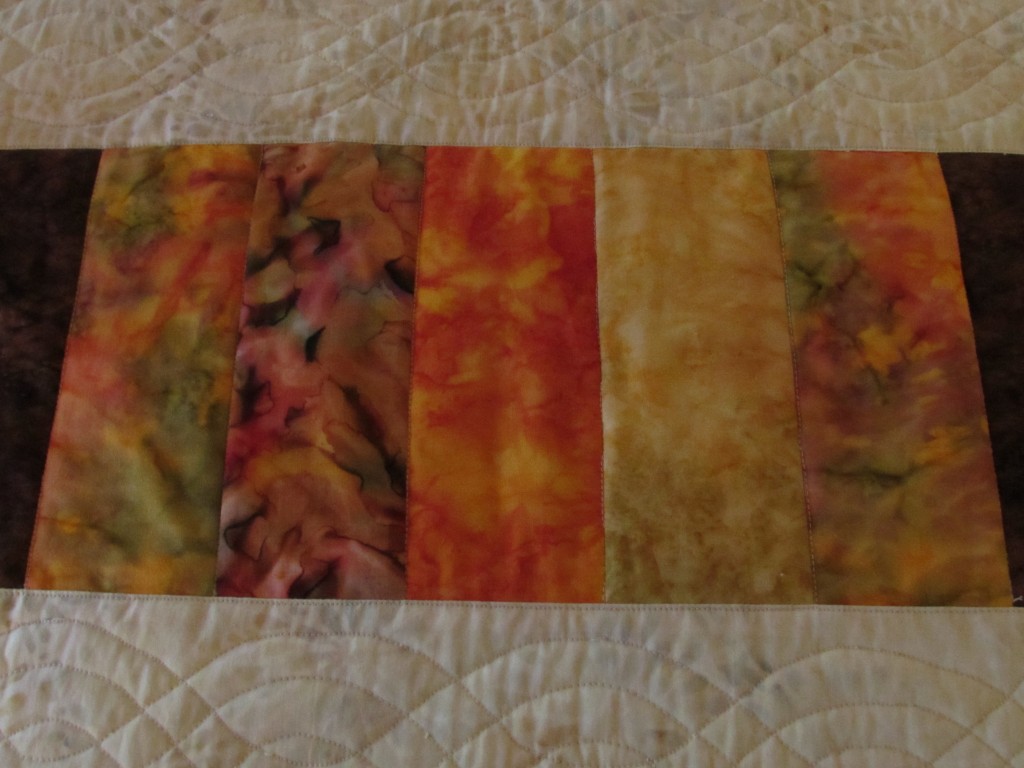
I used batiks for this runner and arranged the colors to look like a sunset.  I love the color combination. The yellows, oranges, pinks and purples are so rich.

20140918_1713

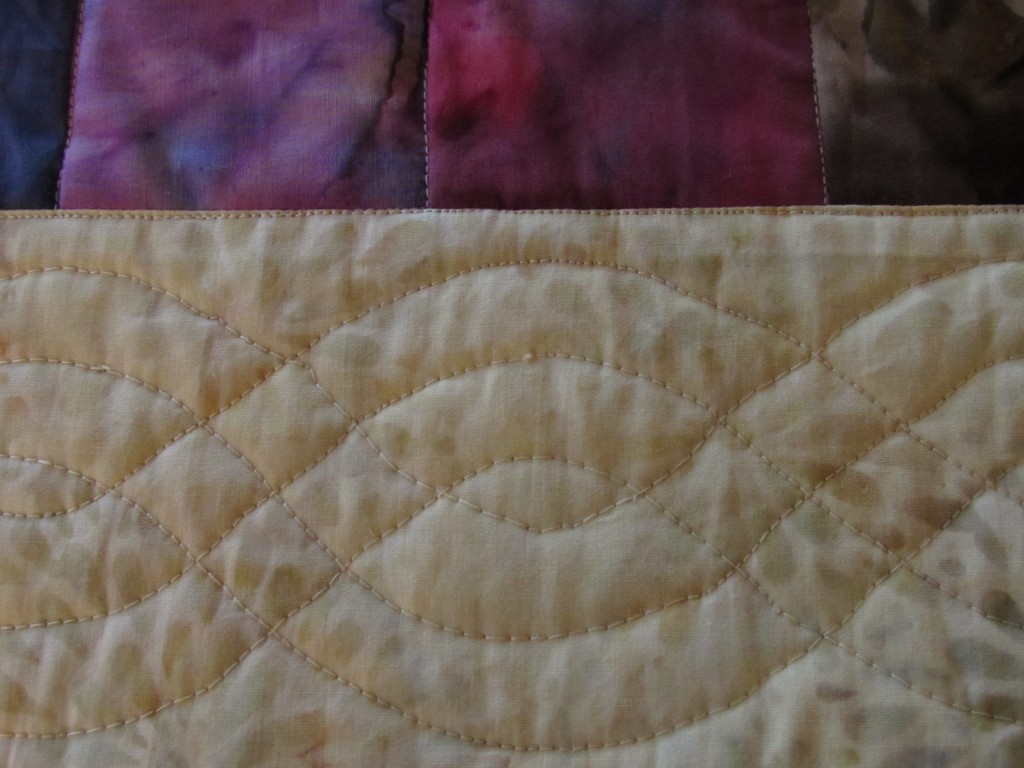
My goal for this project was to try something more complicated when I quilted the outside borders.  I am really working on my FMQ skills and quilting this was satisfying.  Some time ago, a friend of mine gave me a roll of printed FMQ pattern paper.  I haven’t done much FMQ using a paper guide before.  The paper patterns are made sold at Quilting Made Easy and have adhesive strips along the edges of the pattern.  Once they are laid down on the fabric, you just FMQ right through the paper.  This works well but picking the paper off after quilting is a bit of a pain. It was worth it for the good practice it allowed. I liked being able to focus on the speed and rhythm of my stitching without having to plan “where” I was going to move to next. Following the pattern removed one element of focus, allowing me to concentrate on the quality of the stitching.  I think it turned out well.

20140918_1717

The pattern is a double cable border. It is still a bit herky-jerky in places but much improved over my past efforts.

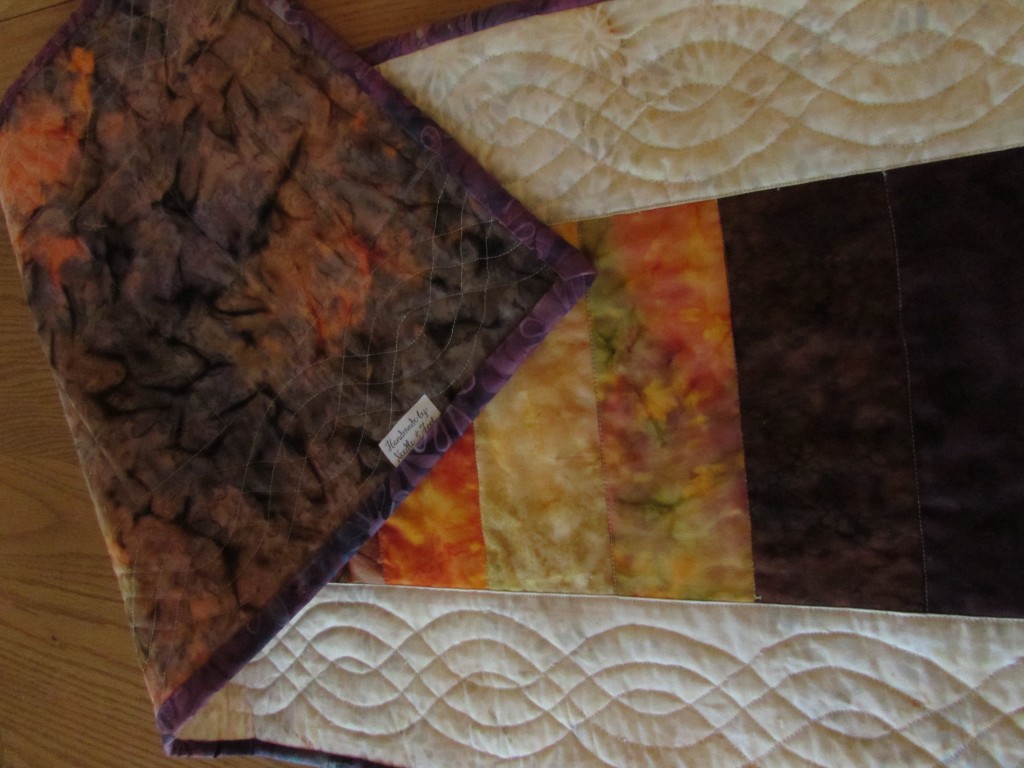
20140918_1719I decided to leave the center strips alone and only stitched in the ditch between colors. I didn’t want to detract from the gorgeous colors of the batiks. The backing is a purple and orange batik that I had in my stash.

20140918_1720

I also had on hand the purple batik that I used for the binding. When I came across that piece I was surprised to realize that I have absolutely no idea where that fabric came from.  Usually I can remember buying it or owning it or receiving it from someone.  This piece just magically appeared while I looked for something to use for binding.  It works well with the colors of this piece.

Hope you have all had a blend of good family time and good stitching time this week.  Really what more does a quilter need?

Linking to:  Freemotion by the River, Let’s Bee Social, Needle and Thread Thursday, TGIFF, and – of course – Amanda Jean’s Finish it Up Friday. There are links to each of these sites listed at the top of my page under Link Ups.  Check out of few of the projects on these pages.  So much inspiration to be enjoyed!


A bit of sunshine

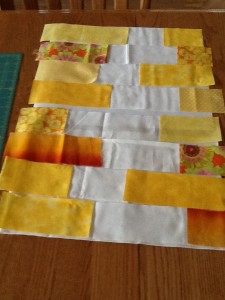
I have been working on lots of projects lately that are for charity or for family gifts. I decided to take a break and make something quick and bright for our house. With lots of yellow scraps on hand, this was a breeze to make. The table runner was copied from a picture I had seen on Pinterest. It comes from a book titled “Set the Table”, published by Martingale. I based the runner on the picture but figured out the piecing myself.  Not rocket science here.  Lots of 2 1/2″ strips to cut. The white strips were cut to four lengths (3″, 4″, 5″, and 6″ Then I laid them out in the order I thought looked best. I wanted a total width of 14″.  Once I had the white strips laid out, I just trimmed the correct yellow strip to the approximate length.  After all the rows were made, I sewed each to the other. Taking pictures of your layout before sewing the pieces is helpful.  Much quicker to refer back to the pictures and keep your original plan intact.

photo (2)


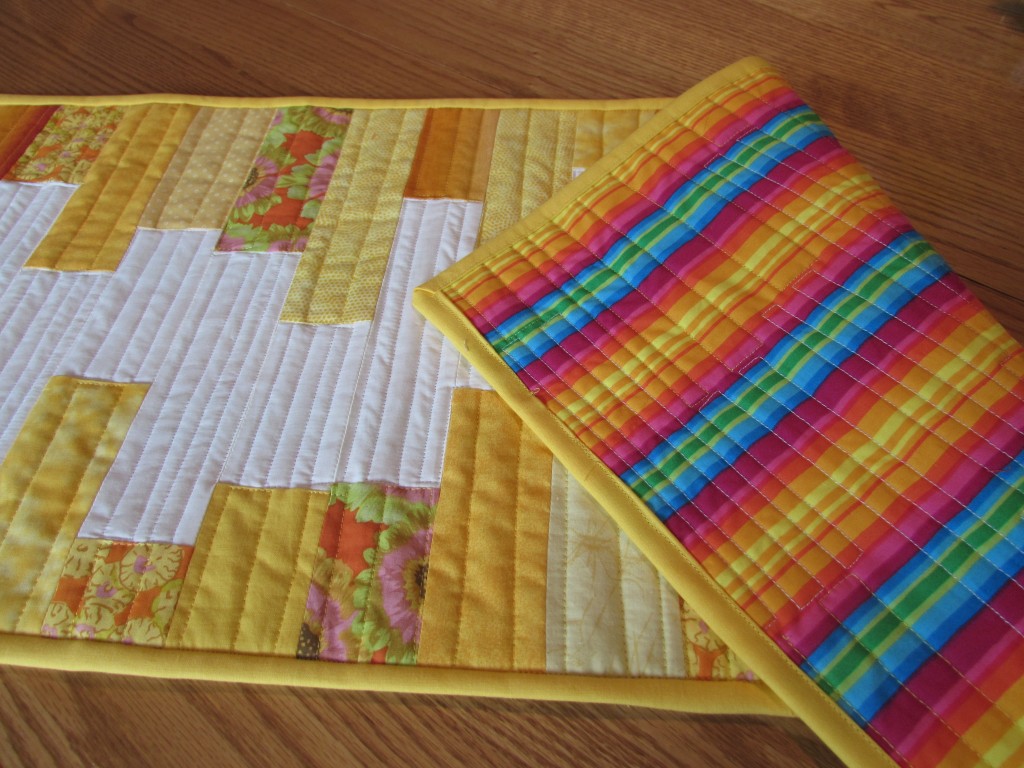
The top went together very fast.  I found a bright striped fabric to use as the backing. The match isn’t perfect but I really didn’t want to purchase anything for this project.  I quilted it with straight line quilting, using random widths.  I quilted it a bit tighter on the center white strips and more loosely on the yellow/orange strips. Looking at it now I think it would have been better to be more consistent between the color areas.

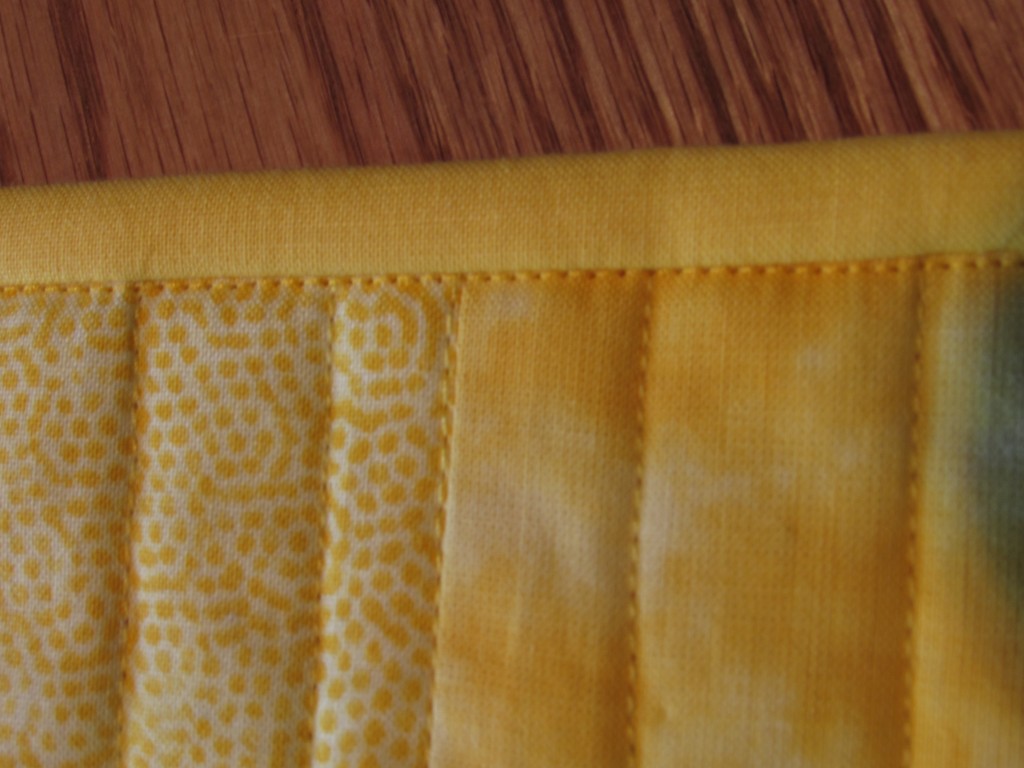
With each project I create, I hope to learn something new or improve the way I do something. With this project I learned to machine sew the binding.  Binding gets a bit tedious and for some items I think it is perfectly acceptable to machine sew rather than hand sew it.  Especially for an item like a table runner that will likely be washed regularly.  Anyway, using trusty ole Pinterest, I set out to find a tutorial on machine binding.  I came up with several.  I ended up using one from Christaquilts.com and another found at Fromthebluechair.com. Both basically had the same idea but the tutorial at Christaquilts.com showed a great way to attach the two loose ends once your binding is sewn on. I have had a heck of a time getting my bindings to lie flat once I join the two ends (beginning and finish).  Christa’s method is awesome and this is the first time I have been really happy with the way the join looks on my binding.  So thanks Christa!

The stitching on the binding looks fine.  It is going to take some practice to become adept at this but I think for the first time, it turned out nicely.

20140605_1017

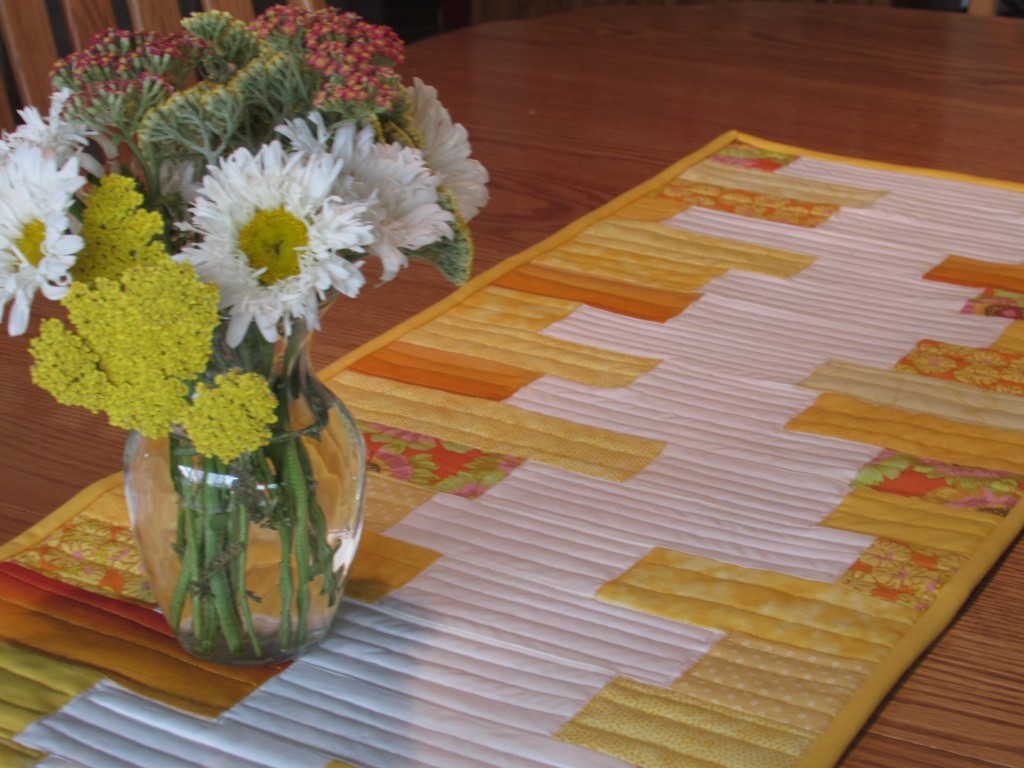
Here is the finished runner!  Perfect for summer.

20140605_1013

And the back side with the bright stripe. Like I said, not a perfect match but good enough for this project.

20140605_1018

Love having a quick finish for this week.   Linking up to TGIFF at www.glorybequilter33.blogspot.ca.  Also linking to RichardandTanyaQuilt, Link a Finish Friday! And finally, linking to Amanda Jean at Crazymomquilts.com!!

Yay – my second blog post ever!!