Tag Archives: upcycling

Upcycling a Vintage Caftan

This post is picture heavy and contains just a bit of sewing related info so if you aren’t in the mood, I totally understand!  As you might already know, my son and his fiancé were married on Saturday.  As the parents of the groom, we hosted a rehearsal dinner on the Friday night before the wedding. The couple wanted a Mexican dinner which we had catered by a local Mexican restaurant.  I don’t usually do this but it worked out well for us.  I had so much going on and not cooking the meal myself was so helpful.

When my husband and I thought about the dinner, we really wanted to have it outdoors.  Our front yard is so pretty and very private because we live on rural property and don’t have neighbors close by.  Again, I went the simpler route and rented tables, chairs, dishes, flatware and wine glasses.  This really made for an easy party because we didn’t have to wash dishes afterward.  All that was required was to stack the dishes, glassware and flatware in restaurant style racks and they picked it up in the morning.  With the wedding the next day, it was great not to have to deal with lots of clean up that night.

The fun part was thinking about decorations.  My first thought was I needed two brightly colored table cloths and table runners for the center of each table.
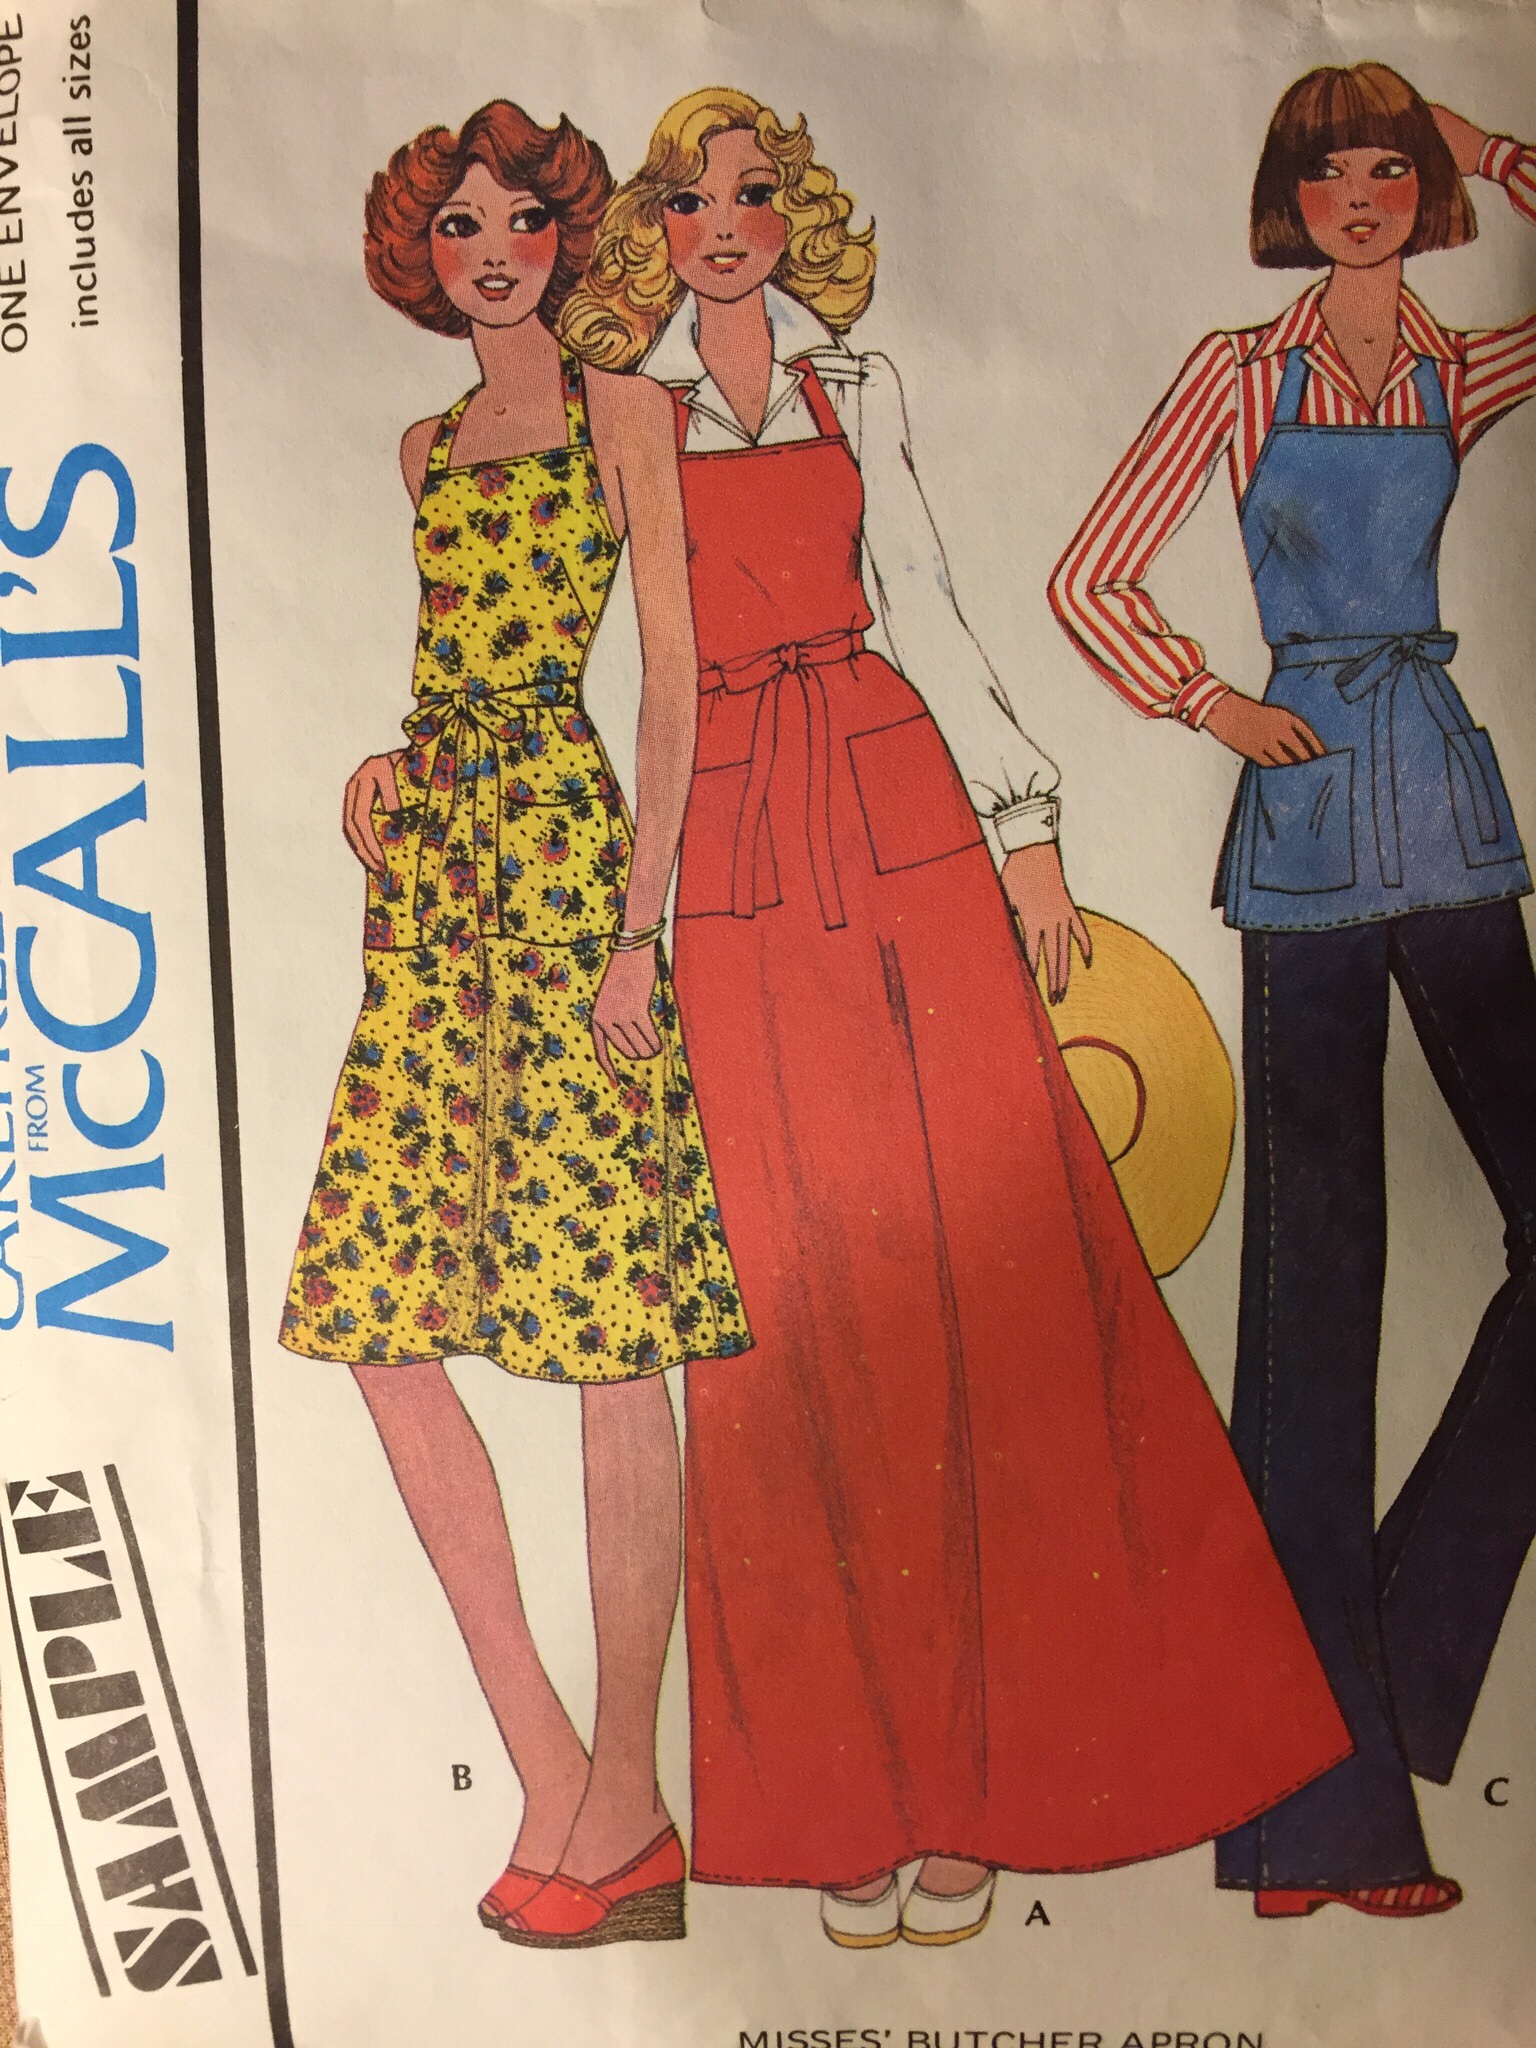
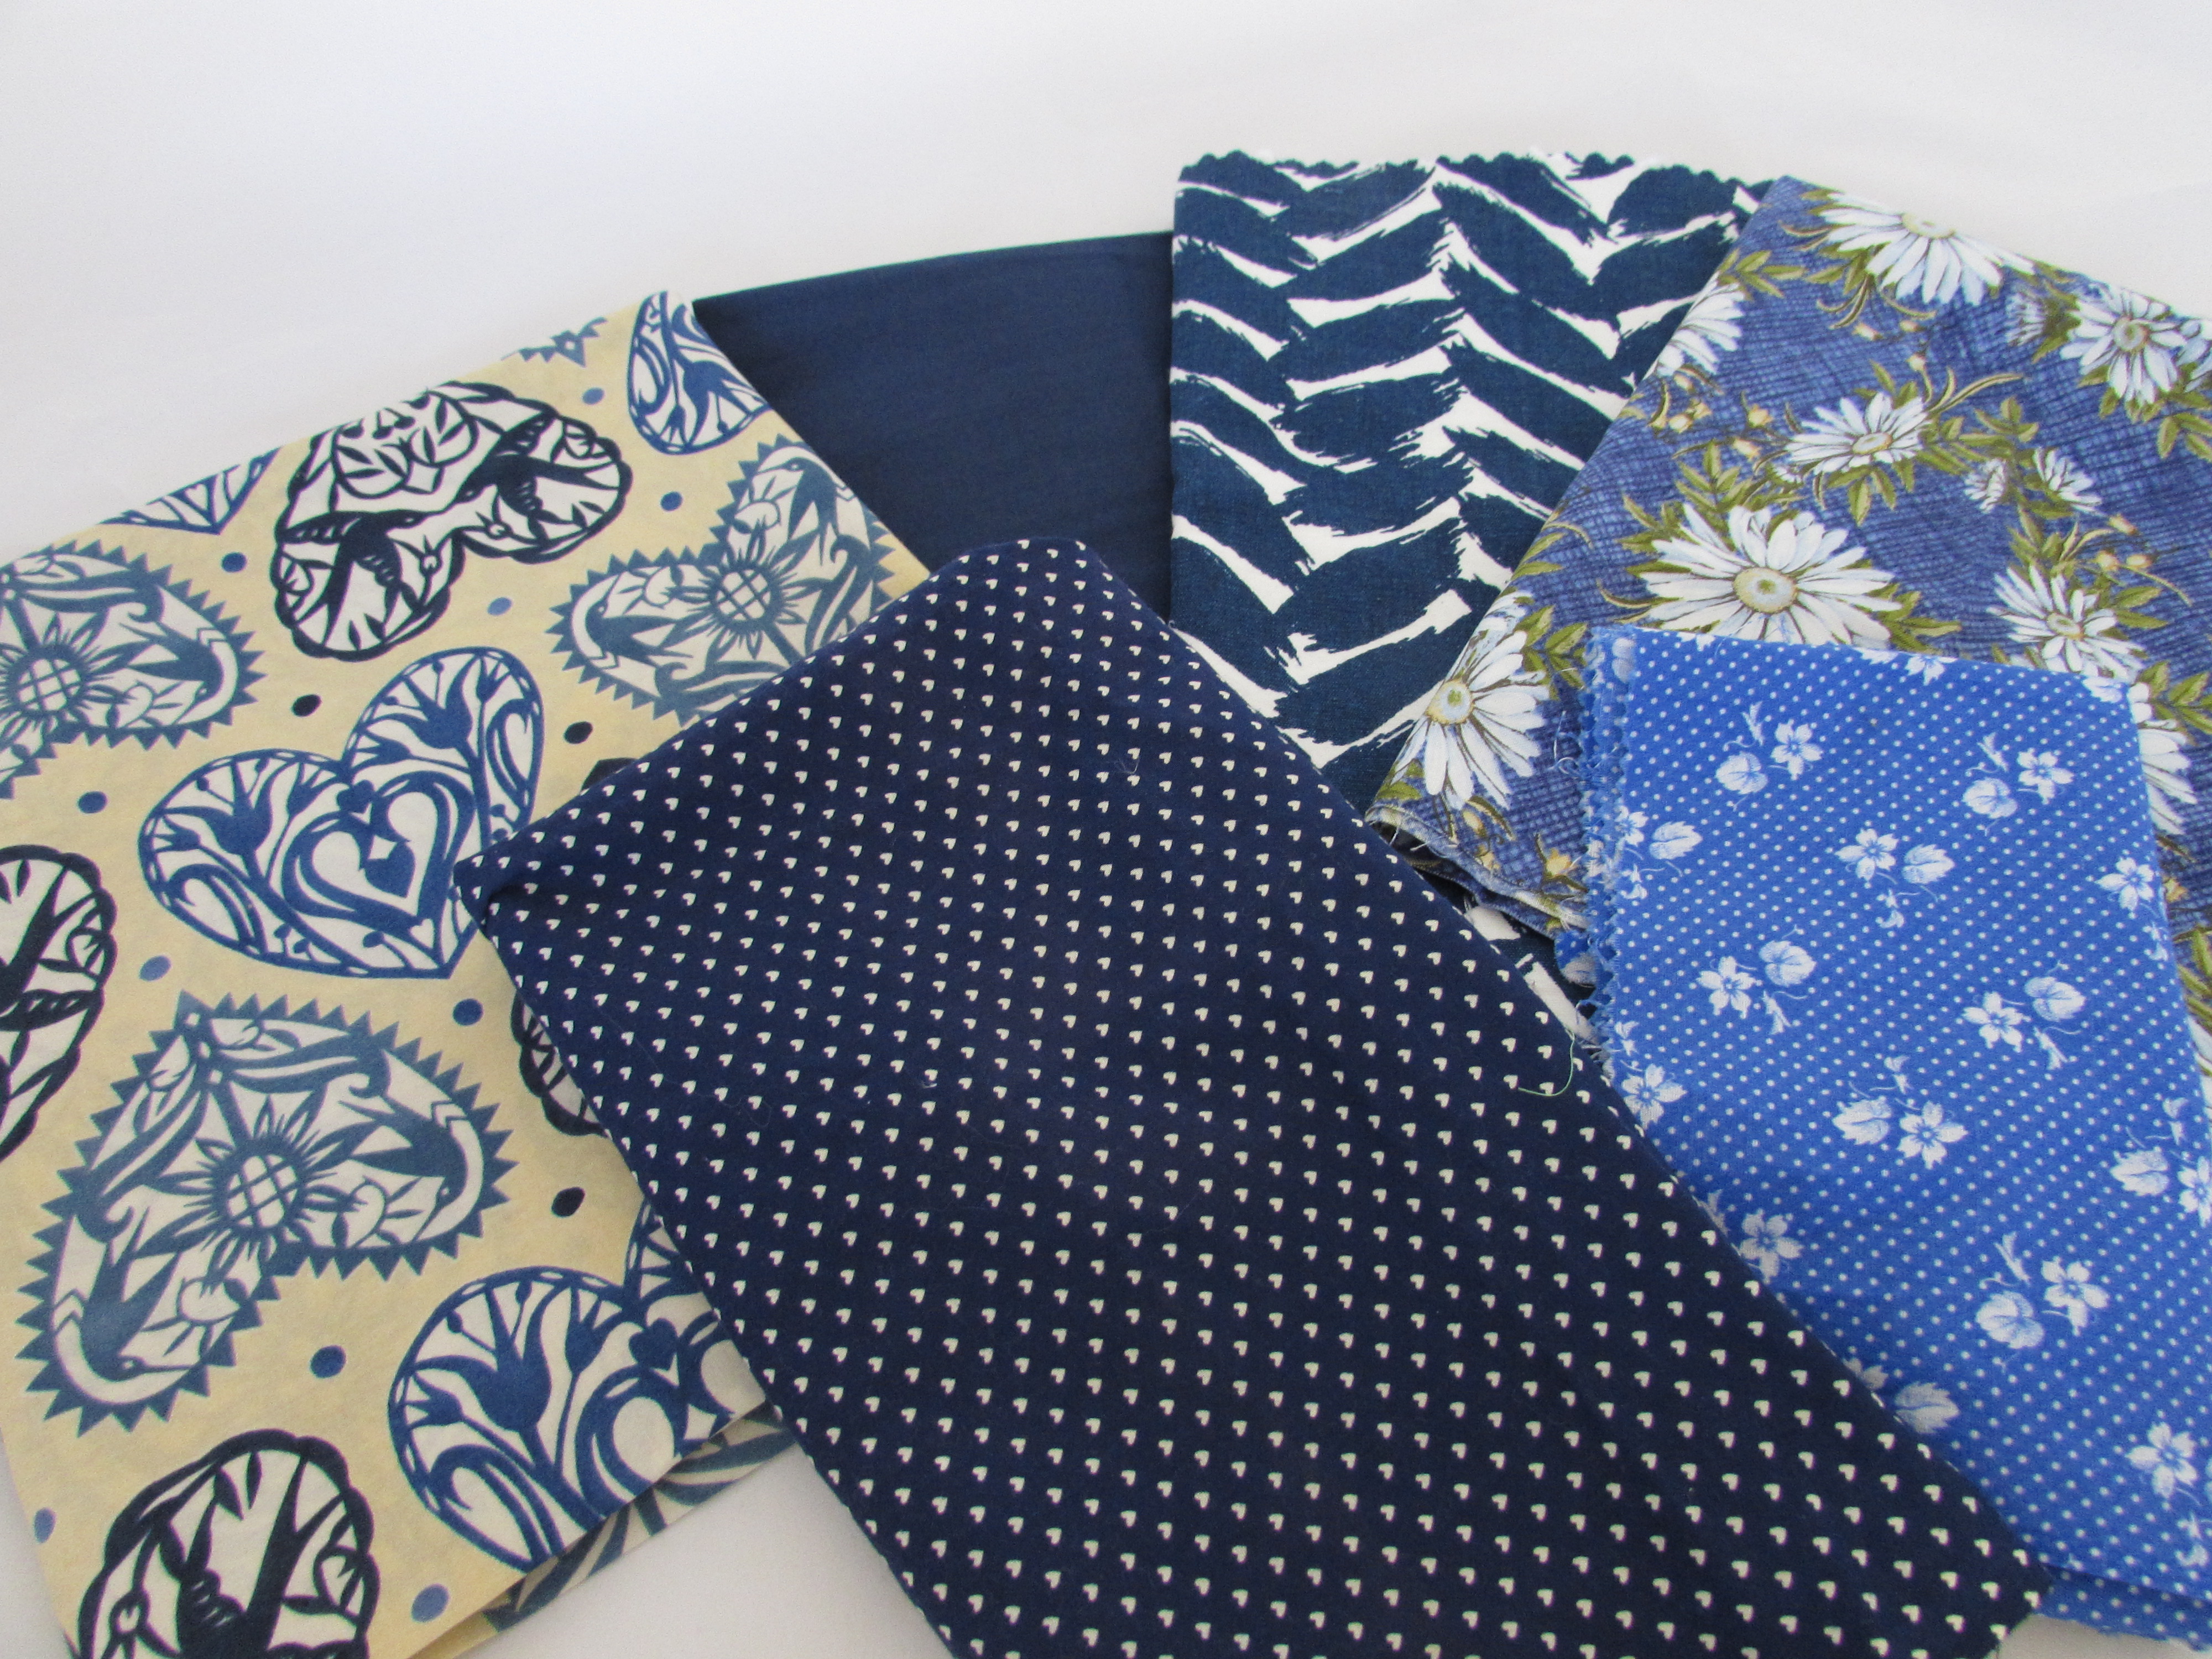
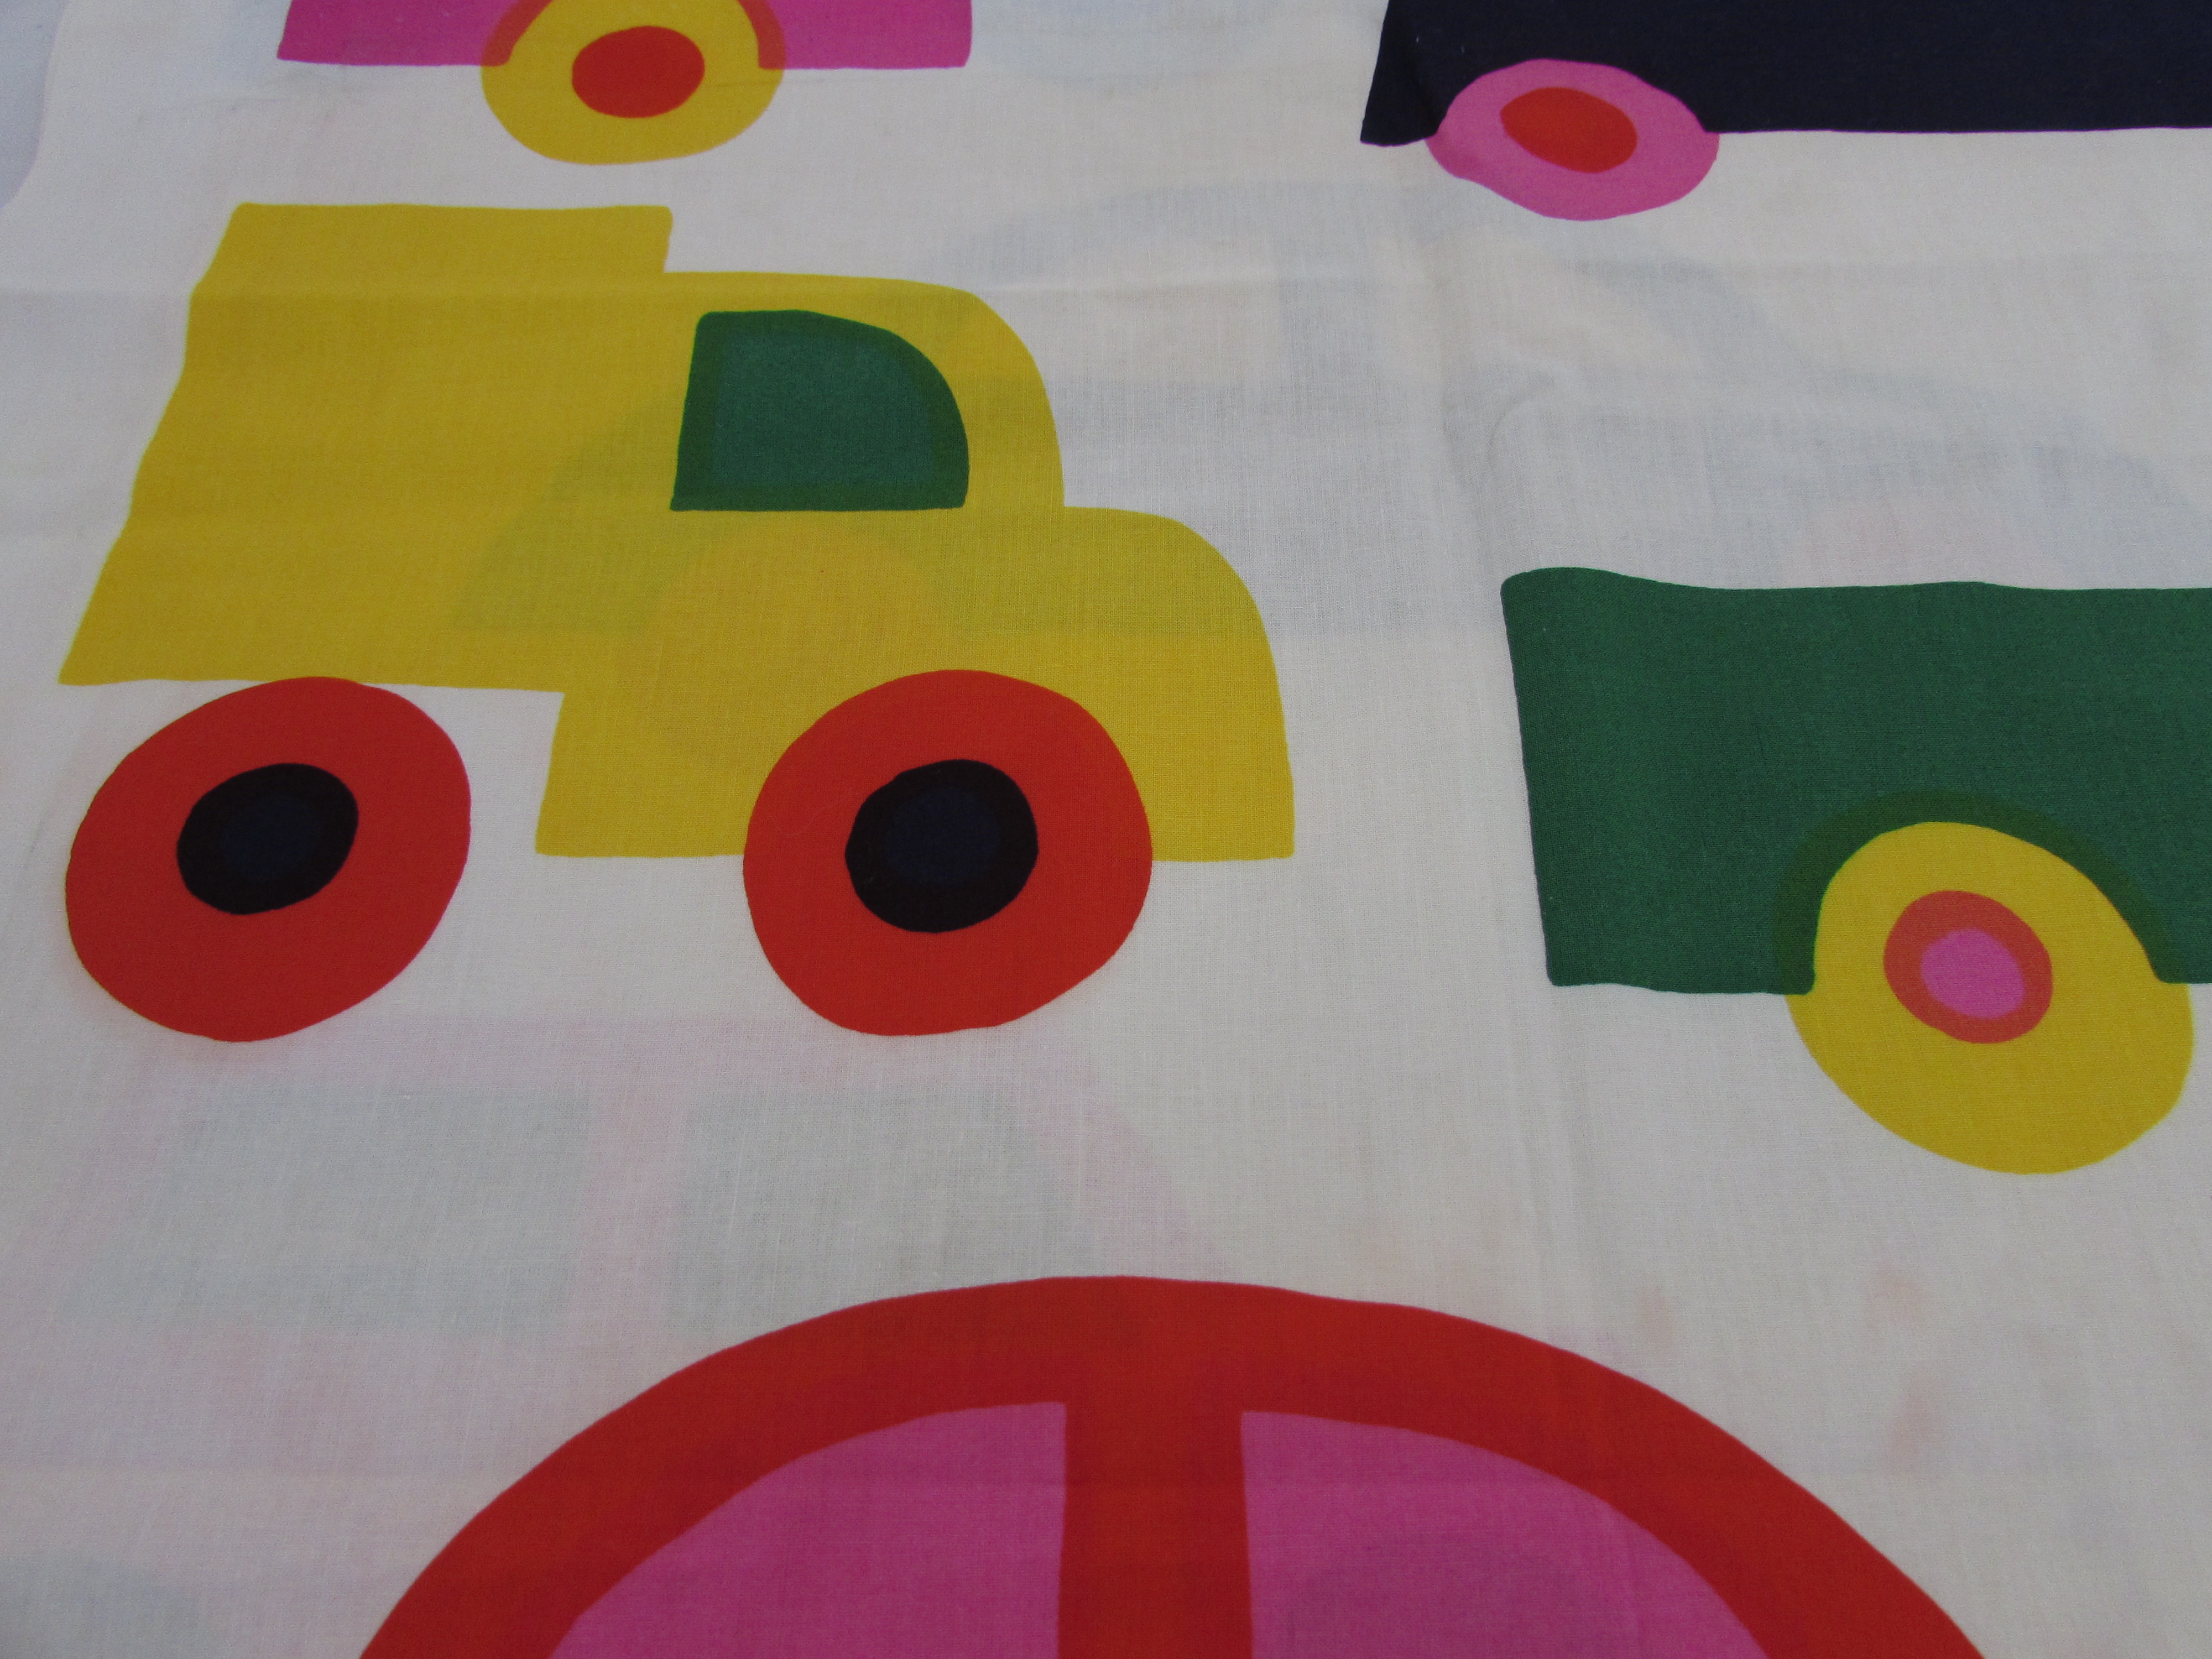
1970’s Caftan

My frugal self sent me over to the thrift stores in town to hunt.  I didn’t find any table cloths but did find a fun vintage caftan.  I decided to use a harvest gold table cloth I already had and a red one belonging to my mom.

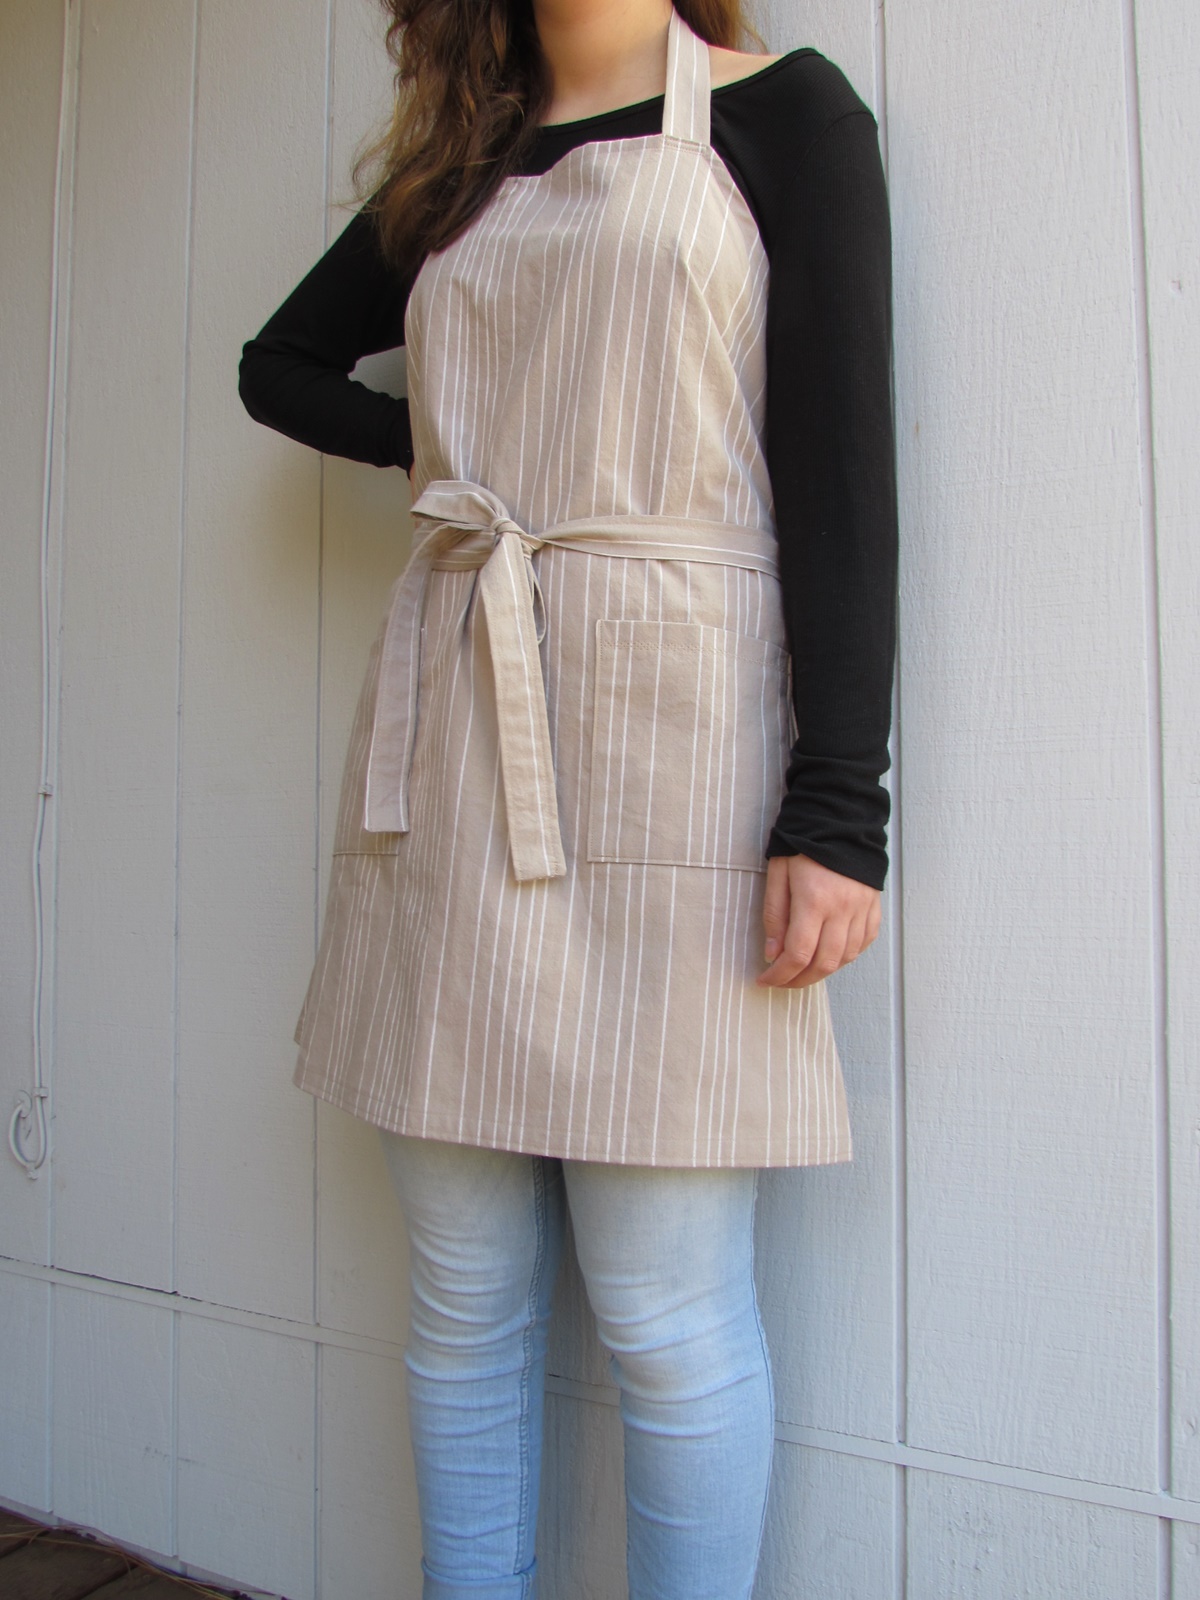
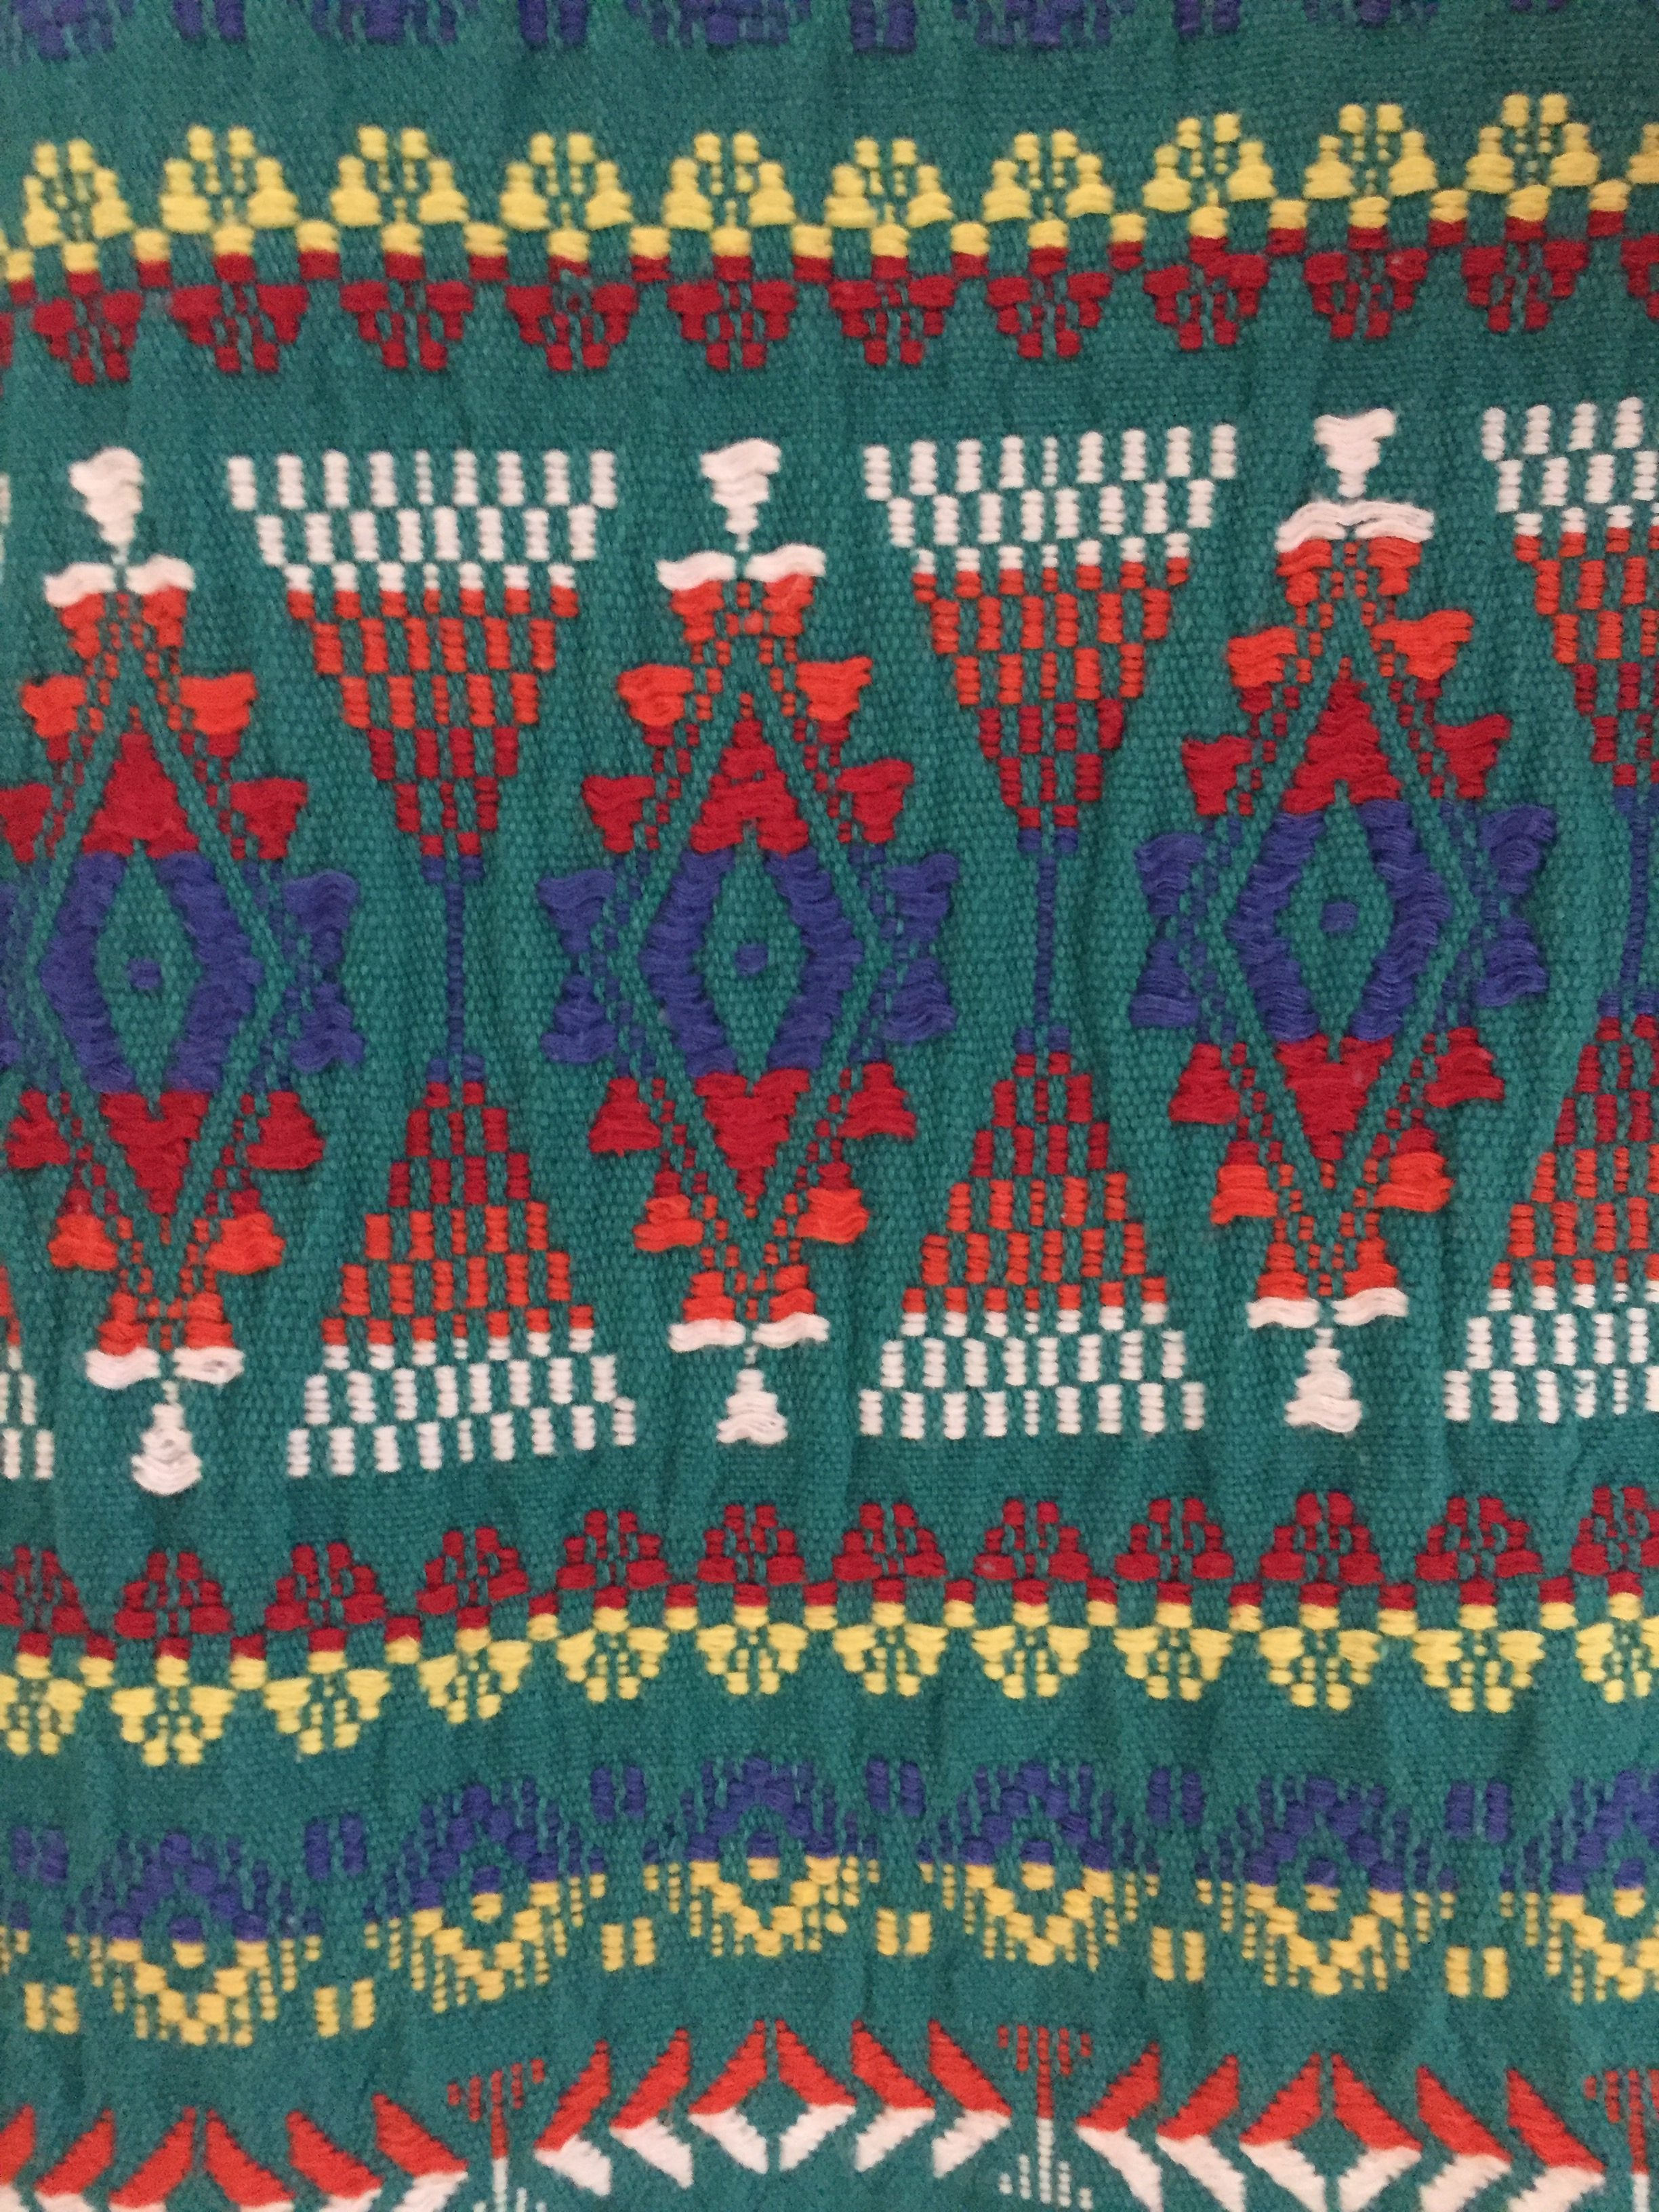
My thought was to utilize the stitching somehow by taking it apart and reassembling it.  I cut the bottom off, leaving a border of the green.  I hemmed it all the way around and that created one runner.  For the second runner, I cut a large swath of the solid fabric from the center of the dress.  Then I cut the sleeves off so I could use the decorated portion of the sleeves. The width of the second runner was determined by how wide the stitching was on the deconstructed sleeves. I attached one section of the decorative stitching to each end of the solid color fabric so it ran vertically on each end.  I did have to block the runners and starch them to get them to lay (mostly) flat.  These had been laundered and worn quite a bit so the fabric was not at all square.

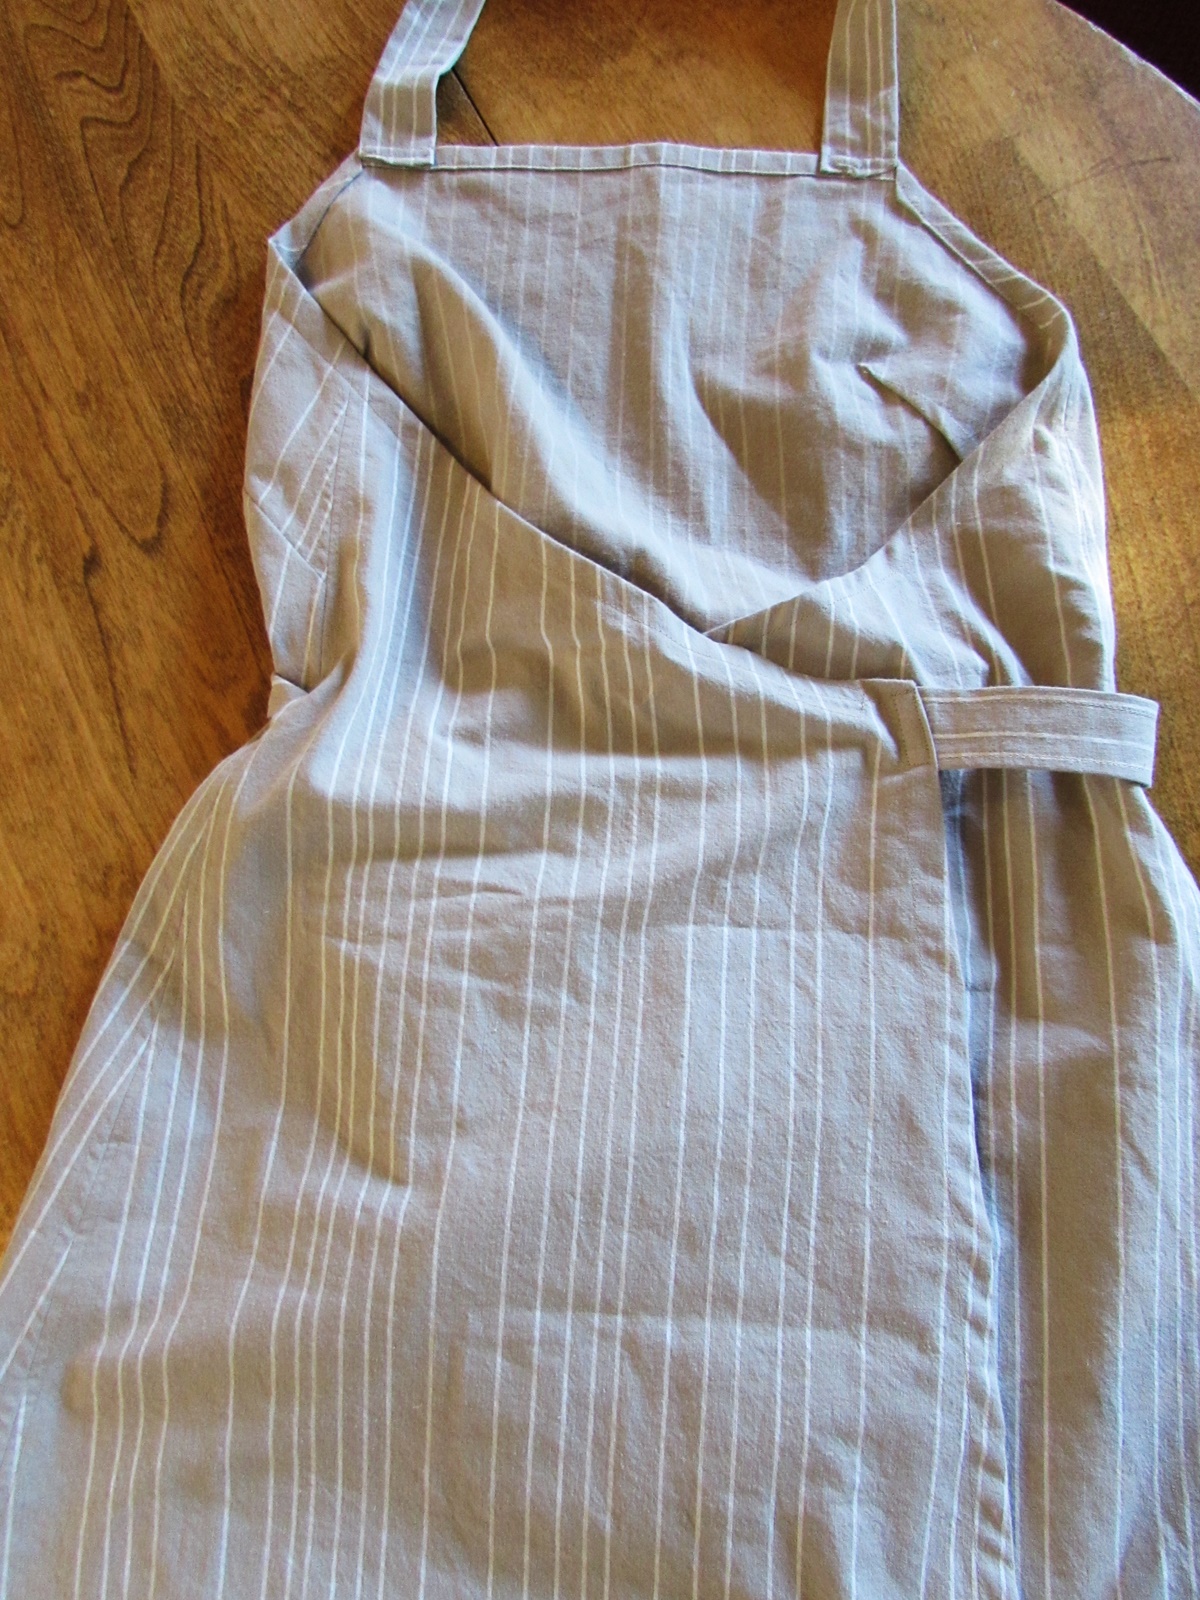
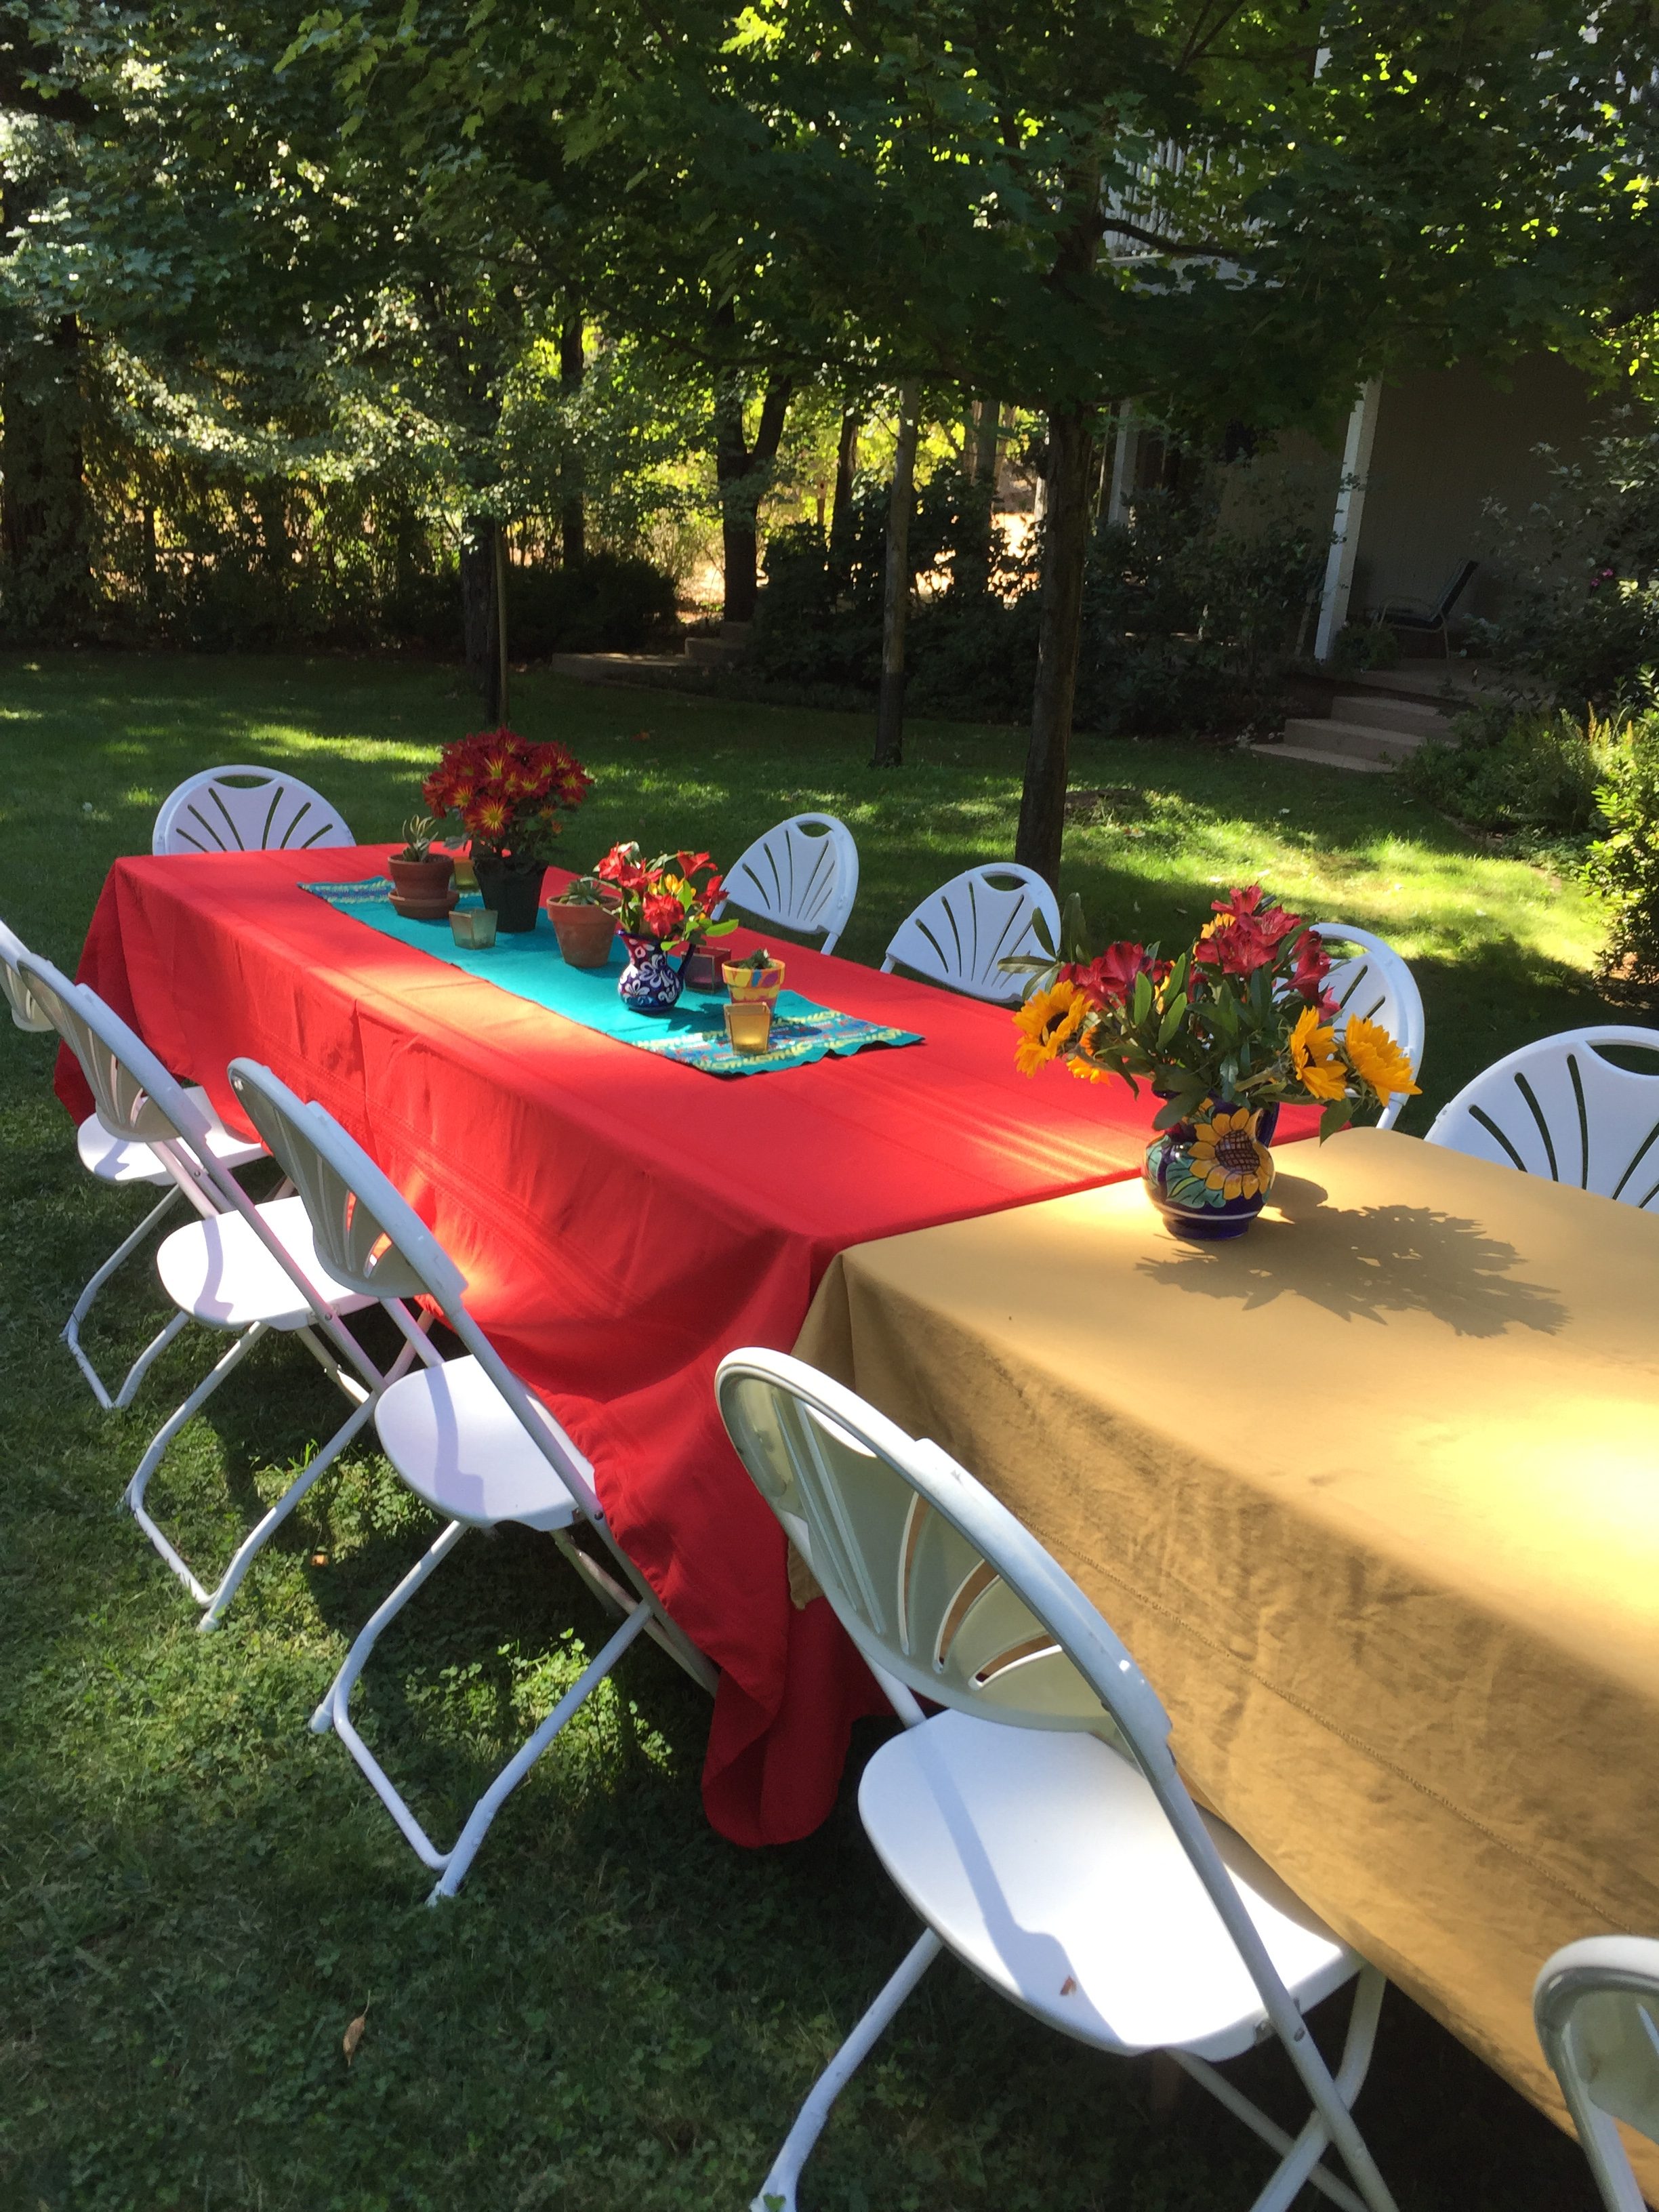
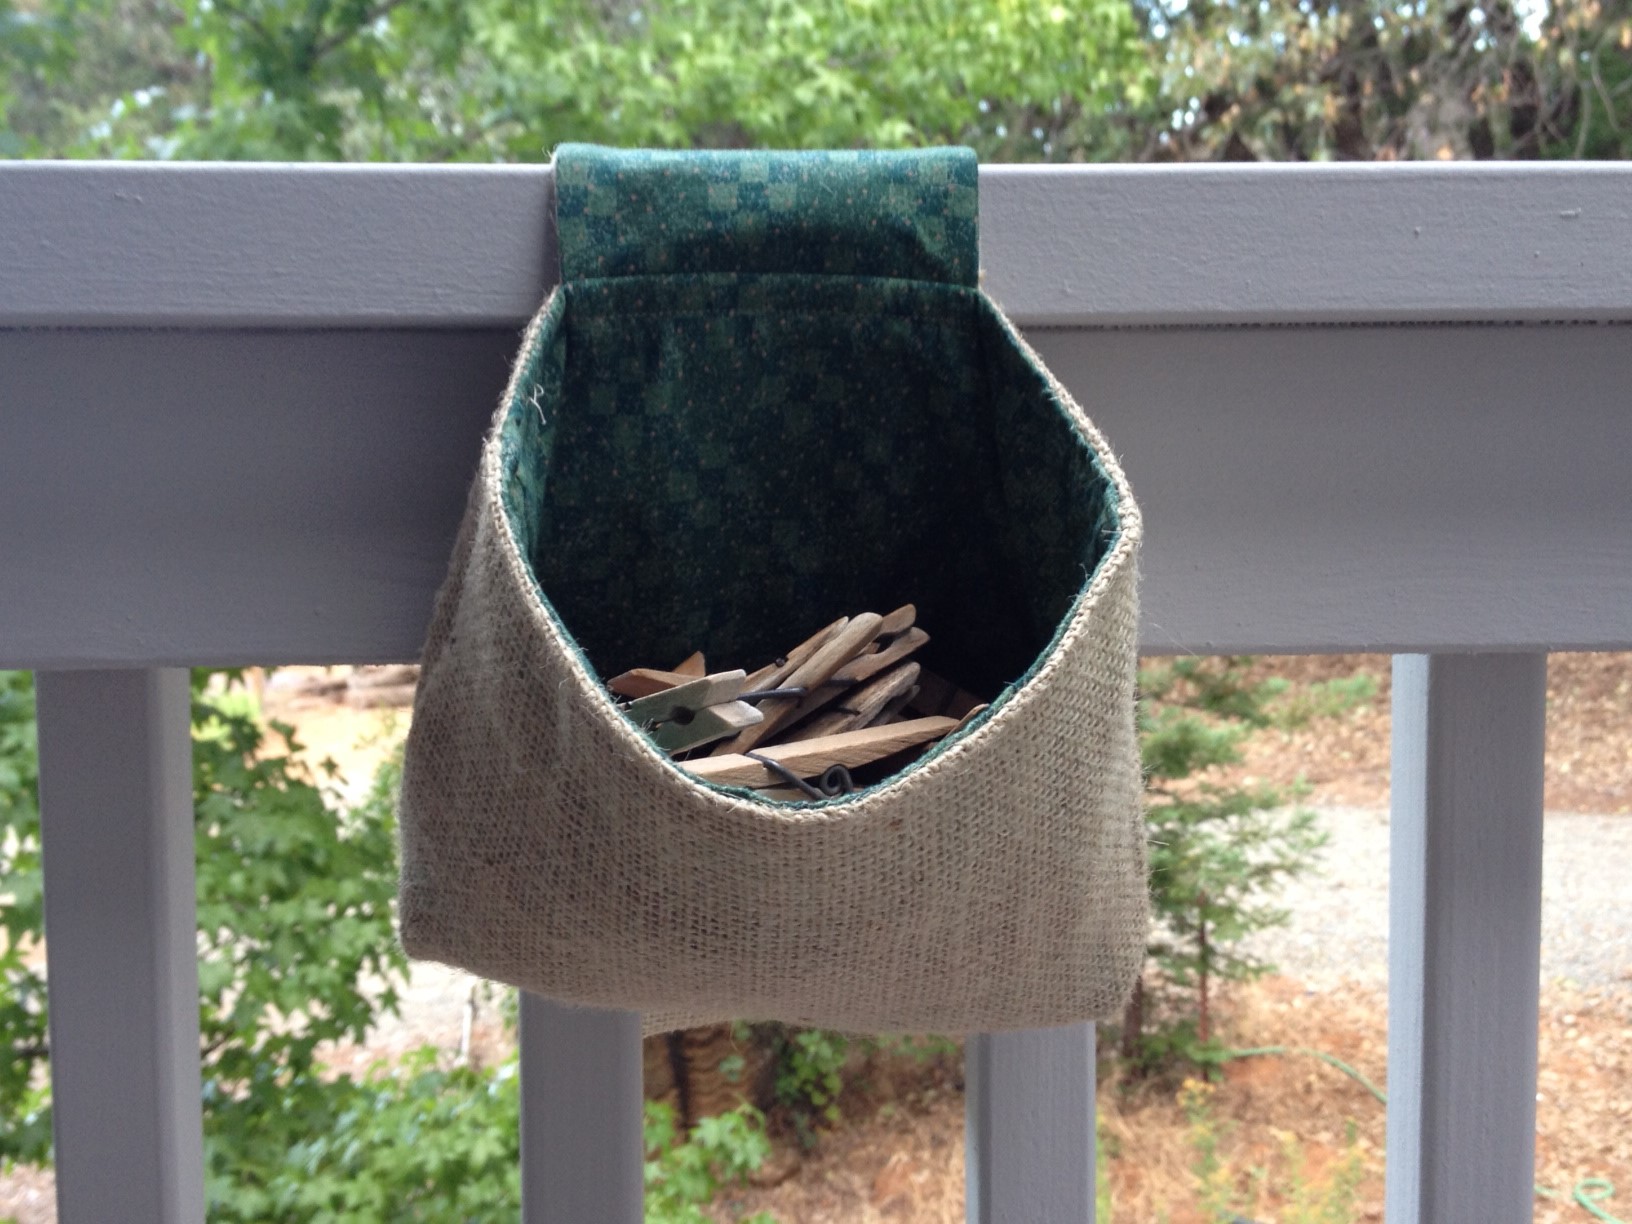
The runners are different but coordinated.  (I didn’t take pictures of just the runners but this  sort of gives you an idea.

Here is the other one.

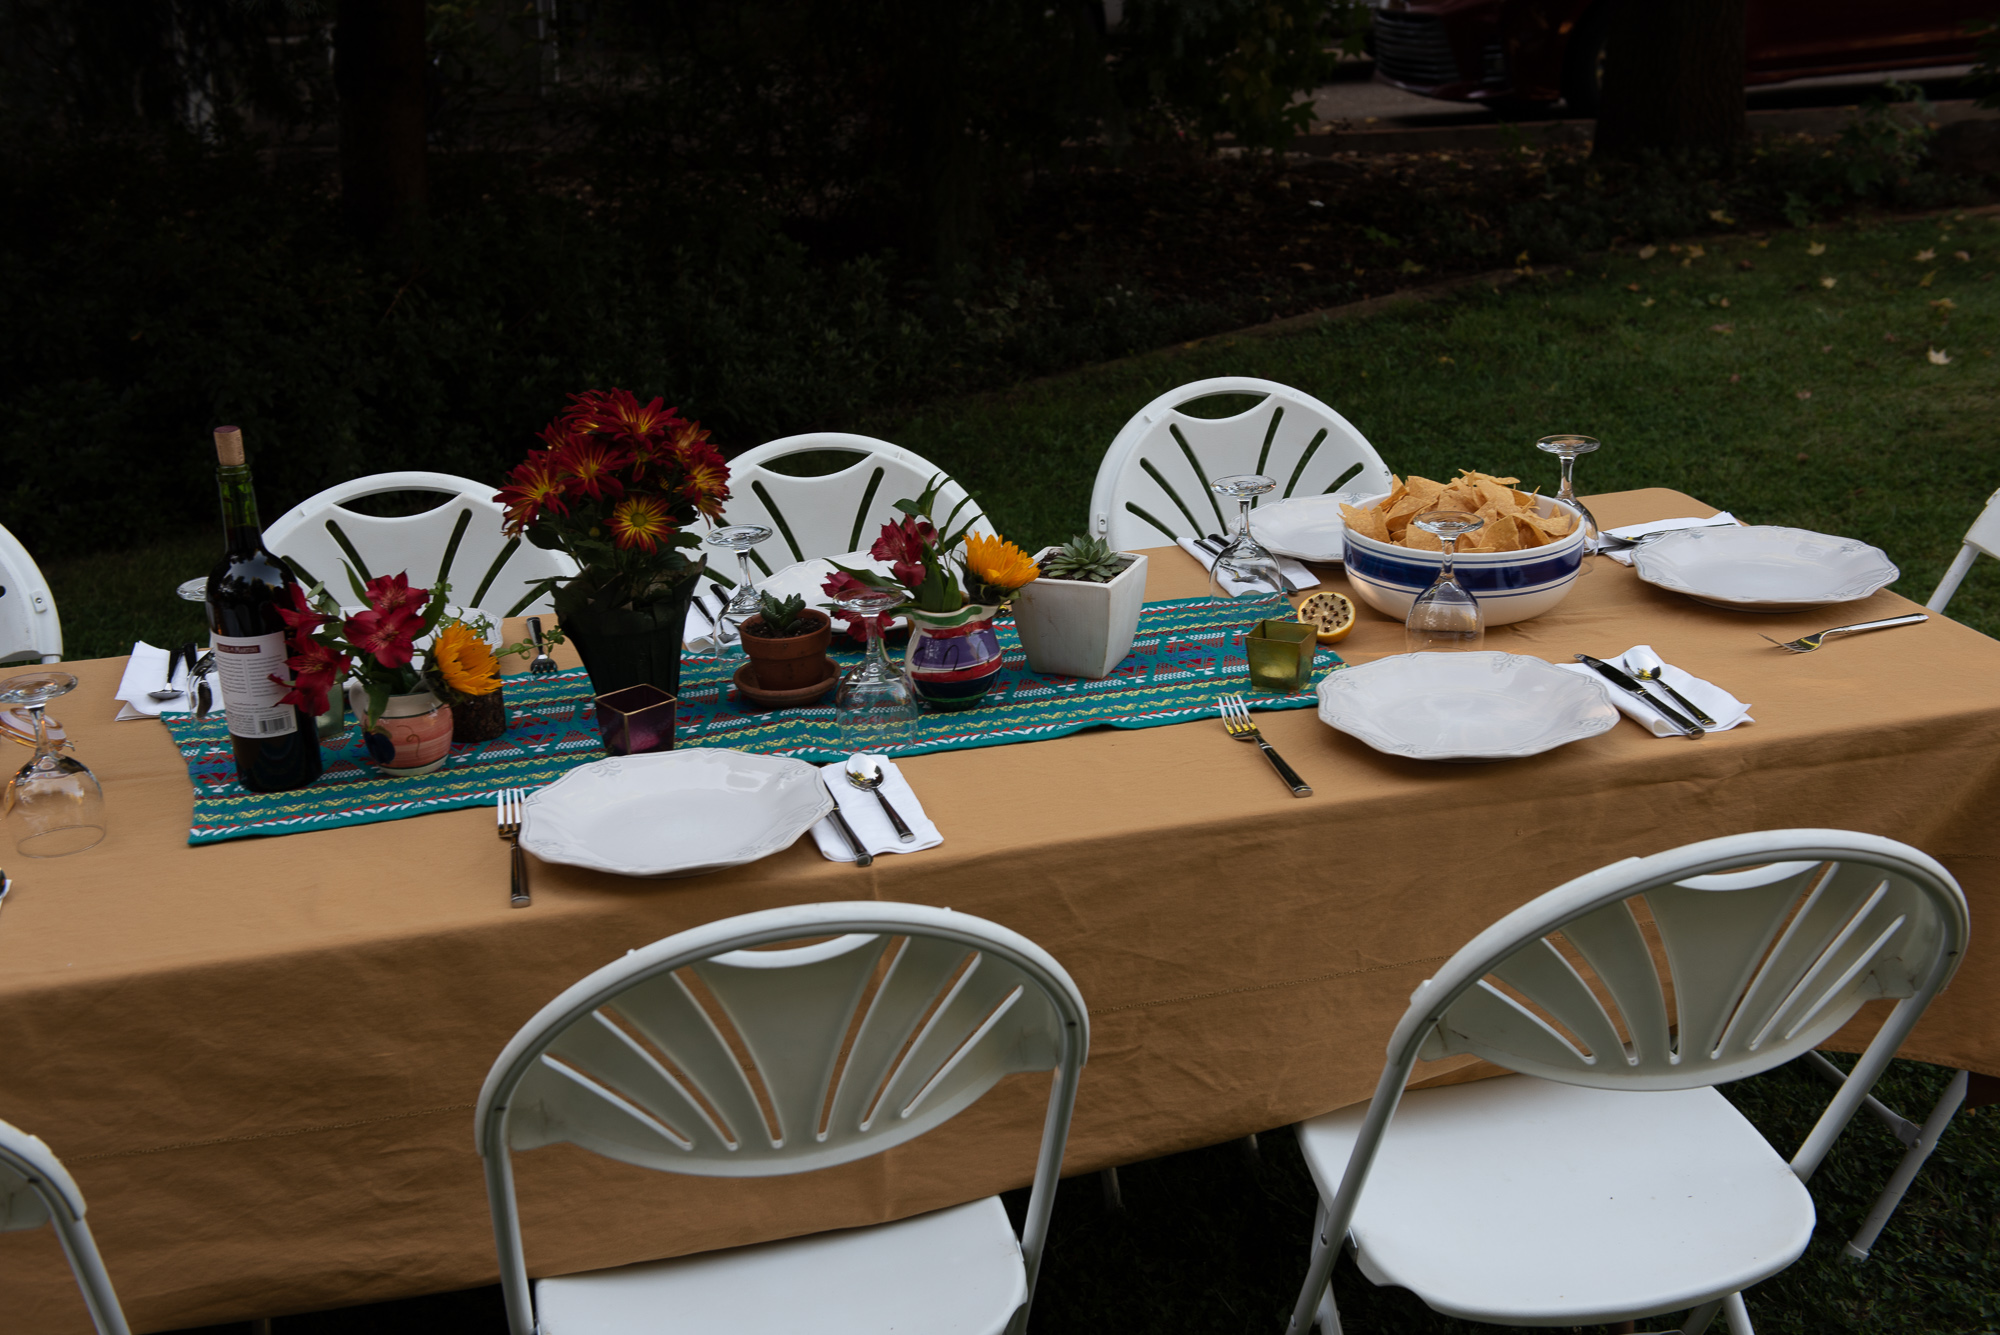
To finish things off, I potted little succulents in small clay pots gleaned from my garage and. my mother’s.  I added votive candles and small vases with Alstroemeria and dwarf Sunflowers. The vases are actually small pitchers I bought during a family vacation in Mexico a long time ago.  We also tucked in some lemon halves that had a large number of whole cloves inserted across the cut side because we read that it might repel the Yellowjackets.  (At this time of year, we often have yellow jackets and they are so annoying when we eat outdoors.  My husband put about 1/2 dozen open cans of cat food and tuna in strategic locations around the perimeter of the lawn and this proved to be a good distraction for the bees.  They were not a problem during the dinner). The lemons looked nice but I highly doubt their scent did much to help us.

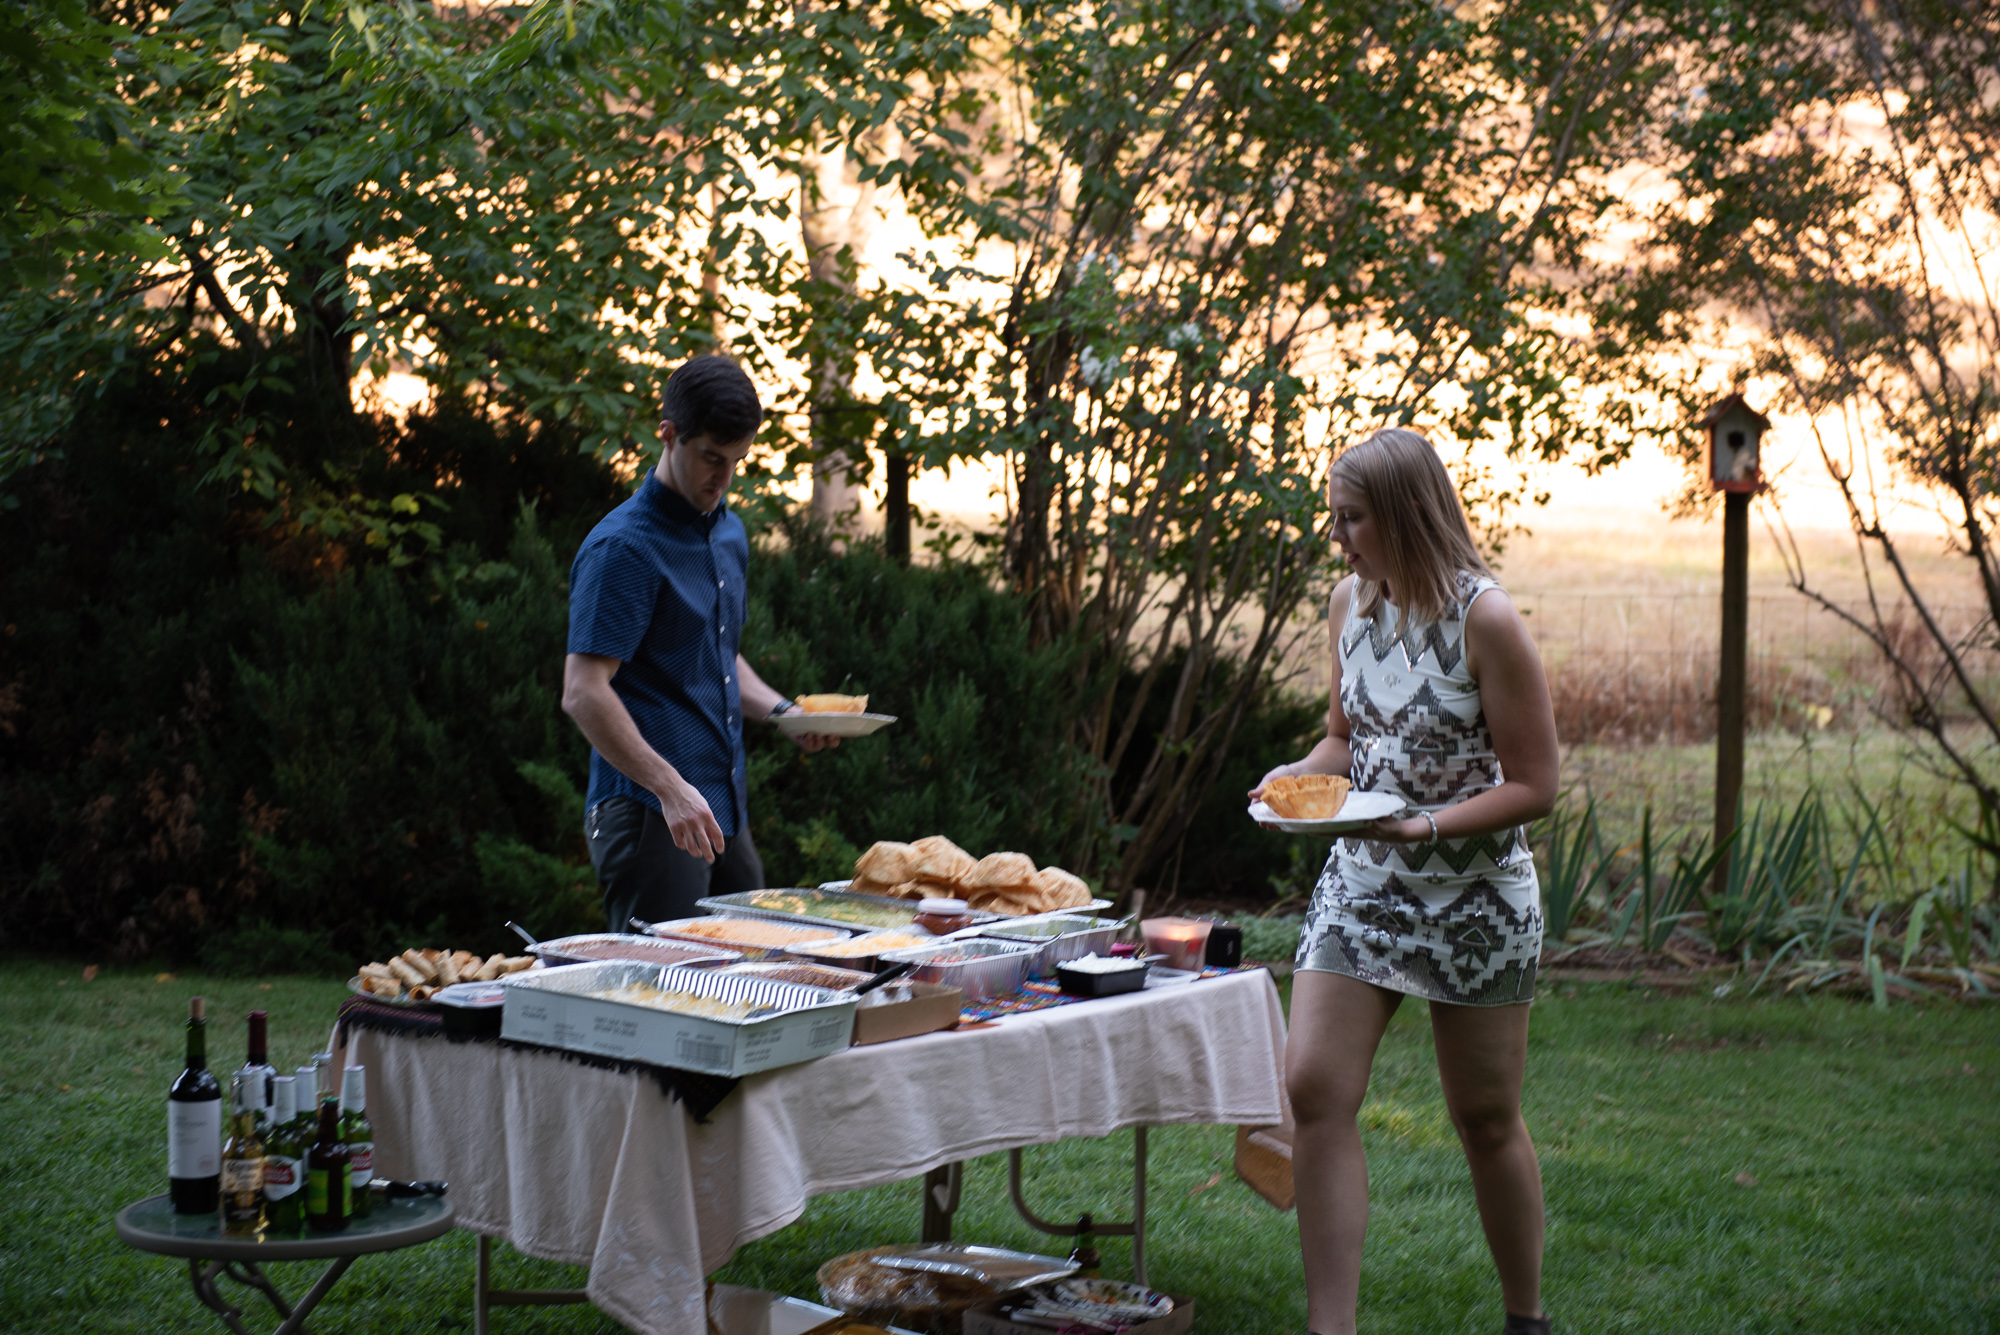
Of course, way too much food!

The dinner was wonderful.

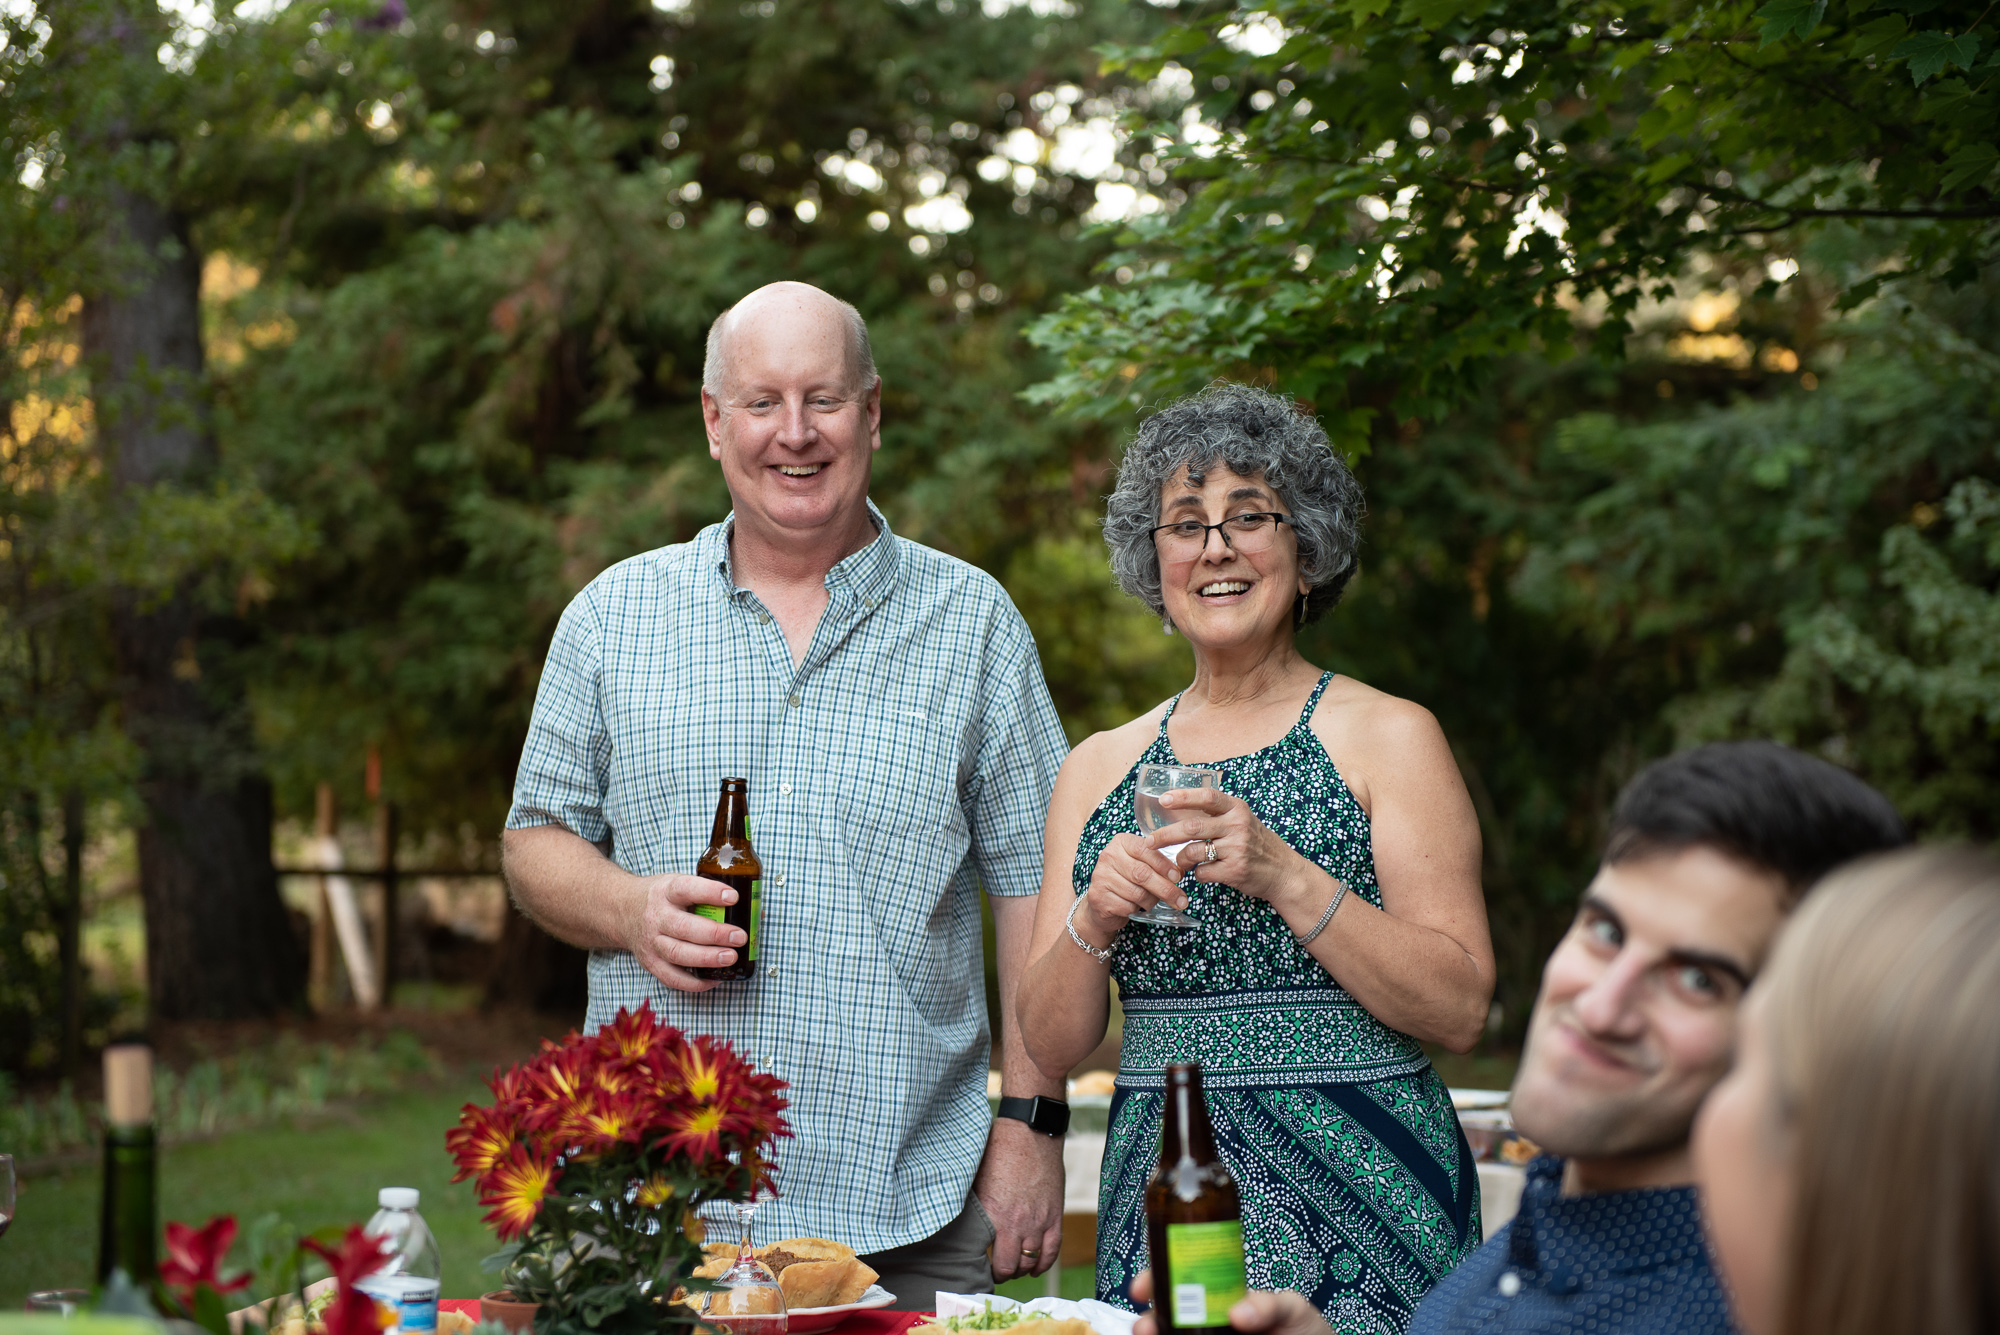
Toasting my son and his fiancé

We celebrated the bride and groom with toasts, laughter and great food.

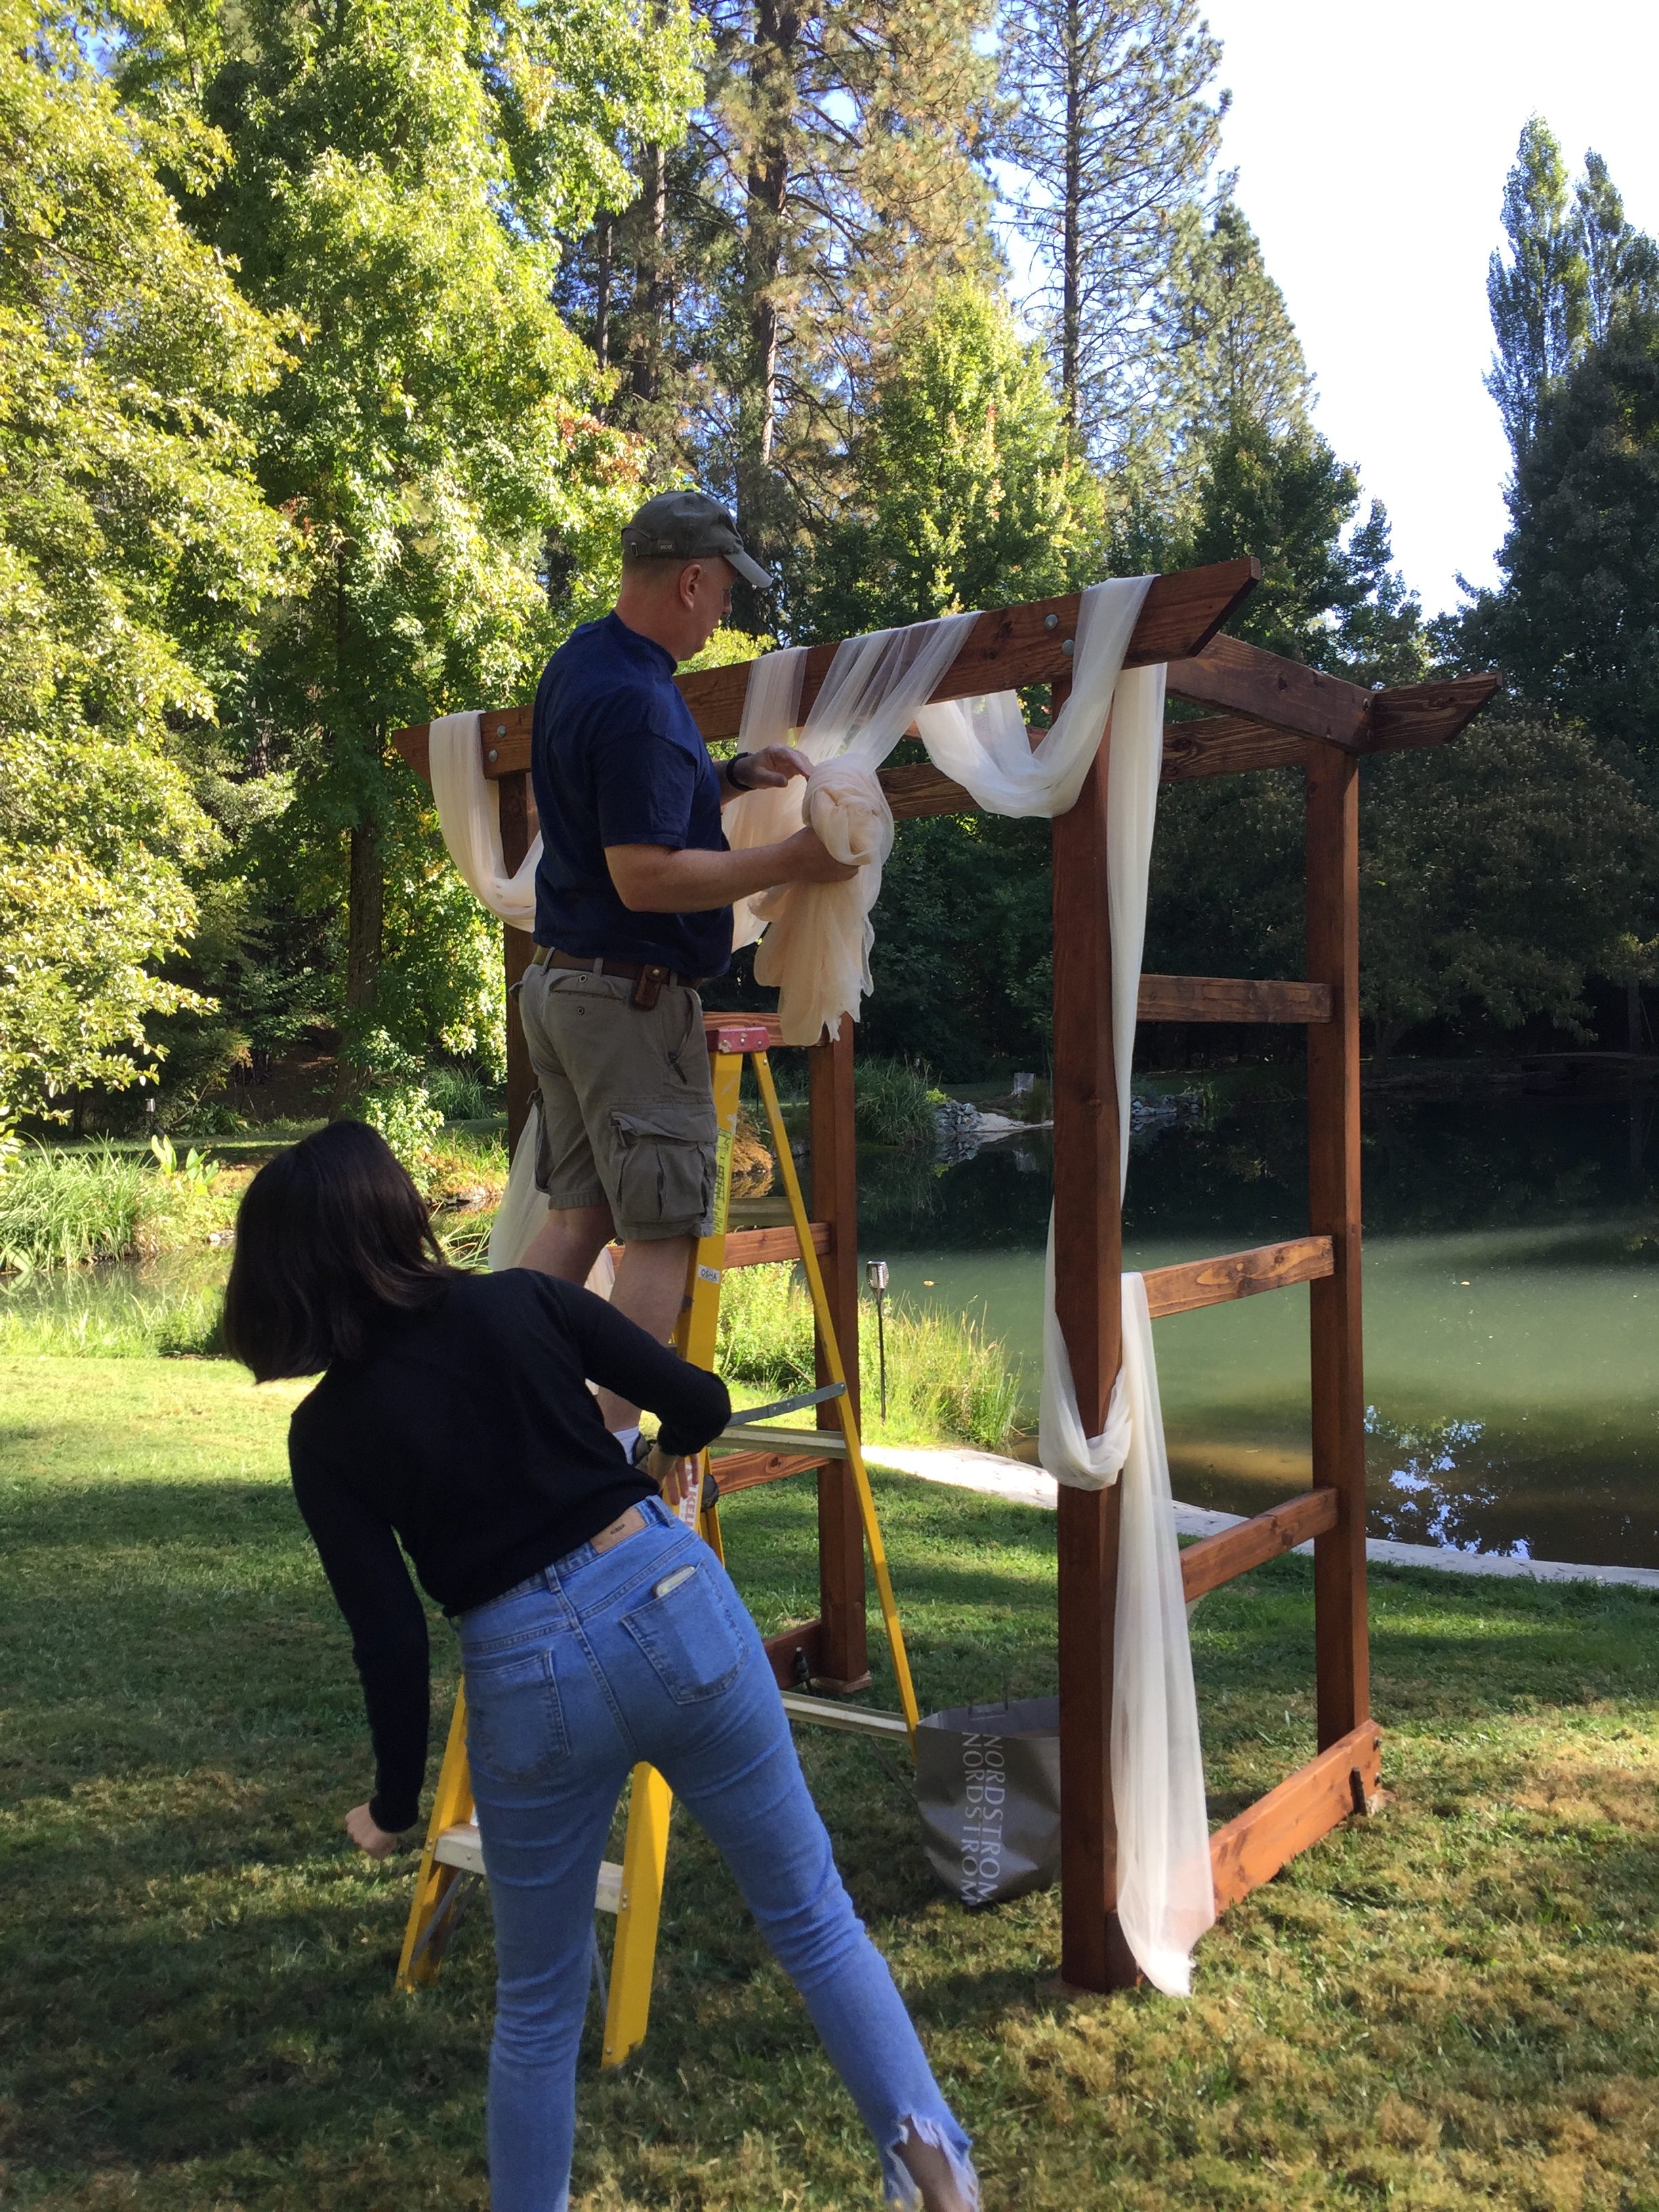
Decorating the arbor on Saturday morning.

Saturday morning we all headed over to the venue (maybe ten miles from home) and got everything ready.  My husband built an arbor for the kids to stand in front of for the ceremony.  Now they will have it to put in their yard as a remembrance of their day.  The bride wanted it draped with soft, flowing tulle.  I found two colors at JoAnn’s and bought 15 yards of each the Eggnog and the light Peach colors.  My husband patiently draped and re-draped it as we all stood on the ground giving direction. (You can imagine, right??)

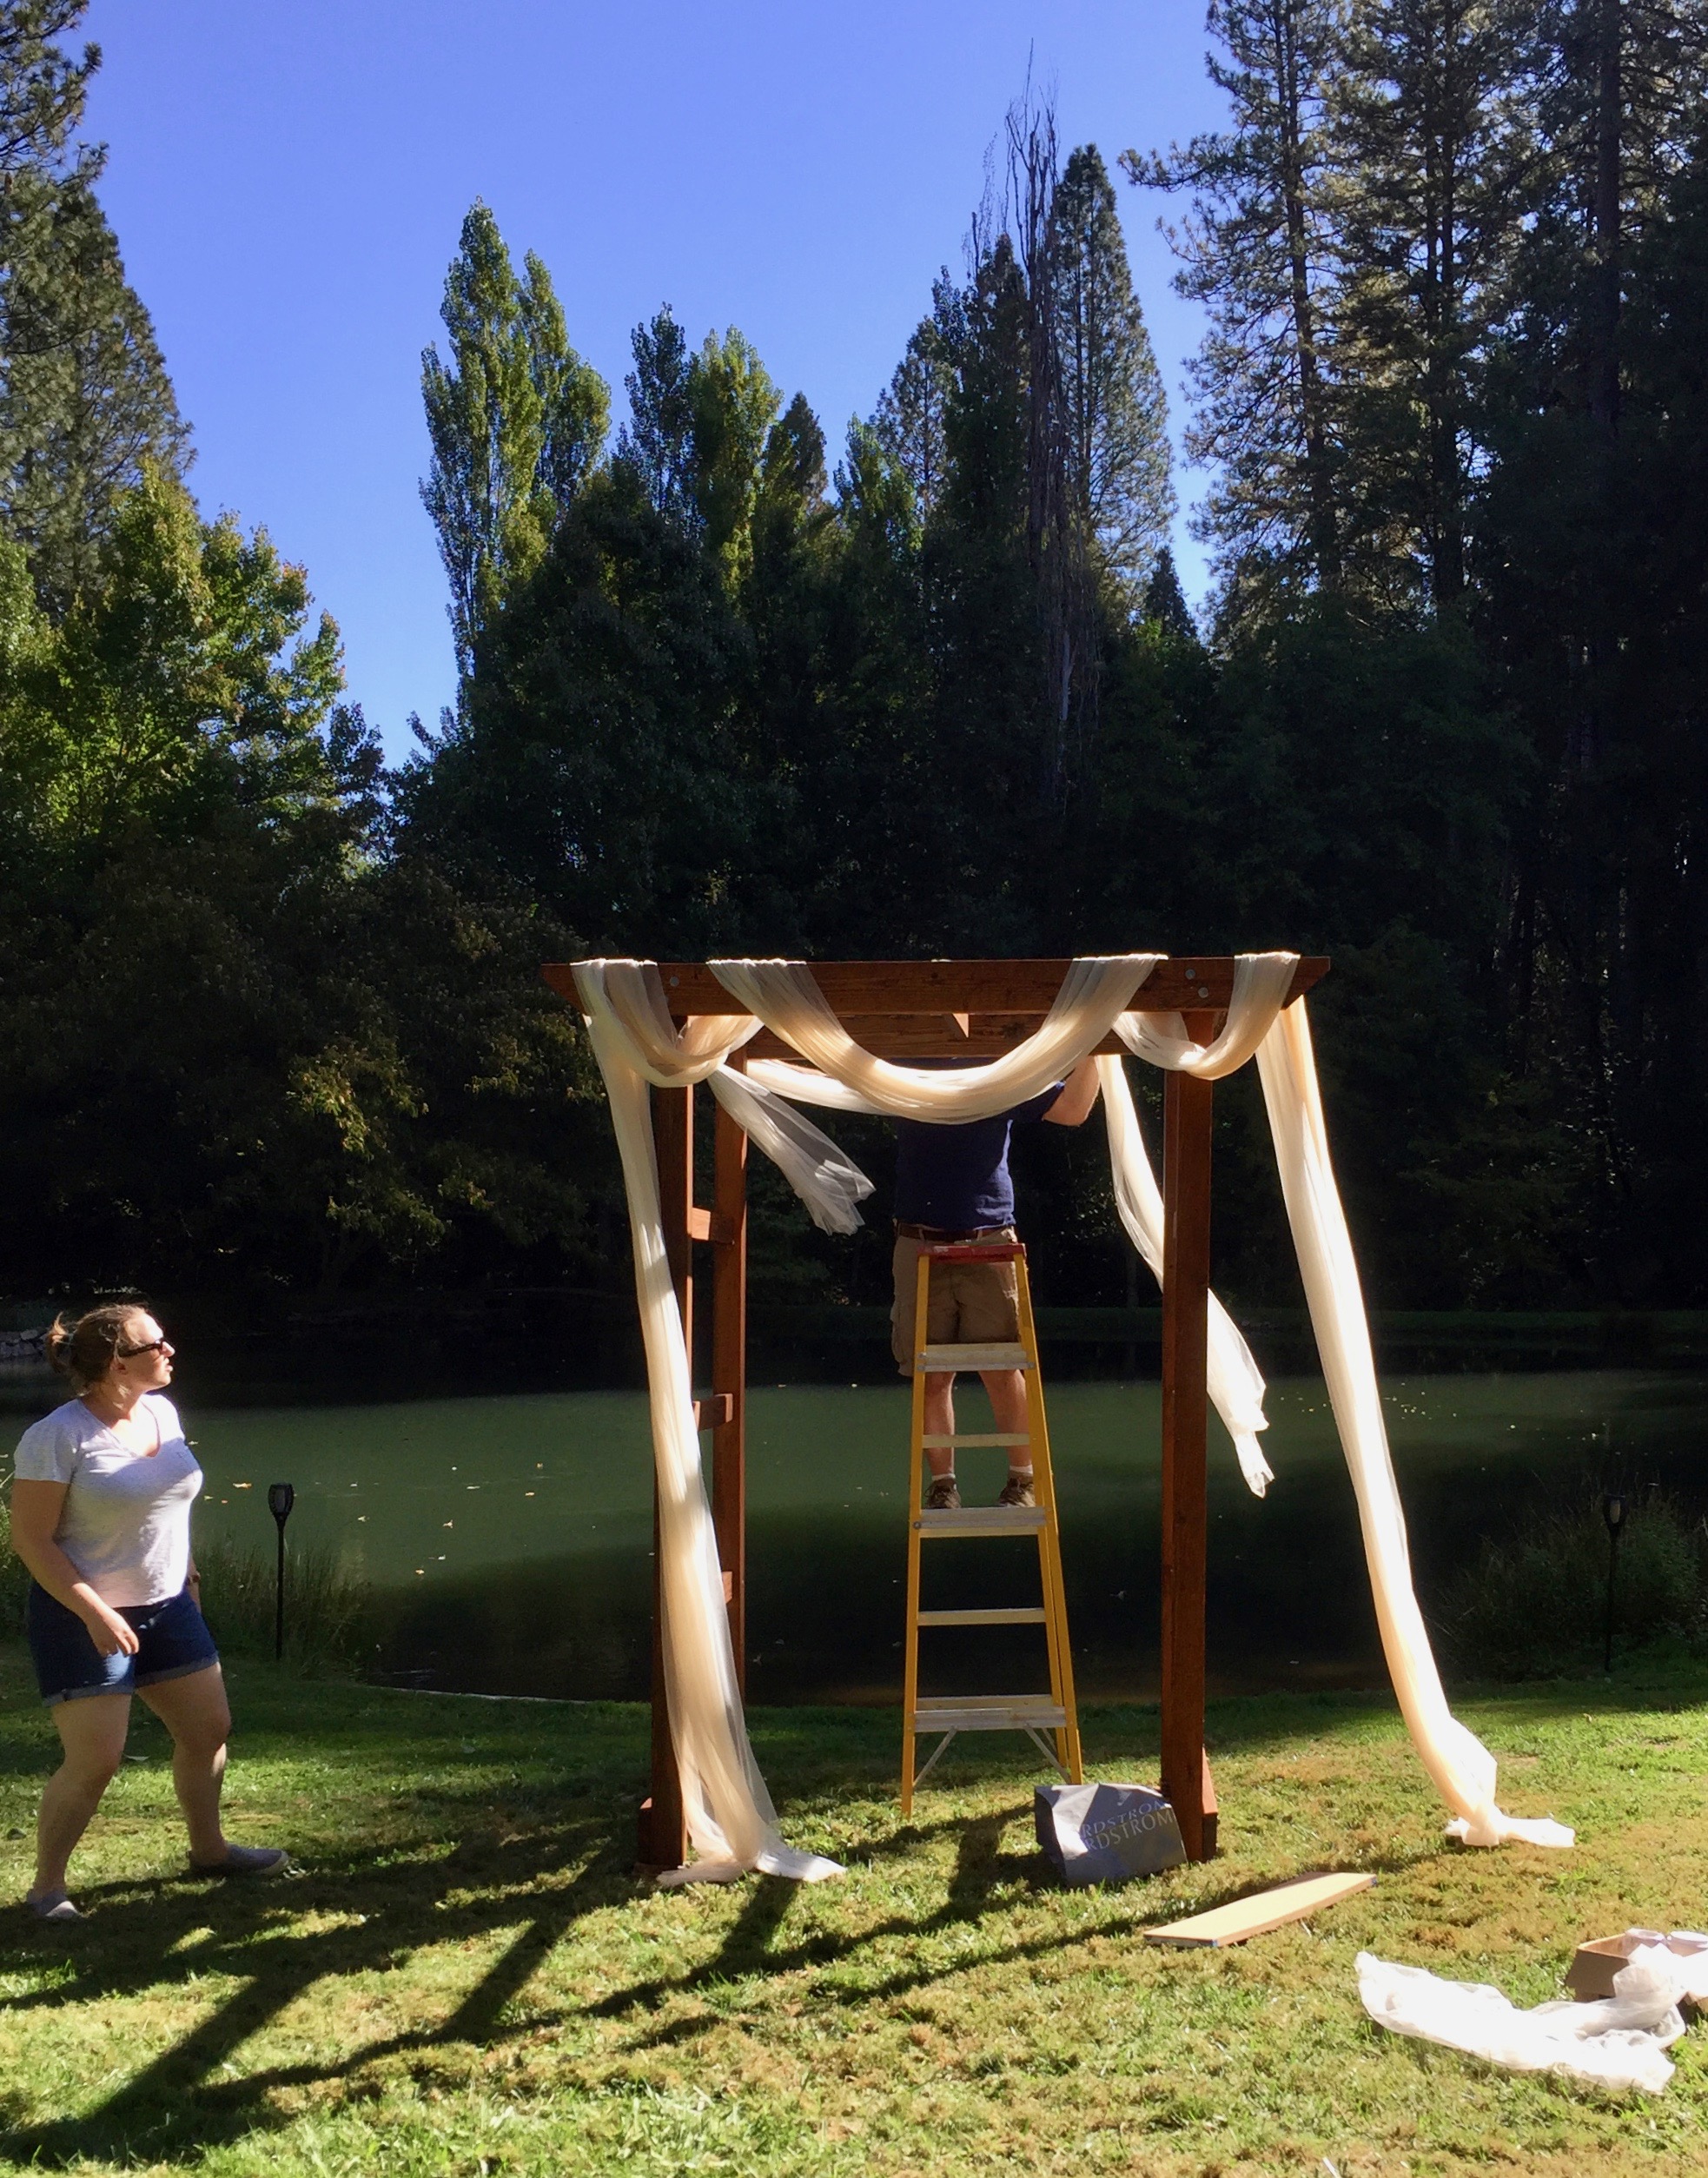
It was a breezy day which was nice and it made the tulle float a bit.

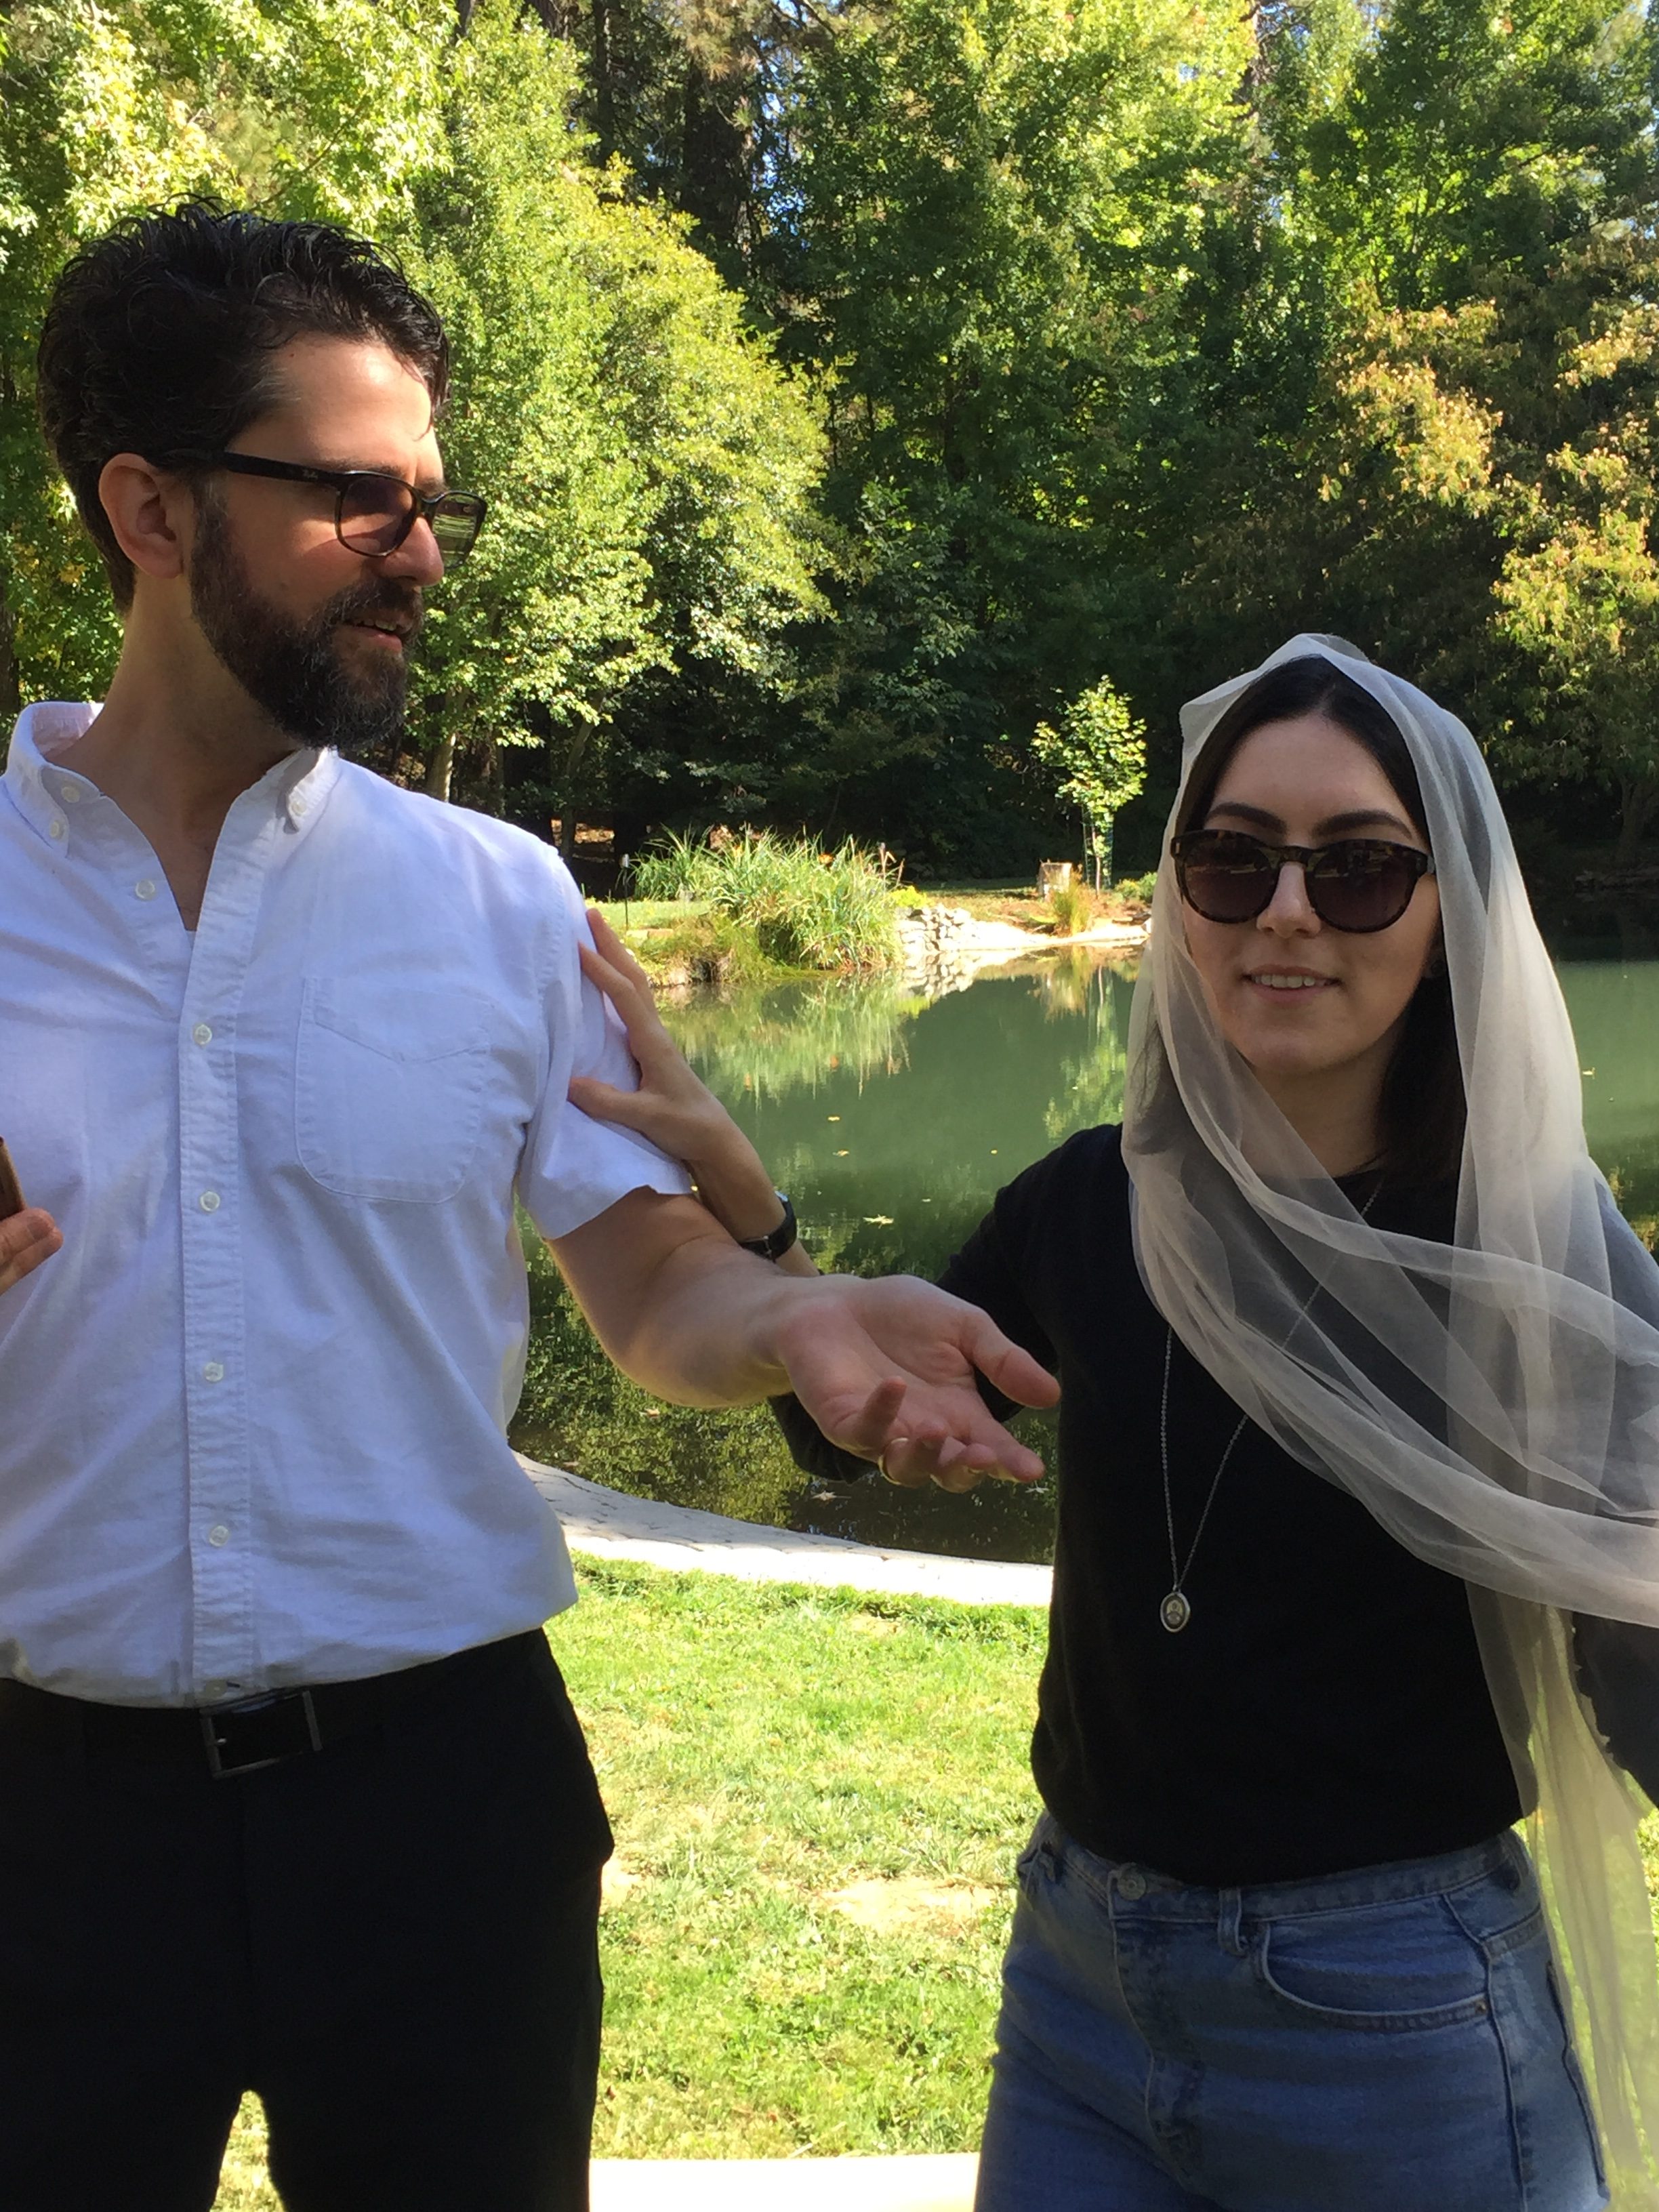
My daughter-in-law’s Jackie O look. She is so funny.

Saturday morning was really a fun family time.  Everyone was so excited about the wedding and just enjoying each other’s company.

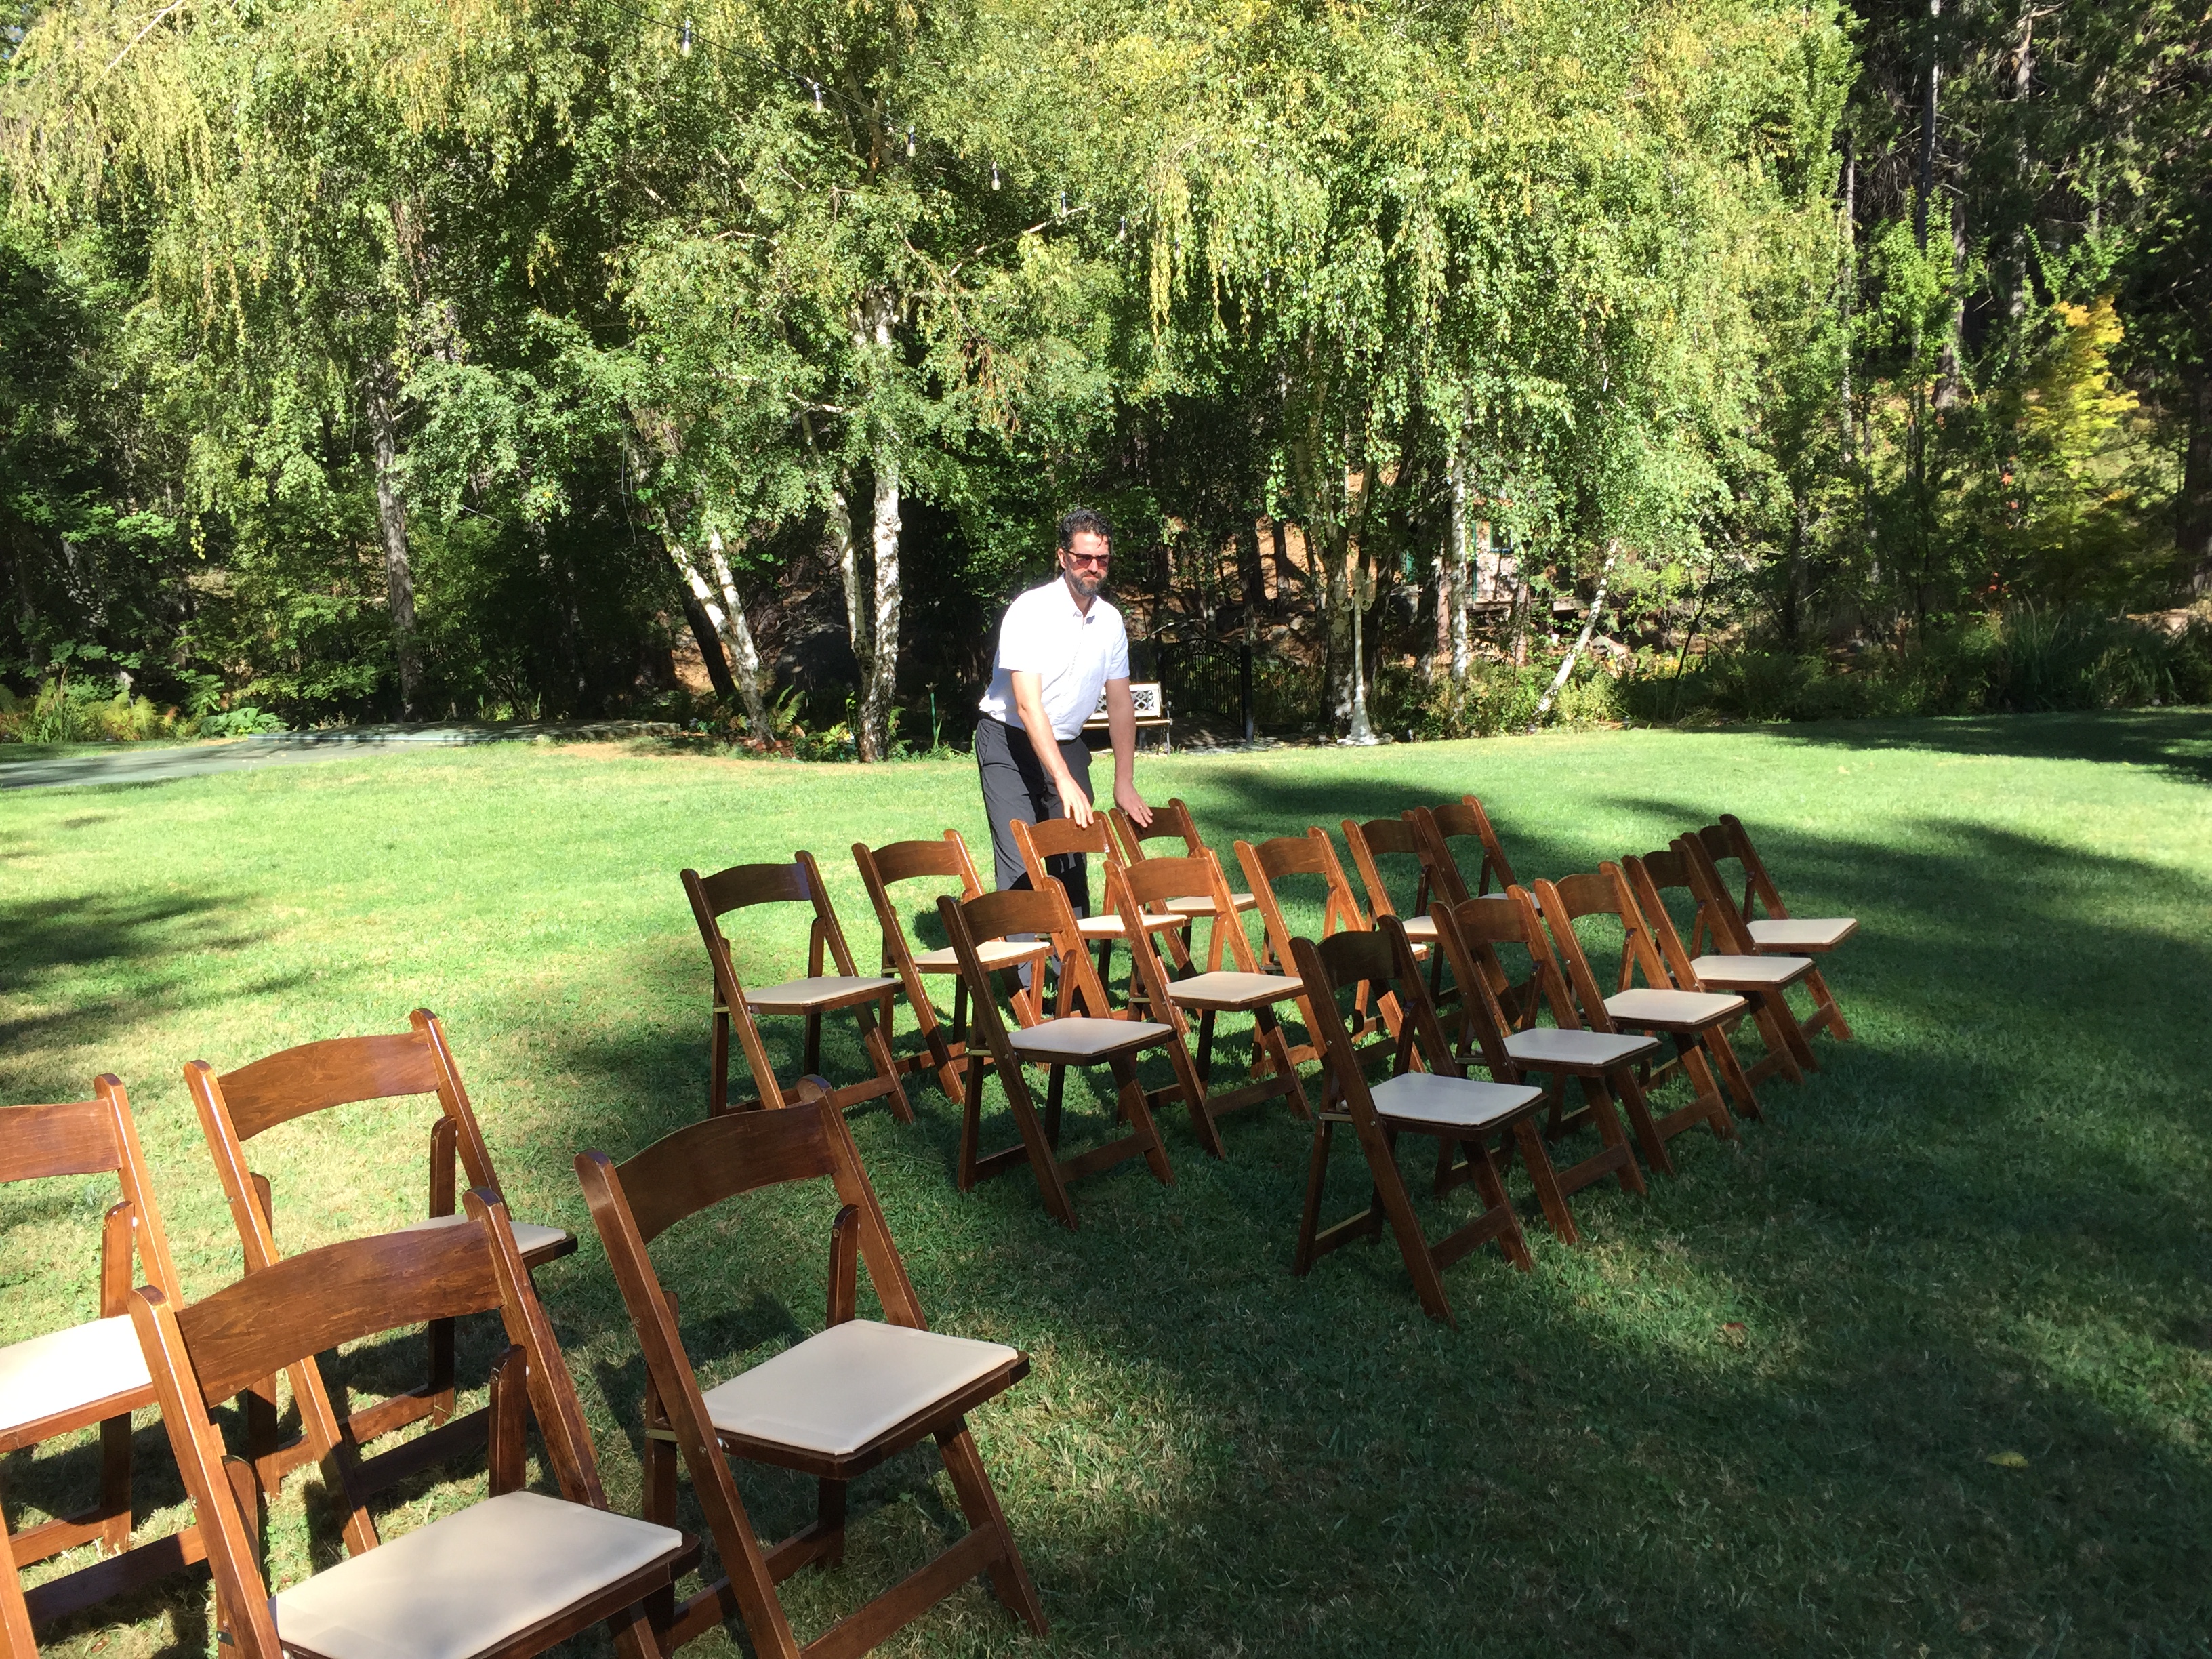
The guys set up the chairs while we decorated the arbor.

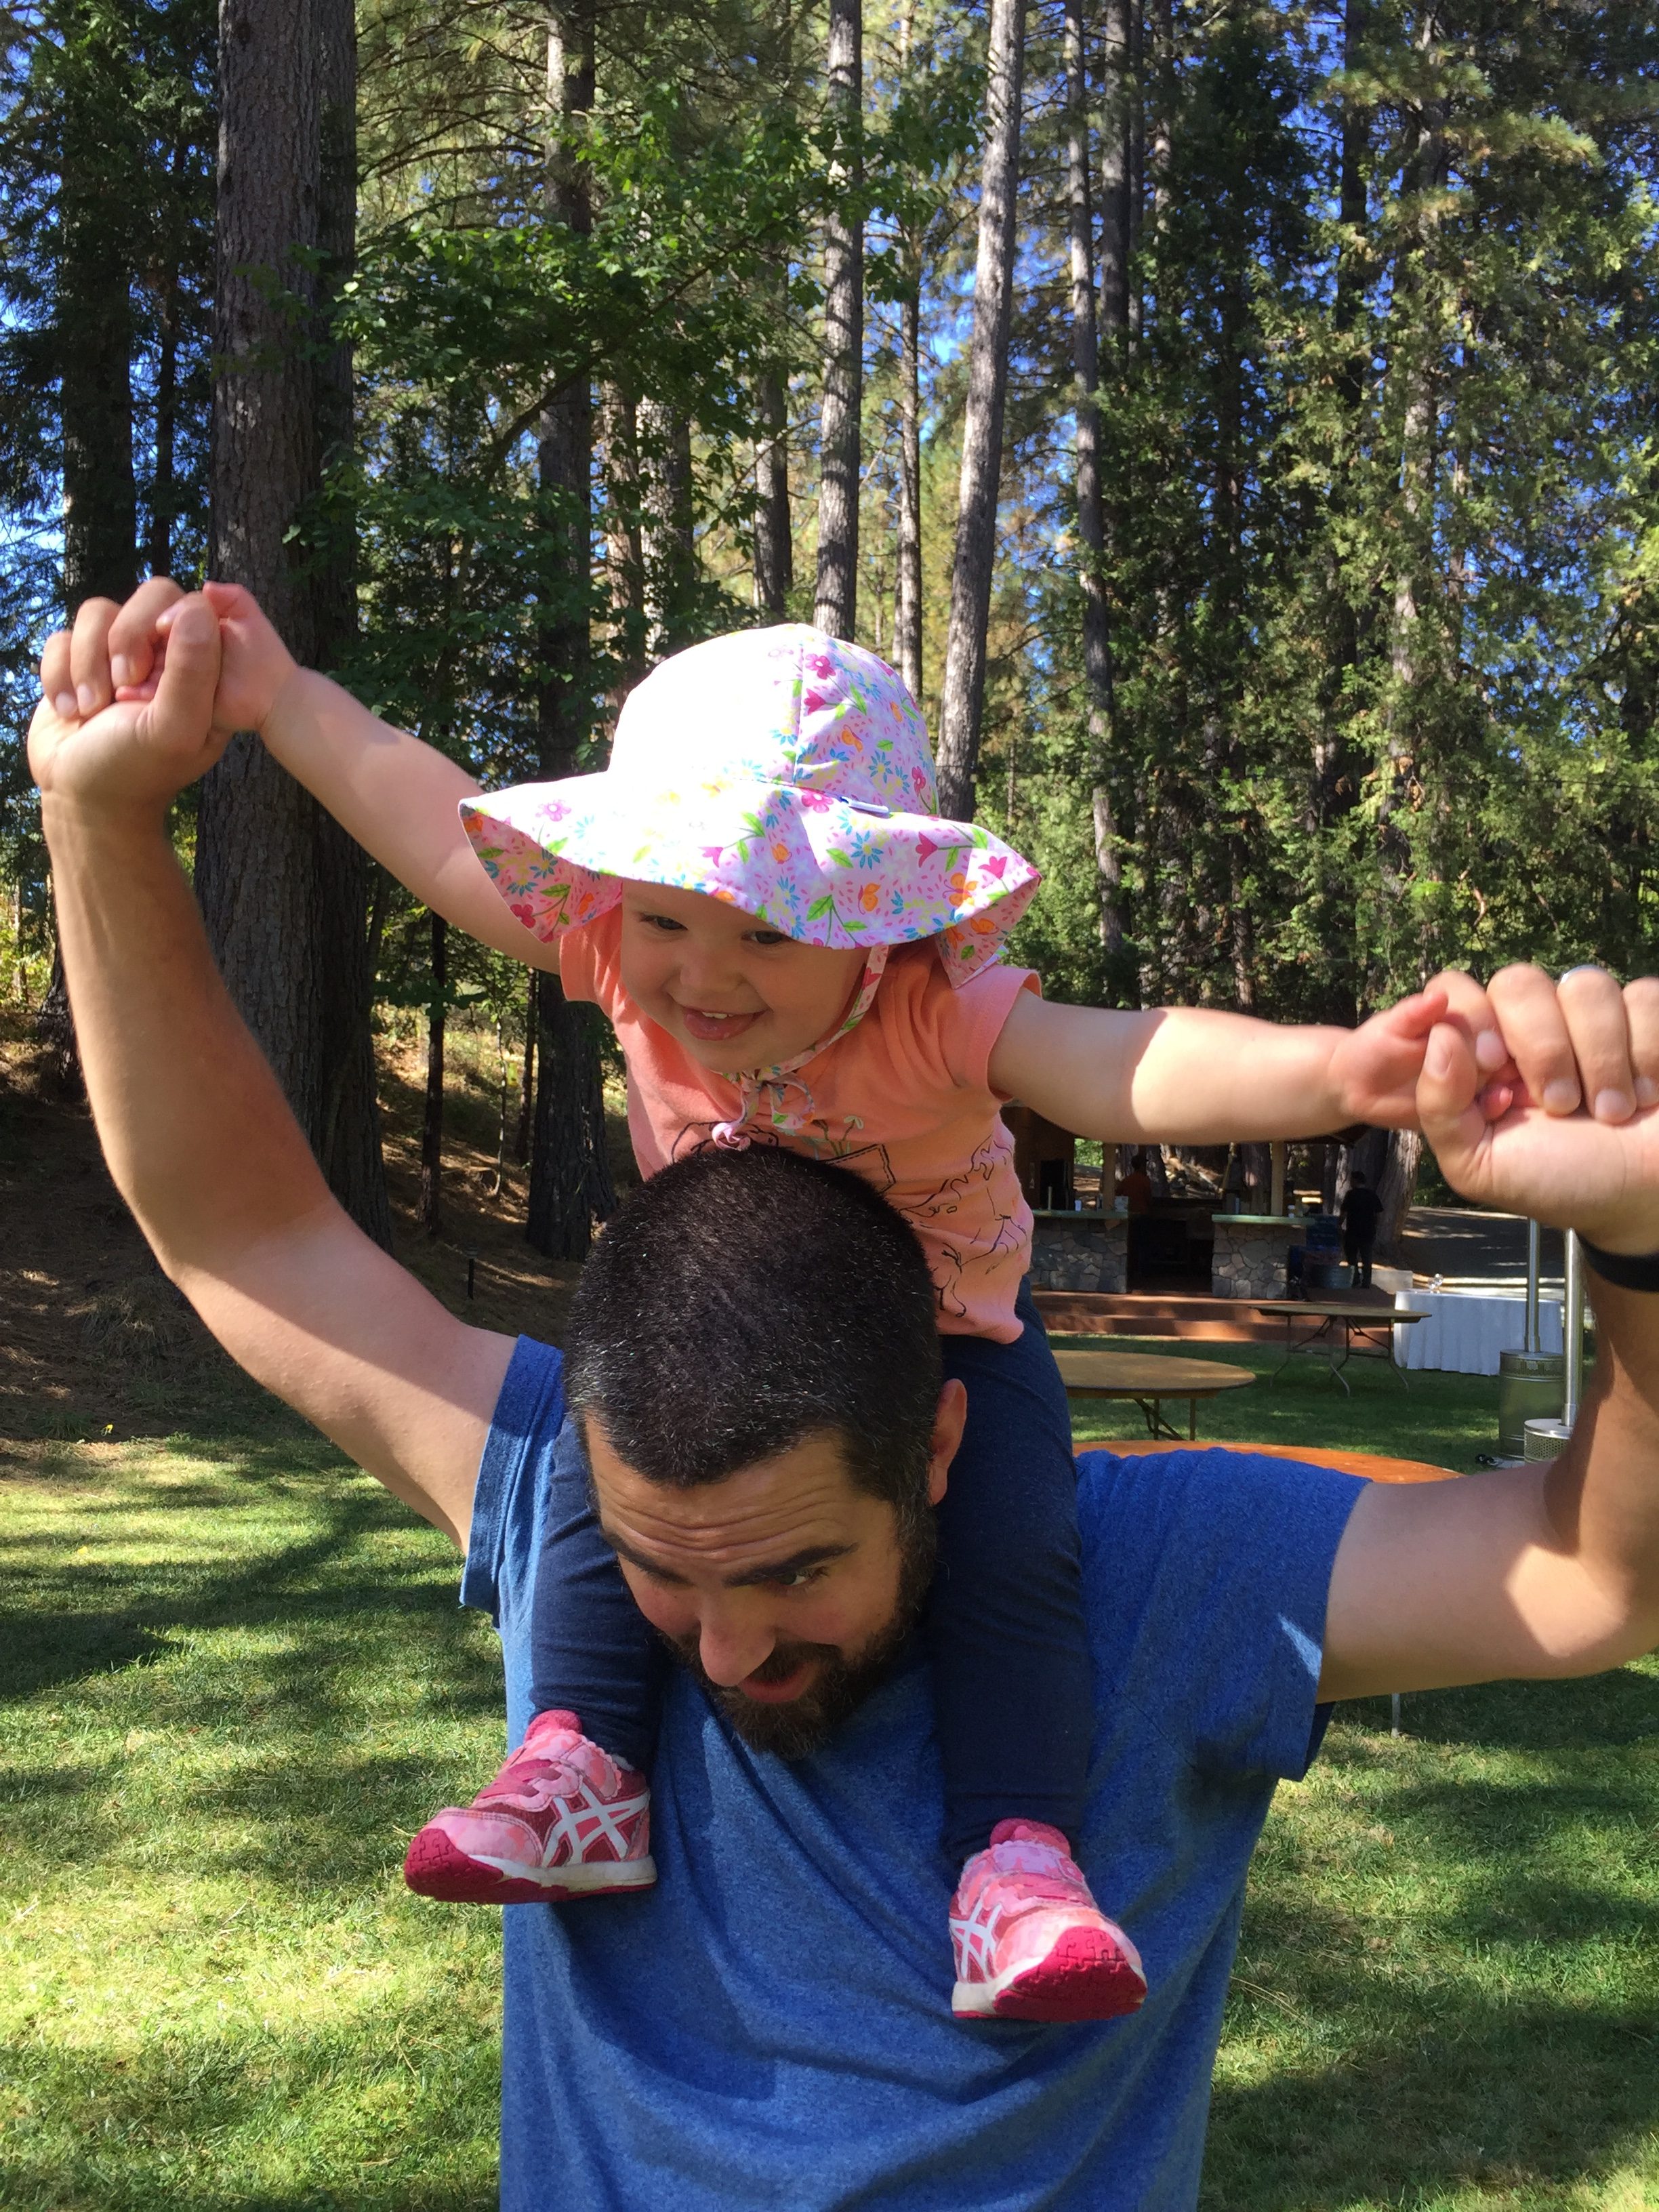
This guy loves being a father!

My grand daughter had so much fun running around but we had to keep close track of her because there is a creek running through the property and a large pond as well.

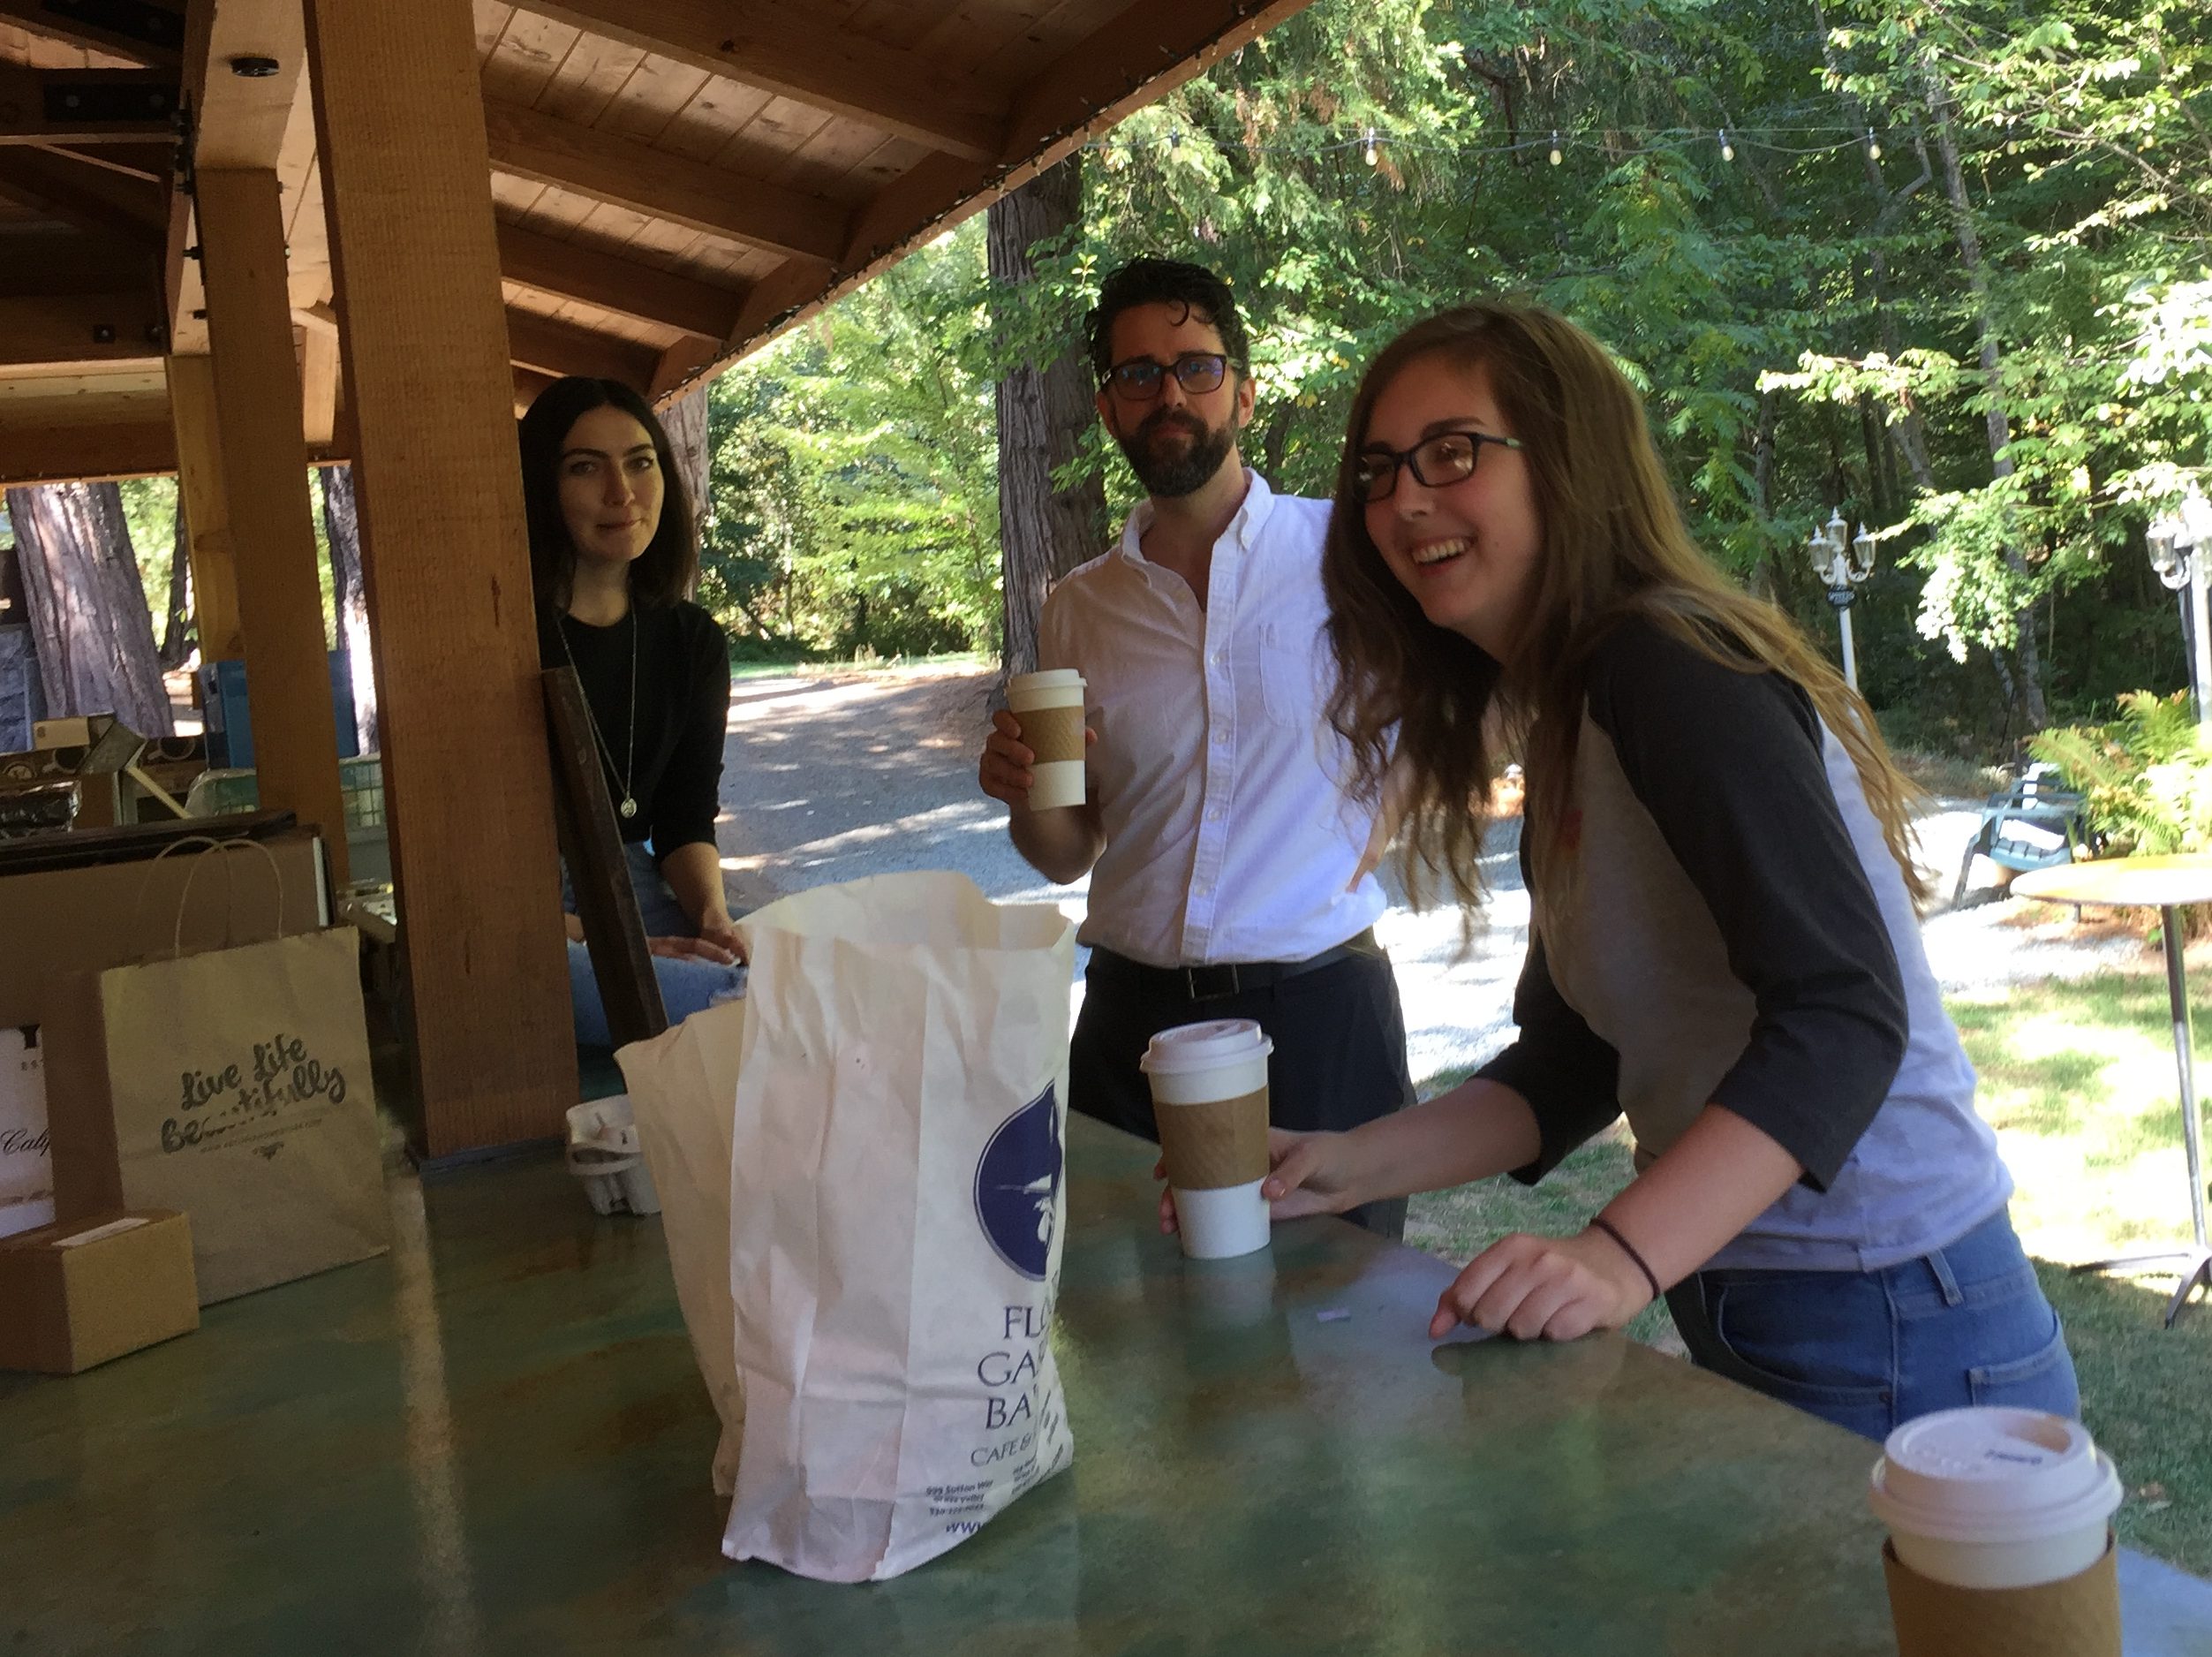
Time for coffee and scones.

Once the arbor was set up and the chairs in place, all we had to do was place the tables where we wanted them.  Then the wedding coordinator and the caterers came and set the tables.  I wish I had a picture of this before the ceremony started.  I am sure the photographer got some though.  I will share them when we get to see them (likely a several weeks from now.) Spending the morning of the wedding day together getting things ready was so much fun.

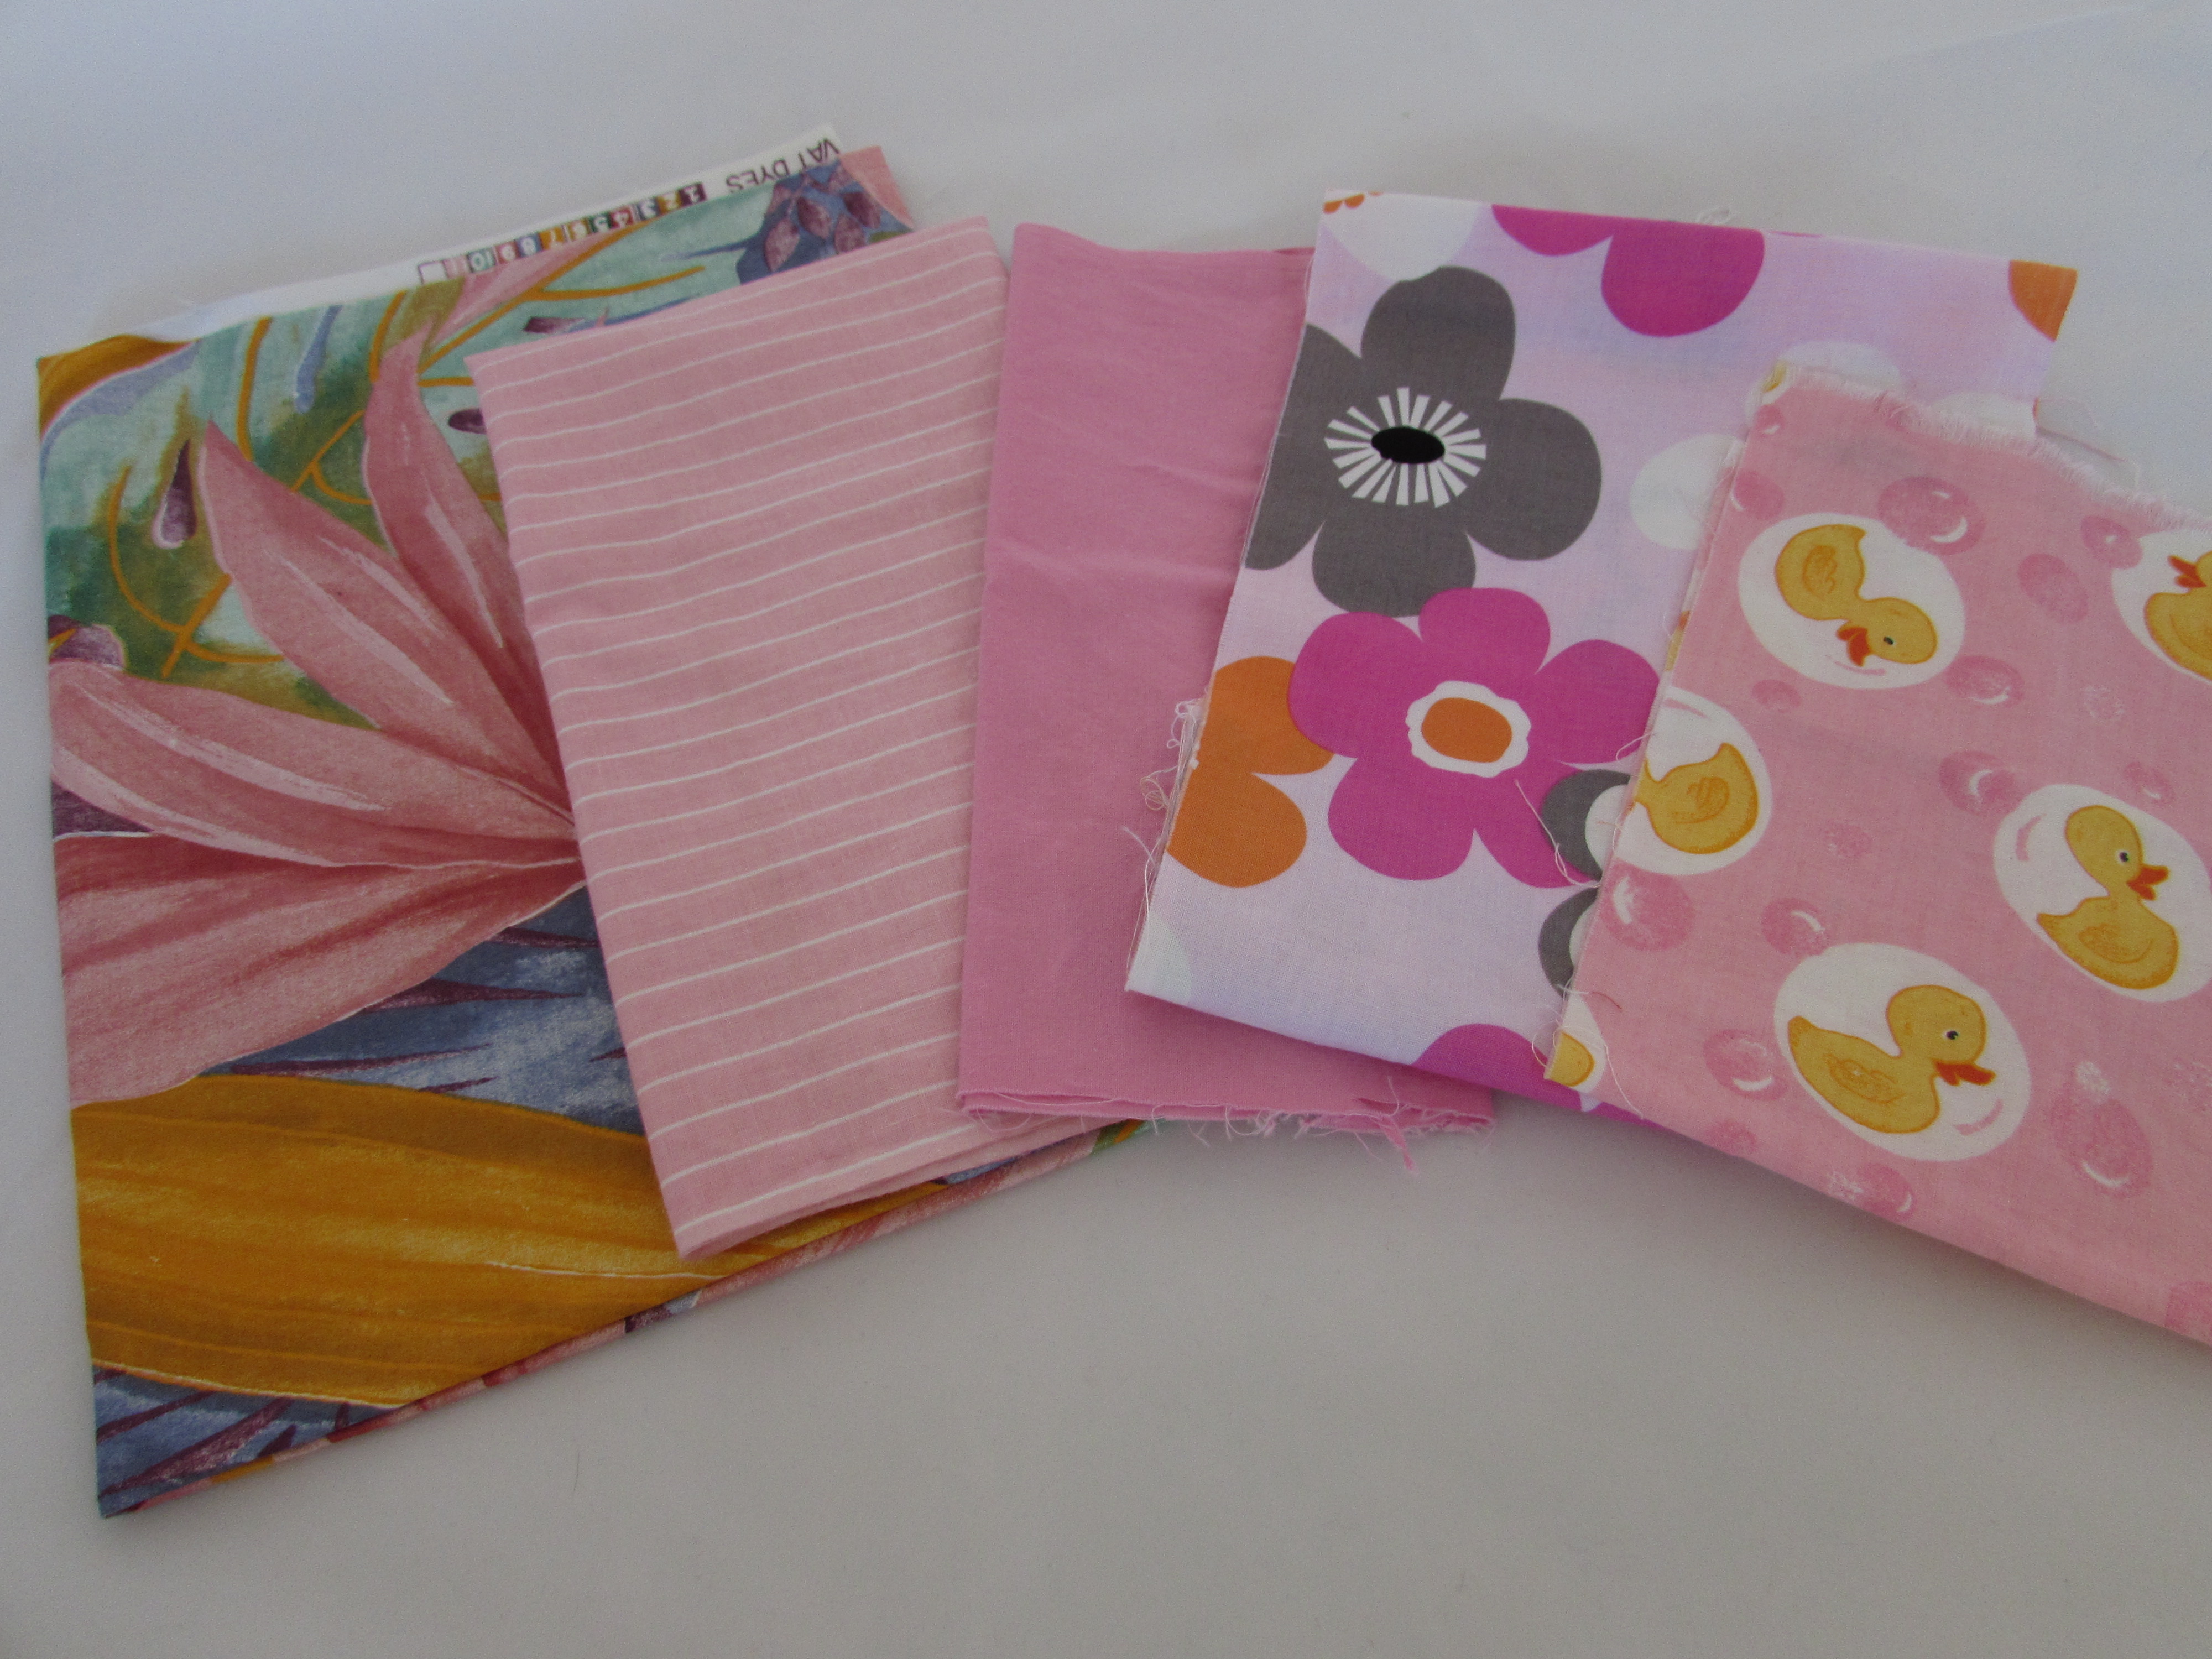
I will share some wedding pictures in a separate post.  Everyone has gone back to their real lives.  The bride and groom are taking their honeymoon in May so they are back to work now.  My plan for this morning is to tackle some housecleaning.  It is a complete disaster!  Then I need to get back to work.  I received a box of fabric yesterday and there is another scheduled to arrive this afternoon so I have lots to do.  If you have been waiting for Carrie Bloomston’s new line, Wonder, it should be listed by tomorrow, maybe late this afternoon if I can get to it!  It is just fantastic.

Linking to my favorites!  Including a new link up called Brag About Your Beauties, hosted by Michelle of From Bolt to Beauty. Come take a look – there will surely be something to inspire you!


Handmade Christmas Gifts

Now that Christmas is done and gifts have been given and received, I thought I would share what I made with you. Usually I try to find a fun project to make and give during the Christmas season.  In recent years I have made purses, zip pouches, table runners and hot pads. This year I decided to make an apron for my Vermont daughter-in-law.  Also, I made hot pads for my California son and his girlfriend as well as my Toronto son and his wife.  These projects were quick and satisfying.

For the apron, I upcycled a duvet cover that I had bought a while back. I was thrilled to find this cover in a tan and cream stripe.  The neutral colors and the feel of the fabric assured me I would easily find many uses for the fabric.  I had a vintage pattern from 1975 that I have been holding on to, thinking it would make a really cute apron.

Originally the pattern was designed for a wrap around dress and let me just say, I would have totally loved wearing this dress at age 15 (not that I was necessarily 15 in 1975… oh wait, I was.)  Anyway, I had a really similar dress that I made out of a green striped seersucker fabric.  I was so cool.

Ok, back to the apron.  I had seen these Japanese work aprons and really liked them – this pattern is a bit of a compromise between a standard apron and the Japanese wrap style. This one is more fitted with darts in the bodice.

It wraps around the back with the tie coming through an opening left in the side seam.

I finished the interior seams by folding the raw edges in and top stitching them for a clean look.  This fabric would likely fray in the wash so this will prevent any issues.

I even remembered to put a little label on the inside.

Overall, this was a fun project and hopefully my daughter-in-law will get lots of use out of it.  She is a great cook so I suspect she will use it.

On to the hot pads!  I wanted to make something with the Maker Maker fabric I have in the shop.  I cannot even express how much I love this fabric!!  I made Chemex Cozies out of the Grid fabric and the gray and black Lines fabric.  They were far and above, my top sellers for the Christmas shopping season.Anyway, I thought I would make some hot pads using the Grid fabric and the cats.  The linen has such a nice texture and weight, making it perfect for kitchen accessories.  These finished at at eight inches square and are filled with two layers of Insul Bright, making them nice and thick.

The next gift I want to share was not made in the sewing room!  My husband decided he wanted to make a gift for each of the kids. The boys and their spouses received gorgeous rolling pins made with pieces of walnut and oak that he laminated together.  He turned them on his lathe to make a one piece rolling pin.  I just love them!  The kids were taken with the wonderful finish and really appreciated the work that went into these.

Each piece is different from the next with the stripes and color variations making them unique.

Since Julia isn’t really in need of a rolling pin just yet, he made her a piggy bank.  She had such a great time with Daisy and Ella last year, he thought this would be a fun way to remember that summer.

This was a challenging project but it turned out so cute!I love the shape of this little pig’s body and her curly tail.  It was so much fun to watch Ray making these projects during the months before the holidays.  I love having a few handmade gifts under the tree.  I also made some placemats for my parents but didn’t think to take pictures.  I will take some the next time I am up at their house so I can share them.  Were you able to make any of your holiday gifts this year?  If so, share in the comments.  I would love to hear about them!

Linking to my favorite parties, including Finished or Not Friday hosted by Busy Hands Quilts.  Check the Link Up tab at the top of the page for more info!  Have a great weekend all.  🙂

Didn’t Take Long!

Ahhhh, personal weakness! Remember the post I wrote at the end of the year where I laid out a few quilting goals for the upcoming year? My second goal on the list was to sew from my stash and avoid buying any new fabric for a while. Hmmm…. how does one really define “a while”?  For me, I am thinking that means a week. That is exactly how long my “fabric fast” lasted. Ugh!! Where is my will power? Ok, it isn’t that bad. Totally explainable and I hardly spent any money.

There is a local shop called Humble Fabric and Crafts located in Grass Valley. A very sweet woman owns it and she specializes in “pre-owned” fabric. She scours estate sales and sometimes people will bring in pieces they no longer want and receive credit for their fabric to be spent on others’ fabric. Another example of recycling that makes total sense. Really it is a great idea and helps contain the cost of sewing. I usually go to this shop for smaller pieces or just to look for unusual fabric. You won’t find a collection or a new release here. But, it is a mecca for the bargain hunting seamstress (which would be me). Roxy sells the smaller pieces (less than a yard) by the ounce. The price ranges from 30 to 60 cents per ounce. Weighing one yard of quilting cotton I usually end up with 4 or 5 ounces. Do the math and you’ll see this is a steal. I am on her email list and she sent out a note saying that she is moving the shop to a bigger location and was going to have a sale. What? A sale on fabric that is already a total bargain? All of the ‘pre-owned’ fabric was 1/2 off. Crazy. How could I resist? I didn’t even try to talk myself out of it. I did think to myself, be reasonable, you don’t even need anything, etc.  I was pretty restrained, if I do say so myself!  Here are some of the pieces I picked up.

20150112_2733

Some were tiny and others were multiple yards.

20150112_2734


The fabric on the far left features a tropical floral, including Birds of Paradise. It is a home dec cotton and I will use it for the Chemex Warmers that I sell in my Etsy shop.

20150112_2736


This is a Marimekko print that I think will end up as the back of a child’s quilt. I love the bold colors. The large scale print will be fun to use as a backing. It will need to be framed with another fabric as this piece isn’t quite large enough. I think I will use a green polka dot that I already have. The dots are really big so it should work well with this.

Finally I also grabbed a large piece of cotton batting that was 36″ by 108″. Perfect for the Etsy projects that I make.

OK, so I didn’t last but a week. That doesn’t mean that I am going to drop the goal that I had set. Kind of like when you start a diet and then have dessert the next day? I wouldn’t know, but you hear of that sort of thing happening….  Just have to re-focus and start over. So, I haven’t bought any fabric since January 8th.  Now how long can I last?  Hoping for more than a week!

Linking to Sunday Stash at Molli Sparkles as well as Let’s Bee Social at Sew Fresh Quilts


Upcycling, recycling, using stuff more than once.

Let it be known that I am a recycler.  I am not ok with the amount of plastic that is thrown away on a daily basis. Someday my (future) great-grandchildren are going to have one huge mess on their hands. In an attempt to minimize our household’s contribution to this mess, I recycle everything, re-using as much as possible.  I am one of those who uses a zip lock bag until it no longer zips. (In case you haven’t tried this, the bags can be rinsed, dried and used over and over.) My daughter and husband both take their lunches to work or school, as the case may be, in reusable, plastic zipper pouches. I buy them online at Blue Avocado. I bought four bags over two years ago and three of them are still in great shape. I can’t even count how many zip lock sandwich bags that saved us from using.  (I know there are lots of people who make their own bags and I may give that a try as well).

Along with recycling, I have been trying to reuse, or upcycle, (a trendier term) items. This week I found a great use for the huge coffee bean sacks that I purchased a while back at our local coffee roaster. I knew they would come in handy and I was so excited to create something from them!

sack front 3

I was hanging my laundry on the clothesline (which I do quite often). It is so hot here in the summer and I don’t like to run the clothes dryer if I can avoid it. It just heats up the house and makes our A/C unit run overtime. My clothesline is above our back deck and the clothespins are usually in this old basket.  See?  Not exactly gorgeous, right?

basket

For the past couple of years I have set this old basket on the deck railing and hung the clothes.  Numerous times the basket has dumped and the clothespins scatter over the deck or, worse, they fall over the edge down to the ground below.  You’d think I would have fixed this critical life problem a long while ago.  But I just kept picking up the pins and muttering sounds of irritation under my breath.  This week I decided to make something for the clothespins.

I made a simple, lined bag with boxed corners and added a long tab off of the back. Next I created a small sack and filled it with dry, white rice. Sewed up that pouch and inserted it into the bottom of the long tab. The tab hangs over the railing and acts as a counter weight for the bag holding the clothespins. It looks so much nicer than that basket. I was filled with wonder as I hung the clothes with my clothespins staying where they are supposed to!  Simple pleasures, right??

front of bag

Here is the back to show the tab with the counter weight.  Not a great shot, but then I was leaning over the railing and hoping not to drop my phone……  🙂

back of bag

After I made one for myself, I decided to make a few more. I modified them such that the tab is much shorter and doesn’t have the counter weight. I added some buttonholes and a button to the back. This way the tab can be looped over the clothesline and will just slide along as the clothes are hung.  Again, pure joy.  🙂 Look how cute this is:

20140701_1246I love the burlap from those coffee sacks.

20140701_1255


I put two different buttonholes in along the tab so the length can be adjusted as needed.

20140701_1269


The burlap looks great and wasn’t that difficult to sew with. I did reinforce the raw edge of each piece of burlap with a zig zag stitch to minimize any fray. I fused some heavy weight interfacing to the lining fabric. Various fabrics from my stash make up the linings and ribbon  accents were added. I opened an Etsy shop and these are my first items up for sale!  Check them out here.


Linking up with Crazy Mom Quilts, Richard and Tanya Quilt, also at Confessions of a Fabric Addict.