Category Archives: Recycling

Scrappy Rag Rug

img_1495

Last month I started knitting a rag rug from my bin of scrappy strips. What a fun project. Using a  tutorial from Crazy Mom Quilts, I cast on about 35 stitches (I can’t remember for sure) and used size 19 needles that were 13 inches long.

img_1537

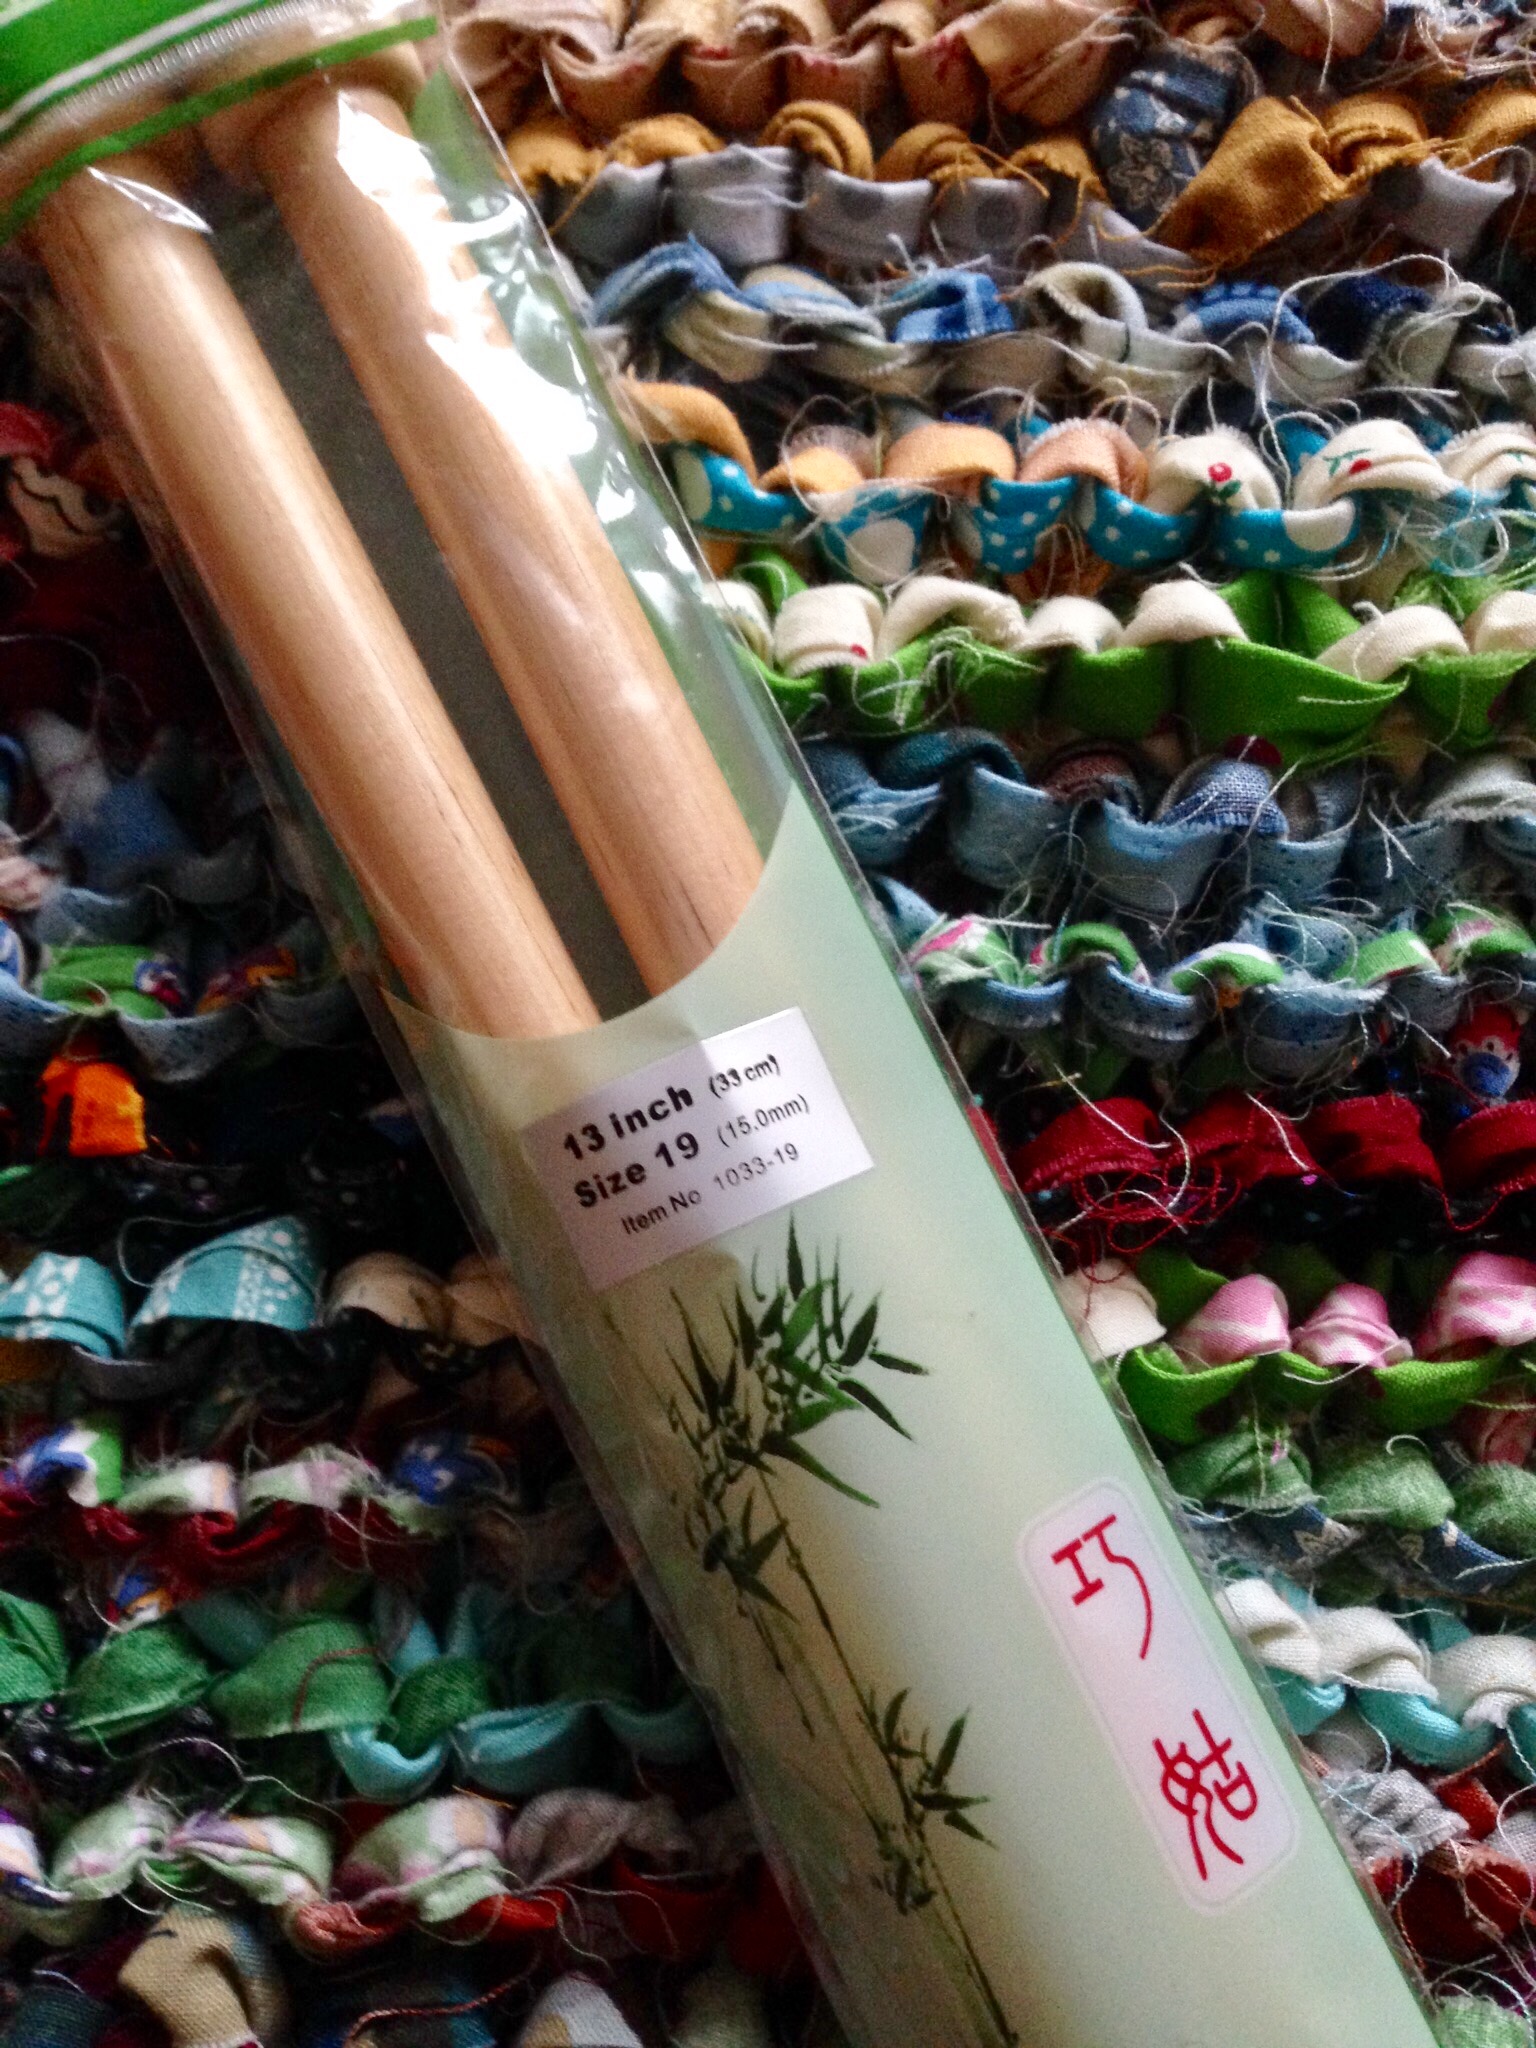
This worked well though once the rug got going, I wished I had longer needles. I was really scrunching the project when I got to the end of a row. It was a bit awkward, partly due to using such fat knitting needles and maybe even more, the fact that I rarely knit anything. I really enjoyed crafting in a way other than sewing.

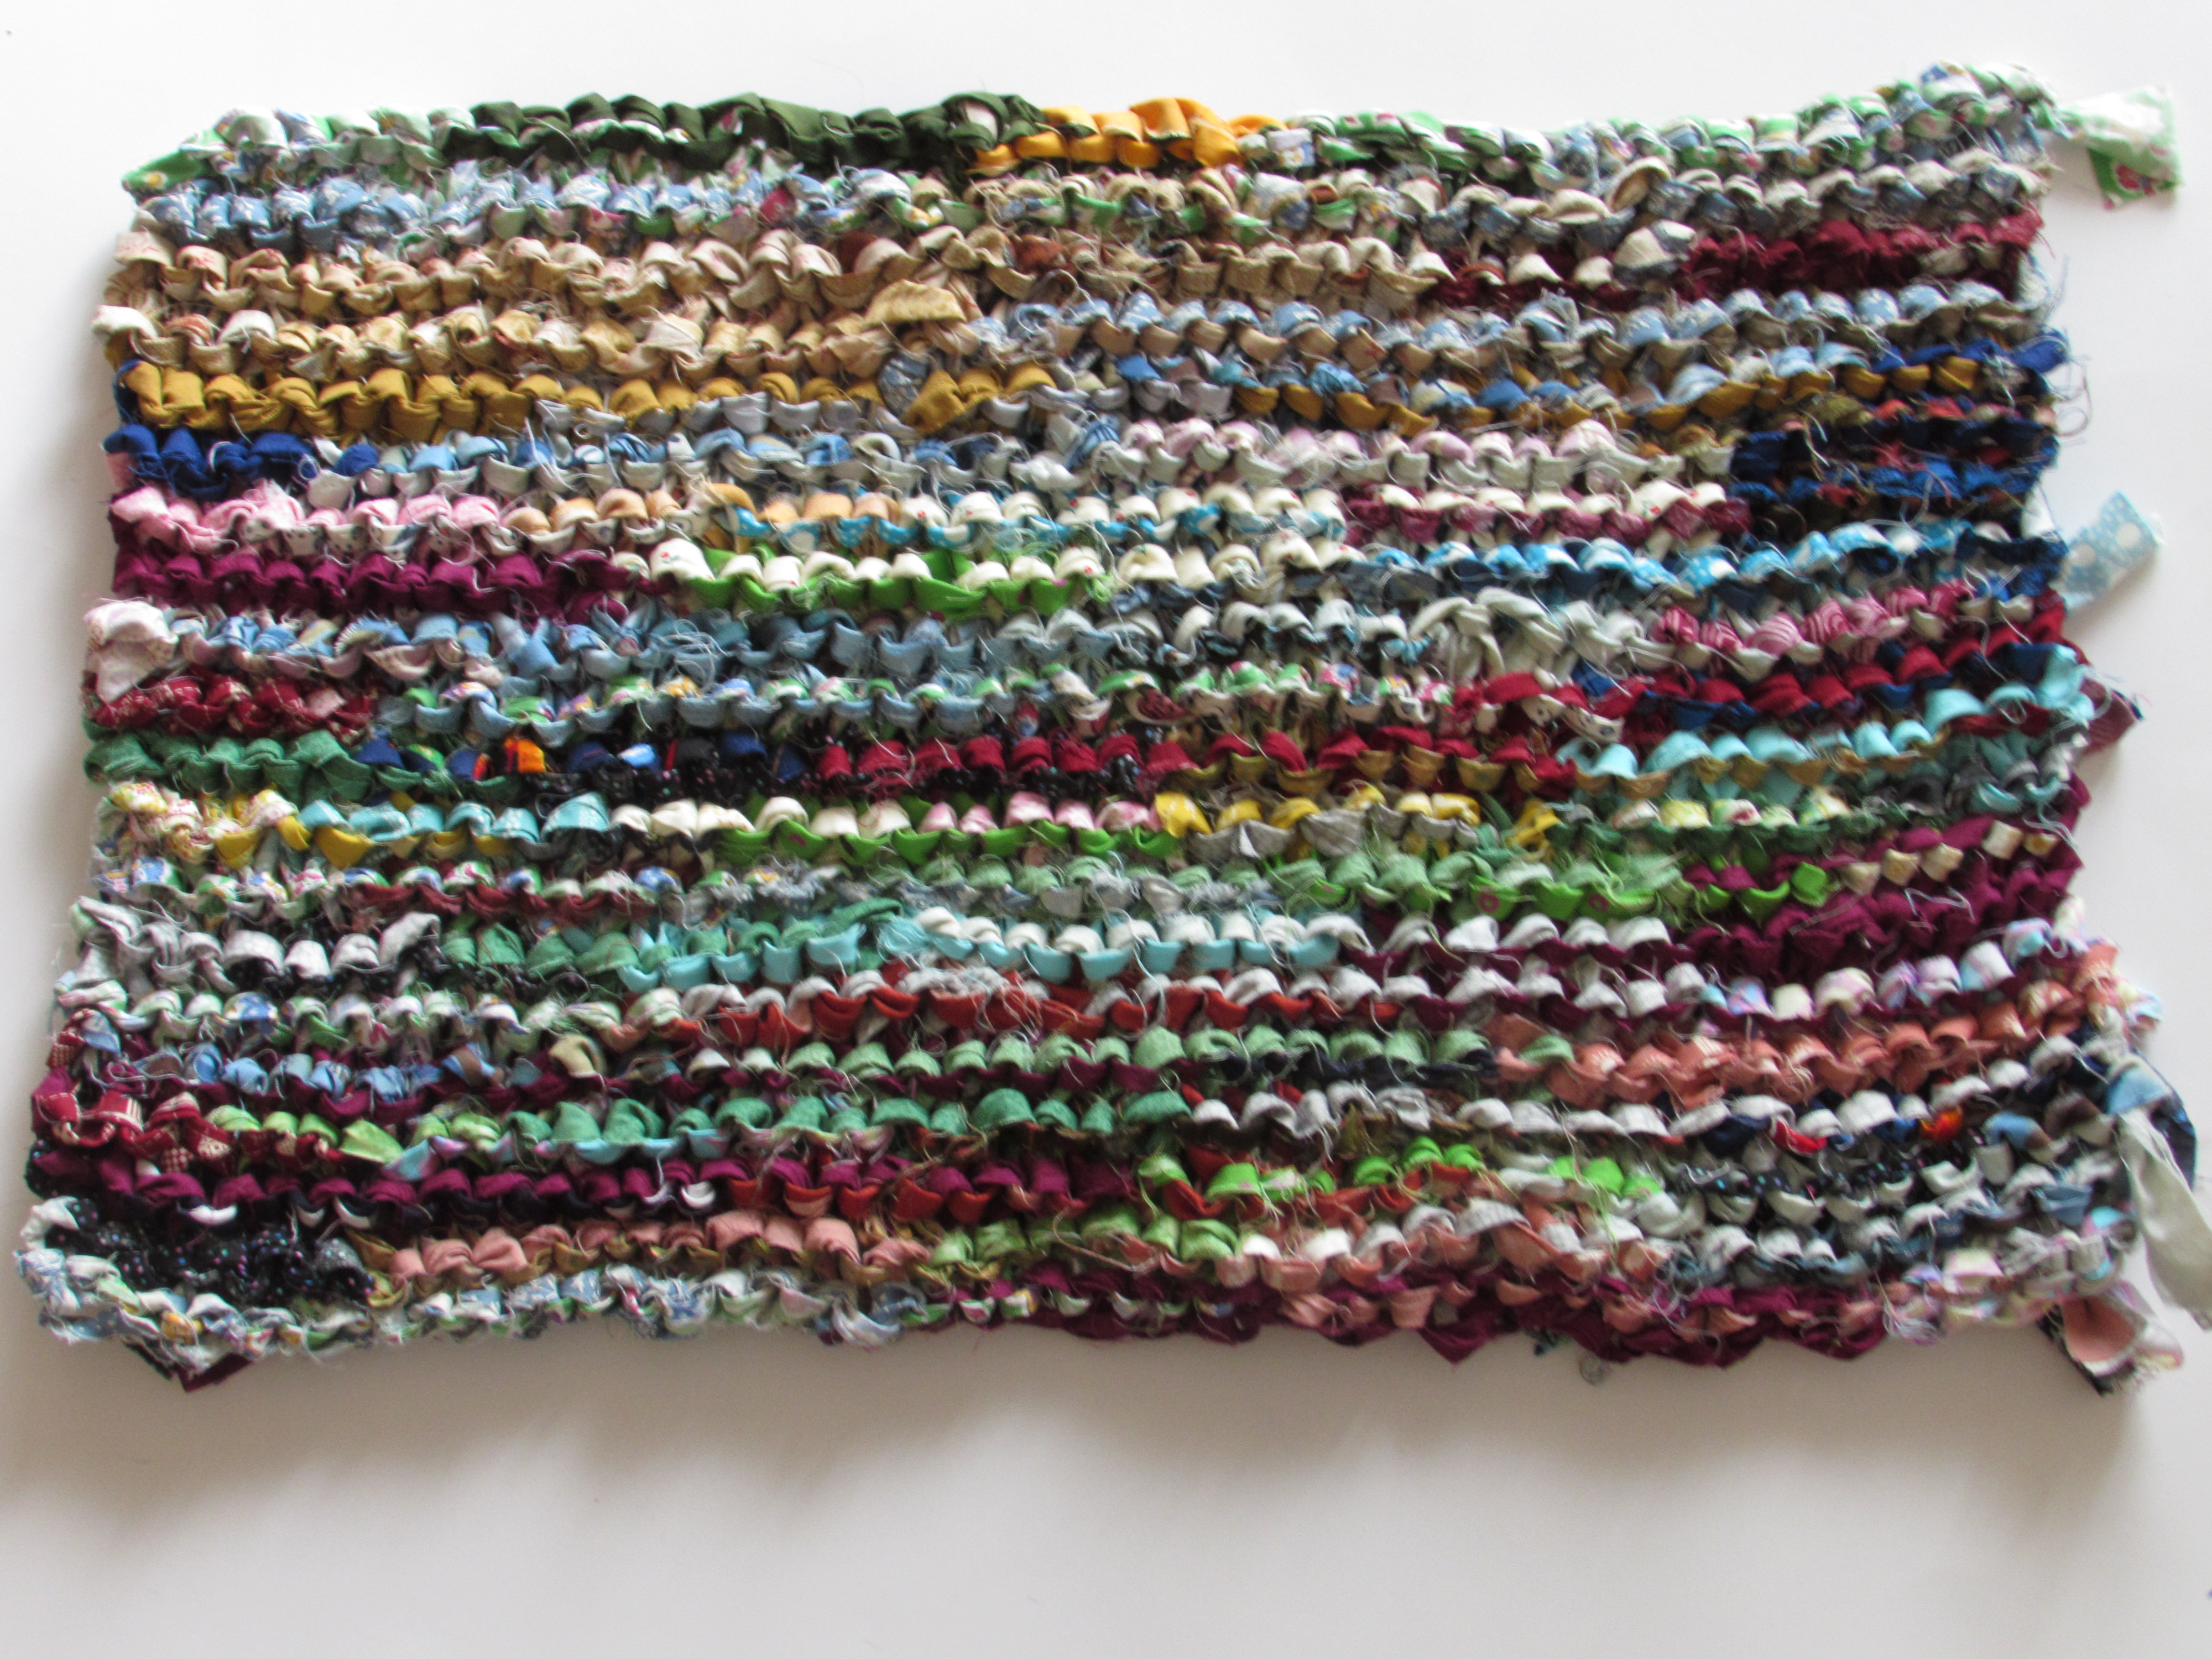
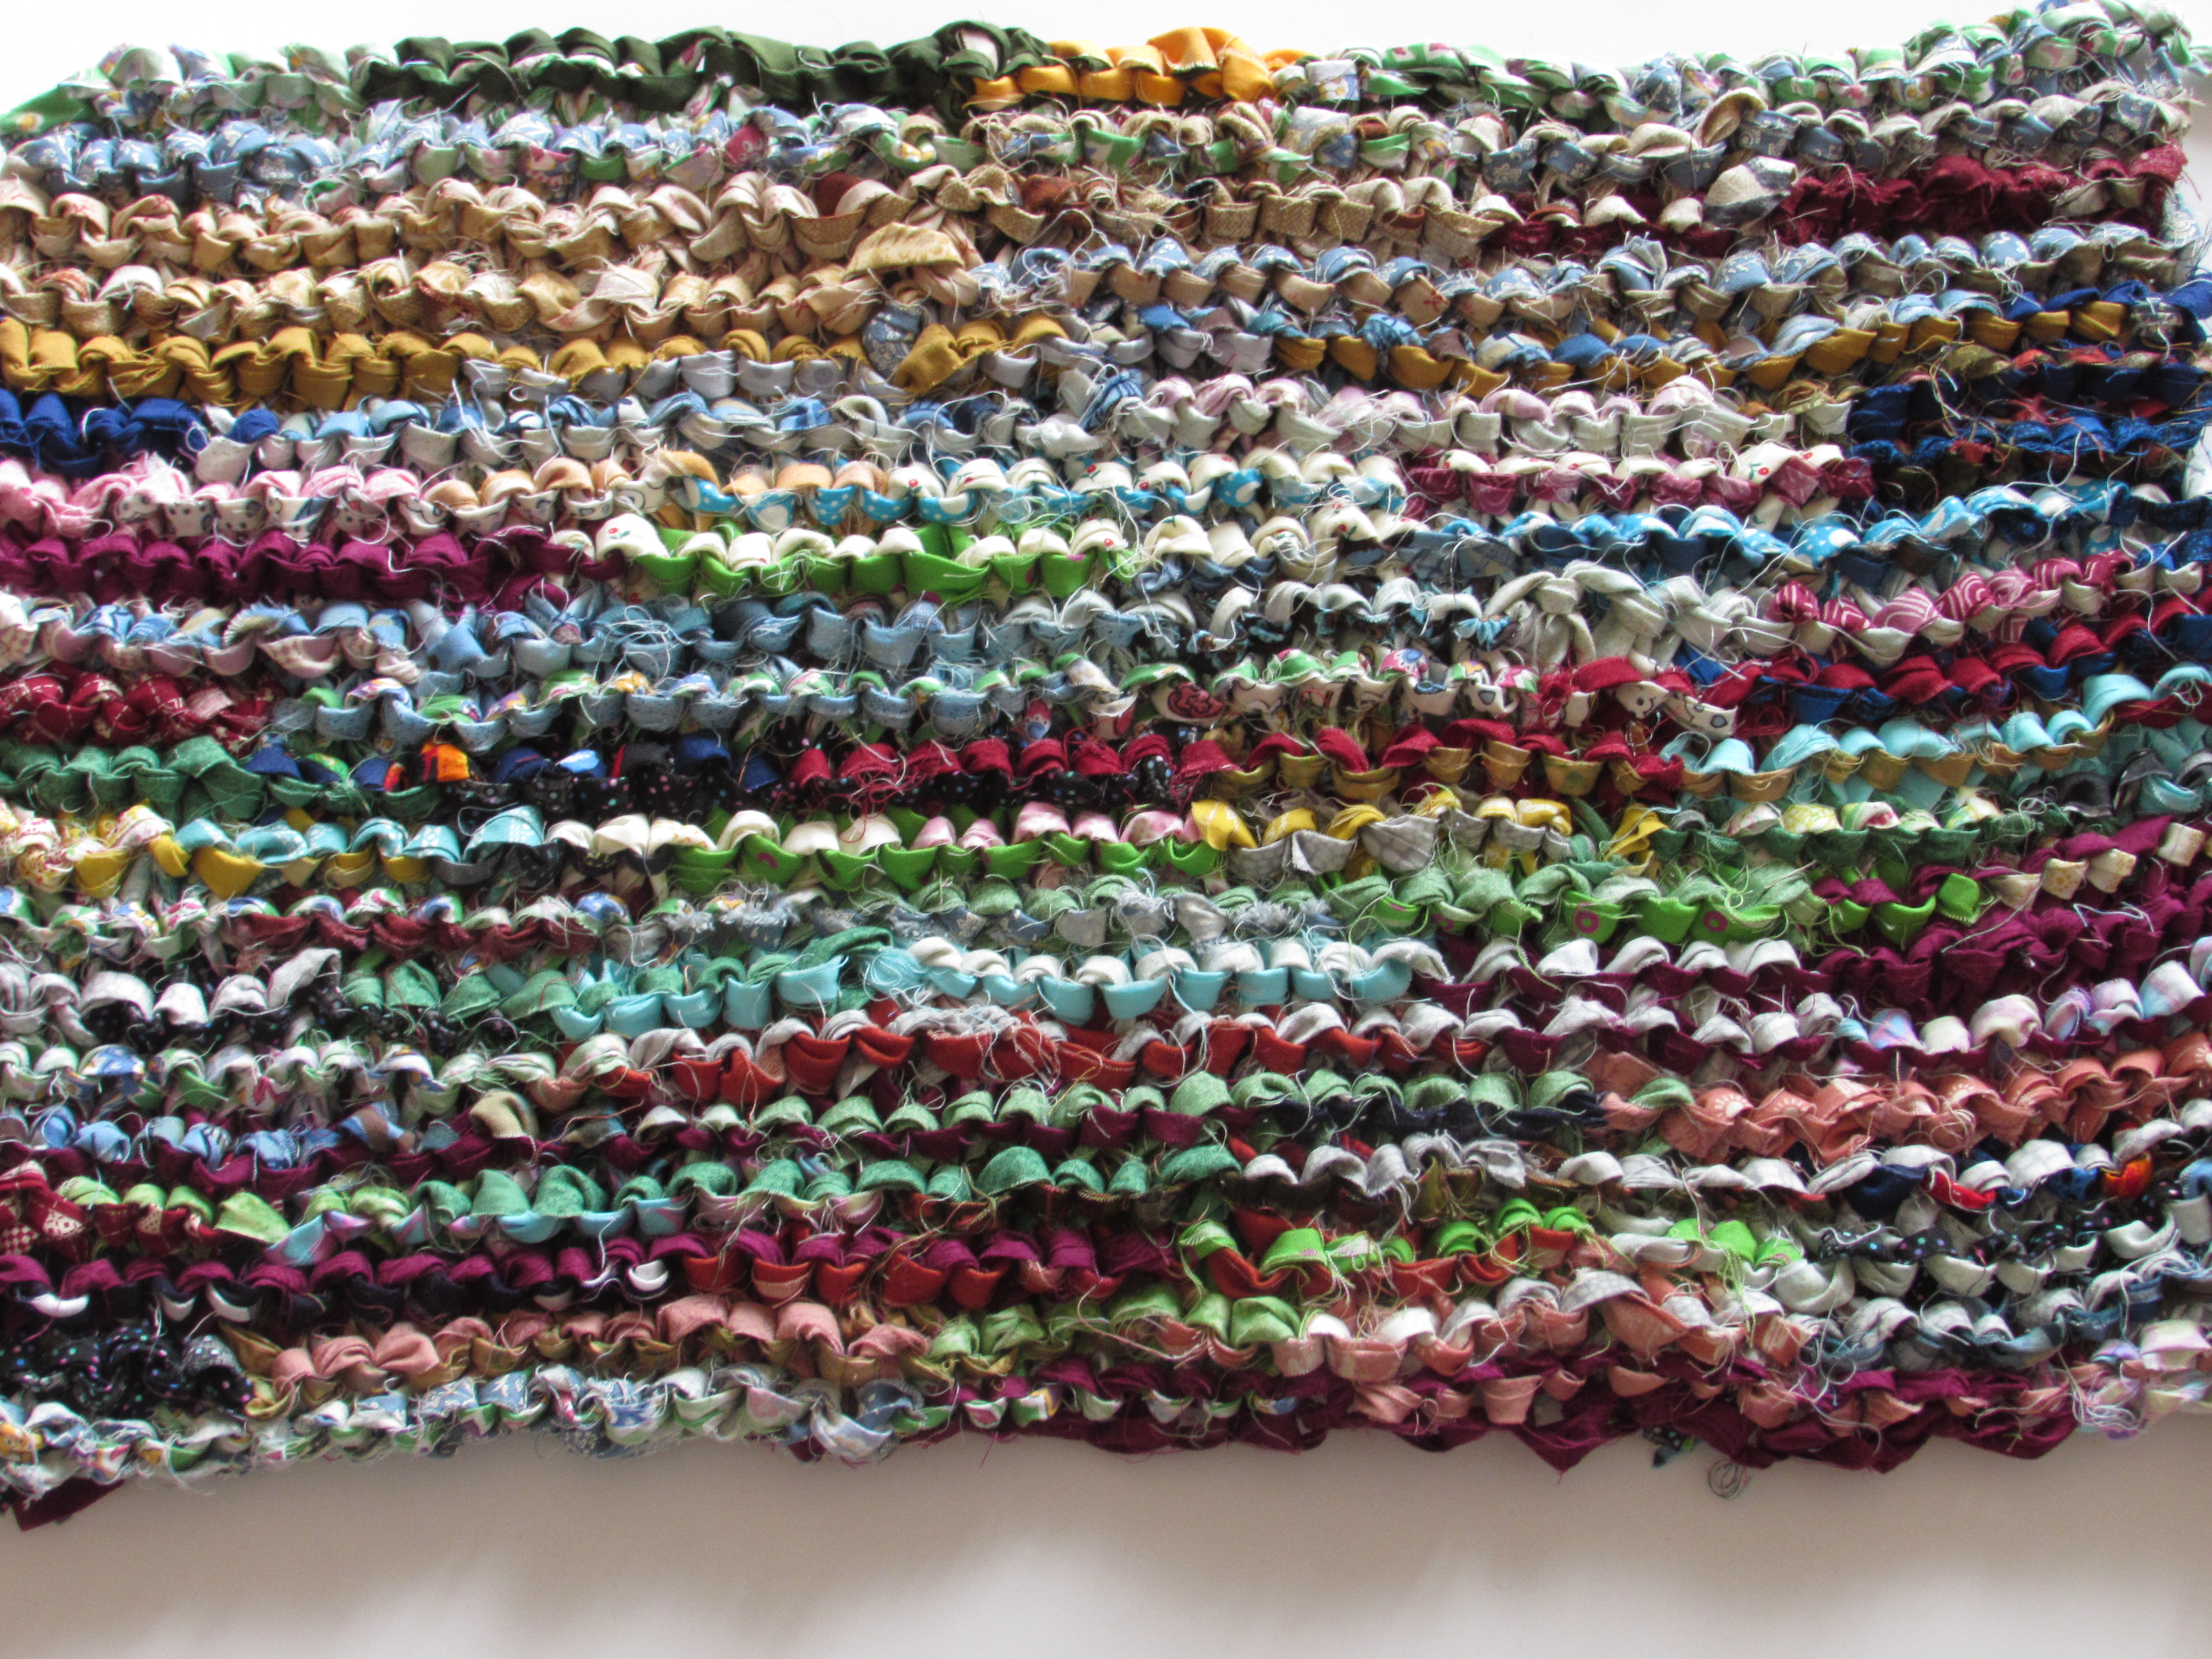
This is a tiny rug, finishing at 13″ x 22″. It will be used in the bathroom in our Downieville house. This bathroom is very tiny (maybe six feet by seven feet?) so this will look really cute in front of the sink.

img_8118

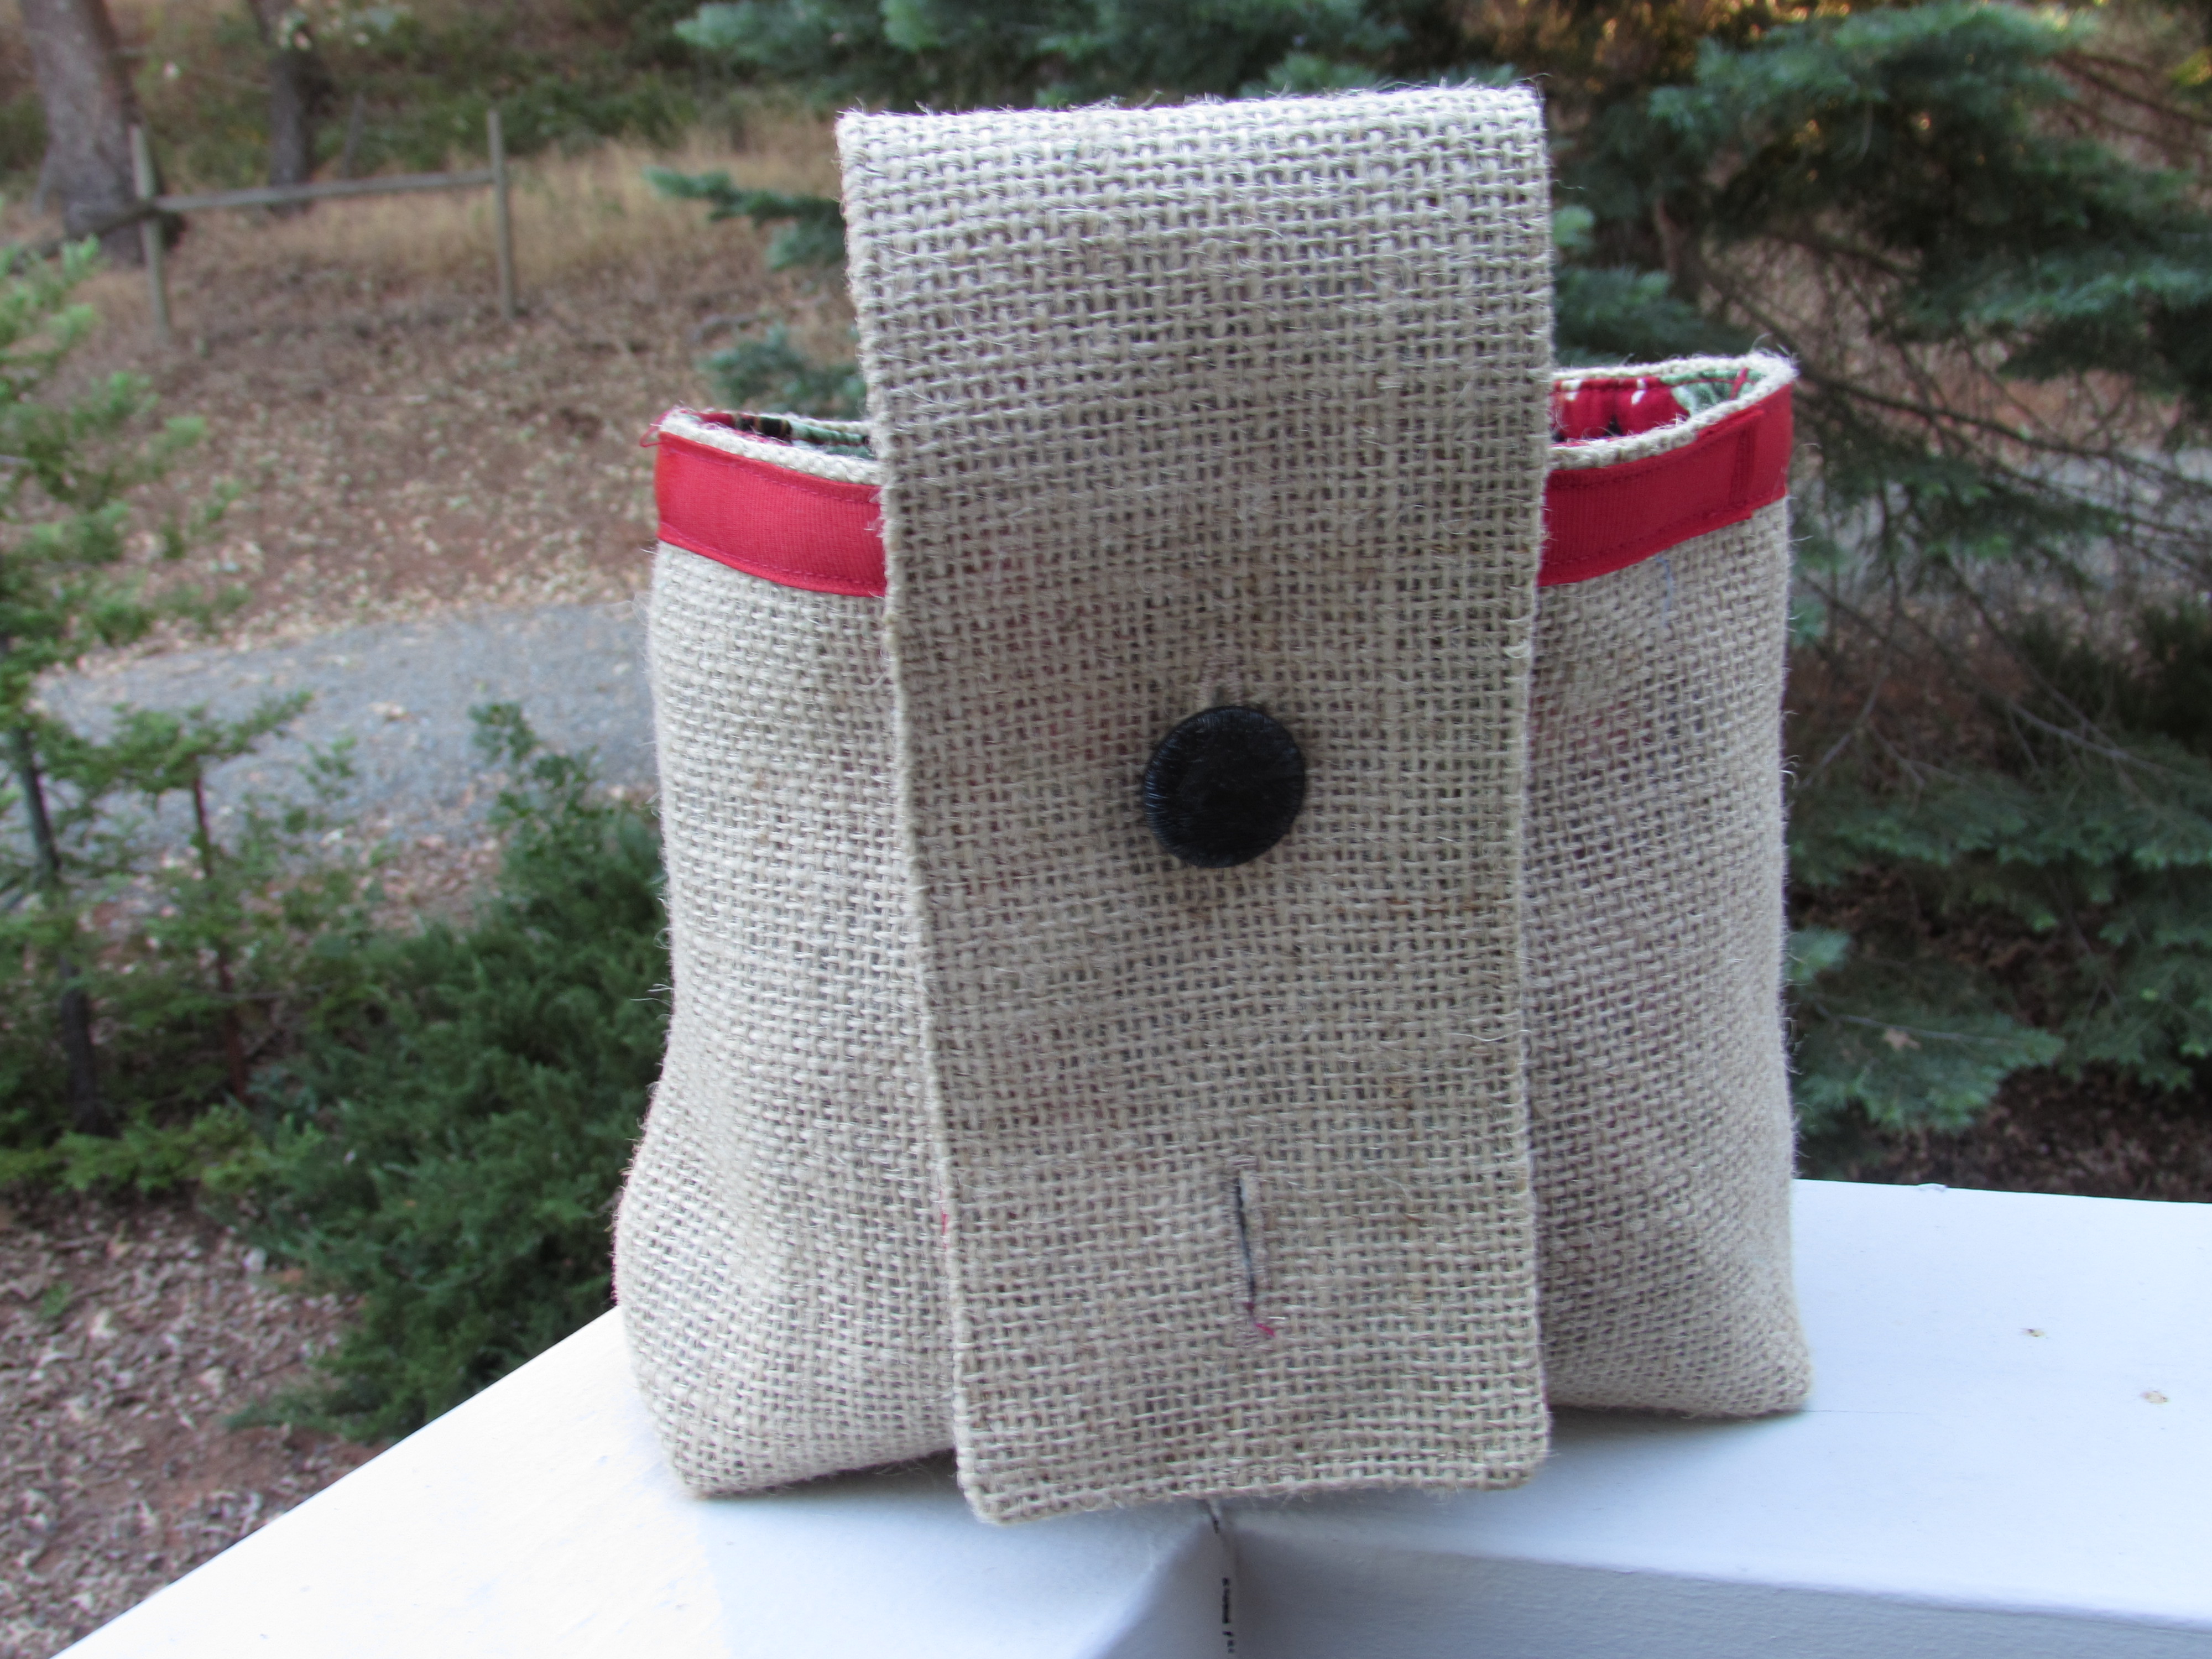
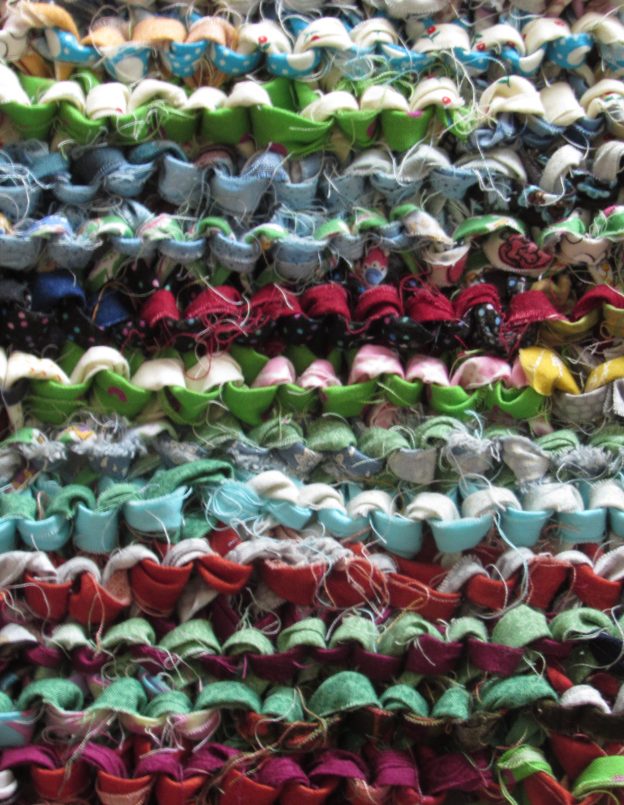
I pulled the knots (where I joined one strip to the next) to the back of the rug. I am not sure if I should trim the strands to  be closer to the knot or if it even matters. The rug feels really nice, sort of spongy, when I stand on it. When I first started, I was using strips that were anywhere from WOF (width of fabric) to about 15 inches long. The shorter strands started to annoy me as it made for more knots to deal with. Eventually, I restricted myself to longer strips that were WOF. I actually used every long strip I had in the bin which is nice. It is amazing to look at the reduction of strips in the bin. So many strips went into this project, making it a great scrap buster. Lots of the strips I had saved were 2 1/2 inches wide and I cut them in half so I was knitting with 1 1/4″ wide strips. As I knitted, I would fold the strip in half, wrong sides together, so I would end up with the “good side” of the fabric showing, rather than the inside. I didn’t work too hard at this for the solids (since it didn’t really matter which side showed) but if it was a print I would try to keep the good side showing.

img_8119

I stopped knitting when I ran out of strips. I thought about cutting some from yardage so I could continue but that seemed silly (creating scraps from yardage??) Honestly, I am kind of sad to be finished with this because it was a nice evening project. I will let the strips build up again, and you know they will,  because then I can make another one. 🙂

I am not sure I will write another post this week, so I want to wish all of the readers in the US a wonderful Thanksgiving.  And to the readers outside of the US, I wish you a week of peace and joy as well.  Happy Thanksgiving.

the-gratitude-sale

Finally, remember that this week there is a wonderful event going on over at Mari’s site, The Academic Quilter.  I hope you will check it out – Mari is doing a HUGE destash and donating all proceeds to one of three charities. I did some shopping this morning. She is a generous soul and I love the way she structured this to benefit both the buyer and the non-profit.


craftsy-black-friday

Finally – Craftsy has gone all out for Black Friday this year. Beginning on Thursday, 11/24/16 classes are $17.99 each. Fabric and notions are all on sale as well. I am quite curious about the Boundless line of solids. I took a look and the prices are amazing. Solids, in a rainbow of thirty different colors, are available in pre-cuts such as layer cakes and jelly rolls, as well as yardage.

This is an affiliate link, meaning if you make a purchase after clicking over from my blog, I will receive a stipend.

Gratitude-Part 5

Hope everyone is having a good week so far. All is well here. We had a great weekend. Made some good progress on the Downieville house. Drywall is in (we had taken down old paneling in the our bedroom). Tomorrow they will texture it and then we can paint. Yahoo!! My husband is doing the lion’s share of the work on this house but drywall is not a fun project; one he happily paid someone else to do. I bought the paint yesterday (gray with a creamy trim color) and cannot wait to get those walls painted.

In other exciting news, my daughter received her acceptance to a high school program she applied to for next year. She has worked very hard on this application process so she is overjoyed. (All of us are actually!)

But the best part of the week so far, is this. Here is the backstory. I had a very special friend, Betty, who we lost to cancer 15 months ago. She battled Multiple Myeloma for almost four years. We were friends for almost 20 years. We worked together (she was my manager for a while but mostly we were co-workers) and we played together. We were in a book club together for a while. We made trips to museums, walked together until she couldn’t do that any longer, and she introduced me to the joy of dim sum about ten years ago. I keep a small photo of her taped to the wall in my sewing room so she can cheer me on when I am in there working on a project.

Betty was skilled at both knitting and crochet and could do huge damage in a yarn shop in no time at all. She created beautiful pieces though. When Julia was born she gave us a sweet crocheted blanket. When she was going through chemo and making herself chemo caps, she made Julia a gorgeous purple hat with a cute flower attached to it. Anyway, after she died, her husband gave her yarn stash to his sister. His sister, Marlene, shared this love of knitting with Betty. When Marlene was in California, visiting from her home in Washington DC, they would hit the yarn shops. If they were across the country from each other, Betty told me that she and Marlene would text pictures of yarns, colors and projects to each other. It made sense for the yarn stash to go to her.

Here is the surprise. Yesterday I had lunch with Betty’s husband. We try to get together for a visit every couple of months. He brought me a surprise from Marlene.

scarf2resize

Isn’t this gorgeous? Marlene chose to make me a scarf with some of Betty’s yarn.  What a treasure. I love the flecks of color in this yarn.

scarf resize

The yarn is a recycled product by Rowan. Manufactured in Italy, it is made of recycled clothing and fibers to create a silk, cotton and viscose content. It is wonderfully soft.  She sent me a copy of the pattern she used ( I can kind of, sort of knit but would not be able to make something like this) and it is called “Best Friend”. That choked me up. I will treasure this. I am so grateful for Marlene’s thoughtful gesture and this gift that she sent me. It was such a wonderful surprise.

Linking for the first time over at Handmade Tuesday, as well as Freemotion by the River. Thursday I will link this to Yvonne’s Thankful Thursday Series on Quilting Jetgirl.

Lil’s Quilt

This is the tale of my niece and her tshirt quilt.

Long ago and far away (like last April and about 175 miles away….)  a very sweet girl contacted her adoring aunt and asked for a favor.  She had recently graduated from high school and was getting ready to go to the Culinary Institute in Napa Valley, California. While in high school this lovely girl, let’s call her Lil, had been on the Dance Team all four years.  She loves dance and competed while on the team.  She is the first cutie on the left.

lil dance pic 3

Dance is Lil’s thing and she hated to see it end – it puts her in her happy place.  (Though it looks torturous to me. Ouch.)

lil dance pic 4

Apparently being on dance team for four years means you will amass a collection of dance tshirts.  Lil became very attached to these tshirts as they held such fond memories for her. She didn’t really want to wear them anymore but didn’t want them to just sit in a drawer.  She texted me one day…. “Aunt Bernie, I saw something on Pinterest, it’s a tshirt quilt. (It all starts with Pinterest, right?)  I wondered if you would make one for me.”  (She had asked her mom but, let’s be honest, her mom would only be able to do this if she could figure out how to make it with duct tape and a stapler.  She may be the best mom ever, but not a sewist, that mom.) I had never made a quilt with knit fabric before so I saw it as a potential learning experience for me and a way to win points as super-aunt at the same time. Sure, I told her, love to.  I immediately received text after text telling me how wonderful I was for doing this.  Immediate gratification for me, that’s for sure.

Within a few weeks I received these (sorry, lousy quality on this photo). It was a bit daunting to look at these and try to figure out where to start.  Luckily, there is an excellent tutorial (yay Pinterest) from Cindi at Seamstobeyouandme.com.  It is really detailed and the process is pretty much foolproof.

lils tshirts

After washing the shirts and lightly pressing them, I used the method described in the tutorial and cut them into equal squares.  Two of the shirts were tiny and I couldn’t get a big enough square (without using the sleeve, which would have left a big seam across the square) so I did have to piece them a tiny bit.  It wasn’t difficult though.  The squares then had to be reinforced with fusible interfacing or the knit would stretch too much while sewing, and then quilting this project. Really, the pressing, squaring, cutting and fusing took the most time.

lils tshirts cut

She had given me thirteen shirts and two of them had a back side that I thought she would want to preserve.  So I did 15 squares and made 5 rows of three squares each. I found a black fabric with tiny polka dots in pink, green, blue and purple and thought that would be a good match for the tshirts she had given me.  I created a sashing around the blocks to set each one apart from the other.

20140721_1411

I had quite a bit of scrap that I used for a pieced border.  I needed to add some width since the layout was 3 x 5 squares.

20140721_1403

When quilting this I decided to do it as a sampler.  I FMQ’d each square with a different pattern so that I would get in a lot of practice. (In retrospect, if doing this over again, I would quilt this with less density.  I think I quilted it a bit too tightly and it gave it a stiffness that I was not all too happy with.) Because some of the logos were so big, I felt like I needed to really quilt it up around the logo.  Looking back, I could do a lot less and get a good result.  I also quilted a wavy line through the sashing.

20140713_1390

Lil asked for a flannel backing (“to make it snuggly”) in either black or blue.  So I came up with this:

20140713_1387

For me the absolute best part of making this quilt was GIVING this quilt to Lil.  She was so grateful and left a voicemail on my phone that will never be deleted.  Soooo sweet.  Isn’t she?

lil quilt pic

By the way, dance team may be over but the dancing continues.  Now, aerial style.  Yikes!!!

lil dance pic 2

Love this girl!

Linking to the following: Linky Tuesday, Sew Cute Tuesday, Fabric Tuesday,WIP Wednesday, Let’s Bee Social, Needle and Thread Thursday, TGIFF, and finally, Finish It Up Friday. All of these links can be found at the tab at the top of my page, under Link Ups.  Check them out and see all of the amazing projects people are working on!

Upcycling, recycling, using stuff more than once.

Let it be known that I am a recycler.  I am not ok with the amount of plastic that is thrown away on a daily basis. Someday my (future) great-grandchildren are going to have one huge mess on their hands. In an attempt to minimize our household’s contribution to this mess, I recycle everything, re-using as much as possible.  I am one of those who uses a zip lock bag until it no longer zips. (In case you haven’t tried this, the bags can be rinsed, dried and used over and over.) My daughter and husband both take their lunches to work or school, as the case may be, in reusable, plastic zipper pouches. I buy them online at Blue Avocado. I bought four bags over two years ago and three of them are still in great shape. I can’t even count how many zip lock sandwich bags that saved us from using.  (I know there are lots of people who make their own bags and I may give that a try as well).

Along with recycling, I have been trying to reuse, or upcycle, (a trendier term) items. This week I found a great use for the huge coffee bean sacks that I purchased a while back at our local coffee roaster. I knew they would come in handy and I was so excited to create something from them!

sack front 3

I was hanging my laundry on the clothesline (which I do quite often). It is so hot here in the summer and I don’t like to run the clothes dryer if I can avoid it. It just heats up the house and makes our A/C unit run overtime. My clothesline is above our back deck and the clothespins are usually in this old basket.  See?  Not exactly gorgeous, right?

basket

For the past couple of years I have set this old basket on the deck railing and hung the clothes.  Numerous times the basket has dumped and the clothespins scatter over the deck or, worse, they fall over the edge down to the ground below.  You’d think I would have fixed this critical life problem a long while ago.  But I just kept picking up the pins and muttering sounds of irritation under my breath.  This week I decided to make something for the clothespins.

I made a simple, lined bag with boxed corners and added a long tab off of the back. Next I created a small sack and filled it with dry, white rice. Sewed up that pouch and inserted it into the bottom of the long tab. The tab hangs over the railing and acts as a counter weight for the bag holding the clothespins. It looks so much nicer than that basket. I was filled with wonder as I hung the clothes with my clothespins staying where they are supposed to!  Simple pleasures, right??

front of bag

Here is the back to show the tab with the counter weight.  Not a great shot, but then I was leaning over the railing and hoping not to drop my phone……  🙂

back of bag

After I made one for myself, I decided to make a few more. I modified them such that the tab is much shorter and doesn’t have the counter weight. I added some buttonholes and a button to the back. This way the tab can be looped over the clothesline and will just slide along as the clothes are hung.  Again, pure joy.  🙂 Look how cute this is:

20140701_1246I love the burlap from those coffee sacks.

20140701_1255


I put two different buttonholes in along the tab so the length can be adjusted as needed.

20140701_1269


The burlap looks great and wasn’t that difficult to sew with. I did reinforce the raw edge of each piece of burlap with a zig zag stitch to minimize any fray. I fused some heavy weight interfacing to the lining fabric. Various fabrics from my stash make up the linings and ribbon  accents were added. I opened an Etsy shop and these are my first items up for sale!  Check them out here.


Linking up with Crazy Mom Quilts, Richard and Tanya Quilt, also at Confessions of a Fabric Addict.