Tag Archives: Tshirt quilt

Jersey Quilt Progress

Happy first day of Autumn! I love this time of year and the change of season that is happening these days.

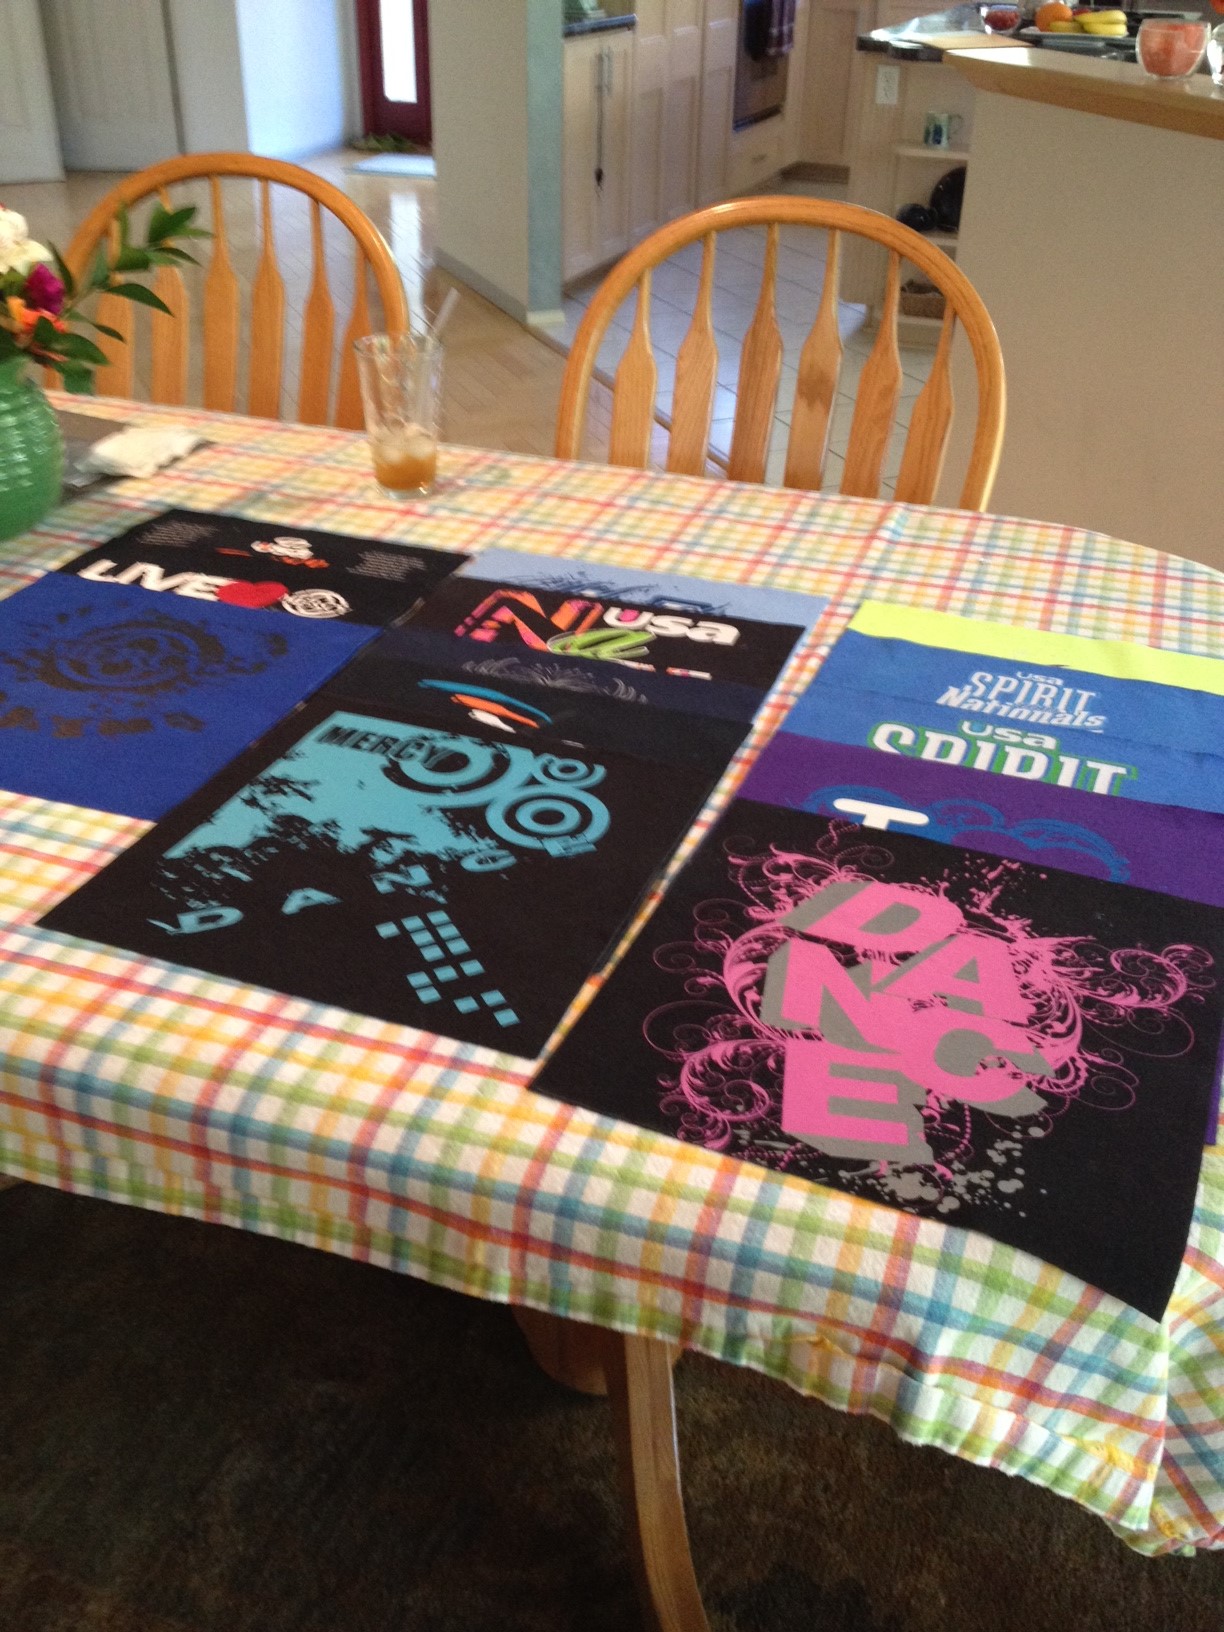
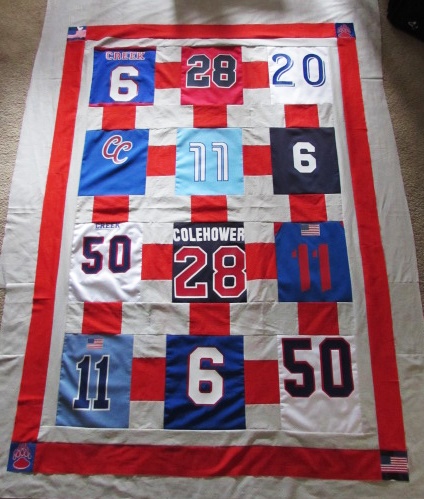
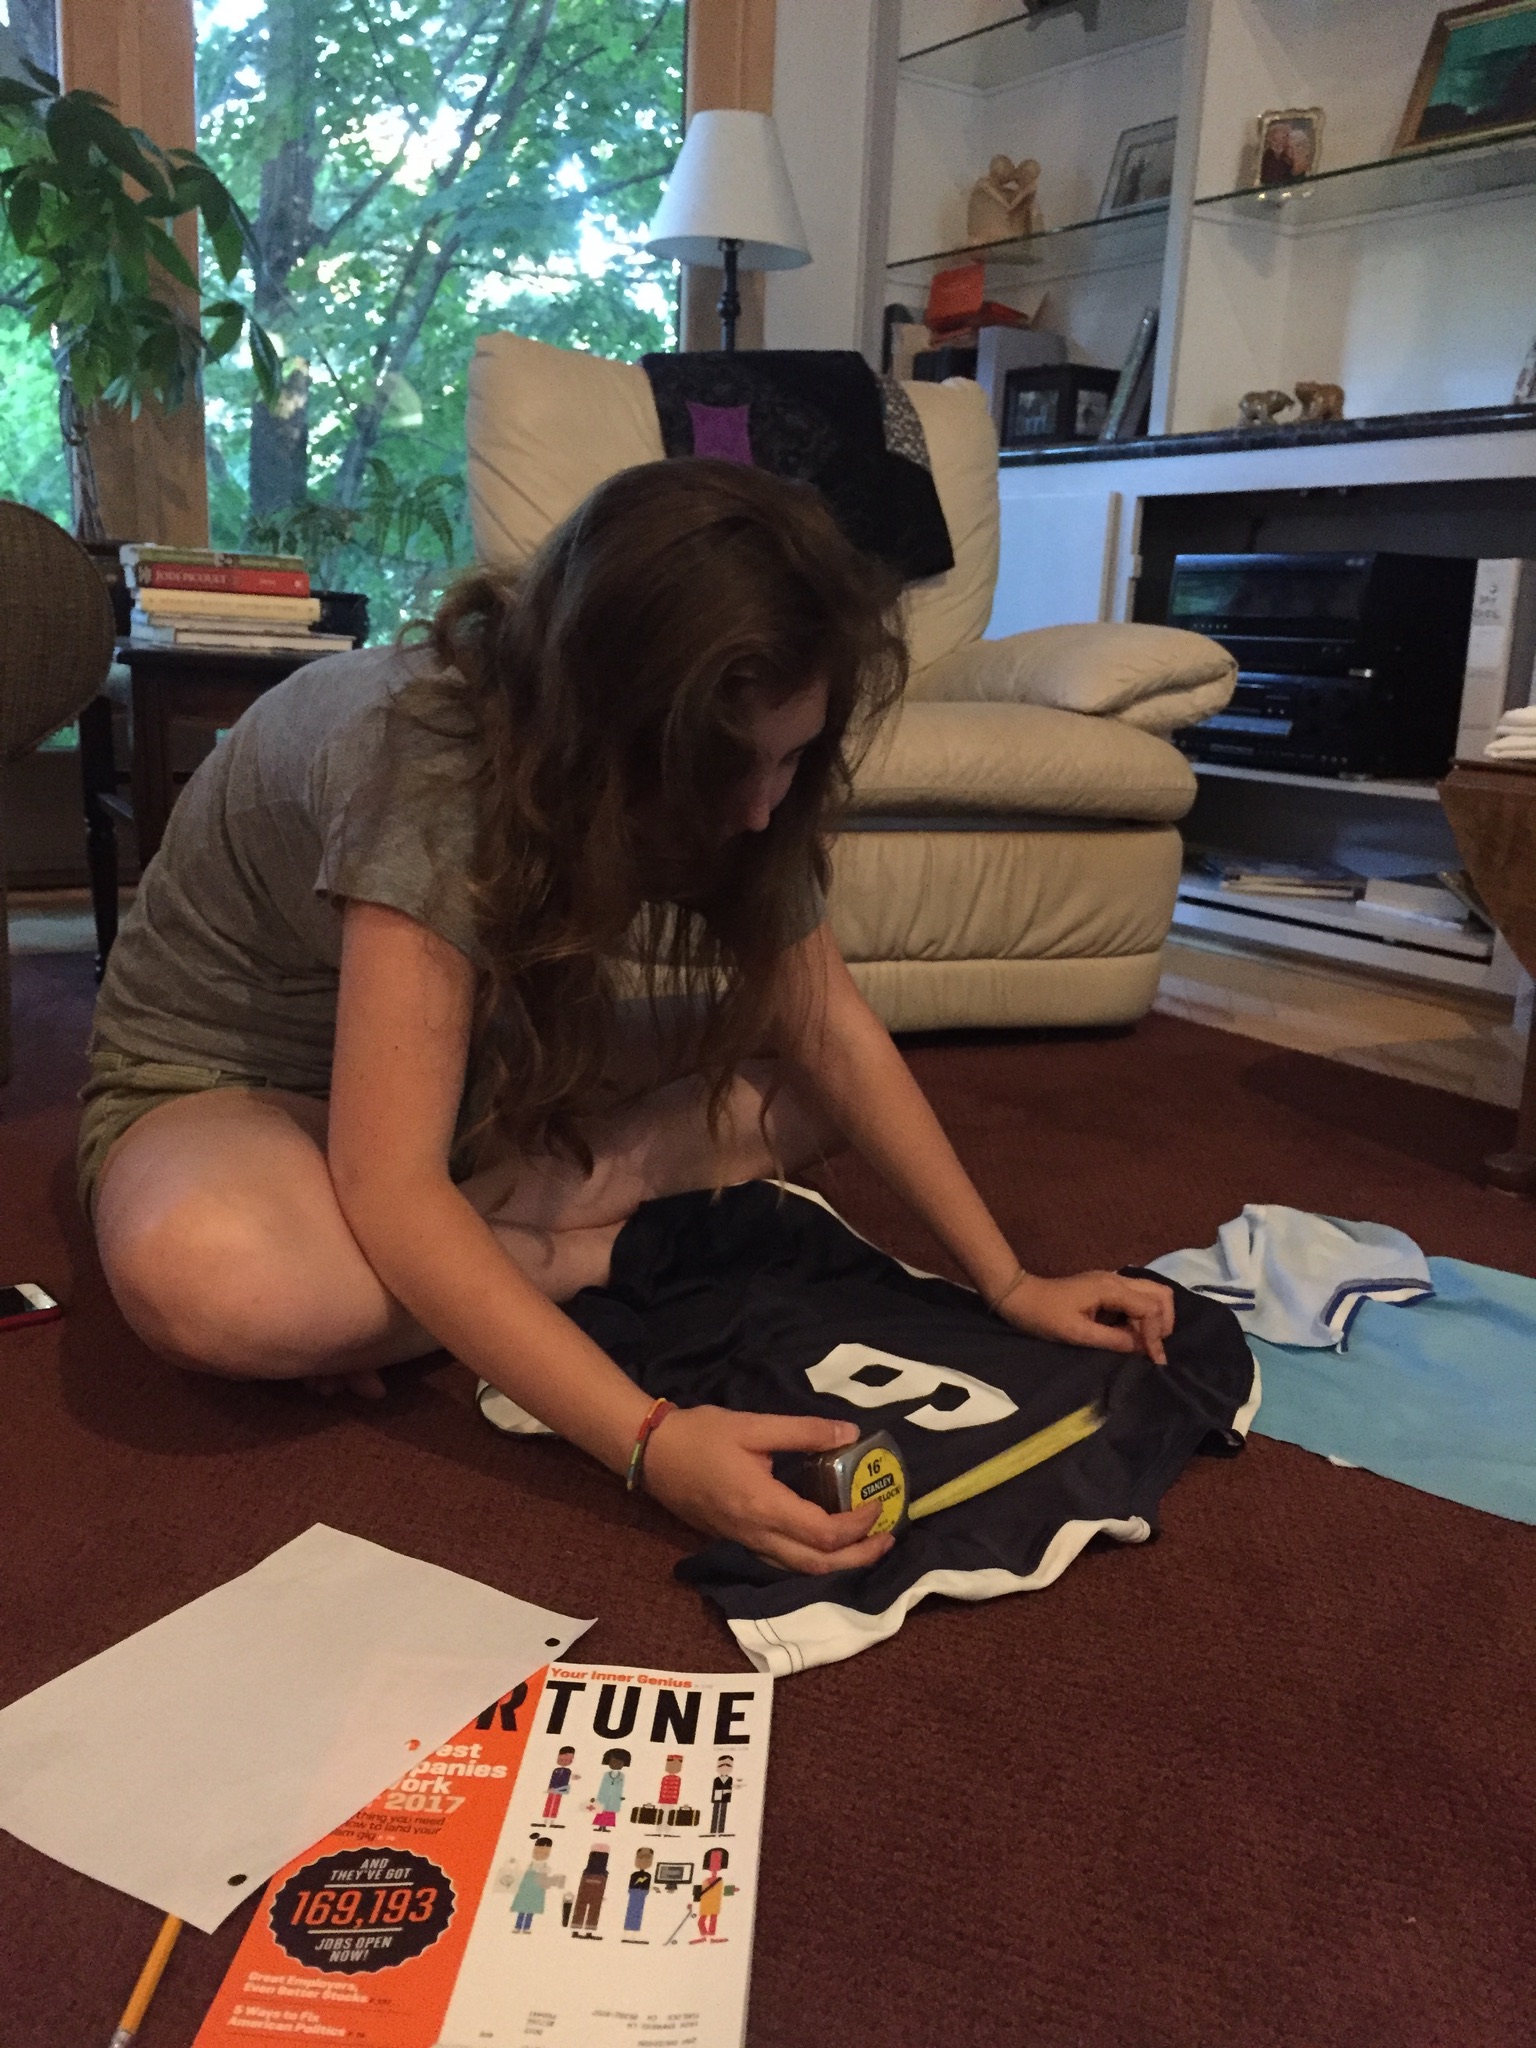
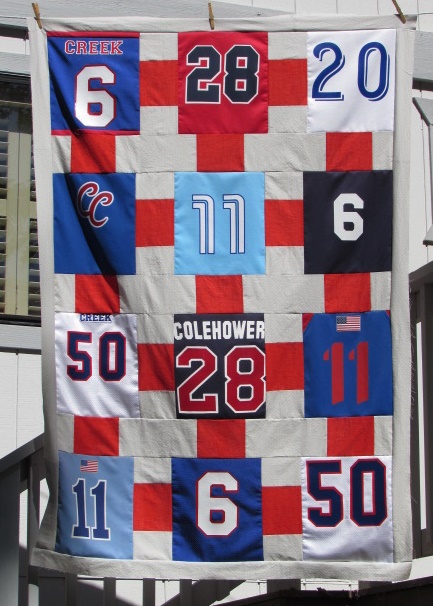
This week I took a look at the jersey quilt I am making for my nephew and decided the quilt top wasn’t quite large enough for this very tall guy.  I added 3 1/2 inch borders to all sides to enlarge it.

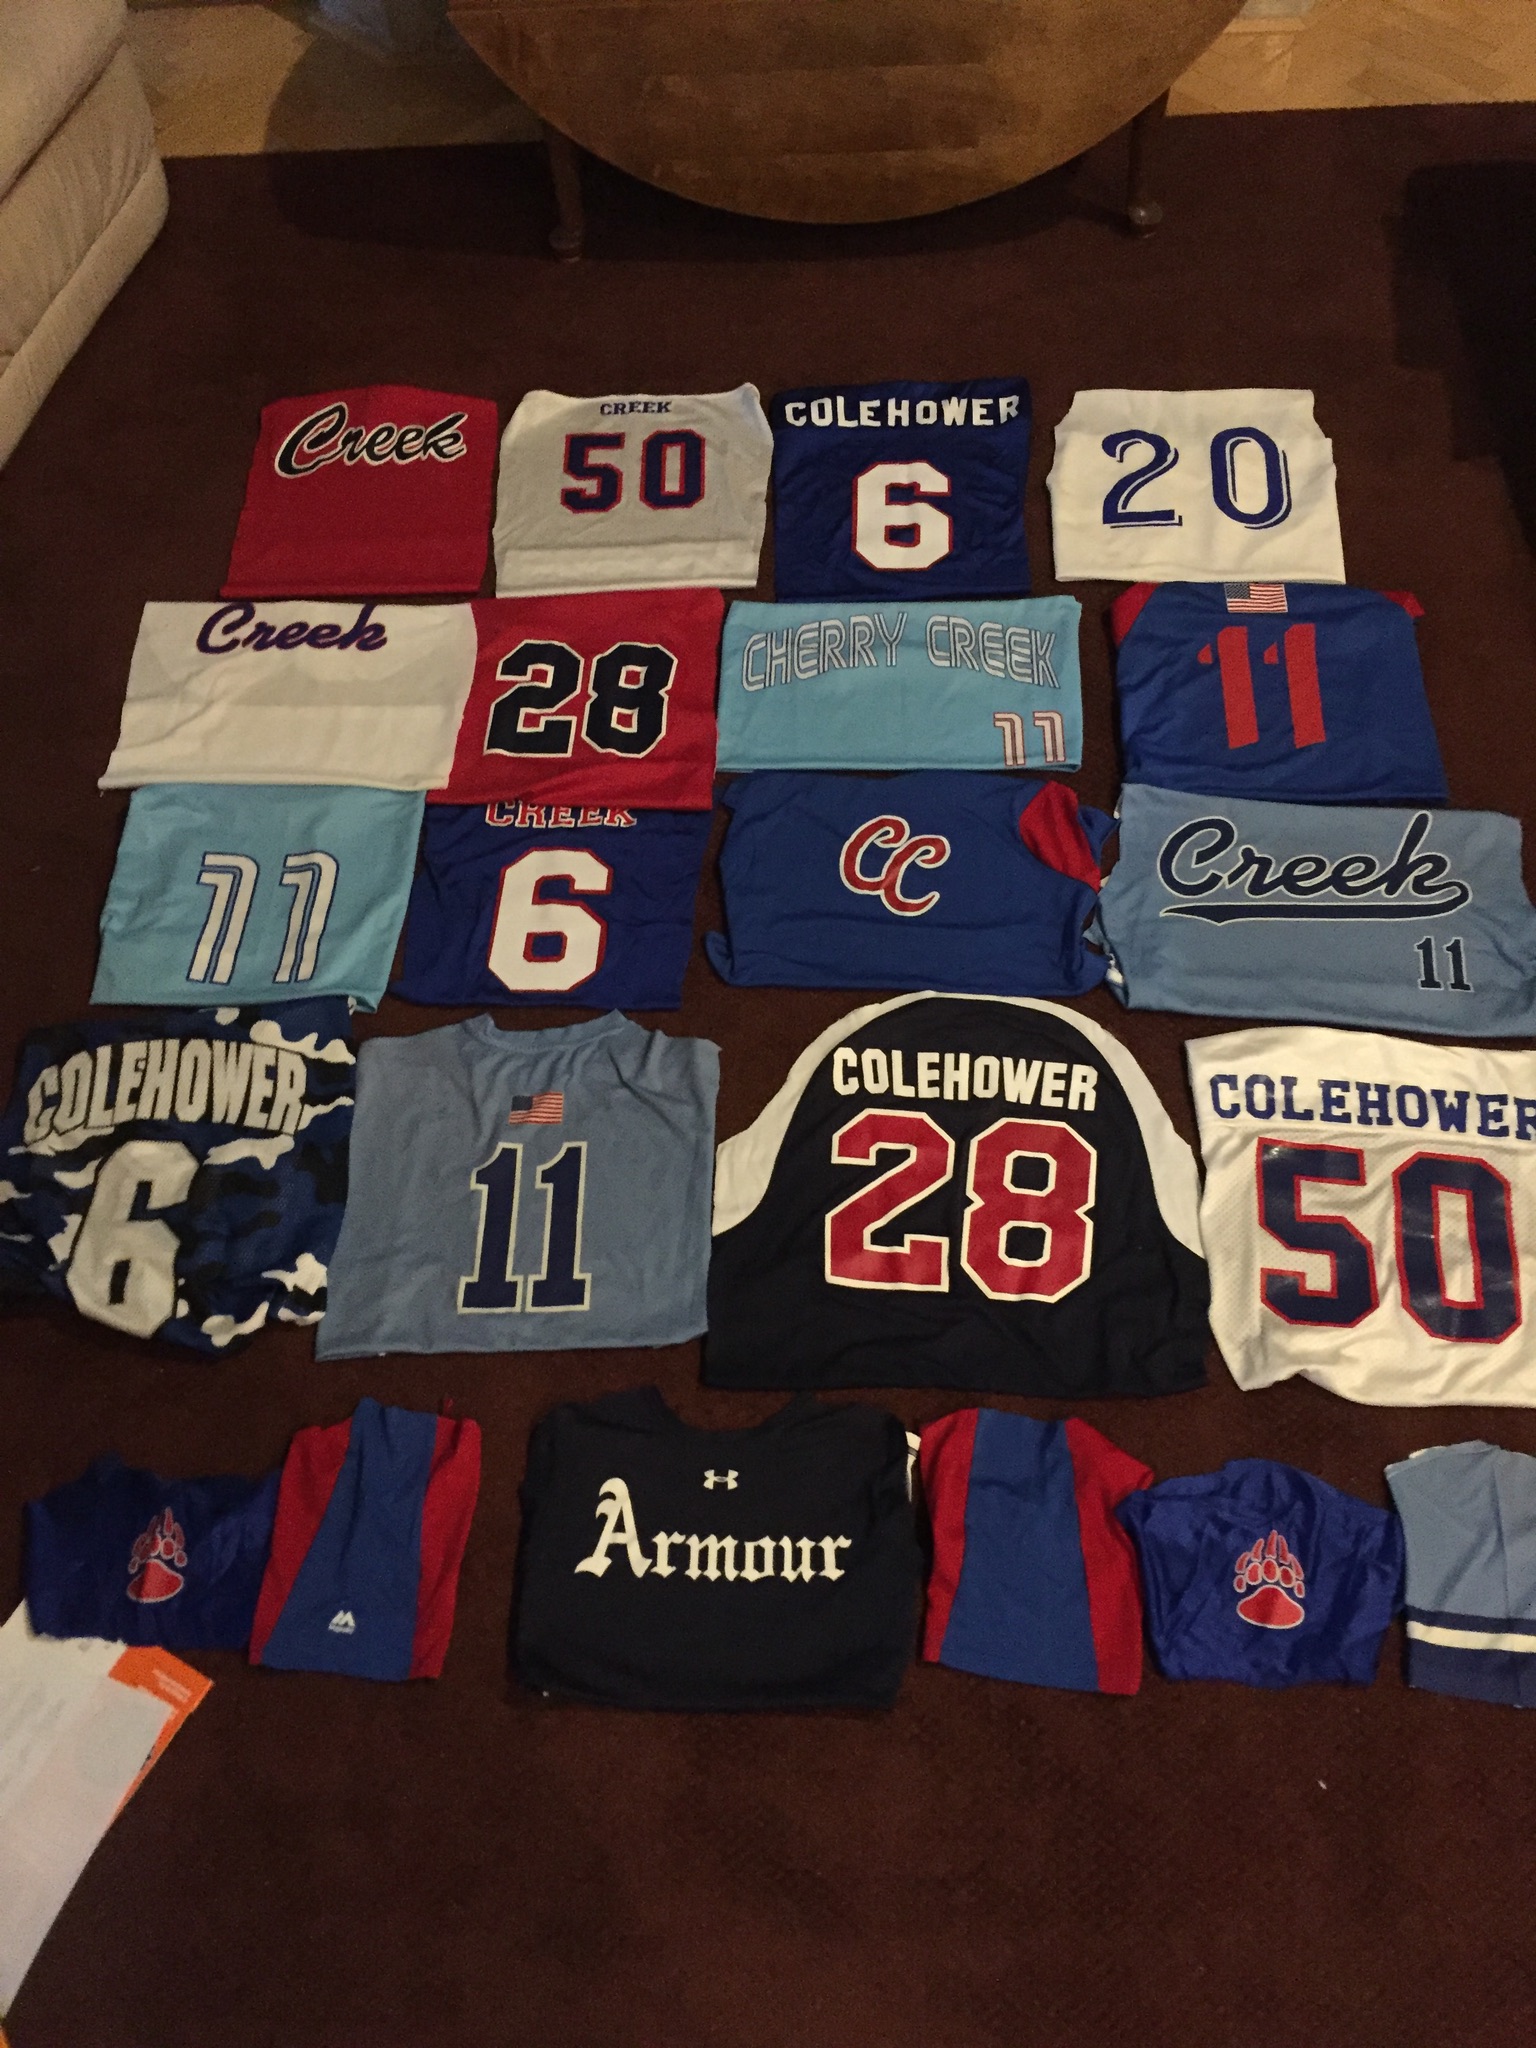
There were some smaller emblems that had been on the sleeves of a few jerseys and it seemed like a good place to use them.

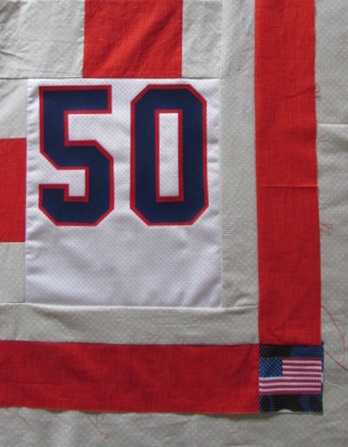
I put the American flag on two corners.  (Number 50 was his father’s number when he played football for Stanford. I wonder if Sam requested the number, not too likely it was a coincidence, right?)

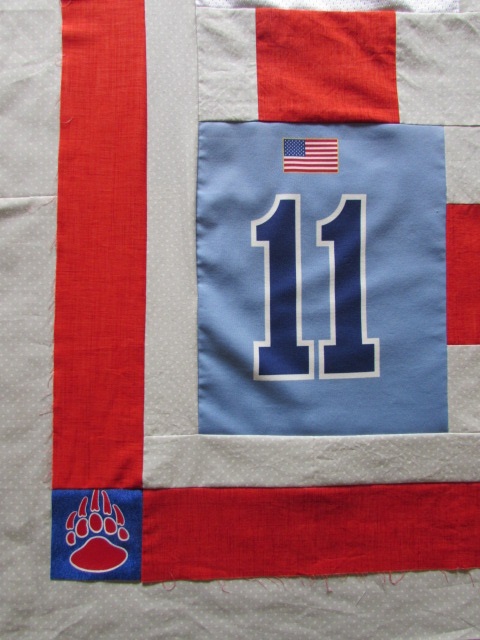
On the other two corners I used these bear paw prints. His high school mascot was the Bruins. This one is a funny coincidence because the high school mascot for my boys here in California, several  states away, was also the Bruins.

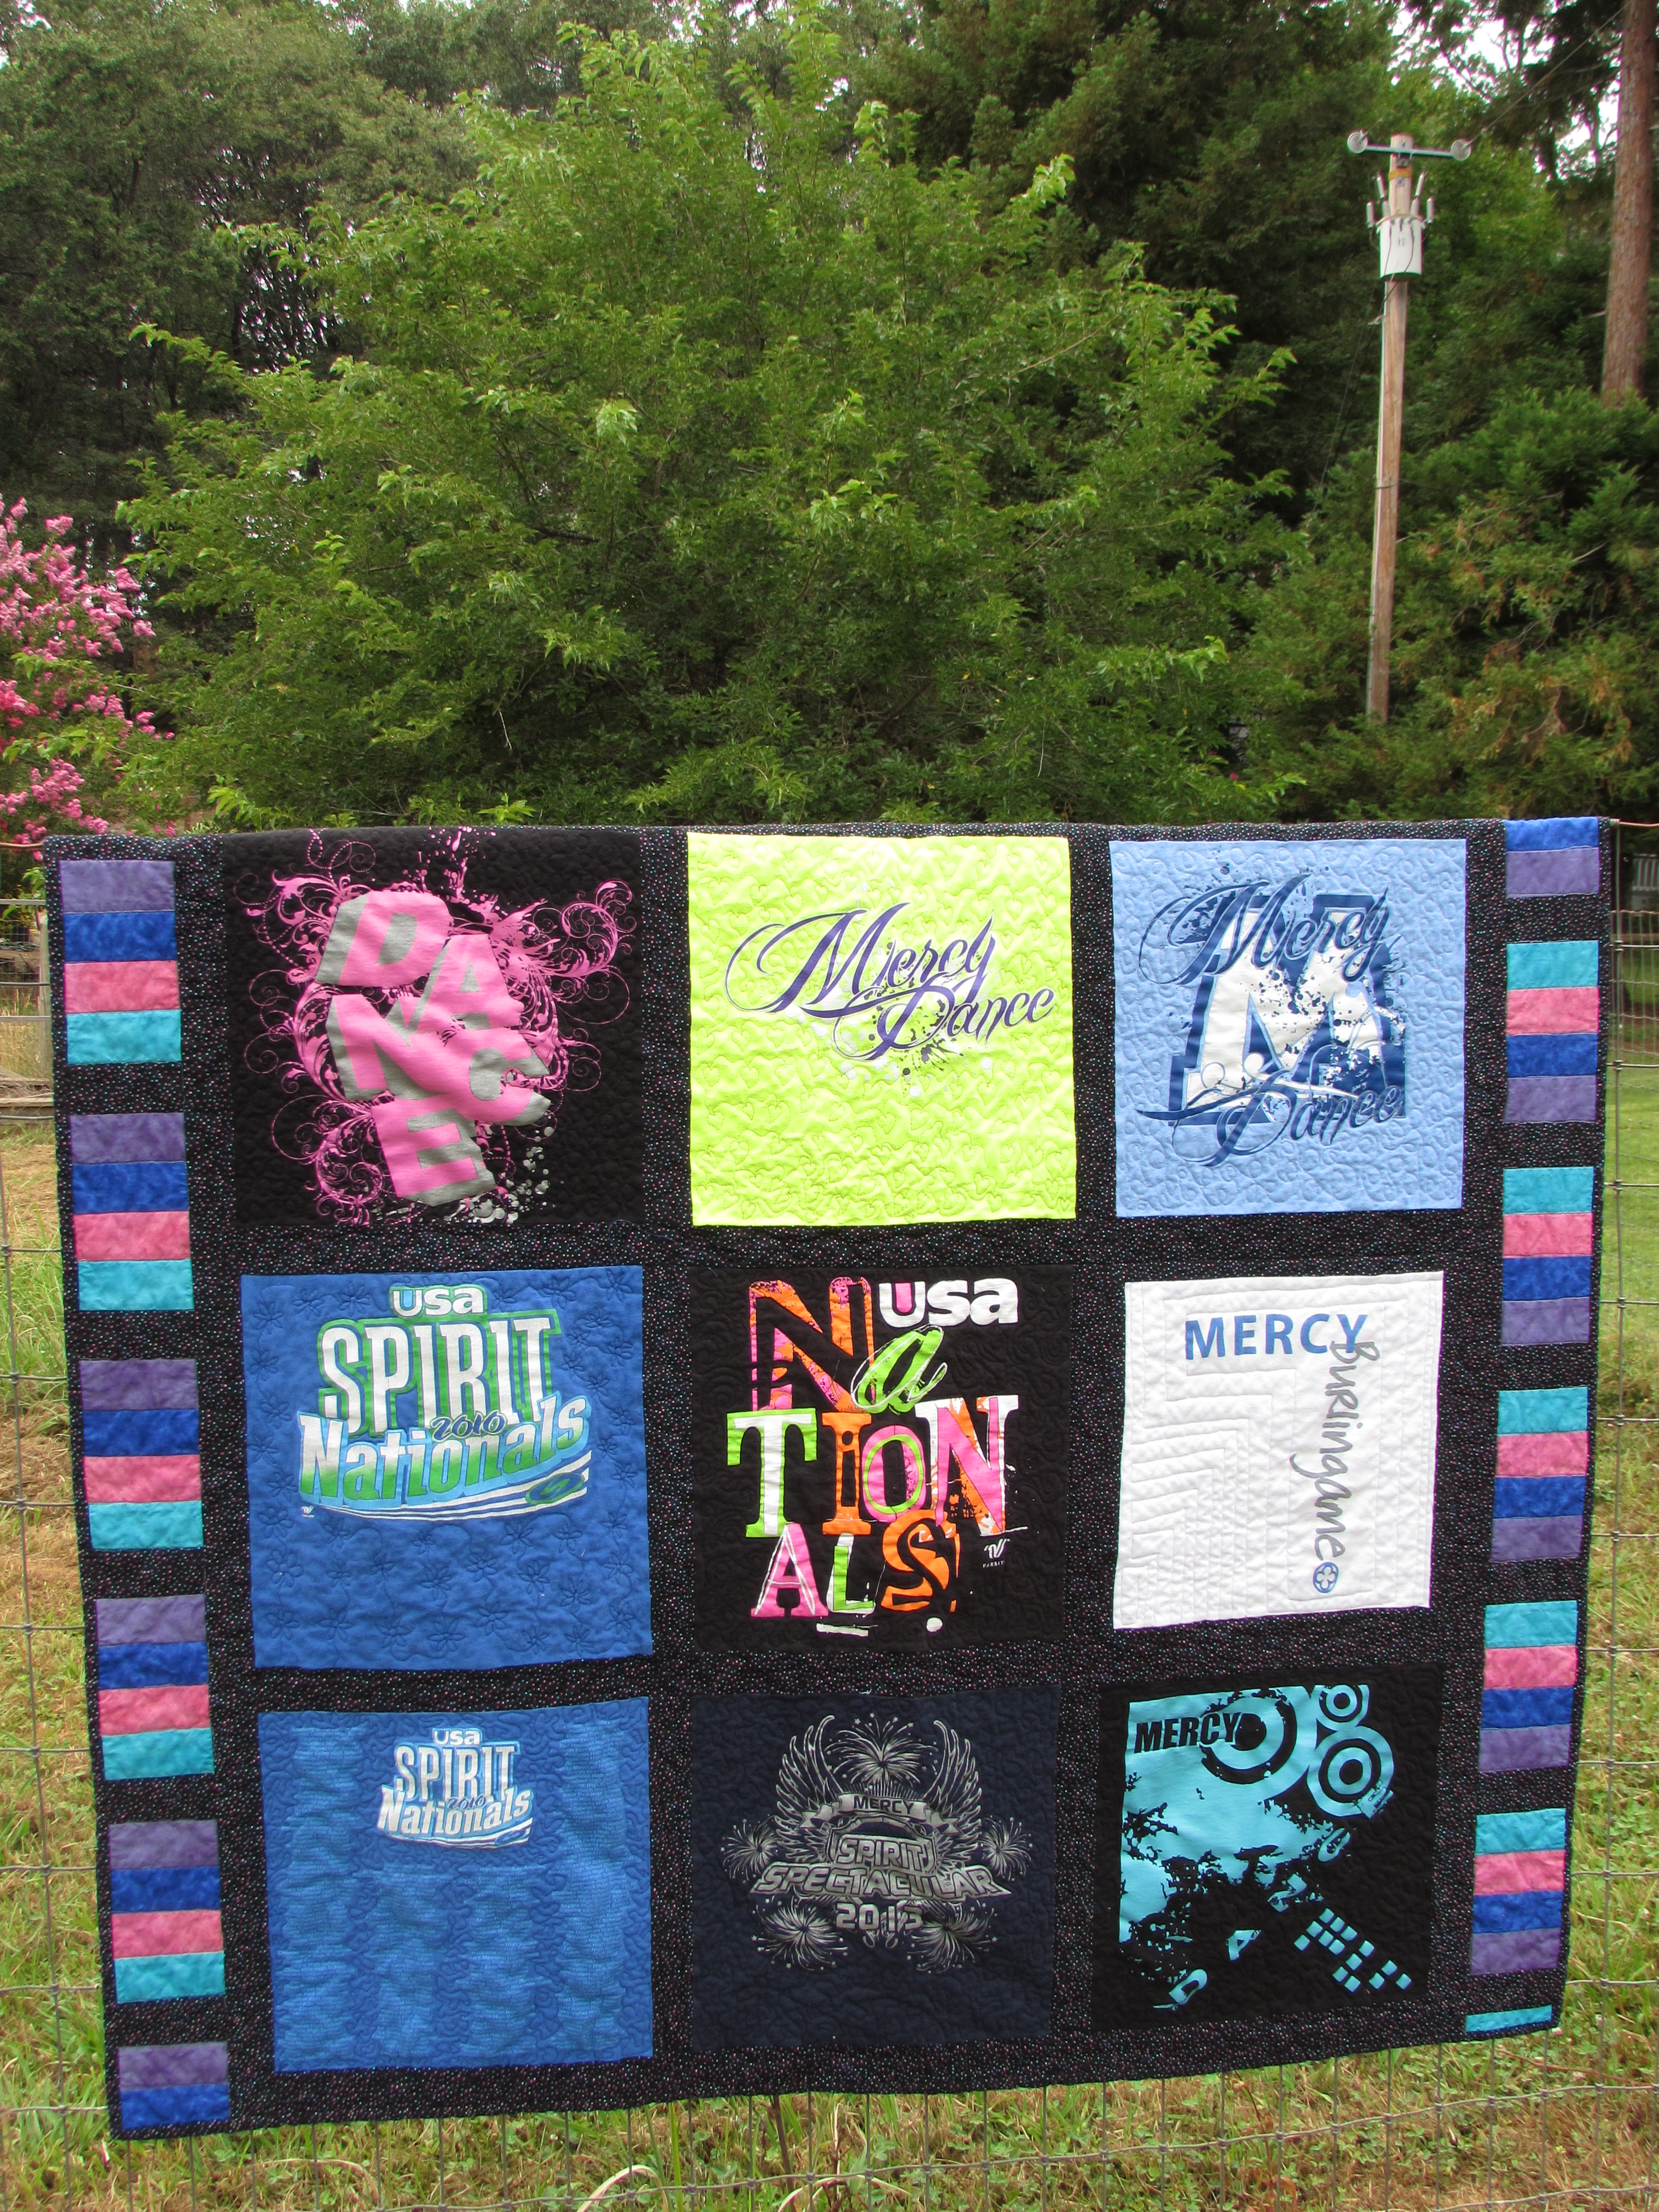
Now the quilt top measures about 56″ by 76″ which will be a bit better for this guy.

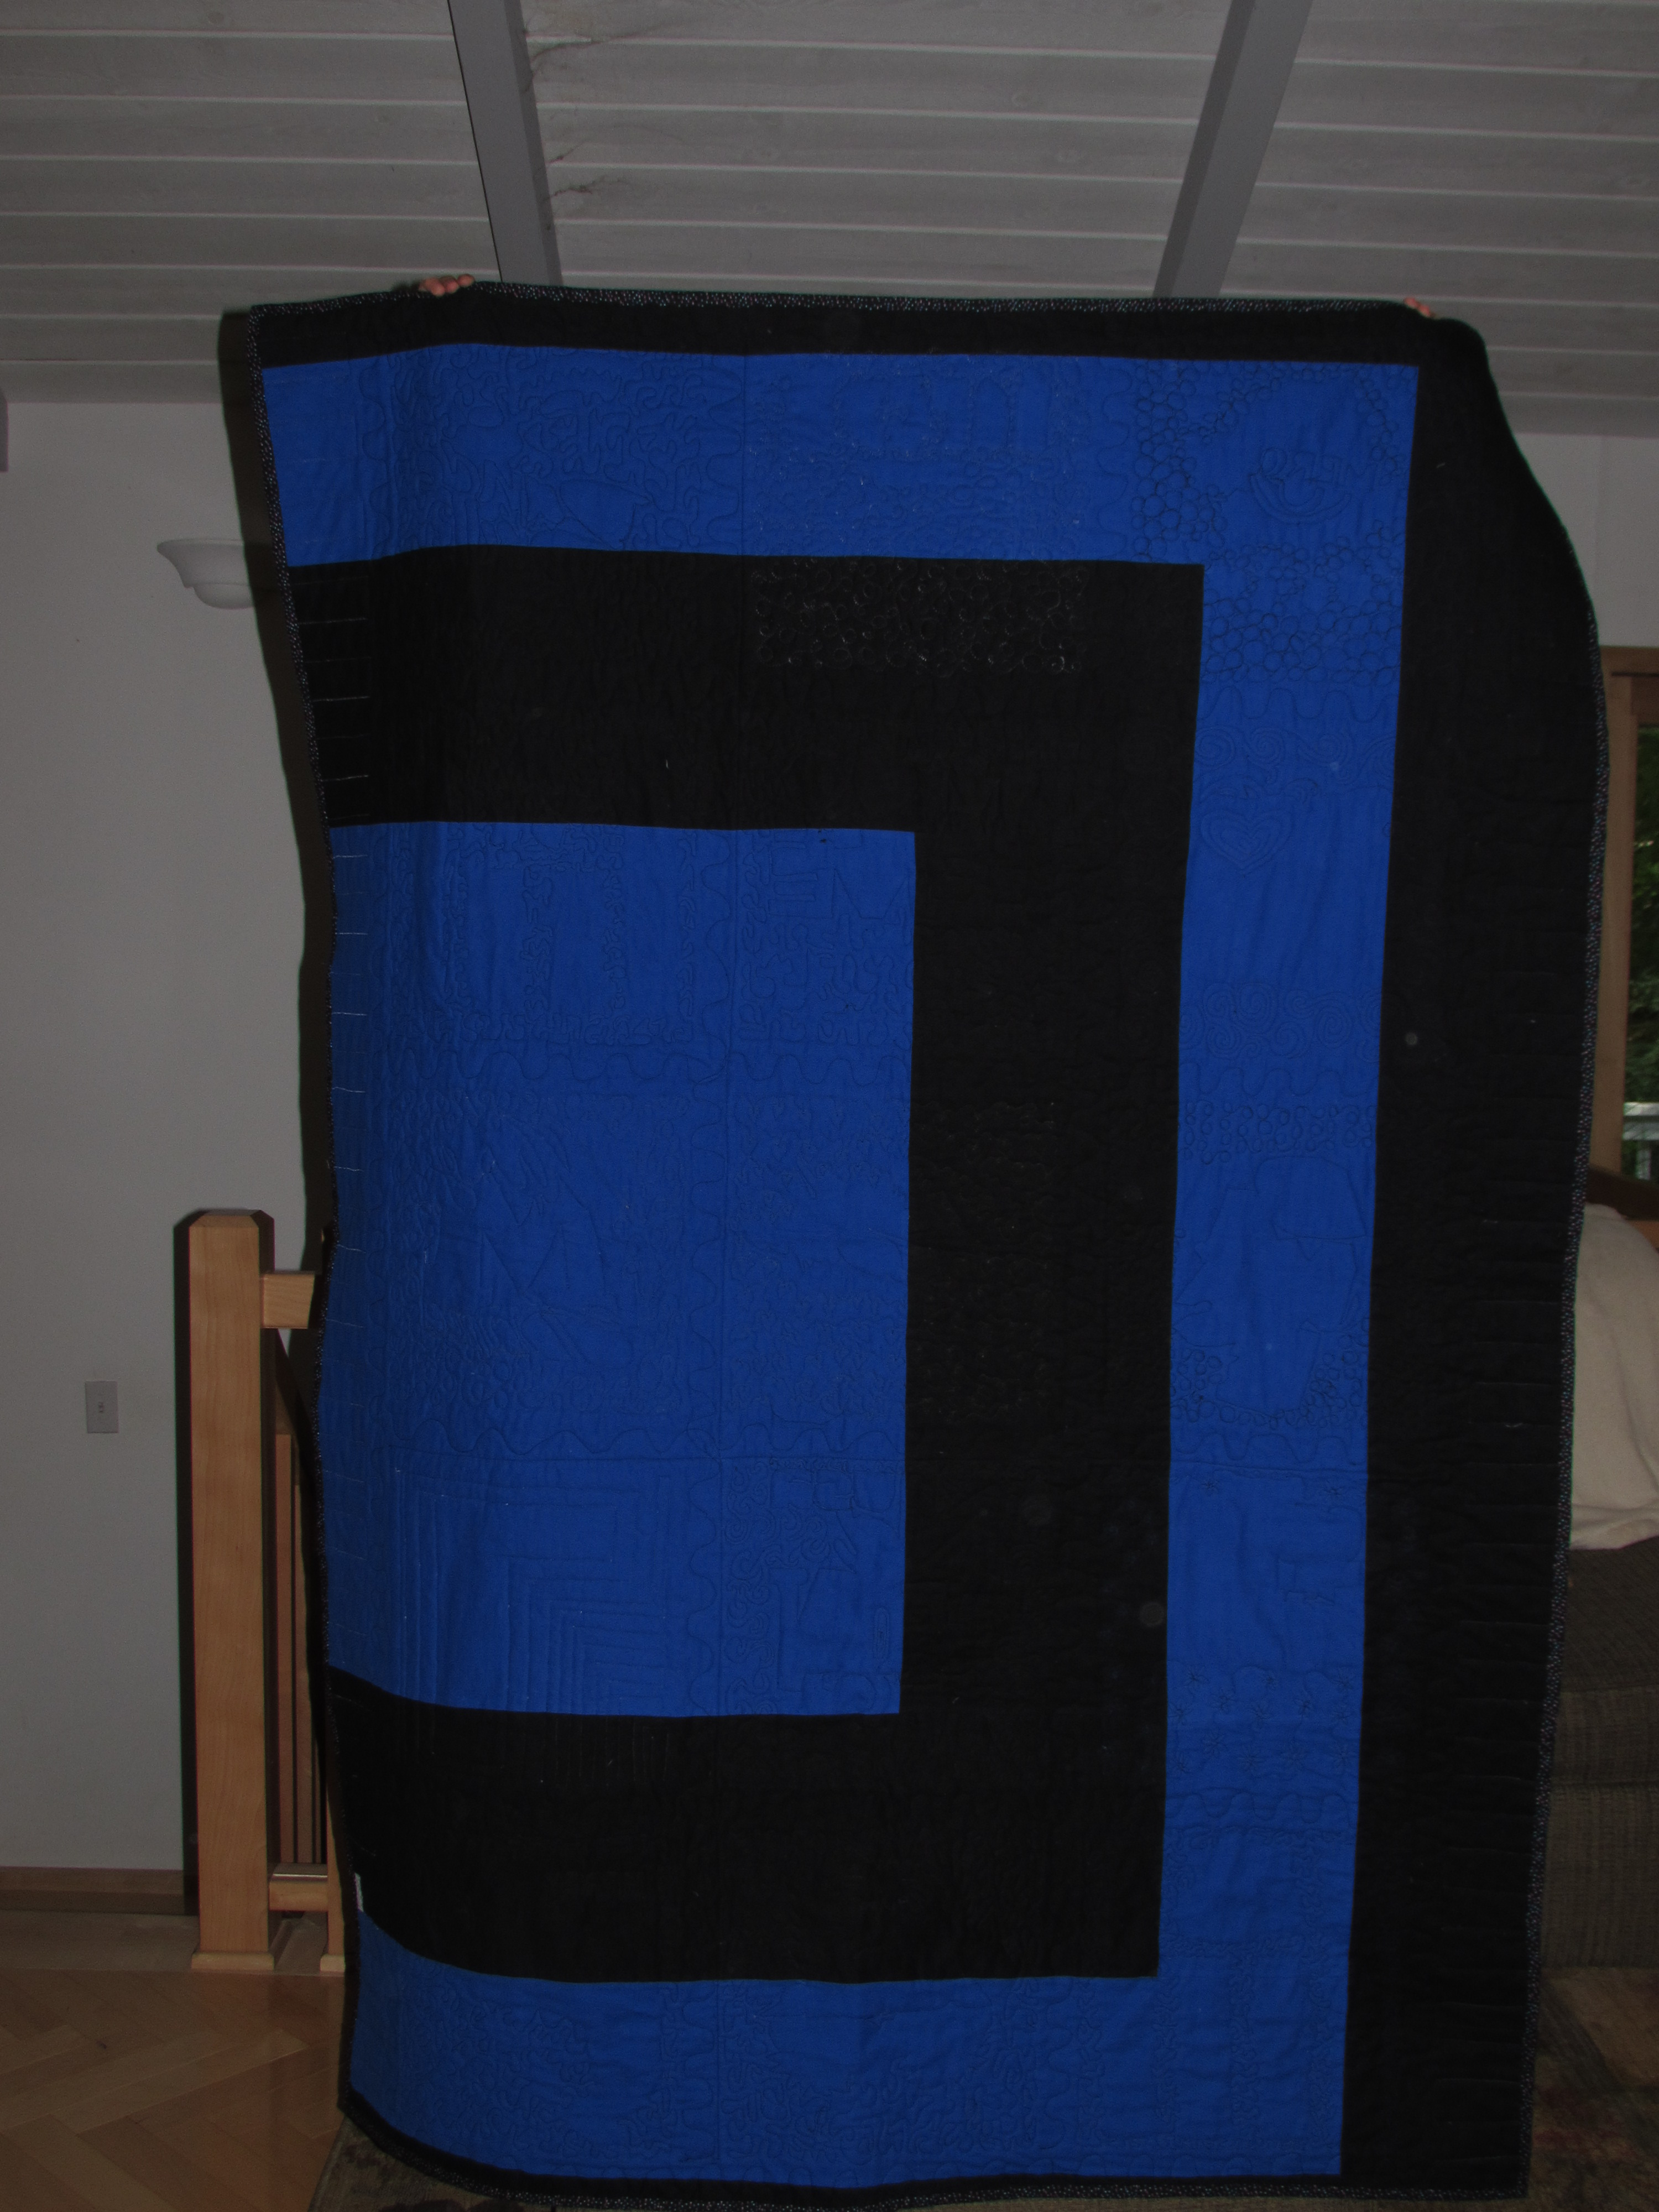
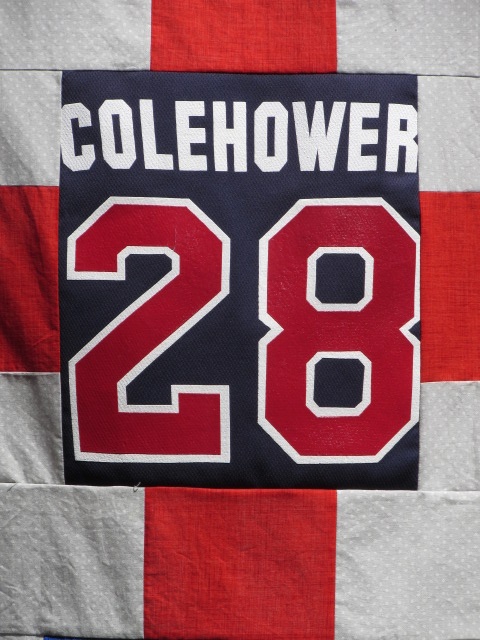
Besides adding to the quilt top, I also pieced the backing.  Wanting to use up a few more jersey logos, I made a strip with the last three.

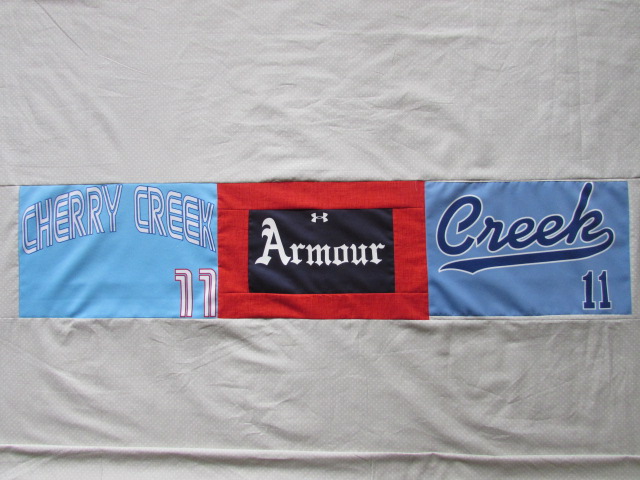
The strip was the inserted into a piece of the light gray polka-dotted wide back that I used for piecing the front. I am hoping to reserve some time on a long arm machine next week so I can quilt this.  It will present a few challenges. One is the difference between the jersey blocks and the cotton pieces. There is some wave to it. Also, this is the first time I will have a pieced back on the frame. I need to make sure it is loaded nice and straight so it doesn’t come out slanted when it is quilted together. I am sure Kendra, the assistant at the shop, will help me with this. Finally, I need to better understand the order of things when quilting a project on a long arm. Once loaded on the frame, I want to do a simple all over pattern on the body of the quilt and then quilt something different on the borders. Do I do the center first and then roll it back to the top and do the borders? That seems cumbersome but I am not sure how else to do this without tons of stops and starts on the borders? I would love to hear hear how you handle this. Actually, I could easily quilt the main part and then do the borders at home on my machine. Options, options. Leave a comment if you have input on this–there is always something to learn.

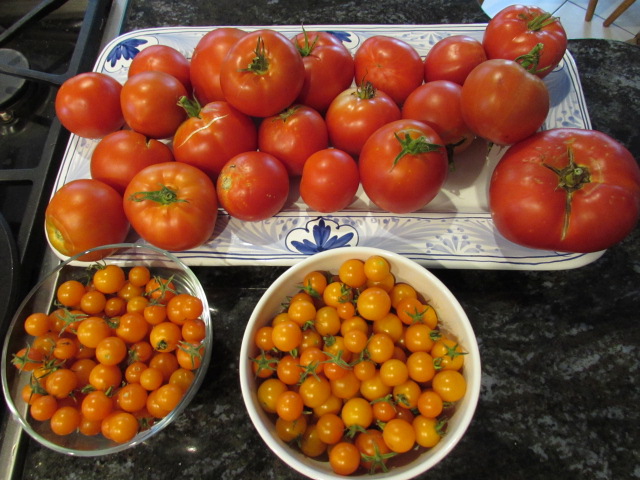
I also spent time in the kitchen using up the bounty of tomatoes we are picking in the garden right now. I posted on Instagram that I have been making tomato jam.  I thought I would publish a link to the recipe I use from the Use Real Butter website. (Don’t you love that blog name?)  I have been making this for several years now.   It is a great mix of sweet and tangy that is great on burgers as well as spread with Brie on slices of baguette.  The combination of tomatoes, sugar, tart green apple, onion, and vinegar is really yummy.

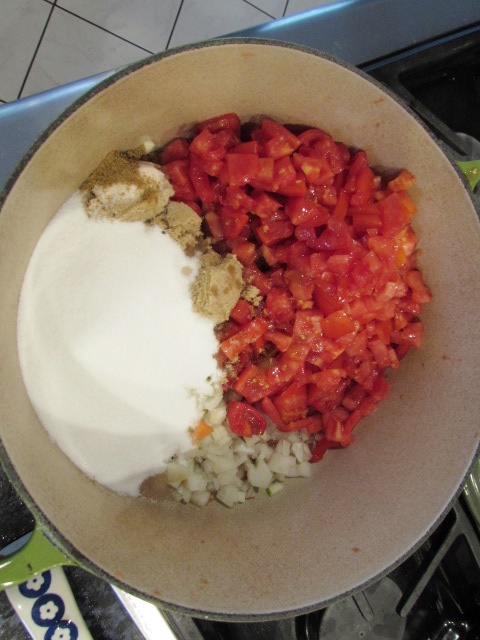
When I made this batch I reduced the sugar by 1/4 cup and didn’t notice any difference. It is always good to be conservative with sugar if possible. Once it is all mixed up, I just let it simmer without a lid on the pot for a couple of hours. The pot needs to be watched and stirred often or the bottom will scorch. (n one batch I got sucked into blog reading and burnt the bottom. It wasn’t a total loss because I could just skim the top off and keep that. Luckily it didn’t taste scorched. But the yield was certainly smaller.

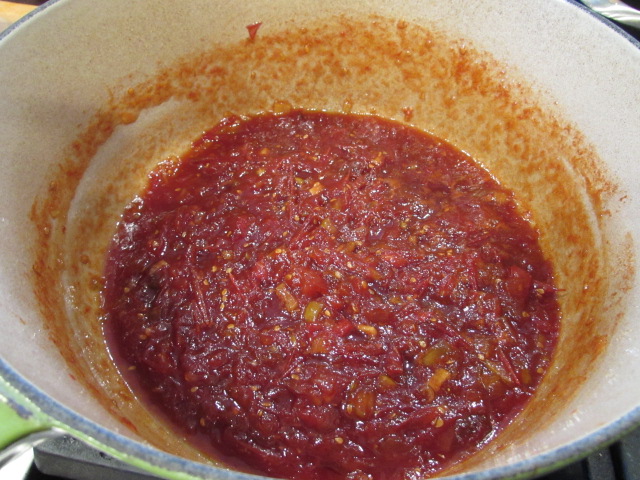
Once it cooks down, it can be canned in jars and processed in a water bath. Or, do as I did, and put it is small containers, label them, and freeze it. Much simpler!

Today is the last day to enter the giveaway for a 26 piece bundle of Island Batik.  Click here to enter.  Hope you all have something fun planned for the weekend.  My cousin is out here visiting (from Louisiana) and I am looking forward to spending time with her. Happy Friday!!

Sam’s Jersey Quilt

A while back, my sister asked if I would make a quilt with some of the jerseys her son, Sam, had worn over the years.  My sister’s family is quite the opposite of mine.  They are all about sports – football, skiing, running, baseball, lacrosse – they all play something!  The family also follows pro sports, both football and baseball.  My family? Um, not so much. In fact, one year when a dance Julia attended (in junior high) was sports themed and the kids were supposed to wear a shirt from their favorite team, we had nothing. No favorite team, no t shirts or pennants – nothing!  She ended up borrowing a t-shirt from her cousin to wear for the dance, making her a Giants baseball fan for those three hours.

Sam pitching for Varsity baseball at Cherry Creek High School in Colorado.

Sam just graduated high school and is off to college in Colorado where he will pitch for their baseball team.  He has played baseball for years and also played football in high school and with all of that, he has amassed quite the stack of jerseys.  It was fun to look through the jerseys he sent me, but wow, I was so hesitant to start his quilt. I have had the jerseys sitting in the sewing room since April. I would look and think about it but then fold them up and put them away. That slick jersey material and the rubbery numbers and logos made me nervous.

Love the intensity of Sam’s expression in this shot.

I asked around for suggestions and ideas and lots of people came to my rescue.  Namely, Sarah Craig, of Confessions of a Fabric Addict, who has made loads of memory quilts.  She and I emailed a few times and she gave me a few tips and also recommended a fusible interfacing by June Tailor that she likes.

My first step was to cut the front from the back of each shirt at the side seams.  I also saved any smaller logos from the sleeves.

Julia helped me with this and we sort of folded the shirt fronts and backs into similar size squares and laid them out on the floor. Once I got to that point, I just didn’t know what I wanted to do.  So, I did what any sane quilter would do and put it back in the bag and set it aside. 🙂

Finally, I did a little more research and found this book, Terrific T-Shirt Quilts, by Karen Burns.   It has been very helpful.  Somehow, I couldn’t picture what I wanted this quilt to look like. It definitely needed to be masculine and with red, blue and dark blue jersey and logos, there was no question it was a guy’s quilt. But it needed some sort of structure or organization.  When I saw this quilt, it gave me just what I wanted. This pattern calls for the shirts to be cut to 12″ x 14″ and stabilized with fusible interfacing.  The June Tailor interfacing recommended by Sarah worked really well. It is a woven fabric and adhered to the slick jersey fabric without any problem. Getting the logos to work within the 12″ x 14″ block was tricky.  Some of the logos were too wide, others were featured up at the top of the fabric (just below the seam line across the shoulders in the jersey). Because of this, the designs are not centered well within the blocks. This doesn’t bother me a whole lot though.

I love this block with his last name on it but I barely fit it within the 12″ width requirement.

After getting the jerseys prepped and cut, I started to work on the sashing and border pieces.  After checking in with Juanita (my sister and Sam’s mother) I decided on gray and red for the fabrics. As luck would have it, I had a great gray and white polka dot in my shop. It is actually a wide back fabric by Red Rooster (and it just happens to be available here!!) In addition to the gray and white polka dot, I chose a cherry red textured solid by PB Textiles. (Why yes, thank you for asking, I do happen to carry it in my shop.  Click here!)

Doesn’t it look great??  I am so happy with it and hopefully Sam will like it as well!  I added a fourth row of blocks so I could use more of the jerseys. Plus it needed the extra length – Sam is a tall guy.  With the fourth row, the length grew to 72″. I have some ideas about using the little logos from the sleeves, as well as some of the wider logos that wouldn’t fit in the quilt top design, to make a pieced backing. For now though, I need to set this project aside once again.

Before I can finish Sam’s quilt, I need to finish a different project I am working on.  I am reviewing a new book by Dorie Hruska, called Making Connections. It is a great tool for free motion quilting or long arm quilting with a continuous flow, thereby avoiding starts and stops.  Remember my post about my entries at the fair when the judge commented she could see too many starts and stops?  Well, this is helping me correct that!! There will be a fun blog hop which begins on Monday (but my post won’t come up until September 8th. ) I will be hosting a giveaway of one copy of the book so be sure to come back and check it out!

Have a great weekend everyone!  It is going to be insanely hot so I will be inside taking advantage of the A/C and sewing.  How about you?

Linking to my favorites – check them out at the top of the page, under Link Ups.

(This is an affiliate post, meaning if you click through and purchase Dorie’s book, I will receive a small commission.)


Small Finishes for This Week

This week sure buzzed by quickly. There was not a whole lot of time spent in the sewing room.  I have been spending quite a bit of time working on the shop; especially on the process of moving patterns from the first shop to the new shop. I think it is worth the time it takes.  I have had a number of sales from the new shop so I know people are finding it. I like managing the patterns separately from the fabrics. But it has taken a lot of time!

As far as sewing, I made two little projects for my sweet grand baby. My daughter in law asked me if I would make strap covers for their infant carrier. She even found the right pattern to use for the straps that fit her model carrier. I think this is a pretty smart move- the strap covers add some cushion if baby girl falls asleep with her face on those straps.  They also catch the drool that come along with baby. It is much easier to take the covers off and toss them in the wash then to wash the pack.
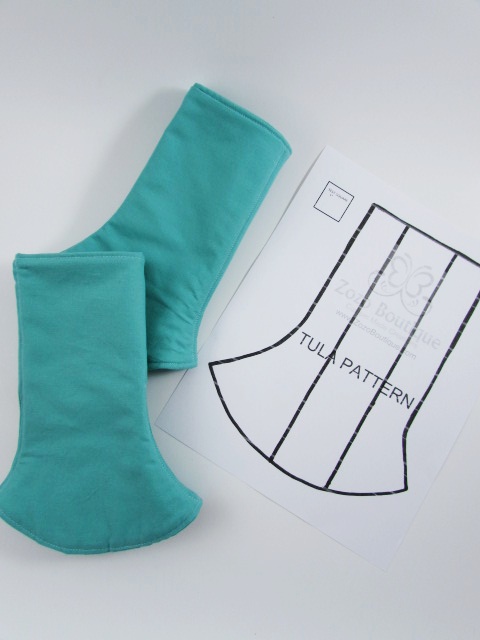
The pattern was a breeze to follow. I did have to make a quick trip to find some green fabric (it actually is green, but leaning to teal blue) for the covers. I had plenty of batting scraps for the filling and velcro for the closures.
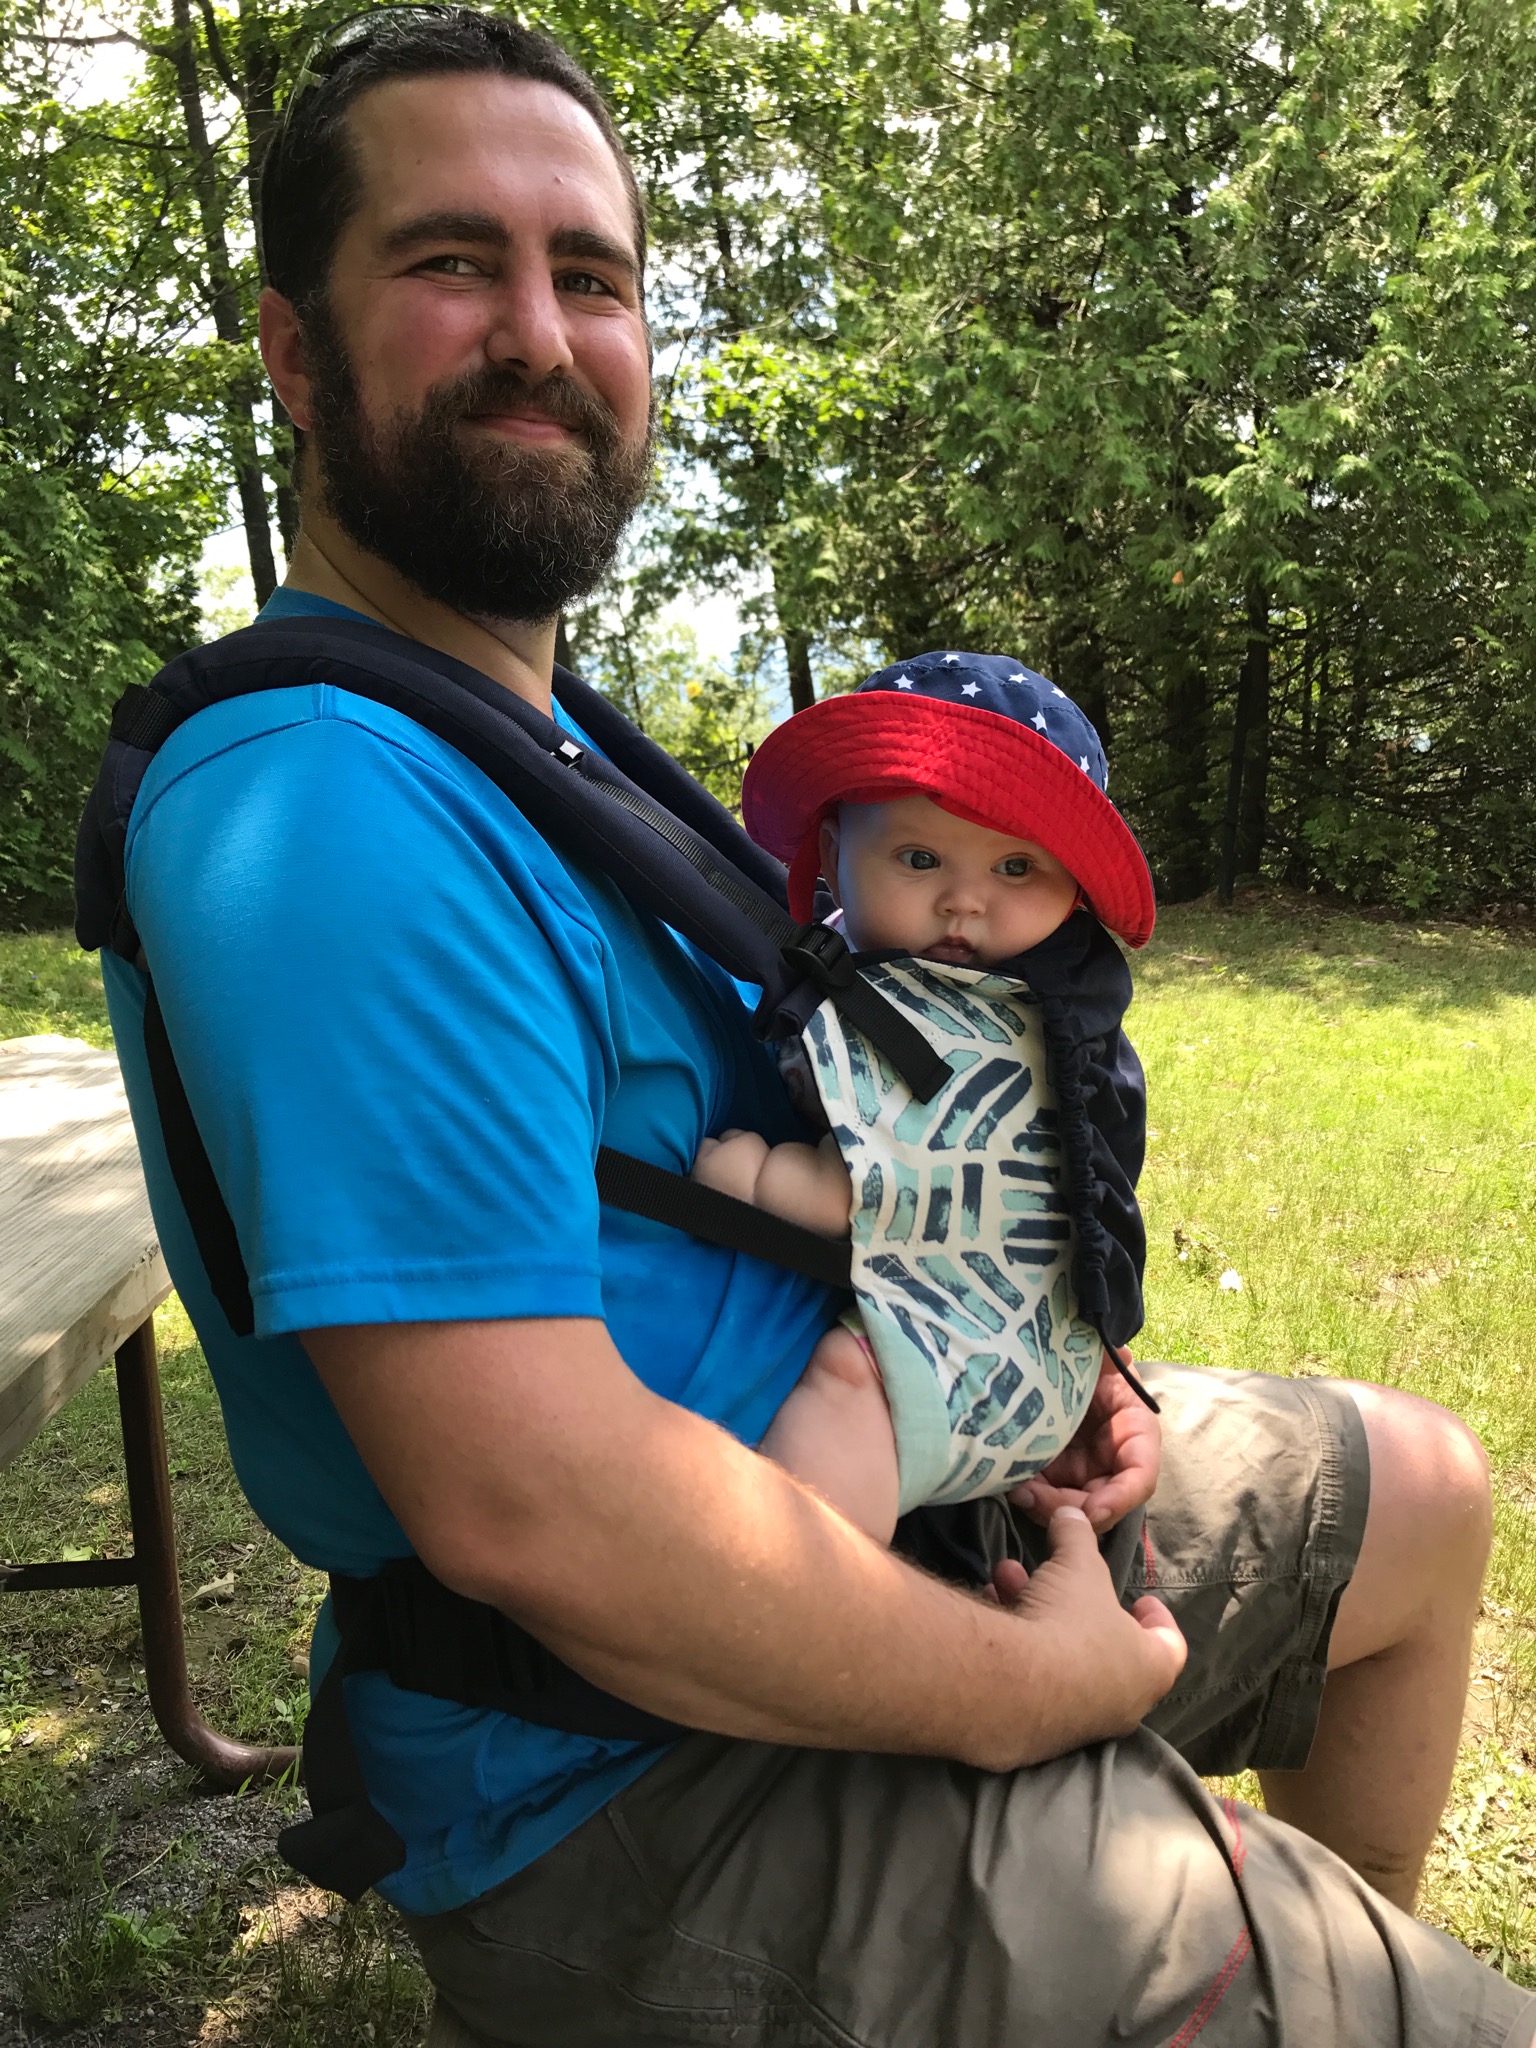
These are entirely reversible which would have been fun if I had used two different fabrics but I didn’t.  The pack is a print of green and blue and it didn’t need another fabric in the mix. Baby also needs a little hood that will attach to the pack but I haven’t tackled that yet. I did buy plenty of the fabric though. Hopefully I will get to that in another week or so.

After making the little strap covers, I was in the mood to make something else for her. A few months ago, I purchased a collection of the older Cotton and Steel prints during a #destash on Instagram. I had not used any of them yet but as I poked through the bag, I found two prints that were perfect for a little sun hat.

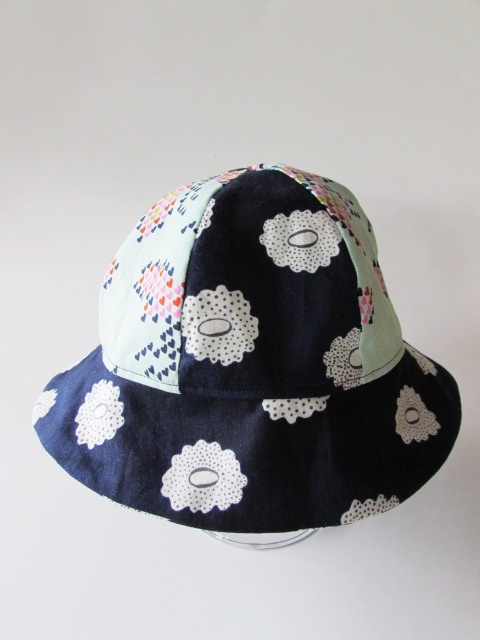
Isn’t that the cutest thing? I had an old pattern from who knows what, so I can’t recommend it because you probably couldn’t find it anyway. There are many patterns like this though and a simple google search should be fruitful. It came together easily and I am hopeful it will fit. Her mama sent me the measurement of her head so if anything, it might be a little big.  I love the back side with a little bow.  Adorable.

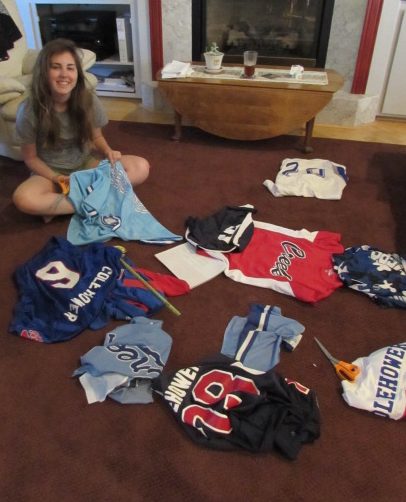
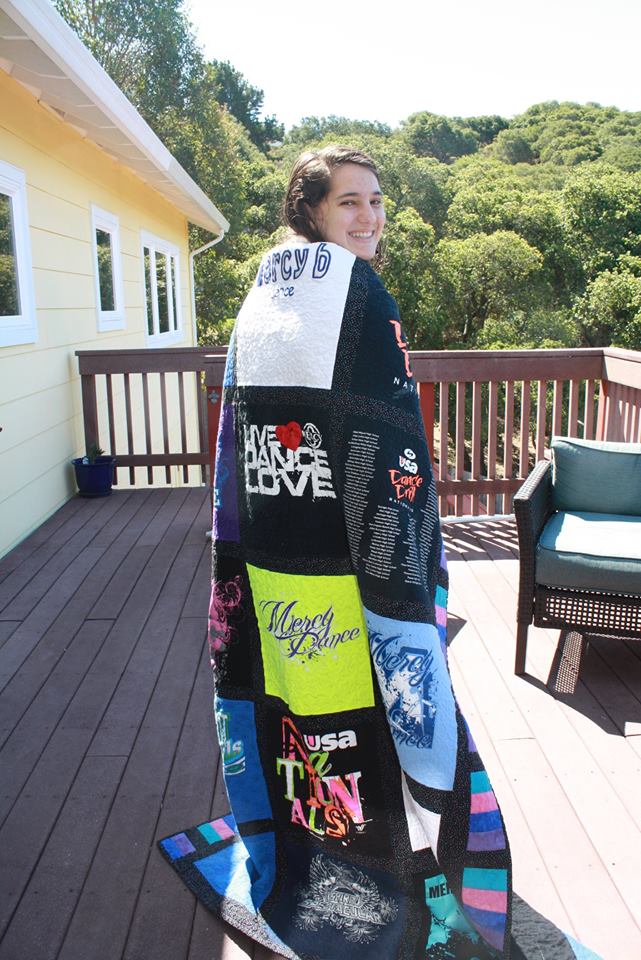
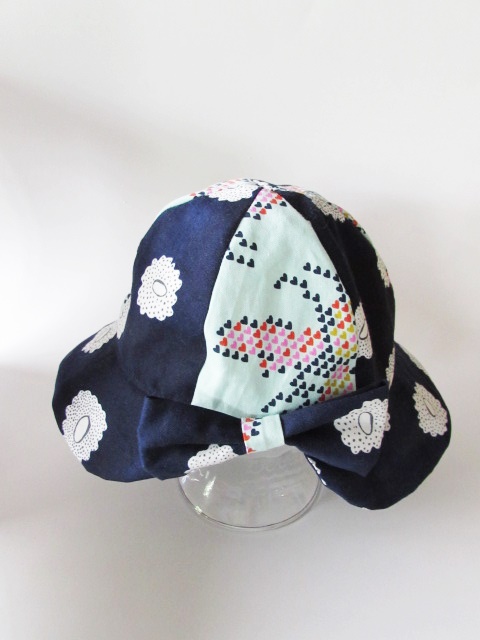
I look forward to seeing it on her little head.  Finally, I started the memory quilt I am making for my nephew Sam.  He picked out an assortment of his football and baseball jerseys. He even sent a small one that he must have worn as a little boy. As suggested by several readers in the comments of an earlier post, I emailed Sarah from Confessions of a Fabric Addict to get her input.  She suggested a particular brand of fusible interfacing she likes for backing these projects. I ordered that and it is already here, ready and waiting for me.

My ever helpful daughter and I cut the jerseys up.

I was really nervous to cut into these. Before we started cutting, Julia and I folded them into little blocks and laid them out to get an idea of how I would make this. Then we cut the fronts from the backs leaving everything intact and as large as possible.  I think I will make a lot of 14″ squares with the majority of the jerseys.  Then I will cut miscellaneous bits and pieces that aren’t going to measure up as big but should be included (mascots, American Flags, etc).  Those will be bordered in red and fit into the puzzle where I can. I think it shouldn’t be terribly difficult. The next step is to stabilize this slippery jersey fabric. Sam is off to college in the fall so maybe, just maybe, I will have it done in time?  Well, at least during autumn? Ok, ok, definitely before he graduates college?  We will have to see!

This week is once again my week to sponsor the giveaway for the Sewcial Bee Sampler. I had a lot of fun hosting the giveaway at the end of June too.  If you are participating in the sew along, hop over to Maureen Cracknell’s or Sharon Holland’s blog to find out how to enter and win! It could be your lucky week! There is also a discount code for the Sewcial Bee quilters. Go check it out!

Wishing you all a wonderful weekend!  I am linking up to a few favorites. Find them at the top of the page under Link Ups.

Have you signed up for the Needle and Foot News yet? Published monthly, this newsletter provides an update on the latest fabrics to arrive at the shop, as well as any promotions or events happening at Needle & Foot. Click here or use the sign up form at the right side of the page, toward the top!


Lil’s Quilt

This is the tale of my niece and her tshirt quilt.

Long ago and far away (like last April and about 175 miles away….)  a very sweet girl contacted her adoring aunt and asked for a favor.  She had recently graduated from high school and was getting ready to go to the Culinary Institute in Napa Valley, California. While in high school this lovely girl, let’s call her Lil, had been on the Dance Team all four years.  She loves dance and competed while on the team.  She is the first cutie on the left.

lil dance pic 3

Dance is Lil’s thing and she hated to see it end – it puts her in her happy place.  (Though it looks torturous to me. Ouch.)

lil dance pic 4

Apparently being on dance team for four years means you will amass a collection of dance tshirts.  Lil became very attached to these tshirts as they held such fond memories for her. She didn’t really want to wear them anymore but didn’t want them to just sit in a drawer.  She texted me one day…. “Aunt Bernie, I saw something on Pinterest, it’s a tshirt quilt. (It all starts with Pinterest, right?)  I wondered if you would make one for me.”  (She had asked her mom but, let’s be honest, her mom would only be able to do this if she could figure out how to make it with duct tape and a stapler.  She may be the best mom ever, but not a sewist, that mom.) I had never made a quilt with knit fabric before so I saw it as a potential learning experience for me and a way to win points as super-aunt at the same time. Sure, I told her, love to.  I immediately received text after text telling me how wonderful I was for doing this.  Immediate gratification for me, that’s for sure.

Within a few weeks I received these (sorry, lousy quality on this photo). It was a bit daunting to look at these and try to figure out where to start.  Luckily, there is an excellent tutorial (yay Pinterest) from Cindi at Seamstobeyouandme.com.  It is really detailed and the process is pretty much foolproof.

lils tshirts

After washing the shirts and lightly pressing them, I used the method described in the tutorial and cut them into equal squares.  Two of the shirts were tiny and I couldn’t get a big enough square (without using the sleeve, which would have left a big seam across the square) so I did have to piece them a tiny bit.  It wasn’t difficult though.  The squares then had to be reinforced with fusible interfacing or the knit would stretch too much while sewing, and then quilting this project. Really, the pressing, squaring, cutting and fusing took the most time.

lils tshirts cut

She had given me thirteen shirts and two of them had a back side that I thought she would want to preserve.  So I did 15 squares and made 5 rows of three squares each. I found a black fabric with tiny polka dots in pink, green, blue and purple and thought that would be a good match for the tshirts she had given me.  I created a sashing around the blocks to set each one apart from the other.

20140721_1411

I had quite a bit of scrap that I used for a pieced border.  I needed to add some width since the layout was 3 x 5 squares.

20140721_1403

When quilting this I decided to do it as a sampler.  I FMQ’d each square with a different pattern so that I would get in a lot of practice. (In retrospect, if doing this over again, I would quilt this with less density.  I think I quilted it a bit too tightly and it gave it a stiffness that I was not all too happy with.) Because some of the logos were so big, I felt like I needed to really quilt it up around the logo.  Looking back, I could do a lot less and get a good result.  I also quilted a wavy line through the sashing.

20140713_1390

Lil asked for a flannel backing (“to make it snuggly”) in either black or blue.  So I came up with this:

20140713_1387

For me the absolute best part of making this quilt was GIVING this quilt to Lil.  She was so grateful and left a voicemail on my phone that will never be deleted.  Soooo sweet.  Isn’t she?

lil quilt pic

By the way, dance team may be over but the dancing continues.  Now, aerial style.  Yikes!!!

lil dance pic 2

Love this girl!

Linking to the following: Linky Tuesday, Sew Cute Tuesday, Fabric Tuesday,WIP Wednesday, Let’s Bee Social, Needle and Thread Thursday, TGIFF, and finally, Finish It Up Friday. All of these links can be found at the tab at the top of my page, under Link Ups.  Check them out and see all of the amazing projects people are working on!