Over the past year my friend Sophia and I have been trying to work on some older projects. We have done a decent job of it and gotten a few things finished up. I have another one to share with you today! This one came about because I had to take my Bernina to the shop. Fortunately I have a back up machine for these times. It is an older Kenmore and works well. However, I don’t have a 1/4″ foot for it. I wanted to work on something where precision wasn’t key.
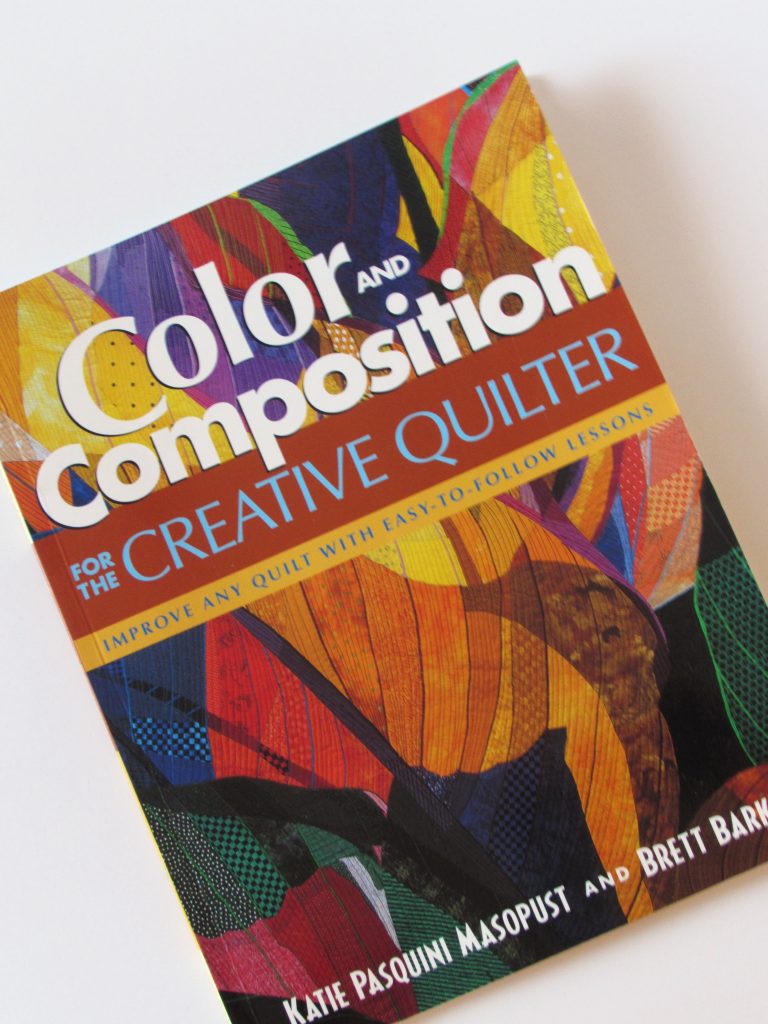
My unfinished Ring Me quilt was the ticket. This pattern has no points to match making the piecing very simple. This project was started back in early 2017. I took part in a blog hop to announce the release of No Scrap Left Behind, written by Amanda Jean Nyberg (aka Crazy Mom Quilts). I love this book! Amanda has written two quilt books, Sunday Morning Quilts and No Scrap Left Behind. I have both of them in my library. She had an incredibly popular quilt blog but chose to stop blogging at the end of 2018 after a ten year run. Fortunately, she left the blog up so we can all still access her amazing ideas, tutorials and quilt patterns. She is definitely the queen of scrap quilting!
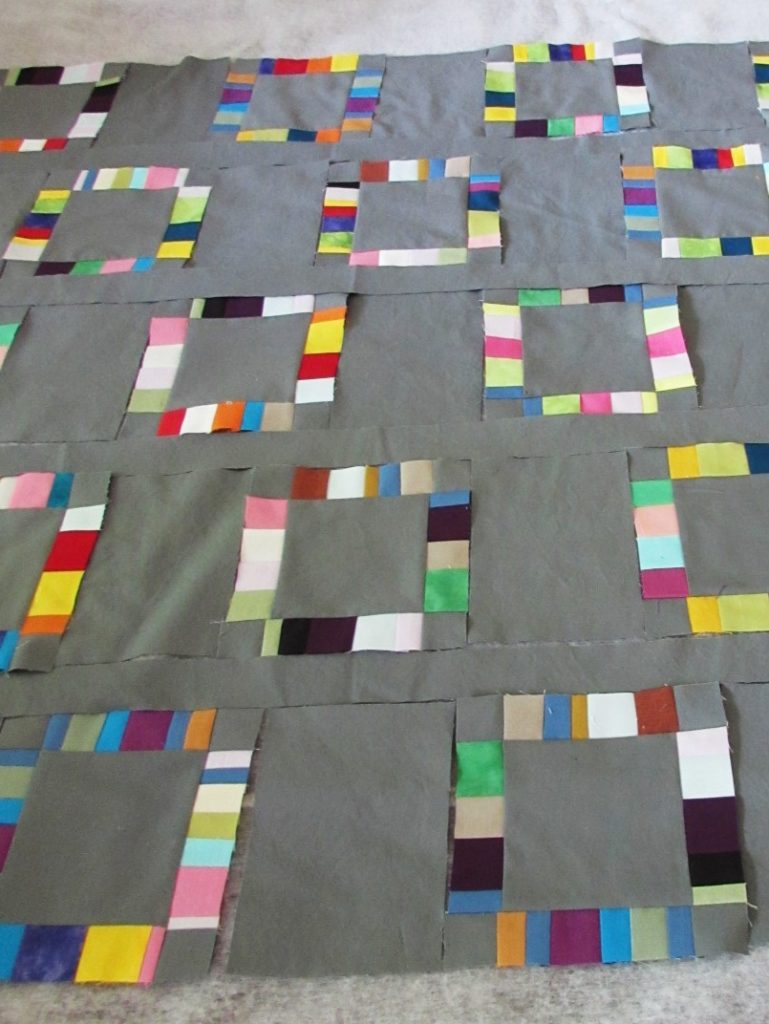
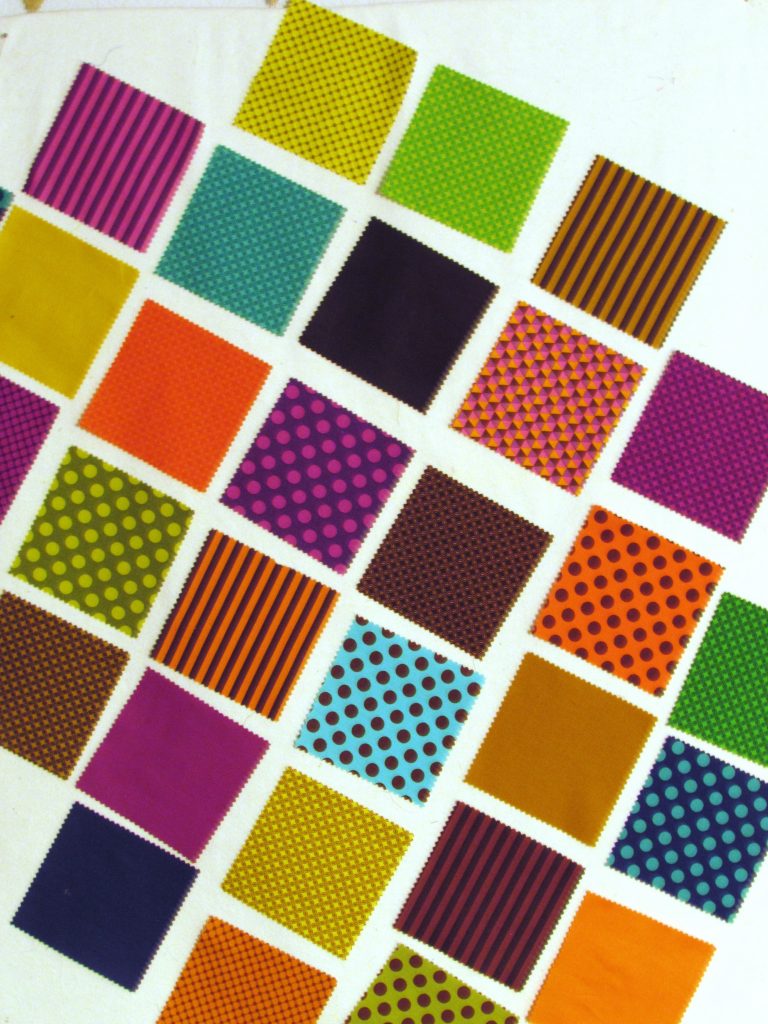
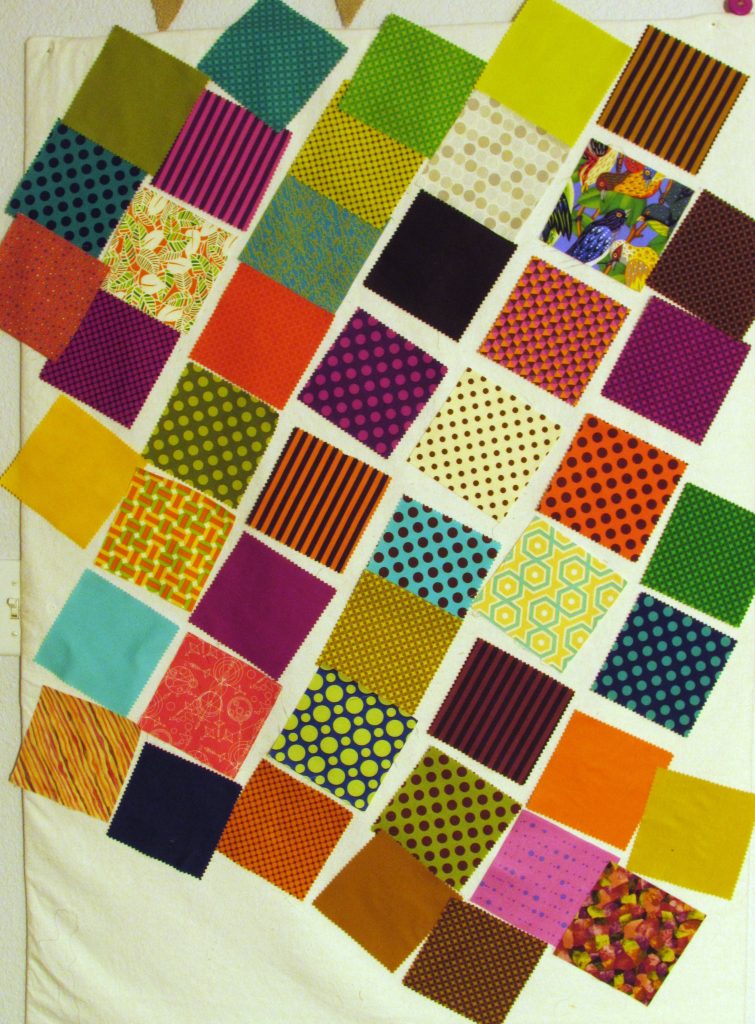
Back to the quilt now. When I was due to publish the project for the blog hop, I was really in the early stages of making the quilt top. I posted progress pictures (see above) and that was as far as it got.
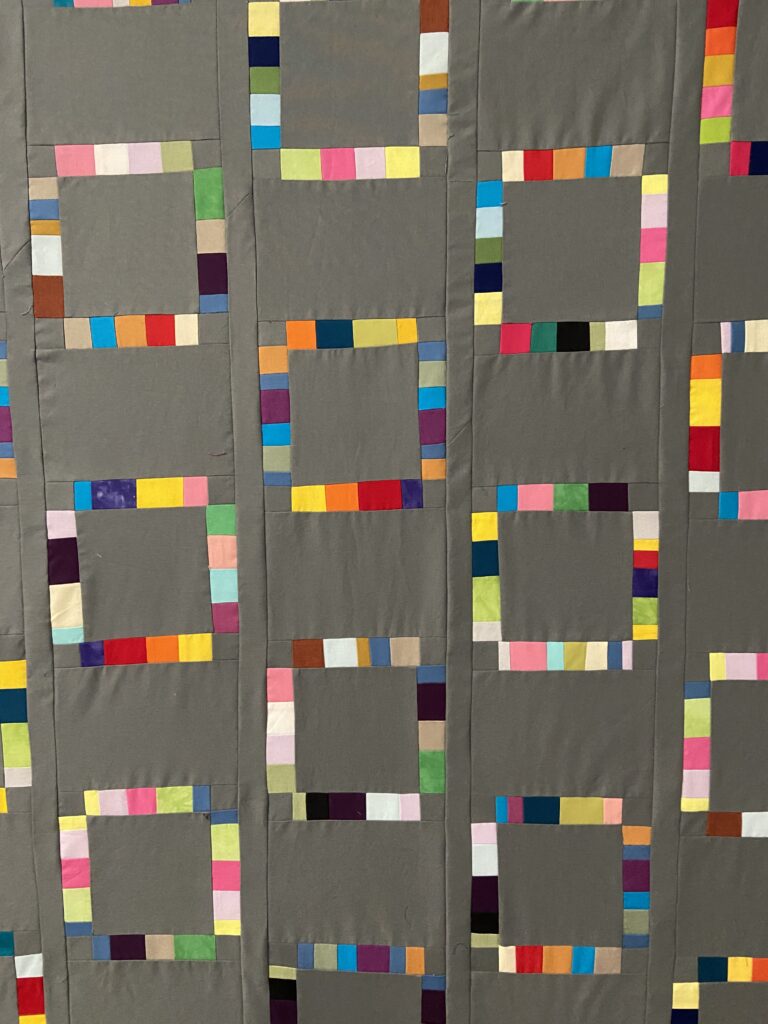
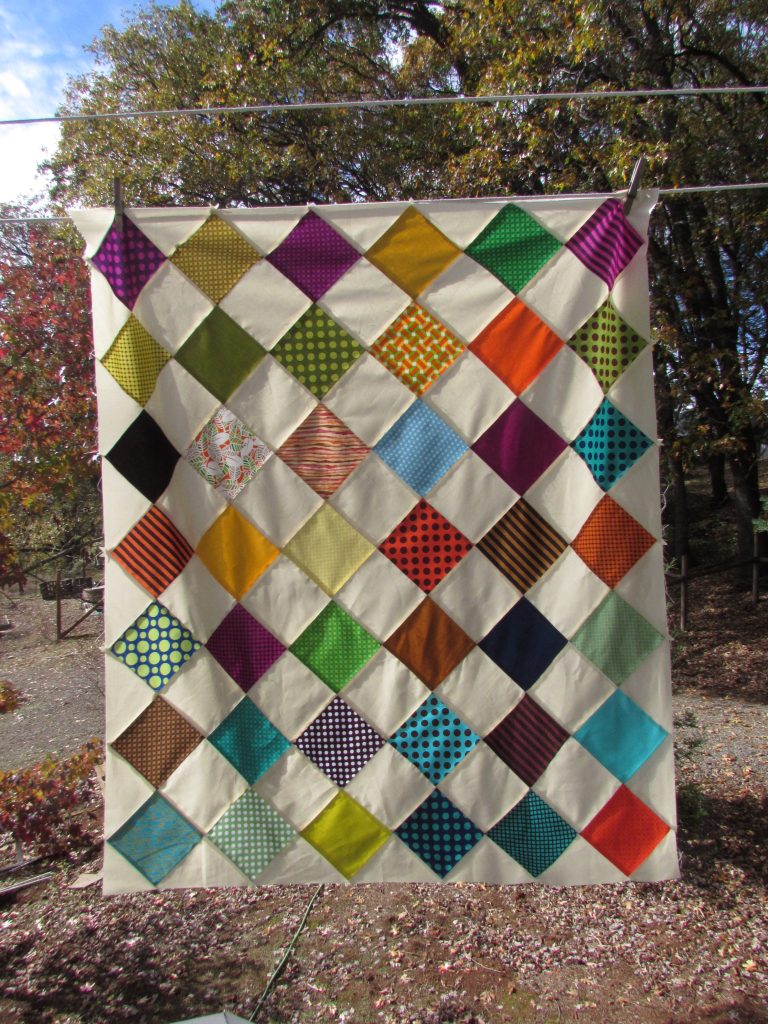
In a relatively short time, I was able to complete the quilt top. With a charcoal gray background, the solid ‘rings’ add vibrant color. To make the rings, I gathered solid fabric strips and trimmed them to about 1 1/2″ or 2″ wide. After making strips sets I cut strips that were 1 1/2″ wide. These were combined with 1 1/2″ corner stones of the gray and stitched to squares.
I encourage you to find a copy of the book if you don’t already have it. The book has many patterns made with scraps with the projects categorized by shape of scrap (eg squares, triangles, strips). Before I knew it, I had my top completed and sewing without the 1/4″ foot was a non-issue.
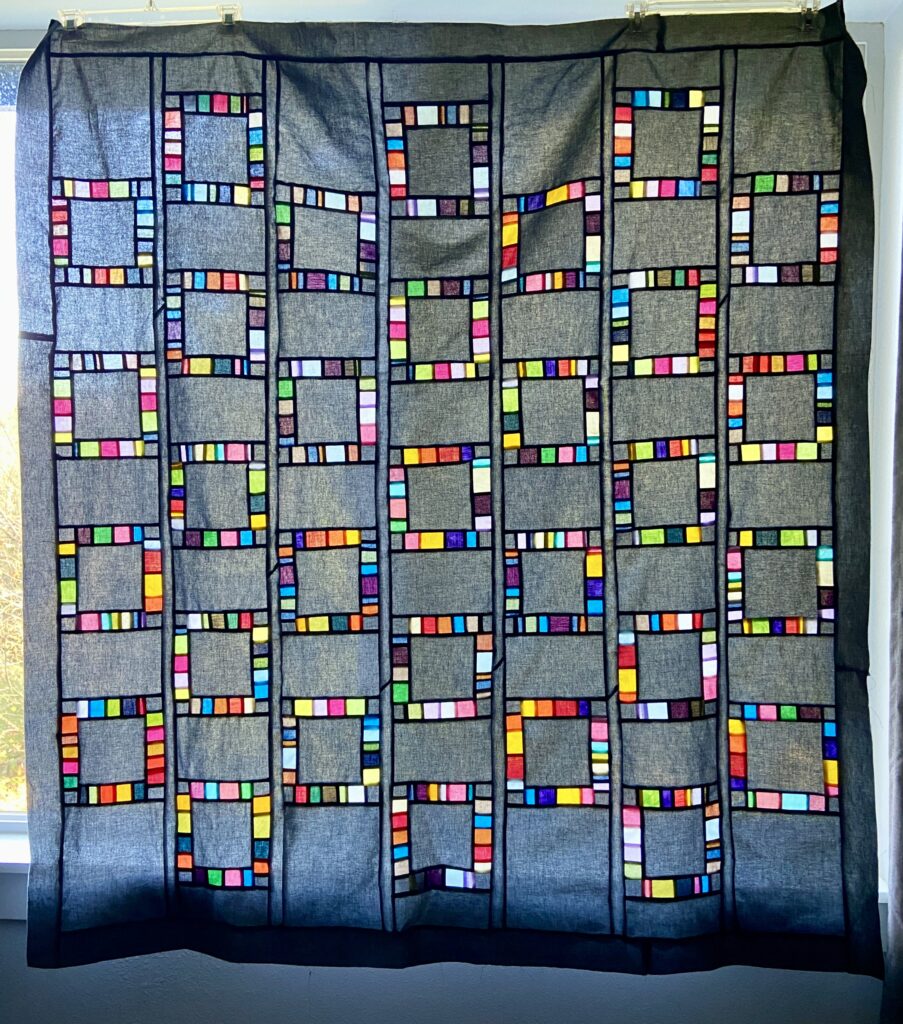
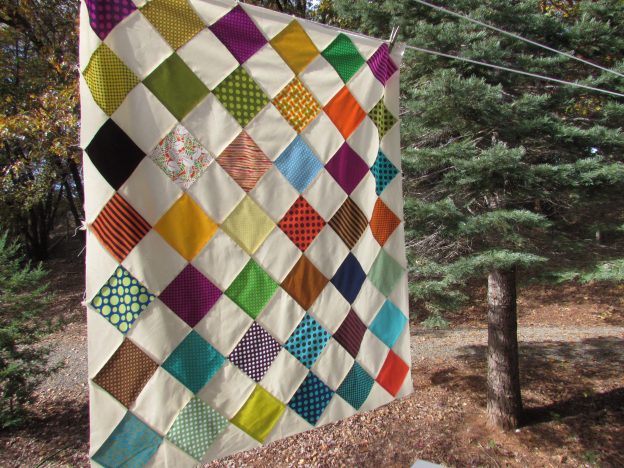
Yesterday the sun was shining through a window in my bedroom and I knew it would light up the quilt top. Isn’t this stunning? I love the way it looks with the light pouring through.
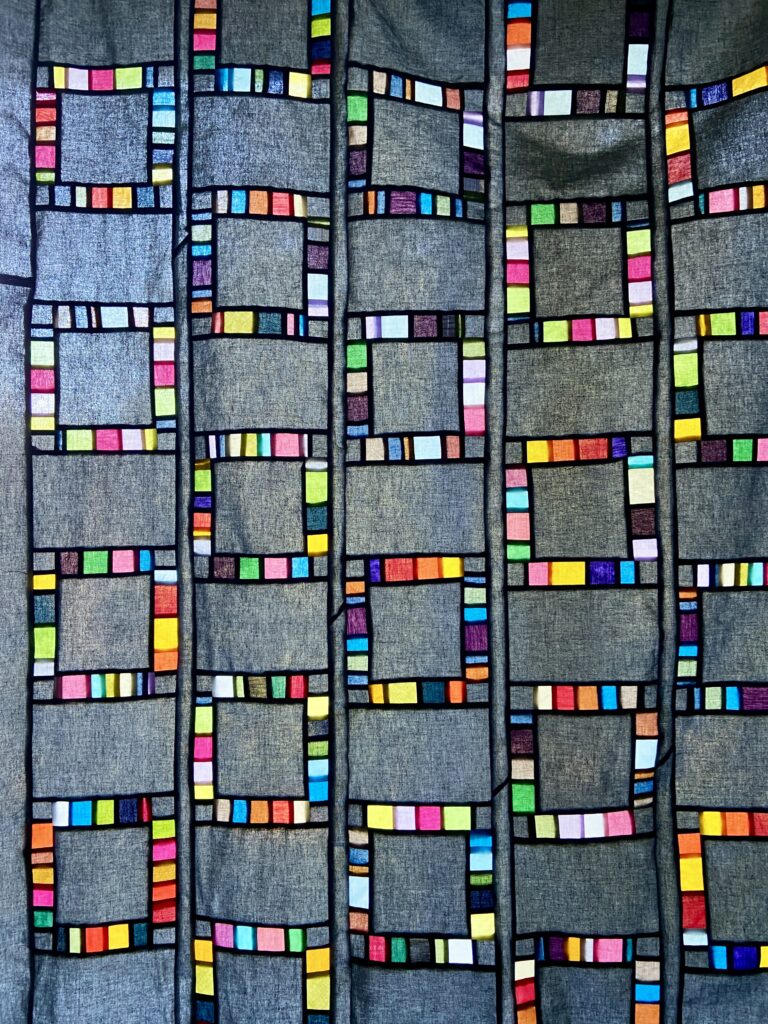
Stained glass, right?? The seams on the back side of the flimsy look like black framing around the color and the sashing strips. Such a cool effect. This is as far as I took the project though. I wanted my Bernina back for quilting it.
Today I was able to go pick up my machine. I have one quilt in process where the quilting is nearly finished (I was working on it when the Bernina decided to get stuck). Once that quilt is done, I will baste this one and get going on it. Can’t wait!
This week has been a bit of a drudge as I have had a cold. While I can’t prove it, I am guessing I caught it when I was babysitting the girls last week. Who knows? Historically, my sweet grand daughters have been very generous in sharing any germs they might be harboring. We went home on Thursday, Friday the 3 year old started running a fever and on Sunday I started to feel sick. Oh well. They are worth it. We had so much fun with them. My son and his wife took a well deserved trip to Hawaii. Ray and I had the pleasure of spending loads of time with the grands. Here are some pictures of the fun we had:
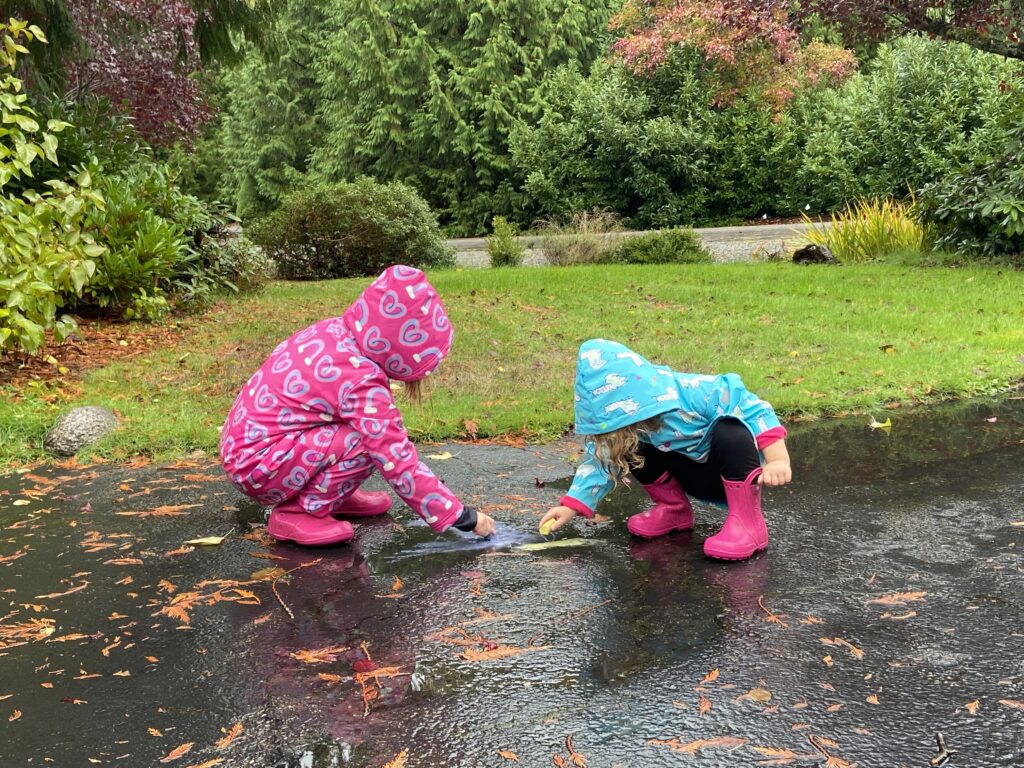
Playing in puddles.
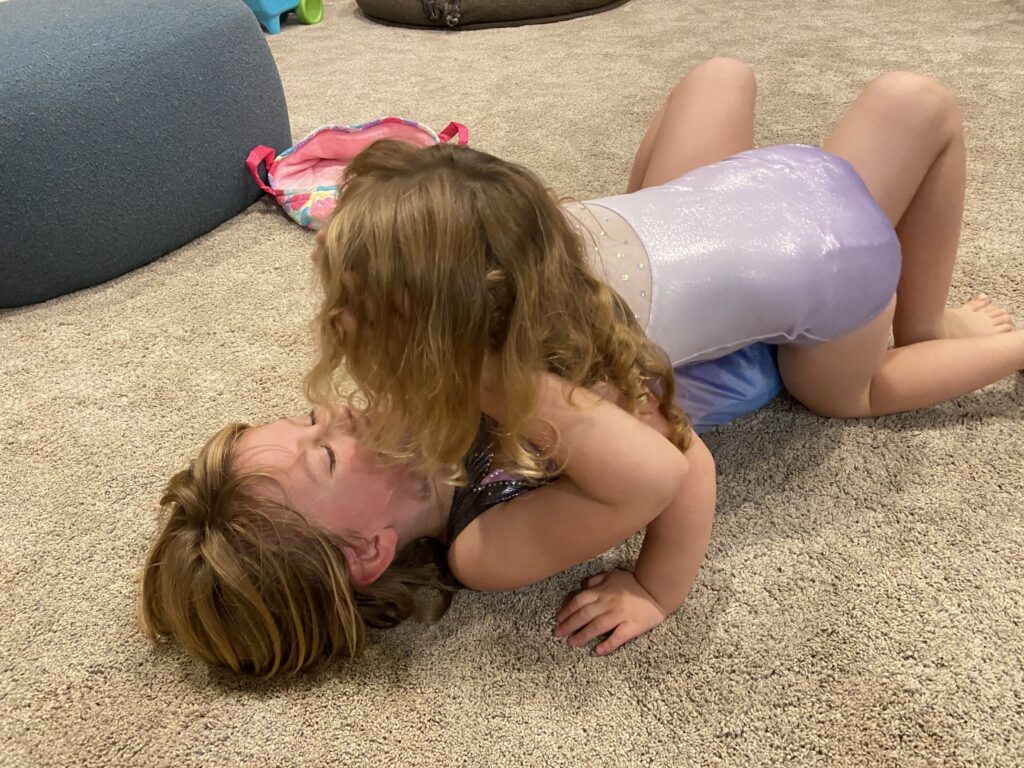
So much dancing, wrestling and gymnastics happens with these two. They love to perform for an audience.
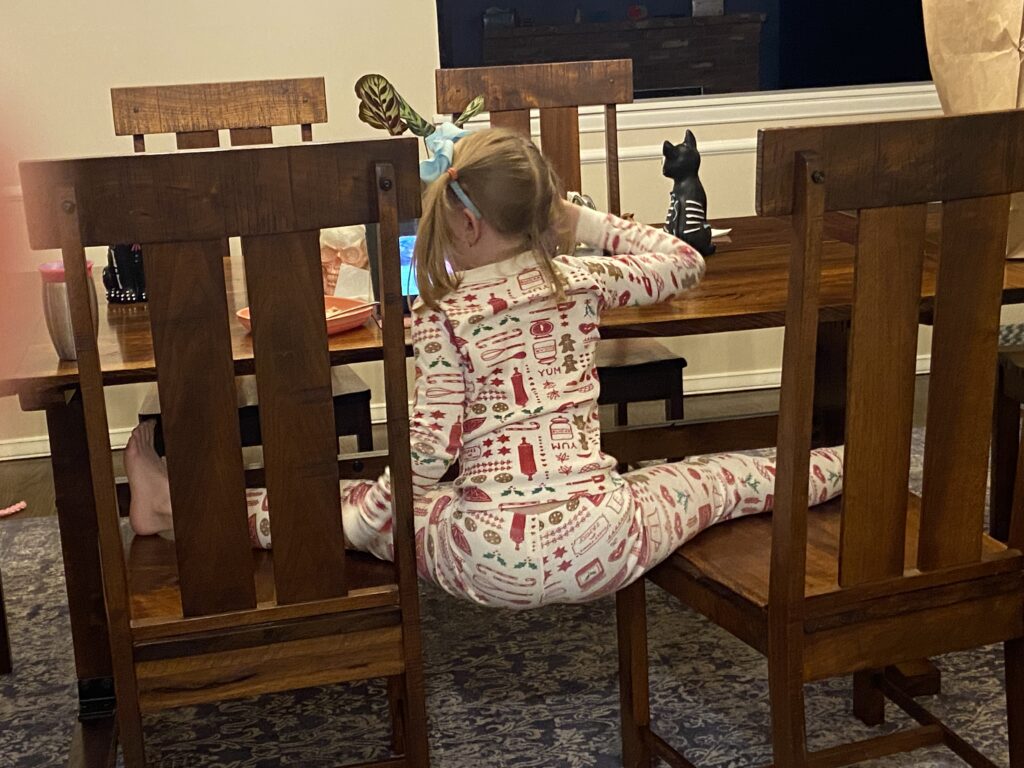
This silly girl was having some dessert and watching a show on the iPad. I had to laugh when I walked by and saw her sitting like this. Ouch.
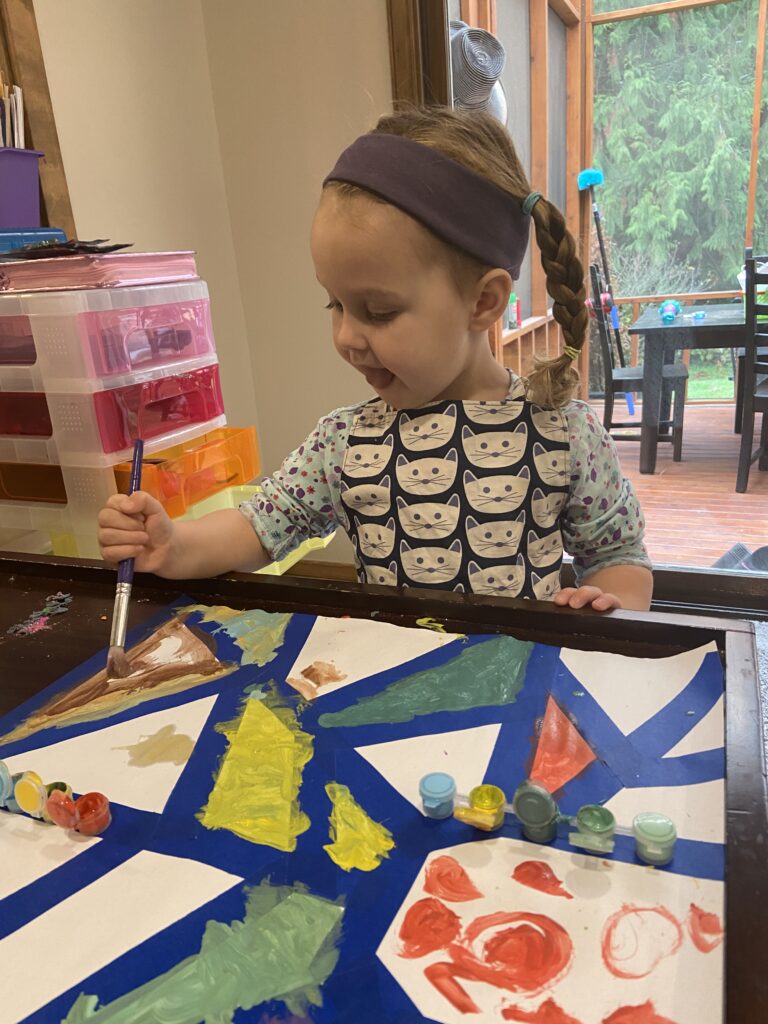
We did a number of art projects with the kids. This one was fun. I put blue painters tape down and told them to paint the sections however they wanted to. It was a challenge to peel up the painters tape though. I should have used heavier paper (or even cardboard). The tape was pulling on the paper a lot so I had to go super slow. The results were great though.
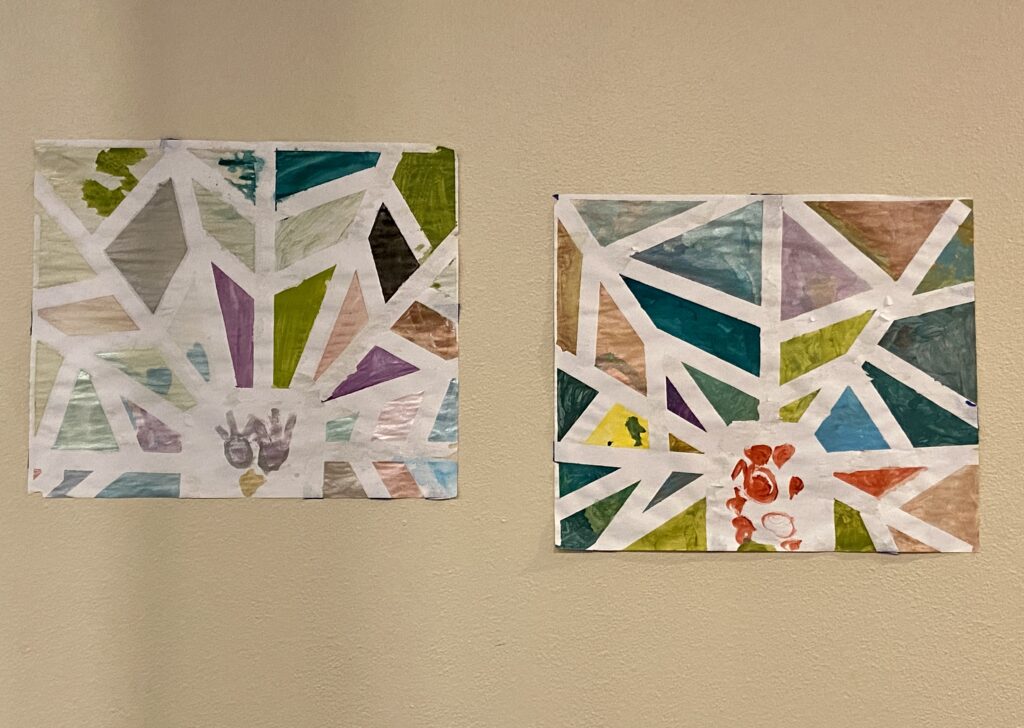
Aren’t these pretty??
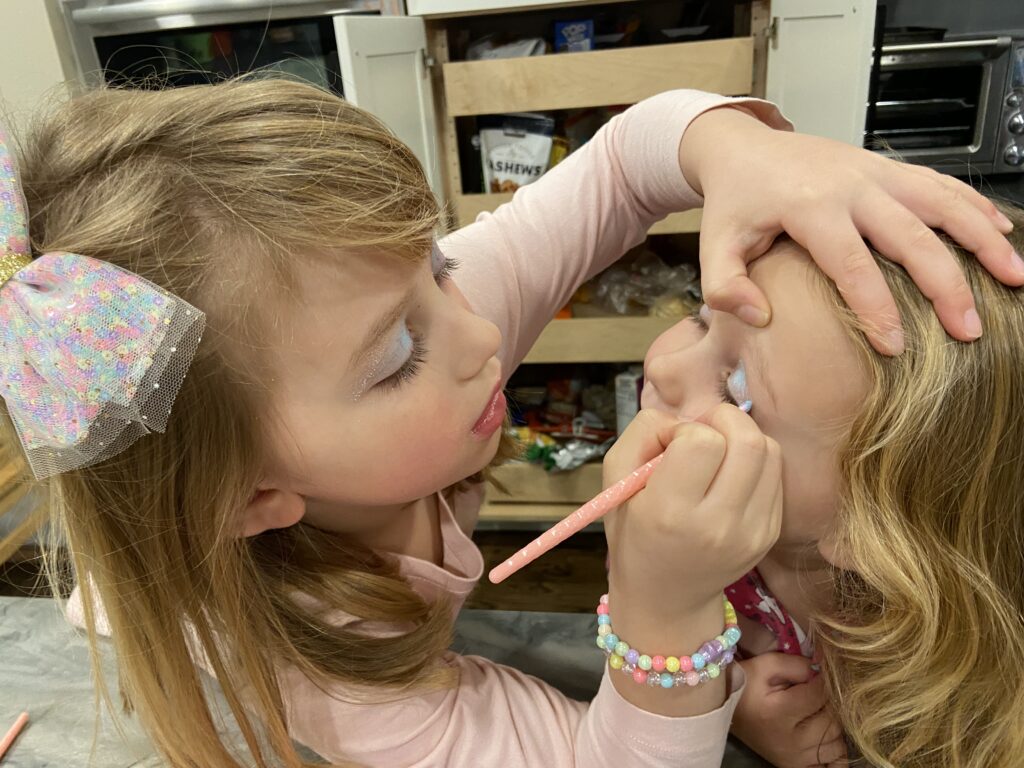
We went shopping one day and H (age 6) saw this make up kit that said ages 5 years and up. I was very hesitant to buy it so I texted the parents a picture of it to see if they approved. She was overjoyed when Mom and Dad gave the go ahead. Oh my gosh, the glitter and color these two had all over their faces for the remainder of our time together. It was so funny.
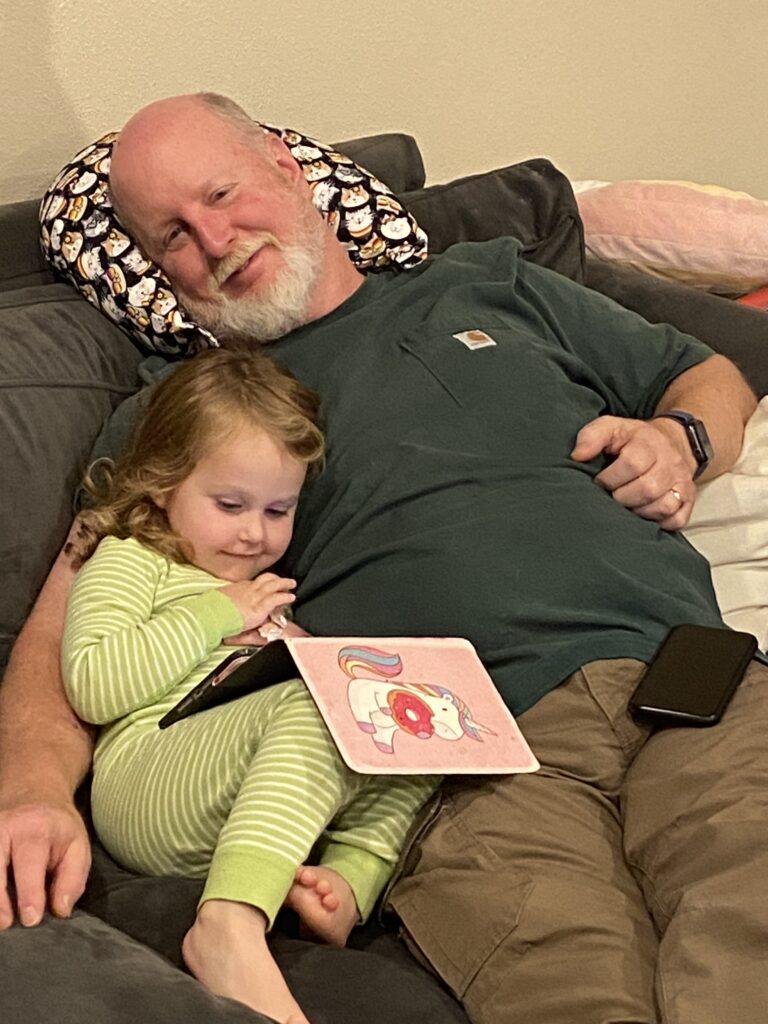
The girls love their grandpa and he enjoyed lots of snuggle time.
Overall, the week went well. We came home exhausted and happy. These two kids were one of the reasons we wanted to move up to Washington. Ray and I grew up with grand parents who were actively involved in our lives. It is so special to have a close relationship with the girls.
It is time to go plug in the Bernina and get it set up. I have missed this machine and am anxious to have her back up and running! If I don’t post again, I wish all of the US folks out there a Happy Thanksgiving next week!!
Linking up with Alycia at Finished or Not Friday


