Tag Archives: wall quilt

2024 SAHRR – Round 3

Another Monday rolled around and this meant a new prompt for the 2024 Stay At Home Round Robin (SAHRR). Hosted by a group of bloggers, headed up by Gail, this annual round robin is a great way to push myself creatively. The blogger for the week suggests a block or an idea and we interpret it as we feel works with our quilt.

This week’s blogging host is Emily of The Darling Dogwood. Her only specification was to incorporate triangles in this round. This clicked with me right away. After last week’s round (use only two colors) I knew I wanted to incorporate some of the black and white charm squares I have set aside for this project.

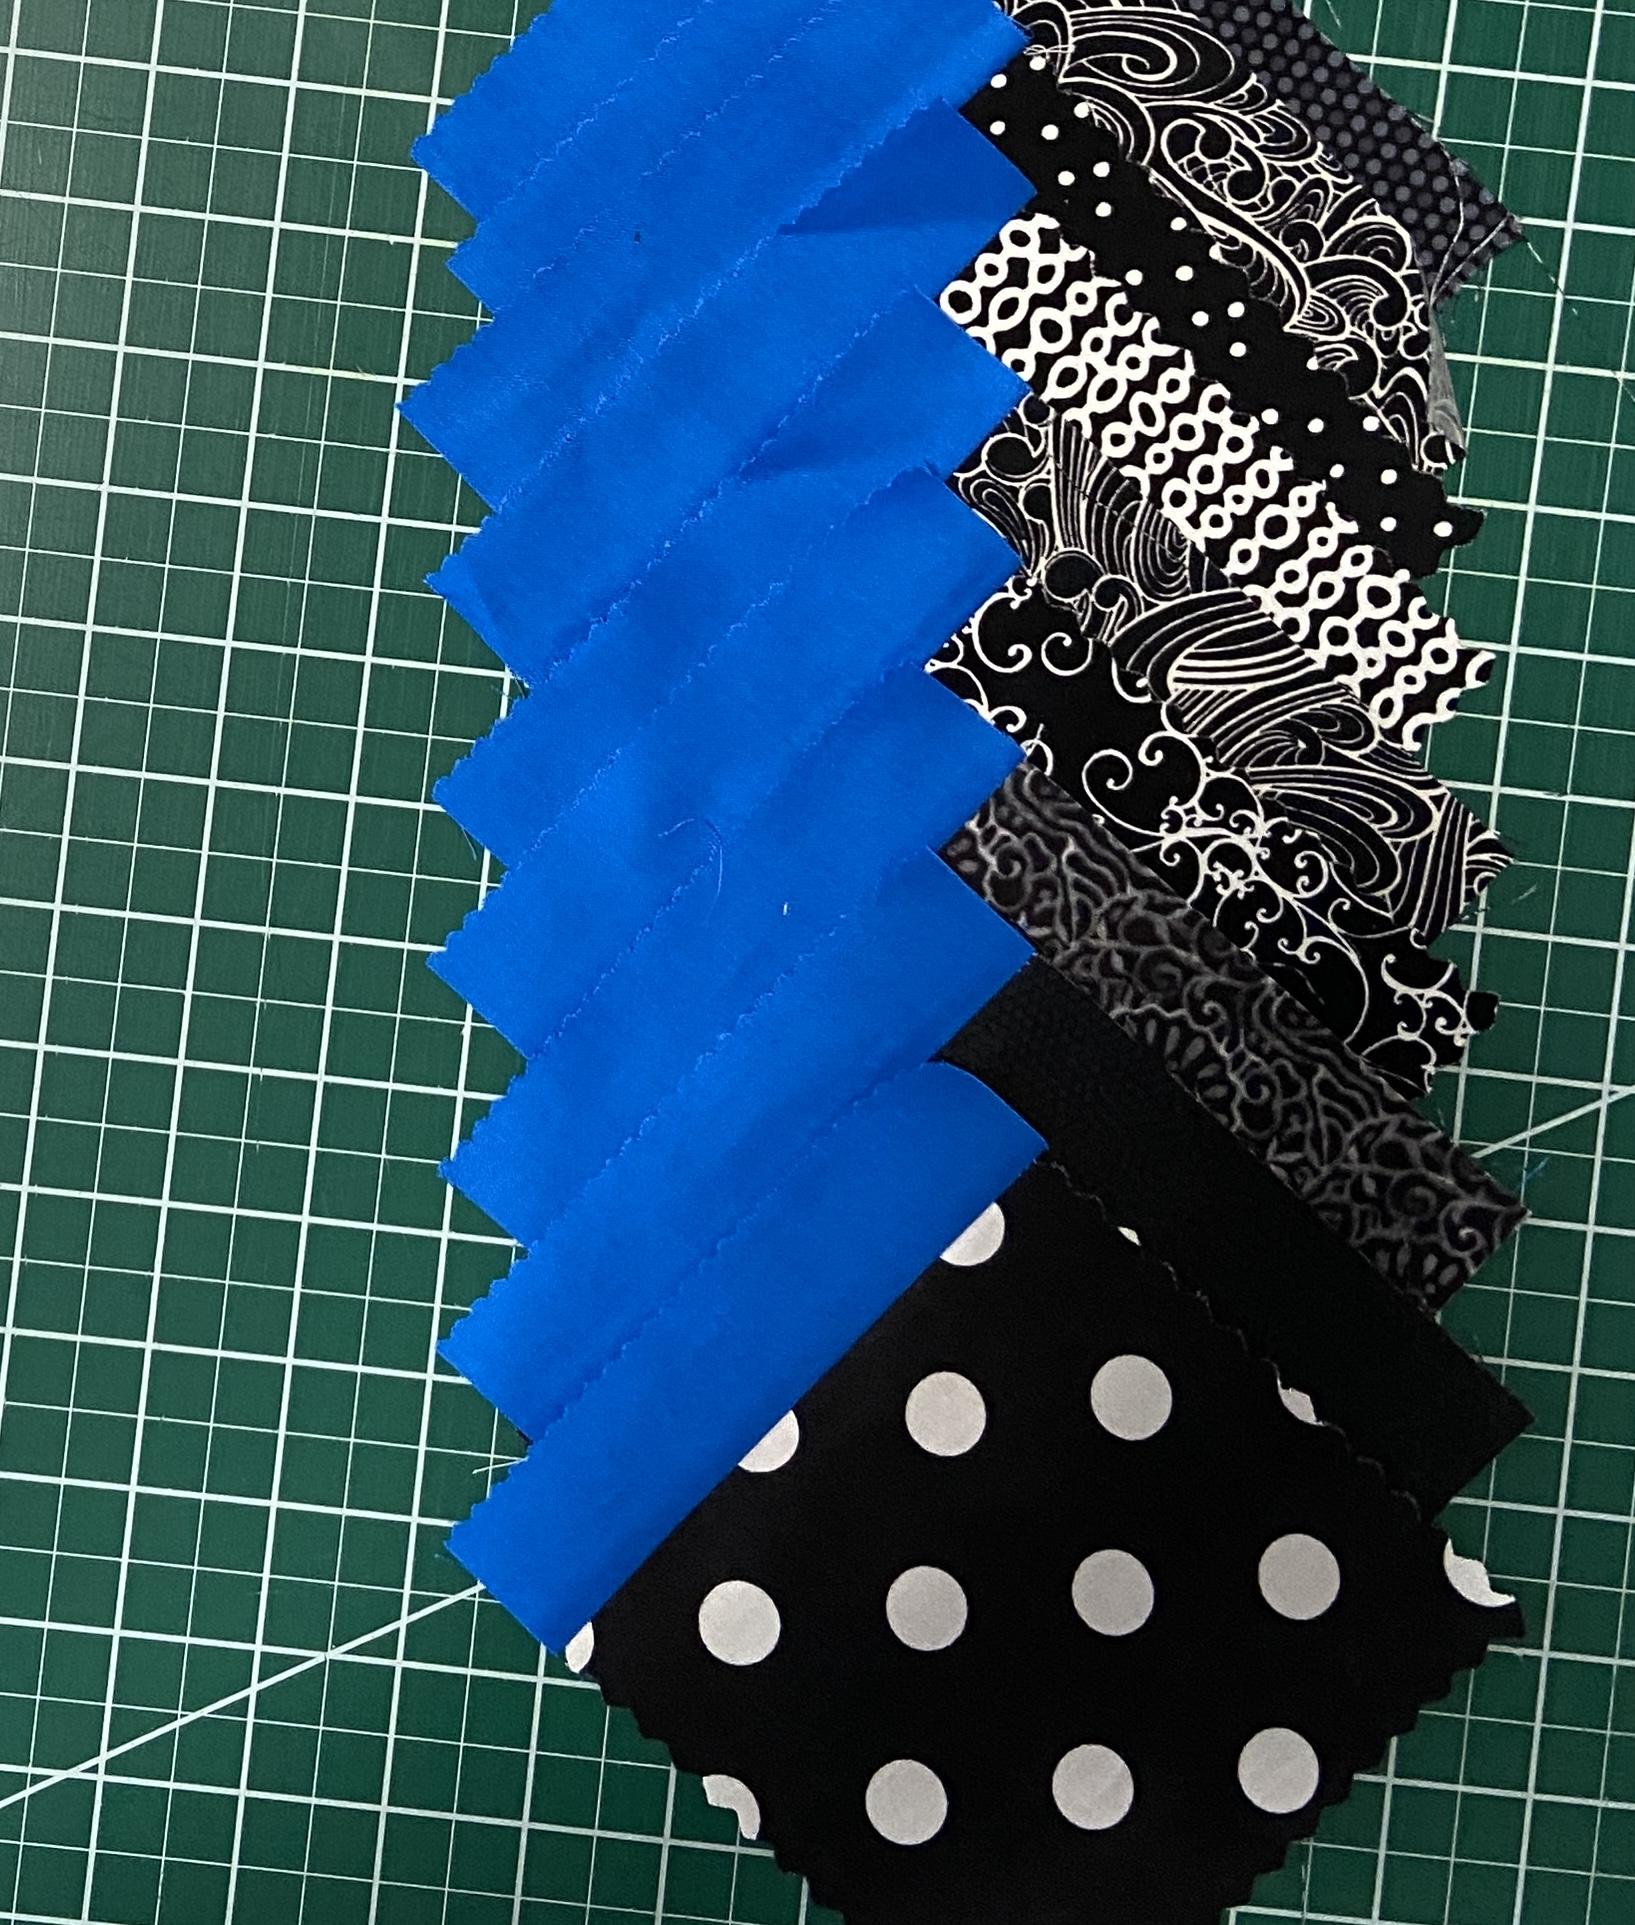
These leftover charm squares already have a 1 1/2 inch strip of blue already attached to them. I decided to cut triangles from the side where the blue meets the charm square.

I cut a 2 1/2″ triangle from each of these. Unfortunately, I couldn’t get two triangles from each one so I am saving the remaining pieces for another round (hopefully).

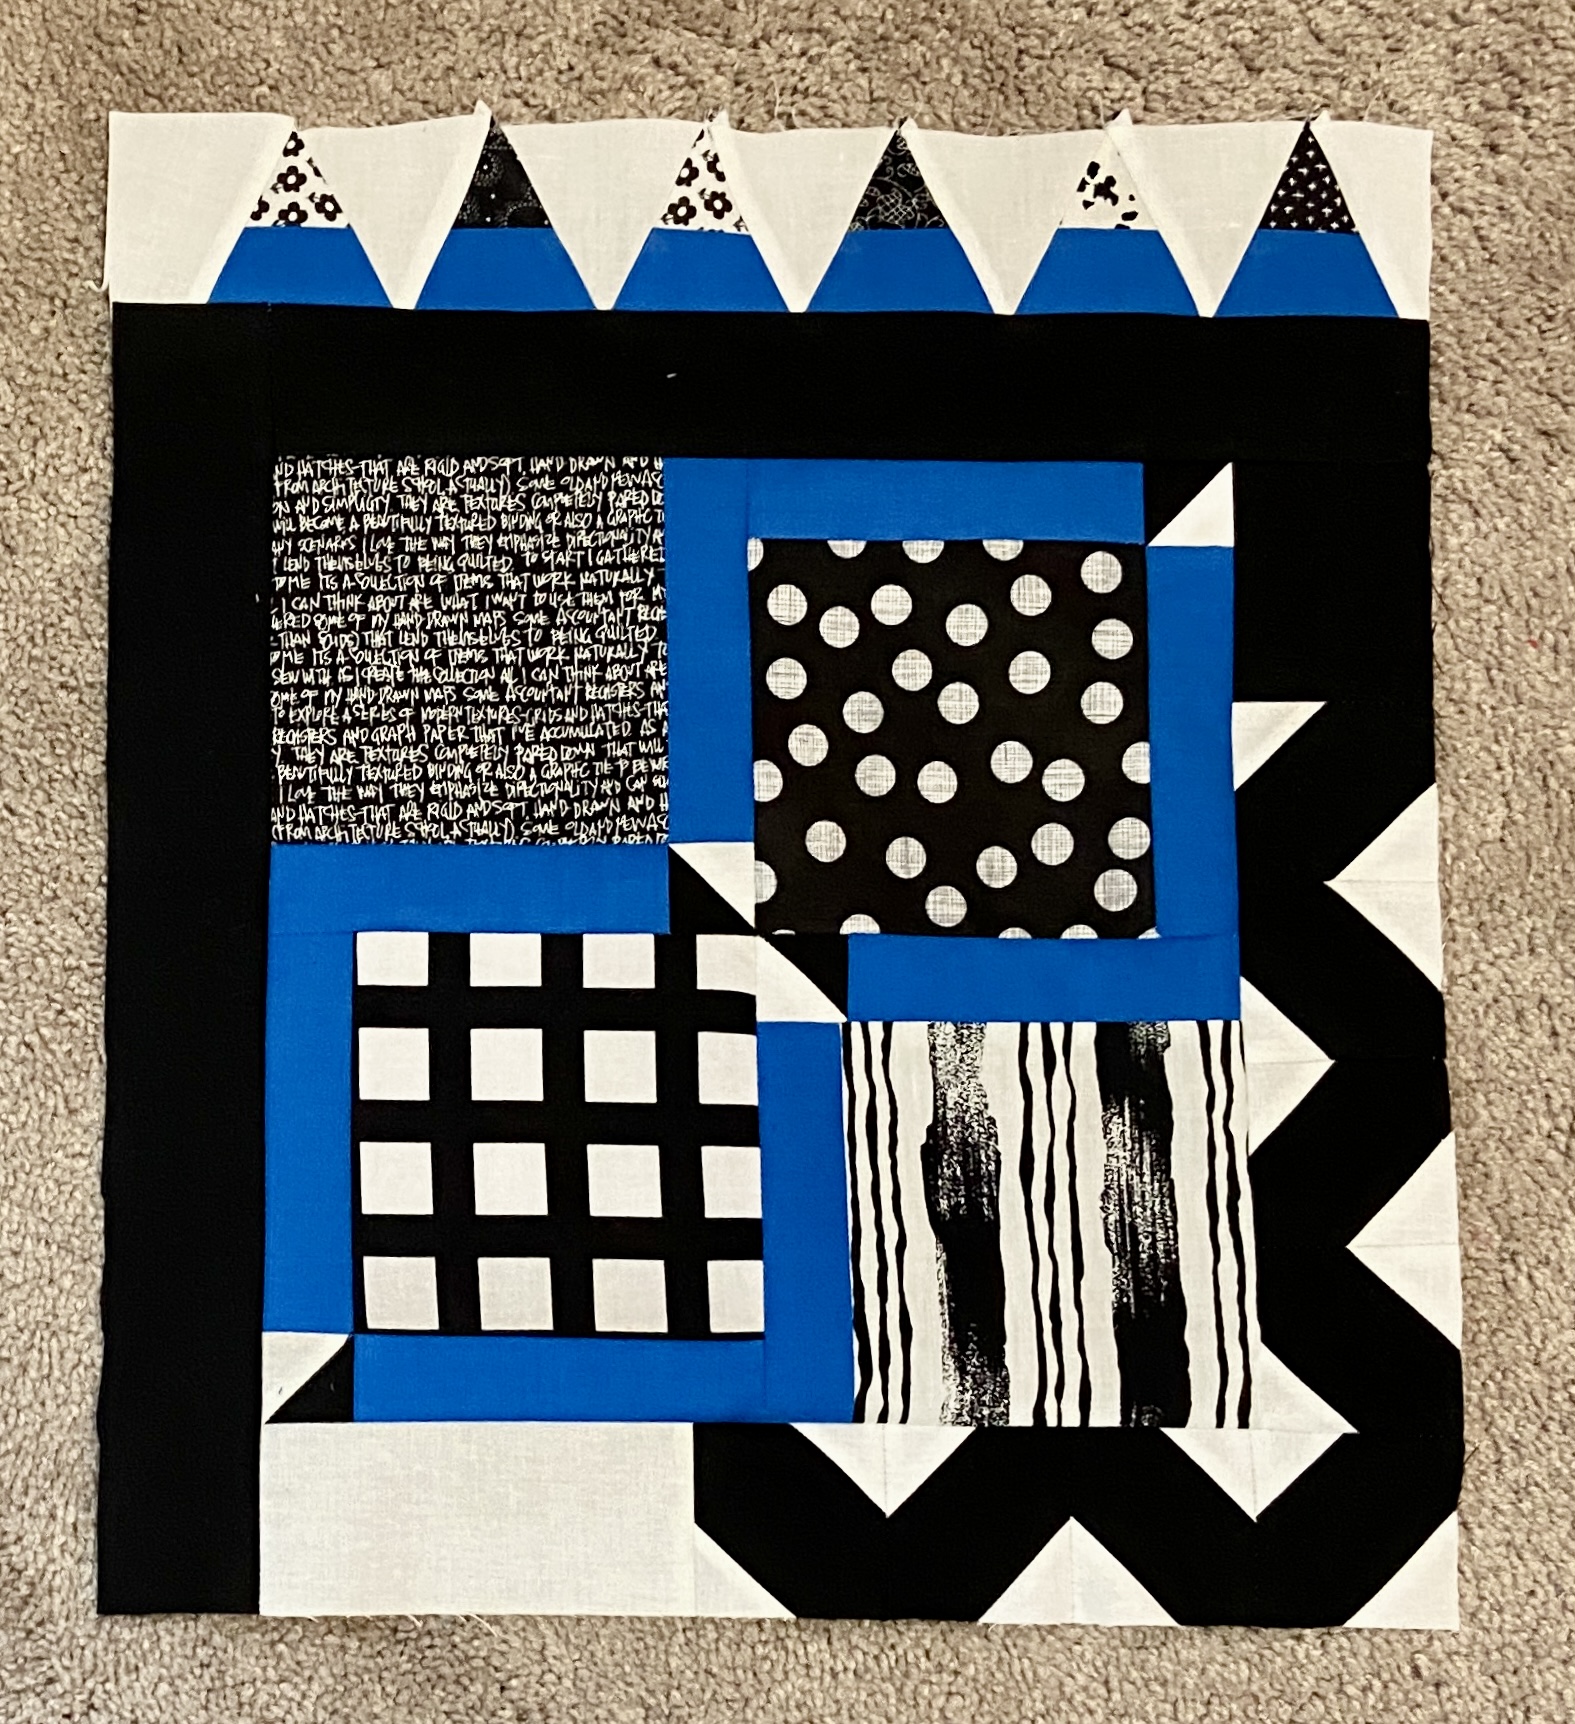
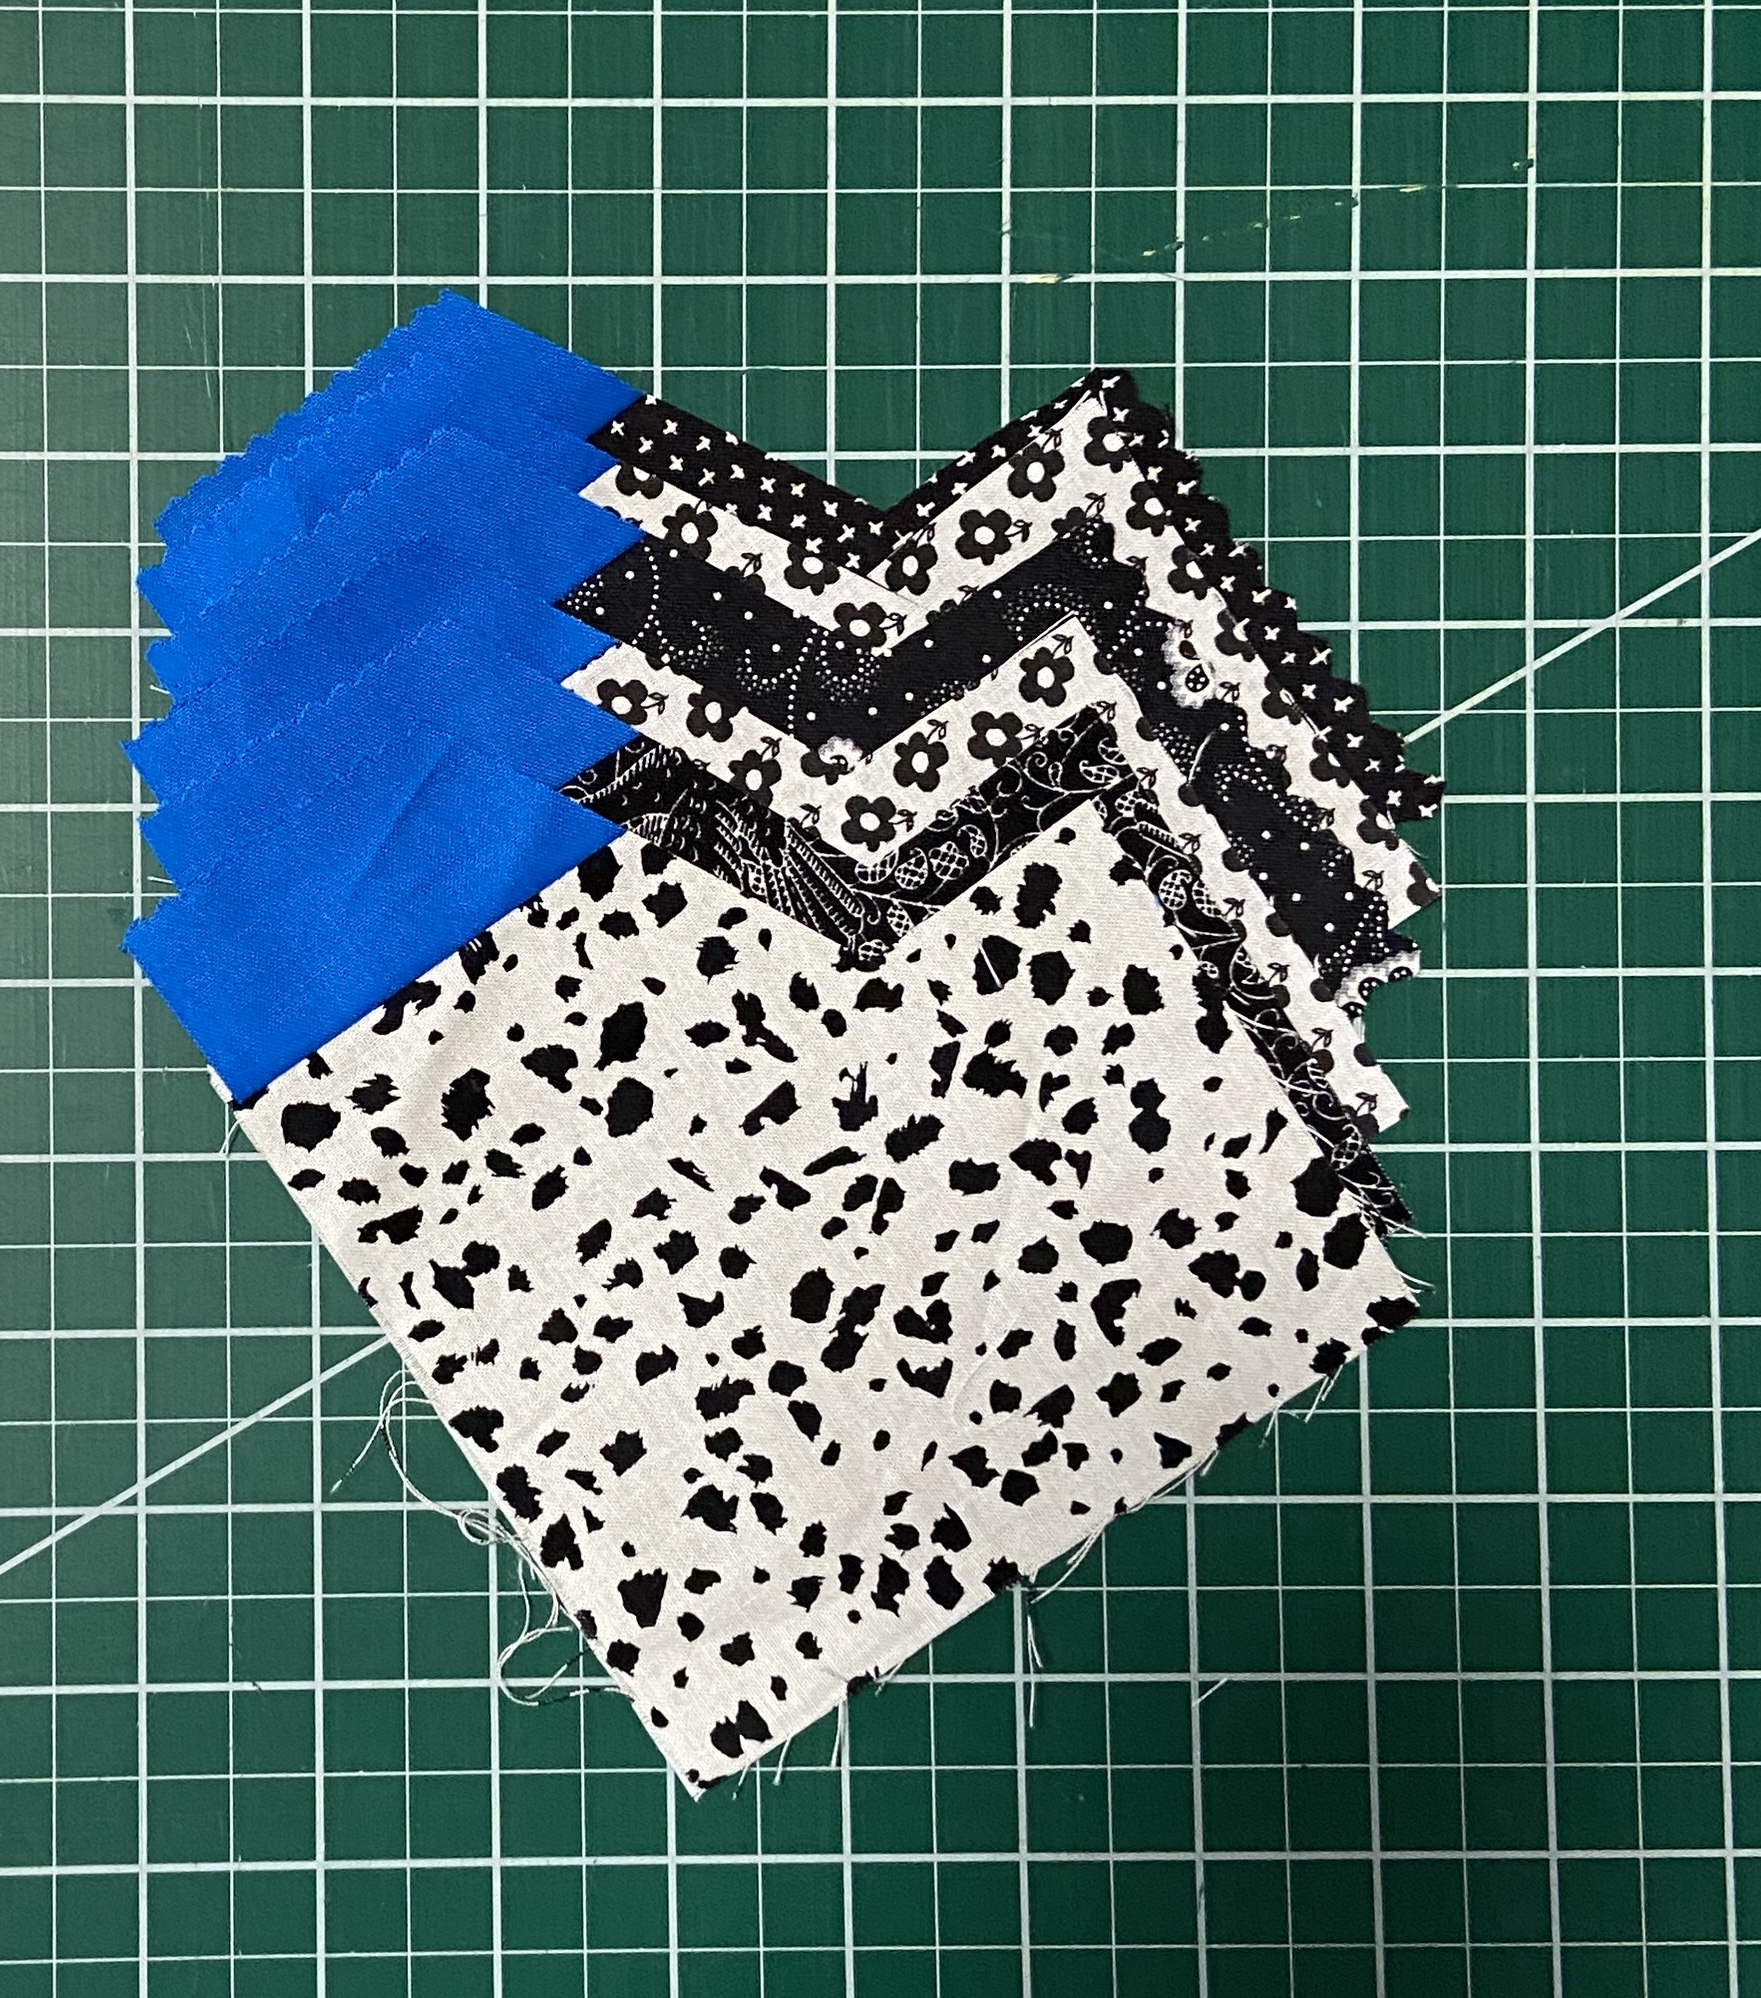
I wanted an equal size, white triangle in between each of the blue/black units. However, I didn’t really realize by doing this, I would be chopping off the points when I attached something to the top of this row. I should have made the white triangles larger so the points of the print charms would be encapsulated by the white and thus the points would be preserved. I am leaving it as is and not going to worry about it. Let’s all pretend I meant for it to be this way, ok?

I have some ideas for the next round but of course, I am waiting to see what the prompt is. I hope I can work within the prompt and the idea I am playing with. Currently this measures 15″ x 17″ which is great. Three more rounds should keep this to a nice wall hanging size.

Want to know one of the toughest parts about this event, for me anyway? It is waiting until the following Monday! Now that I sat and worked on it this morning, I don’t want to stop but I have to. Patience is a virtue, so they say. I need to work on that a little. Haha.

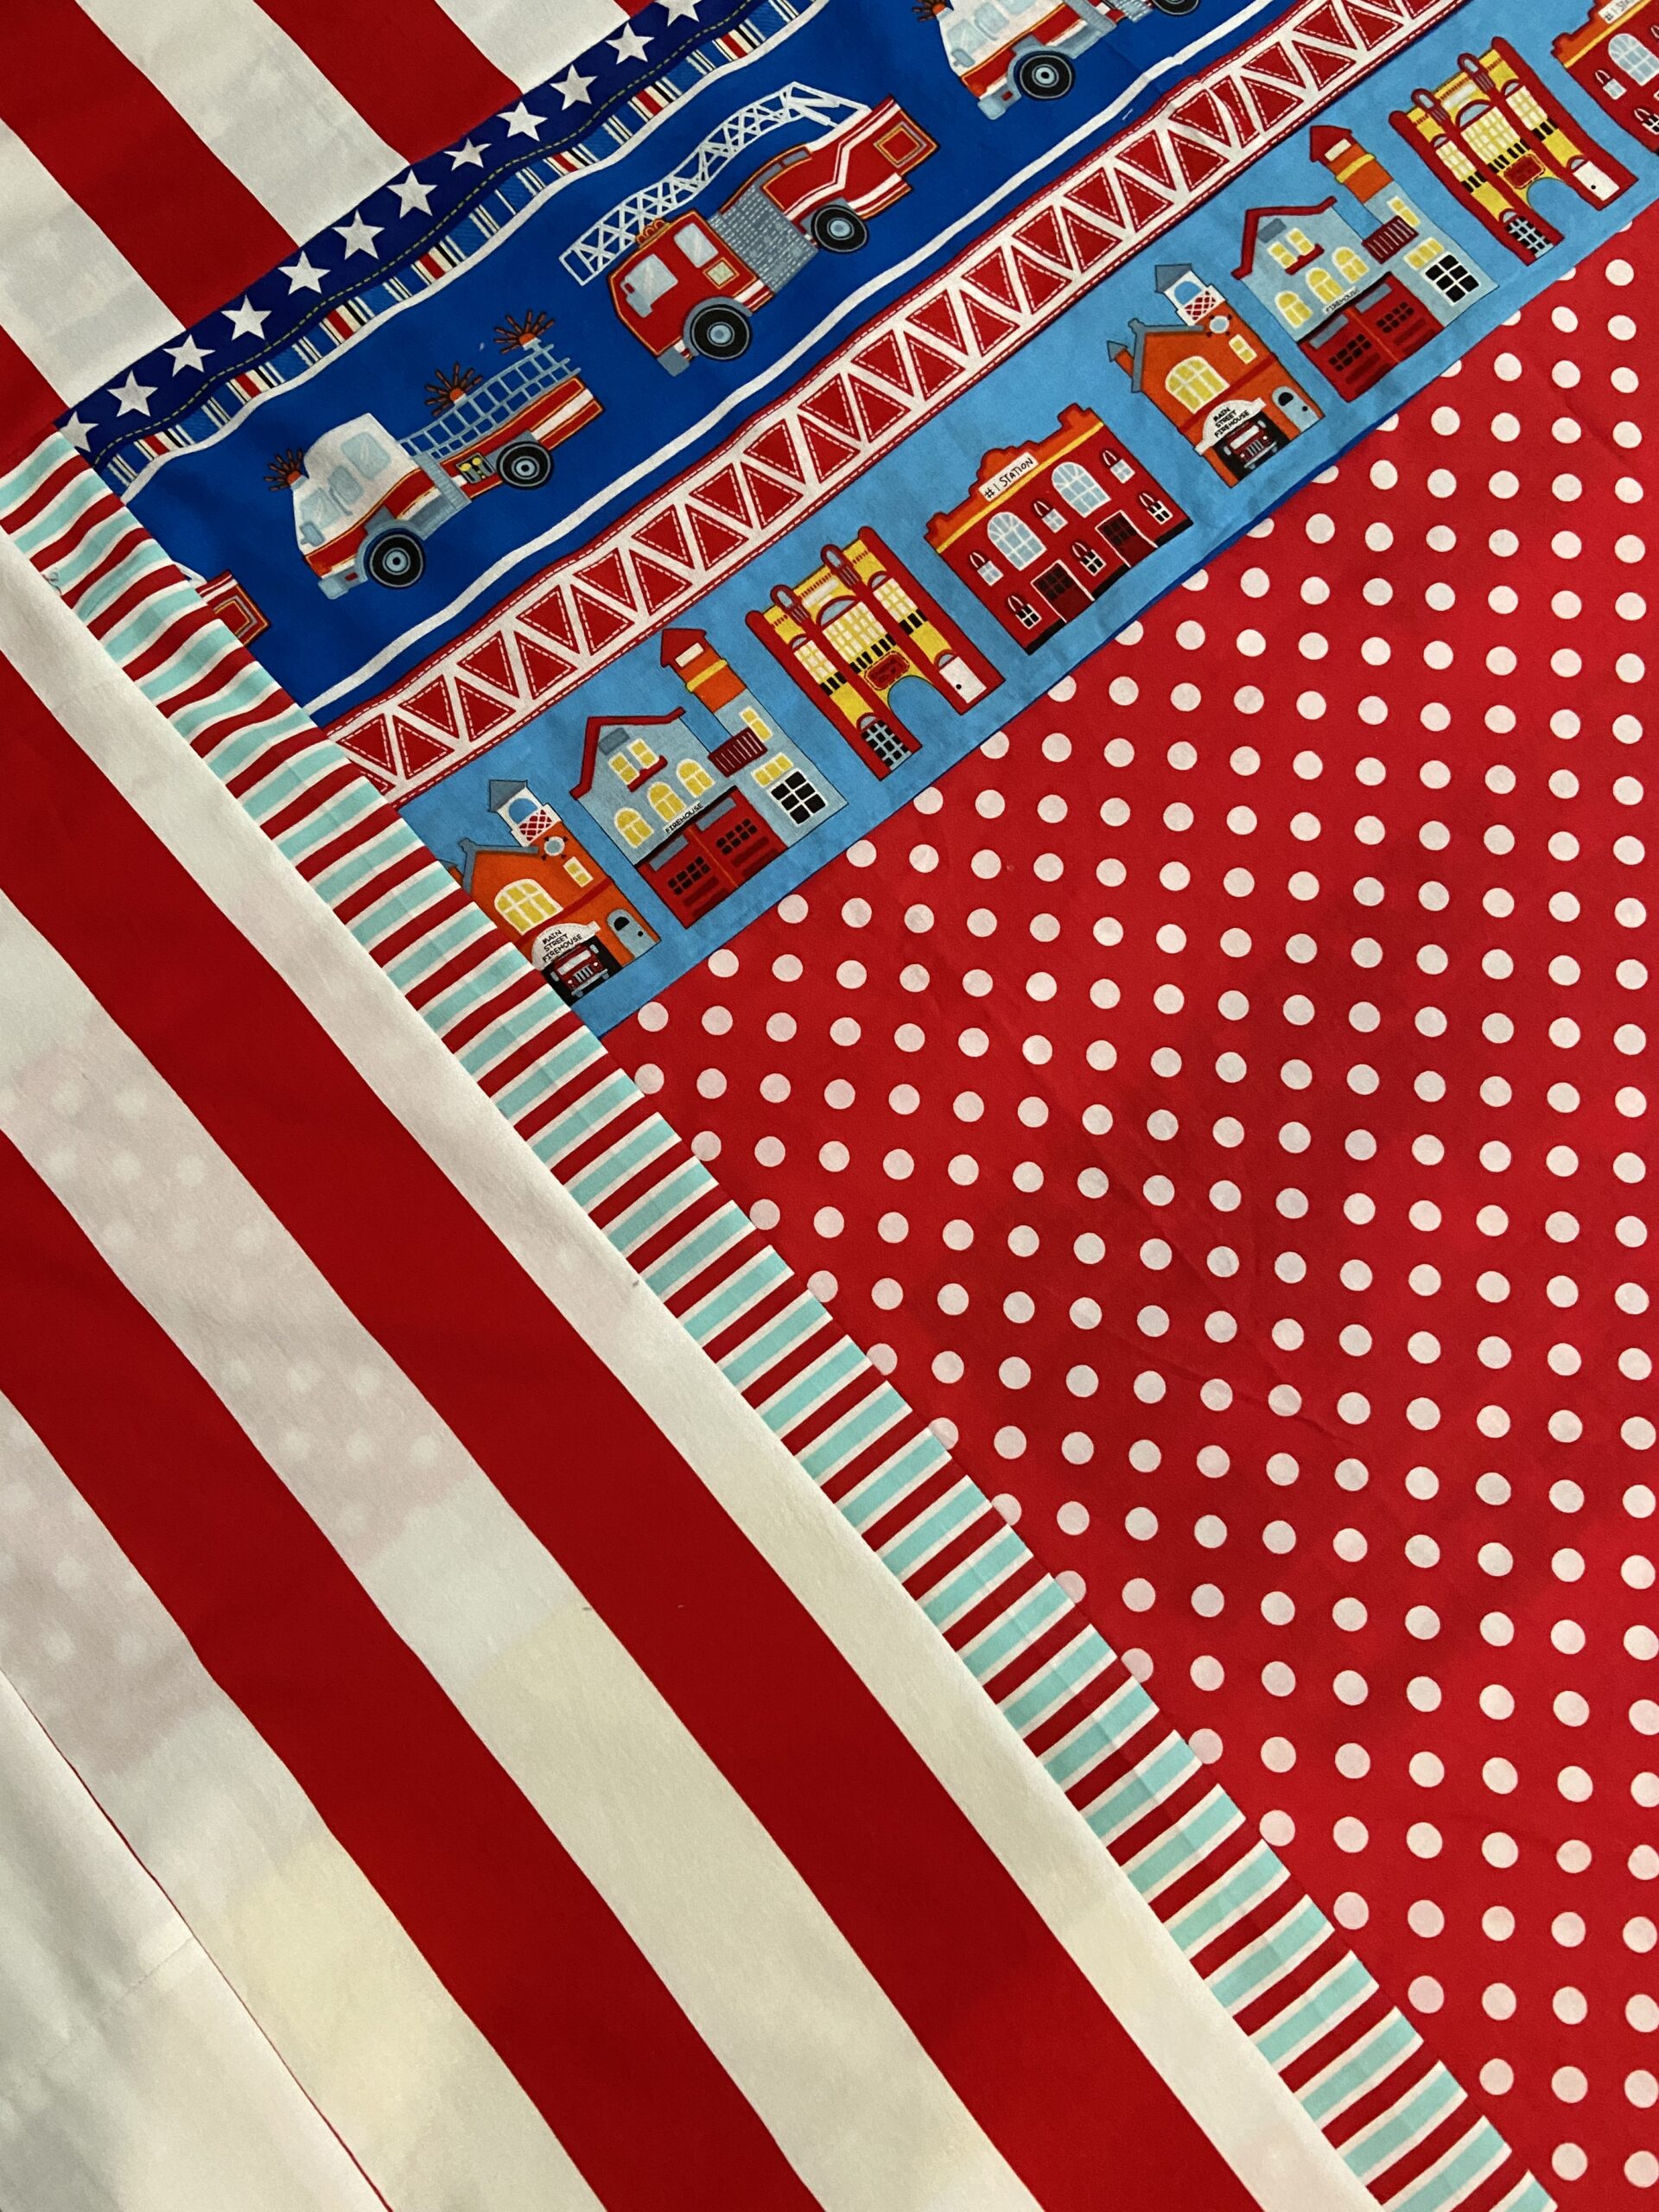
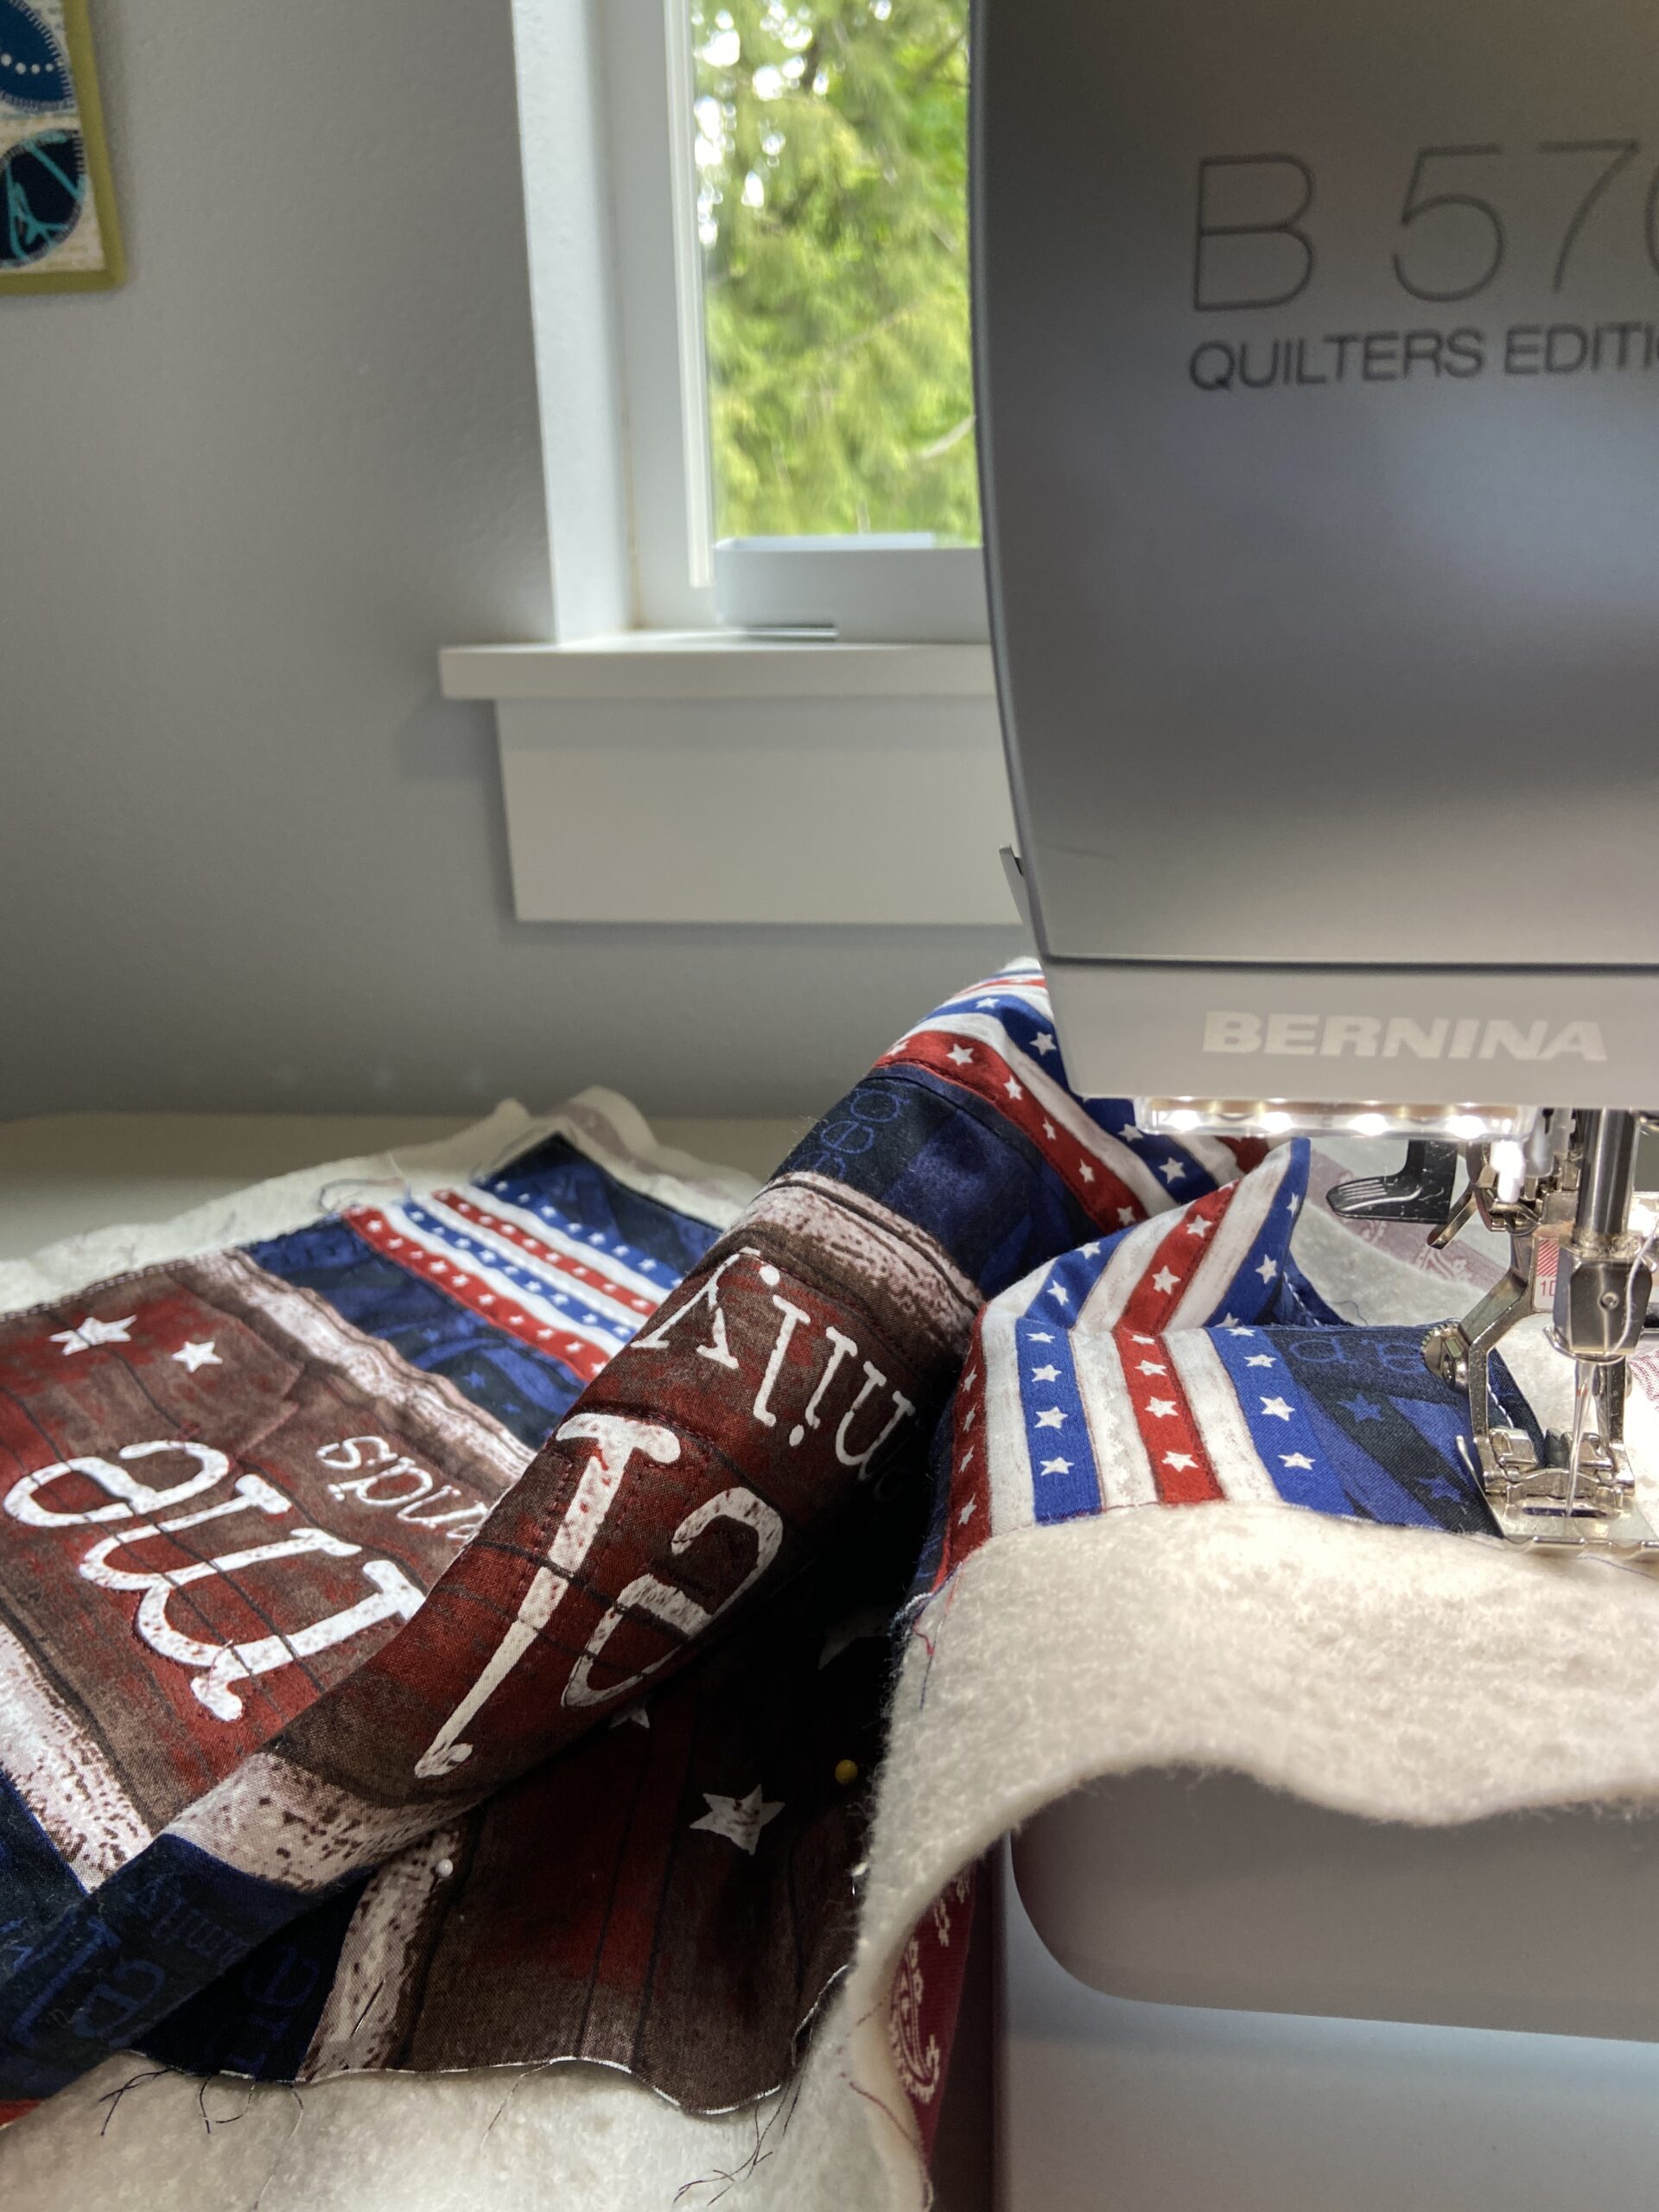
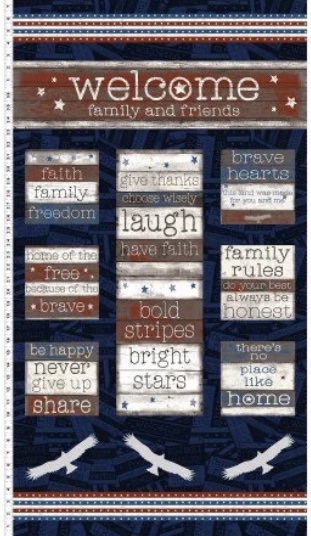
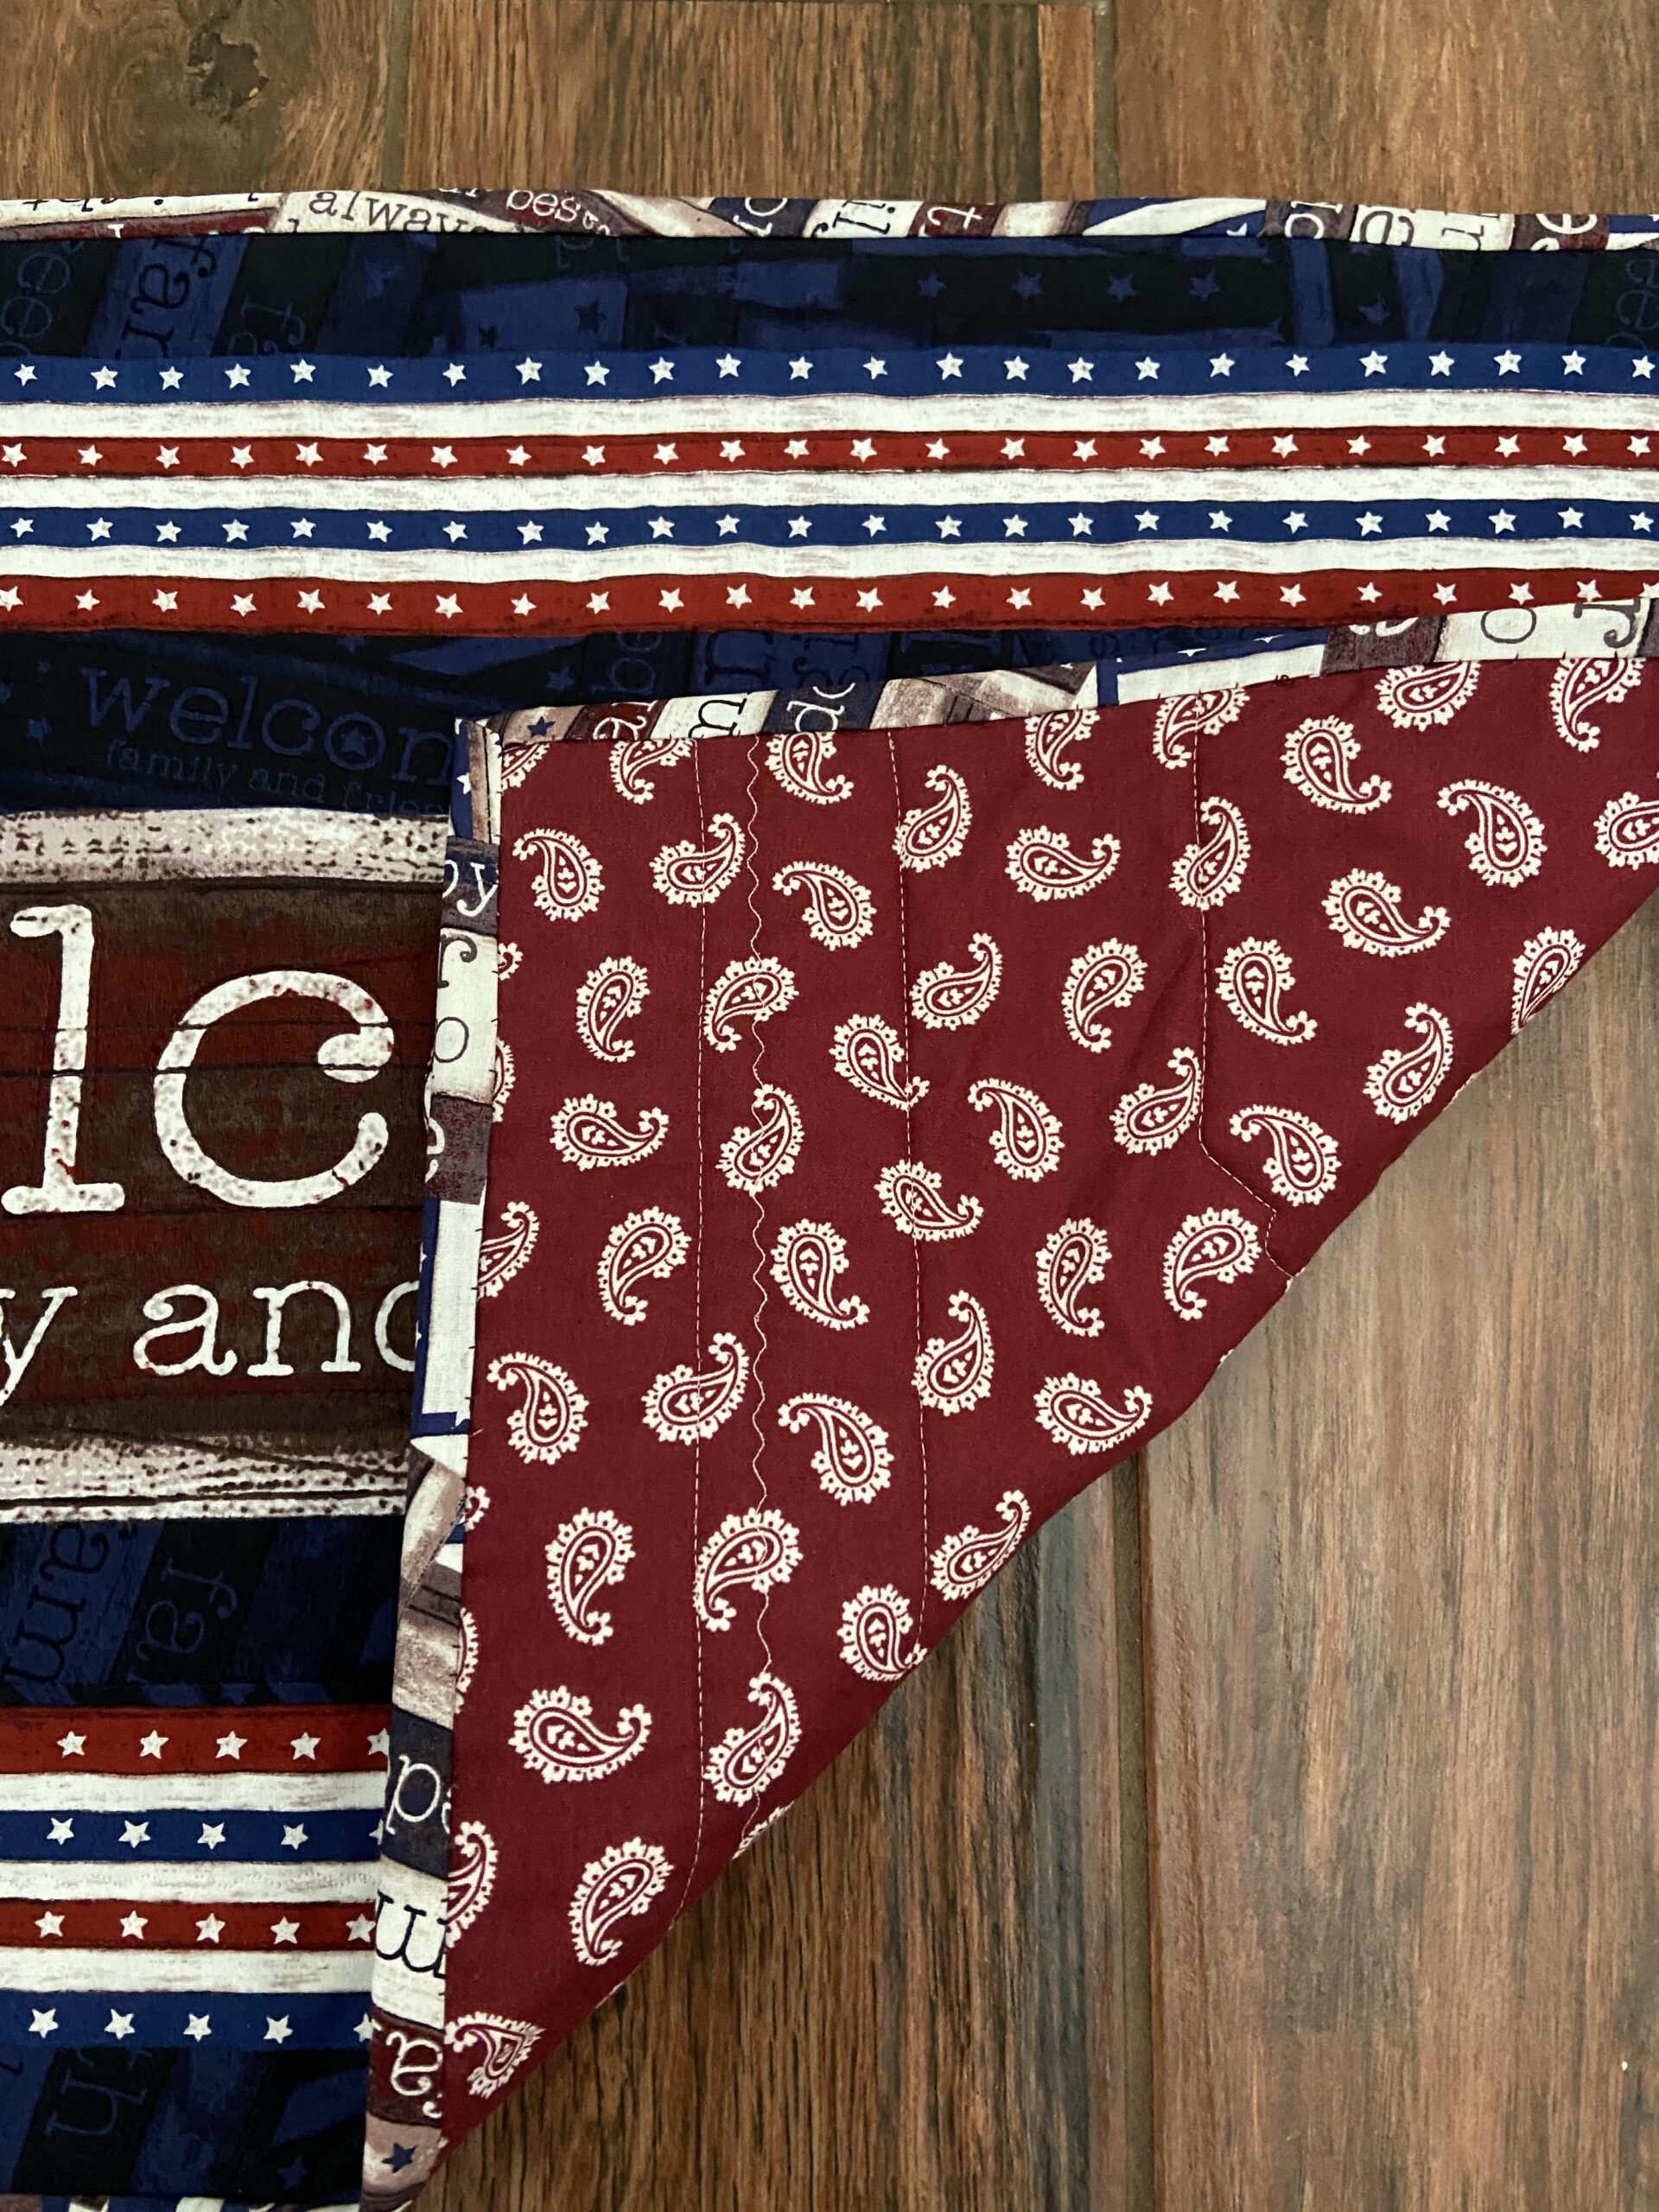
While I wait for next Monday’s prompt, I will go back to this project. I have a blog hop coming up in March and yesterday I spent some time piecing a backing for the quilt. It is so cute! Can’t wait to share this one with you all.

Modern Wall Quilt

Isn’t that a boring title for a post? I don’t know what to call this quilt. Maybe after you look at the photos and read the post you’ll come up with a clever name for it.

Love this quilt book!

I bought a book for making baby quilts a couple of years ago. There are a few quilts in it that I thought would be very fun to make. There are ten projects, each one by a different designer. C&T Pubs just happens to have the book on sale right now. Make Baby Quilts includes designs by Camille Roskelley, Allison Harris, and Latifah Saafir – among others.

The Sweet as Pi pattern really drew me in though. Sure, it would be wonderful as a floor mat for a baby. Designed by Malka Dubrawsky, it is a strong graphic pattern and the colors could be changed as needed. But I decided to make it as a wall quilt.

Cutting the strips was easy. Choosing the colors – not so easy! I knew I wanted the colors to be bold and to have a strong presence in the quilt I had just made for our bed. After some back and forth with a stack of solids, these are the fabrics I selected. Assembling the wedges was a breeze. This all happened in early fall. With the holidays and all those silly viruses we all had, it was shelved until recently.

One wedge of the circle

Ignore the wrinkled appearance of this wedge! I was taking pictures to communicate my project to my son in Brooklyn NY. There are instructions for creating the template to cut the strip pieced wedges but I wasn’t getting it. Thank you FaceTime! Kyle was able to take a look and tell me what I needed to know!

Too long!

Somehow I made the template slightly longer than it should be. My sweet husband was able to trim it just a smidge and it was perfect.

Thread decisions

Once it was put together and basted, it was time to select threads. I normally quilt with a neutral thread and if this was to be a floor mat for a baby, that is what I would have done. However using gray or off white just didn’t cut it for these colors. Each stripe was quilted with a matching thread. I quilted a spiral in the yellow section (center). Then I switched to straight line quilting for the other stripes. No marking was done. It seemed if this was going to be on the wall, above the bed, no one would be face to face with it. (Unless the viewer chose to stand on the bed to get a closer look – haha). Viewing from a fair distance, the placement of the quilting lines wasn’t a huge deal. I basically set the width by using the outermost part of the walking foot as my guide.

It is done!!

Total honesty here – all the while I was working on this quilt, I never once considered the how heck it would be hung on the wall. It is quite large (approx 40″ across) and with a hanging sleeve on the back, it wouldn’t have laid flat on the wall. I was at a loss for a while. Then I thought about making some sort of circular frame with wire. I had florist wire but it was fairly light weight. So I measured out four (very long) lengths and twisted them into one piece to give it more strength. Then I pinned it around the circumference of the quilt. I wish I had taken pictures of this but I totally forgot. I sewed the wire to the back – butting it up as close as possible to the binding, being careful not to go all the way through to the front of the quilt. This kept the quilt flat and held it’s shape perfectly.

Hanging it was a bit of a chore. Ray was standing on the bed with level, screws and screw gun. He had to put screws all the way around because I really wanted it flat on the wall. Success!

I love it! The wall hanging contains many of the colors of the rather bohemian quilt I made for the bed so it just works.

I love looking at the quilt and the wall hanging together. Makes me happy!

It was my goal to finish this wall quilt in January and it is down! I checked it off the list of unfinished projects which is always a good feeling before moving on to the next thing! Now that you have seen it, what do I call it? Many of you are so clever at thinking of names for your finished quilts. This is not my strength. Help a girl out?

Linking to my favorites – check them out at the top of the page, under link ups!

(Note – this post contains affiliate links. Should you purchase something via the link, I will receive a small compensation at no cost to you.)

A Patriotic Finish & Giveaway!!

Note: Giveaway now closed. I actually selected two winners because I found enough for two kits. Winners have been notified. Hope to hear from them soon so I can mail off their prize!

Good morning all! I intended to post this before Memorial Day. Somehow it didn’t happen so I am writing it this morning. No worries though. While patriotic projects are good at any time of year; May, June and July usually put people in the mood for red, white and blue with Memorial Day, Flag Day and Independence Day during these months.

The front deck.

Doesn’t this look nice? Here is the backstory of this little wall hanging.

Feels great to be sewing again!

My sister recently sold (actually practically gave) me a Bernina sewing machine and a Juki serger. I have not sewn with a Bernina before so I have been watching YouTube and practicing on simple projects. Leftover from the shop, I have a couple of these panels and some of the coordinates from the Home Of the Free line that I had carried.

This shows most of the panel. It has the welcome portion and lots of little sayings as well. I took the stripe at the bottom and added it to the welcome portion to balance things out. Then I basted it together and did some basic quilting to hold everything together.

It measures 15″ x 24″. For the binding I used one of the coordinates. It is super simple but I think it makes a cute welcome sign.

Cute paisley backing.

For the backing, I chose this paisley print. The reds are the same tone so it looks wonderful together. I love paisleys. Even if this is on the back side and no one will really see it., I know it is there!

Now I have a cute welcome sign on the front porch to takes us through summer months.

How about you? Would you like to make one? Or maybe a quilt with these fabrics? I still have enough fabric to gift a kit for your project! It includes a star print instead of the paisley but you’ll have enough to play with to make whatever you’d like. I would love to see what you do with this!

GIVEAWAY NOW CLOSED.

Please leave a comment for me if you are interested in this kit. No pattern included so you’ll have to be creative and work something out. Since this is a patriotic, American fabric, the giveaway is limited to US residents. I will choose a winner on Sunday afternoon. Good luck and have a great weekend!

Sharing at Finished or not Friday, Brag About Your Beauties and TGIFF over at Anja Quilts.

**************************************************************************

Reminder!! The Positivity 2022 QAL has begun. We are choosing fabrics and cutting pieces. At least that is where I am. Hoping to start putting blocks together soon though. Check out fabric and cutting instructions at Sew Preeti Quilts. Hope you will join us!