Category Archives: Panel Quilt

Cozy Finish with Fleece

This quilt is a first for me. I have never backed a quilt with fleece. As I was making this little Halloween quilt, it seemed like a fun thing to try. I was hoping for a soft, cuddly quilt and wow – backing it with fleece did the trick. Early in the summer, I browsed an estate sale of a quilter. I restrained myself and bought only some Halloween fabric plus a few books. The fabric was from an older line designed by Debbie Mumm.

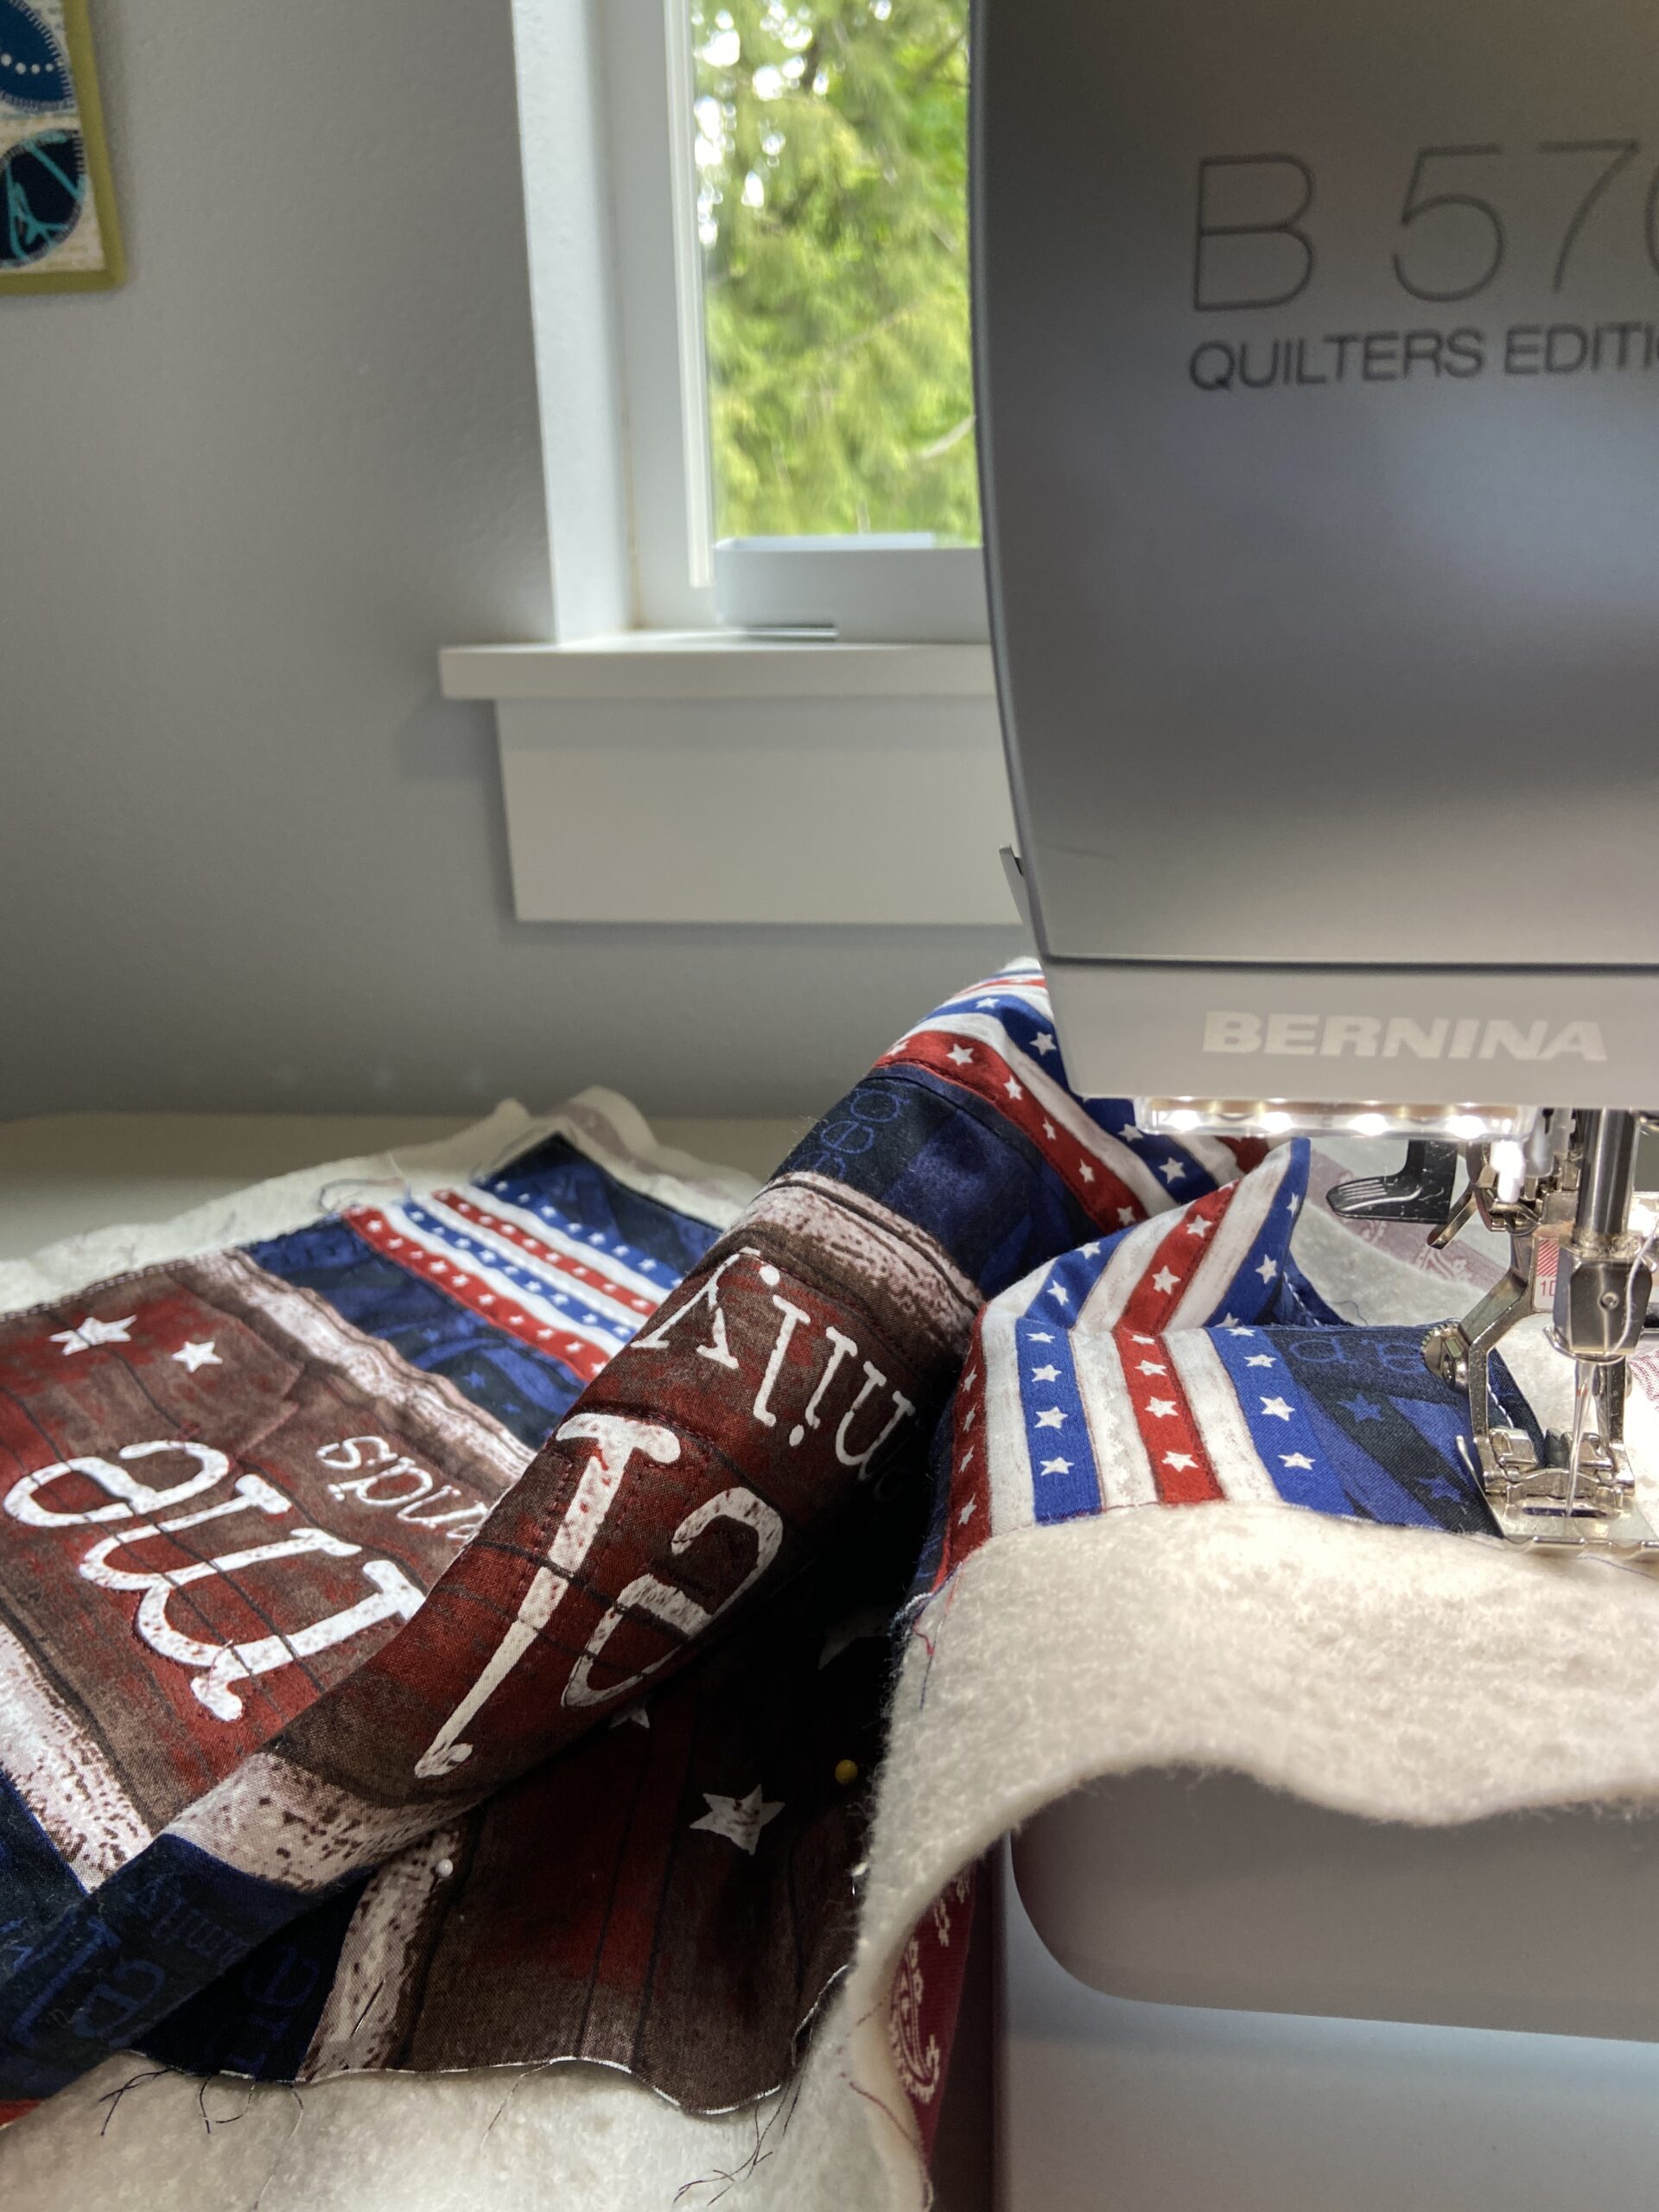
Using fleece made the quilt feel substantial enough that I decided not to put batting between the quilt top and the fleece. I had read of some issues with quilting fleece backed projects so I pinned the heck out of it before quilting. It was interesting – for some reason, the straight line quilting was more difficult than the free motion. (I tried both out.) I suspect this is because I still haven’t bought a walking foot for my new machine.

Isn’t this a fun quilt?

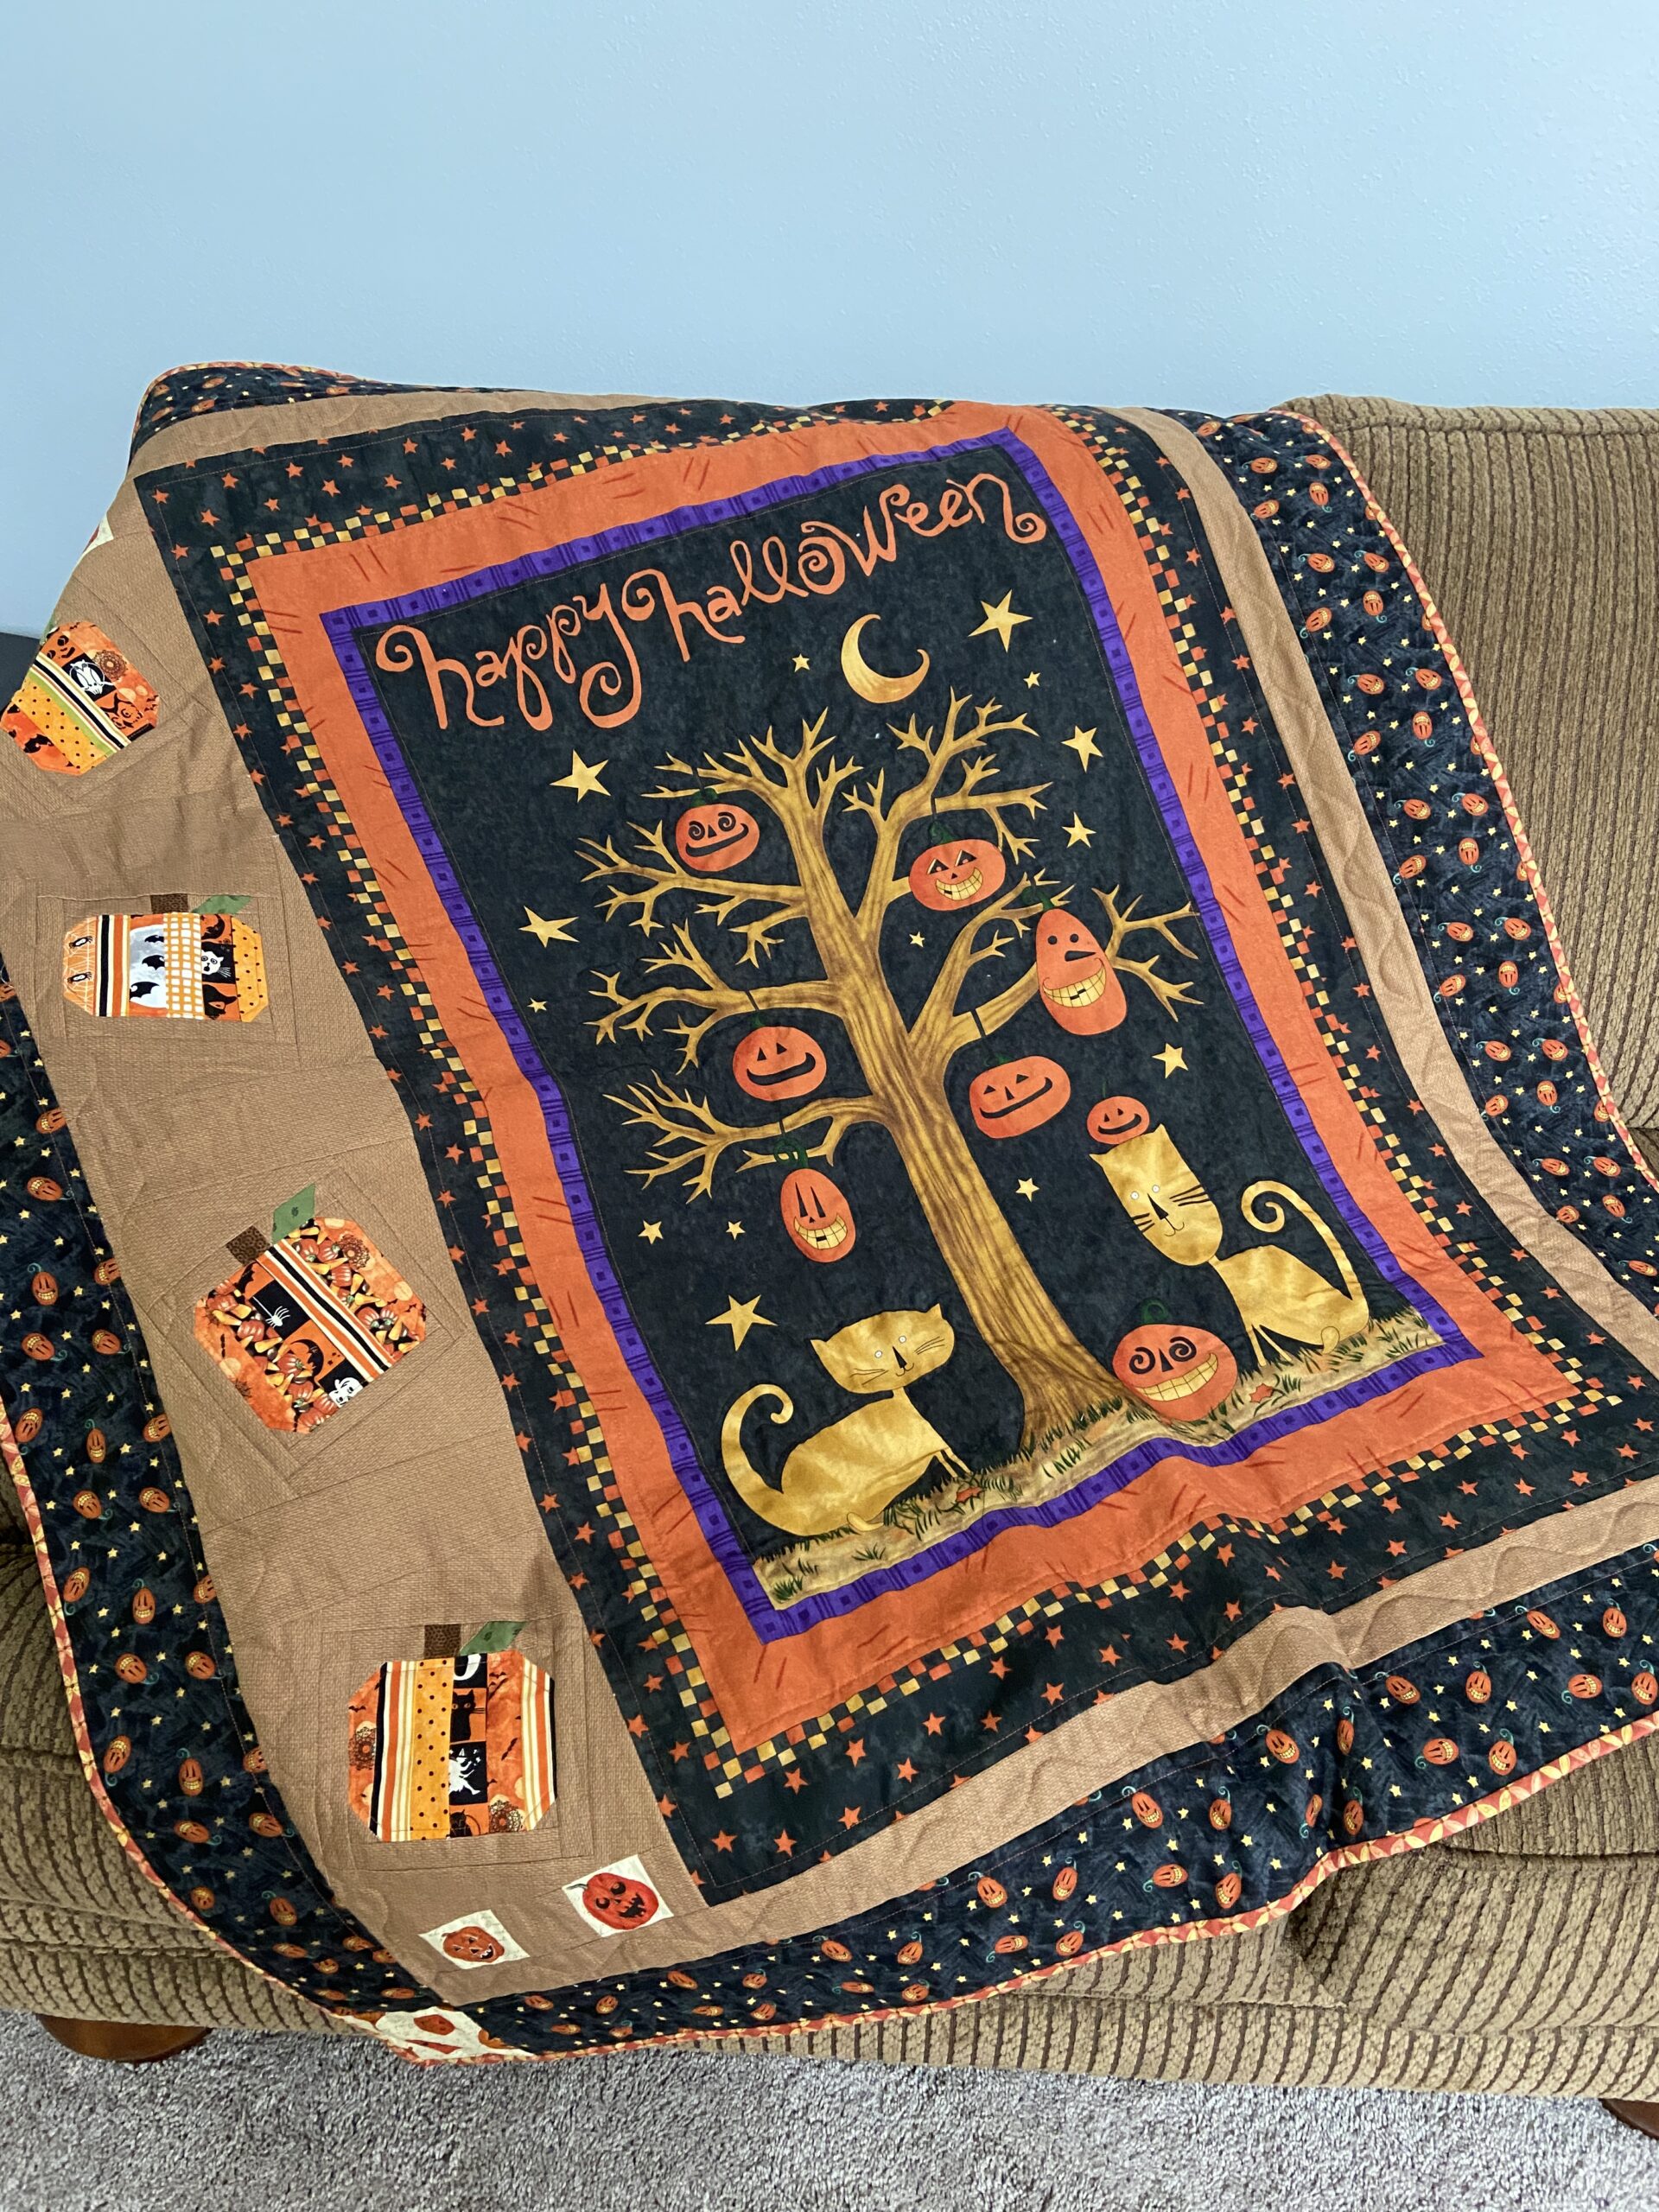
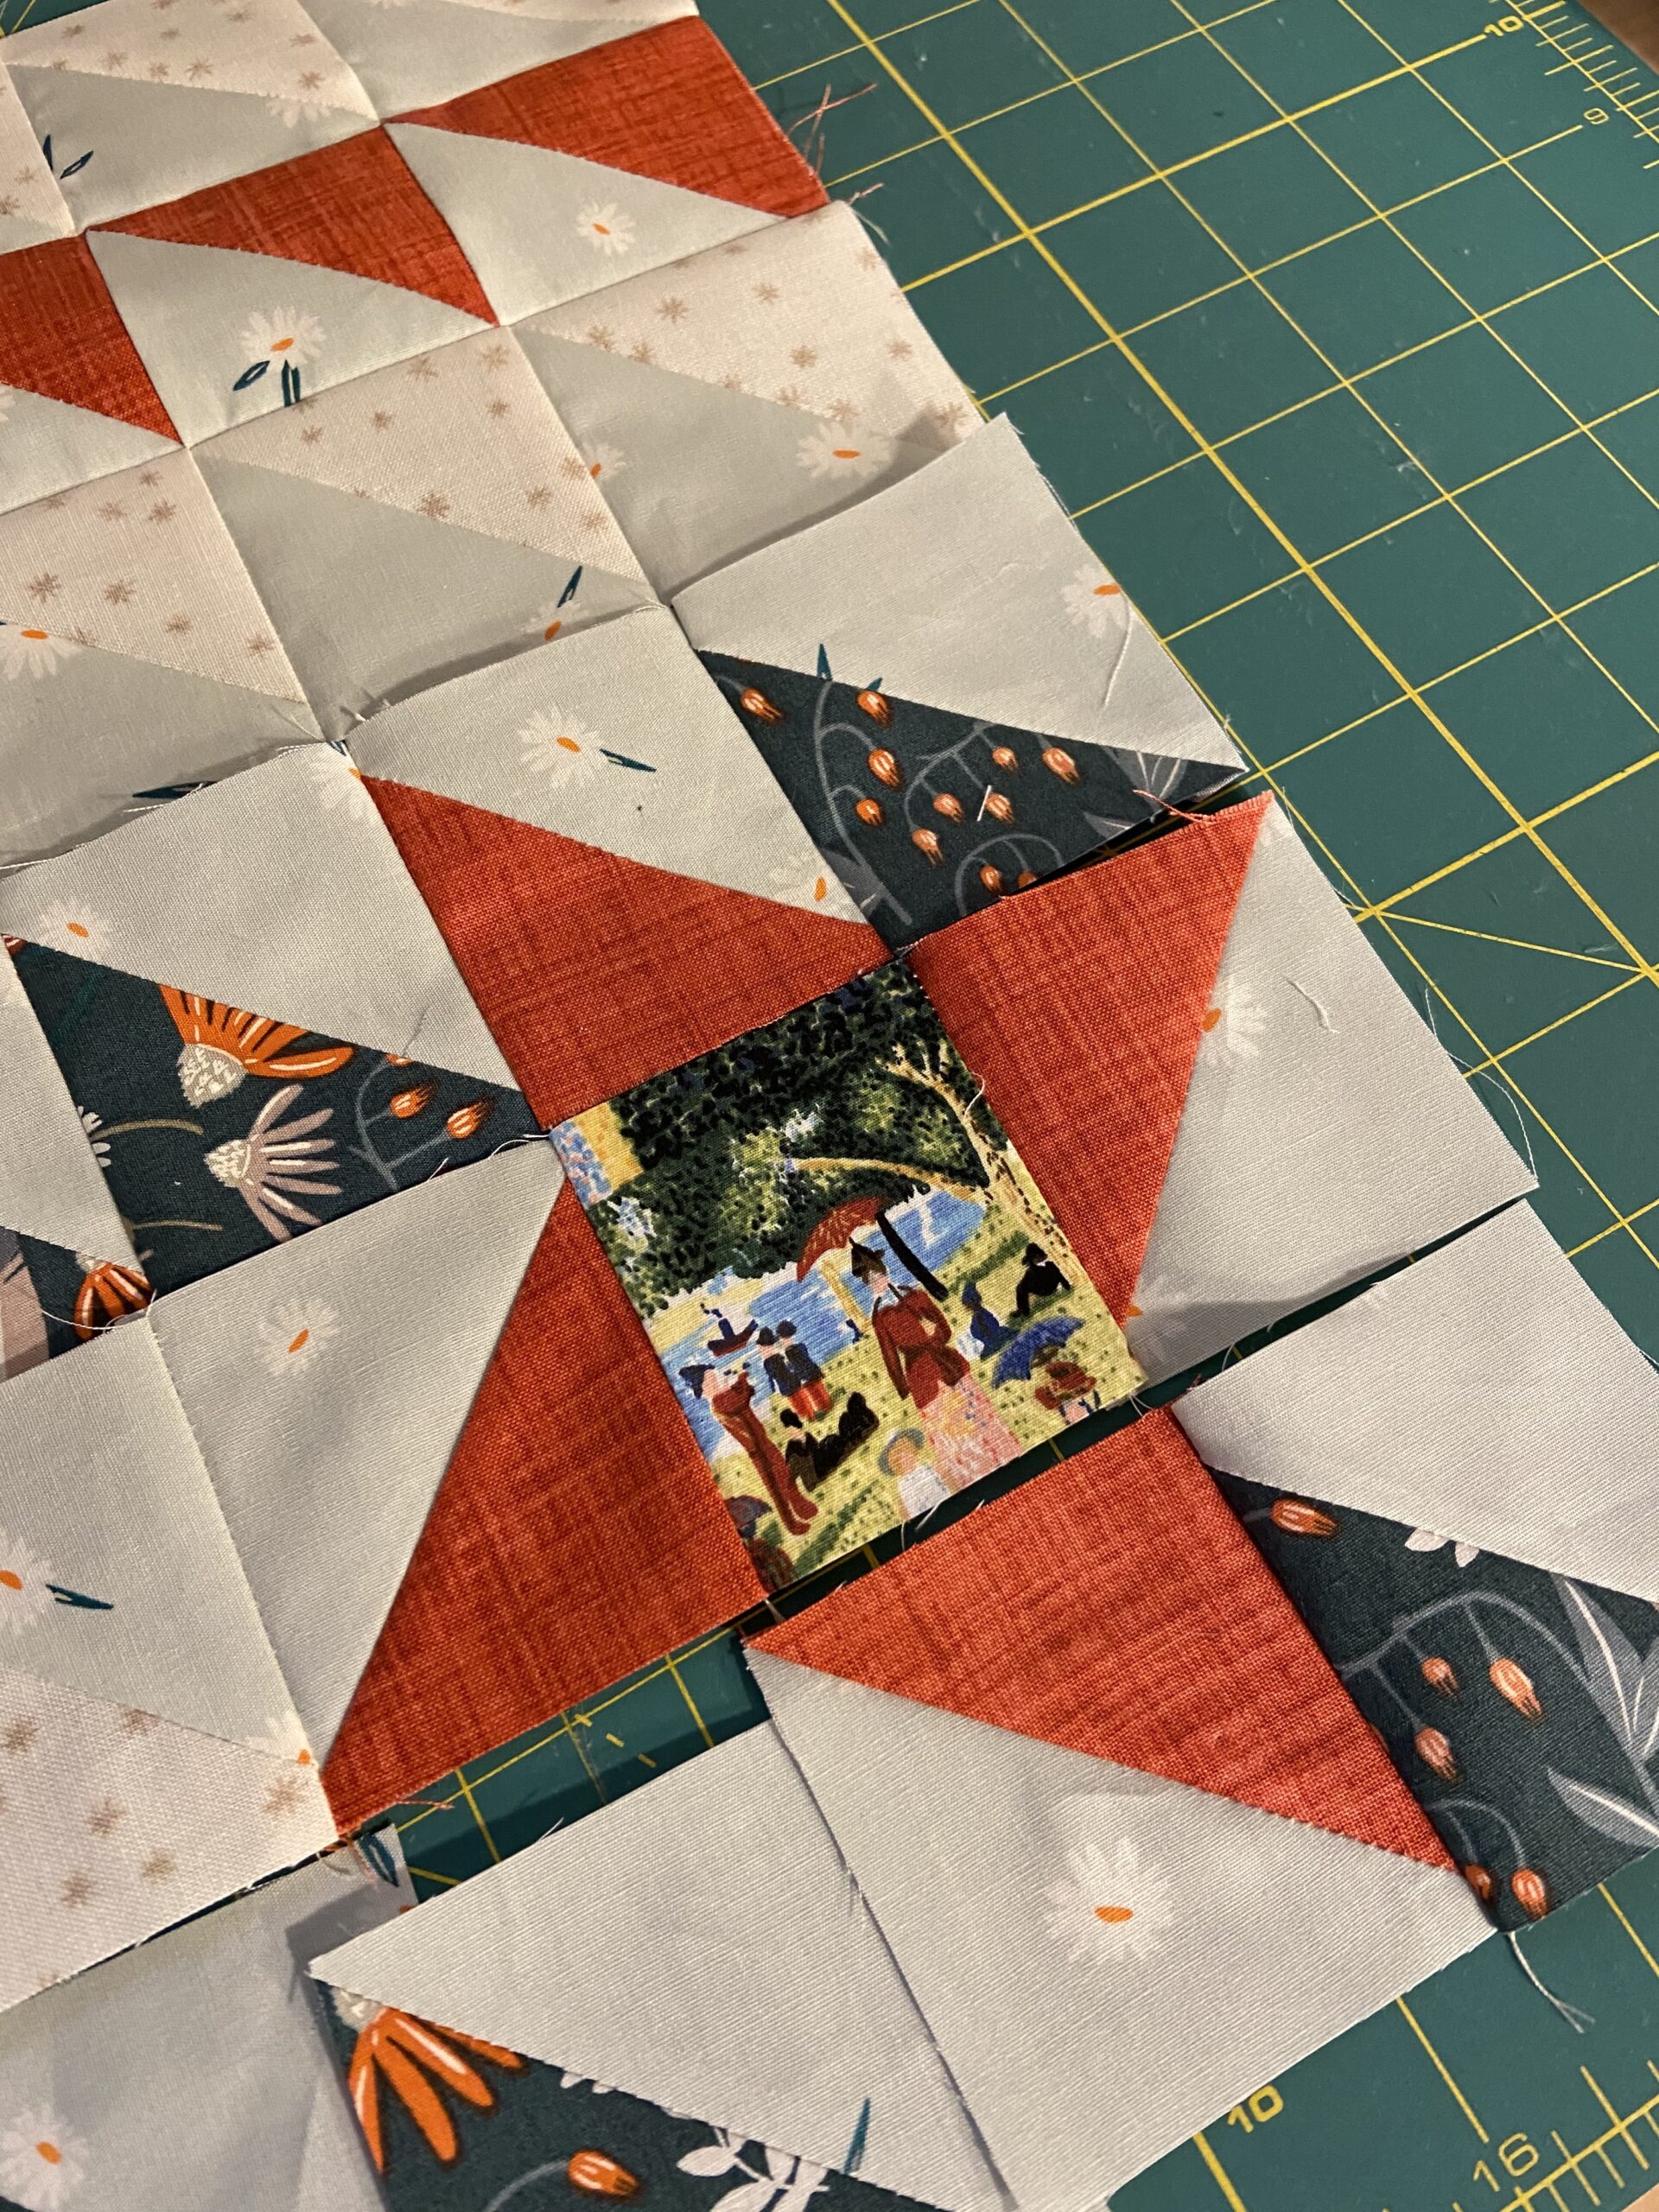
A few posts back, I shared the pumpkins I made with strips of fabric. Using a tutorial by Jayne over at Twiggy and Opal, I framed the pumpkins and then cut them so they would be a little bit wonky. I like the whimsical effect of having them slant to the right and left.

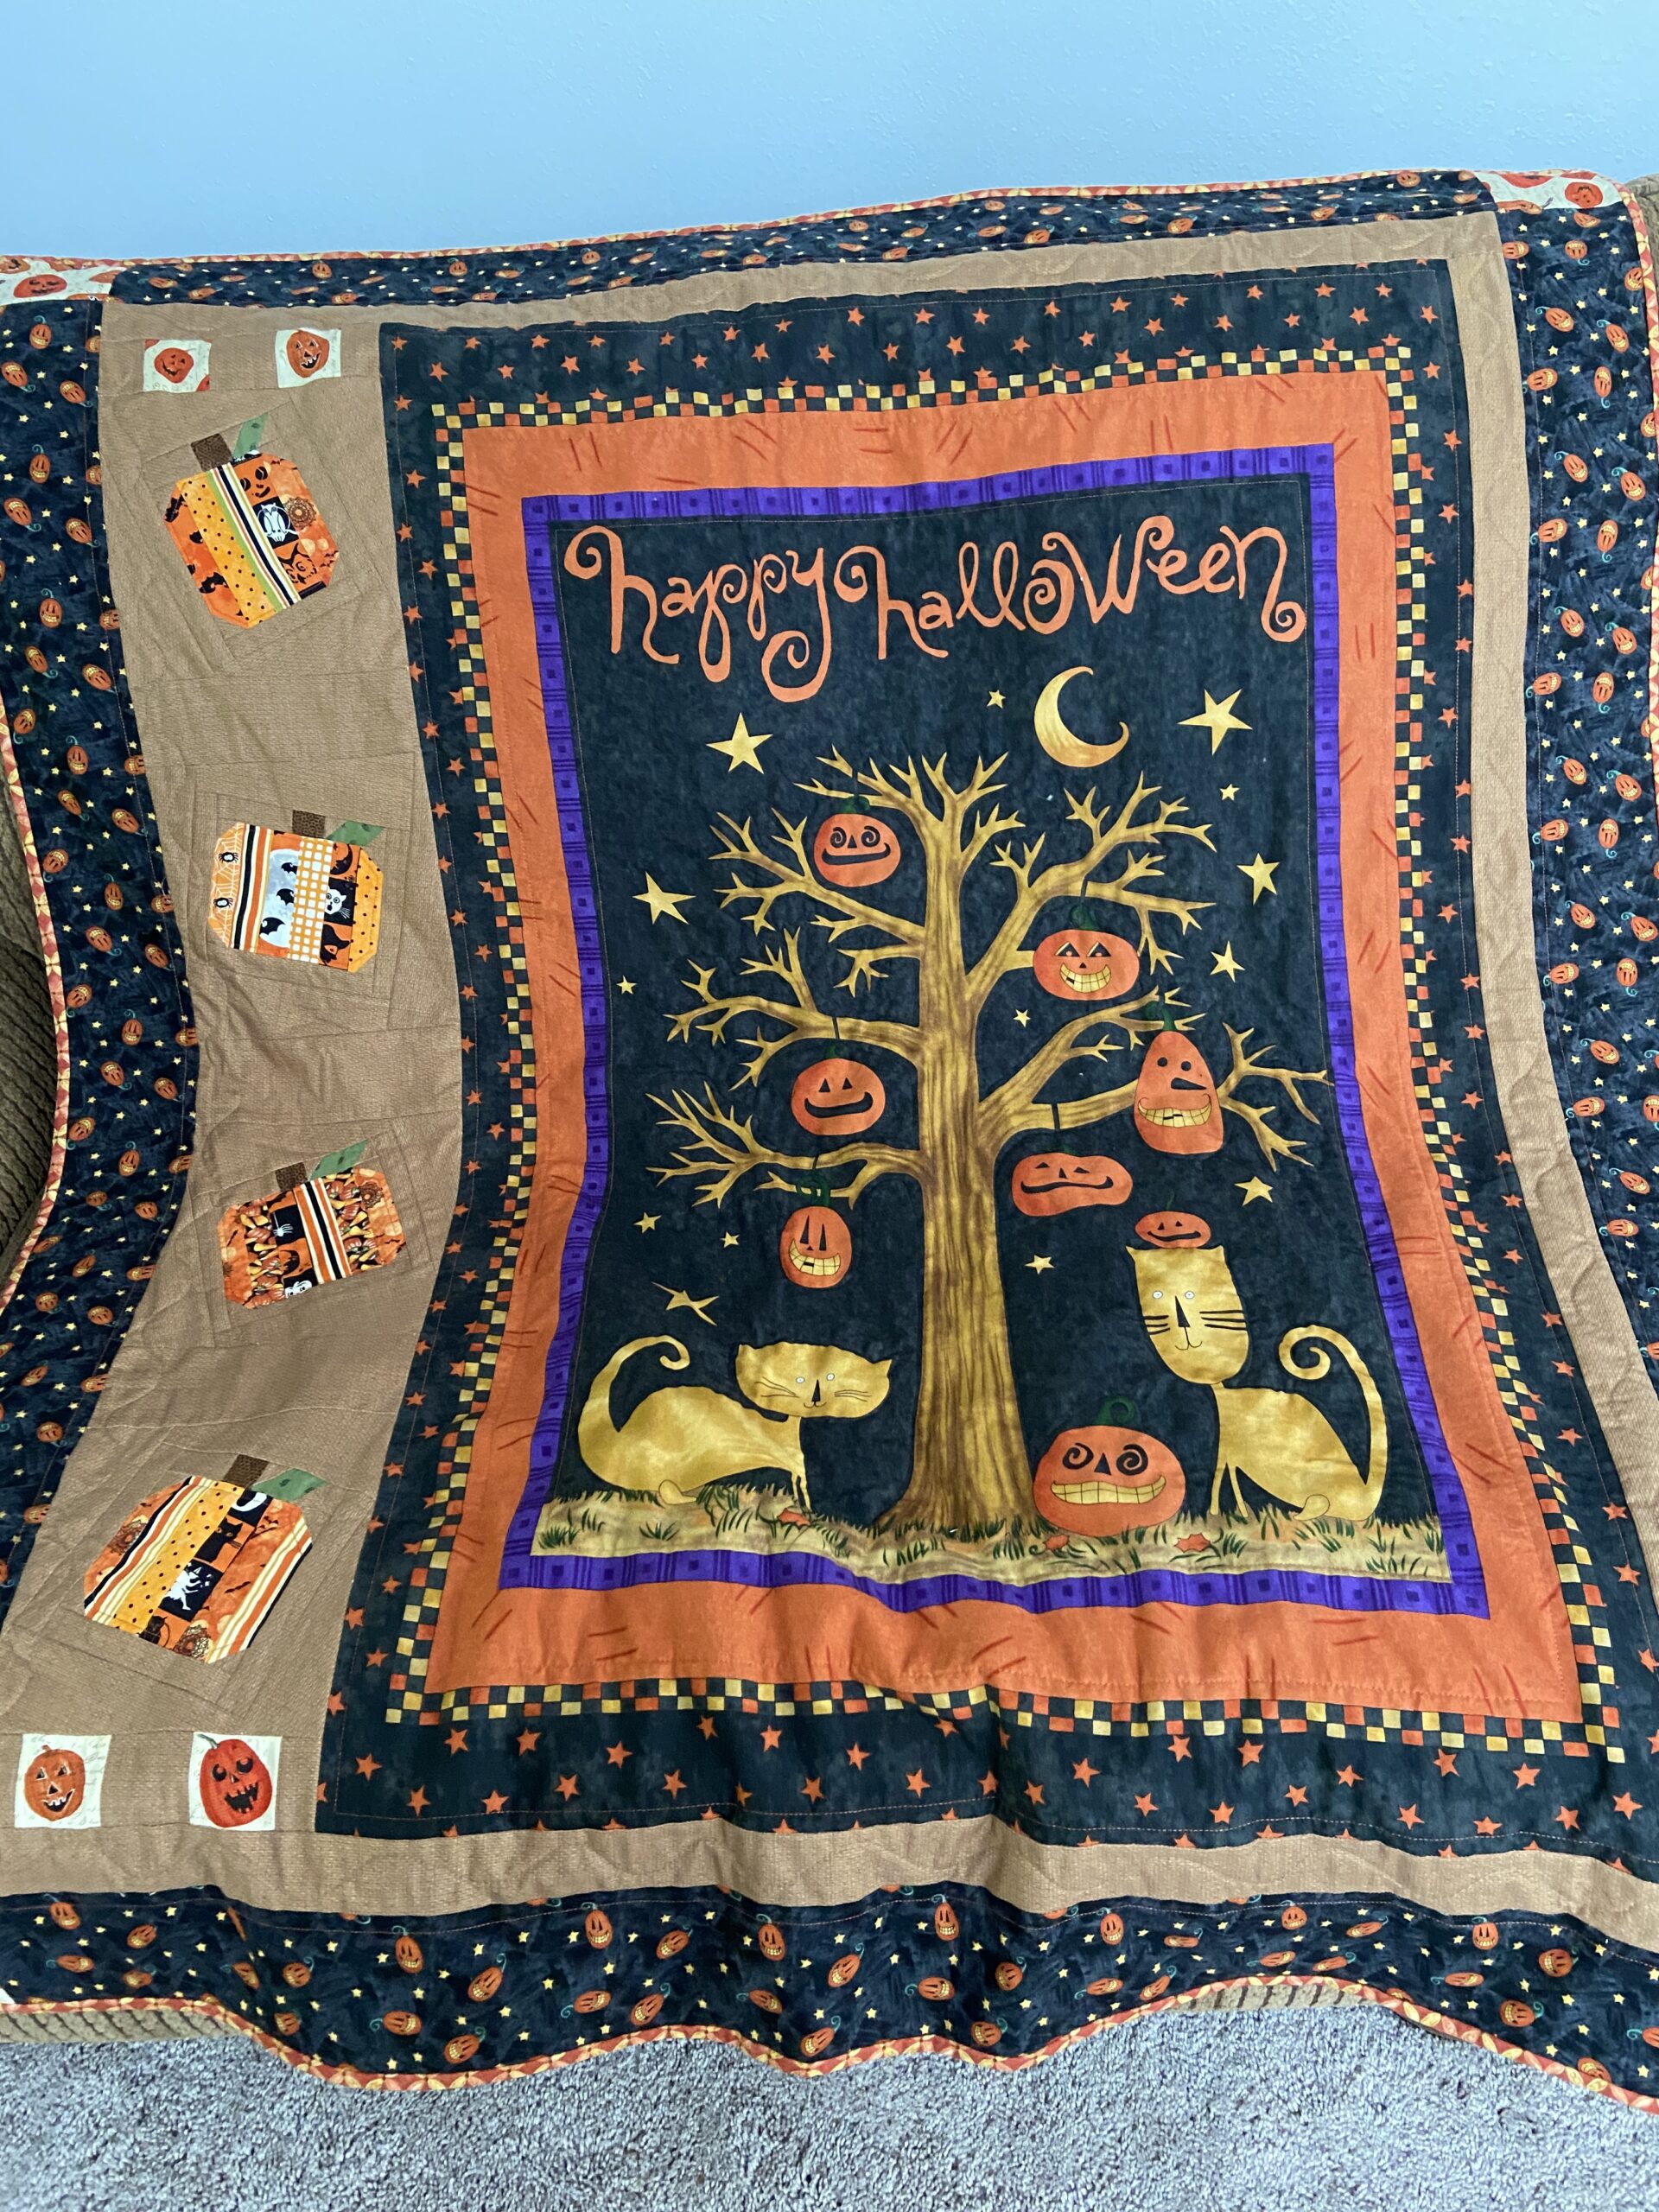
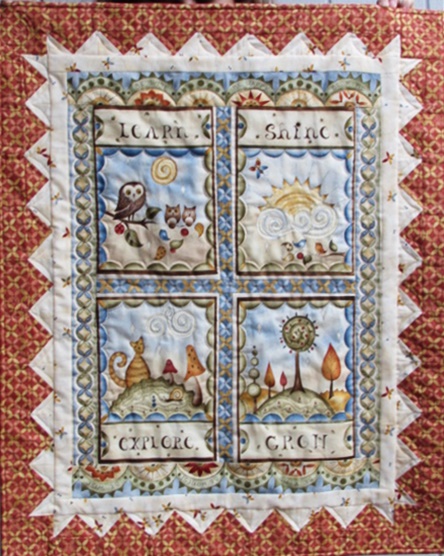
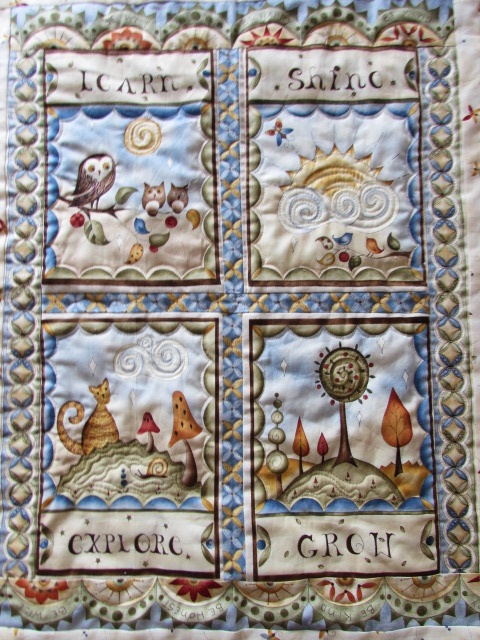
To make things a bit more interesting, I placed the panel off to the side so that the quilt isn’t symmetrical. When I quilted it, I did straight lines for most of the borders and then echoed around the tree and the cats on the panel. Very simple quilting was the ticket.

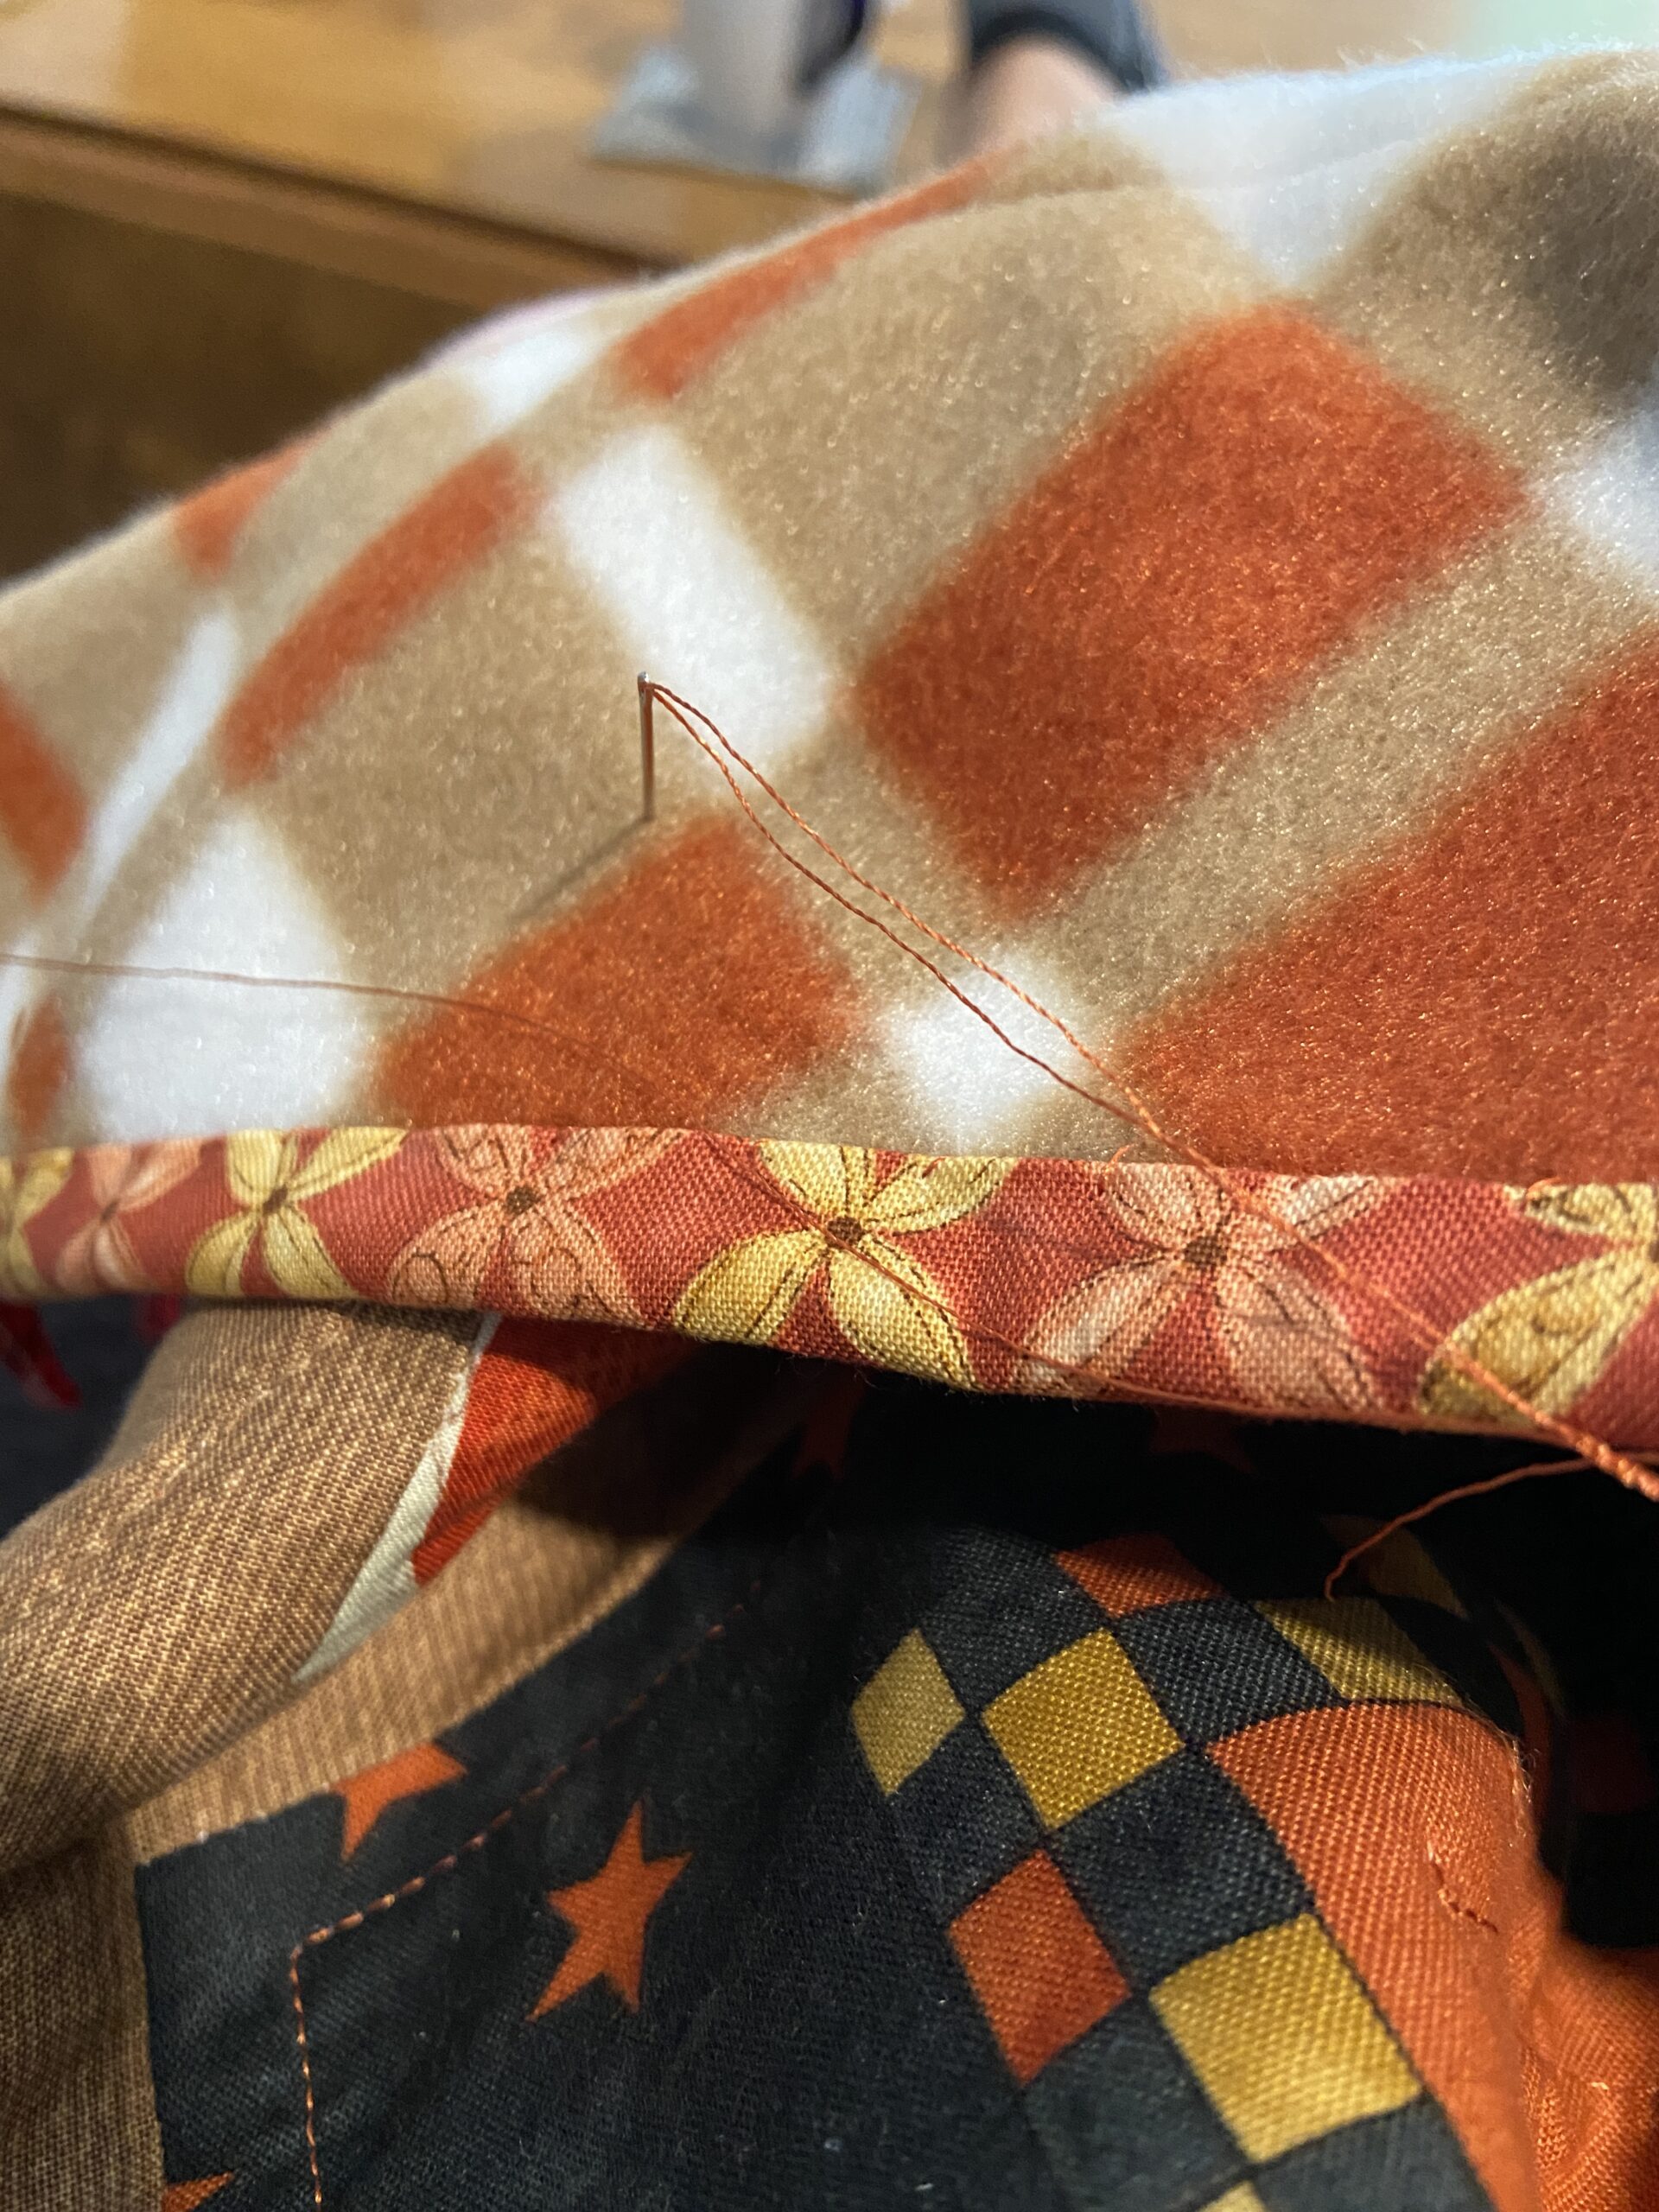
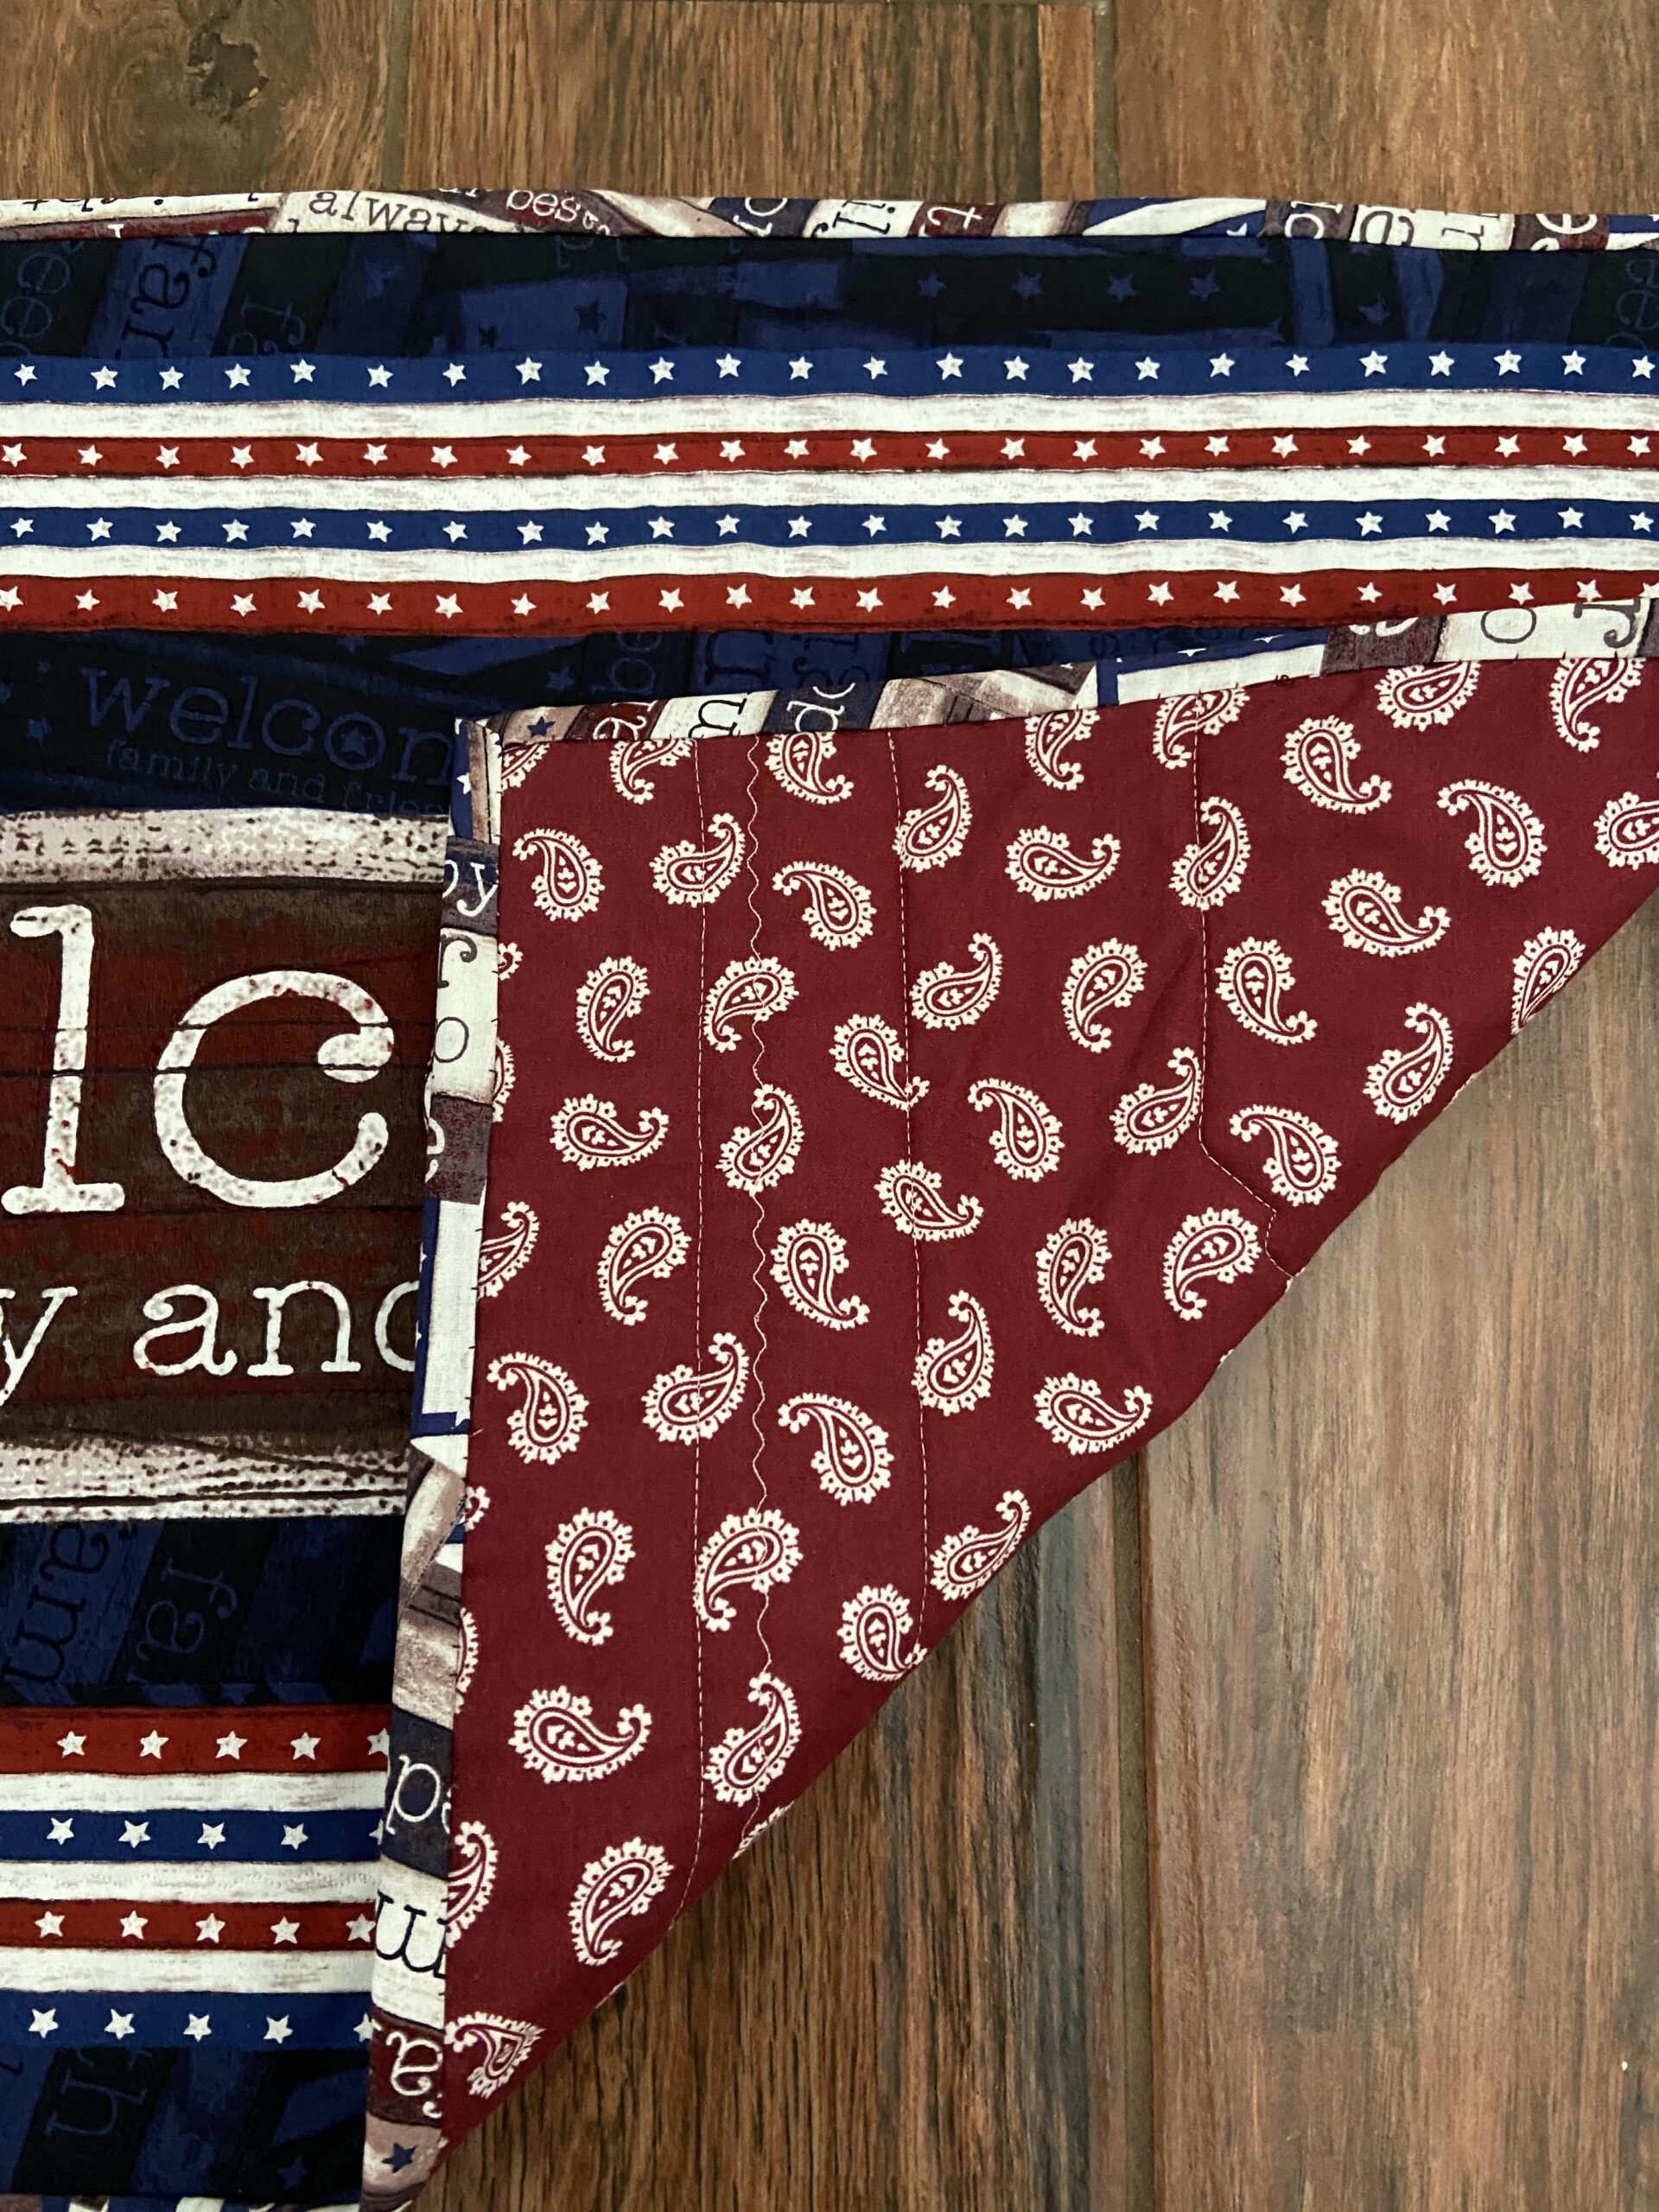
The binding was made with fabric I had on the shelf; machine stitched to the front and hand stitched to the back.

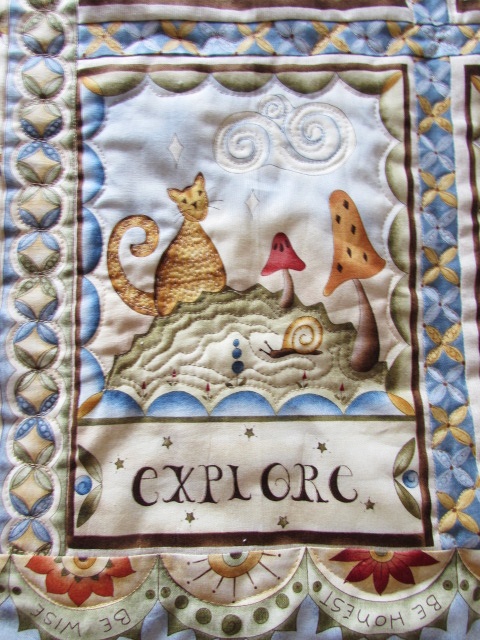
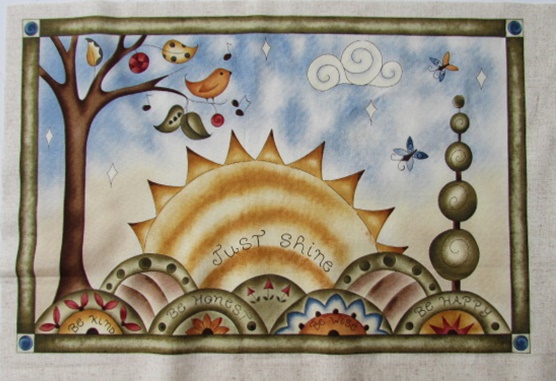
It isn’t feeling like fall outside just yet but while out walking, I have seen some leaves that are turning color already. It won’t be too long before autumn is here. We are spending Saturday afternoon with my son and his family. We haven’t seen them for a couple of weeks so we are looking forward to it.

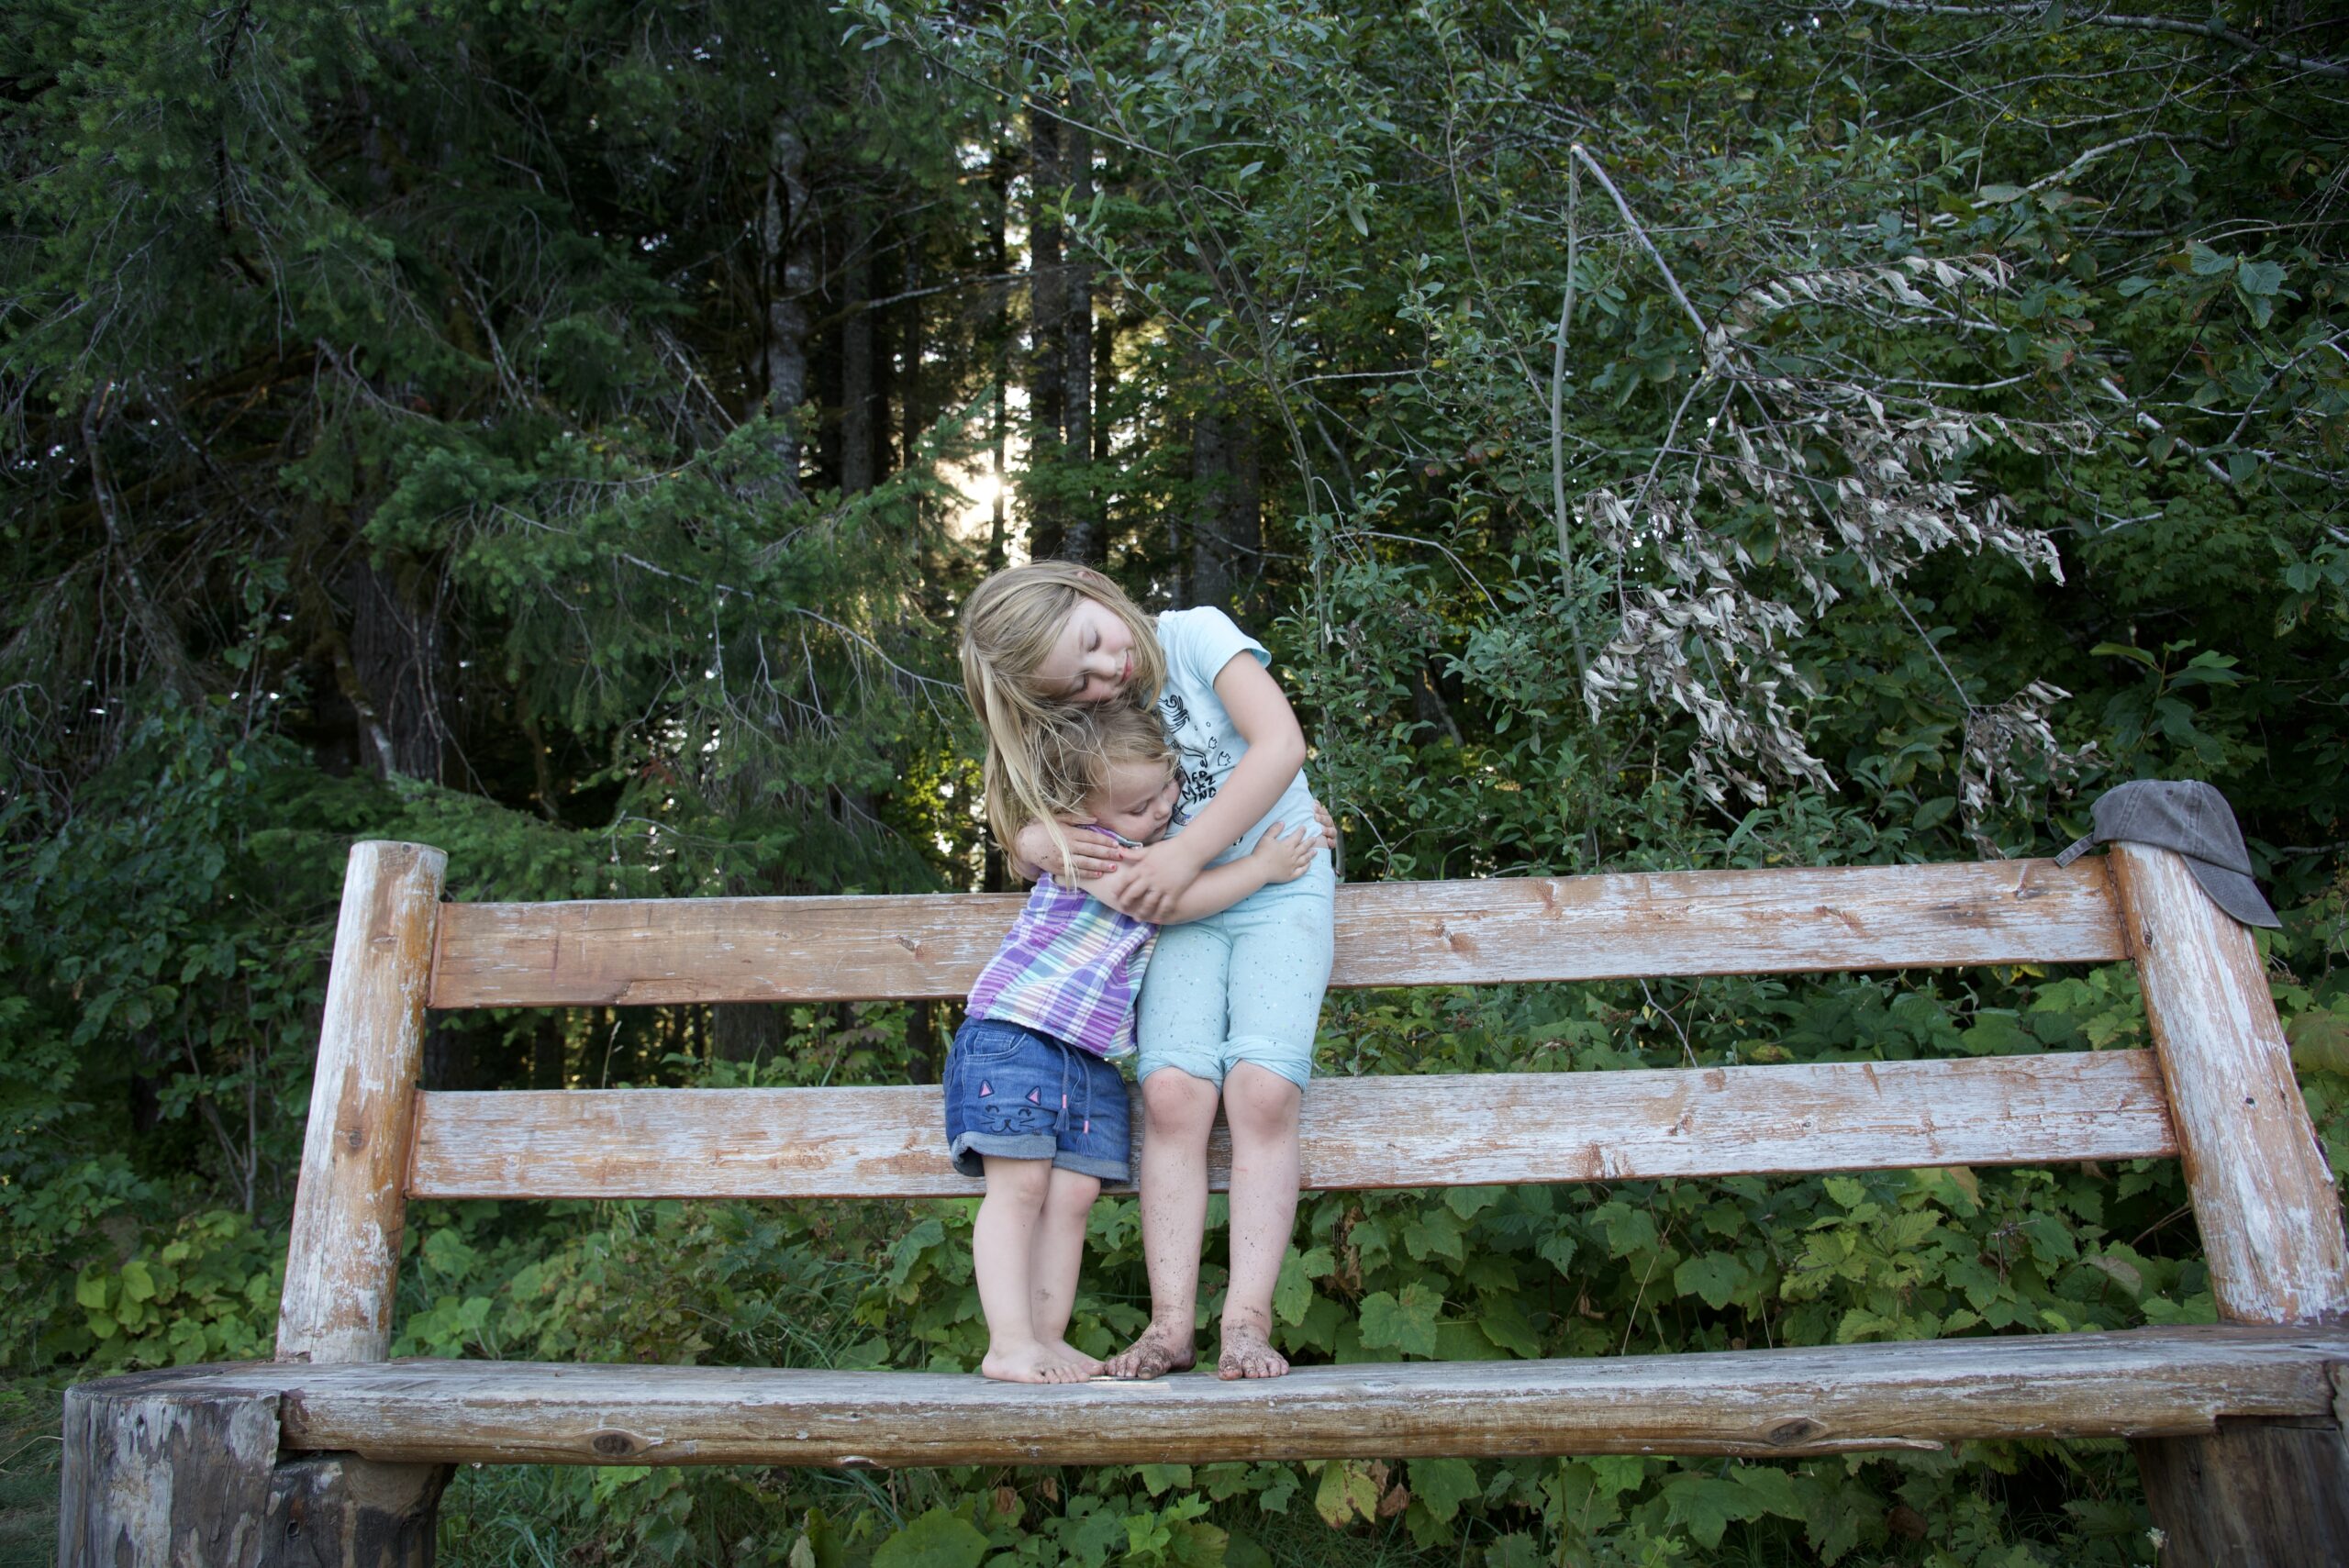
My son and his wife took the girls on a long camping trip last week. They shared so many great pictures of their adventures. But this was my favorite. These two sisters have an awesome bond.

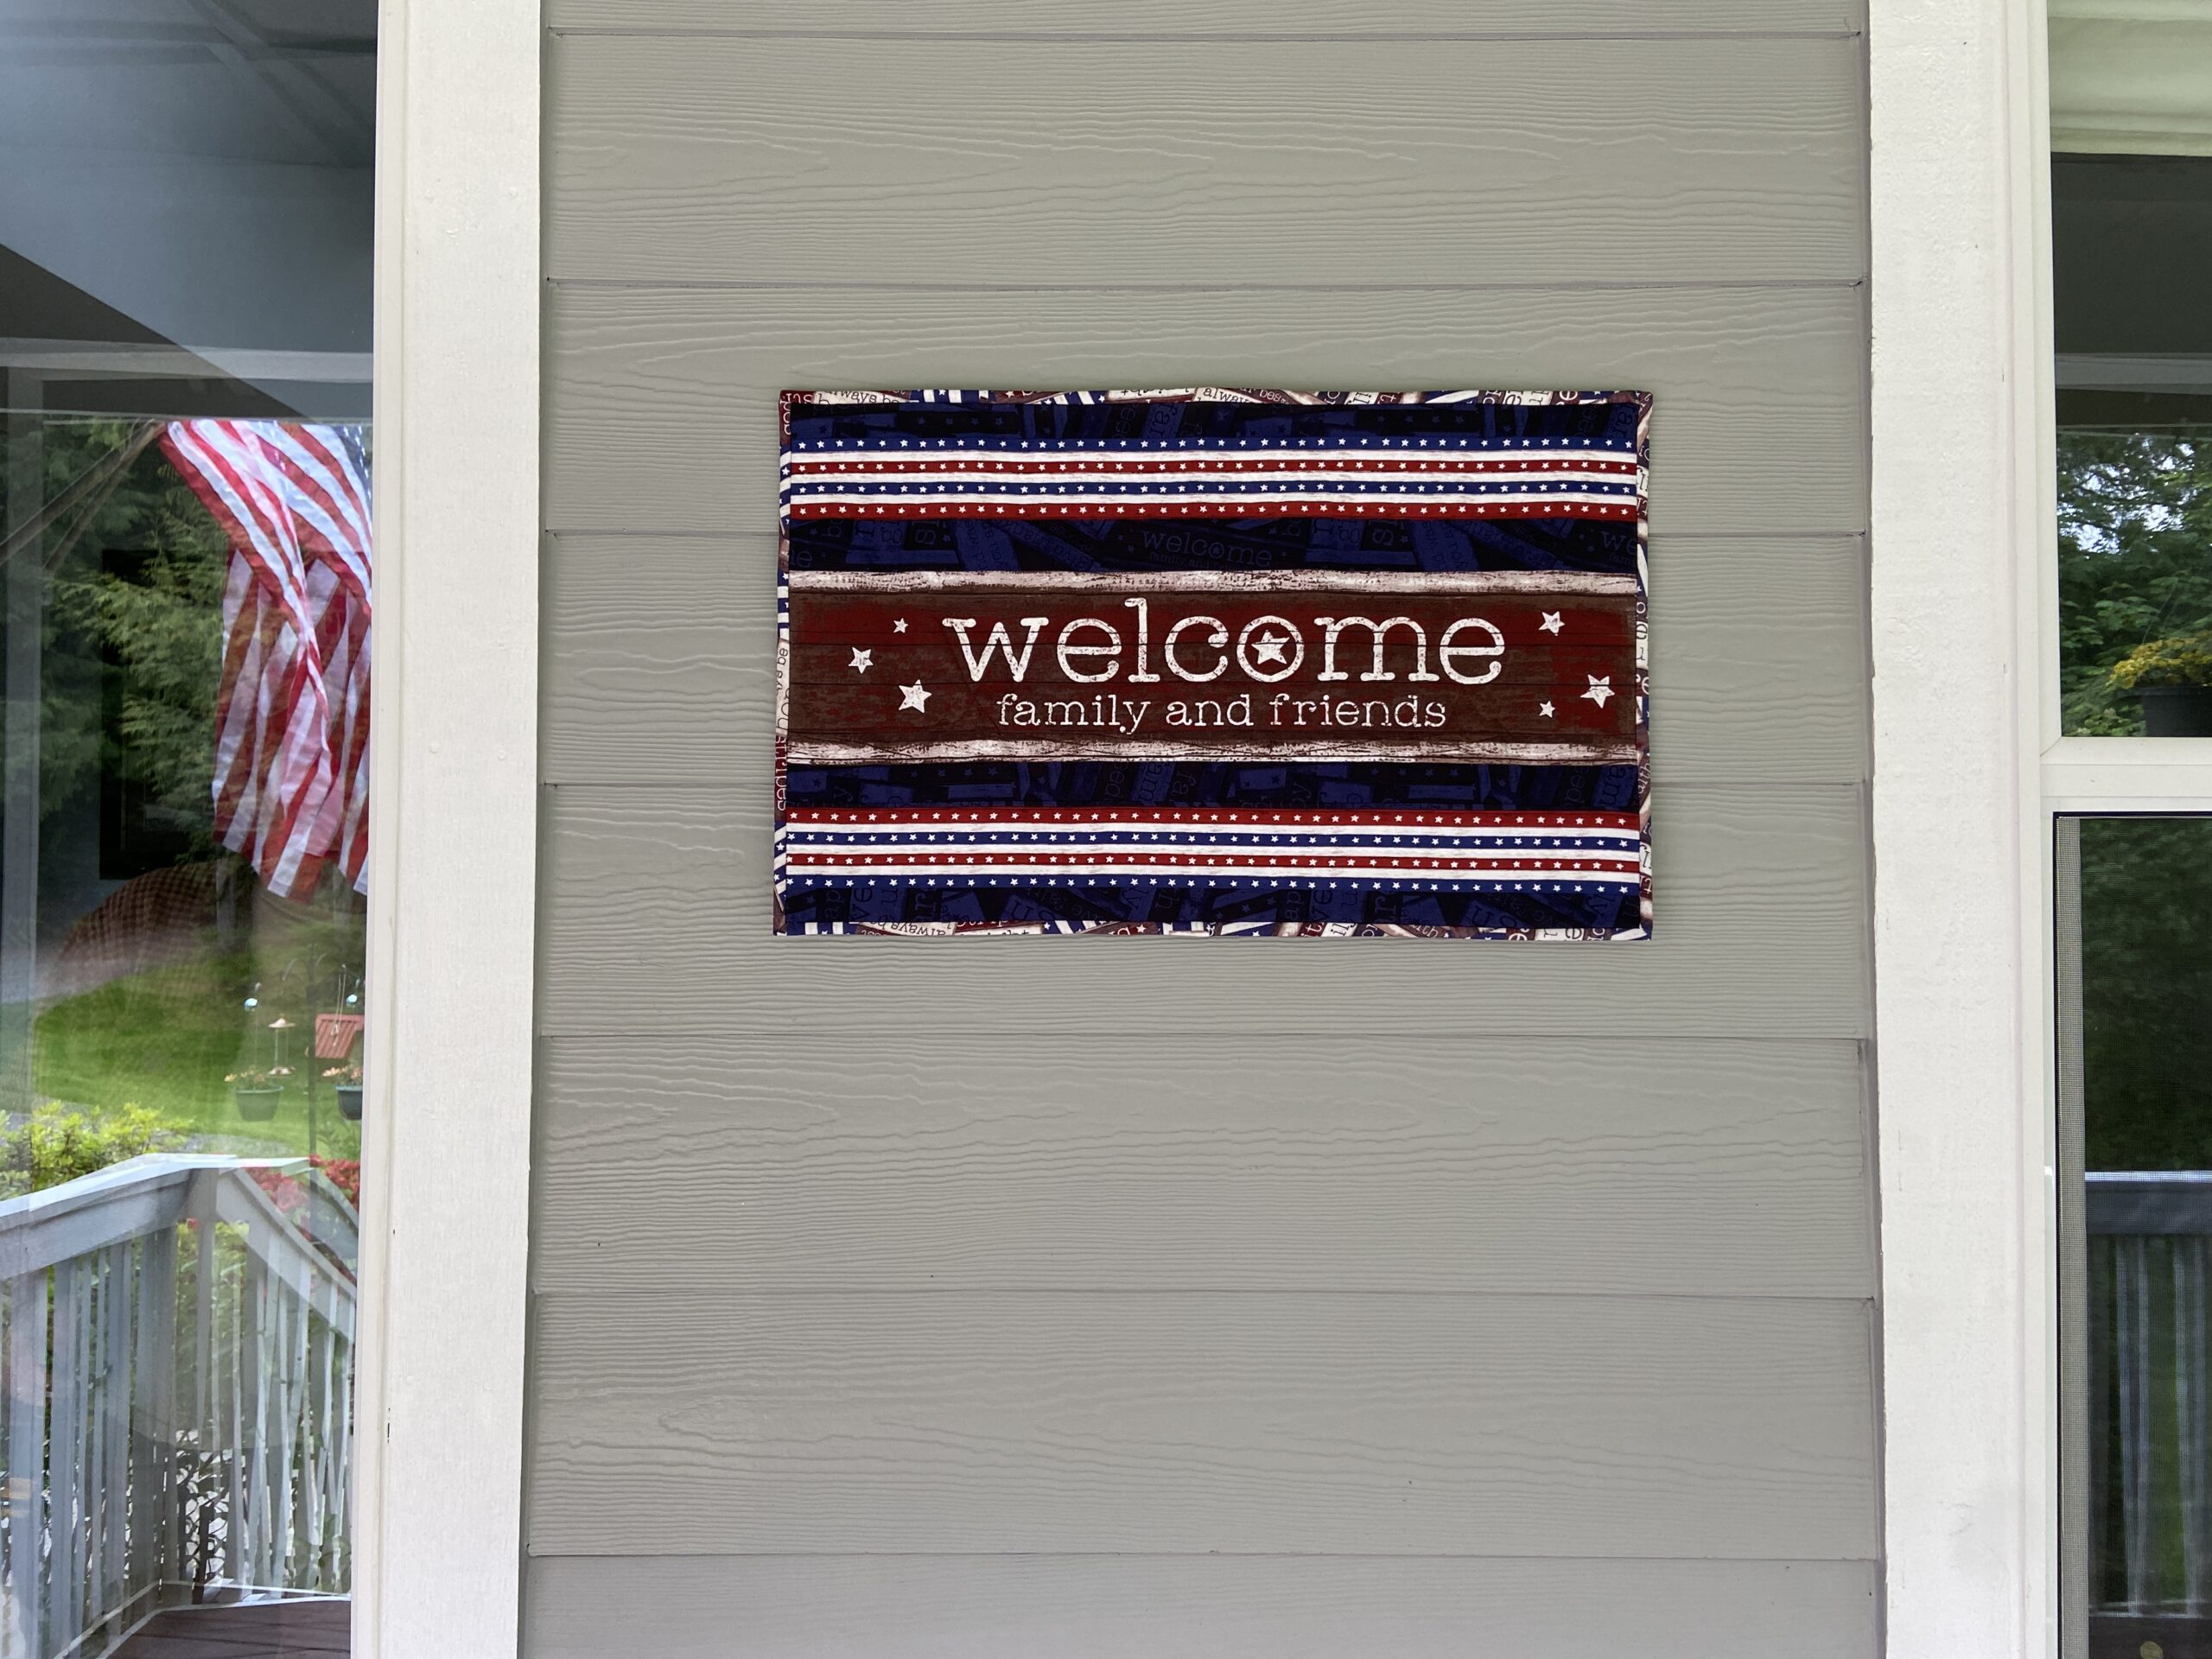
Hope you are finding ways to celebrate the end of summer! Kids are going back to school and fall is on the way. Enjoy!

Linking up with the Peacock Party as well as other favorites. Find the links at the top of the page, under Link Ups.

A Patriotic Finish & Giveaway!!

Note: Giveaway now closed. I actually selected two winners because I found enough for two kits. Winners have been notified. Hope to hear from them soon so I can mail off their prize!

Good morning all! I intended to post this before Memorial Day. Somehow it didn’t happen so I am writing it this morning. No worries though. While patriotic projects are good at any time of year; May, June and July usually put people in the mood for red, white and blue with Memorial Day, Flag Day and Independence Day during these months.

The front deck.

Doesn’t this look nice? Here is the backstory of this little wall hanging.

Feels great to be sewing again!

My sister recently sold (actually practically gave) me a Bernina sewing machine and a Juki serger. I have not sewn with a Bernina before so I have been watching YouTube and practicing on simple projects. Leftover from the shop, I have a couple of these panels and some of the coordinates from the Home Of the Free line that I had carried.

This shows most of the panel. It has the welcome portion and lots of little sayings as well. I took the stripe at the bottom and added it to the welcome portion to balance things out. Then I basted it together and did some basic quilting to hold everything together.

It measures 15″ x 24″. For the binding I used one of the coordinates. It is super simple but I think it makes a cute welcome sign.

Cute paisley backing.

For the backing, I chose this paisley print. The reds are the same tone so it looks wonderful together. I love paisleys. Even if this is on the back side and no one will really see it., I know it is there!

Now I have a cute welcome sign on the front porch to takes us through summer months.

How about you? Would you like to make one? Or maybe a quilt with these fabrics? I still have enough fabric to gift a kit for your project! It includes a star print instead of the paisley but you’ll have enough to play with to make whatever you’d like. I would love to see what you do with this!

GIVEAWAY NOW CLOSED.

Please leave a comment for me if you are interested in this kit. No pattern included so you’ll have to be creative and work something out. Since this is a patriotic, American fabric, the giveaway is limited to US residents. I will choose a winner on Sunday afternoon. Good luck and have a great weekend!

Sharing at Finished or not Friday, Brag About Your Beauties and TGIFF over at Anja Quilts.

**************************************************************************

Reminder!! The Positivity 2022 QAL has begun. We are choosing fabrics and cutting pieces. At least that is where I am. Hoping to start putting blocks together soon though. Check out fabric and cutting instructions at Sew Preeti Quilts. Hope you will join us!

Rainbow Scrap Updates and a Panel Challenge

It is the end of the month and I scrambled to get a few things done for April. Seems the April came to a close much sooner than it was supposed to as I wasn’t really ready.

Yesterday was a housecleaning day. The obscure chores just get pushed back until finally the oven stinks whenever it is heating up and there is no choice but to clean it. That was not a fun chore but it is done and the oven is all ready to go again! I also had to give some of my houseplants a bath. The larger ones get dusty and it is easiest to take them on the back deck and just hose them off, let them dry and bring them back in. Yikes they look so much better now.

After that nonsense, I managed to finish the RSC blocks for April. I used three very different shades of blue for these blocks. The diamond blocks are fun to make and not at all difficult. They finish at 6″ x 12″. I have been pre-cutting the neutral background triangles making it simple to put them together (making one wonder why I would wait until the end of each month??) Sigh.

Here are a few of the colors put together. I am sure I will need more than three of each color (which is what I am currently making). Seems best I make a few more pink, yellow and green blocks so I won’t have to do it all in the fall. But will I??? We all know the answer to that. Motivate me. Tell me how happy I will be come October, if I have the right number of blocks made. Tell me how it will make it so much easier to assemble the quilt and if I don’t have the right number of blocks made, I will likely put this in a project bag and let it languish. Tell me, ok???

In the meanwhile, I have also been working on a panel challenge hosted over at Prairie Moon Quilts. A while back, Shelly challenged quilters to use one of the panels in their stash and make something with it. Too many times, the panels in shops attract a quilter and are purchased without a real plan how it might be used. Panels are so fun and can be used in any number of ways. To see a few of my favorites, check my Pinterest board.

I chose to use this beautiful panel from Northcott’s Covent Garden Line. I do have it in the shop if you love it as much as I do! It measures 28″ x 42″. The colors are amazing. It was designed by Deborah Edwards.

When I first got this panel in the shop I wanted to just quilt it as a whole cloth and hang it somewhere. But as time went on, I was less convinced this was the right choice. When Shelly presented her challenge, I decided to cut it up and piece it.

Next decision was how much to cut?? Not much was the answer I came up with. So I sliced it into columns. The center measures 9″ wide and moving out from there the size decreases. The next strip was cut at four inches, followed by three inches and the narrow outside strip was 2 1/2 inches wide.

For the first border, I used a piece of fabric from PB Textiles. I liked the rusty tones with the flowers. It was just about square at this point and my brain felt like it should be a rectangle. Adding a four inch floral strip at top and bottom made this happen and my brain was much more content. Shelly will be showing all of the quilts made for this challenge and will have it open for viewers to vote. I hope you will hop over there on Monday to look at all the different projects everyone has made. I am looking forward to it!

What a huge difference this made – There are so many ways to use this columnar method with a panel. Some quilters will move the panel pieces up and down so the picture is not totally lined up. This looks great with panels showing pretty landscape scenes. I also love when a panel is cut and made with attic window blocks. One idea that attracted me was seeing a quilt where part of the panel was cut and appliquéd to the quilt. The design looked wonderful. To see the panels I have in the shop, click here.

Thanks to Shelly for motivating me to play with this panel. Now it is time to baste and quilt it. I have a few quilt tops lined up to be finished. I think I will baste one this weekend to begin that process. What are your plans for the weekend? It is going to be rather warm here and there is plenty to do out in the yard during the cool of the morning and then in the sewing room in the afternoon.

Linking with my usuals. Check them out at the top of the page, under Link Ups.

Bloom with Grace

A while back, when the Bloom With Grace fabric first arrived in my shop, I knew I wanted to use some to make a Mercyful Quilt. It seemed so perfect for bringing comfort to a grieving family. The colors are gorgeous and the sentiment is very sweet. I took a panel and cut the four main blocks apart. Then it sat. This seems to happen quite often in my sewing room!

After a bit, I cut borders from some of the coordinates in this line. I added these to the four blocks and alternated the colors when I placed the bocks together. After stitching those up, I added a narrow pink border with tiny green cornerstones. Thinking it cute but a bit small, I cut up some scraps and added a patchwork border to the top and bottom. There. Now it felt finished!

Using a vintage sheet seemed like the perfect backing. A soft floral was the right complement to the colors and vibe of the quilt top. Each square block is quilted with a crosshatch and the borders have basic straight line quilting. The patchwork at top and bottom are stitched in the ditch to hold it all in place.

I am really pleased with the finished quilt. It isn’t huge, finishing at 44″ x 46″. With some additional pieced blocks between or around the four main panel pieces, one could make it quite a bit bigger if desired.

After taking some pictures I put it in the wash and now it is all soft and crinkly, ready for Mercy Hospital. Most of you are familiar with the Mercyful Quilt program but just in case you aren’t, I organize a program where quilts are made and donated to Mercy Hospital in Sacramento. Their palliative care team offers a quilt to families who are comforting a loved one who is dying. The family often chooses a quilt and uses it to cover their family member. After the person has died, the family takes the quilt home in remembrance of this special person. It brings great comfort to the person and to the family. I have received (and shared here) many thank you notes from both families who have received quilts as well as the team at Mercy who distributes them. I would love to have more donations for them. If you feel called to make one, there are just a few requirements. Your donation must be lap size, made with adult fabrics (because this hospital doesn’t treat children) and must be a new, unused quilt without any fragrance, especially not cigarette smoke. Other than that, the quilt can be as simple of complicated as you like. All quilts are hugely appreciated!!

This is the completion of my February OMG and I will be linking up to Elm Street Quilts. This is also to be a donation used for the 2021 Hands2Help hosted by Sarah Craig. I will link it up when that event opens up. For other link-ups that I enjoy, take a look at the top of the page and click on the Link Ups tab.

Project Updates

Somehow almost two weeks have passed since the last post. Not sure how that happened, but here we are. I have actually been in the sewing room quite a bit so I will do a quick update on what has been in the works.

First and foremost, I have been working on a cute baby quilt for my niece. It is just about done – I have a few more inches of binding to stitch down and then into the wash it goes. Once she receives it, I will share it here. I am 99% sure she doesn’t read the blog but since I haven’t taken photos of it anyway, it will have to wait.

Additionally, I decided to make a quilt for Mercy Hospital. If you are new here, I coordinate a program called Mercyful Quilts and you can read more about it here. It seemed like a good way to start off the new year by making a quilt for them. I have a panel (by Three Wishes) in the shop that is very pretty. It has four large sections and each has a quote. I thought, for people who are going through the process of saying goodbye to a loved one, this quilt would provide comfort. The prints are reminiscent of a water color painting.

Being a panel, this was a simple quilt top to create. I cut the panel into four sections and used some of the coordinates to create borders around the squares. (Looking at the squares, I think these would also be fun to use for a tote bag for bible study.)

Now that it is all put together, I am thinking it might be a tad small at 49 inches square. Just trying to decide if I add another border or go ahead and get it basted. Decisions, decisions. I am thinking of using a soft vintage sheet for the backing. I hope I have one in the right colors for this.

In the on-going saga of pretending to clean the sewing room, I started playing with a stack of leftover HST’s from the Mosaic Mystery Quilt I participated in last winter. (The top is still in the closet, patiently waiting for me to get it finished up.) As a result of piecing that top, I have a large stack of 2 1/2″ HST’s that I want to use for something. I poked around that wonderful rabbit hole, aka Pinterest, until I found some inspiration. I am working on a mini. I haven’t made a mini in quite a while. I remember making a bunch of them when I first started blogging but seems like it has been a while. So this will be finished up soon and I will share it with you then. I am thinking it may need to be hand quilted.

OK – that is it for now. Sorry to have been remiss in posting. I have been reading tons of posts and am loving the Stay at Home Round Robin that is going on. Have you seen the posts about this? It is being hosted by Quilting Gail and I am enjoying it. Check it out – maybe you have the perfect orphan block to build from.

Linking up to Stitch Show & Sew as well as a few others. Check out my Link Up tab at the top of the page.

Sunshine and Inspiration

Sunshine has been all to strong in my part of the world. We have had such an intensely hot summer this year. Craving fall, I decided to make something with this cute panel from the Red Rooster fabric line called Shine. This was designed by Jackie Paton and it is adorable. Autumnal colors, inspirational phrases, sunshine, kitties, owls — so much cuteness wrapped up into one fabric line! I have had it in the shop for a short while now and it has sold really well. Because I have a quilt show I am working later this month, I wanted to make up a sample with this fabric. It will decorate the booth a bit and maybe inspire shoppers to take a look at this sweet fabric.

The panel consists of six different items that can be used individually or in one project. I decided to use the four small blocks from the panel as well as some strips of the border print. I also used a bit of each of the three accent fabrics I have available. It was so fun to sew something with these colors. C’mon fall!!

The piecing was quick – just some sashing of the four rectangles and then a few borders to add color and whimsy. The best part was choosing how to quilt it. I took some time and stitched around the perimeter of each rectangle to anchor things. Next I followed the print of the blue and green border and echoed circles around the print.

The panels are really sweet and I spent just a little time thread sketching some of the bits of the scenes such as the clouds, the sun, that sweet kitty and the wise owl.


The outermost border was made with flying geese and rectangles. I love the way it came out.  (Shout out to Mari of Academic Quilter who helped me when I got stuck figuring out what size blocks would work best. Thank you Mari!) I like the deep rust color of this fabric. So much so that I also used it as the binding.

A quick modeling session before school this morning!

Lady really wanted to be included in this photo shoot.  She is also concerned that there are no dogs, only cats, featured in this fabric line. Why would I use such fabric?? Well, for one reason,  I like the little inspirational words – Learn, Shine, Explore and Grow. The fall colors make me happy and I could totally see this project of mine hanging in a classroom, library, kid’s playroom – or maybe even downstairs in my shop! It will be a fun one to hang in my booth at the next show. I will be a vendor in Sacramento over the weekend of September 15-17th. This little quilt will surely add some fun to the booth.

Measures about 14″ x 21″

Measures about 10″ x 15″.

Since I only used a part of the panel, I would love to share the two pieces that are left. I also have some of the border print that I cut into but didn’t use up.  I will divide the border fabric and the two pieces into two bundles and give it to two lucky quilters who would like to use it. One bundle will have the larger piece with the tree.  The other bundle will have the piece featuring the sun.  I would love to see what you make with these!!


If you would like to throw your name in the hat, please leave a comment and tell me what recipe is your go-to fall food. I am all about muffins – apple, pumpkin, cinnamon & sugar – Yum.  Should you want the other accent fabrics you can find them here.