Isn’t that a boring title for a post? I don’t know what to call this quilt. Maybe after you look at the photos and read the post you’ll come up with a clever name for it.
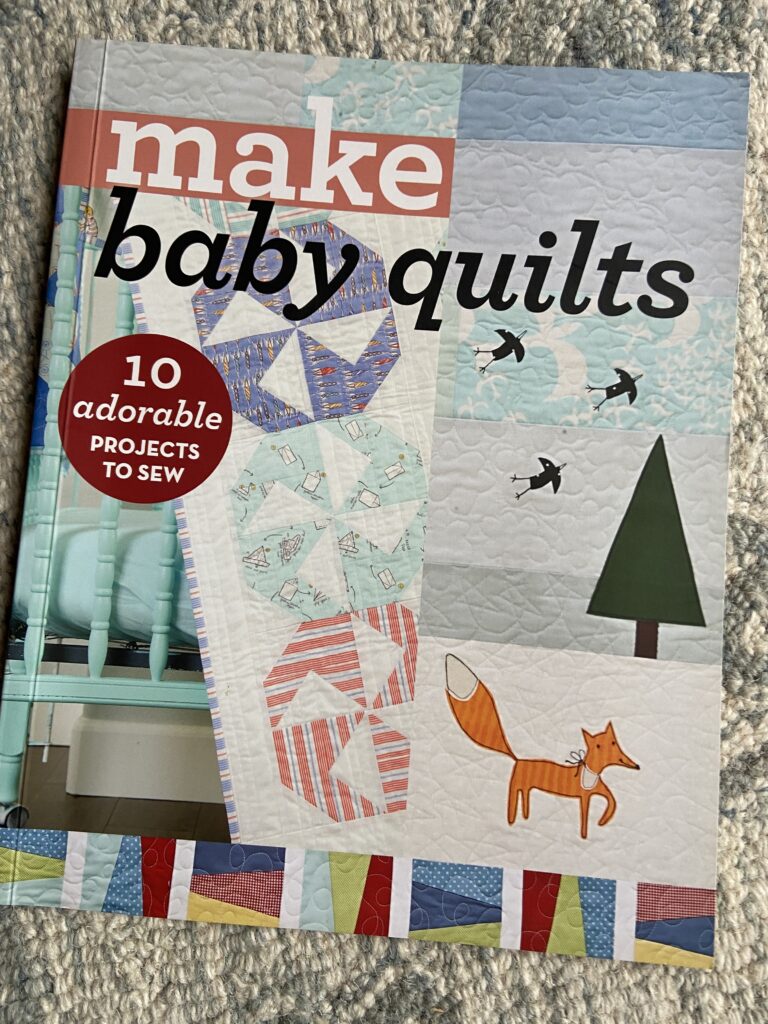
I bought a book for making baby quilts a couple of years ago. There are a few quilts in it that I thought would be very fun to make. There are ten projects, each one by a different designer. C&T Pubs just happens to have the book on sale right now. Make Baby Quilts includes designs by Camille Roskelley, Allison Harris, and Latifah Saafir – among others.

The Sweet as Pi pattern really drew me in though. Sure, it would be wonderful as a floor mat for a baby. Designed by Malka Dubrawsky, it is a strong graphic pattern and the colors could be changed as needed. But I decided to make it as a wall quilt.
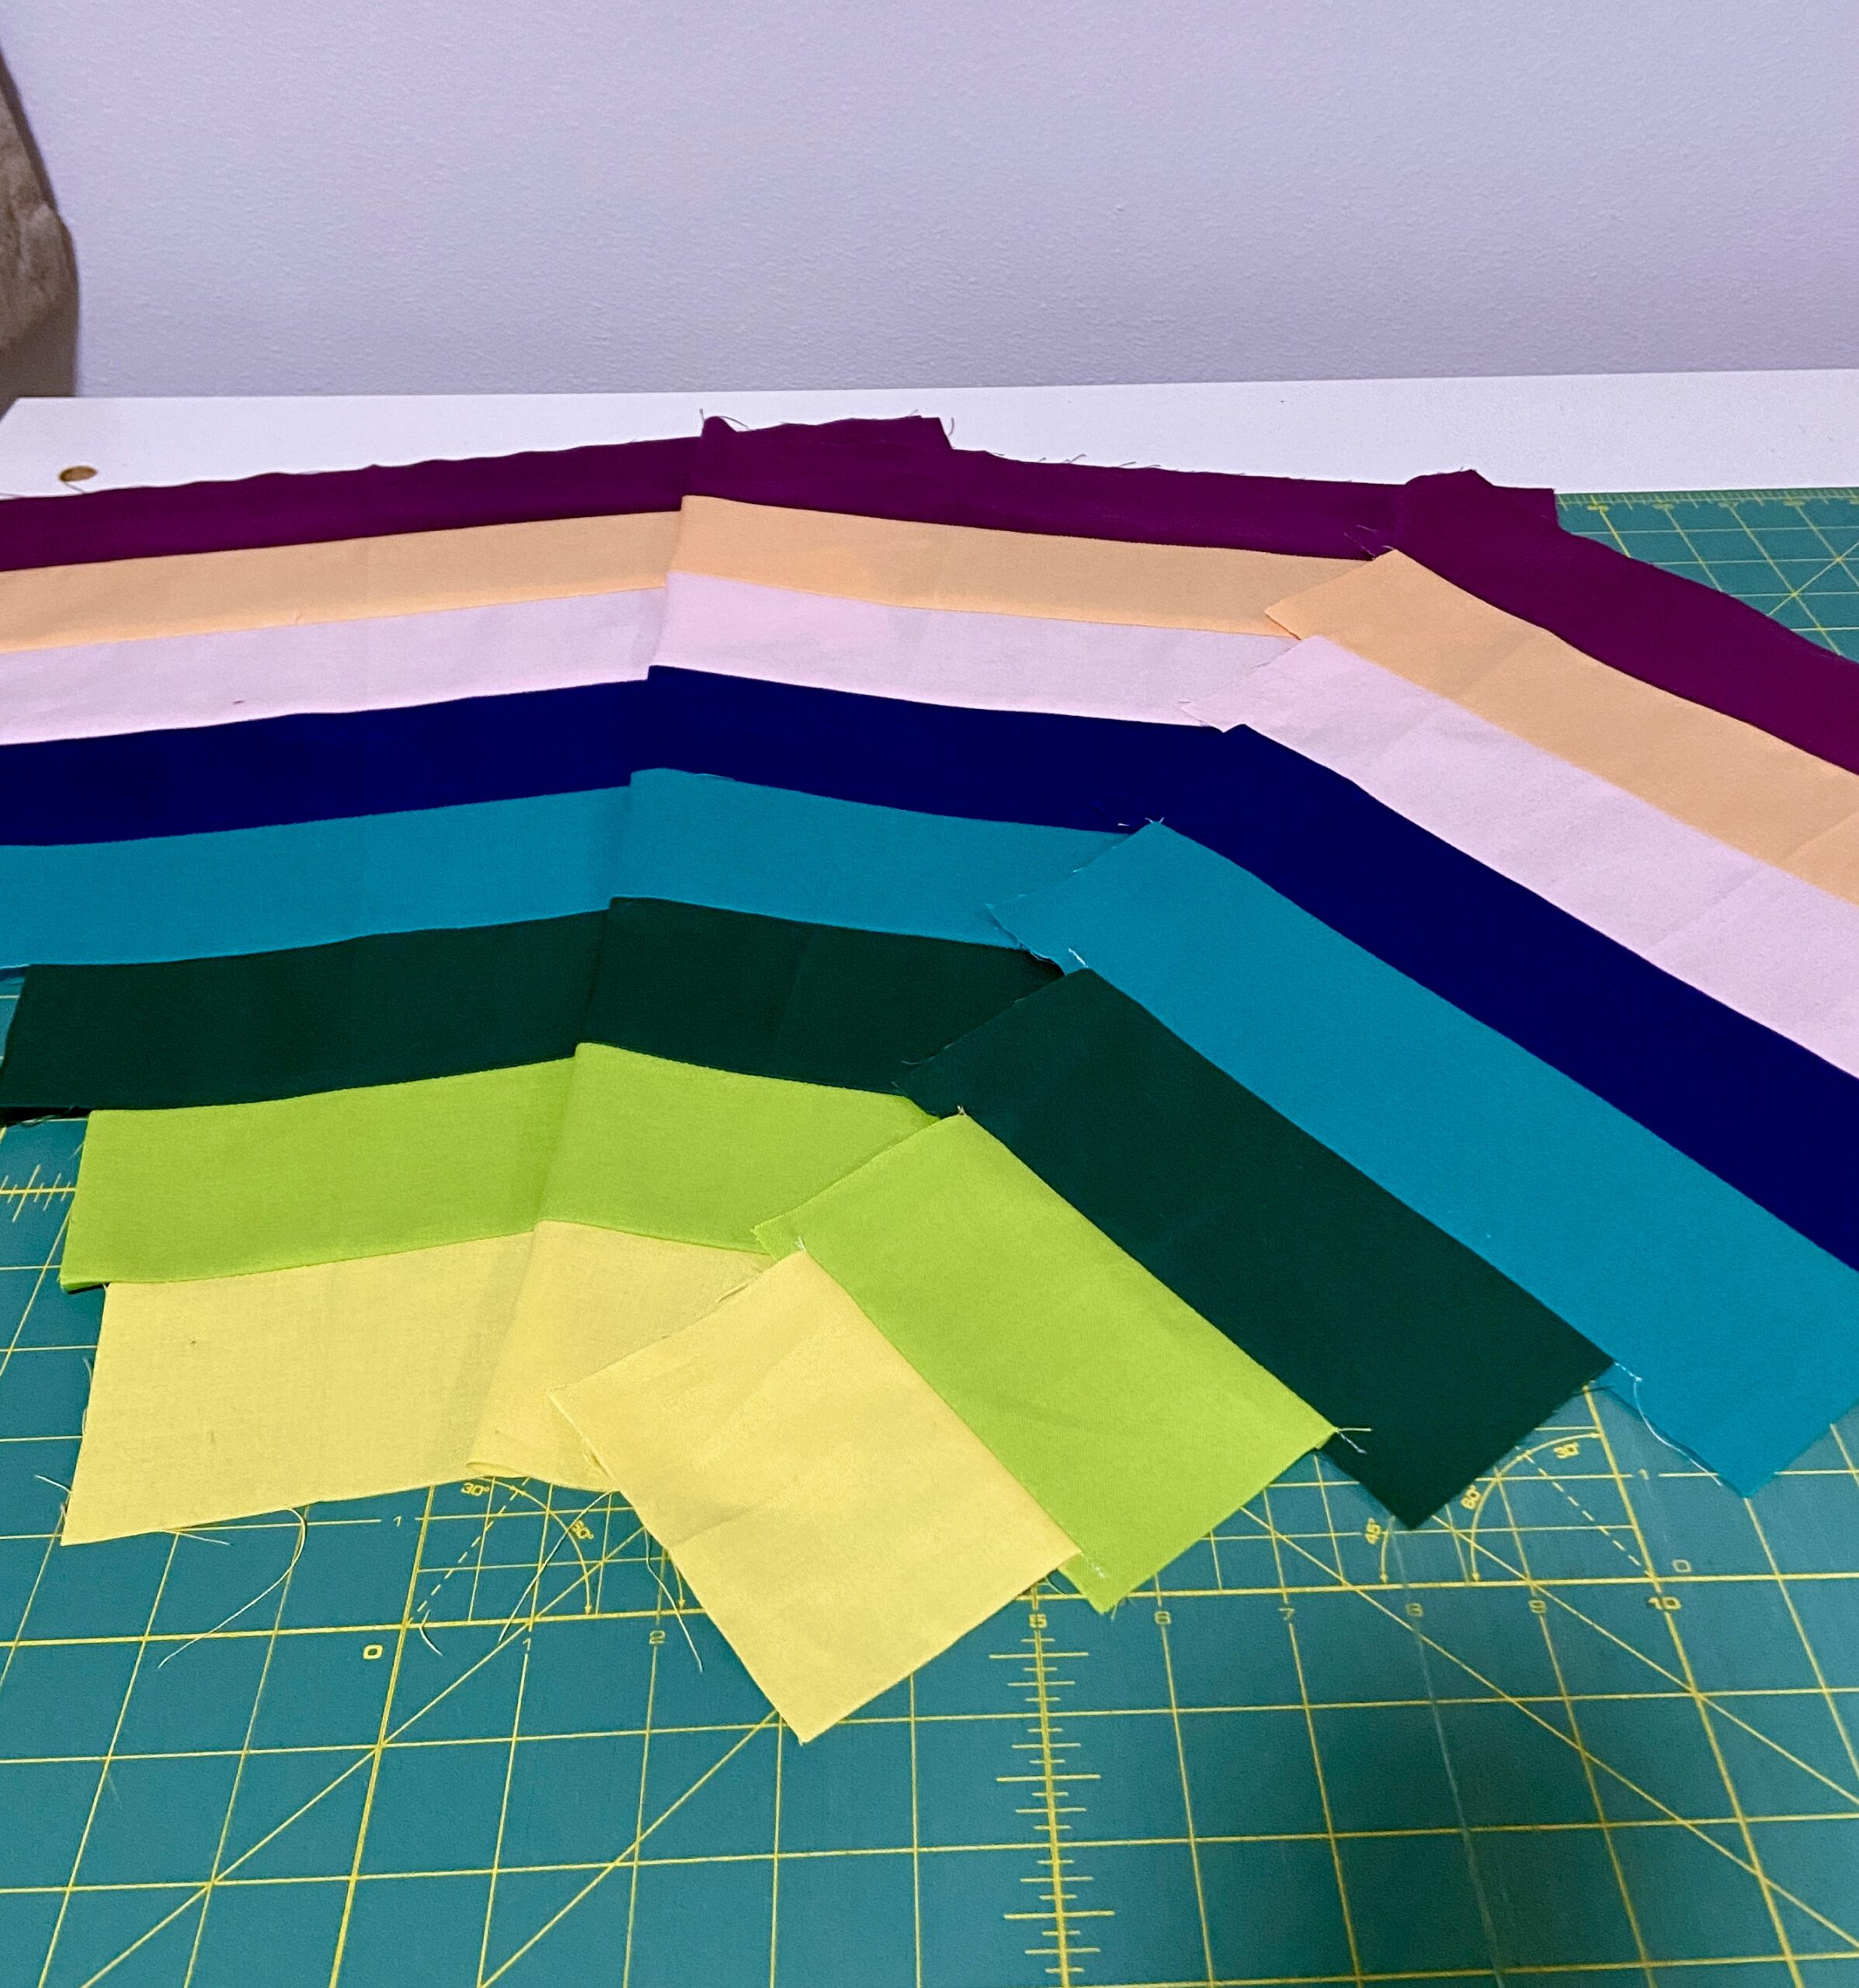
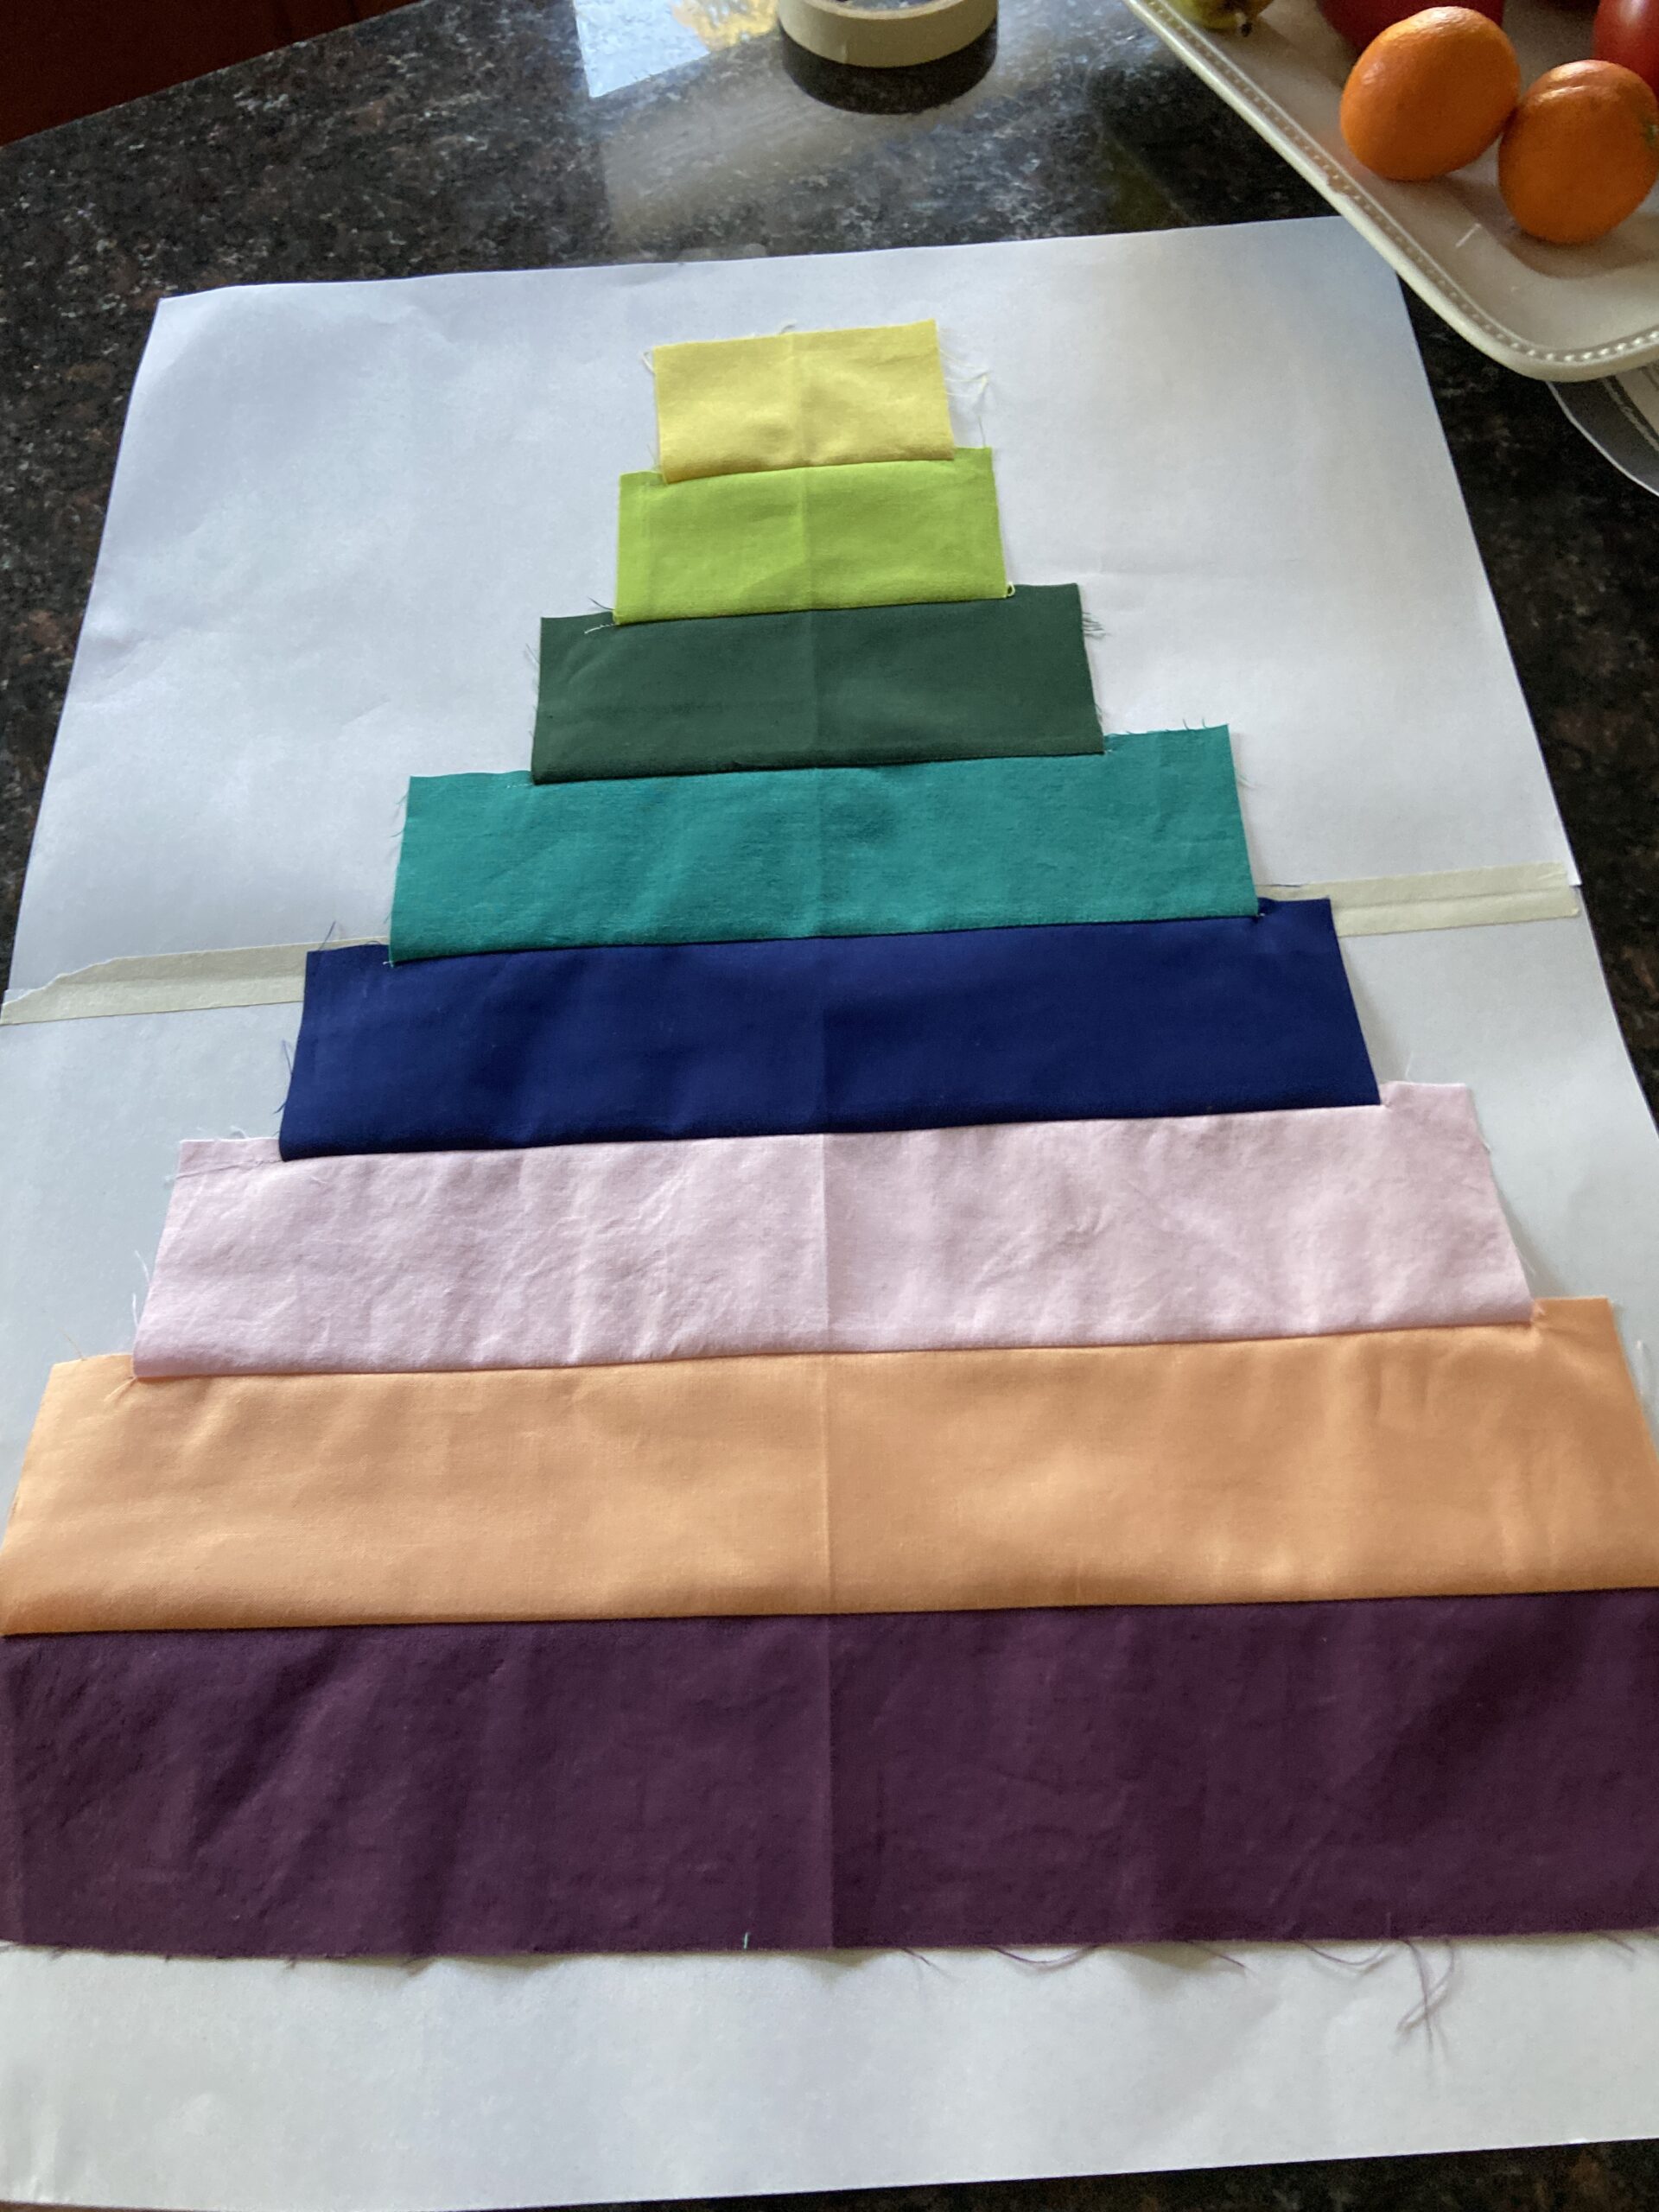
Cutting the strips was easy. Choosing the colors – not so easy! I knew I wanted the colors to be bold and to have a strong presence in the quilt I had just made for our bed. After some back and forth with a stack of solids, these are the fabrics I selected. Assembling the wedges was a breeze. This all happened in early fall. With the holidays and all those silly viruses we all had, it was shelved until recently.
Ignore the wrinkled appearance of this wedge! I was taking pictures to communicate my project to my son in Brooklyn NY. There are instructions for creating the template to cut the strip pieced wedges but I wasn’t getting it. Thank you FaceTime! Kyle was able to take a look and tell me what I needed to know!
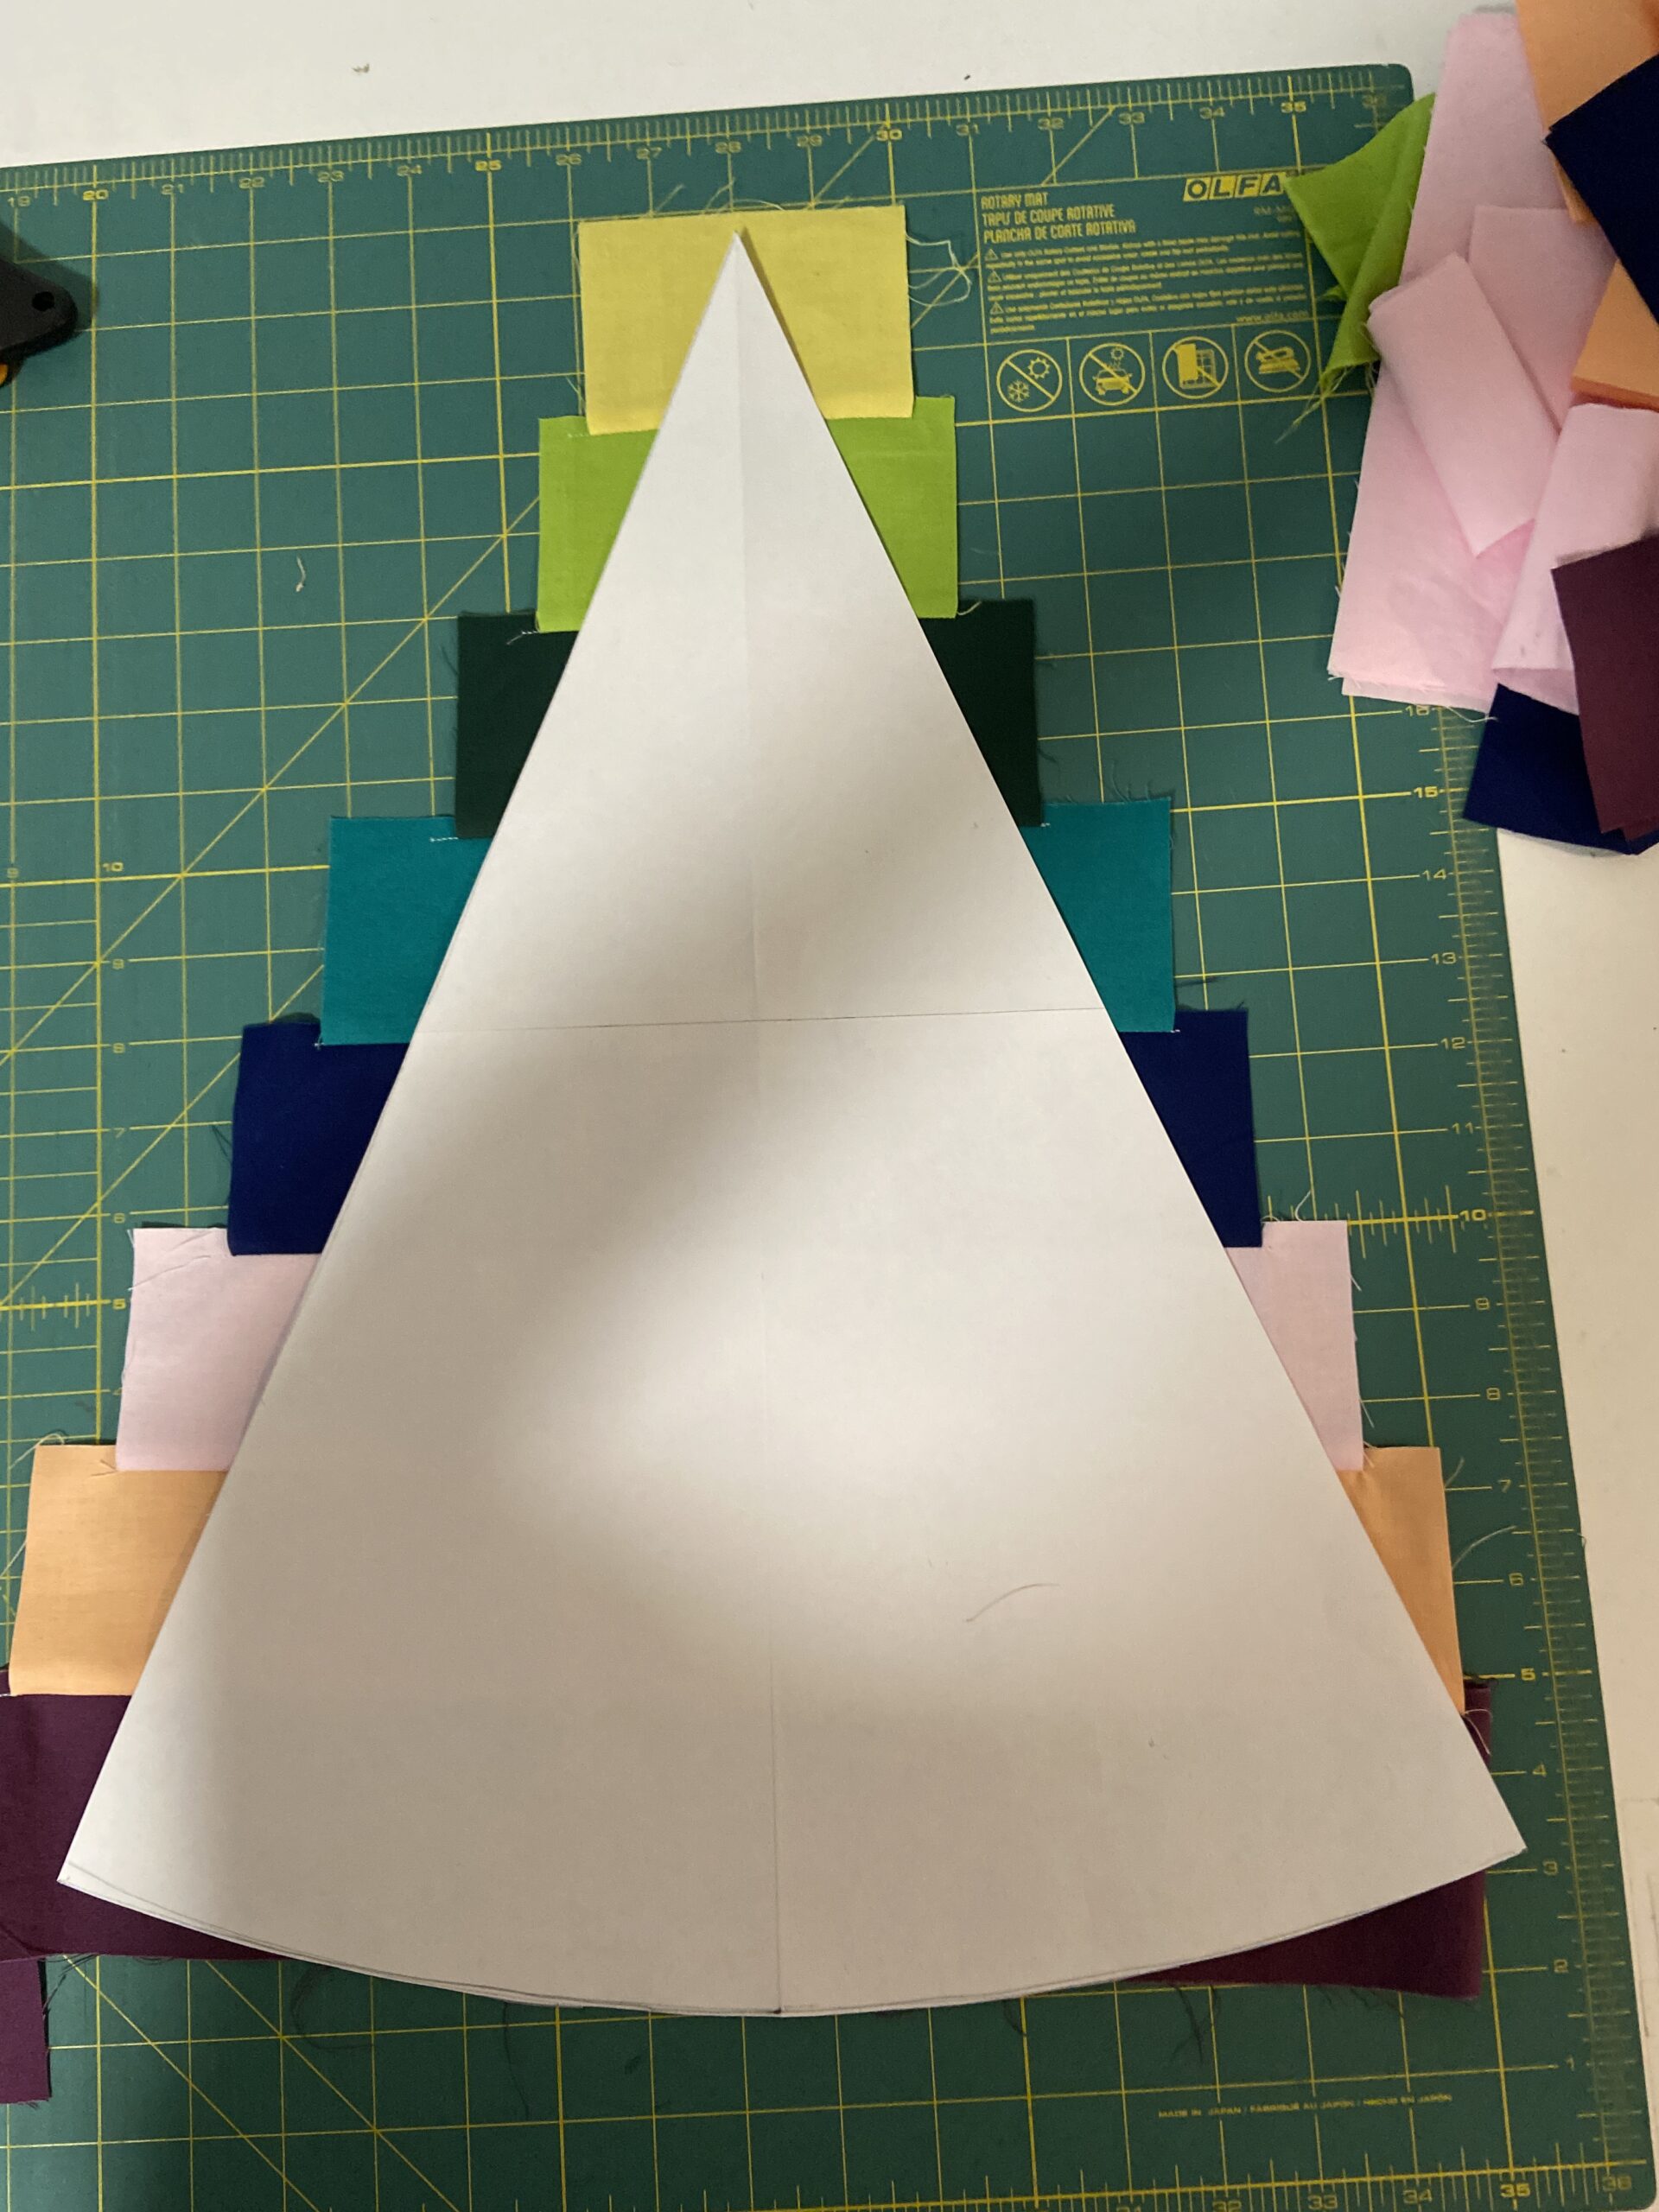
Somehow I made the template slightly longer than it should be. My sweet husband was able to trim it just a smidge and it was perfect.

Once it was put together and basted, it was time to select threads. I normally quilt with a neutral thread and if this was to be a floor mat for a baby, that is what I would have done. However using gray or off white just didn’t cut it for these colors. Each stripe was quilted with a matching thread. I quilted a spiral in the yellow section (center). Then I switched to straight line quilting for the other stripes. No marking was done. It seemed if this was going to be on the wall, above the bed, no one would be face to face with it. (Unless the viewer chose to stand on the bed to get a closer look – haha). Viewing from a fair distance, the placement of the quilting lines wasn’t a huge deal. I basically set the width by using the outermost part of the walking foot as my guide.

Total honesty here – all the while I was working on this quilt, I never once considered the how heck it would be hung on the wall. It is quite large (approx 40″ across) and with a hanging sleeve on the back, it wouldn’t have laid flat on the wall. I was at a loss for a while. Then I thought about making some sort of circular frame with wire. I had florist wire but it was fairly light weight. So I measured out four (very long) lengths and twisted them into one piece to give it more strength. Then I pinned it around the circumference of the quilt. I wish I had taken pictures of this but I totally forgot. I sewed the wire to the back – butting it up as close as possible to the binding, being careful not to go all the way through to the front of the quilt. This kept the quilt flat and held it’s shape perfectly.
Hanging it was a bit of a chore. Ray was standing on the bed with level, screws and screw gun. He had to put screws all the way around because I really wanted it flat on the wall. Success!
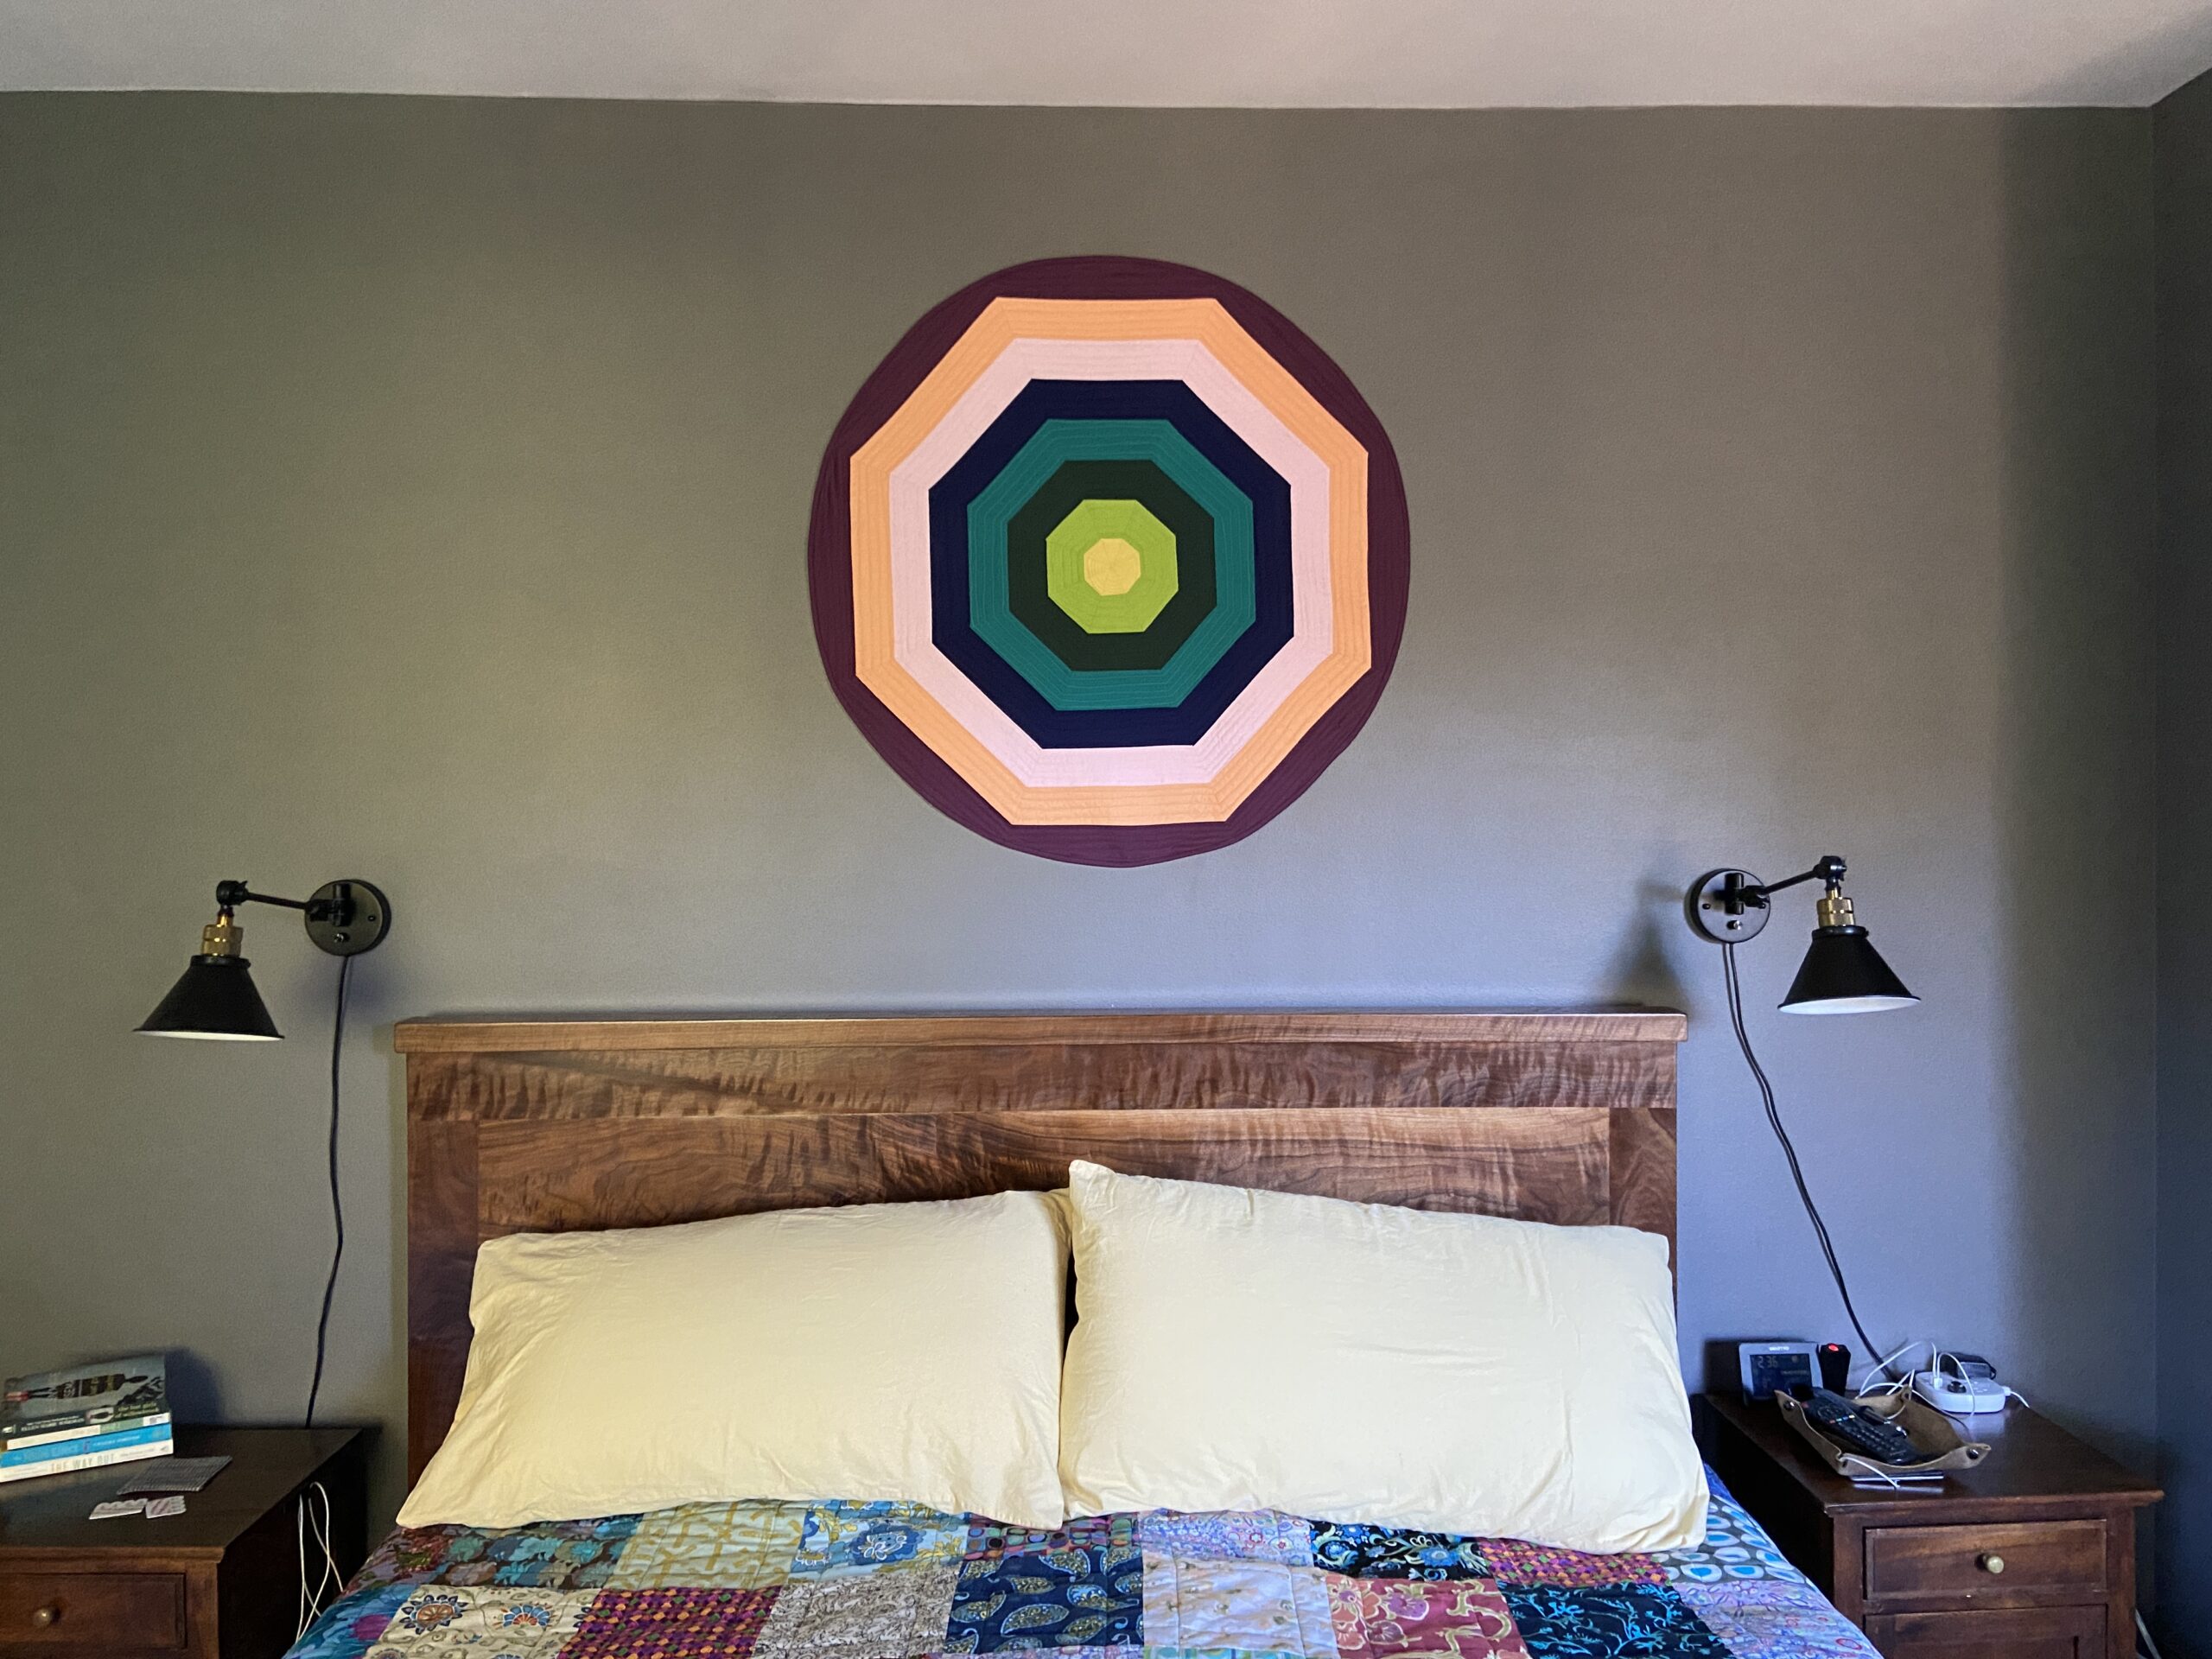
I love it! The wall hanging contains many of the colors of the rather bohemian quilt I made for the bed so it just works.

I love looking at the quilt and the wall hanging together. Makes me happy!
It was my goal to finish this wall quilt in January and it is down! I checked it off the list of unfinished projects which is always a good feeling before moving on to the next thing! Now that you have seen it, what do I call it? Many of you are so clever at thinking of names for your finished quilts. This is not my strength. Help a girl out?
Linking to my favorites – check them out at the top of the page, under link ups!
(Note – this post contains affiliate links. Should you purchase something via the link, I will receive a small compensation at no cost to you.)