Tag Archives: flanged binding

Fiesta Fun – A Whole Cloth Baby Quilt

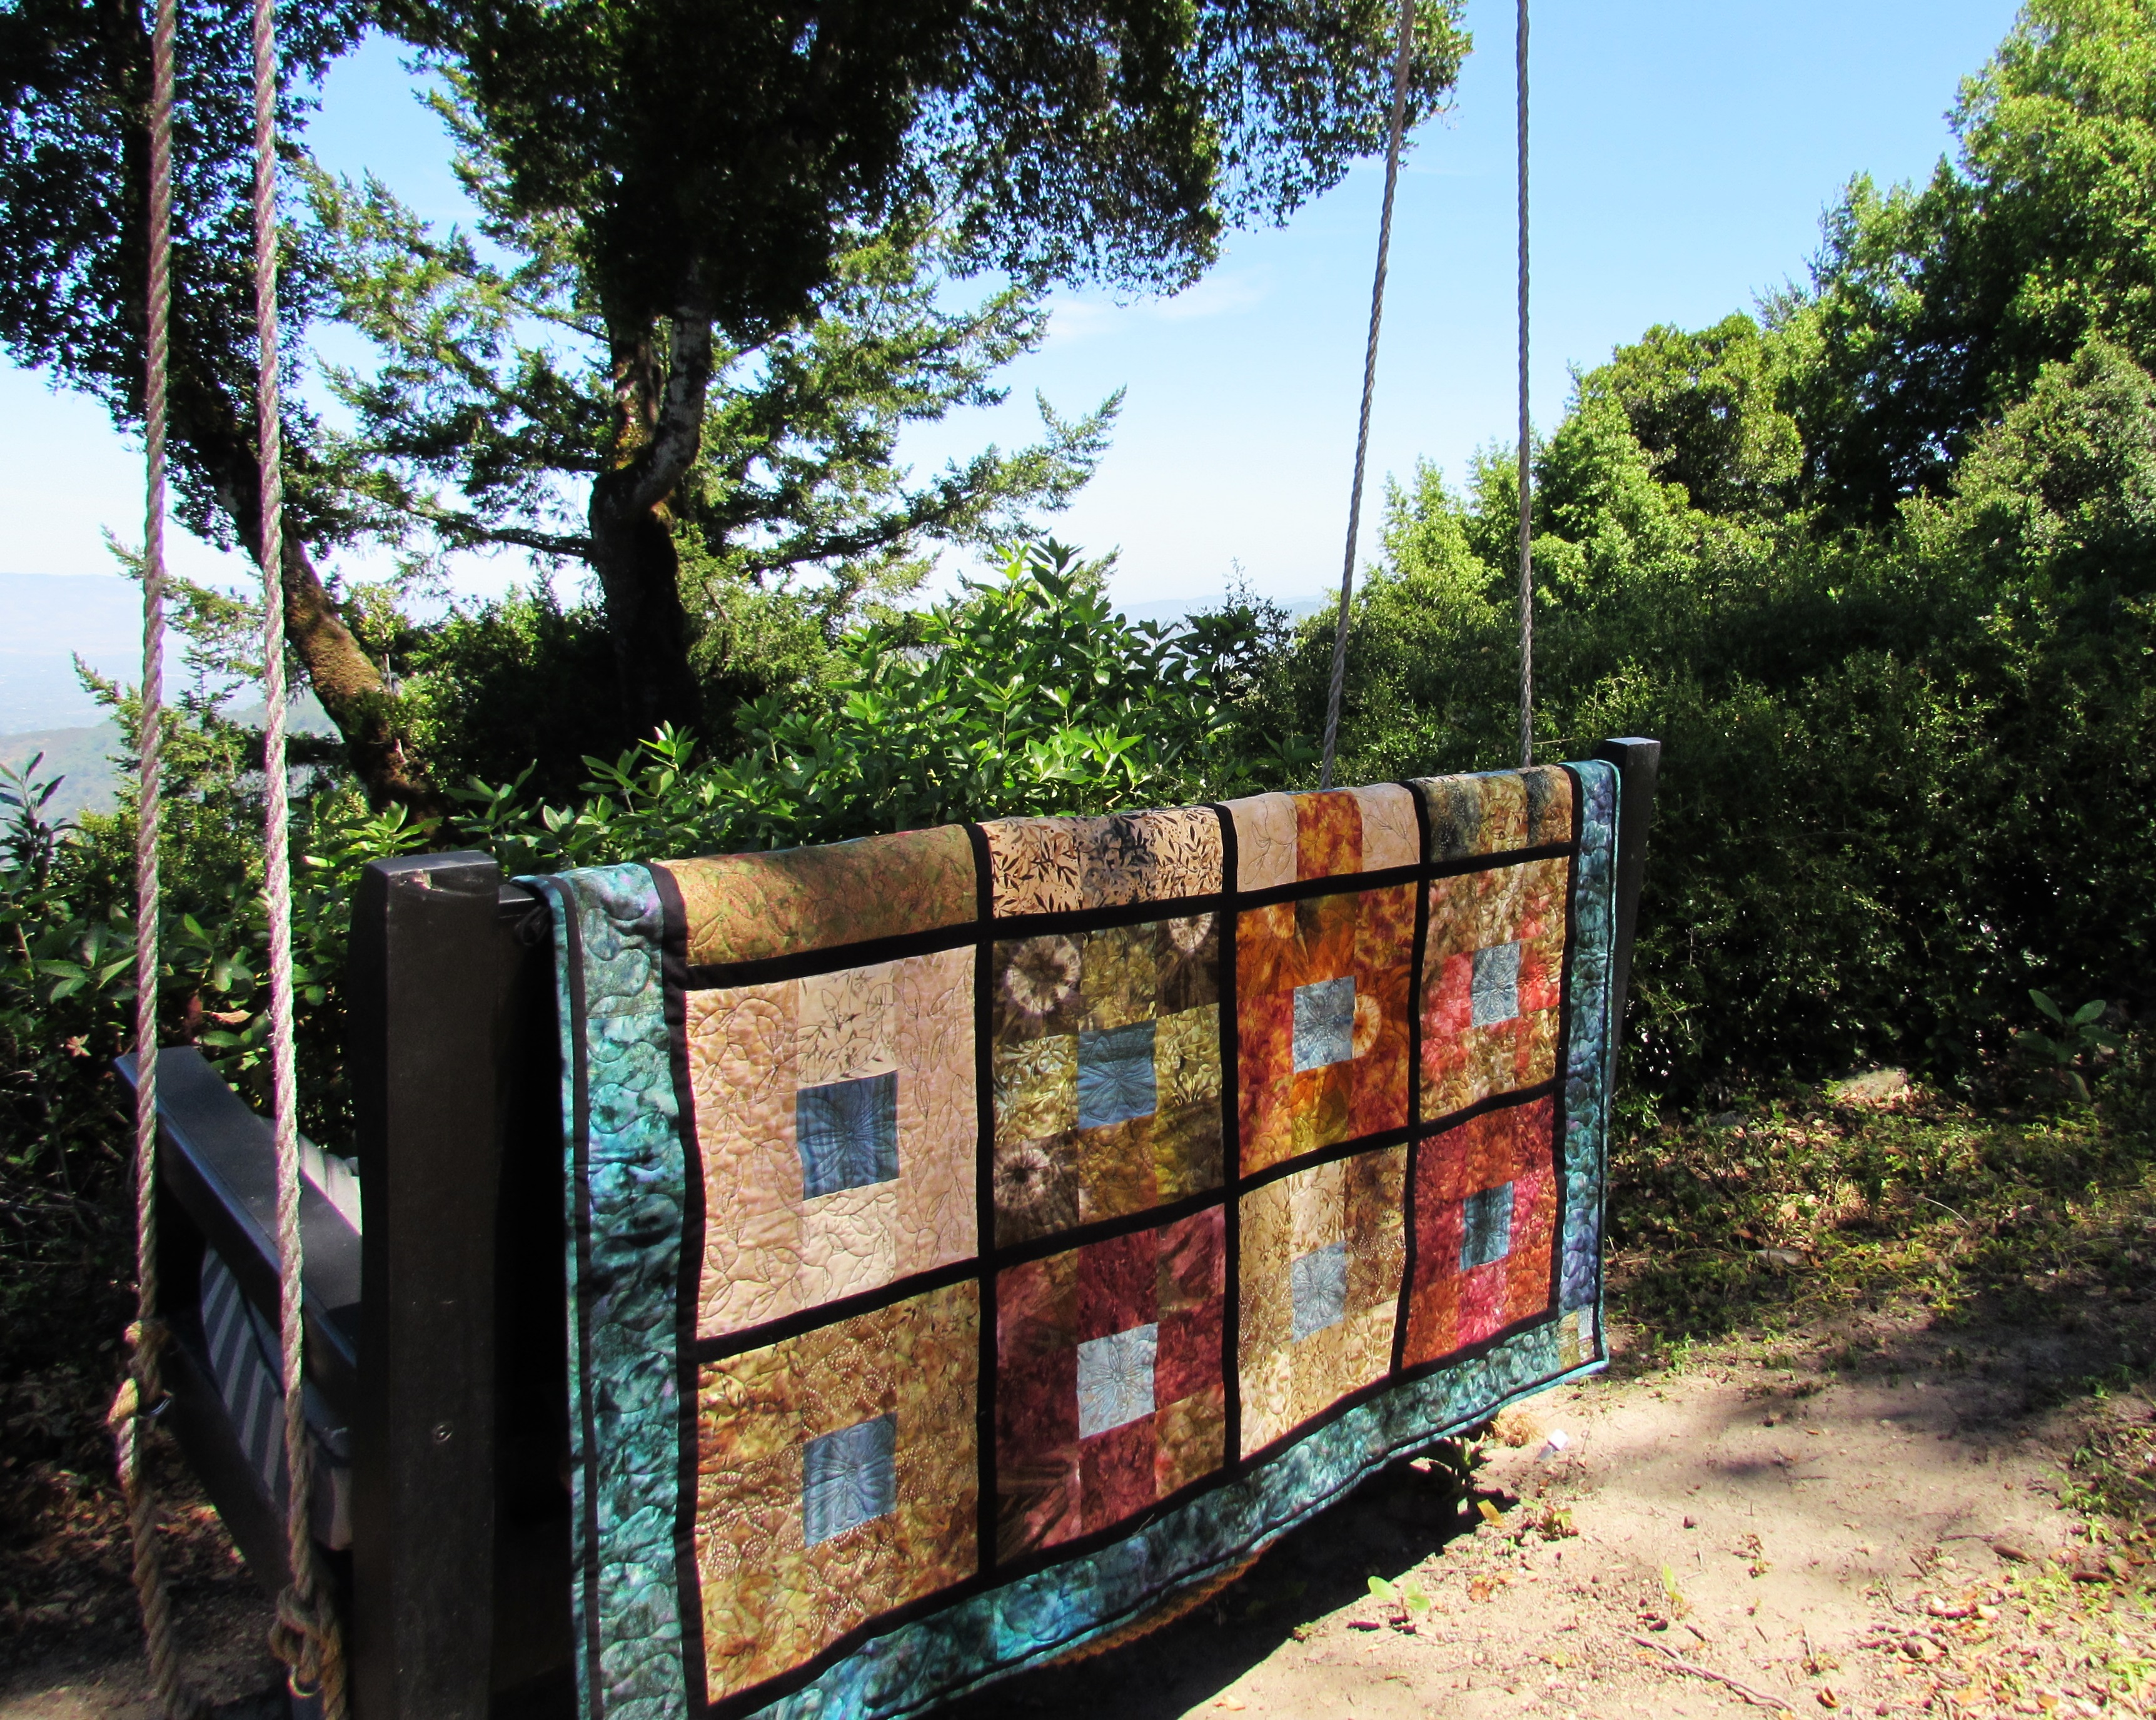
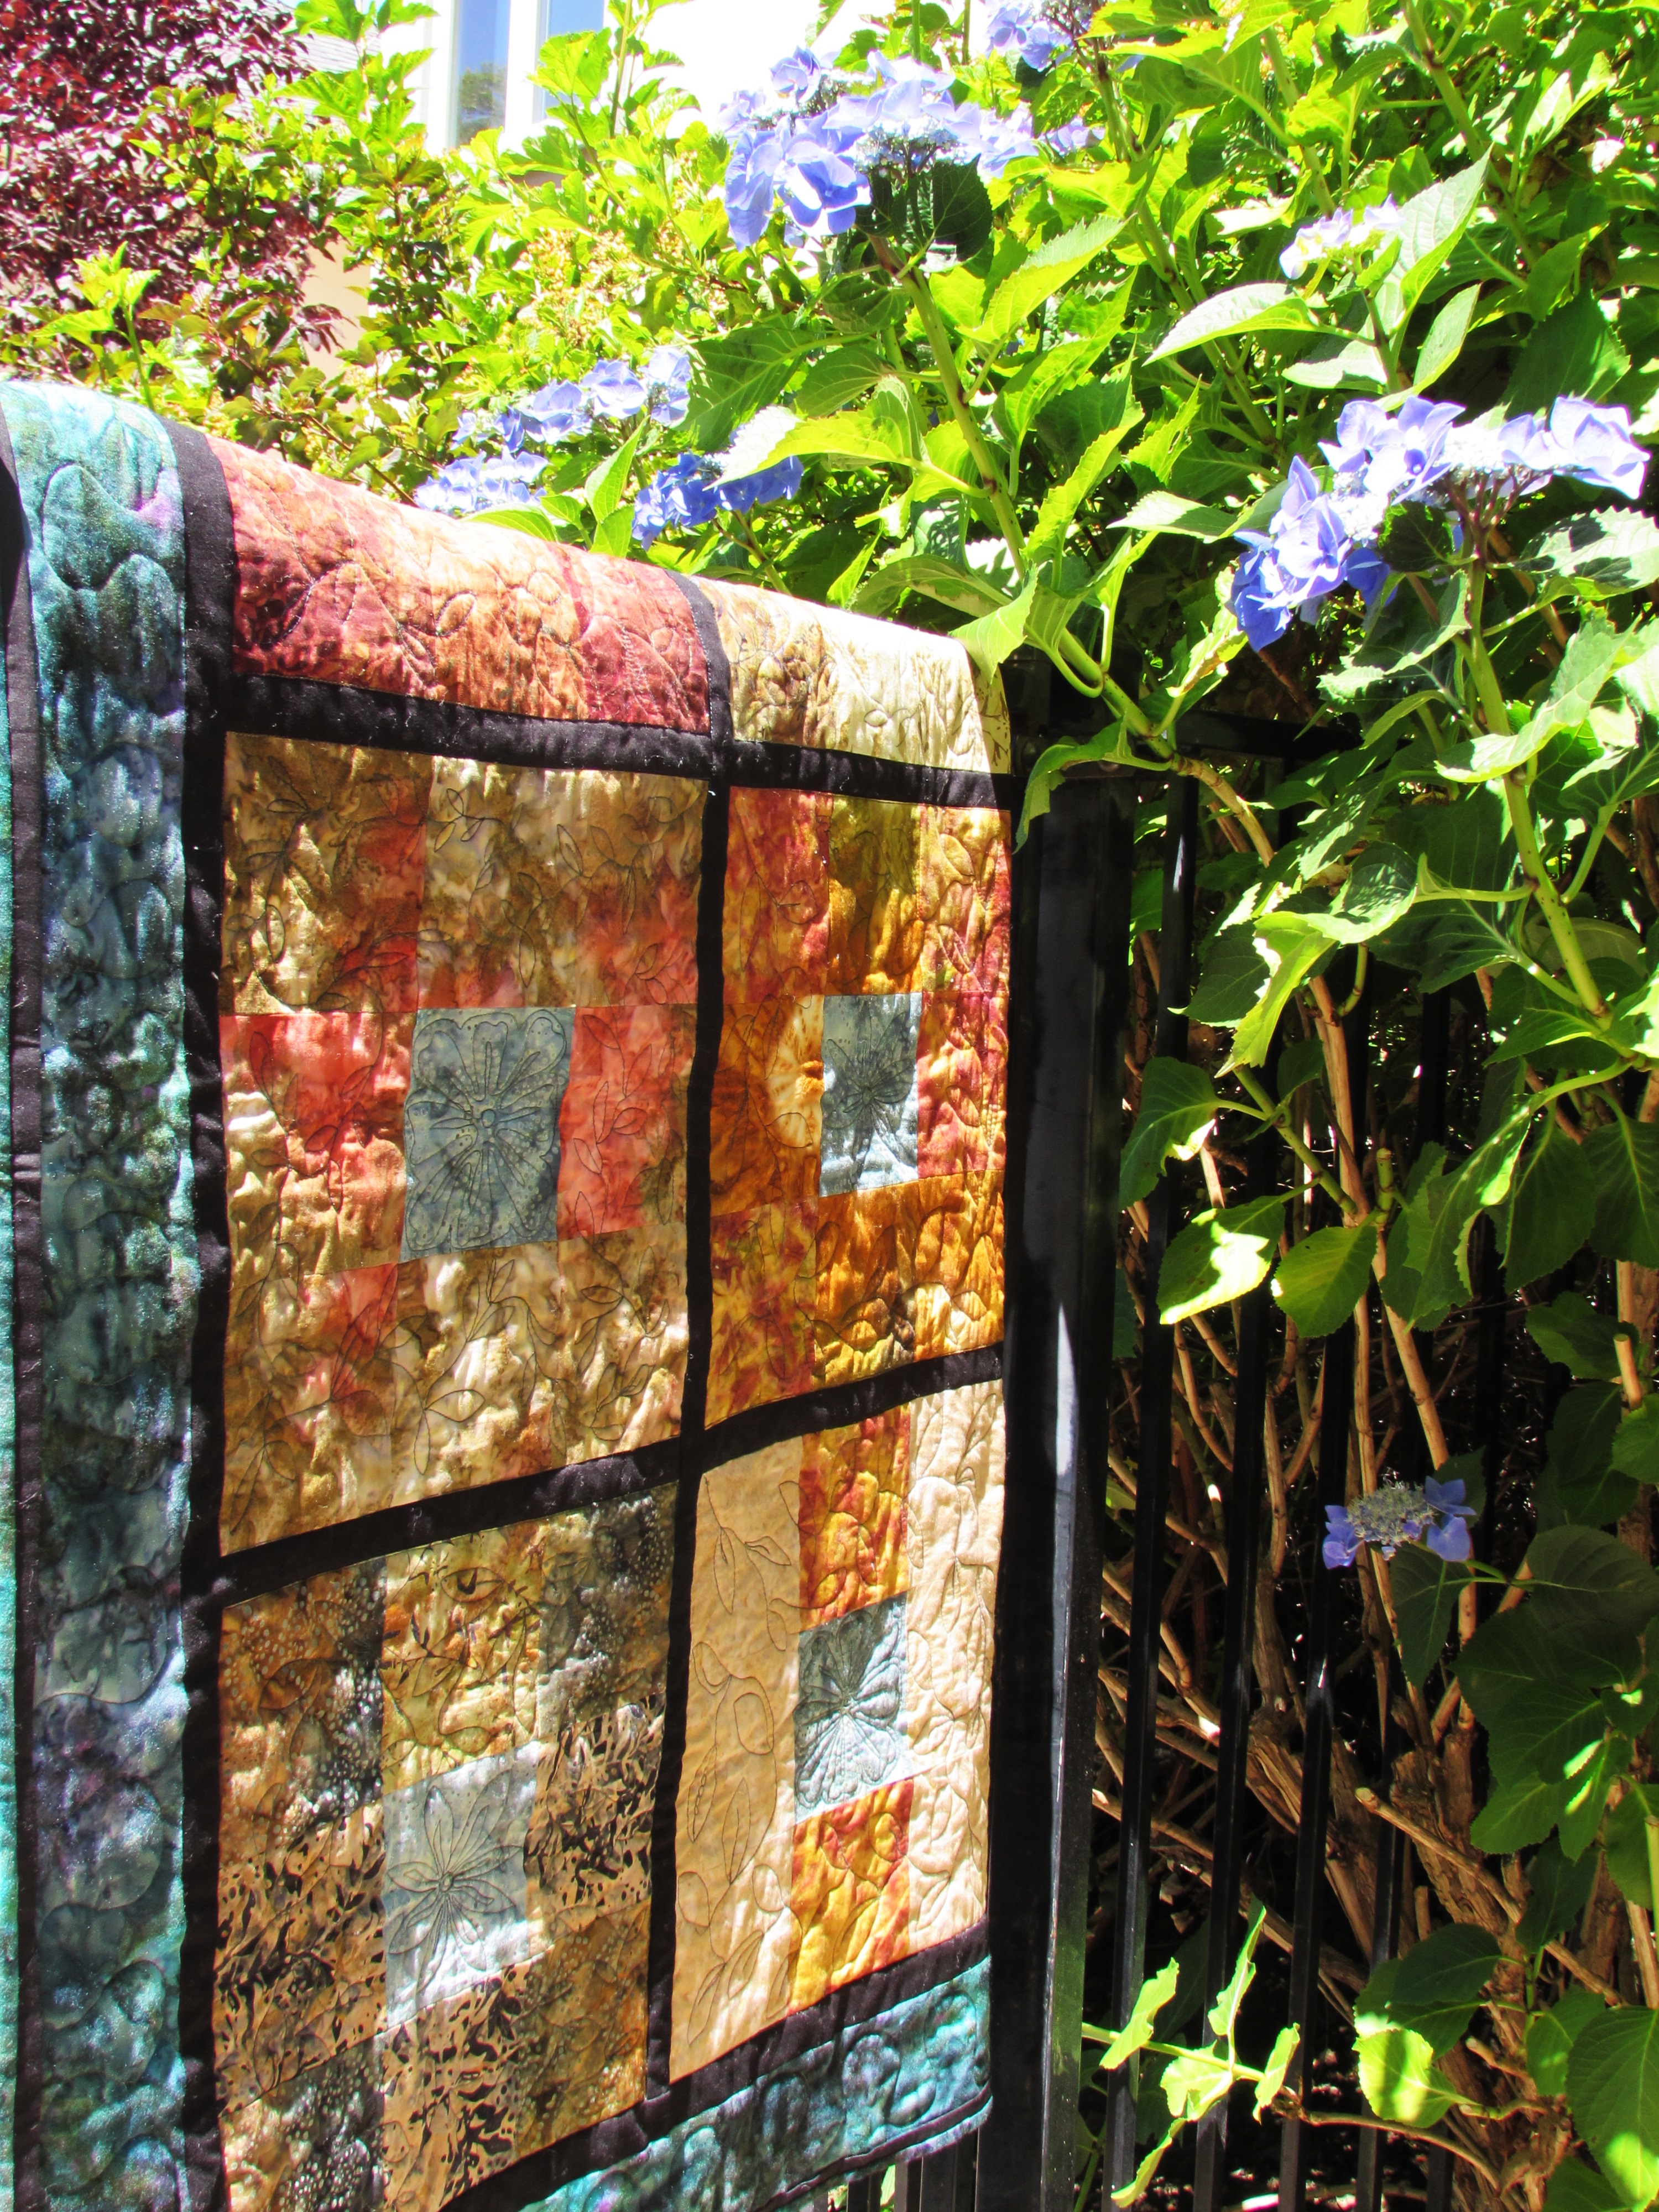
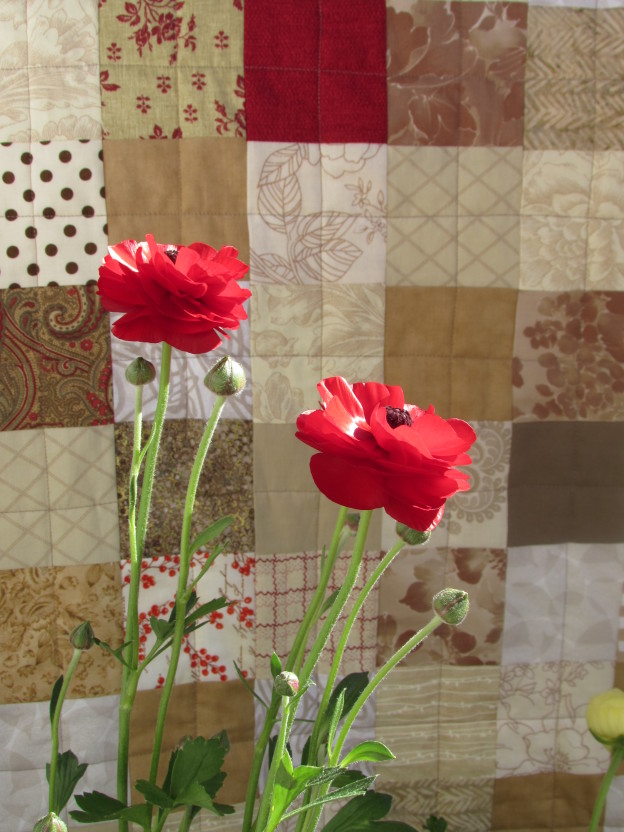
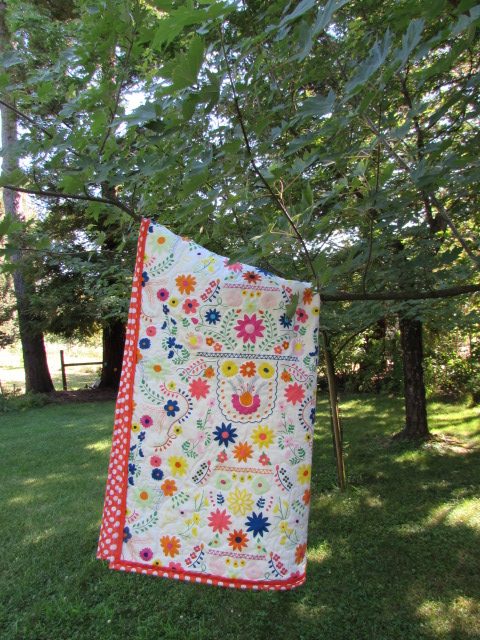
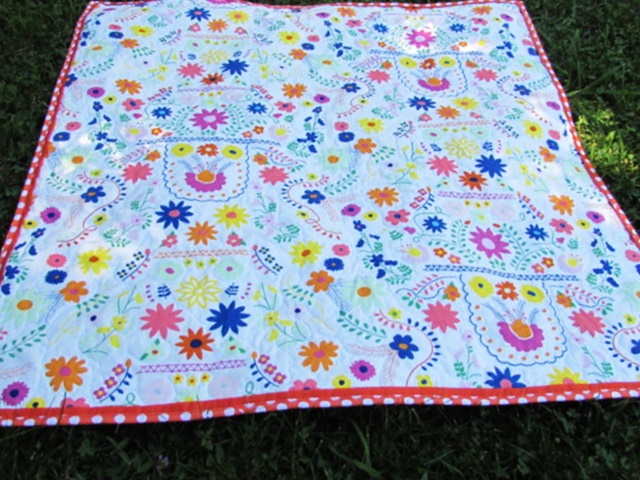
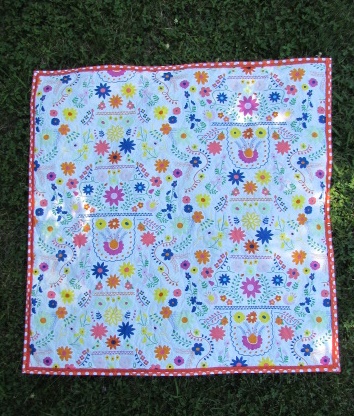
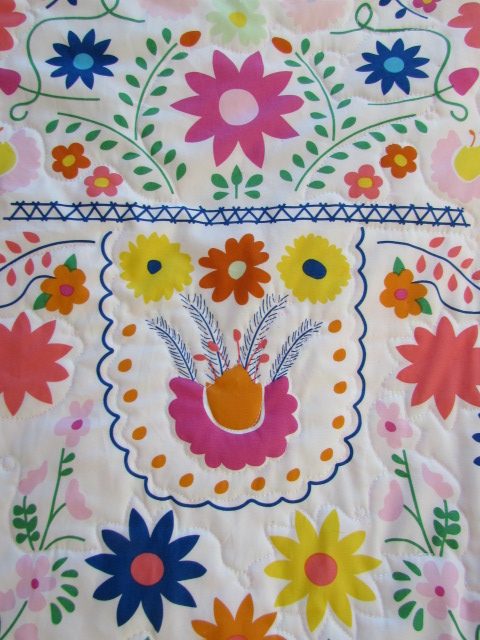
I have such a bright, cheerful quilt to share with you!  This is the second time I have made a whole cloth baby quilt for a customer. The first time was last fall, when I did the elephant quilt.  Check it out here for the details. I very much enjoy making these. This quilt was a simple project because there is no piecing involved. My customer really loved the Mexican Dress fabric from Art Gallery Fabric’s Fiesta Fun line. This is actually the second time I have used this fabric line in a baby quilt.  The first time was when I made the Knock Knock quilt while pattern testing for Sarah Goer. The colors in this line are a fantastic mix of brights and pastels against a pure white background. It is a lot of fun for a baby quilt. There is much for baby to look at!

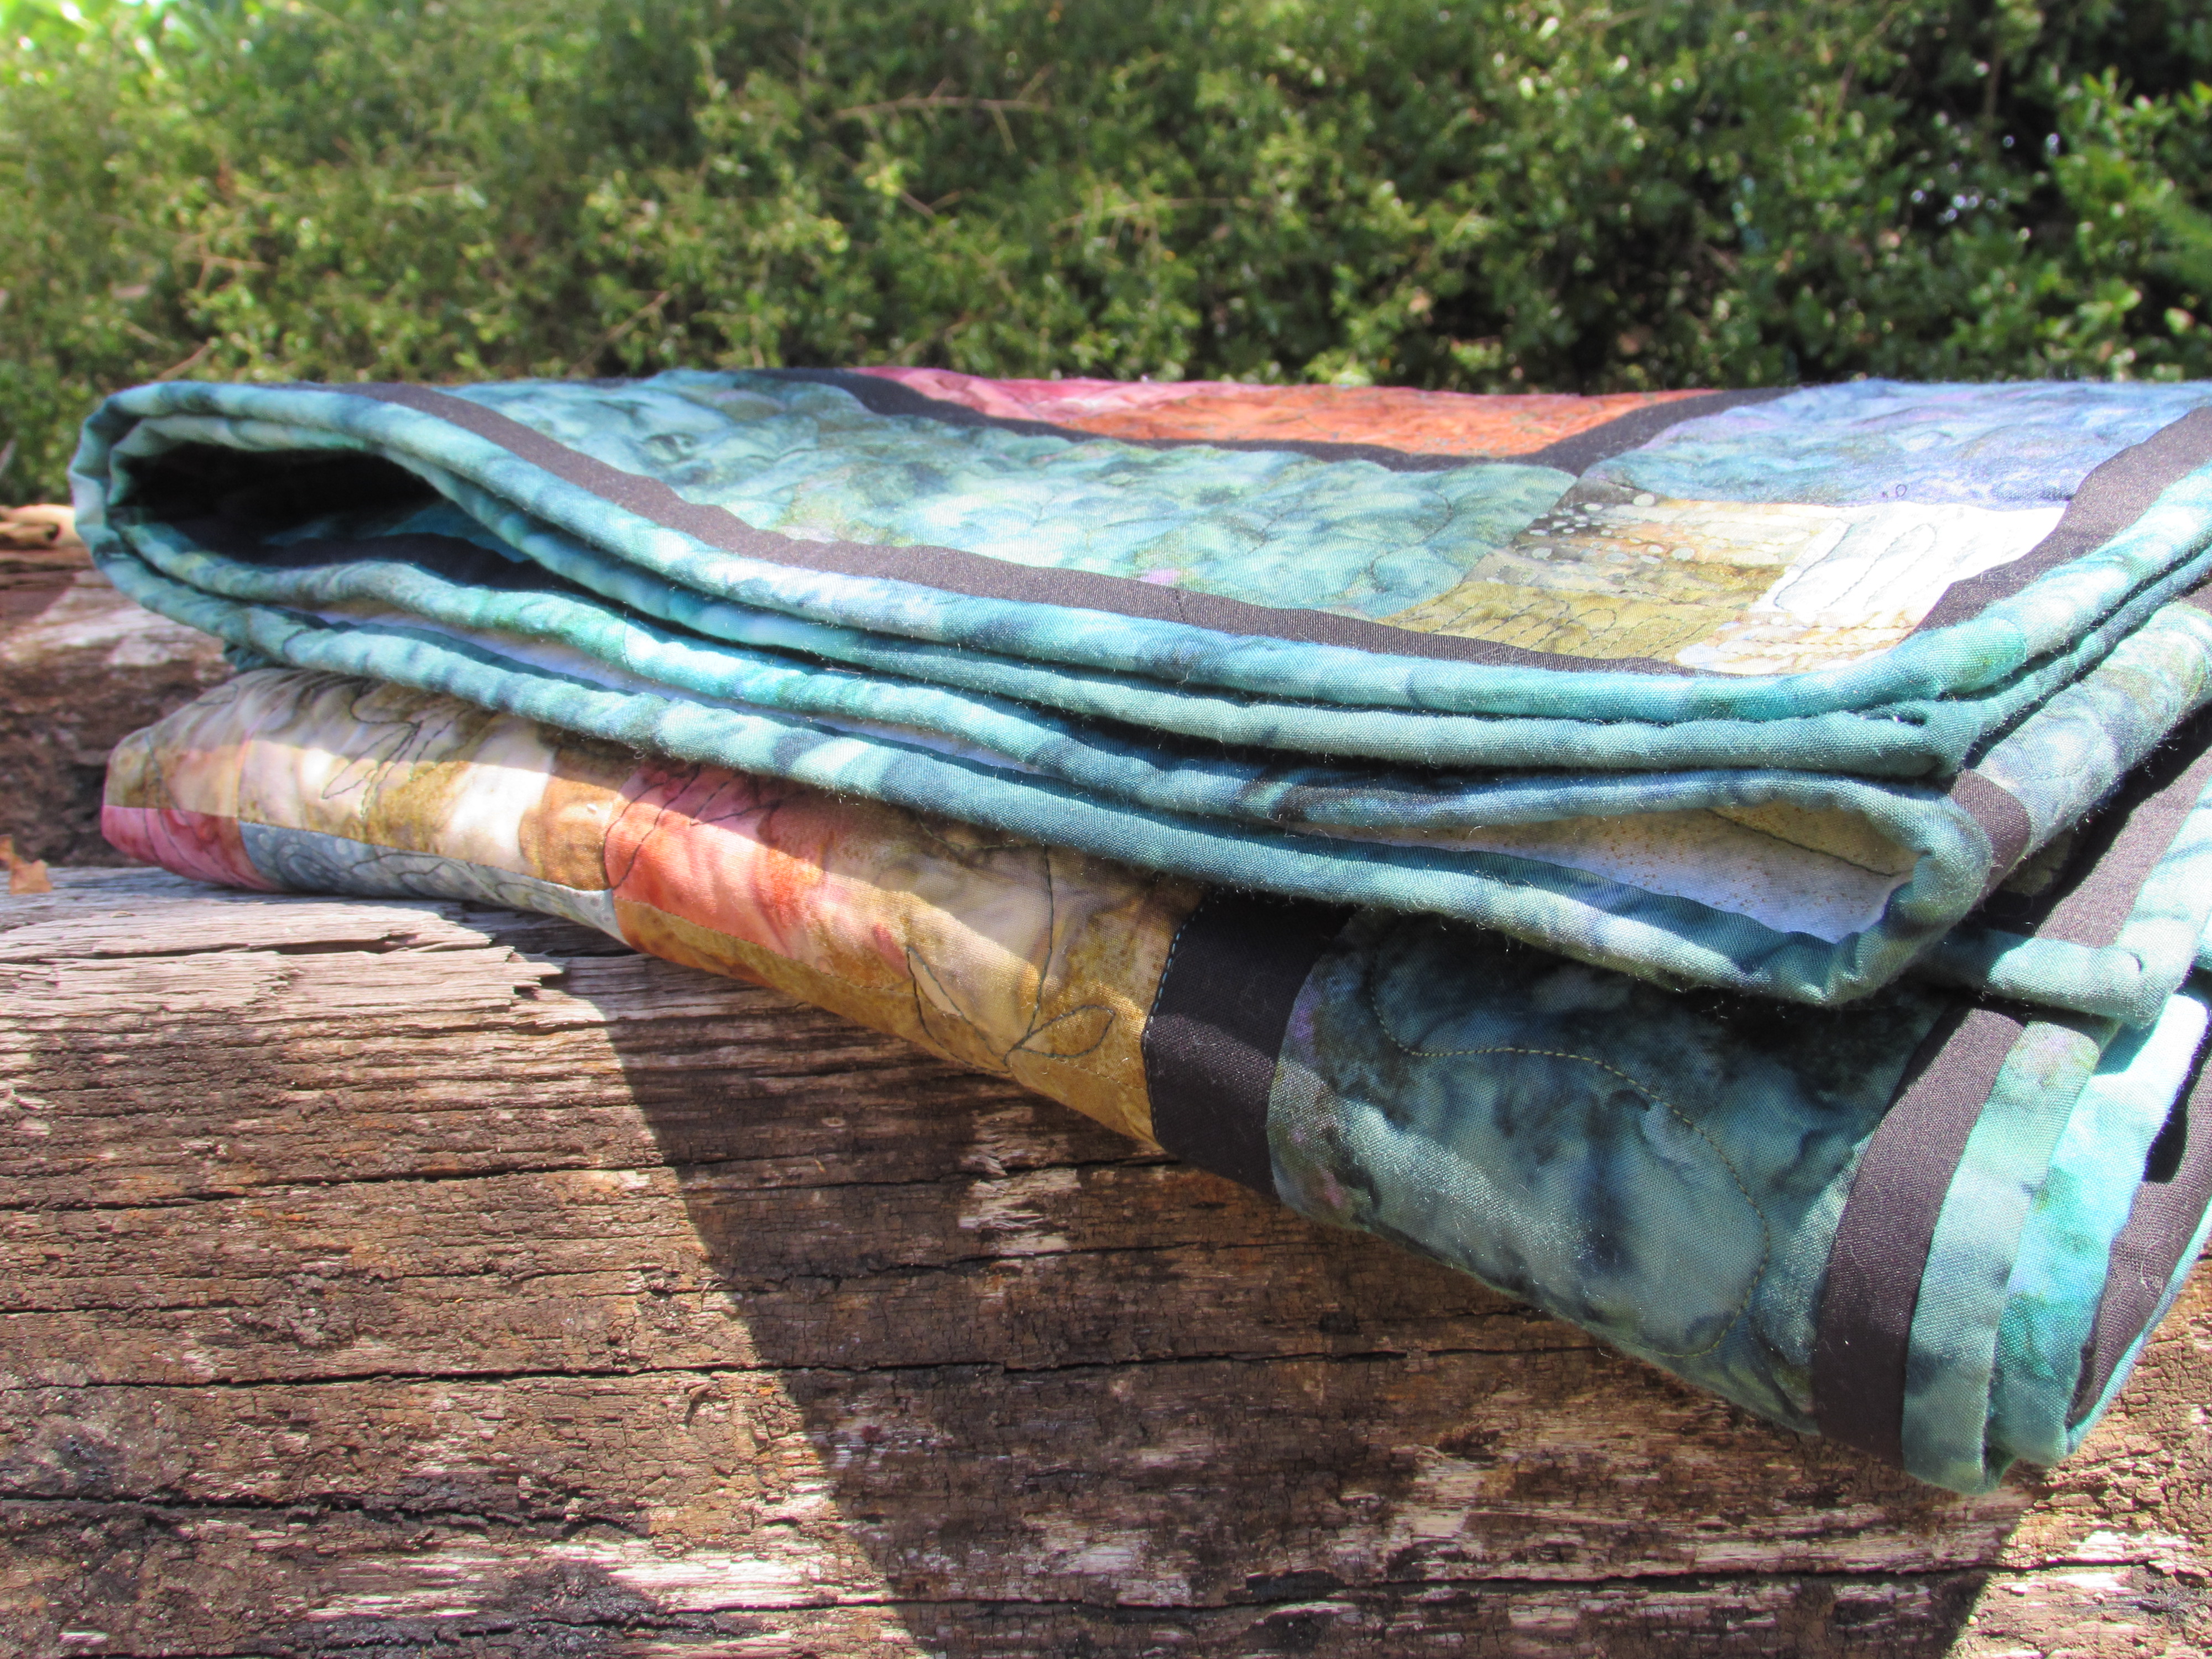
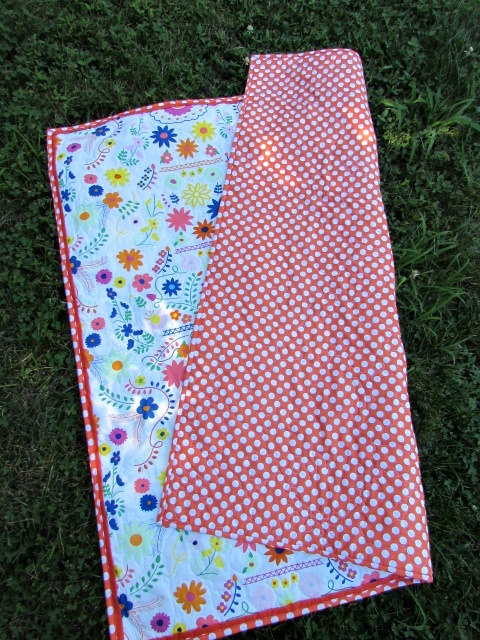
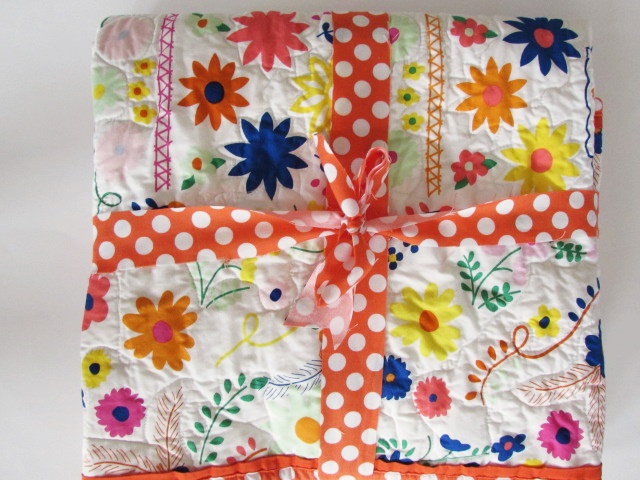
My customer and I emailed back and forth numerous times one night as she selected the backing and binding fabric. After having two boys, she is expecting a girl.  She wanted bold and bright colors so she went with a Ta Dot polka dot fabric from Michael Miller.  The polka dots were used for both backing and binding. I really think this was an excellent choice.

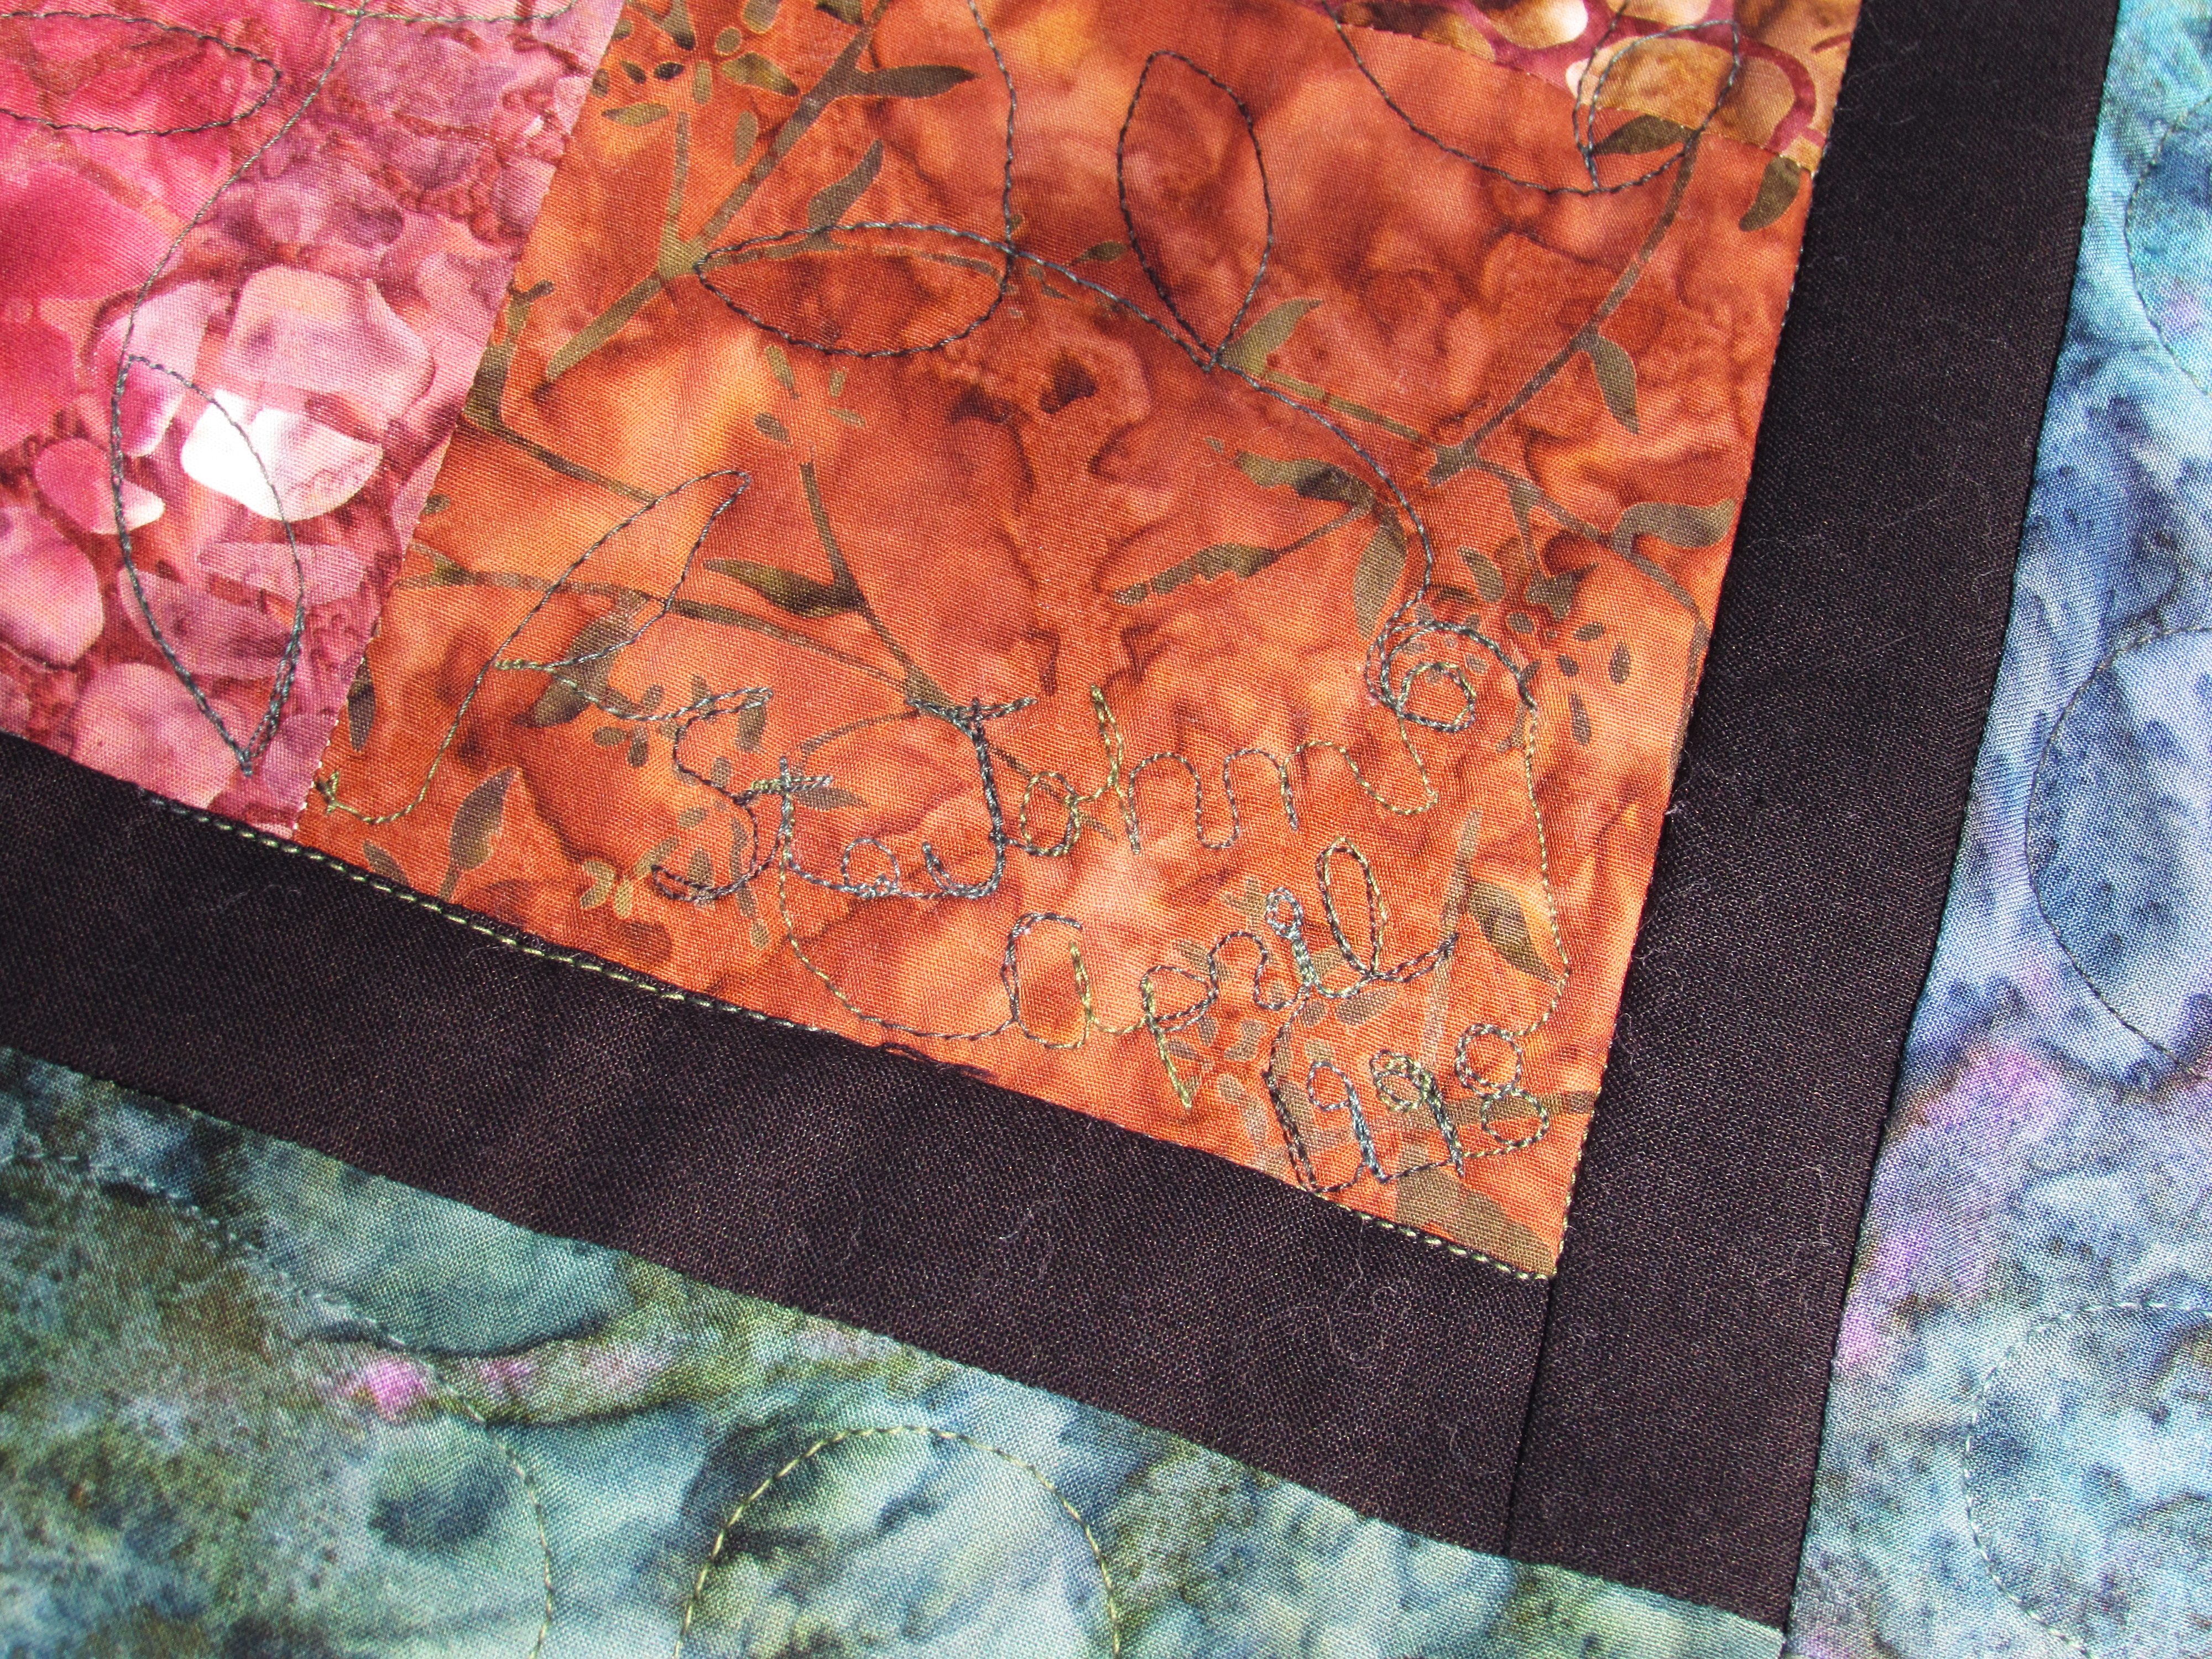
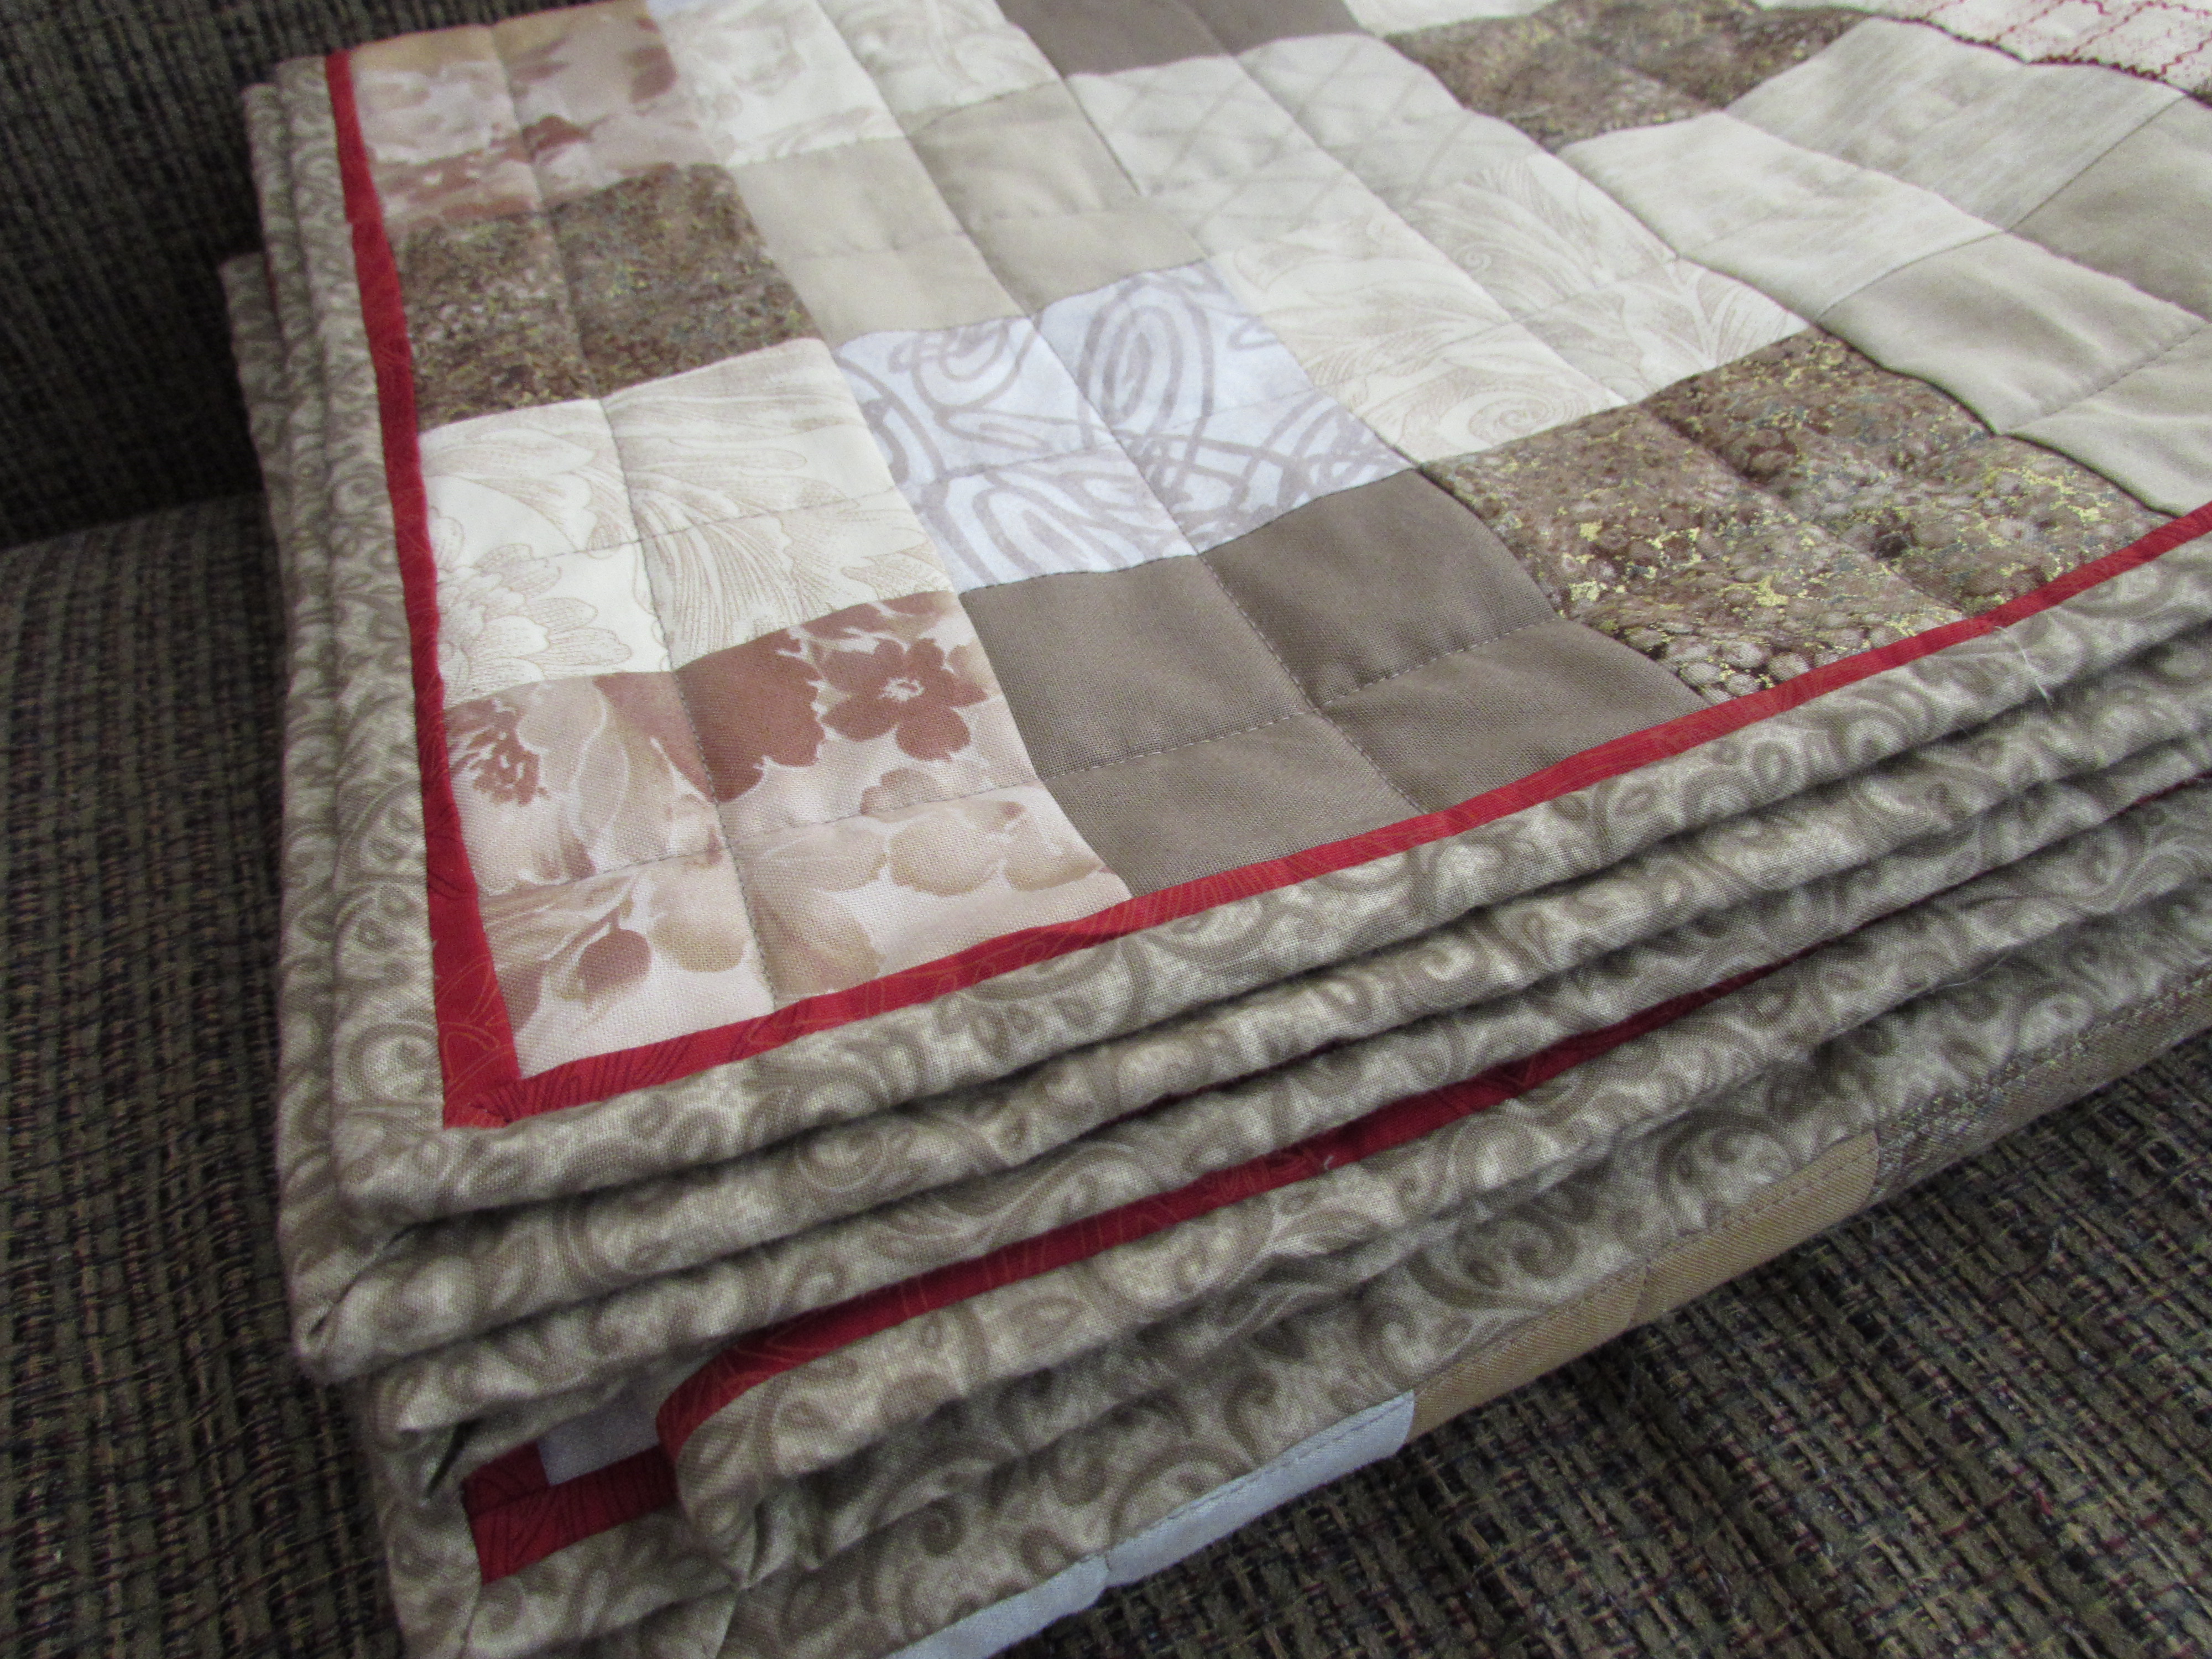
Rather than put the dots right up against the floral fabric, I suggested using a flange in a solid deep orange (Pure Elements in Tiger Lily from Art Gallery also).

 I think it is good to have a break between the bold orange dots and the busy floral fabric.

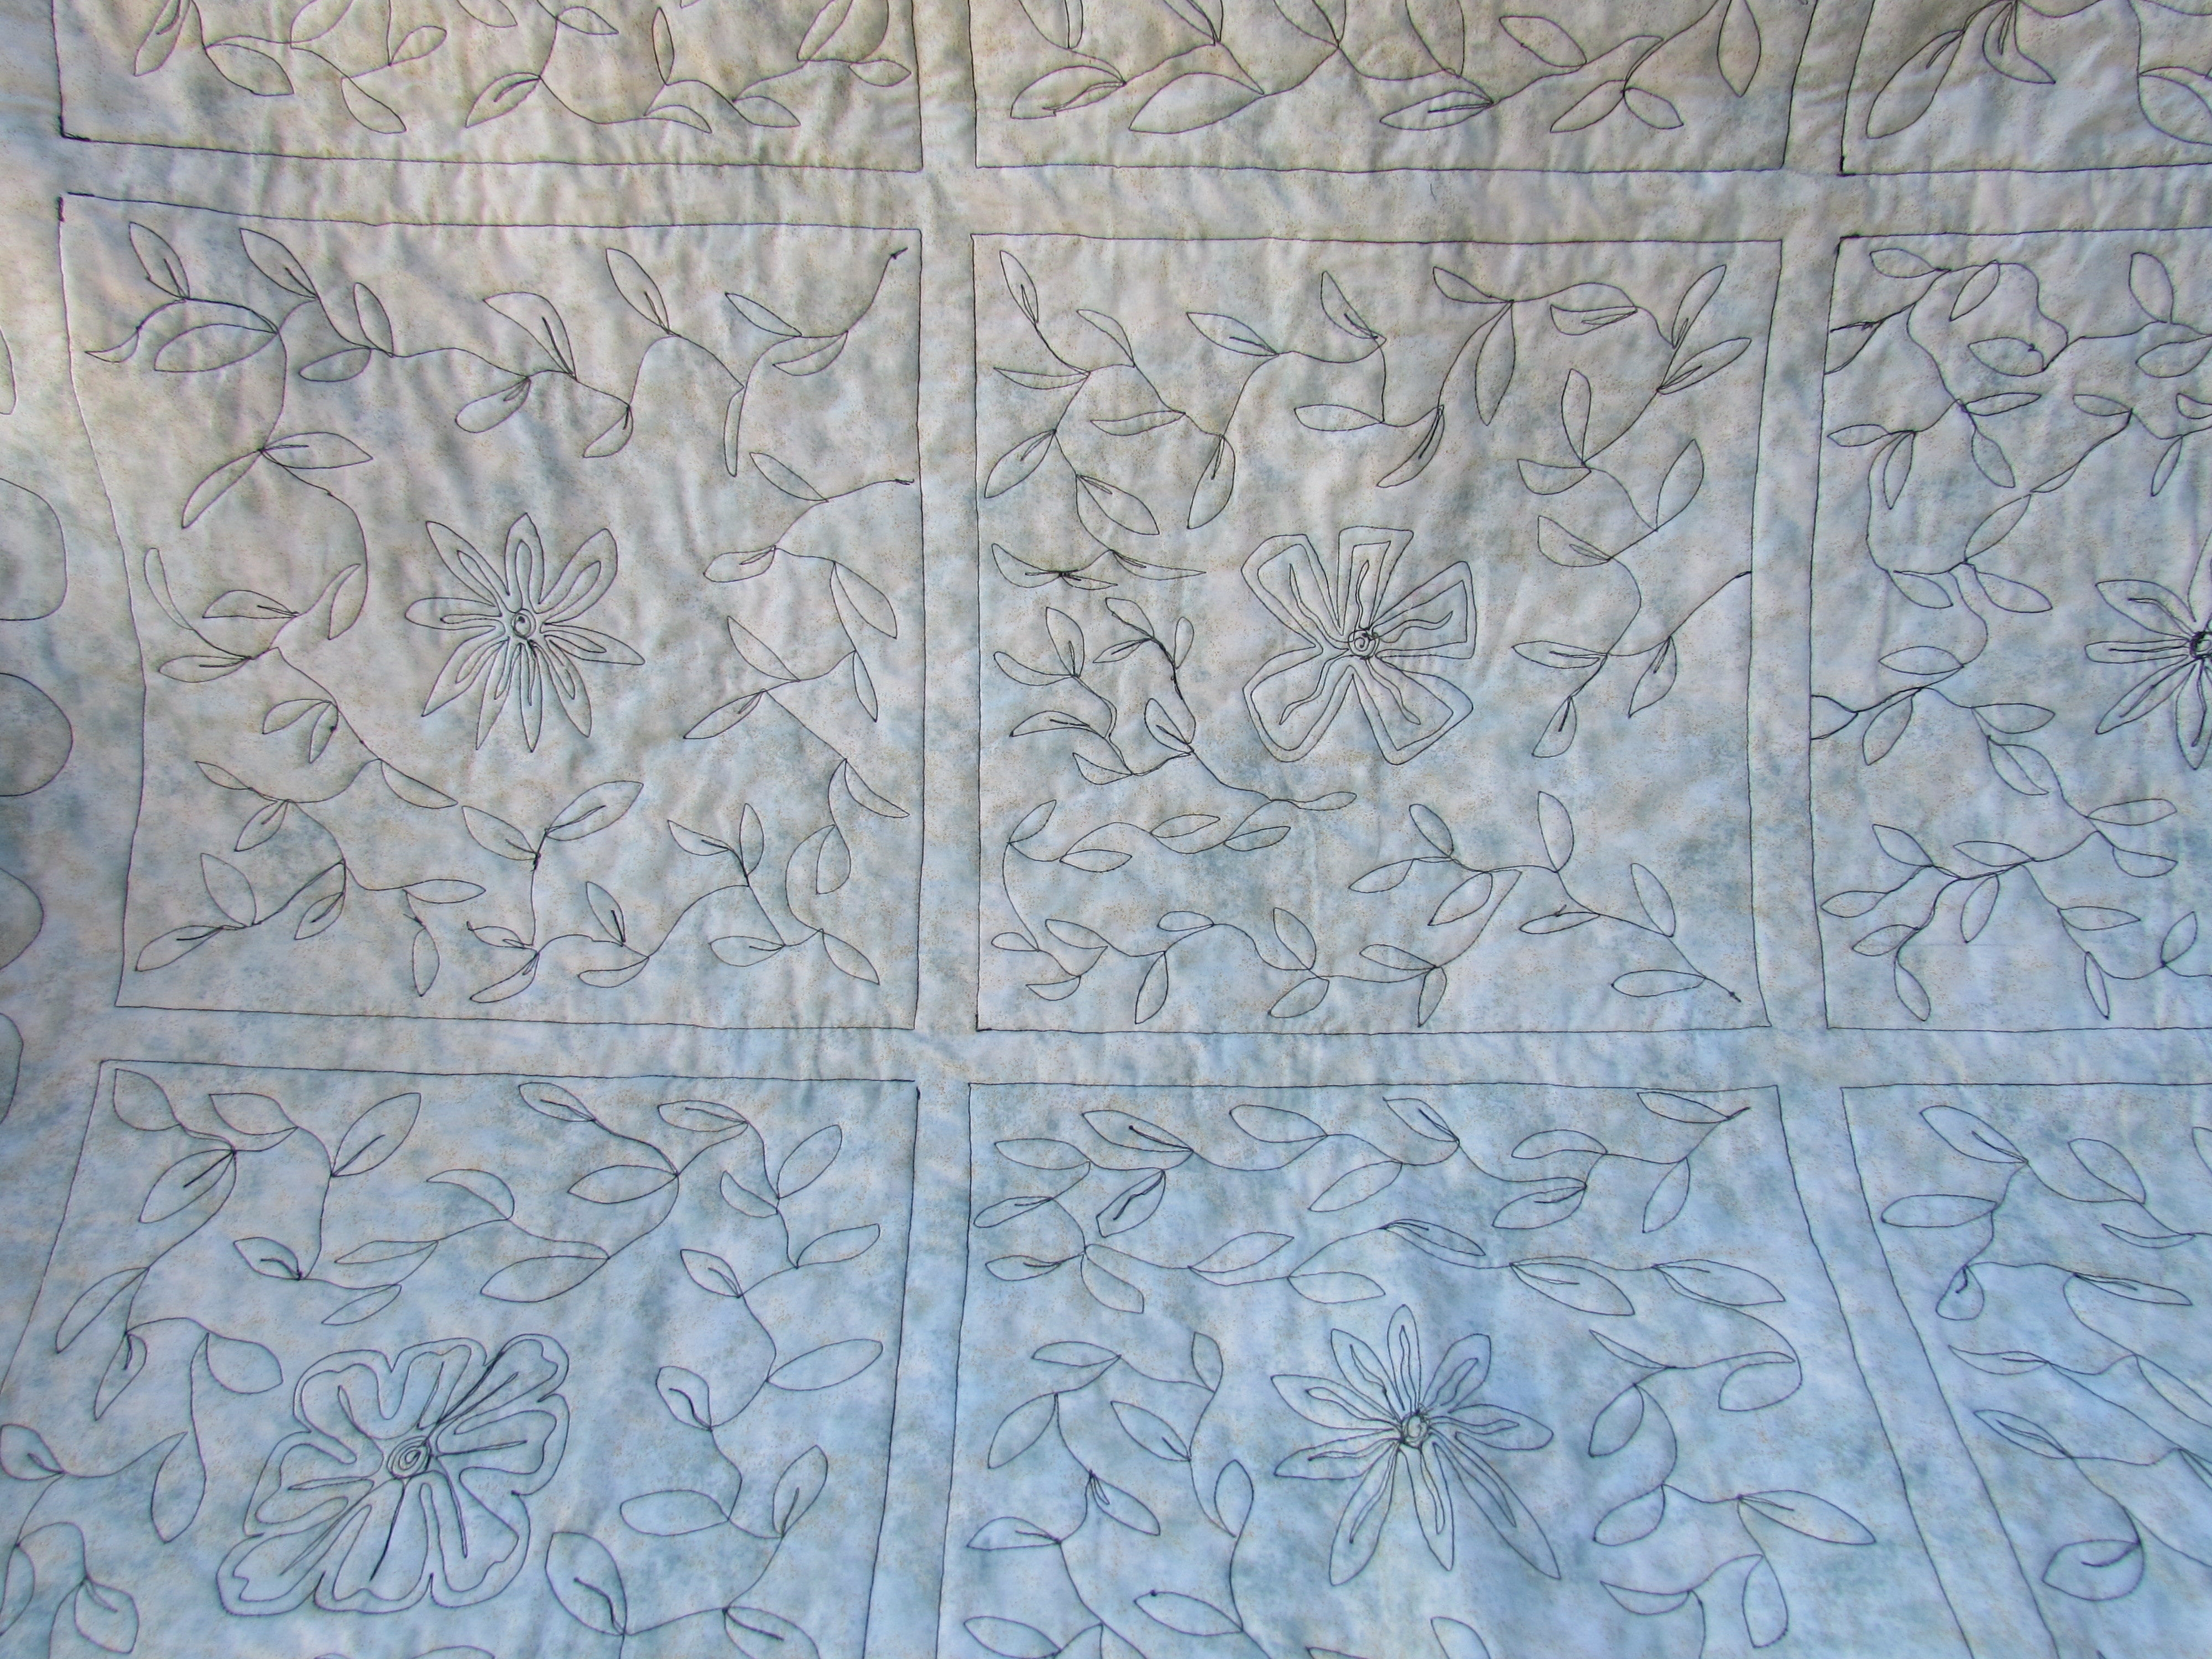
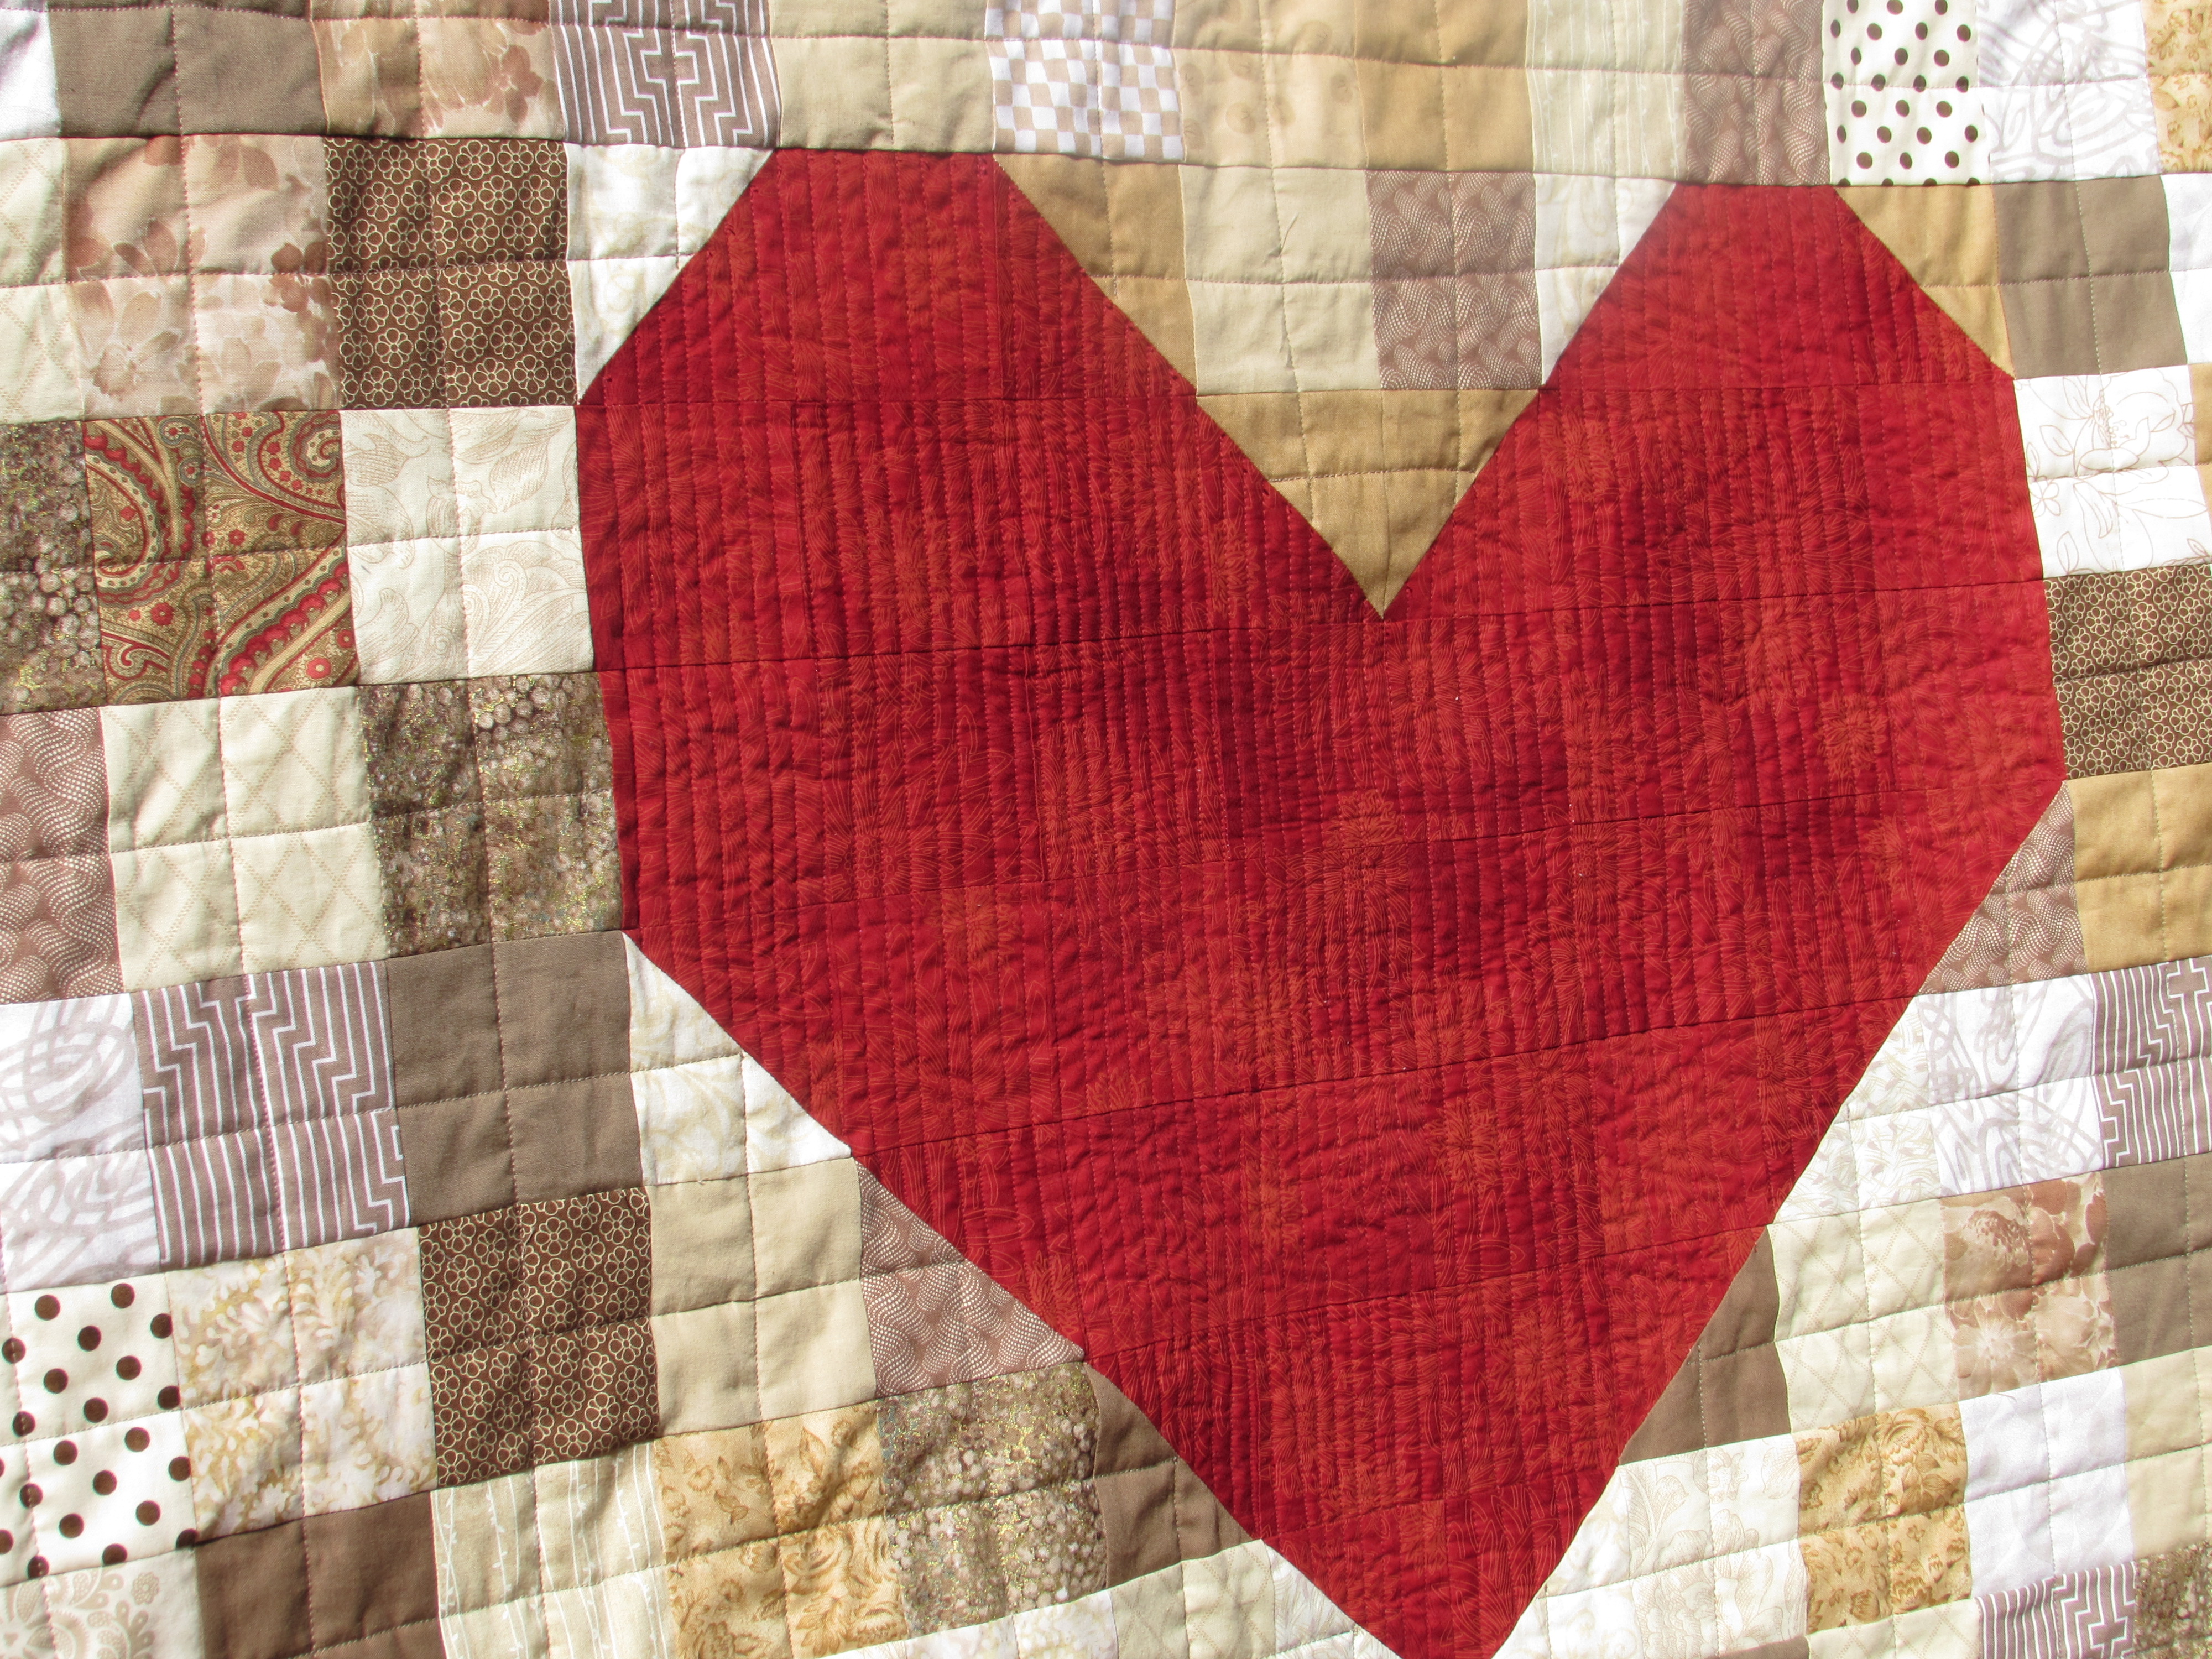
Quilting this was a lot of fun. For the most part, I outlined bits and pieces of the floral design. As I moved from one part to the next, I would add a loop or two.  Having this busy print was like having a stencil for the quilting. I didn’t outline everything though. For a baby quilt, I like to have some space between the quilting to keep the quilt soft.

The quilt finished at 40″ x 40″ and I gave it one trip through the wash before packaging it up to send to Texas. Hopefully Baby Camille will get lots of use out of this quilt for a long time to come!

Just in case you are in need of some gorgeous color in your sewing room, I do have all of these fabrics in stock in the shop.  🙂  I will be linking up this week with a few of my favorites. Check the tab at the top of the page for links!

Also, I want to let everyone know I drew two names for the giveaway of Carrie Bloomston’s book!  Congrats to Susan S. and Nancy H.  Here are their comments:

Susan S. said: “I would like to design a house that perfectly fits my life style and compliments it’s surroundings.”

Nancy H. said: “Great interview, Bernie. At one time, and not too long ago at that, I would have said that my one wish was owning a cozy, welcoming quilt shop where people felt as though they were home. Now, it’s a tough choice. The simple answer would be to finish my quilt in time for the show in two weeks! But I think it should be more substantial than that. You’ve really stumped me!”

It was so interesting to read the responses to my question, ” what would you try if you were guaranteed success?” There were lots of interesting ideas put forth.  Thank you for joining in!

Honeymoon Quilt Finish

A couple of months ago my husband and I celebrated our 17th anniversary. This week I finished a quilt made with fabric purchased on our honeymoon on the island of St. John. It may have taken me 16 years to think of how I wanted to use the fabric but once I got going, it didn’t take too long to finish it up. I posted earlier about making the quilt top in August of last year. Because I wasn’t sure how I wanted to quilt it, I set it aside (for nearly a year!) Come January of 2015, I set a goal to finish this quilt up and I did it. This finish means that I do not have any unquilted tops lying around. Yahoo!

This project was fun to plan. I have been reading about whether to stitch in the ditch before starting to FMQ. Honestly, this sounded like a whole lot of extra work. I decided to compromise and I stitched the perimeter of each nine patch. I thought this would stabilize the quilt and hopefully, reduce and puckers on the backing. It is so irritating when you flip the quilt over to check on it and there is a fold. Between pin basting and ditch stitching I was hoping for a better back. Some quilters think it holds the quilt square and prevents distortion. Others say it makes the FMQ work look better. I do think it helped. My quilt stayed square and often, it doesn’t. I didn’t have a single pucker on the back. The only thing is that on the back of the quilt, the ditch stitching is very visible so one has to take that into account when planning the quilting. It doesn’t show much at all on the front. As for any benefit to the look of the quilting on each nine patch, I didn’t notice a huge difference. In fact, after I had quilted about 65% of the project, I noticed that I had skipped ditch stitching one block. That block really didn’t look noticeable different from the others. So, I think it is good forquilt stabilization and keeping square but doesn’t noticeably enhance the FMQ.

IMG_20150618_3476

I took a look at some quilting sites (mainly Lori Kennedy’s site, The Inbox Jaunt) to get inspiration. I knew that I would do an all over FMQ pattern but wanted just a bit more detail than that. Each of the nine patch blocks have a blue center. Starting with that, I quilted a large flower in the center of each blue square.

IMG_20150618_3479

I decided that leafy fines would complement the flowers. Using a variegated green YLI quilting thread, I FMQ’d leaves of various sizes on each block. I left the black sashing plain.  Because the backing is a light green batik, the FMQ stitching really shows up on the back. Not sure if this is good or bad!  For the most part, I am happy with the stitching. Why is it that my eye goes to the little tension blips and the occasional jittery stitching instead of the overall look? For those of you that quilt on your domestic machine, how to you handle the starts and stops? Look closely at the squares that I ditch stitched, see the dark spots at one corner where I stopped and started? I chose to reverse a few stitches rather than knot and bury tons of threads. Not sure I like how this looks. What is the consensus? Do you back tack stitches or knot and bury threads? I know which is cleaner but yikes, burying all of those threads is time-consuming.

IMG_20150619_3486

The binding is, as usual, one of my favorite parts. I used the honeymoon batik for the border and also for the binding. To add some depth, I attached a black flange to the perimeter of the quilt before binding the quilt. I love the ‘something extra’ that this flange adds to the quilt.

IMG_20150618_3478

To honor our honeymoon, I tried stitching St. John as well as April, 1998 on a corner of the quilt. Kind of difficult to see but it was a good addition.

IMG_20150618_3477

When I was binding it, I came upon my two ends that needed to be joined and sighed my heavy, here-we-go sigh. I hate attaching the tails of the binding. This time I looked to Rita over at Red Pepper Quilts. On the off chance that there is someone who hasn’t heard of Rita, she is an amazing quilter who has the most amazing sense of color. Her quilts are bright, happy and so vivid. Truly amazing. If you haven’t looked at her work, now is the time. She has numerous tutorials, several of which talk about binding. This is the one that I used. The result was good so I will refer back to her measurements next time.

I can check this goal off of my 2015 list and move on to another one! I think the next goal I need to work on is some quilt restoration. I have two quilts to restore and I want to get one of them going soon.

Finally, remember the Allison Glass mini swap that I participated in? I blogged about the mini that I made here. There were a few comments asking me to post the mini that I received. Wow, I can’t wait to share it. It is gorgeous. I am so grateful to my partner for putting so much effort into this project!

IMG_20150616_3470

My partner outdid herself with this. I love the text print that was used as the background on each 2″ square. She appliqued the orange peels with a blanket stitch which was brilliant.

IMG_20150616_3471

She also made this smaller mini. I think it is intended as a pot holder but I am hanging it on the wall. I don’t want it soaked with food splatter, which we all know would happen.

IMG_20150616_3469

I also received this sweet wallet. Hand-made and so well done, it is lovely.

IMG_20150616_3472

IMG_20150616_3473

The swap was fun and I am thankful that I gave it a try as it pushed me quite far out of my comfort zone. Also, I am truly grateful for the work my partner put into the items I received.  That being said, I am not sure I will do another one for a while. I could see participating in one each year. They are quite time-consuming and it set my nerves on edge trying to think of what my partner would want, based on the few hints we are given. The process is a good way to get to know other makers though. It is really a big deal on Instagram and there is a swap for just about anything crafty.

Hope you all have something fun planned for the upcoming weektend.

Linking to Freemotion Mavericks, Quilting Jetgirl’s Thankful Thursday, Let’s Bee Social and Finish It Up Friday. Also with Sew Bittersweet Designs for the June ALYOF Link up.


A Finish with a Flange

So pleased to show this week’s finish!!  I love this quilt for a variety of reasons. The colors are just what I wanted for one.  I have always loved a basic pallette using neutral colors. As I mentioned earlier, I then decided I wanted to put a pop of red it. The more I played with this, the more I liked that red. Thus the addition of the large red heart!

IMG_20150325_2982

The biggest reason though is that it is my own.  The design is simple but it came from me; I didn’t use anyone’s pattern and that is absolutely a first. I used straight line quilting going in several directions. The hearted was densely quilted with lines about 1/2″ apart. I used the edge of the walking foot as my guide for that. The body of the quilt has straight lines going through each square, both horizonally and vertically. I started out marking each line with my Hera Marker but after a while, I got used to the patterns in the fabric and used those to guide me along and just freehanded it. Much simpler and very freeing!

IMG_20150325_2986

I took my time with this and didn’t rush to finish it. I did get antsy when I was quilting it and again when I was burying the threads around the red heart. I reminded myself to relax and enjoy the process and it was so nice. I loved every bit of it – even the annoying tasks like cleaning up the myriad little threads all over the back before sandwiching it. Even (and especially) sewing the binding to the back. I do love the process. I think part of the issue is that I feel like I should crank something out so I have “something” to write a post about. This was in the back of my mind but really, even though this blog is something I truly enjoy, I don’t want to be cranking out finishes just so I have a post. That doesn’t make any sense to me.

IMG_20150325_2988

After I got the quilting finished up, I was looking at it trying to decide how I wanted to bind it. I had enough of the fabric from the backing to use as binding but I was torn between using that and using the red fabric from the heart. Finally I remembered a post I had read a long while back over at Persimon Dreams. She had placed a very narrow flange on the quilt before binding it to add a pop of color. Yay-it was the perfect solution. I commented on that particular post and Kim was so kind to send me a quick email explaining how she did it. (So, actually part of this quilt was inspired by another but that’s ok. I want to give credit where credit is due.) Adding the flange took very little time and I think the effect it provides is wonderful.

IMG_20150325_2996


If you haven’t ever done a flange, it is very easy. I cut strips that were one inch wide of the contrasting red fabric. Then I sewed them together, just as one would with a binding strip. Fold it in half and press so you are left with a 1/2″ wide folded strip. (Kim used a 3/4″ strip ending up with a 3/8″ folded piece but I wanted something a little bit wider.) Once you have the flange prepared, attach it to the quilt’s raw edge on the top side. Sew it to the quilt using a VERY scant 1/4″ seam. I used a longer stitch (my Janome was set to 3.5 stitch length) which made attaching it a breeze. Then attach your binding as usual. Be sure to hand stitch the binding to the back. If you machine stitch it, those stitches will show on the flange. Easy peasy!  If you have any questions, let me know in the comments.

IMG_20150325_2989

Yep, this was a great finish and I will be gifting it to someone soon. That is the best part – giving it away and giving someone the joy of a cozy quilt. Hope the recipient loves it.

Linking to Sew Bittersweet Designs as this is my March finish for ALYOF. Yahoo for setting a goal (I had better plan my projects for April soon.) Also linking to Freemotion by the River and Let’s Bee Social.