Tag Archives: patchwork

A Bit of Holiday Cheer

It is the fourth of December and I am starting to feel some Christmas Spirit! I love this time of year and in 2020 we need every reason to celebrate and impart joy. I have two small projects to share with you today.

The First Three Stockings

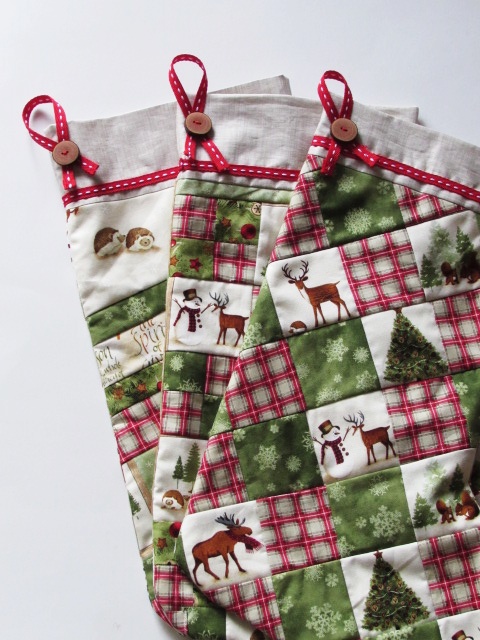
For my younger grand daughter, I had the fun task of making a Christmas stocking. Three years ago I made a set for my son, his wife and my oldest grand daughter. When I did this, I set aside fabric to make more stockings if/when his family grew.

Scrappy Christmas Stocking

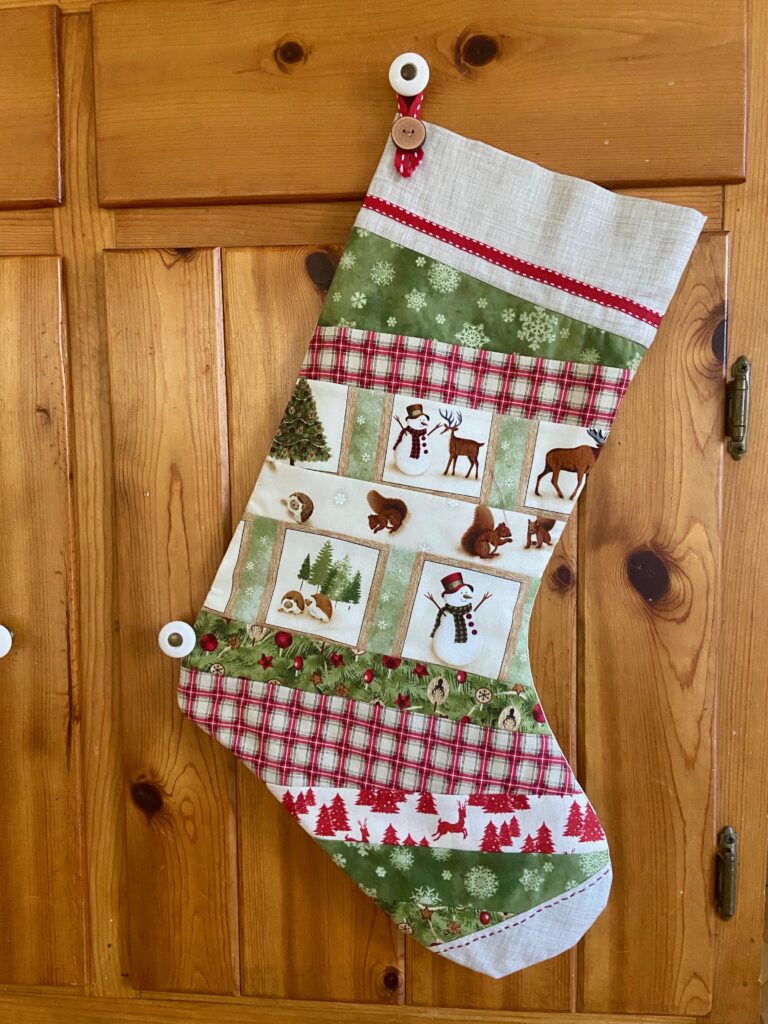
This stocking is number four for their family. I used the easy peasy quilt-as-you-go method for the strips. As with the other stockings, I put a ‘toe’ on the foot of the stocking and embroidered a red line of stitching across it. Fortunately I saved some of the twill tape and wooden buttons (made by my husband!) so the stocking is a perfect match for the first three. I think it is super cute – the line of fabric was so much fun when I had it in the shop. It is long gone now.

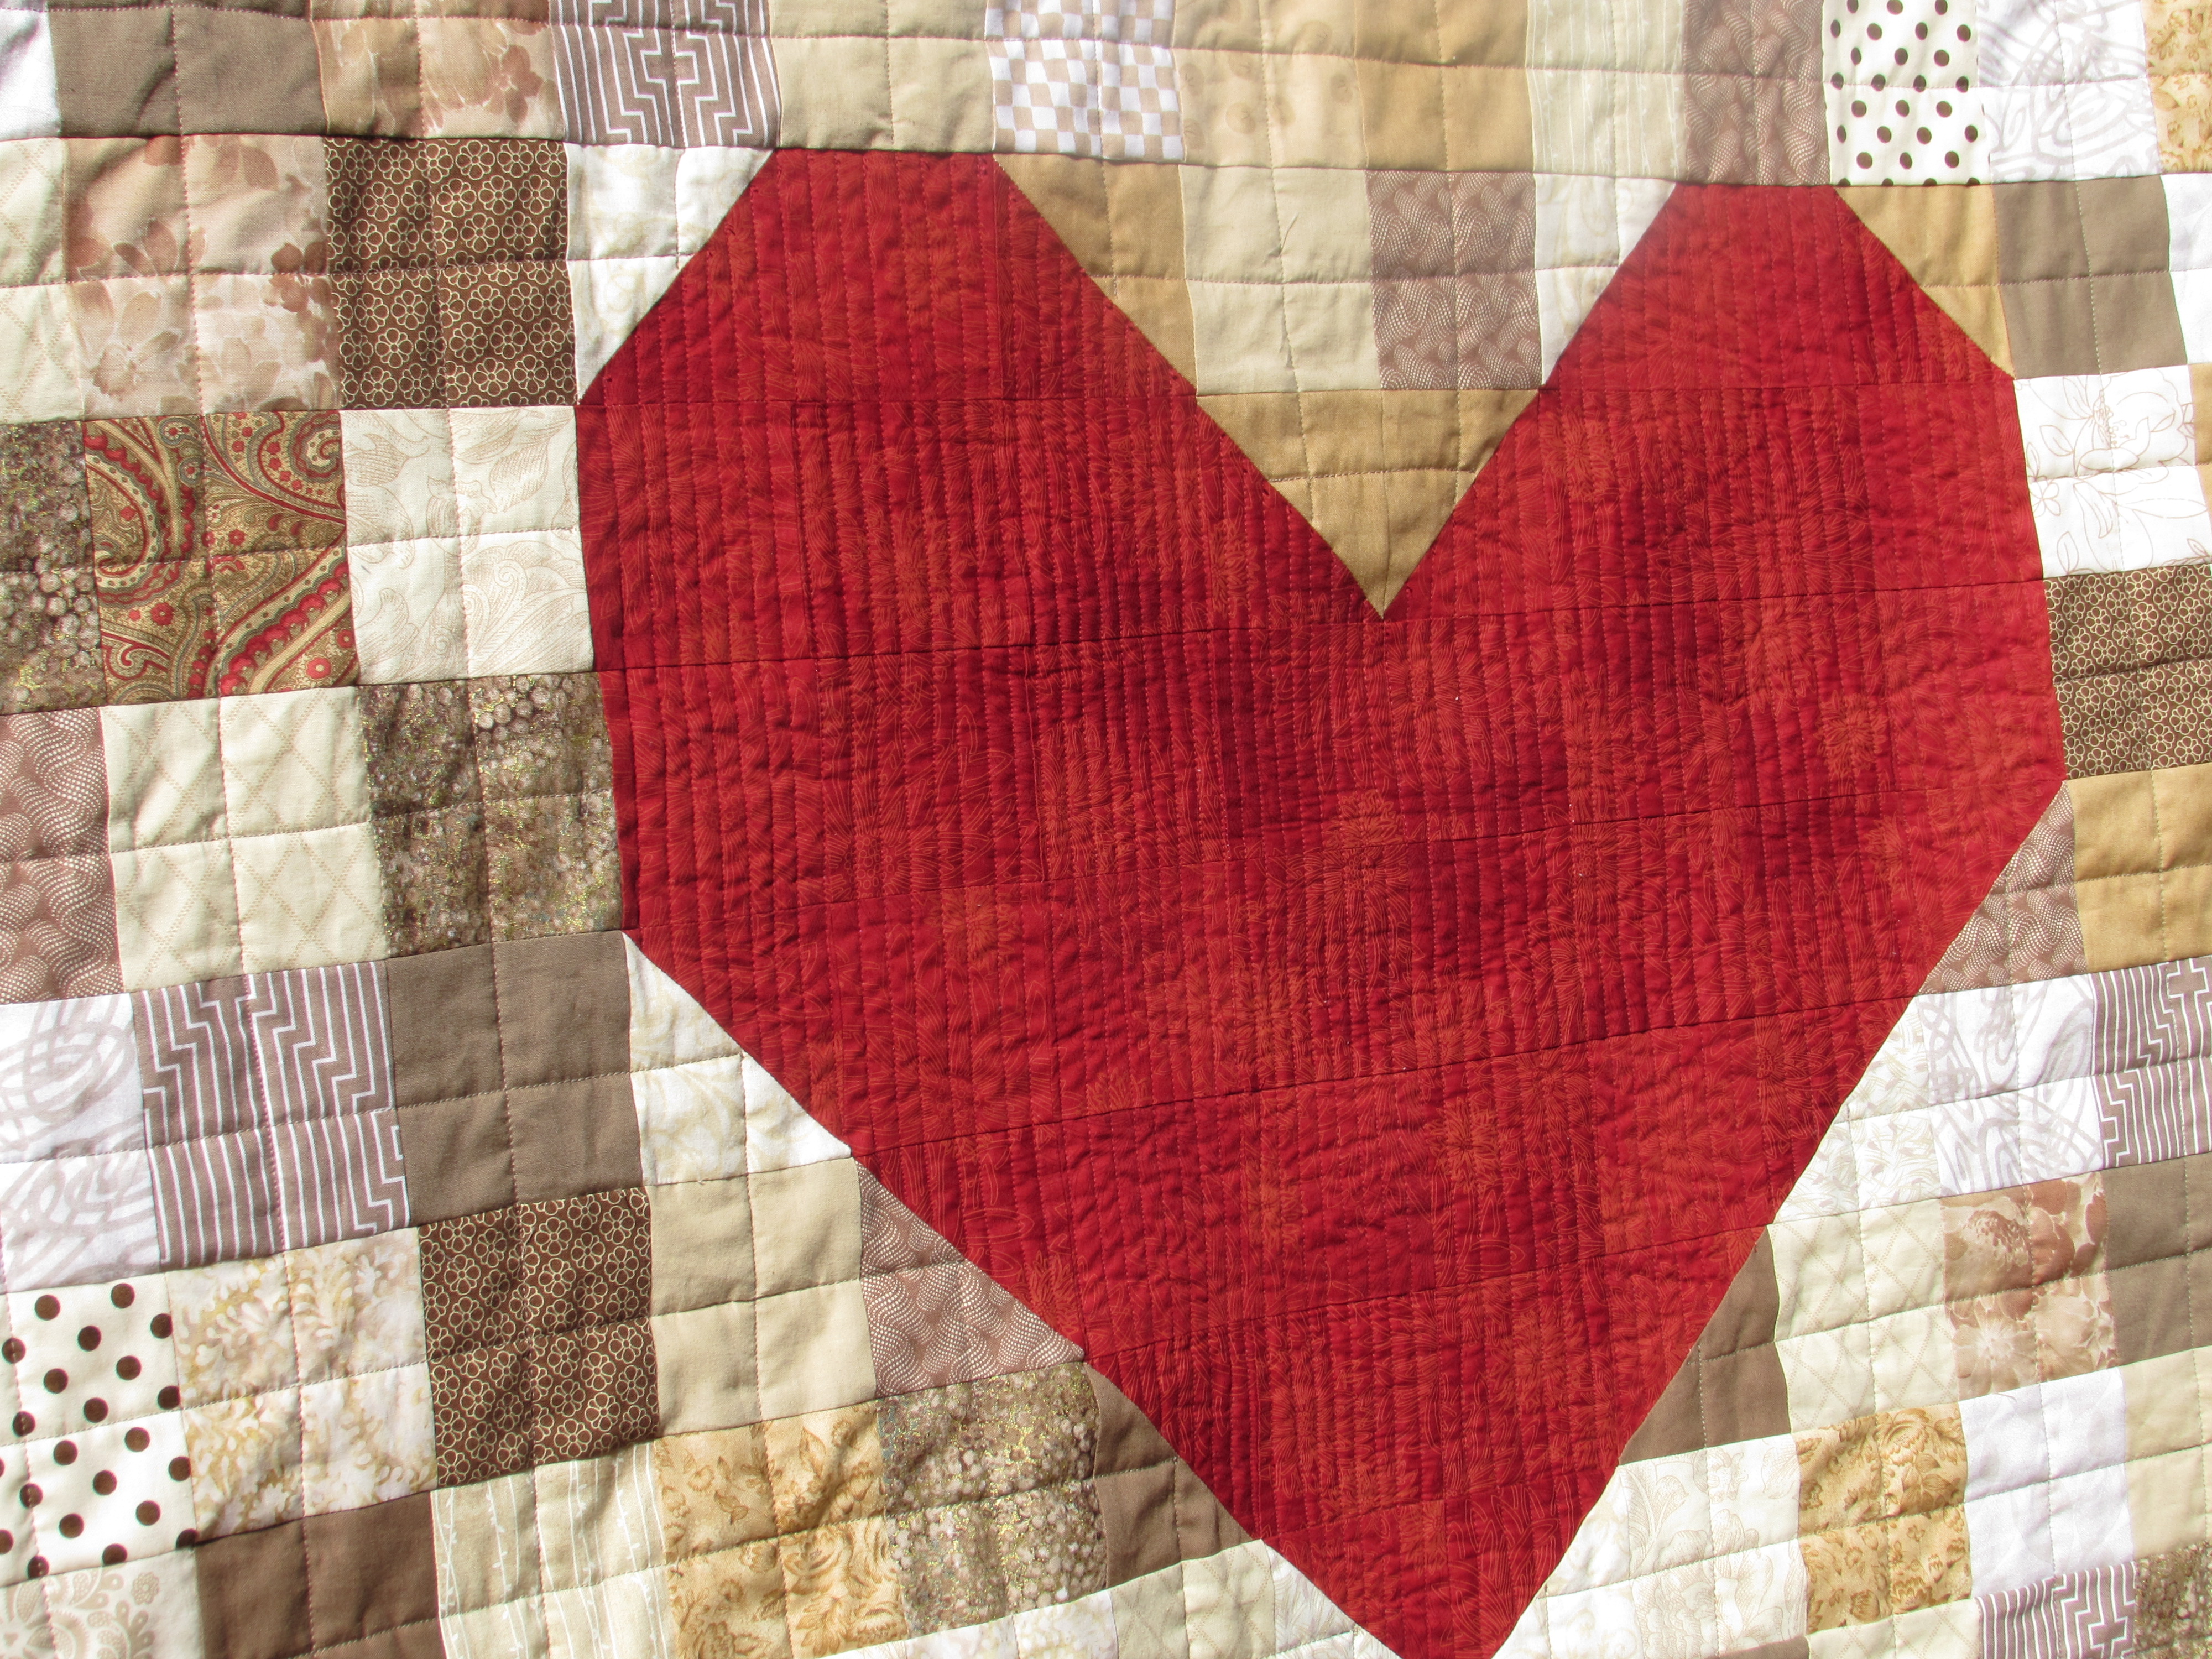
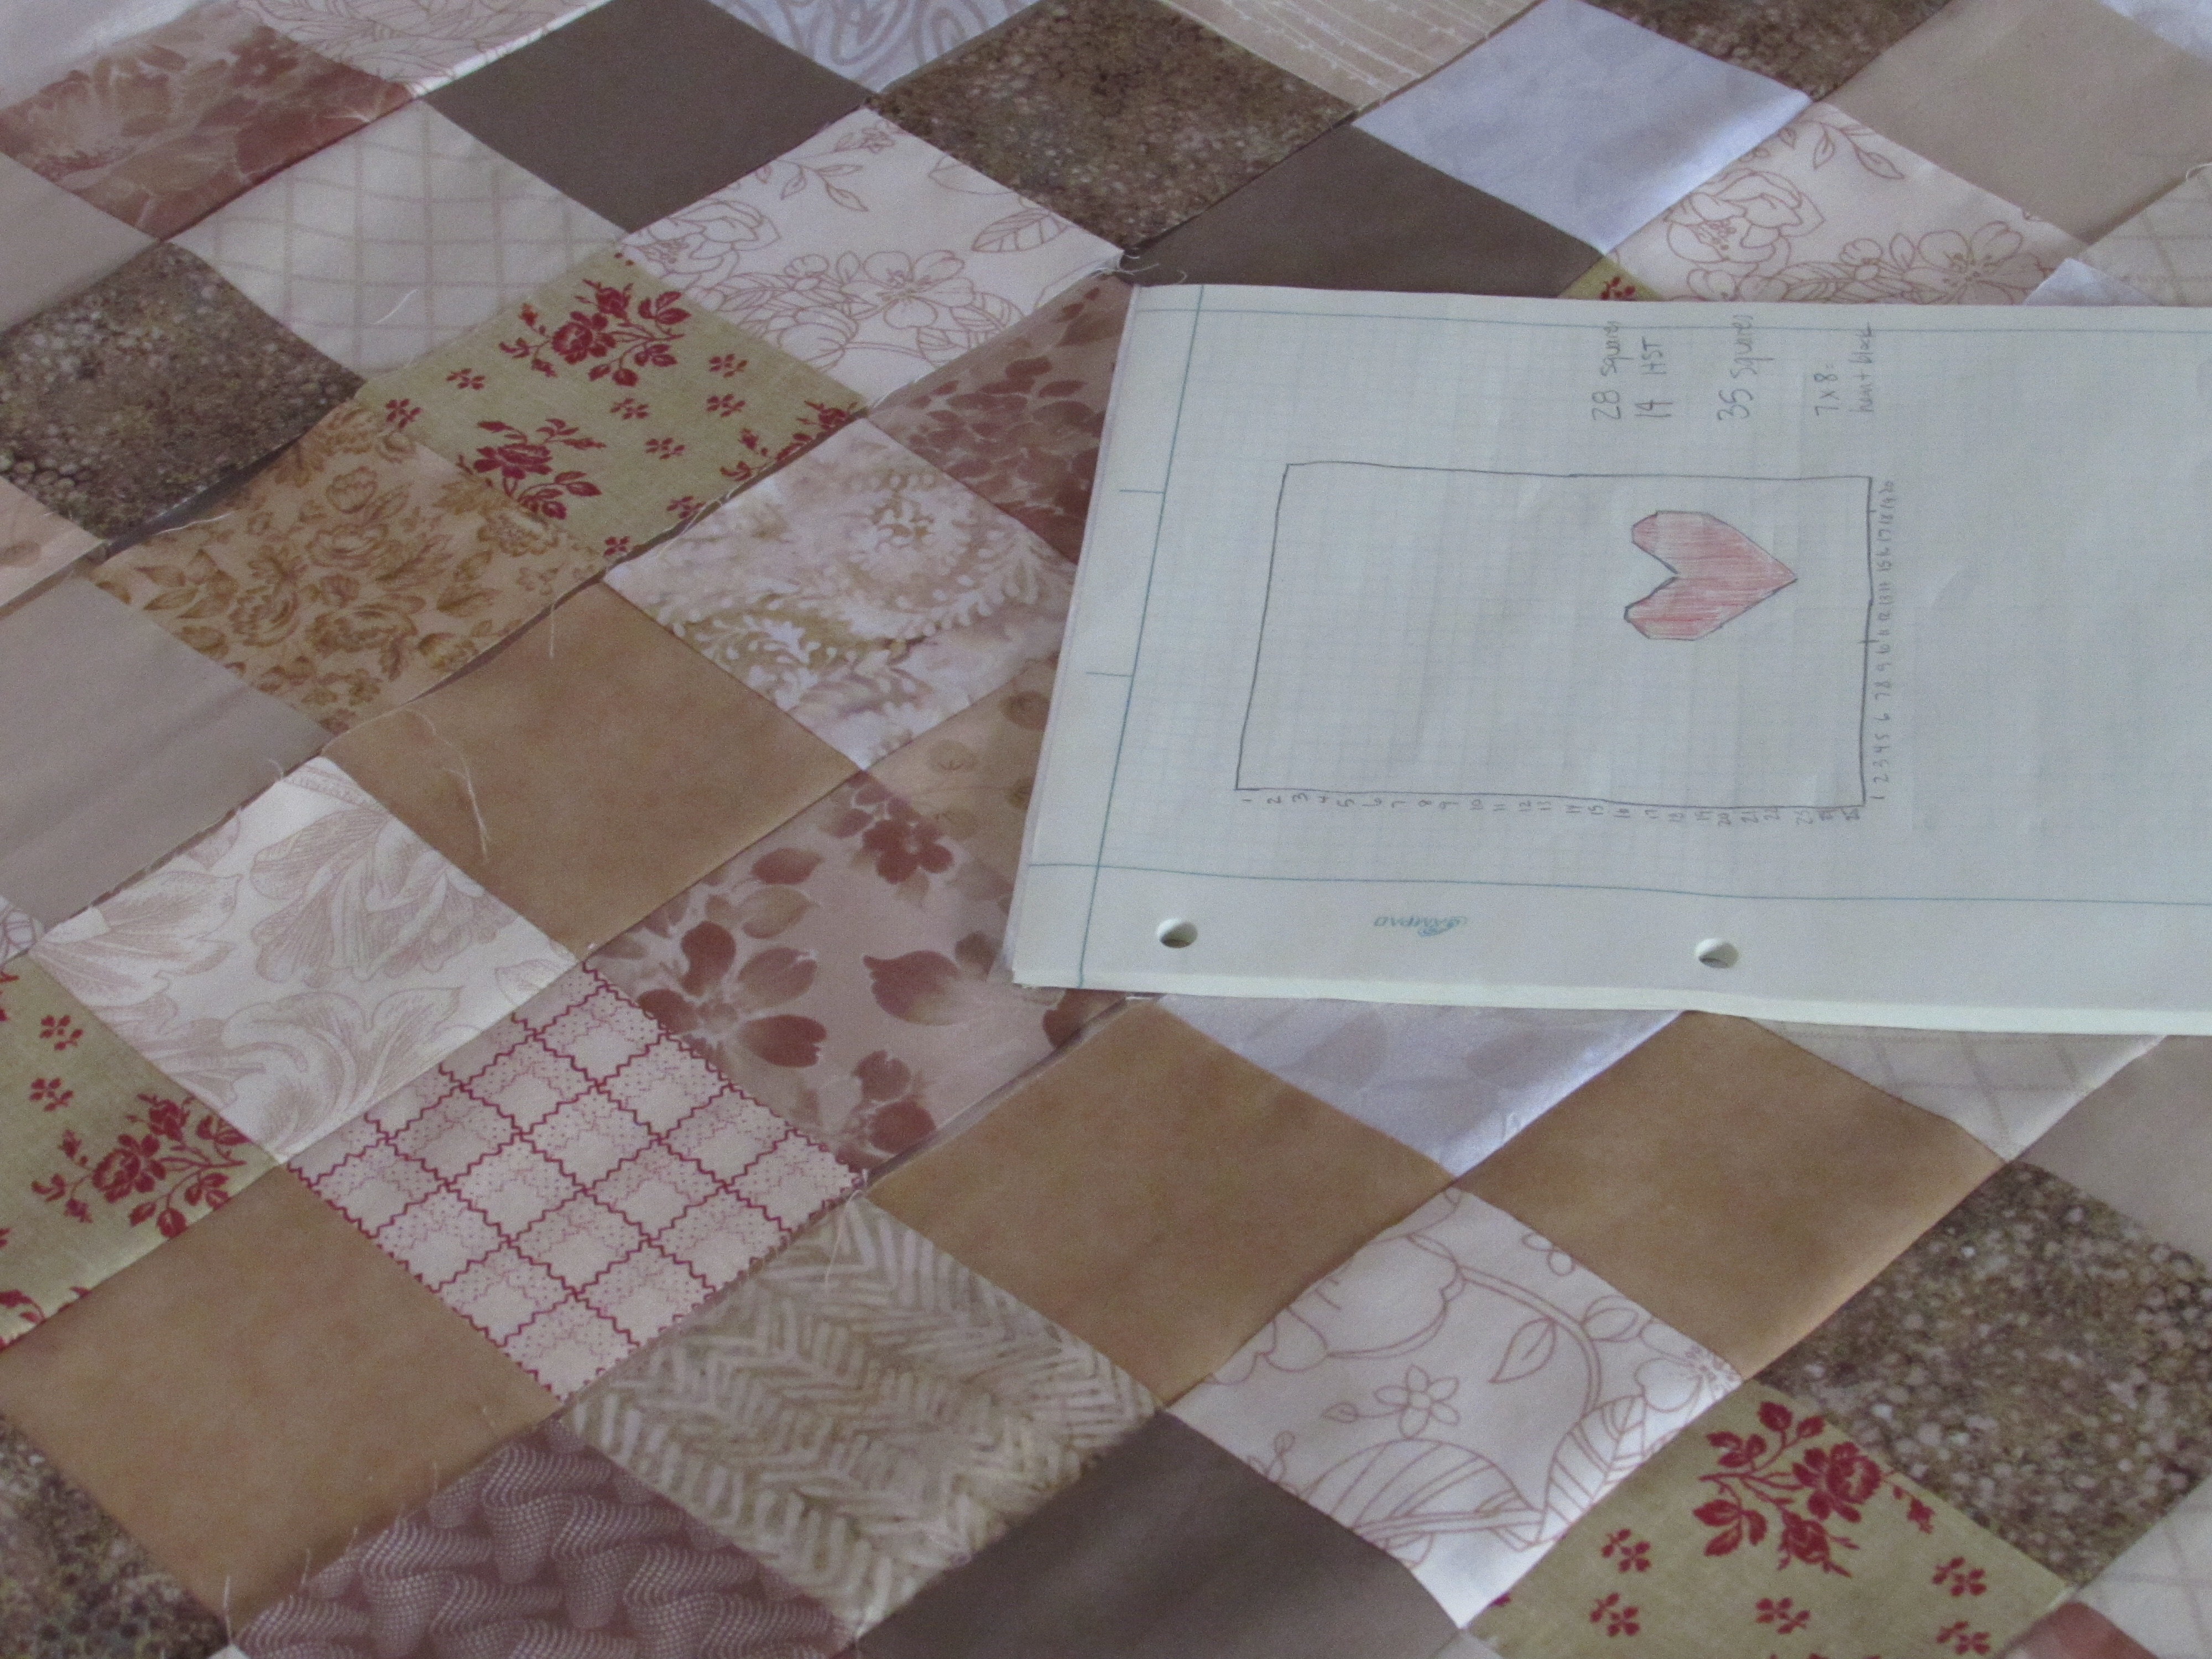
Next project? Well, remember how I have been ‘cleaning’ my sewing space? I sorted through some of my Christmas fabric. I have a large bag of vintage (1970’s-1980’s) holiday fabric and cut much of it into 3″ and 5″ squares with the AccuQuilt. Once I had that stack of squares sitting there, I couldn’t just put them away, right??

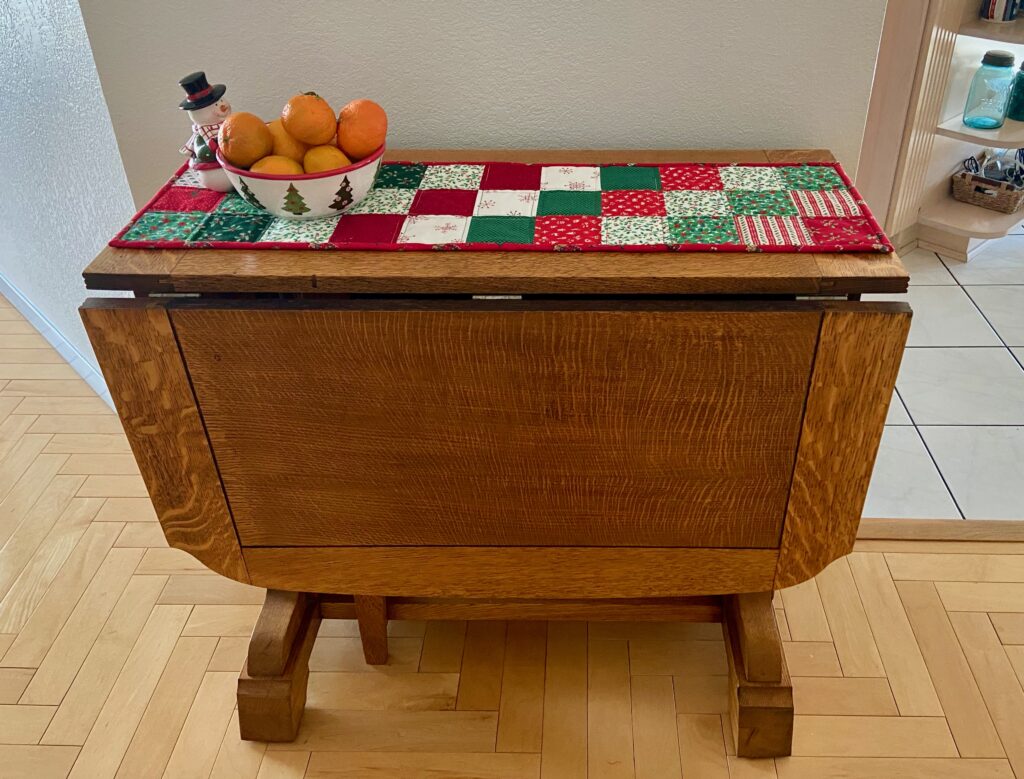
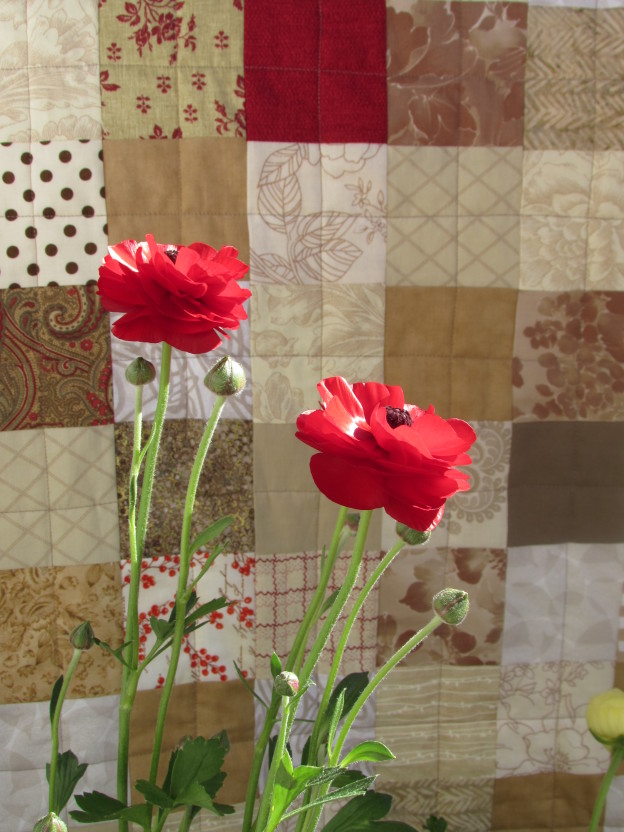
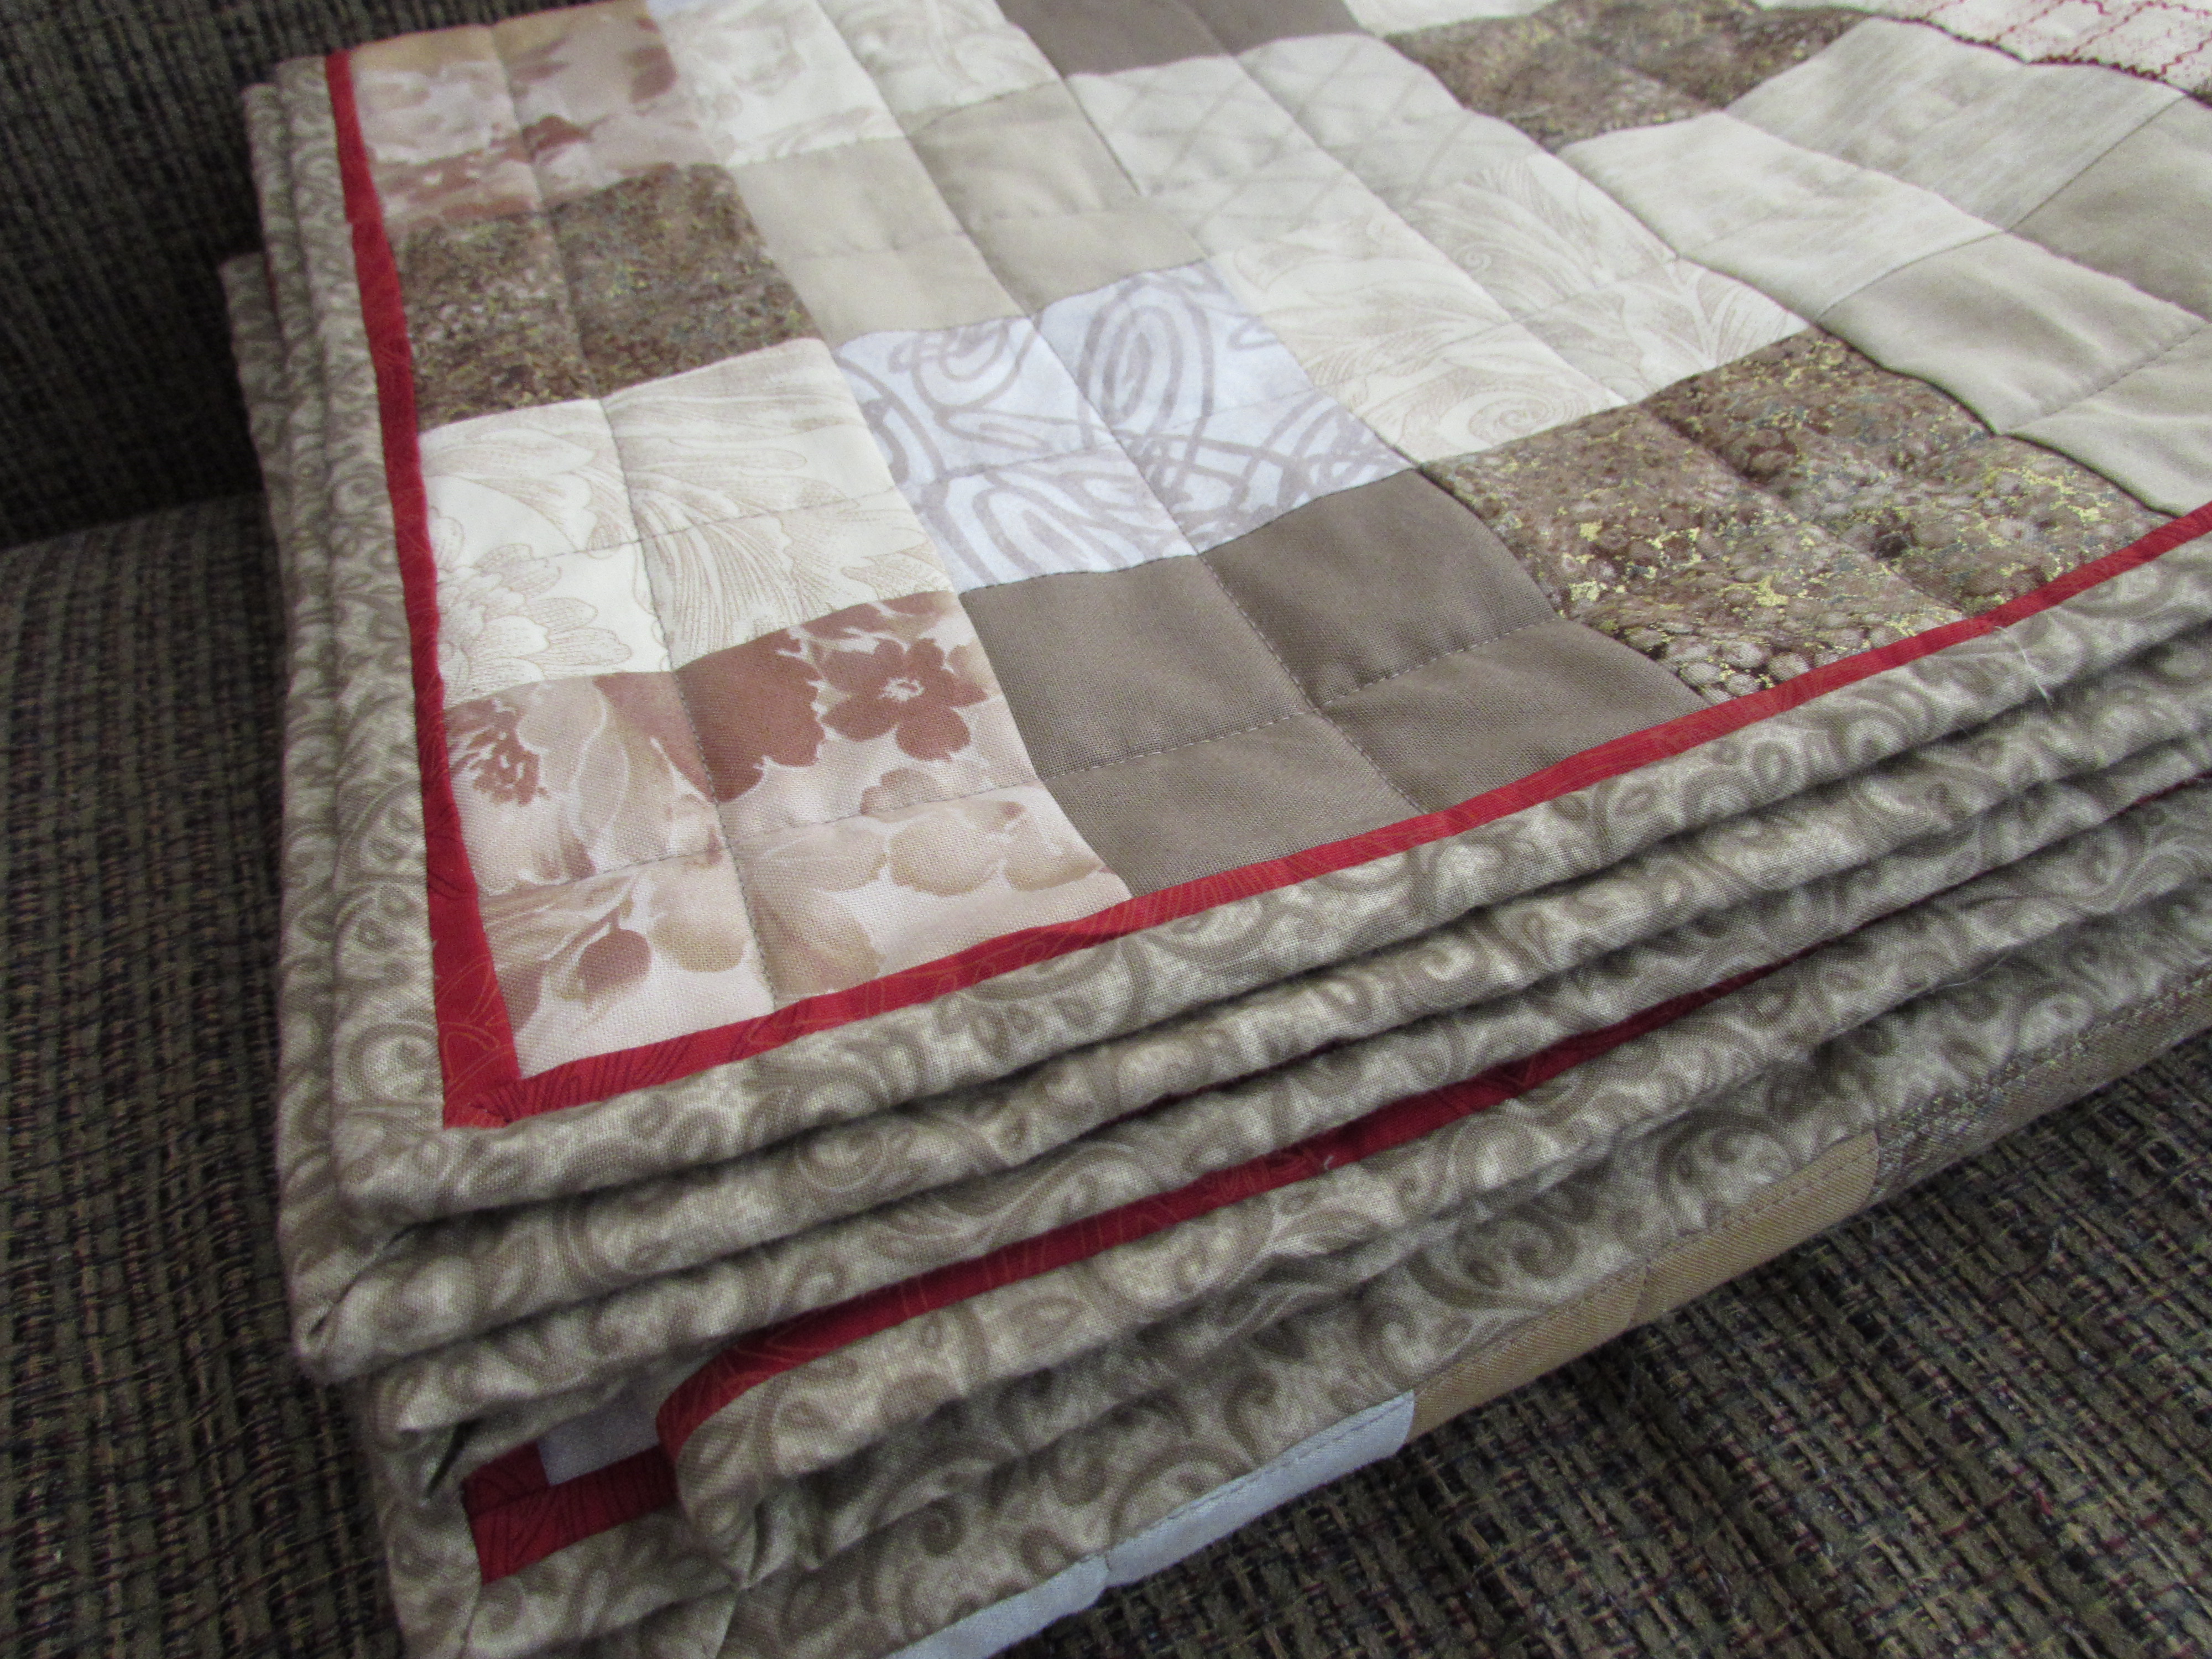
I decided to make a quick patchwork runner for the top of this drop leaf table. (My mom loaned this to me a long time ago for our Downieville house. We have since sold the house and I am hoping she doesn’t ask for it back…. I love the table!) I plan to put a set of photos here of my kids with Santa. I look forward to looking at those pictures each year. But I haven’t brought that box up yet. Julia and I plan to do some decorating this weekend and will put up the tree early next week.

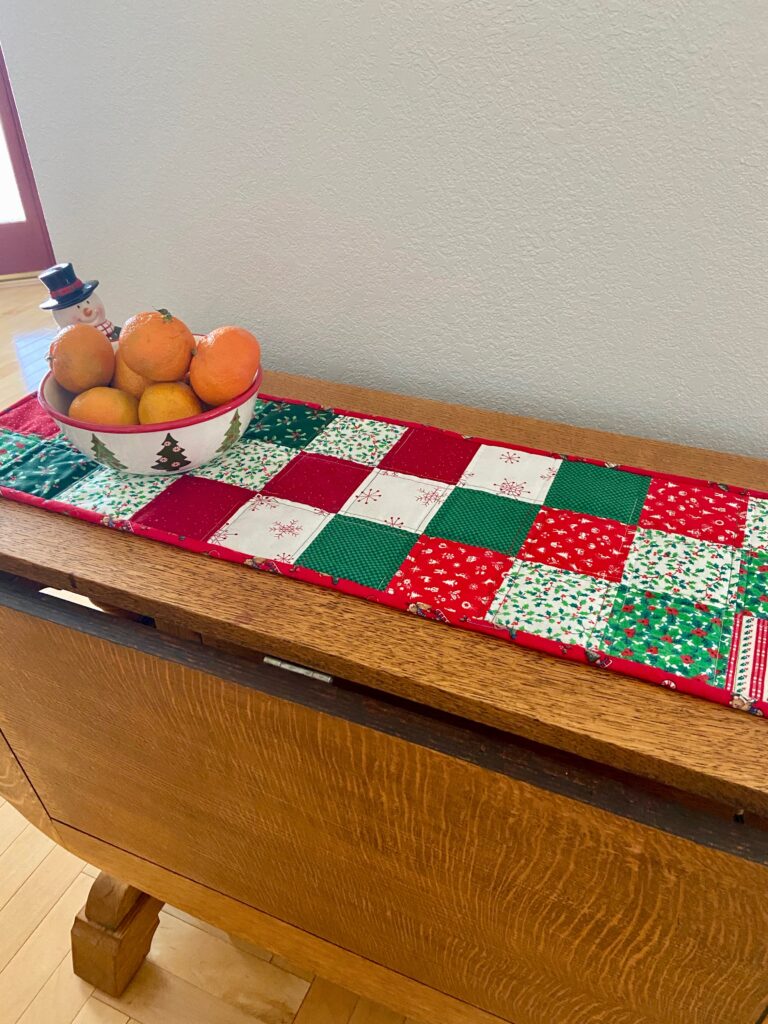
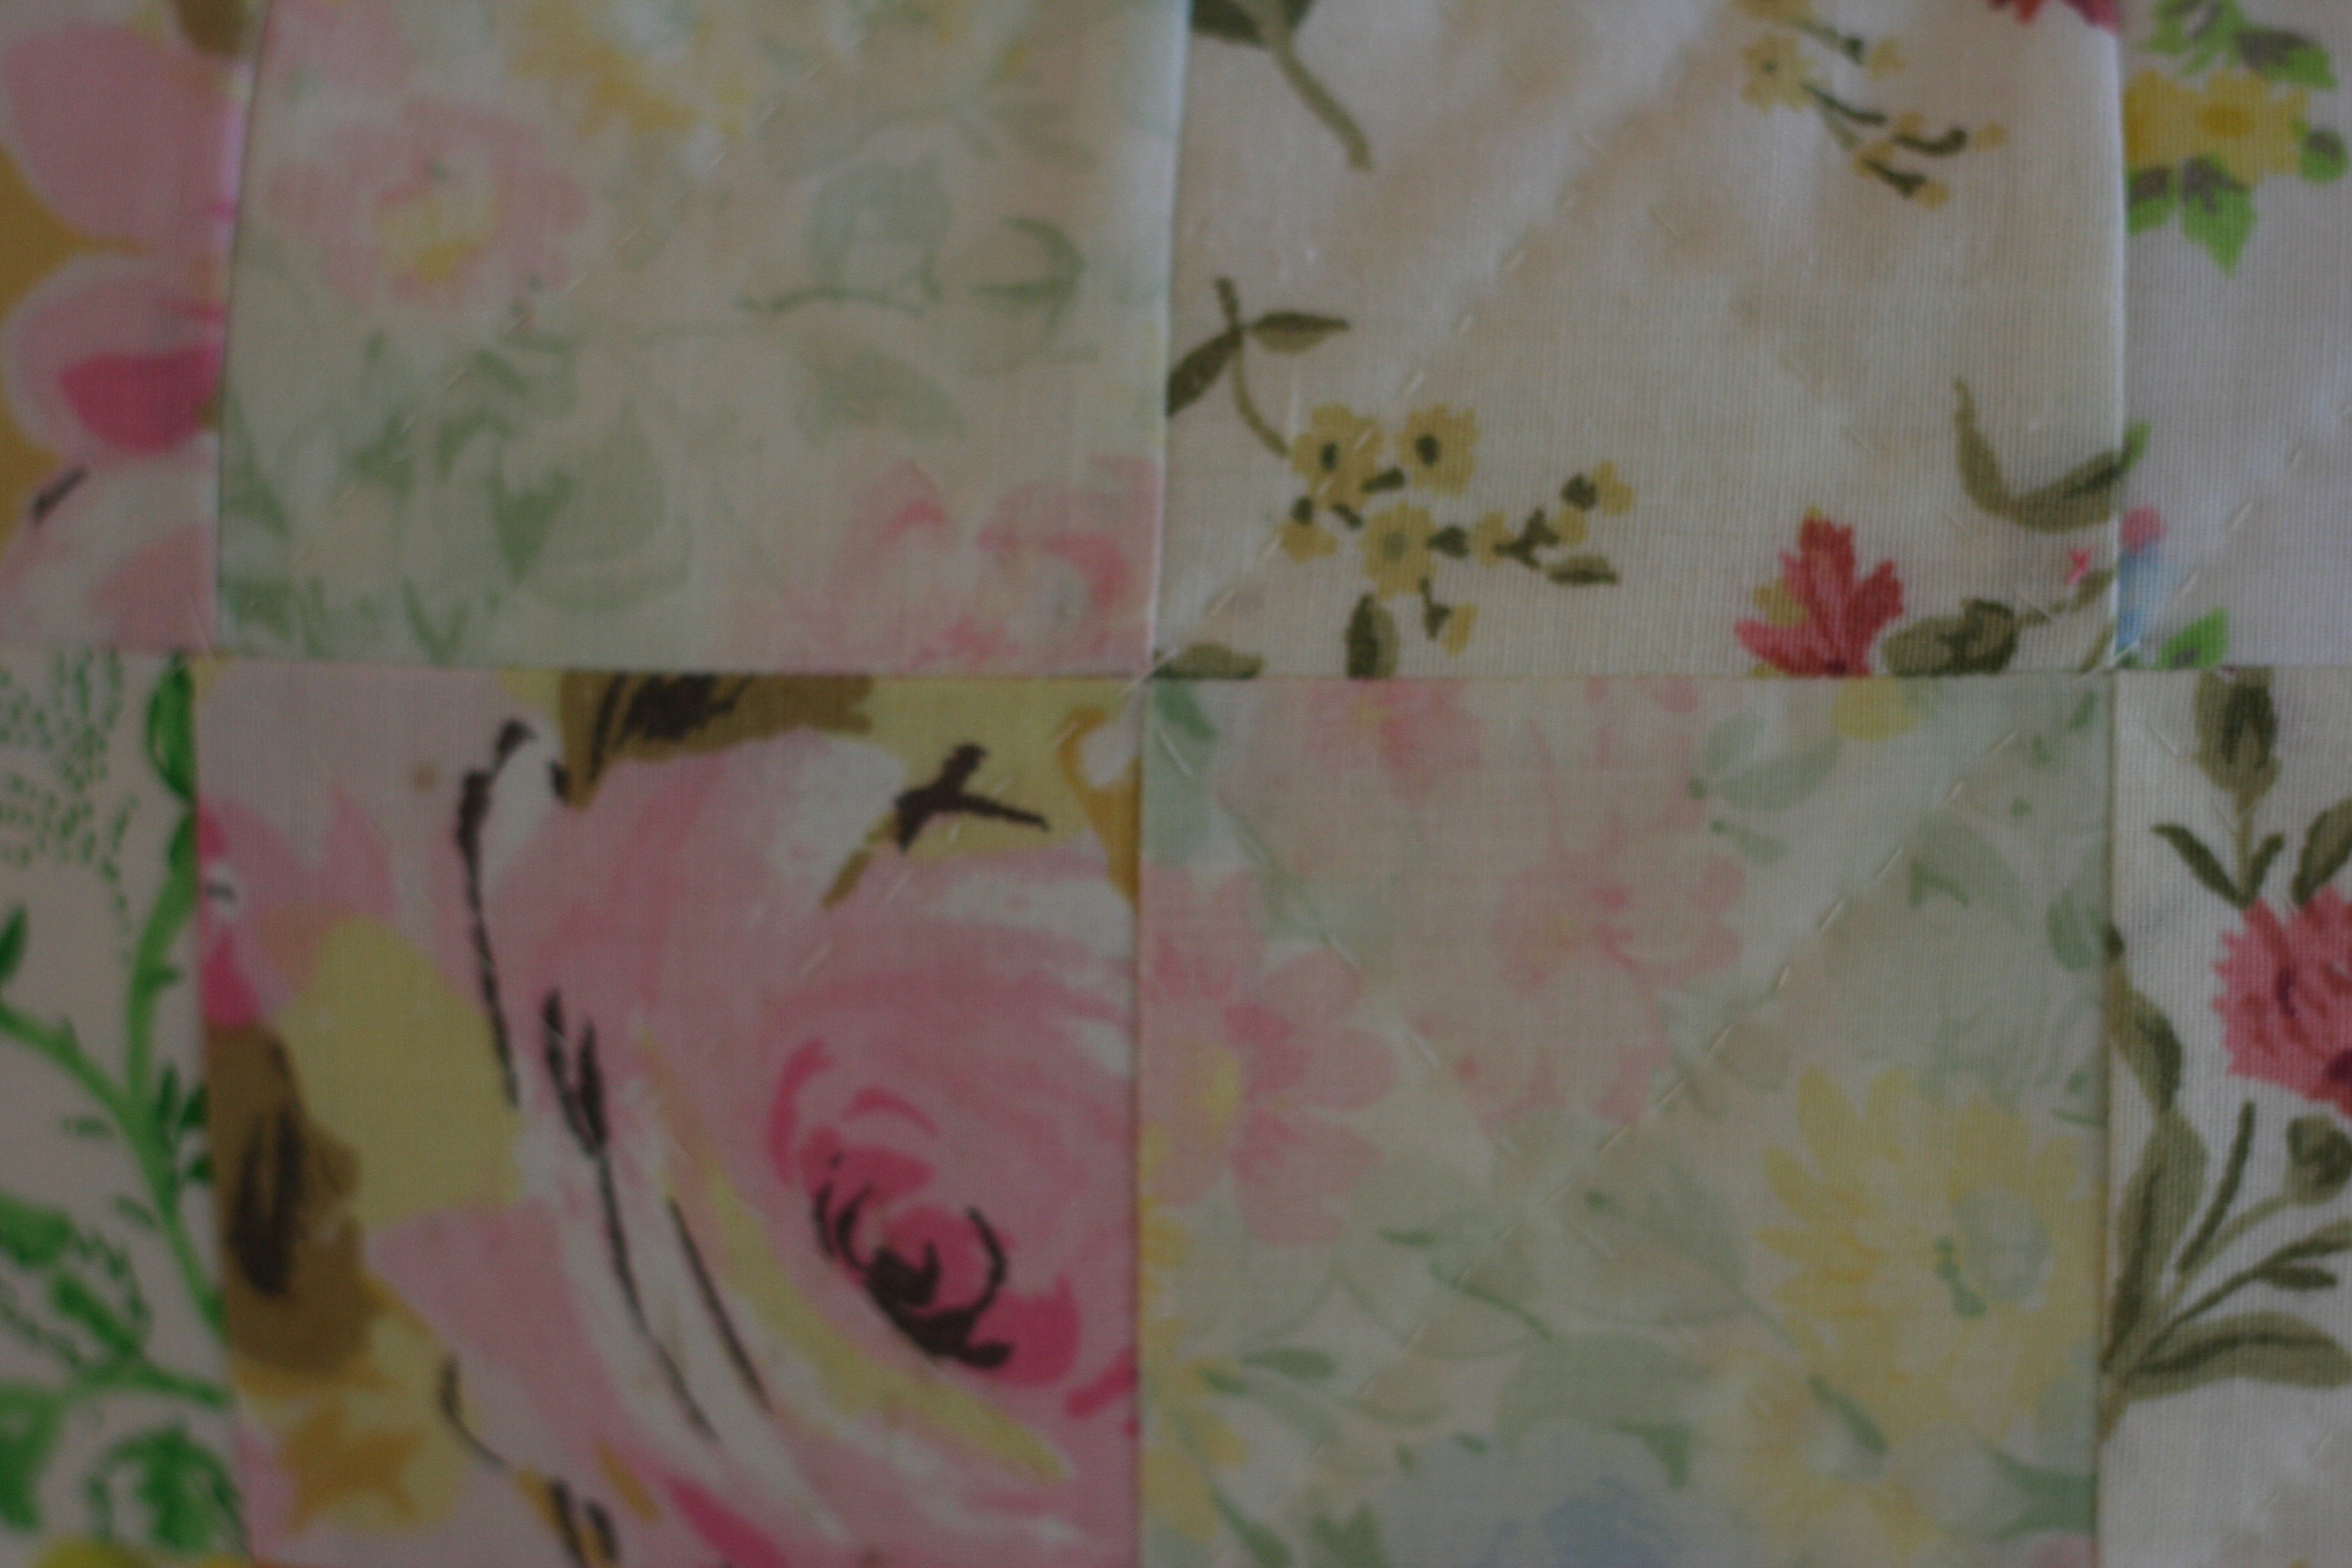
As I have said so many times before, simple patchwork is by far my favorite of any quilt. I am so nostalgic and love the look of this – what can I say? This would have been made even cuter with some hand quilting but I really wanted to use it now. So instead I used a variegated holiday thread I had from Mettler and did simple straight lines.

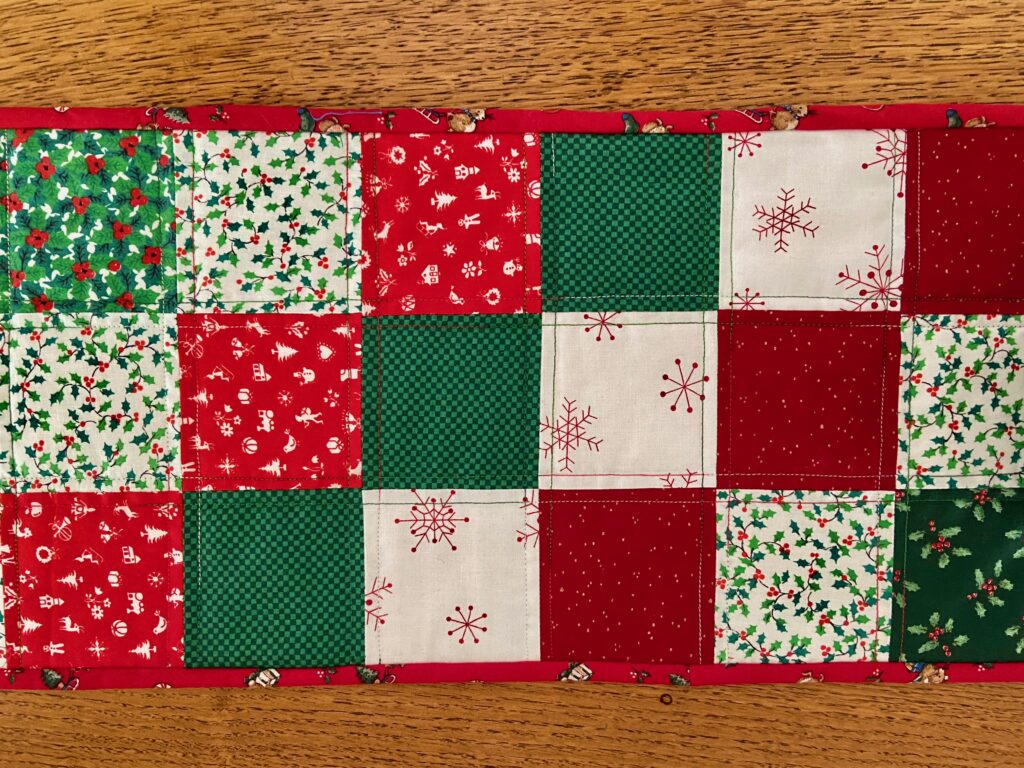
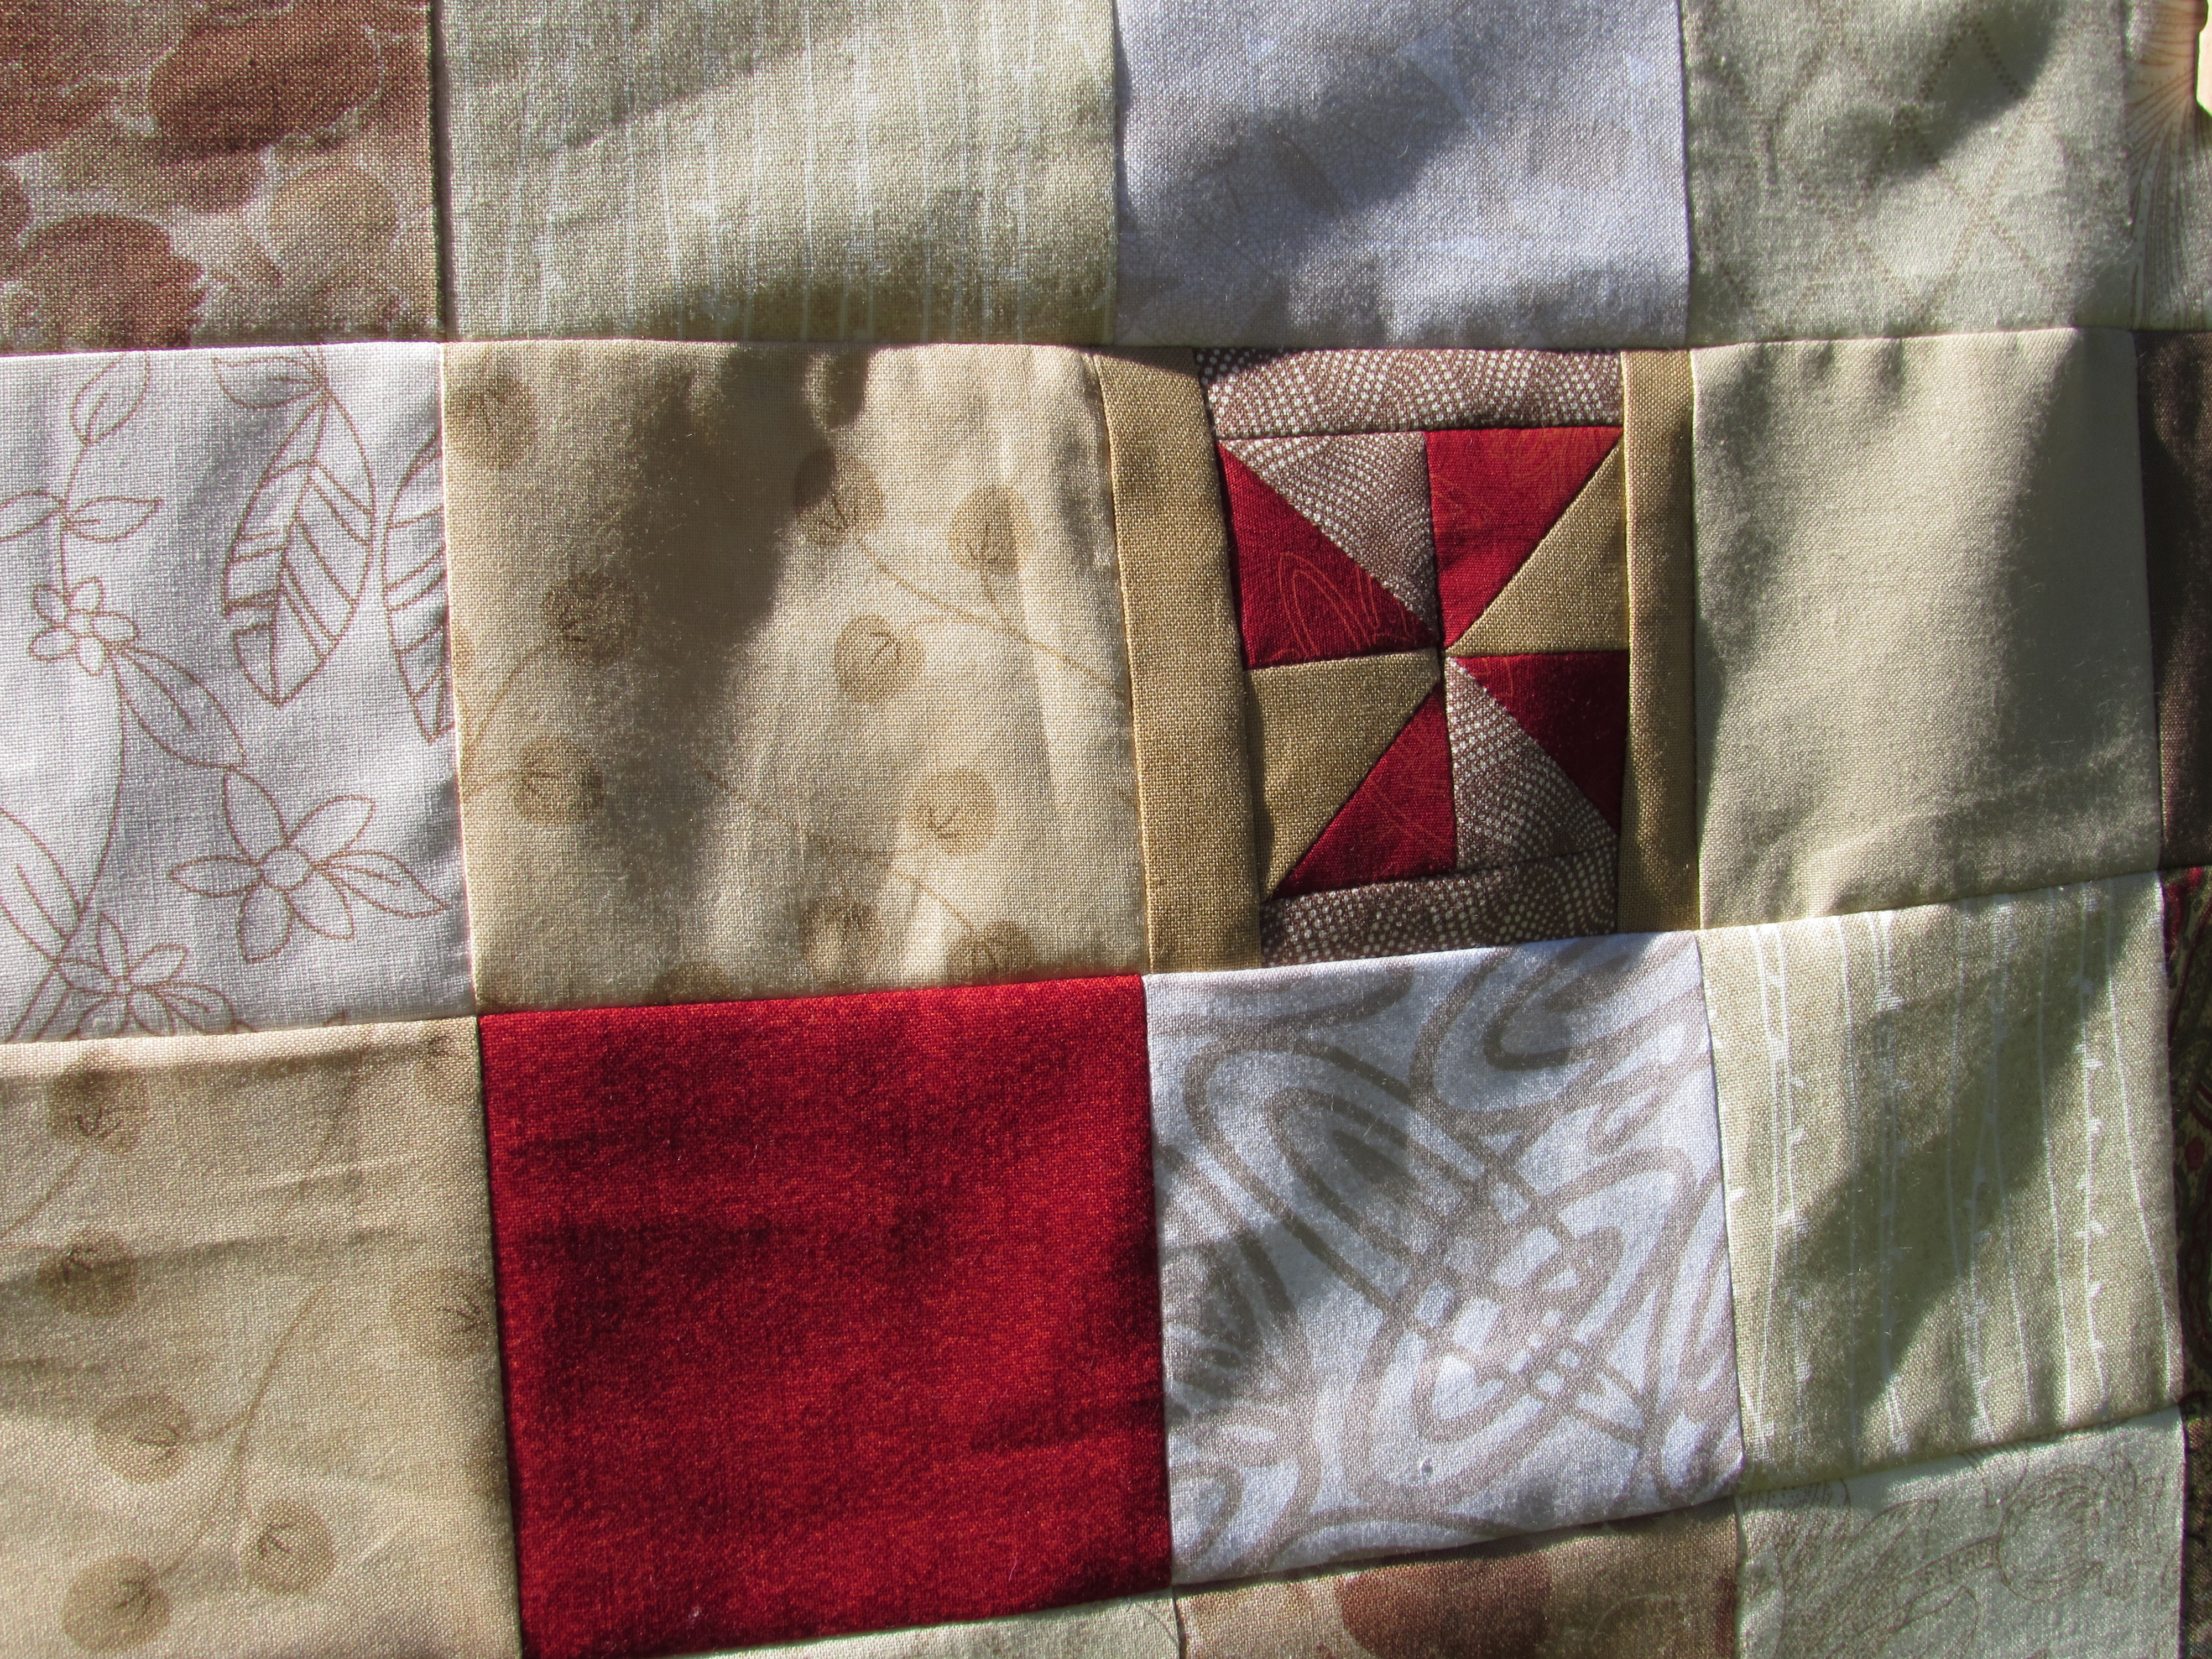
If you look at the fabrics, you will see the small print of white objects on red (next to the holly on white). This fabric is definitely from 1978. It is the same fabric my sister, Cathy, used to make wedding favors for her December, 1978 wedding. (Side note – if you want to read a fun post from several years ago, I wrote about all the weddings in our family and how most of us made our wedding gowns. Click here for the post)

OK – that is it for today. I do want to let you know I have a few fun things coming up on the blog! Next week I will be hosting a Guess Who game. I have childhood pictures from lots of quilter/bloggers. I want to see if you can match of the adorable faces to the right quilter. Look for that on Wednesday, December 9th. Then the following week, on Wednesday December 16th, I am hosting a Holiday Memories Bloghop. Lots of us will be posting about some of our favorite holiday traditions and memories or stories. I am so looking forward to reading these. Keeping spirits bright in 2020!!

Loving Spring

Hi Everyone.  Hope that your week was good – the weekend is nearly here!  We had a bit of a crazy week here. It started with a storm which was welcomed by all. Easter was rainy and cold. Then on Tuesday we actually got snow. Such extreme changes; we went from 75 degree afternoons to snow! It was a treat though as we haven’t had any snow this year. It melted off by the next morning and we are already back in the 60’s. Just a crazy spring storm.

We are still dealing with a horrible drought though and because of this, my husband and I decided to forgo our usual vegetable garden this year. It doesn’t make sense to use so much water in that way. I will also skip planting annuals and will not be planting any summer flowers in my deck pots. We are really in conservation mode here. We have three acres and much of it is grass so come summer, we will let some of it die back. Normally we irrigate a great deal of it but this year we will have some brown patches. It will grow back the following year. Hoping next year brings a monsoon our way.

Our garden is definitely pushing blossoms everywhere. The clematis is gorgeous.

imageRoses are blooming.
image

Artichokes will be picked soon.

imagePeaches are already the size of small almonds. I do love spring!

image

I worked on a few fun projects this week. I finished the vintage linen pillow that I was hand quilting last week. It is so cute.  My stitches certainly leave room for improvement but I loved doing the hand work. I will definitely continue to practice. I used Aurifil because I really wasn’t entirely sure what I should be using and I didn’t want it to stand out too much since it was my first attempt at hand quilting. Next go around, I will try something with more heft; maybe a Perle cotton?  Suggestions welcome here!

image

It is certainly harder than it looks! Tricky to quilt tiny stitches of a consistent length.  Overall, I am pleased with my first attempt and it will be a good reminder of where I began.

imageThe pair of pillows work well together.

image


I also made one of the tablerunners this on my ALOYF goal for this month. I used two Joel Dewberry prints that I won a while back. It is a basic chevron with a tiny pop of turquoise bordering it. I am quilting it with straight lines on the chevron and pebbling on the white triangles. Hopefully I can get that finished and bound this weekend. (This picture was taken inside, in the evening, which never makes for a great shot.)


IMG_20150409_3040That’s it for this week! I know I skipped writing a gratitude post this week, but if I were to choose something I am especially grateful for, it would be the storm we had. It may not have fixed our situation, but it sure didn’t hurt!

By the way, if you are an Instagram fan, have you been enjoying the “twenty things about me” posts that are going through the quilting population? I love them. I have read so many fun things about some of the quilters I admire. It has been fun to follow these posts!  Wishing everyone a wonderful weekend.

Linking to my usual:  Let’s Bee Social, Crazy Mom Quilts, and Confessions of a Fabric Addict. Also linking to TGIFF which is hosted by Lorna this week (at Sew Fresh Quilts.) All of these links are located at the top of the page, under Link Ups.


A Finish with a Flange

So pleased to show this week’s finish!!  I love this quilt for a variety of reasons. The colors are just what I wanted for one.  I have always loved a basic pallette using neutral colors. As I mentioned earlier, I then decided I wanted to put a pop of red it. The more I played with this, the more I liked that red. Thus the addition of the large red heart!

IMG_20150325_2982

The biggest reason though is that it is my own.  The design is simple but it came from me; I didn’t use anyone’s pattern and that is absolutely a first. I used straight line quilting going in several directions. The hearted was densely quilted with lines about 1/2″ apart. I used the edge of the walking foot as my guide for that. The body of the quilt has straight lines going through each square, both horizonally and vertically. I started out marking each line with my Hera Marker but after a while, I got used to the patterns in the fabric and used those to guide me along and just freehanded it. Much simpler and very freeing!

IMG_20150325_2986

I took my time with this and didn’t rush to finish it. I did get antsy when I was quilting it and again when I was burying the threads around the red heart. I reminded myself to relax and enjoy the process and it was so nice. I loved every bit of it – even the annoying tasks like cleaning up the myriad little threads all over the back before sandwiching it. Even (and especially) sewing the binding to the back. I do love the process. I think part of the issue is that I feel like I should crank something out so I have “something” to write a post about. This was in the back of my mind but really, even though this blog is something I truly enjoy, I don’t want to be cranking out finishes just so I have a post. That doesn’t make any sense to me.

IMG_20150325_2988

After I got the quilting finished up, I was looking at it trying to decide how I wanted to bind it. I had enough of the fabric from the backing to use as binding but I was torn between using that and using the red fabric from the heart. Finally I remembered a post I had read a long while back over at Persimon Dreams. She had placed a very narrow flange on the quilt before binding it to add a pop of color. Yay-it was the perfect solution. I commented on that particular post and Kim was so kind to send me a quick email explaining how she did it. (So, actually part of this quilt was inspired by another but that’s ok. I want to give credit where credit is due.) Adding the flange took very little time and I think the effect it provides is wonderful.

IMG_20150325_2996


If you haven’t ever done a flange, it is very easy. I cut strips that were one inch wide of the contrasting red fabric. Then I sewed them together, just as one would with a binding strip. Fold it in half and press so you are left with a 1/2″ wide folded strip. (Kim used a 3/4″ strip ending up with a 3/8″ folded piece but I wanted something a little bit wider.) Once you have the flange prepared, attach it to the quilt’s raw edge on the top side. Sew it to the quilt using a VERY scant 1/4″ seam. I used a longer stitch (my Janome was set to 3.5 stitch length) which made attaching it a breeze. Then attach your binding as usual. Be sure to hand stitch the binding to the back. If you machine stitch it, those stitches will show on the flange. Easy peasy!  If you have any questions, let me know in the comments.

IMG_20150325_2989

Yep, this was a great finish and I will be gifting it to someone soon. That is the best part – giving it away and giving someone the joy of a cozy quilt. Hope the recipient loves it.

Linking to Sew Bittersweet Designs as this is my March finish for ALYOF. Yahoo for setting a goal (I had better plan my projects for April soon.) Also linking to Freemotion by the River and Let’s Bee Social.

Progress Report

This week has started out with a productive bang. Yesterday I completed my neutrals/red heart quilt top. Today I finished up our taxes (never a fun task). Wow. If I don’t do anything else this week, I’m ok with that!

I got on a roll with the neutrals quilt and it all came together so quickly.

IMG_20150309_2952The fence wasn’t quite tall enough to photograph the whole thing but this is most of it. Pretend I ironed it – the wrinkles are really showing in these pictures!

IMG_20150309_2954I pieced one little random block. When I was trimming the HST’s to be used in making the big heart, I had little bits and pieces leftover. I used a few of them to make this little guy.

IMG_20150309_2953Tomorrow I will get the backing assembled and pin baste the layers together. I haven’t quite  decided how to quilt it. I know I want to use straight line quilting but not positive of the pattern.  Also thinking about quilting the heart separately or different somehow so it stands out more.

Making good progress on my March goal! Also got started on the yellow scrappy blocks for RSC15 and they are going to be adorable. They are a double star block – finished the first of ten blocks today . At least all of the pieces are cut though so they will go together quickly.

Linking to Sew Cute Tuesday, Linky Tuesday and Let’s Bee Social. Links to all of these great sites are located at the top of this page under Link Ups.


March Goal

The start of the new month means time to set a quilting goal for March. I am enjoying participating in Sew Bittersweet Designs link up, A Year of Lovely Finishes.  It encourages me to make a plan and have one overall goal to work toward. Something about writing it down helps it to happen.

I am working on a basic patchwork quilt right now. I love the simplicity of a traditional patchwork design. I have been collecting an assortment of neutral fabrics – all shades of cream, taupe and tan, both prints and solids. A few weeks ago I started cutting 3 1/2 inch squares. Luckily my son was home and he cut tons of them for me. I decided to go with 25 rows of 20 squares across so I needed 500 pieces. Ian was a champ – cutting 500 pieces would be major neck pain for me. Yay for having kids – see how it pays off.  (Just kidding Ian – love you!)

IMG_3353

In addition to the neutrals, I added a small number of squares that have some red in the print as well as a few red solid squares. I love the neutrals but the addition of the red adds a nice contrast.

image

As I was piecing squares I started liking the red even more. The evolution of a project, right? I started sketching ideas and decided to piece a heart and include it on the lower half of the quilt. This is turning out quite different than my original plan but that’s ok. I am loving it.

image

I am usually one to follow patterns and directions. For a long while, I have envied people who can just play with fabric and be ok with that. This quilt is one of the first that I have made without a pattern or a strictly defined plan. Makes for a fun project because I have enjoyed the process of letting things evolve. It has also been a great use of stash I have on hand. I bought the red for the heart but had the rest.

The goal is to have this project finished by the end of March. Piecing the top is almost 1/2 way done so a March finish is more than reasonable. Hoping March brings some decent weather to my northeastern friends!

Linking to ALYOF, Freemotion by the River and Let’s Bee Social.