Tag Archives: envelope back

A Vintage Pillow Finish

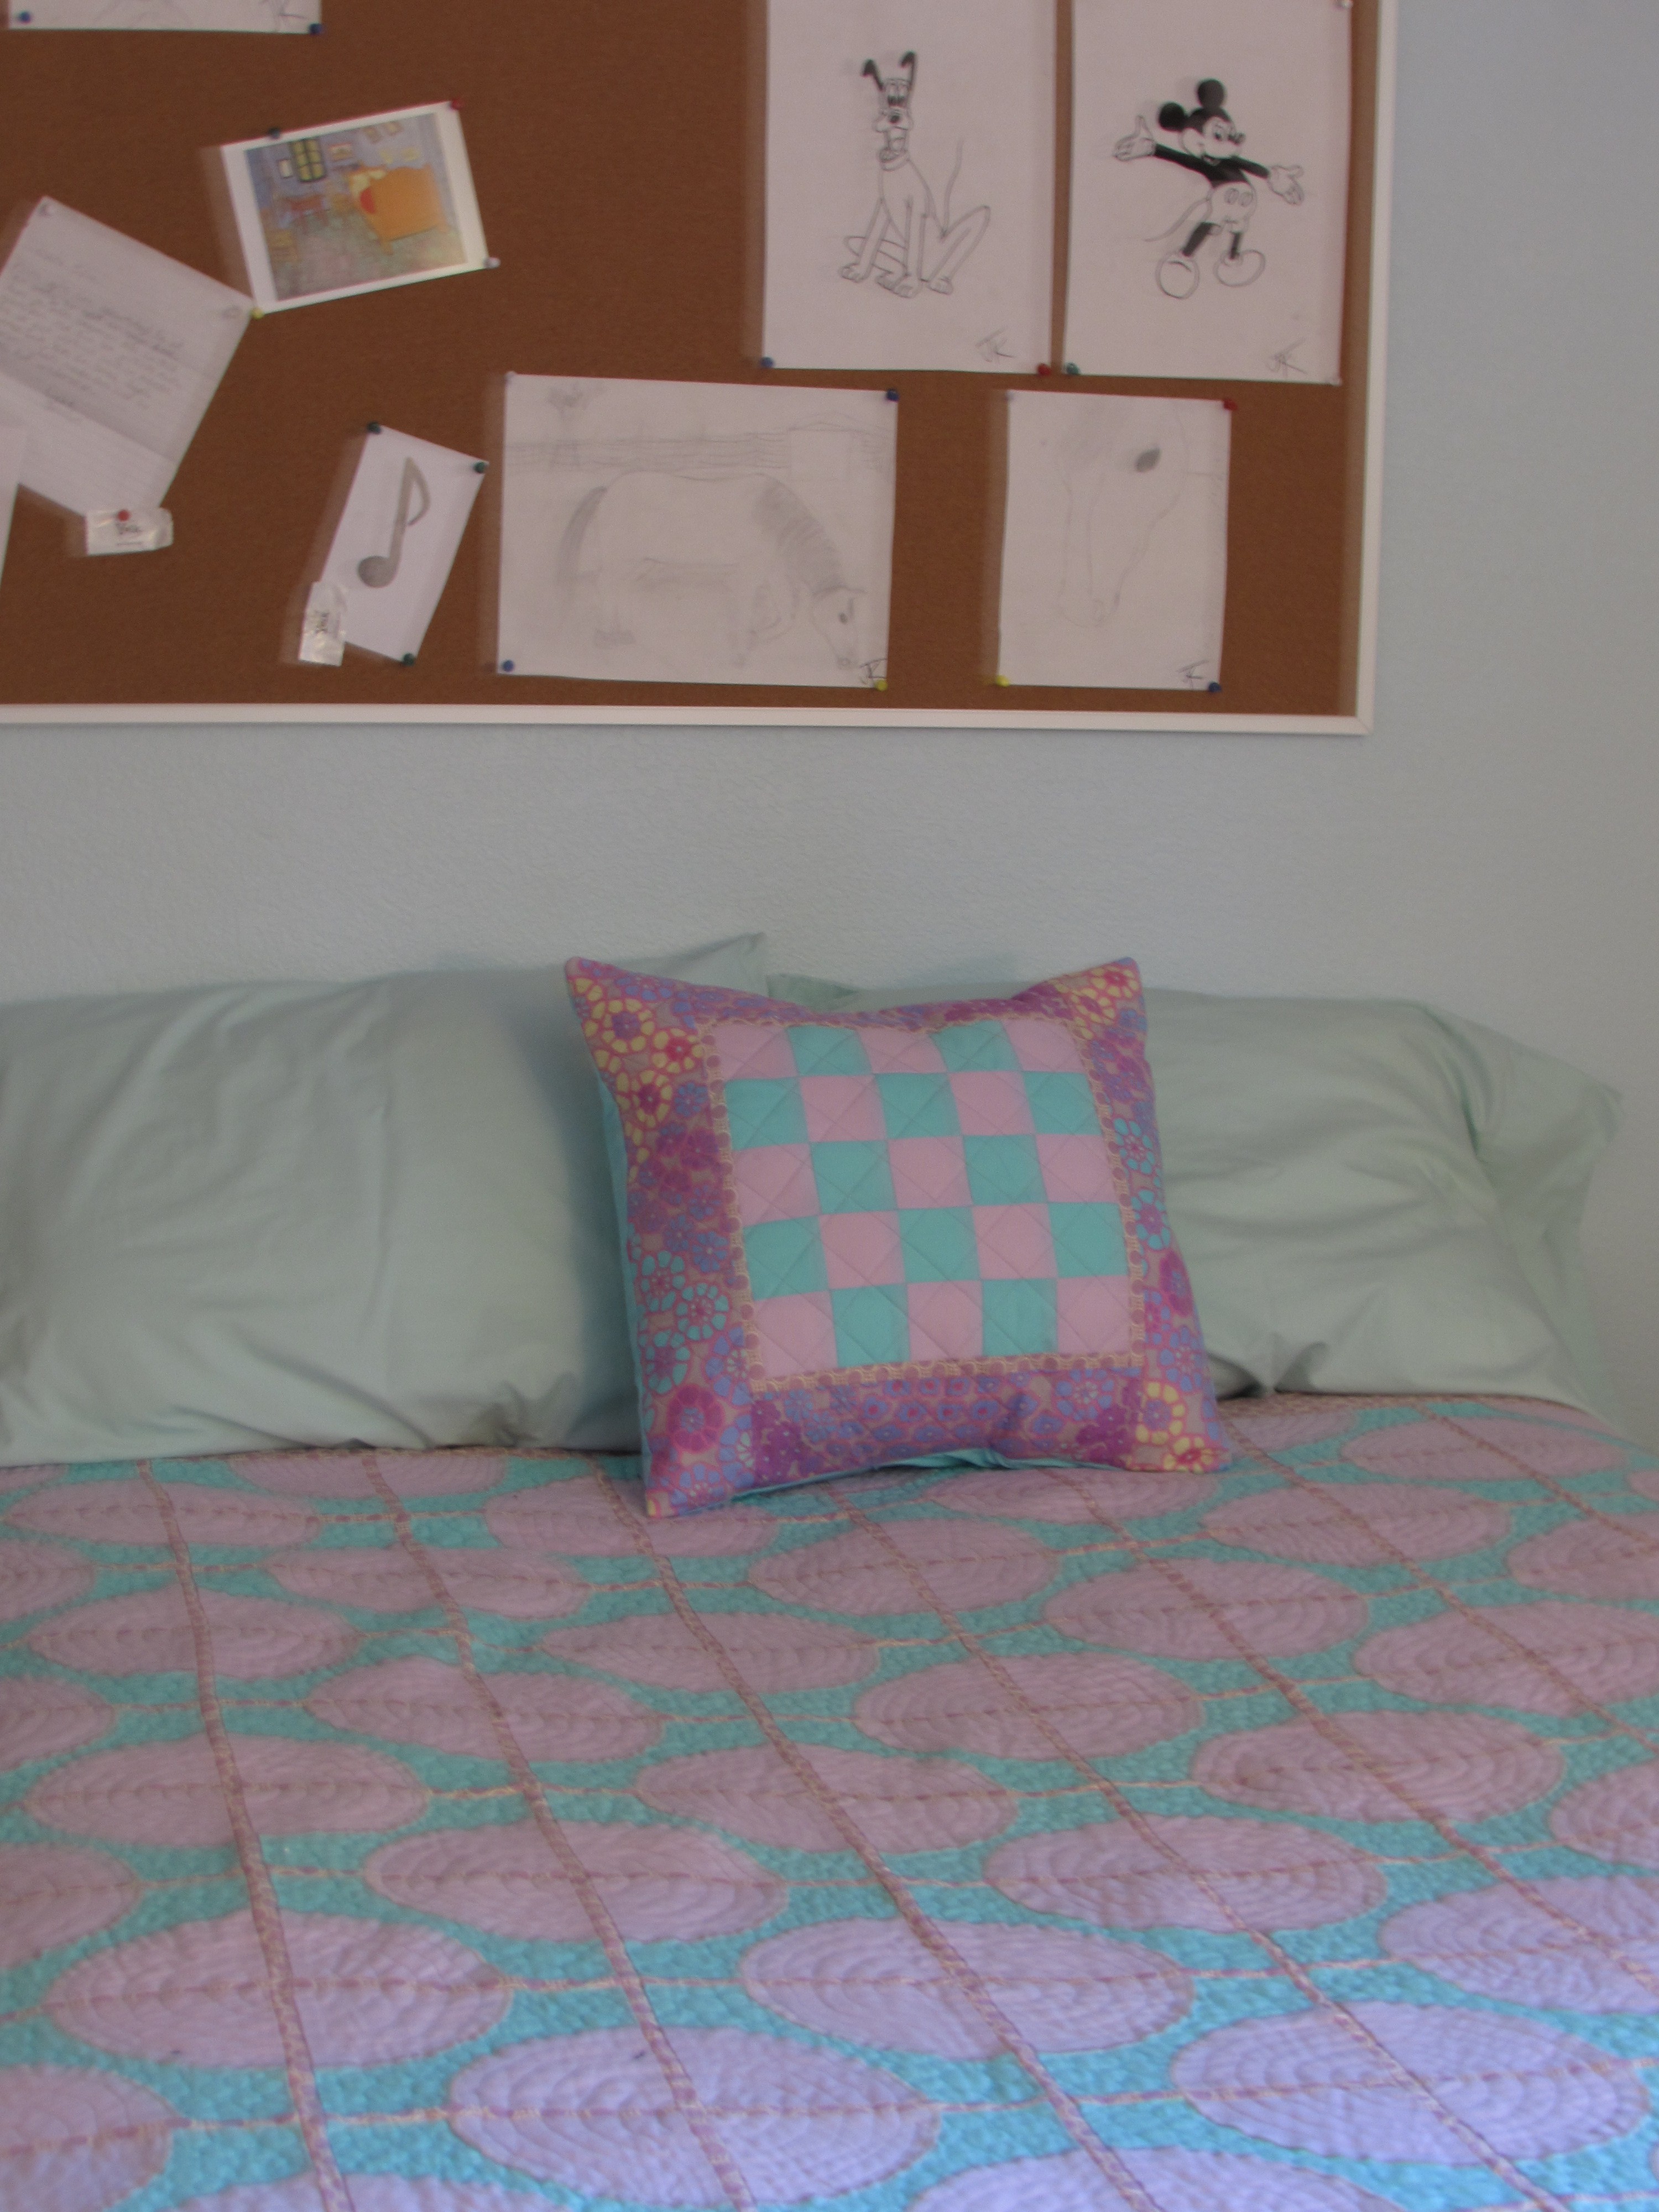
Last week I decided to cut into my collection of vintage sheets and play with them. I made two pillow tops. One of which I took up to Downieville last weekend to practice hand quilting. This was my first attempt at hand stitching. I didn’t get that one quite finished but it is looking pretty good so far. I did finish another one though. I plan to use them on the guest bed, which unfortunately is located in my sewing room and often cannot be found underneath all of the projects that lie on top of it.  Ha ha.

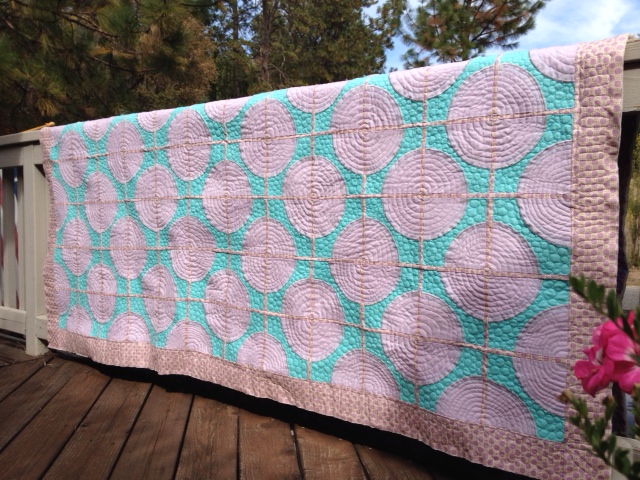
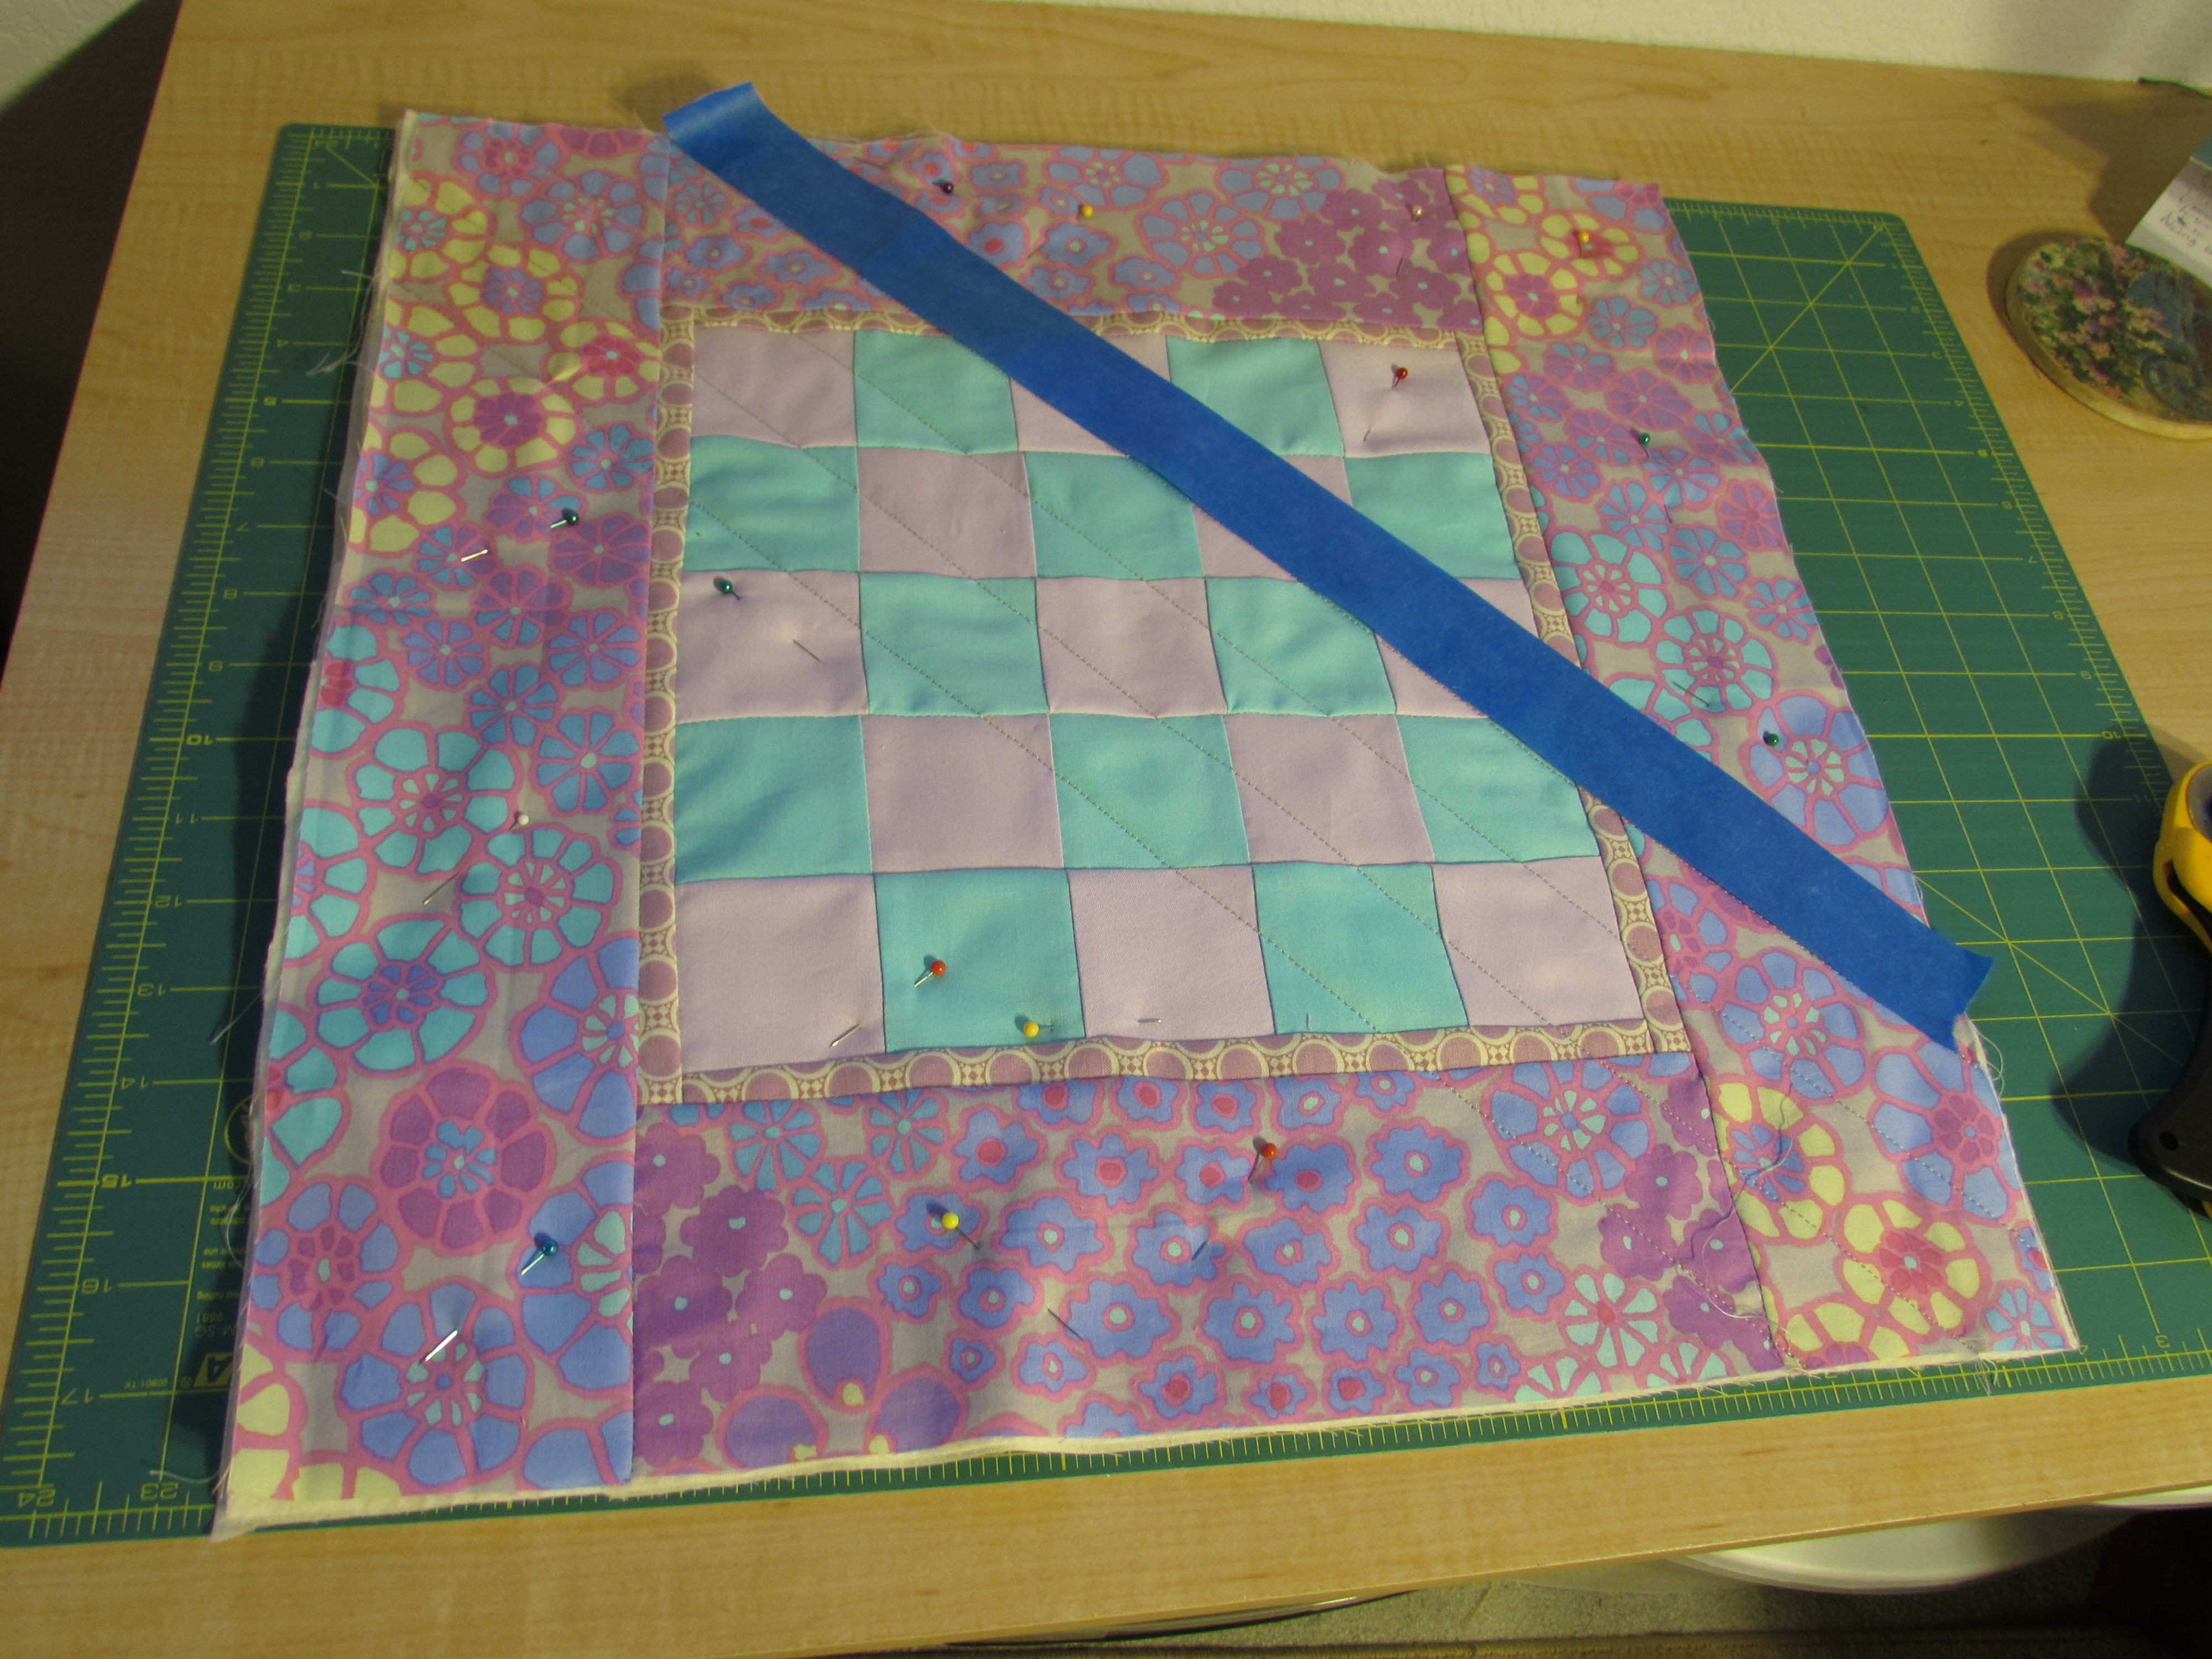
I used Corey Yoder’s Scattered Squares pattern which was published on the Mode Bakeshop website last summer. Corey designed the pattern to be made with a mini charm pack. I decided to adjust it a bit and use 3 & 1/2″ squares since I was cutting my squares anyway. Simple straight line quilting was used with a spacing of about 3/4″ or so. I didn’t measure or mark this, rather I used the edge of the walking foot as my guide.

image

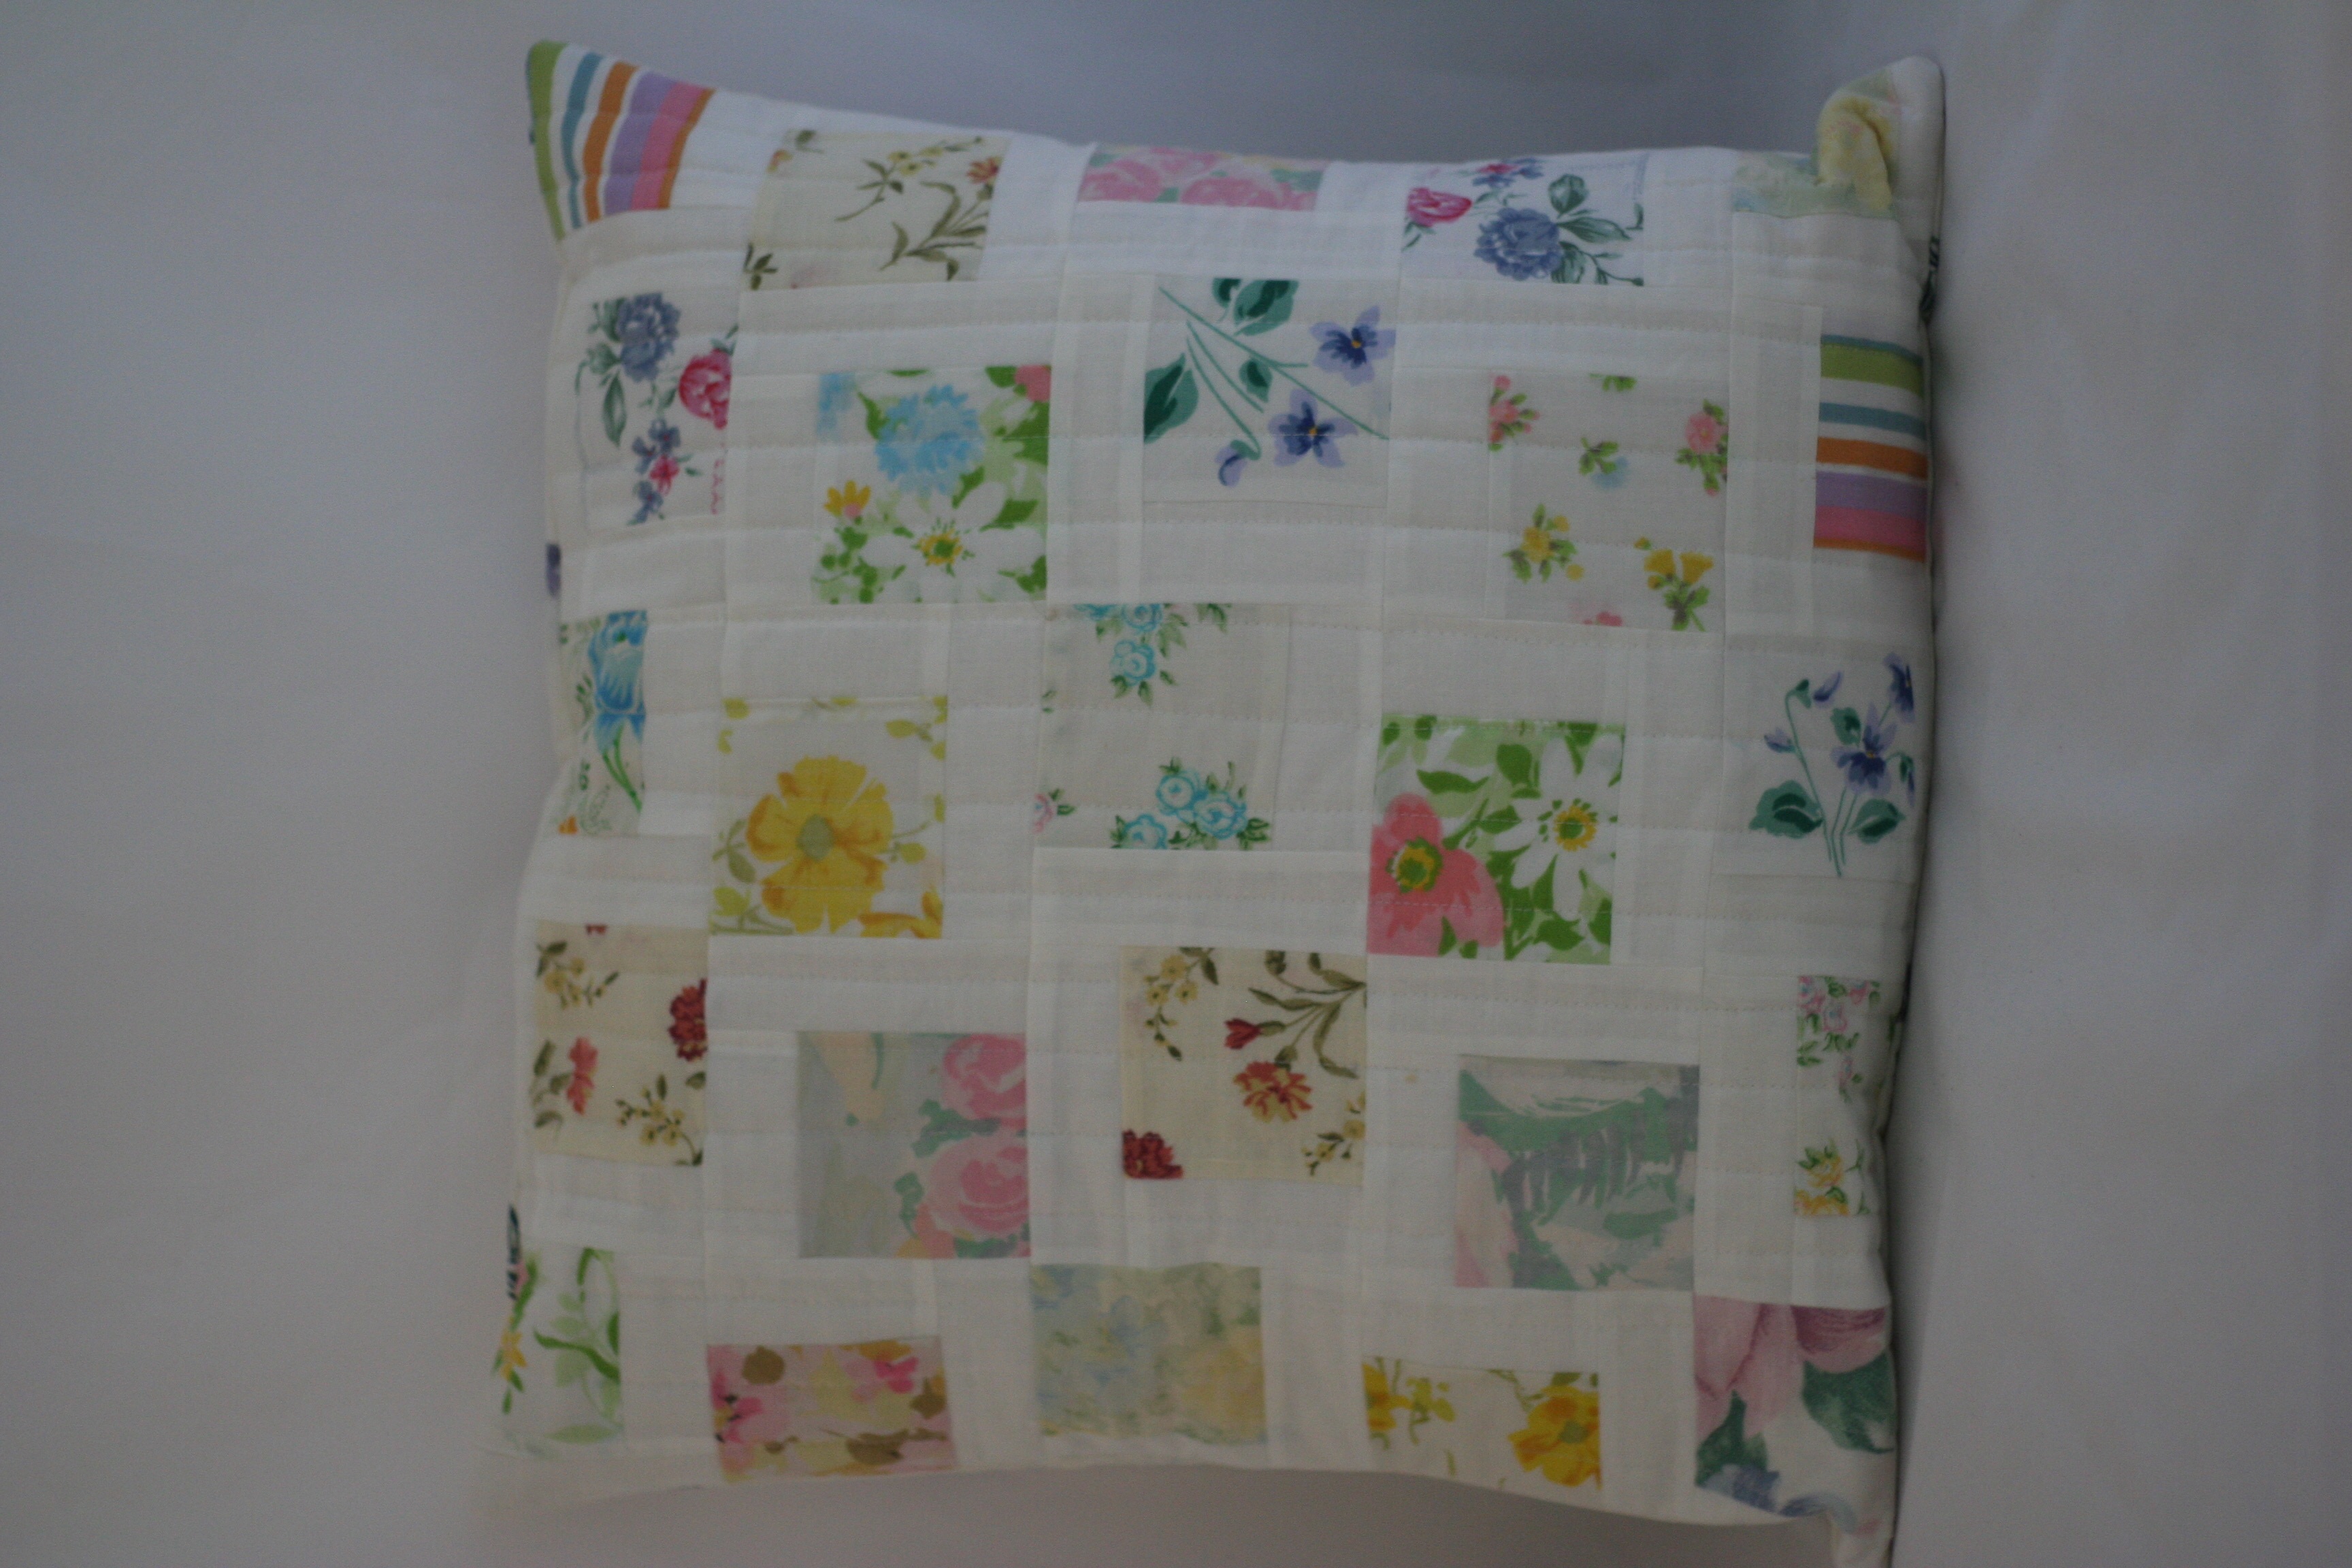
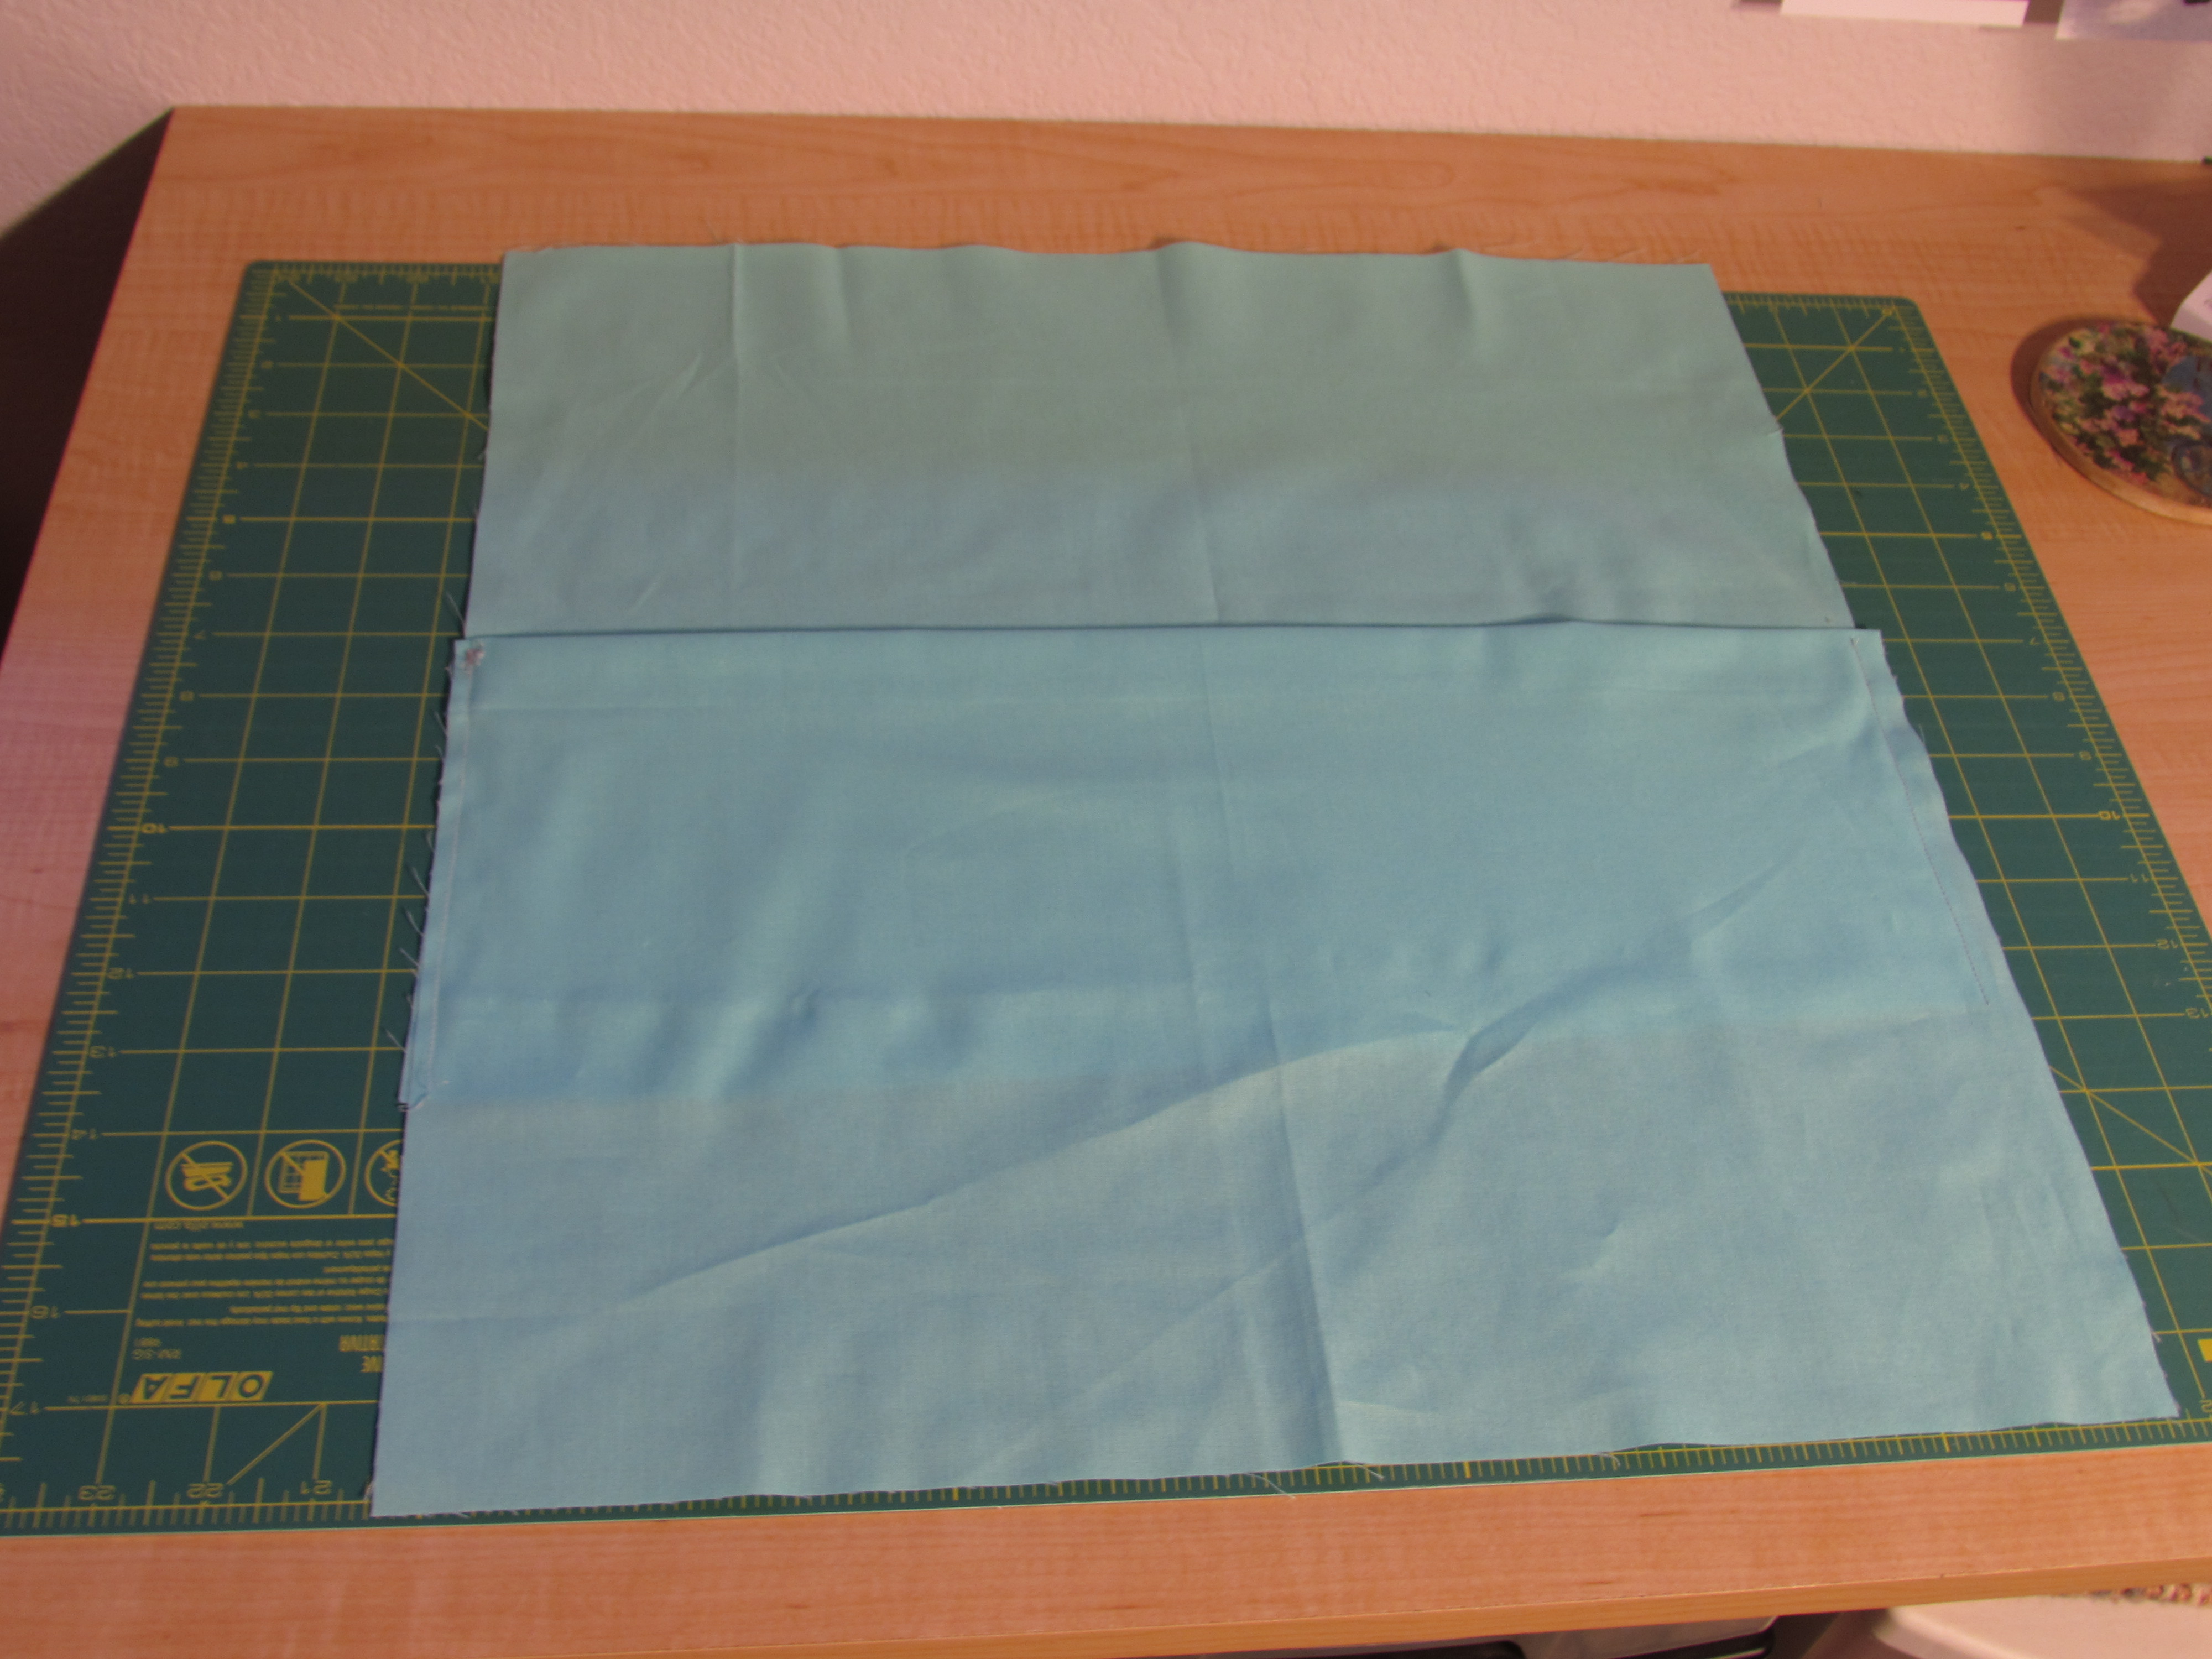
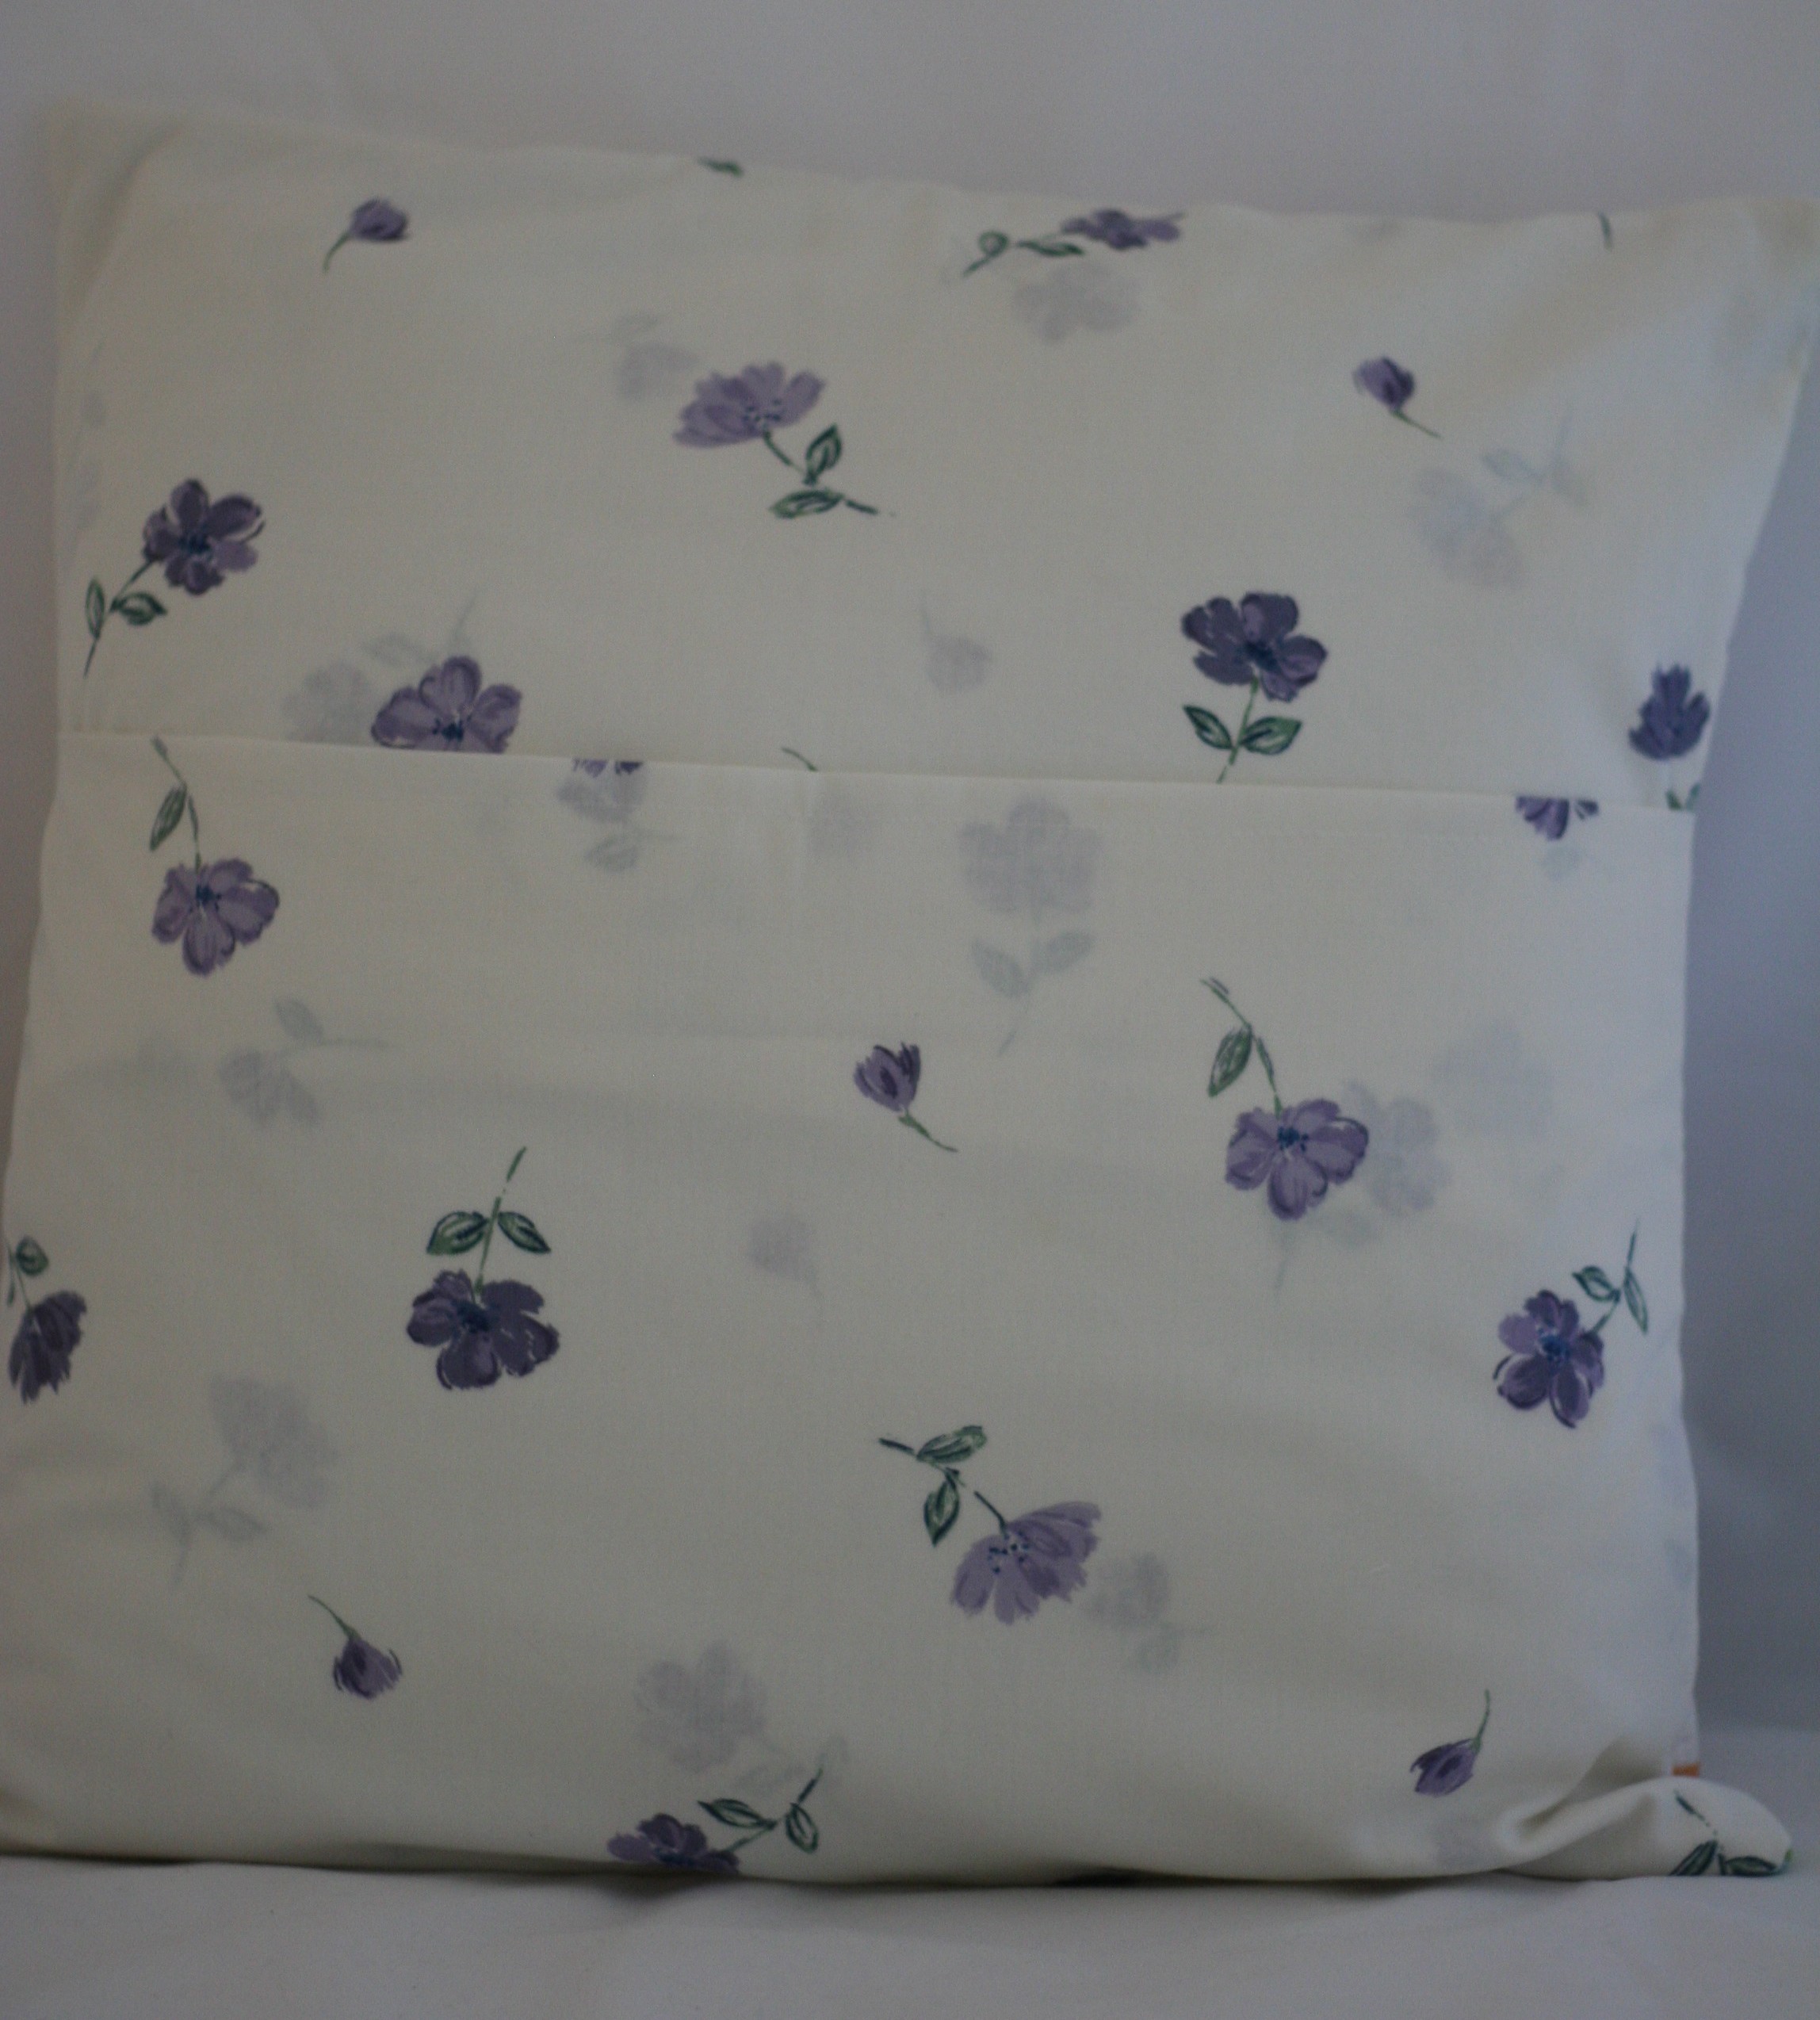
I used a sheet to make an envelope backing. If you need a tutorial for this, there is a great one over at Crazy Mom Quilts. Super simple and takes no time at all.

image

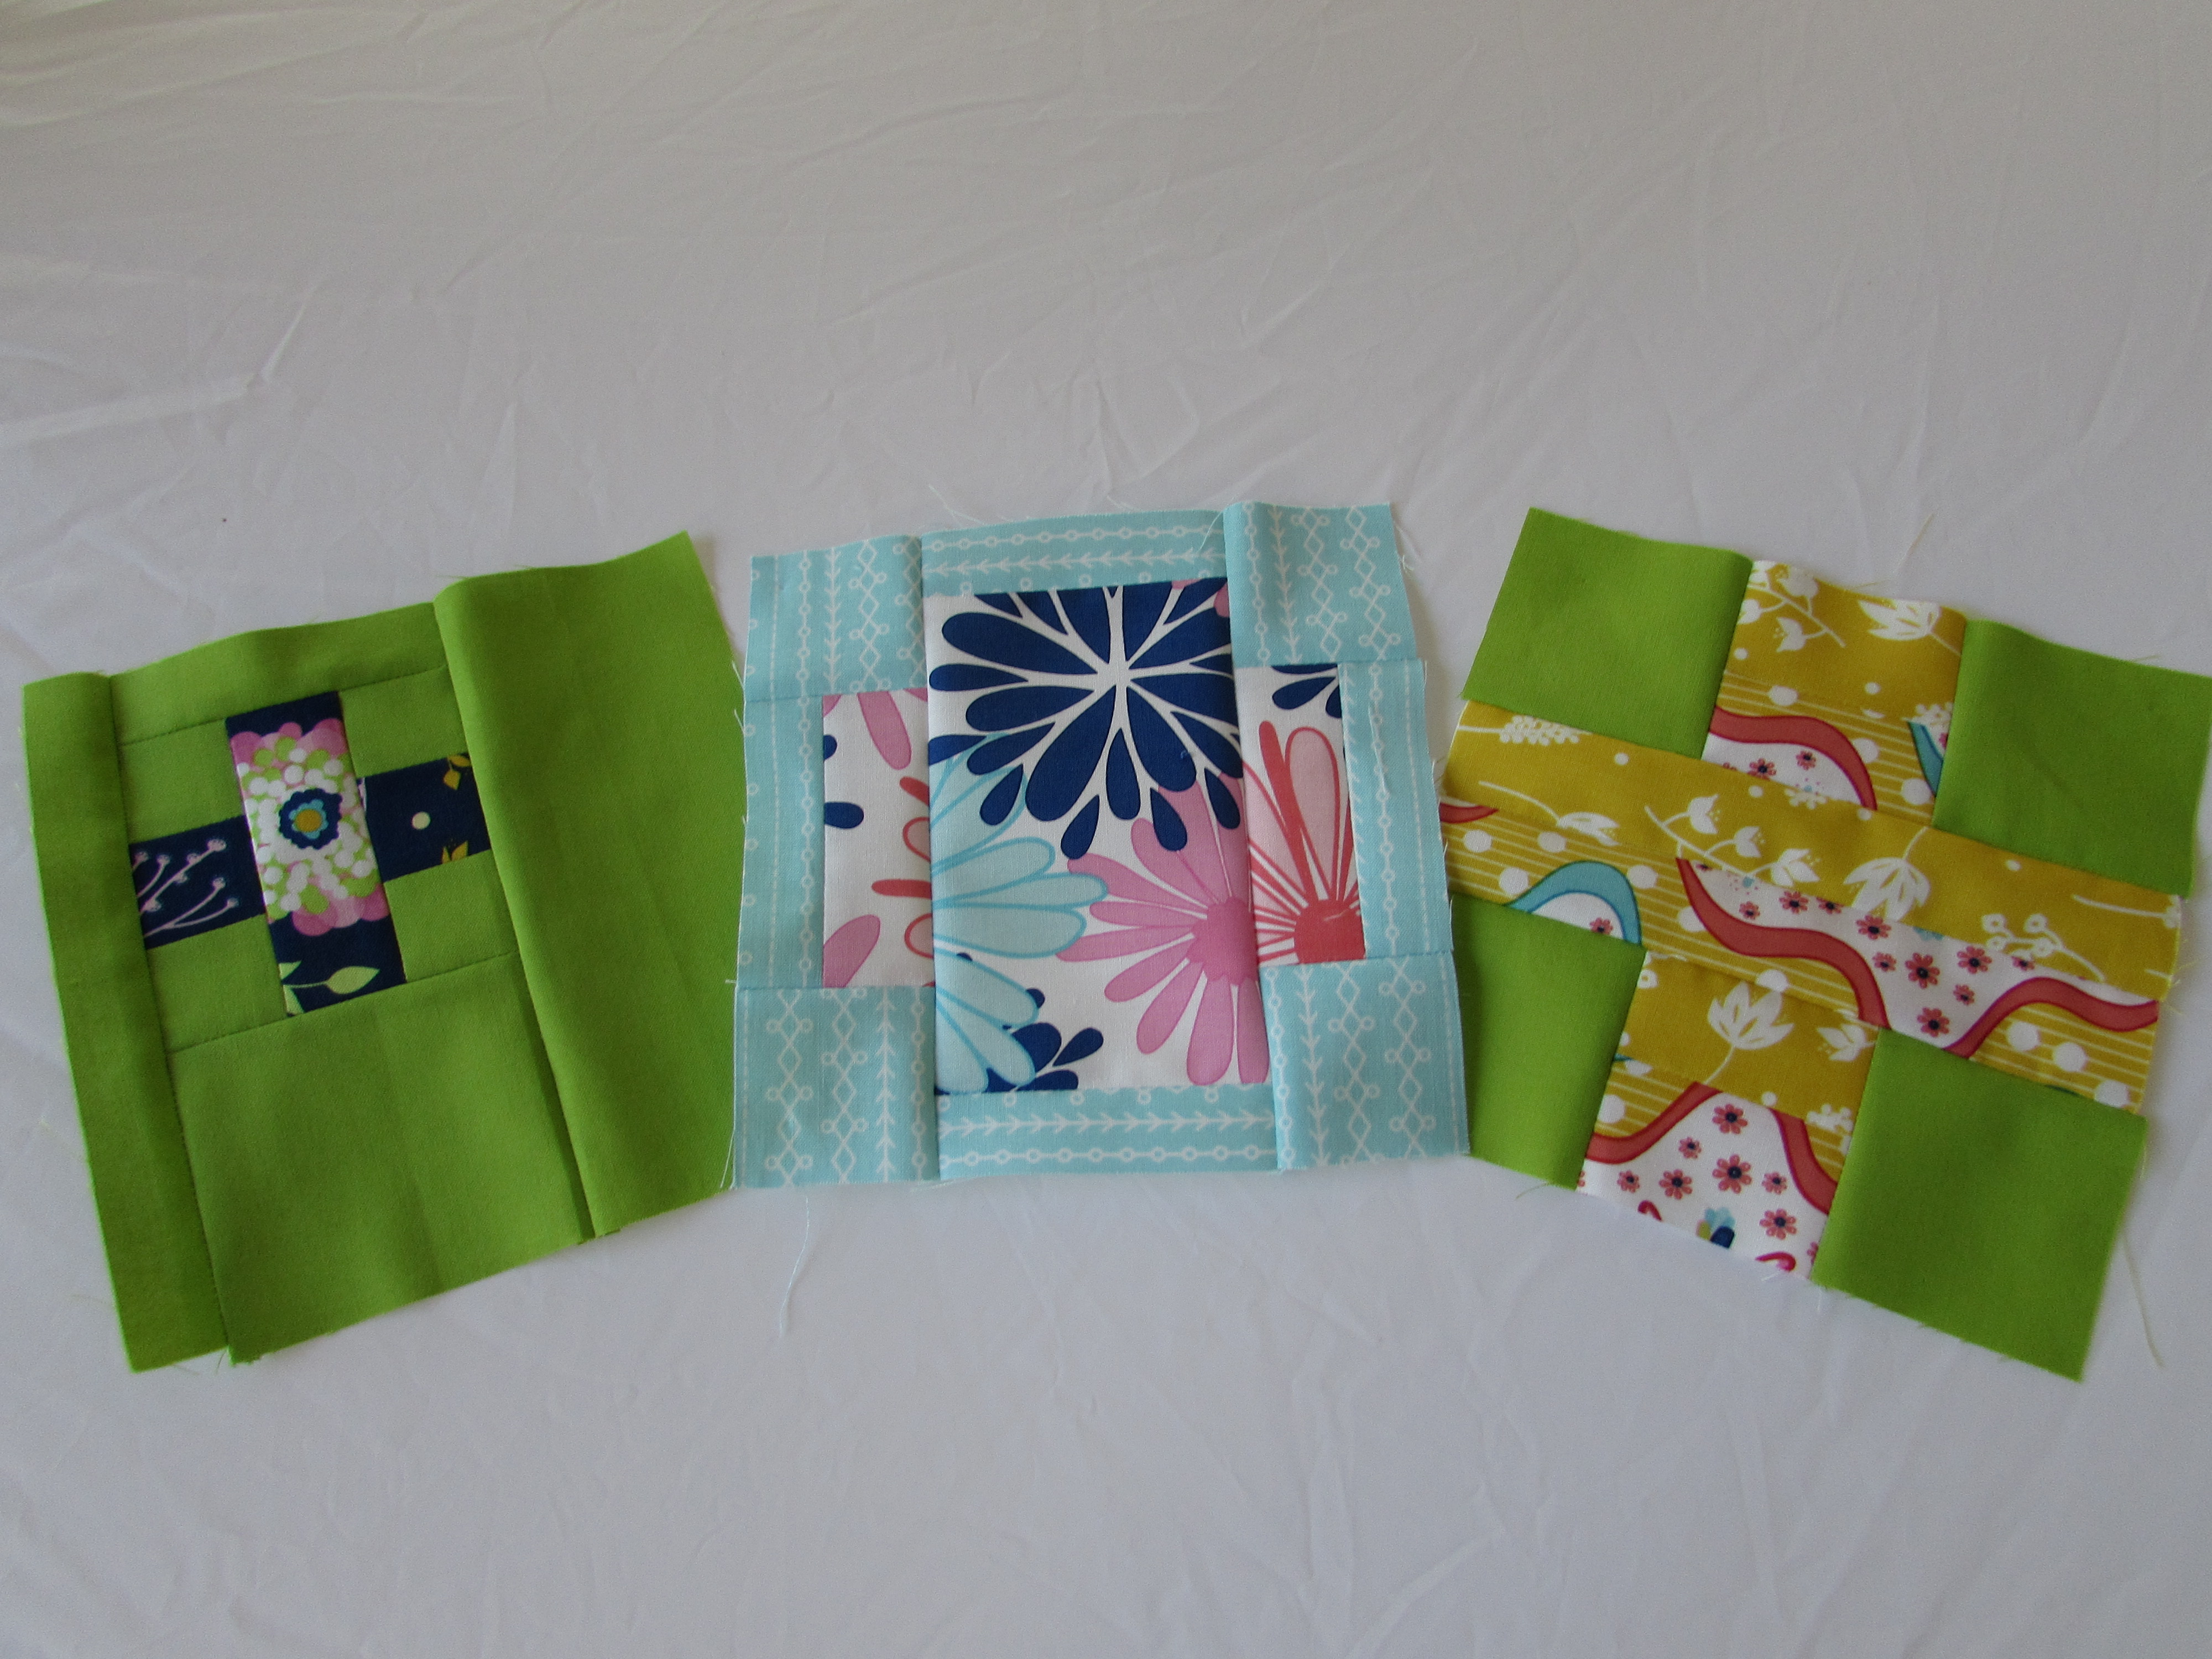
This afternoon I decided to play with the Tula PInk City Sampler book that I wrote about in my last post. This is going to be a fun project. I made three blocks today and they came together easily. These are all from a section of the book that features various cross block patterns. I am liking the look of this already! Each block finishes at 6 1/2″. Three down and who knows how many to finish it.

IMG_20150403_3039Hope everyone has a wonderful weekend!

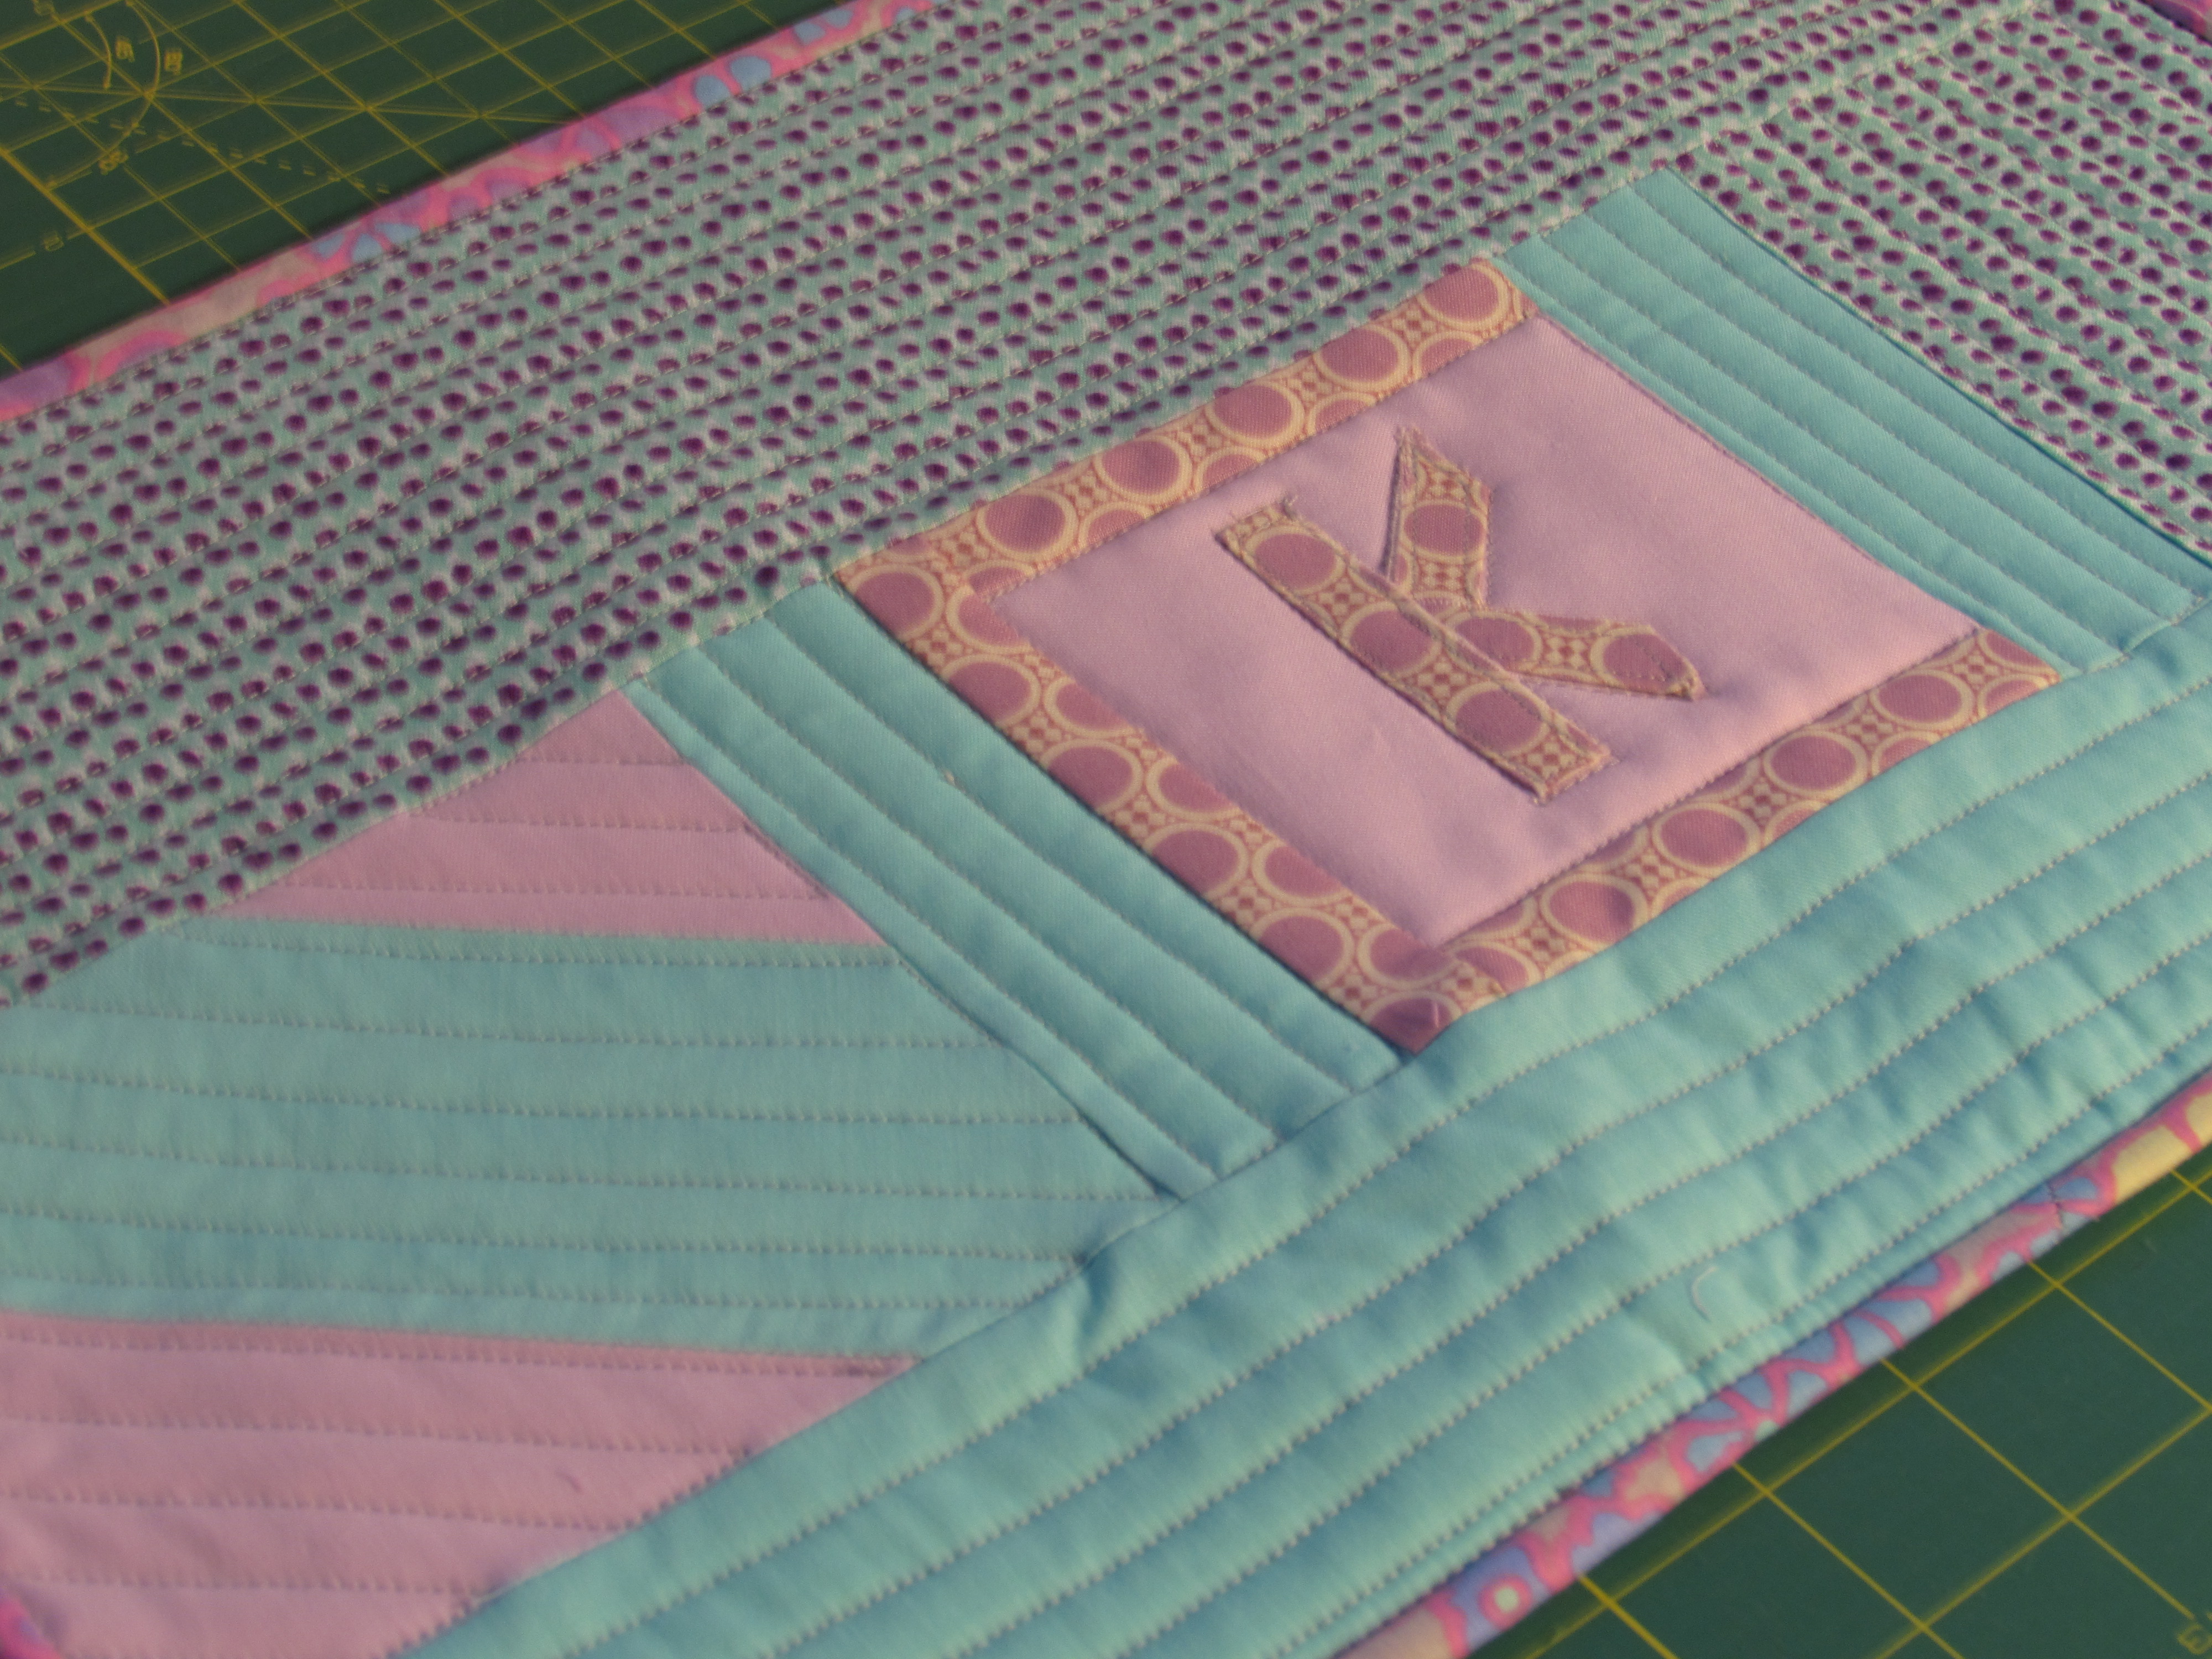
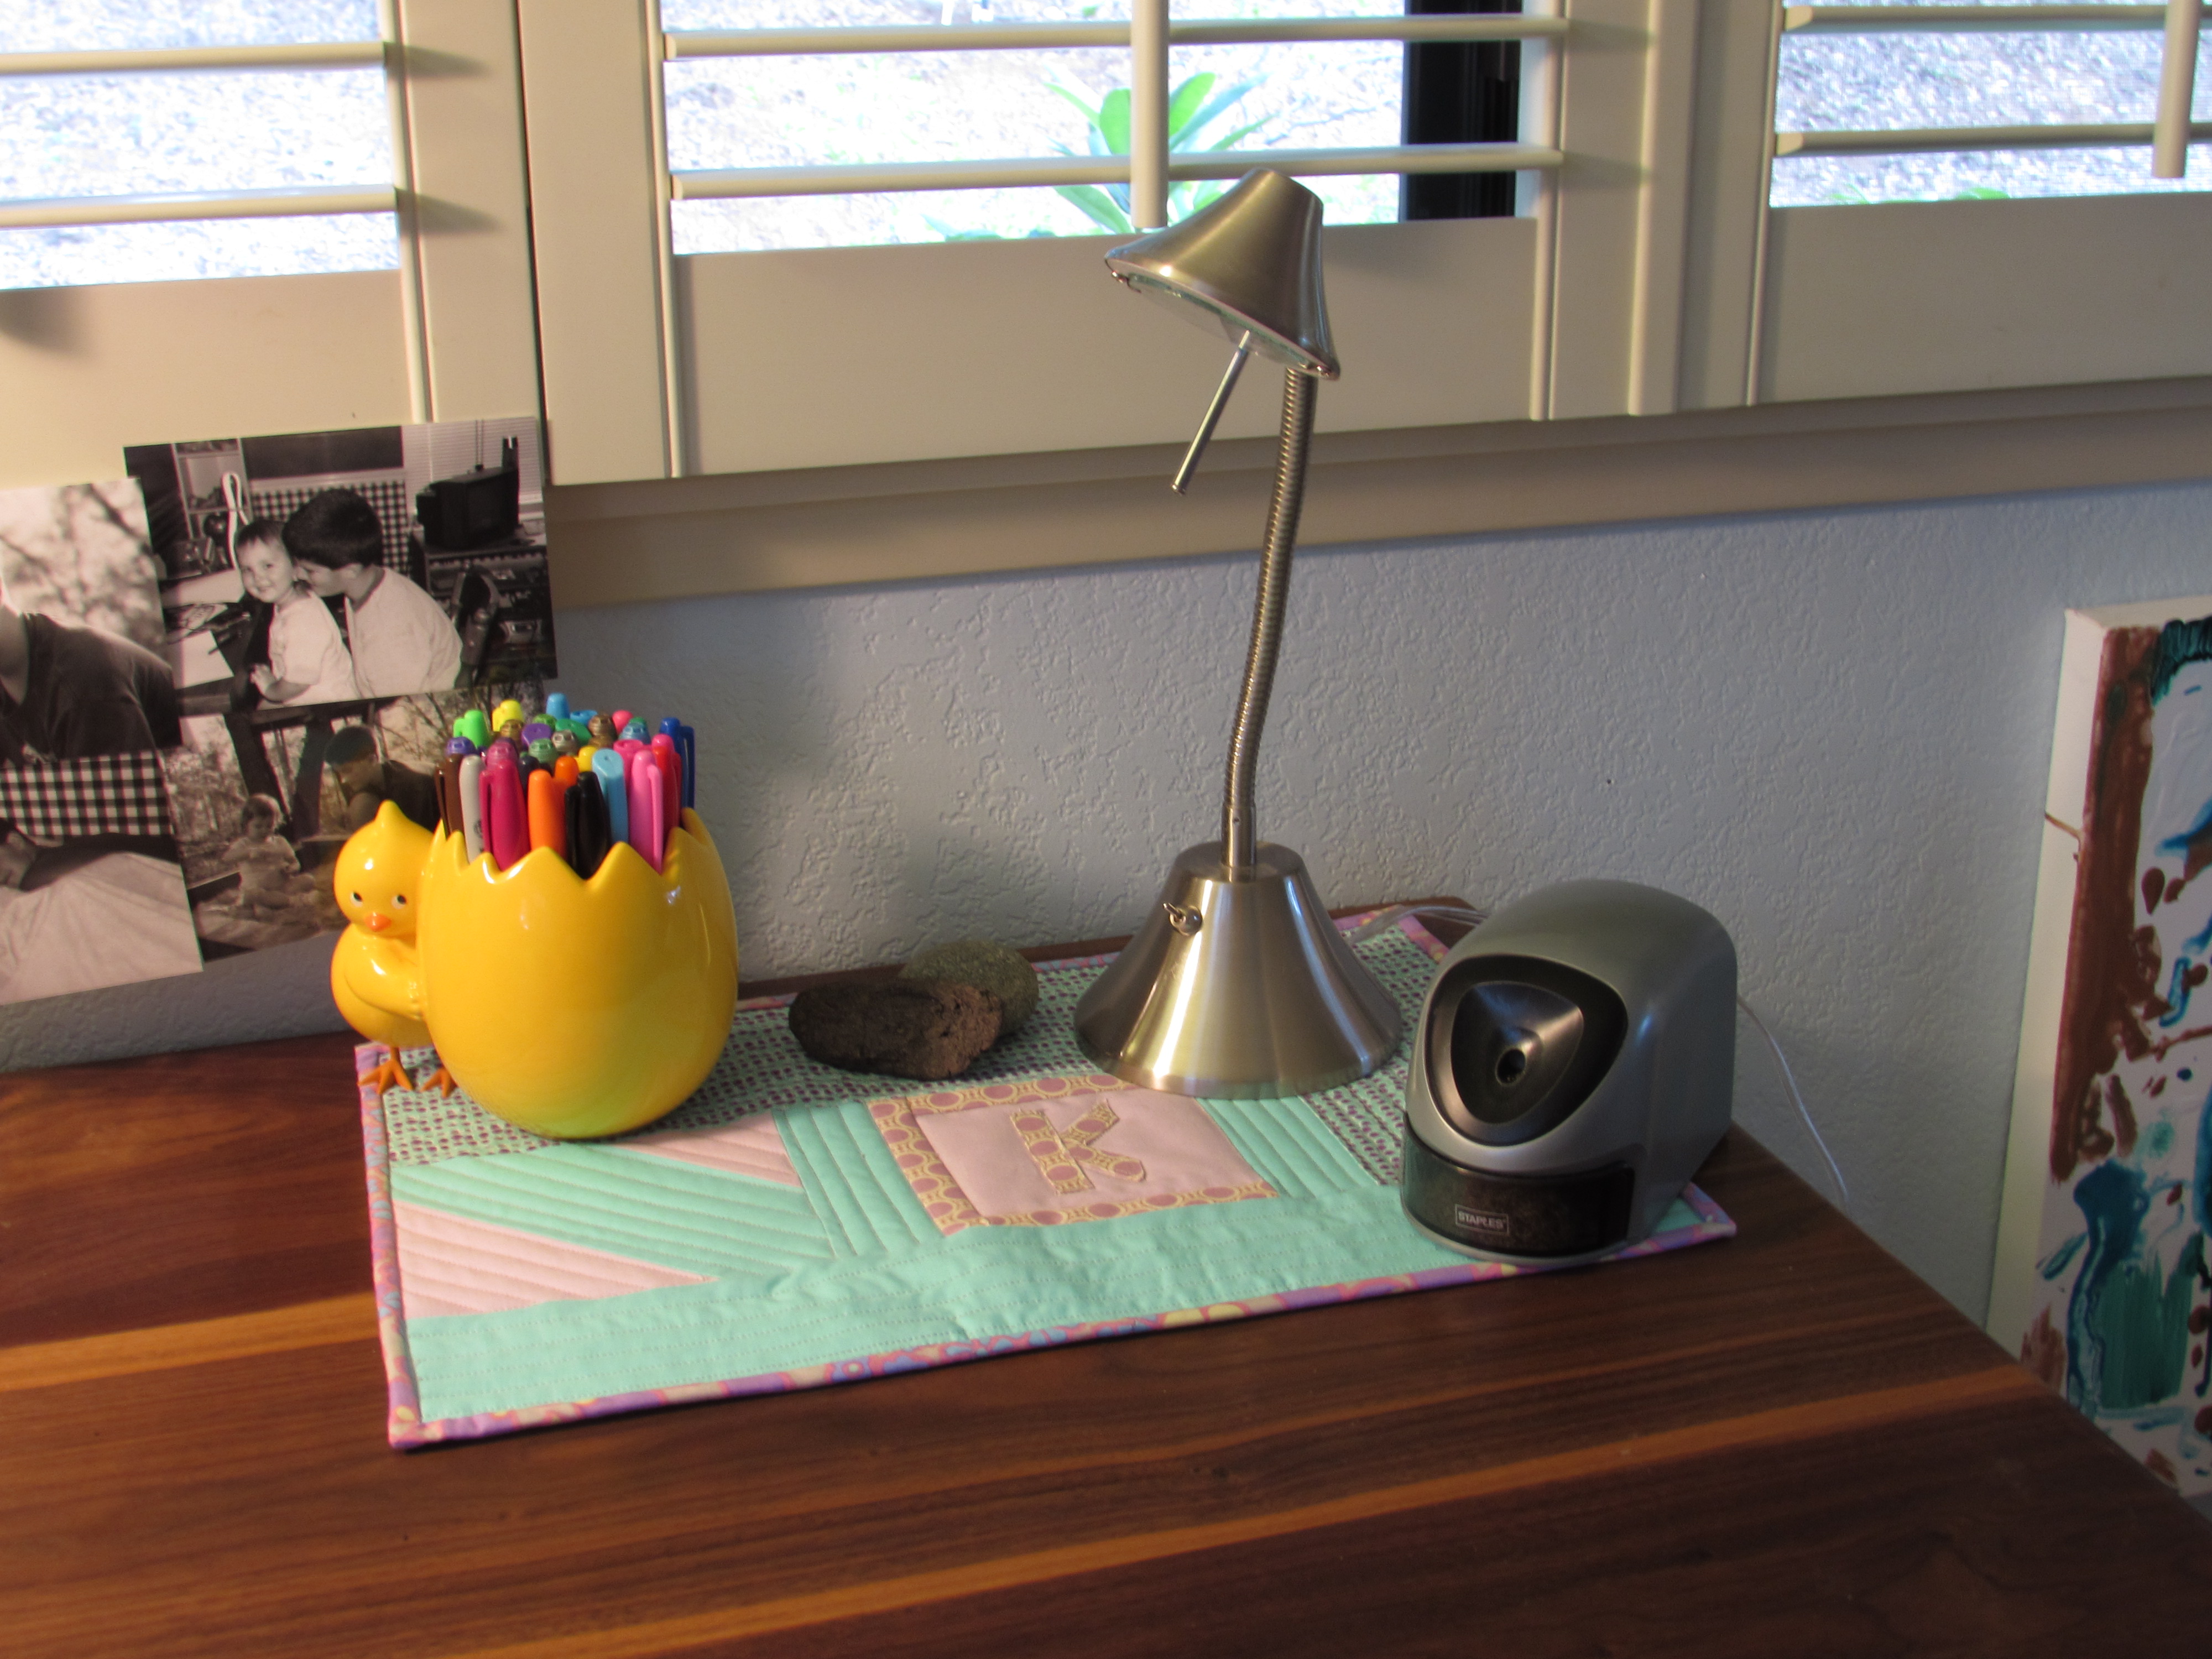
UPDATE: I forgot to include my April goal for ALYOF!! Yikes – I plan to make three gifts this month. I think each will be a tablerunner, though one may be a mini quilt wall hanging. Finishing these three gifts are my goal for April. Phew!!

Linking to Crazy Mom Quilts (yay – she is back after her month away from the blog!) and also Sew Bittersweet Designs for ALOYF!!


Scrappy Pleasures

About 18 months ago I finally finished a quilt for my daughter’s bed. It was one of my first really challenging projects. I am happy with the way the quilt finished up, though it was harder than I expected. I used a pattern from Natalia Bonner’s wonderful book, Beginner’s Guide to Free Motion Quilting. This book has excellent information for those that, like myself, are trying to learn to FMQ.  I am not sure the pattern that I used was really one for a new beginner.  The piecing was a challenge.  Long story short, I bit off way more than I had thought but now that it is done, I am happy I did it. Here is a picture of the quilt:

julia quilt large

The pebbling took roughly 1.5 billion hours.  Or at least, it felt that way  The spirals were really hard because I quilted this on a fairly old Janome that isn’t equipped for FMQ. I couldn’t drop the feed dogs and I was fighting the machine the whole time.  If you look closely at the quilting on this, it is painfully apparent that I was just learning. Again, glad I did this one and even happier that it is done!! (And happier yet that ,since then, I bought a newer Janome that quilts with ease!)

Once I finished this quilt I had amassed a huge pile of scraps. Cutting the lavender circles left a lot of waste. Here we are 18 months later and I finally used some of the leftover scraps.

20140708_1304I decided to make a throw pillow for Julia’s bed.  l created a checkerboard with some blue and lavender squares and then added some borders.  I love the floral print.  It is an older Kaffe Fassett print that I used for the backing of this quilt. To quilt it, I made a quick sandwich with a piece of leftover batting and some lightweight muslin. I quilted a cross hatch pattern and then added the back.

20140708_1305

I made the pillow cover “envelope style” so it all came together quickly.

20140708_1309

Pretty cute.

20140708_1313

I also made a little mat for Julia’s desk.  My husband made her a desk for her 12th birthday. It has a walnut top and Julia had been putting a couple of pieces of felt underneath her desk lamp and some other items so the top wouldn’t get scratched. I made a rectangular mat (11 x 18″) for her to use instead.

20140708_1308

This was a fun little project.  I took an assortment of scraps and just played around with them until I found an arrangement that I liked. It was my first attempt at improv piecing.  Just slicing and dicing and moving things around instead of drawing a sketch and measuring each piece. I am not one for doing things without a pattern or direction.  I (usually) cook from recipes rather than just making things up as I go.  As a kid, I colored within the lines. Get it? So playing with the fabric and just moving the pieces around was a fun exercise.  As far as improv piecing goes, this is pretty tame.  None of the pieces are wonky – it all lines up. Baby steps, right?? I used straight line quilting and machine binding.

20140708_1310

Two scrappy projects completed and they brighten Julia’s room. (Honestly though, these two projects made hardly a dent in that scrap pile!)  She is at camp this week and these will be fun surprises for her to come home to.

Linking up with: Linky Tuesday at Free Motion by the River; Fabric Tuesday at Quilt Story; Sew Cute Tuesday at Blossom Quilts; WIP Wednesday at Freshly Pieced and Let’s Bee Social at Sew Fresh Quilts.