Tag Archives: 241 tote

241 Tote, Version 3

Recently a friend of mine had a birthday. We used to work together for the same company. Since I retired (maybe five years ago?) we try to get together every so often for lunch or coffee. Sometimes we are good about it and set a time each month or so. Other times, we get busy and months pass. But we always find time when either of us celebrates a birthday.

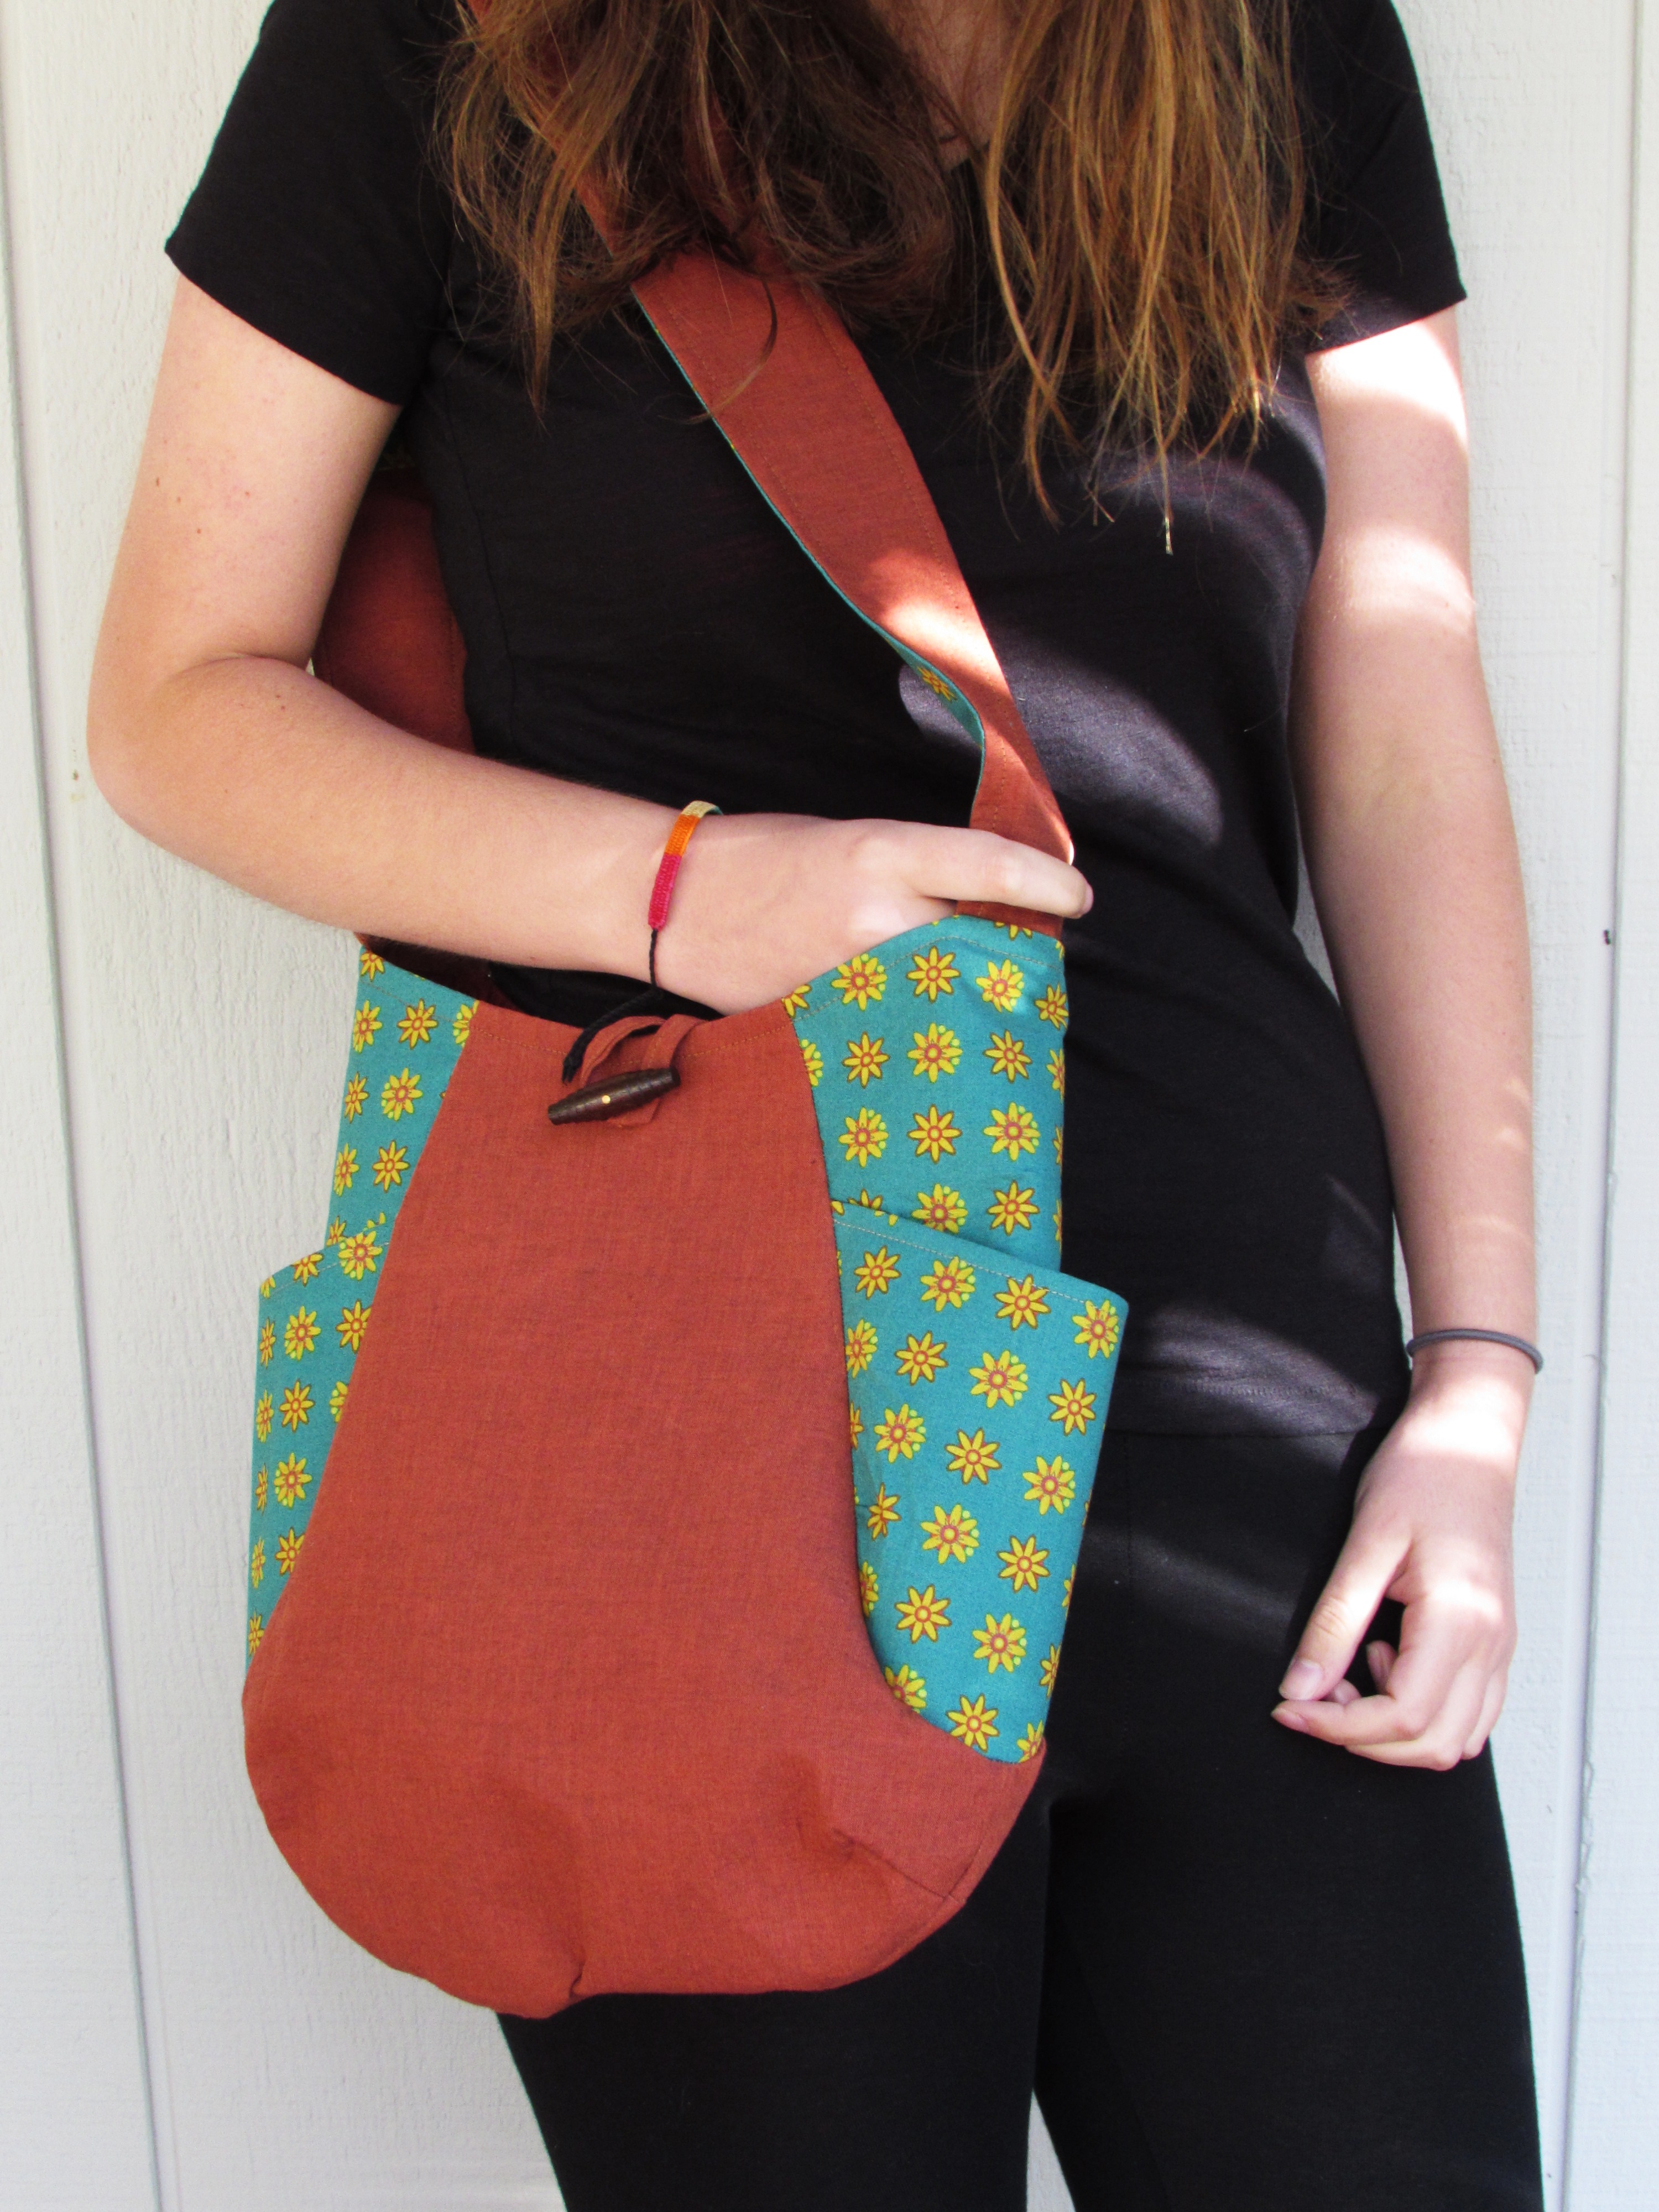
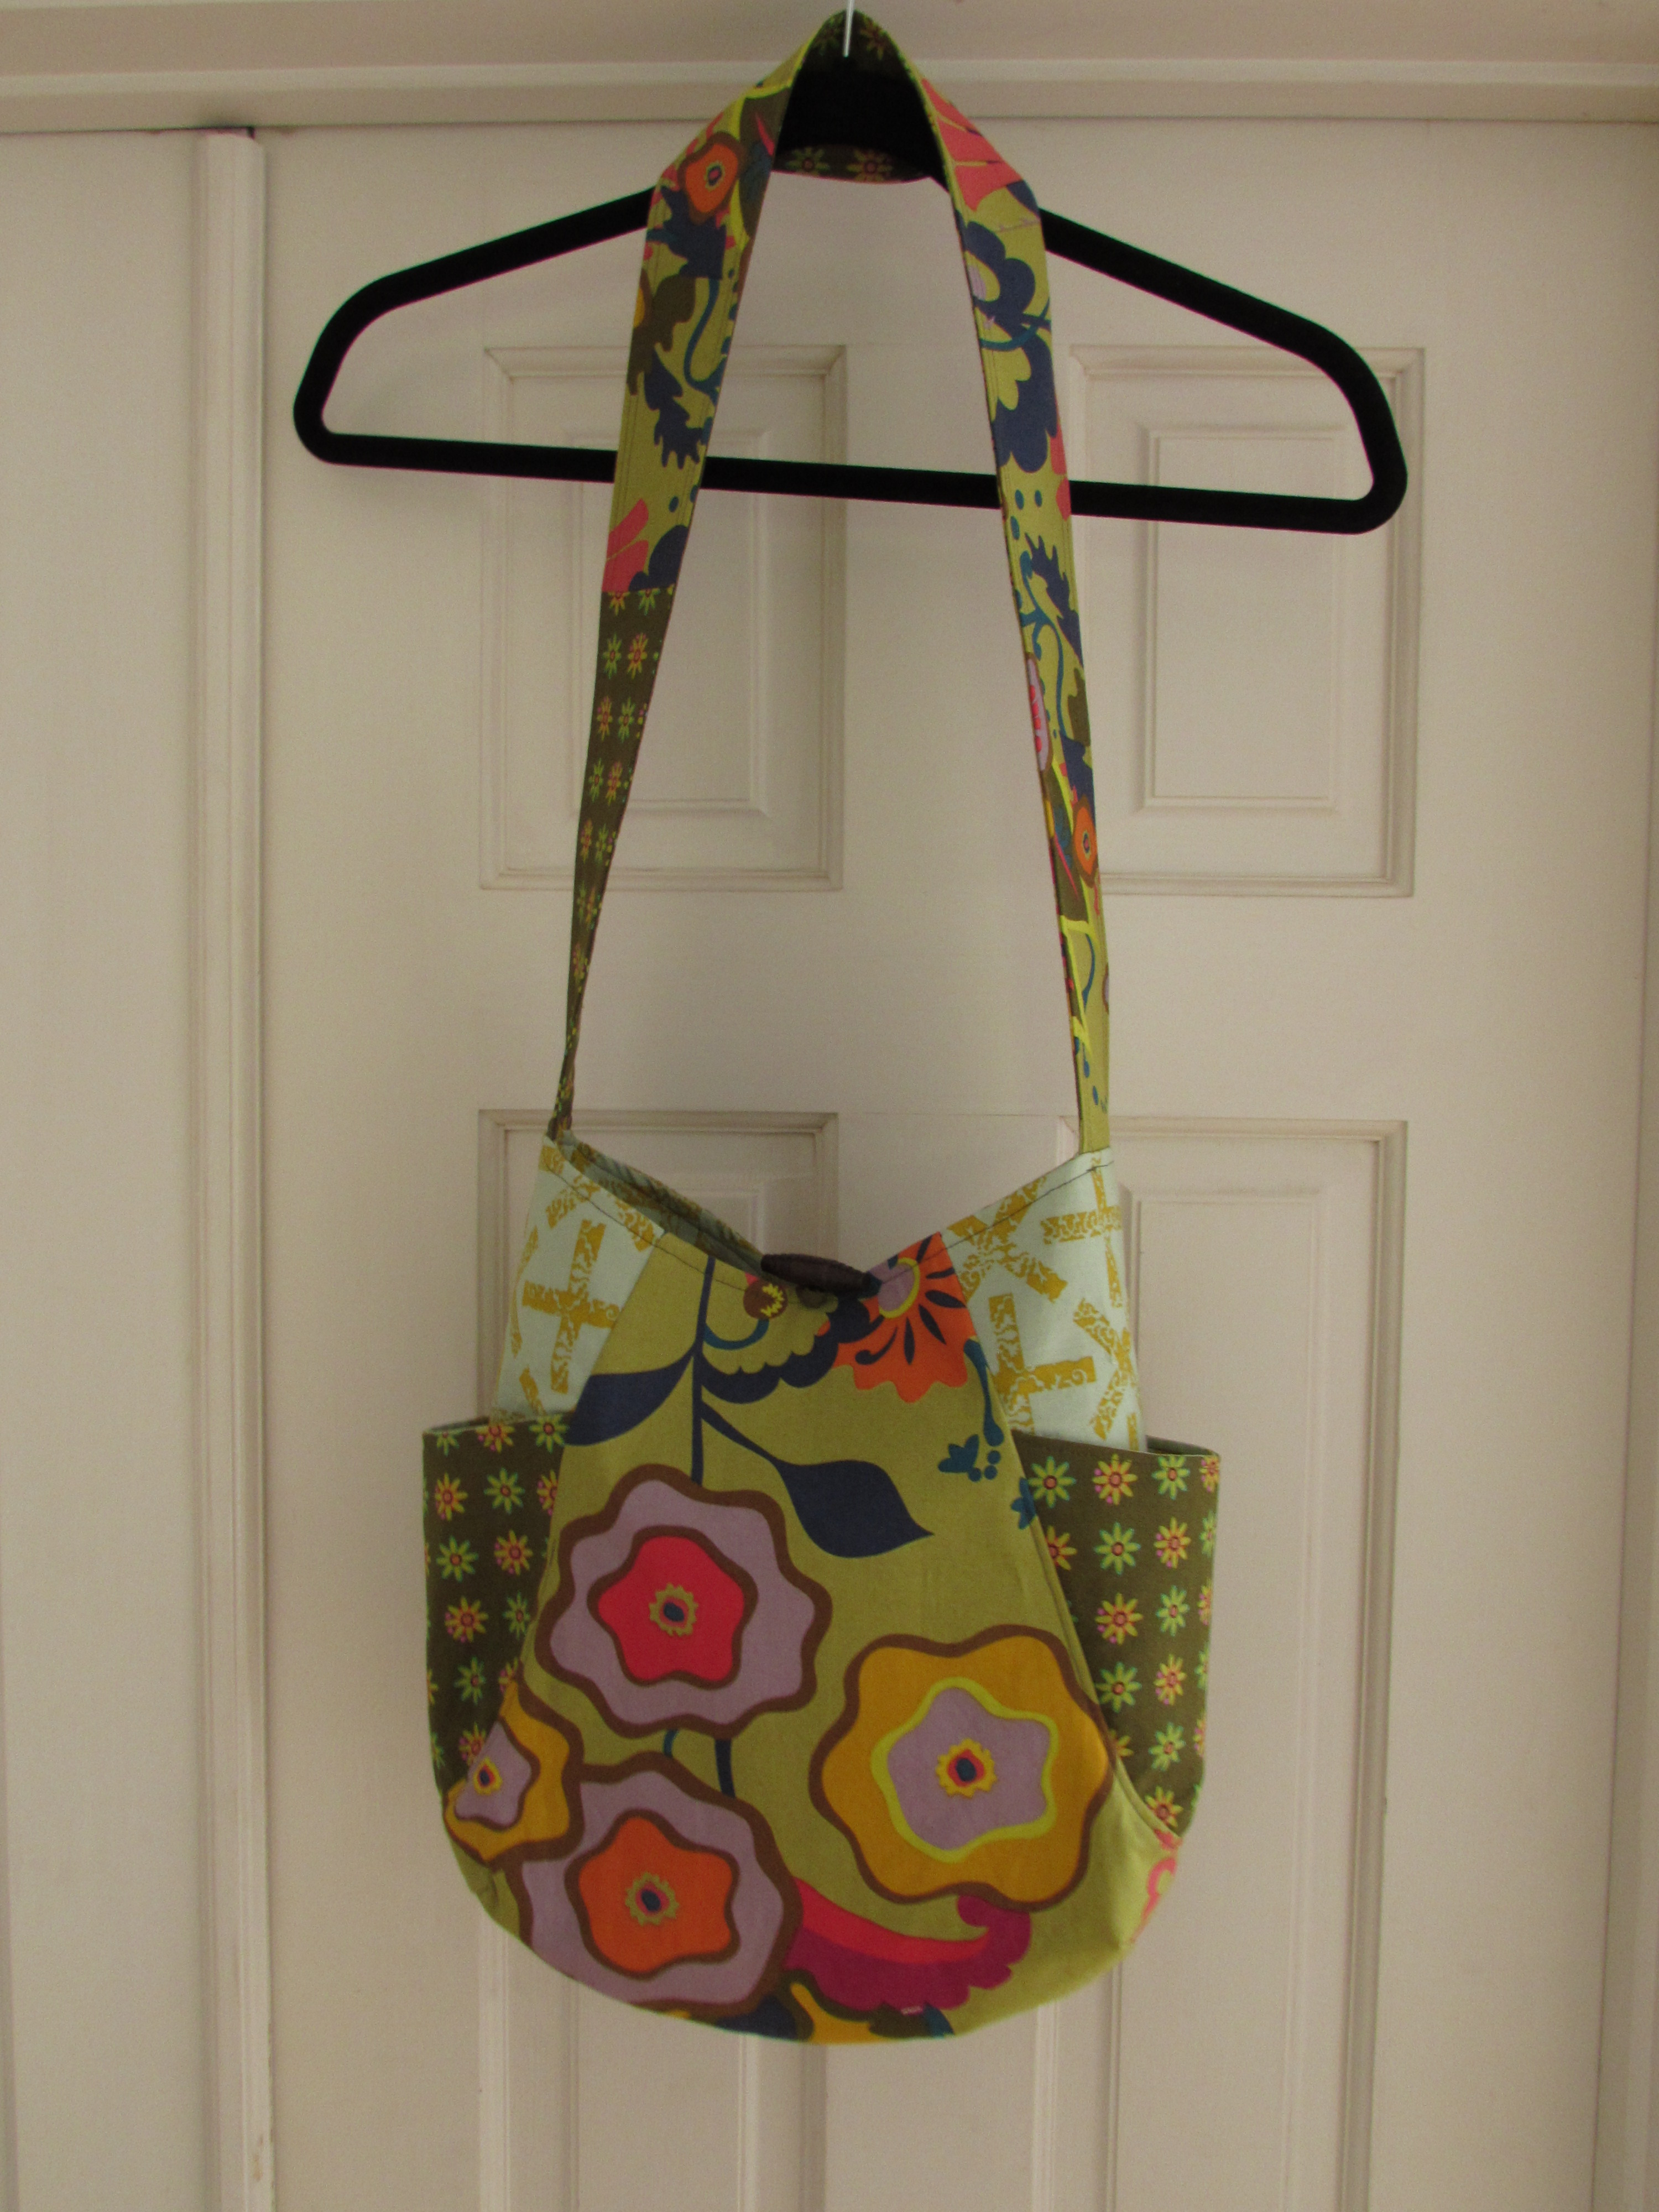
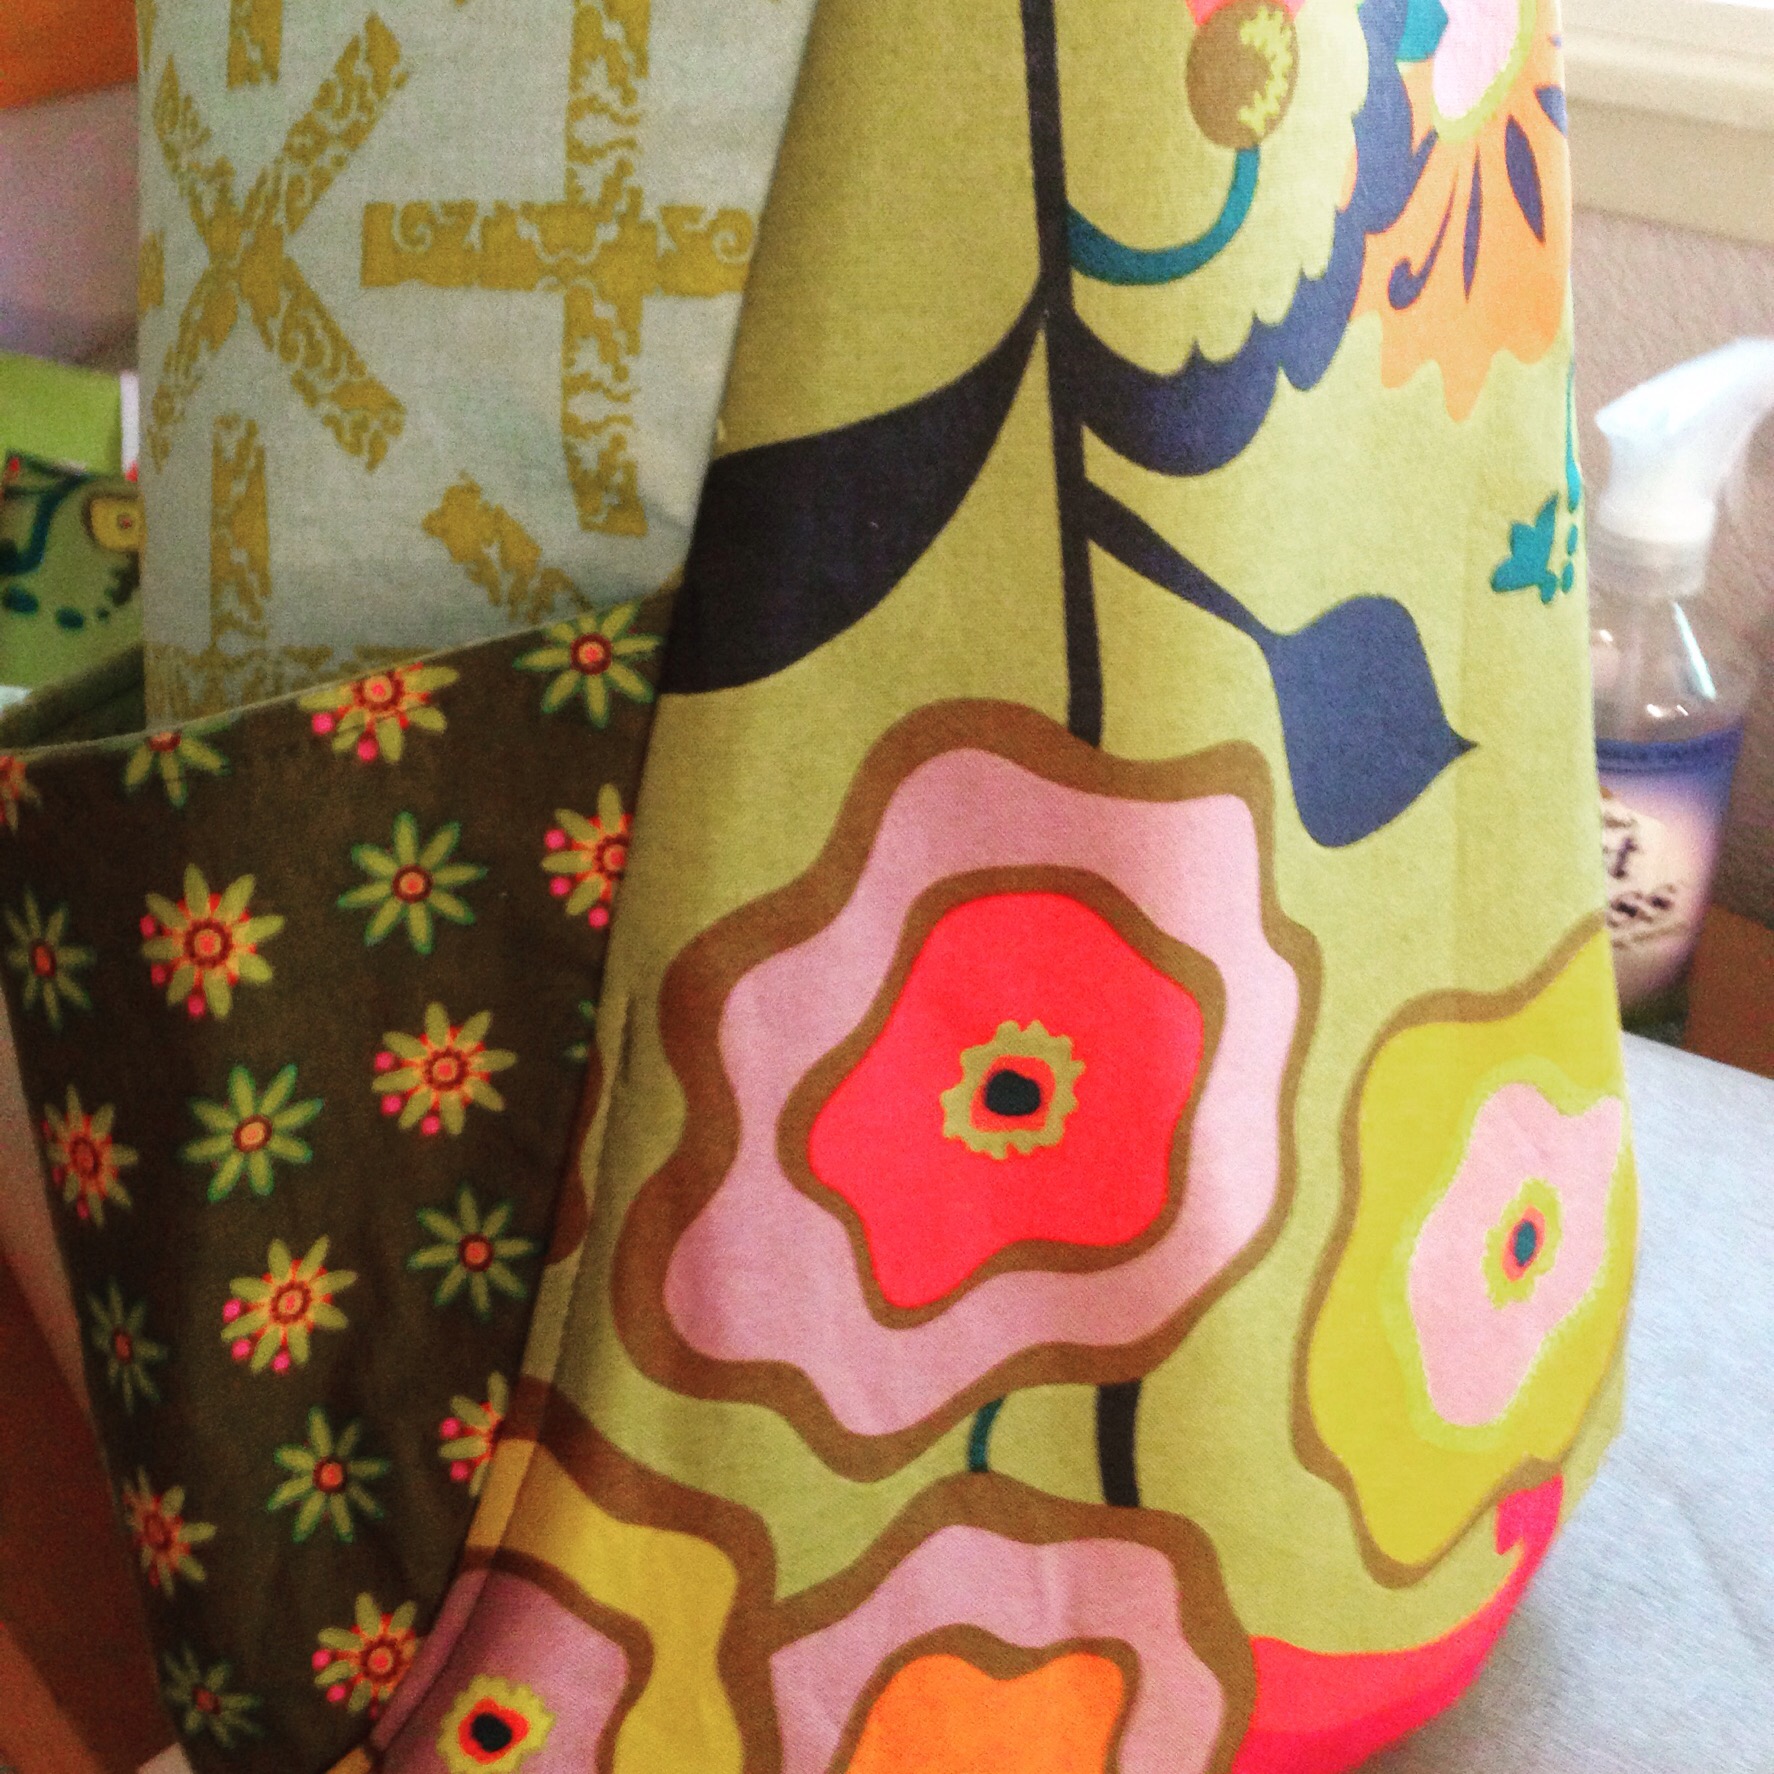
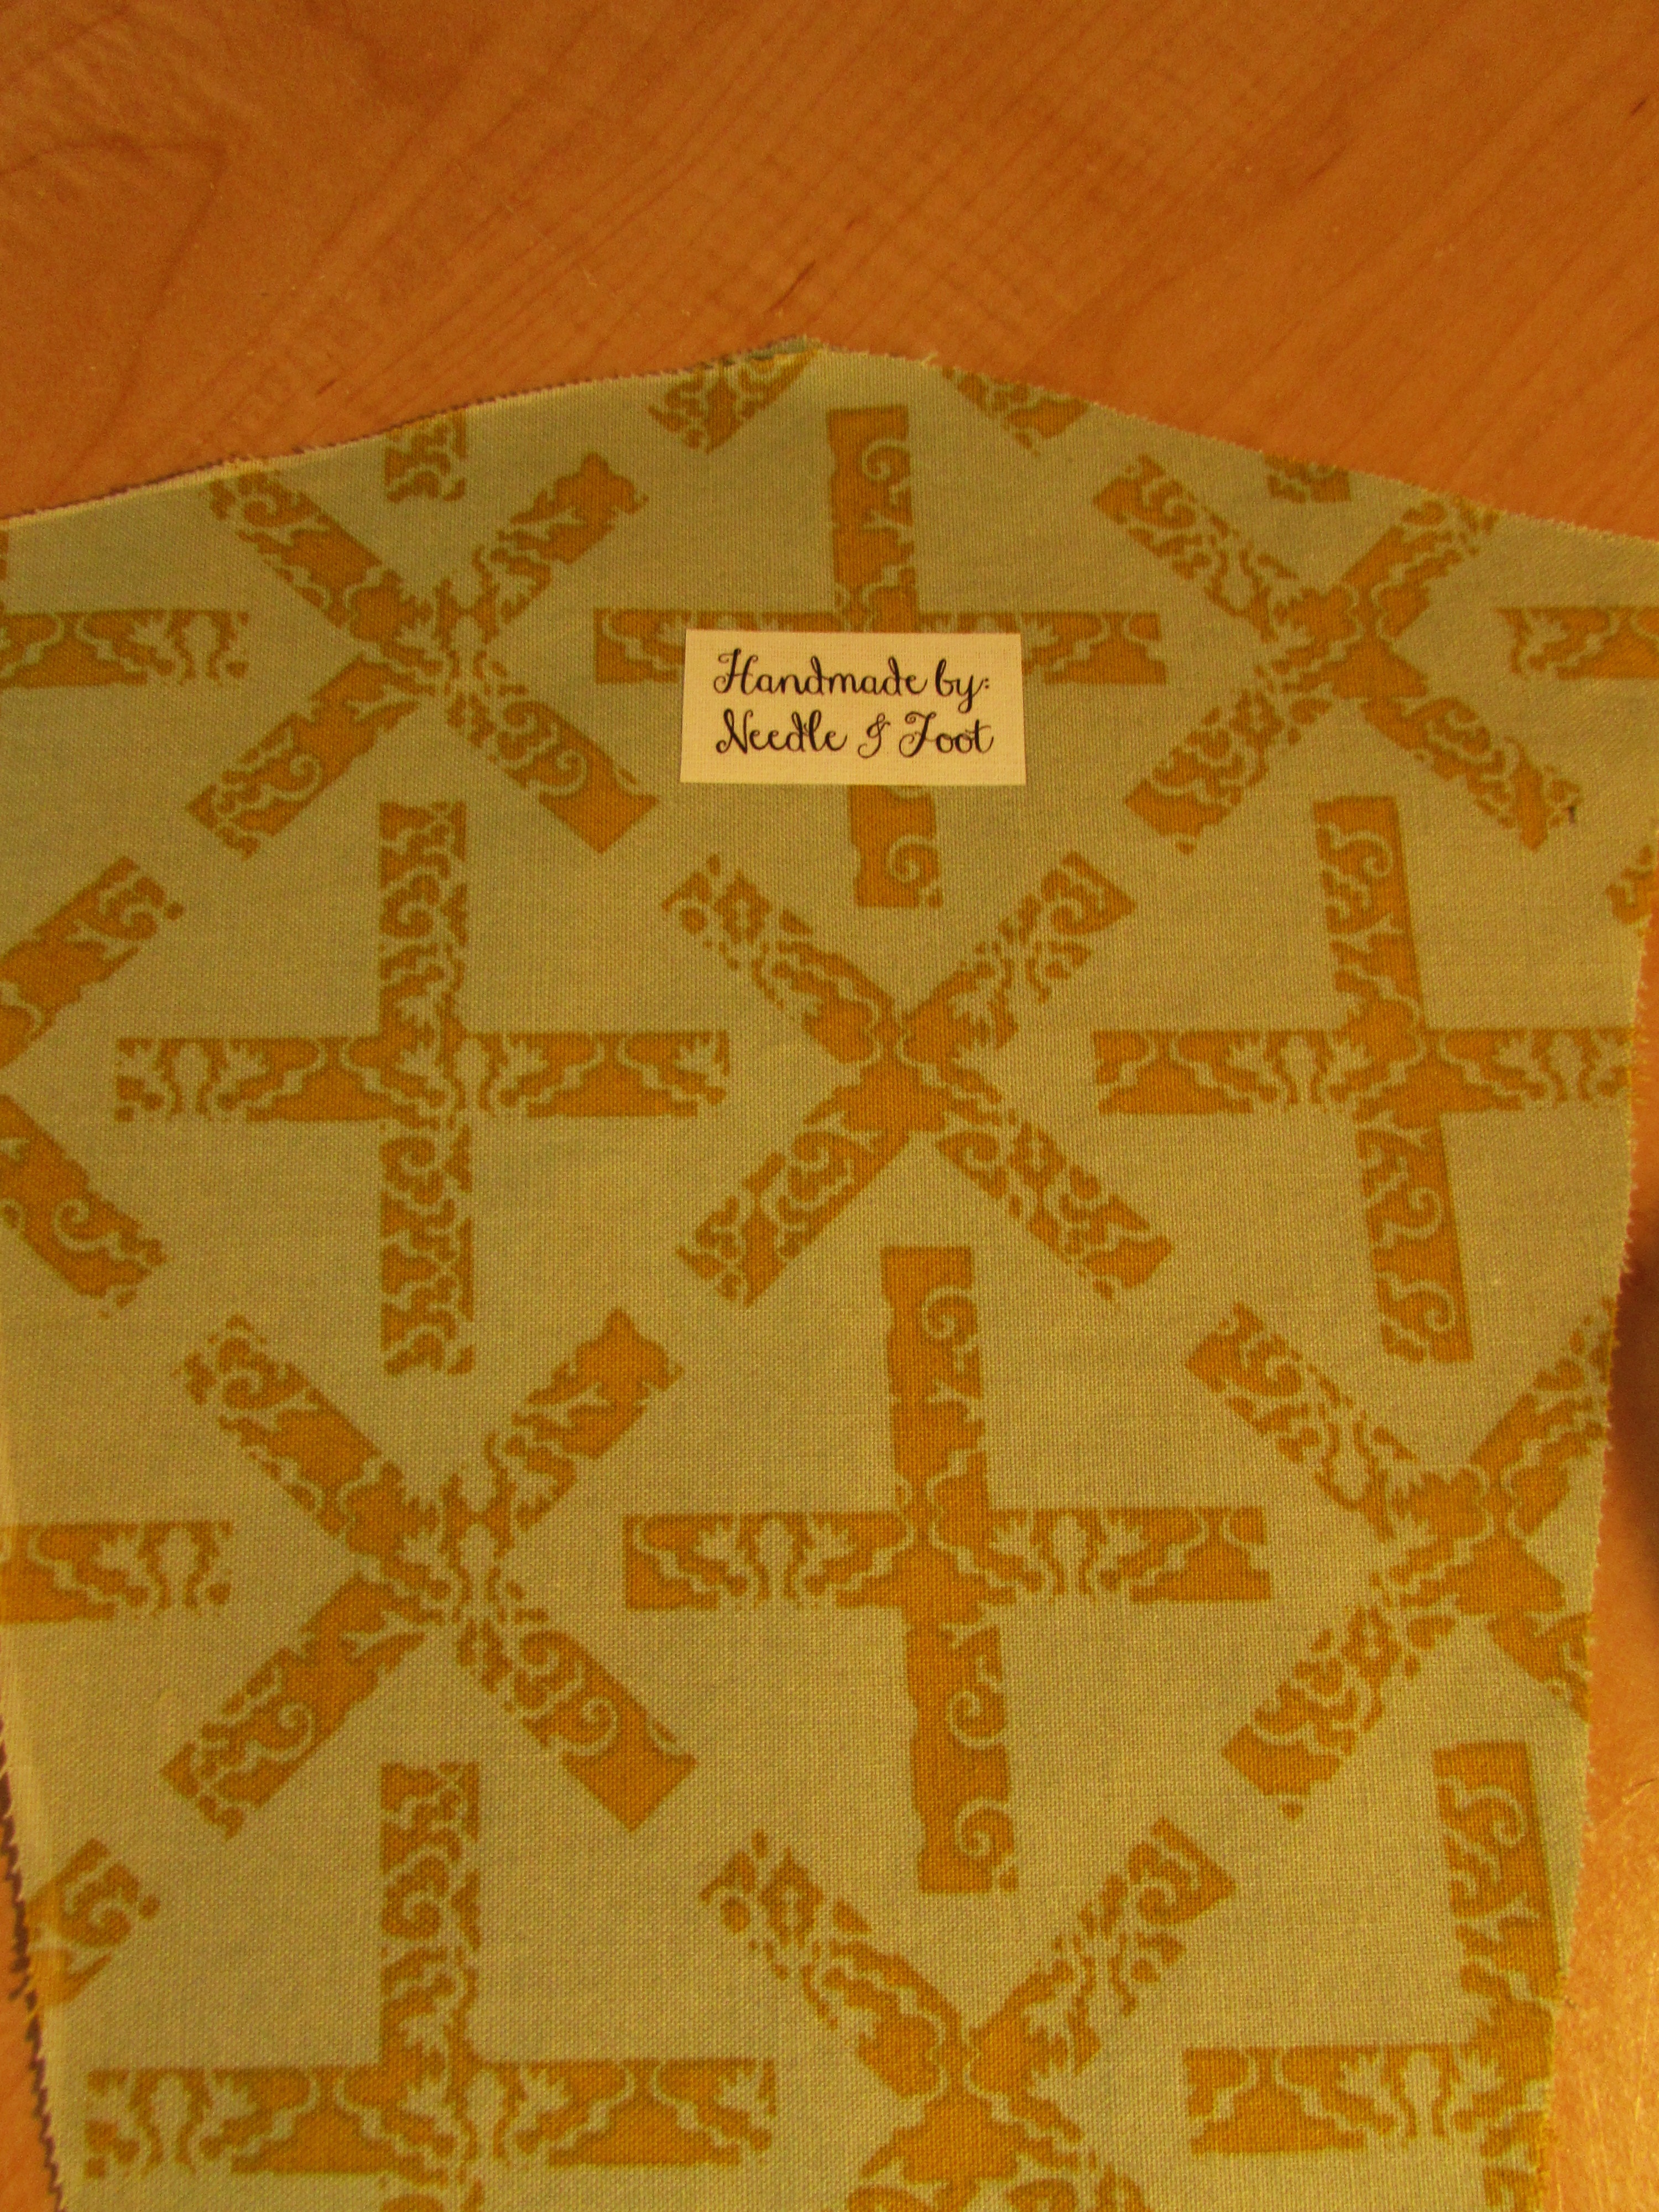
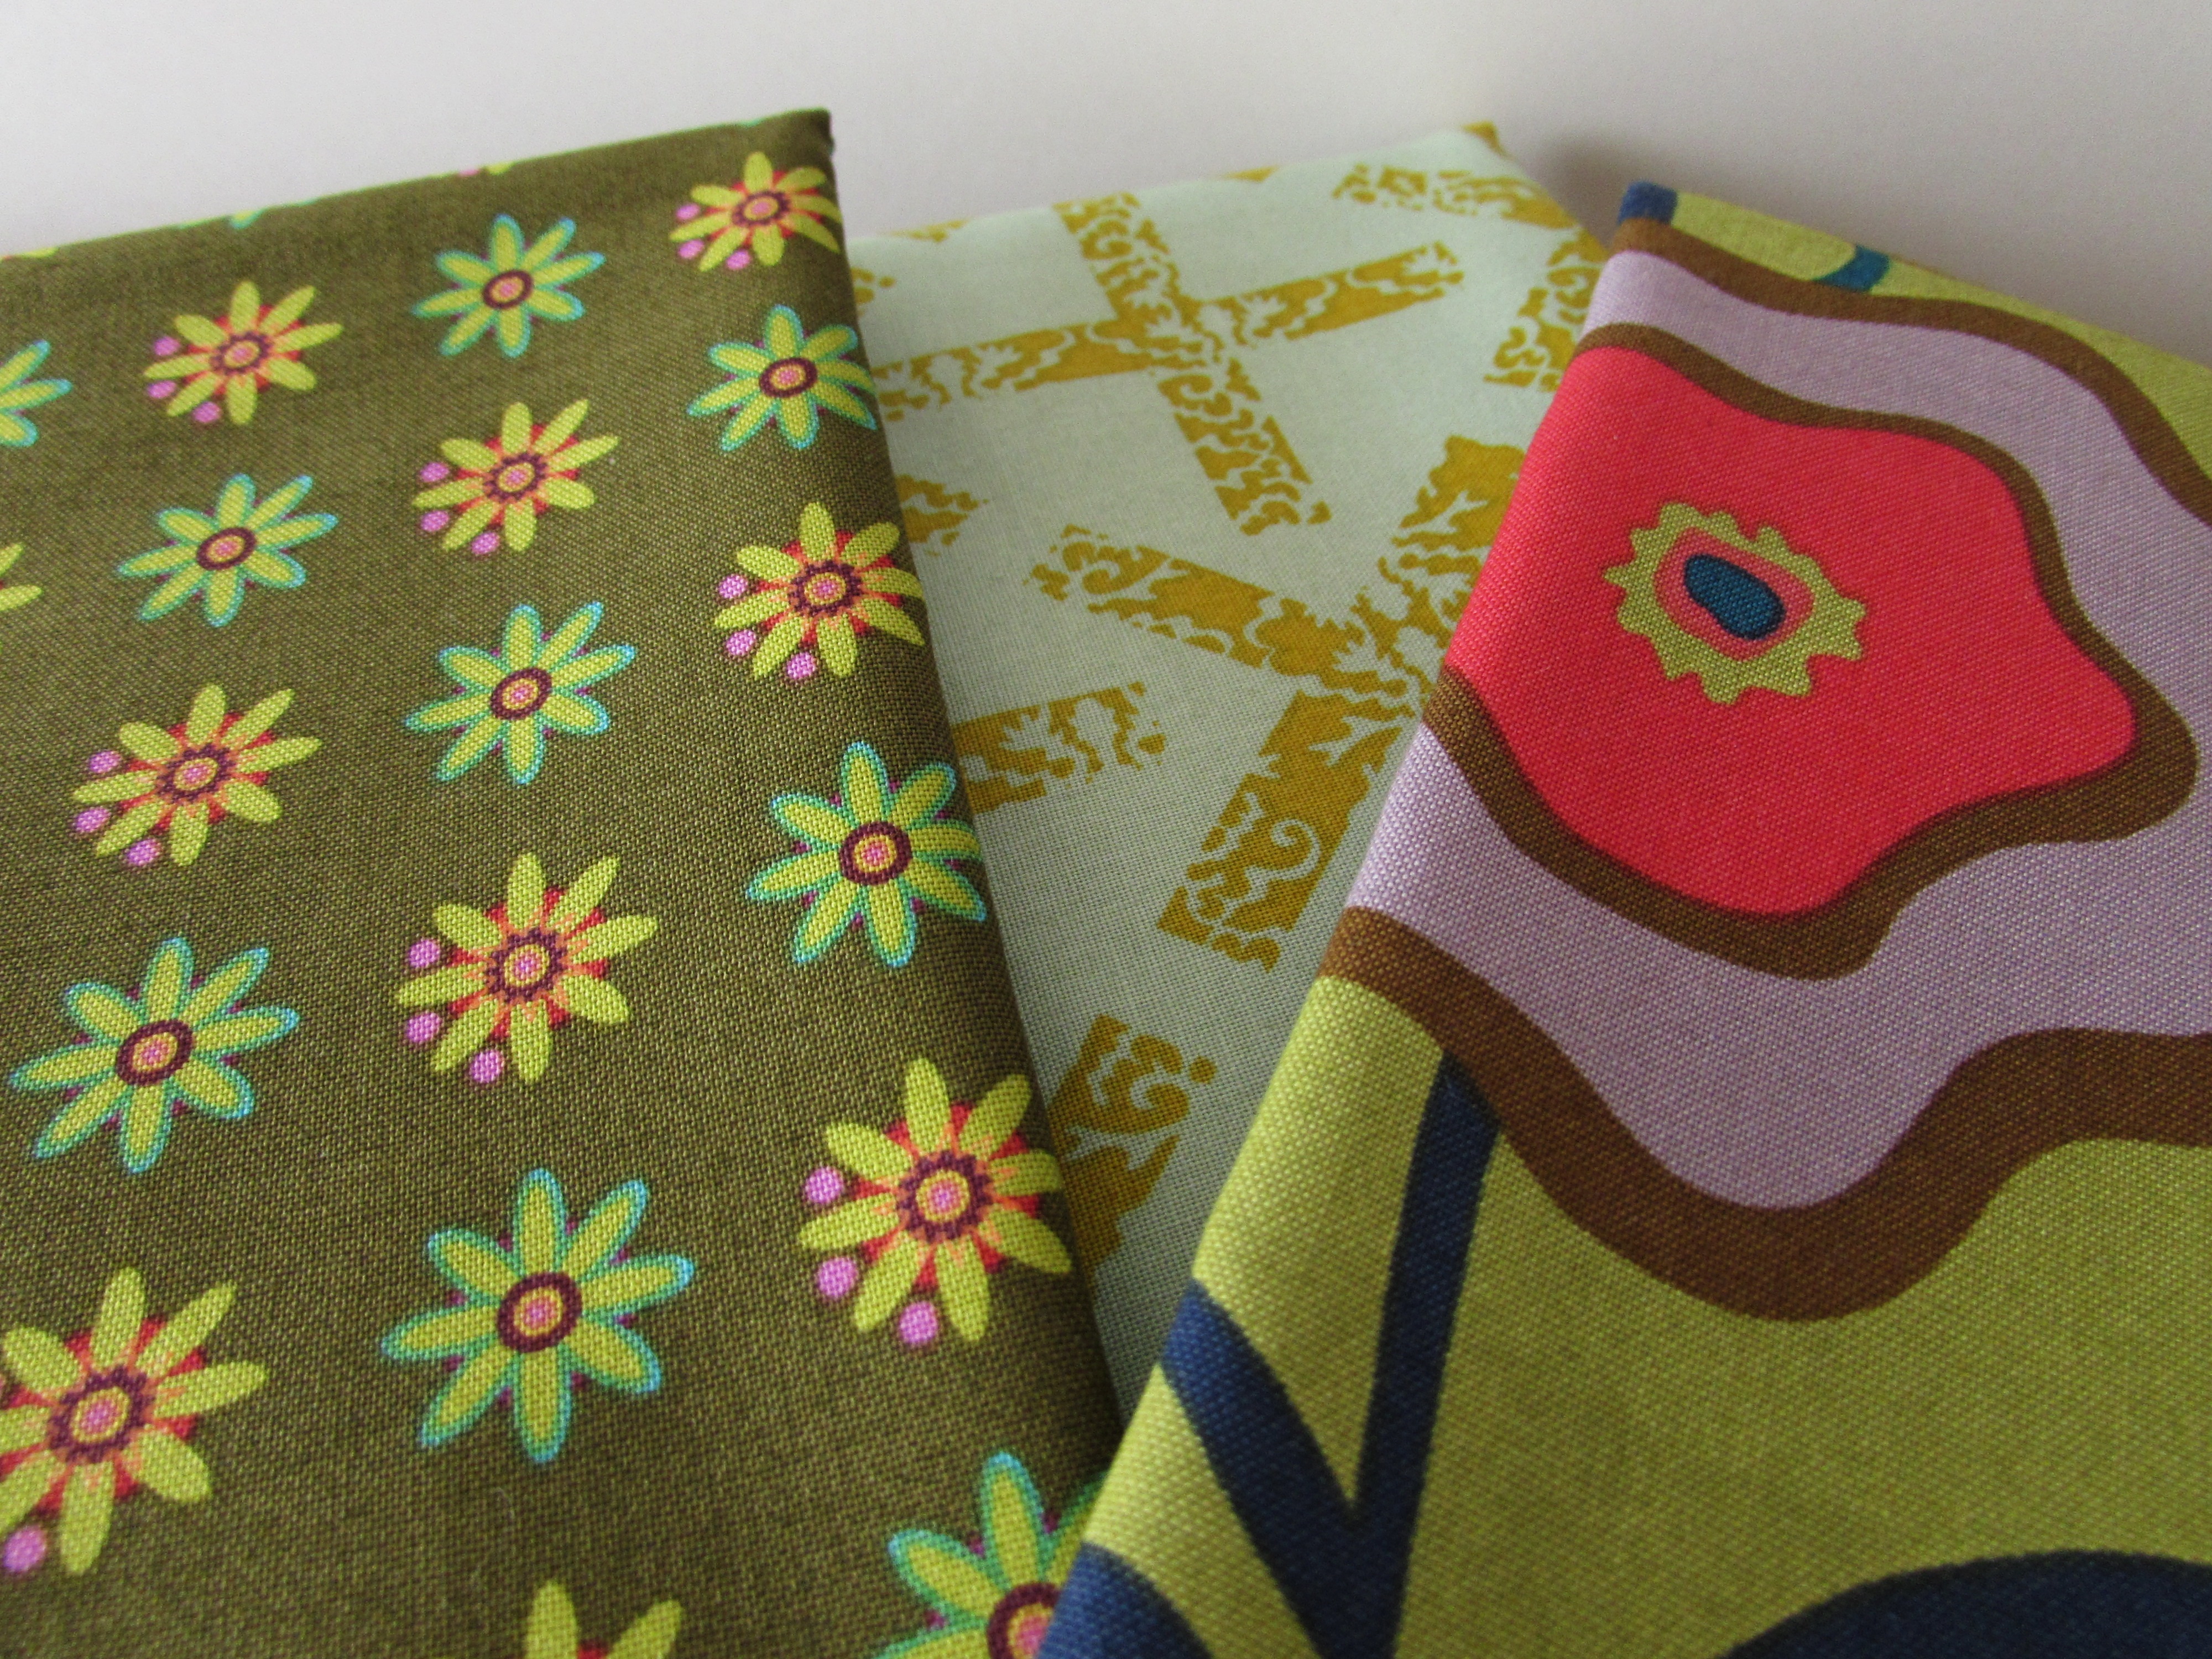
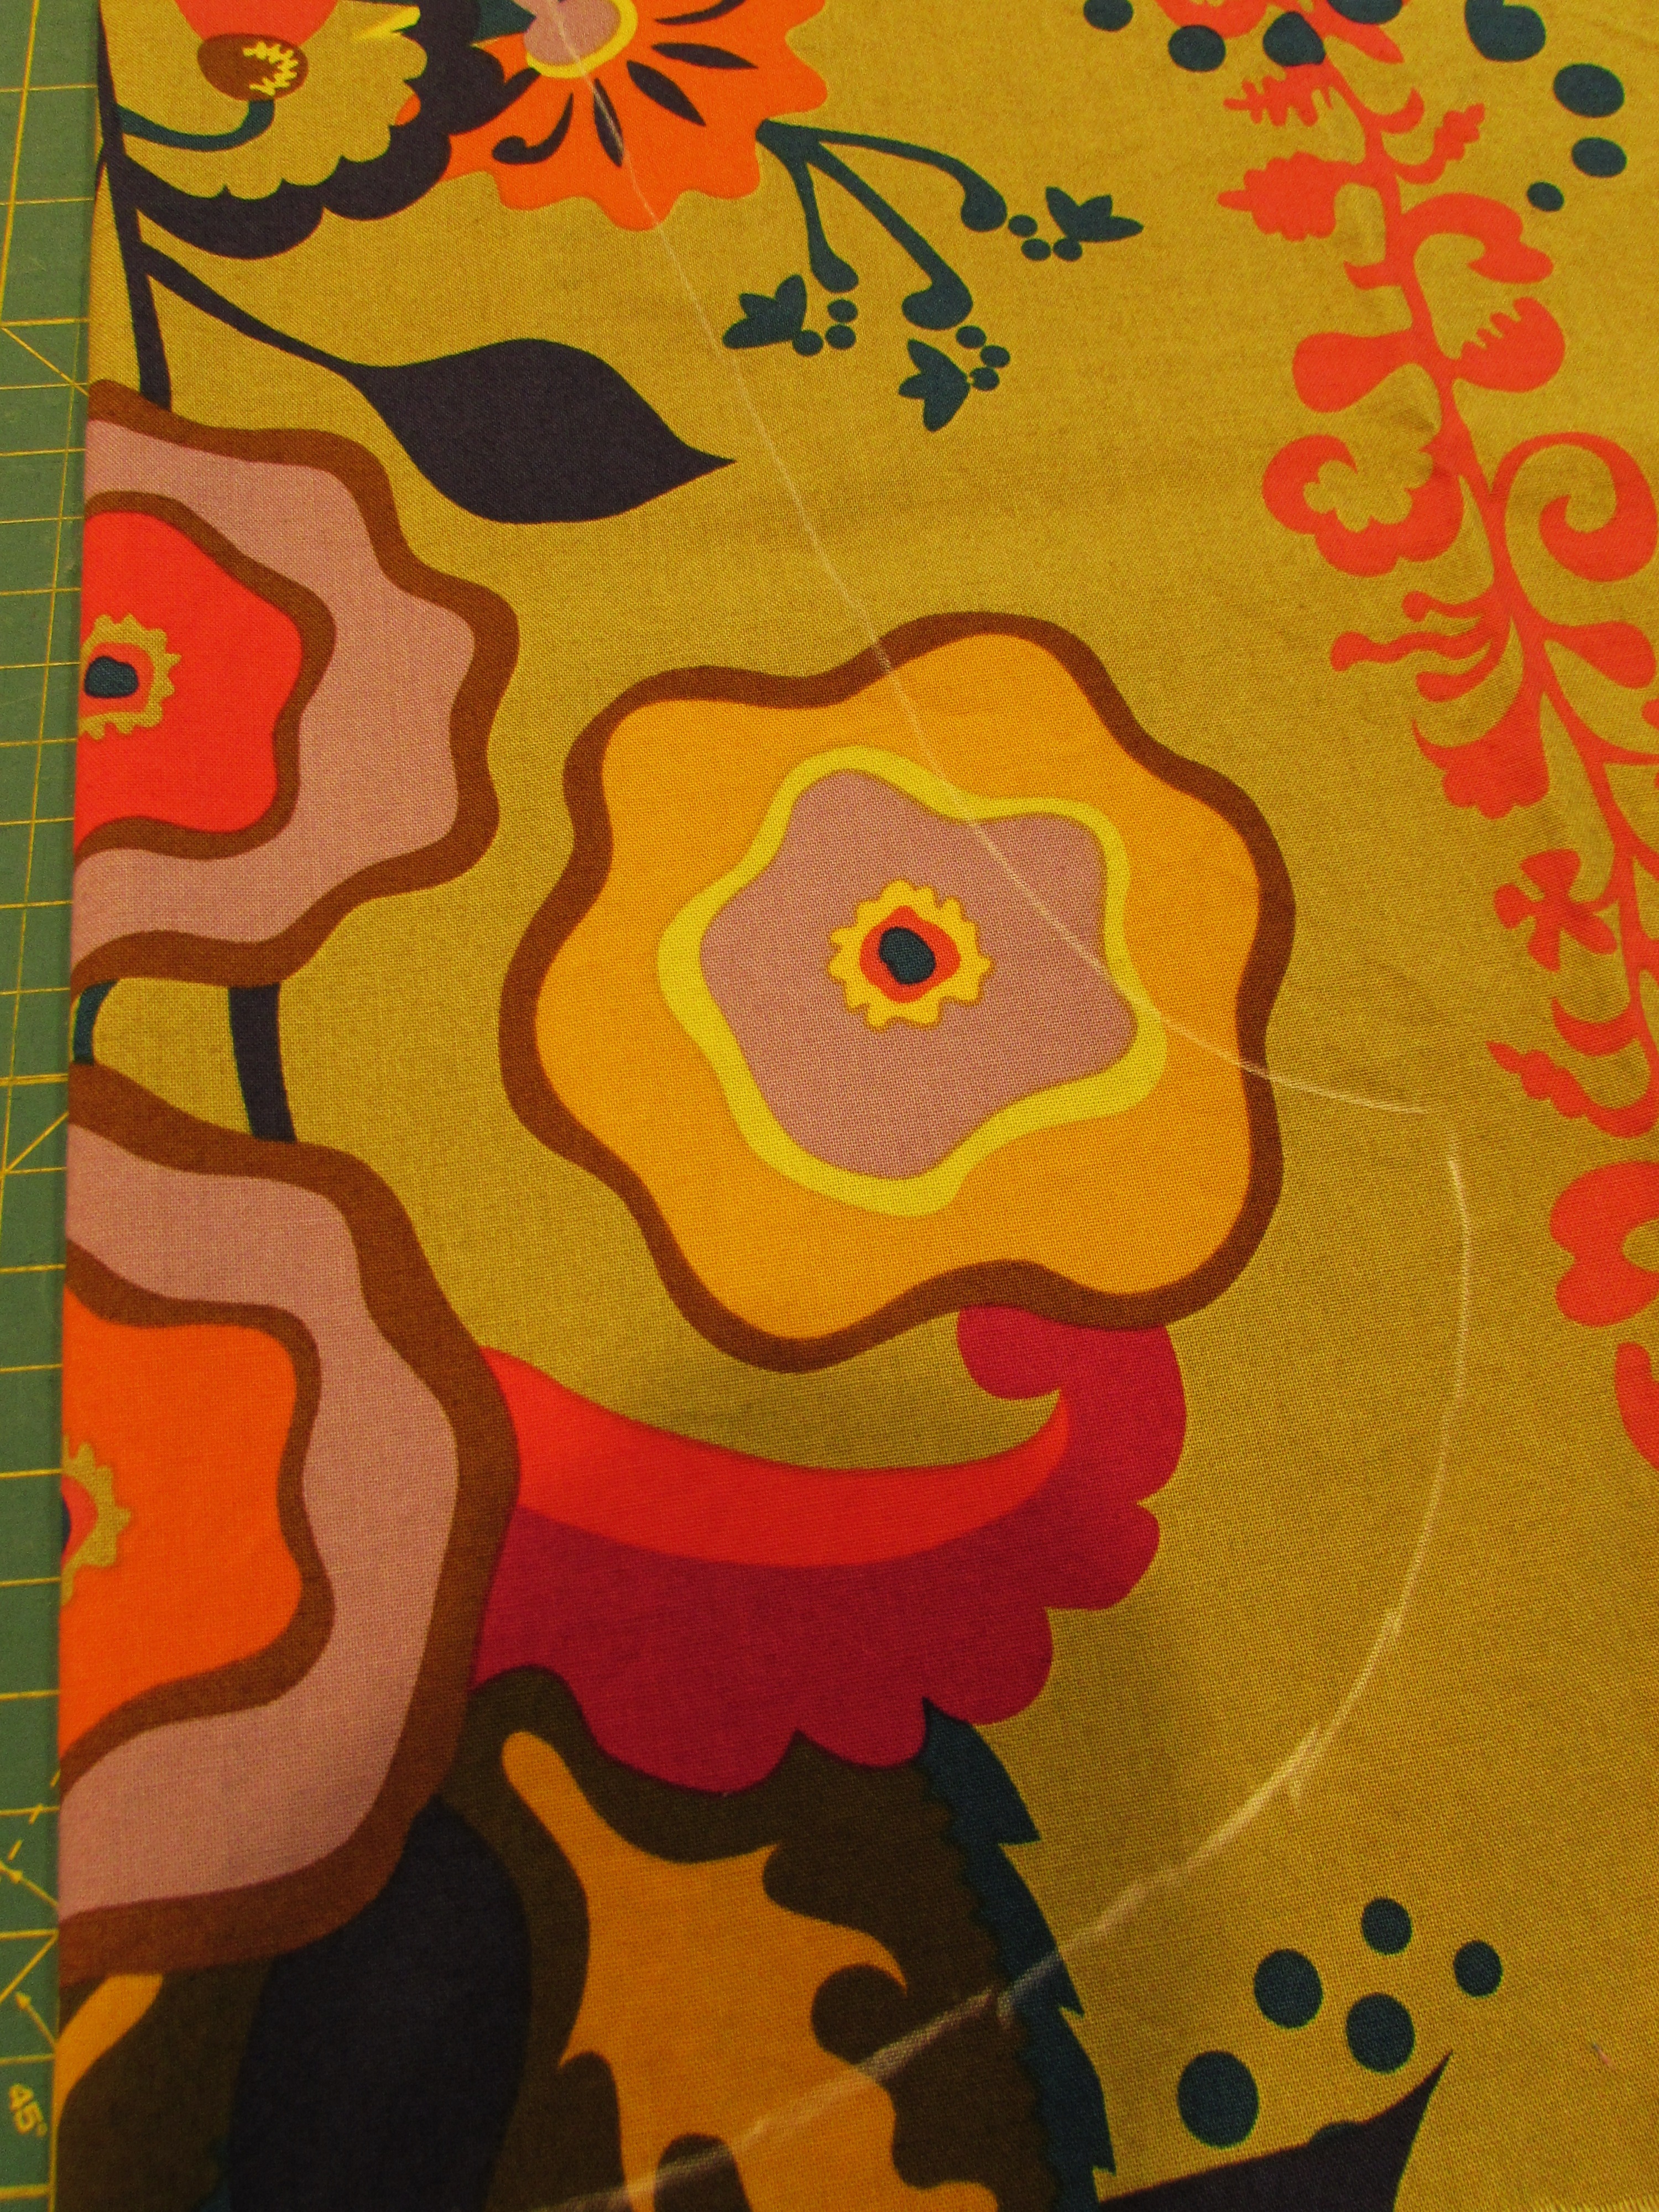
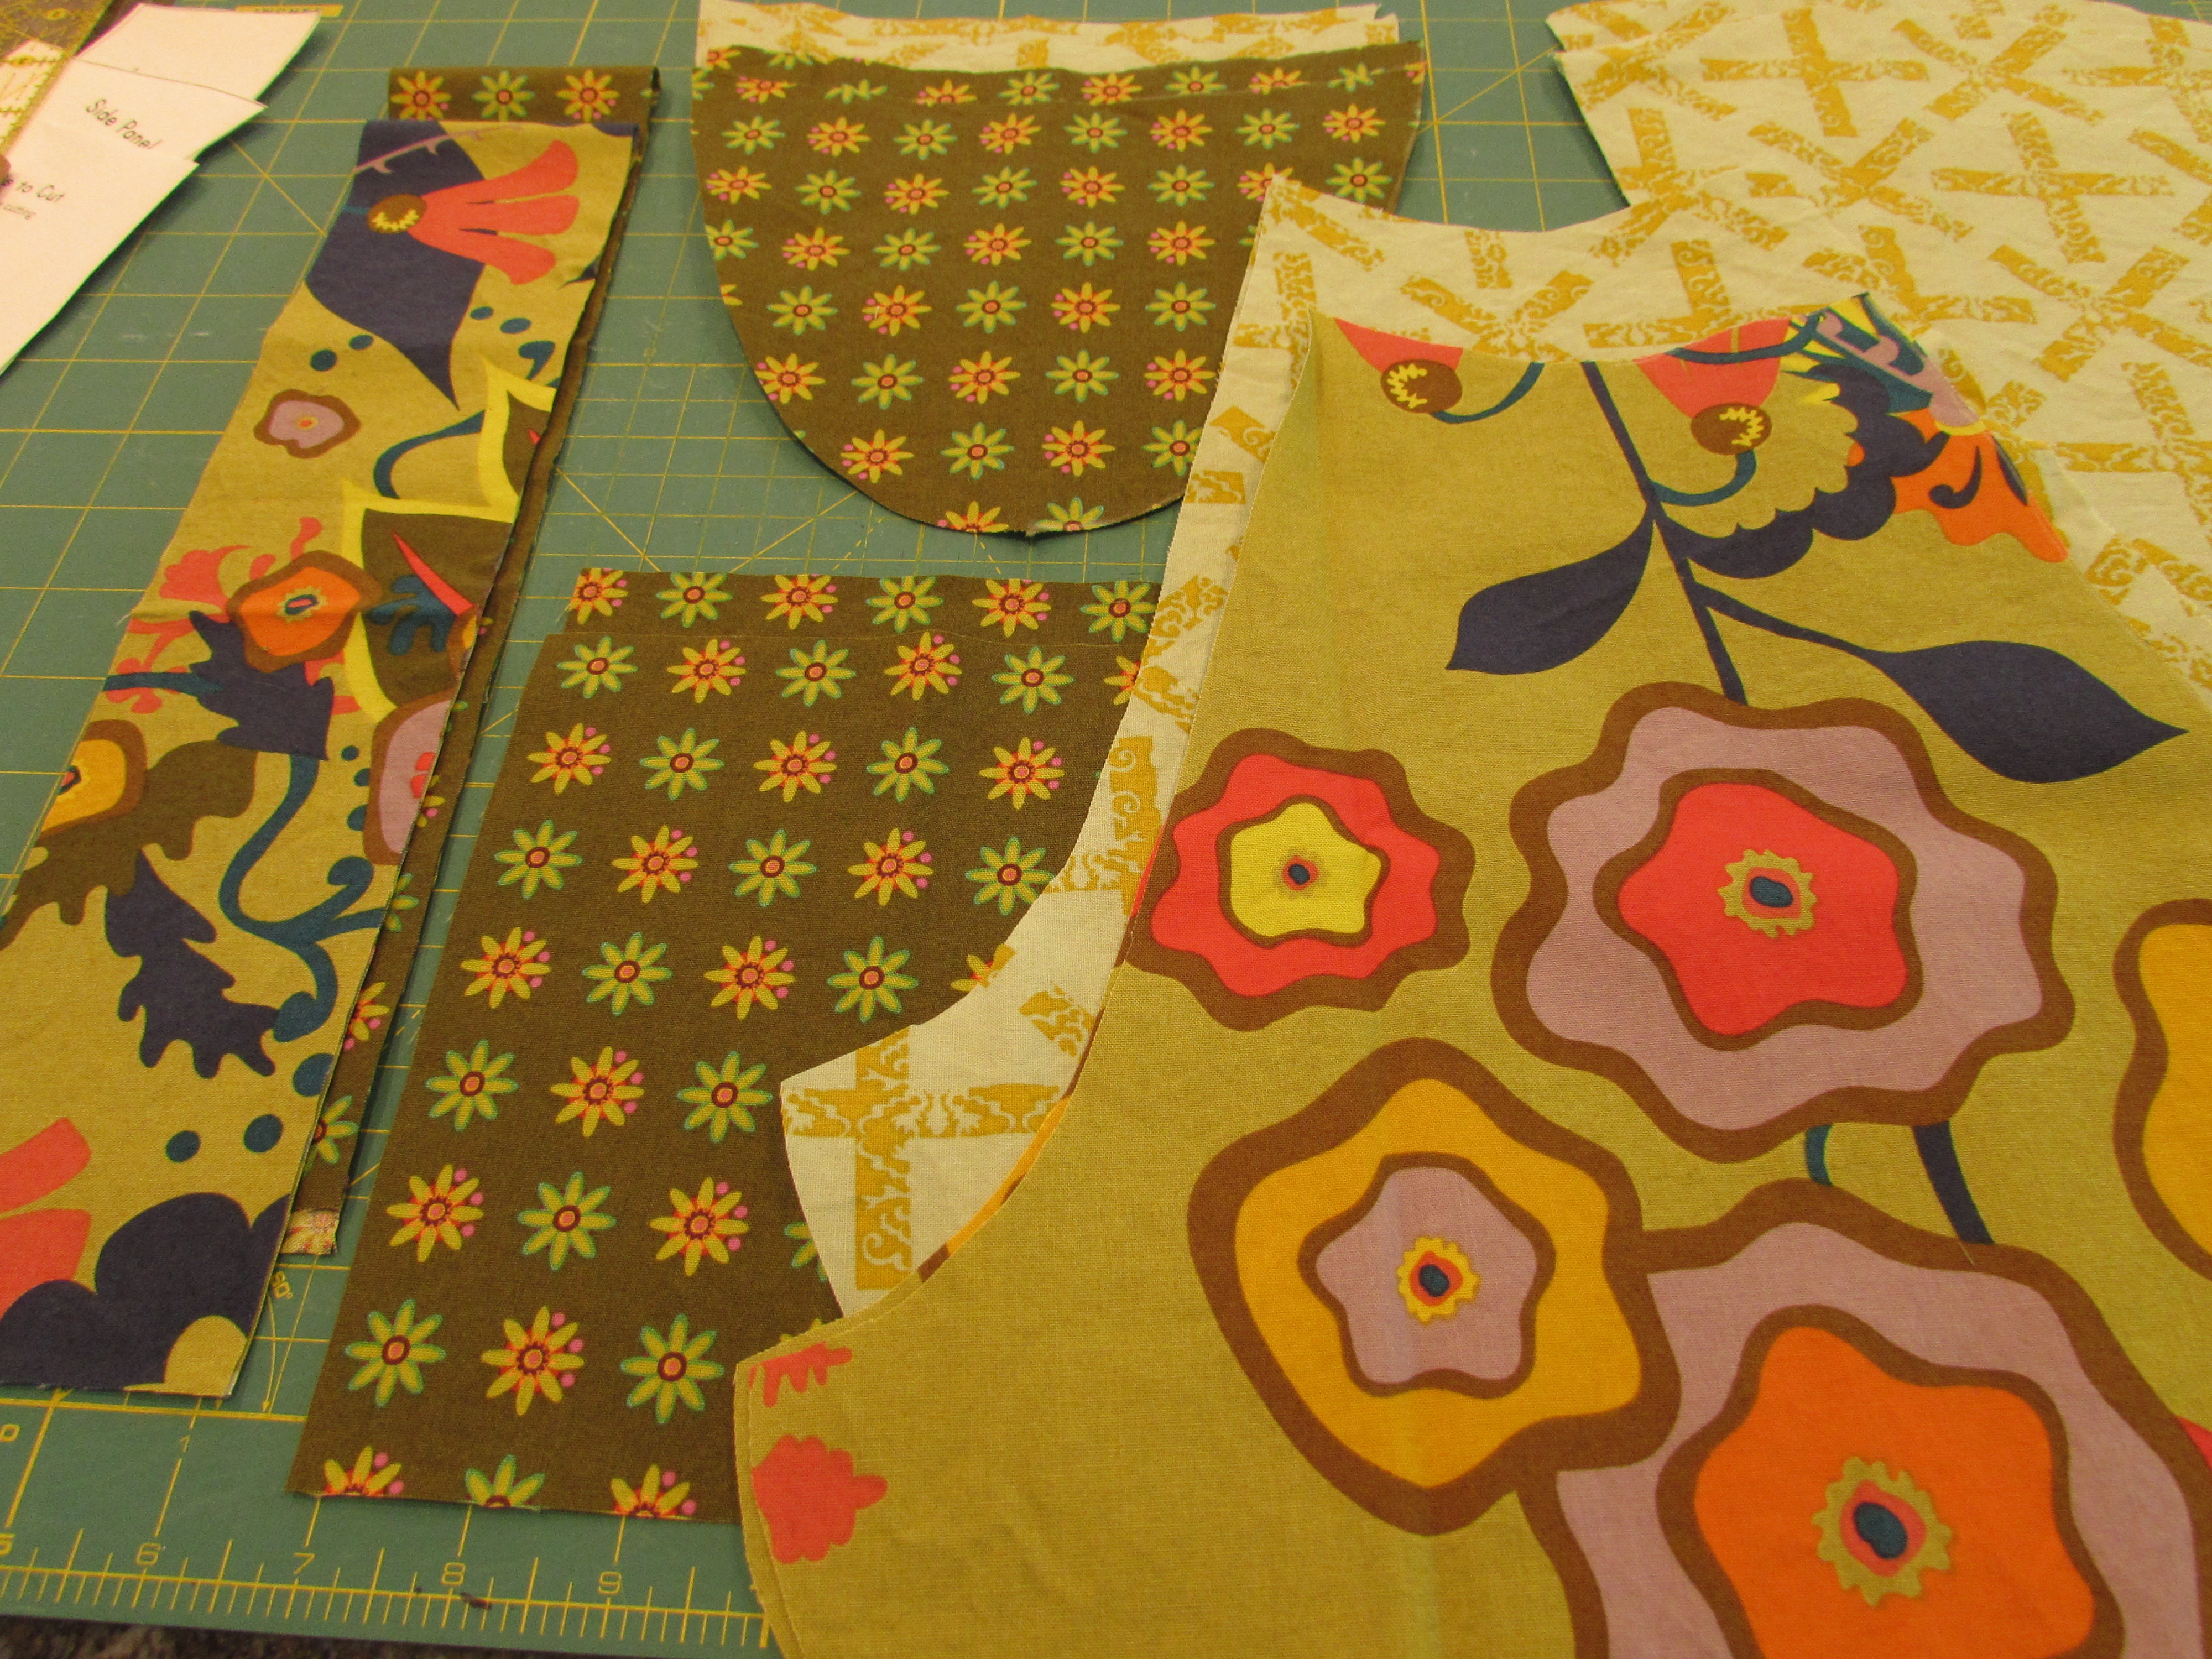
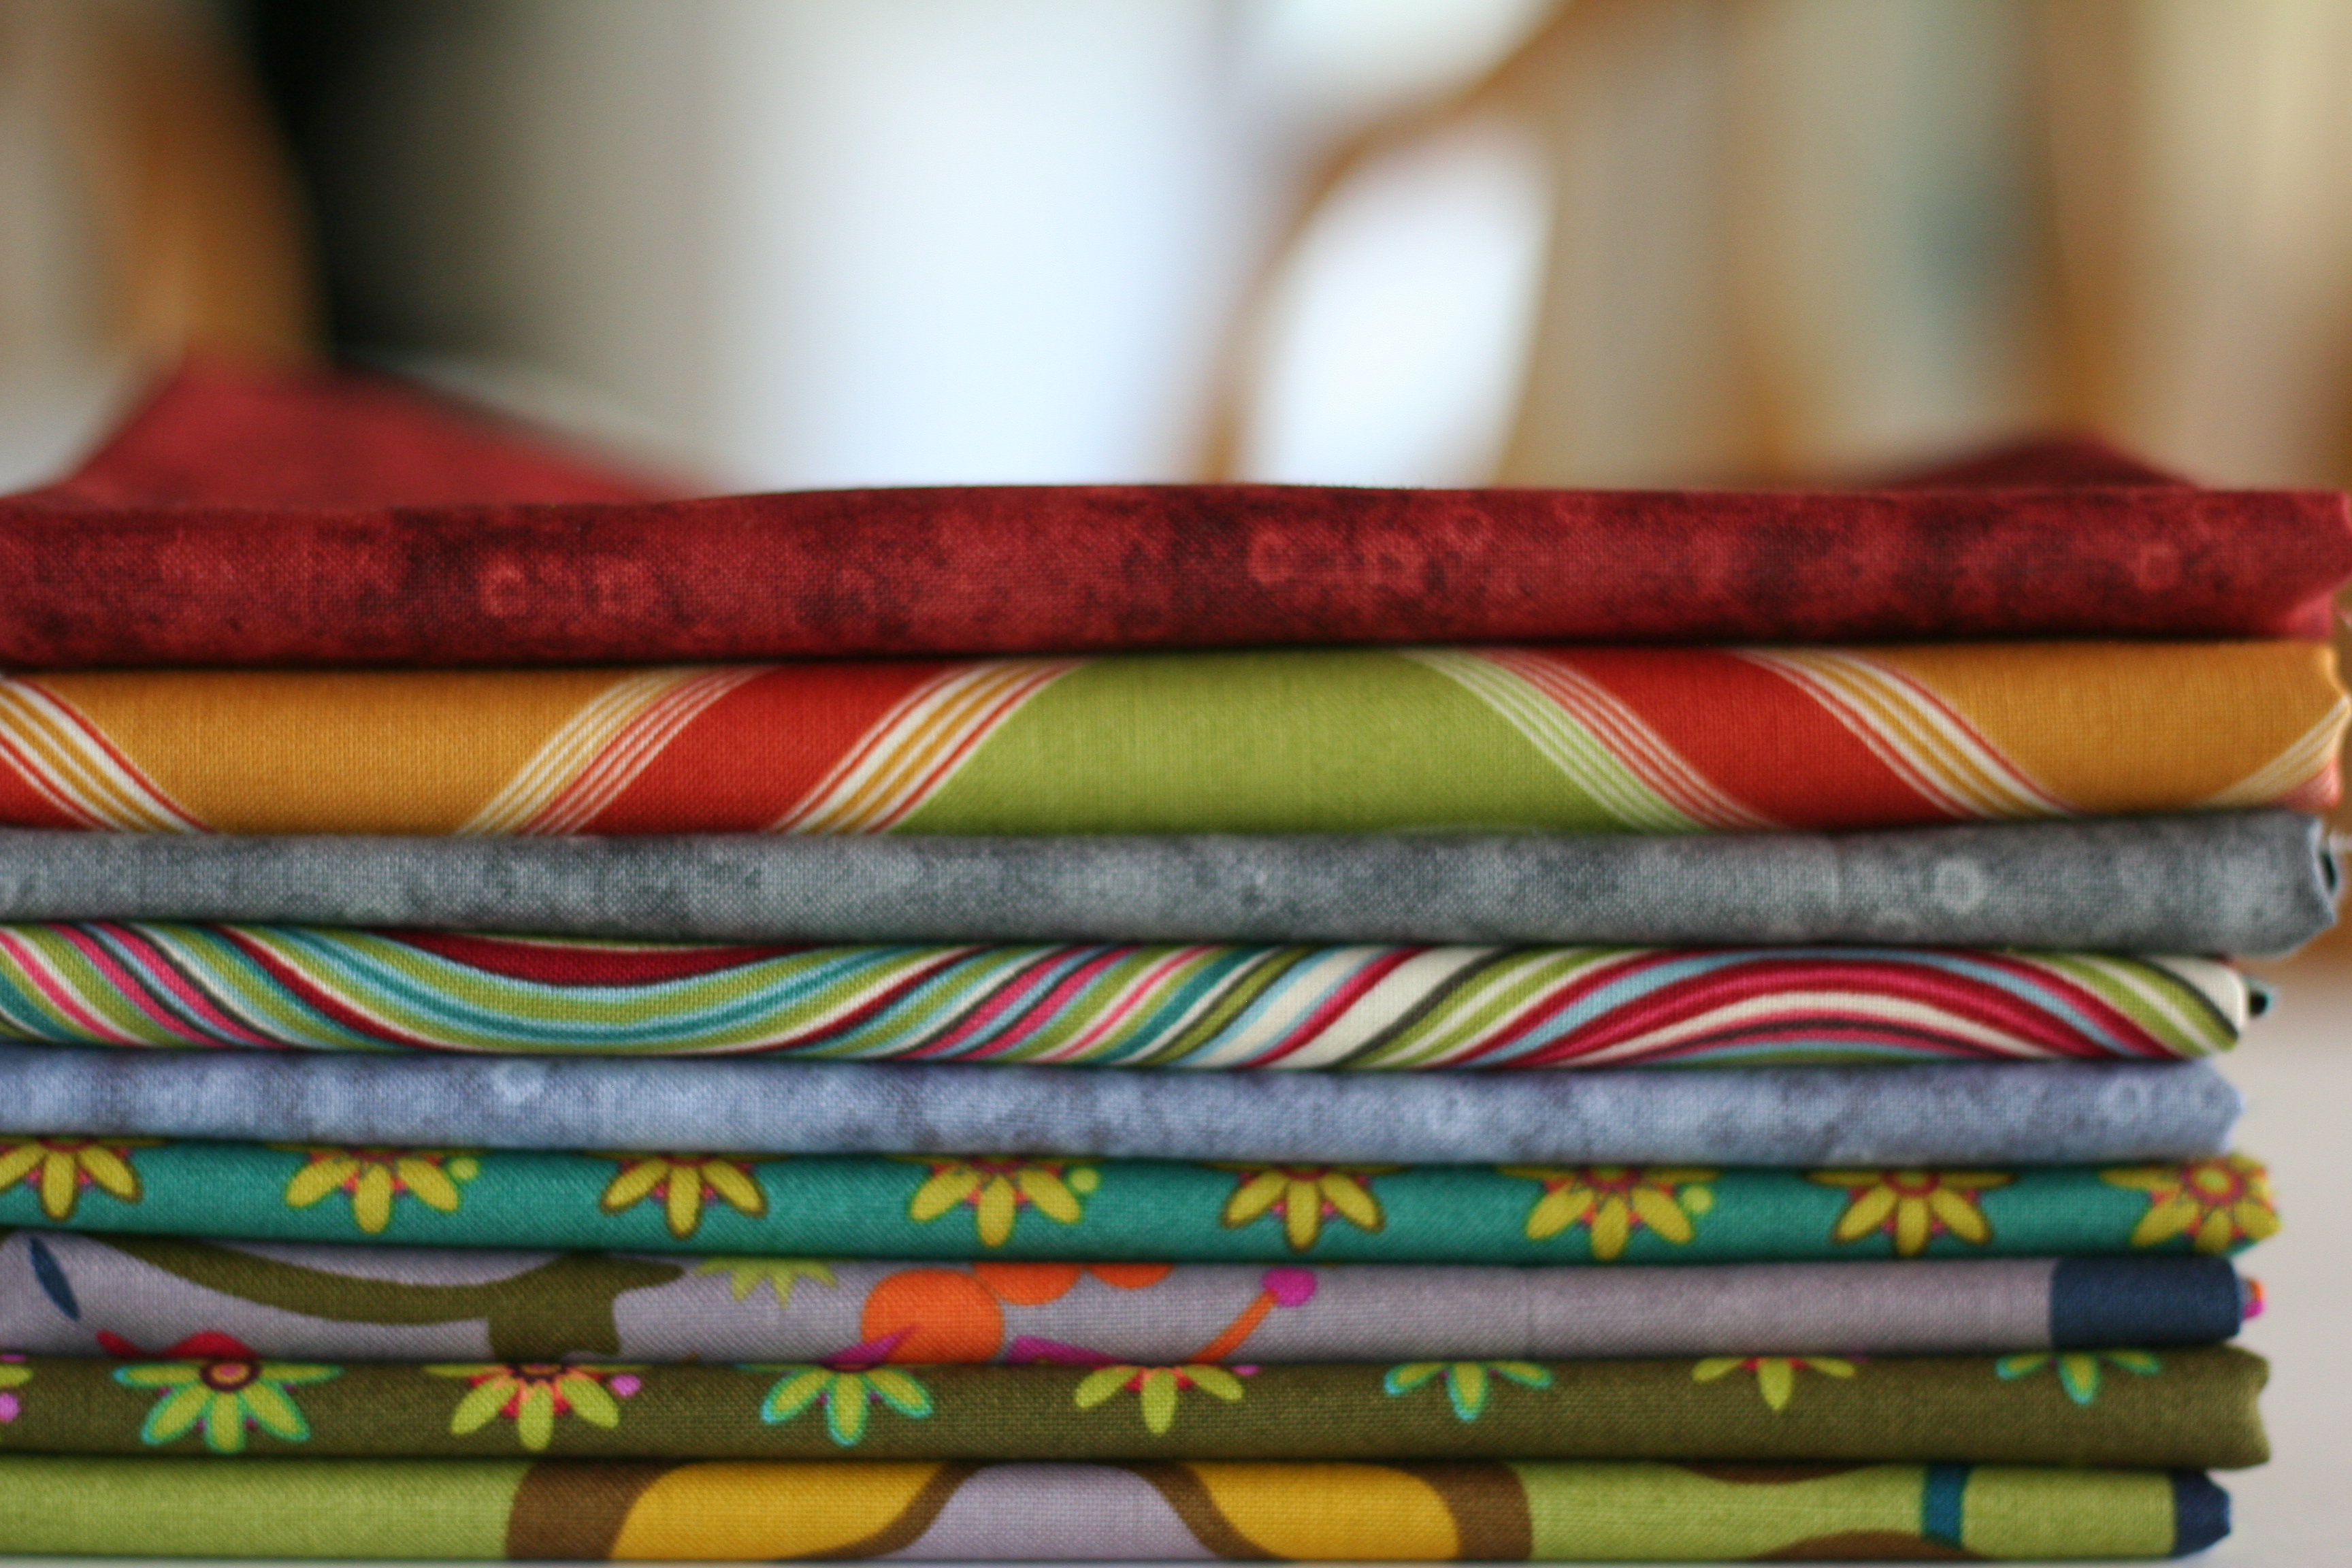
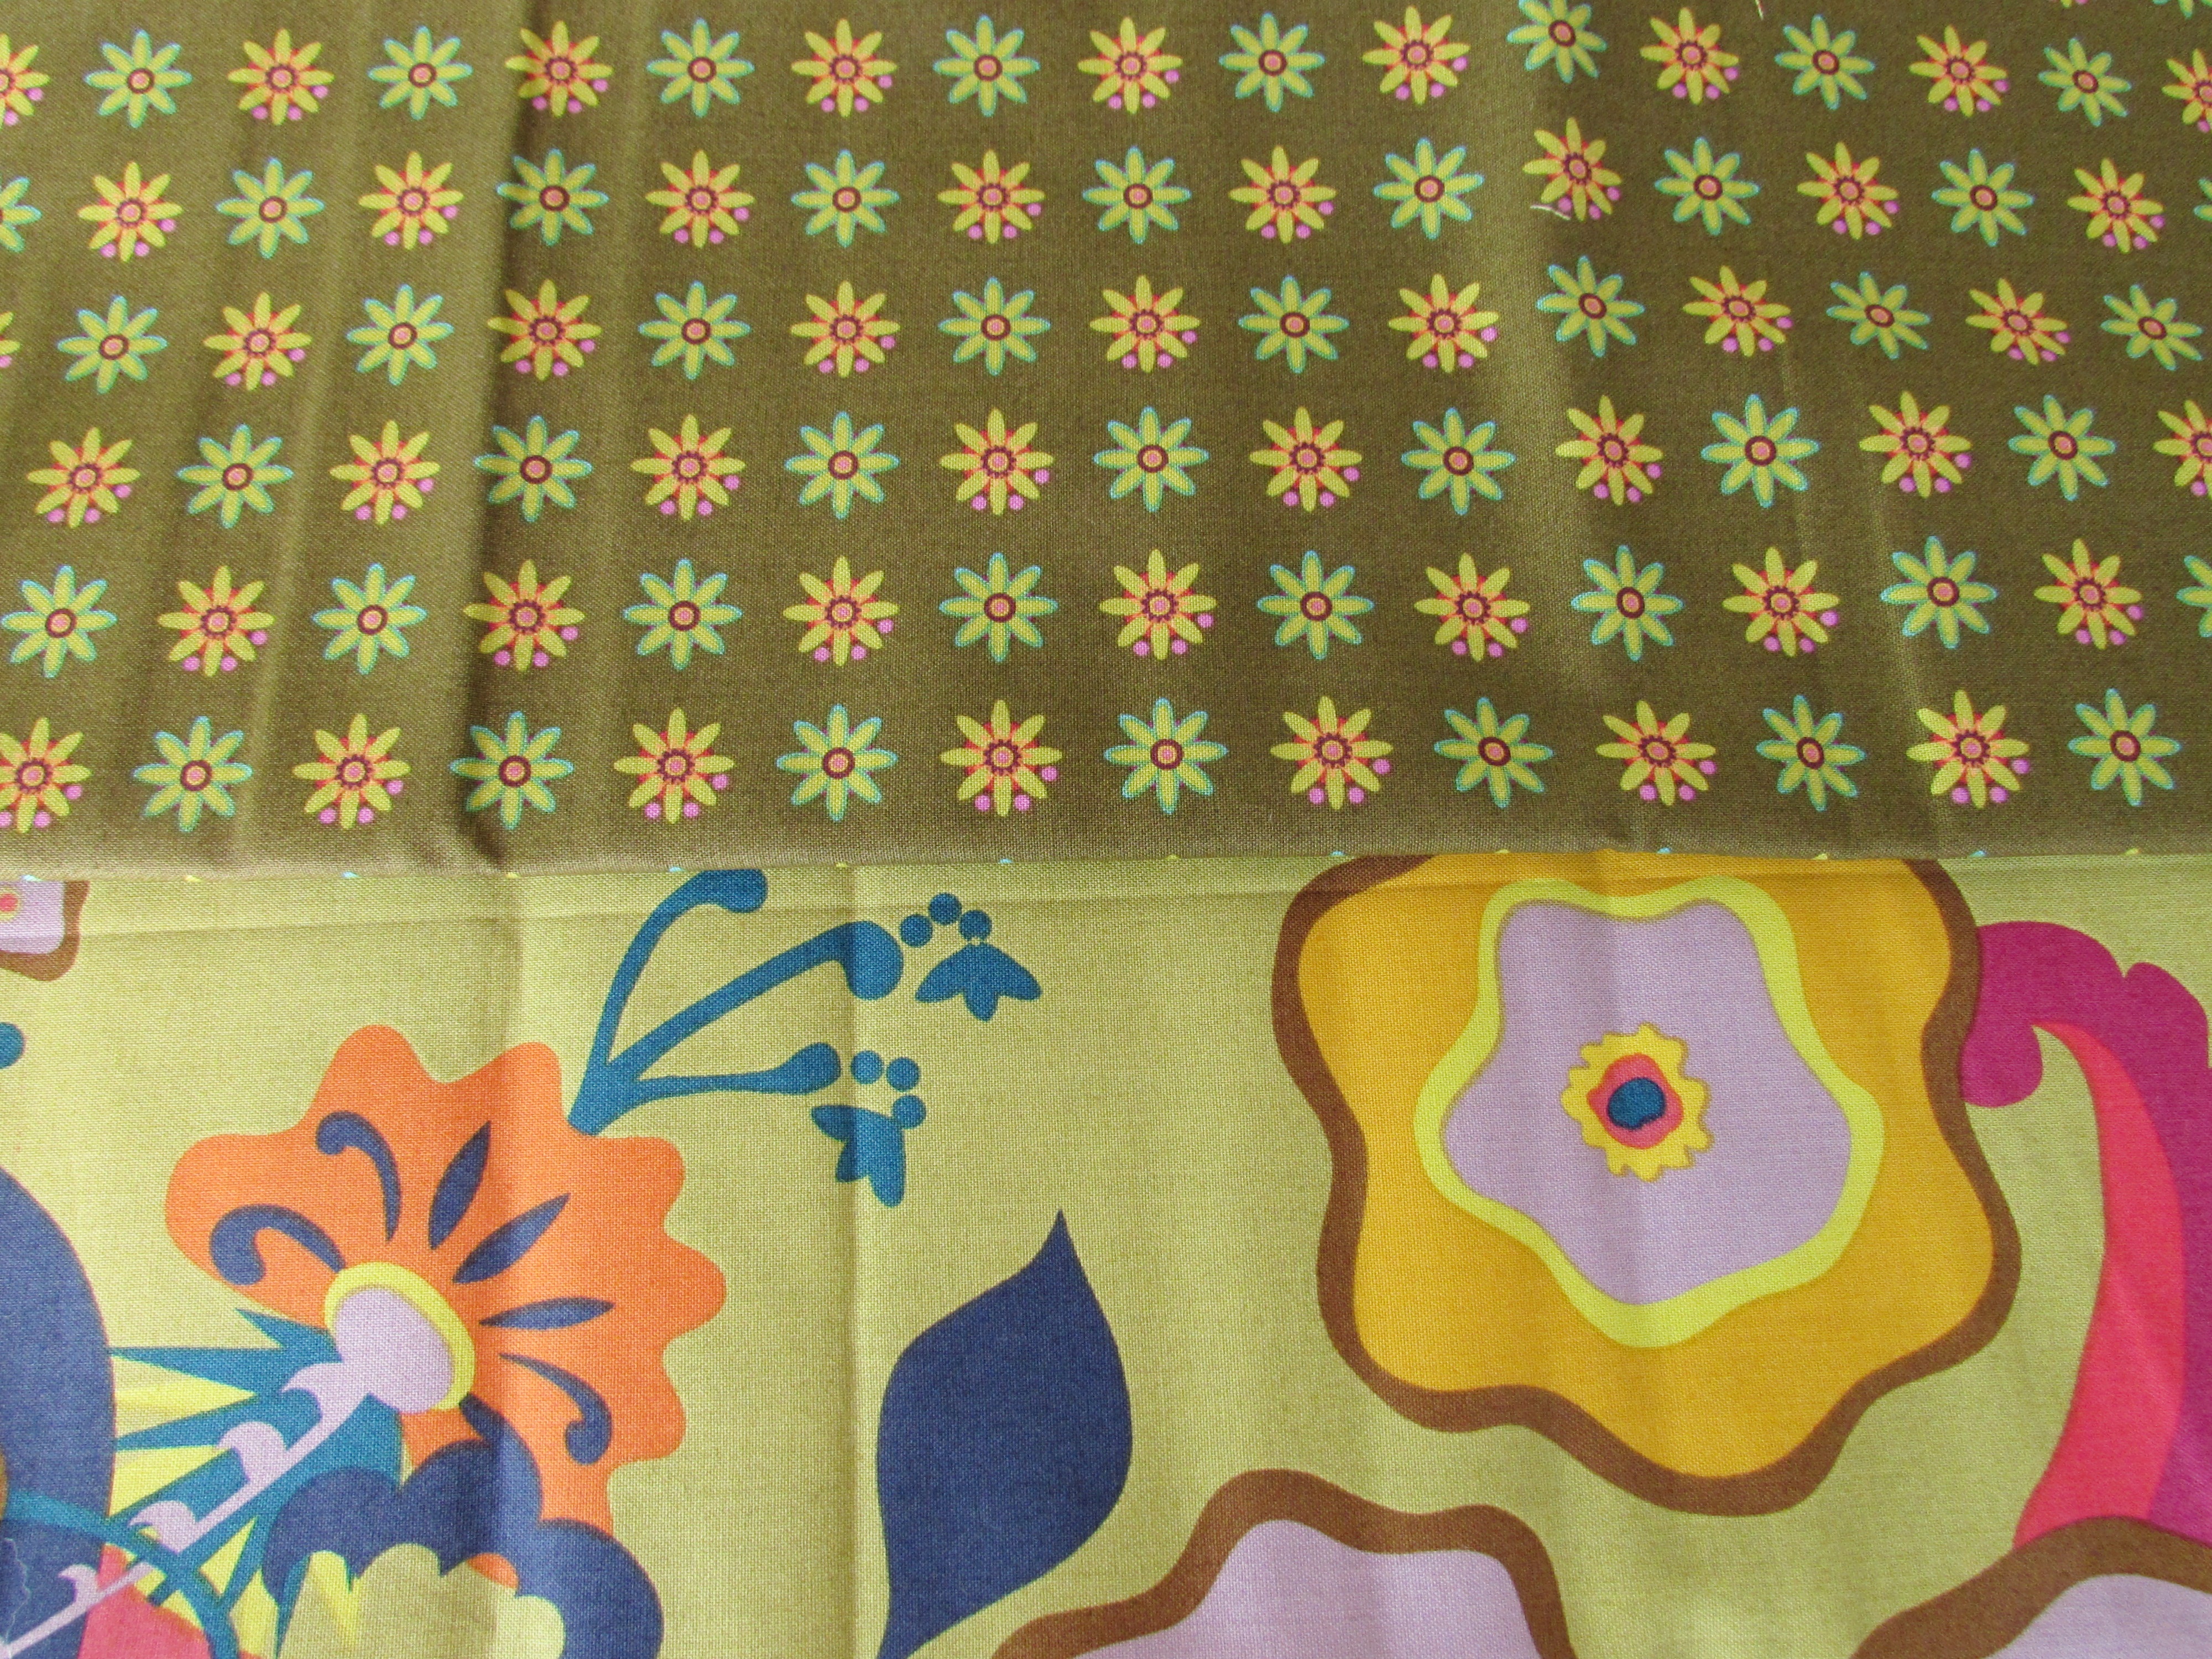
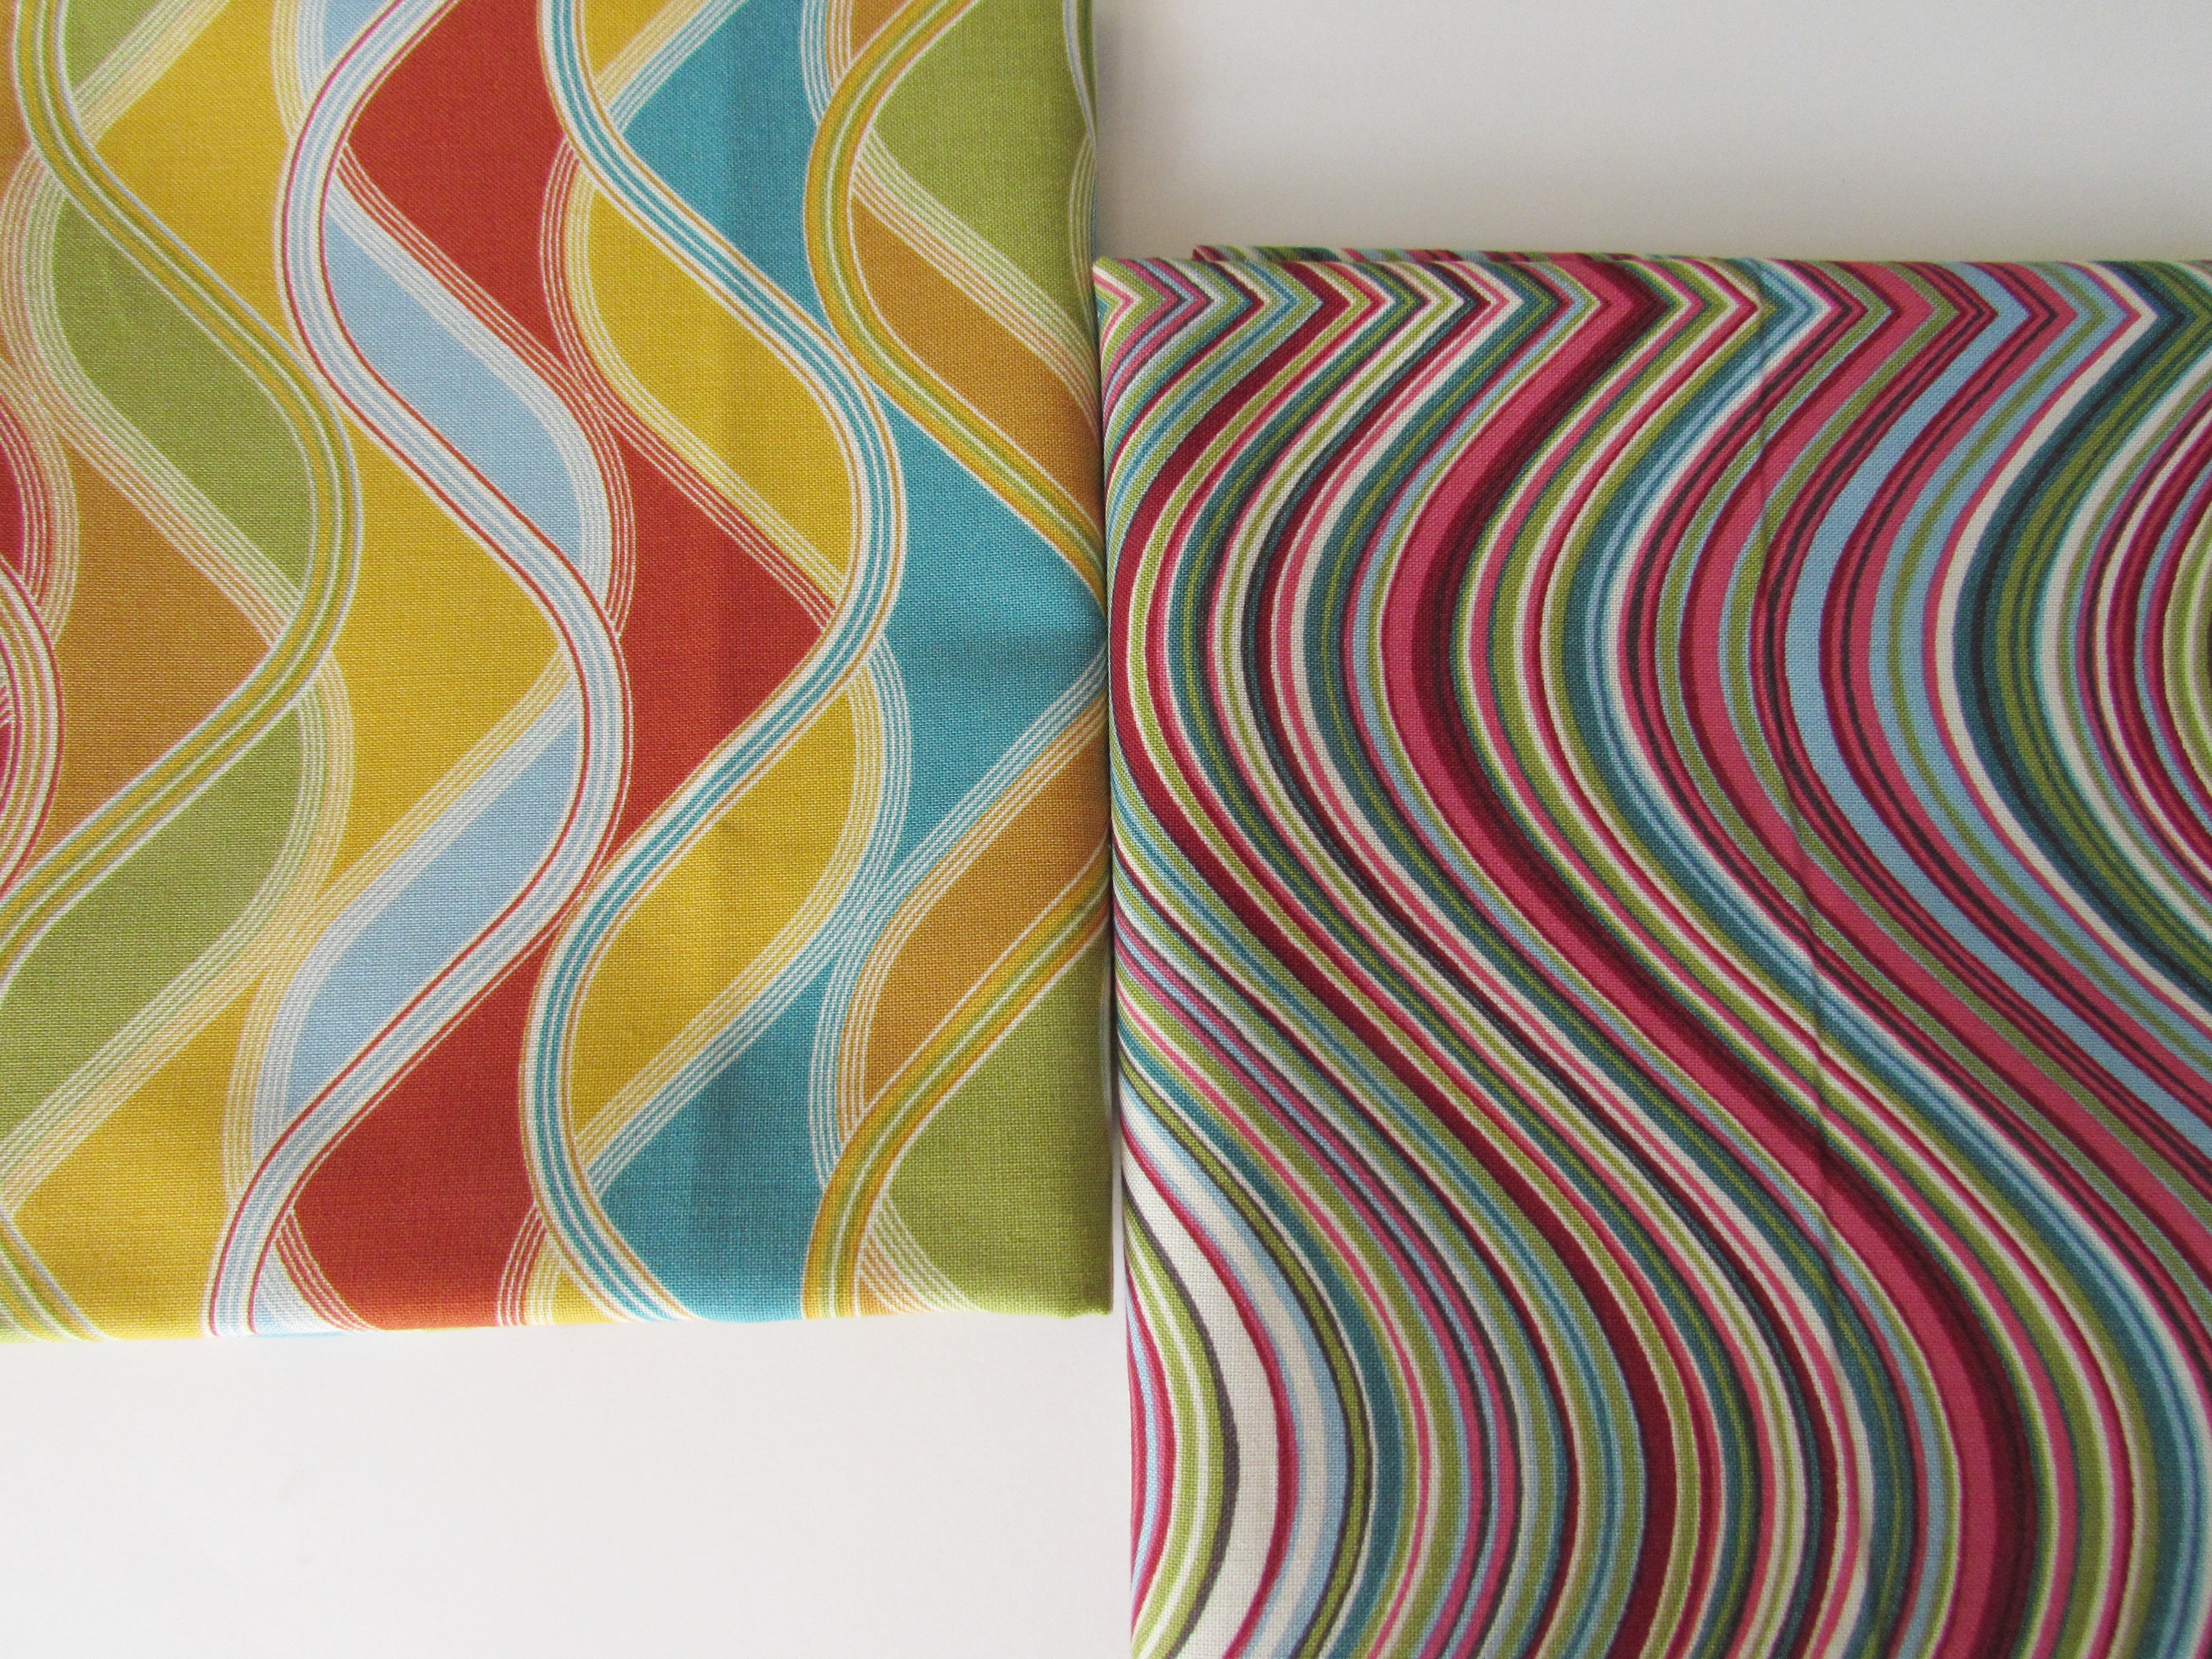
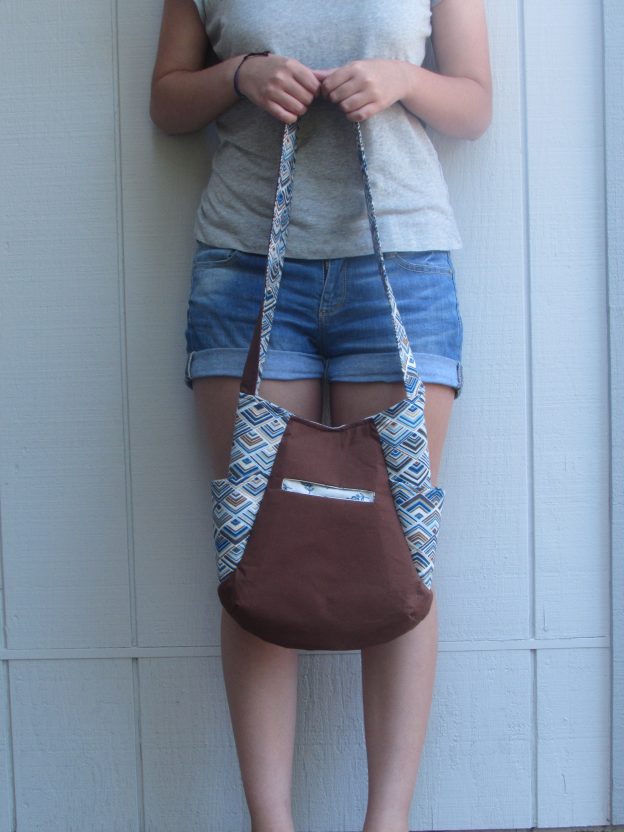
I wanted to make something for her this year. Having recently made two versions of Noodlehead’s 241 Tote, I decided to go a third round with the pattern. You might want to read about the first two bags I made – to do so, click here or here. Making this tote a third time was quite easy. I decided to use a basic palette of mocha and denim blue.

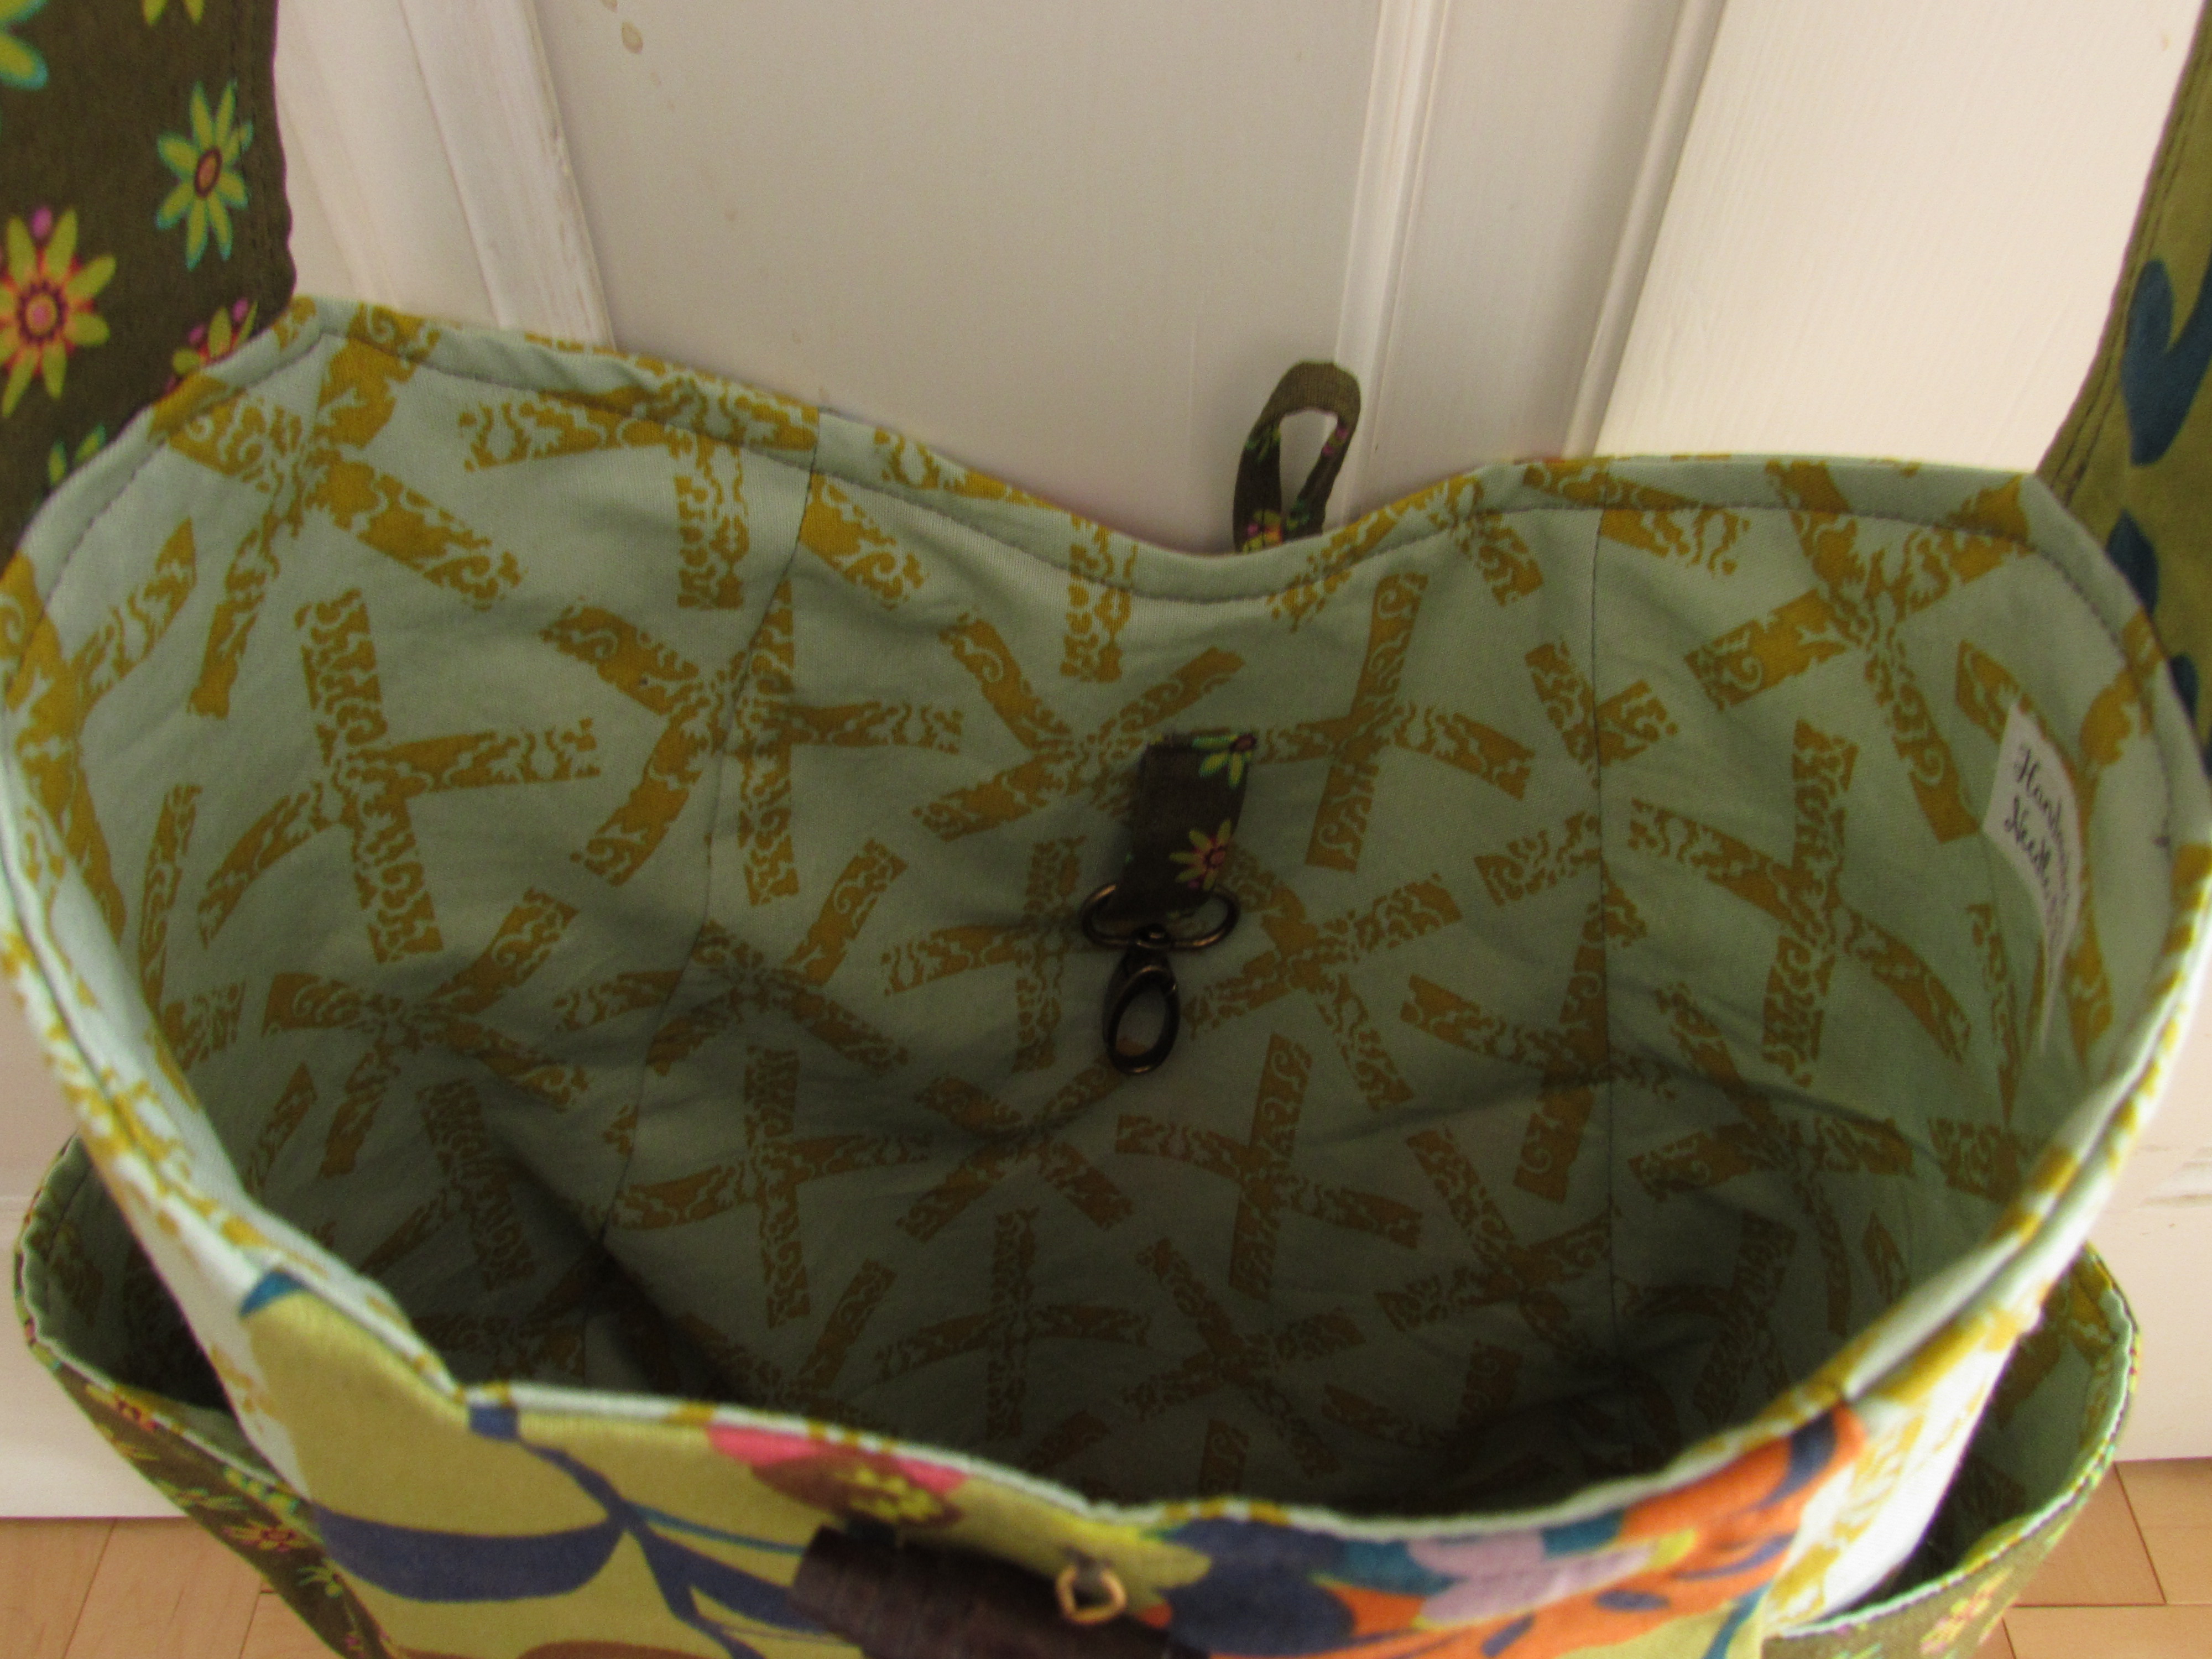
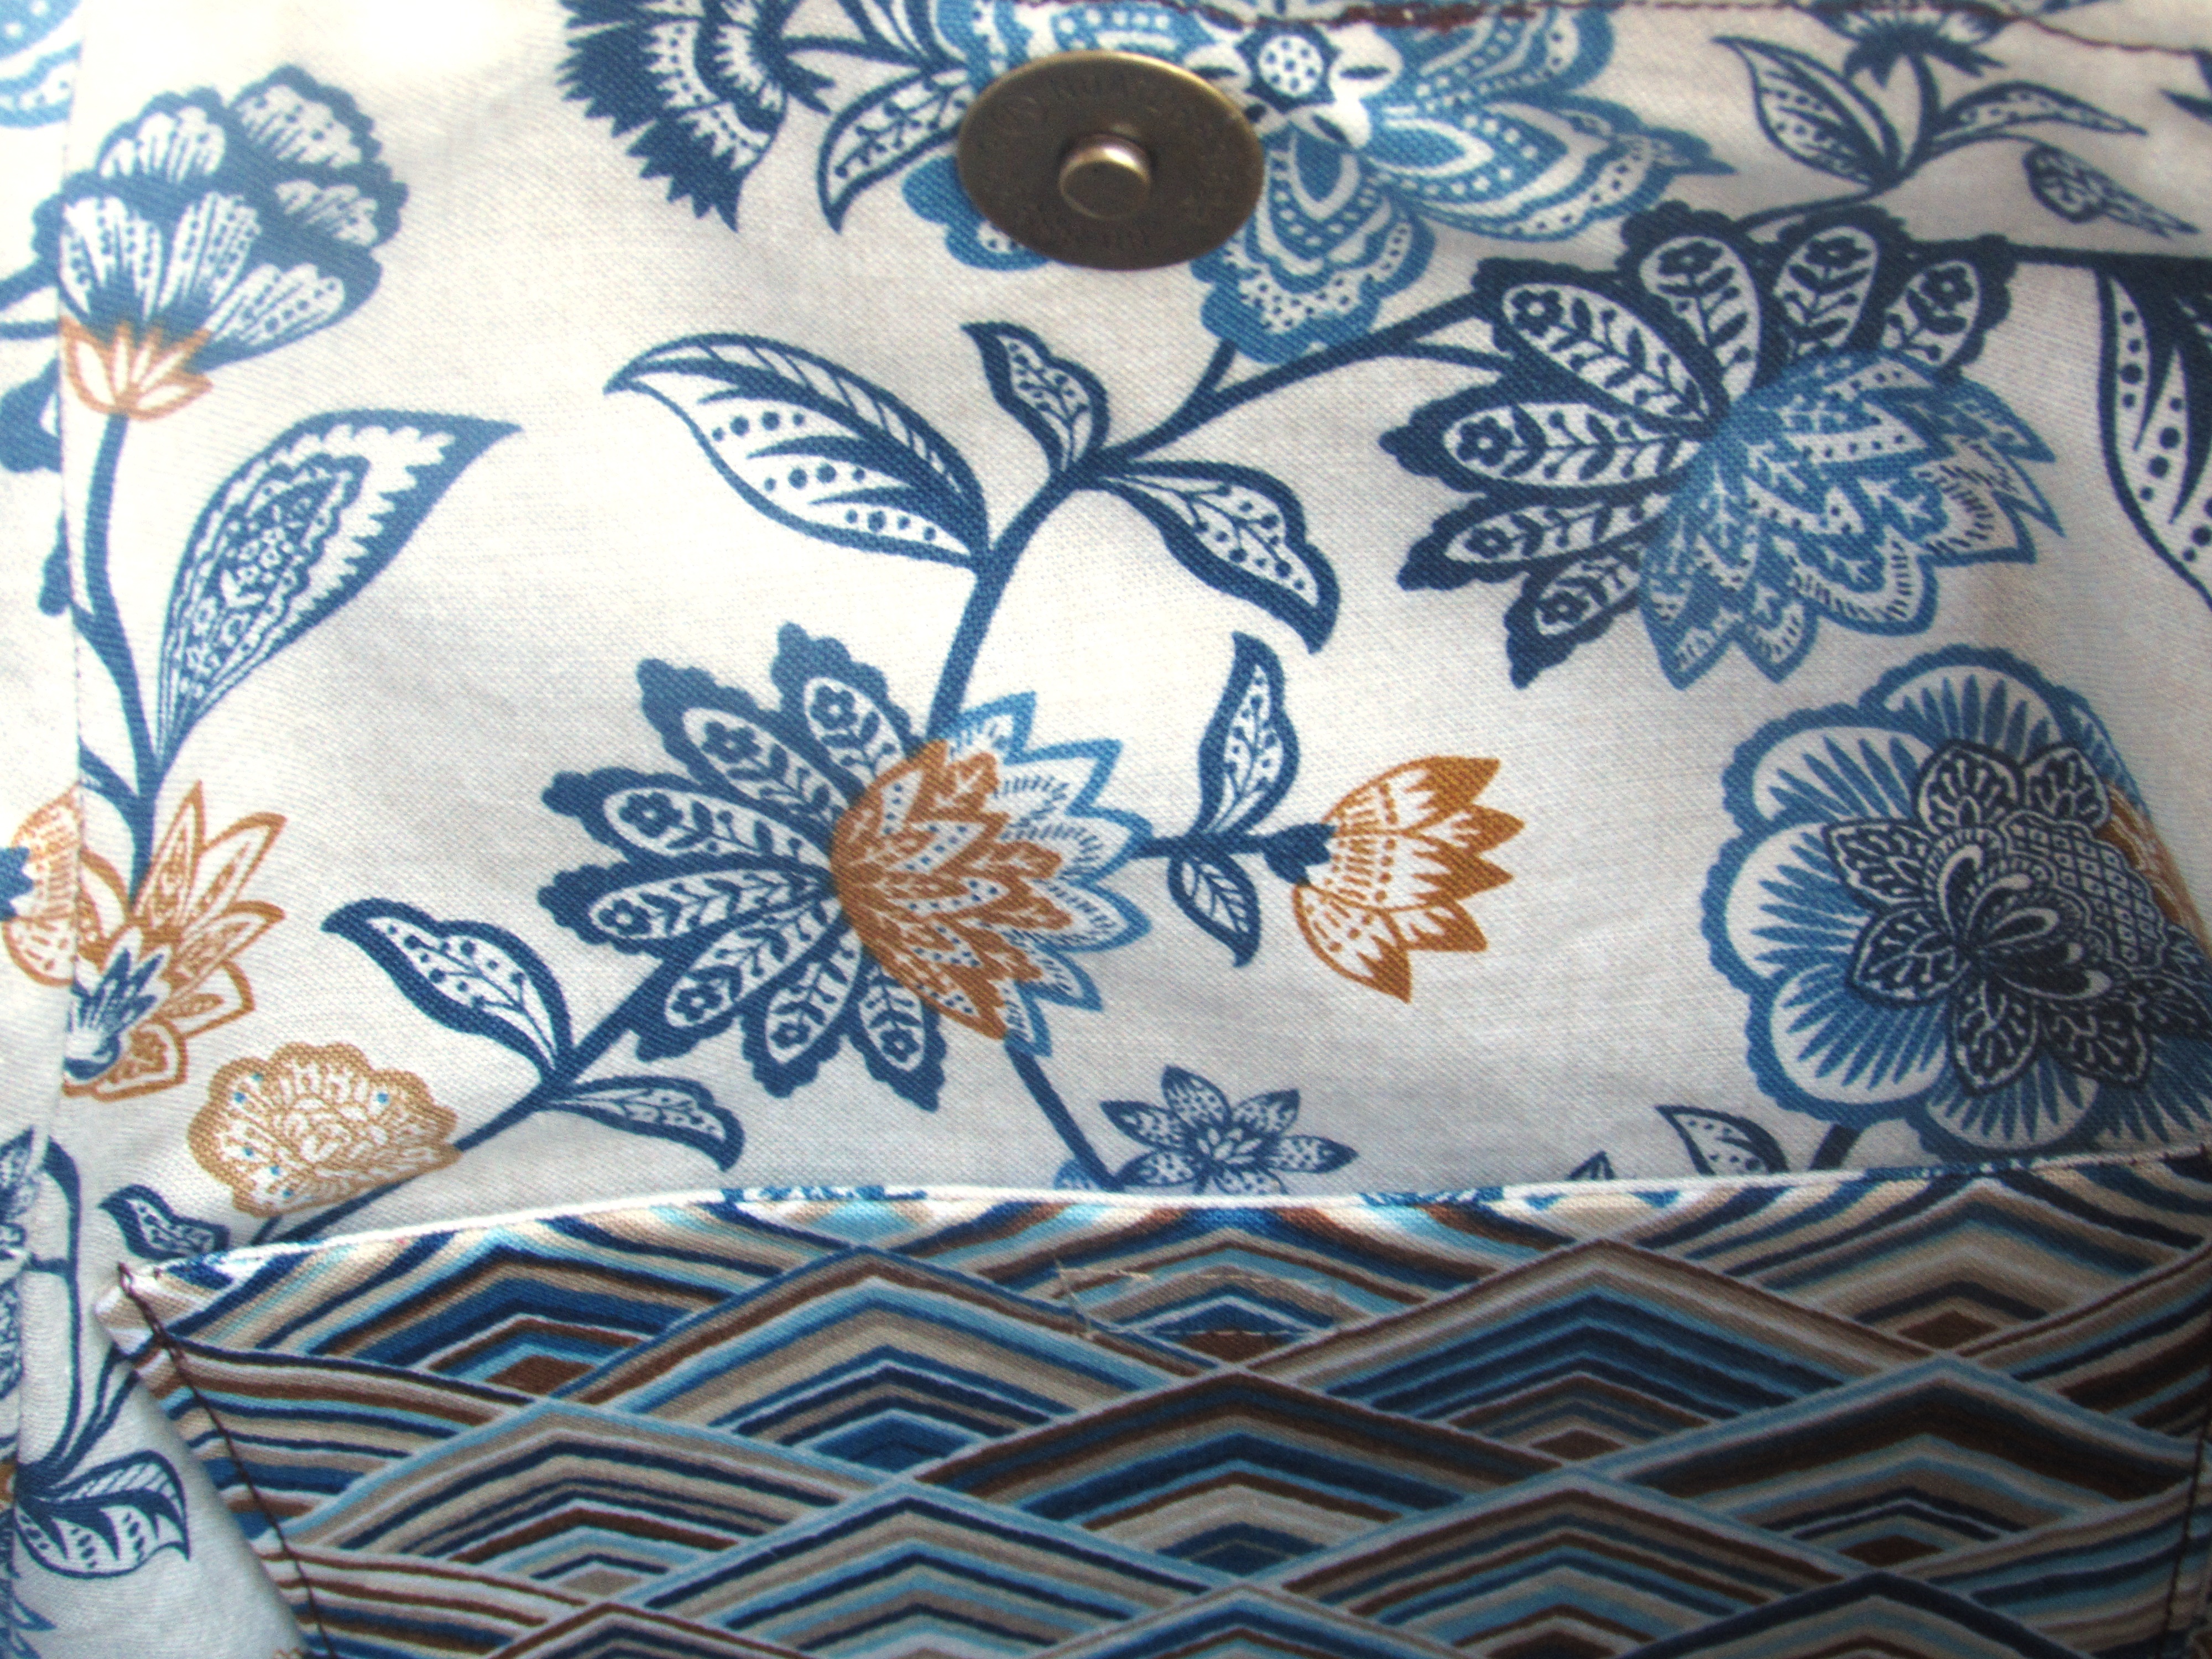
To change things up a tiny bit, I bought a magnetic closure for the bag. Prior to this one, I used a toggle button and a loop of fabric. The magnetic snaps are a breeze to install. (If you have not done this before, here is a great tutorial from Craftsy.)  While the snap installed without issue, I did have a bit of a hiccup. I didn’t think two steps ahead when I placed the snaps. They were a tad too high and this made it really difficult to topstitch around the opening of the bag. When I realized what I had done, I tried using a zipper foot to enable me to stitch close to the snap. It helped but the stitching was a little bit herky jerky. It wasn’t nearly as smooth as I would have liked. Thankfully, my friend is tolerant of my less than perfect topstitching!

IMG_7163

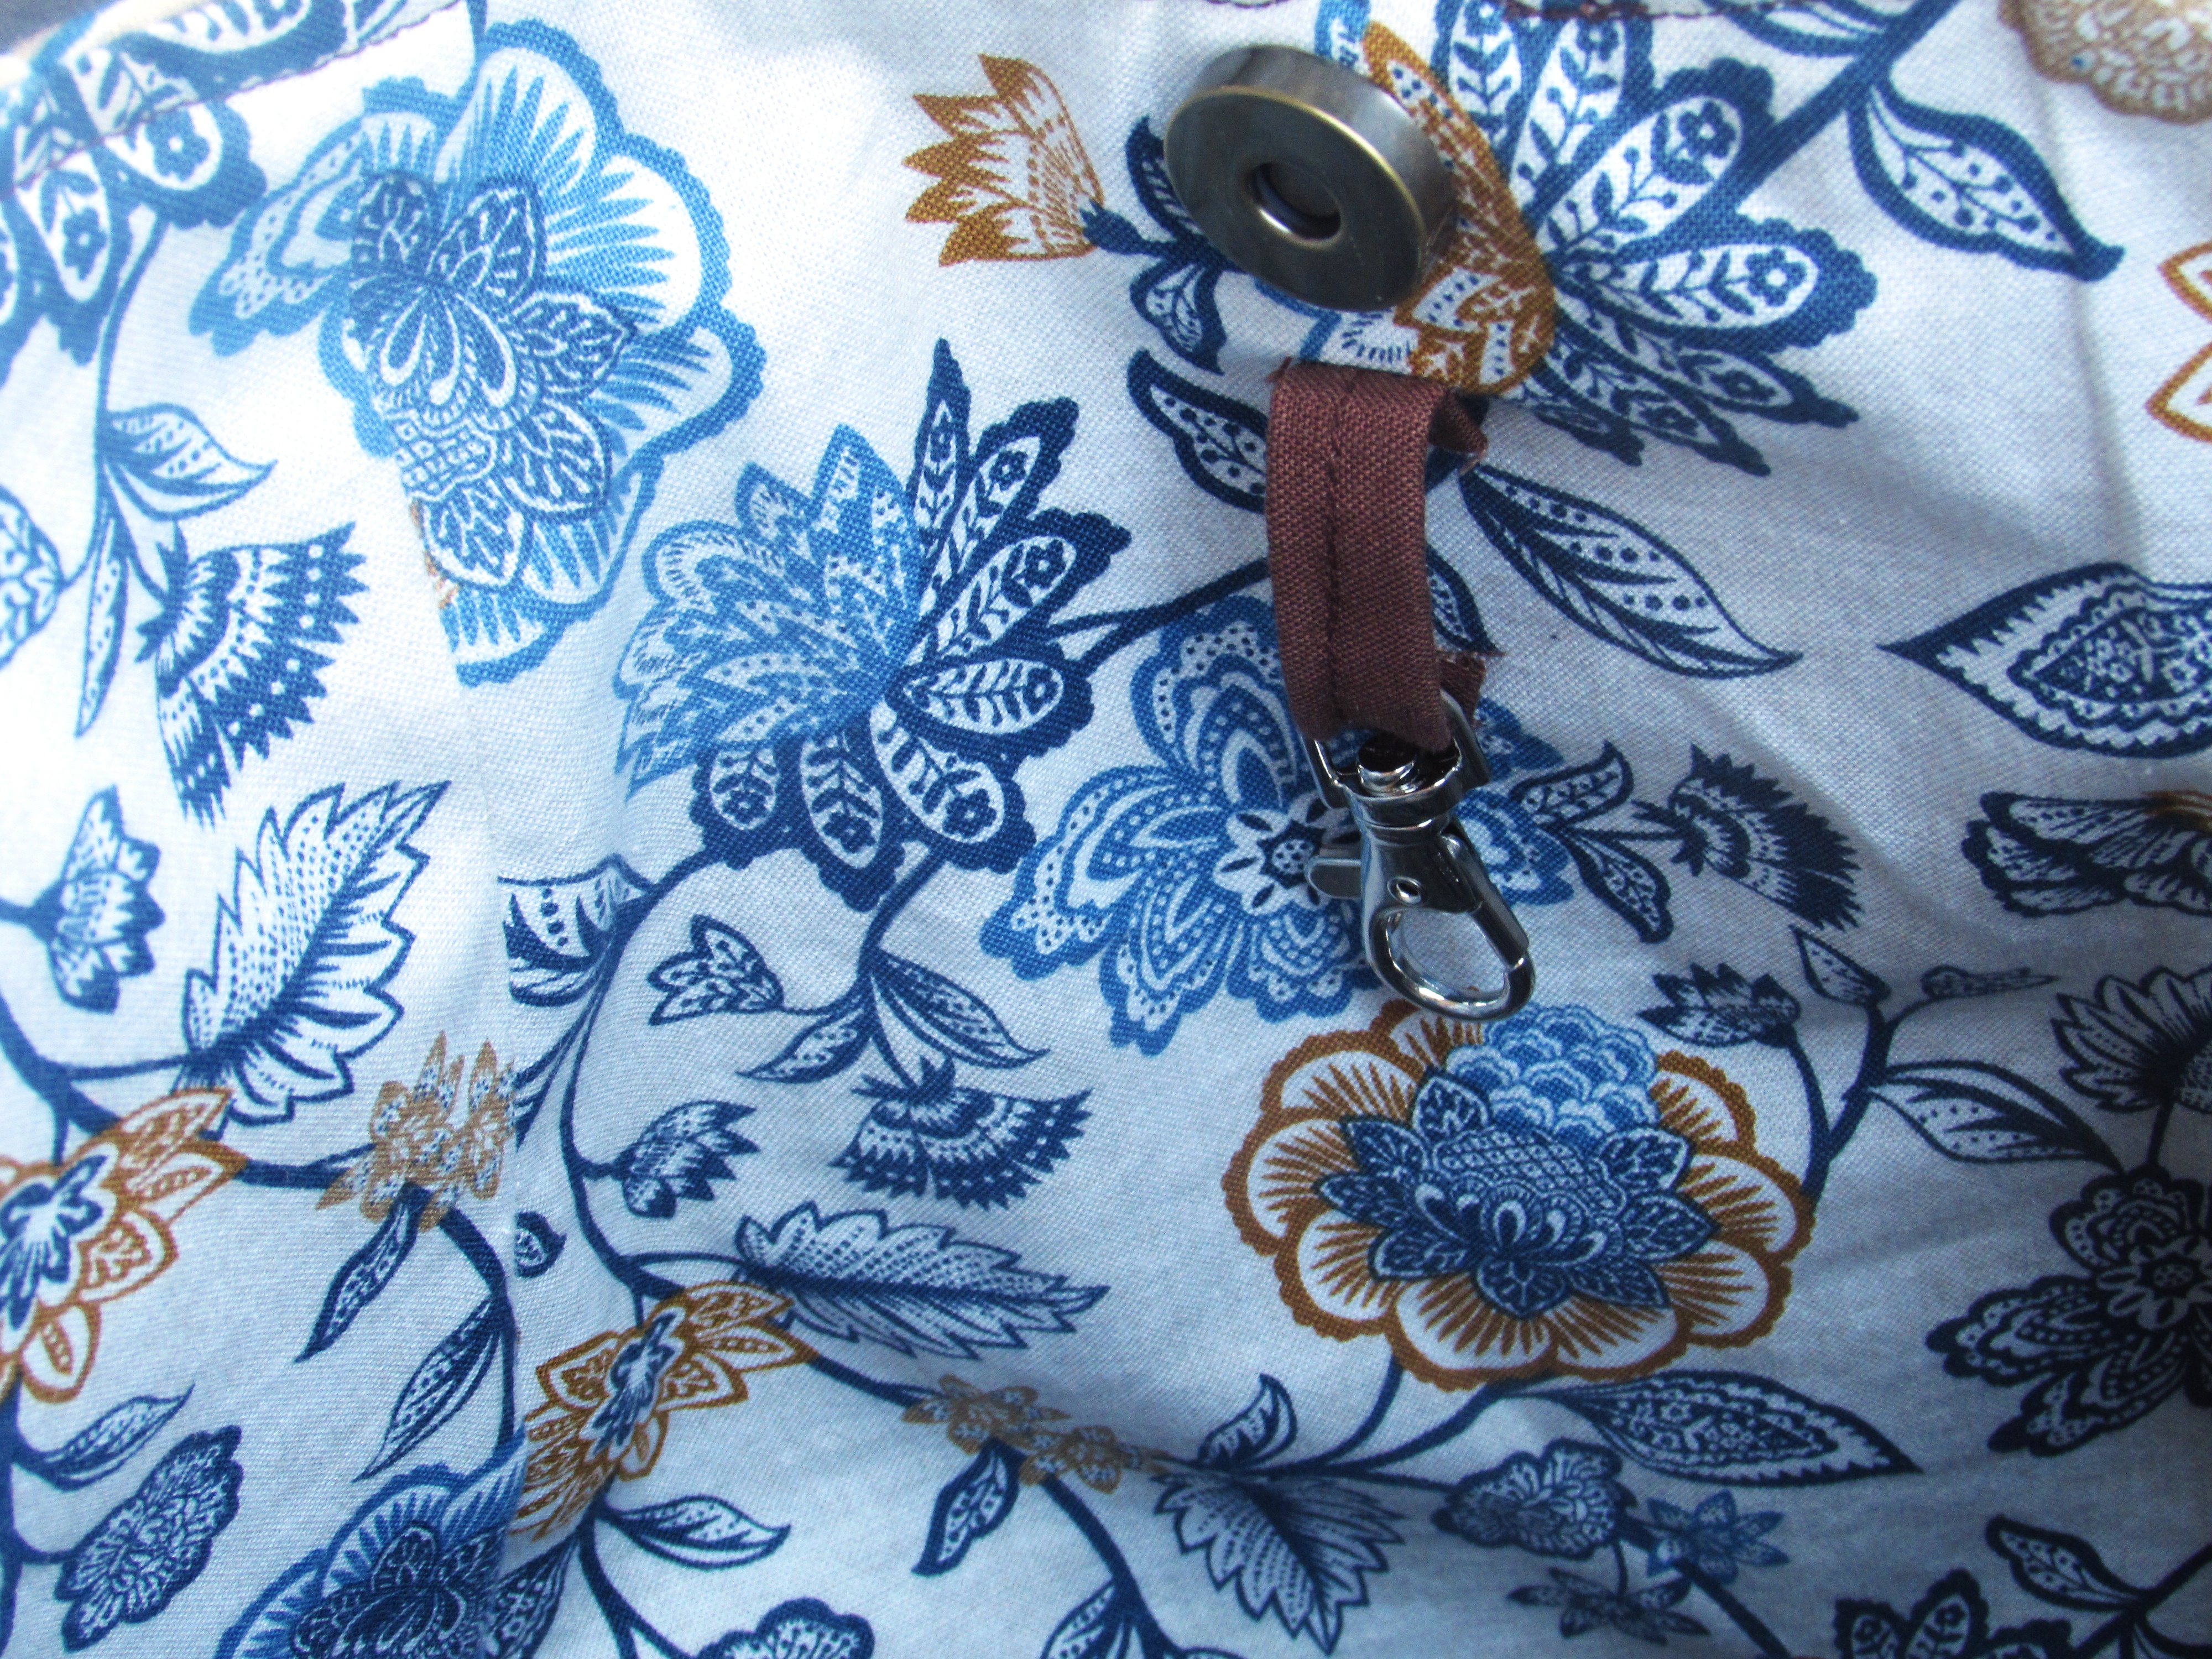
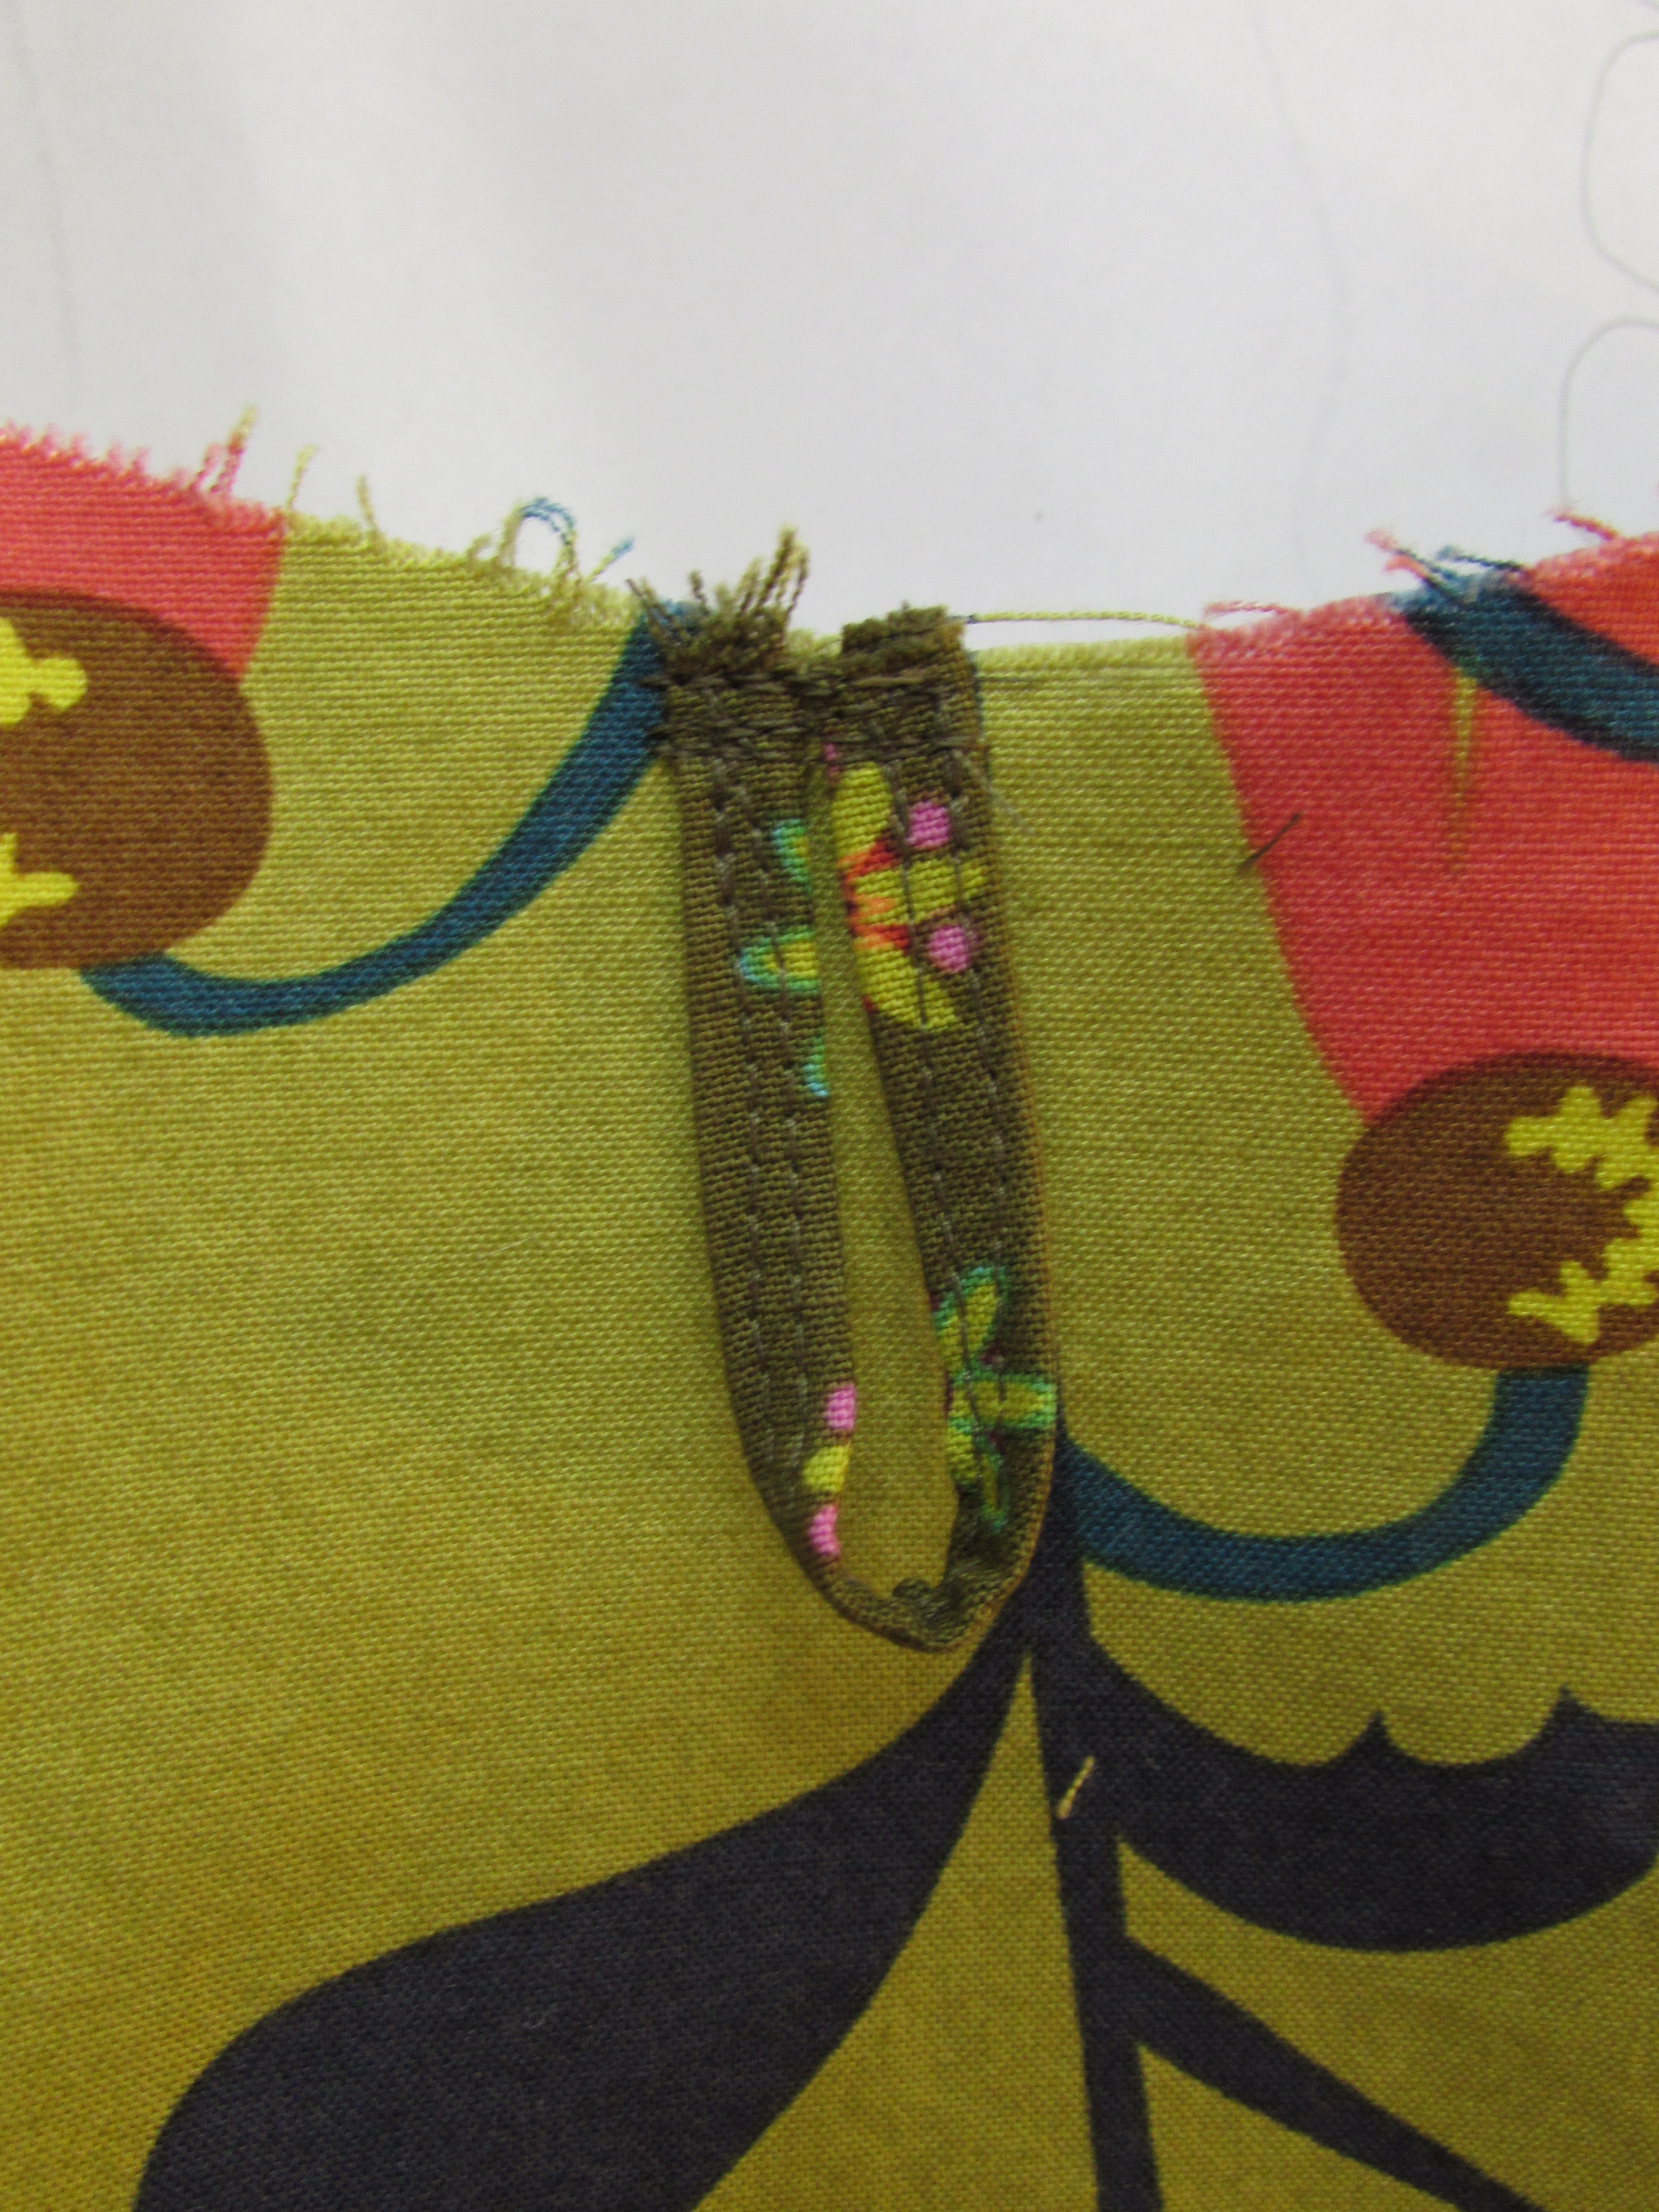
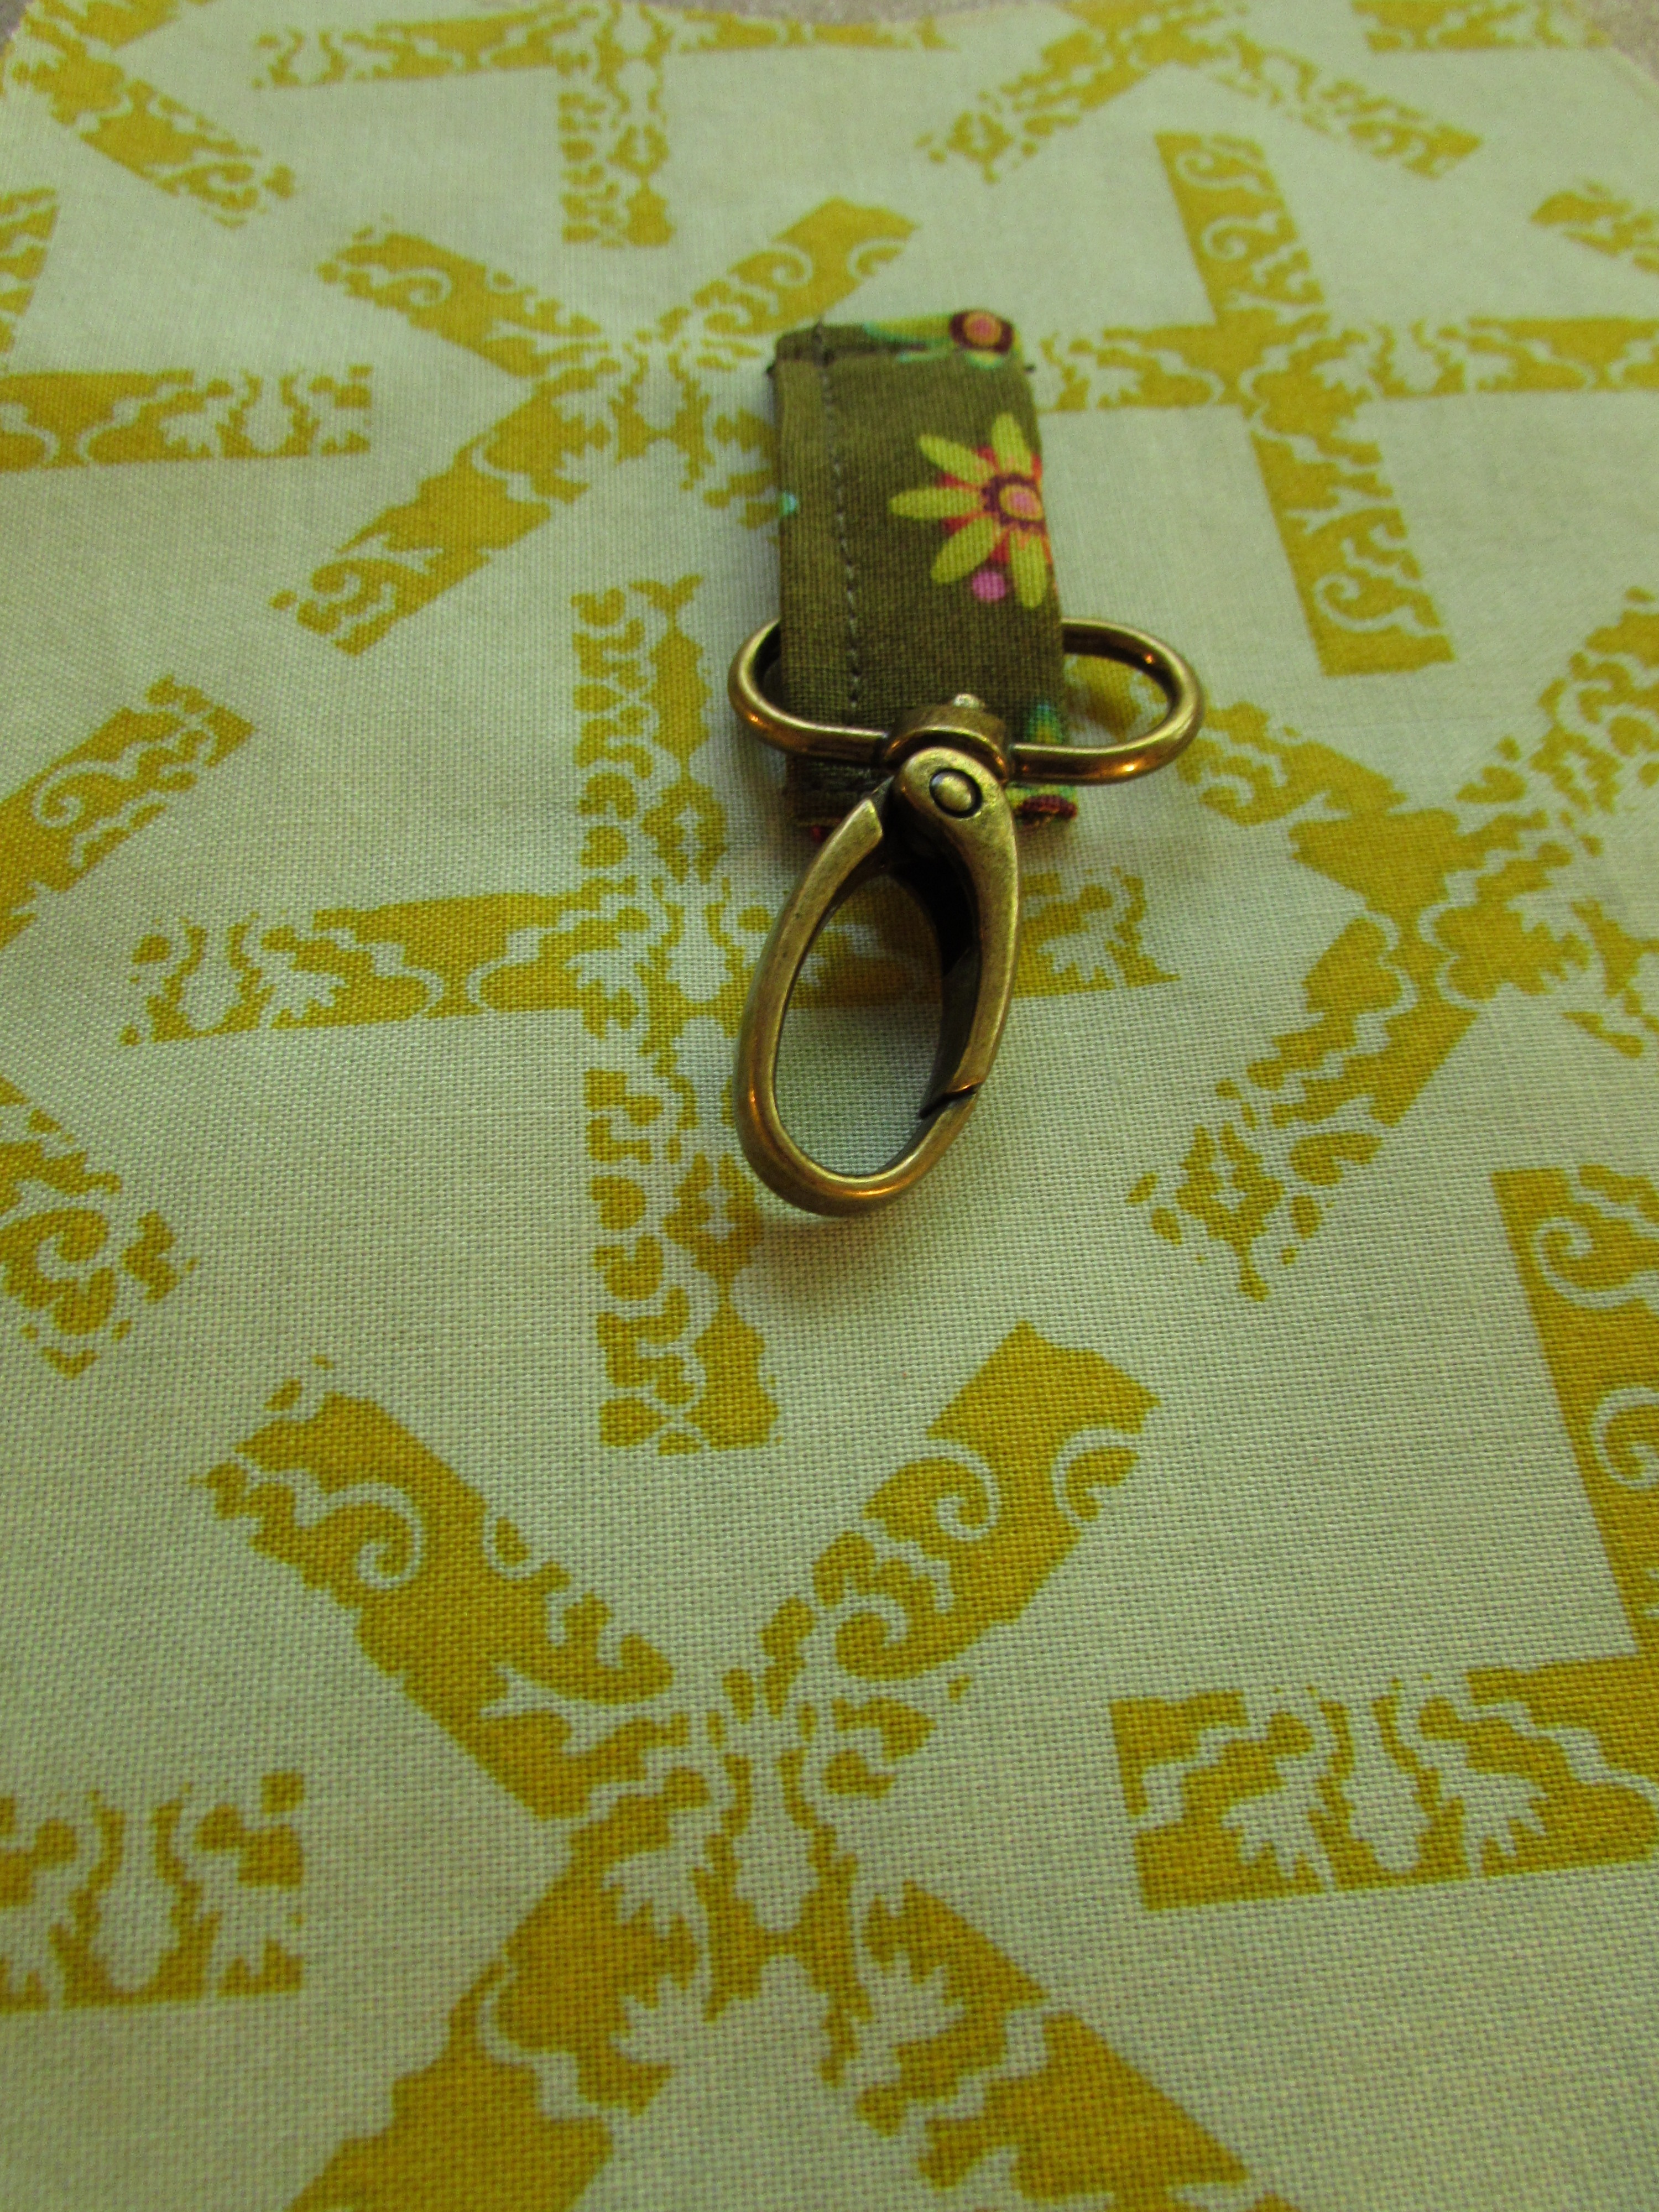
As I did before, I added a loop for a keychain clasp so she won’t have to dig at the bottom of her purse for her keys. I love this little feature.

IMG_7164

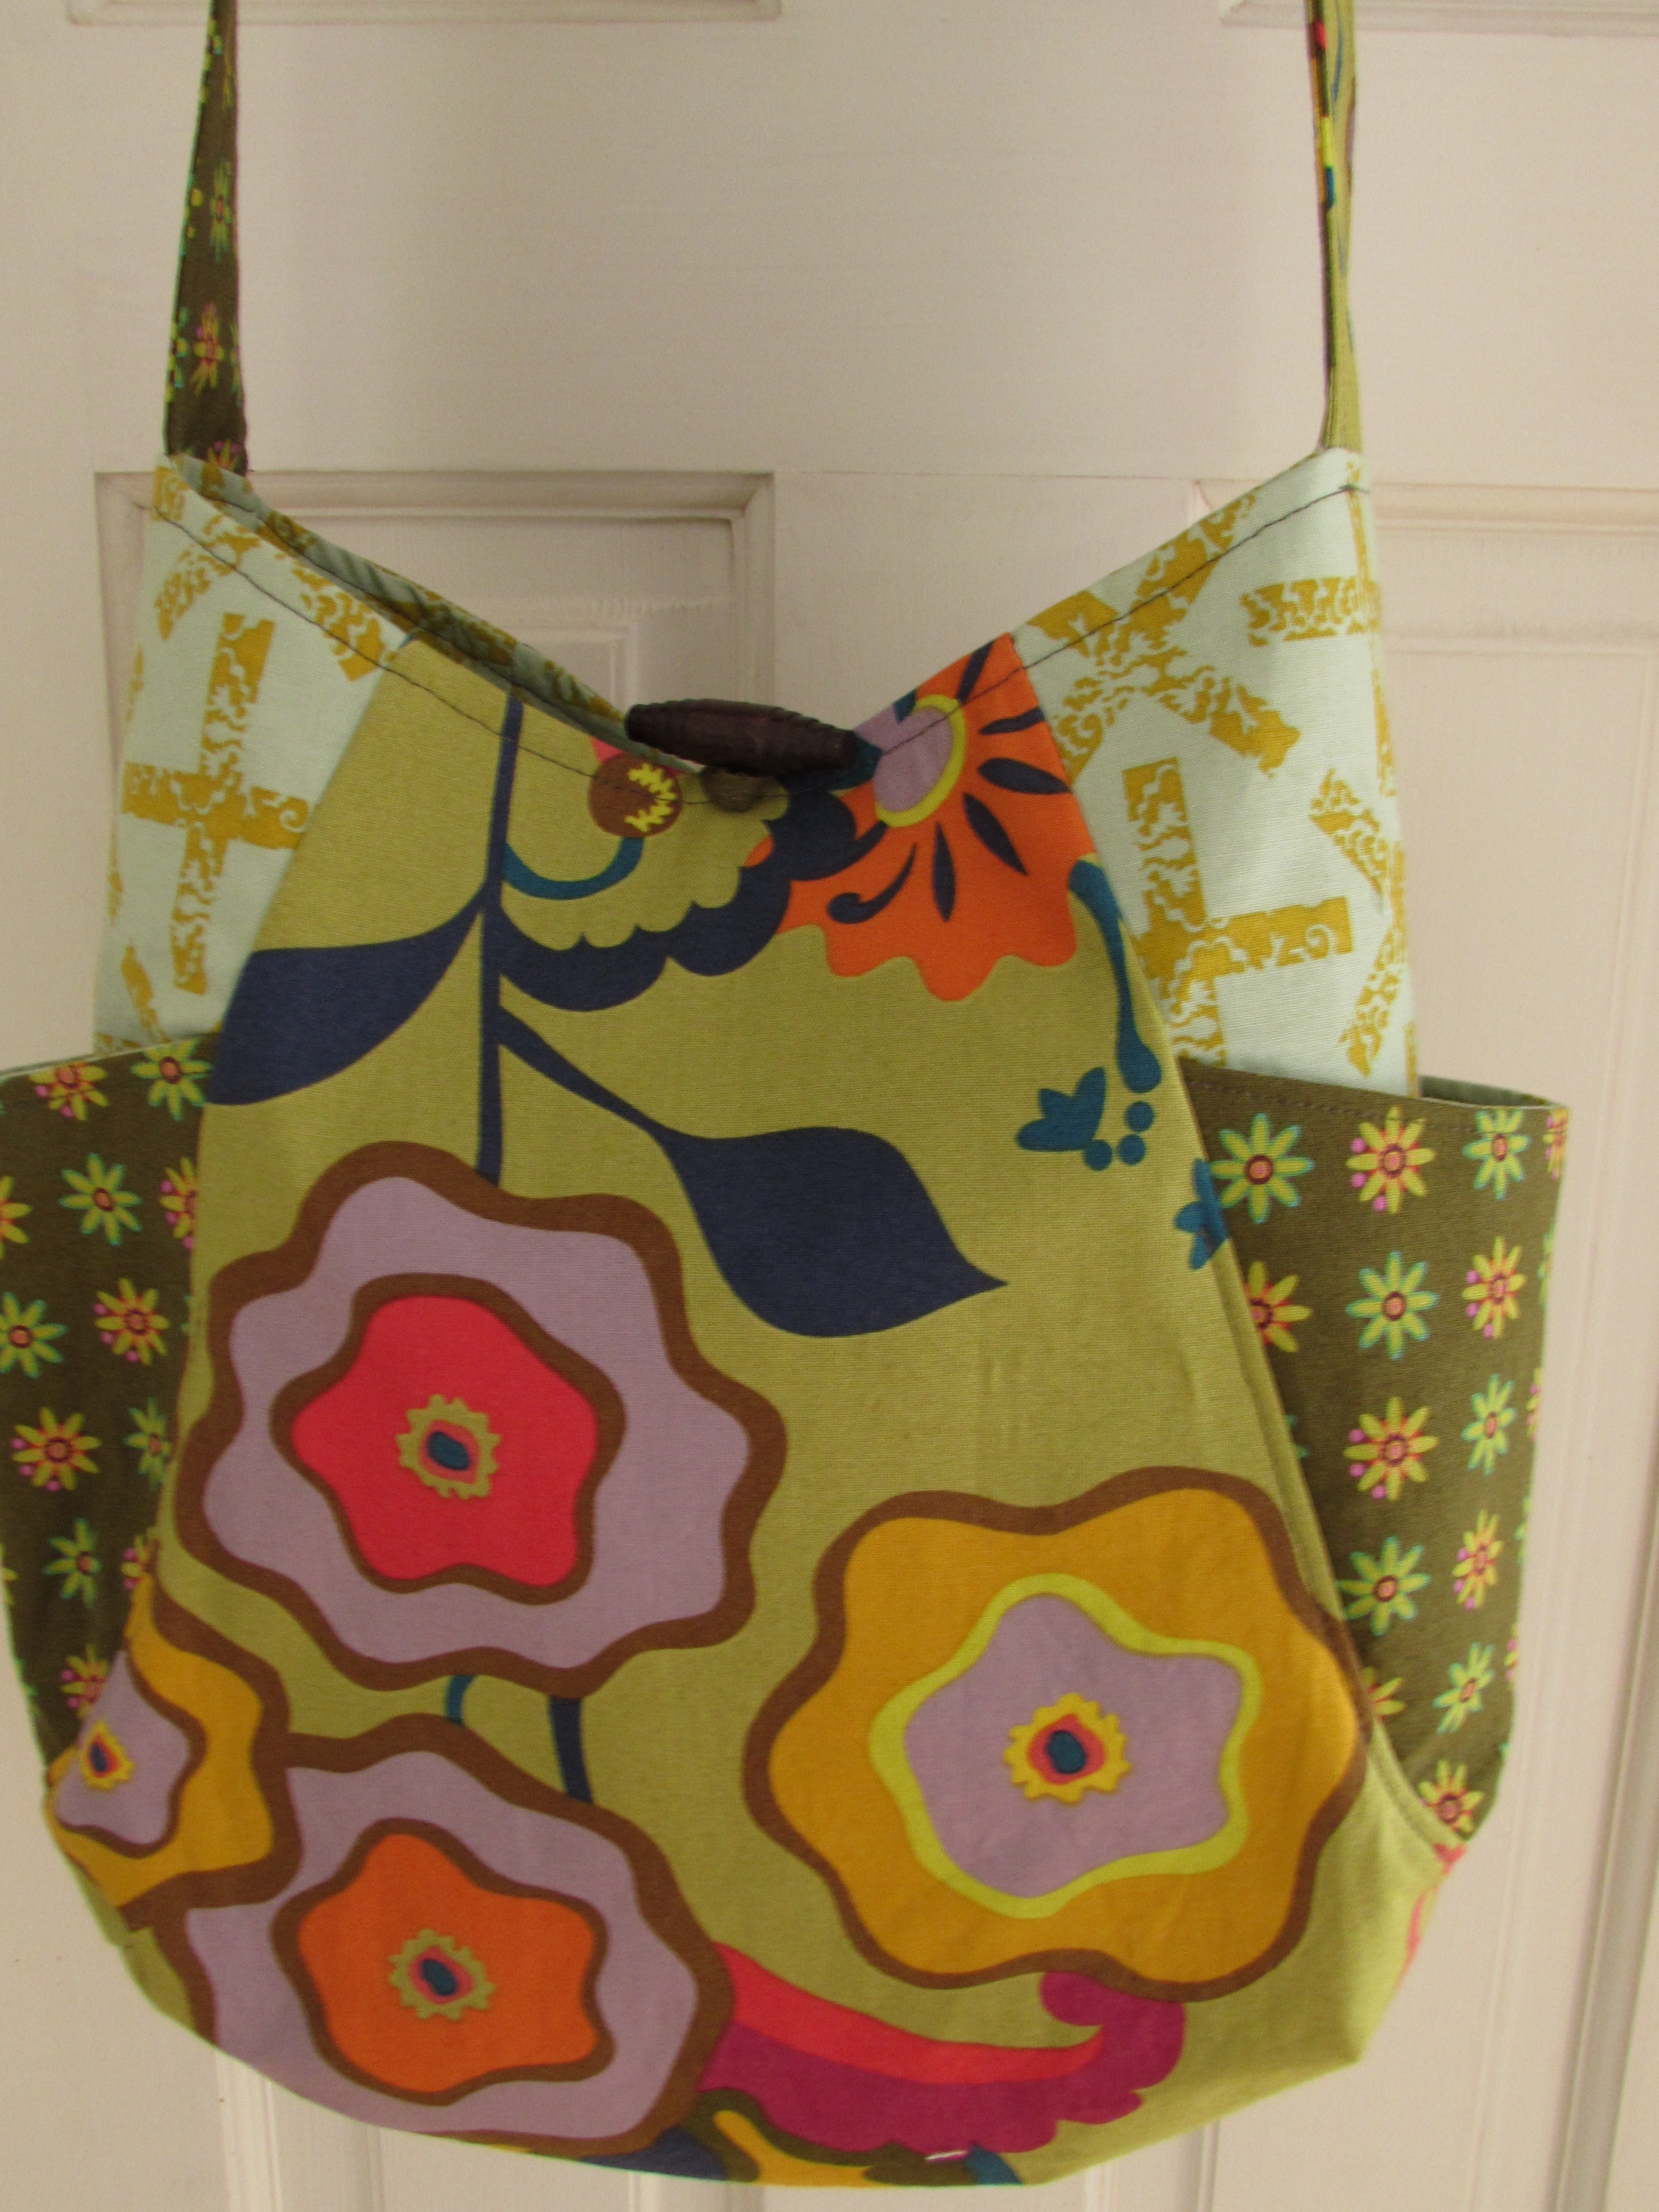
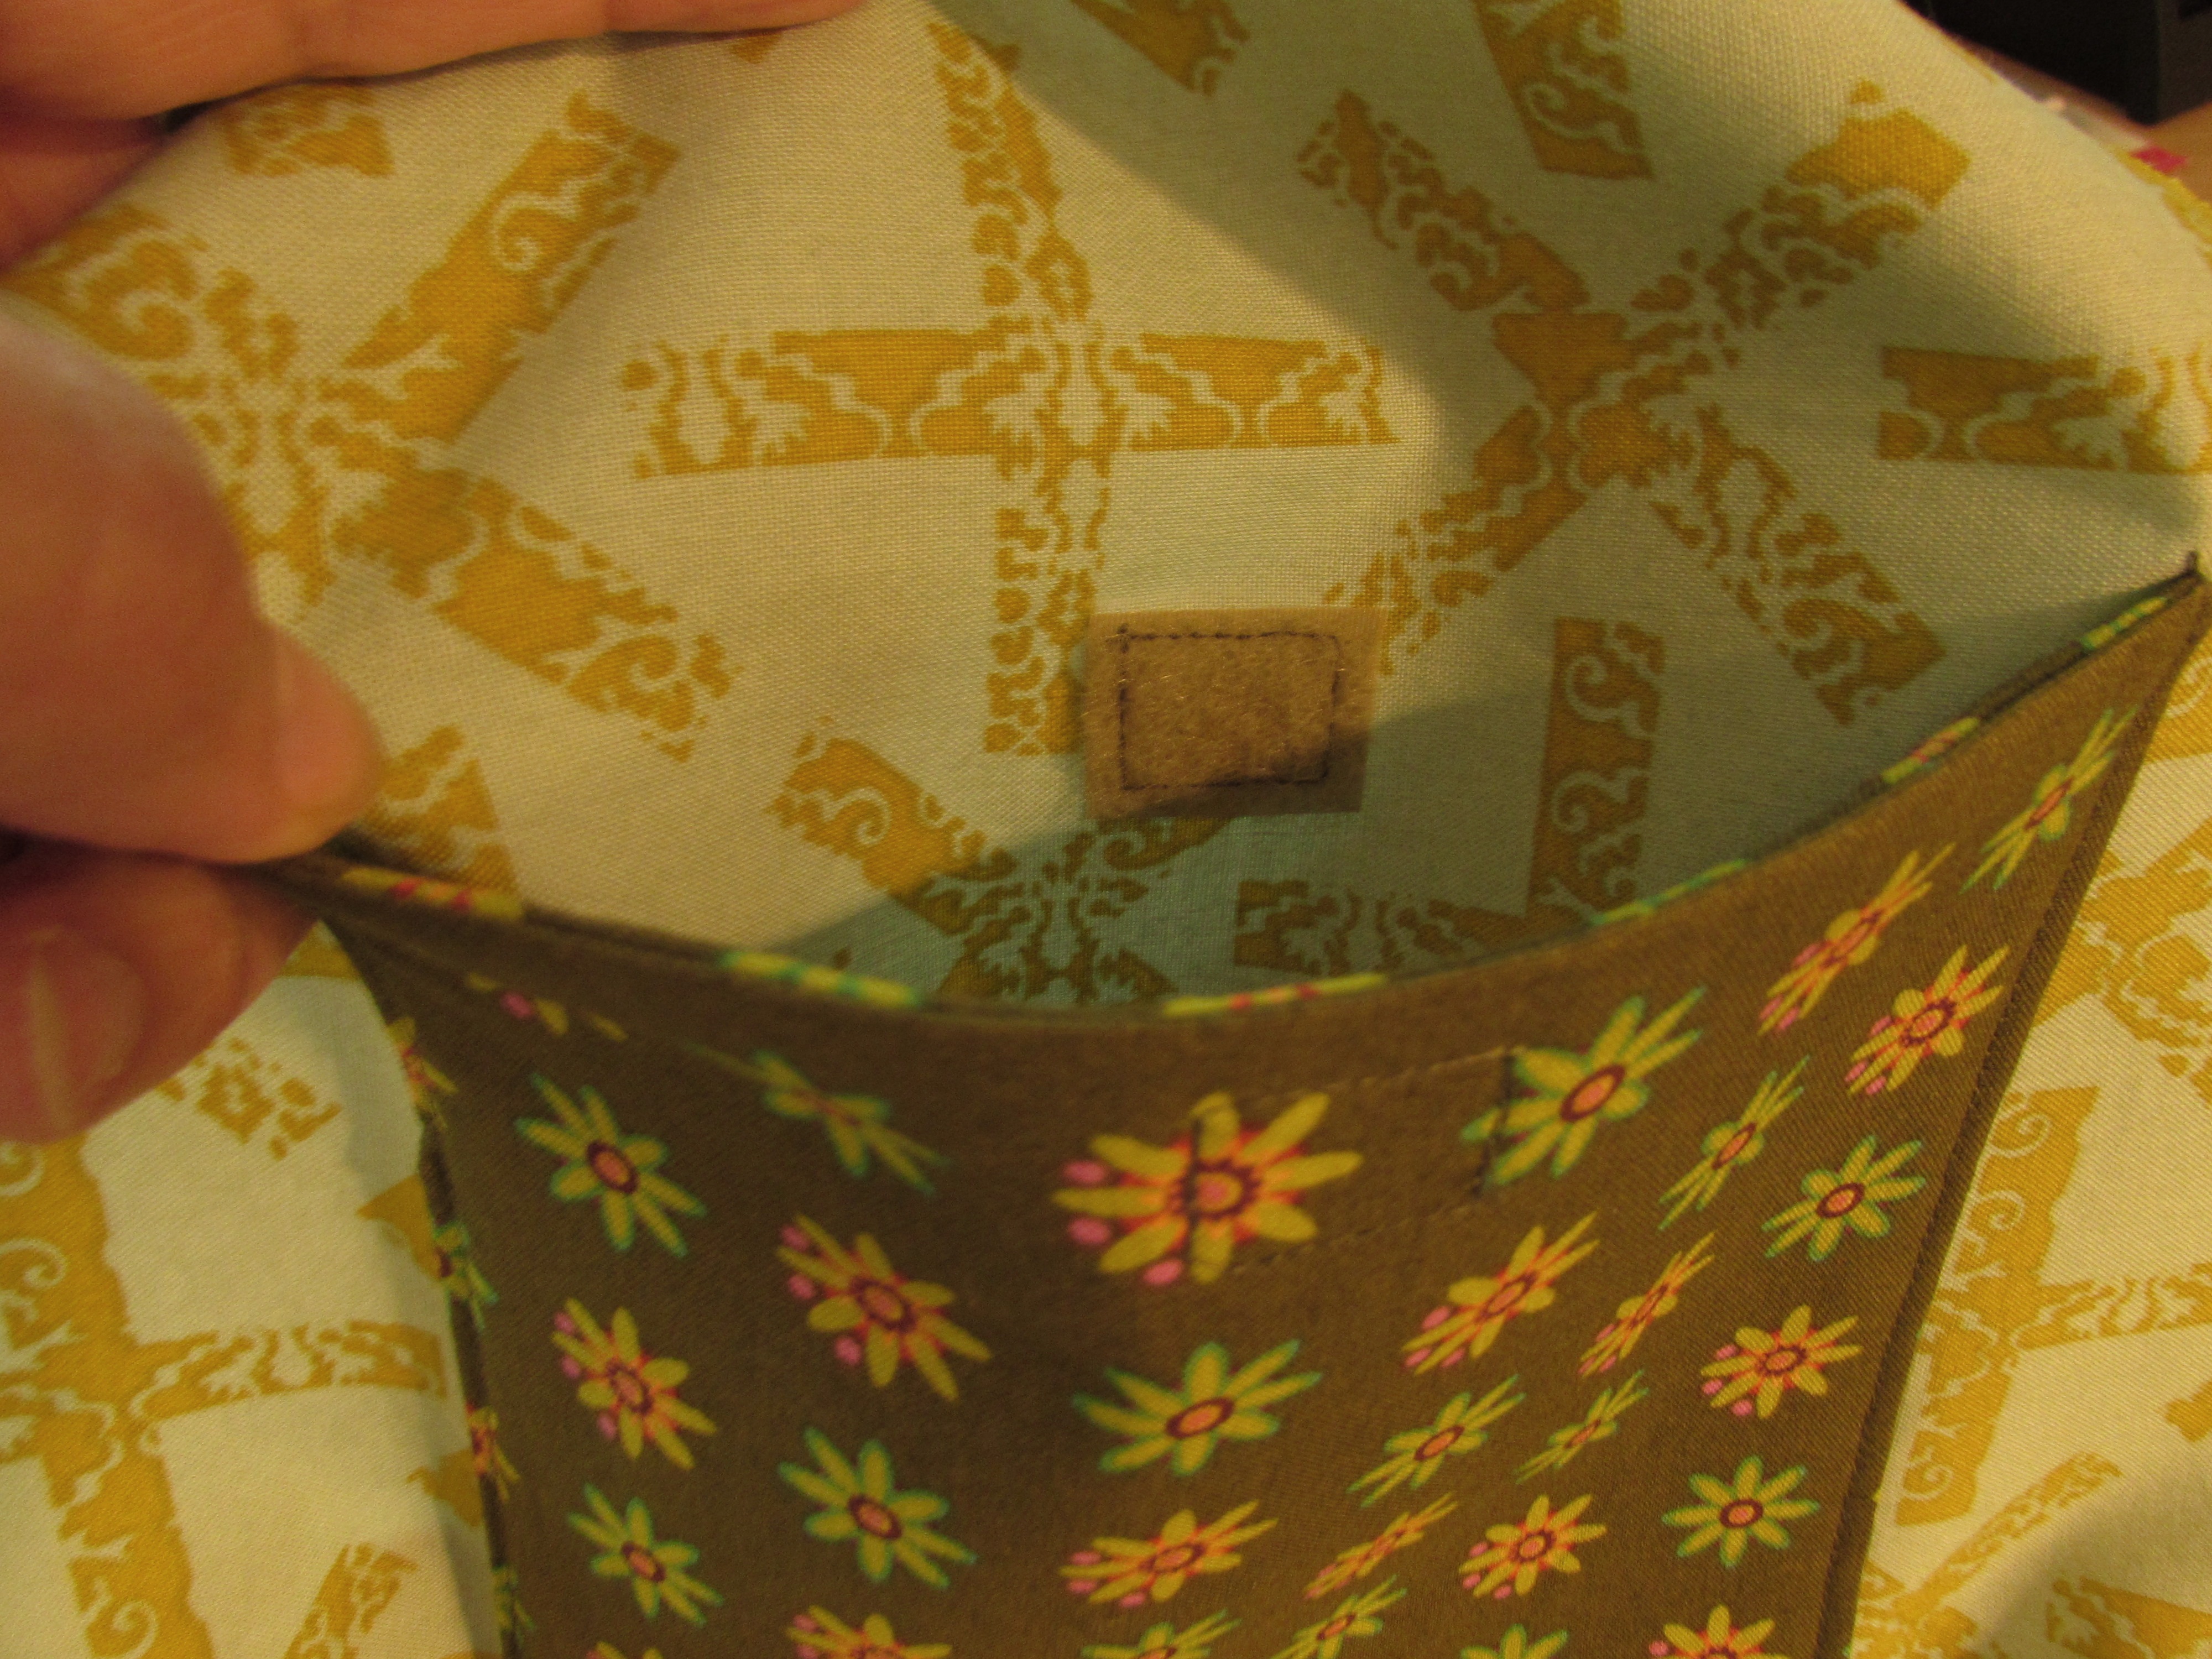
On the opposite side is a patch pocket with a velcro closure.

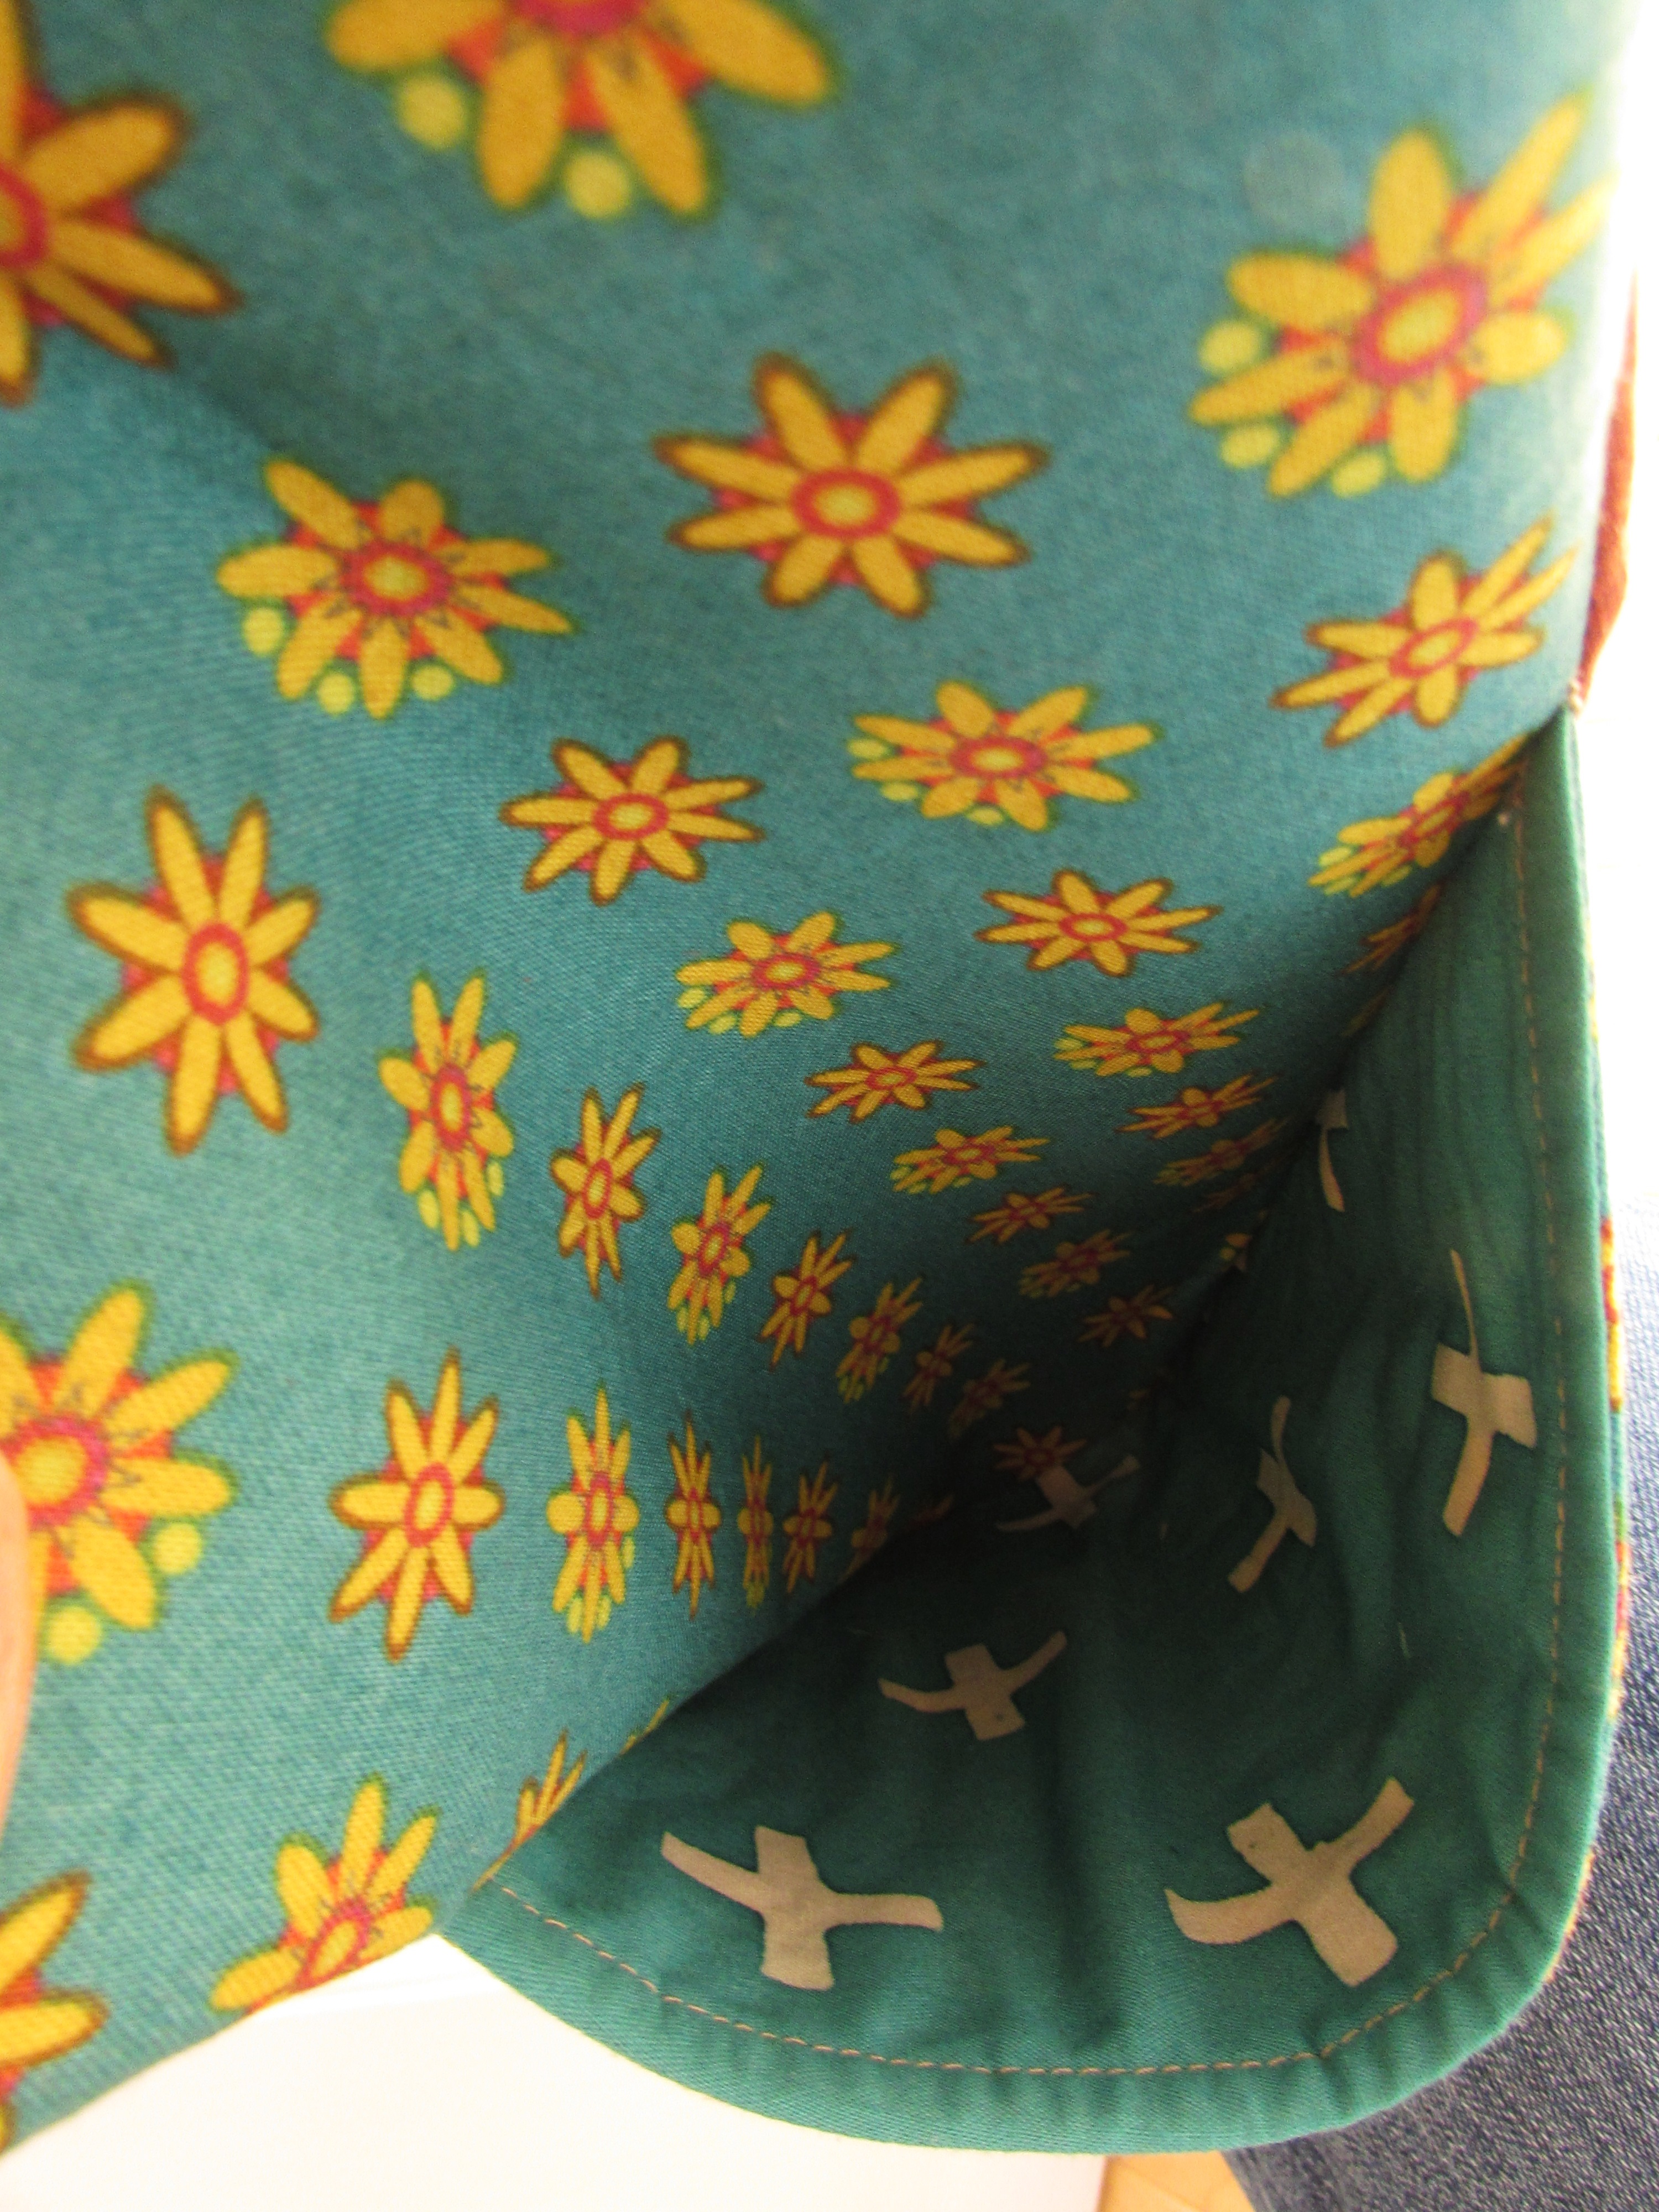
On the exterior I placed a pocket as well.  It was supposed to be a zip pocket but somehow when I cut the opening for it I made it way too wide and I couldn’t install the zipper. This was so irritating. Try as I might, I couldn’t find a solution. Rather than a zipper, there is just a pouch type of pocket. Dang it. You’ll see in the picture below how wide that opening is. On the upside, it shows a peek of the fabric used for the pocket and I think that is sort of sweet.

IMG_7158

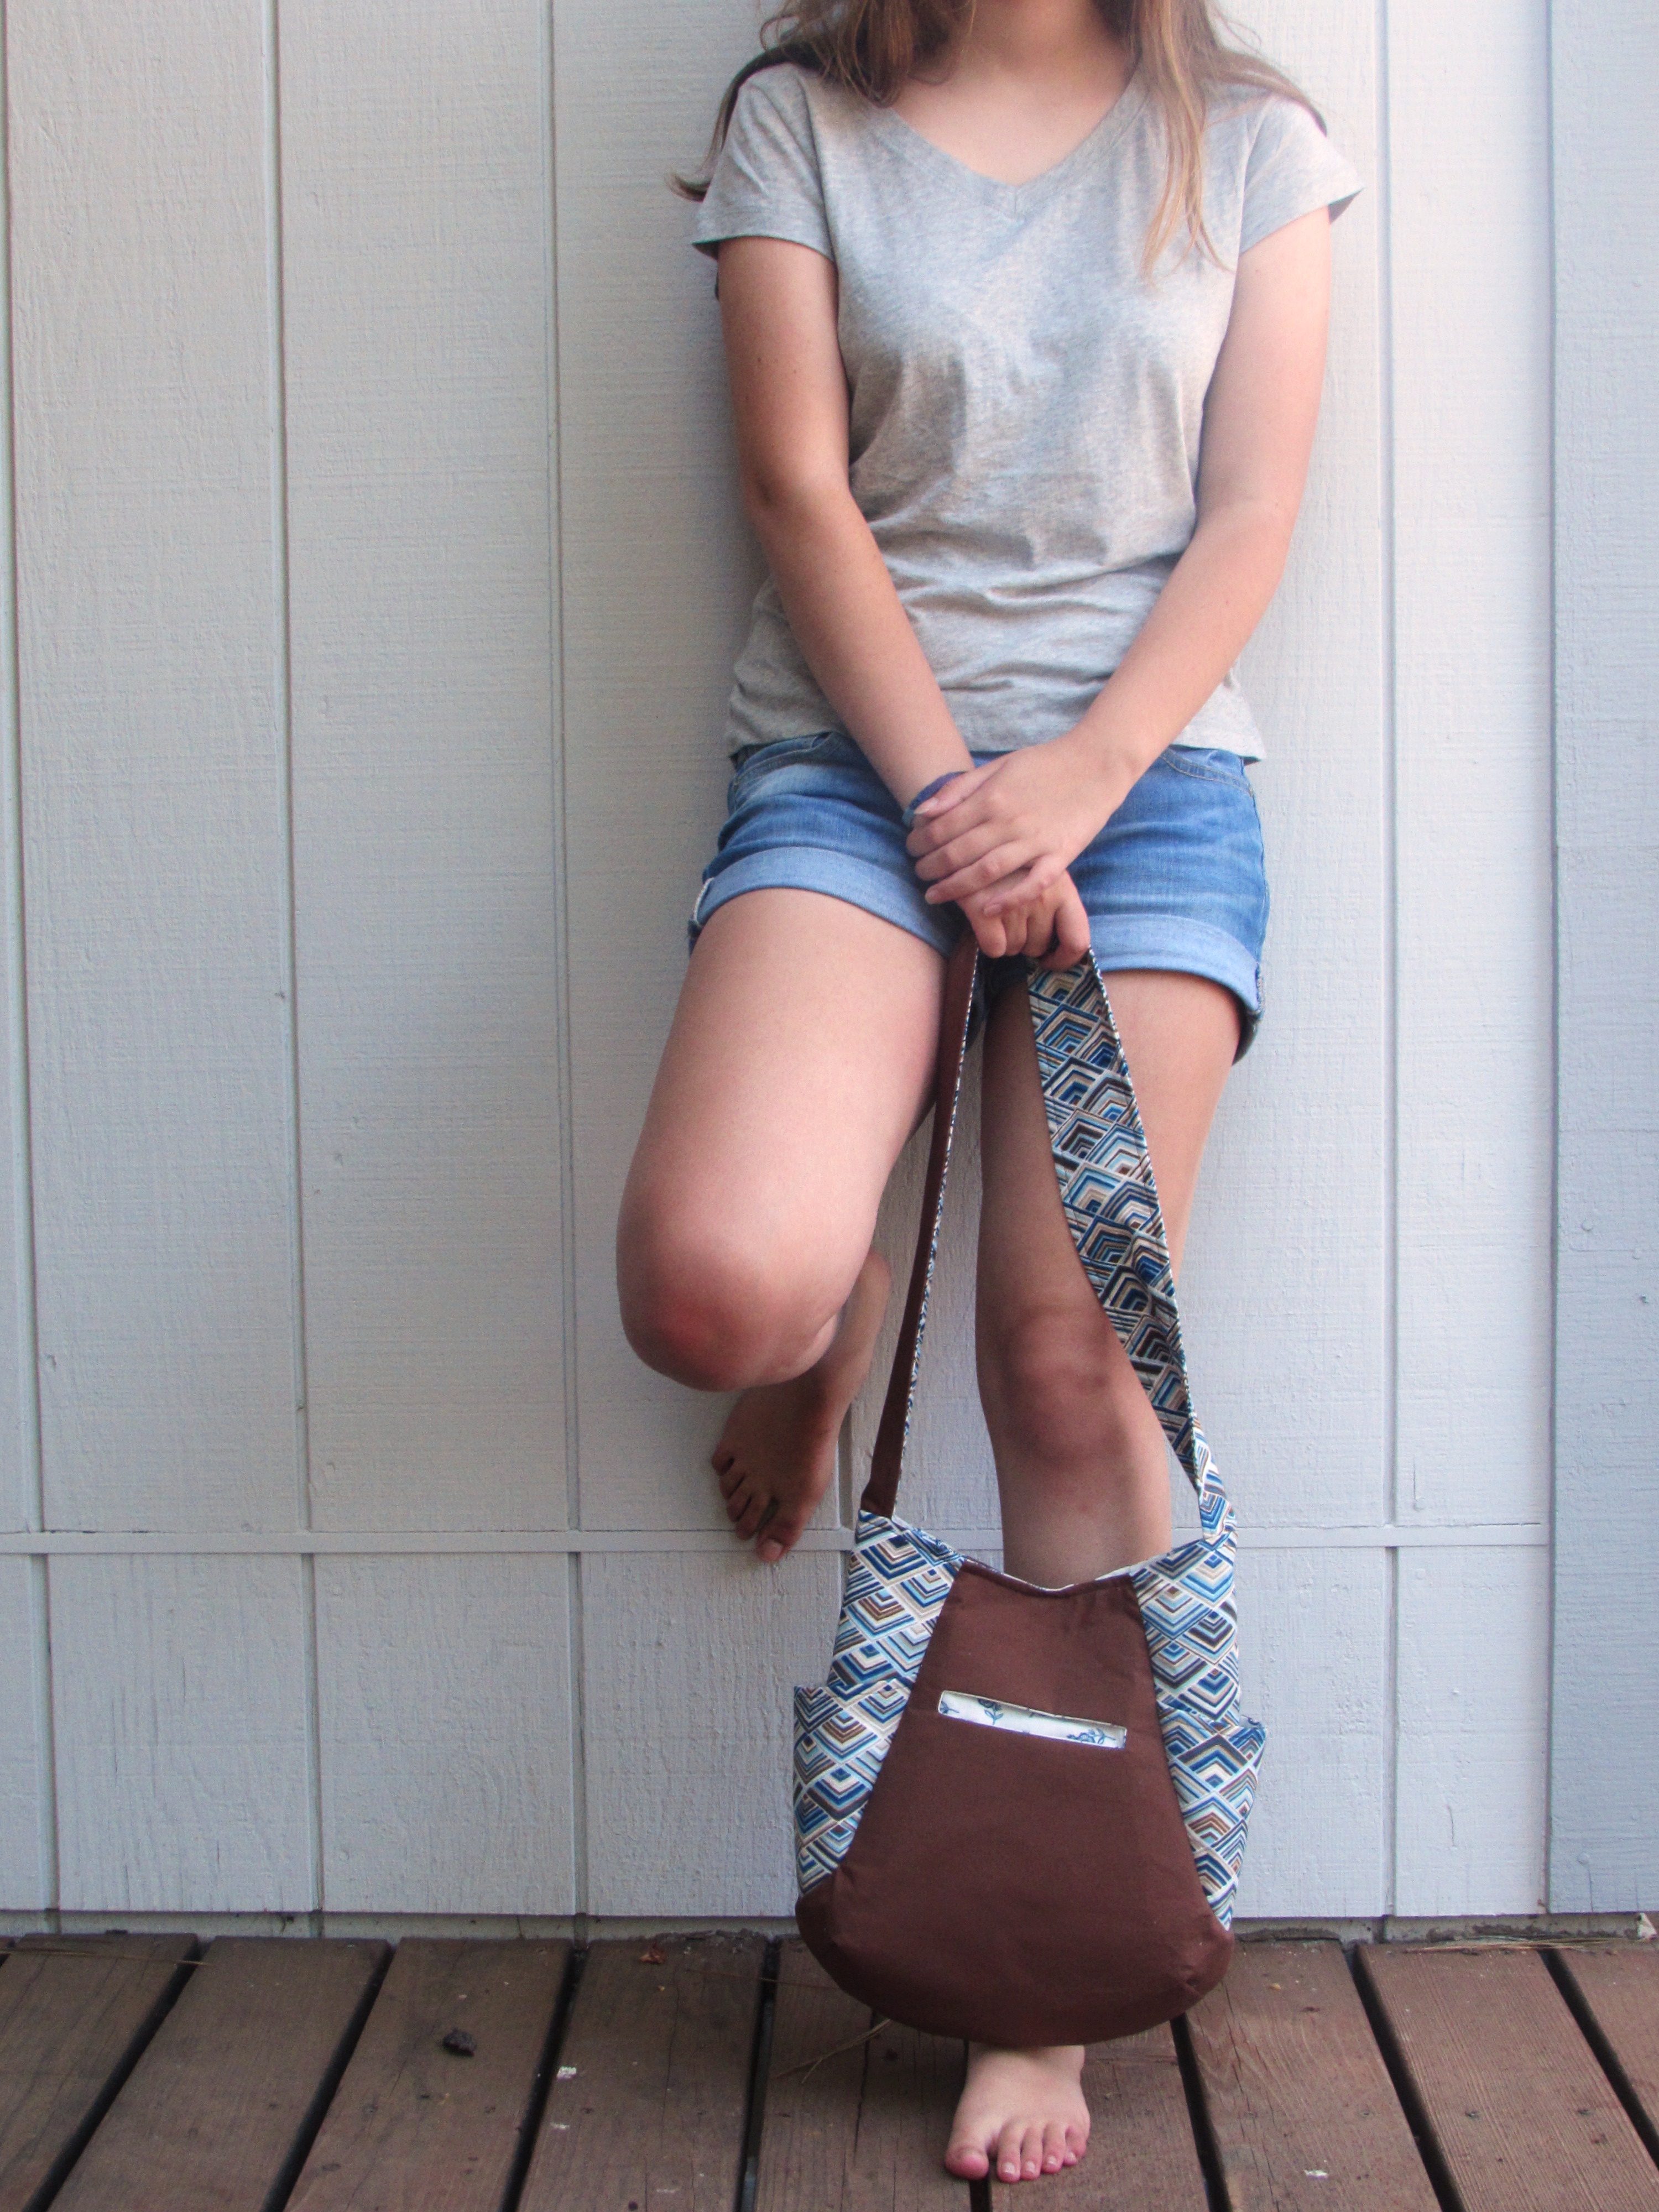
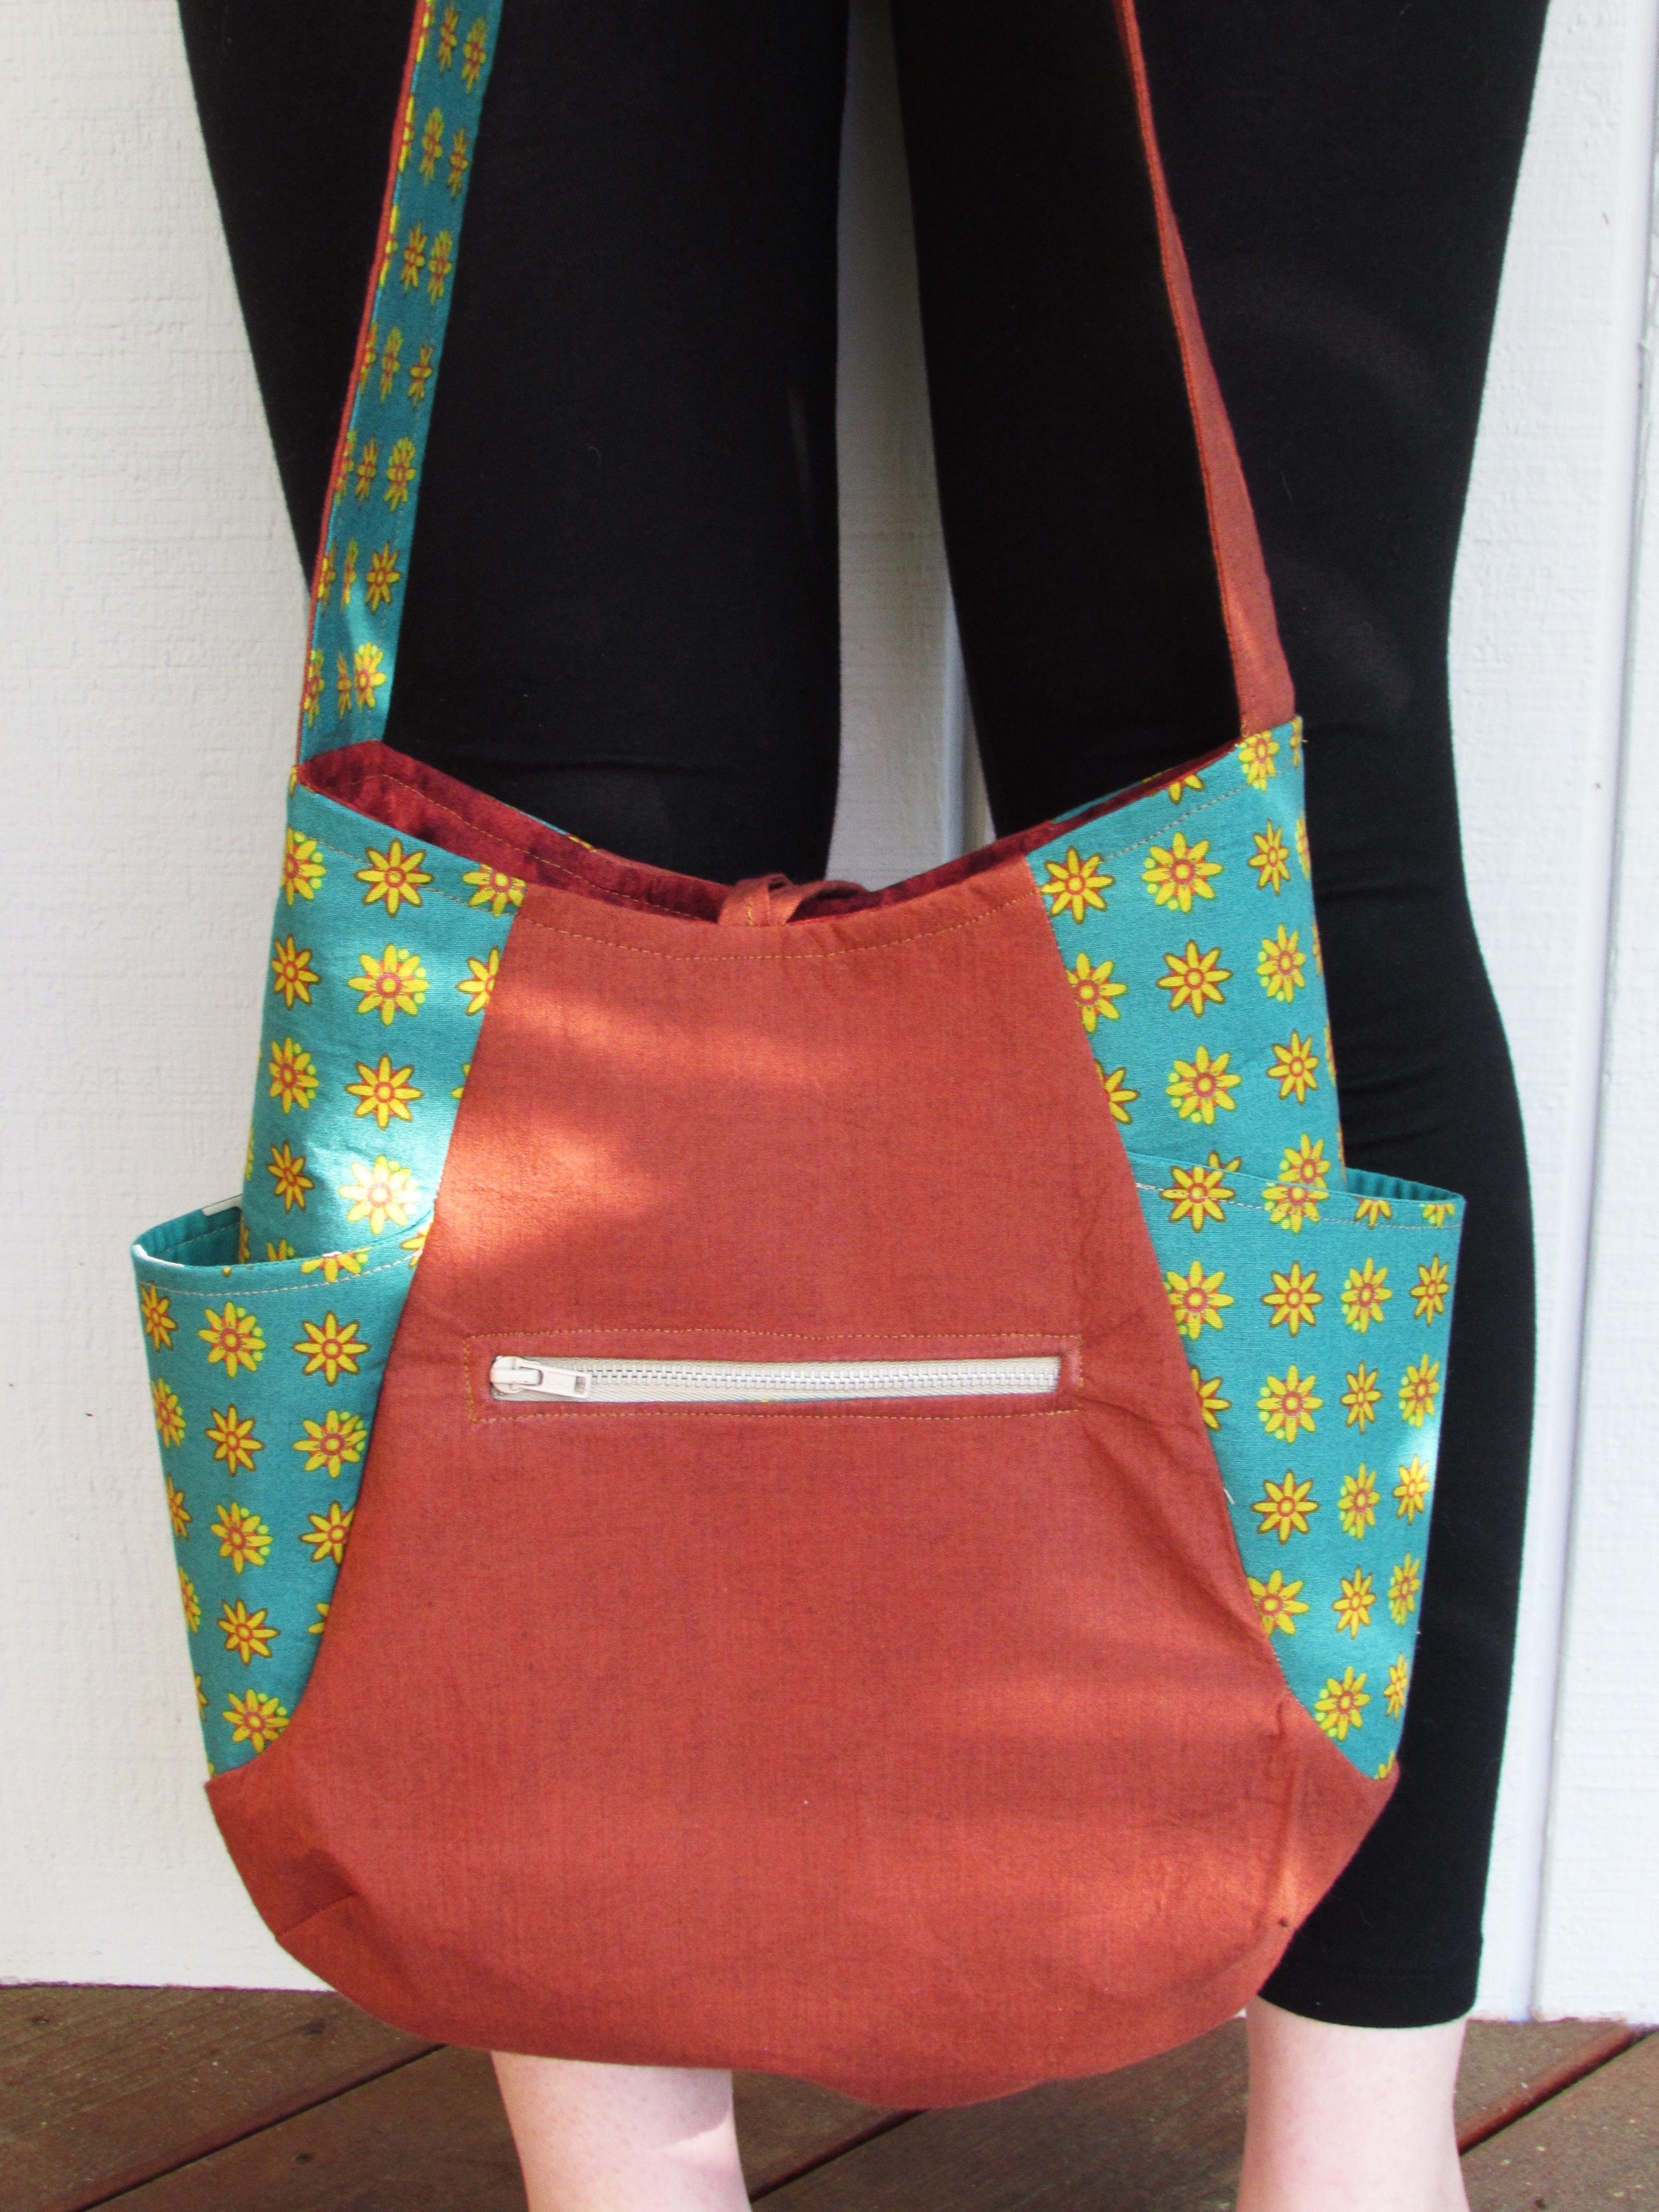
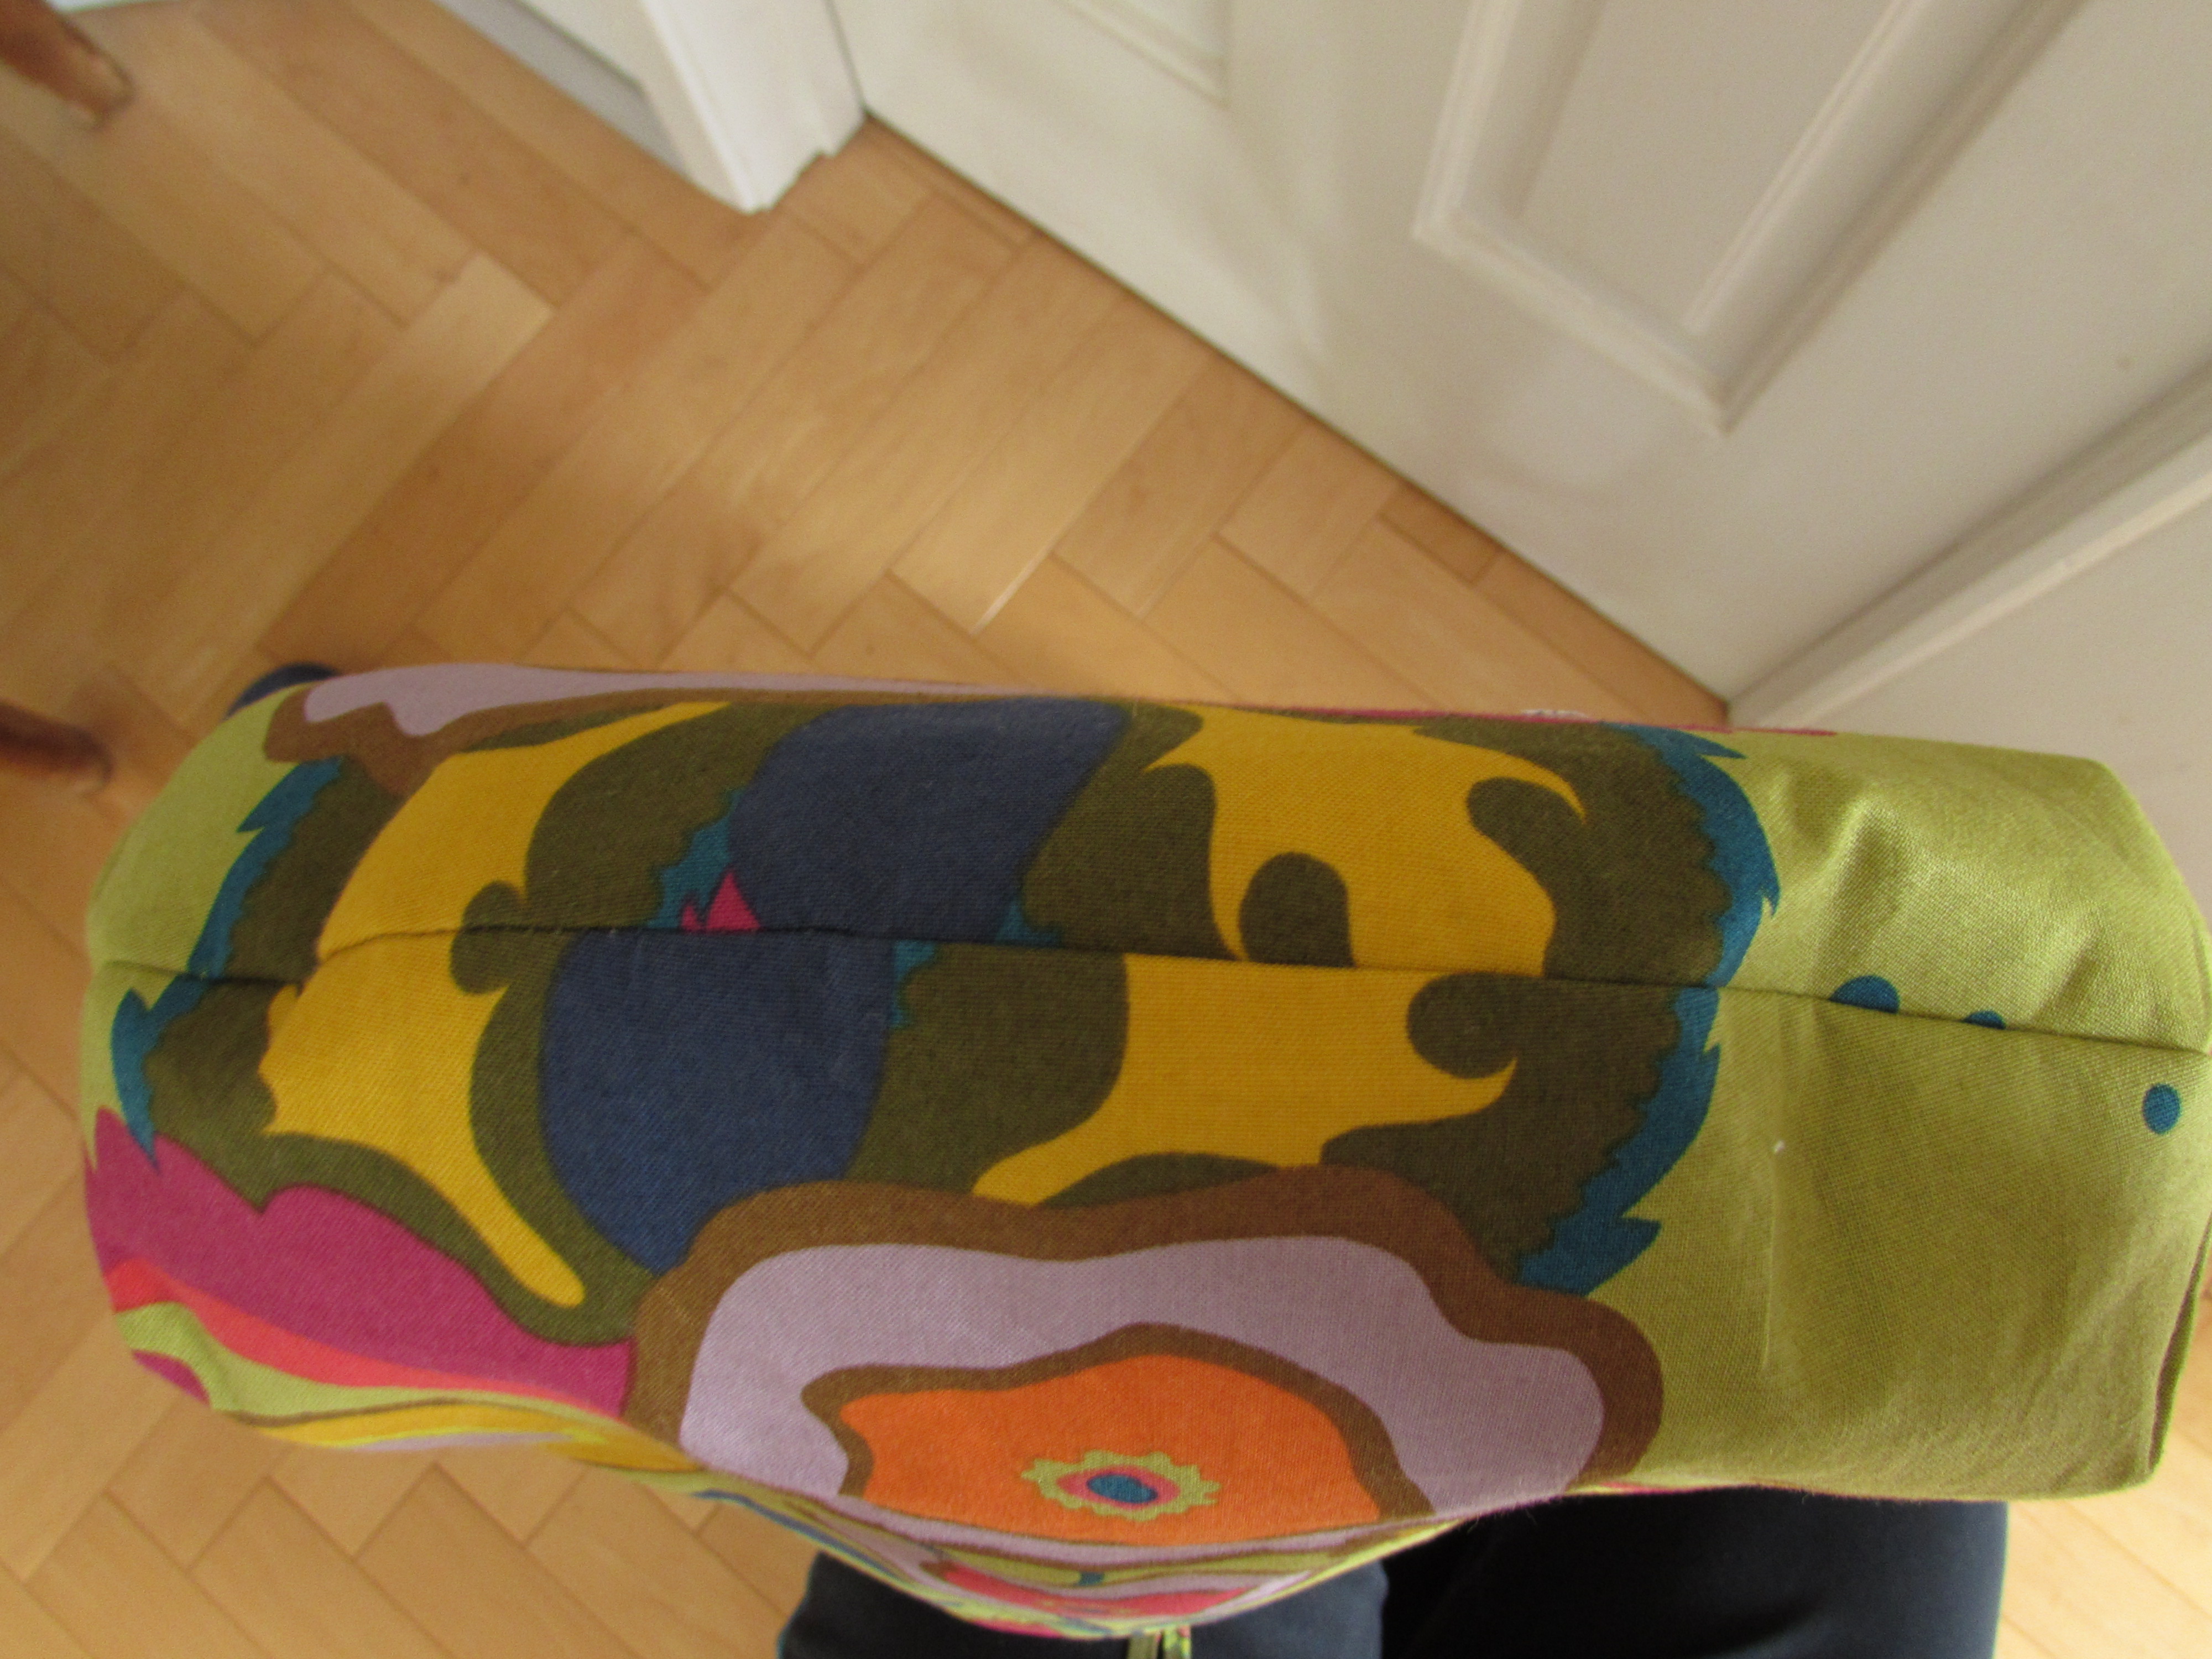
And for a shot of the back side of the purse.

IMG_7161

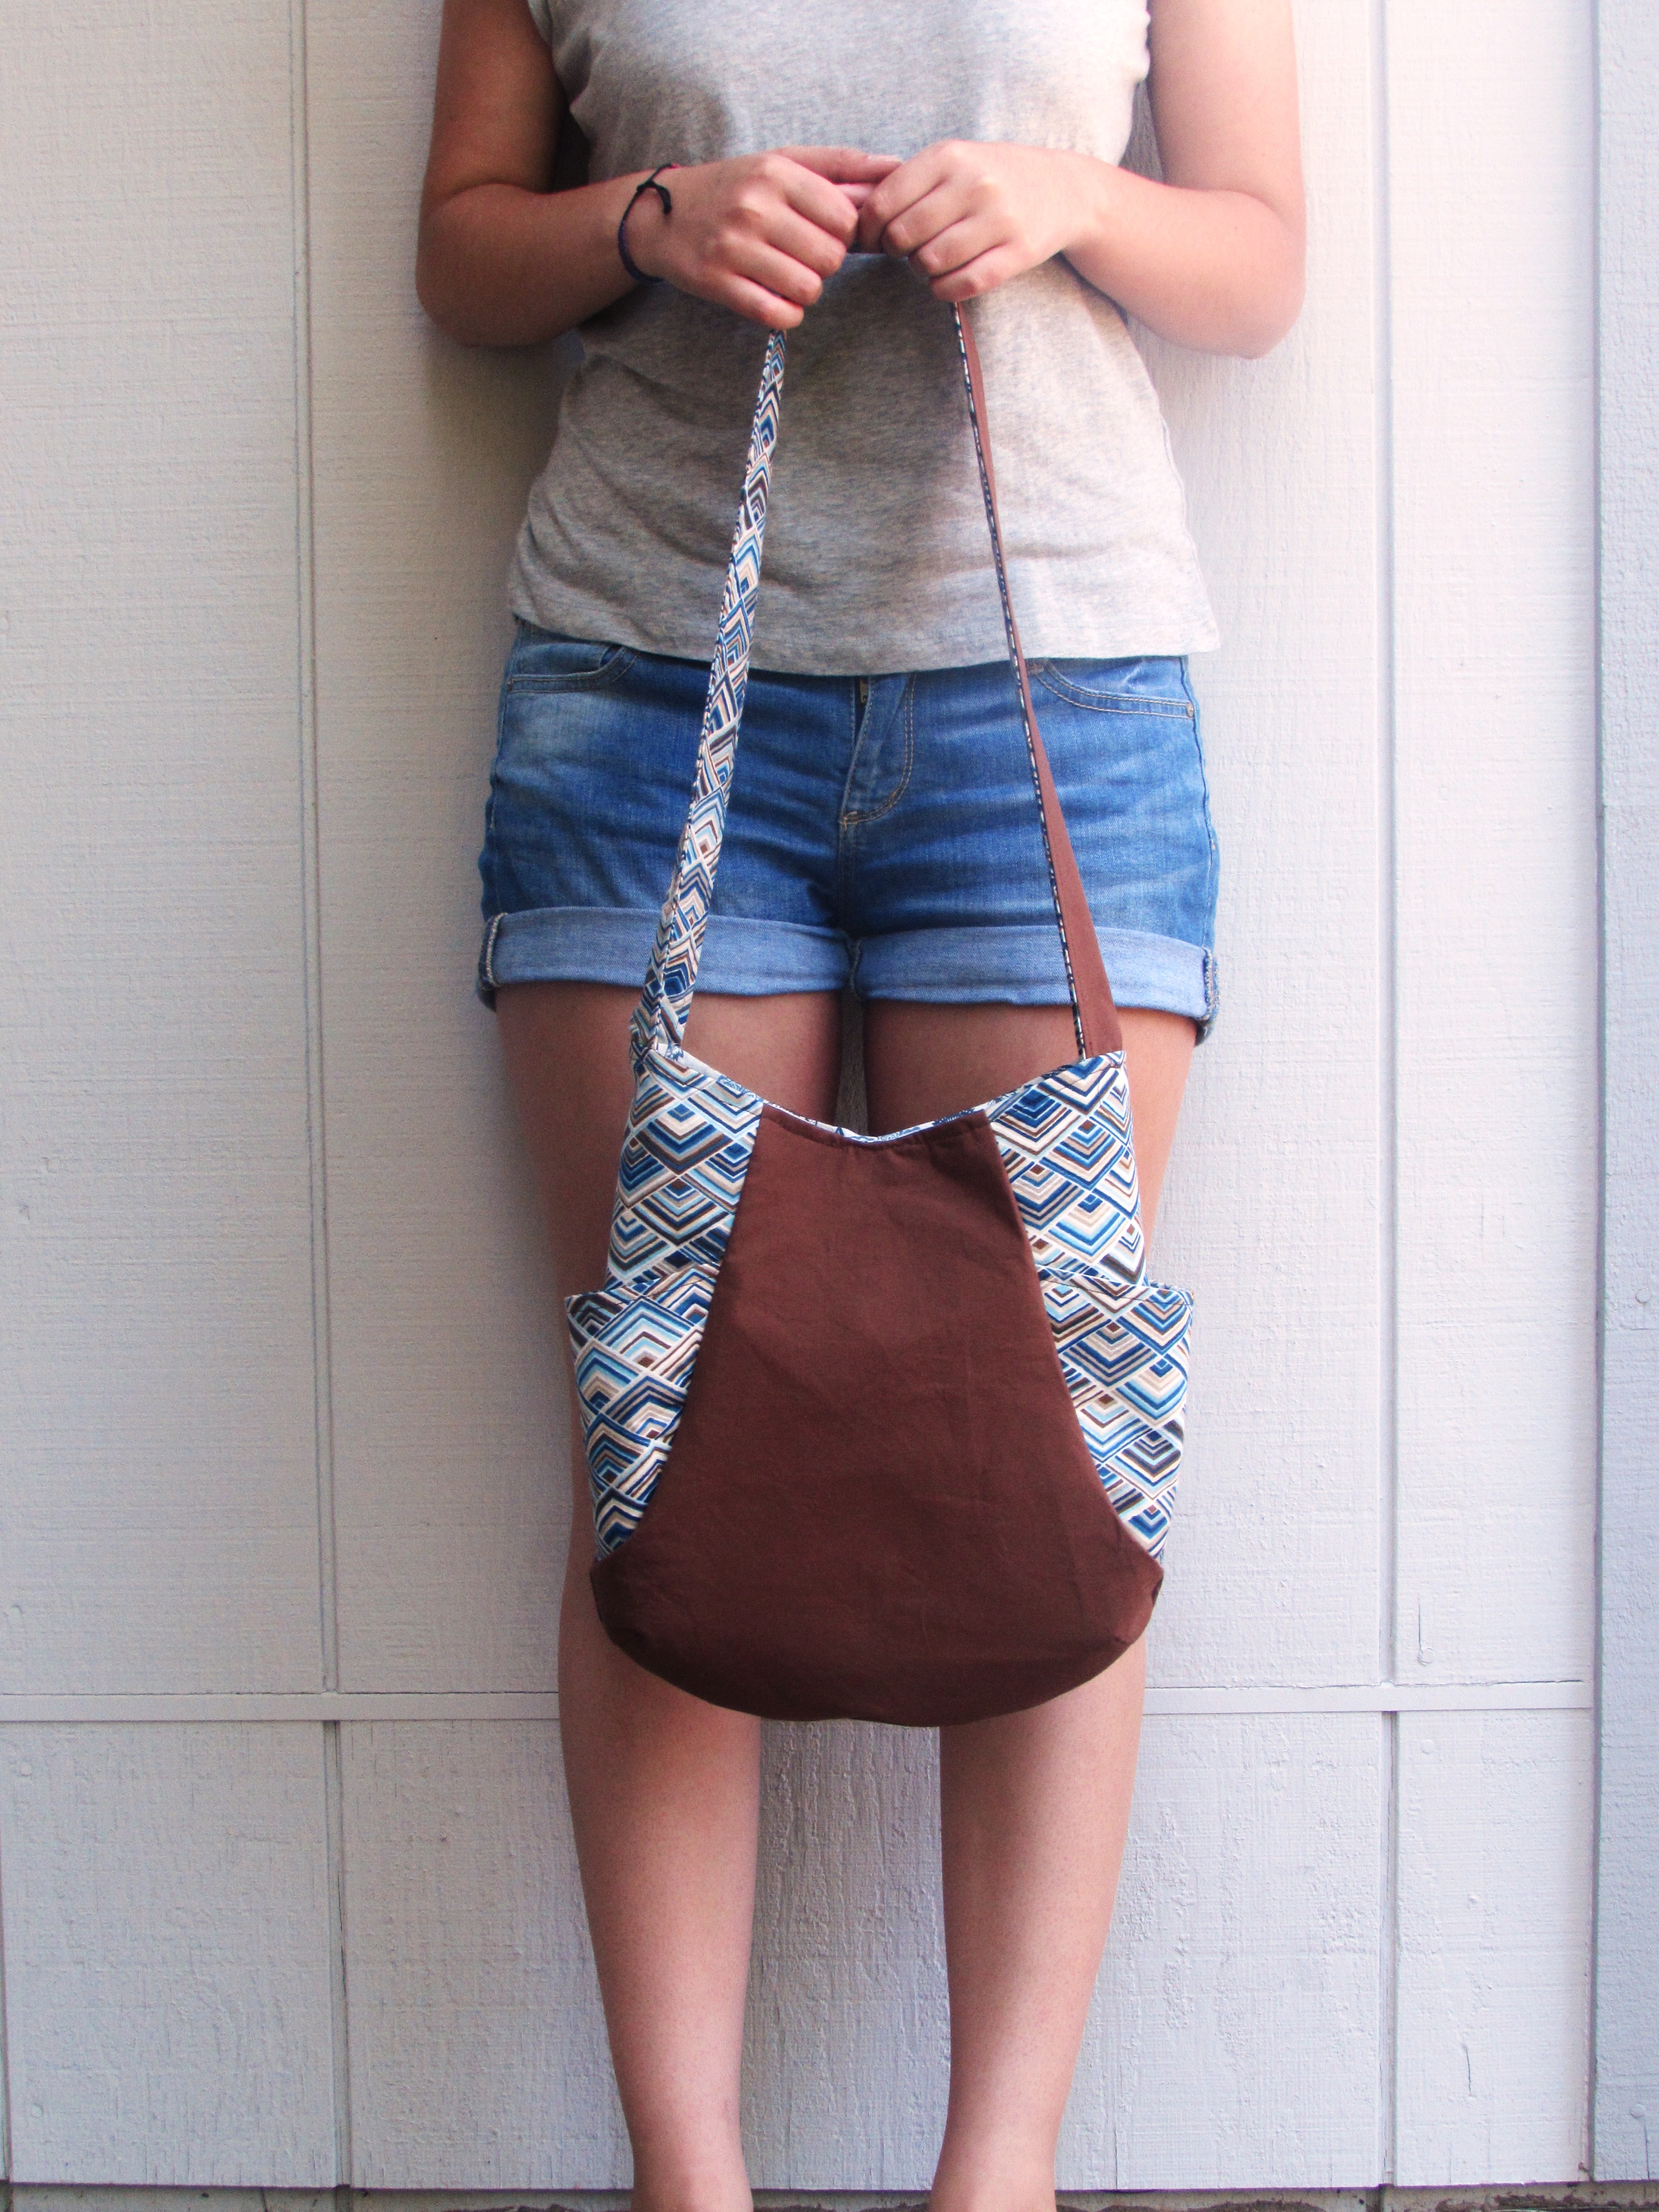
It is really pretty and the brown fabric should be great for hiding dirt that seems to appear after setting the purse on the ground or the floor of the car. Hopefully my sweet friend will enjoy the tote for a long time to come!

I will link this post to all sorts of fun places. For more info, click on the Link Ups tab at the top of the page.

241 Bag, Version 2

Prologue:

This morning I was feeling highly productive. Before 9:00 am I had taken photos of this great 241 totebag (with the help of my totebag model) and written this  post for you. In the middle of reviewing the post, checking for typos, etc, Julia walked up to me and said, “I stubbed my toe”.  I looked down and saw this horrific baby toe that was bleeding far more than I was comfortable with. I got a (clean) kitchen dishrag and did some high-quality first aid.

image1

Once we had the first aid under wraps (ha ha ha!), I scurried around collecting a ton of fruits and veggies that I was supposed to plate and serve to the senior class at 12:30 today, while they were taking turns presenting their senior projects. (I had a deep suspicion that I wouldn’t be there to serve them). Once the food was in a cooler and one shoe on Julia’s good foot, we got her in the car and headed to urgent care.

They were great. Got her right in (probably out of concern for the gross looking dishrag her foot was wrapped in. When the nurse took it off to clean her toe, he looks at me and says, “uhh, do you want this back??” I declined it.) A couple of hours and three stitches later, we are back home and she is on the couch (where she spent Saturday, Sunday and Monday for illness) doing homework. Poor thing is spending quite a bit of time on the couch and missing a whole lot of school this week. It really hasn’t been a great couple of days for this girl!

IMG_6484


And now that this is all taken care of, we can talk about my second 241 totebag!!

Let me tell you, the second time using a pattern is so much easier than the first! I made another 241 totebag this week and it came together incredibly quickly. I had the process down from the first time I made the bag. (You can check the first one out here.) This one is a keeper – a little selfish sewing for me!

img_20160525_5249

For this bag, I used more of my Allison Glass Field Day collection (the daisy print) and I had a big piece of Kaffe Fassett shot cotton (the solid rust piece). They look great together.

I was bold enough to put in a zipper pocket for this bag. I had a seven inch zipper in my collection of thrifted zippers ( I love finding these in thrift stores and can usually get zippers for 25-50 cents each.) The pattern calls for two zip pockets with them both installed on angles, vertically. I decided I only wanted to tackle one zipper and put it in horizontally. It wasn’t hard to put in this pocket though I am not completely satisfied with the corners – it was difficult to get them to lay flat enough. This is most likely because I didn’t clip the corners close enough. It’s hard to decide how close to clip toward the stitching.

img_20160525_5251

As before, I put in a clip to hold my keys and a slip pocket with velcro closure on the inside of the bag.

img_20160525_5252

I had two scraps of Allison Glass that worked for the lining of the exterior pockets and even though no one will see it, it makes me happy! Love it when the small scraps are usable and it adds a bit of interest to the purse.

img_20160525_5253

I have a bit of a purse addiction and this is going to be a perfect addition to my collection!

Linking to the usuals which can be found at the top of the page, under Link Ups.

If you are looking for classes or patterns to get you going on making a tote bag, check out Craftsy. Loads of classes and patterns to learn from!

craftsy pic

(This is an affiliate link, meaning if you click through and make a purchase, I will be paid a small amount in return.)

Cutest 241 Totebag Ever

Last weekend I finished up the 241 bag that I have been working on. The bag was made as a gift to my niece for her eighteenth birthday. Somehow I forgot to get a photo of Maddie with the bag at the party last week. She loved it though which made me very happy!

Making this bag in tandem with Tami from Sew Much for Free Time was really fun. Neither of us has seen the final project for the other yet and I look forward to popping over to her site to see her bag. I hope you will take a peek as well.

As is usual for Noodlehead patterns, this one was easy to follow and the result is exactly what I had hoped for.

img_20160509_5102 - Copy

This is the second bag I made using a tutorial or pattern of Anna Graham’s. The first was a tote for my mother-in-law. You can read about that here. Anna’s patterns are filled with small details that make for a stylish bag. For instance, I love that the side pockets have a fullness to them. They are fused with interfacing and cut so that they extend a bit from the side of the bag, making them really roomy.

img_20160509_5101 - CopyThe pattern calls for a magnetic closure but I didn’t have one. Fearing I would (yet again) lose my self-control if I returned to Ben Franklin, I searched through my buttons and found a cute wooden toggle button. Using a small rectangle of the contrast fabric, I made a loop and stitched it to the top of the bag.

img_20160509_5104I sewed the button to the other side and it works like a charm. Remember I also added a key chain link to the inside so that Maddie can hook her keys to it and find them again easily. I forgot to take a photo of the key fob that I made but it was made with webbing and the small floral print used on the side pockets. (It was just like the one I made for my sister and talked about in this post.)

img_20160509_5106Anna’s pattern calls for the handle strap to be made from a six-inch wide strip that is interfaced and folded. I wanted to make the handle with two different fabrics so I modified that and used two 3″ strips. Then I fused the interfacing to one side and sewed them, right sides together. After turning the strap right side out, I pressed and topstitched the edges. Another slight modification was to extend the length of the straps. My niece is about 5′ 7″ and the strap seemed too short. I didn’t notice this until after I had cut the straps so I just cut a few more three-inch strips and added on to the length. Just because I thought it looked fun, I used the opposite fabric on each end. If you look at the top picture, you can see the different fabrics. The inner strap on the left is floral and on the right is the big print. On the outside it is just the opposite. The handle looked so fun like this and I would definitely do that again. (These little changes are one of the best parts of making things rather than buying ready-made. Each project is uniquely its own!)

As luck would have it, since I certainly didn’t try for this, the outer seam on the bottom matched up almost perfectly.

img_20160509_5108

I love when this happens! If I actually try to match it up, I usually meet with less success. At any rate, this bag was a huge success. I highly recommend the pattern for anyone with at least some sewing knowledge. It could be a bit of a challenge for a person who is new to sewing.

I hope Tami and I will think of another project to sew together. We had a lot of fun with this one!

Linking to all the usuals. Find them at the top of the page under Link Ups.

Craftsy’s birthday celebration continues through Sunday, May 22nd. Classes are on sale for 50% off! Buying a class enables you to watch each lesson as many times as you like, when it is convenient for you! The newest class taught by Amy Smart, of Diary of a Quilter, is released and on sale.

unnamed (1)

(Because I am a Craftsy affiliate, I will receive a small payment for purchases made by clicking through from my blog.)

Weekly Wip Update

Let’s start off with the fun fact that this is my 200th post. That is sort of cool. 🙂

The last week didn’t include as much sewing time as I would have liked. I lost a couple of days because I was down with a bug. I managed to watch a few episodes of Downton Abbey though so it wasn’t a total loss. (I just discovered the show a few months ago and luckily, Amazon streams it. I have been devouring this soap opera lately, with the Dowager Countess being my favorite character.)

The days that I was able to spend time sewing were mostly productive. I made a few new French Press cozies for my Etsy shop. Beyond that, I started quilting my black and white Stepping Stones quilt. So far, I am quilting along the diagonal, following the black and white squares. I have not touched the tiny HST’s or the blue strips. My thought is to finish the black and white charms and then decide what, if anything, to do with the other smaller parts.

I am using white thread and the quilting is coming along nicely. However, the white stitching doesn’t show up well for pictures.

img_20160509_5110

I have been alternating quilting a large spiral and then in the next square quilting a loopy design.

img_20160509_5109

I have quilted about 1/3 so far. Other projects beckoned though and I set this aside for a few days.

I have been having a blast working on my sewalong with Tami of Sew Much for Free Time. Every time I make another friend via this blog, I am just blown away by the ease of the relationship. By now we have been emailing back and forth with progress pictures and ideas. It is so much fun. Our 241 Totebags are swiftly moving toward completion! Working with a friend has kept both of us on track and has somehow made the project seem to come together quickly.  This is my second project using a Noodlehead pattern or tutorial and the directions are just wonderful. So far, I have constructed the entire outer bag and have been working on prepping the inside portion.

image

These prints are bright, fun and maybe a little wild but I think they are perfect for the intended recipient.

For the inside, I added one of my Needle and Foot labels. I have just a few left as I normally put these on product that goes into my Etsy shop.

img_20160509_5096

There are options for zipper pockets on the outer portion but I politely declined the option. (Read, I was too lazy to fuss with a zipper.) I did add a square of Velcro to the patch pocket on the inside (I was feeling guilty.)

img_20160509_5097

Finally, I made a little attachment to hang a  key chain holder. I love these little guys; saves so much time not having to hunt to the bottom of your bag to find your keys. There is a coordinating key fob in the works.

img_20160509_5098

Because there will be a bit of tugging each time the keys are hooked and unhooked, I fused some stabilizer to the back for support.

img_20160509_5099

The lining portion of the purse and the shoulder strap should go together quickly. I’m pretty excited about the whole thing and have a feeling I will make another one for myself.

Yesterday I posted a progress picture on Instagram and guess who commented? Um, Anna Graham, from Noodlehead. Looks like we are sewing buddies now. 😉

image

.What a great project this has been. I am going to have to find another fun sewalong/quiltalong type of activity after this. If you have a minute, check out Tami’s progress. Seeing the same pattern come together in two very different colorways is very interesting. They each look very unique.

Linking to Linky Tuesday, Let’s Bee Social and Sew Cute Tuesday! All links are found as always, at the top of the page, under Link Ups.

Craftsy Update:  In celebration of their 5th anniversary, Craftsy will hold a great sale of kits and supplies running May 12th through the 15th. Check it out here!

may craftsy

(I am a Craftsy affiliate and will receive a small payment for any sales that occur via my blog.)

Mid-week WIP Update

Lots of projects in various stages in my sewing room this week. It is actually kind of fun to have multiple things going on. I sew a while, cut for a bit, practice a little FMQ – none of it feels tedious because I am moving back and forth between projects.

My main sewing machine is being very cranky right now so I am sewing on my smaller machine. I love this machine though – the tension is not sensitive and it sews like a little work horse. Much like The Little Engine That Could, this machine just keeps going (I think I can, I think I can.) I really miss the needle down feature and the thread cutter on my bigger machine though. Makes such a difference when I am sewing for a long period of time.

Anyway…  Here is what’s going on:

I am working on my 241 tote bag that I mentioned in this post last week. This project has become so much fun because after reading that post, Tami from Sew Much for Free Time commented that she was also going to make a 241 tote. We did a bit of emailing back and forth and decided we would have our own little sew along. After working on my Stepping Stones quilt though the quilt along at Inquiring Quilter, I found I really enjoy the social aspect of the project. I love seeing everyone’s progress, having others to ask questions and get input, and seeing the fabric choices and how much that changes the pattern that we are all using. I think working on this tote with Tami will be the same. We set up a few deadlines for progress and hope to finish up together. It is low key though. If life gets in the way, so be it. We are just enjoying our virtual time sewing together! If you want to see Tami’s progress, hop over.  We are just getting started. Anyone that wants to, is more than welcome to join us. Leave me a comment if you want more info.

By today, we are both aiming to have our bags cut out and pieces prepared. I spent yesterday morning prepping everything. I plan on using these Allison Glass fabrics.

img_20160423_4915

The pattern seems very straight forward so I doubt there will be much difficulty makijng this bag. I traced my pieces with a chalk marker and cut from there. Printing the pieces on regular printer paper made for thick pieces. I didn’t want to pin and cut them because there might be some inaccuracy. Tracing the pieces was quick. (When I was cutting pieces, I took the pictures under the kitchen lights which distorts the color.)

img_20160503_5013

Once the pieces were cut, I fused the interfacing to the outer pieces.

img_20160503_5015

I’m really excited about this project. It is going to be perfect for my niece’s birthday gift.

Besides working on prepping the bag, I also did some FMQ on the Mystery quilt along that Lori Kenedy is hosting over at the Inbox Jaunt. This week we were instructed to quilt little stars and suns. Lori calls them Spirograph Suns though we did a simplified version of them. The motif is so fun and you’ll find the tutorial here.

img_20160503_5020

We only have a few more sections to quilt and I think I will be a little sad to see this finish up. I love that the structure of this QAL only requires I quilt two lines each week. Not time consuming but it forces me to practice two new motifs each week.  (Also, take a look at my fish.  I feel like I stitched my fishies going upstream. Shouldn’t they should swim from left to right…. I must have gotten turned around (not all that unusual for this quilter.) 😉

img_20160503_5022

My Stepping Stones quilt is basted and ready to be quilted. I am looking forward to the weekly post tomorrow as she plans to give some ideas on possible quilting motifs for this pattern. Choosing how I will quilt something is still a challenge for me but maybe I will be inspired by Jennifer’s post tomorrow.

Finally, I am working on a mini that I will share later this week. It is going to be cute though. Here is a sneak peek.

image

I am going for an old-fashioned, vintage feel and I think it is coming together well.

OK – what do you have going on in your sewing room? i would love to hear.

Linking this post up with all sorts of fun sites. Take a look at the list. You’ll find it at the top of the page, under Link Ups.

**************************************************************************

Just in case you need an idea for Mother’s Day gifts (for a friend, your mom, even yourself  – even if you aren’t a mom!)  Craftsy has awesome classes and I can’t imagine a crafty mom who wouldn’t love one (or two, or three…) Classes last longer than flowers and they are way more affordable! Click here to check it out.

MothersDay (2)Craftsy

If You Give a Quilter a Bargain…

On Tuesday I was running a few errands. Among other things, I ran in to Ben Franklin’s for a strip of velcro. I came home with this. (Plus the strip of velcro.)

image

Really, it was not intended! I was supposed to be picking Julia up from school so I was there not even ten minutes. As she cut the velcro strip, the clerk (who knows me well) suggested I might want to take a quick look at the flat fold table because there were lots of new pieces out. Ben Franklin’s always has a table with stacks of fabric folded (taken off the bolt). Frequently there are treasures on that table but you have to spend a bit of time searching. The majority of the fabric found here is traditional or novelty pieces.  Anything on the table is $5.99 per yard, a very good price.

img_20160421_4872

I immediately spotted a large selection of fabric from the Field Day line by Allison Glass. This is my favorite of all of her lines. It is an older one (2013) and for the most part isn’t readily available. Actually, Allison Glass isn’t available in Grass Valley at all.  When I did the Allison Glass swap last year, I had to drive to the San Jose area to get the fabric (300 miles round trip). I could have ordered it on-line but I really wanted to see the colors together. She covers such a huge span of the rainbow and I wasn’t sure which colors I was going to work with. It was a huge find to see these sitting on the flat fold table!

img_20160421_4873

I am using these two to make a 241 tote from Anna at Noodlehead. There are a few occasions coming up that I need gifts for. This will be perfect for one of them.

img_20160421_4877

These two pieces are from the Vantage Point line by Robert Kaufman. Wavy Stripe Retro and Picton Patchwork will both be used for Chemex Cozies that I sell in my Etsy shop. I love both of them. Remember when you were little and got to make those Spin Art paintings? I always imagined that mine would look like the fabric on the right. Never got even close but those were fun to make. Julia still has one of those – maybe I should give it another try.

img_20160421_4876

Look at the rich colors in this stack. Who doesn’t need a few new blenders in her stash? At $5.99/yard, this was an easy decision.

Here is the hard part. Oh, if only the story ended here. But it doesn’t. You know me, I am nothing but honest.

I bought the yardage from the Field Day collection and purchased the 241 Tote pattern over at Noodlehead the following day. Looking at the requirements, I found I was short one piece of fabric for the tote. Yes, I could probably have found something in my stash that would work, but I knew that stack of Allison Glass treasure was just sitting there at Ben Franklin’s. How could I not return? It was just one more yard…. (I know, I know.)

img_20160423_4915

So I bought the piece in the center. Perfect. Now I had enough to make the tote.

Guess what? When I pulled that piece out of the stacks of flat folds, you won’t believe what happened. There, in plain sight, was the nearly complete line of Asuka by Dear Stella. Which is just crazy – this line was only released last summer. What a treasure.

img_20160423_4912

It was amazing – a stack of Dear Stella just sitting there, waiting for me and for only $5.99 per yard!  I love this line – the colors are exquisite. Showing only minimal restraint, I limited myself to the seven pieces you see here.

img_20160423_4913


The piece on the top is not from the Asuka line. I am not sure which it belongs to, but I like the fact that it adds a pop of green to the palette.  Such a thrilling experience. 😉

I now have a total of three yards of Dear Stella to play with and spent $18.00. (I know, let’s not talk about the total cost of all of my treasures. I am minimizing the impact here.)

Remember the book, If You Give a Mouse a Cookie?  That pretty much covers this whole experience. Velcro, led to the Vantage Point pieces, then to Allison Glass, which took me to Noodlehead, which then looped me back over to Allison Glass and finally took me right on over to Dear Stella. Oh dear, dear, Dear Stella.

Linking to Sunday Stash over at Molli Sparkles and also at Main Crush Monday.