I am both excited and somewhat anxious to begin our summer sew along!! It was the beginning of April when I posted a finish where I made a blouse using a Butterick pattern, B6024. It was a very simple pattern and several readers commented they would like to be able to sew a blouse. I thought about it and decided I would host a sew along where we could make a blouse together. This is the first time I have attempted a sew along, hence the bit of anxiousness. I have been sewing for a very long time, more than 40 years. However, I haven’t taught classes either in person or on-line. So it is with that bit of a disclaimer, I welcome you to sew along with me.
And sew it begins! Today we will talk about pattern and fabric selection as well as necessary supplies or notions.
When I began to plan the sew along, I looked at so many different, simple blouse patterns. A few readers sent me ideas of blouses that would be fun to make. But the more I looked, the more I came back to this pattern. Some of the suggested patterns were indie designer patterns that were really cute. However most of them were pdf patterns which means we would have a an additional learning curve. Downloading, printing and assembling pdf patterns can be a bit confusing. The patterns print on A4 (regular size) printer paper and then must be taped together and cut into the pieces. It isn’t terribly difficult but I thought for the first time it would be simpler to go with a pattern that is available and printed on regular tissue pattern paper. Thus I selected Butterick pattern, B6024.
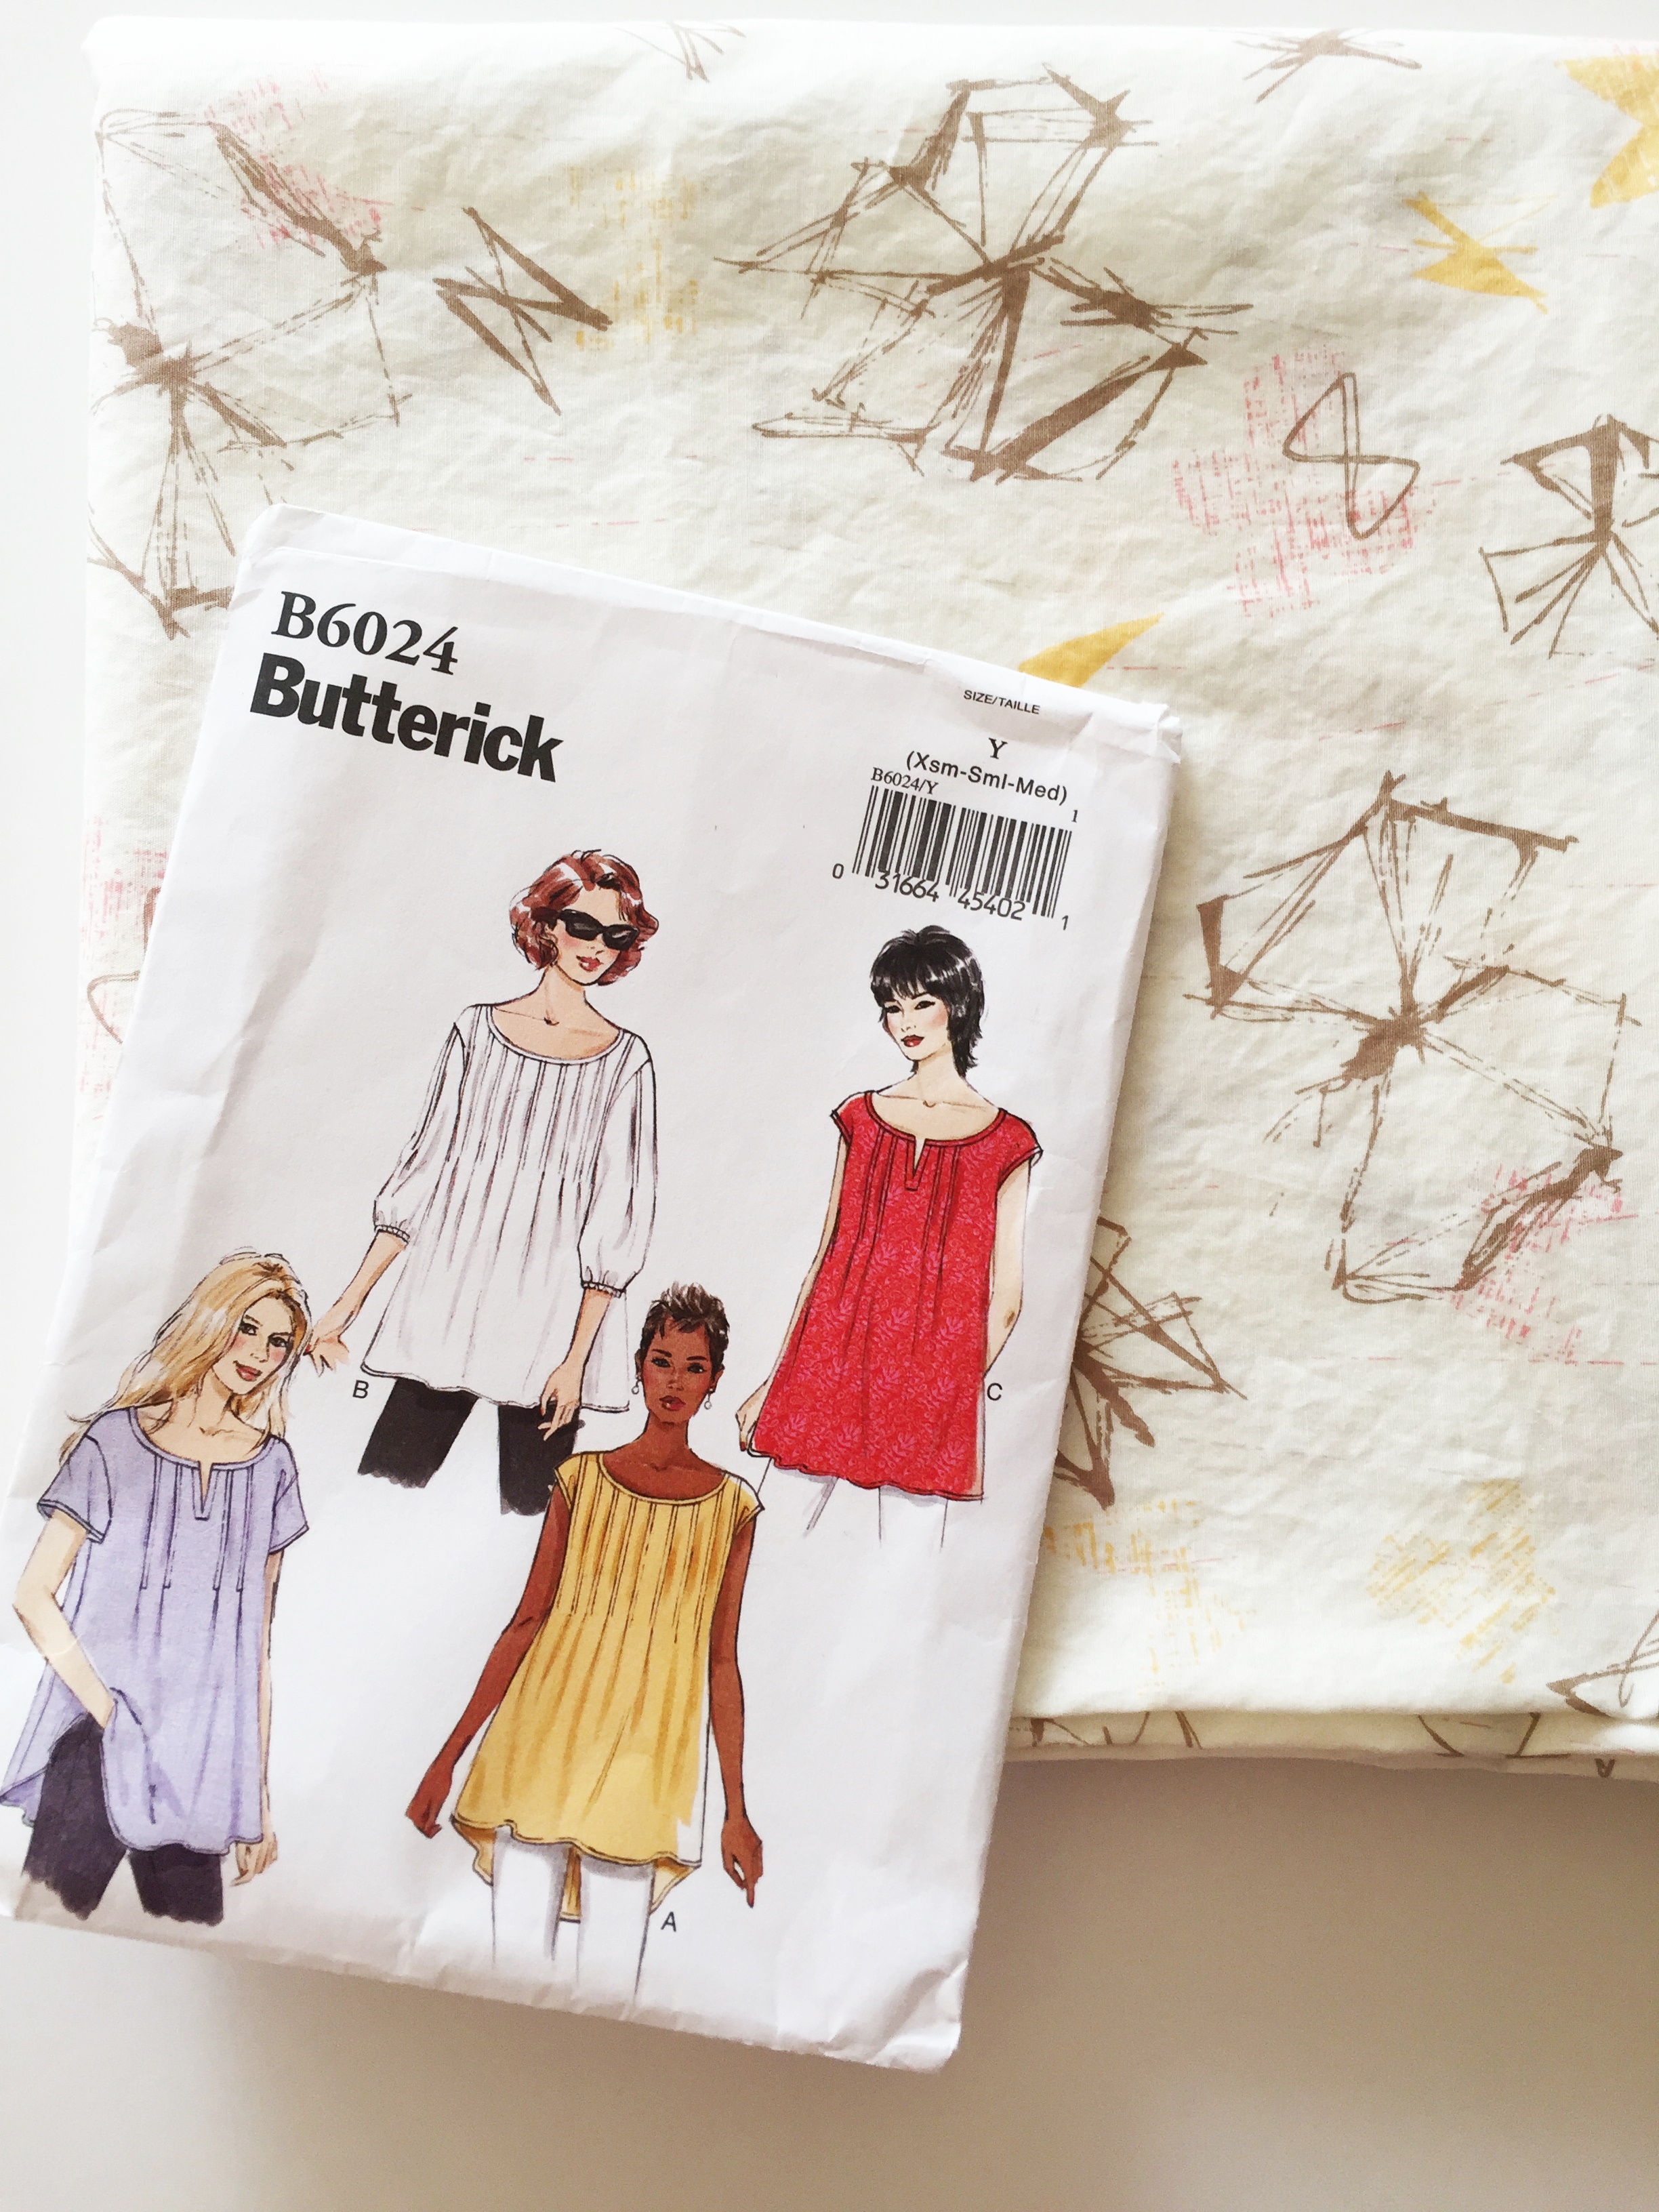
This pattern is widely available. I found it in several Etsy shops for a great price as well as on Ebay. If you shop at Jo-Ann Fabric, they carry it as well. Lastly, it is also available directly from Butterick but it is a bit more expensive there.
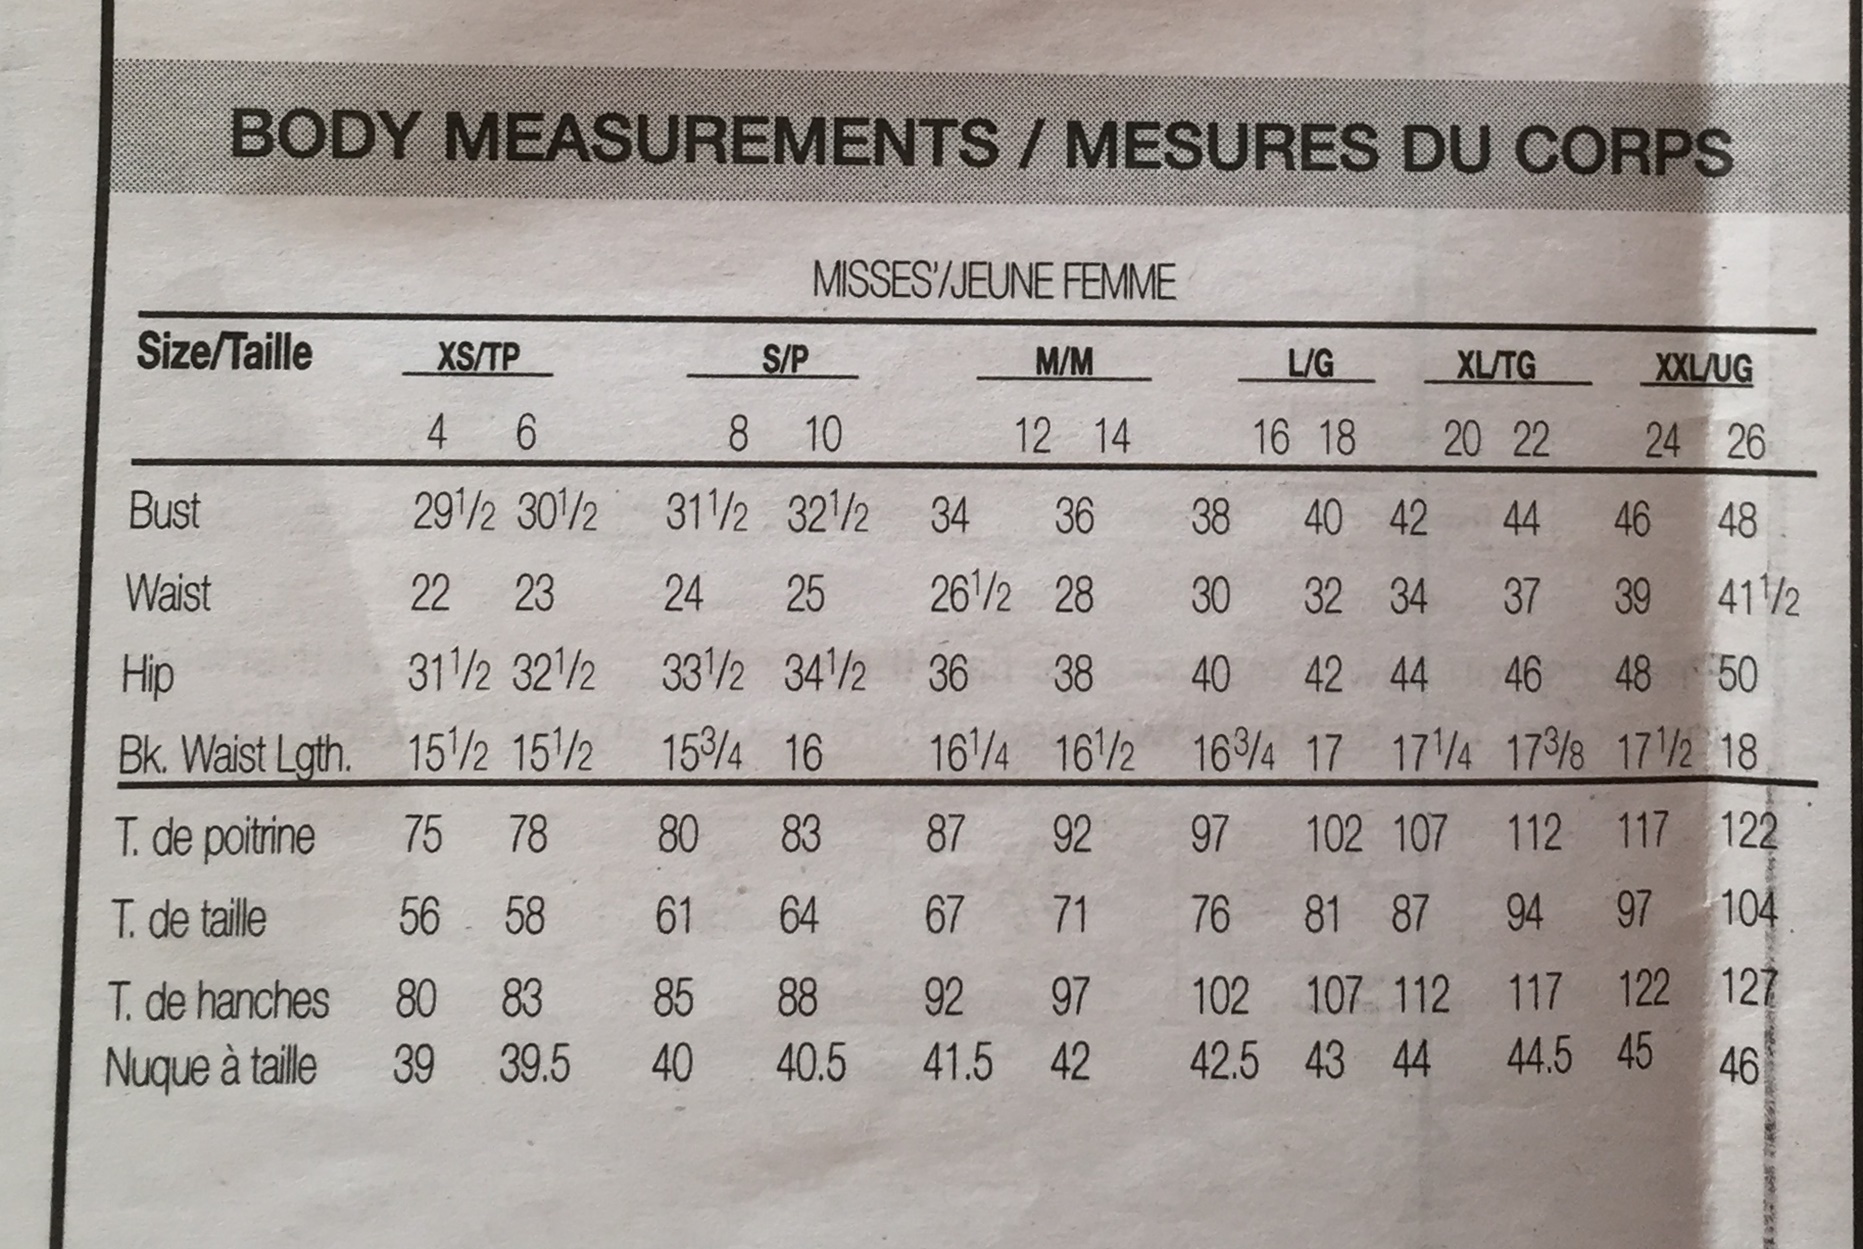
Measurements for pattern B6024
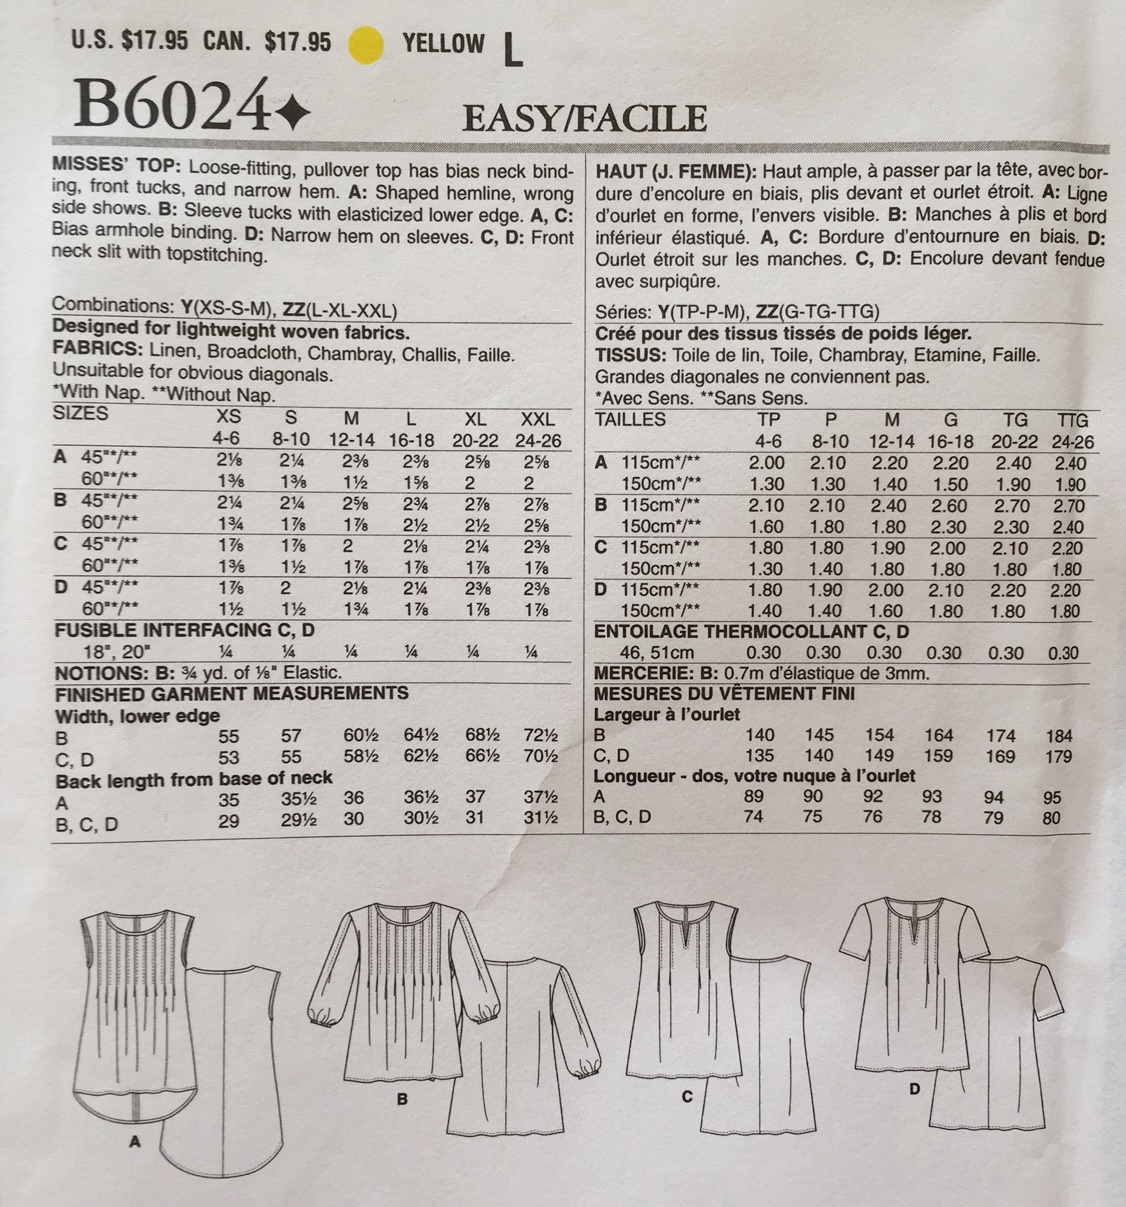
Before ordering your pattern, you must determine the correct size. Pattern sizes correlate only somewhat to ready to wear clothing sizes. It is really important you take your measurements and order the size based on your measurements. If you normally wear a size 10, don’t just automatically assume that is your size when sewing clothing. Luckily, this pattern (like most patterns) comes to you with multiple sizes available in the one envelope. You will buy it with either XS, Small and Medium combined or with Large, XL and XXL combined and printed on the one pattern. For this particular pattern, you need only be concerned with the bust measurement and hip measurement. It is not a fitted blouse so the waist measurement doesn’t come into play. I will say this patterns runs a teensy bit on the large side. I think that is because of the loose fitting design.
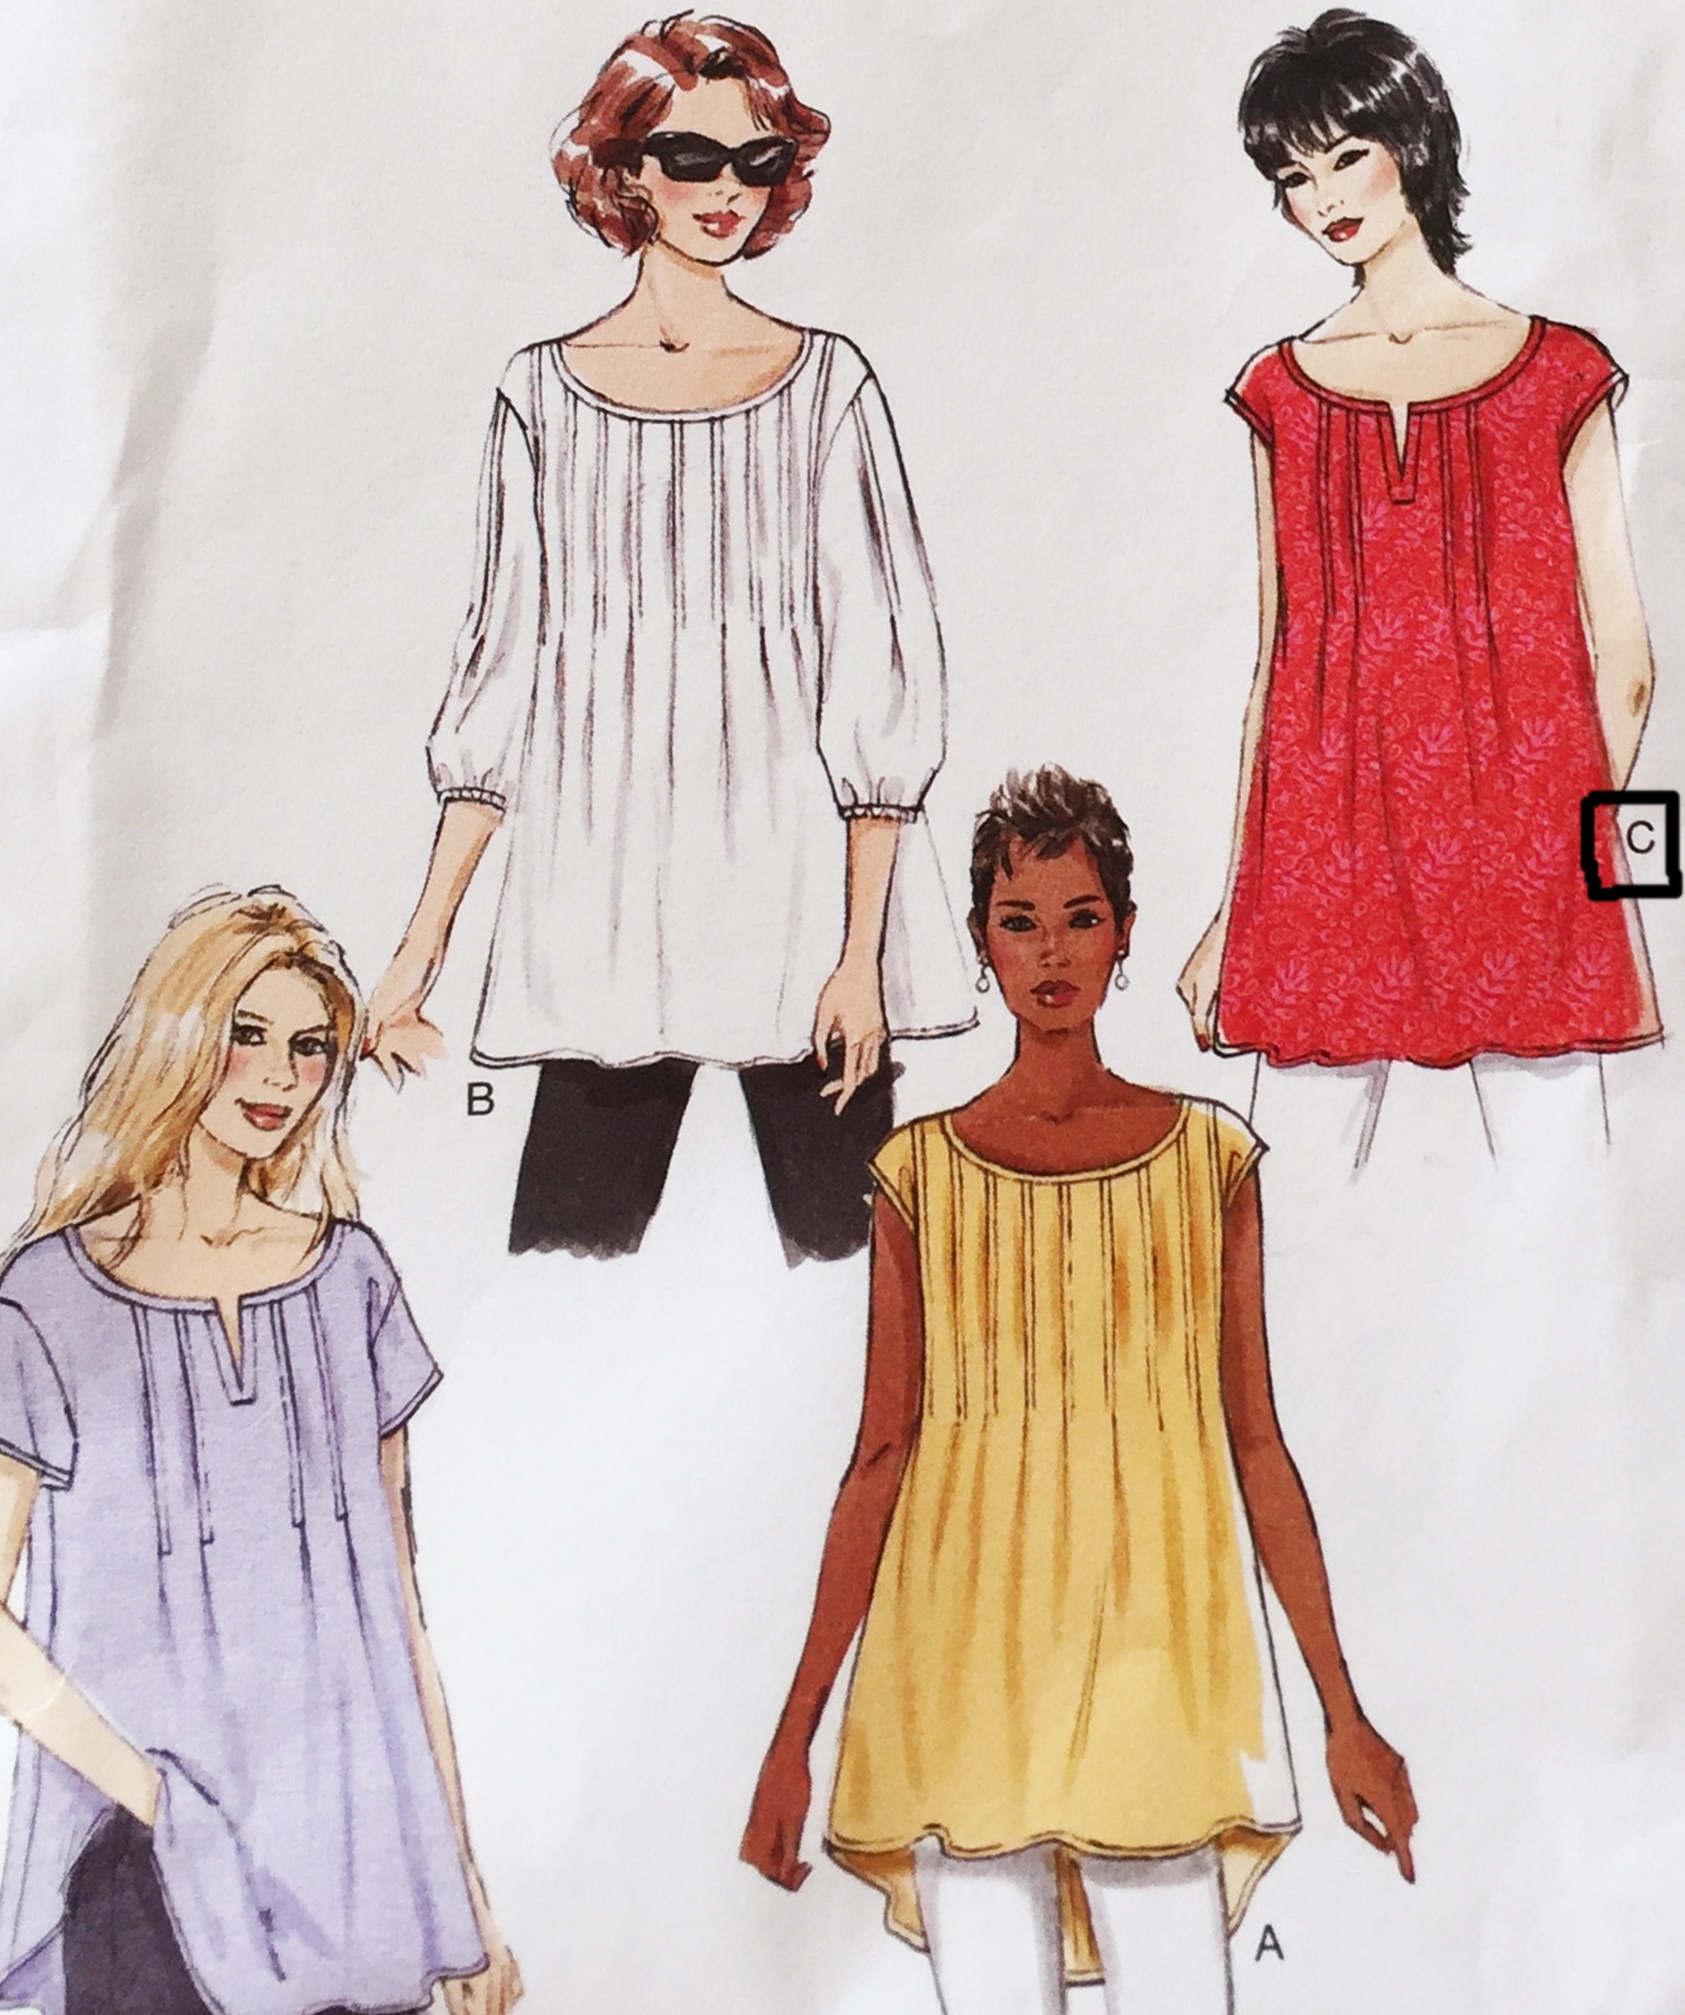
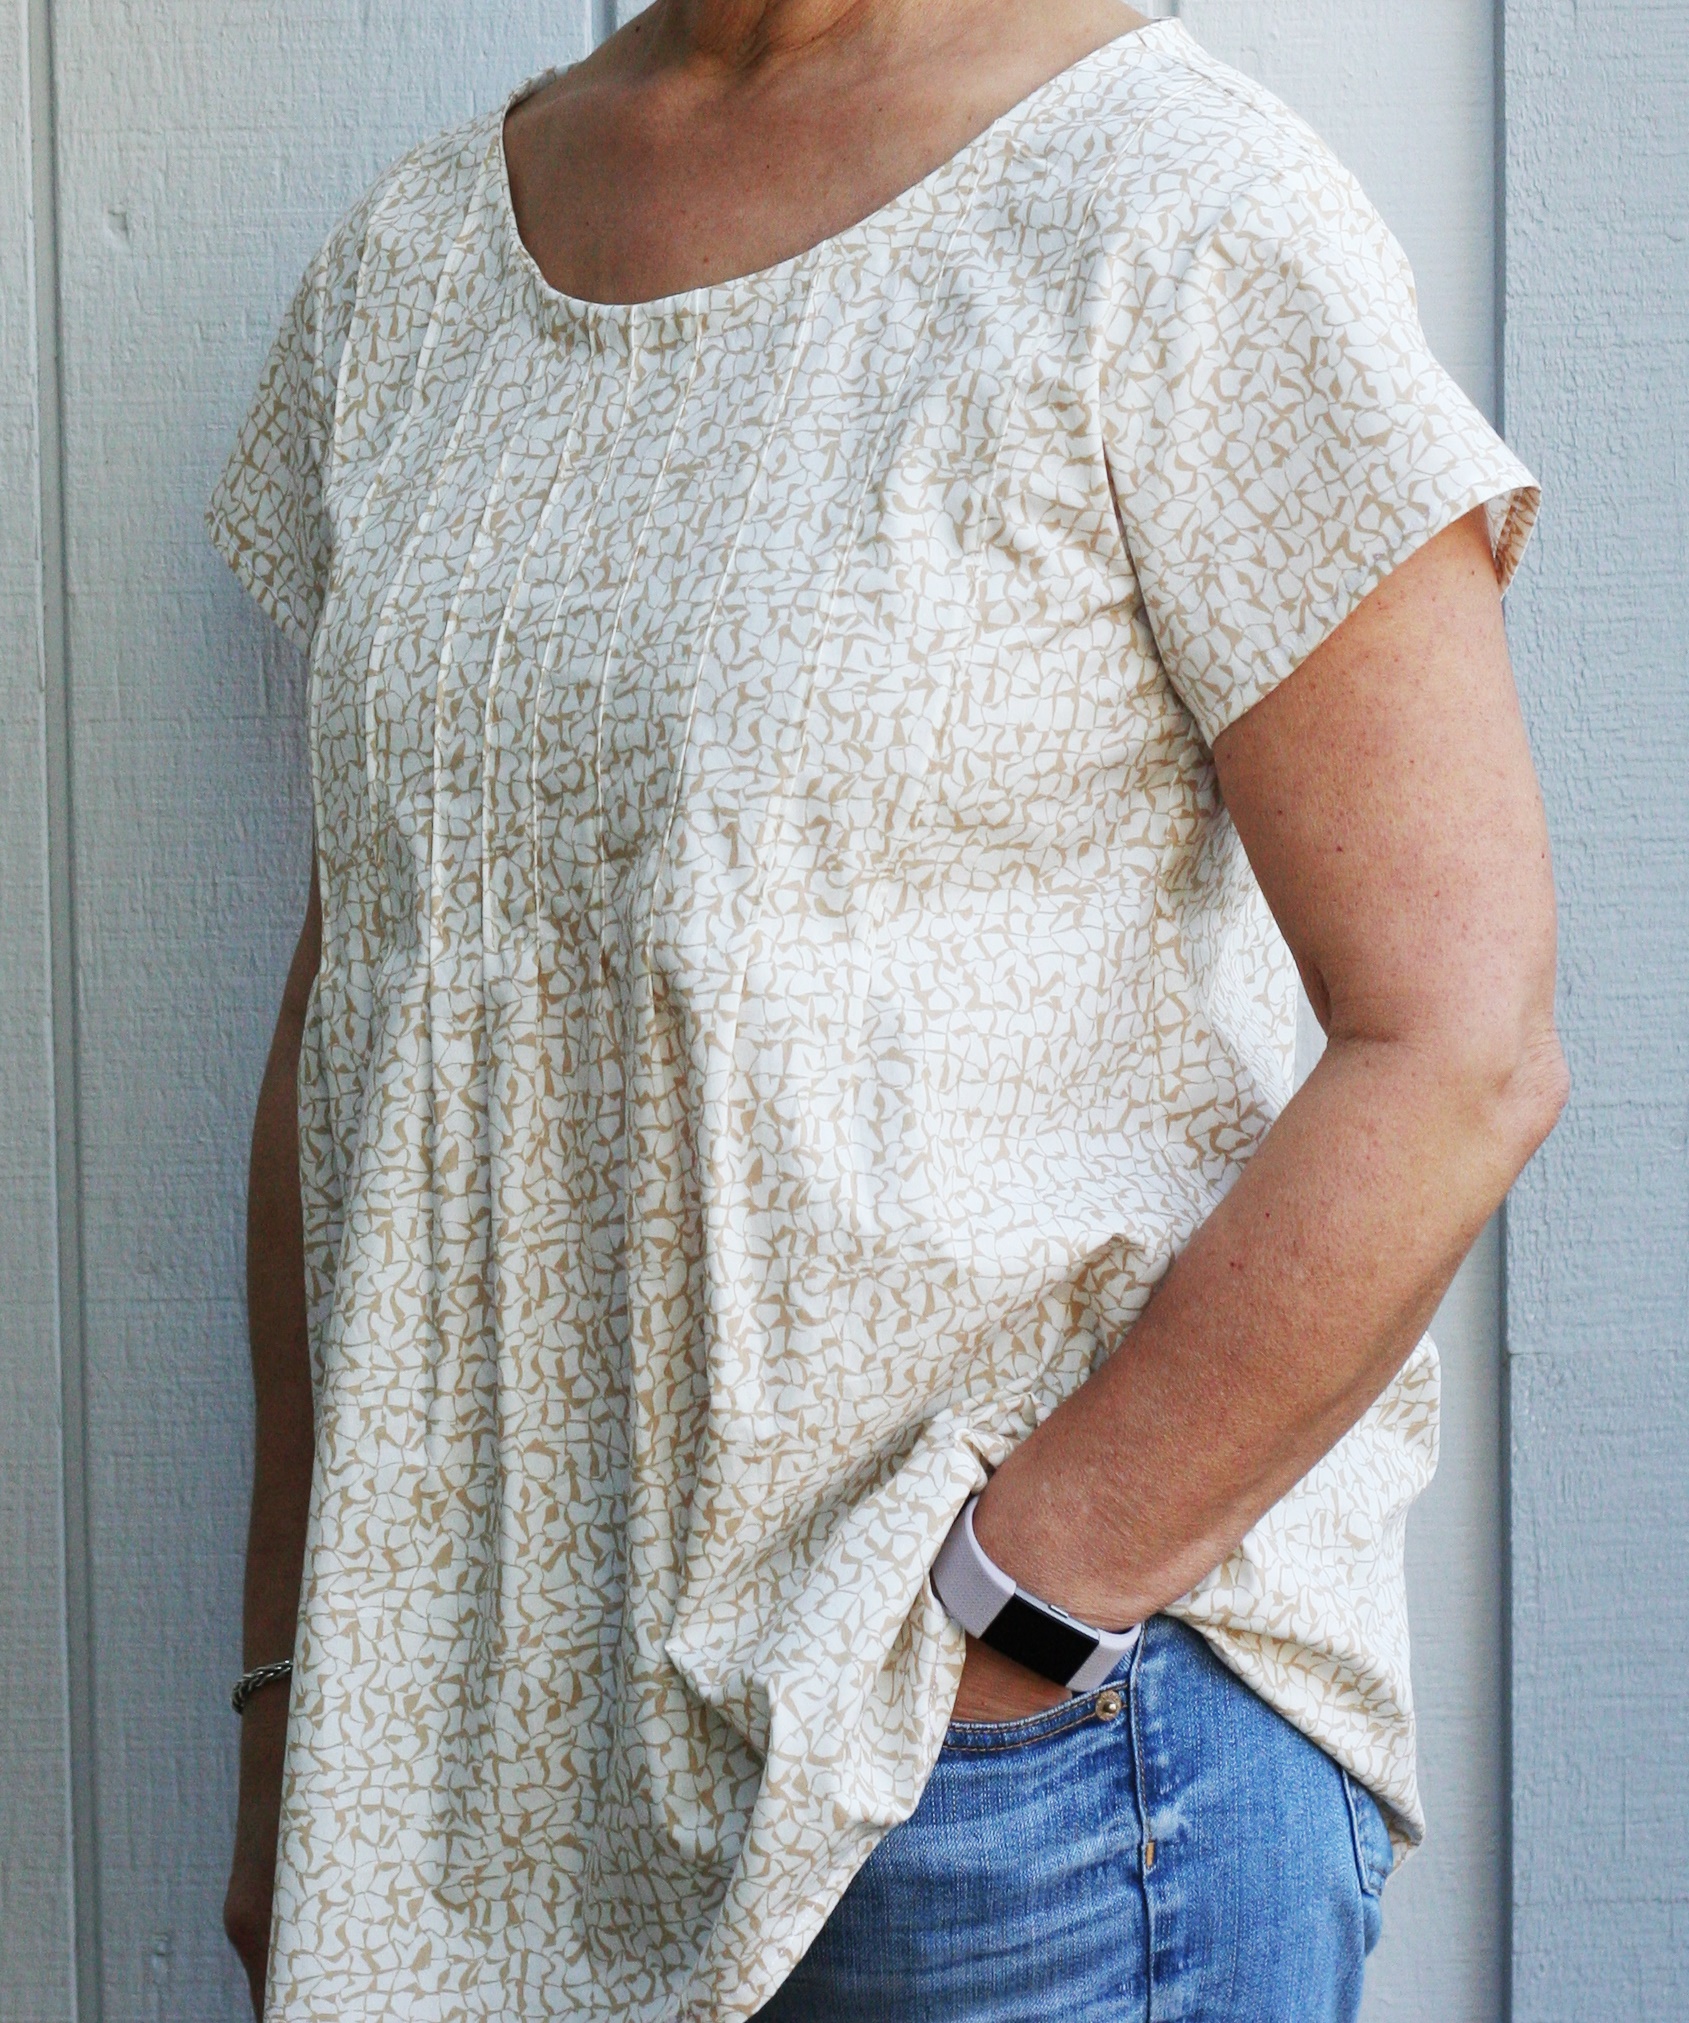
The forgiving fit of this blouse is another reason I selected it. We will be making view C which has a bit of a cap sleeve (really just an extended shoulder) and two pin tucks on either side of the neckline opening. I also chose view C because the hemline is straight. We won’t have to deal with hemming a curved hem. This loose fitting blouse pattern should make for a good beginner sewing experience.
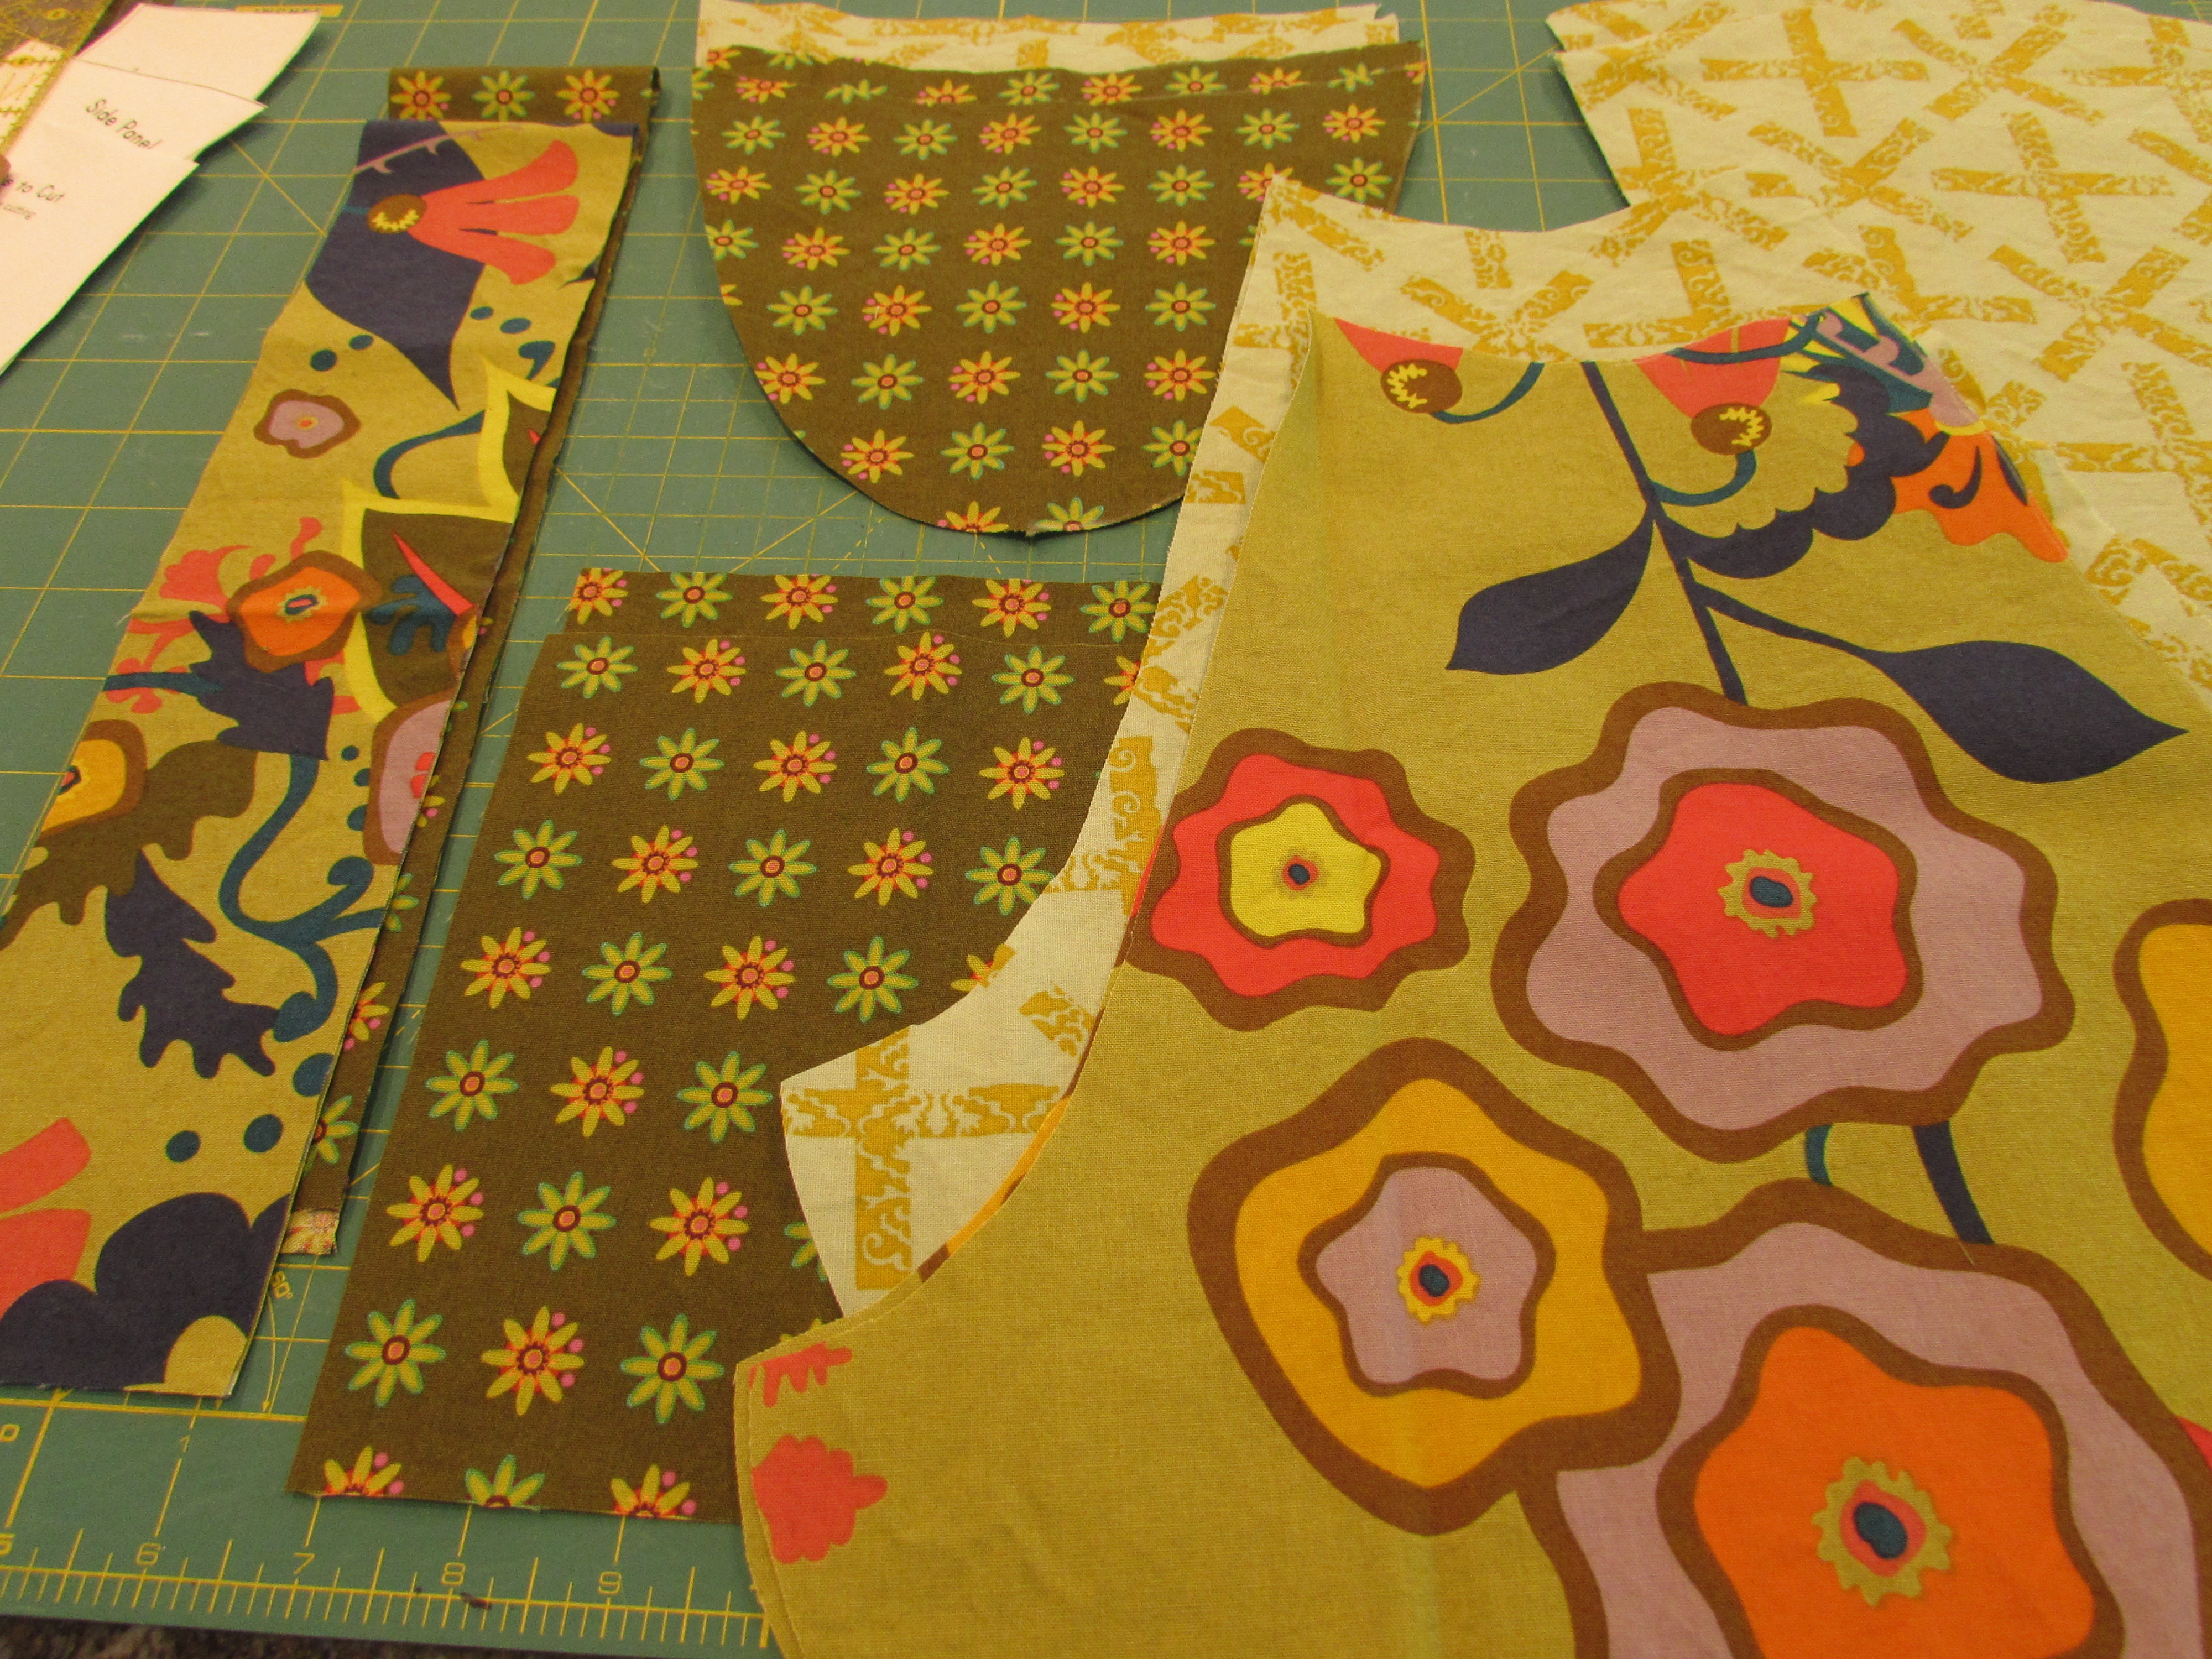
Now that we have selected the pattern, let’s look at fabric choices. You will see the yardage requirements on the back of the pattern envelope. This pattern suggests using lightweight cotton fabrics. These are fabrics such as chambrays, voiles, or rayon. Most quilting cottons are not considered to be light weight. The exception here would be Art Gallery Fabric. Art Gallery has a much silkier feel to it than other quilting cottons which allows for more drape. I have already made this blouse once with Art Gallery Fabric (the Diaphanous Sand fabric from the Gossamer line.) It is comfortable and hangs nicely. I do usually touch it up with the iron when I wash it though. There are so many fabrics available, both on-line and in the big box stores. While I am not going to go into detail on each of the types of lightweight cottons, I will say that sometimes the voiles and rayons can be a bit slippery to sew with. Just keep that in mind and use lots of pins. Chambrays and Art Gallery cottons are a bit easier to use.
To determine how much fabric you need, just look at the chart above. You will purchase the amount for View C listed under the size pattern you are using. The fabric you choose will either be 45″ or 60″ wide (some of the chambrays and voiles are wider fabrics than regular cottons). For example, if you are making view C in a size Large, you need either 2 and 7/8 yards of 45″ wide fabric or 2 and 1/2 yards of 60″ fabric.
Once you have your fabric be sure to prewash it according to the manufacturer’s instructions. Most likely you will wash on a gentle cycle with cold water and dry it on low heat. It is a fairly certain bet that a cotton fabric will have some slight shrinkage. You want to have the shrinking occur BEFORE you cut out your pieces. Otherwise, once you sew the blouse and wash it, it may shrink and then not fit as well afterward.
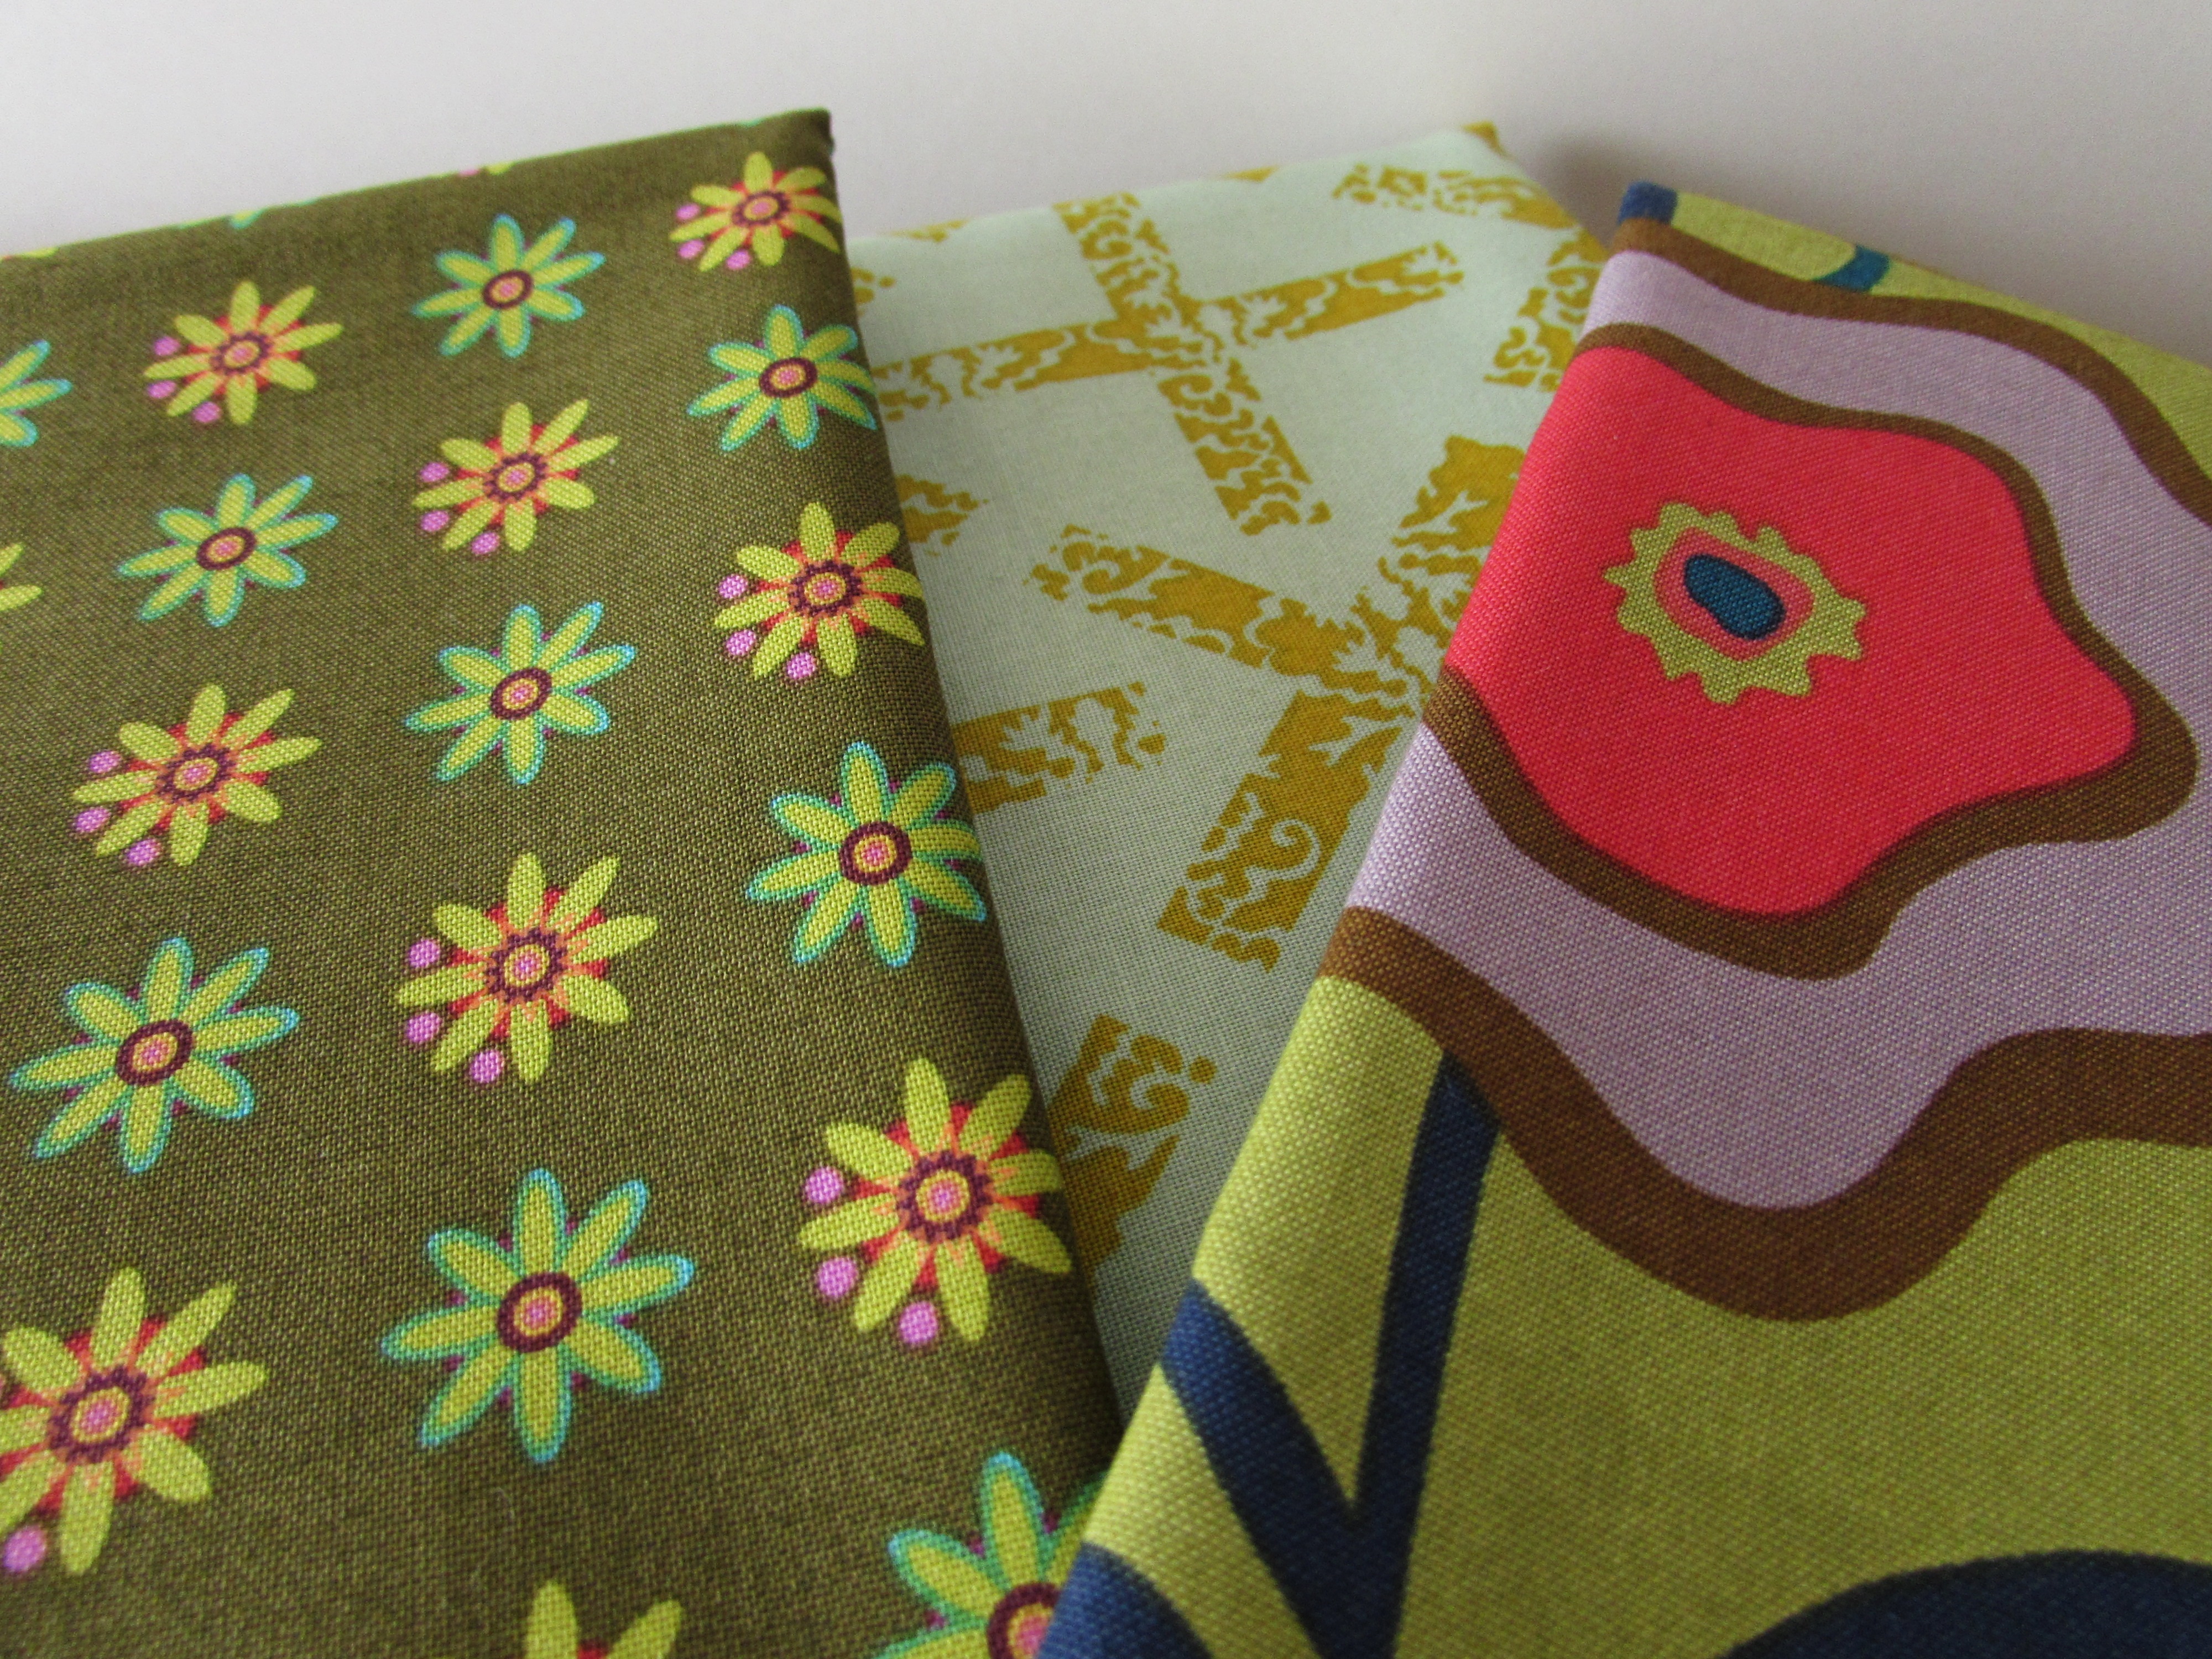
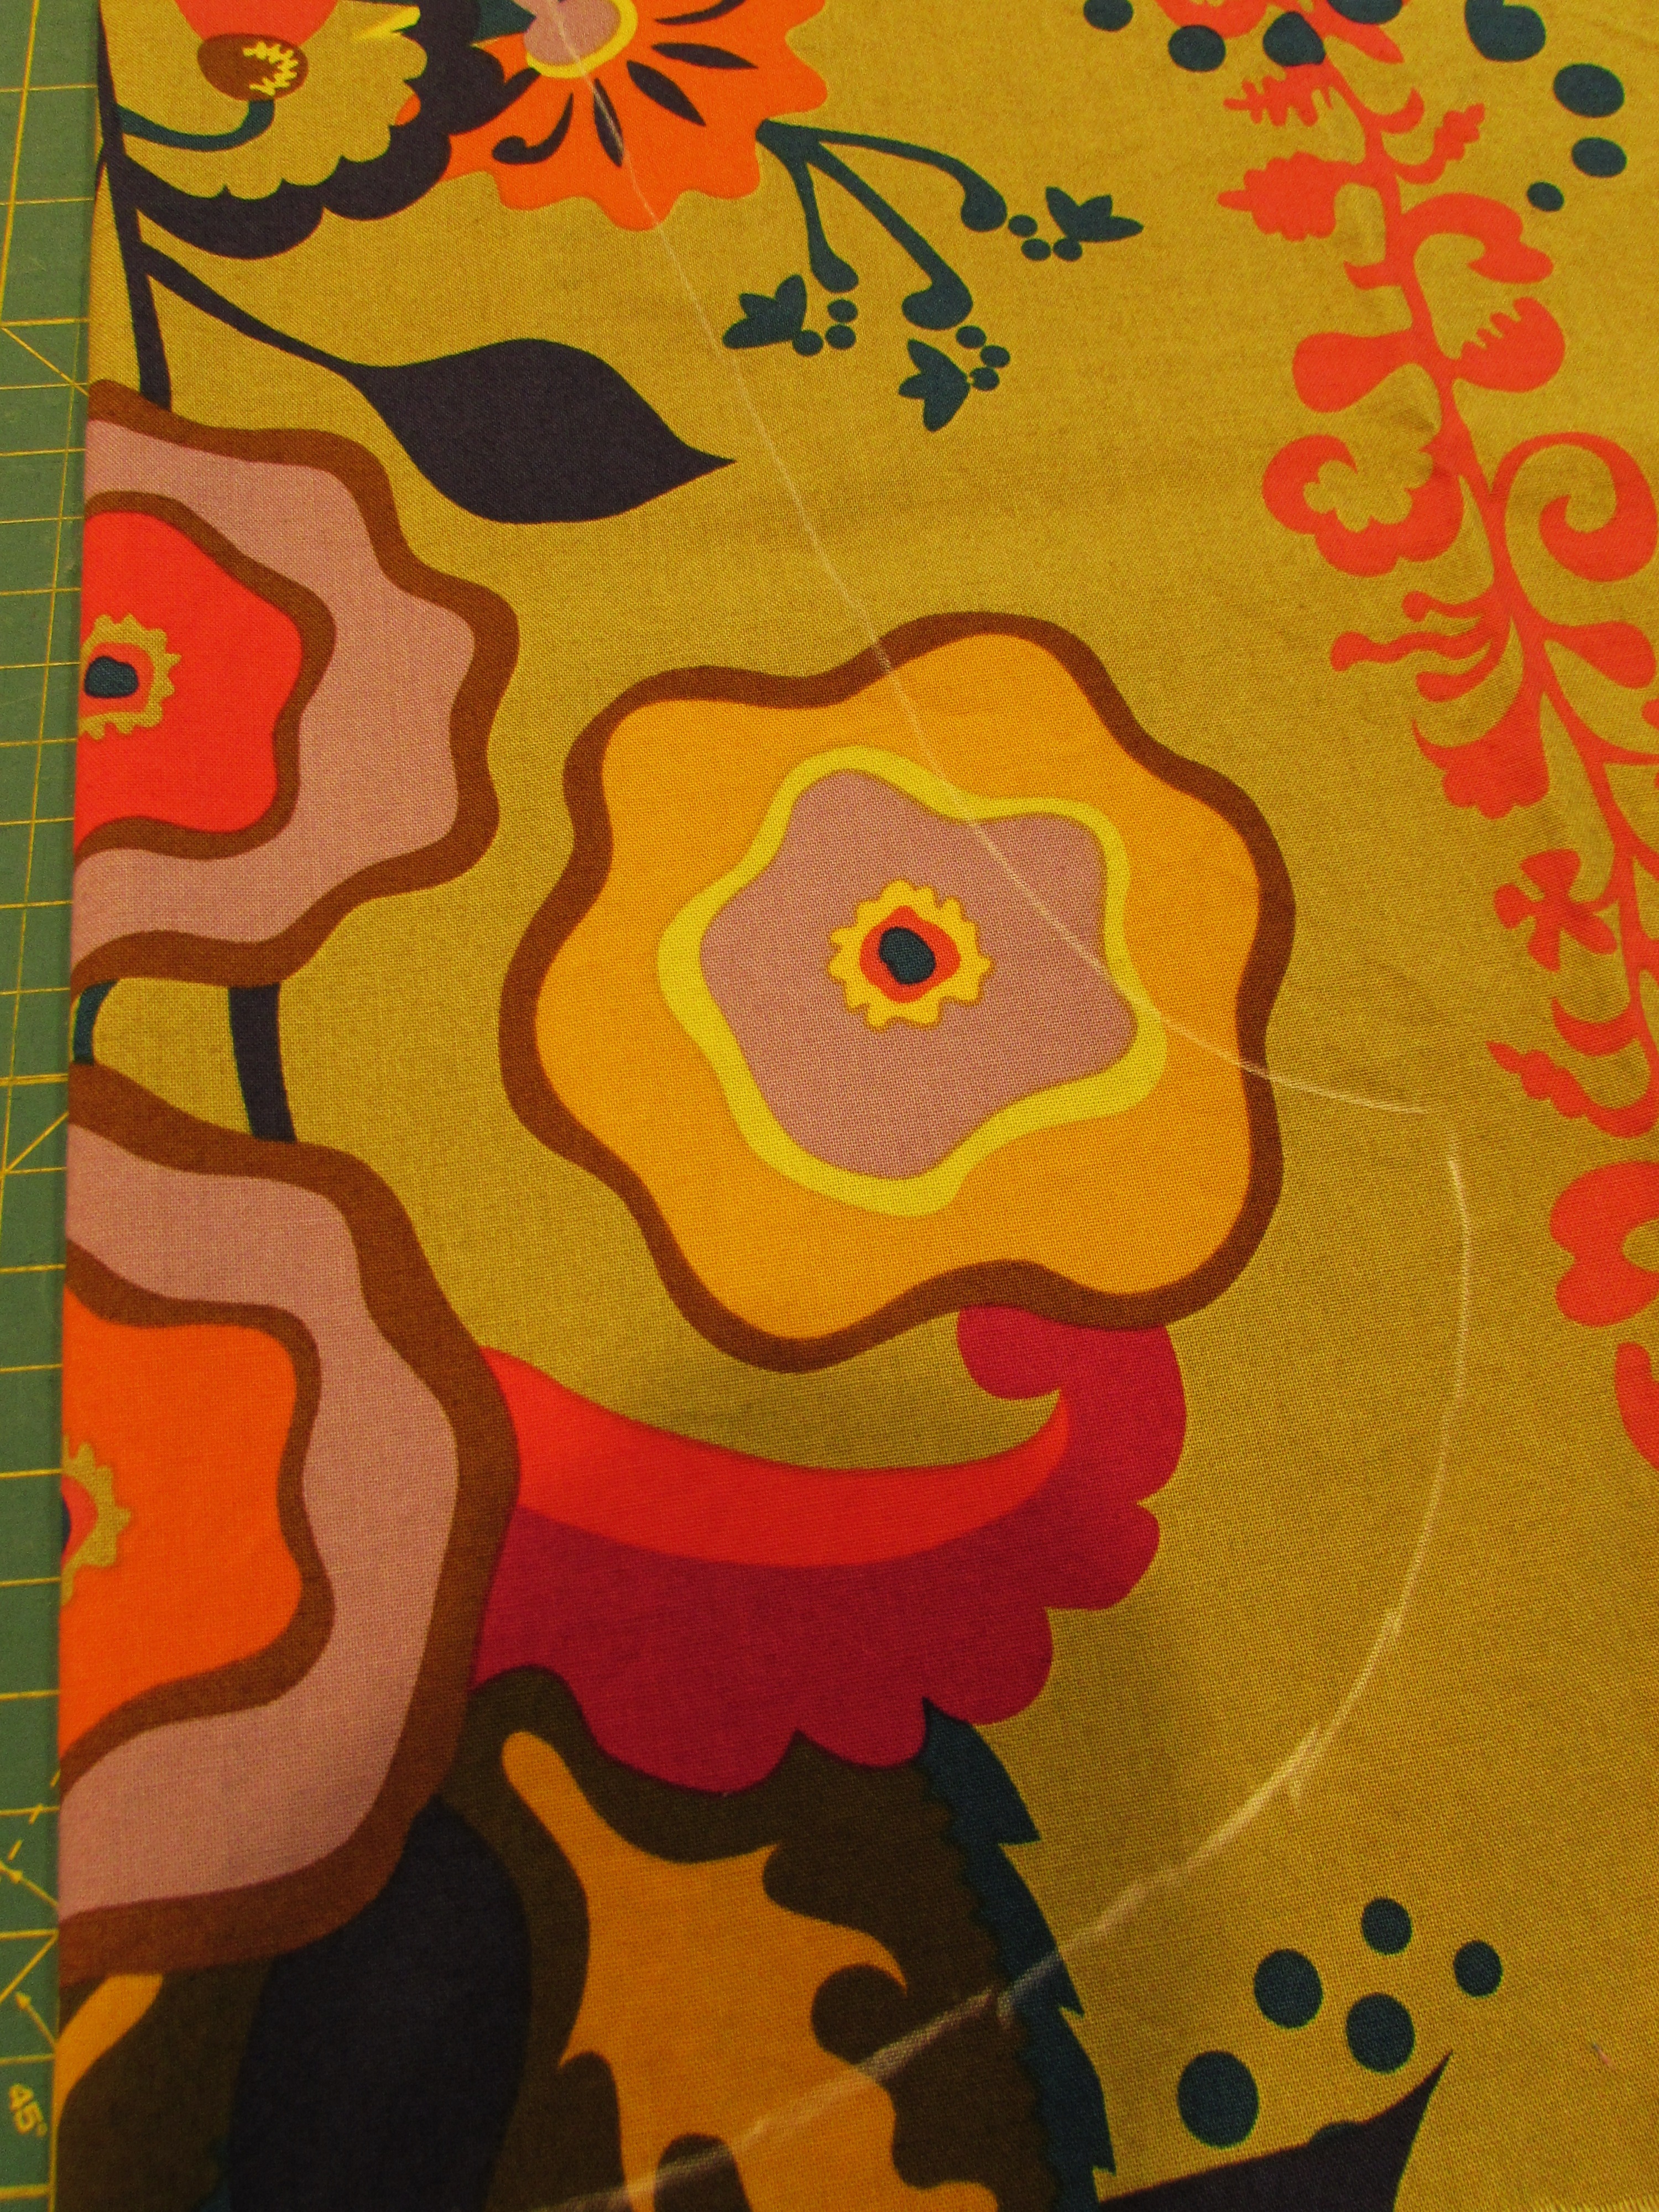
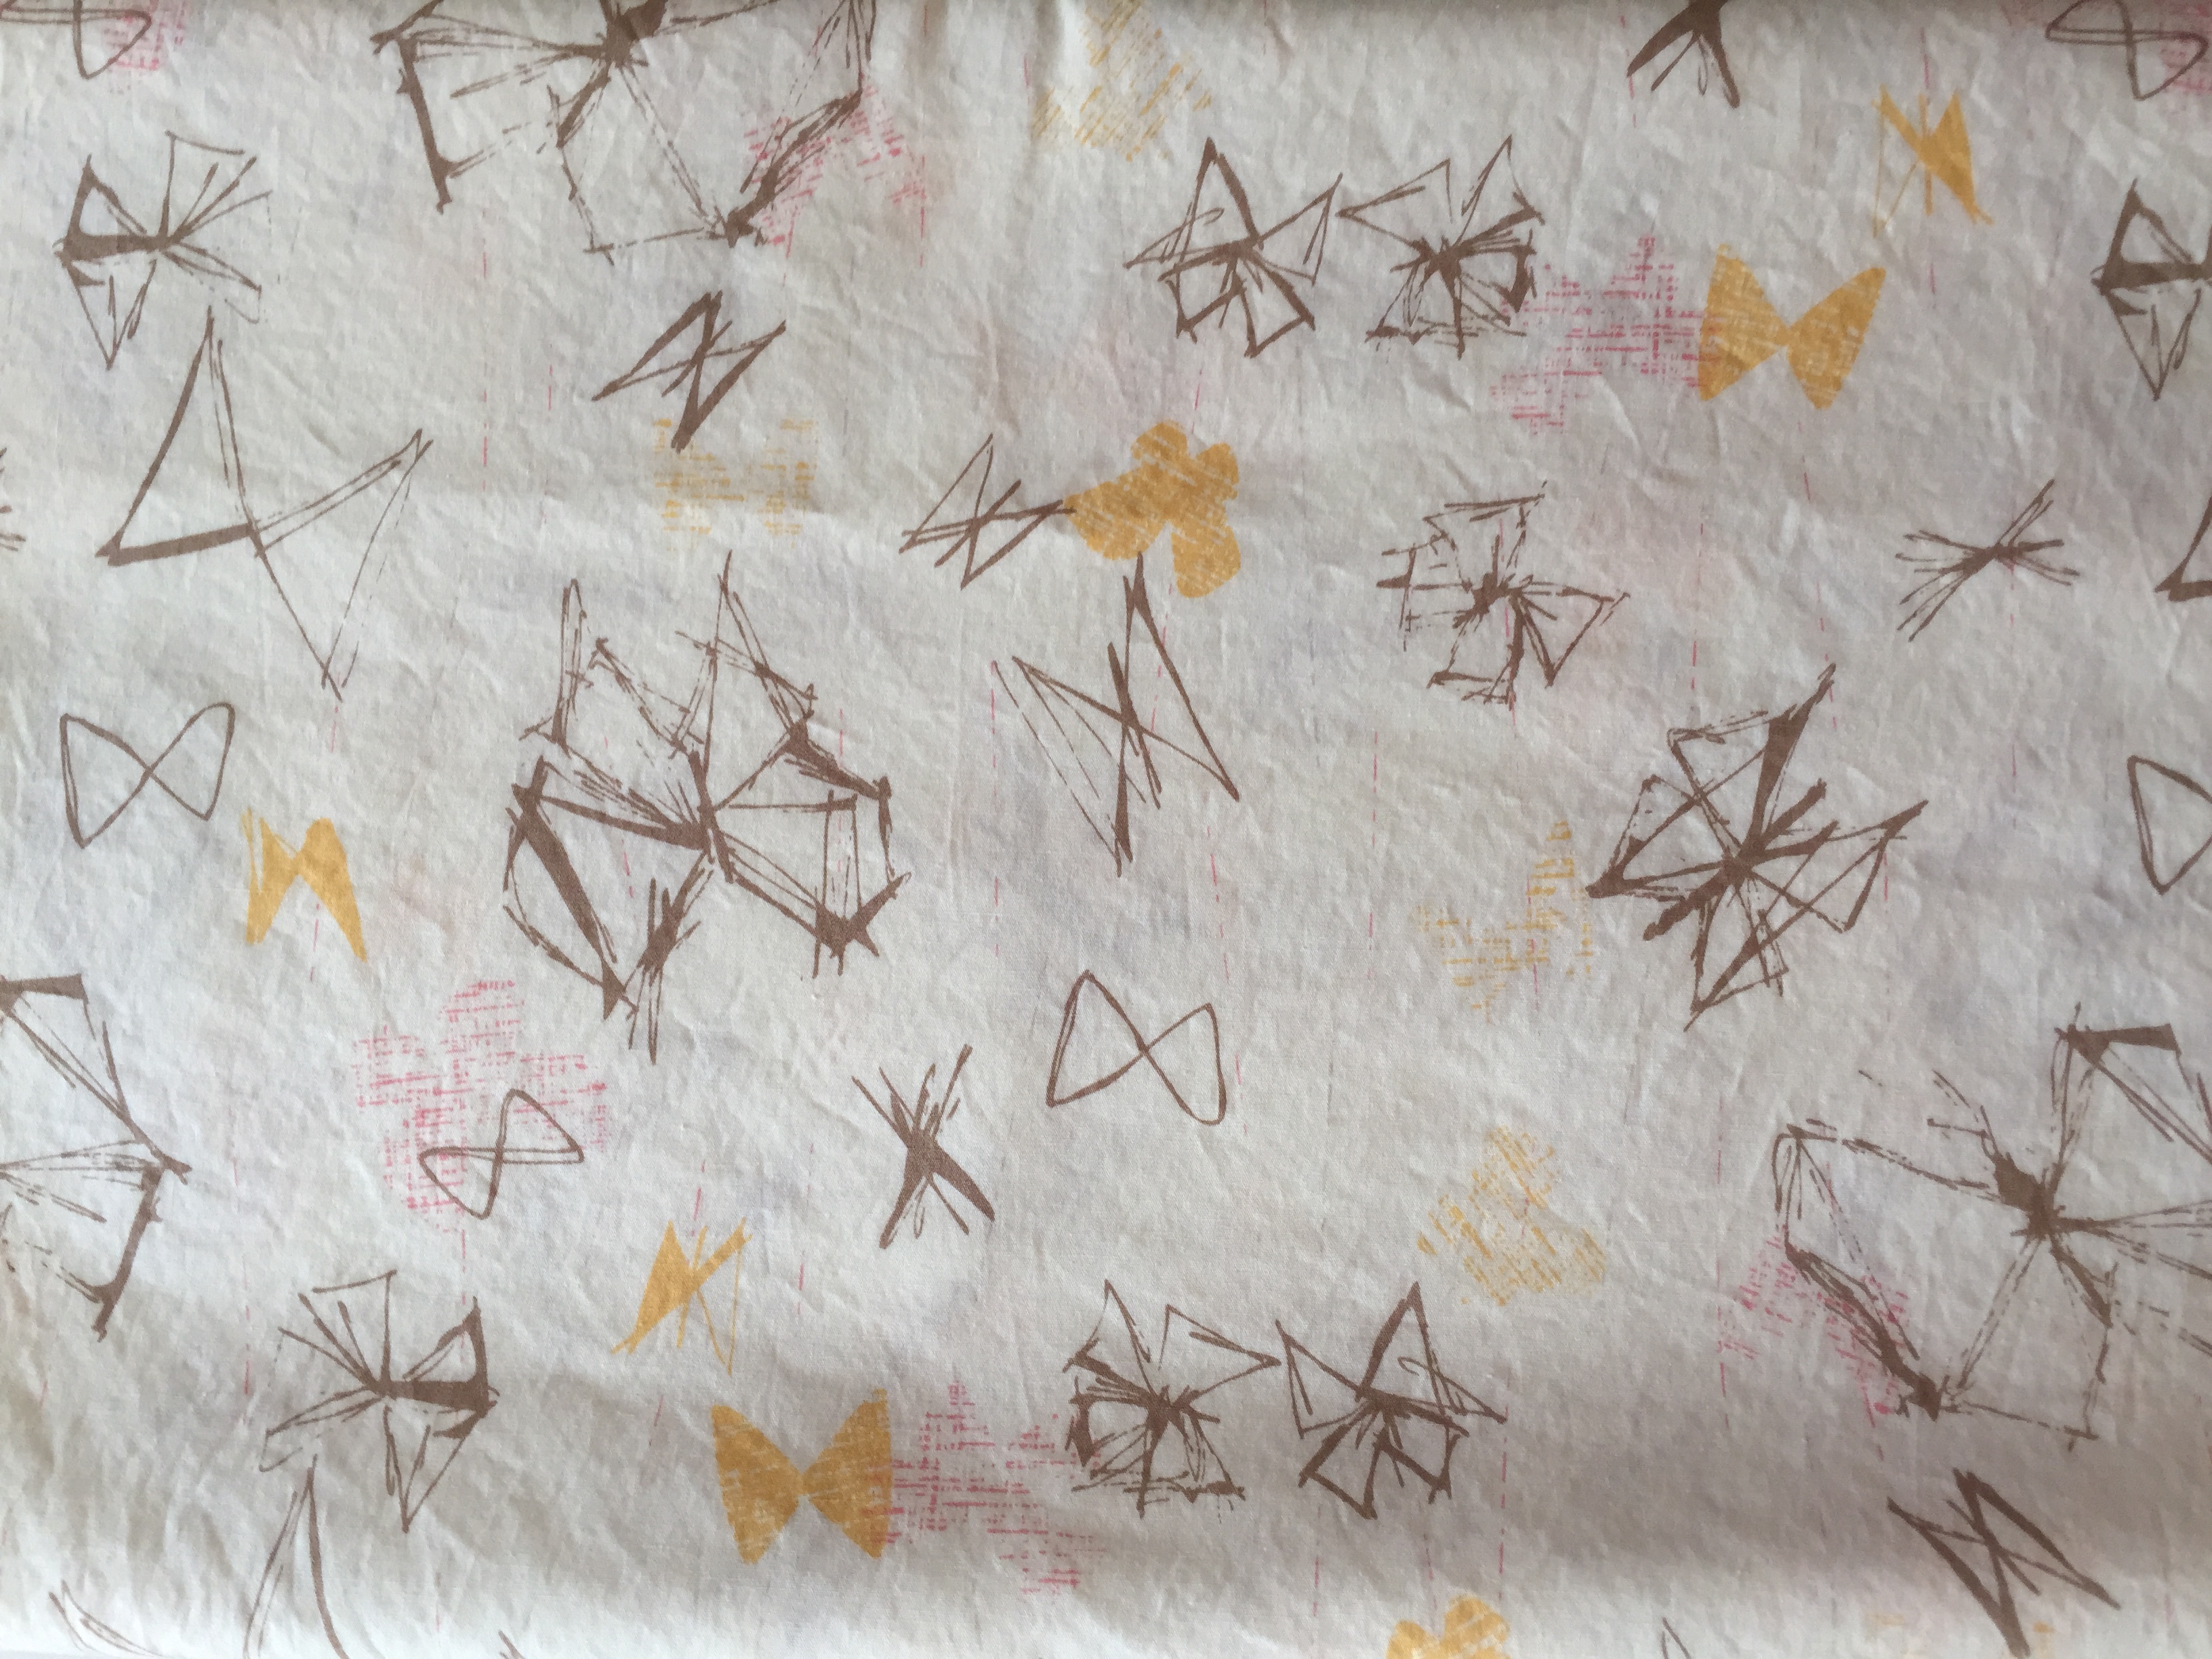
I plan to use this pretty fabric from the Gossamer line. It is called Filaments Ethereal. I measured the piece and then prewashed it. It had about 3/8″ shrinkage. The pictures show the fabric as it came out of the dryer. Wrinkled but not terribly so.
As I said earlier, this blouse is a simple one. Therefore, not a lot of supplies are required. Here is the list of supplies needed for our sew along:
- Lightweight cotton fabric
- Butterick pattern B6024
- 1/4 yard of 18″-20″ wide light weight fusible interfacing
- Basic sewing machine with straight stitch and zig-zag capability
- Soft measuring tape (to take your physical measurements
- Smaller clear ruler (the smallest of your quilting rulers will be fine)
- Scissors, thread and hand sewing needle
The project will be broken down as follows.
- June 6: Fabric and Pattern selection (you are here!)
- June 16: Laying out your pattern and cutting the pieces
- June 19: Begin sewing – the front piece details (pin tucks & neck slit)
- June 22: Shoulder, back and side seams. Seam finishing lesson.
- June 26: Finishing details, including neckline and sleeve finishing as well as the hem.
- June 30: Link up our finishes from blog posts or Instagram photos.
All of the posts will live here on the blog. If this isn’t a good time for you to join in, you can always work through the blouse on your own timeline. Comments and questions along the way are encouraged. There is no question too simple. I plan to write the posts assuming the reader has very little sewing experience. This way I will cover the details. If you have sewn garments before, it may seem simplistic but I want to be sure a reader new to sewing will be successful.
I set up a closed group on Facebook called Needle & Foot Sew Along. I would love it if you joined in. Let’s all post progress pictures and any questions we might have. Also, please help each other. If you have a suggestion or an answer to someone’s question, feel free to post them. The group is a closed group so you will need to click on join and I will approve you. Others will not be able to see our posts. I want to respect your privacy.
If you have a blog and want to grab the button for your sidebar, it is available! Let me know and I will send you the HTML code.
Finally, for participants of this sew along, I would love to offer you a discount on the Art Gallery Fabrics I carry in my shop. Use coupon code SEWALONG15 for a 15% discount. The coupon code will expire on Sunday, June 11th. I want to be sure you get your fabric ordered (whether from me or someone else) so that everyone has fabric and pattern ready to go by Friday, June 16th.
Here is the homework that needs to be completed before the next post on June 16th.
- Order your pattern
- Purchase your fabric and interfacing
- Prewash your fabric
Leave any questions or concerns in the comments. Have fun selecting your fabric!! See you back here on Friday, June 16th! 🙂