Tag Archives: tote bag sewing

A Linen/Cotton Version of the Hobo Bag

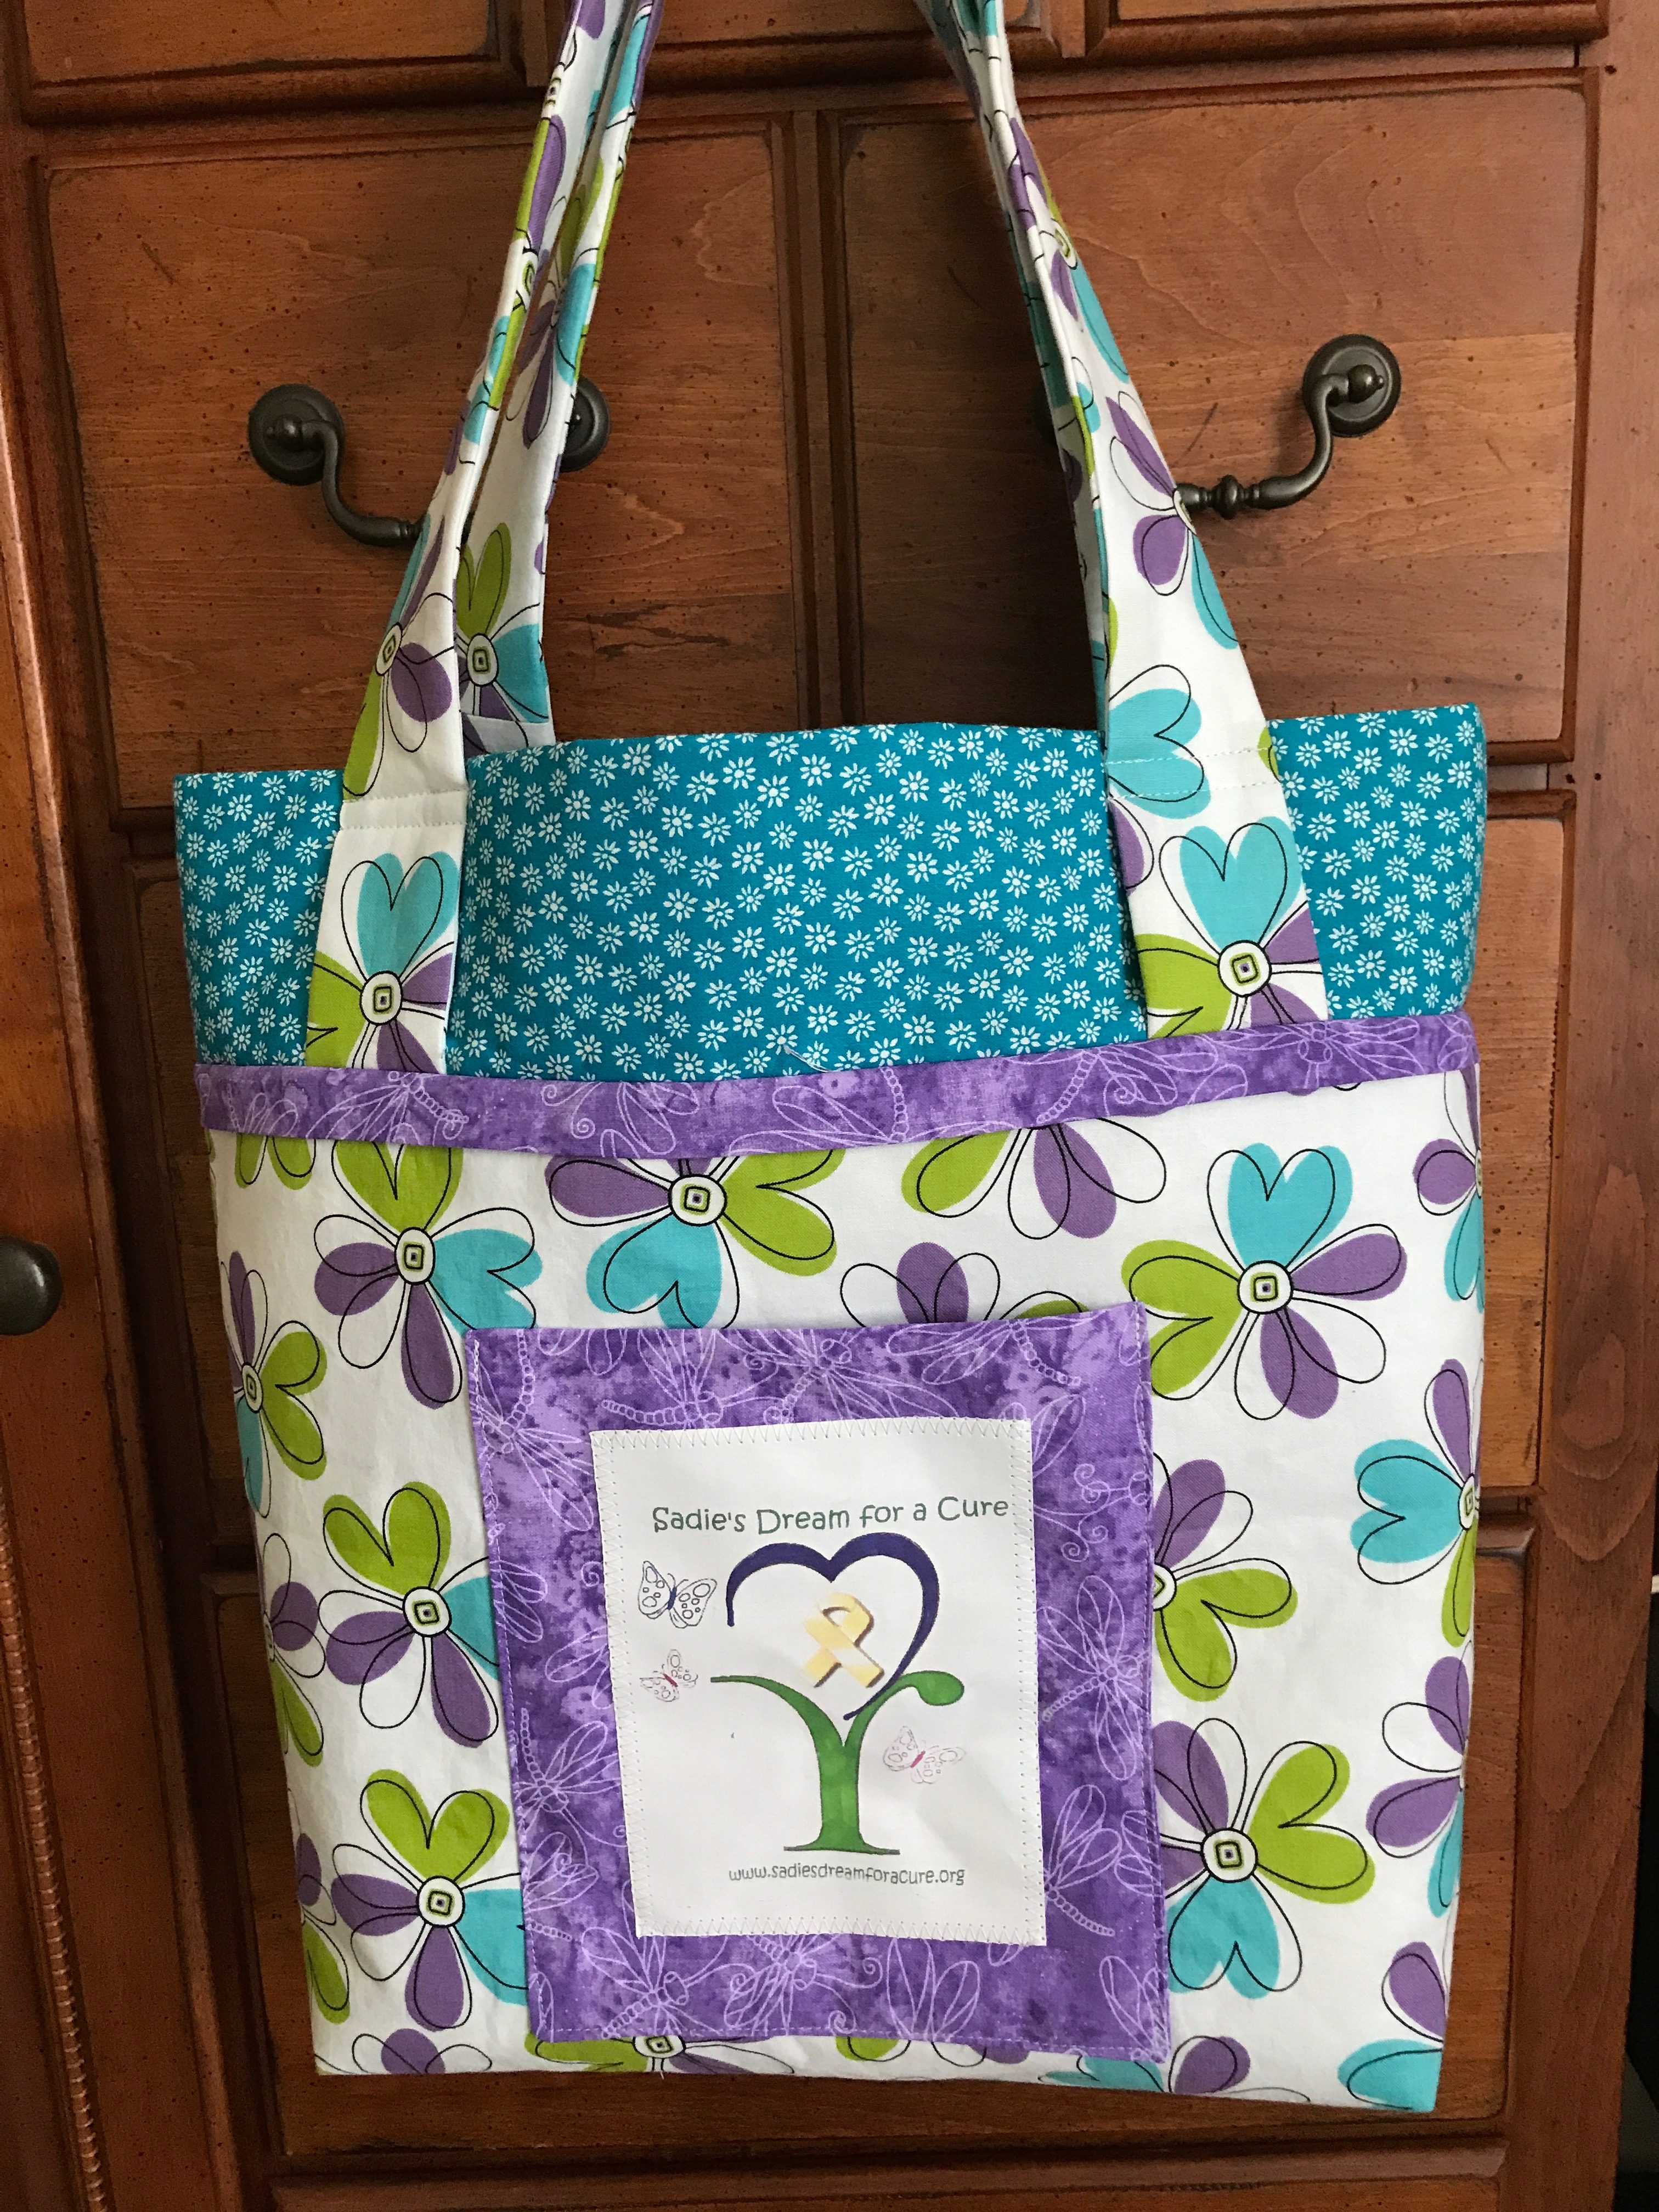
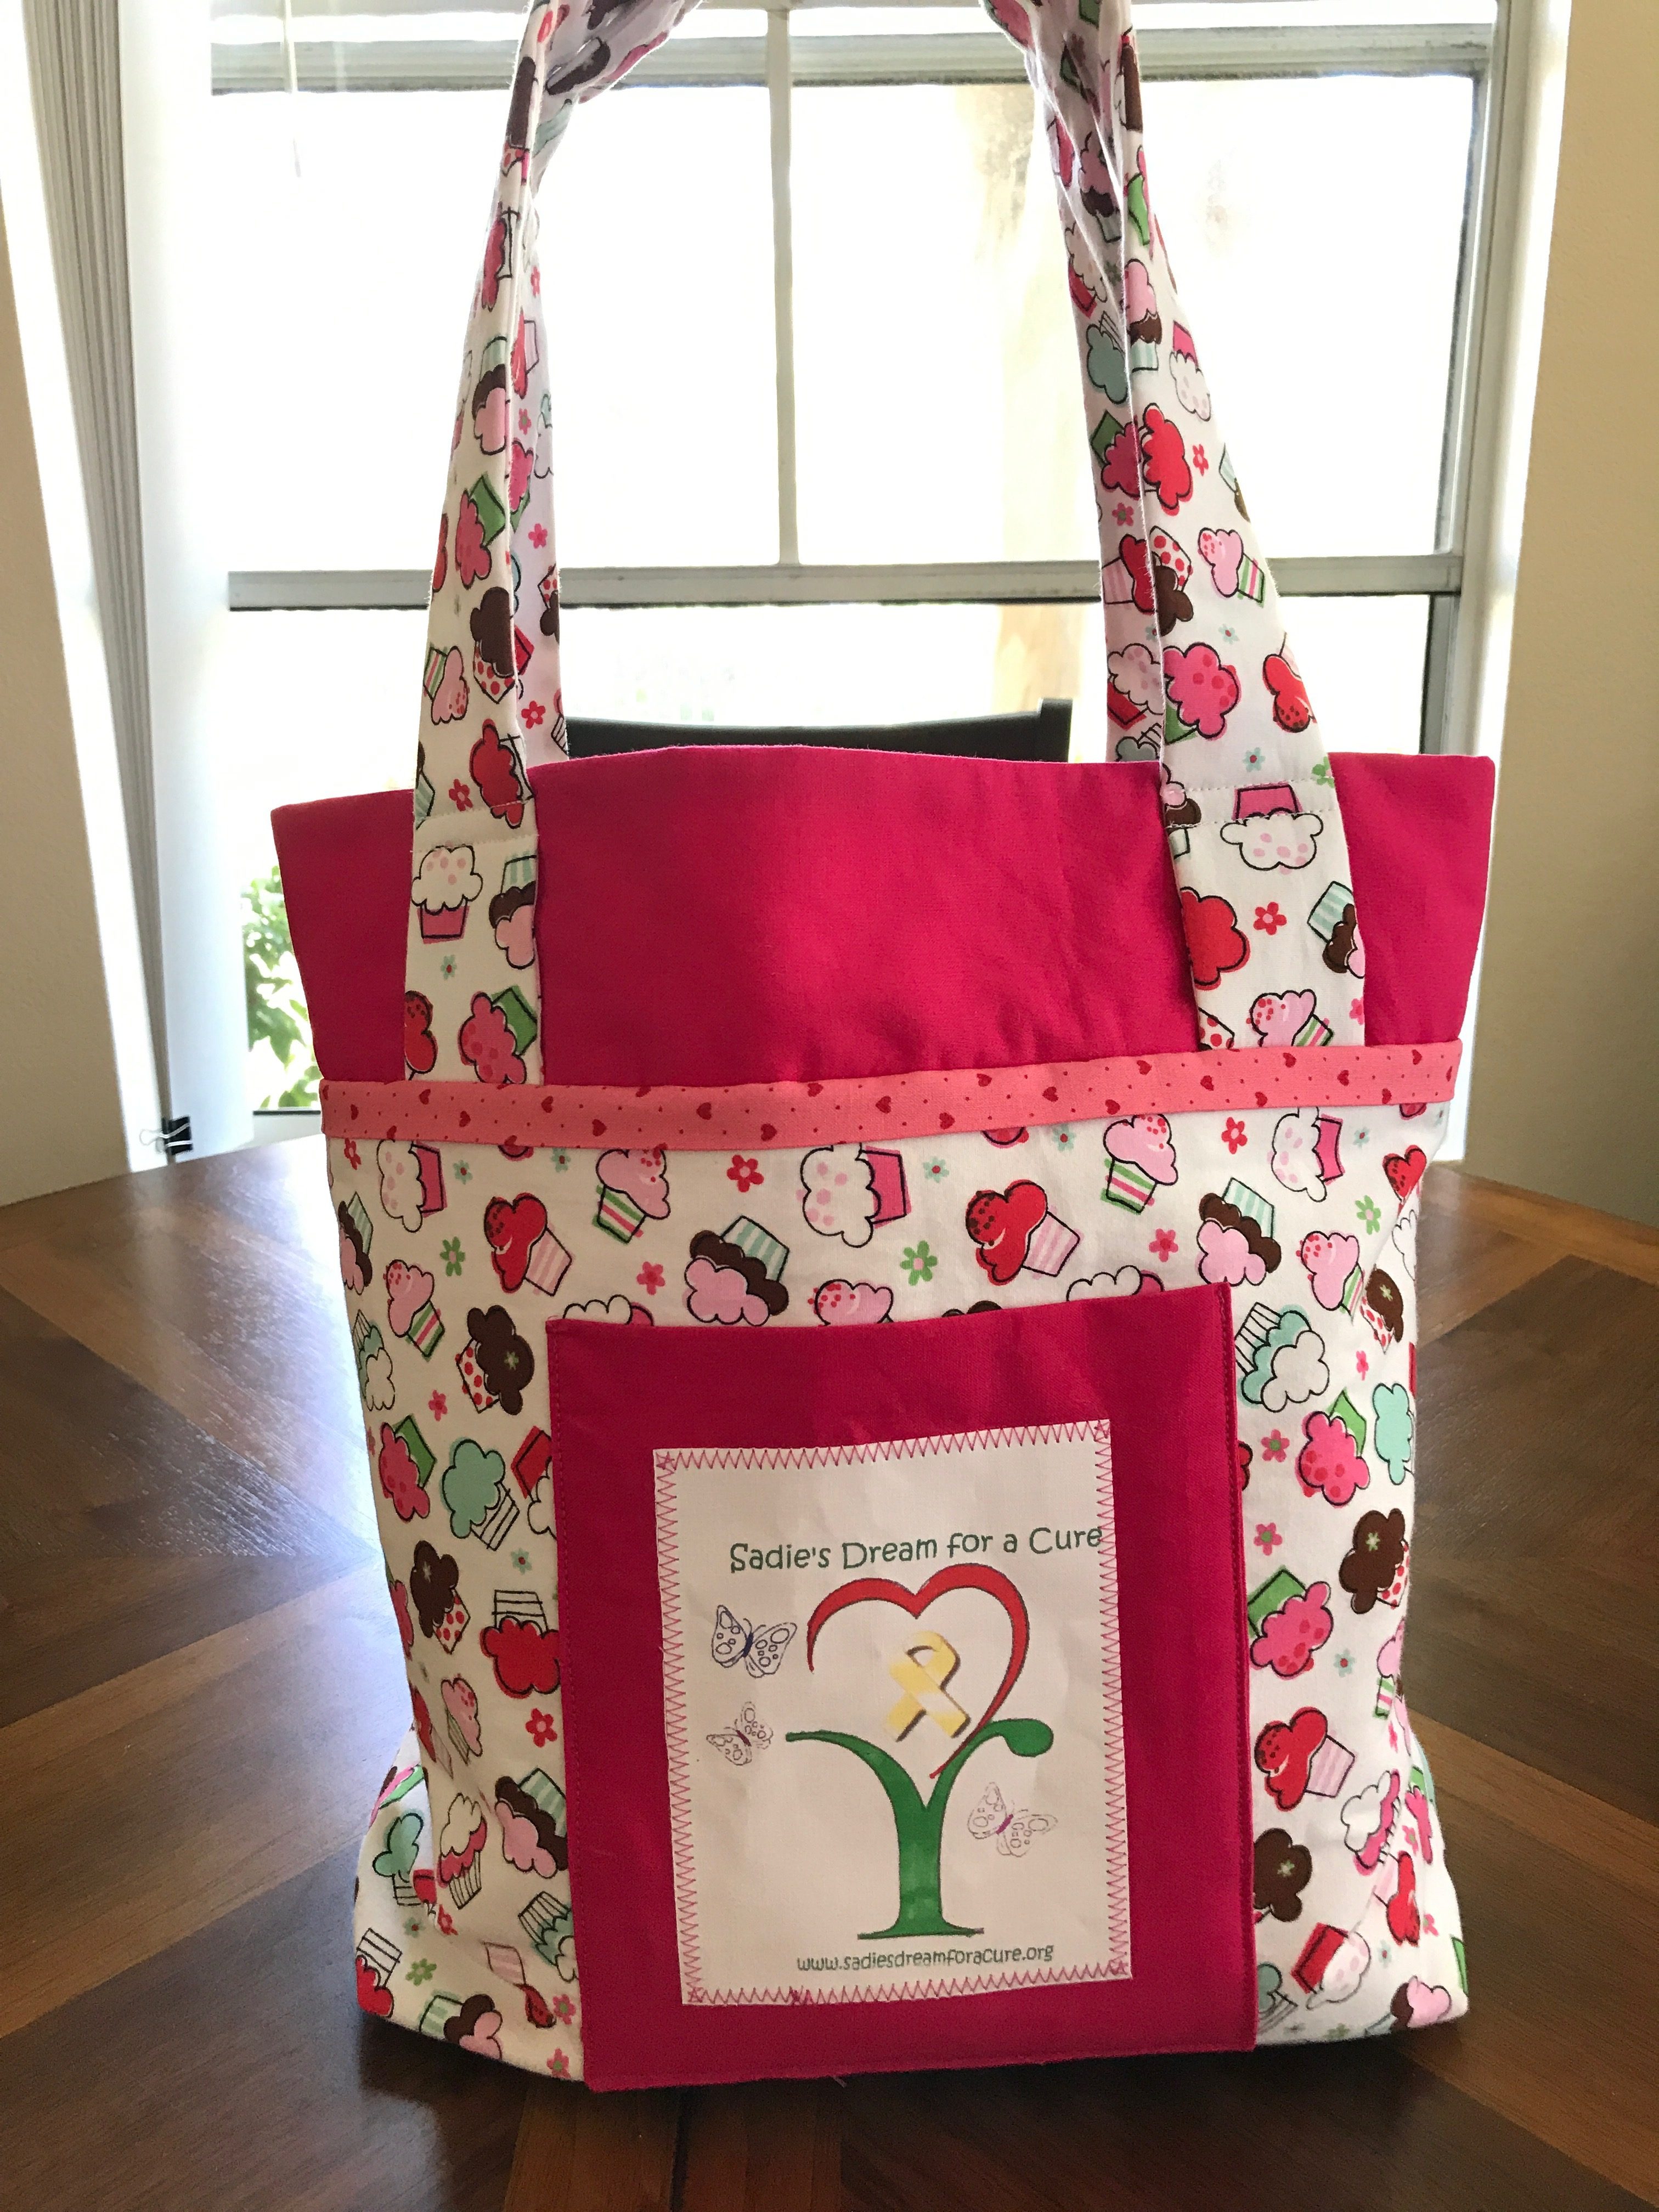
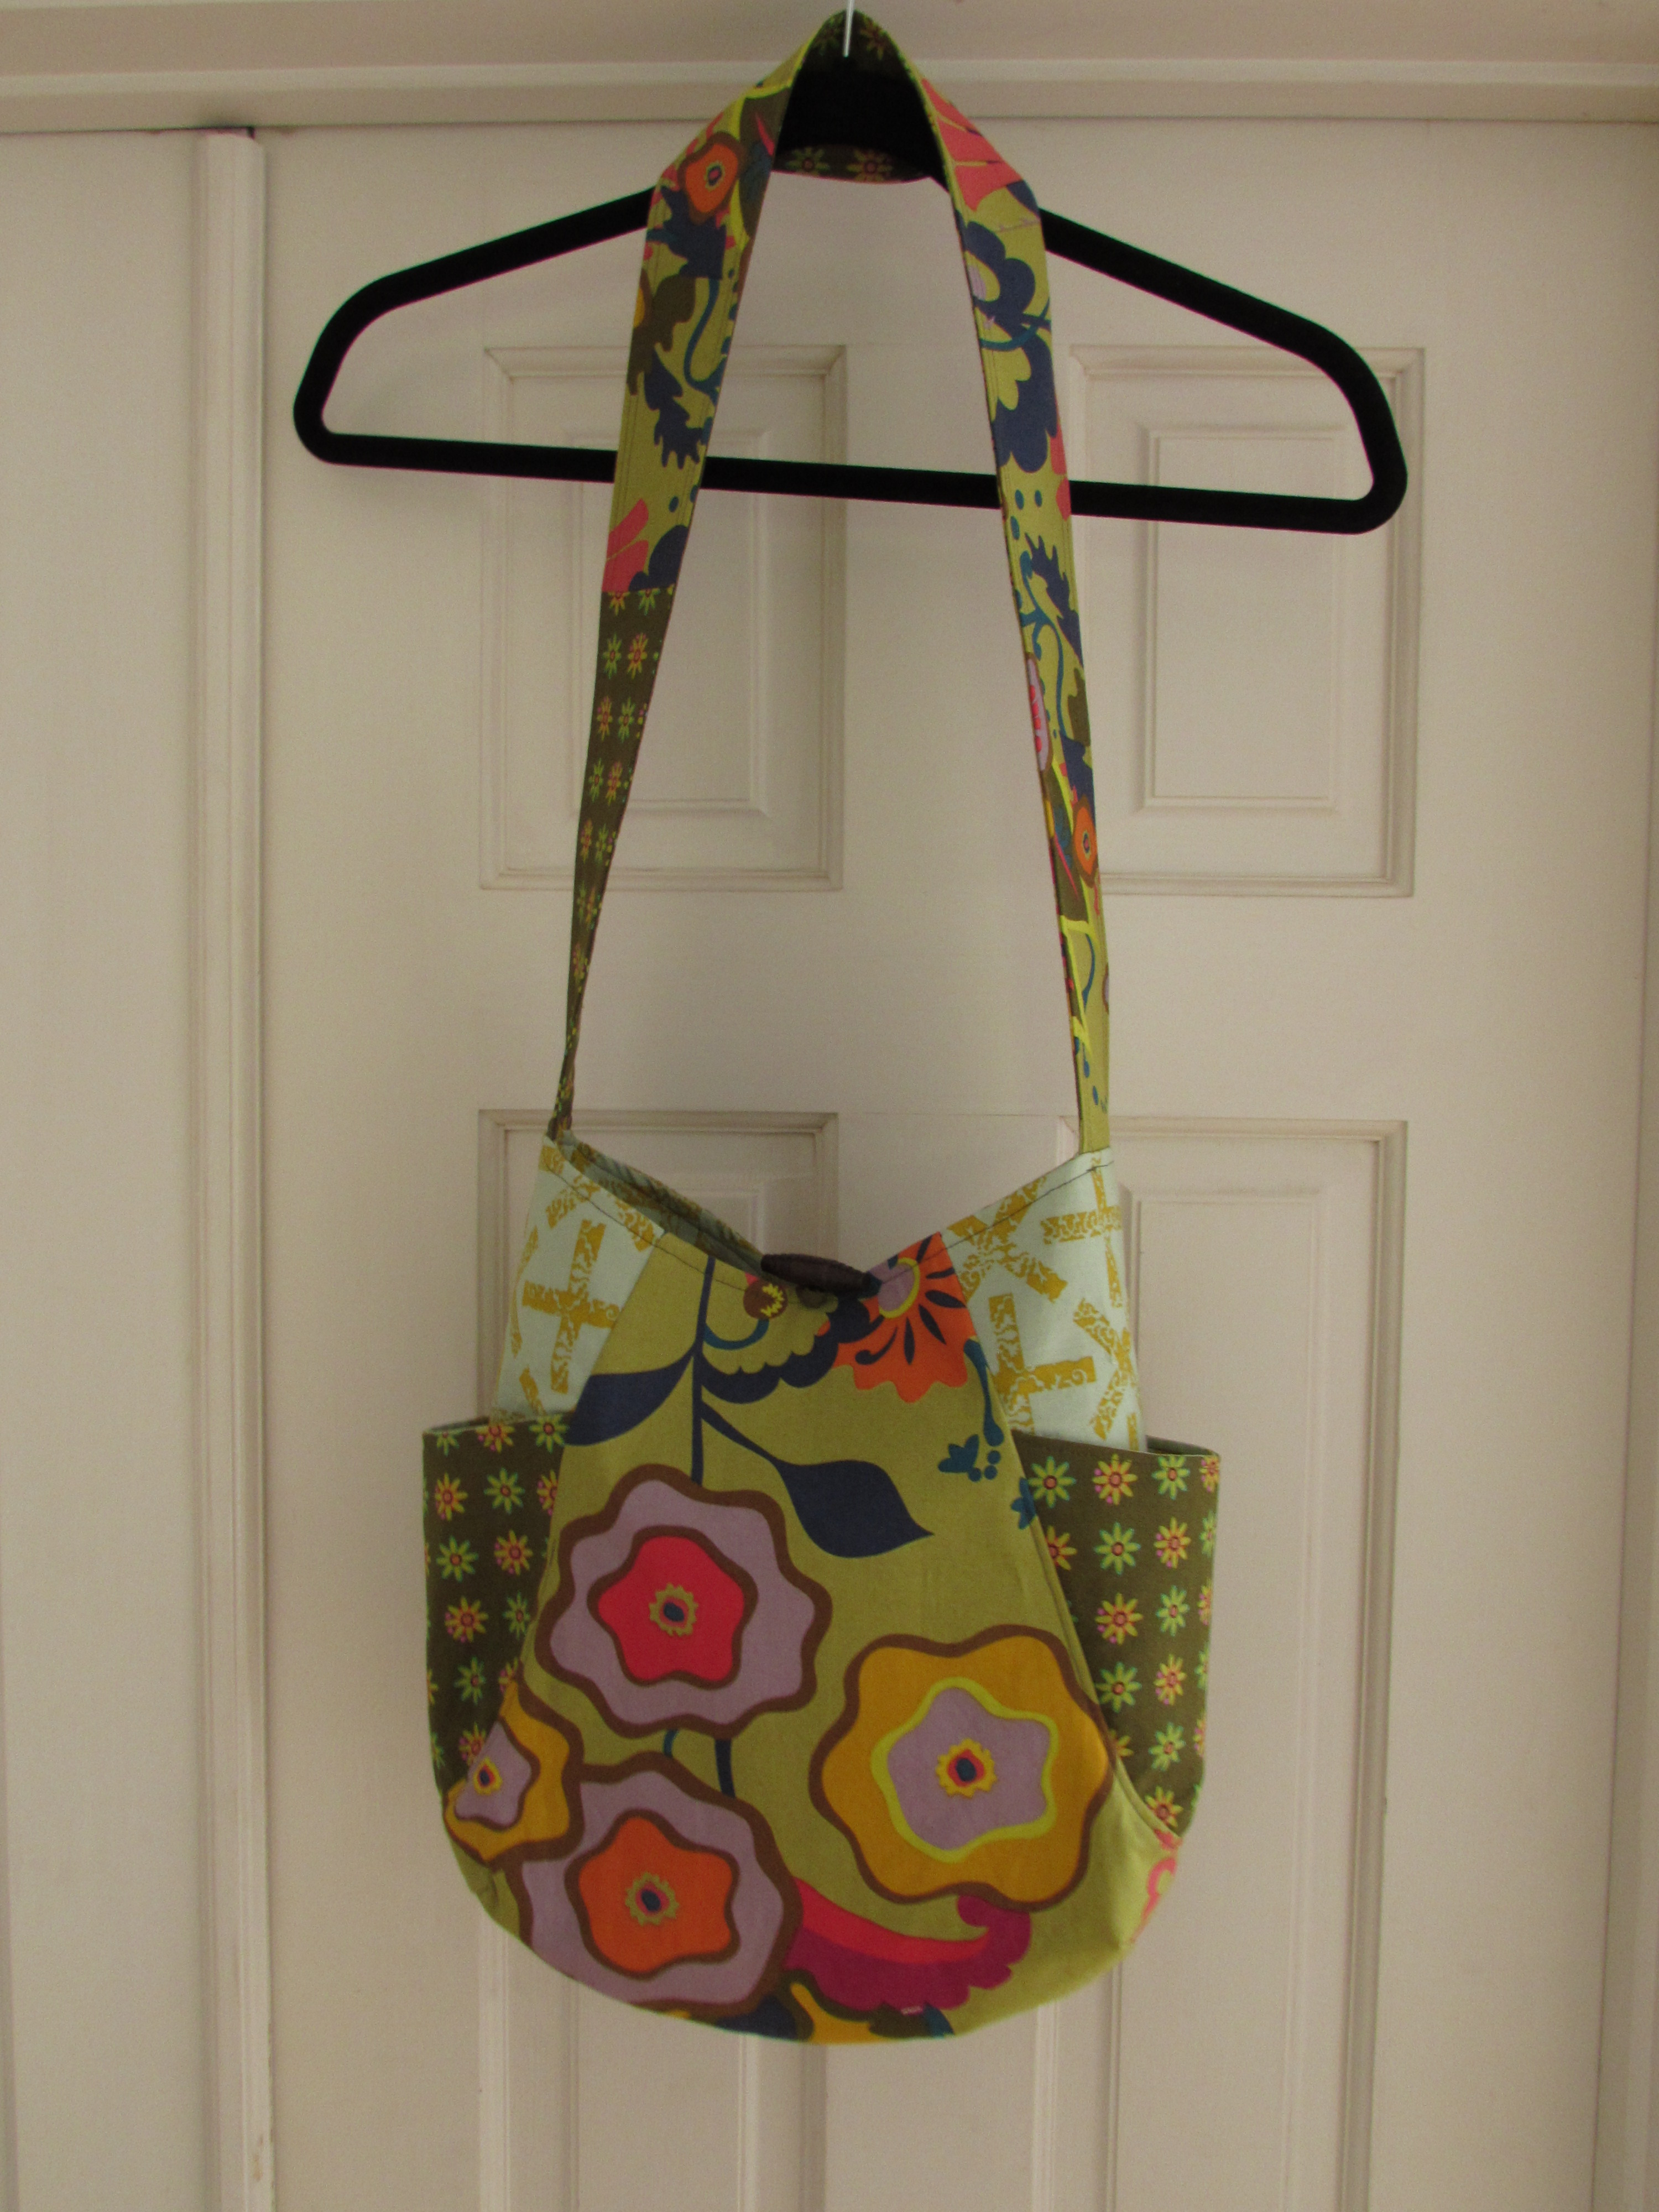
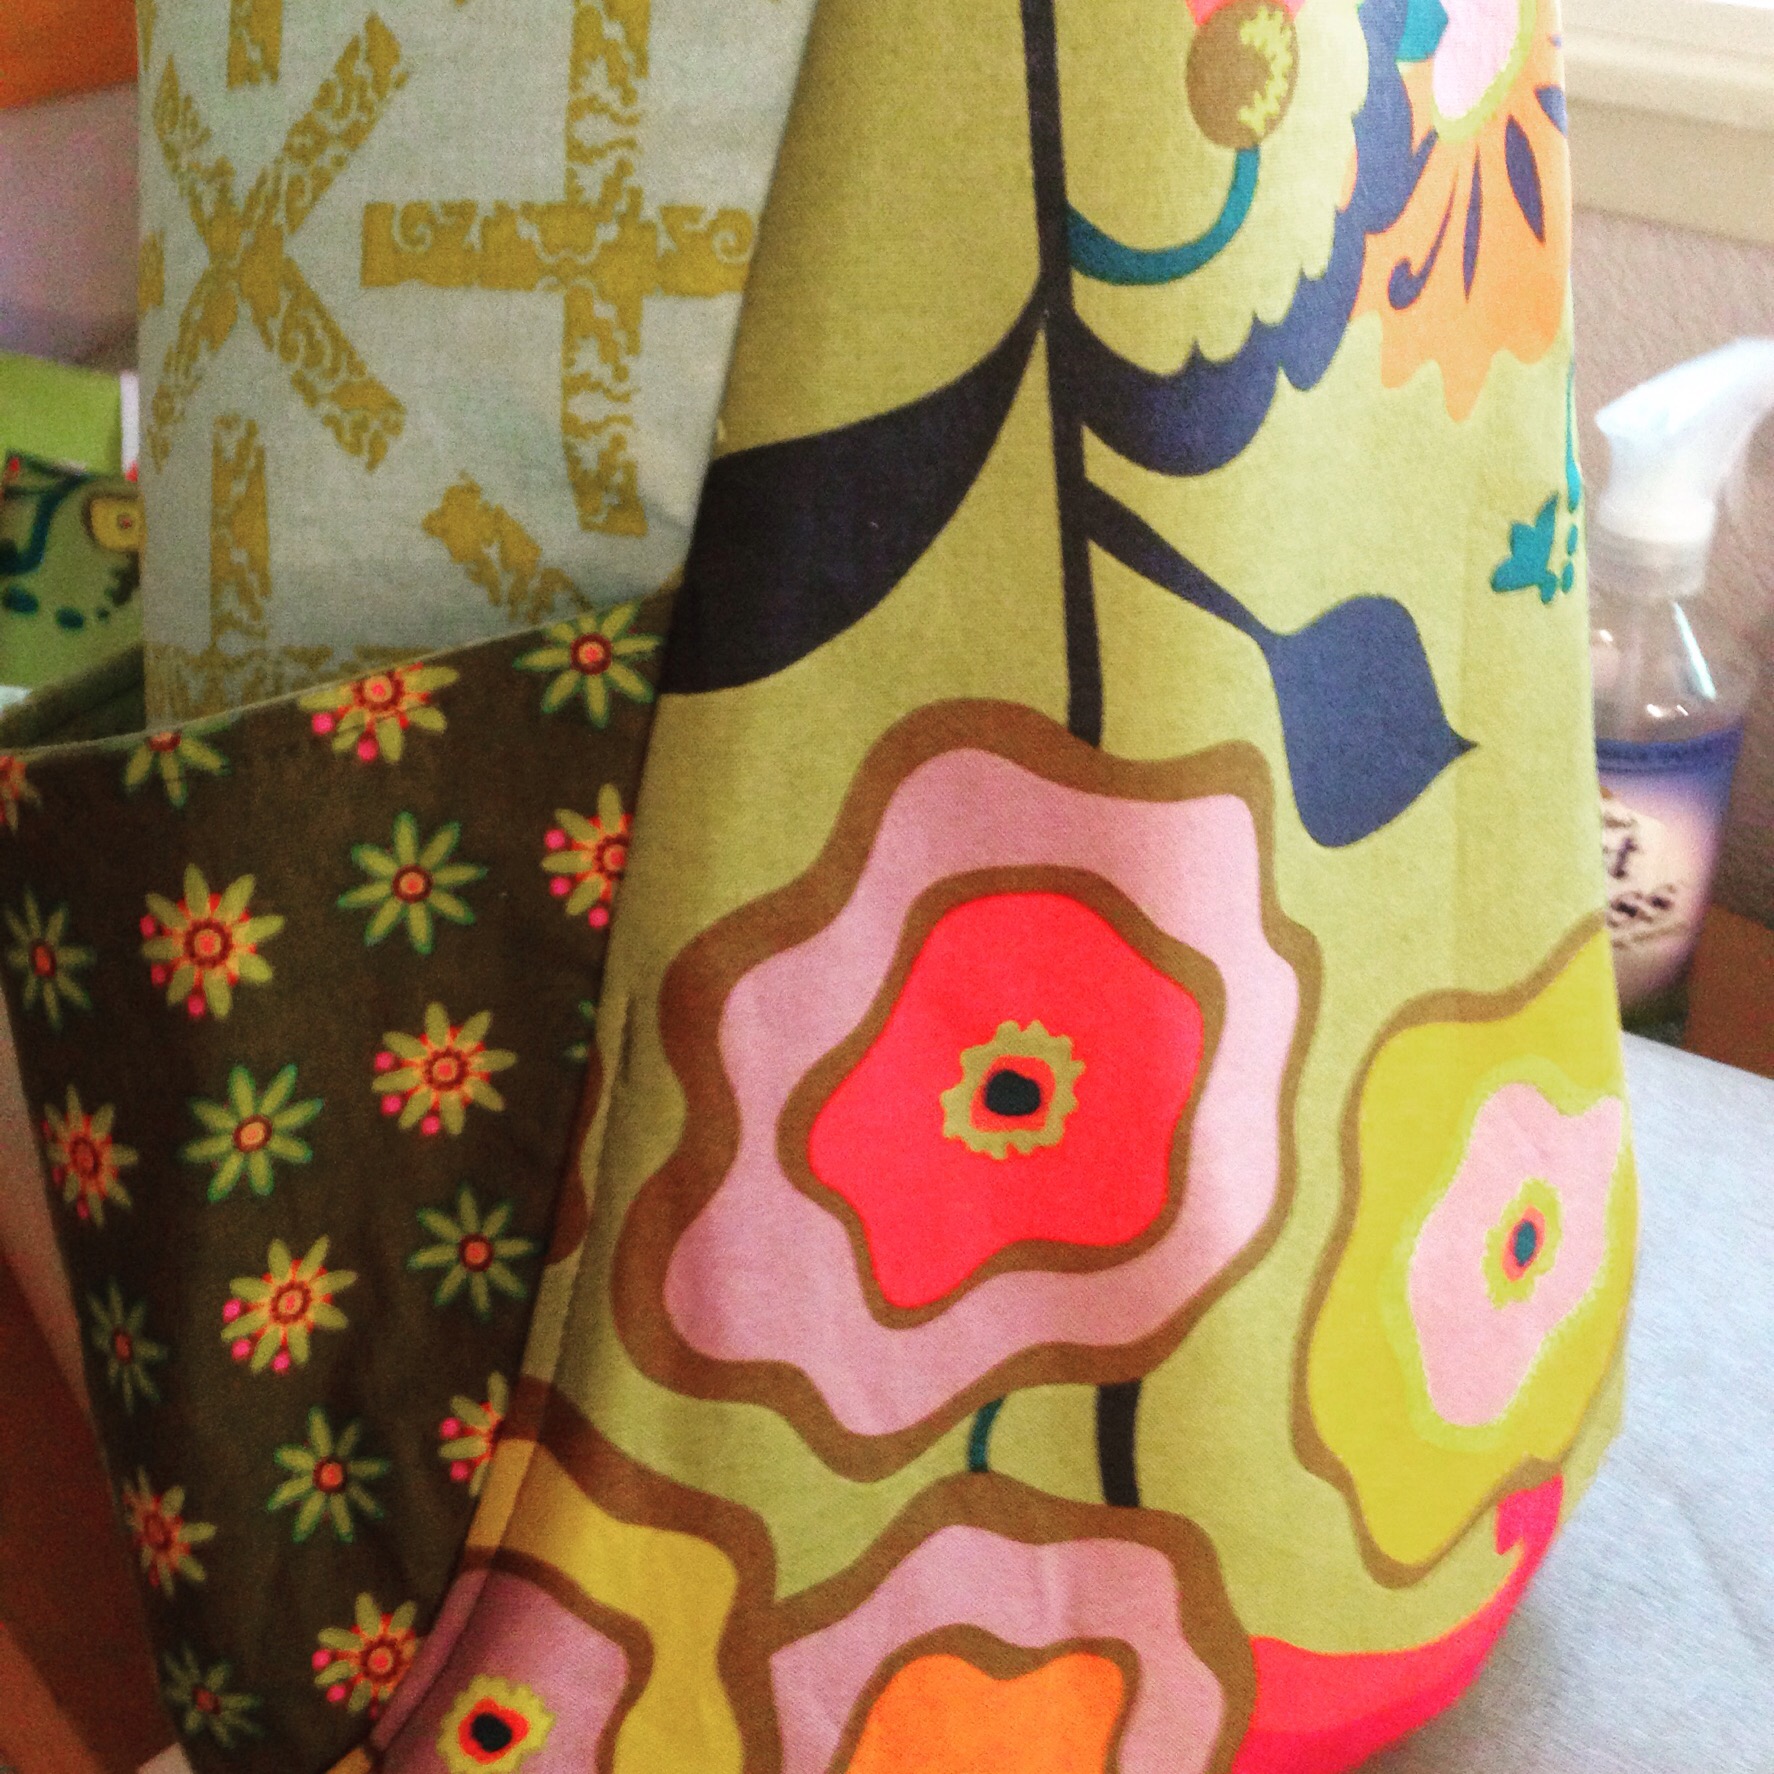
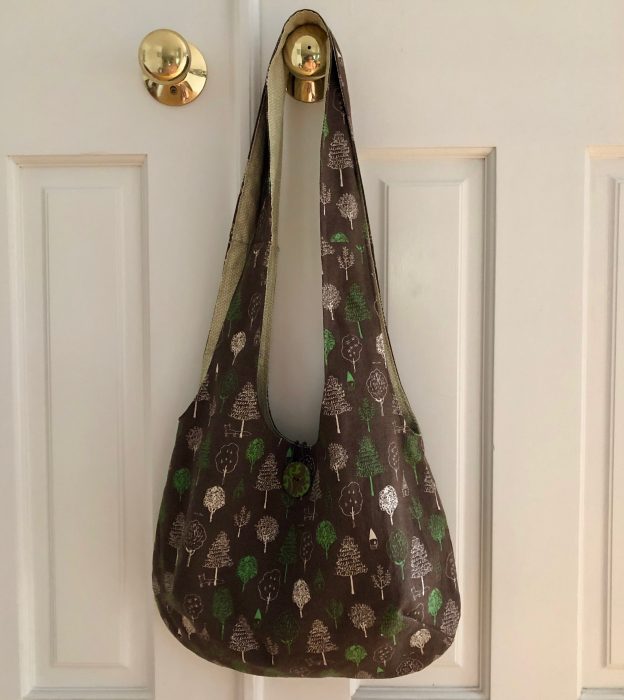
I told you I wanted one of these shoulder bags for myself! I have made two for Julia which you can see here and here. The pattern is a freebie from Very Purple Person.

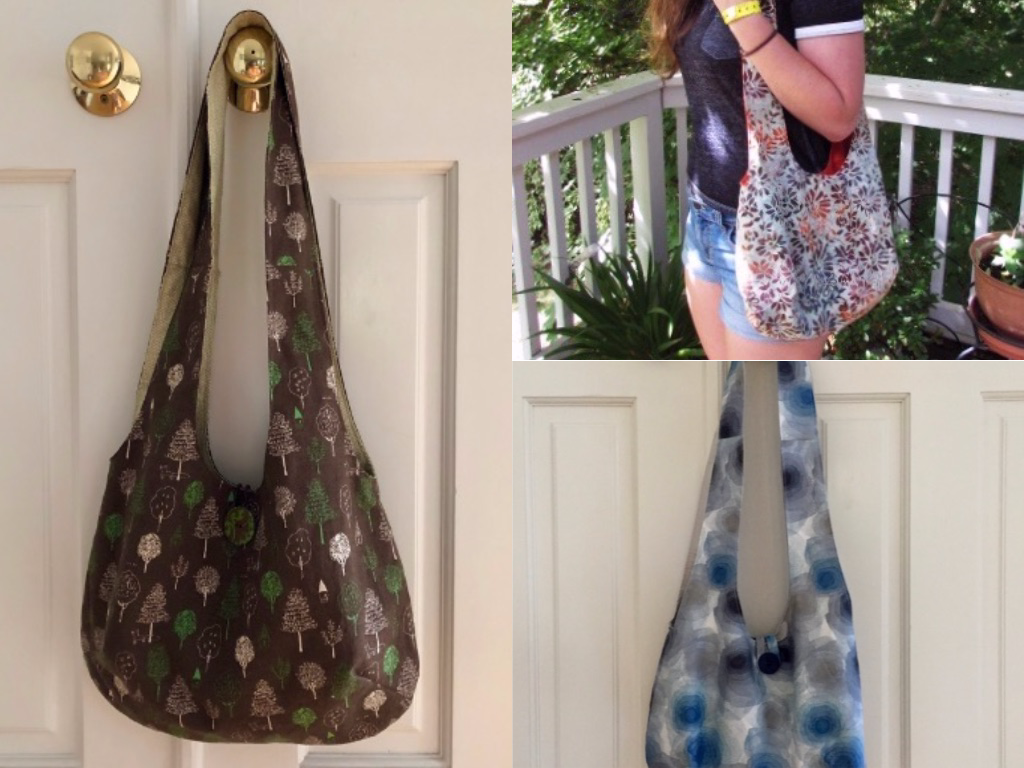
They are so fun to make, don’t take too much time and not a lot of fabric so why not? It is a great way to use this sweet Japanese fabric that was given to me by my friend Patty. She vacationed in Japan about a year ago and when she returned she sent me five pieces of fun fabrics. Three of them were a beautiful cotton-linen blend and I have been holding on to them and thinking of how I wanted to use them.

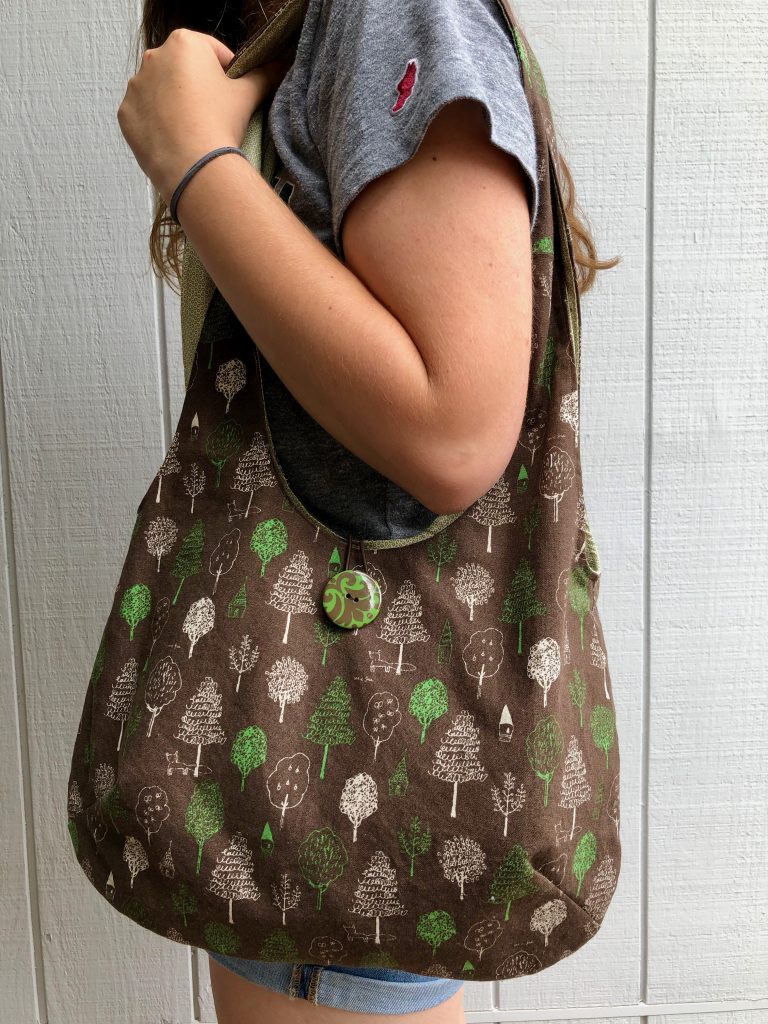
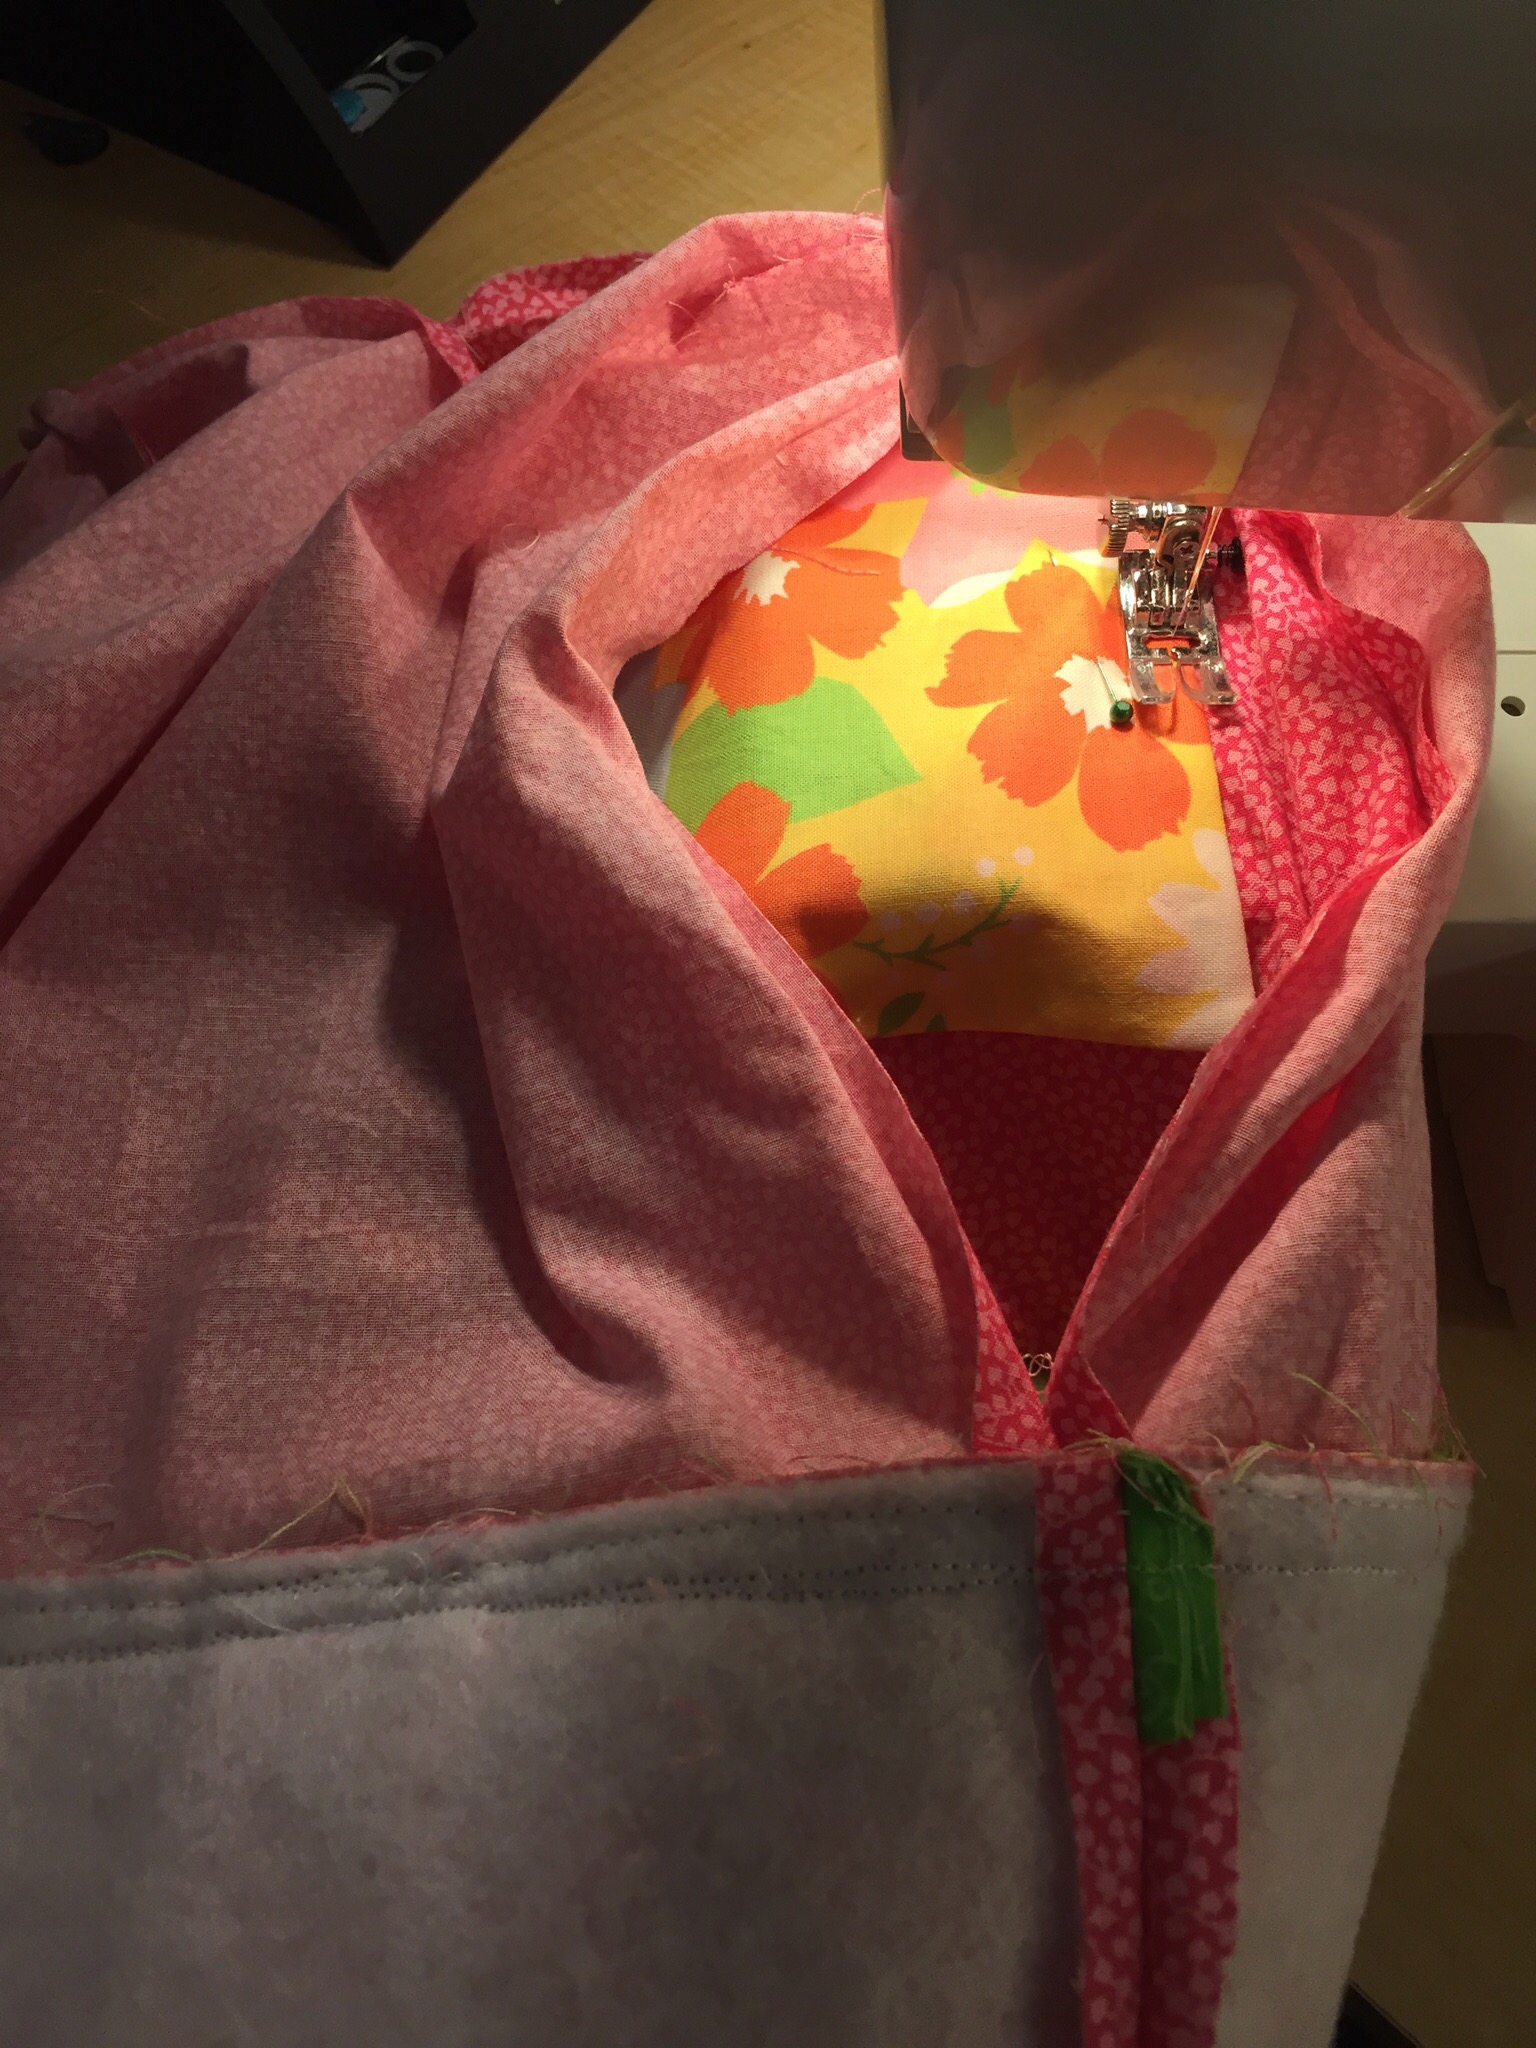
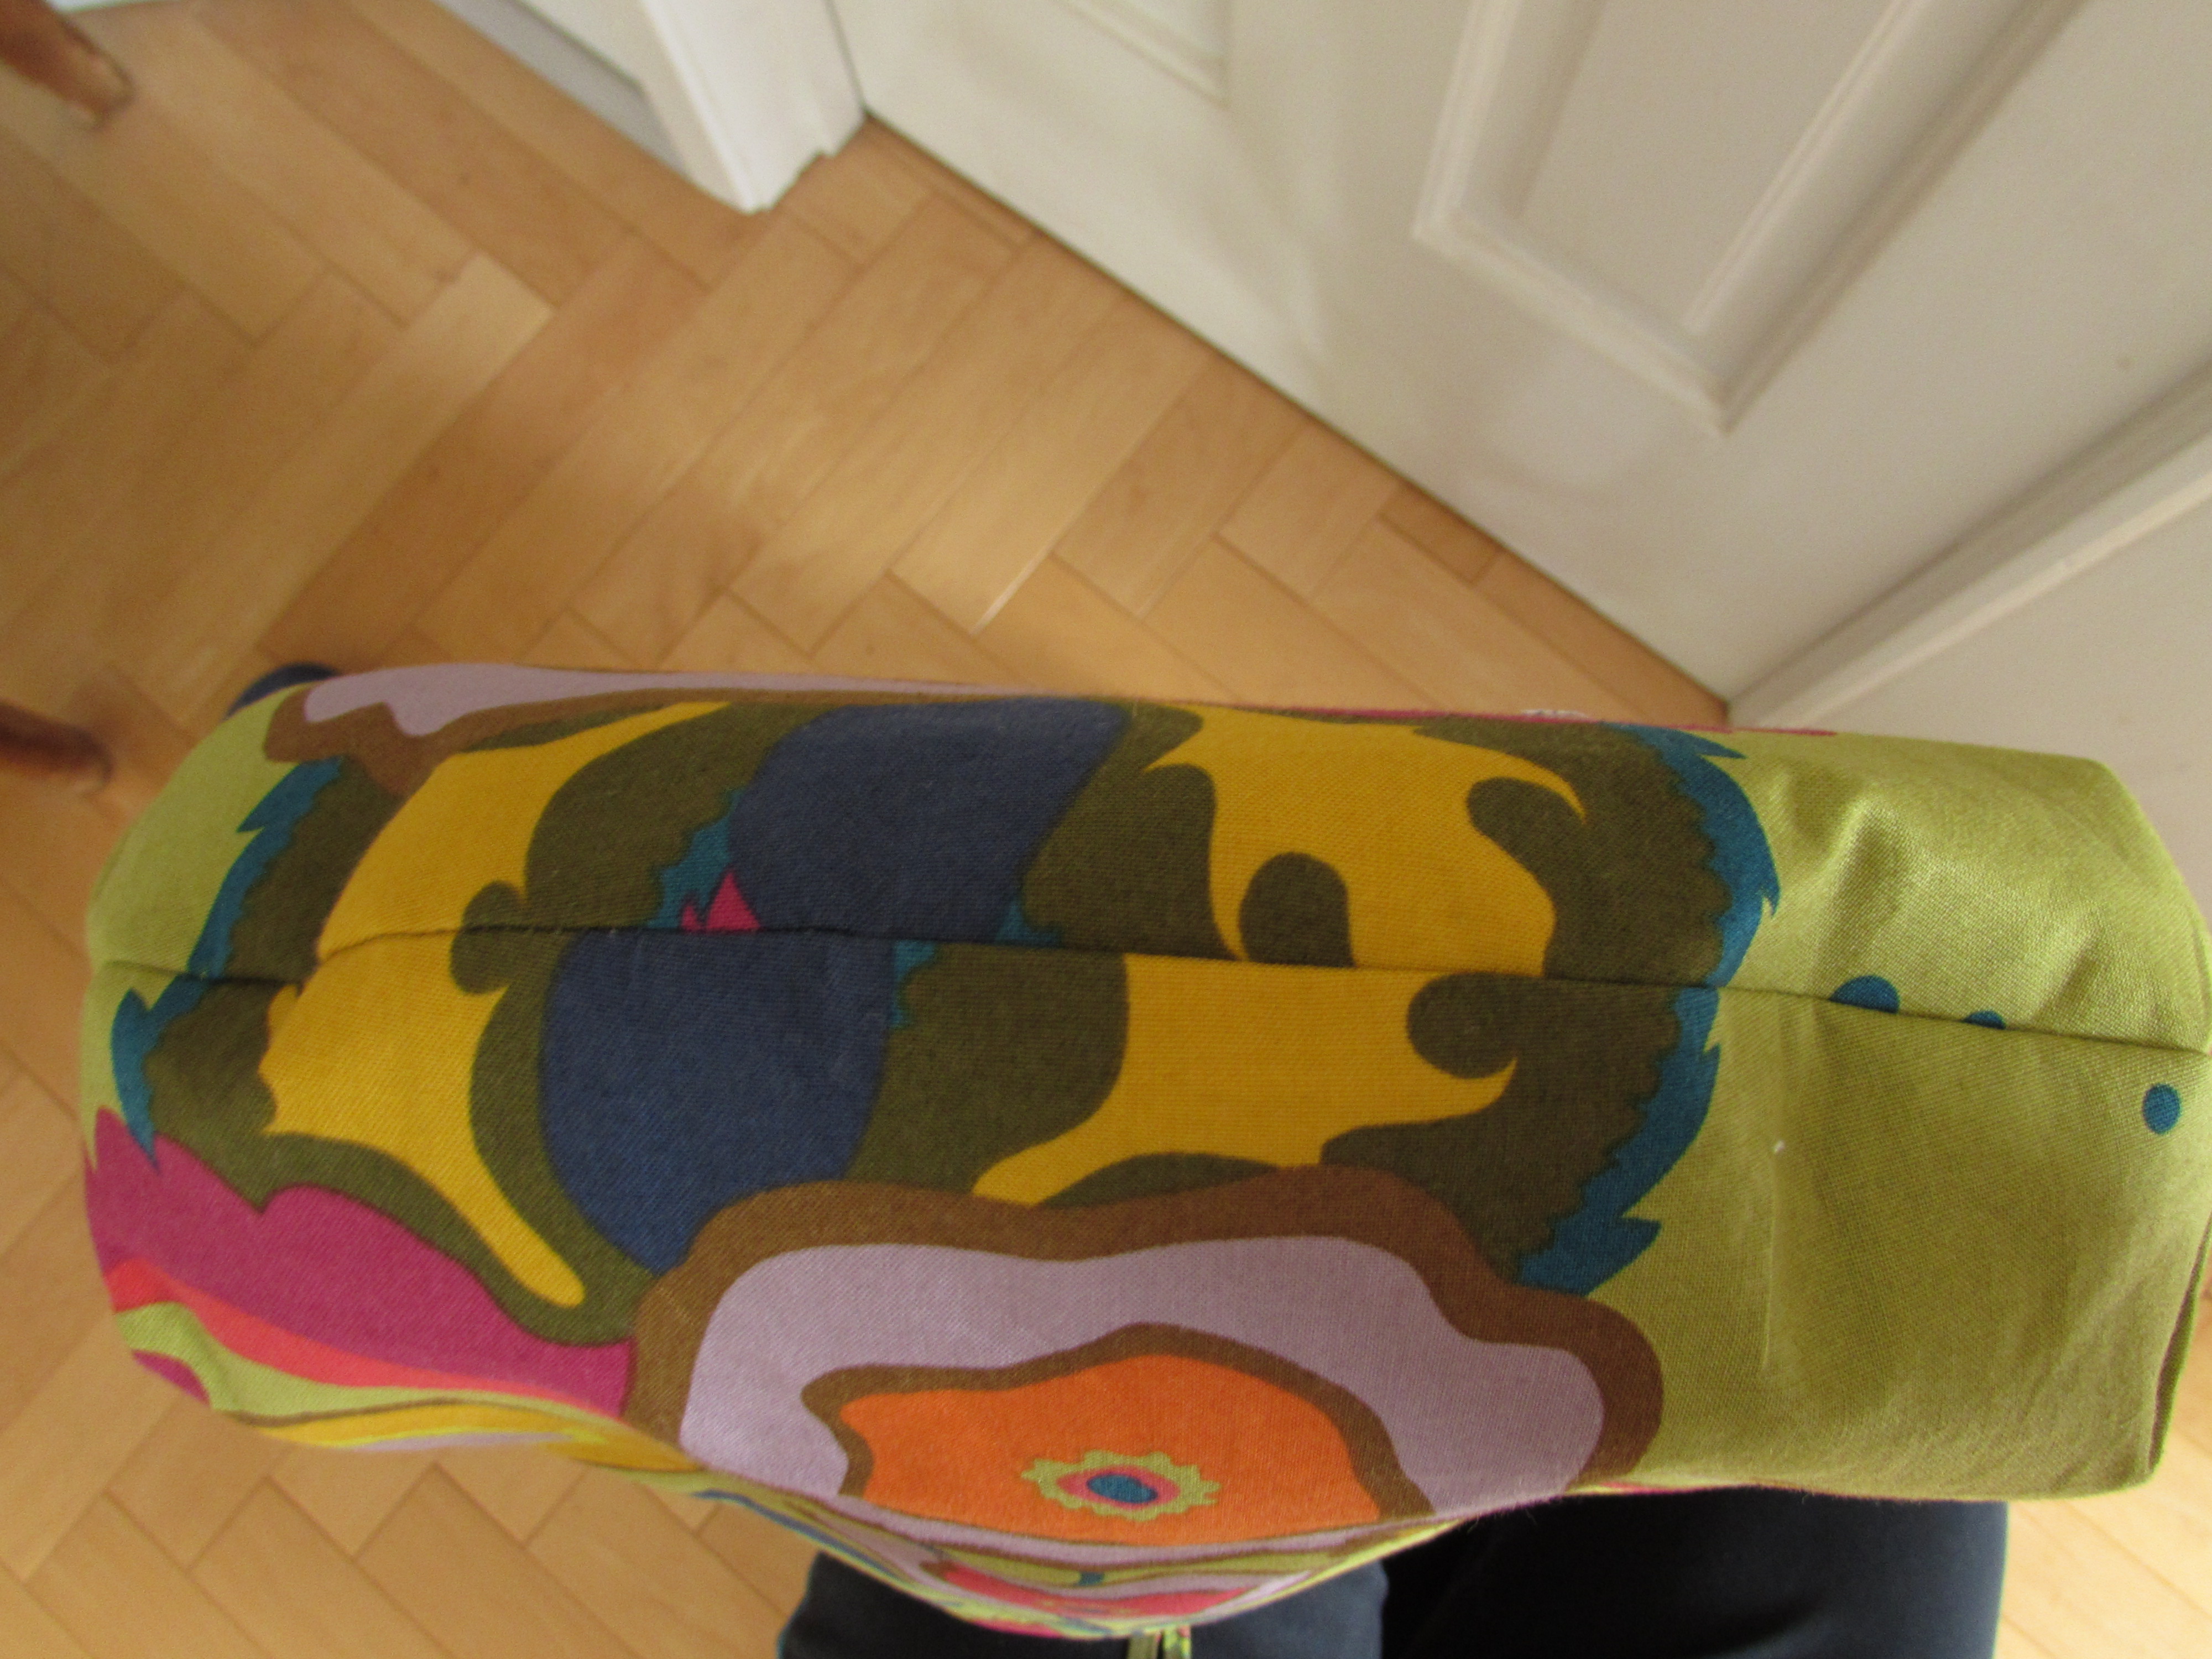
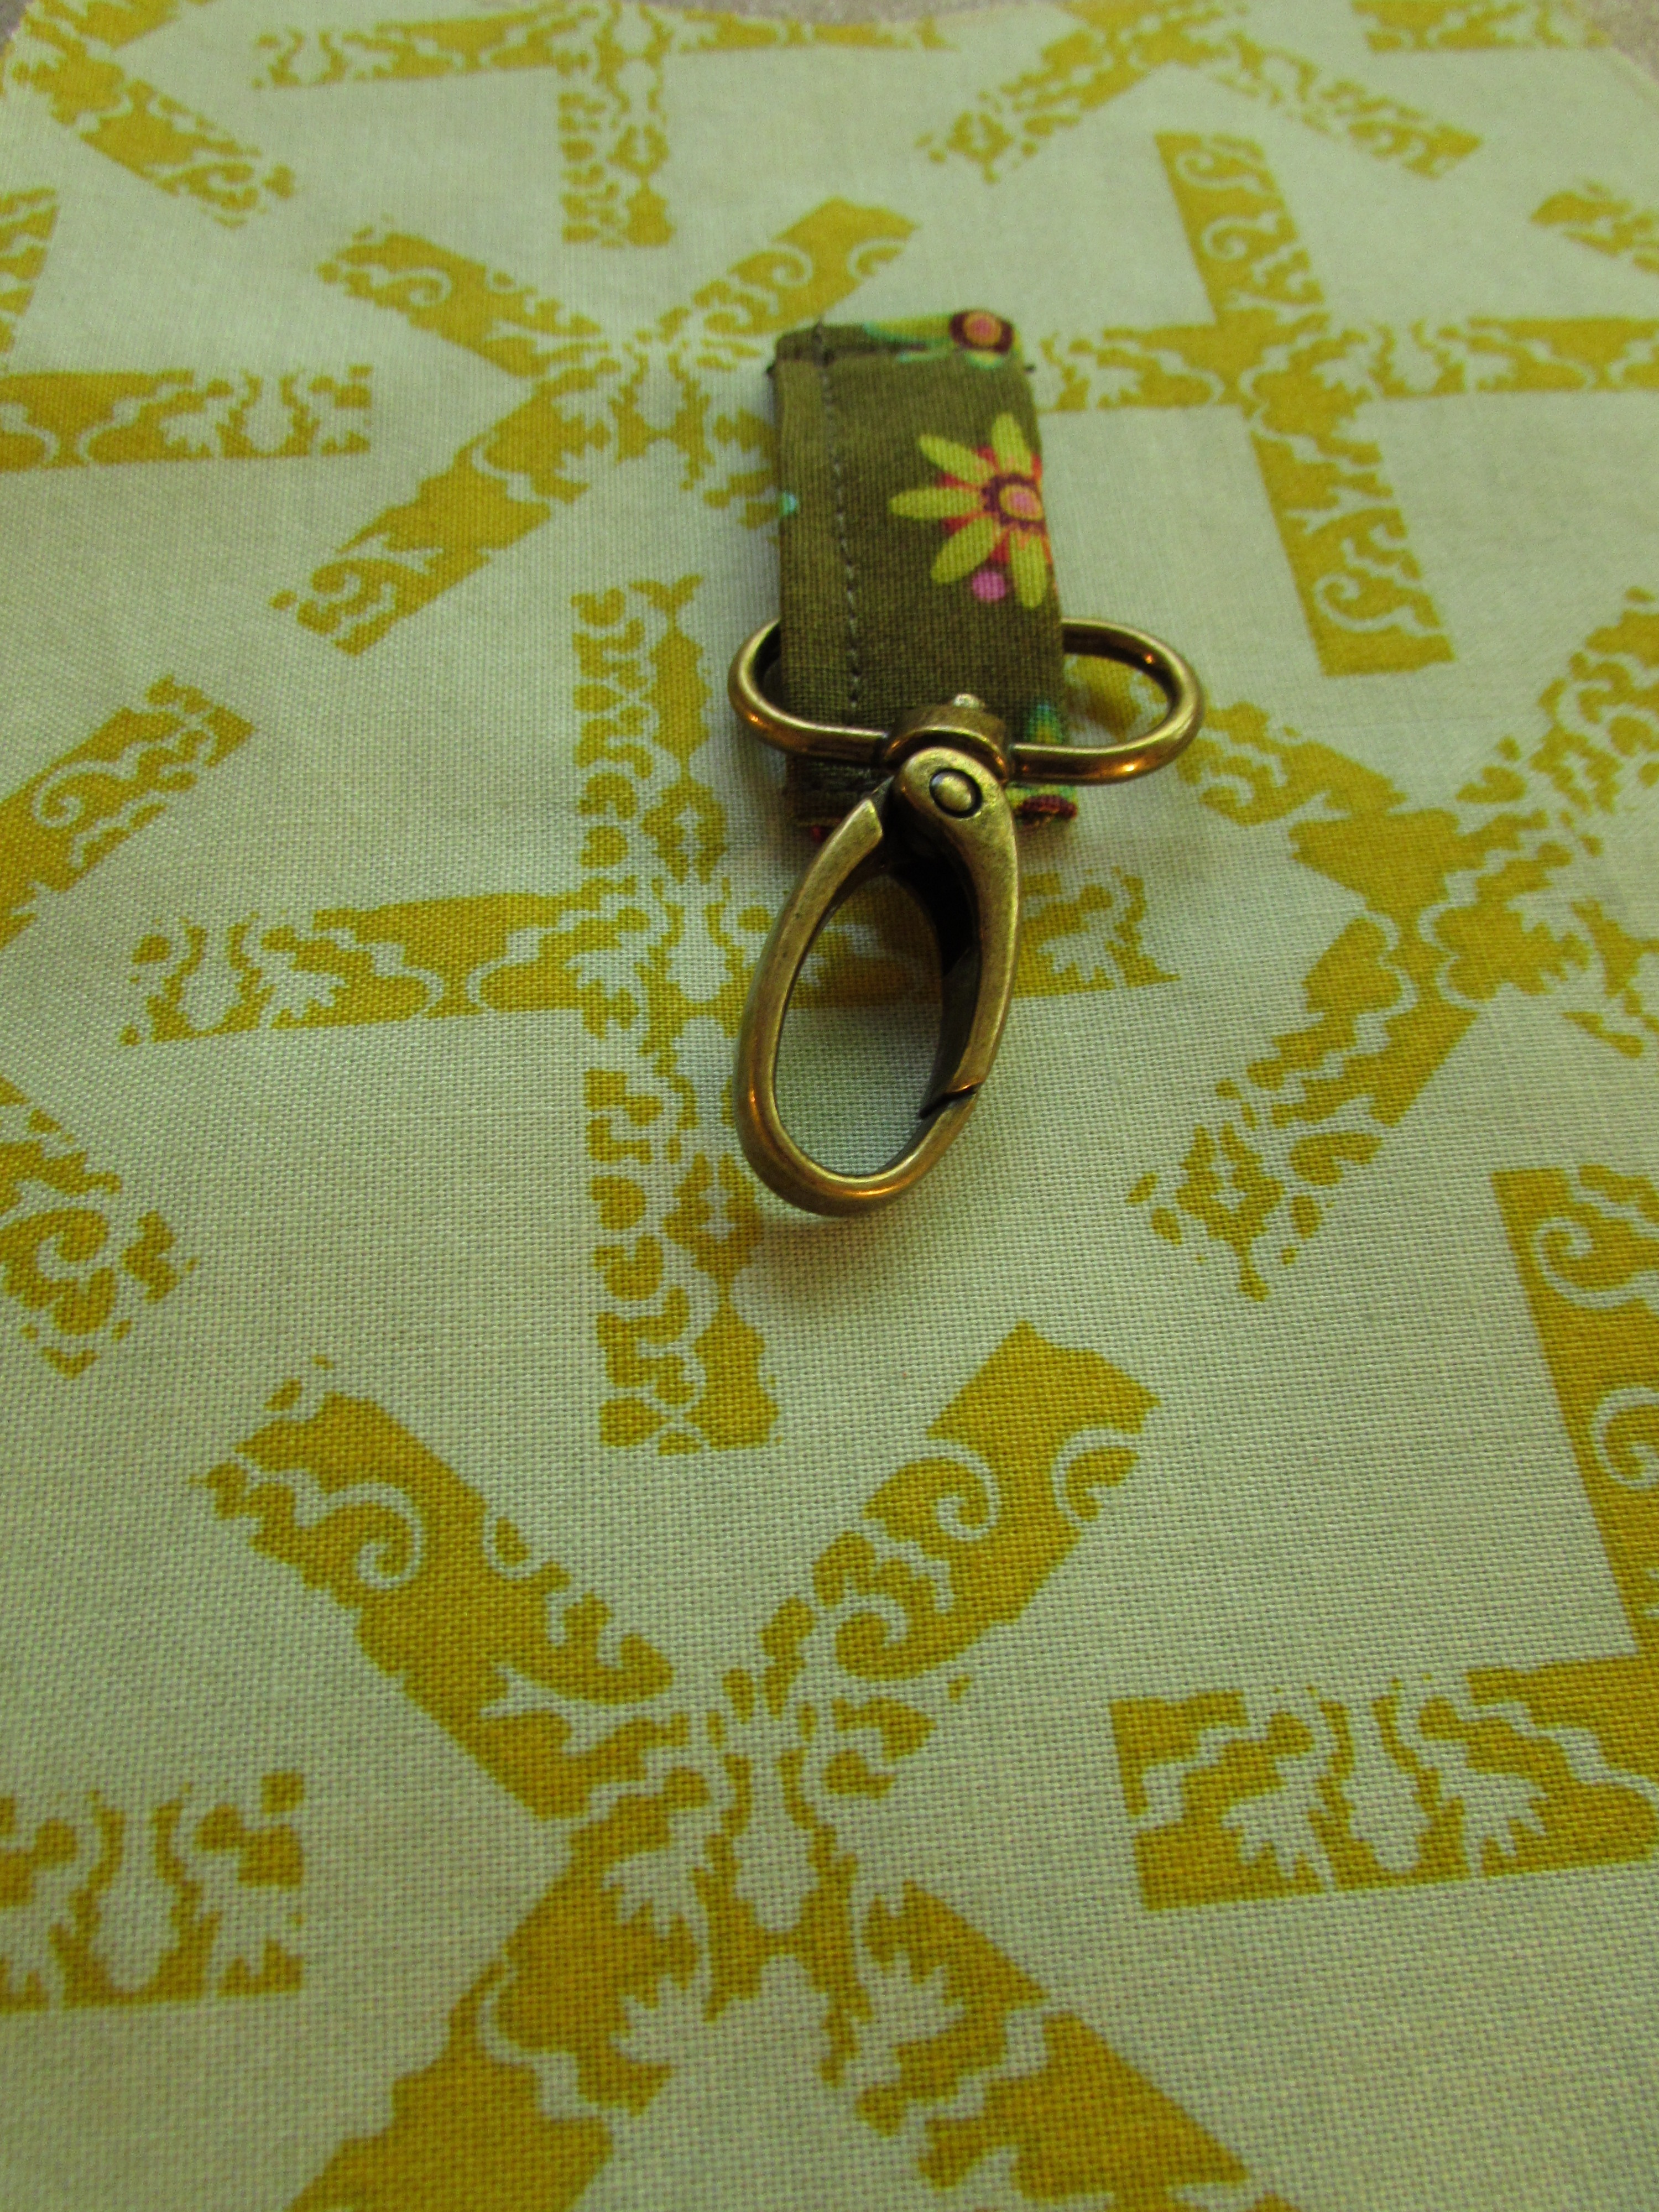
Each cut is 1/2 yard and I was happy to be able to squeak a bag out of this one! I had to piece the shoulder strap a bit but you can’t even see it. The fabric has a great weight to it. I washed and dried it first because I suspected there would be some shrinkage. It was minimal though. Rather than sewing a gusset into the bottom of the bag for width, the designer simply used two wide darts at the bottom corners of the outer and interior fabrics. Very easy!

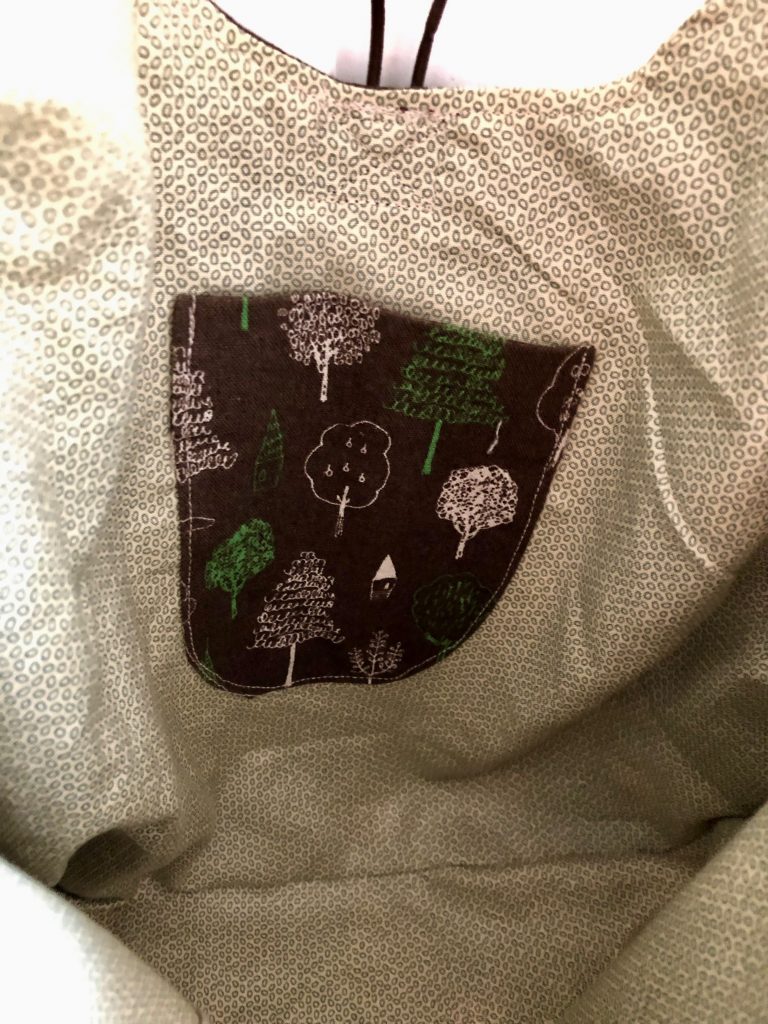
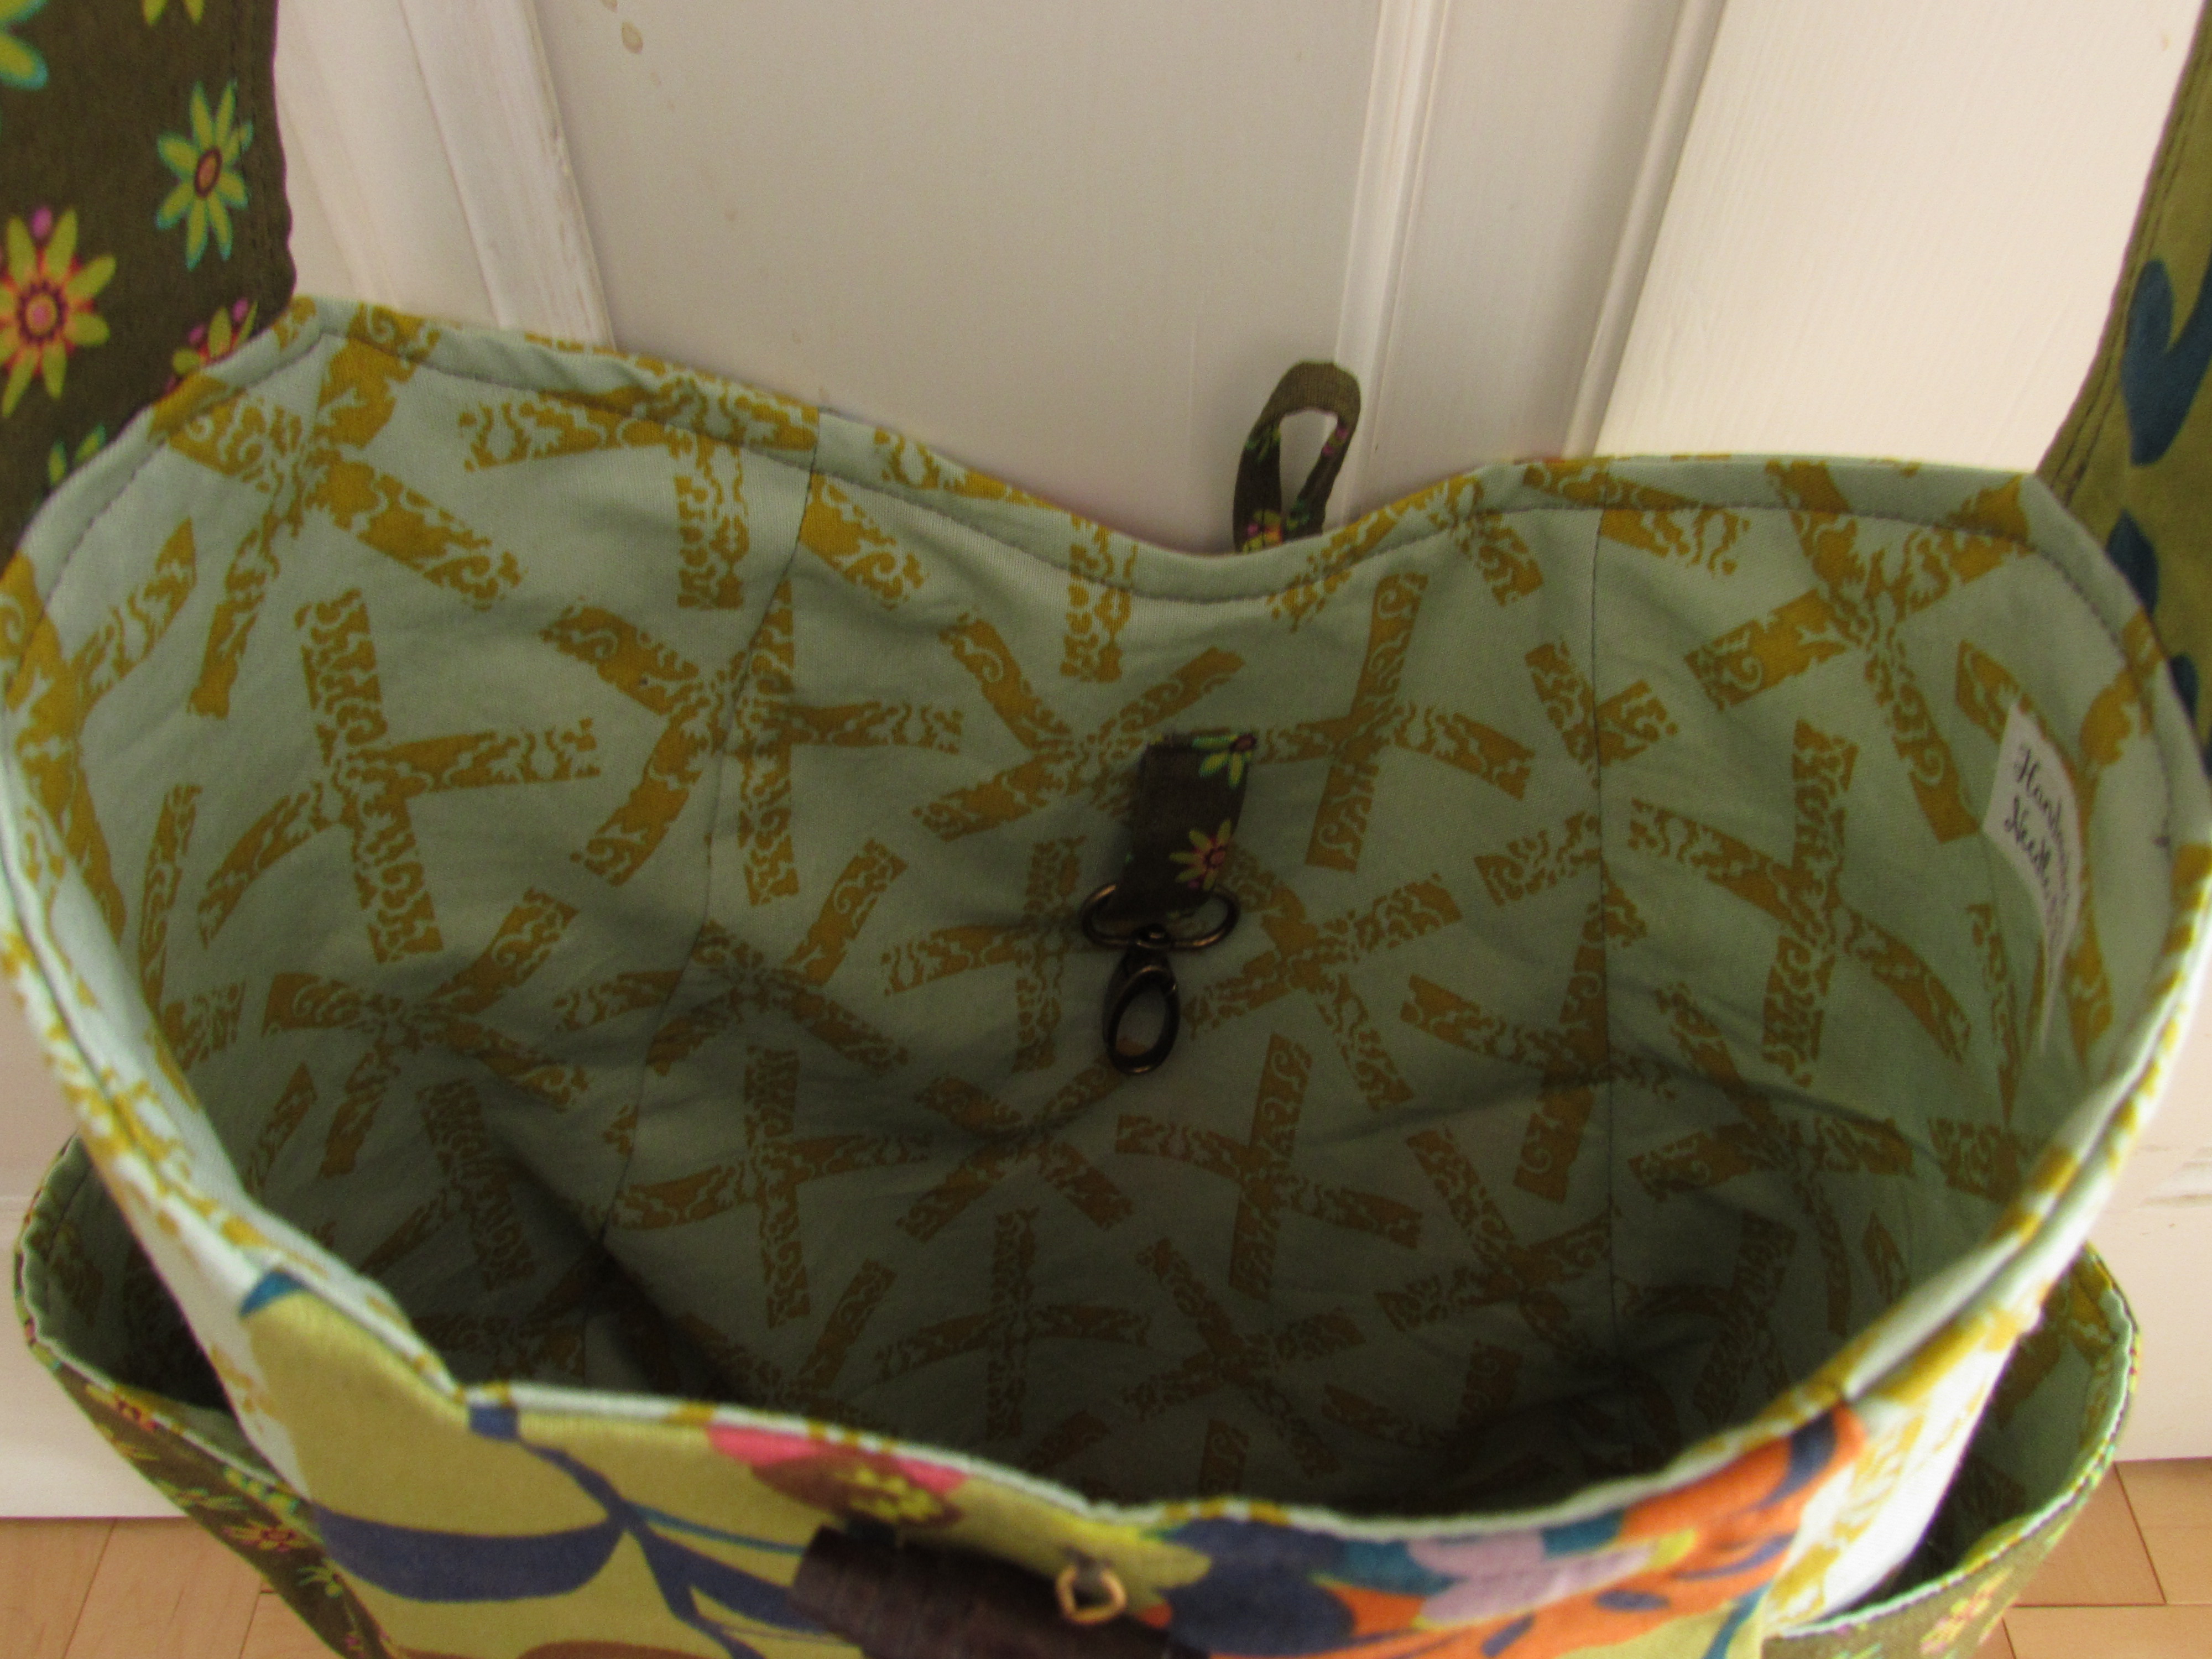
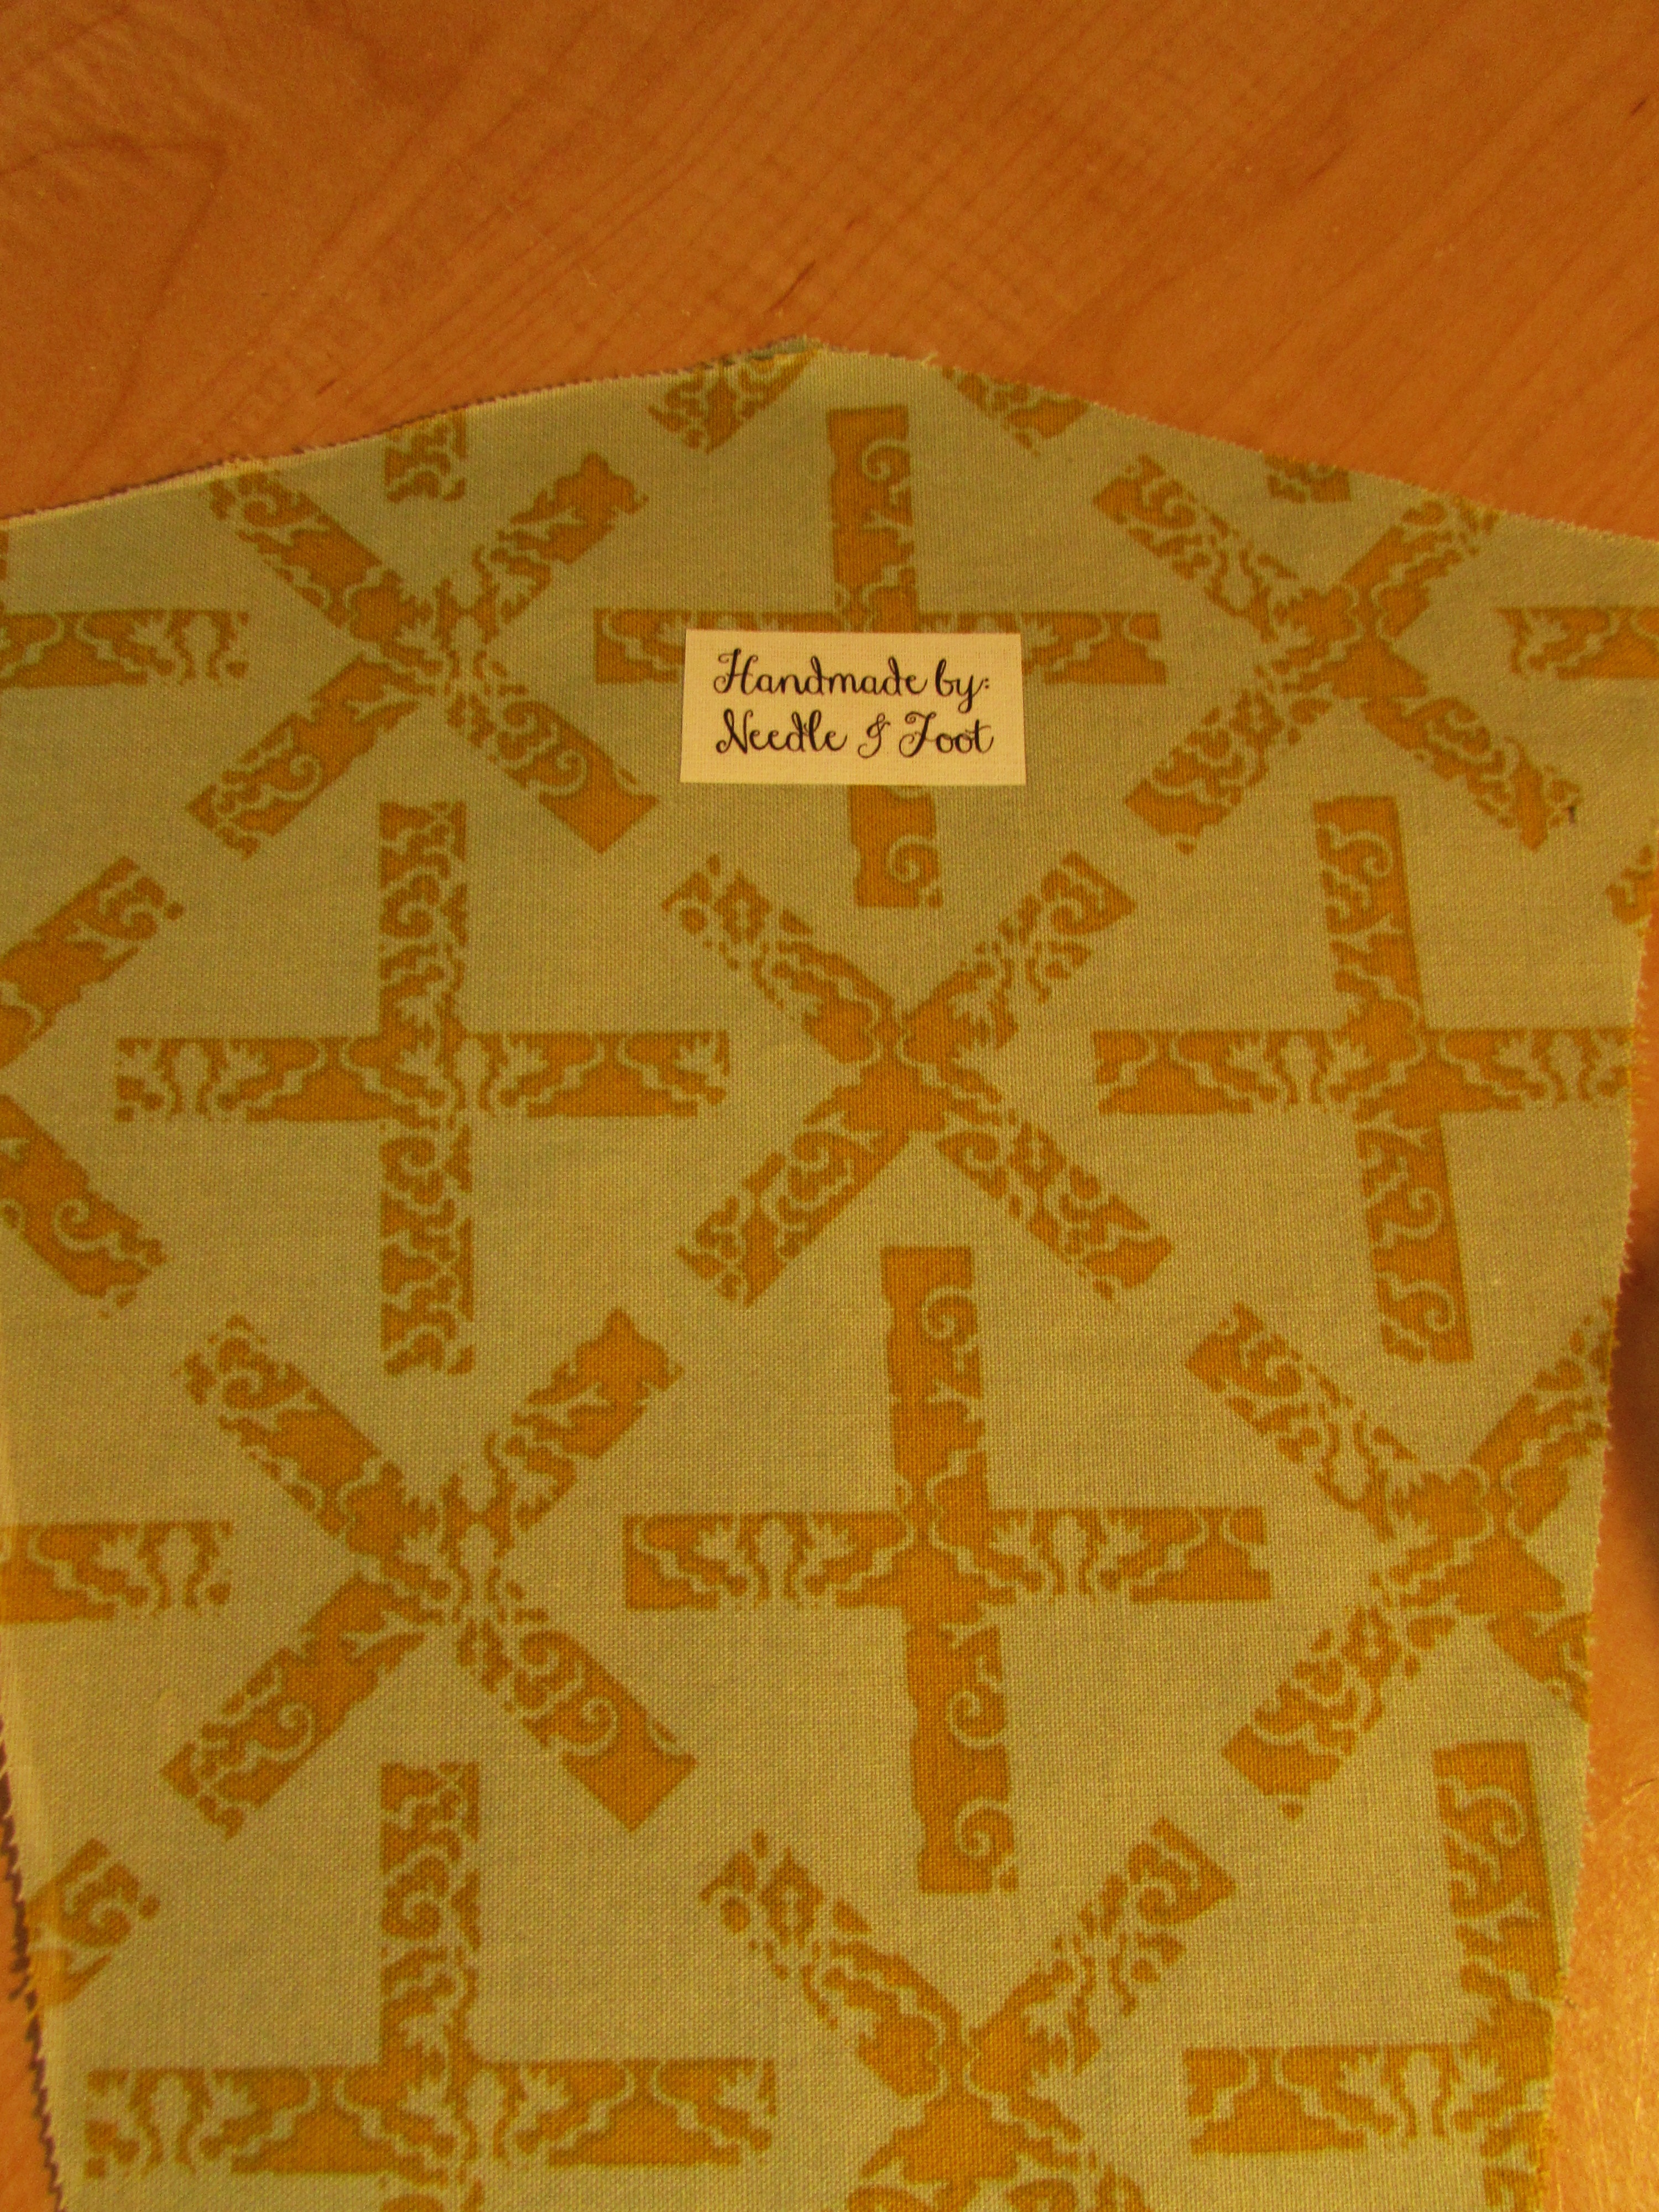
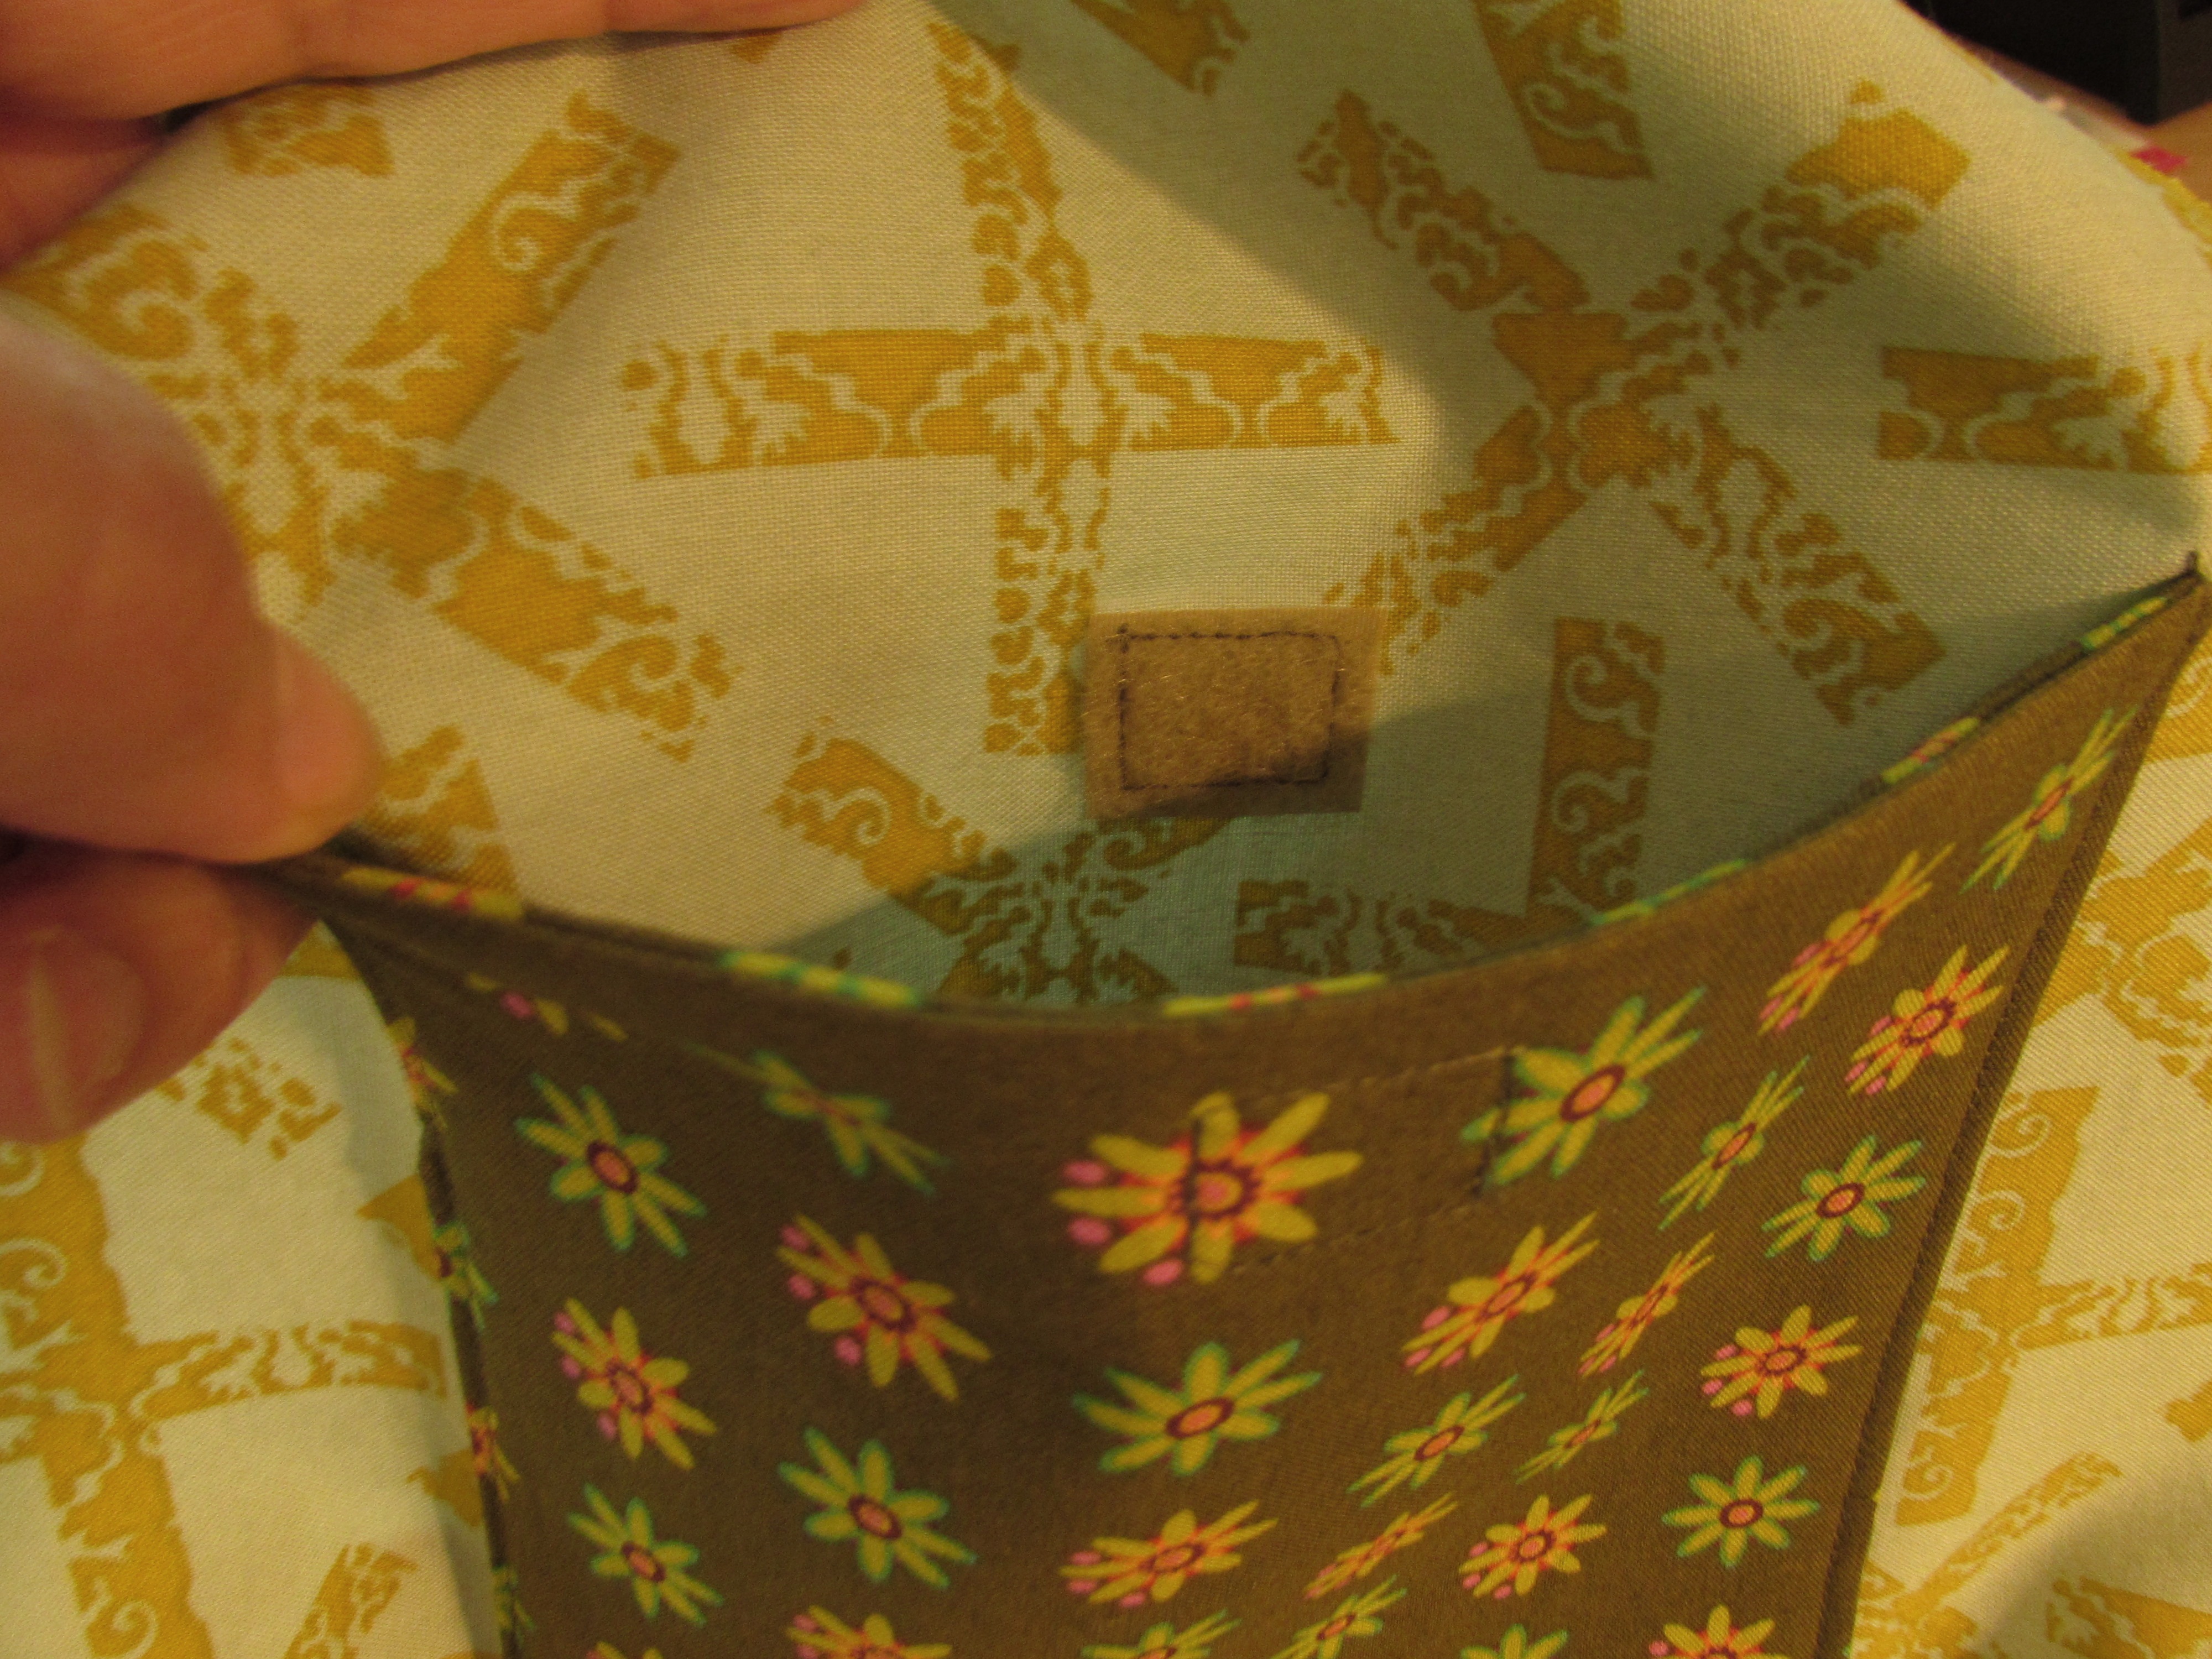
As usual, I added two interior patch pockets. Purses need pockets to keep the little things from always ending up at the bottom of the bag. The lining is an older print that has been in my stash forever. How great to use it up and have one less piece in the pile!

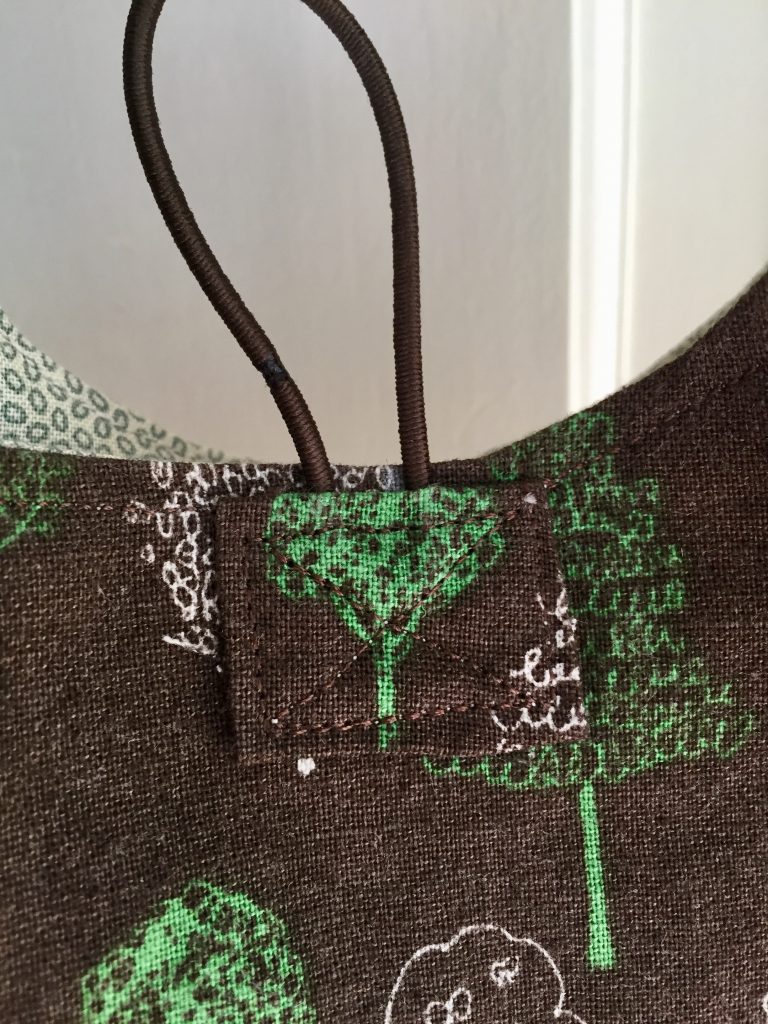
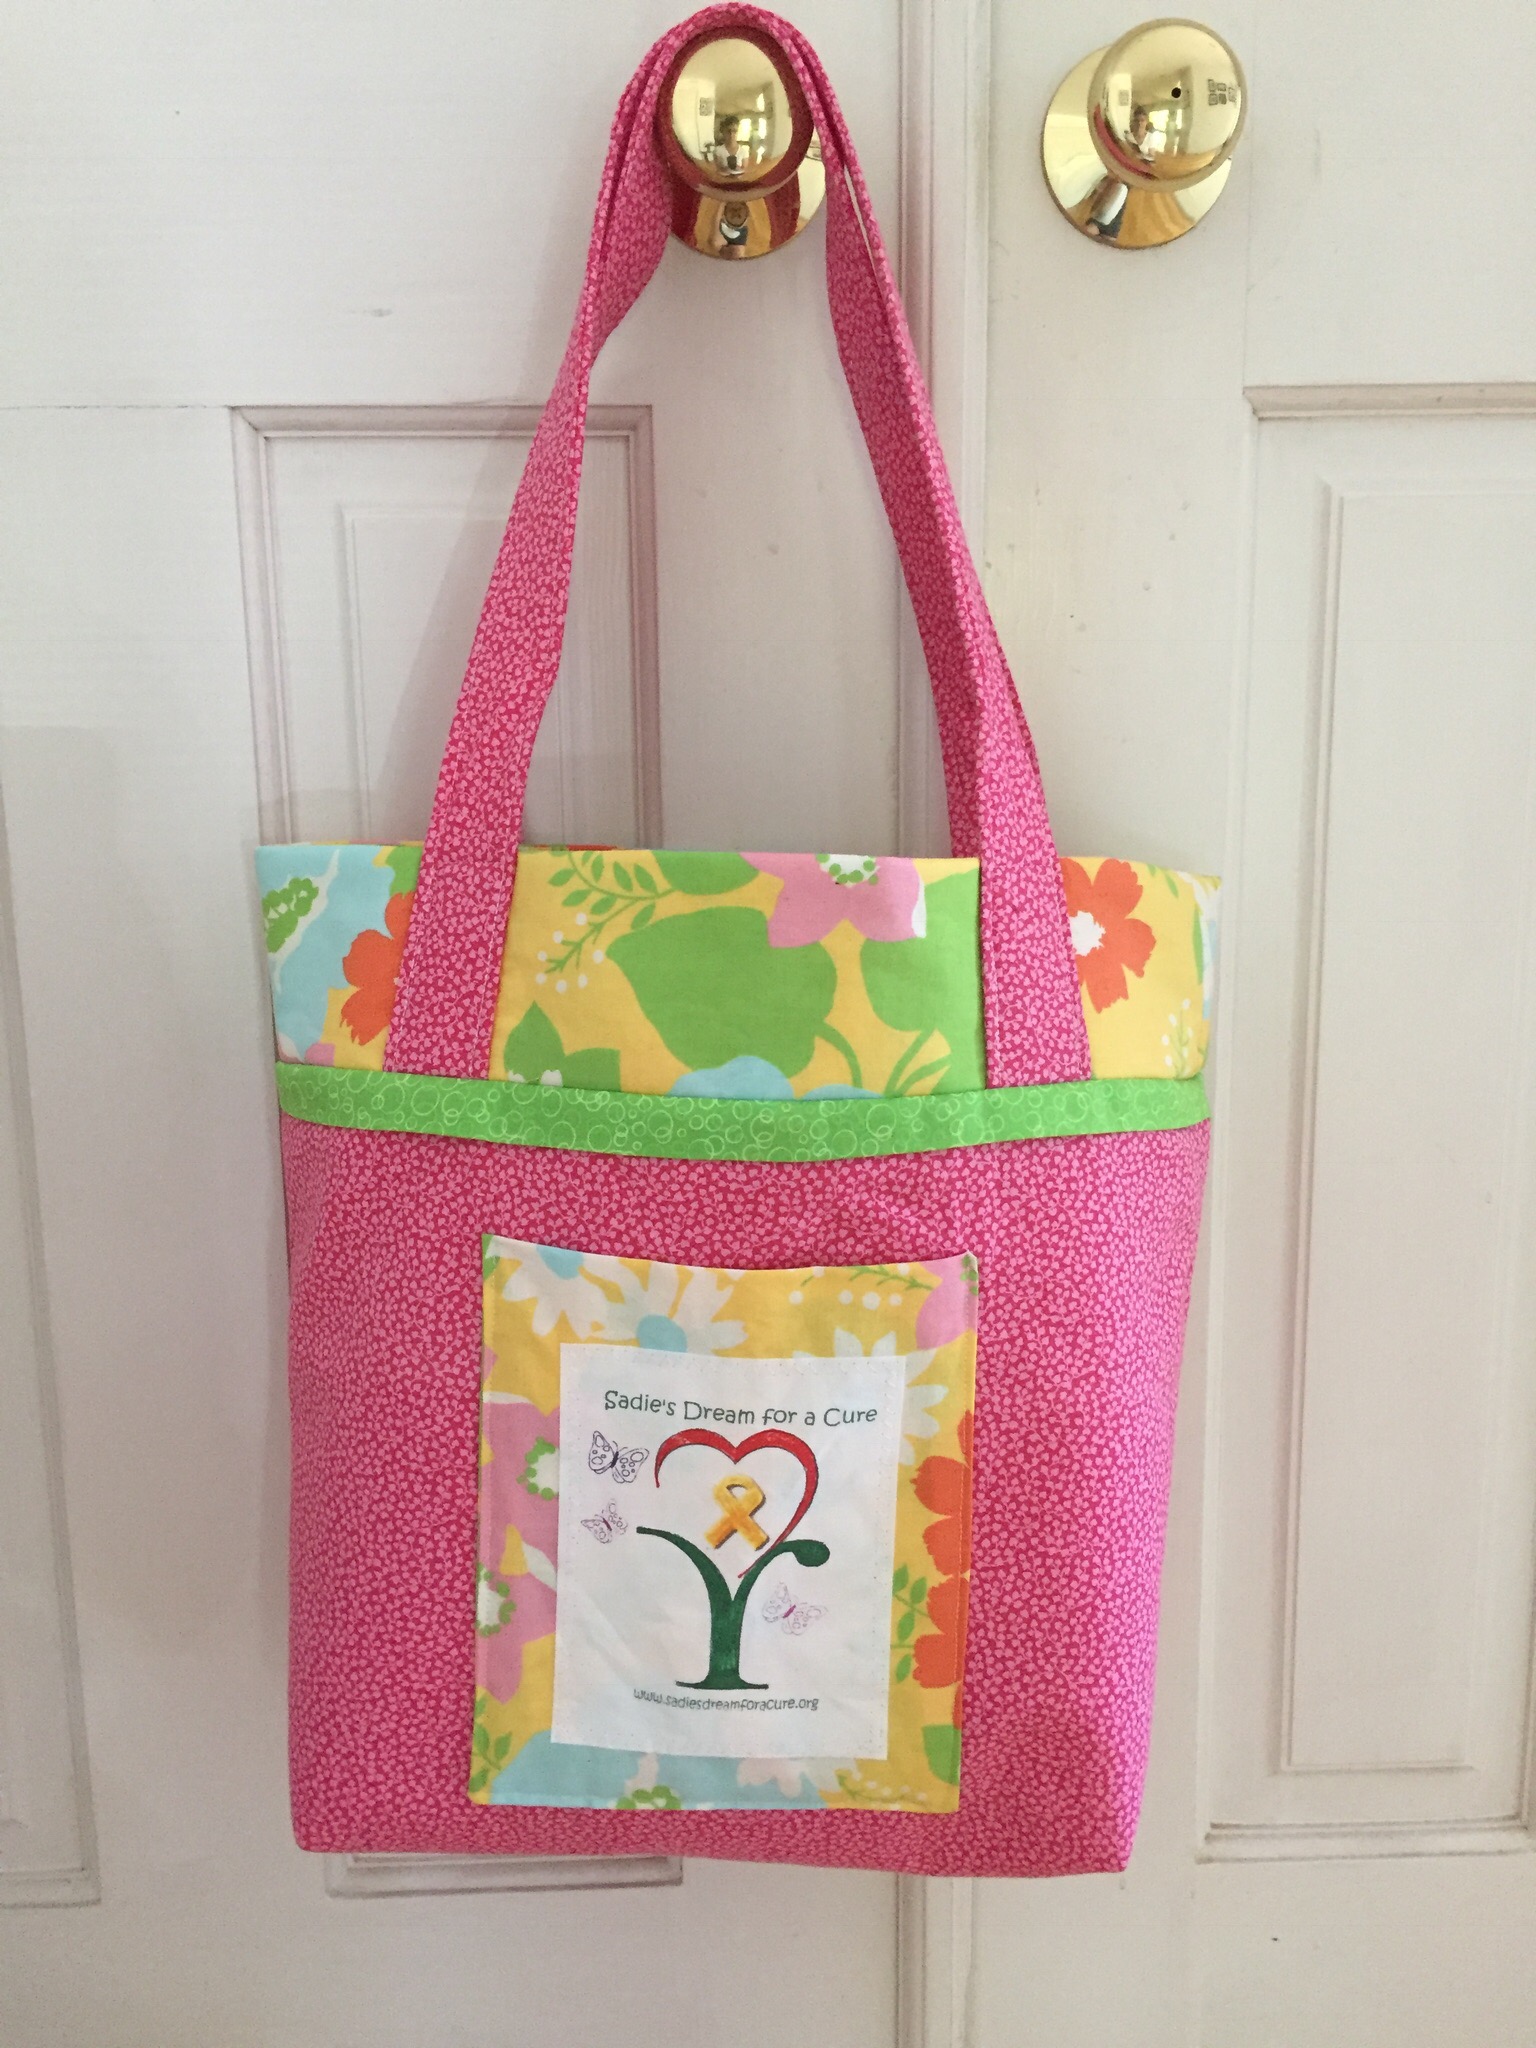
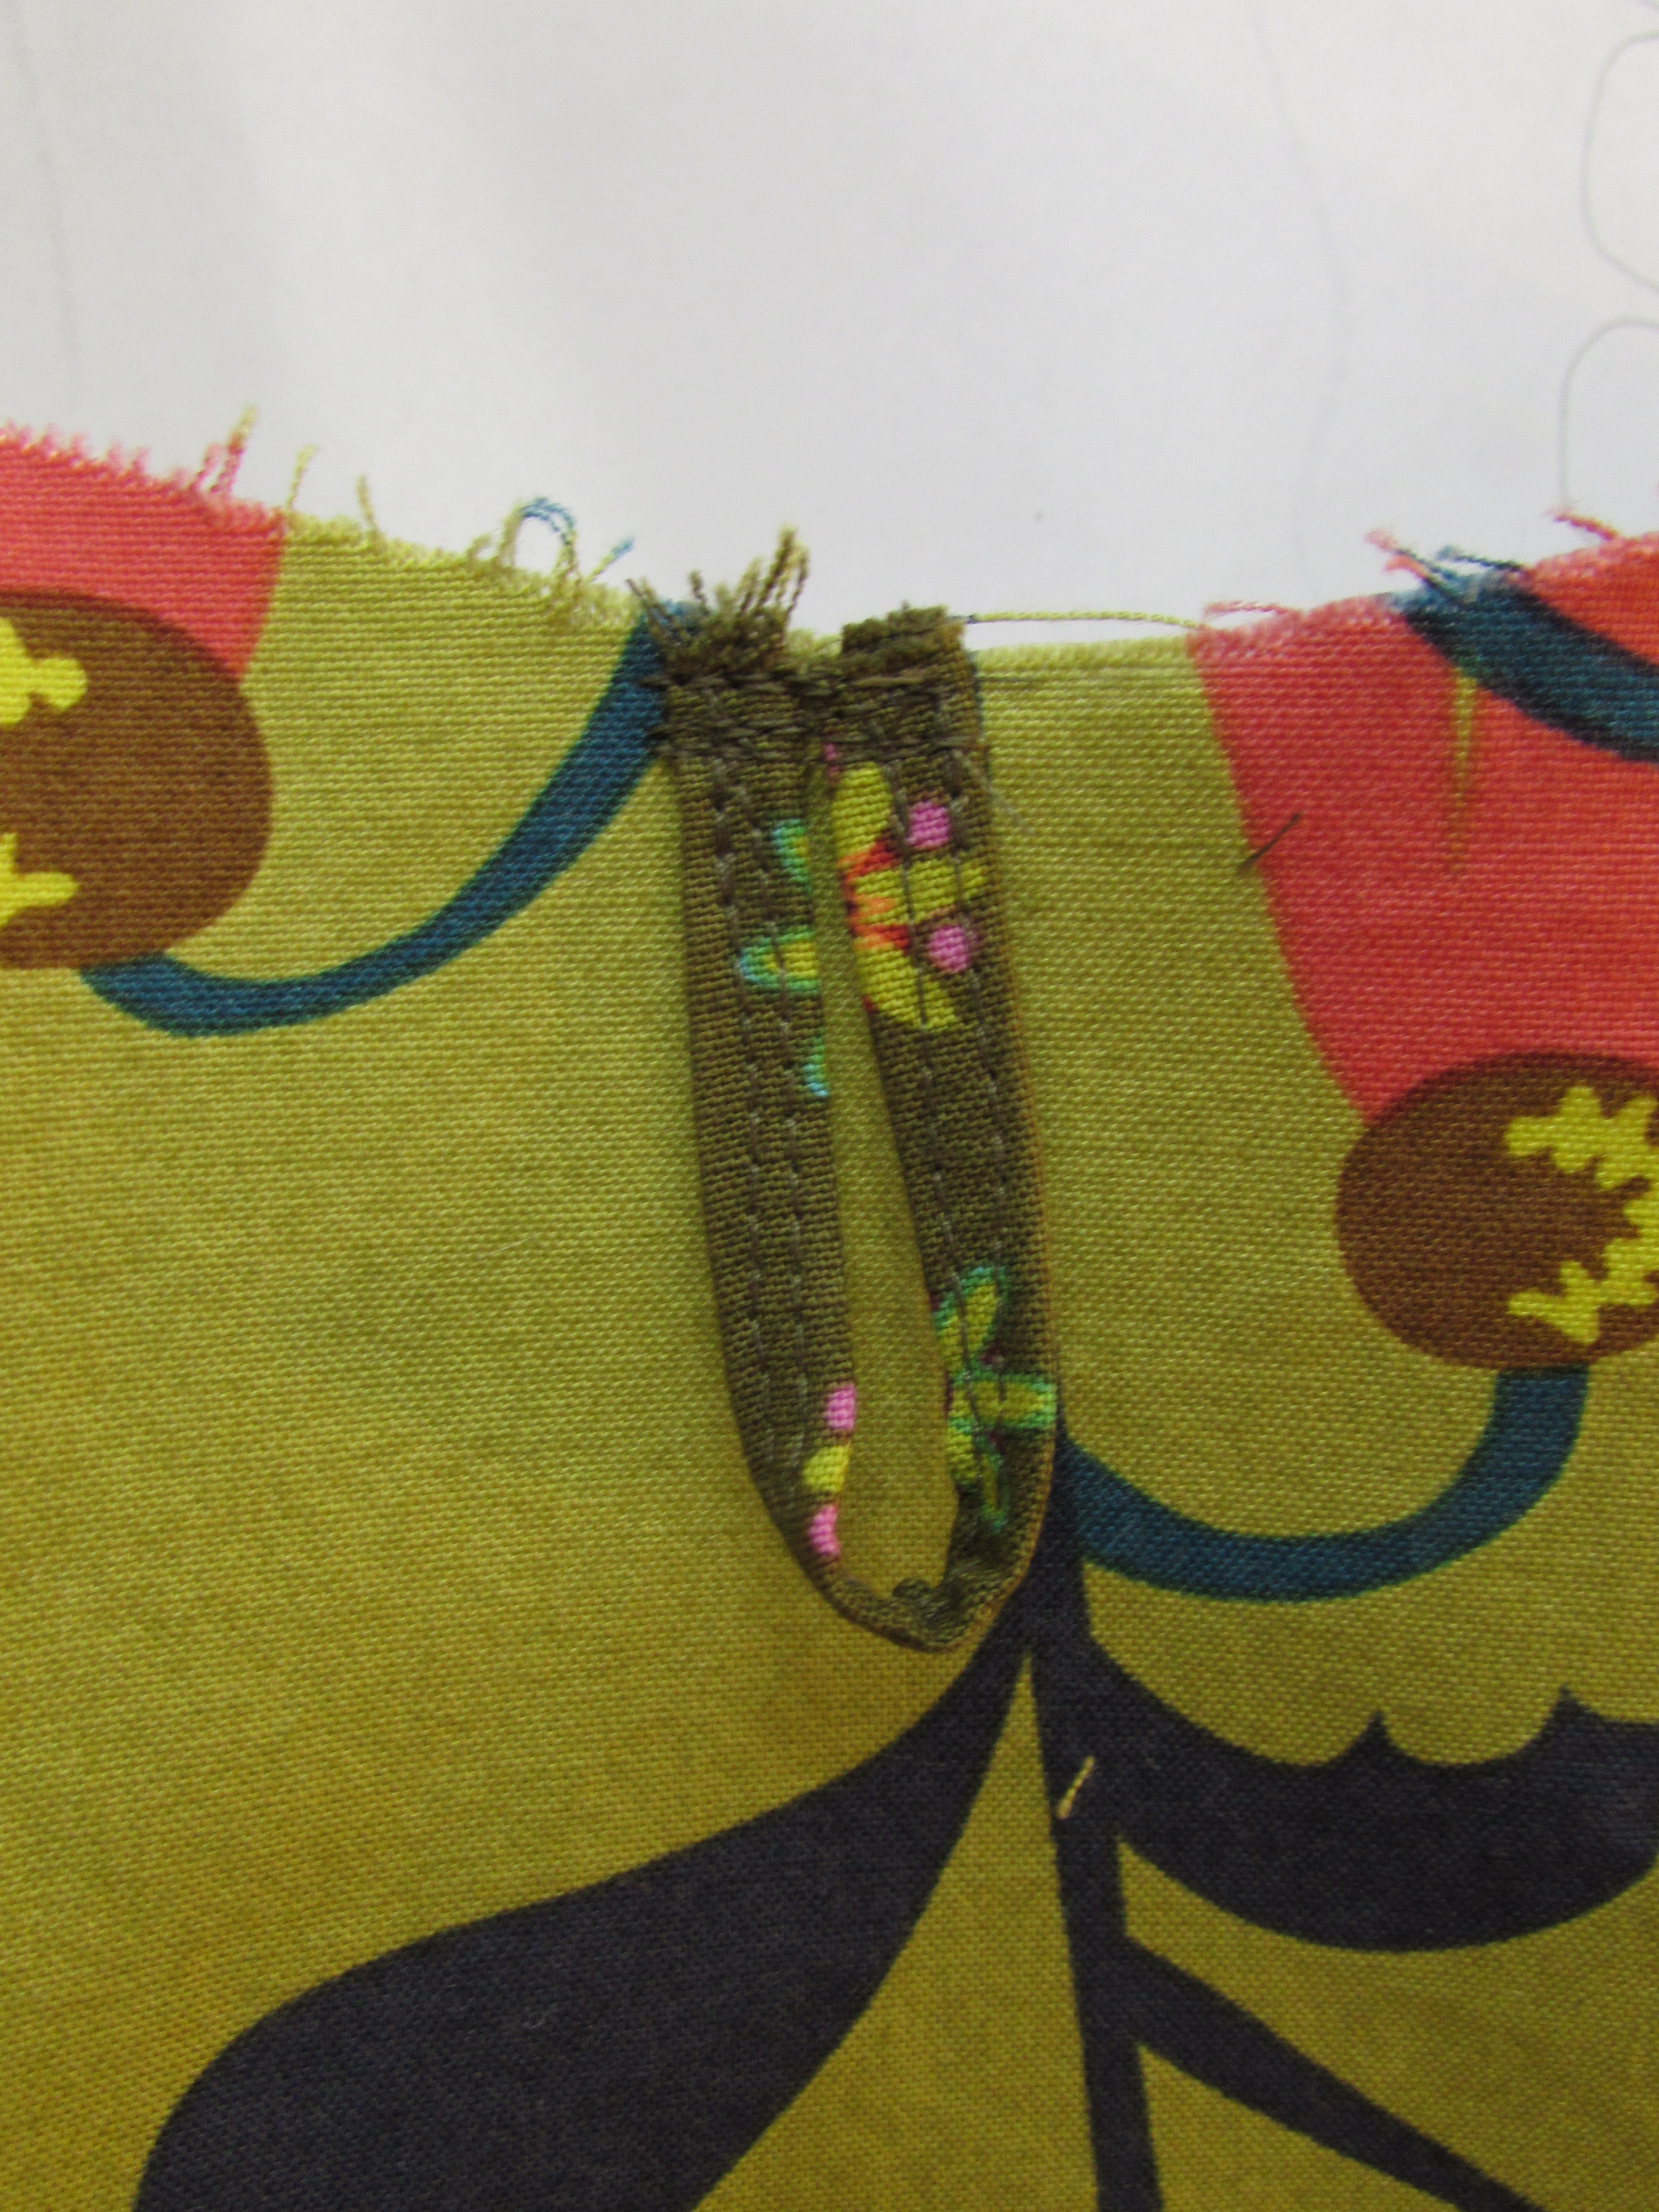
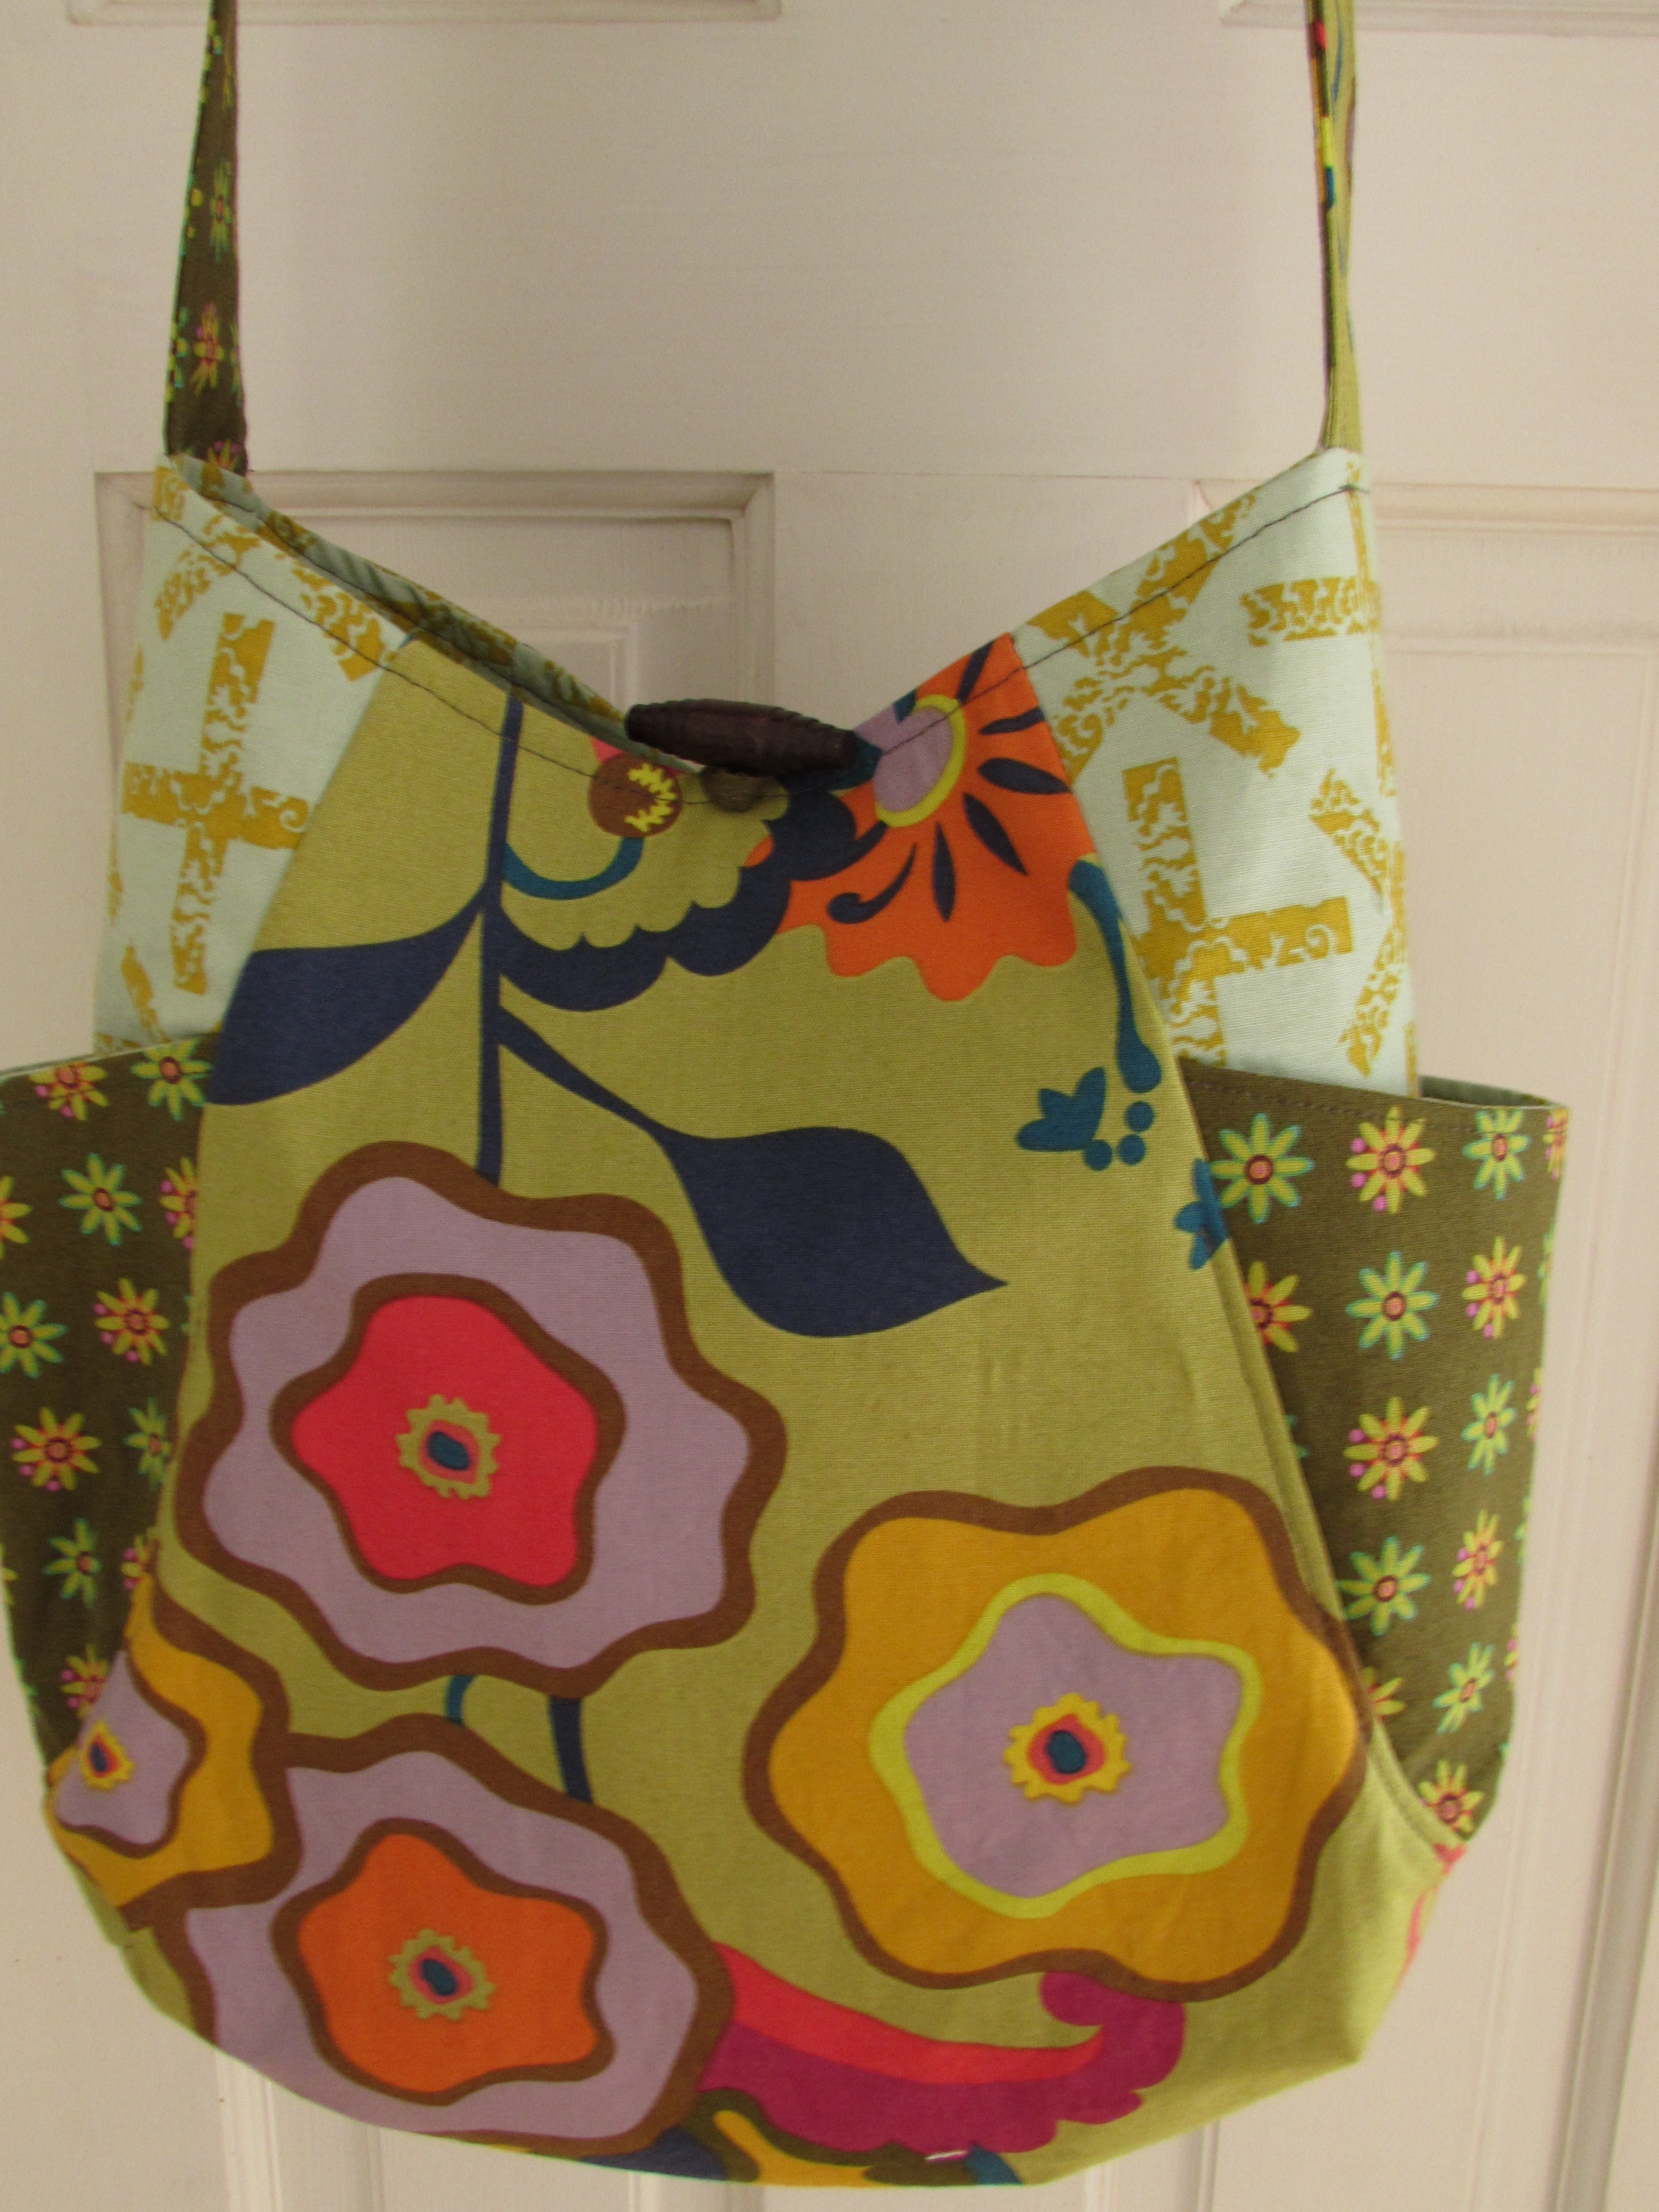
A simple hair elastic was added to loop around the button as a closure. I did this after the fact (meaning I forgot to stitch it in while constructing the bag.) But this was not a big deal. I basted the elastic (with my machine) where I wanted it. Then I folded up a square of fabric so no raw edges showed and stitched it over the bottom of the elastic. Let’s call it a design element, shall we?

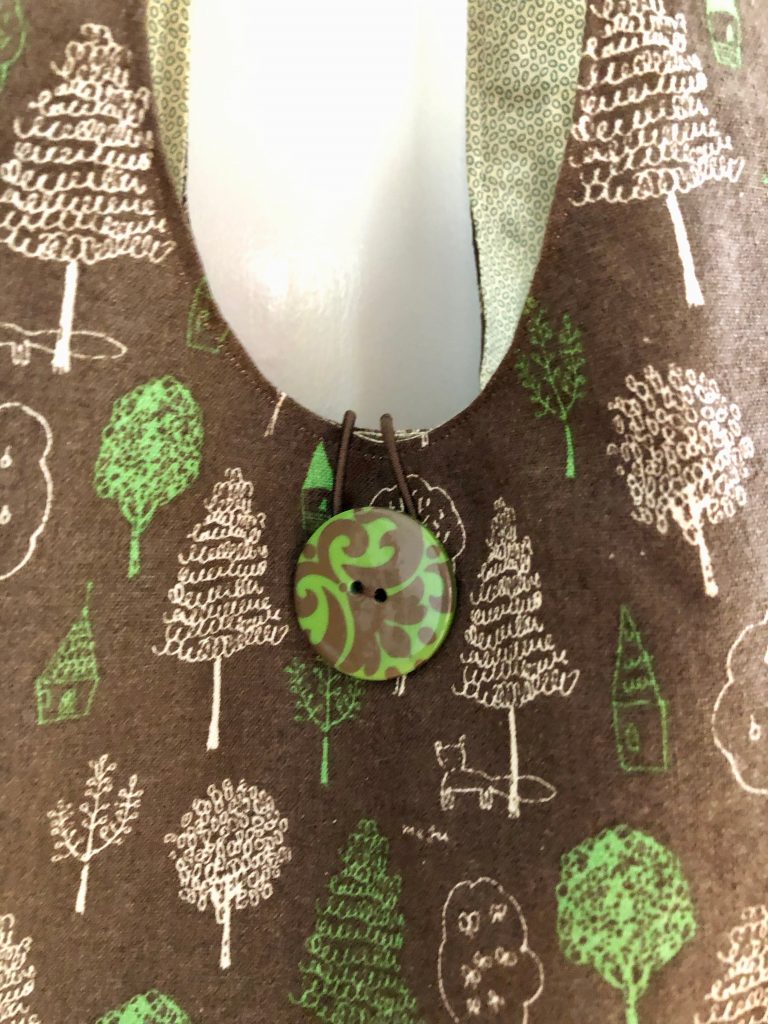
This button has been in my button jar for a very long while and it is perfect! I am happy to add this bag to my collection. A selection of different purses is fun to have – I am one who changes them out all the time. This one will be great for the fall which is just around the corner! If you are intimidated by making a bag, this is the pattern to try. It truly is simple. The most difficult part is turning the whole thing right side out as you pull it through the shoulder strap as it is bulky and can feel awkward. If you try it and have any problems, email me. Happy to help.

Adding a pocket or two to the interior (or exterior) is simple as well. Here is a link to a great tutorial if you need more information. Again, if you need help, send me a note.

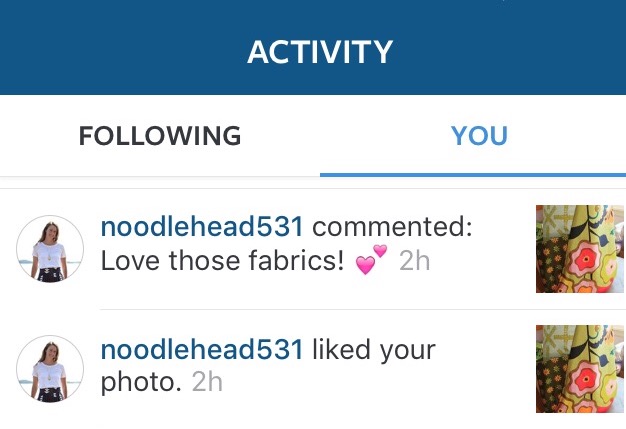
Finally, I have a great giveaway happening on Instagram today and tomorrow. Be sure to click over and check it out!!

The Best Kind of Sewing

I know I am not alone when I say I love to sew for a cause. There are so many people less fortunate than us, people who are dealing with all sorts of hardship. Quilting and sewing cannot fix these things, but it can show others how much we care. One such cause is Sadie’s Dream for a Cure. Founded in 2012, this organization provides tote bags filled with toys, crayons, games and stuffed animals to children who are battling cancer. Sometimes the child regularly endures long IV infusions or hospital stays in an isolation room while their immune system is severely compromised from their treatments. These bags bring a little happiness to a scary time for a child.

This organization has several options for how we can help. They will provide an entire kit to a person wanting to sew a bag. These kits contain the fabric, fusible batting and the label for the front. Alternatively, they will send you just the label, if you would like to rather use your own fabric. I thought it would be a good use of some stash so I requested just the label. Finally, if you don’t have time to sew just now, they keep a wish list on their website of items they need for filling the bags. Here is a link to check it out.

Bags are donated to hospitals all over the country. Some of the bags are filled with adult items for parents who find themselves suddenly experiencing an extended stay at a pediatric hospital. The adult bags are stocked with toiletries and snacks.

Before I go any further, I need to make a clarification. I didn’t make all four bags shown at the top of the page. I first heard of this project on Instagram when The Quilter’s Planner announced a sew along to make these bags as a group. They did a few posts explaining the steps along the way. I didn’t join in with the sew along due to some timing issues. However, I did pass the idea along to my sister. She also loves to sew and I was fairly sure she would want to make a bag or two. Turns out she made three! Hurray for the kindness of others.

It has been fun to receive pictures of the bags my sister made over the last week or so. She did this cute one with bugs — perfect for the budding entomologist.

Who wouldn’t love the colors in this purple and blue bag? The fabric choices are perfect. It would work for a child or an adult.

For the third bag she used this sweet multicolored fabric with little cupcakes.

My bag is pink with a floral print used for the pockets and the trim around the top. I added a pop of green for the accent strip. When I was making it there was one hiccup.  After I attached the lining to the outer bag, I noticed I had forgotten to put the pocket on the lining (for the inside of the bag). Dang it. I decided to unpick the stitches on the side seam and carefully insert the pocket and try to stitch it down. It was kind of silly but it worked.

I am pretty happy with the final results! Fun, bright colors make for a cute bag.

These bags are fun to make and a simple way to help out a family going through a rough time. I enjoy bag making anyway so this was a pleasant way to spend an afternoon.

Just a quick note – I want to let you know I have begun a newsletter to keep readers posted about my fabric shop. I will be sending it out about every eight weeks or so and it will contain information on new arrivals and fun promotions for my newsletter subscribers. If you are interested, there is a sign up form on the right side of the page.

Linking up to Crazy Mom Quilts and TGIFF.  Hope all of you have a fantastic long weekend for the Memorial Day holiday.


Cutest 241 Totebag Ever

Last weekend I finished up the 241 bag that I have been working on. The bag was made as a gift to my niece for her eighteenth birthday. Somehow I forgot to get a photo of Maddie with the bag at the party last week. She loved it though which made me very happy!

Making this bag in tandem with Tami from Sew Much for Free Time was really fun. Neither of us has seen the final project for the other yet and I look forward to popping over to her site to see her bag. I hope you will take a peek as well.

As is usual for Noodlehead patterns, this one was easy to follow and the result is exactly what I had hoped for.

img_20160509_5102 - Copy

This is the second bag I made using a tutorial or pattern of Anna Graham’s. The first was a tote for my mother-in-law. You can read about that here. Anna’s patterns are filled with small details that make for a stylish bag. For instance, I love that the side pockets have a fullness to them. They are fused with interfacing and cut so that they extend a bit from the side of the bag, making them really roomy.

img_20160509_5101 - CopyThe pattern calls for a magnetic closure but I didn’t have one. Fearing I would (yet again) lose my self-control if I returned to Ben Franklin, I searched through my buttons and found a cute wooden toggle button. Using a small rectangle of the contrast fabric, I made a loop and stitched it to the top of the bag.

img_20160509_5104I sewed the button to the other side and it works like a charm. Remember I also added a key chain link to the inside so that Maddie can hook her keys to it and find them again easily. I forgot to take a photo of the key fob that I made but it was made with webbing and the small floral print used on the side pockets. (It was just like the one I made for my sister and talked about in this post.)

img_20160509_5106Anna’s pattern calls for the handle strap to be made from a six-inch wide strip that is interfaced and folded. I wanted to make the handle with two different fabrics so I modified that and used two 3″ strips. Then I fused the interfacing to one side and sewed them, right sides together. After turning the strap right side out, I pressed and topstitched the edges. Another slight modification was to extend the length of the straps. My niece is about 5′ 7″ and the strap seemed too short. I didn’t notice this until after I had cut the straps so I just cut a few more three-inch strips and added on to the length. Just because I thought it looked fun, I used the opposite fabric on each end. If you look at the top picture, you can see the different fabrics. The inner strap on the left is floral and on the right is the big print. On the outside it is just the opposite. The handle looked so fun like this and I would definitely do that again. (These little changes are one of the best parts of making things rather than buying ready-made. Each project is uniquely its own!)

As luck would have it, since I certainly didn’t try for this, the outer seam on the bottom matched up almost perfectly.

img_20160509_5108

I love when this happens! If I actually try to match it up, I usually meet with less success. At any rate, this bag was a huge success. I highly recommend the pattern for anyone with at least some sewing knowledge. It could be a bit of a challenge for a person who is new to sewing.

I hope Tami and I will think of another project to sew together. We had a lot of fun with this one!

Linking to all the usuals. Find them at the top of the page under Link Ups.

Craftsy’s birthday celebration continues through Sunday, May 22nd. Classes are on sale for 50% off! Buying a class enables you to watch each lesson as many times as you like, when it is convenient for you! The newest class taught by Amy Smart, of Diary of a Quilter, is released and on sale.

unnamed (1)

(Because I am a Craftsy affiliate, I will receive a small payment for purchases made by clicking through from my blog.)

Weekly Wip Update

Let’s start off with the fun fact that this is my 200th post. That is sort of cool. 🙂

The last week didn’t include as much sewing time as I would have liked. I lost a couple of days because I was down with a bug. I managed to watch a few episodes of Downton Abbey though so it wasn’t a total loss. (I just discovered the show a few months ago and luckily, Amazon streams it. I have been devouring this soap opera lately, with the Dowager Countess being my favorite character.)

The days that I was able to spend time sewing were mostly productive. I made a few new French Press cozies for my Etsy shop. Beyond that, I started quilting my black and white Stepping Stones quilt. So far, I am quilting along the diagonal, following the black and white squares. I have not touched the tiny HST’s or the blue strips. My thought is to finish the black and white charms and then decide what, if anything, to do with the other smaller parts.

I am using white thread and the quilting is coming along nicely. However, the white stitching doesn’t show up well for pictures.

img_20160509_5110

I have been alternating quilting a large spiral and then in the next square quilting a loopy design.

img_20160509_5109

I have quilted about 1/3 so far. Other projects beckoned though and I set this aside for a few days.

I have been having a blast working on my sewalong with Tami of Sew Much for Free Time. Every time I make another friend via this blog, I am just blown away by the ease of the relationship. By now we have been emailing back and forth with progress pictures and ideas. It is so much fun. Our 241 Totebags are swiftly moving toward completion! Working with a friend has kept both of us on track and has somehow made the project seem to come together quickly.  This is my second project using a Noodlehead pattern or tutorial and the directions are just wonderful. So far, I have constructed the entire outer bag and have been working on prepping the inside portion.

image

These prints are bright, fun and maybe a little wild but I think they are perfect for the intended recipient.

For the inside, I added one of my Needle and Foot labels. I have just a few left as I normally put these on product that goes into my Etsy shop.

img_20160509_5096

There are options for zipper pockets on the outer portion but I politely declined the option. (Read, I was too lazy to fuss with a zipper.) I did add a square of Velcro to the patch pocket on the inside (I was feeling guilty.)

img_20160509_5097

Finally, I made a little attachment to hang a  key chain holder. I love these little guys; saves so much time not having to hunt to the bottom of your bag to find your keys. There is a coordinating key fob in the works.

img_20160509_5098

Because there will be a bit of tugging each time the keys are hooked and unhooked, I fused some stabilizer to the back for support.

img_20160509_5099

The lining portion of the purse and the shoulder strap should go together quickly. I’m pretty excited about the whole thing and have a feeling I will make another one for myself.

Yesterday I posted a progress picture on Instagram and guess who commented? Um, Anna Graham, from Noodlehead. Looks like we are sewing buddies now. 😉

image

.What a great project this has been. I am going to have to find another fun sewalong/quiltalong type of activity after this. If you have a minute, check out Tami’s progress. Seeing the same pattern come together in two very different colorways is very interesting. They each look very unique.

Linking to Linky Tuesday, Let’s Bee Social and Sew Cute Tuesday! All links are found as always, at the top of the page, under Link Ups.

Craftsy Update:  In celebration of their 5th anniversary, Craftsy will hold a great sale of kits and supplies running May 12th through the 15th. Check it out here!

may craftsy

(I am a Craftsy affiliate and will receive a small payment for any sales that occur via my blog.)