Tag Archives: noodlehead

A Fresh New Totebag

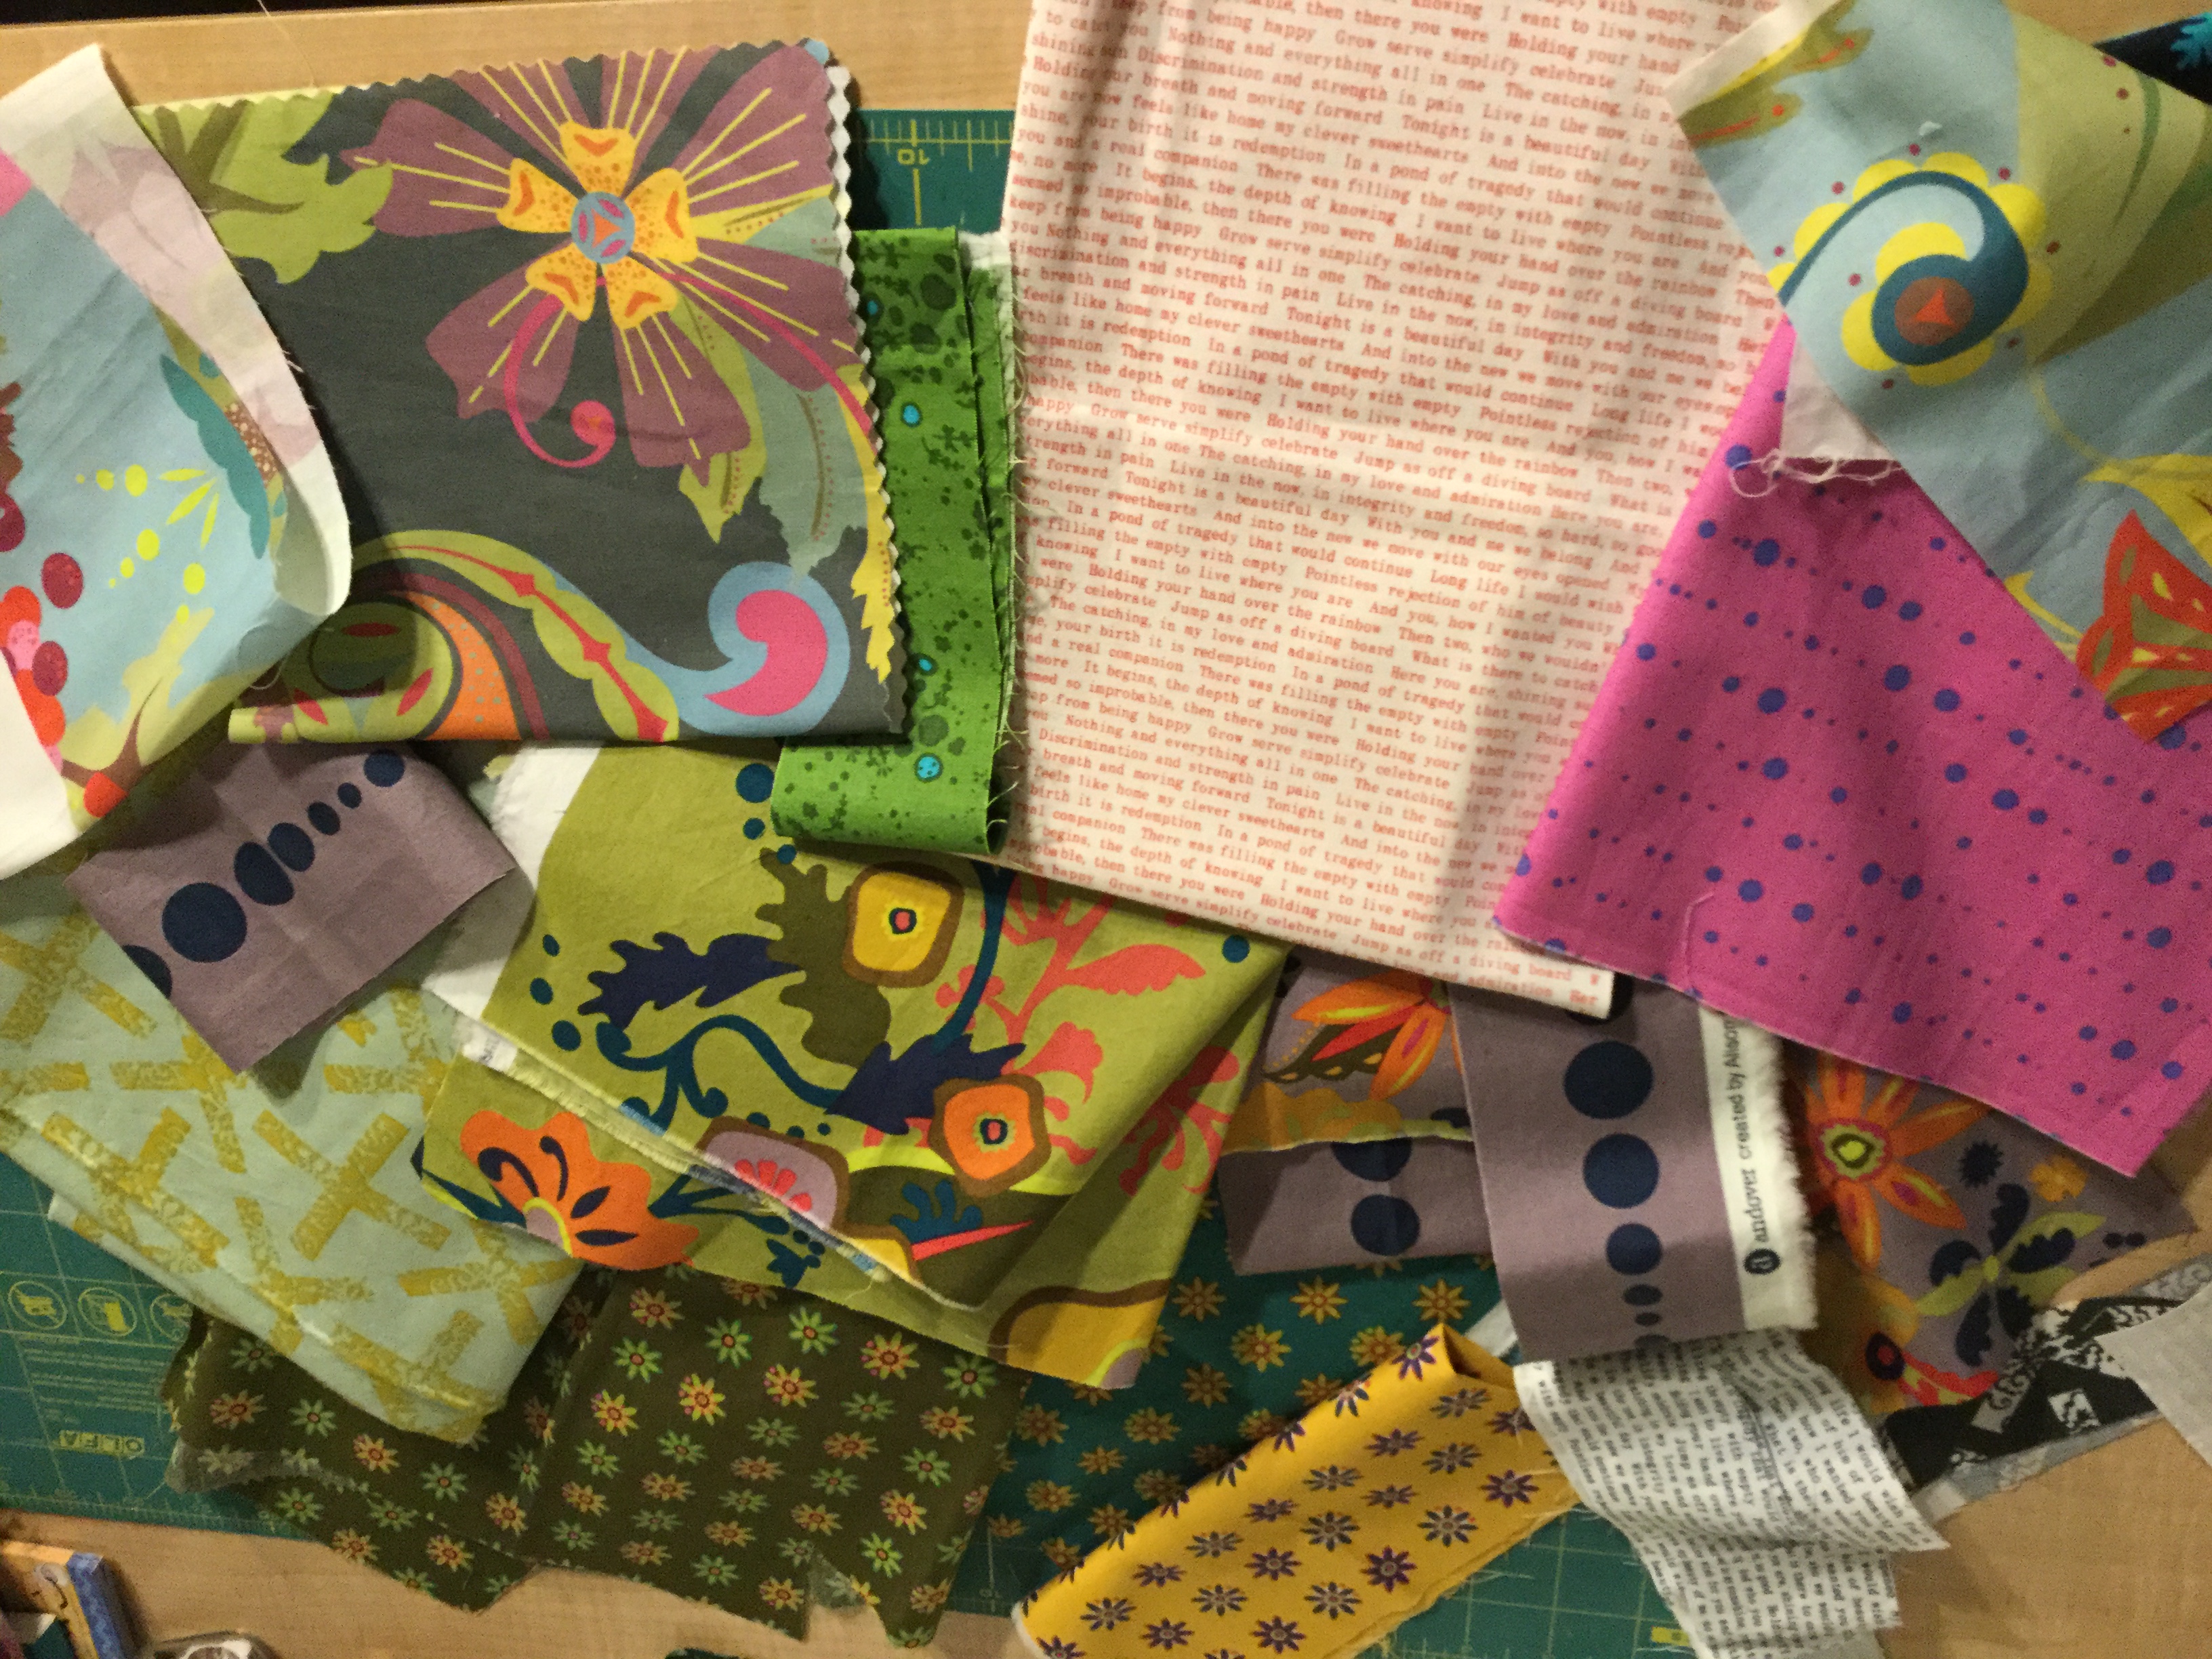
I am loving having all of these gorgeous bolts of fabric downstairs. I like to look at them, rearrange them, sell pieces to my wonderful customers and best of all, make stuff with them. I know, it probably isn’t the path to becoming rich – using up my own inventory – but it’s all just sitting there, taunting me, calling out to me. My willpower only goes so far. I am human after all.

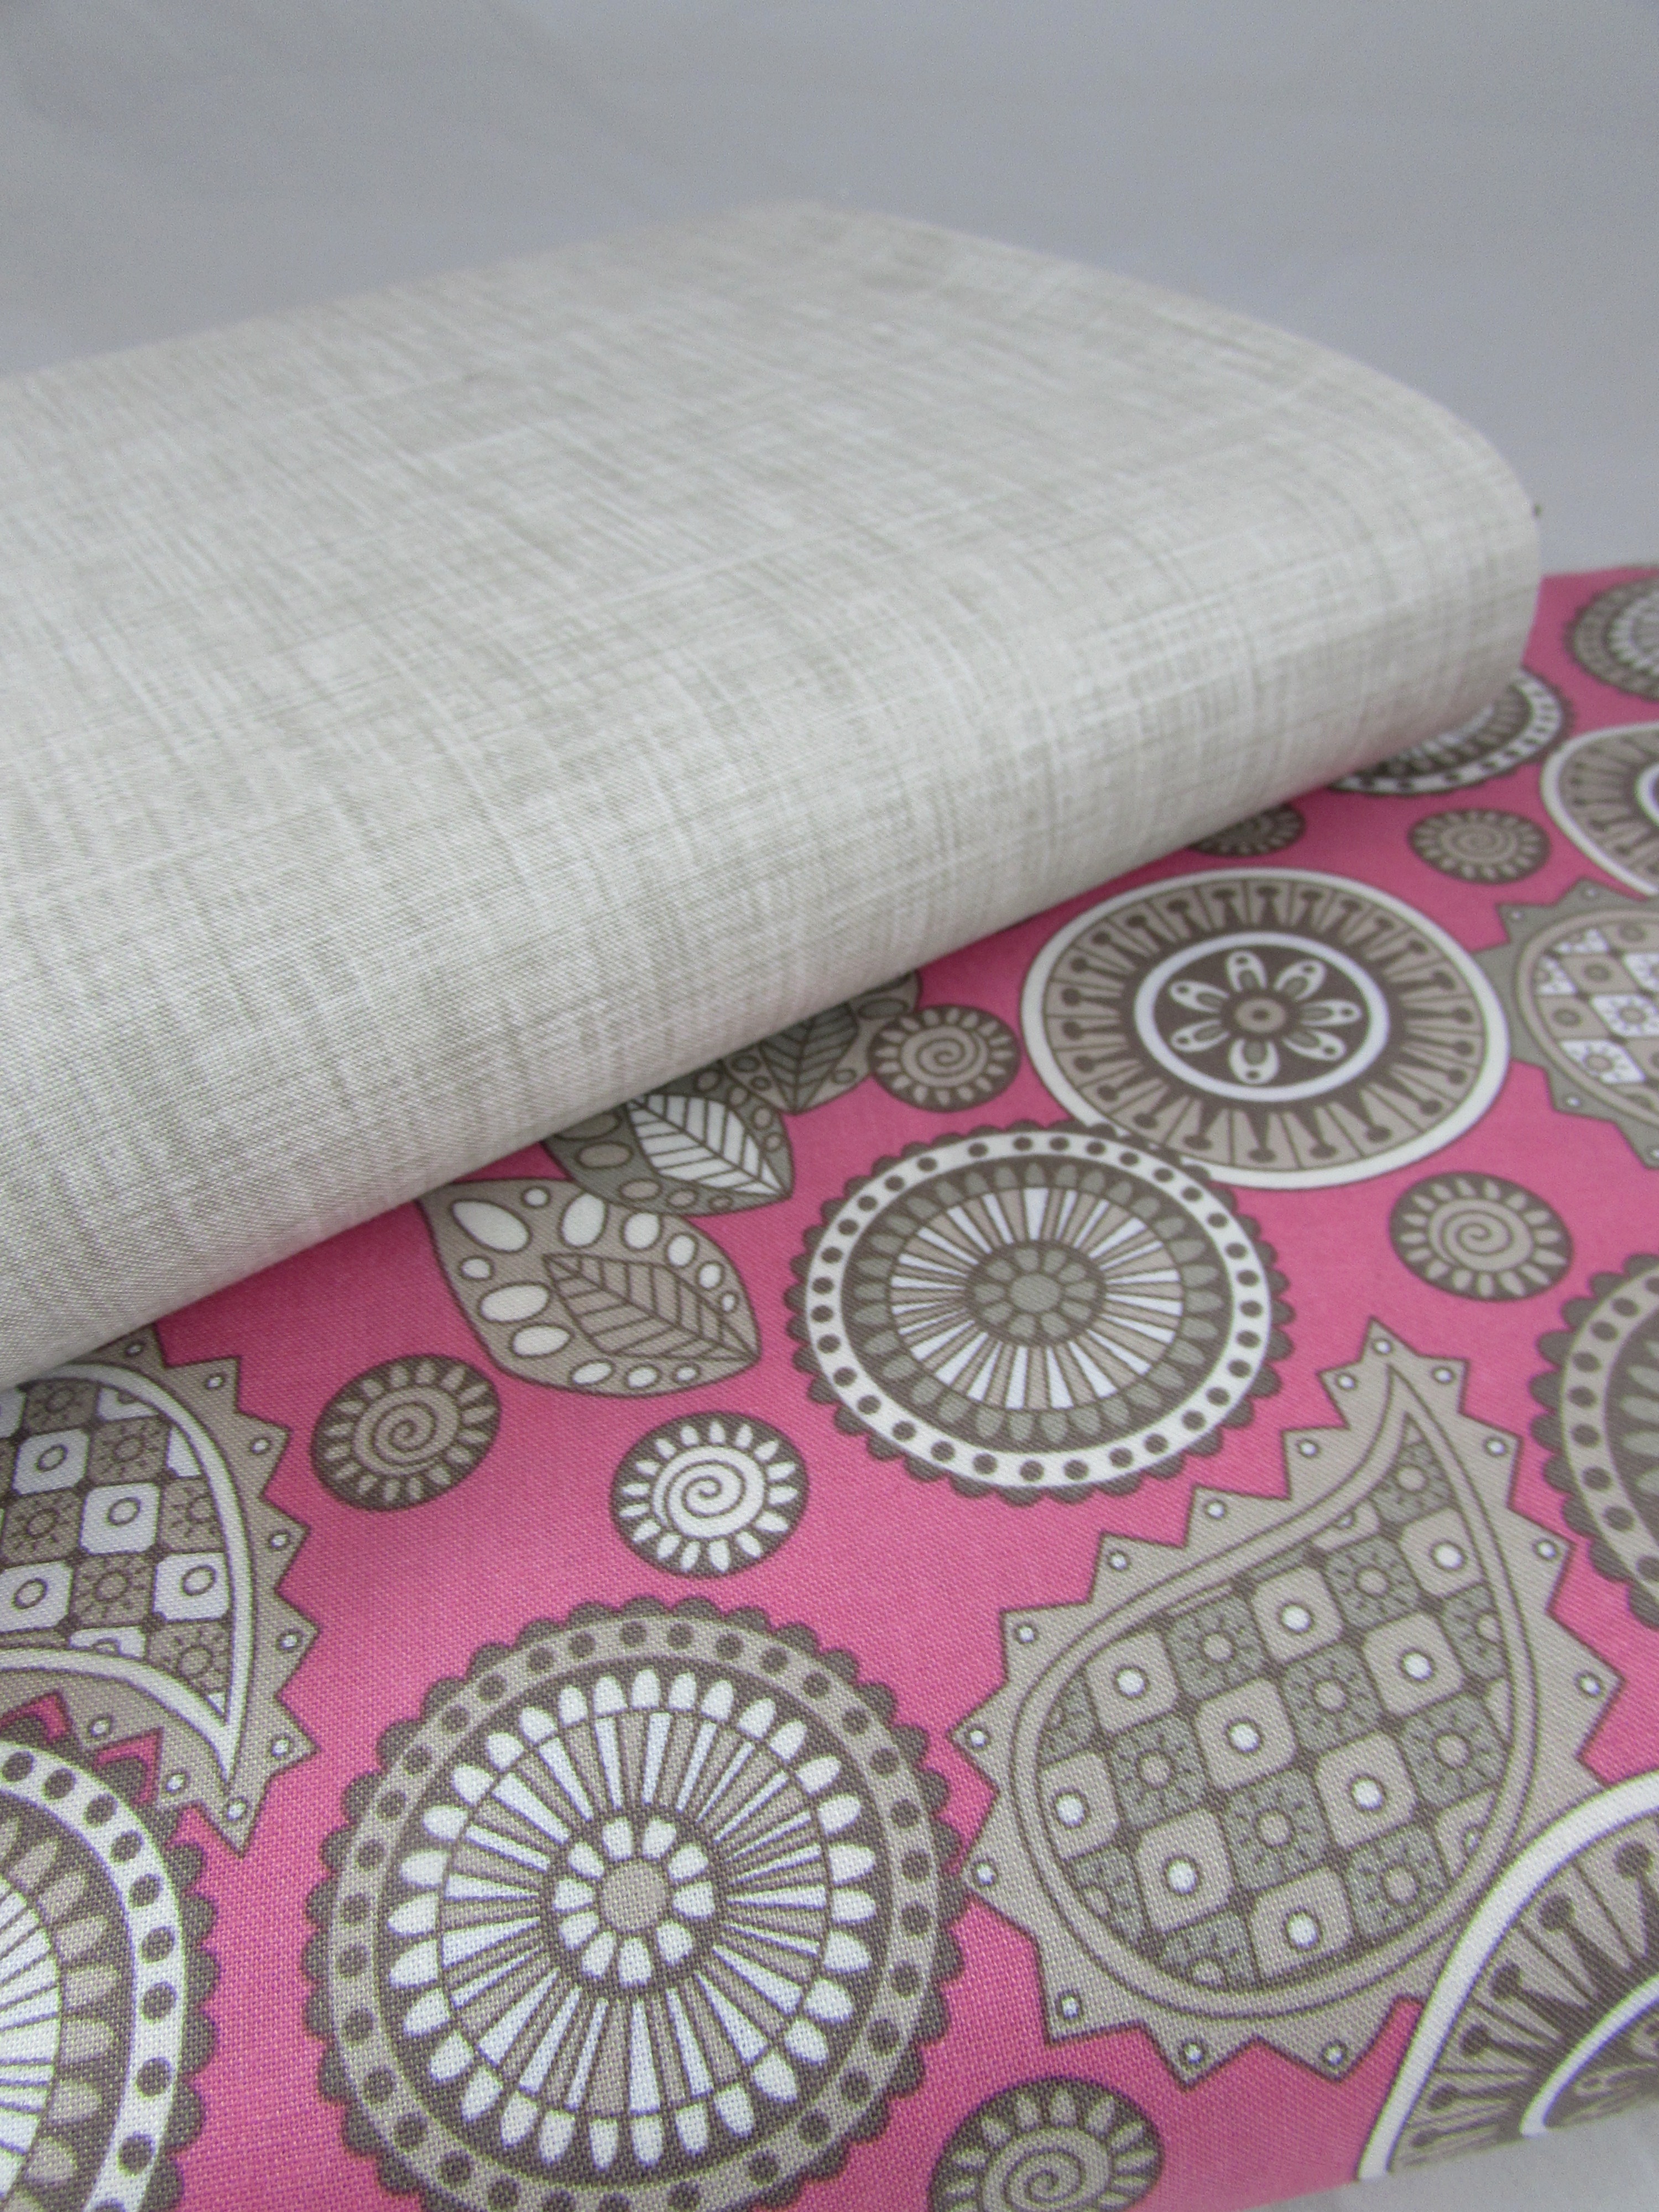
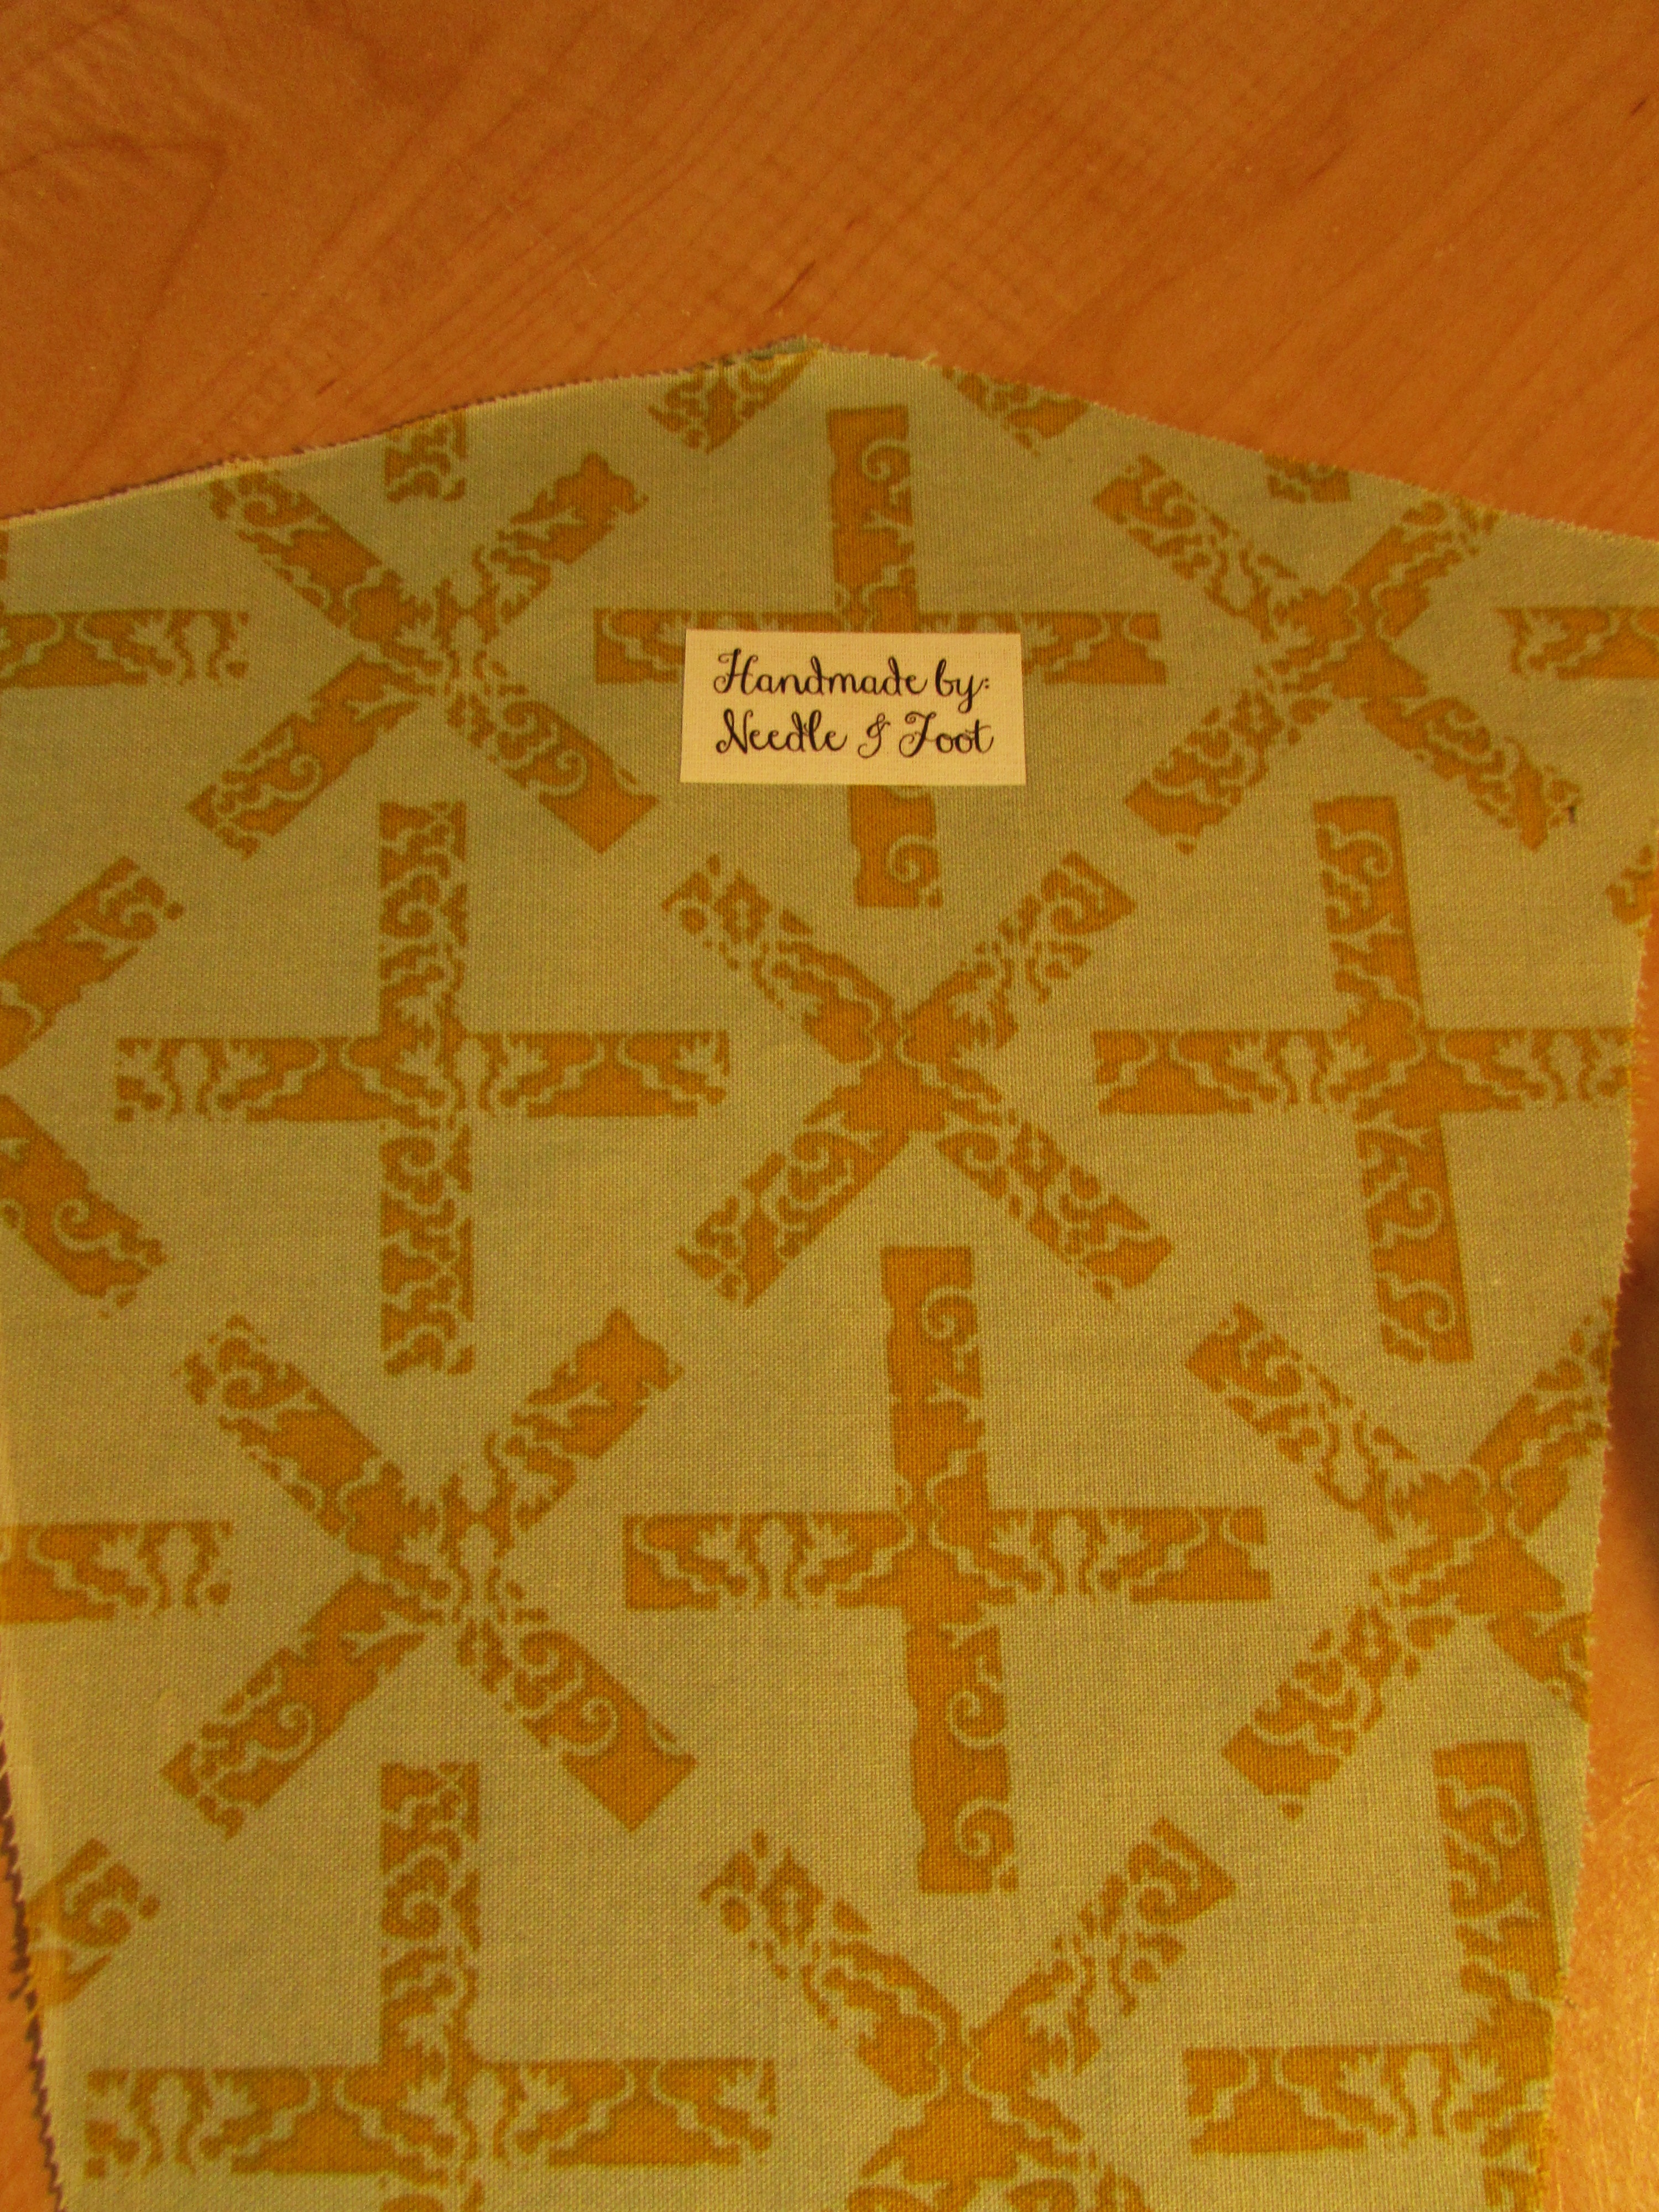
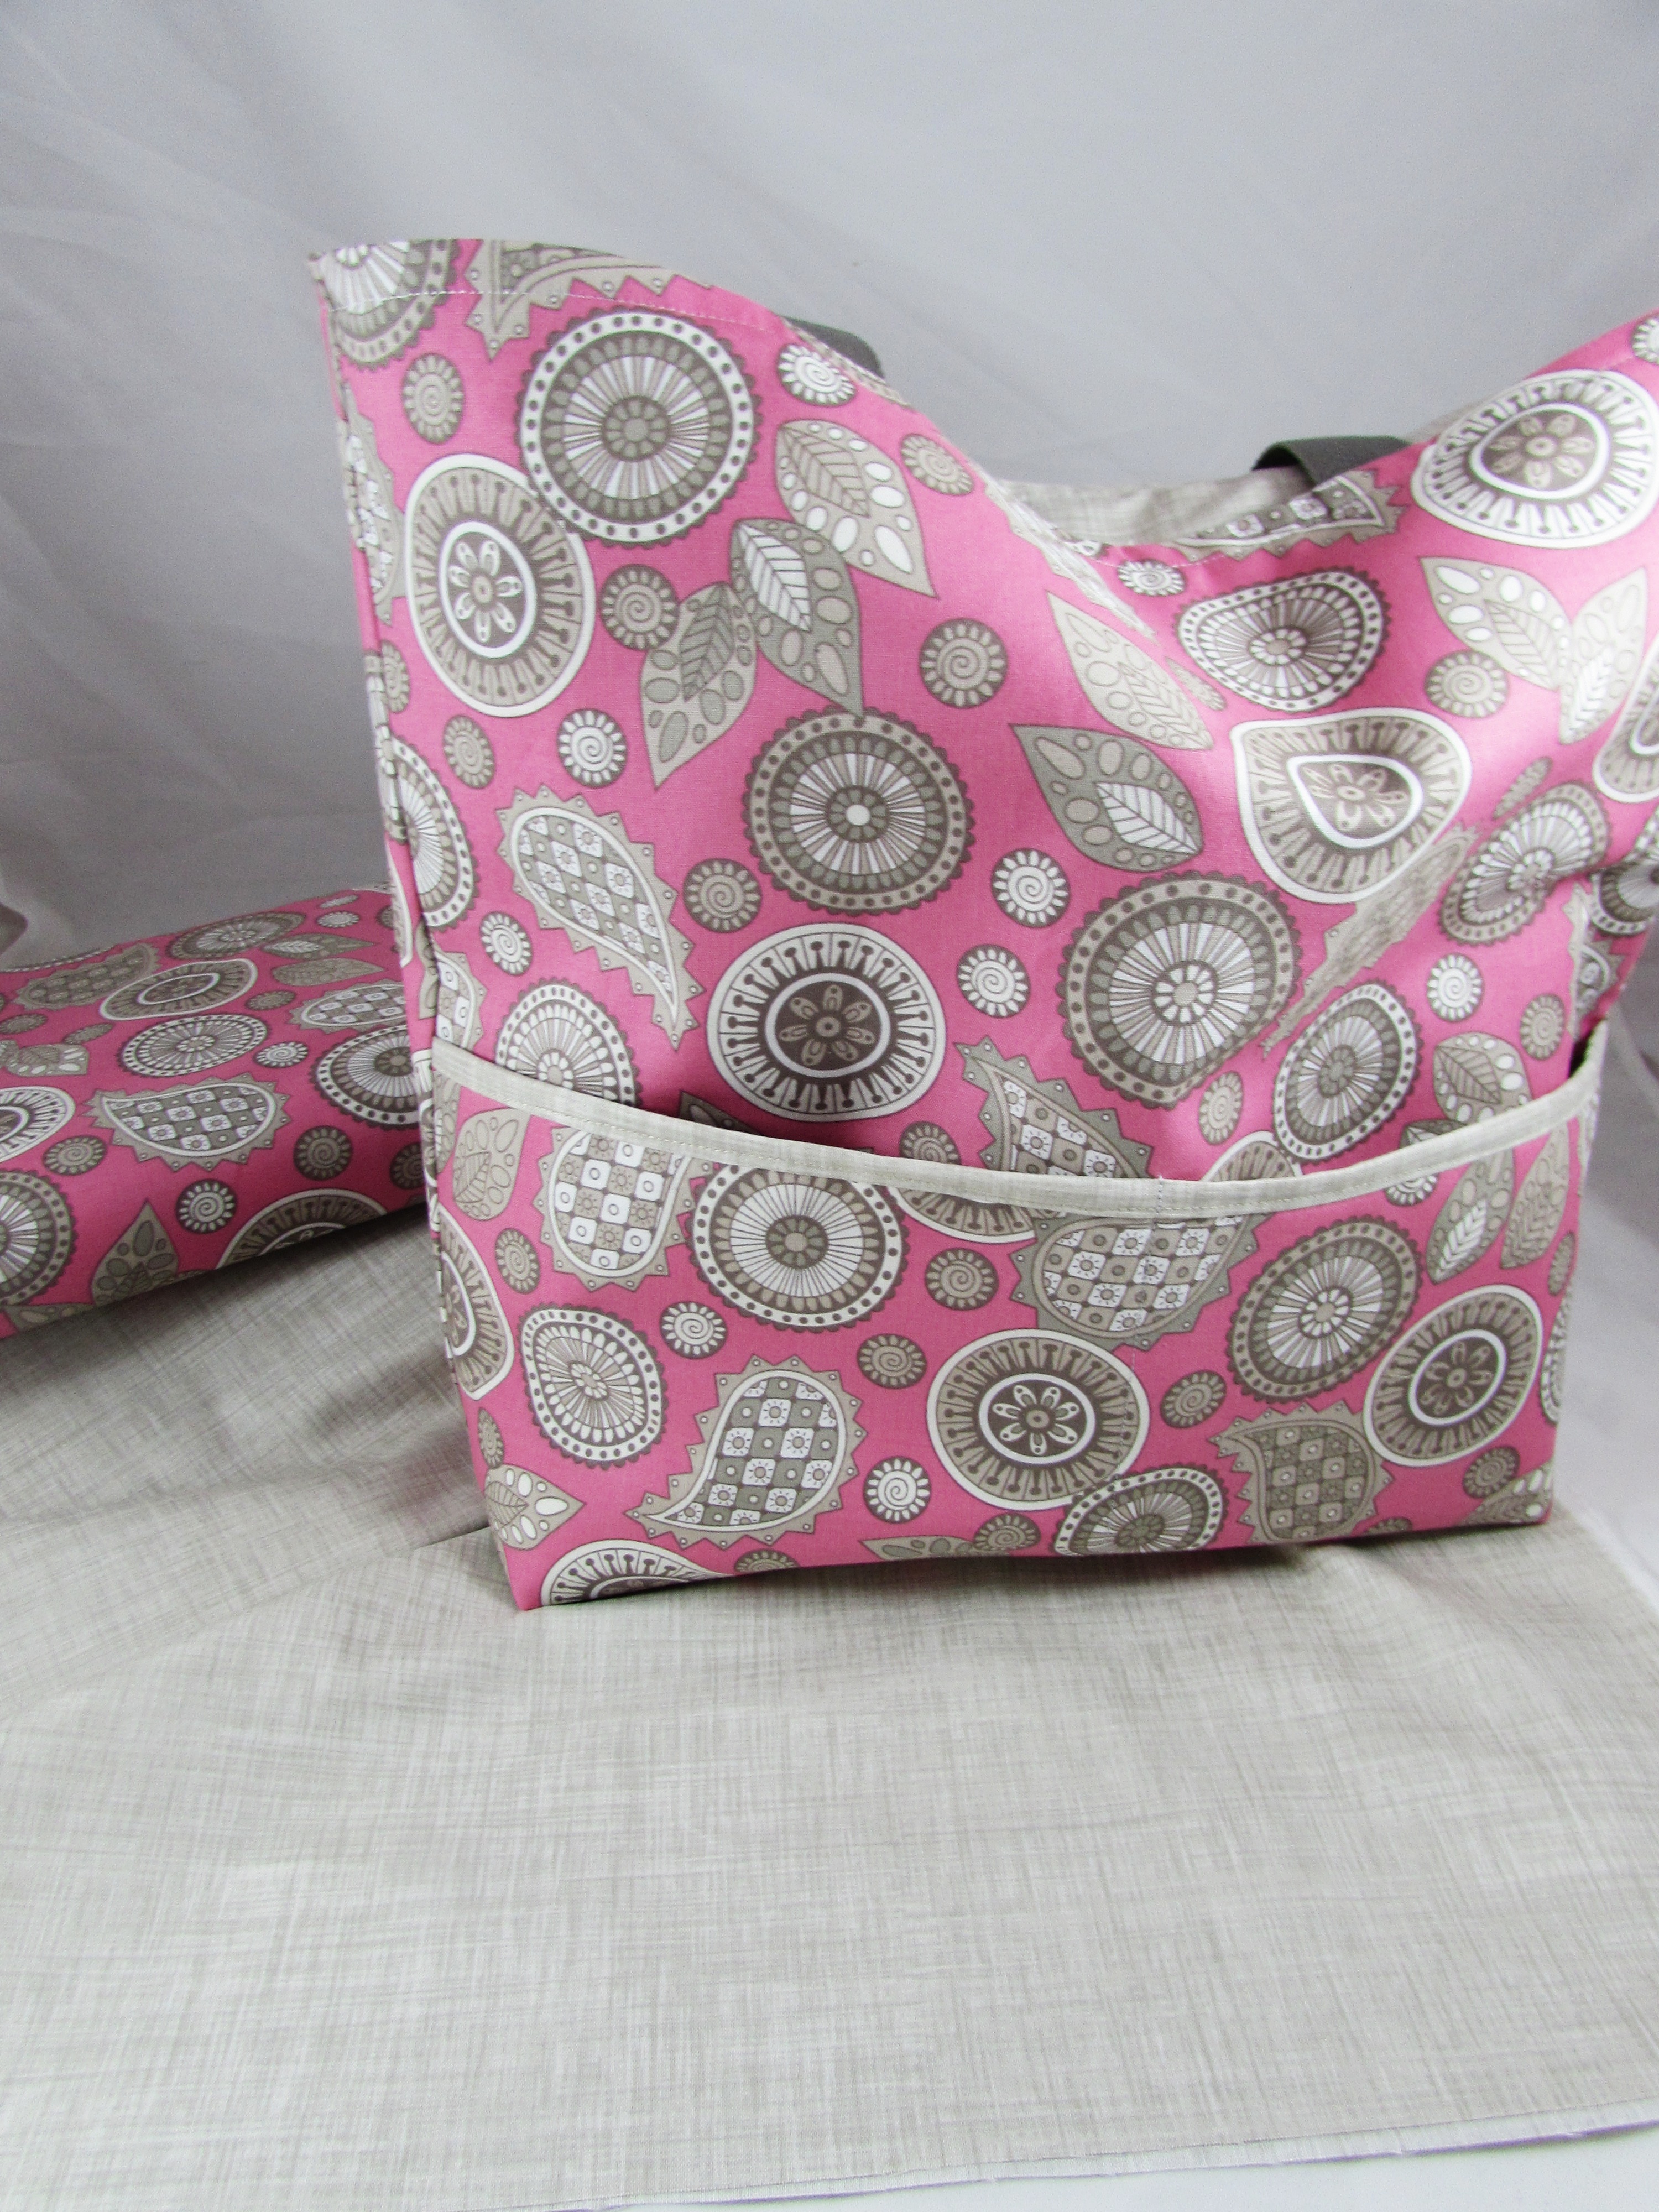
When I was in the process of selecting this first round of fabric purchases, I tried very hard to make sure that the lines I bought were able to intermingle. I like offering choices and having pieces that work well together. This pink paisley print is actually from the Modern Tykes line (from Henry Glass). The line is a set of adorable juvenile prints. But this paisley holds its own. It is a deep pink with gray and taupe accents. Pink isn’t usually my color but I like this one. I also carry a selection of Color Weaves – a textured solid made by PB Textiles.  The gray piece works perfectly with this paisley print.

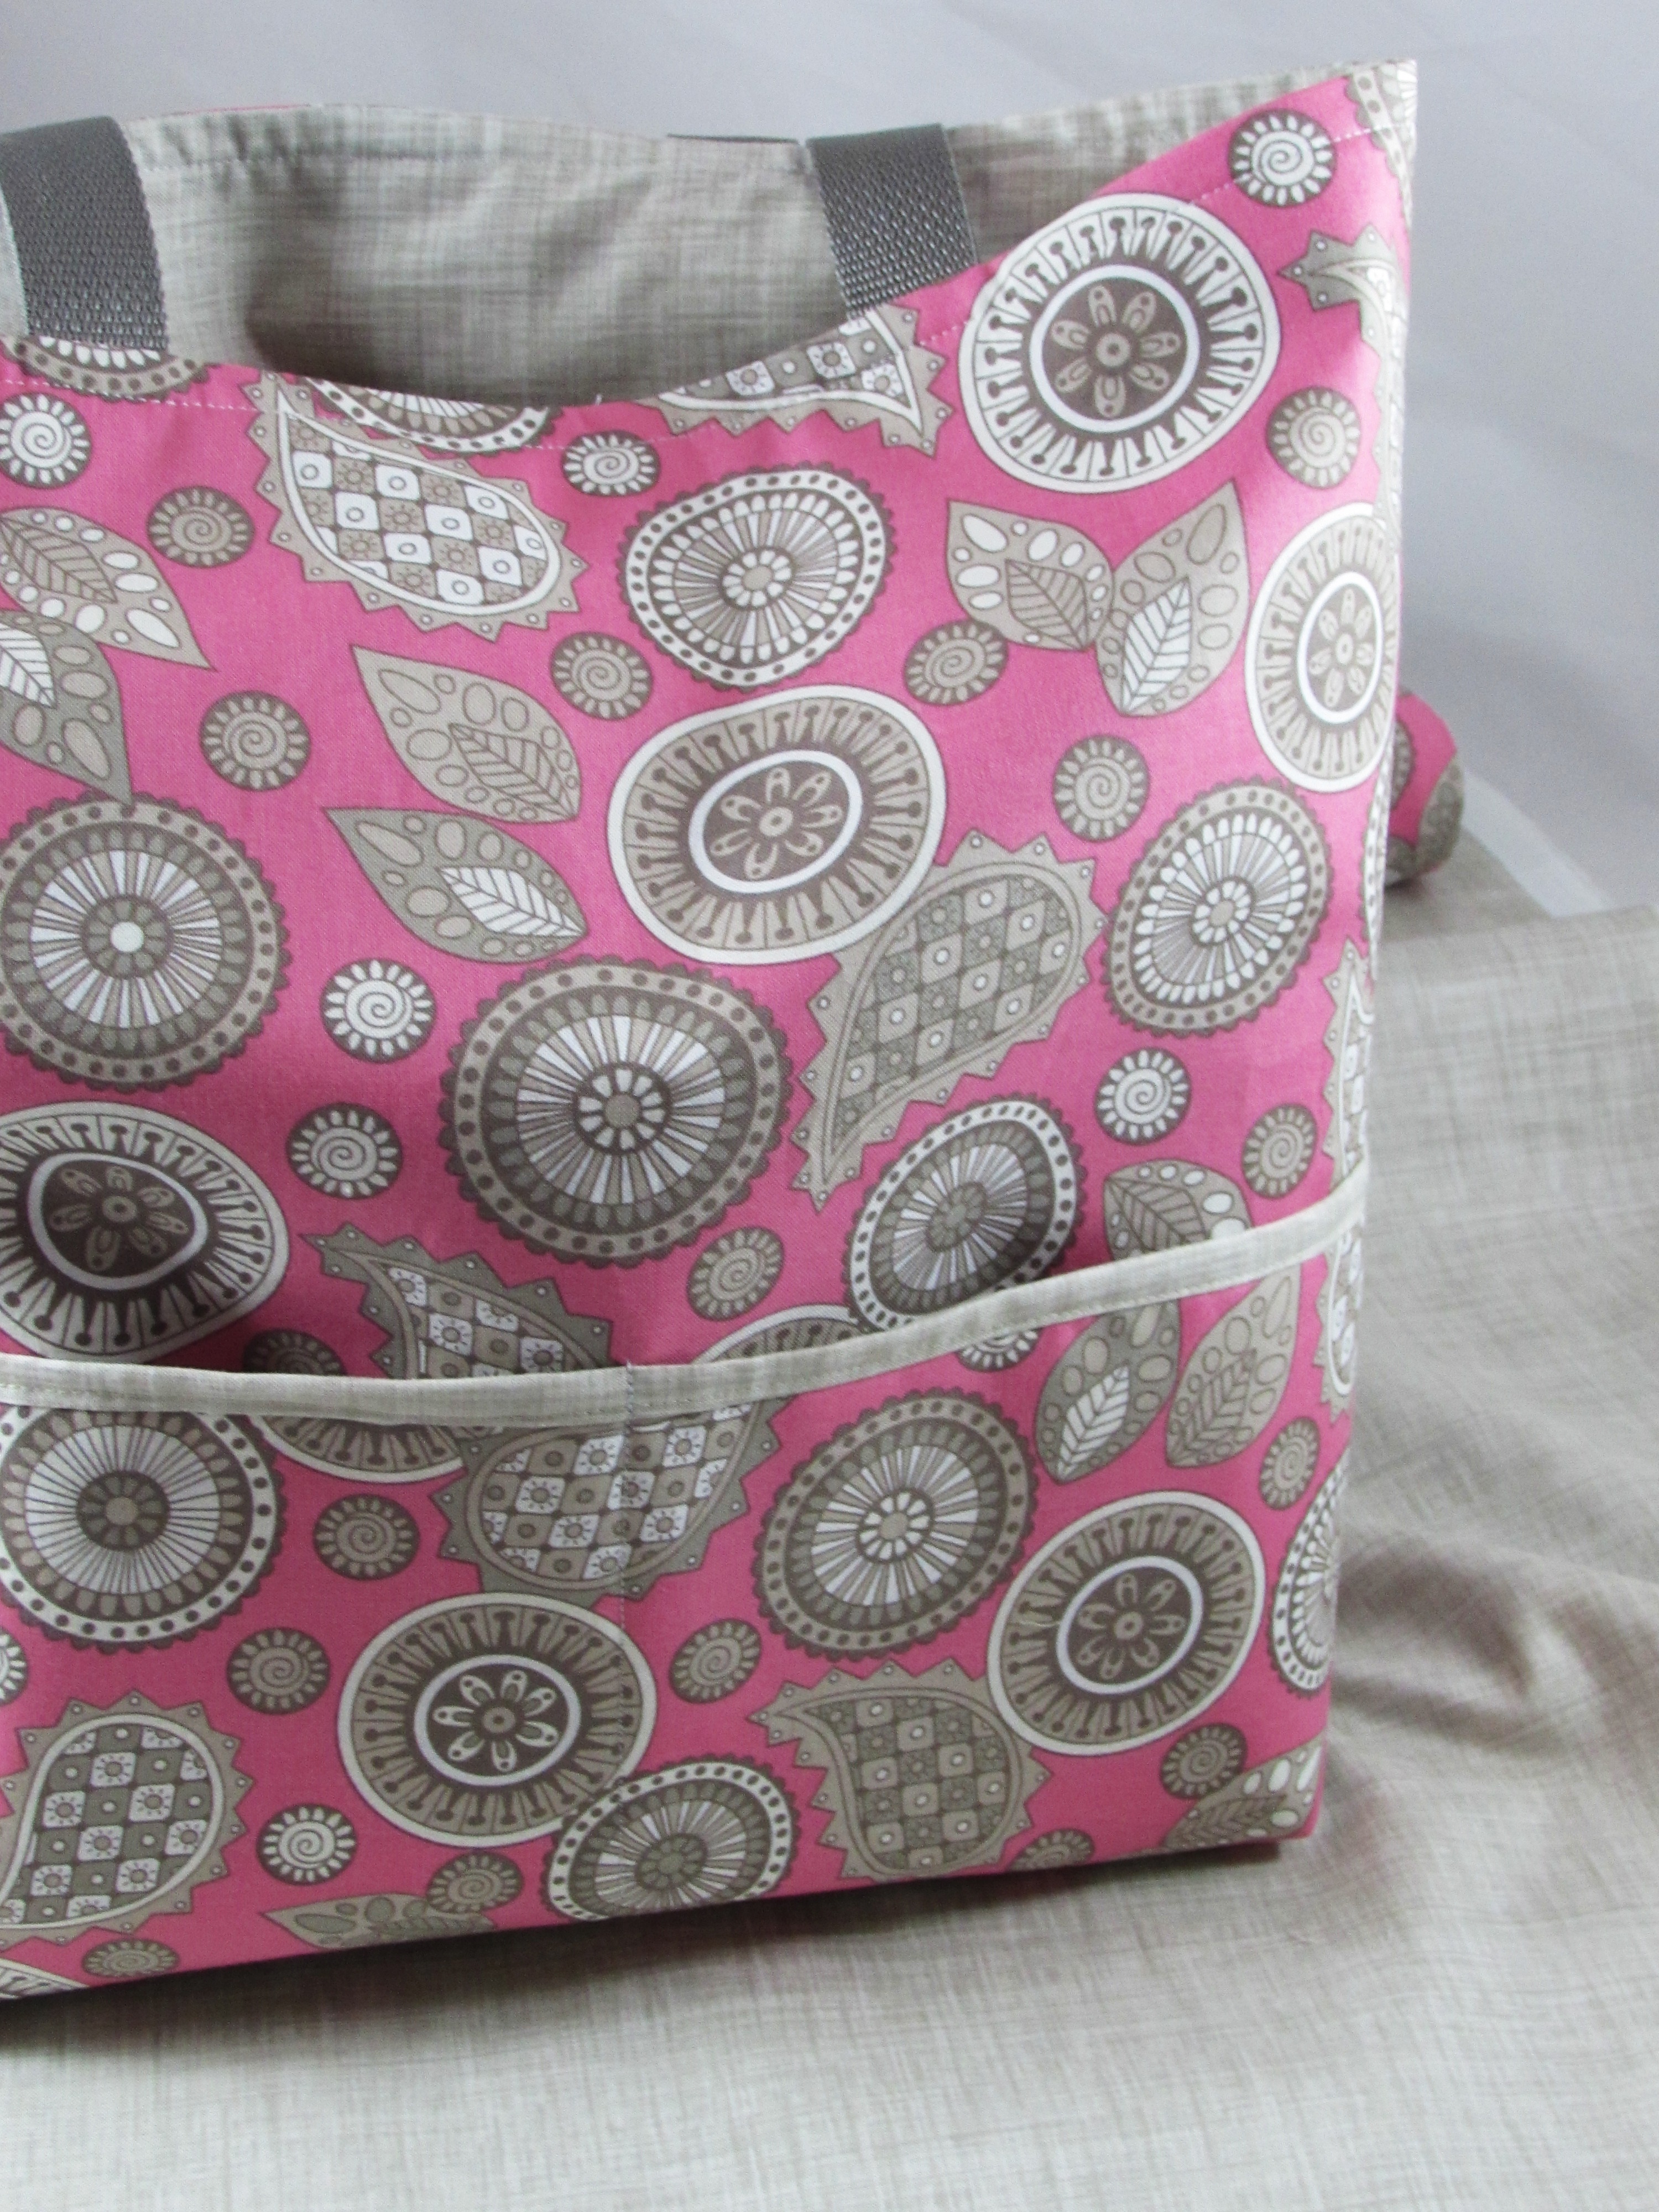
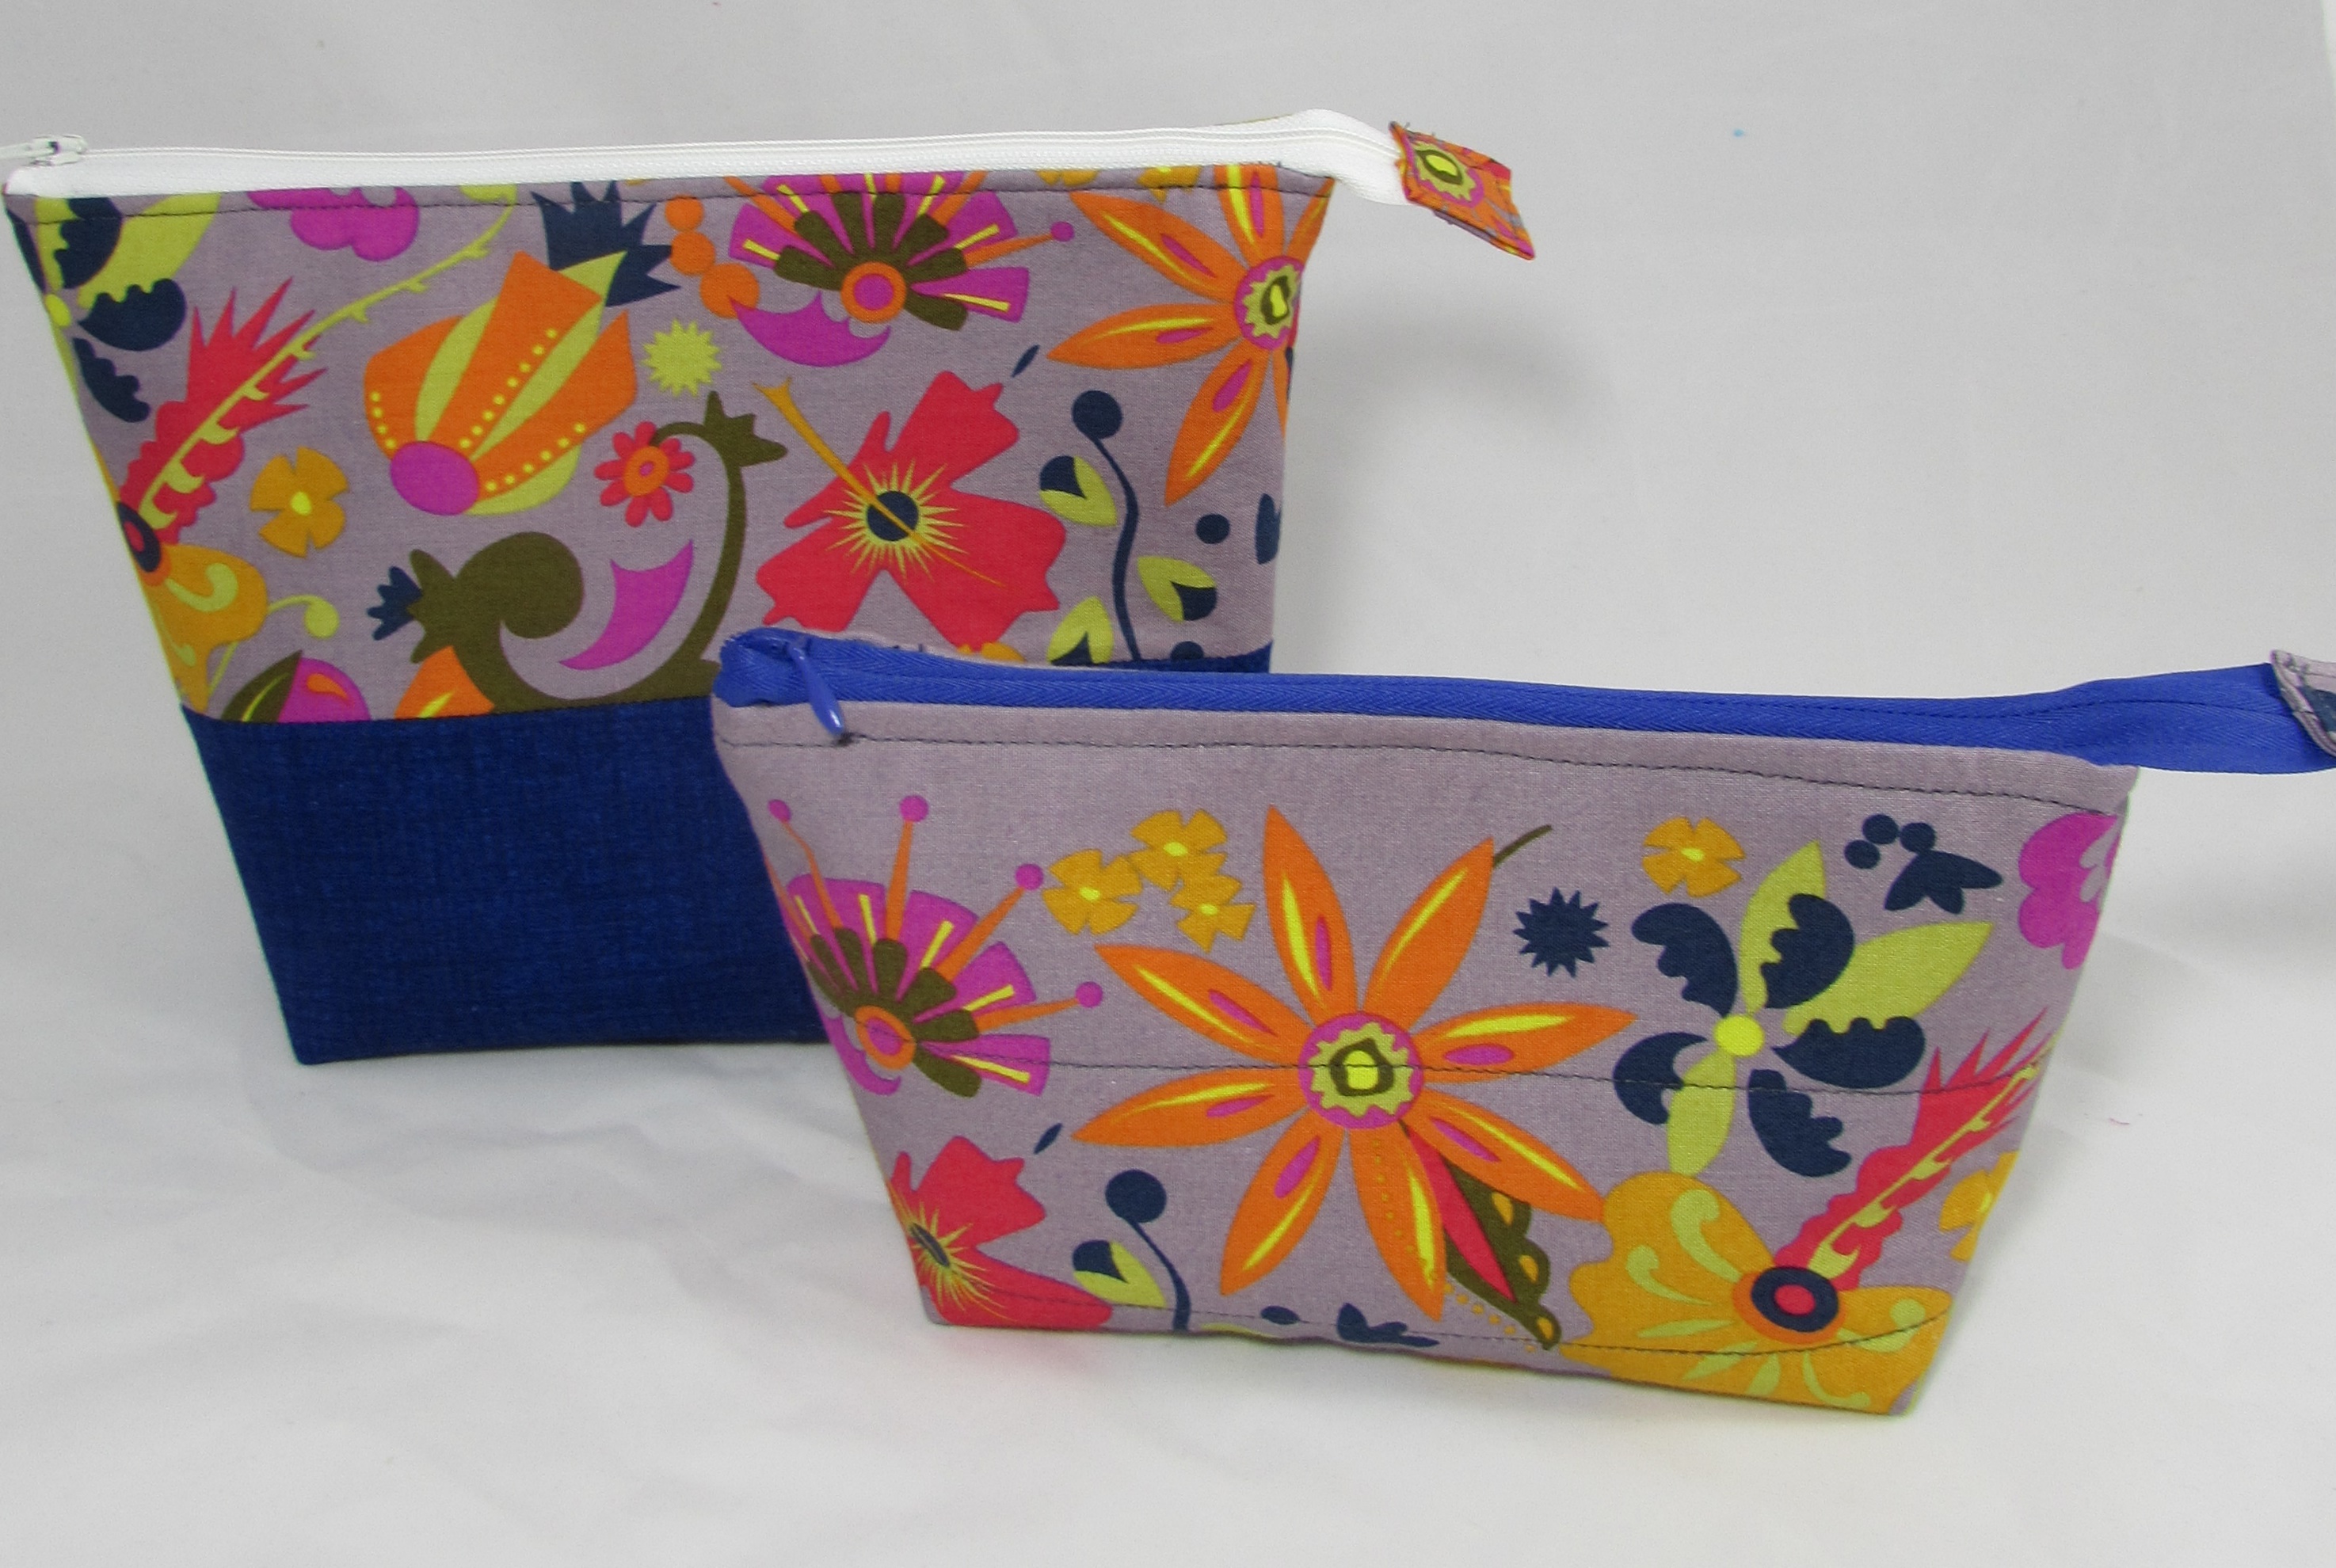
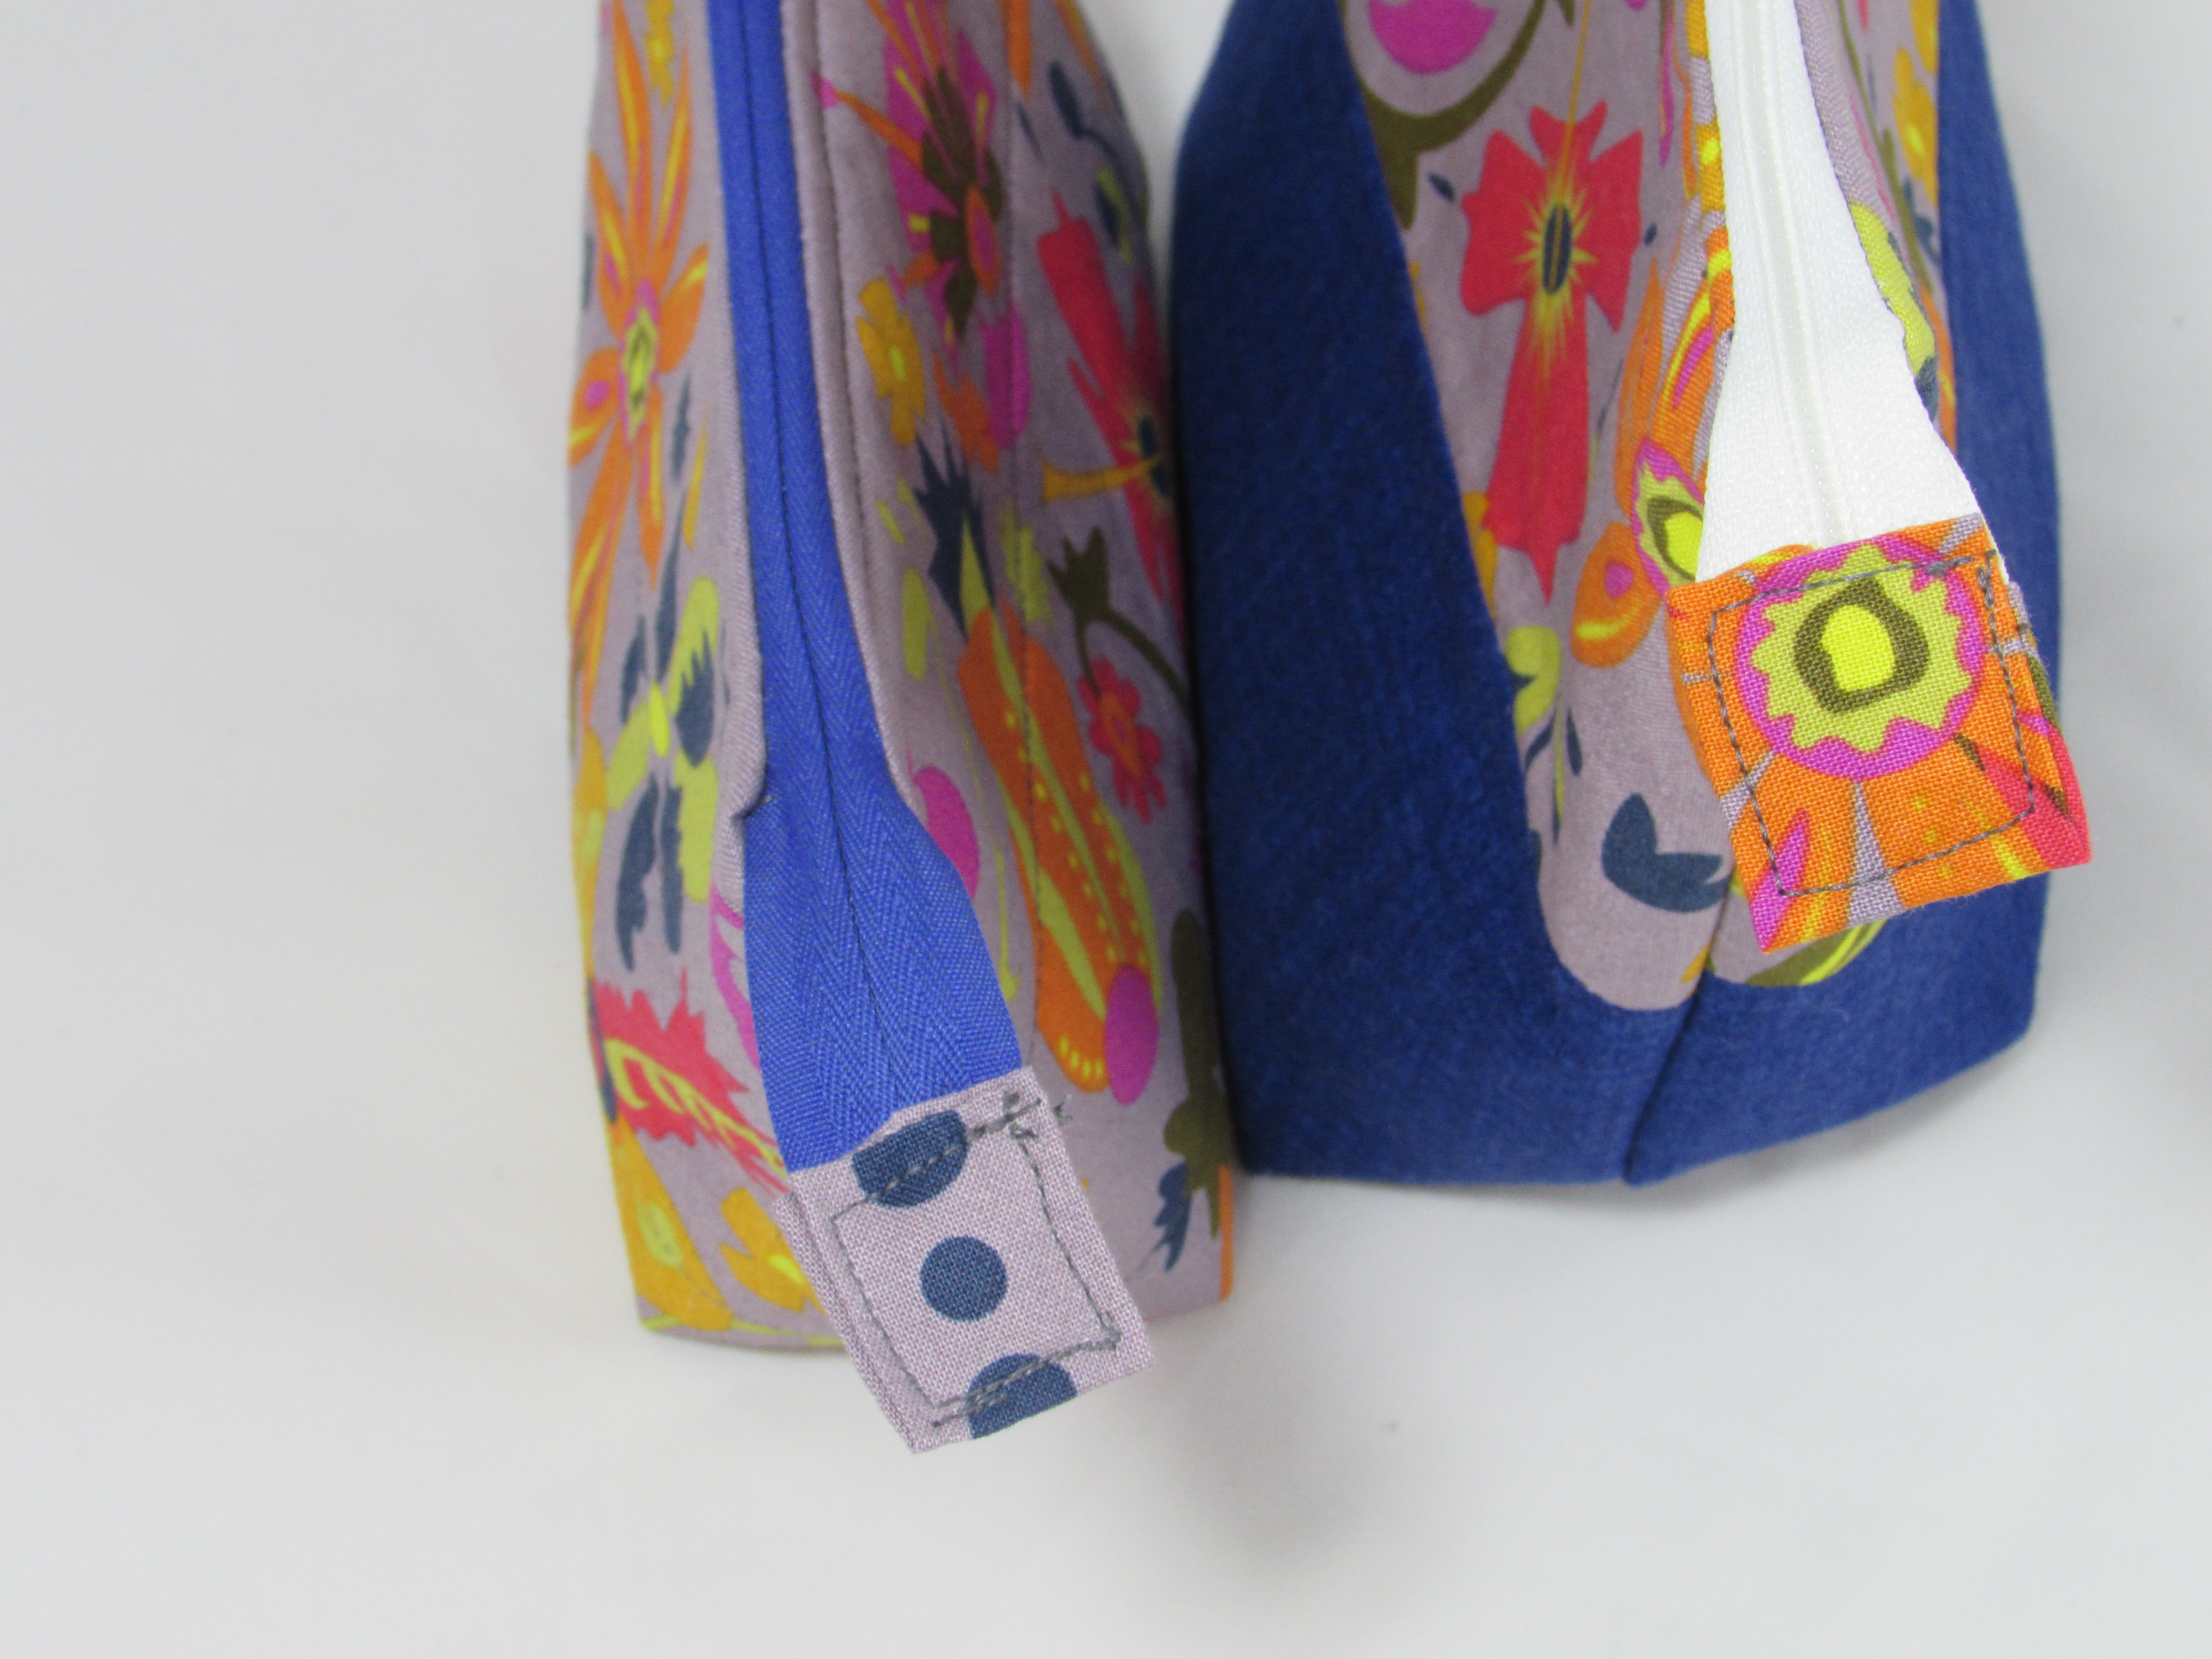
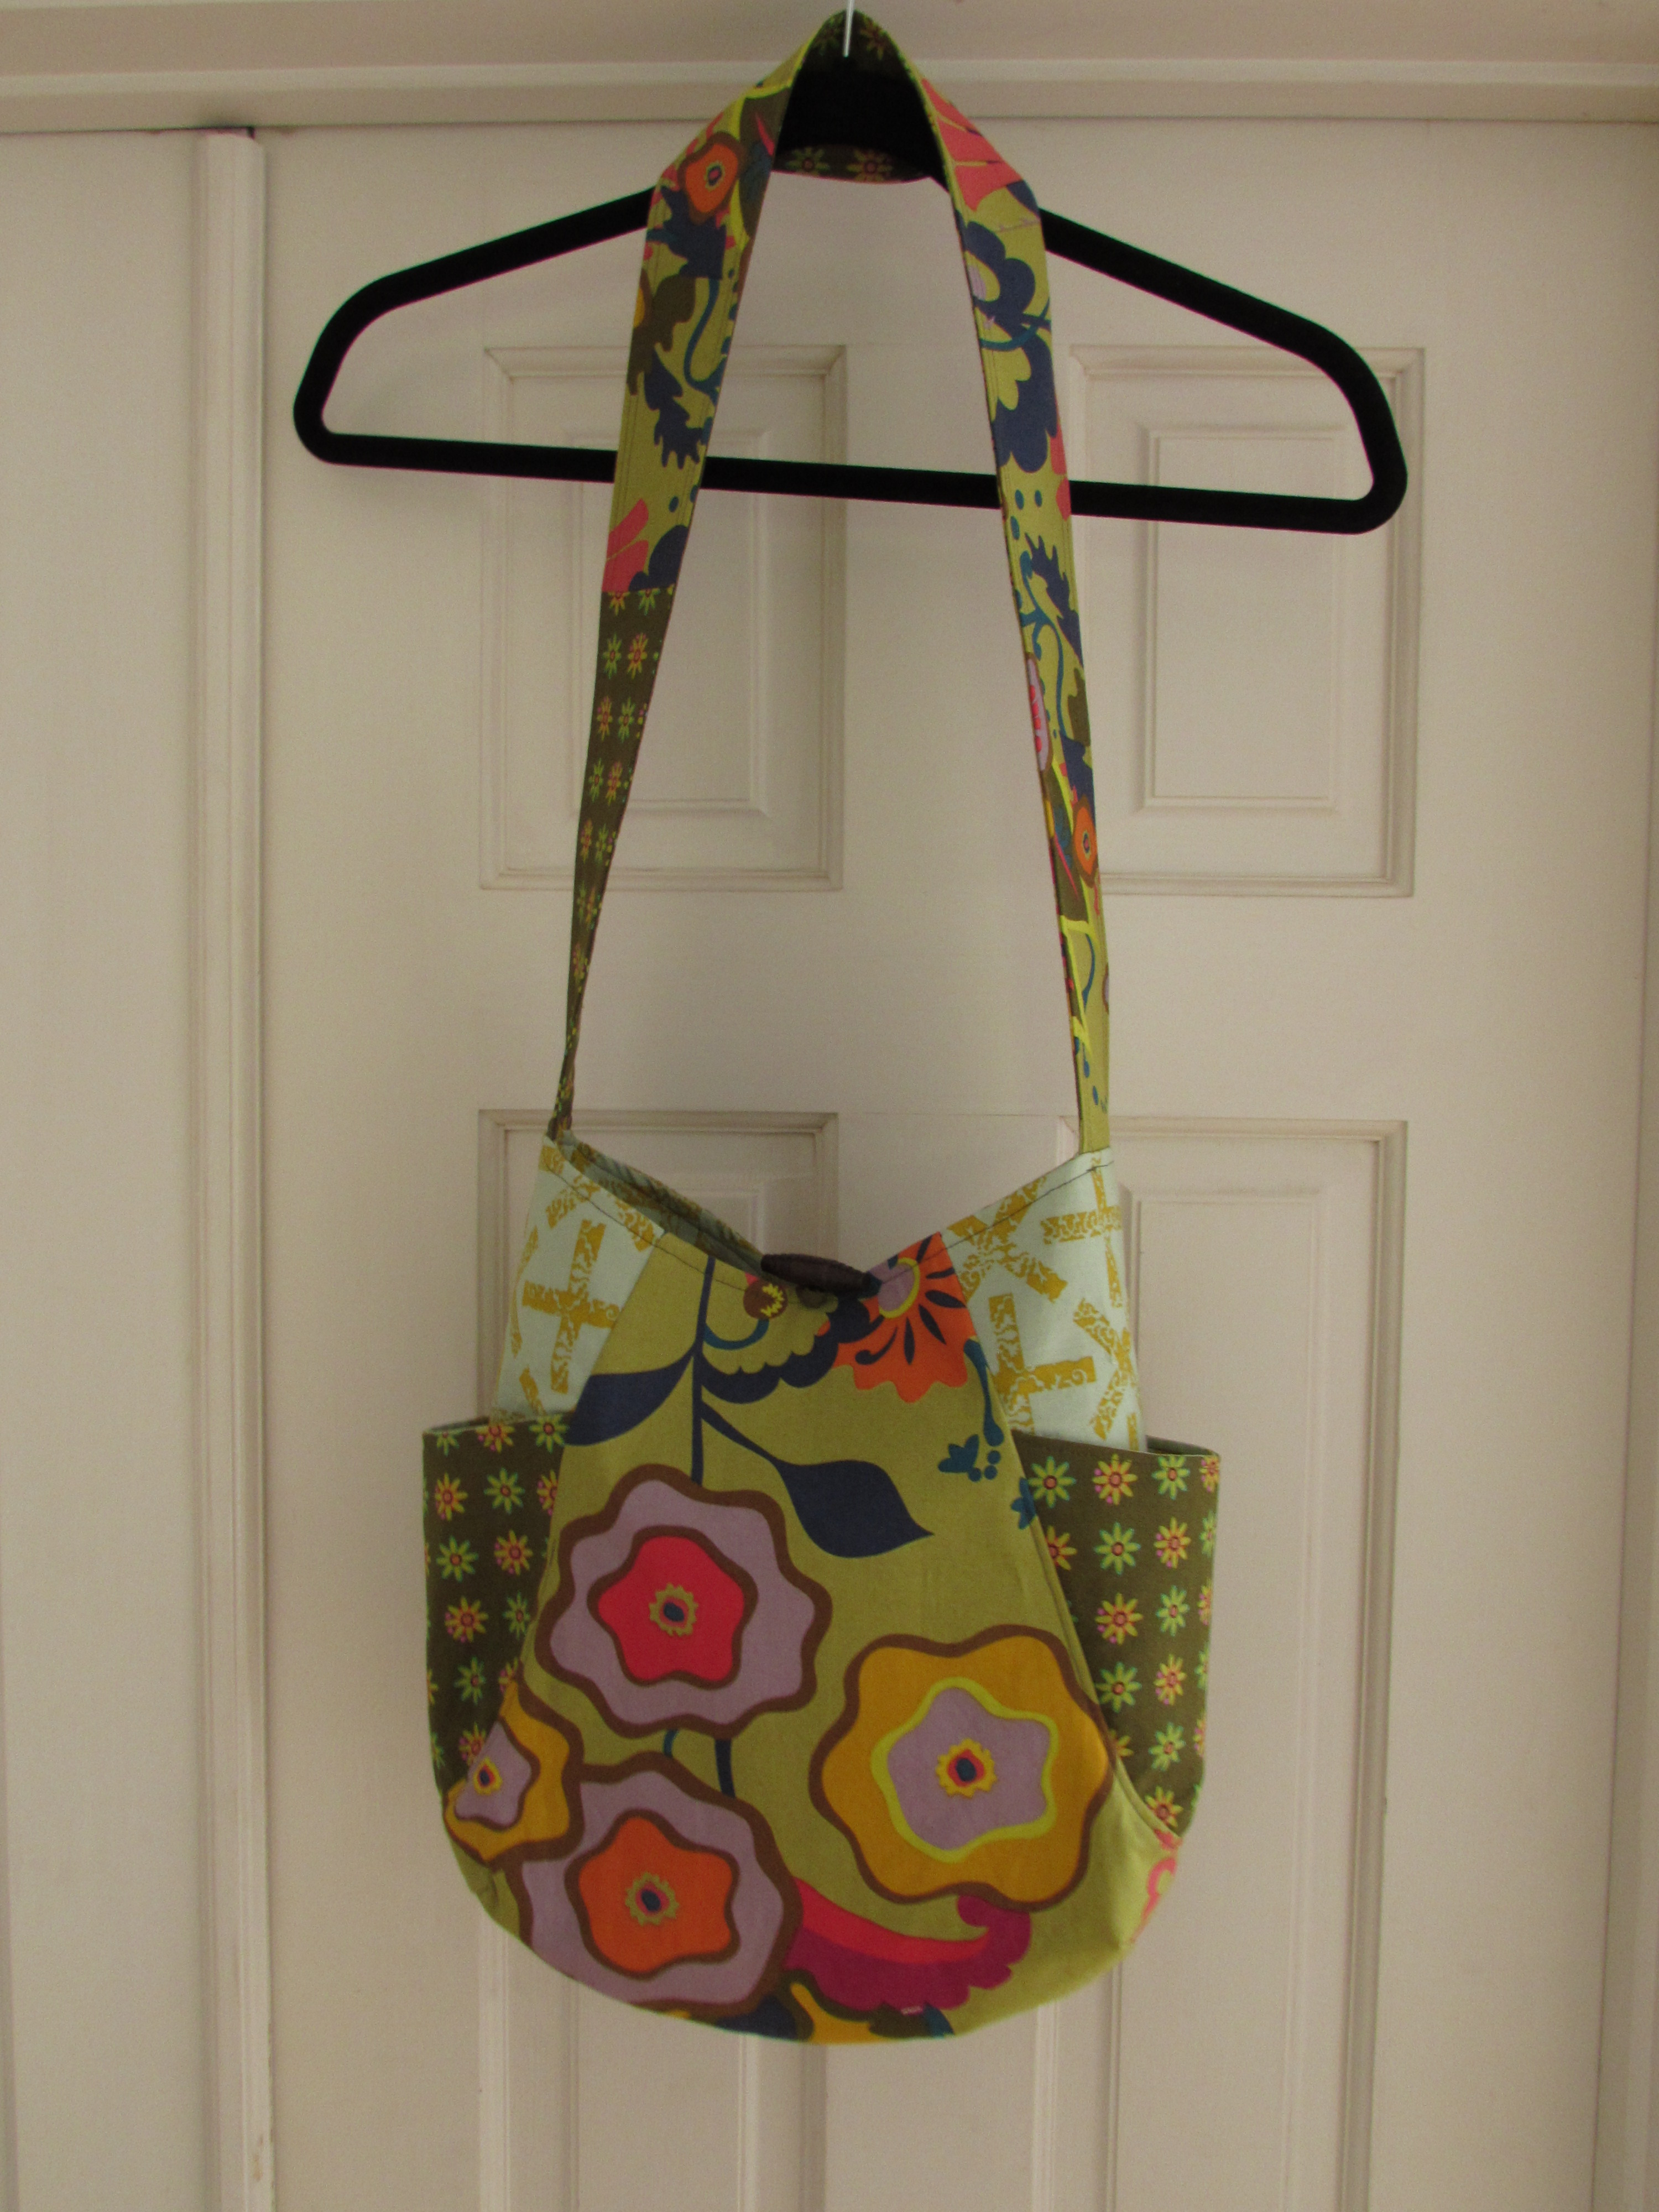
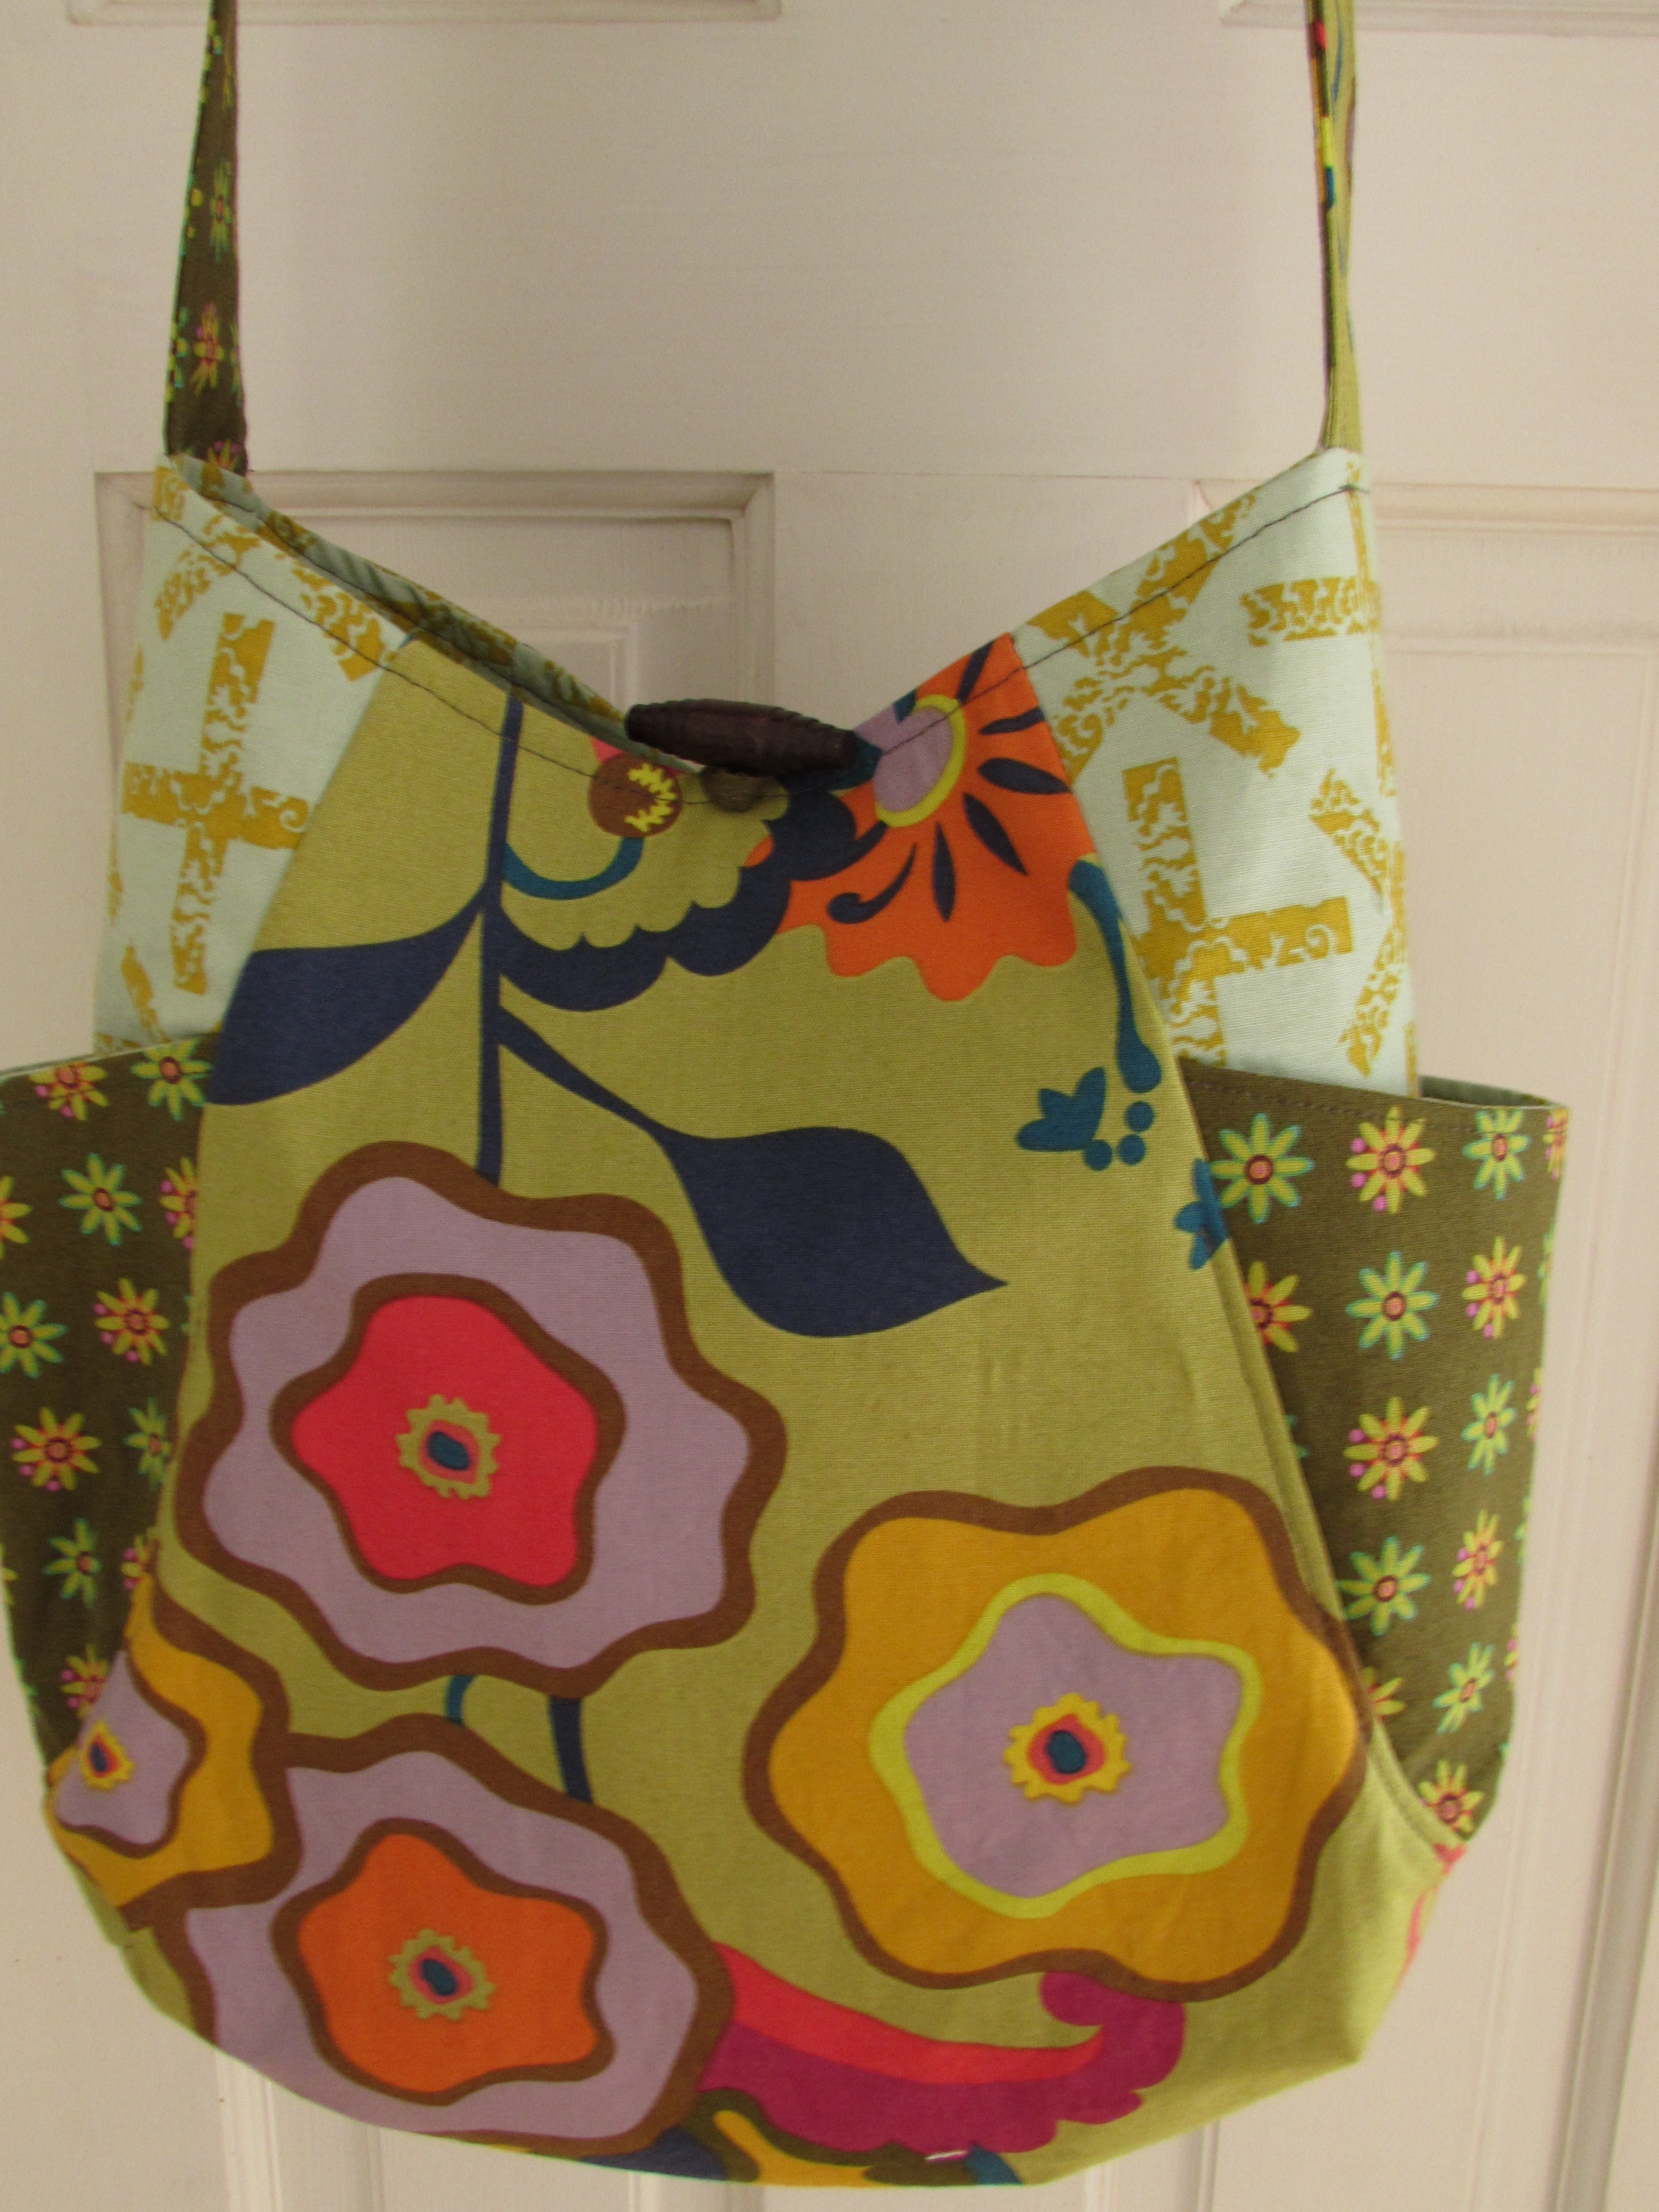
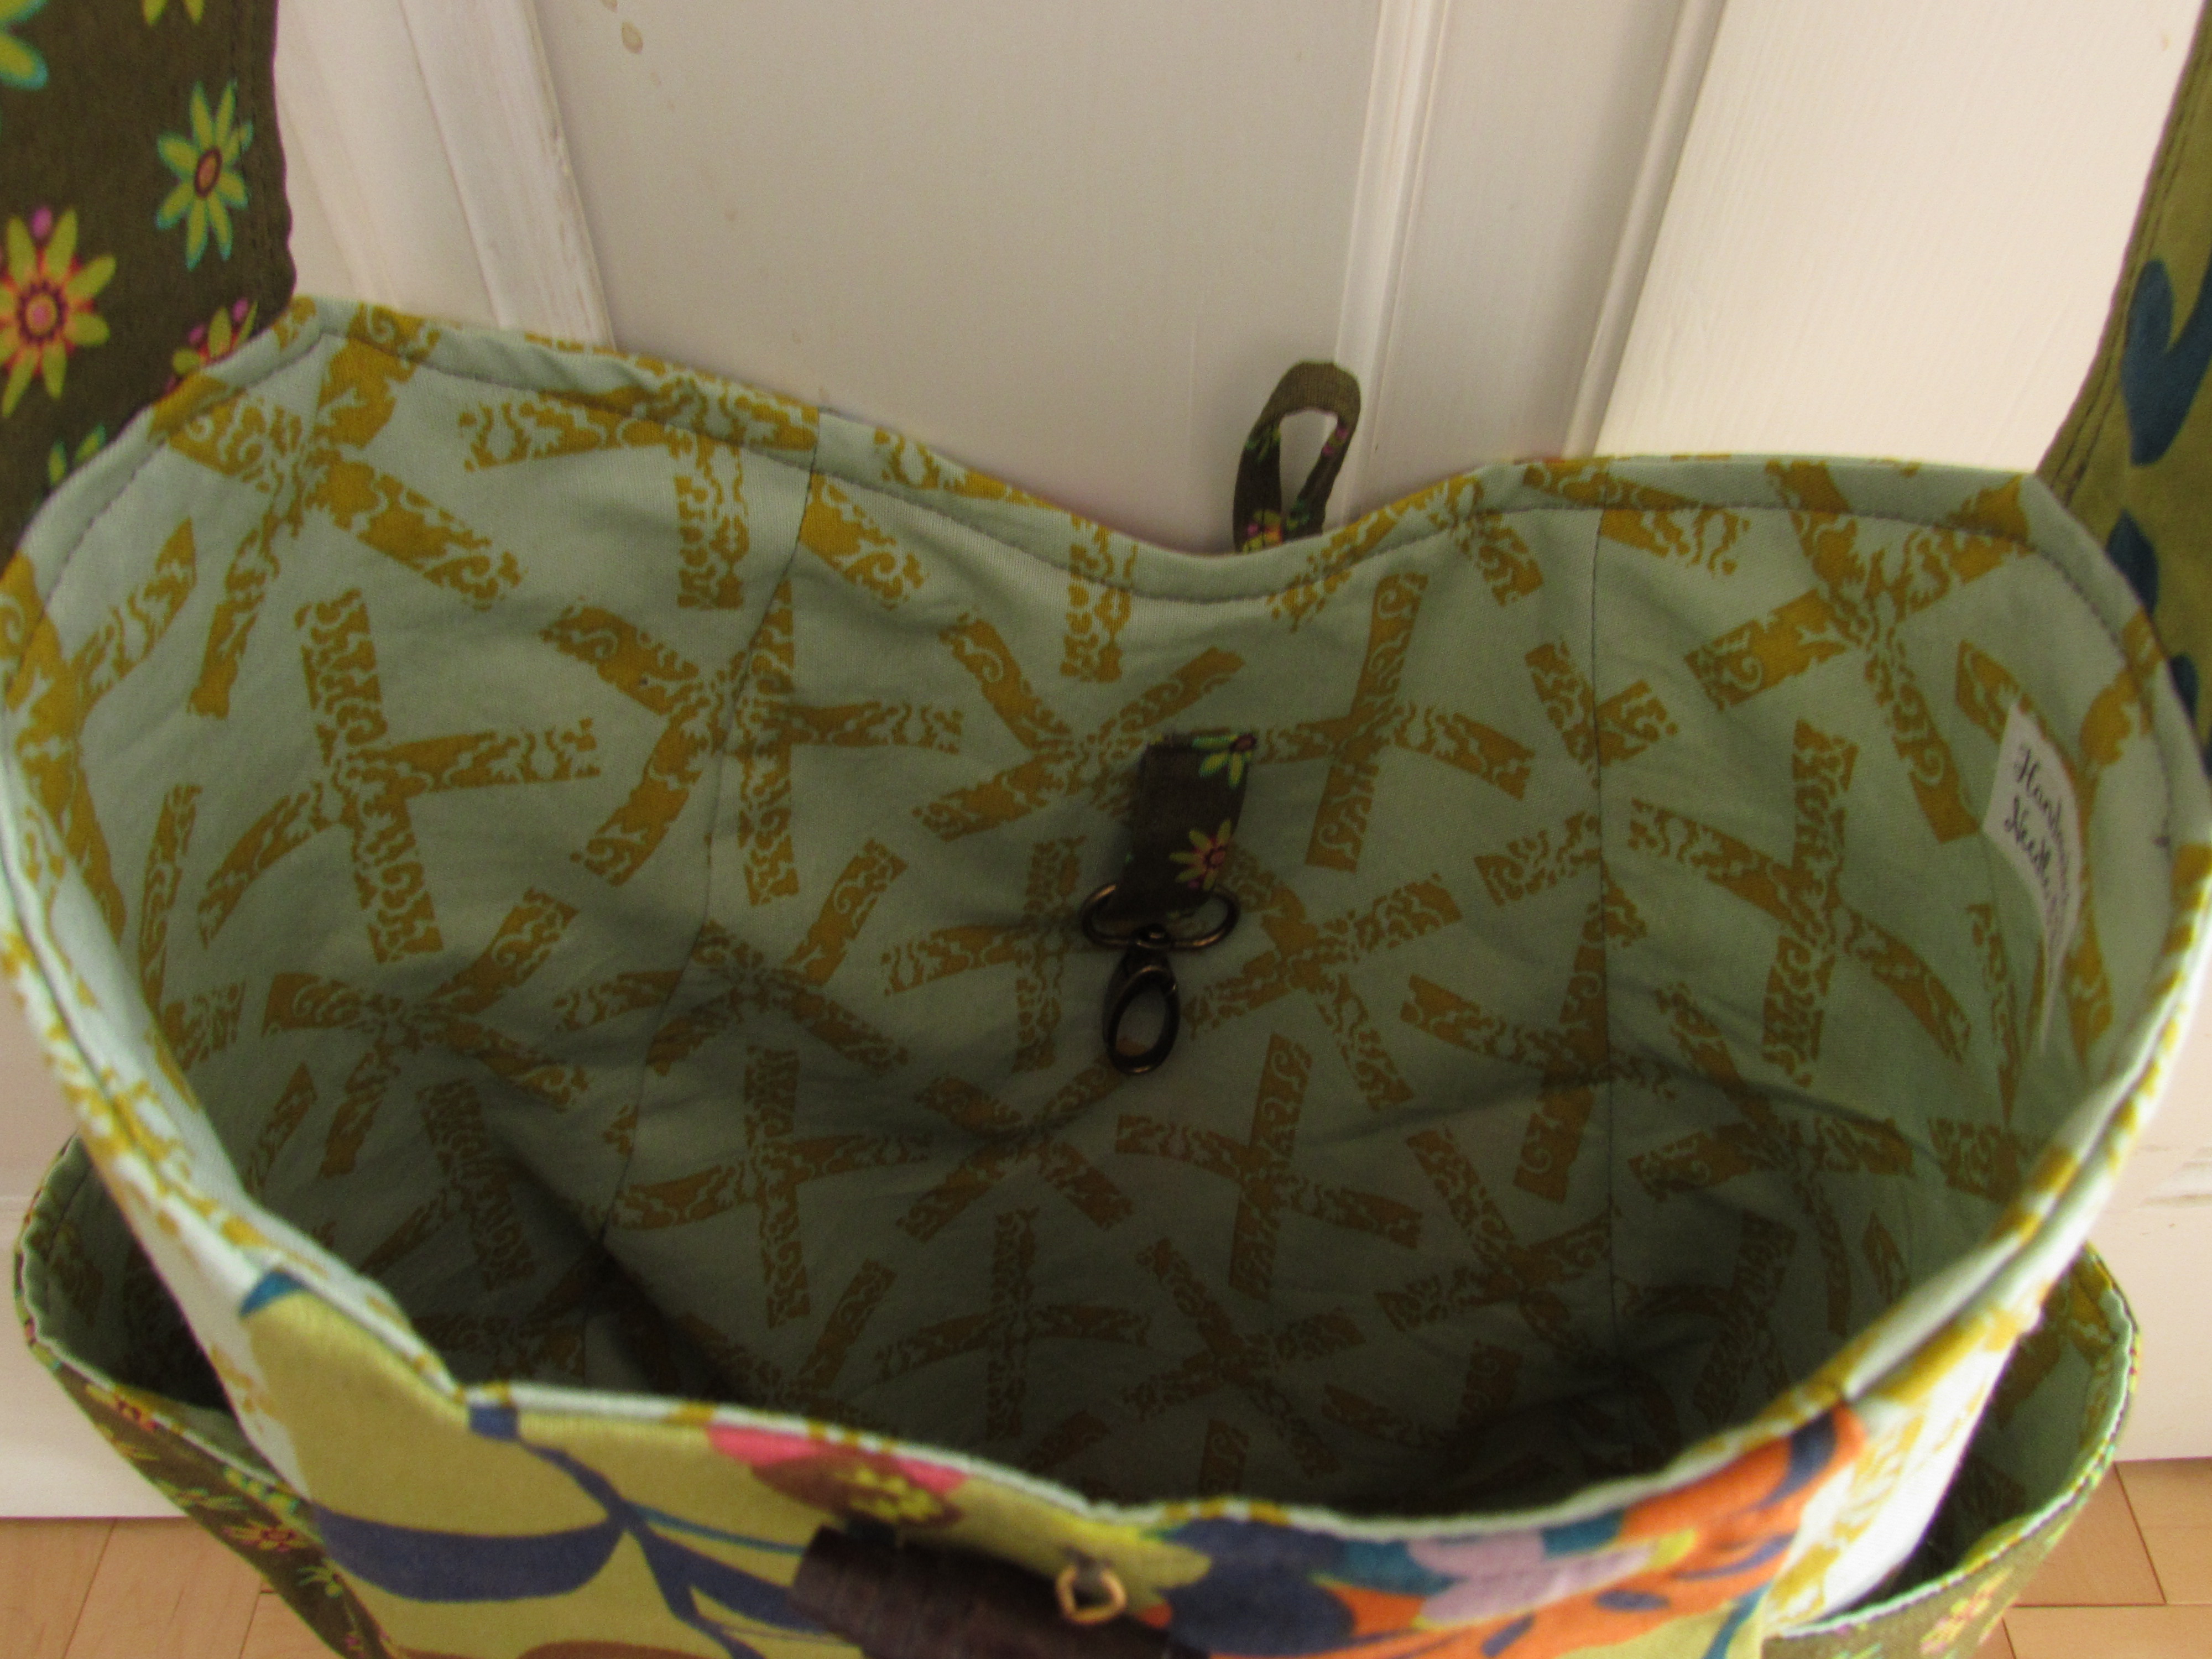
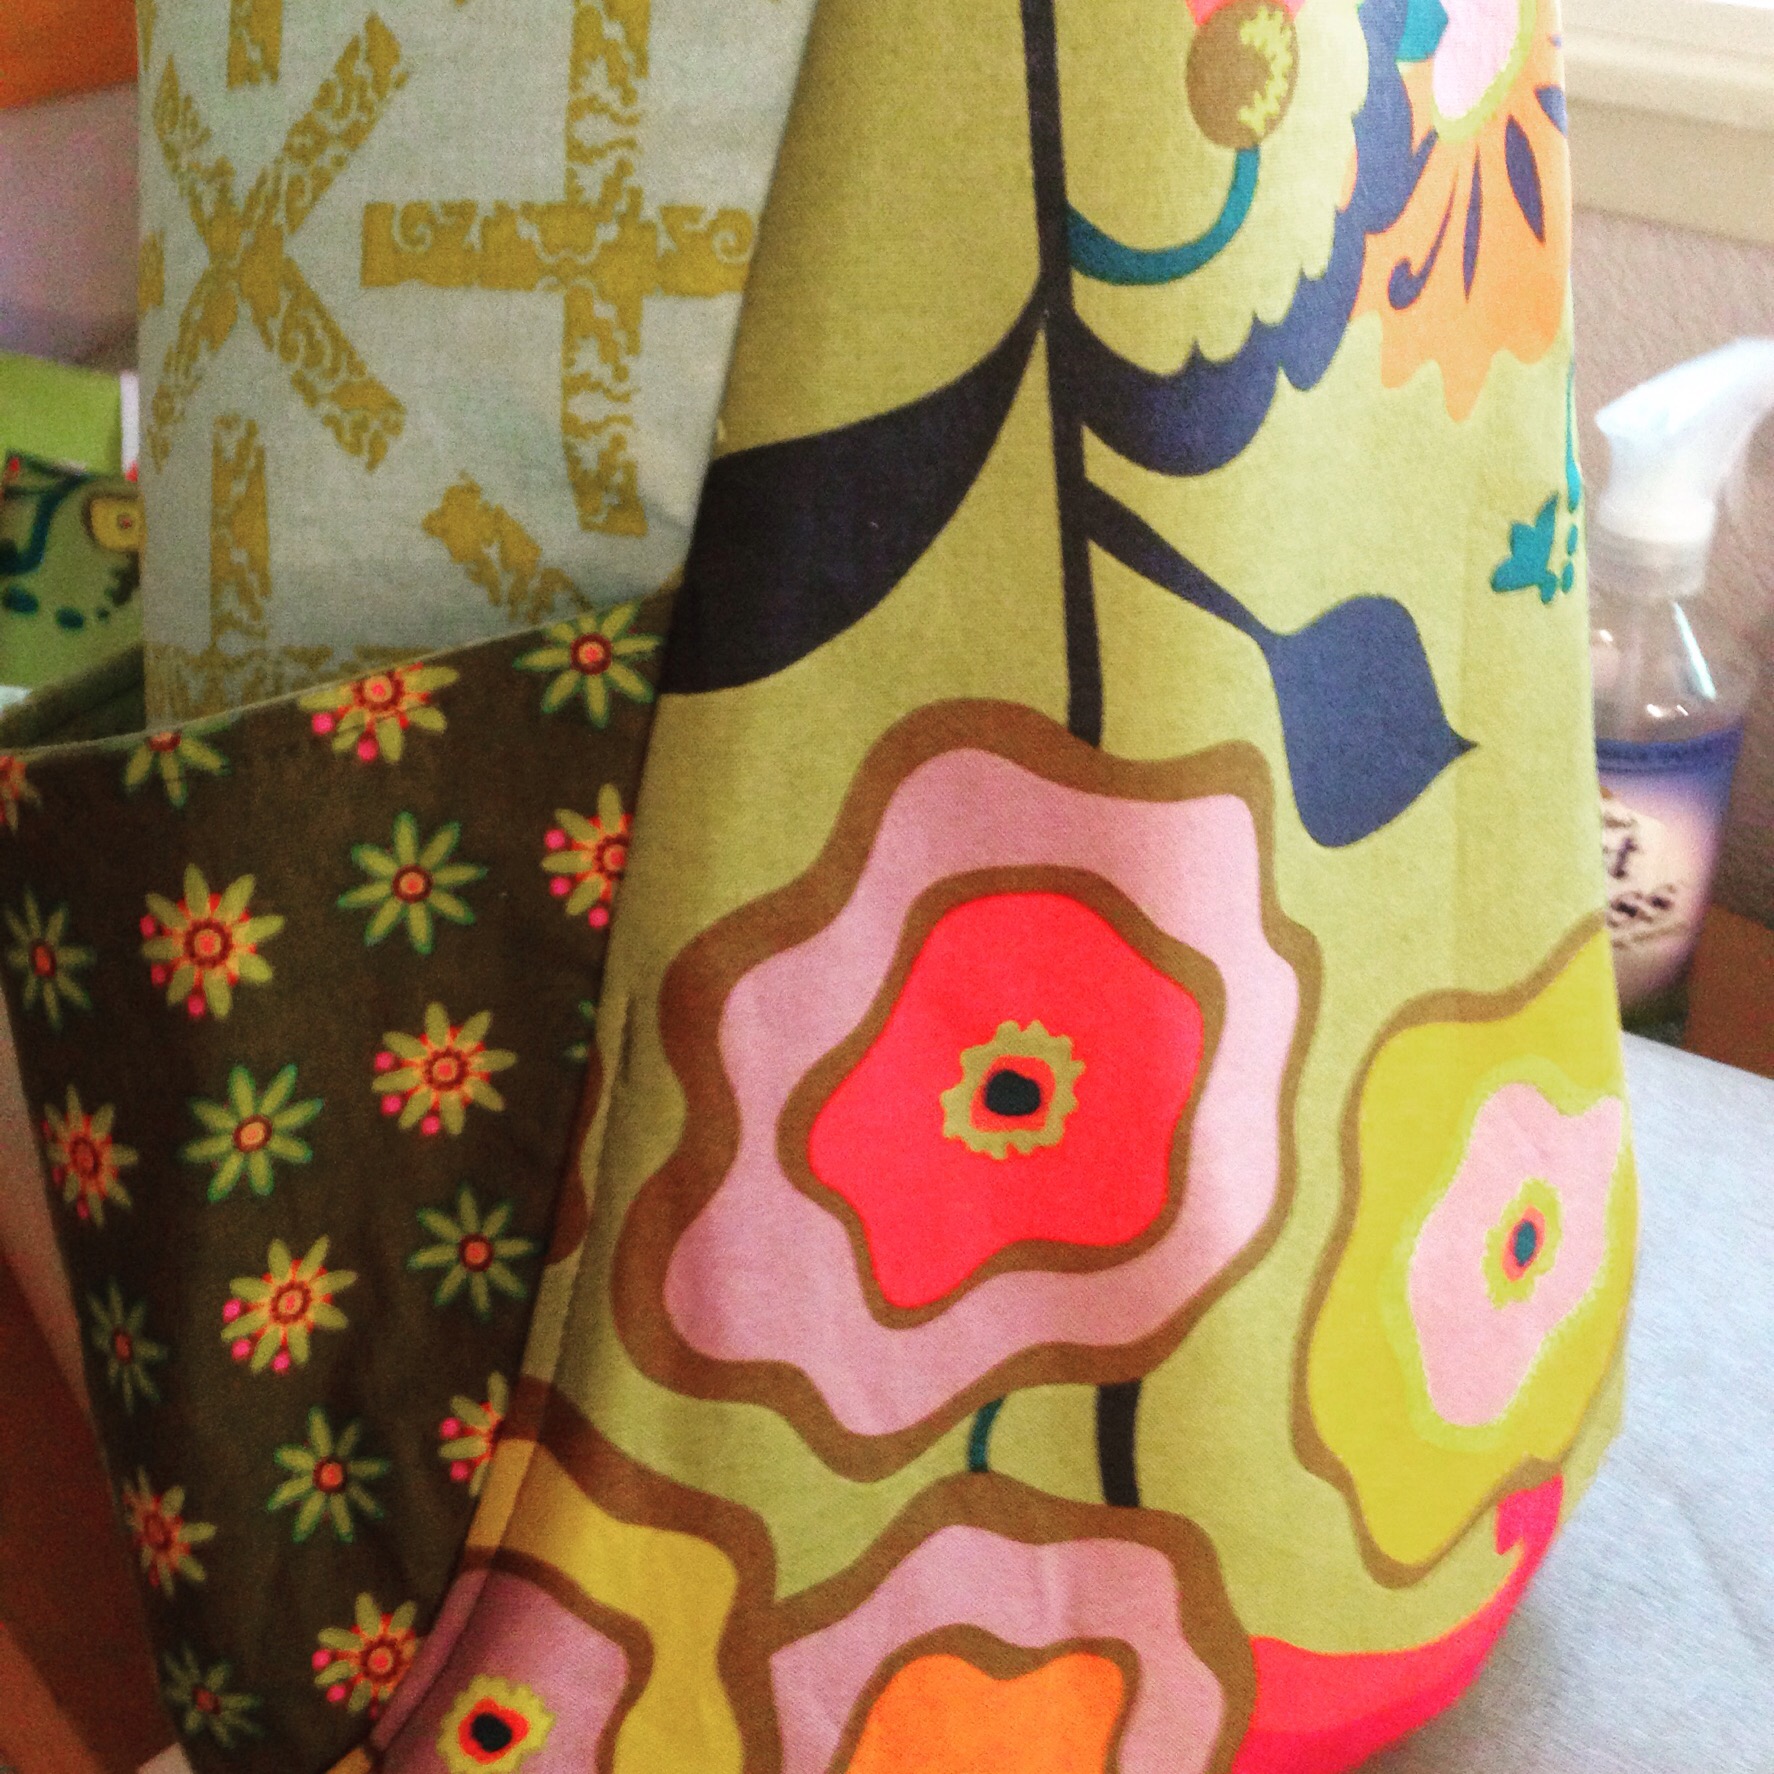
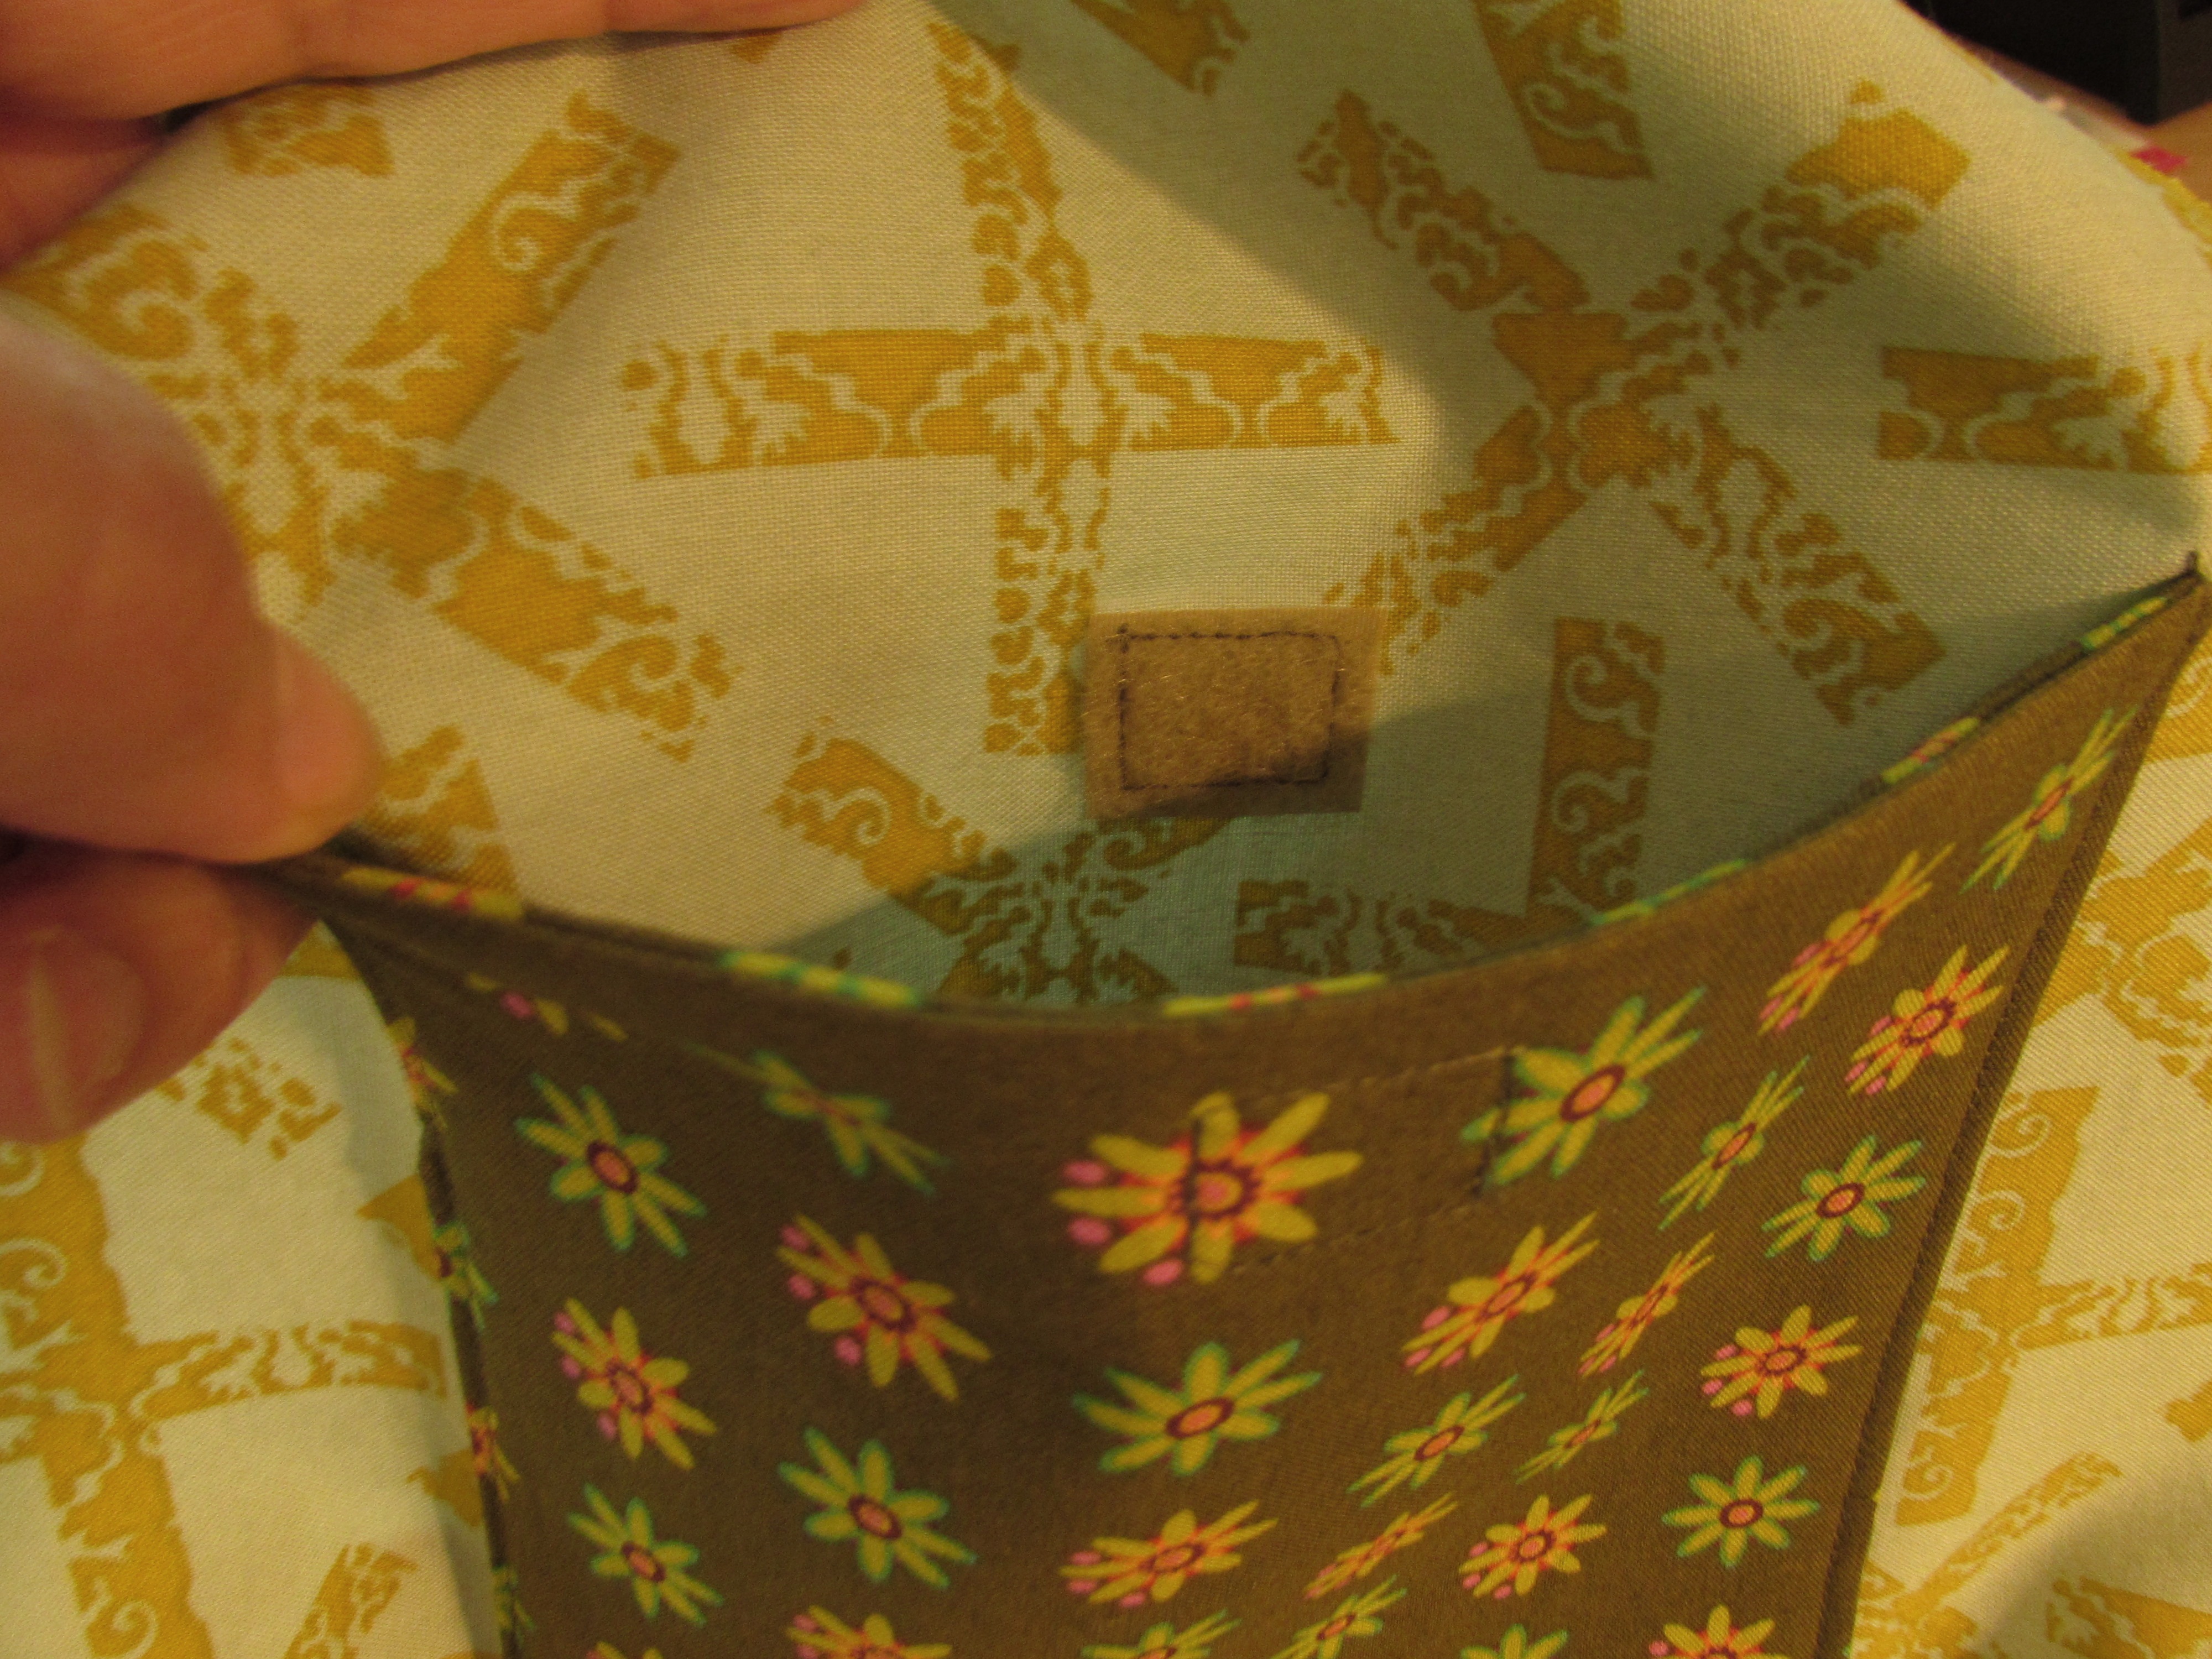
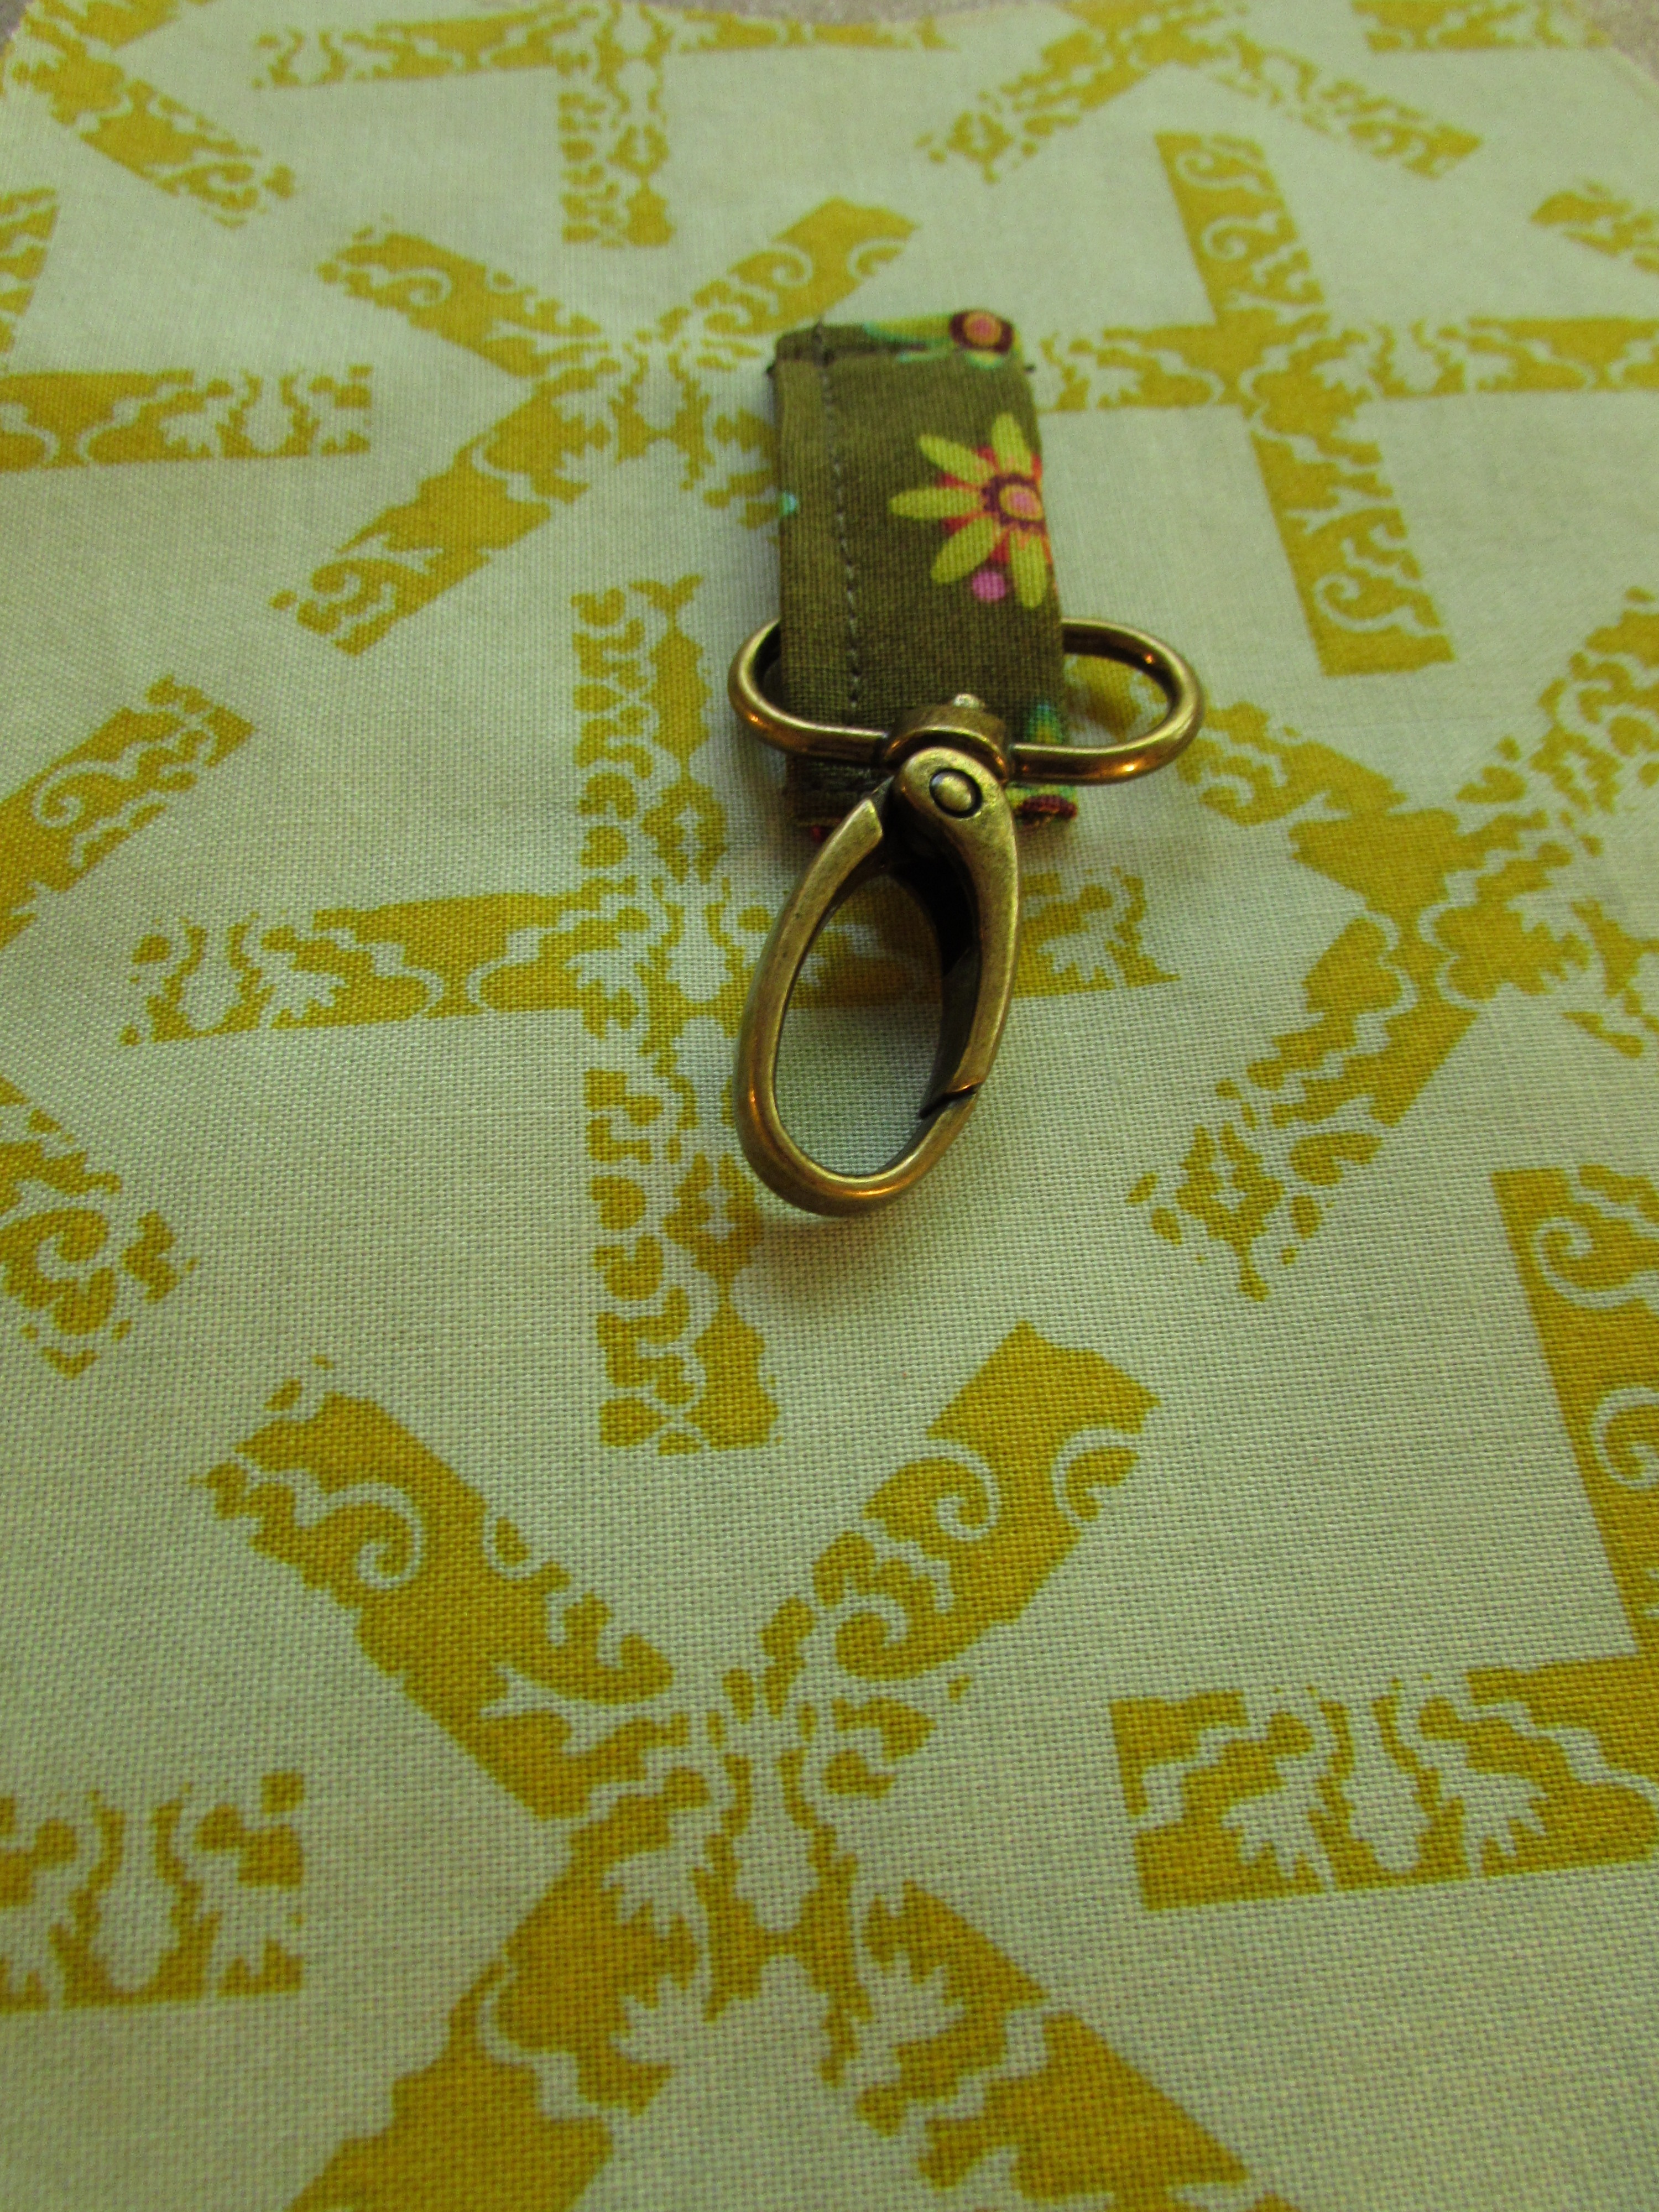
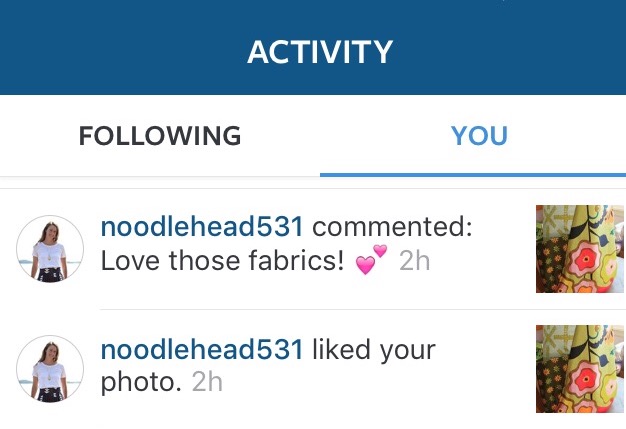
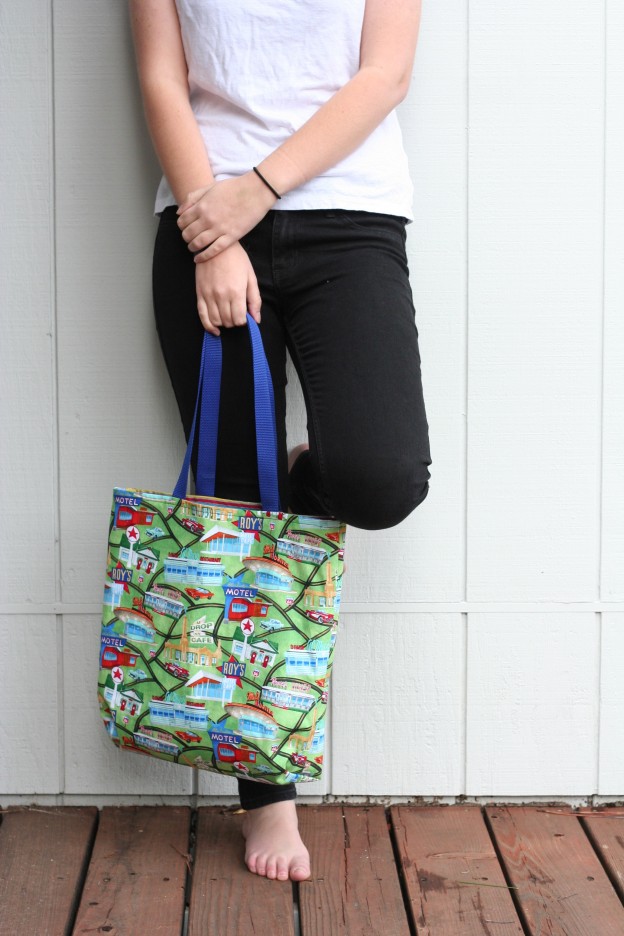
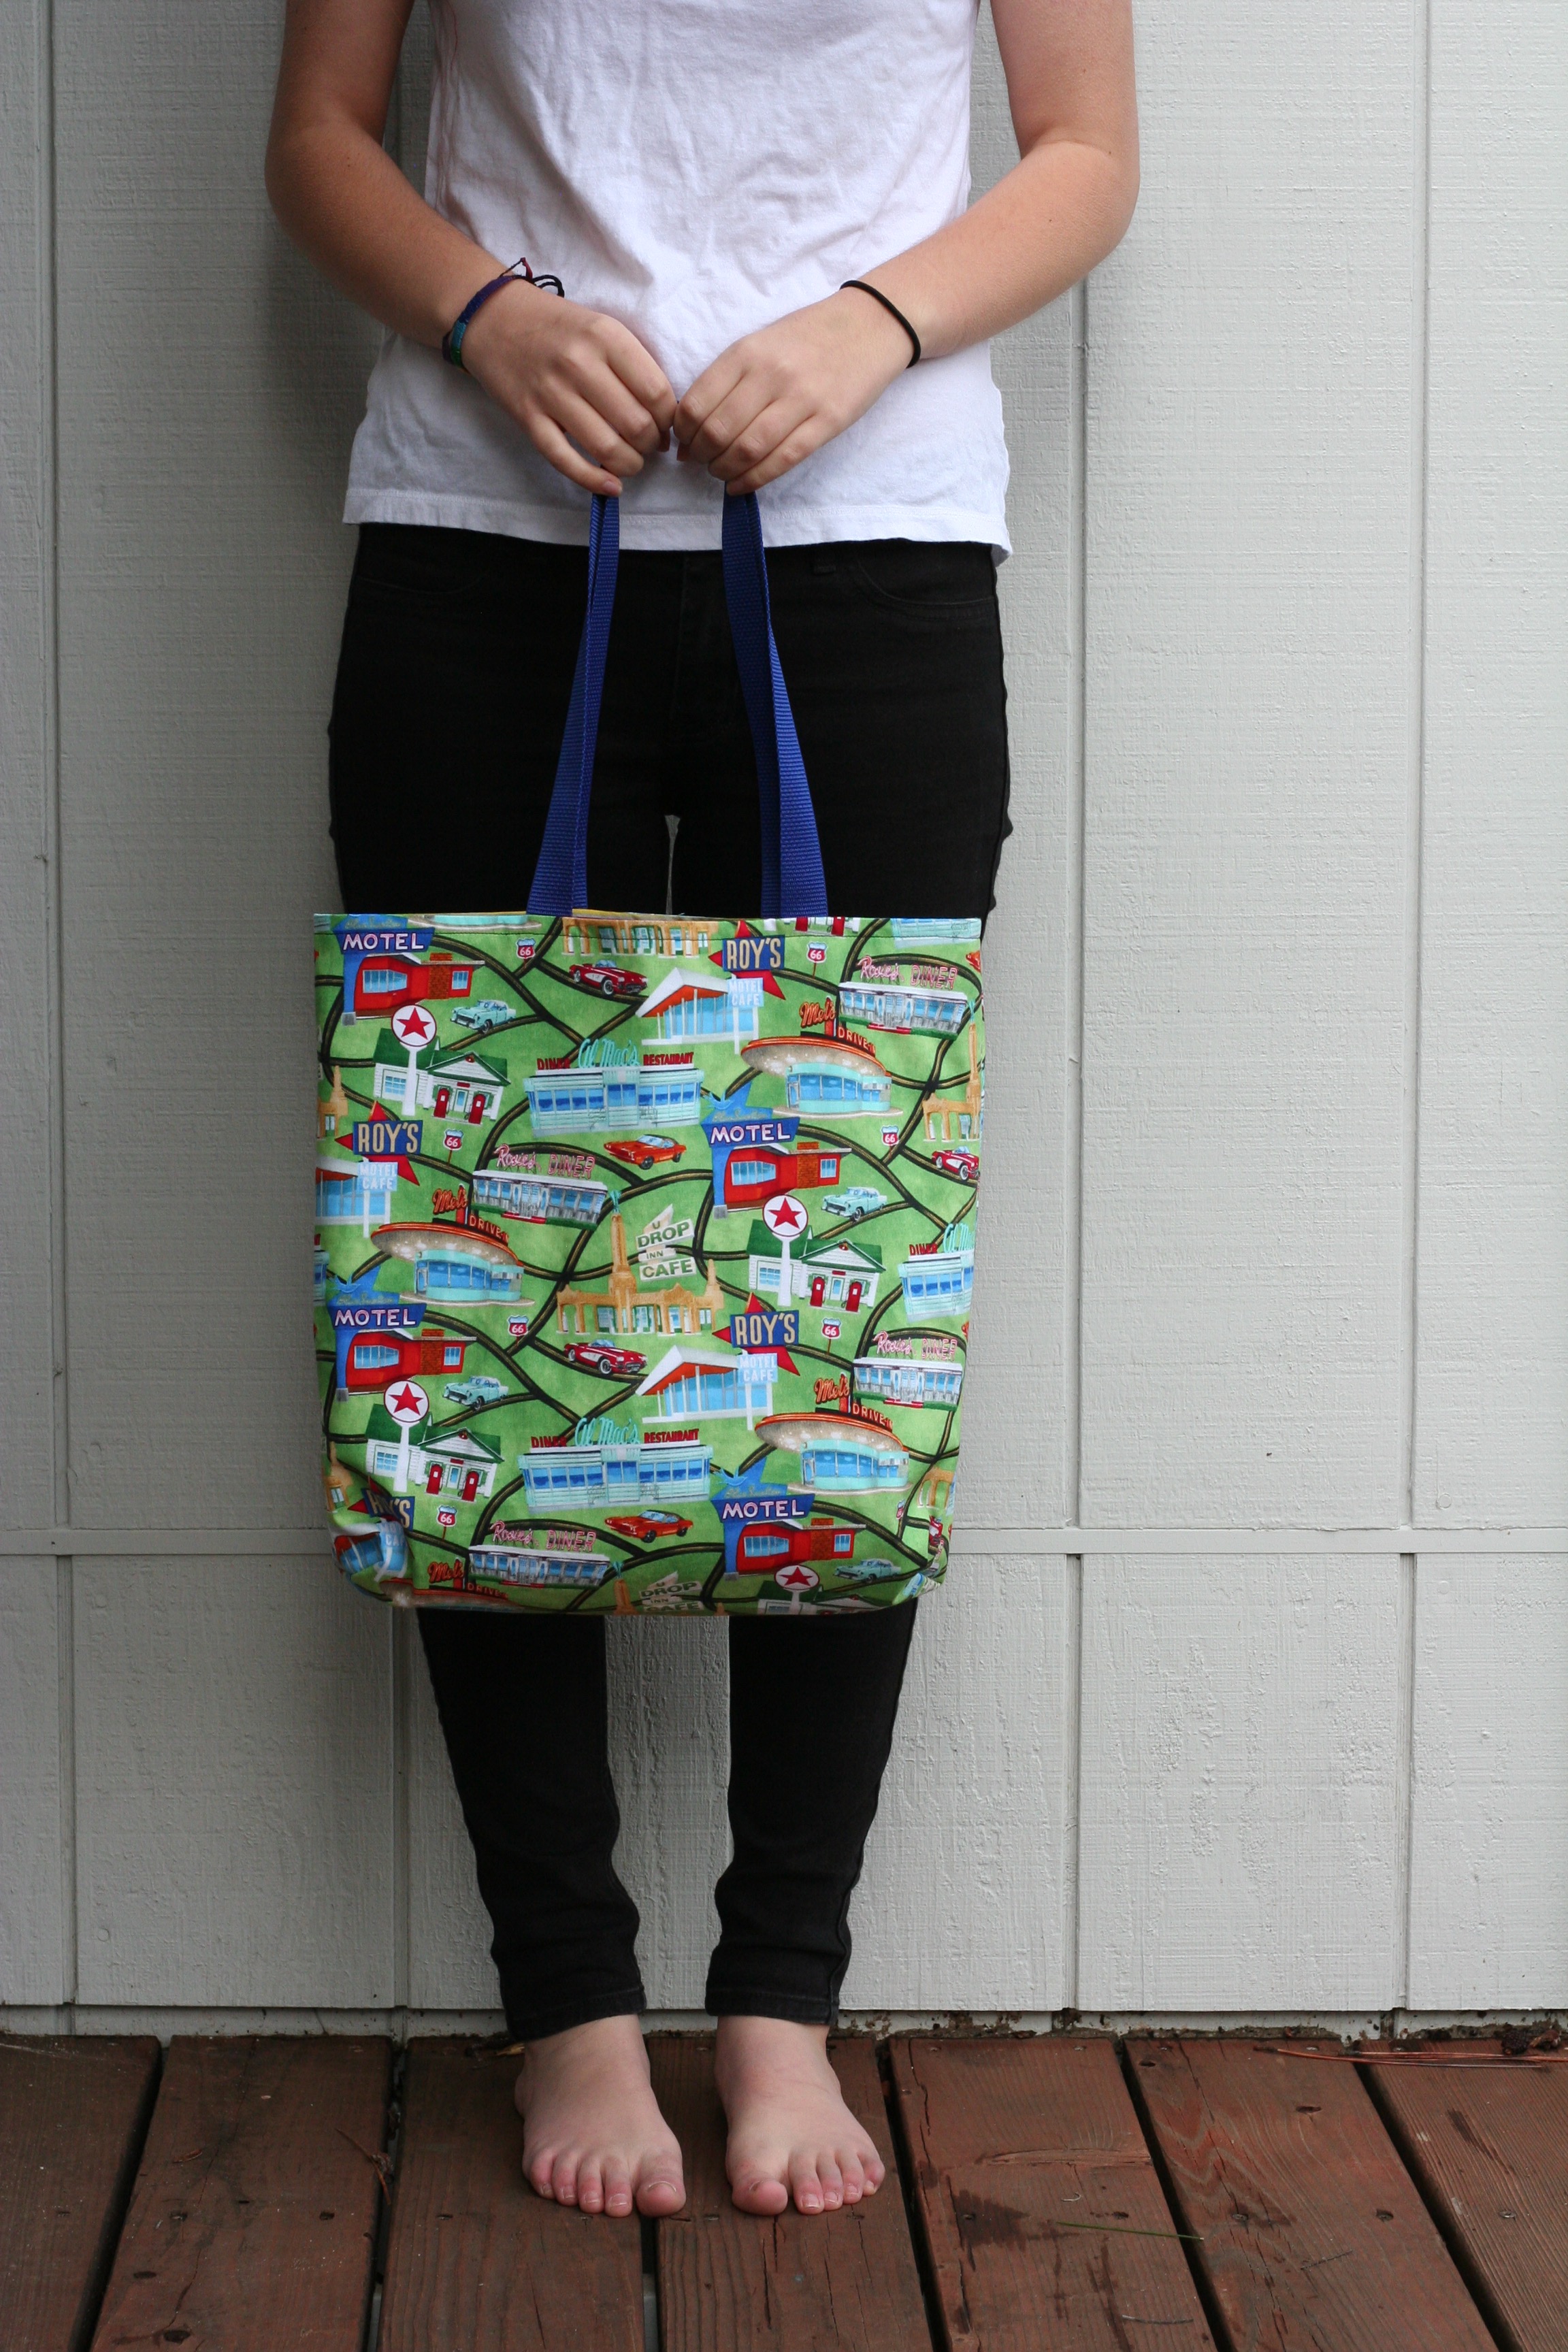
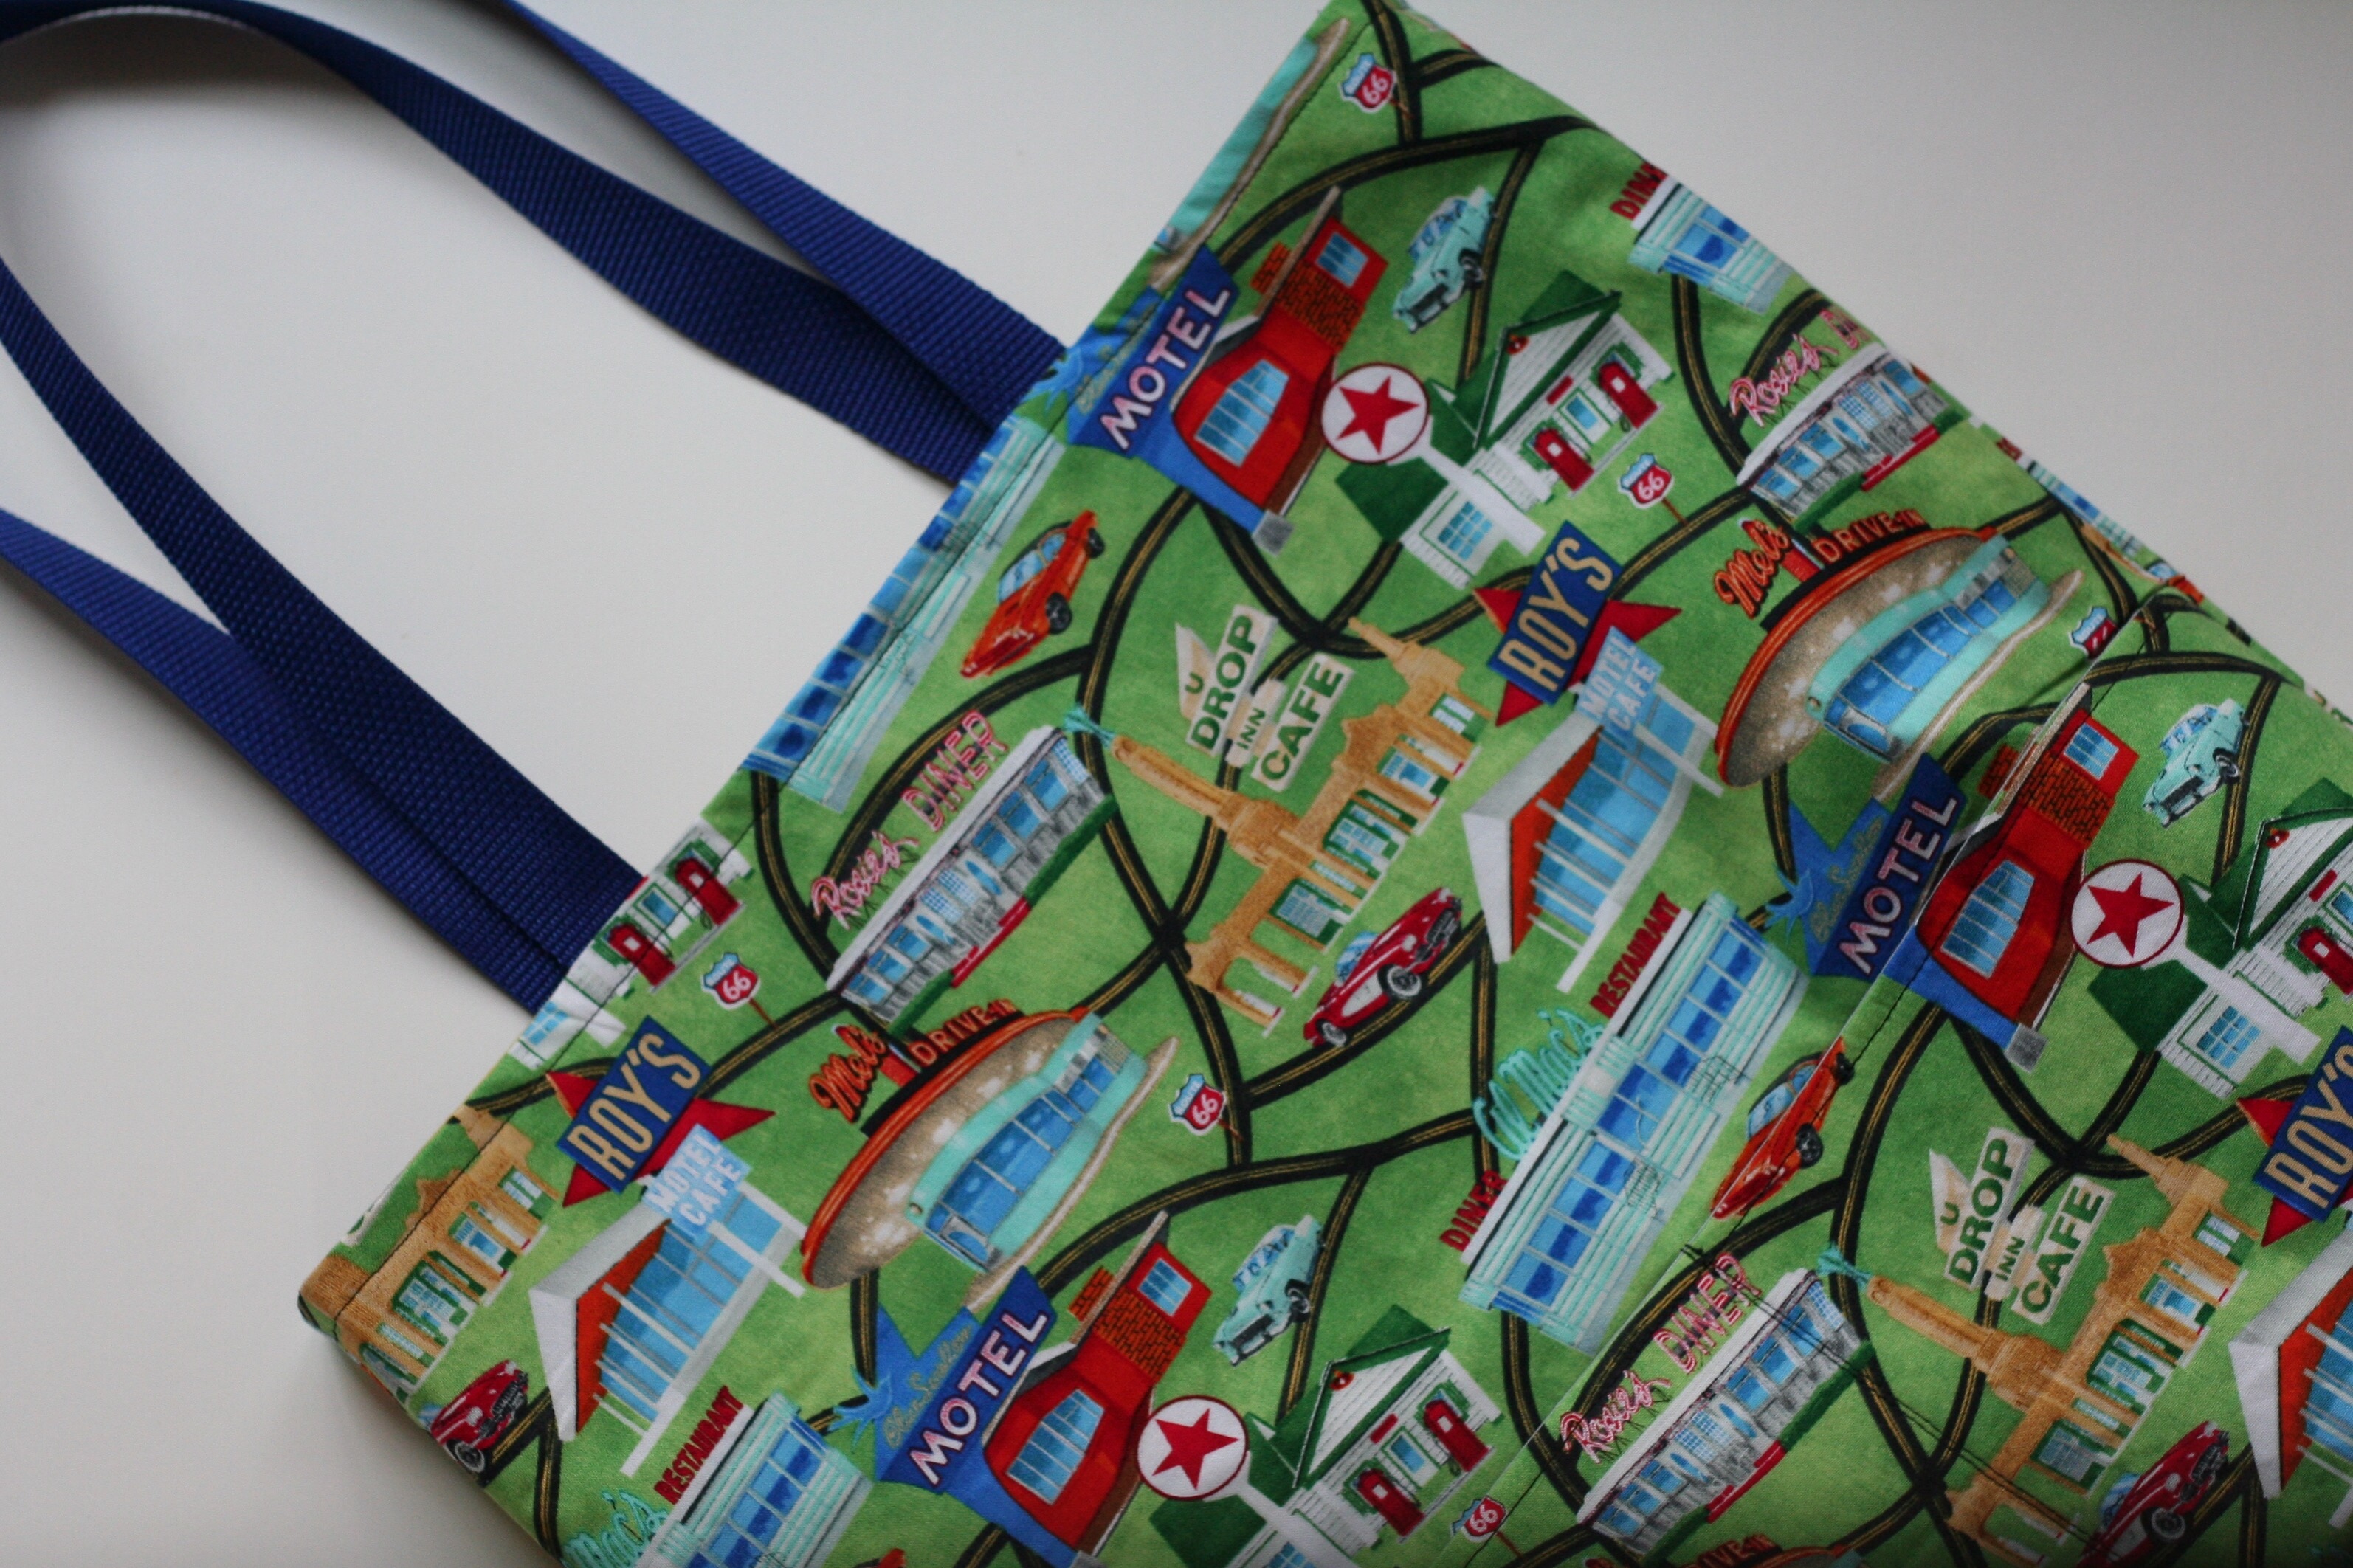
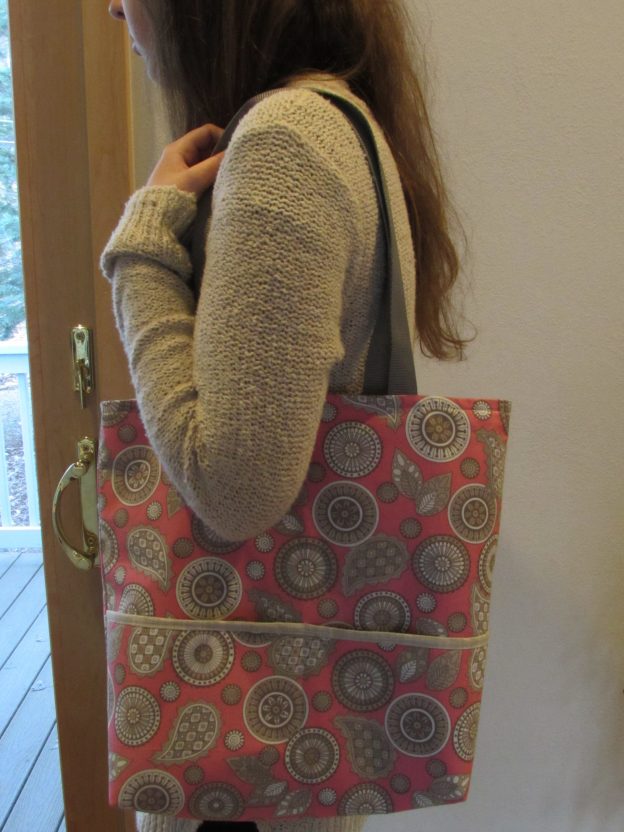
I love both of these fabrics together and thought they were a good choice for a springtime tote bag.  I used (for the second time) the tutorial,  Summer Madras Tote by Anna Graham (Noodlehead.com). (Here is the first one I made, in case you want to check it out.) It is a very simple bag that takes maybe an hour to put together. The tutorial is very easy to follow. I like the outer pockets finished with a bit of trim.


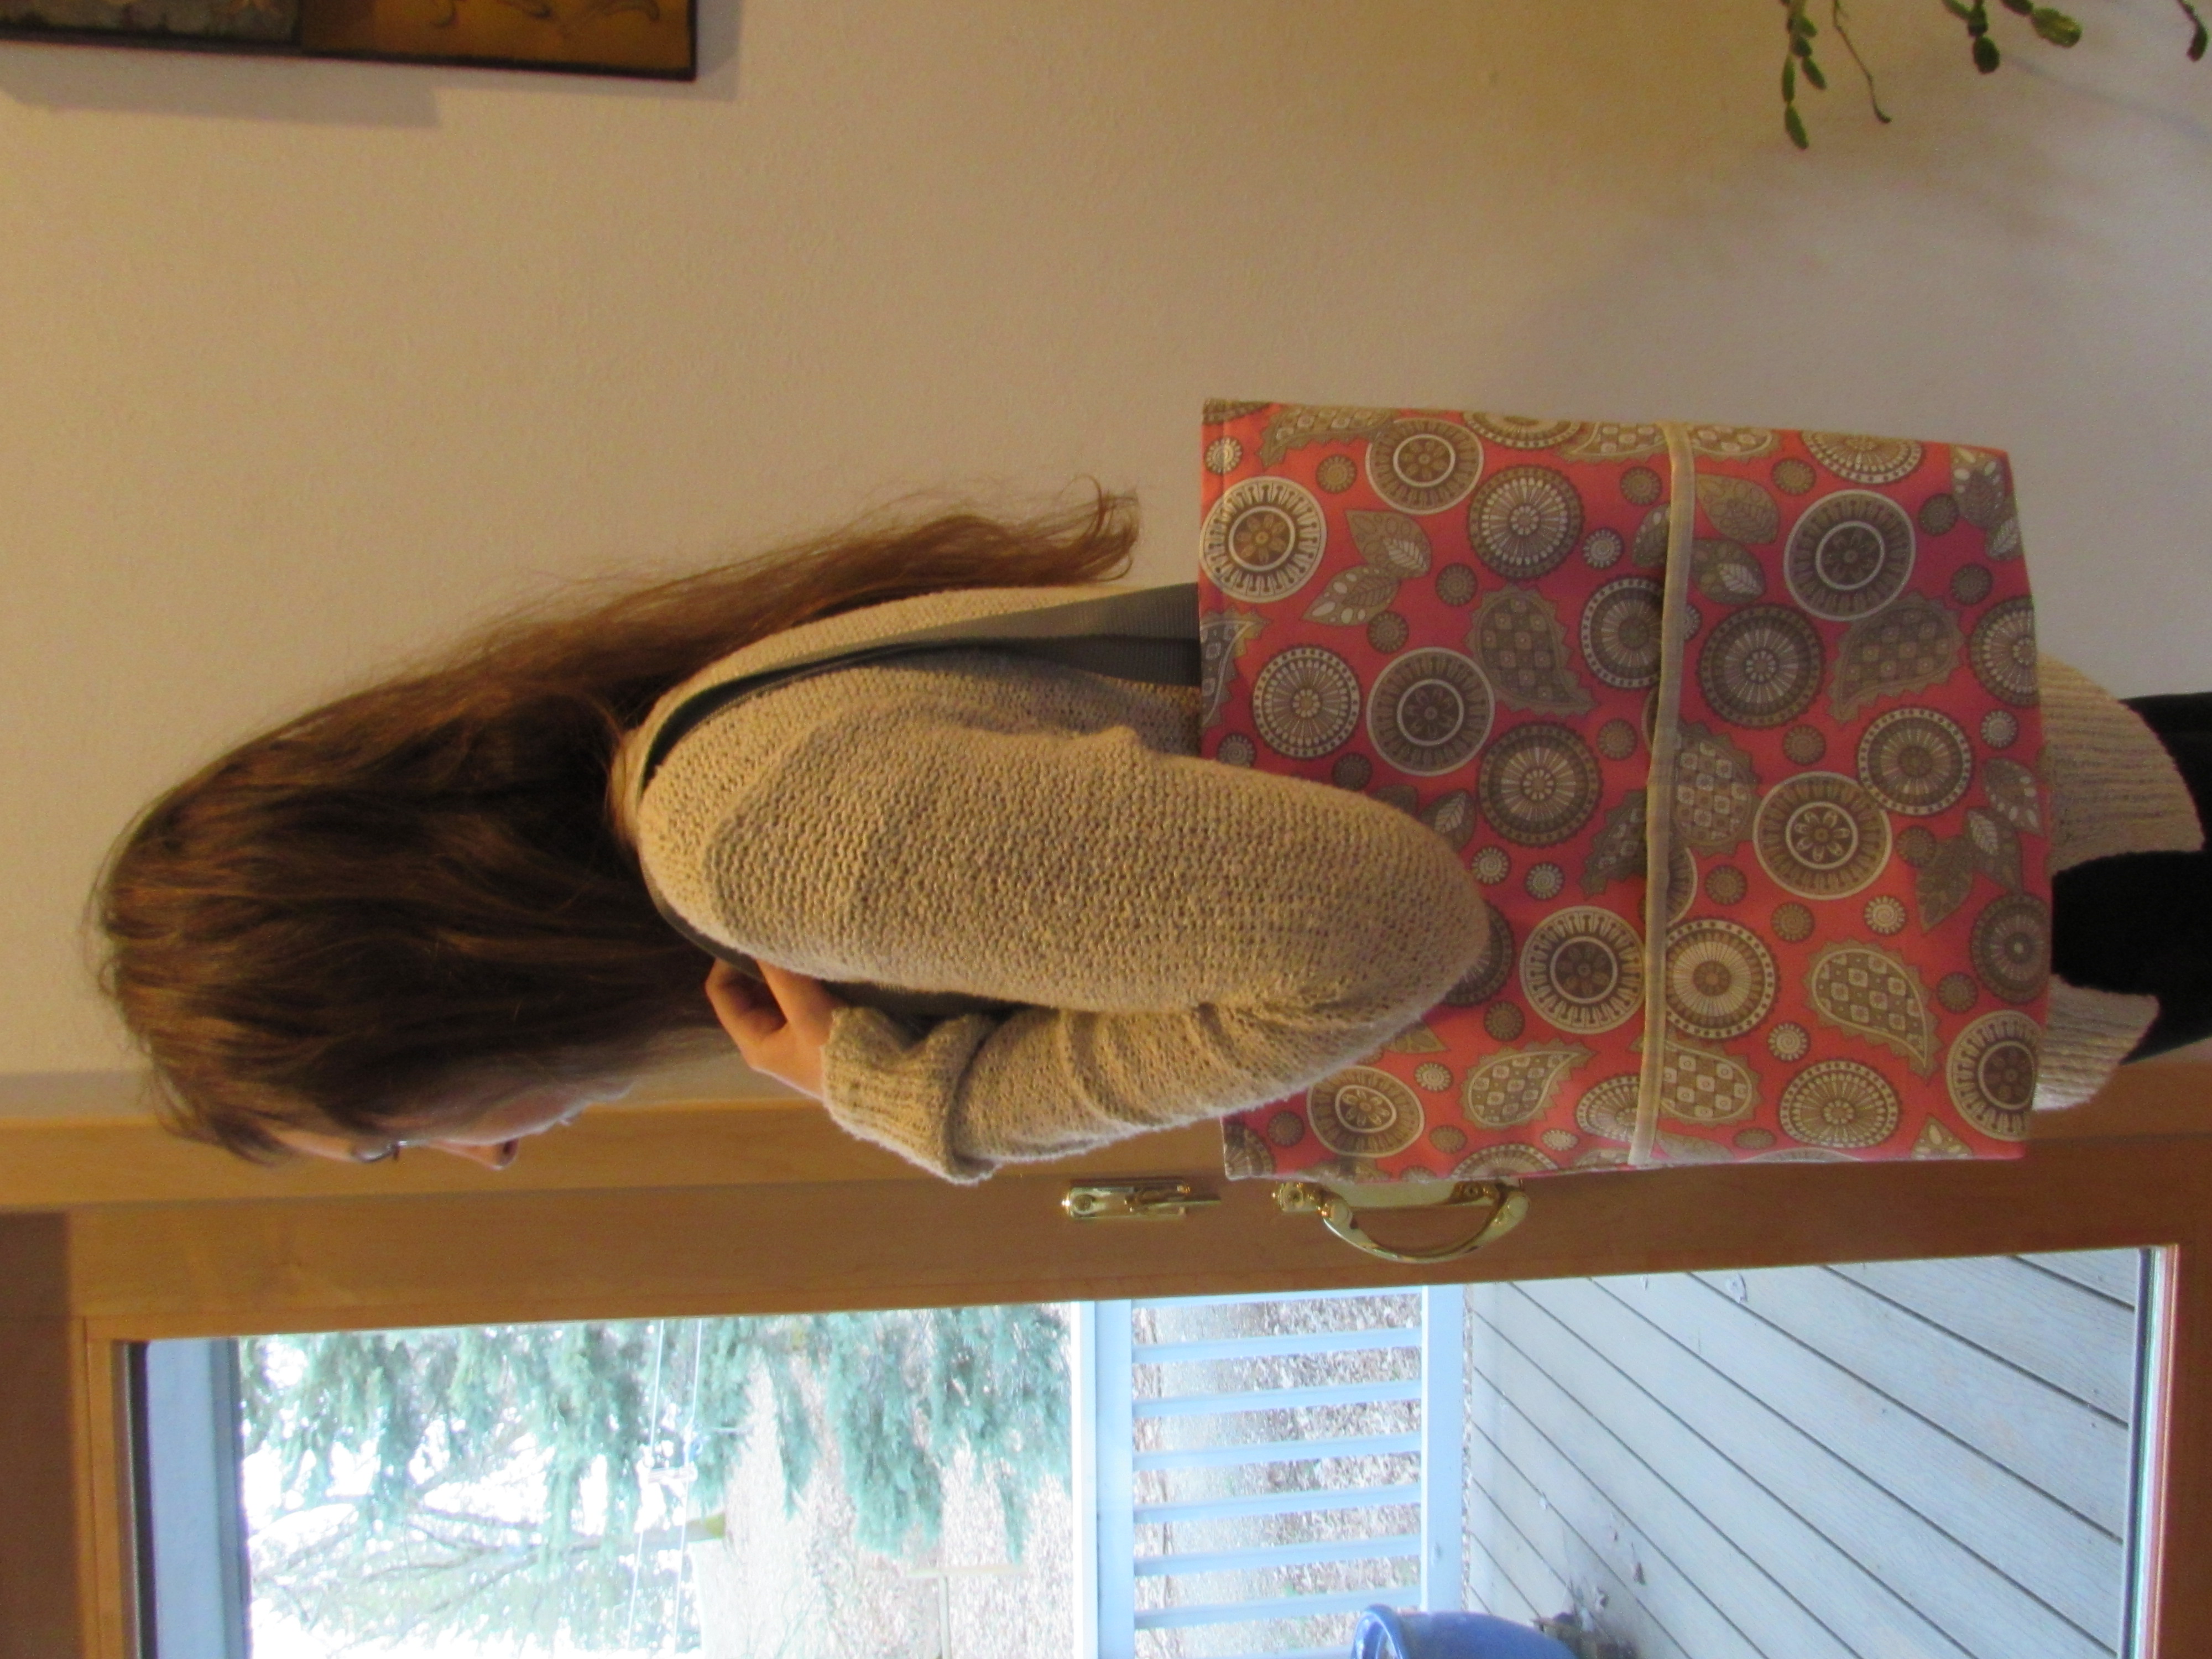
This bag is roomy and will be perfect for shopping or filling with fresh produce at the farmer’s market. I have a feeling I will get plenty of use out of it!

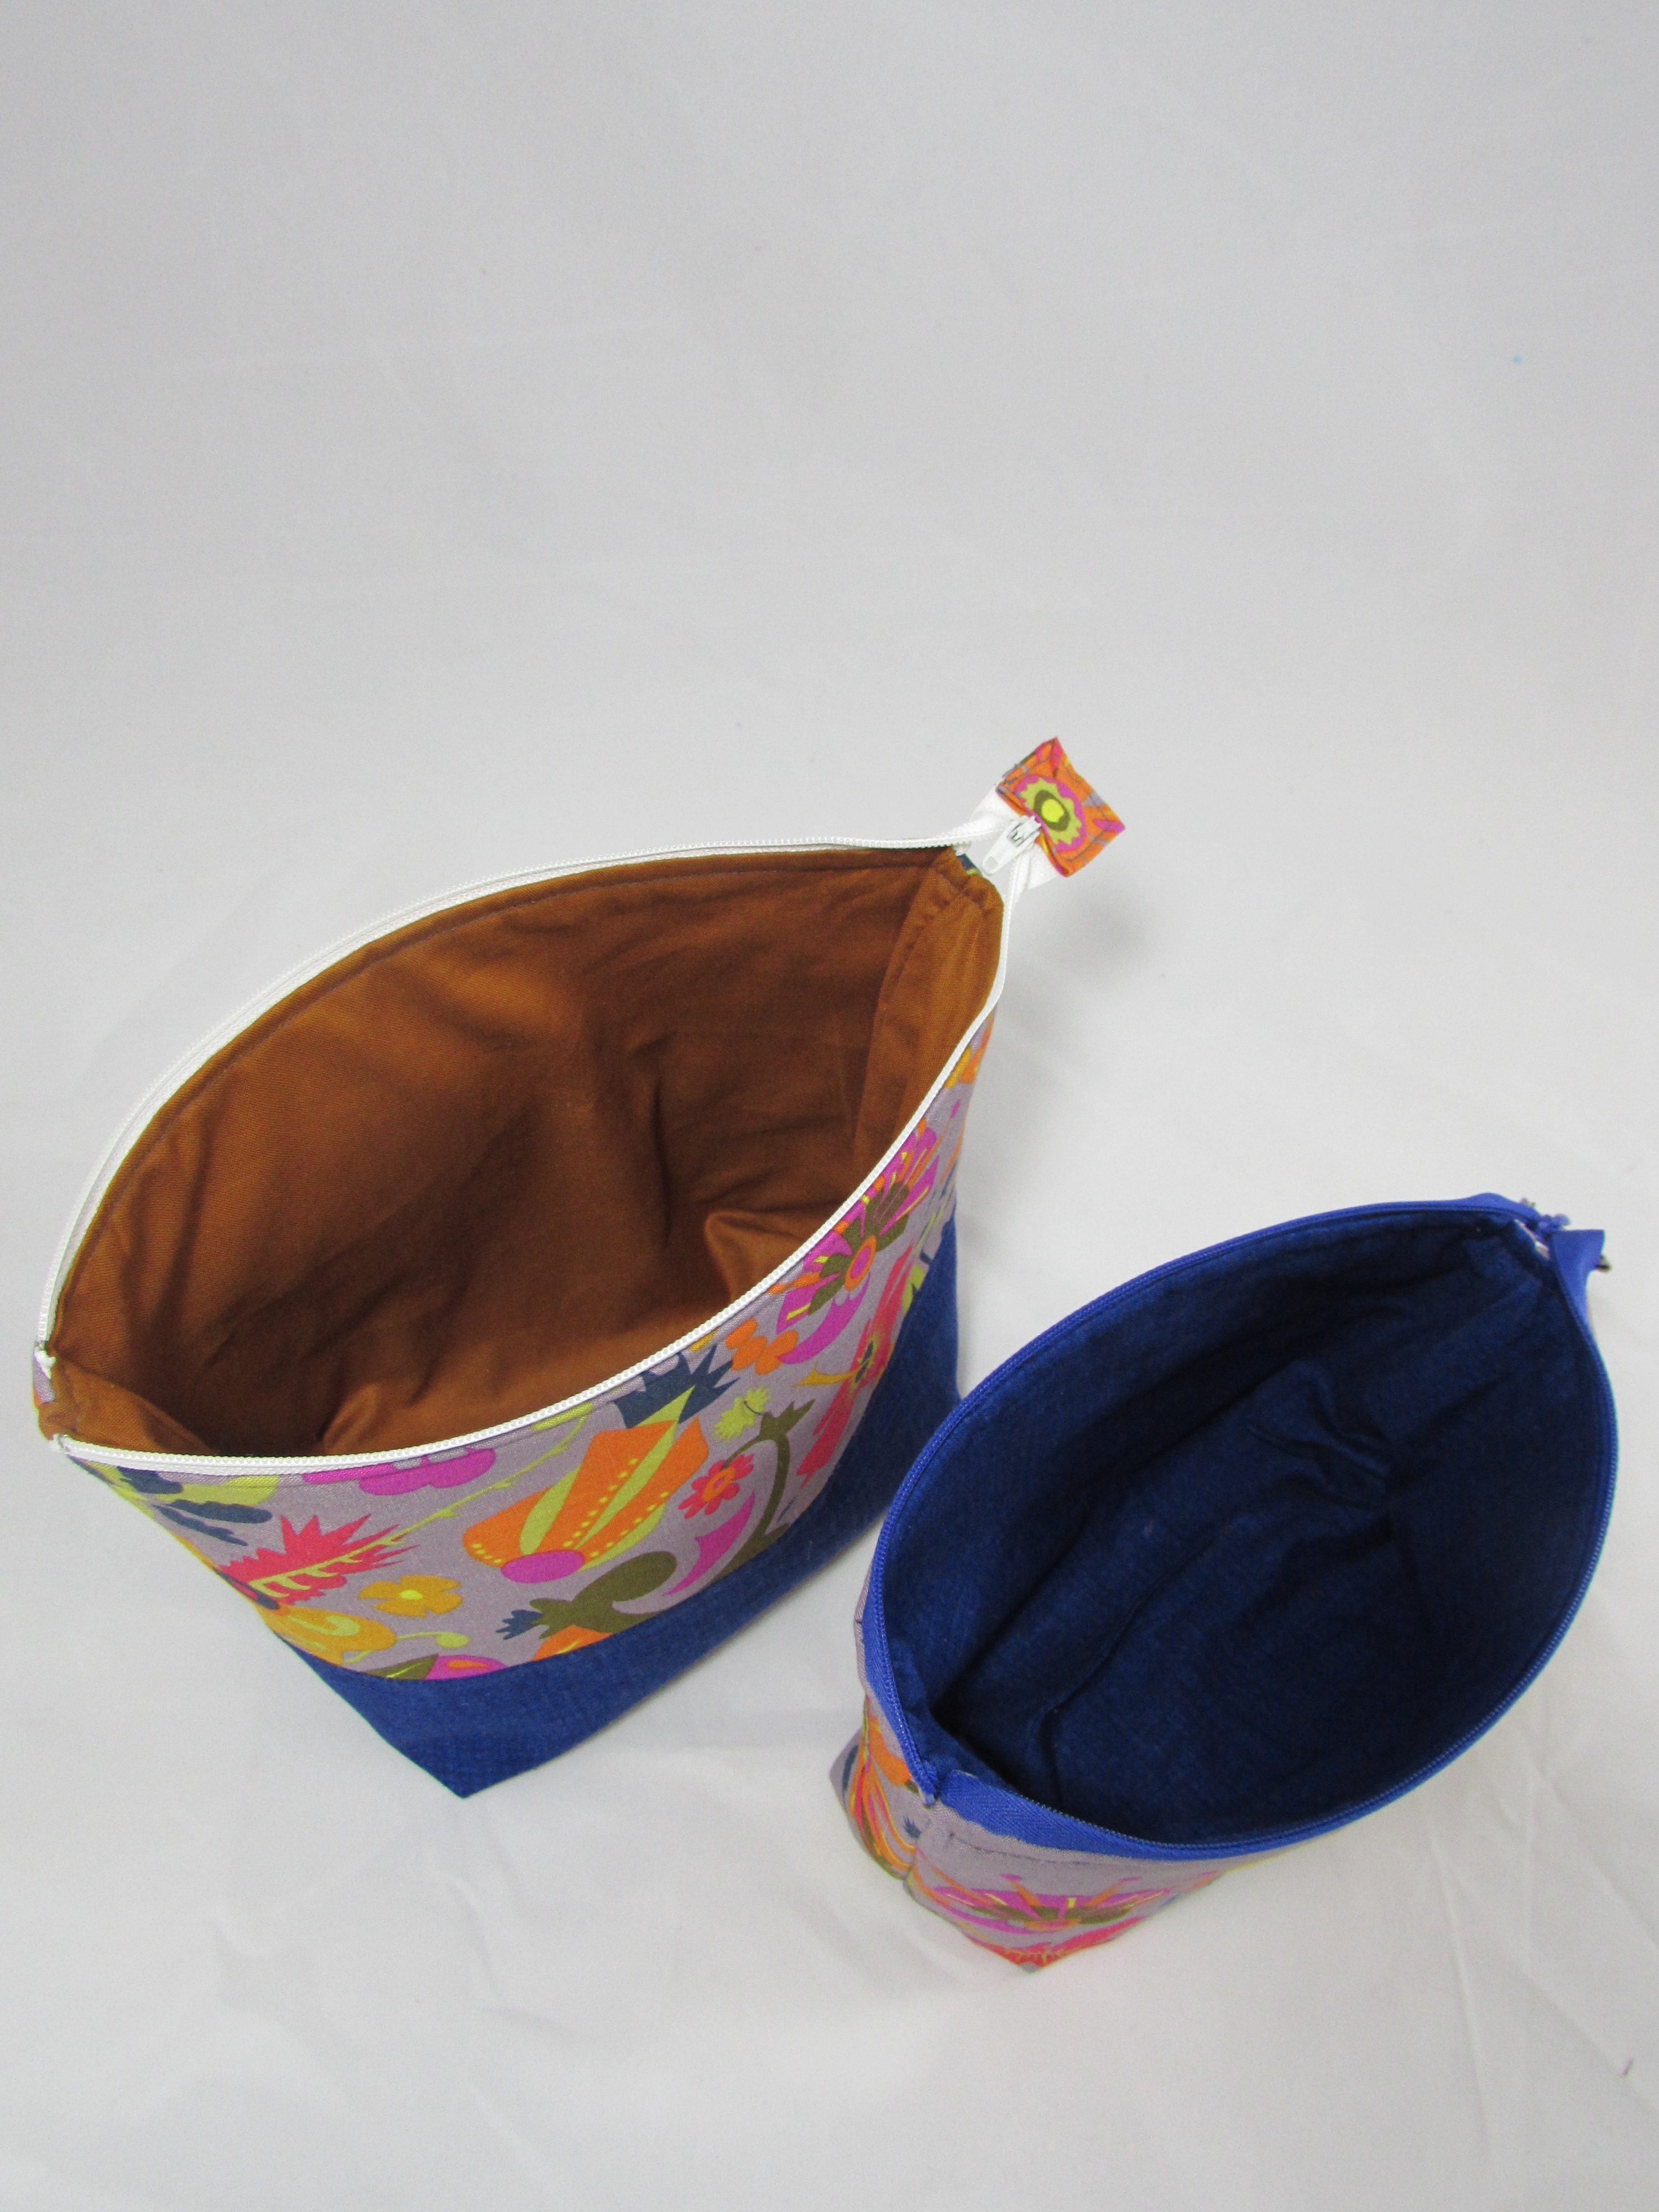
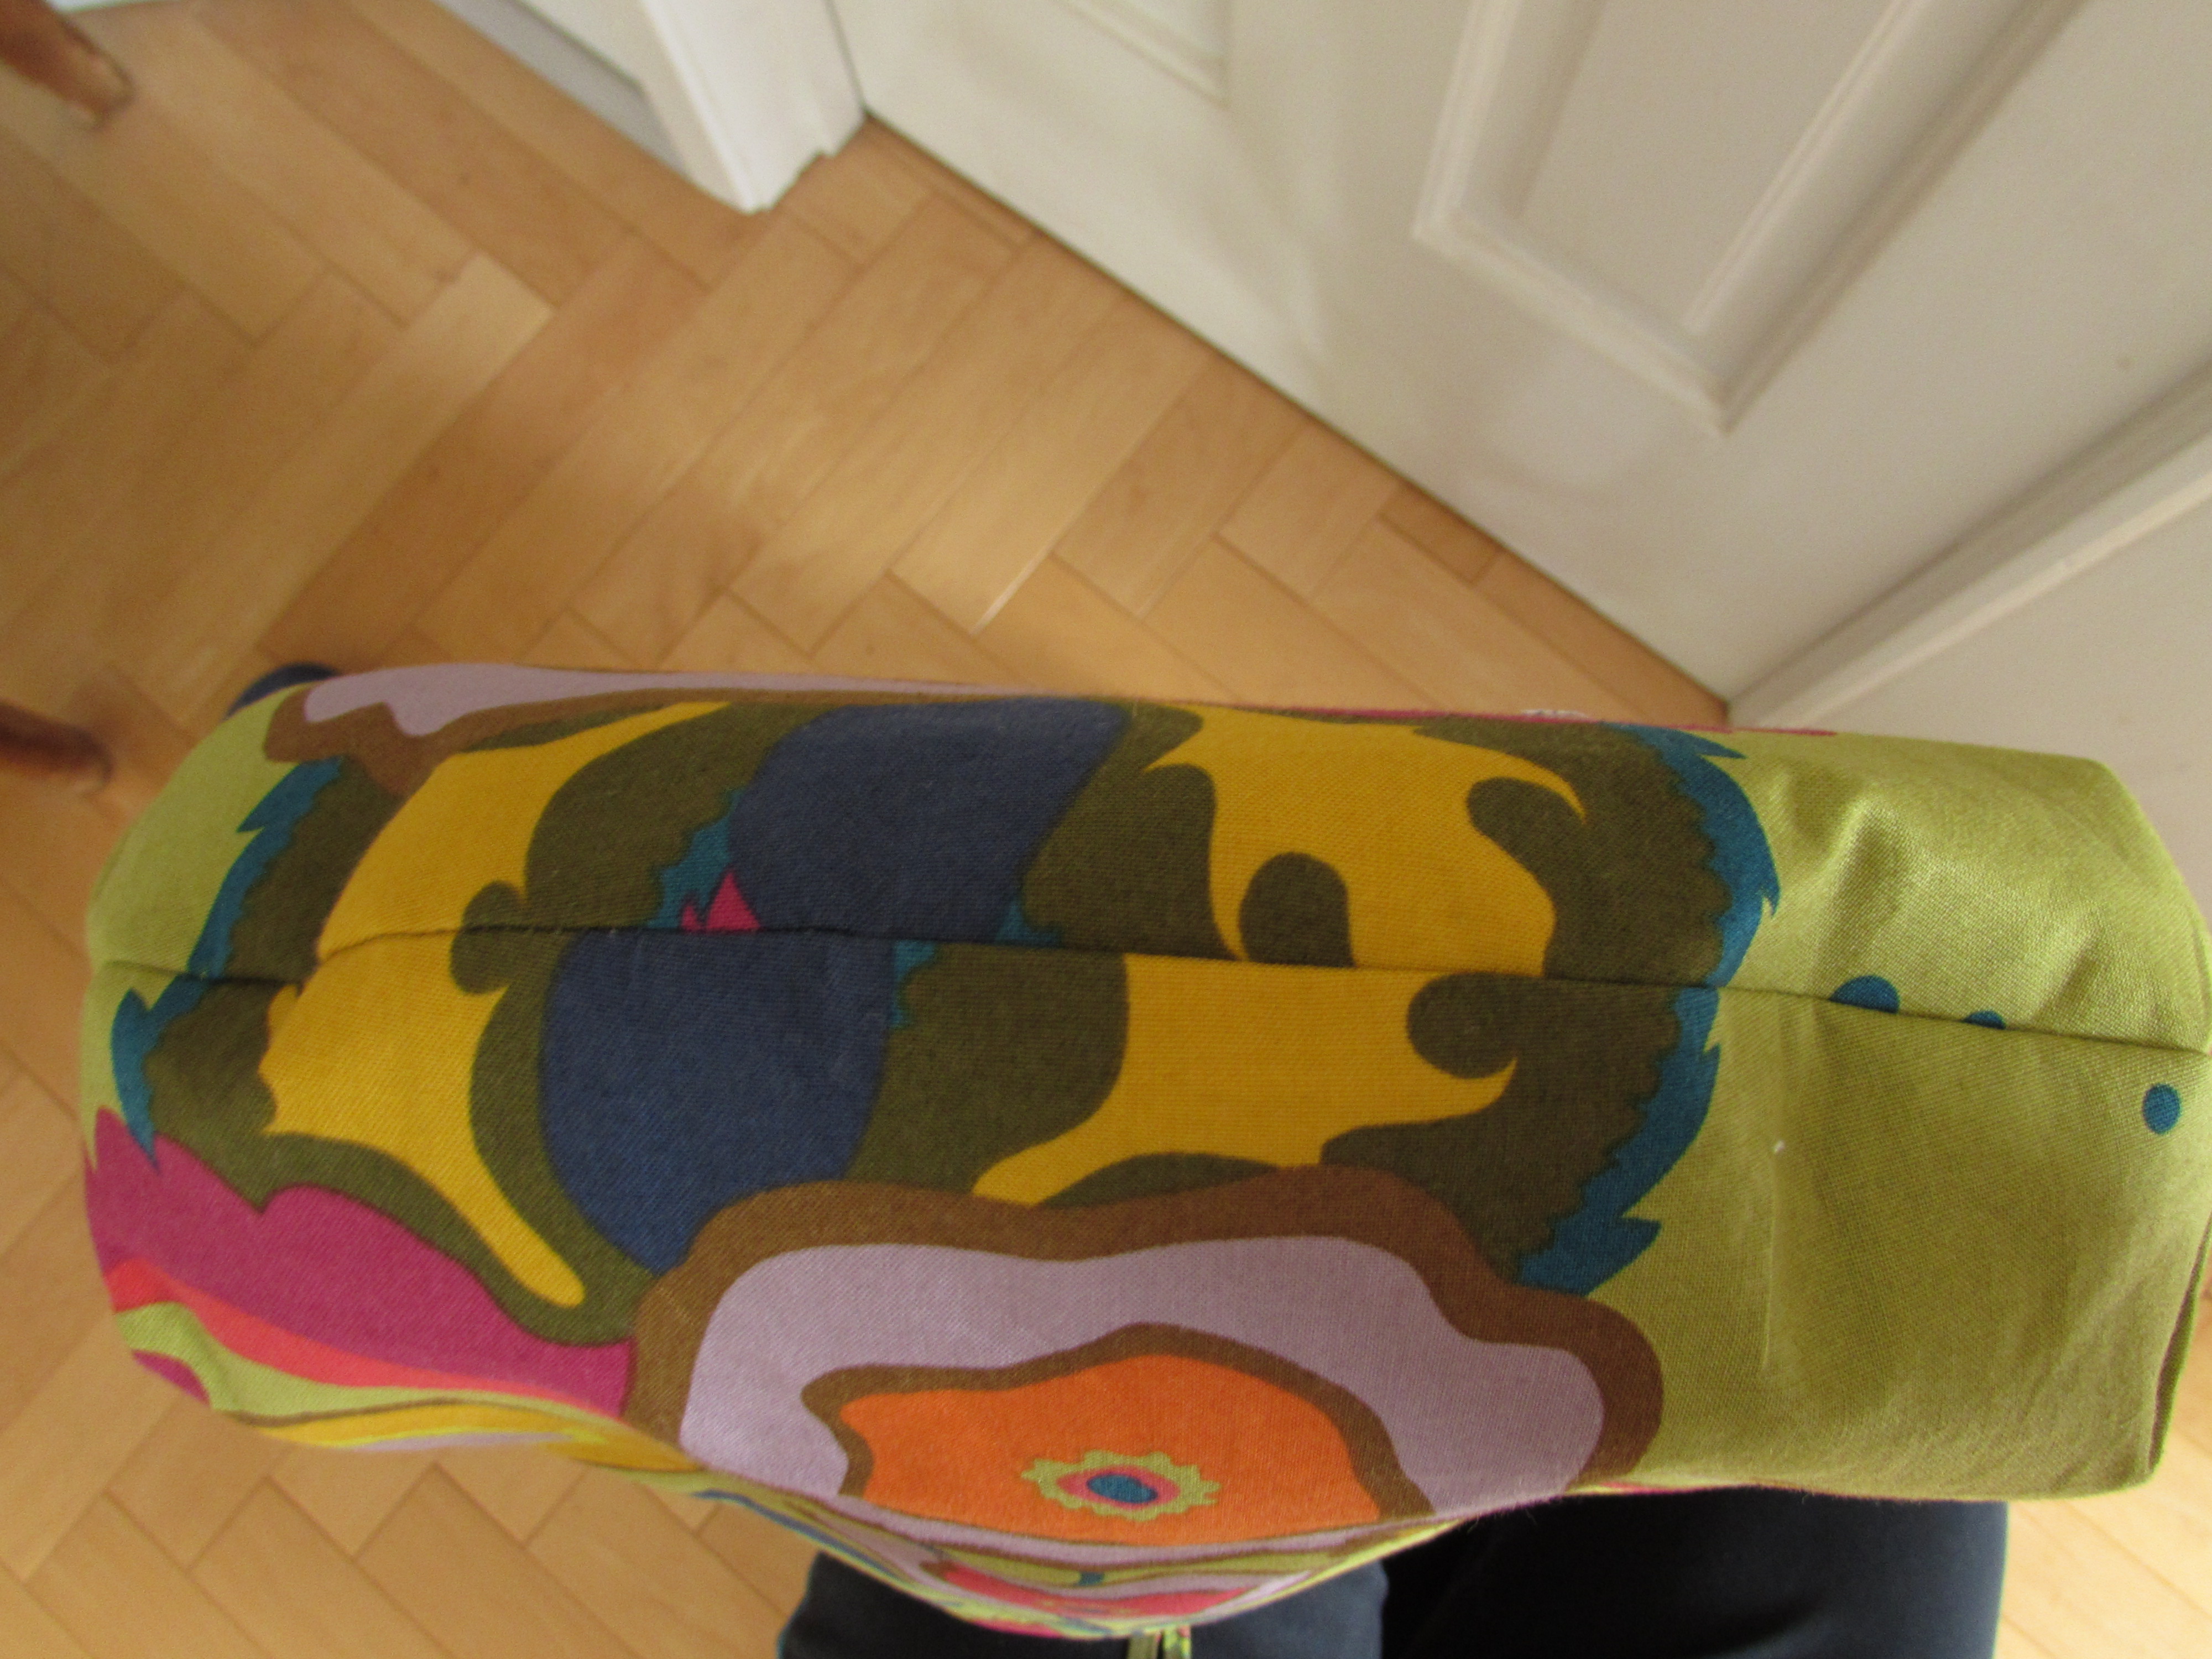
I have a second bag in the making as well. This one is based on a tutorial by Beth at Cooking Up Quilts. For this, I will use a piece of fabric from Maker Maker, by Sarah Golden.  I have been wanting to try a recessed zipper and her tutorial makes it look simple. That remains to be seen!

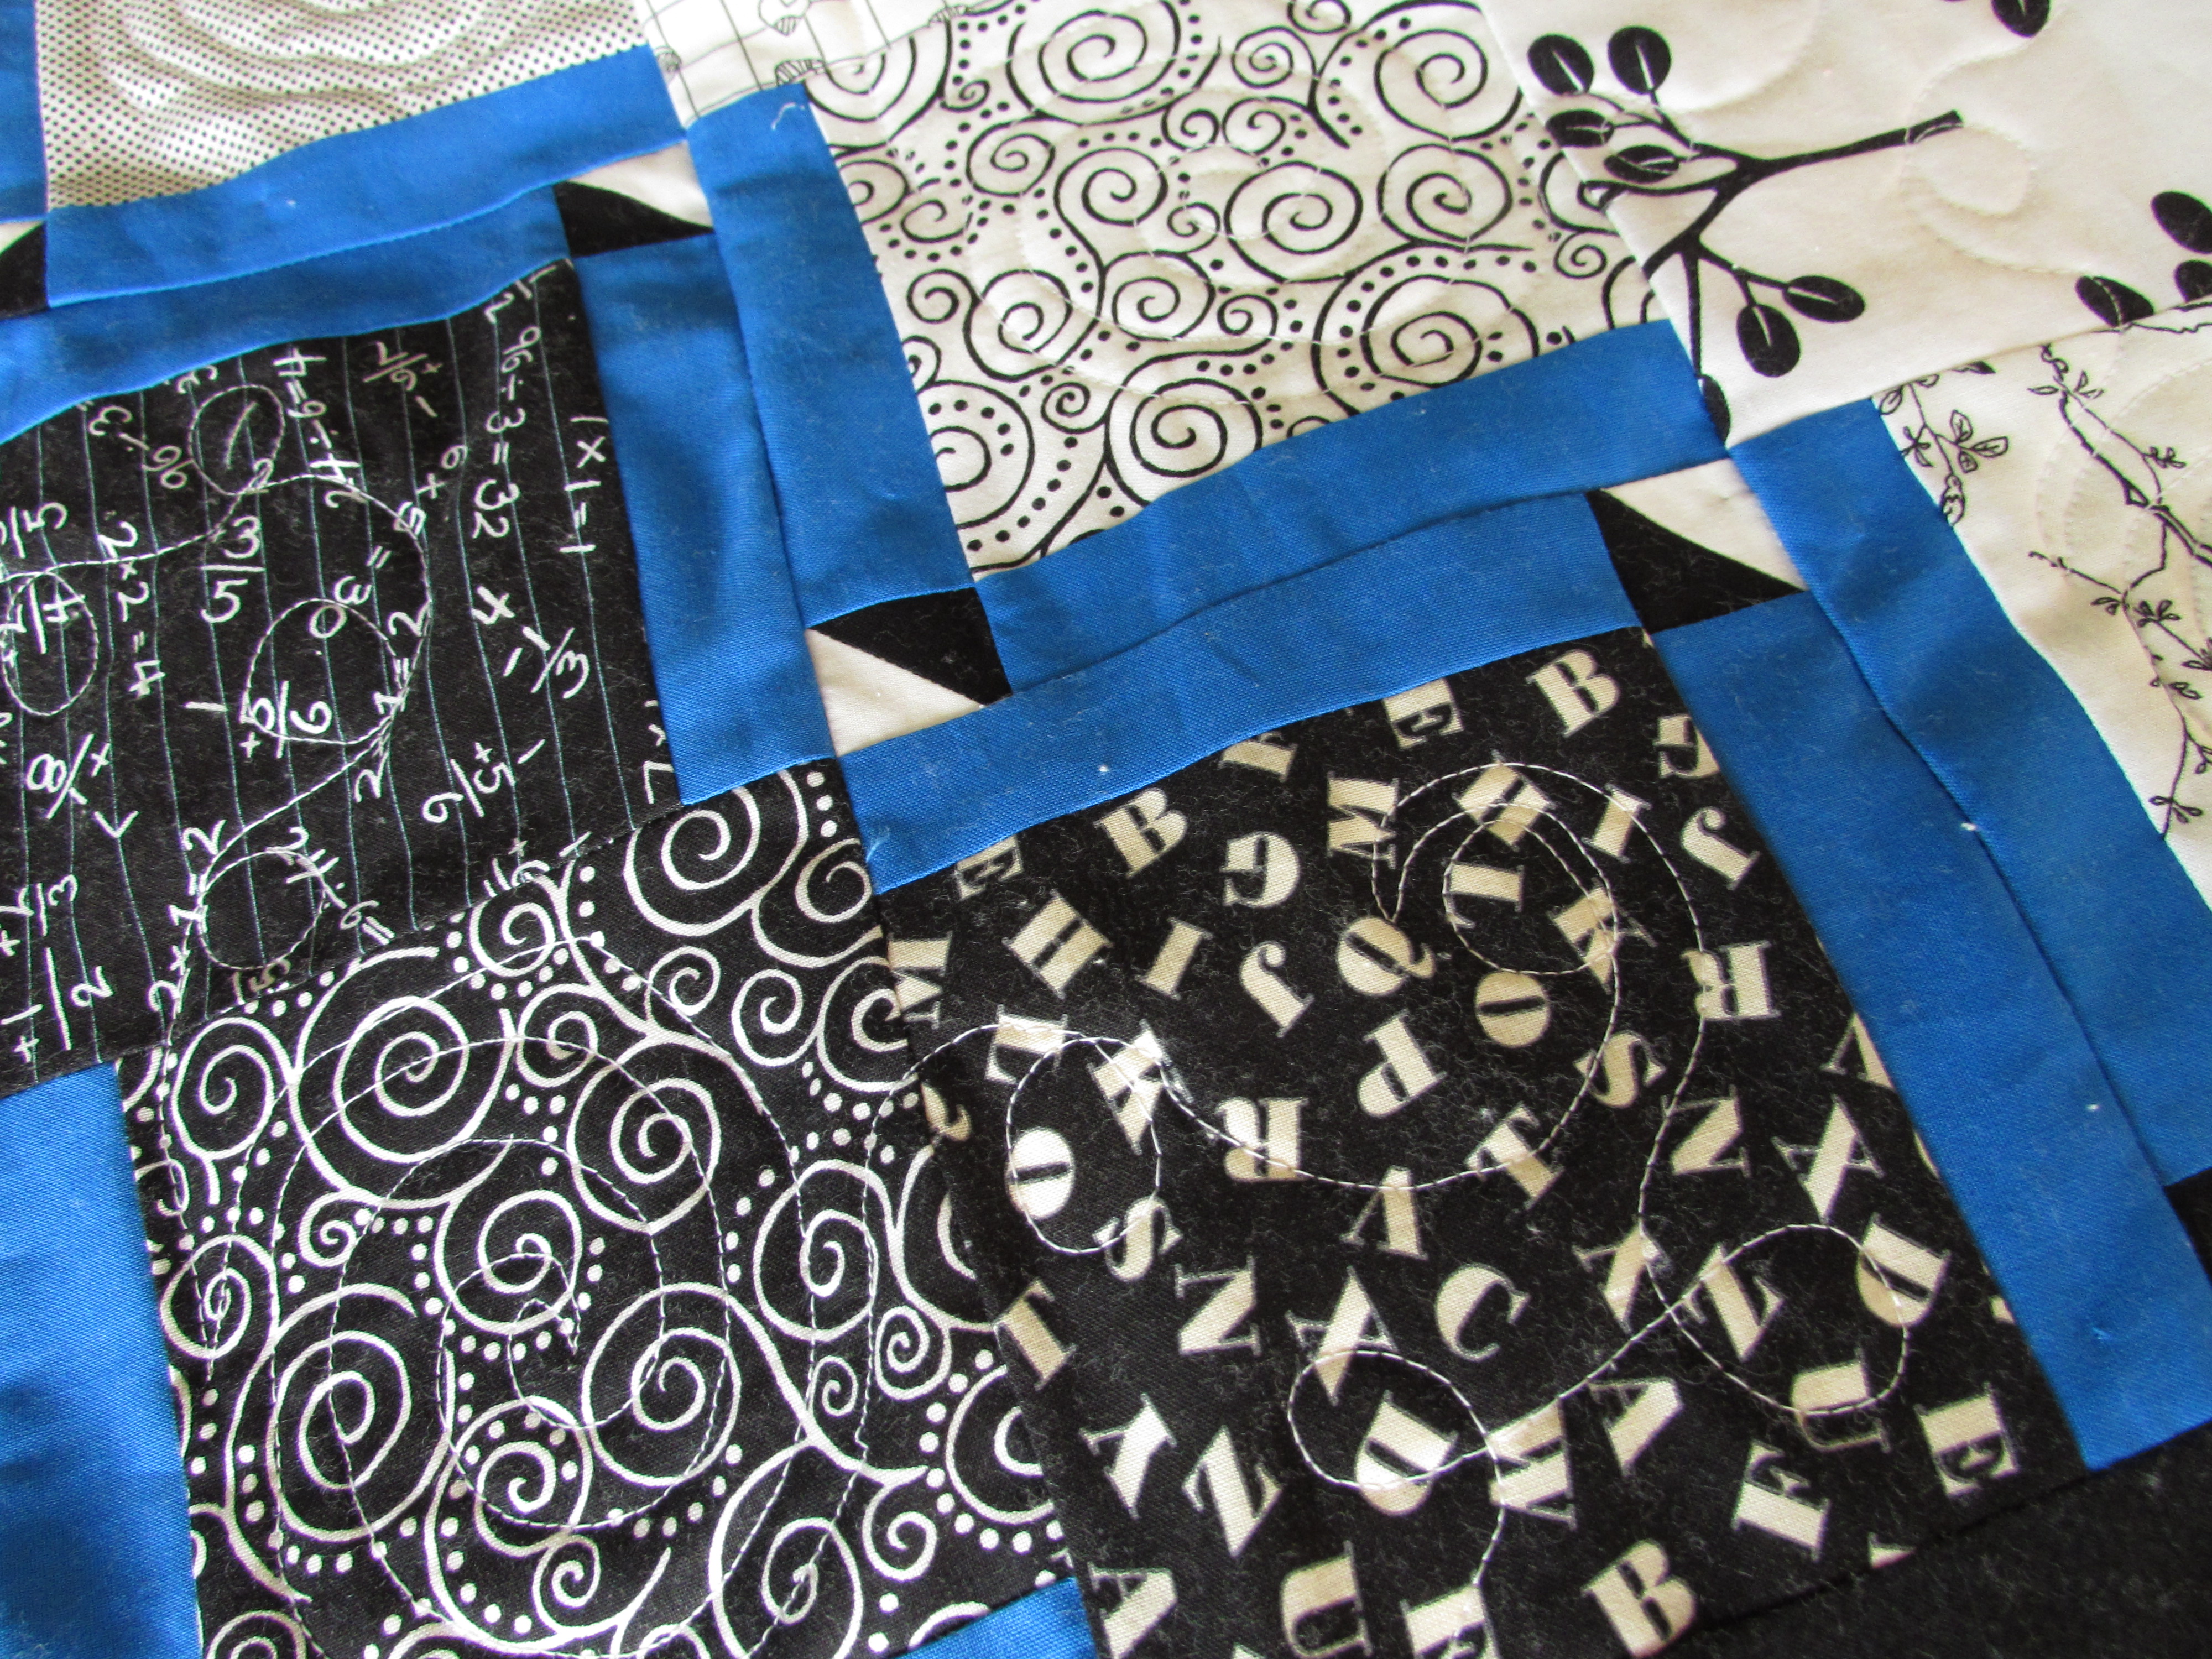
I also finished the baby’s quilt this week. I sent it off to my kids and will share a post on that next week. The baby is due any day now.  We are all so excited to meet her.

Wishing you all a wonderful weekend. I am experiencing QuiltCon vicariously through all of the posts on Instagram. So many amazing quilts!!

Today is the last day for the sale on Maker Maker fabrics. I have each piece marked down by 15% – no coupon code needed.

Linking to my usuals – check them out at the top of the page, under Link Ups.

Open Wide Pouch and Alison Glass Combo

Today was one of those days where I had plenty of things I should be doing but I sewed instead. I couldn’t get in the mood for anything on the neverending ‘to-do’ list. I just felt like sewing. Which is fine. I thoroughly enjoyed the afternoon. It is pouring rain outside; so dark and cloudy it looked like evening by 2:00 in the afternoon.

Last night, I decided to pull out my dwindling collection of Alison Glass scraps. You know I love her fabric – I have used it to make a mini for an Alison Glass swap as well as two purses. Yvonne, over at Quilting Jetgirl, has been playing with, sewing with, collecting and posting about Alison Glass lately and it got me in the mood. She is hosting a little Alison Glass celebration in January and there just might be a prize of a huge set of fat eighth’s to be won.  All of this set off a bit of an Alison Glass frenzy in my sewing room. 🙂

Thinking about what I wanted to make, I ruled out any sort of mini quilt or table runner. Rather, I wanted to make a tote or a zip pouch. I poked around on my Pinterest boards and found the tutorial for the Open Wide zip pouch from Noodlehead.com.  Anna Graham is the blogger and pattern designer behind Noodlehead. You might remember that I made her 241 Totebag three times over the past year. Her patterns and tutorials are wonderful. I really like the look of the Open Wide pouch.

I made two of them this afternoon. They are that simple!  The first one was the middle size pouch that measures about 6″ x 6 1/2″. I decided to have a different fabric for the base of the bag. The second pouch was made with the smallest measurements, finishing at 4.5″ x 5″. I really like the method Anna uses for these pouches. She boxes the corners quite deep which creates a very wide bottom of the pouch, in relation to the length at the top. Because of this, the pouches open wide.  This little variation is such a simple way to get this result.

I found two challenges with this pattern. The biggest of which (for me) was boxing the corners of both the outer fabric and lining fabric without being able to peek in and see if the seams were all lined up correctly. Anna’s instructions call for sewing the lining and outer fabric together, leaving an opening in the bottom of the lining to turn it right side out.  Prior to turning it right side out, you box all four corners. It worked, but I would like it better if I could see what I was doing. I think it might be possible to stitch the outer fabric and stop. Then box the corners while still being able to look inside and see that it is all lined up. After that, one would continue to sew the perimeter and finish the lining.  Boxing the corners of the lining doesn’t matter as much since they don’t show.  Of course, I didn’t think of this until after I completed two pouches.  😉

The second challenge is not a huge deal. Anna has the tail end of the zipper extend beyond the end of the zip pouch. It adds a nice touch to the finished bag. But I had a hard time getting a decent result. It was sort of fiddly and I ended up unpicking the stitches on each of them and trying to get a better finish.  They still don’t look great. I think I would play with this next time and try to come up with a different way to finish off the end of the zipper. It doesn’t look like it should be so hard but it was difficult for me to keep the little folds in place and move the zipper around, dragging the pouch along with it. I wonder if I could have finished the end of the zipper before I even began sewing the pouch together. Questions, questions…. I think I need to make a third pouch and test out these ideas.

Anna lists fusible interfacing as optional for the pouches. I used a fusible batting. I like the bit of heft it gives the bag. When I made the second one, I decided to quilt two horizontal lines on each of the pieces of outer fabric. It looks cute and will make sure the batting stays nice and flat against the outer fabric. Overall, the pattern is great and it was a fun project for this afternoon. I love the look of the floral fabric (from the Field Day line) and the deep blue fabric together. I got my Alison Glass fix and now I can move on to the next project!

If you are a fan of her fabric, you might want to join in with the Link Up that will be happening over at Quilting Jetgirl.  I think it is good that I made my project early. Yvonne will be hosting the event for the last two weeks of January which is going to be a busy month for me. My son is getting married on January 14th so we will have all sorts of fun happening in January and, most likely, my sewing time will be a bit limited.

Linking up with Crazy Mom Quilts and Confessions of a Fabric Addict this week. Links are available at the top of the page, under Link Ups. Also linking to the Bag It link party at Elm Street Quilts.

Cutest 241 Totebag Ever

Last weekend I finished up the 241 bag that I have been working on. The bag was made as a gift to my niece for her eighteenth birthday. Somehow I forgot to get a photo of Maddie with the bag at the party last week. She loved it though which made me very happy!

Making this bag in tandem with Tami from Sew Much for Free Time was really fun. Neither of us has seen the final project for the other yet and I look forward to popping over to her site to see her bag. I hope you will take a peek as well.

As is usual for Noodlehead patterns, this one was easy to follow and the result is exactly what I had hoped for.

img_20160509_5102 - Copy

This is the second bag I made using a tutorial or pattern of Anna Graham’s. The first was a tote for my mother-in-law. You can read about that here. Anna’s patterns are filled with small details that make for a stylish bag. For instance, I love that the side pockets have a fullness to them. They are fused with interfacing and cut so that they extend a bit from the side of the bag, making them really roomy.

img_20160509_5101 - CopyThe pattern calls for a magnetic closure but I didn’t have one. Fearing I would (yet again) lose my self-control if I returned to Ben Franklin, I searched through my buttons and found a cute wooden toggle button. Using a small rectangle of the contrast fabric, I made a loop and stitched it to the top of the bag.

img_20160509_5104I sewed the button to the other side and it works like a charm. Remember I also added a key chain link to the inside so that Maddie can hook her keys to it and find them again easily. I forgot to take a photo of the key fob that I made but it was made with webbing and the small floral print used on the side pockets. (It was just like the one I made for my sister and talked about in this post.)

img_20160509_5106Anna’s pattern calls for the handle strap to be made from a six-inch wide strip that is interfaced and folded. I wanted to make the handle with two different fabrics so I modified that and used two 3″ strips. Then I fused the interfacing to one side and sewed them, right sides together. After turning the strap right side out, I pressed and topstitched the edges. Another slight modification was to extend the length of the straps. My niece is about 5′ 7″ and the strap seemed too short. I didn’t notice this until after I had cut the straps so I just cut a few more three-inch strips and added on to the length. Just because I thought it looked fun, I used the opposite fabric on each end. If you look at the top picture, you can see the different fabrics. The inner strap on the left is floral and on the right is the big print. On the outside it is just the opposite. The handle looked so fun like this and I would definitely do that again. (These little changes are one of the best parts of making things rather than buying ready-made. Each project is uniquely its own!)

As luck would have it, since I certainly didn’t try for this, the outer seam on the bottom matched up almost perfectly.

img_20160509_5108

I love when this happens! If I actually try to match it up, I usually meet with less success. At any rate, this bag was a huge success. I highly recommend the pattern for anyone with at least some sewing knowledge. It could be a bit of a challenge for a person who is new to sewing.

I hope Tami and I will think of another project to sew together. We had a lot of fun with this one!

Linking to all the usuals. Find them at the top of the page under Link Ups.

Craftsy’s birthday celebration continues through Sunday, May 22nd. Classes are on sale for 50% off! Buying a class enables you to watch each lesson as many times as you like, when it is convenient for you! The newest class taught by Amy Smart, of Diary of a Quilter, is released and on sale.

unnamed (1)

(Because I am a Craftsy affiliate, I will receive a small payment for purchases made by clicking through from my blog.)

Weekly Wip Update

Let’s start off with the fun fact that this is my 200th post. That is sort of cool. 🙂

The last week didn’t include as much sewing time as I would have liked. I lost a couple of days because I was down with a bug. I managed to watch a few episodes of Downton Abbey though so it wasn’t a total loss. (I just discovered the show a few months ago and luckily, Amazon streams it. I have been devouring this soap opera lately, with the Dowager Countess being my favorite character.)

The days that I was able to spend time sewing were mostly productive. I made a few new French Press cozies for my Etsy shop. Beyond that, I started quilting my black and white Stepping Stones quilt. So far, I am quilting along the diagonal, following the black and white squares. I have not touched the tiny HST’s or the blue strips. My thought is to finish the black and white charms and then decide what, if anything, to do with the other smaller parts.

I am using white thread and the quilting is coming along nicely. However, the white stitching doesn’t show up well for pictures.

img_20160509_5110

I have been alternating quilting a large spiral and then in the next square quilting a loopy design.

img_20160509_5109

I have quilted about 1/3 so far. Other projects beckoned though and I set this aside for a few days.

I have been having a blast working on my sewalong with Tami of Sew Much for Free Time. Every time I make another friend via this blog, I am just blown away by the ease of the relationship. By now we have been emailing back and forth with progress pictures and ideas. It is so much fun. Our 241 Totebags are swiftly moving toward completion! Working with a friend has kept both of us on track and has somehow made the project seem to come together quickly.  This is my second project using a Noodlehead pattern or tutorial and the directions are just wonderful. So far, I have constructed the entire outer bag and have been working on prepping the inside portion.

image

These prints are bright, fun and maybe a little wild but I think they are perfect for the intended recipient.

For the inside, I added one of my Needle and Foot labels. I have just a few left as I normally put these on product that goes into my Etsy shop.

img_20160509_5096

There are options for zipper pockets on the outer portion but I politely declined the option. (Read, I was too lazy to fuss with a zipper.) I did add a square of Velcro to the patch pocket on the inside (I was feeling guilty.)

img_20160509_5097

Finally, I made a little attachment to hang a  key chain holder. I love these little guys; saves so much time not having to hunt to the bottom of your bag to find your keys. There is a coordinating key fob in the works.

img_20160509_5098

Because there will be a bit of tugging each time the keys are hooked and unhooked, I fused some stabilizer to the back for support.

img_20160509_5099

The lining portion of the purse and the shoulder strap should go together quickly. I’m pretty excited about the whole thing and have a feeling I will make another one for myself.

Yesterday I posted a progress picture on Instagram and guess who commented? Um, Anna Graham, from Noodlehead. Looks like we are sewing buddies now. 😉

image

.What a great project this has been. I am going to have to find another fun sewalong/quiltalong type of activity after this. If you have a minute, check out Tami’s progress. Seeing the same pattern come together in two very different colorways is very interesting. They each look very unique.

Linking to Linky Tuesday, Let’s Bee Social and Sew Cute Tuesday! All links are found as always, at the top of the page, under Link Ups.

Craftsy Update:  In celebration of their 5th anniversary, Craftsy will hold a great sale of kits and supplies running May 12th through the 15th. Check it out here!

may craftsy

(I am a Craftsy affiliate and will receive a small payment for any sales that occur via my blog.)

Road Trip Tote Bag

Last weekend we celebrated my mother-in-law’s birthday. Wanting to make her gift, I started browsing my pins on Pinterest. I have a board devoted to bags and totes and have long wanted a reason to play with those patterns.  I thought it might be fun to make a tote for her and chose the Madras Plaid Summer Tote pattern from Noodlehead.


She and my father-in-law take lots of road trips throughout the year, sometimes camping and sometimes staying in hotels. When Julia and I were picking fabric and we saw this Route 66 novelty print and decided it was perfect!  It screams, take me on a road trip, please?

The Noodlehead pattern is simple. While I didn’t time myself, I am quite certain it took less than an hour to put together. I like the exterior pocket for slipping smaller items into. As luck would have it, the fabric totally matched up when I placed the pocket. On her pattern, Anna uses bias tape to trim the upper edge of the pocket. When I saw the perfect (accidental) match, I left the trim off. If you haven’t made many bags, this tutorial is a great one to try. Check it out!

In keeping with our Road Trip theme for this birthday gift, I also chose a cookbook by America’s Test Kitchen titled, Cook’s Country Eats Local. My in-laws, my husband and I, are all huge fans of America’s Test Kitchen.  This cookbook features recipes from the four regions of the US, Northeast, Midwest, South, and the West. The recipes look wonderful and I suspect my mother in law will enjoy trying these out.  (Hopefully on occasions when we are over there for a meal!) I also selected the Cheryl Strayed book, Wild. An avid hiker, my MIL is sure to enjoy this.


If you give someone a book bag and books, one needs to include bookmarks, right? These were very fun to make with some scraps from her bag. The striped fabric was used to line the tote.


It was a fun celebration with family. Ray smoked a trip tip and roasted potatoes and I made peach pie for dessert. When our peach tree was going crazy last summer, I froze bags of sliced peaches. It was lovely to have fresh fruit for pie in January.

By the way, look at the selvage from this fabric. It is adorable. I know lots of you keep unique selvages. If any of you would like to add this one to your collection, let me know in the comments. I will happily mail it to you. There are two strips that show the little cars.

IMG_2985

Linking to Freemotion by the River, Let’s Bee Social, and Finish it Up Friday. All links to these parties are listed at the top of the page, under Link Ups.