Tag Archives: noodlehead pattern

A Fresh New Totebag

I am loving having all of these gorgeous bolts of fabric downstairs. I like to look at them, rearrange them, sell pieces to my wonderful customers and best of all, make stuff with them. I know, it probably isn’t the path to becoming rich – using up my own inventory – but it’s all just sitting there, taunting me, calling out to me. My willpower only goes so far. I am human after all.

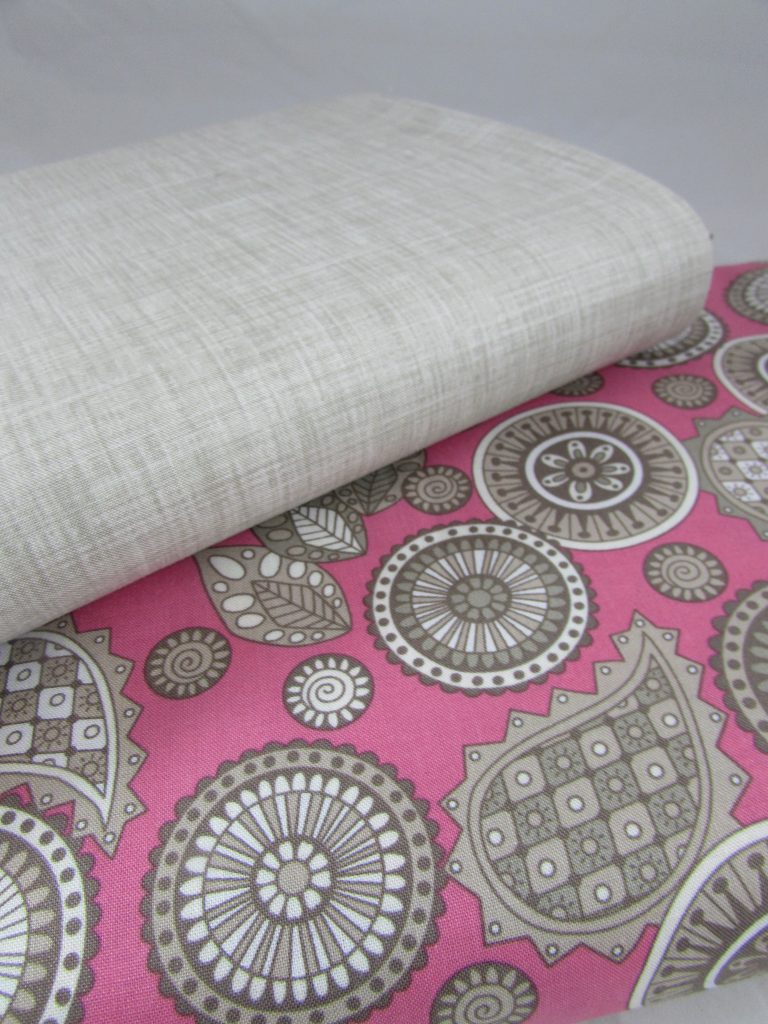
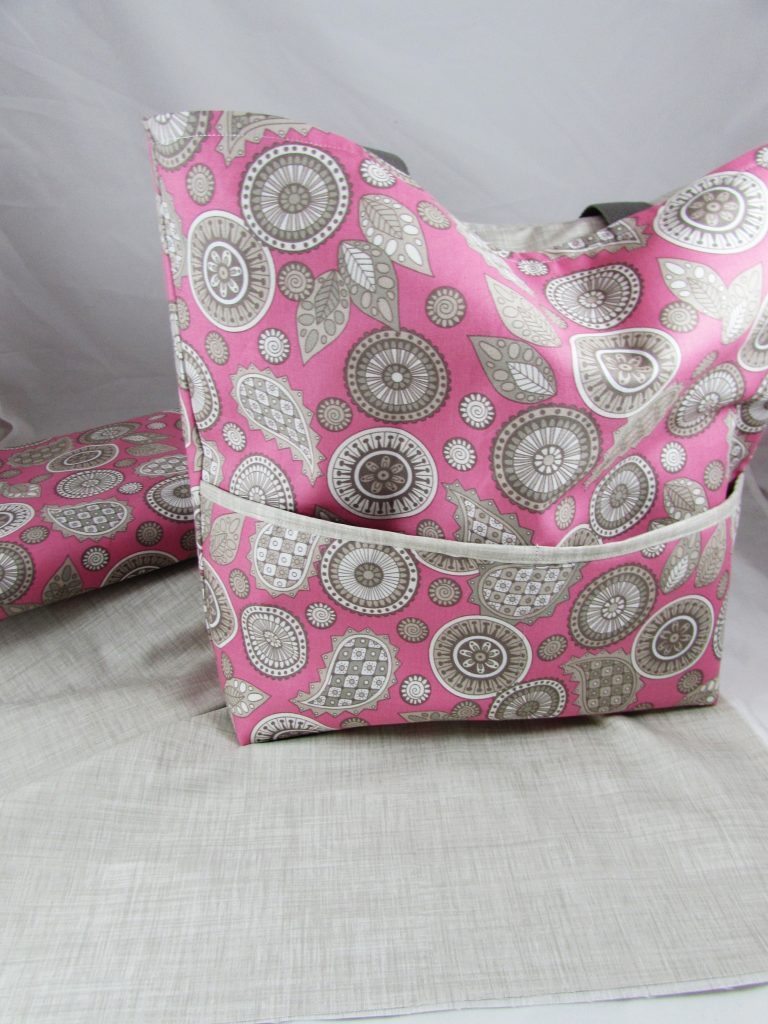
When I was in the process of selecting this first round of fabric purchases, I tried very hard to make sure that the lines I bought were able to intermingle. I like offering choices and having pieces that work well together. This pink paisley print is actually from the Modern Tykes line (from Henry Glass). The line is a set of adorable juvenile prints. But this paisley holds its own. It is a deep pink with gray and taupe accents. Pink isn’t usually my color but I like this one. I also carry a selection of Color Weaves – a textured solid made by PB Textiles.  The gray piece works perfectly with this paisley print.

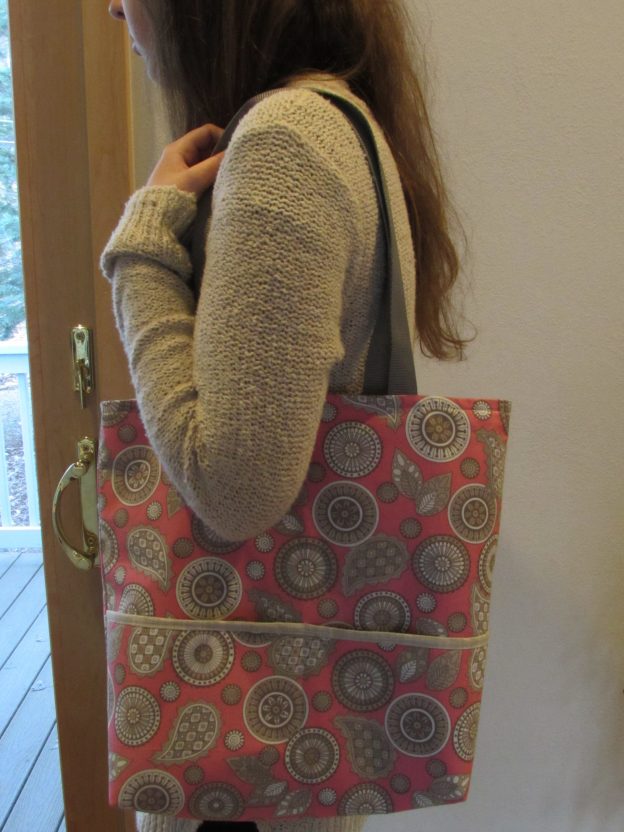
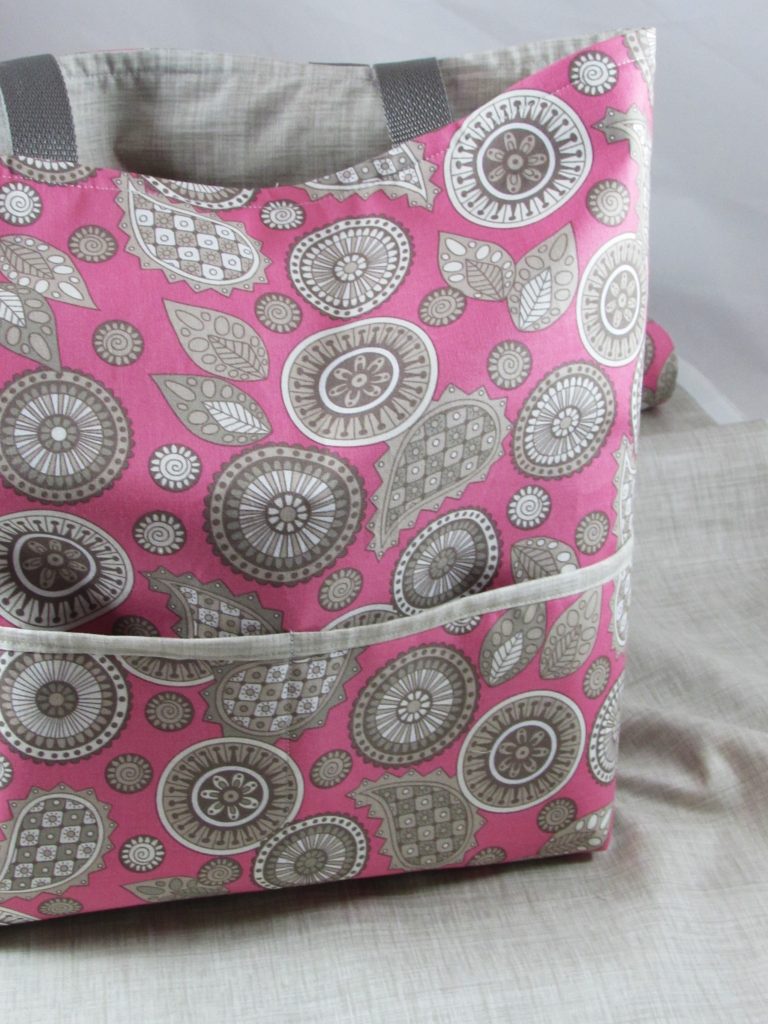
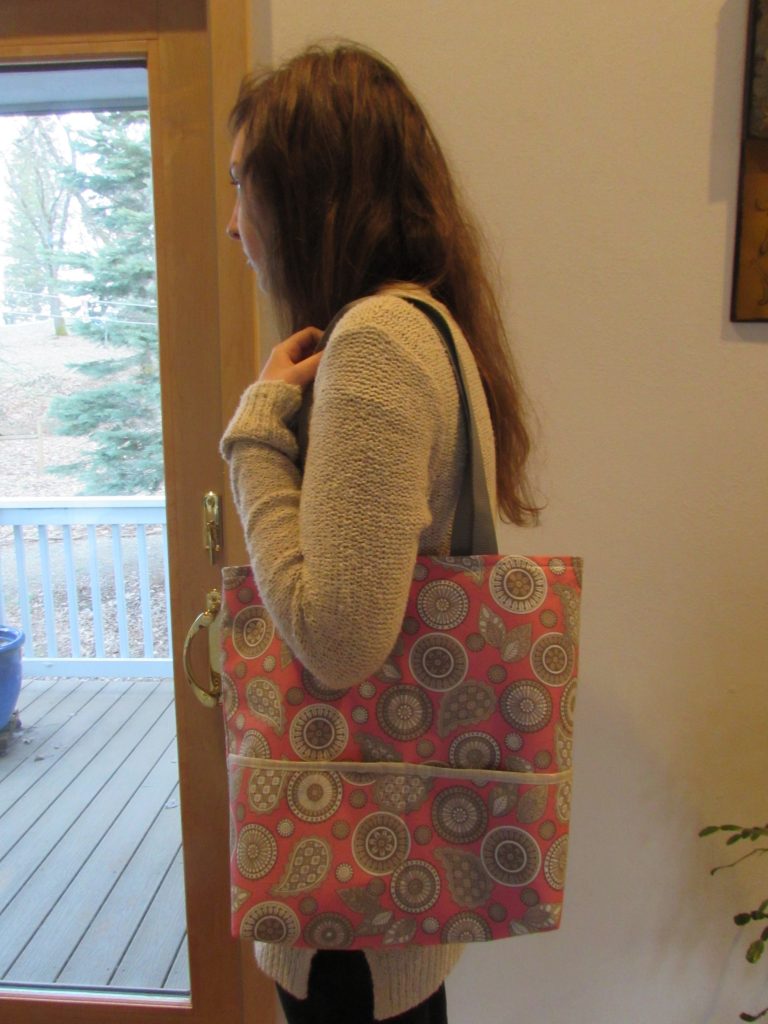
I love both of these fabrics together and thought they were a good choice for a springtime tote bag.  I used (for the second time) the tutorial,  Summer Madras Tote by Anna Graham (Noodlehead.com). (Here is the first one I made, in case you want to check it out.) It is a very simple bag that takes maybe an hour to put together. The tutorial is very easy to follow. I like the outer pockets finished with a bit of trim.


This bag is roomy and will be perfect for shopping or filling with fresh produce at the farmer’s market. I have a feeling I will get plenty of use out of it!

I have a second bag in the making as well. This one is based on a tutorial by Beth at Cooking Up Quilts. For this, I will use a piece of fabric from Maker Maker, by Sarah Golden.  I have been wanting to try a recessed zipper and her tutorial makes it look simple. That remains to be seen!

I also finished the baby’s quilt this week. I sent it off to my kids and will share a post on that next week. The baby is due any day now.  We are all so excited to meet her.

Wishing you all a wonderful weekend. I am experiencing QuiltCon vicariously through all of the posts on Instagram. So many amazing quilts!!

Today is the last day for the sale on Maker Maker fabrics. I have each piece marked down by 15% – no coupon code needed.

Linking to my usuals – check them out at the top of the page, under Link Ups.

Third Time is a Charm

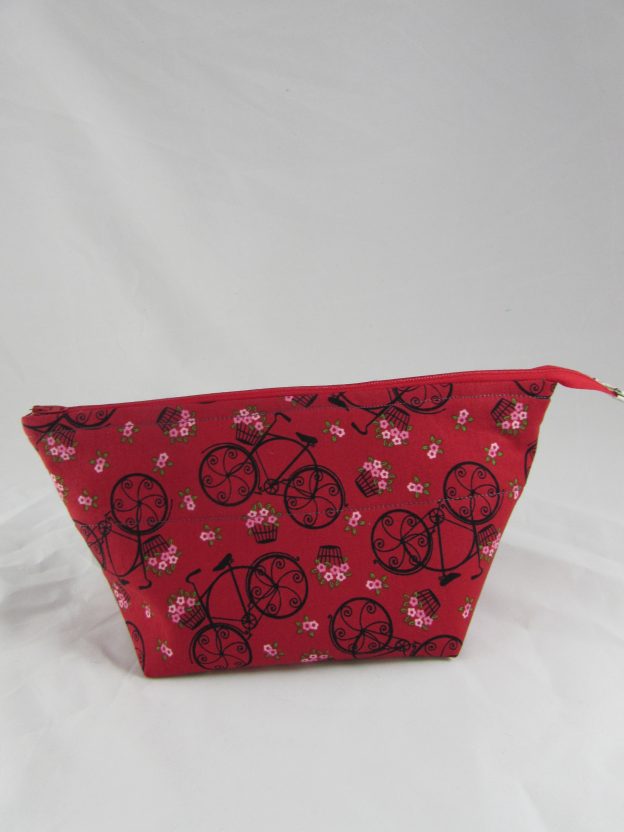
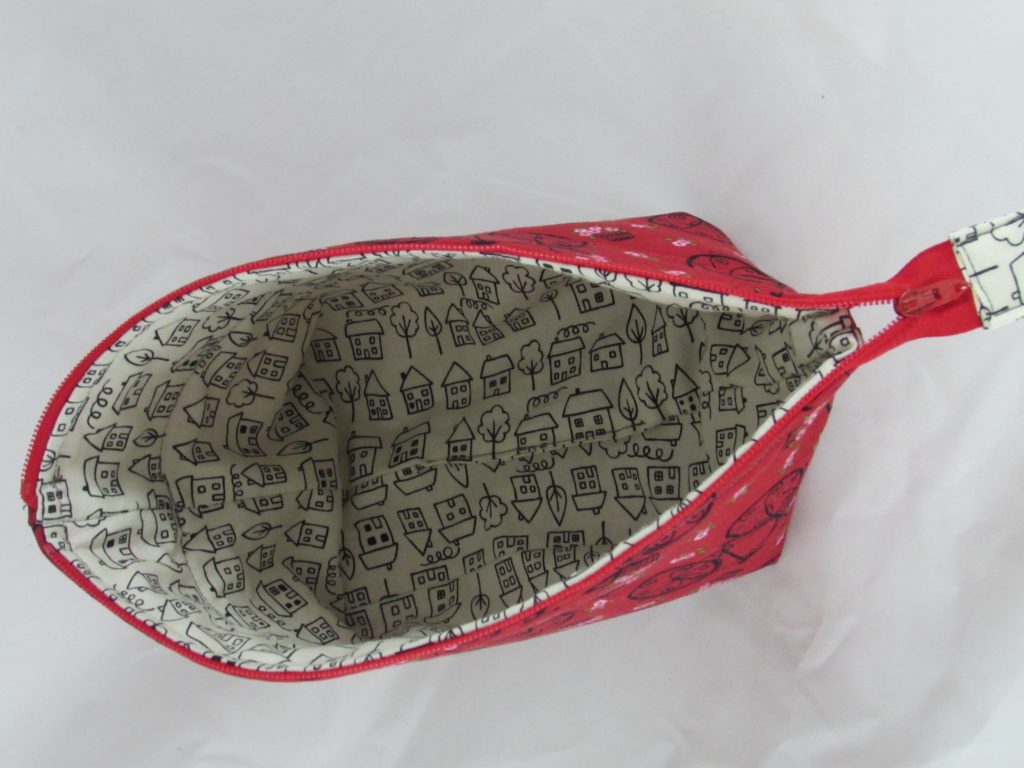
You know I had to do it, right? This morning I made a third Open Wide pouch. I wanted to test out the ideas I laid out in yesterday’s post. Guess what? The worked out quite well (if I do say so myself).  For this pouch, I made the medium size again, with the pouch finishing at 6.5 x 6 inches.

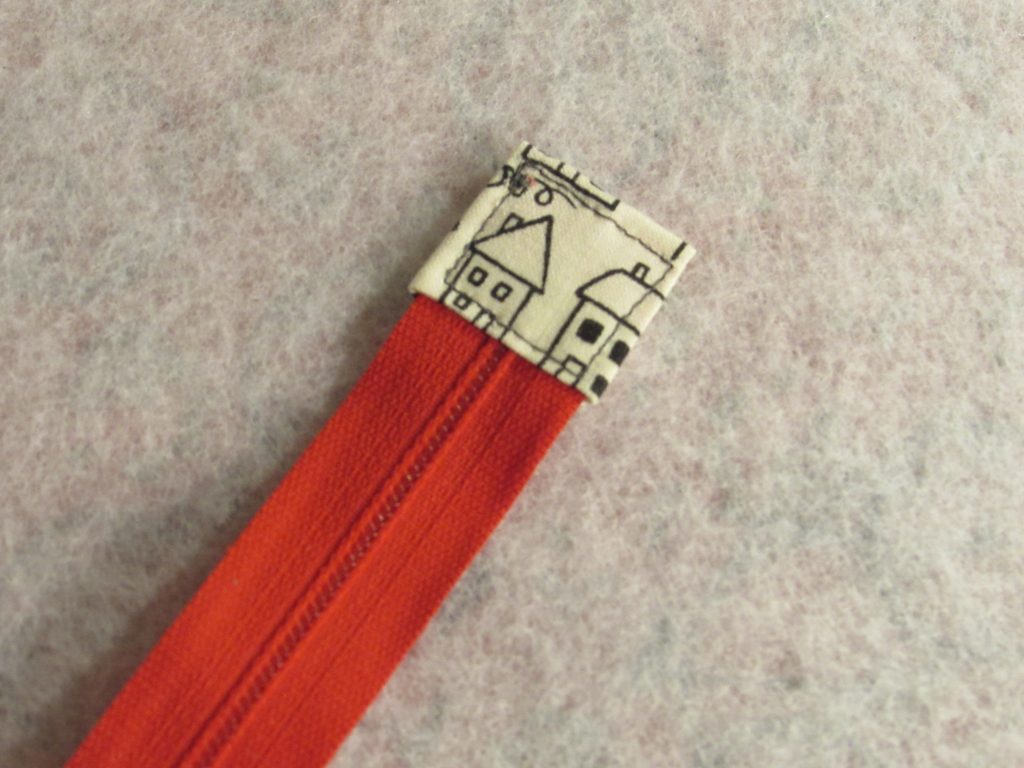
The first change I made was to finish the end of the zipper prior to stitching it to the fabric. So much easier! Sewing this little 2×3 inch rectangle of fabric was much simpler without having the little pouch dragging around while I manipulated the zipper under the presser foot of the machine. Score!

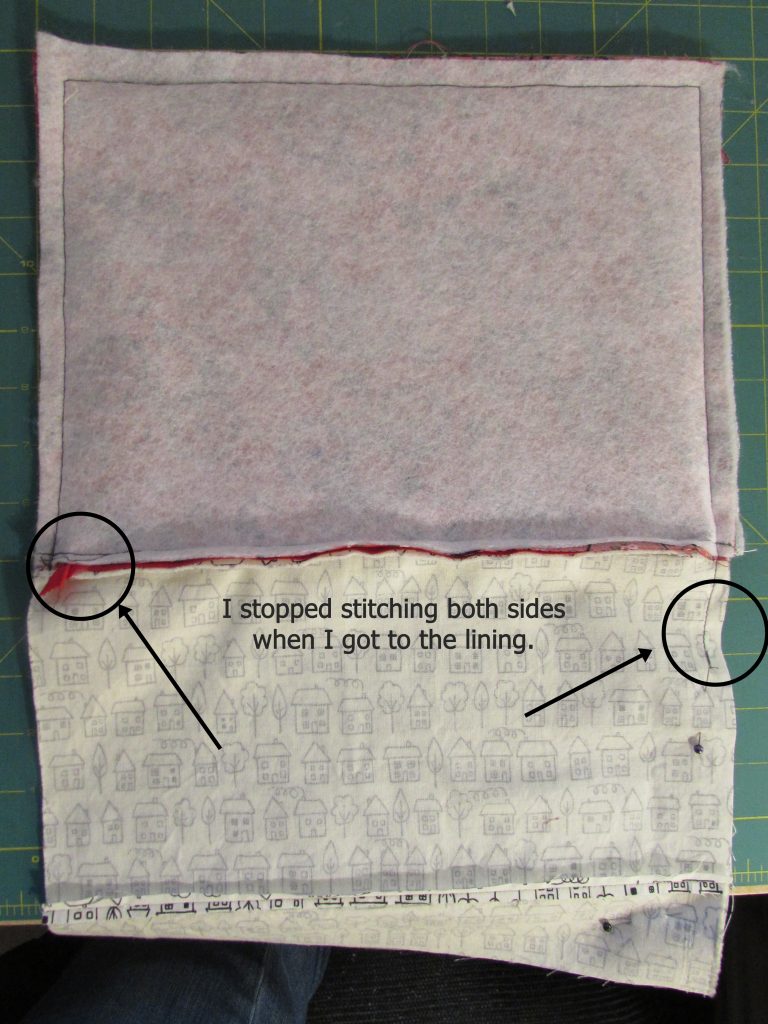
The second change was to leave the lining open, or unstitched, while I boxed the corners of the outer fabric.  Again, much easier.

I had everything pinned together as normal and started on one side, by the zipper. I continued up the edge, across the width of the bag and down the other side until I was back at the lining fabric.  Then I was able to box the corners and could peek inside to see that the seams were lined up properly.

Once I had the two outer corners boxed, I finished sewing the lining together. I left the usual opening at the bottom of the lining and then boxed those two corners. Bingo. It worked just fine.

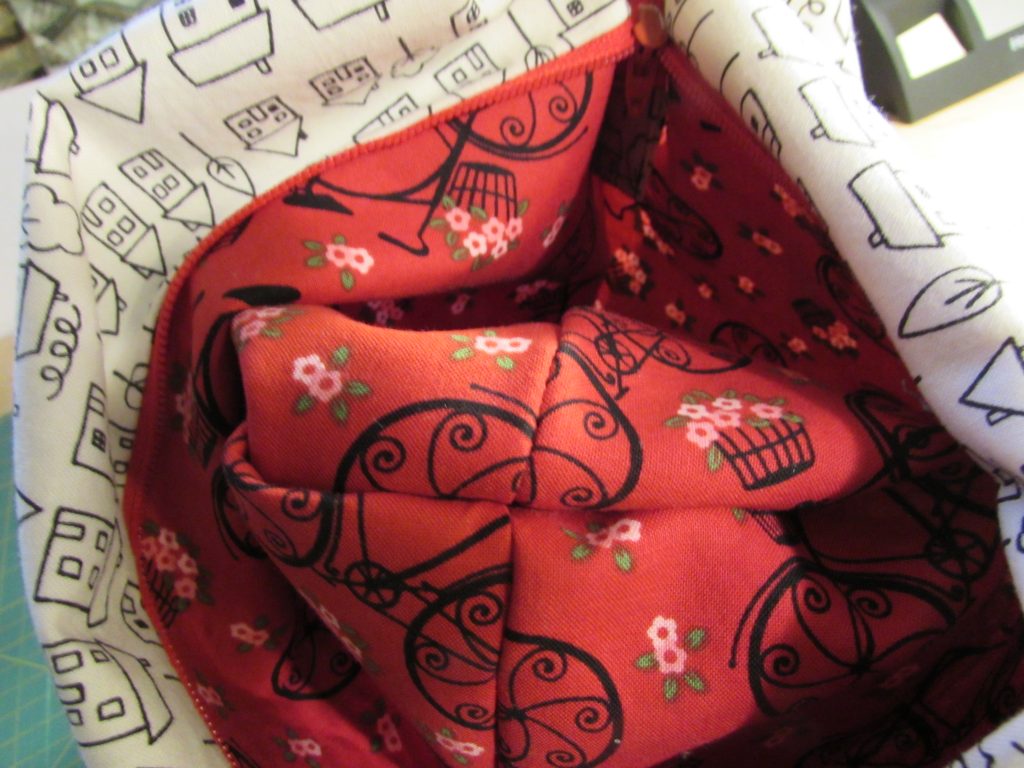
I forget what this fabric is even from, but isn’t it sweet. I love these little houses. I wish I had another piece, but I don’t…. such is life. 🙂 I think it is adorable with the sweet bicycles on the outer fabric.

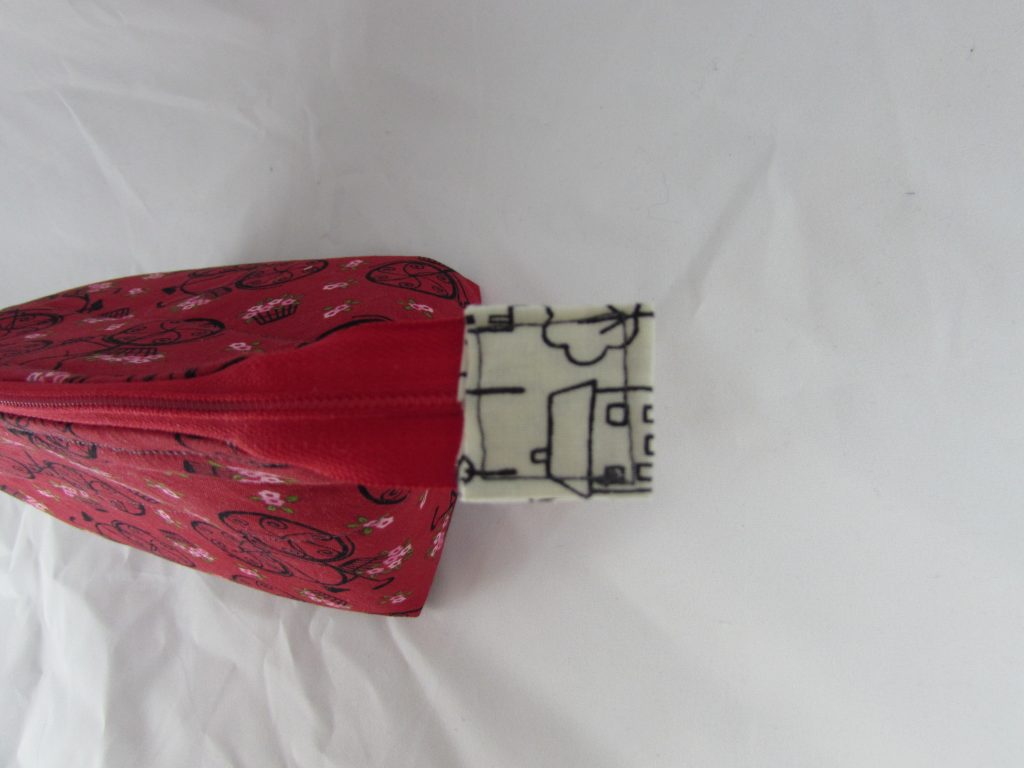
Here is the finished tab once the bag was assembled.

While it isn’t perfect, it is much better than the first two attempts. Yep, practice certainly makes better. I think three pouches is enough. I need to move on to something else now.

But I want to share two more things before I finish up.  First is this silly picture of Julia. I love this picture. I think is is reminiscent of a grumpy Mrs. Claus the way she is peering at me above her glasses and the Santa hat is pulled down so low.  I think I took this when we were decorating the house for the holidays a couple of years ago. It makes me smile every time.

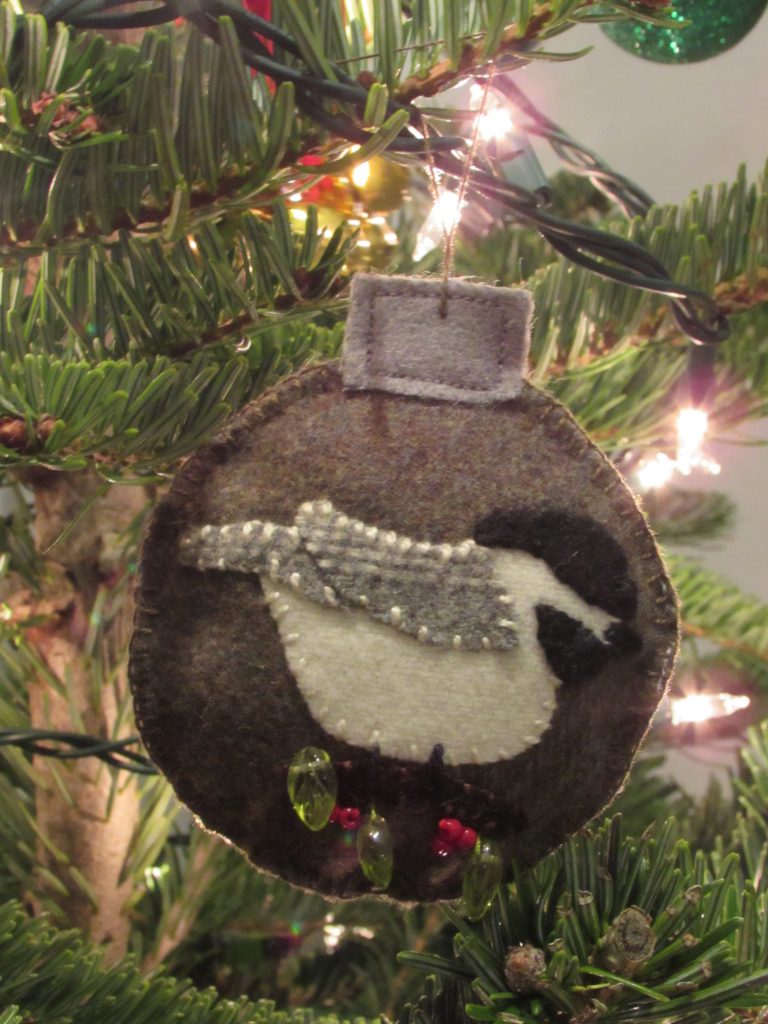
The next thing is the little wool Christmas ornament I made. I bought the kit when I was in Maine over the summer. It is really adorable. Nothing terribly difficult about it but I enjoyed making it. I like the little beads that were included with the kit. They are just the perfect amount of bling. 🙂

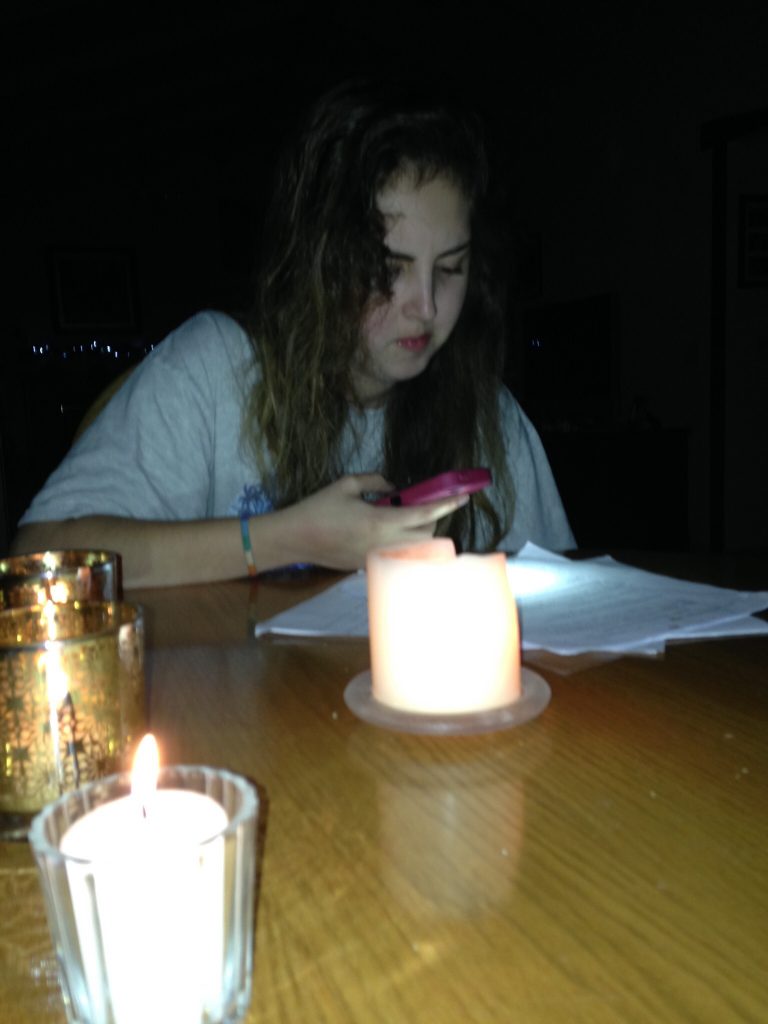
Ok, that’s enough for now! I have a pile of gifts to be wrapped so I had better get busy with them. Oh wait… I have one more thing.  Yesterday the power went out and it was a pain.  I had cookies in the oven baking, raw cookies on the counter waiting for their turn.  Julia ended up studying for her Chemistry final by candlelight and the flashlight on her phone.  It was only 4:30 in the afternoon but it was so gloomy out that the house was dark (and we have huge windows in this part of the house!)  Luckily it was only out for a couple of hours.

Julia finished her finals today (I am going to brag and tell you she got a 94% on that Chemistry final.) It is officially Christmas break. I am not sure if I will post much over the holidays but please know that I wish everyone a wonderful Holiday season, whichever way you and your family celebrates.

Linking to Crazy Mom Quilts.

241 Tote, Version 3

Recently a friend of mine had a birthday. We used to work together for the same company. Since I retired (maybe five years ago?) we try to get together every so often for lunch or coffee. Sometimes we are good about it and set a time each month or so. Other times, we get busy and months pass. But we always find time when either of us celebrates a birthday.

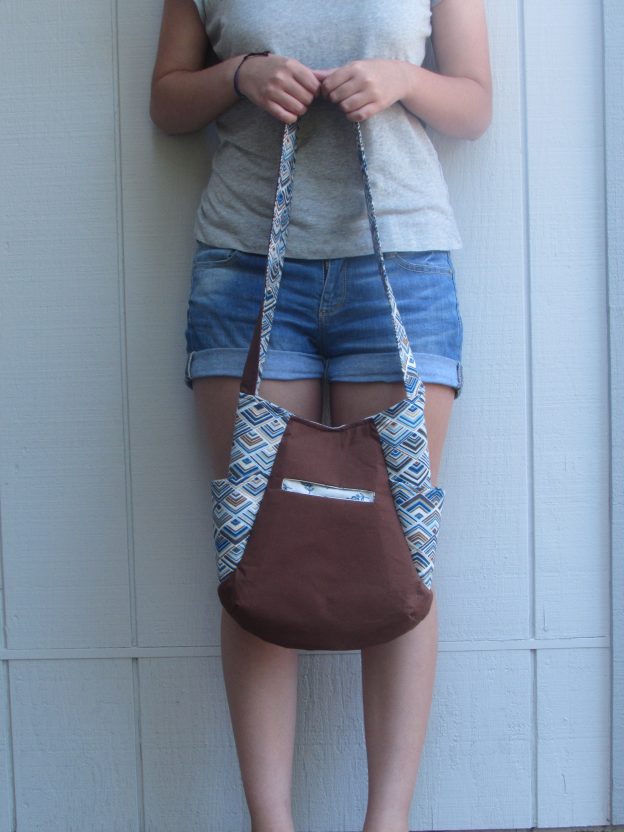
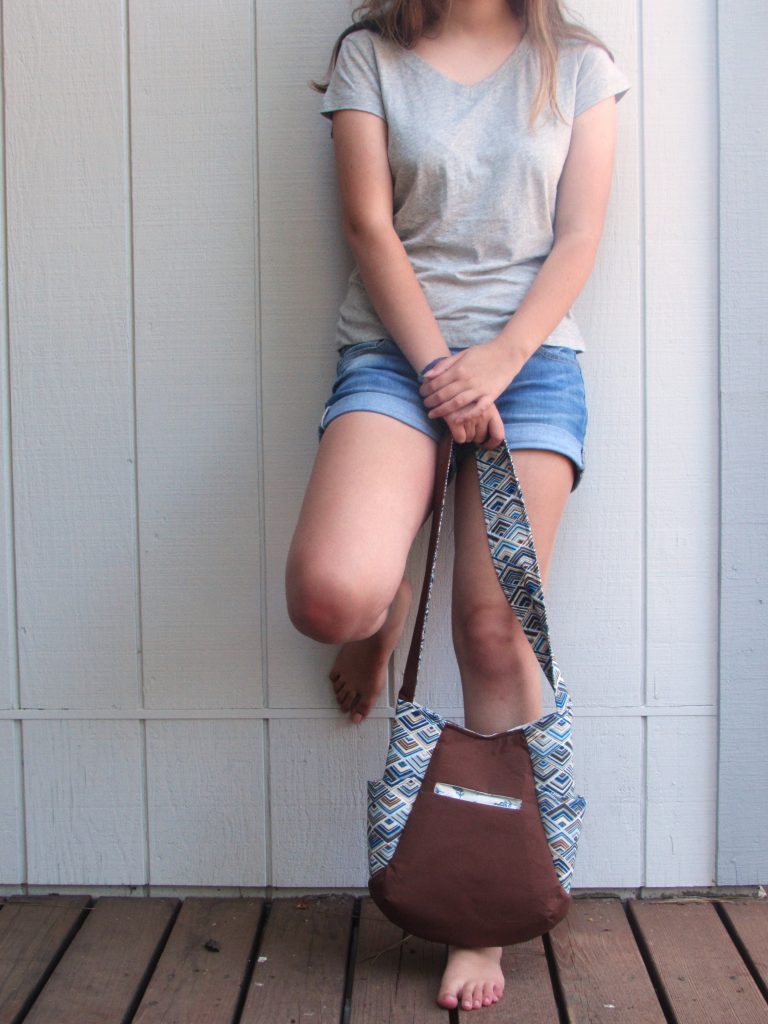
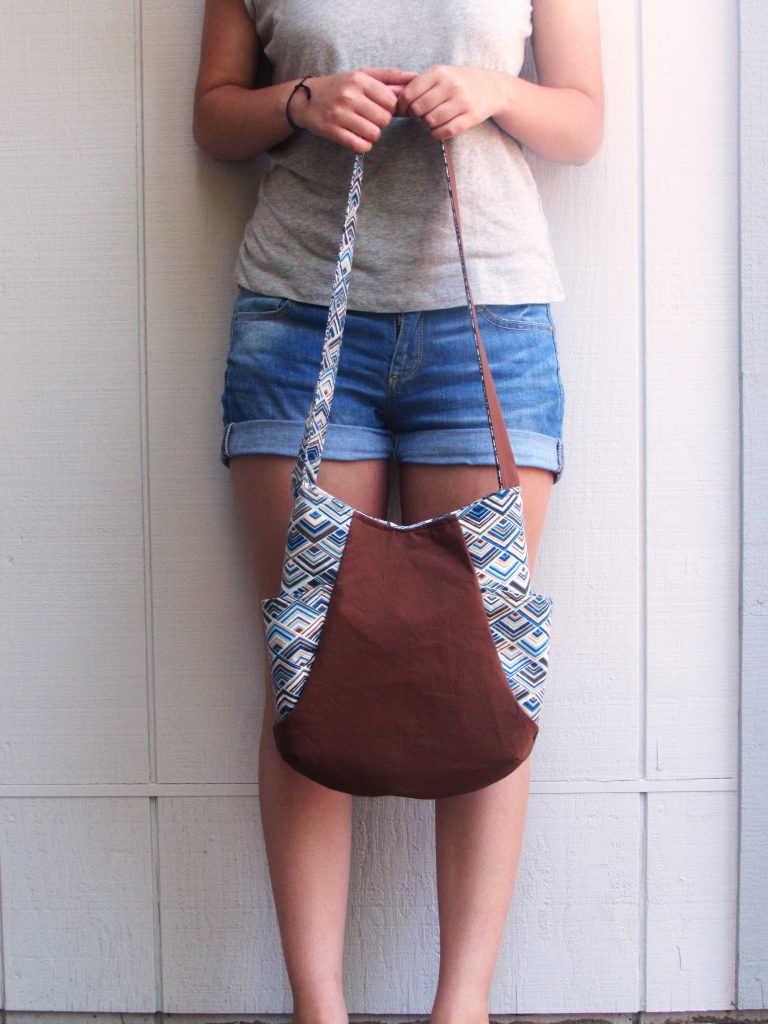
I wanted to make something for her this year. Having recently made two versions of Noodlehead’s 241 Tote, I decided to go a third round with the pattern. You might want to read about the first two bags I made – to do so, click here or here. Making this tote a third time was quite easy. I decided to use a basic palette of mocha and denim blue.

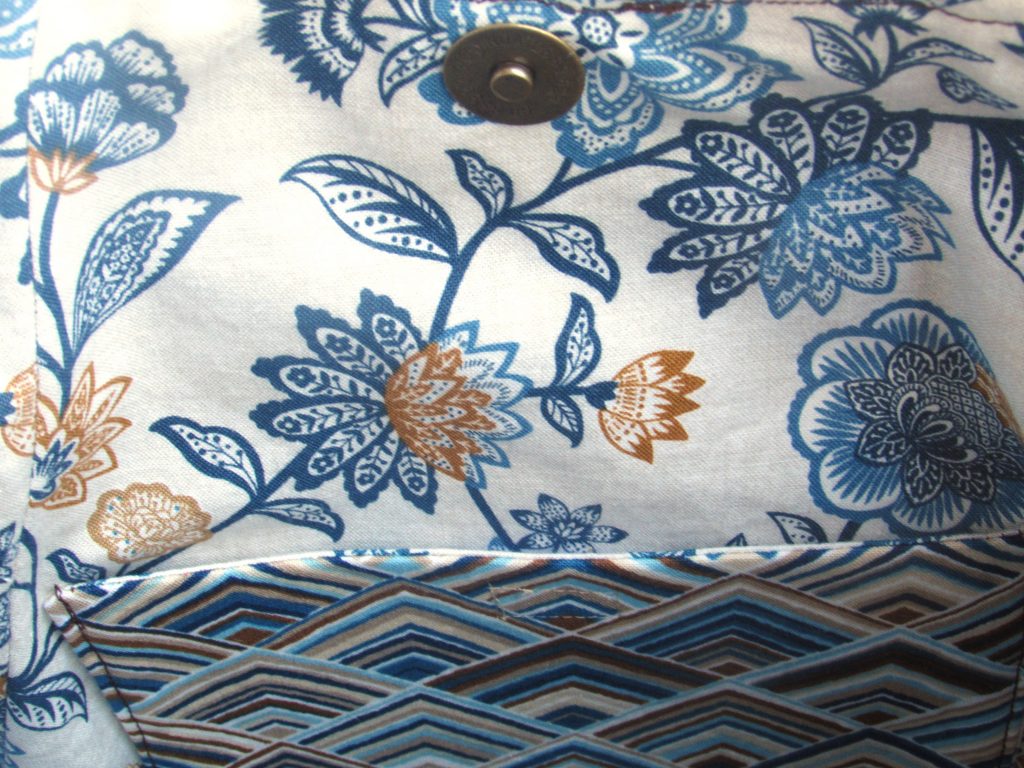
To change things up a tiny bit, I bought a magnetic closure for the bag. Prior to this one, I used a toggle button and a loop of fabric. The magnetic snaps are a breeze to install. (If you have not done this before, here is a great tutorial from Craftsy.)  While the snap installed without issue, I did have a bit of a hiccup. I didn’t think two steps ahead when I placed the snaps. They were a tad too high and this made it really difficult to topstitch around the opening of the bag. When I realized what I had done, I tried using a zipper foot to enable me to stitch close to the snap. It helped but the stitching was a little bit herky jerky. It wasn’t nearly as smooth as I would have liked. Thankfully, my friend is tolerant of my less than perfect topstitching!

IMG_7163

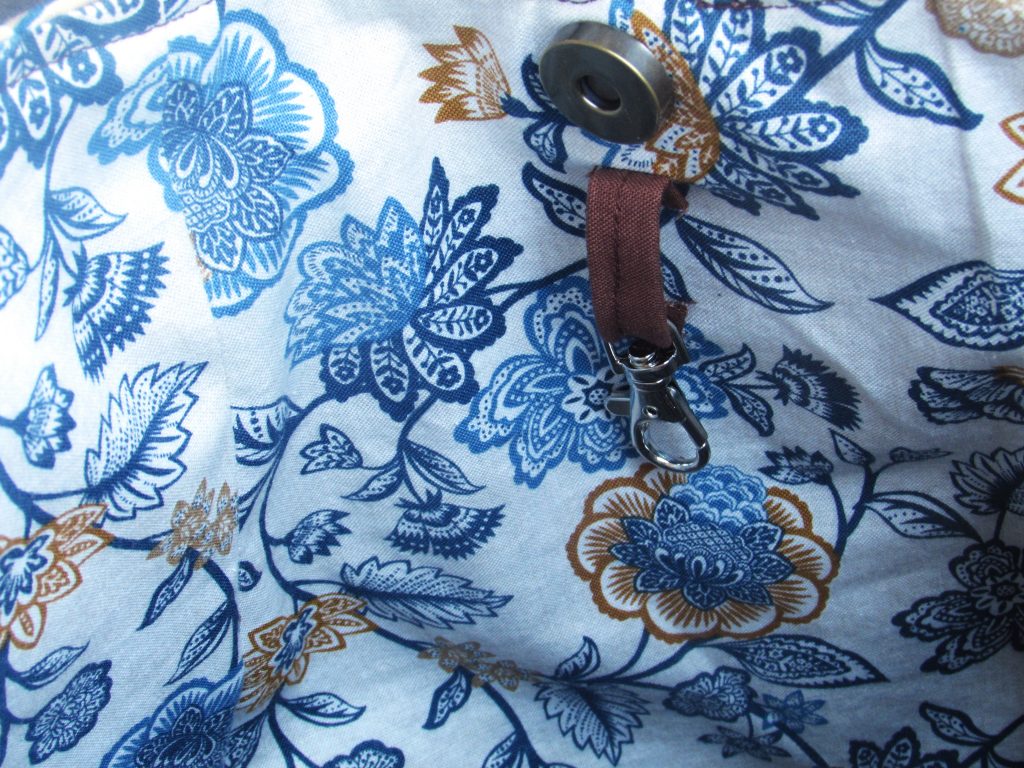
As I did before, I added a loop for a keychain clasp so she won’t have to dig at the bottom of her purse for her keys. I love this little feature.

IMG_7164

On the opposite side is a patch pocket with a velcro closure.

On the exterior I placed a pocket as well.  It was supposed to be a zip pocket but somehow when I cut the opening for it I made it way too wide and I couldn’t install the zipper. This was so irritating. Try as I might, I couldn’t find a solution. Rather than a zipper, there is just a pouch type of pocket. Dang it. You’ll see in the picture below how wide that opening is. On the upside, it shows a peek of the fabric used for the pocket and I think that is sort of sweet.

IMG_7158

And for a shot of the back side of the purse.

IMG_7161

It is really pretty and the brown fabric should be great for hiding dirt that seems to appear after setting the purse on the ground or the floor of the car. Hopefully my sweet friend will enjoy the tote for a long time to come!

I will link this post to all sorts of fun places. For more info, click on the Link Ups tab at the top of the page.