Last week I hosted To-Do Tuesday for Christine at Stitch All the Things. This was good for me as it gave me a reason to organize my thoughts and make a plan for what I would accomplish that week. List making tends to keep me on task and it worked well last week. I didn’t put very much on the list because my first priority was to finish up the vintage quilt for my guest bed. That took a bit of time but I did finish it. I also finished item two, cut out the second Washi dress I wanted to make and number three, select a book for the Fall Book Share (which I am loving and will tell you about soon). Done and done!
This week, I have ambitious plans.
- Finish painting the deck railings for the upper deck of our house. The caps on the railings are forever exposed to cold winters and very warm summers. The wood is constantly contracting and expanding so the paint doesn’t hold well. I am currently scraping, priming and painting them. Just the caps though. Not each picket because that would take about 907 years and I don’t have the patience. This is an early morning job though because it gets really warm out there after about 10:00 am.
- Continue working on my Mighty Lucky Quilting Club challenge for July. This month the challenge was developed by Cheryl Arkinson who is a very talented quilter. I am enjoying this month’s challenge. To be honest, I have been really disappointed with most of the previous month’s challenges. But this one is fun. She talks about creating with only one fabric, using a directional print or large focus fabric. Here is where I am so far.
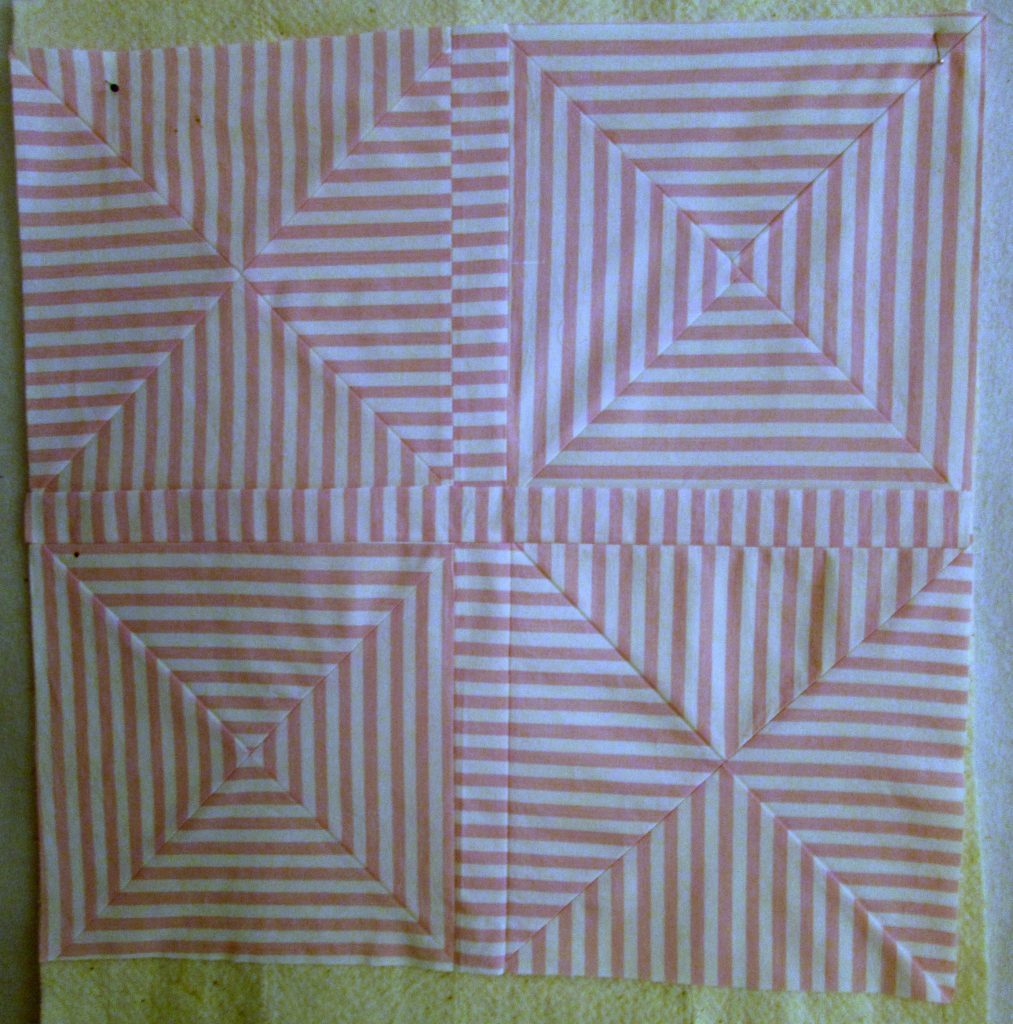 If you follow me on Instagram, you might have seen a post about this. I love where it is headed. Putting all of these blocks together creates an effect that is almost dizzying. Remember the vintage pink striped pillow cases from two weeks ago? This is the same fabric and I will make a throw pillow with this. A modern project to put on my vintage bed. I think it will finish at 21″ square – I can’t remember for sure. My quandry is the same as usual, how do I quilt this? I am at a loss. I want to retain the effect of the stripes, but how? I would really appreciate ideas on this one.
 - Finish and take photos of the second Washi dress – I’m almost there.
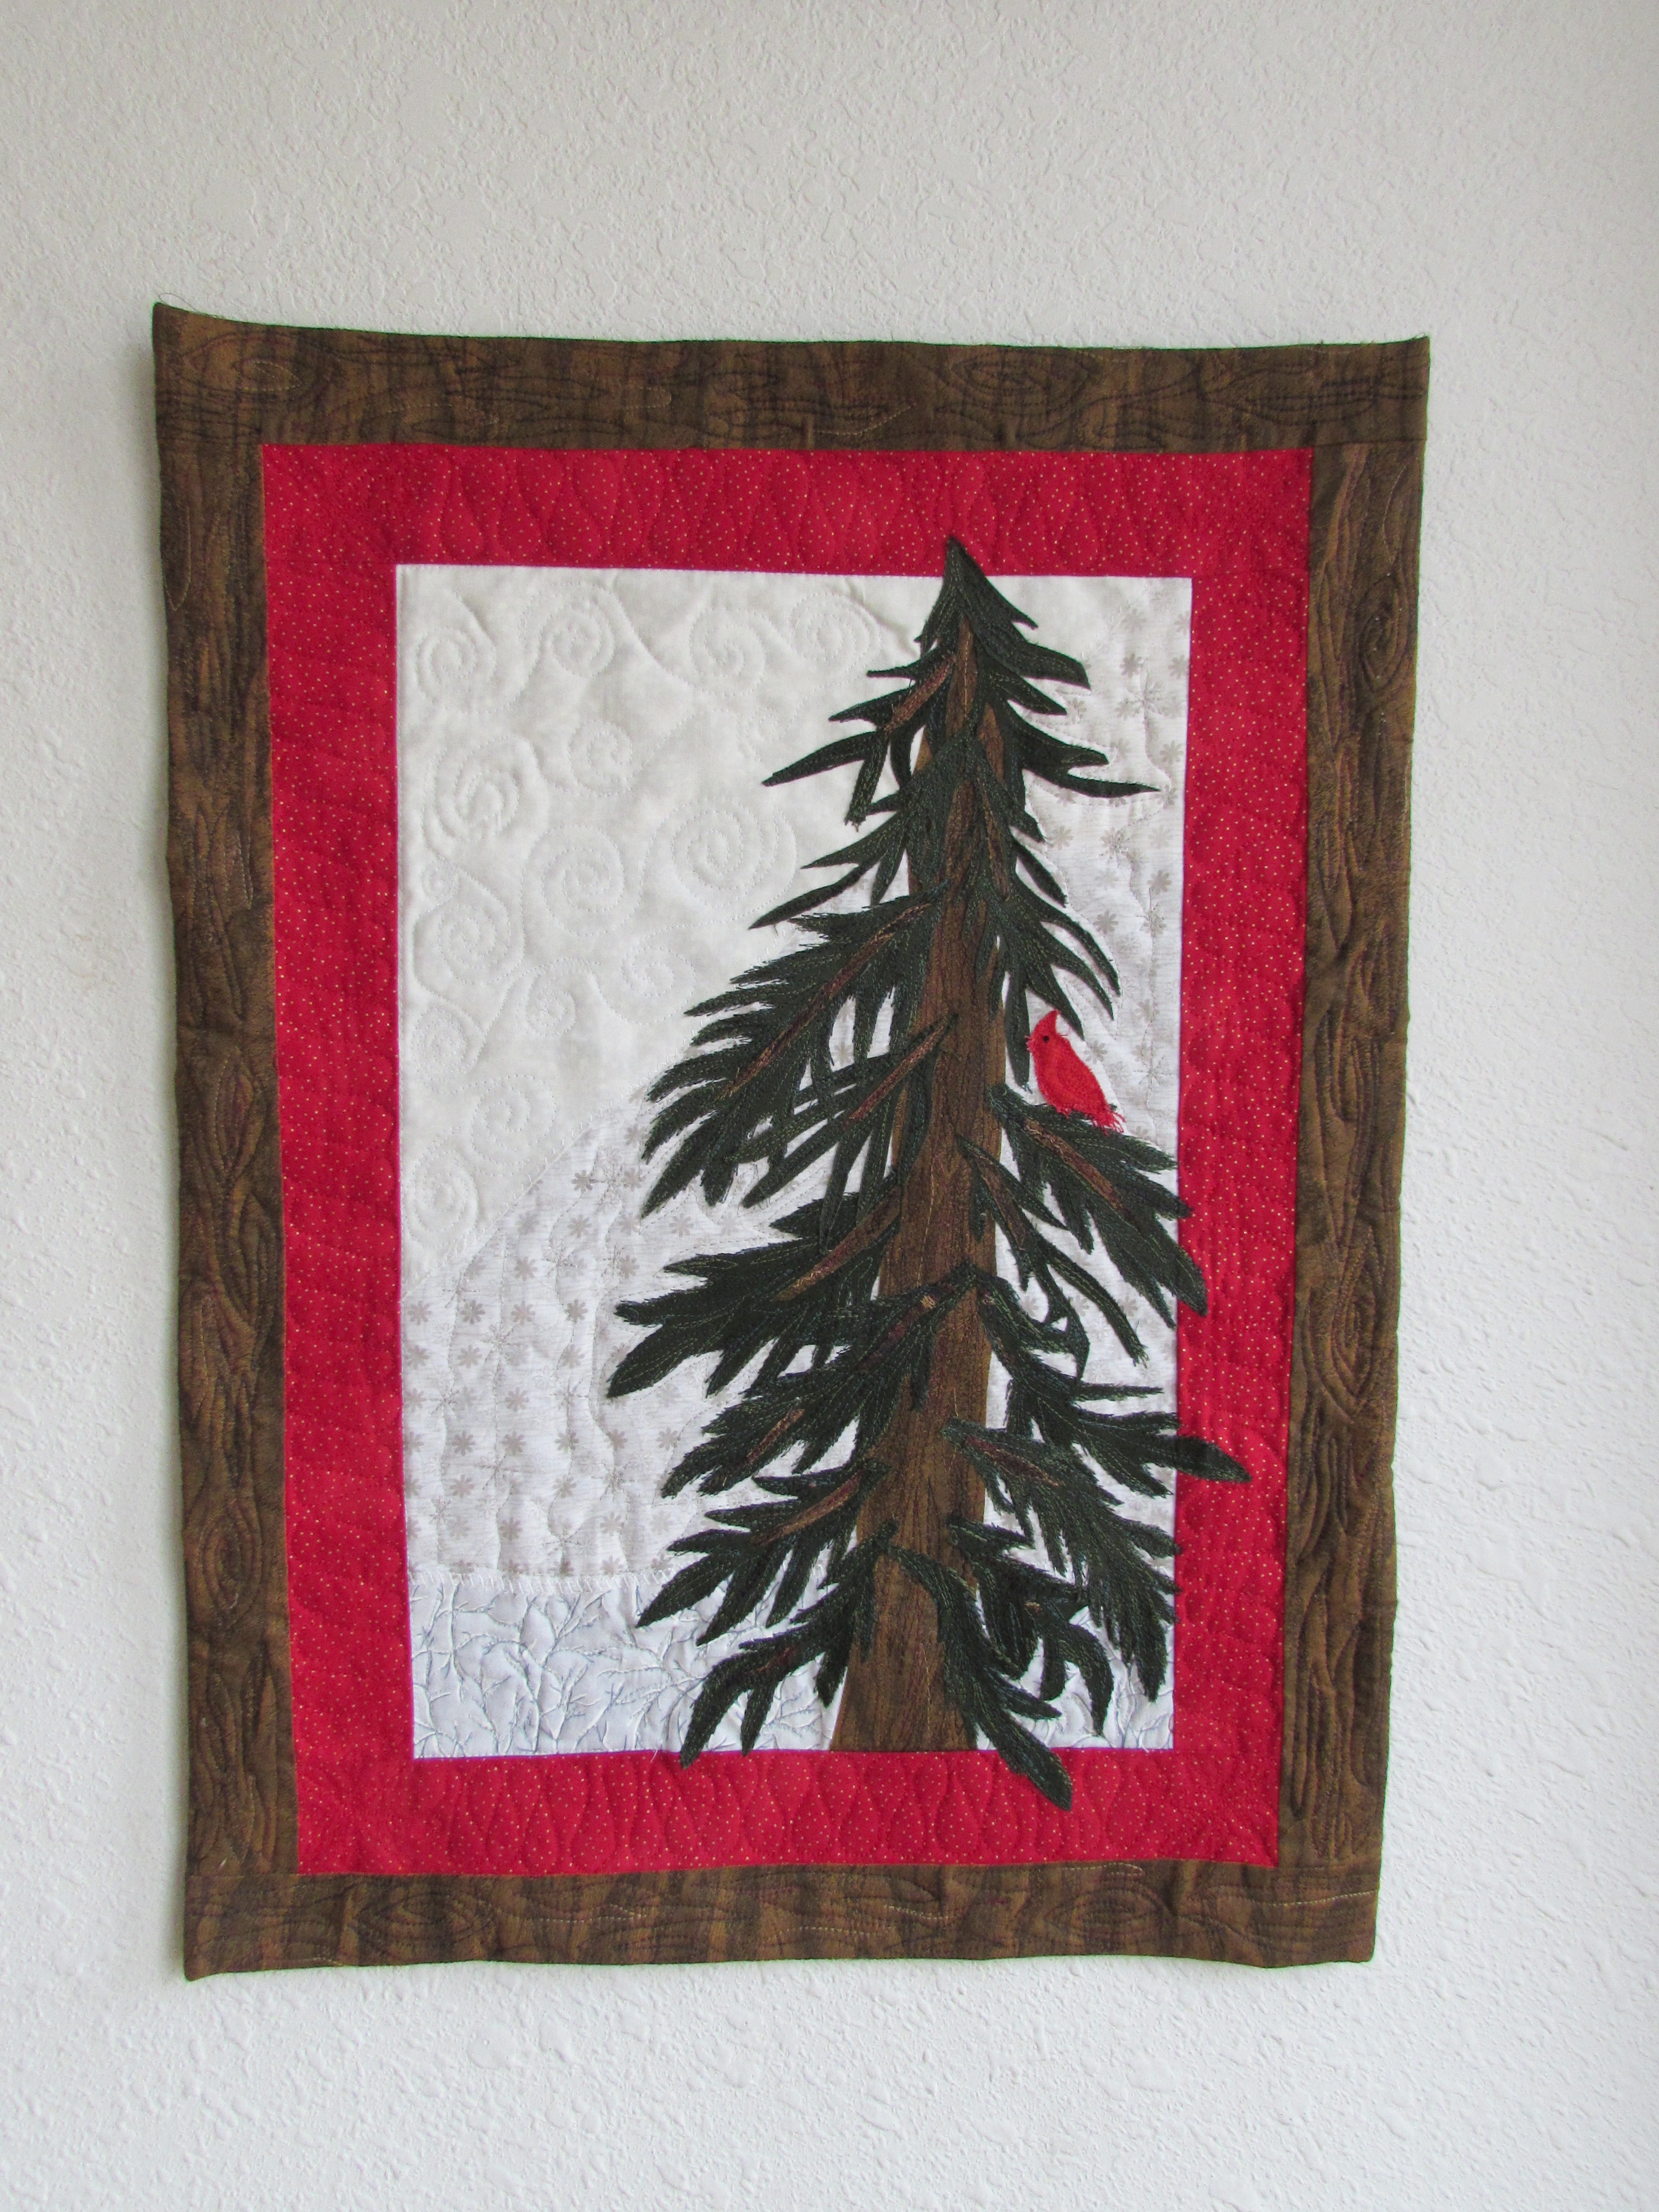
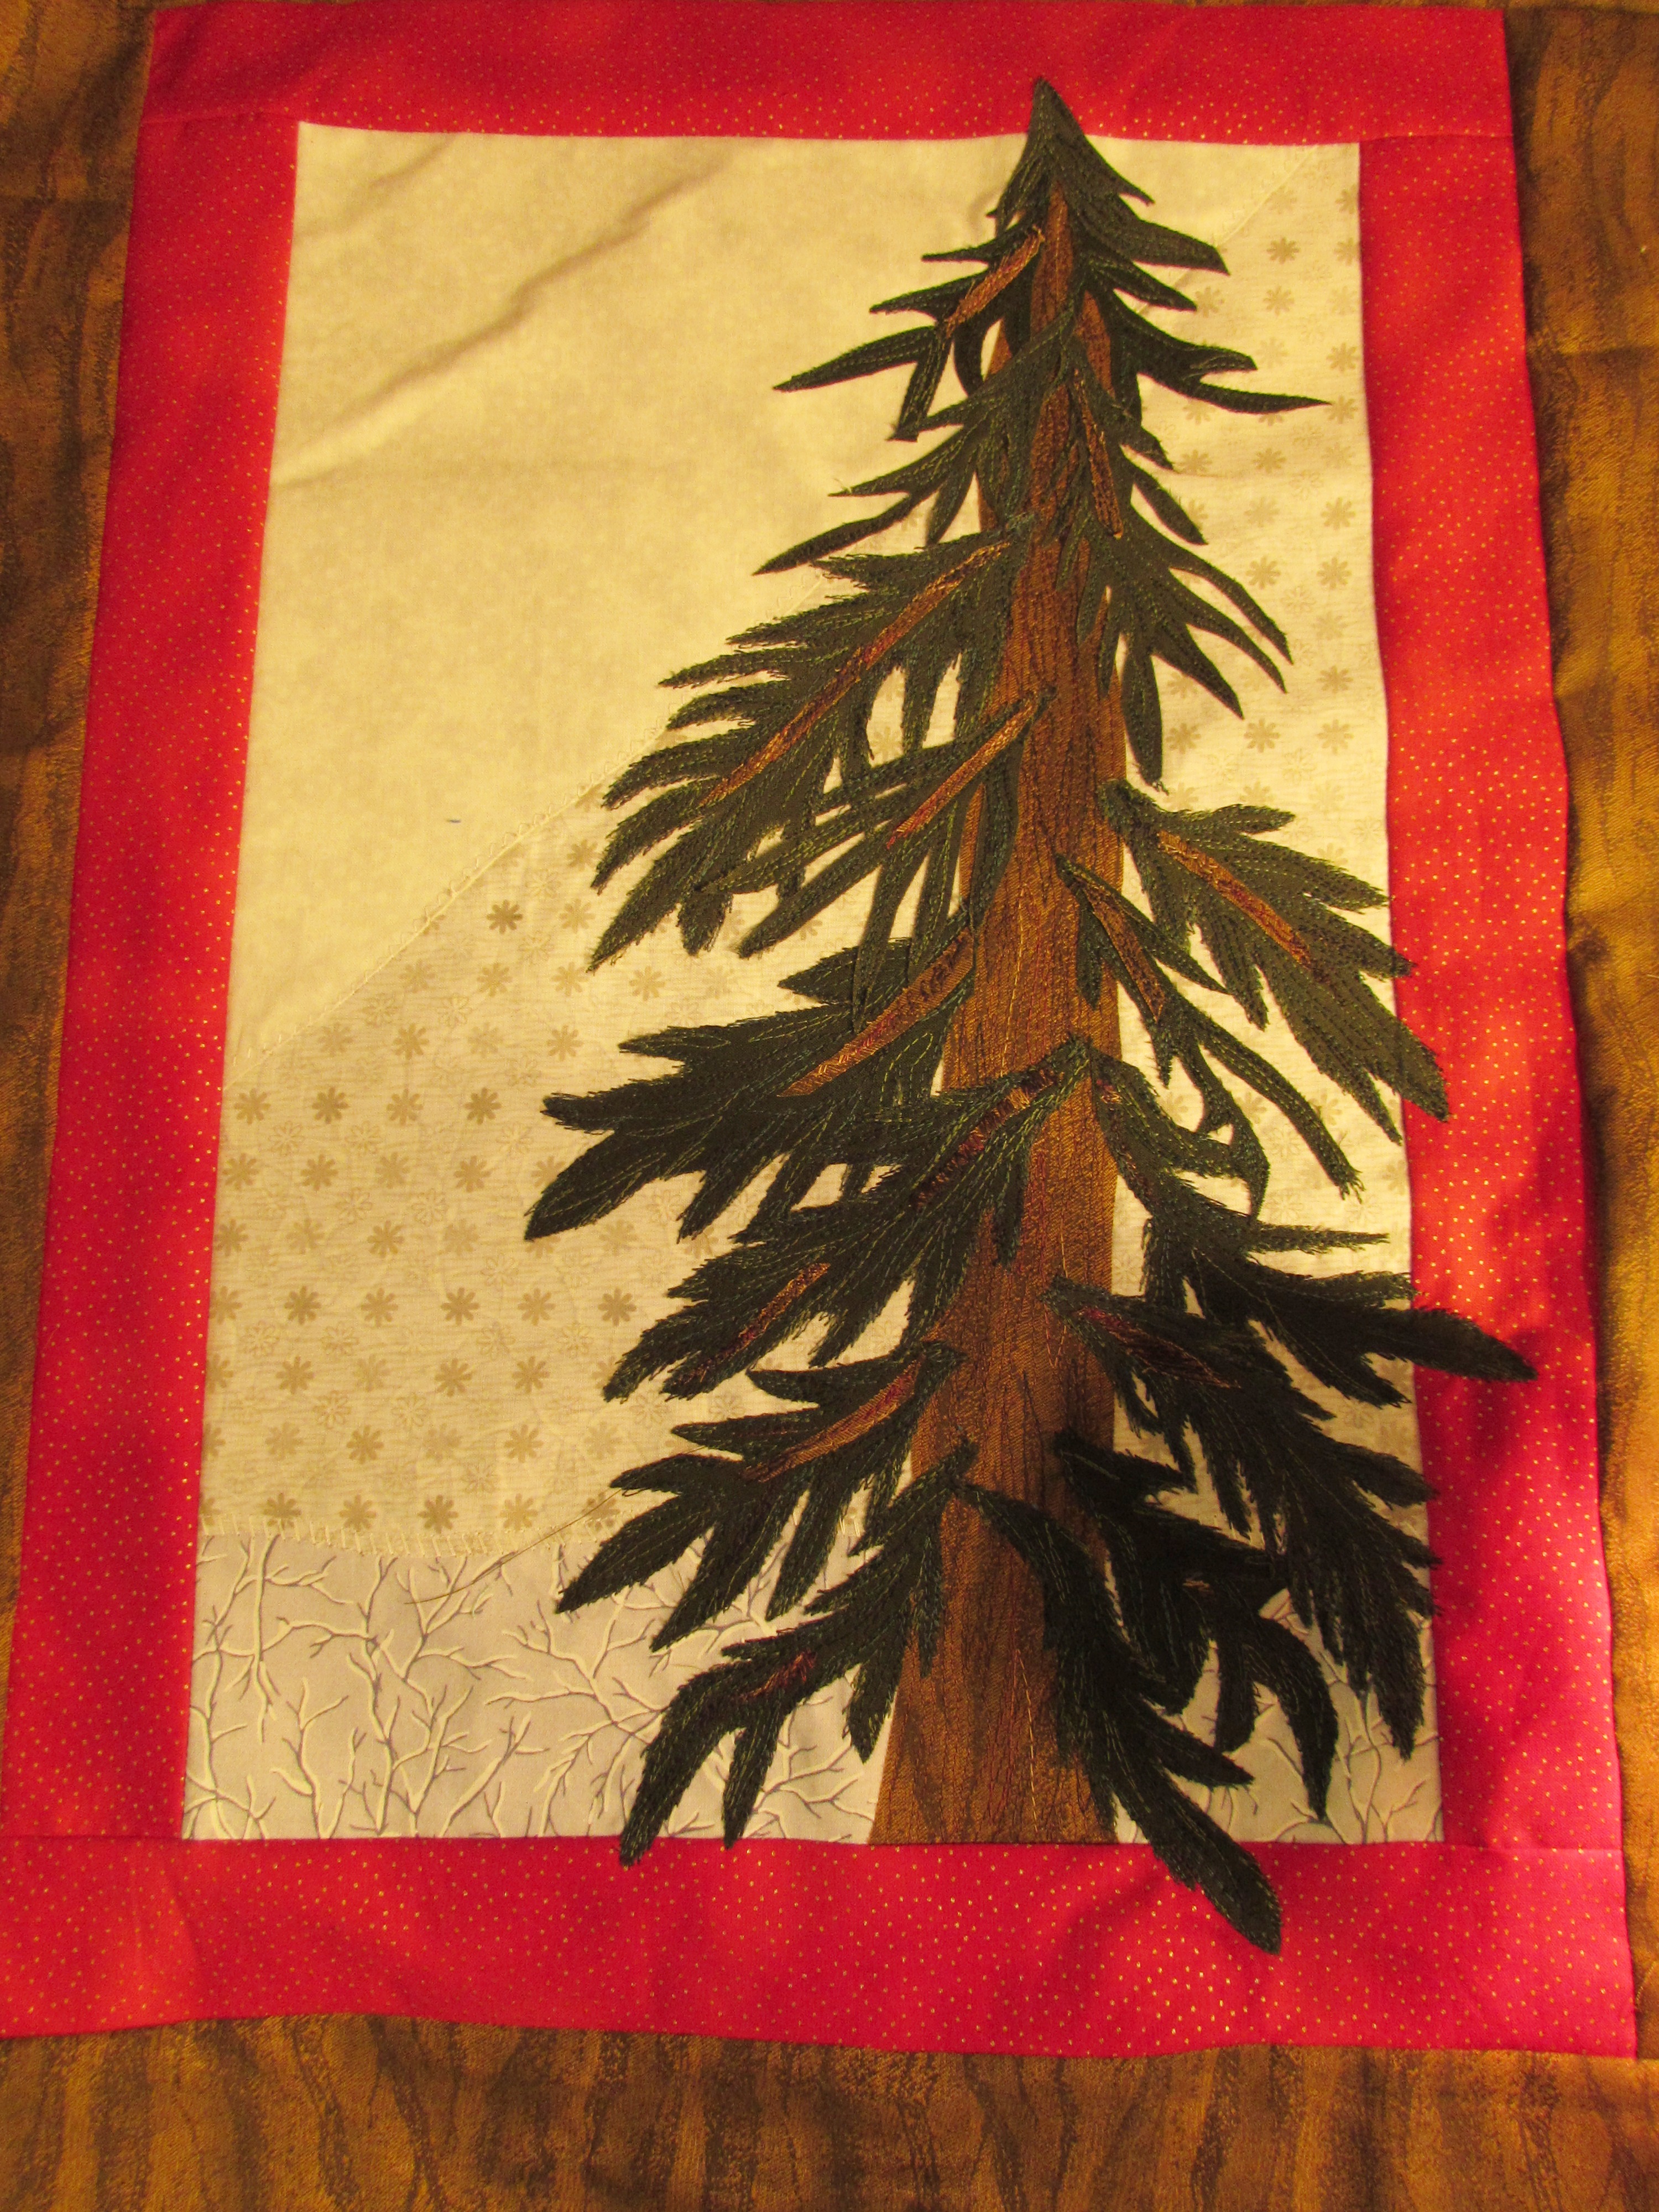
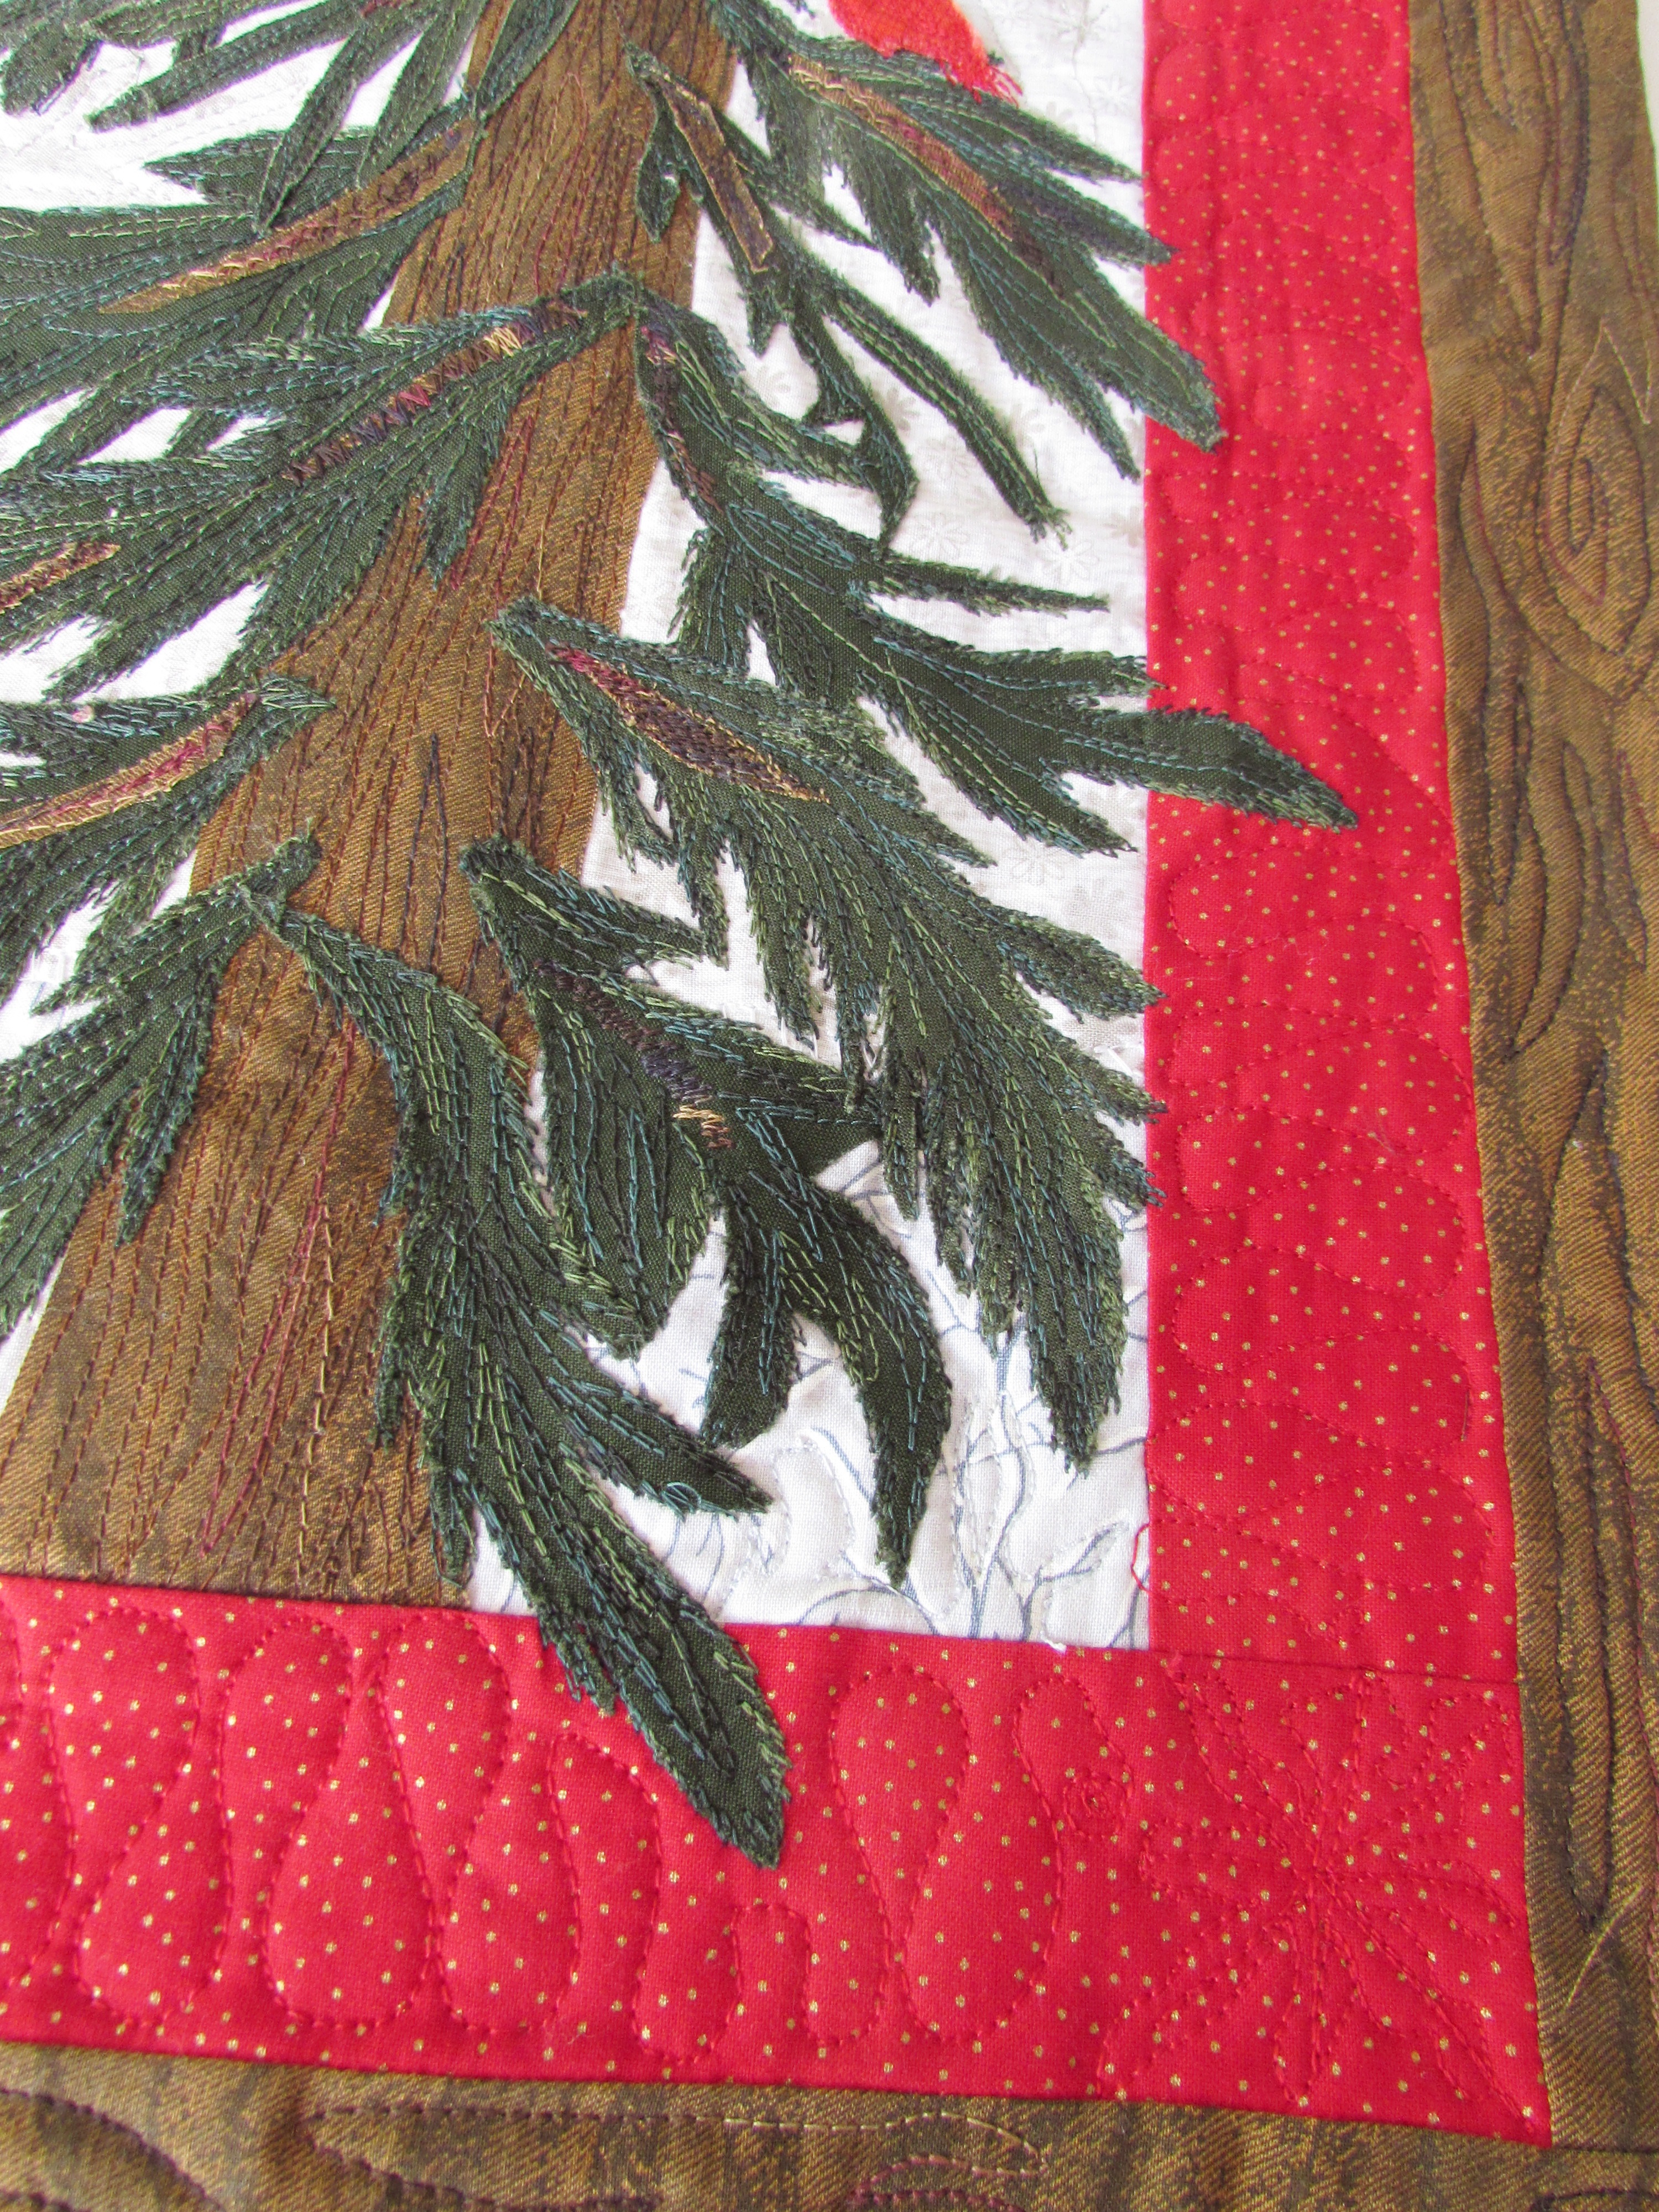
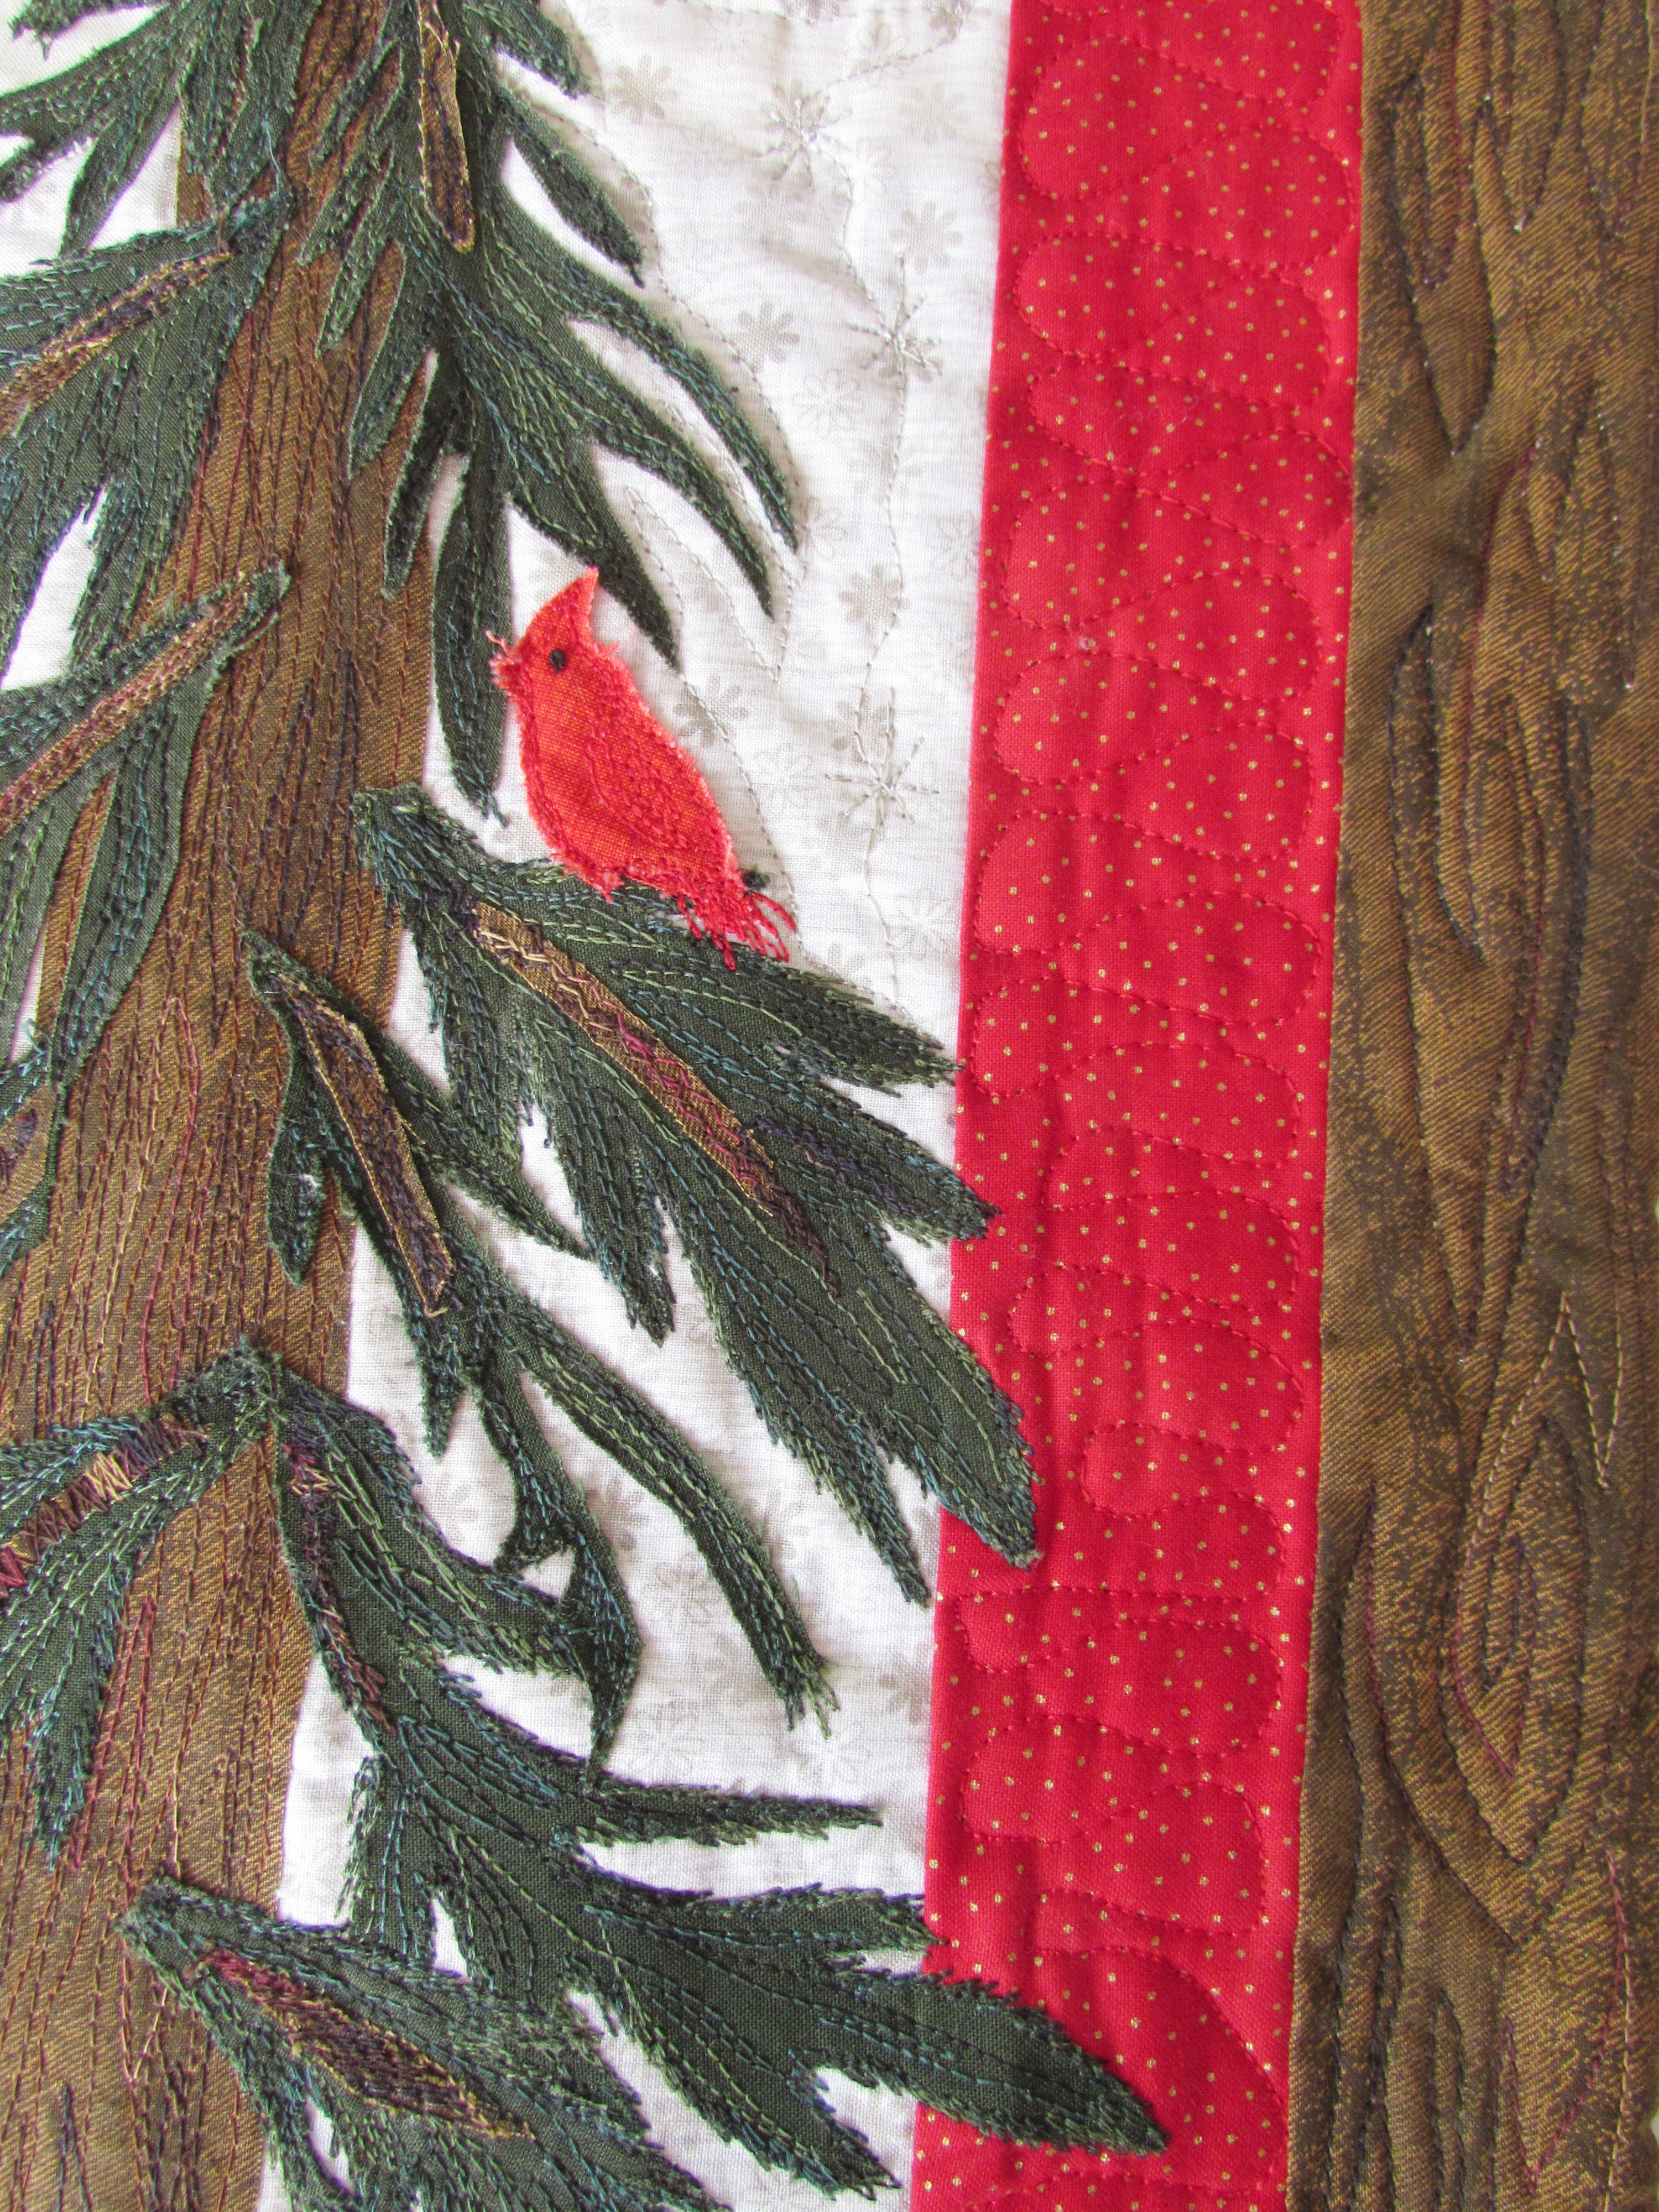
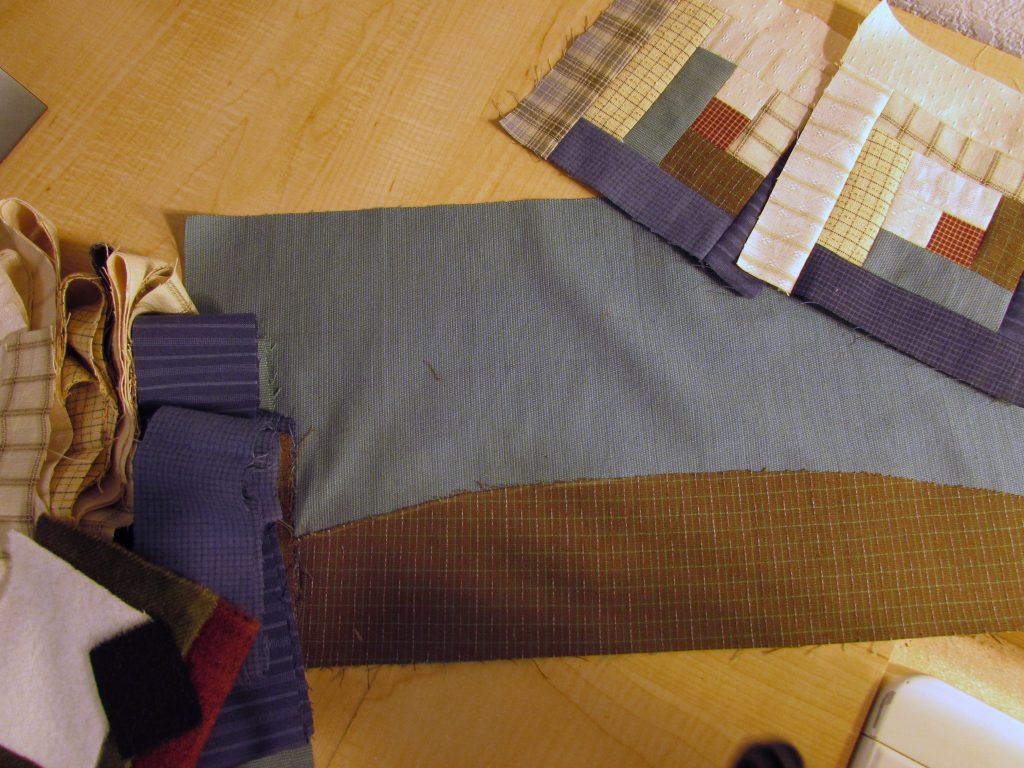
- Prep a project for hand stitching. We are going to spend a few days on the coast soon and I want to have something to bring along. I started last night. Remember the Row By Row project I bought in Maine? The two outer blocks are traditional log cabin and I have those about half way there. The center block is a wool applique and I want to work on it during our trip. All that I need to do is finish cutting the shapes and fusing them in place.


5. Finally, if there is time, and there might not be, I picked the fabrics for the quilt I am going to make for my nephew’s wedding gift. I didn’t have all of the solids that I need so I took advantage of a sale over at Green Fairy Quilts, Judi Madsen’s online shop, and ordered some Kona solids. But I definitely have enough here to start cutting. It is all set up on the dining room table so I can do a bit of cutting here and there. I am pretty excited about this project. This is the first one that I designed myself, using the Quiltography app. (If you are unfamiliar, see this post.)
That is more than enough for this week. Wish me luck and then tell me what is on your list. Also, if you have a second, take another look at my dizzy stripes and tell me how you would quilt it.
Linking to Let’s Bee Social and To-do Tuesday – find the links at the top of the page, under Link Ups.