
I am so excited about the progress made on my Stepping Stones quilt. I have been following along with Jennifer’s quilt along over at The Inquiring Quilter. Jennifer did an excellent job with all of the explanations which made this a very fun project. The Stepping Stones pattern is simple which made the piecing quite easy. It was the number of blocks and tiny HST’s that took a while! Remember I chose to use a collection of black and white charm squares that I collected over the past couple of years. I chose a cobalt blue to trim the blocks with. It came together just as I had hoped!
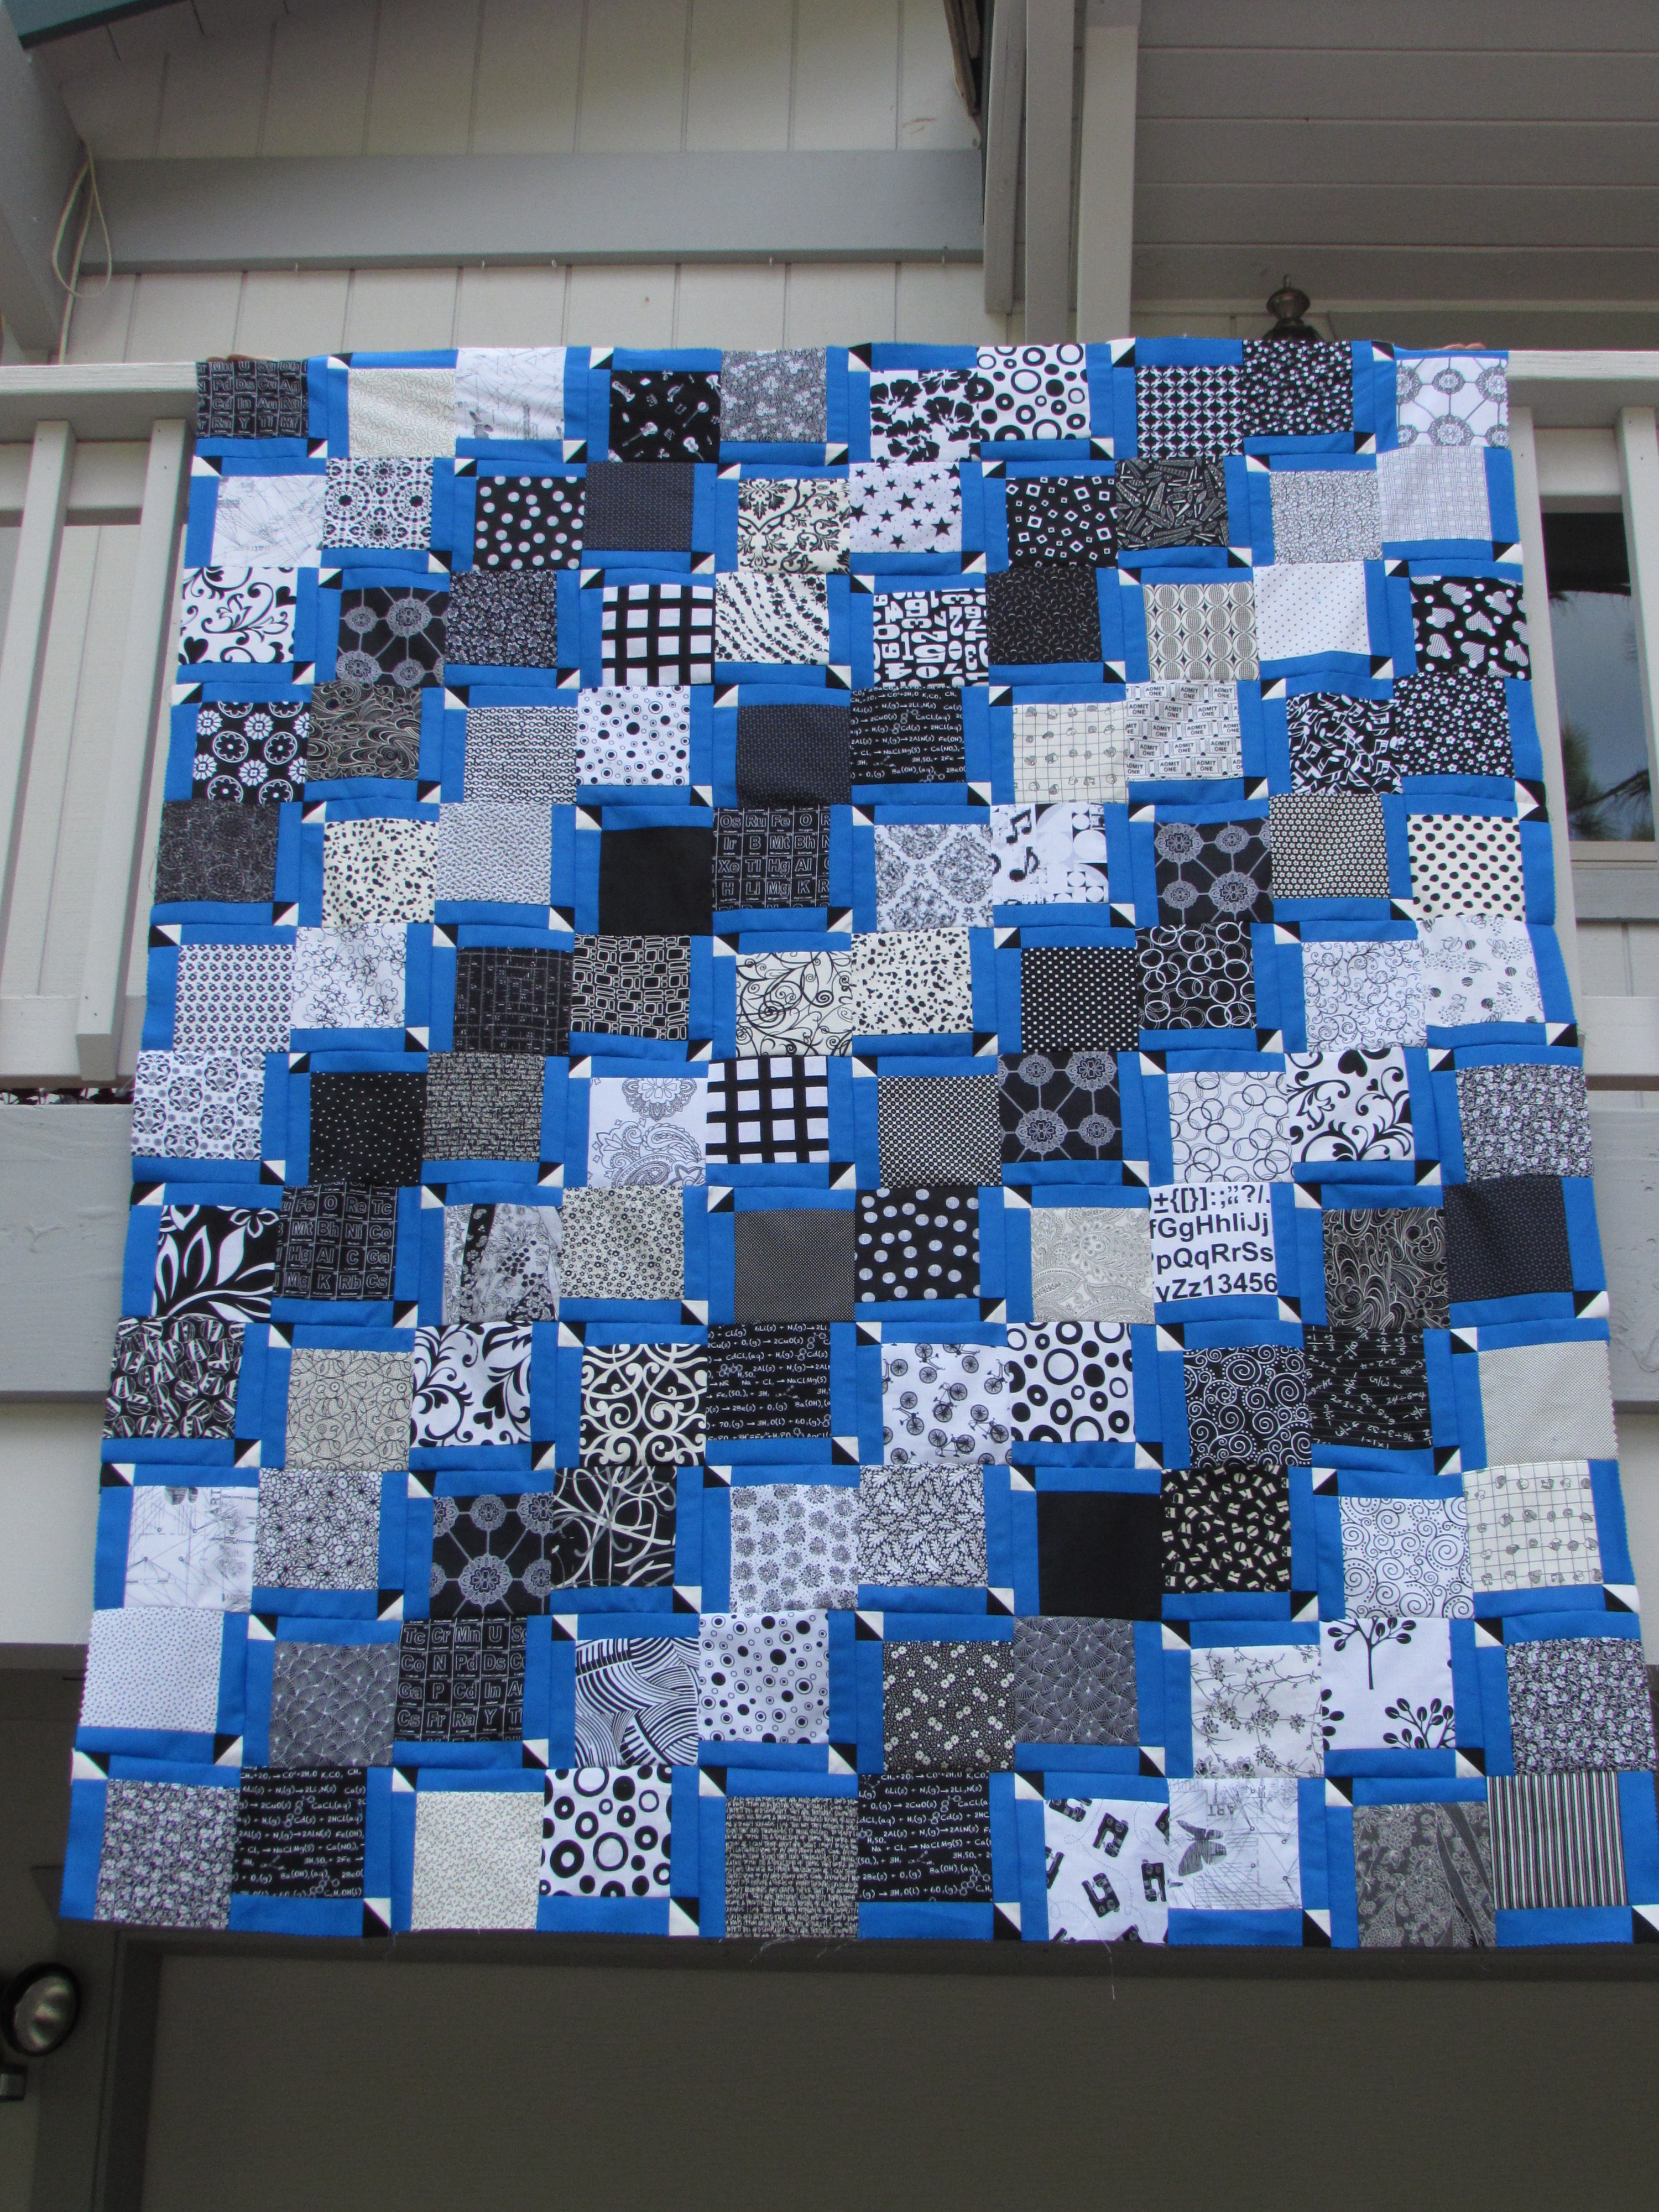
I made 143 blocks but only used 132 of them. Once I started playing with the layout, I decided that I didn’t want it quite as big as I had thought. I am sure I will be able to use the extra blocks for something fun. Laying out the blocks was a challenge. I wanted to be sure that the stepping stone effect was dramatic so I divided my blocks into light and dark values. There were many that were in between, in the medium value pile so to speak. It would have been good to have a few more in the darker shades. At any rate, playing with this number of blocks was a little crazy making.

My design wall is small so it was of no help here. Because I really wanted to lay this out so I could look at it straight ahead, I decided to take a huge piece of polyester batting that I had and tape it to a wall for use as a design board. Hmmm… this was problematic in that I don’t have a lot of empty wall space. We have lots and lots of windows in our house. Hoping for the best, I taped the batting up over a window and began to play with the blocks.
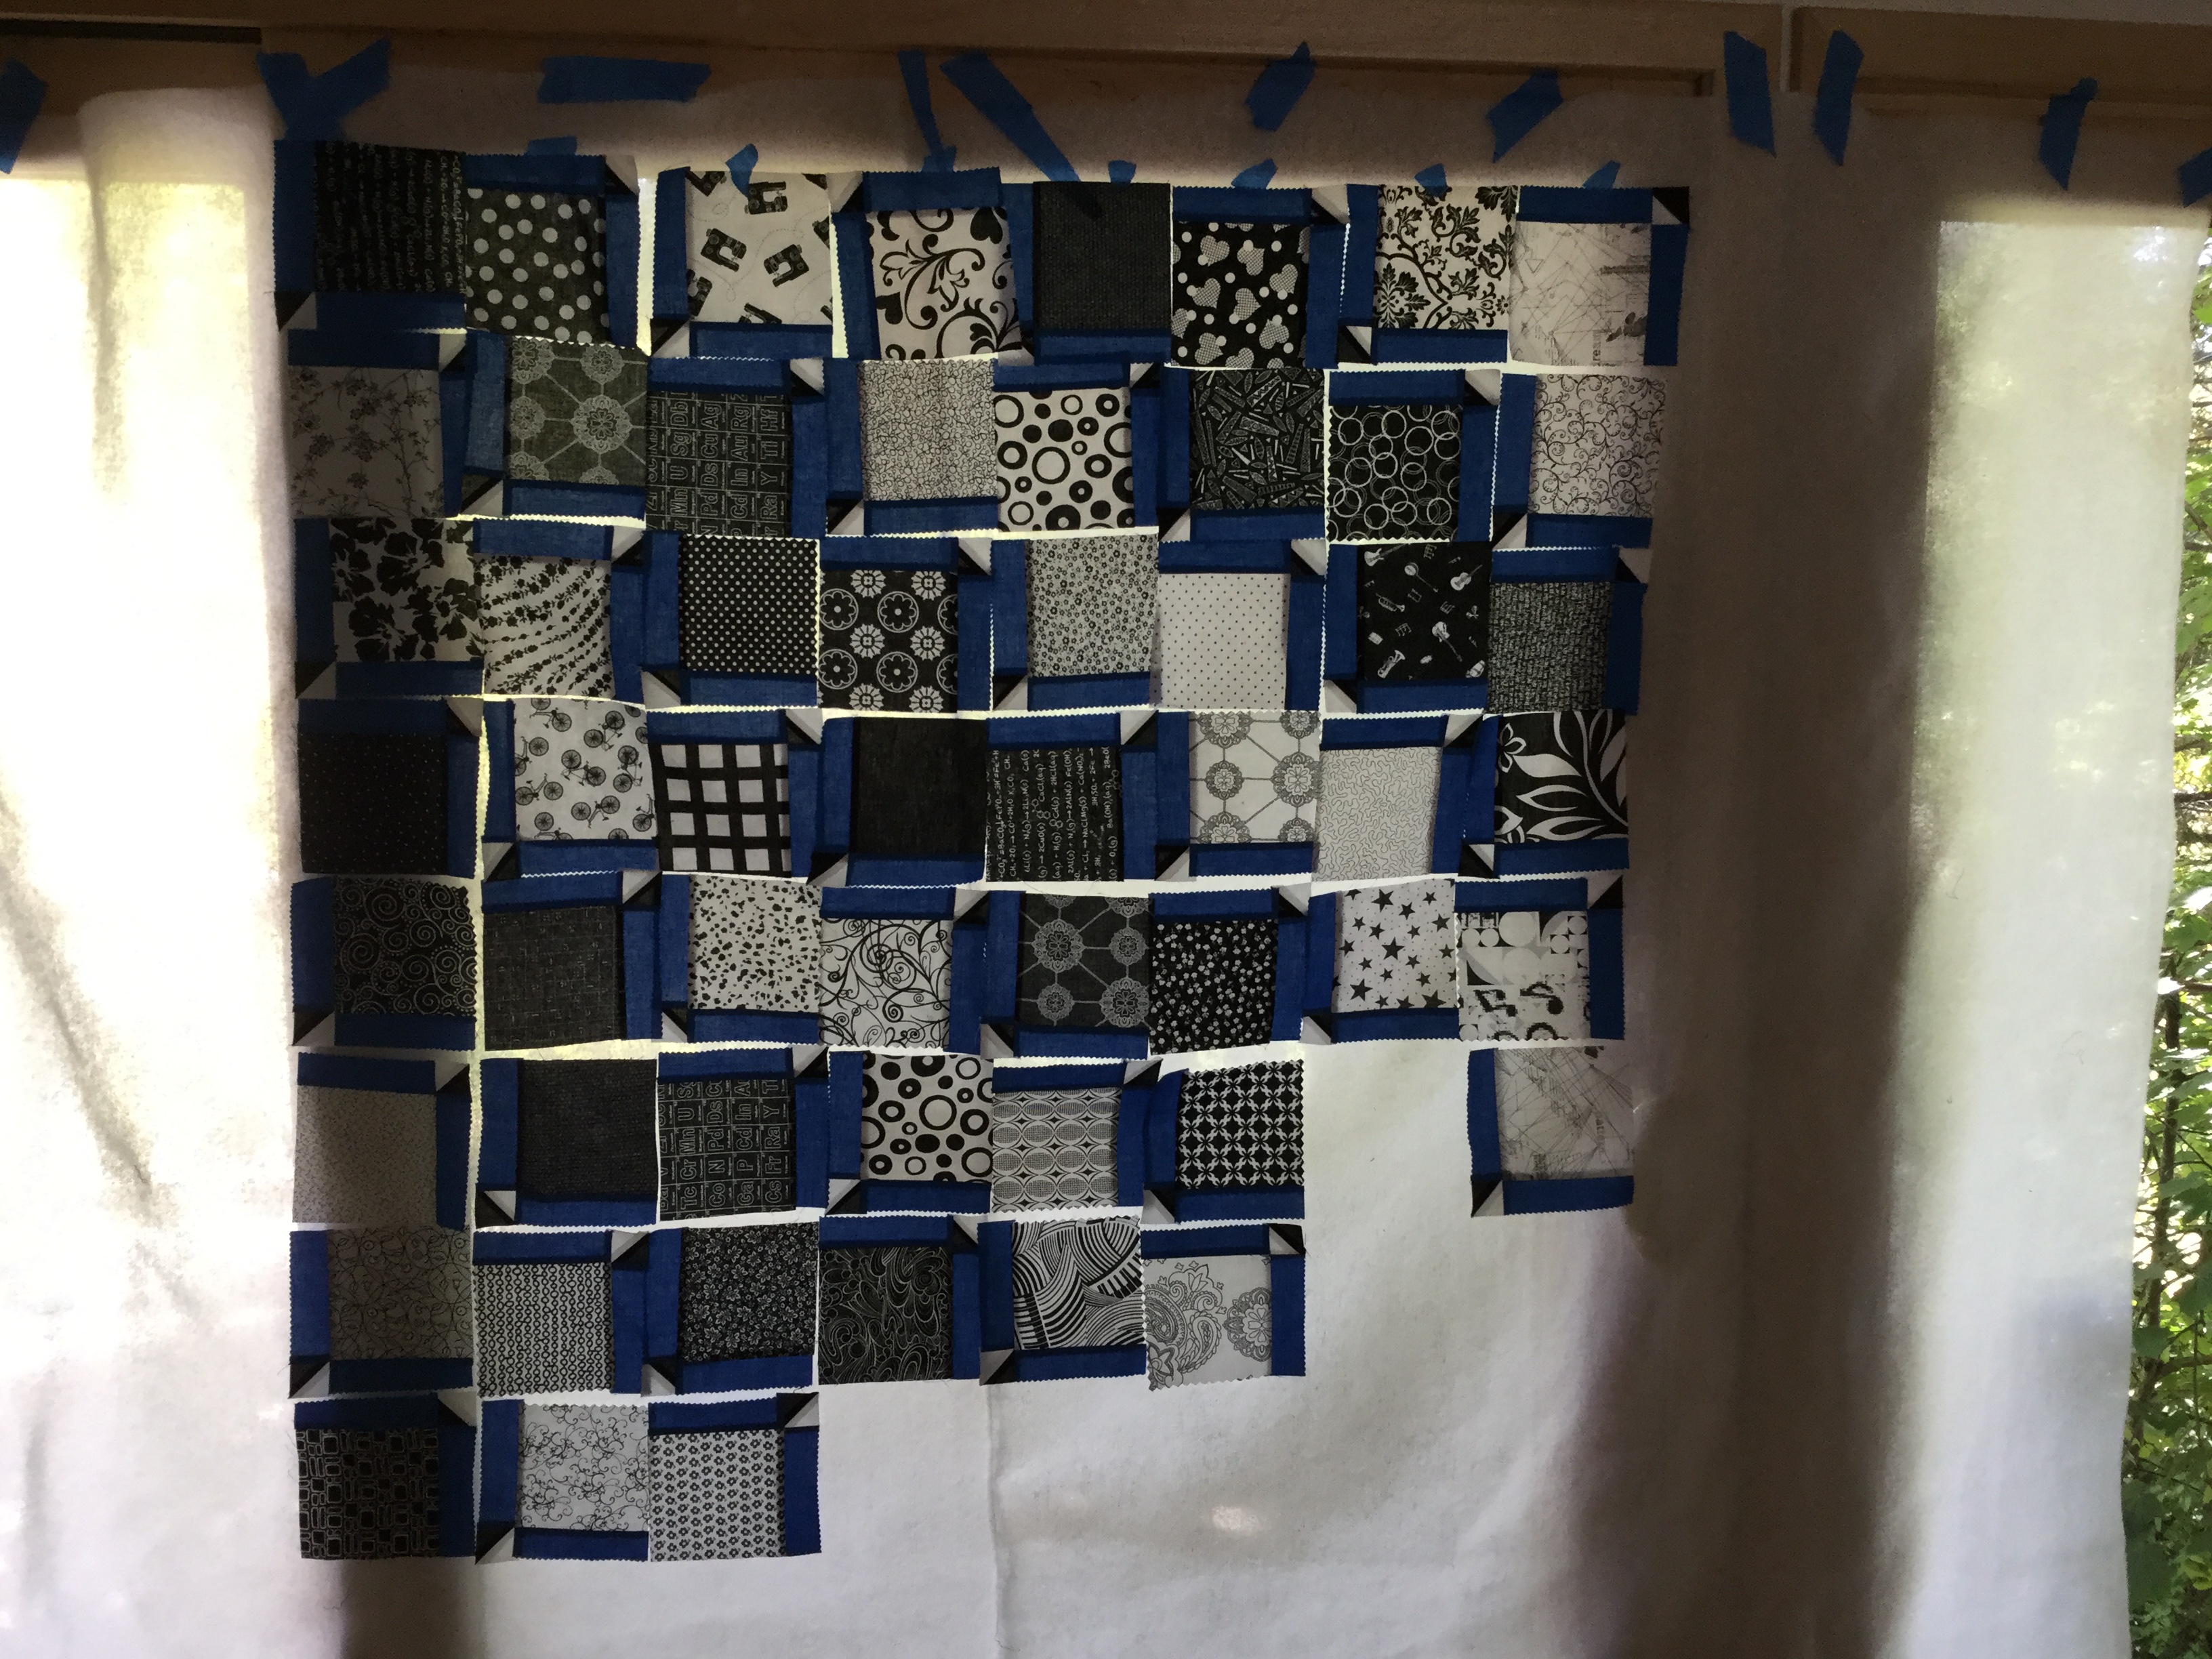
Let’s just say, things didn’t go well. Not at all! I had taped the batting to the moulding around the windows which left too much space between the batting and the window. When I put a square up, the motion of gently pressing it to the batting invariably caused one (or many) of the other blocks to flutter off. Also, using poly batting was a mistake. It doesn’t stick as well as normal batting (like Warm and Natural). Jeez! It was no time before this happened.
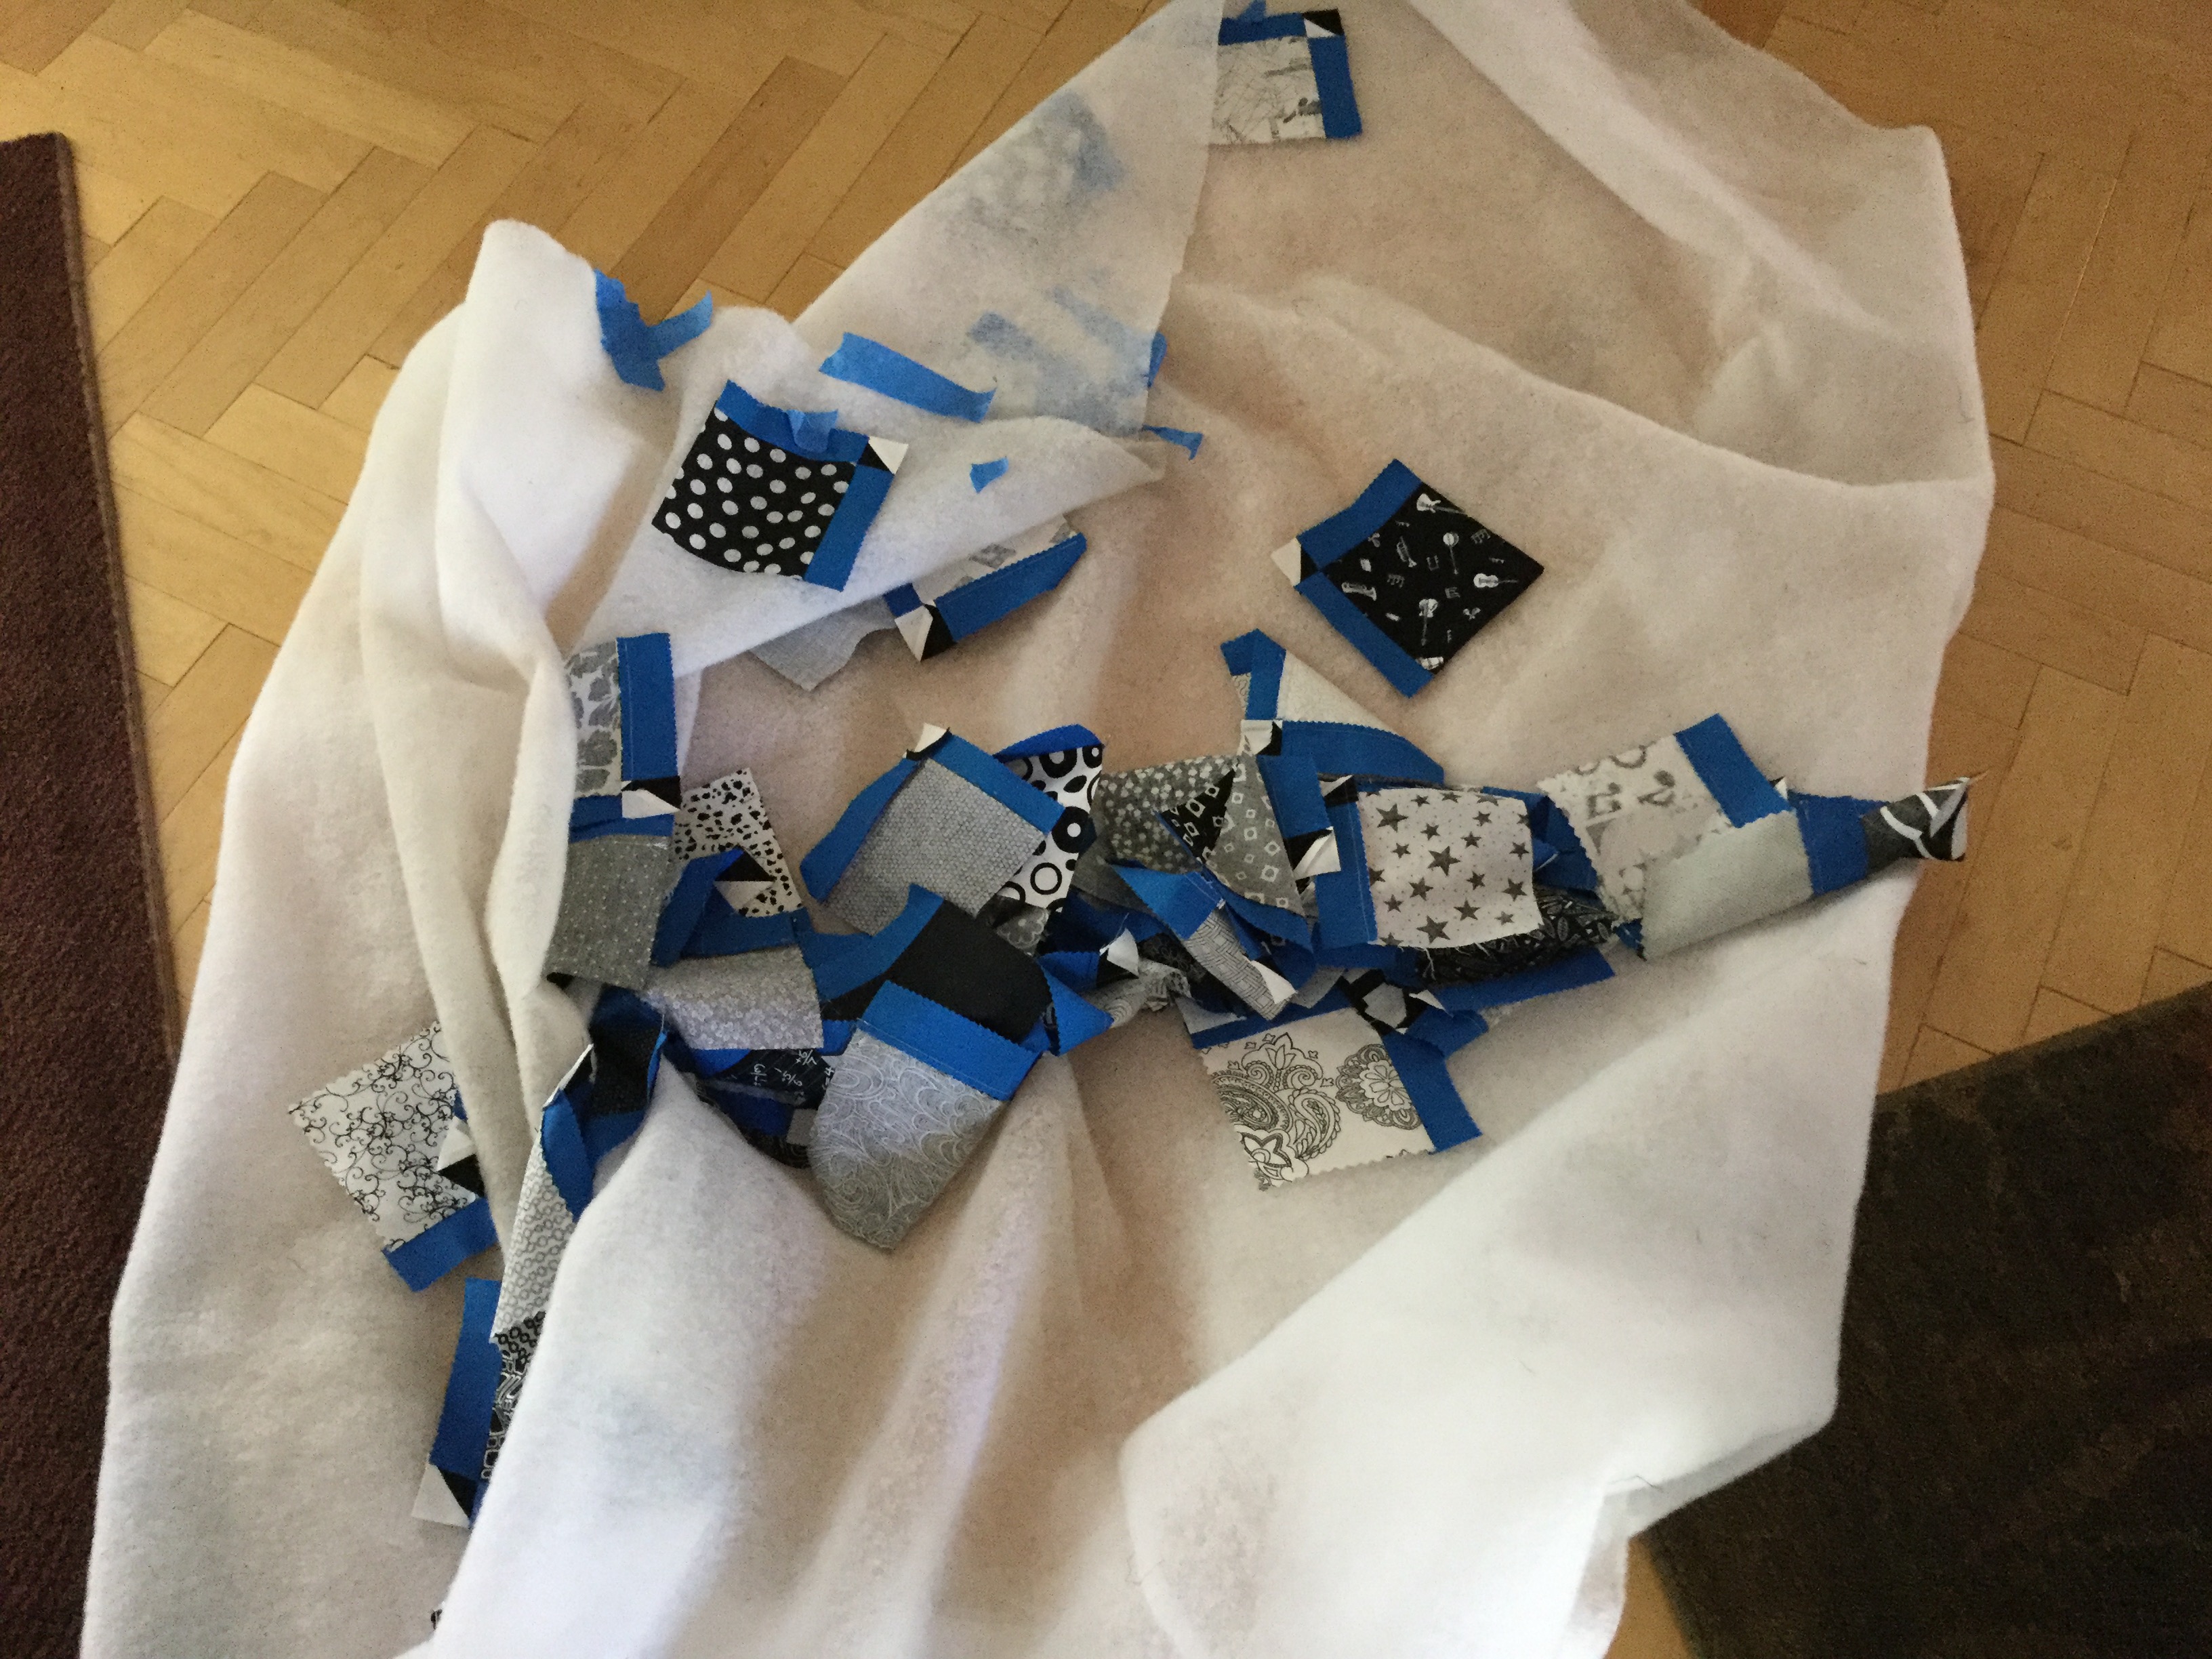
Everything came tumbling down. I gave in and went to lay it out on the guest bed. I have mentioned before that my spatial perception is hugely challenged. For the most part, I am unable visualize how something will turn out. I need to lay it down and keep playing until it works. This was the next challenge in the process. I used some cool text prints in this quilt and I wanted them to be placed in the same direction so all of the text read properly (e.g. not sideways or upside down). Seems like this should have been easy…. not so much. Can you see the text prints that are all going sideways here?
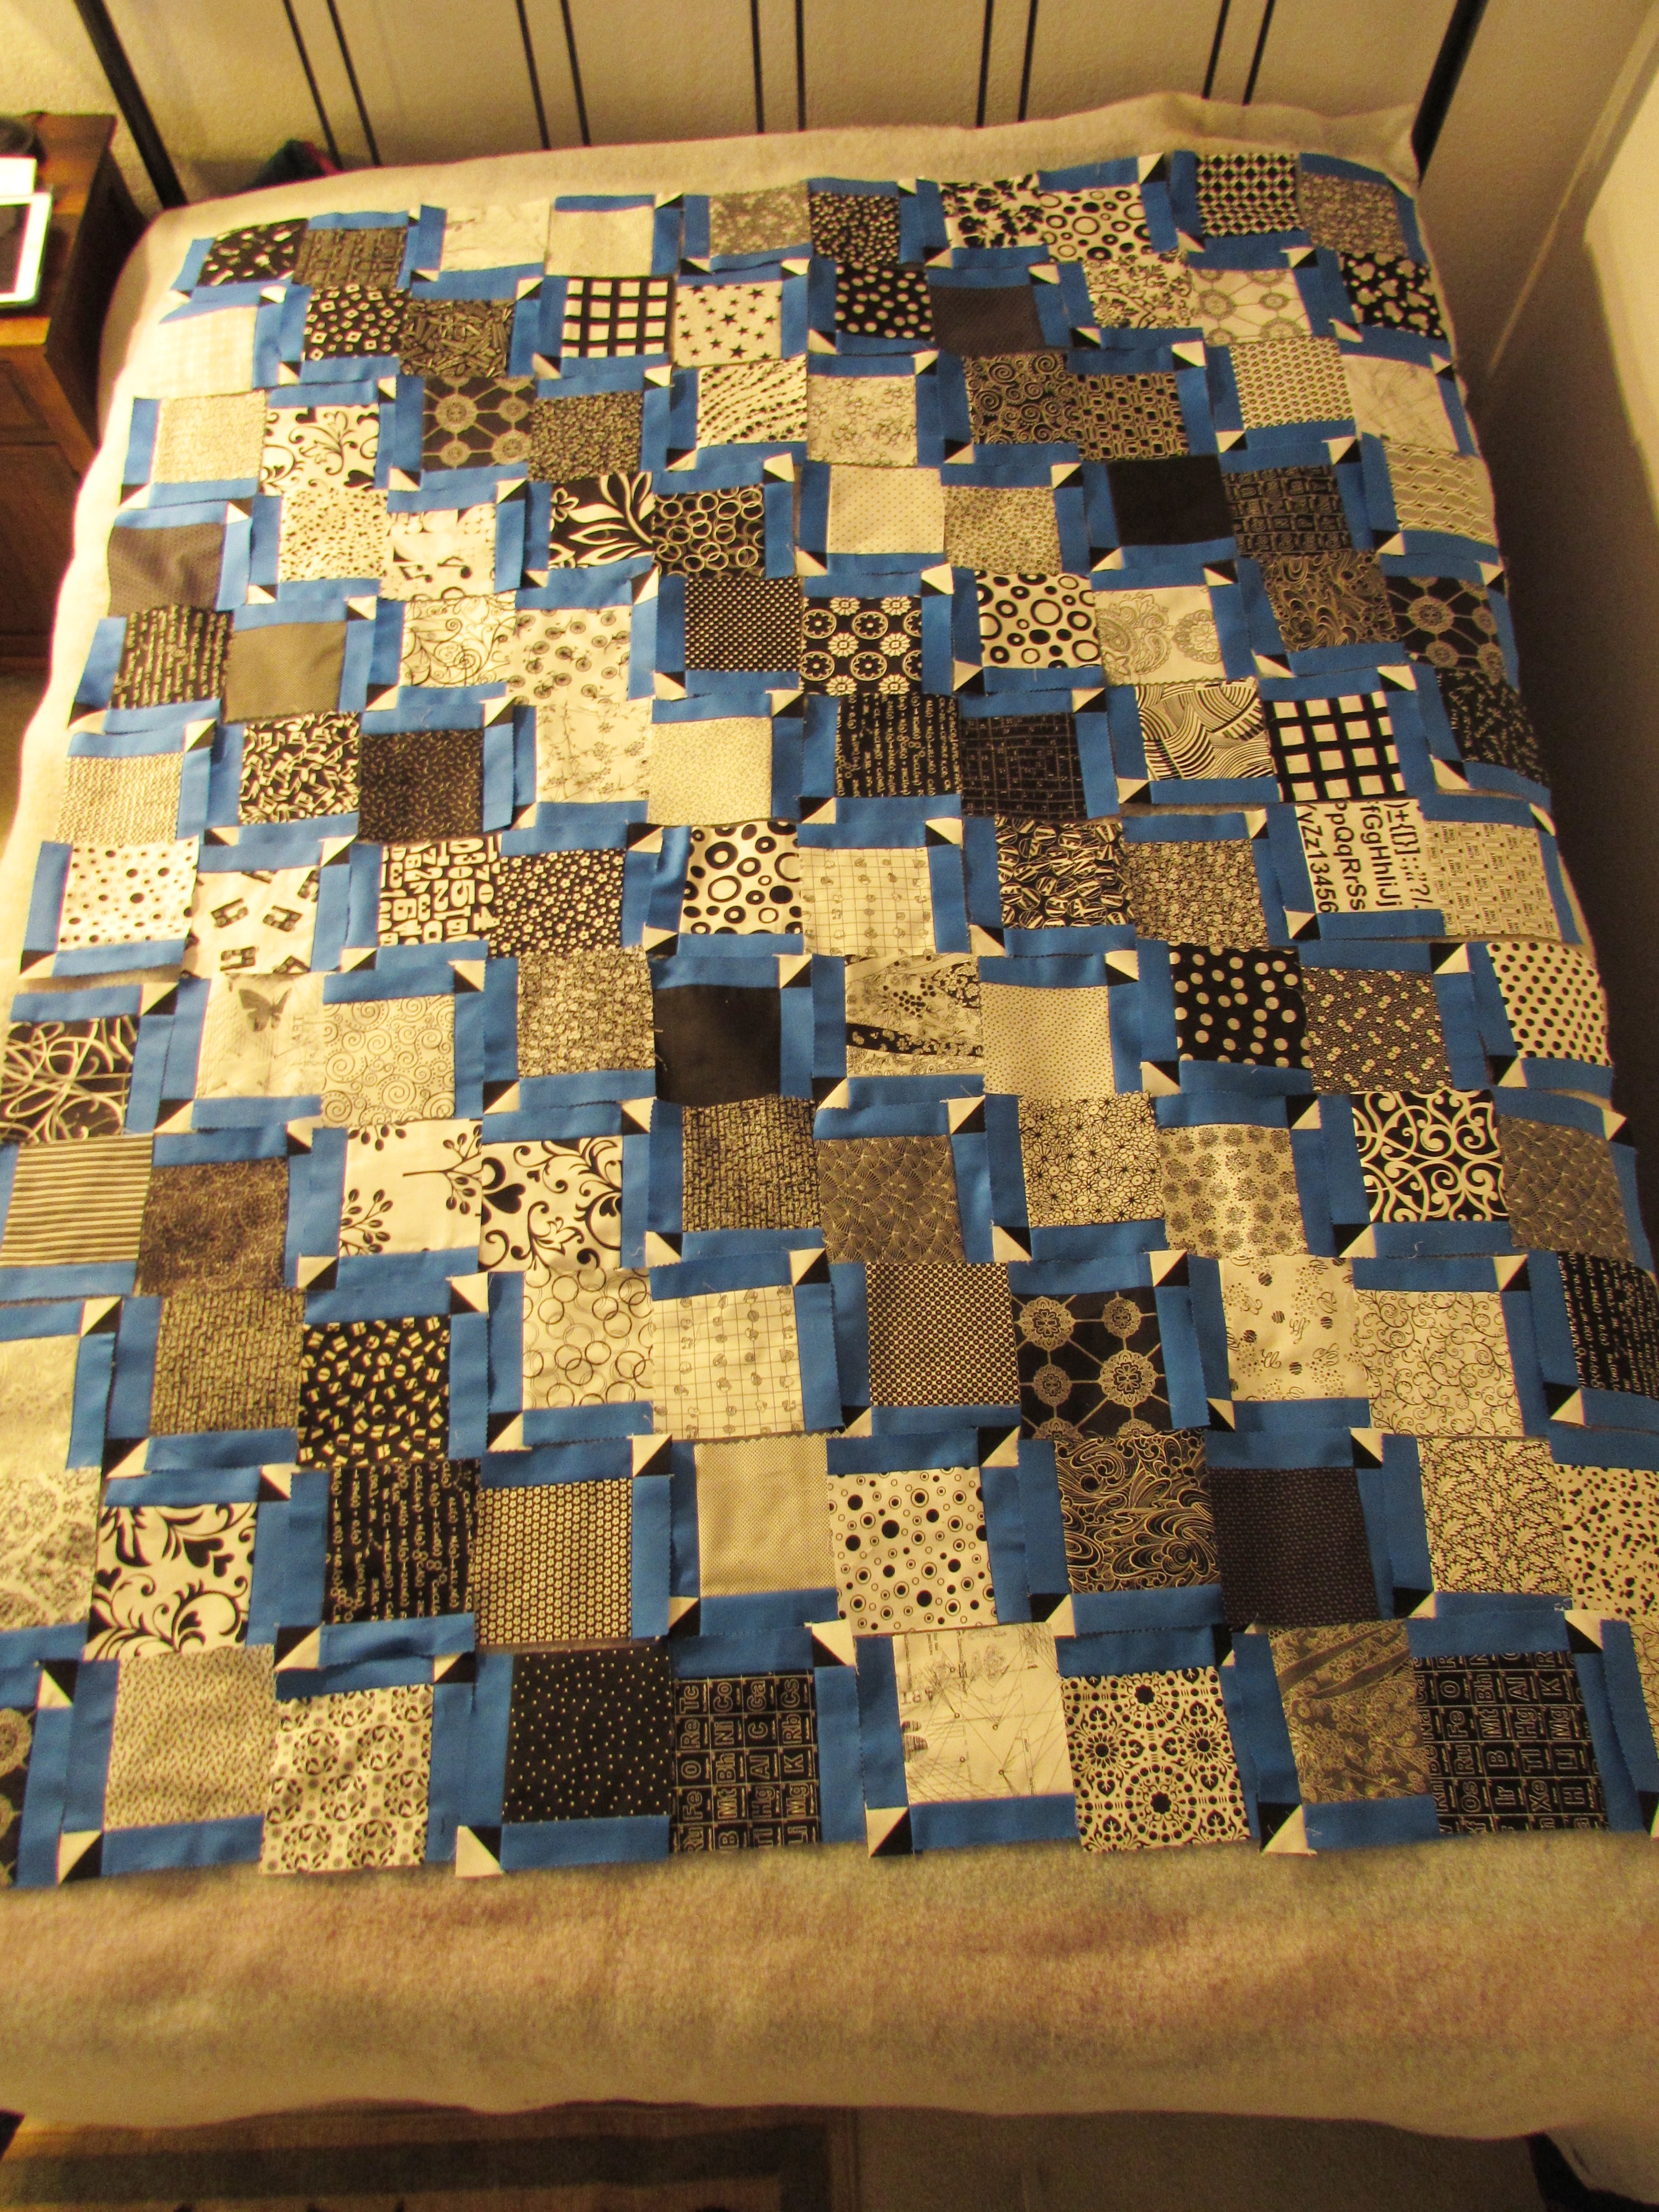
I laid it out numerous times with the steps angling in one direction but each time, the text prints were sideways. Finally it made sense to me that all of the blocks had to angle in the opposite direction for the text prints to place correctly. So I picked up the blocks and reversed the placement which set the text blocks in the correct direction. It took a total of four attempts before I got the layout to work. A lesson in patience, for sure. At one point I was groaning and grumbling while working on this. Ray passed by and muttered something like, “how nice that you have such a satisfying hobby”. 😉

I loved making this quilt top. As is usually the case, I learned from it. The HST’s are solid black and white and finished at 1 1/2 inches – fairly small if you ask me! At first I thought I would try to orient them so that they all pointed in the same direction. This was even more crazy making than the text prints. Not long into the process of piecing the strips with the HST’s I gave up on that idea. It wasn’t worth the strain on my spatially challenged brain and I just sewed them in whichever direction they landed on the strips.

Chain piecing came in handy here. It made things flow much faster, especially since I wasn’t worrying about the direction of the points.
Here is one last tip that came about while making this quilt top. I had loads of pieces to keep together during the process. I found one of those plastic bins that spinach and salad greens come in. It was a great container to keep everything together. It even has a lid that I could set on top when I wasn’t actively working on this. Very handy and it is reusing something rather than throwing it in the trash. Win-Win.

The next step is to prepare my backing. I am pretty excited about this part too! (Really amazing how little it takes to make me happy!!) I ordered the backing from Connecting Threads and chose a piece from the Good Neighbors line by Amanda Jean Nyberg. I love the colors, the price was so reasonable, and it works quite well with the black, white and cobalt blue of the top.
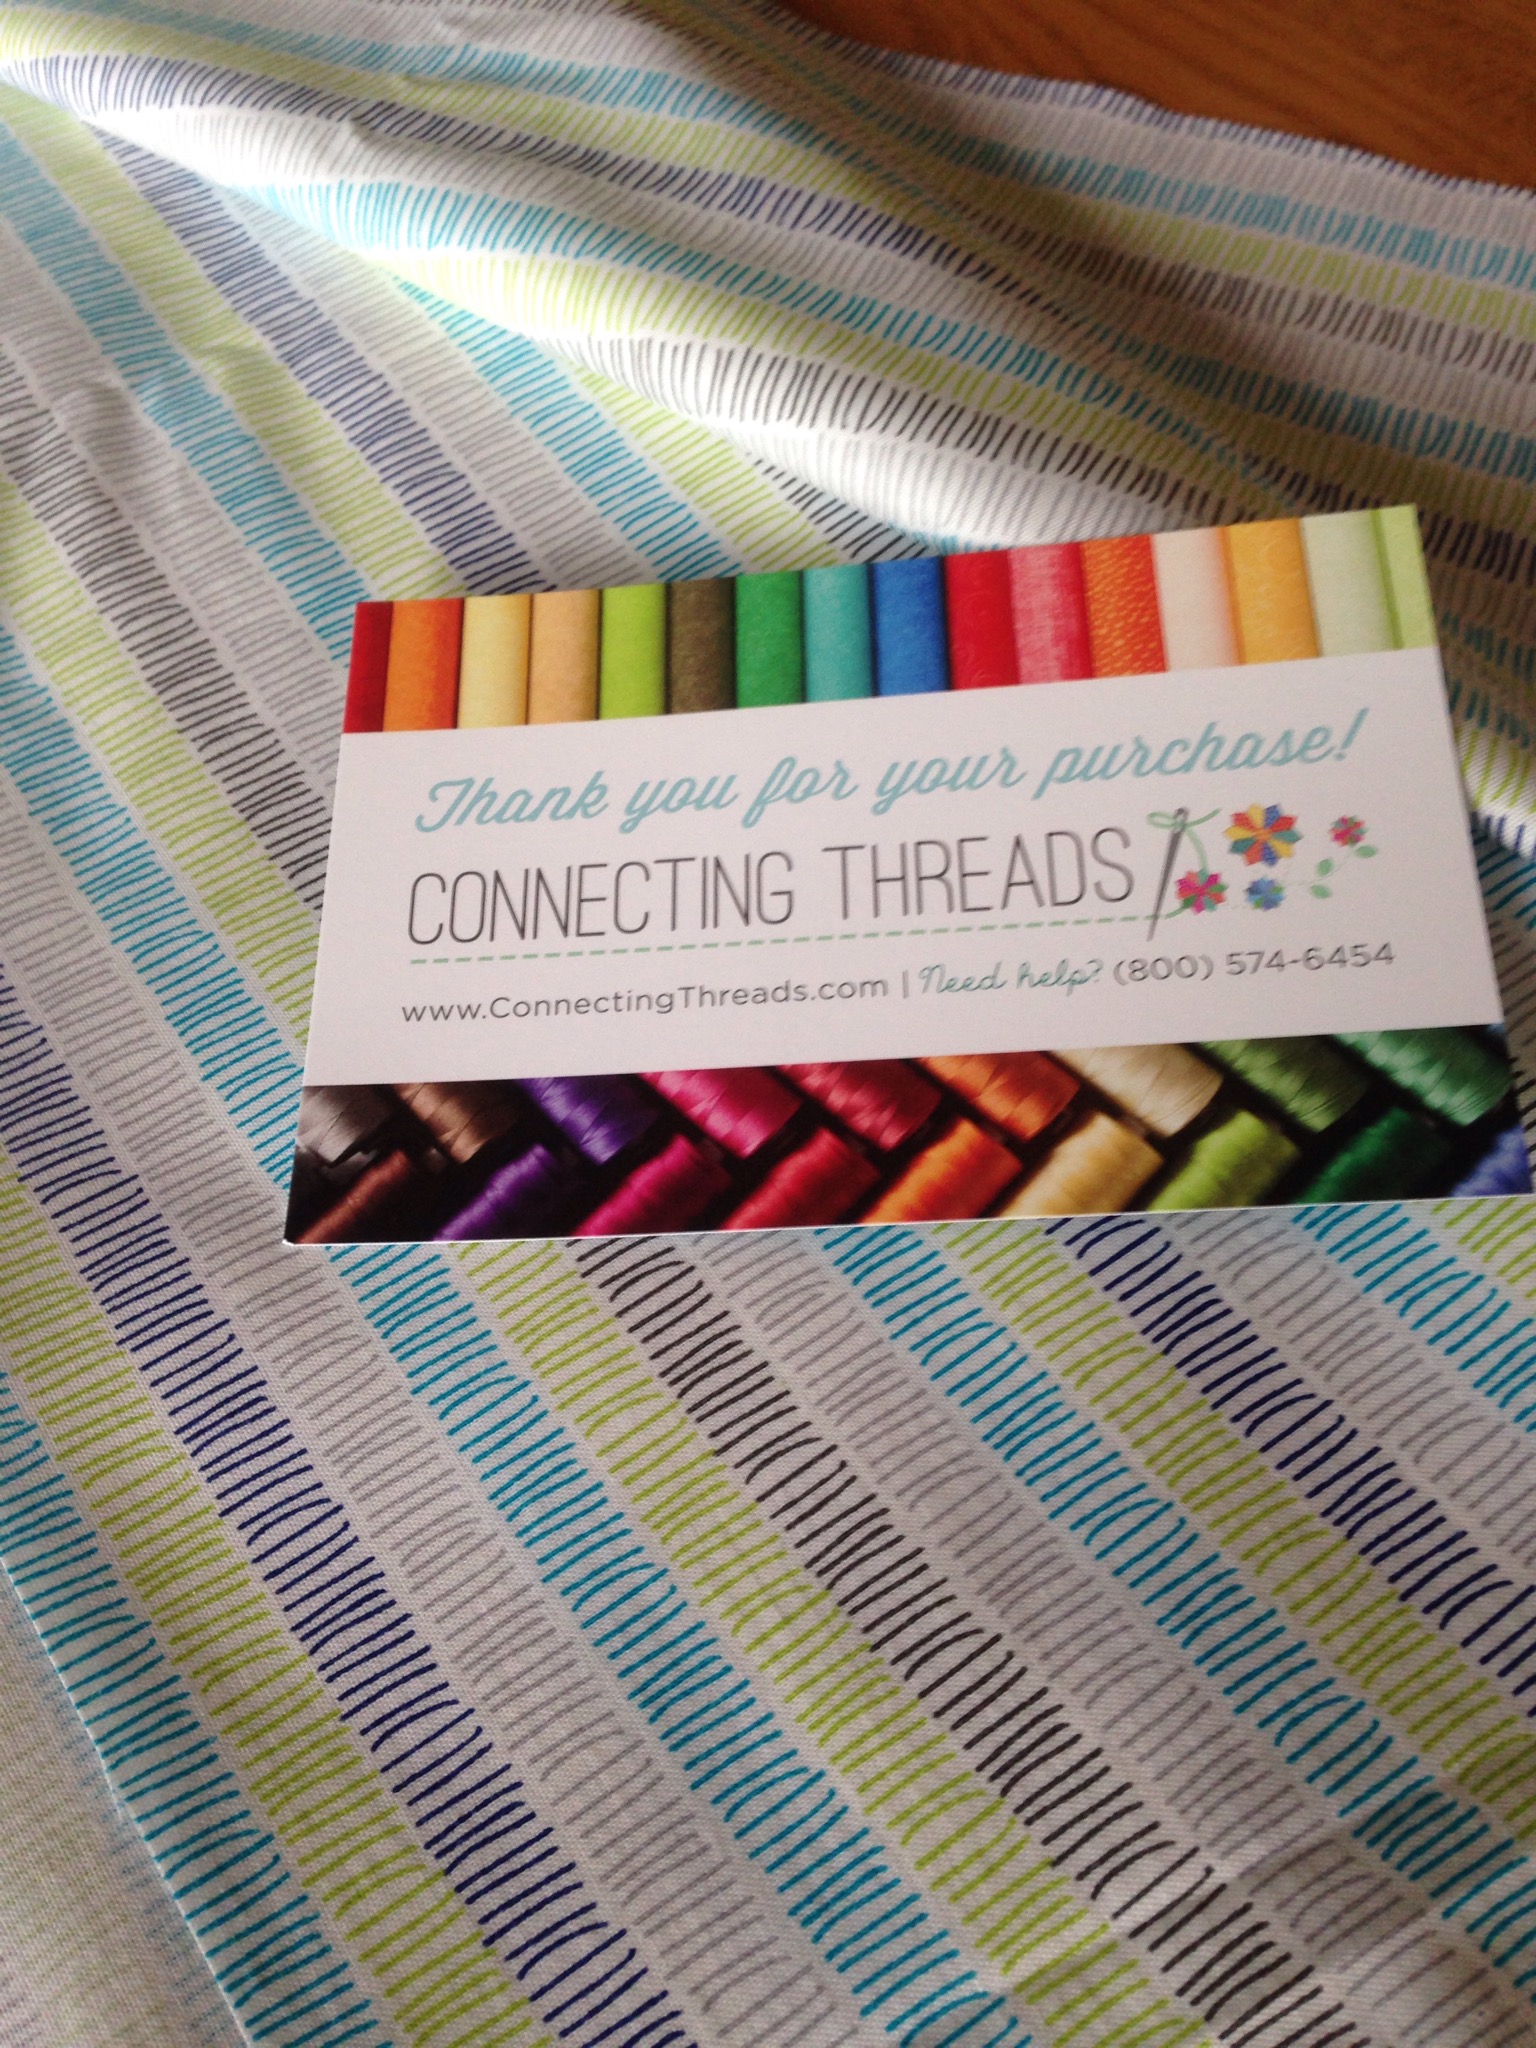
This fabric feels just wonderful. I am such a tactile person but I love when the fabric has that solid yet silky hand to it. Off to prewash the backing and stitch it up. Then on to my least favorite task of quilting, basting the quilt sandwich!
Hope you are all finding time to sew a bit.
If you are finding the time and are in need of supplies, check out the sale this weekend at Craftsy. Lots of deals to be had!

(I am an affiliate of Craftsy, meaning if you click through a link on my page and purchase, I do receive a small payment.)
Linking to all of my favorites this week. Links are found at the top of the page, under Link Ups.