Category Archives: Quilting Tools

Giveaway Winner & a Tip From a Genie

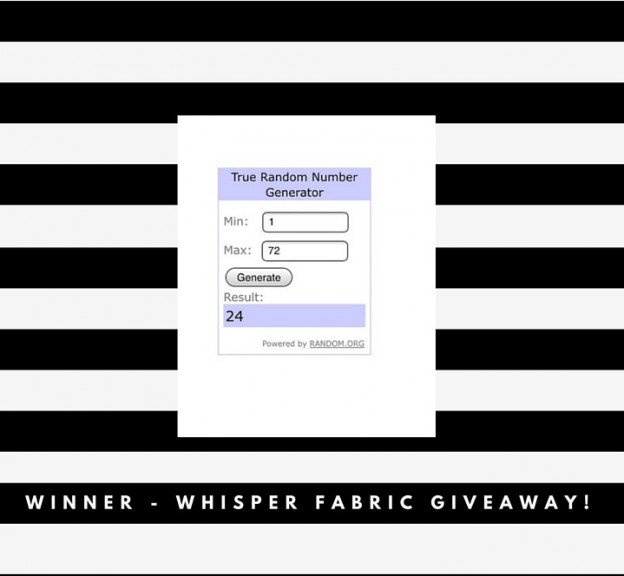
Good morning! I want to announce the winner of the giveaway sponsored by Brewstitched! Drawn by Random Number Generator, the winner is 24, Tami from Sew Much for Free Time! Thanks to all who entered! If you didn’t win today, remember that you can still have 10% off of your order through the end of tomorrow by using coupon code NANDFMARCLUB10!

bobbin genie

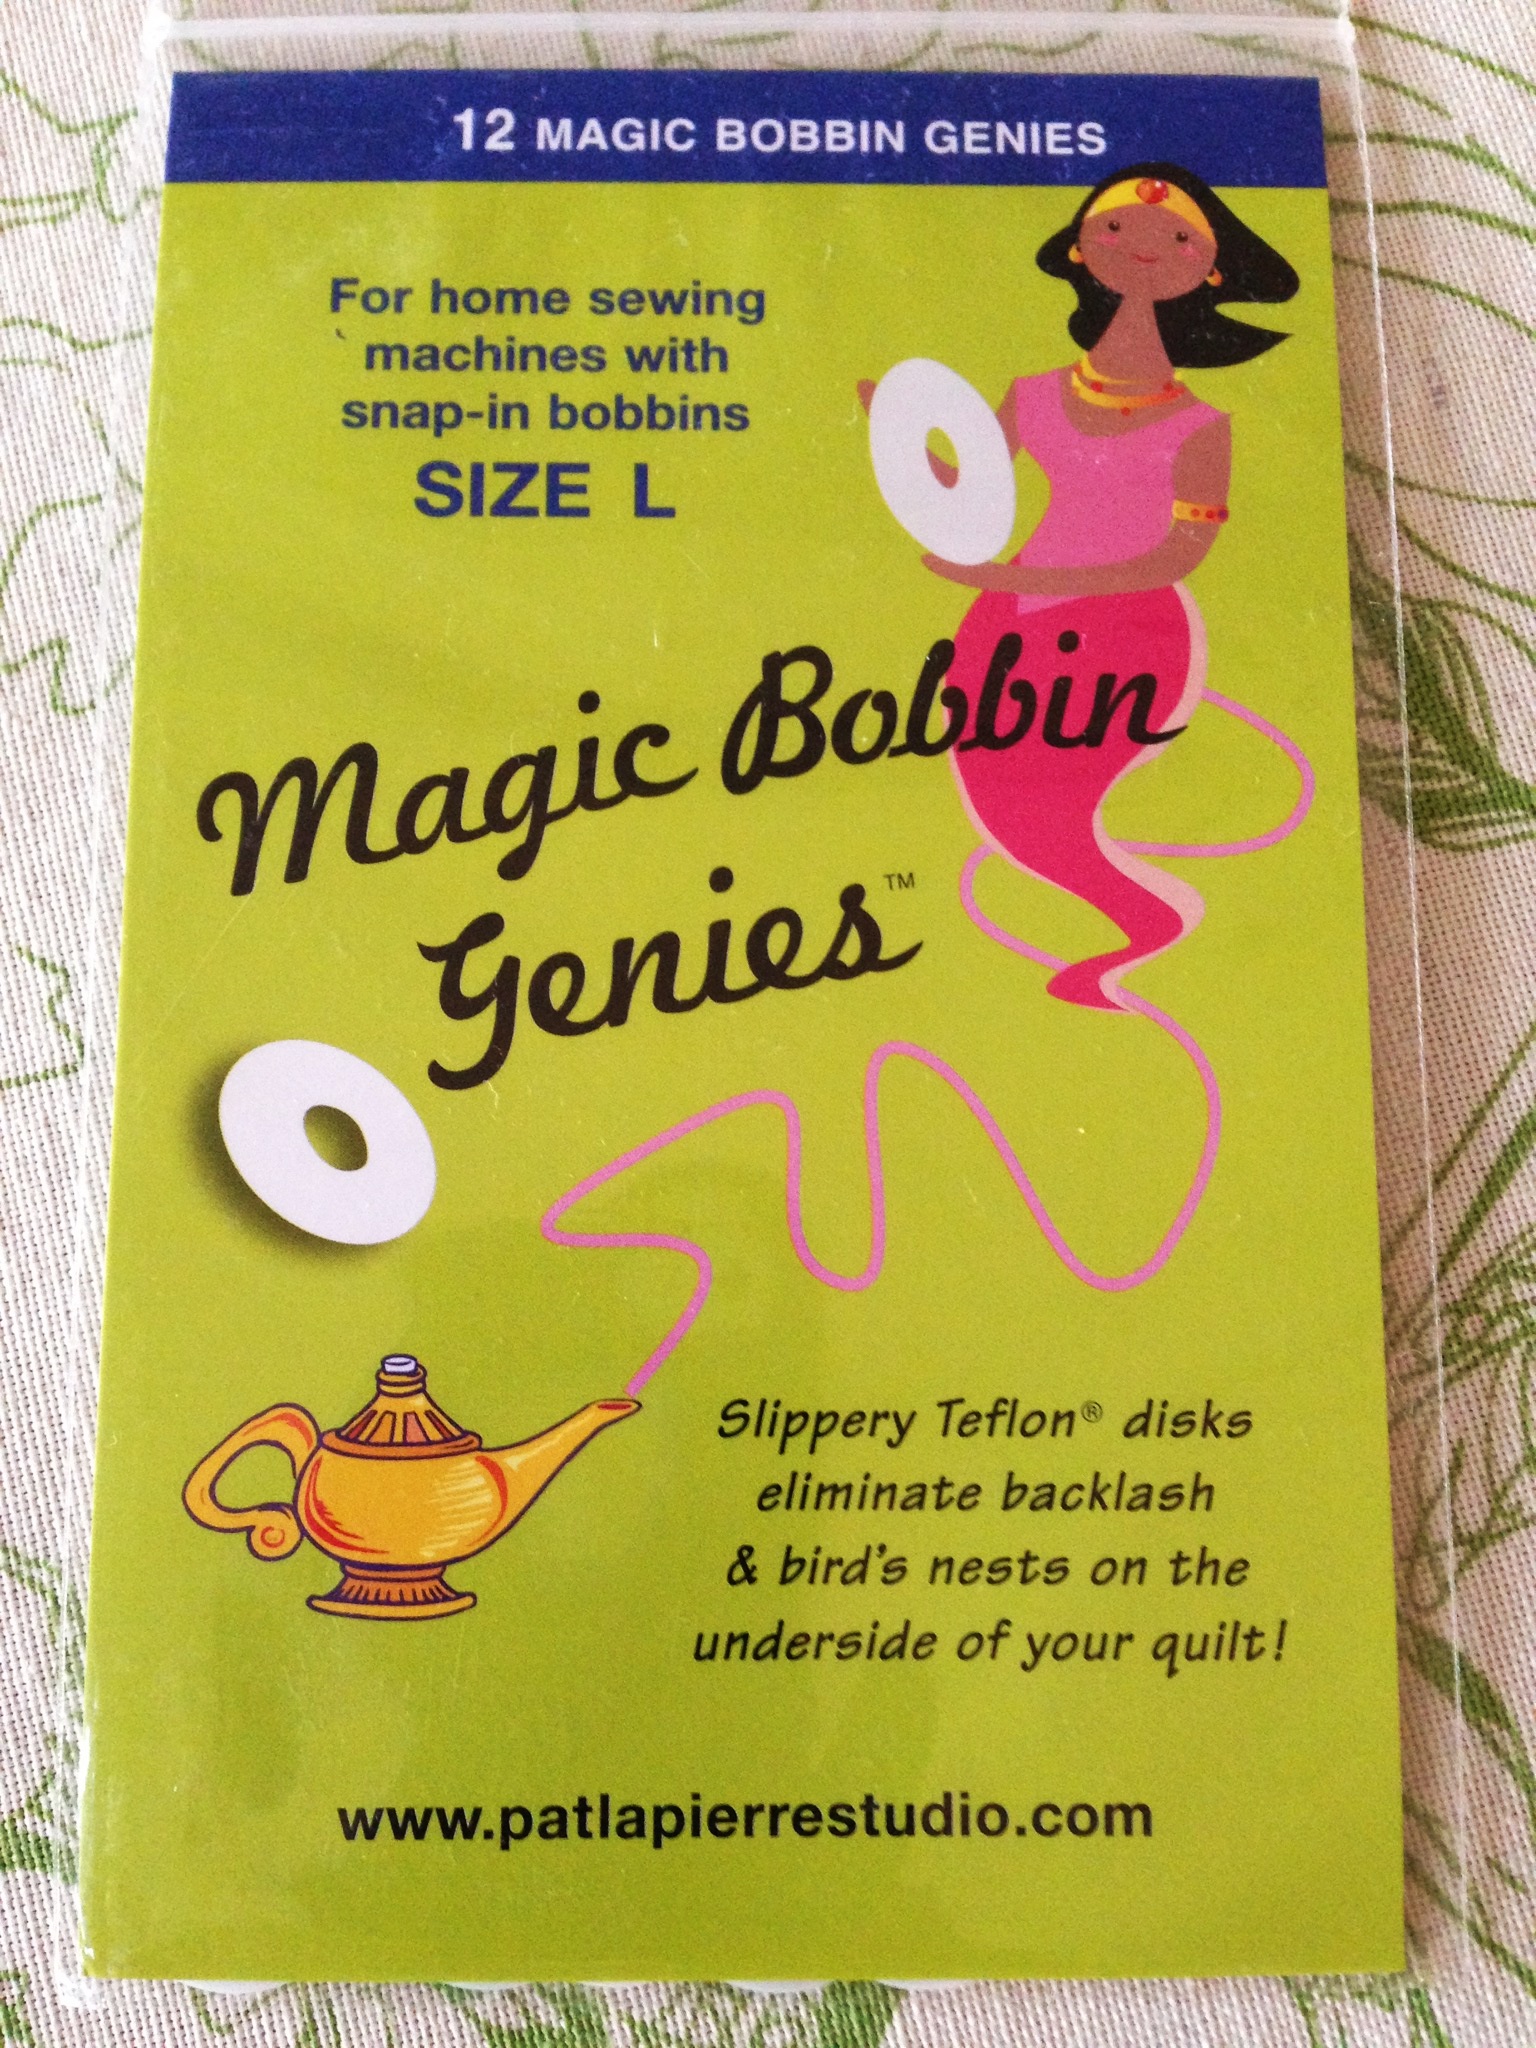
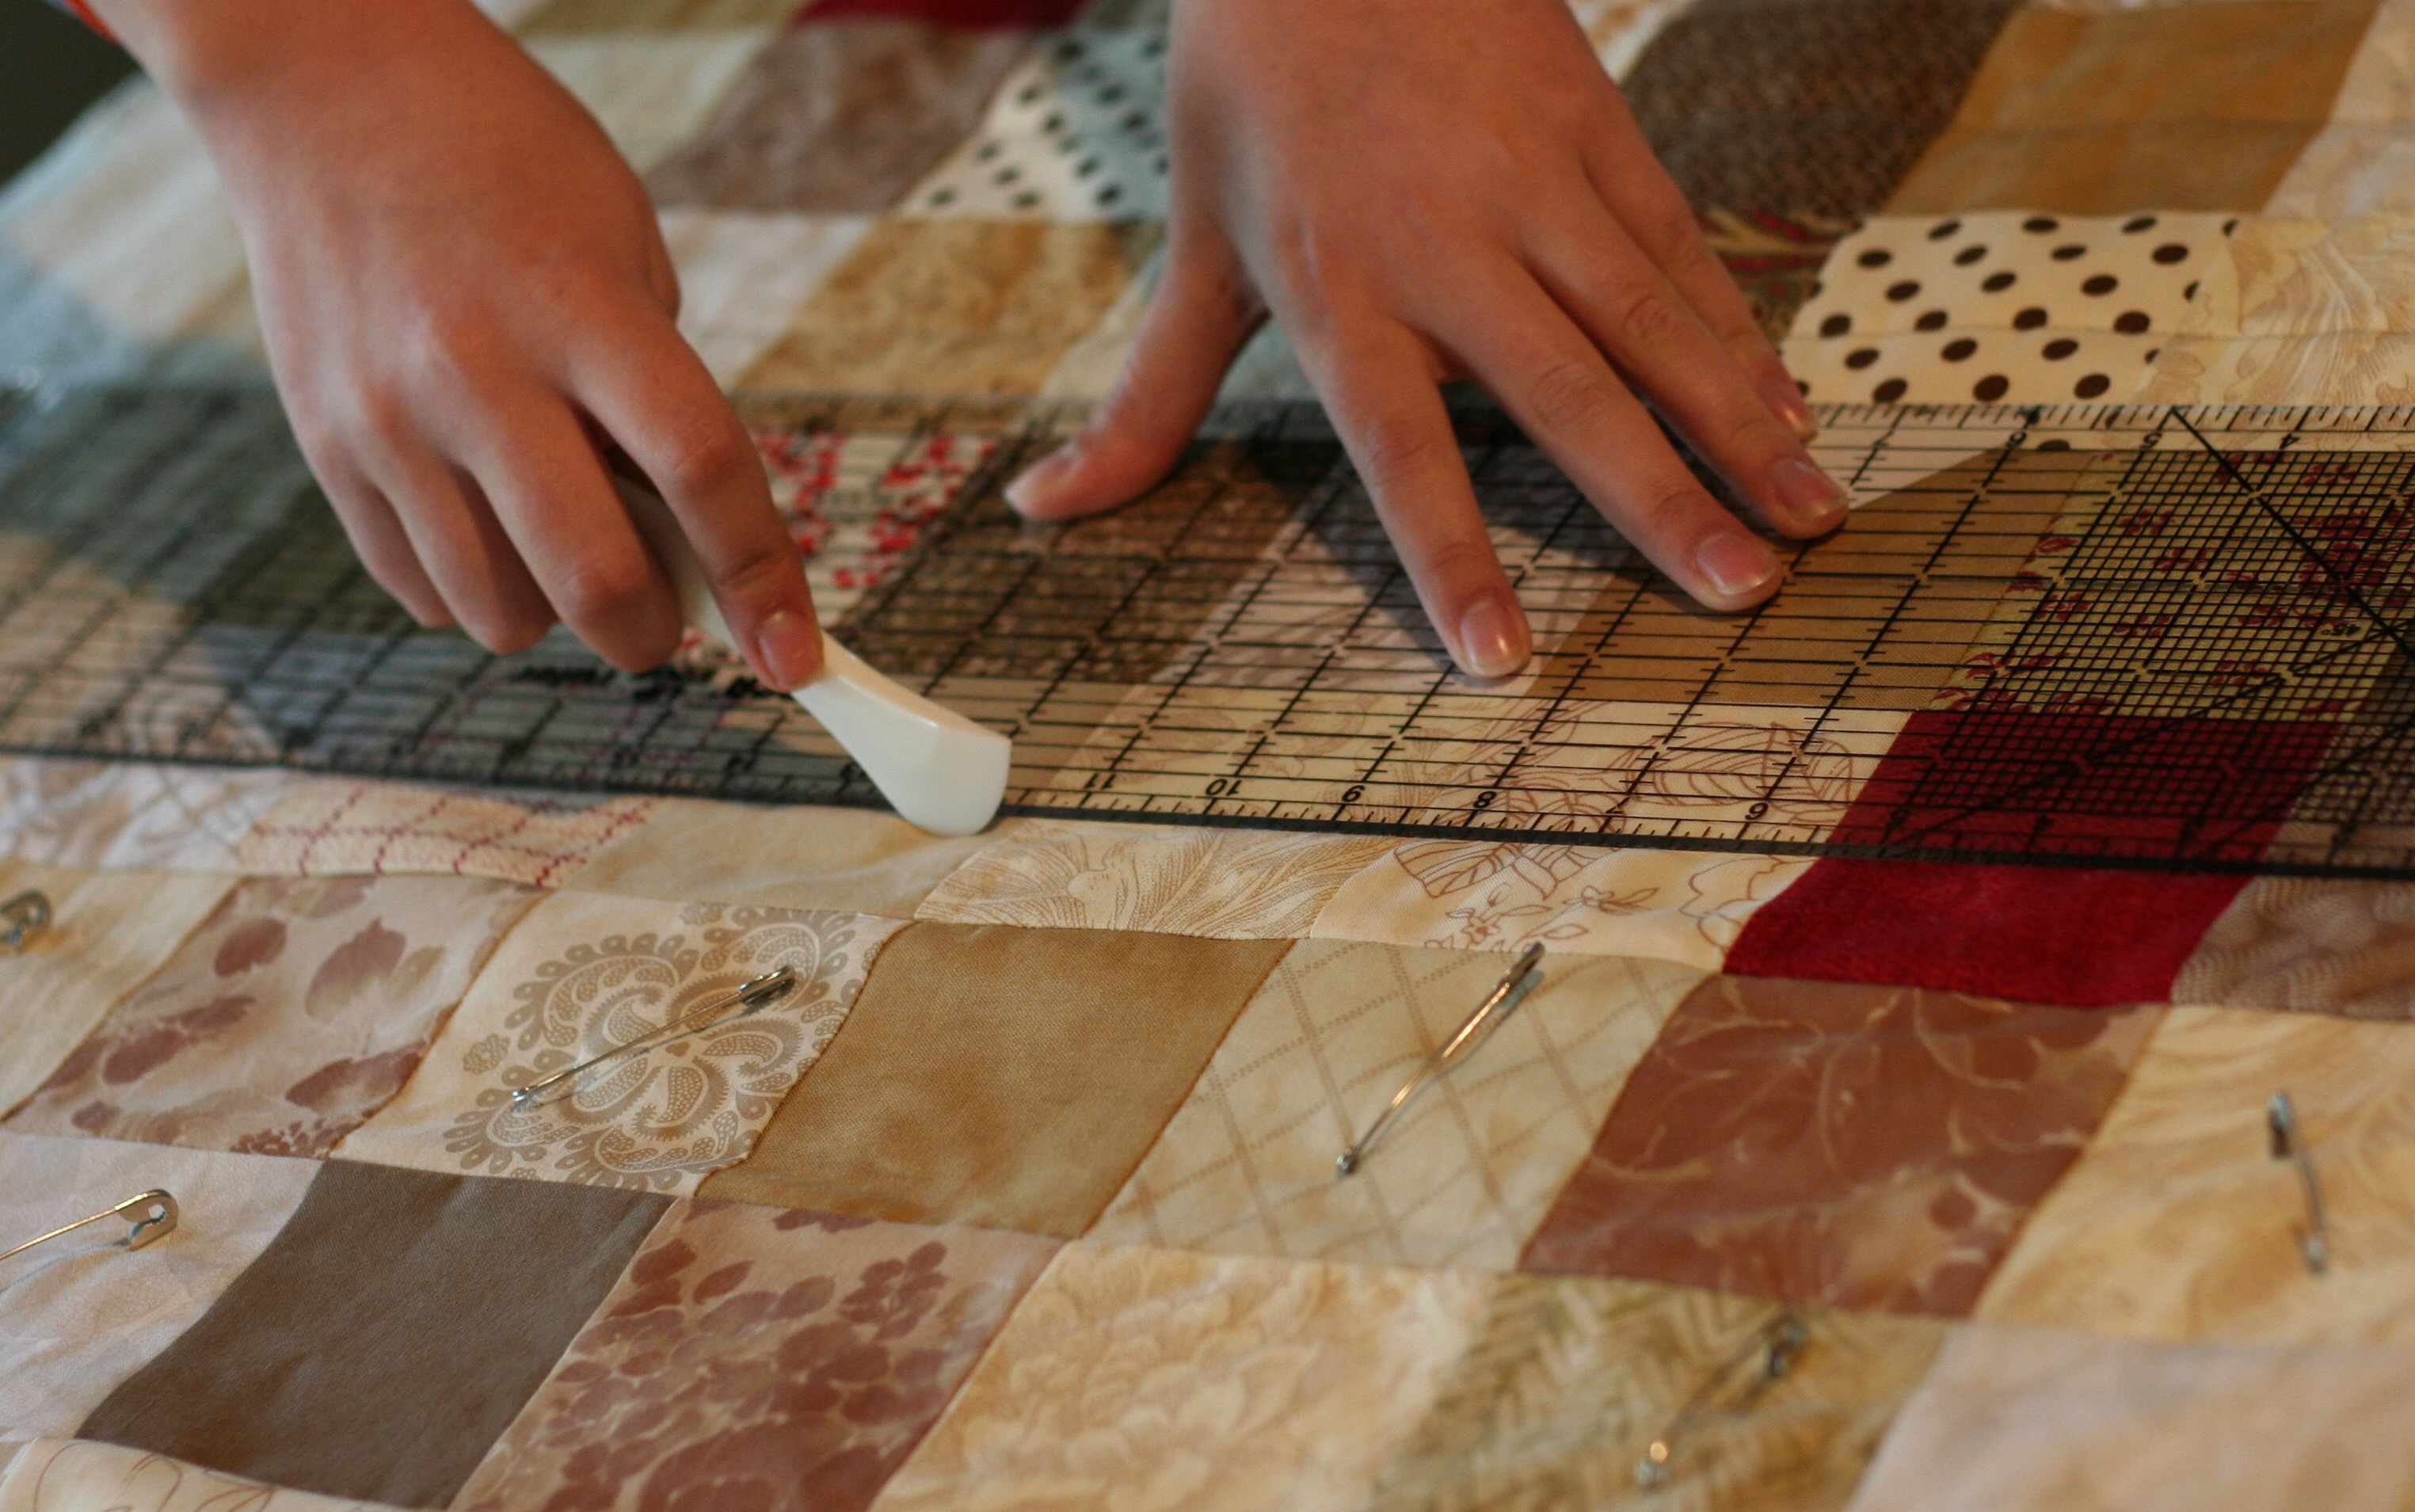
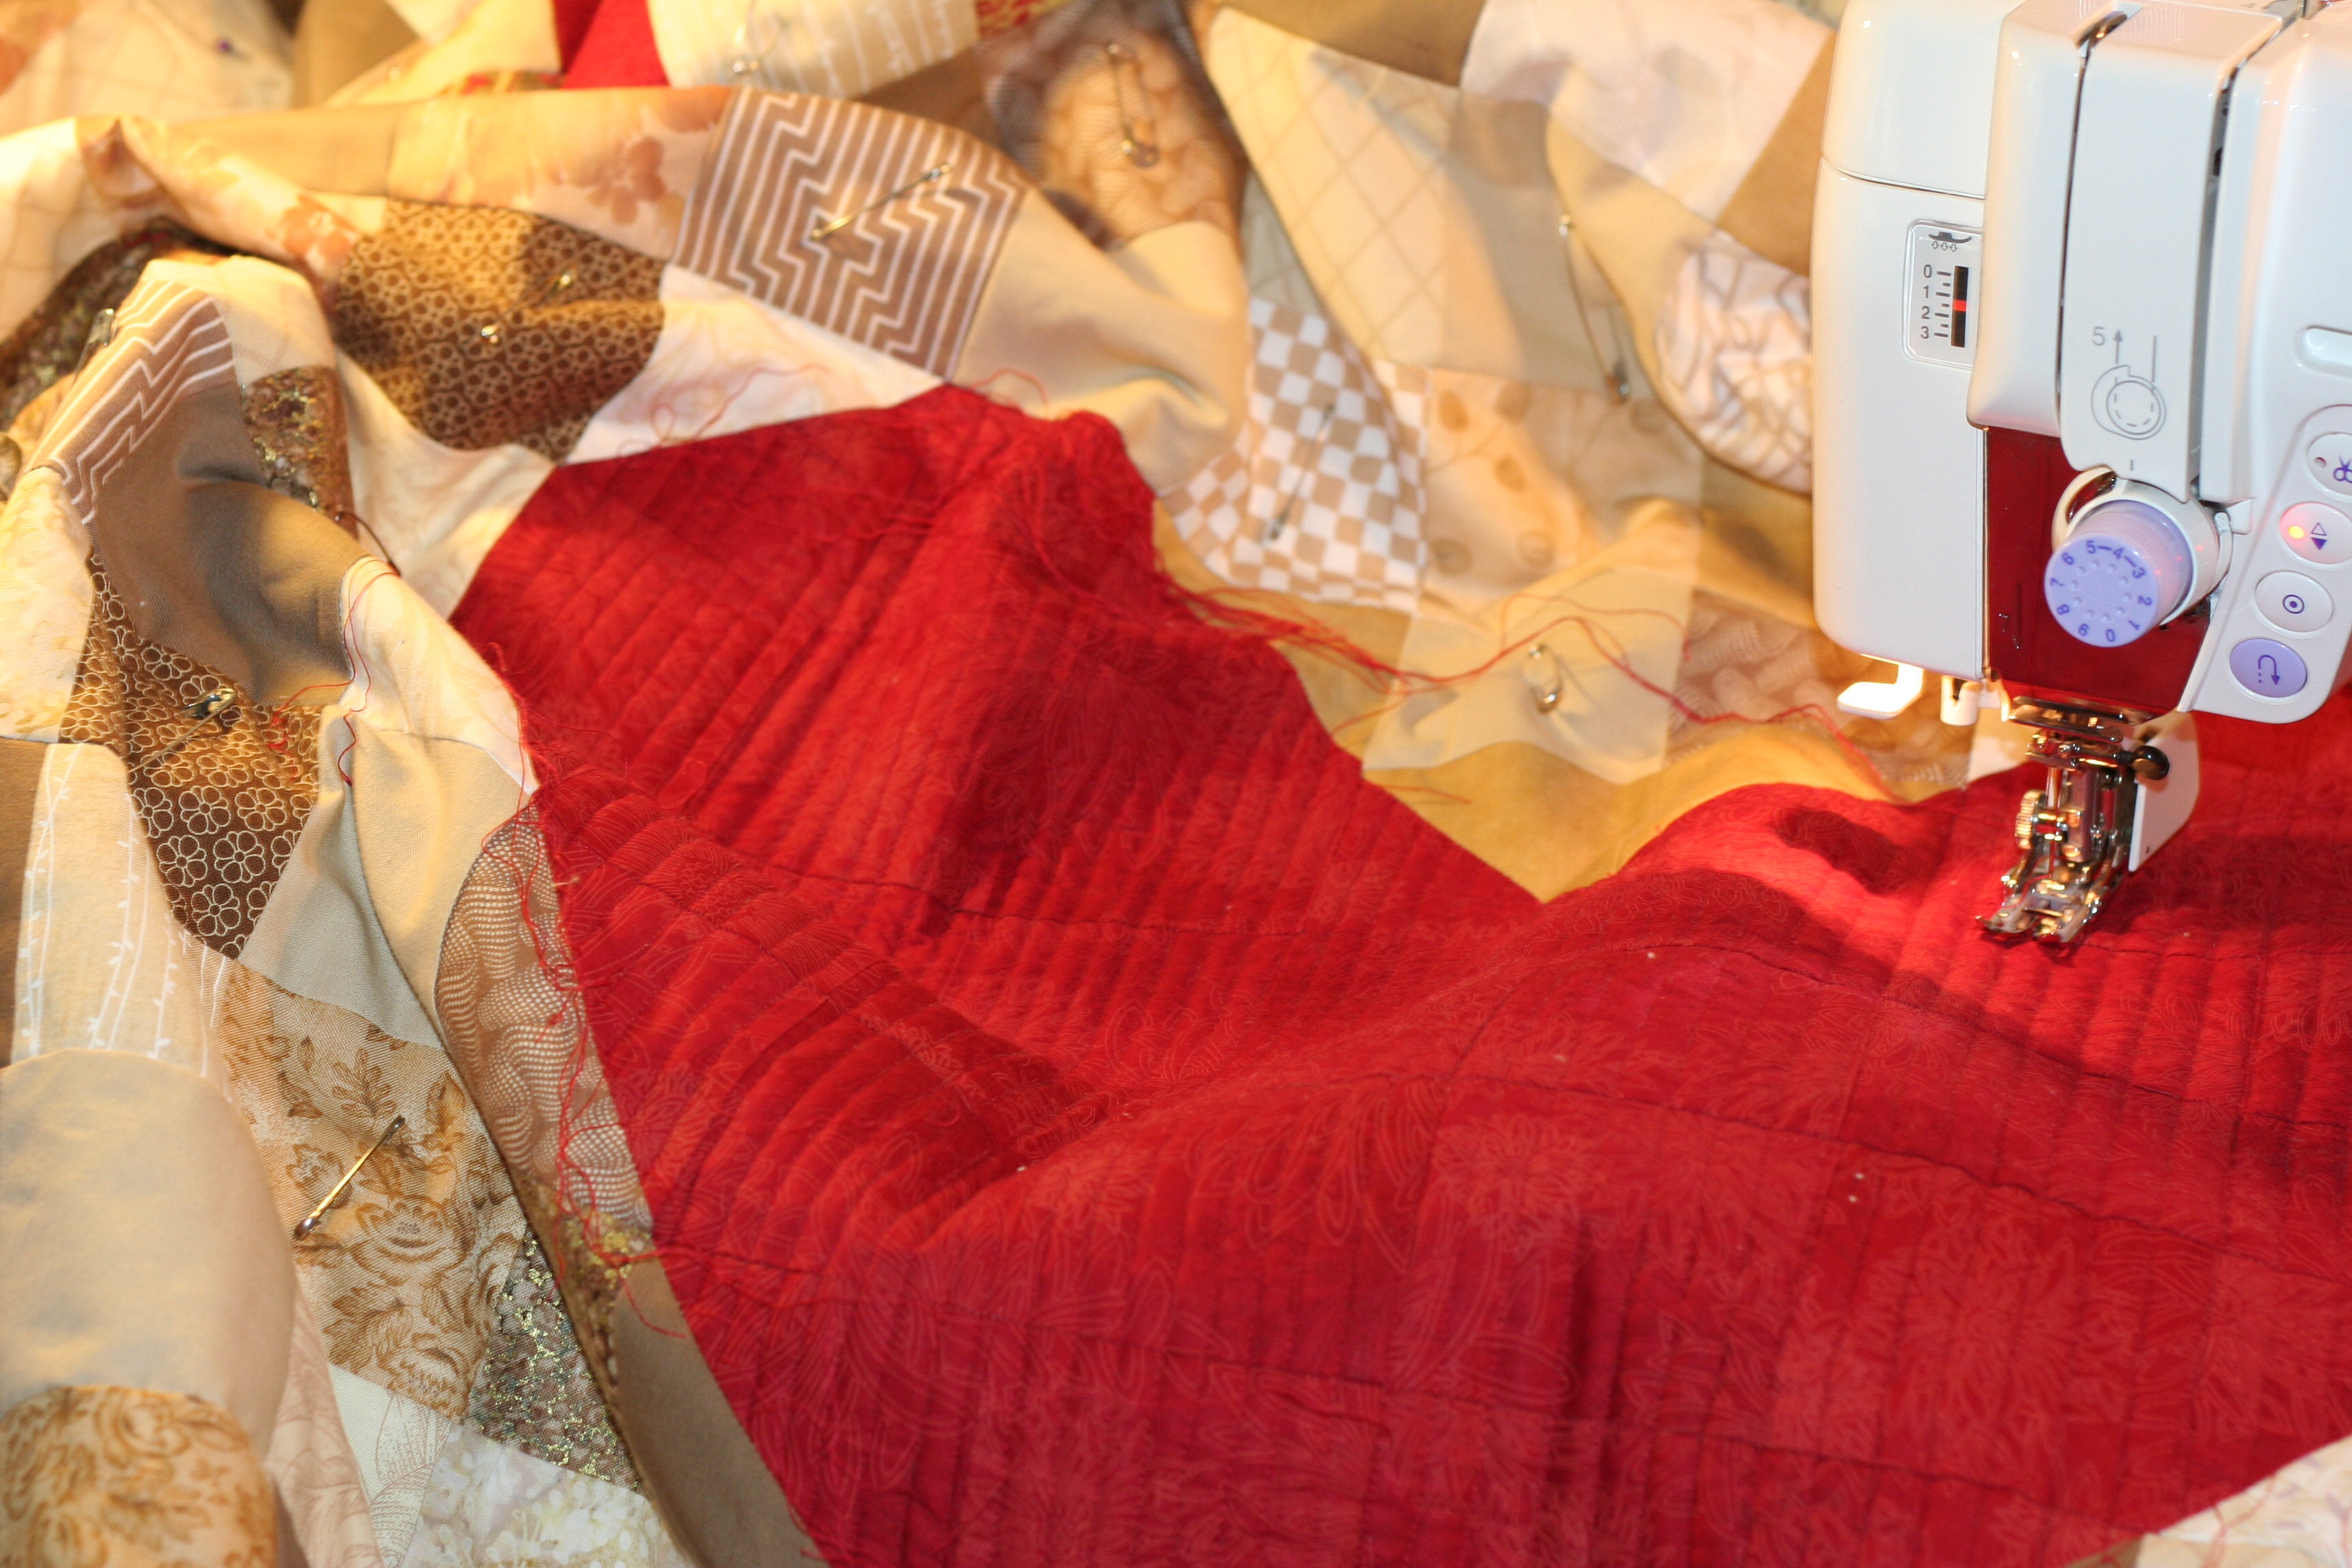
Here is my tip! I have been working on quilting my Square Dance quilt for the past week or so. My machine has been giving me all sorts of grief, not the least of which is eyelashing on the back side. It has been really frustrating. Consulting the wizard of all things, Google, I have read a fair amount on technique and the speed of one’s hand movements related to the speed of the needle. I also came across quilters who touted these Magic Bobbin Genies. These are small washers made of teflon that are dropped into the bobbin holder, underneath the bobbin. I gave them a try and they are very helpful. It didn’t solve the problem 100% but certainly improved the stitching by quite a bit.

I am not totally sure why these work. My best guess is the washer provides a slick surface on which the bobbin can spin. This is not an affiliate post, I am just spreading the word in case it might be helpful to you. They come in packs of 12 which seems to be a lifetime supply! I am not sure how long they last but it seems like there isn’t much wear and tear on the little discs. I didn’t pay close attention when I ordered and ended up with Size L. The package says they are for machines with snap-in bobbin cases. I have a Janome and my bobbin drops in. At any rate, the washer fits perfectly and definitely improves the quality of my stitching.

step stones begins

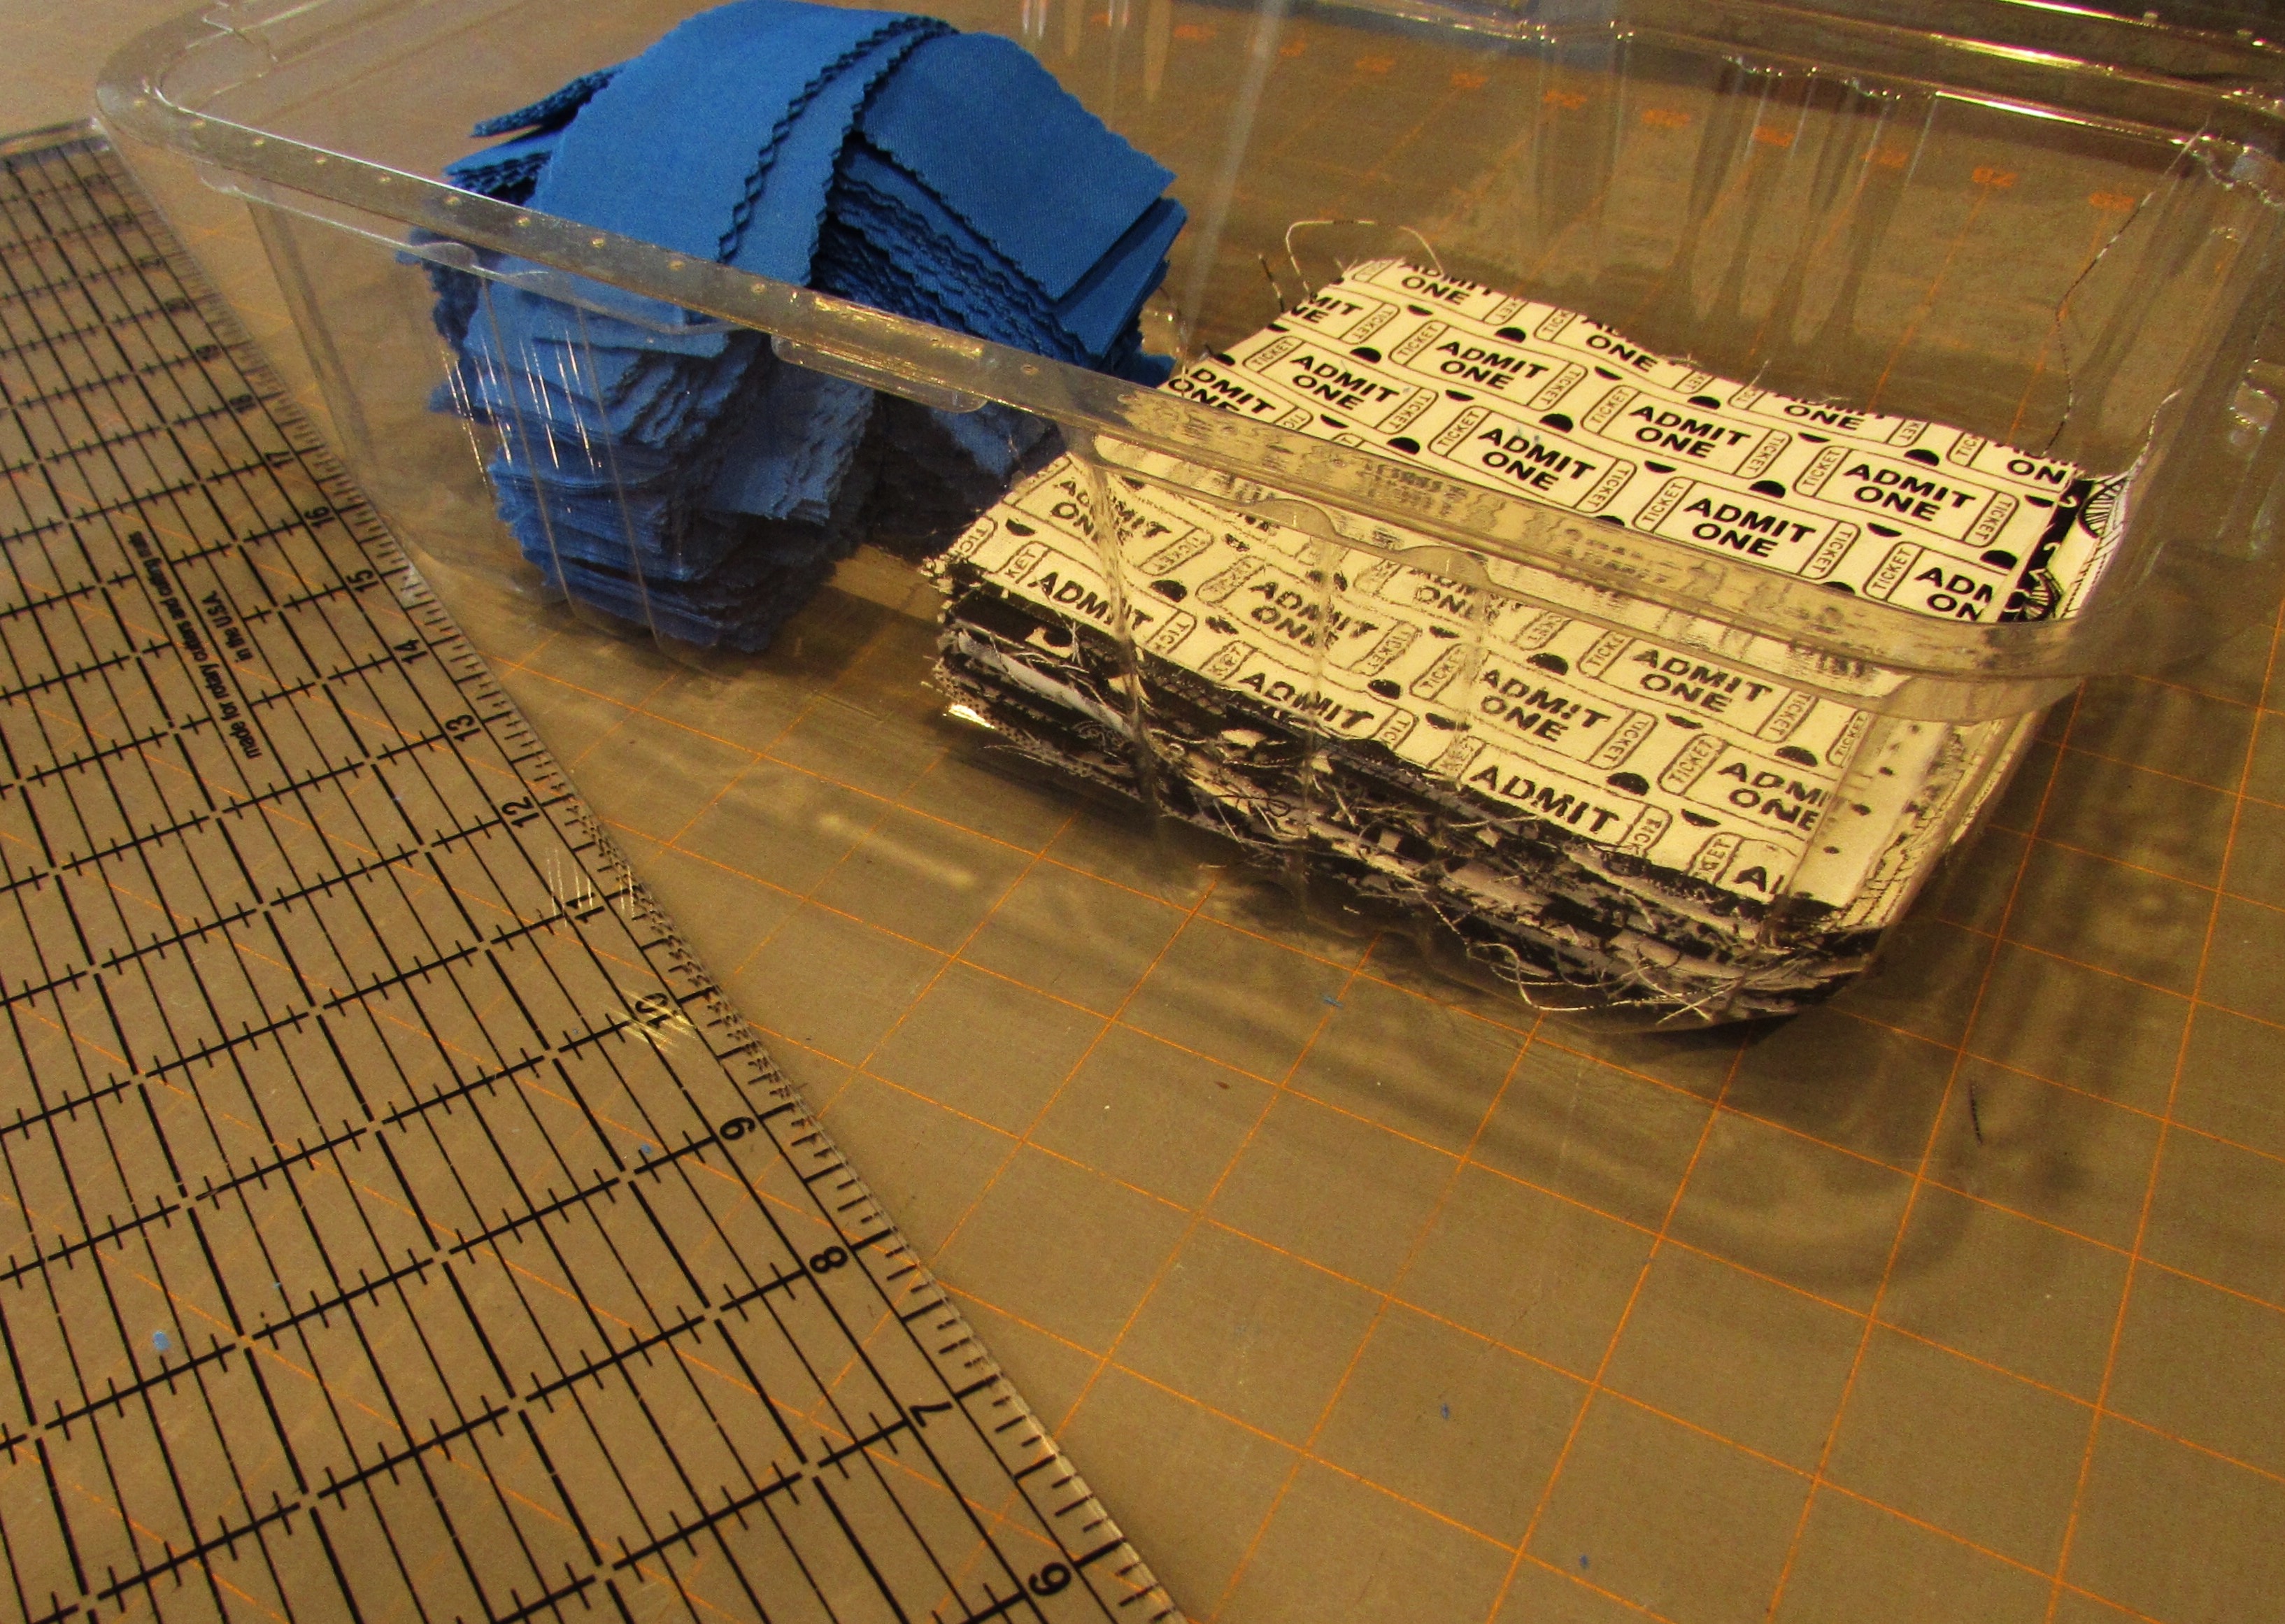
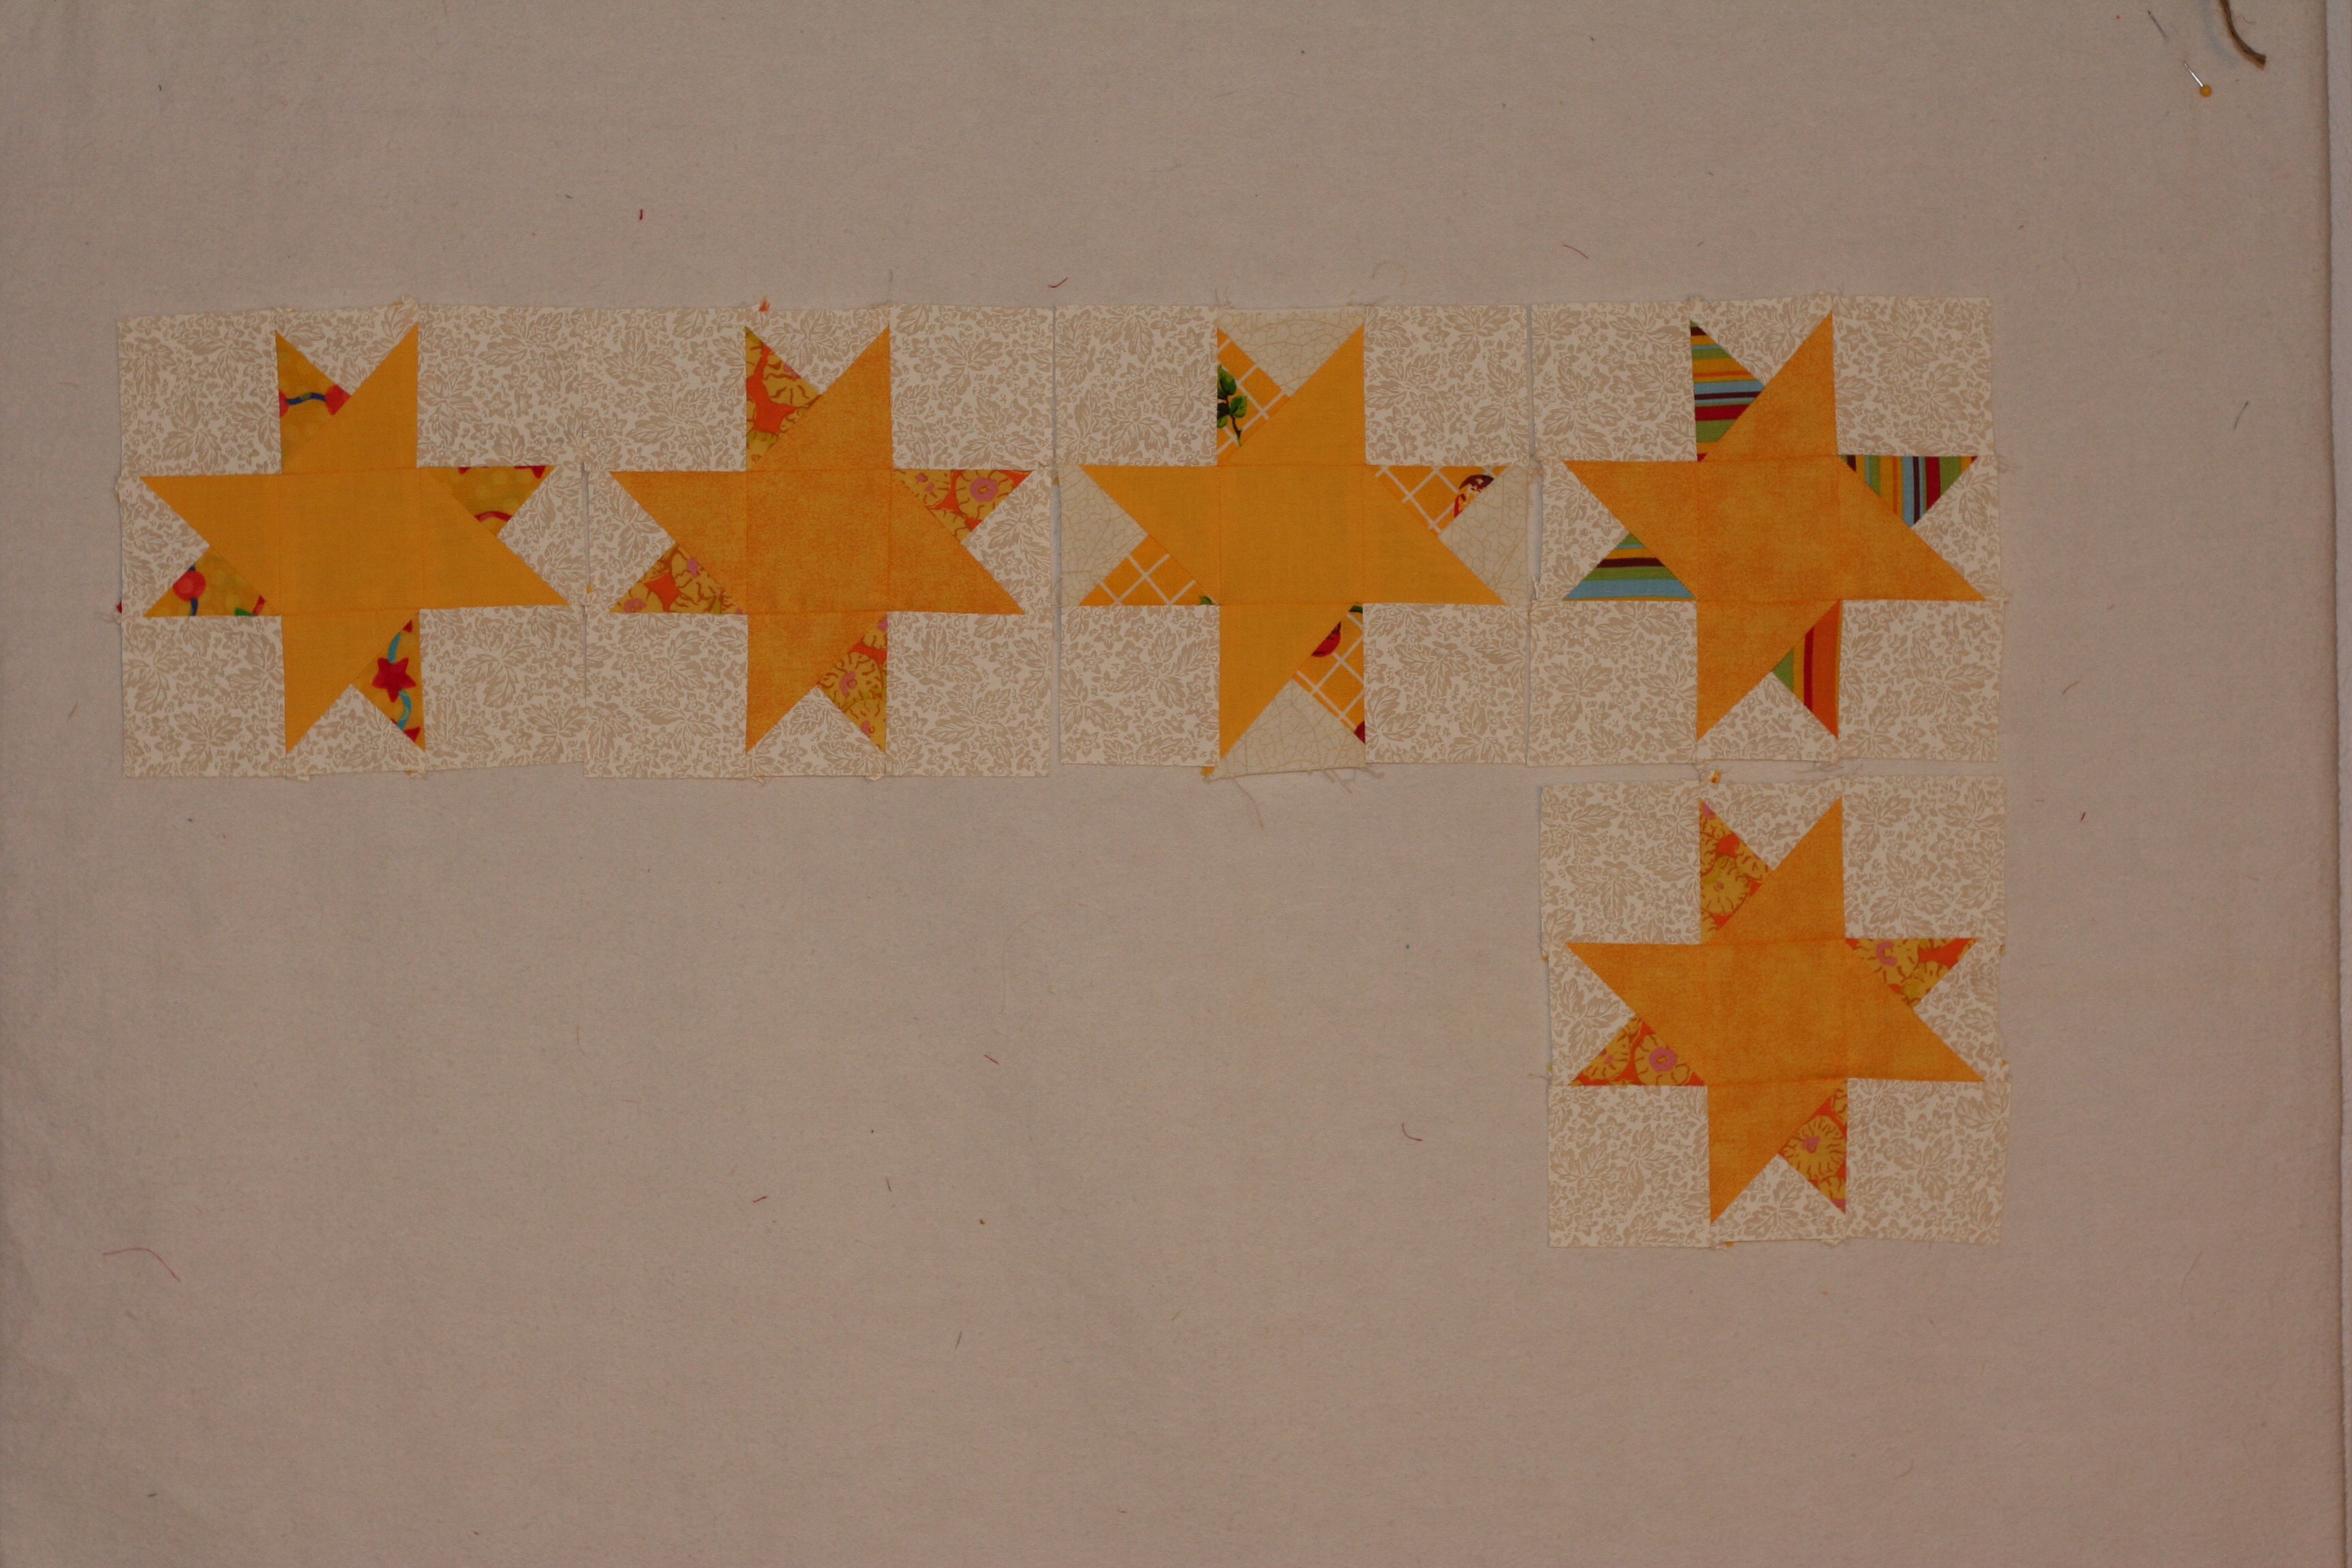
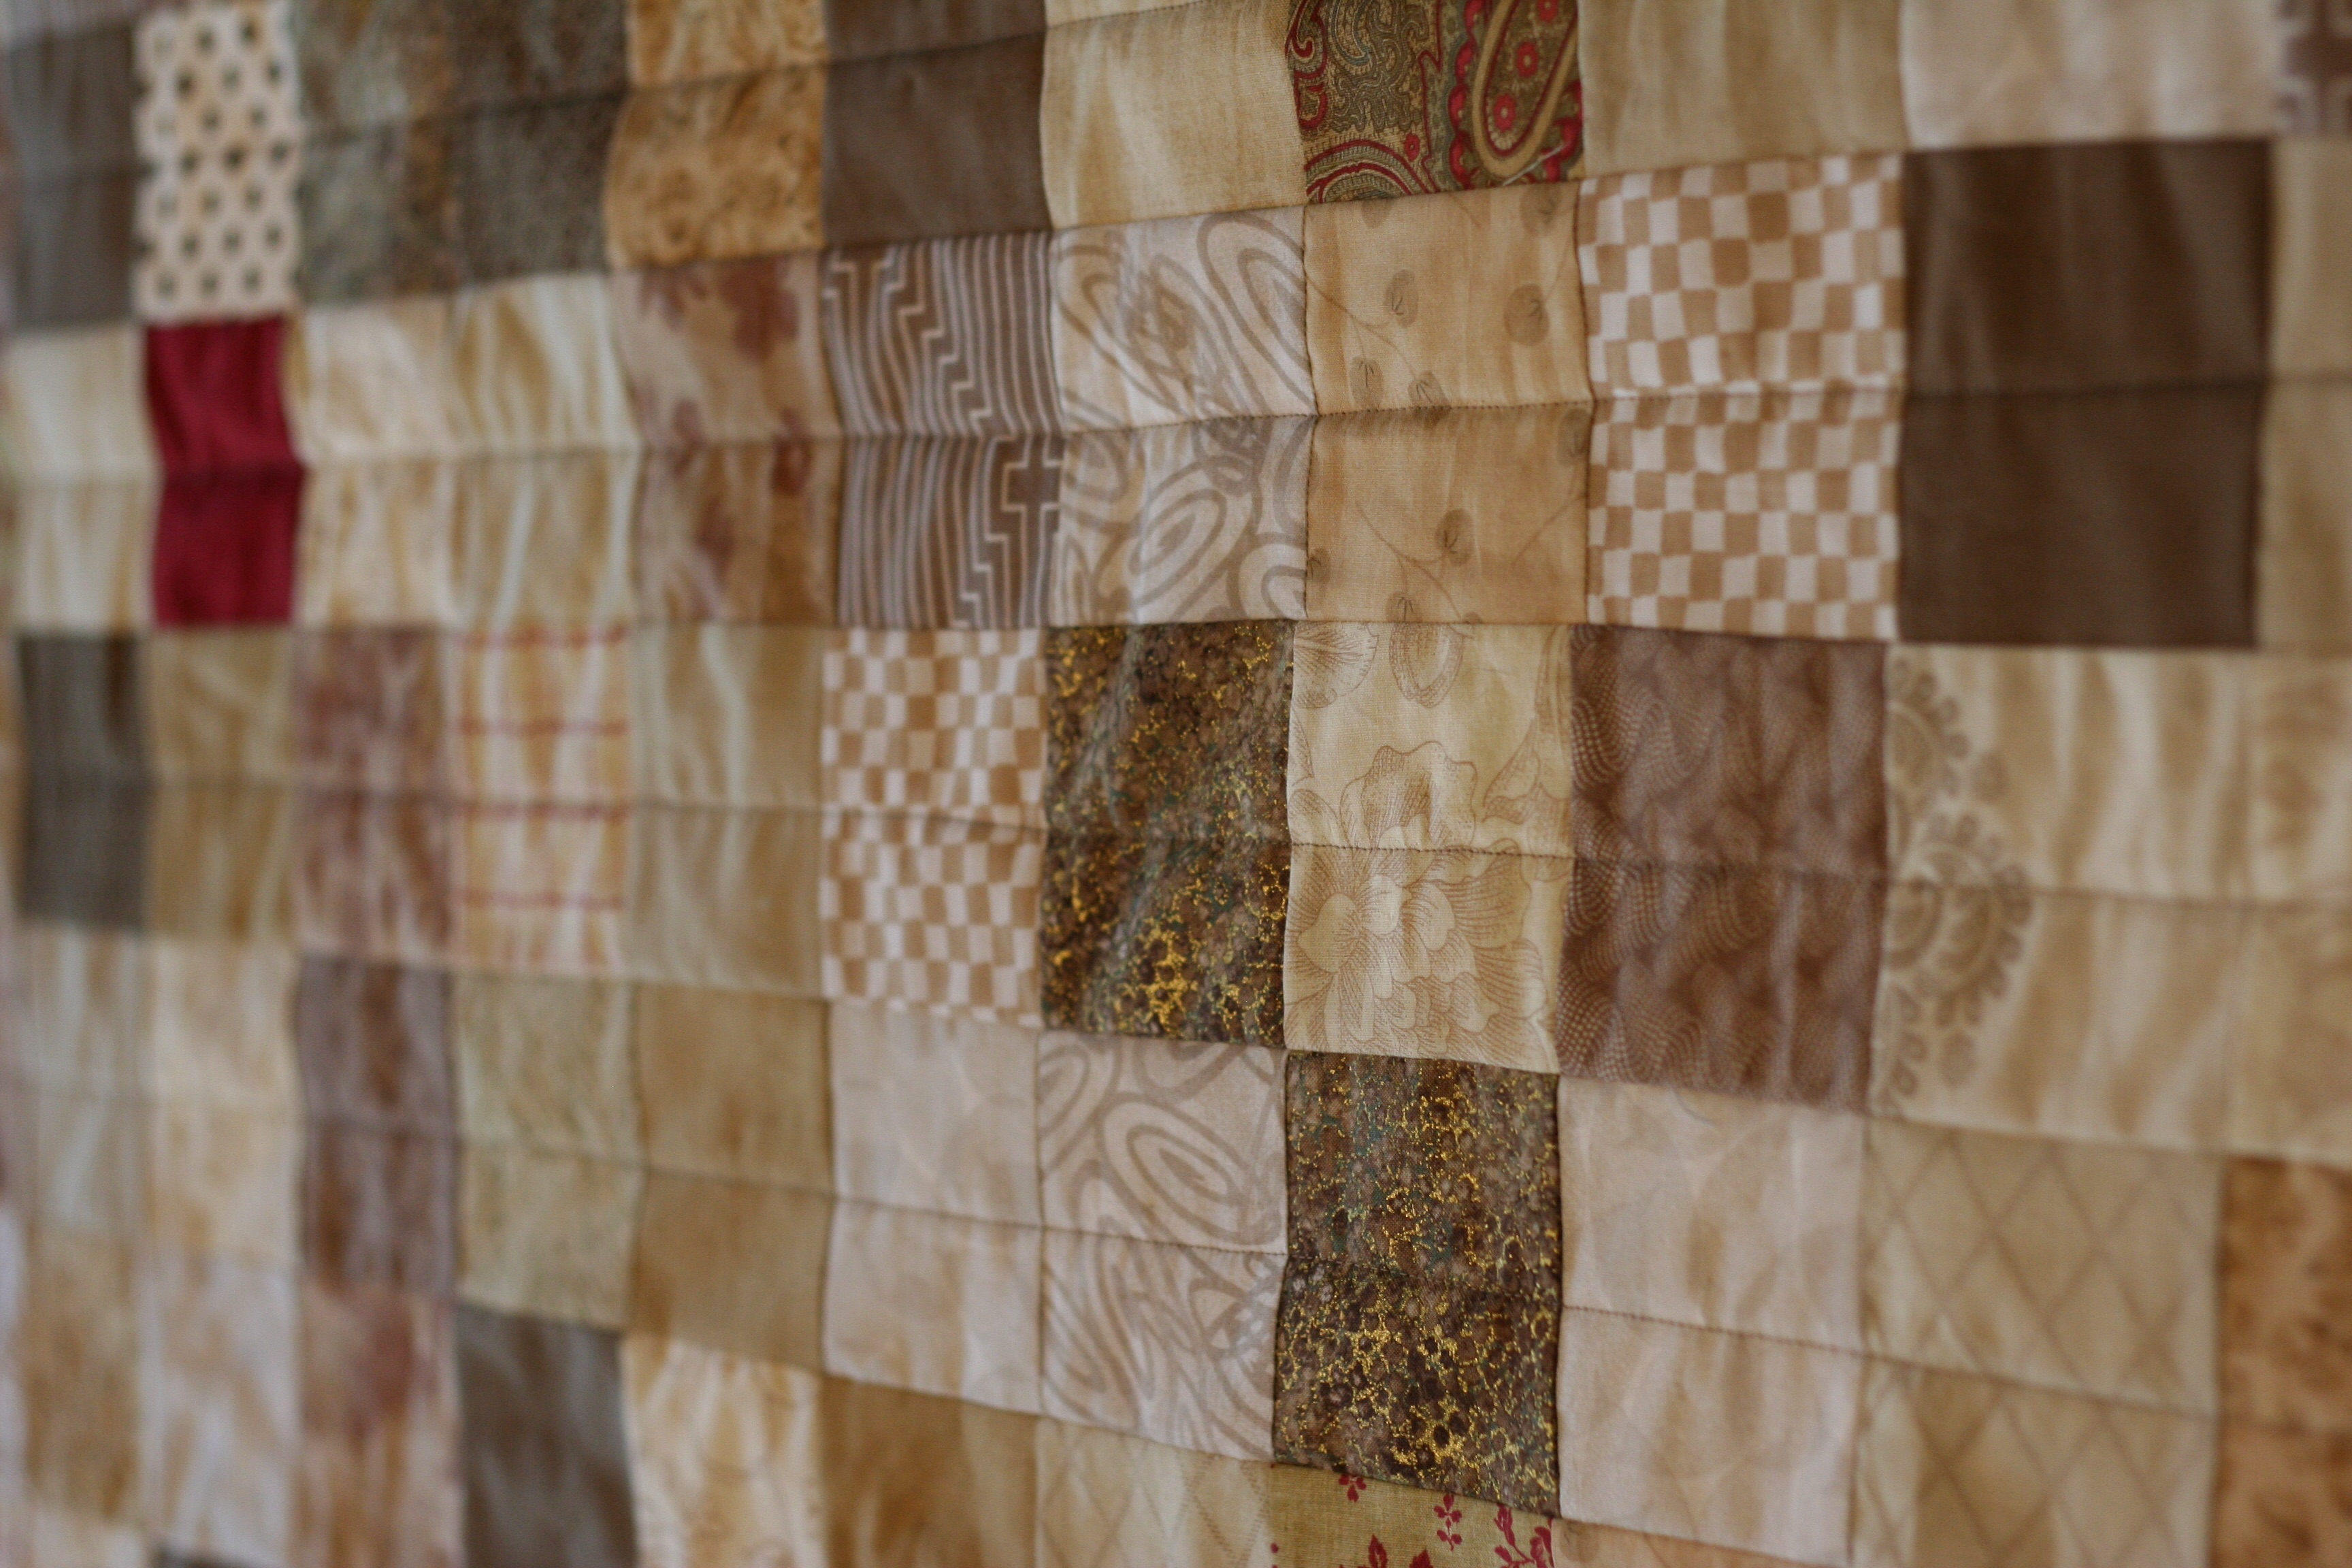
Now that I am nearly done qulting my Square Dance quilt, it seems a good time to begin something new. Seems like I haven’t started a new quilt for a while now. Several weeks ago I was perusing blogs and came across a quilt along that was sorting soon. I have never followed along with a QAL and it sounded like fun. I liked the pattern (called Stepping Stones) and thought it might be fun to meet more of the online quilty community. Jennifer, over at The Inquiring Quilter, is hosting the QAL.  It is definitely not too late to join if you are interested. Other than the social aspect of making the quilt with a group of quilters that are working from the same pattern, there is the benefit of having a schedule to work to each week. I am really enjoying seeing the fabric choices that the others are using for their quilt. As for mine, I have had a collection of black and white charms in my stash for a while now. I didn’t have quite enough for the project so I found more on Etsy. The charms will be bordered with 1 1/2″ strips. If ever there was a time for pre-cuts, it is this quilt. I found a honey bun in royal blue at Missouri Star Quilt Co. This was my first order from Missouri Star and I smiled when I read their shipping notice. Someone over there is a very creative writer! I also smiled when I was ordering my blue strips and I saw their Daily Deal with a package of Kaffe Fassett charms for $2.00. Score. And so my stash continues to grow, bit by 5″ bit.

Time to sew. I have been neglecting my Etsy shop and need to make a few new Chemex cozies today. I also need to work on about a billion little HST’s for the quilt along. Hope you will carve out a few minutes to sew as well.

Linking up all over the place. Check the tab, Link Ups, at the top of the page for details!


Quilting Hack

Here is a tip for you. I have been wanting to try those little rubber tips that you can put on the end of your straight pin while basting a quilt sandwich together. Until now, I have used the curved safety pins when I baste my quilts. It takes time to fasten the pins when basting and even more time to remove the pins while quilting. That is actually the part that annoys me most, removing the pins when I am quilting. The little stubs that I have seen on other quilters blogs were intriguing. Until I looked at the price. They are kind of spendy, for my budget at least. Quilting is an expensive hobby obsession. If I can minimize some of the cost, I will. Sometimes this means buying fabric or notions at estate sales and thrift shops or choosing not to buy some of the many gadgets that are available (and oh-so-tempting.)

I was mentioning my surprise at the price of these little stubs to my husband and asked him what else I might use. He immediately suggested the little ear protection plugs he uses when working with power tools or using the chain saw. Isn’t he brilliant? I looked around online and saw that there was already some discussion of using the earplugs in this way on an old forum.

A quick search on Amazon showed myriad choices of ear protection. I purchased a jar of Sound Blocker ear plugs which was priced at $17.95 for 30 pair.  Thirty pair provides 60 individual pieces. Cutting each one in half nets out 120 stubs. The originals are priced at .35 each and this method sets the cost at .15 each. In all honesty, I didn’t do a great job of pricing these plugs when I purchased them. There are others listed on Amazon that look to be the same and are priced even lower. While the price difference that I ended up with was good, it could have been even lower. When they arrived, I unwrapped about 15 of the little packets and quickly cut each plug in half using my regular craft scissors

IMG_20160102_4424

I gave these a try for the first time when I was basting the baby quilt that I made with the orphan blocks. It was a bit awkward at first. The ear plugs squish down with the least bit of pressure and I thought they wouldn’t work bec ause of this. Not so. I think they are supposed to be squishy like that if  you are using them in your ears, as they are intended. I found that when I put them on the ends of the pins, the natural shape was restored after a bit. Kind of like they deflated when I put one on a pin and then it puffed back up. They held to the end of the pin quite well. I think I had only one fall off the whole time I was quilting.

When I was experimenting with these, I cut a few of them into three pieces, rather than in half. (I suppose one can be too frugal though.) They were not long enough and the tip of the pin would poke through the other end of the plug. One of the purposes of using these is to protect your fingers and hands from being poked so this wasn’t exactly helpful. 😉

IMG_20160102_4427

I am happy with the results so far. It will be interesting to see how long these last. I love taking regular pins, instead of safety pins, out of the quilt while quilting. In addition, I can use a thinner pin since I am not using the safety pins. The safety pins leave a larger hole than my sharp pins, especially with batiks.

Hope this is helpful to you. If you have tried this already, let me know your thoughts.

Linking to Freemotion by the River and Let’s Bee Social. You’ll find their links at the top of the page, under Link Ups.

Estate Sale Score

Last week I spent some time up at the Downieville house painting. The house is located on a quiet street with charming older homes along the street. While I was there, I found an estate sale happening up the road from our house. I couldn’t resist. It was only a few houses up the road so I walked over. There was quite a crowd of people (for Downieville anyway) waiting for it to open. I was curious about the interior of the house – I love walking through homes and this one looked promising.

With no real goal in mind, I wandered through the yard and each room of the house. The home was packed with stuff. It was actually hard to look through everything. I did score in a major way though. There was a tub (the under-the-bed storage type) of quilting tools. I grabbed it as soon as I saw it. I have been wanting to collect a second set of tools so I can equip a sewing room in the Downieville house (as soon as we are at that point!) Take a look at what was in the tub (which I might add was all of $6.00!!)

IMG_20150420_3142Scissors, two rulers, several measuring tapes and an assortment of zippers (yay – love those for making little pouches!) Also…

IMG_20150420_3143Three cutting mats, metal clips to hold the quilt while quilting it, 5 bobbing cases, and four hoops! This gives me a huge start on equipping a second sewing room. By the way, one of the mats is a little bit warped. Anyone know how I can flatten it, or if it can be flattened? If so, please leave me a comment.

I also found these sweet pictures. Adorable line drawings. The frames need to be cleaned a bit.

IMG_20150416_3144

IMG_20150416_3145

They are quite small, maybe 5 x 6″? Really cute though.

Finally, I happened upon this vintage Betty Crocker Cookbook, published in 1961.

vintage_betty_crocker_new_picture_cook_book

I have only just started to read it but it is so entertaining. This page made me smile.

cookbook

This section is great.

IMG_0524 (2)

Hope the week is starting out on a positive note for everyone! I am working on a few projects this week so hopefully I will have a finish to share in a few days.

Linking to Coastal Charm’s Show and Share link up.  Also linking with Connie at Freemotion by the River.


Not a lot of sewing going on

I haven’t spent a whole lot of time at the sewing machine this week. Lots of regular life going on and my neck was being sort of cranky. But that’s ok. I did get a few odds and ends done.

For RSC15 I am working on the March blocks from the Classic Stitches BOM over at Academic Quilter. I only finished five of the ten blocks but they are really fun.

image

For the kitchen in our Downieville house we decided to put in pleated shades. In keeping with the vintage look of the kitchen, I ordered a Waverly plaid that was printed in yellow, blue and green to make valances. We have green and yellow on the walls and I just put a 1950’s formica table in the eating area. It is gray with turquoise trim and the chairs have turquoise vinyl on the seats. I love pulling all of the colors together with these valances. I made a valance for each of the four kitchen windows. Hopefully we will be up there working on the house over spring break so I can hang these soon.

image

I’ve also worked a bit on the quilting for the neutrals quilt. I have a newfound appreciation with my Hera marker (which is made by Clover). I bought this (inexpensive) little tool months ago and each time I use it, I am so impressed by it. If you don’t have one, this tool is used to mark lines for quilting. No worry about removing ink or chalk after you sew. It is so cool. I have been marking the lines on the neutrals quilt with it.

image

The lines aren’t always easy to see. But the indentation left by the Hera marker is enough to guide me along. I don’t mark more than two lines at a time because the indentation doesn’t last very long. If you mark a line and don’t like what it looks like, a simple spritz of water (lightly sprayed) will remove the mark, as will smoothing the fabric with your hands. I don’t know that I would rely on this for intricate marking, but for straight lines it works great. If you want a quick tutorial on using a Hera marker here is a brief video – though it is so simple, not much instruction is needed.

image

I am quilting down the center of each three inch square and when I finish this direction, I will quilt down the center, going the other way.

image

For the heart I used lines that were much closer together. I didn’t mark these, just used the edge of the walking foot to judge the distance. It seems to solidify the heart, almost removing the lines of the patchwork. Looking good so far. Should make my (ALYOF) goal of completing this quit in March. Yahoo!

I was lucky enough to have one of my sisters here for a couple of days to visit this week. What a treat. Even better, her son was also here briefly. My nephew and his wife live in Japan which means I don’t see him very often. We used to live next door to each other when the kids were growing up and I miss having them around all the time. Family visits are the best. That’s the update for the past week or so. Hope everyone is doing well and spending some time with at the sewing machine and some time hanging with family. Best of both worlds!

Linking to Freemotion by the River and Let’s Bee Social. As always, links to these sites are available at the top of the page, under Link Ups. This post is also linked to Stephanie and Michelle at Late Night Quilter for Tips and Tutorials Tuesday.