Category Archives: Straight Line Quilting

Island Batik Goes Modern + A Giveaway!


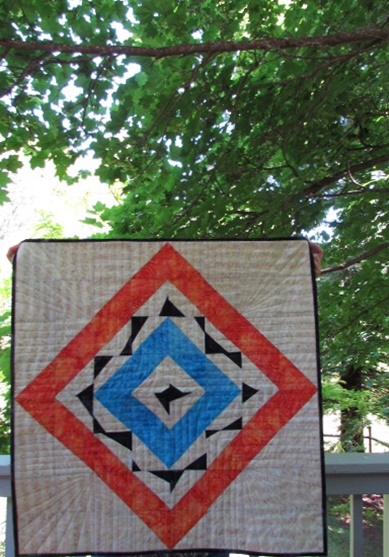
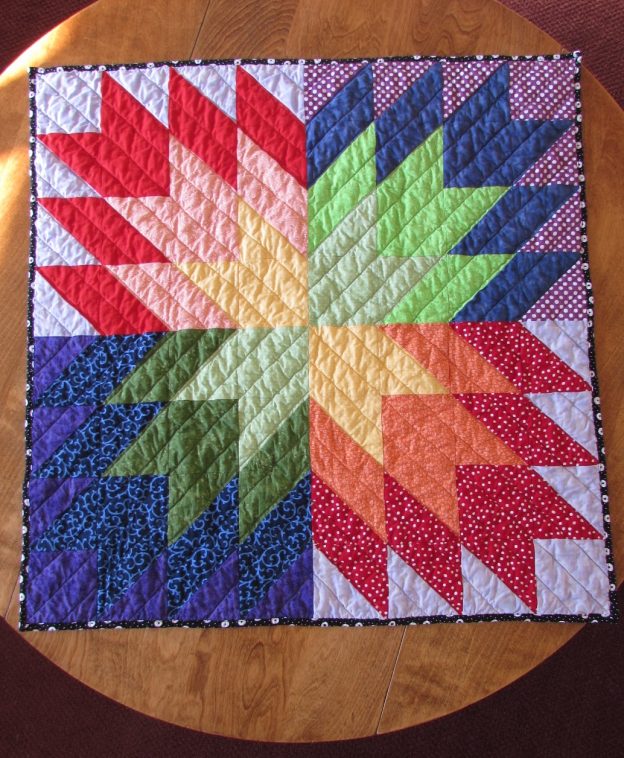
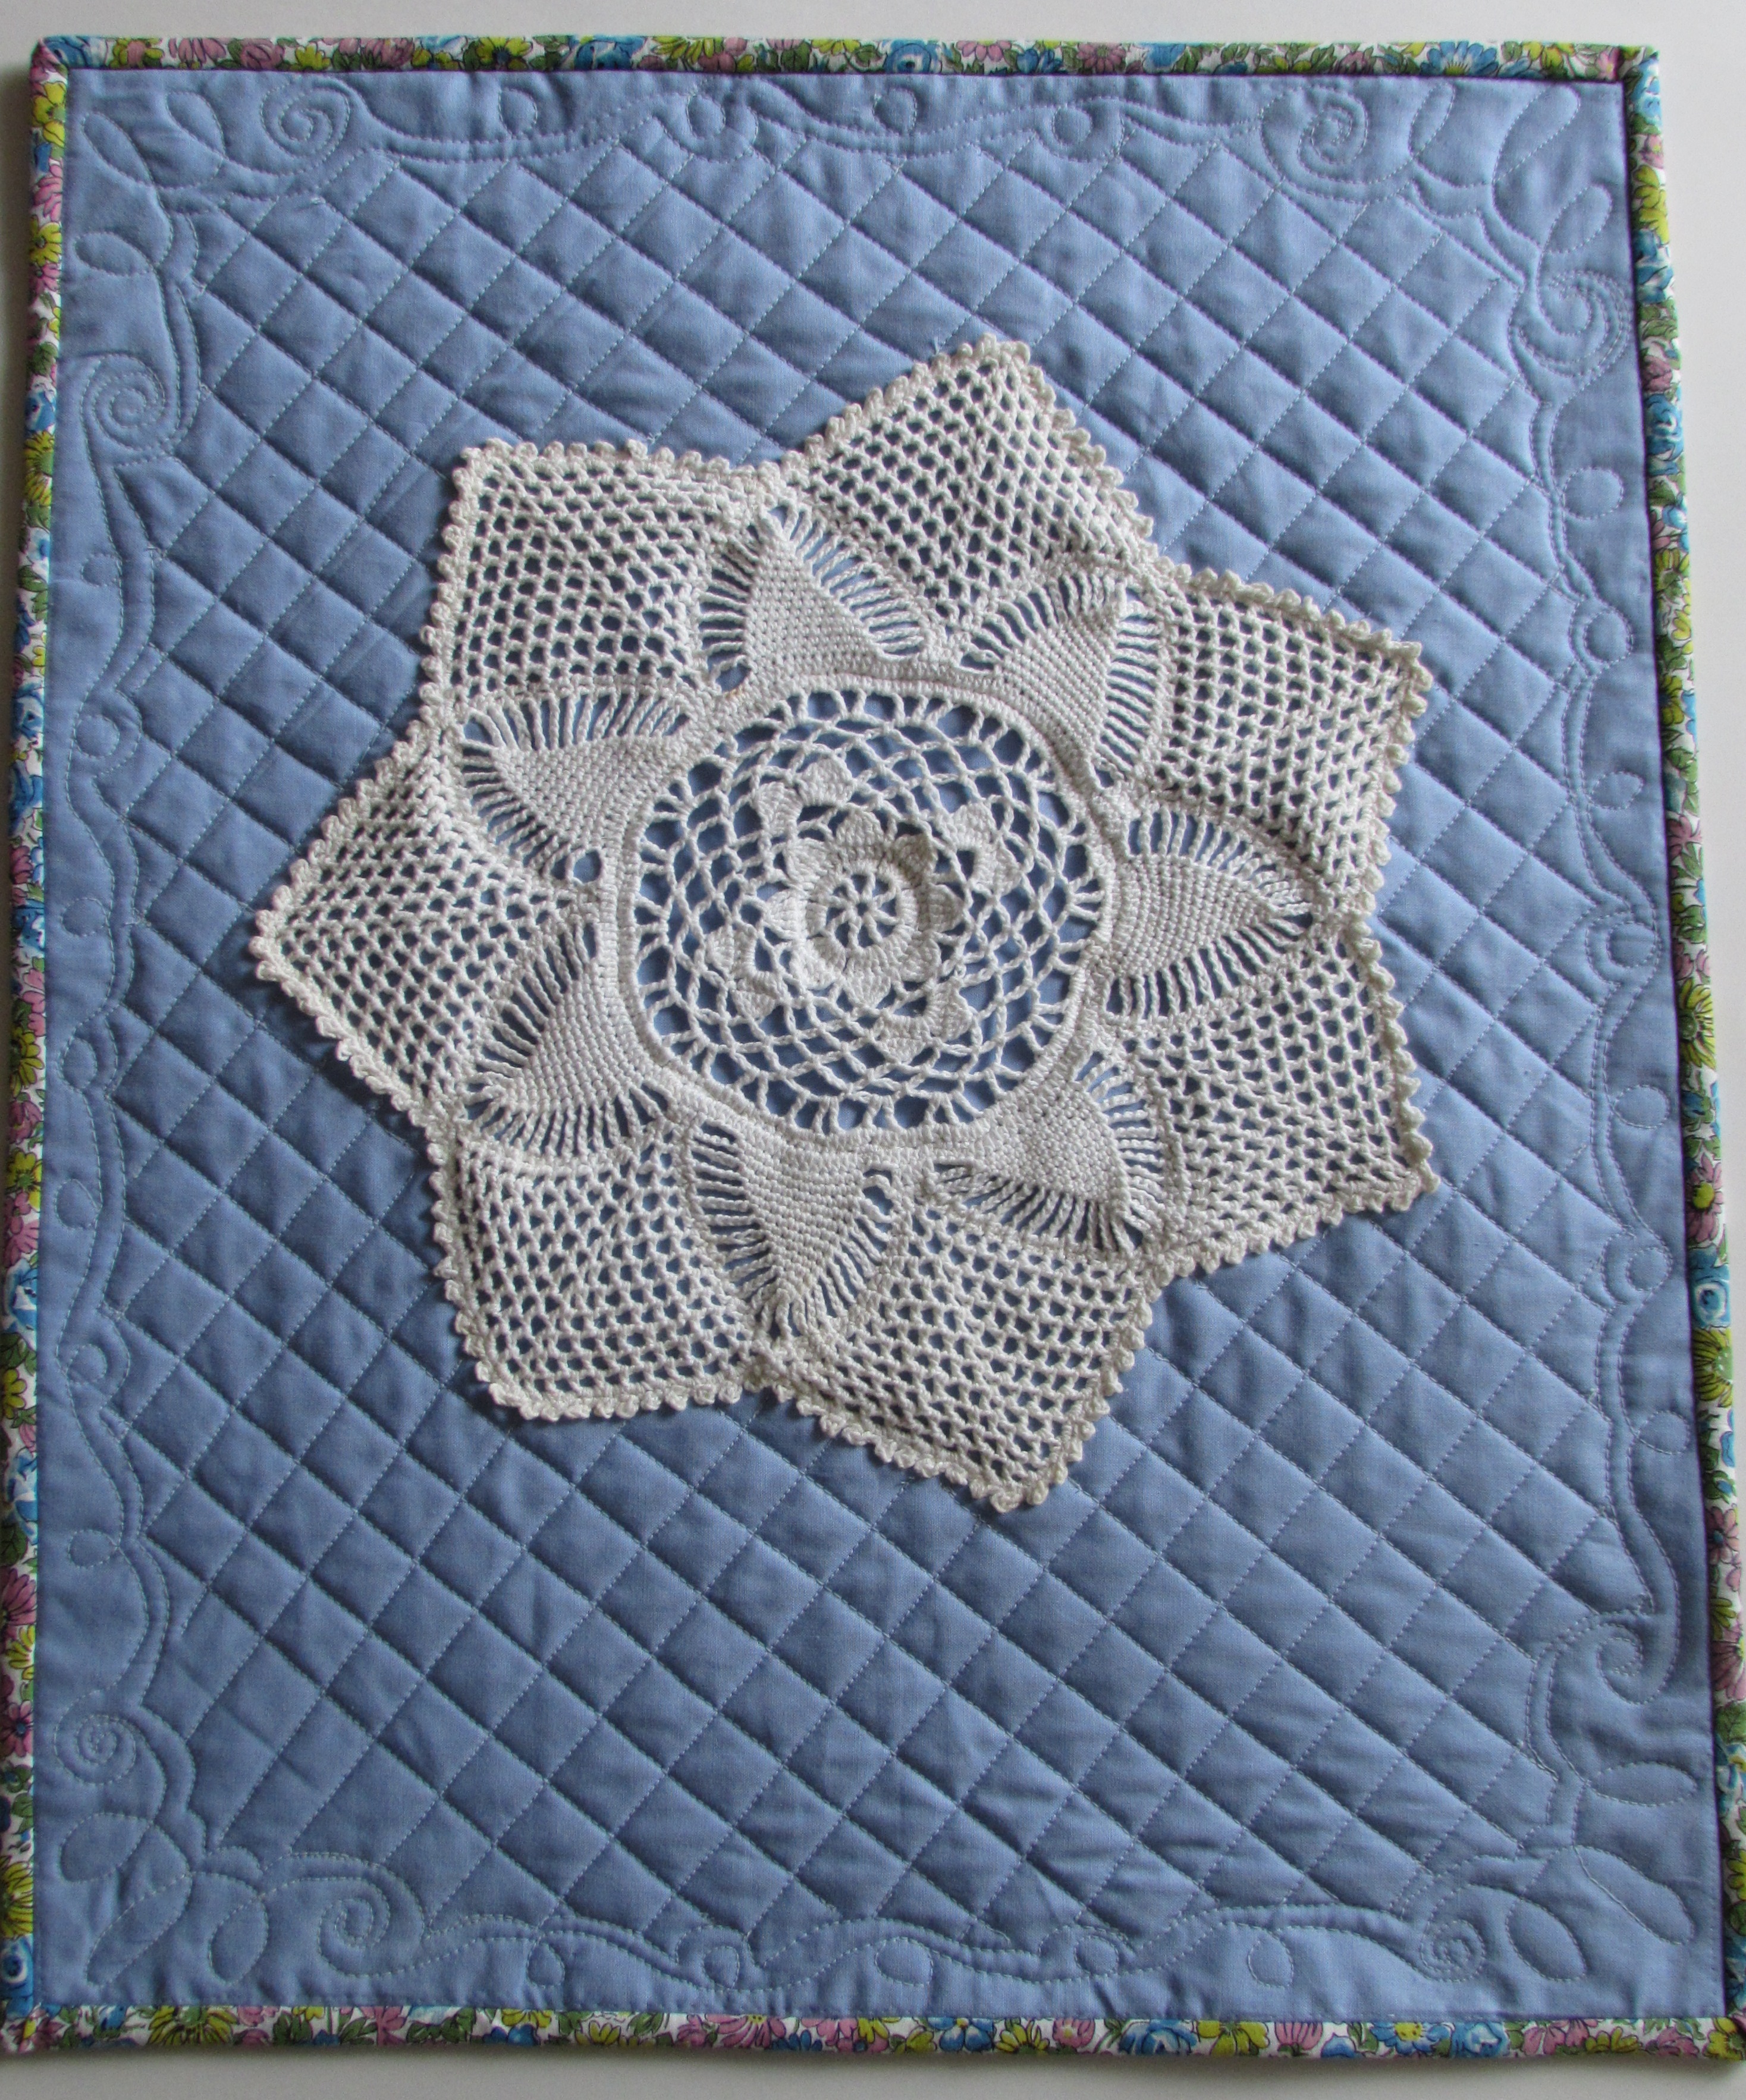
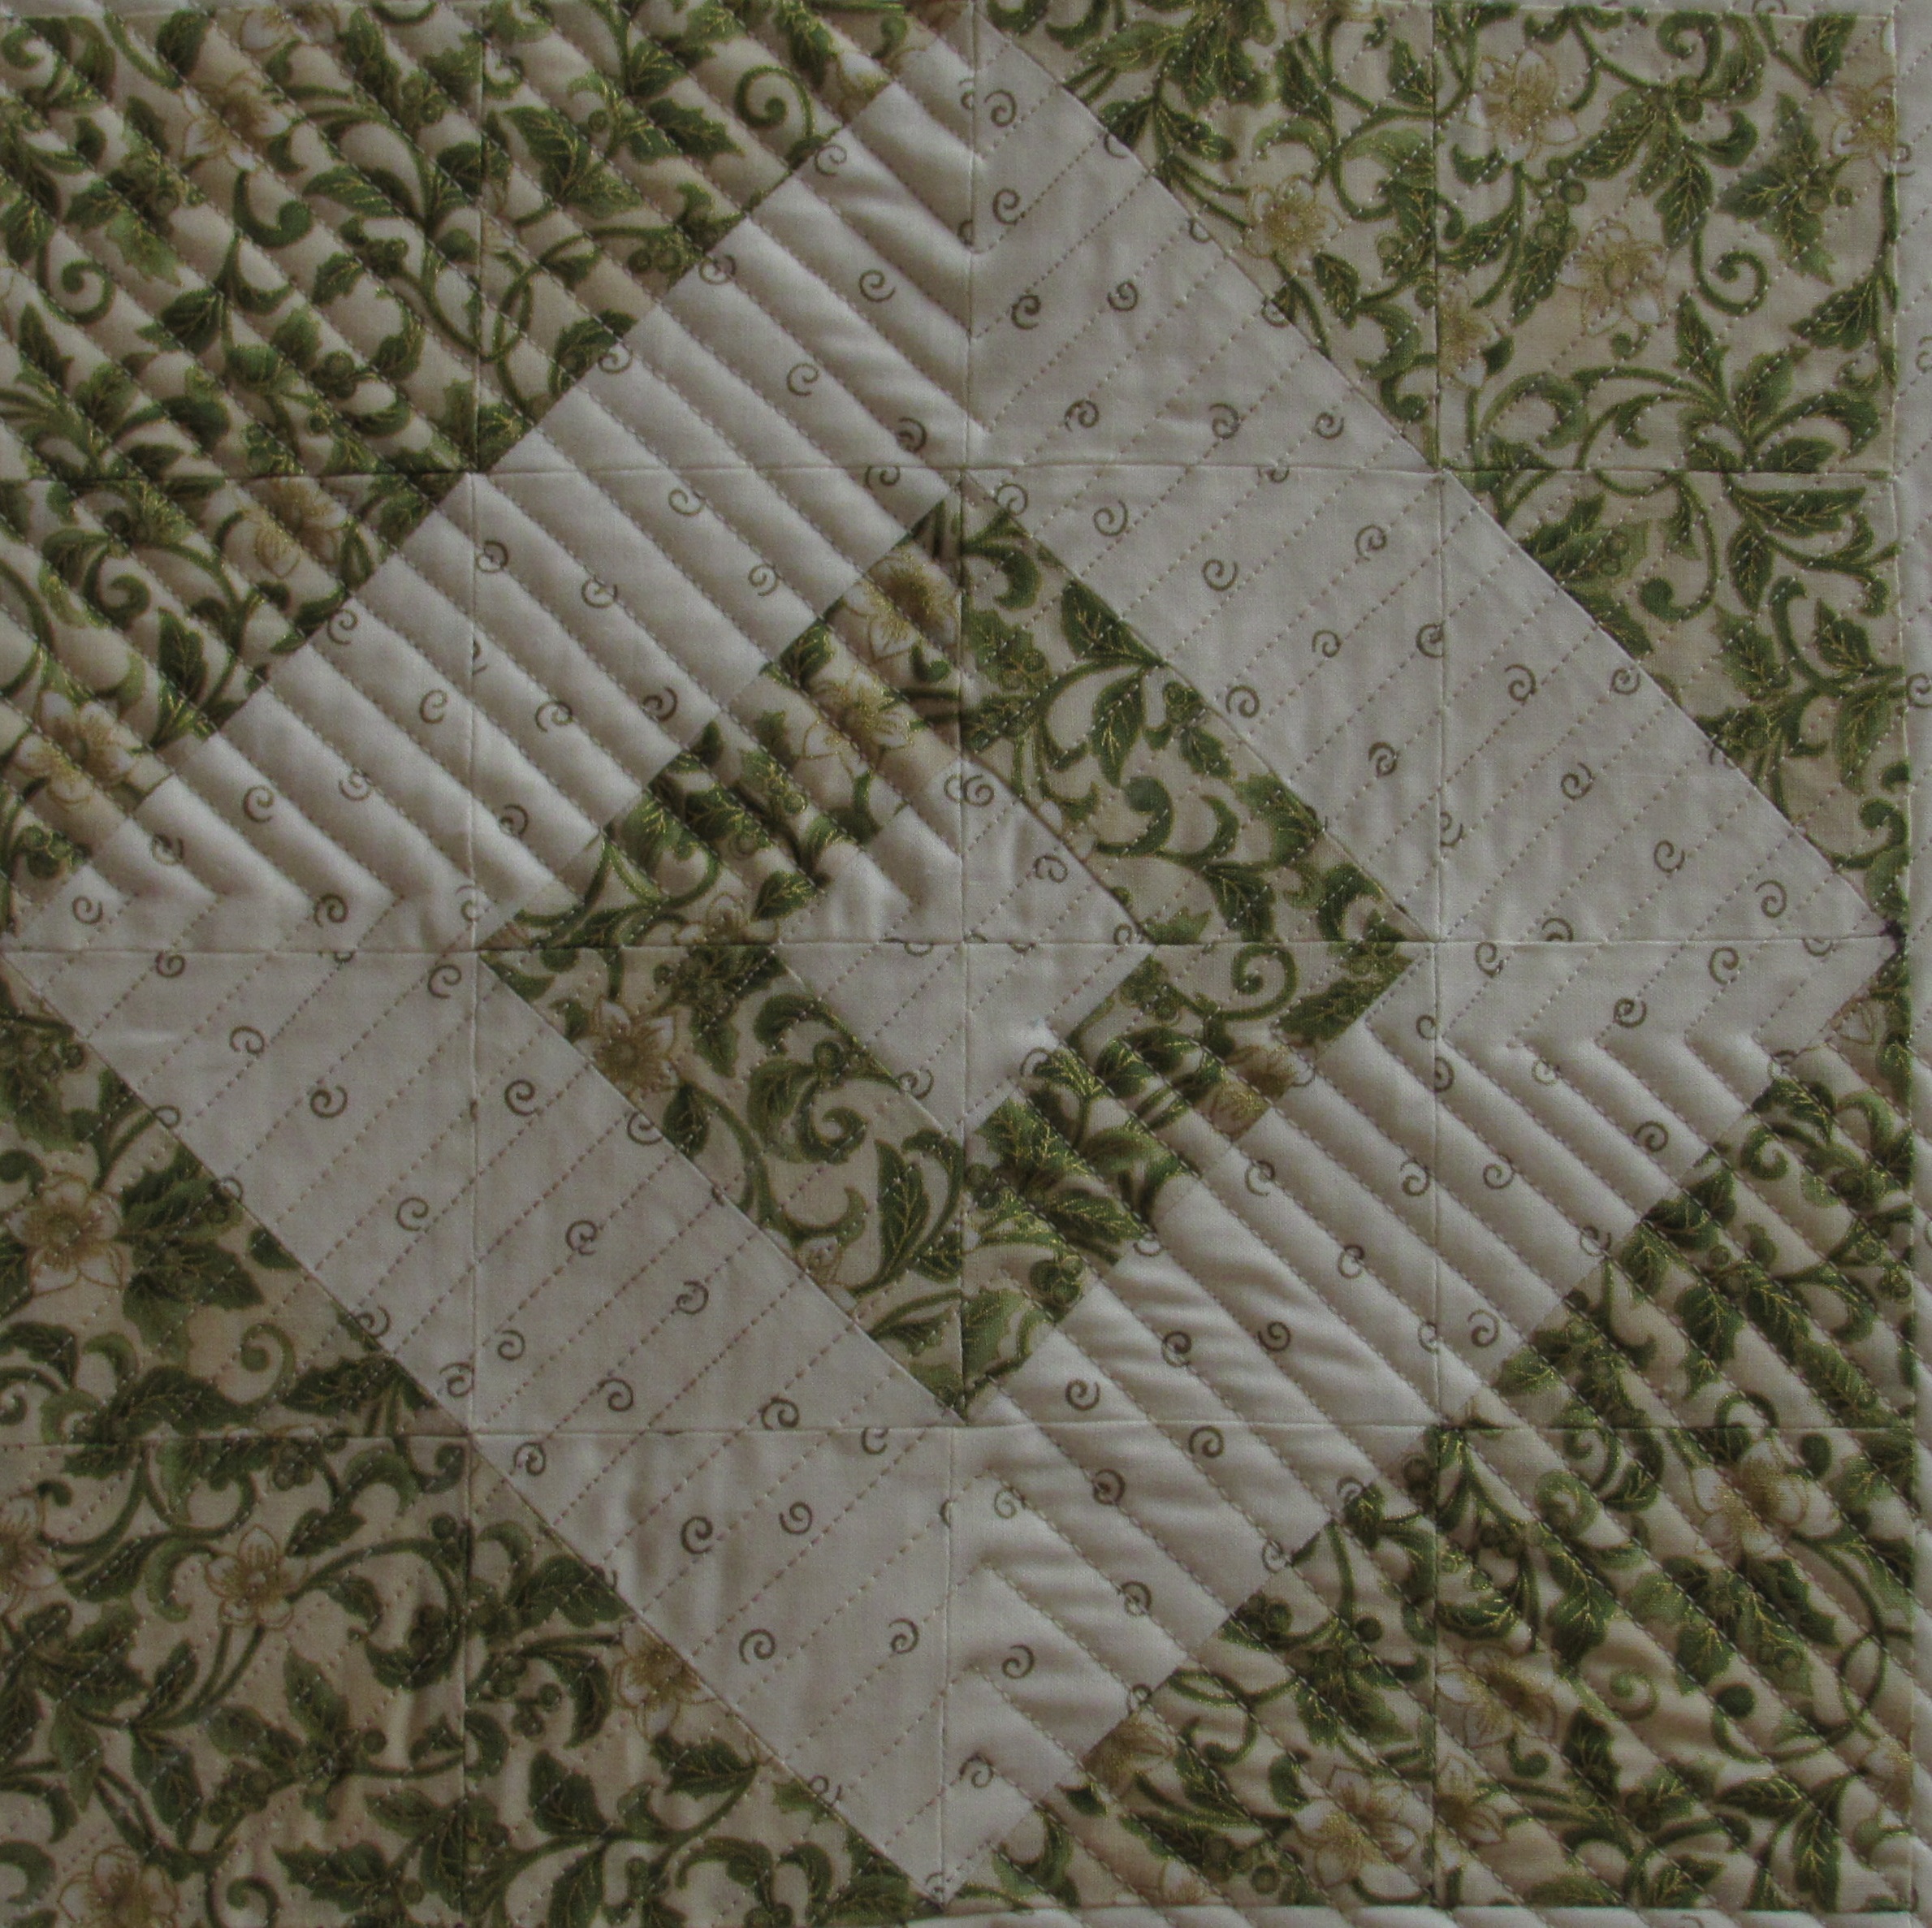
The challenge presented to the Island Batik Ambassadors this month was to create a modern quilt. That’s it, there were no other guidelines. Talk about a blank slate! I decided to turn to my copy of Quilting Modern by Jacquie Gering and Katie Pederson. There are so many fun projects in this book. For this batik challenge, I selected the Swirling Medallion quilt.

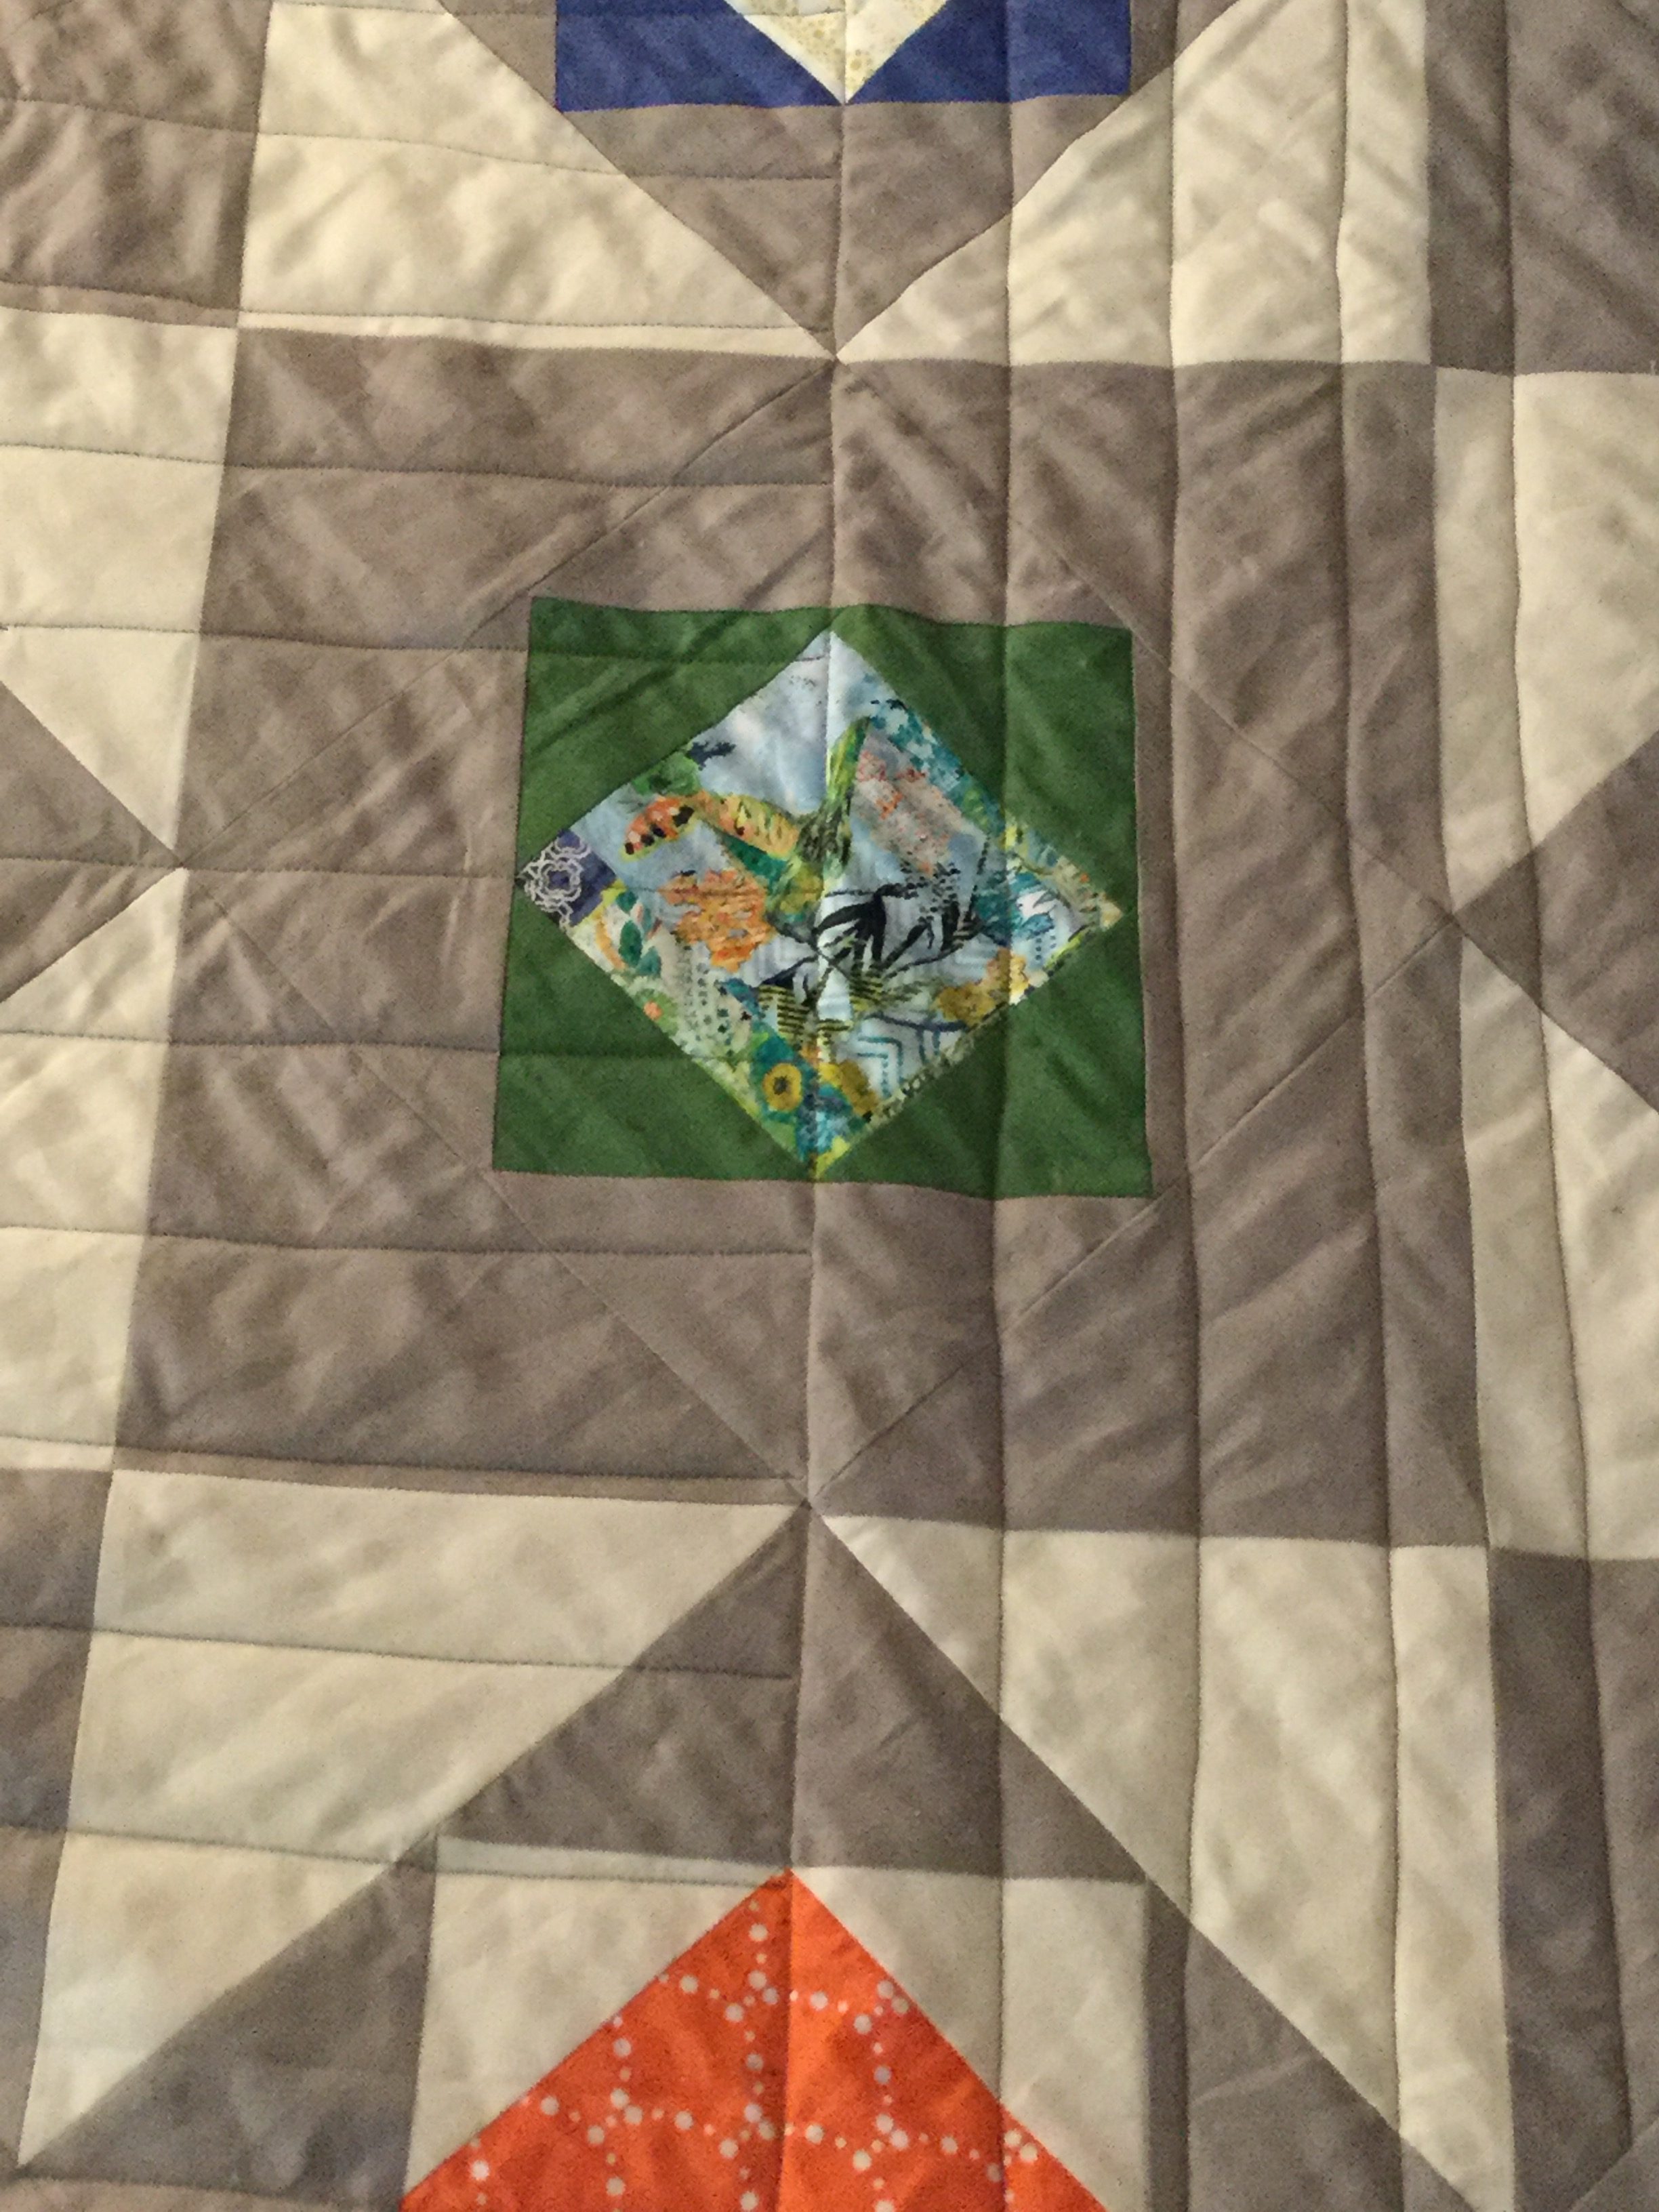
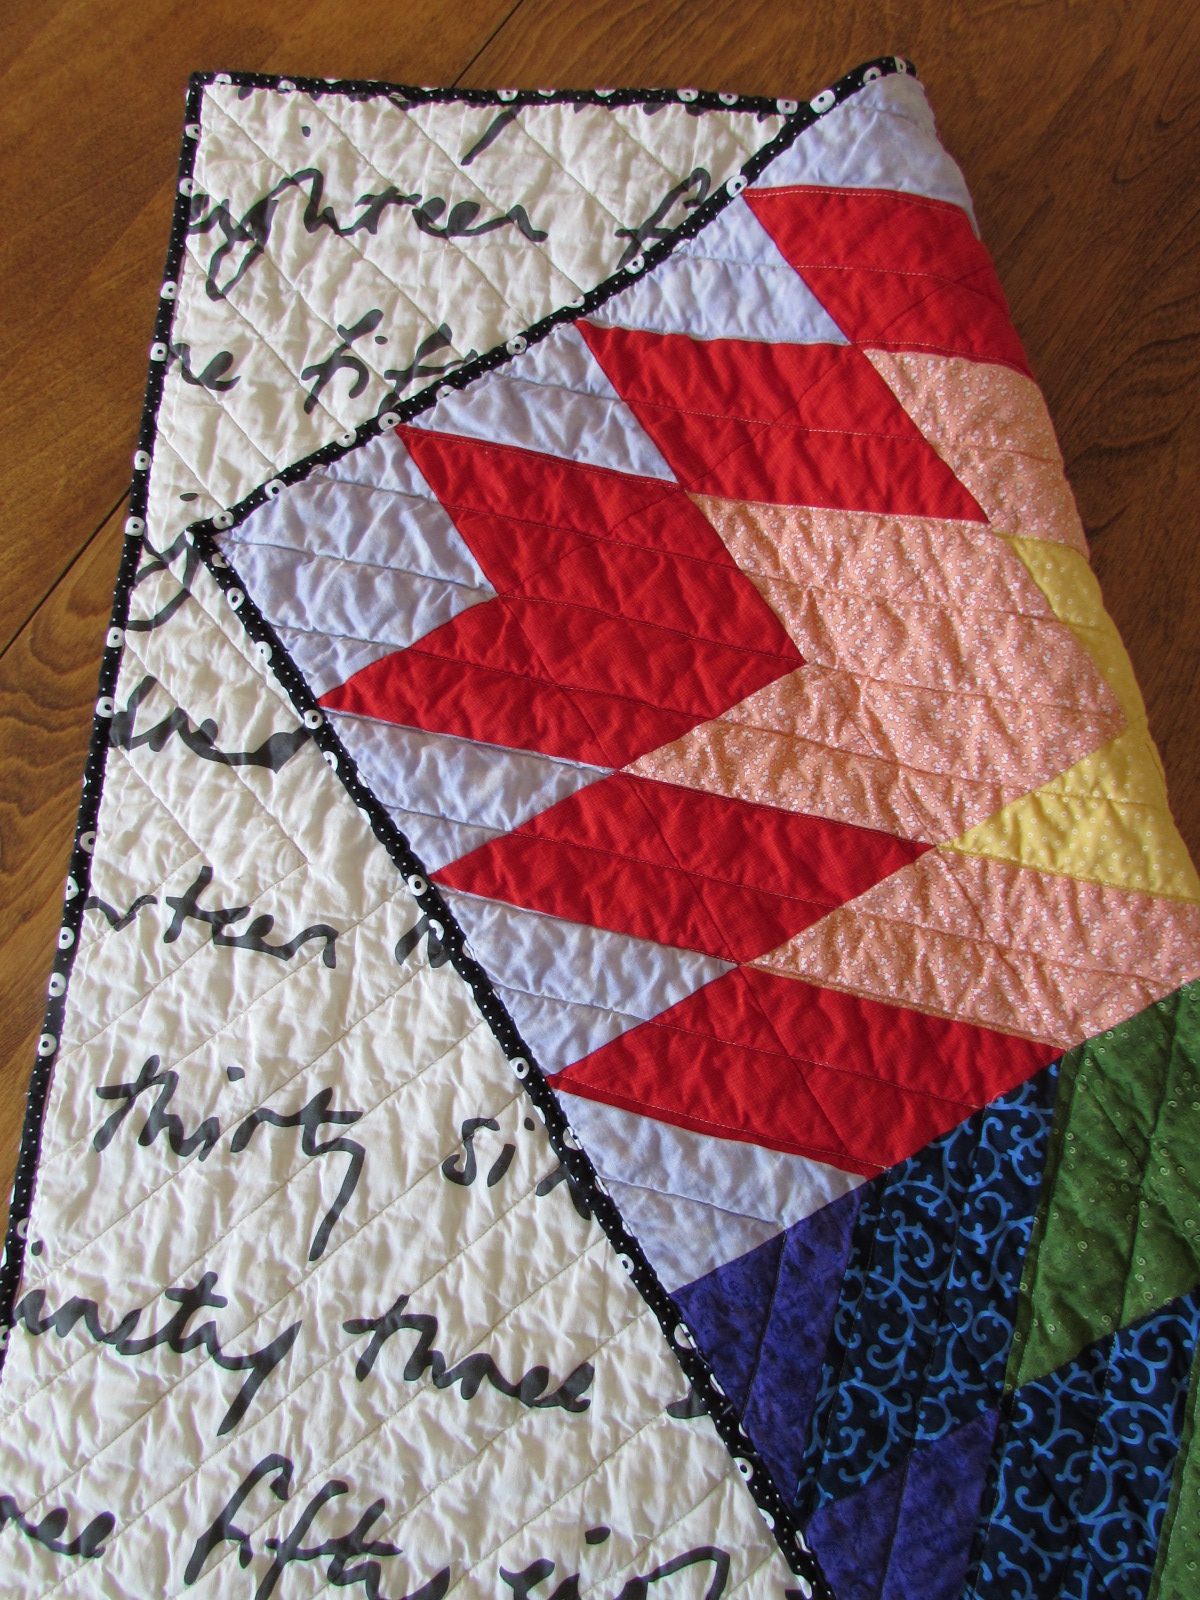
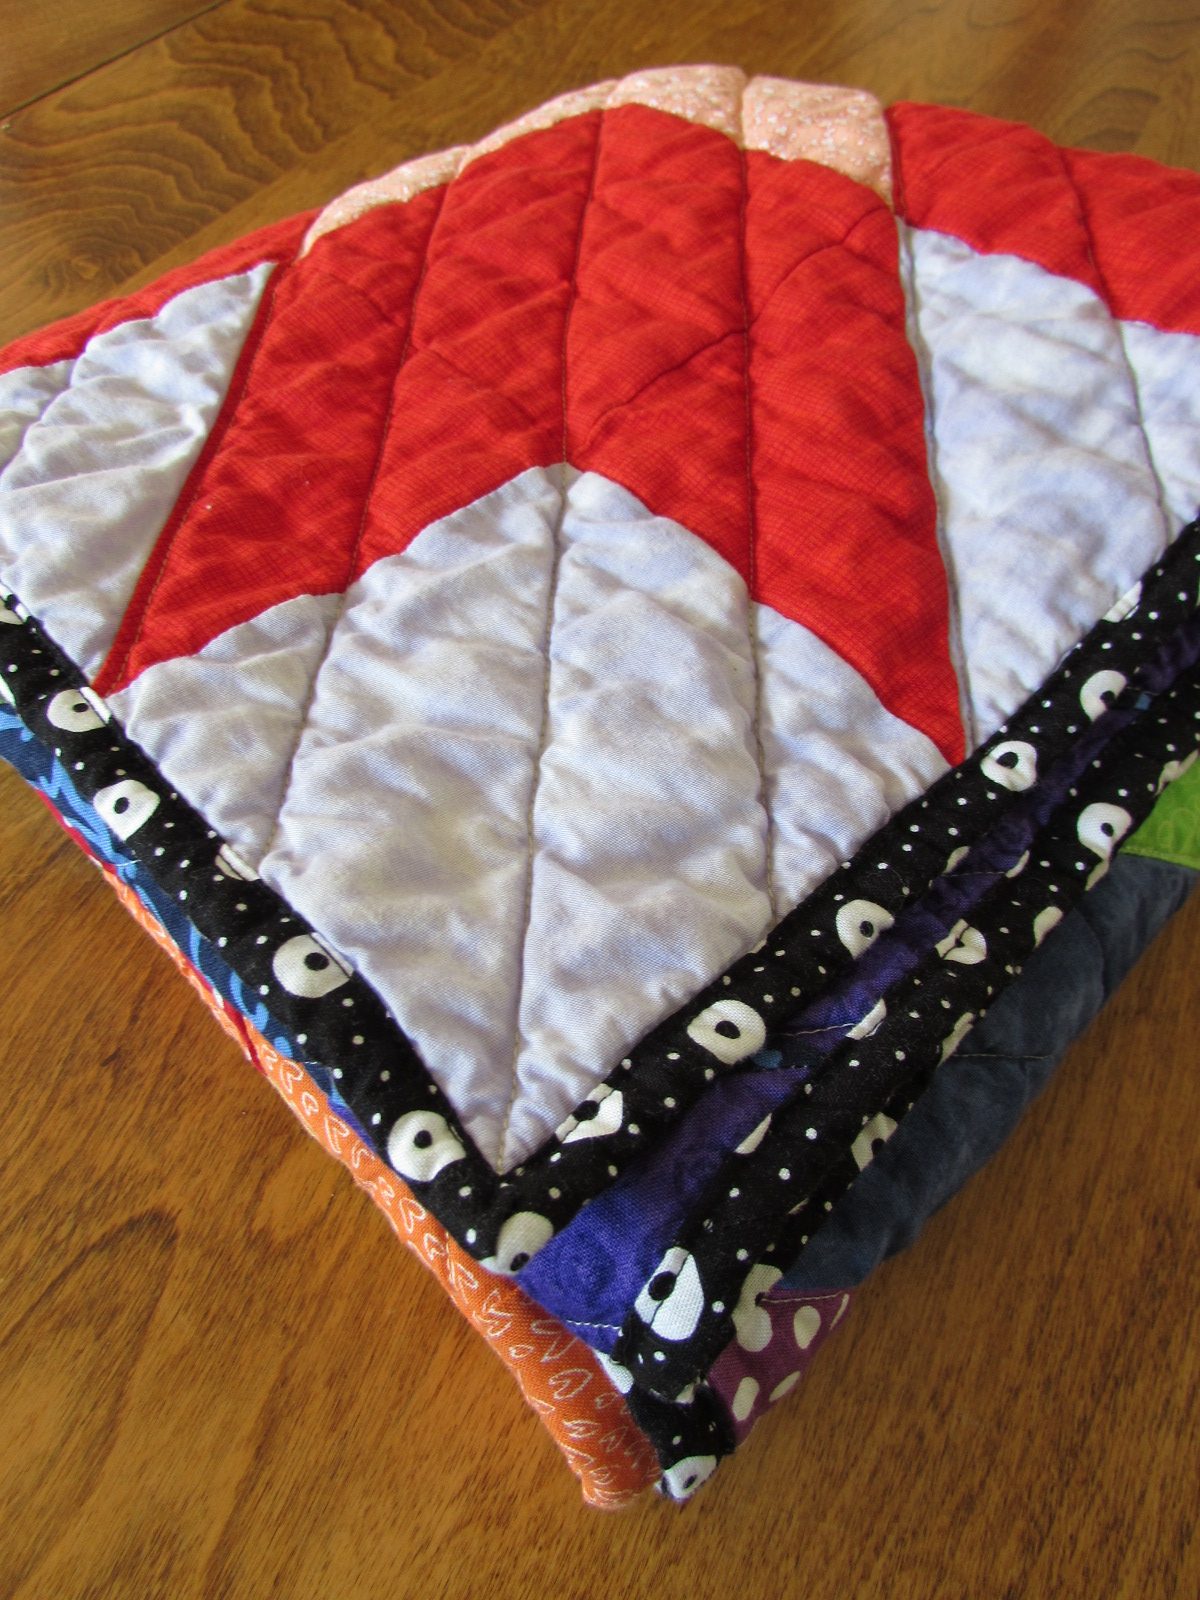
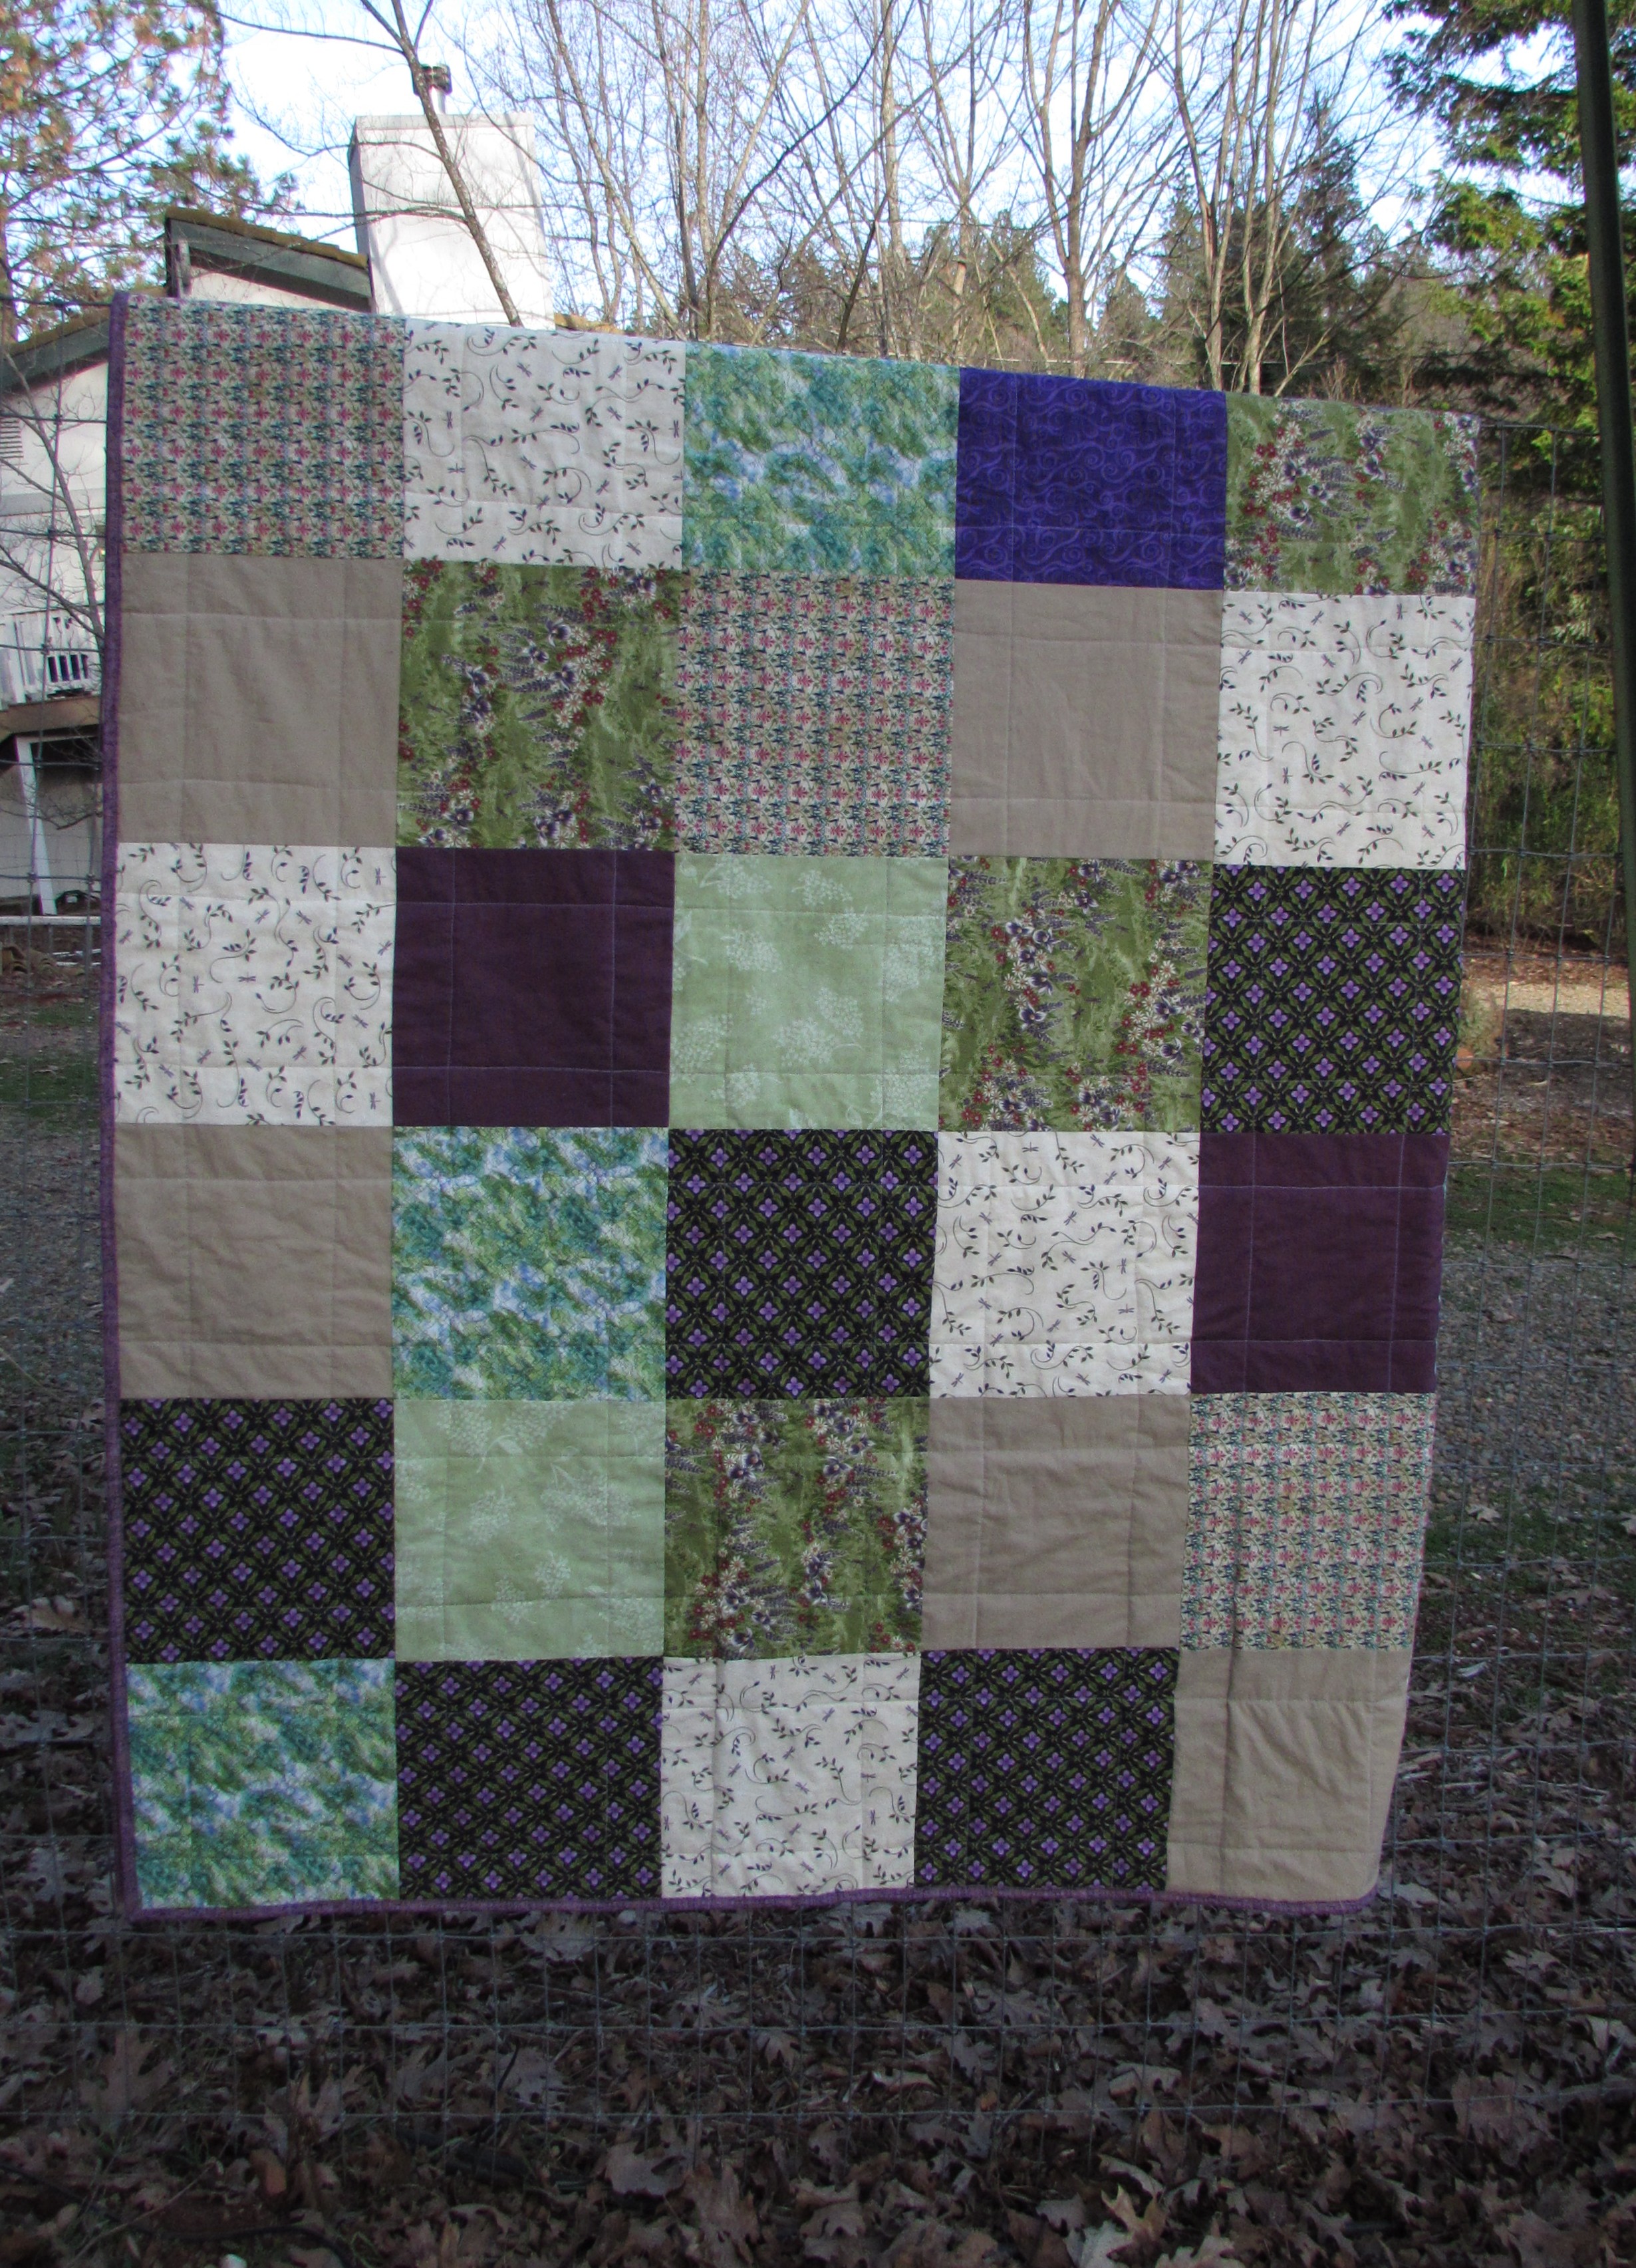
This project is quite simple. It is constructed of HST’s created with 4 1/2″ blocks. A subset of the HST’s have a triangle of black applied to a corner, improv style. (Basically a stitch and flip method.) Those black corners are placed so as to create some movement within the quilt (the swirl). Were I to make this again, I would have made my black triangles larger. There are places where they don’t touch each other and I feel this lessens the effect substantially.

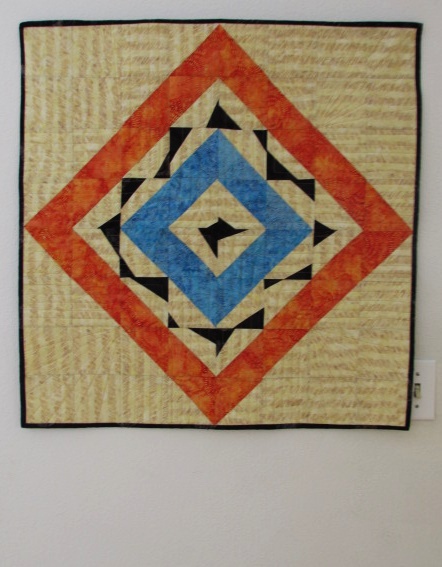
The pattern would have you add another row of the background blocks to frame off the orange diamond shape. I didn’t add these because I wanted to hang it in a certain spot in my entry way and it would have been just a tad too large. I was careful to leave enough of a seam allowance so I wouldn’t cut off the orange points. Hurray!

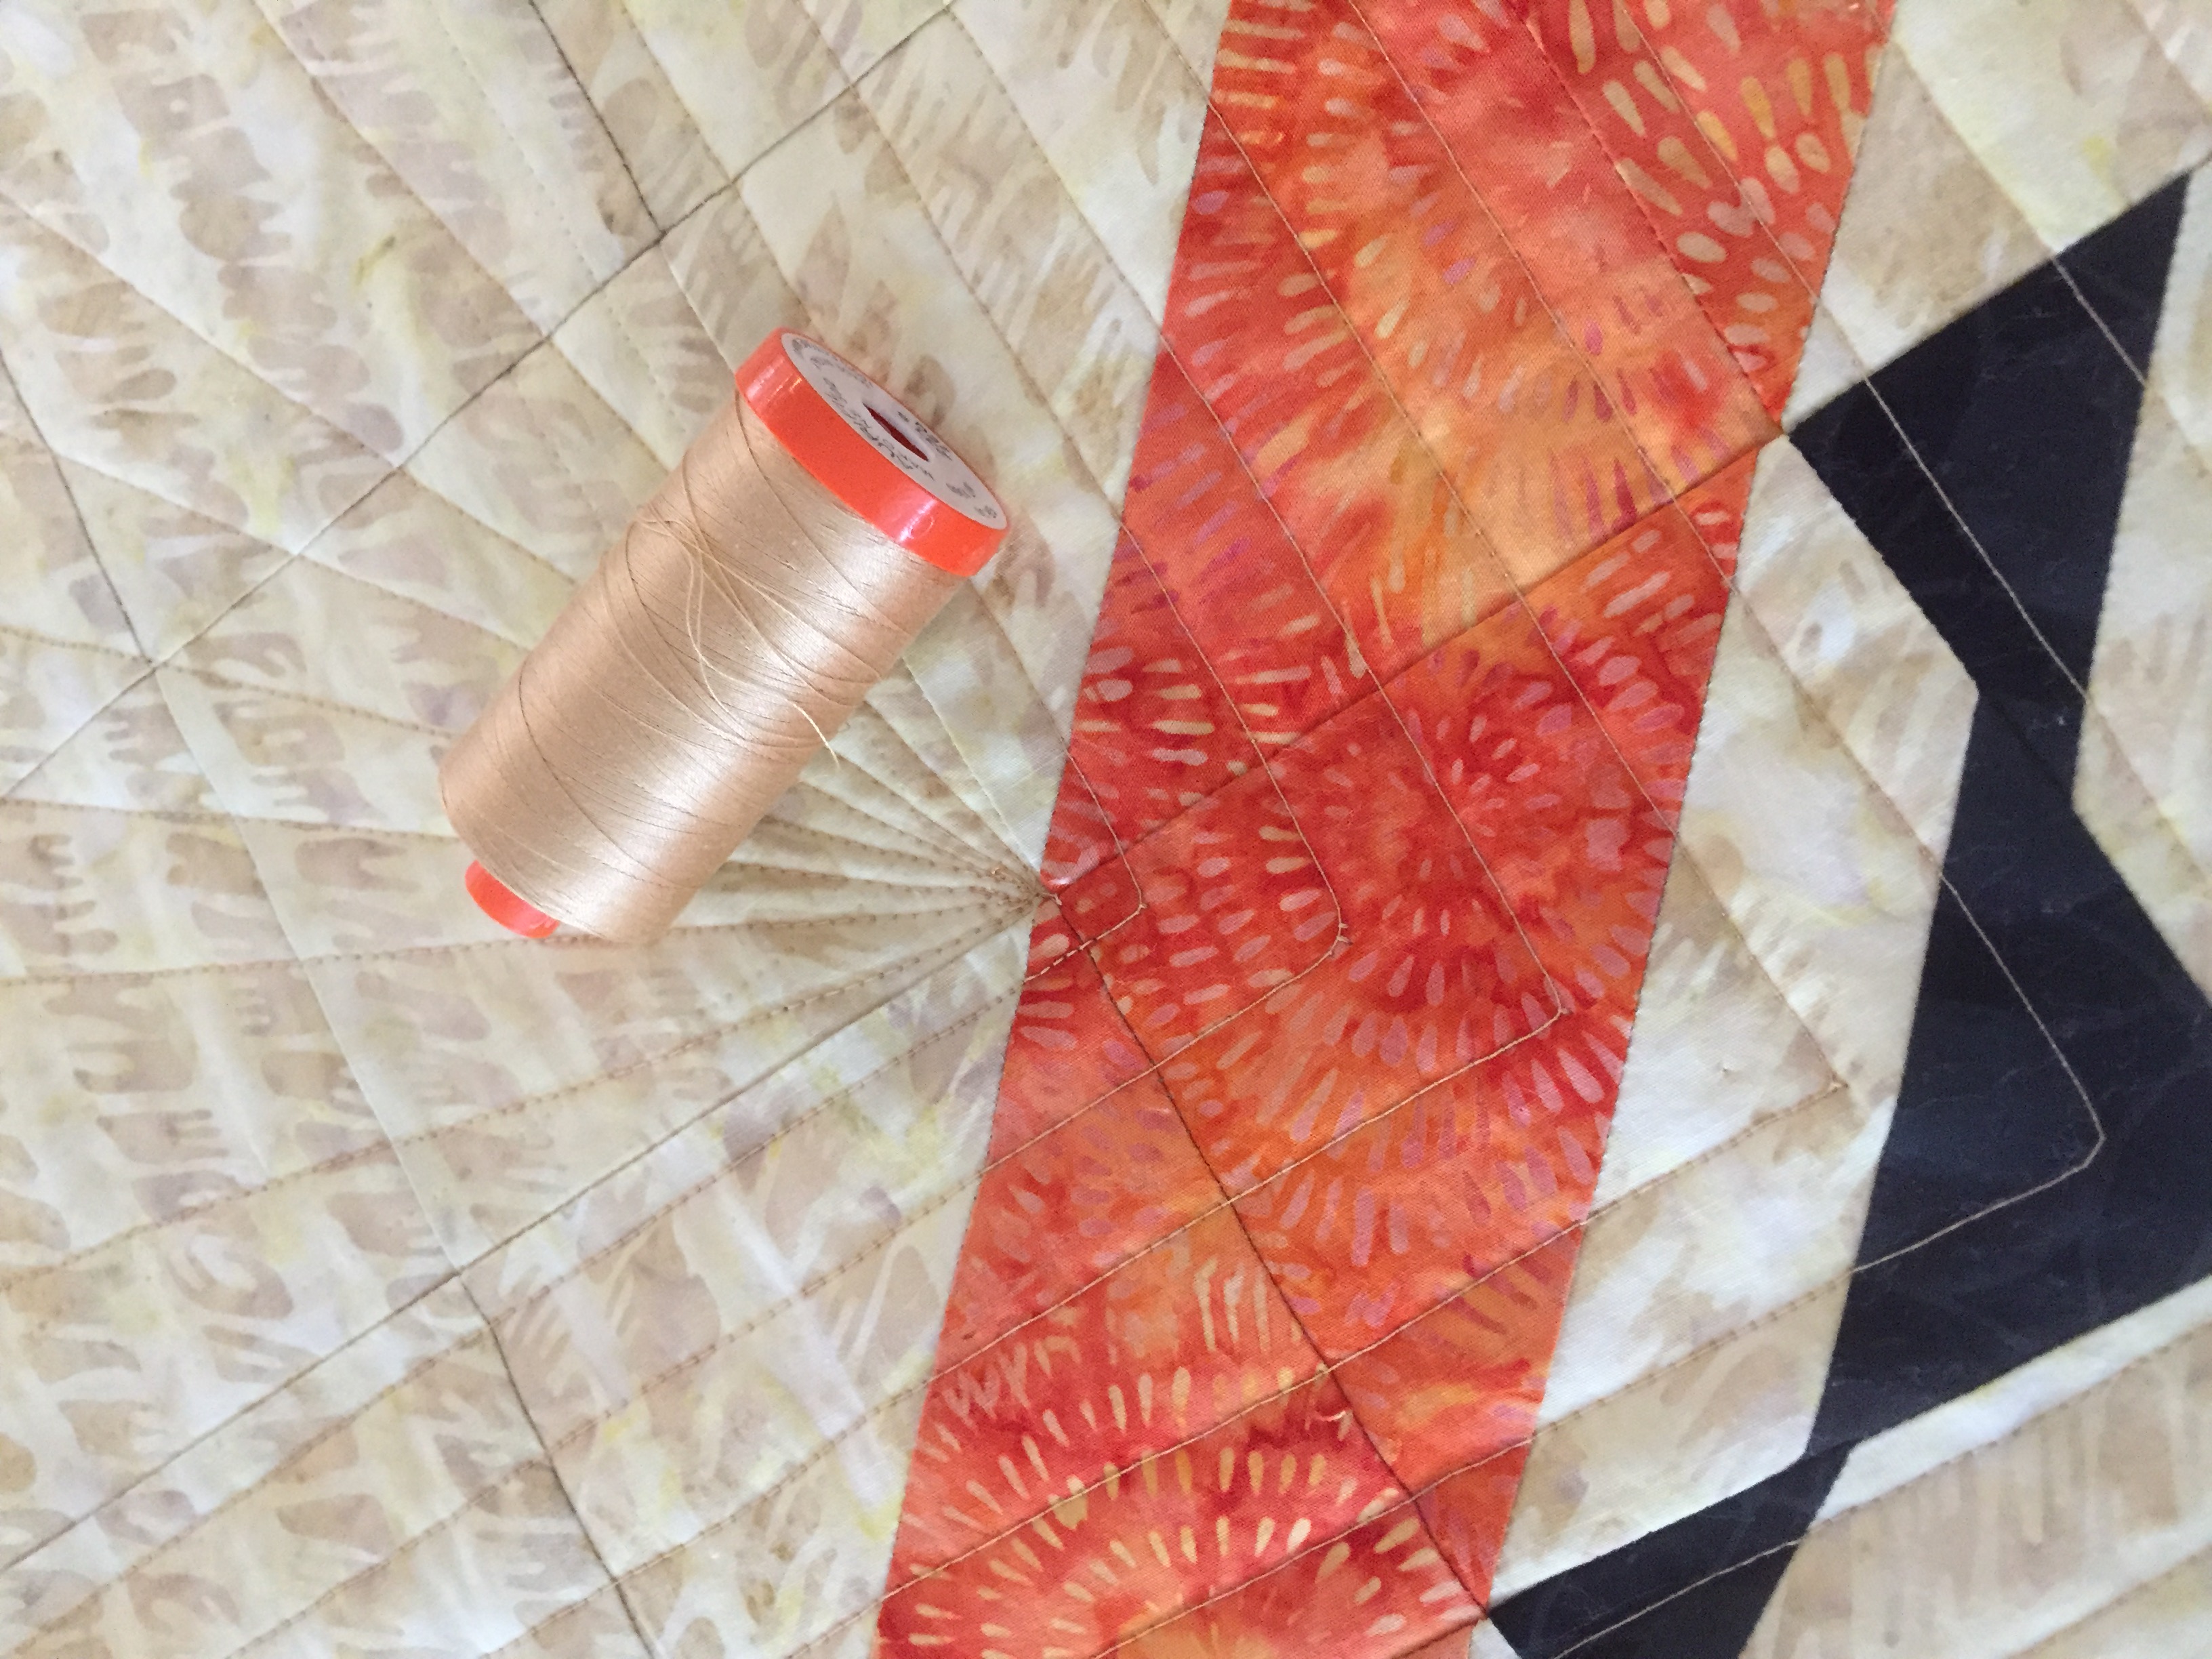
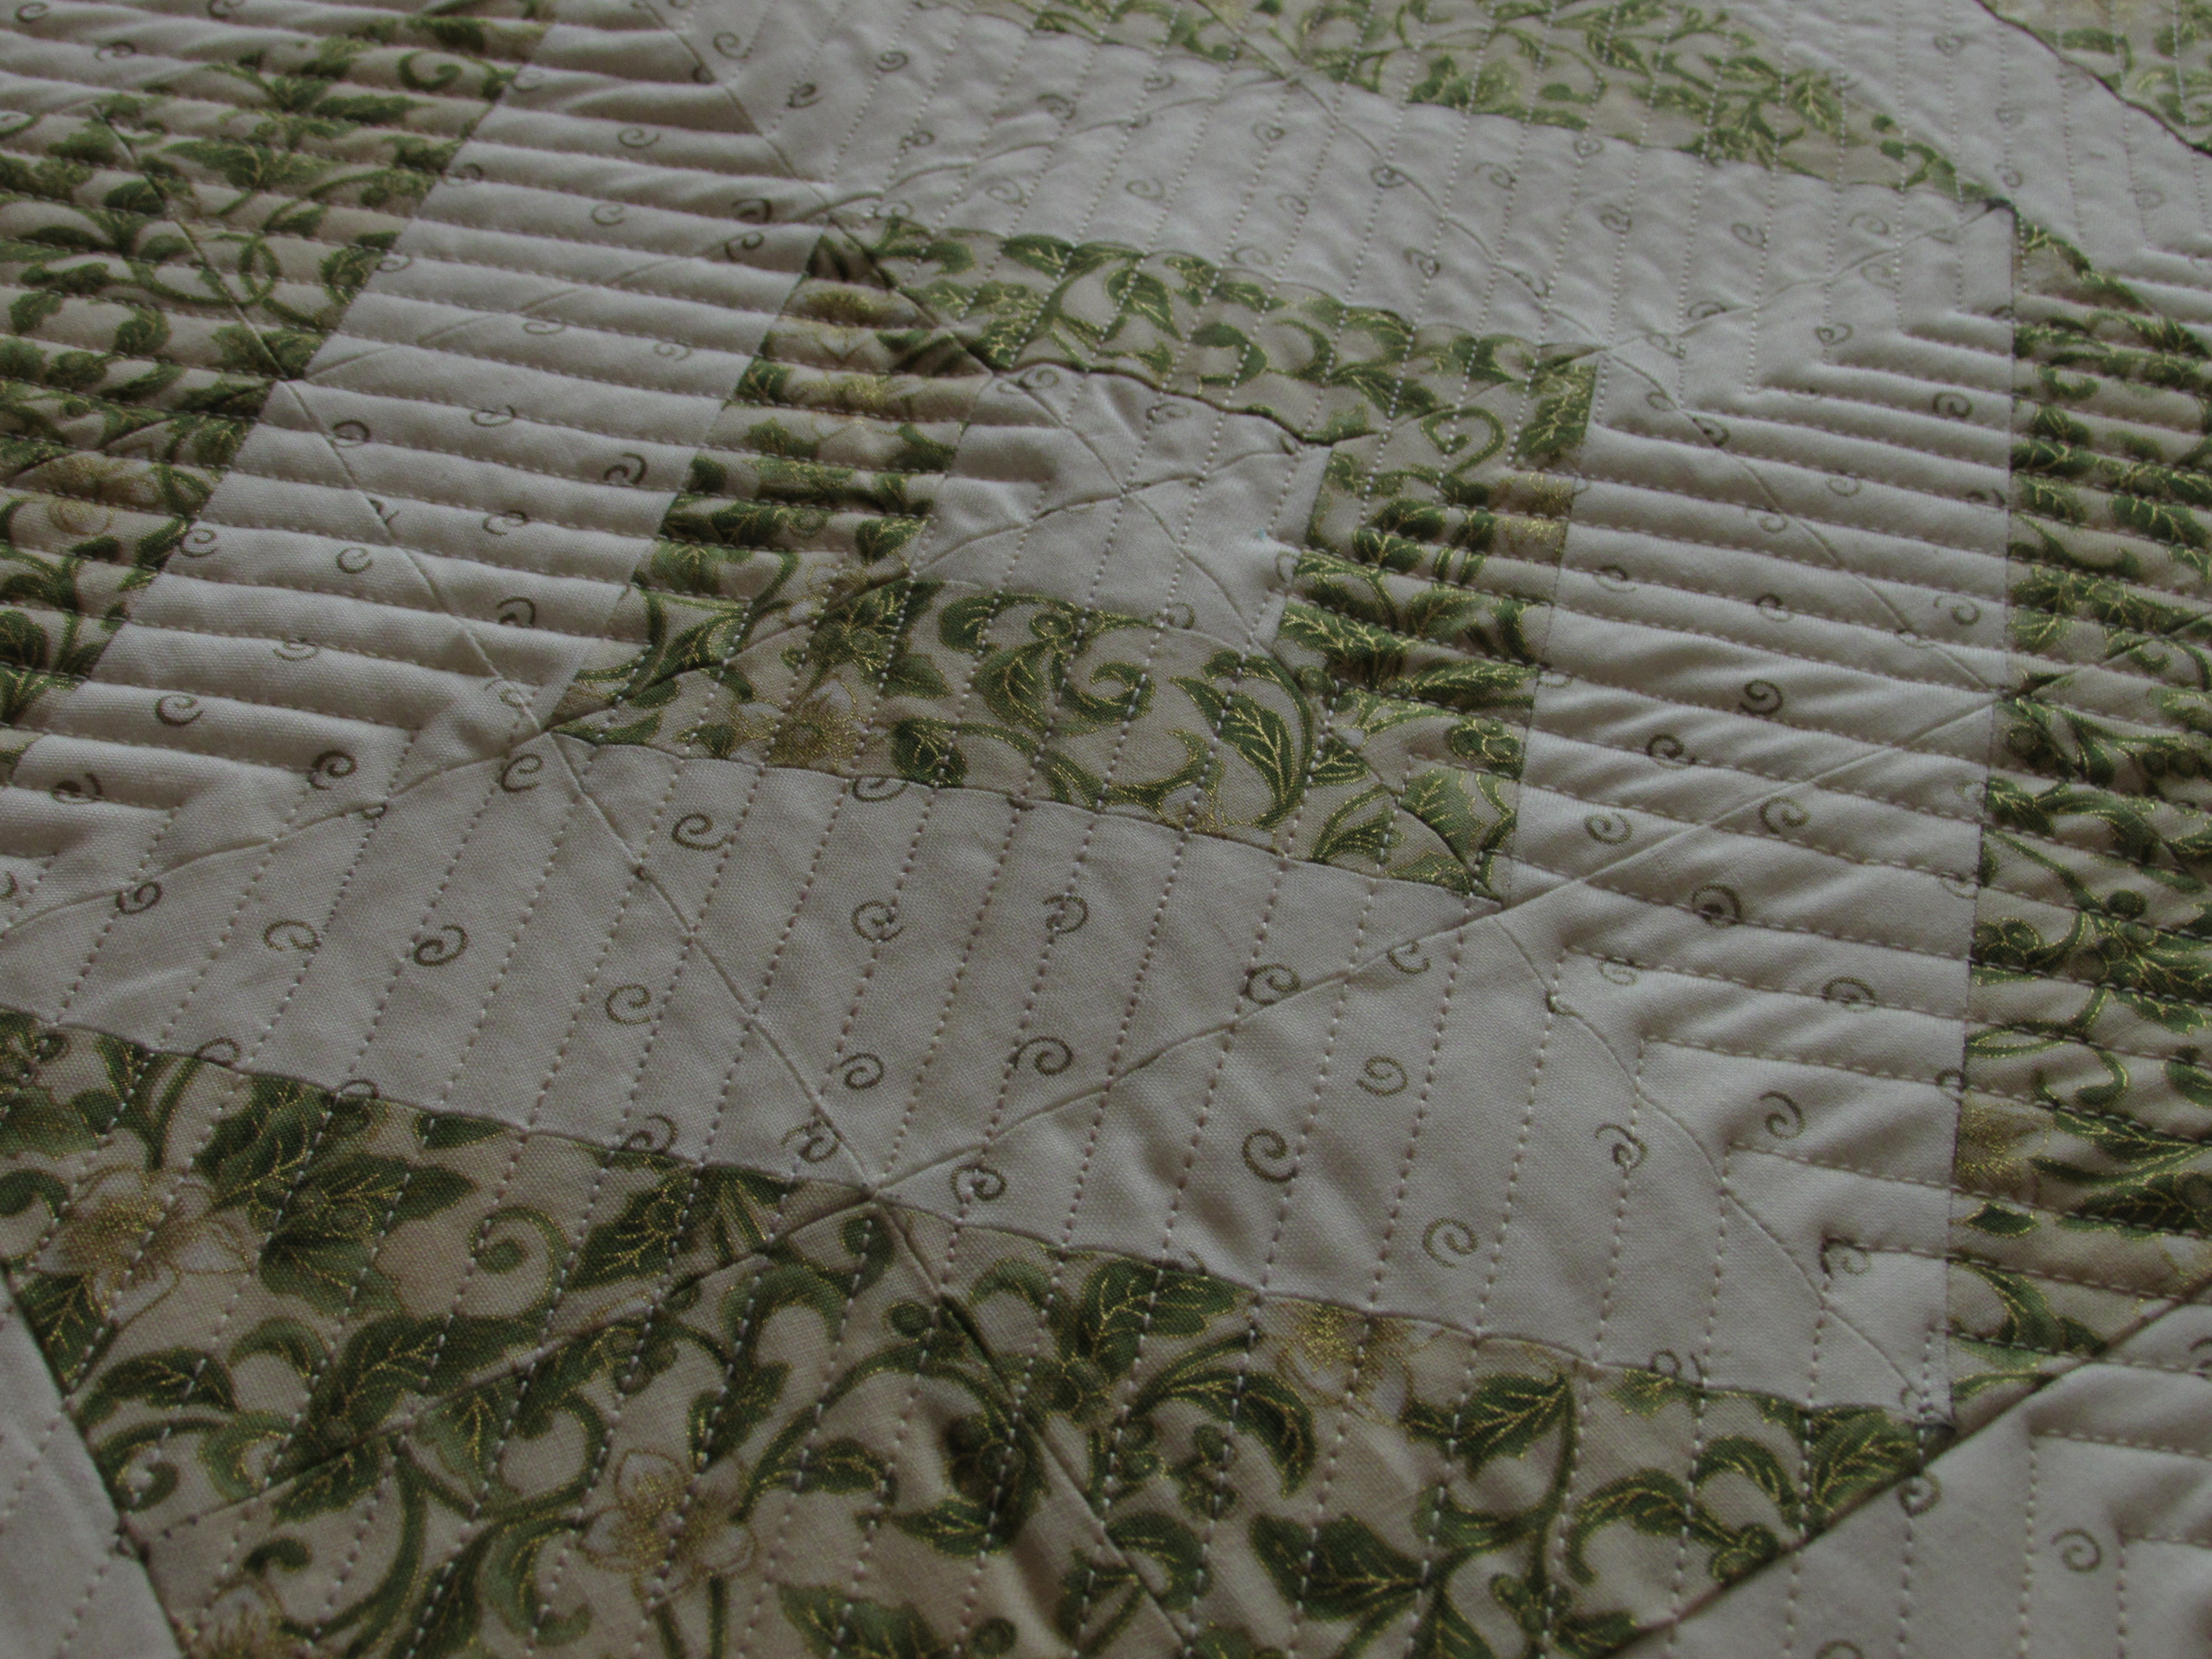
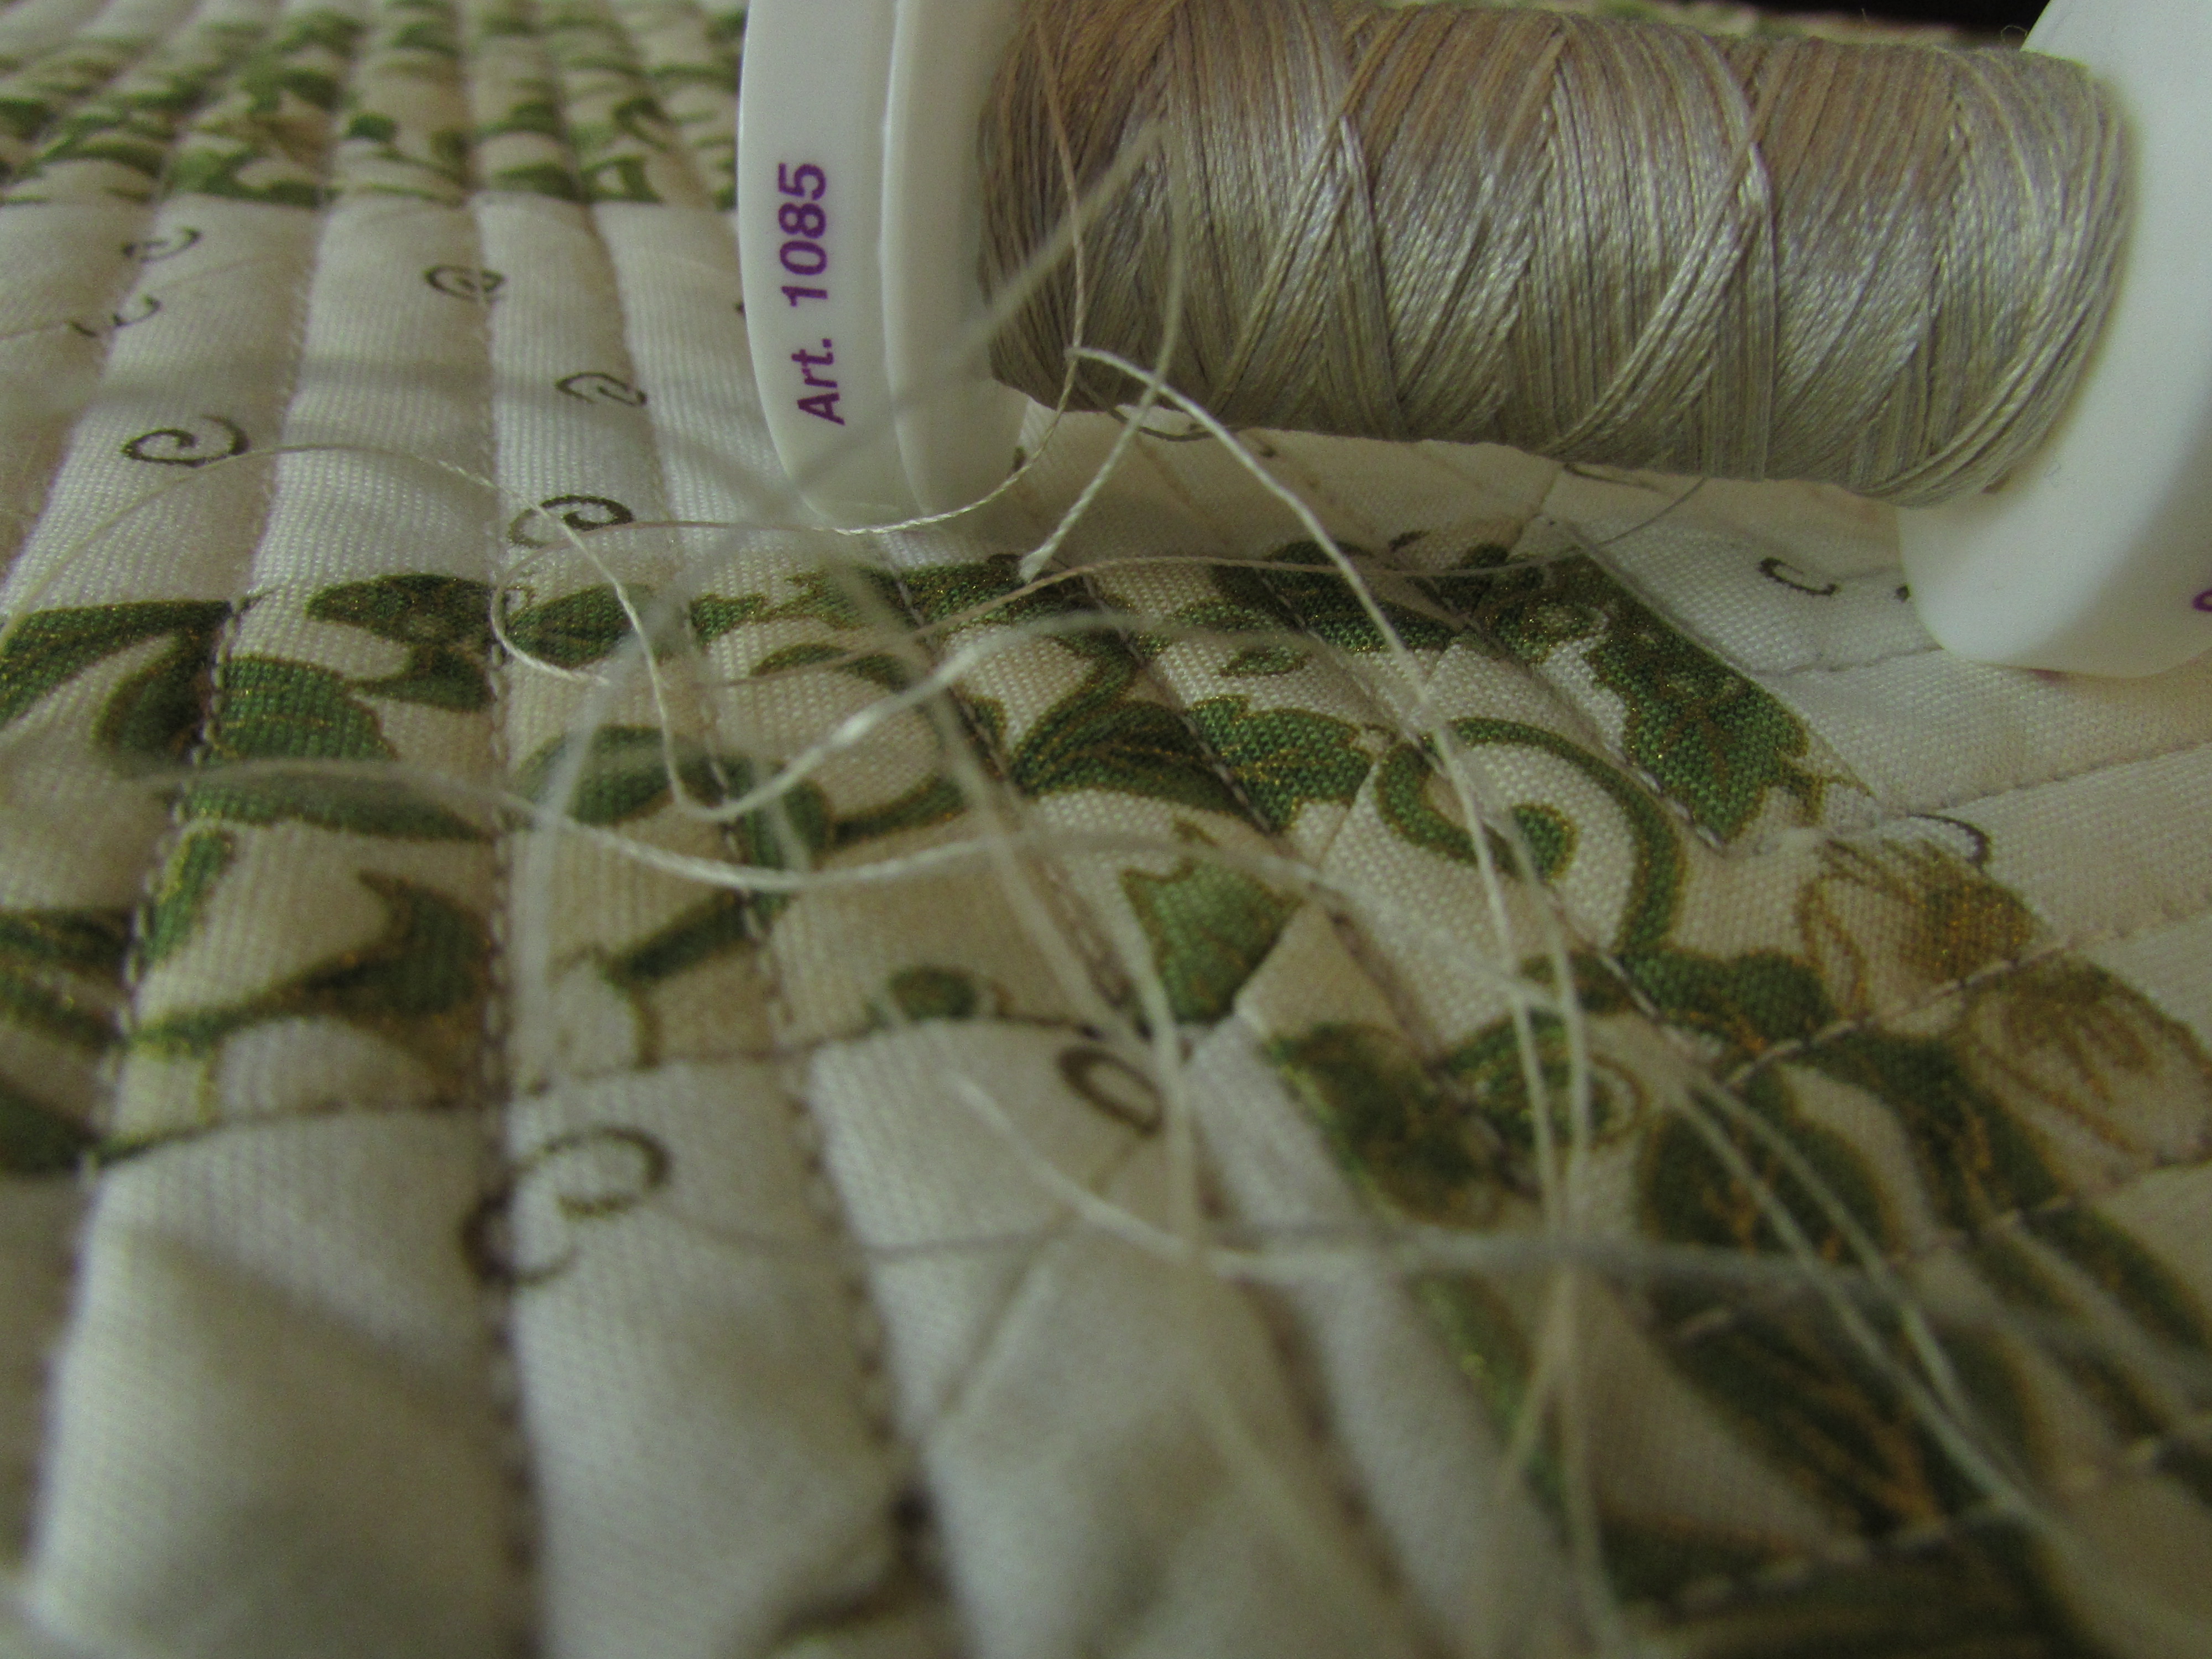
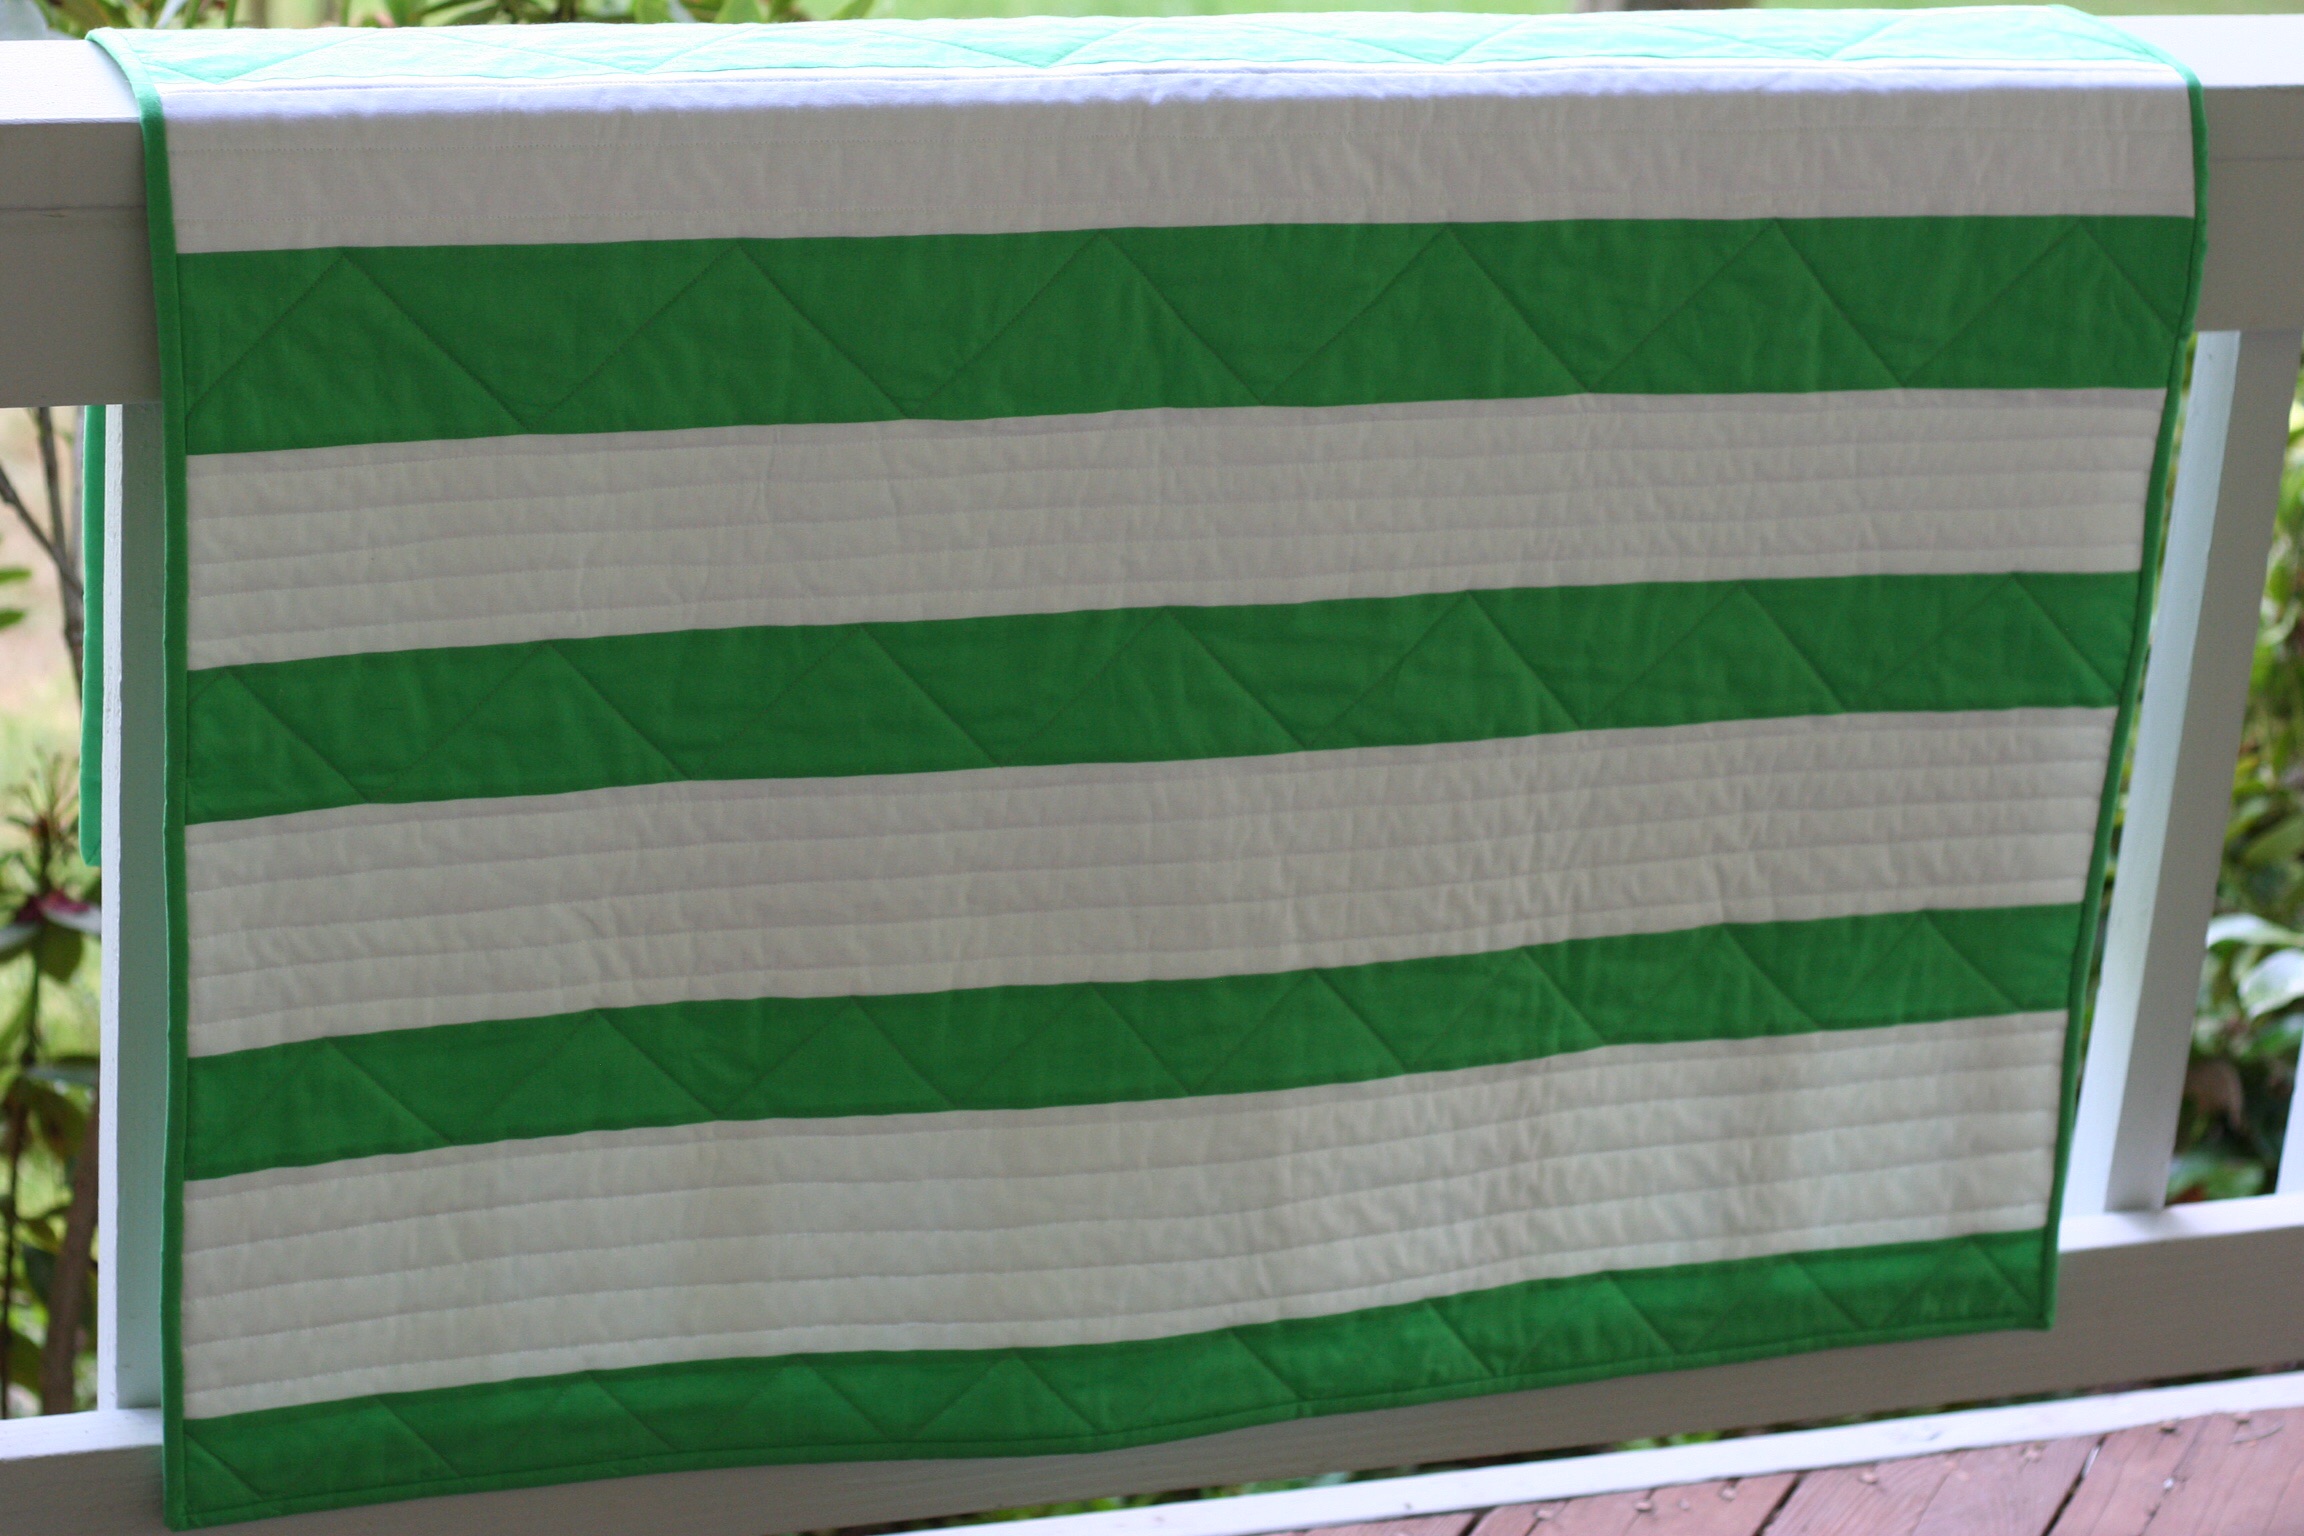
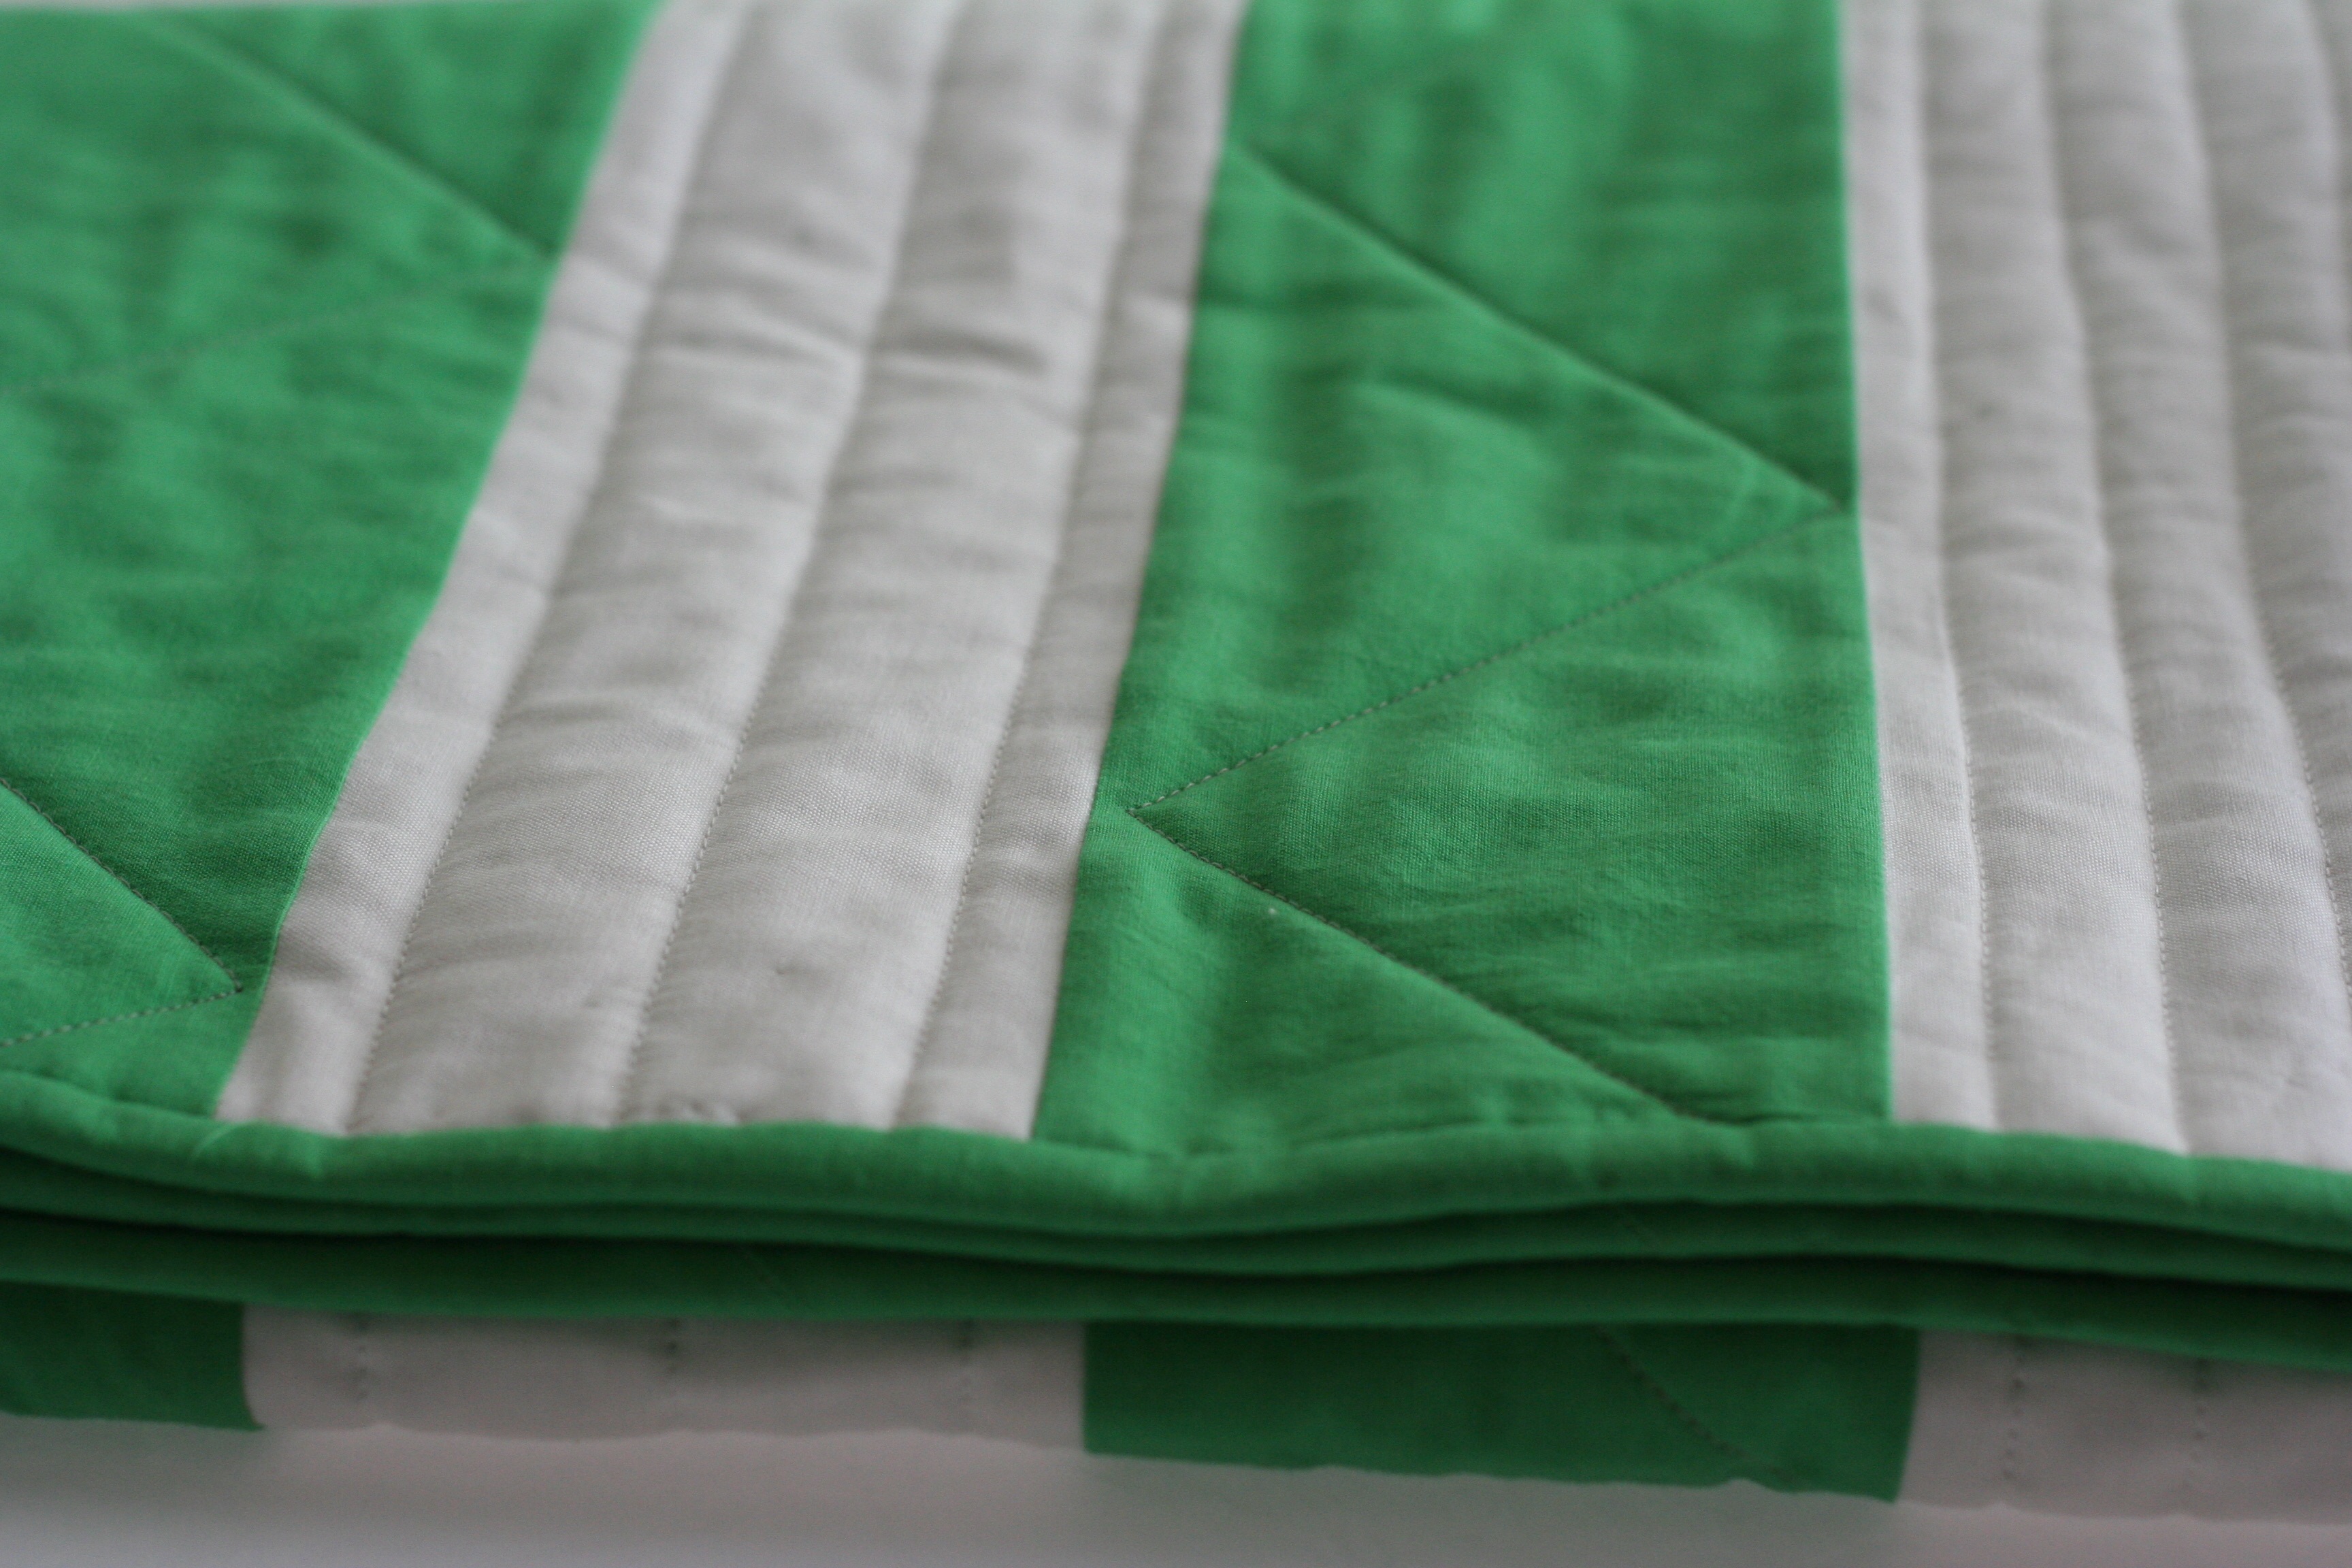
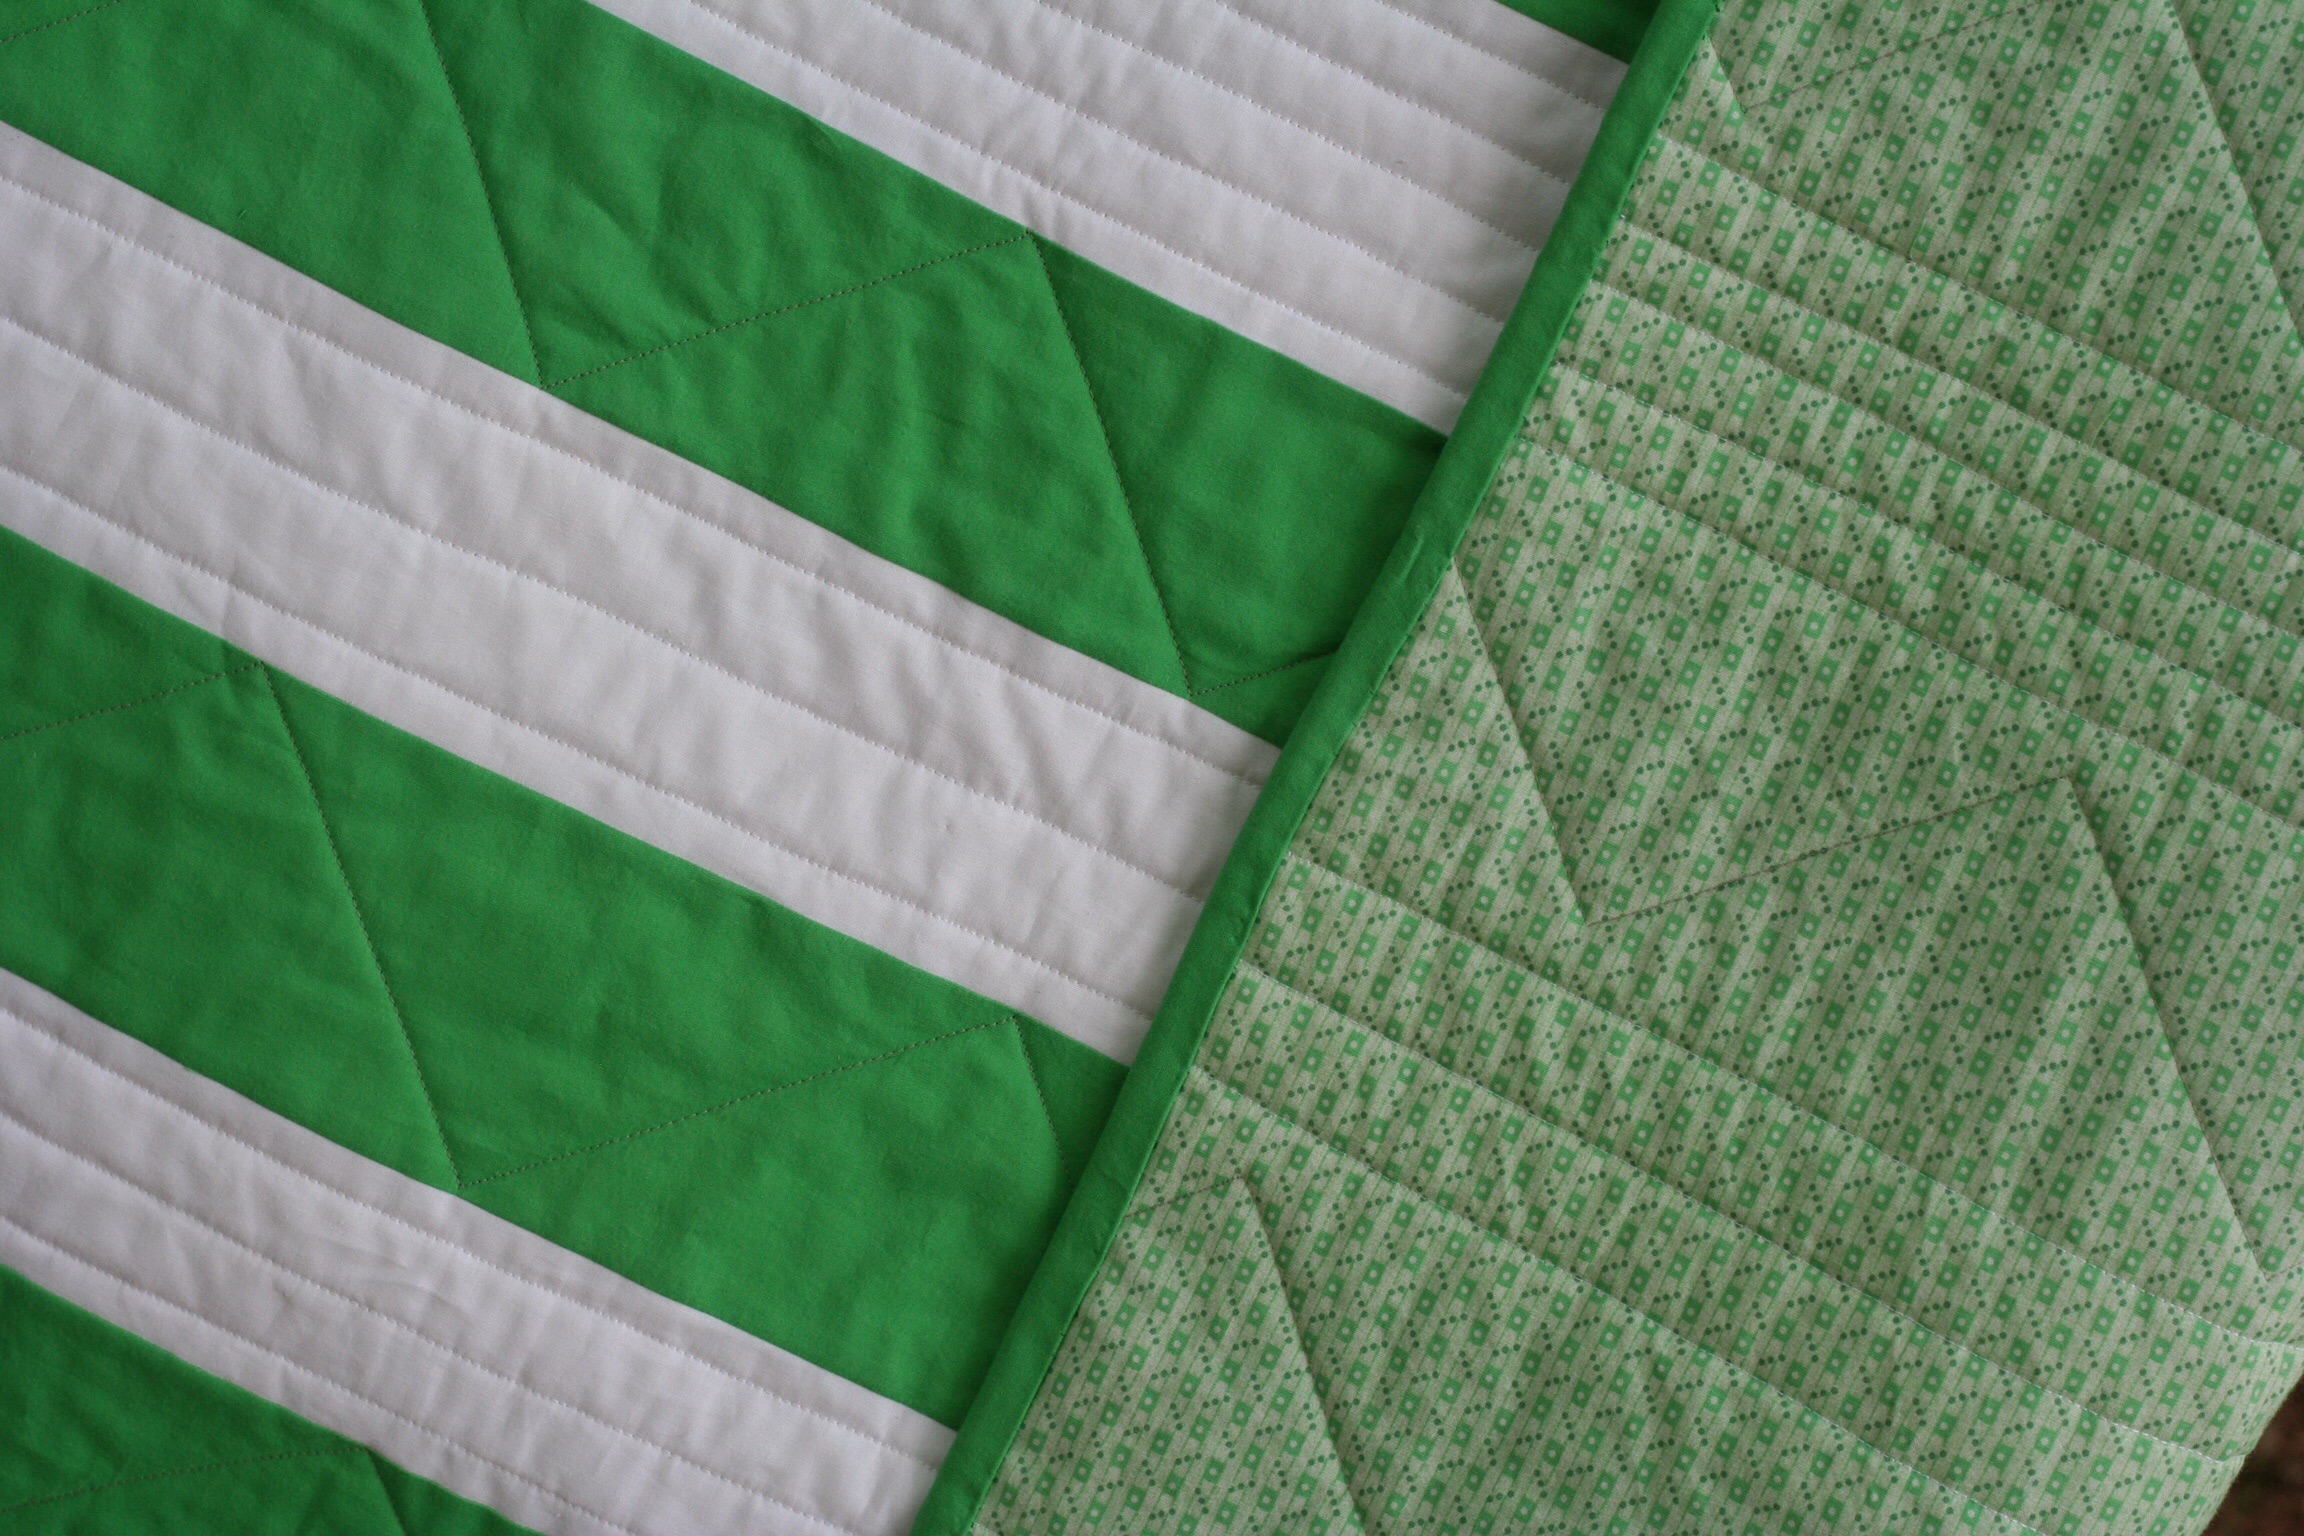
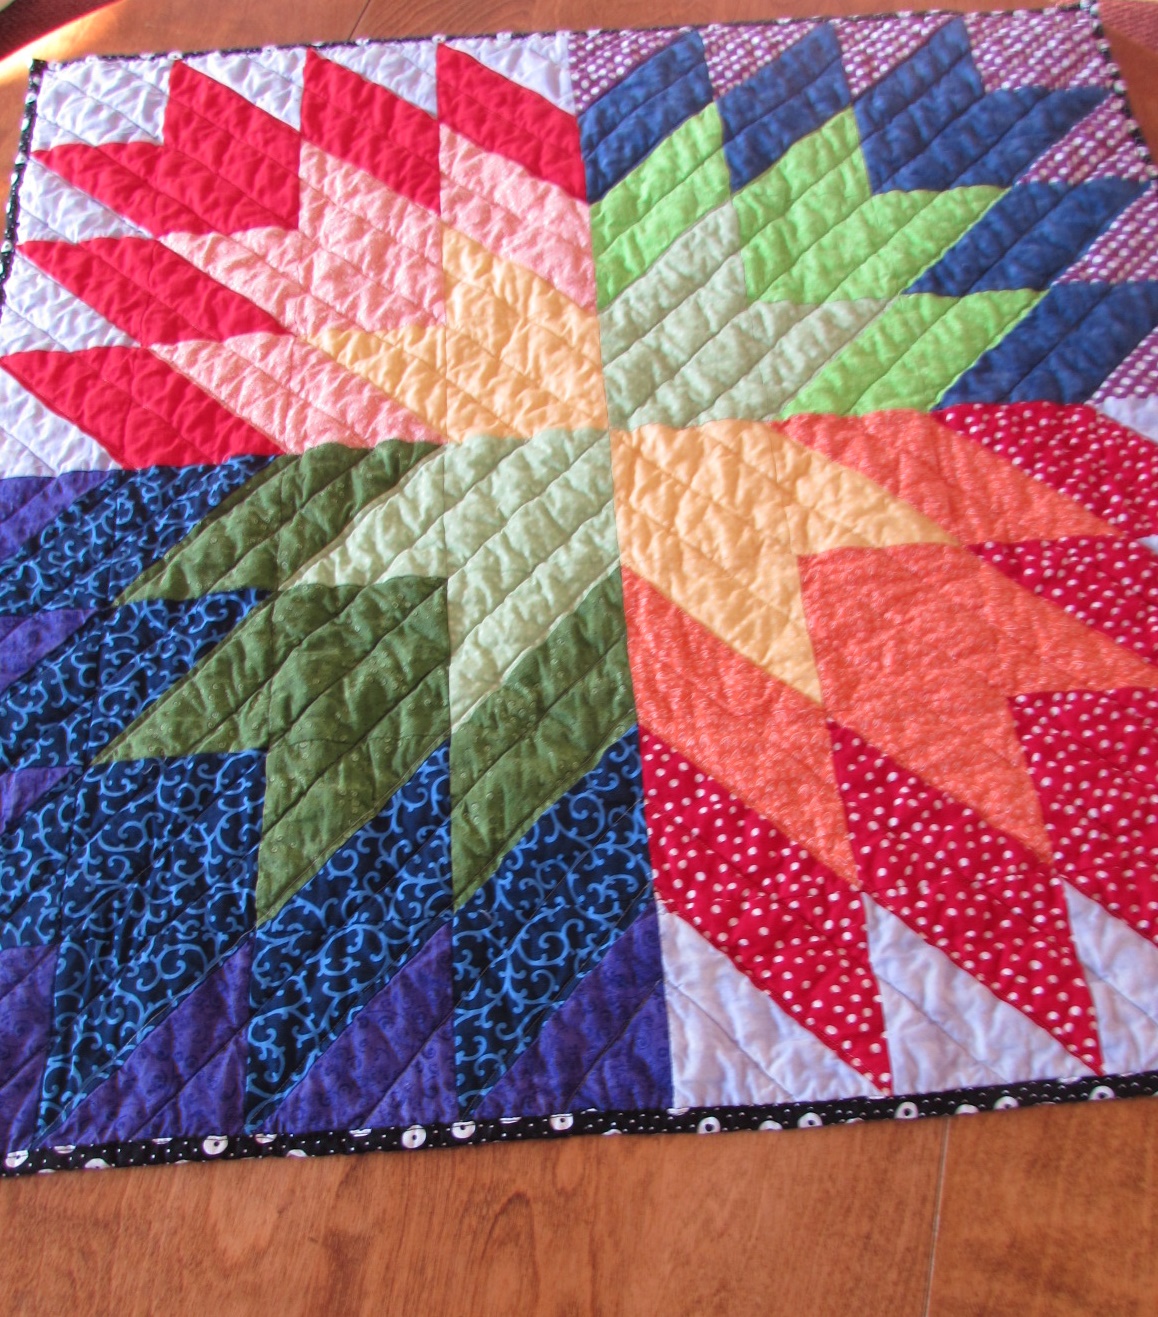
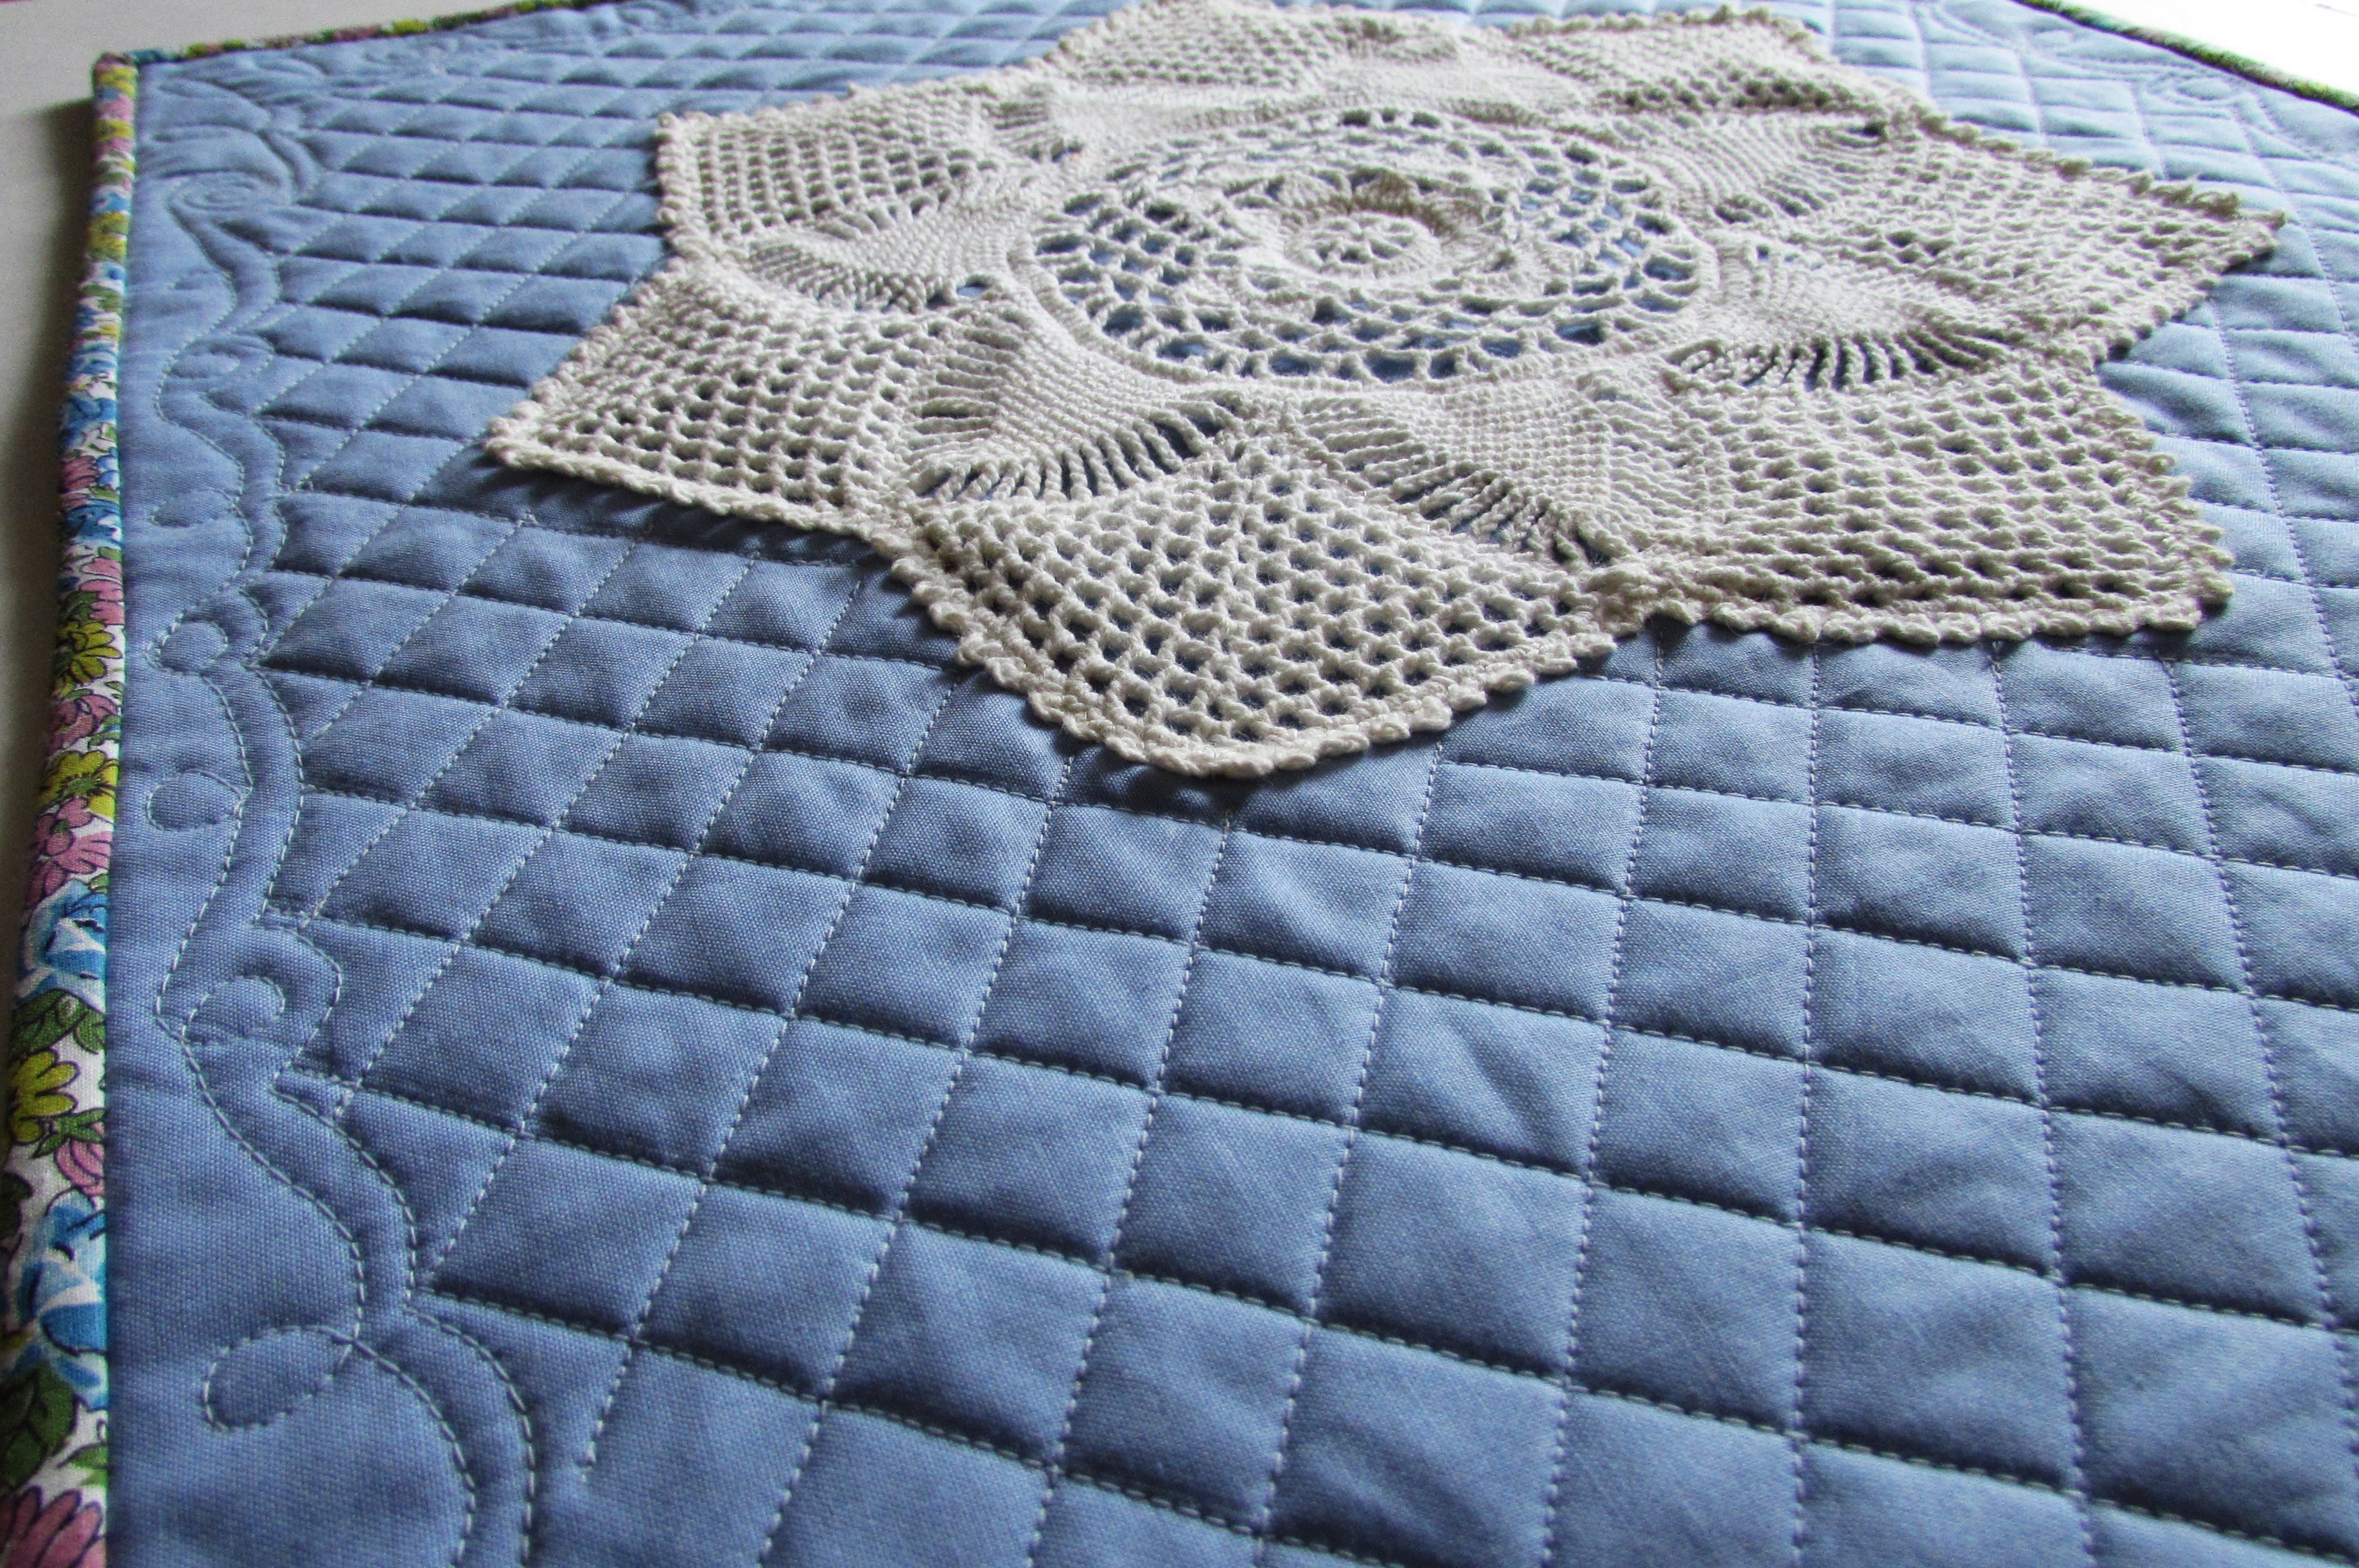
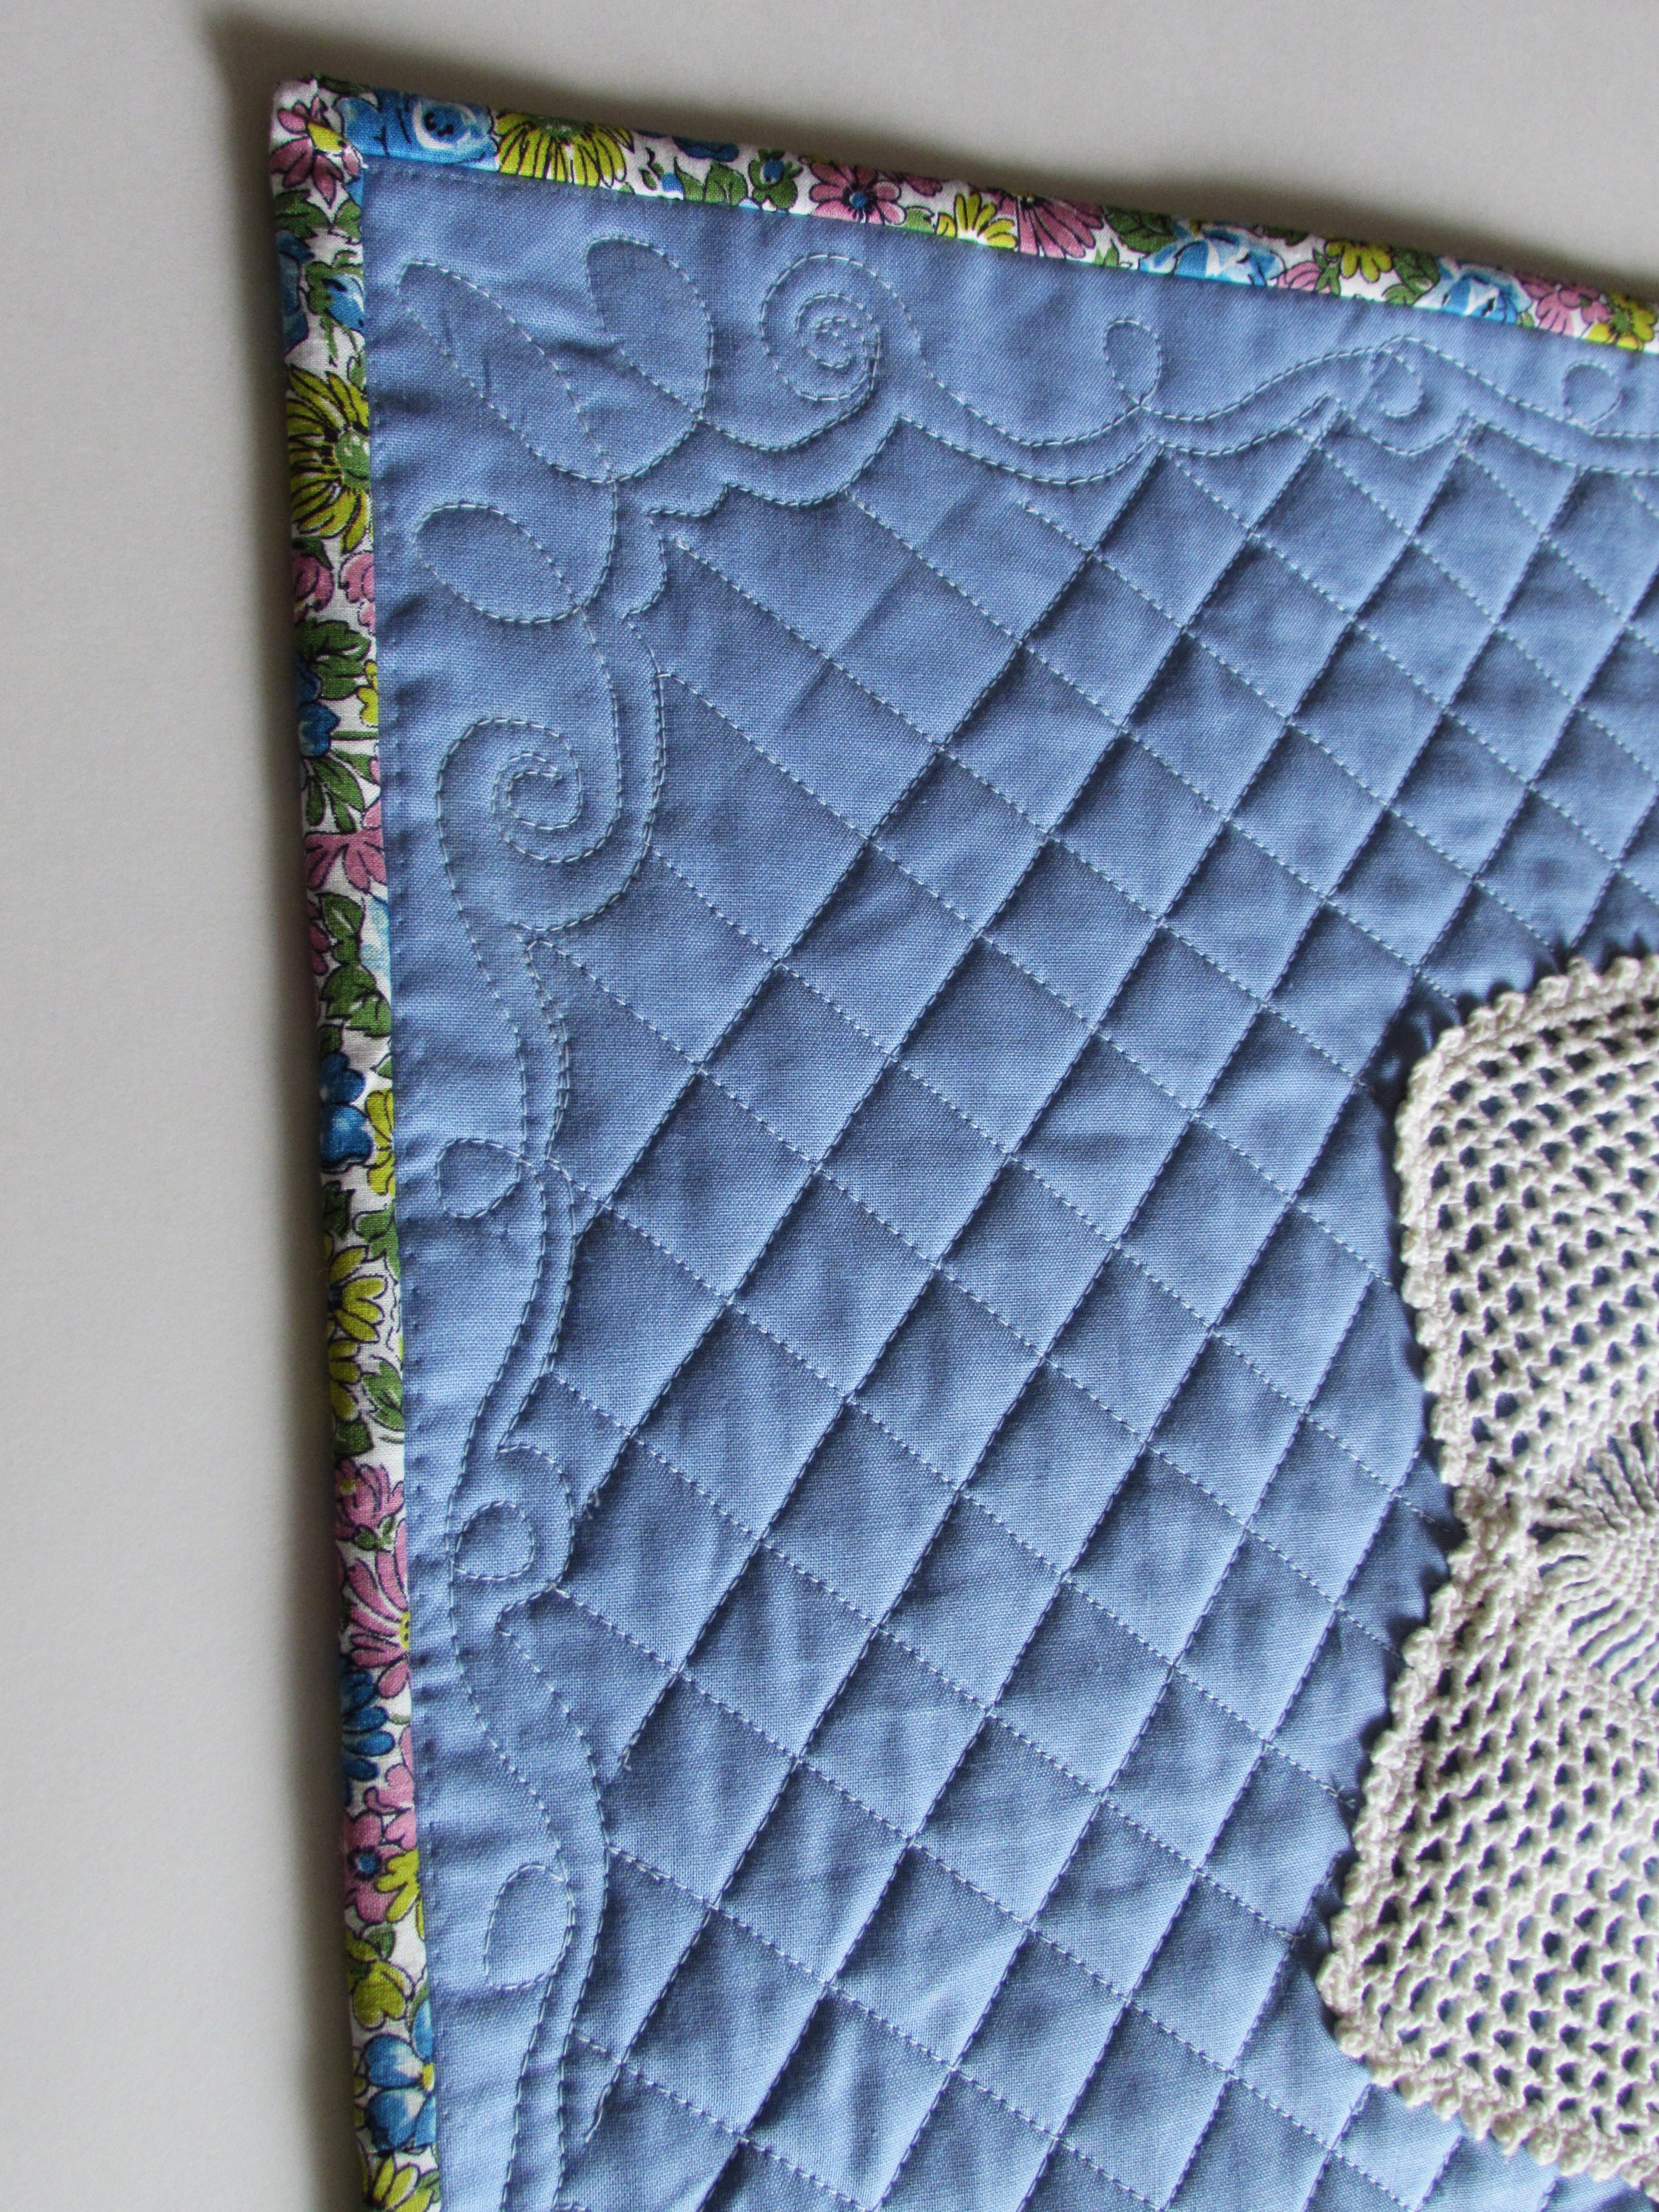
Using a buttery shade of Aurifil thread, I quilted with straight lines in each quadrant. Once I got to the  corner beyond the orange stripe, I changed direction and quilted on the diagonal, radiating out.

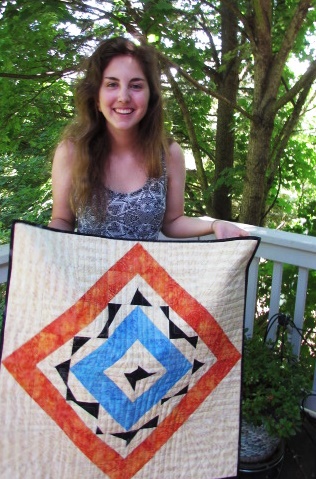
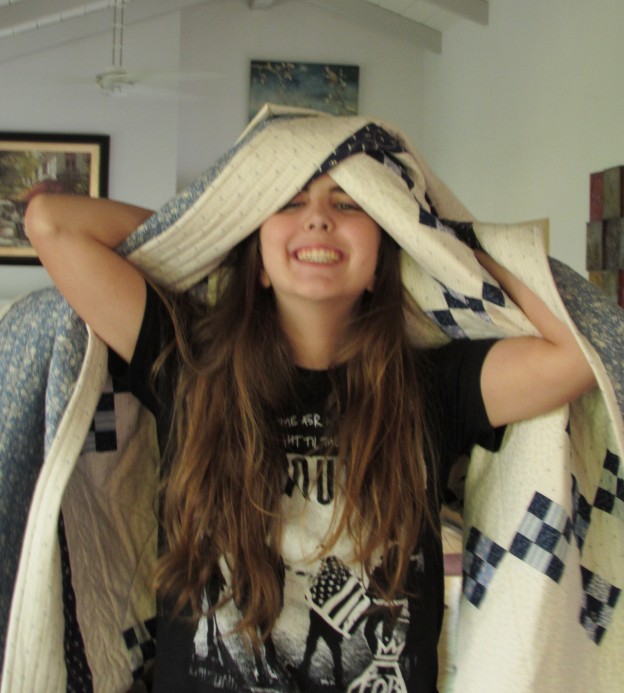
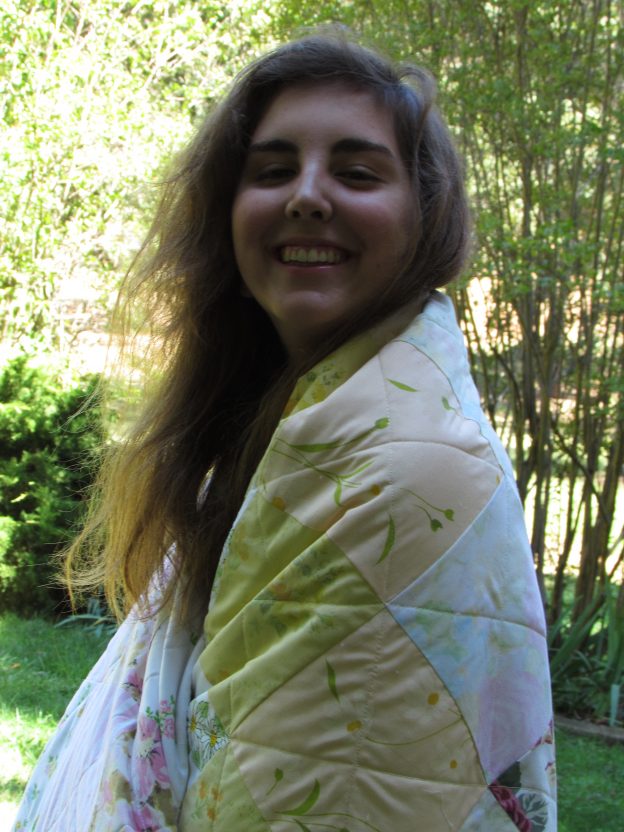
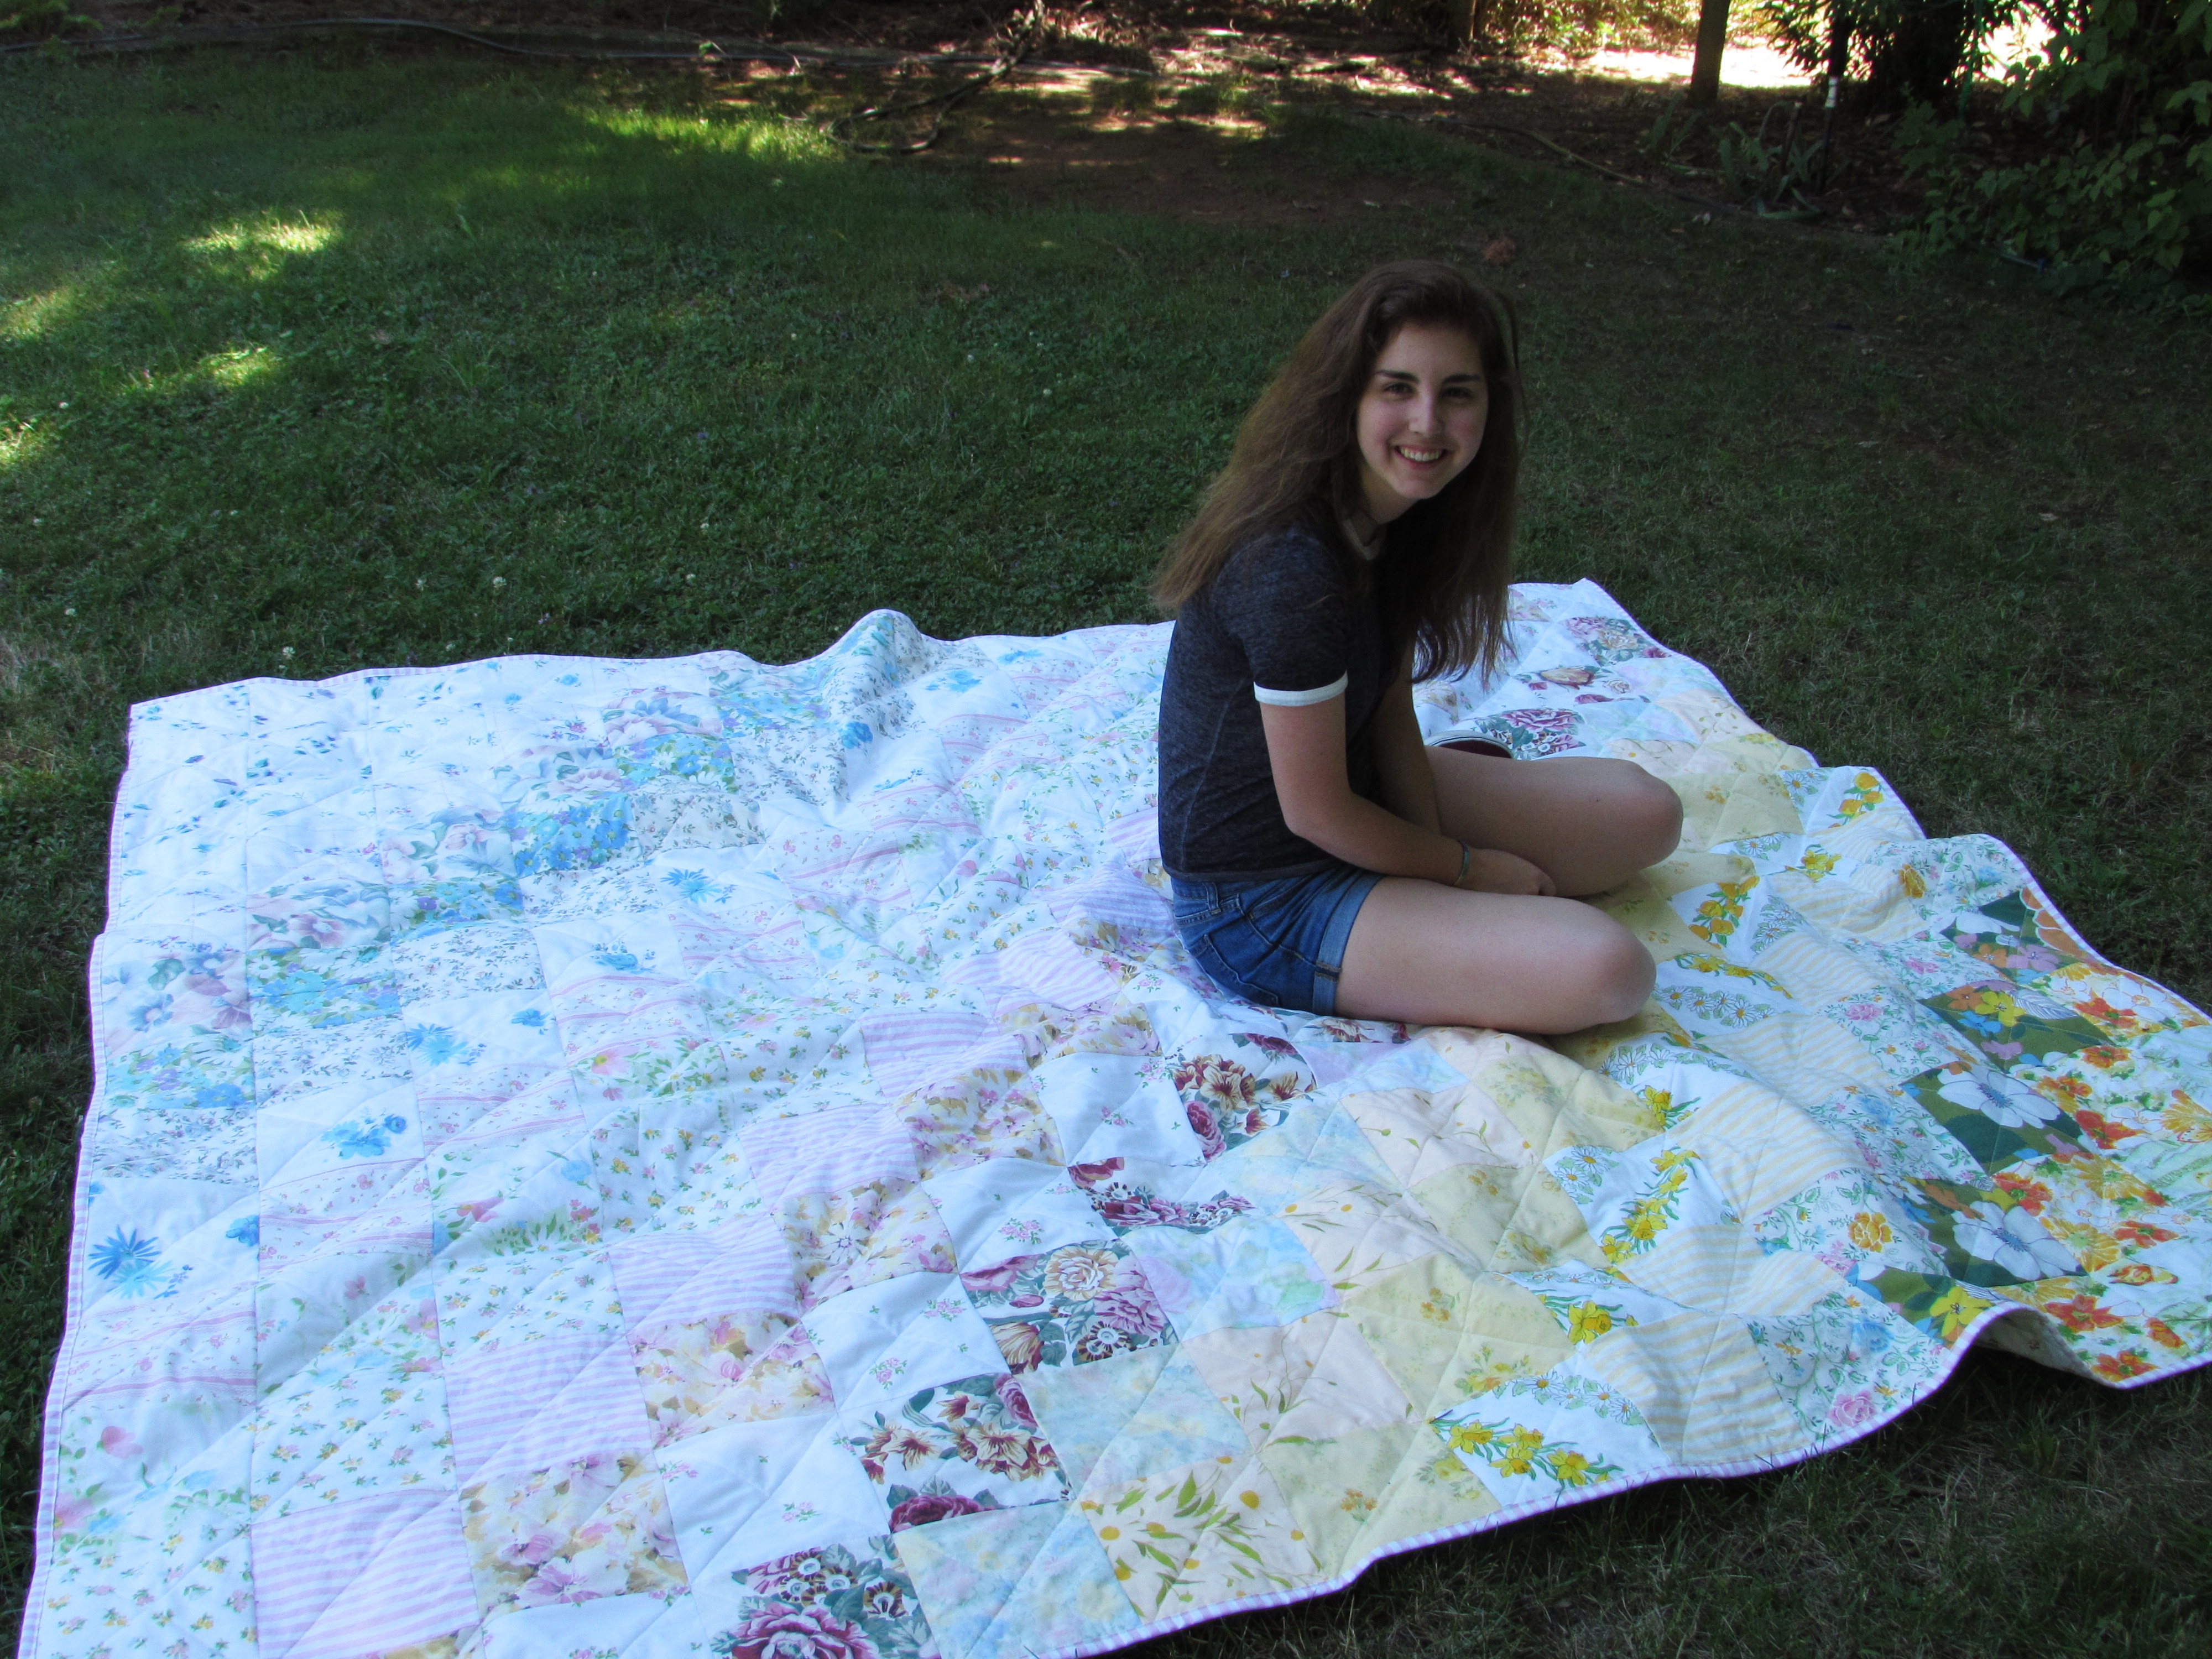
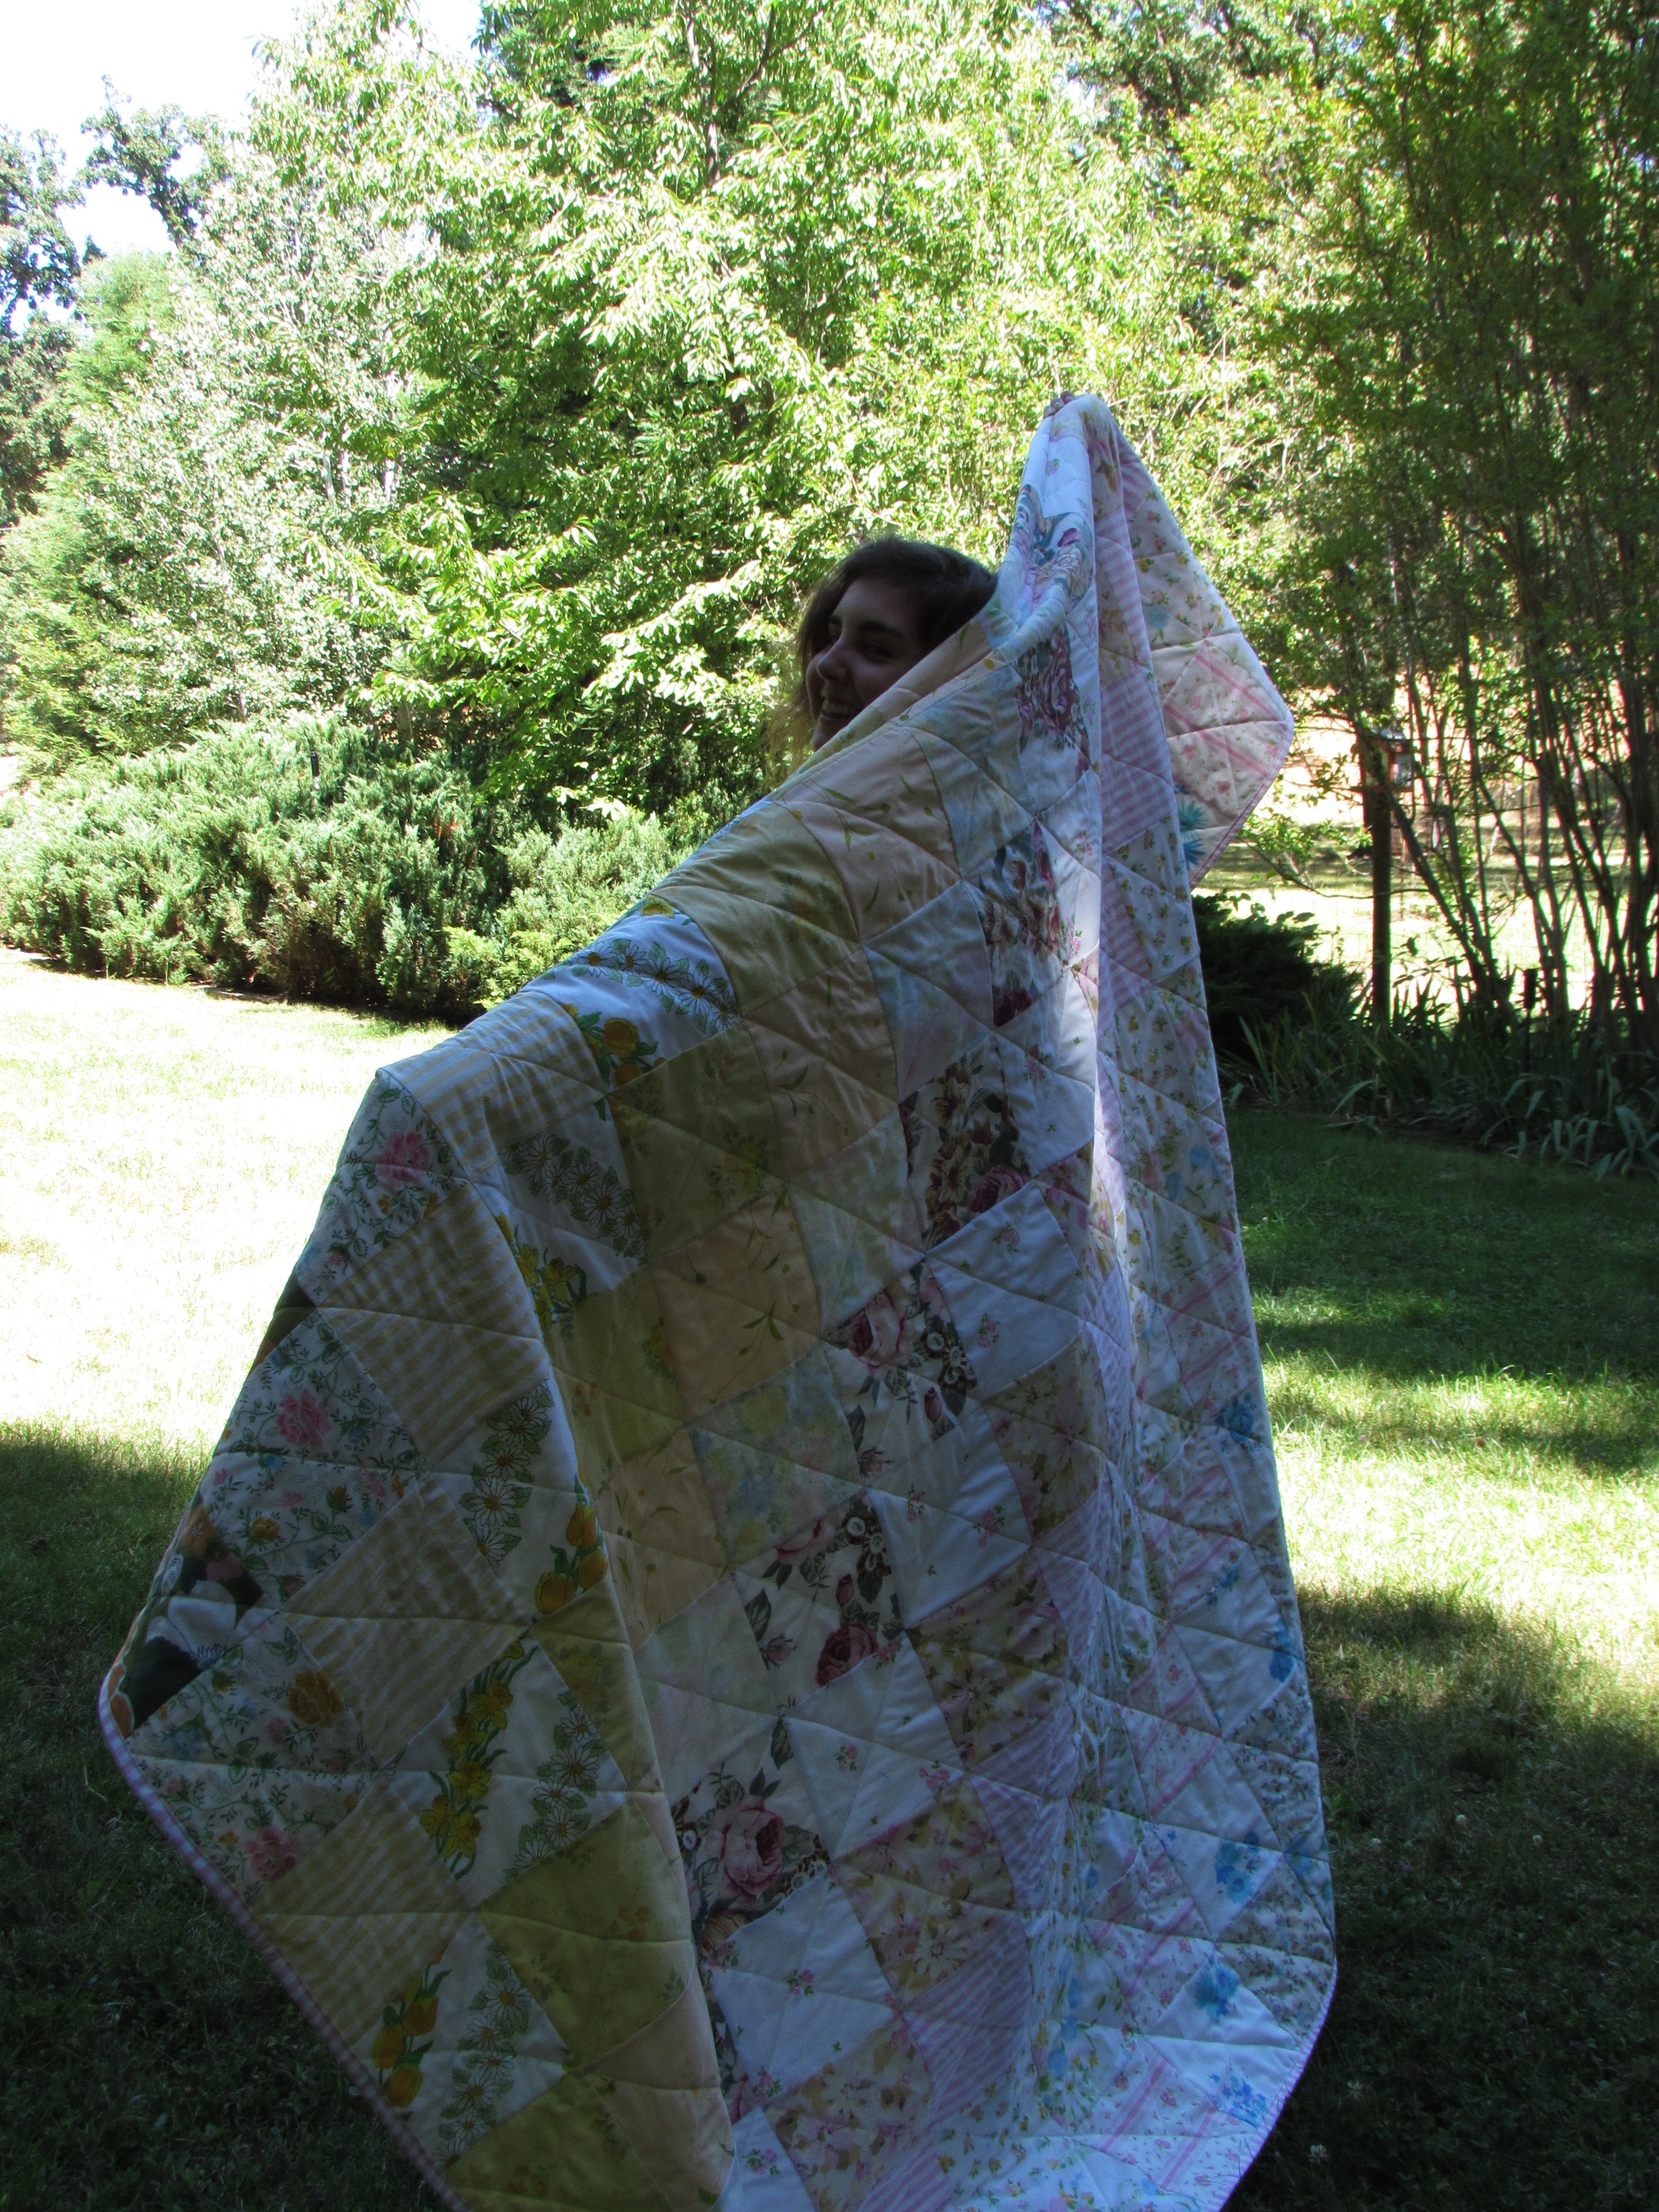
I am happy with the overall look and think the blue and orange are bright and cheery for summertime. My quilt model was in a mood.  Can you tell she is two weeks away from summer break?

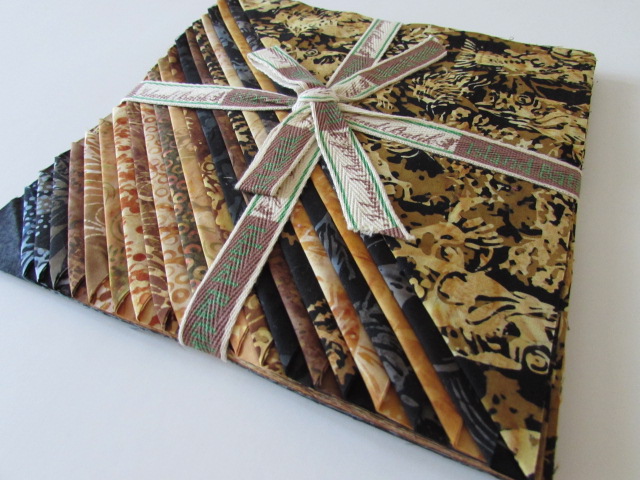
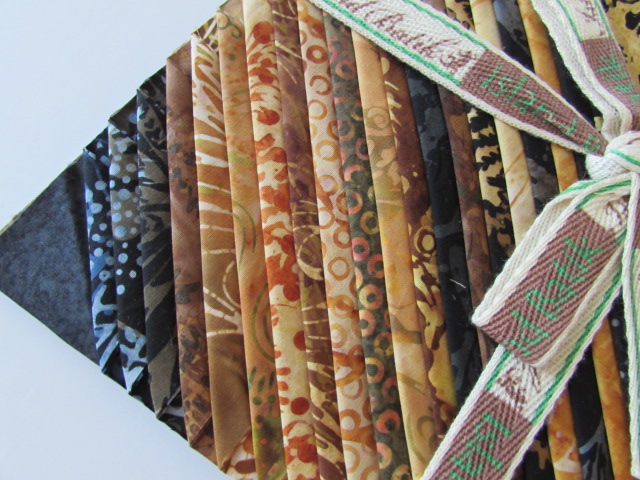
Island Batik has been incredibly generous with the ambassador program. It is time to share the wealth!  Let’s have a giveaway. Just because. A batik celebration of sorts! First up for the win is this package of ten inch squares, called River’s Edge.  It is a selection of earthy browns and blacks and there are two of each print for a total of 42 squares.


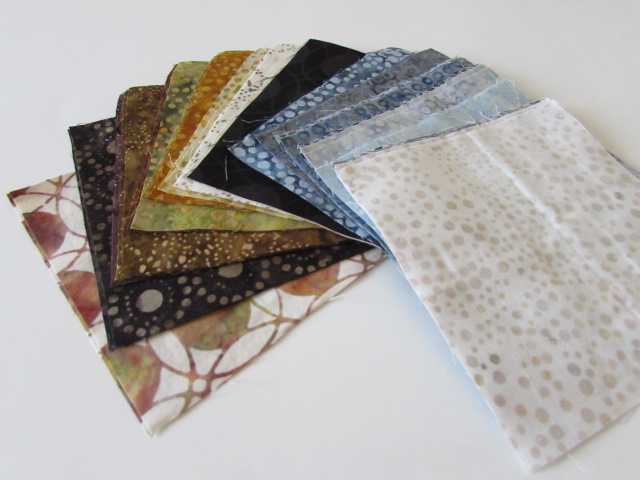
The second prize up for grabs is a charm square pack.  This is a gorgeous set of charms with a theme of dots and circles.  Blues, grays, whites, browns and some black make up the pack of 42 charms (2 of each print.)


NOTE:i  Giveaway is now closed!

I would love to share these with two winners. Due to the cost of postage, this is open to US residents only. (I’m sorry!)  To enter to win, leave a comment that will make us smile. Did you do anything fun over the weekend? Share with us. If you are a follower, leave a second comment and tell me how you follow.  I will draw a winner on Thursday evening announce on Friday morning!  Also, I want to remind you I have a newsletter sign up form on the right side of the page. I will be using my newsletter to communicate information about my shop. When I have new fabric, a sale or a fun event, I will send it out in the newsletter. I hope you will sign up and join in the fun.  Happy Monday!!

Checking In

Balance (for me) is never easy. Lately I feel I have ignored my blog slightly as I work to get my fabric shop up and running. There are a limited number of hours in the day and I find myself divided between regular life chores, sewing, writing, listing items on Etsy and shipping a few orders here and there. The other distraction for me is social media. Oh how easy it is to be sucked into it and look up 30 minutes later, wondering how to get that last 1/2 hour back. This week I have tried to stay with one task to completion before moving on to the next.  I have also tried (with limited success) to stay off of social media and check it less frequently. I love seeing everyone’s posts on Instagram but really, it isn’t the best use of my time!

Earlier in the week I made it my top (sewing) priority to finish quilting the Harmony quilt that I made last fall for my nephew. I really wanted to quilt it at the long-arm shop where I can rent time on their machines. After scheduling and rescheduling appointments several times, I gave up on that wish and decided to quilt it at home. As luck would have it, my Janome 6500 (which has a nice big throat) is being very cranky. This means I am quilting it on my little workhorse – an older Janome with a narrow throat. As a result, I switched over to standard straight line quilting. To add some interest, I am quilting it in two halves. Starting on the center diagonal line, I began vertical straight lines. Those vertical lines continue to the far corner. Then on the other half of the diagonal, I am quilting horizontal lines. (Does this even make sense?)  At first I spaced them out about eight inches to anchor everything down. Now I am working on filling them in to about two inches apart.

I think it is working quite nicely and I should be finished with the quilting in the next couple of days. Selecting a fabric for binding it is still up in the air. I am aiming for a scrappy binding with the leftover fabrics but I am unsure if I have enough.

Moving on, I have been playing catch up with the Sewcial Bee blocks. This weekly bee is hosted by Maureen Cracknell and Sharon Holland. The blocks are fun and relatively simple. But I got behind and have to make about three more blocks to catch up. (Remember the first paragraph – just not enough hours to get it all done!) I am (was?) trying to use only my Fleet & Flourish scraps (by Maureen Cracknell) for the print fabric and various solids to tie everything together. As I create the blocks though, it is becoming clear I won’t have enough Fleet & Flourish to stay with this plan.  Now what to do???  Decisions, decisions. My choices are to:

  1.  Add in some Garden Dreamer (also .by Maureen Cracknell and would probably blend reasonably well) and since I carry it in my shop, it is readily available to me
  2.  Buy more Fleet & Flourish.
  3. To be very careful with the scraps I have and make it work by adding in a larger percentage of solid fabrics for the last 12 blocks.

Looking at these three incredibly important choices, my thoughts are these. Buying more fabric is silly.  I have more than enough fabric on hand and should be able to avoid buying anything.  Number three would probably be unsatisfying because I would have to use a whole lot of solid fabric to make it work and I don’t think the result would be to my liking. So, number one for the win. I will go slice six inches or so off several of the Garden Dreamer bolts downstairs in my shop and combine both lines. Phew! I am relieved to have gone through the process and made up my mind.

Before I close and go off to quilt a few more lines and make a Sewcial Bee block or two, I want to share some pictures with you. Remember I mentioned Julia was going to raise two piggies for her 4-H project? I have to say, these animals just crack me up. Here are some recent pictures with photo credit to my daughter. She is really enjoying this project and has done a great job with these two goofy pigs. They are growing like crazy but then that is to be expected considering the amount of feed we are going through!

Daisy and Ella Napping

Eating, always eating!!

Daisy, after playing in the mud.

Silly Ella!

Off to the sewing room now. Wishing everyone a wonderful weekend!


A Cheerful Finish

This is quite possibly the most cheerful quilt I have made yet. The colors are so bright, just to look at it makes me smile. I hope my niece and her husband will enjoy it when they receive it. My timing couldn’t have been better as my niece went into labor early this morning and is at the hospital right now. We should hear about baby’s arrival sometime today. How exciting!

The pattern, When You Wish, by Kristy of Bonjour Quilts is adorable. Simple HST’s and five inch squares make it a breeze to assemble. I think it would be really cute with other color patterns but for this project, I shamelessly copied Kristy’s quilt because I wanted a rainbow themed quilt.

It is a tiny quilt at 36″ x 36″ but perfect for baby’s tummy time, going outside, or covering baby in the car seat. My niece lives in Southern CA and the baby has two older siblings. I think this baby quilt will get lots of use at the park or in the back yard.

Quilting is simply straight lines about 1 1/2 inches apart. I drew a few lines with a ruler and chalk-o-liner and also used the seams to keep me on track.

This quilt was made entirely of fabrics I had in my stash. For the backing, I chose the, now out of print, Numerals fabric by Ikea. I have been holding on to this piece for several years and it looks great with this quilt. I would surely love to find another piece of this?  Anyone holding on to some that you are willing to part with?? (A girl can always dream….)

Love the black and white binding? It is the Cheerios piece from the Sweet Tweets line which I have in my shop. I think this print would be perfect as a binding for almost any quilt. I love the boldness of the design and it frames the star beautifully. I machine stitched the binding — I often do with a baby quilt because of the number of times the quilt will likely be laundered.

Now that this is washed, crinkled, and ready to go, I will pack it up and send it to Southern California. Three new babies have arrived and three baby quilts are finished. What a nice start to the year. 🙂

Linking up all over the place. Find my list of linkys at the top of the page, under Link Ups. I am also linking up at She Can Quilt for the end of Q1 FAL link up.  This baby quilt was one of my Q1 goals! Yahoo.   UPDATE:  Linking today to Sarah Goer Quilts for Show Me Something Rainbow.

Vintage Heaven

It’s finished! The bed in my sewing room is currently sporting a gorgeous quilt made of vintage sheets that I have collected, thrifted and received as gifts over the past two years. I love it and the springlike, feminine look it brings to the sewing room. I am calling this one “Romantical” which is how one loyal reader described it when I posted last week. What a cute word.

yellow picture edited

Quilting this  went so fast since I did straight line quilting on both diagonals of the quilt. Because I was stitching across seven inch squares, it was not a problem to just eyeball it. No marking made for very fast stitching. For a short time I considered quilting only one of the diagonals. But it was finished so fast and quickly became evident that it really wanted to be quilted in both directions.
After receiving such helpful input on selecting the binding via comments on last week’s post, I went with the pink striped binding. I debated cutting the binding strips on the bias since I had enough fabric to do so. But that would have created some waste so I decided against it. Look at it though! It looks great, especially next to the squares of the same fabric. I had another one of those fortunate occurrences when the fabrics line up just so, as though I worked diligently to make it happen. But you and I both know me better than that. Happy coincidence!

yellow 2


Do you see the sweet backing I used? It was a queen size flat sheet that was brand new. The little floral is so pretty and works well with the binding too.

yellow 3
My quilt model and I went outside to take some photos. It was mid-afternoon and the sun was a bit too bright. The pictures are fun even though the colors of the quilt look a bit washed out.

IMG_6759

My model was in rare form so I took advantage.

IMG_6765

This was such a simple and satisfying project. Having a quick finish like this has left me in the mood to tackle something that takes a bit more thought. My nephew is getting married in September so I think a quilt is in order for him and his bride. I have a couple of months to work on it which is plenty of time. I have two stacks of fabric pulled and I keep deliberating between them. I’ll show you the pull once I make some decisions.

Thanks to all who left comments on yesterday’s post about social media. It made for good discussion. If you haven’t had a chance to read it, check it out and let me know your thoughts.

Linking today with my favorites, Amanda Jean over at Crazy Mom Quilts and Sarah at Confessions of a Fabric Addict. Links to both can be found at the top of the page, under Link Ups.

Spring Blossoms and a Finish

Oh my gosh, my garden is exploding right now. Our property looks its absolute best in spring and fall.  We have gorgeous flowers this time of year, including iris, roses, clematis, peonies, columbine and coral bells. Once the heat arrives everything begins to look stressed and overheated (including me.) When fall comes along, all of the dogwood and maple trees give us a wonderful show of color. The property was the main draw when we bought this place, the house was definitely secondary.

After a recent rain, our roses just shimmered.

image

So many gorgeous colors.

image

Completely surrounded by six foot tall deer fence, we don’t have issues with the bajillion deer and rabbits that wander through our property each day.

image

Up against the south wall of Ray’s shop we have a few climbing roses and this year, they are just monstrous. This picture was in the middle of the day and doesn’t do them justice. They are gorgeous. Ray had to actually reinforce the trellis they are on; it seemed like the weight could cause them to break away from it.img_20160503_5035

Back to the subject at hand, sewing!  Last week I shared a bit of a project that I was working on. It was a gift for my mom for Mother’s Day. She and I both like vintage pieces and I managed to swipe a crocheted doily from her house when I was there a couple of weeks ago.  I thought it might look pretty quilted to a simple rectangle to be used under a vase of flowers.

img_20160507_5049

Overall, I am very pleased with how this turned out. Because I was sort of creating without much of a plan, there are things I would do different the next time around. To make this, I made the quilt sandwich and pinned the doily to it. Using a zig zag stitch and my walking foot, I stitched around it in three places. First I stitched the innermost circle, moved outward to the next circle, and then I stitched around the first set of petals. Finally, I stitched around the outer edge. My mistake was adhering the outermost edge before I did the cross hatch quilting. I was constantly butting up to the edge of the doily. If I had left that edge loose, I could have stitched right under it, backtacked, and snipped my threads. It would have been so much easier.Lesson learned.

img_20160507_5048

After I stitched the doily, I began working on the framework of the FMQ. I did the little scrolls and loops all the way around the edge (leaving about 1/2″ to use for squaring up and binding). After the first pass, it looked too sparse so I echo quilted the little scrolls and loops. Were I to have the chance, I would add more detail to this section. It is a little narrow for the scale of the mini. Finally, I worked on the cross hatch lines. For this, I used my trusty Hera marker. Wow, I love that thing. I could mark one whole quadrant at a time and the lines stayed visible. No ink or chalk to deal with made this so easy! I made 3/4″ blocks in the cross hatch which worked out well.

img_20160507_5050

The binding came from my stash of vintage fabrics. Remember the story I shared about the wonderful woman in Downieville who gave me her mother’s fabric stash from 1940-1950? This piece was from that amazing gift. It is a sweet print that adds a pop of color to this mini. The fabric was only 32″ wide, selvedge to selvedge which confirms it’s age. (I have actually been dying to start another project with these fabrics. So many project, so little time, right??)

This mini was a sweet project and I think Mom really liked it. It fits her house just perfectly.

I will finish this off by showing you the baby geese that we have been watching. They live up on our pond and are just adorable. Ray took this shot from our deck with a telephoto lens.  The geese are very protective and no matter how quiet we try to be, we cannot get very close to the family.

img_20160508_5089

Linking to my favorites. Find the links at the top of the page under Link Ups.


Remember:  In celebration of their 5th anniversary, Craftsy will hold a great sale of kits and supplies beginning today and running through the 15th. Kits are a great way to buy coordinating fabrics at a wonderful price – even if you decide to use it for something other than the pattern it is sold with. Check it out here!

may craftsy


Finished the First One

I finished the first of the two extra long twin bed quilts that I am making for Julia’s room in Downieville. It is simple and so cozy. Green (my favorite), purple and tan are the colors and most of the prints feature florals and  hummingbirds, plus one abstract print of mountains. This is the perfect theme for a quilt that will live in a house along the river, in the mountains.

IMG_20160204_4565This quilt is a bit of a beast to photograph; with 10″ blocks, it finished at 70″ x 100″.  You can see that I quilted straight lines along all seams, two inches in. I marked most of the lines with a chalk marker which made it very easy to quilt.

IMG_20160204_4566

It is backed in a violet fabric with a scroll print. I bound it in the same fabric. It is a piece from Jo-Ann’s that Julia chose.

IMG_20160204_4569

I have just enough of the backing left over to make a pillow case which will finish things off nicely. I am looking forward to taking the quilt up to Downieville. I will be up there this afternoon to work on the opportunity quilt for the guild. What is better than an afternoon of sewing? We have had spring-like weather here and my daffodils are all ready to bloom. It is a nice break but we need to get back to winter and a lot more rain. Hopefully soon!

What are you working on? Tell me in the comments!

Linking to Let’s Bee Social and Finish It Up Friday. Links to these sites, and more, are found at the top of the page under Link Ups.


Odds and Ends

The weekend is just about here. Julia is going to her first high school football game tonight and we are not a football family. It is rare that you’ll hear any talk of sports in our house. But I am fairly certain that 14 year olds don’t go to football games for the sport – it’s all about the friends. She will have a great time and I will wonder how she got to be this age so quickly.

It was a busy week here in Grass Valley, CA  (doesn’t that sound just like Garrison Keillor? I love him.) I decided I was tired of looking through filthy windows so I hired a couple of window cleaners to come and clean them. We have lots of windows (40 to be exact, I paid per window so I now know this number.) Turns out that having windows cleaned involves lots of prep on the part of the window owner. They asked me to clear any items near the windows so they could have access.  Yikes.  My sewing table, ironing station and cutting station are under a window. I am sure you can imagine. But after I got the house put back together, it was well worth it. Shiny clean windows. Just in time for fall colors… the maple trees near these windows turn a great shade of yellow-gold and now we will enjoy the changes that much more. (Well, that’s if fall ever comes, it is a balmy 98 degrees outside today.

IMG_20150911_3796Time in the sewing room was not plentiful this week. I did finish up one quick project though. Remember the block-hop that I posted about last week? When I was playing with the design for that block, I did a mock up first. I used some holiday fabric that I had (mainly because it was right next to the cutting area and saved me the long walk to the closet across the room where my stash is stored.)  The block was pretty though and I wanted to use it for something.

IMG_20150911_3784I added two borders, one 2″ wide and the other is 3″ wide. With these borders I ended up with a pillow cover that is about 21″ square.

IMG_20150911_3788I used an envelope backing and stitched a seam 1″ in from the perimeter to make a flange.  Straight line quilting with a fairly narrow gauge was done on an angle, dividing the pillow into four quadrants.

IMG_20150911_3785I used a Mettler variegated thread with shades of gold, silver and cream which I love with these fabrics.

IMG_20150911_3793When I quilt a pillow, I sandwich the quilted portion with plain muslin and pieced batting scraps. The quilting looks kinda cool on the muslin side.

IMG_20150911_3783It makes me want to try some sort of whole cloth project to really emphasize the quilting. Another addition to the list….

It will be fun to pull this out in a few months when the time comes to decorate for the holidays. Hoping everyone has a great weekend. Seems like it is hot across the country right now. Maybe this is the last blast of heat before wonderful autumn starts.

Linking to Finish it up Friday at Crazy Mom Quilts, Confessions of a Fabric Addict as well as Freemotion Mavericks (even tho this is quilted with a walking foot, not my darning foot.) All links to these link parties are available at the top of the page, under Link Ups.


A Vintage Finish

Looks like I made it, and with a few days to spare! My ALYOF goal for August was to quilt and bind my vintage double nine patch quilt. Yahoo for setting goals.

IMG_20150827_3699

I had asked readers to suggest ideas for quilting the vintage quilt and was happy to receive tons of suggestions. Thanks so much for the ideas. I decided to quilt a basic cross-hatch over the main nine-patch blocks. Then I wanted to do something different with each of the three borders. My original thought was to do different cable patterns so I bought a couple of cable stencils.

Alas, it wasn’t entirely successful. I started by doing a basic, single cable on the middle (narrowest) border. I had great help with tracing the stencil. Ian was home for the weekend and kindly traced for me.

IMG_2409

Try as I might, I couldn’t relax and just stitch. I wanted to use my walking foot, maybe that was the mistake? The stitching isn’t fluid and I am less than pleased with it. Hoping that a run through the wash (in my NEW washing machine) will make the jitters a bit less obvious.

IMG_20150827_3703

Because of the issues with the single cable, I lost interest in doing a more complex cable pattern so I put the stencils away in the deepest recesses of my desk drawer. I don’t plan on looking at them for quite some time. Instead, I played with some motifs that Lori Kennedy has posted over at The Inbox Jaunt. I chose her Modern Leaf pattern (which I posted about earlier this week.) Because I am susceptible to this sort of nonsense, I wondered if I should use a motif with the word “Modern” in it when I was really trying to go for a vintage look. Jeez… I need to get over myself already. It worked out fine and was very fun to quilt. Because I did the quilting with cream colored Mettler thread, it is hard to see in the pictures. But I am much happier with it than the single cable. (I love the fabric with those little pins. Really cute.)

IMG_20150827_3702

For the final, outside border I did basic straight-line quilting which I just eyeballed using the side of the walking foot. Simple and clean. I backed it with a blue print and as you can see, I used one of the cream background fabrics as the binding.

IMG_20150827_3704

One small concern that came to mind is that I have a six inch gap between stitching lines on the cross-hatch. The batting said I could space the quilting with as much as an eight inch gap. However this is likely the widest I have gone and it seems sketchy to me.  Any input on that? I could still add lines to the body of the quilt if need be. If I split the difference between the existing lines, I would have a three inch gap. Thanks for any ideas you might have.

IMG_20150827_3701

Overall, I am happy with the finish. This is a more traditional quilt than I normally make but I enjoyed it. My next project is more modern and uses Kaffe Fassett yardage and jelly roll. I am chomping at the bit to get started on it so stay tuned.

Linking to my favorites:  Let’s Bee Social, Finish it up Friday, and Sew Bittersweet Designs.  Take a peek at these sites – there is a lot of great work out there!

Mint Green

This has been a nice week. Hope the same goes for you. I joined the 2015 New Quilt Bloggers group that is being hosted by Quilting Jetgirl, Childlike Fascination, Late Night Quilter, and Meadow Mist Designs. So far, we are all getting to know each other. There are about 70 bloggers in the group which is a load of blogs to familiarize myself with. I really like the writing style of many of these bloggers and can tell already that this is going to be a fun project. The goal is to work together to improve our blogs. There is always something to be learned from a group such as this. I so appreciate the work of the four bloggers that put this together.

Even with the huge amount of time I spent reading these new blogs, I have a minty green finish this week. I came across a pattern on Pinterest from Canoeridge Creations. I love Megan’s patterns. This is the second one I have used. Her “Fireworks” mini quilt pattern was used for my Allison Glass mini swap. This free pdf pattern is called “Firefly” and it is a fun, quick project. It took no time at all to cut the fabric and piece the top (maybe a little over an hour?)

image

I had some solid minty green fabric and a large piece of white Kona that looked great together. The pattern is basically a series of stripes. Each color has a set of stripes that decrease one-half inch with each strip. They begin at 5.5 inches and decrease to 2.5 inches. The size of the stripes alternate such that one color begins with the widest and the other color begins with the most narrow. I like the effect.

image

I felt this quilt did not warrant an all over FMQ pattern. Initially I quilted straight lines on the white stripes. I wanted to keep it soft, thus didn’t want to densely quilt it. Without measuring or marking, I used the walking foot and/or the edges of the strips as my guide. My pin basting wasn’t tight enough and I ended up with huge fold in the backing fabric. Ugh. Ripping out that part of the quilting was really the longest part of making the quilt.

My thought was to quilt the white and leave the green blank. Feeling unsure about that decision, I put it out there to my Facebook quilting community and asked what to do with the green. I really didn’t want the quilt to be dense, I wanted a puffy soft feel to it.  Someone suggested doing a very wide, edge to edge zig zag on the green. That was genious. Perfect.

image

I tried to FMQ the first stripe. I marked it and used the free motion foot. Yuk. I hate quilting straight lines without the (stabilizing) help of the feed dogs. For the rest of the rows I marked them with a Frixion pen and a 90 degree trianglular template that I already had. Using the walking foot, I quickly quilted the zig zags.

The back is a very simple Timeless Treasures print that has the perfect shade of green in it.  I bound the quilt with the solid green to retain the simplicity of the quilt top. I listed this quilt in my Etsy shop.

image

In keeping with my goals for June, I did get the batik quilt (my ALYOF goal) pin basted and plan to  start quilting it this weekend. I am using an all-over pattern of a leafy vine from Christina Cameli’s book. Crossing fingers for this one!

Hope everyone has a wonderful weekend!

Linking to Amanda Jean over at Crazy Mom Quilts as well as Sarah at Confessions of a Fabric Addict.